.png)
The Steam Deck is designed to be easy. It might be built upon Linux, which is notoriously user-unfriendly, and it might run into bugs that your Nintendo Switch would never hope to encounter. But the Steam Deck gives you enough room to play without allowing you to break anything. There are some cases where you need to go outside the boundary set by Valve, though.
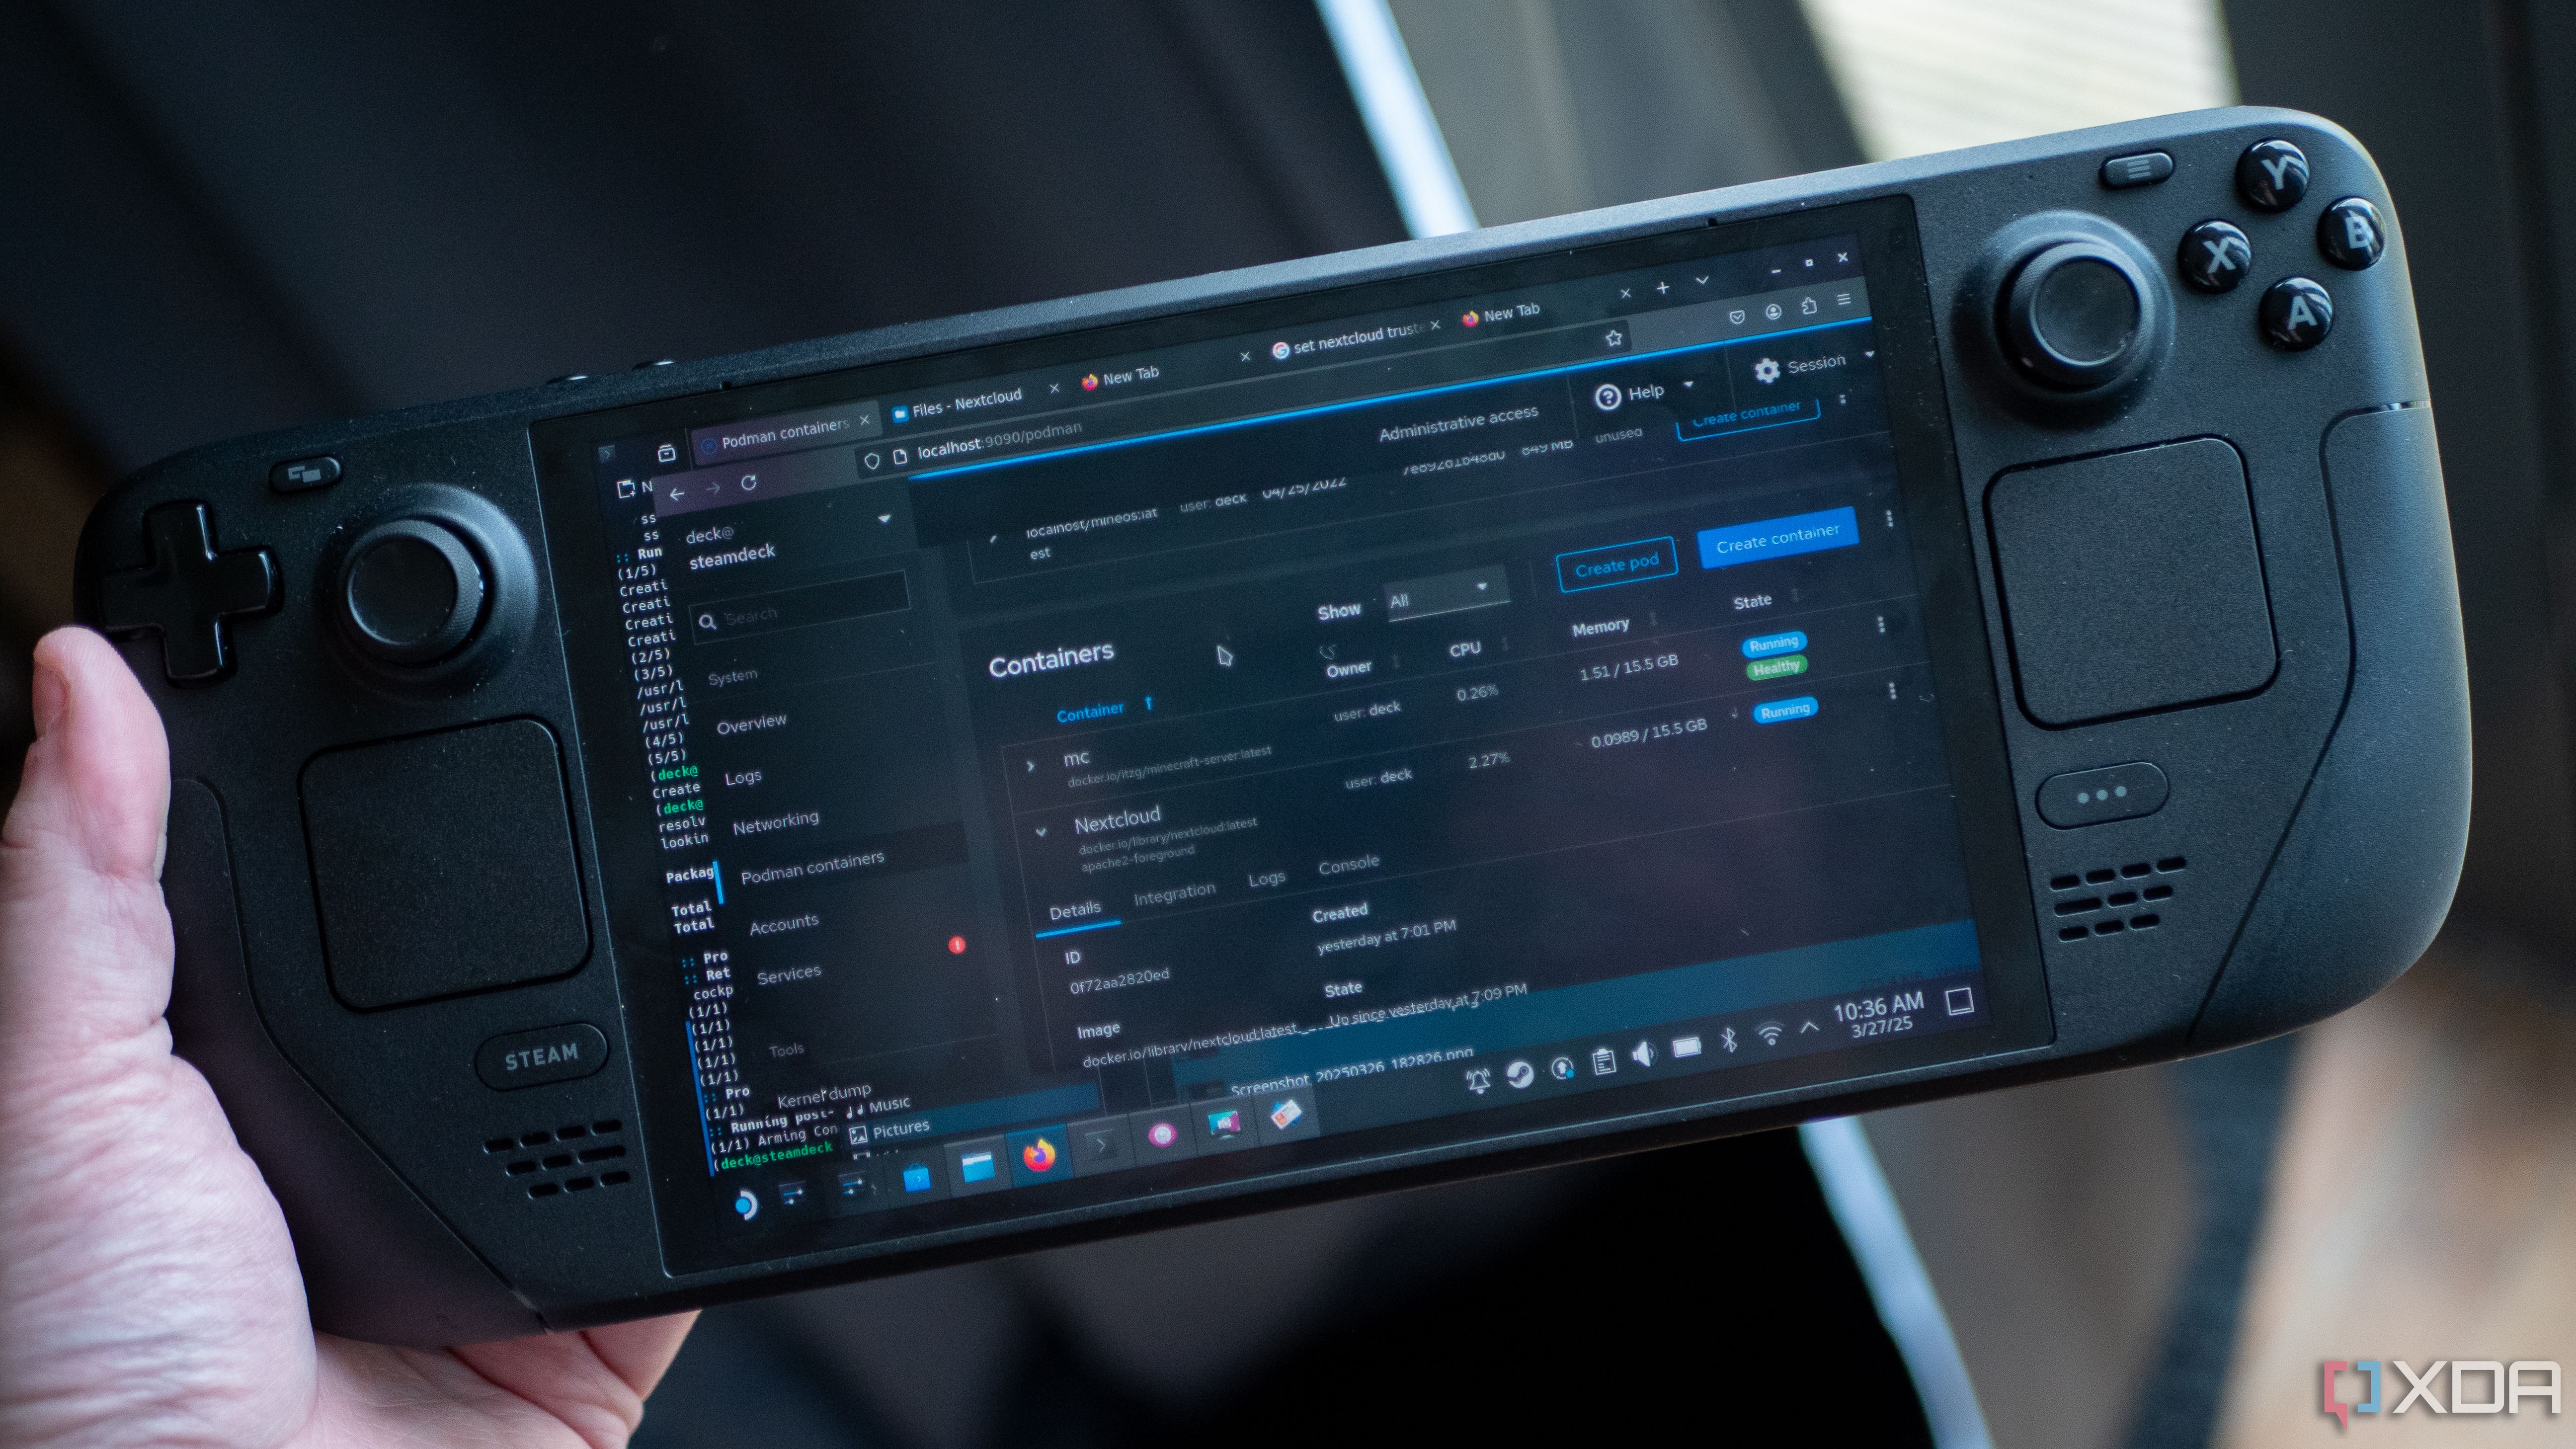
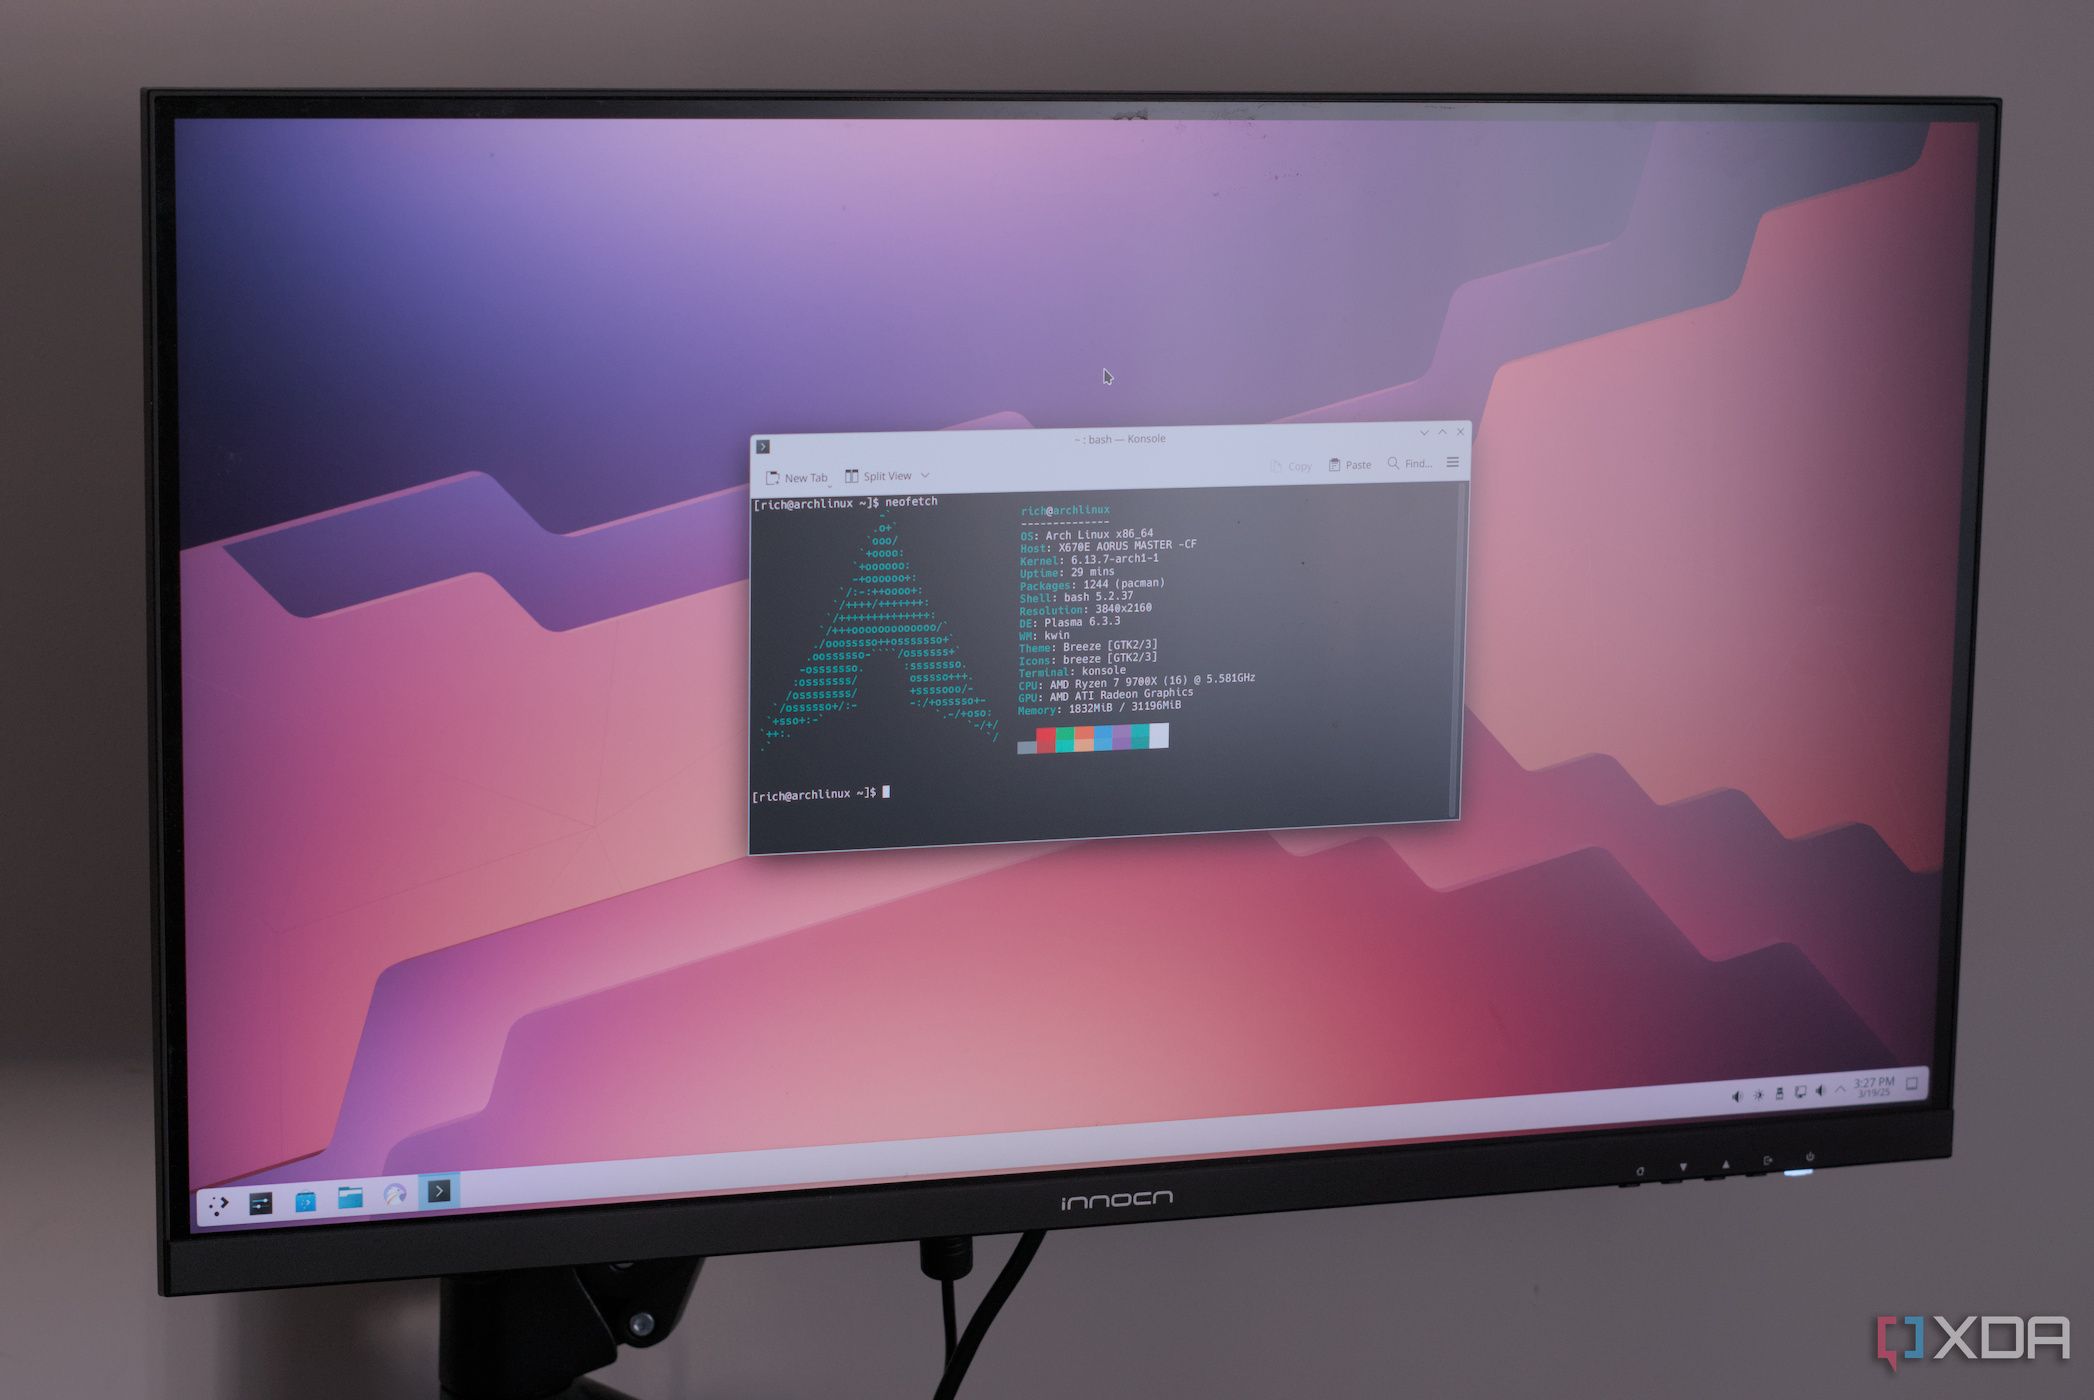
Even if you don't fancy yourself a Linux power user, you'll likely need to interact with the terminal on your Steam Deck if you want to install third-party software or go deep into managing your device. You don't need to be a command line wizard to get things done in Konsole, though. Even a few basic commands and surface-level knowledge of the command line can take you a long way.
Before getting into the commands you should know, it's worth highlighting that the SteamOS operating system that the Steam Deck uses is built on top of Arch Linux. If you've used an Arch distro before, and you know your way around the terminal, you can apply that knowledge directly to the Steam Deck. If you haven't used an Arch distro before, and you're coming from something like Ubuntu, things are a bit different.
Related
I turned my Steam Deck into a home server, and it's as crazy as it sounds
If you want to find more uses for your Steam Deck, why not turn it into a home server?
4 Become the sudo of your Steam Deck
You're a superuser, so it's time to act like one
Before you can do much of anything in the terminal, you need to have a sudo password set. Sudo, or admin commands, are locked behind a password, but the Steam Deck doesn't have a sudo password by default. Any of the commands you see below that start with "sudo" won't work without a password.
Open Konsole, and enter the following command to change your password:
passwdYou'll be asked for your current password before entering a new one — just hit Enter if you don't already have a sudo password set up — and then you'll need to confirm your new password. By default, this command should apply to the "deck" user, which is the user profile that Valve creates for you. If, for some reason, you have multiple profiles or the command doesn't invoke the password change for the "deck" user, use this command instead:
passwd deckYou need to eat your vegetables first, and that's setting up a sudo password. A lot of commands simply won't work without one, so make sure to set up your password before doing anything else. If you forget down the line, 10 Minute Steam Deck Gamer has a fantastic guide on recovering a forgotten sudo password on the Steam Deck.

Related
How to install and use Moonlight on Steam Deck
Moonlight is a great way to make more games playable on your Steam Deck, and it only takes a few minutes to set up.
3 Navigate without a GUI
A couple of letters can take you anywhere
There's a file manager built into the Steam Deck's desktop mode, and for basic file management, you don't need to go out to the command line unless you really want to. However, there are situations where you need to navigate your file structure from the command line. For instance, I recently installed Waydroid on my Steam Deck to have it function as an Android TV streaming device, and the installation requires getting around the file system from the command line. If you find yourself in a similar situation, there are a few commands to keep handy.
The first is the "cd" or "change directory" command. This is common among multiple operating systems, and it points your terminal toward a specific directory. If you're installing or modifying files from the command line in a certain directory, you'll usually need to do this first. Here are a few variations to keep handy:
- cd ~ — navigate to home directory
- cd - — navigate to previous directory
- cd .. — navigate to parent directory
- cd [subfolder name] — enter a subdirectory within a folder already selected
- pwd — shows your full current directory
You'll rarely run up against directories you can't access, but in the event you do, you can always run a command with "sudo" in the front for elevated privileges. You'll normally just need to change your directory when installing third-party apps on the Steam Deck, but there are a few other commands that can help you move around:
- ls — list contents of your current directory, including files and folders
- mkdir — create a new folder in a set location
- rmdir — delete a directory
- rm — delete a file
- cp — copy a file
- mv — move a file
- touch — create a file
You shouldn't need to use these commands much, if at all, and you'll want to be careful with things like "rmdir" and "rm" that can delete files and folders; thankfully, you normally need to run these as a sudo command.
Related
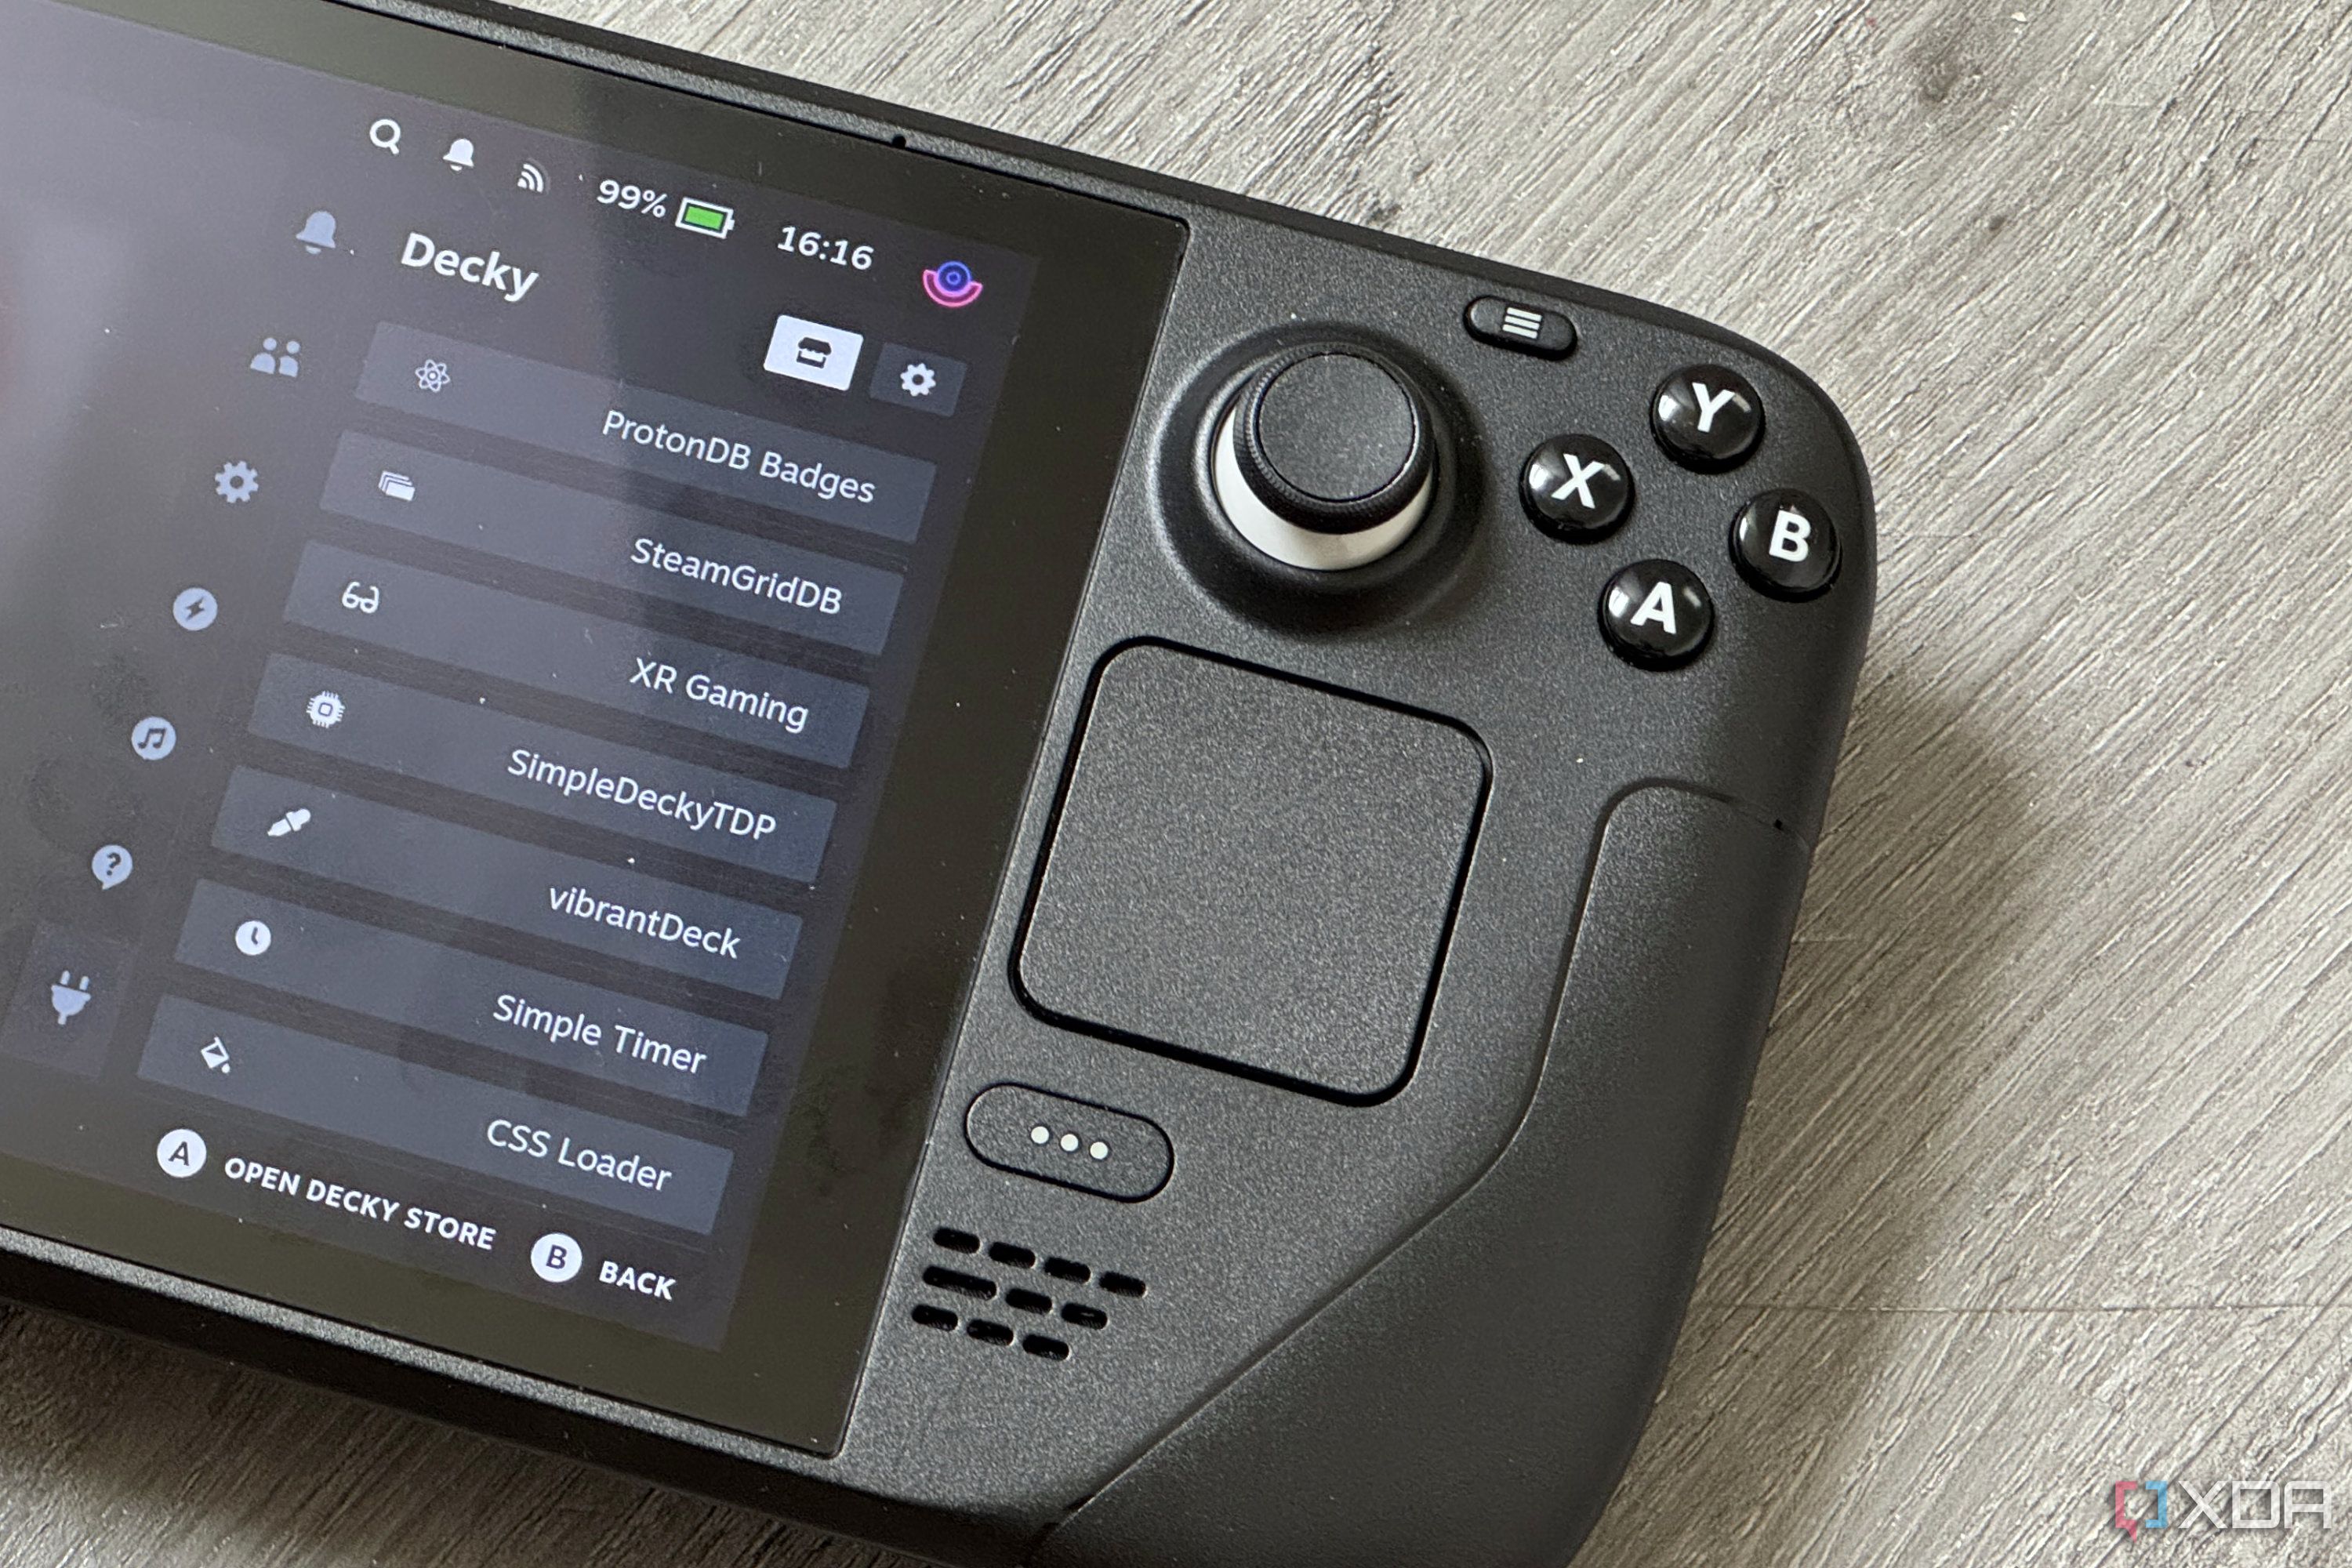
2 Learning how to play pacman
No, not Pac-Man
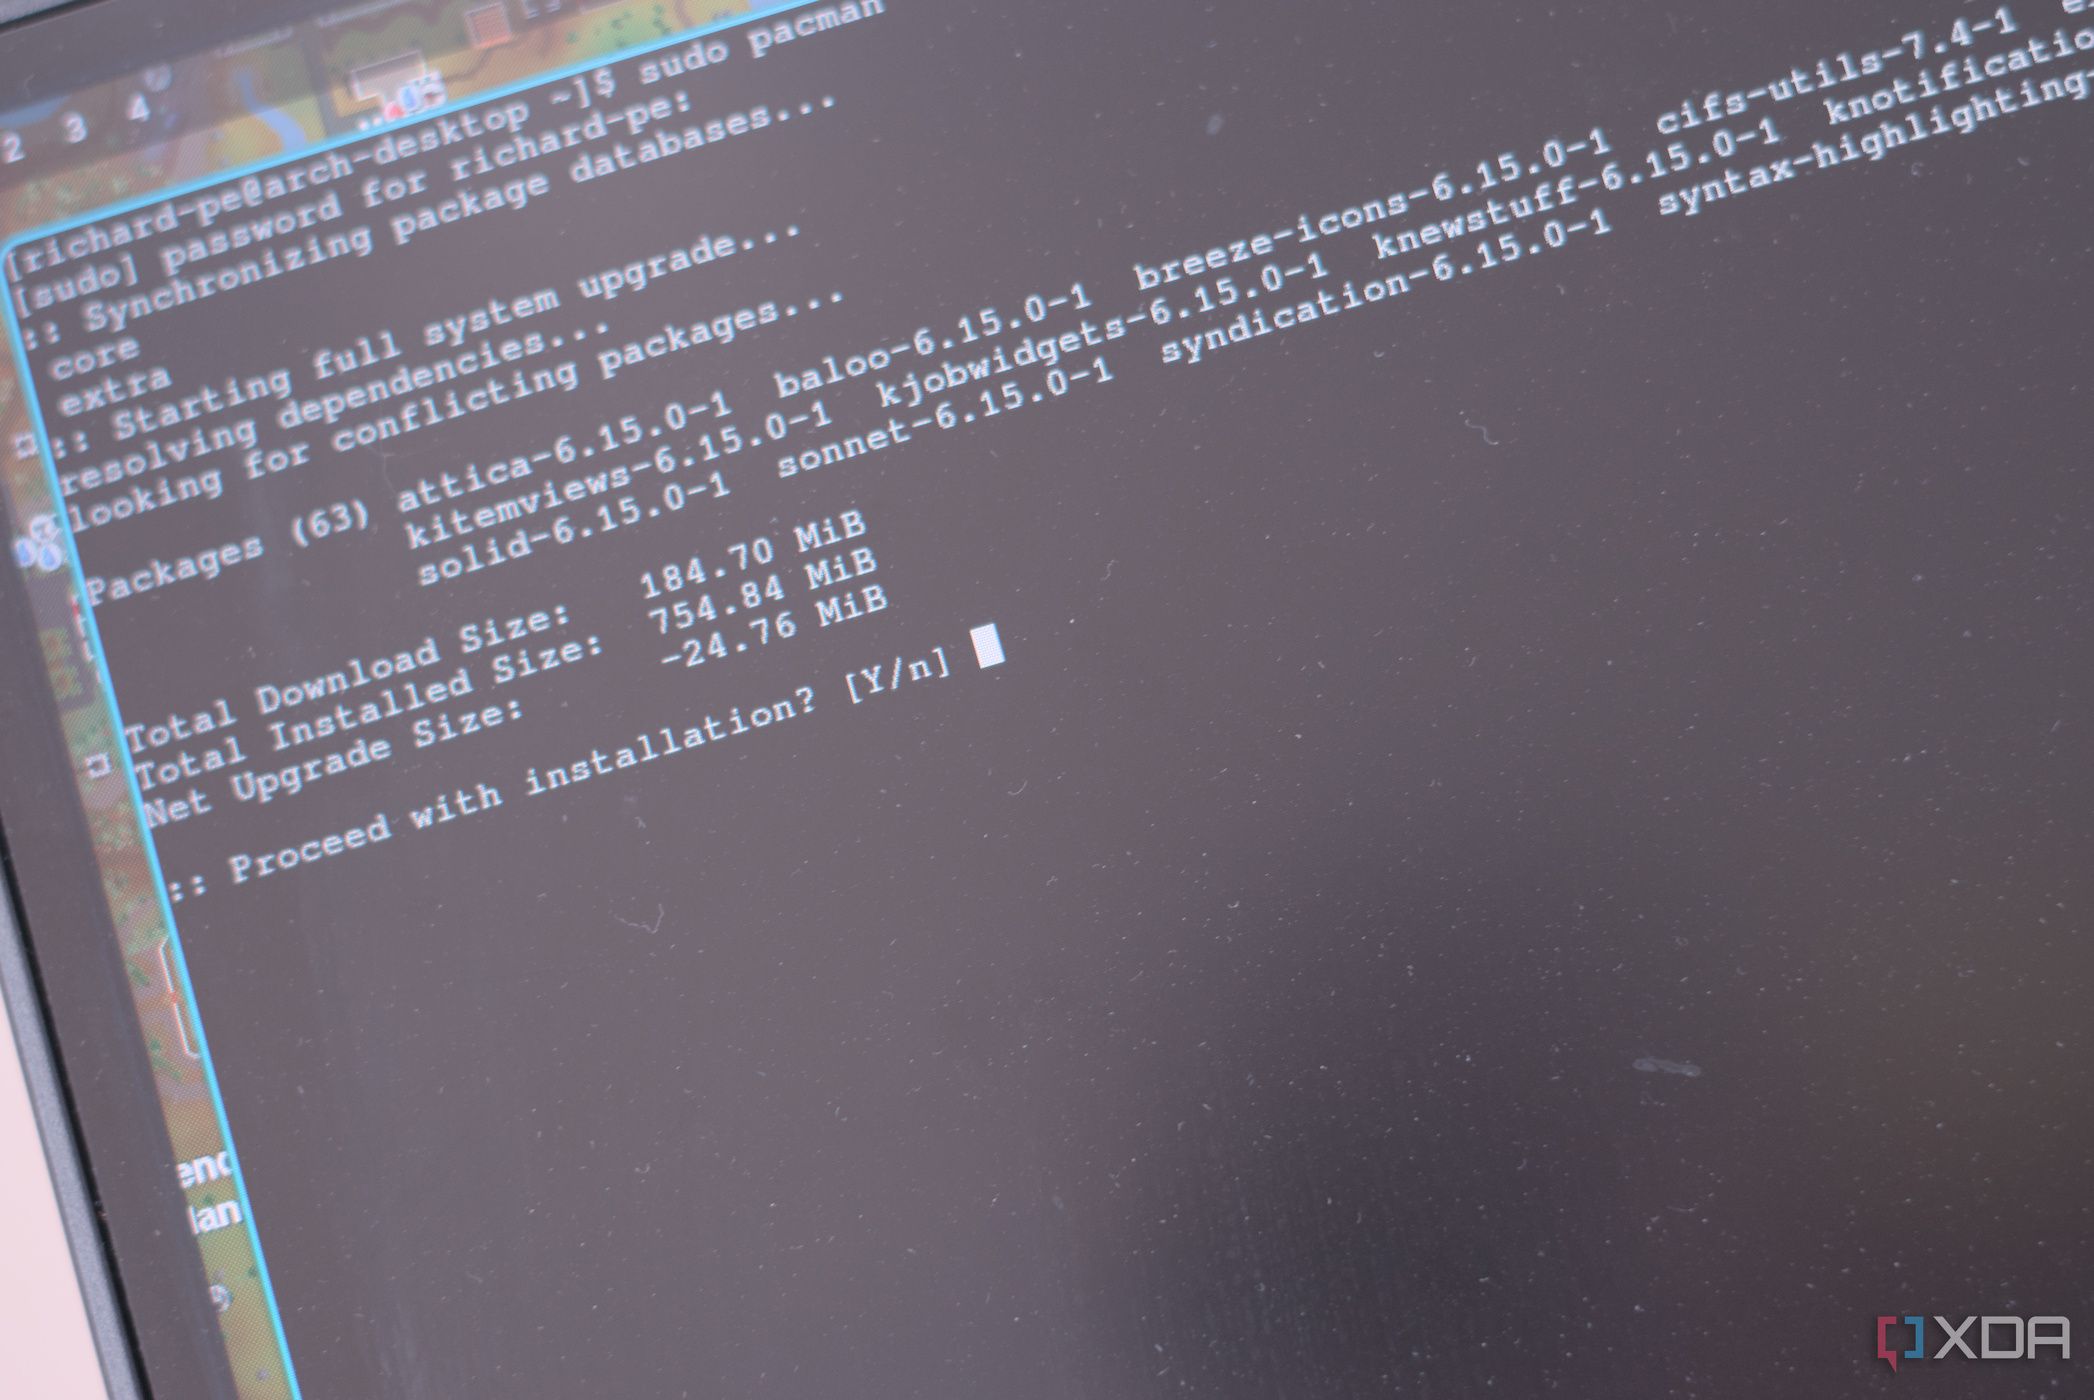
Setting a sudo password and learning to navigate the file system lays the groundwork for the powerful things you can do via the command line. It's time to talk about pacman. Pacman is the package manager built into Arch, and it's what you normally use to install, update, and manage packages on an Arch distro via the command line. The Steam Deck is different. Valve set up the device to specifically lock pacman away, and you're only able to install flatpak packages via the Discover Store by default. You can override that limitation, though.
In order to install packages via pacman, you'll need to remove safeguards Valve has in place to protect system files. Installing third-party packages will mess with your system files, and it can break SteamOS if you're not careful. Only follow the guidance here if you need to install a package via pacman, and you understand the potential to recover your SteamOS image if needed.
In addition, new updates to SteamOS can break packages you've installed via pacman. It's not an officially supported installation route, so don't expect support if things break down the line.
You need to turn off read-only mode, which you should only do when you're installing packages via pacman. And, once you're done, you should turn read-only mode back on. Valve includes a command specifically to turn off the read-only protections:
sudo steamos-readonly disableYou could probably guess it, but here's the command you need to re-enable read-only mode when you're done using pacman:
sudo steamos-readonly enablePacman is very powerful, and thankfully, Arch has extensive documentation available that will run you through everything you need to know about it. For the purposes of this guide, I'll run through a simple installation to show you how it works. I'm going to install the popular GIMP image editor, but you could do this with any of the over 15,000 packages available for Arch.
Pacman uses GPG keys to verify that the packages you're installing are legit, so the first thing you need to do is initialize the pacman keyring and populate it with the keys it needs. Start with this command:
sudo pacman-key --initThen follow it up by populating the keys:
sudo pacman-key --populate archlinuxYour pacman keyring should now have all the GPG keys for the packages available in the public repo listed above. Now, we just need to use "-S" to install a single package from the repo, including all dependencies:
sudo pacman -S gimpIf you don't want to install GIMP, simply replace the name with any other package in the repo, and you're good to go. Again, this will install all dependencies, as well. GIMP, for instance, uses the aalib for ASCII graphics, but you don't need to install aalib separately — though, you could if you really wanted to.
This is the most basic use case for pacman, but it's so much more powerful. Keep the documentation handy, but more importantly, keep pacman in your back pocket when installing third-party software. You'll need to use it depending on what you want to install on your Steam Deck. To help you on your way, here are a few tags you can use:
- -Ss — search for a package using a keyword
- -Q — list all packages installed
- -Syu — update packages installed on your system
Related
How I made Arch Linux look and run better than Windows
Arch Linux is a great distro and it's easy to make it better than Windows 11.
1 Do a check-up on your disk
How SMART is your SSD?
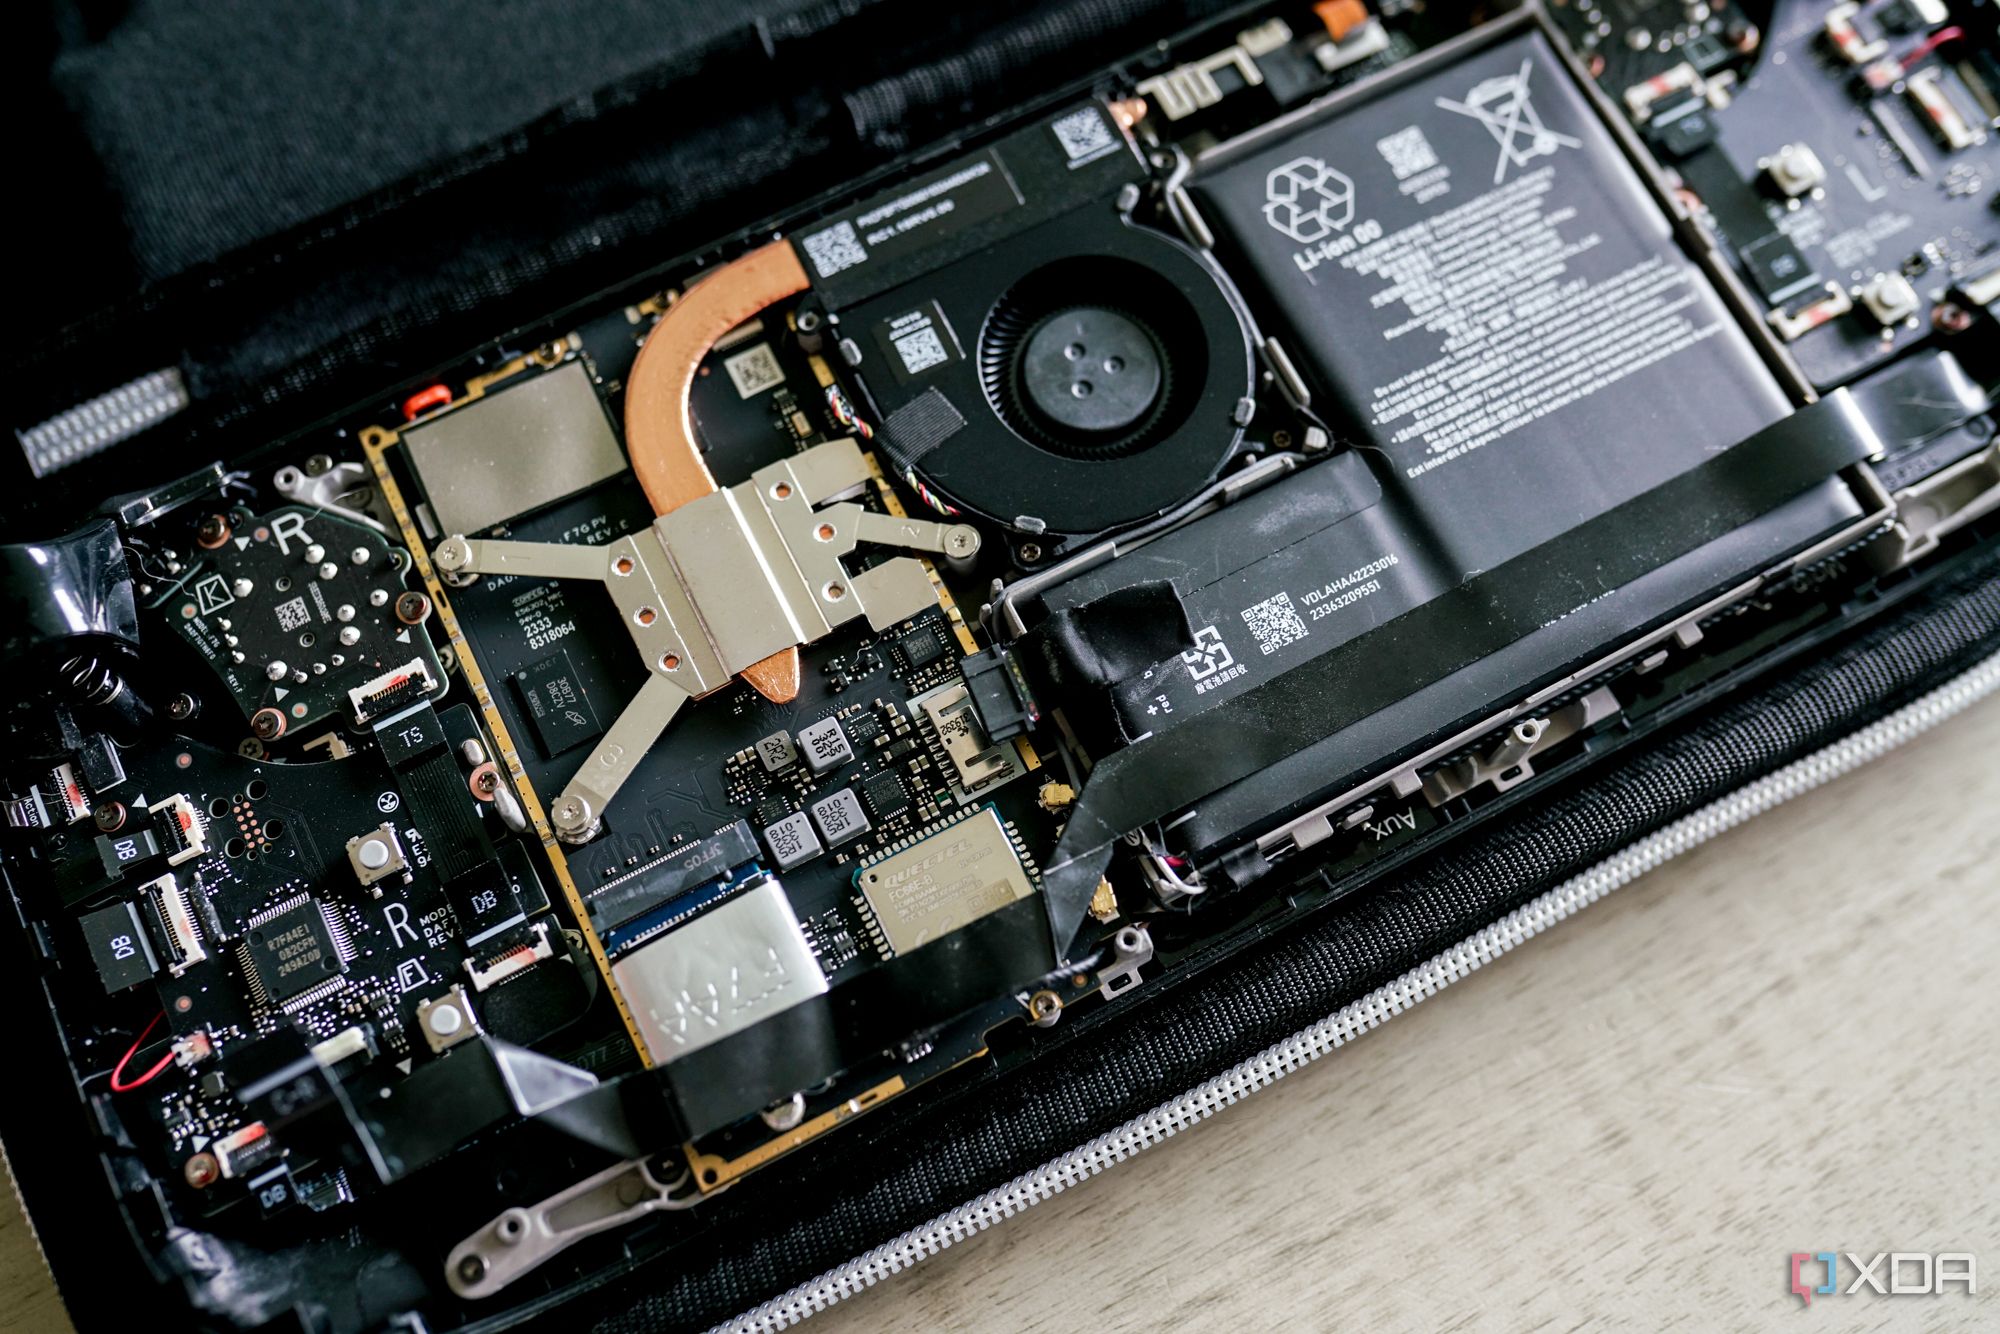
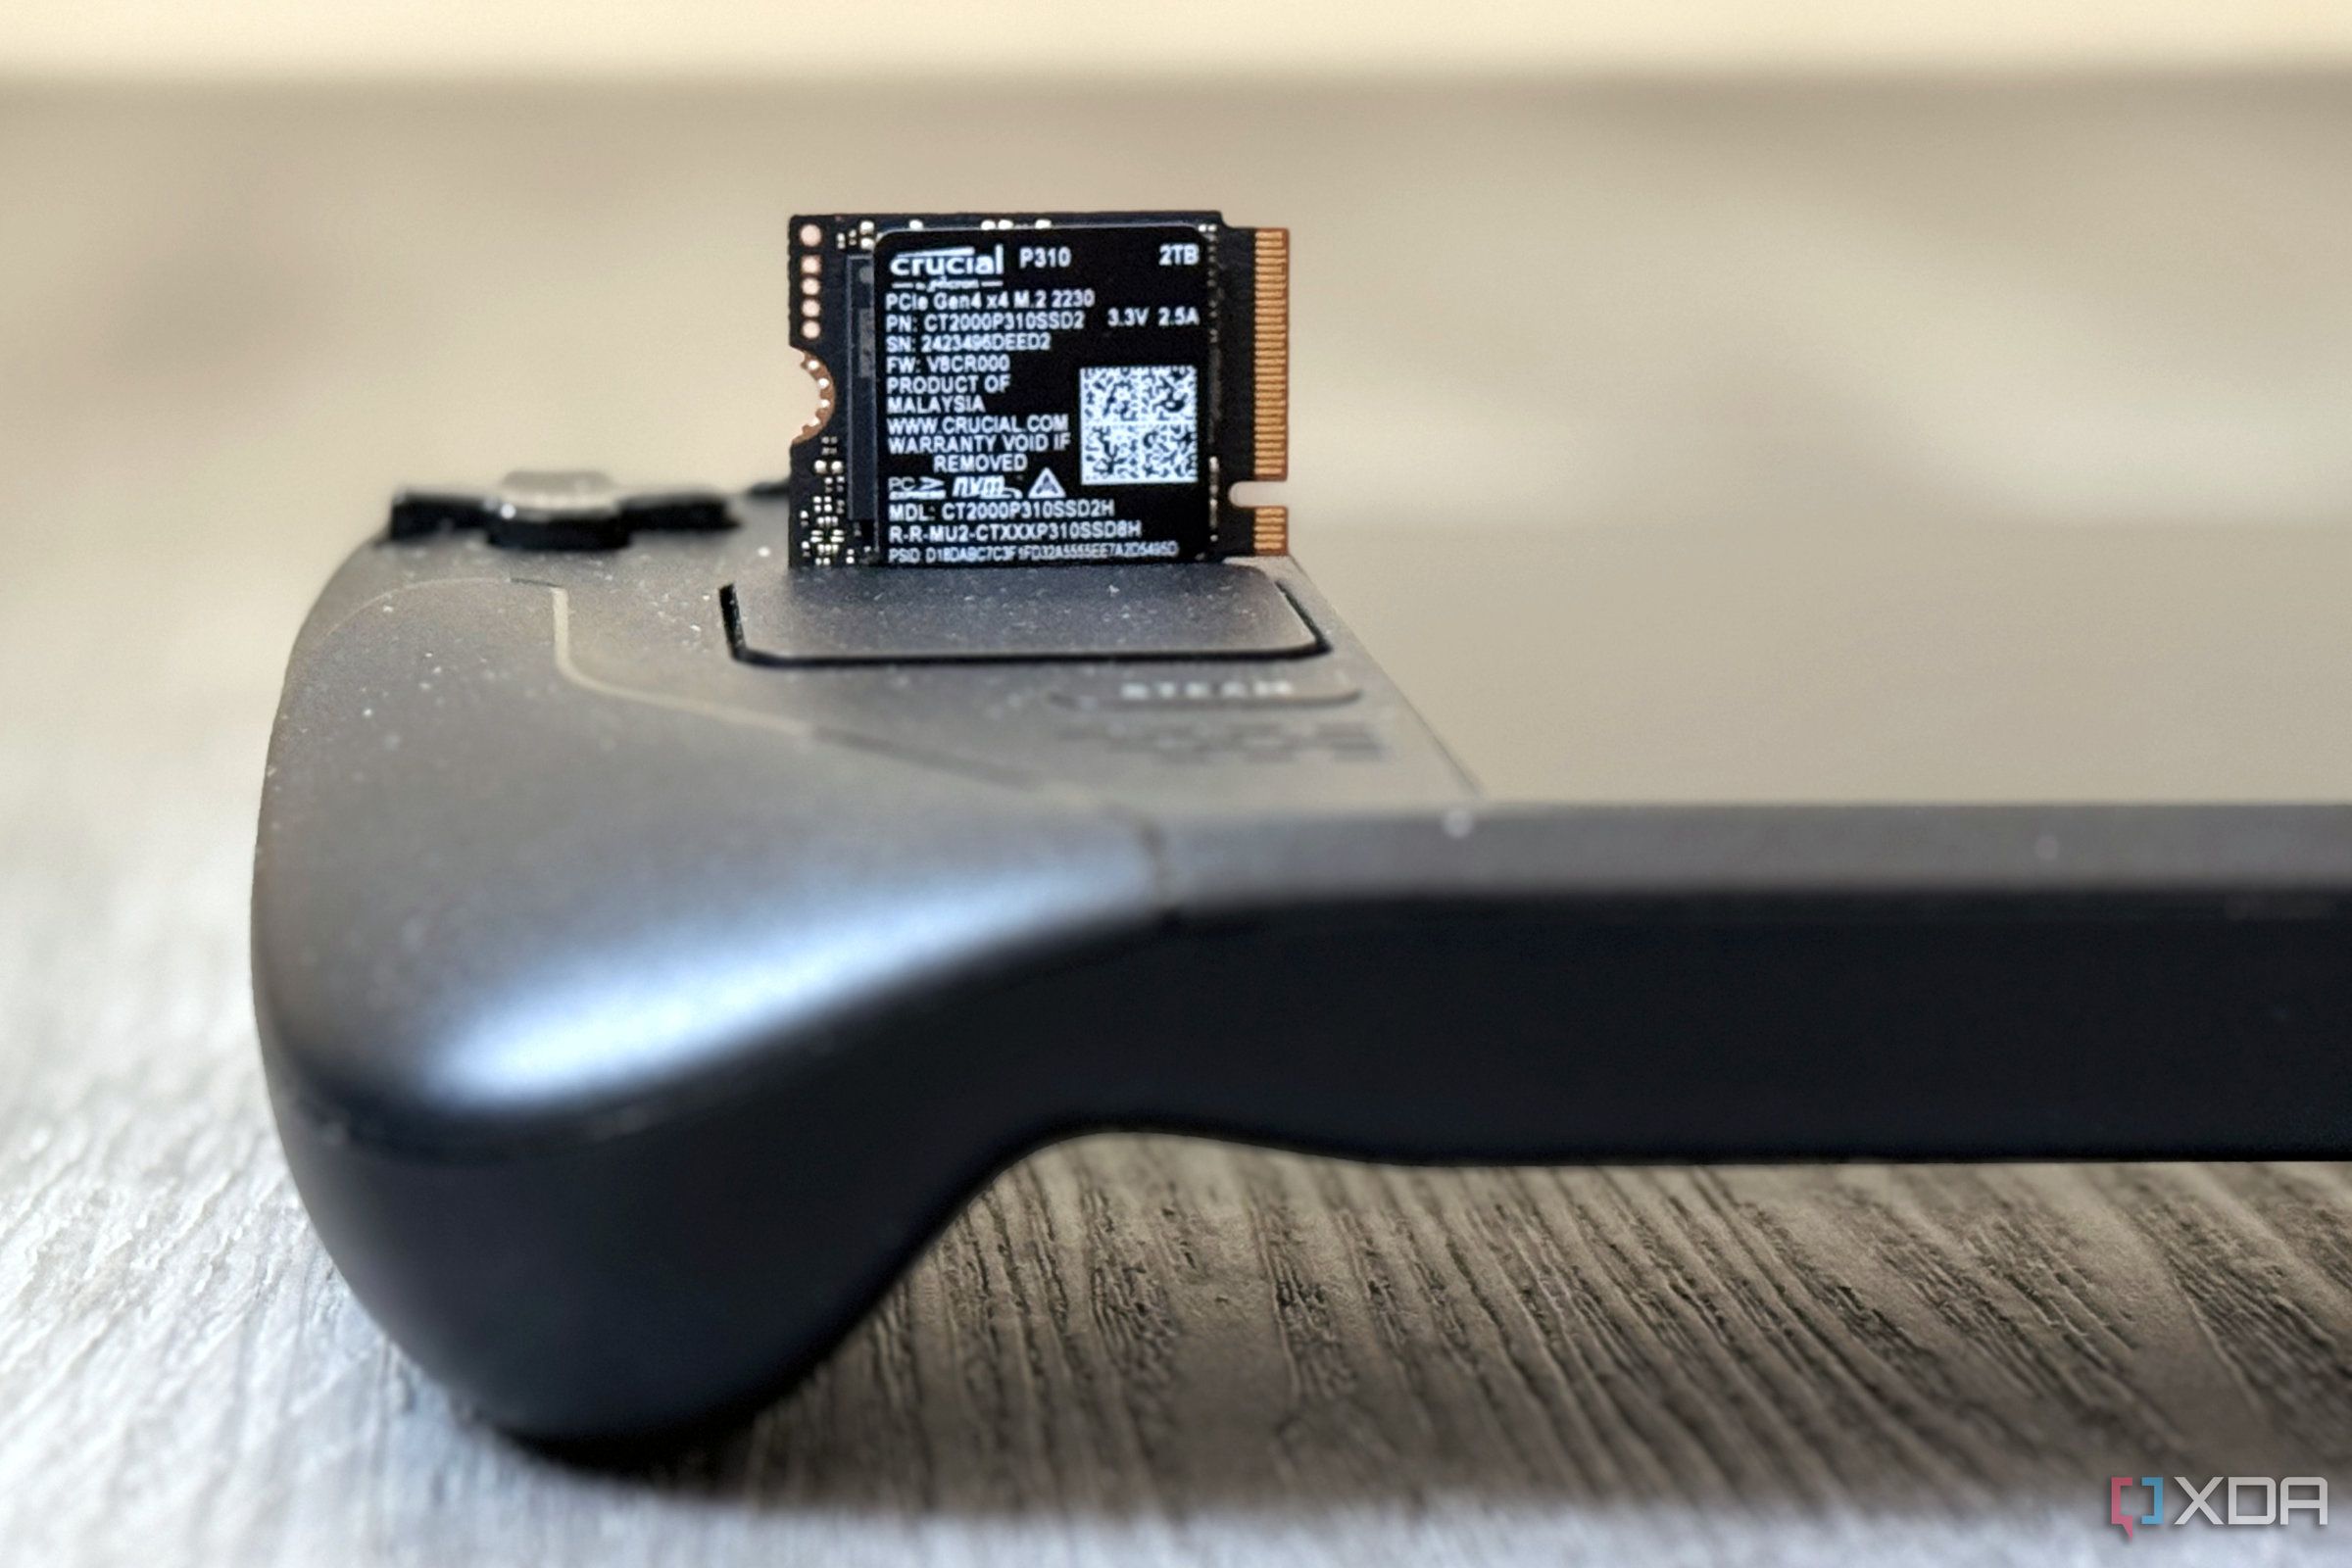
Occasionally, you should check up on the health of the SSD in your Steam Deck, particularly if you replaced the default SSD. You can do so through the command line with smartctl. It's a utility that gives you a readout of your SMART attributes, as well as allows you to run tests to check-up on the health of your drive. To check your drive health, run the following command:
sudo smartctl -a /dev/nvme0There are a couple of important notes with that command. First, you must run it as a sudo command; if you don't, you'll be denied access. Additionally, the reference to nvme0 is for the only SSD slot in the Steam Deck, but you can change the location if needed. For instance, "nvme0p1" would look at the first partition on NVMe 0.
You can do a lot more with smartctl, mainly by adjusting that "-a" to something different. There's a good chunk of information about how to use smartctl on the Arch Linux wiki, but you can also run this command to learn about its capabilities:
smartctl -h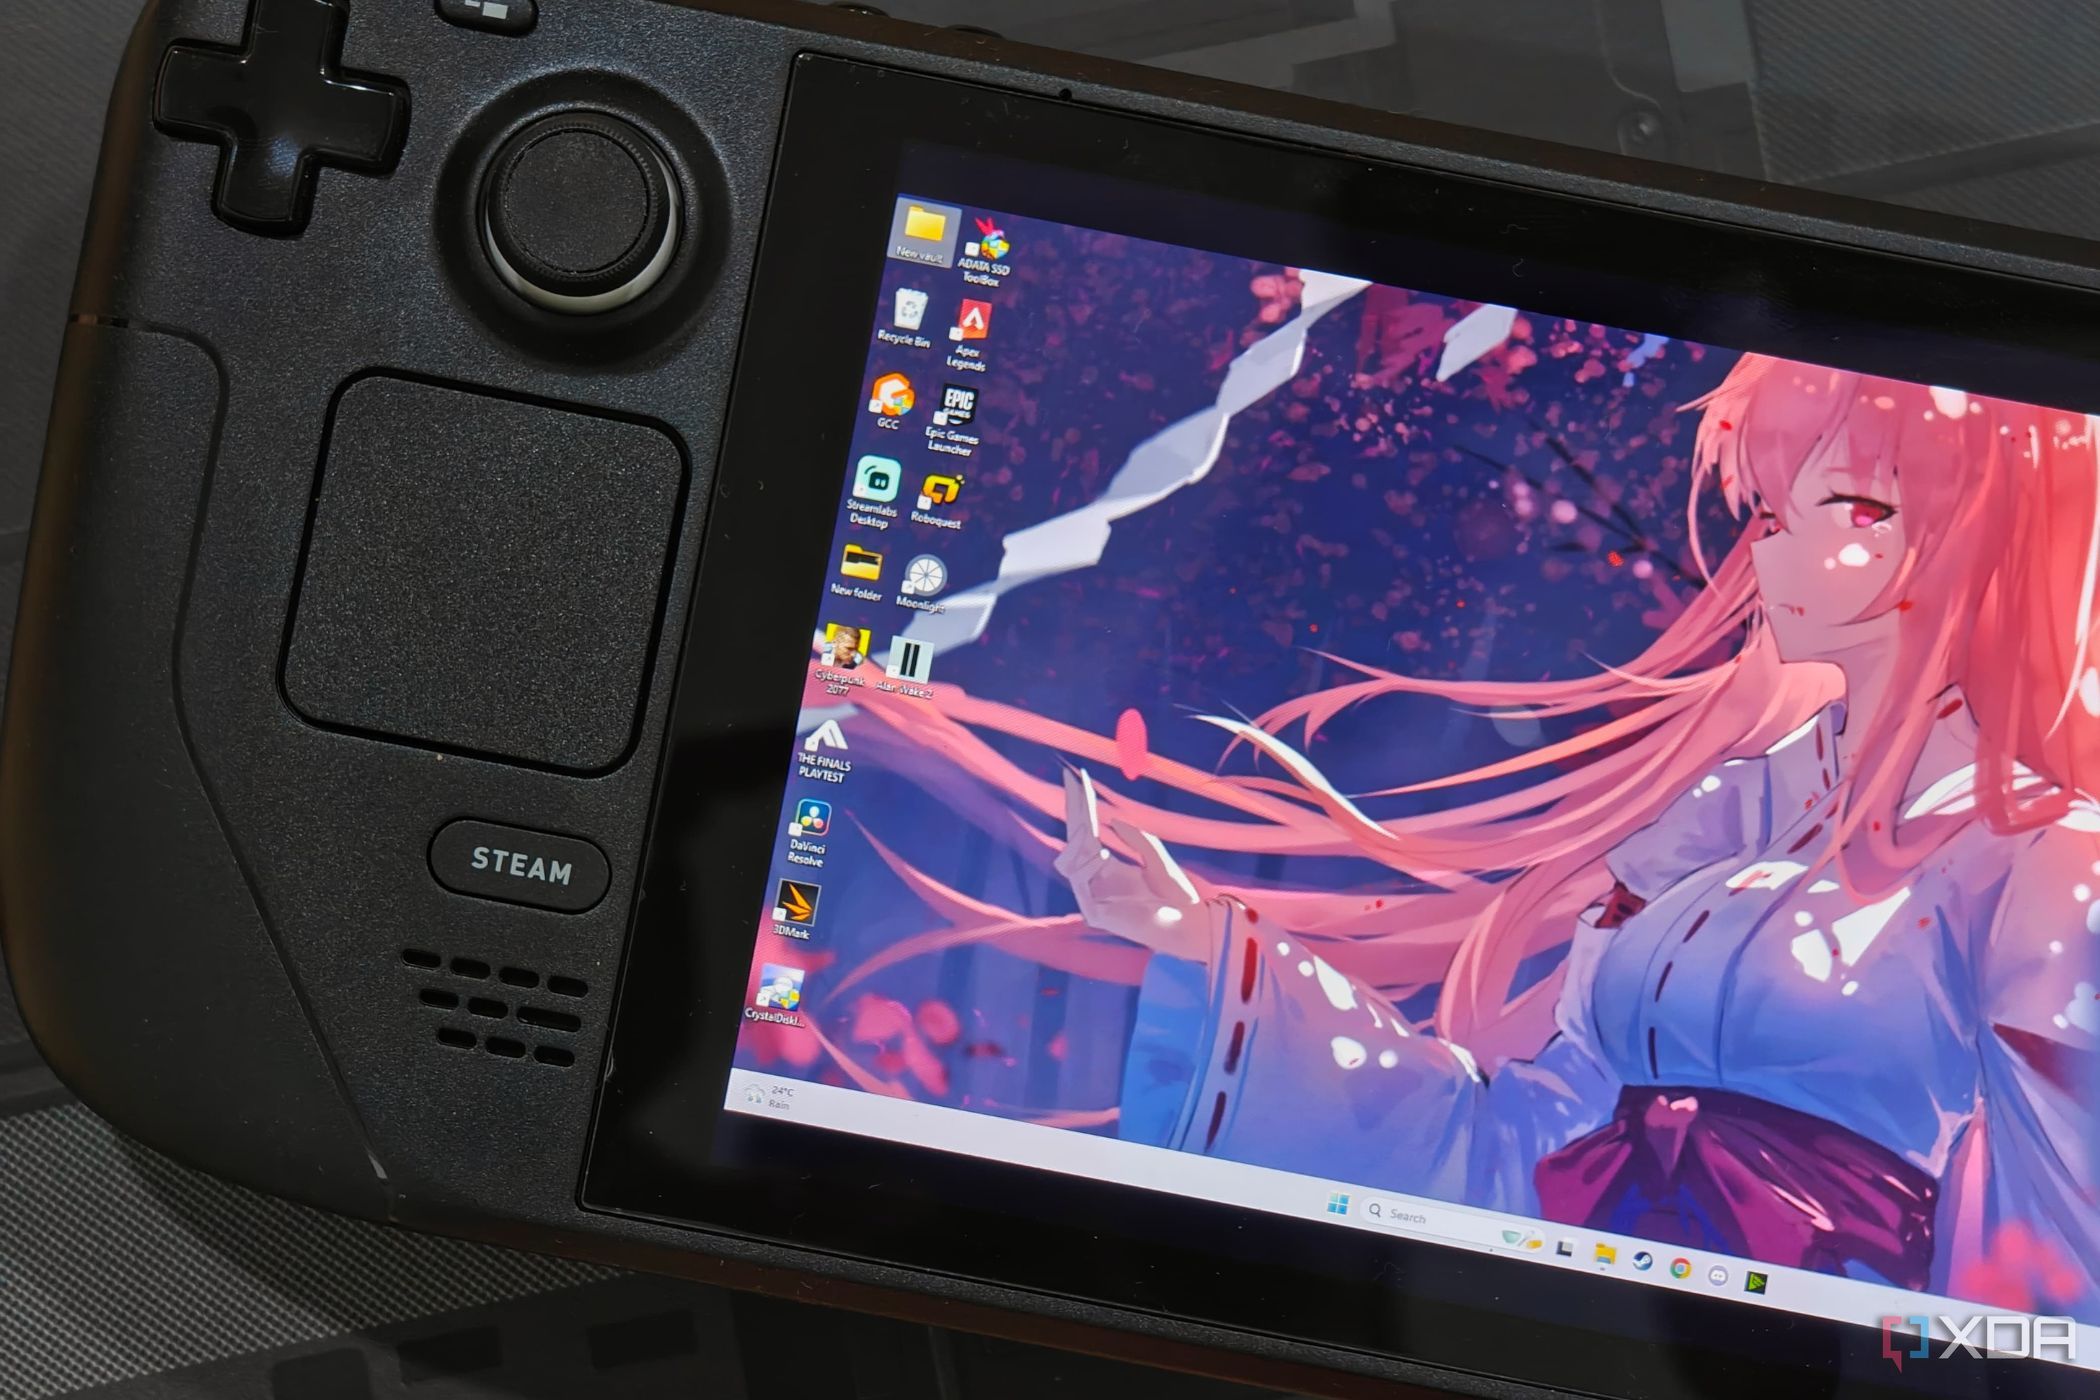
Related
5 reasons you shouldn't install Windows on the Steam Deck
The Steam Deck can install Windows and has drivers for its hardware, but it's not a great experience.
Useful tools to have around
You never need to use a command line on your Steam Deck, and if you do, it's usually to configure third-party software. Still, it's a good idea to have some baseline knowledge of commands you'll encounter, what they do, and where things can go wrong. Even some basic understanding does wonders when you're tinkering with third-party packages, allowing you to understand what the commands are doing and adjusting them if need be.

Dimensions 11.7 x 4.6 x 1.9 inches (298 x 117 x 49mm)
Weight 1.48 pounds (669 grams)
Chipset Custom AMD Zen 2-based processor (4 cores, 8 threads, up to 3.5GHz)
RAM 16GB LPDDR5 5600MHz
Storage Up to 512GB M.2 2230 SSD
Wireless Connectivity Wi-Fi 5, Bluetooth 5.0


 English (US) ·