.png)
UV printing is one of my favorite methods for adding detailed designs to a wide range of materials, including acrylic sheets, wood panels, and even canvas. But getting consistently sharp, vibrant, and durable results hasn’t always been smooth sailing. Like any creative tool, a UV printer has its quirks. Through trial and error, I’ve worked through some of the most frustrating quality issues. Here are five common problems I’ve personally dealt with — and the tweaks that helped me fix them.
Related
4 home lab devices I avoid using in my poorly-ventilated basement
Despite being a basement-dwelling imp, I always place these devices inside properly-ventilated rooms
5 Colors look dull or faded
Ink vibrancy suffers without proper surface prep
One of the earliest problems I ran into was flat, muted colors that didn’t match my digital previews. The prints just didn’t pop the way I expected. After experimenting with different materials and techniques, I realized the problem often starts before you hit the print button. Dust, oils, or moisture on the surface can prevent the ink from adhering properly, especially on smooth or glossy materials.
These days, I always clean my surfaces thoroughly. For acrylics or metals, I wipe them down with isopropyl alcohol and let them fully dry. On wood or canvas, I sometimes apply a clear primer or UV coating as a base layer to even out the absorbency. Using a color test print before committing to a complete design also helps me dial in the printer settings for better vibrancy.
The other factor is the printer’s UV power and ink flow settings. If the UV lamp is set too high, it can over-cure the ink mid-print, dulling the final look. By slightly reducing the lamp intensity and slowing the print pass just a bit, I’ve been able to preserve more depth and brightness in my designs.
4 Ink smears or runs during printing
Improper settings and drying lead to smudges
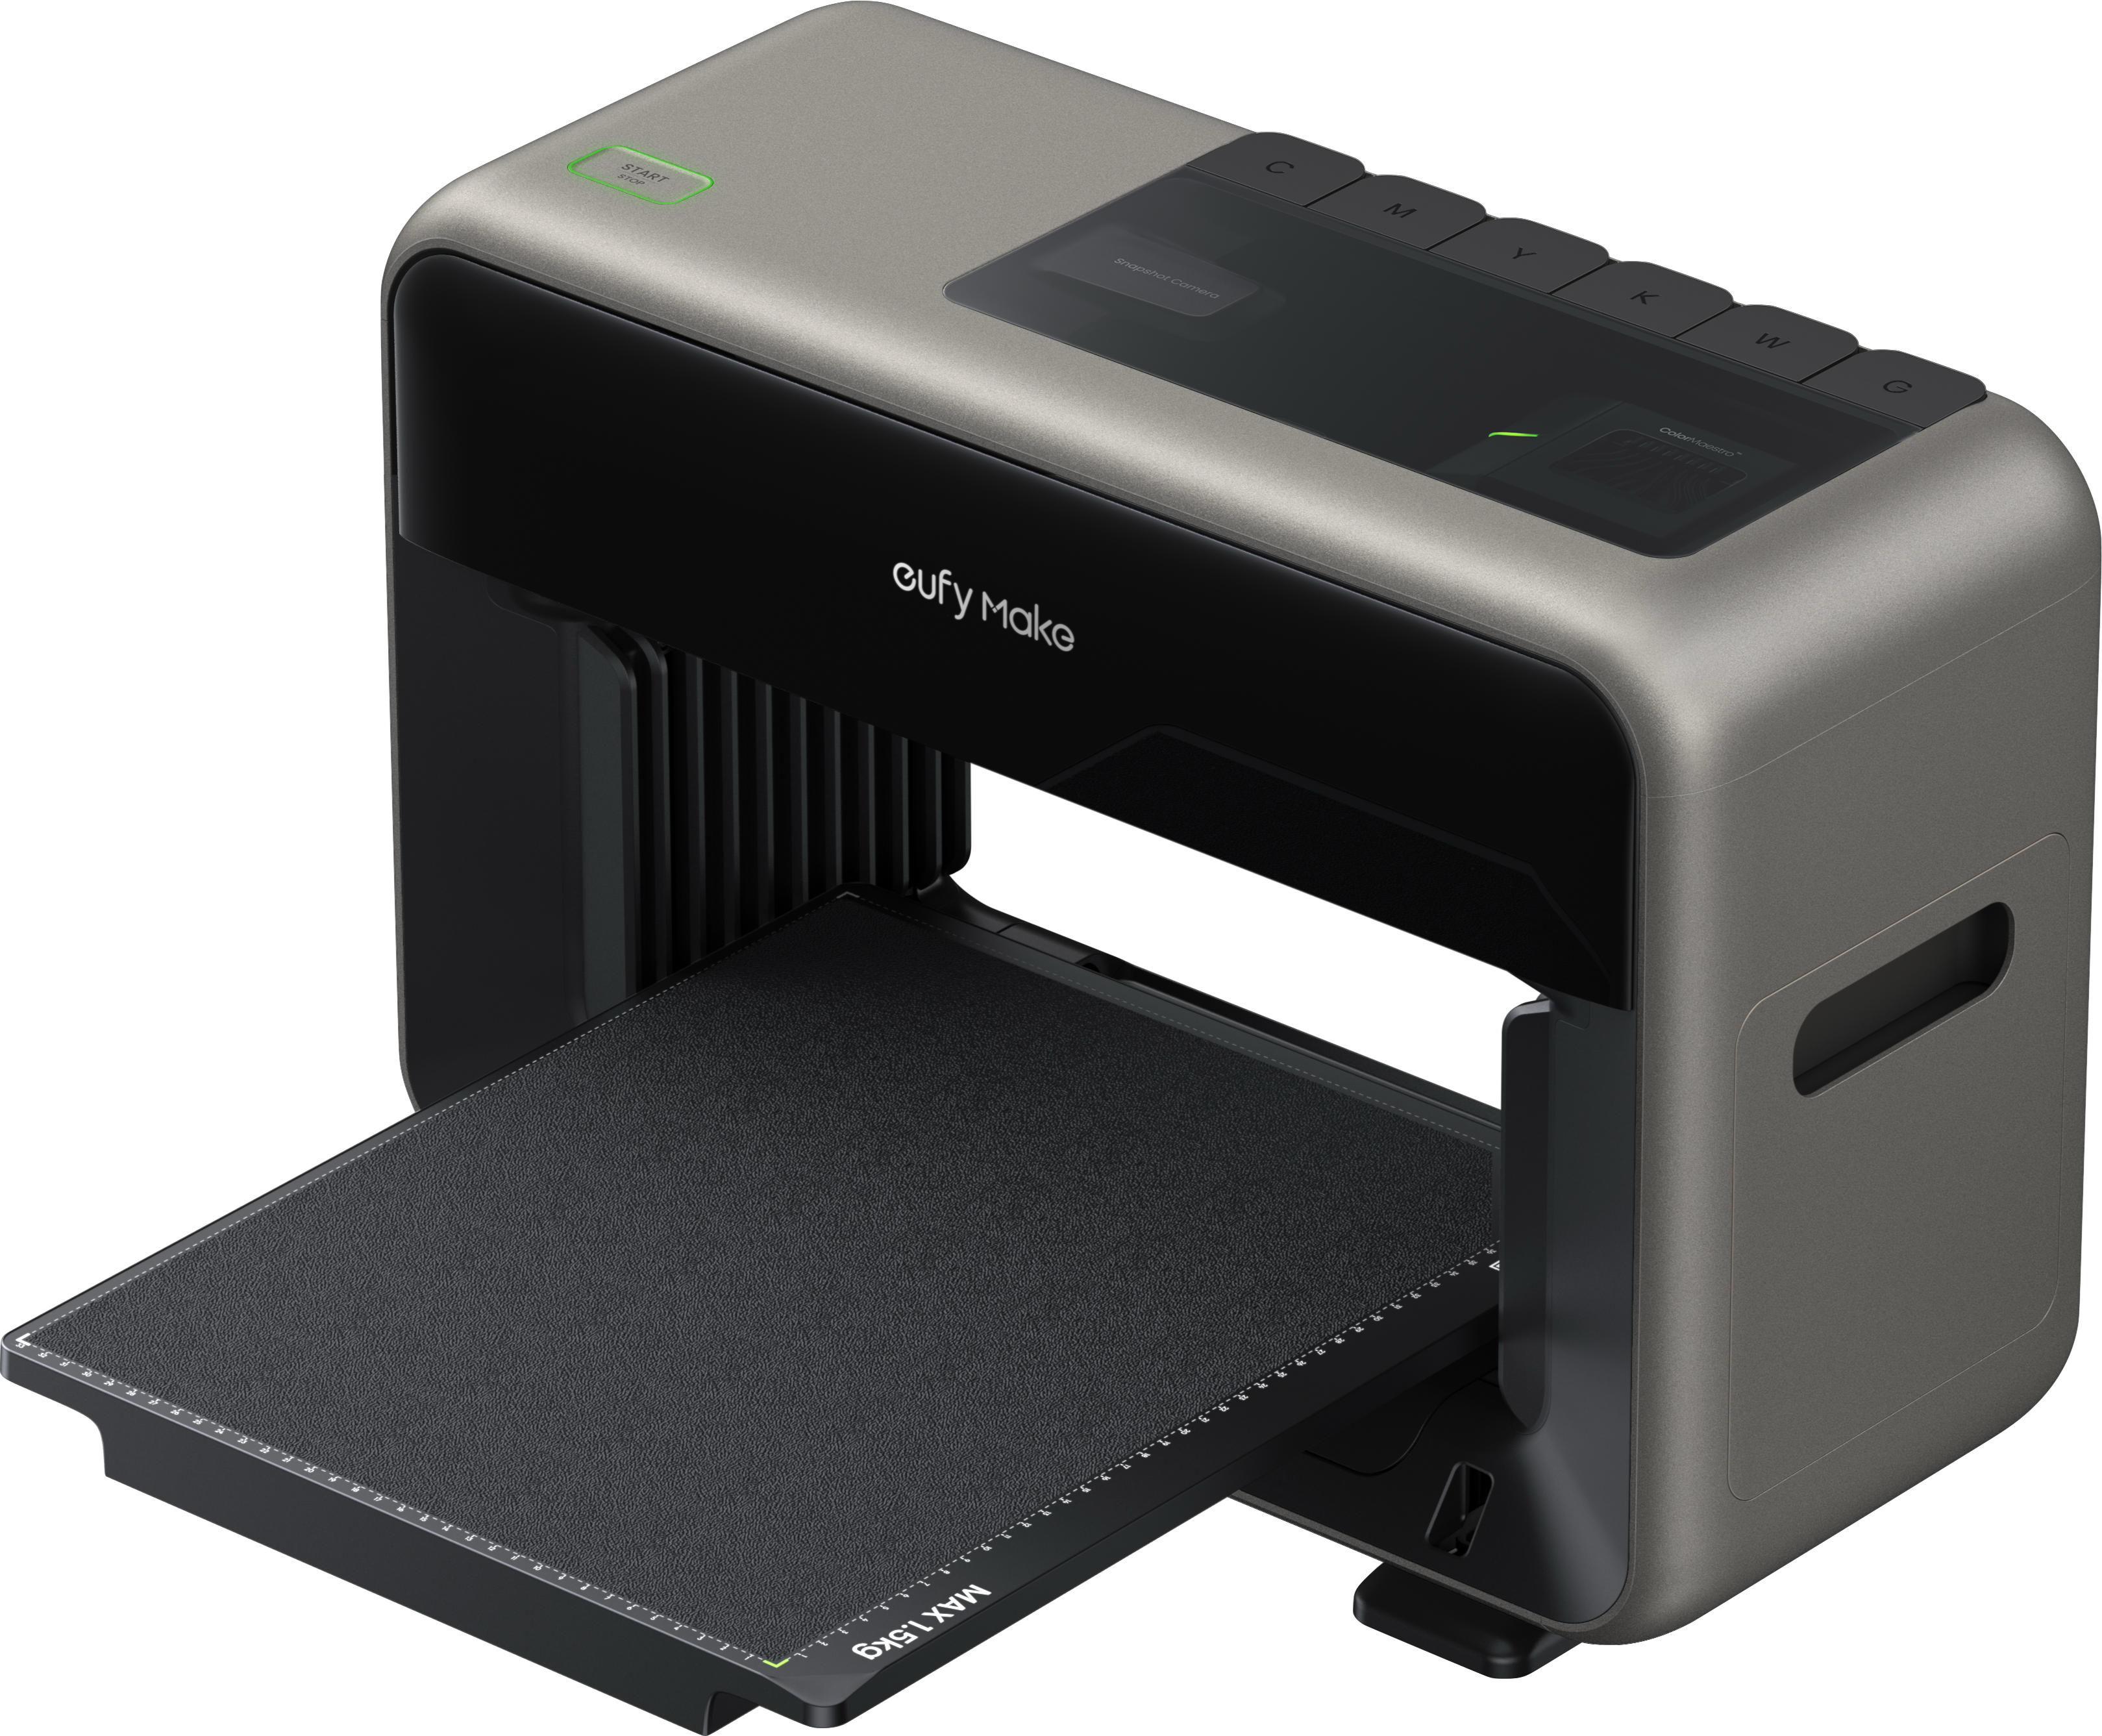
Seeing a nearly finished print get smeared by the printhead or show streaks from uncured ink is painful. This usually means the ink didn’t cure quickly enough or too much was laid down in one pass. It can also occur if the printhead is set too low and comes into contact with the material during printing. Fortunately, this (and several other issues) are almost non-existent with my eufyMake E1 UV printer.
To fix this, I double-check the printhead height for every material. Some surfaces, such as wood or curved items, may require more clearance to avoid contact. I also adjusted my print mode to use two or more light passes rather than a single heavy one. That allows each layer of ink to partially cure before the next is applied.
Another tip that’s helped is tweaking the UV lamp delay settings. A slight delay between passes can give just enough time for partial curing, which reduces smudging. I also stopped using high-gloss substrates unless I first add a clear coating or adhesion promoter. That small change has prevented a significant amount of wasted printing.
3 Edges of the design look blurry
Sharpness suffers from bad alignment or focus
Crisp edges and small text are one of the best parts of UV printing, so it’s frustrating when they come out soft or smeared. I initially thought it was a resolution issue, but after closer inspection, I found it to be primarily mechanical. Even a slight misalignment in the gantry or print bed can throw off the detail at the edges.
Regular calibration of the print bed has become a routine for me. If my printer allows it, I use built-in alignment or focus tests before longer jobs. I’ve also caught issues from warped surfaces or substrates that weren’t clamped down evenly, which creates just enough variance to blur the output. Flattening and securing the material fixed most of those cases.
Additionally, checking the DPI settings and image file quality is a good practice. I now save all my prints at 300 DPI or higher and export them in uncompressed formats, such as PNG or TIFF, when possible. For especially fine lines, I sometimes increase the number of print passes or use a slower mode to ensure accuracy isn’t sacrificed for speed.
2 White ink prints inconsistently
White ink can make or break a UV print, especially when you're printing on dark or transparent materials. I struggled with streaks or missing patches in white areas more than once. It turns out that white ink is heavier and more prone to settling in the lines, which can lead to clogs or uneven flow if the printer isn’t adequately prepared.
I now gently shake the white ink cartridge before each session and run a nozzle check specifically for white ink. Some printers also have a white ink circulation option, which I ensure is activated if available. I’ve also learned to let the white base fully cure before printing color layers on top, even if it means printing in multiple stages.
Another trick that’s worked is adjusting the number of white passes. On darker materials, two or even three white layers give a more opaque result. But spacing those layers out with a few seconds of UV curing in between makes all the difference. It gives the ink time to solidify without pooling or looking blotchy.
1 Print lifts or peels off later
Poor adhesion leads to long-term durability issues
The last thing you want is to sell or gift a UV print only to have it start peeling days later. I’ve had this happen with prints on metal, acrylic, and even wood when I didn’t prep the surface well enough or skipped overprint protection. UV ink can be durable, but it still needs a good grip and some finishing care.
Surface prep is critical here. I lightly sand some surfaces with a fine grit if they’re too slick and always clean off any debris or oils. I’ve also started using adhesion promoters or primers for specific materials, such as stainless steel or powder-coated items. These give the ink something to bond to beyond just the surface texture.
Post-print protection is equally important. A clear UV coating or varnish sprayed over the final design helps seal the ink in place and improve scratch resistance. I try not to stack or wrap fresh prints too quickly, either. Giving them 24 hours to fully cure before handling has made a noticeable difference in how long they last.
Small fixes lead to consistently better prints
None of these fixes were immediately evident to me, but learning them made a significant difference in my UV printing results. Addressing issues with prep, curing, and adhesion helped me move from occasional success to consistent quality. UV printing is powerful, but it rewards patience and attention to detail. When things do go wrong, the fix is often easier than you expect if you’re willing to take a closer look.


 English (US) ·