.png)
I’m always looking for creative and cost-effective ways to put my Raspberry Pi boards to work. While the Pi itself is a great investment, I’ve found that the real magic happens when you pair it with the right project. With a bit of imagination and less than $50 in parts each, I’ve been able to create some surprisingly powerful and useful setups. These five builds have stood out the most, not just for what they do, but for how little they cost to bring to life.
Related
These projects cost less than $50 at the time I built them, not including the cost of the Raspberry Pi itself. That said, many can be built using the quite inexpensive Raspberry Pi 4B or even a Raspberry Pi 3.
5 Automatic plant watering system
Moisture sensors, relays, and simple code save plants
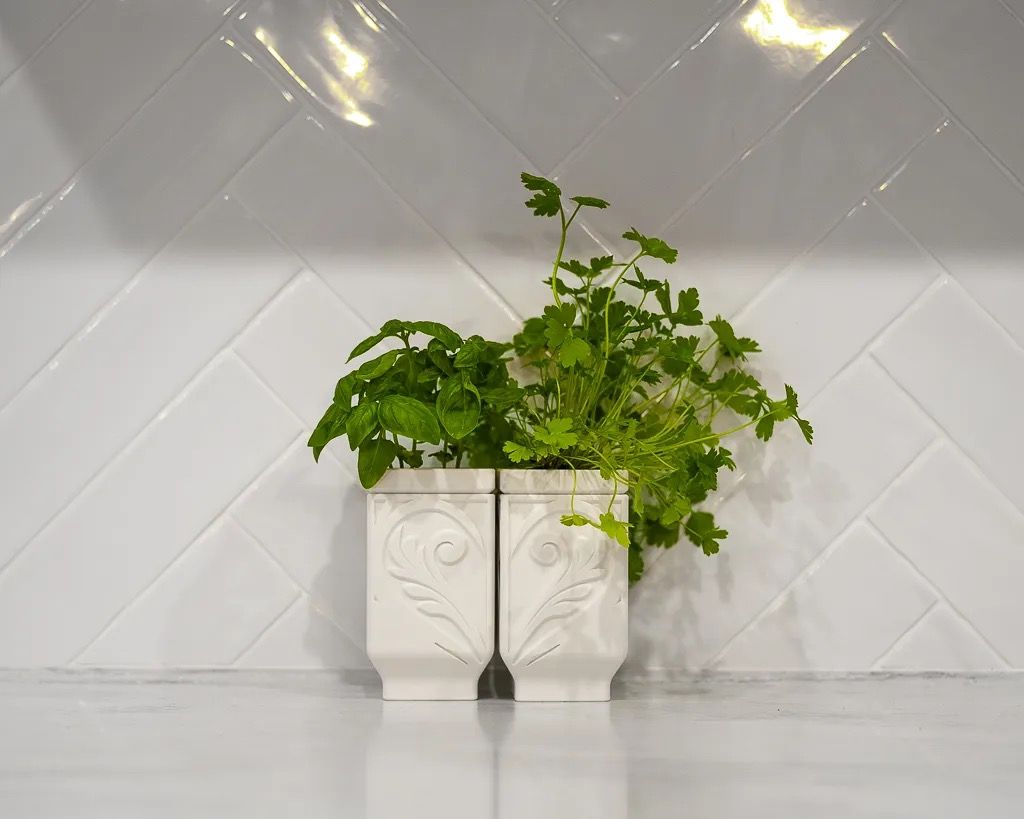 Source: TrendtB/MakerWorld
Keeping my houseplants alive used to be a hit-or-miss affair. I decided to build an automatic watering system using a Raspberry Pi, a capacitive soil moisture sensor, a small water pump, and a relay module. The sensor checks soil levels every few hours, and when it dips below a certain threshold, the pump kicks on to water the plant. It’s all controlled with a simple Python script and powered by a cheap 5V power supply.
The entire setup cost around $30. I mounted the pump and sensor neatly in a small enclosure, with tubing that feeds from a water reservoir. Calibration took some trial and error, but once I found the sweet spot for moisture levels, it’s been rock solid. Now I receive Telegram notifications if the water tank runs dry or if any malfunctions occur.
What makes this project feel magical is the sense of peace it brings. I don’t have to remember to water anything; I can even monitor my plants remotely. For the cost of a fast-food dinner, I now have healthier plants and a lot less guilt about neglecting them.
4 Retro arcade cabinet for emulation
Tiny screen, USB controller, and full nostalgia
Building a retro arcade cabinet for under $50 required some scavenging and creativity. I reused an old 5-inch HDMI display I had lying around, paired it with a budget USB controller, and cut a mini cabinet from leftover MDF. The software side was easy—I used RetroPie, which runs great on most Pi models, and loaded it up with my favorite classics.
Most of the budget was allocated to the screen and buttons. I found a complete controller board kit on AliExpress for under $20, which made wiring straightforward. The MDF was free since I used scraps, and I already had plenty of paint and hot glue on hand. The assembly took a weekend, including time to fine-tune the emulator settings.
It’s a compact build, but it looks and plays great. Friends always want to know how I built it, and the whole thing cost far less than buying a pre-built handheld or retro console. This is one of those projects that brings out genuine joy every time I fire it up.
3 E-ink weather and calendar display
Always-on info board using just trickle power
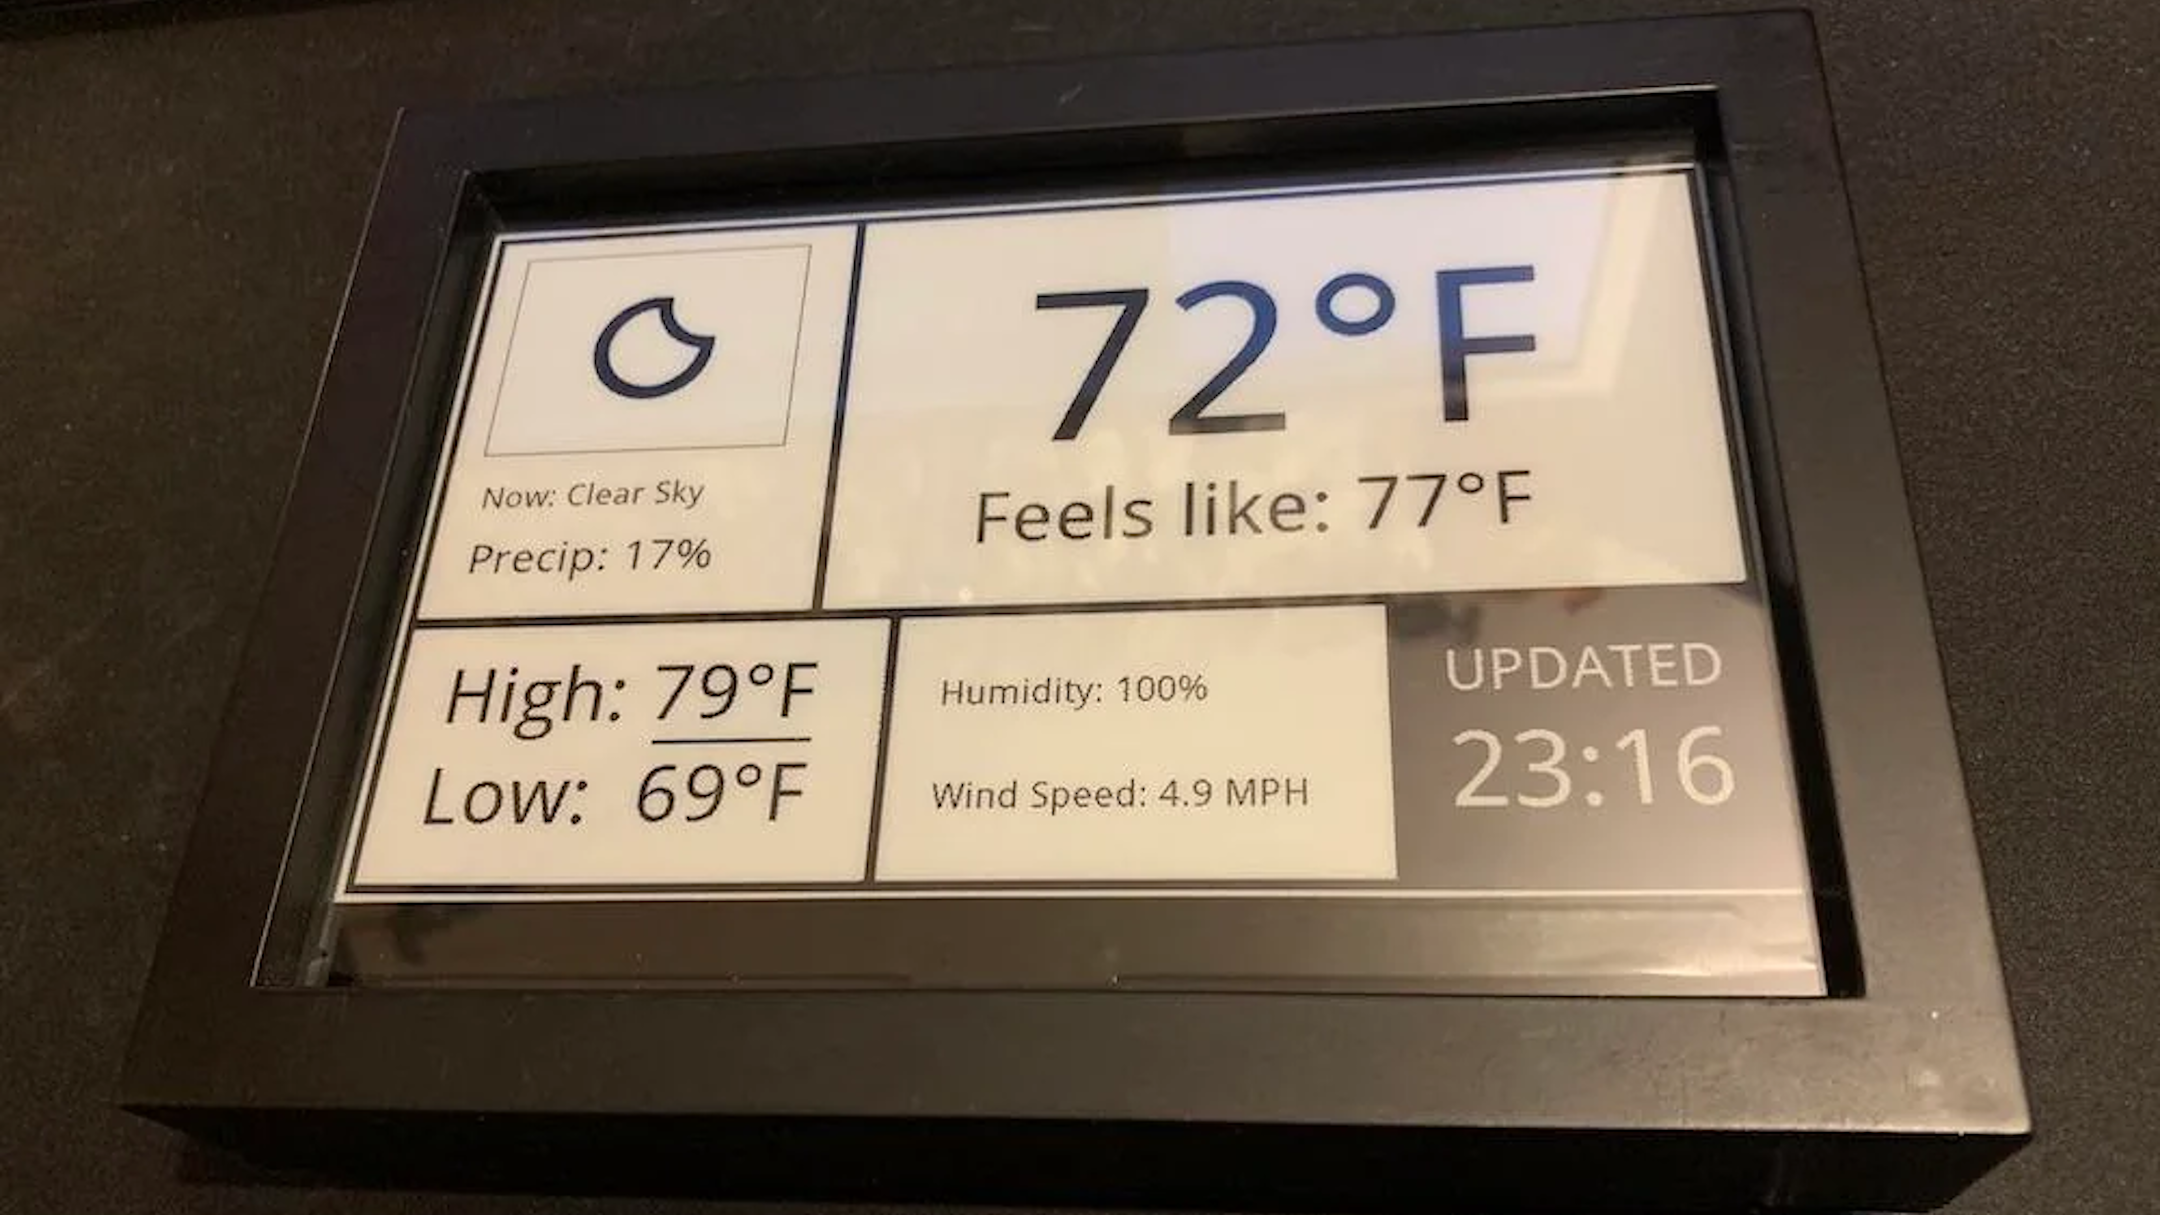
I wanted something that would provide me with weather and schedule information at a glance, without needing a monitor or wasting power. An e-ink display was perfect. I picked up a 2.9-inch e-ink HAT for around $25 and paired it with a Python script that pulls my calendar from Google and weather data from OpenWeatherMap. Updates occur every hour, and the display remains legible even when the Pi is in sleep mode.
Related
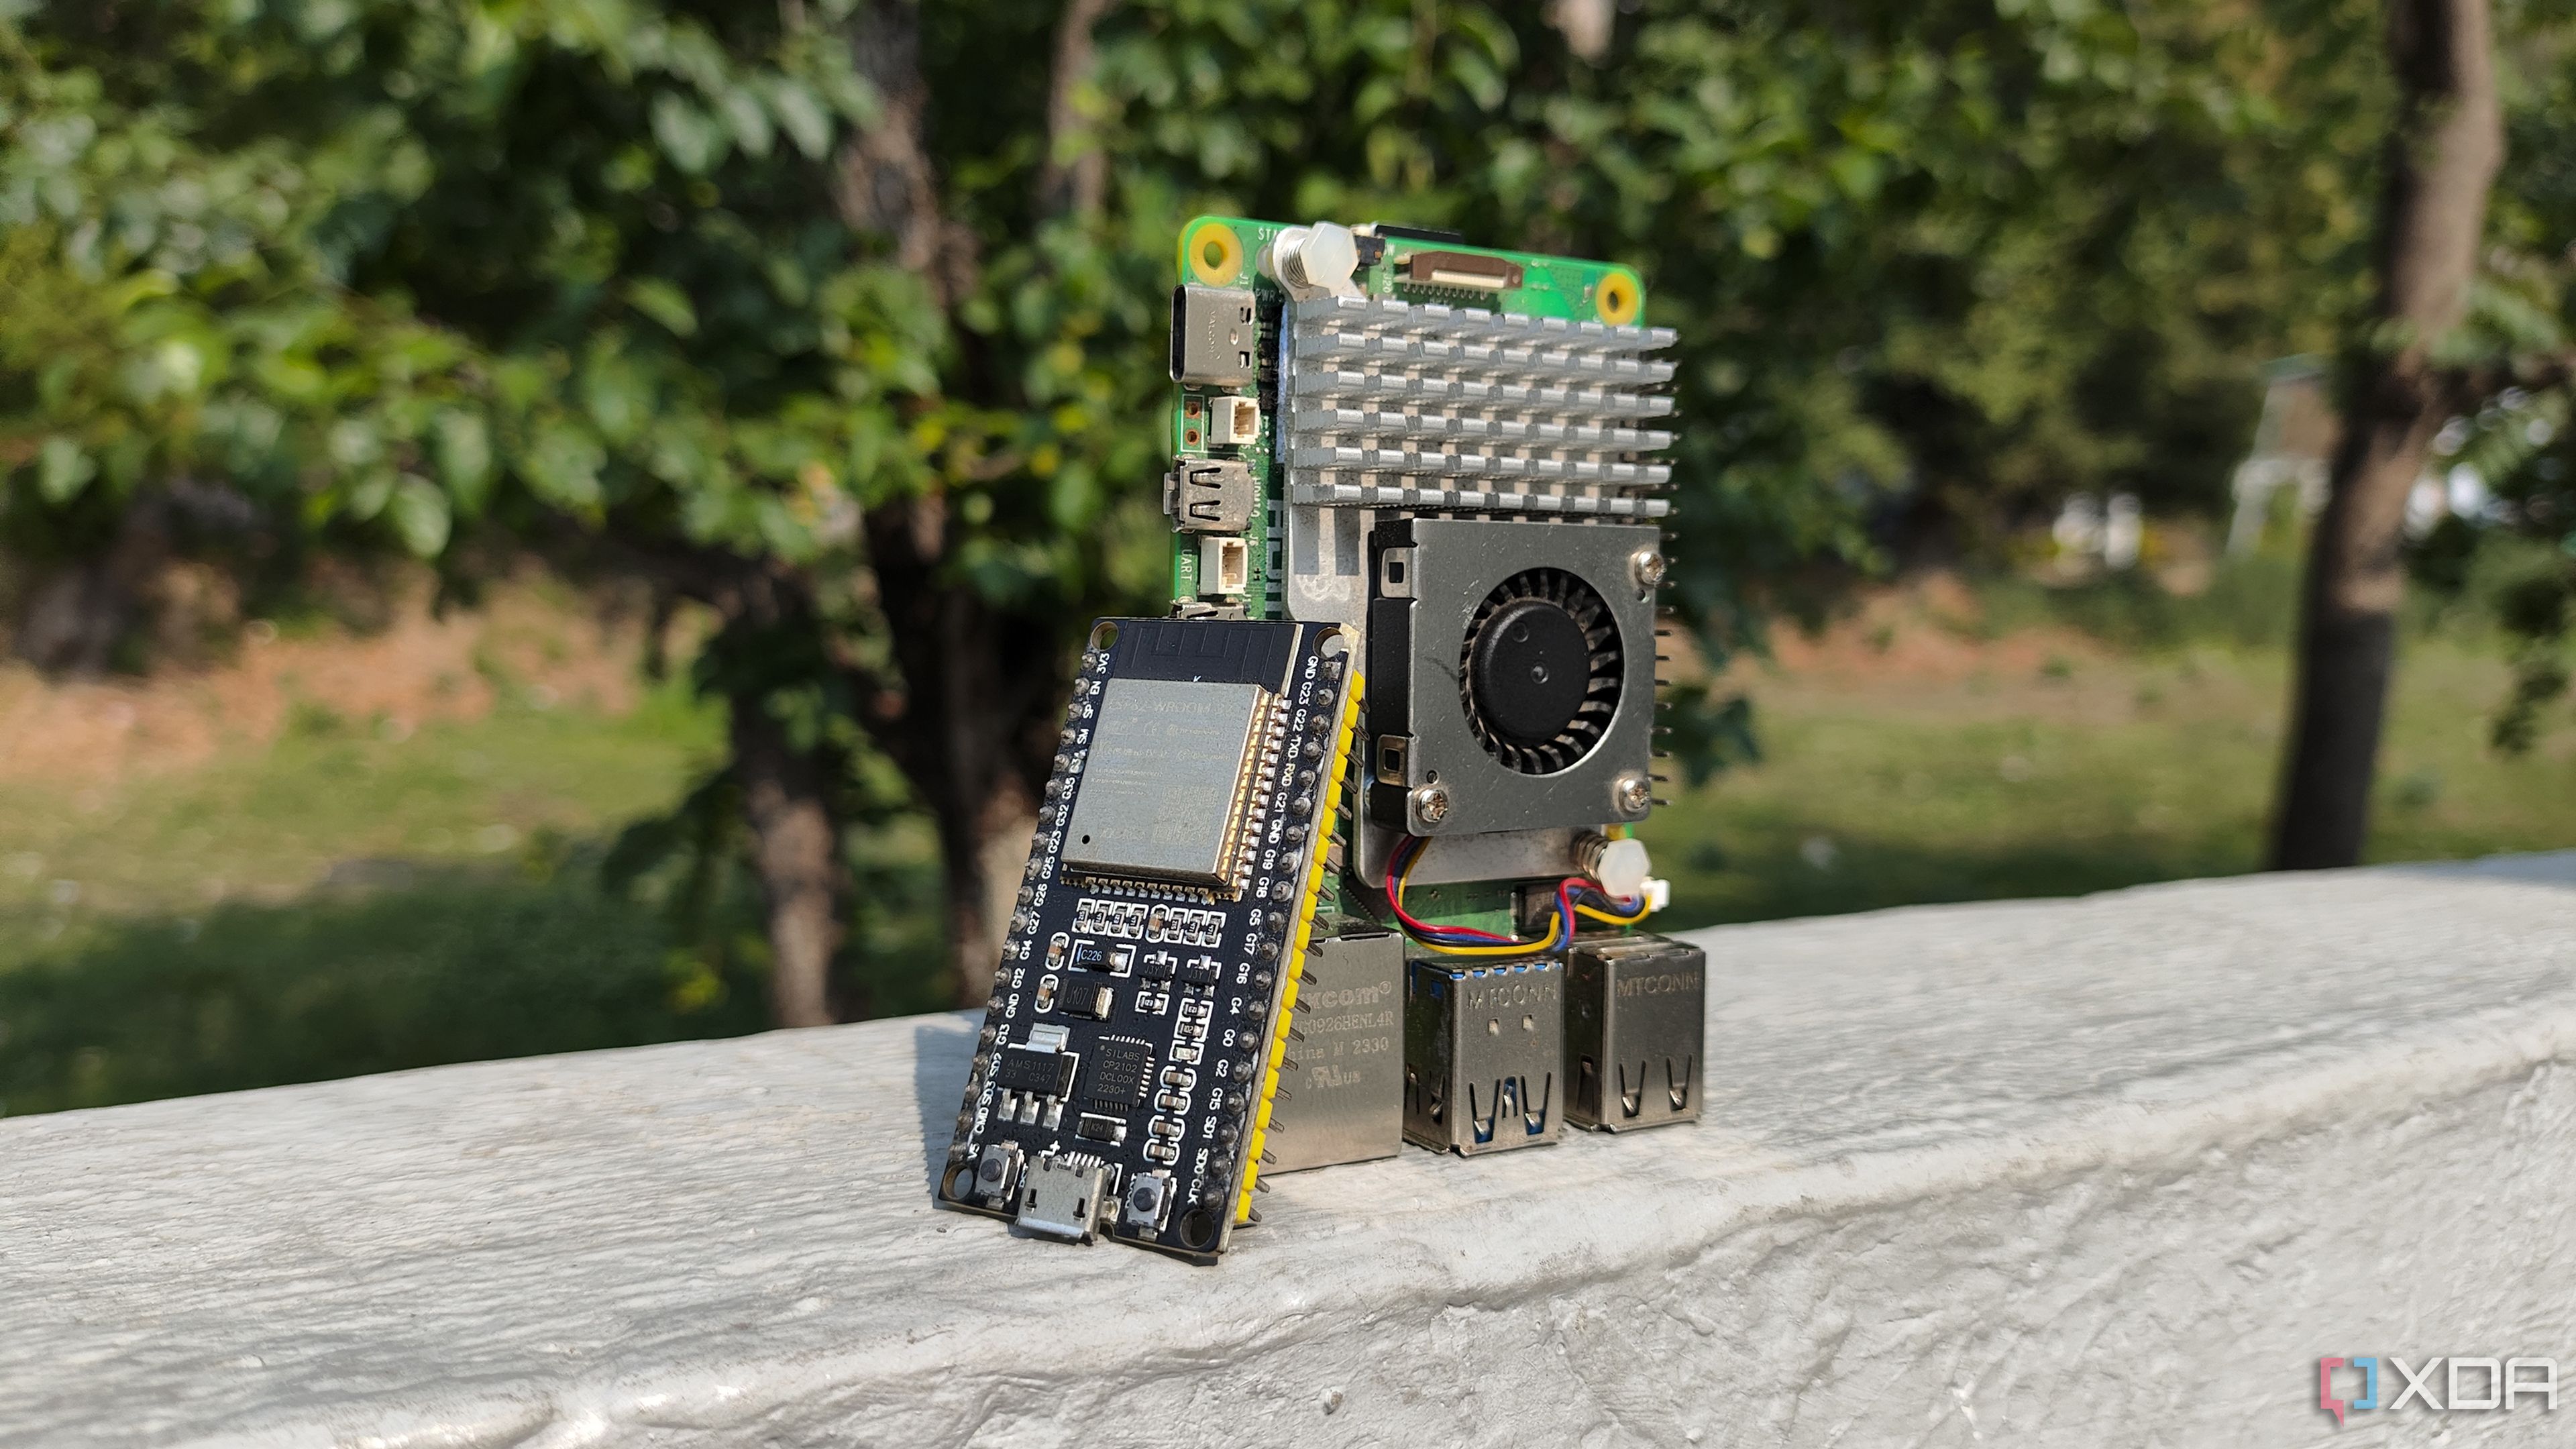
4 amazing projects you can build with a Raspberry Pi and an ESP32
Looking for some cool DIY ideas involving a Raspberry Pi and ESP32 combo? We've got you covered!
The refresh rate is slow, but that’s fine for this use case. I designed a basic 3D-printed frame to house the entire setup and attached it to my fridge with magnets. There’s no need for buttons or a touchscreen since everything is automated and just works. It’s stylish, low-power, and blends in with the room. This one really feels like magic due to its seamless nature. No lights, no noise, and yet it always has the latest info. For under $40 all-in, it’s one of my most elegant builds to date.
2 Low-power Pi-hole DNS blocker
Ad-blocking at the network level for cheap
Running a Pi-hole server is one of the fastest ways to improve your entire home network experience. I used a spare Pi Zero 2 W and spent about $15 on a simple case and heatsink kit. With a Pi-hole installed, I set it as the DNS server for my router and immediately saw fewer ads on all my devices. Even YouTube ads on my smart TV were dramatically reduced.
The web dashboard makes it easy to see what’s being blocked and fine-tune things if needed. You can whitelist or blacklist domains and monitor which devices are making requests. It runs silently in the background and consumes minimal power, even with multiple users online.
For well under $50, this project has made a bigger difference in day-to-day browsing than anything else I’ve built. It also adds a small layer of security, since it blocks many known tracking and malware domains by default. I never want to go back to browsing without it.
1 Smart motion-activated camera
Captures movement and alerts me instantly
For a budget-smart security solution, I turned a Pi into a motion-triggered camera using a $10 PIR sensor and a $20 camera module. With MotionEyeOS, I set it up to detect movement in my entryway and save video clips locally. I also configured it to send email alerts with snapshots when it detects activity so that I can check in right away.
It runs headless and stores footage on a USB drive. The sensor only triggers recording when needed, which helps conserve storage space. I placed the camera in a 3D-printed enclosure mounted just above the front door, and it has been working smoothly for months.
This build feels magical because of the control and awareness it gives me. It’s not reliant on cloud services and doesn’t come with any subscription fees. I’m only out about $40 total, and it rivals some commercial products in both performance and reliability.
Small investments, big impact every time
Each of these projects began with a simple goal and a tight budget. Skipping flashy parts and focusing on function kept the costs low without compromising on results. With each build, I ended up with something useful, impressive, and surprisingly affordable. A Raspberry Pi paired with the right parts can do more than most people expect, and all it takes is a little planning and creativity.
CPU Arm Cortex-A76 (quad-core, 2.4GHz)
Memory Up to 8GB LPDDR4X SDRAM


 English (US) ·