.png)
Although computing enthusiasts (myself included) tend to gravitate towards enterprise-grade equipment when building a server, you can put together a reliable home lab with just about any system. As a beginner, there’s a lot to learn from budget-friendly systems, be it second-hand PCs, SBCs, or even laptops (provided you’re willing to take the necessary precautions).
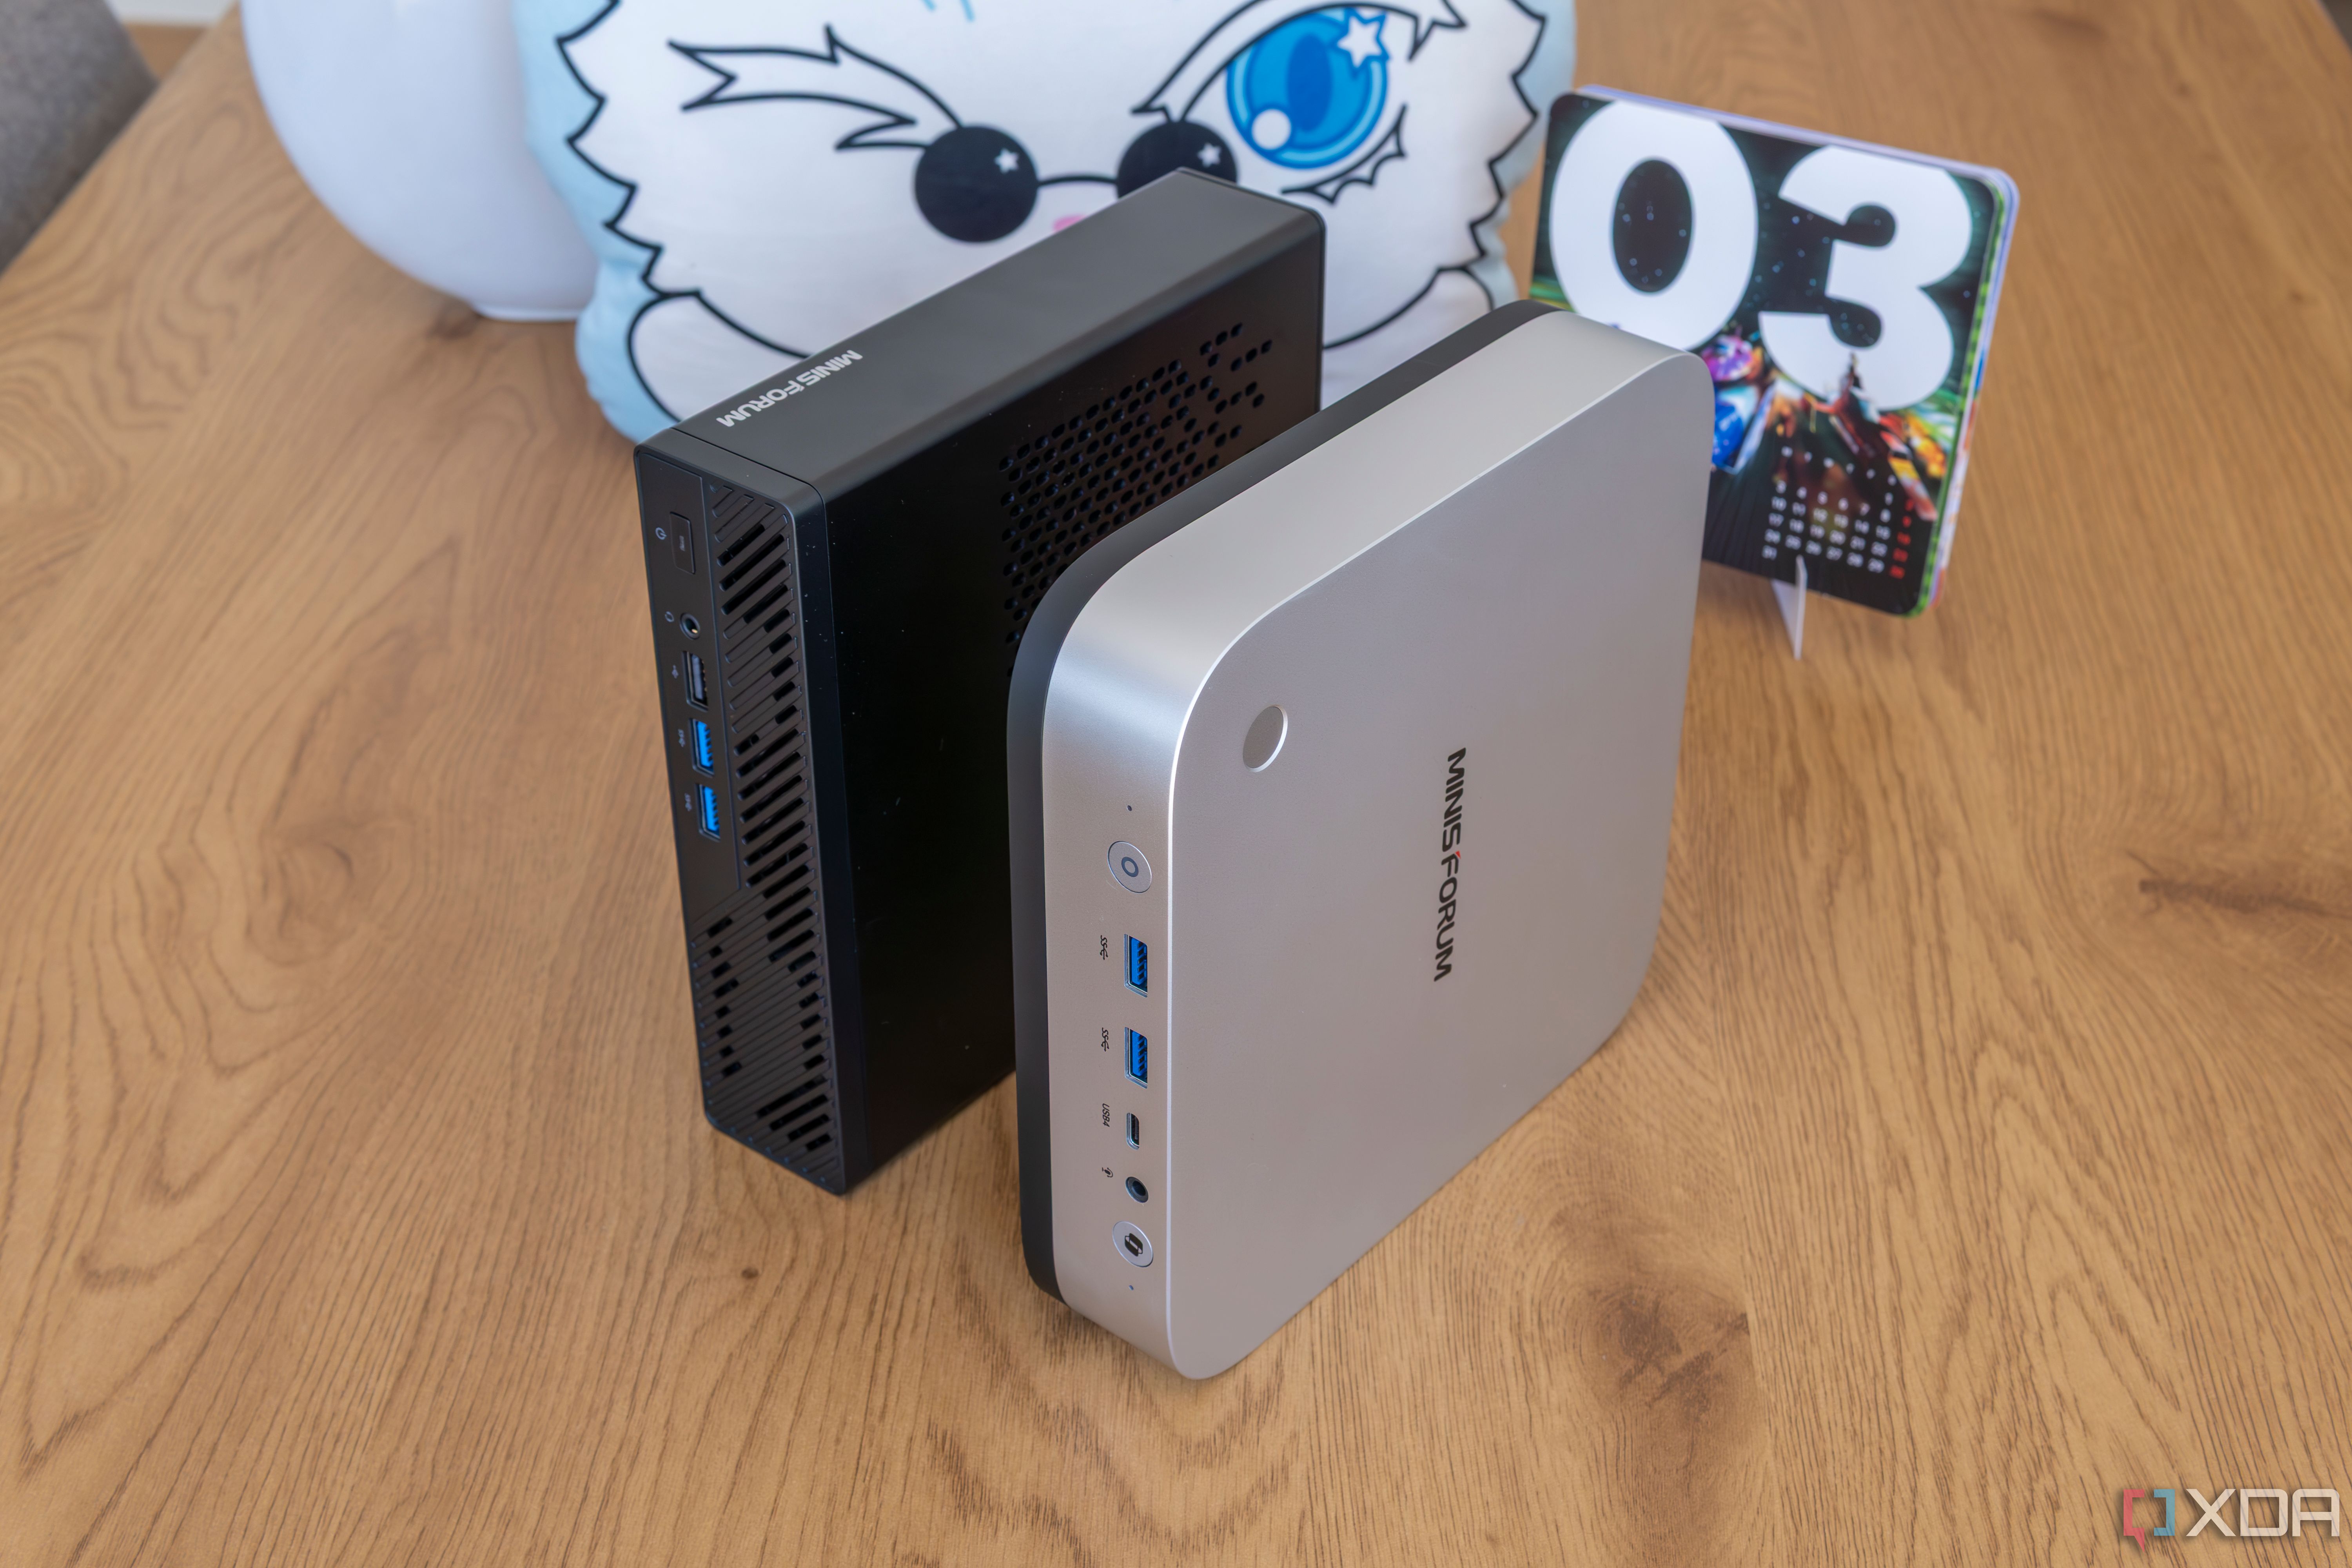
With embedded processors becoming more powerful than ever, mini-PCs earn my vote as some of the best starter kits for newcomers to the home lab ecosystem. After all, they’re fairly inexpensive, can fit practically anywhere, and have enough computing prowess to bring your tinkering fantasies to life.
Related
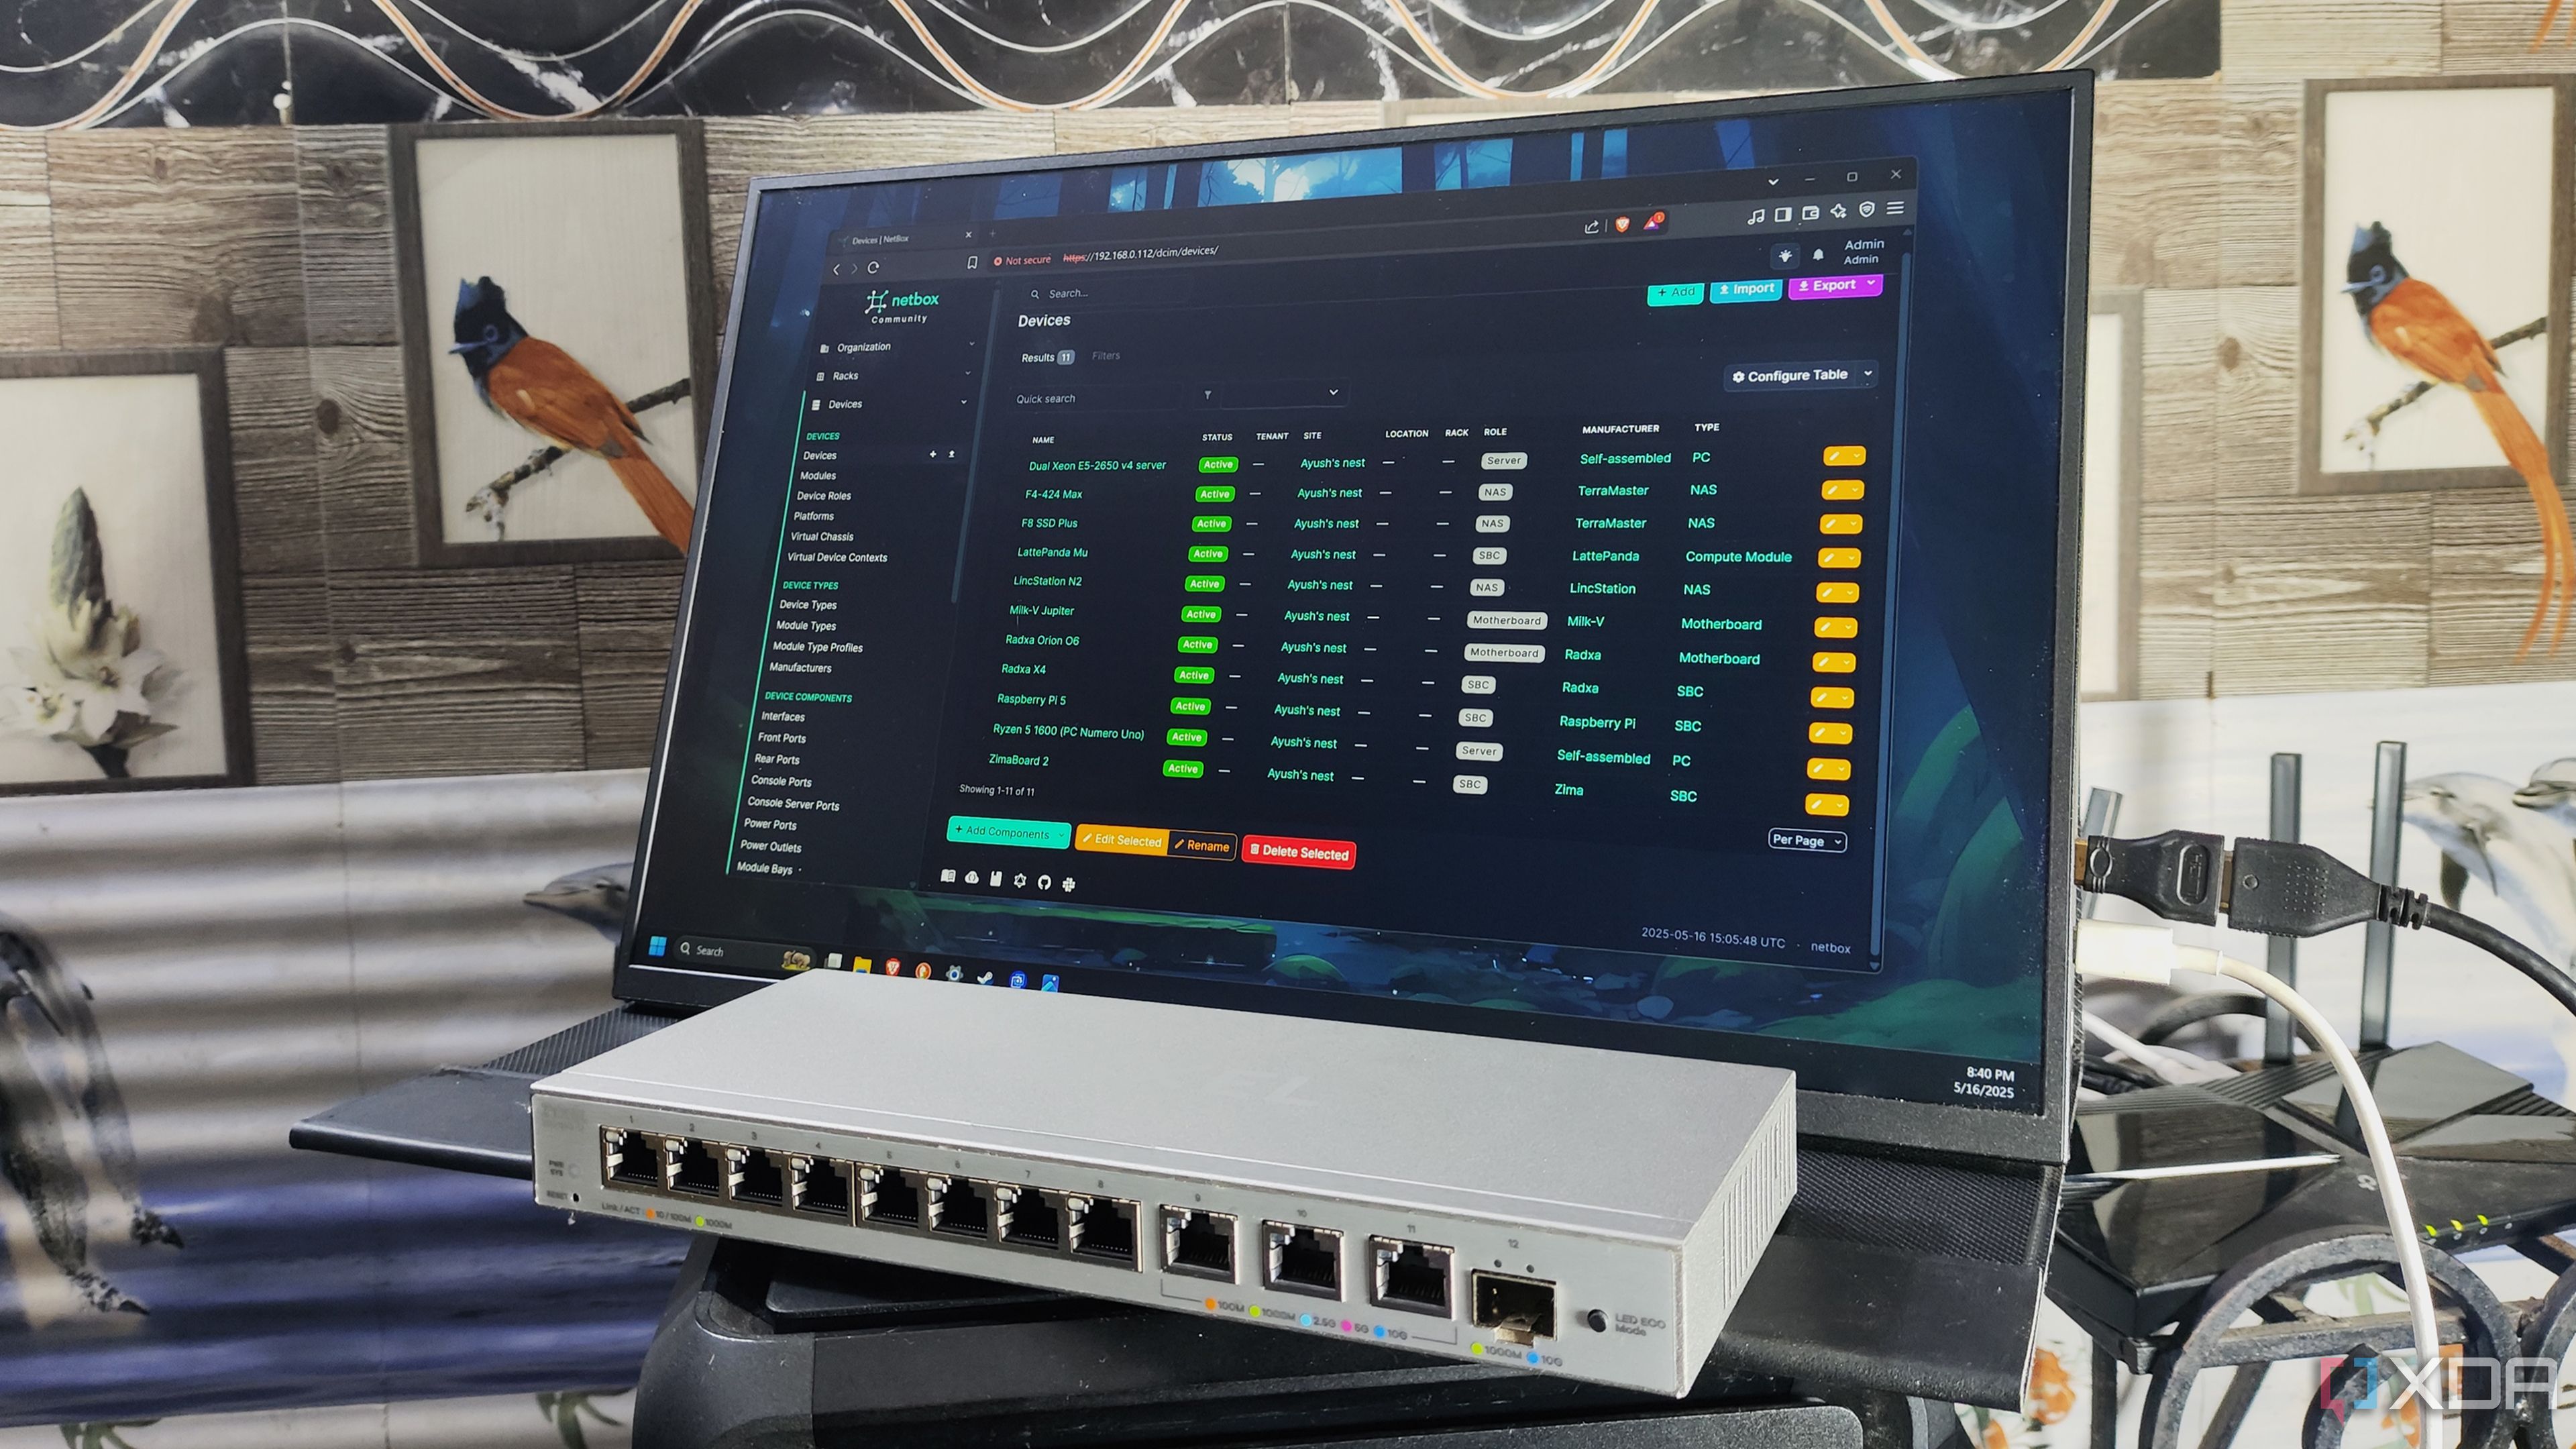
I mapped every machine in my home lab with this free tool
Capable of documenting even the most complex server setups and network stacks, NetBox is a must-have for any home labber
5 Amazing for containerization projects
Your cheap system can run dozens of containers
Besides running experiments, hosting FOSS services is the most common workload for home lab equipment. Despite providing solid isolation support for self-hosting services, containers consume a fraction of the system resources as their virtual machine counterparts. As such, you don’t need a power-hungry enterprise-grade server to deploy your self-hosted application stack; even something as low-power and inexpensive as an Intel N100 system can run dozens of services without breaking a sweat.
Plus, you’ve got plenty of options to choose from when building a container paradise on your mini-PC. UmbrelOS, YunoHost, FreedomBox, and other containerization distros can help you get familiar with hosting services on local hardware. Once you've got your bearings, you can dive into the CLI-based rabbit hole of Podman, LXC, and Docker Engine with your tiny tinkering companion.
4 Decent virtualization provisions
Especially if you stick to lightweight platforms
I’ll be blunt: running a virtual machine stack is rather taxing on the hardware, especially if you’re on a low-end system. But if you’re just planning to experiment with a virtual machine or two, a sub-$150 mini-PC won’t let you down. Unlike their ARM-based SBC counterparts (I’m looking at you, Raspberry Pi), x86 mini-PCs support most distributions, including those designed for home servers.
Proxmox, for example, can run on practically any mini-PC thanks to its low hardware requirements. Even if you’re using a budget-friendly 4-core, 4-thread Intel N100 system, you can still run some lightweight VMs and familiarize yourself with the ins and outs of the virtualization platform. Personally, I consider Intel i3-1220P and i3-N305 mini-PCs the sweet spot for VM-heavy workloads, as they can hold their own against multiple virtual machines despite costing well under $300.
3 Small size and low power consumption
Easy to accommodate and inexpensive to use
Bulky PCs may have the performance advantage over mini-PCs, but they come with their own set of cons. Most server hardware (and even old desktops, for that matter) can guzzle electricity like there’s no tomorrow, leaving you with sky-high energy bills should you run them 24/7. A full-on tower can be hard to accommodate in your average computing space, and that’s before you factor the jet-engine noise into the equation.
Mini-PCs have a small form factor, and you can throw them into any setup without turning it into a rat’s nest of cables, adapters, and peripherals. Besides their affordable price tag, their low energy consumption makes mini-PCs an economical option when you want to run your essential containers round the clock.
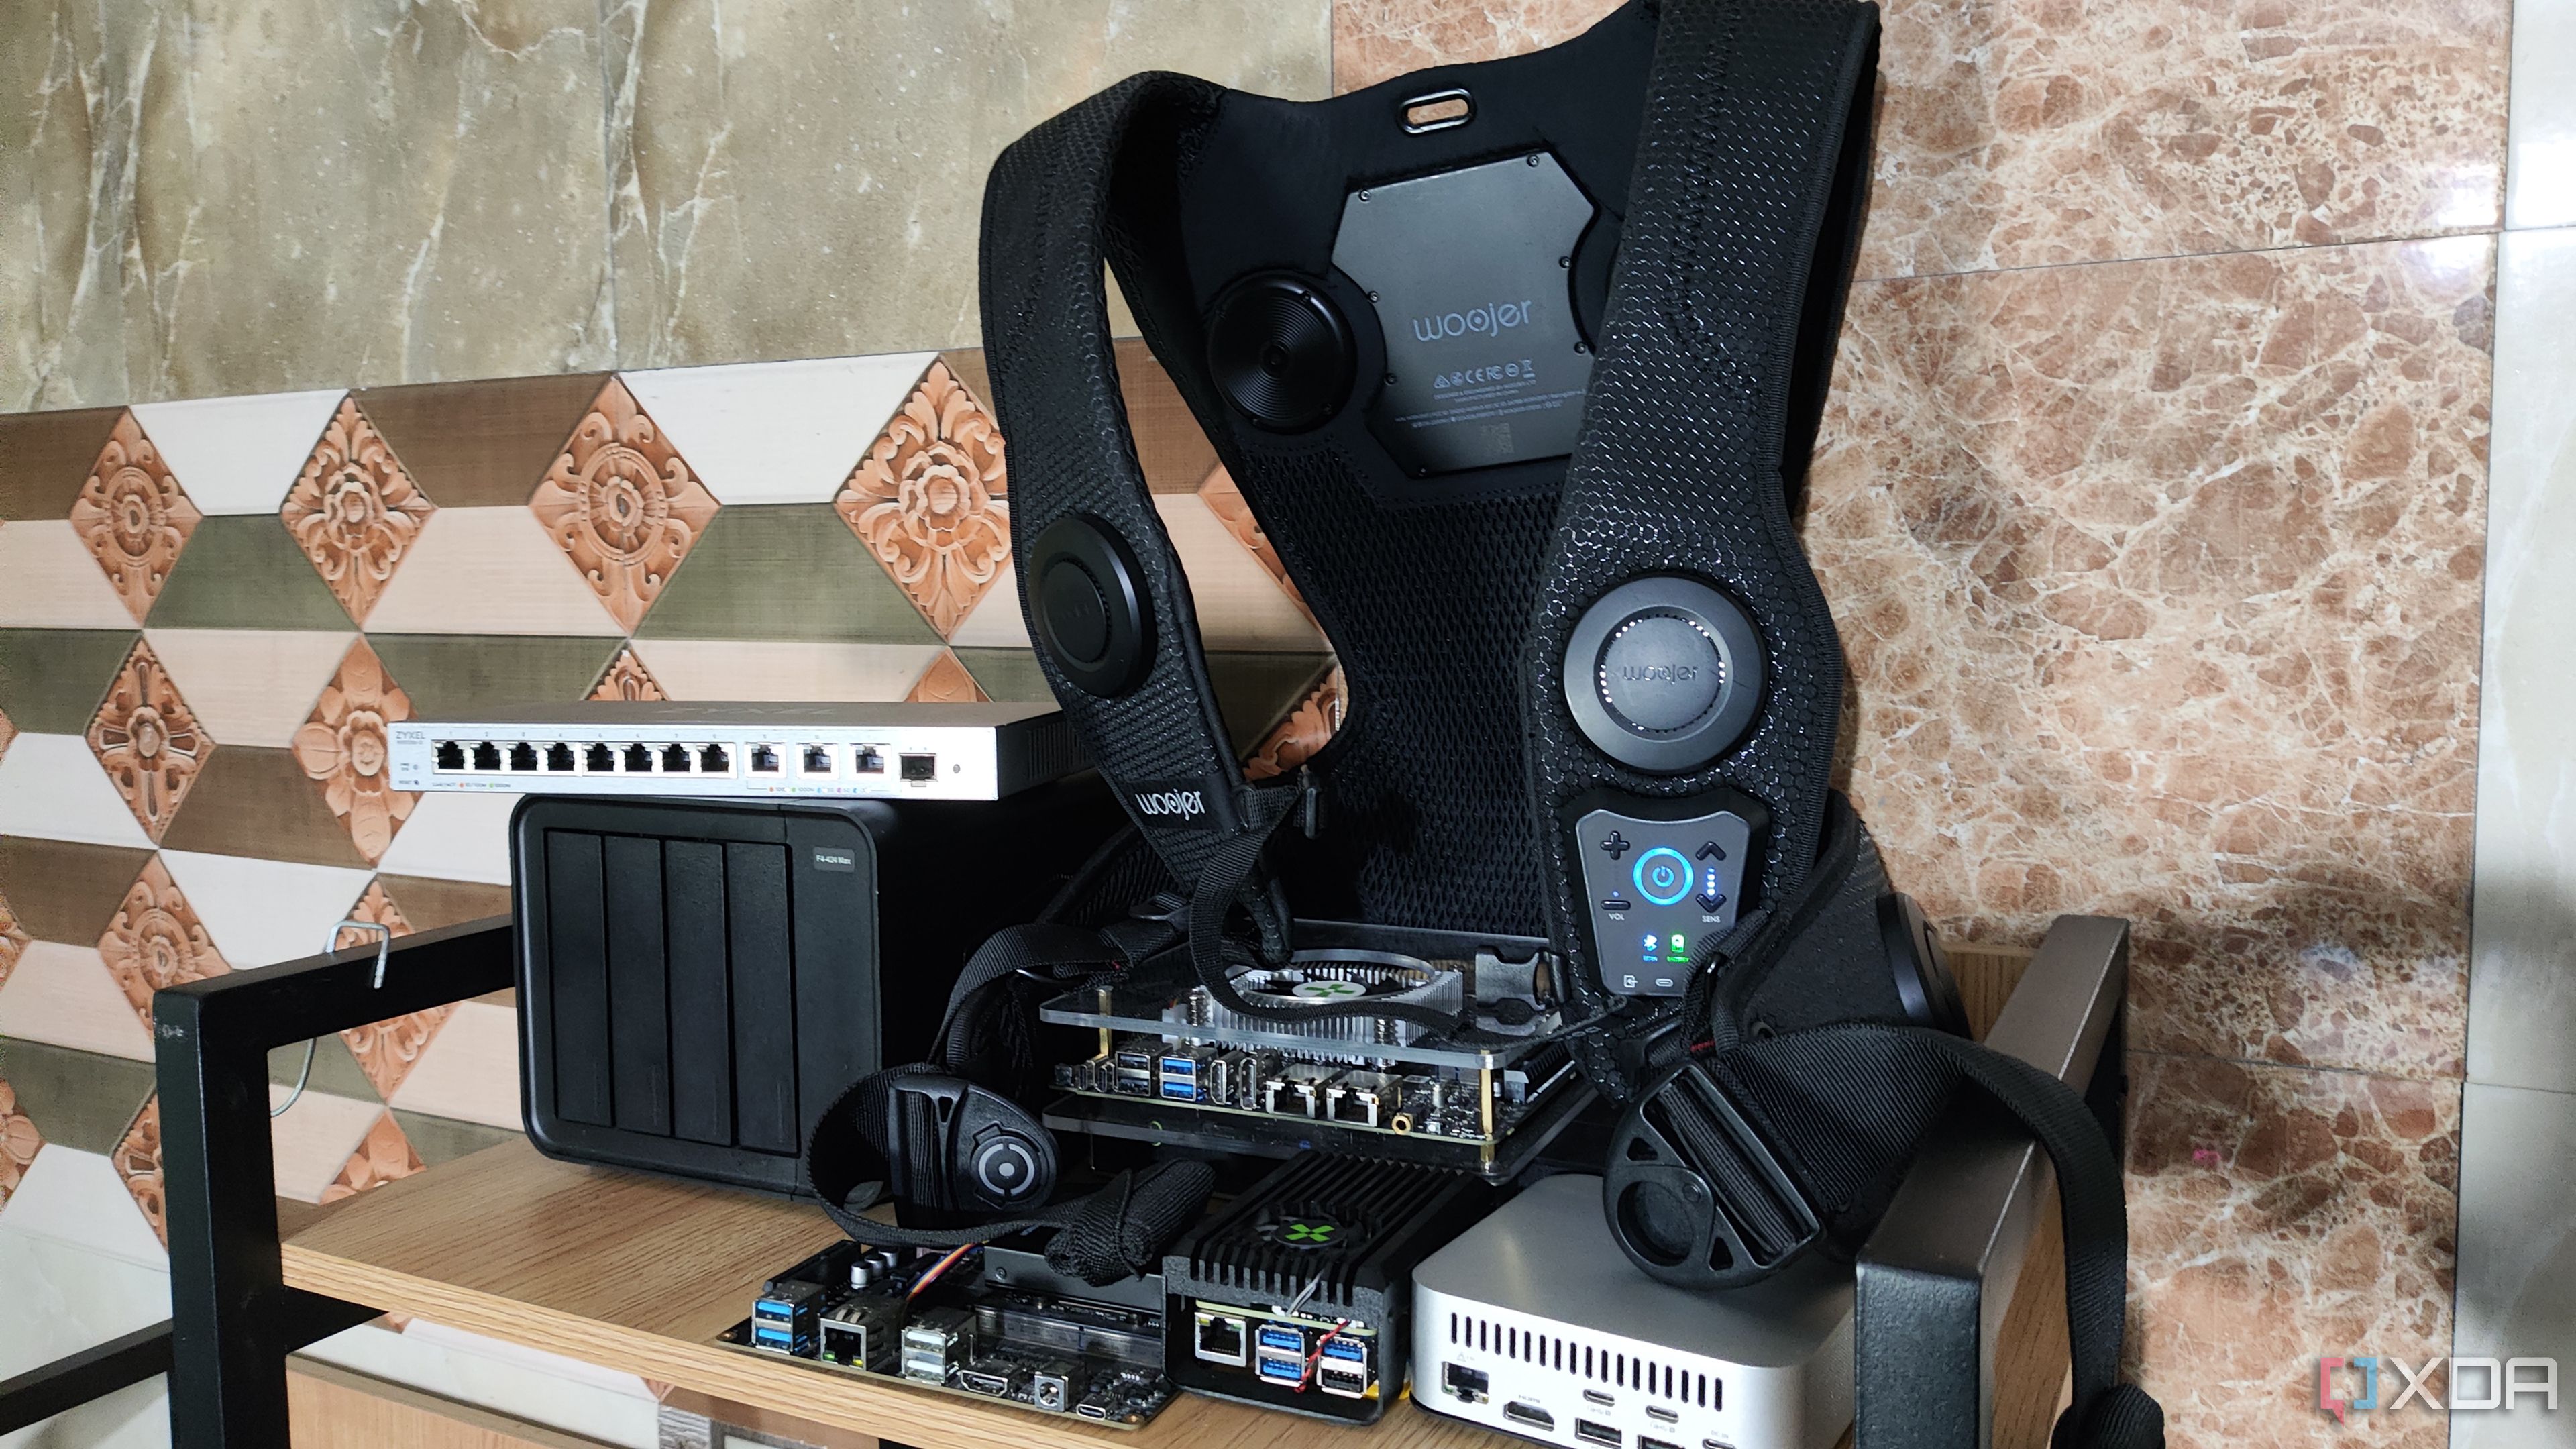
2 Can double as a secondary home lab device
It’s still useful after you’ve moved to a better system
Once you graduate from the beginner stage and get into the nitty-gritty of home lab projects, you’ll probably pick up a spare PC just to satisfy your tinkering fantasies. However, your mini-PC can still remain a crucial part of your home lab, as there are a couple of projects you’d want to avoid hosting on your primary server.
Take a self-hosted firewall/router operating system, for instance. While it’s undoubtedly a solid addition to your home lab, you also risk losing access to the Internet if the server running it goes down. If you’re running Proxmox on your primary workstation, you can turn your mini-PC into a Proxmox Backup Server and rest assured knowing that virtual guest snapshots and backups will remain safe from your experiments.
1 A reliable node for your cluster
A budget-friendly high-availability setup
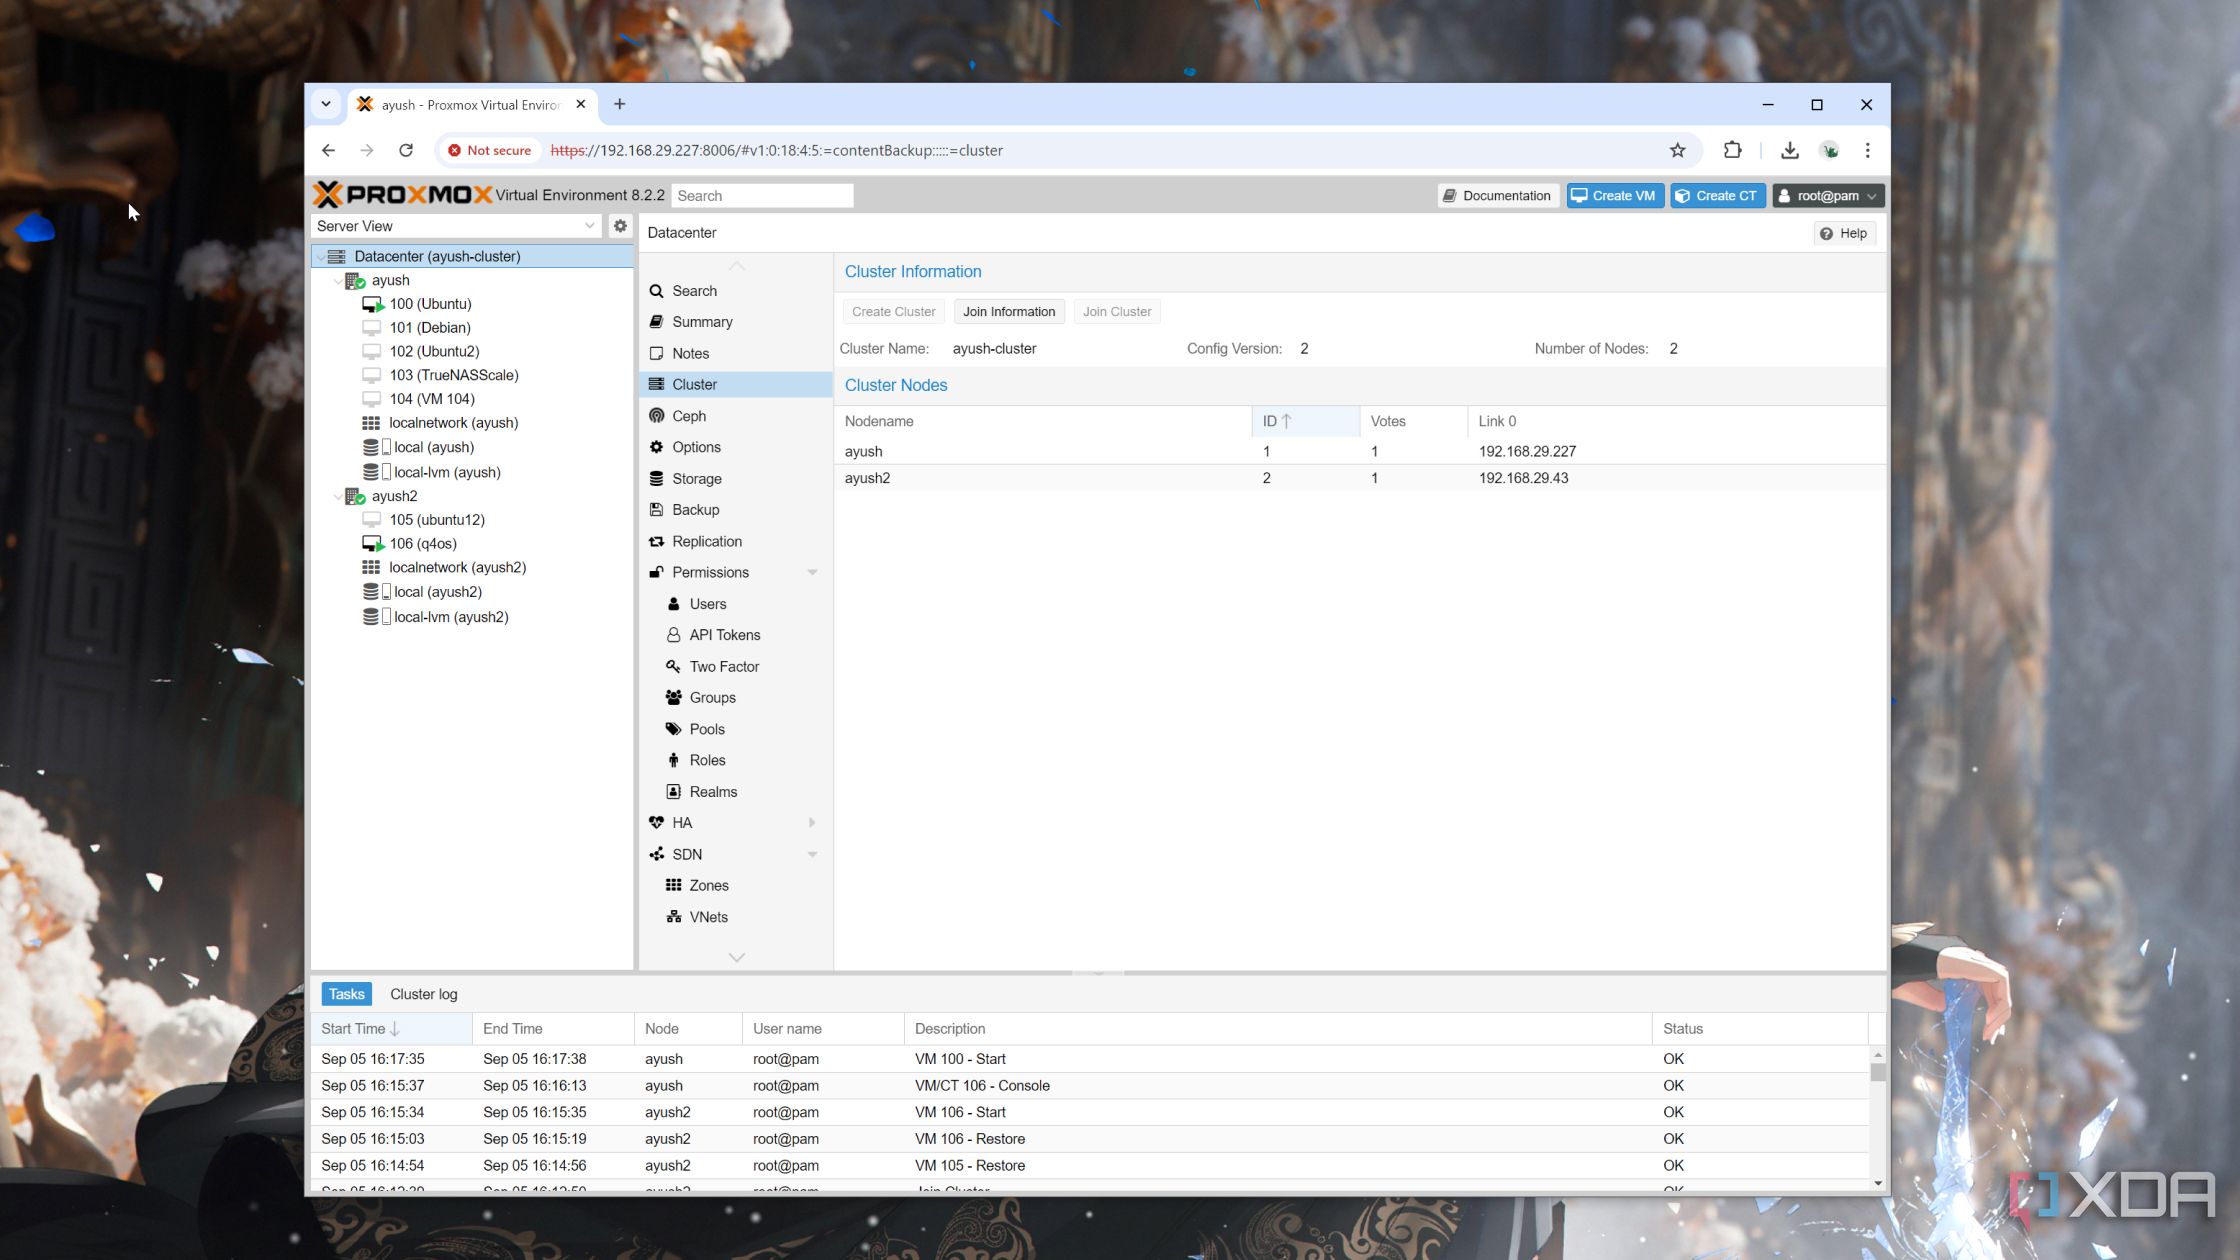
Another perk of owning spare mini-PCs is that you can combine them with your primary workstation to form a high-availability cluster. In fact, a server-grade system running alongside two low-power mini-PCs remains one of the most cost-effective means of tinkering with virtualized clusters and container orchestration platforms.
For DevOps enthusiasts and container experts, you can set up Kubernetes on all systems and pair them together inside a cluster. Heck, you could even go for a Proxmox cluster if you’re willing to tinker with shared storage. If you're just looking to gain some hands-on experience, you can even opt for a 2-node cluster before adding another mini-PC later down the line to attain quorum.
Mini-PCs are powerful starter kits for virtualization projects
So far, I’ve covered the best aspects of mini-PCs. But just like every other computing device, there are a couple of drawbacks with these tiny tinkering systems. Besides some outliers, most mini-PCs feature embedded processors, meaning you’re stuck with the same CPU. Soldered RAM is also fairly common in the mini-PC ecosystem, so you’ll want to perform thorough research before honing in on one.
But if you’re still on the fence about getting a mini-PC specifically for your home lab, you’ll be surprised at how capable these budget-friendly systems have become as of late. I’ve played around with some $250 i3-N305 and i3-1220P-powered mini-PCs, and they’re powerful enough to act as your primary self-hosting and experimentation server.
Related


 English (US) ·