.png)

Sammy is a computing, Raspberry Pi, 3D printing, 3D scanning, and 3D modeling author. He has contributed articles on various websites, including Makeuseof, Tomshardware, All3dp, 3Dsourced, and several others. He studied Information Technology at the University, and this played a great role in his understanding of all aspects of computers and he is also pursuing his masters degree in the same field. He also owns 5 3D printers, which you will find him designing and 3D printing functional designs as a hobby. He also owns a Raspberry Pi 5, which he uses to create interesting projects at home. You will often find him cycling in the hills of Nakuru when he is not writing.
When I first started 3D printing smart home enclosures, I thought it would be as simple as designing a box, hitting print, and placing my electronics inside. But I quickly realized there’s a lot more to it. Everything from material choice and ventilation to tolerances and mounting options can make or break a project. Looking back, there are many things I wish I had known before I started 3D printing, and more specifically, before I began creating enclosures for smart home devices. Over time, I’ve learned a lot through trial and error, as well as from resources I found online, and I am here to share those lessons with you. If you’re planning to do the same, these insights will save you both time and material in the long run.
Material selection matters
Choose durable and heat-resistant materials
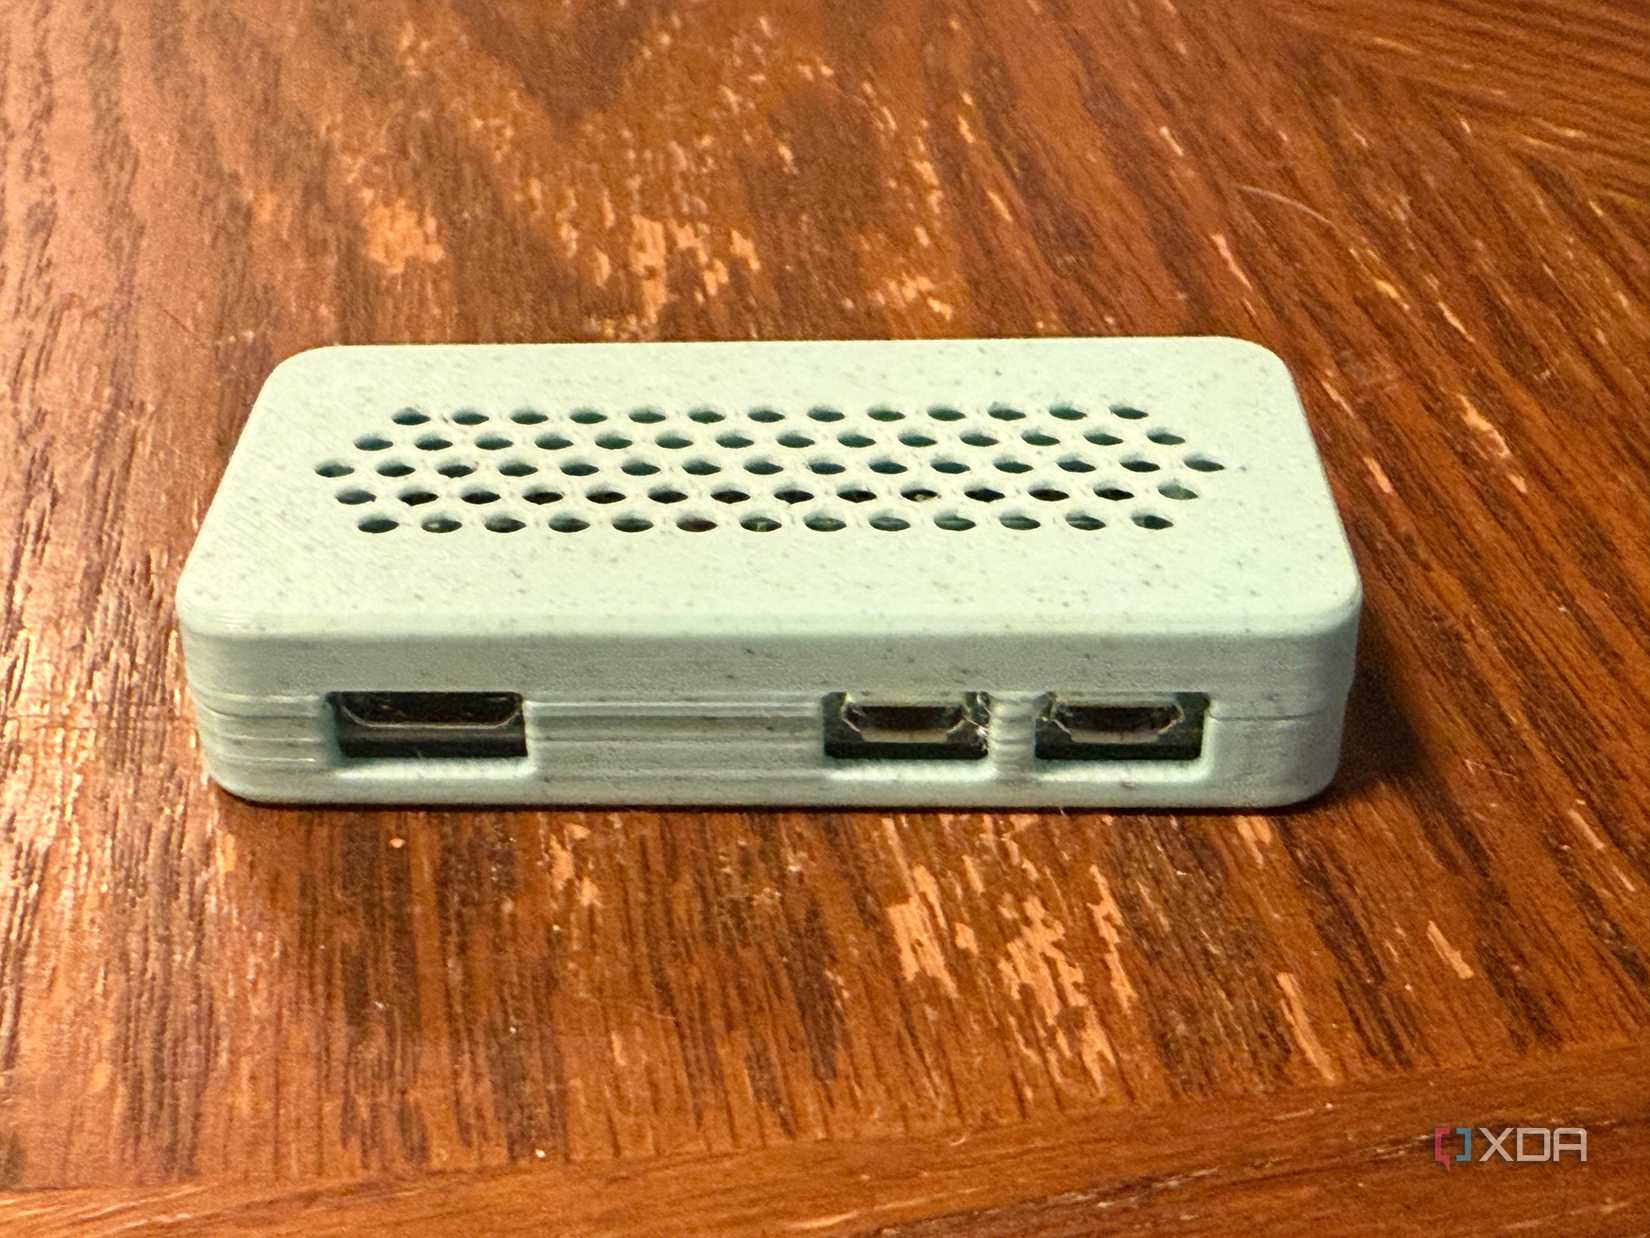
When I started, I thought any material could be used to print enclosures, and while that’s technically true, the durability and heat resistance of different filaments make a huge difference in real-world use. PLA, for example, is easy to print but can warp, soften, or even deform when exposed to heat from electronics or sunlight, making it less ideal for long-term enclosures. On the other hand, materials like PETG, ABS, or ASA offer better strength, flexibility, and heat resistance, ensuring that your enclosures remain sturdy and functional over time. Choosing the right material from the start saves you from having to reprint parts later and gives your smart home devices a more professional and reliable housing.
Tolerances are critical
Ensure parts fit correctly
Even the most precise 3D printers have slight variations due to factors such as filament shrinkage, nozzle wear, or layer alignment, which means parts rarely come out at the exact dimensions you designed. I remember when I started, the sliding cover of one of my enclosures didn’t snap-fit properly. I later learned that I needed to leave at least a 0.2-0.3 mm gap between the mating faces. For a press-fit lid, I should allow 0.15-0.2 mm per side, so it’s firm but not impossible to remove.
Failure to account for this can result in components, such as lids, snap fits, or mounting brackets, being too tight to assemble or so snug that they risk cracking during use. I also learned that if the enclosure has holes, they should be designed slightly larger than the intended screw or fastener. For example, if you are using an M3 screw, the hole should be 3.2-3.3 mm to account for shrinkage and printer inaccuracies.
Test prints save time
3D print test designs
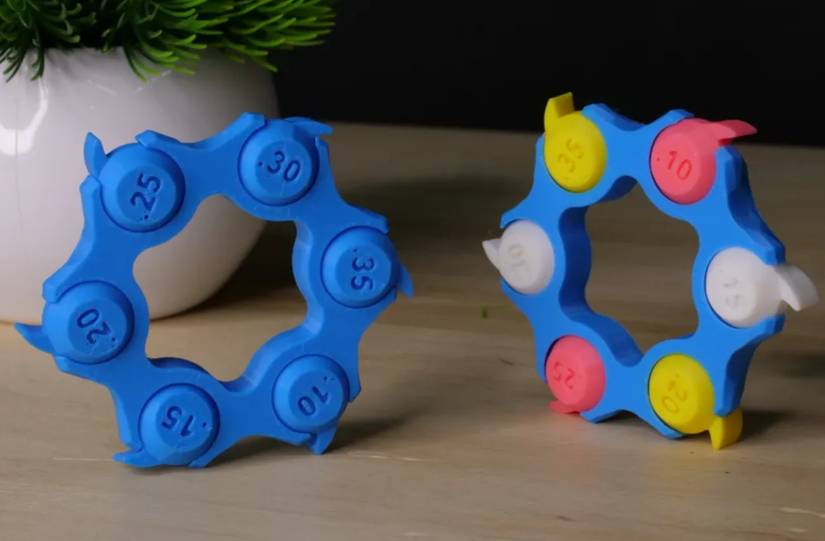 Credit: Source: 3D Maker Noob/Makerworld
3D printing test prints are a great way to validate your settings before committing to a full print. I remember printing several versions of enclosures before finally getting it right, but I could have avoided that if I had started with test prints. For example, when considering the tolerances described above, instead of printing the entire model immediately, you can create small samples or use ready-made tolerance test pieces that you can find on 3D modeling websites that include various hole sizes, slots, and snap-fit gaps. This allows you to check whether the clearances you allowed, such as 0.2-0.3 mm for snap fits or slightly oversized holes for screws and wires, work well with your specific printer, filament, and settings.
Post-processing improves the prints
Enhance the look of your prints
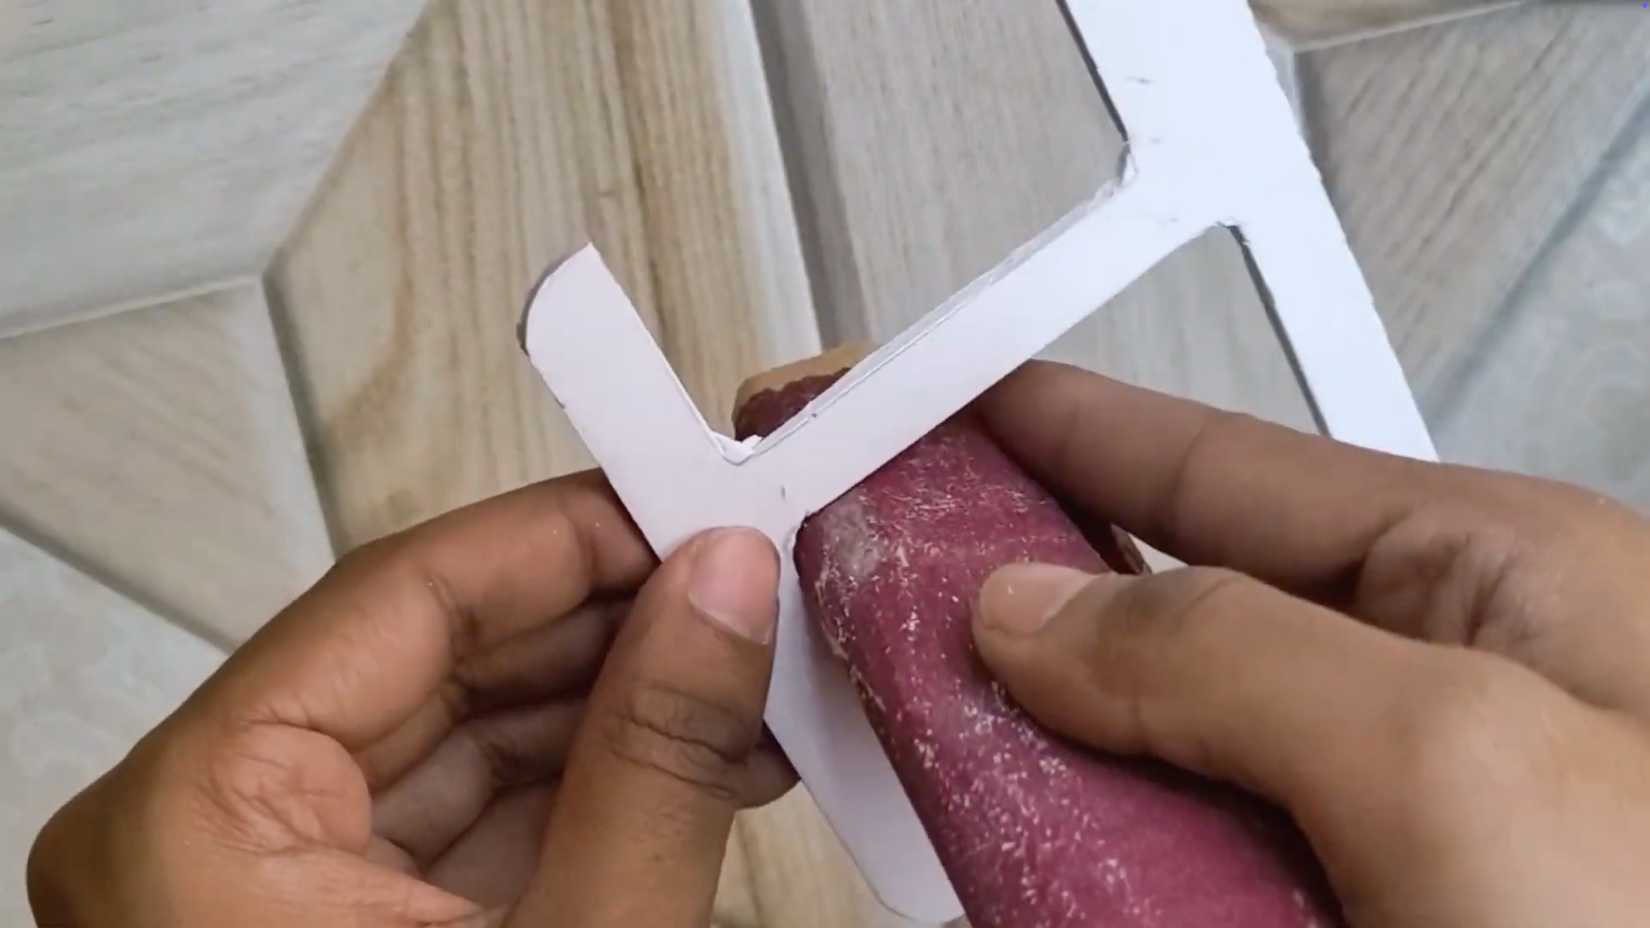 Credit: Source: Makestreme/YouTube
I didn’t put much importance on post-processing when I first started 3D printing smart home enclosures, but once I discovered it, I never looked back. Not all prints require it, but post-processing goes a long way toward improving both the look and functionality of your enclosures. Simple techniques, such as sanding rough edges or smoothing layer lines, can make parts appear more professional and easier to assemble.
I also discovered that one can add threaded brass inserts for screws, apply primer and paint for a polished finish, or use acetone vapor smoothing on ABS for a sleek, glossy surface. These small enhancements not only improve the appearance of the prints but also increase their durability and usability, giving the enclosures a more refined, reliable, and professional quality.
Layer orientation affects strength
Align layers with load directions
When I started, I thought all orientations were the same, but I was wrong. Layer orientation plays a significant role in the strength and durability of prints, and overlooking it can result in weak or easily broken parts. Because 3D prints are built layer by layer, I discovered they are inherently weaker along the layer lines, meaning parts are more likely to split if force is applied in the wrong direction. This is why it’s important to align the model so that the layers run parallel to the expected load or stress points, which can significantly improve its strength and reliability. For example, mounting brackets should be oriented so the layers support the weight rather than peel apart under it.
Avoid the common pitfalls when 3D printing smart home enclosures
When you consider the lessons I’ve learned above, you’ll avoid many of the common problems most people face when 3D printing smart home enclosures and producing durable, professional-looking results. As you apply these lessons, remember that both the quality of the material and the condition of your 3D printer matter a lot. Always ensure you are printing with dry, high-quality filament and that your printer is well-maintained to achieve the best possible outcomes.


 English (US) ·