.png)
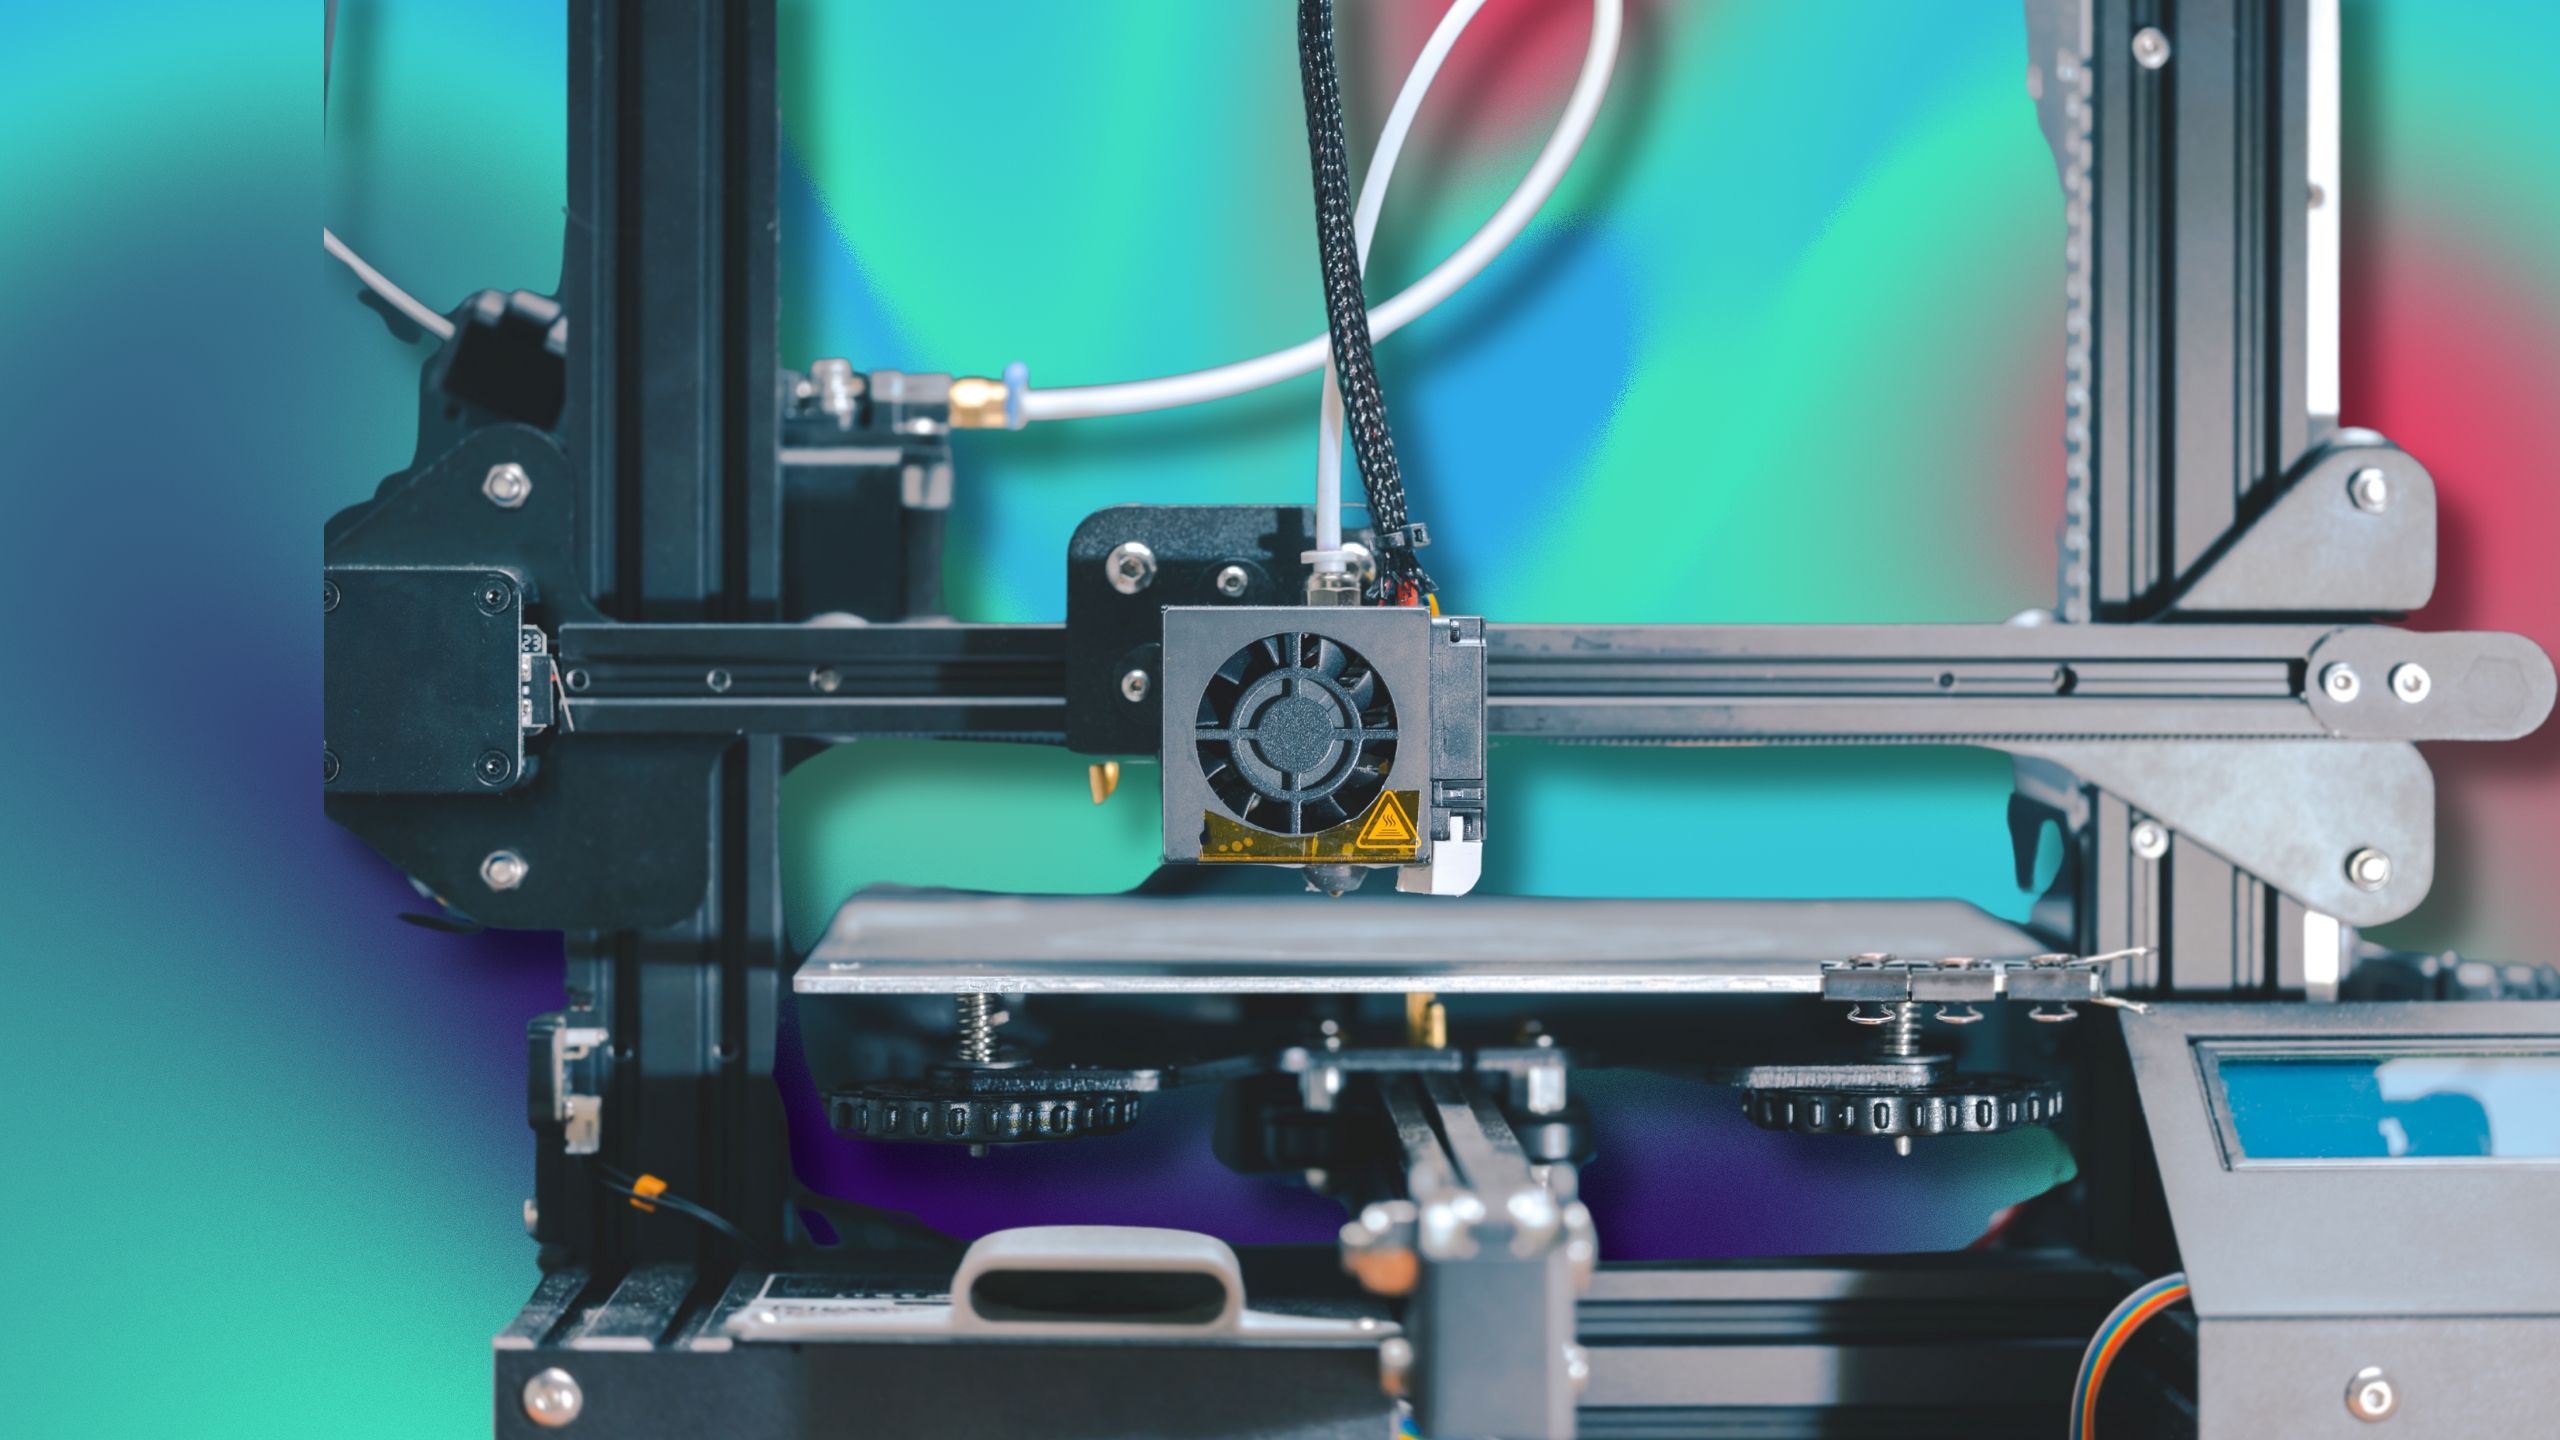
Building a home lab can get expensive quickly, especially when you factor in mounting hardware, cable organization, and small accessories. I leaned on my 3D printer early on to cut those costs and improve the setup. Over time, I found that printing custom parts was not only cheaper, but often worked better than what I could buy. Here are five practical ways I’ve used 3D printing to stretch my budget while scaling up my home lab.
Related
7 practical problems I solved with a 3D printer
My 3D printer has proven itself not just fun, but also a household problem-solver. Here's how
5 I designed custom brackets and mounts
Securing gear without buying pricey accessories
Mounting gear in a small space is always a challenge. I printed wall brackets for my Raspberry Pis, UPS units, and even an SSD dock. These allow me to take advantage of the vertical space behind monitors or under shelves, eliminating the need for expensive racks or commercial mounts. Since I designed them myself, the fit was perfect for each component.
I also built snap-fit and screw-on holders for tools and accessories, such as USB testers, mini displays, and my PiKVM. Being able to tailor each mount to the device and my workspace helped me avoid clutter. Instead of juggling multiple generic holders, I made exactly what I needed. The savings added up with every project.
In one case, I used scrap filament to print a VESA-compatible NAS mount, avoiding a $25 bracket purchase. That project only took two hours of print time and a few cents of filament. It’s satisfying to make something that works well and costs almost nothing. Over time, that’s what helped me build a cleaner, more flexible setup.
4 I built network and cable organizers
Clean wiring makes maintenance much easier
Tidy cabling can make or break a home lab, especially when you frequently add or swap gear. I printed cable combs, power strip mounts, and clip-in trays to manage Ethernet, USB, and power lines. These kept everything in place and avoided the mess that usually comes with expanding a setup.
Using color-coded filament, I was even able to print different sizes for network vs. power cables. This made troubleshooting easier, especially for tracing POE lines or specific switches. My own designs also gave me better clearance than store-bought clips, which tend to be too shallow or brittle.
I used leftover PLA to make a structured cable tray that mounted underneath my desk. That build alone saved me from buying a metal or wire version, which would have been bulkier. Little by little, these prints helped turn a tangled setup into something more functional and easier to maintain.
3 Printing enclosures for microdevices
Protecting sensors and modules on a budget
I use a lot of microcontrollers and sensors around the lab, including ESPHome devices, Zigbee radios, and USB sniffers. Most of them come as bare PCBs, which makes enclosures a must. I printed compact, well-vented cases for them all, tailored to each board’s layout and port orientation.
For devices that generate heat or need airflow, I added vent slits or fan mounts. A few cases have removable lids to make firmware updates easier. Printing my own also meant I could label the ports clearly or add embossed text for future reference. That’s something off-the-shelf cases rarely offer.
One of my favorite projects was an enclosure for a temperature and humidity sensor mounted in a server rack. I printed a snap-fit box with a grille on one side and keyhole mounts for zip ties. It blended in with the rest of the gear and held up well under daily use, all for under 30 cents in filament.
2 3D-printed stackable trays organize my accessories
Easy-to-access storage for tiny lab gear
Flash drives, dongles, GPIO jumpers, Wi-Fi modules, heat sinks, and assorted screws all accumulate quickly. I printed a modular tray system to handle all of it. These stackable bins fit into a shelf near my main workstation and can be rearranged as needed.
Each tray has a lip that clicks into the one below it, preventing them from sliding around. I also printed inserts to divide the trays by size, making it easier to separate parts, such as Pi camera ribbon cables or Dupont wires. This small organizational change has saved me hours over time.
Since I made the models parametric, I can scale them up for different drawers or boxes if my needs change. Being able to iterate on the design also means I don’t waste time hunting for a product that might not exist. It was an easy win that turned scraps of filament into something genuinely useful.
Printed fan ducts and grills boost performance
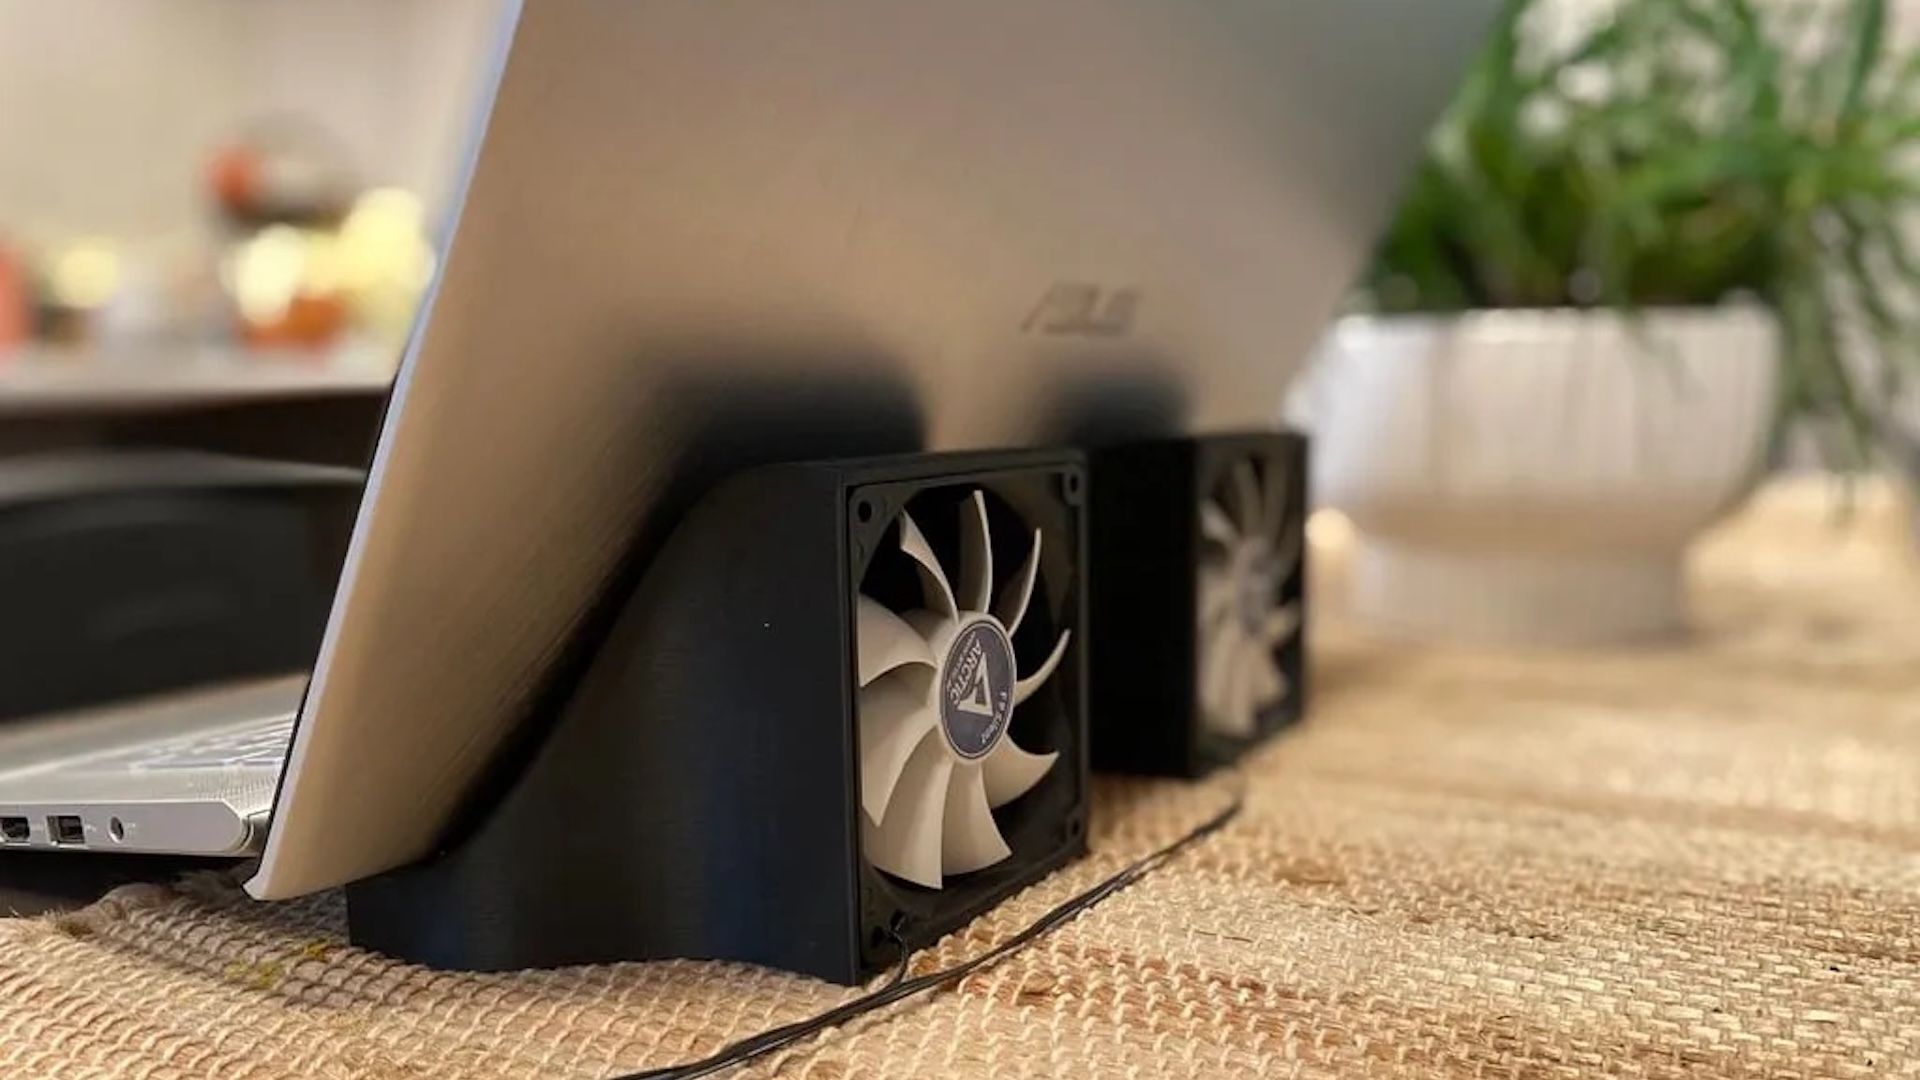 Source: TheSylencer/MakerWorld
Temperature management is crucial in a home lab, especially when running stacked SBCs or fanless servers. I designed and printed ducting for 40 mm and 80 mm fans to direct airflow more efficiently through key components. These simple ducts improved airflow over passive heatsinks and extended the lifespan of components that were overheating.
I also replaced noisy stock fan grills with printed ones that reduce turbulence and whine. That small change made a surprising difference in overall noise. For active NAS enclosures and router boxes, I used custom ducts to pull hot air out of the enclosure and away from drives or SoCs.
The star of the show, though, was the laptop riser and cooler setup I built to keep my laptop running cool even when I'm sitting on the back patio. It allows me to prop up my computer atop a pair of 92mm fans powered via USB. A gentle slope elevates the rear of my laptop to improve airflow. I'll eventually remix the independent housings into a single laptop stand so I can use the stand even when I don't have a table to place everything on.
Small prints added up to big improvements
Most of these projects only used a few grams of filament and an hour or two of print time. But when you multiply that across dozens of small tools, mounts, and accessories, the savings really stack up. More importantly, I was able to shape my lab around how I actually work, not what off-the-shelf gear allows. If you’ve got a 3D printer and a growing home lab, it’s absolutely worth putting that tool to work.
Build Volume 256x256x256 mm
Printing Speed 500 mm/s


 English (US) ·