.png)
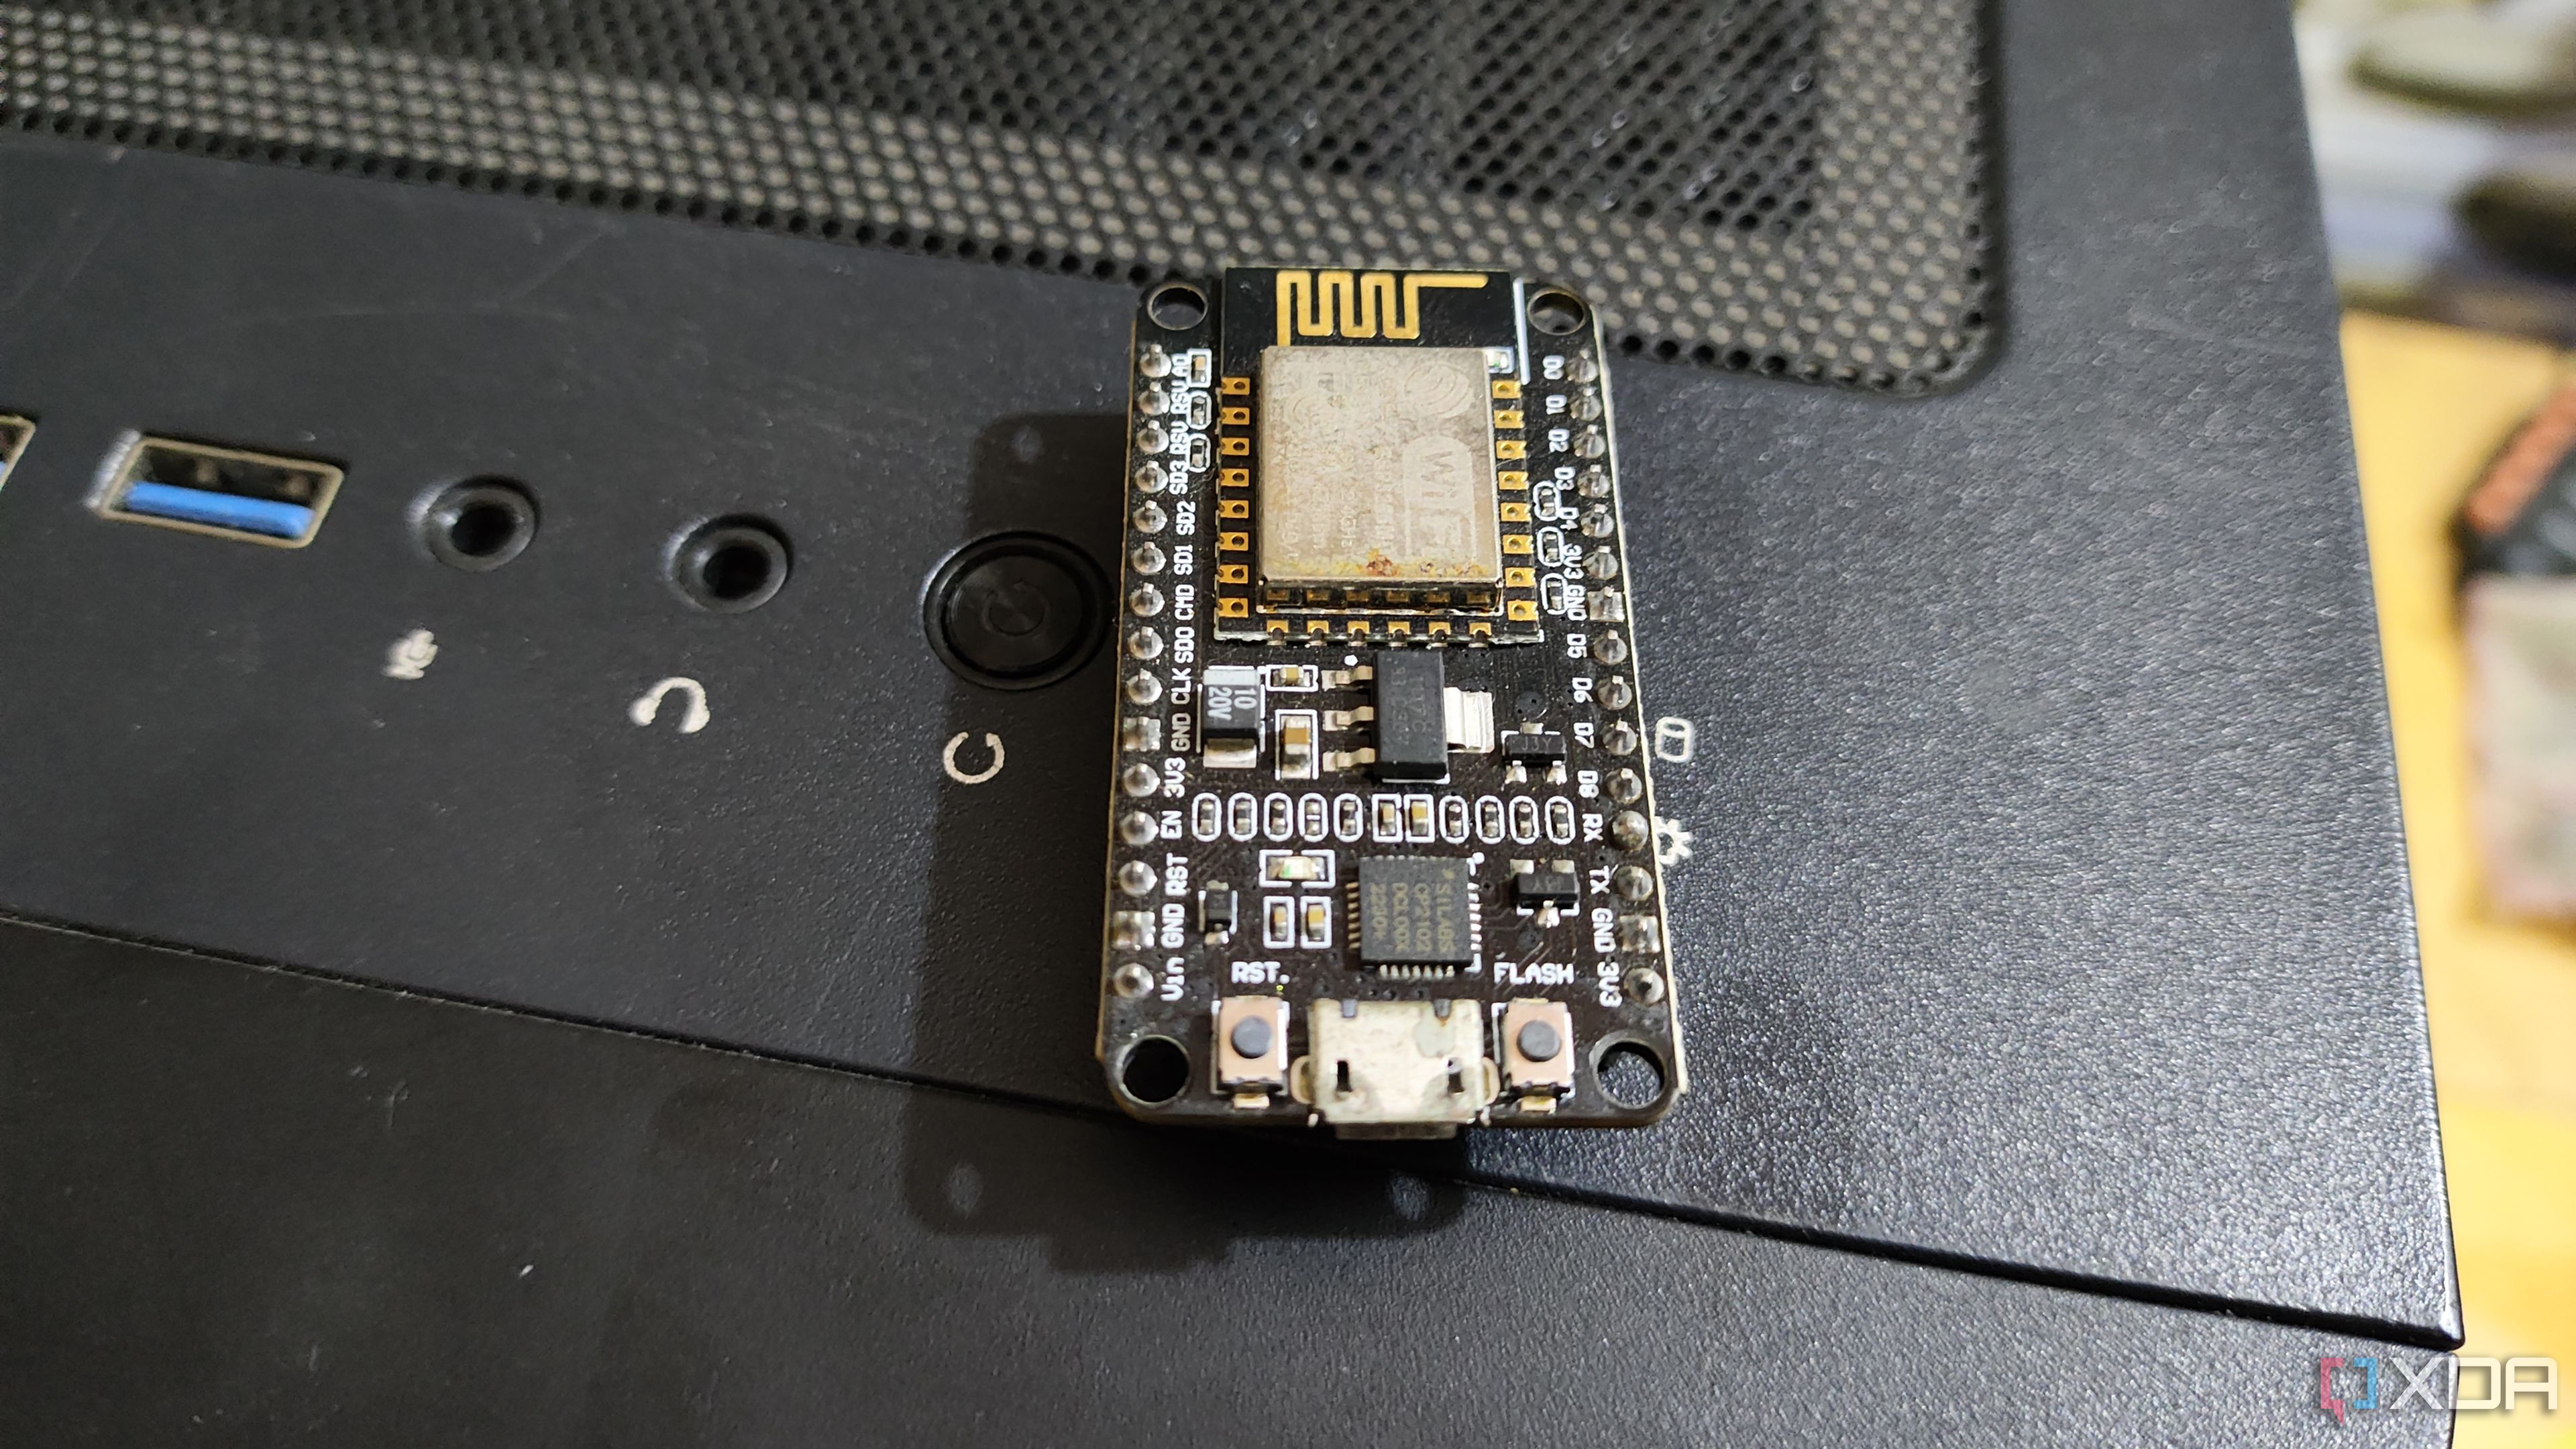
I've been playing around with a couple of ESP32 microcontrollers, and that experimentation has taught me a lot about sensors and what you can build for really, really cheap. For as little as $4, you can buy an ESP32 (depending on the type you get, of course) and hook it up to a basic sensor, often found for even cheaper. There are many sites that will provide code snippets for different sensors to get them working on your platform of choice, such as Arduino or ESPHome.
As I've experimented and played with a lot of different sensors, I've discovered that these basic devices can be built for super cheap, and they're incredibly versatile. When you're done using an ESP32 for one purpose, so long as you didn't solder it together, you can always just swap out the sensor and put something else on it instead. I've been using ESPHome for these, but any other similar framework will achieve similar results, too. These are some of the devices I've already built that can be incredibly useful, especially when paired with Home Assistant in order to trigger automations.
Note that some sensors require a 5V output instead of a 3.3V output, so when hooking these up, pay attention to the sensor's requirements. While it typically isn't dangerous to connect a 5V sensor to a 3.3V output (you'll likely just face instability), the other way around can damage the sensor. The only other downside is that, without a battery, you'll need to provide continuous power to an ESP32. Many of these can also be replaced with an ESP8266 instead of an ESP32.
Related
4 reasons your next home automation controller should be an ESP8266 (and not a Pi)
If you already have a ton of smart home devices and you're wondering what to do next, I recommend picking up an ESP8266.
6 Vibration sensor
Slapping my table to turn on my PC
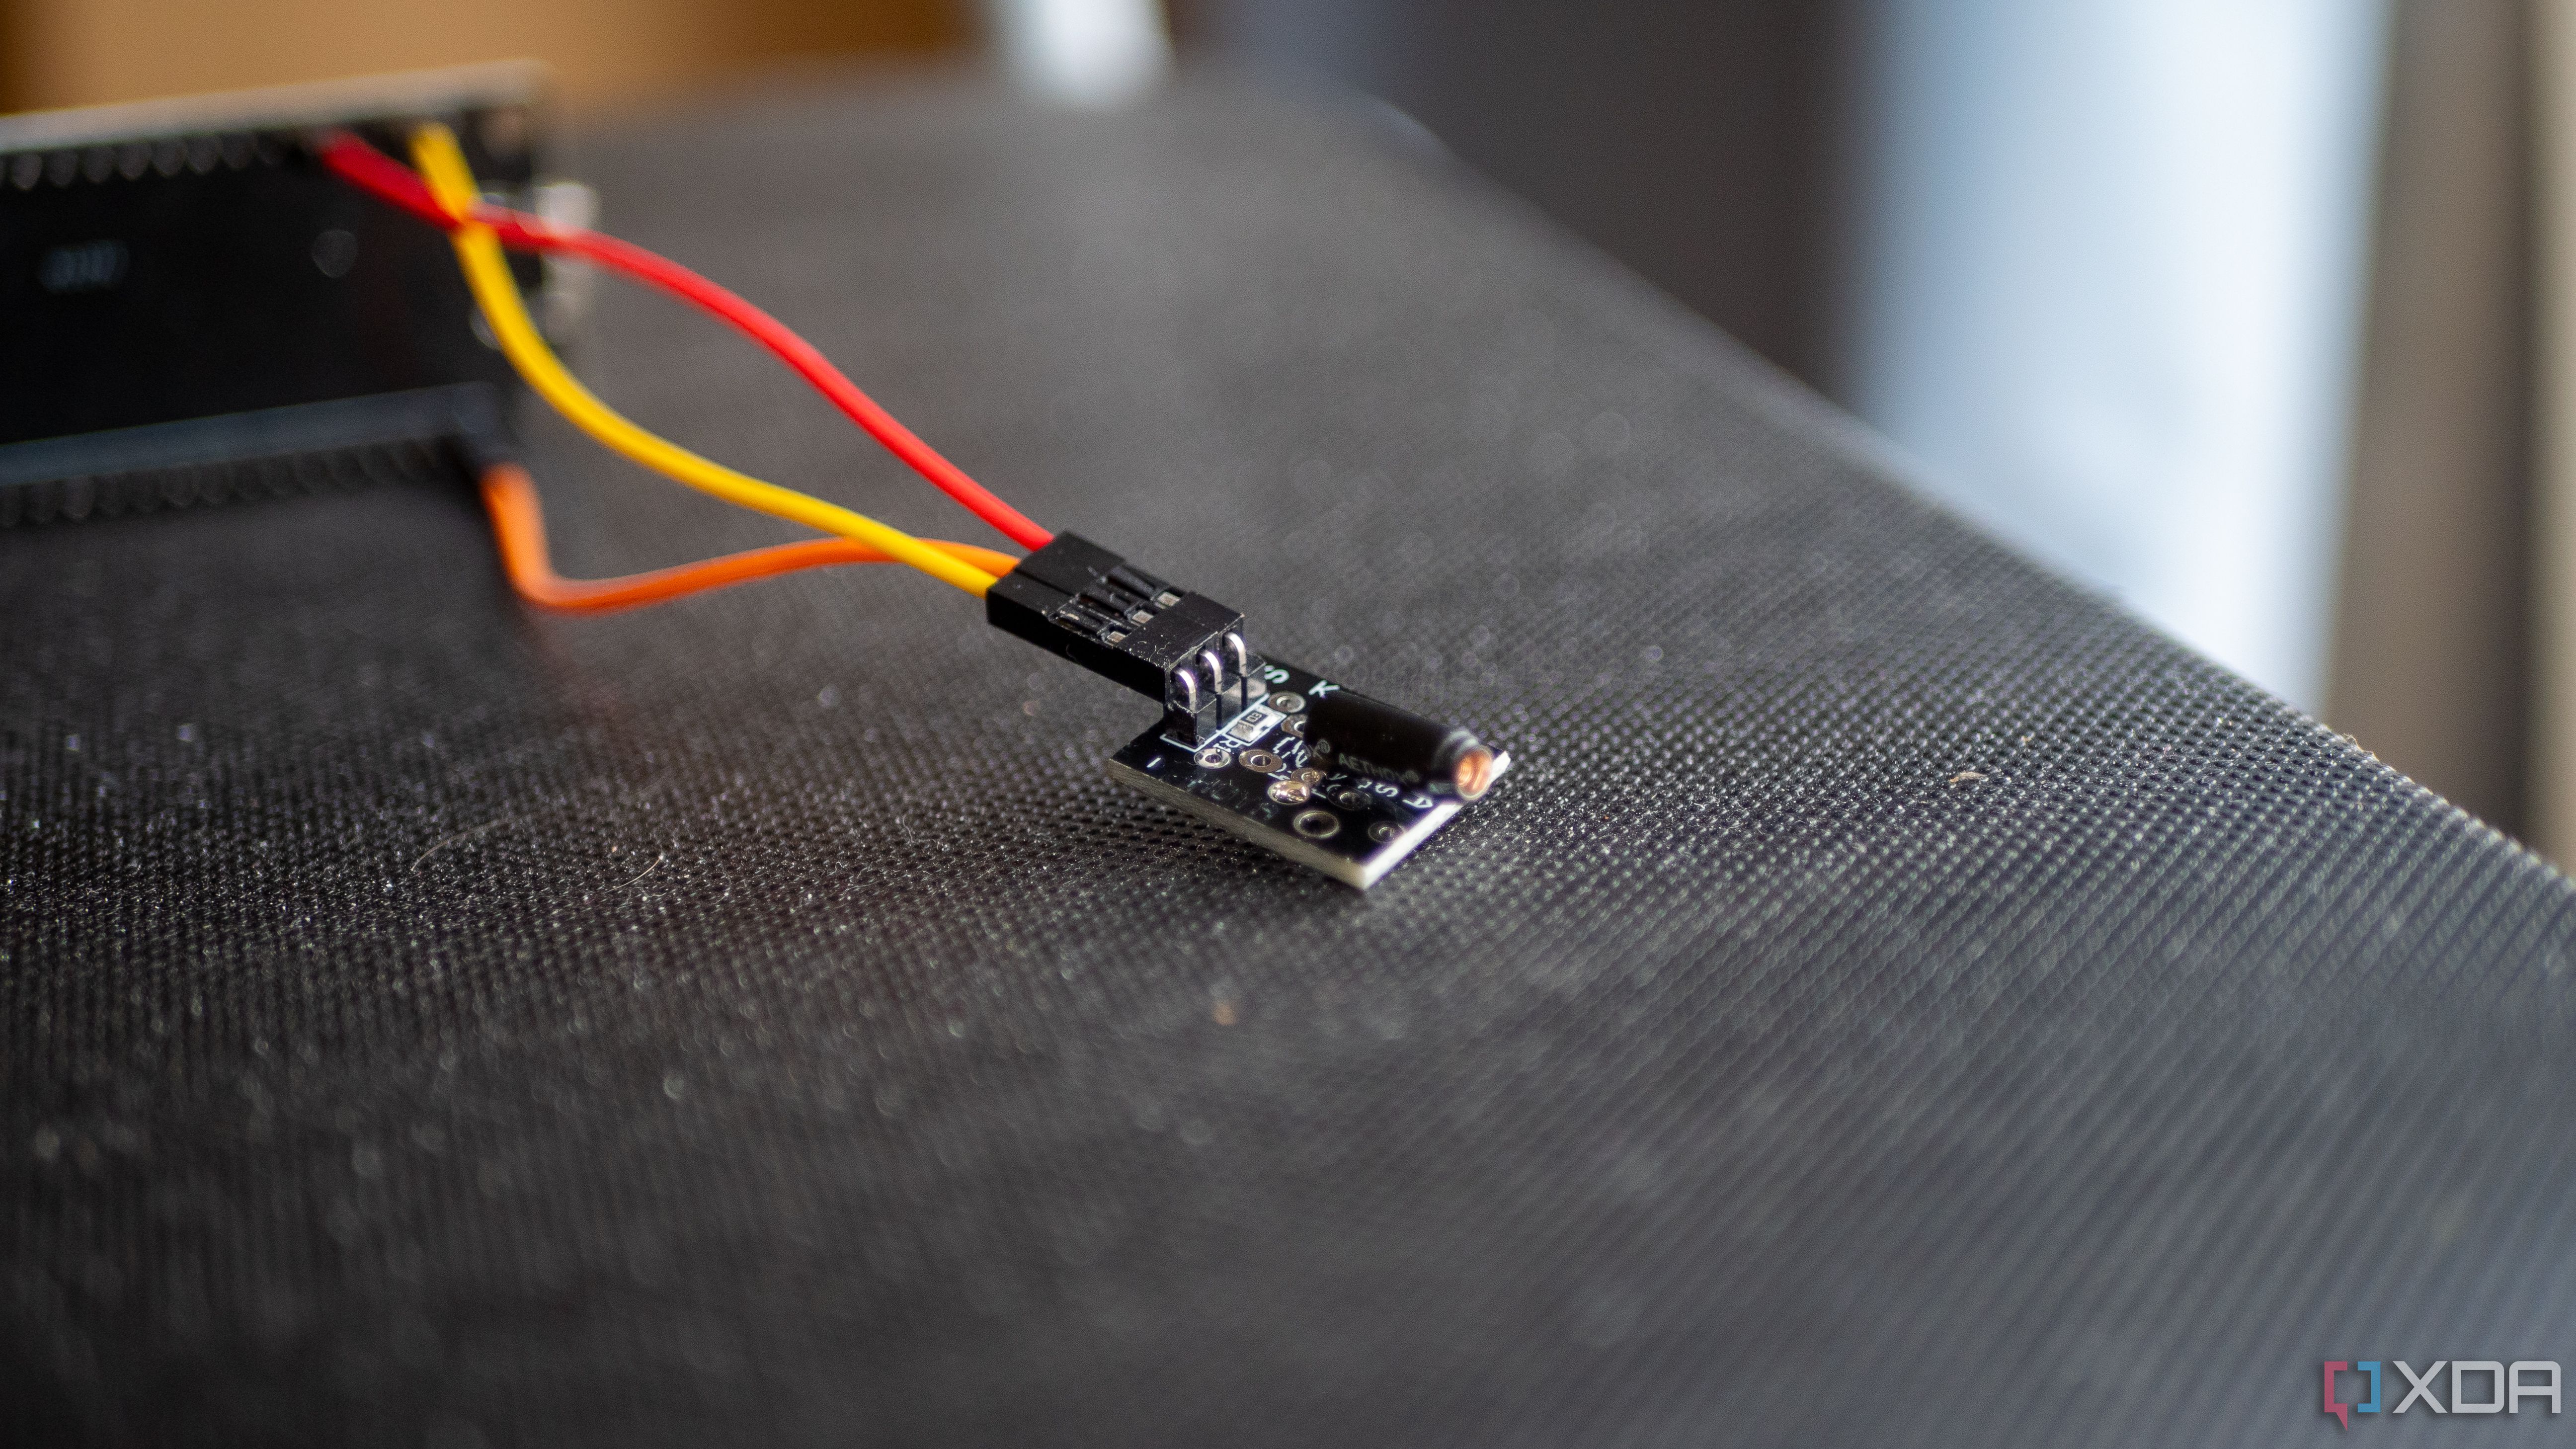
A vibration sensor paired with an ESP32 can be incredibly useful for a myriad of reasons. While my first foray into vibration sensors saw me turn it into a way to slap my table to turn on my PC, there are genuinely helpful uses, too. It can act as part of a security system, for example, as you can have it be the trigger for an automation based on if it detects a vibration when you're away from home. Not only that, but you can use it to monitor something like a washing machine or a dryer.
I don't know about you, but I can start the washing machine and then entirely forget that I started it, meaning that when it comes to spinning the washing after, I forget to do that, or I spin the washing and then forget that I spun it in the first place. Once a wash is started, I can tell Home Assistant to notify me when a vibration hasn't been detected from the sensor for a five-minute stretch. This worked surprisingly well, and the sensor I used here, the KY-002, can be found for as little as $0.50.
Here is some example code that will work with the KY-002:
binary_sensor:- platform: gpio
pin:
number: GPIO4
mode: INPUT_PULLUP
name: "KY-002 Vibration Sensor"
filters:
- delayed_on: 10ms
- delayed_off: 10ms
on_press:
- then:
- lambda: |-
ESP_LOGD("sensor", "Vibration detected!");
This will then expose a sensor in Home Assistant that can be used to trigger automations.
5 Temperature and humidity sensor
Super cheap as well
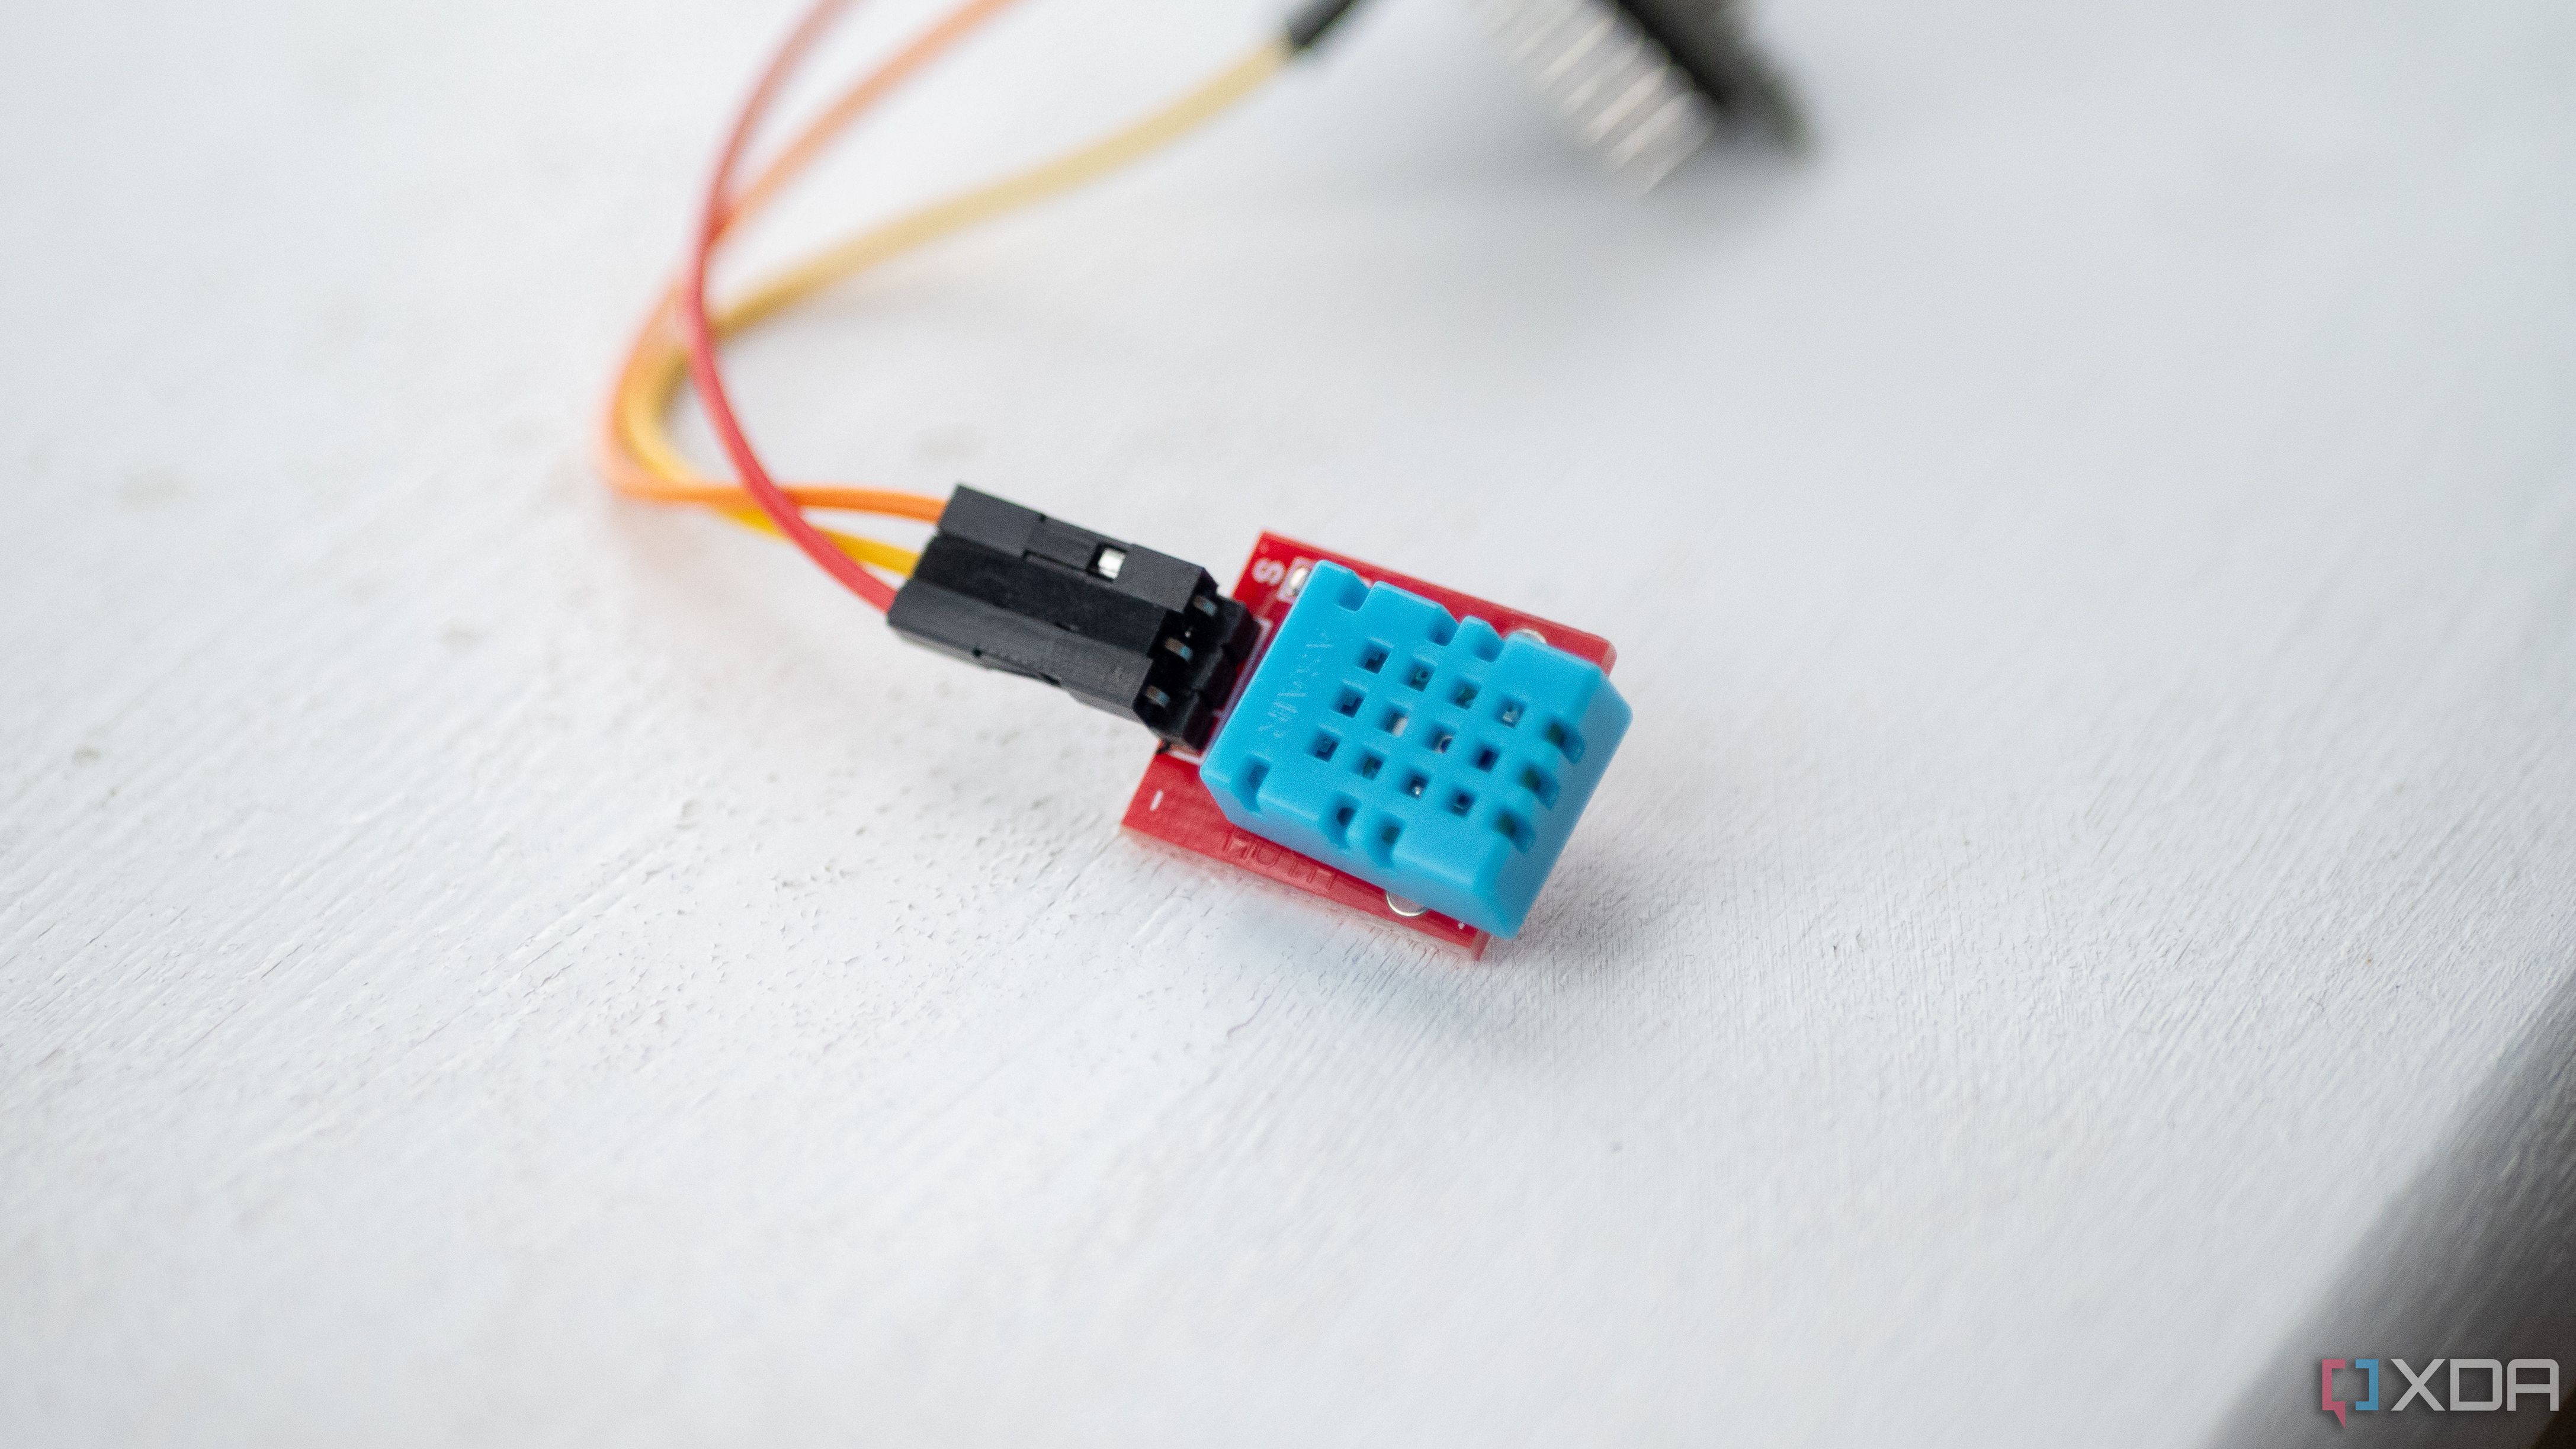
I've seen plenty of temperature and humidity sensors online, and even have a couple of Sonoff Zigbee devices that all report to Zigbee2MQTT, which funnels the data to an MQTT server that Home Assistant reads from. However, with ESPHome, you could even build your own sensors instead, which gives you complete control... plus, they're really easy to set up. You can pair this with an ESP8266, which is a lot cheaper, and a good sensor like the BME680 can be found for $5. I'm using a DHT11, which isn't as accurate, but again, can be found for $0.50.
These are great to attach to already existing ESP32 devices if you have a couple lying around. For example, I use one ESP32 as a Bluetooth proxy, and so no inputs were hooked up to it at all for quite a while. The pins and their capabilities were essentially wasted, so this way, I can still use them for something, as the sensor is just lying around, anyway. Accuracy isn't a huge consideration for me either; you can always adjust the calibration, plus, you can use them to get a general idea, even if the exact values aren't accurate.
sensor:- platform: dht
pin: D2
temperature:
name: "Living Room Temperature"
humidity:
name: "Living Room Humidity"
update_interval: 60s
This code works perfectly for the DHT11 and is taken straight from the ESPHome documentation.
4 Sound sensor
Monitor decibels
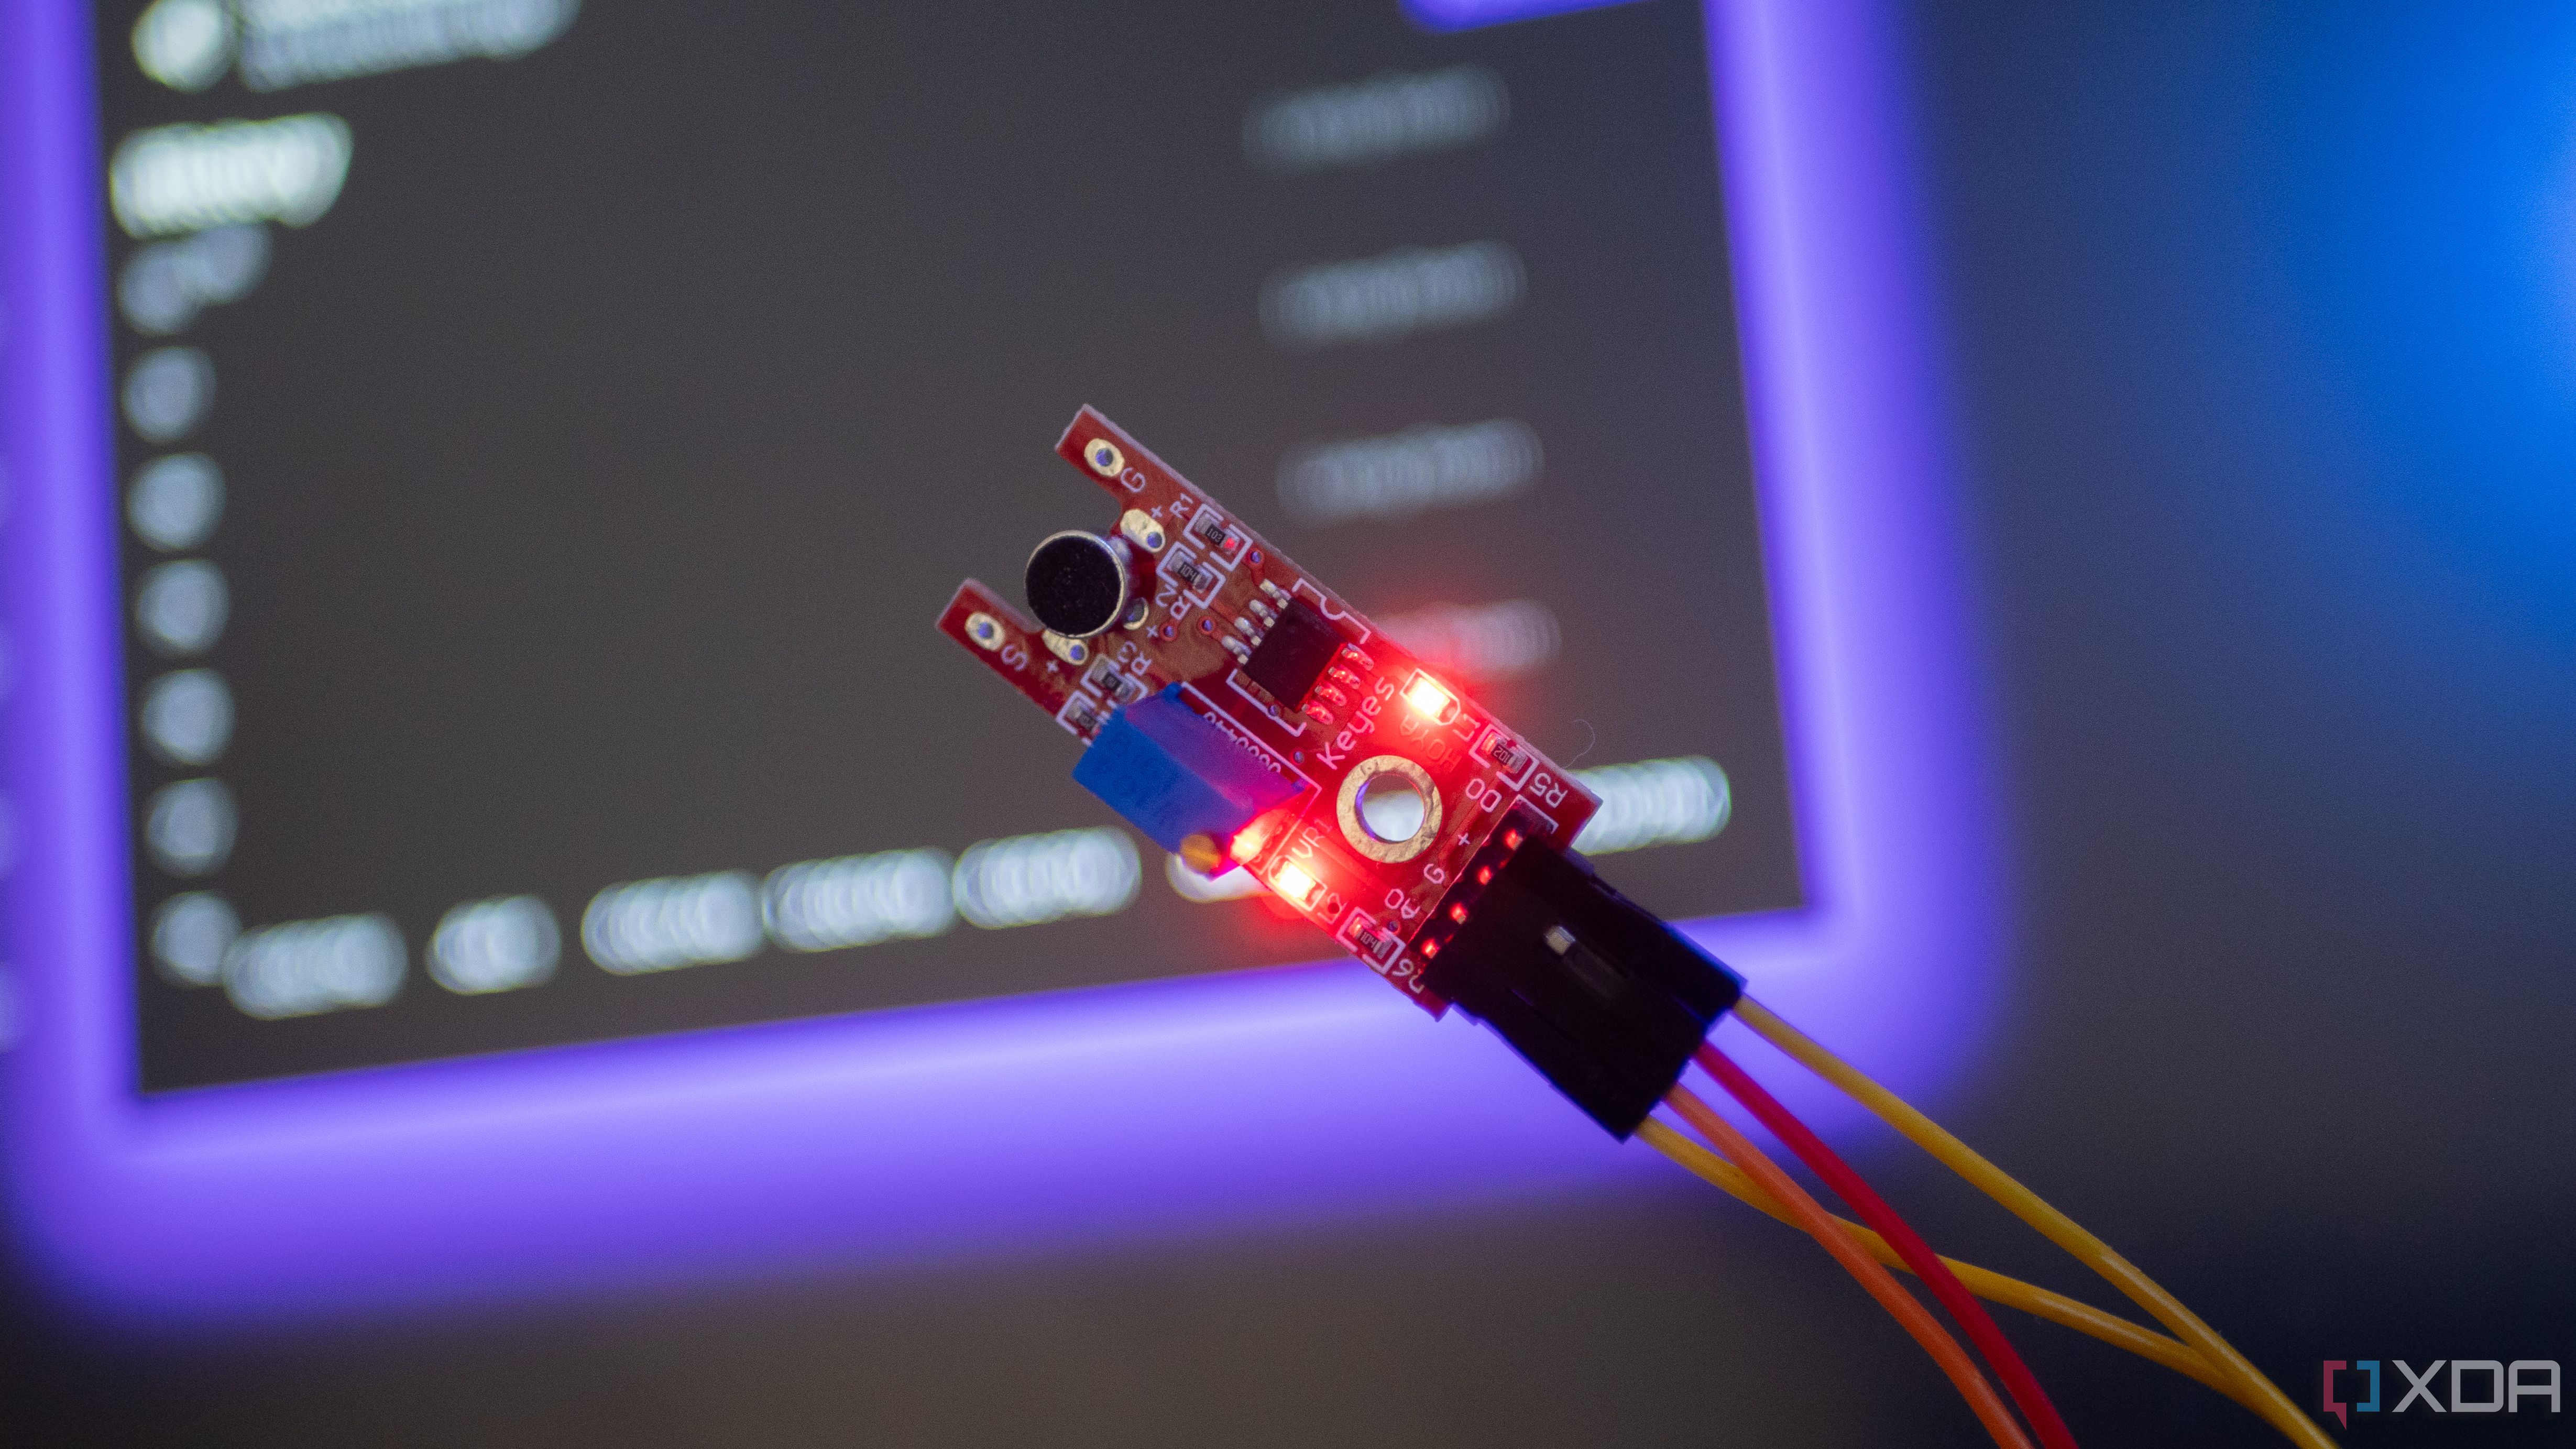
A sound sensor is a little bit more complicated to set up, but can be very useful if you need to monitor how loud something is. These will use an analogue output, which also requires more setup in ESPHome to properly work and report data effectively. I followed this thread on the ESPHome forums to configure mine, and the end result was a sensor in Home Assistant updated frequently with the current decibel level in the room.
At first, it was way off, but I gradually reduced the sensitivity until the values were roughly in line with what my microphone on my PC also picked up. It wasn't perfect, but it's scaled pretty nicely, and sanity cross-checking with my phone also shows that it's reasonably accurate at higher volumes, too. The direction of the audio source, of course, plays a part, but it works reasonably well, and enough that you can use it as a general indicator.
I'm using the KY-038 here, which, yet again, can be found for roughly $0.50. The hardest part is the setup, but as already mentioned, people have worked that out in the above-linked thread already! Just make sure to use the right GPIO pins, as not all of them are compatible with analogue inputs.
3 Motion sensor
Detect area occupancy
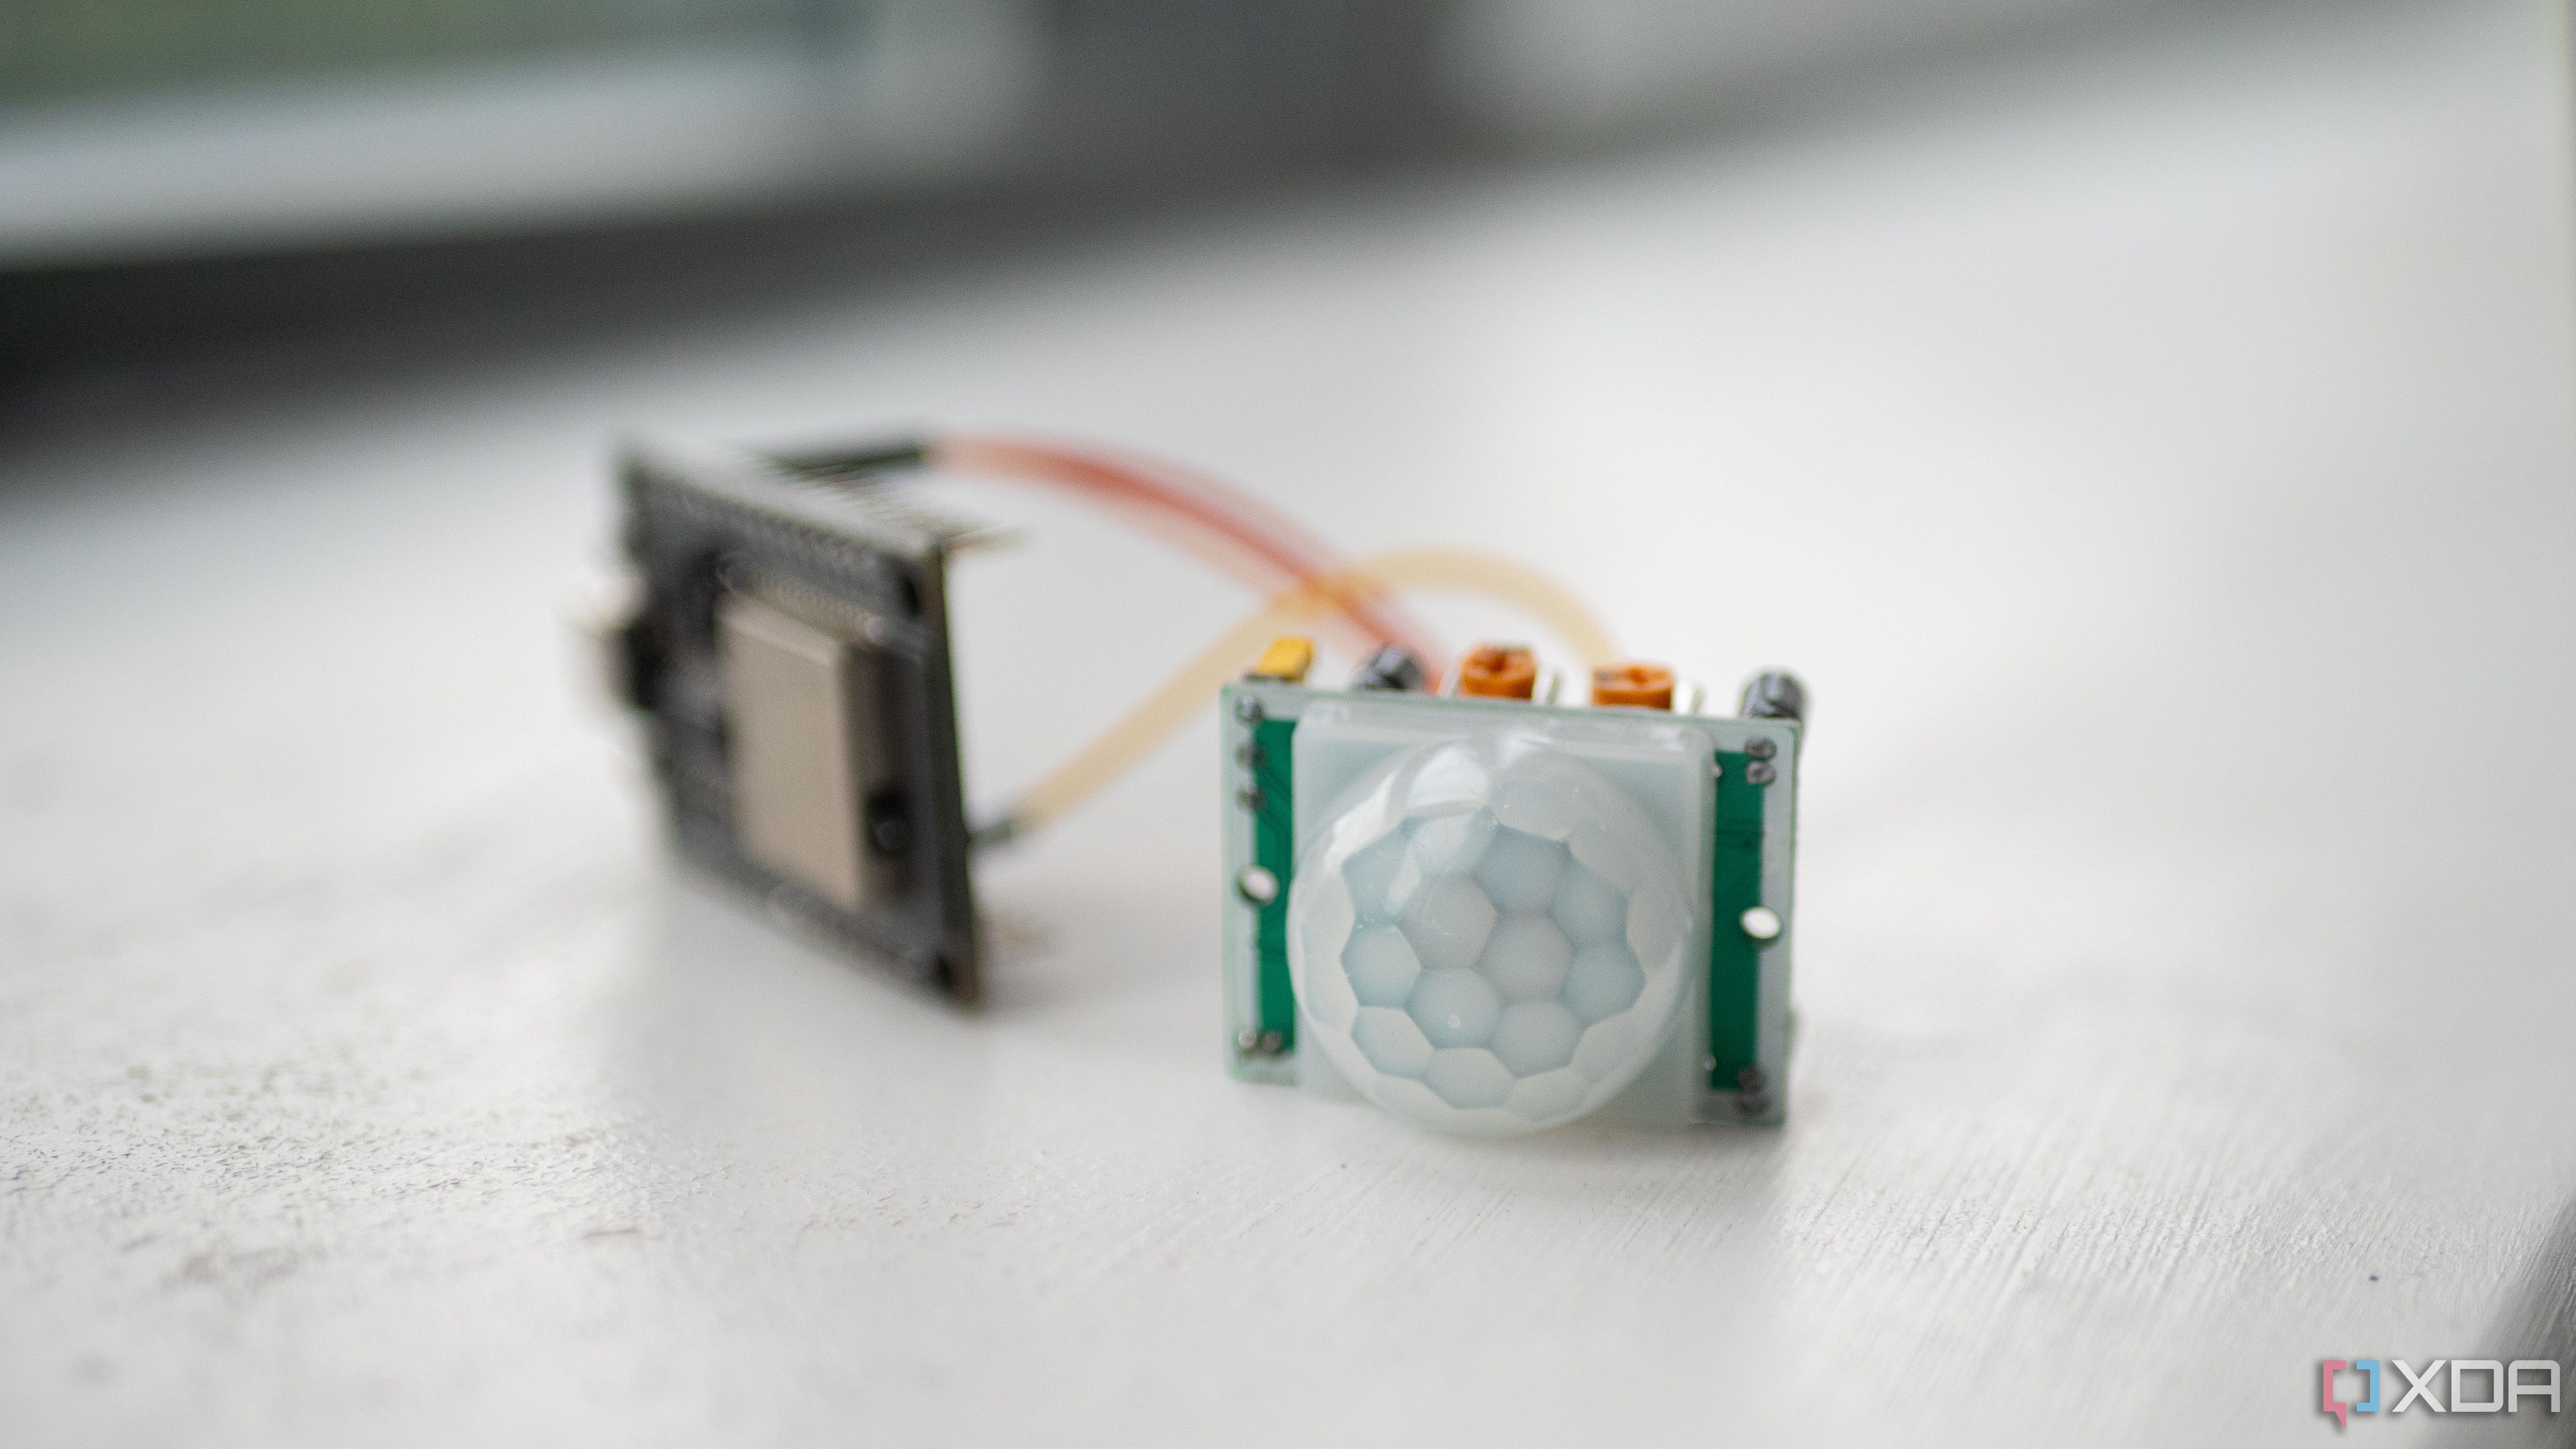
If you want to monitor motion in a room or a specific area, a motion sensor can be a great addition to your home. It can be used to monitor presence and can control different aspects of your smart home with ease. For example, you can refresh a dashboard only when someone is nearby, or automatically turn on a light when someone walks into the room, then turn it off if it doesn't detect movement for a few minutes.
Currently, I use a motion sensor at my desk to determine if I'm at my desk and working. When my desk is considered "occupied", my ePaper panel will update when new data is received, which hosts a dashboard of my tasks for the day and the current weather conditions. This is a Zigbee motion detector, but the sensor that I have that's hooked up to my ESP32 is an HC-SR501. The code I use to initialize it is simple:
binary_sensor:- platform: gpio
pin: GPIO32
name: "PIR Sensor"
device_class: motion
I've seen reports that this particular sensor can suffer from interference, but I haven't experienced that in my testing. This is a sensor that ranges from $0.50 to $2, depending on the specific model you choose.
2 Water level and leak sensor
Monitor water levels or check for leaks
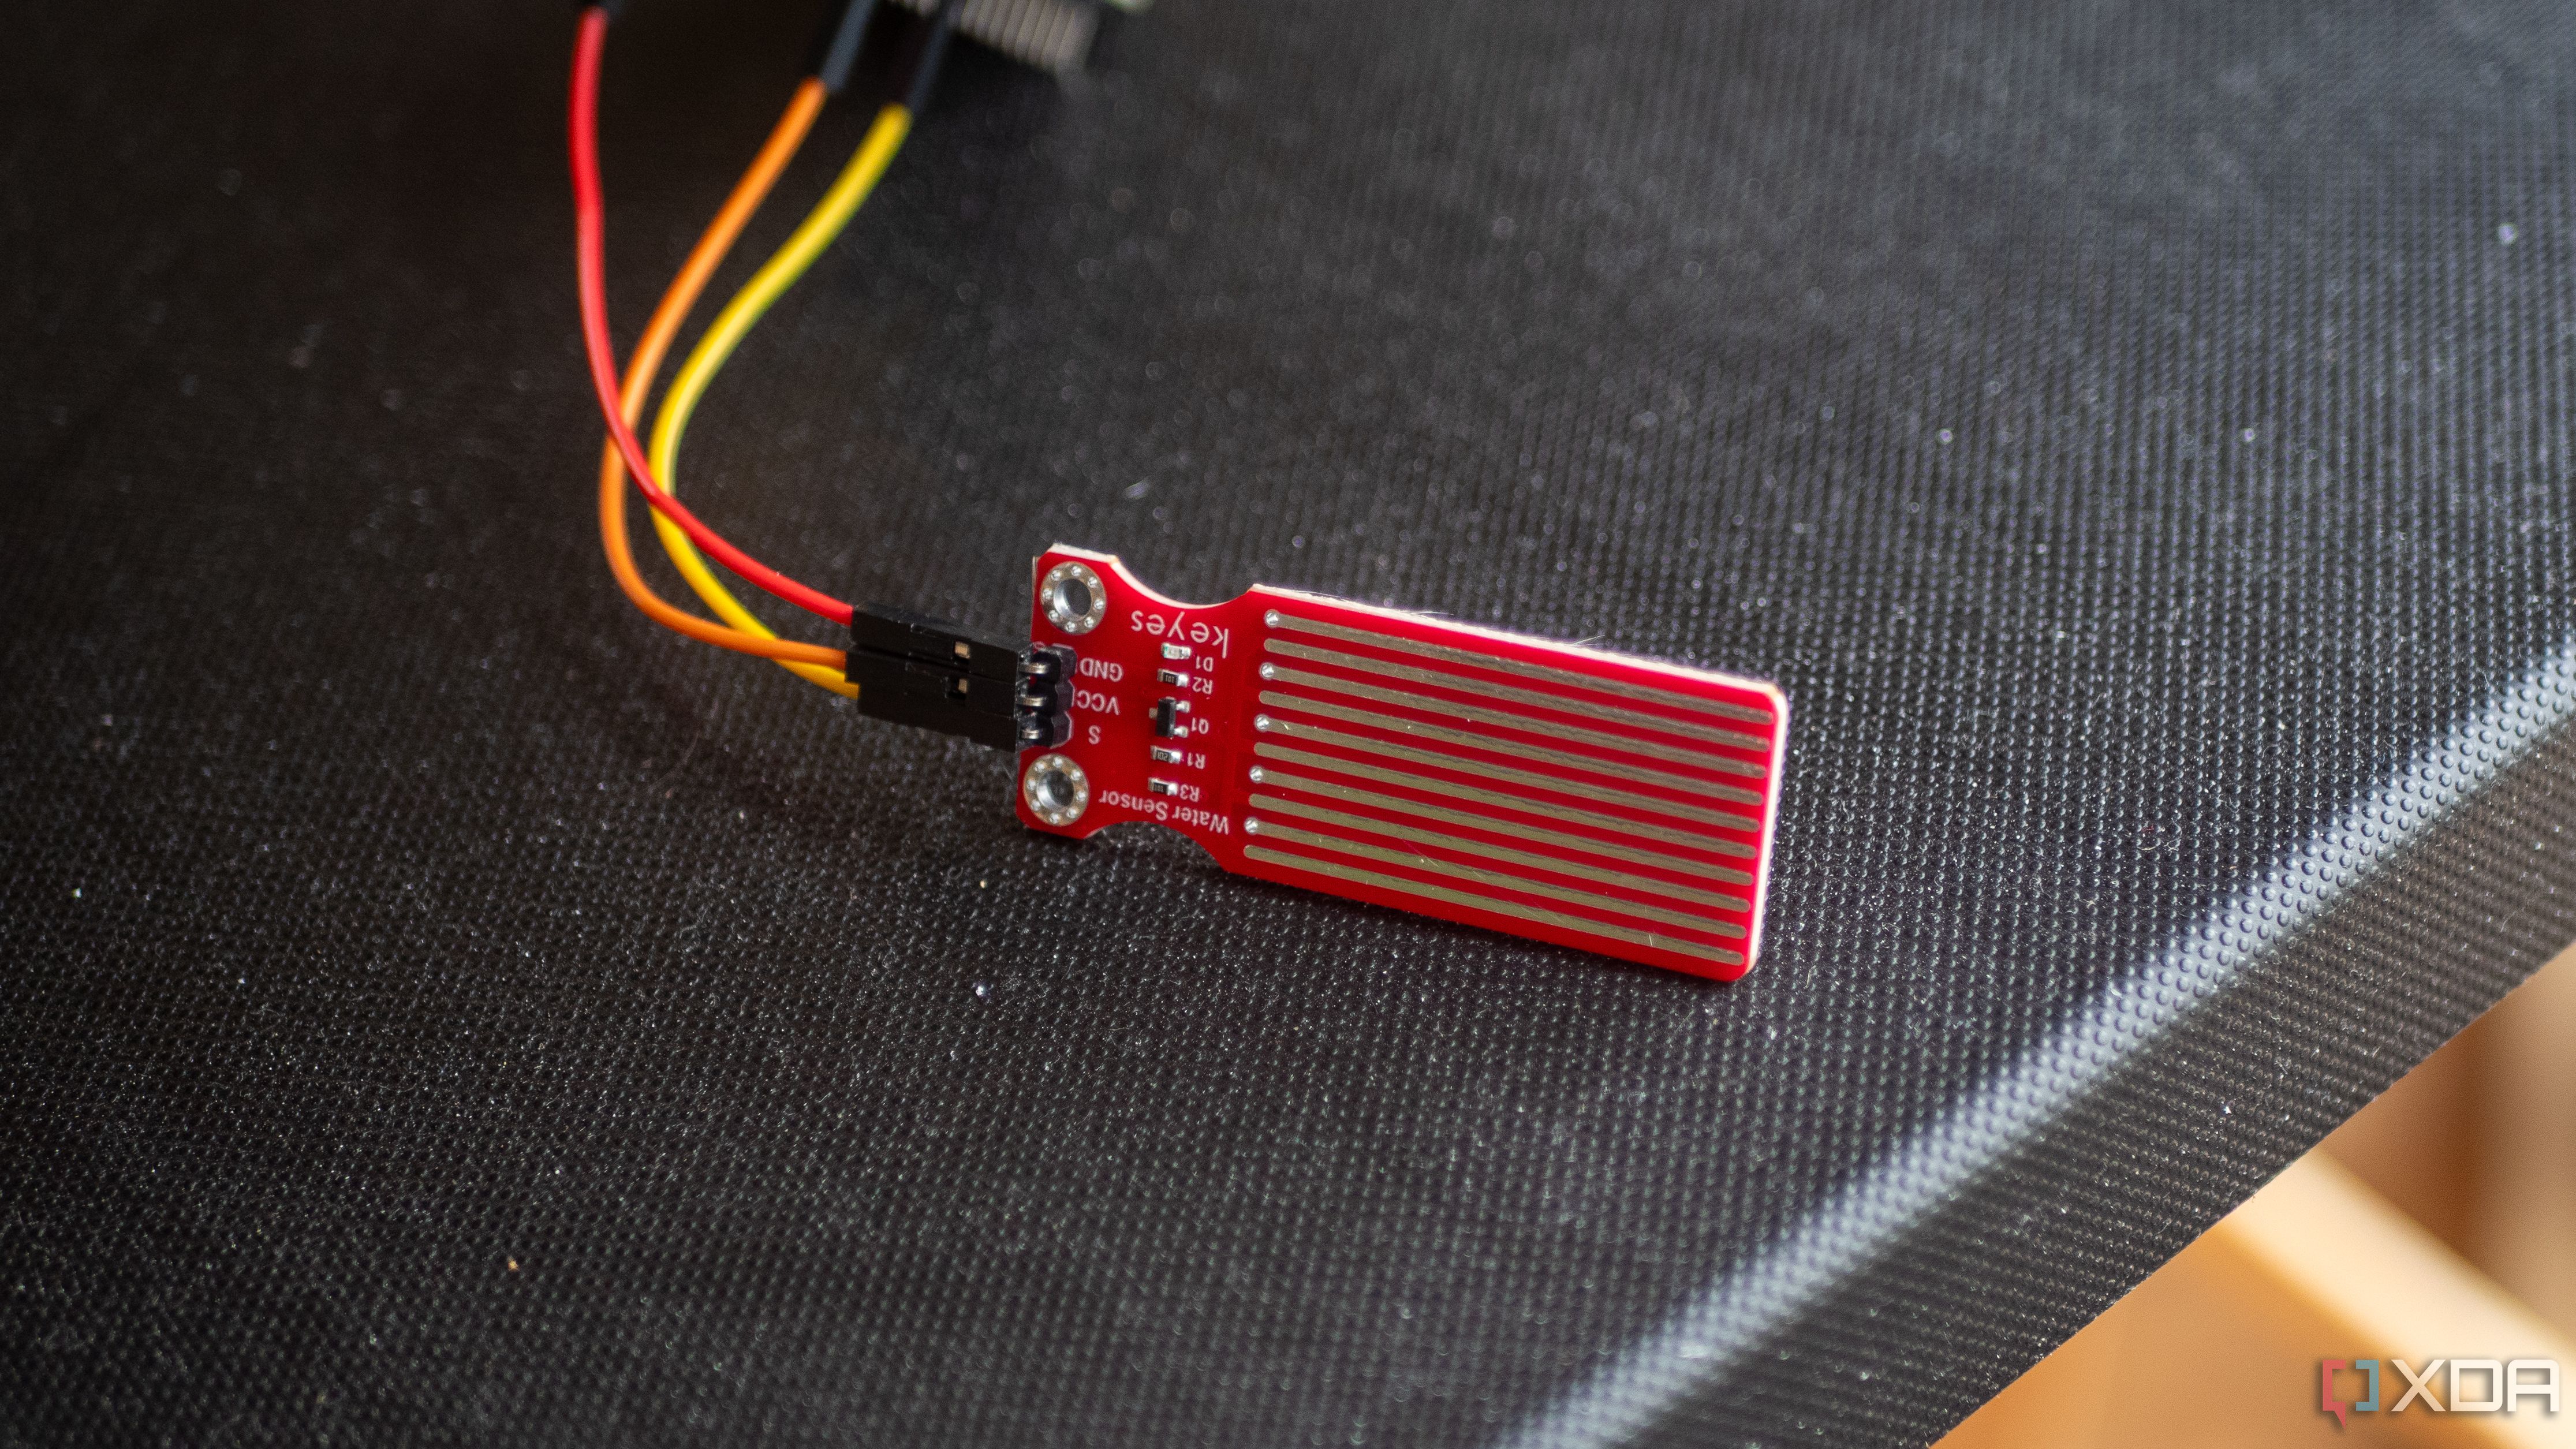
If you want to keep an eye on water levels or leaks, a water sensor can be a fantastic addition to your home. This will report a voltage depending on how much water is making contact with the sensors, which can then be converted to a water level that you can use to keep an eye on something specific. It can pick up on water leaks as well, as if the value spikes, there's a sign that something is wrong. I'm using the Keyes water sensor here.
Of course, electronics and water don't particularly mix well, so be careful when setting this up to avoid damaging your ESP32, water level sensor, or even hurting yourself. If you want to set this up, here's a great thread with information on how to configure it.
1 Soil sensor
Keep an eye on plants
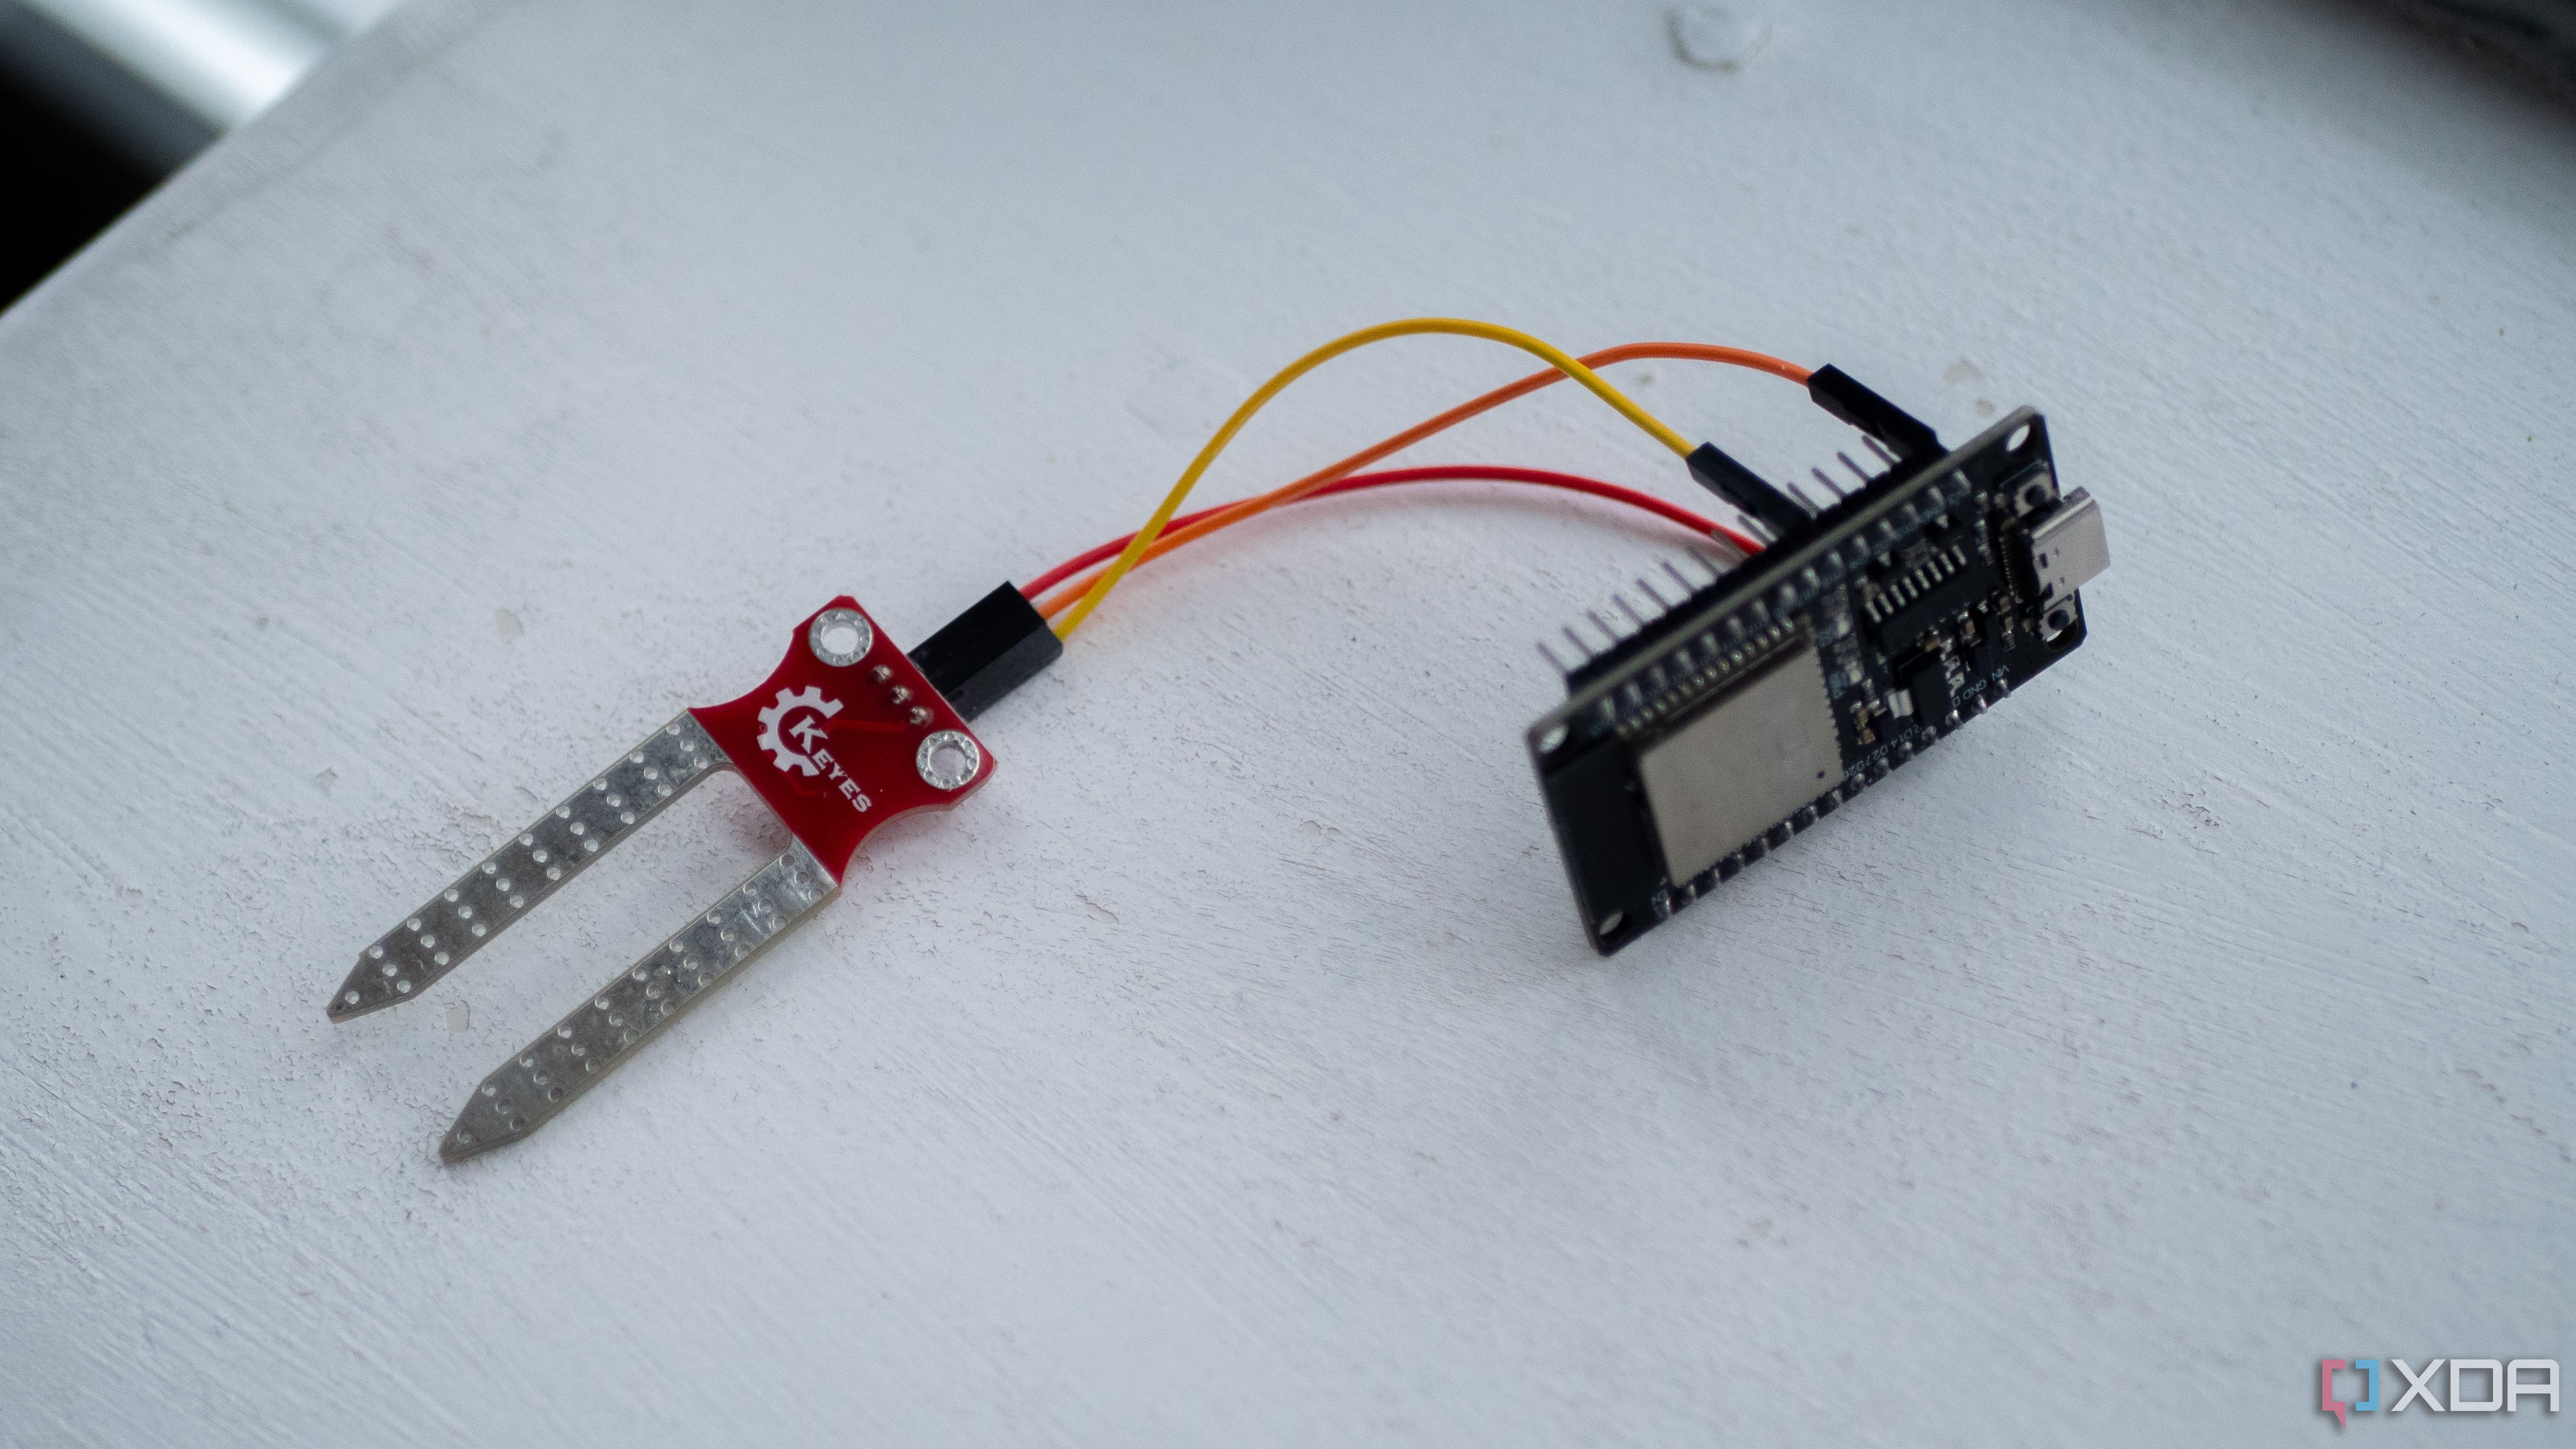
If you have a lot of plants, a soil sensor could be a great use for an ESP32. It again utilizes an analog output to decrease the reported value, which can then be calibrated to detect moisture levels and automate watering systems or alert you that you need to water your plants. It's pretty neat, and this kind of sensor can come pretty cheap as well, though it also comes in many shapes and sizes.
If you're wondering how to implement this, there's a great thread on ESPHome that explains how to read the values and report them to Home Assistant. From there, you can react to the reported values and initiate different systems, and it's all thanks to a cheap sensor and an ESP32.


 English (US) ·