.png)
Summary
- Raspberry Pi can transform any screen into smart dashboards showing weather, calendars, and more.
- Use Raspberry Pi to monitor server status, services, and uptime with tools like Uptime Kuma.
- Turn screens into digital photo frames, streaming media players, or AI-powered info boards for added utility.
Whether it's a wall-mounted display, a desk monitor, or a spare TV collecting dust, a Raspberry Pi can breathe new life into any screen you own. With the right software and a bit of setup, you can pair your Raspberry Pi with those screens to build dashboards, art frames, status boards, and more. These projects don’t just make your screens look better—they make them more useful.
Related
7 Turn a monitor into a smart dashboard
Show weather, calendars, system stats, and more
With a Raspberry Pi and tools like DAKboard or MagicMirror², you can create a custom dashboard that turns any screen into a smart, always-on display. These platforms enable you to add modules such as weather, calendar events, to-do lists, and system statistics. Setup is straightforward, and many options come with built-in templates for a fast start. You can run them in full-screen mode to create a clean and distraction-free display.
If you prefer a more hands-on approach, MagicMirror² offers extensive customization options. It’s based on Node.js and features a vast library of community-developed modules. You could show traffic conditions, stock prices, or even rotating motivational quotes. It’s also possible to create a dashboard that pulls data from your own APIs, giving you total control over what is displayed.
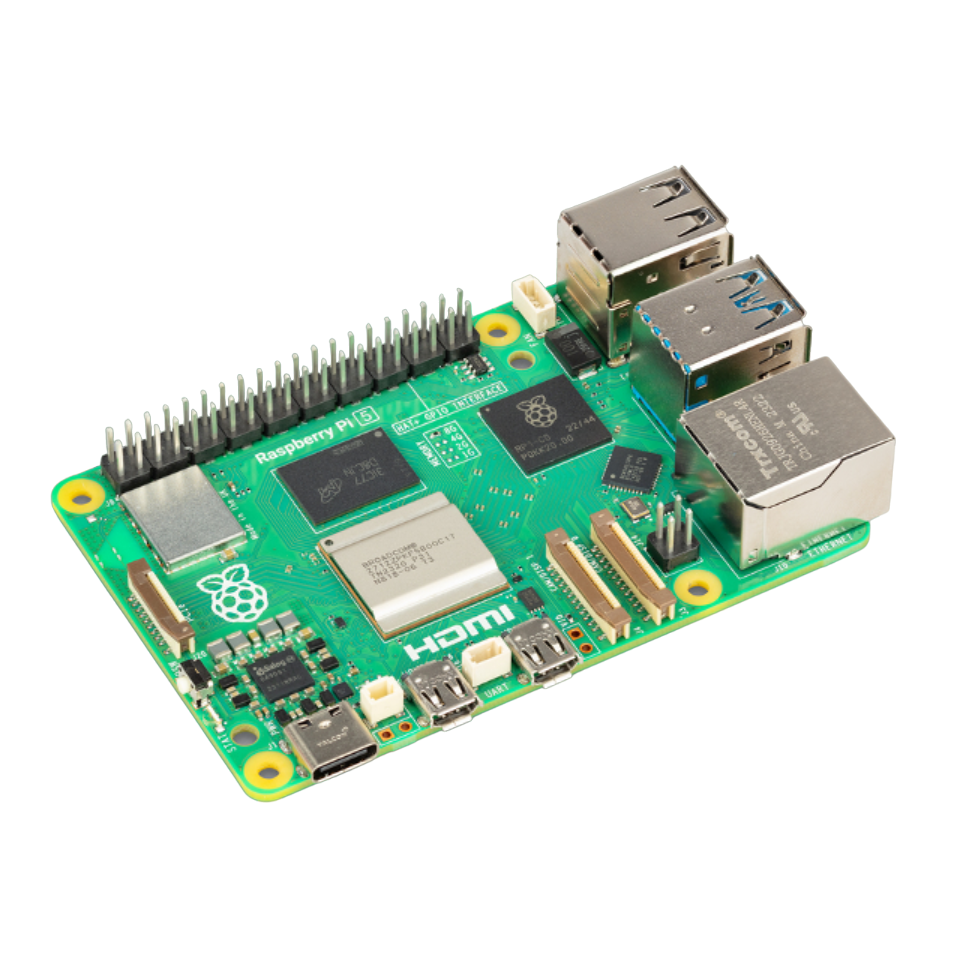
The performance of a Pi 4 or 5 is ideal here, but even a Pi 3 can handle the basics. Mount it behind a wall-mounted screen or integrate it into a workspace. It’s a practical way to stay informed without constantly reaching for your phone.
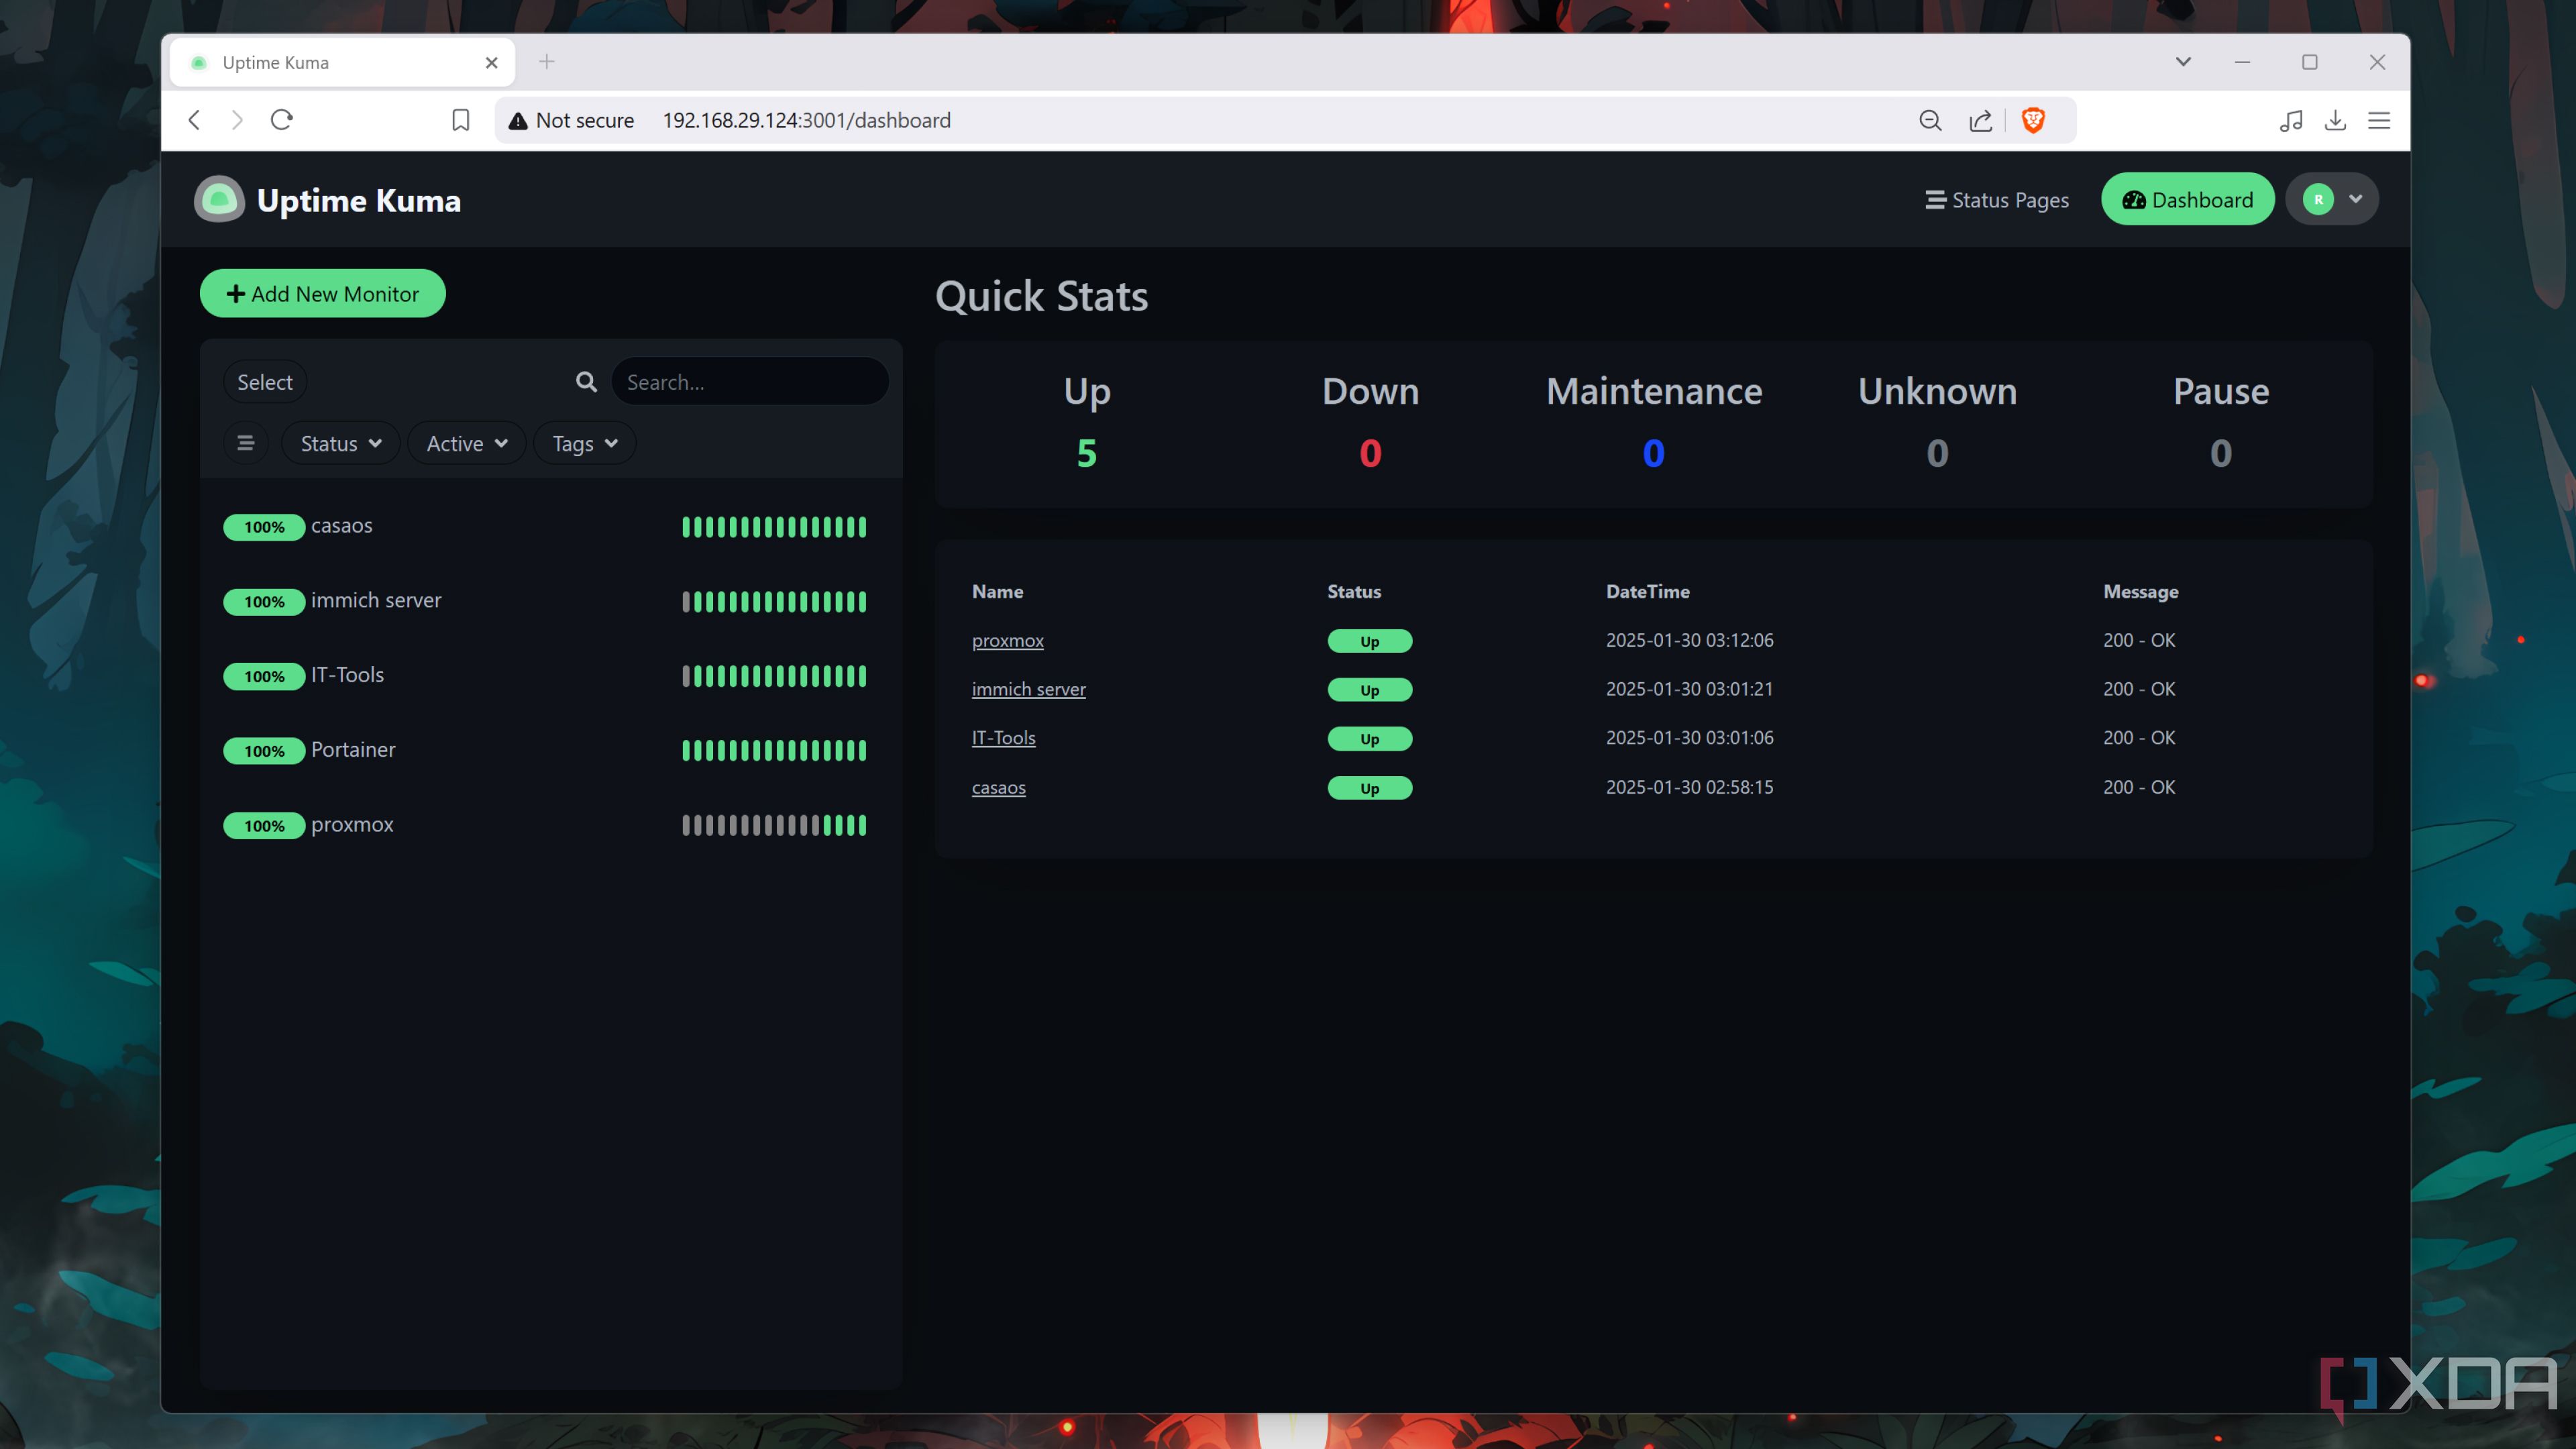
6 Build a real-time server status board
Monitor self-hosted services from across the room
If you run services on your home network or host websites from a virtual private server (VPS), a Raspberry Pi can be the perfect tool for visualizing their health. Uptime Kuma is a popular, self-hosted status monitor that runs well on a Raspberry Pi. Pair it with a display and kiosk-style browser setup, and you’ve got a dedicated screen that shows you if any services are down or misbehaving.
Related
How I use Uptime Kuma to monitor my self-hosted services (and get notifications if they go down)
Uptime Kuma is an amazing monitoring server that can notify you every time your self-hosted app stack goes offline
With Uptime Kuma, you can set update intervals, organize monitors into groups, and track uptime percentages over time. The UI is clean and responsive, even on smaller screens. For more interactive dashboards, you can integrate Grafana to plot system load, temperature, or bandwidth in real-time. Both tools support alerting, so you’ll know when something goes wrong even if you’re not looking at the screen.
The beauty of a status board like this is how easily it scales. Start with a few services, then expand as your network grows. Add QR codes to your dashboard that let you jump directly to service URLs or admin pages. It’s a professional touch that’s also genuinely useful.
5 Make a Pi-powered digital photo frame
Loop through albums or stream from cloud storage
A Raspberry Pi makes a fantastic digital photo frame, especially if you’ve got photos sitting in cloud storage or on a home NAS. PiGallery2 or even a full-screen slideshow in a browser can handle this task well. You can point it at a folder of images or sync it with services like Google Photos using rclone. It’s simple to update the image library remotely, making it a low-maintenance solution.
You can also add touch input or use GPIO-connected buttons to cycle through images or change albums. The Raspberry Pi’s video output works with most HDMI displays, so you aren’t stuck with small screens. If you prefer vertical display modes, tools like feh or VLC can handle the rotation with minimal configuration.
For a more polished feel, use a matte screen and hide the Pi behind the frame. Add a motion sensor to conserve power when no one’s nearby. It’s a great way to bring your photo archives into everyday view.
4 Stream metrics and data to a kiosk
Display Grafana, Home Assistant, or Pi-hole stats
A Raspberry Pi works great as a dedicated stats display for network and home automation data. Hook it up to a small HDMI screen and use Chromium in kiosk mode to open a Grafana dashboard. This setup allows you to track energy use, Pi-hole DNS activity, or smart home automation events without needing to access logs or dashboards on your primary device.
Grafana can be customized with various themes, fonts, and plugins to give it a clean and modern appearance. You can link it with Prometheus, InfluxDB, or MQTT to pull in data from all over your home. Many users even combine it with Home Assistant for a broader view of their connected devices. If you’re already running these services, extending them to a screen adds serious value.
Keep in mind that while the Pi Zero 2 W can handle simple displays, a Pi 4 or newer will give better performance, especially with multiple charts or real-time graphs. Mounting it near your router or server rack keeps things tidy and functional. It also makes it easier to notice any strange patterns as they emerge.
3 Turn it into a smart TV interface
Use Kodi or Plex for full-screen media playback
By installing Kodi or Plex on a Raspberry Pi, you can convert nearly any screen into a powerful smart TV. LibreELEC is a lightweight Linux distribution designed explicitly for Kodi, making it easy to get started with just a microSD card and an HDMI cable. It supports USB drives, network shares, and streaming services, providing you with a lot of flexibility in how you watch.
Plex is another excellent choice if you have a central media server. The Plex client on Raspberry Pi works well and can connect to your local library or Plex Pass features. Kodi offers even more customization, with skins and plugins for everything from weather reports to retro gaming.
This project is especially useful if you want to modernize an old monitor or TV without spending money on a streaming box. You can control it using a smartphone app, an IR remote, or a wireless keyboard. With proper cooling, a Raspberry Pi 4 or 5 can stream 1080p content and even some 4K content smoothly.
2 Use it for ambient YouTube or Twitch
Loop chill videos or stream live cams
A Raspberry Pi can easily loop relaxing or ambient videos using full-screen Chromium and a little scripting. Set it up to autoplay YouTube channels like Space Ambient, cozy jazz playlists, or even scenic webcams from around the world. You can also tune into Twitch streams to keep up with background chatter from your favorite creators.
This is a great use case for vertical or portrait screens. Install Raspberry Pi OS Lite with just enough GUI to run a browser, then add a script to launch full-screen content at boot. Kiosk mode keeps the interface clean, and you can disable mouse cursors and pop-ups with some additional tweaks.
For live content, a stable network connection is essential. Ethernet is ideal, but a strong Wi-Fi connection on a Pi 4 or Pi 5 works too. Pair this setup with speakers or a soundbar, and you’ve got a pretty immersive screen that quietly fills the room without demanding your attention.
1 Make it an AI-powered info board
Display ChatGPT answers, summaries, or search results
You can take things a step further and use a Raspberry Pi screen to show AI-generated summaries, answers, or updates. Pair the Pi with a lightweight Python script or web server that queries ChatGPT’s API, then present the results on a custom web page. Use it to show definitions, news summaries, or even a “word of the day” on a loop.
This project does require some basic coding, but nothing too advanced. Flask is a solid choice for the backend, and you can keep the frontend lightweight with HTML and CSS. Add voice input or touch for interactive features. It transforms a static screen into something that can actually respond.
Think of this as a personal info assistant on a screen. You can set it to refresh automatically or trigger updates through a web dashboard. It’s a project with real personality, and once it’s running, it feels surprisingly polished.
Smarter displays make your space more useful
Repurposing your screens with Raspberry Pi projects gives them new life and purpose. Whether you're using them to display data, stream content, or keep tabs on your smart home, each setup adds a touch of intelligence to your everyday environment. These projects are not just about looking cool—they help you get more out of your tech.
A smart screen can serve as a quiet assistant, a dynamic art piece, or a full-fledged media hub. Most of the time, the only limit is your creativity. And with the affordability of Raspberry Pi boards, there’s no reason to let any screen go unused.


 English (US) ·