.png)
Summary
- Accessories are essential and can add up quickly
- Software setup is time-consuming and may require troubleshooting
- Storage speed is crucial; slow microSD cards can hinder performance
Raspberry Pi boards are powerful little machines, but they come with a few surprises you might not expect until you're already in the weeds. Whether you're eyeing one for retro gaming, home automation, or running your own cloud, there’s more to know than just plugging it in and going. These are the kinds of lessons most people learn the hard way—unless you get ahead of them.
Related
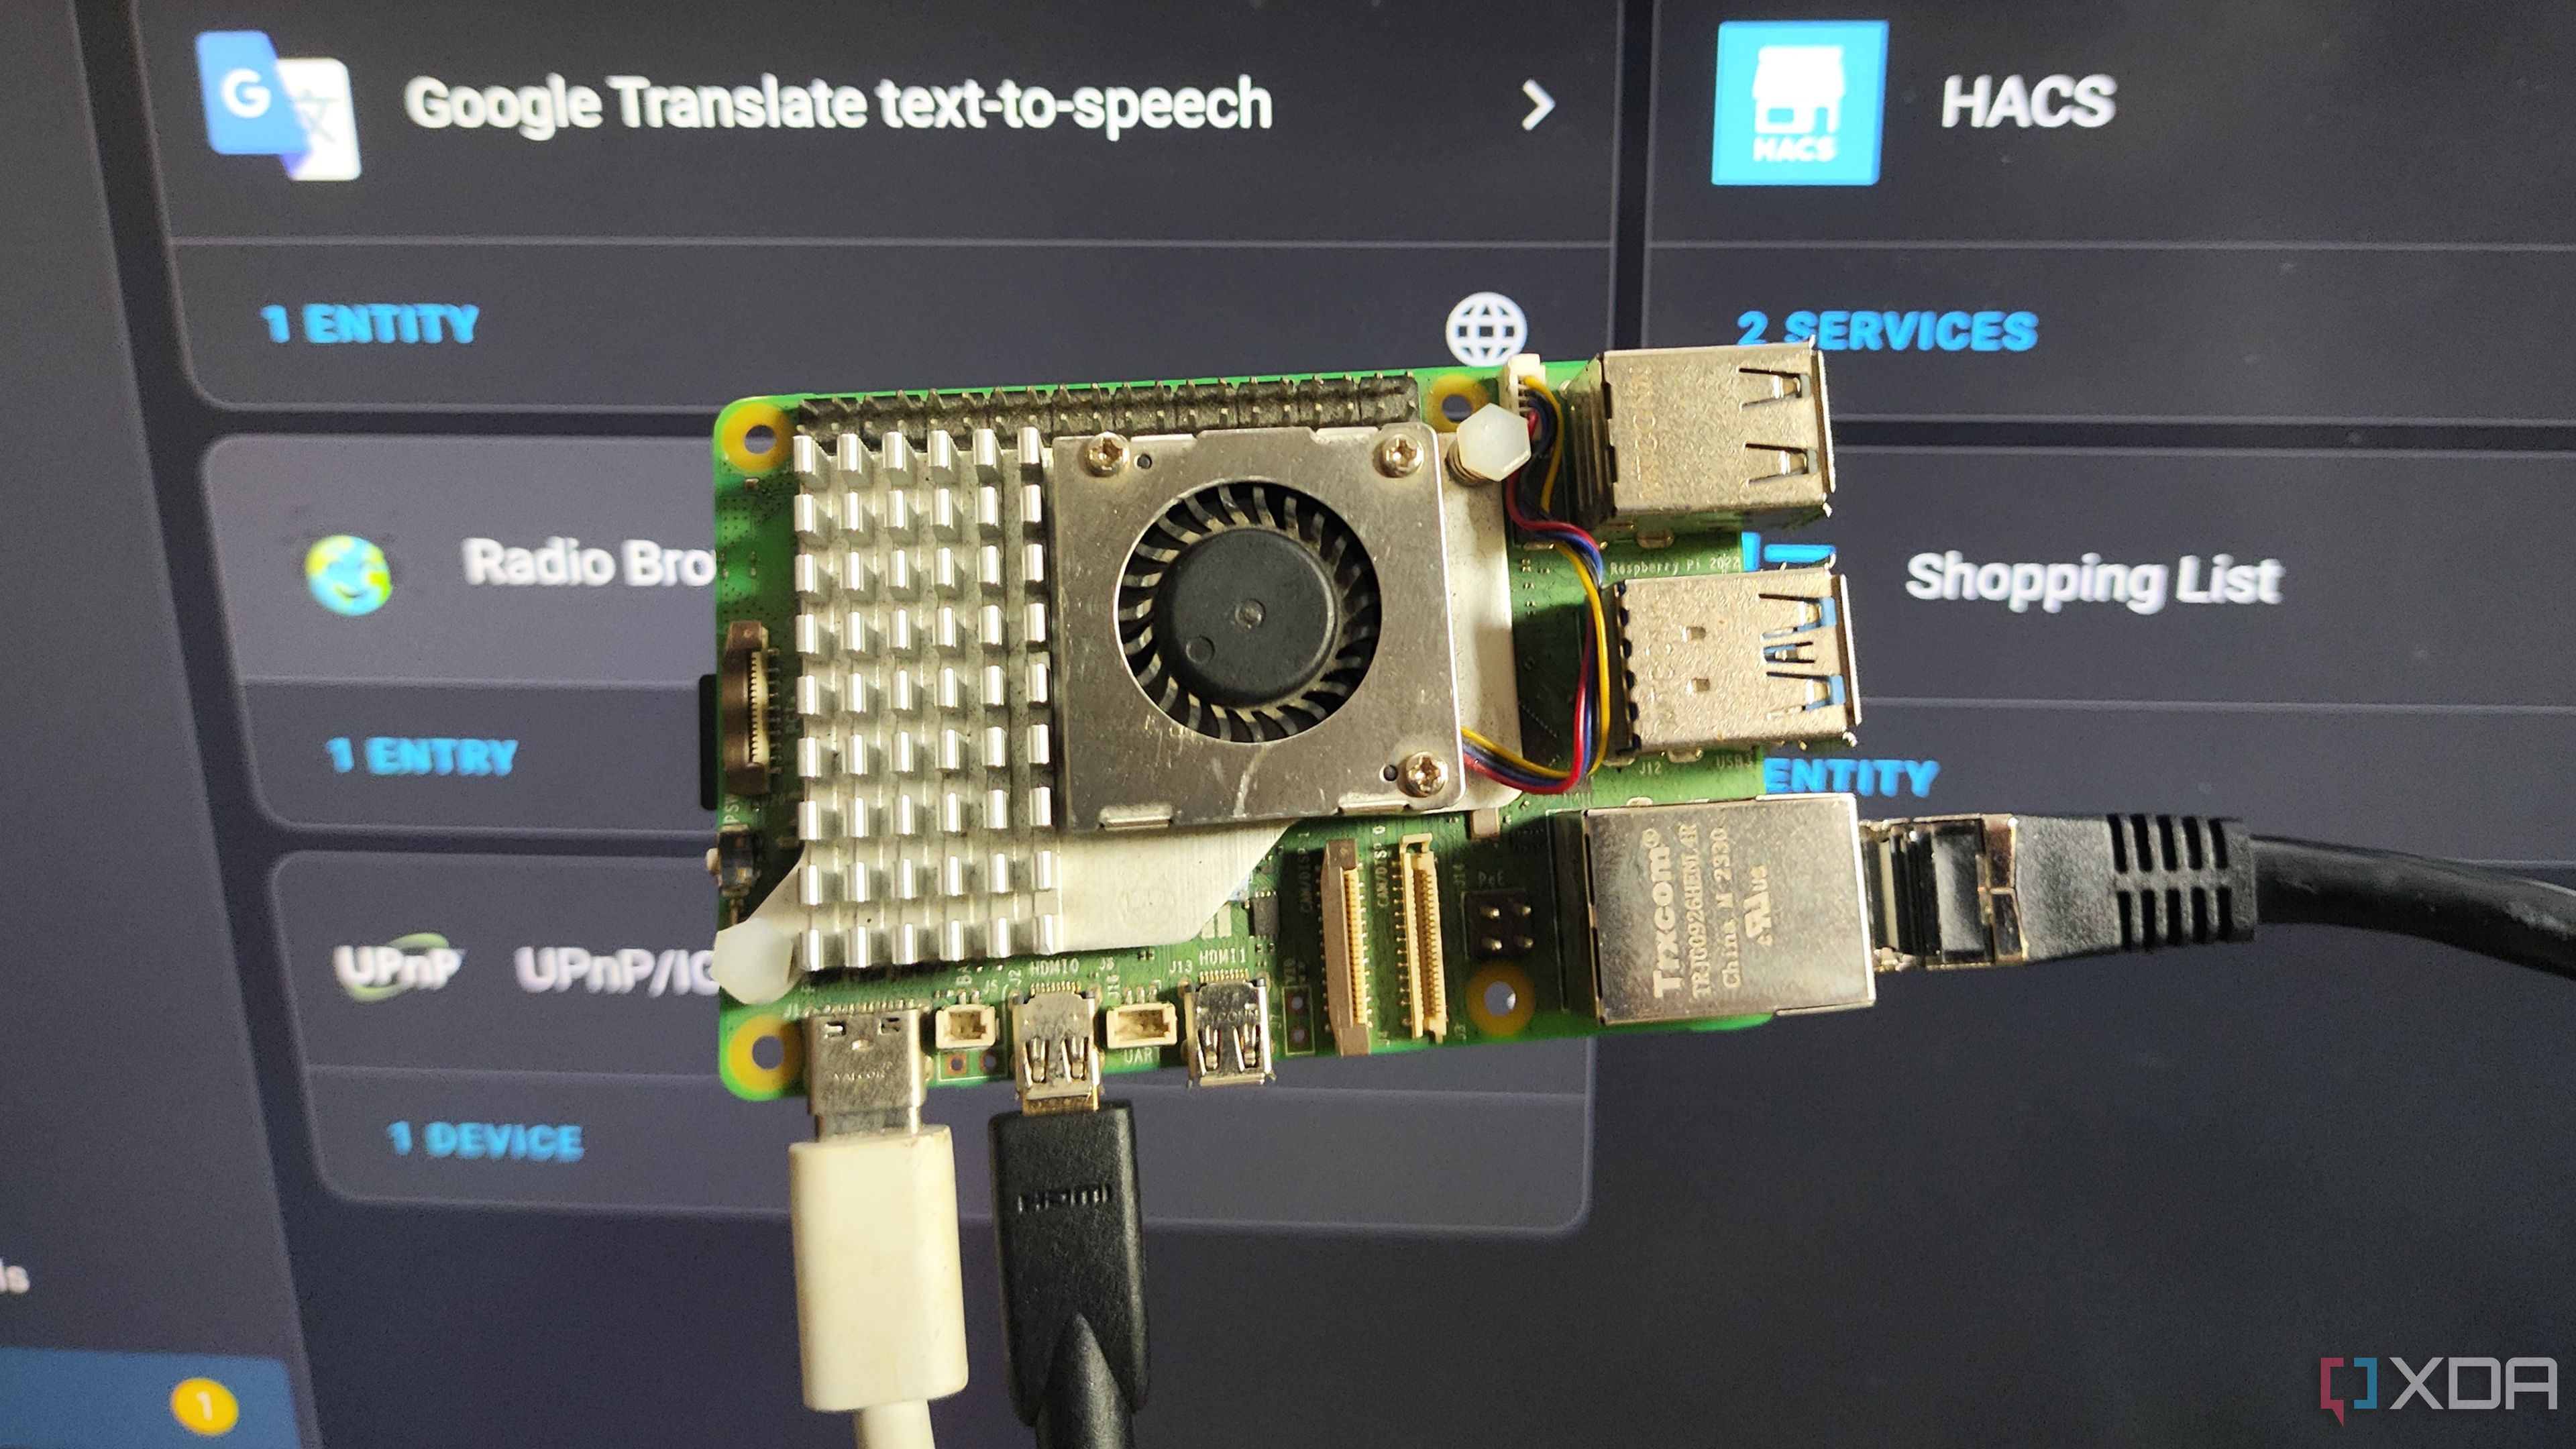
4 things I learned by turning a Raspberry Pi into a dedicated Home Assistant hub
I've been using my Raspberry Pi as a Home Assistant hub for months, and here are some lessons I learned along the way
7 Not all accessories are optional
You'll probably spend more than just the board costs
The base price of a Raspberry Pi might look like a steal, but the real cost comes when you start gathering accessories. A power supply with the proper voltage and amperage is a must. Most users also end up needing a microSD card, a case, heat sinks or a fan, and maybe even an HDMI cable or USB peripherals. That adds up quickly.
Many kits attempt to bundle these extras, but not all of them include high-quality parts. You’ll want to double-check what’s included and ensure it meets the specifications for your particular Pi model. Using a generic phone charger or a slow SD card can lead to stability issues and significant performance problems.
If you're planning a specific use, such as media streaming or a network-attached storage (NAS) device, even more hardware might be necessary. Think USB drives, Ethernet adapters, external SSDs, or even GPIO add-ons. It's better to budget for a complete setup from the start.
6 Software setup takes longer than you think
You’ll spend time troubleshooting and tweaking
Getting the Raspberry Pi OS onto a microSD card is relatively simple in theory. Tools like Raspberry Pi Imager or Balena Etcher make the flashing part easy. However, once you boot it up, expect to spend time addressing system updates, configuring network settings, and installing additional packages.
Many beginner guides make it sound like a plug-and-play process, but it’s not unusual to encounter issues such as missing dependencies or hardware that isn't detected properly. And if you're using it headless, be prepared to fiddle with SSH keys and Wi-Fi config files before you can even log in. For anything more complex than a blinking LED or basic Pi-hole setup, you'll need to be comfortable using the terminal. The good news is that most problems are well-documented online, but expect to read a lot of forum posts before you hit that sweet spot where everything just works.
A slow microSD card will ruin the experience
Raspberry Pi boards rely heavily on microSD cards for their primary storage, and not all cards are created equal. A low-end card might technically work, but it will introduce long boot times, delayed app launches, and sluggish system performance. For desktop use, this can be especially frustrating.
Related
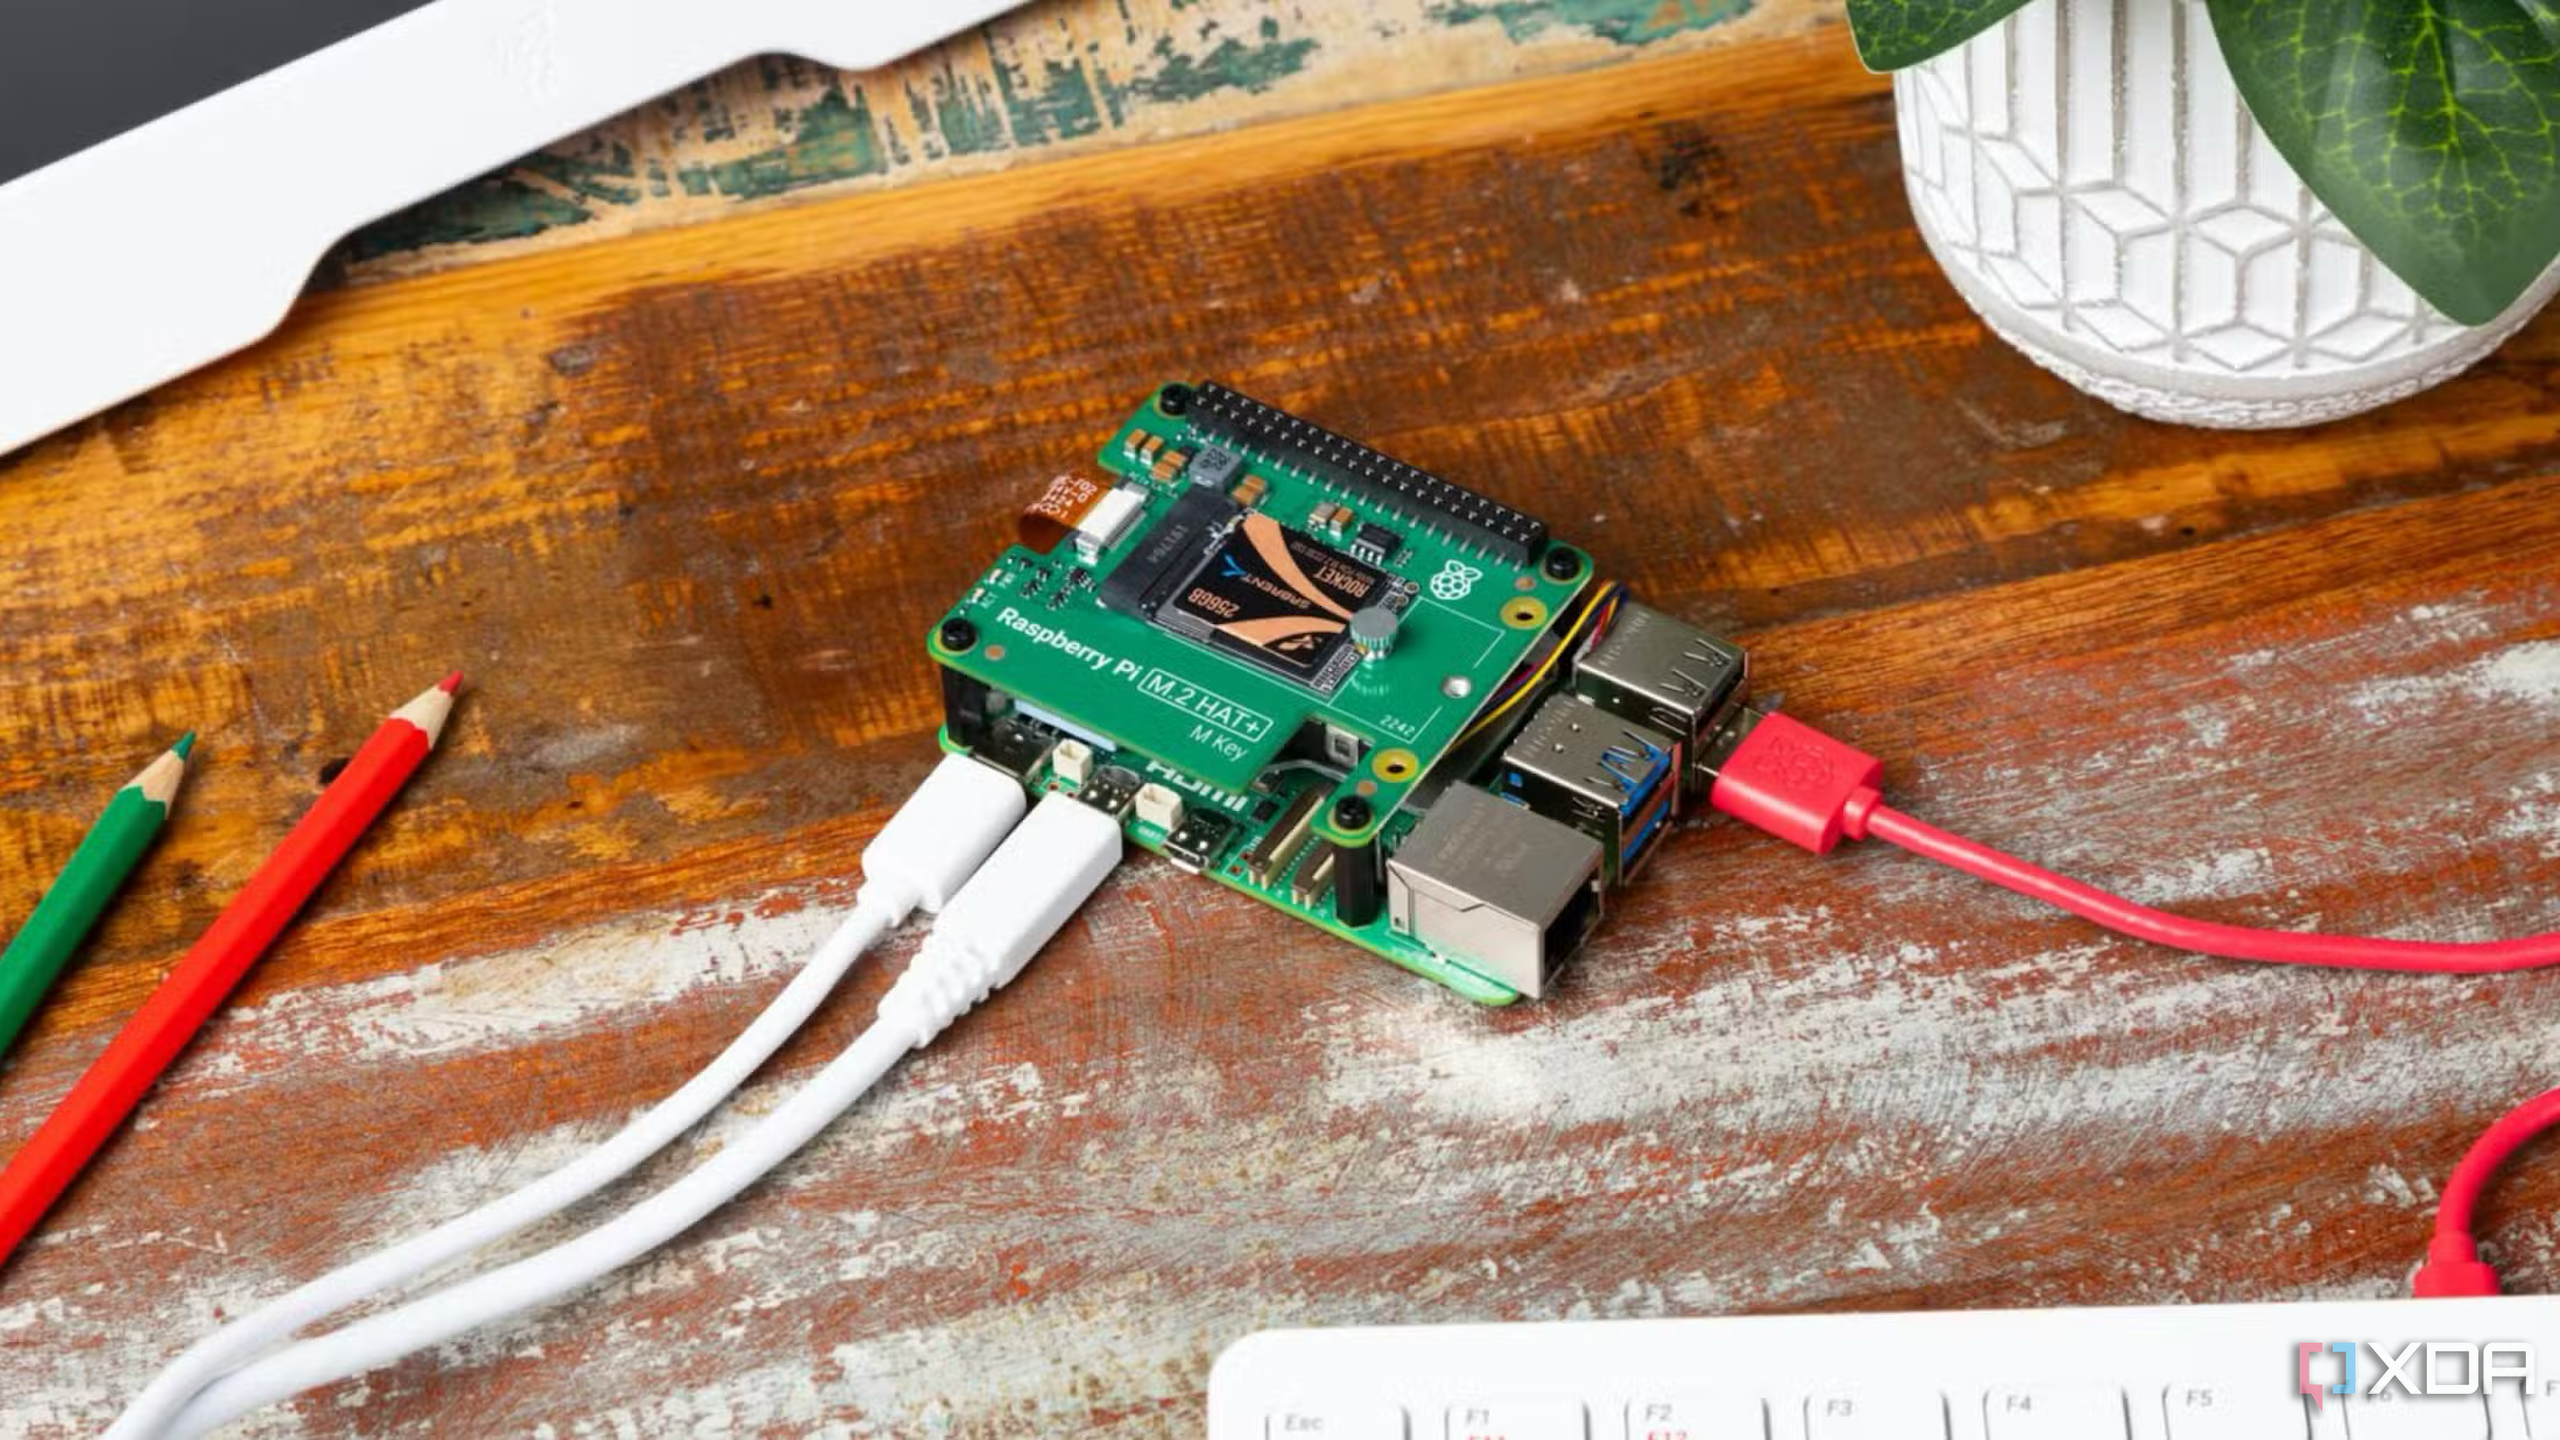
I ditched SD cards and started booting my Raspberry Pi from an SSD
A micro SD card is fine for booting your Raspberry Pi at first, but switching to an SSD makes a world of difference
The best performance is achieved with high-speed cards rated A1 or A2, or by switching entirely to SSD boot with a USB SSD or, even better, an M.2 NVMe SSD attached to the PCIe bus. Even the Raspberry Pi 5 benefits massively from external storage. For databases, media servers, or any other application involving read/write activity, microSD simply doesn’t cut it.
4 Wi-Fi isn’t always reliable
You'll run into connectivity quirks and limitations
Built-in Wi-Fi is one of the Raspberry Pi’s most convenient features, but it's not always reliable. Depending on your environment and the specific model, you may experience weak signal strength, random drops, or slow transfer speeds, particularly on the 2.4GHz band.
While later models support dual-band Wi-Fi, that doesn’t always mean a smooth experience. For any use case involving heavy network traffic, such as streaming, file sharing, or running containers, Ethernet remains the best option. Some models don’t even include a full-speed Ethernet port, requiring the use of USB tricks.
There are workarounds, including USB Wi-Fi dongles or external antennas, but they add to the cost and complexity. If stable connectivity is essential, plan to use Ethernet from the outset or be prepared to troubleshoot wireless performance issues.
3 GPIO is powerful but easy to mess up
You can break things if you’re not careful
One of the Pi’s most exciting features is the GPIO header. It allows you to interface with LEDs, sensors, motors, and other hardware for a wide range of cool automation projects. But it also introduces a risk of damaging your board if you wire something incorrectly or send the wrong signal.
There’s no built-in protection on those pins, so mistakes can be costly. It’s best to use a breadboard and resistor network when testing circuits. And double-check the pinout chart every time, since it’s easy to get one pin wrong and fry a component.
That said, learning to use GPIO is incredibly rewarding. It just comes with a learning curve that no one highlights until you’re knee-deep in jumper wires and trying to figure out why your servo isn’t moving.
2 Not every Pi model fits your use case
The cheapest one might not be enough
It’s tempting to grab the least expensive Raspberry Pi available, especially the Zero or Zero 2W, and try to make it work for everything. But they aren't ideal for resource-heavy applications like running Home Assistant, media servers, or even basic web apps with a GUI.
Older or lower-end models also have limited RAM and slower CPUs. That makes them better suited for simple, single-purpose tasks, such as acting as a temperature logger, a small IoT gateway, or a Pi-hole. Expect slowdowns and stability issues if you try to overload them.
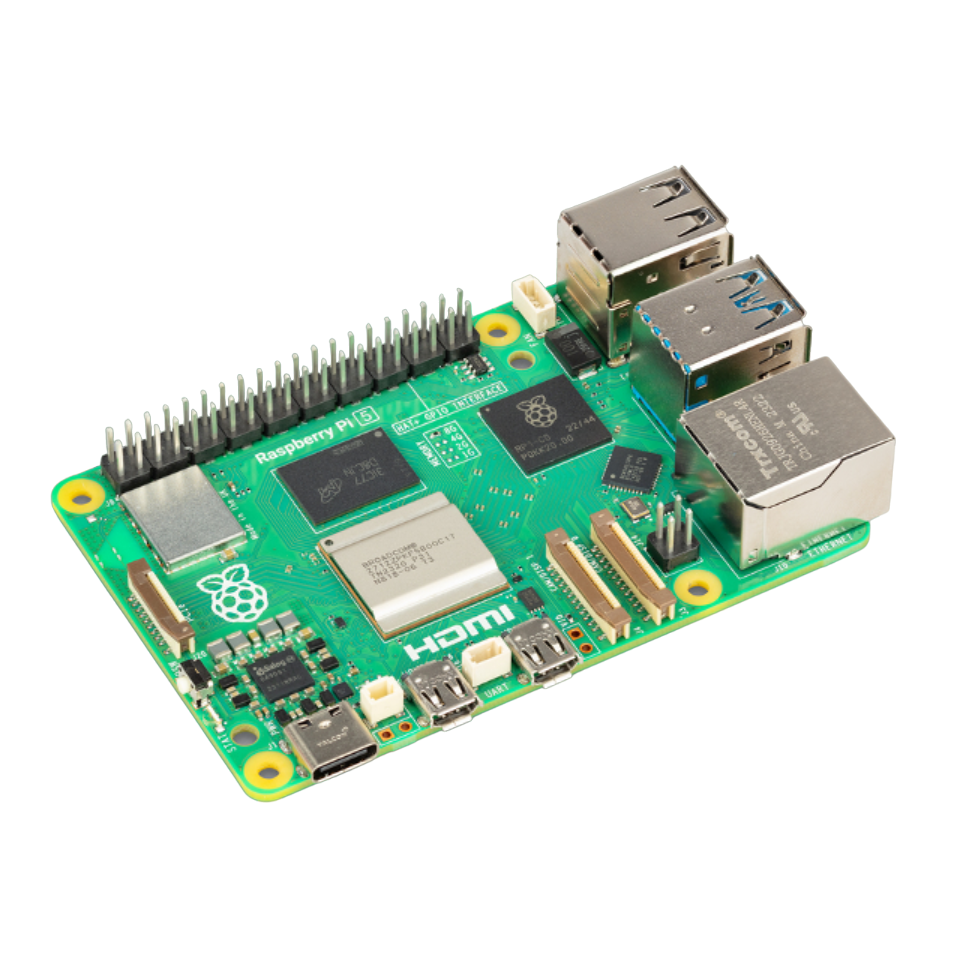
Plan accordingly based on your actual project needs. The Raspberry Pi 4 or 5 is a better choice for multitasking or any application requiring full USB 3.0 or faster storage. The extra cost up front pays off in fewer headaches later.
1 You’ll want more than one
Projects multiply once you start experimenting
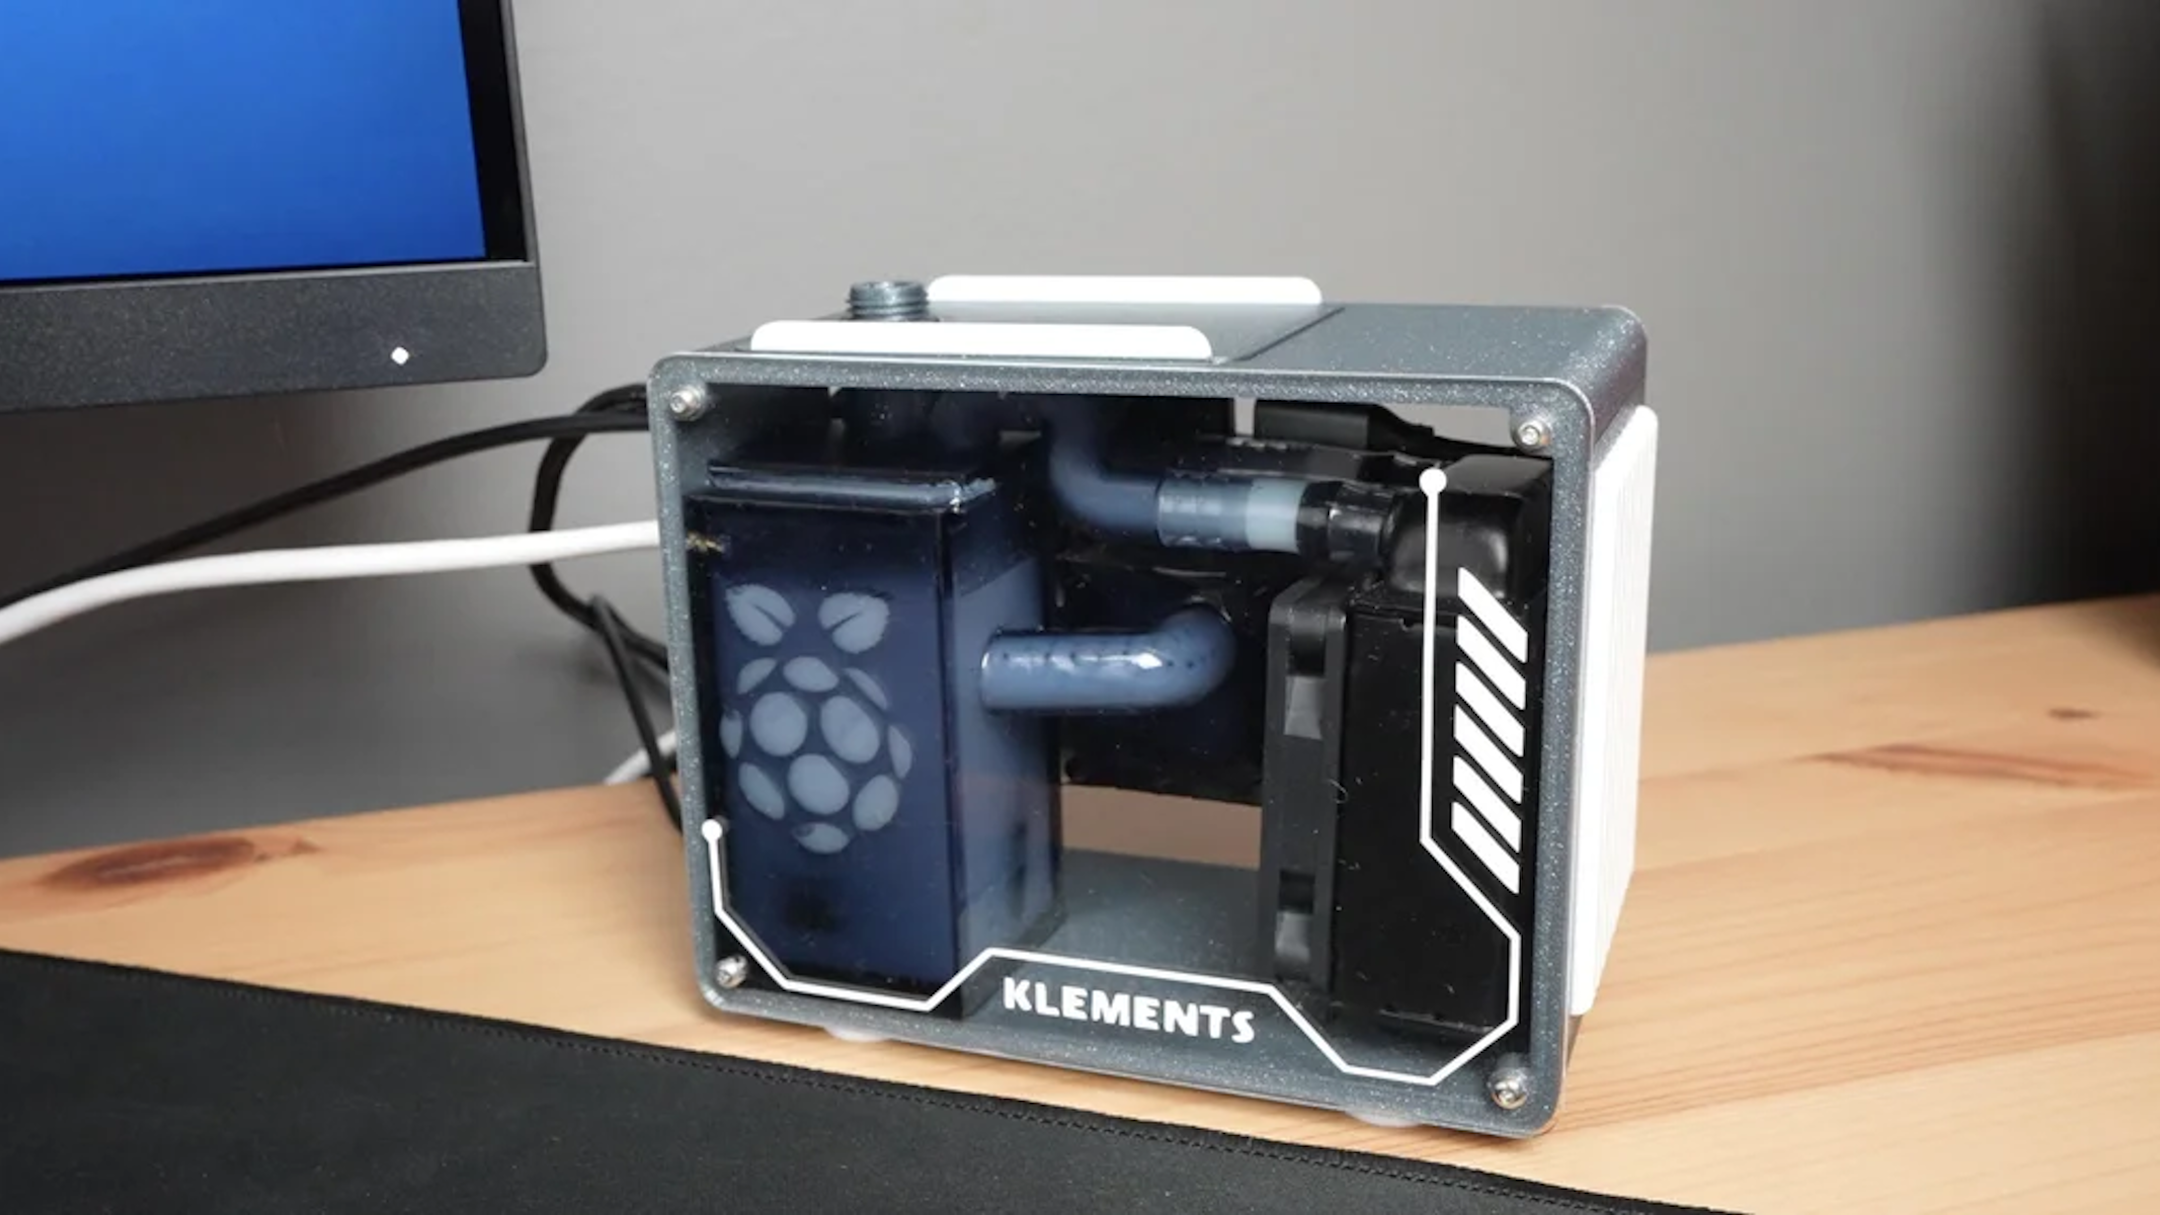
Once you complete your first Raspberry Pi project, it’s hard to stop. You might build a VPN server and then get curious about setting up a dashboard display. Alternatively, you may start with Home Assistant and end up wanting a second Pi for testing automations before deploying them live.
Related
Stop wasting your Raspberry Pi: 5 pro projects you should try next
Your Raspberry Pi isn't living up to its full potential? Try one of these pro projects next
Because the boards are so small and flexible, it’s easy to find a new use for every spare one you have. Before long, you’re thinking about a dedicated Pi for 3D printer control, another for retro gaming, and maybe one more for a weather station.
That’s when you start buying them in multiples, and even looking into models you didn’t consider at first. The Pi ecosystem encourages tinkering, and it doesn't take long before a single board turns into a full-blown fleet.
The Pi’s magic comes with hidden tradeoffs
Raspberry Pi boards are excellent tools, but they aren't always the simple plug-and-play solution people assume. Between hardware quirks, slow storage, networking surprises, and the need for some Linux know-how, there’s a learning curve you should expect. If you go in prepared, the experience can be both educational and incredibly rewarding.


 English (US) ·