.png)
Home Assistant is a wonderful way to link up all of your services into one neat software package, enabling smart home automation while also making it possible to do more than what was intended with the original devices. You can track your email, build your own sensors, and manage your servers all from one centralized place if you want, and that's the beauty of it. However, there are some integrations (known as "legacy" integrations) that can only be set up from the configuration file, rather than from the UI. Because Home Assistant has been around for a long time, "legacy" integrations are those that were designed for significantly earlier versions of the software.
Years ago, there wasn't really a configuration flow in the UI for new integrations, so the way you deployed new integrations was by creating manual entries in your Home Assistant configuration file, followed by restarting Home Assistant. That changed in June 2019 with the release of version 0.94 (before Home Assistant used a Year.Month.Patch versioning scheme), enabling users to add integrations through the UI instead. While the old method still works, most integrations have been updated since then to support the UI without requiring a restart.
There's a downside to this simplicity, though it's been ironed out over the years. At the time, it was somewhat controversial as more technically inclined users liked the ability to control everything from a set of configuration files. However, new Home Assistant users may not even be aware of the powerful integrations that are still only possible to set up from the configuration.yaml file. Many of these are simply older, power-used focused integrations that just work and don't need an update, whereas others appear to have just been forgotten about by the community. These are some of my favorites.
8 Command Line
Run Linux terminal commands from Home Assistant
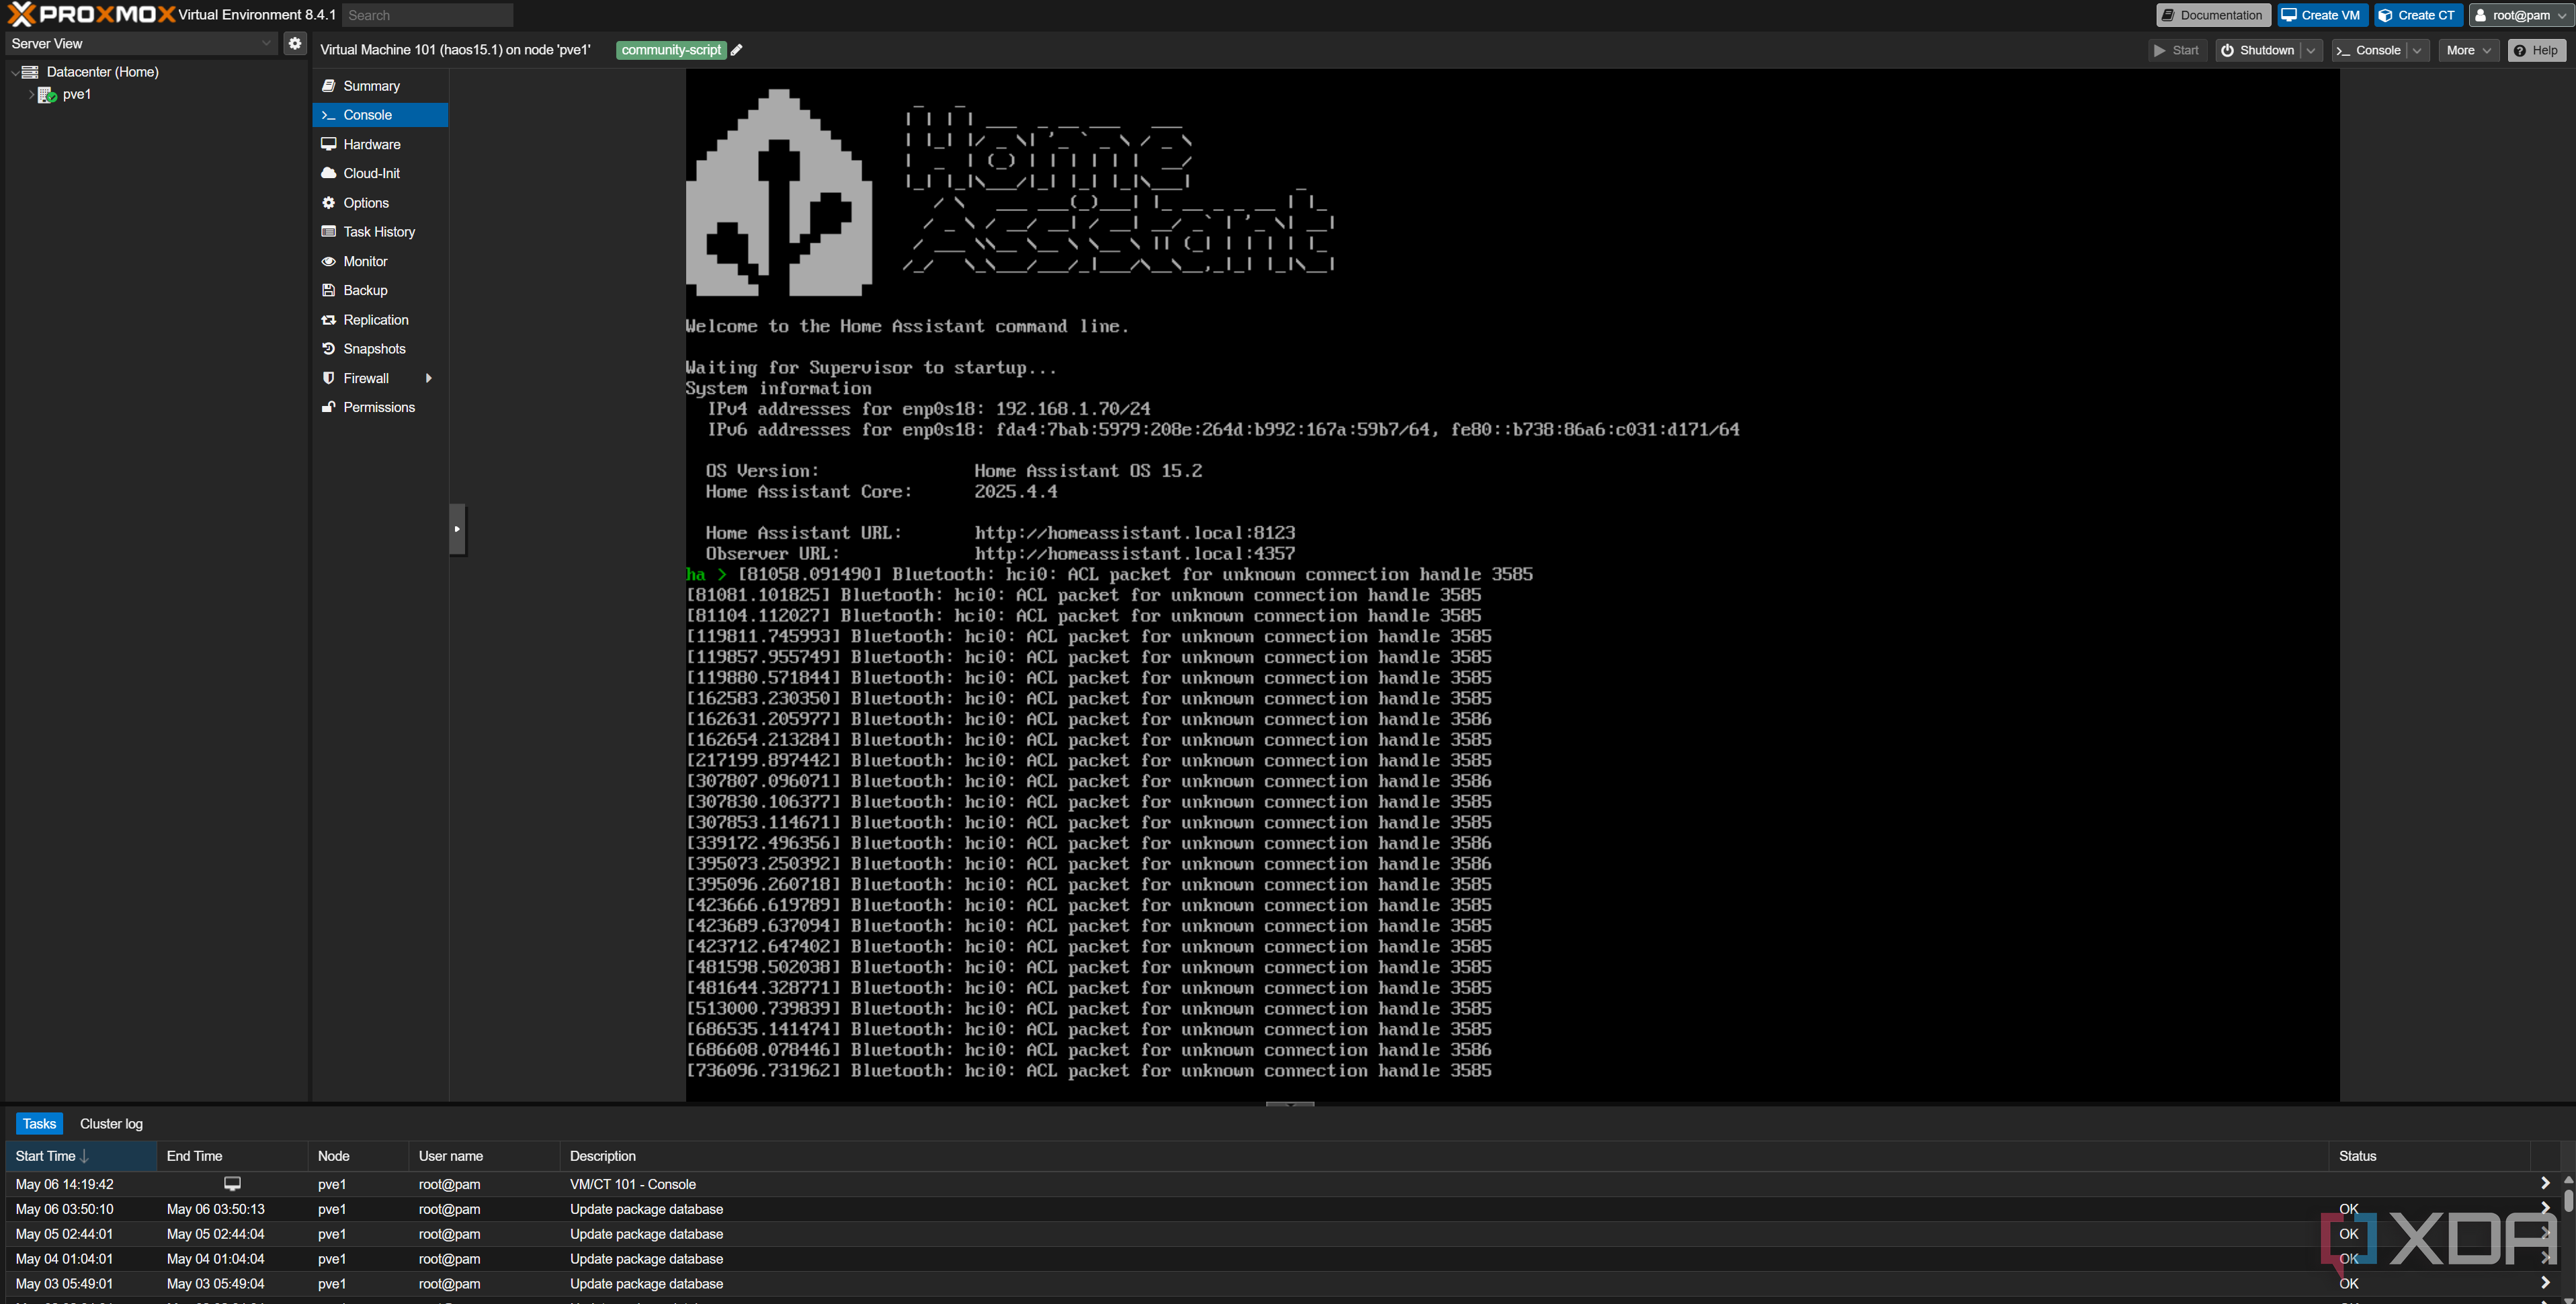
Falling strictly in the "just works" camp, the "Command Line" integration does exactly what it sounds like. It can execute Linux commands in the container that Home Assistant is running in, and these can range from very simplistic deployments to more advanced setups. I personally use this integration to pull my current home IP address and save it to a sensor, so that I can get a notification when my IP address changes.
command_line:- sensor:
unique_id: public_ip
name: Public IP
command: "wget -O - -q https://checkip.amazonaws.com"
scan_interval: 300
This creates a sensor.public_ip entity in Home Assistant, then saves the result of the above page to the sensor. Because the sensor just saves the text output result of the used command, we use "-O -" in the wget command to specify that our "output file" is really just the terminal, so our IP address goes to stdout in the terminal and is printed instead of being saved anywhere. The command_line integration then sees this output and writes it to our public_ip sensor, so that it can be represented in Home Assistant and used like any other integration.
You can use this in lots of different ways, like reading a file with "cat" or executing a script.
7 RESTful Sensor
Work with any API
If you have any self-hosted services (or even public services) that you'd like to use the API of, and there's no official integration, the RESTful Sensor is fantastic for exactly that kind of use. You can use it to send a GET or a POST request, and either send data alongside it or save specific values that are retrieved. For my self-hosted Govee H615B controller, I wrote a web server with a basic REST API for controlling the lights from Home Assistant, and this was the REST sensor I created to set the brightness value on them:
- light_brightness:url: "http://192.168.1.67:5000/api/light/brightness"
method: POST
content_type: "application/json"
payload: '{"brightness": {{ brightness }}}'
I have also previously implemented templates like these to pull from my TrueNAS instance, before I discovered the TrueNAS REST API integration. Anything that has a REST API will work with a RESTful Sensor, and in most cases, it's pretty easy to process the response to save specified data to variables.
6 Template
The most powerful tool in Home Assistant

Templates are very powerful in Home Assistant, and there's an actual UI that you can use to configure a lot of the templates most users will want to use. A "template" allows you to create an entity from specific data, but not every templatable entity can be created from the UI. If you're a power-user of Home Assistant and don't mind dealing with YAML, it can be easier to just go straight to your configuration to deal with templates. I also recommend using an "!include" to point to a separate "template.yaml" file, as it prevents your configuration from becoming too unwieldy.
As an example, here's what I use for my template to pull my currently-playing music on Spotify, which I then display on the ESP32-powered WT32-SC01 Plus.
- sensor:- name: "Spotify details"
state: "OK"
attributes:
spotify_song: >
{{ state_attr('media_player.spotify_adam_conway', 'media_title') }}
spotify_artist: >
{{ state_attr('media_player.spotify_adam_conway', 'media_artist') }}
image: >
{{ state_attr('media_player.spotify_adam_conway', 'entity_picture') }}
Templates are an extremely powerful tool, and once you've become well-versed in them, you'll be able to copy your configurations from your existing templates and modify them to suit your needs.
5 Proxmox VE
Replaced by a better integration
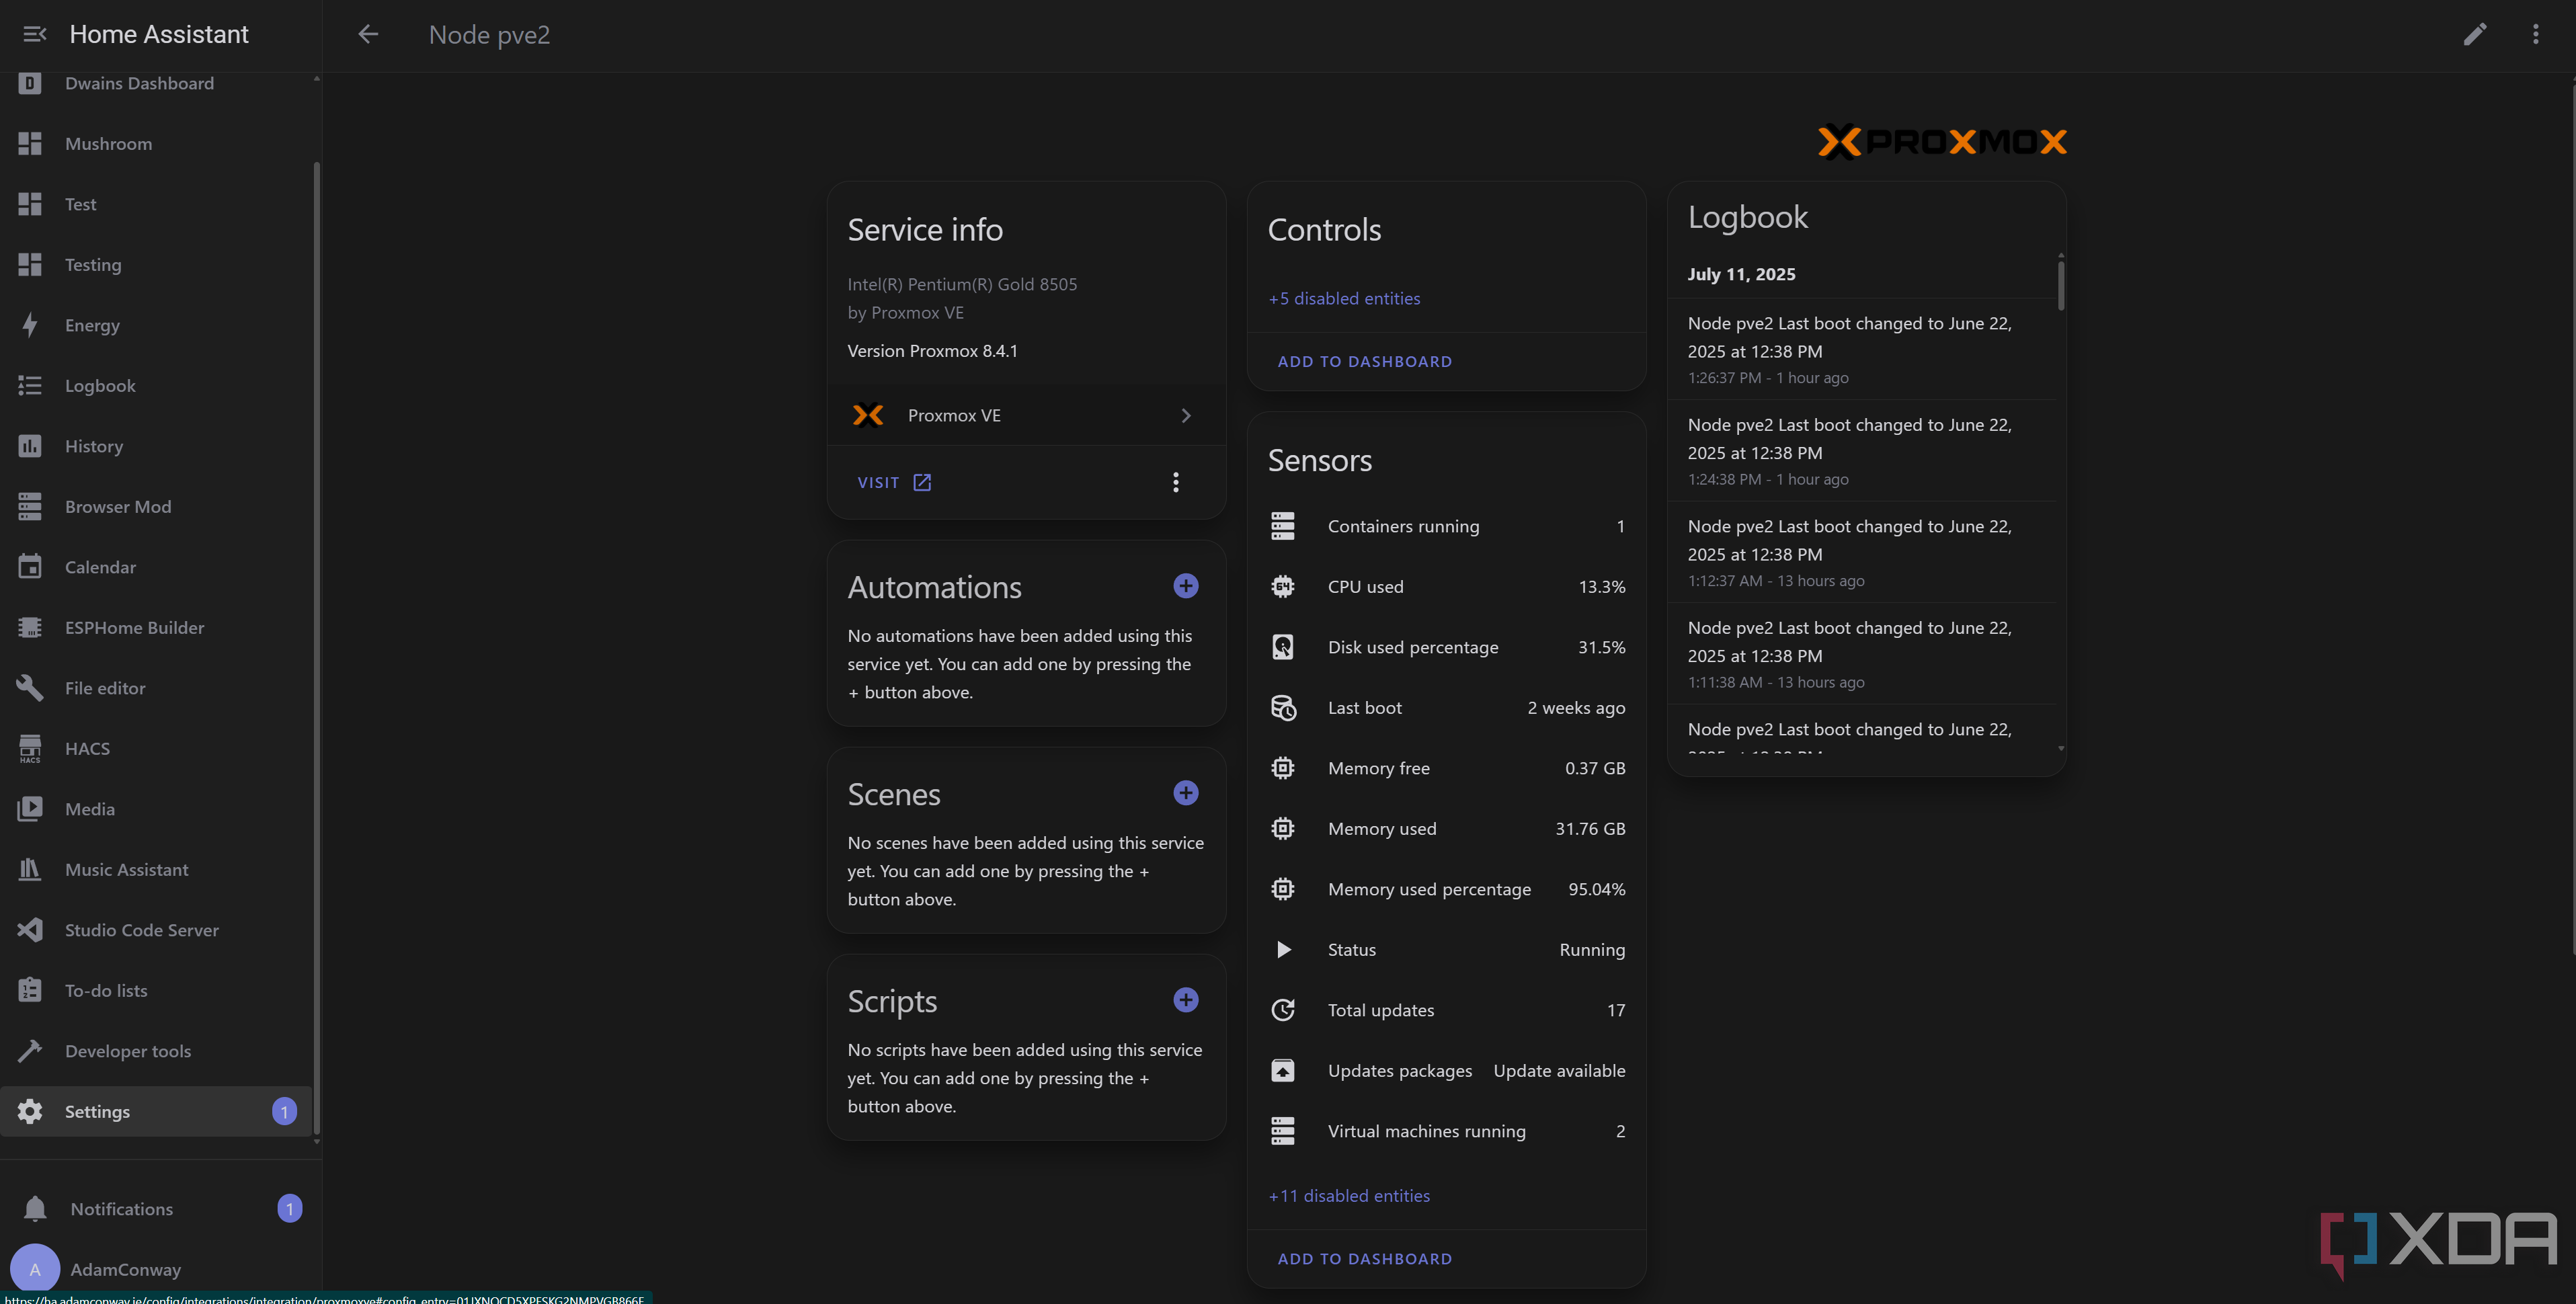
If you run a bunch of Proxmox servers, then you've probably seen the Proxmox VE integration in Home Assistant before. However, it's a legacy integration that can only be configured from the Home Assistant configuration.yaml file, which is fine for an integration aimed at Proxmox users, but a graphical alternative is great when it exists. That's why I use this custom version of the Proxmox VE integration (available through HACS) instead of the official one.
This integration is incredibly powerful, and if you opt for the "official" integration, you'll need to do everything by hand. Once you install the HACS version, it will replace the internal version entirely. Either one works fine, but I personally prefer the custom version for its control through the UI.
4 OPNsense
Also replaced by a better integration
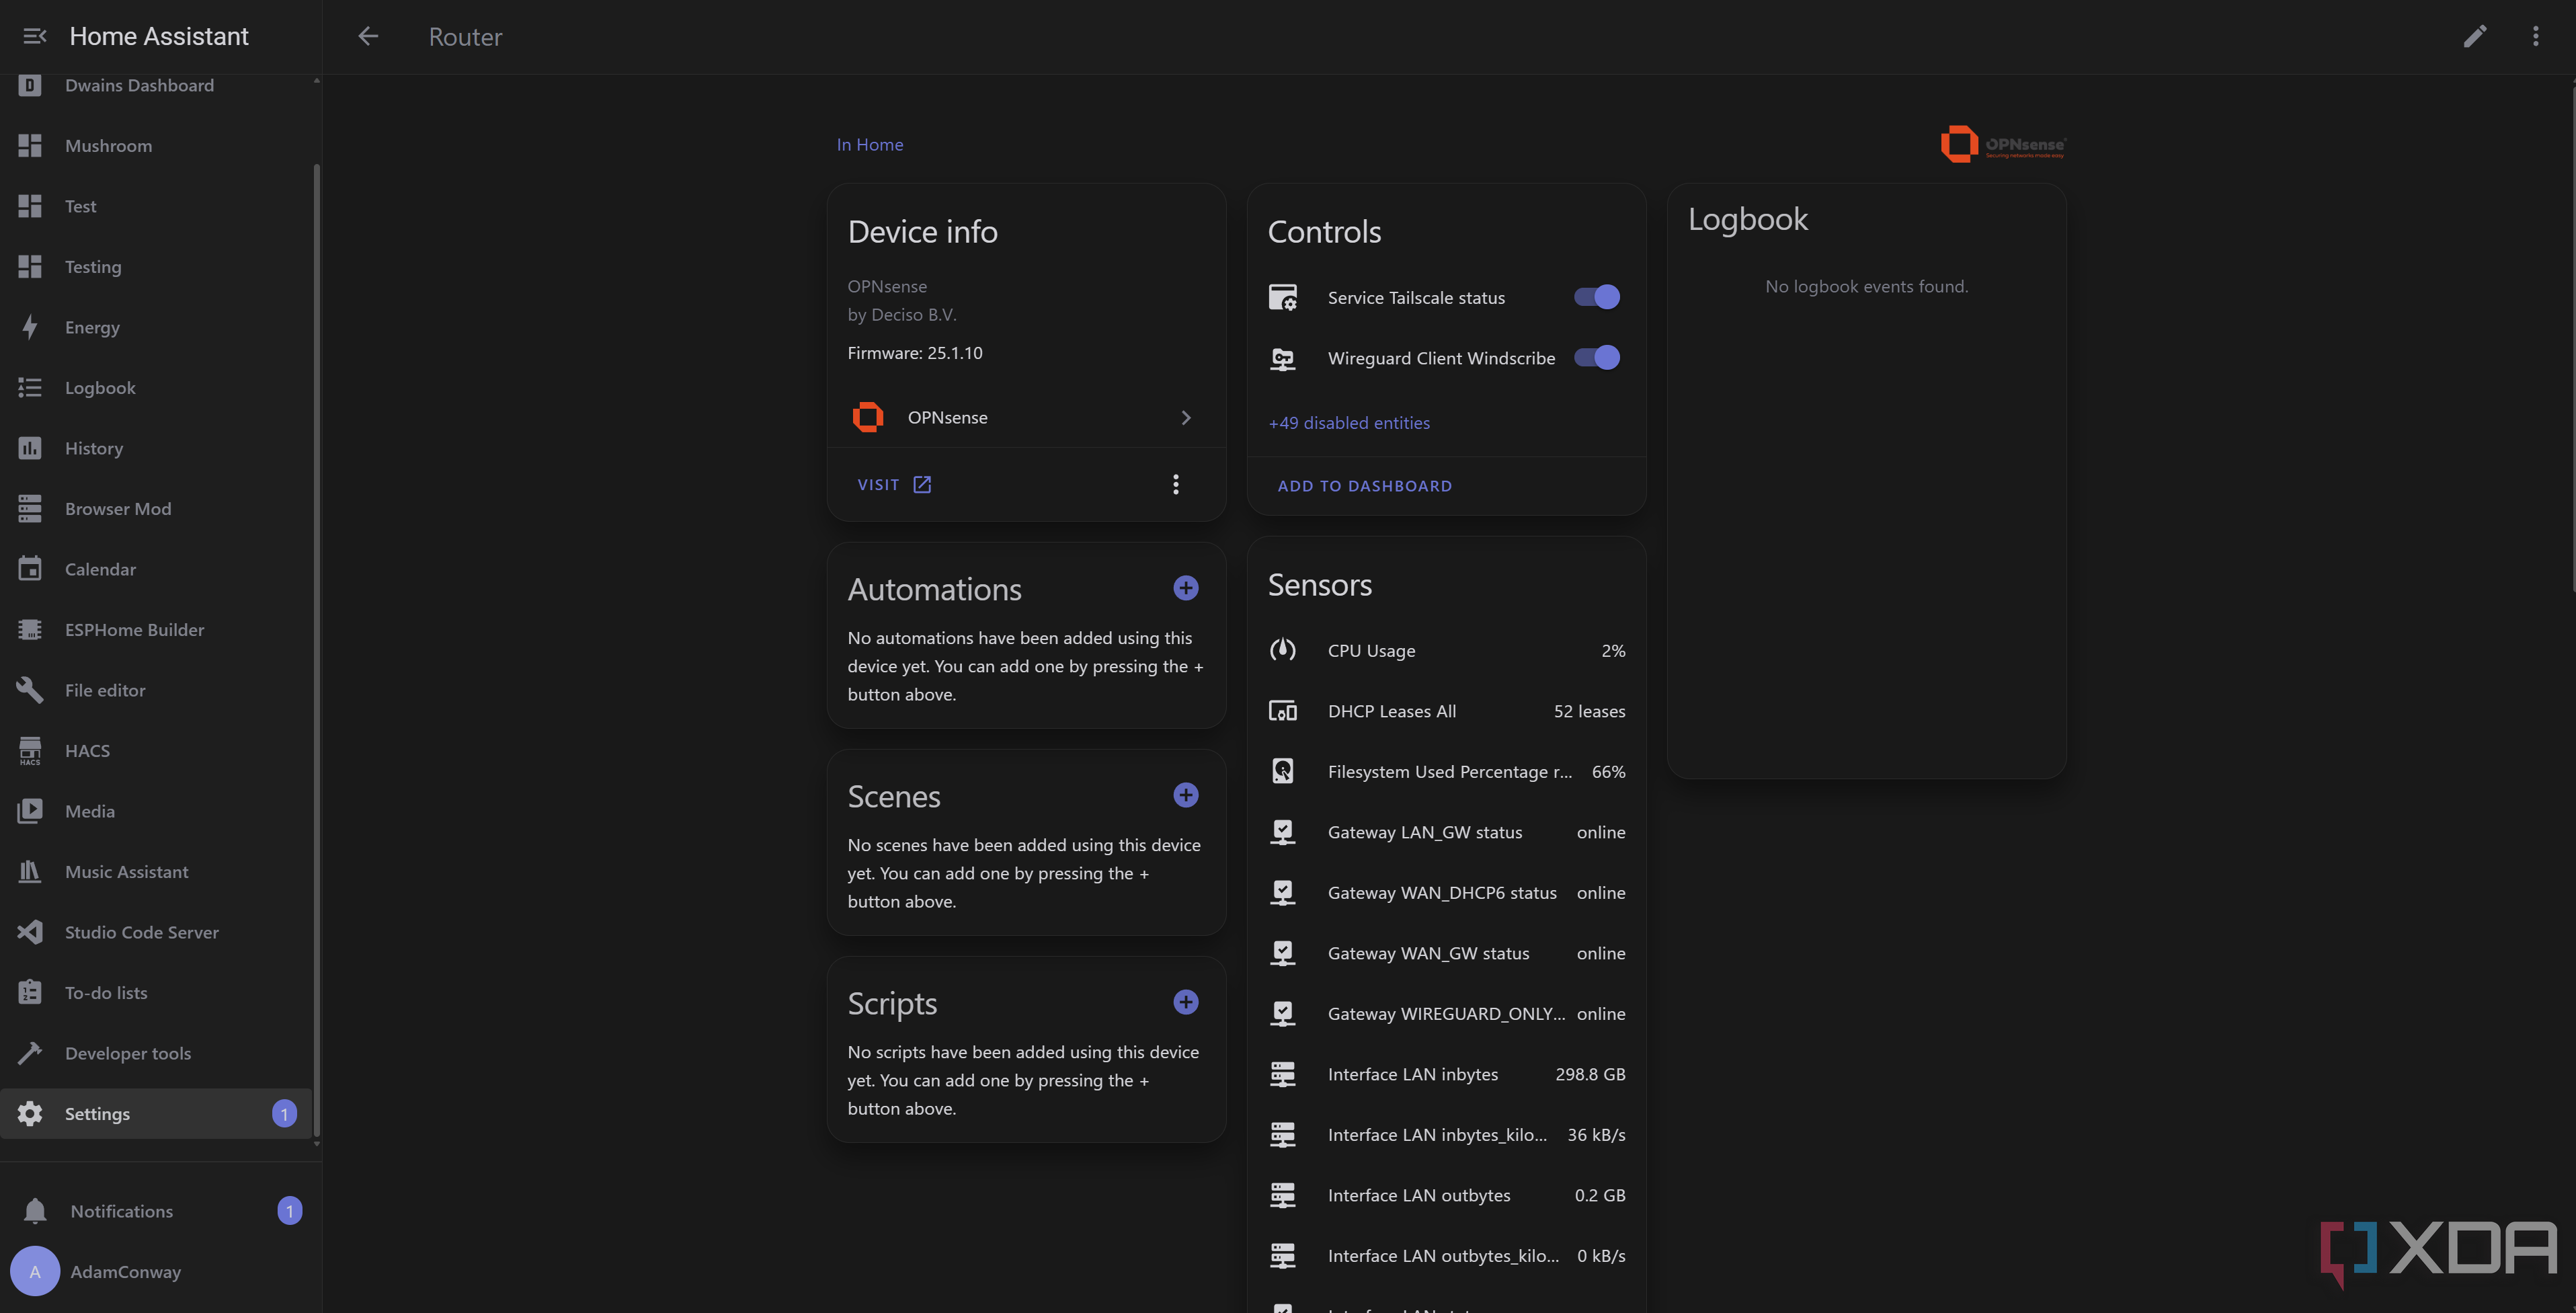
If you run an OPNsense router and firewall setup, Home Assistant has an official integration configured through the UI. Just like with Proxmox VE, though, there's a much better custom version of the OPNsense integration that's also available through HACS, and I strongly recommend it. It uses the OPNsense REST API to query for information on your setup, and can pull way more data, too.
If you want a way to integrate OPNsense in Home Assistant, this is by far the best way to do it. You can control all of your services, see advanced statistics, and even enable or disable firewall rules if you'd like to do some testing... all without needing to log in.
3 SNMP
Perfect for routers

If you’re already using SNMP to keep tabs on your infrastructure, Home Assistant's snmp platform lets you pull those very same OIDs straight into your setup. It's a configuration-file-only setup, but it's rock-solid and surprisingly flexible; you can track anything from a printer's page counter to a switch's CPU load. The beauty is that once you know the OID, the rest is just copy-paste YAML, with a swap in SNMP v3 auth_key/priv_key pair if you need encryption.
For example, many TP-Link routers have implemented SNMP, and it's worth setting up if you have a device that uses it. It's worth checking out if your devices use SNMP!
2 Emulated Hue
Be careful with this one
Emulated Hue is an internal integration to Home Assistant, meaning there's no install required, but you'll still need to enable it manually using the configuration.yaml file. Essentially, it pretends to be a Philips Hue bridge, fooling Amazon Echo or (older) Google Home units into thinking every light, switch, and script you expose is a Hue bulb.
This integration requires a lot of care to use correctly, and in most cases, it's no longer necessary. If configured incorrectly, it can cause permanent problems in relation to voice control and your smart home entities, and requires a factory reset of those devices to solve. I don't recommend using it personally, but it's useful for those who want it.
1 Serial
Process incoming data streams

For anything that spits characters over a USB-serial adapter, think like an Arduino, ESP32, or an energy-monitoring dongle, the Serial integration is a powerful tool. Attach the device, pass the serial port through to the container, and throw in a few lines of YAML to read data from it like you would any other device. You'll start off with a simple sensor, then create a template to process the data. Here's what the instantiation would look like:
sensor:- platform: serial
serial_port: /dev/ttyUSB0
baudrate: 9600
name: "Data"
This is obviously dependent on your setup, but it works great if you have devices that only communicate over serial that you'd still like to collect in Home Assistant. As well, because the integration simply captures whatever data is streamed in, you can parse JSON, CSV, and more with just standard Jinja templates.
Legacy integrations are still great
Legacy, file-based integrations might feel old-school next to the beautiful UI wizards Home Assistant has today, but they remain some of the most versatile tools in its arsenal. The most important integrations are all available through the UI, but for some of these integrations, you may want to look at your configuration files to see what more you can do with your home setup.


 English (US) ·