.png)
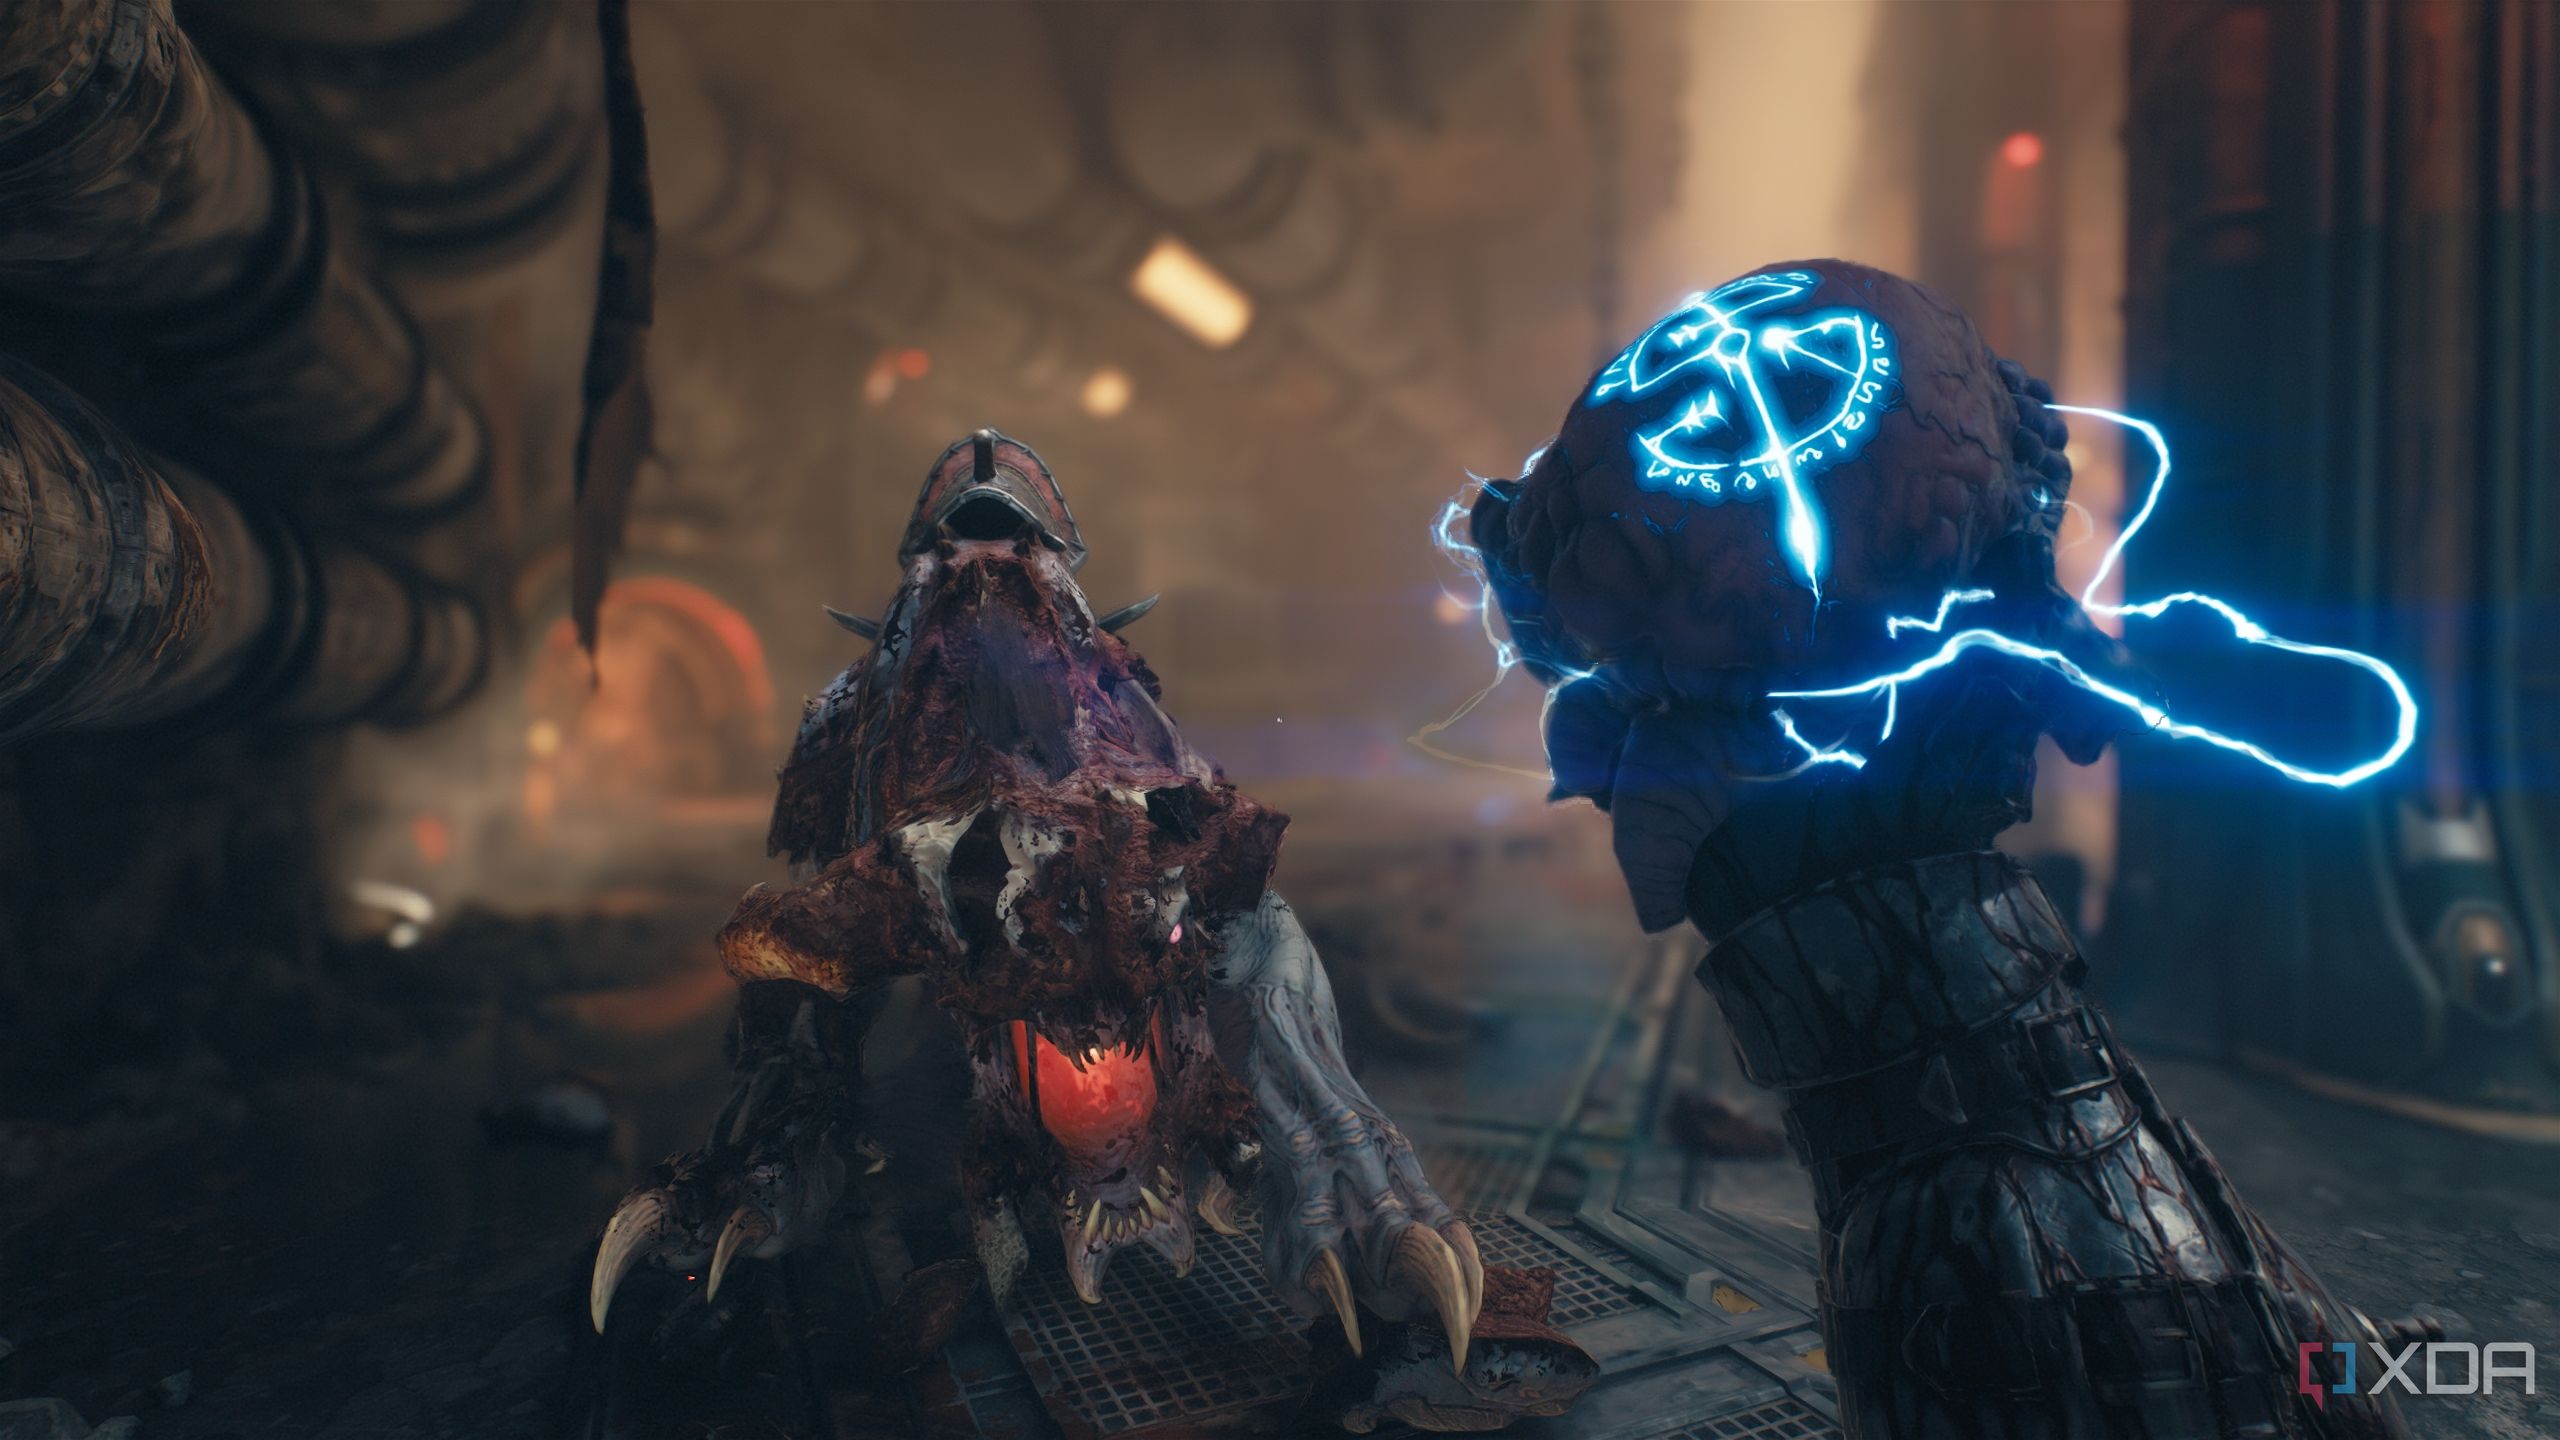
Chapter 12: Sentinel Command Station in Doom: The Dark Ages gets the Slayer back to the Sentinel command station on Argent D’Nur, where he and Commander Thira prepare to meet Bishop Kreed, not knowing the Maykr’s ulterior motives. Moving through beautifully-lit corridors and fiery hallways, the brilliance of the id Tech engine 8 is on full display in this level.
Level 12 takes the Slayers through tight vents and corridors as the Sentinels ready his dragon. In order to get 100% completion of each level, make sure you complete the mission challenges for this level.
Chapter 12’s mission challenges are-
- Melee-striking a Battleknight 10 times
- Killing 10 demons with explosive barrels
- Opening 2 secret key doors

Related
DOOM: The Dark Ages — 100% completion guide, Chapter 11: Hellbreaker
Chapter 11 in Doom: The Dark Ages is a straightforward run through hell — the Slayer pilots a Mech and brings a fortress' gates crashing down.
Chapter 12 of Doom: The Dark Ages gets the Slayer back to Argent D'Nur
Surprises are in store for Thira and the Slayer
Chapter 12 takes the slayer back to Argent D’Nur as Kreed Maykr requests an audience with Commander Thira and the Slayer.
Following the objectives in the chapter along with the instructions provided below, it won't be long before you can claim that sweet 100% completion tag for the twelfth level in Doom: The Dark Ages.
This guide covers each collectible required for 100% level completion in chronological order. It is recommended to follow this guide in the order stated.
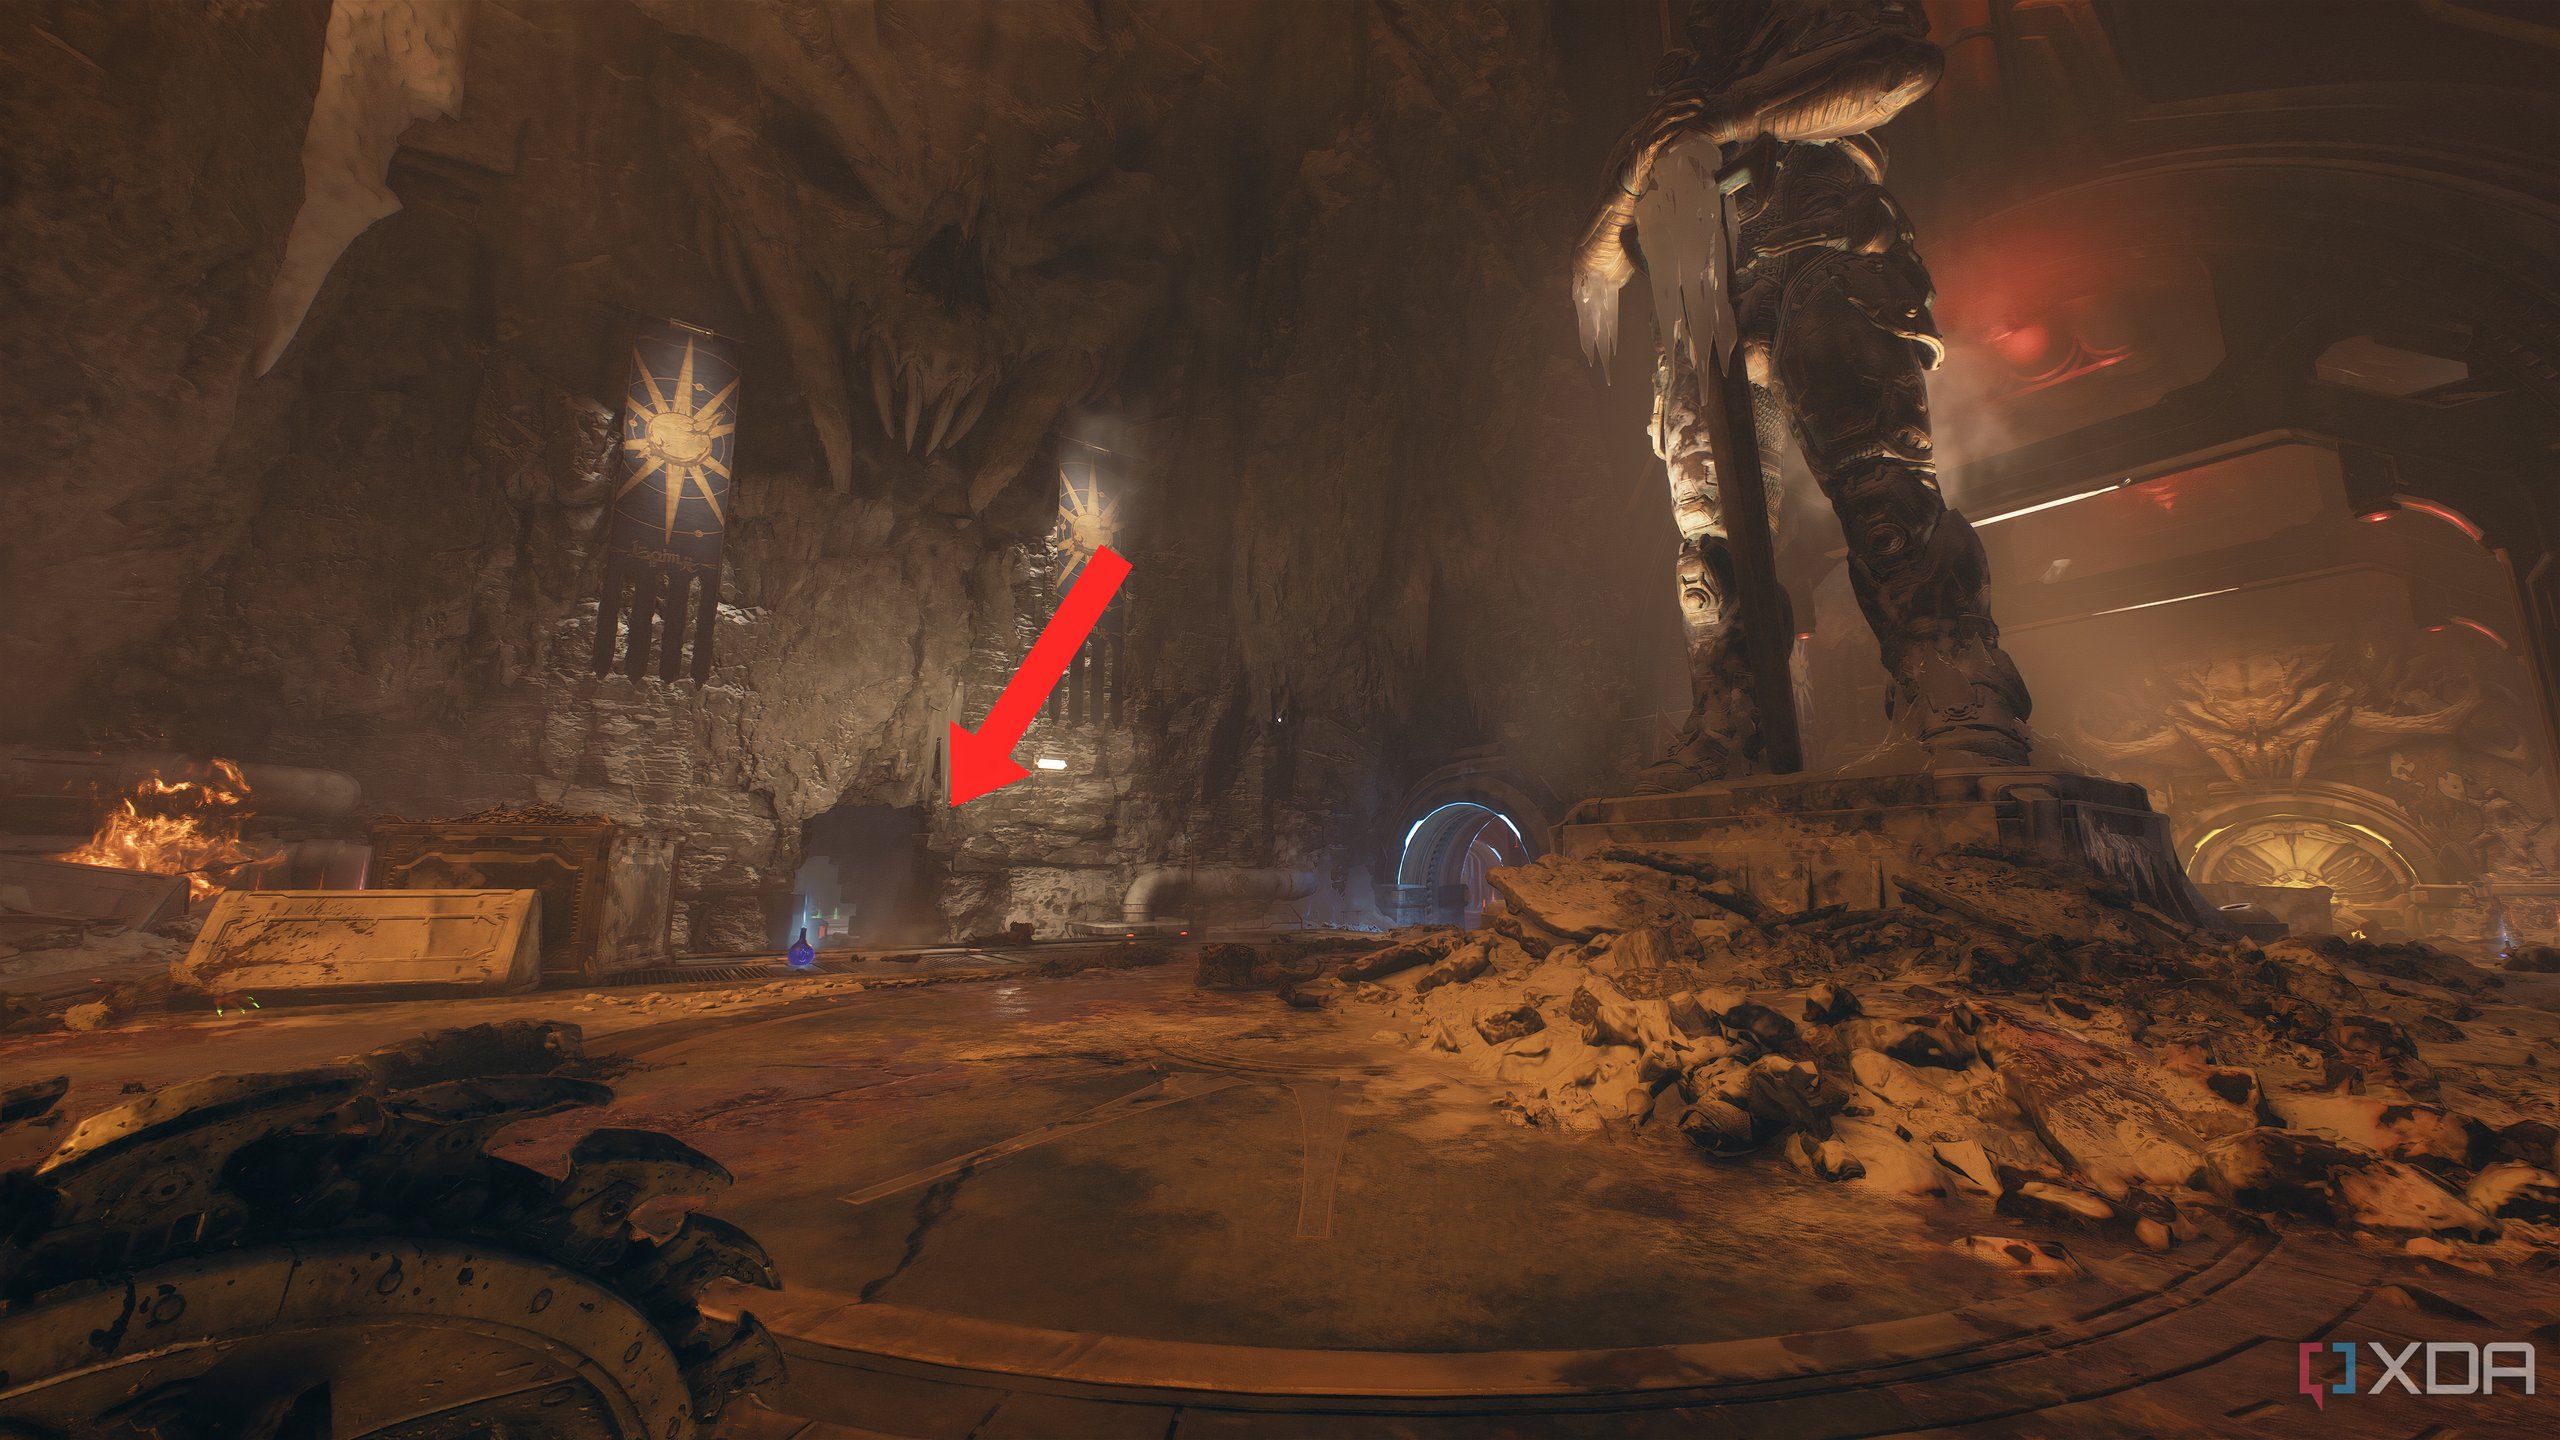
Secret area 1, gold stacks, and a Codex Page
Running through the vents
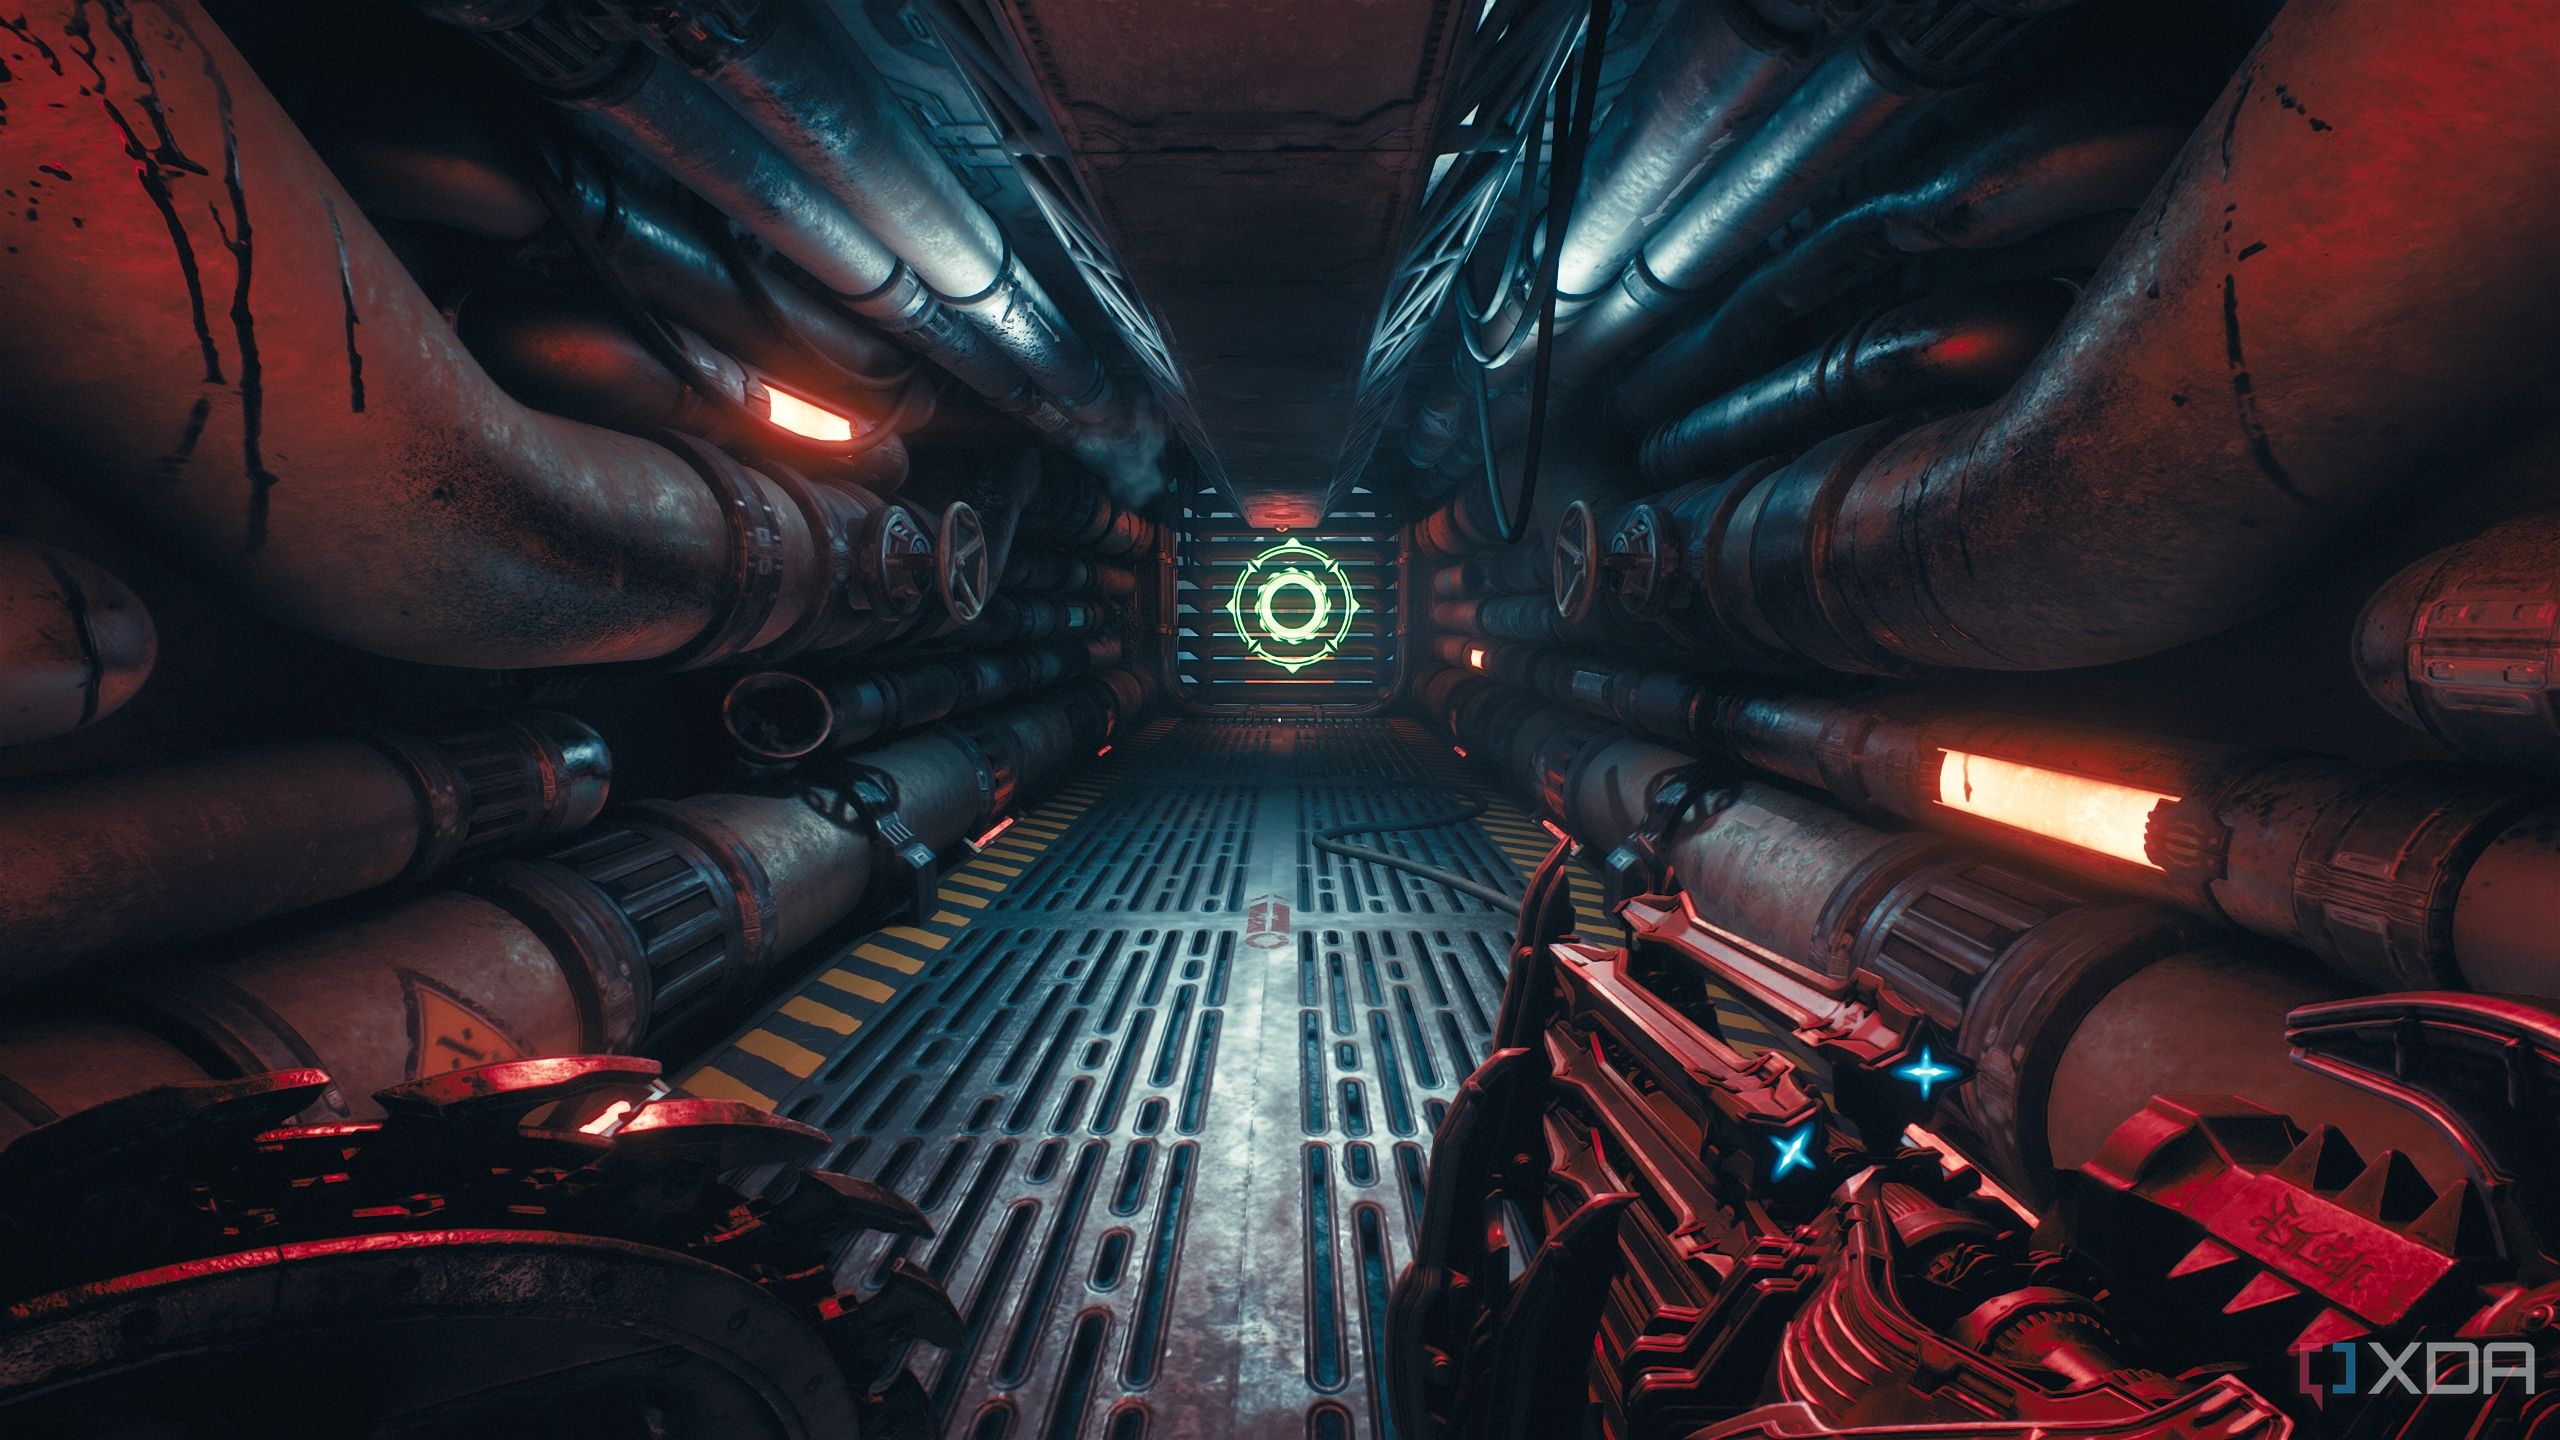
Once things start going wrong at the command station and the Slayer enters the vent to move past the first point of no return in the level, make sure you look right when you reach this location in the vents.
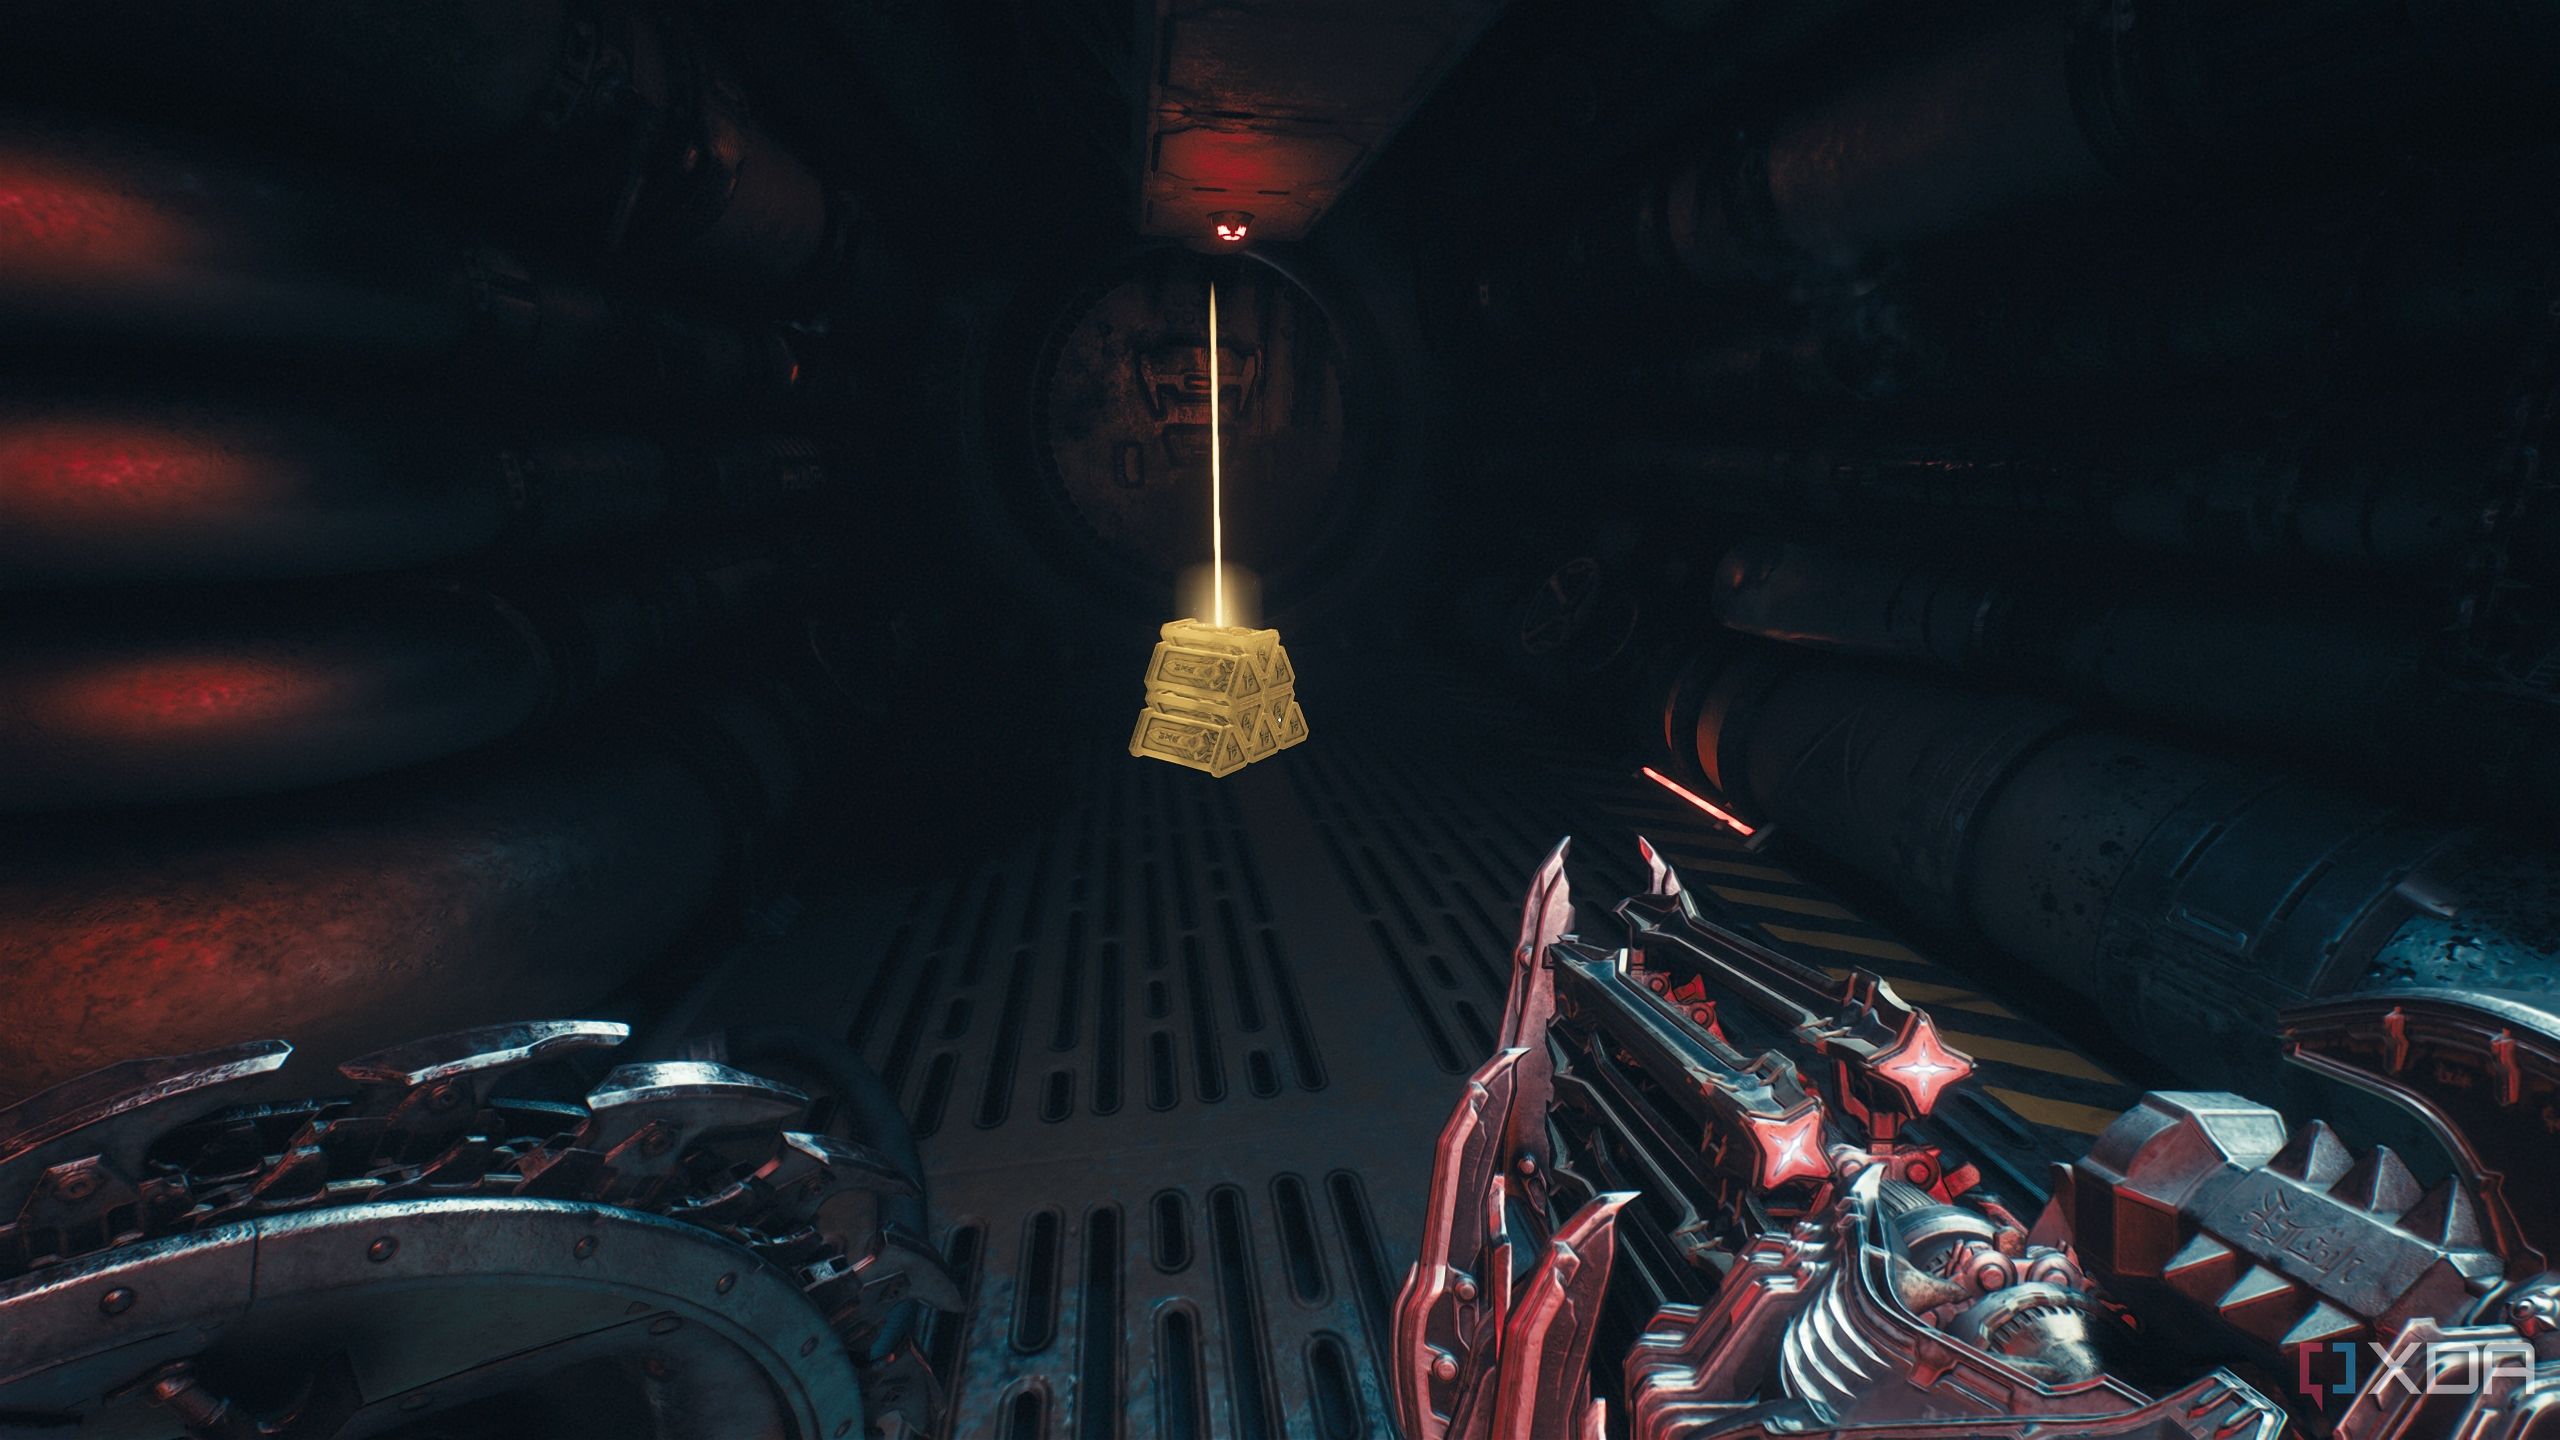
There’s a gold stack waiting for you.
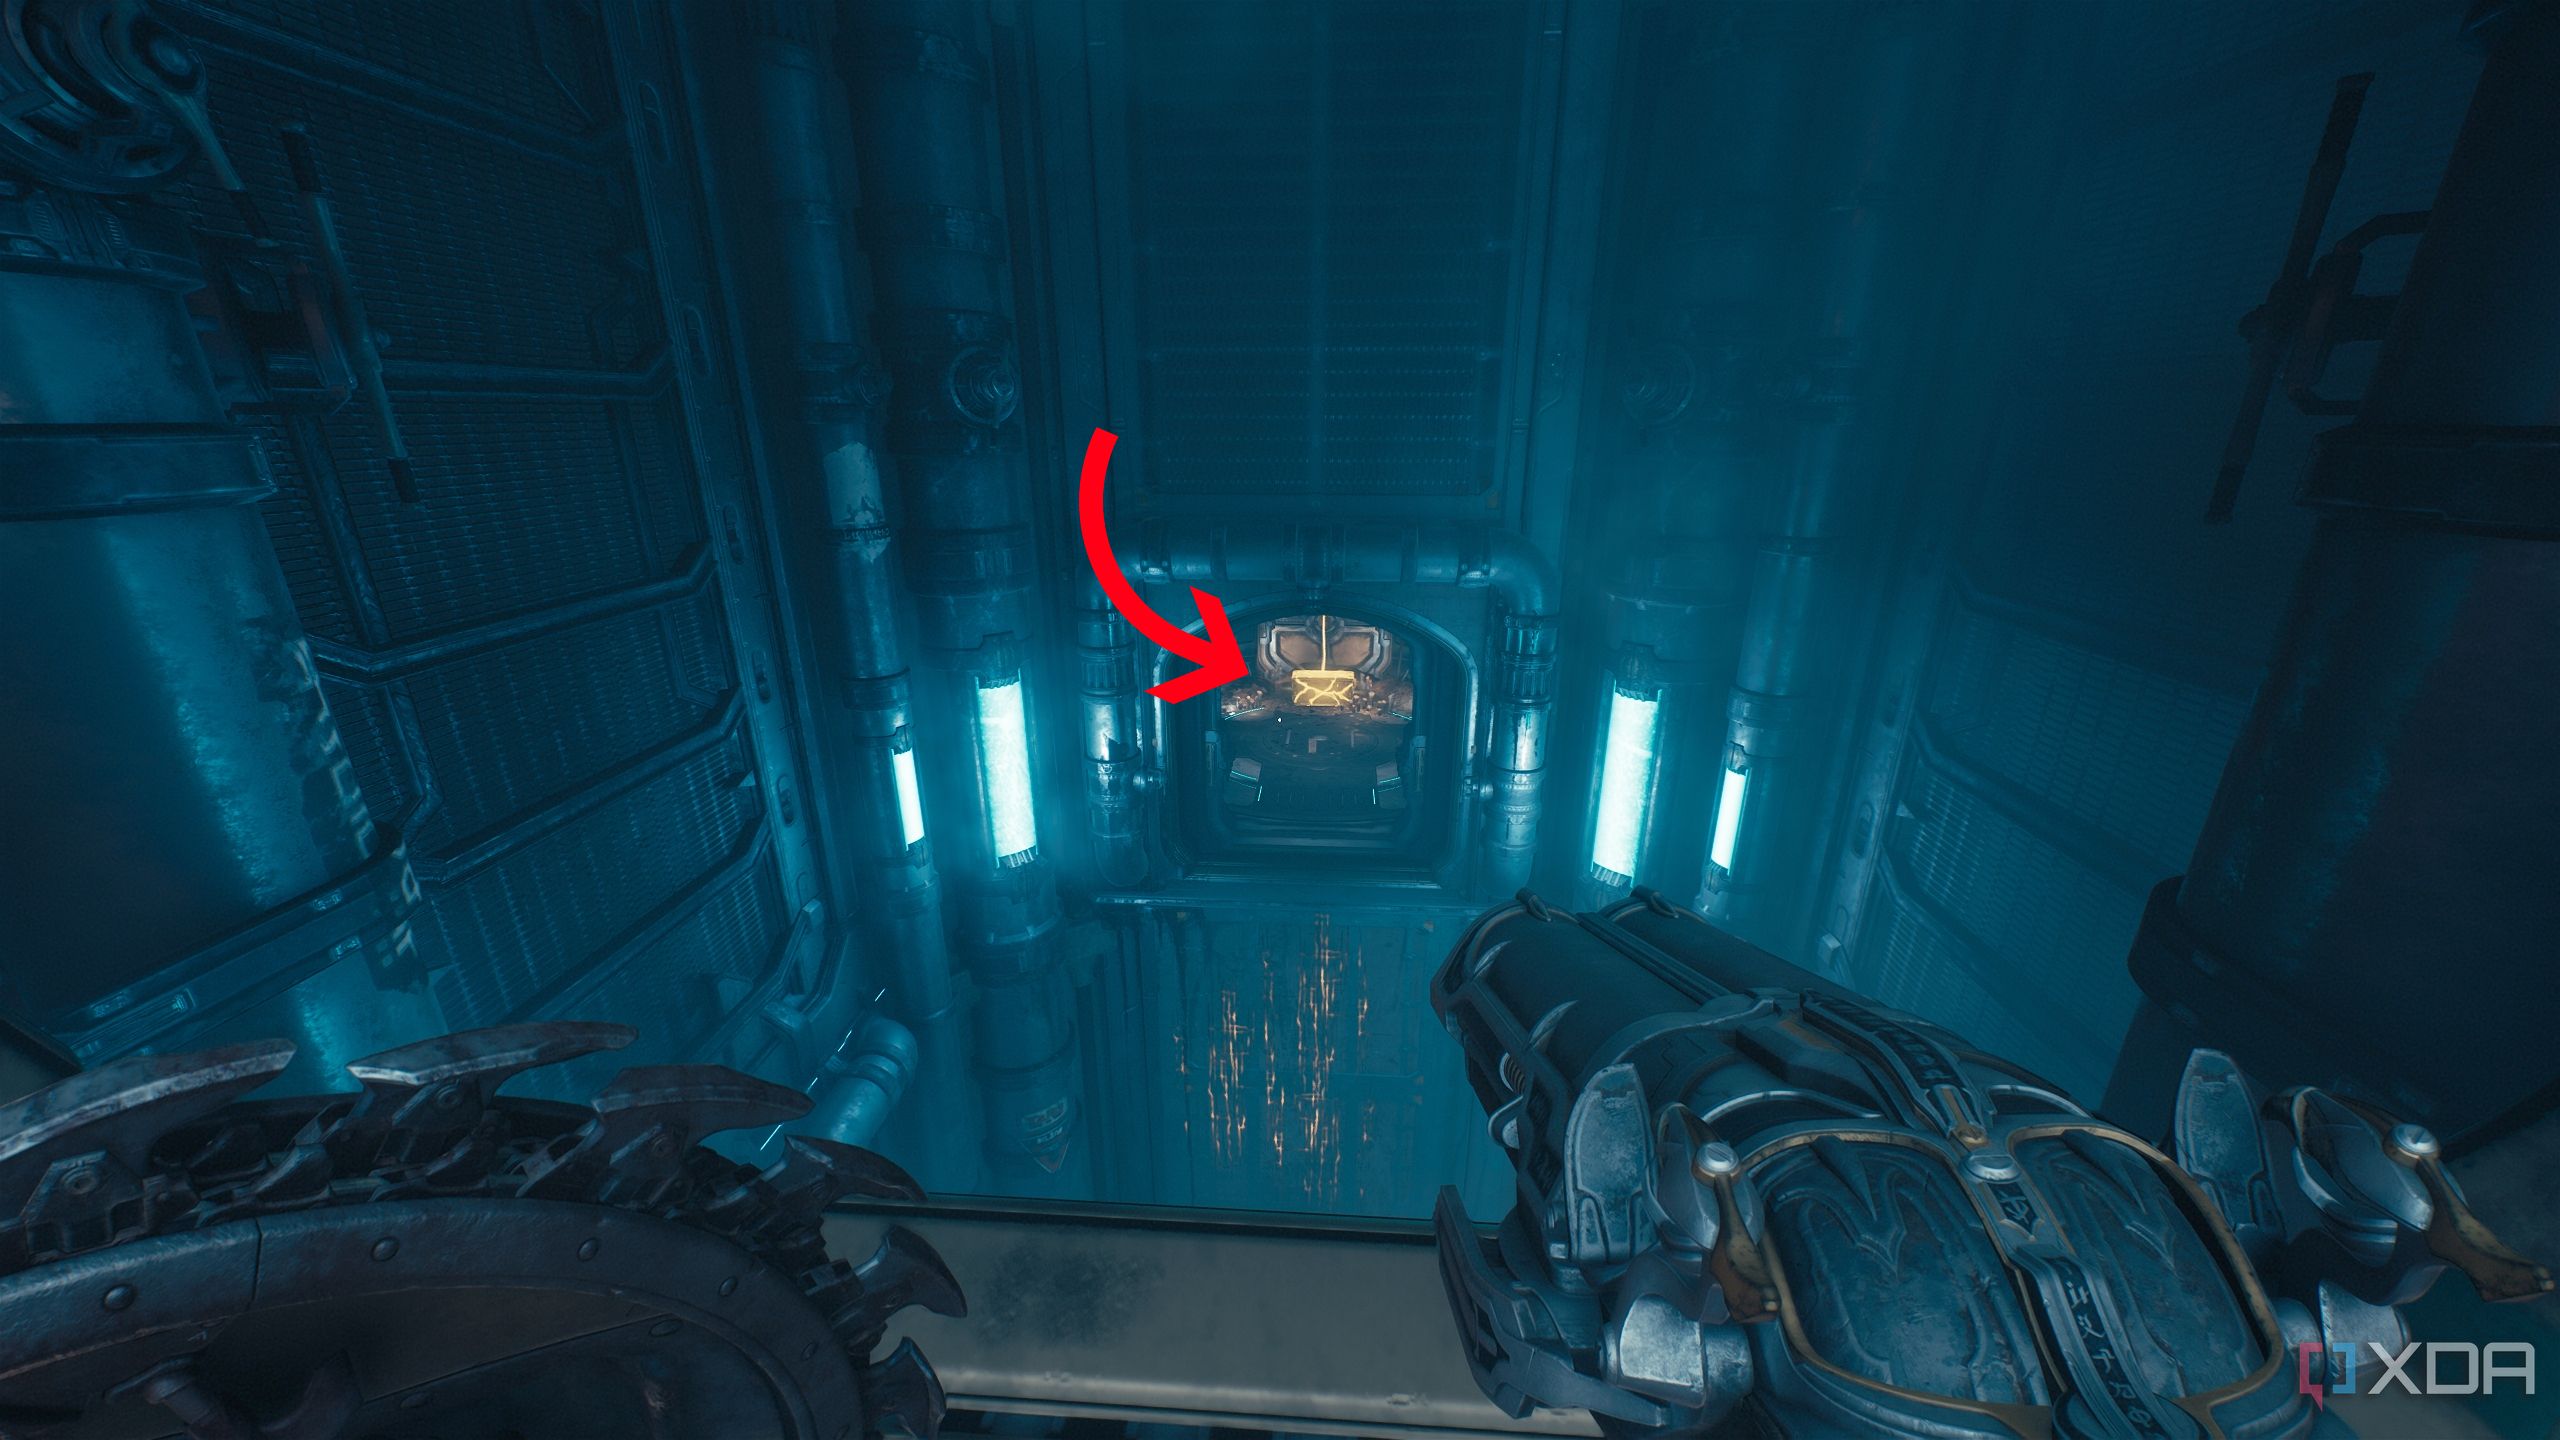
Next, when you exit the vents, the objective is to your left, but you should head right along the wall.
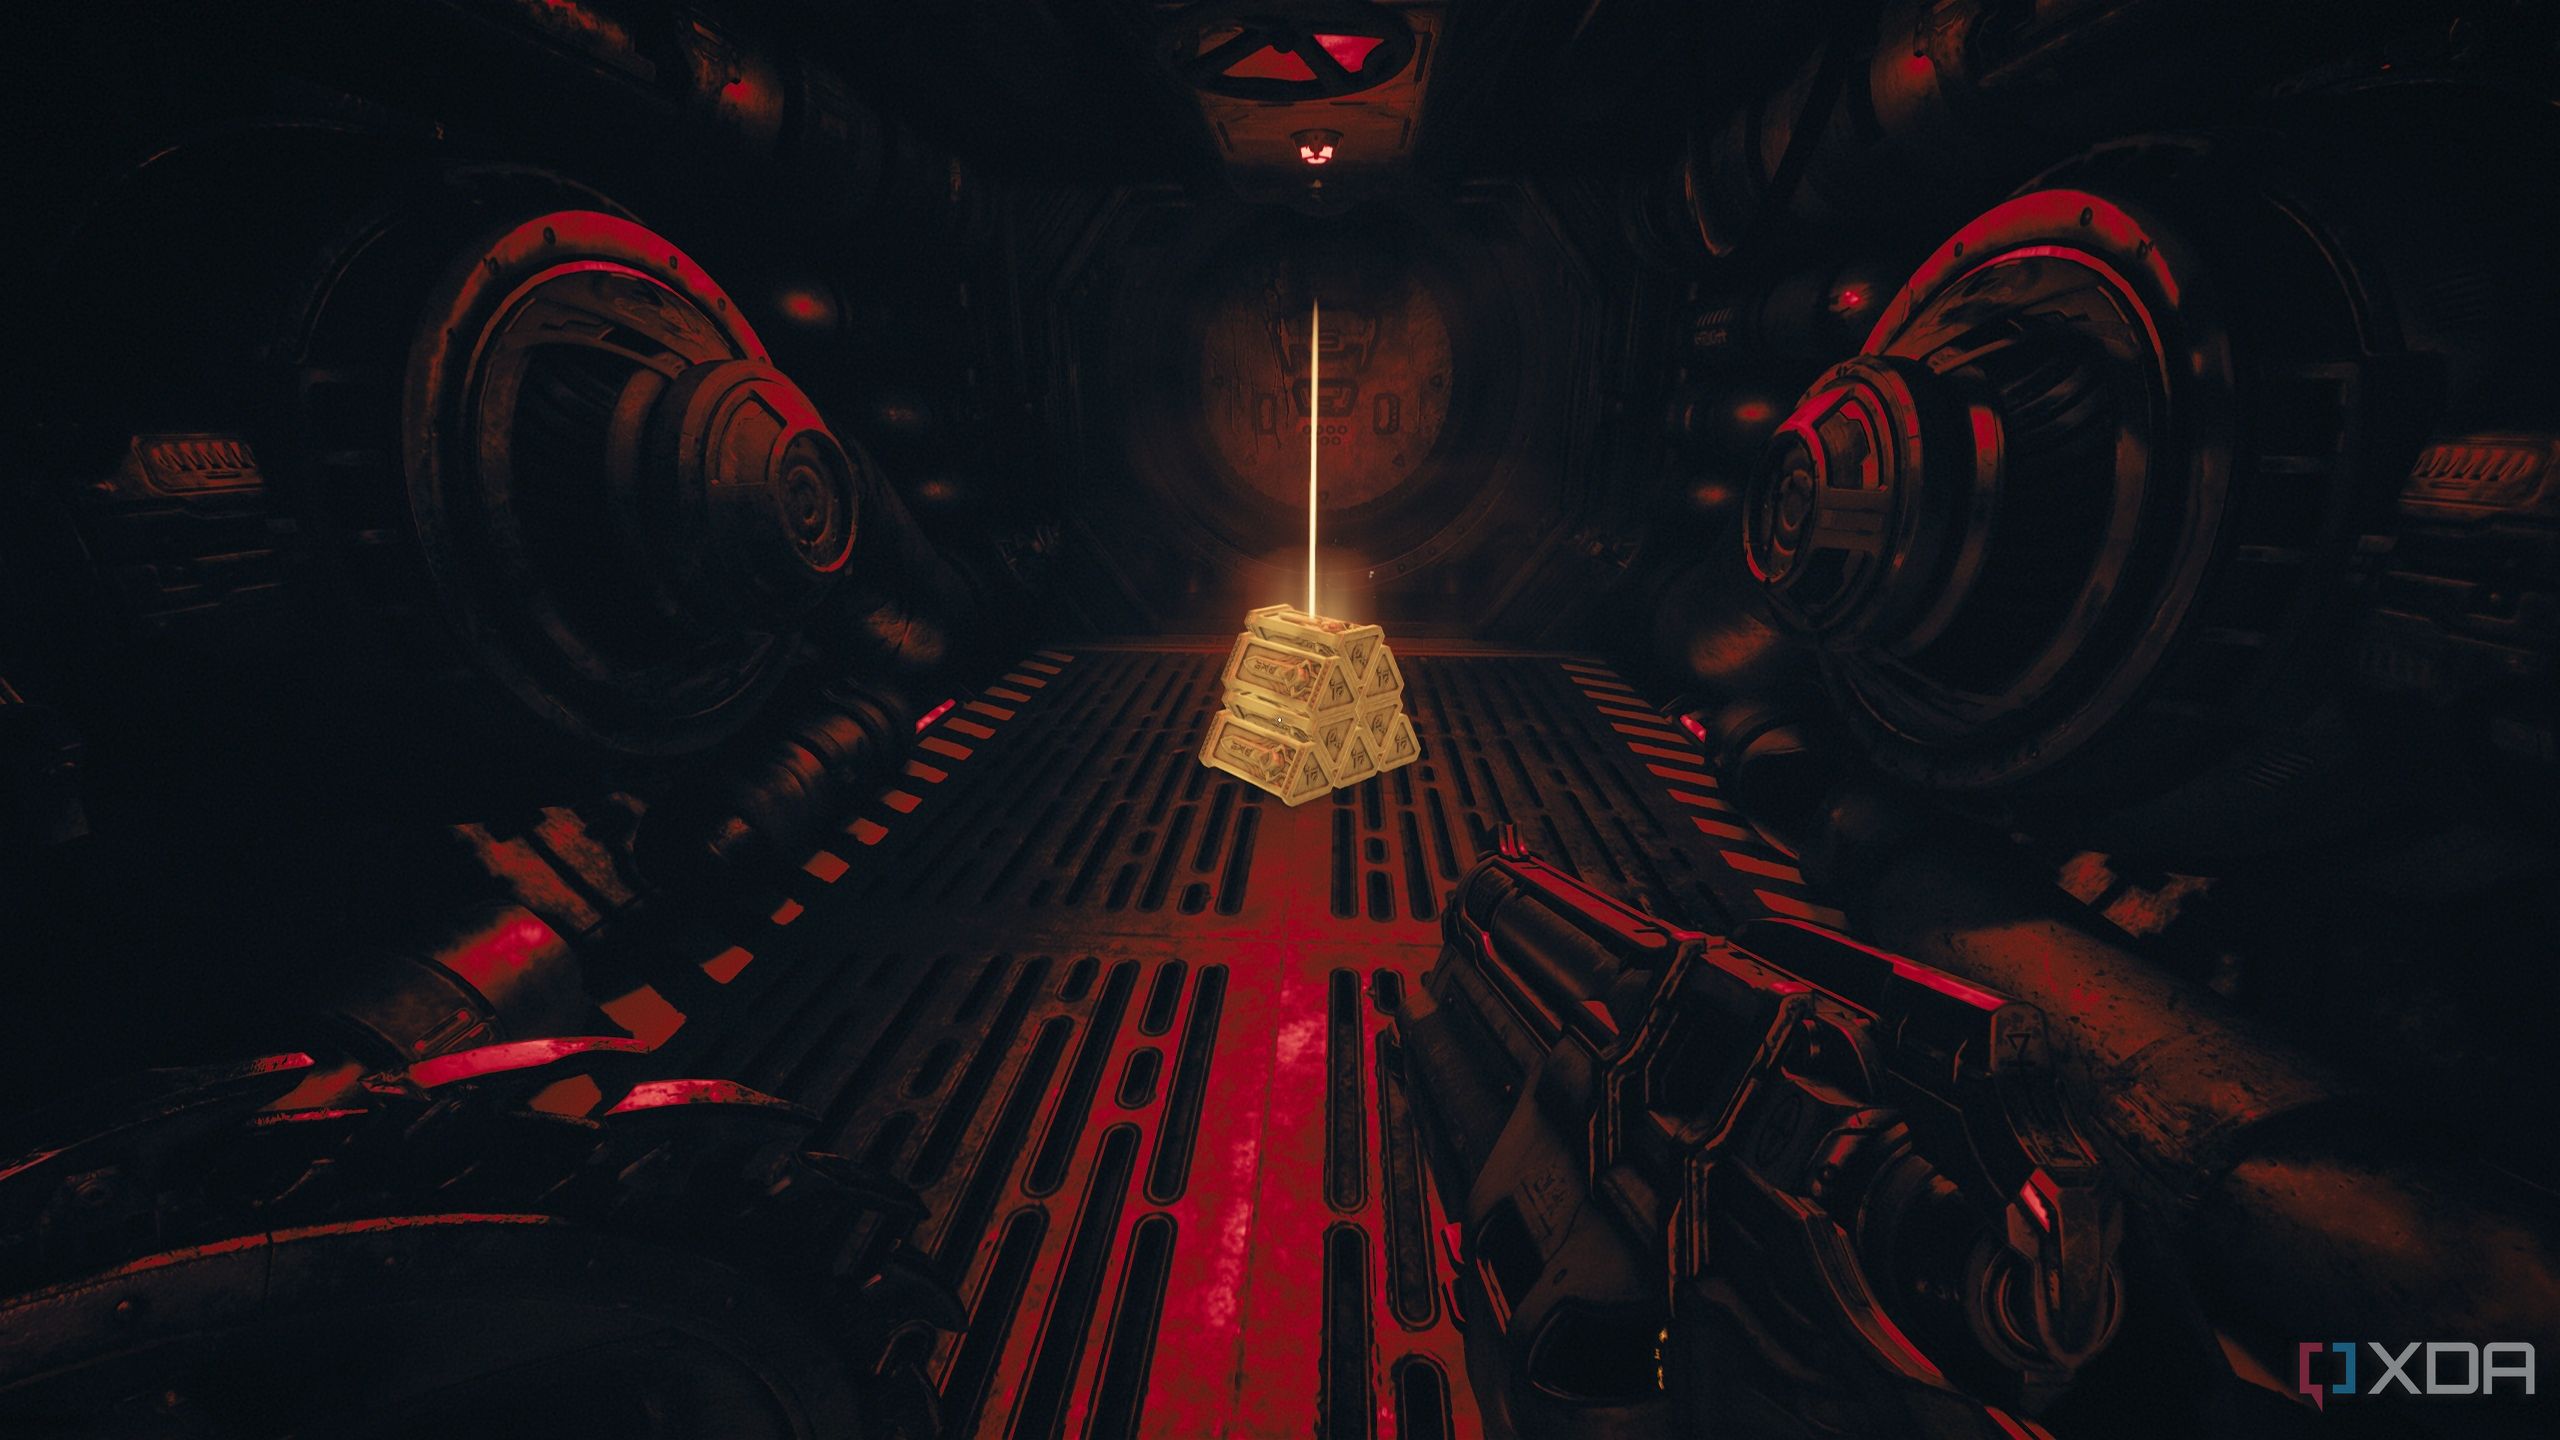
Here, you'll find gold bars and a Codex Page, unlocking secret area 1.
Secret area 2, gold stack, and a Weapon Skin
There's a hidden area inside this secret area
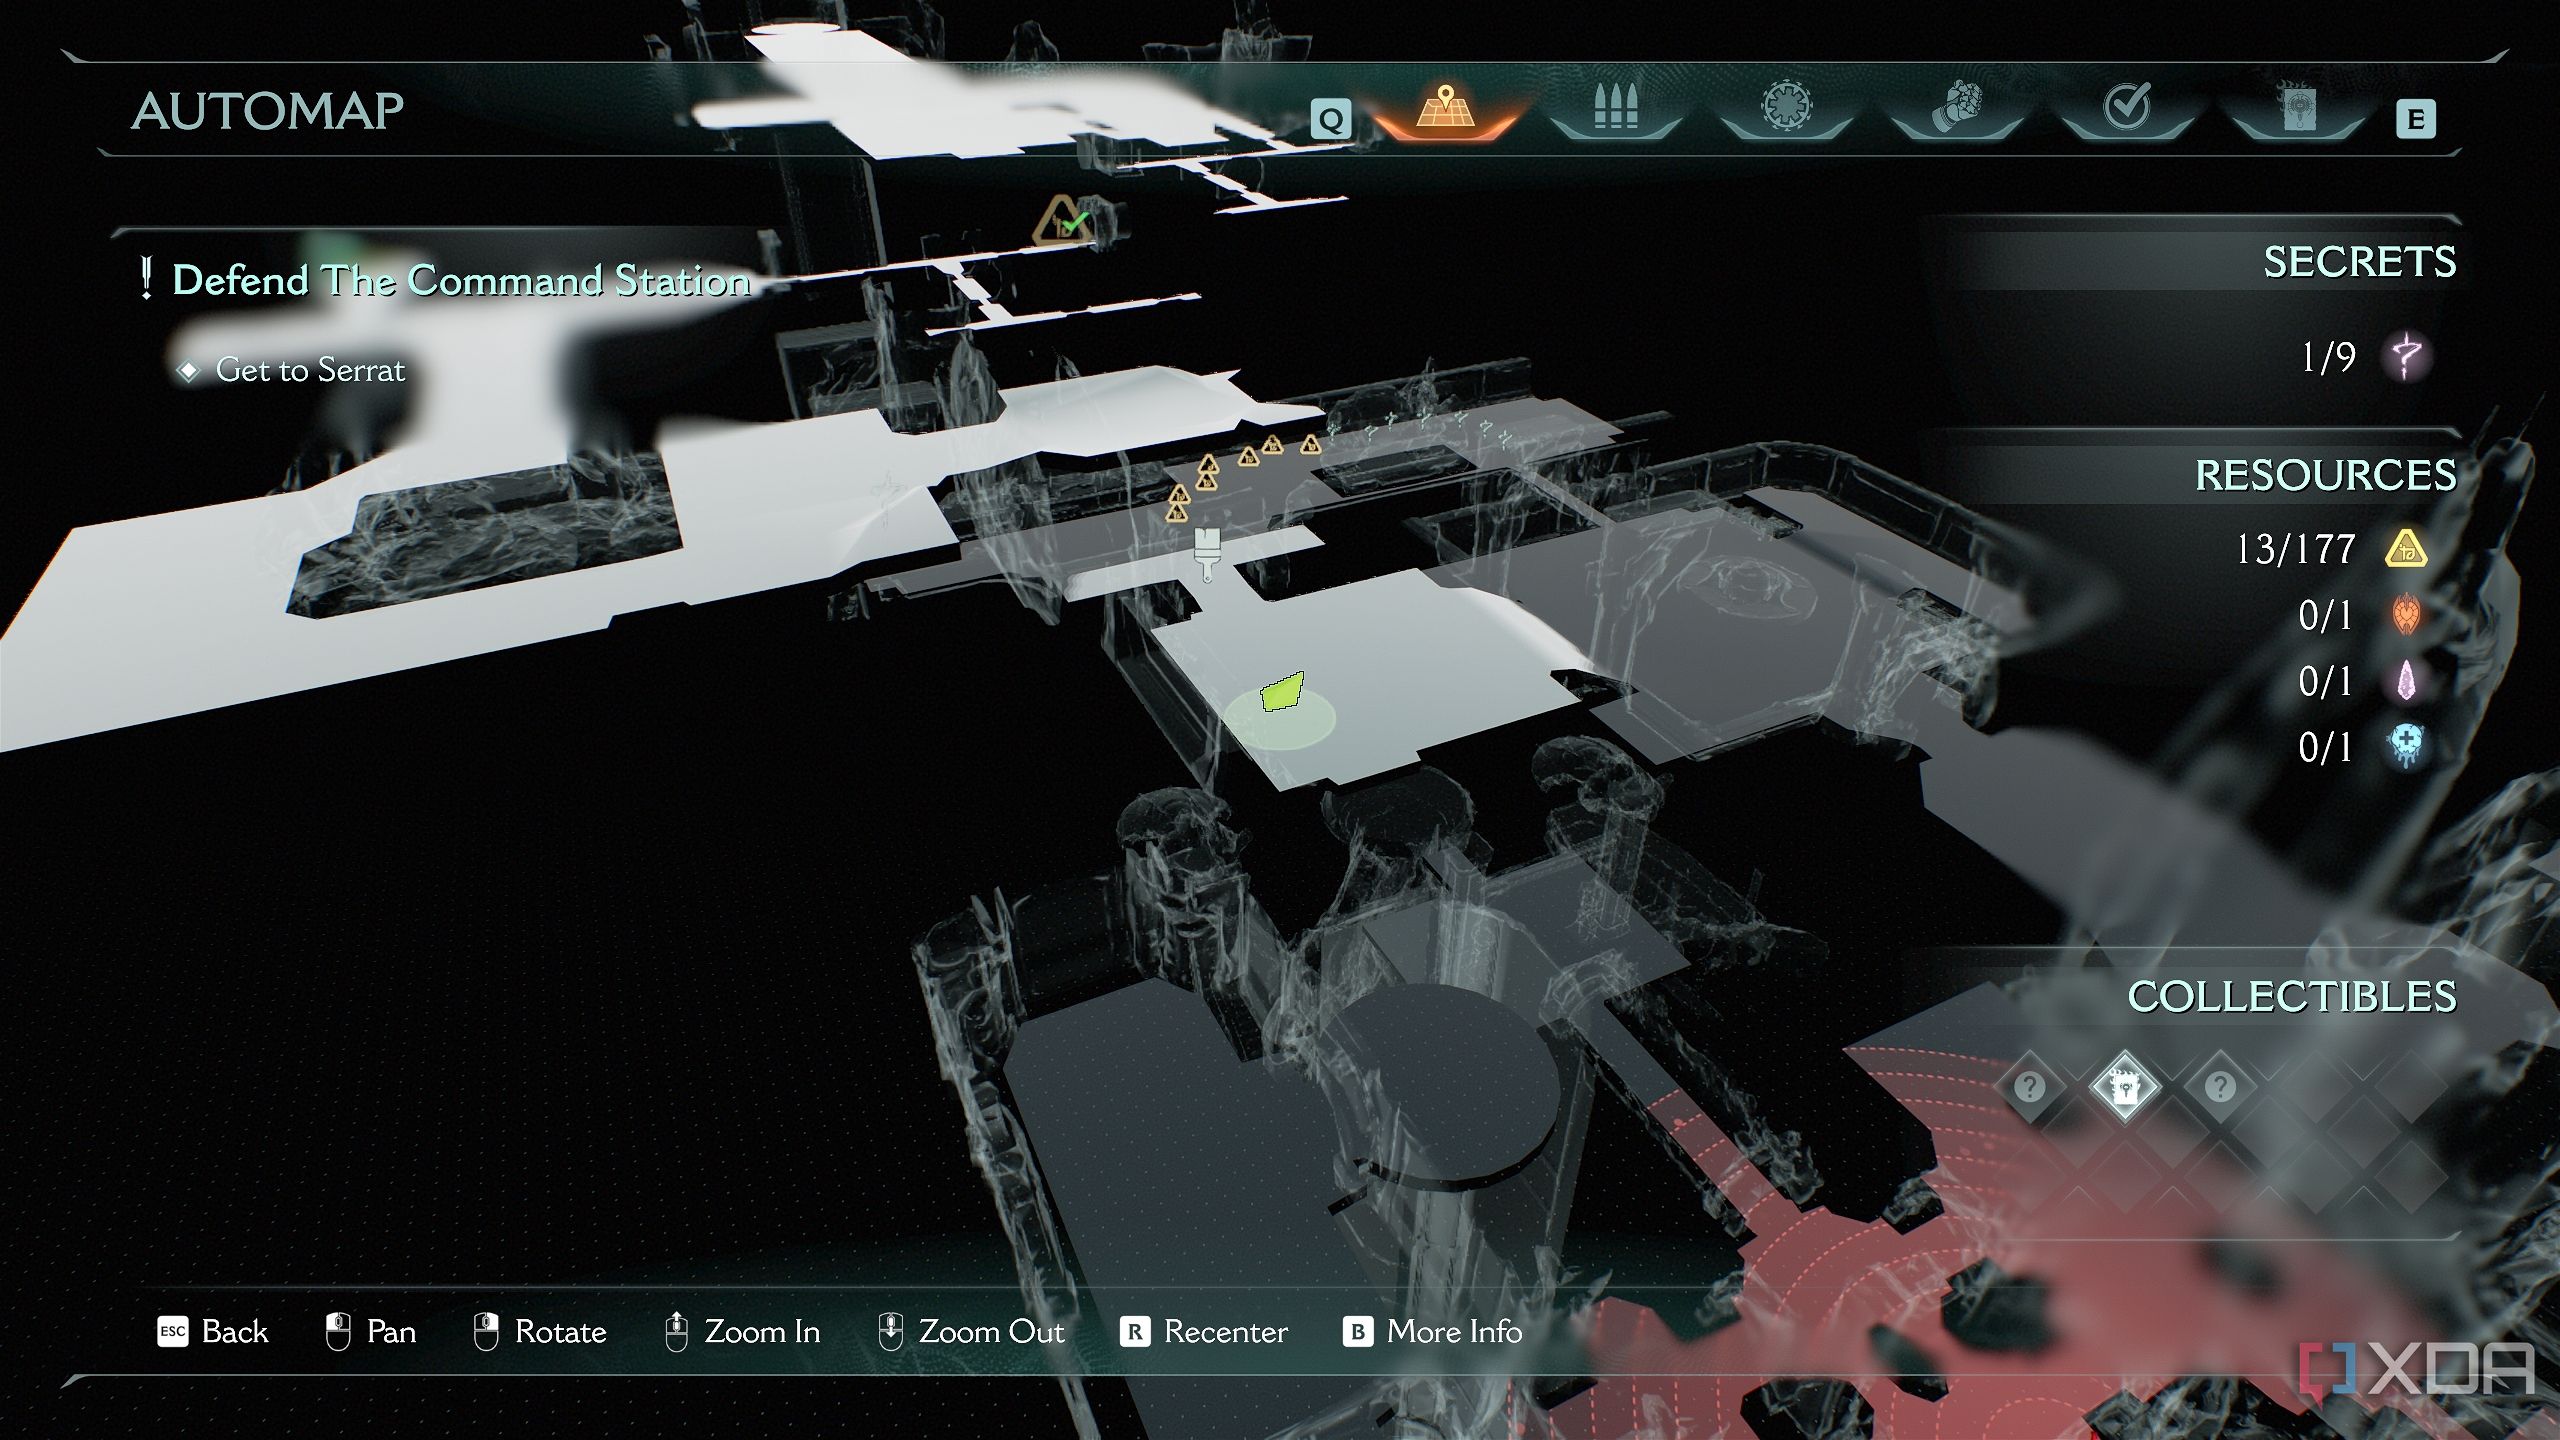
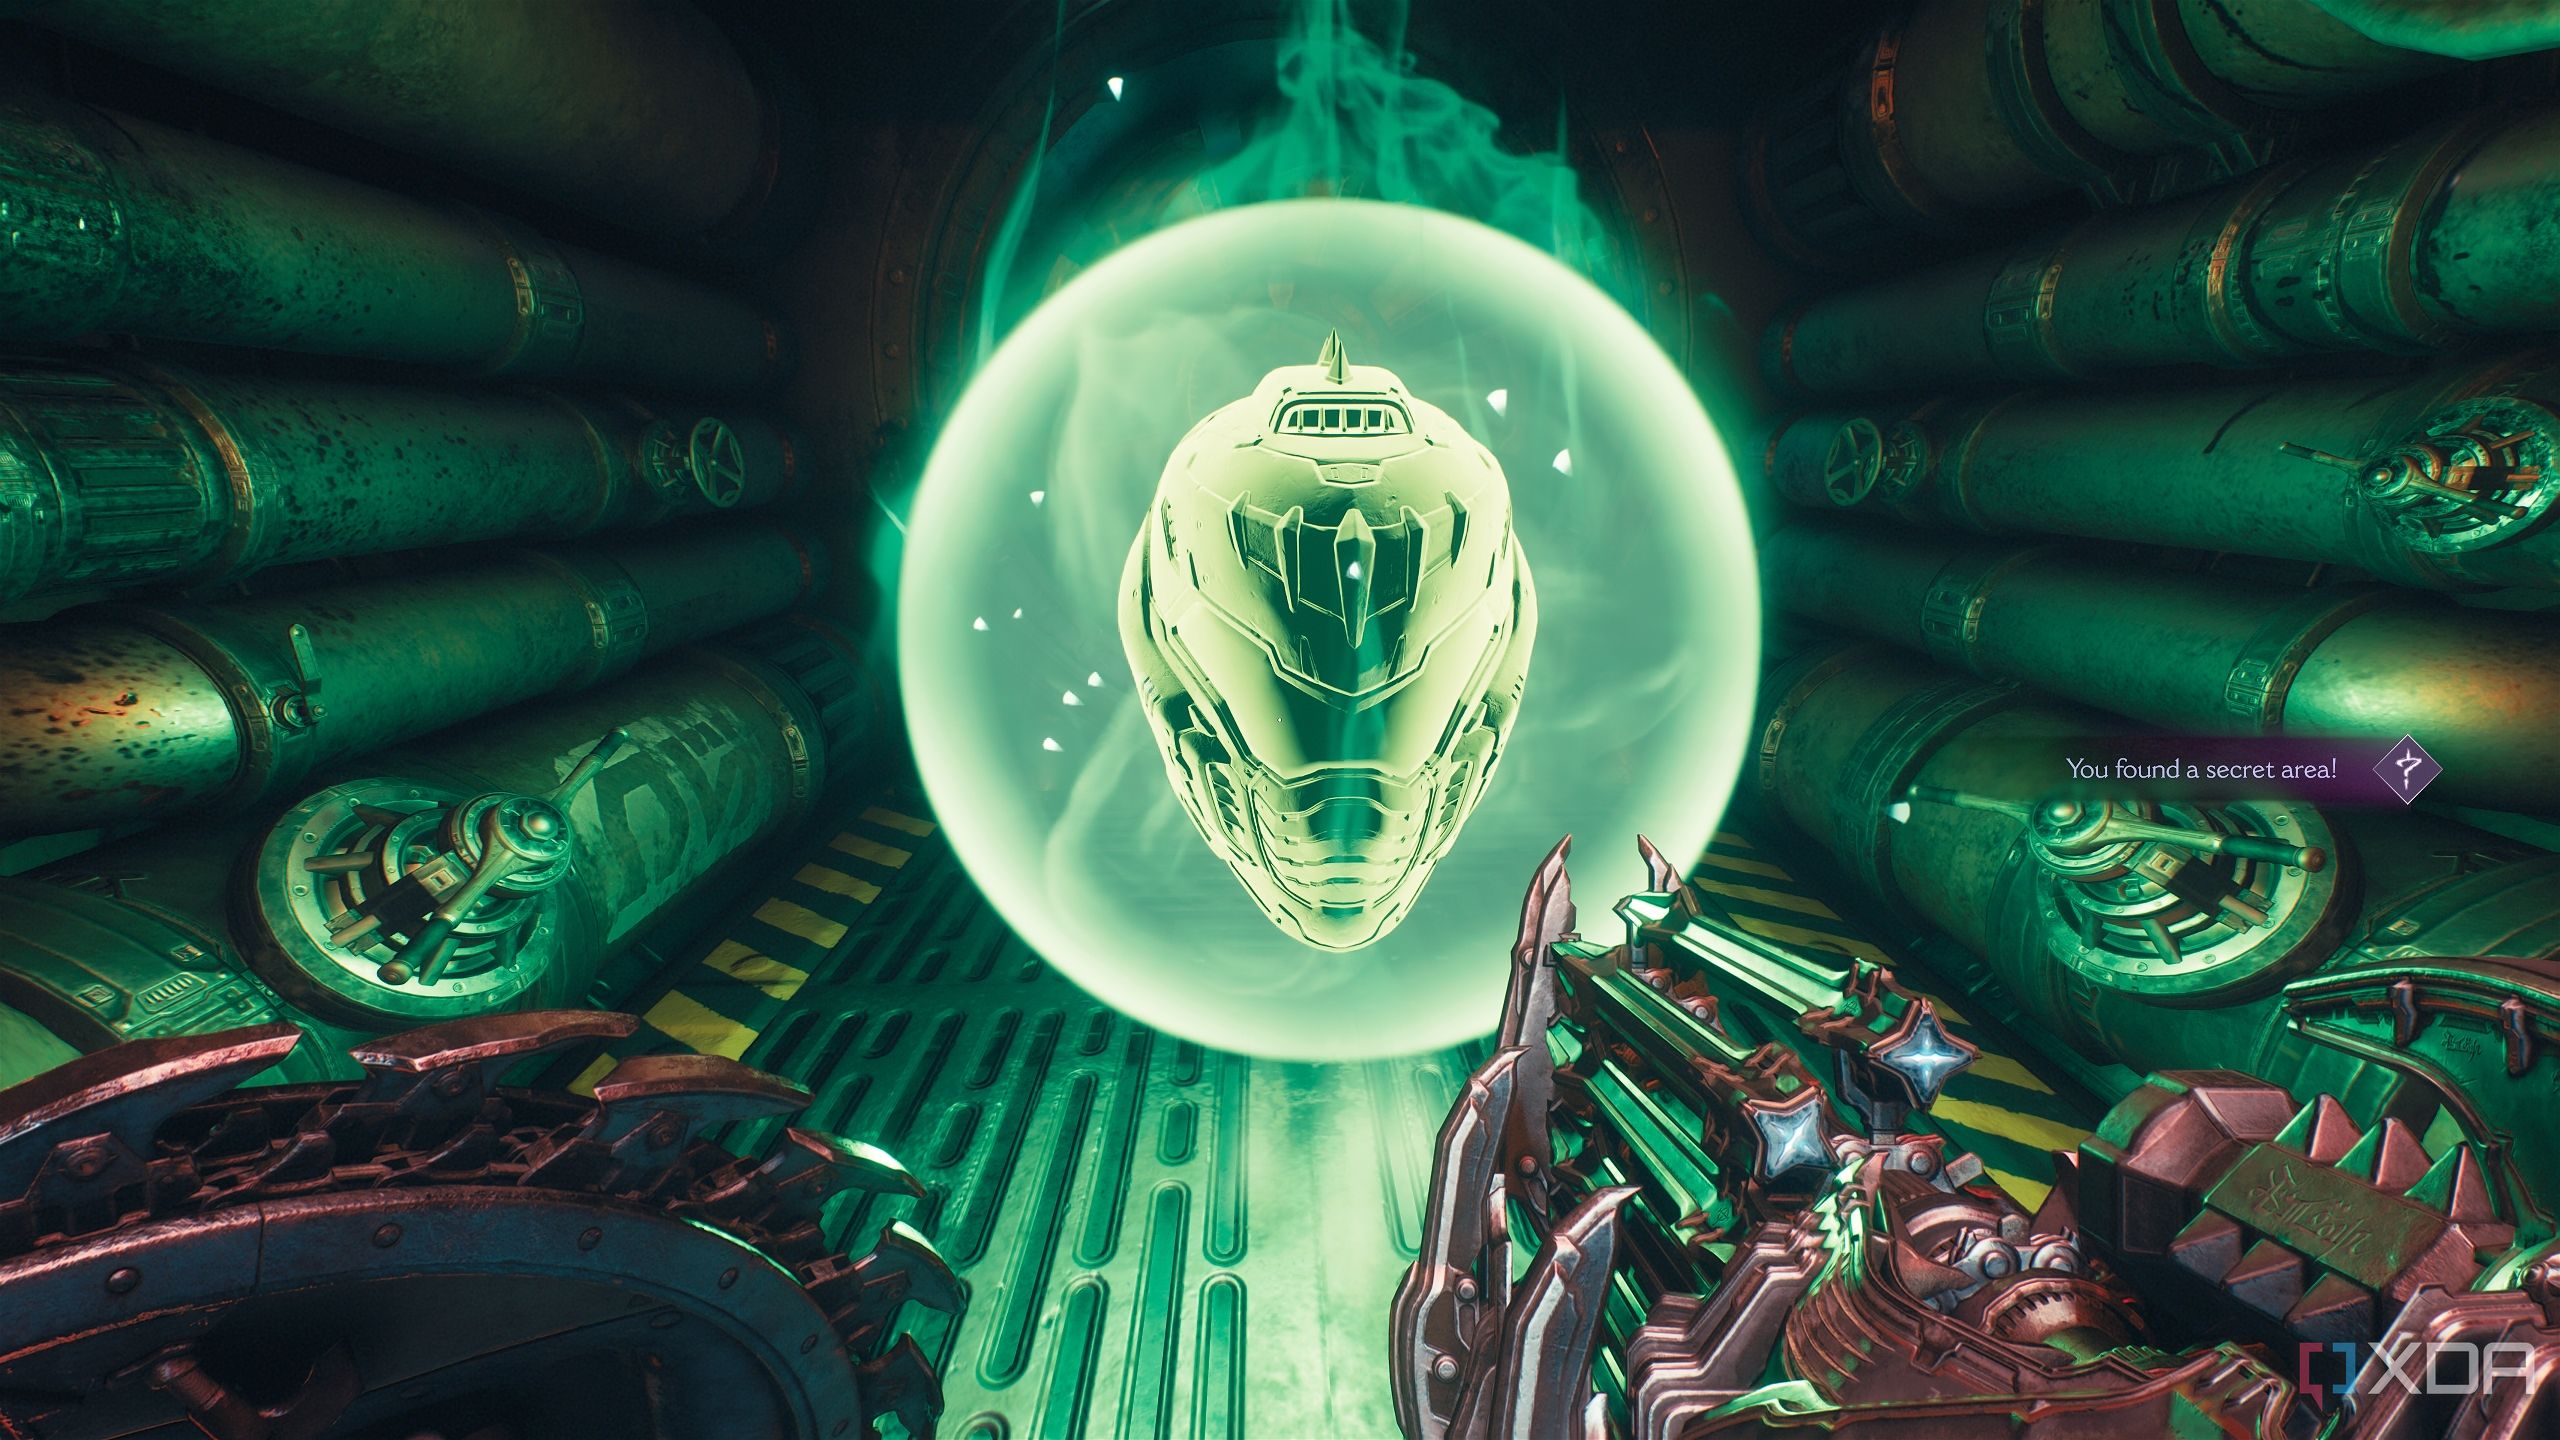
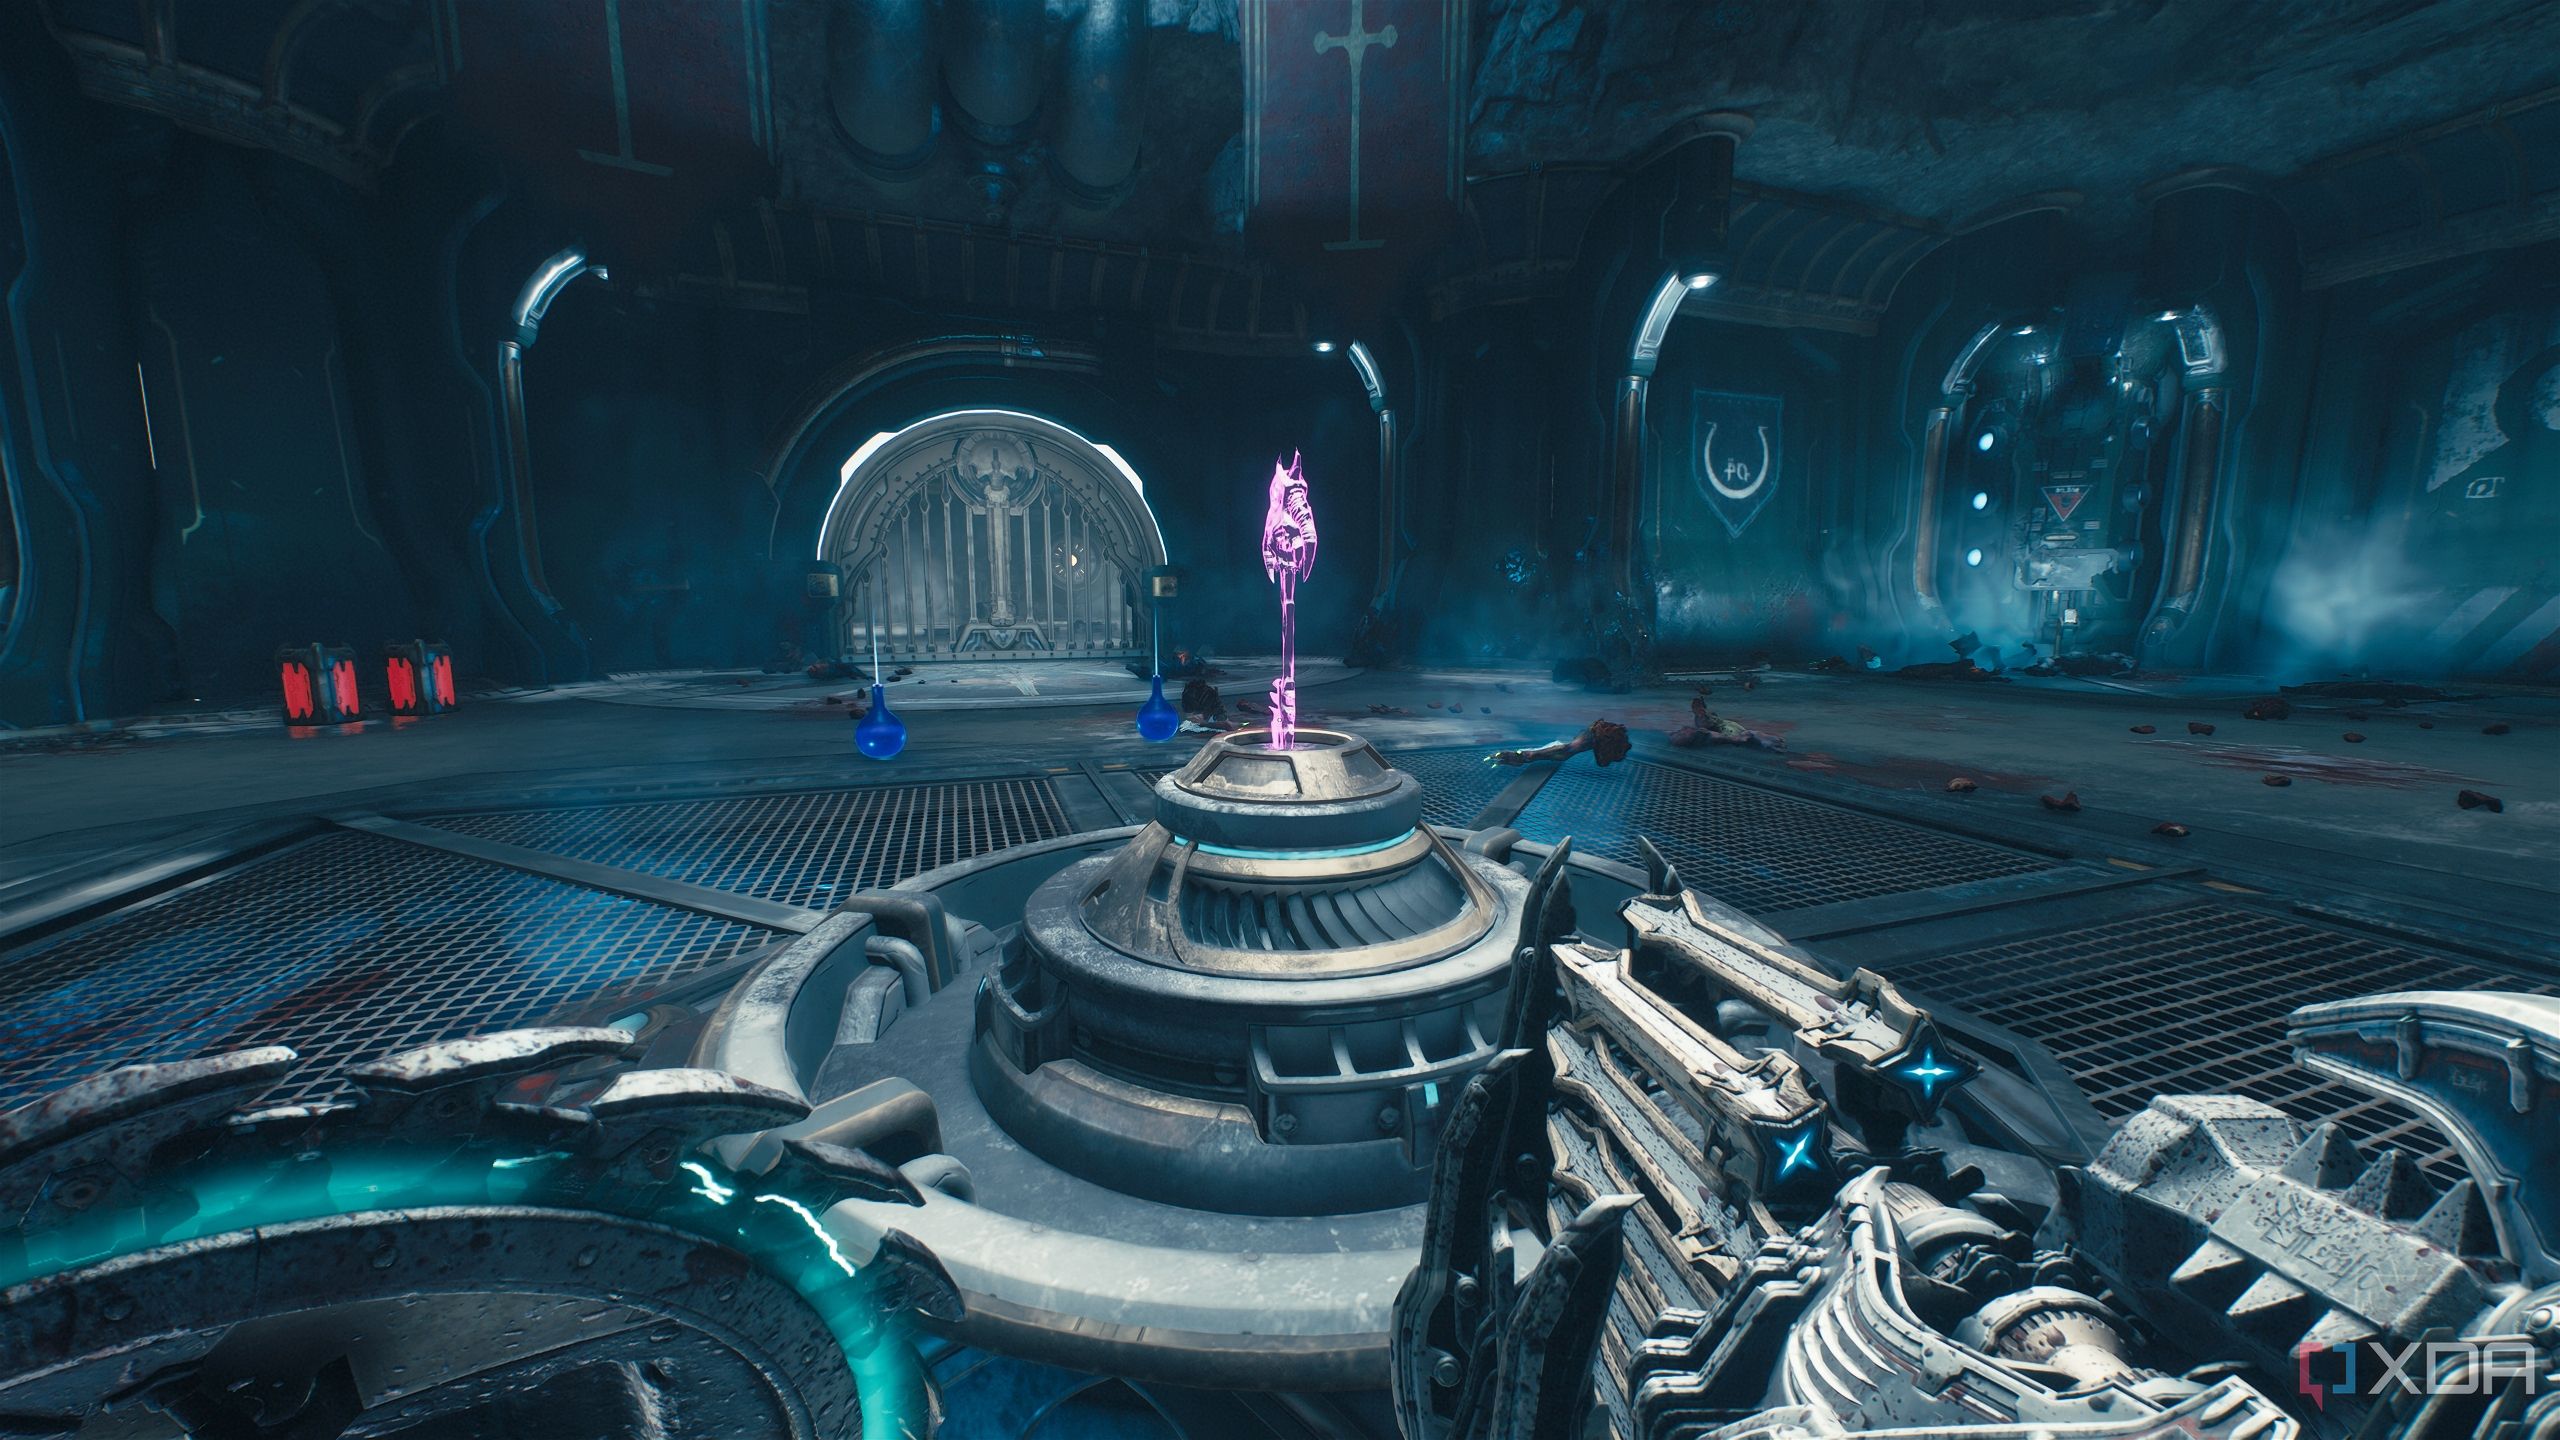
Once you get past the second point of no return and land in the command room in the location above, notice a locked gate with a secret collectible to the side.
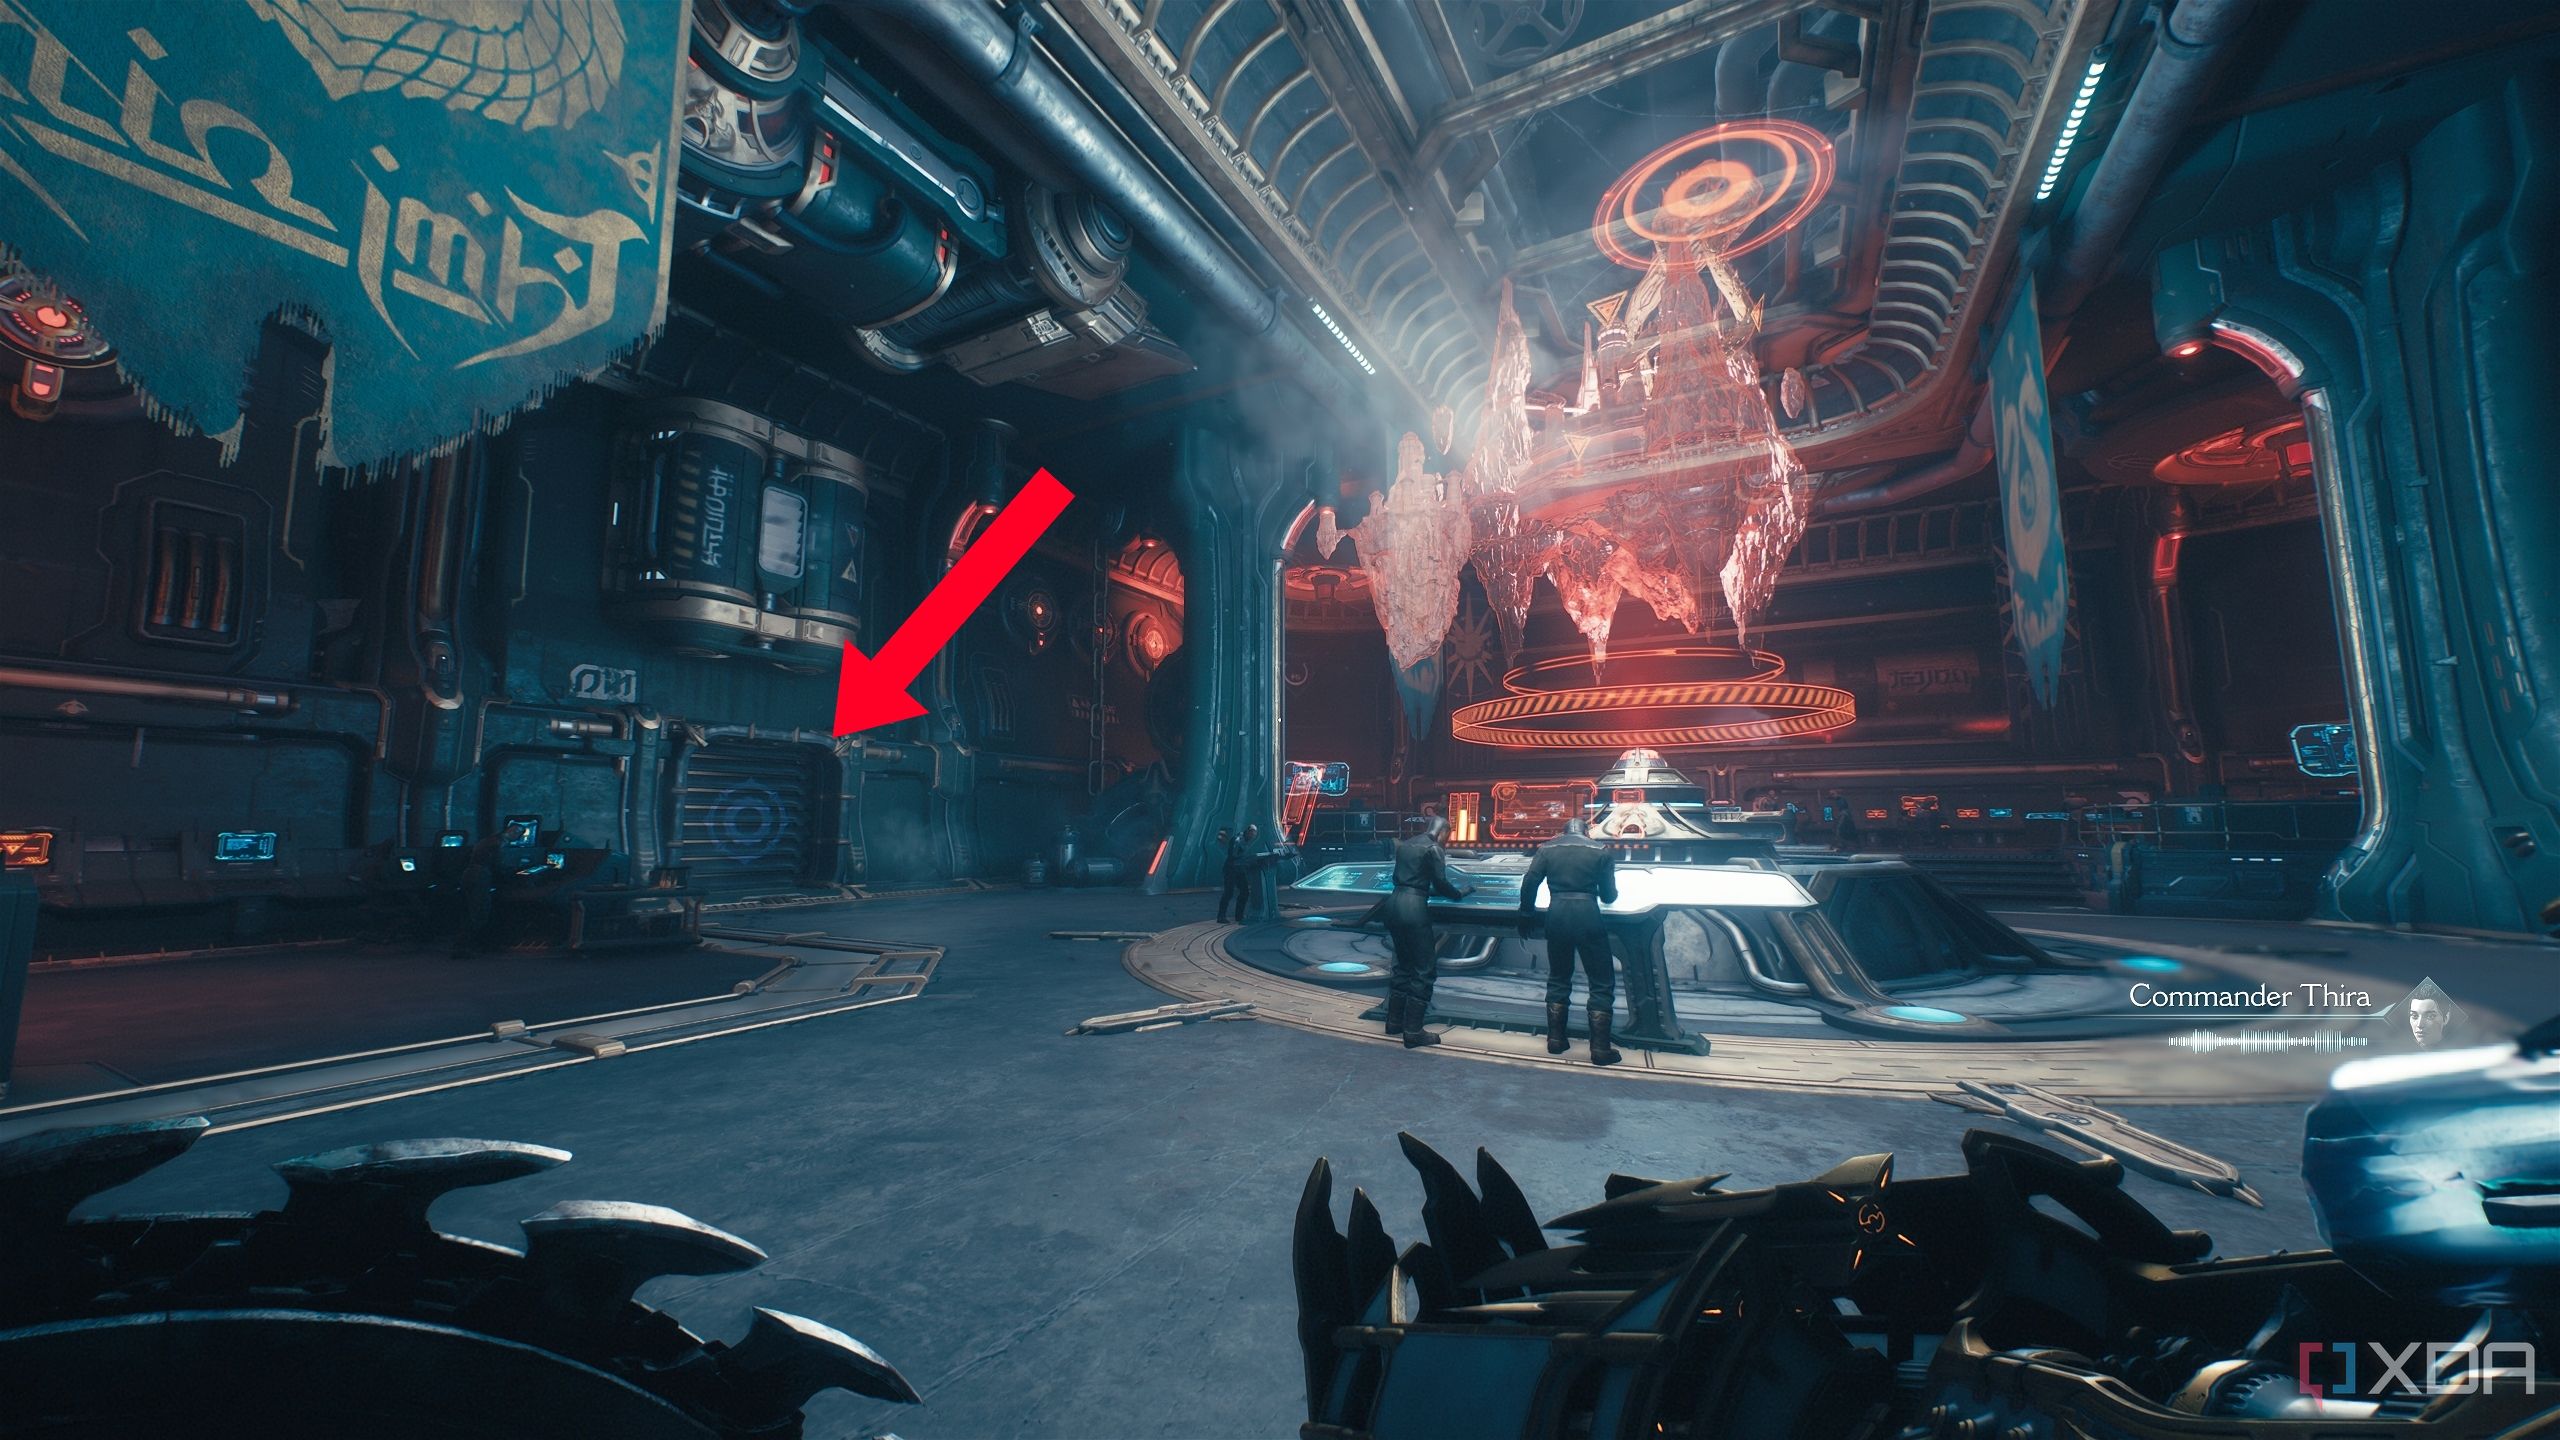
Move forward to where the Sentinels have a red hologram emitting from the center table, and look to the left for a Shield Charge wall. Bash through it, and you’ll unlock secret area 2, along with multiple gold bars.
Fight the Imp Stalker and Stone Imps that attack, and follow the gold bars. Before climbing up to the platform where an Imp Stalker was attacking from, look in the dark corner ahead to find a hidden gold stack.
Then, climb up to get the Weapon Skin for the Chainshot.

Related
The DOOM series: Every core game ranked
What are the best entries of the DOOM series that you should play? Here's every core game ranked!
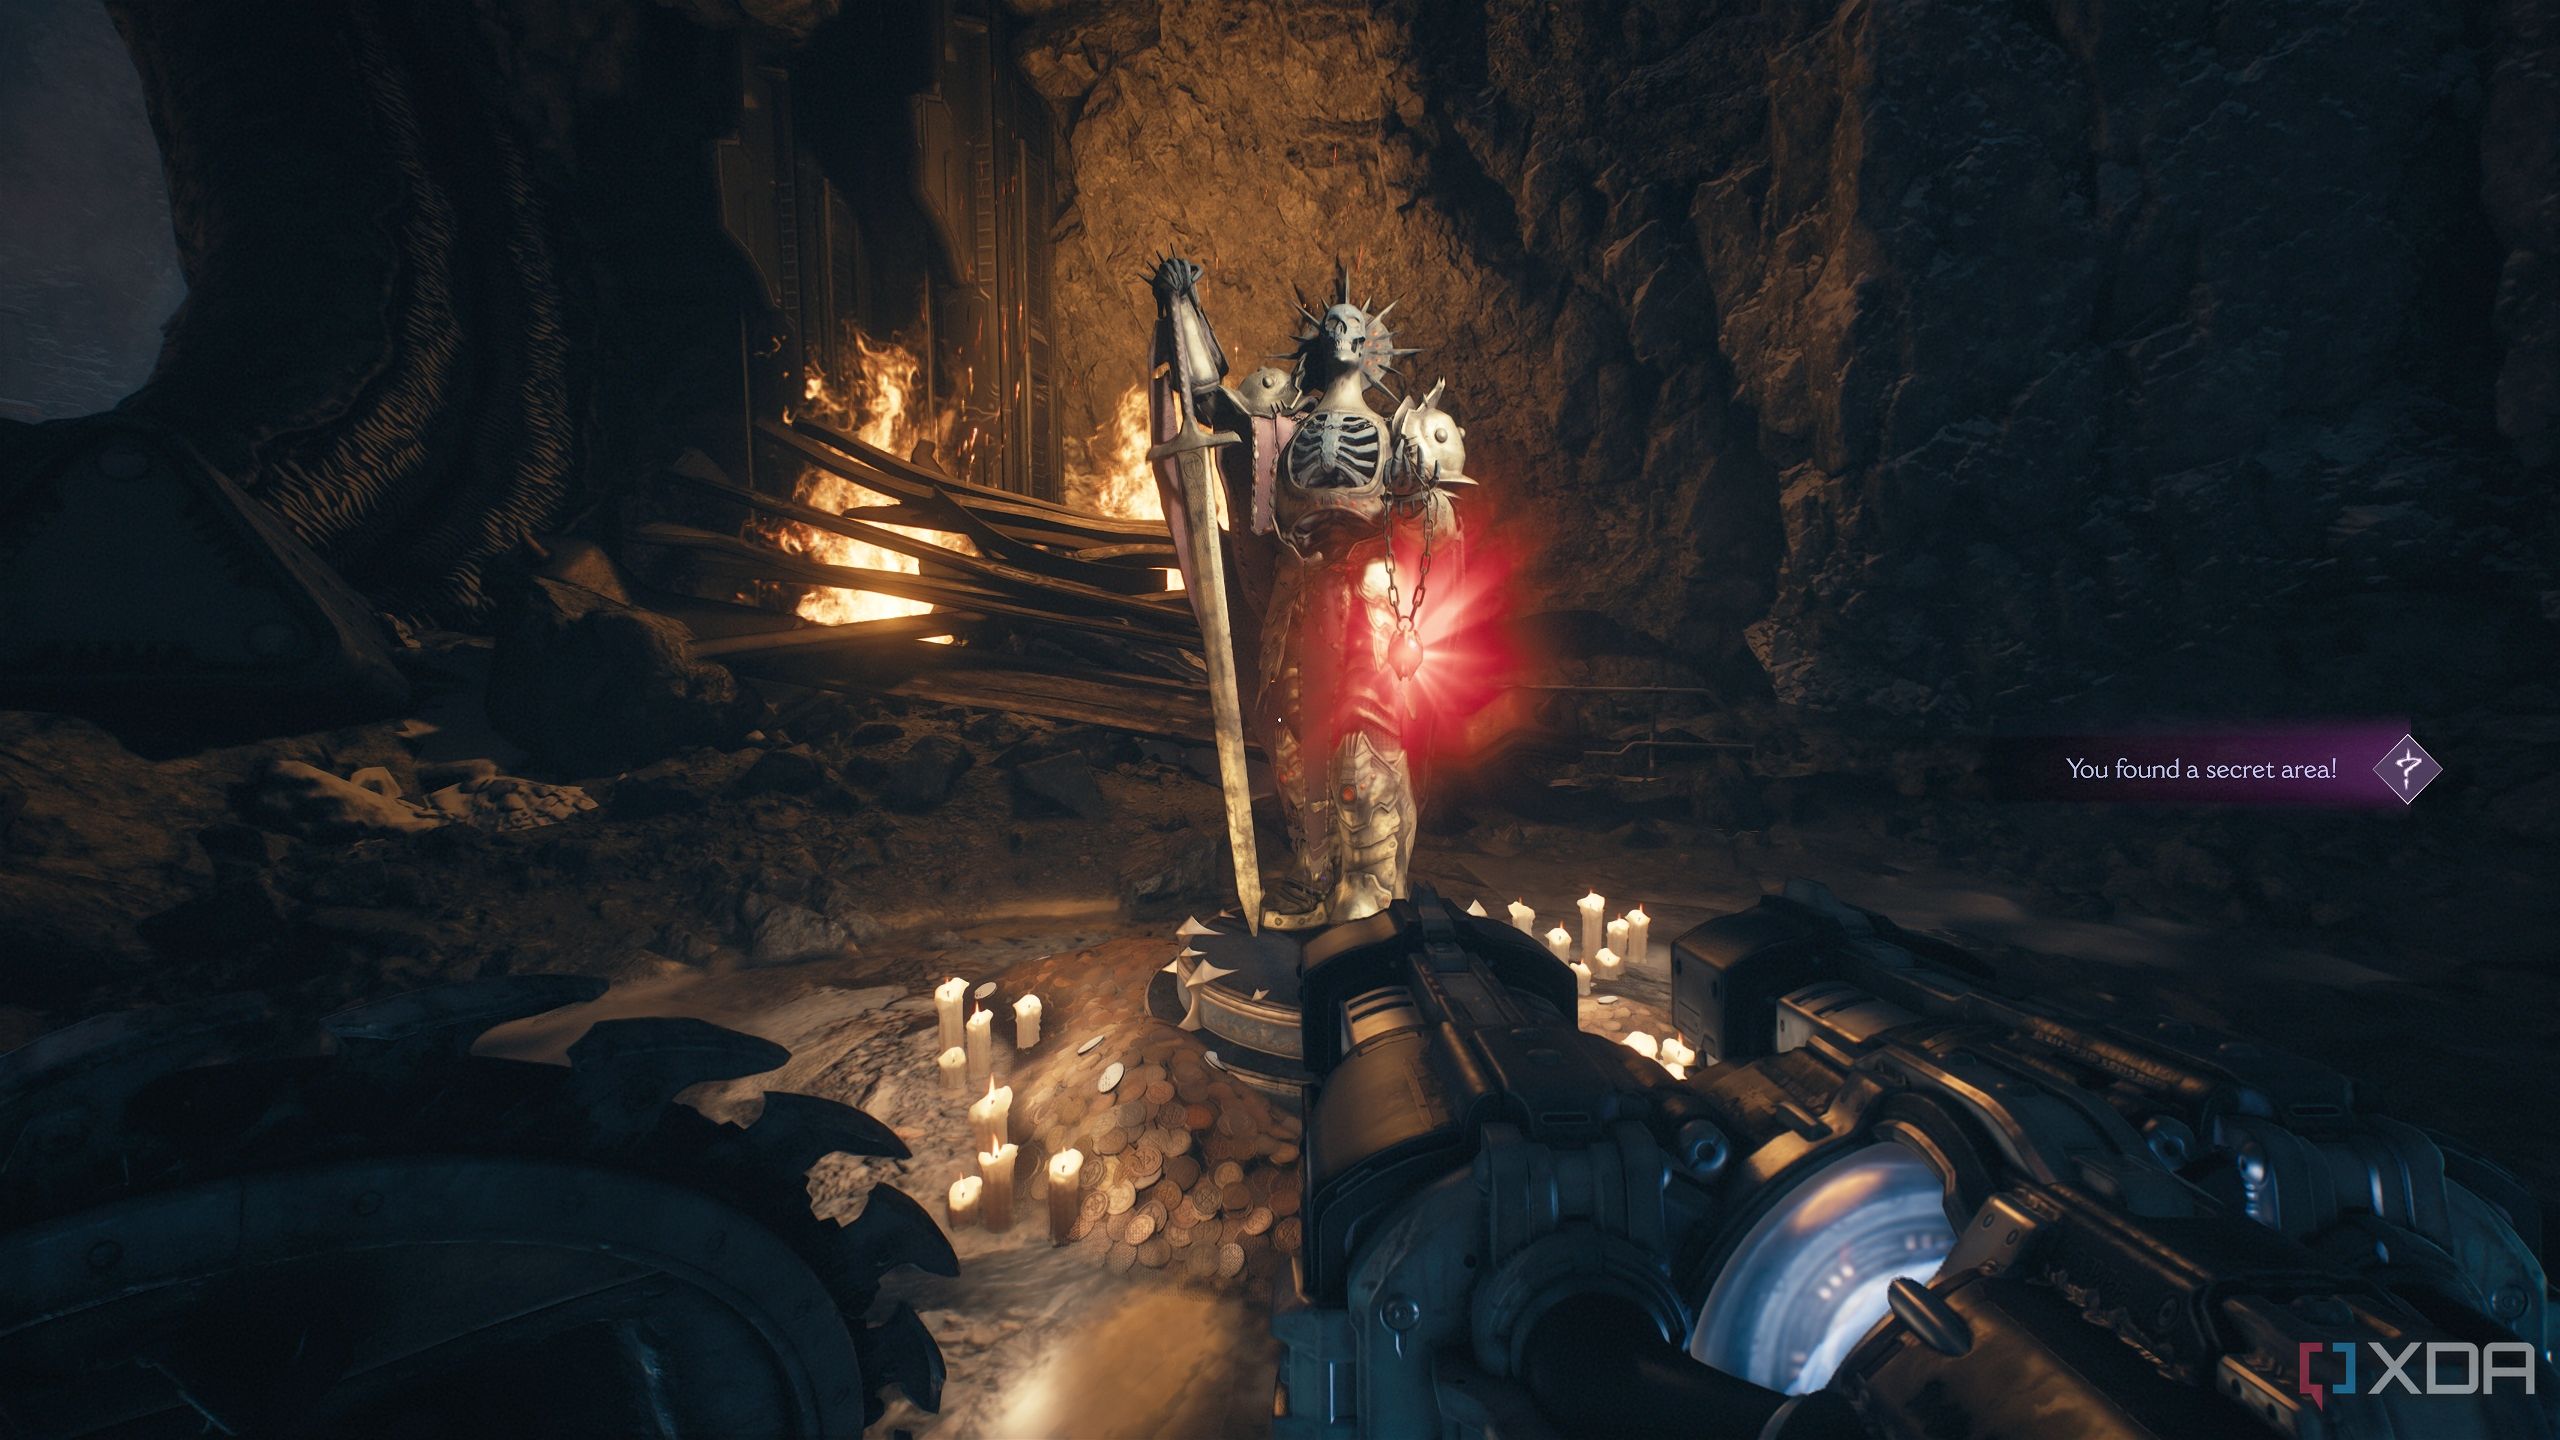
Secret area 3, more gold bars, and a Life Sigil
Under the shadow of the Knight's statue
Once you jump down into an arena with a Sentinel Knight statue, you’ll have to deal with plenty of demons at once, including three Mancubii and several Imp Stalkers. This is the best place to finish up the Wait For It mission challenge, as you can just shoot the many explosive barrels around to kill 10 fodder demons.
The Punching Bag challenge can be progressed here as you’ll meet a Battleknight in this arena.
Then, once you follow the objective and move to the next location, you’ll have to pull a lever switch and then fight a Cyberdemon and Pinky Rider. Don’t forget to collect all the gold bars on the way to the next switch, right next to a group of Demon Cultists and a Sentinel Shrine.
After you pull the second lever, a scramble wall will reveal itself.
Climb up, and instead of heading left, head right, in the direction of the fire projectiles.
You might take some damage, but you’ll see a trail of gold bars leading to a Life Sigil and secret area 3. Then, get back on track, keeping your shield up to prevent damage from the projectiles.
Secret area 4 and a Red Ruby
A huge fight for another health upgrade
Once you’re past the huge arena where you fight multiple Mancubii, a Battleknight, Revenants, Arachnotrons, and an enhanced Pinky Rider for a Max Health Demonic Essence, you’ll follow the objective to circle back to the Sentinel statue arena.
In the room where you pull a lever switch to get back to the statue’s arena, there’s also a gold chest to collect.
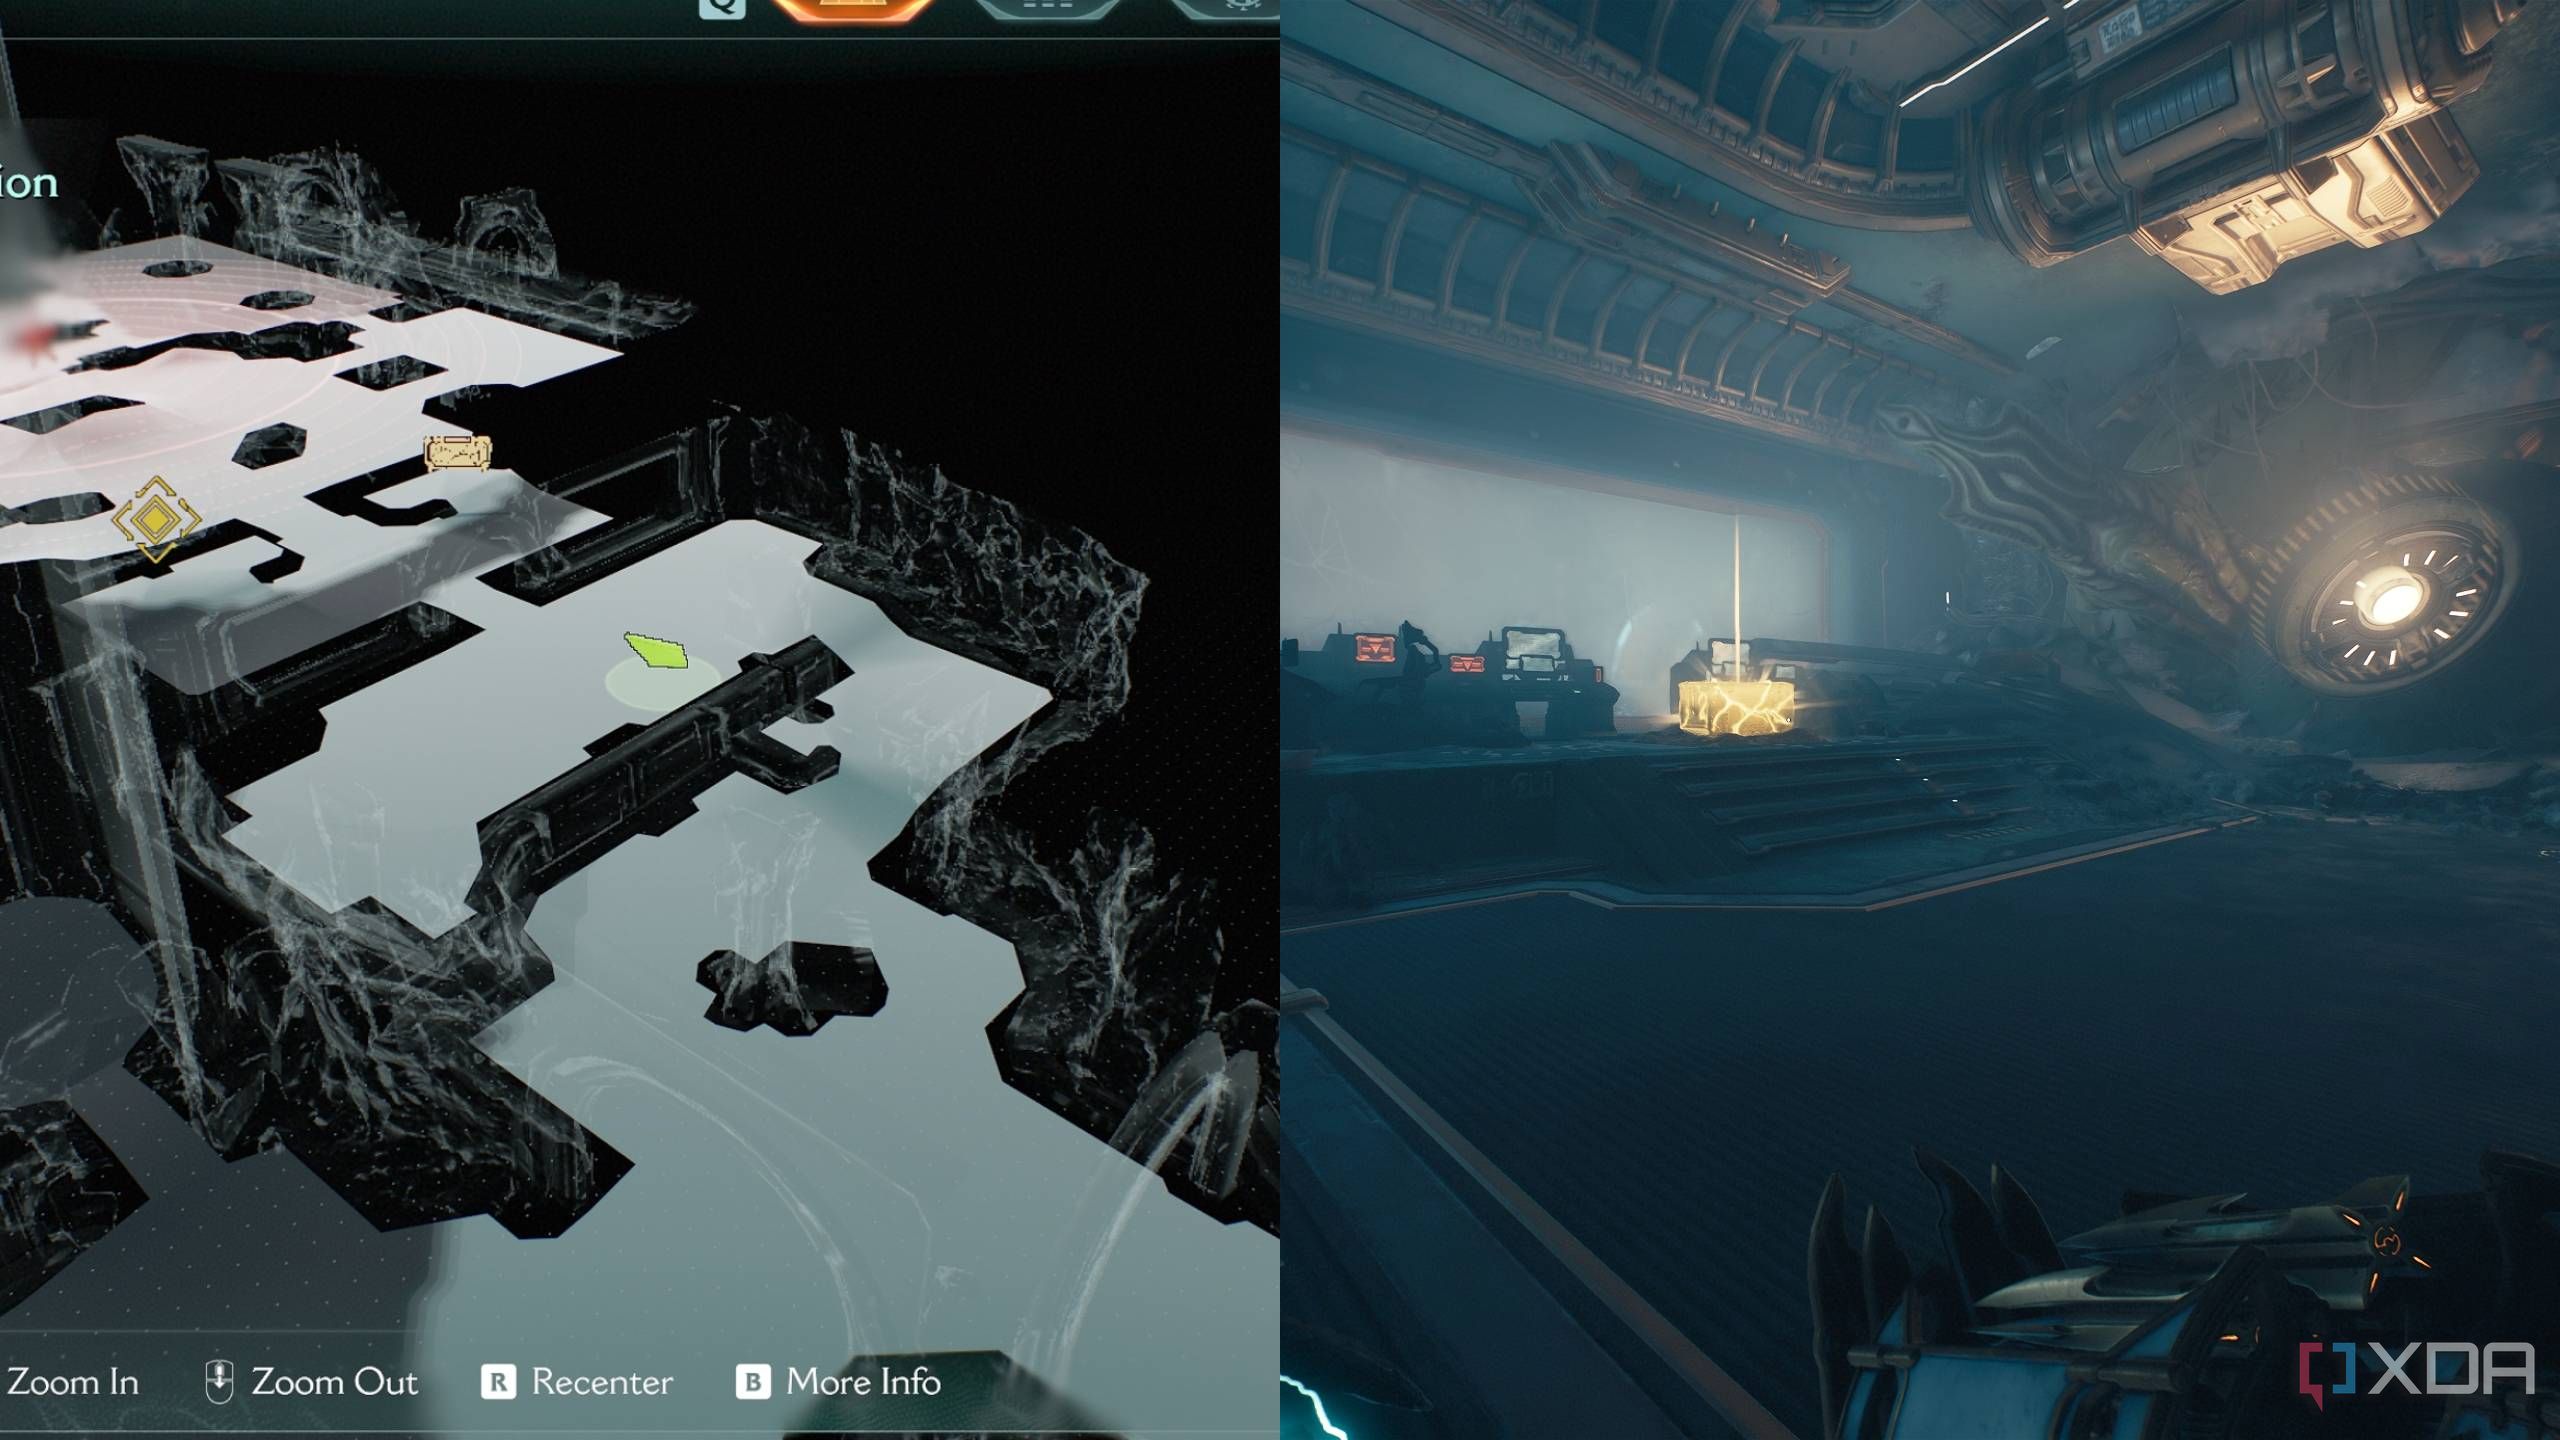
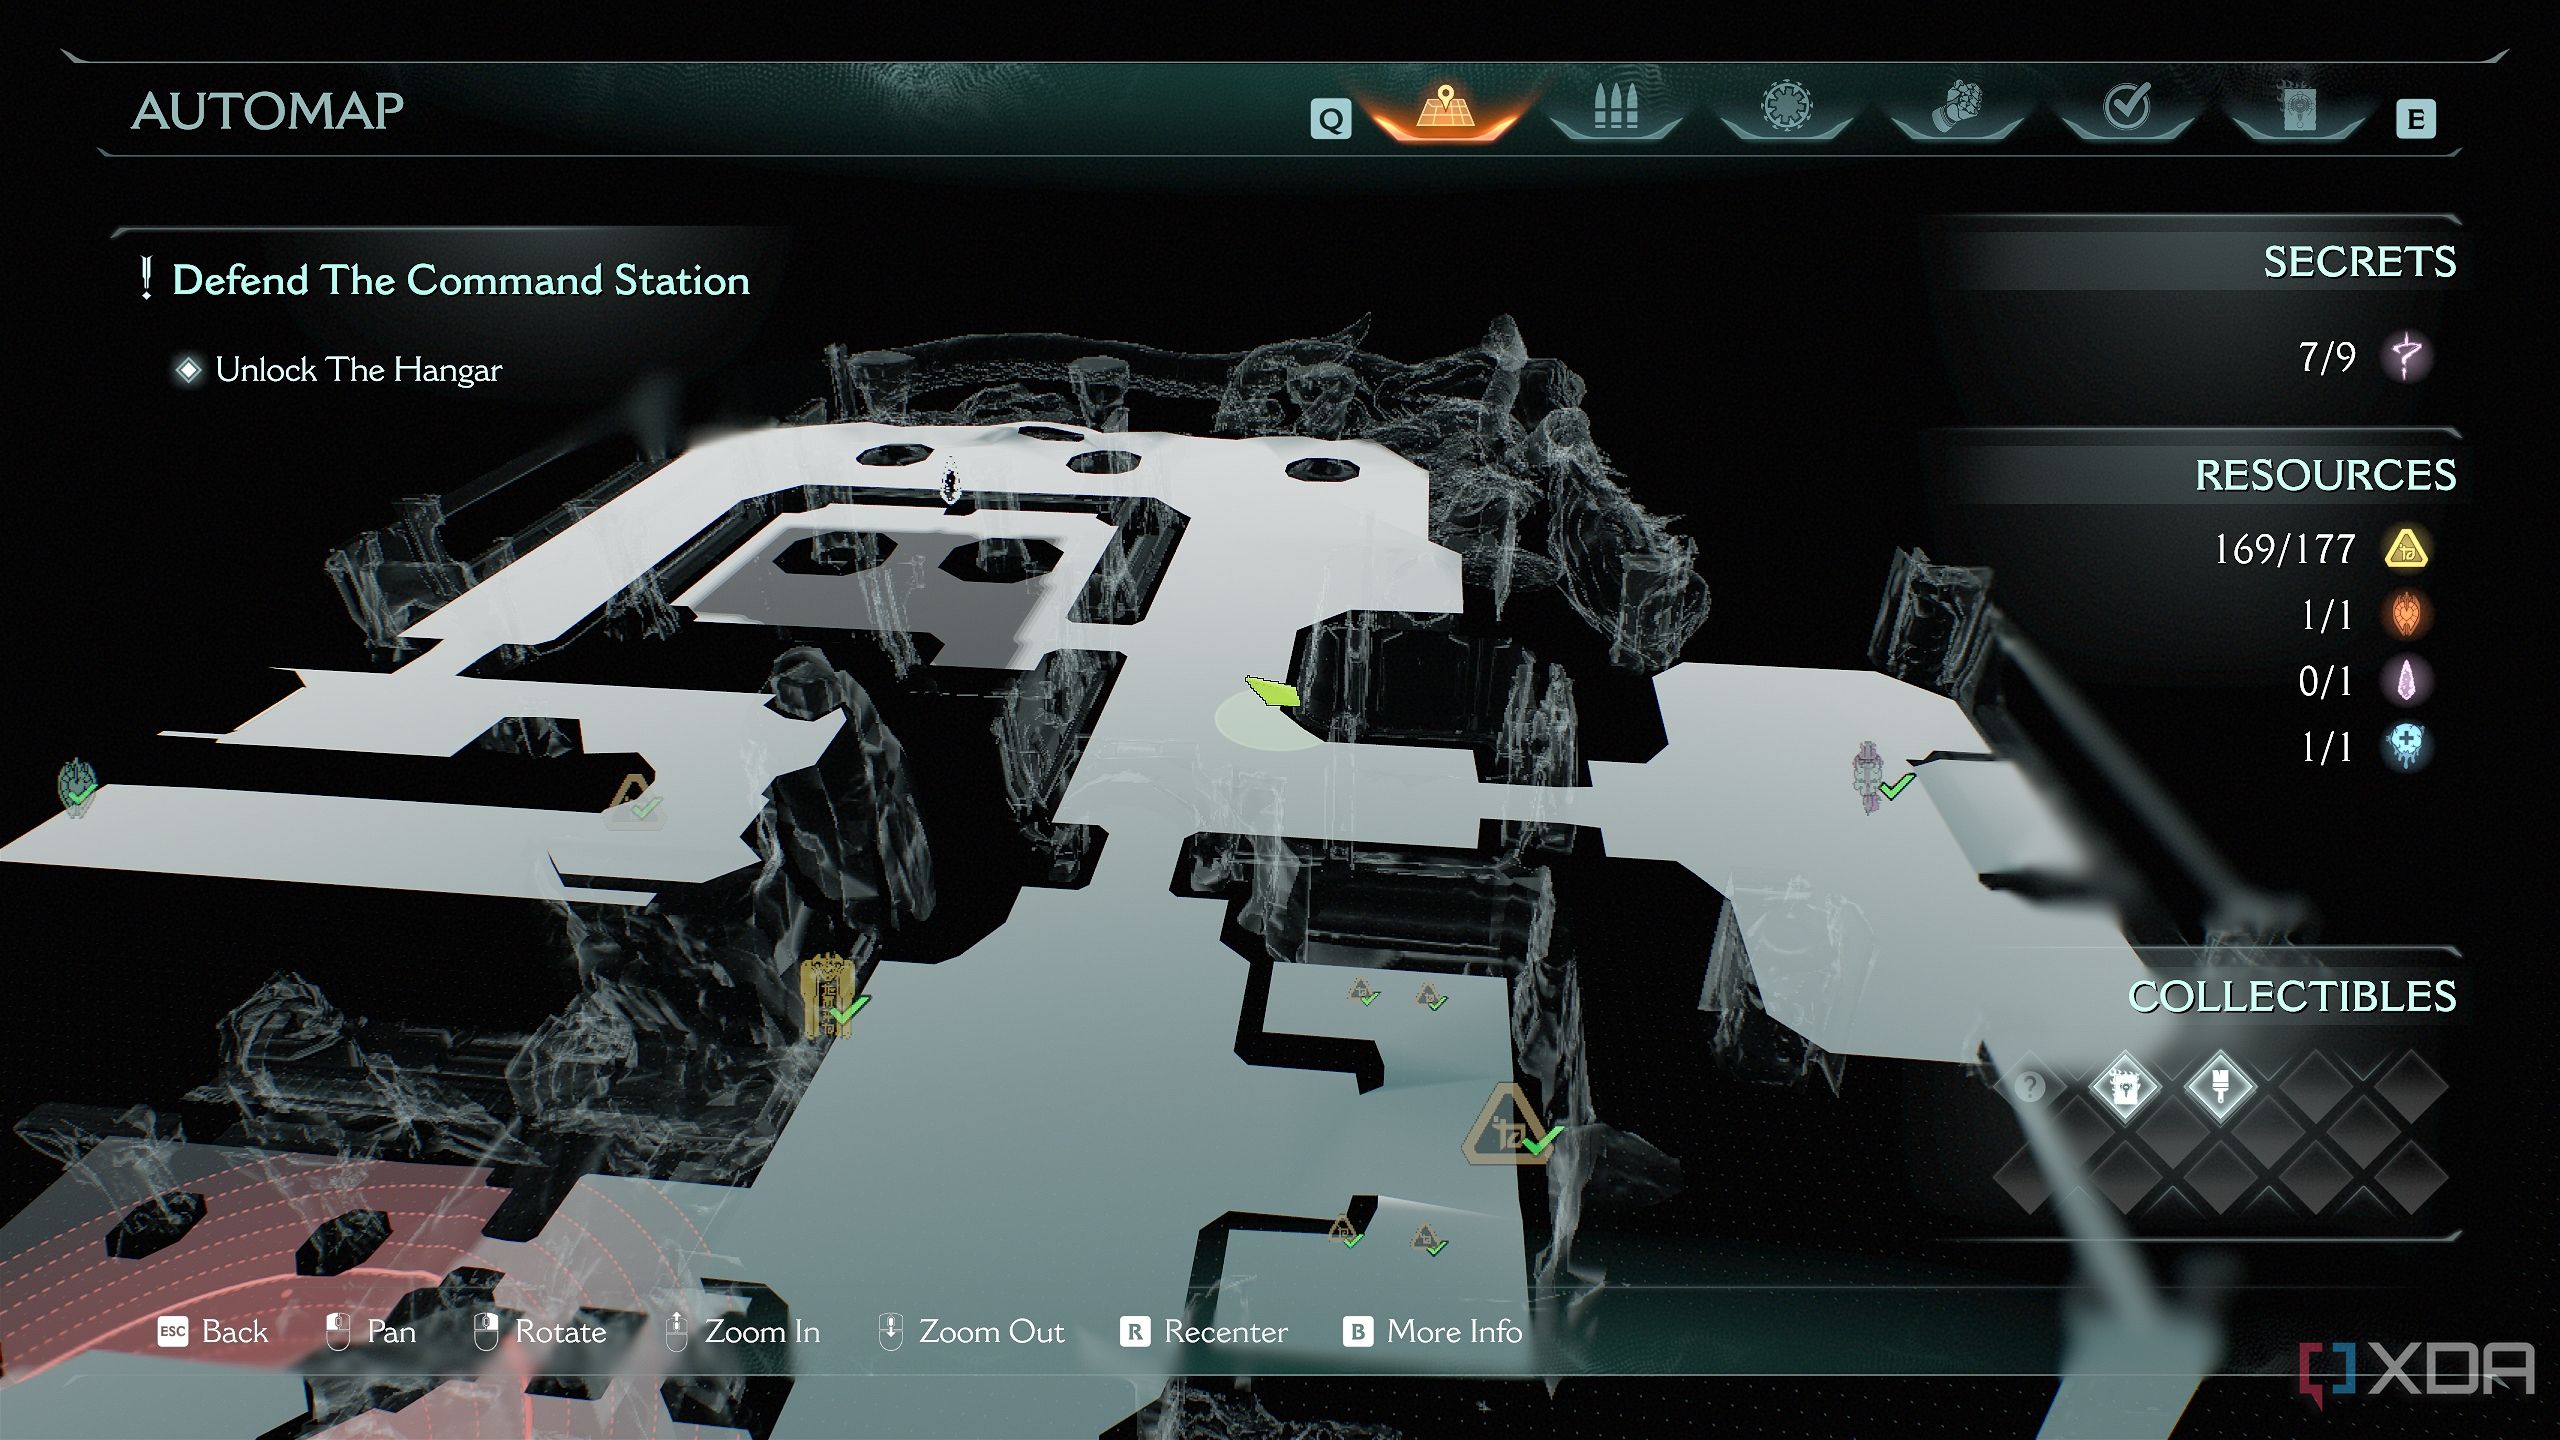
Then, take the elevator up towards the Yellow keycard. Once you use a green flesh node to get across a big gap and take down a Mancubus, you’ll reach the location on the map above.
Instead of going towards the objective, drop down in front of you, through a hole in the floor.
You'll land inside secret area 4 and unlock a Red Ruby.

A Shield Charge box here is your way back up, but don’t forget to pick up the Gold Stack right next to it.
Related
How Doom: The Dark Ages will take Doom to new heights
Doom: The Dark Ages is the next evolution of the Doom series, and it could end up being the best one yet.
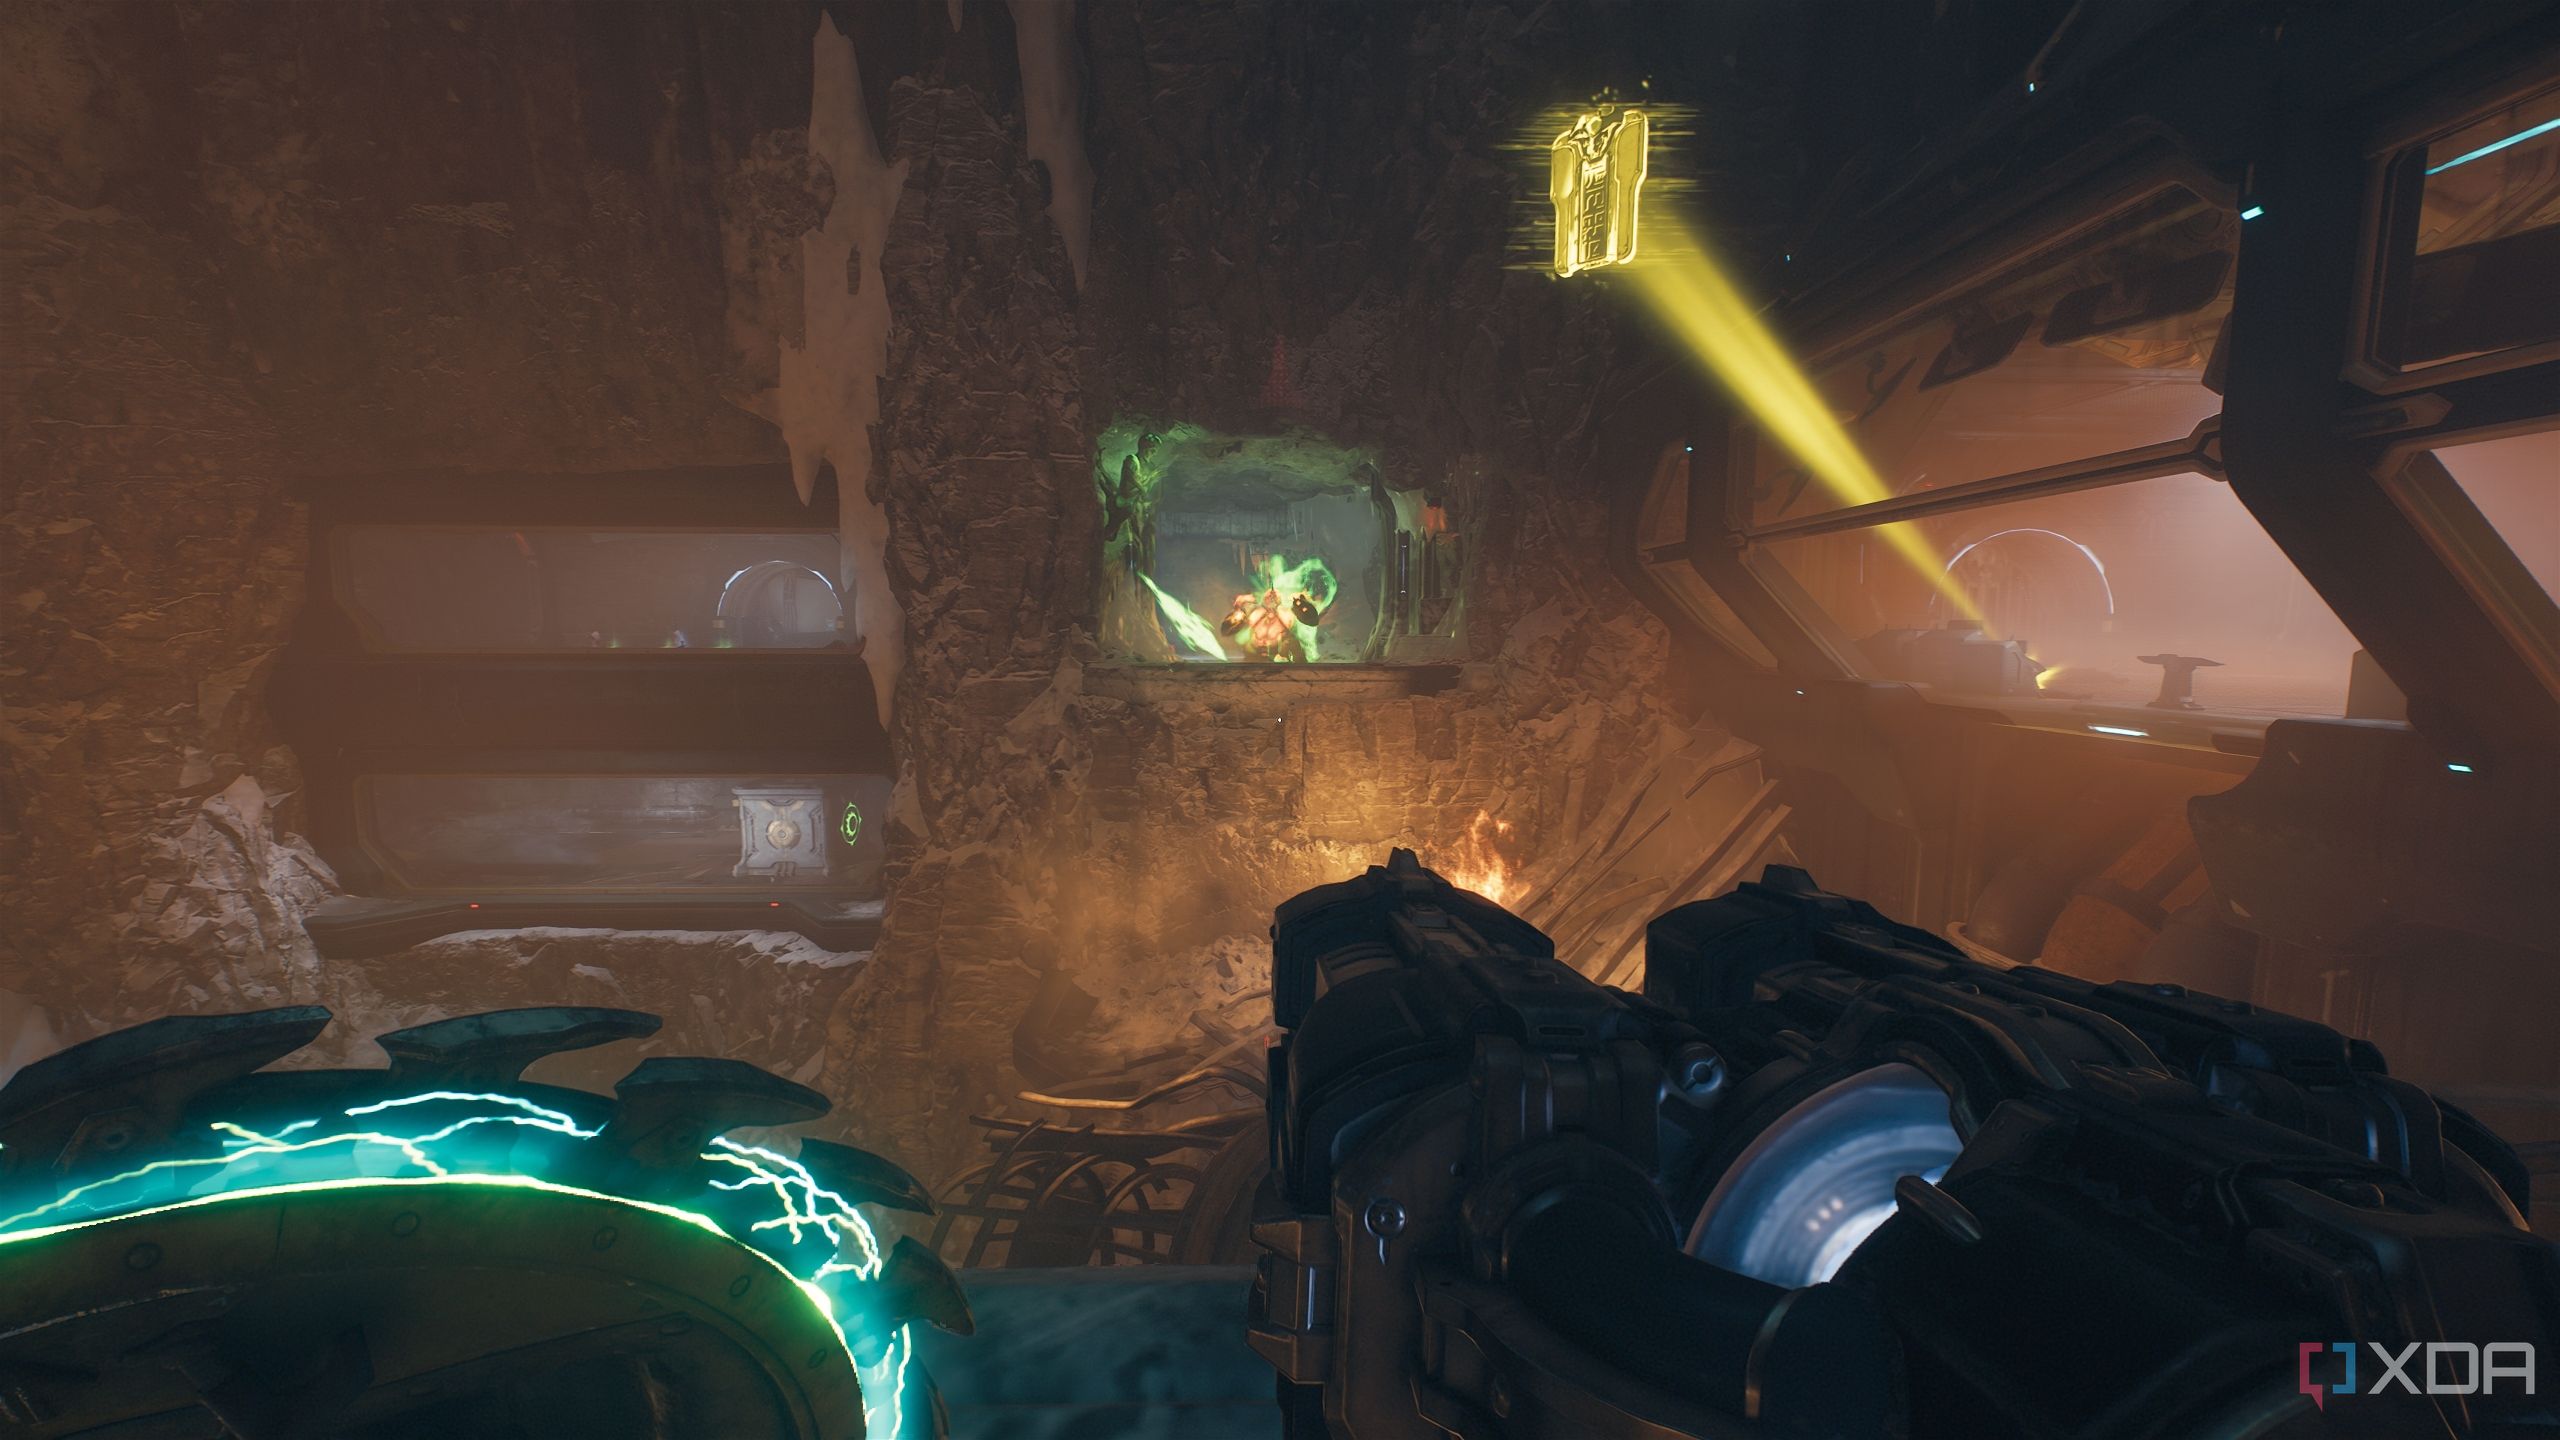
Secret area 5, gold bars, and a gold chest
I'll never get tired of seeing the goofy keycards
Once you reach the room with the yellow keycard, dispatch the Hell Cultists.
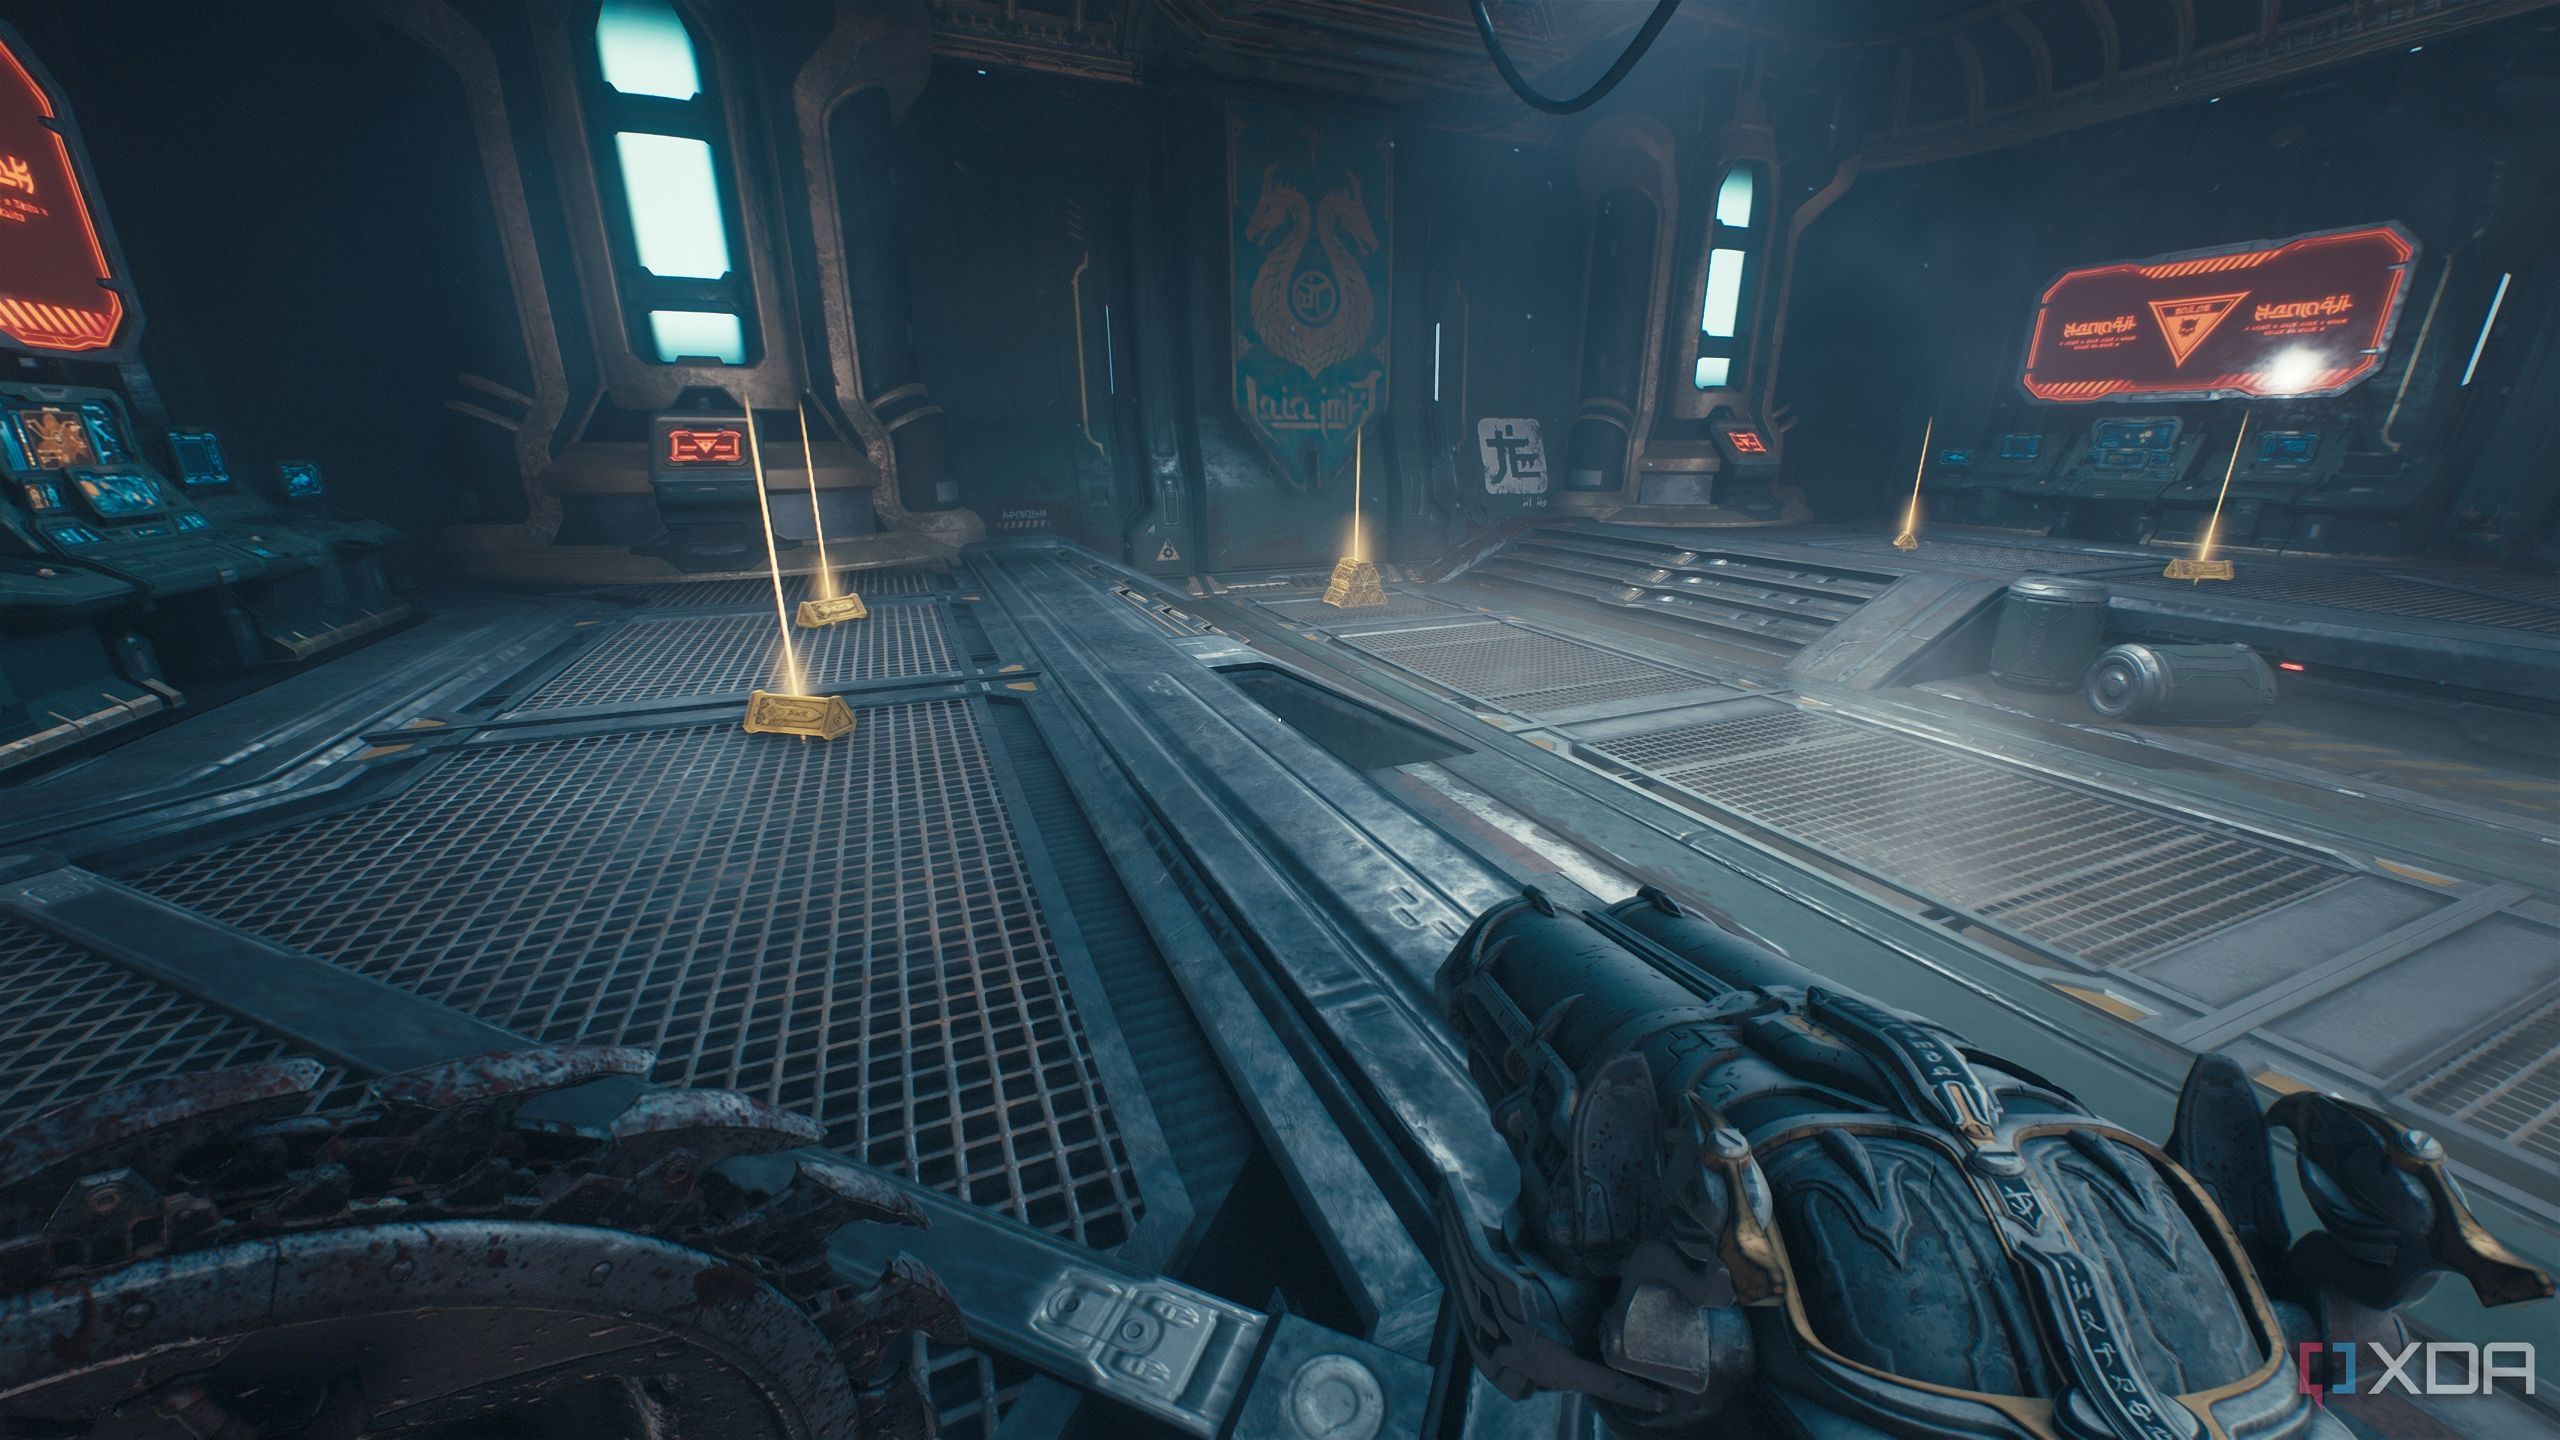
Make sure you pick up the gold bars and gold stack next to them, in the back of the room.
Then, get the keycard, and open the yellow-locked gate in this room. Before dropping all the way down, you’ll see a gold chest next to a scramble wall just a level below you.
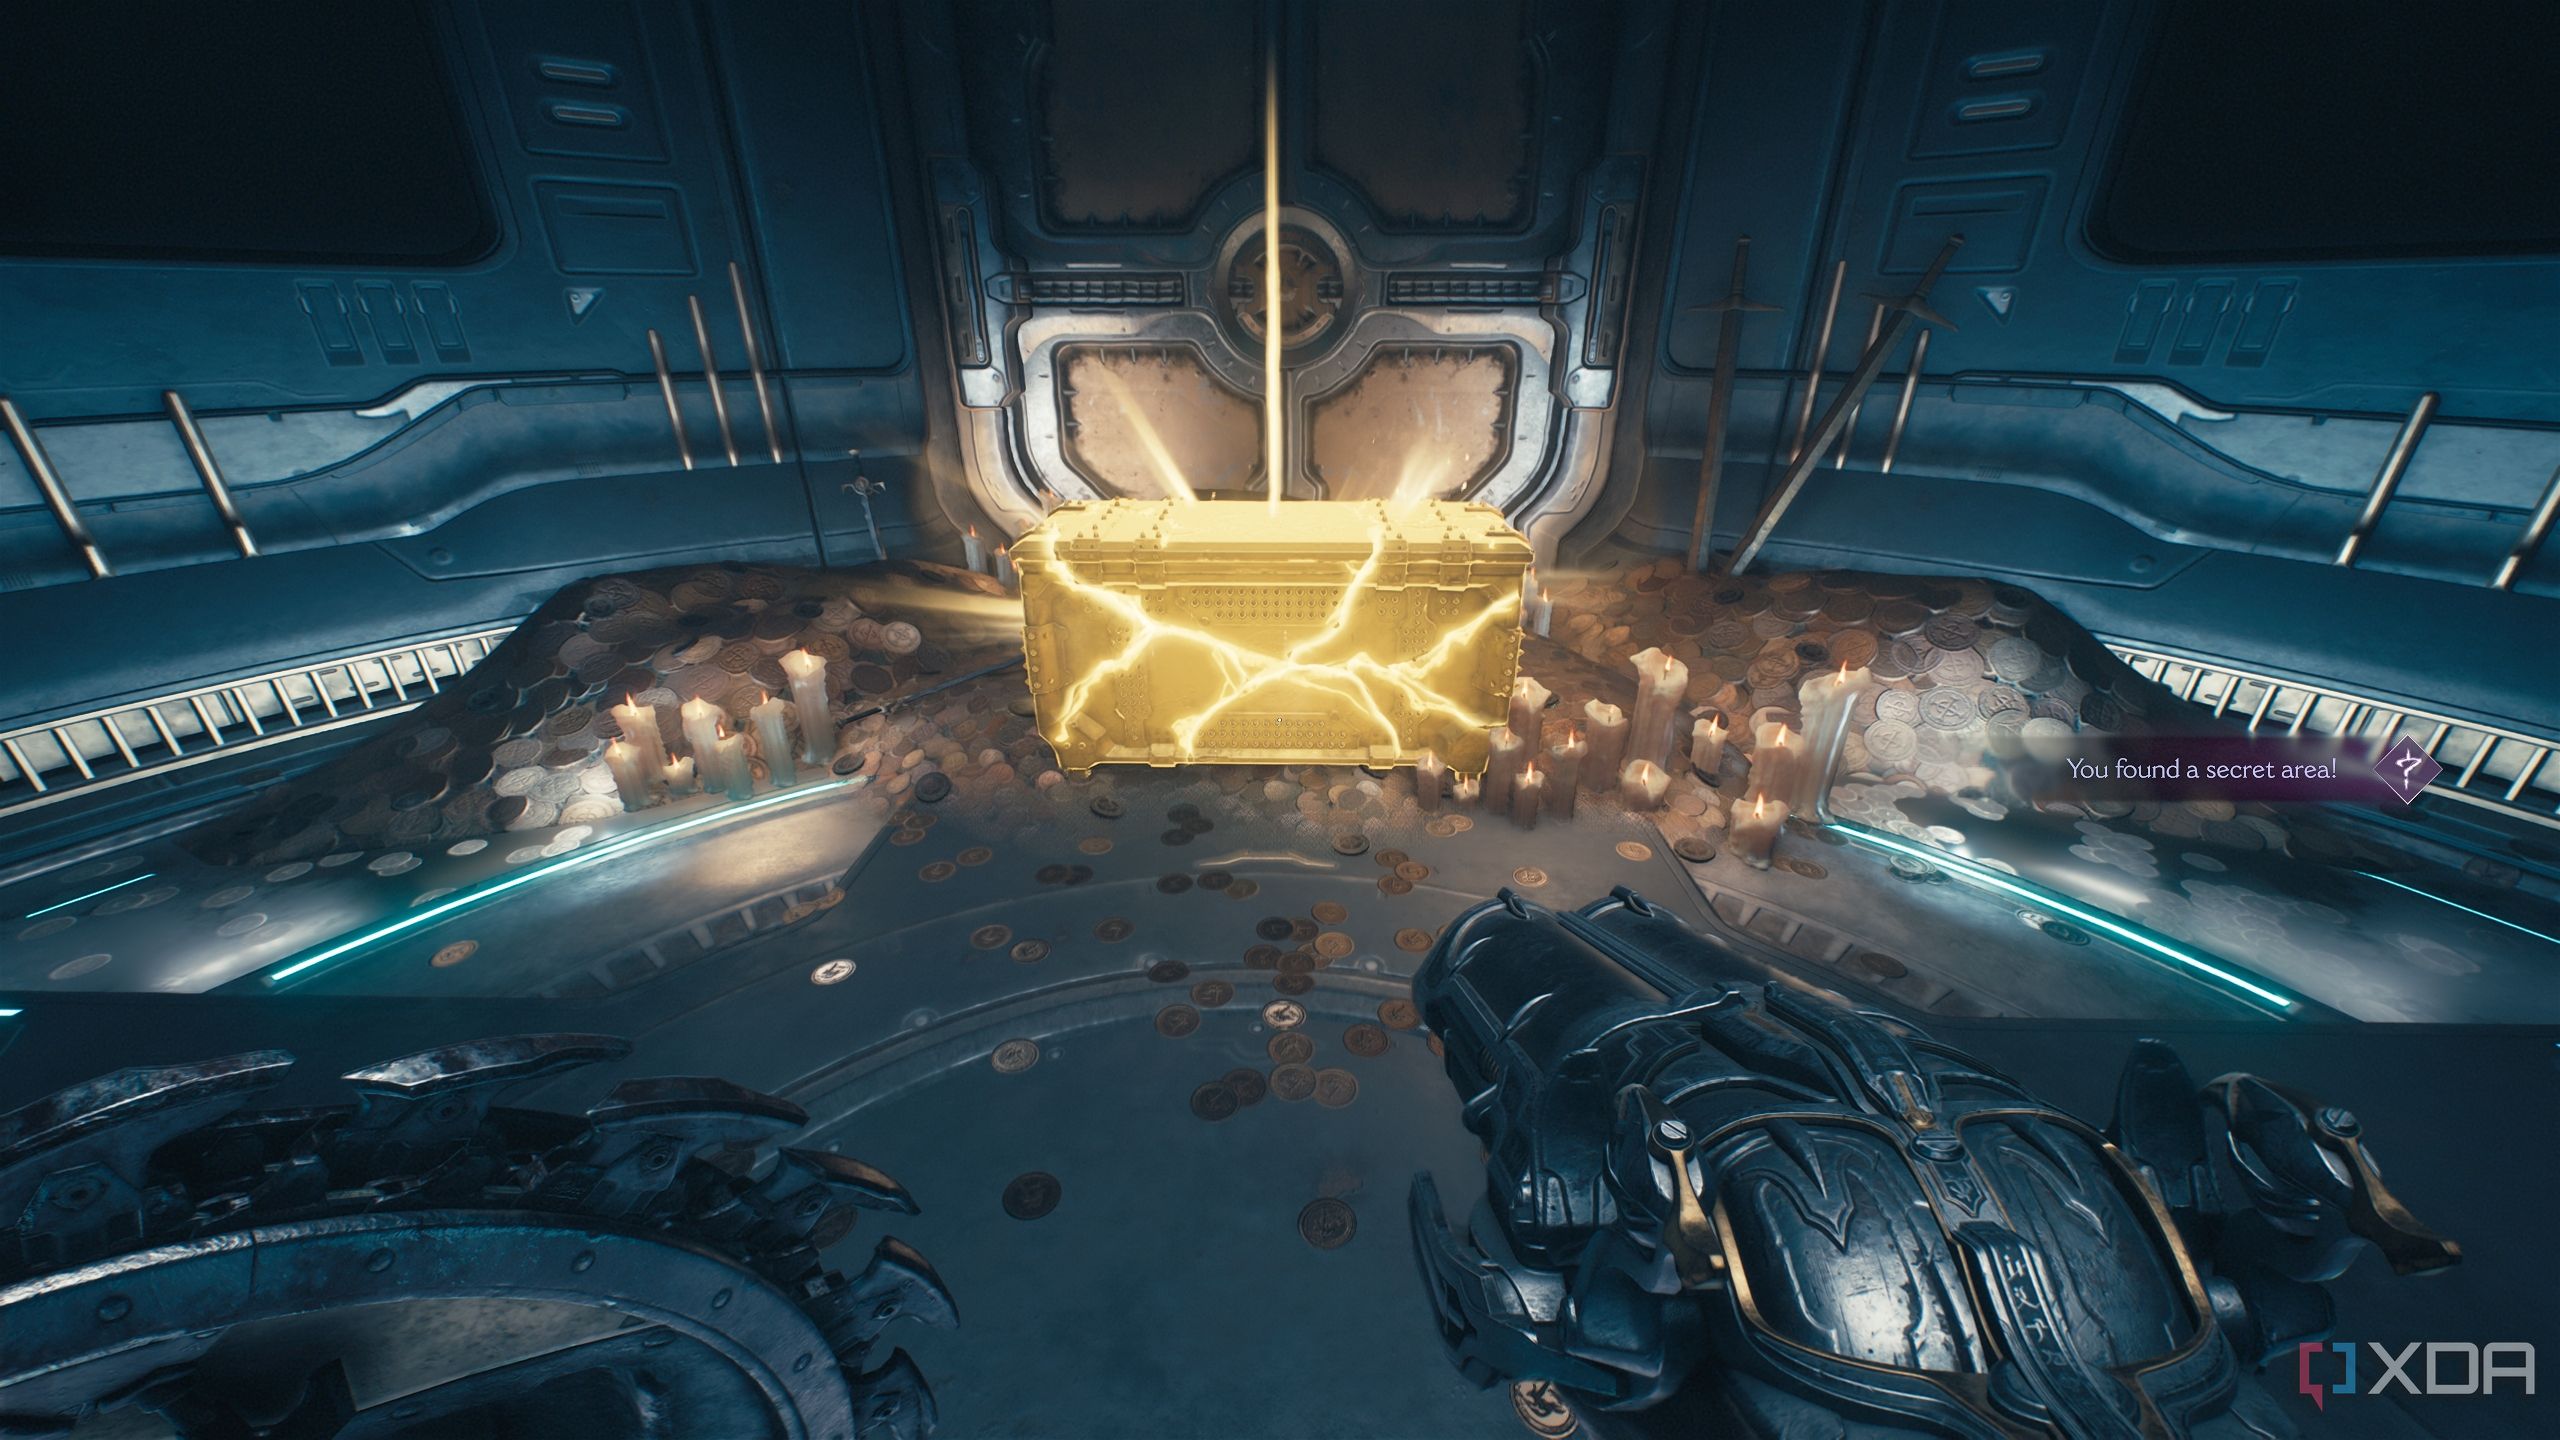
Sprint towards it, and you should reach the chest, unlocking secret area 5 and collecting a gold chest. Make sure you don’t jump down just yet.
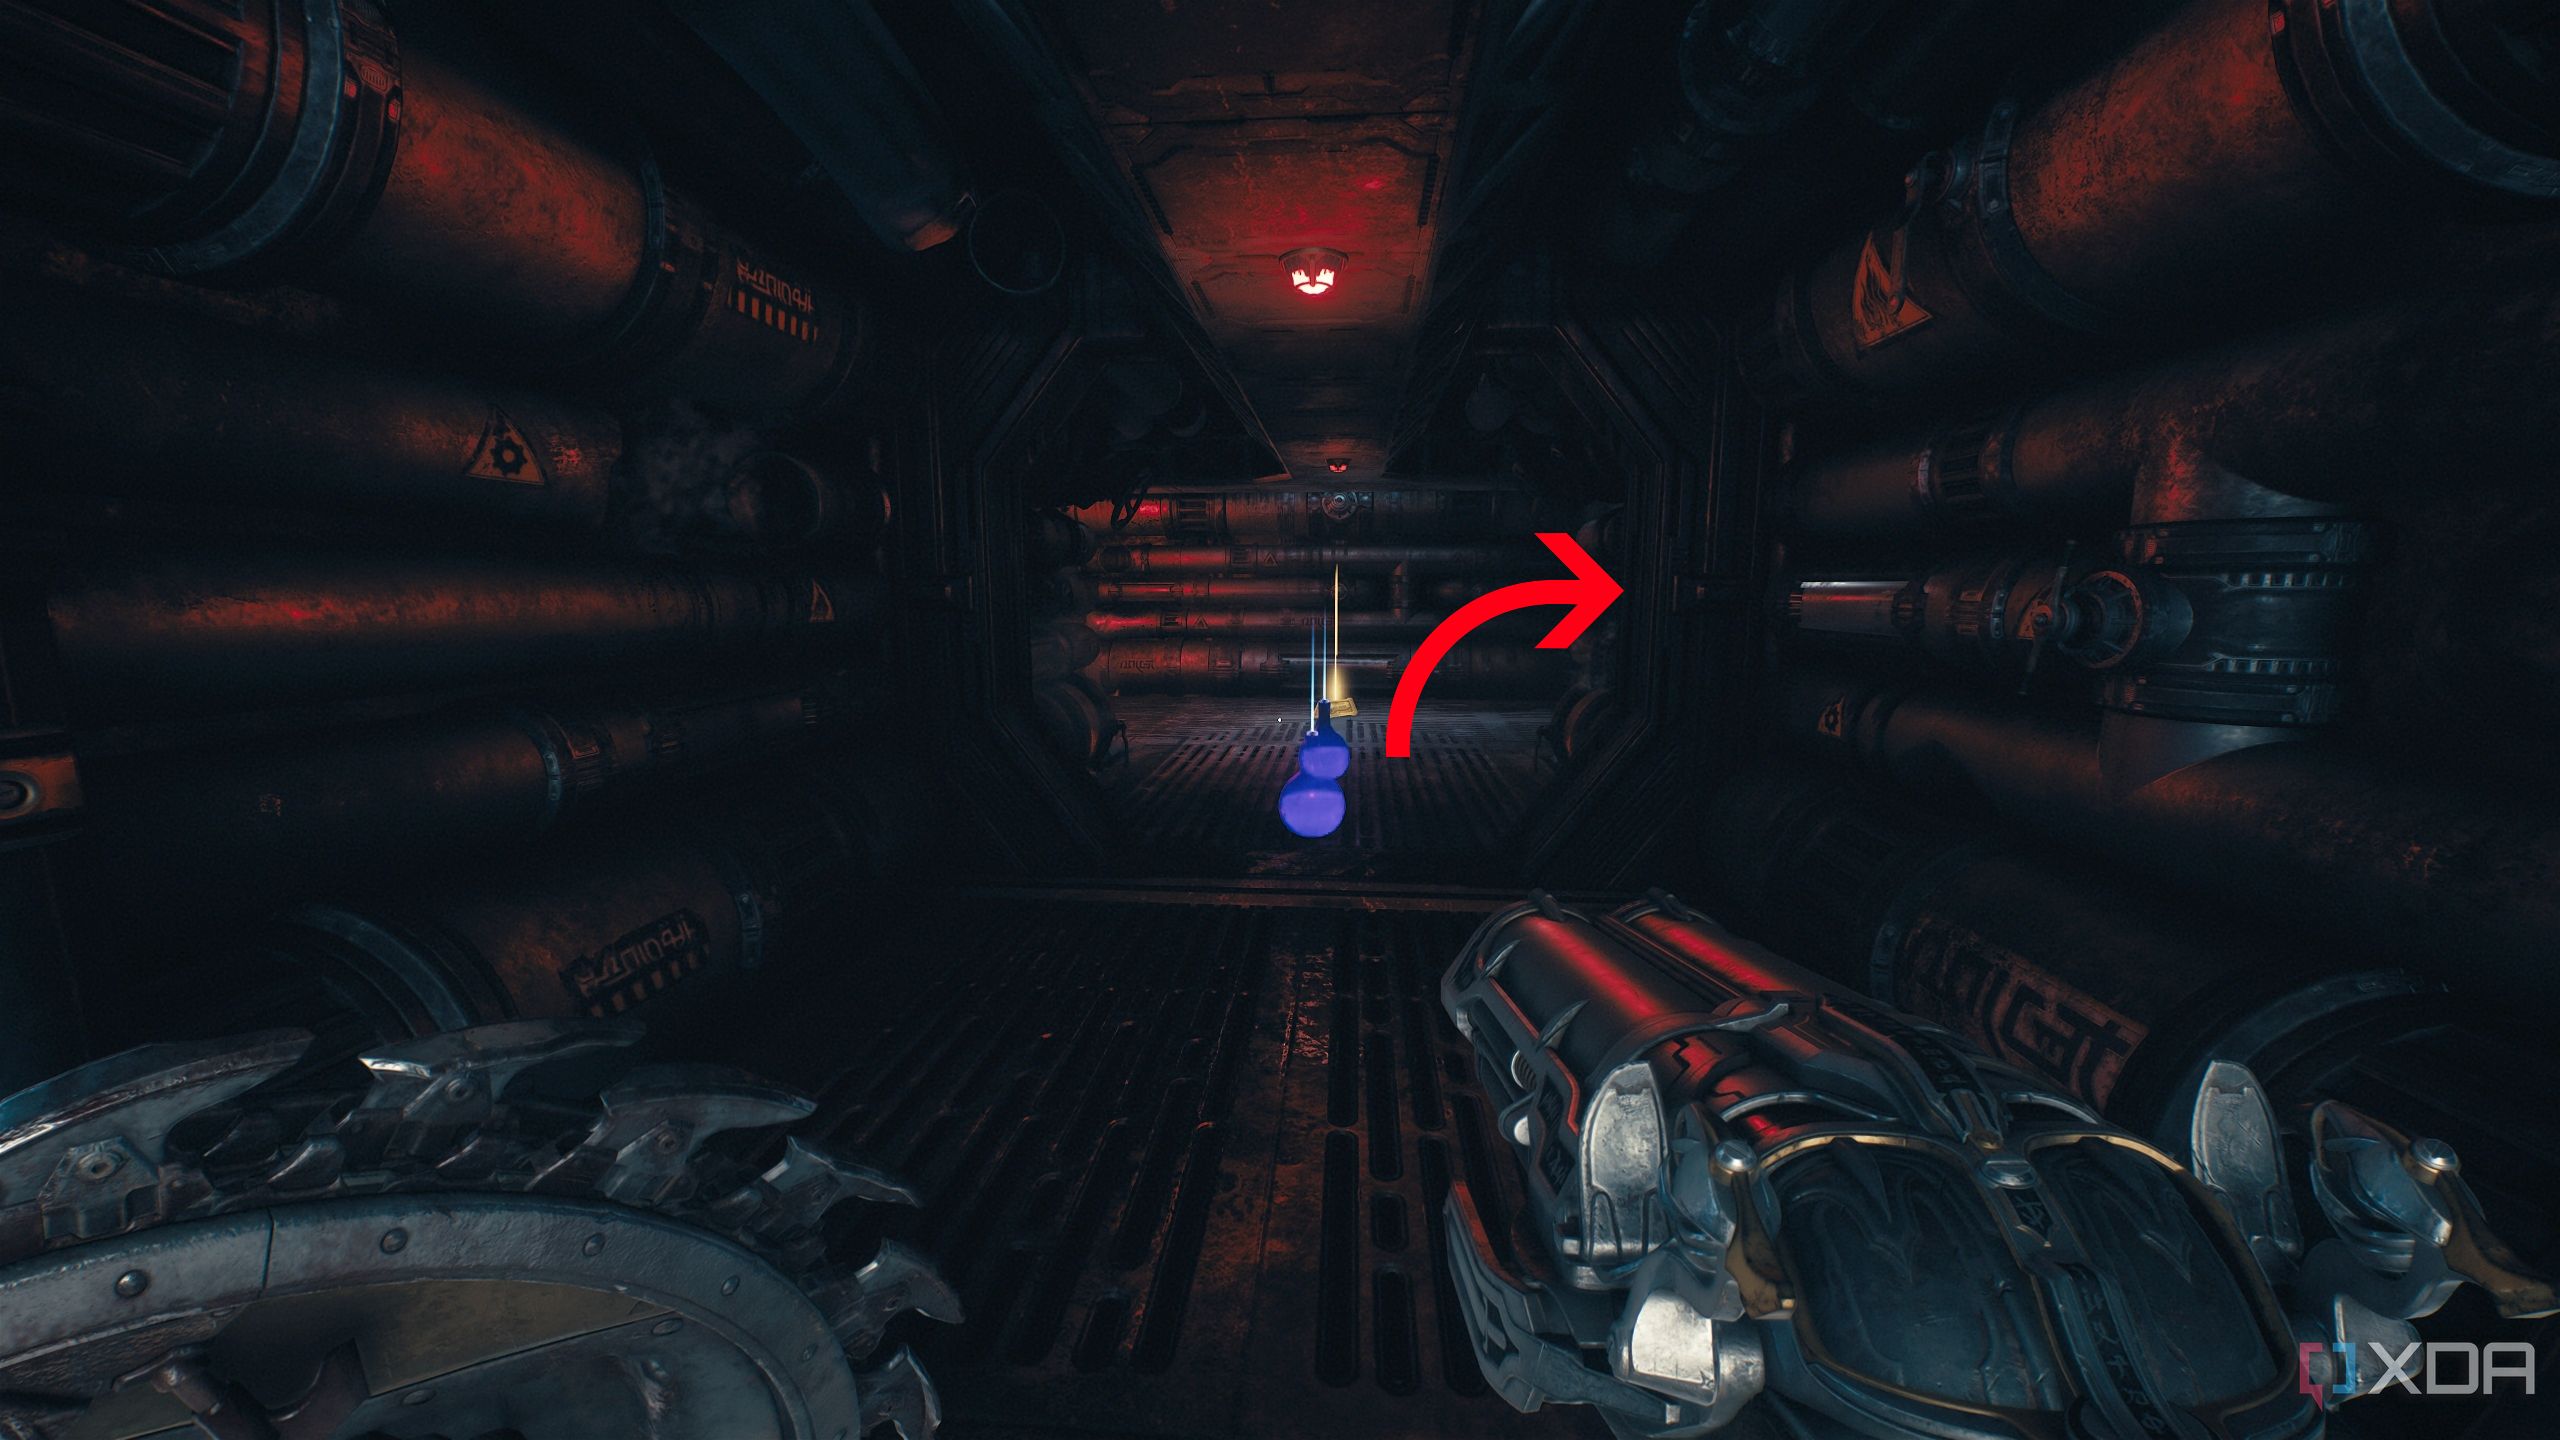
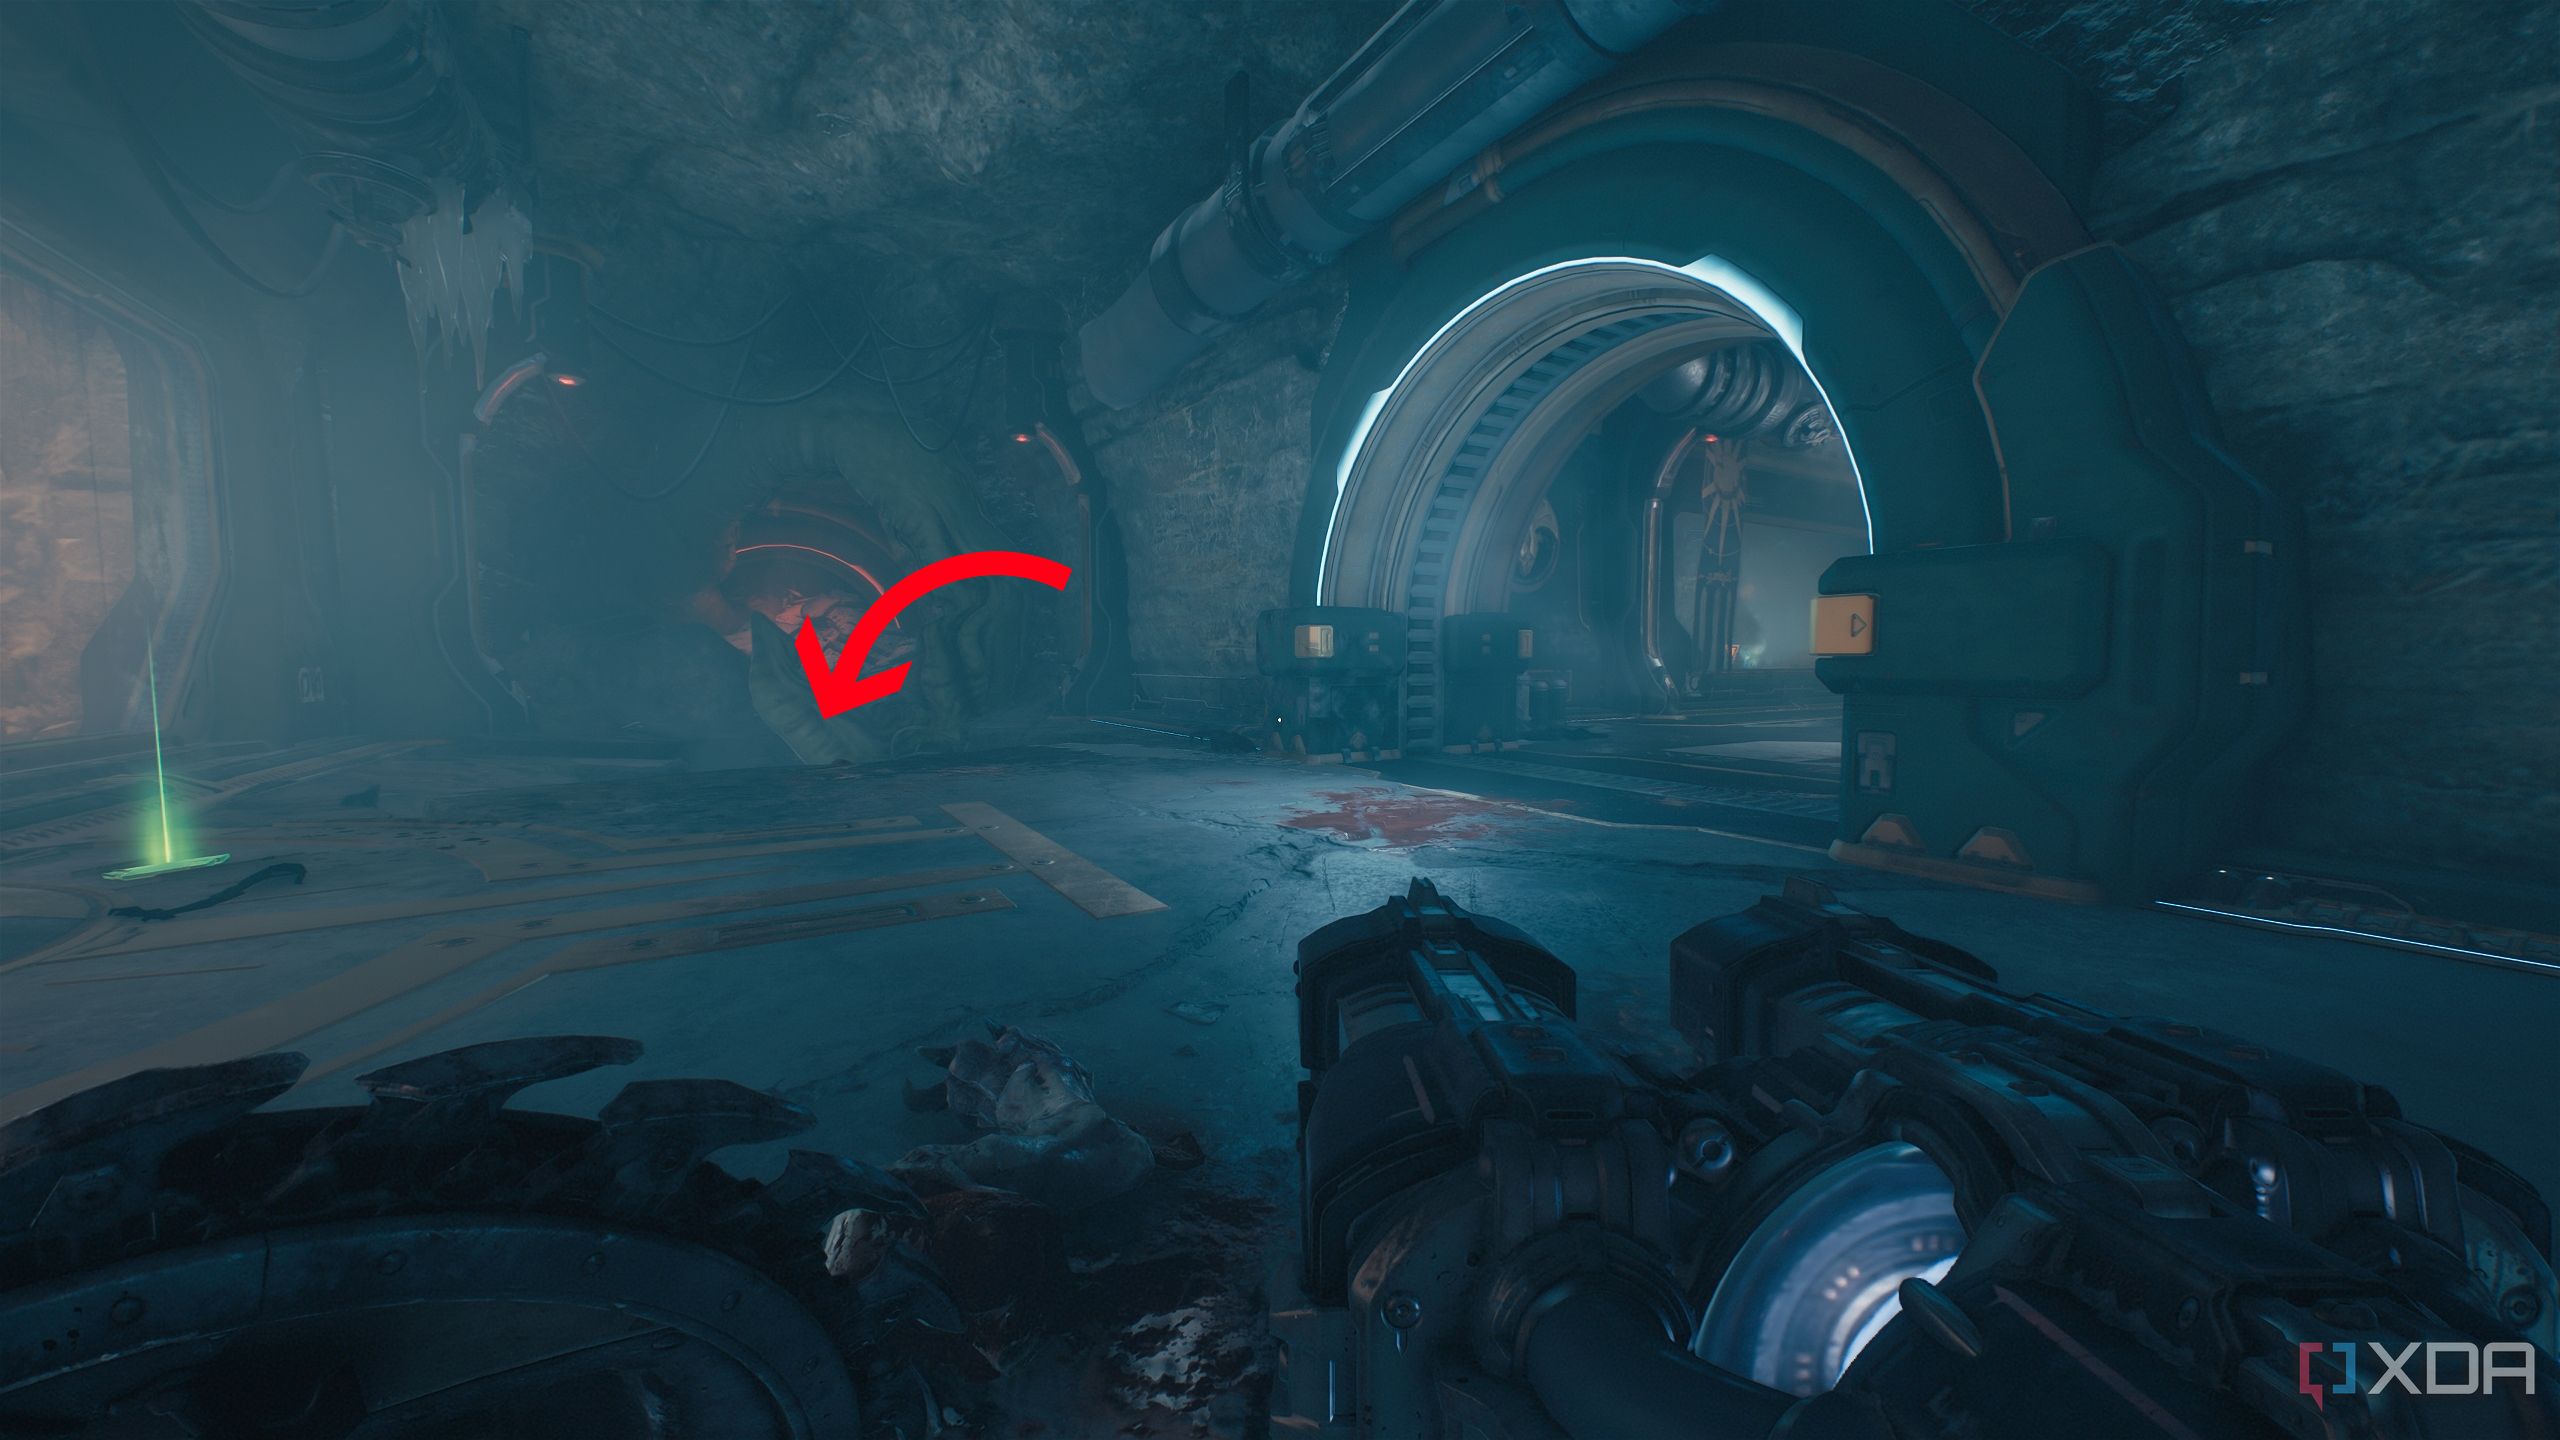
Secret area 6, gold stack, and a Life Sigil
So many secret areas back-to-back
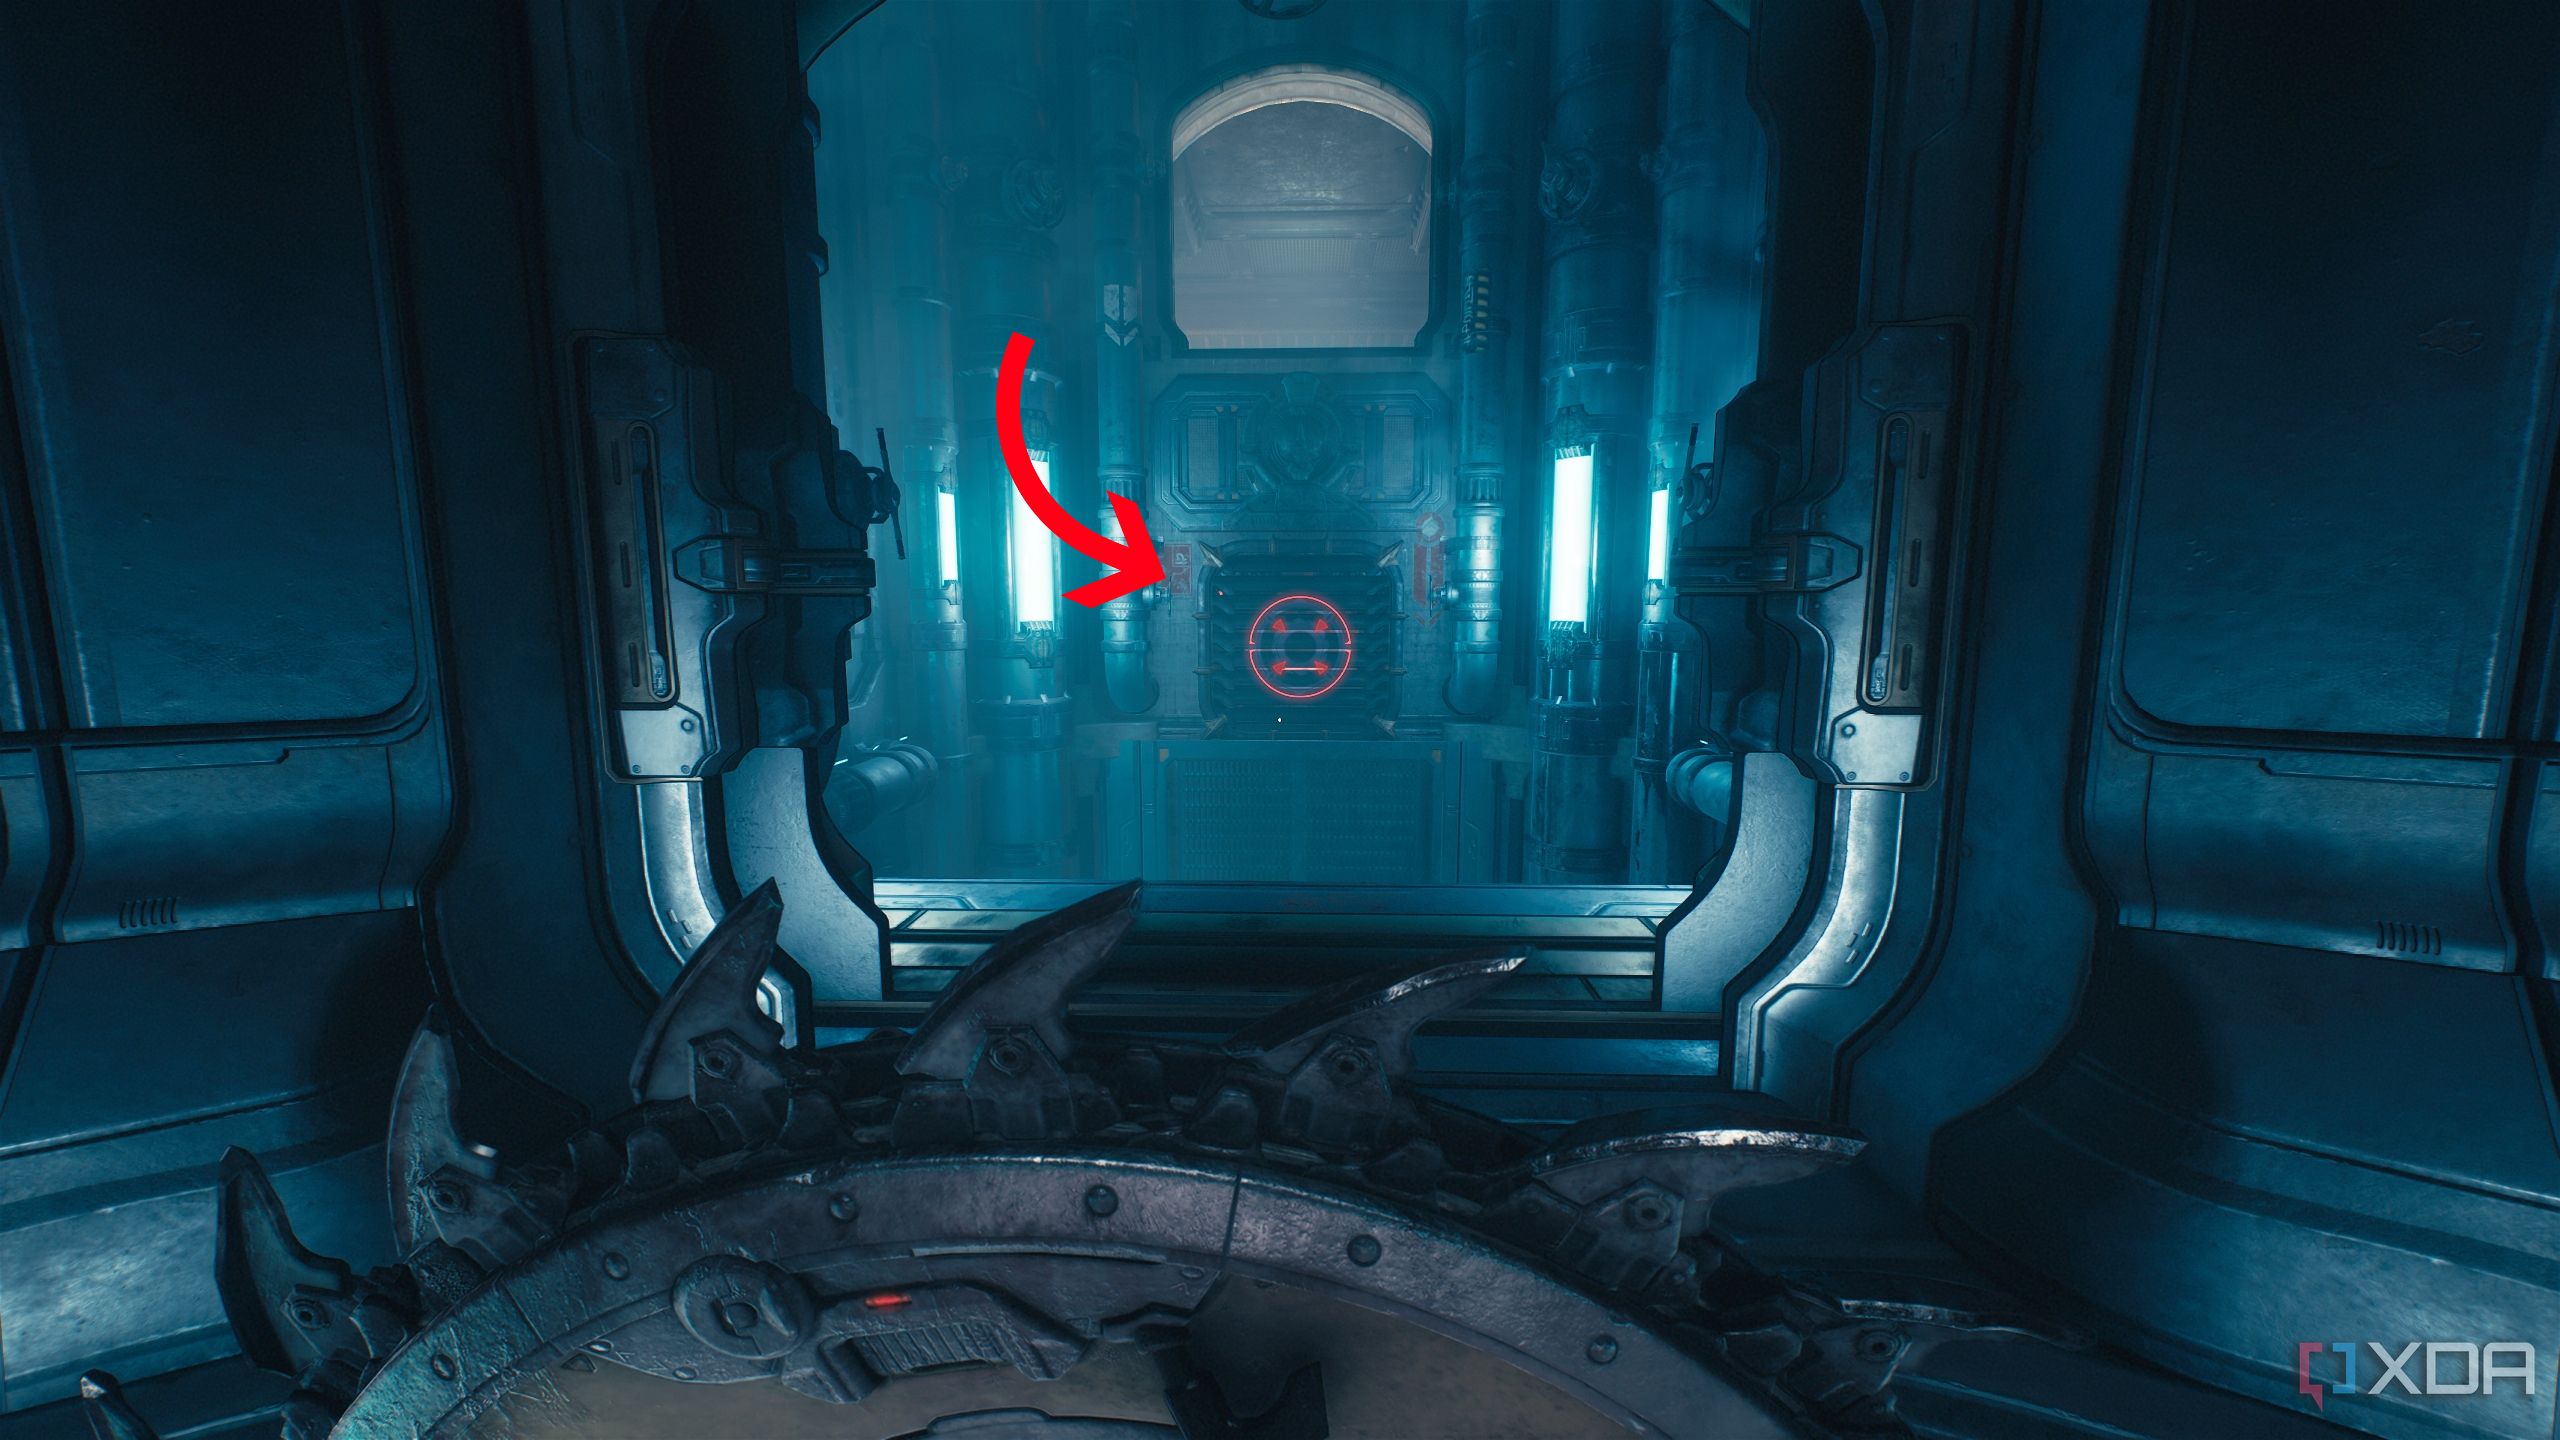
From secret area 5, turn around, and you’ll see a vent with a Shield Charge symbol.
Bash through it, and to your immediate left, pick up the gold stack.
Fight the demons in the vents, and follow the path to reach a scramble wall. Climbing it up, you’ll face another vent with a Shield Charge symbol. Don’t bash through it.
Turn around to see a Life Sigil behind you. Approach it to unlock secret area 6 and collect the Life Sigil if you need it. Then, Shield Charge through the vent ahead.
Related
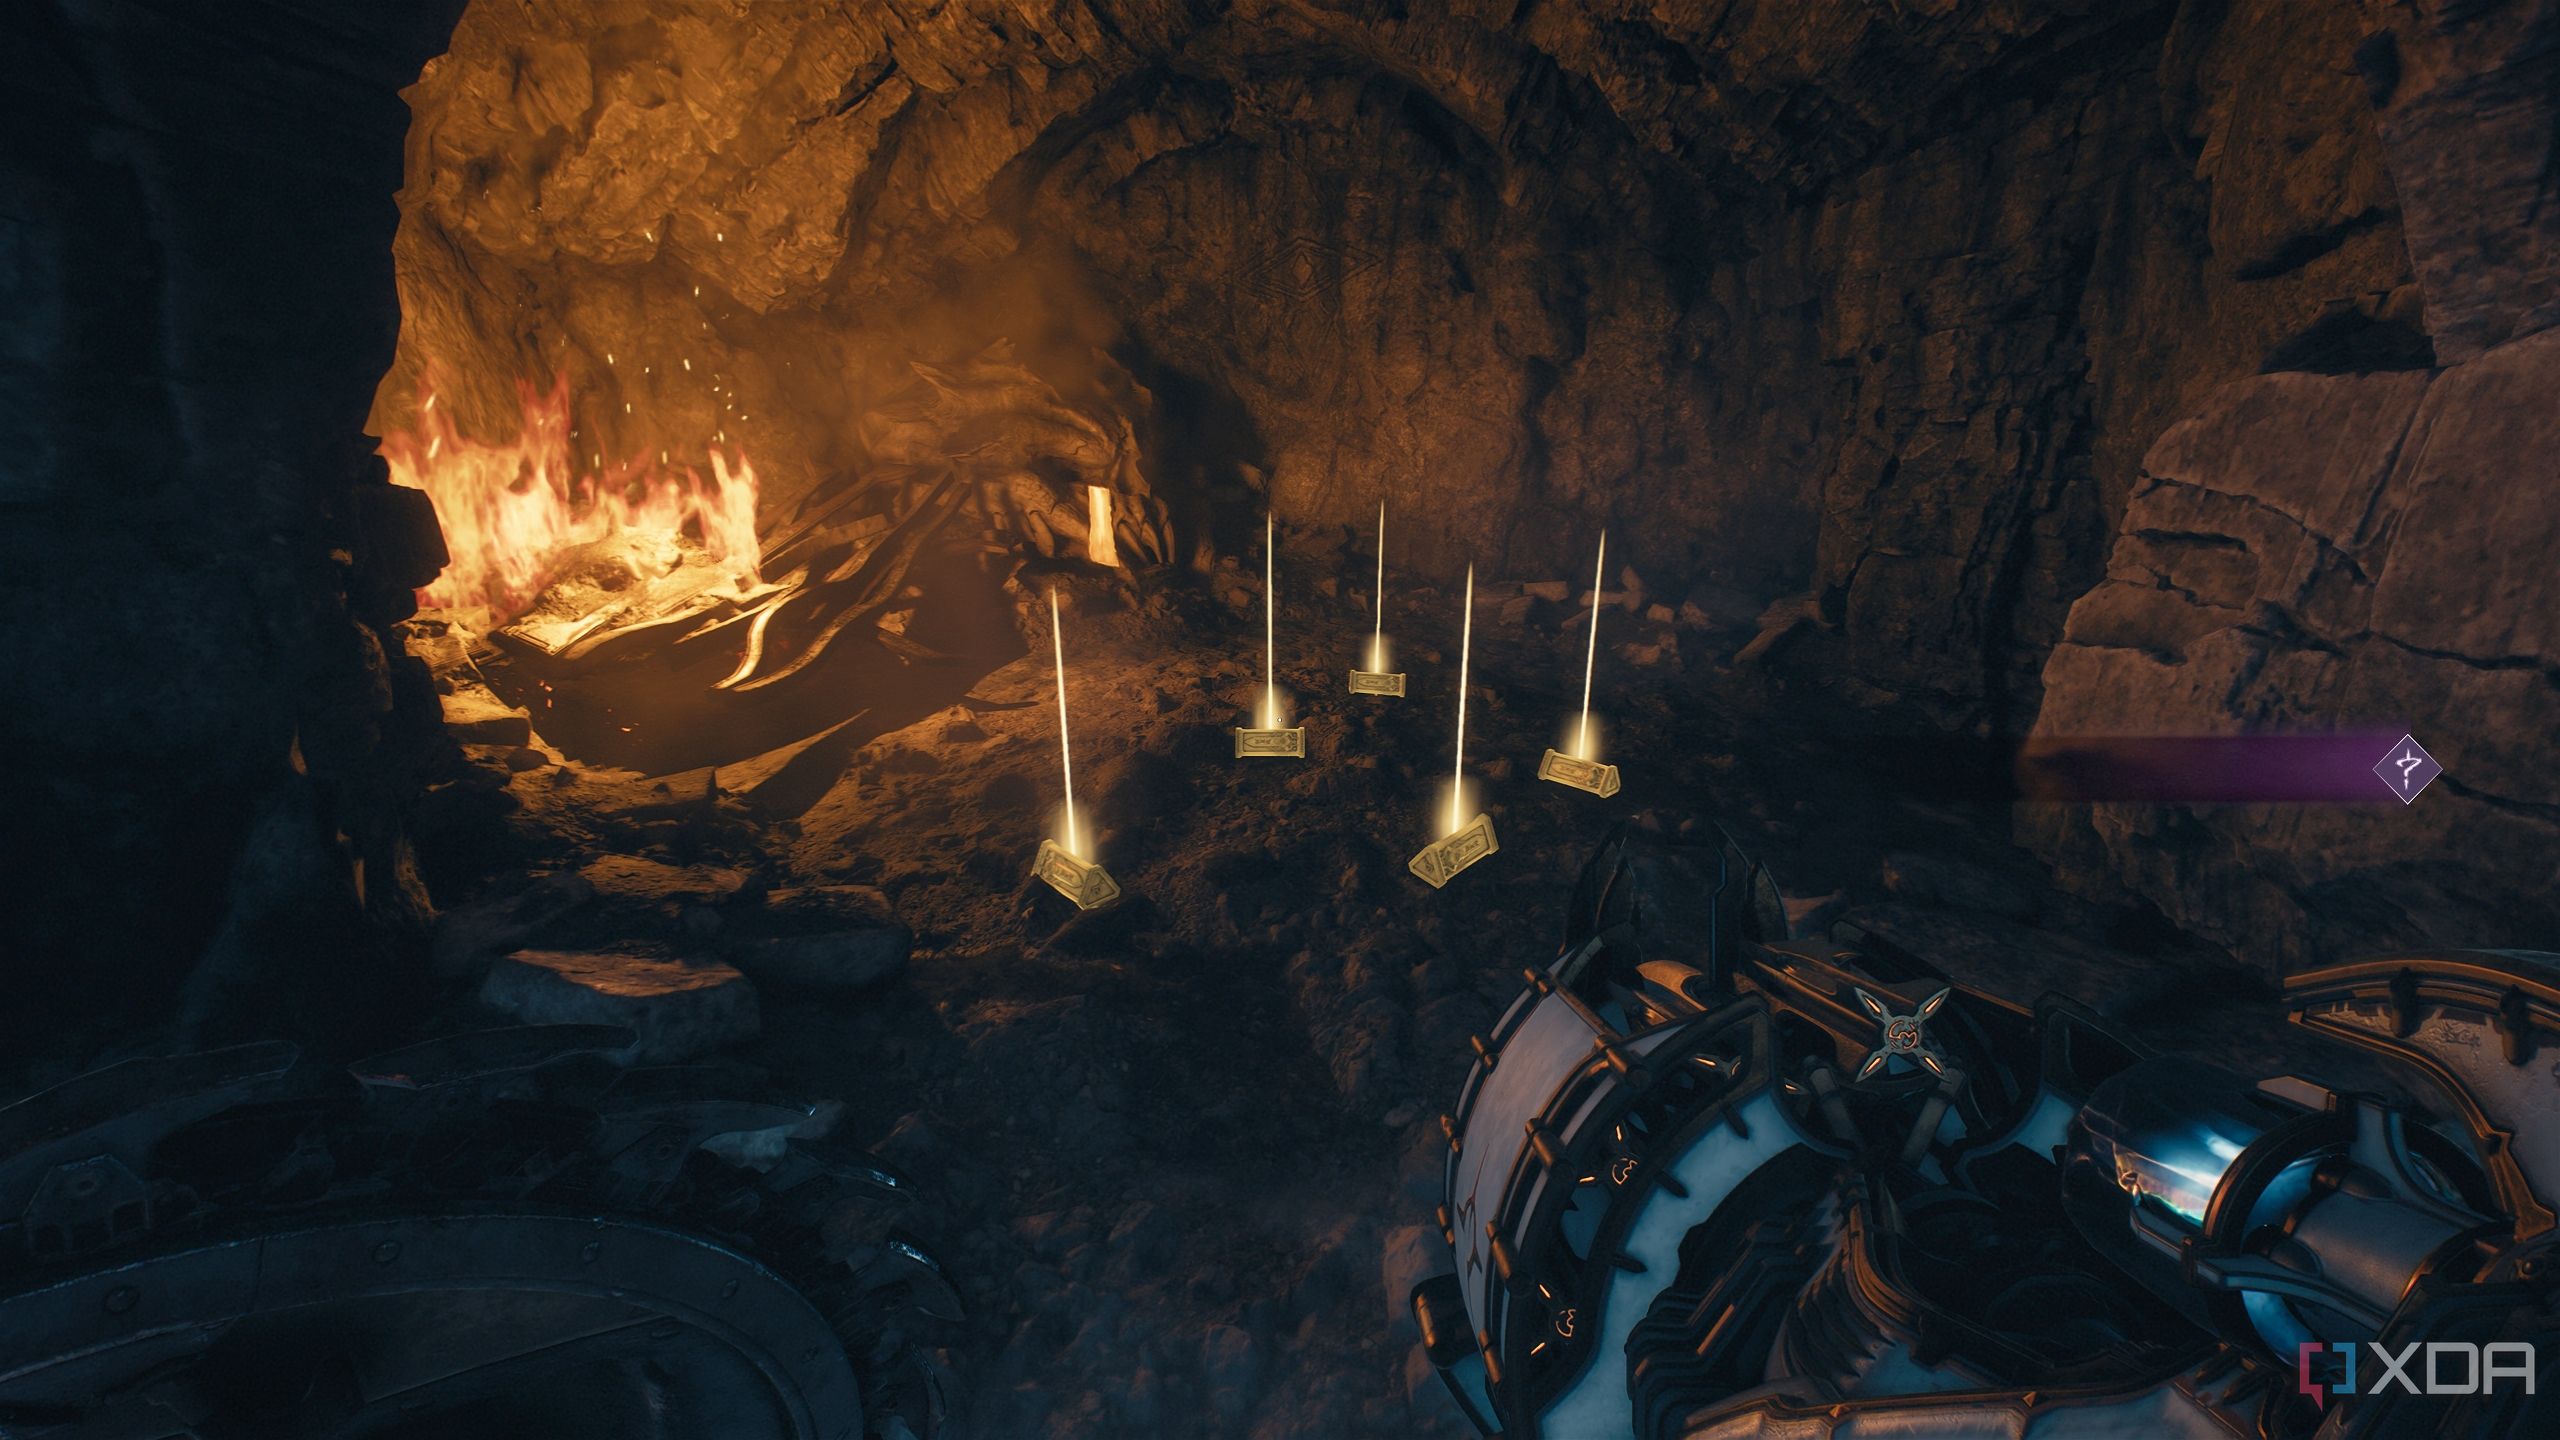
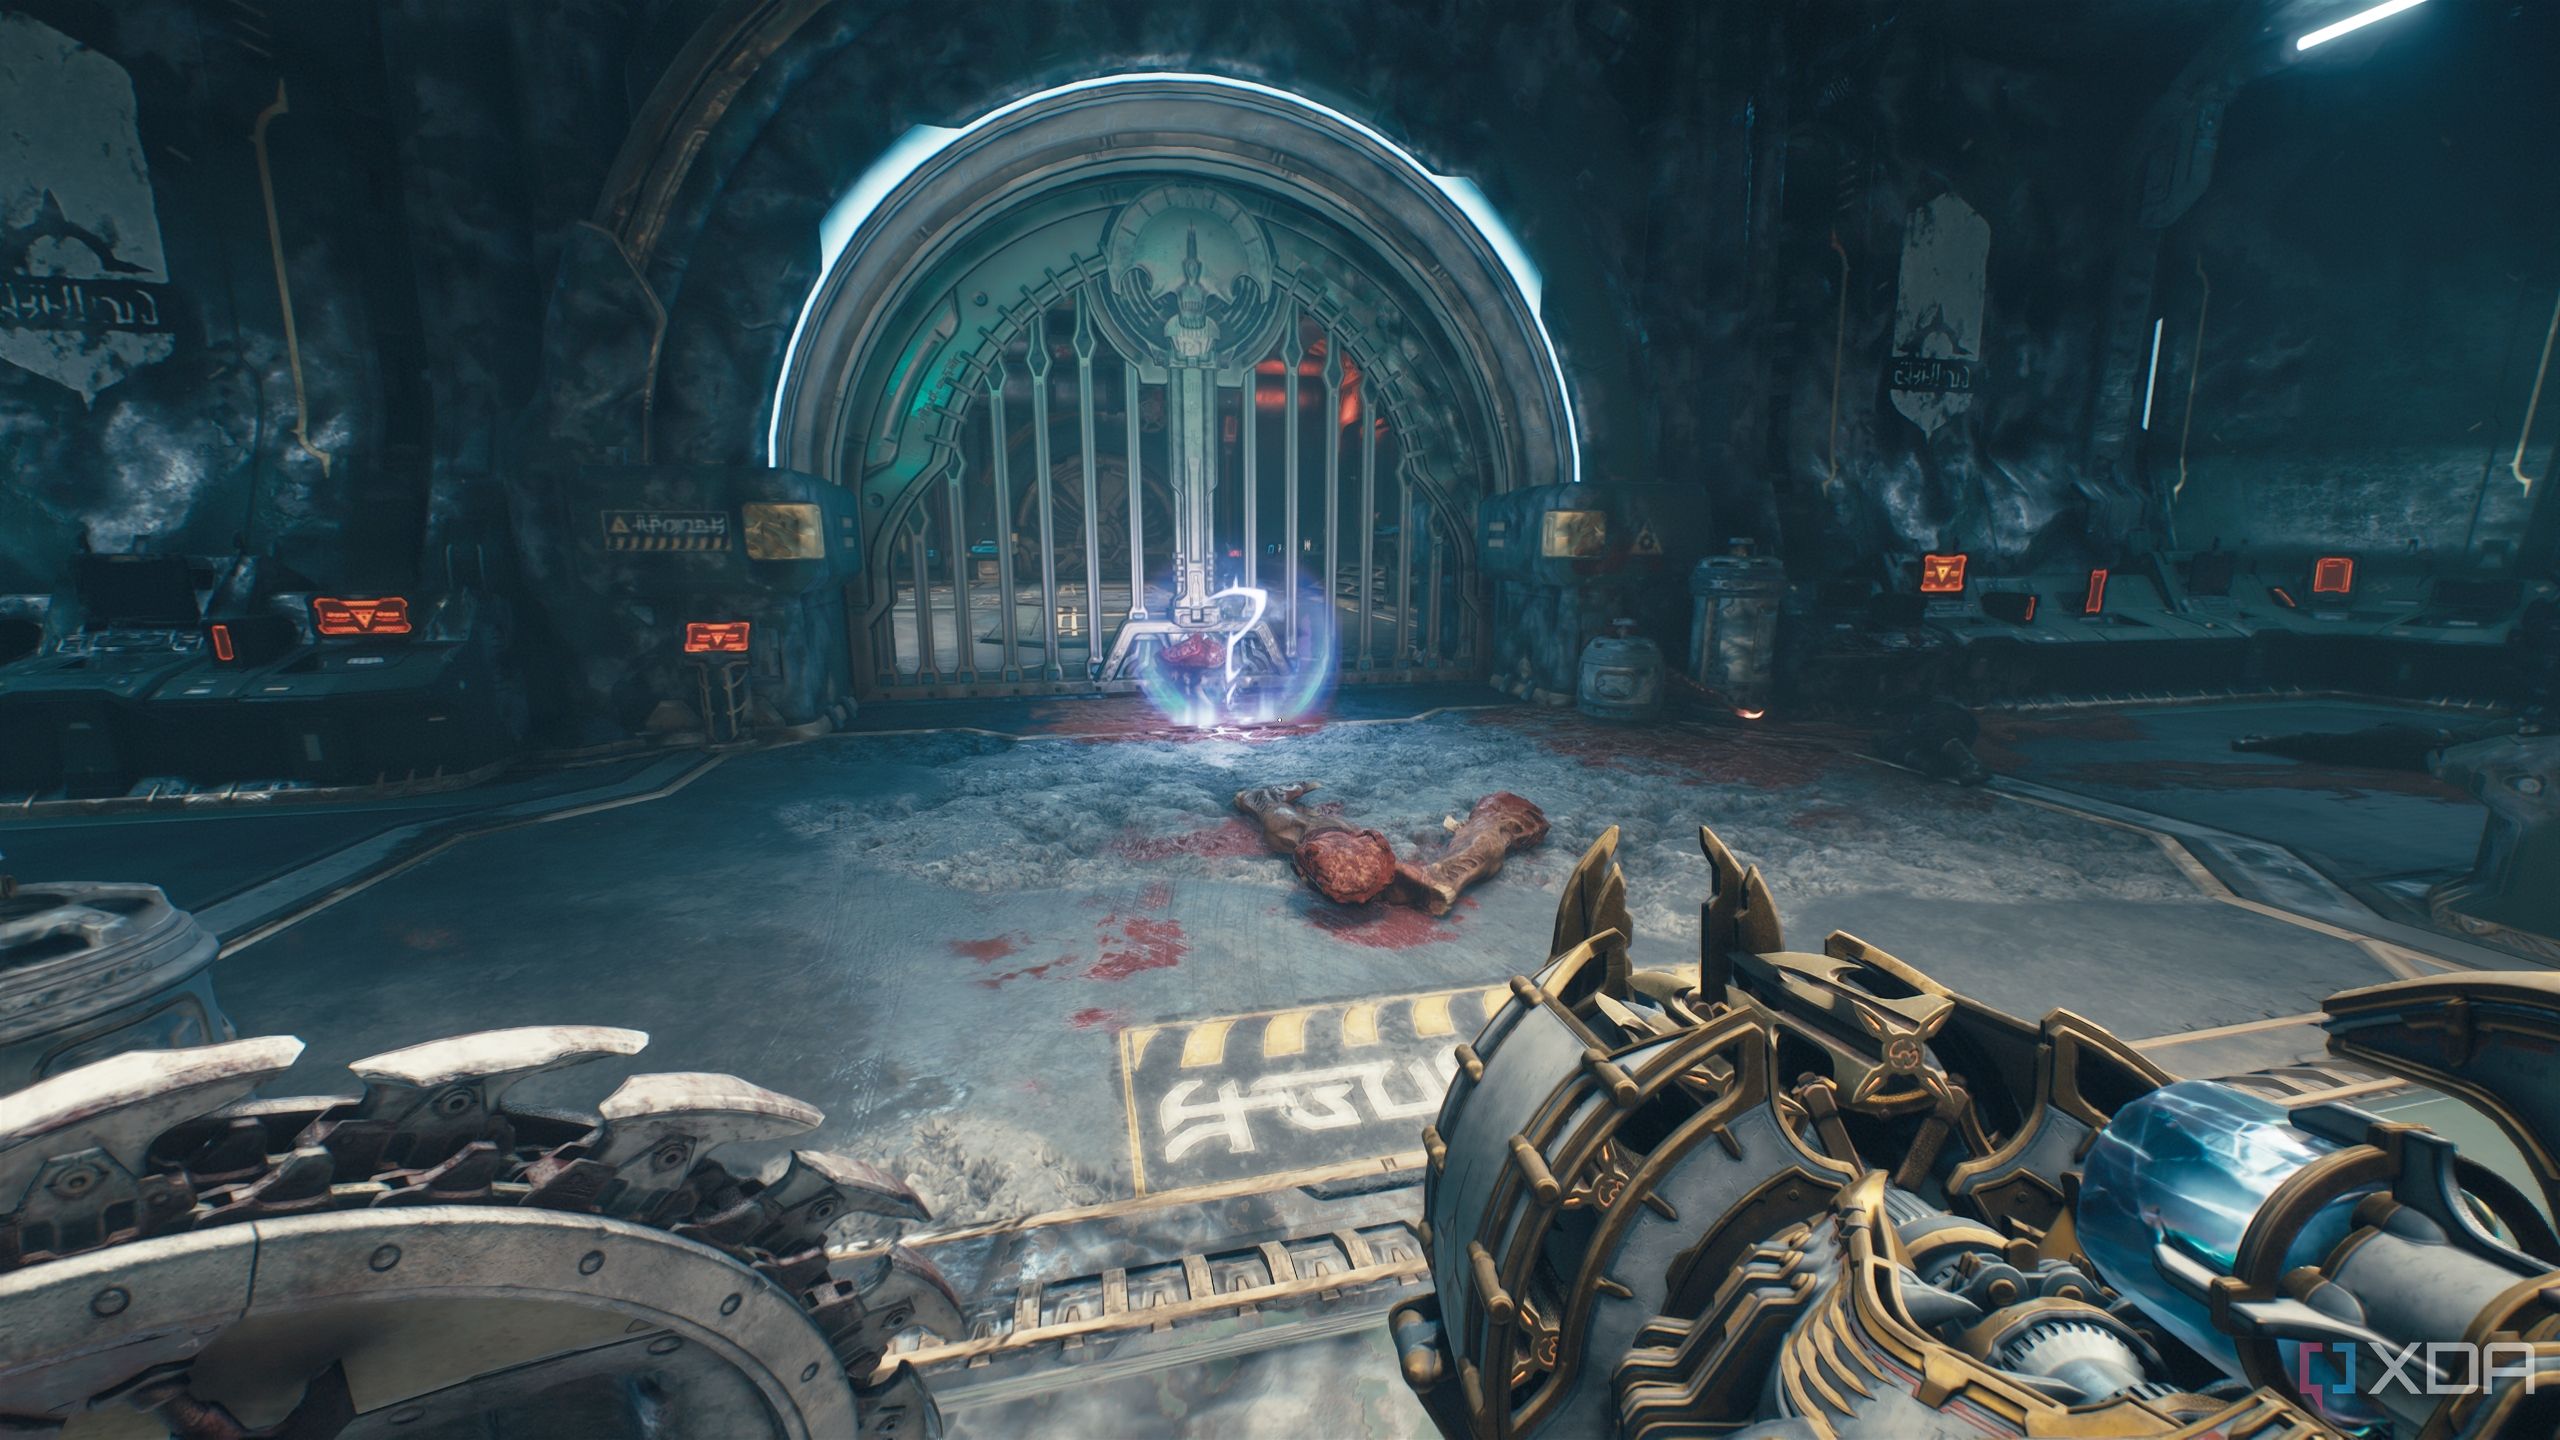
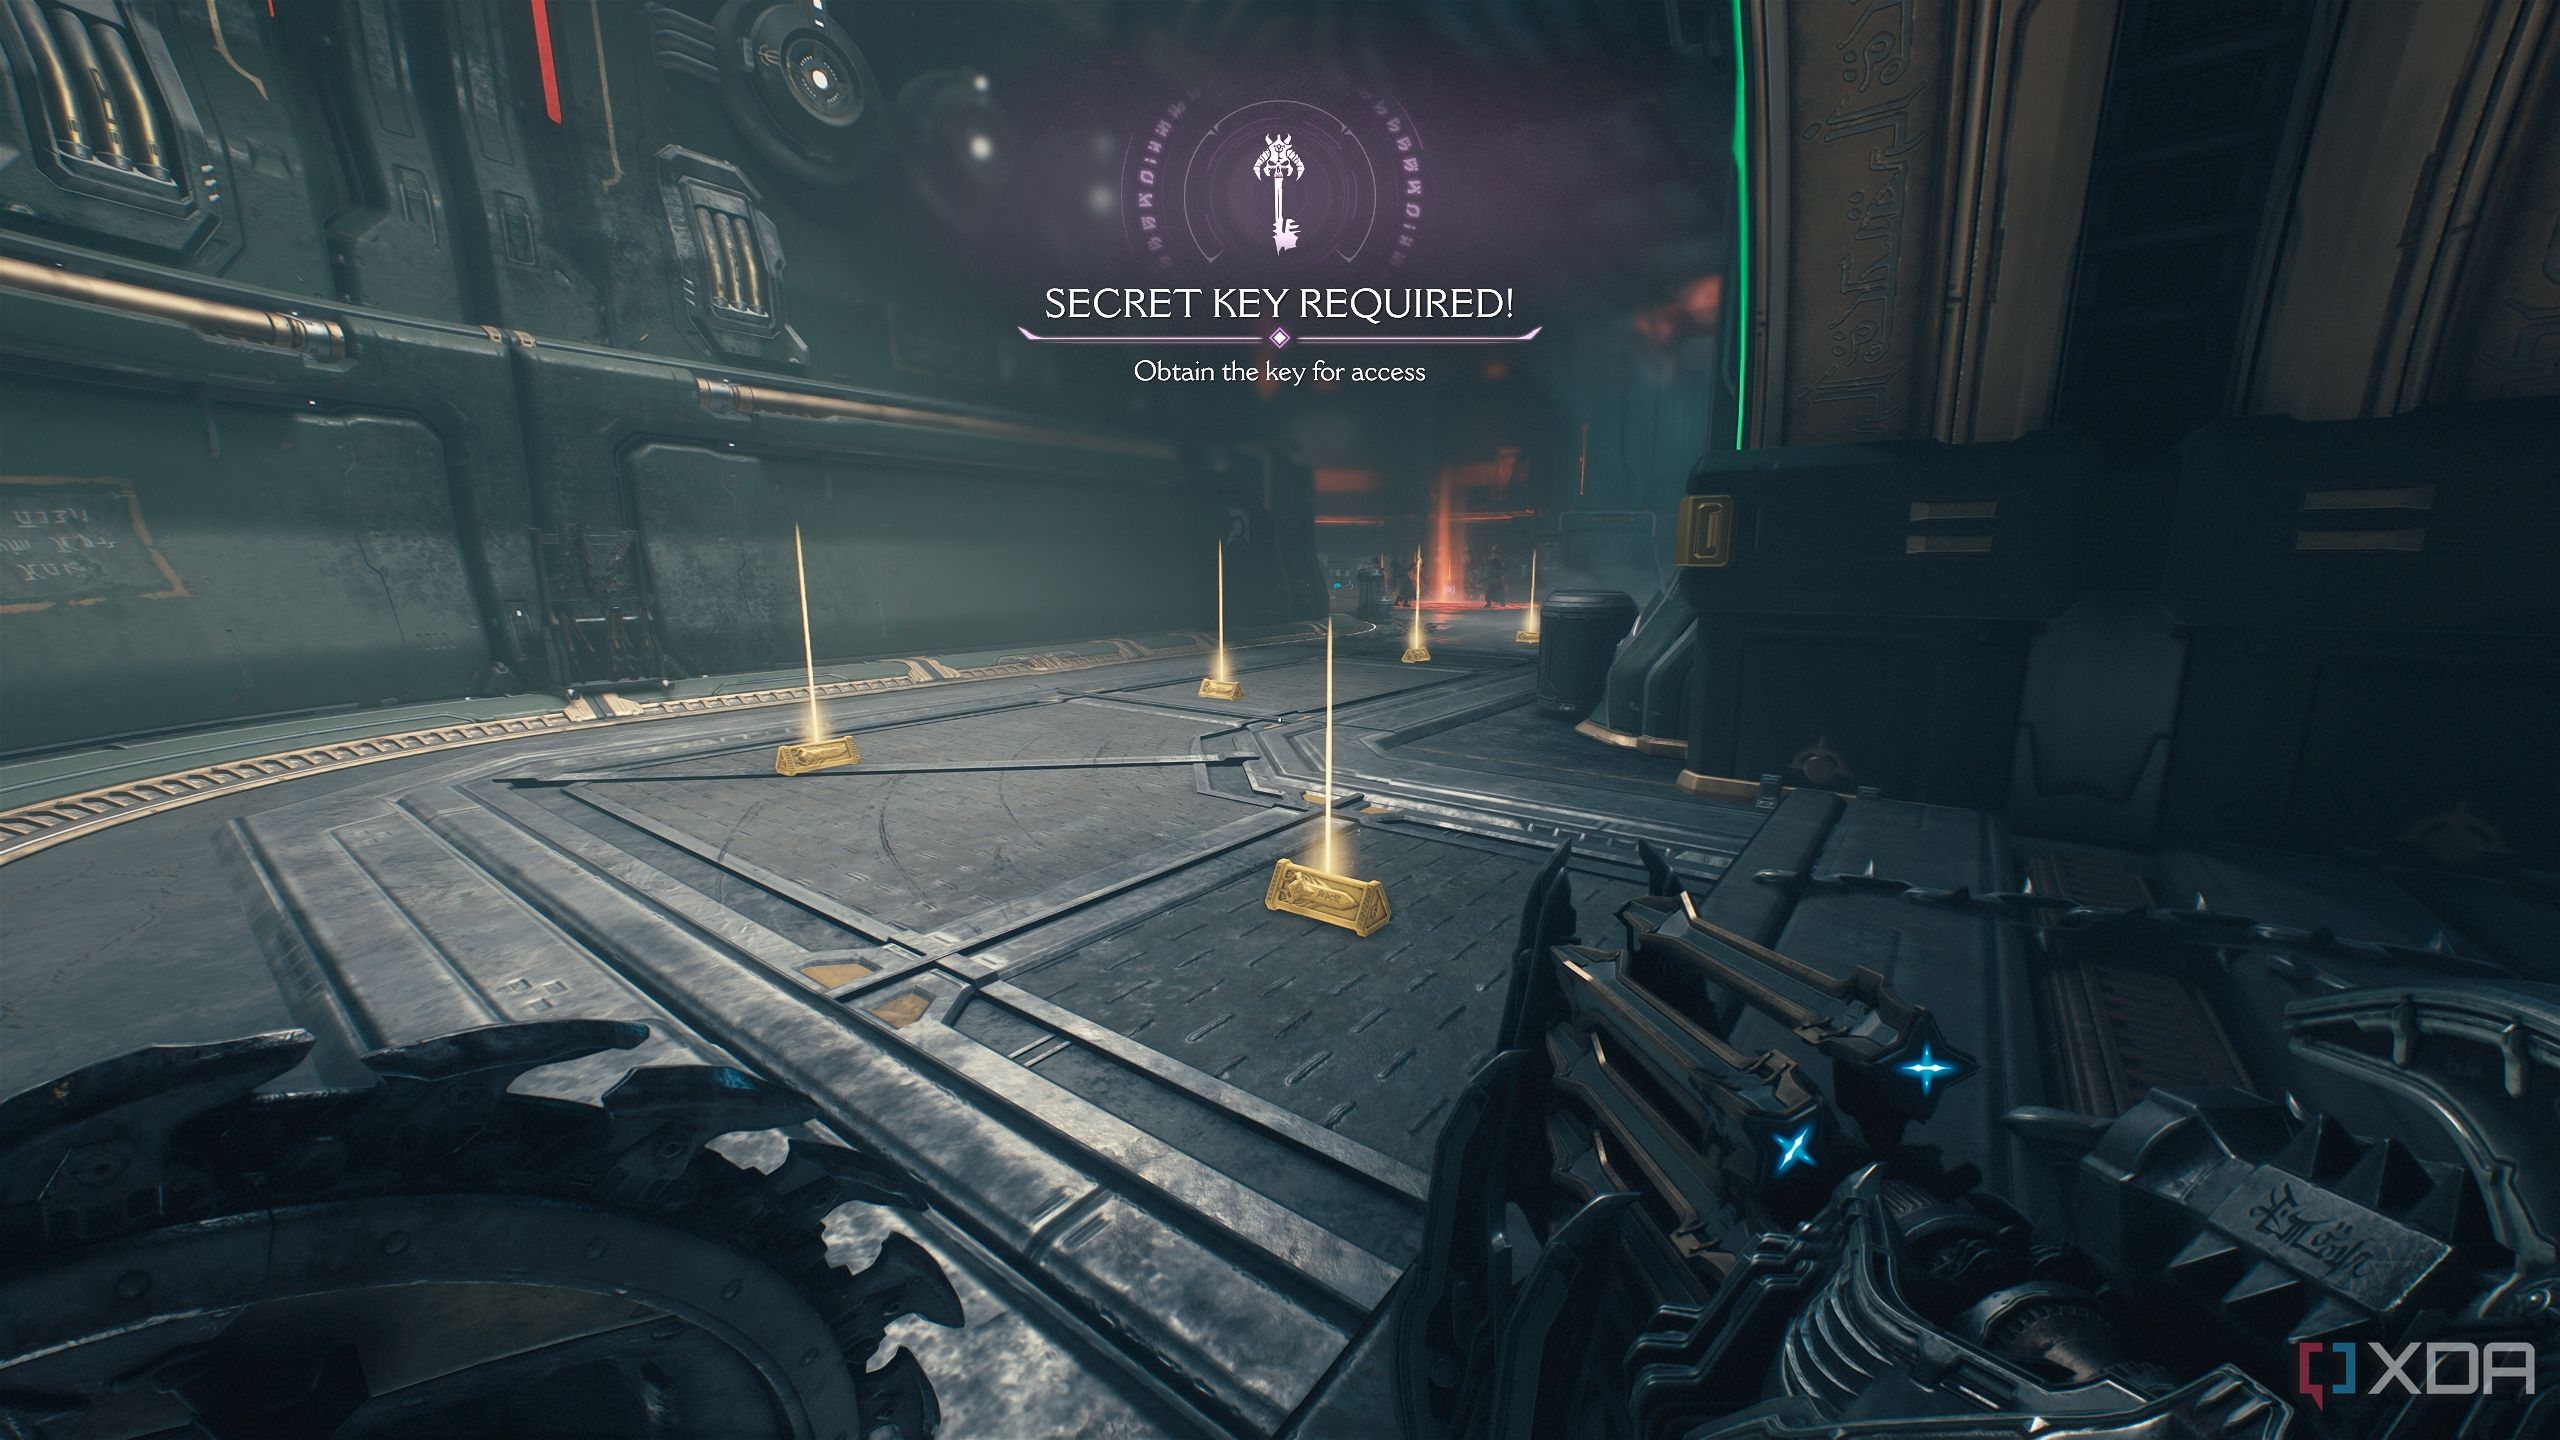
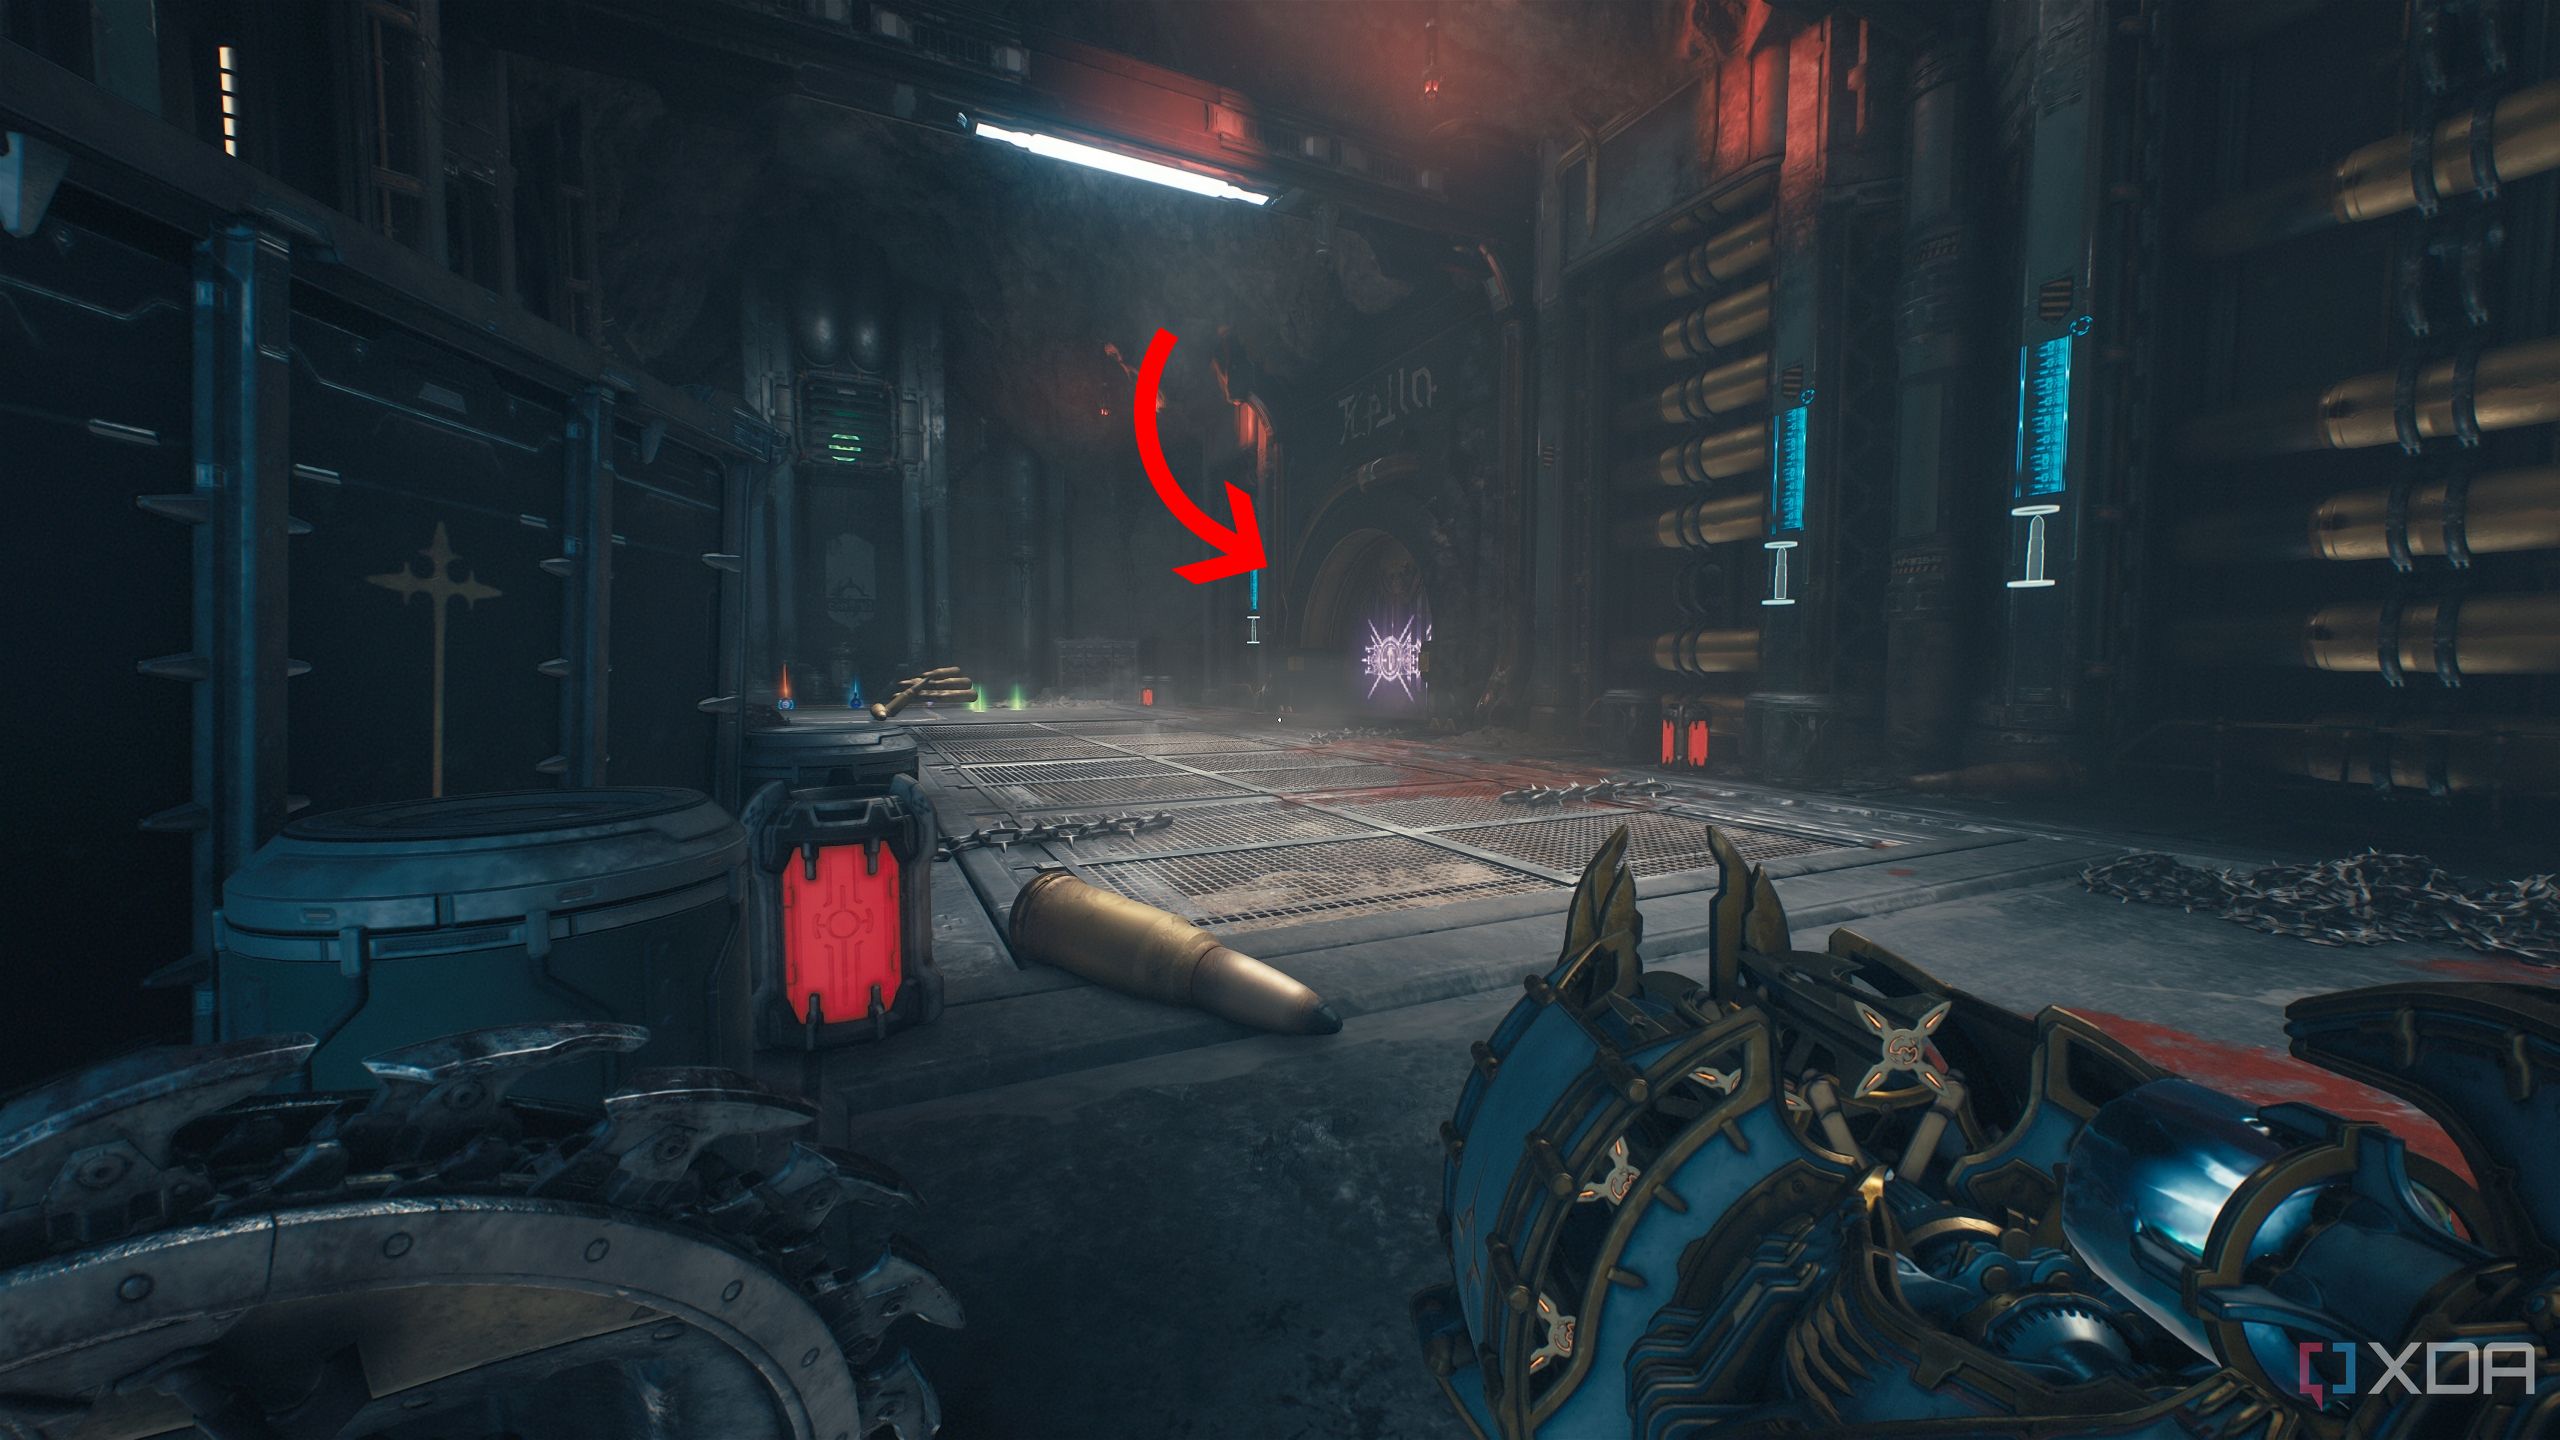
Secret area 7 and secret purple key
A great place to finish off a mission challenge
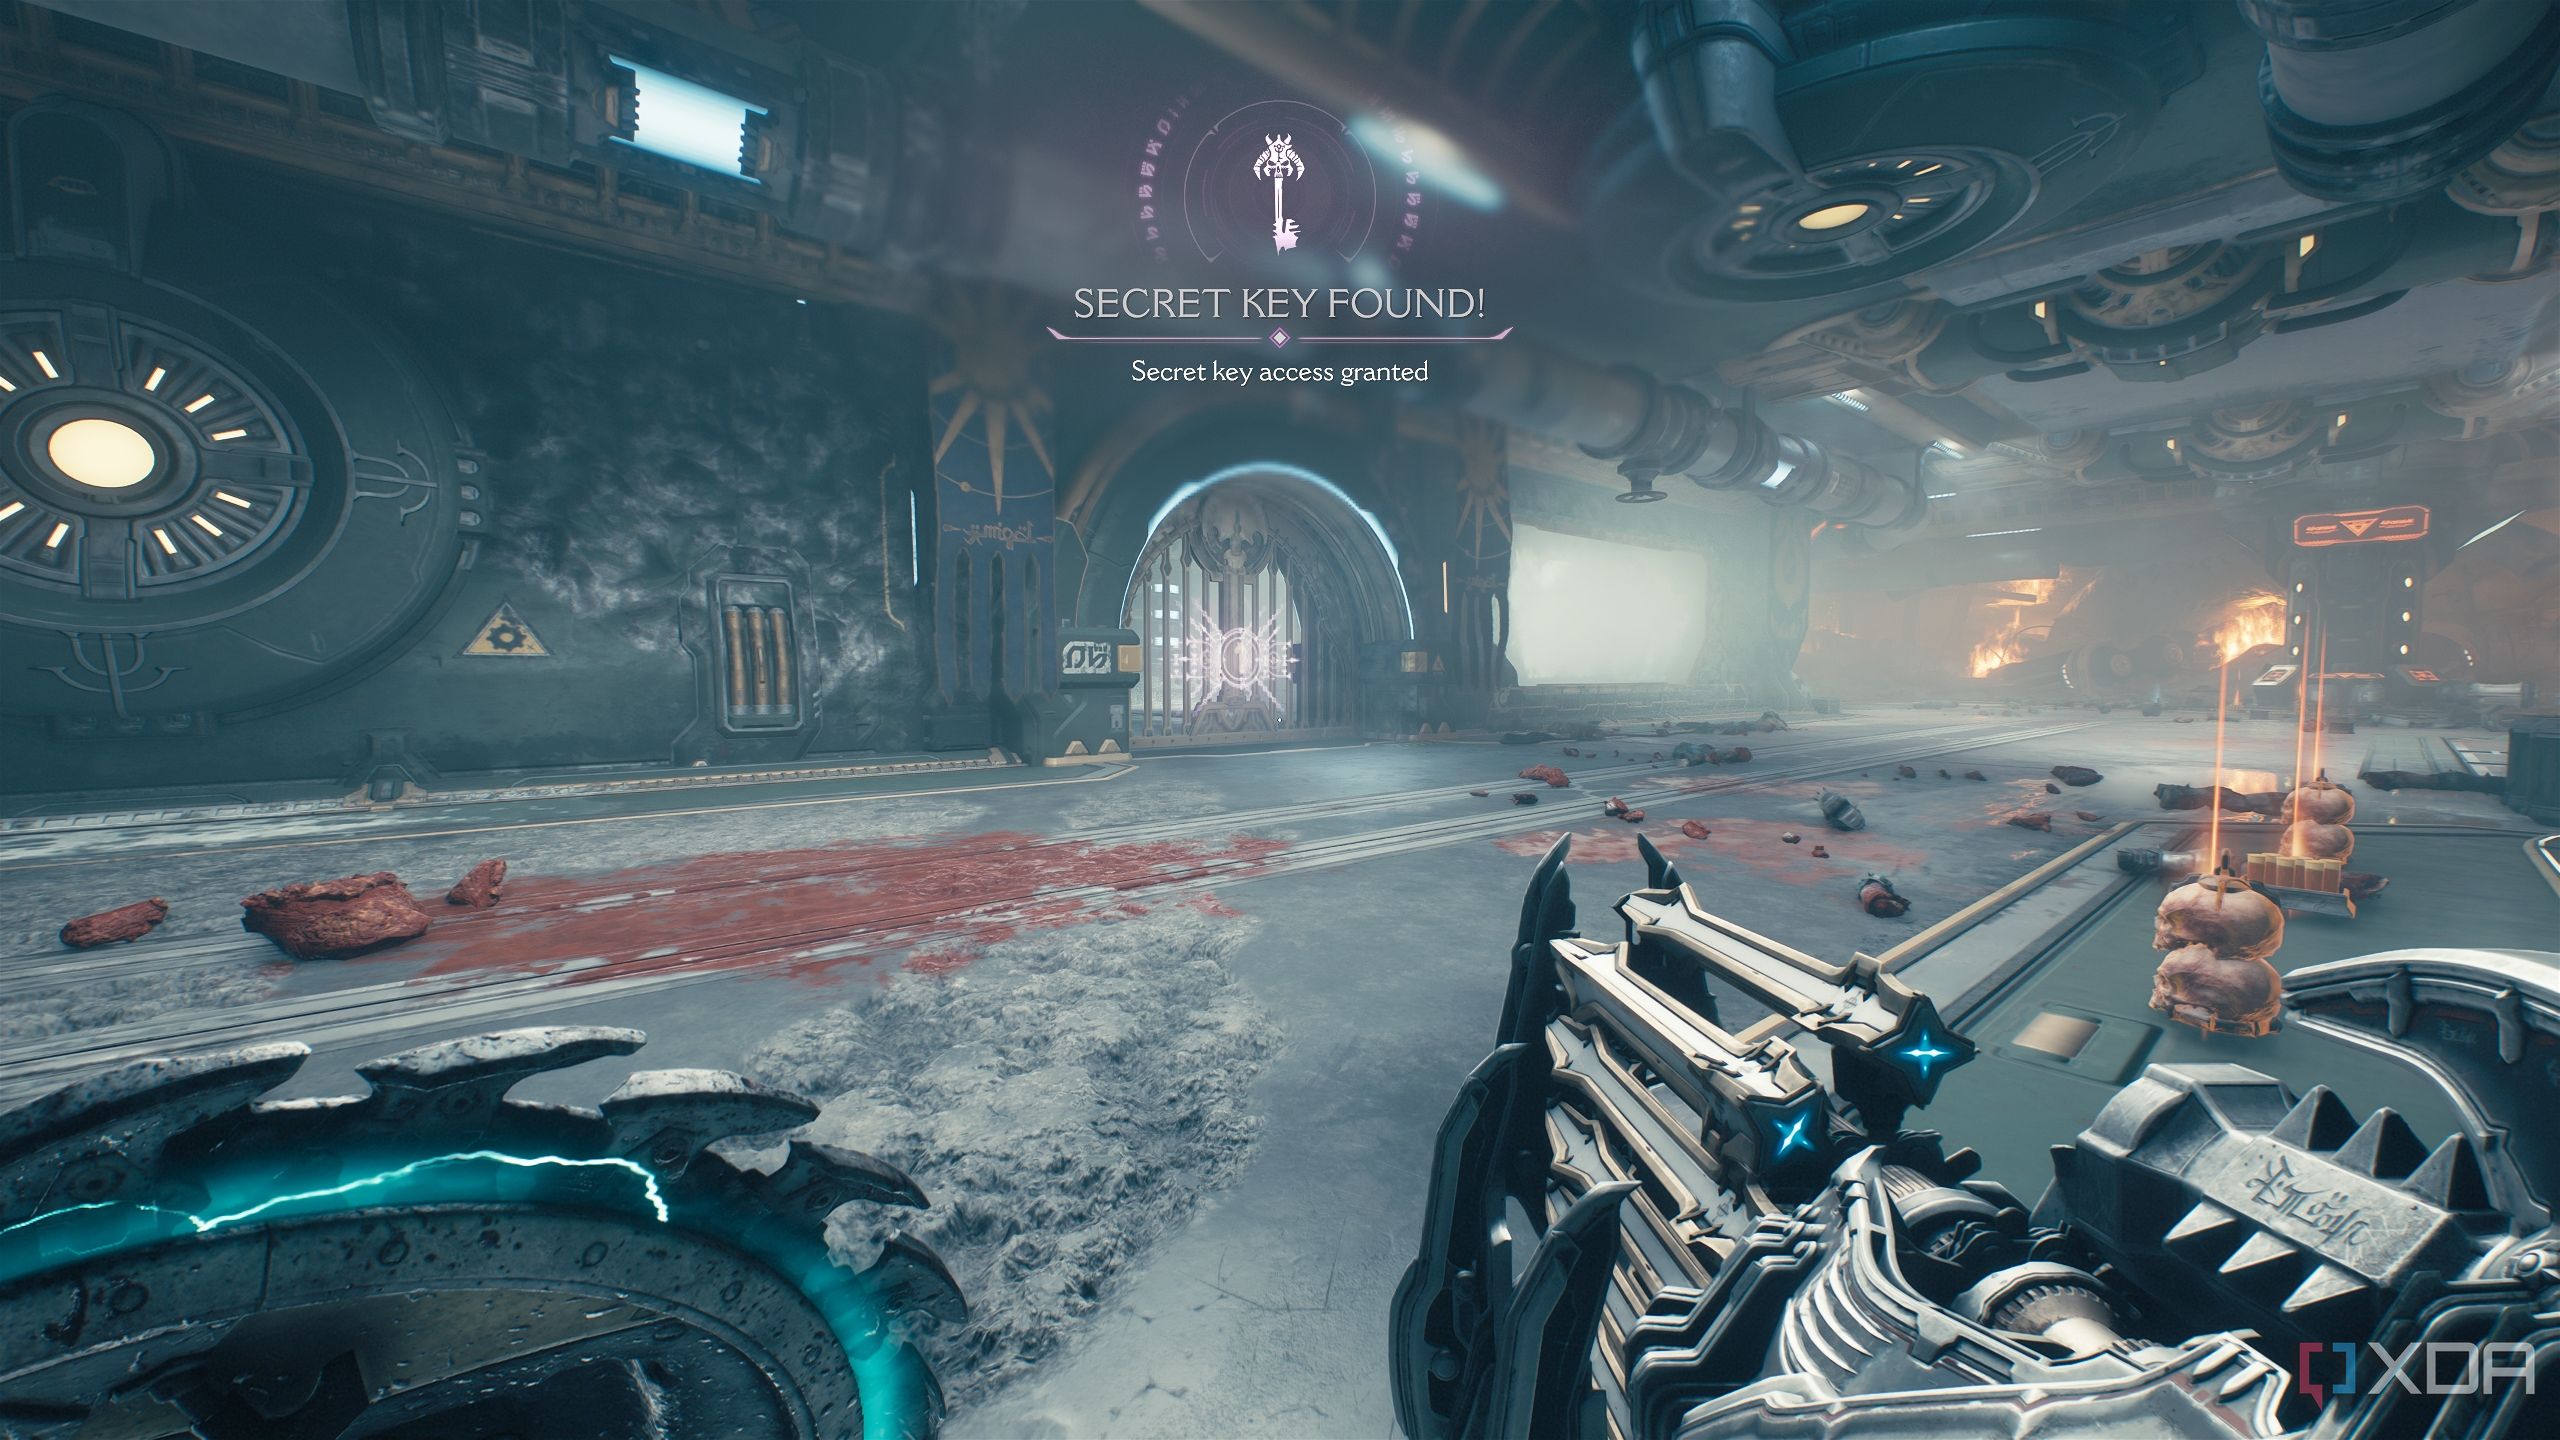
Once you bash through the second vent, you’ll immediately enter secret area 7, where a secret purple key is locked inside a demonic seal.
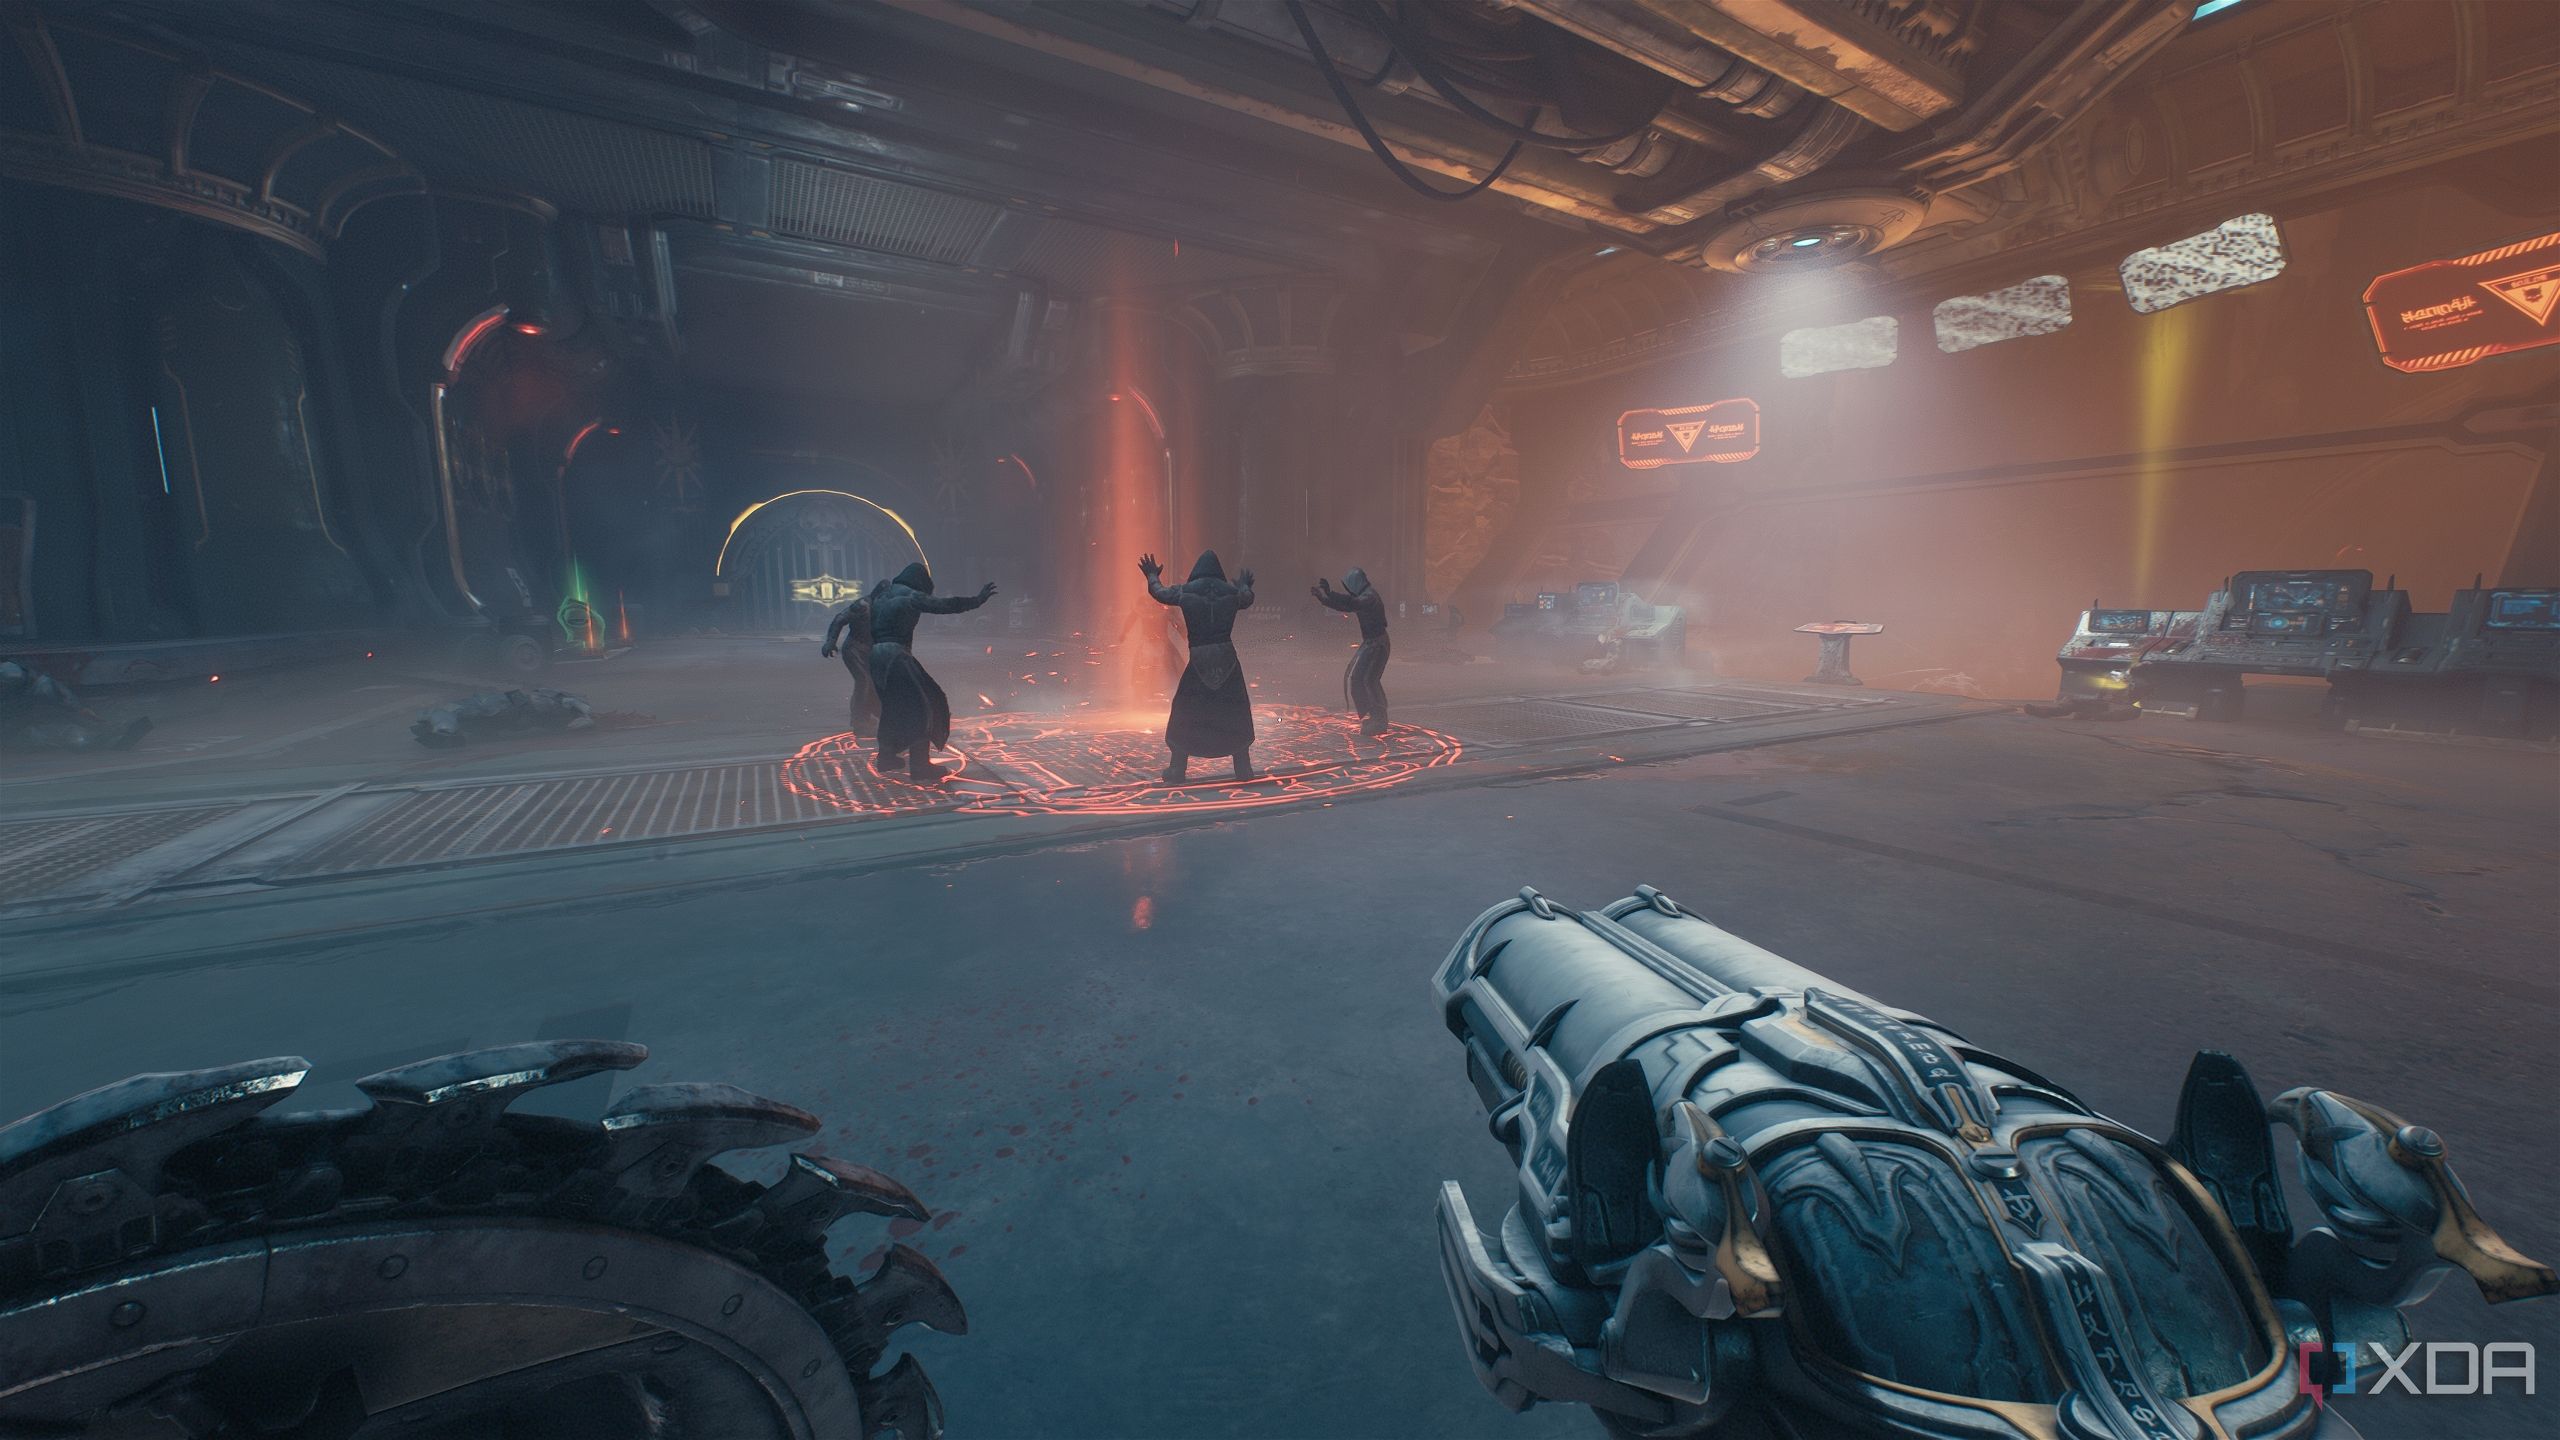
This is another great place to finish up the Wait For It challenge, as there are several explosive barrels around the fodder demons.
Fight all the demons that appear, and you’ll finally unlock and collect the purple key. Head out through the door, and you’ll see a purple-locked gate just to your right.
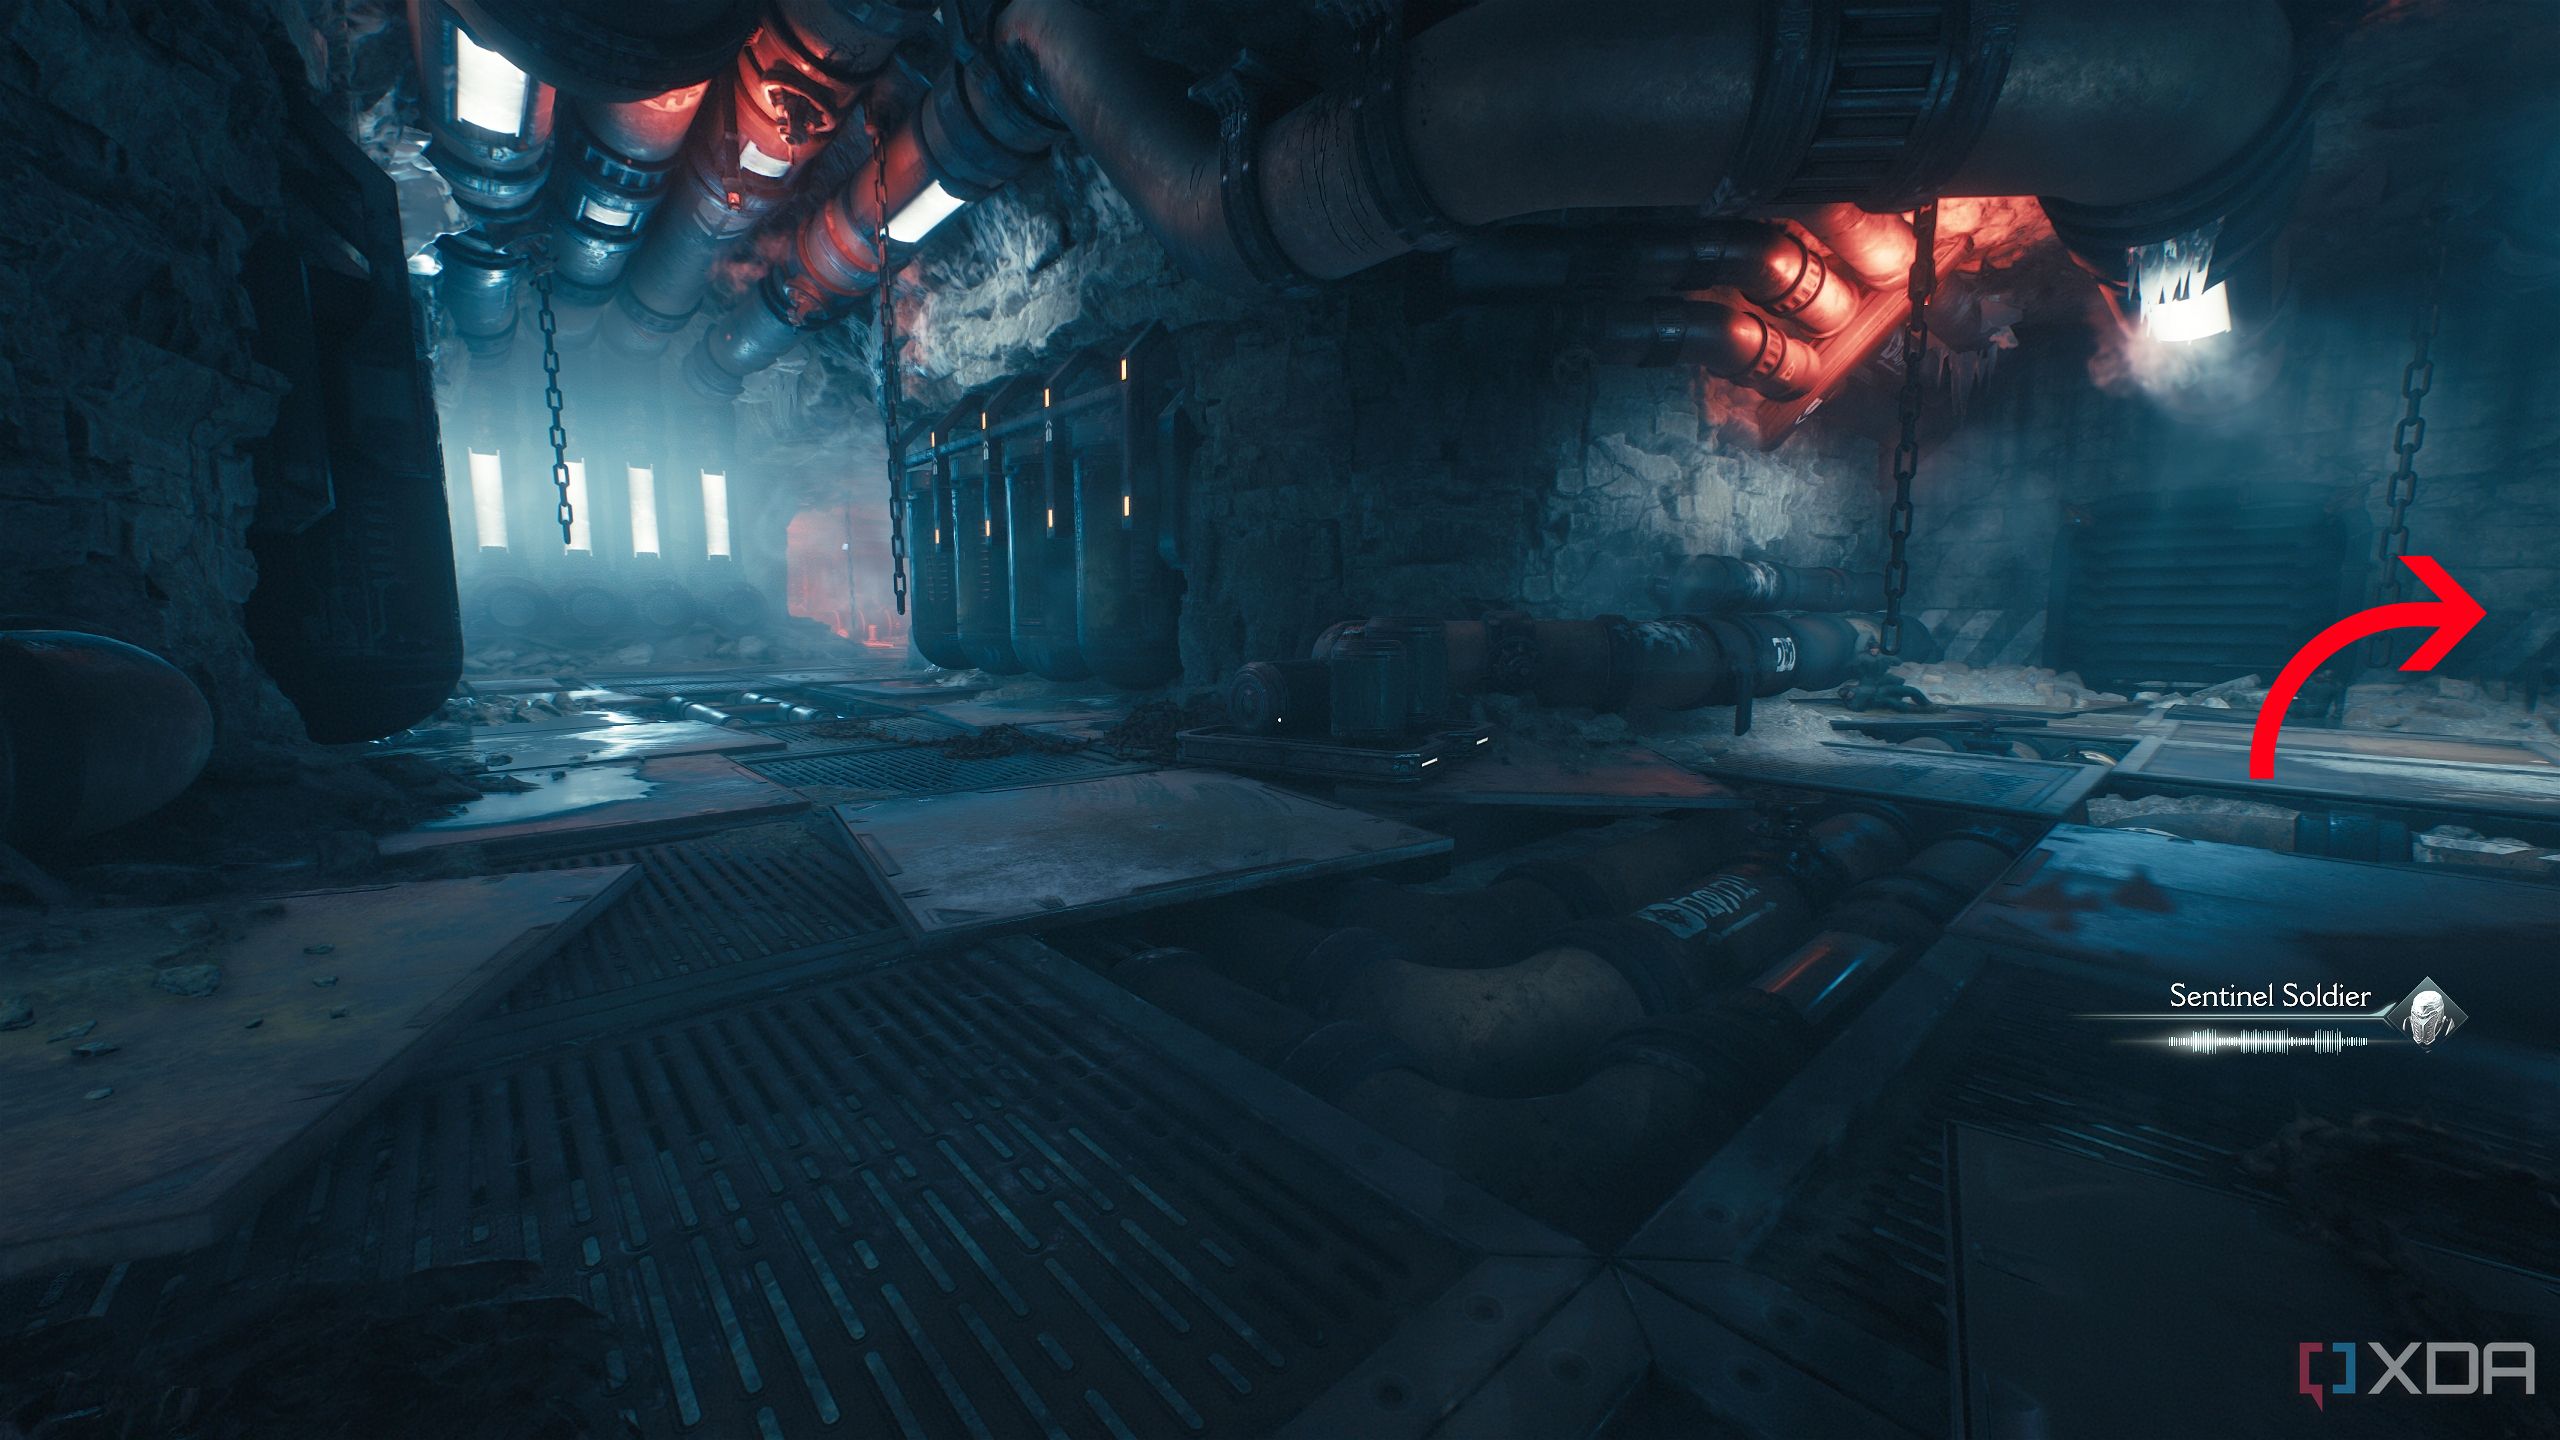
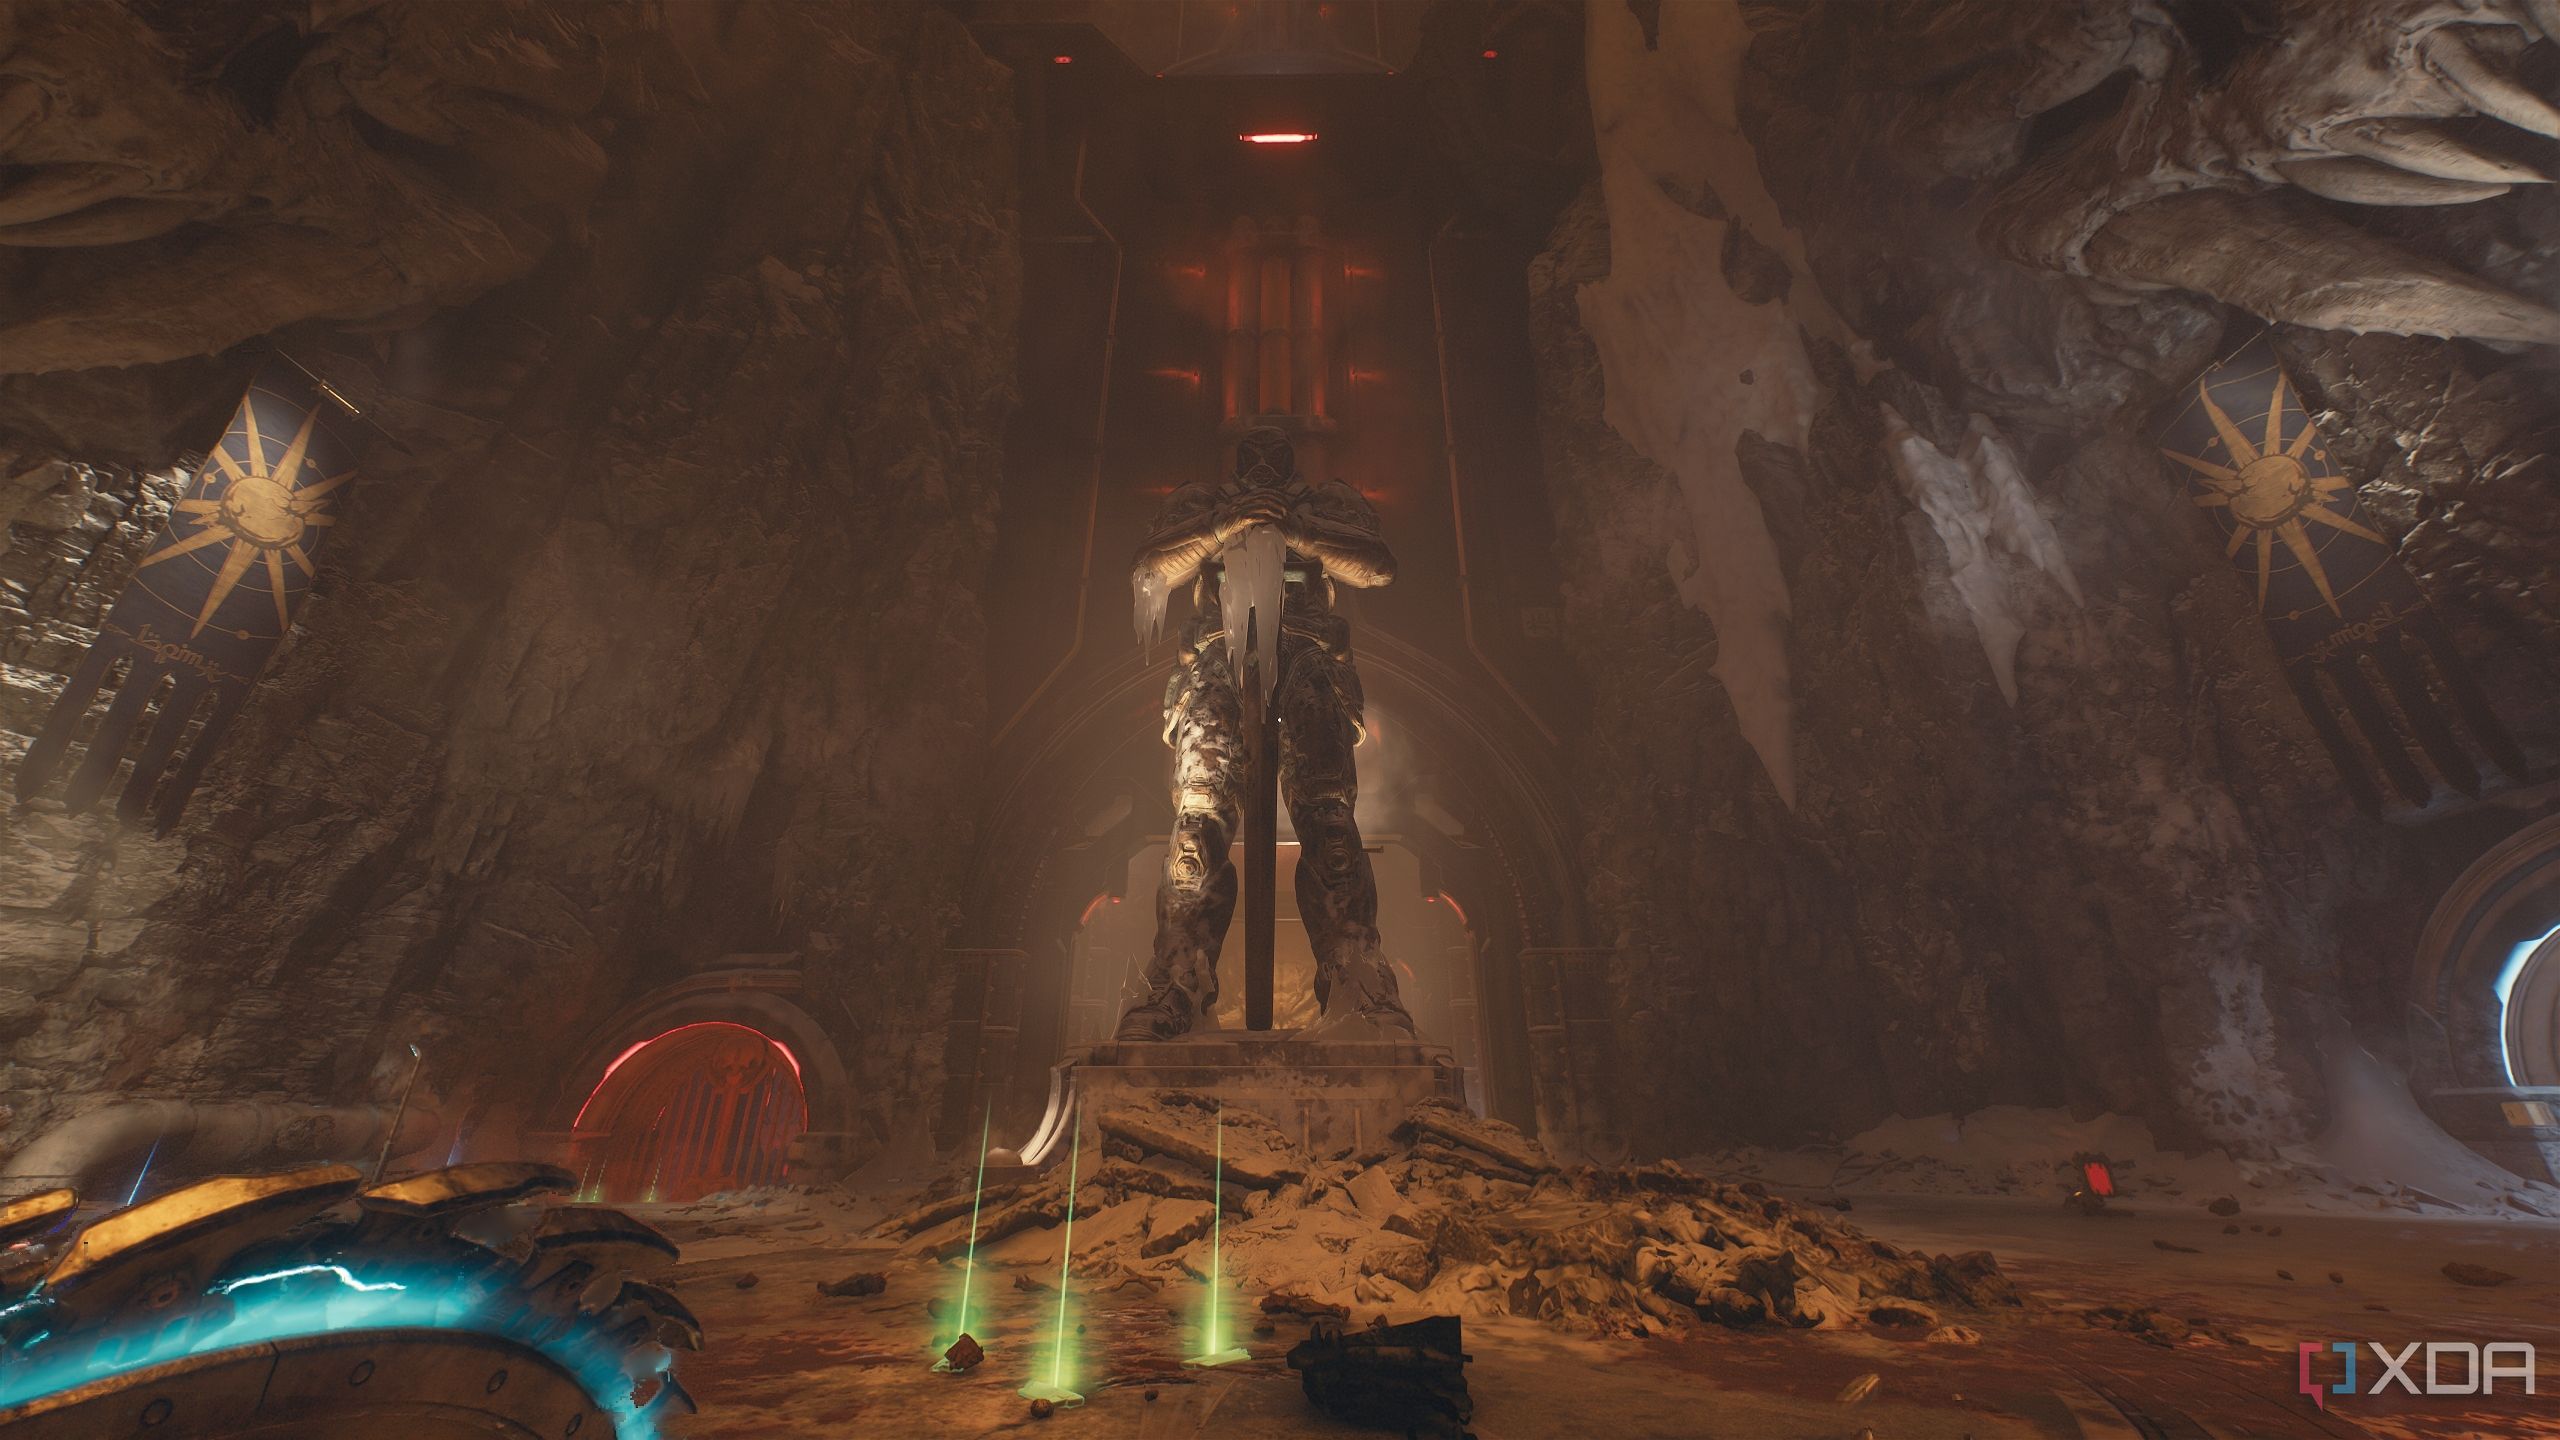
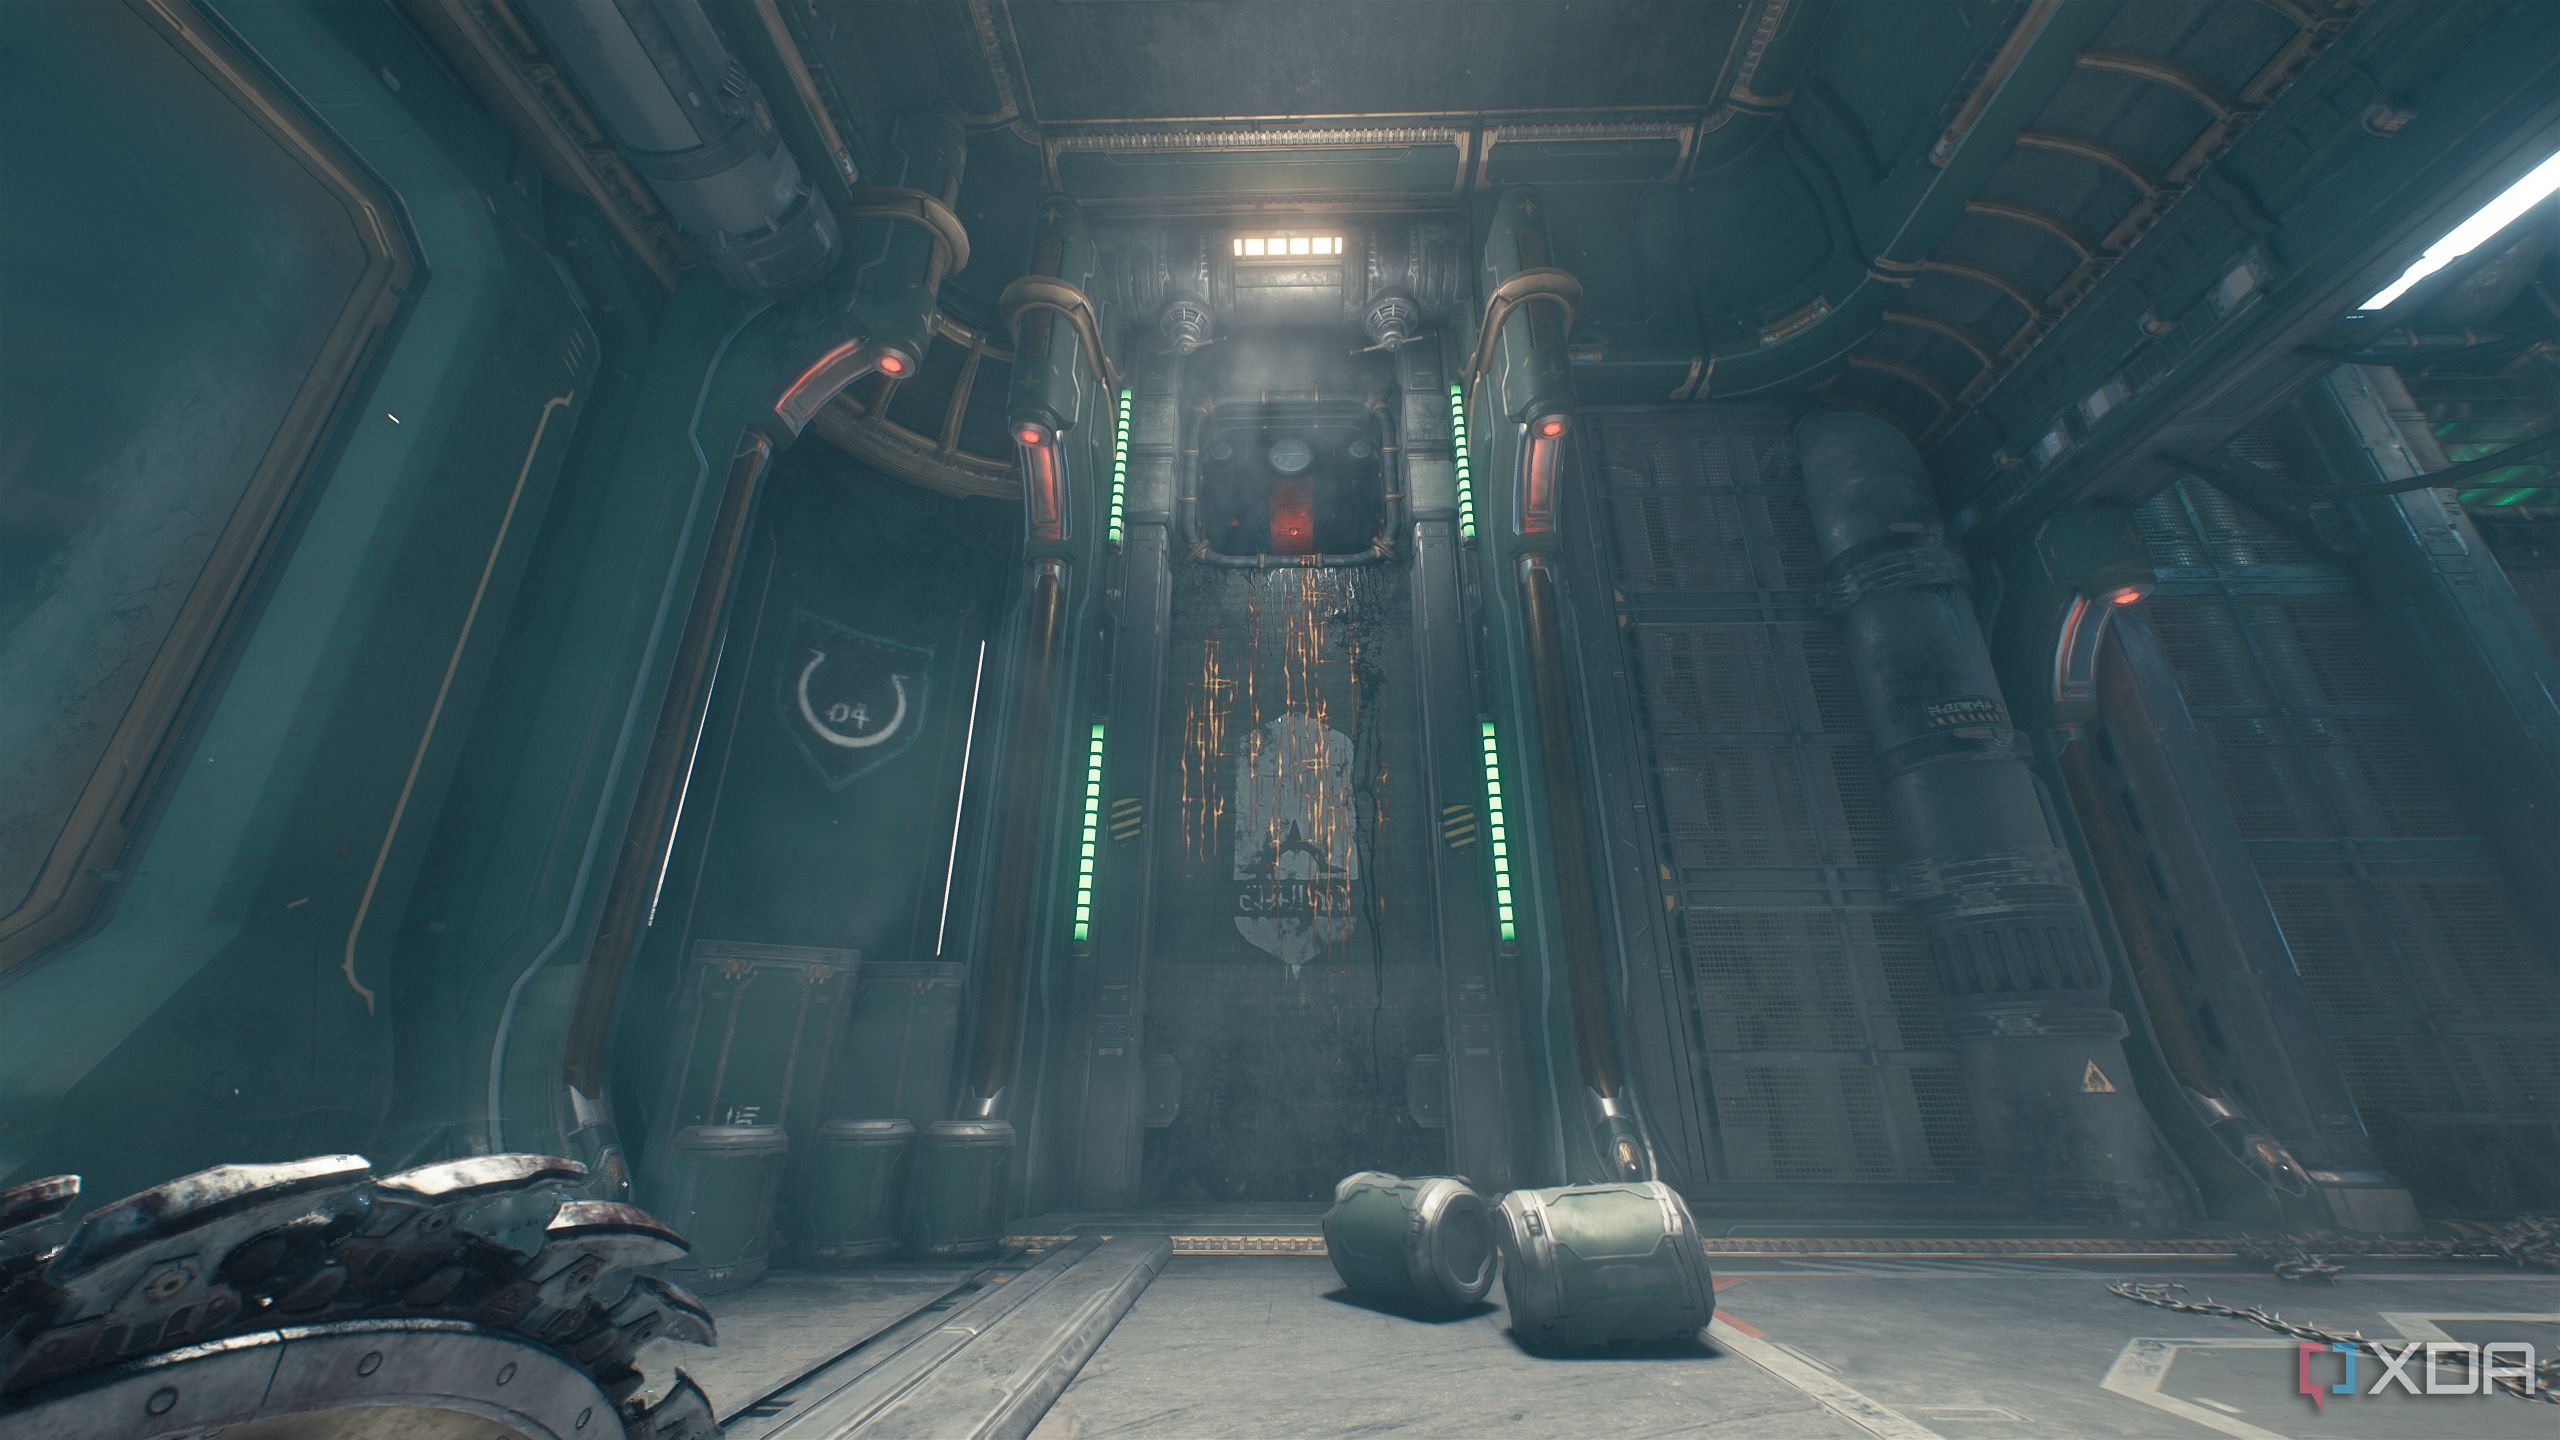
Secret area 8 and a Wraithstone
Prepare for an ambush by an Agaddon Hunter
Exiting secret area 7 through the gate, you'll reach this location on the map.
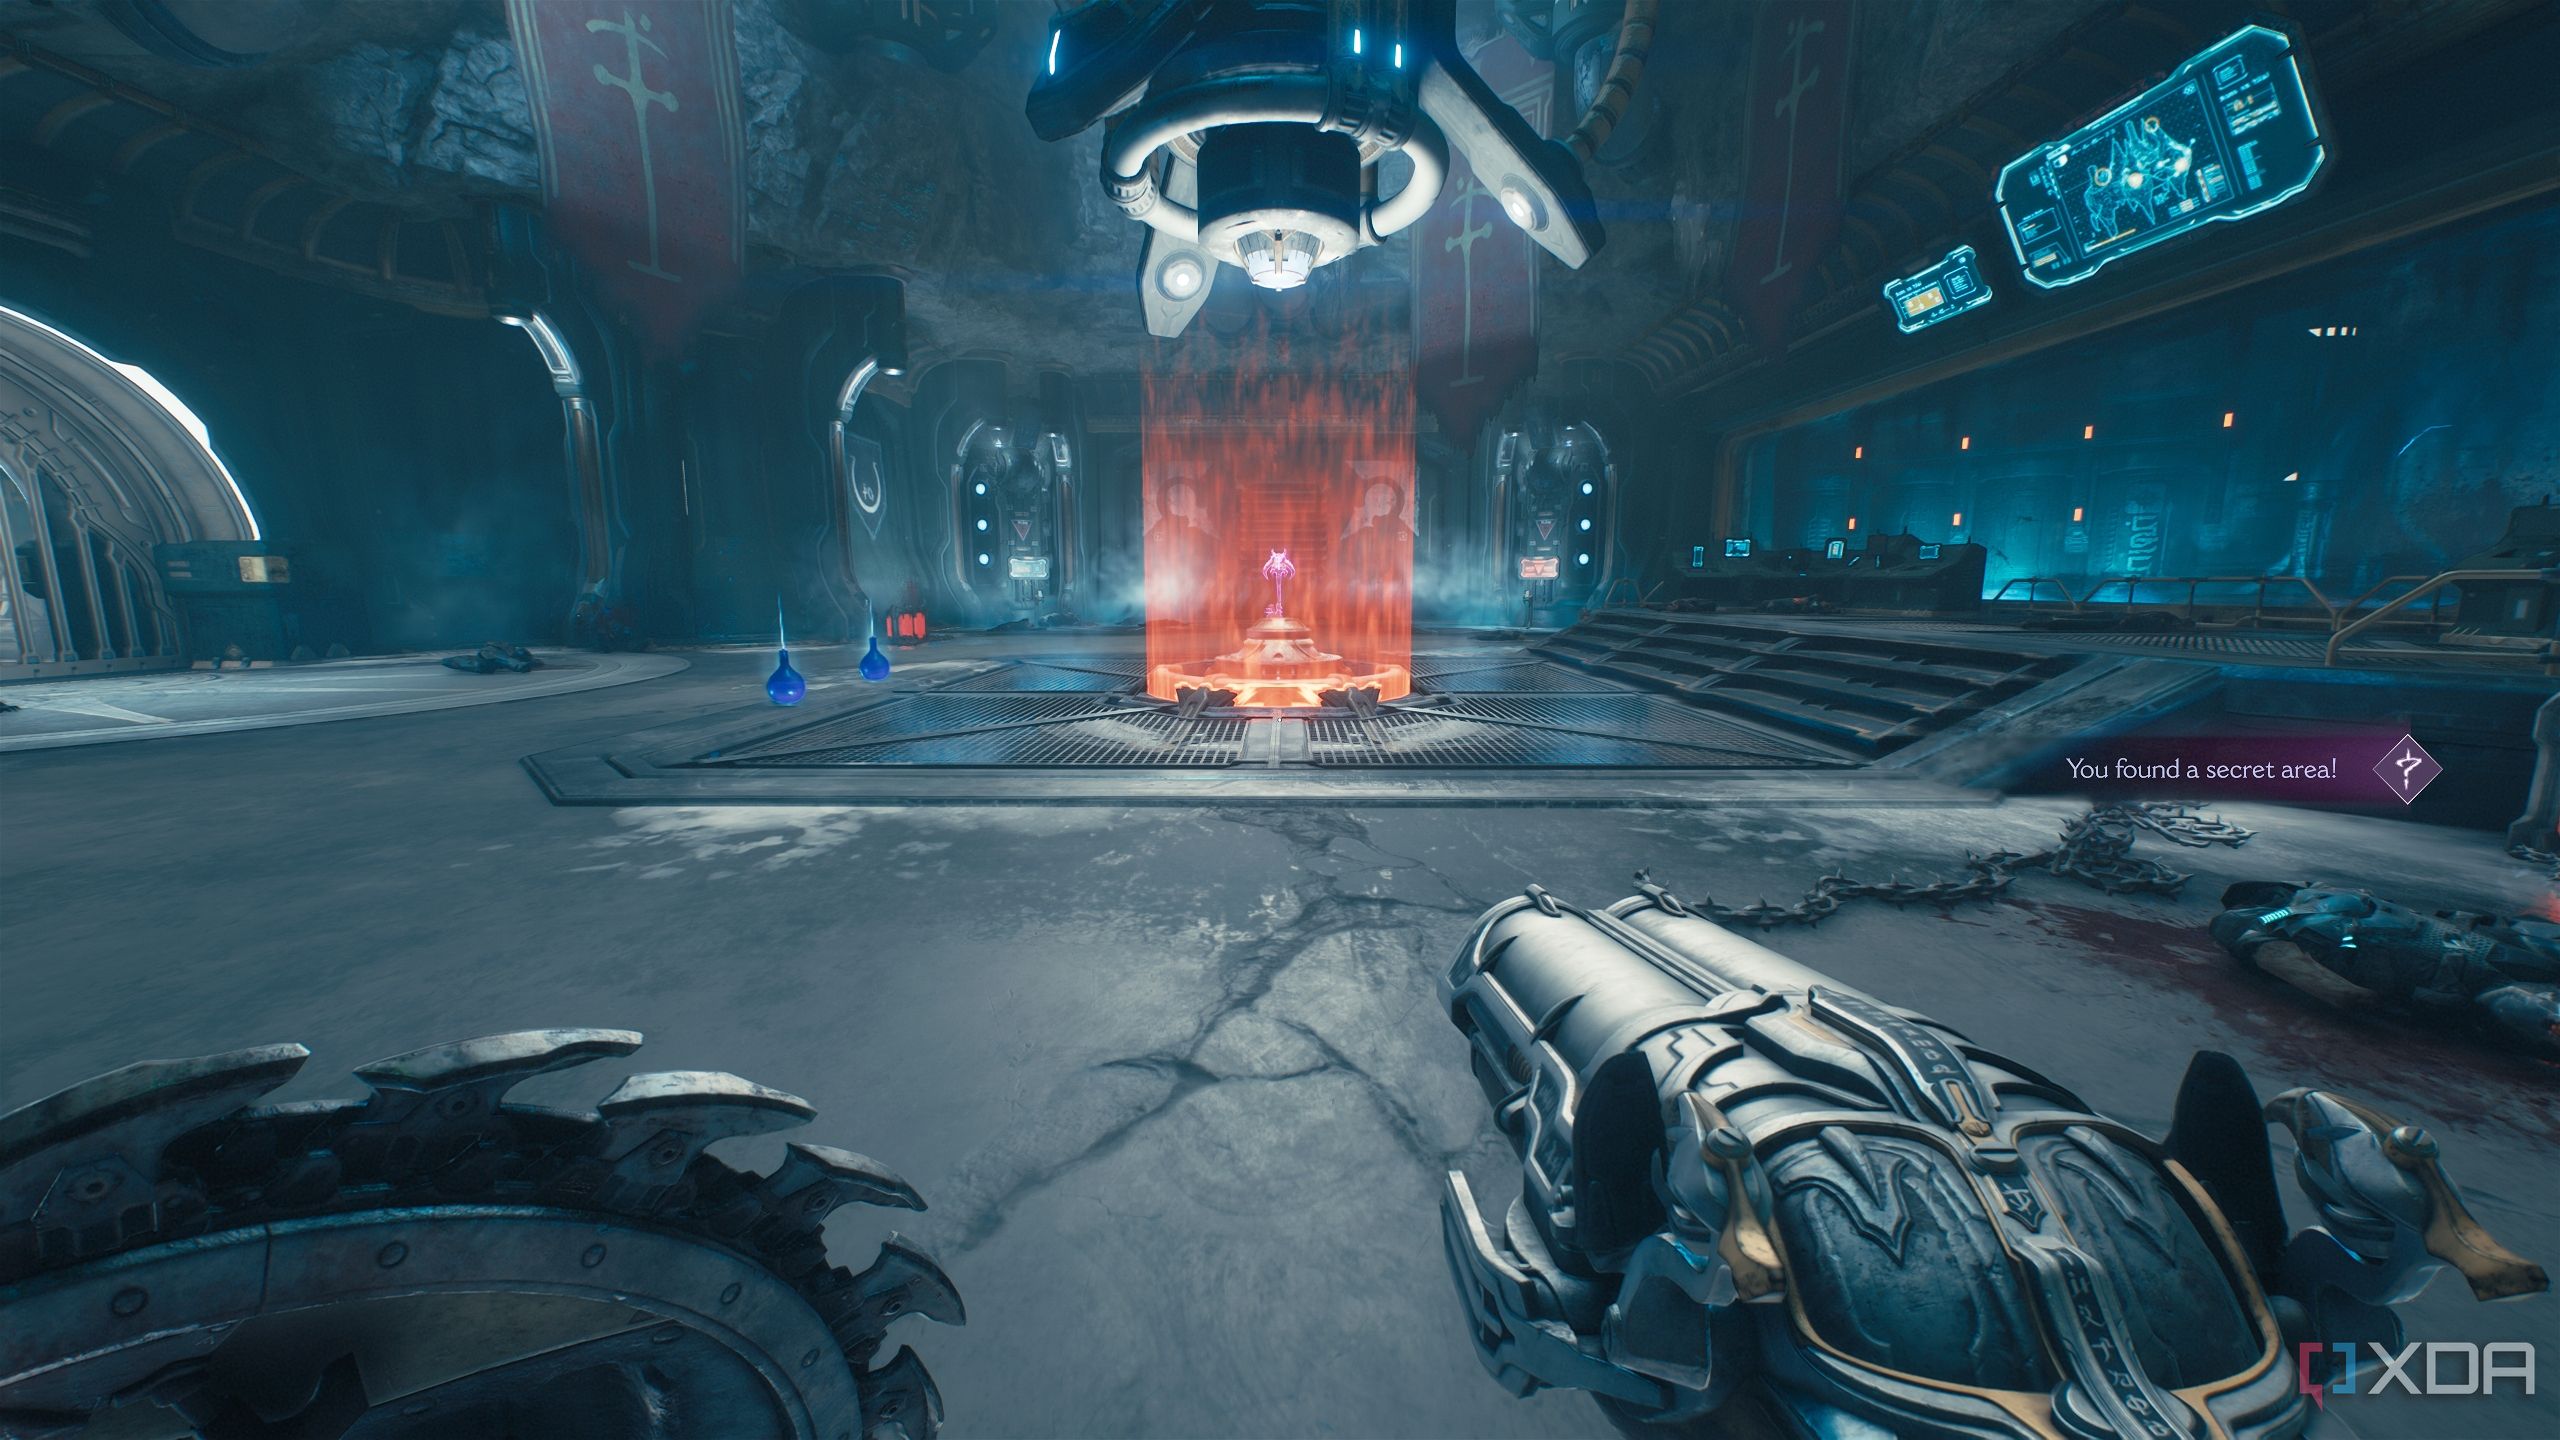
Once you enter the room right across from the room with the purple key, you’ll unlock secret area 8 and see a Wraithstone statue with a demonic seal around it.
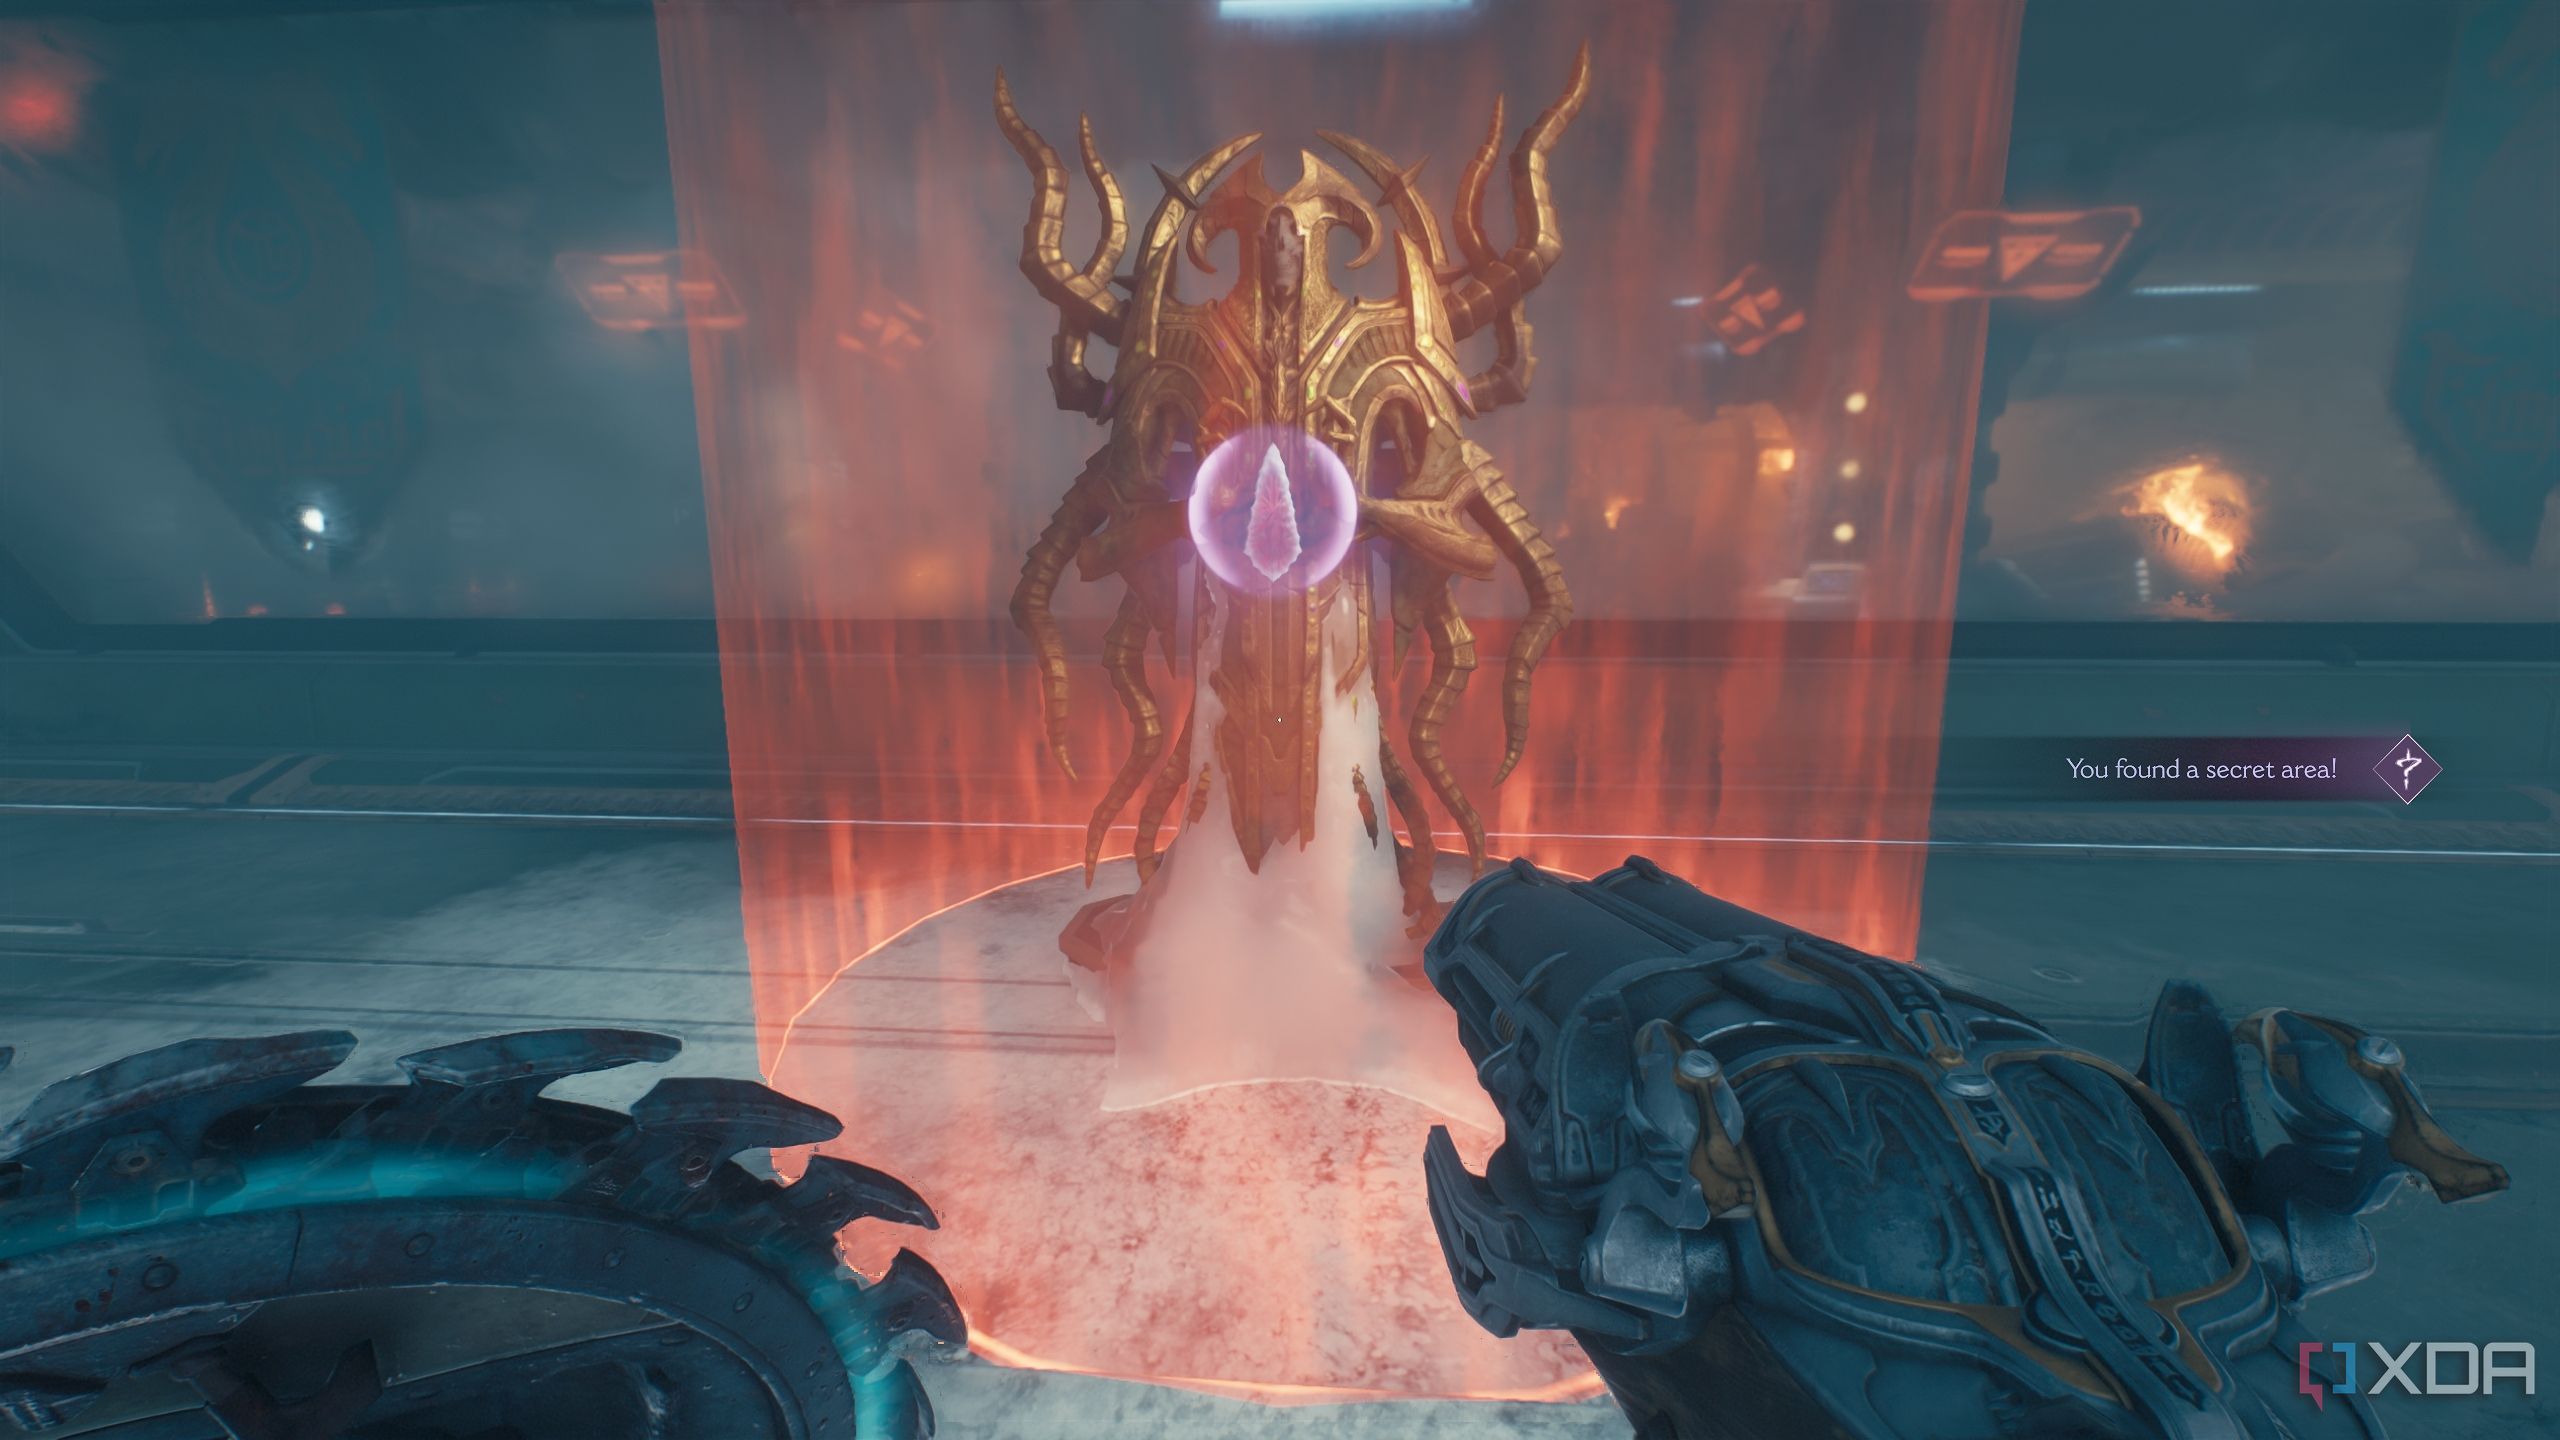
Turn around to deal with the Agaddon Hunter who ambushes you, and collect the Wraithstone before leaving this room.
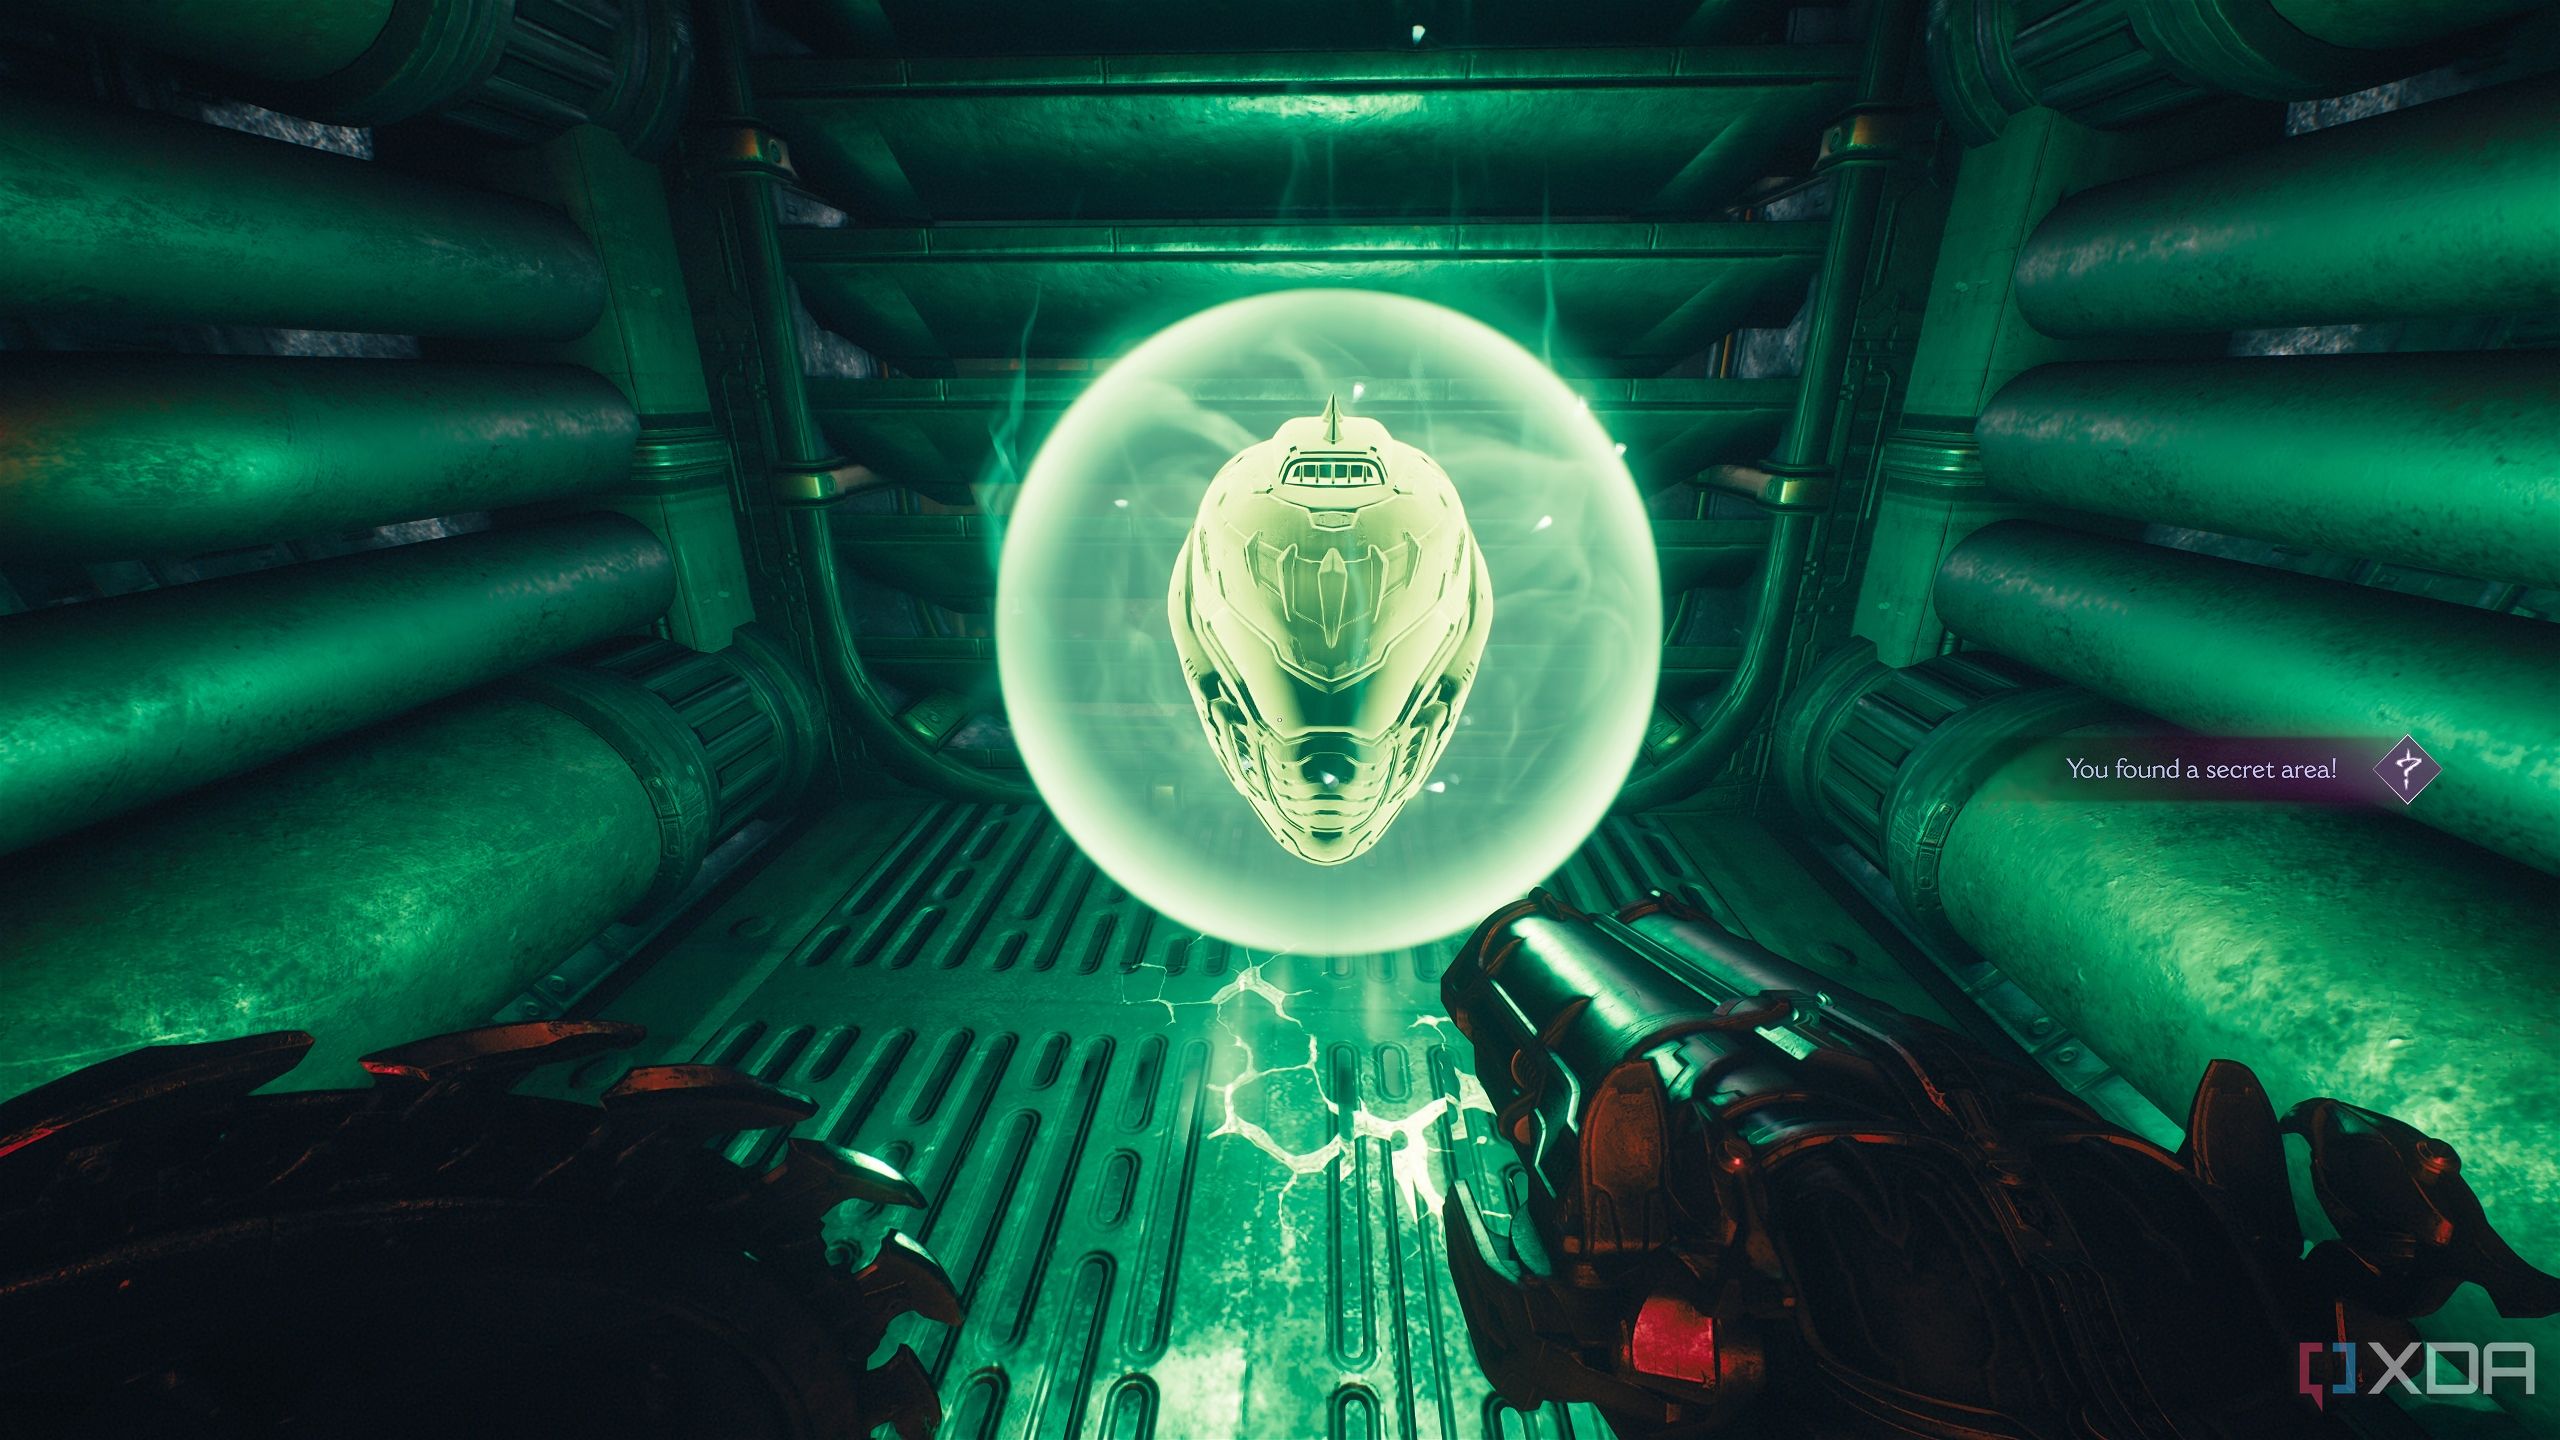
Secret area 9 and a secret collectible toy
Final backtracks before the end of the level
Once you reach the Sentinel statue arena again to open the yellow-coded locked gate for the objective, you’ll have quite a bit of fighting to do. Defeat all the enemies here, and before you head through the yellow gate, go back into the hole in the wall.
Head straight, and you’ll see another purple-coded locked gate, and entering it will unlock secret area 9 and the Kreed Maykr collectible toy.

This will also finish the Skeleton Key mission challenge.
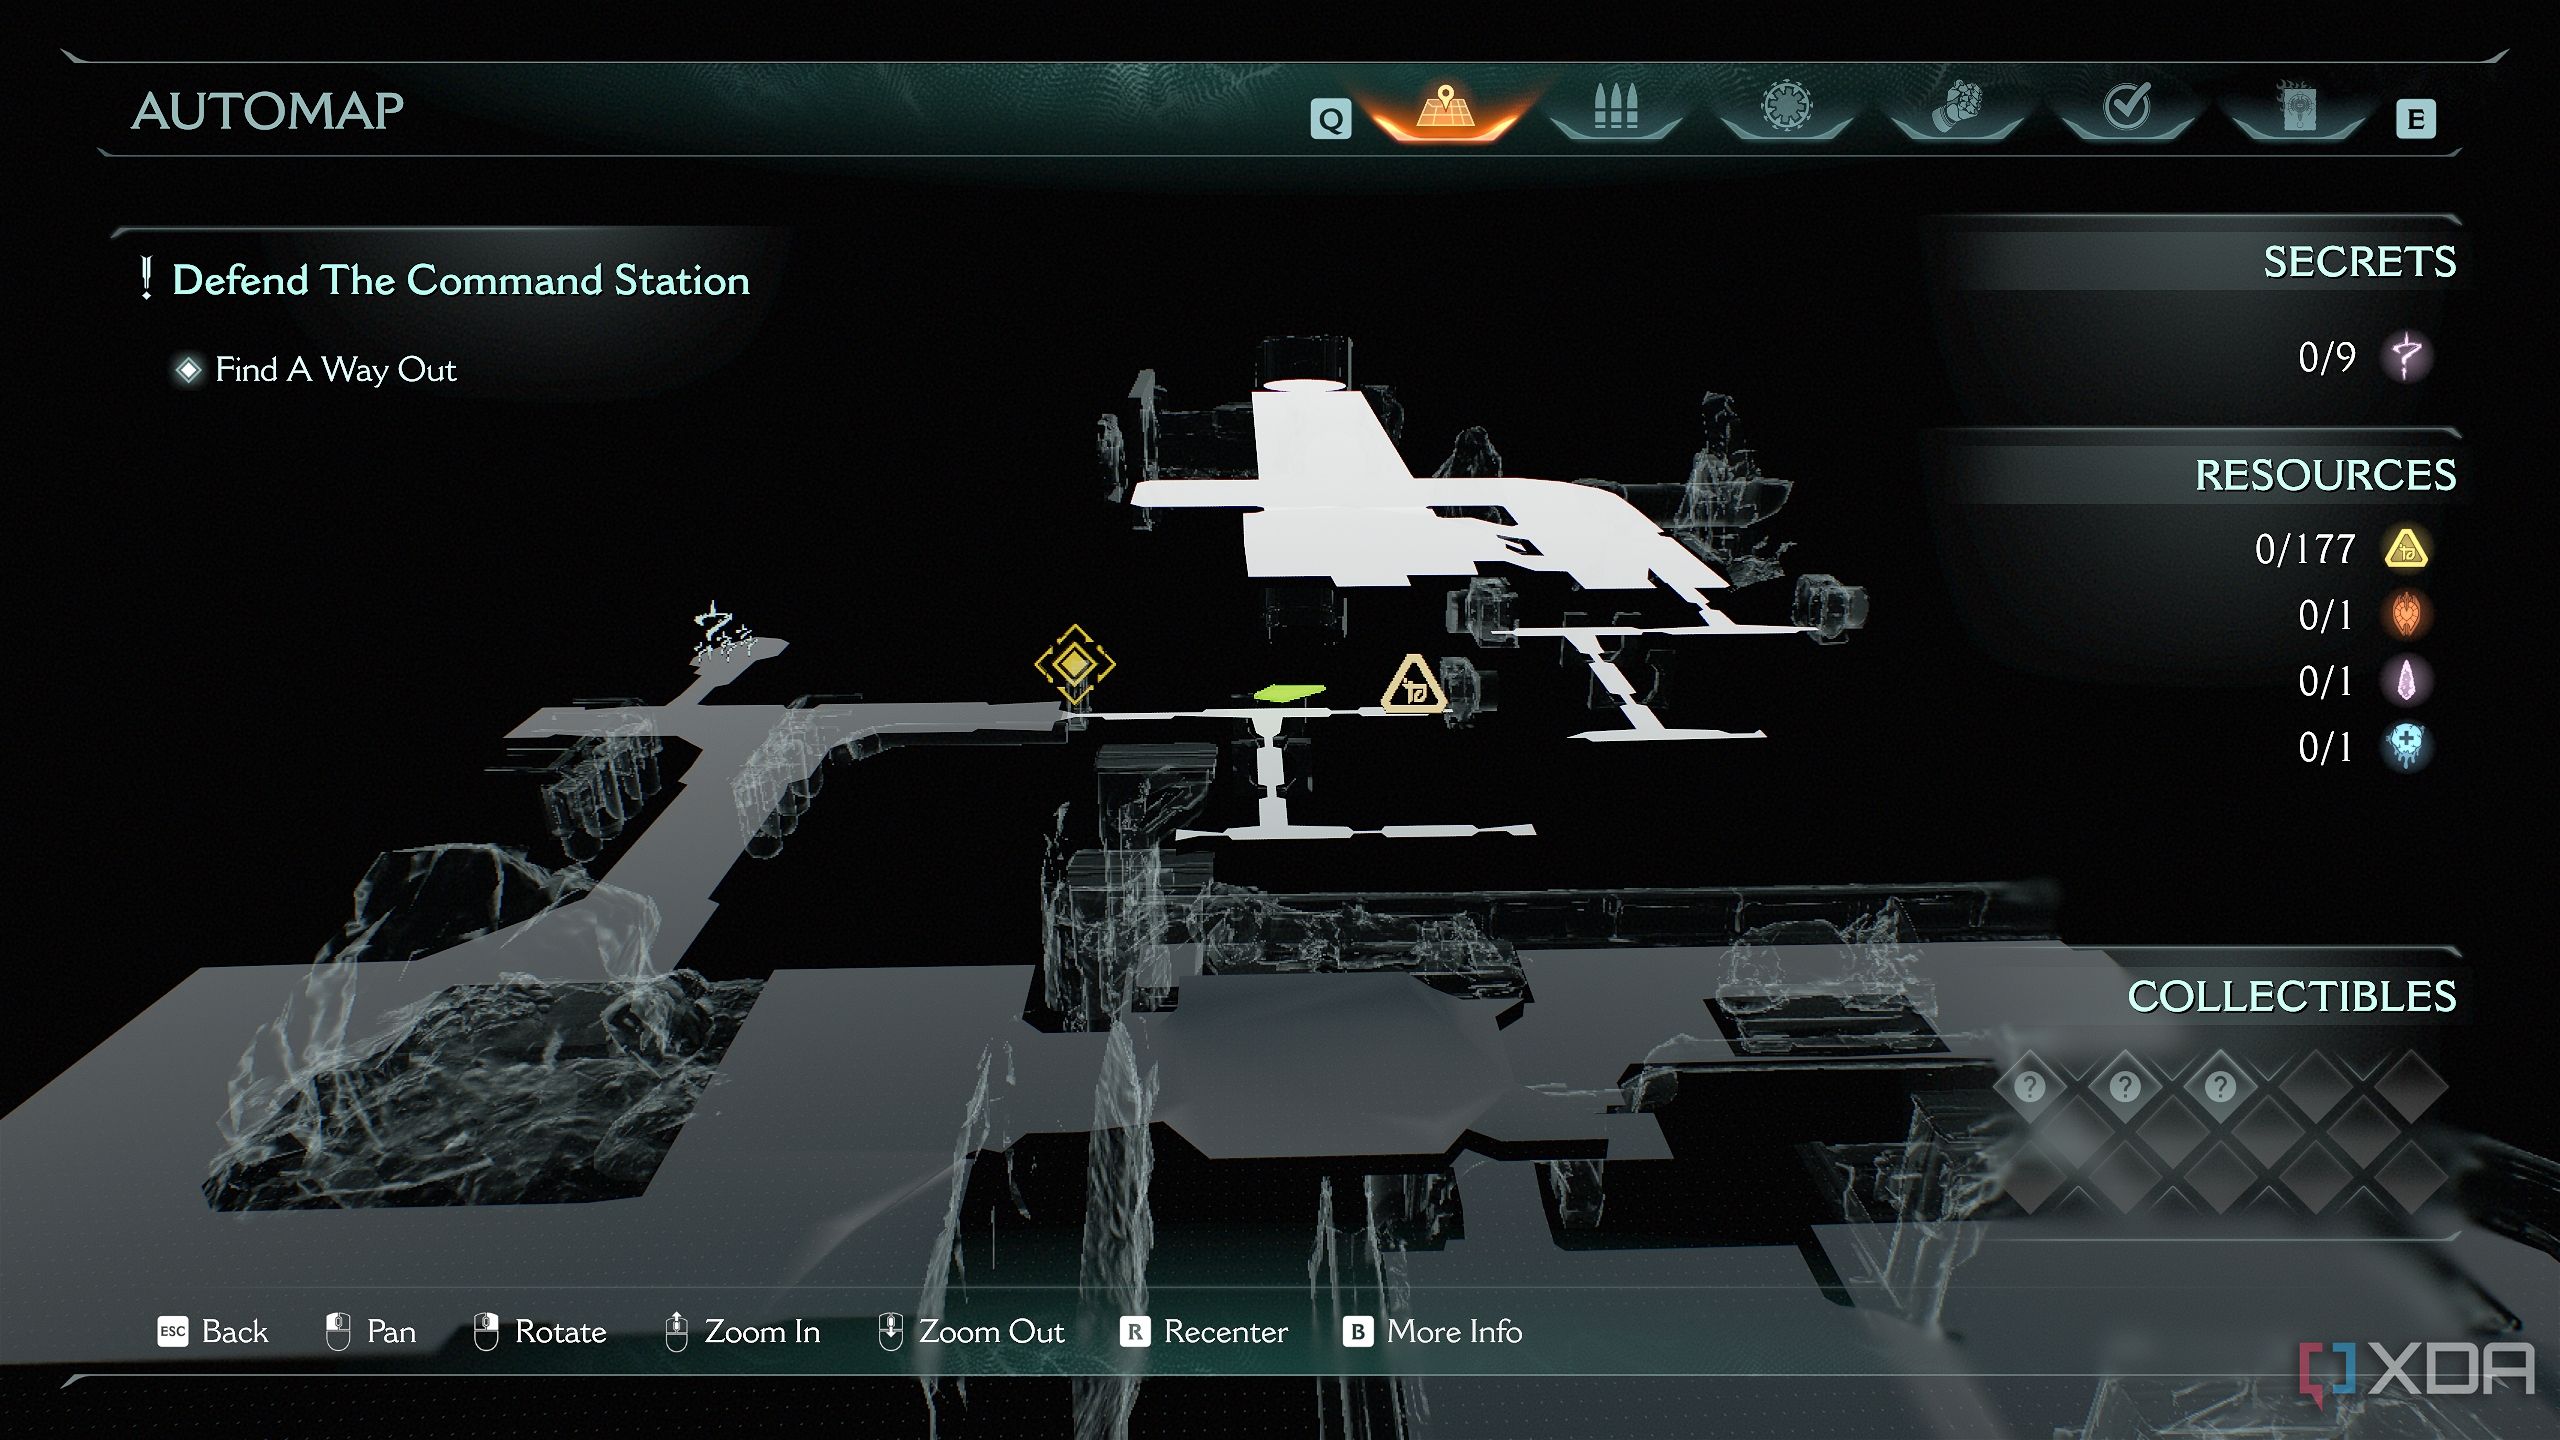
All collectibles in Chapter 12: Sentinel Command Station in Doom: The Dark Ages
Once that’s complete, Chapter 12 of Doom: The Dark Ages will be complete, and you’ll finally have the 100% completion achievement for this level. Inarguably one of the best FPS games available today, The Dark Ages offers a thrill ride from start to finish in each one of its chapters.
|
Achievements in Chapter 12: Sentinel Command Station |
|
|
Gold |
177 |
|
Rubies |
1 |
|
Wraithstone |
1 |
|
Demonic Essence |
1 |
|
Secret Areas |
9 |
|
Codex Entries |
1 |
|
Collectible Toys |
1 |
|
Skins |
1 |

DOOM: The Dark Ages
Released May 15, 2025
ESRB m
Developer(s) id Software
Publisher(s) Bethesda Softworks
Engine id Tech
Multiplayer Online Multiplayer
Franchise DOOM


 English (US) ·