.png)
Chapter 7: Siege - Part 2 in Doom: The Dark Ages follows the Doom Slayer as he rushes to protect and rescue King Novik against Prince Ahzrak. This map, in contrast to the previous chapter, is extremely linear, reminiscent of a Doom Eternal level. Of course, there are still plenty of secrets you might miss while mowing down demonic hordes.
In order to get 100% completion of each level, make sure you complete the mission challenges for this level.
Chapter 7’s mission challenges are-
- Using a fully-charged Chainshot attack on demons 10 times
- killing 3+ fodder demons with a Shield Throw five times.

Related
DOOM: The Dark Ages — 100% completion guide, Chapter 6: Siege - Part 1
Chapter 6 in Doom: The Dark Ages presents the game's biggest map yet, offering a large battlefield to explore and take on at your own pace.
Chapter 7 of Doom: The Dark Ages reminded me of Doom Eternal
It's a rather linear level as the Slayer races through hordes to reach the king
While Siege - Part 1 was a huge sequence in the game with tons of secrets and a plethora of encounters and battles, Siege - Part 2 closes things down with a linear approach. It's very reminiscent of Doom Eternal, and going on full blast, you could easily finish the level in 15–20 minutes. Following the objectives in the chapter along with the instructions provided below, it won't be long before you can claim that sweet 100% completion tag for the seventh level in Doom: The Dark Ages.
This guide covers each collectible required for 100% level completion in chronological order. It is recommended to follow this guide in the order stated.
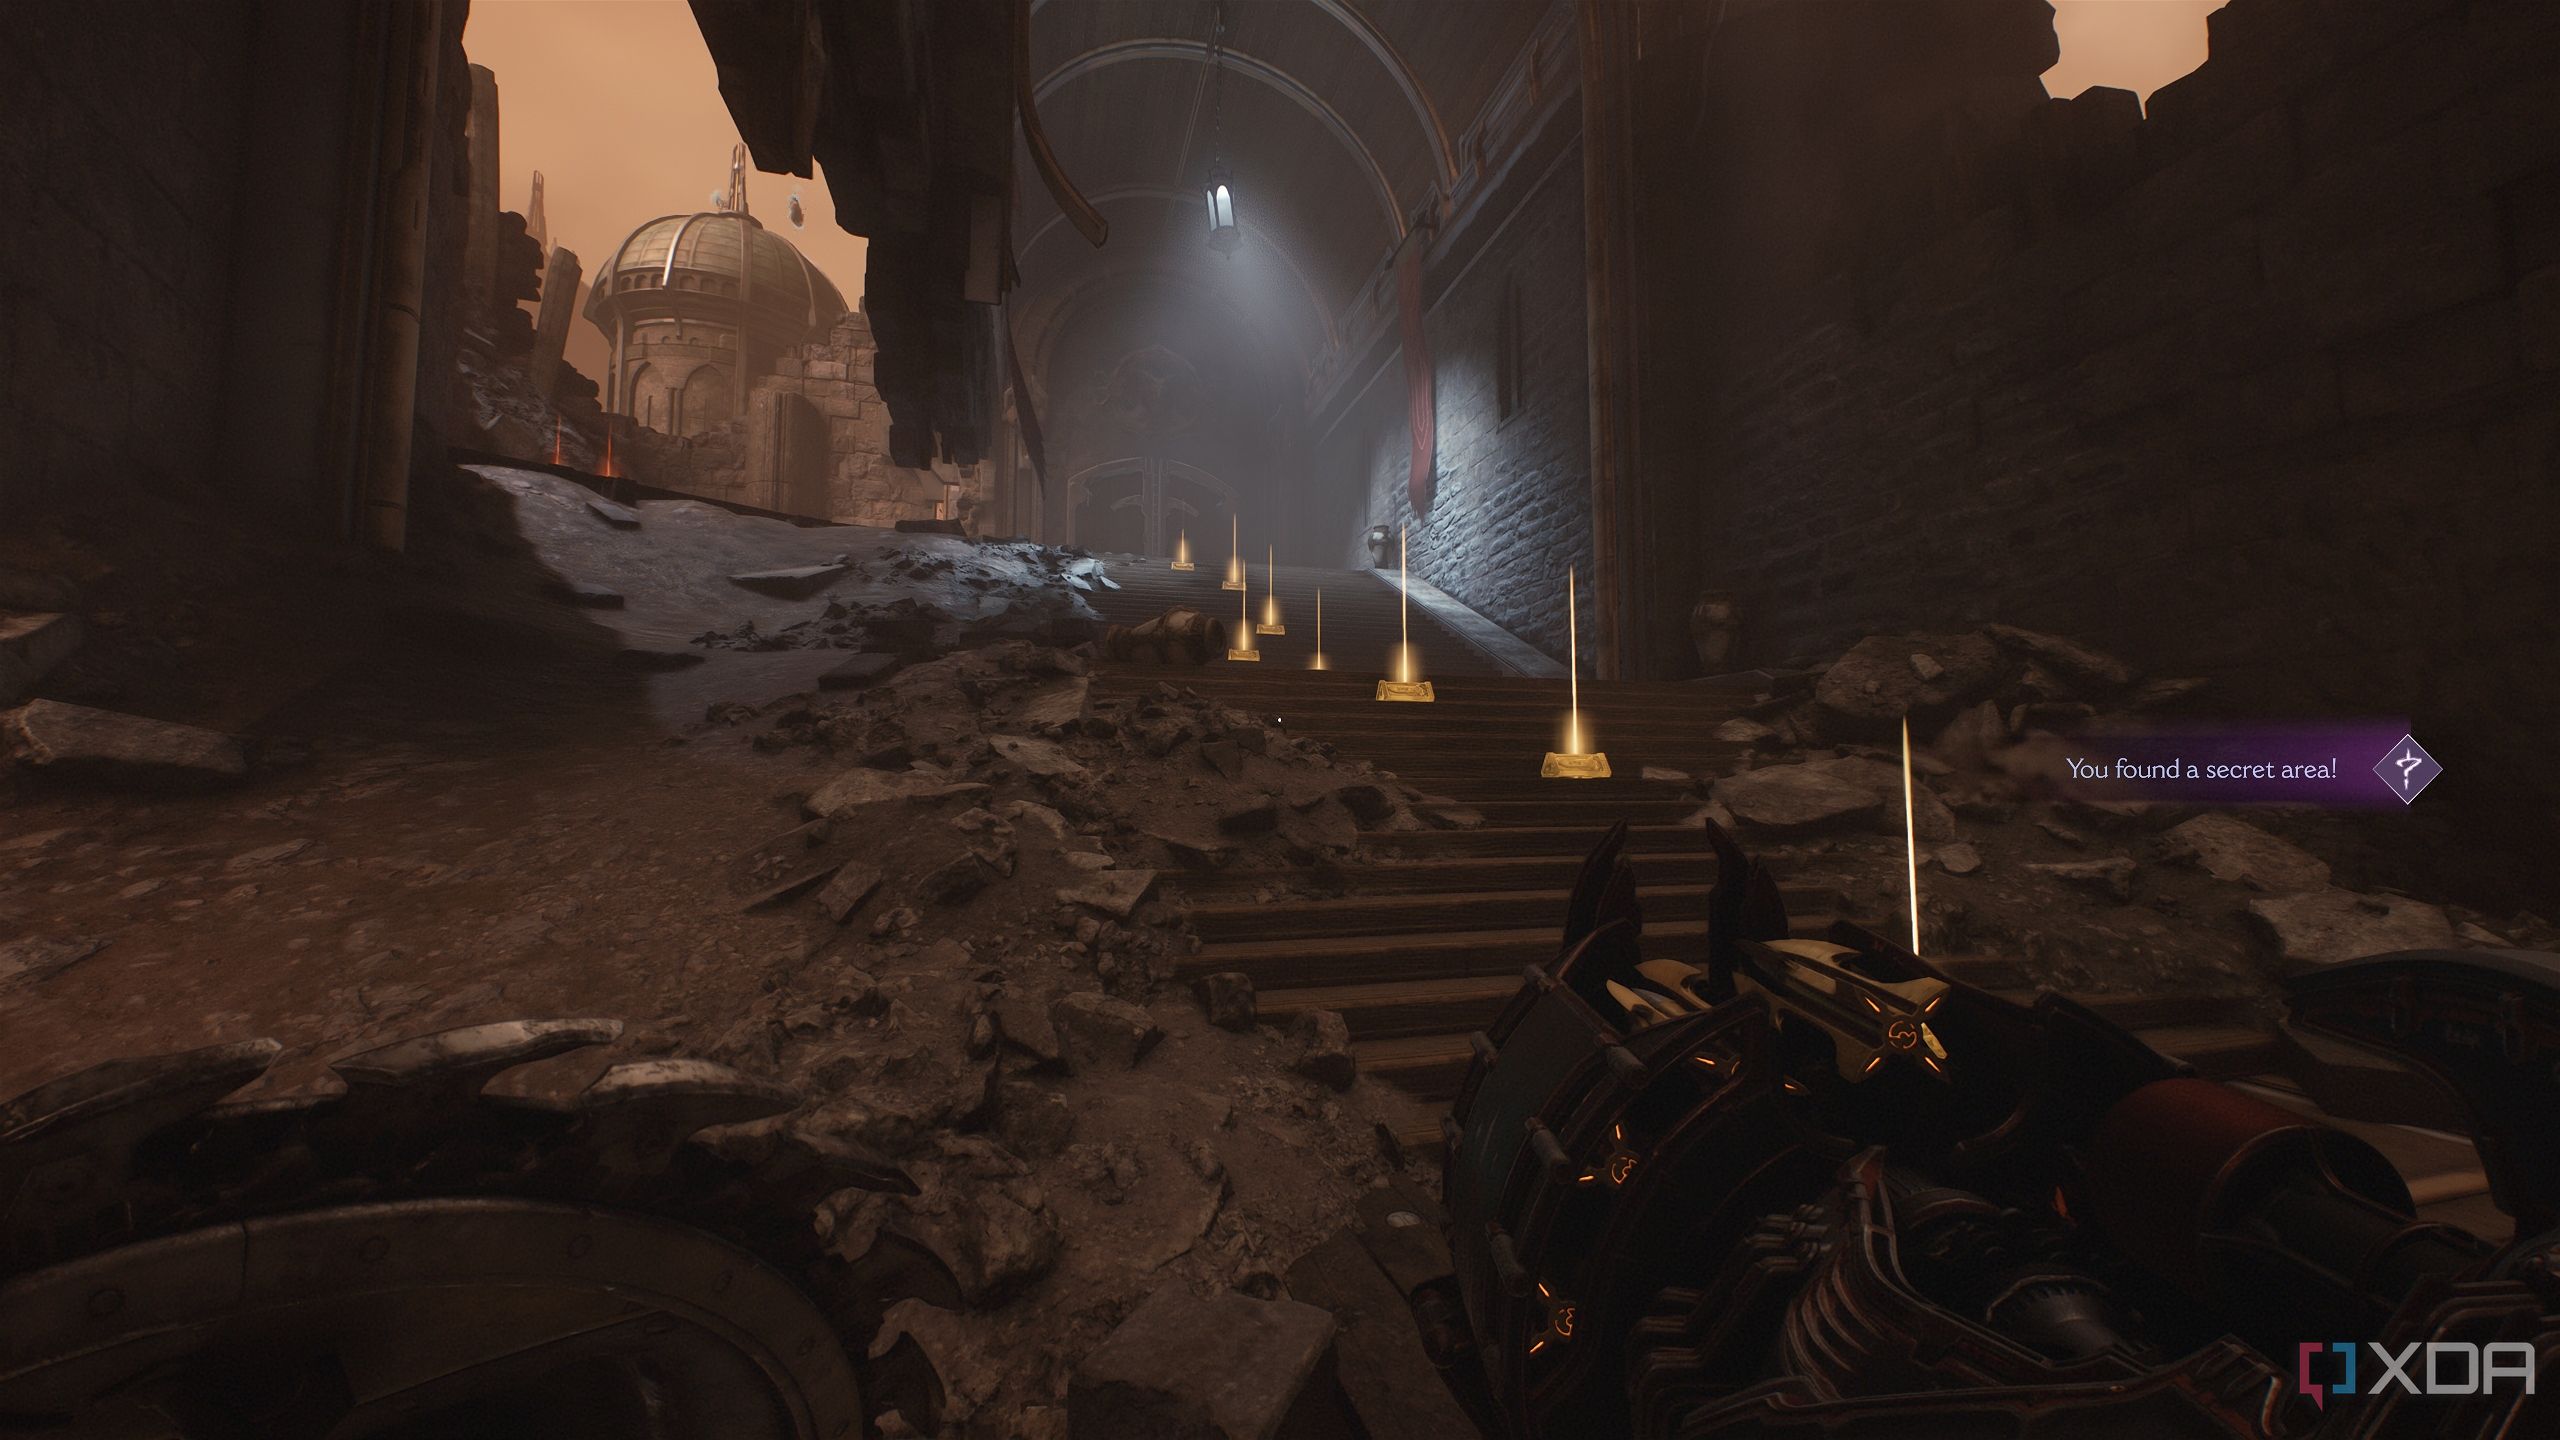
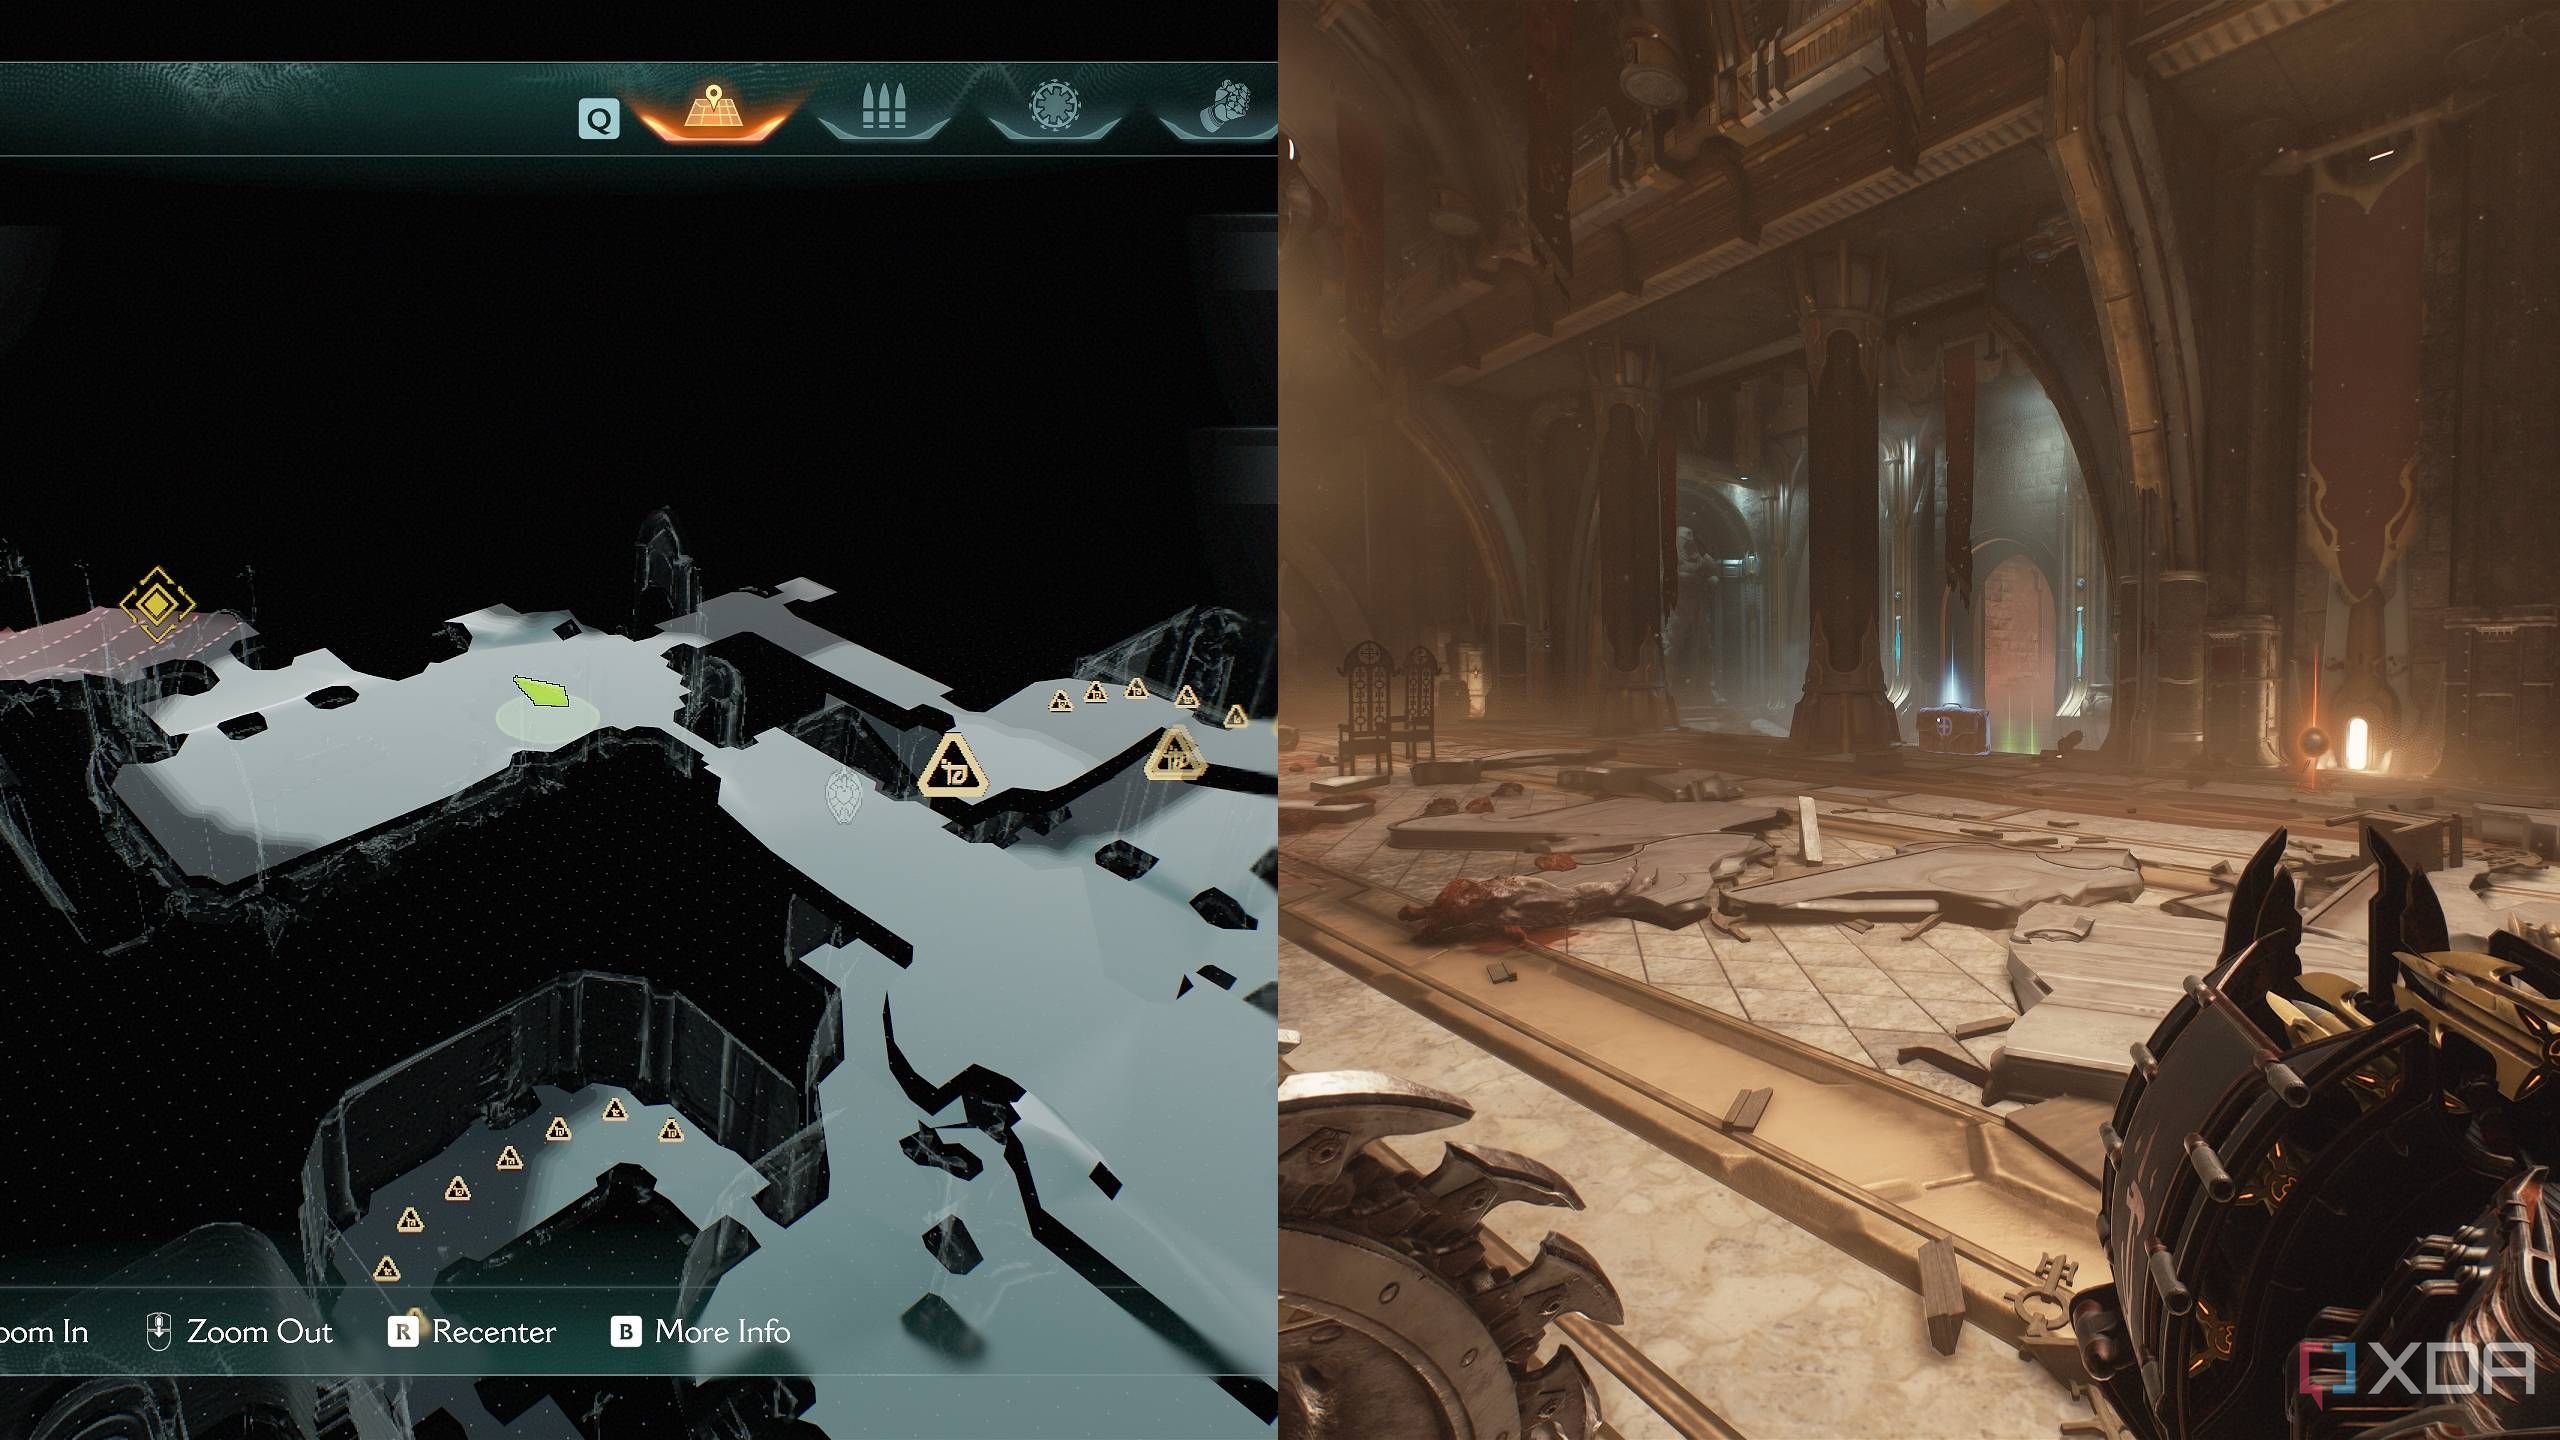
Secret area 1 and gold bars
Beelzebub's big boy goes down
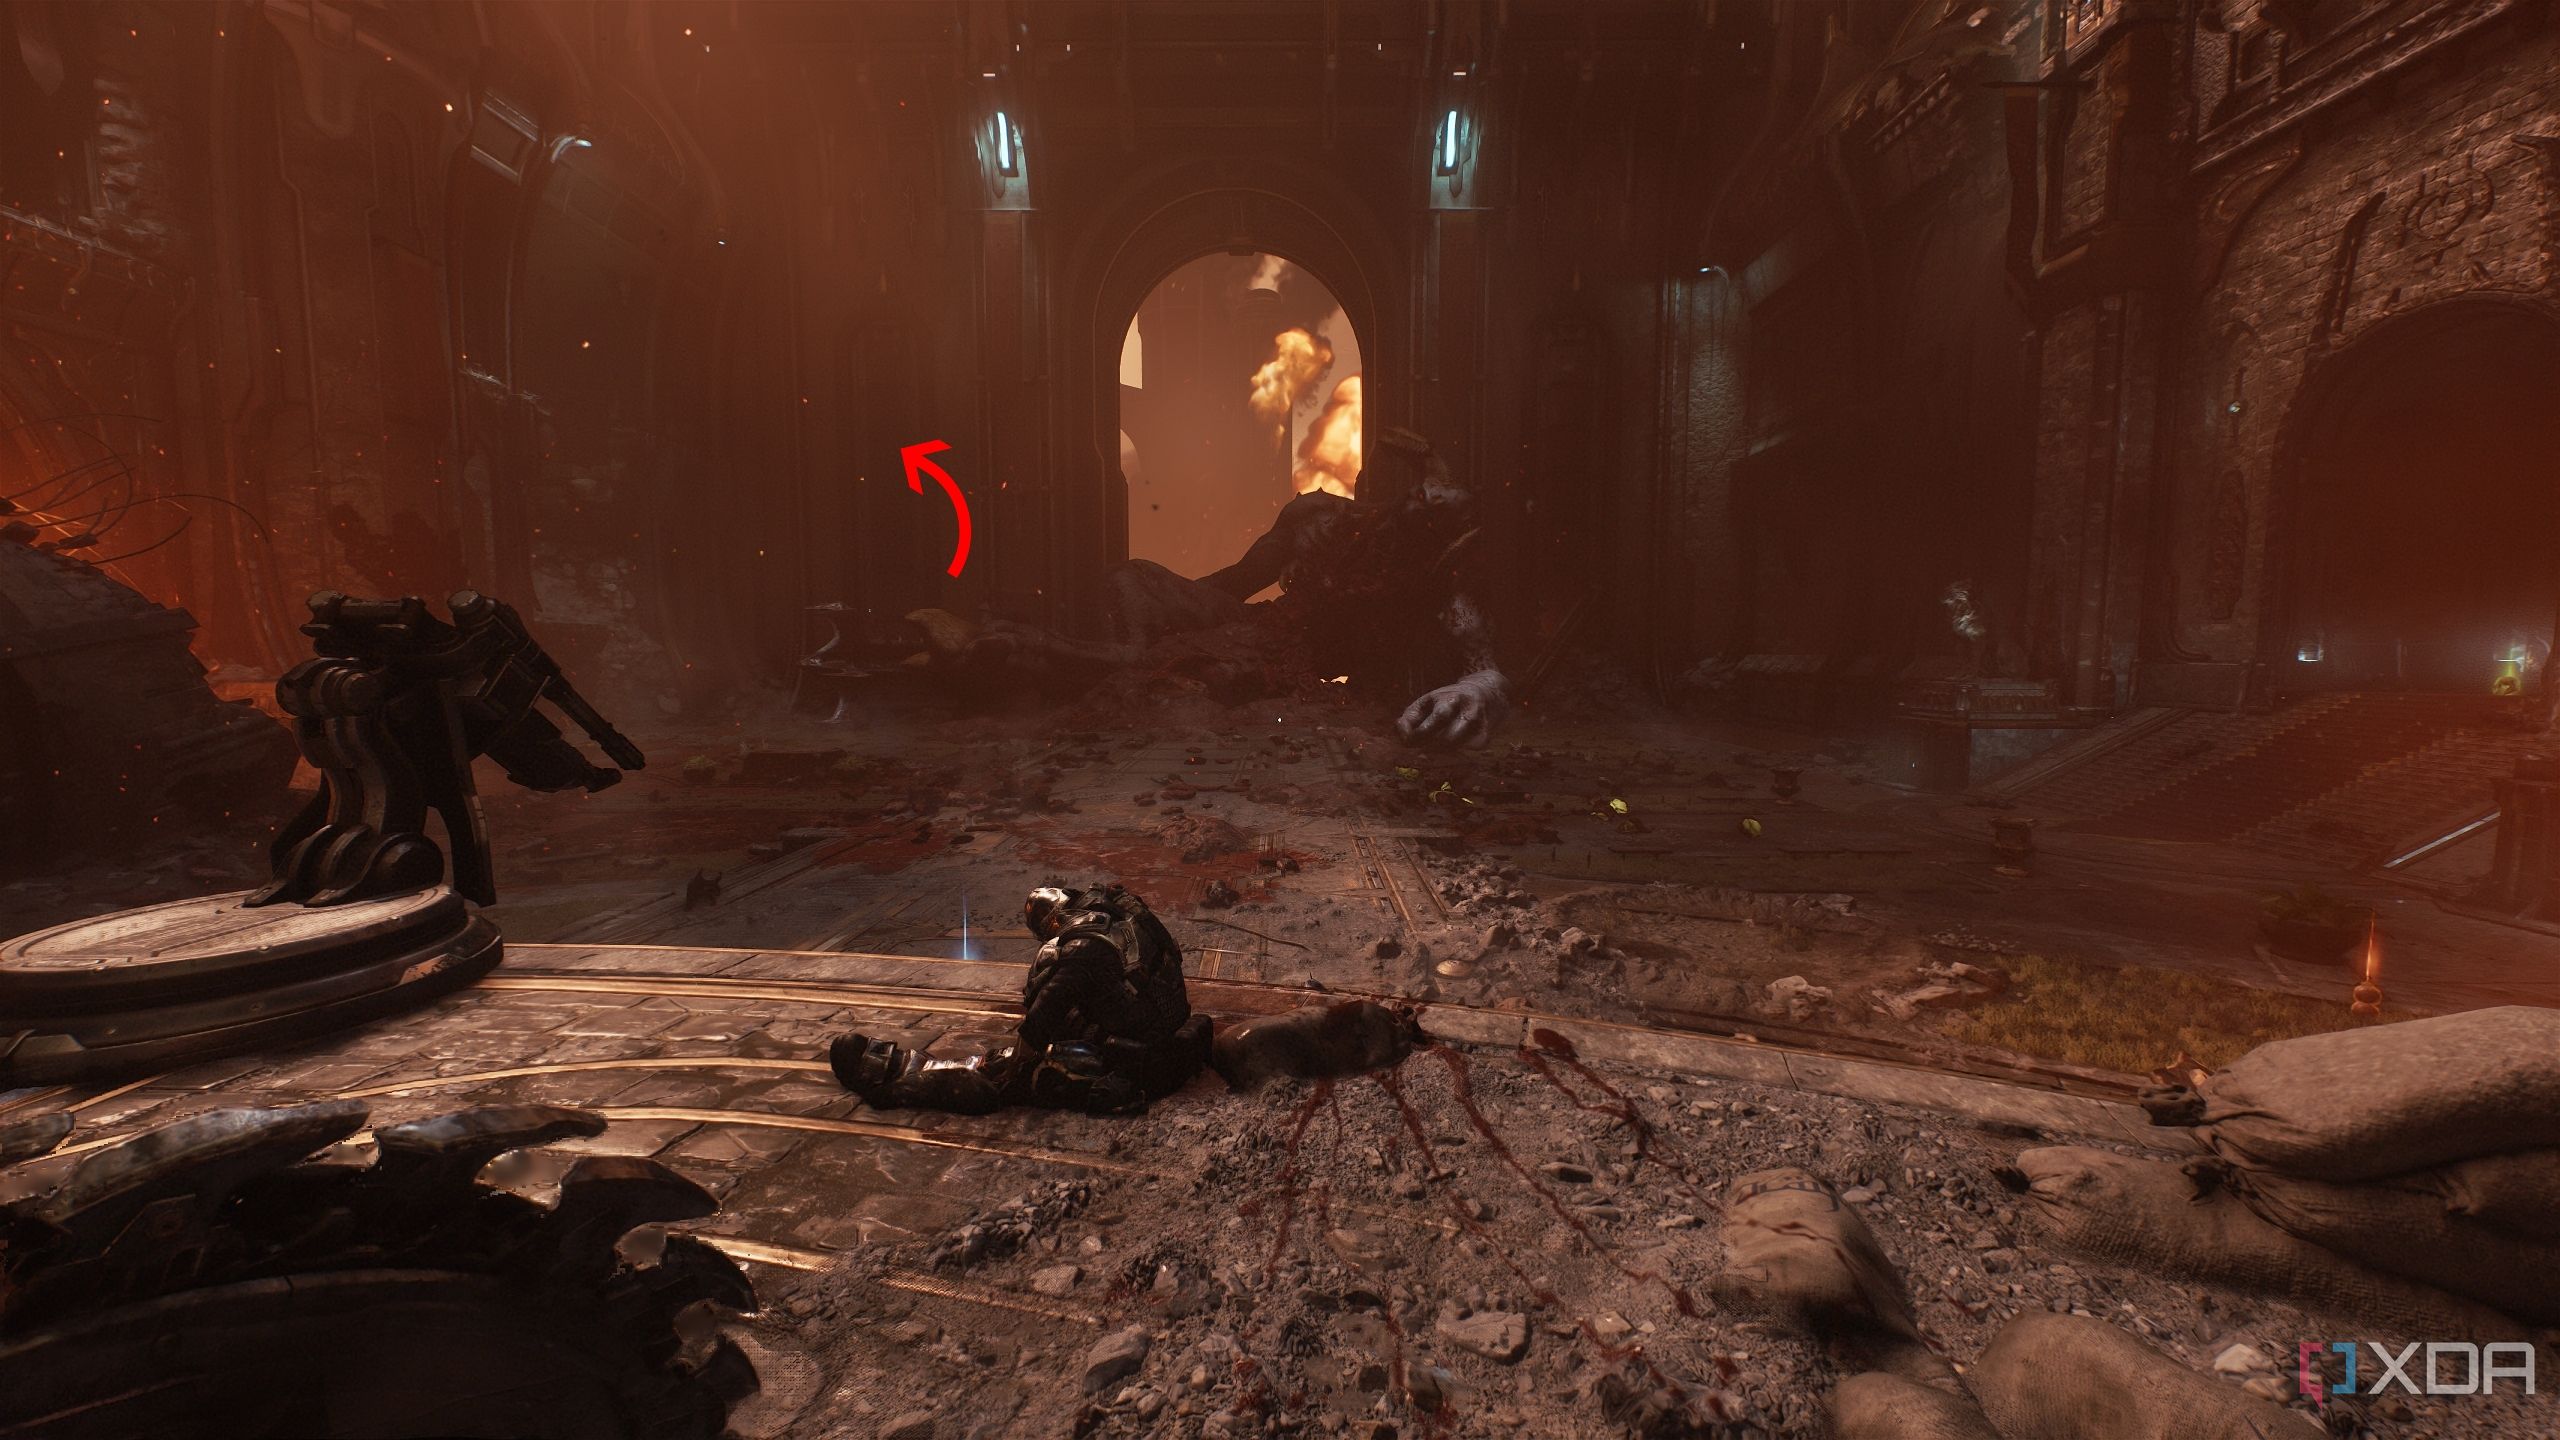
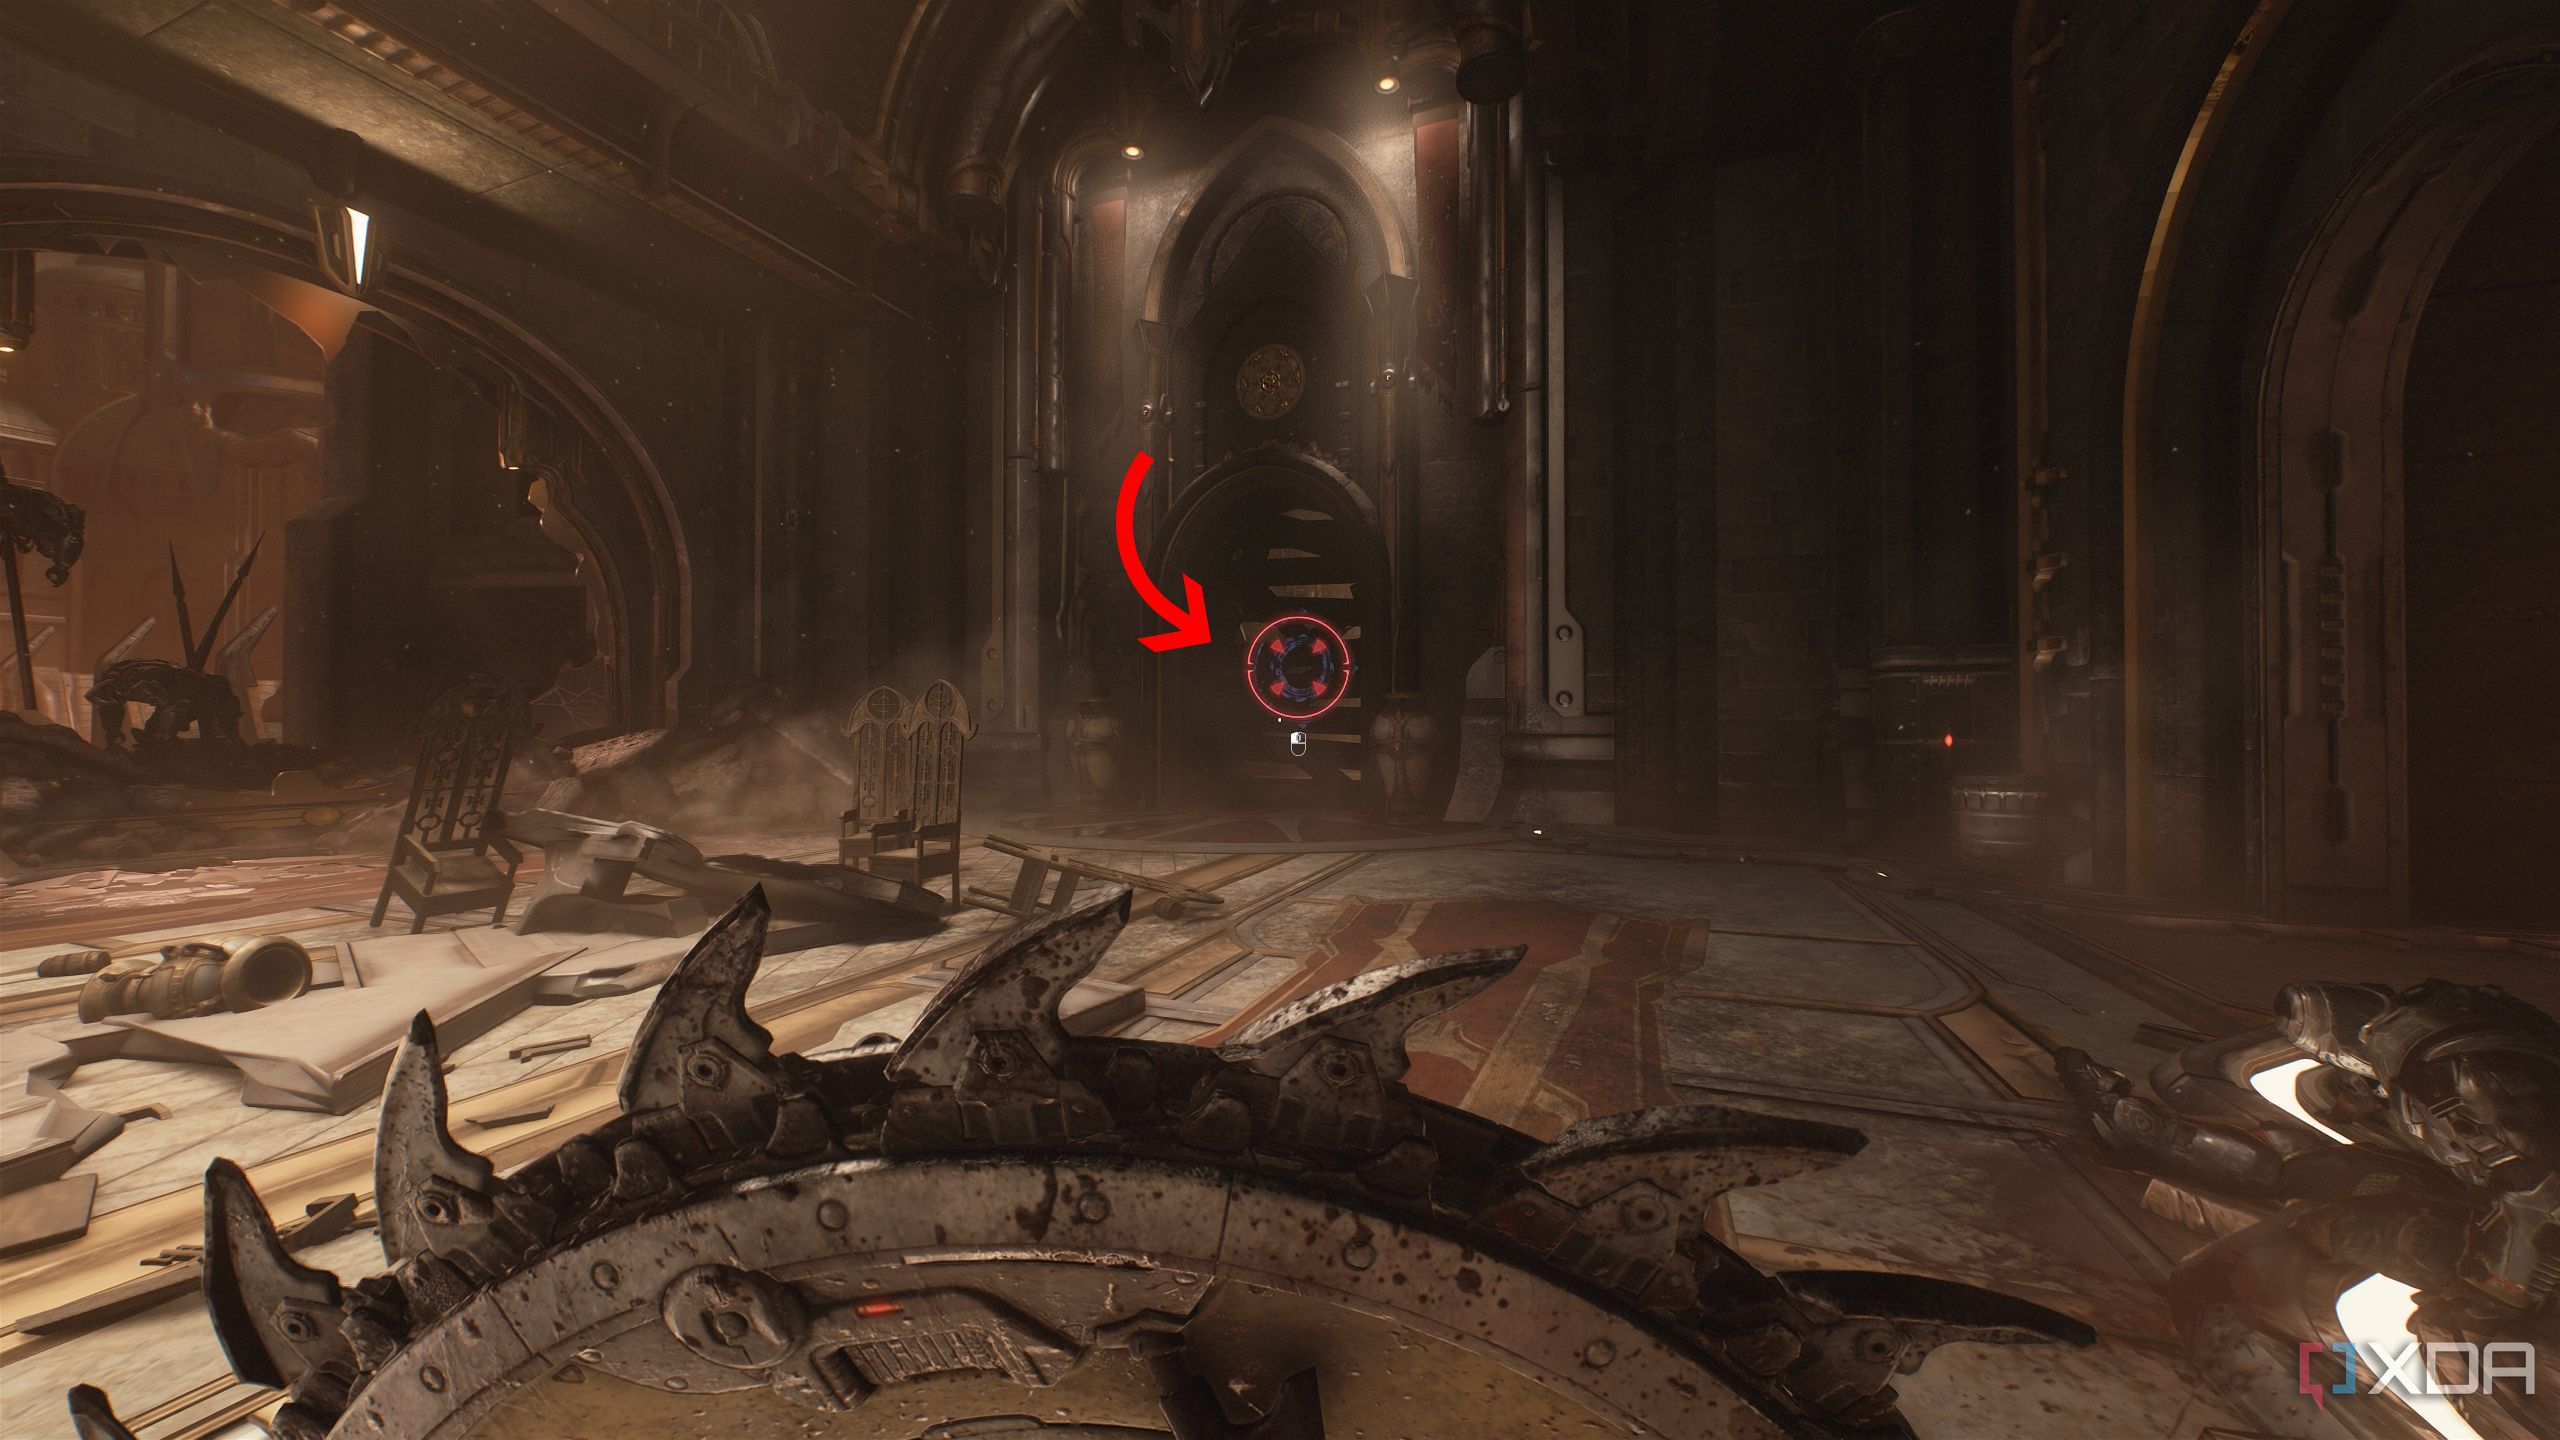
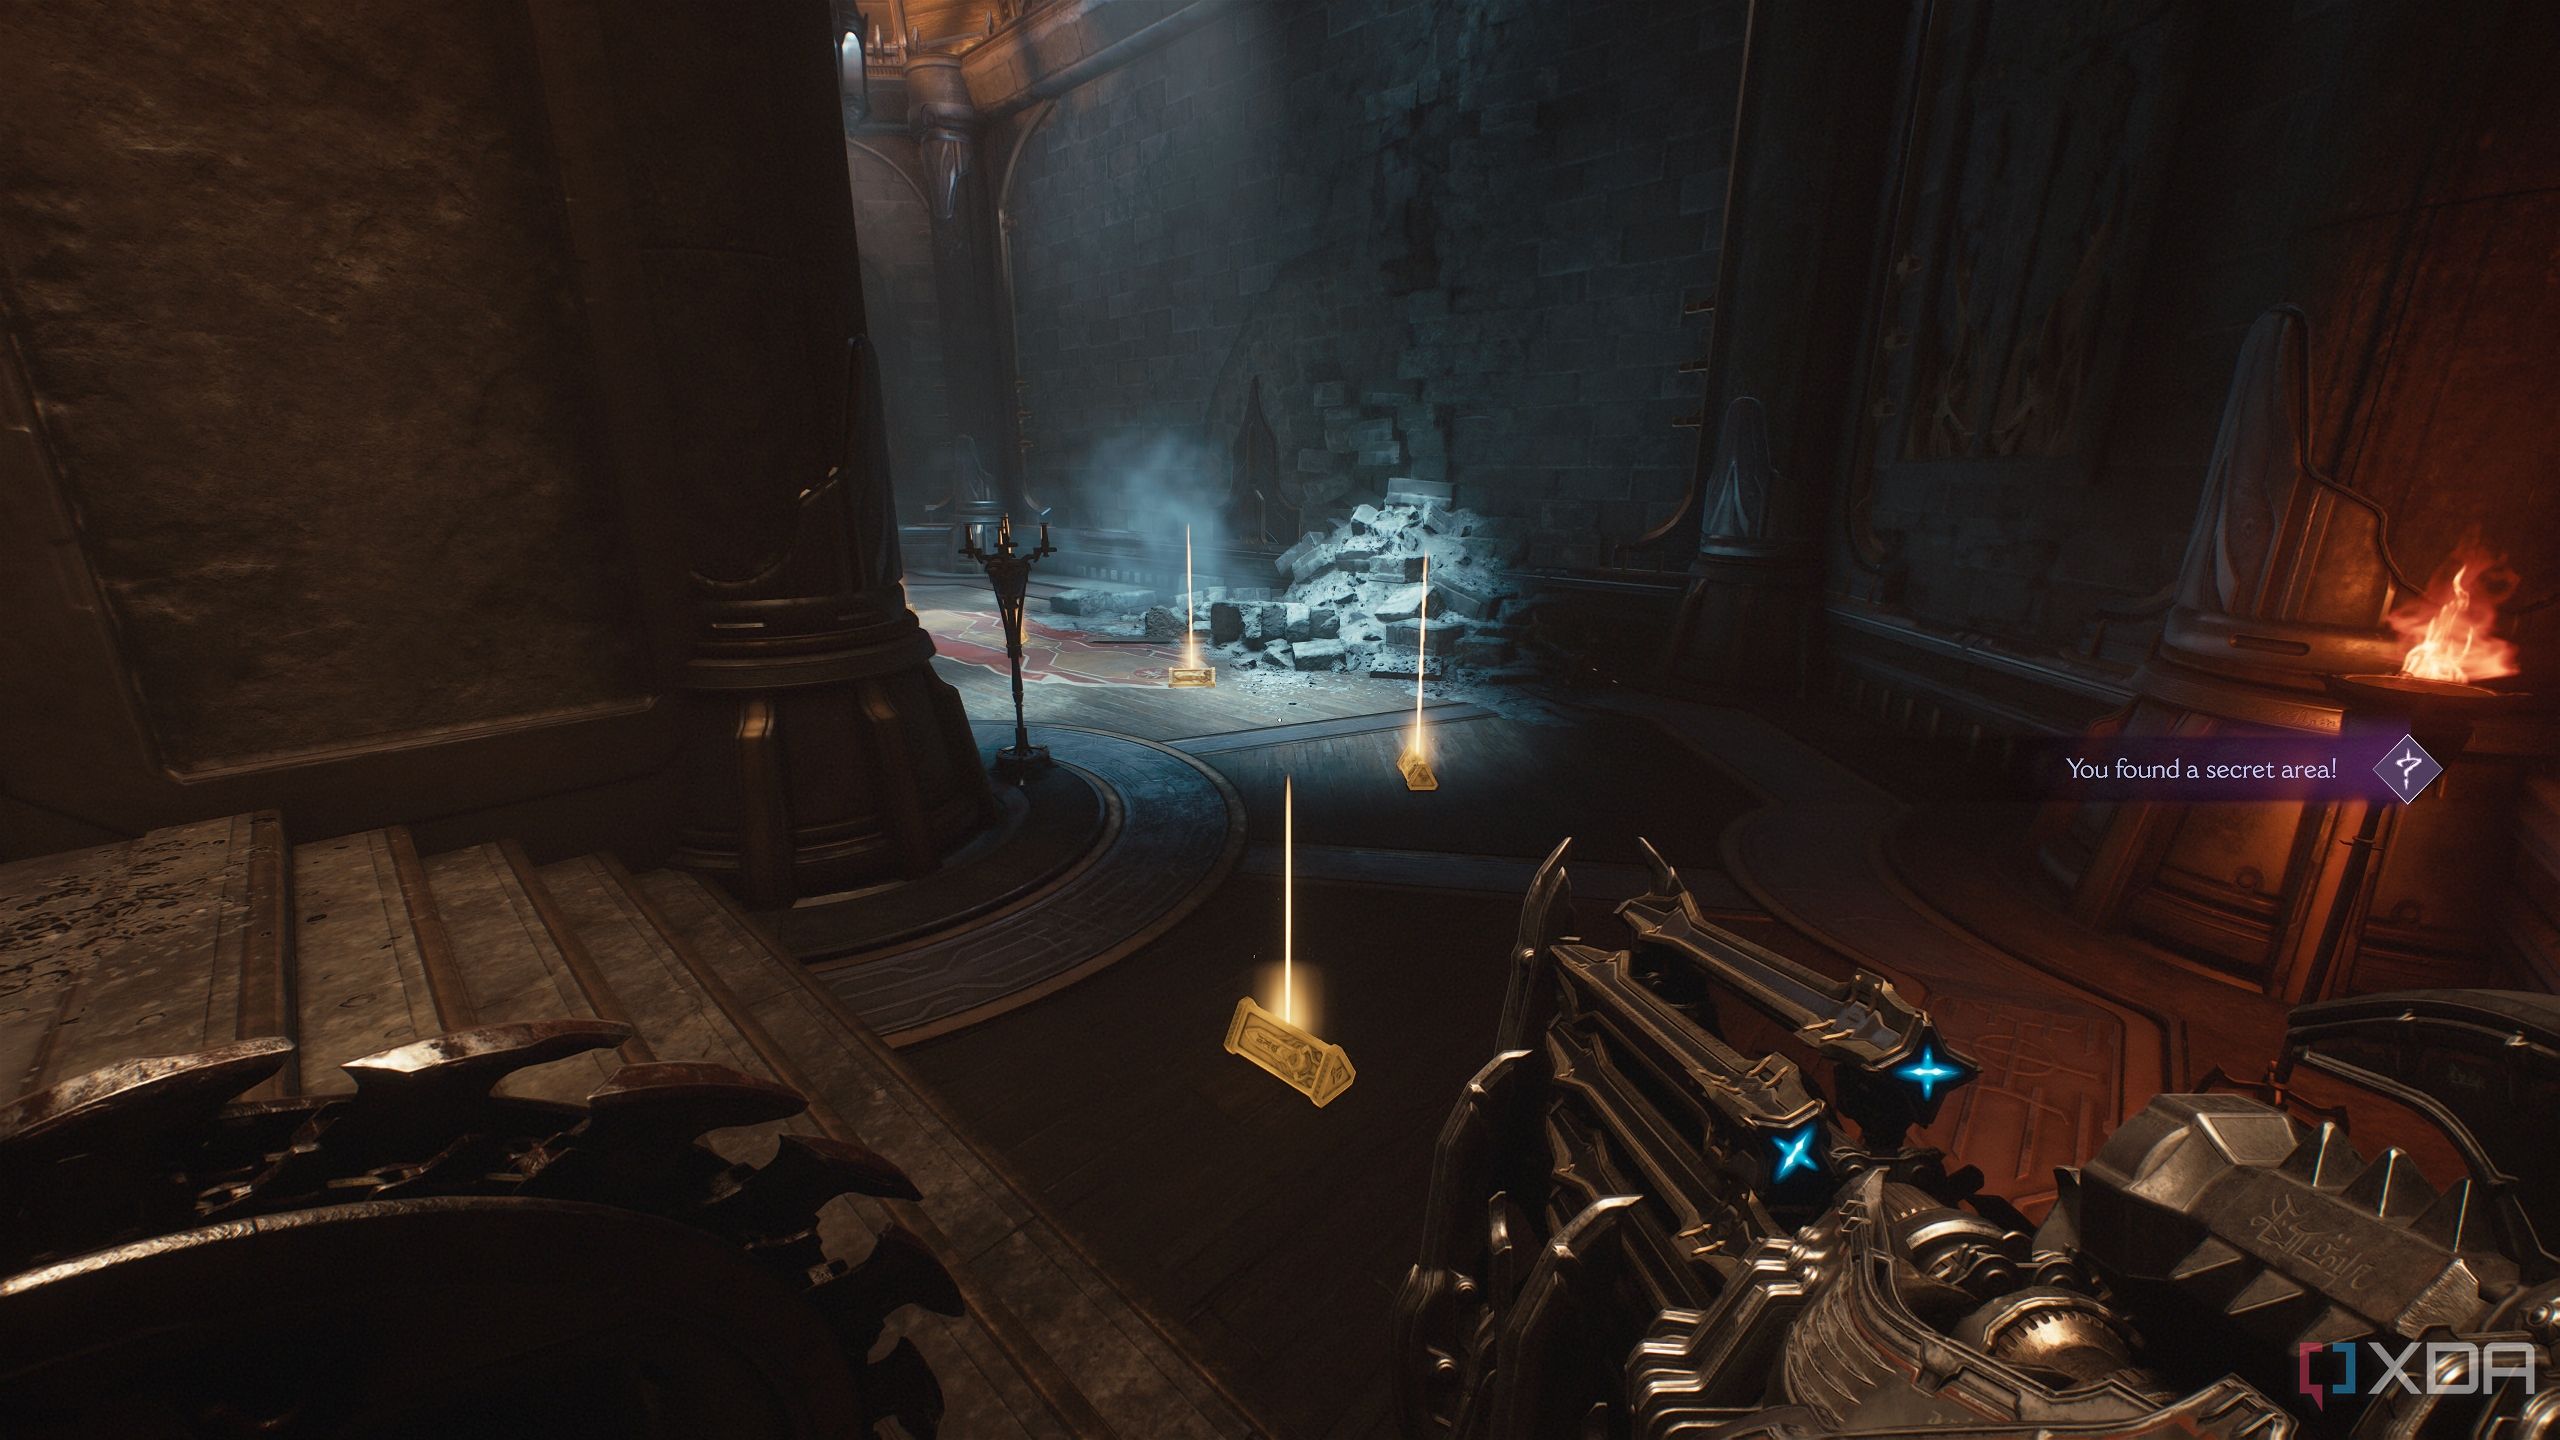
With the Titan demon dead, follow the objective to a scramble wall to the north-west, and Shield Charge through the wall.
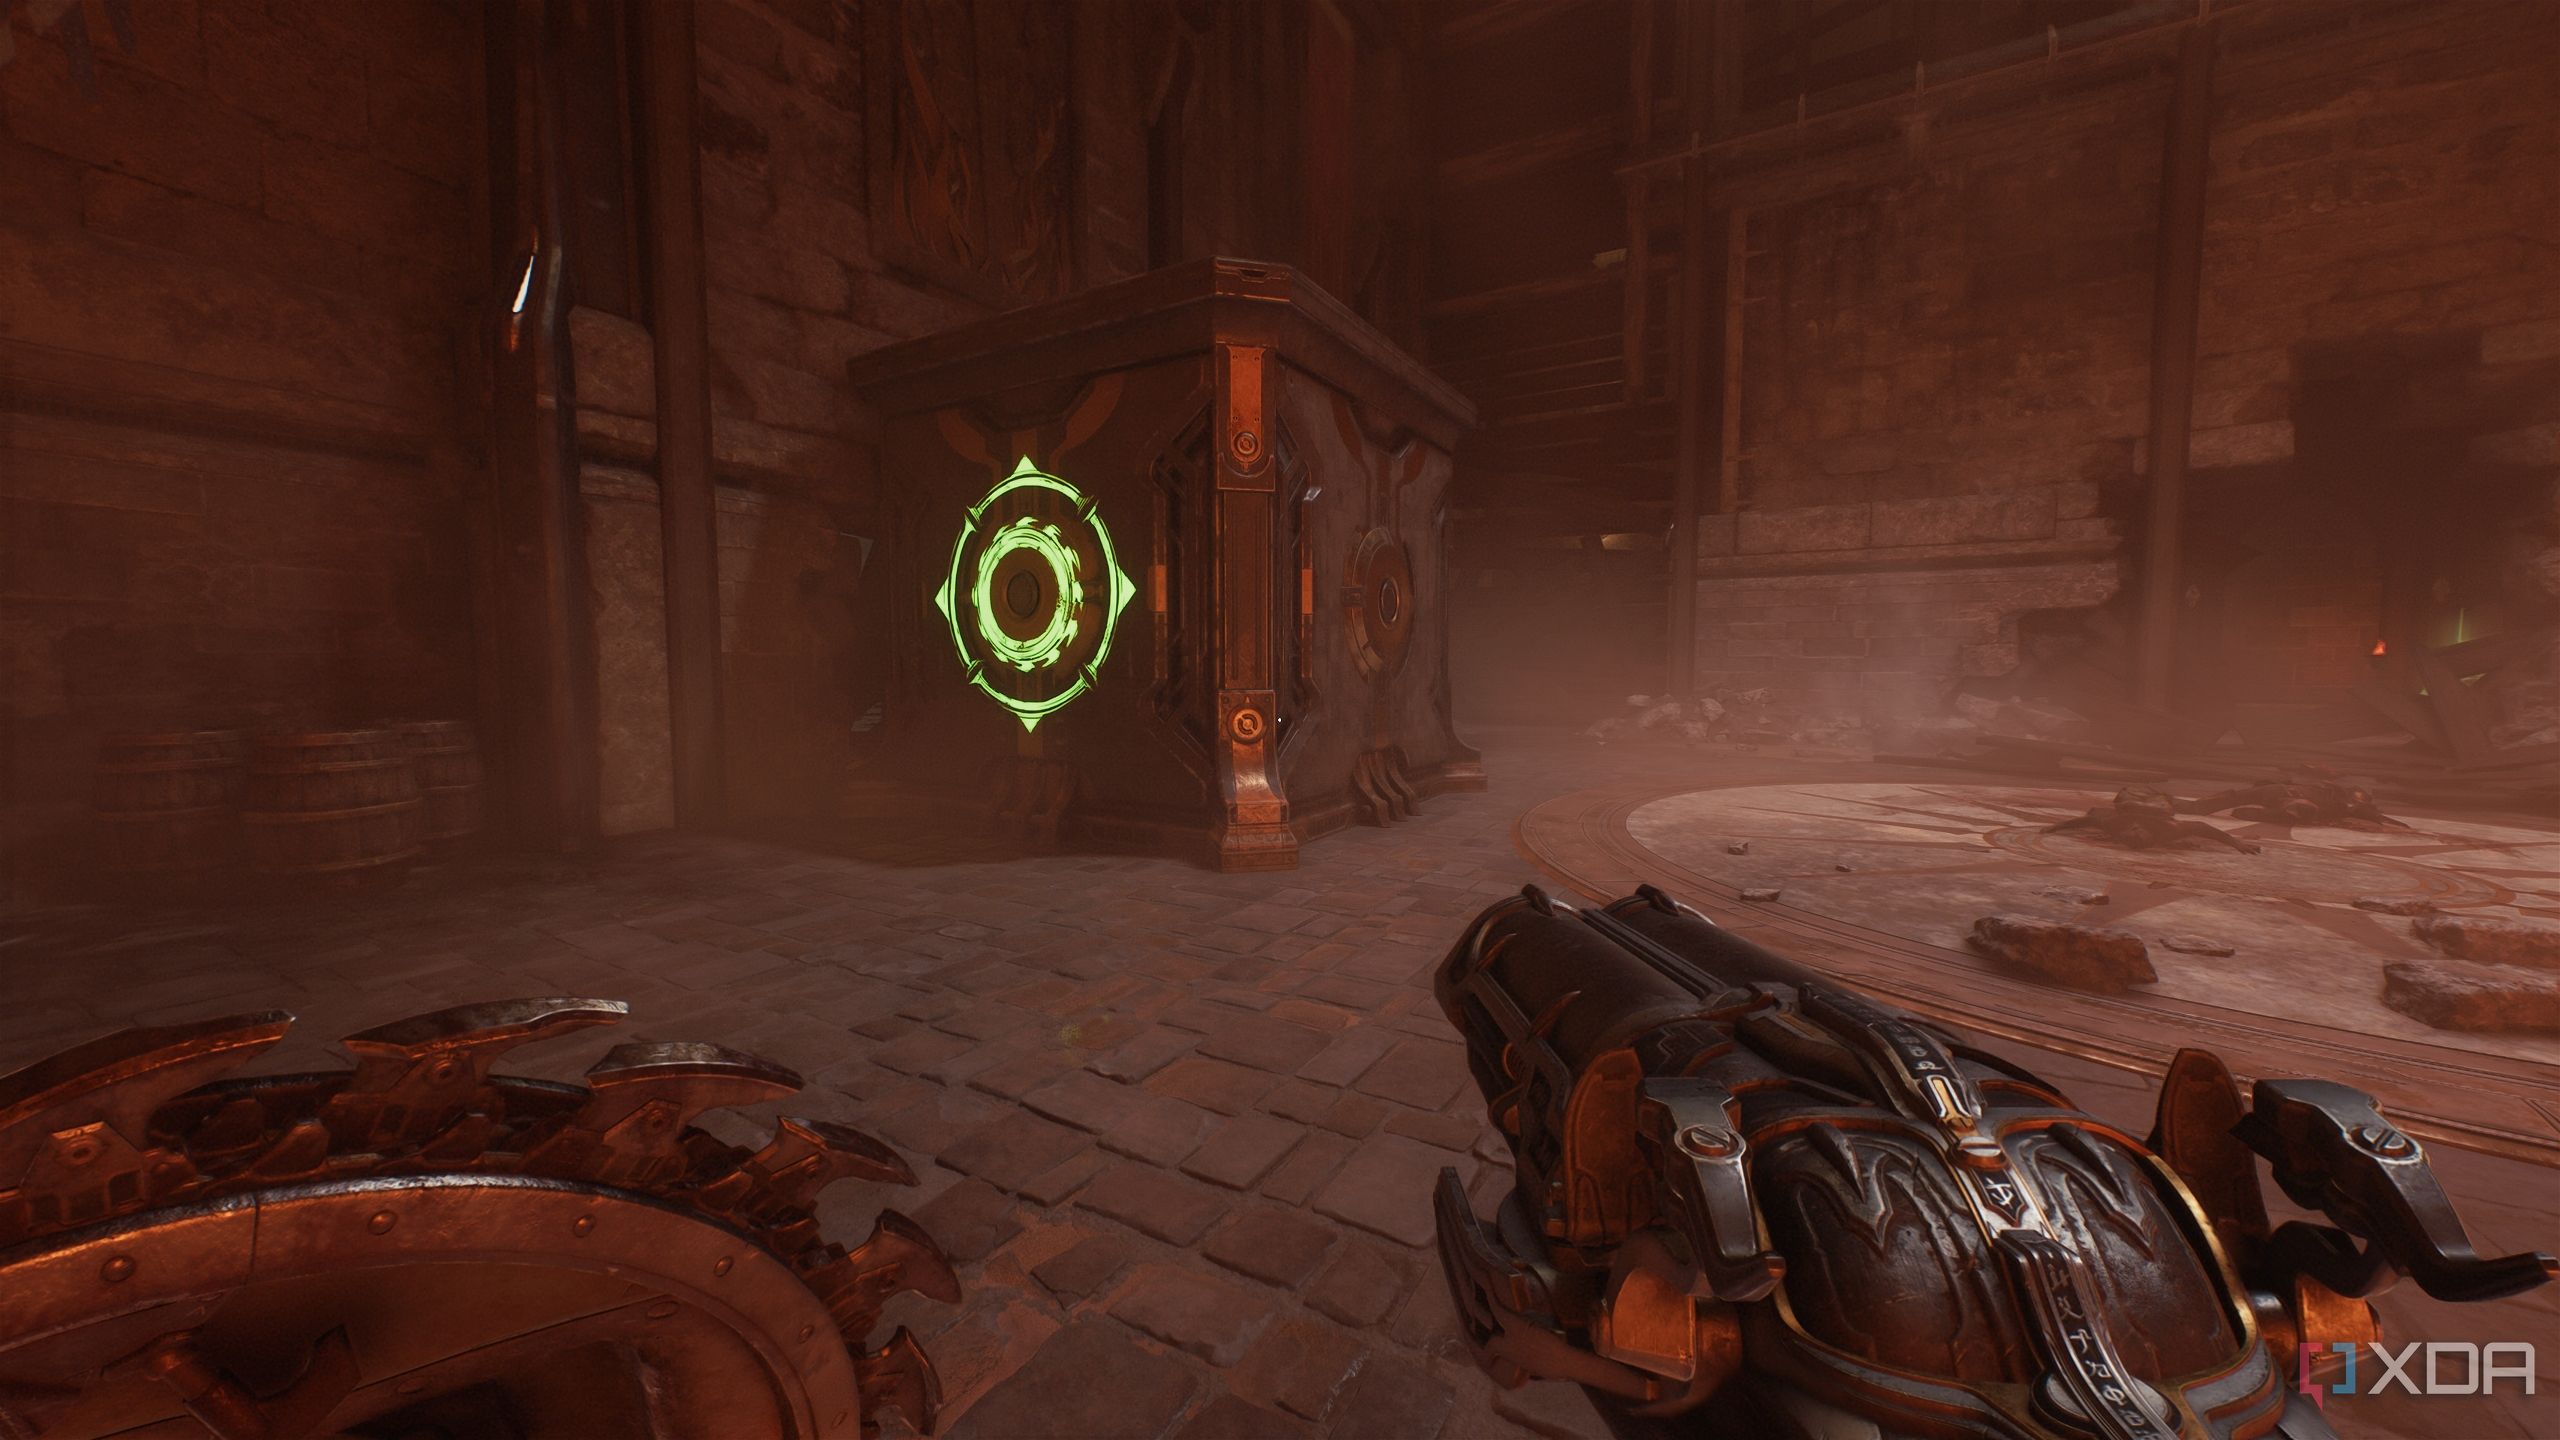
A Mancubus will ambush you here. Once done, look at the box in the room, and move to its left to Shield Charge it across the room.
Before climbing it, notice how the box was hiding a wooden wall with a Shield Charge symbol.
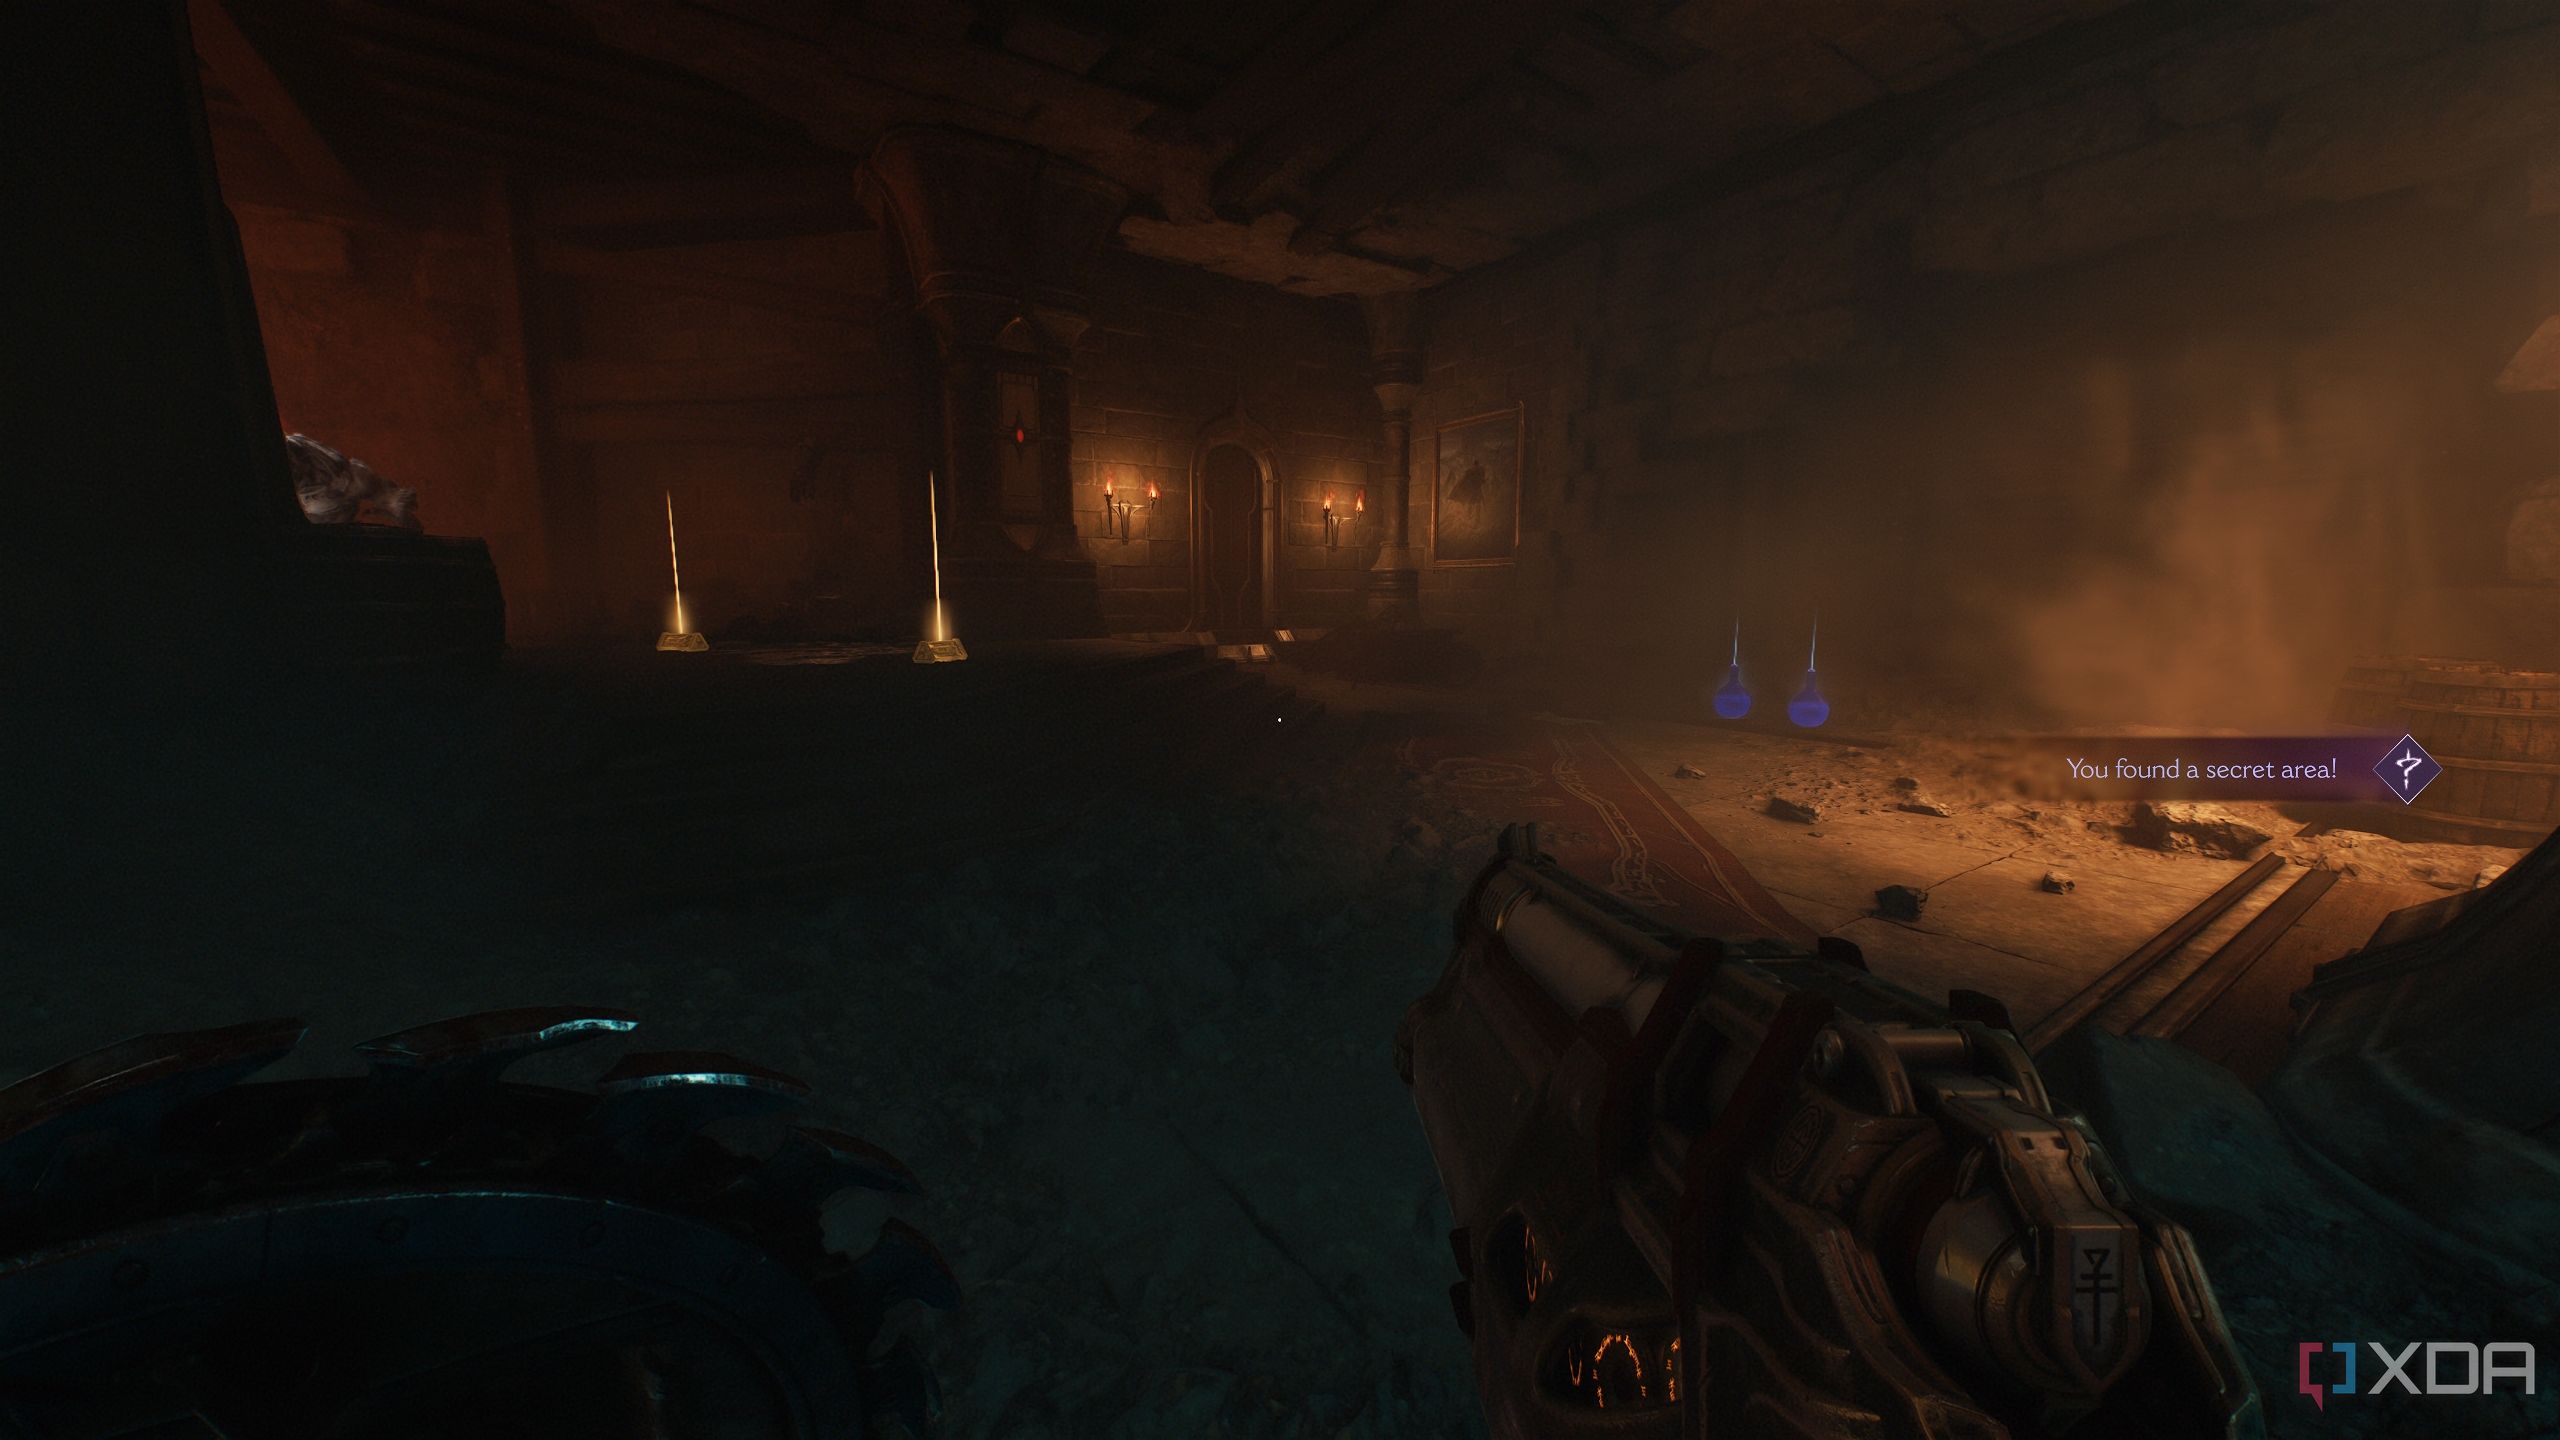
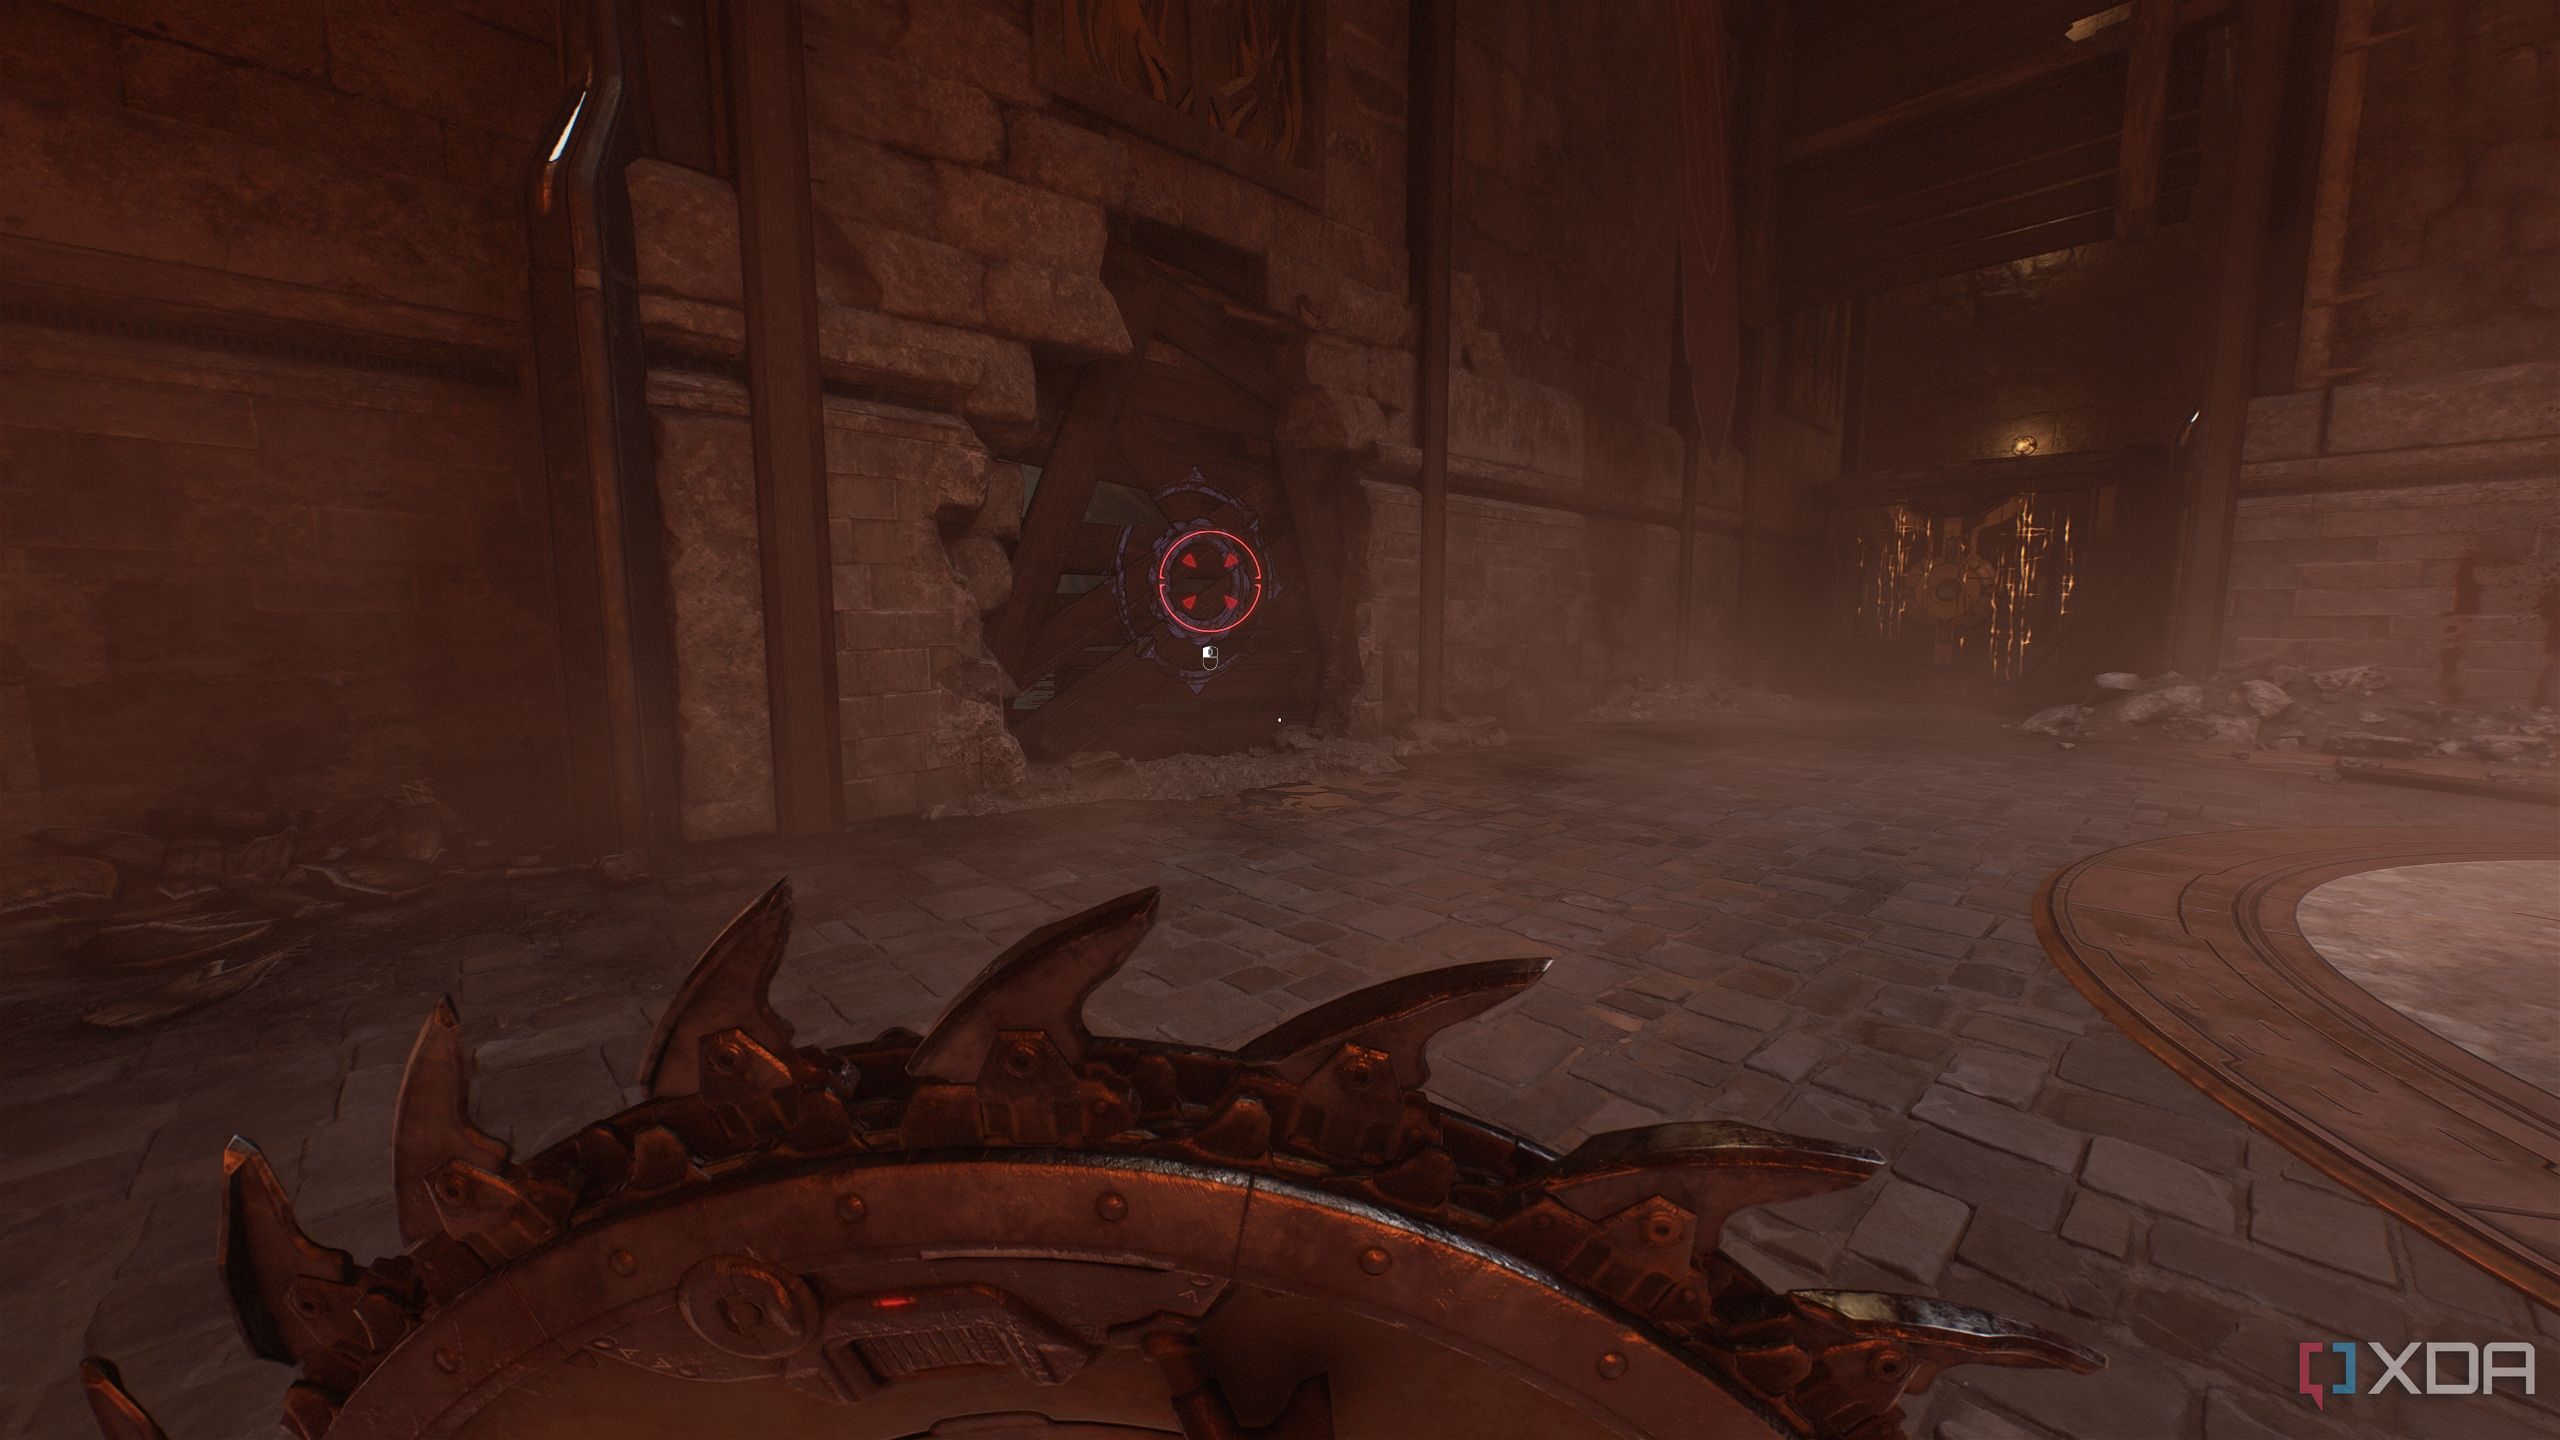
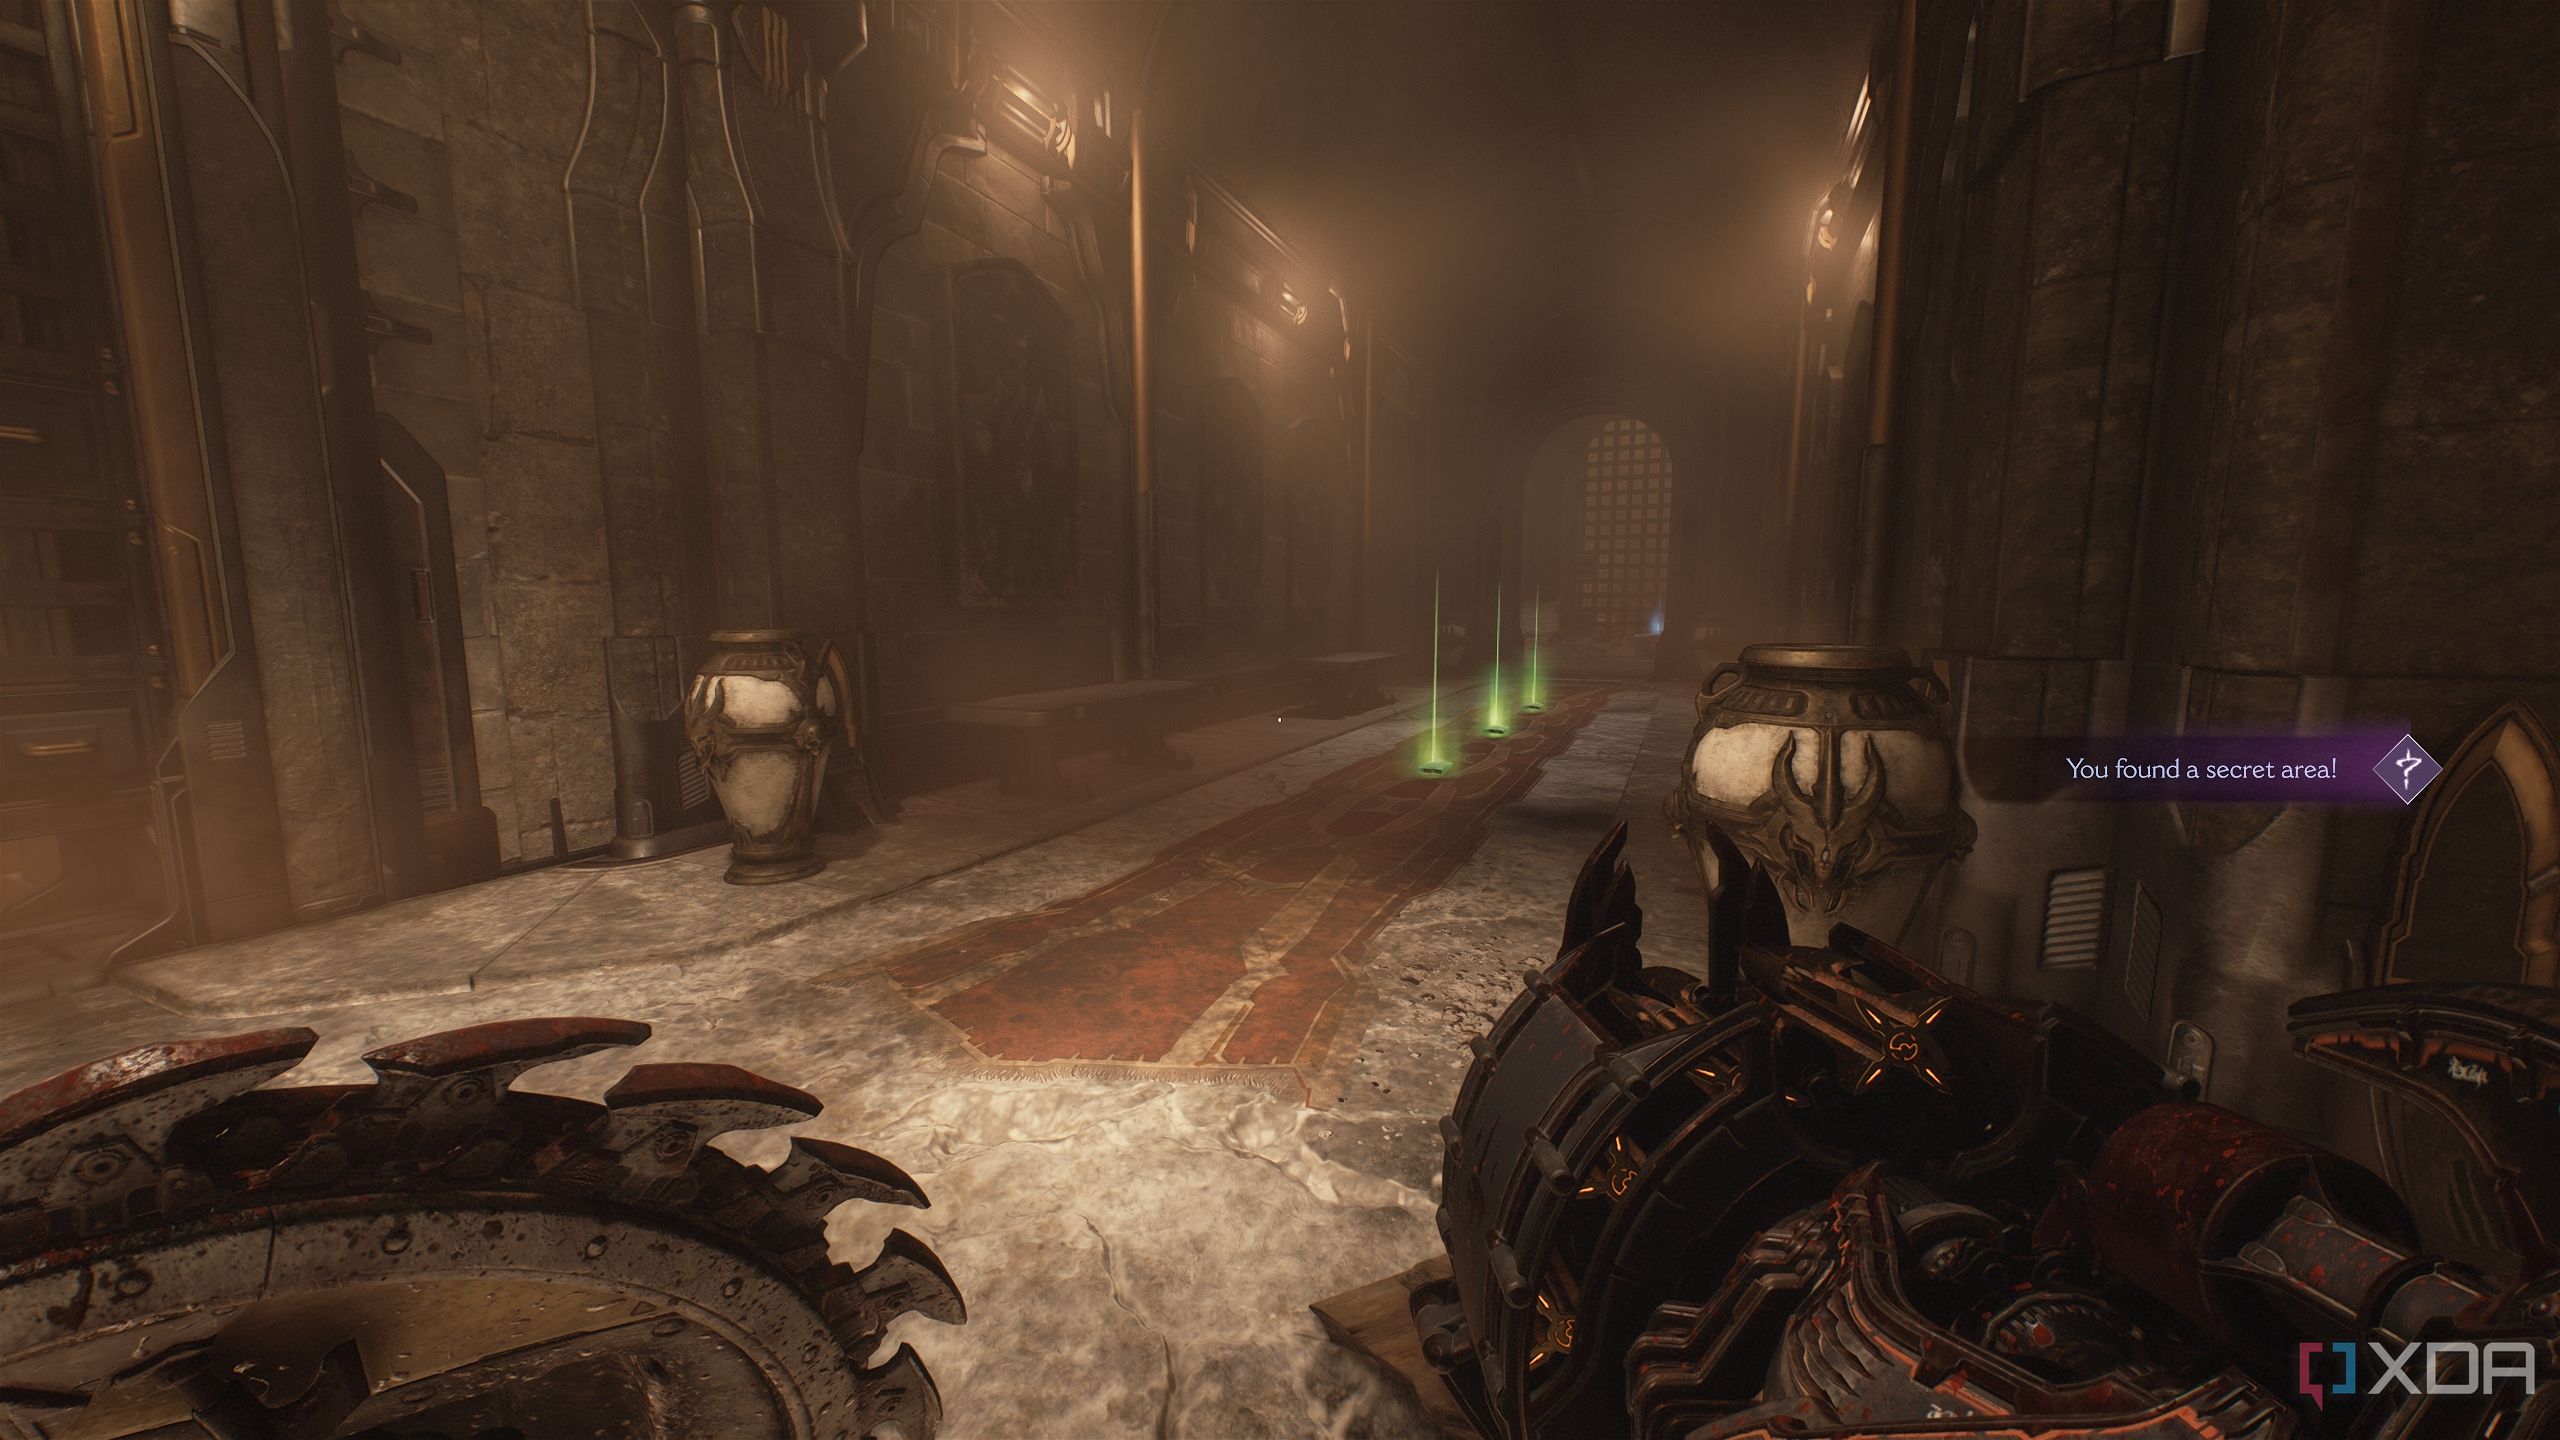
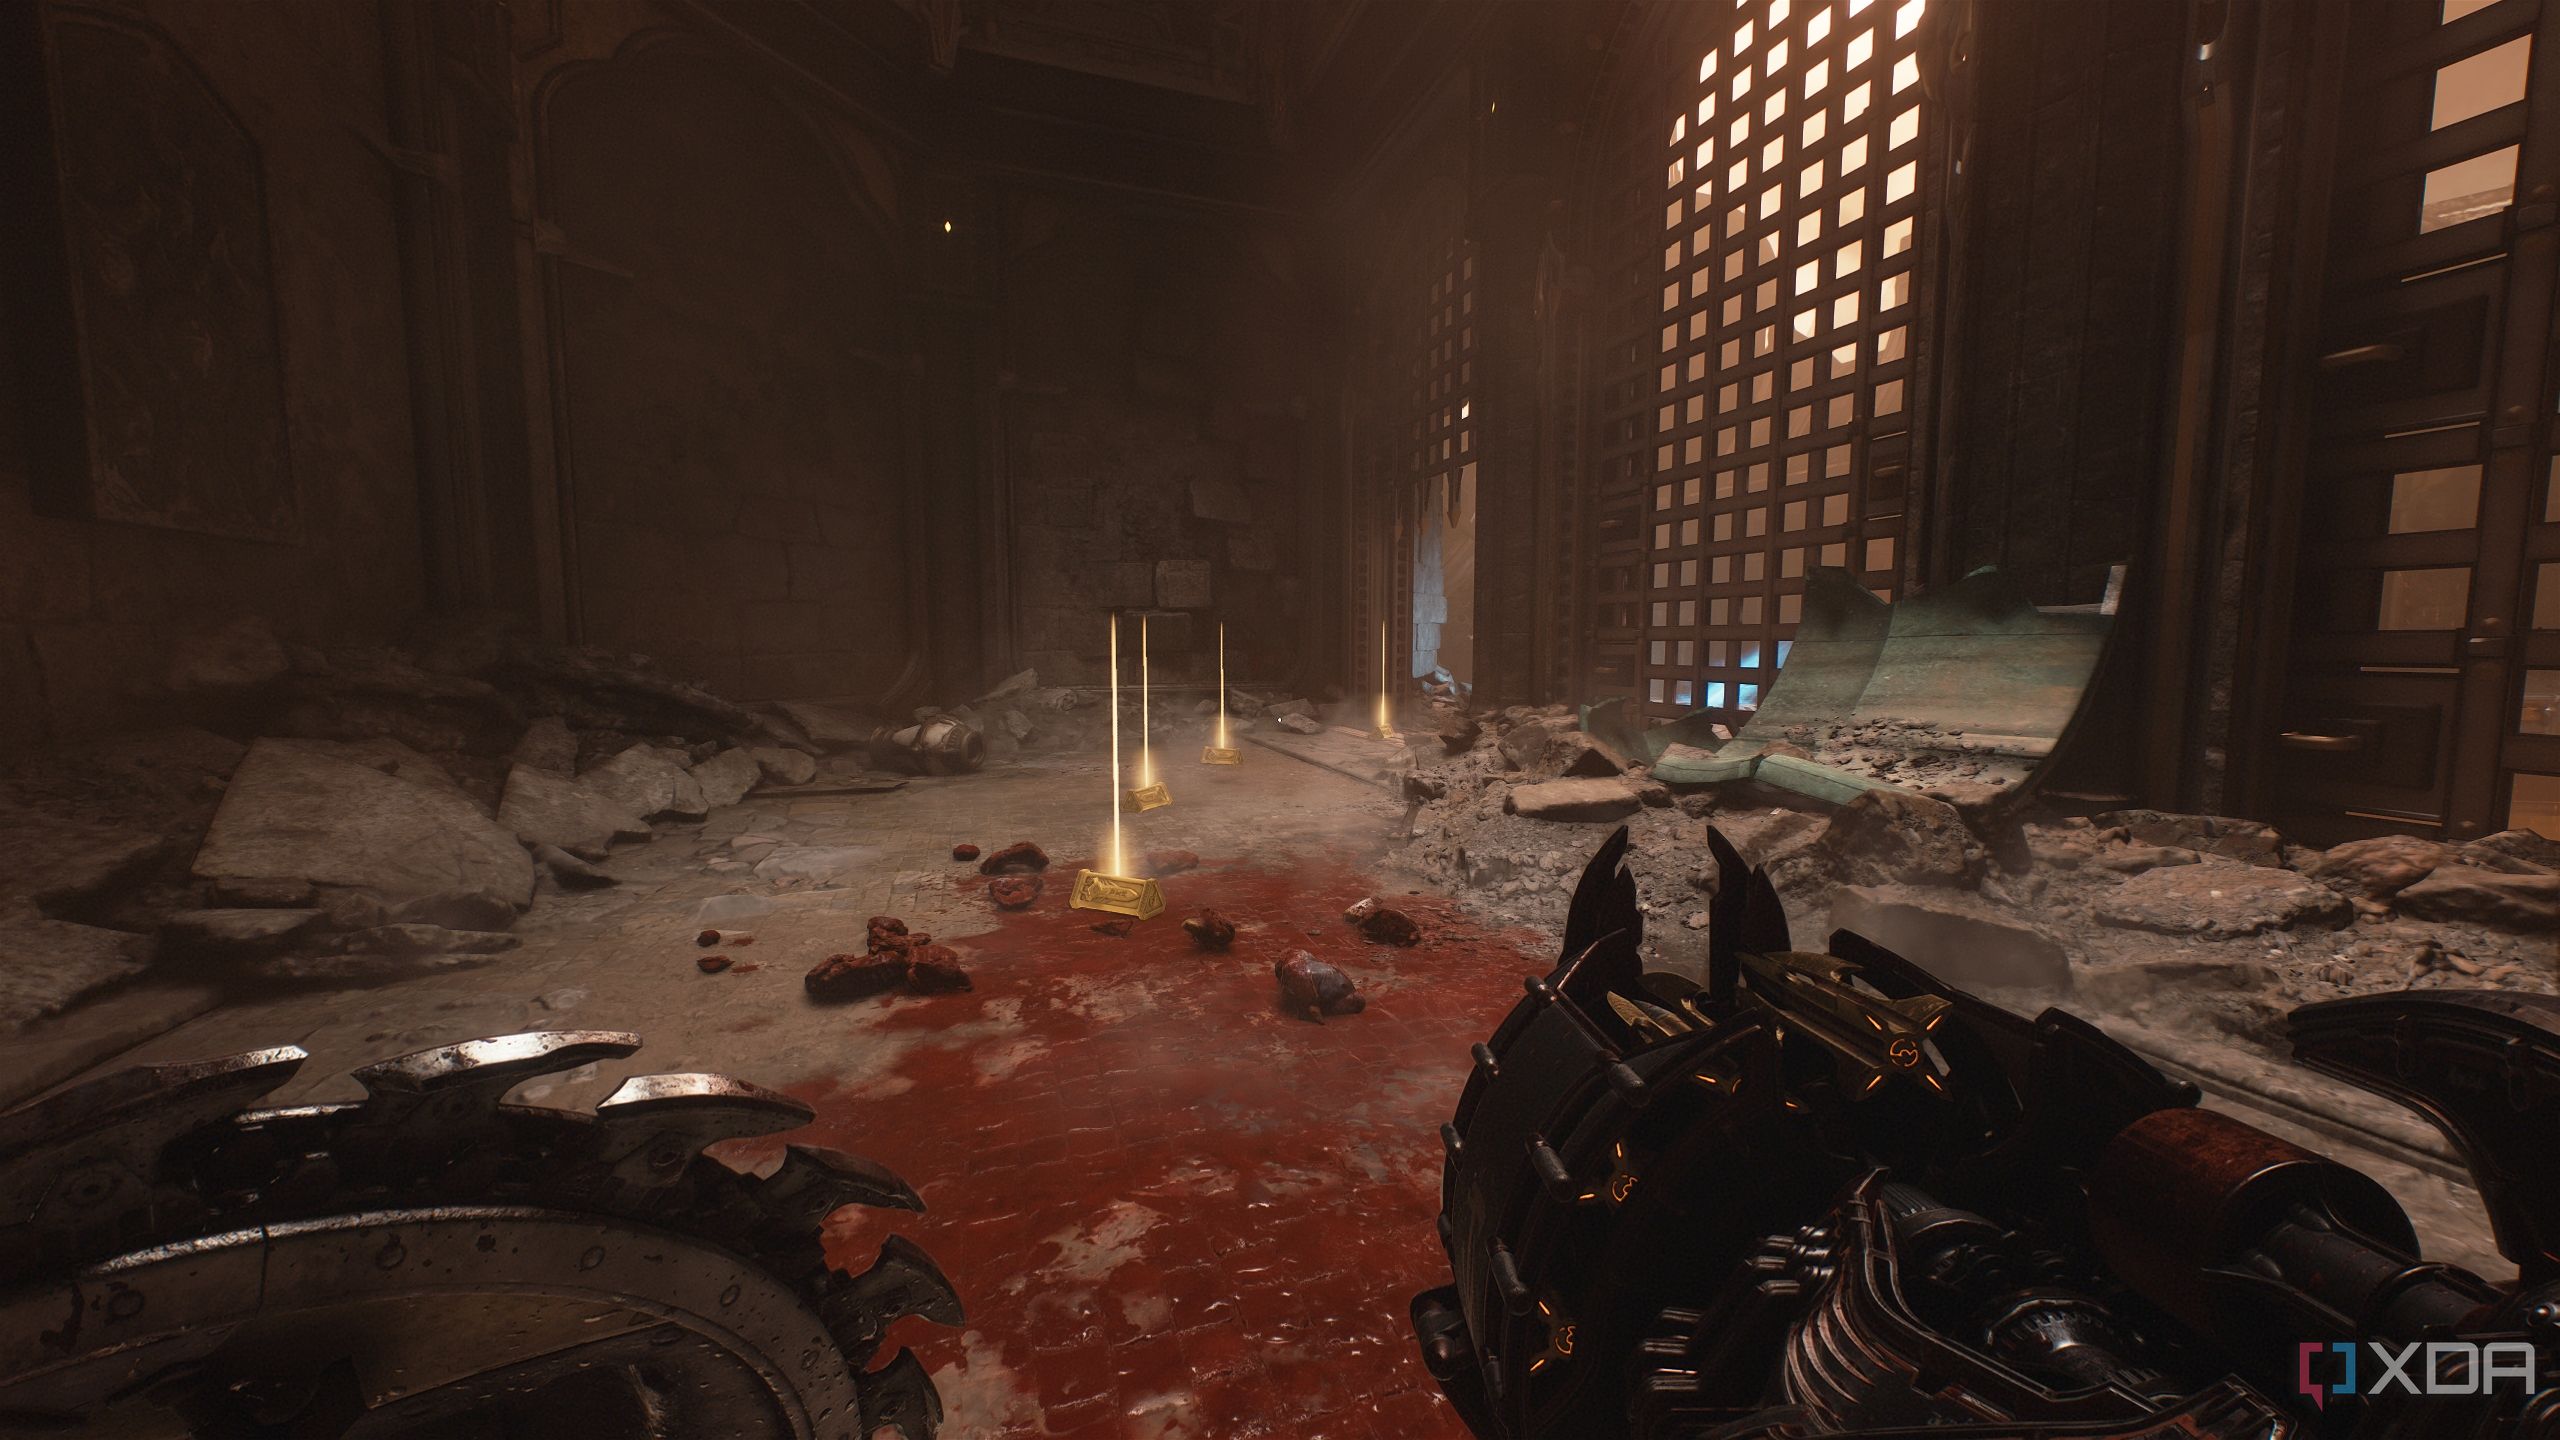
Bash through it, and you'll reach the first secret area in the map.
Here, you can get some health drops, three gold bars, and a Life Sigil. A Hellknight will ambush you here, so be careful.
Secret area 2 and a gold crate
This one took me quite a while
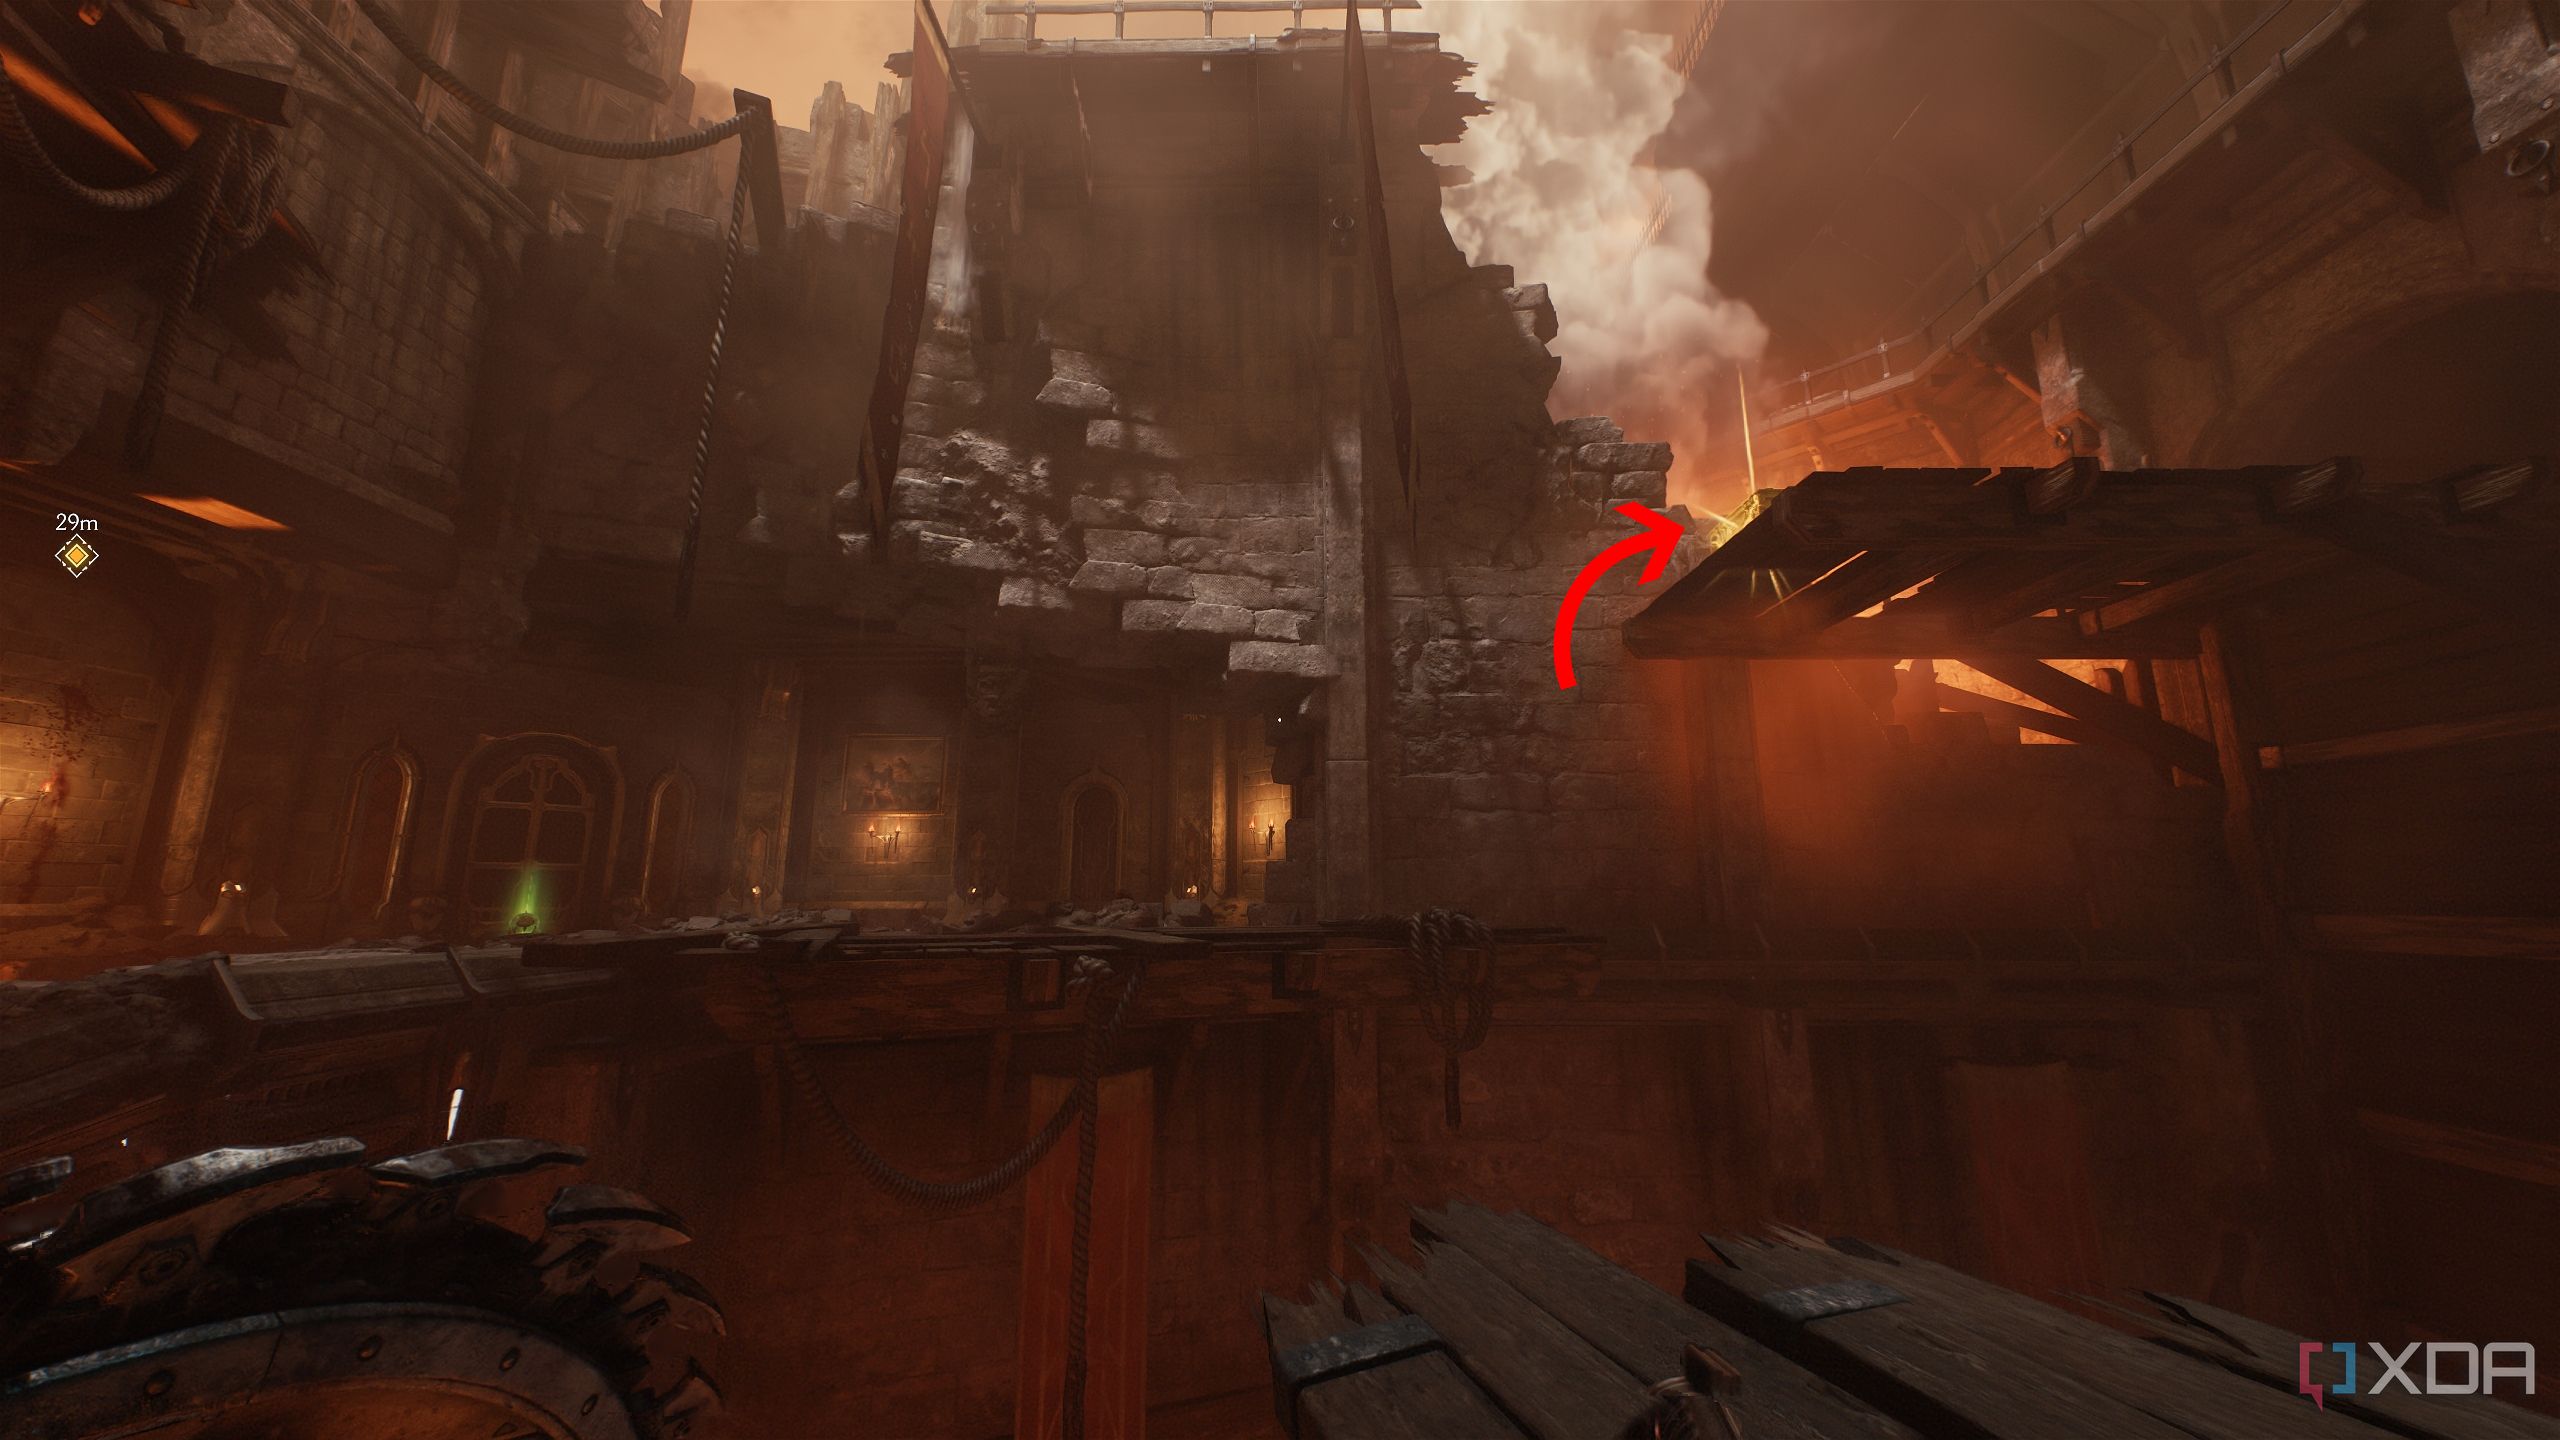
As you follow the objective to an upper floor where two Spiderdemons attack, dispatch the enemies and notice a Gold Crate shining on a wooden platform above.
Finding the way to this crate took me quite a while, truth be told. To get this crate, retrace your steps to this location.
Look to the top-left corner of the corridor, and you'll see a scramble wall that's easy to miss.
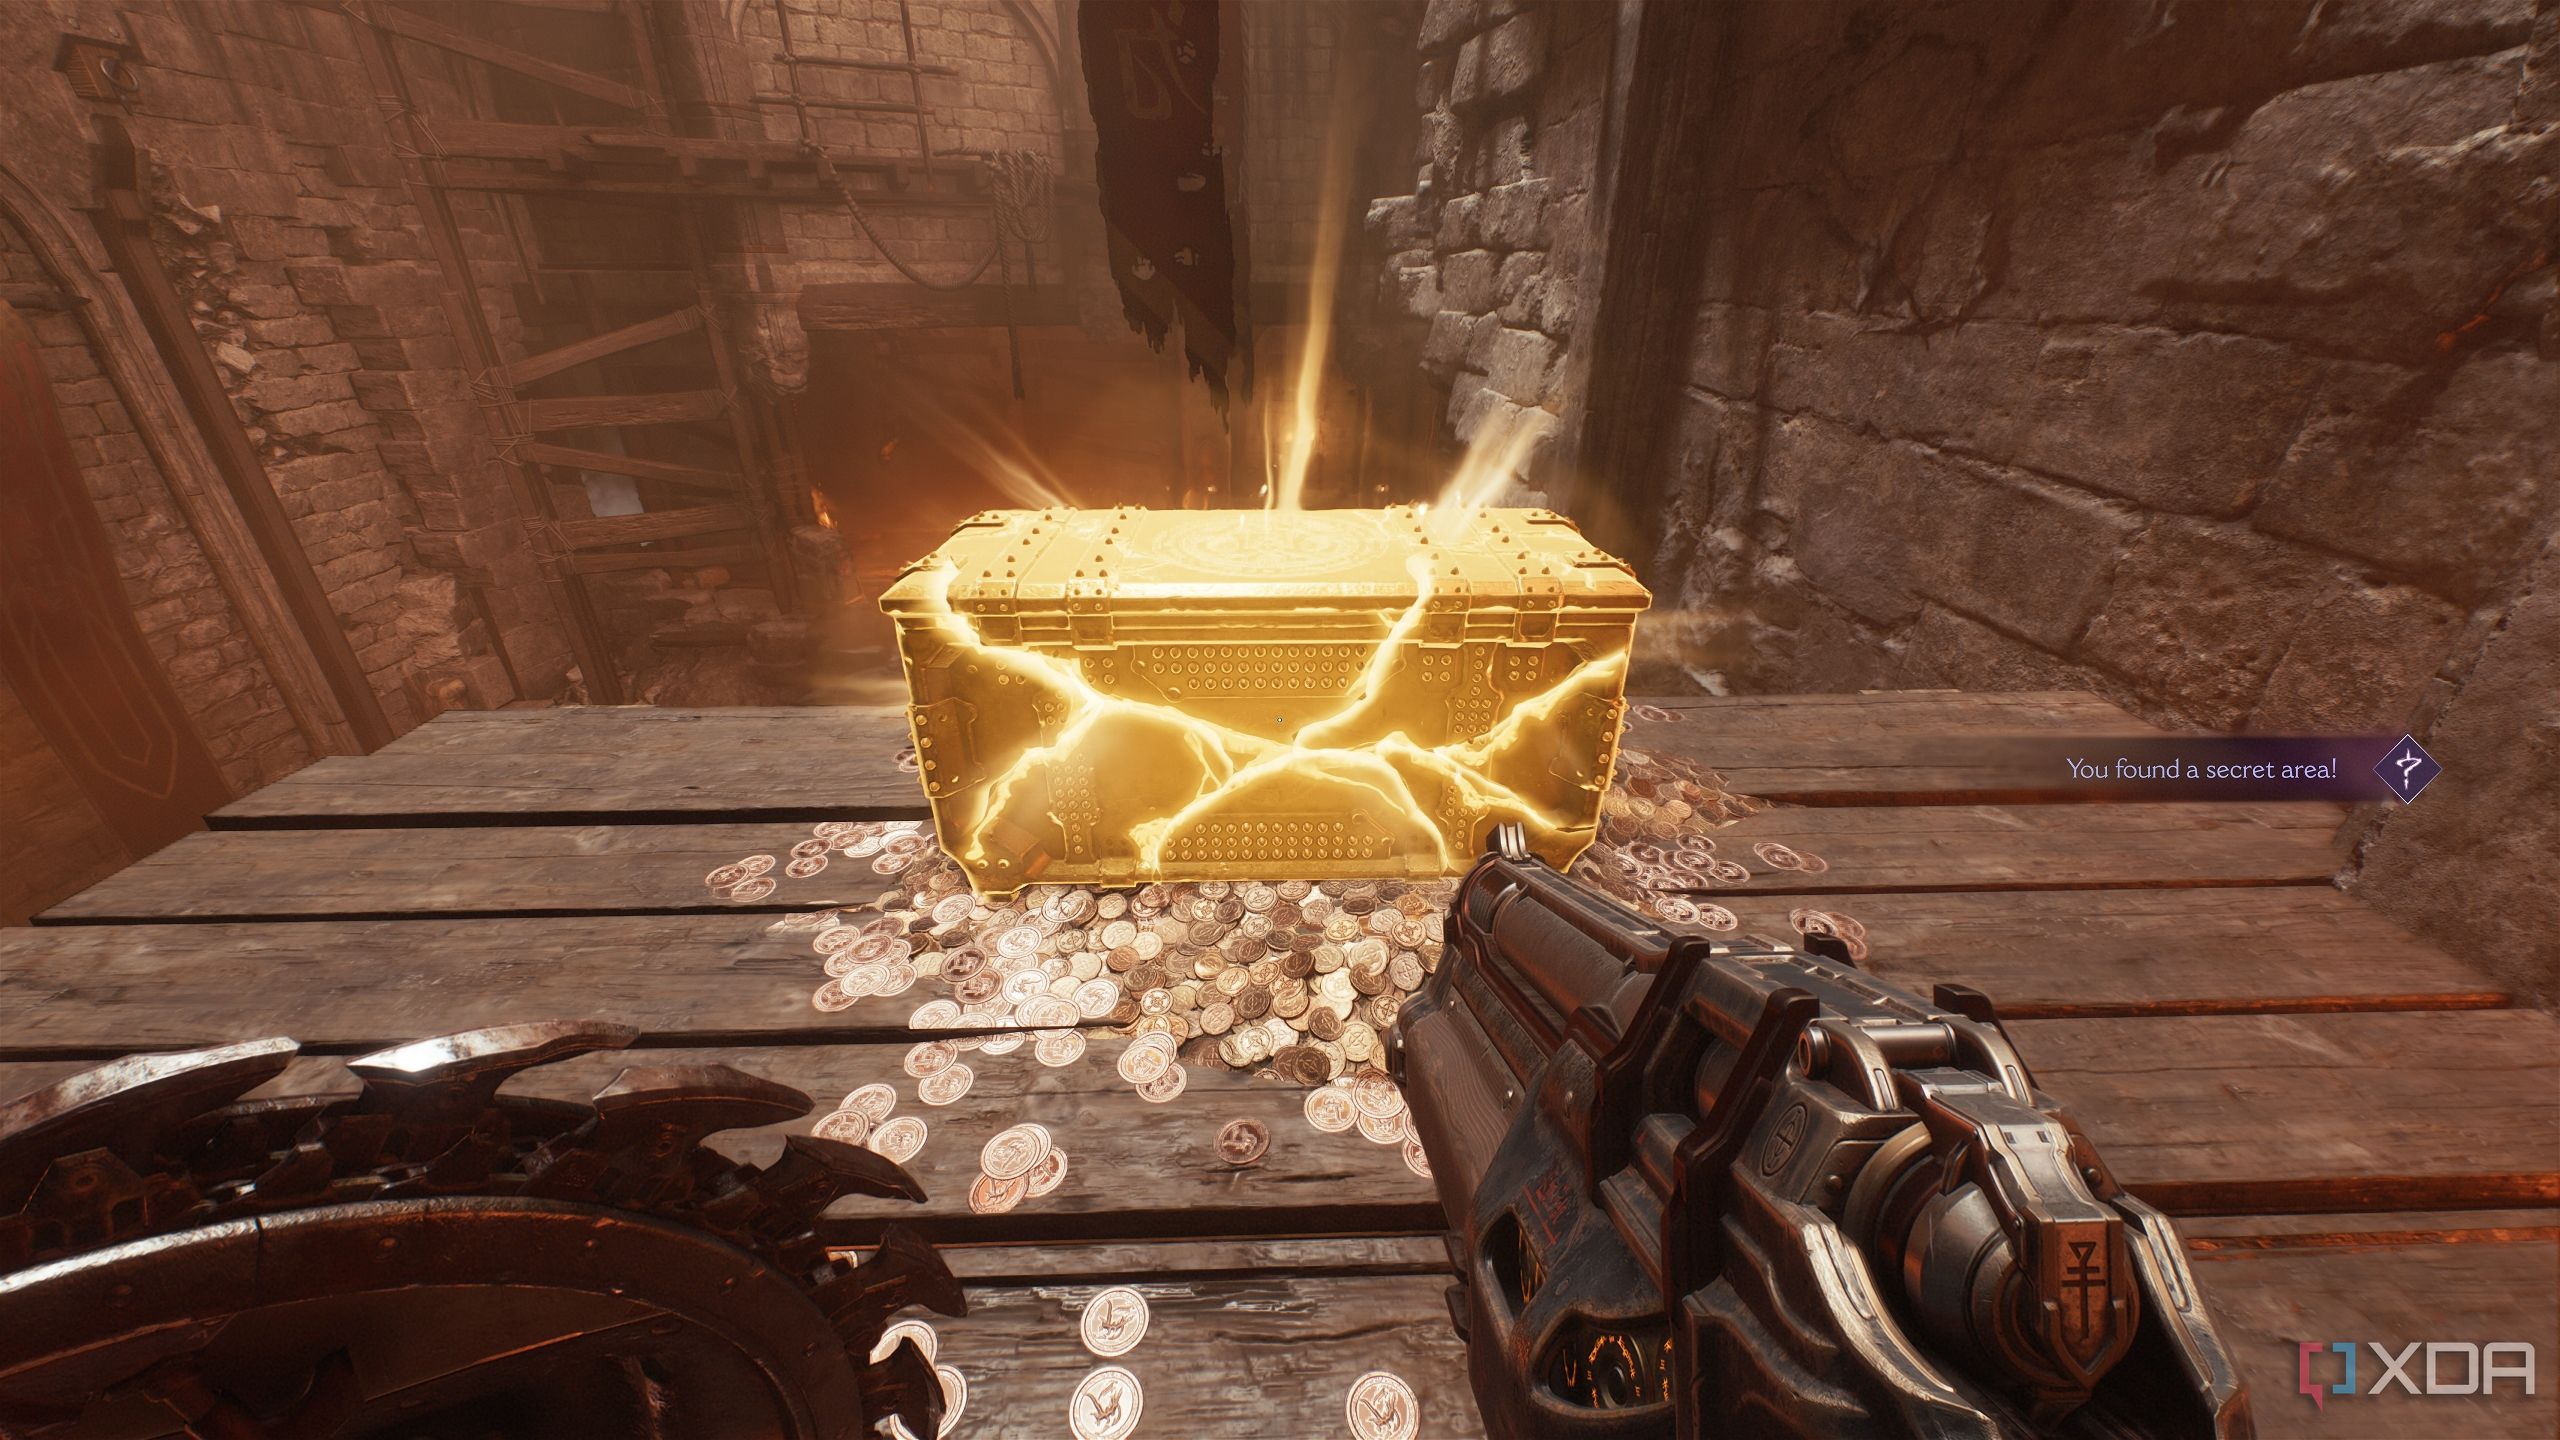
Climb it, and you'll unlock secret area 2 and the gold crate.

Related
The DOOM series: Every core game ranked
What are the best entries of the DOOM series that you should play? Here's every core game ranked!
Gold stacks and more gold bars
The first meeting with a Revenant in the game
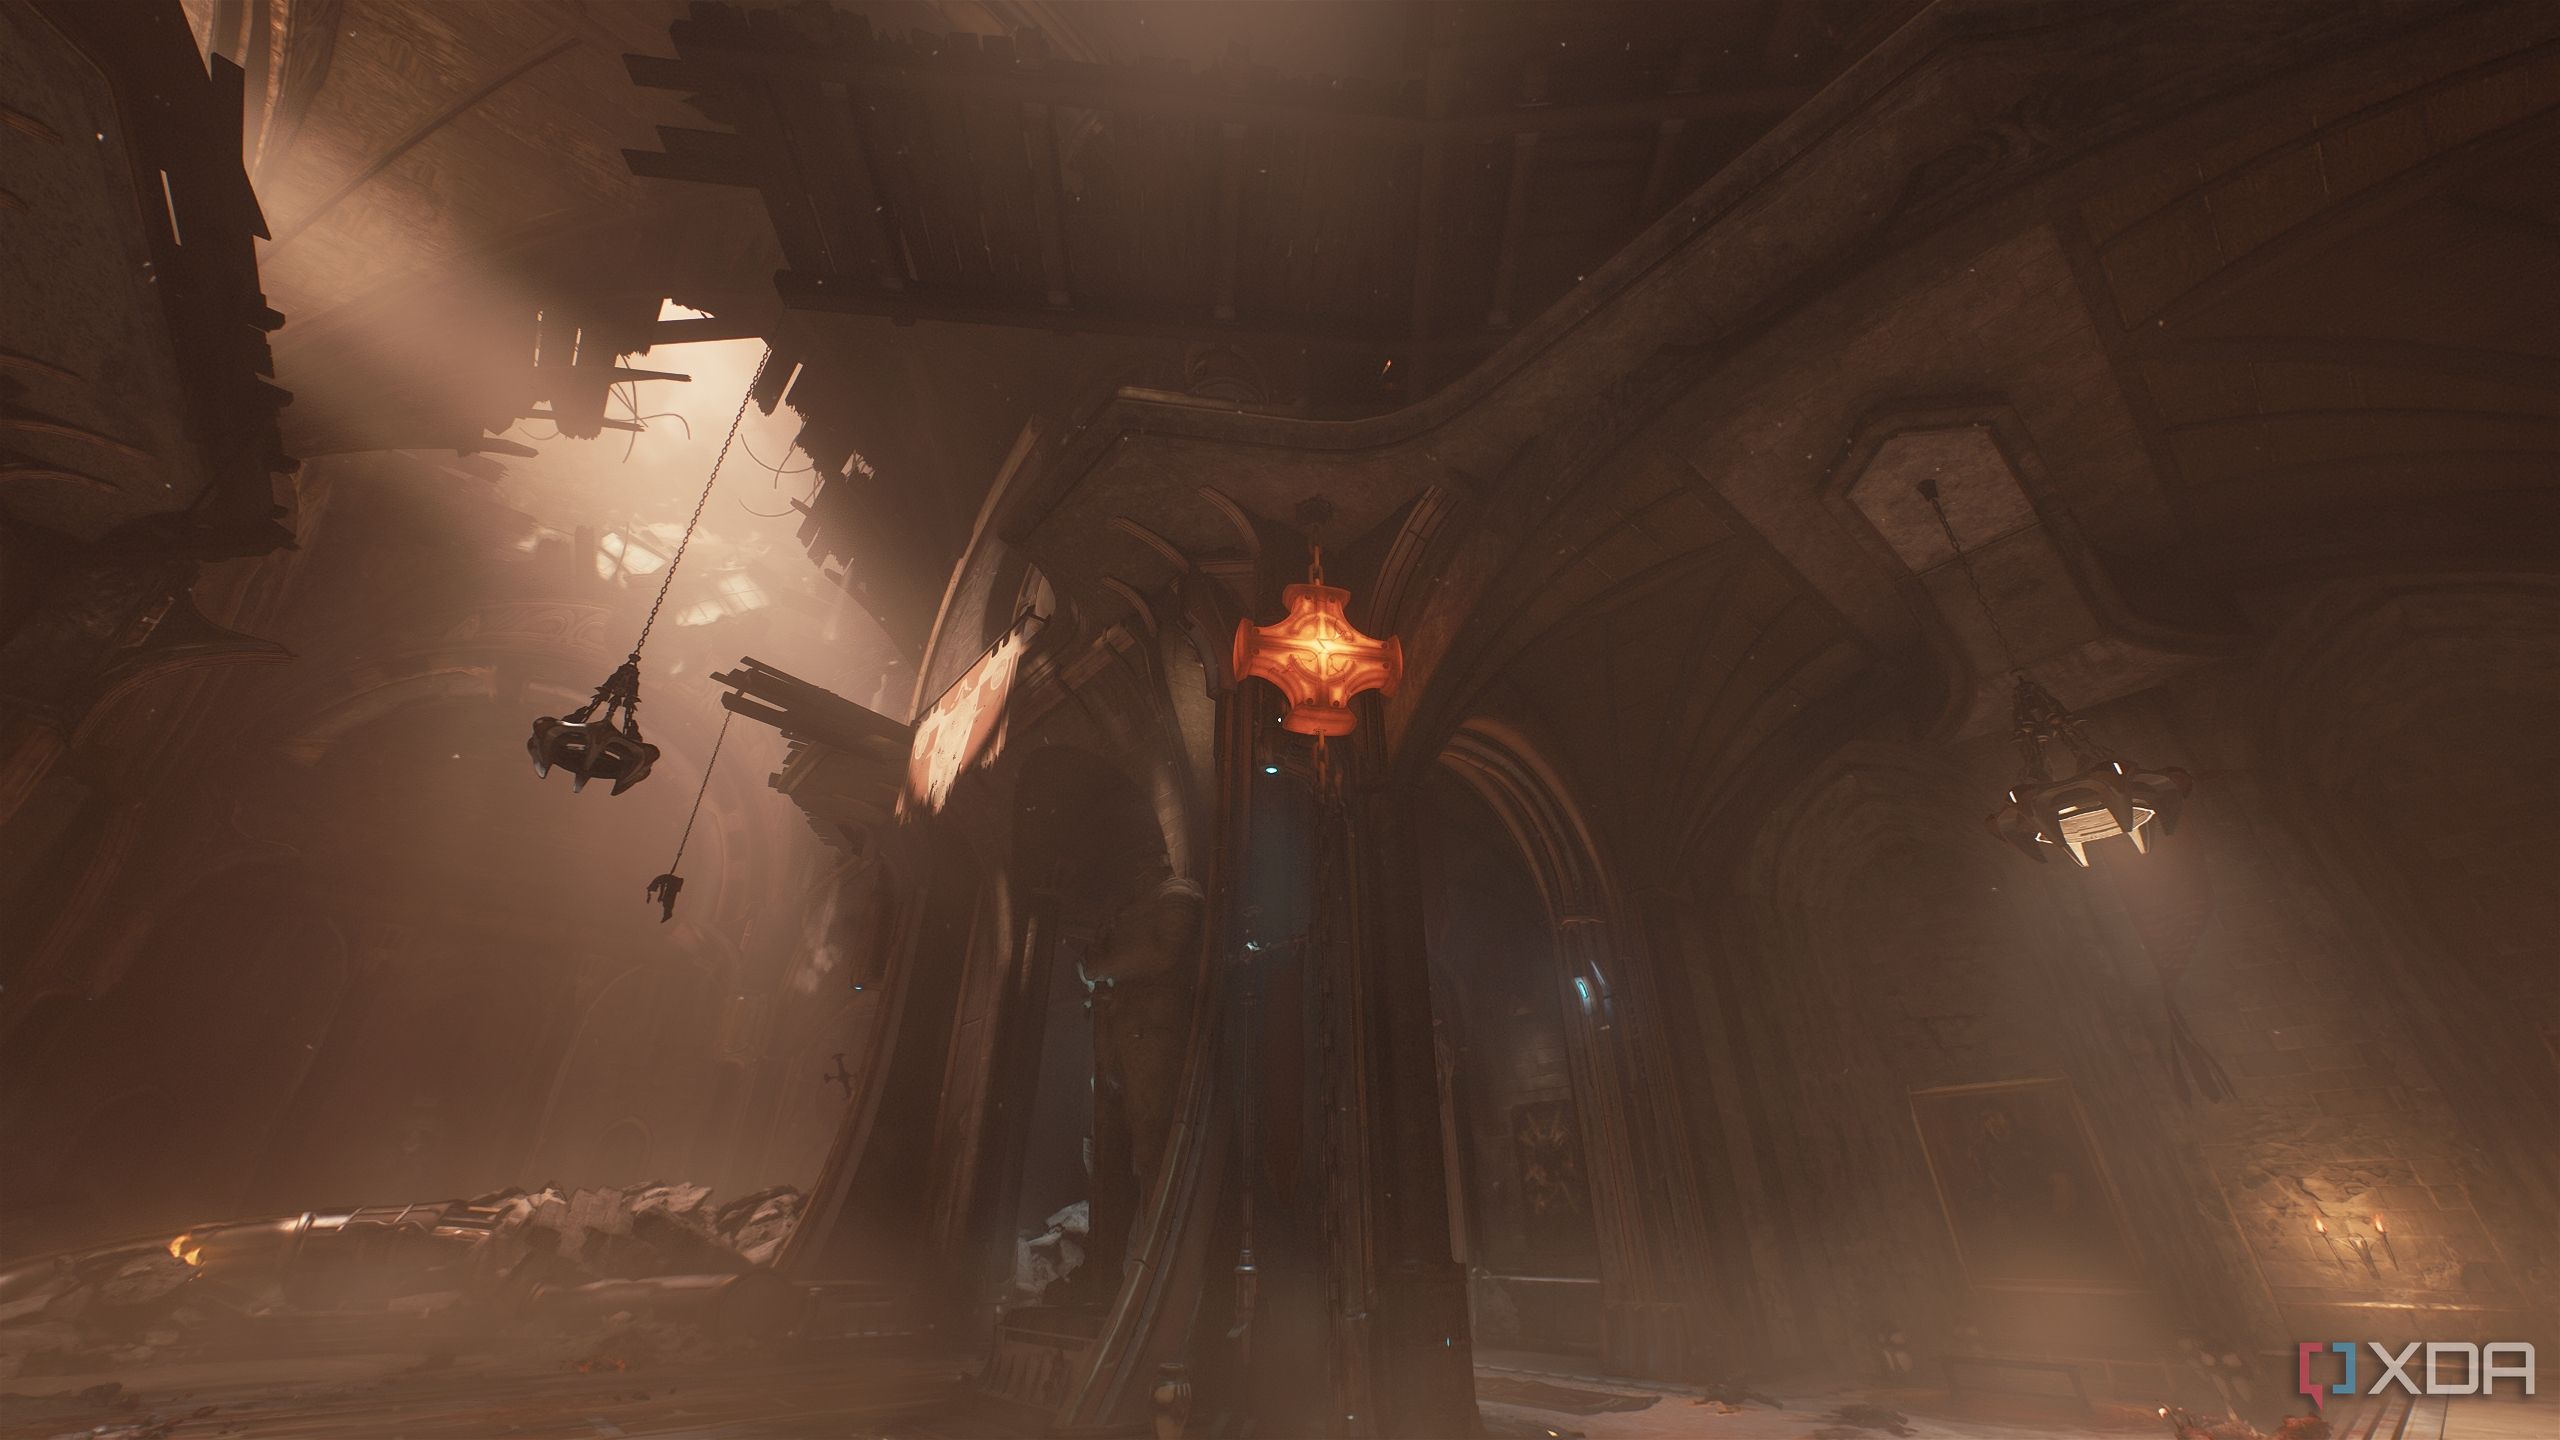
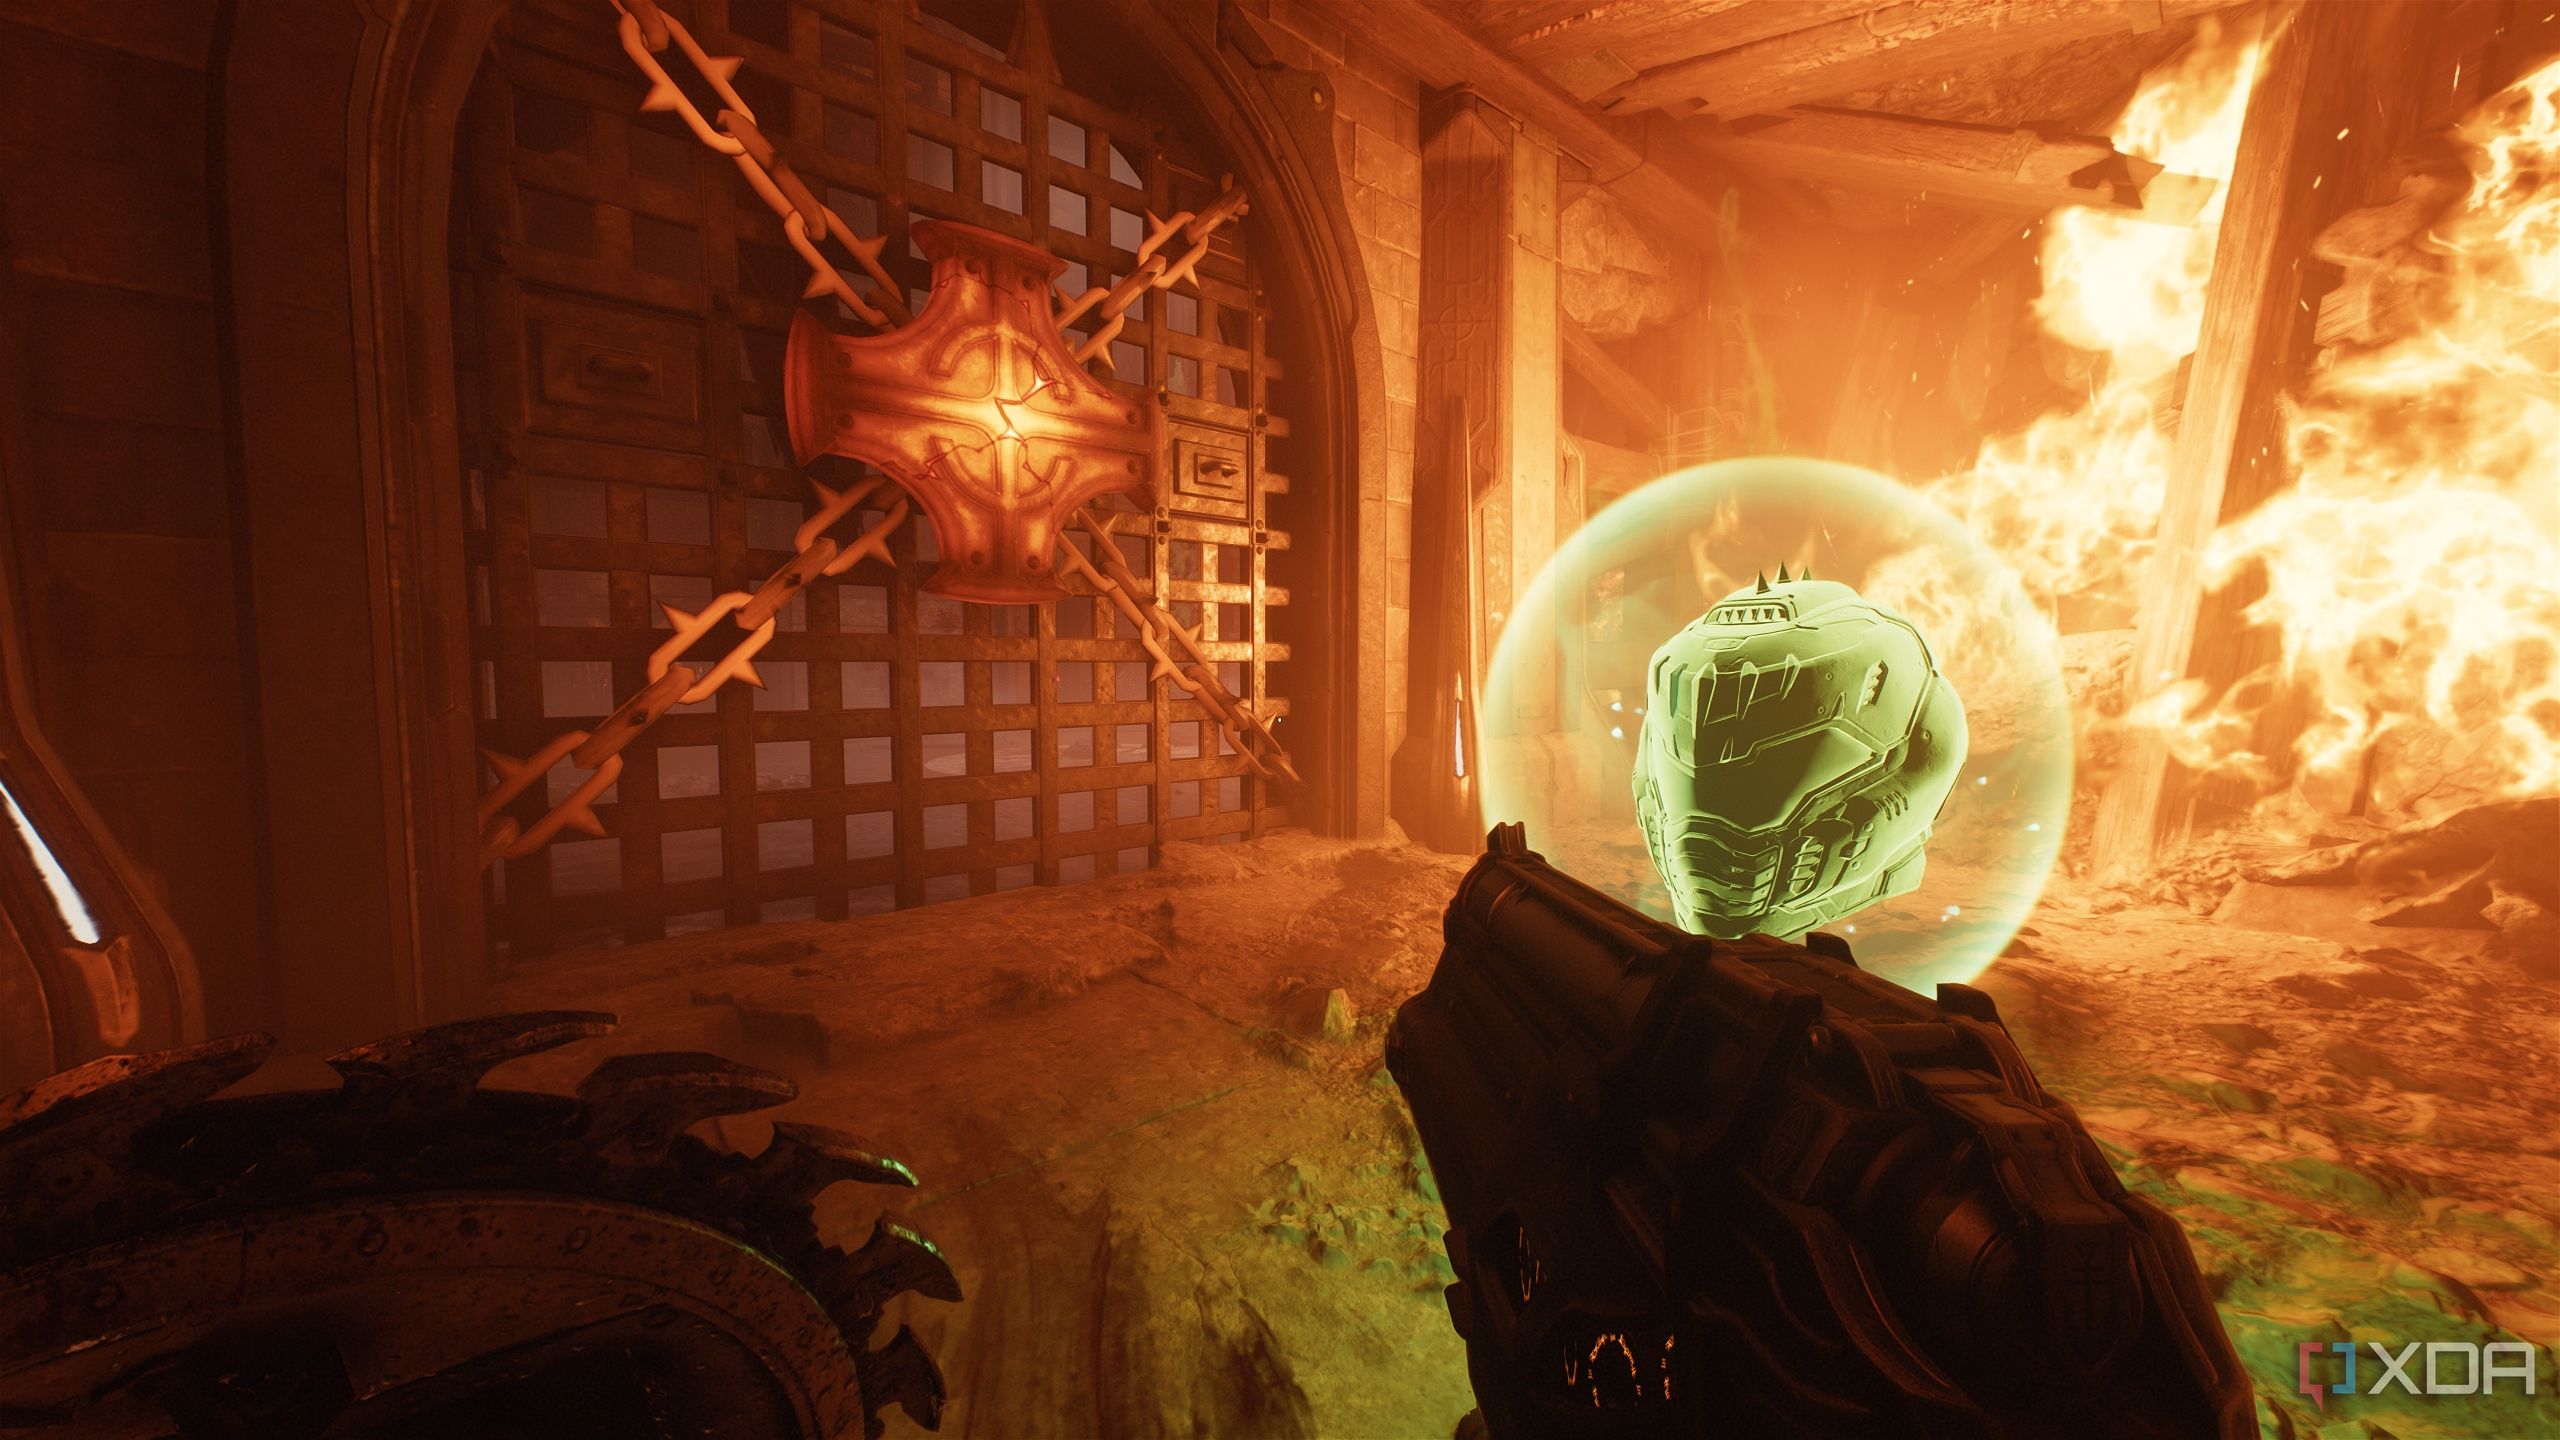
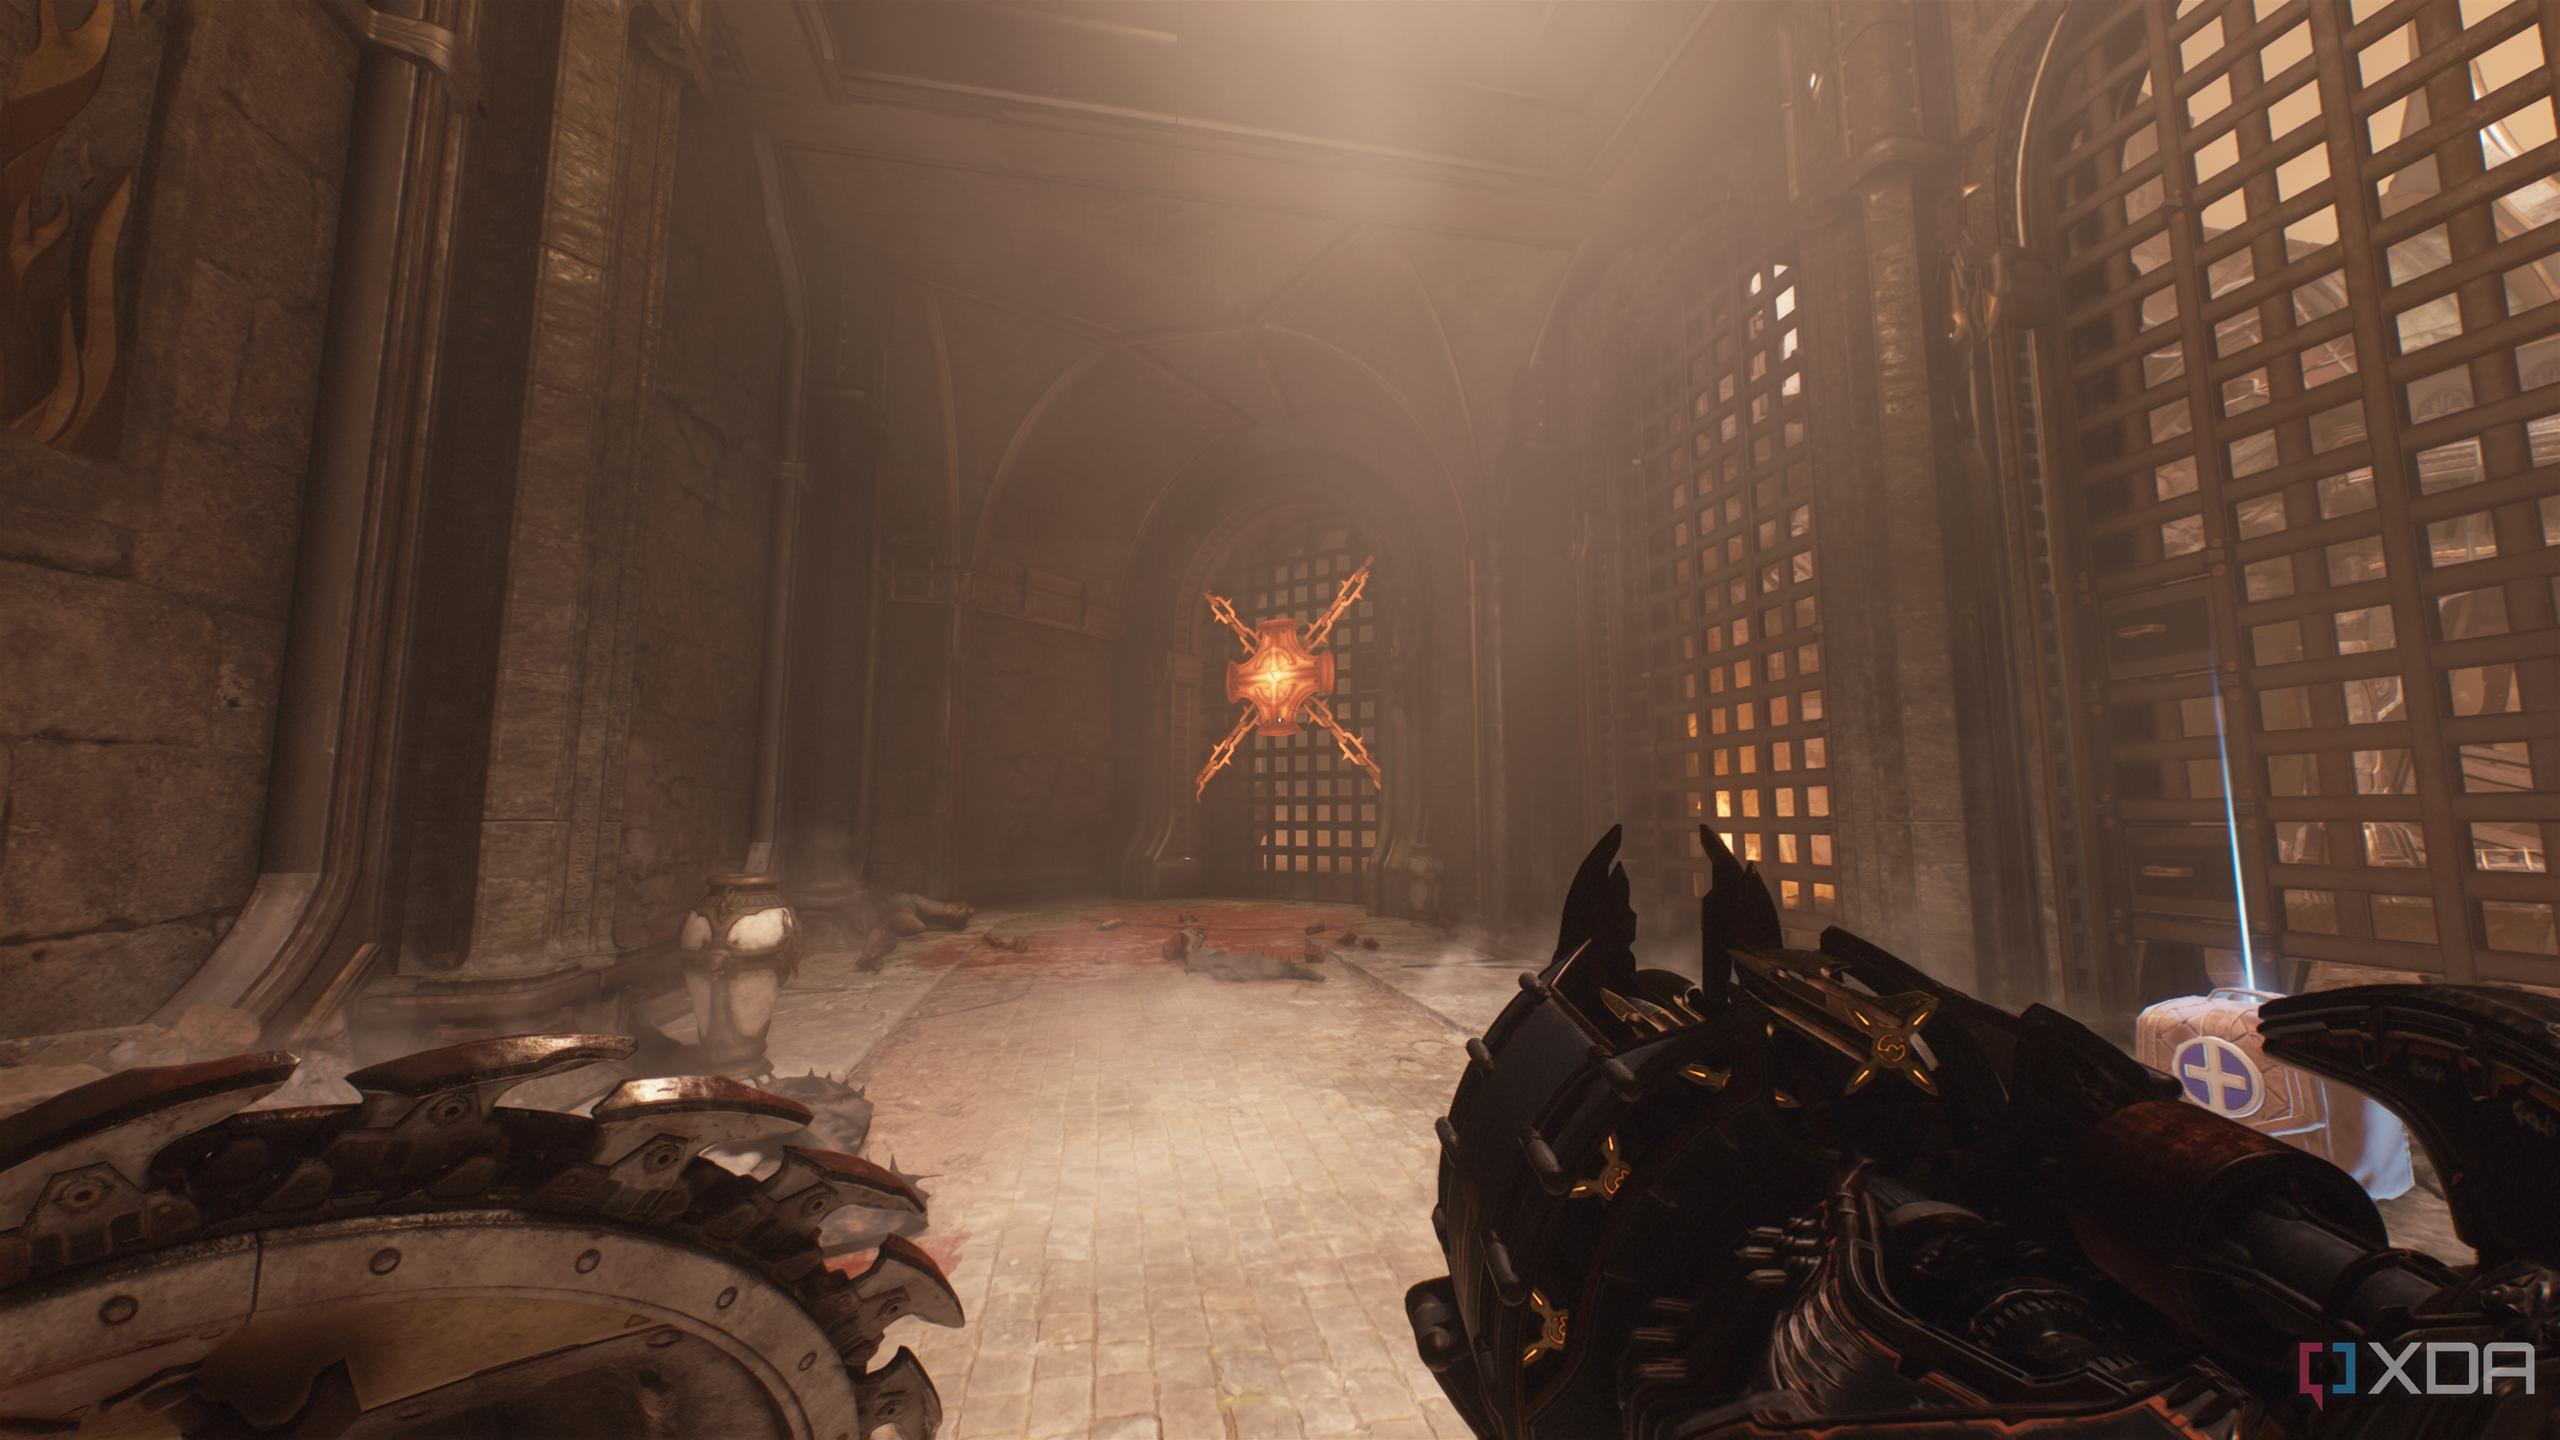
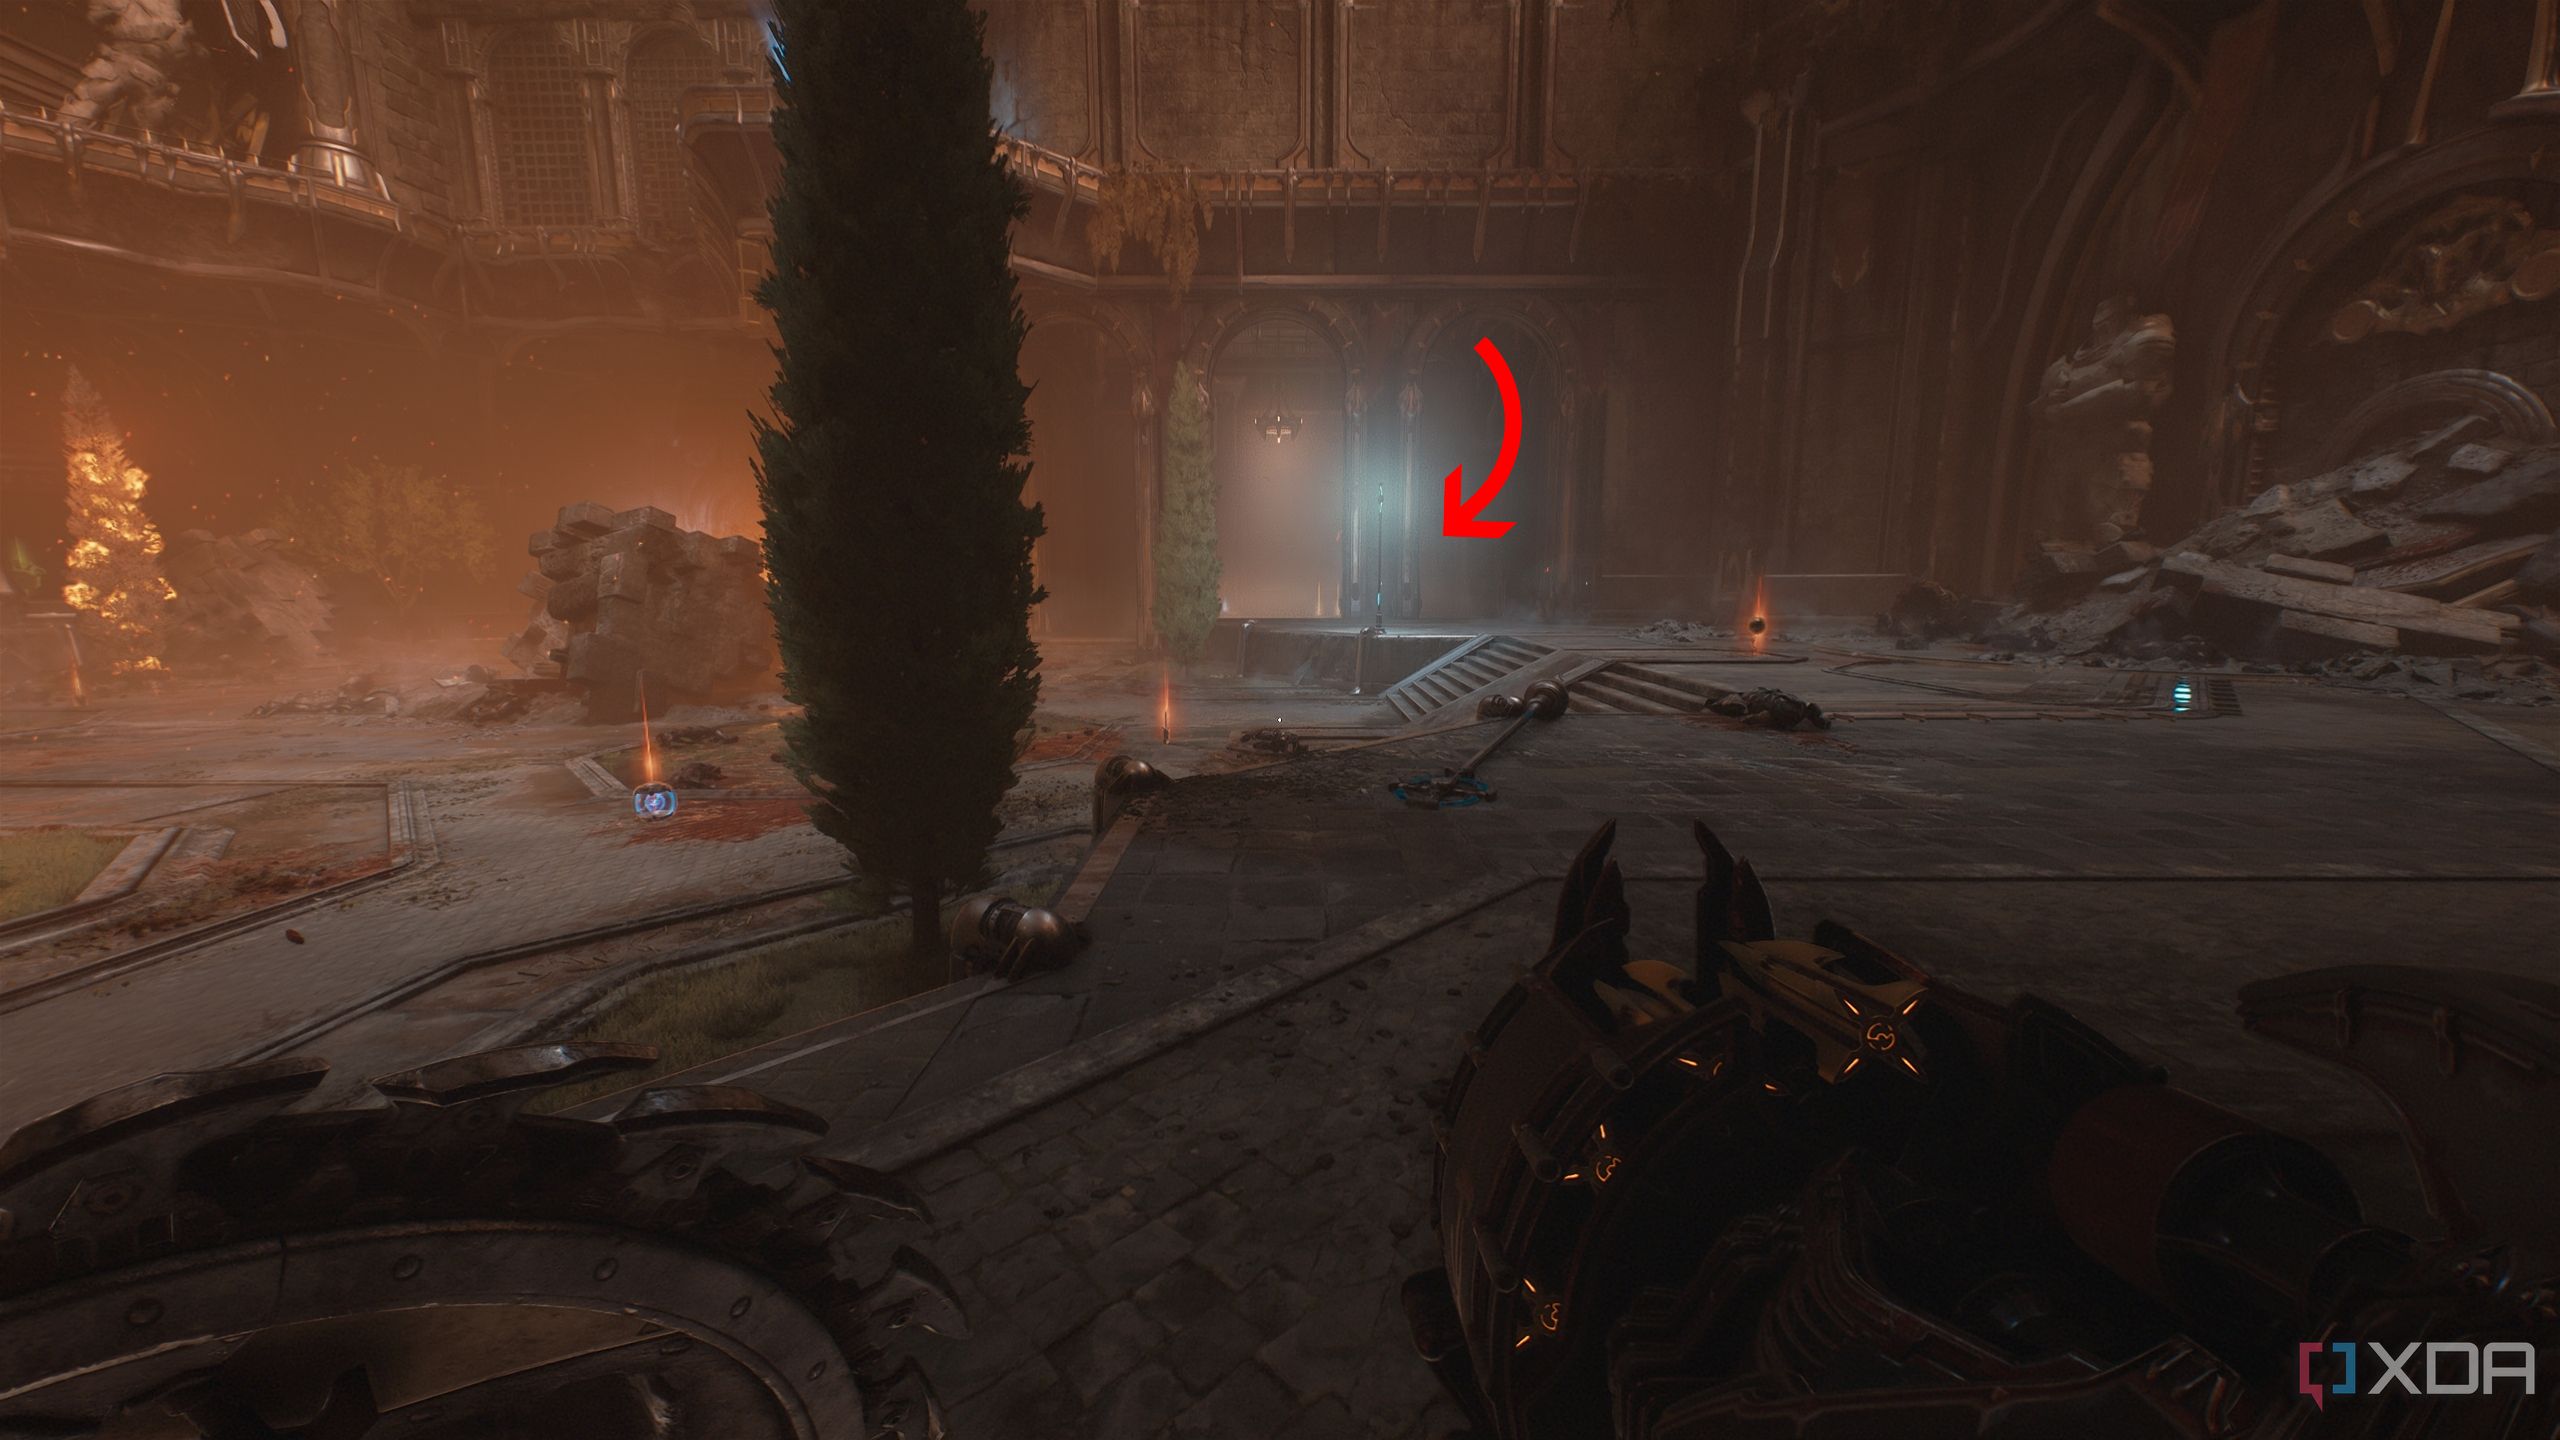
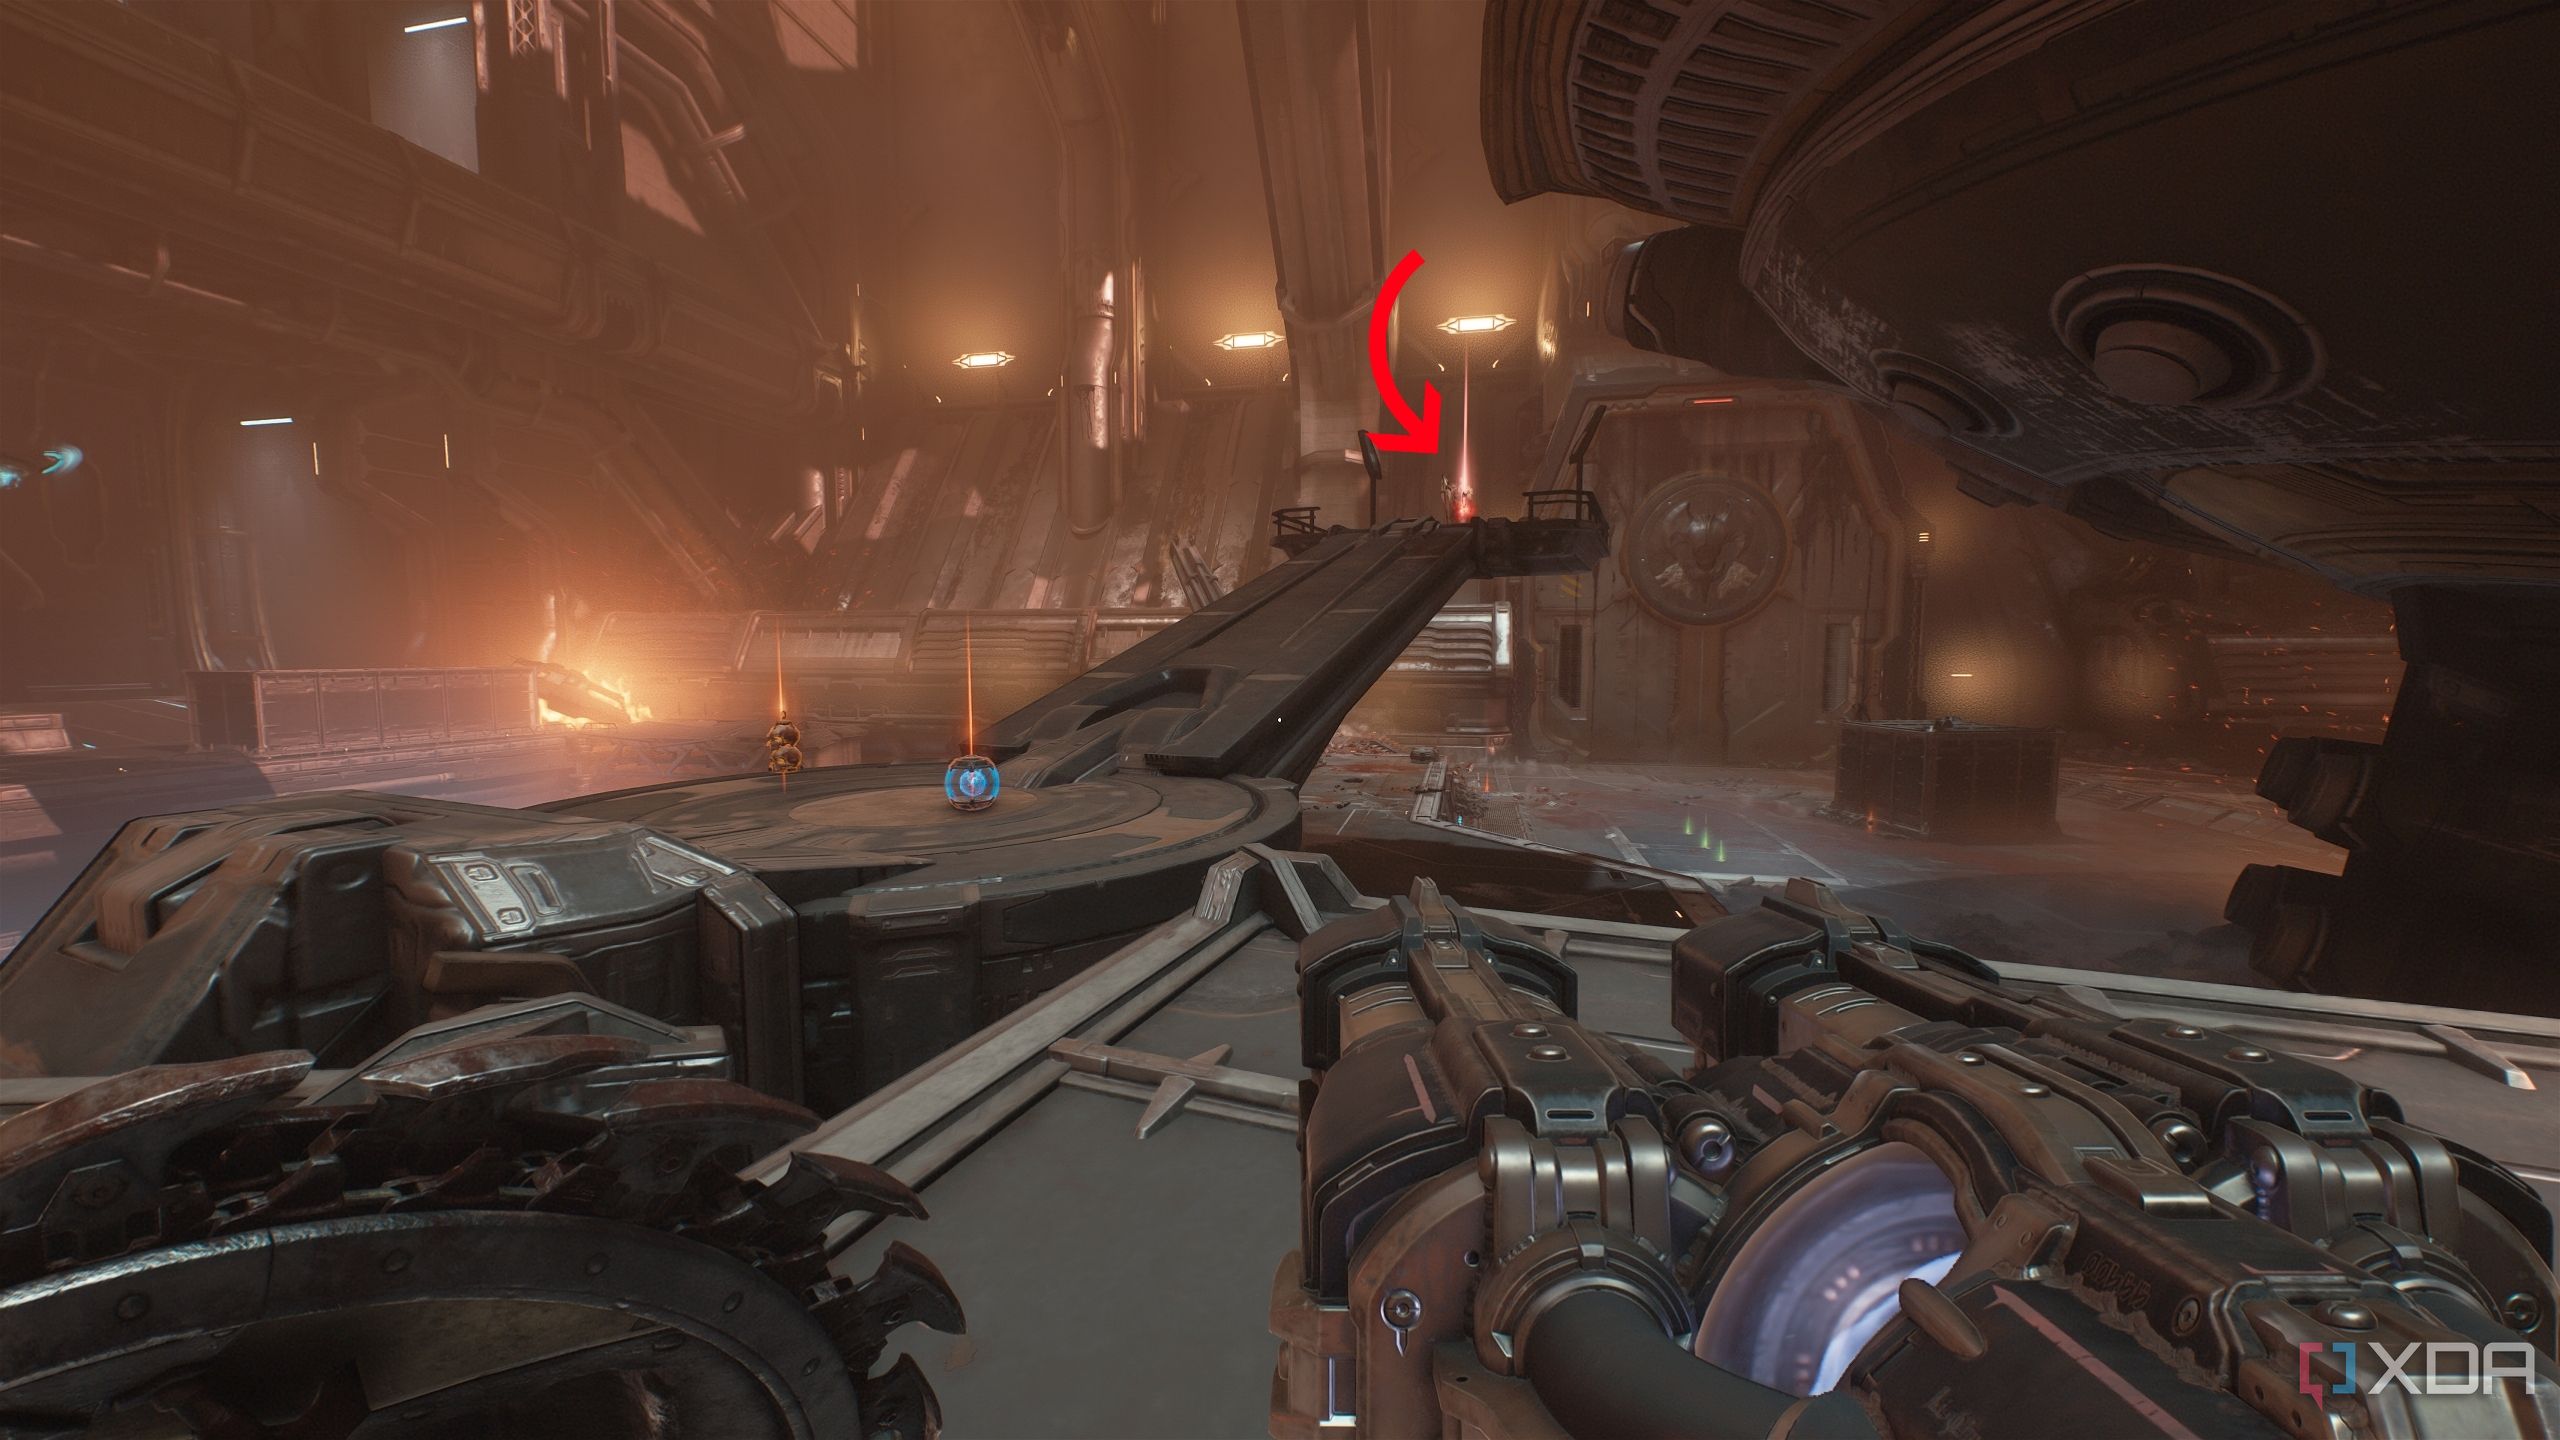
Following the objective, you'll reach the room where you encounter your first Revenant in the game. Once the enemies here are all dealt with, throw your shield at the heated metal cross overhead.

Now, in the east side of the room, climb up the scramble wall, and turn around to see another scramble wall.
This is pretty much the path of the main objective, so it's impossible to miss. However, before you look at the gold bars lying on the ground to your left, turn your attention to a small lit-up room to the right.
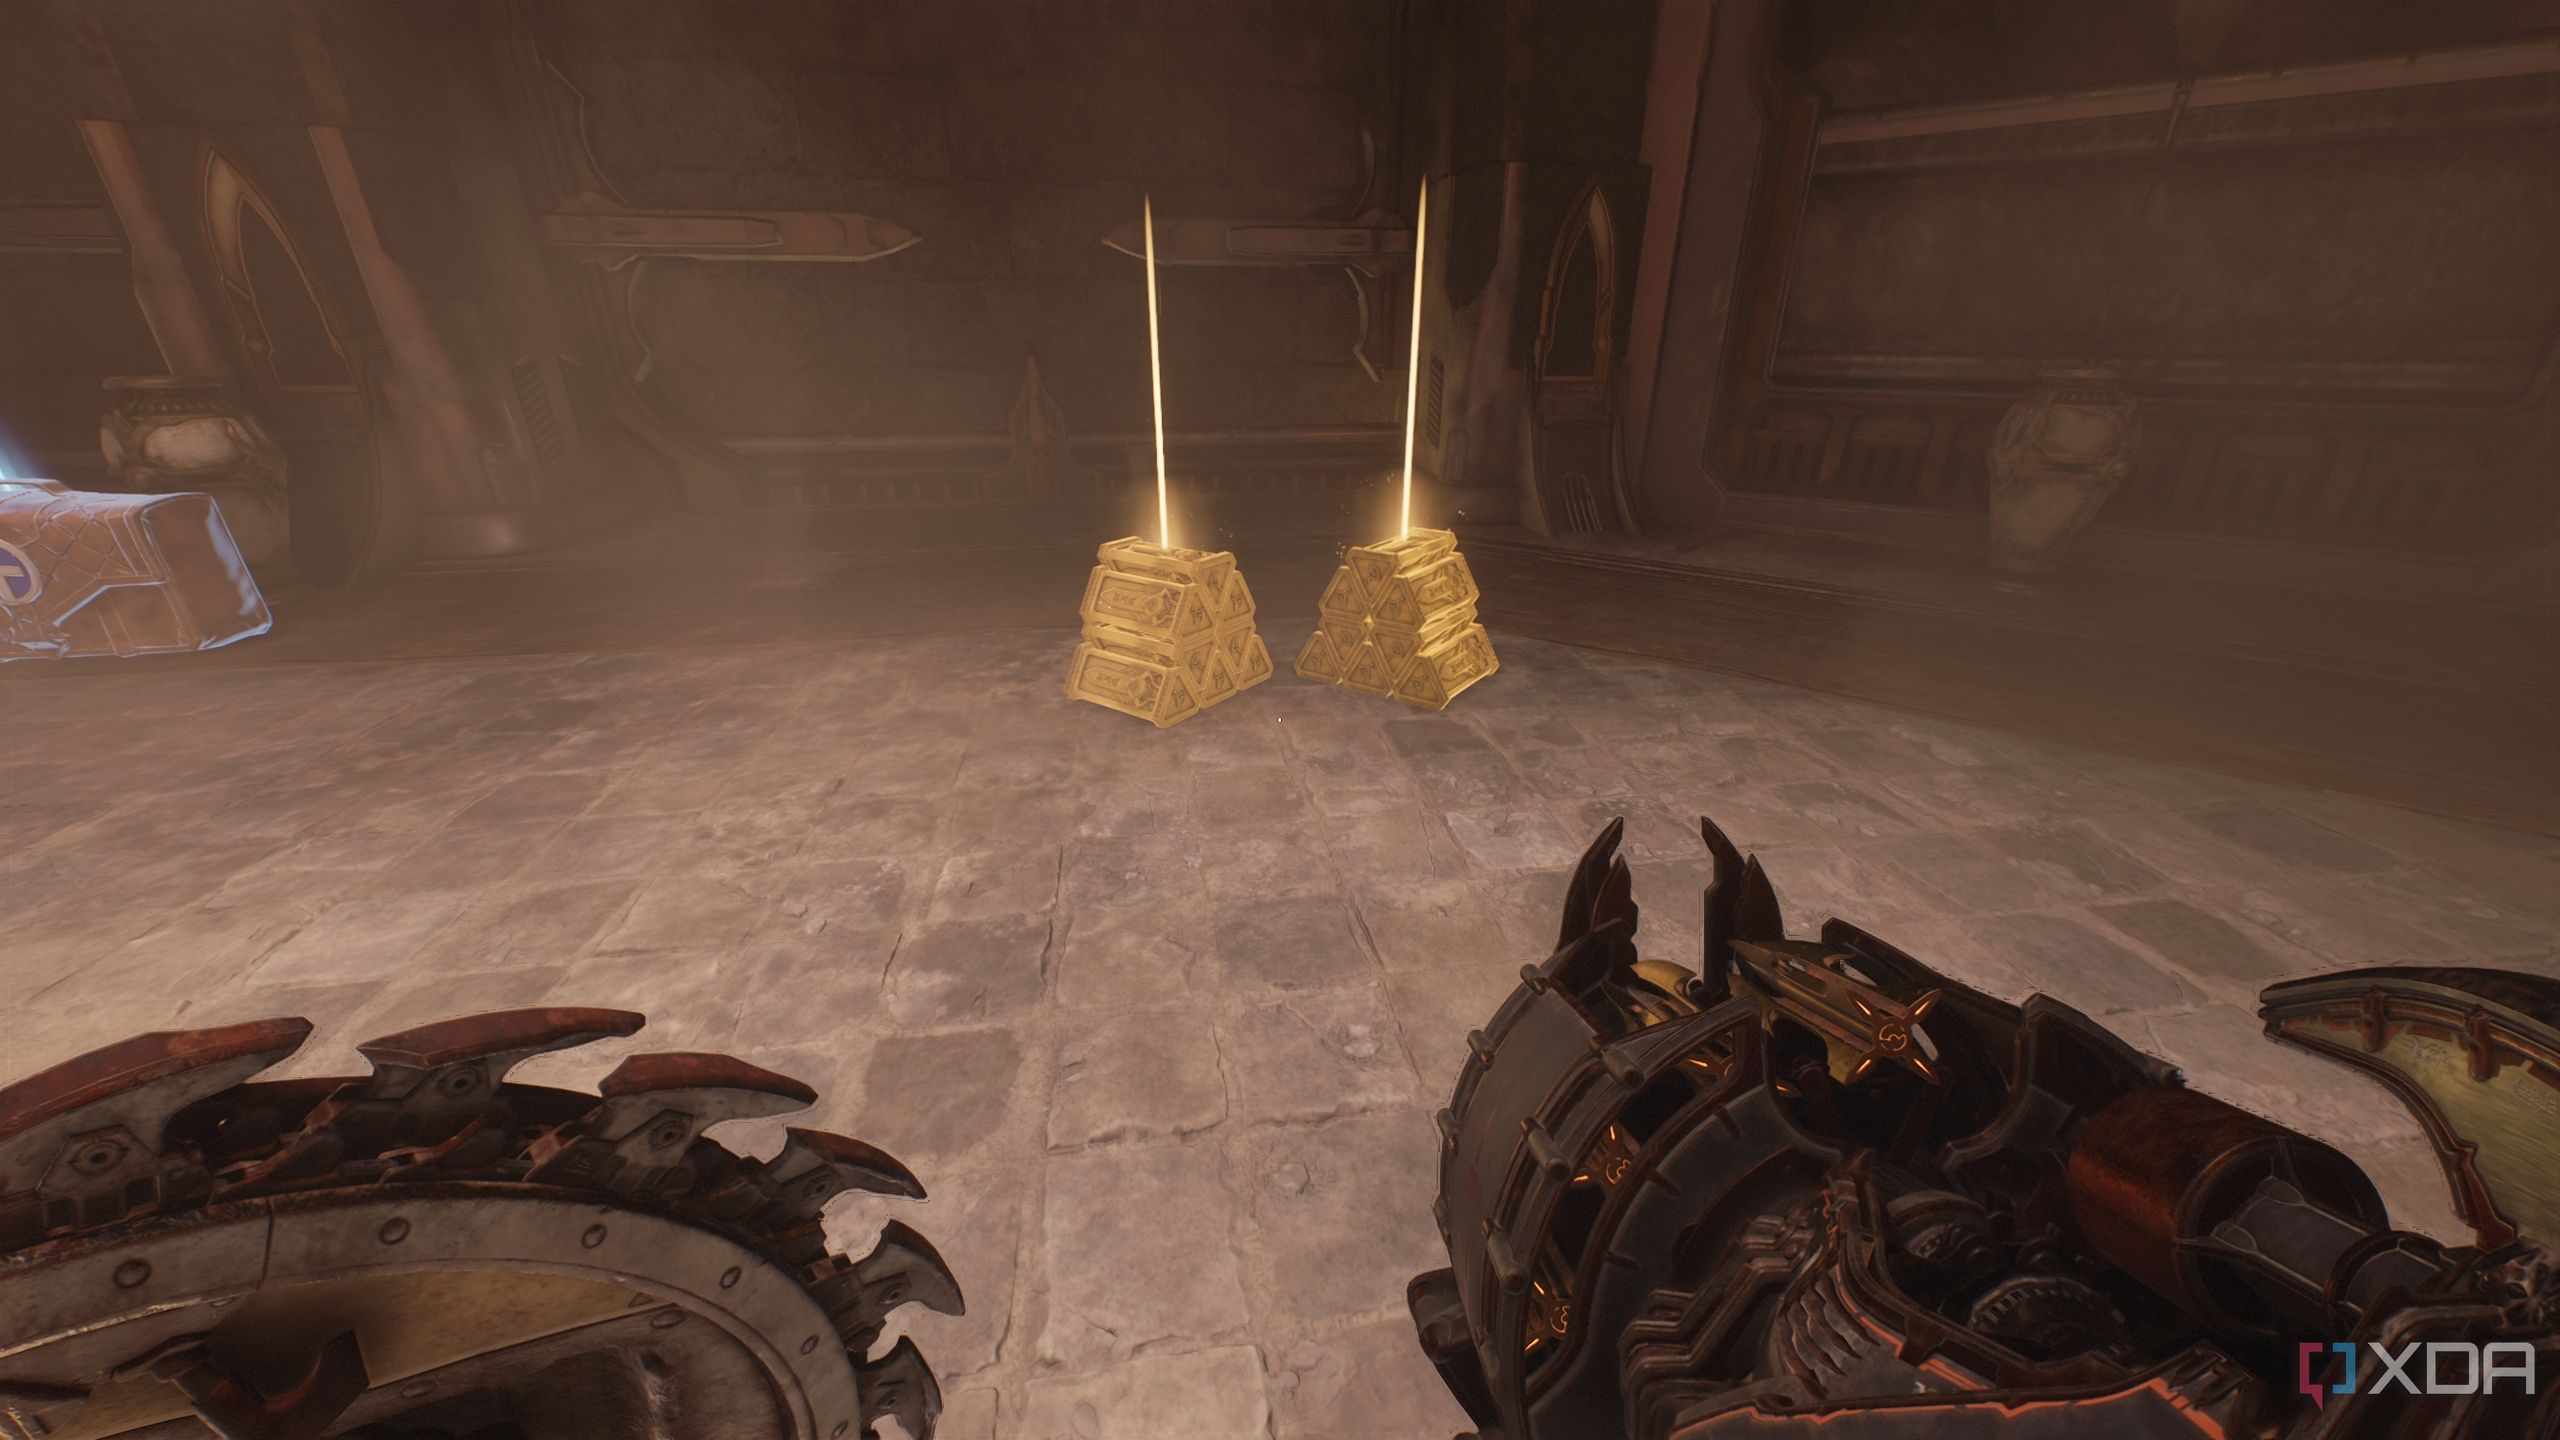
Head inside to fight an Imp Stalker, and collect a gold stack.
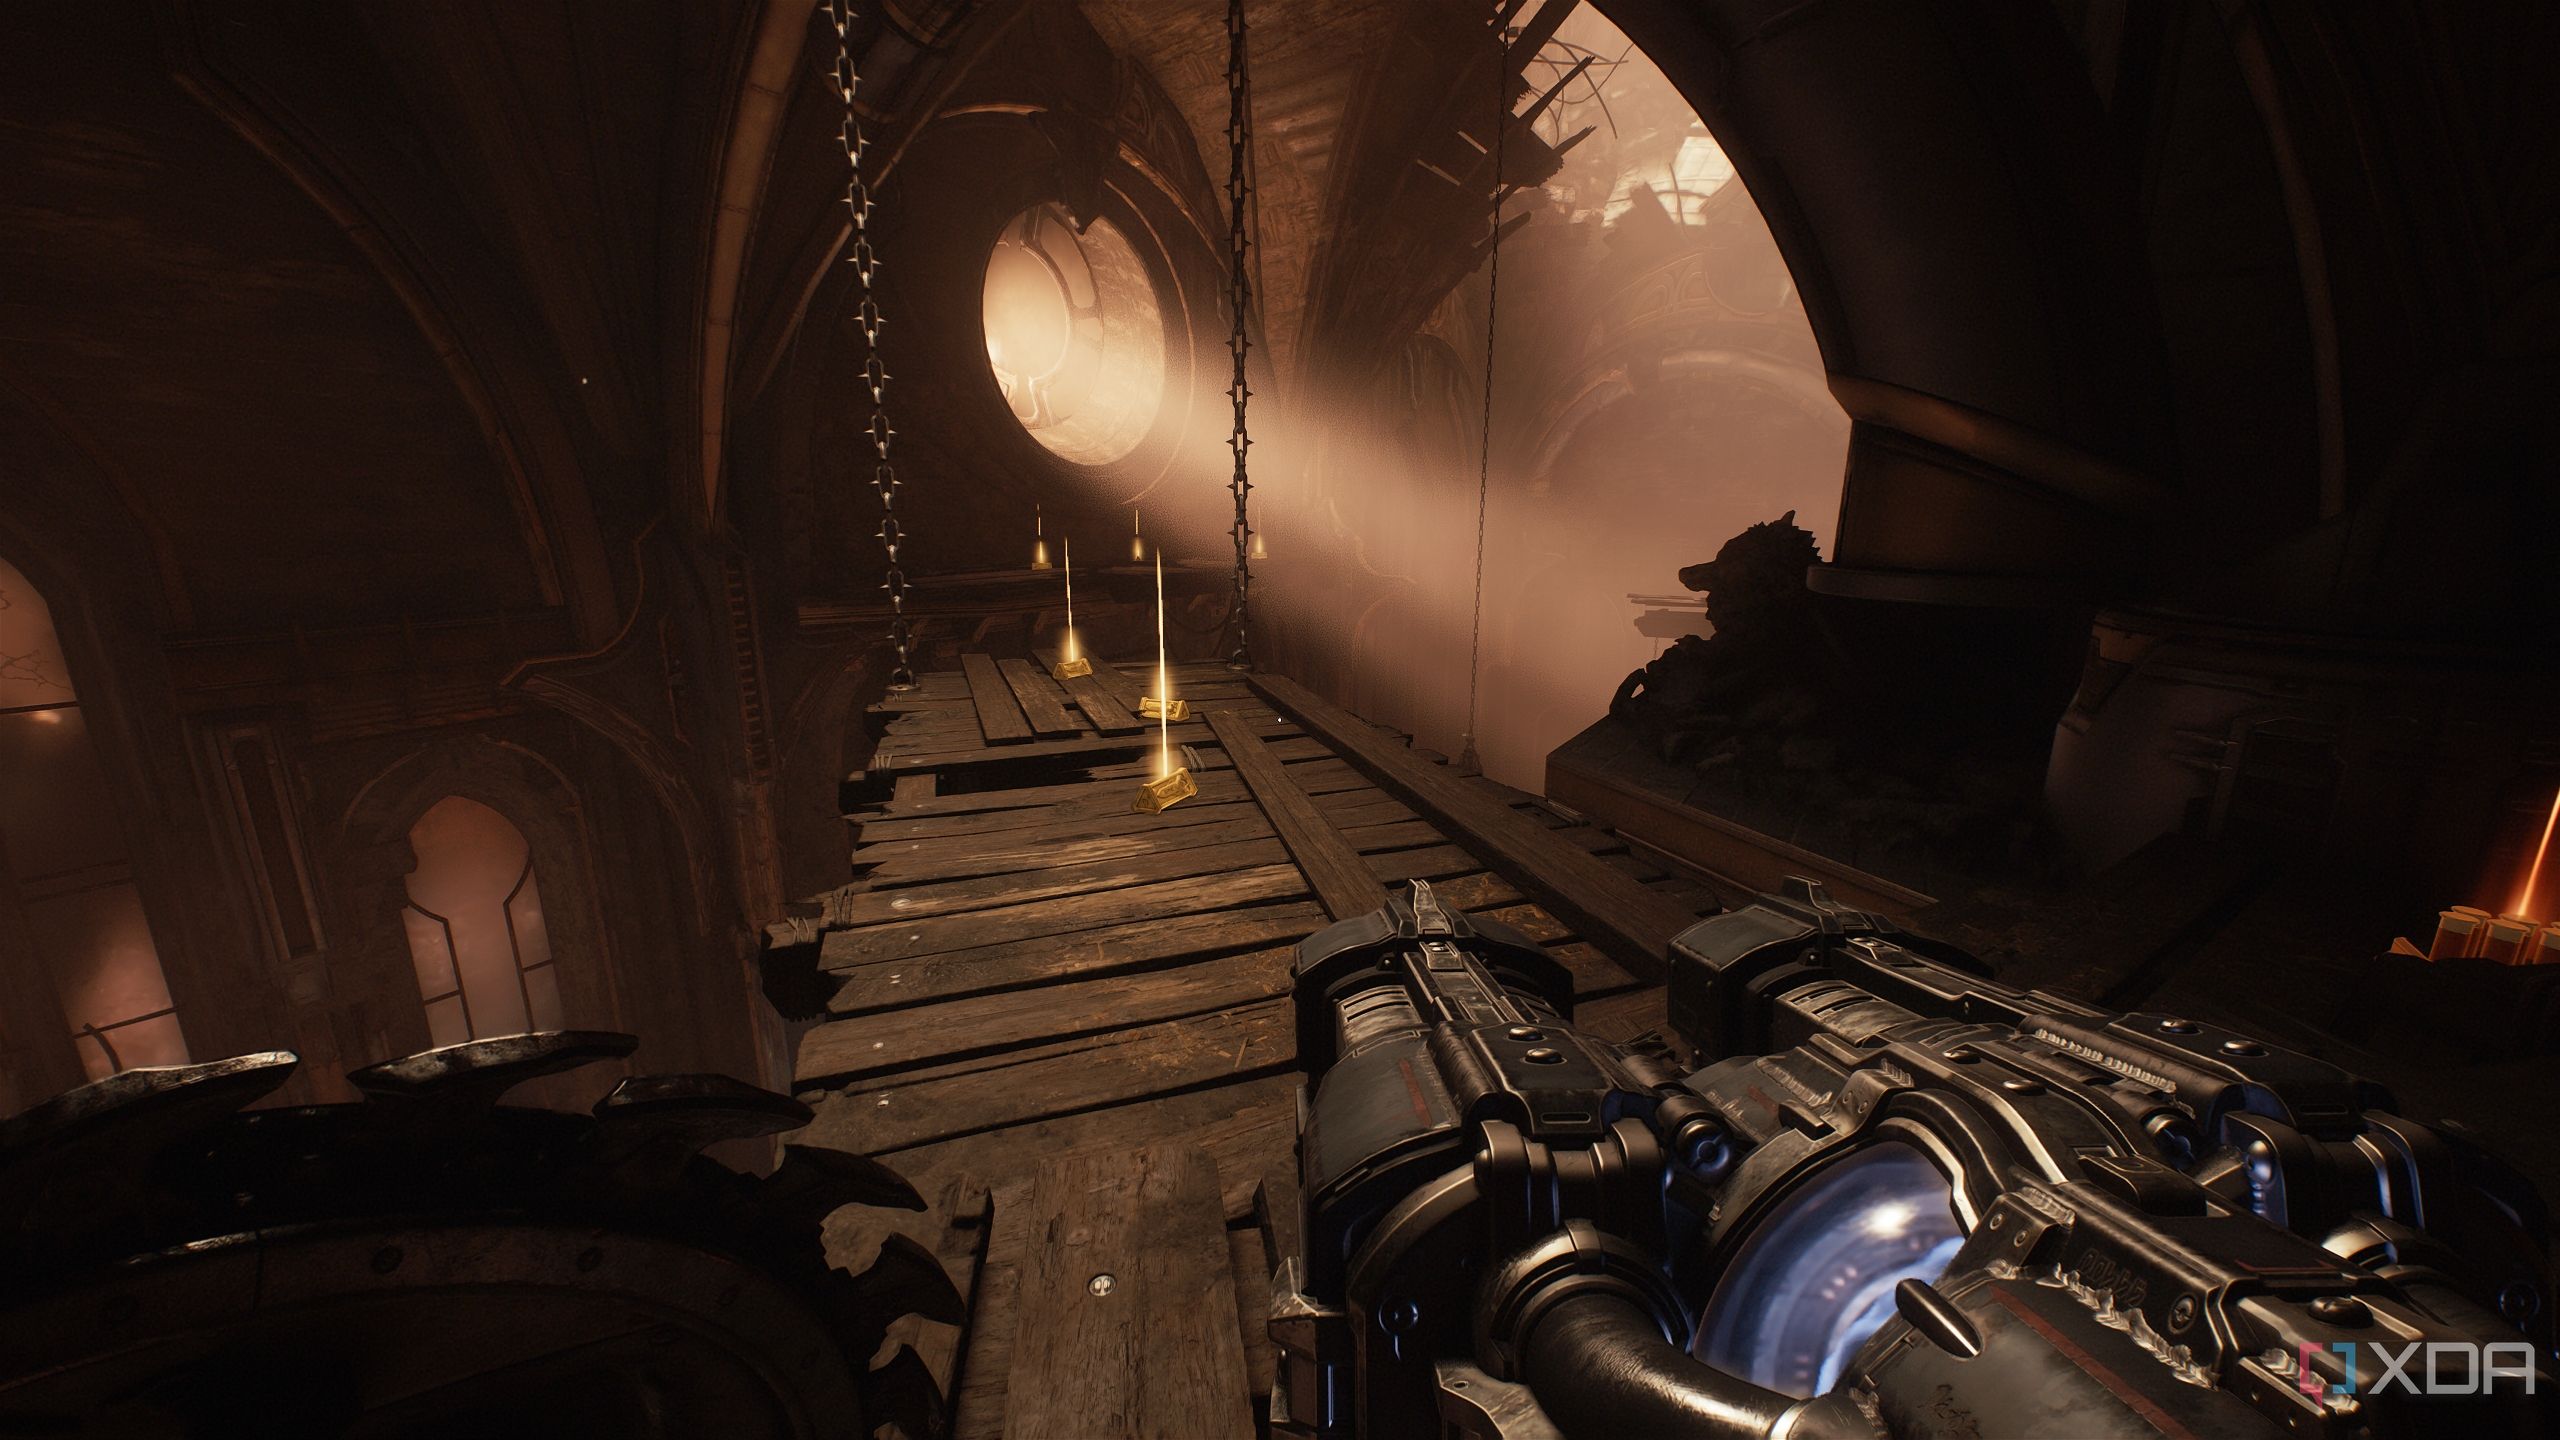
Then, head back outside to find more gold bars lying on the wooden platform ahead. Stop here and look to the left.
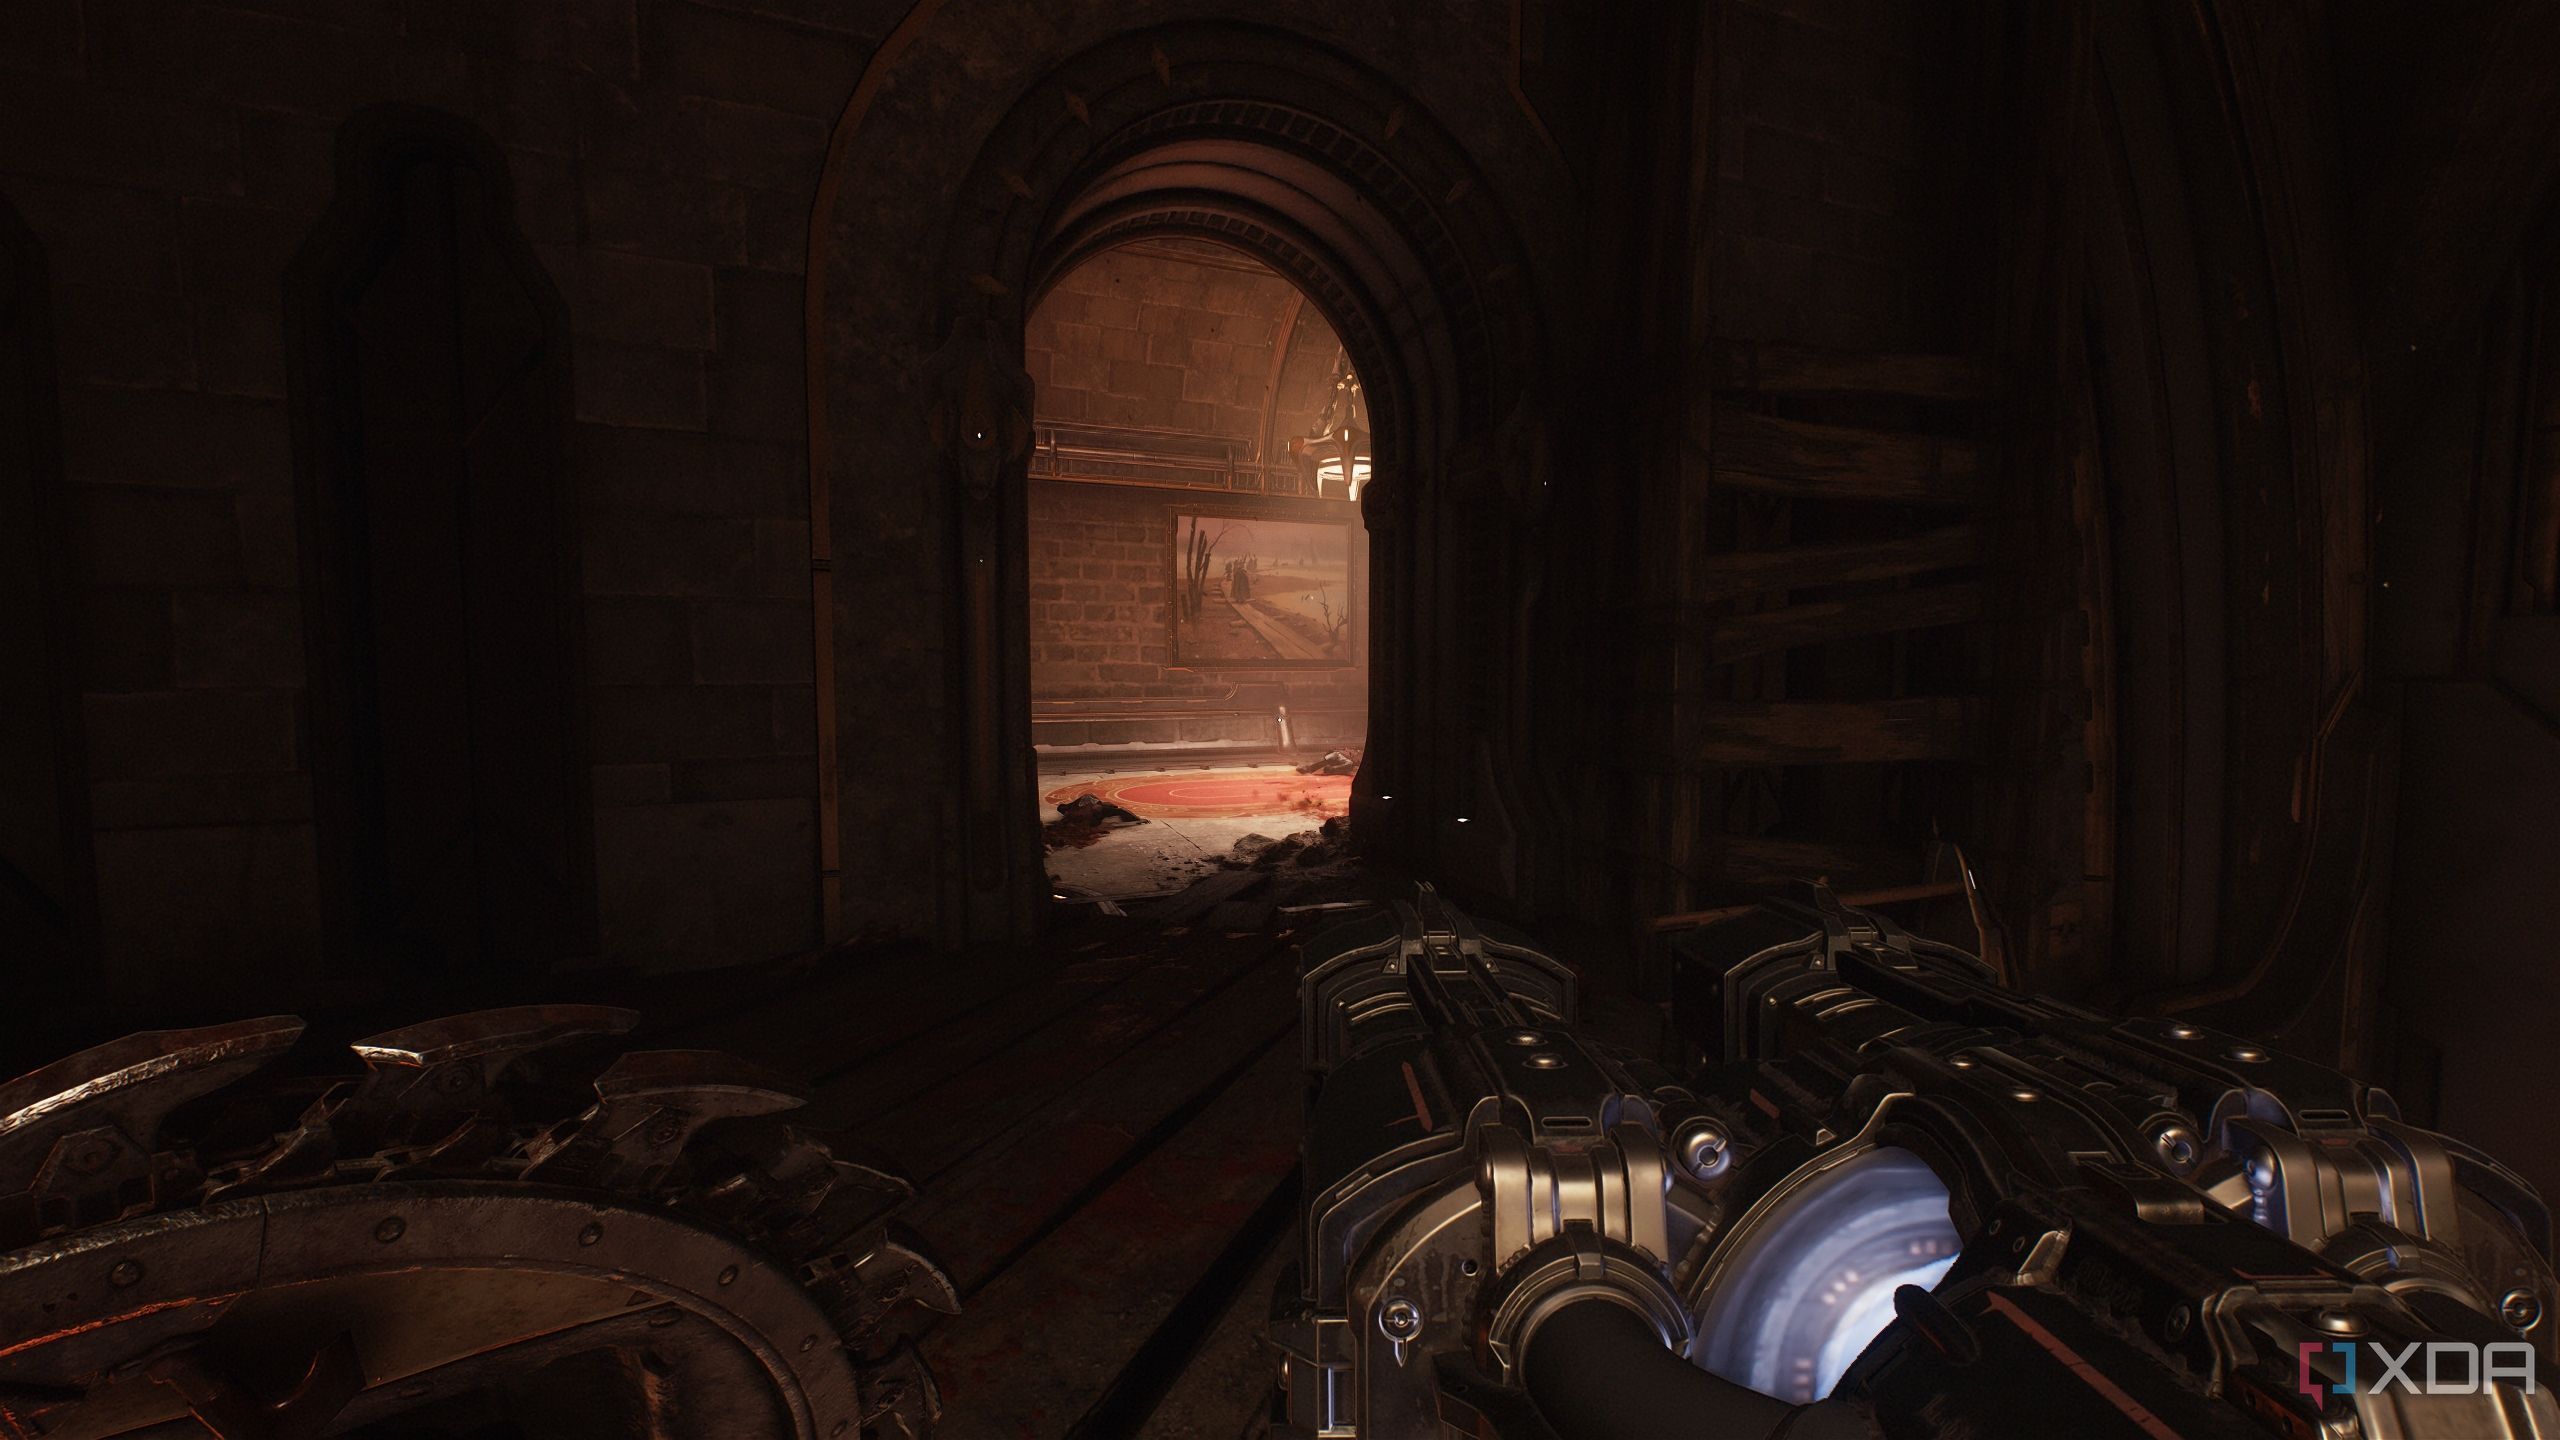
Secret area 3 and Pinky Rider toy collectible
Perhaps the easiest to miss
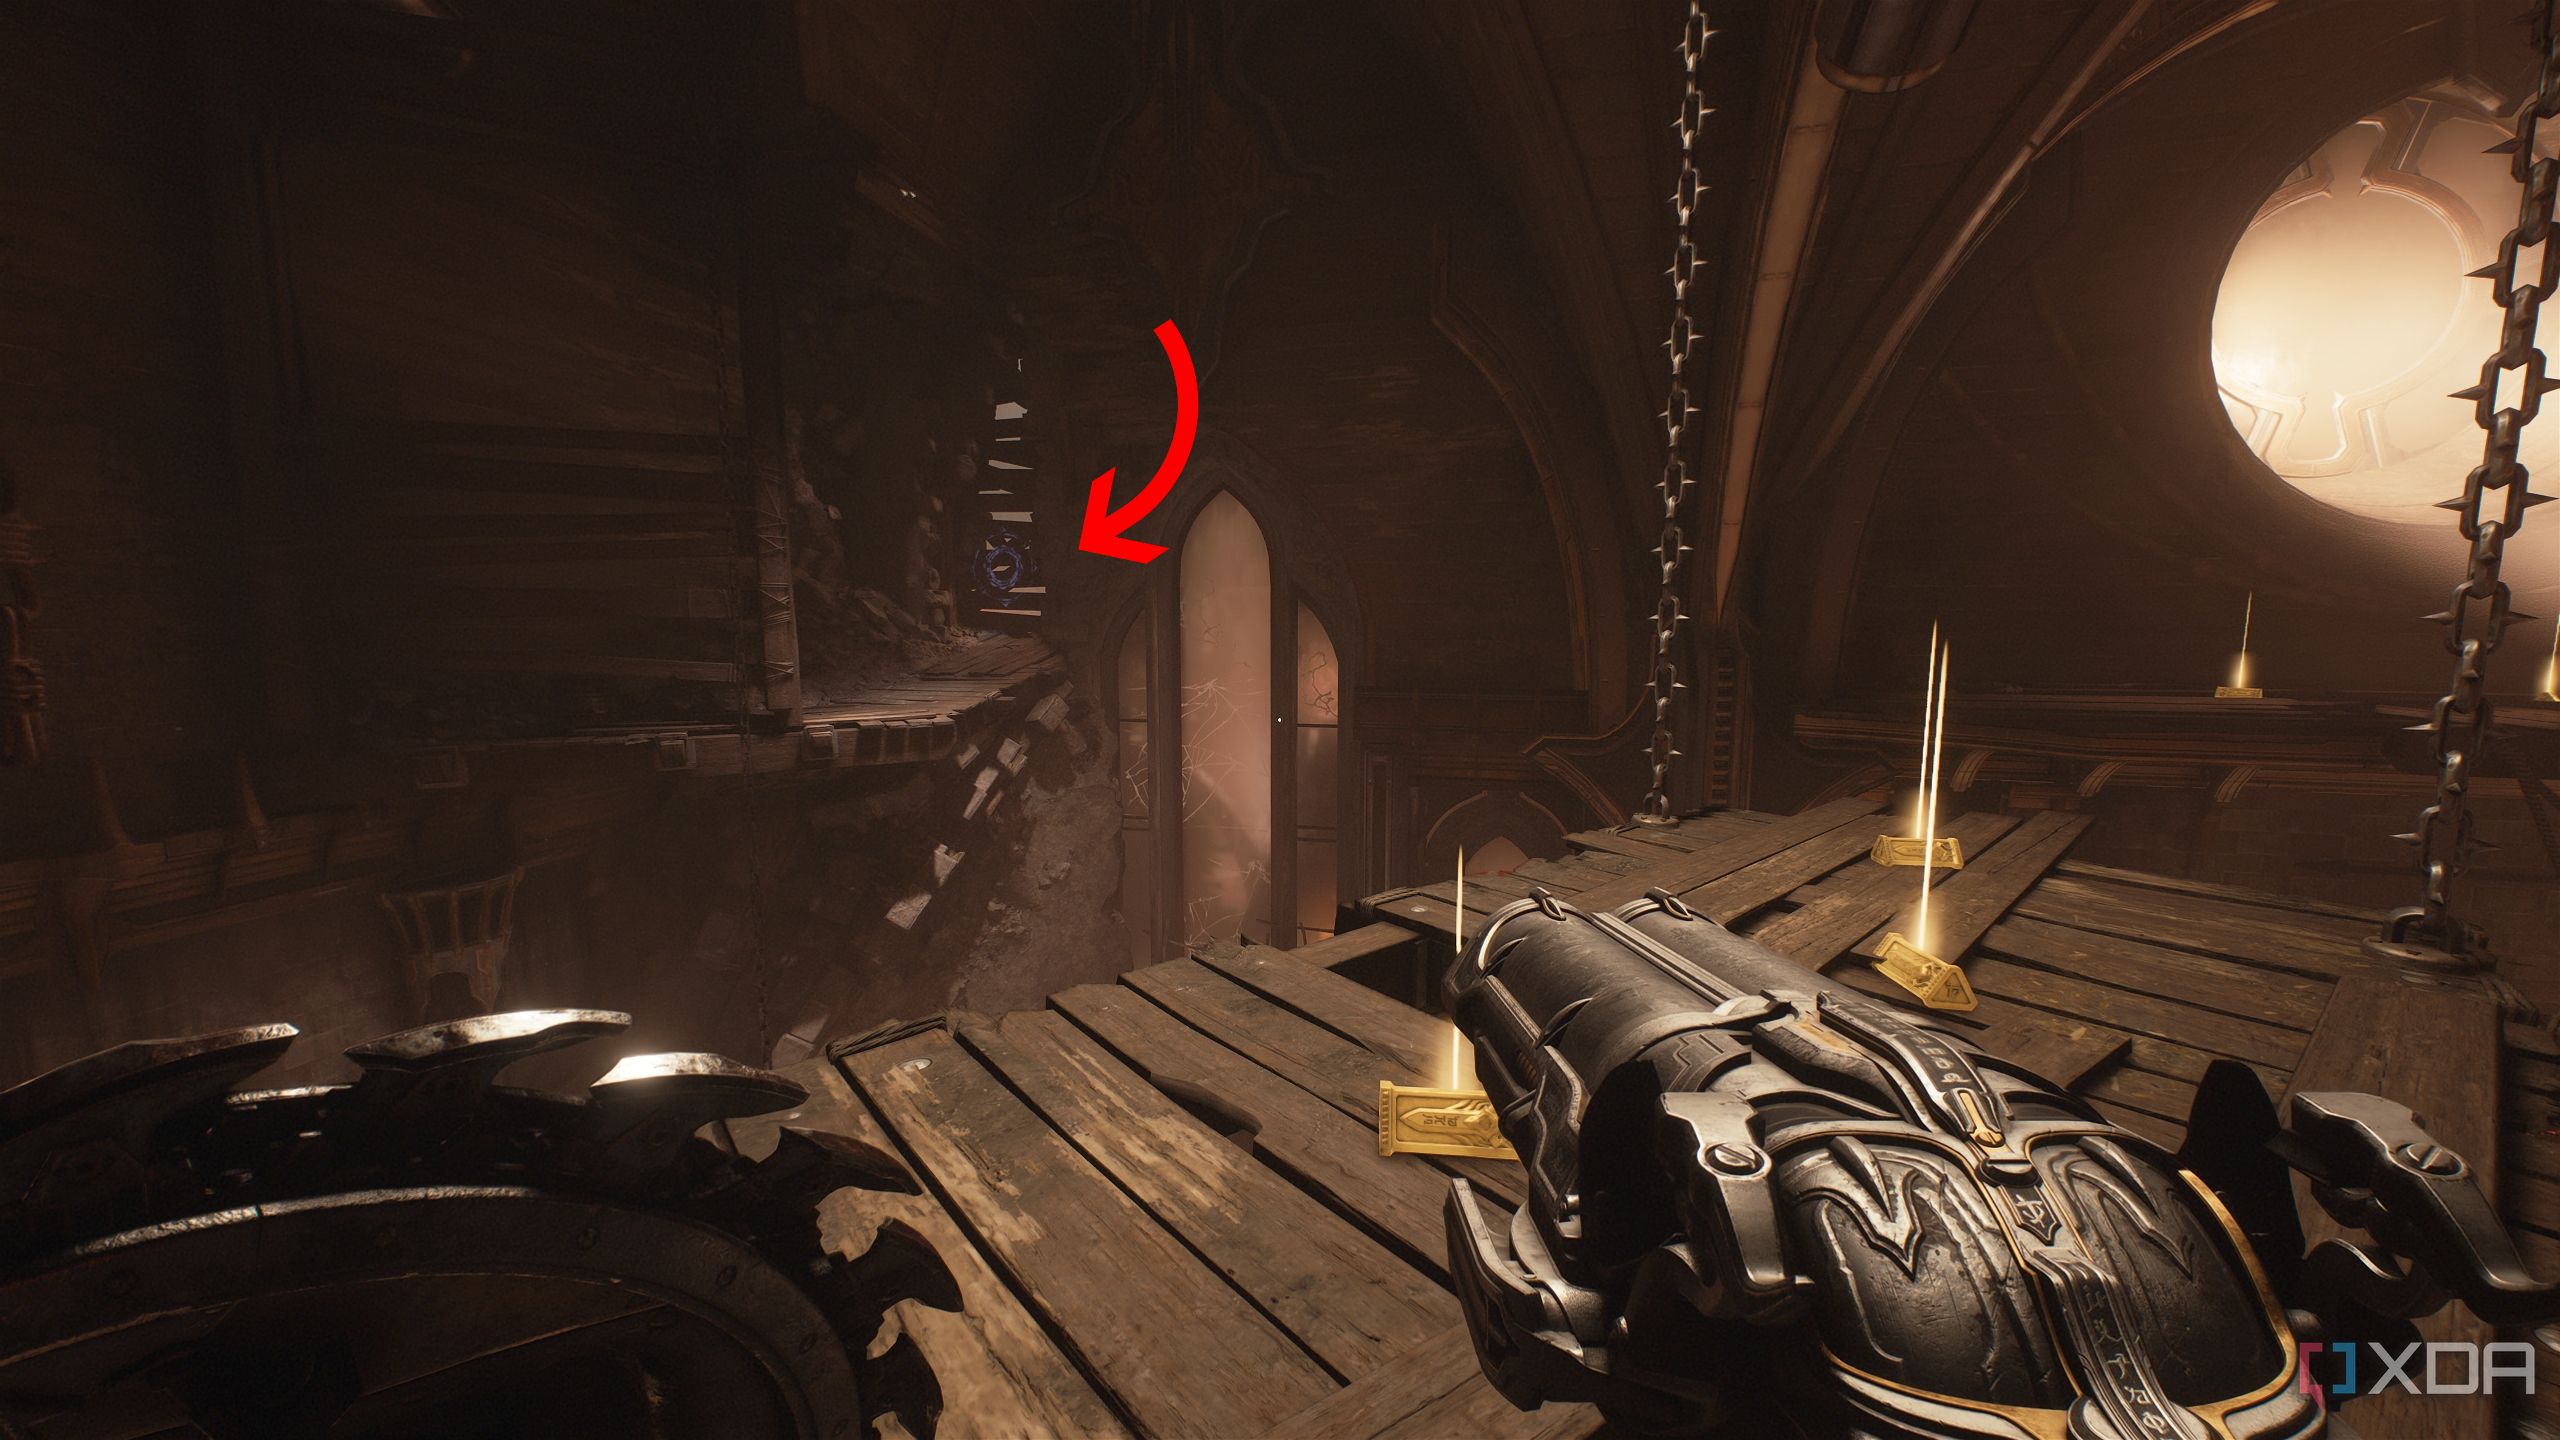
Standing on the wooden platform with gold bars, look to the left, on the far side of the room. You'll notice a wooden wall with a Shield Charge symbol.
Jump onto this platform and bash through the wooden wall.
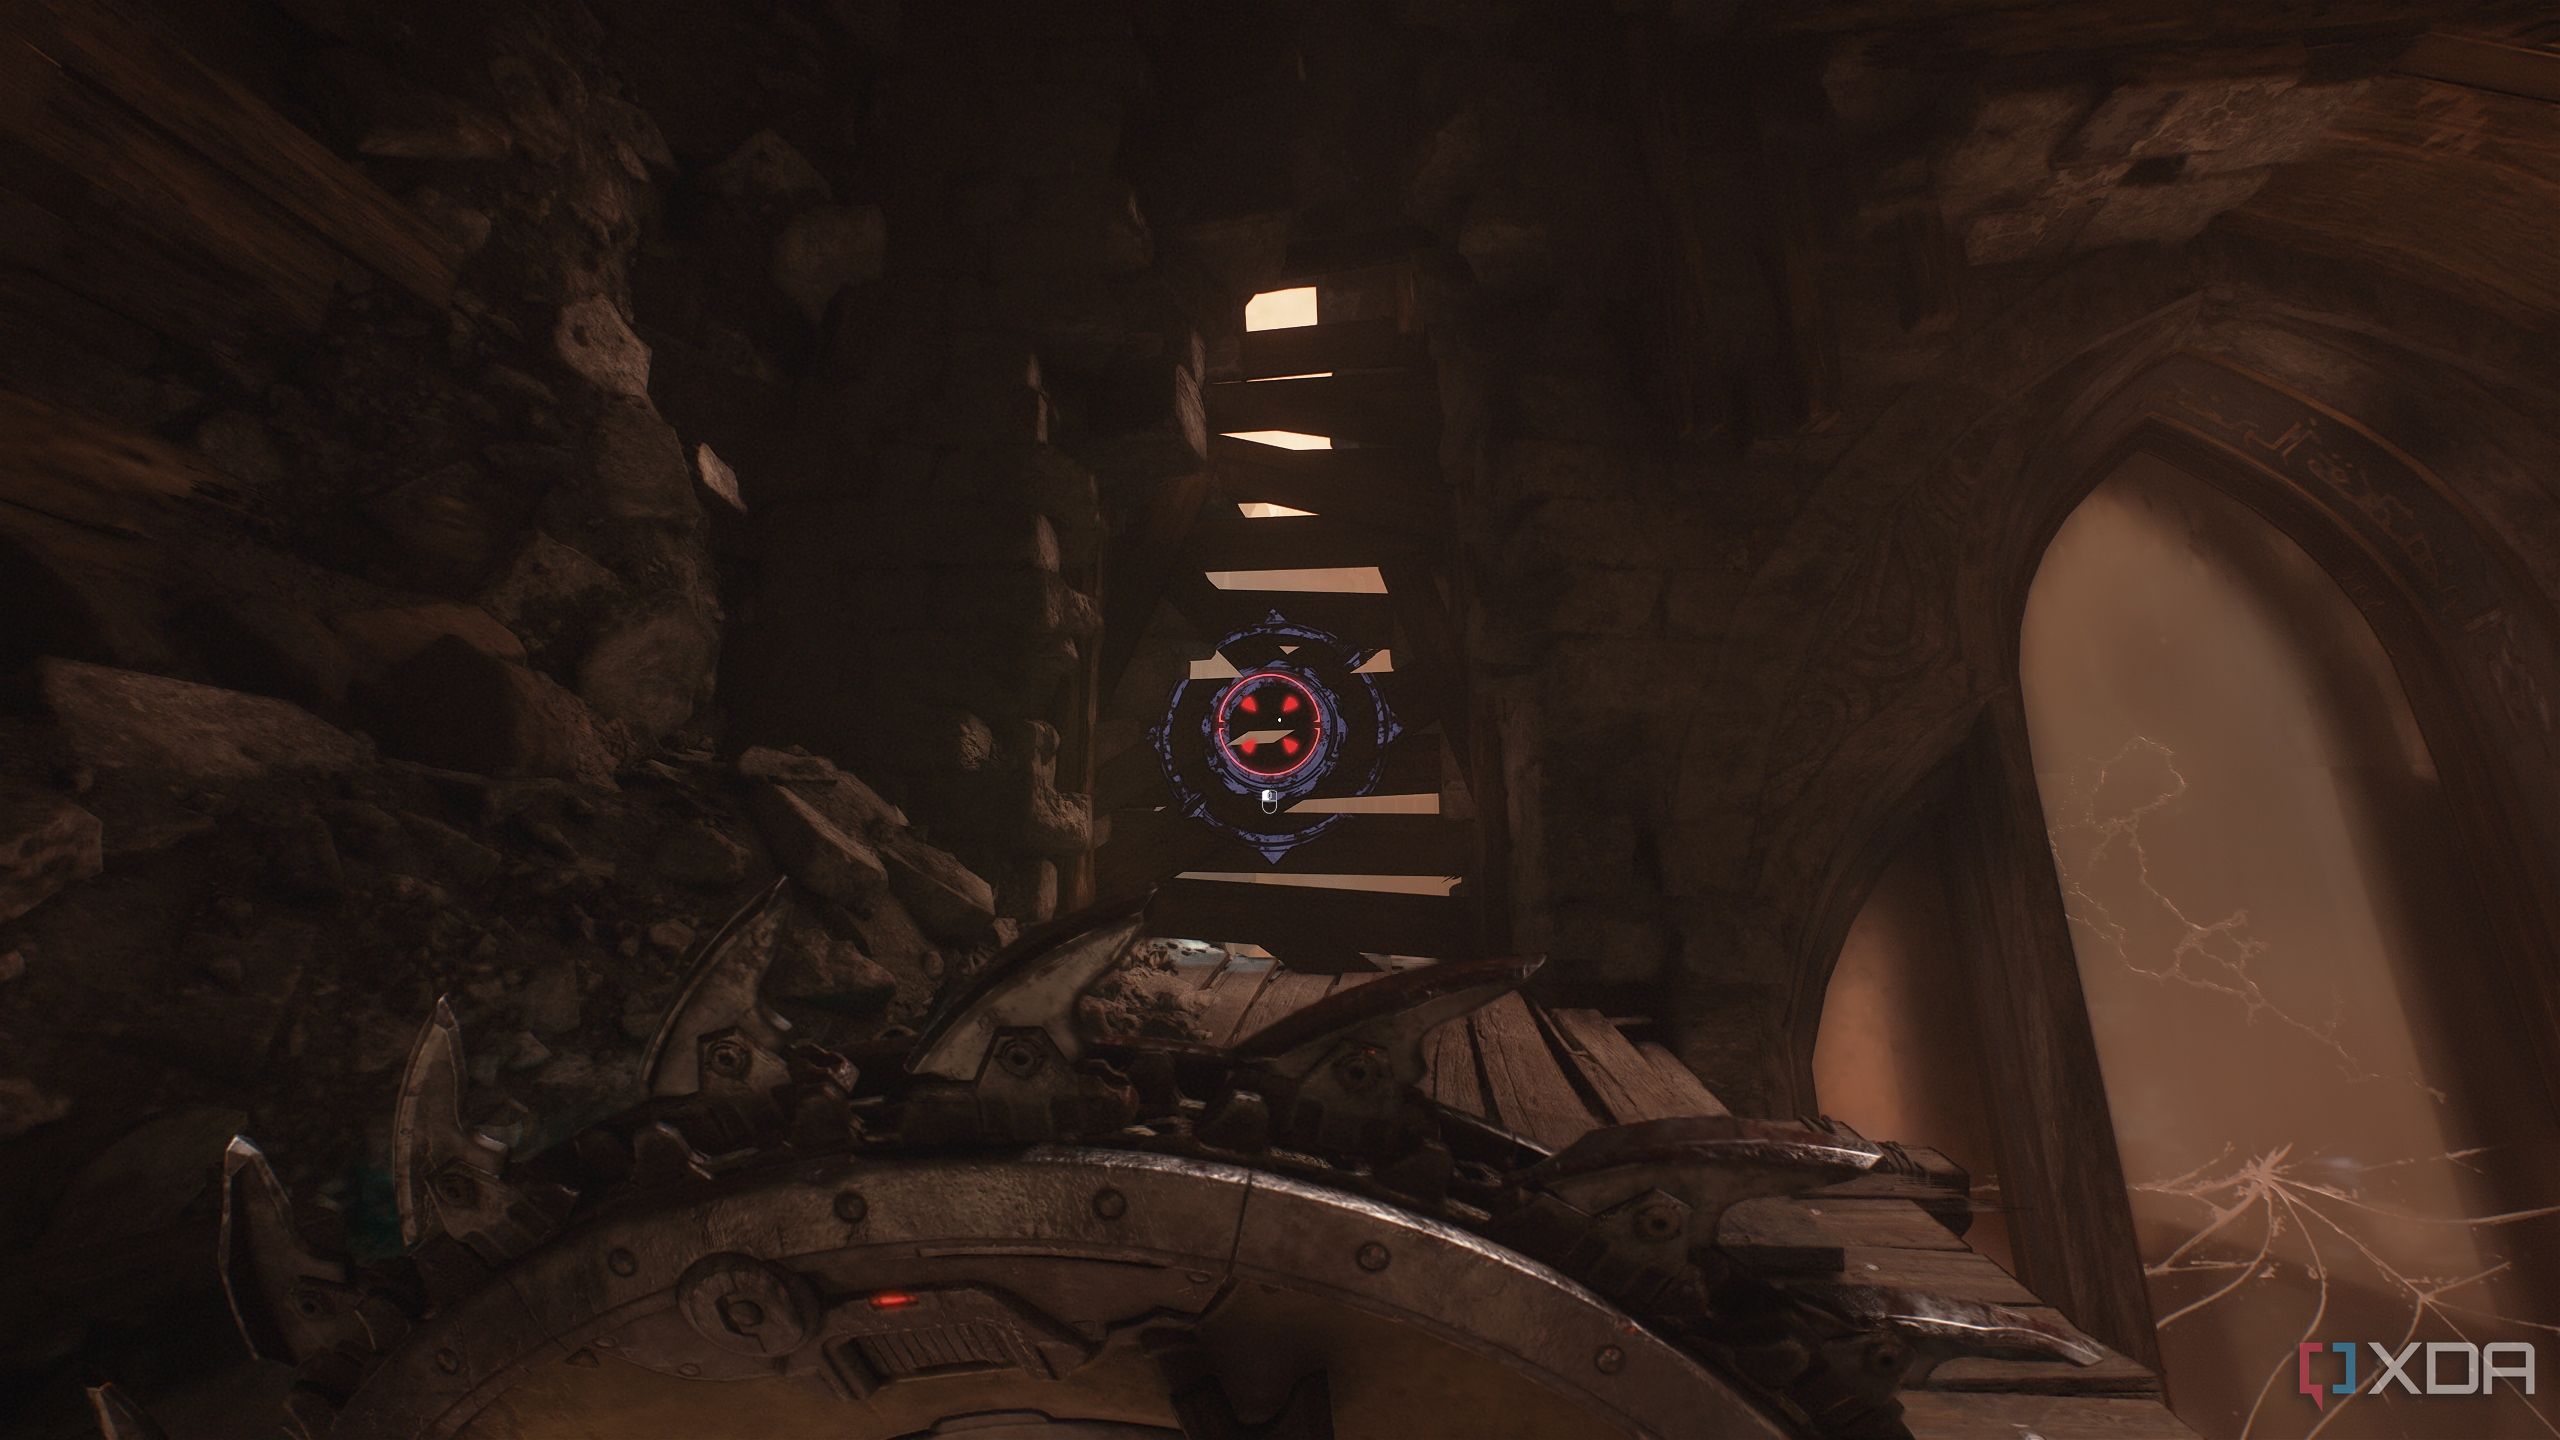
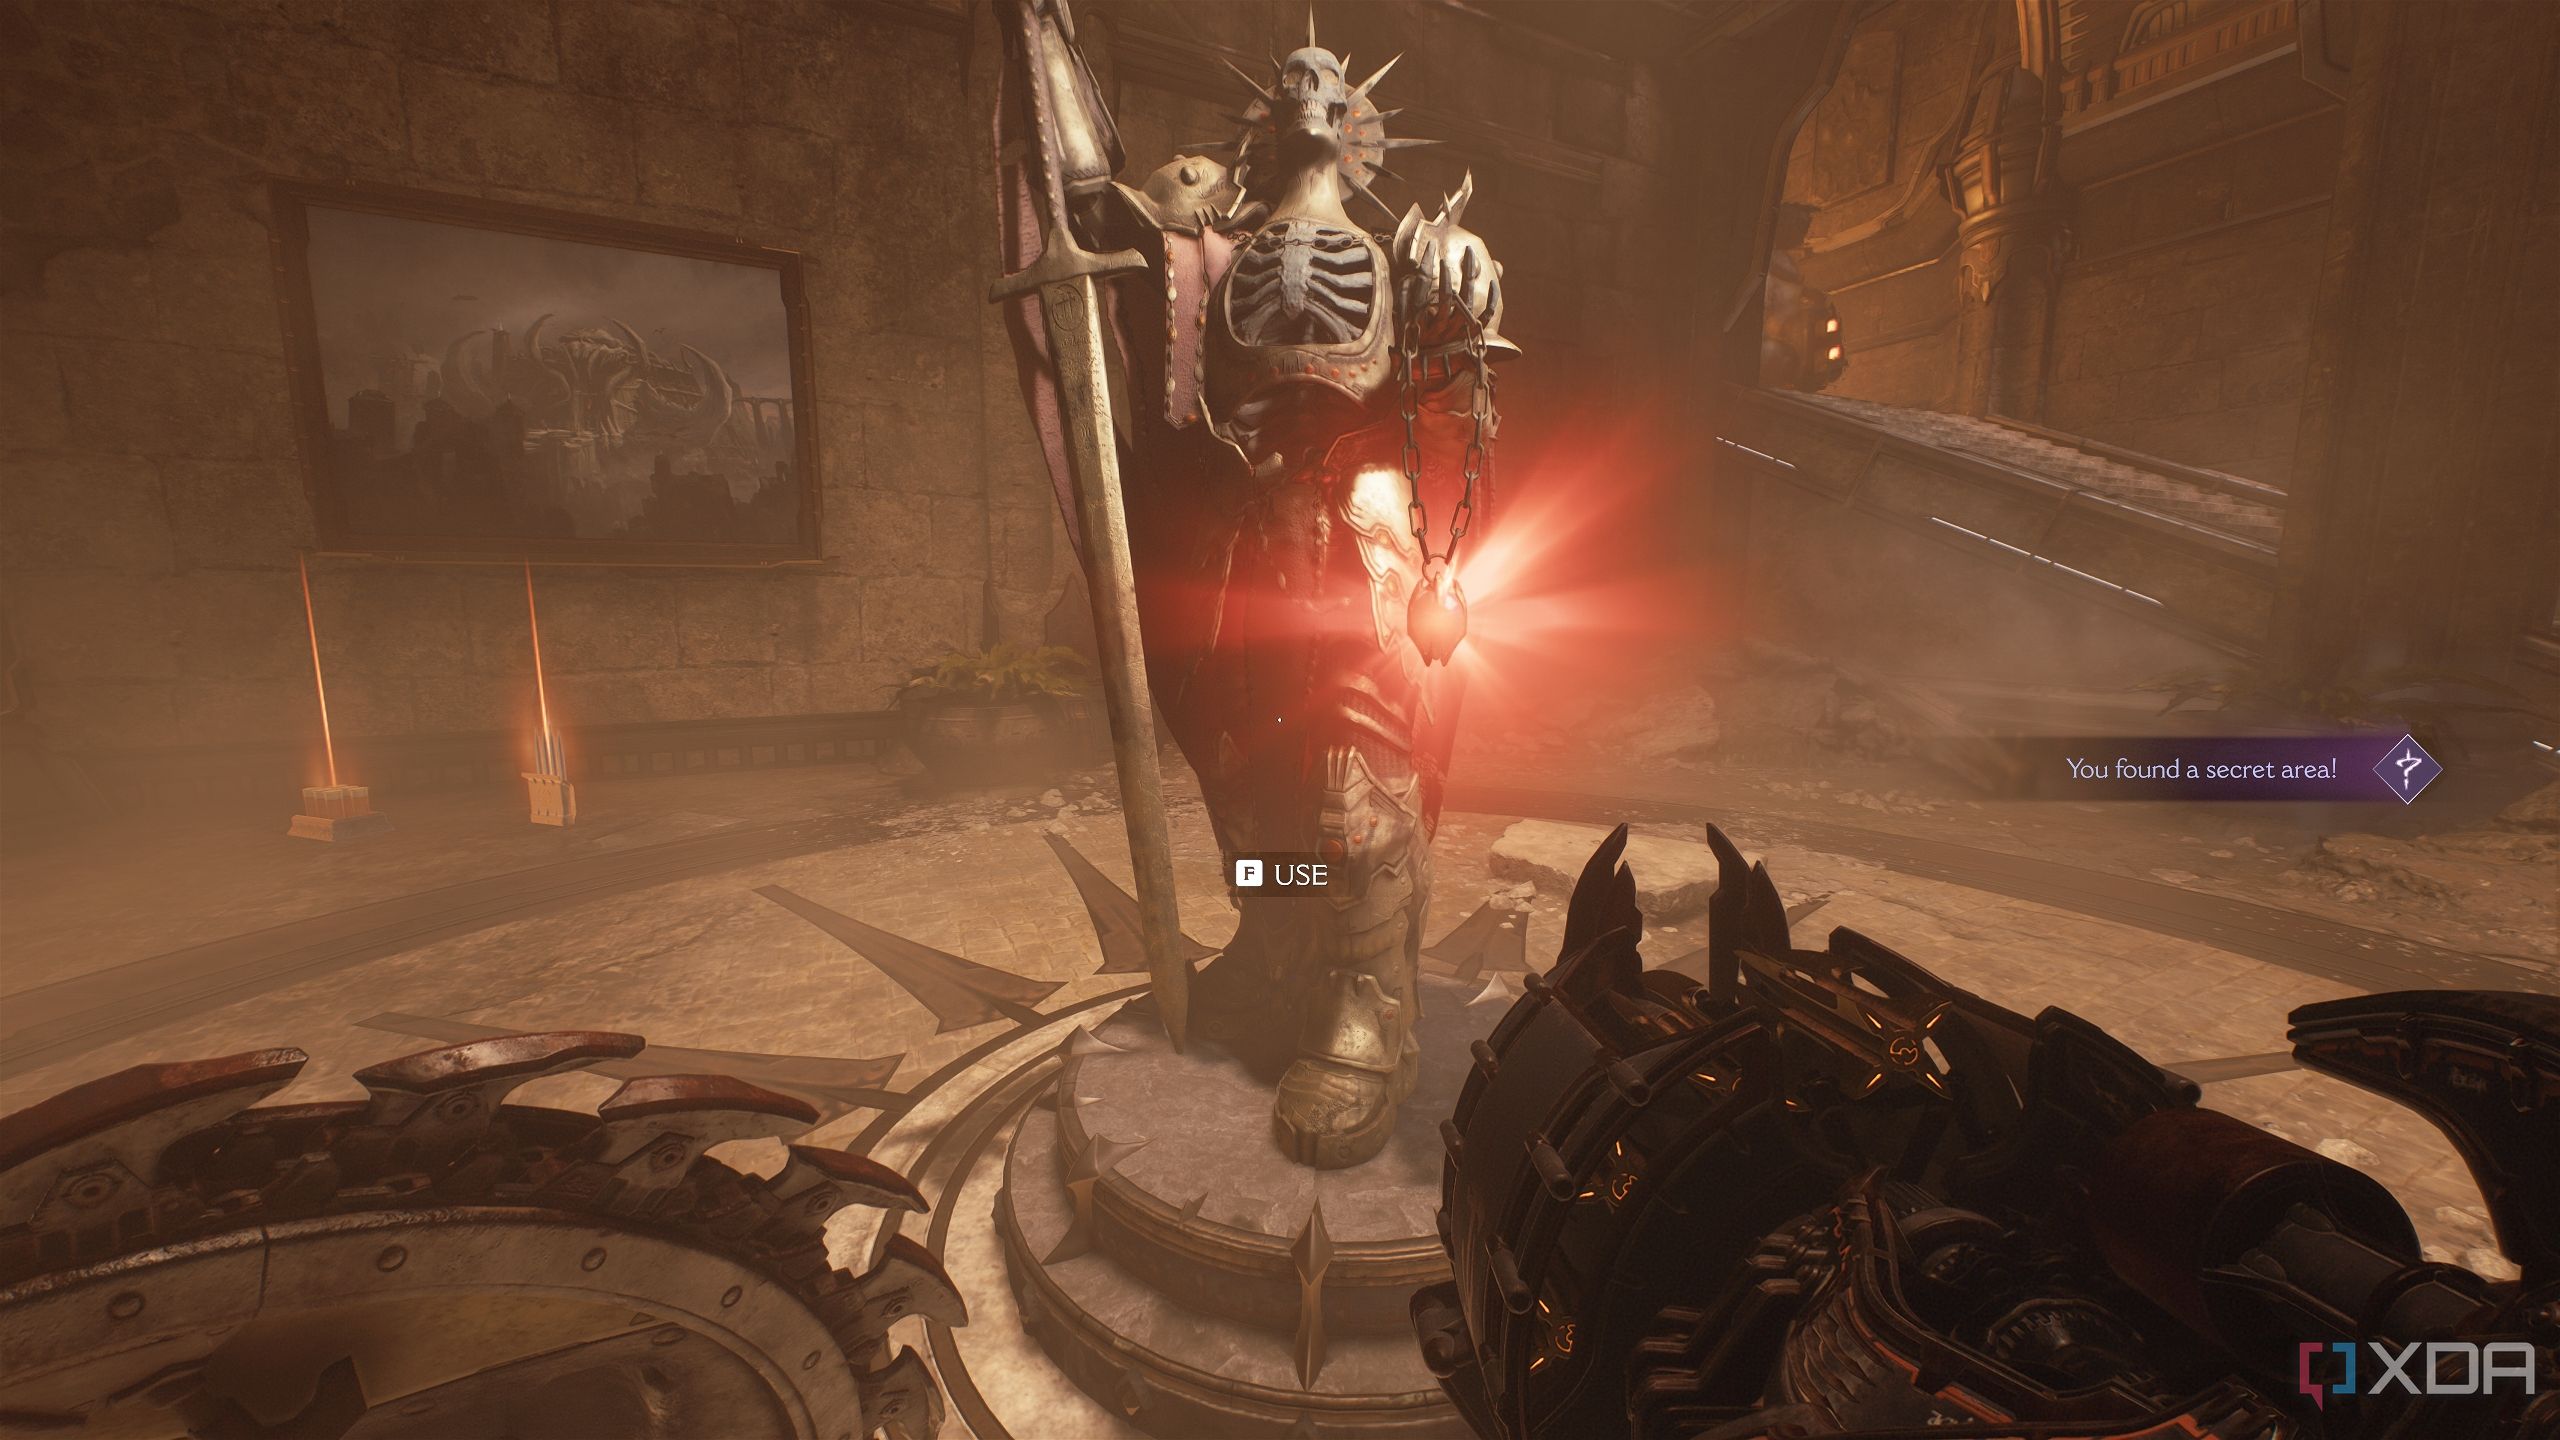
You'll reach an outer platform overlooking the King's statue. Follow the path ahead, walking atop the fallen tower, and climb up the scramble wall at the end.
You'll unlock secret area 3 and collect plenty of gold bars lined up on stairs heading up.
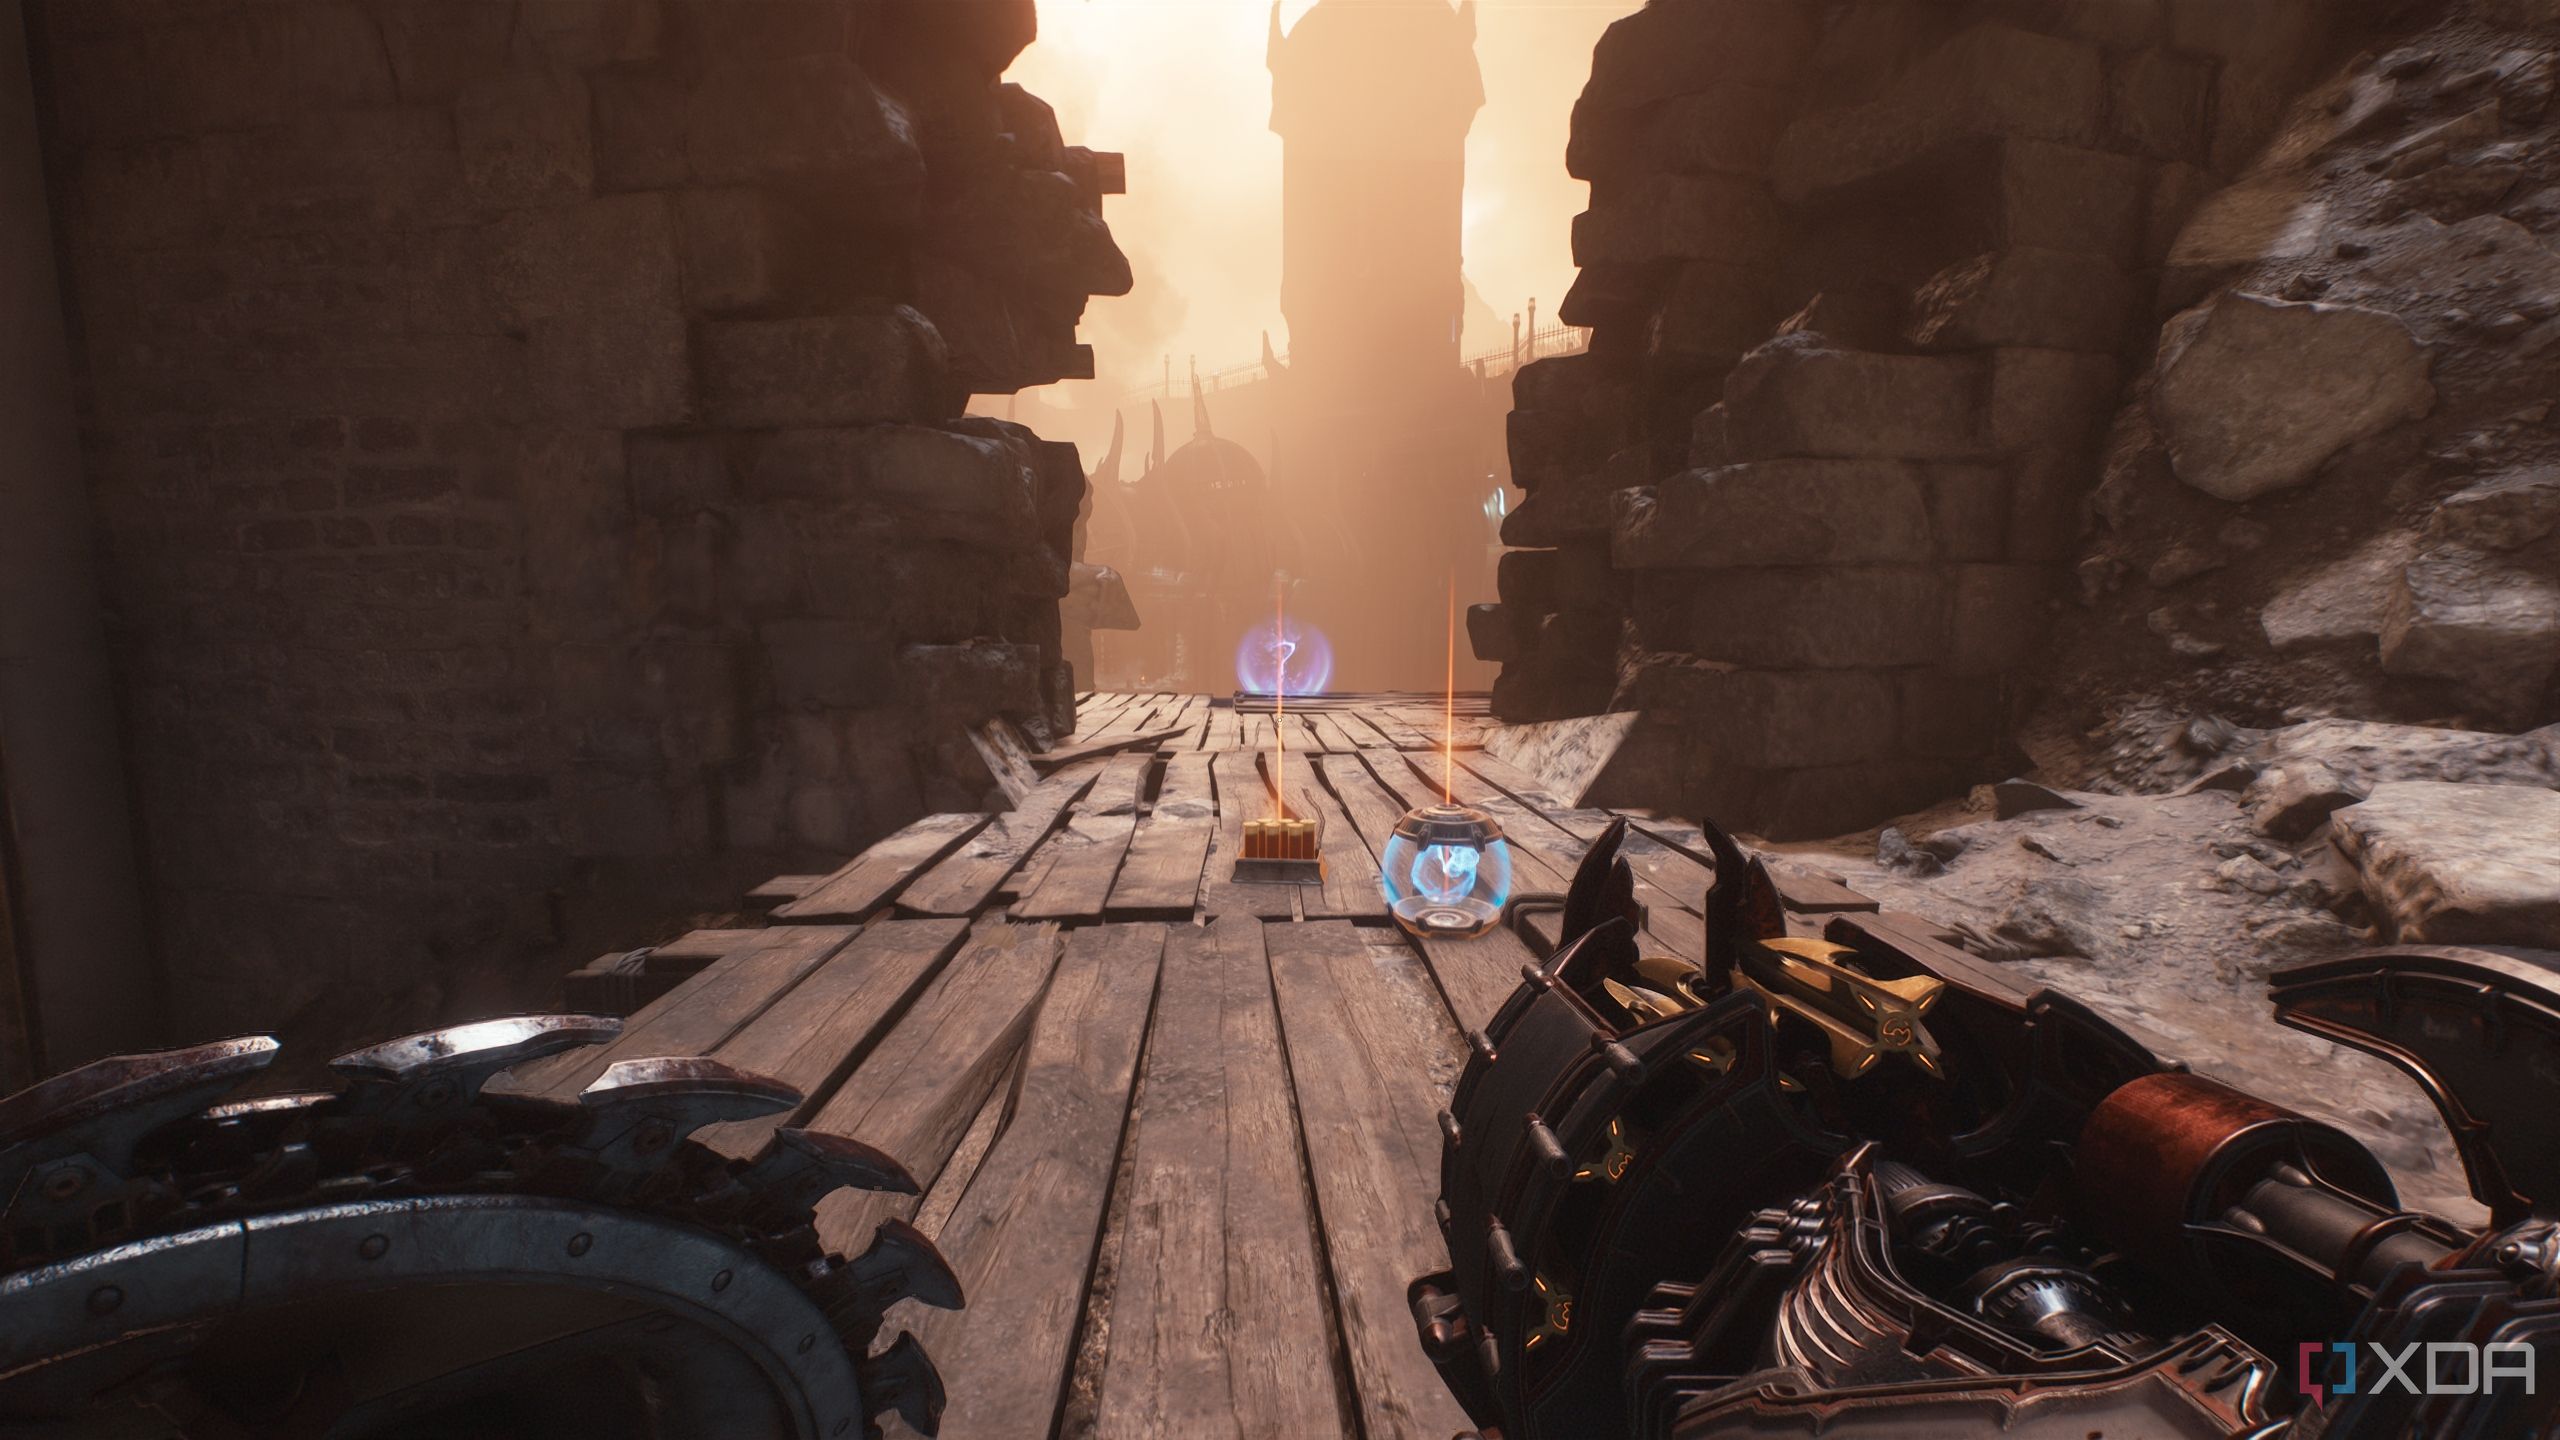
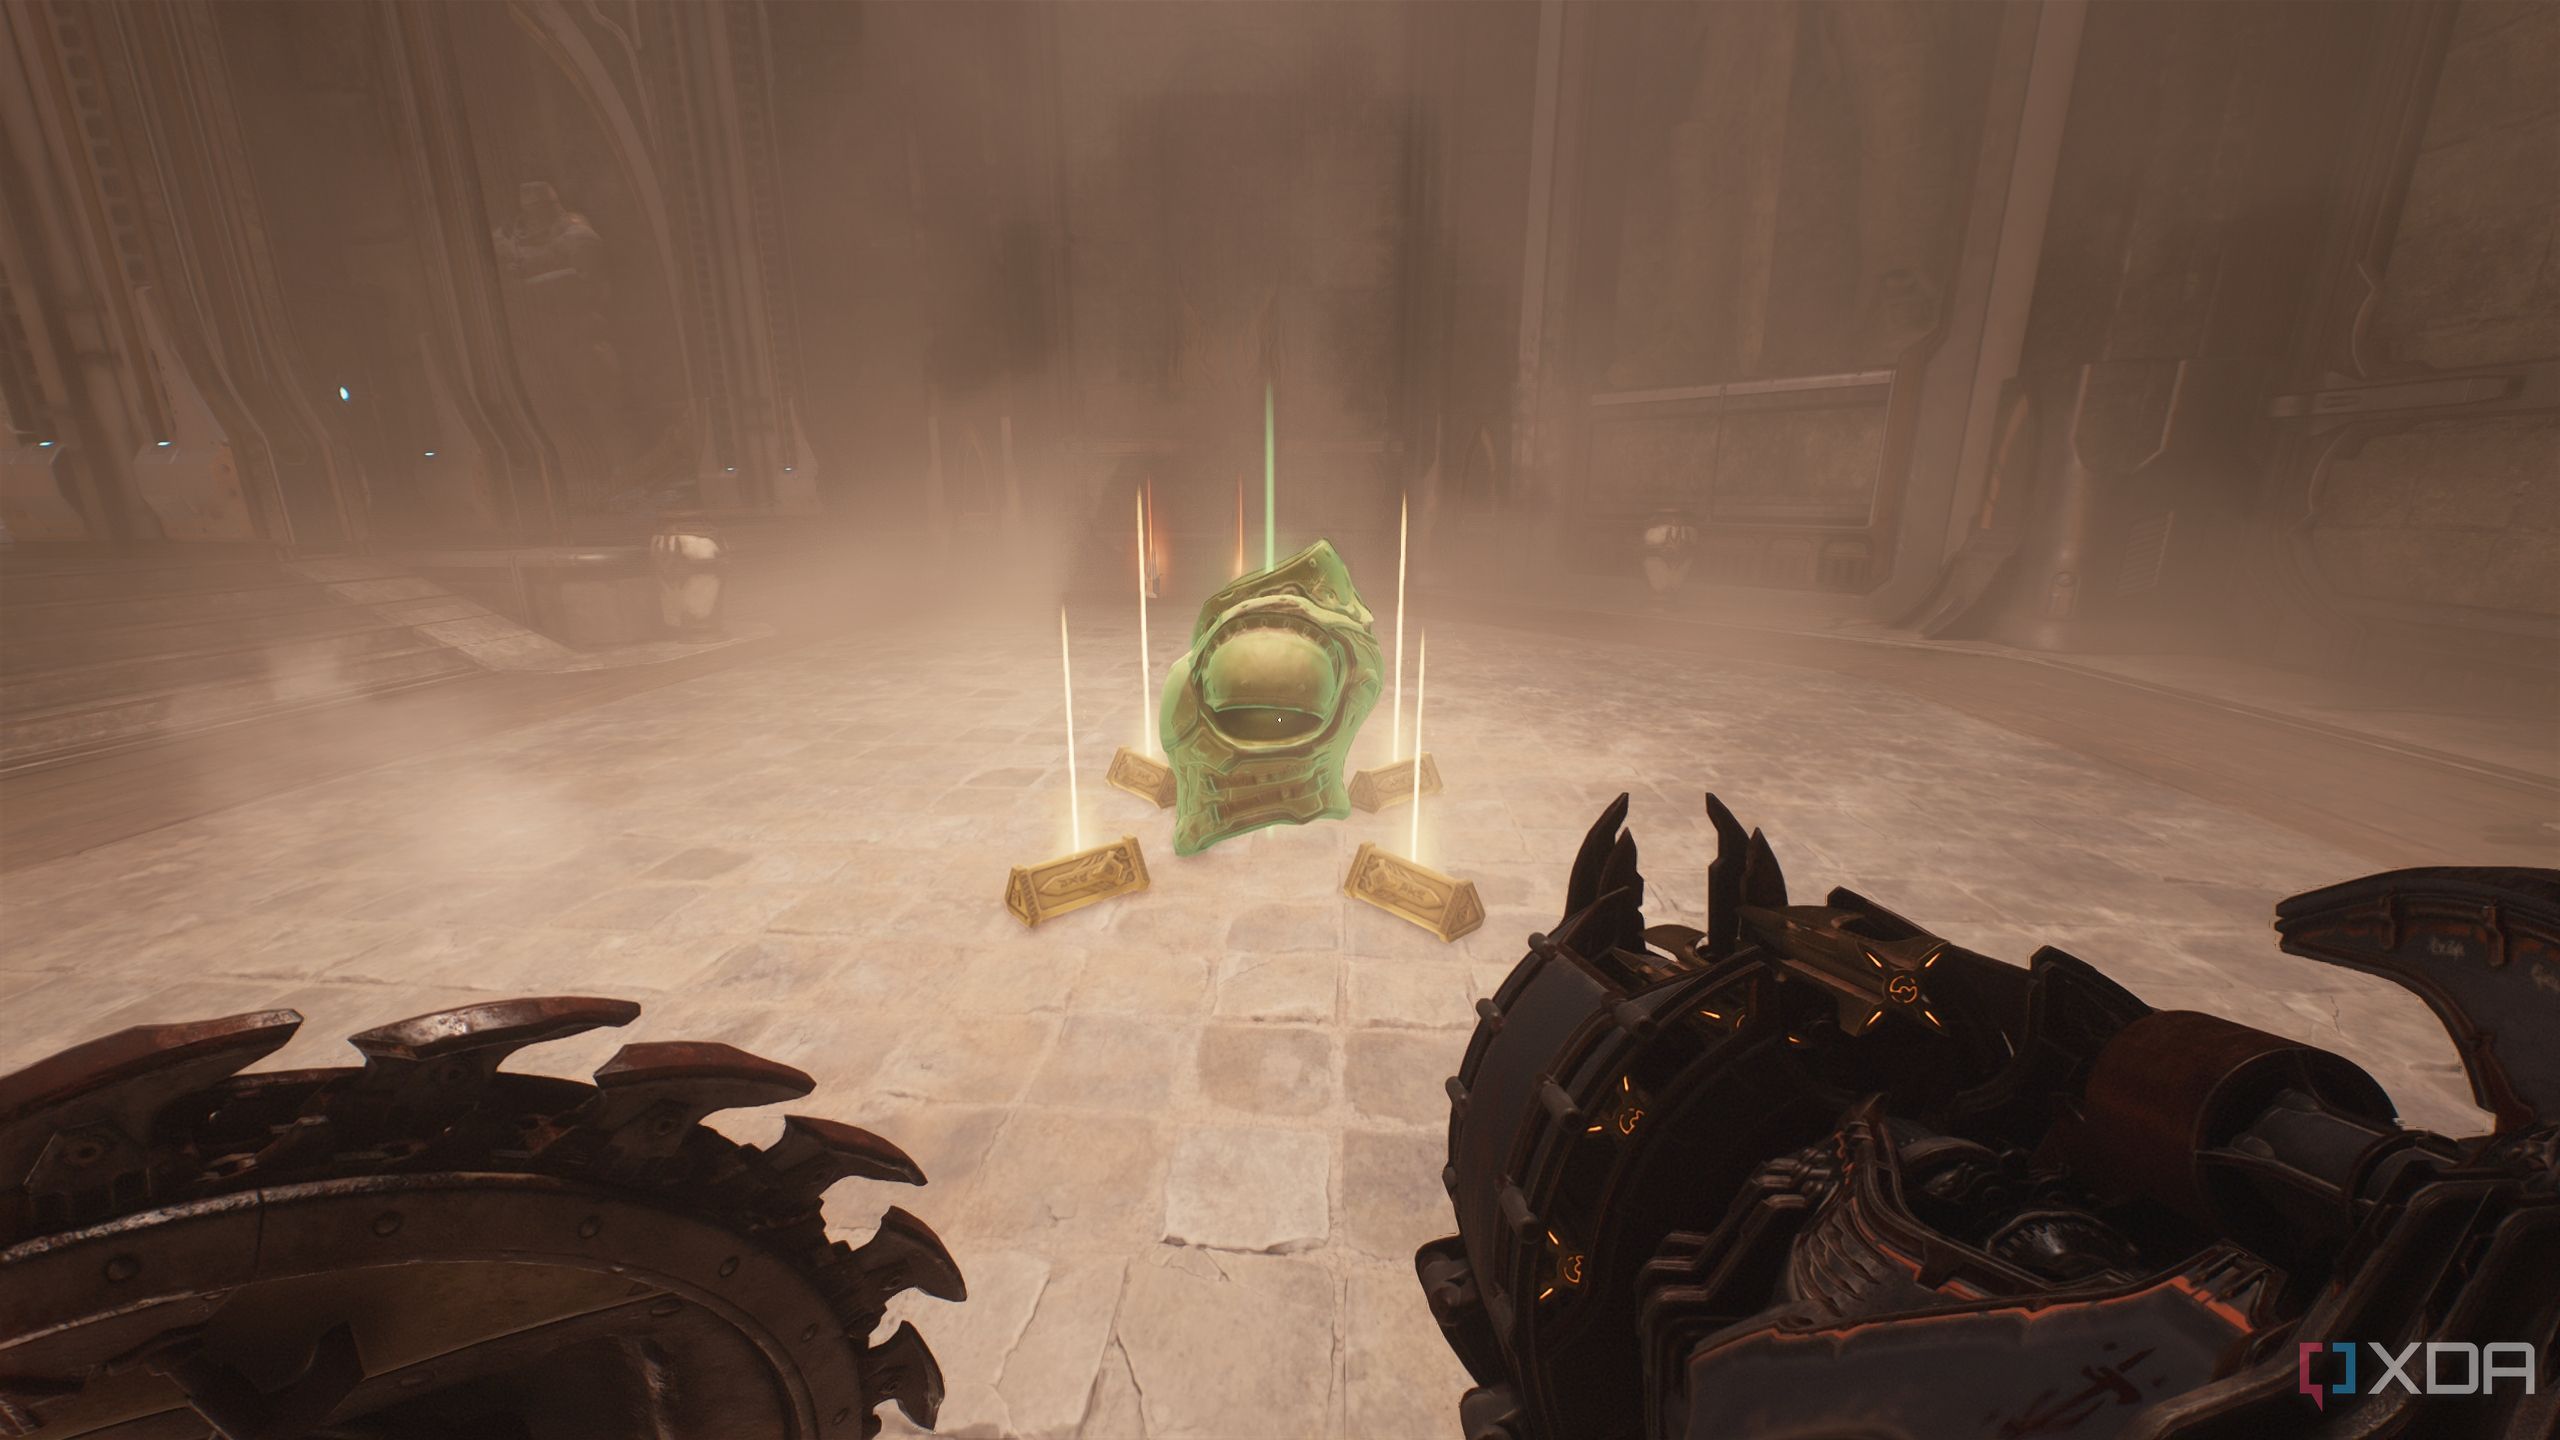
Walking upstairs, look to the left to find a small ledge with a secret collectible.
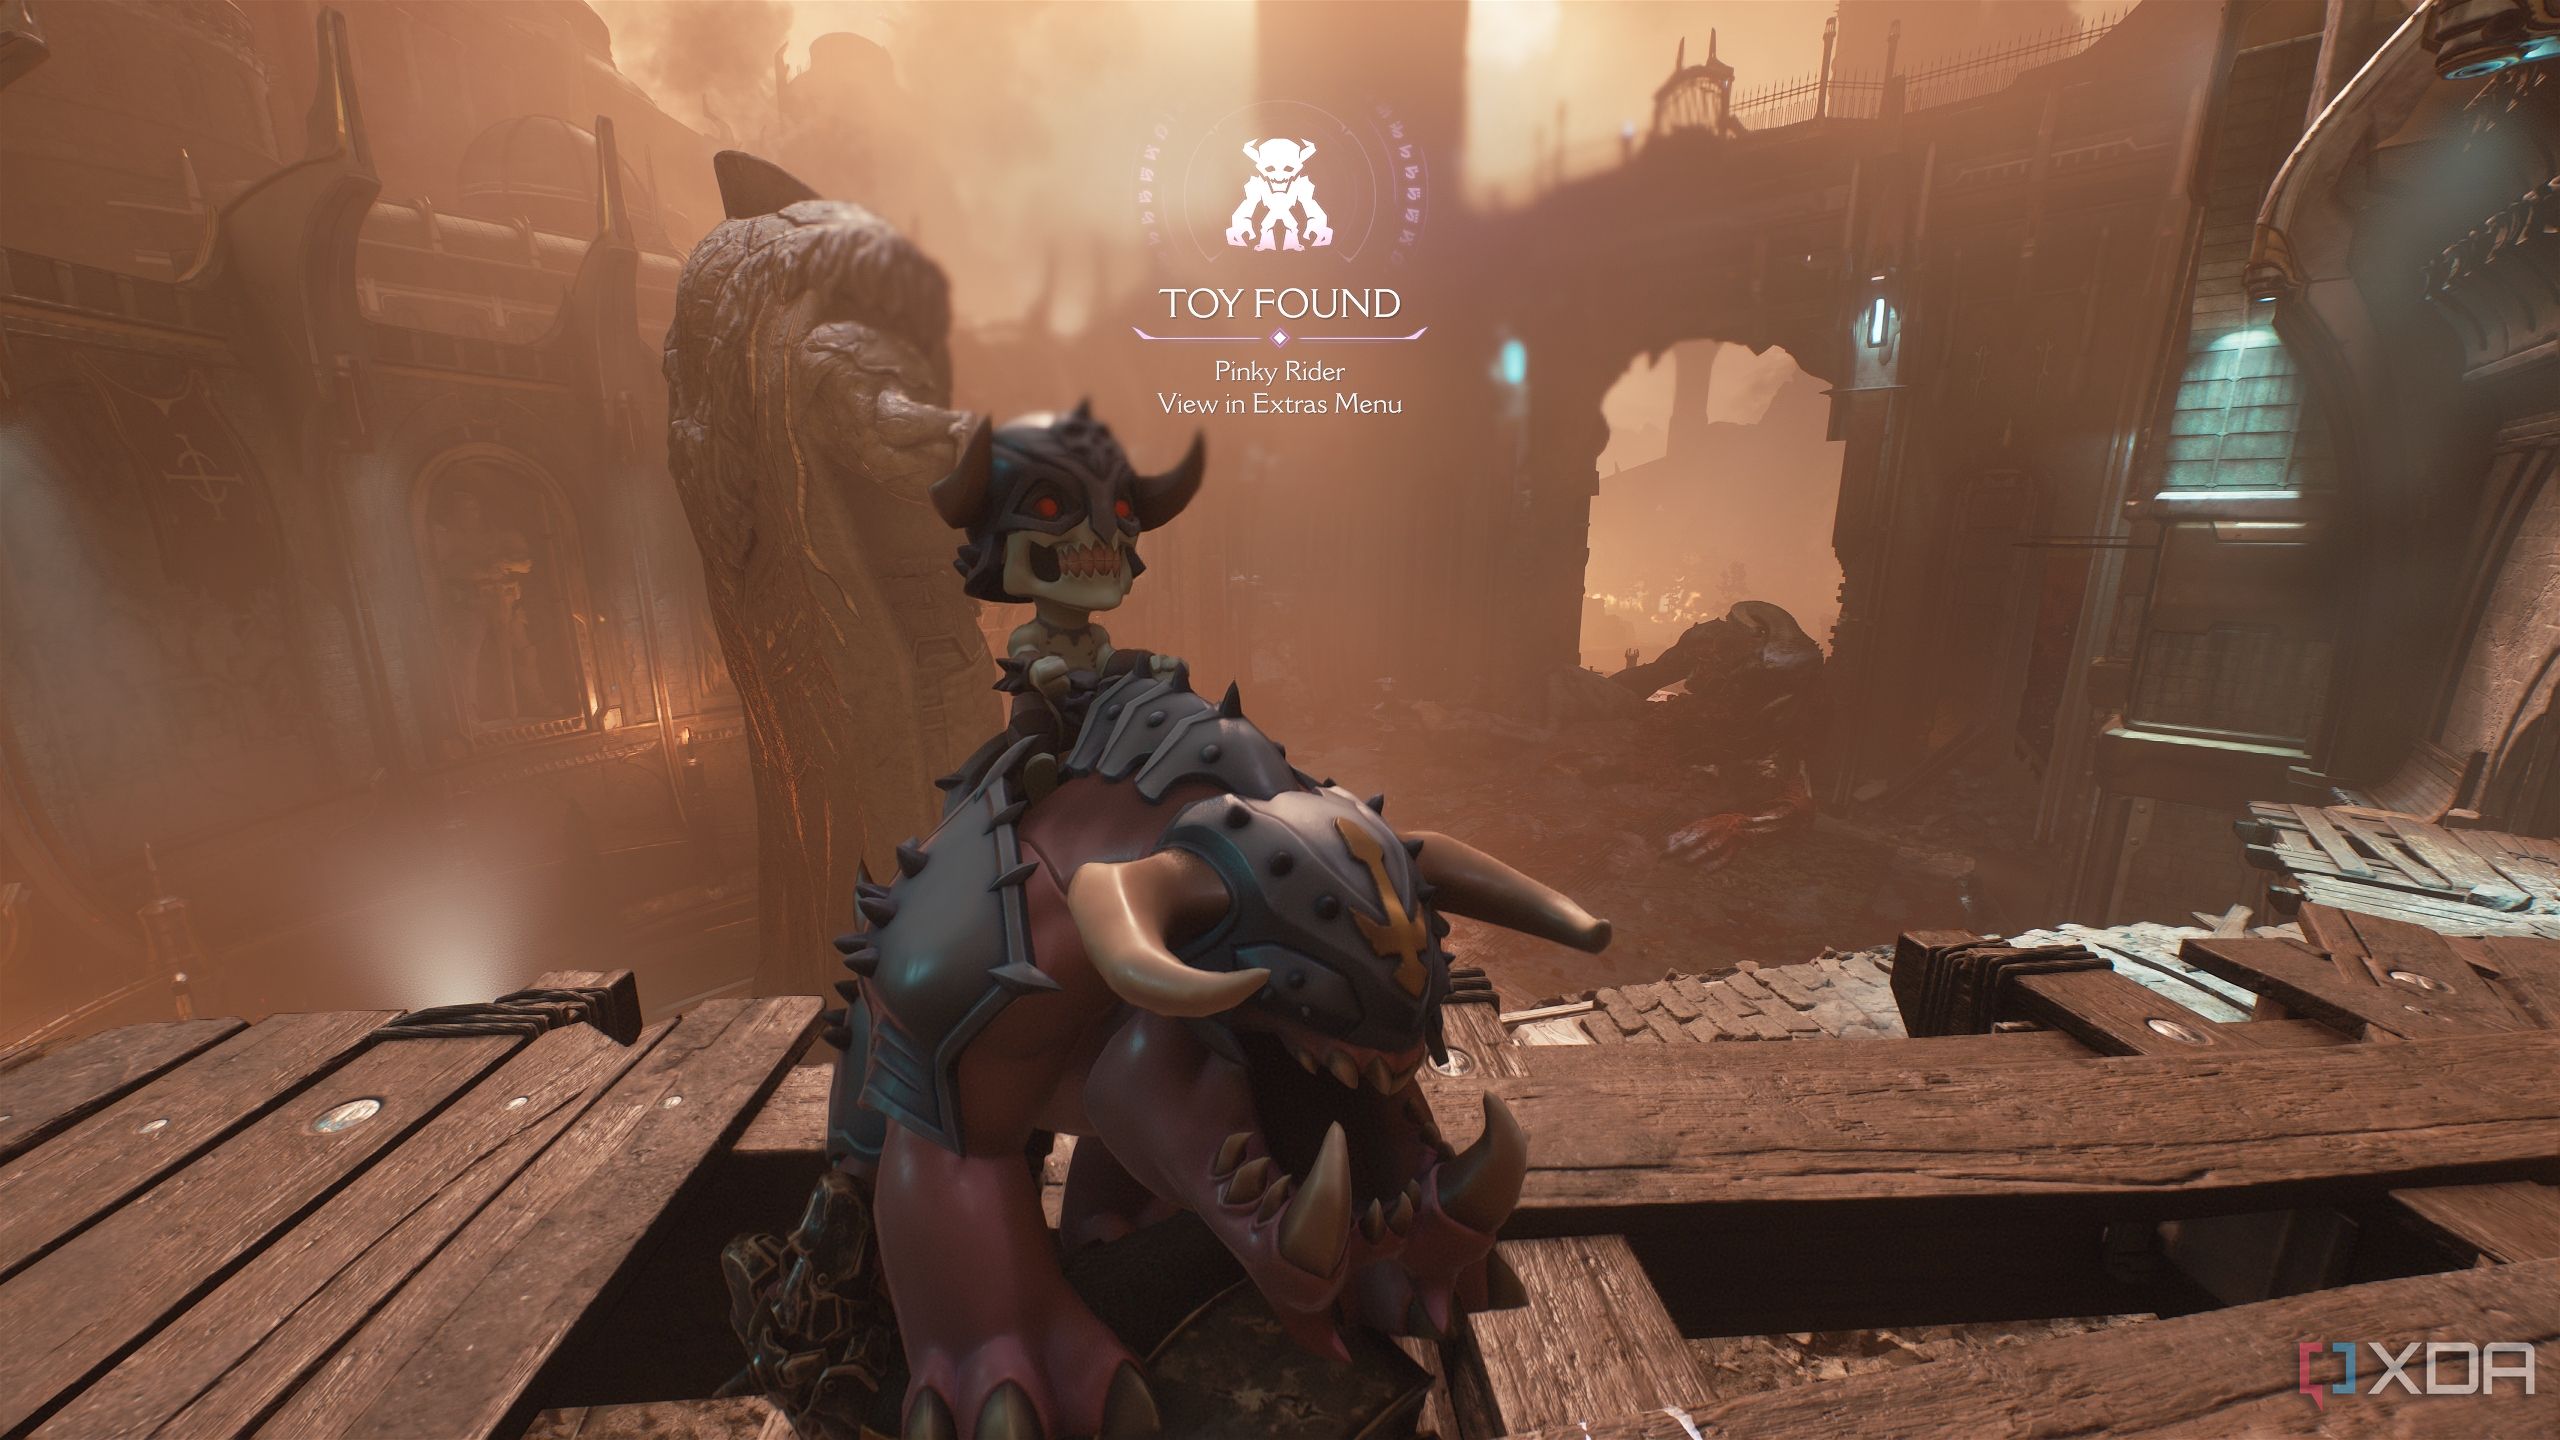
Walk up to it to collect the Pinky Rider toy collectible, and head back to the main path.
Secret area 4 and a Life Sigil
I only got this on my second playthrough
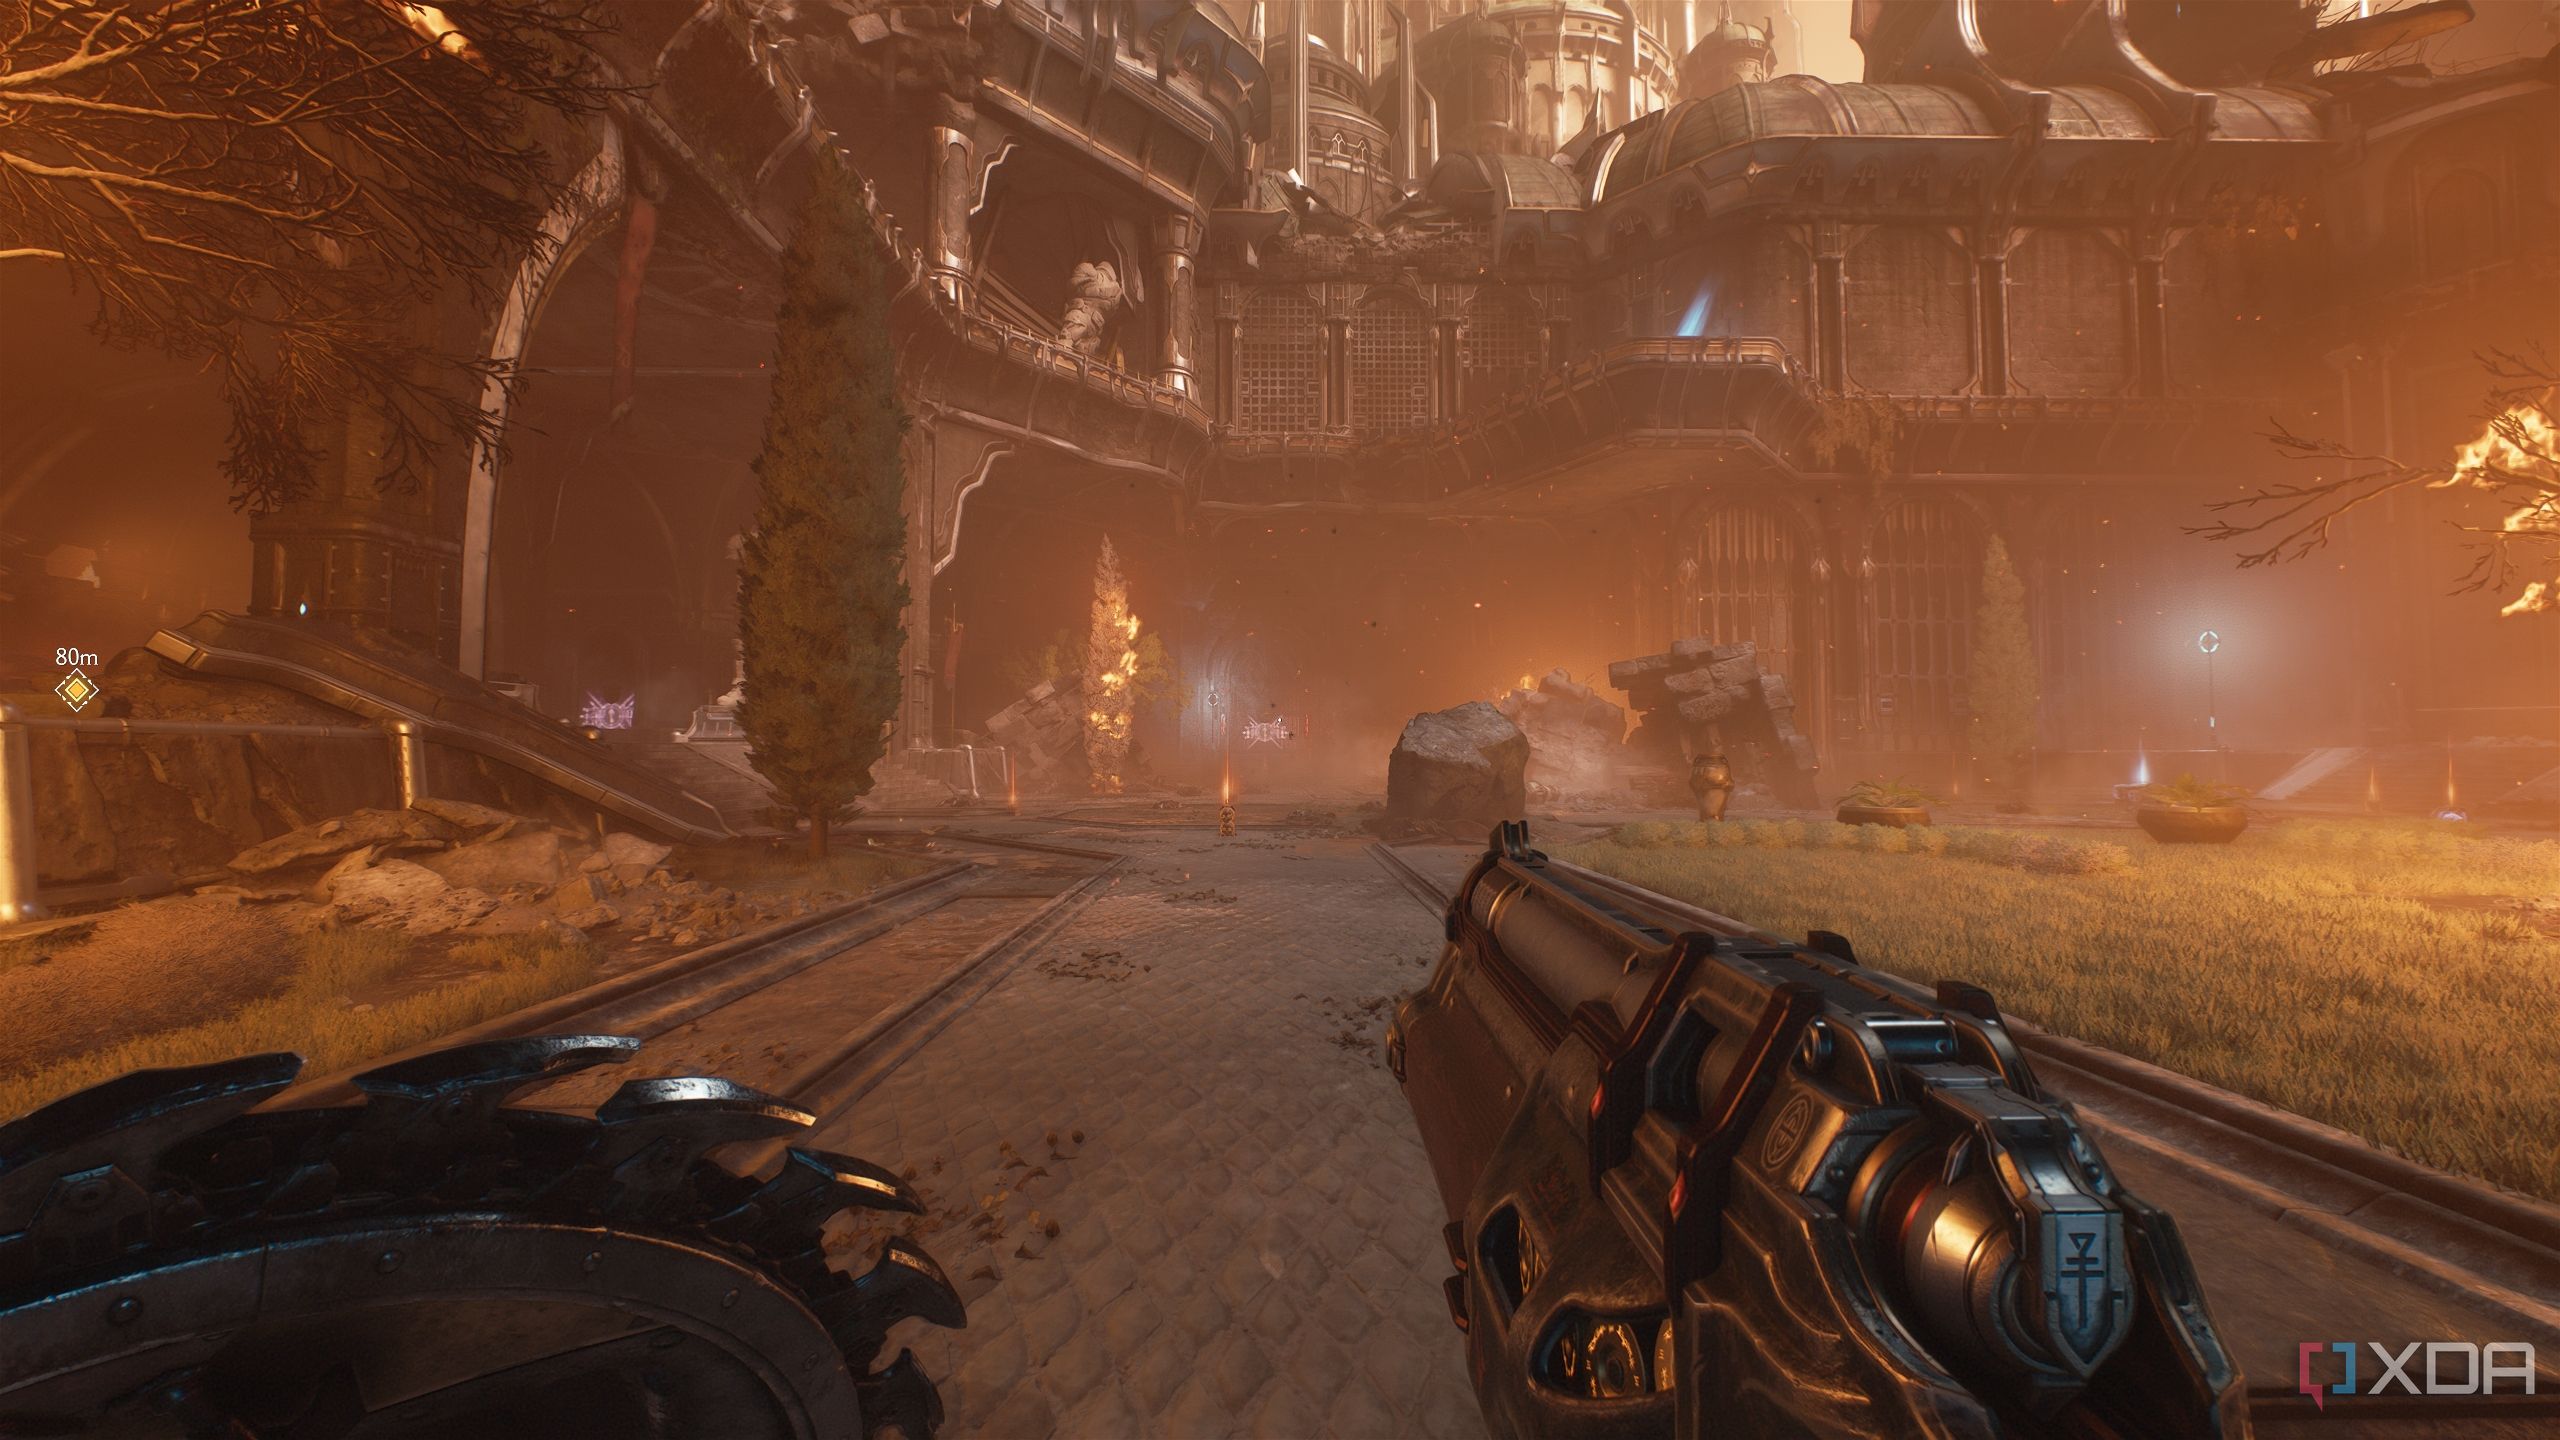
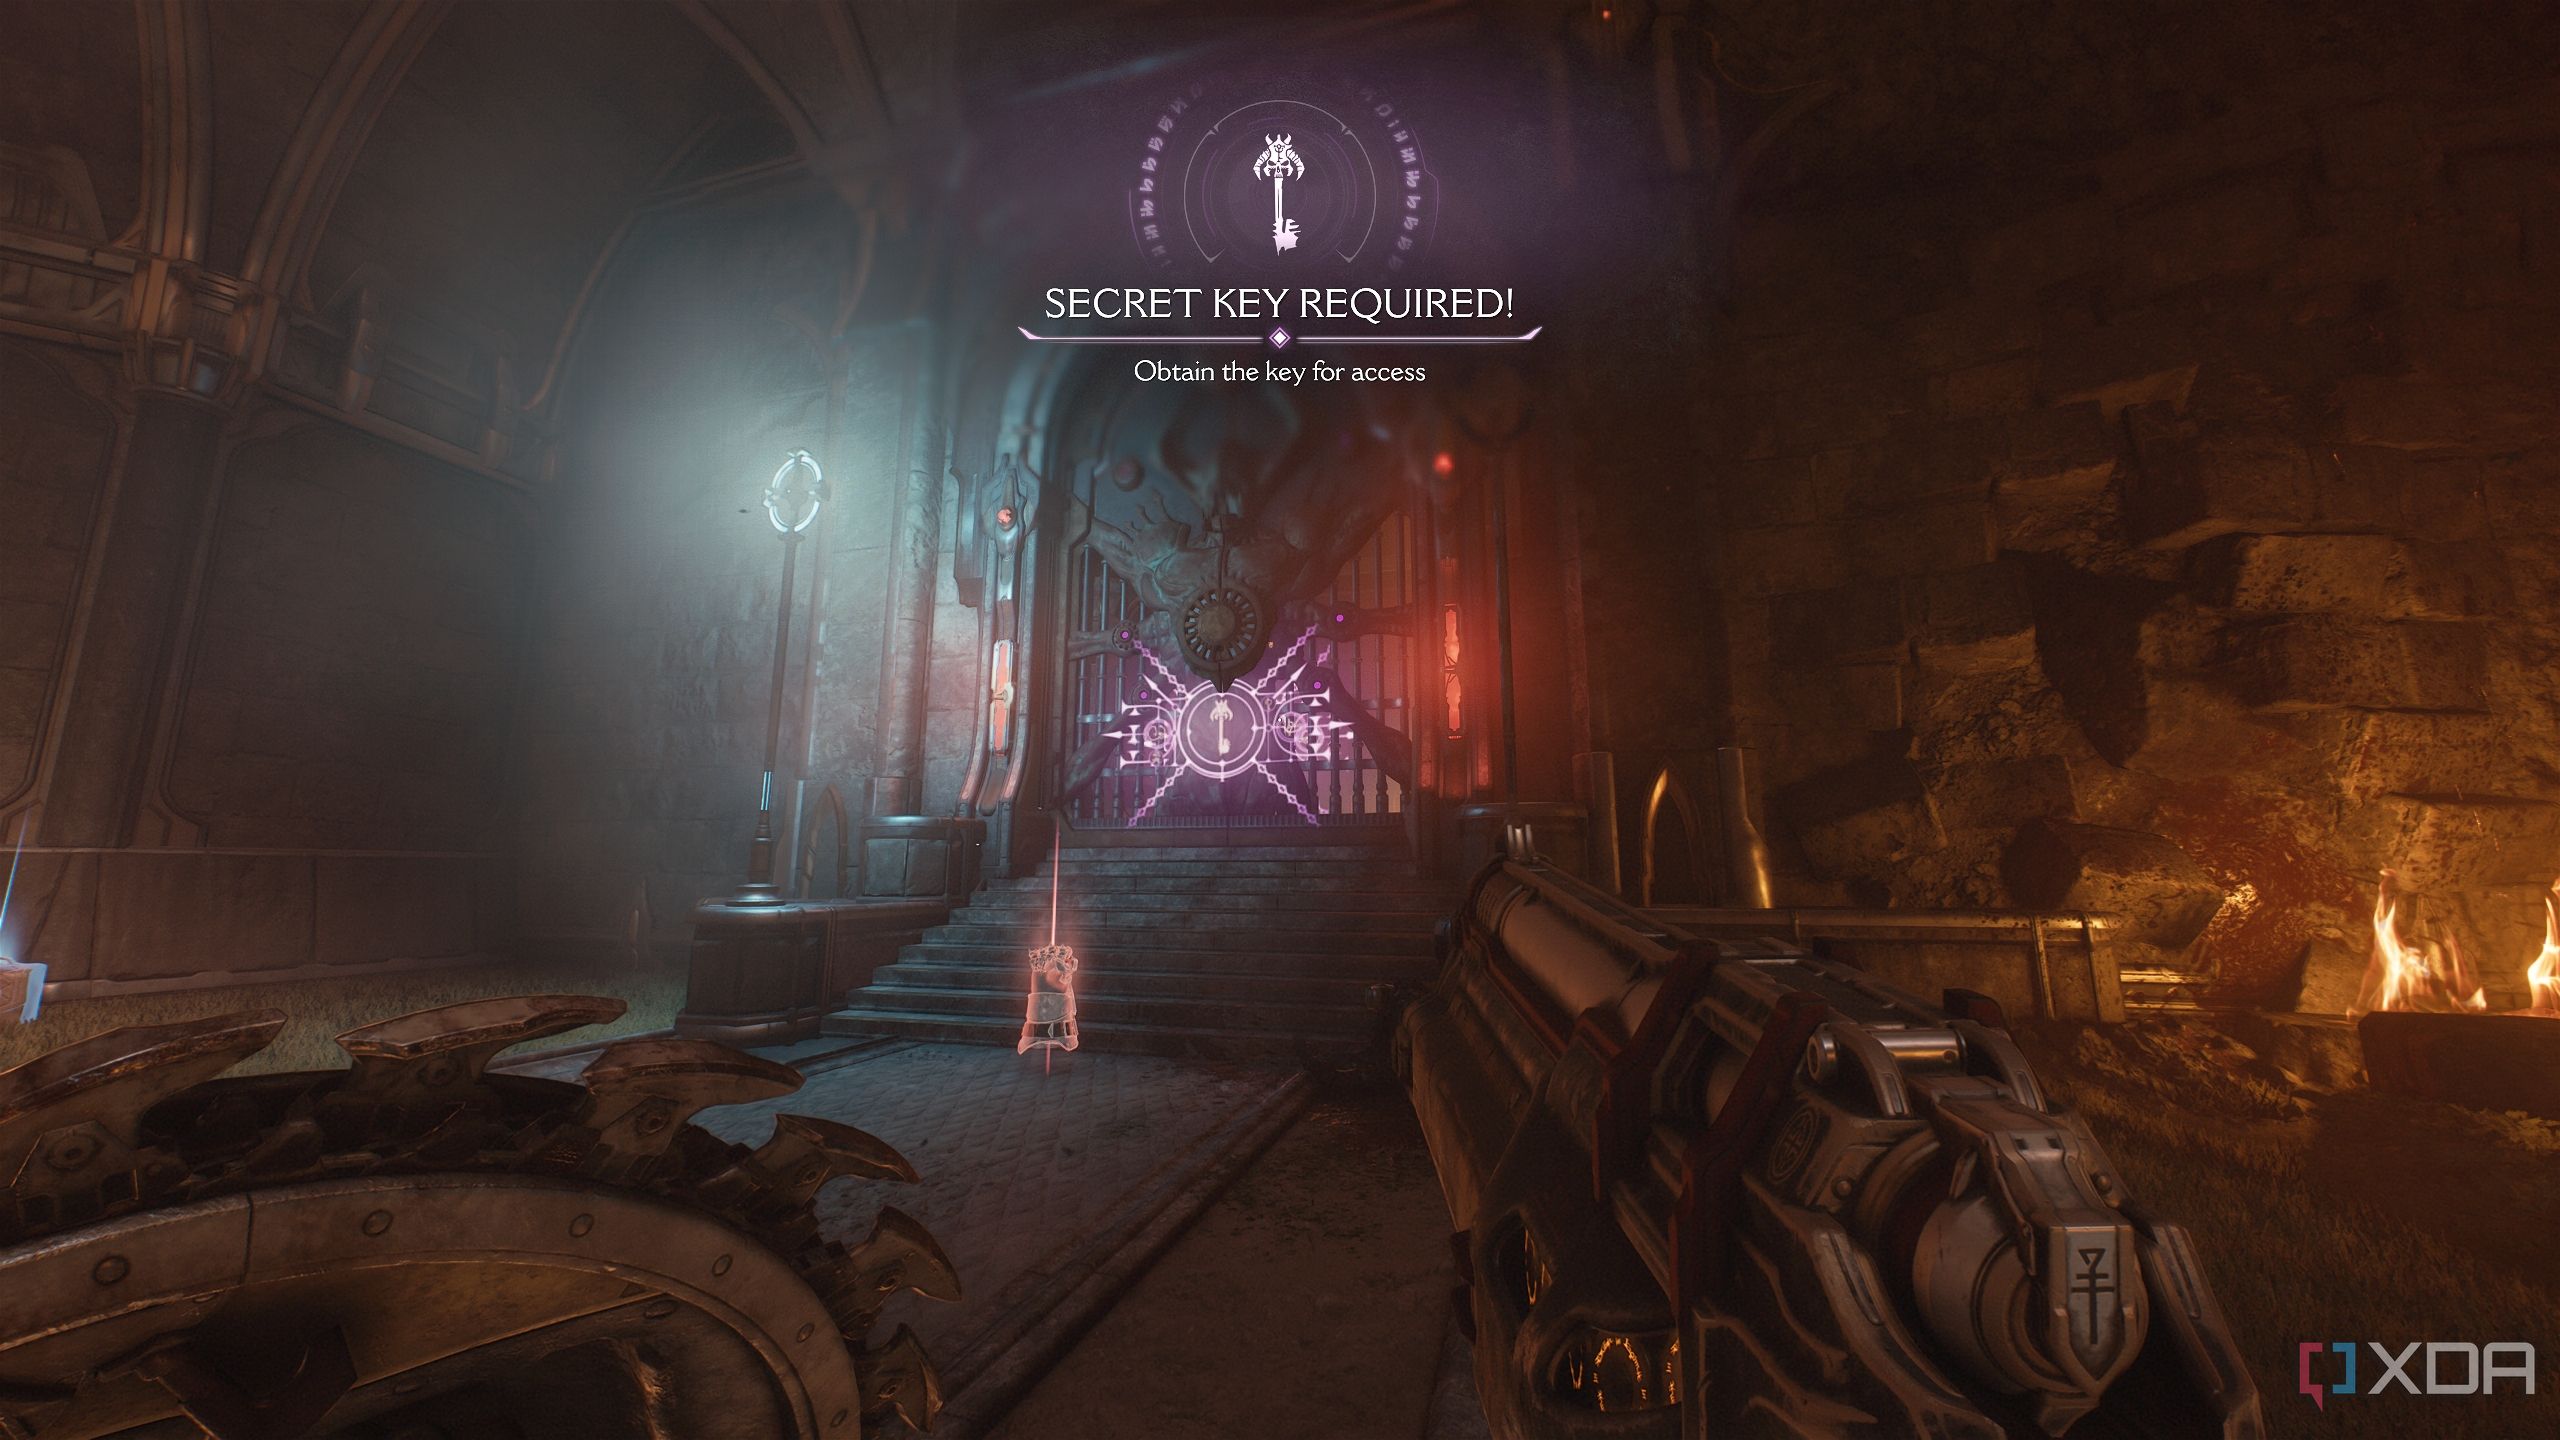
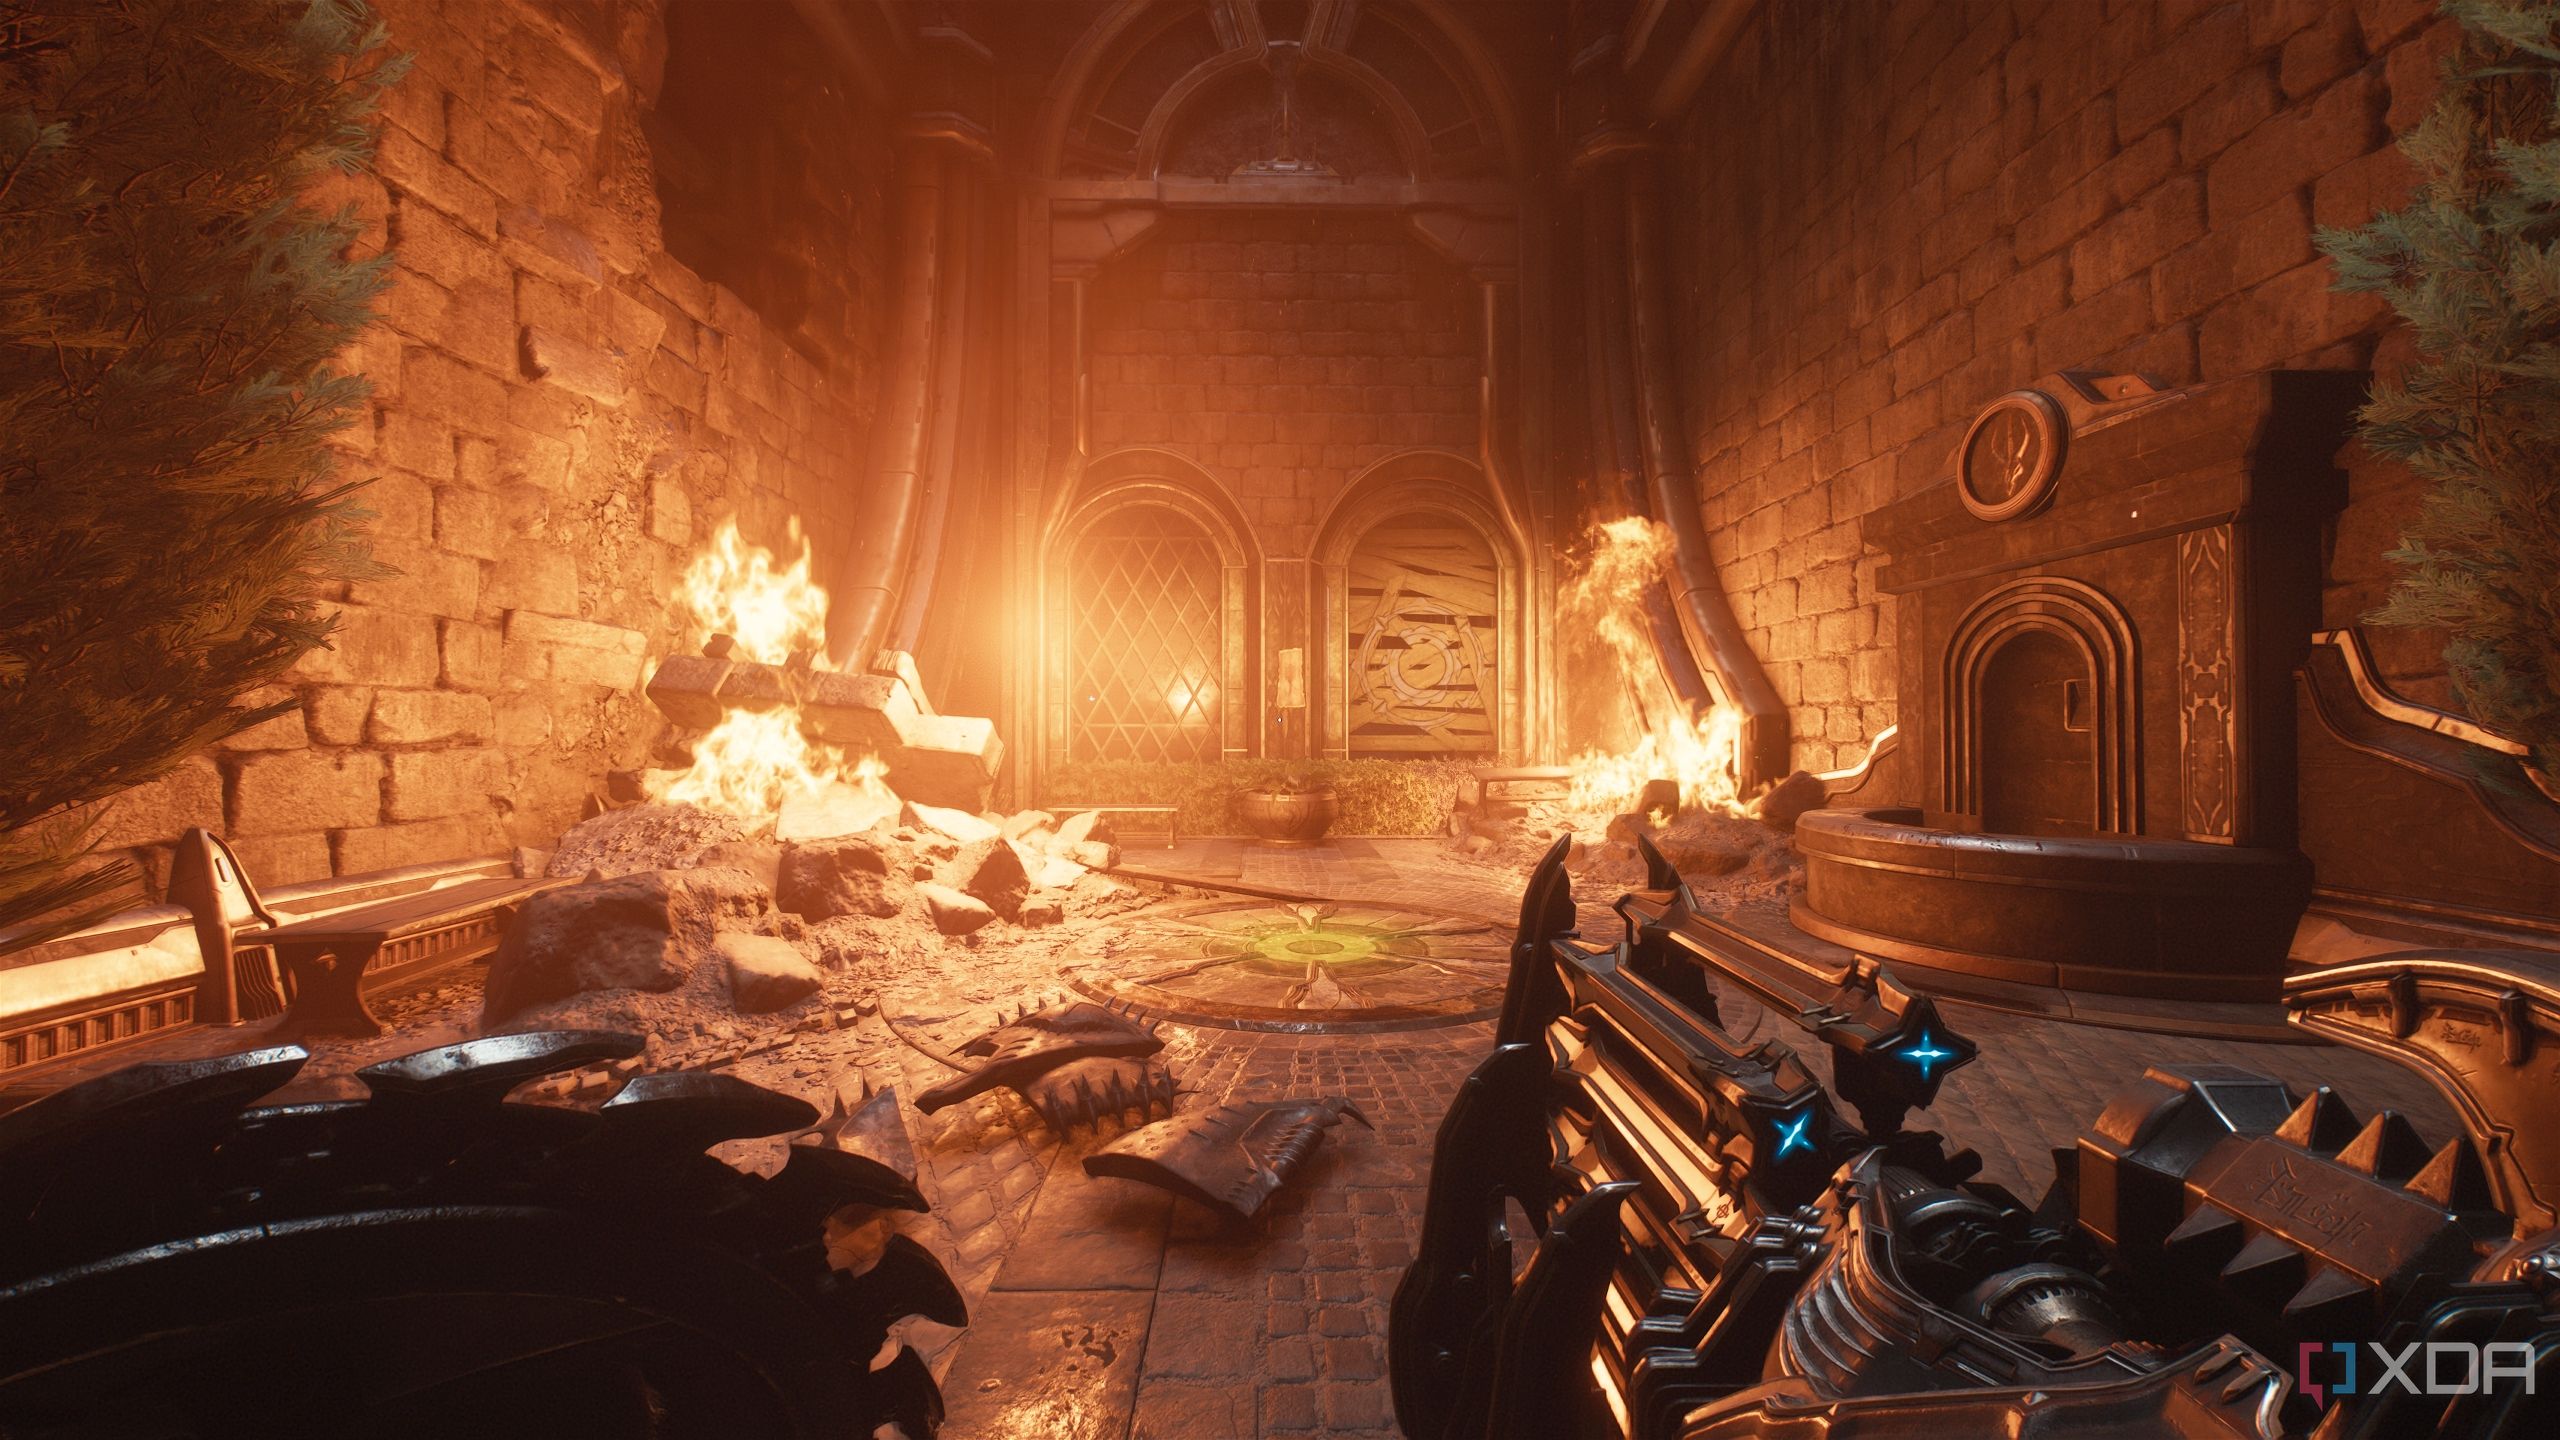
Following the objective, you'll reach a large courtyard for a big encounter with demons. Once the dust is settled, you'll notice plenty of locked rooms with loot around you, and even a color-coded purple lock on a gate nearby.
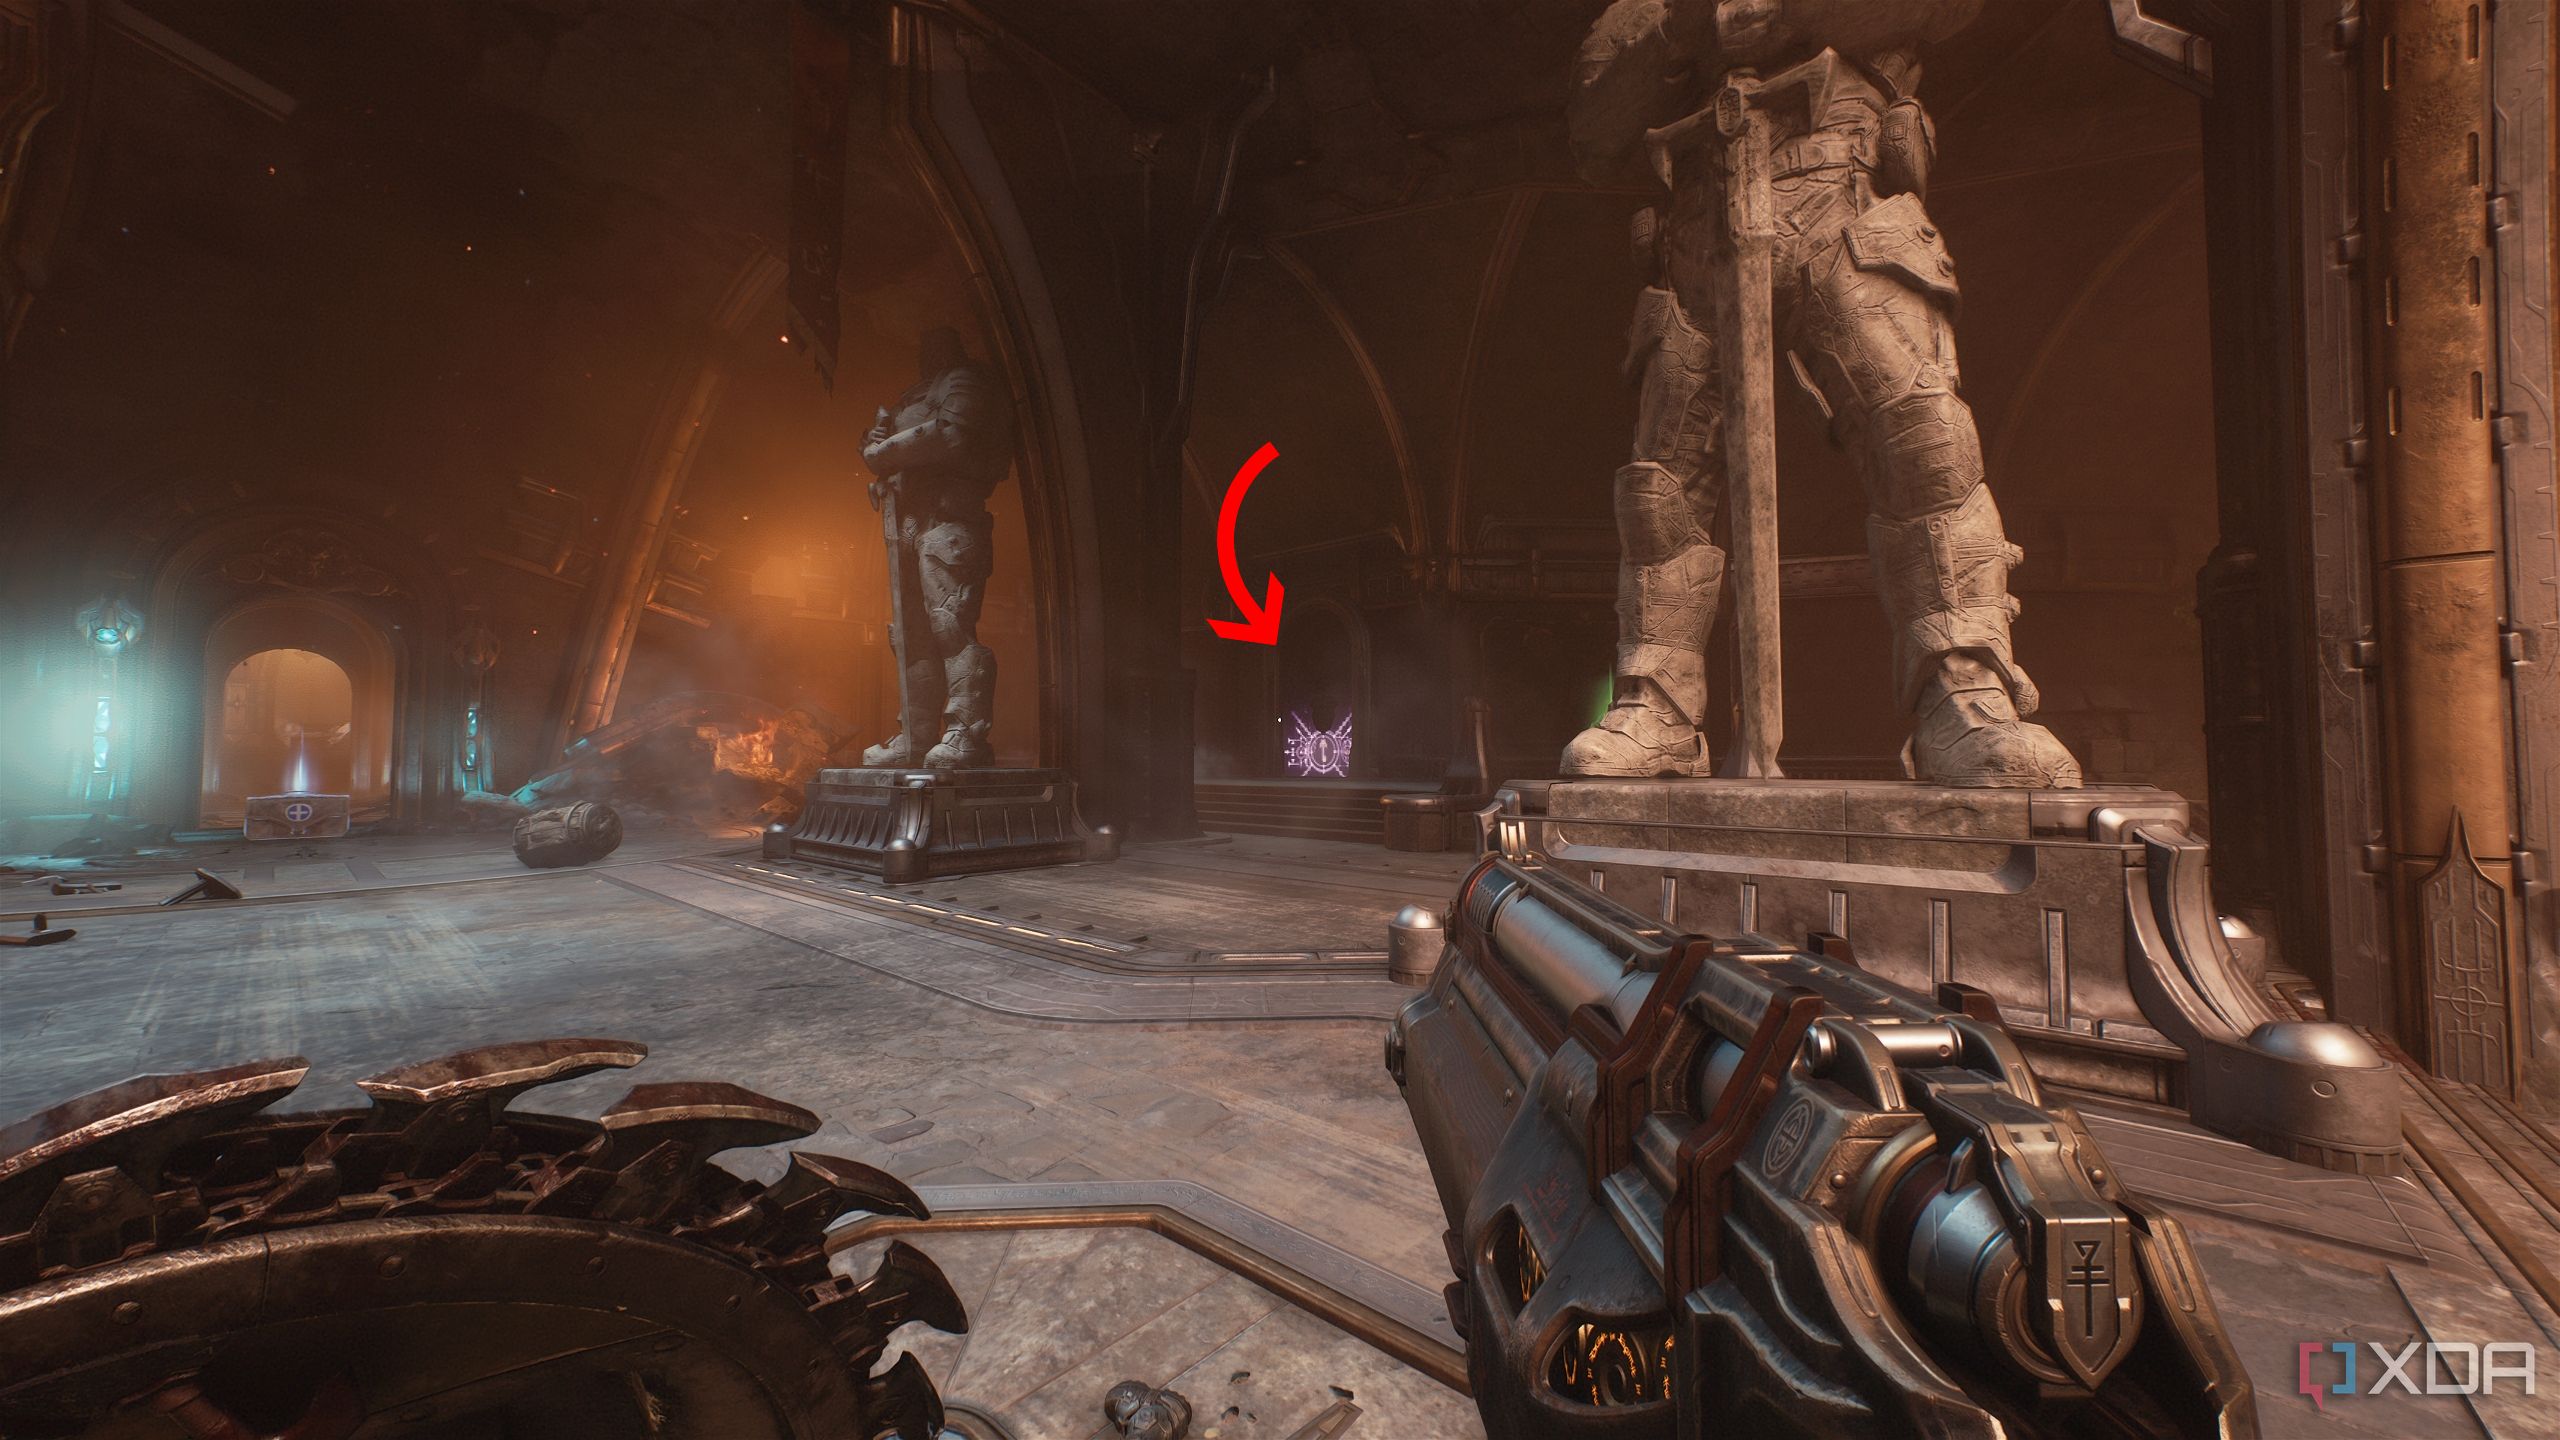
You can't get to these yet, so just go through the four sentinel knight statues while taking note of a second purple-color-coded locked gate to visit later.

Now, head into the next room where you'll fight two Mancubii and Hellknights, ending with an armored Mancubus encounter.
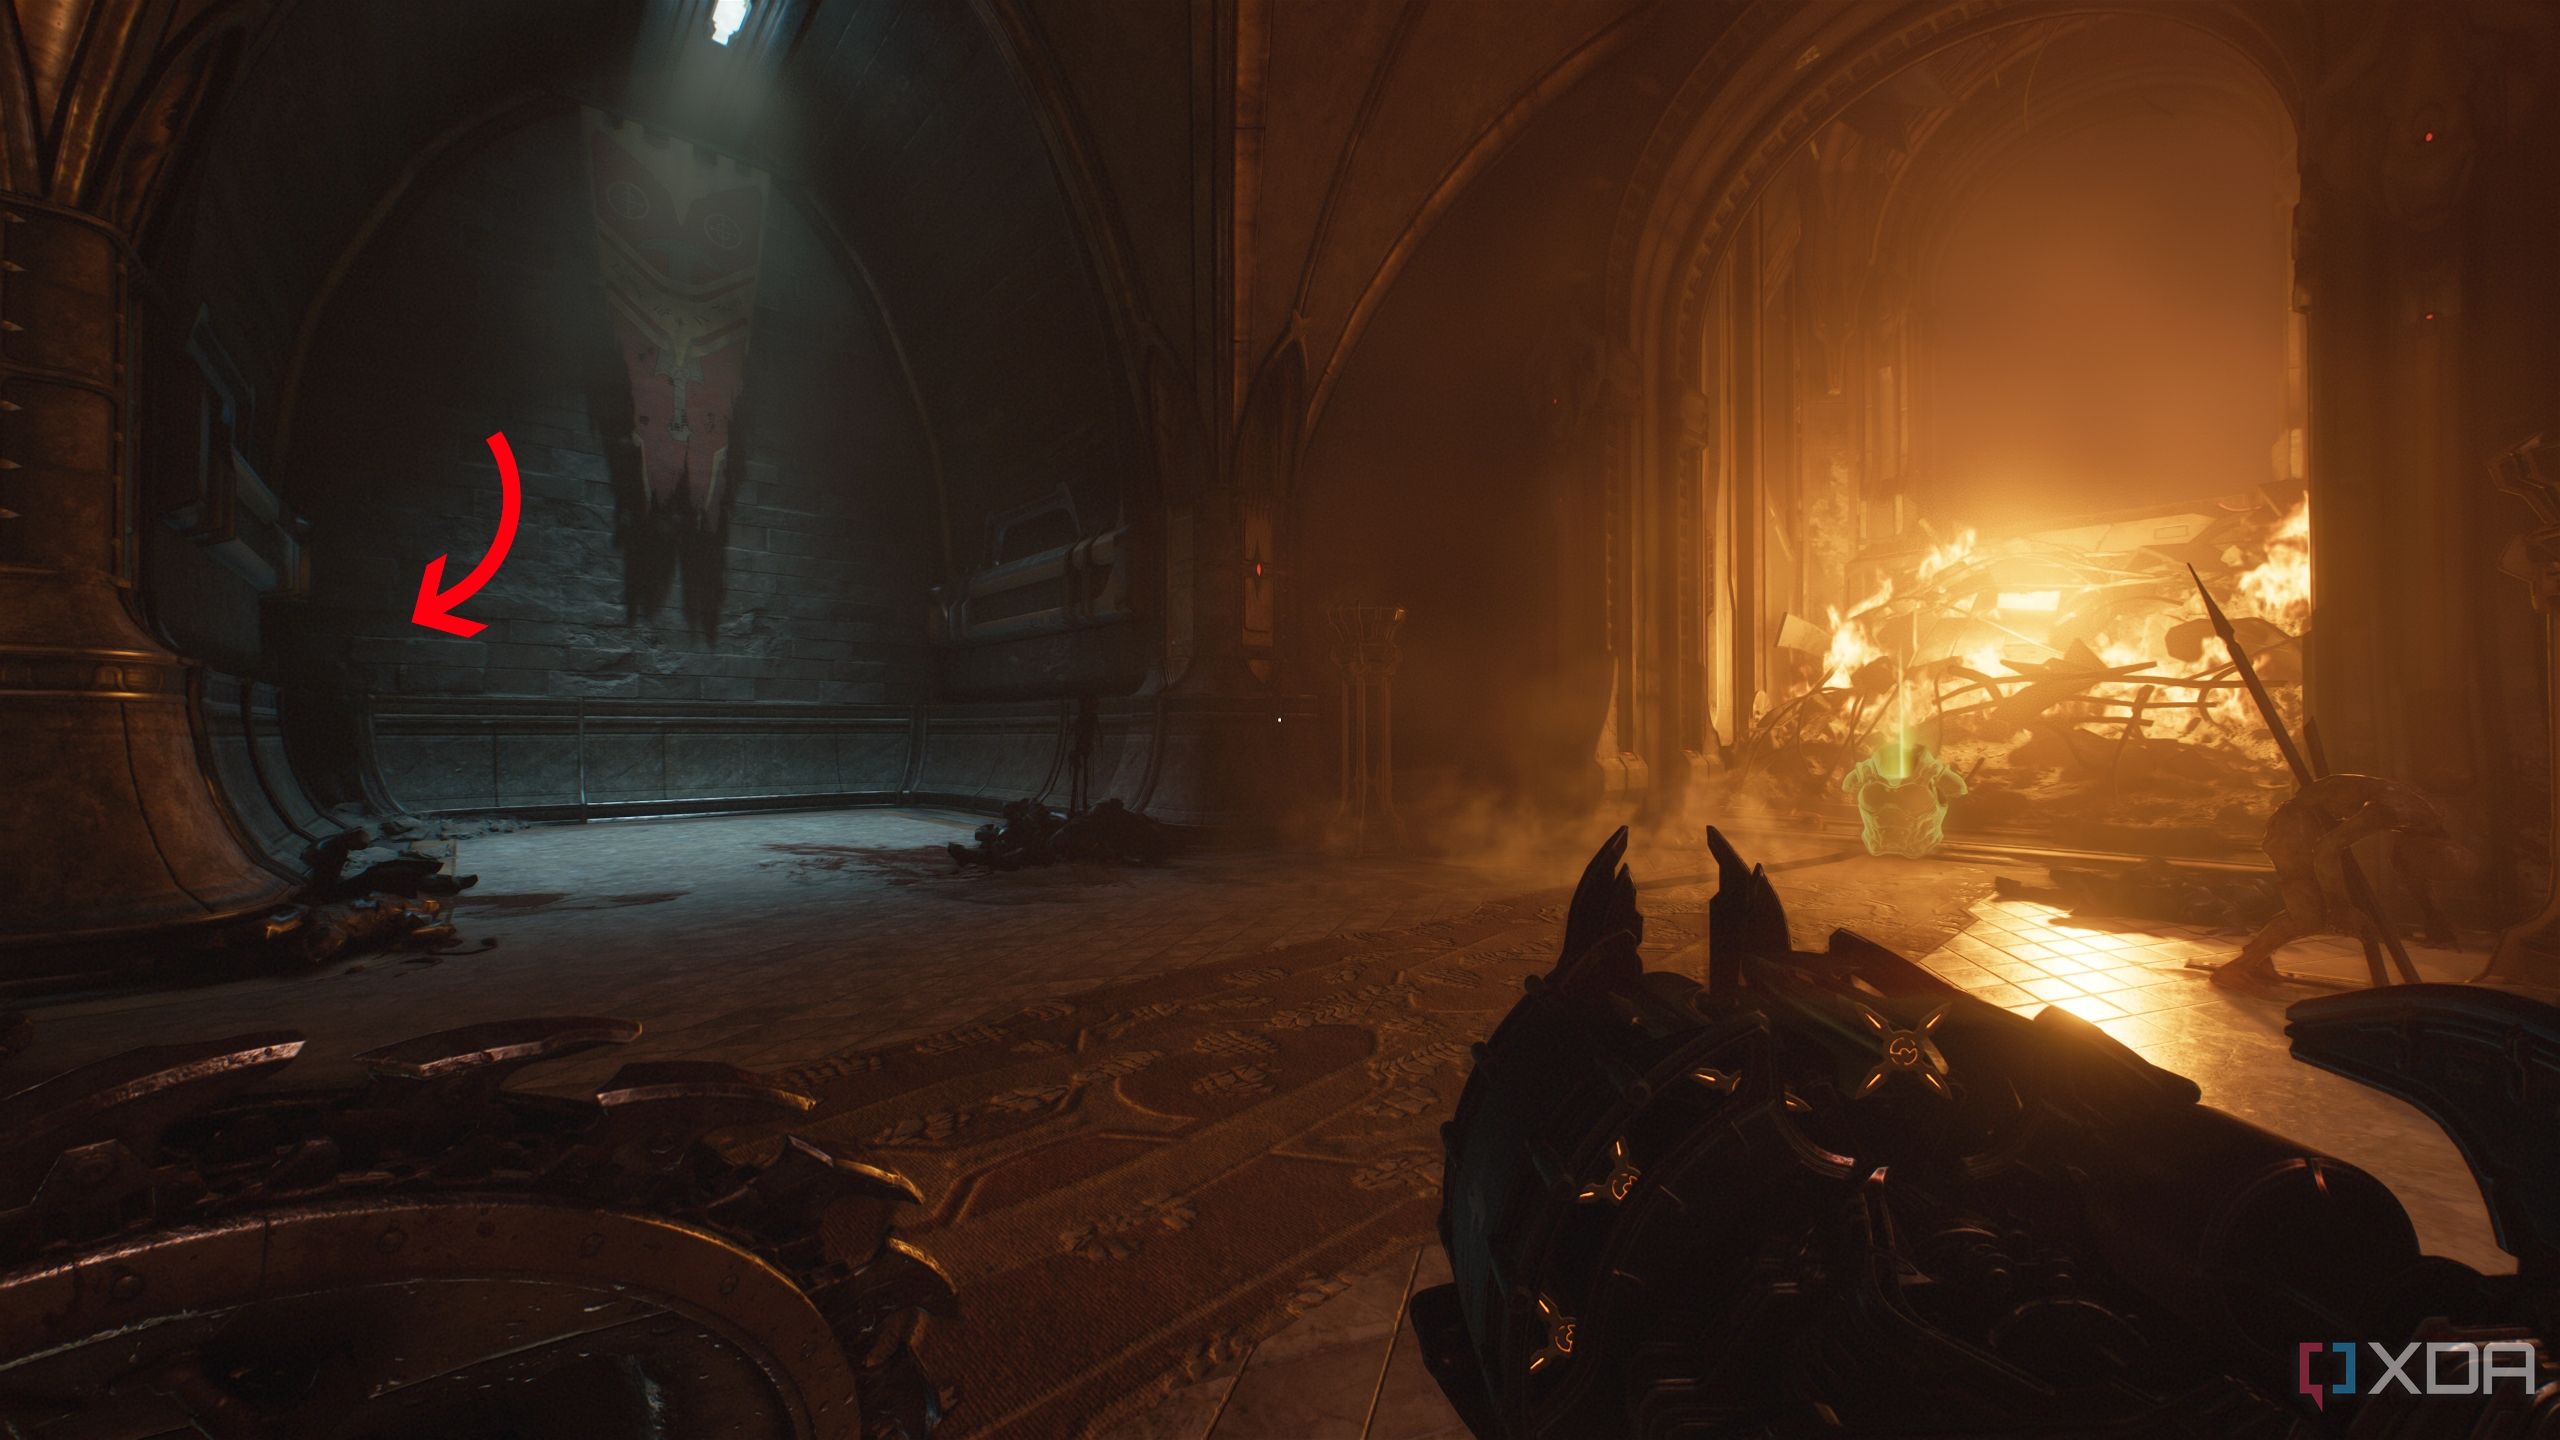
Before moving on from this room, reach the far end.

Here, look at the torn banner on the wall, and right underneath it, in the corner of the wall, is a wooden wall to Shield Charge through.
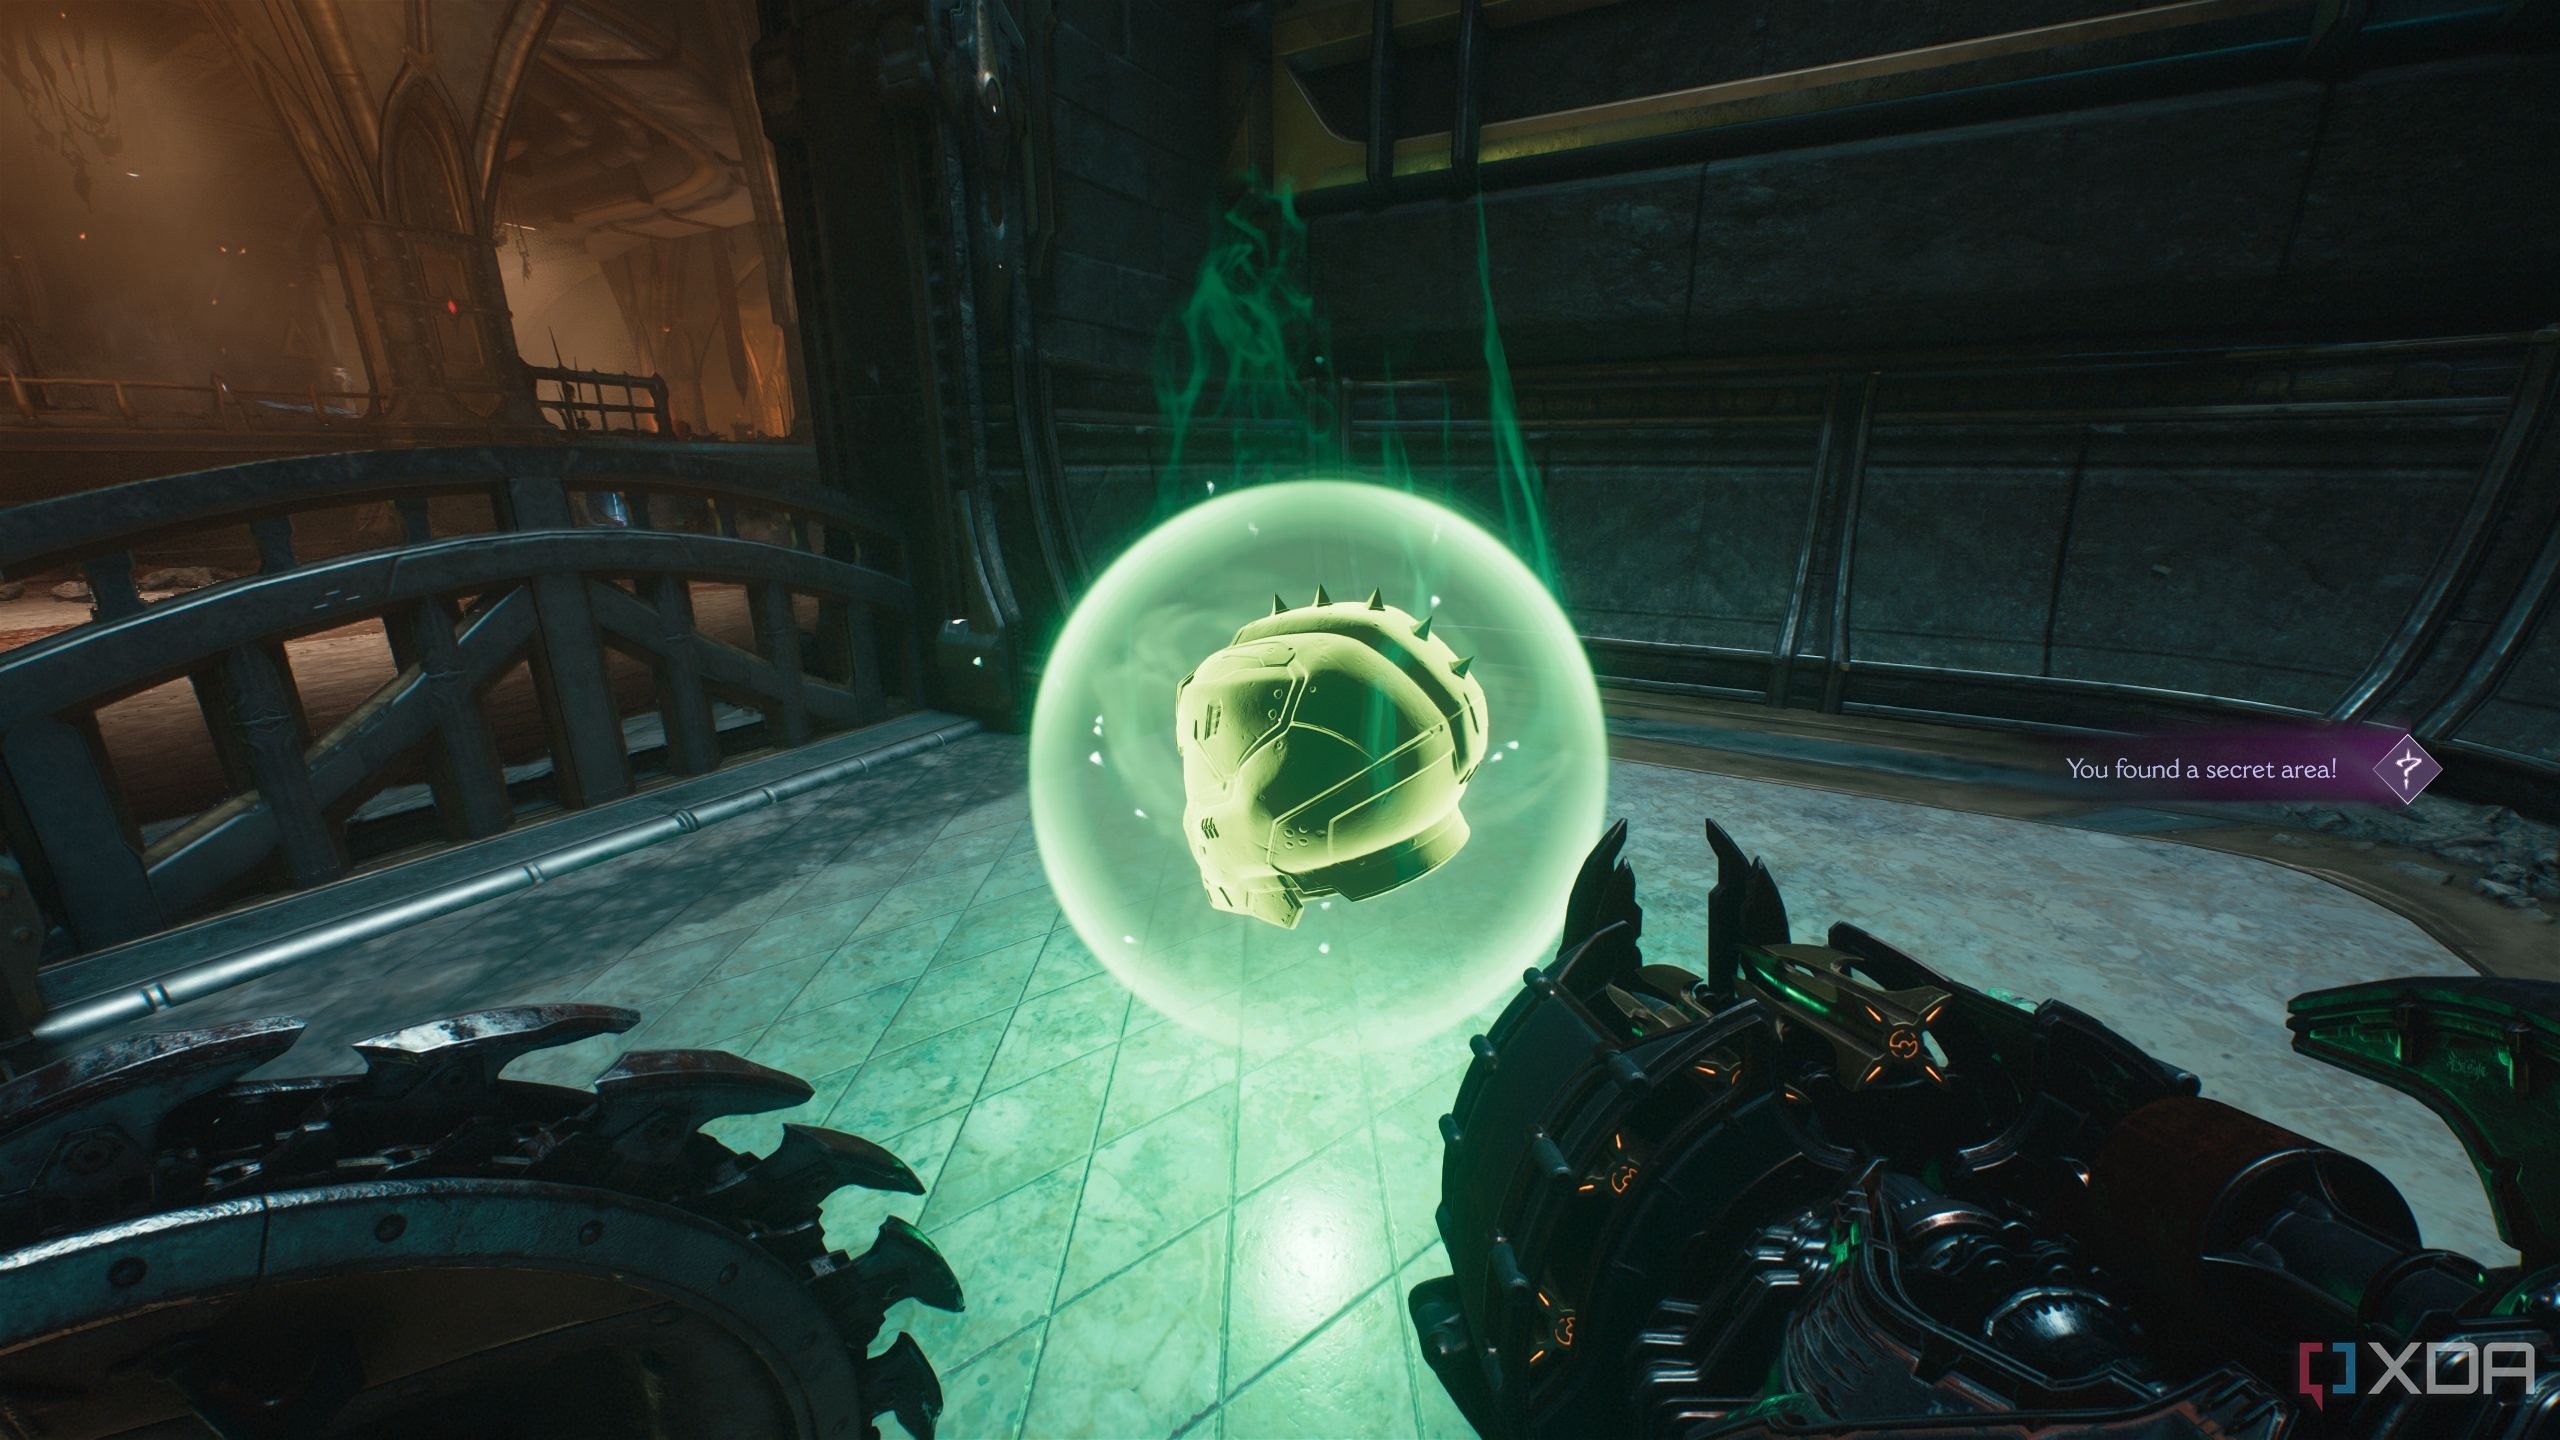
Bash through it to unlock secret area 4 and a Life Sigil.
Related
Exploring the gory brilliance of id Tech 8 in Doom: The Dark Ages
Doom: The Dark Ages and id Tech 8 are gorgeous is the most disgusting way possible.
Secret area 5, gold stacks, and the purple keycard
Cleaning up all the puzzles
Head upstairs now, mowing through demons and following the objective, until you reach this room, as shown above. A Hellknight and some soldiers will attack you here.
Here, notice a wooden wall with a Shield Charge symbol on it.
Bash through it to unlock secret area 5.
Head further into this area to find more gold bars on the ground, along with a gold stack. A Shadow Imp Stalker will attack.
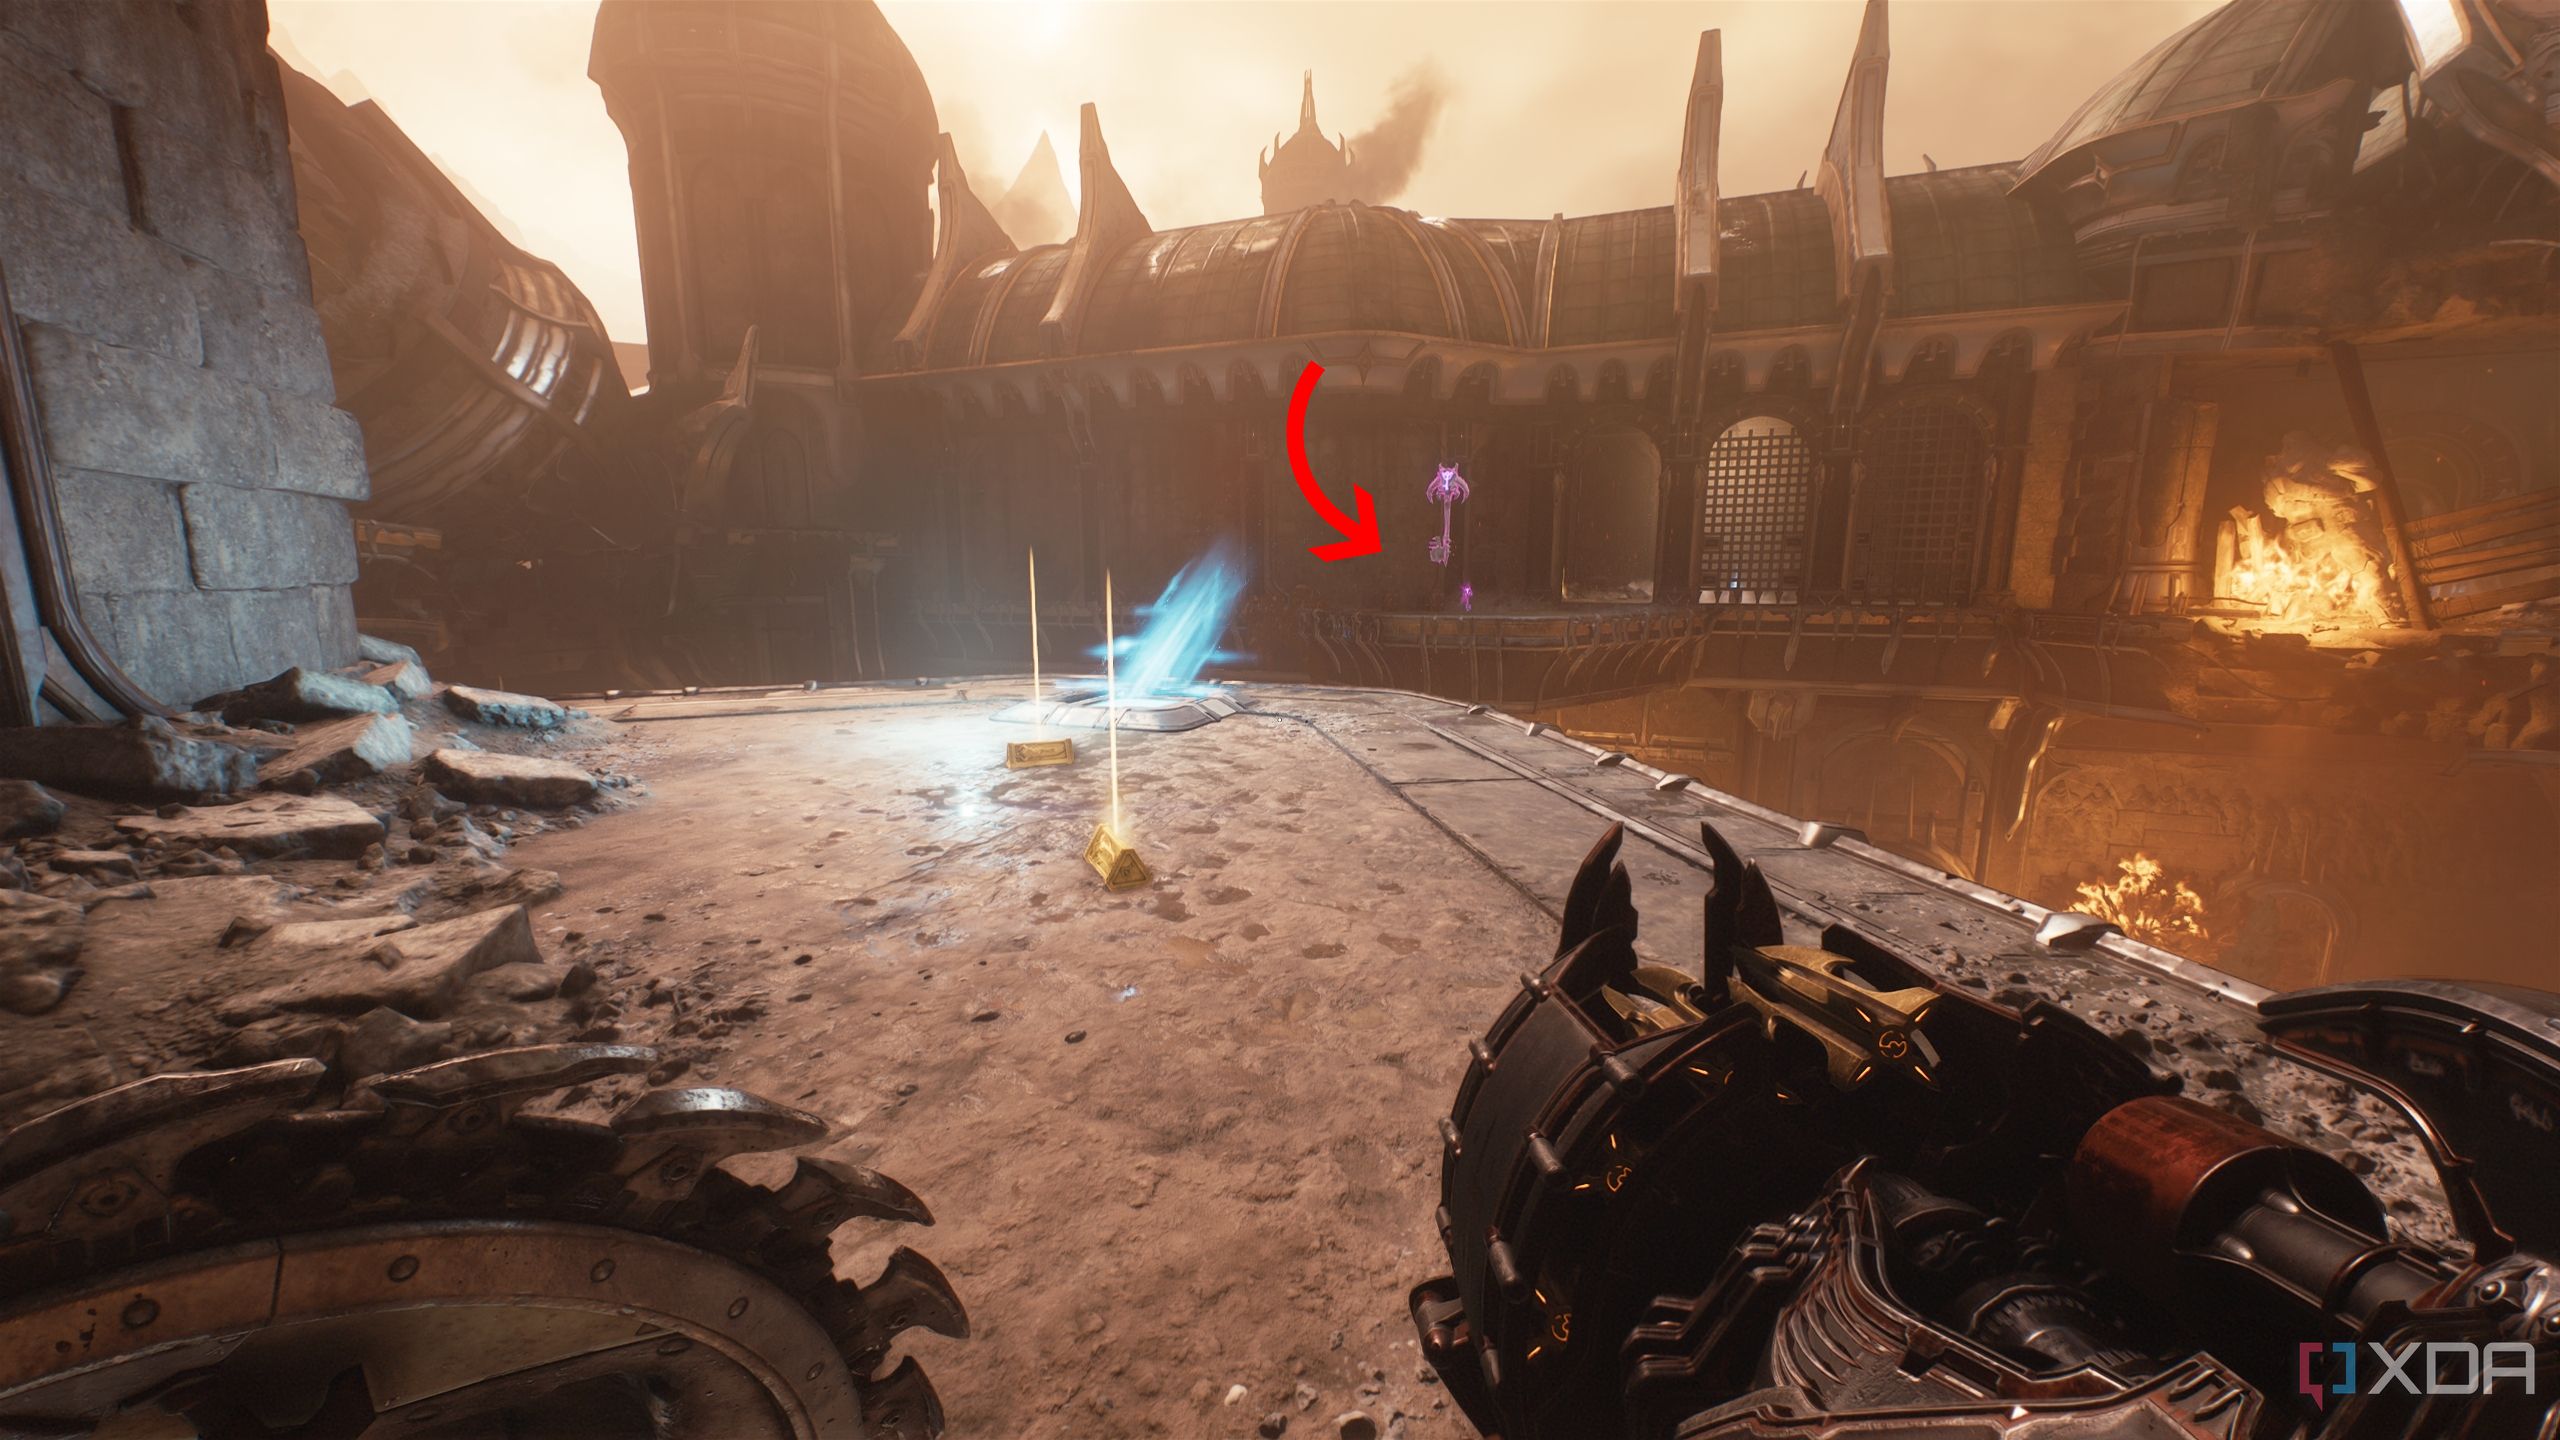
Then, use the jump pad here to travel to the purple keycard hologram, and pick up the purple keycard.
Enter the attached room, and you'll be met by Shielded Soldiers and a Spiderdemon. Kill them, but don't hit the heated metal cross ahead just yet.
Instead, turn around, pick up the gold bars, and enter the hole in the wall.
Land down into a room with an armor pickup and gold bars on the ground.
From here, look right opposite this area to the other side of the courtyard, and head there for two more gold stacks.
As soon as you pick them up, a Hellknight and Imp Stalkers will attack.
Secret area 6 and 7, a Red Ruby, and a Codex Page
Color-coded keycards really unlock a treasure trove
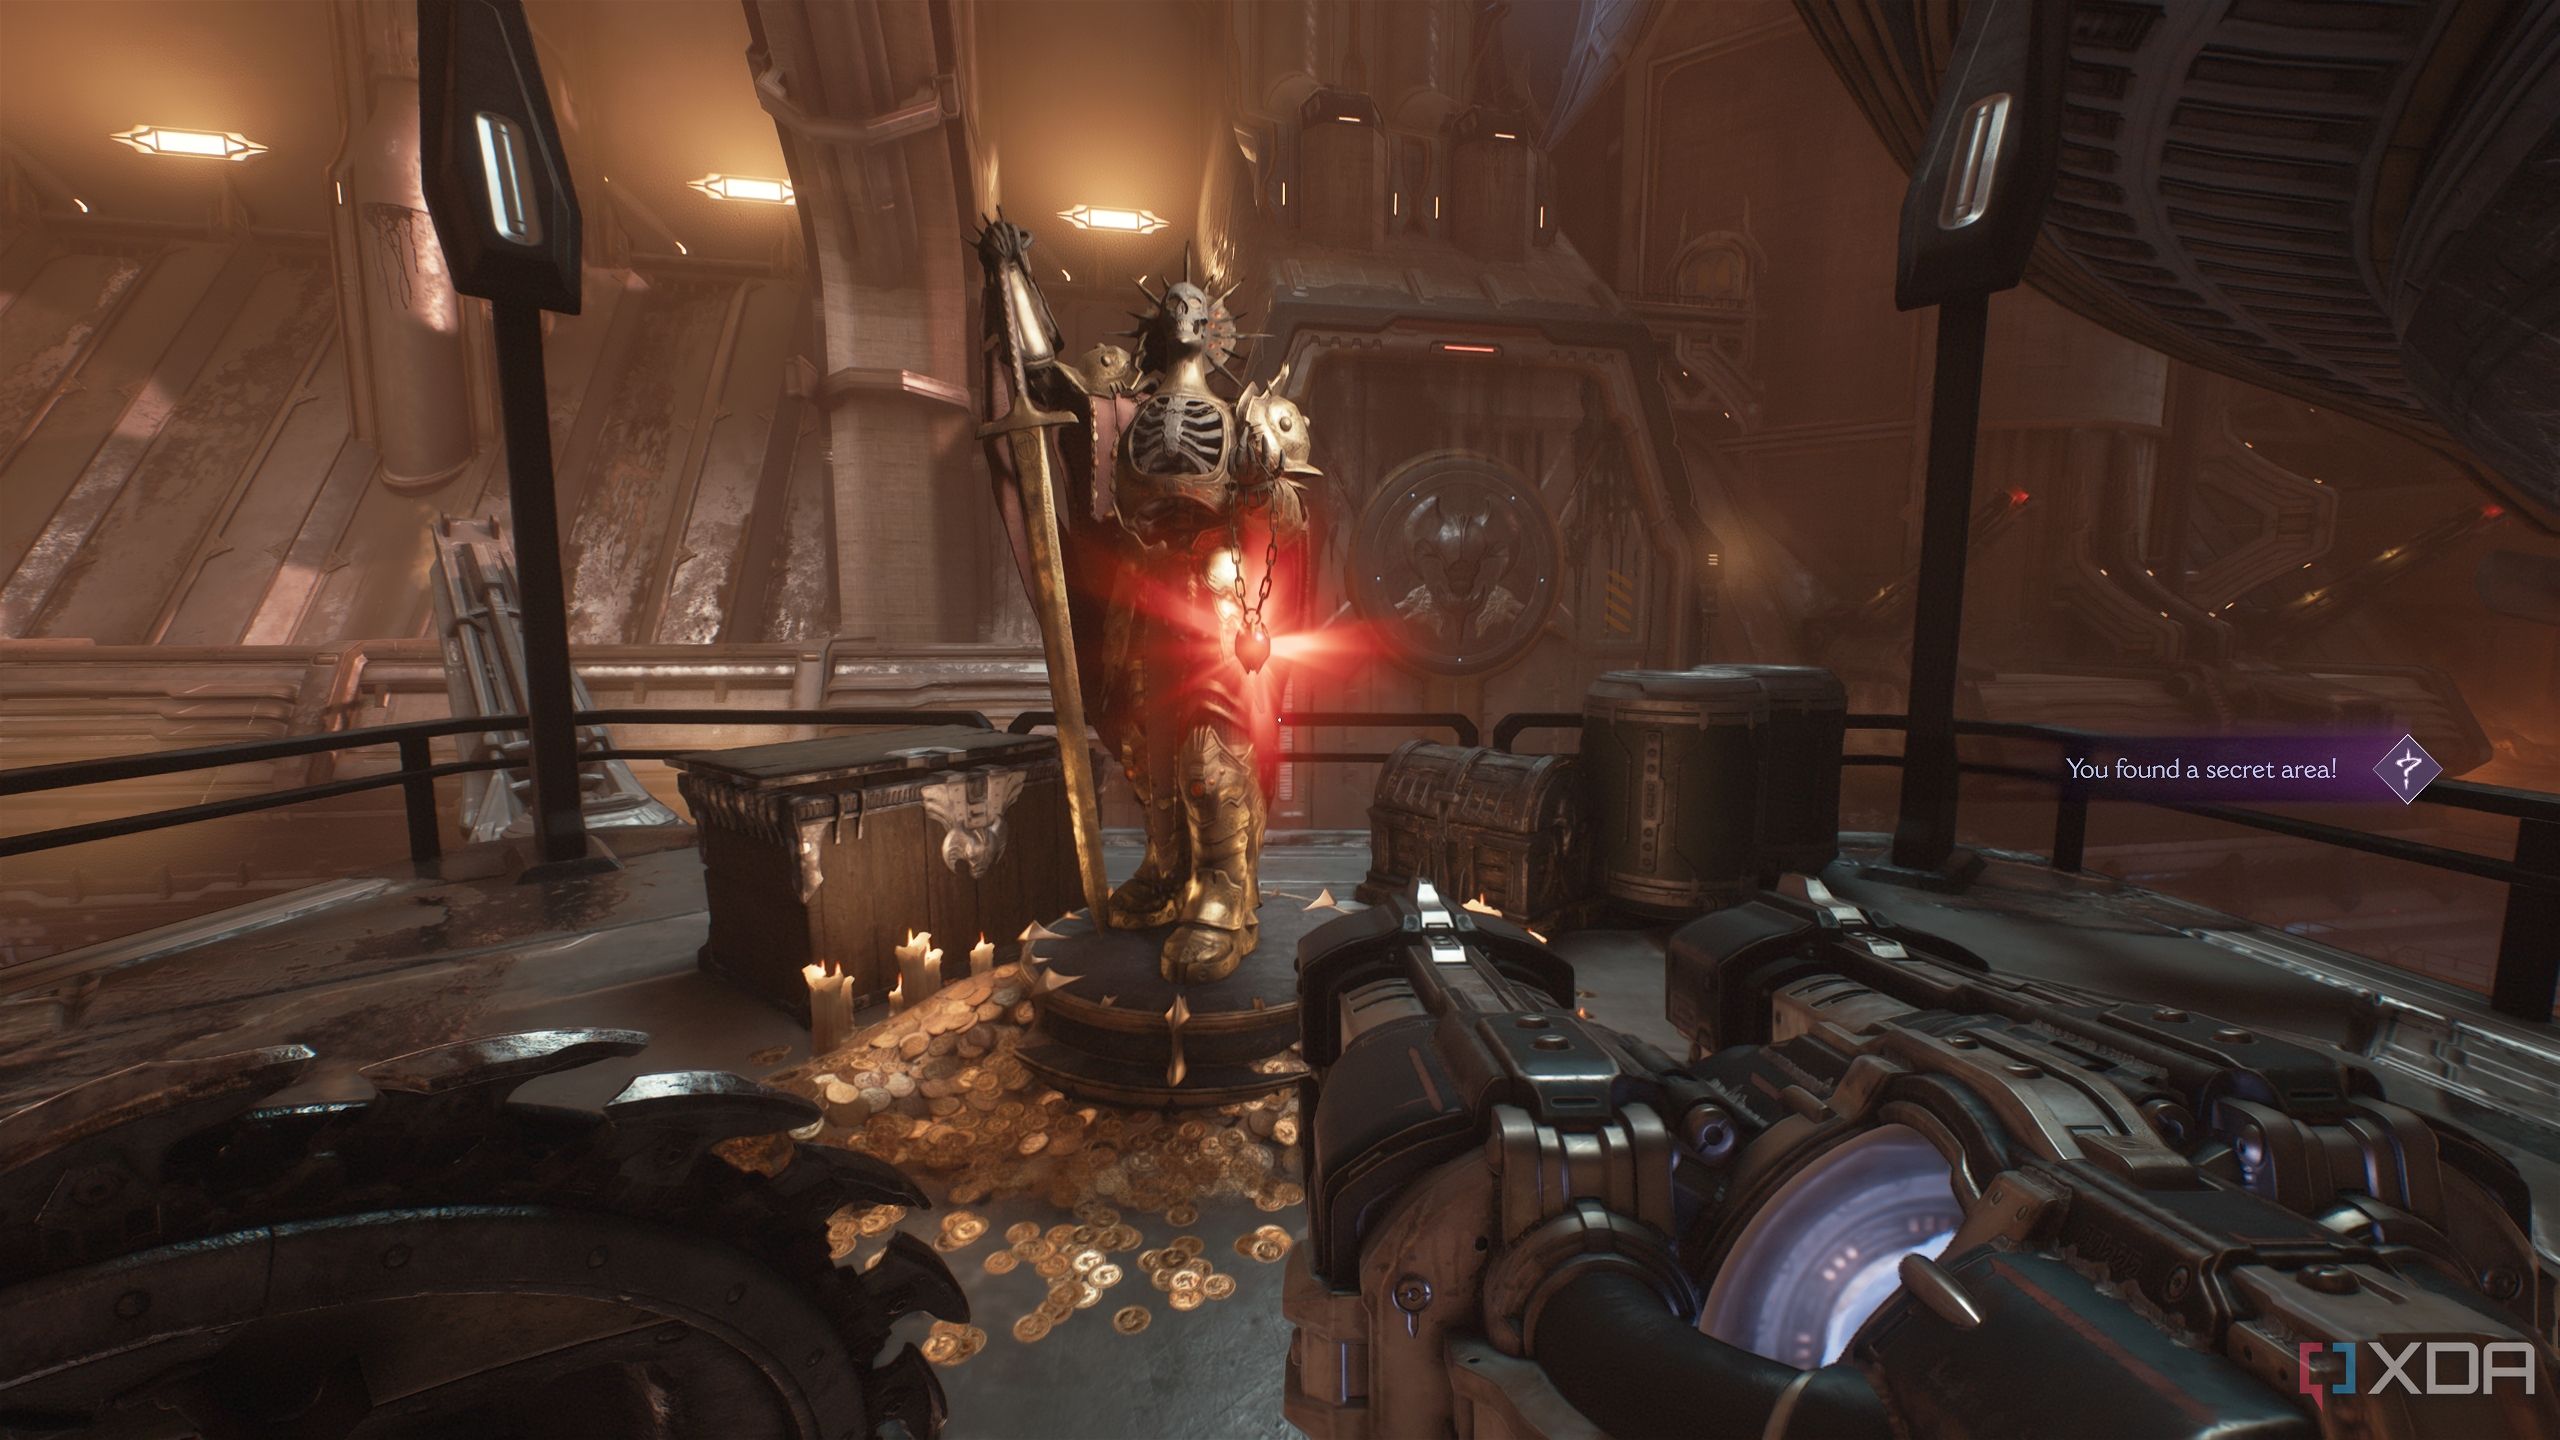
With the purple keycard now secure, head down to the central courtyard.
Enter the first purple-coded locked gate you'd seen before.
Go inside to unlock secret area 6 and a statue with a Red Ruby. A Mancubus will ambush you here.
Then, head back outside to the courtyard, and walk up to the four sentinel knight statues to see another purple-coded locked gate to the right.
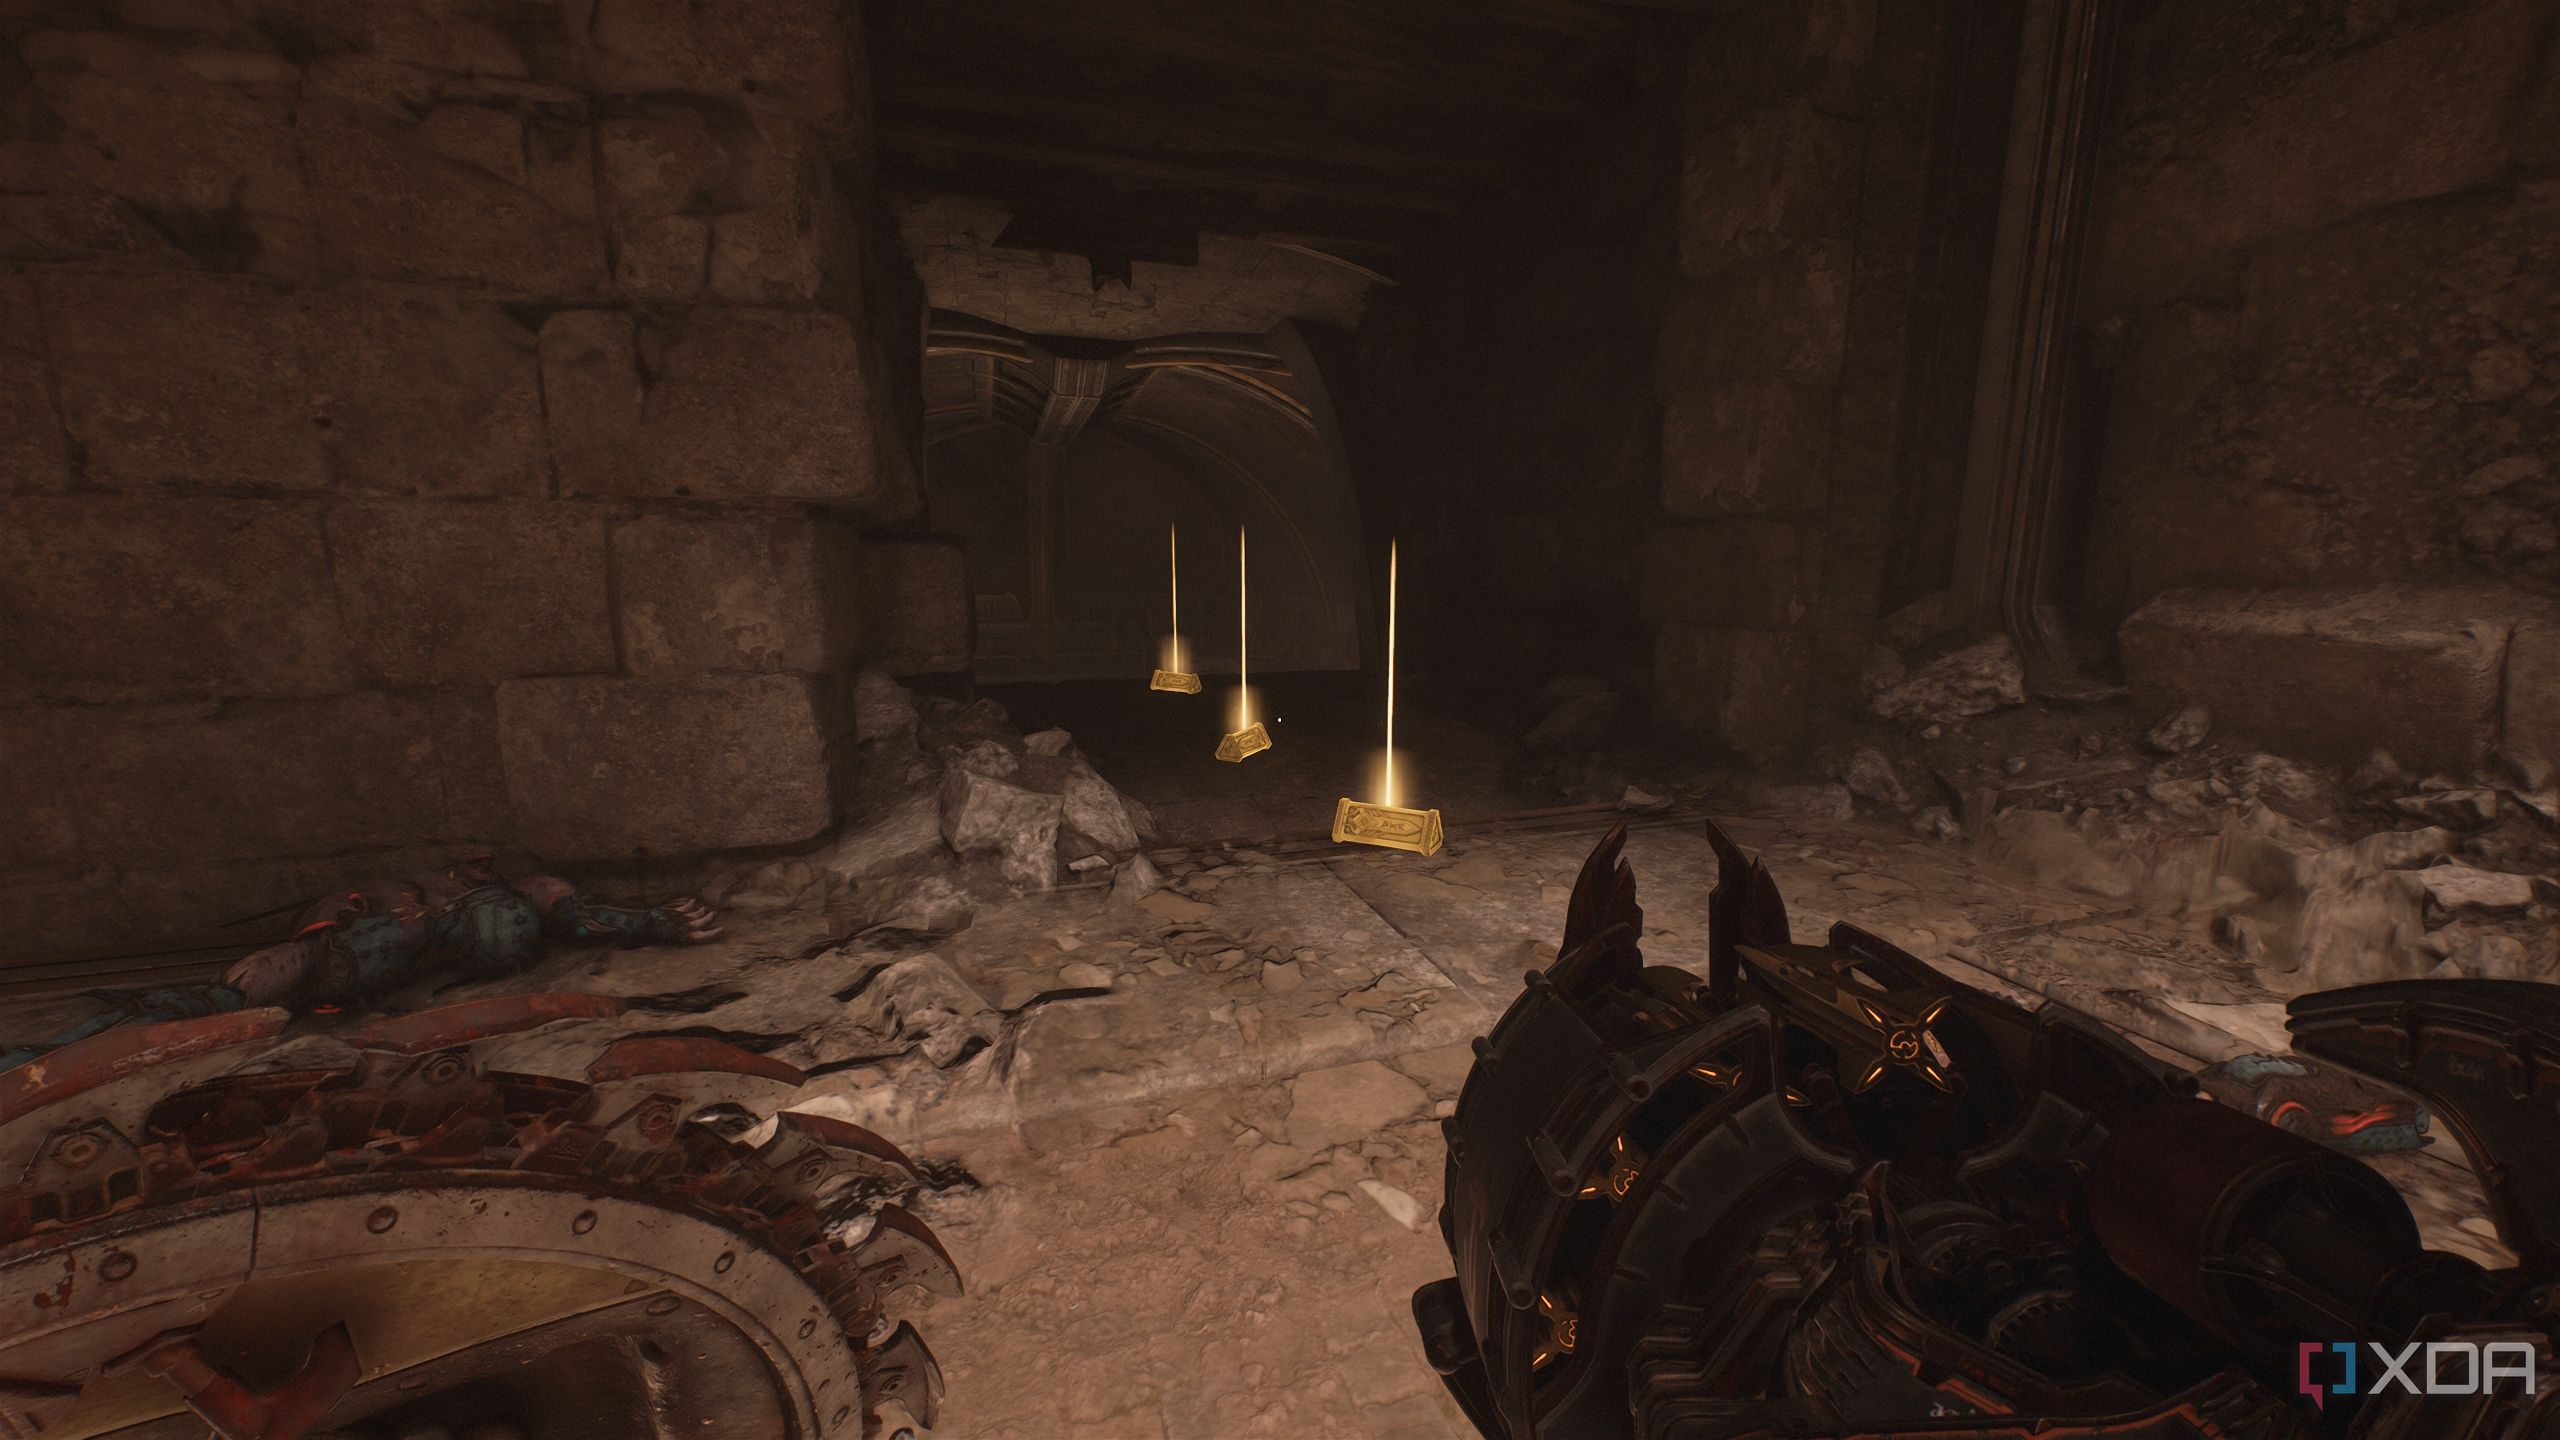
Get inside it to unlock secret area 7 and pick up plenty of gold bars on the ground.
These gold bars lead to a small area with two Shielded Soldiers guarding a Codex Page.
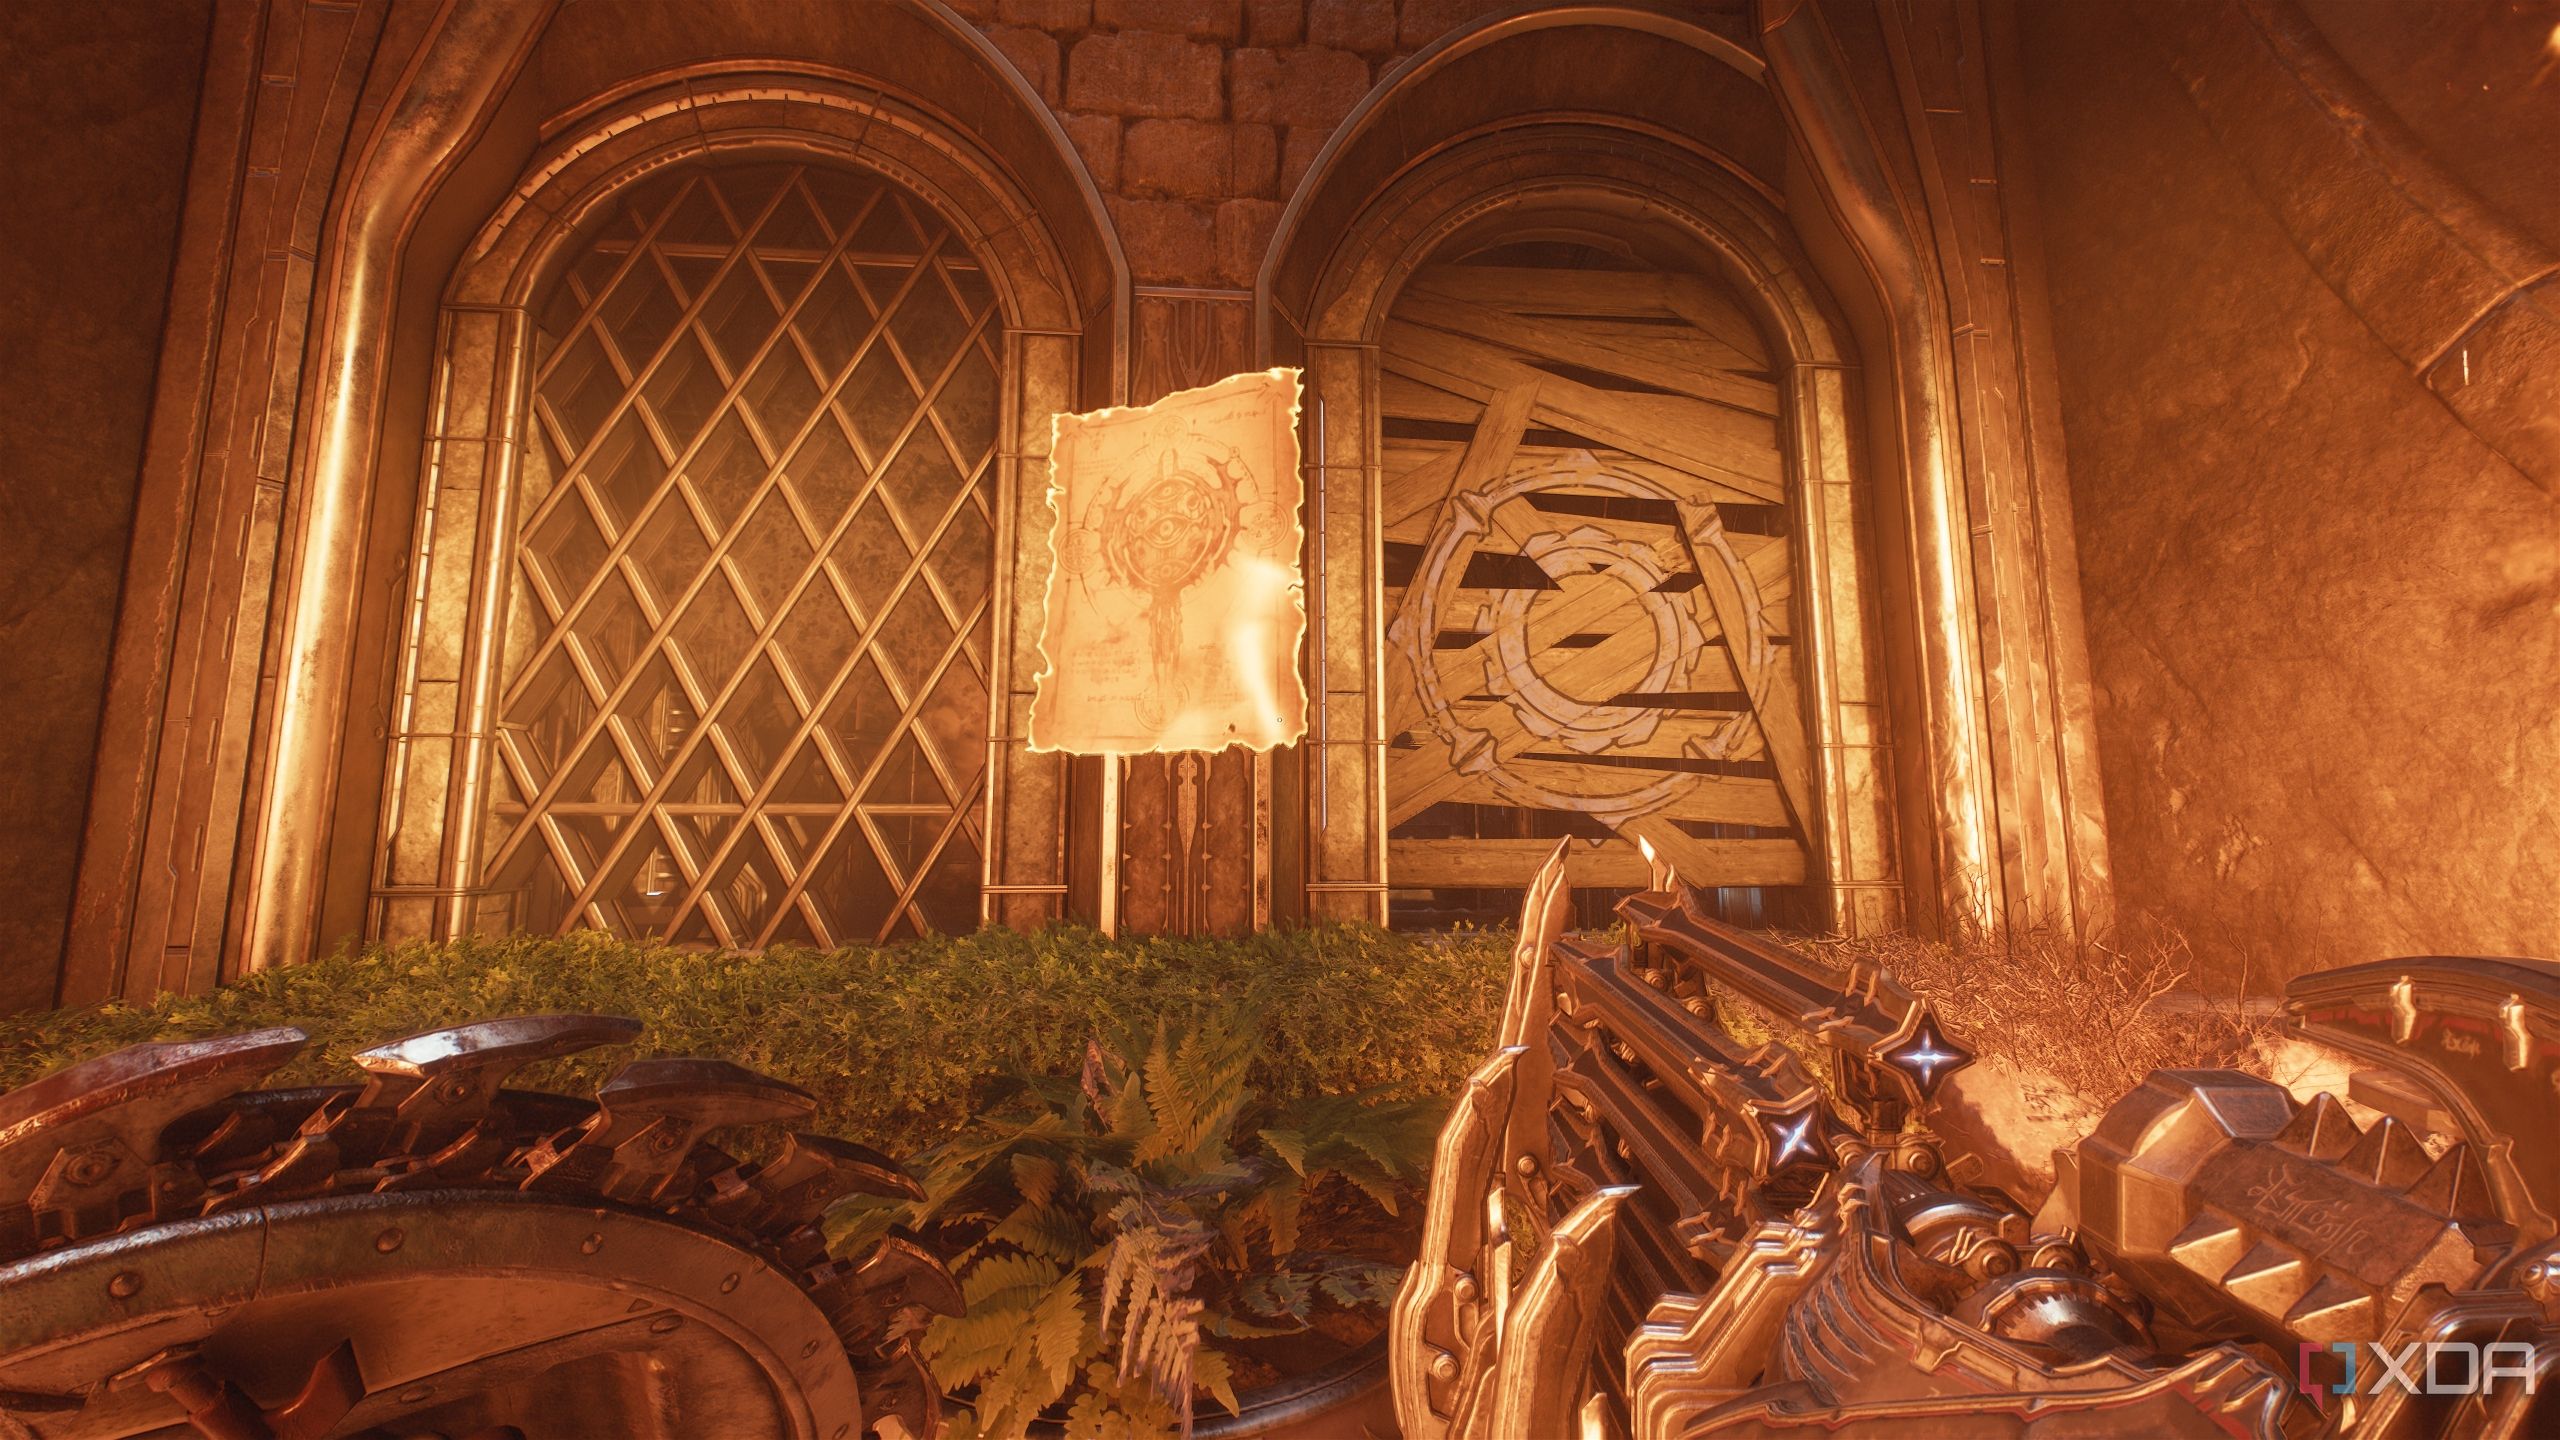
Dispatch them and collect the patch, Shield Charging through the window behind it to get back on track towards your objective.

Related
DOOM: The Dark Ages — 100% completion guide, Chapter 5: The Holy City of Aratum
Chapter 5 of Doom: The Dark Ages finallly lets players ride the dragon as the Doom Slayer through a sacred, flying city.
Secret area 8 and a Red Ruby
Earning a ruby after a pretty big encounter
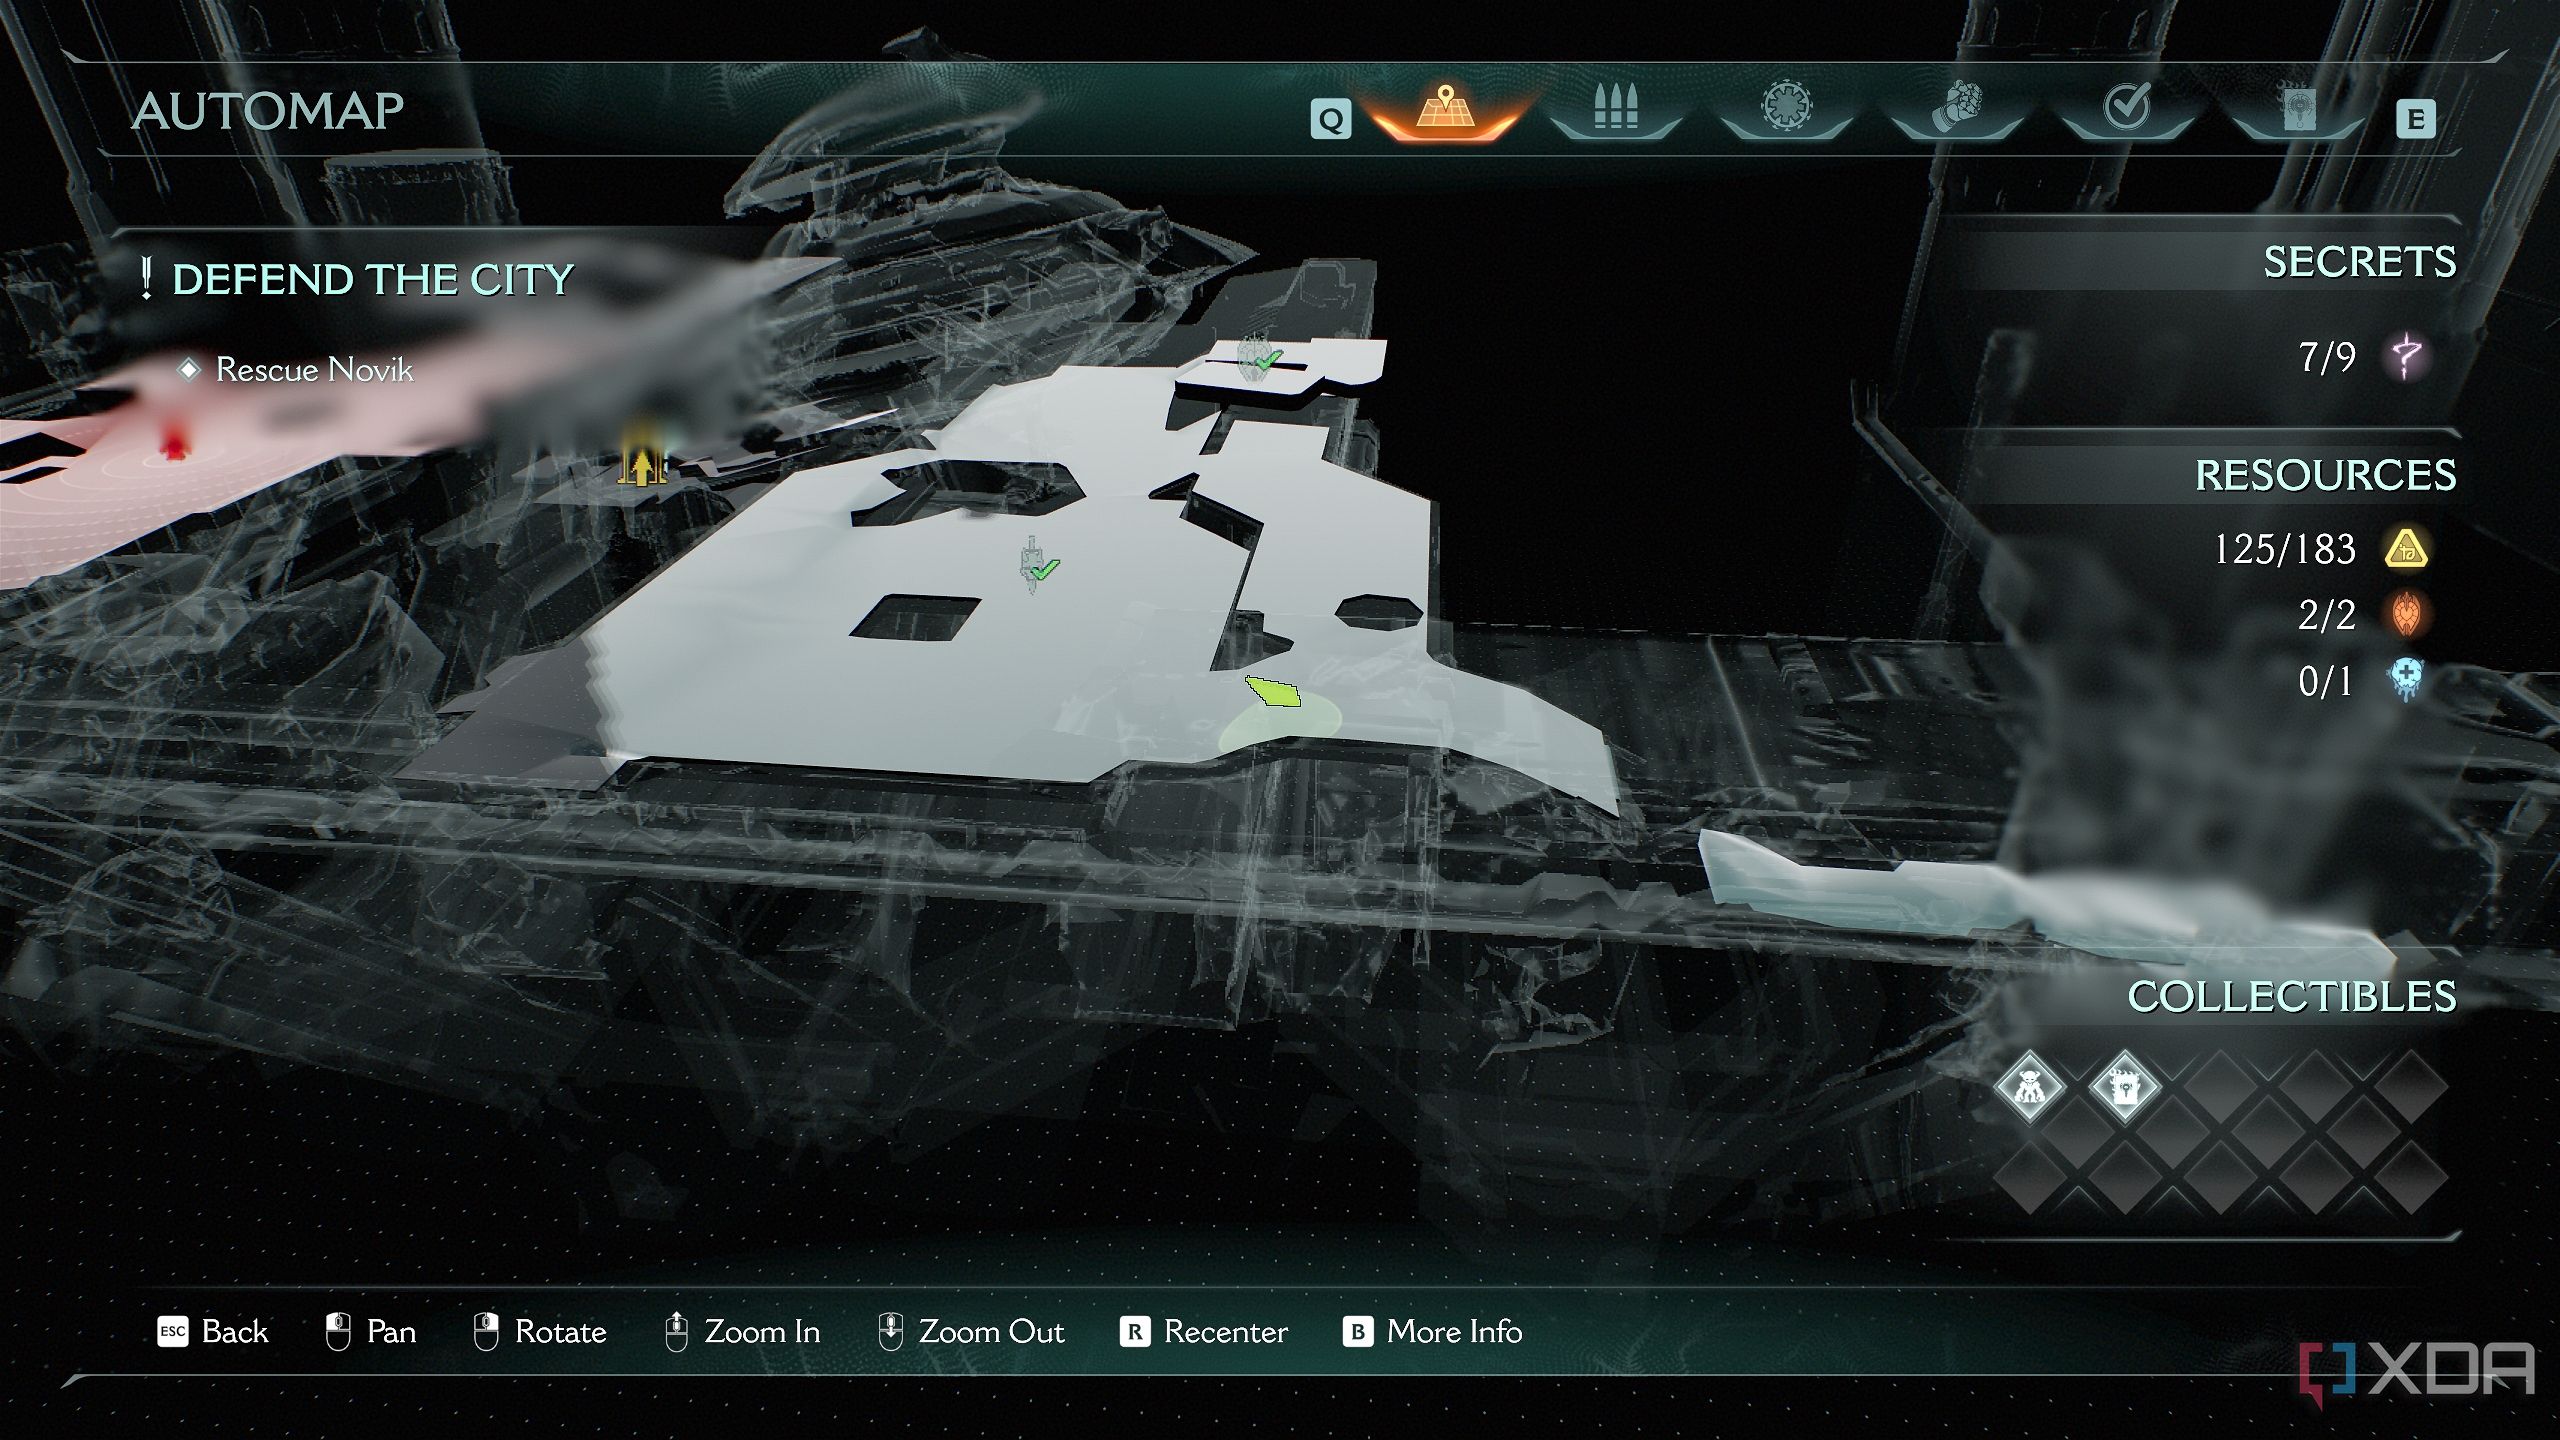
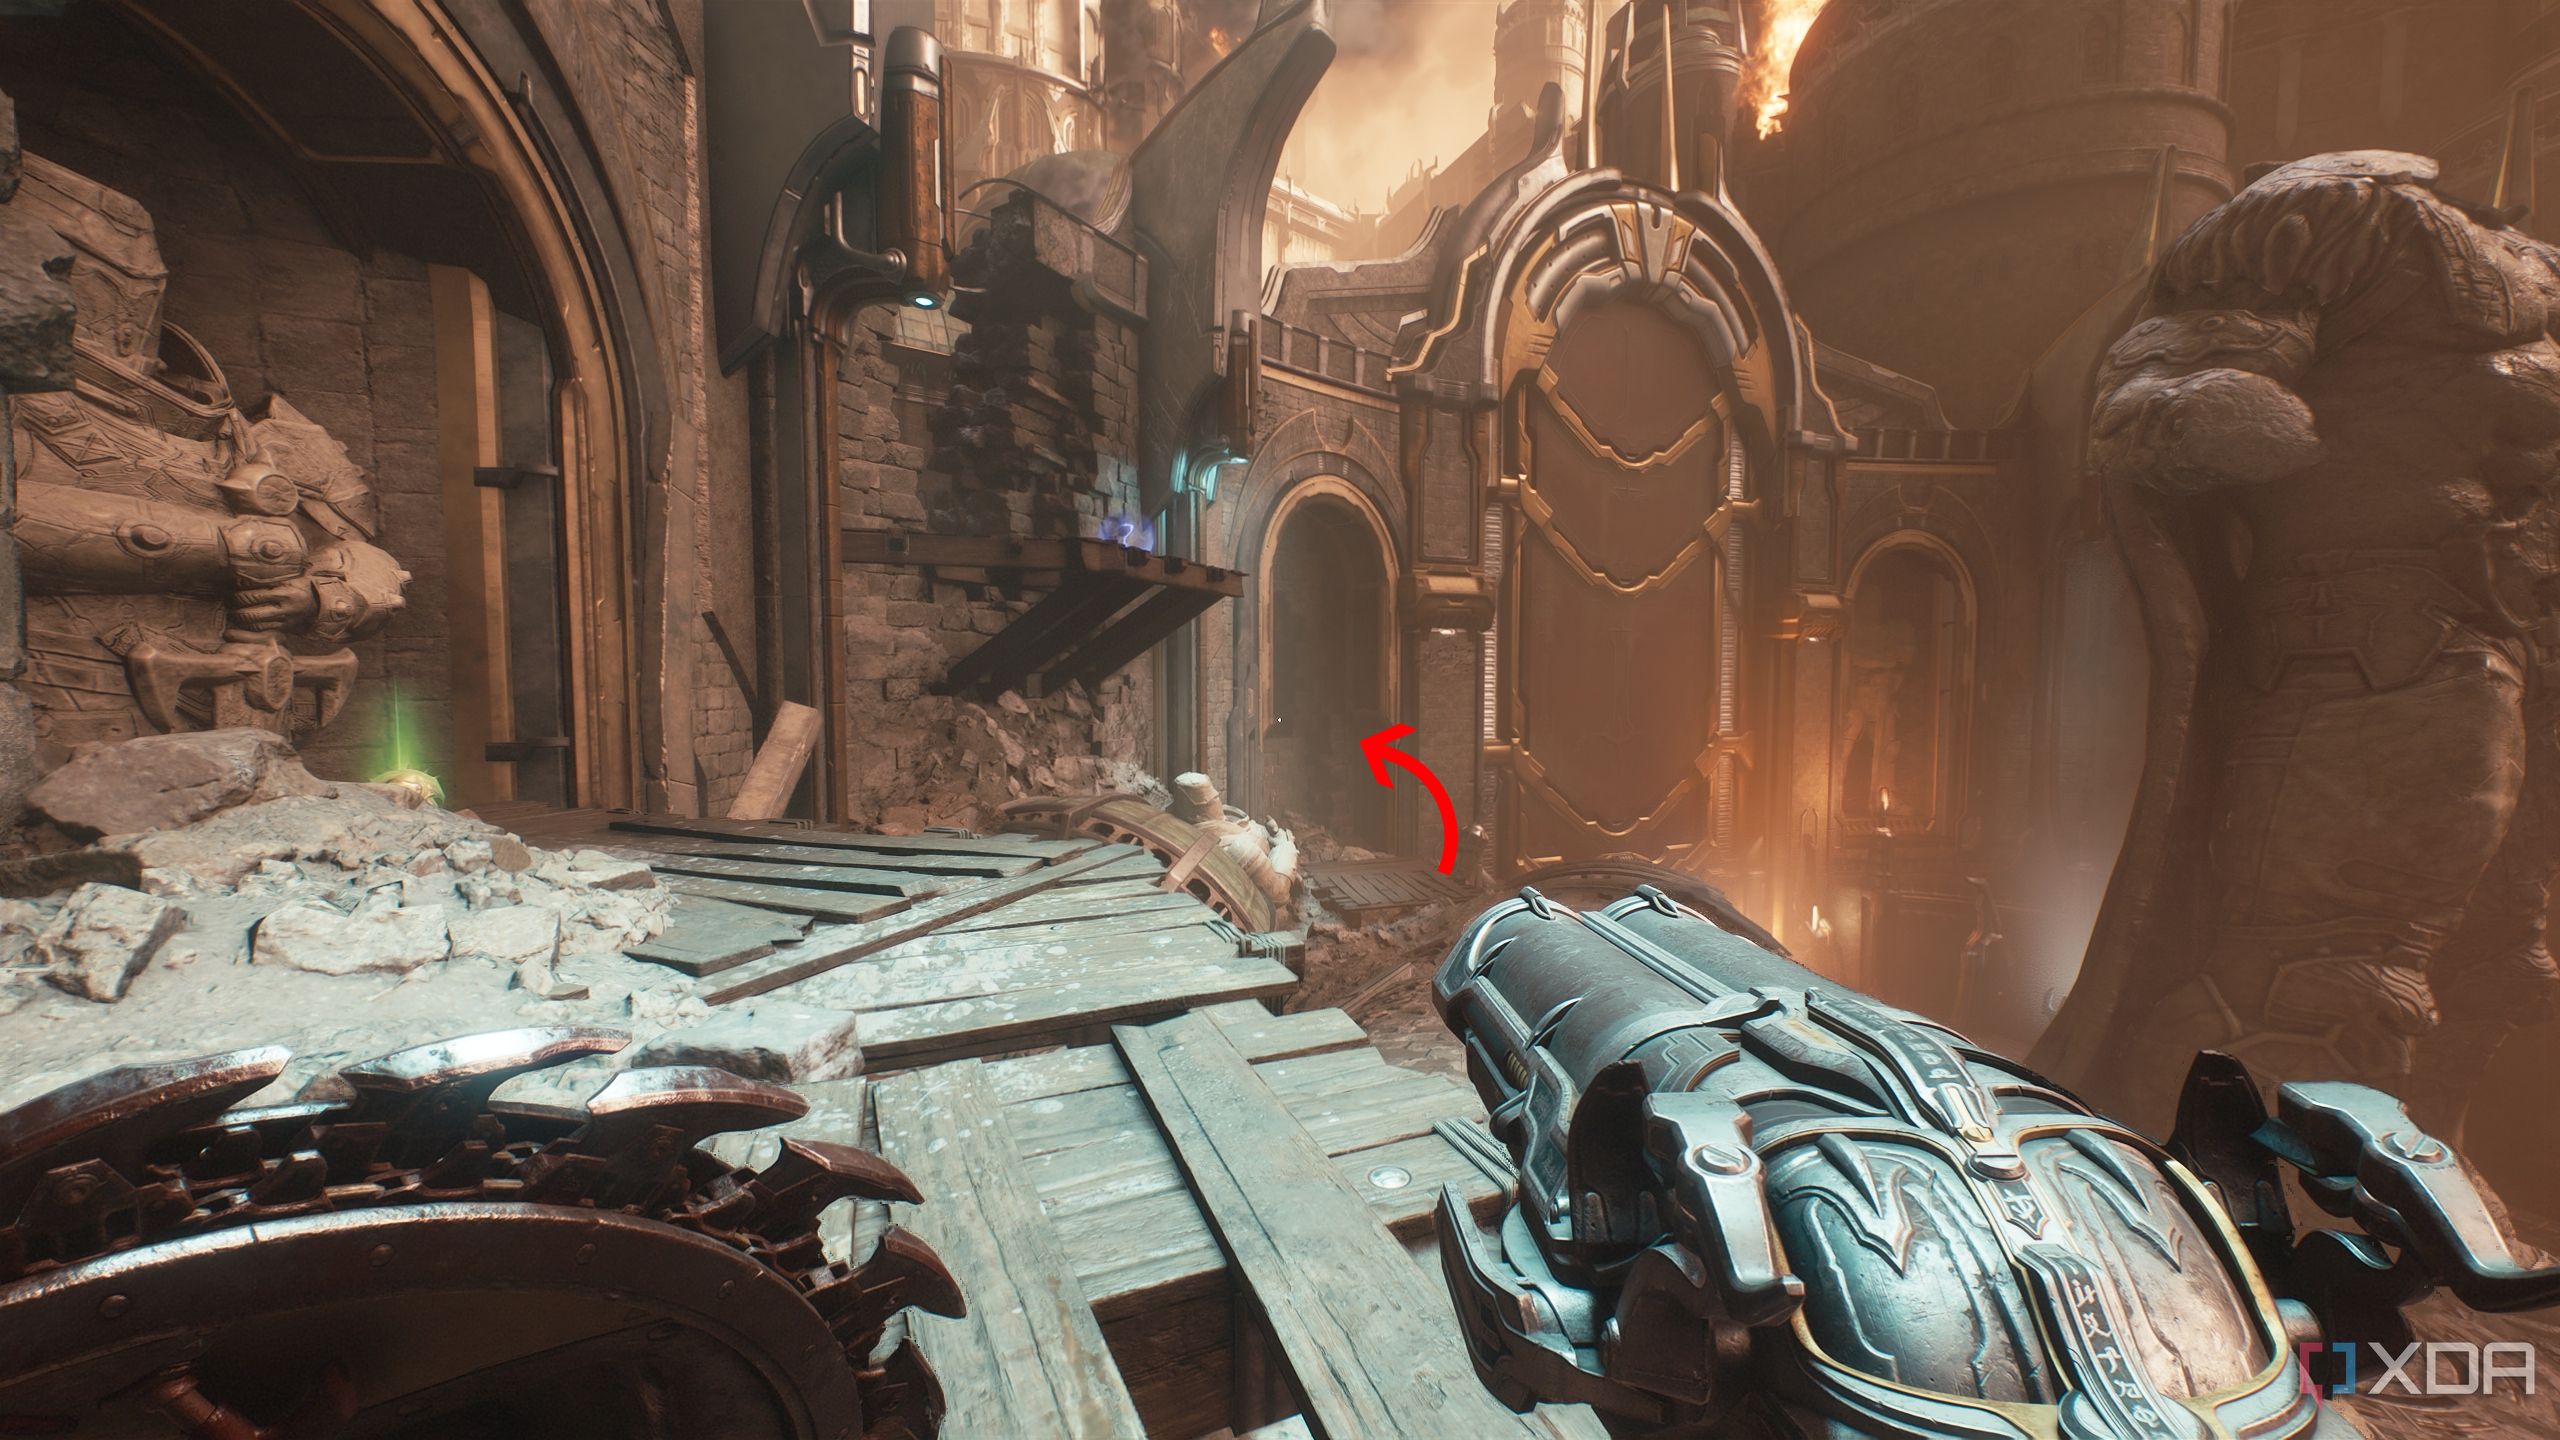
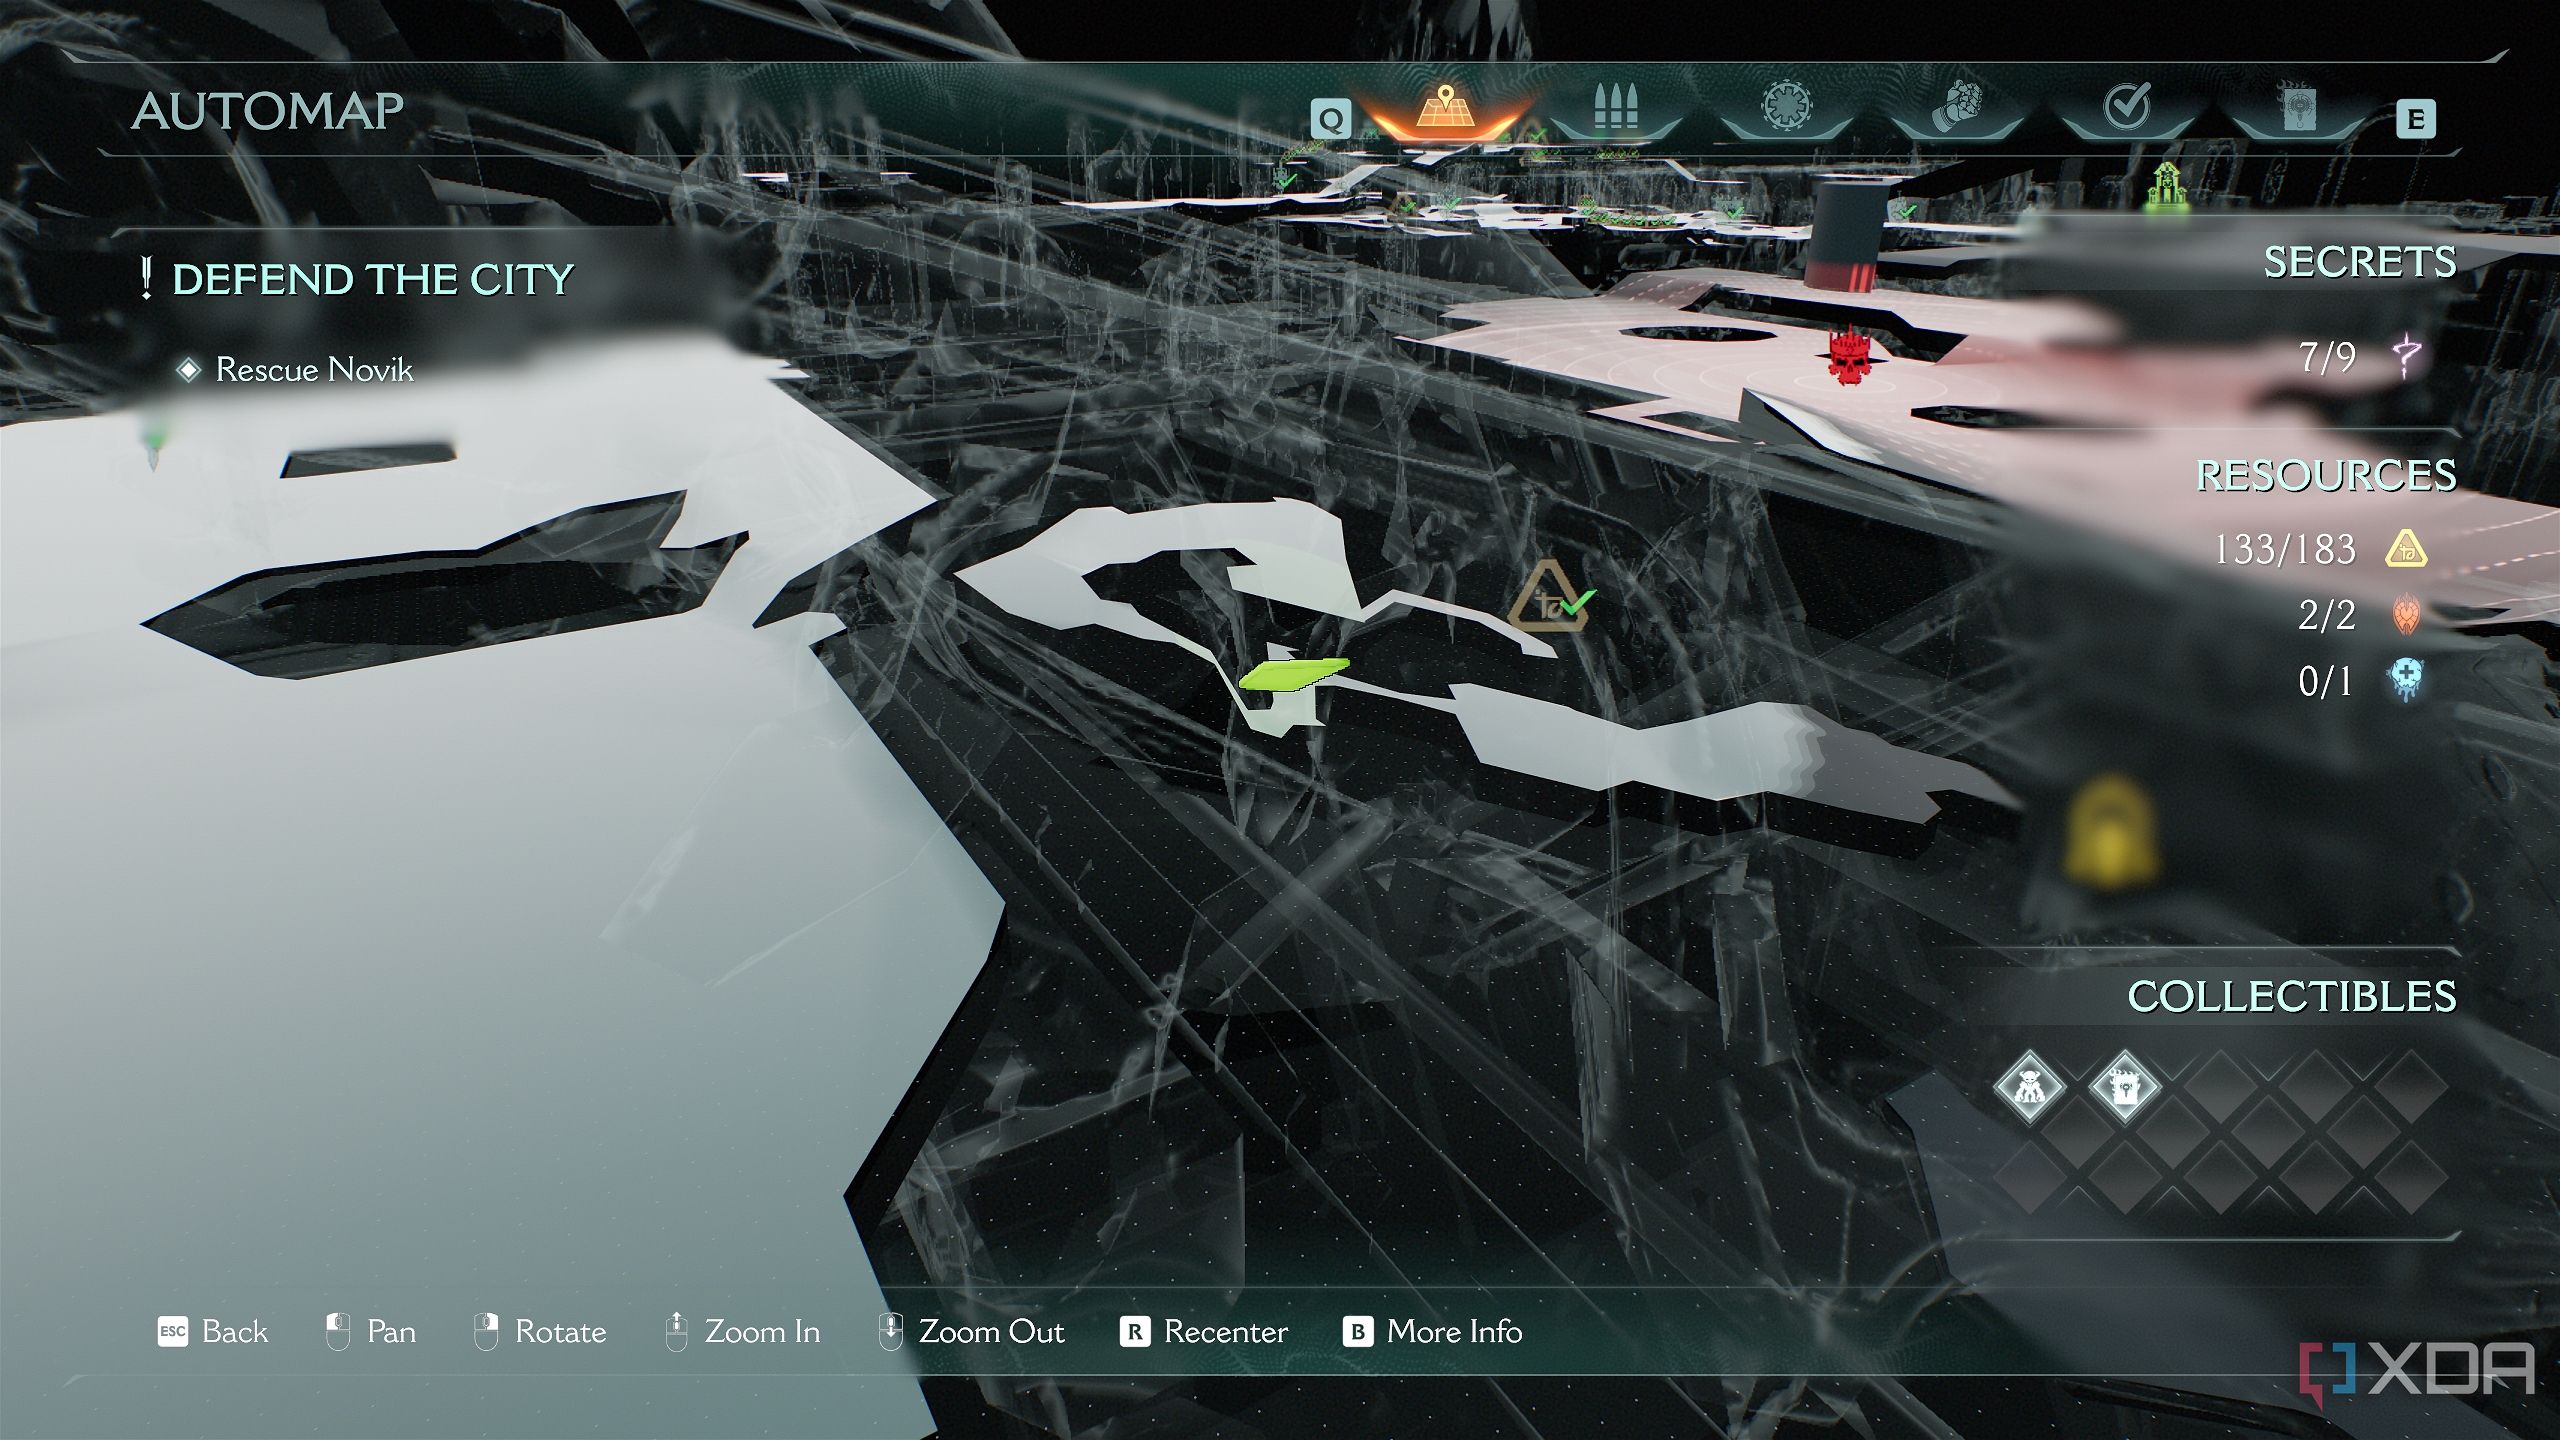
In this next section of the map, you'll reach the loading dock with several warships getting ready to take flight. This is a pretty good combat encounter to progress and finish the Roundhouse mission challenge and the Exterminator mission challenge.
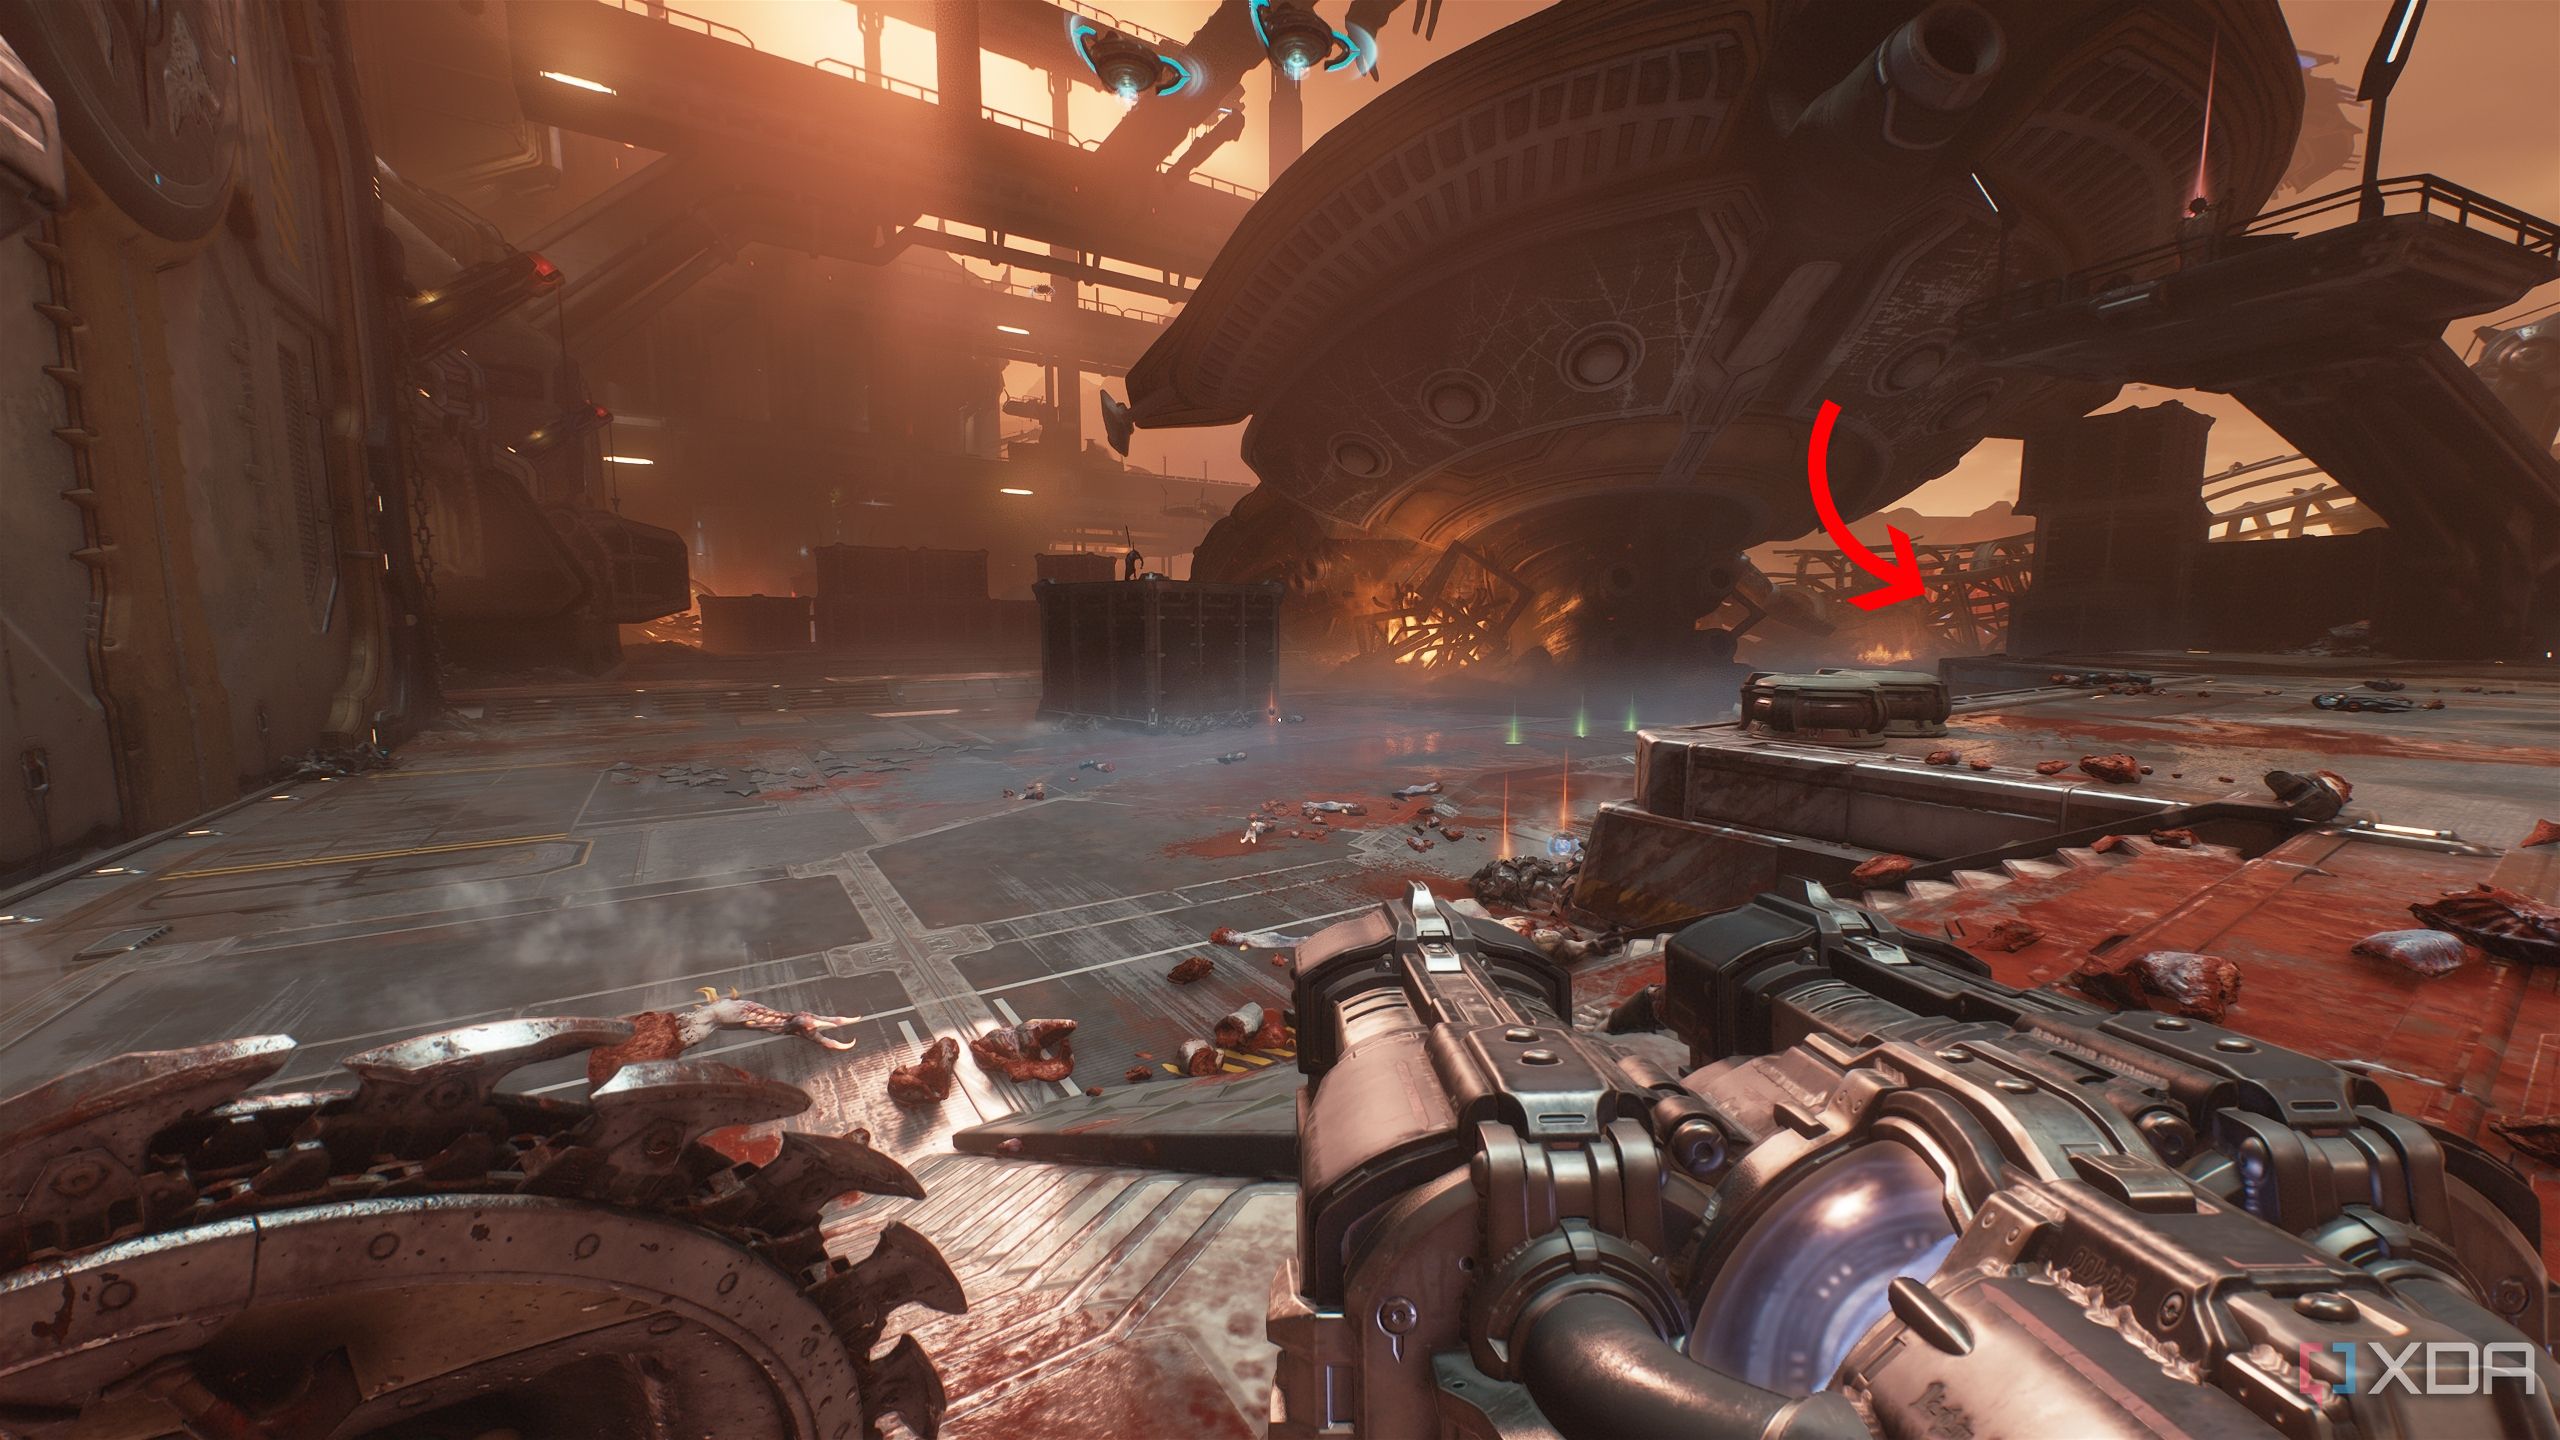
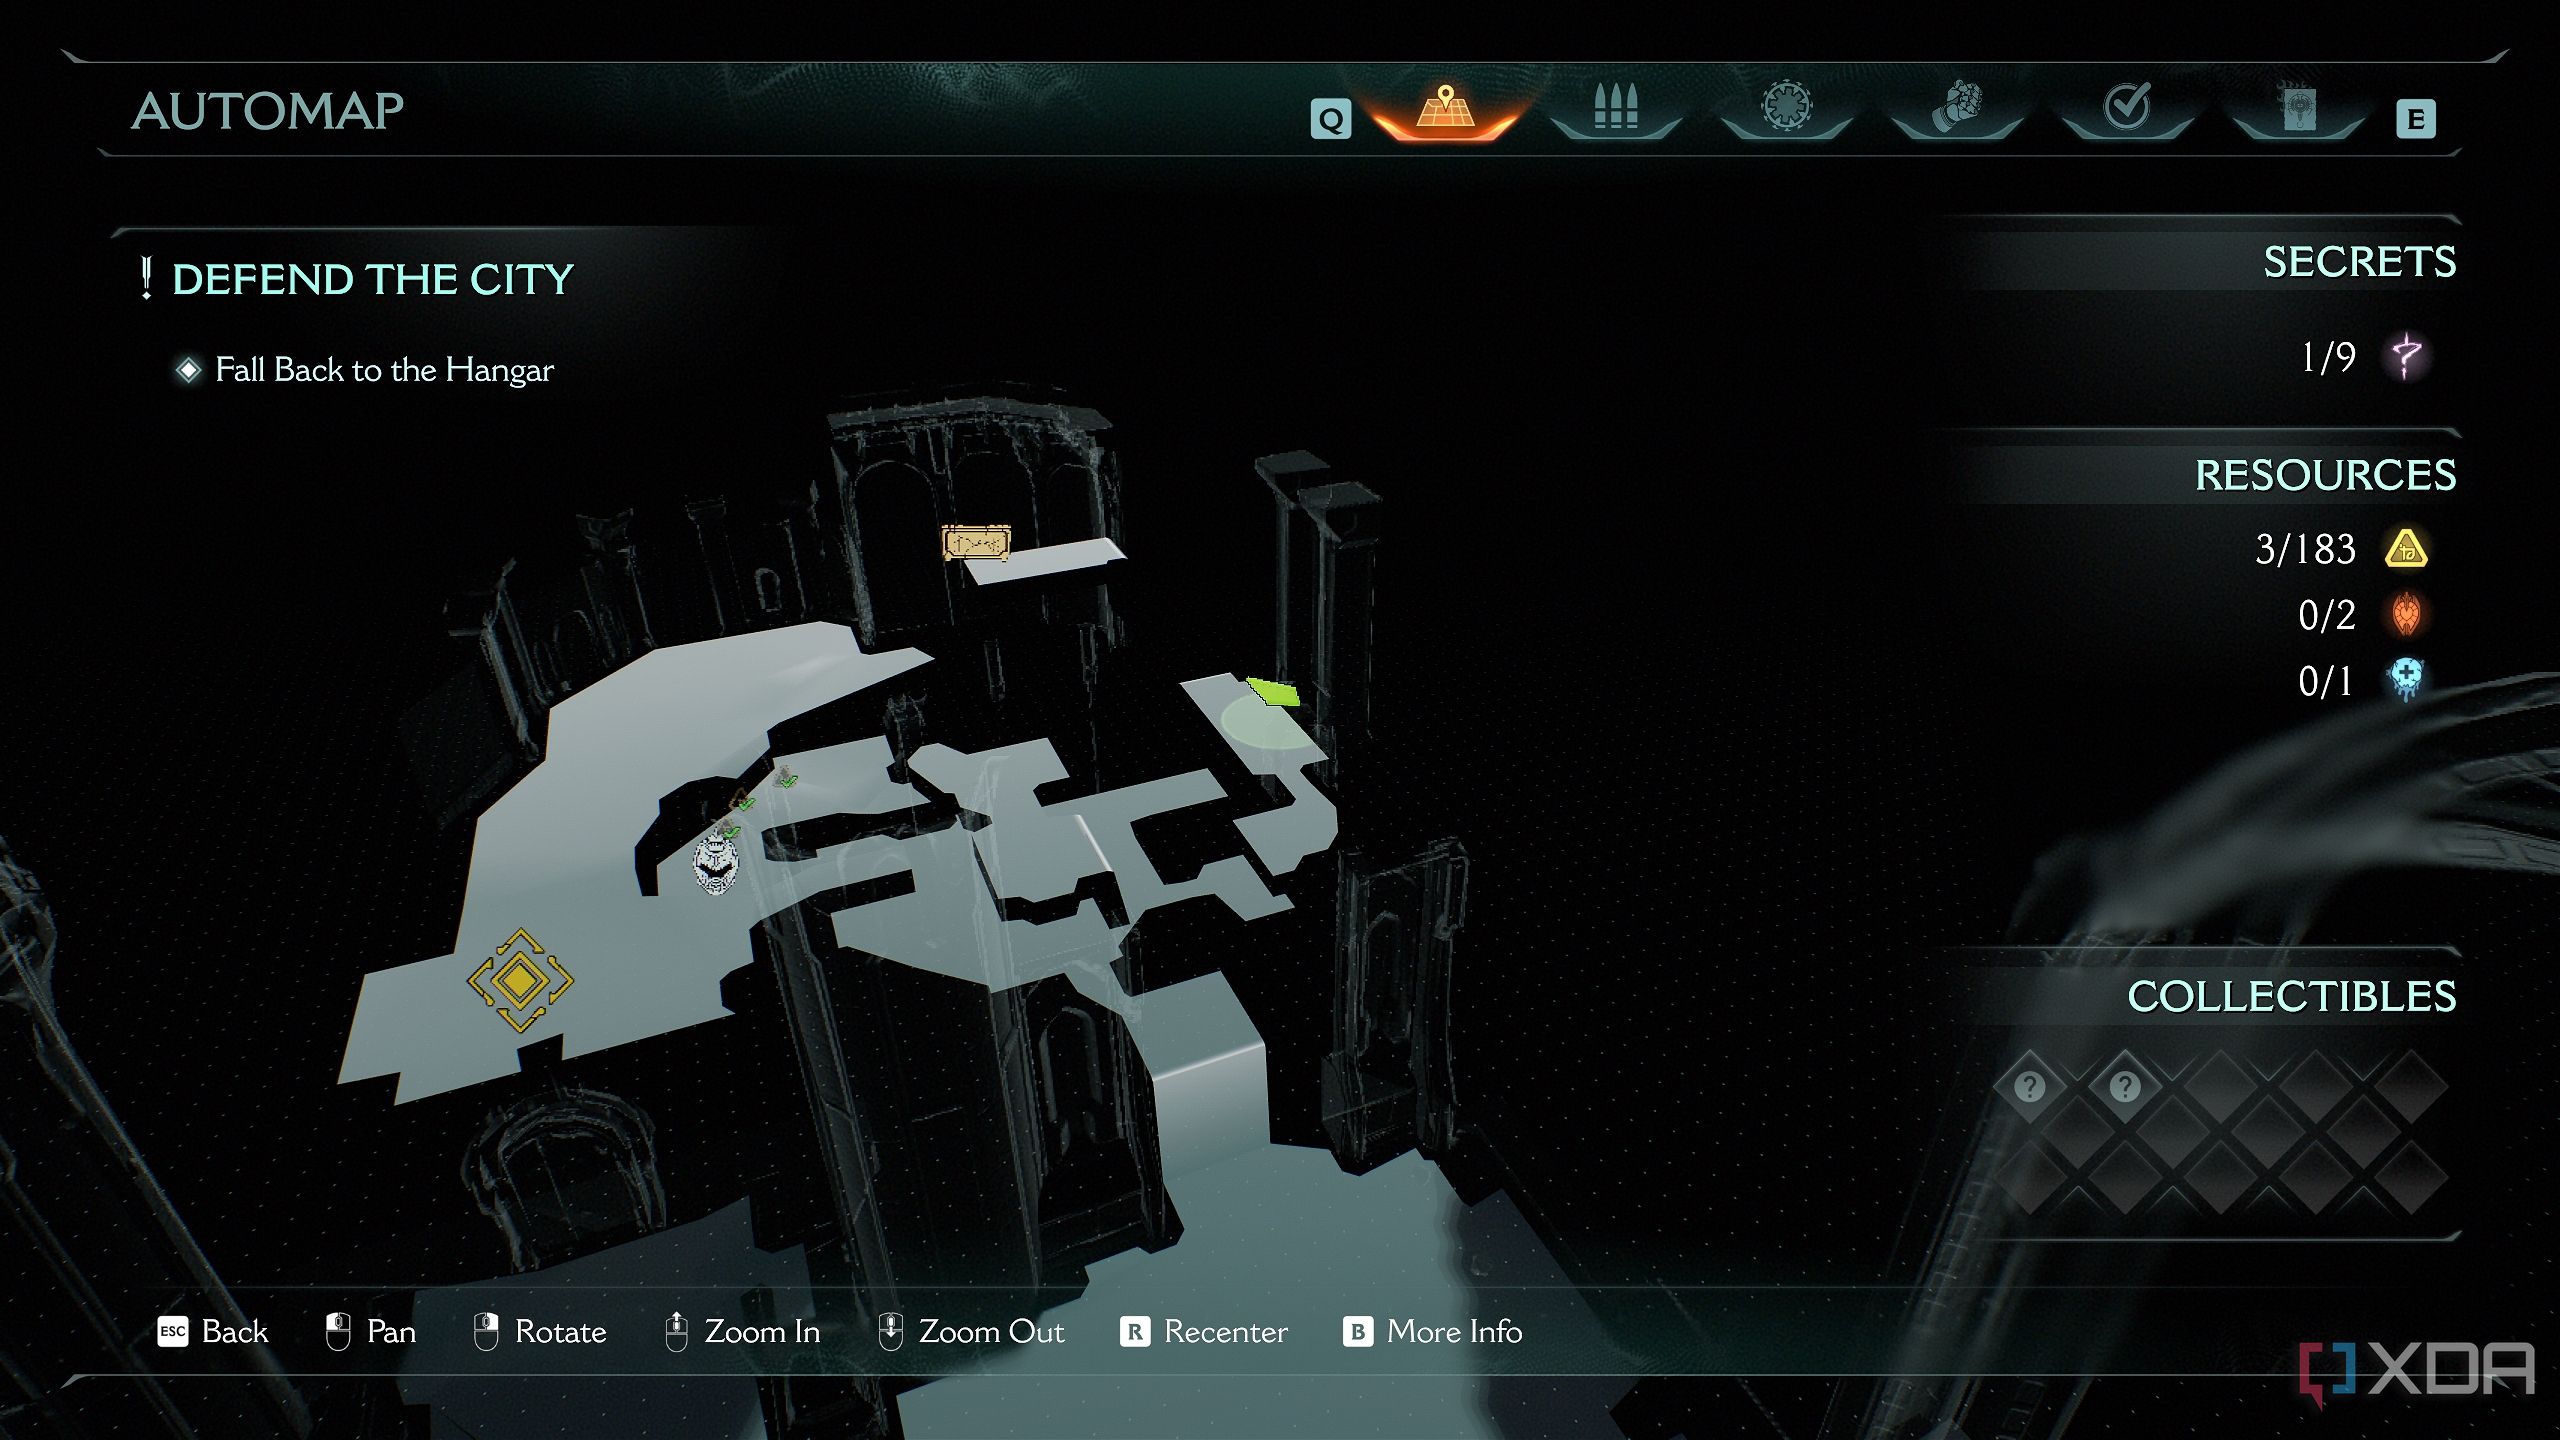
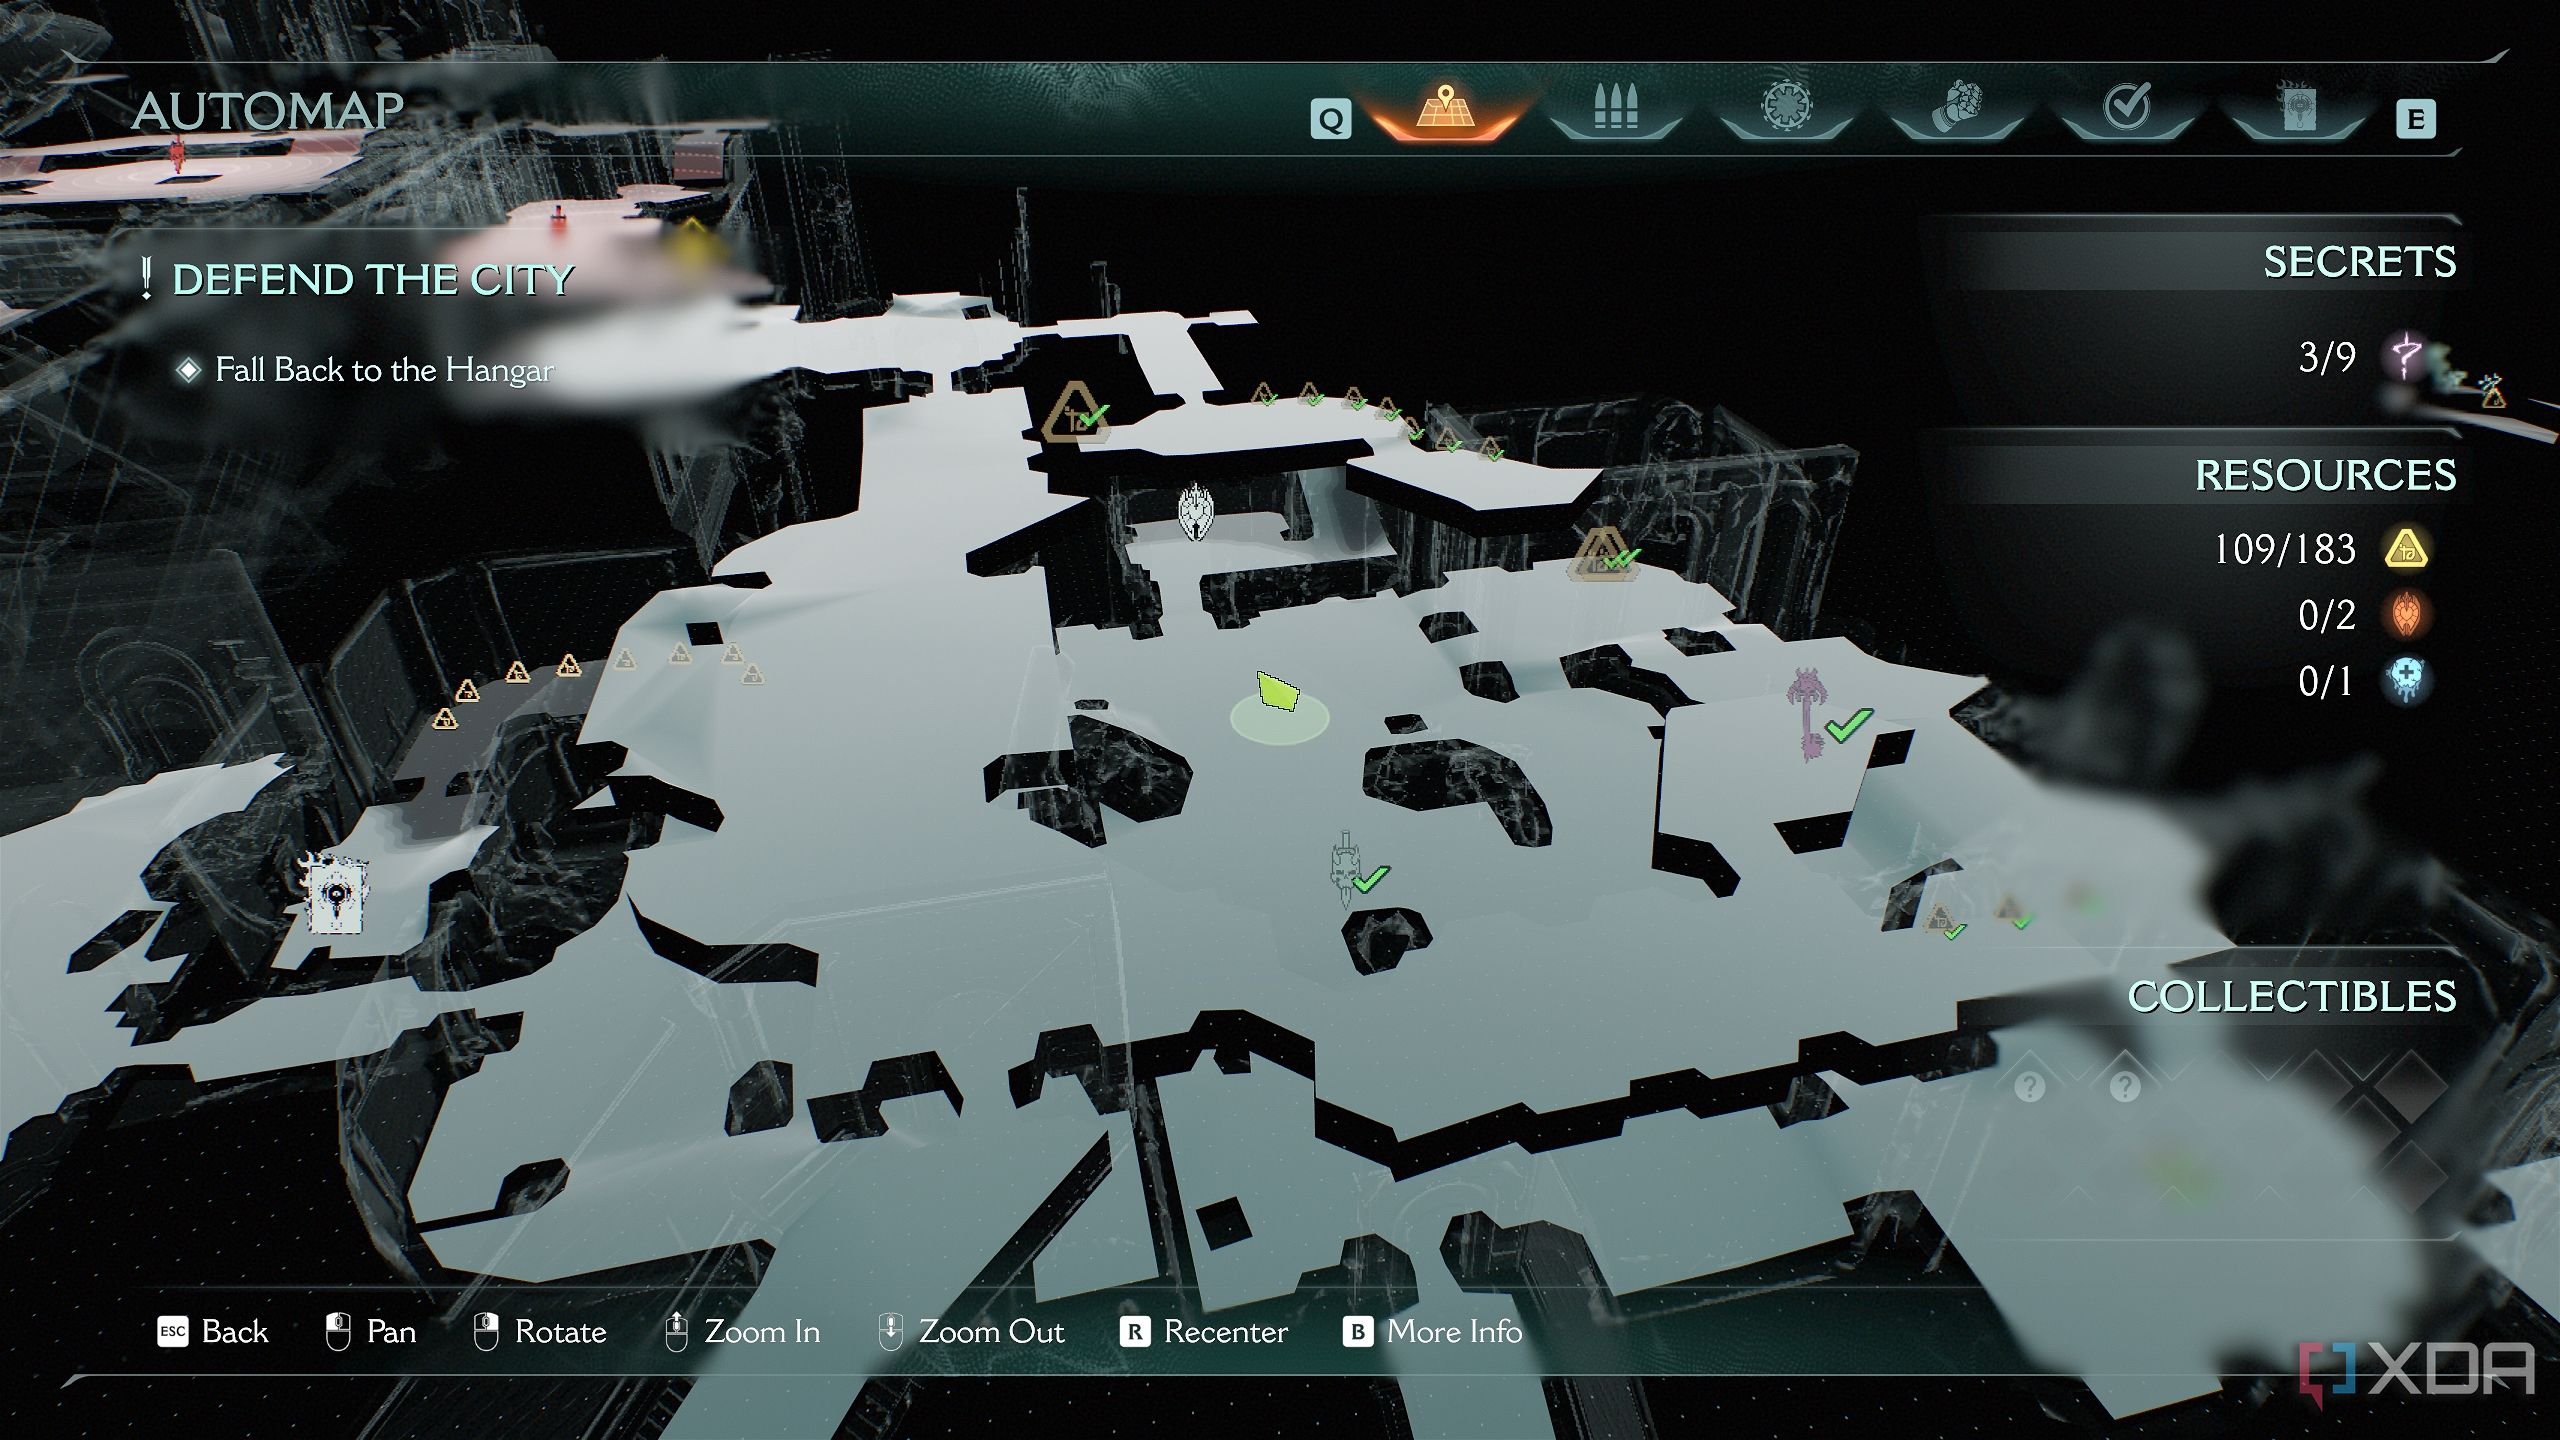
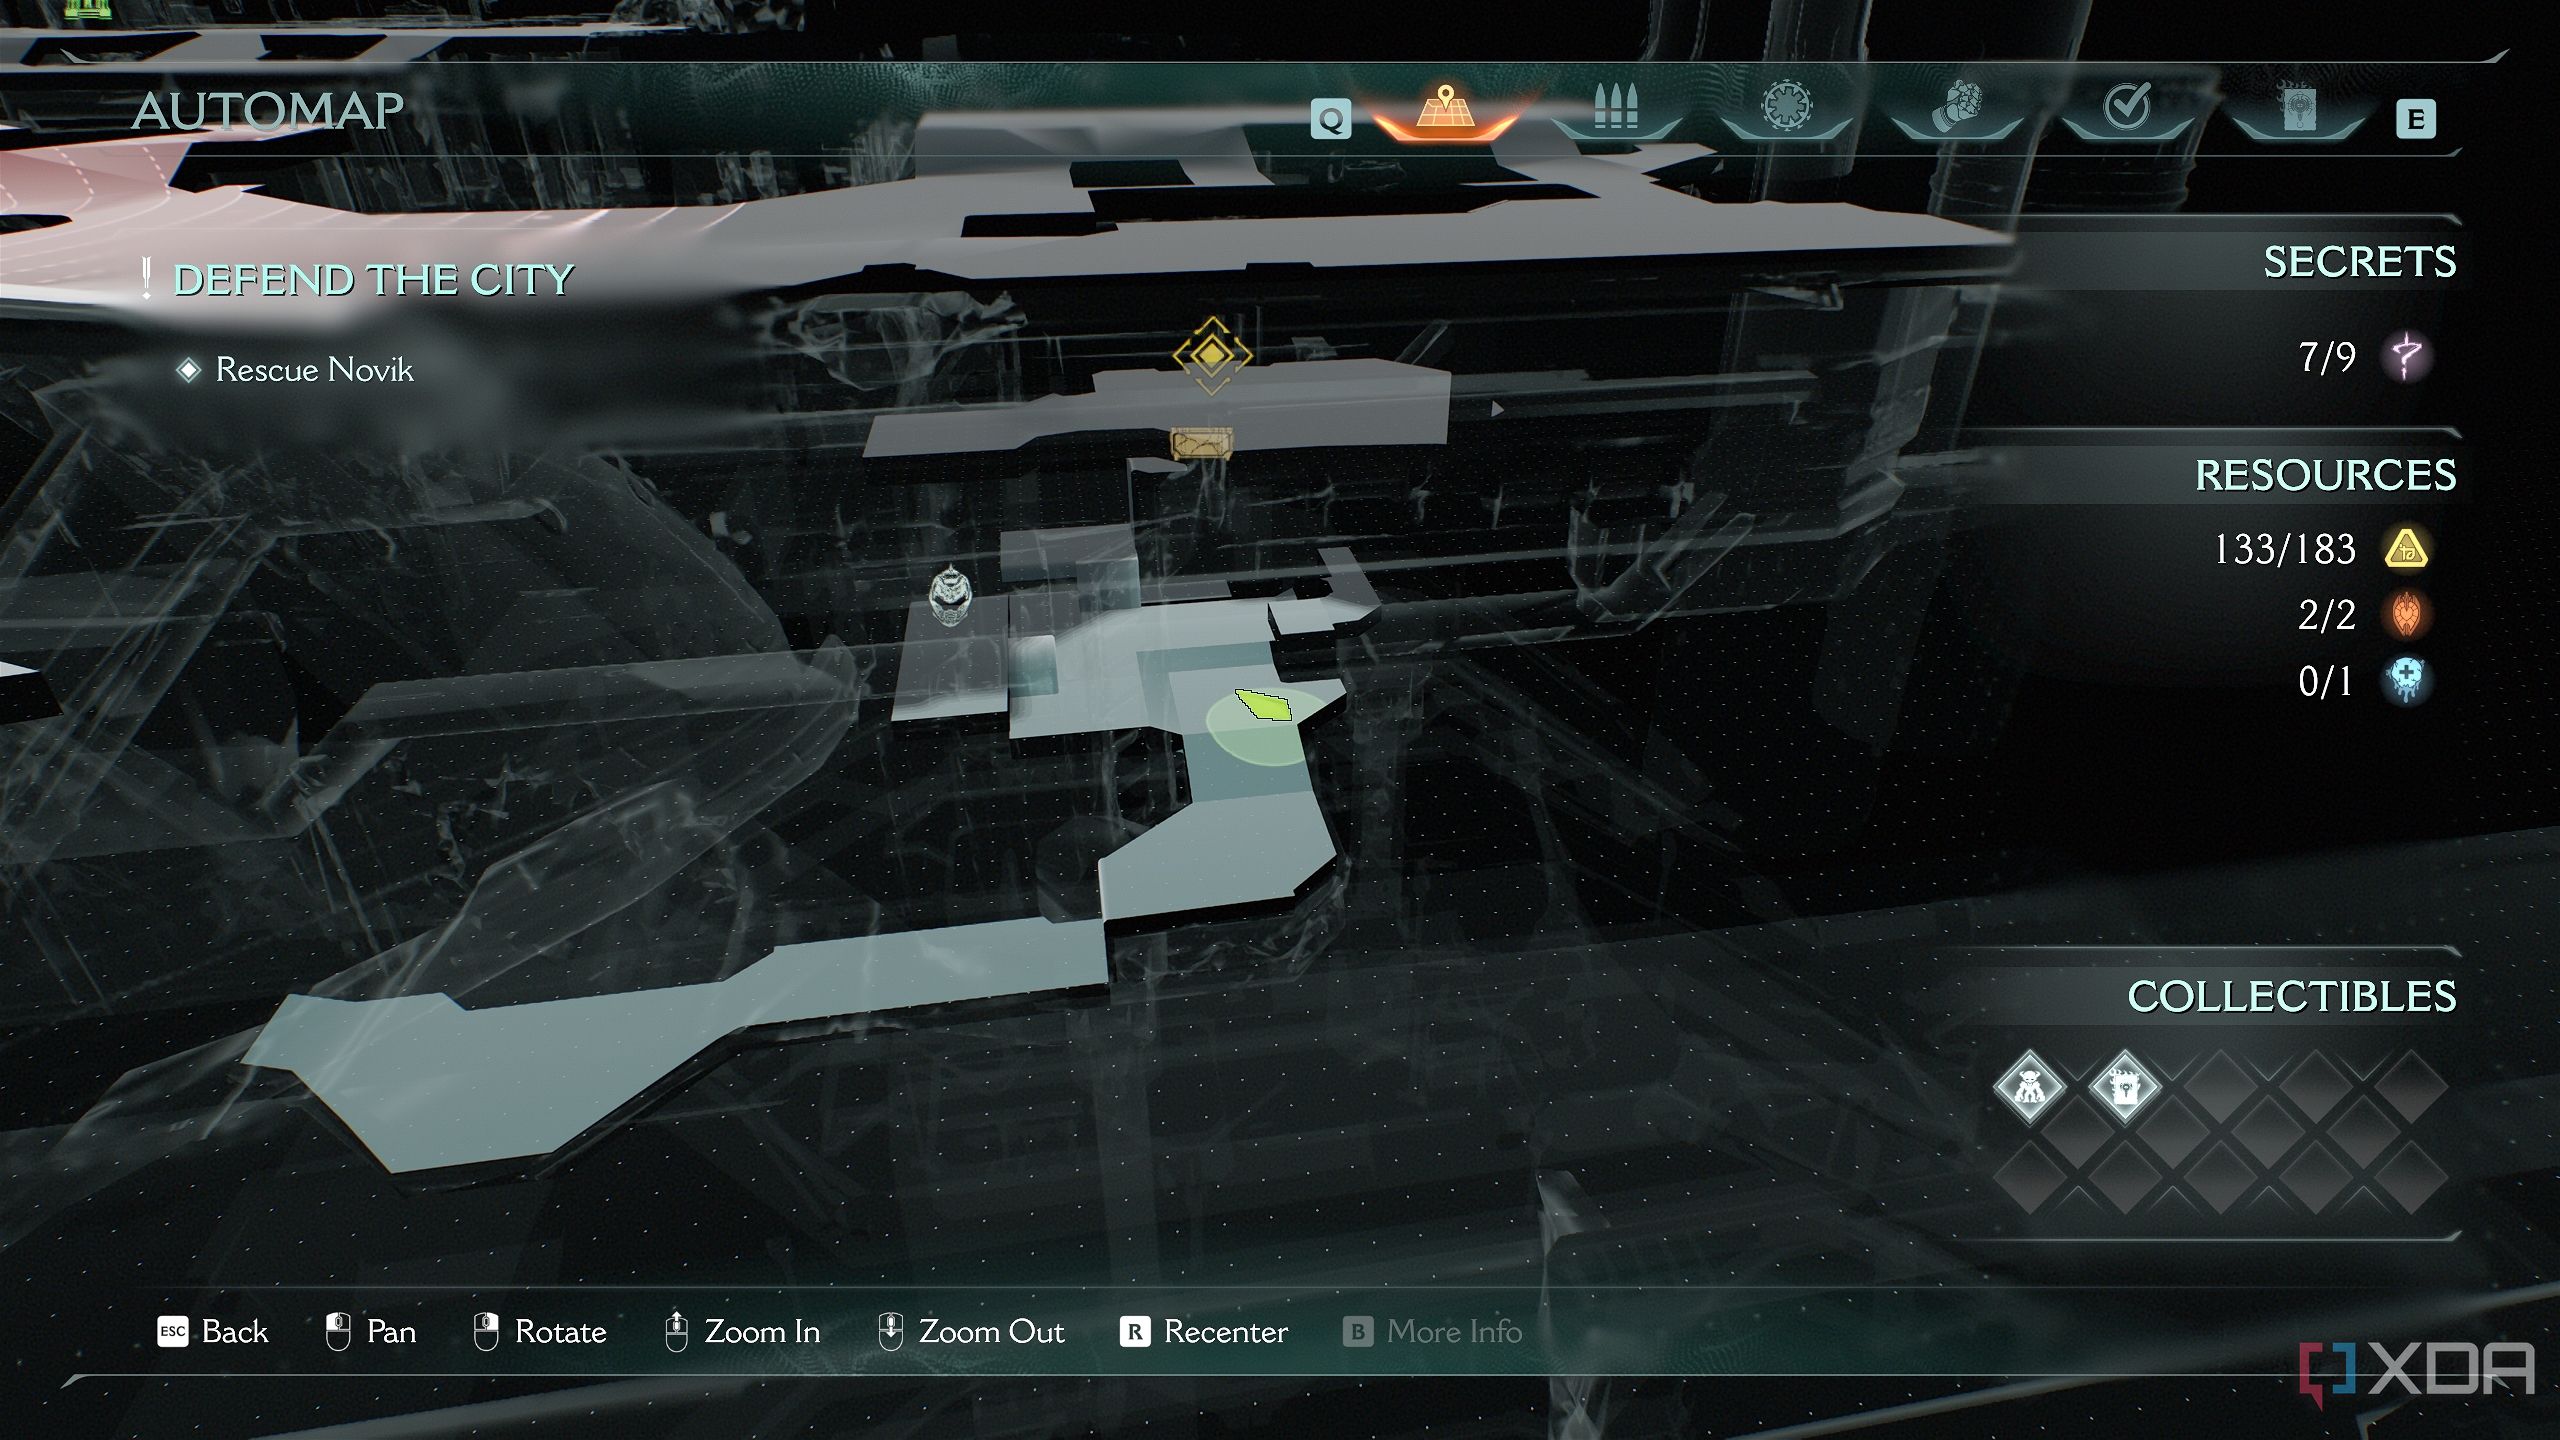
After your first combat encounter with Hellknights, a Revenant, and Shadow Imp Stalkers, stand in the location shown here on the map. From here, walk alongside the right edge of the platform you're on to reach another open area.
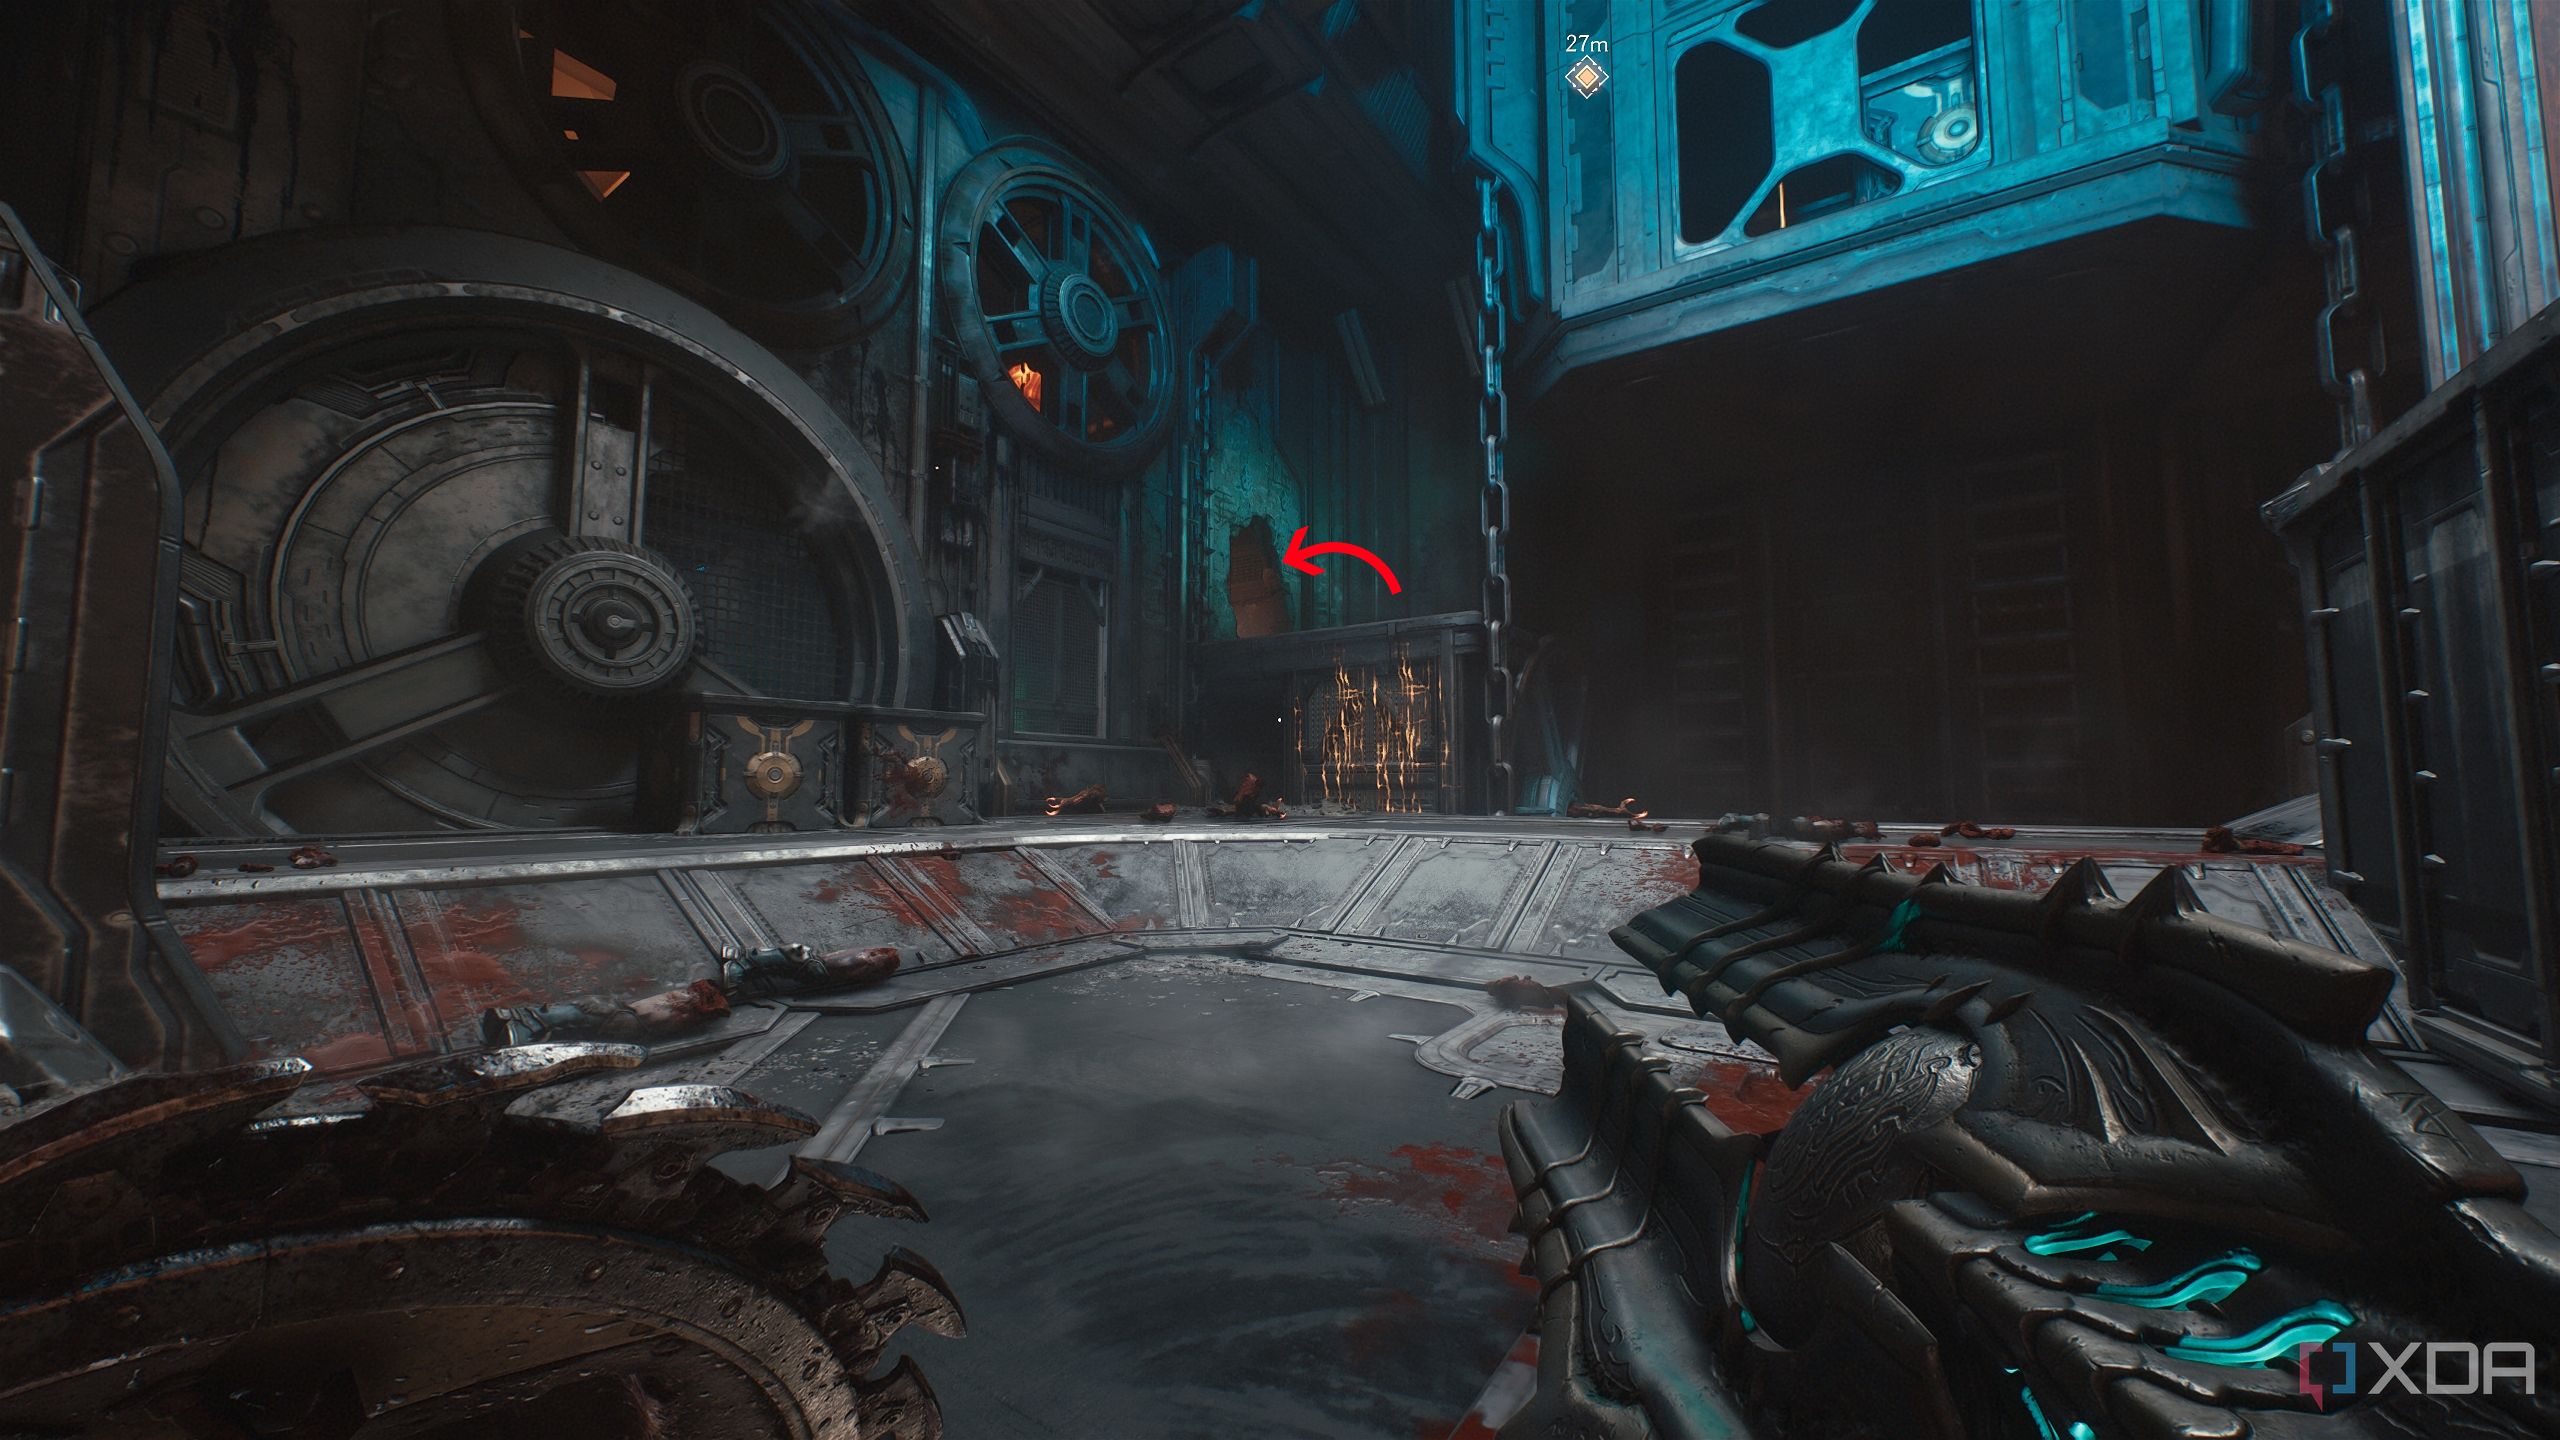
Look to the north-east corner to find a small area where a Hellknight will appear to attack.
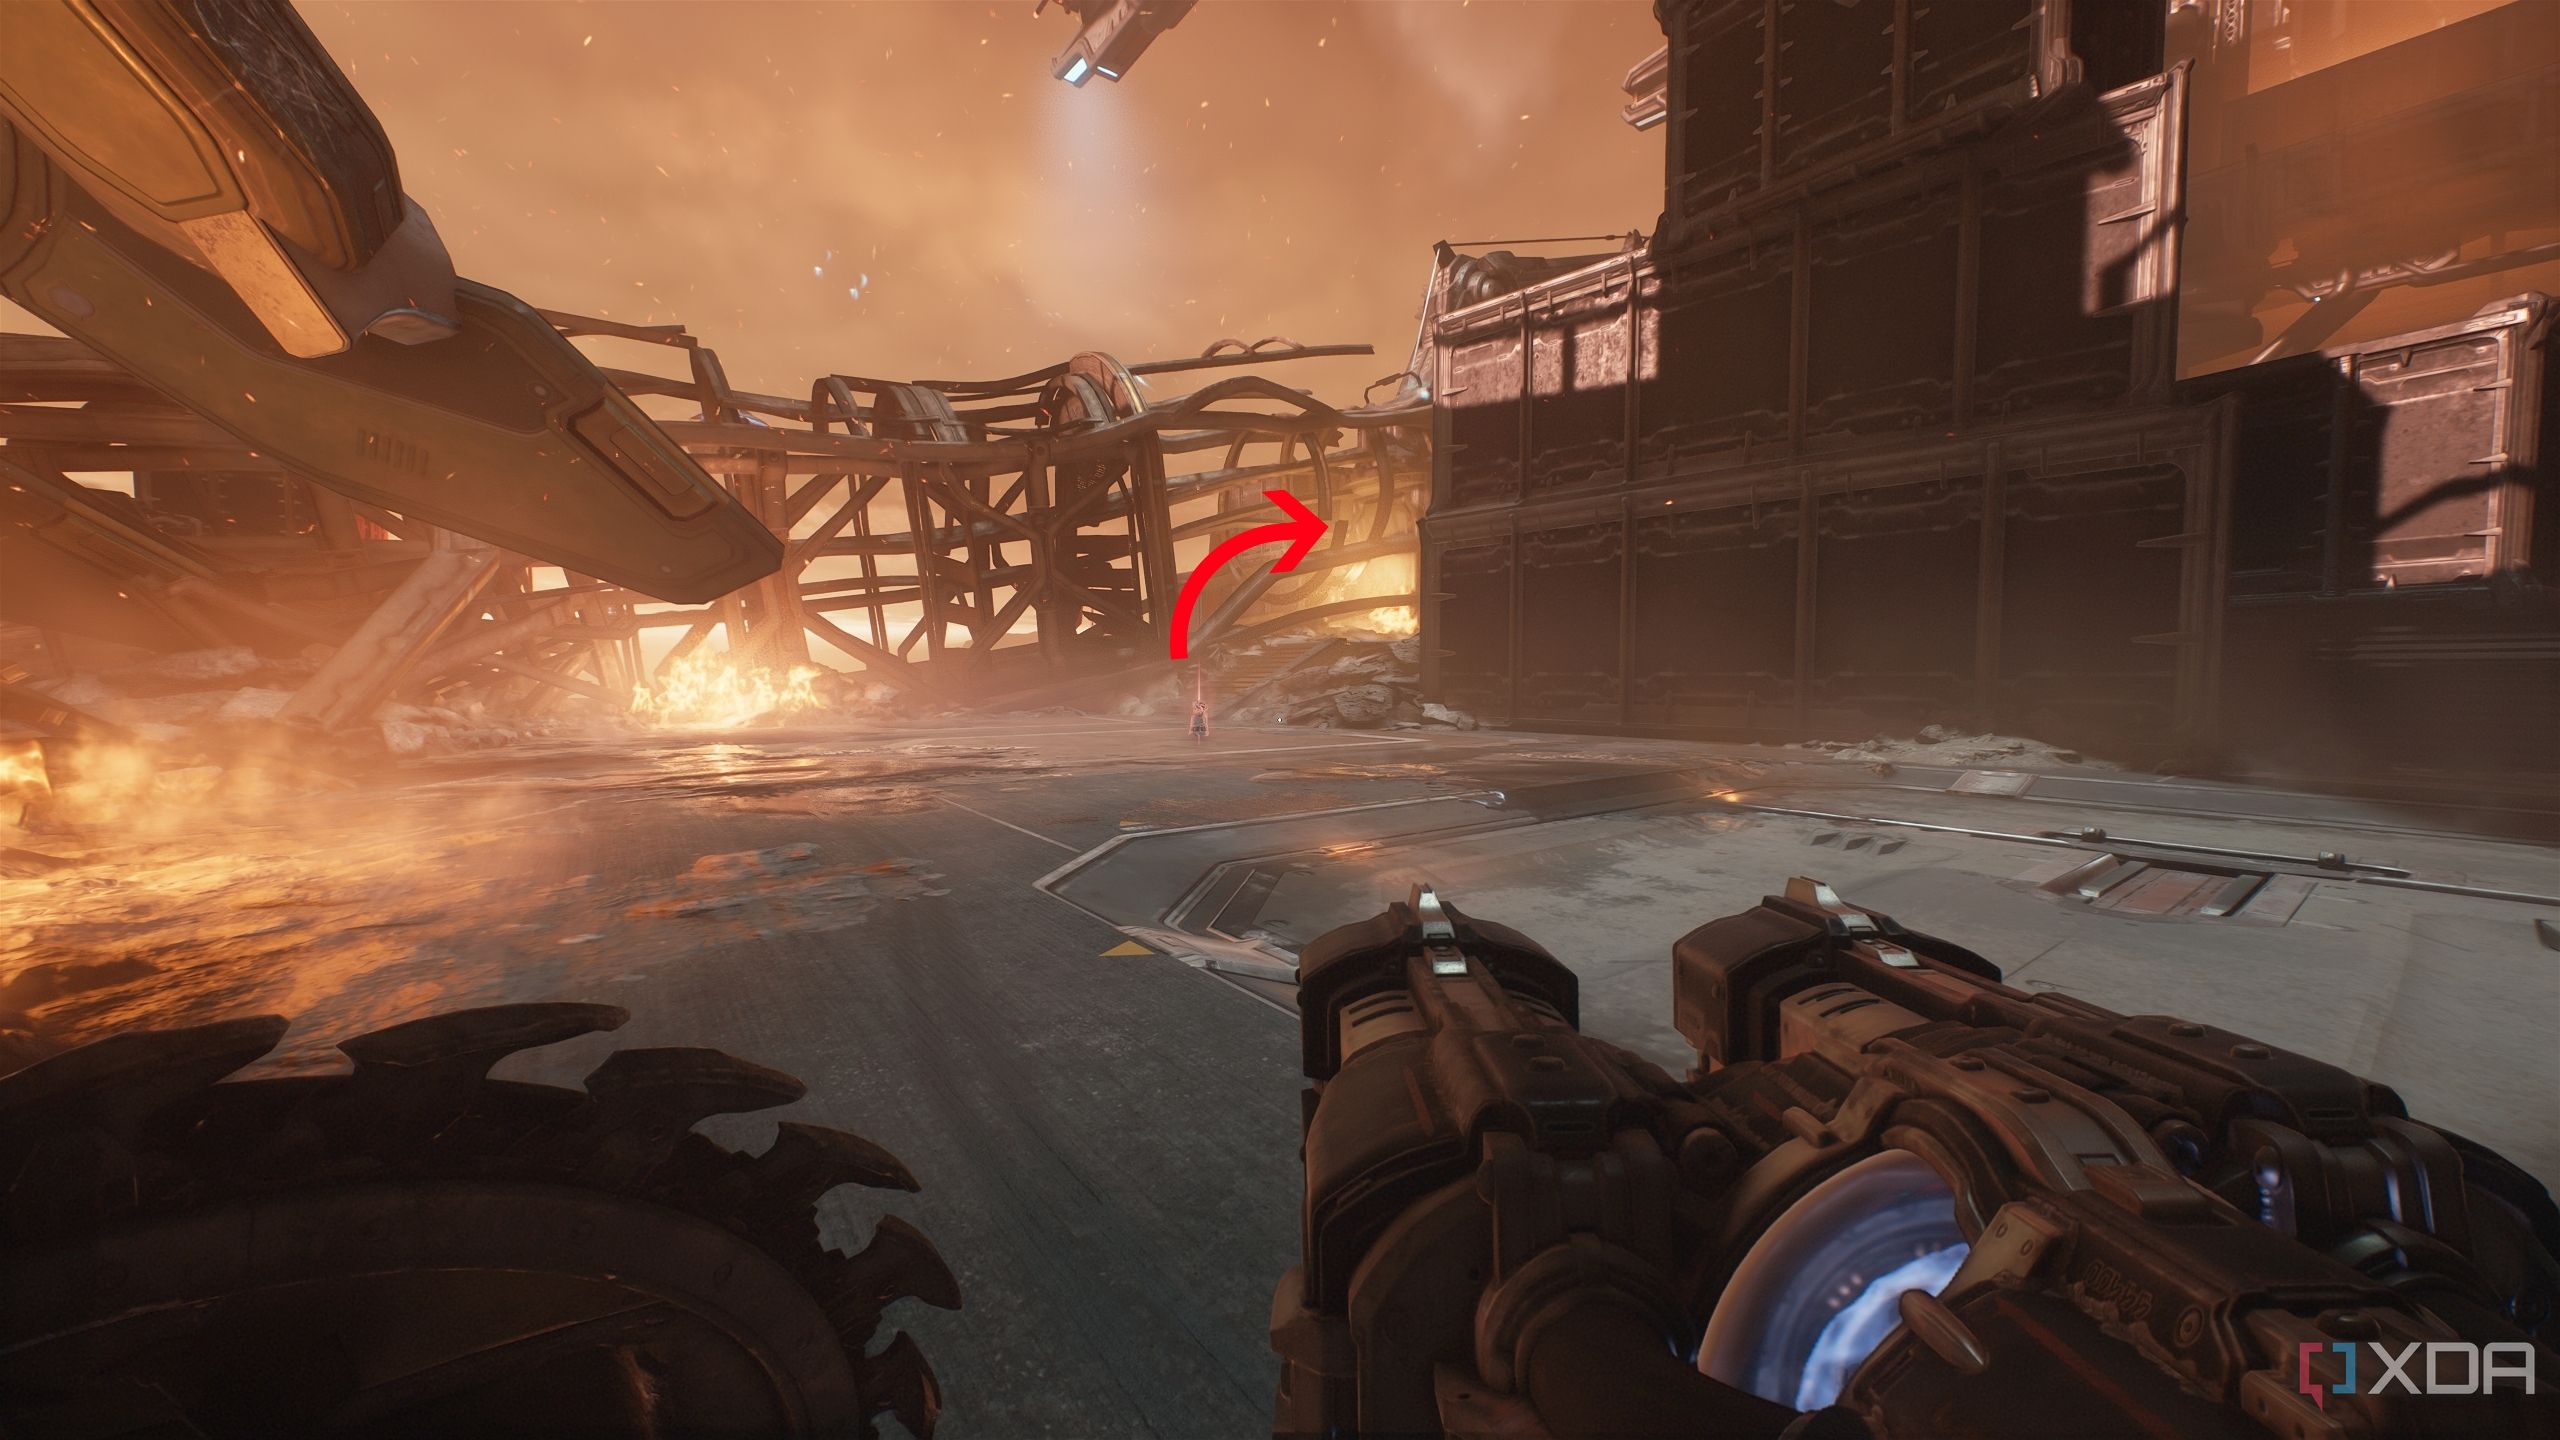
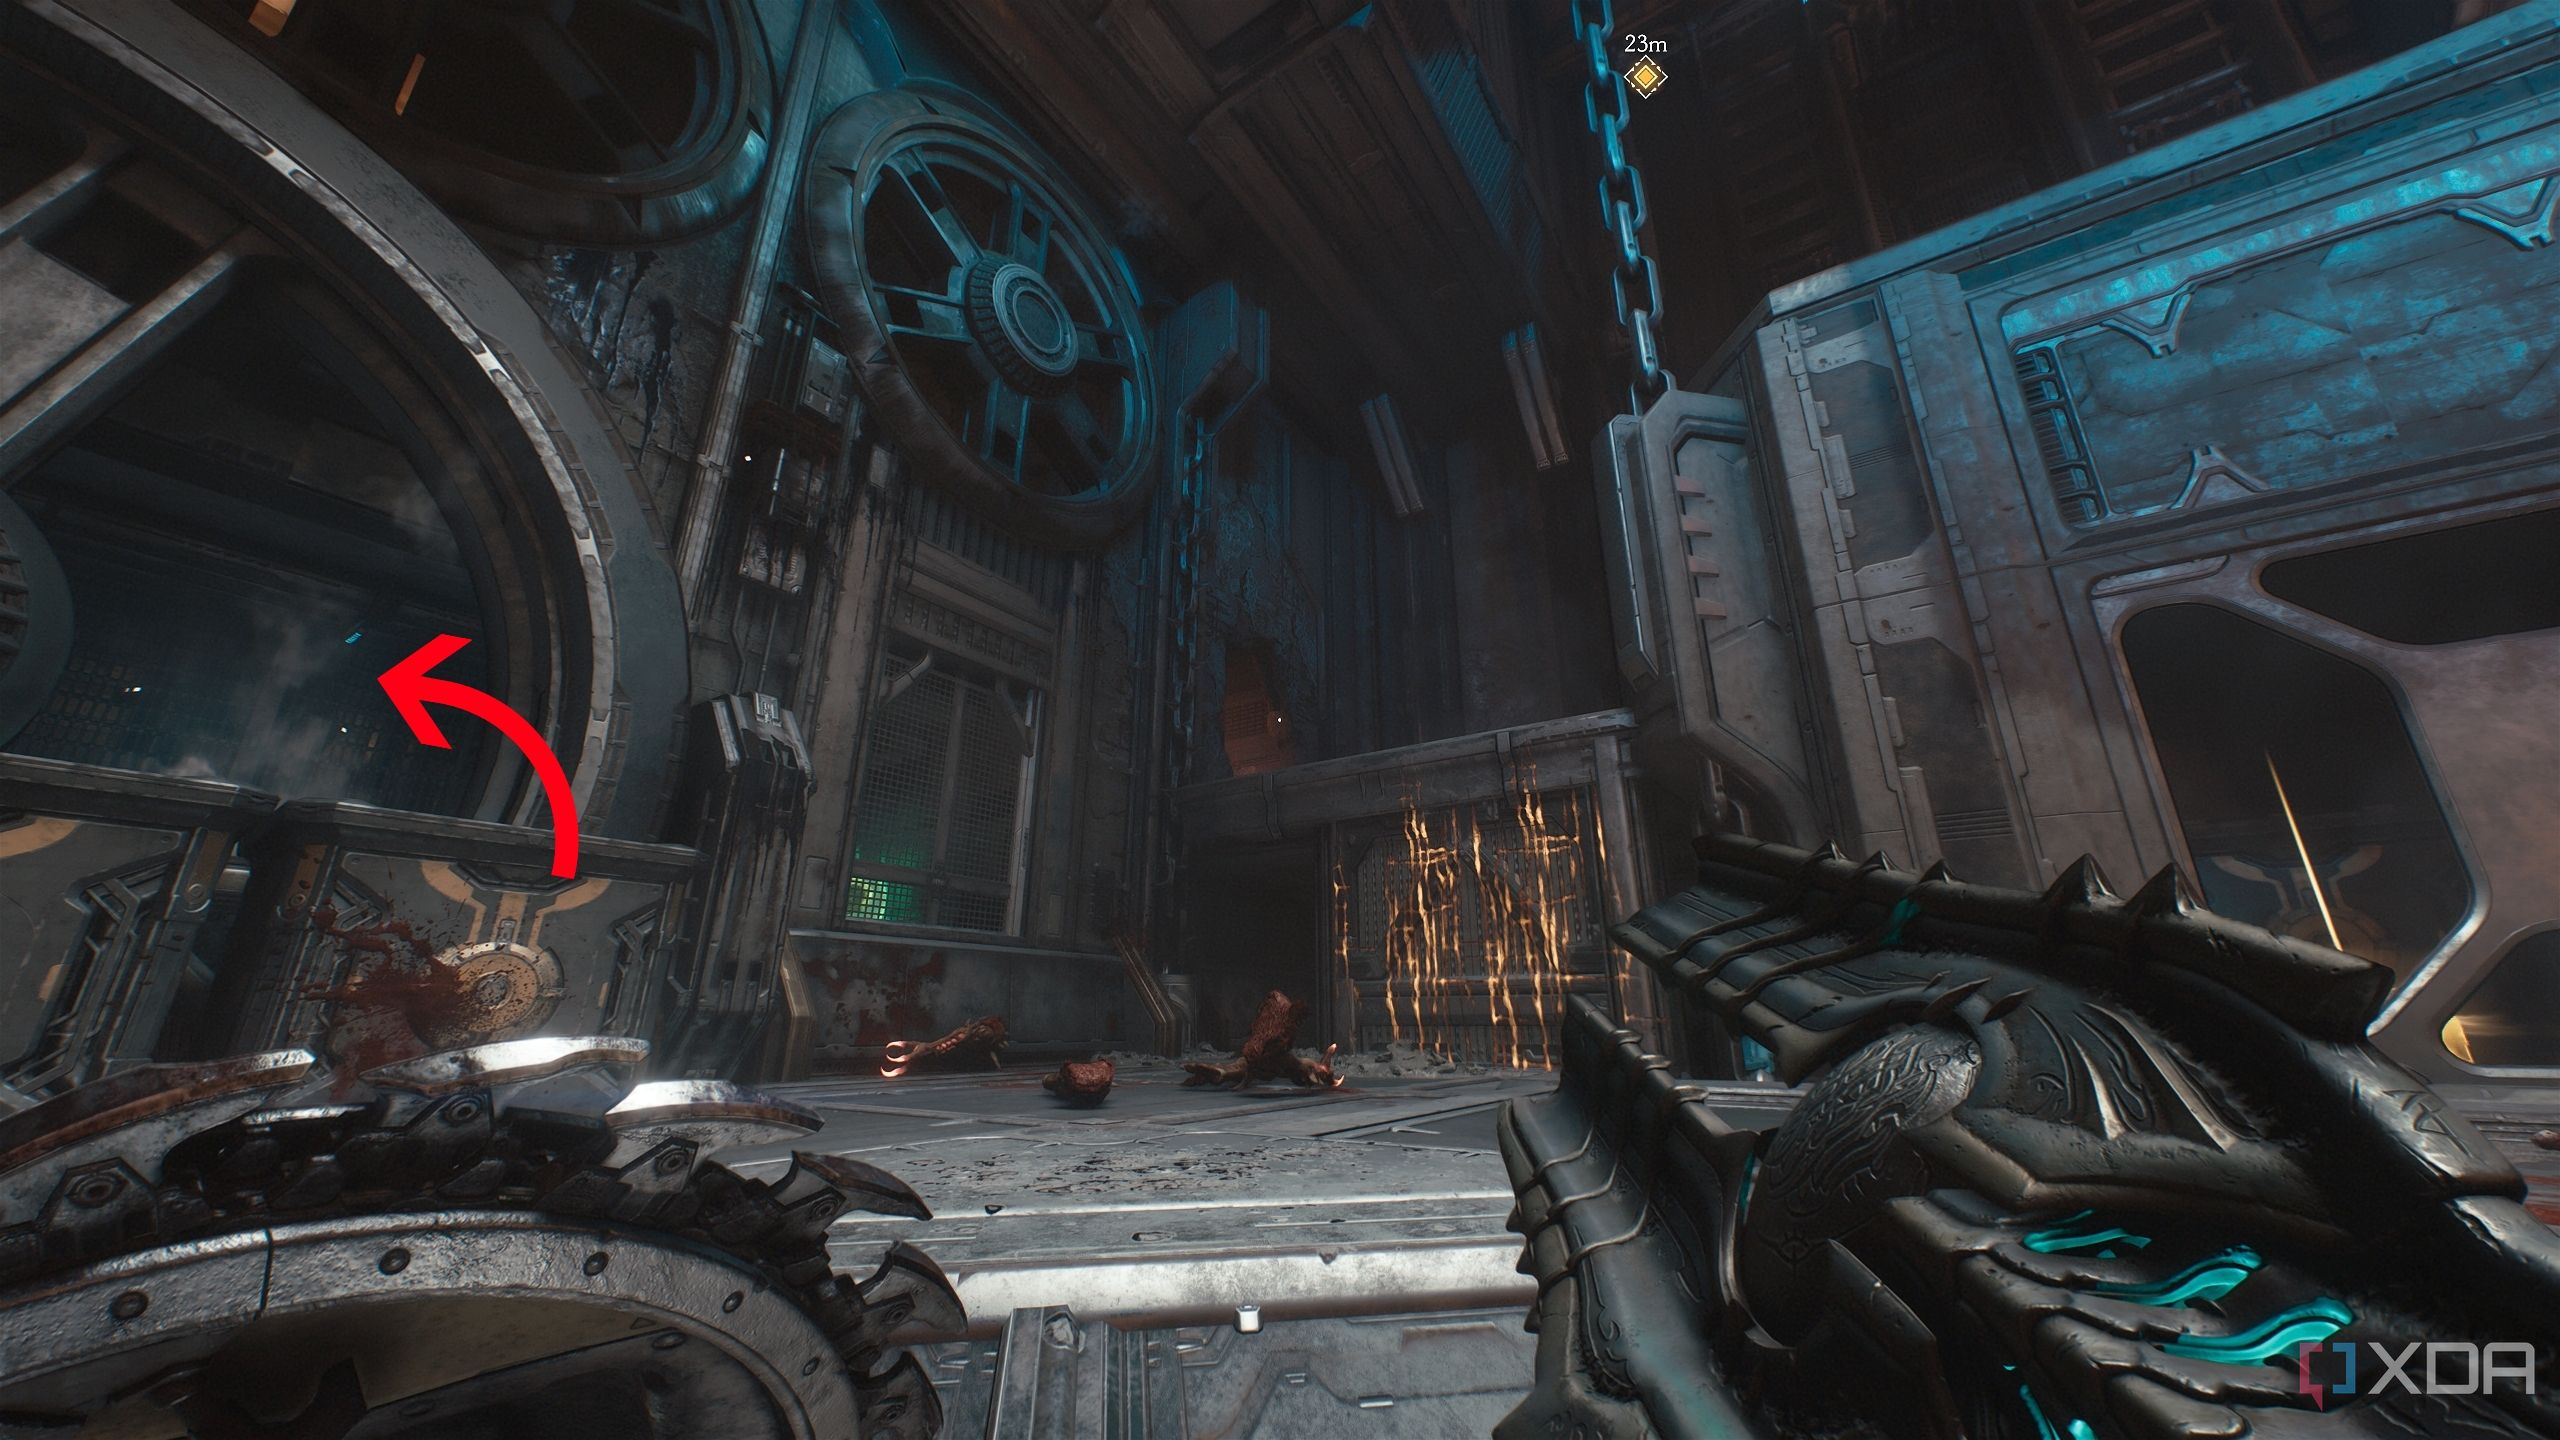
Here, right ahead, will be two boxes, one of which has a scramble wall.
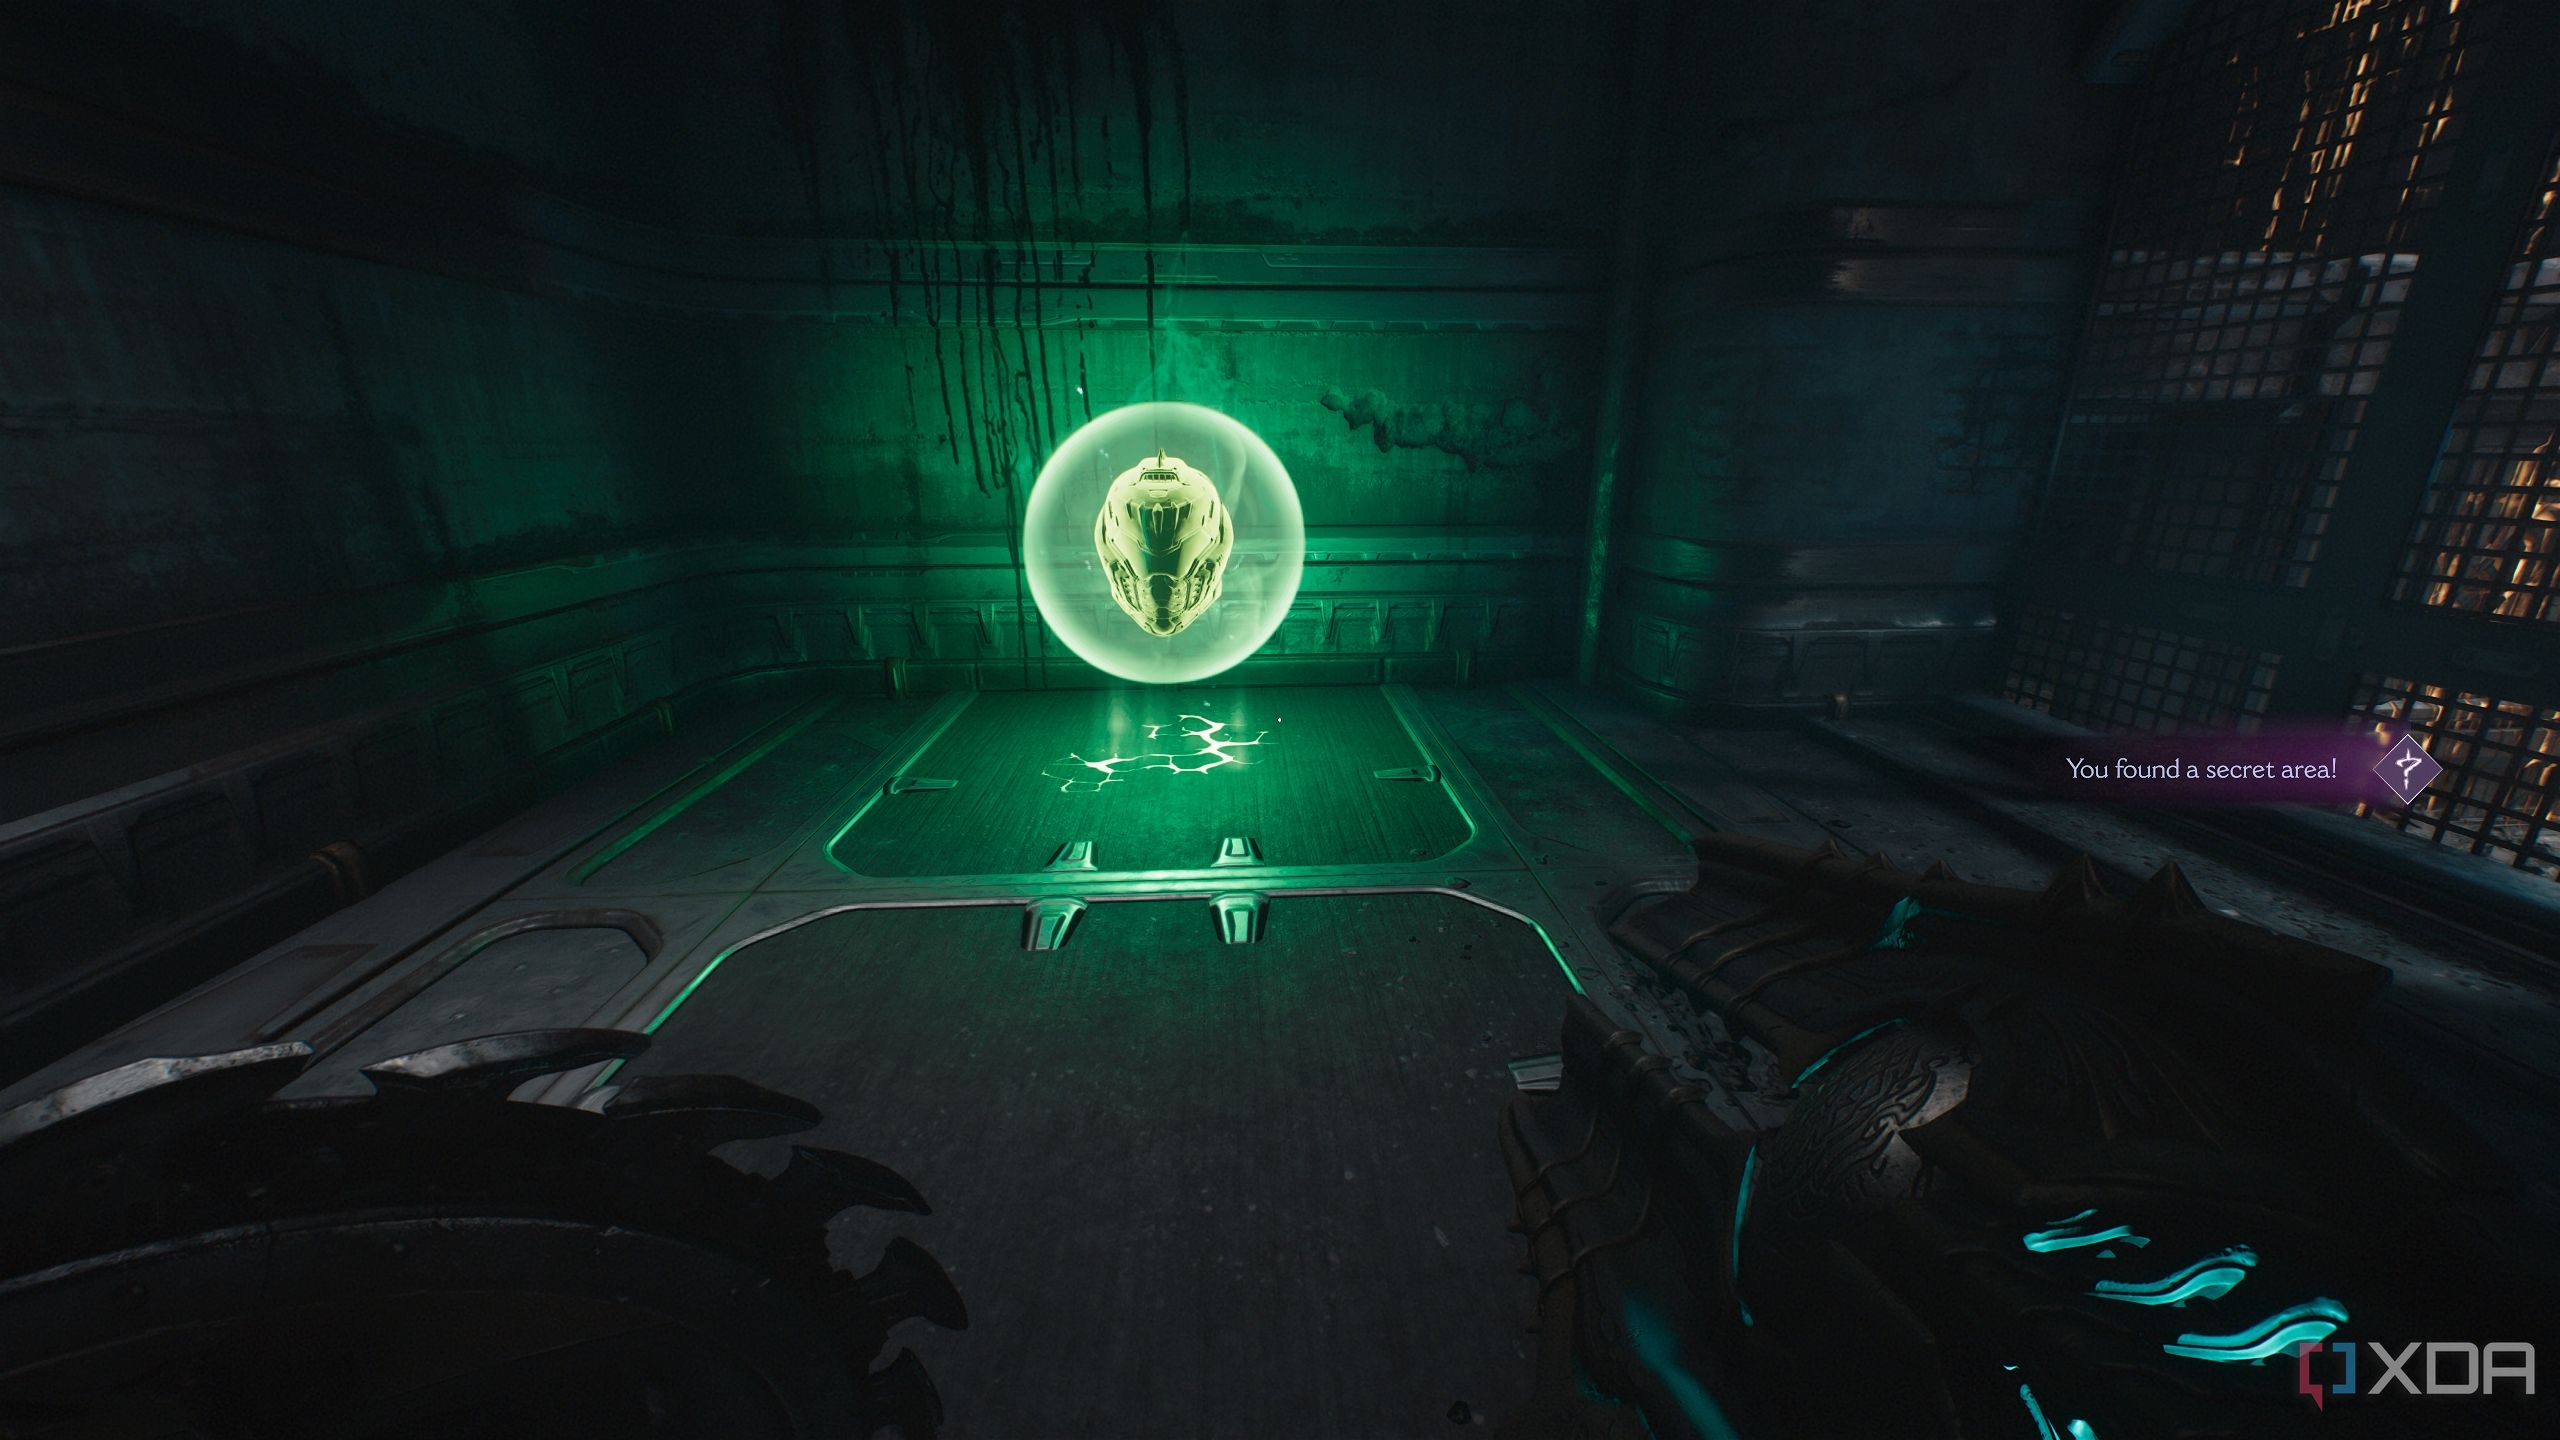
Climb atop the wall, and you'll see a Red Ruby statue in the distance.
Approach it to collect the Red Ruby, and you'll unlock secret area 8.
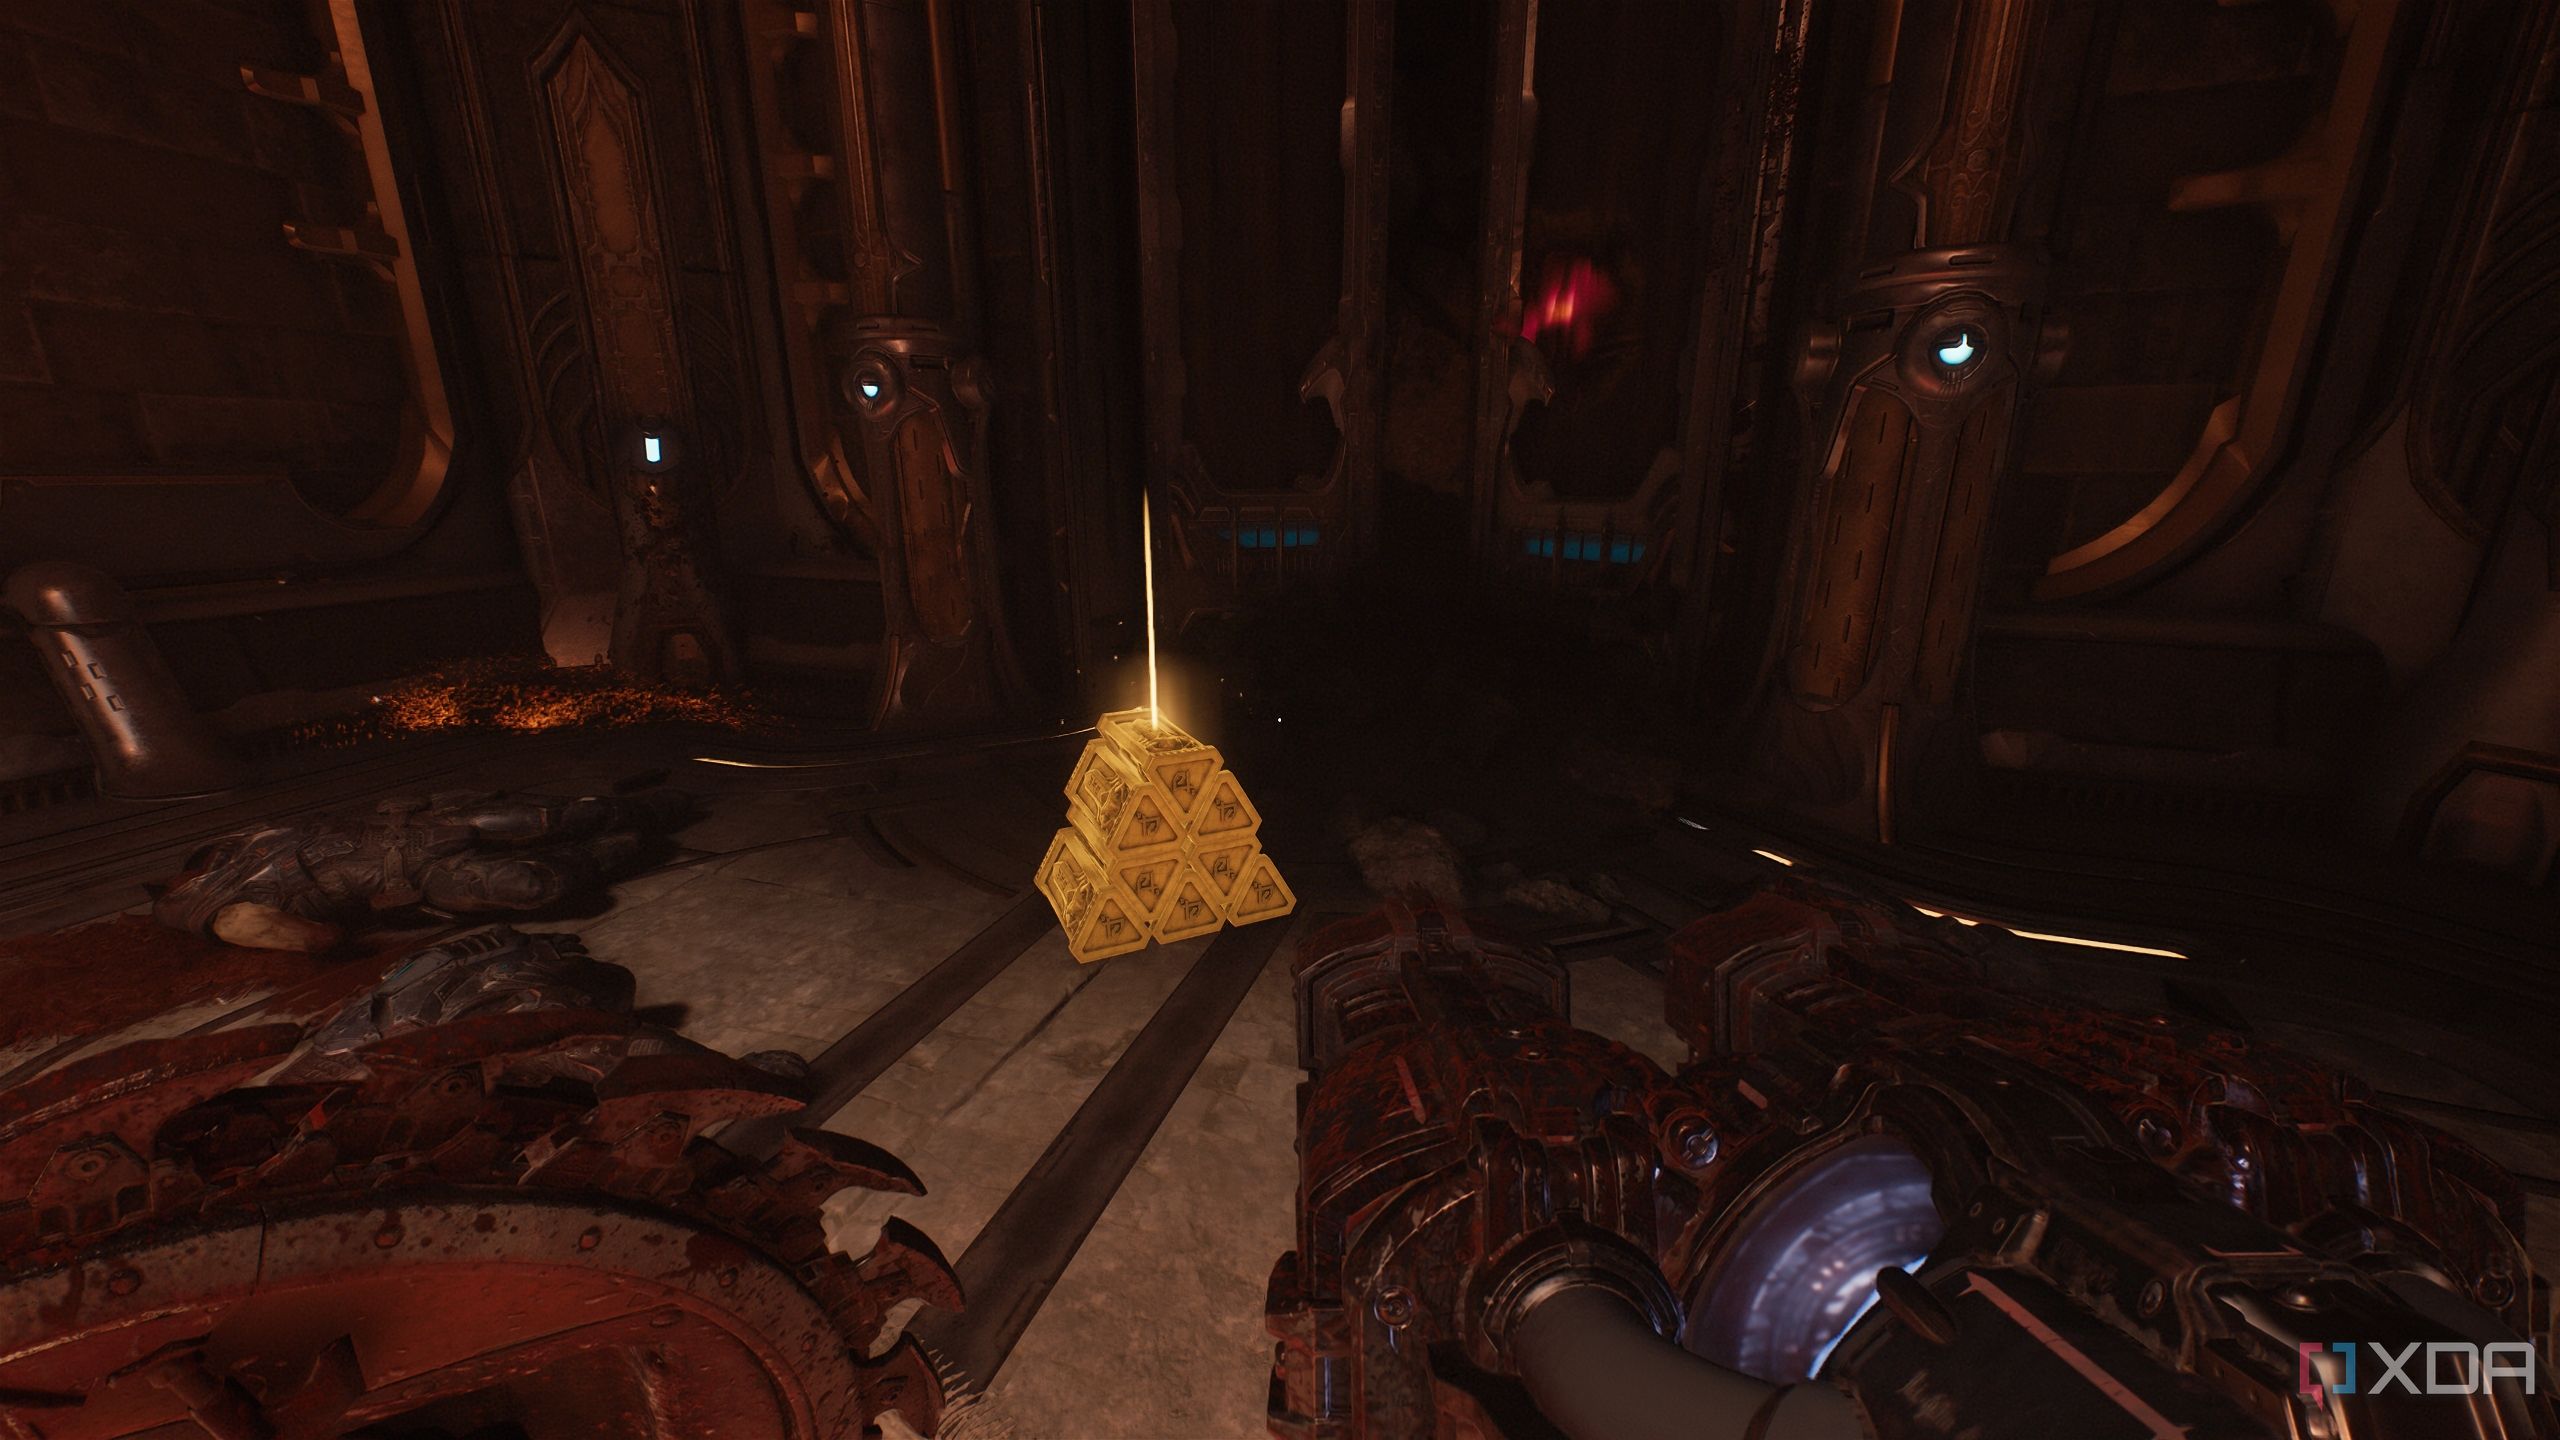
Secret area 9, a gold stack, and a gold crate
The king can wait while I collect gold
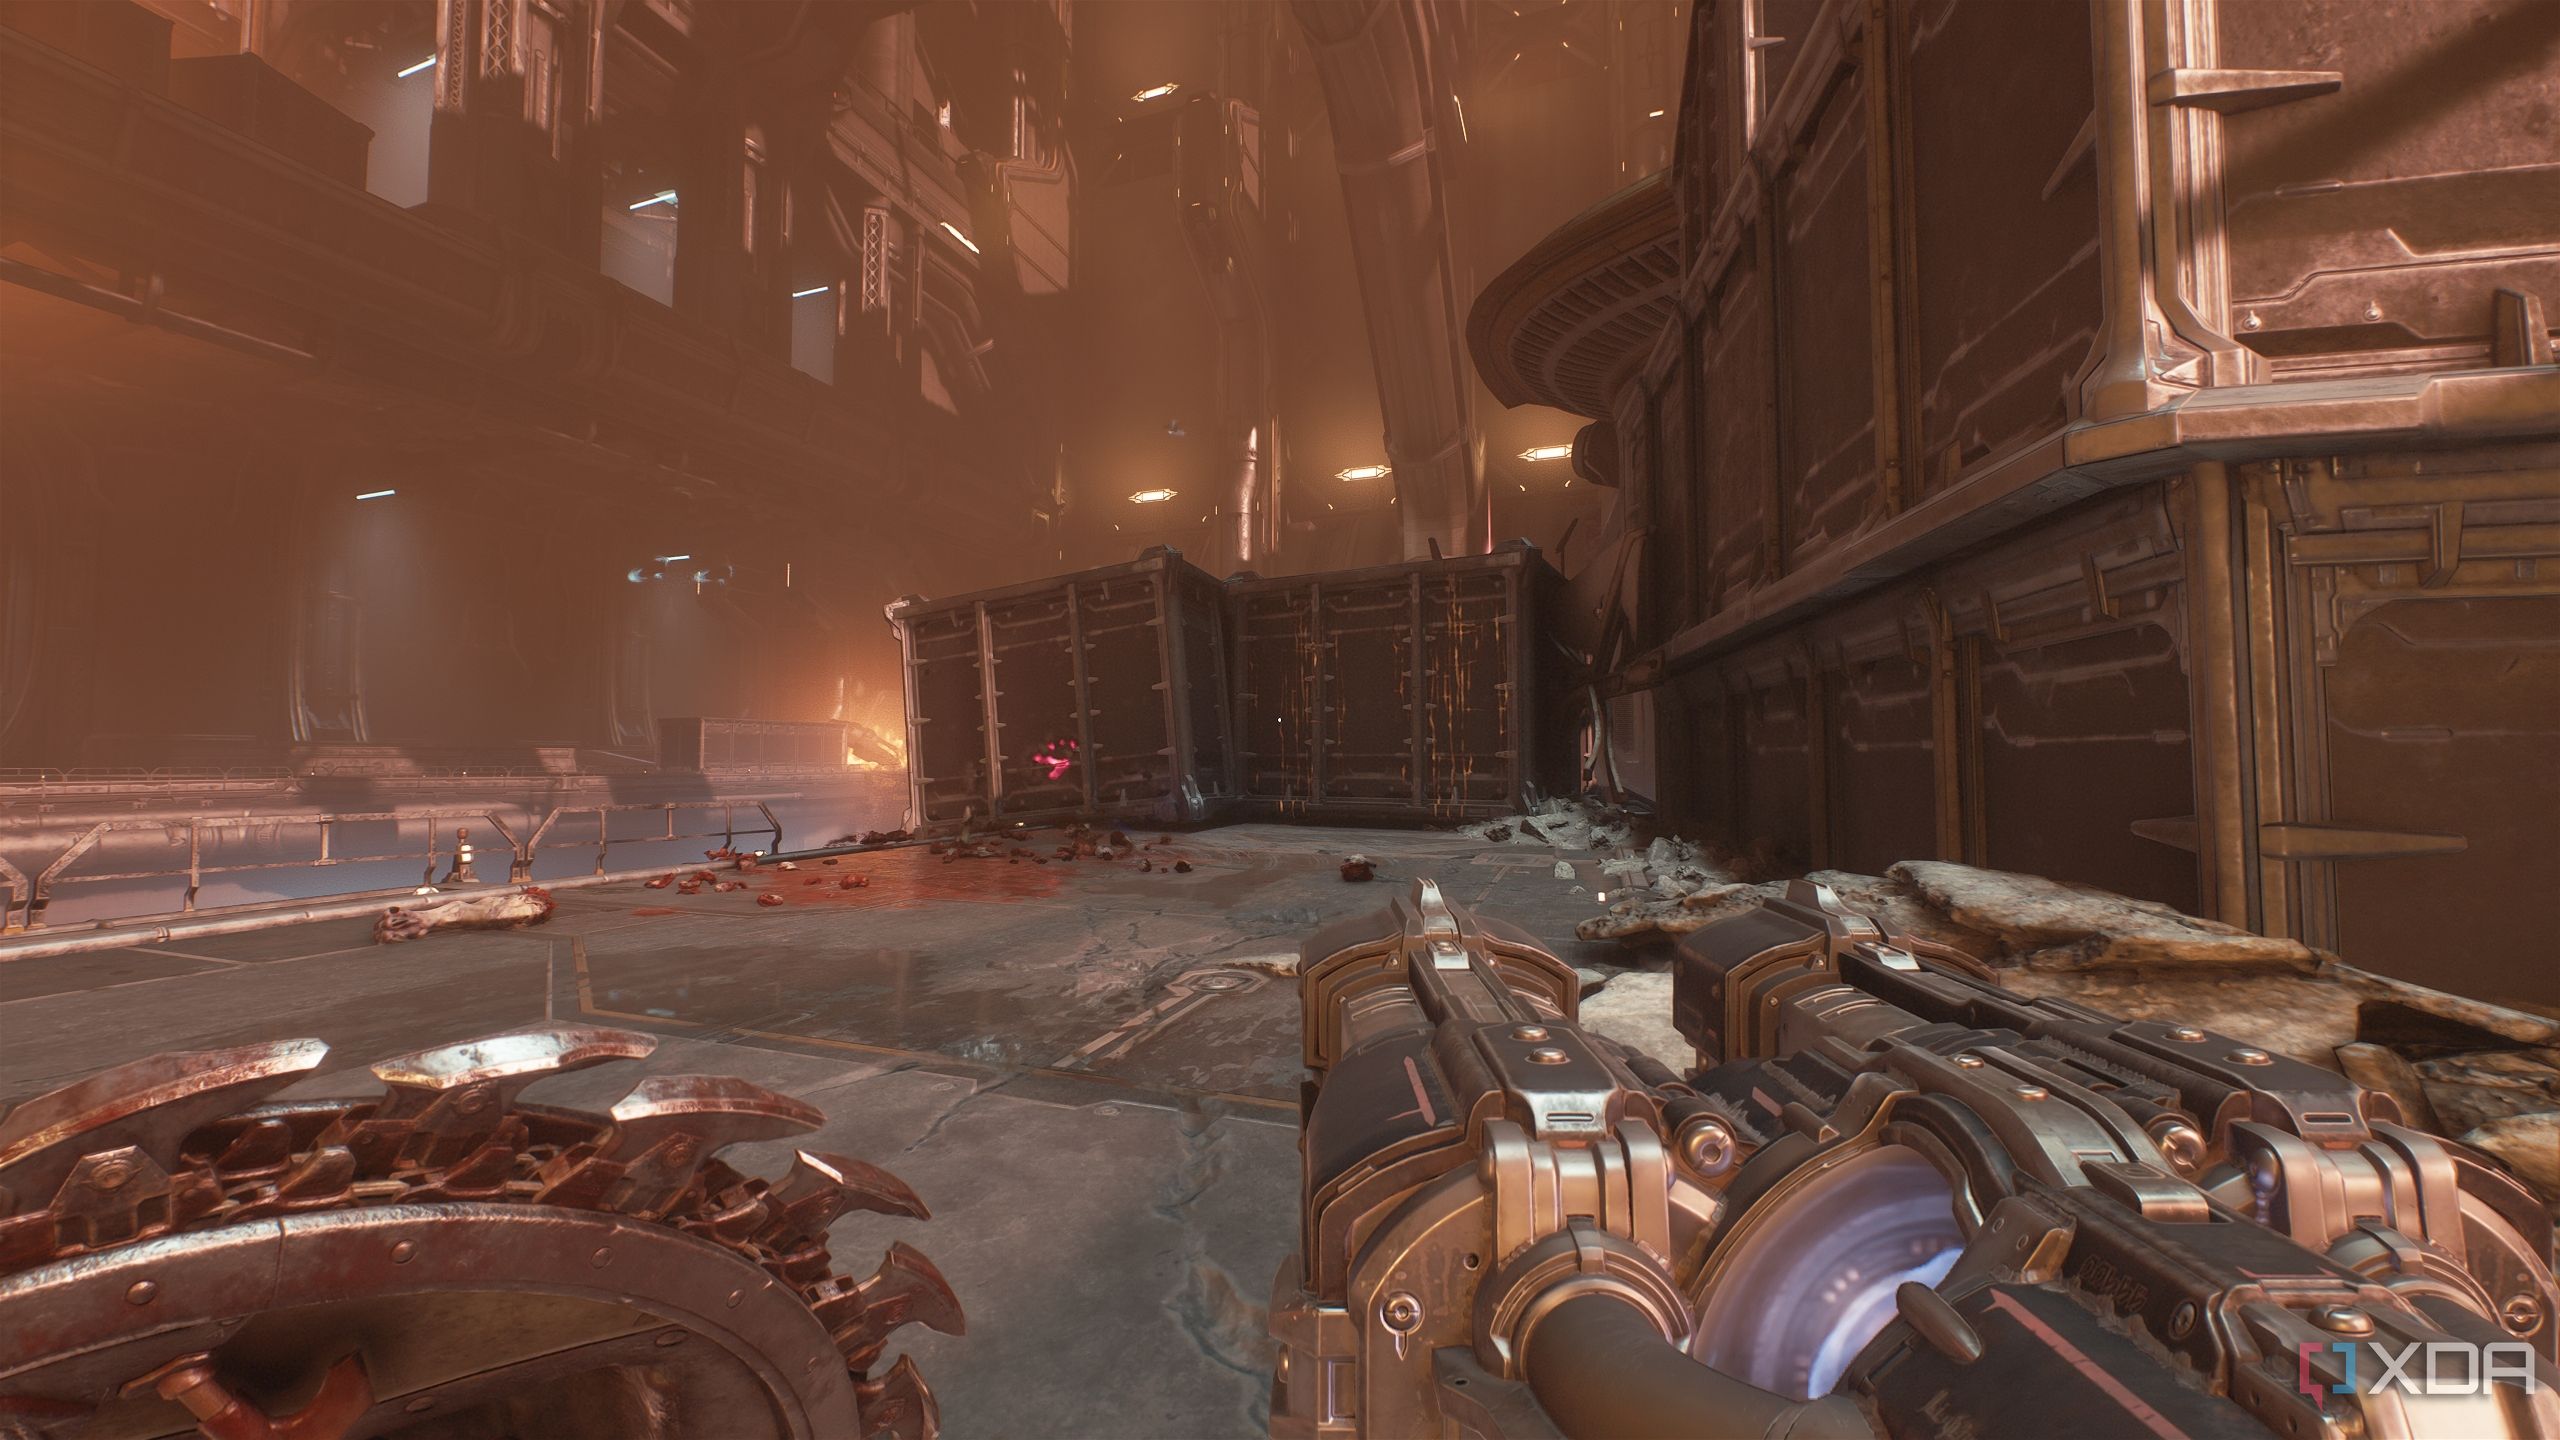
Once you Shield Charge through the center of the crashed battleship while following the objective, you'll enter the interior of the ship.

Here, as you stand at this location, go to the left and climb some boxes to reach a gold stack.
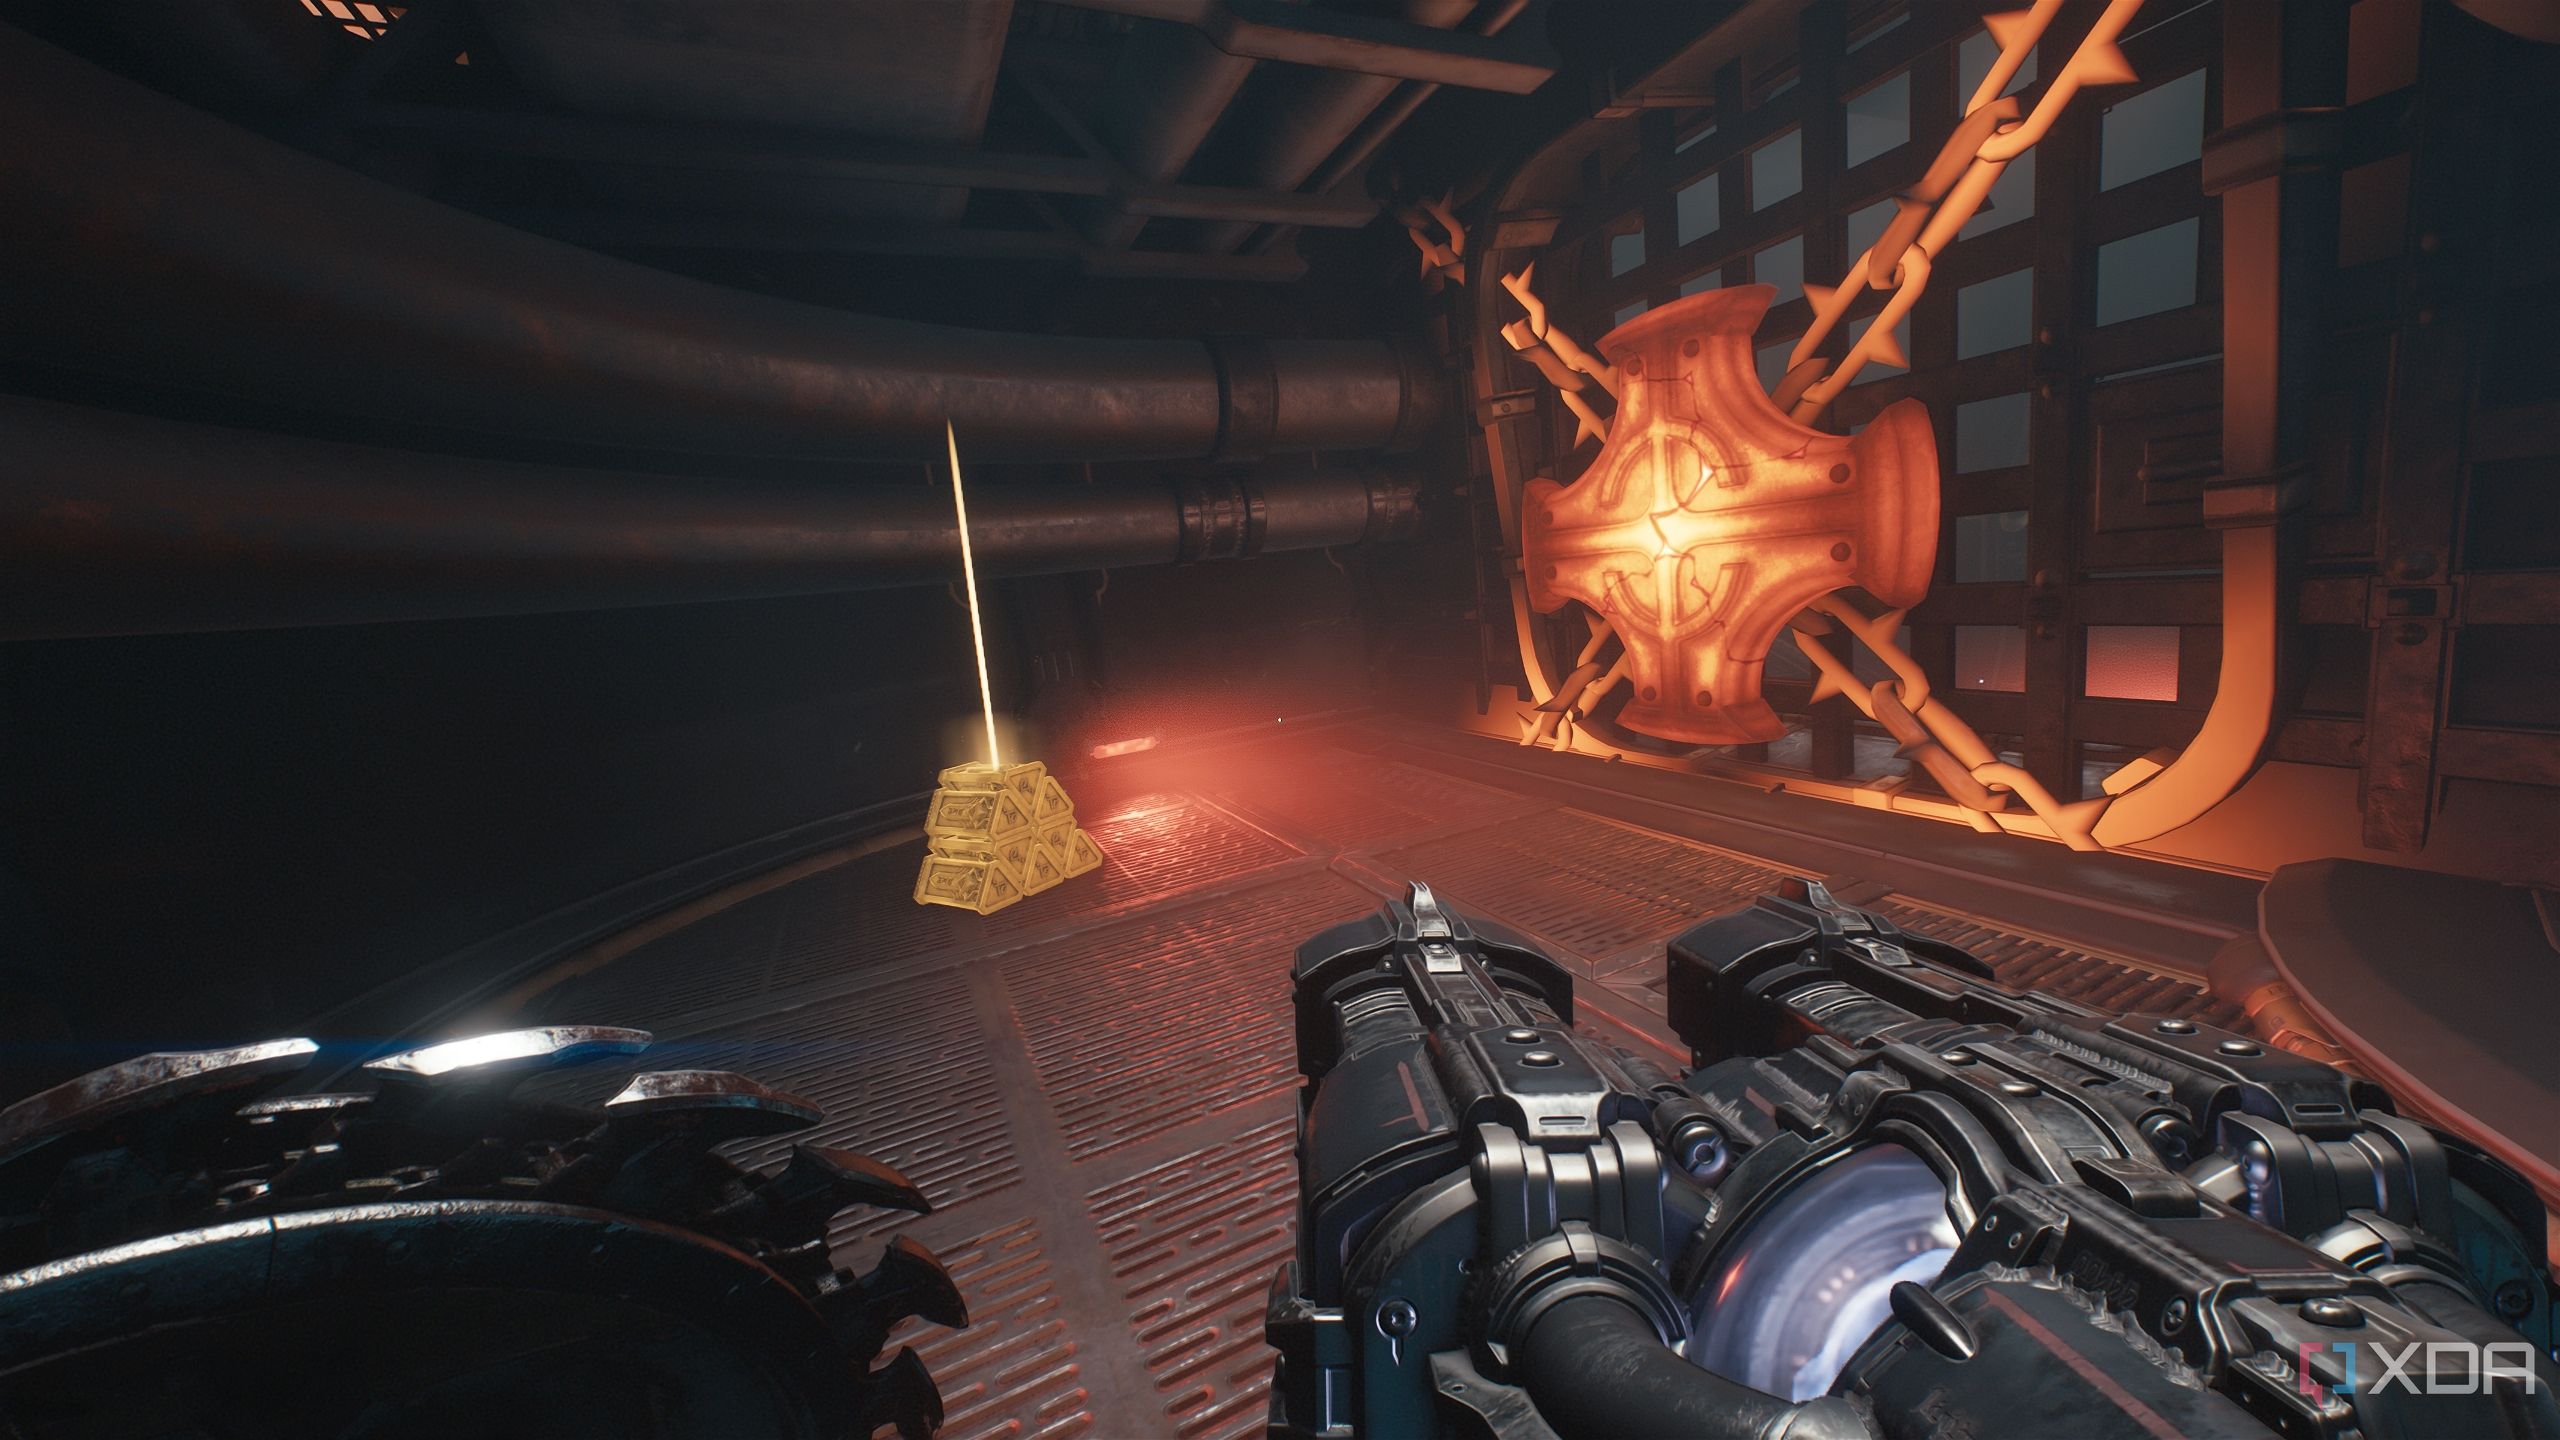
Break the heated metal cross next to it to get back on track.
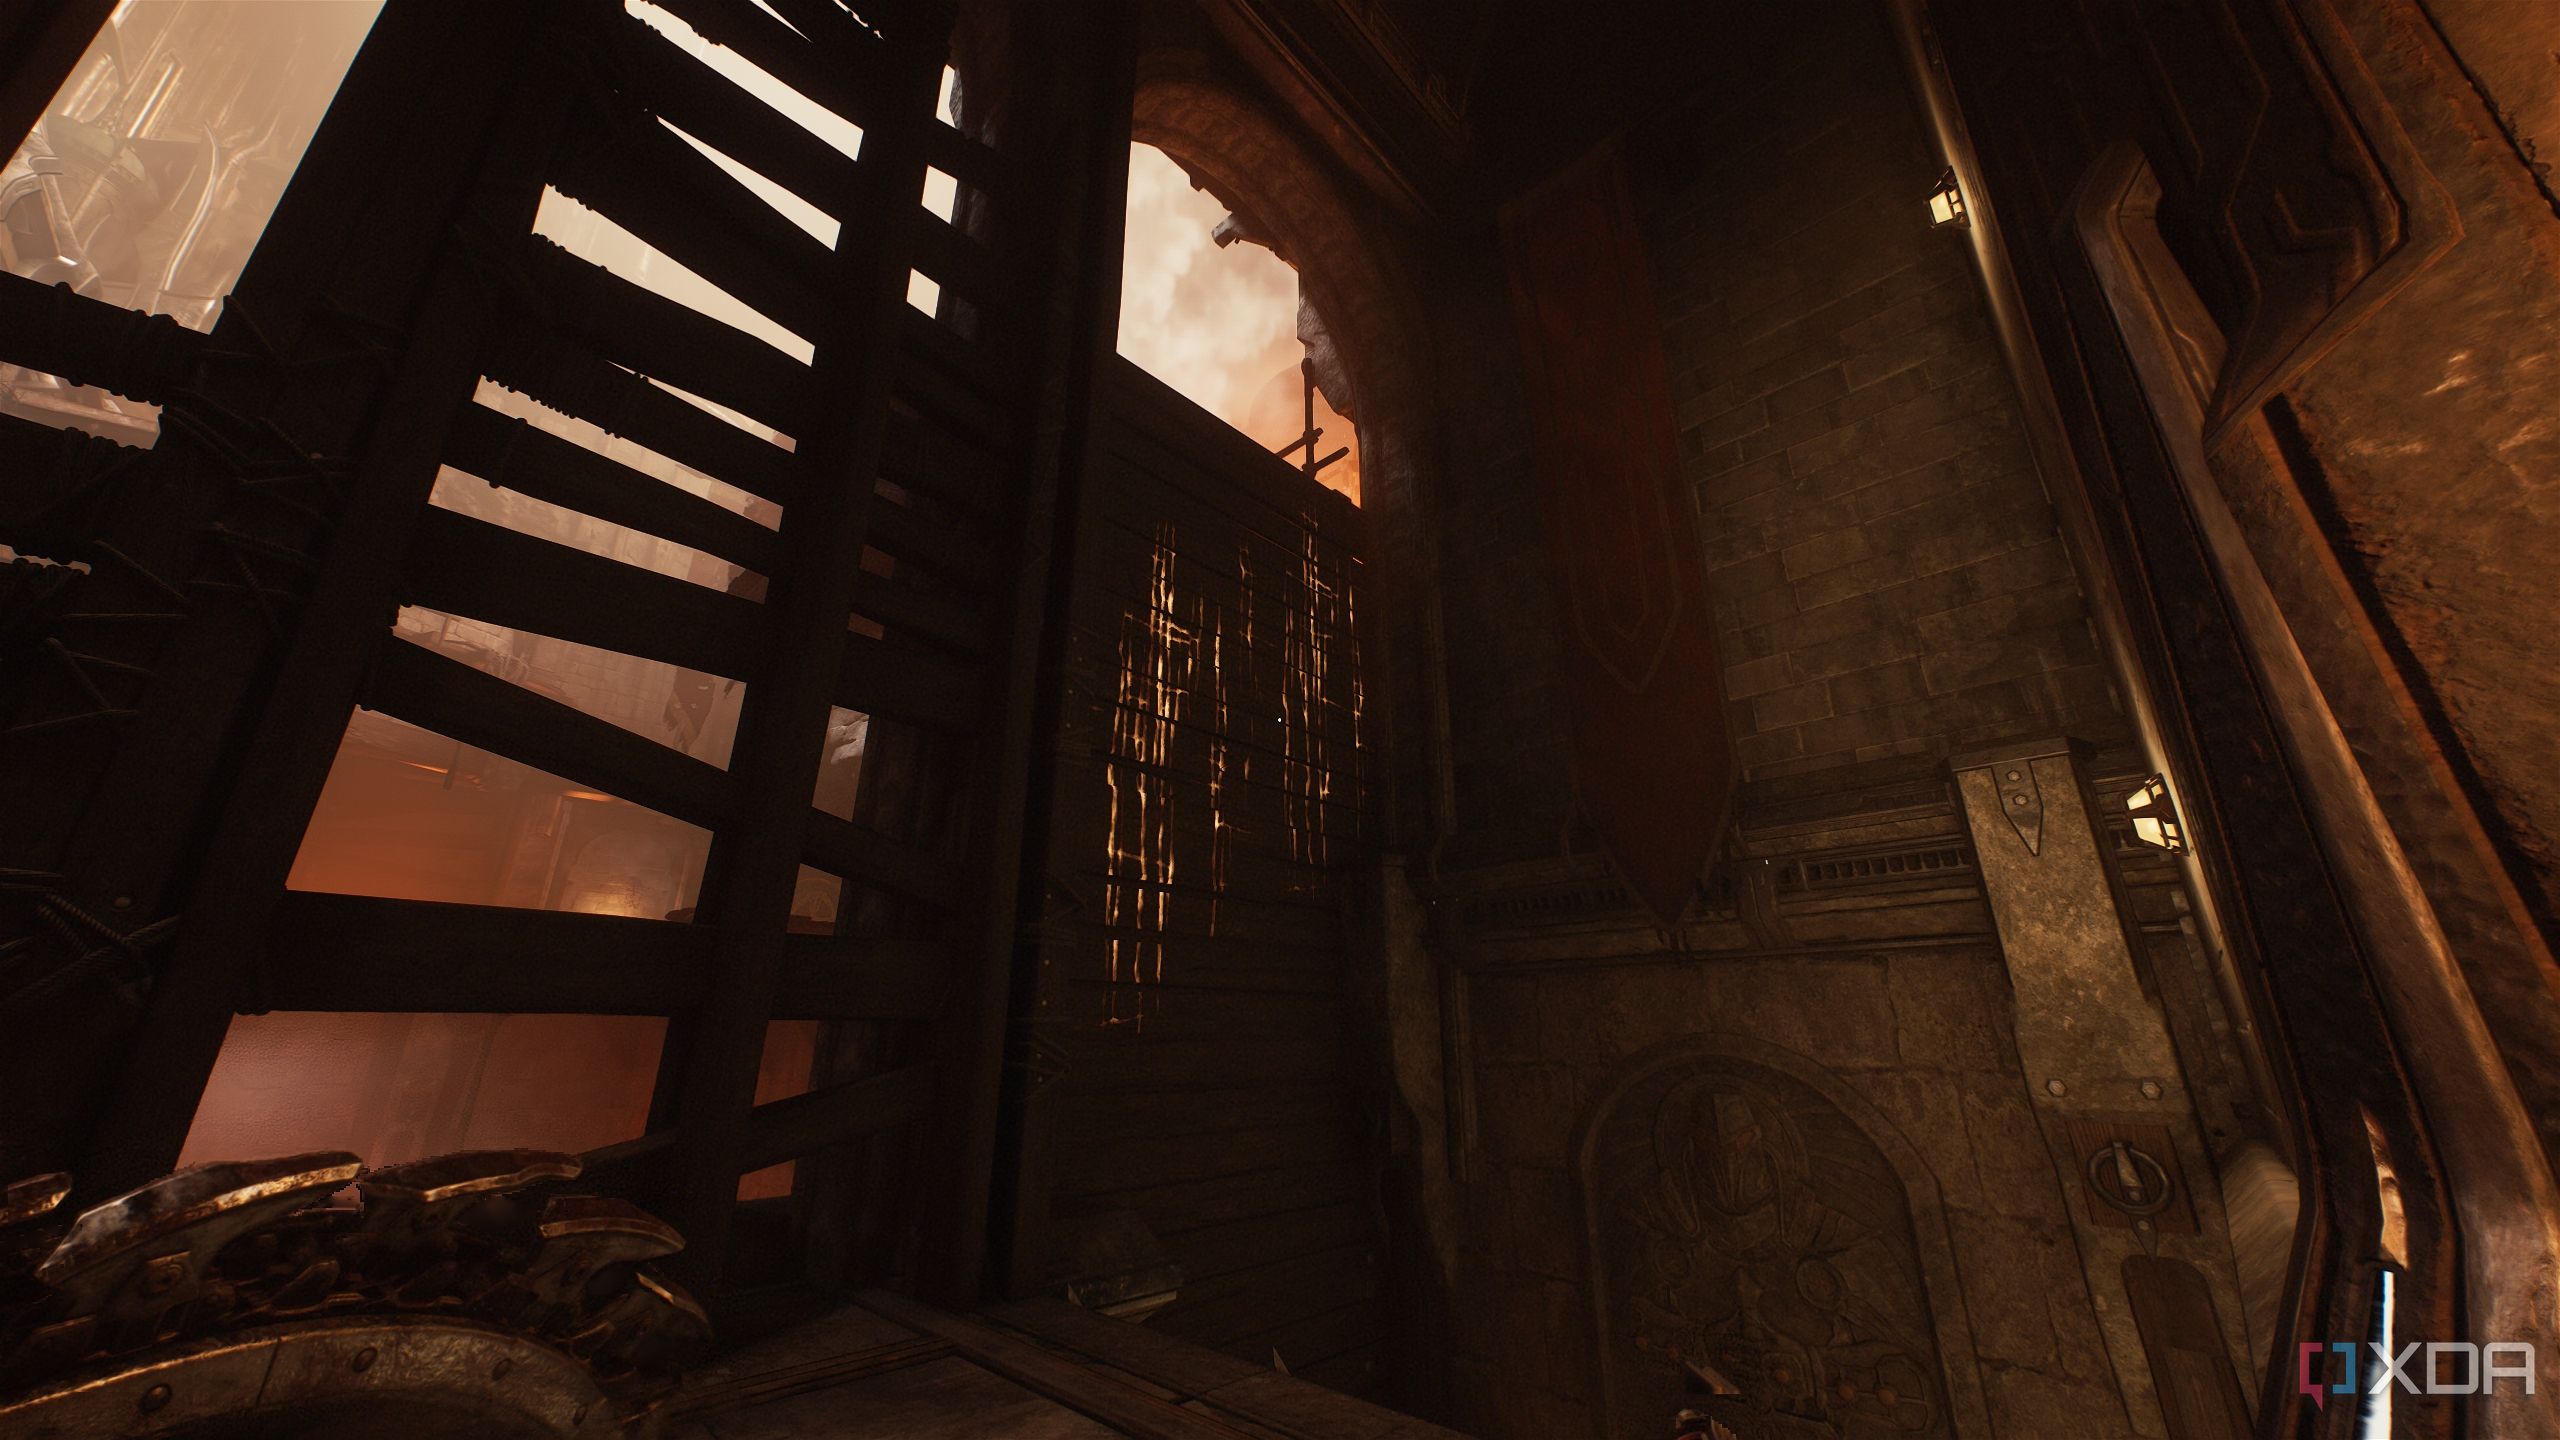
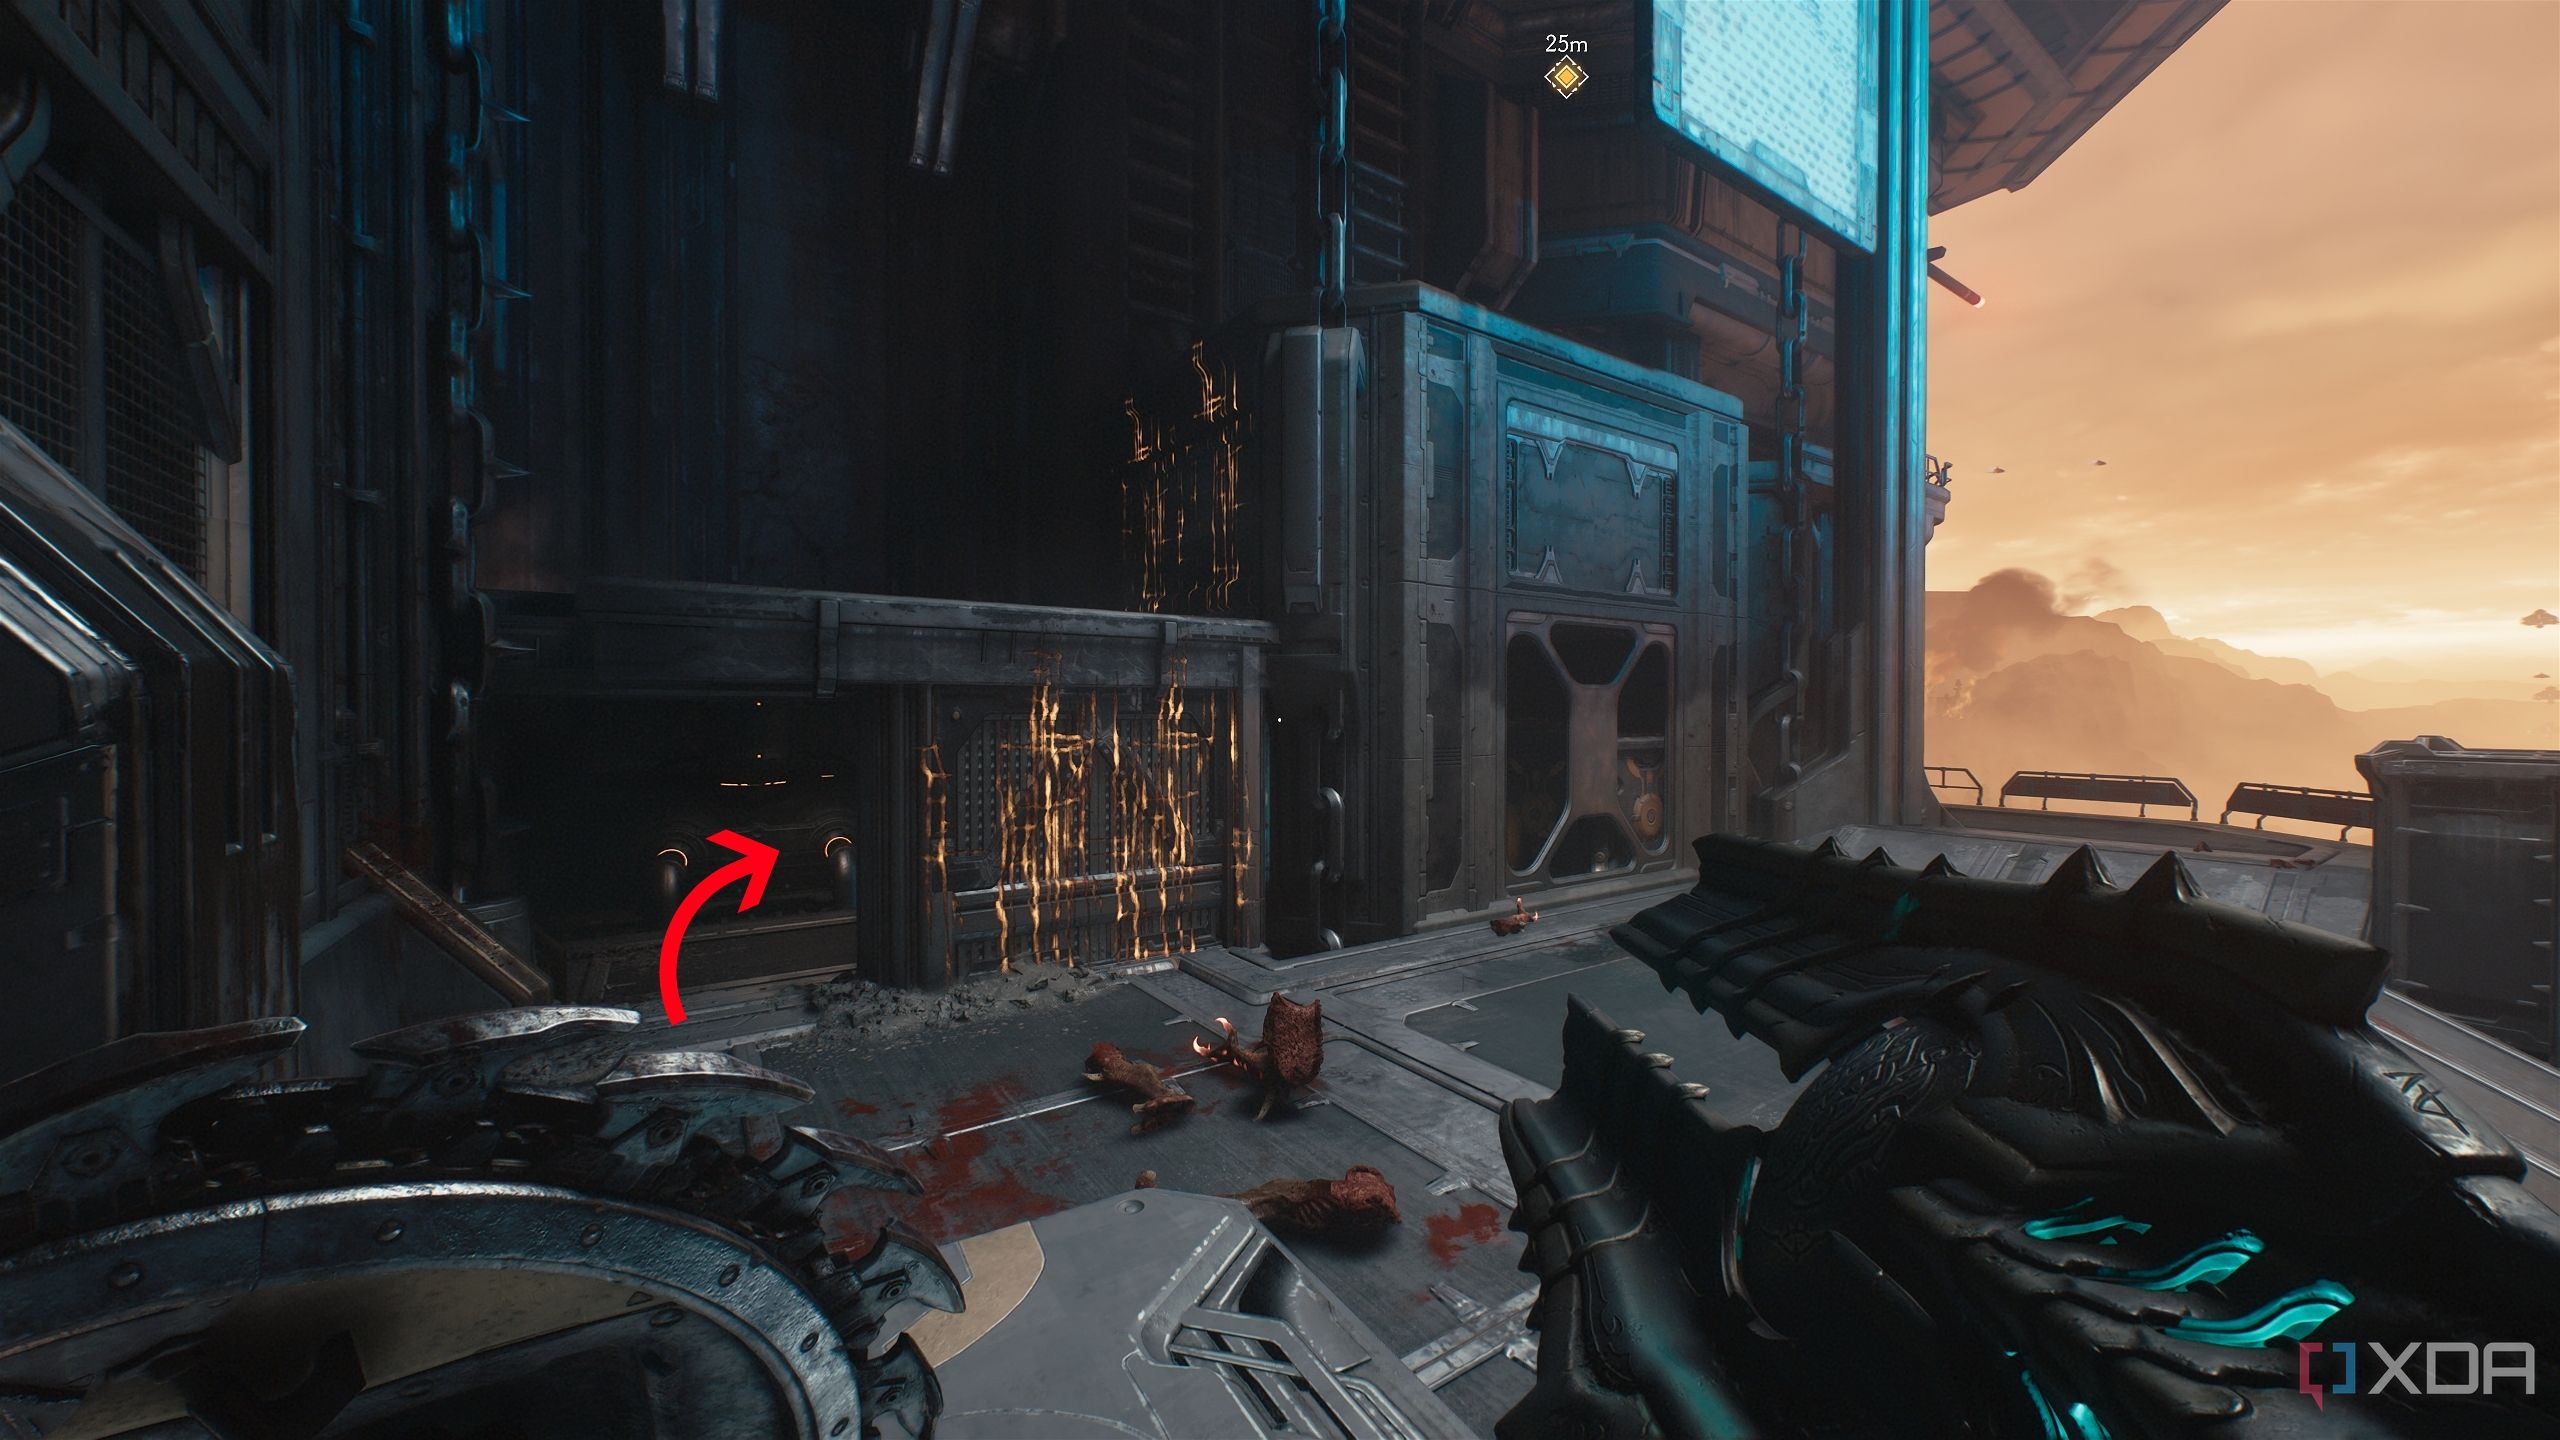
You'll reach a new location, crashing down into plenty of Soldiers. Head towards the objective until you reach this location.
Here, head up the scramble wall and enter the hole in the wall. Bring down the heated metal cross to unlock the way forward.
Now, take a step back and look to the left — the huge fan now has a spot to go through.
Enter that, and you'll unlock secret area 9, and a Life Sigil if you need one.
Then, head out, and before climbing up the scramble wall, head inside it from the left instead.

Here, you'll see a gold crate waiting for you.

After this, you're all done, and you can simply follow the objectives, where you'll meet an enhanced enemy for Demonic Essence - Max Health in a big fight before finishing the chapter. Remember to finish your mission challenges here if you haven't!
All collectibles in Chapter 7: Siege - Part 2 in Doom: The Dark Ages
That's it — Chapter 7 of Doom: The Dark Ages is now complete, and when the stage completion summary arrives, you can be proud to see the 100% completion achievement for this level.
|
Achievements in Chapter 7: Siege - Part 2 |
|
|
Gold |
183 |
|
Rubies |
2 |
|
Demonic Essence |
1 |
|
Secret Areas |
9 |
|
Codex Entries |
1 |
|
Collectible Toys |
1 |

DOOM: The Dark Ages
Released May 15, 2025
ESRB m
Developer(s) id Software
Publisher(s) Bethesda Softworks
Engine id Tech
Multiplayer Online Multiplayer
Franchise DOOM


 English (US) ·