.png)
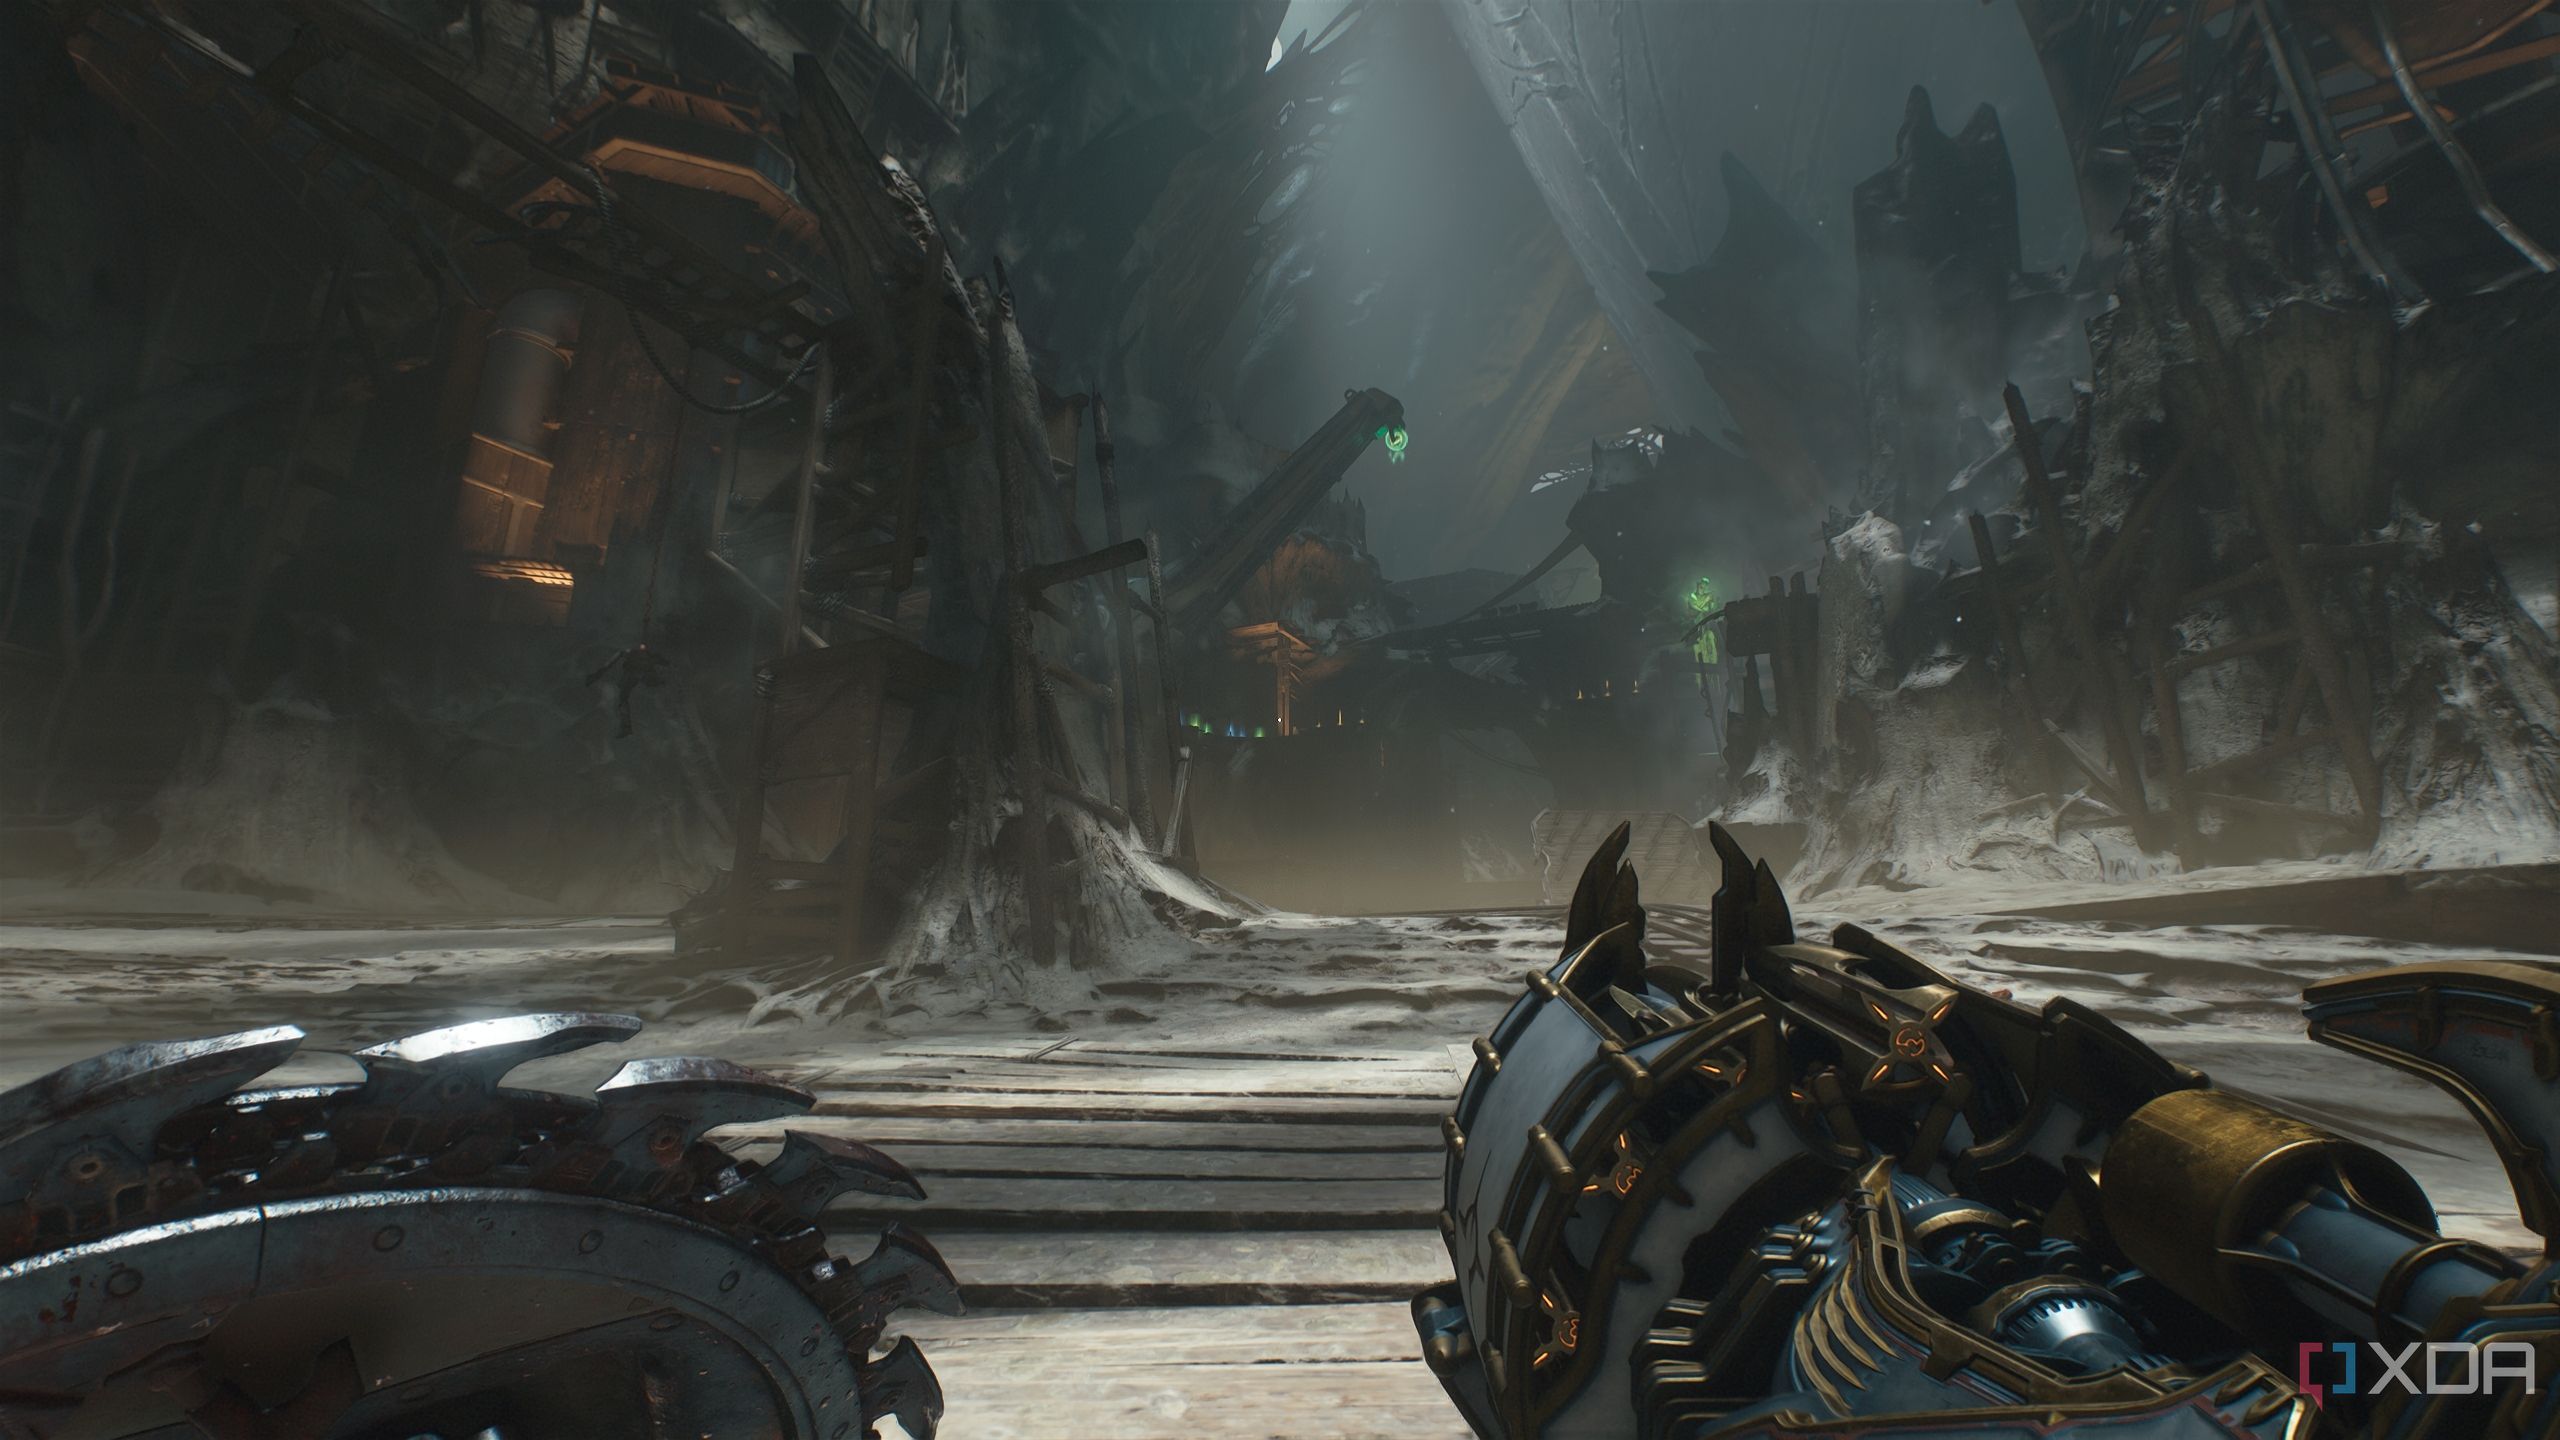
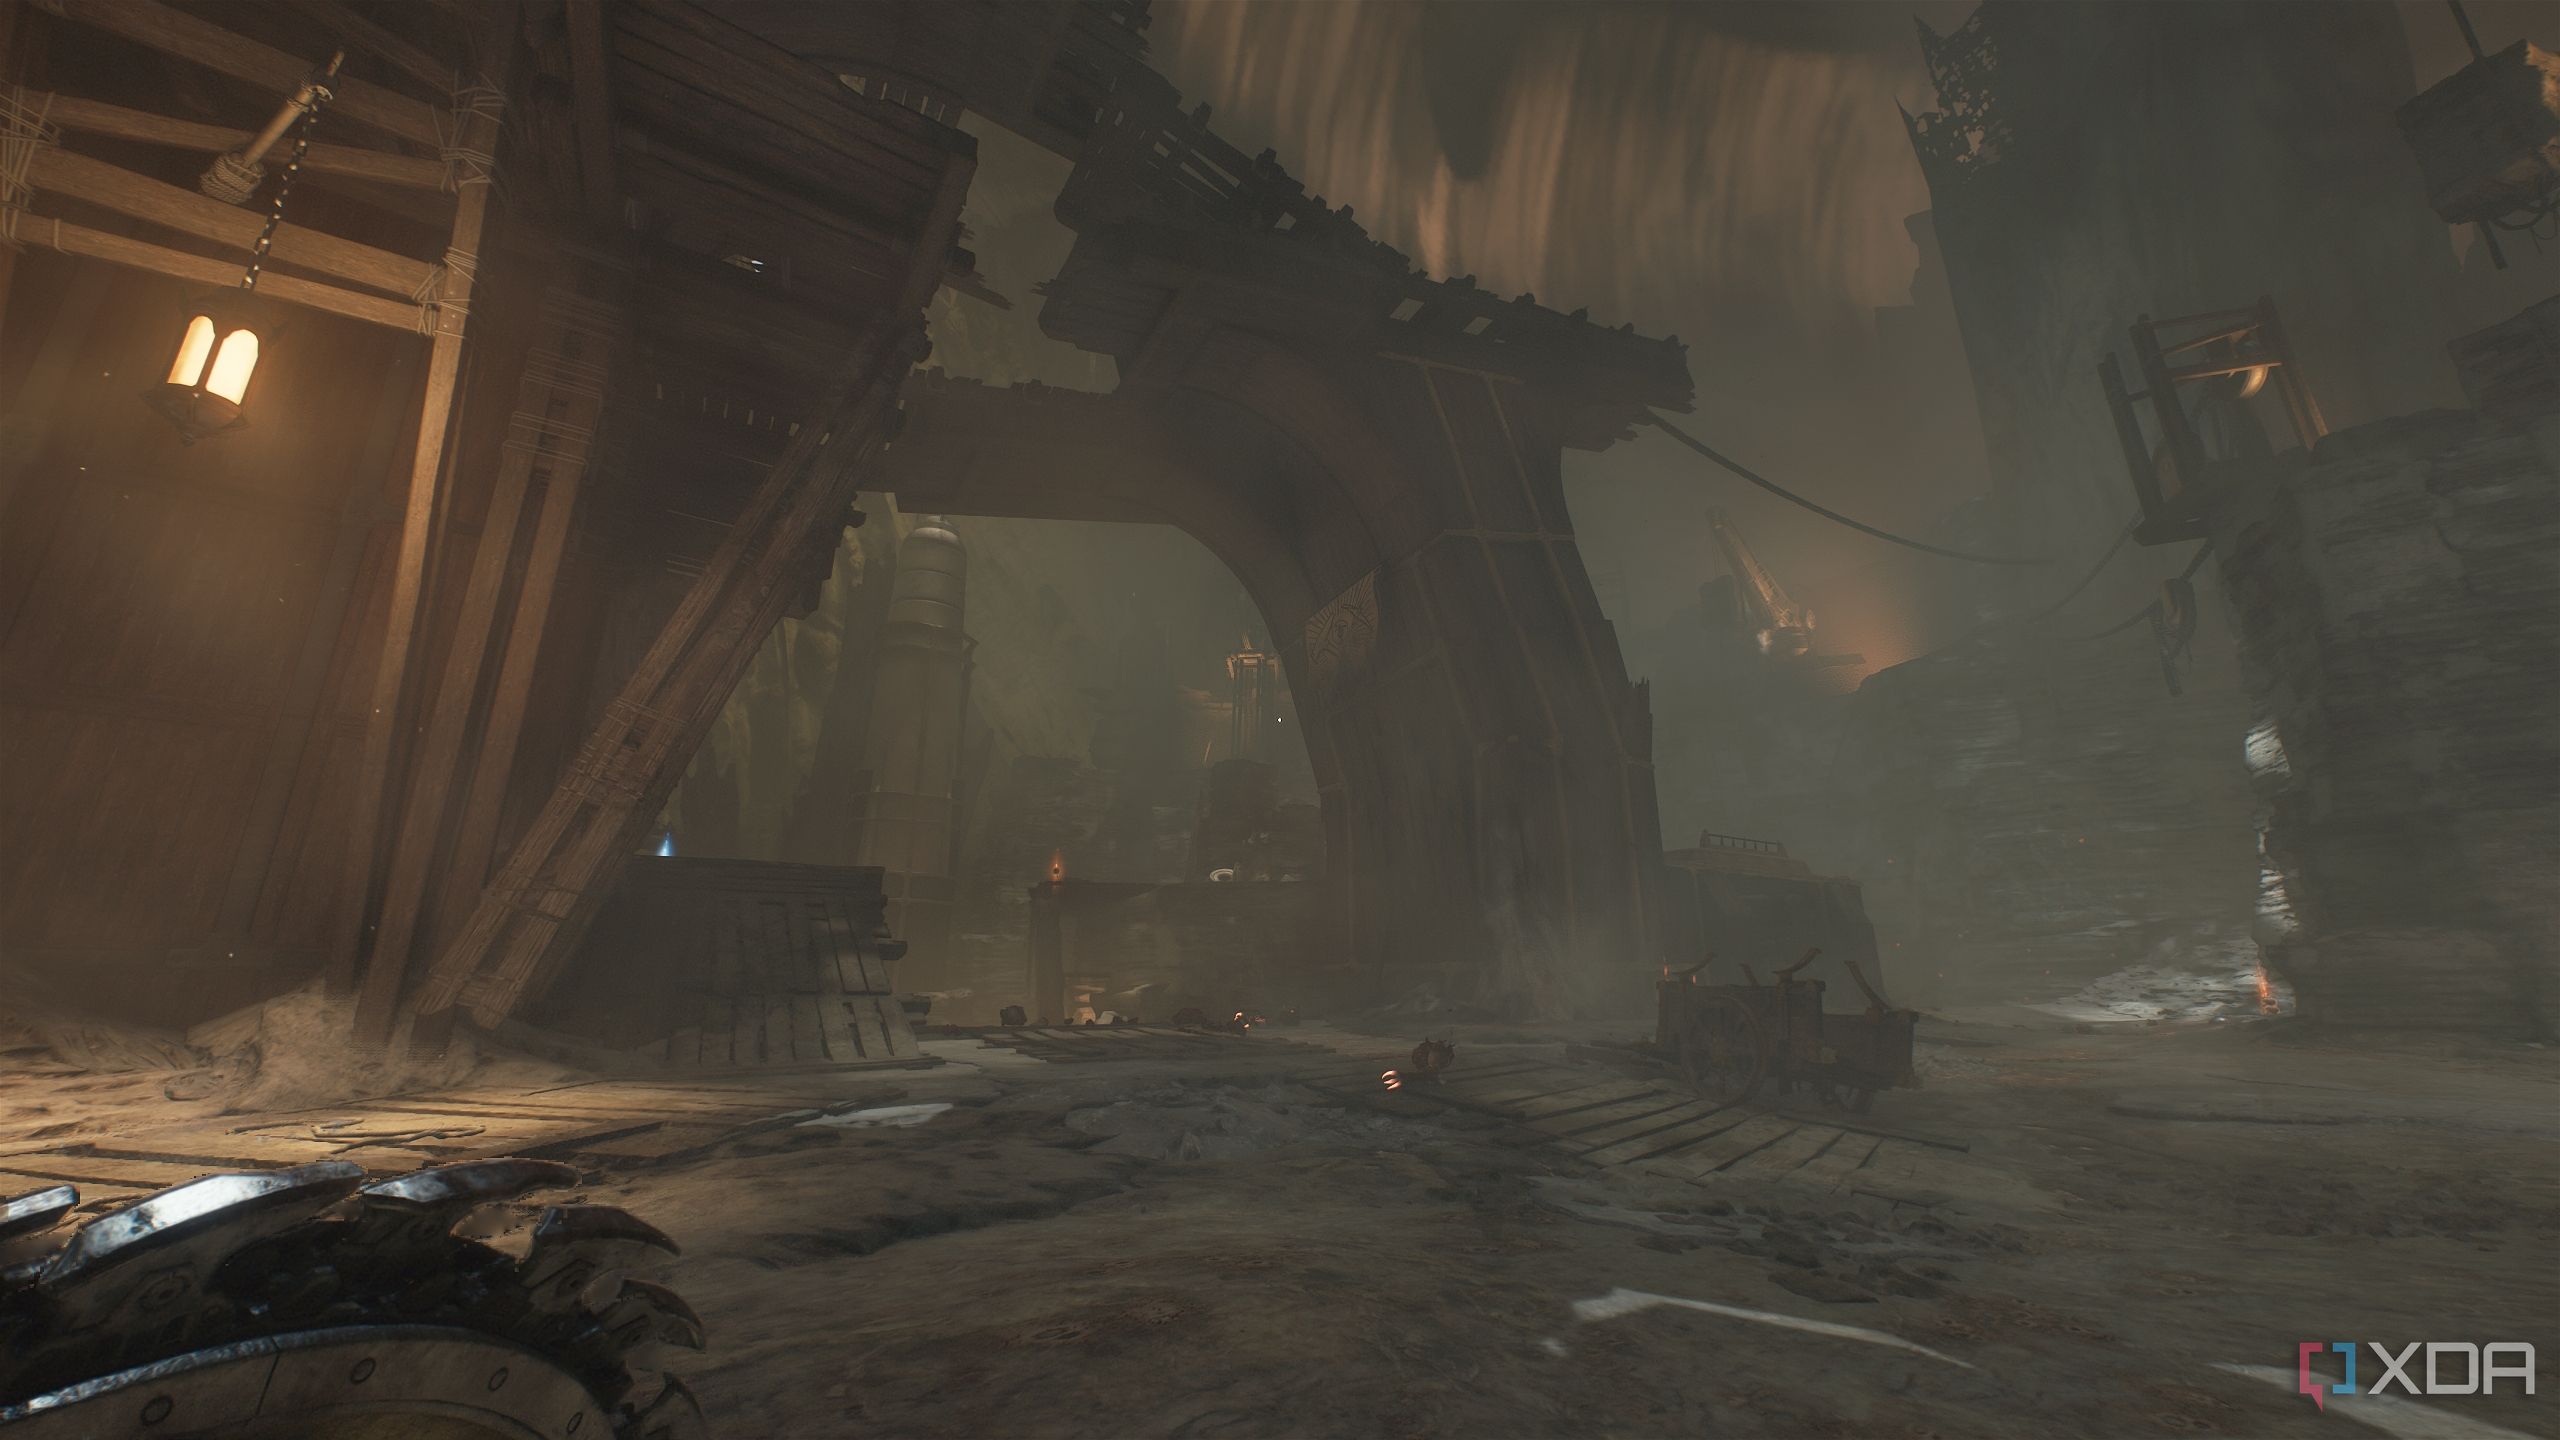
Chapter 9: Ancestral Forge in Doom: The Dark Ages brings the Slayer in an ancient mining forge used by the people of Argent D’Nur. The gory brilliance of the id Tech engine 8 is easy to spot here, with a large battlefield to explore and demon parts flying everywhere you go.
As the Slayer races to meet Commander Thira at the Argent D’Nur ancestral forge, he must contend with hordes of demons sent his way by Prince Ahzrak.
In order to get 100% completion of each level, make sure you complete the mission challenges for this level.
Chapter 9’s mission challenges are-
- Score 10 direct hits with the Grenade Launcher
- Stun-lock demons with the Shield Saw for 20 seconds combined
- Discover 7 secret areas

Related
DOOM: The Dark Ages — 100% completion guide, Chapter 8: Abyssal Forest
Chapter 8 in Doom: The Dark Ages sees the Slayer running through dark, misty woods, offering a sizeable arena to explore.
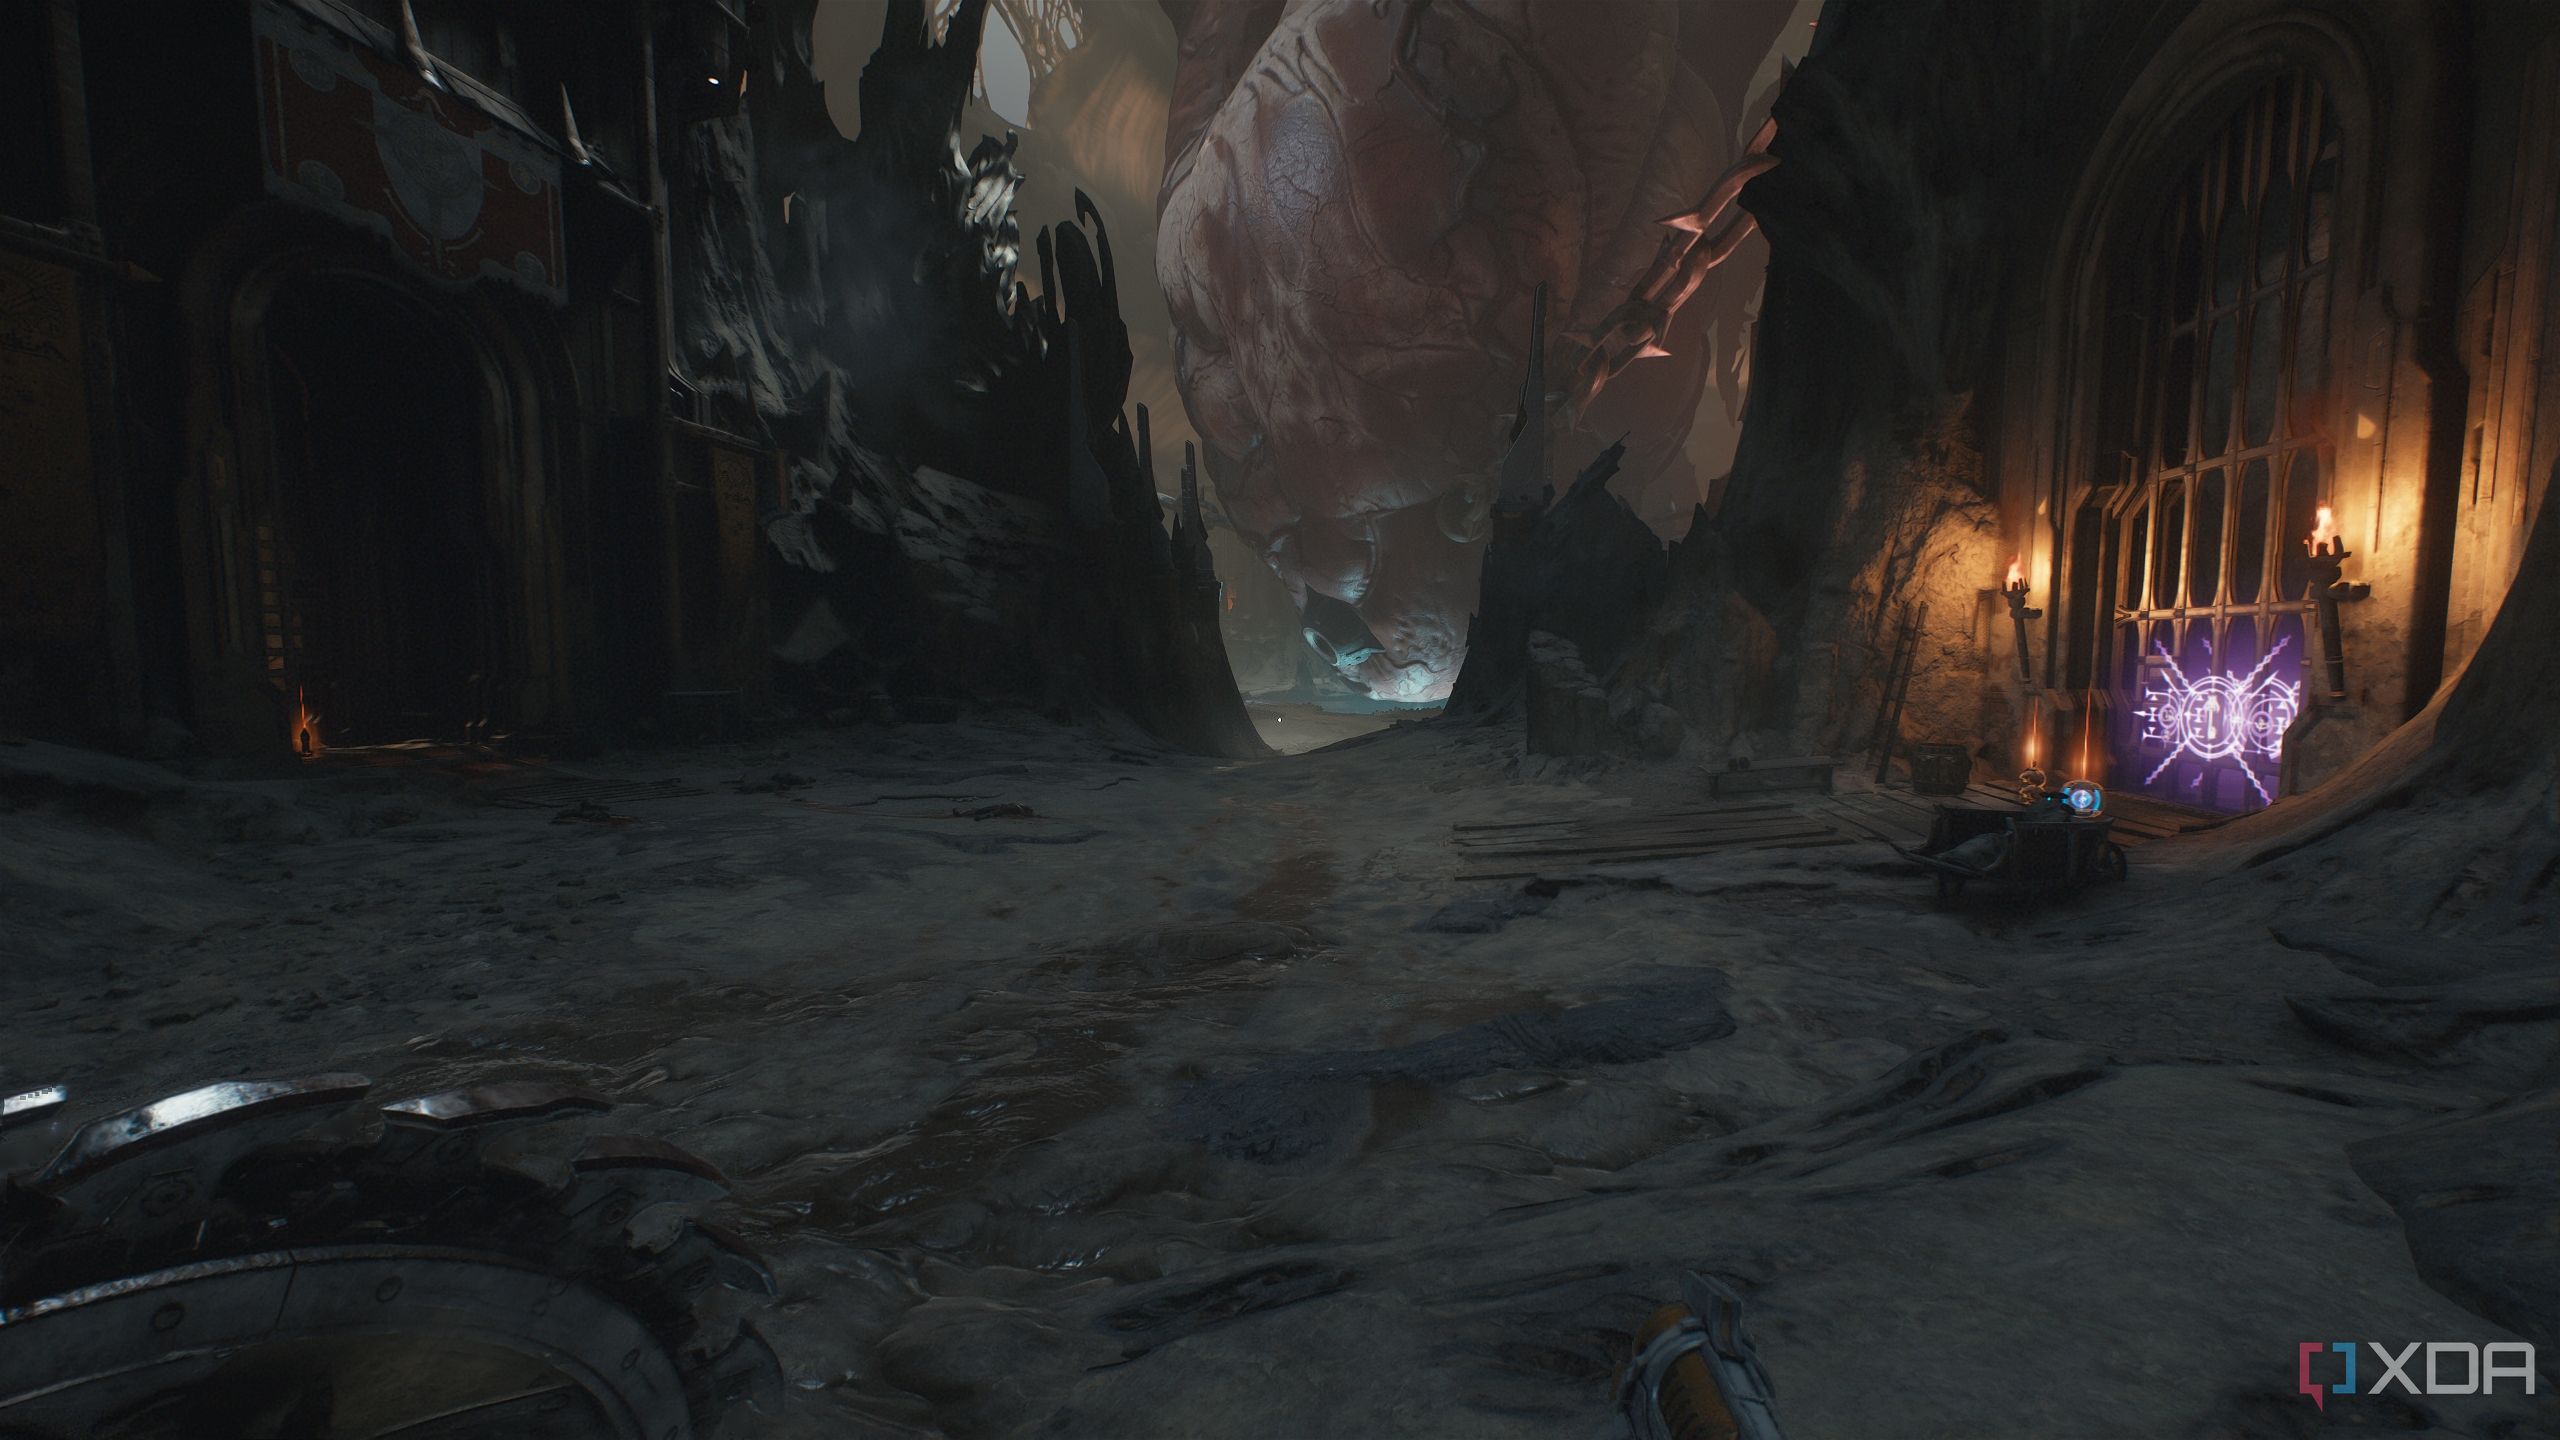
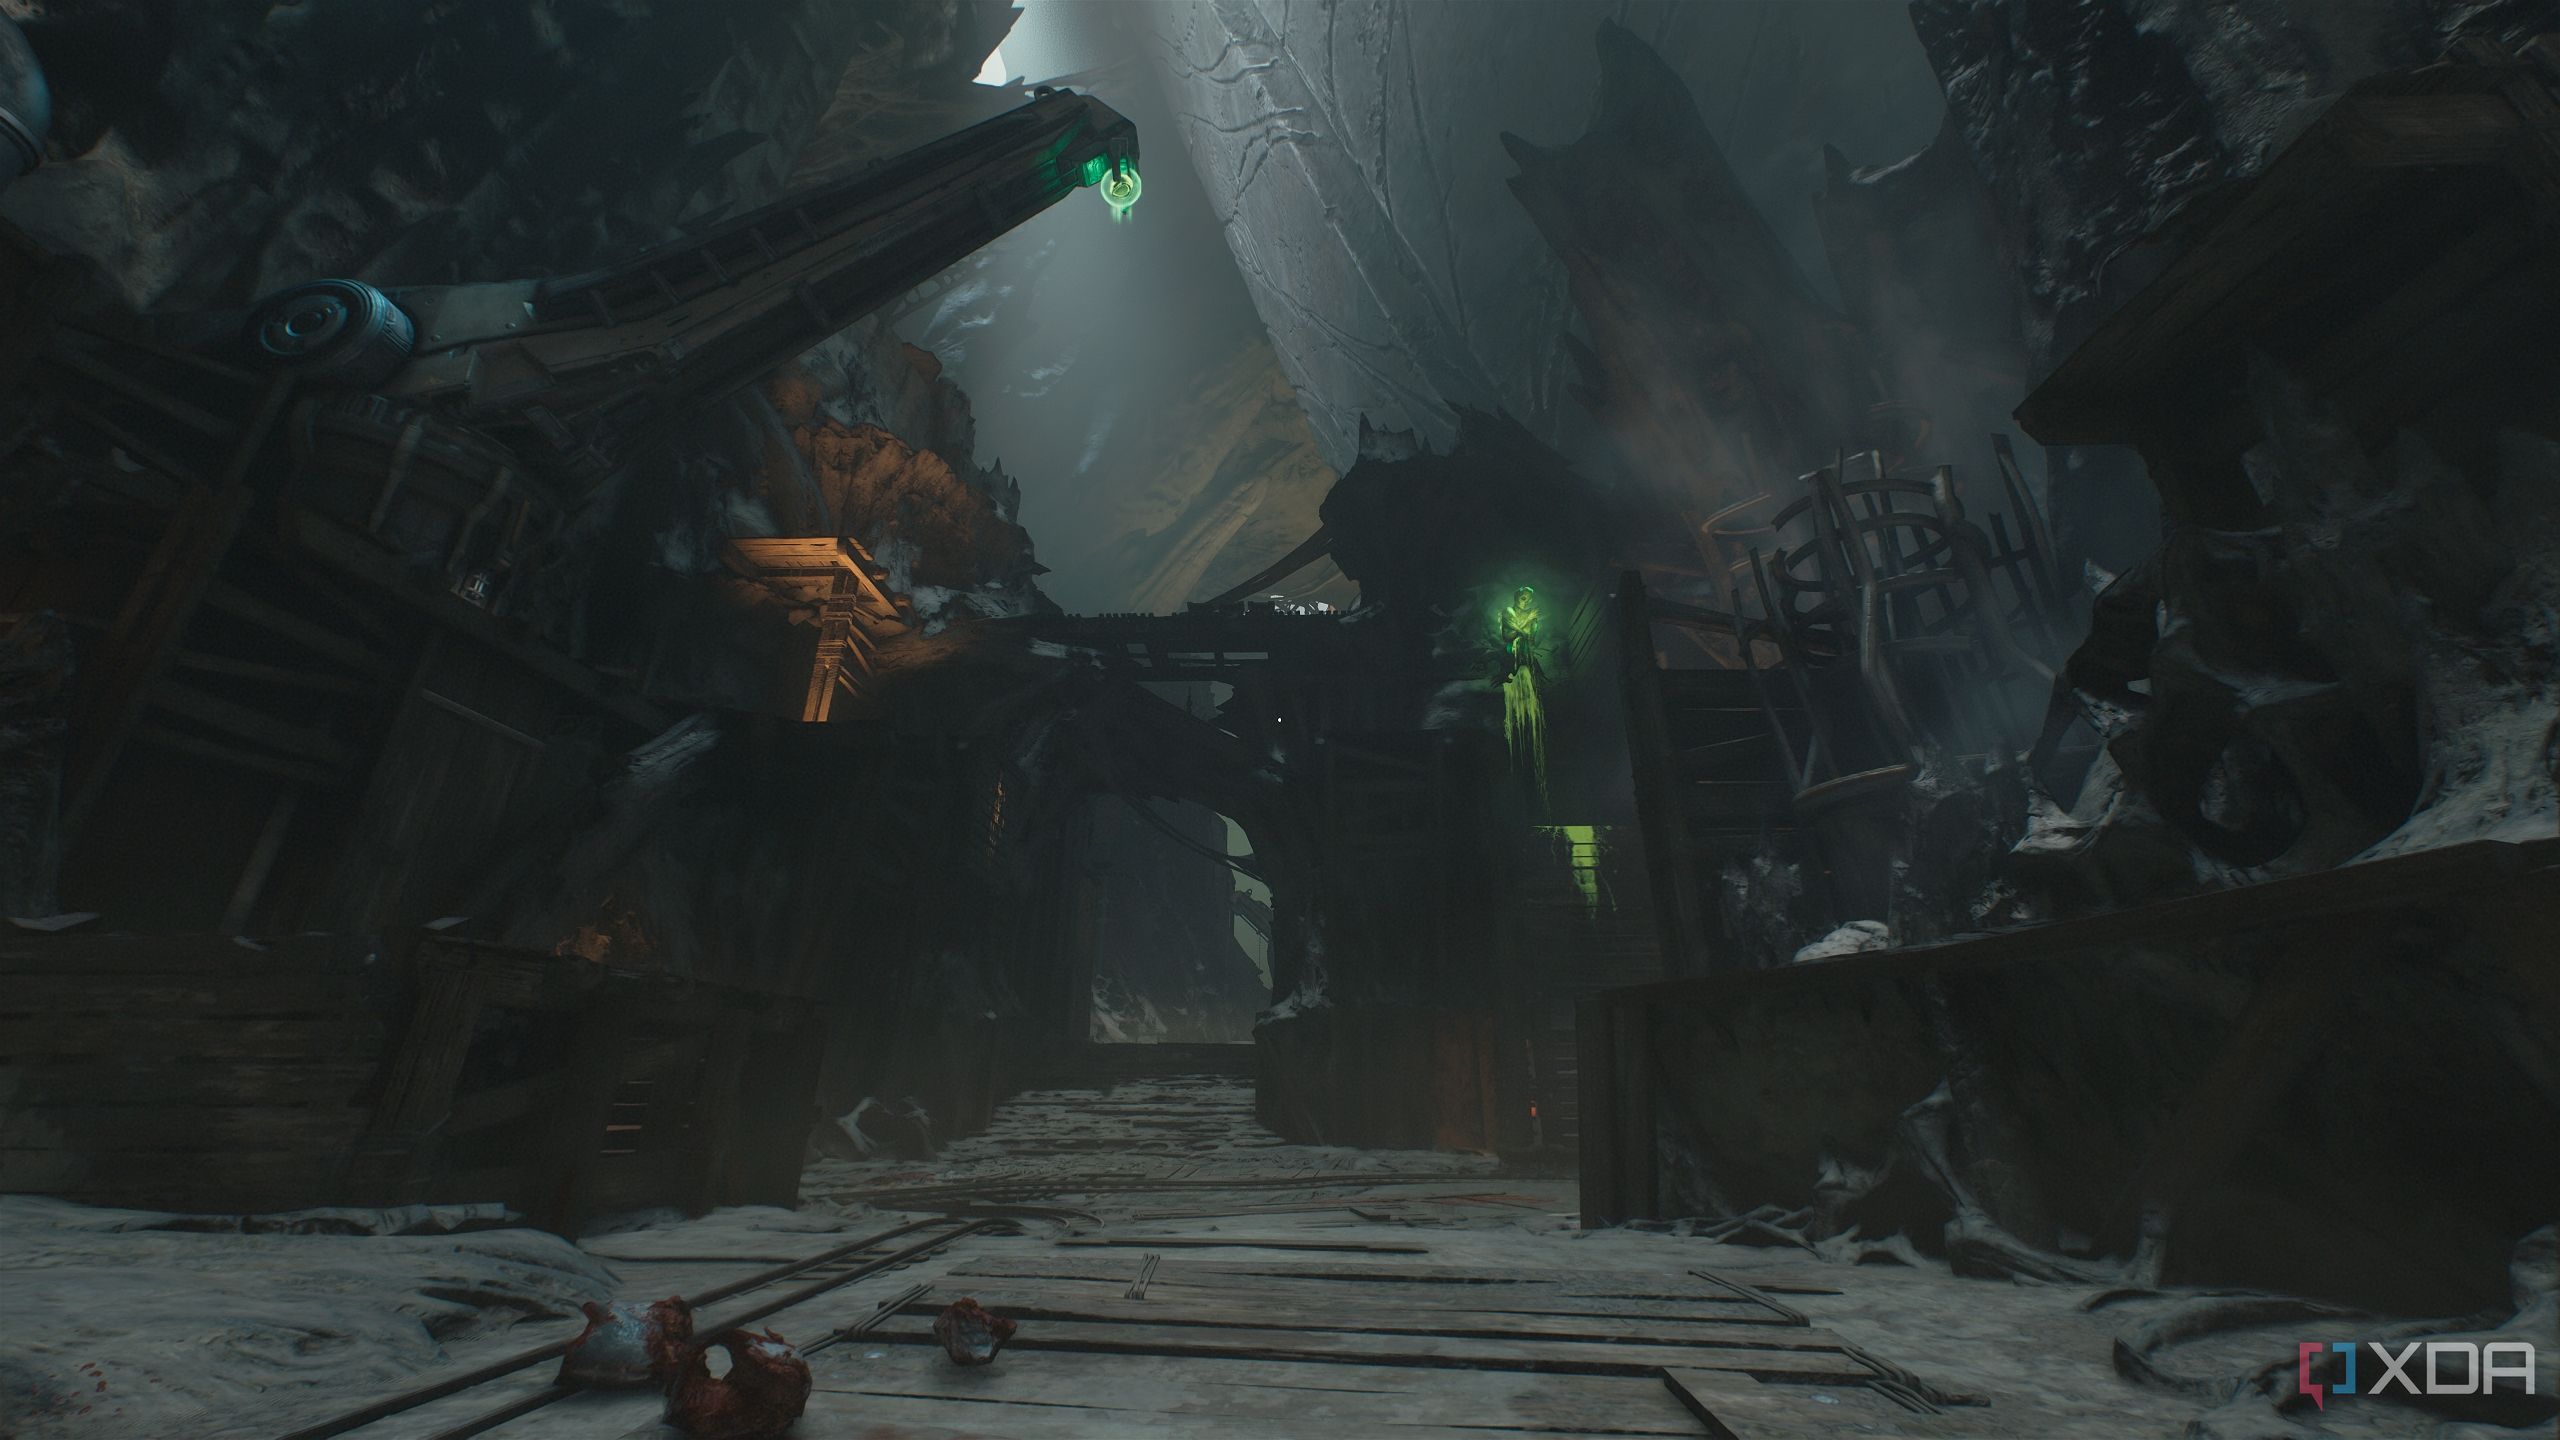
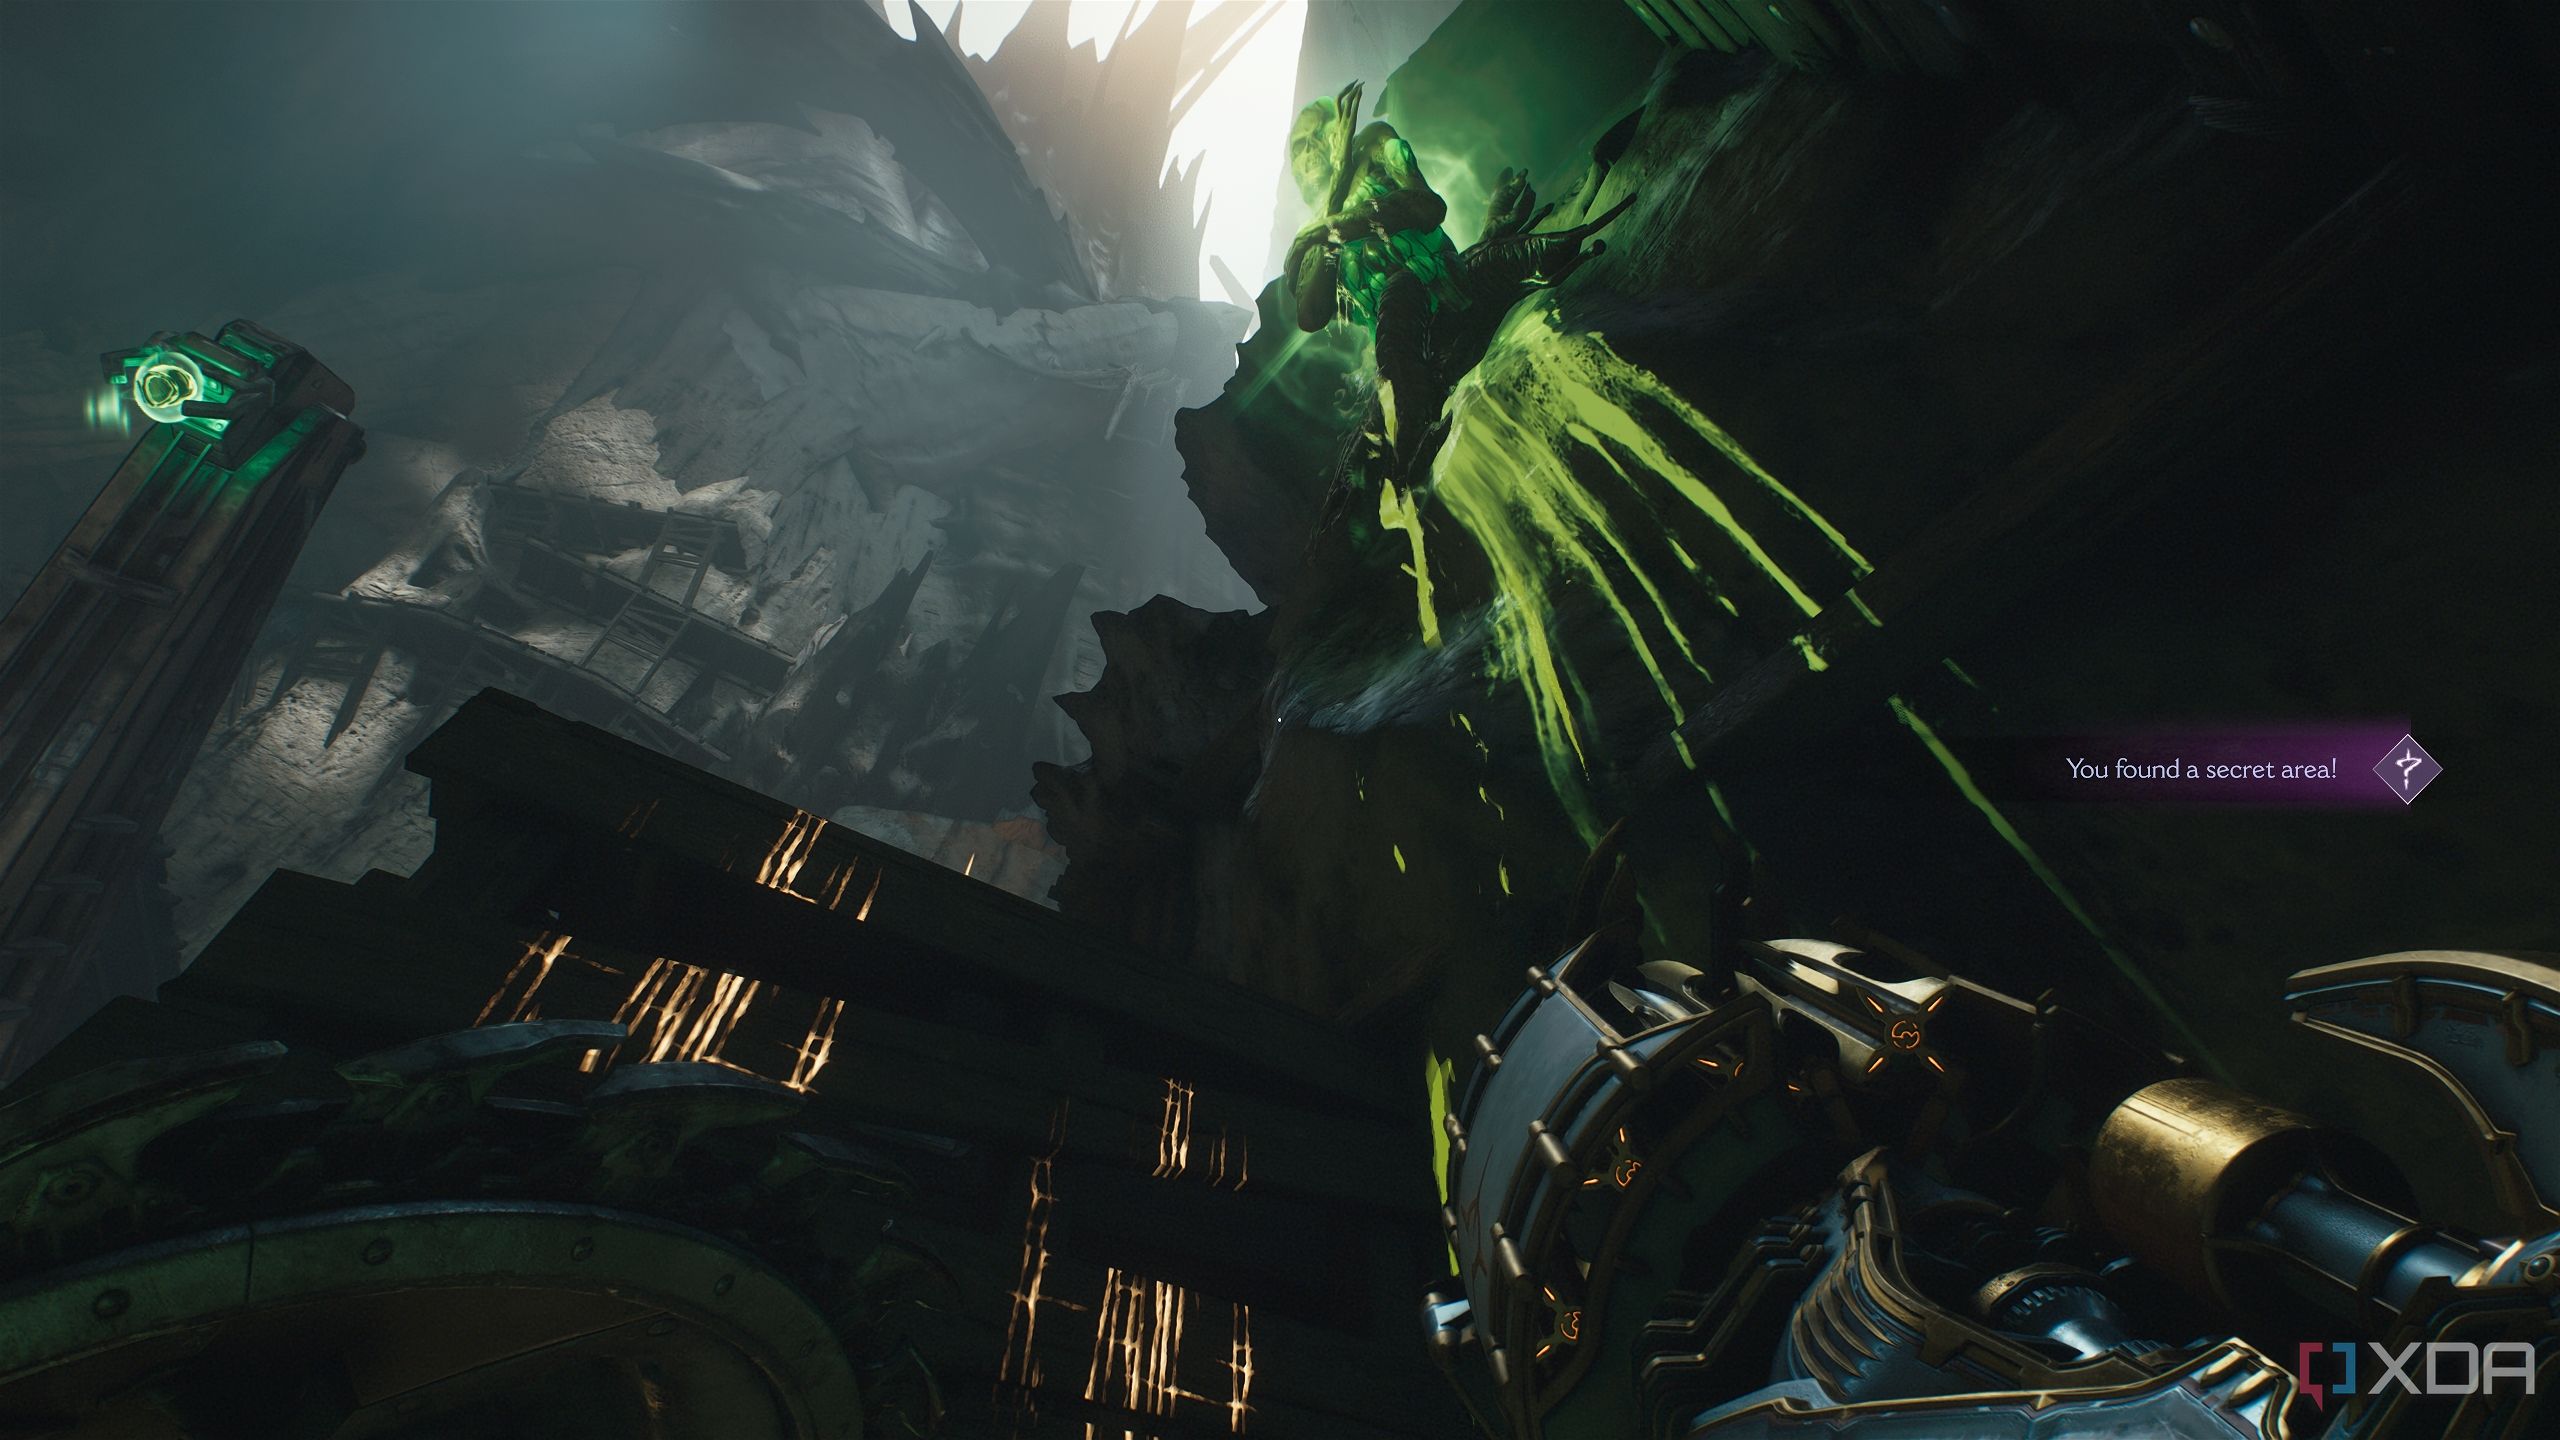
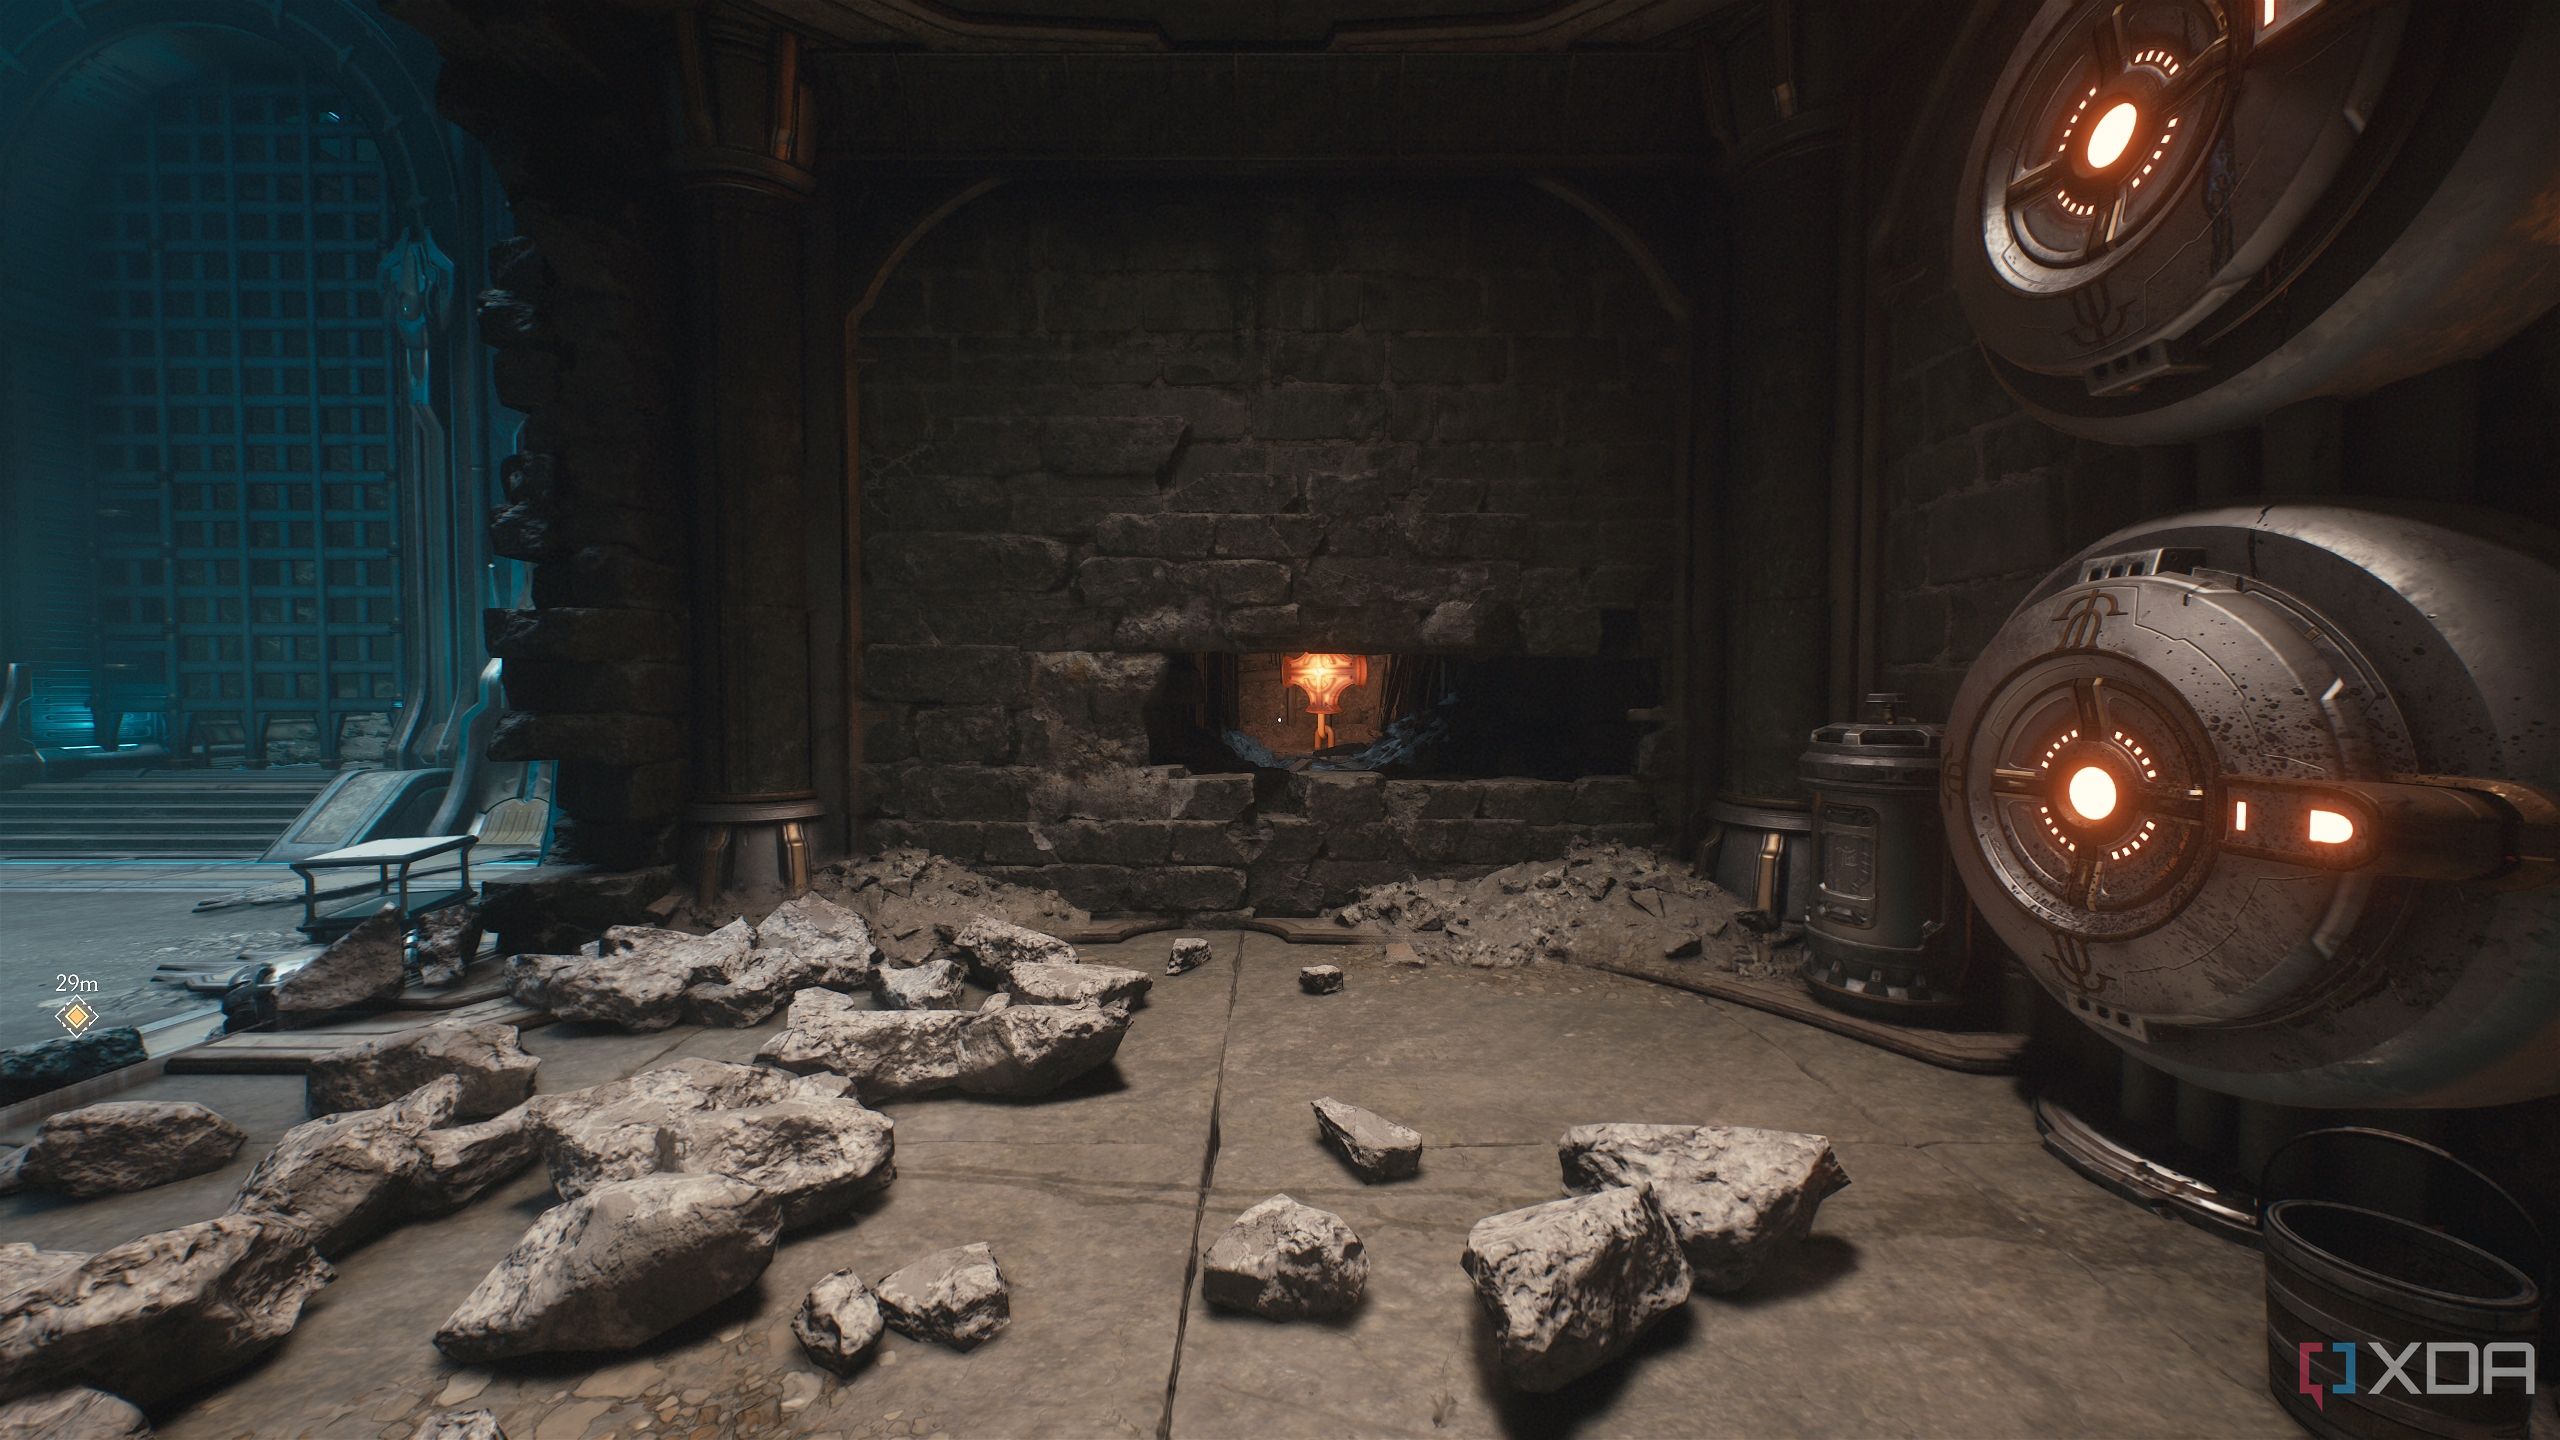
Chapter 9 of Doom: The Dark Ages takes the Slayer inside an ancient Ancestral
The corpse of the humongous Ancestral still has a beating heart
Chapter 9 of the game is set in a single location, with not much travelling for the Slayer. However, the ancestral forge is humongous, and you’ll have plenty of tiny secrets and paths to discover and explore as you reactivate the heart of the forge.
Following the objectives in the chapter along with the instructions provided below, it won't be long before you can claim that sweet 100% completion tag for the eighth level in Doom: The Dark Ages.
This guide covers each collectible required for 100% level completion in chronological order. It is recommended to follow this guide in the order stated.
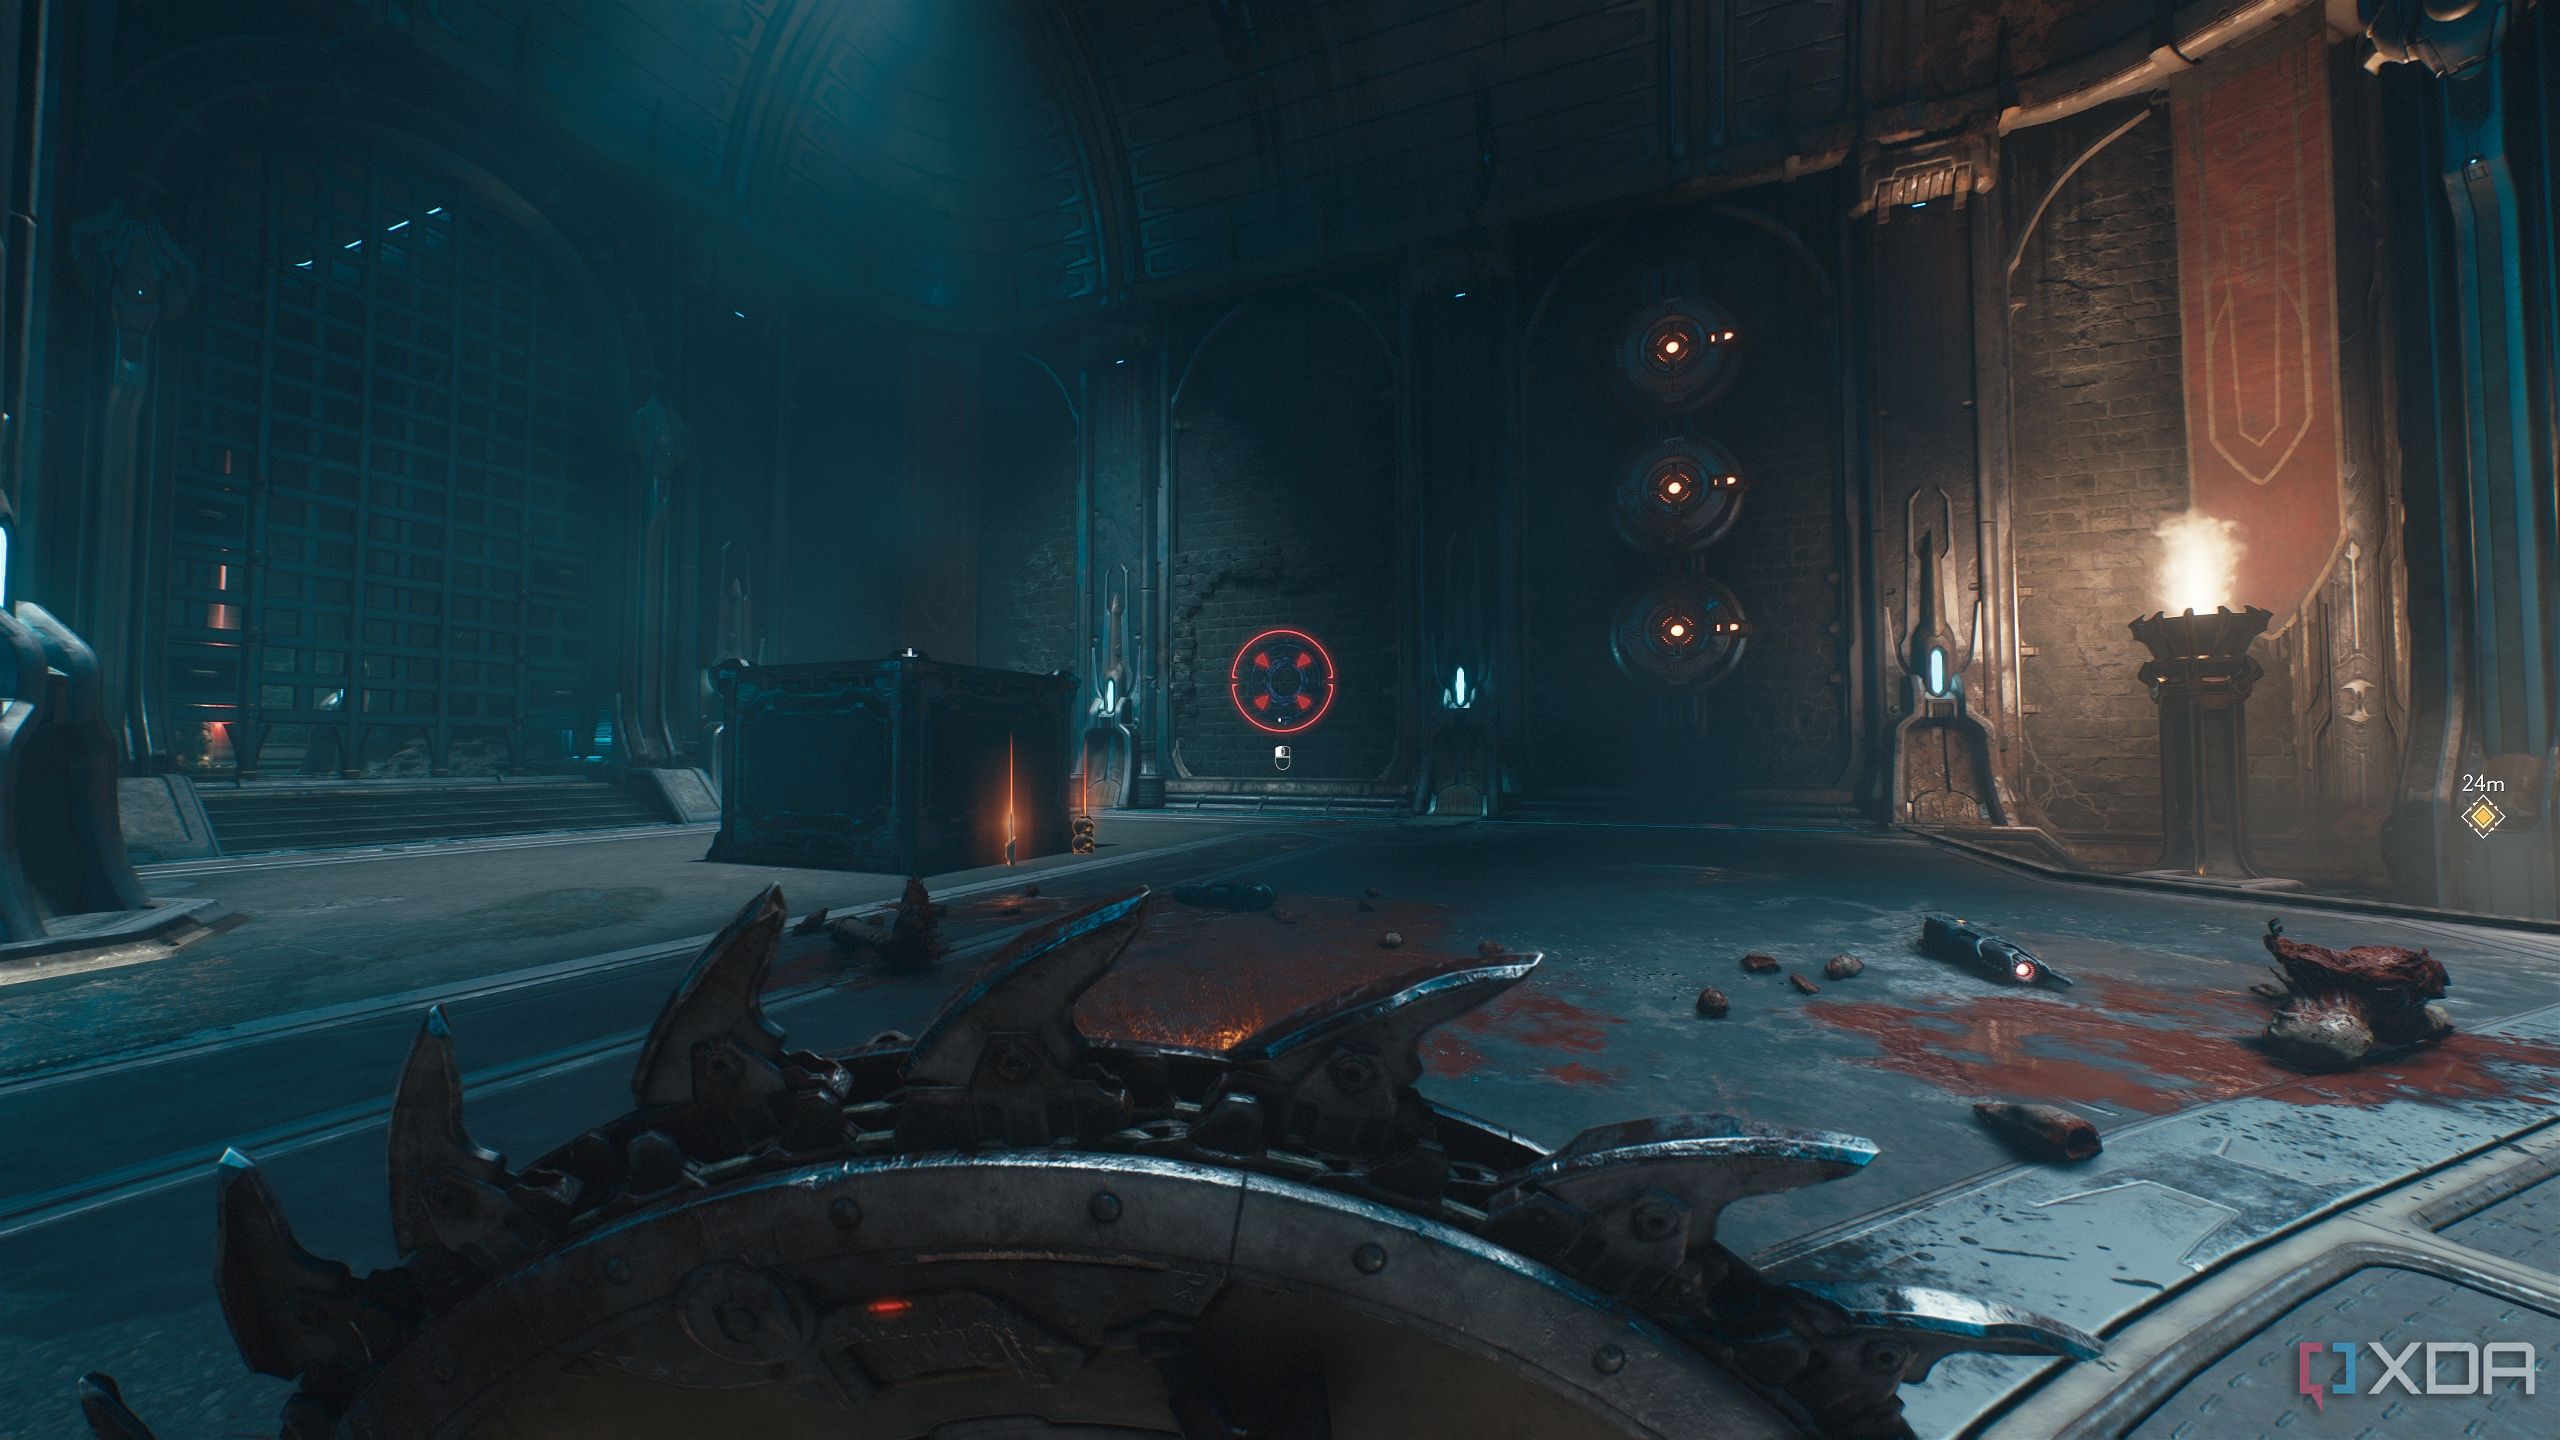
Secret area 1 and purple keycard
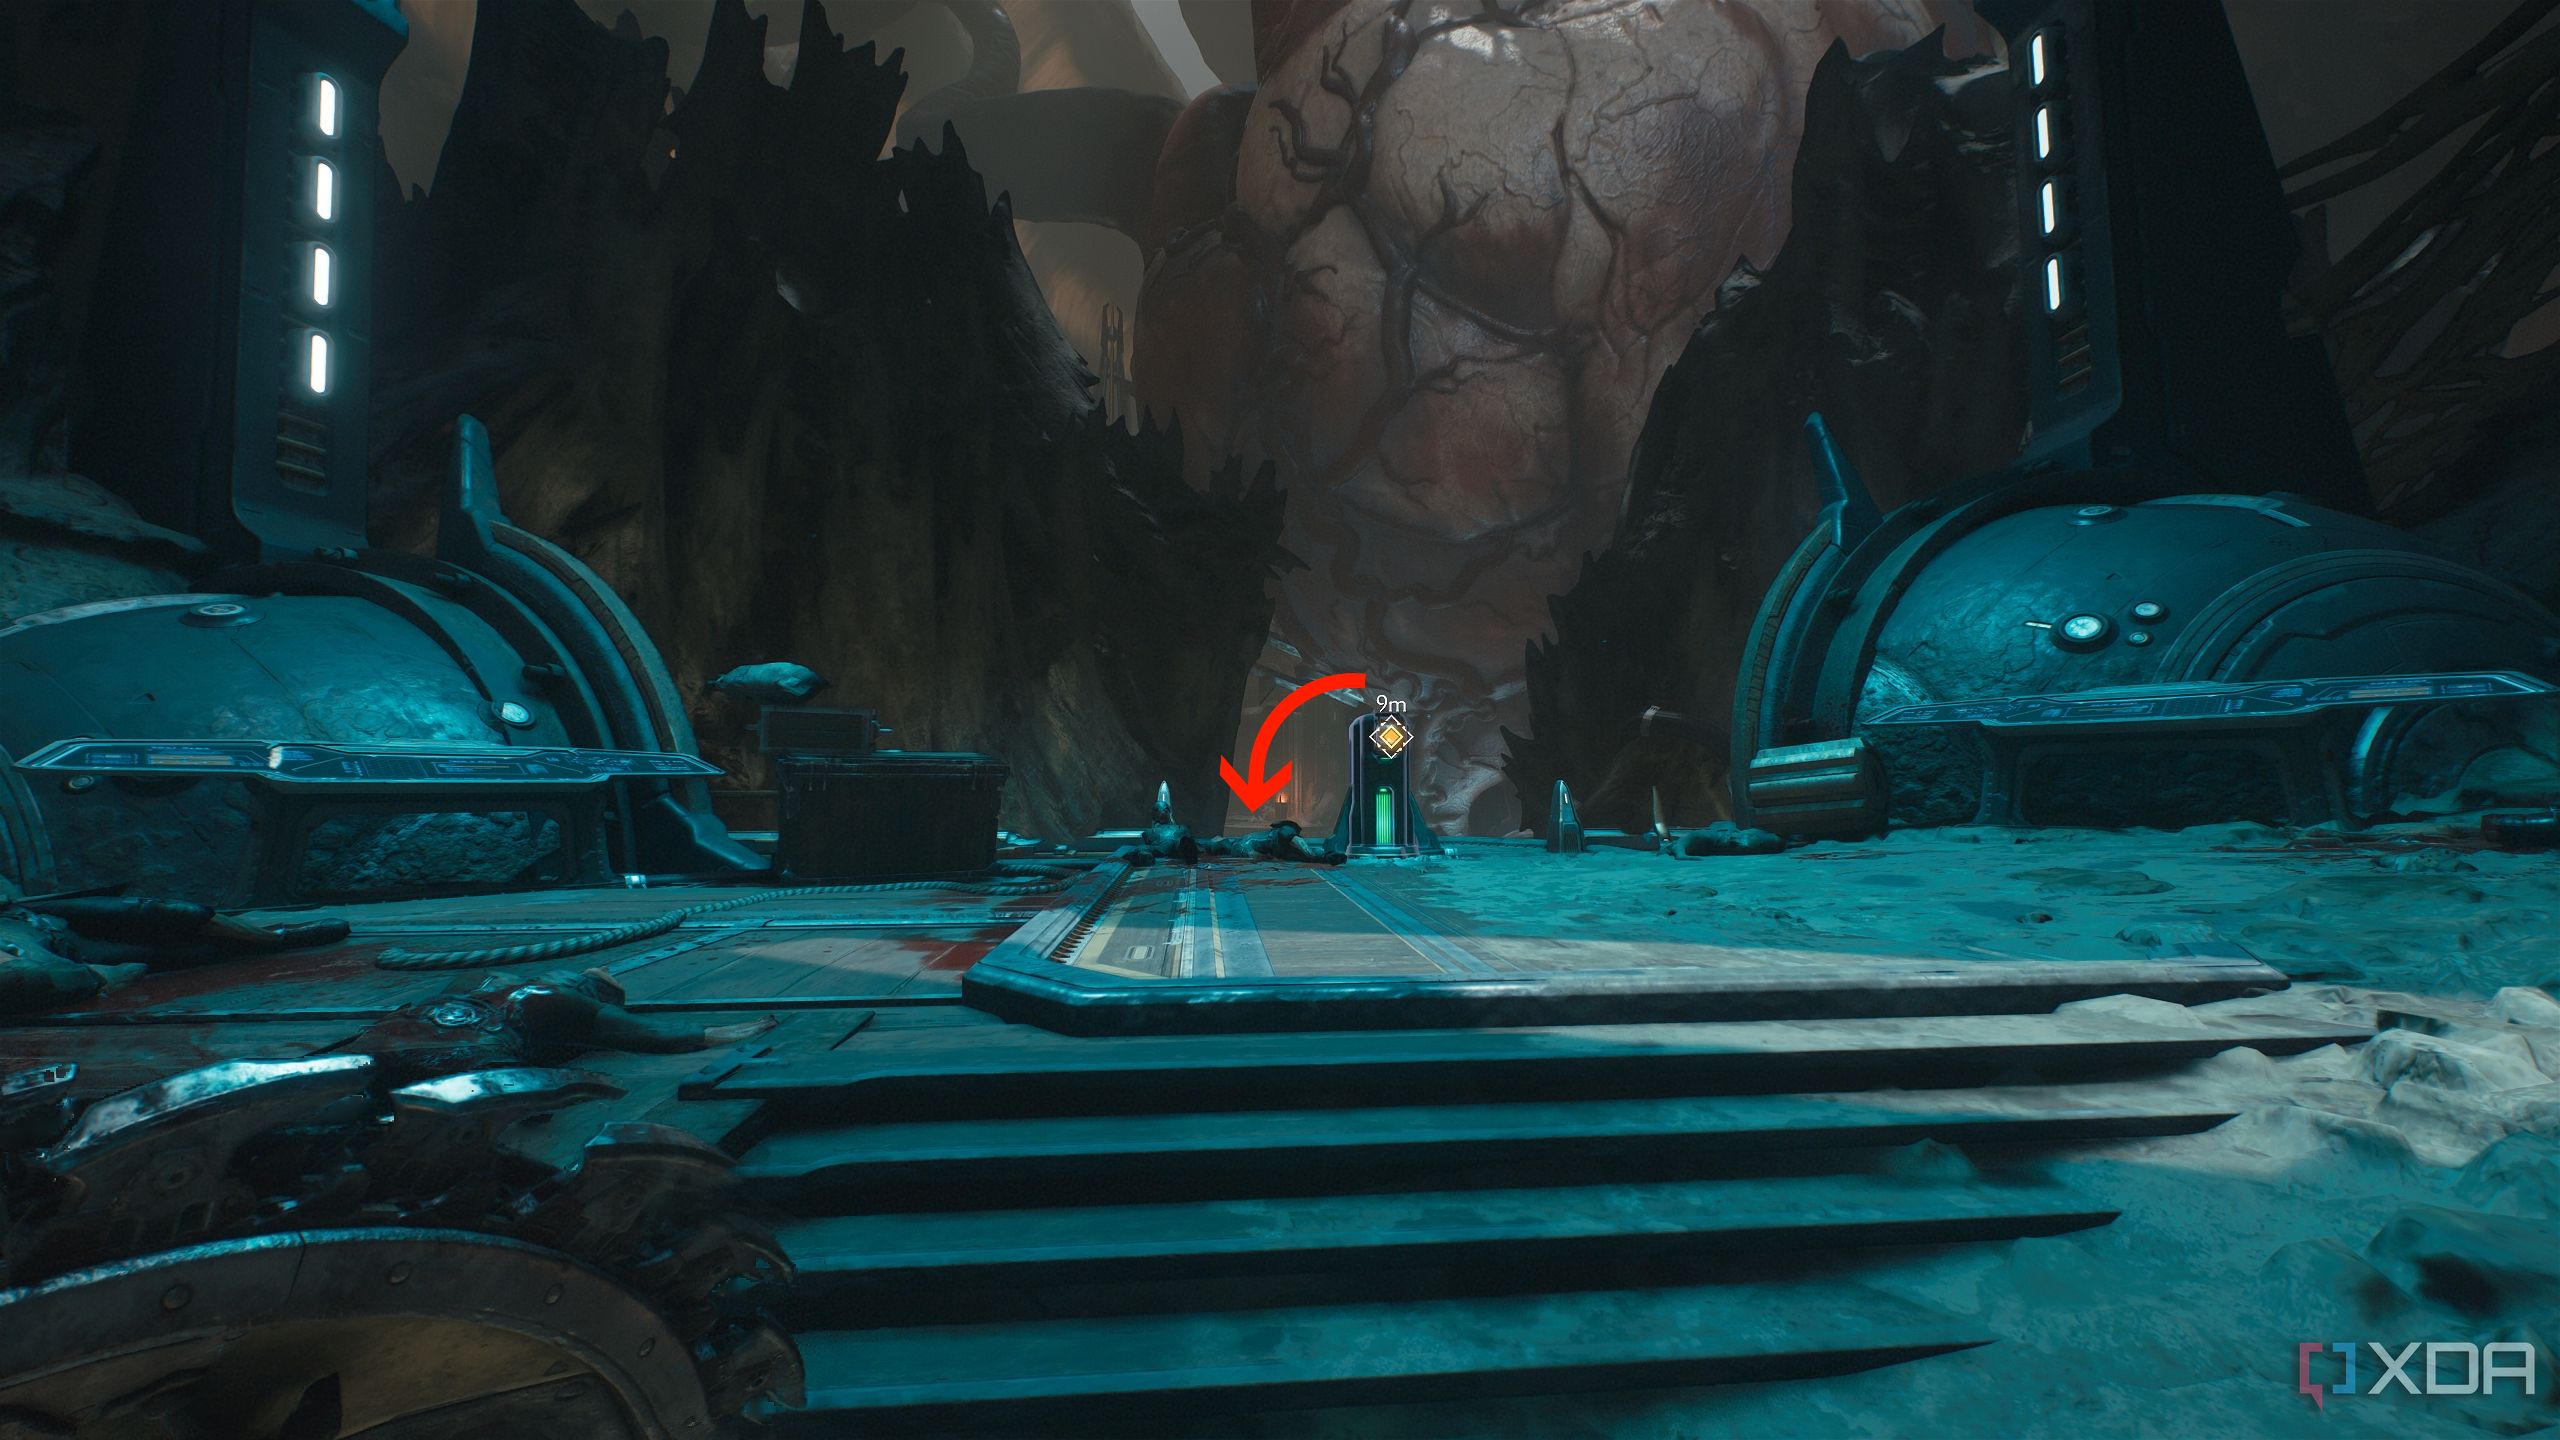
Beneath the huge heart of the Ancestral
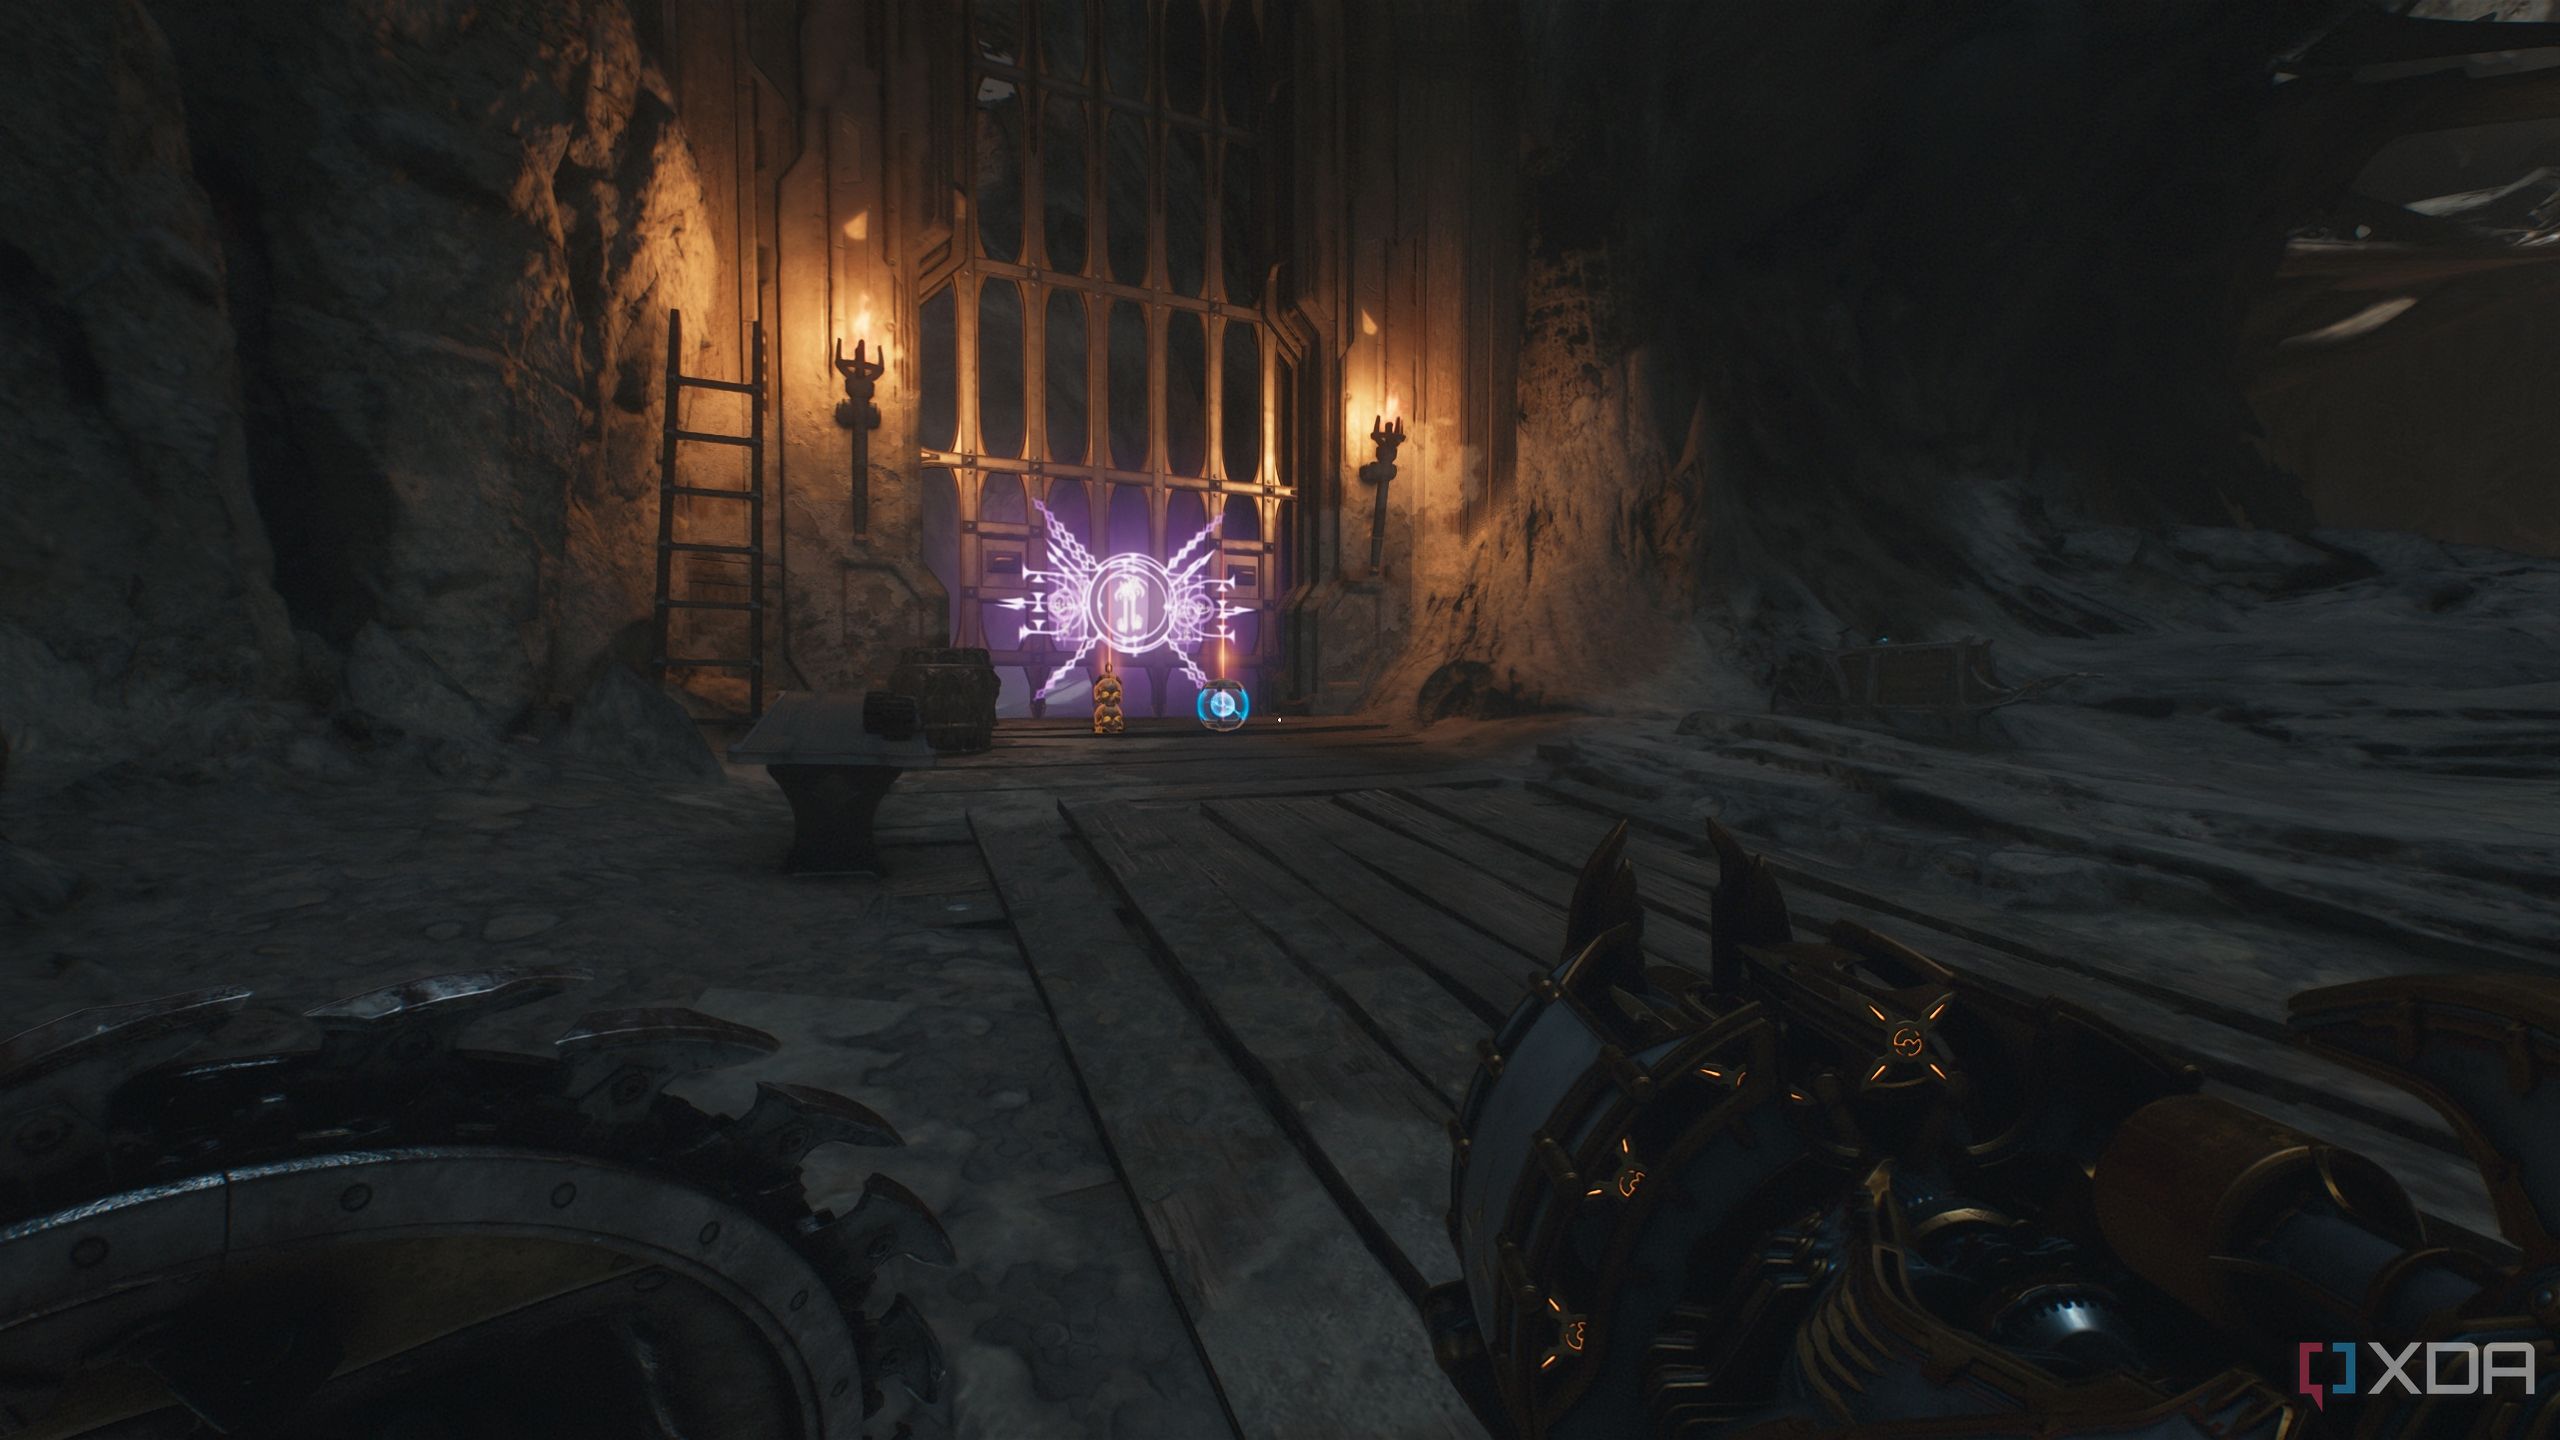
Once the chapter begins, you’ll walk straight up to a locked door on your right that needs a purple keycard.
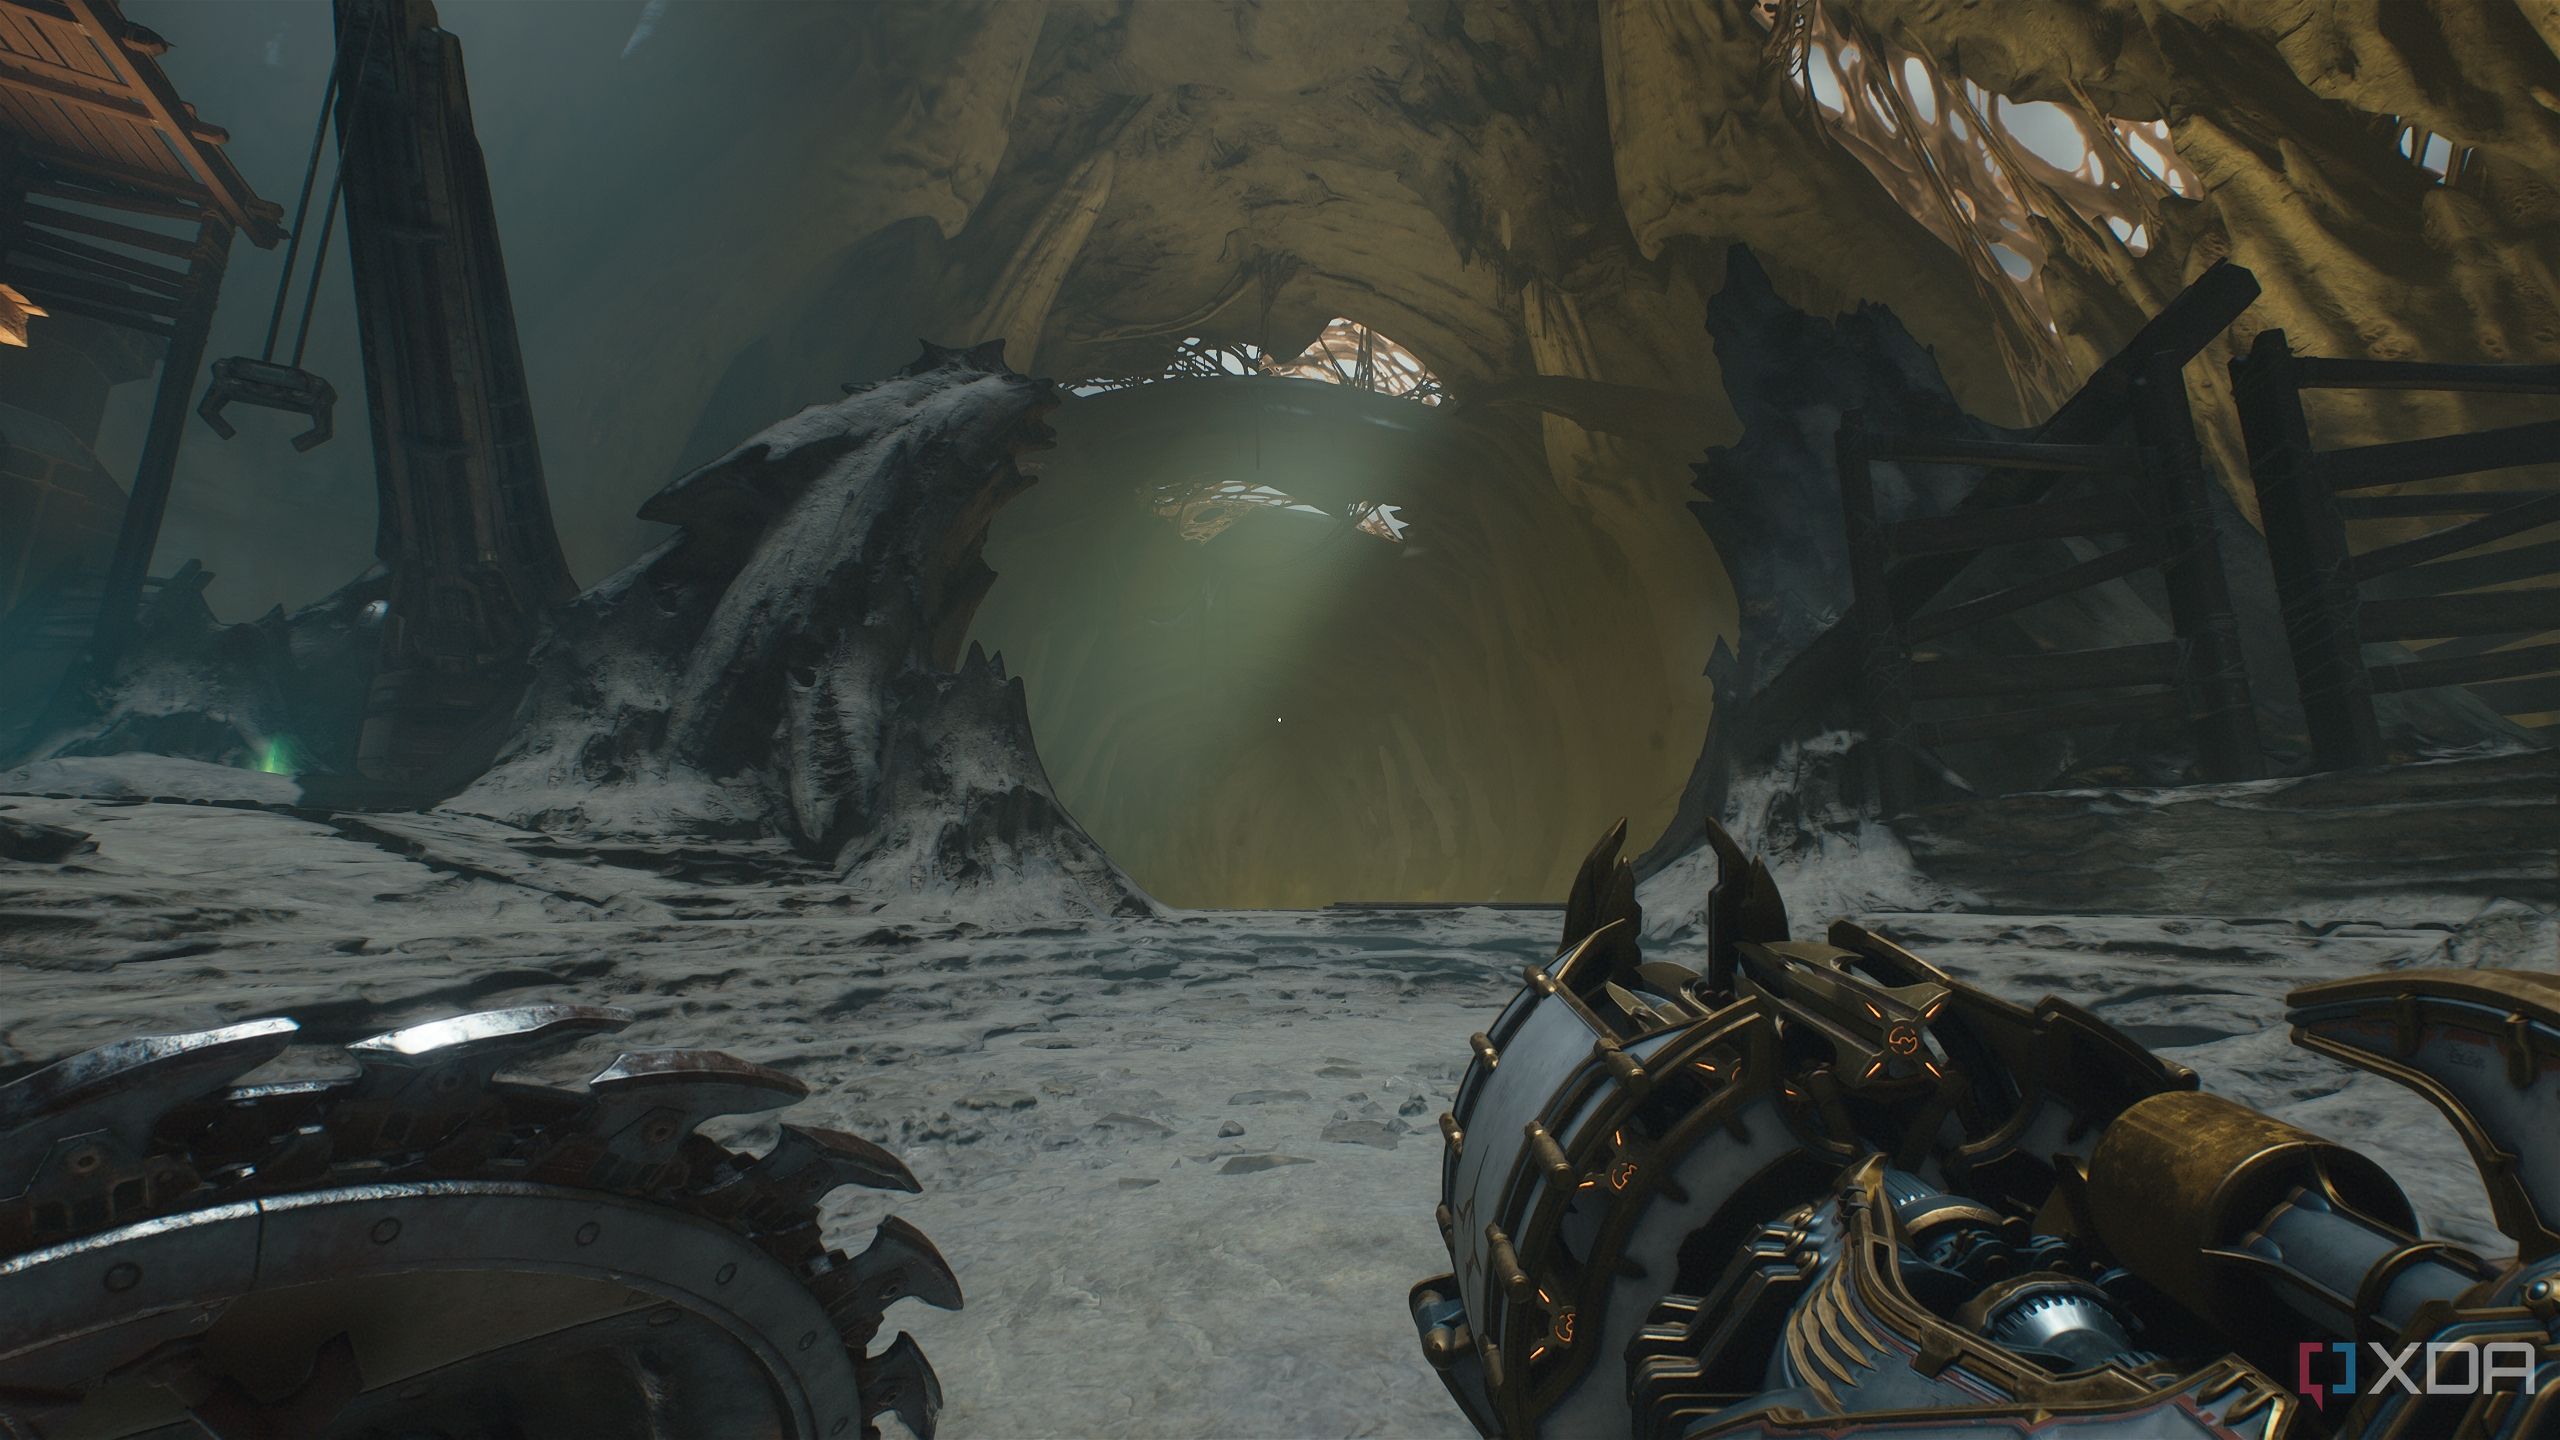
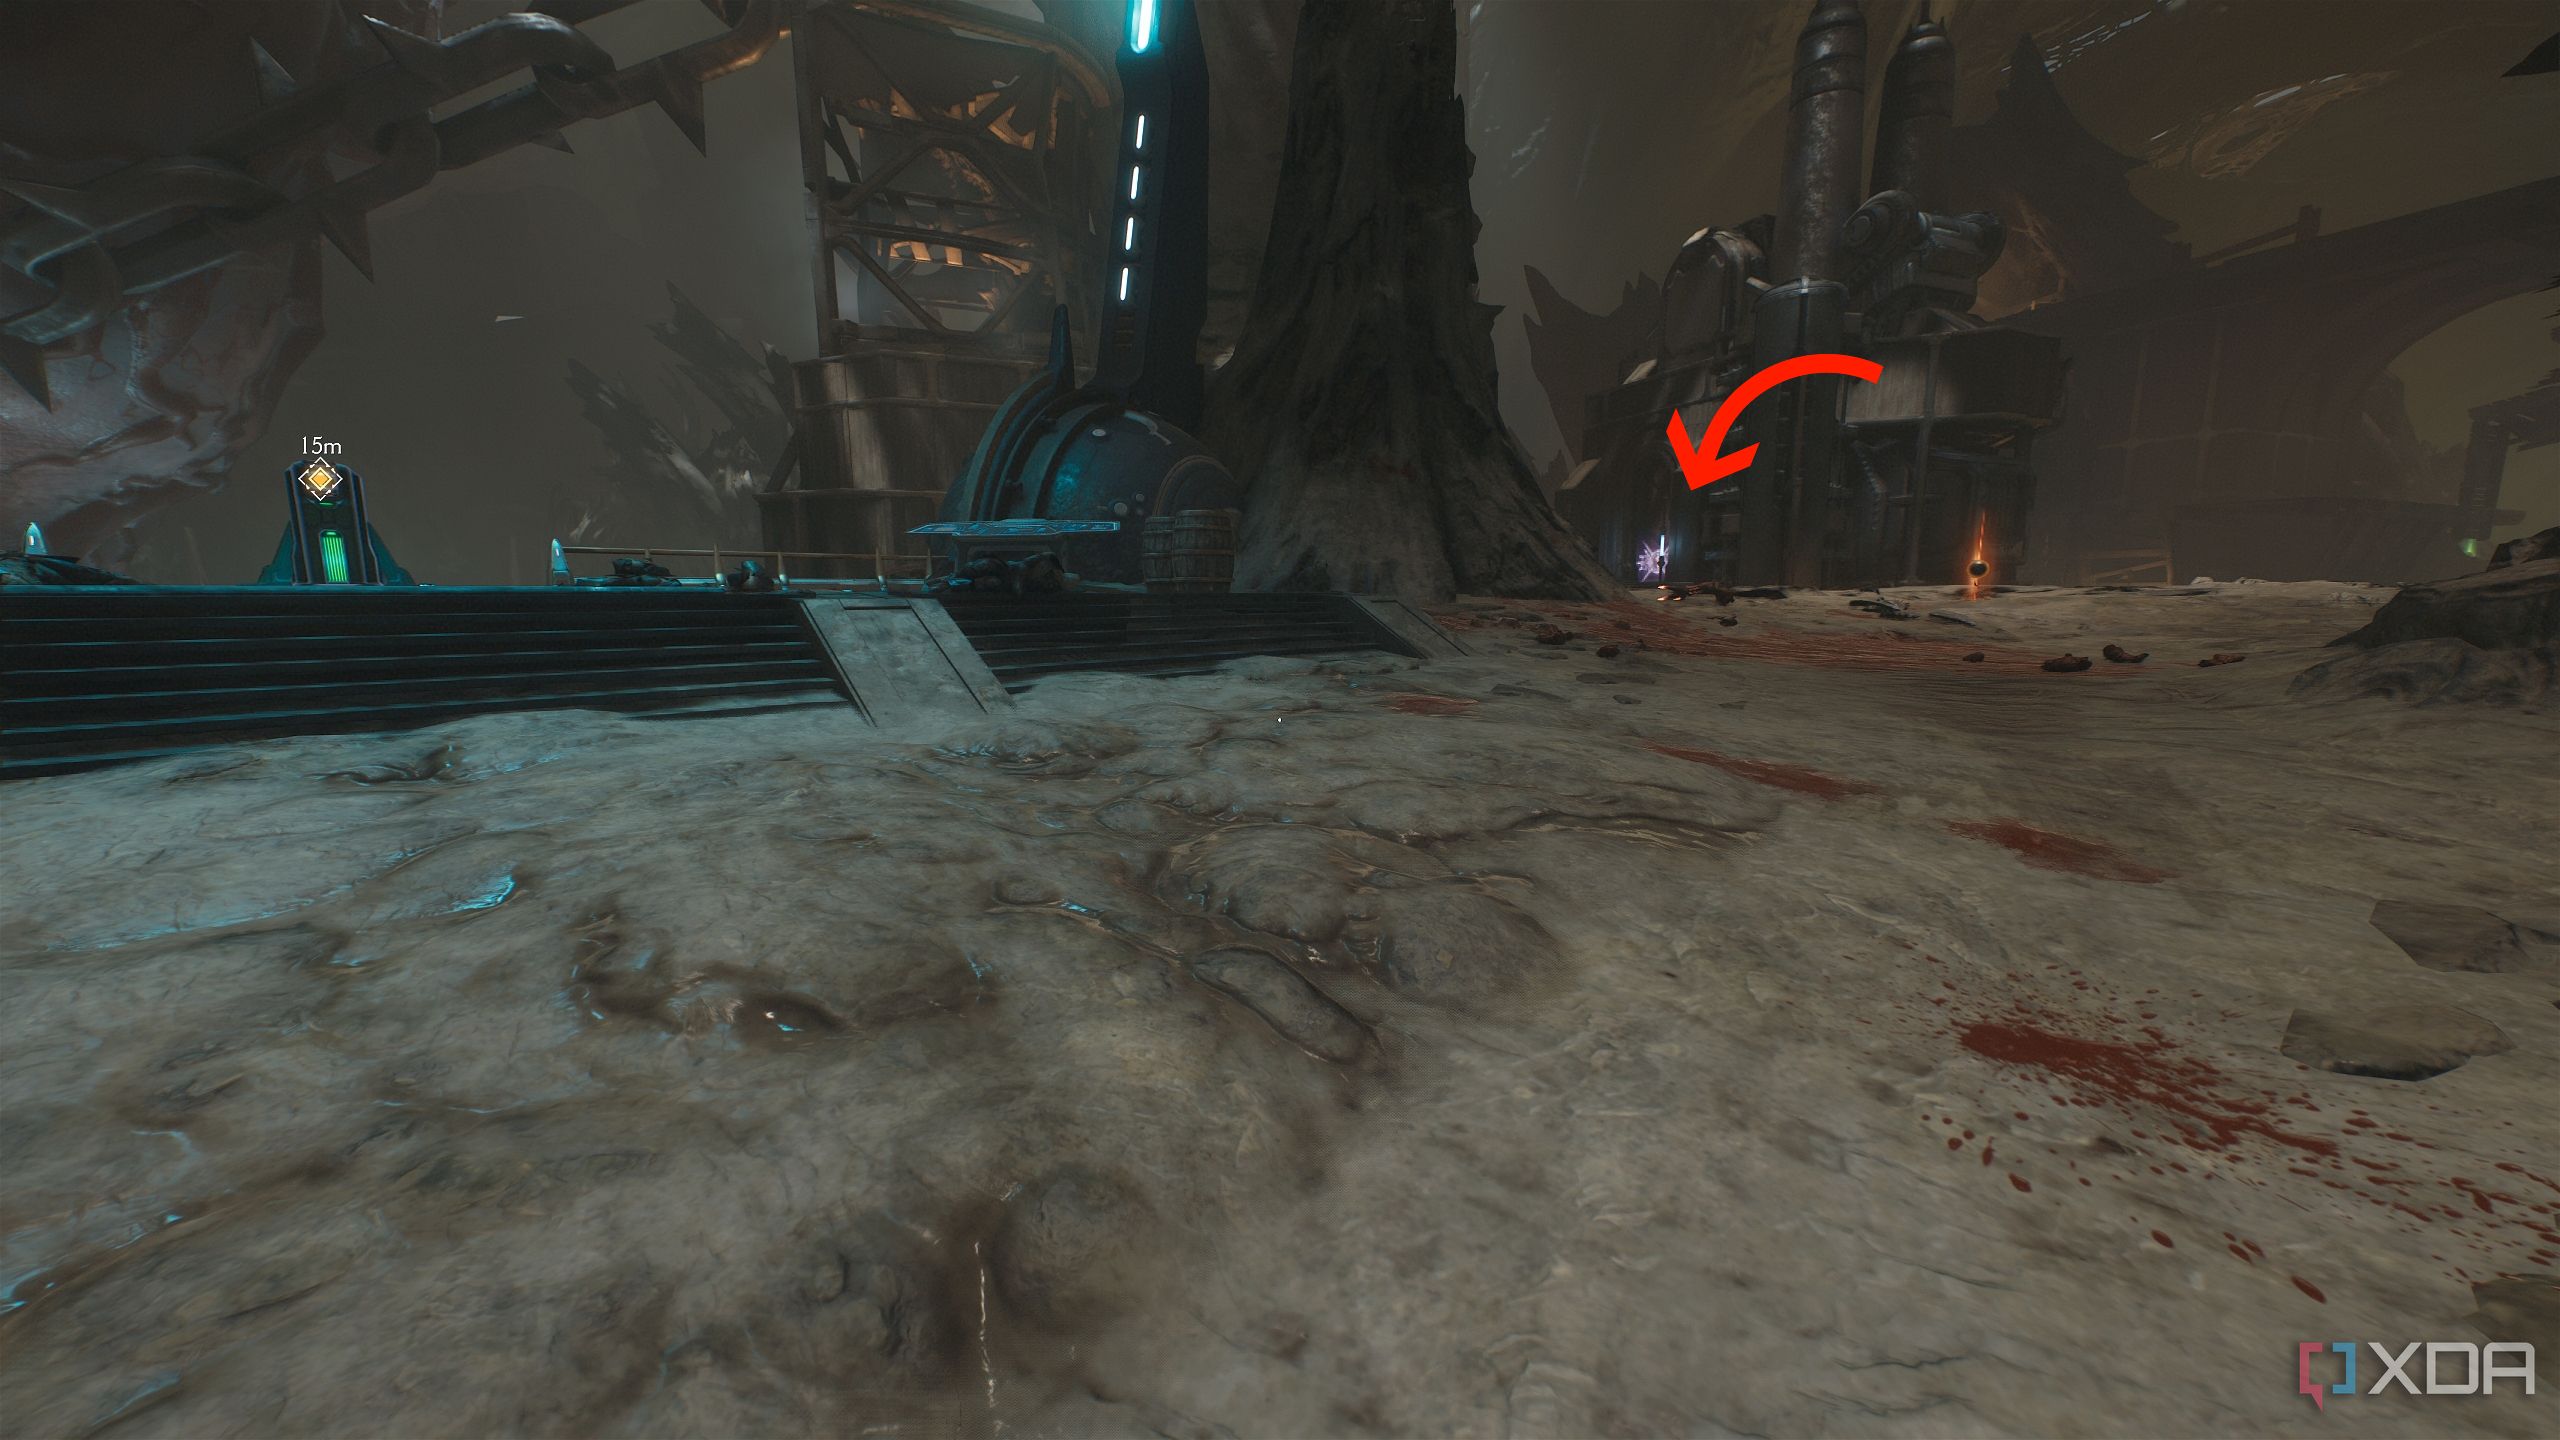
Leave it for the time being, and you’ll see a Sentinel Shrine ahead. From the shrine, go right into the first area you see.
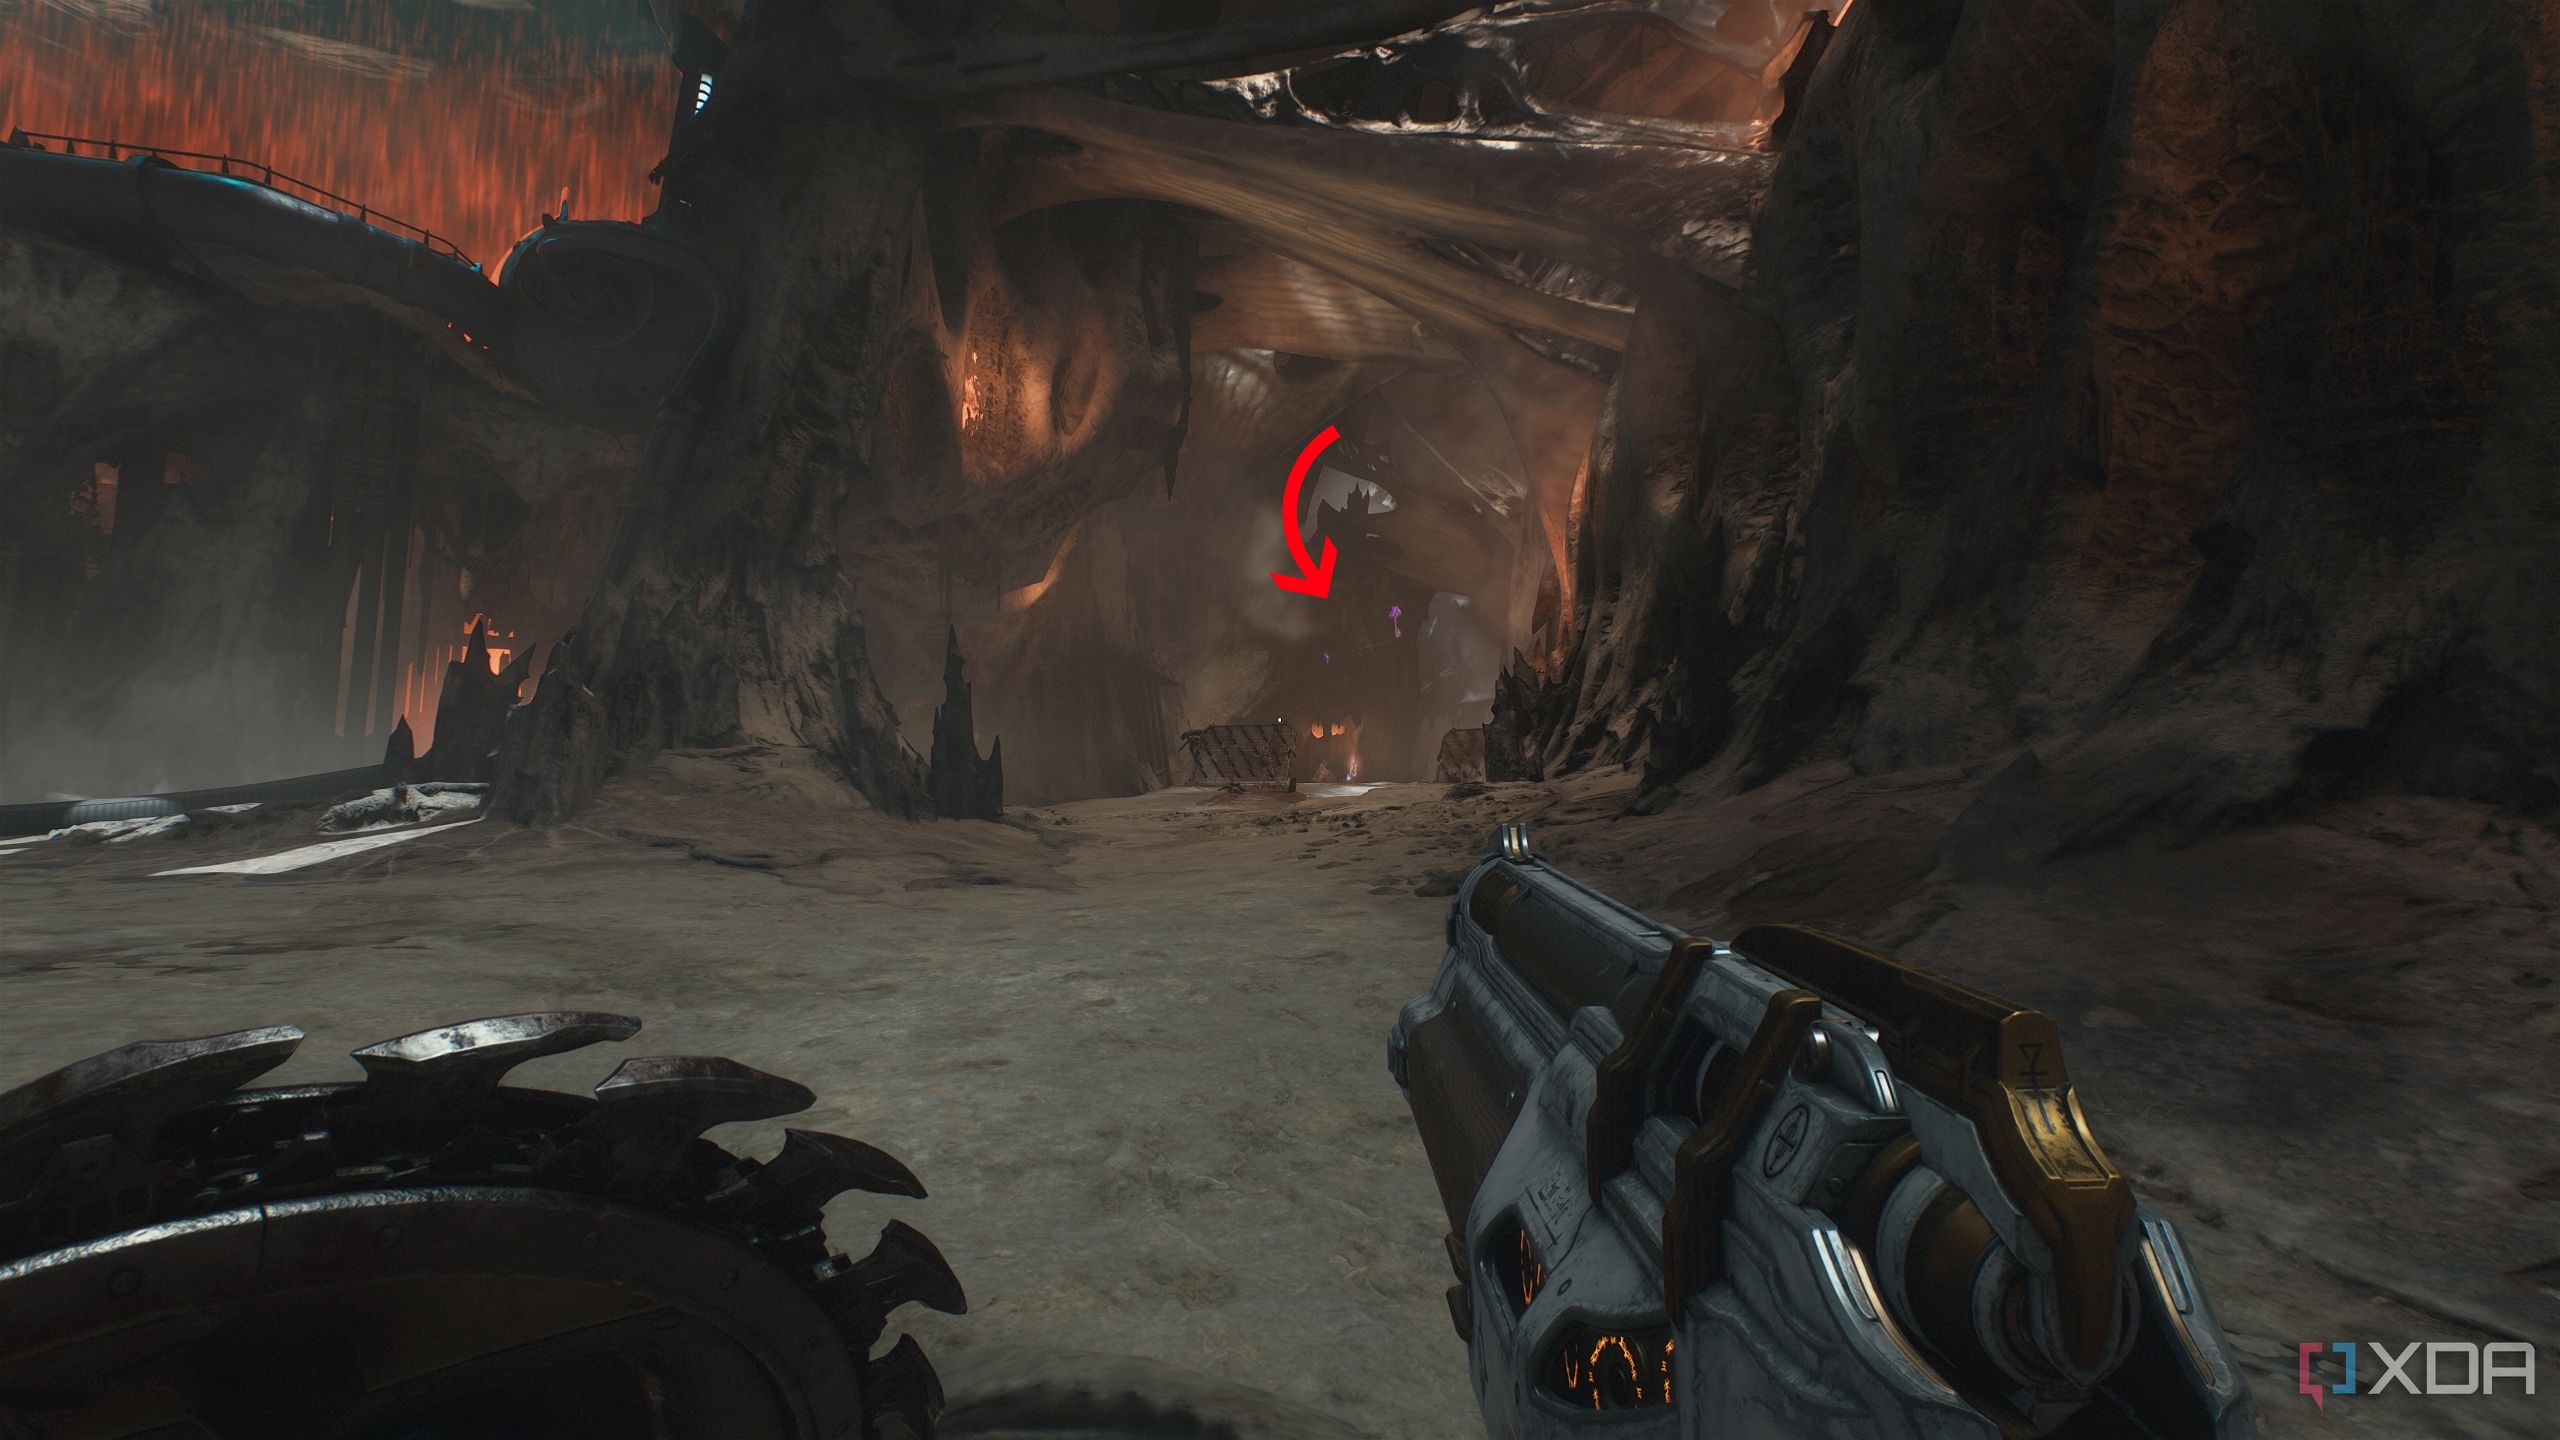
Here, you will be able to see the hologram of the purple keycard calling out. Deal with the demons in this area, and head north-west of this small arena.
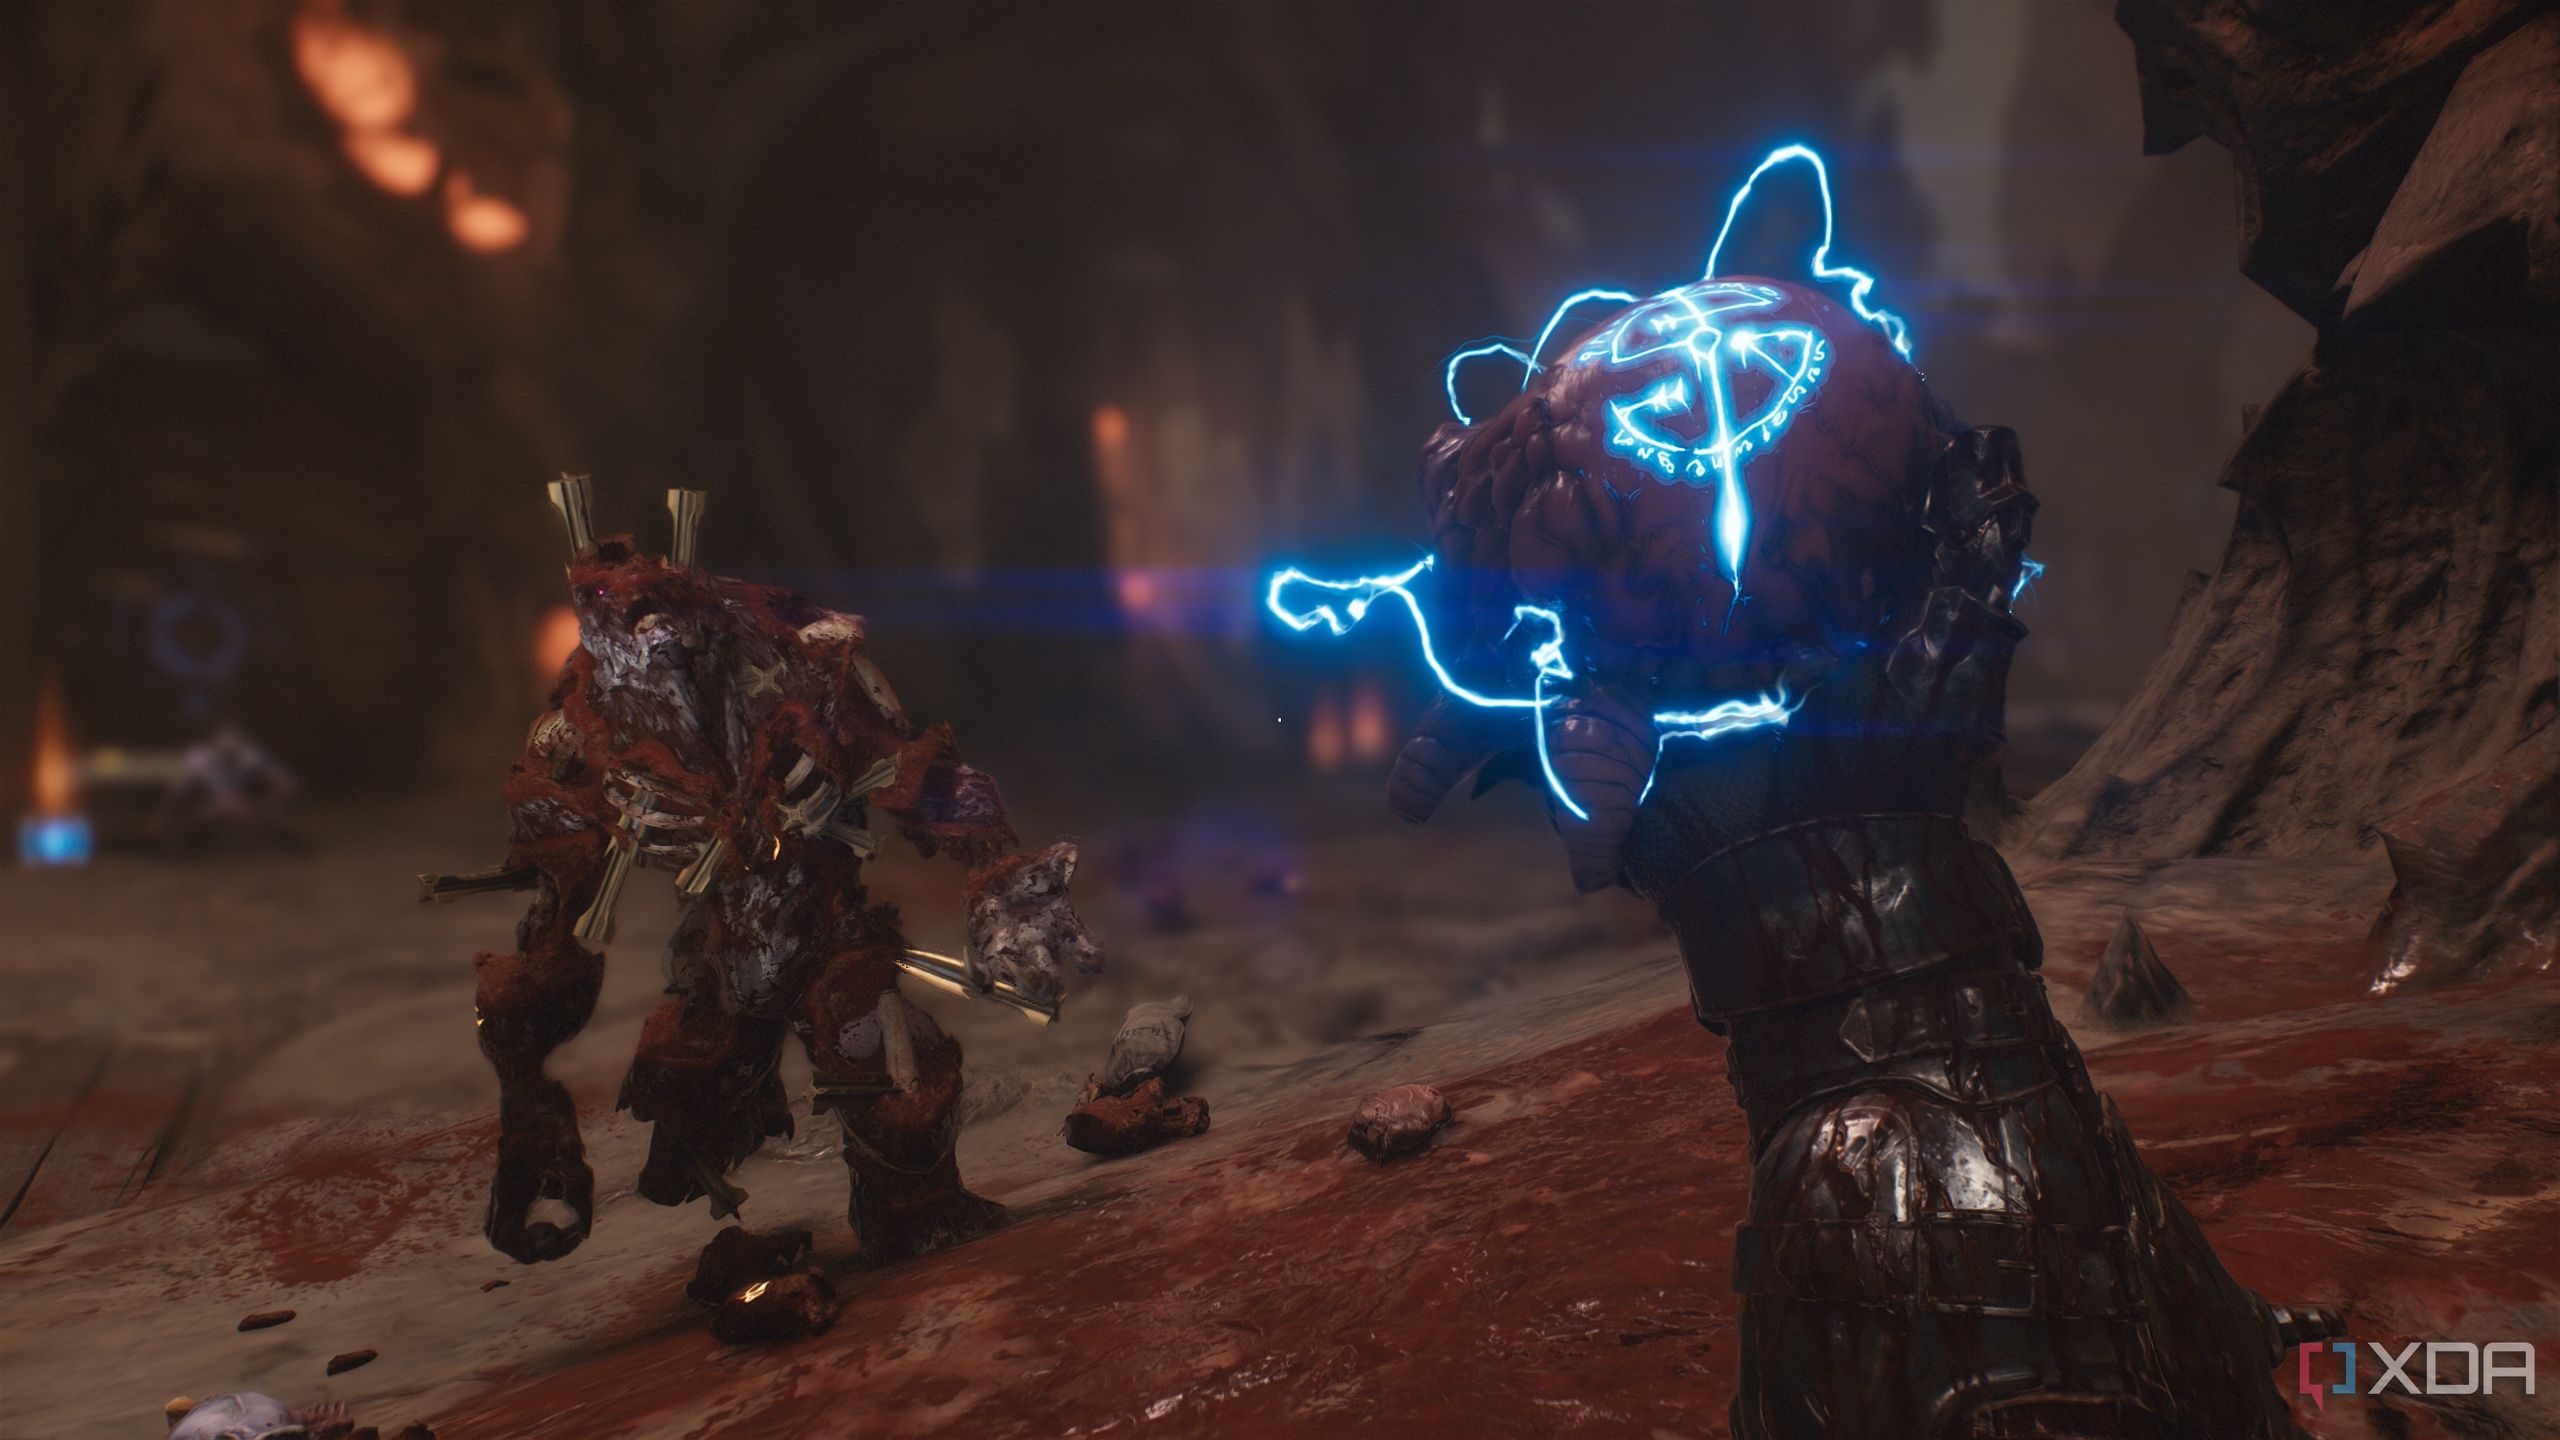
As you make your way up, the area will open up into a bigger arena with an enhanced Hellknight, a Revenant, and a Mancubus attacking you with hordes of Shielded Soldiers. Finish up this encounter to get Demonic Essence - Health.
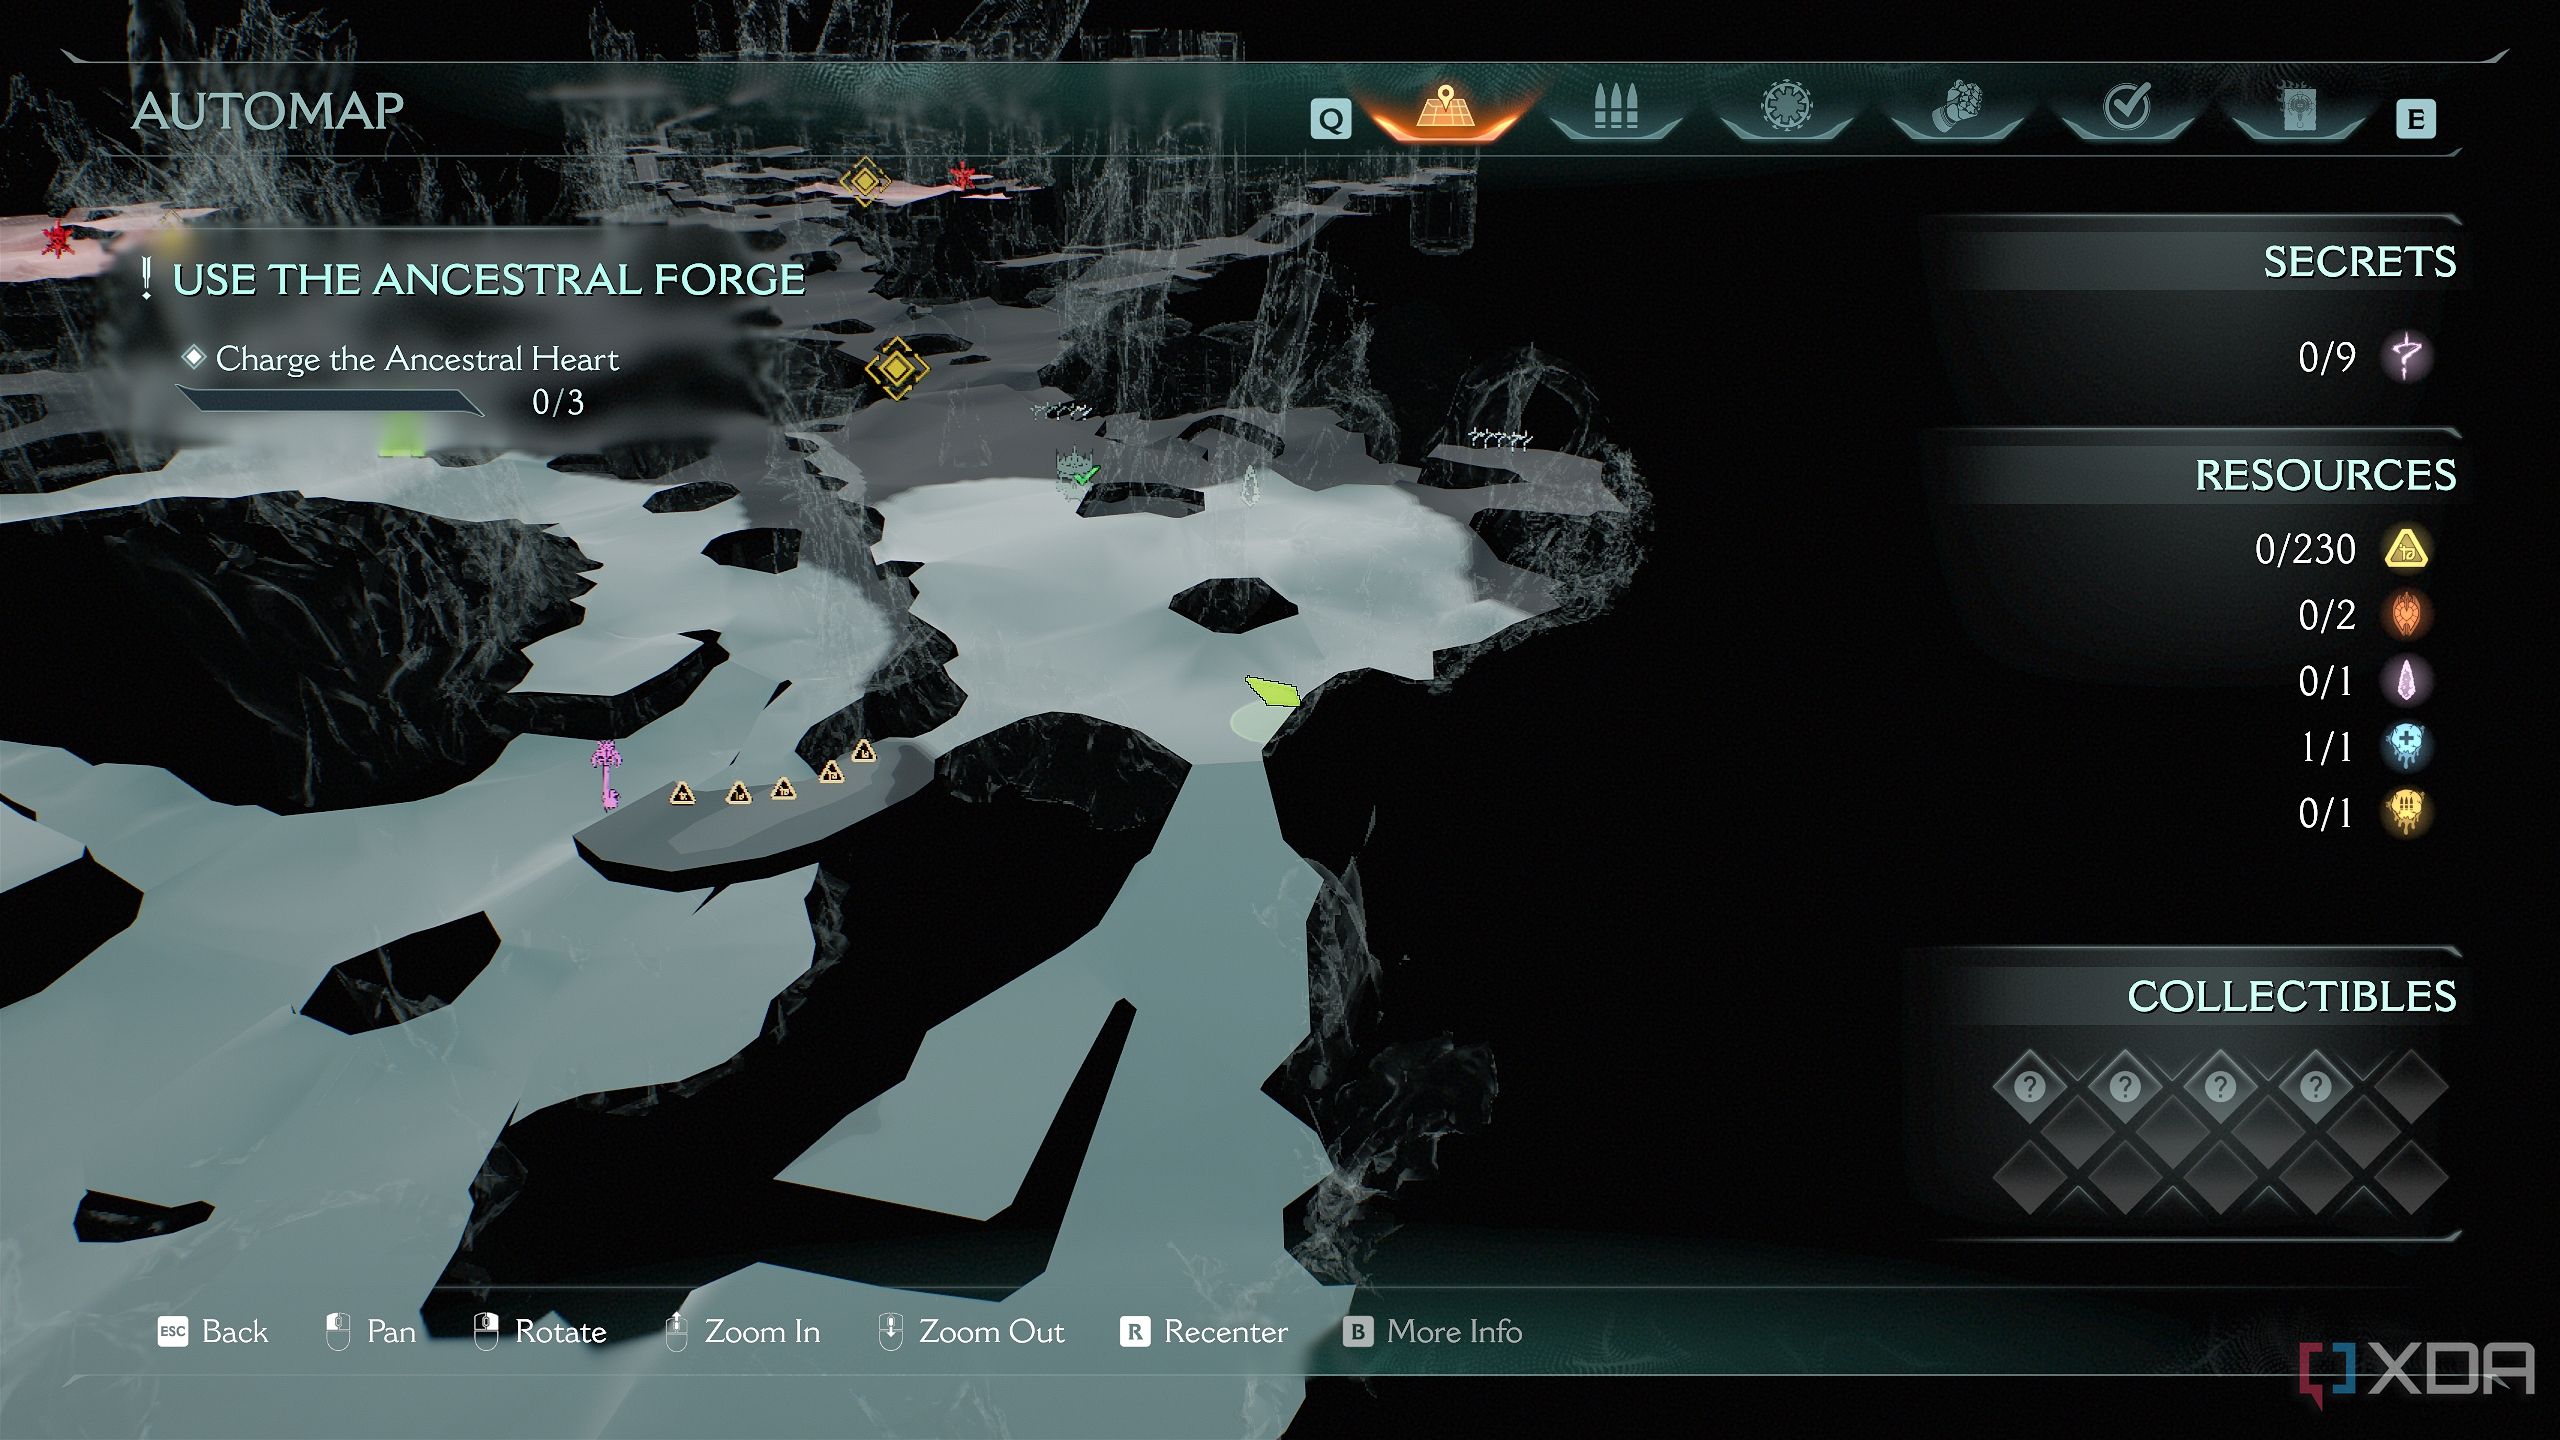
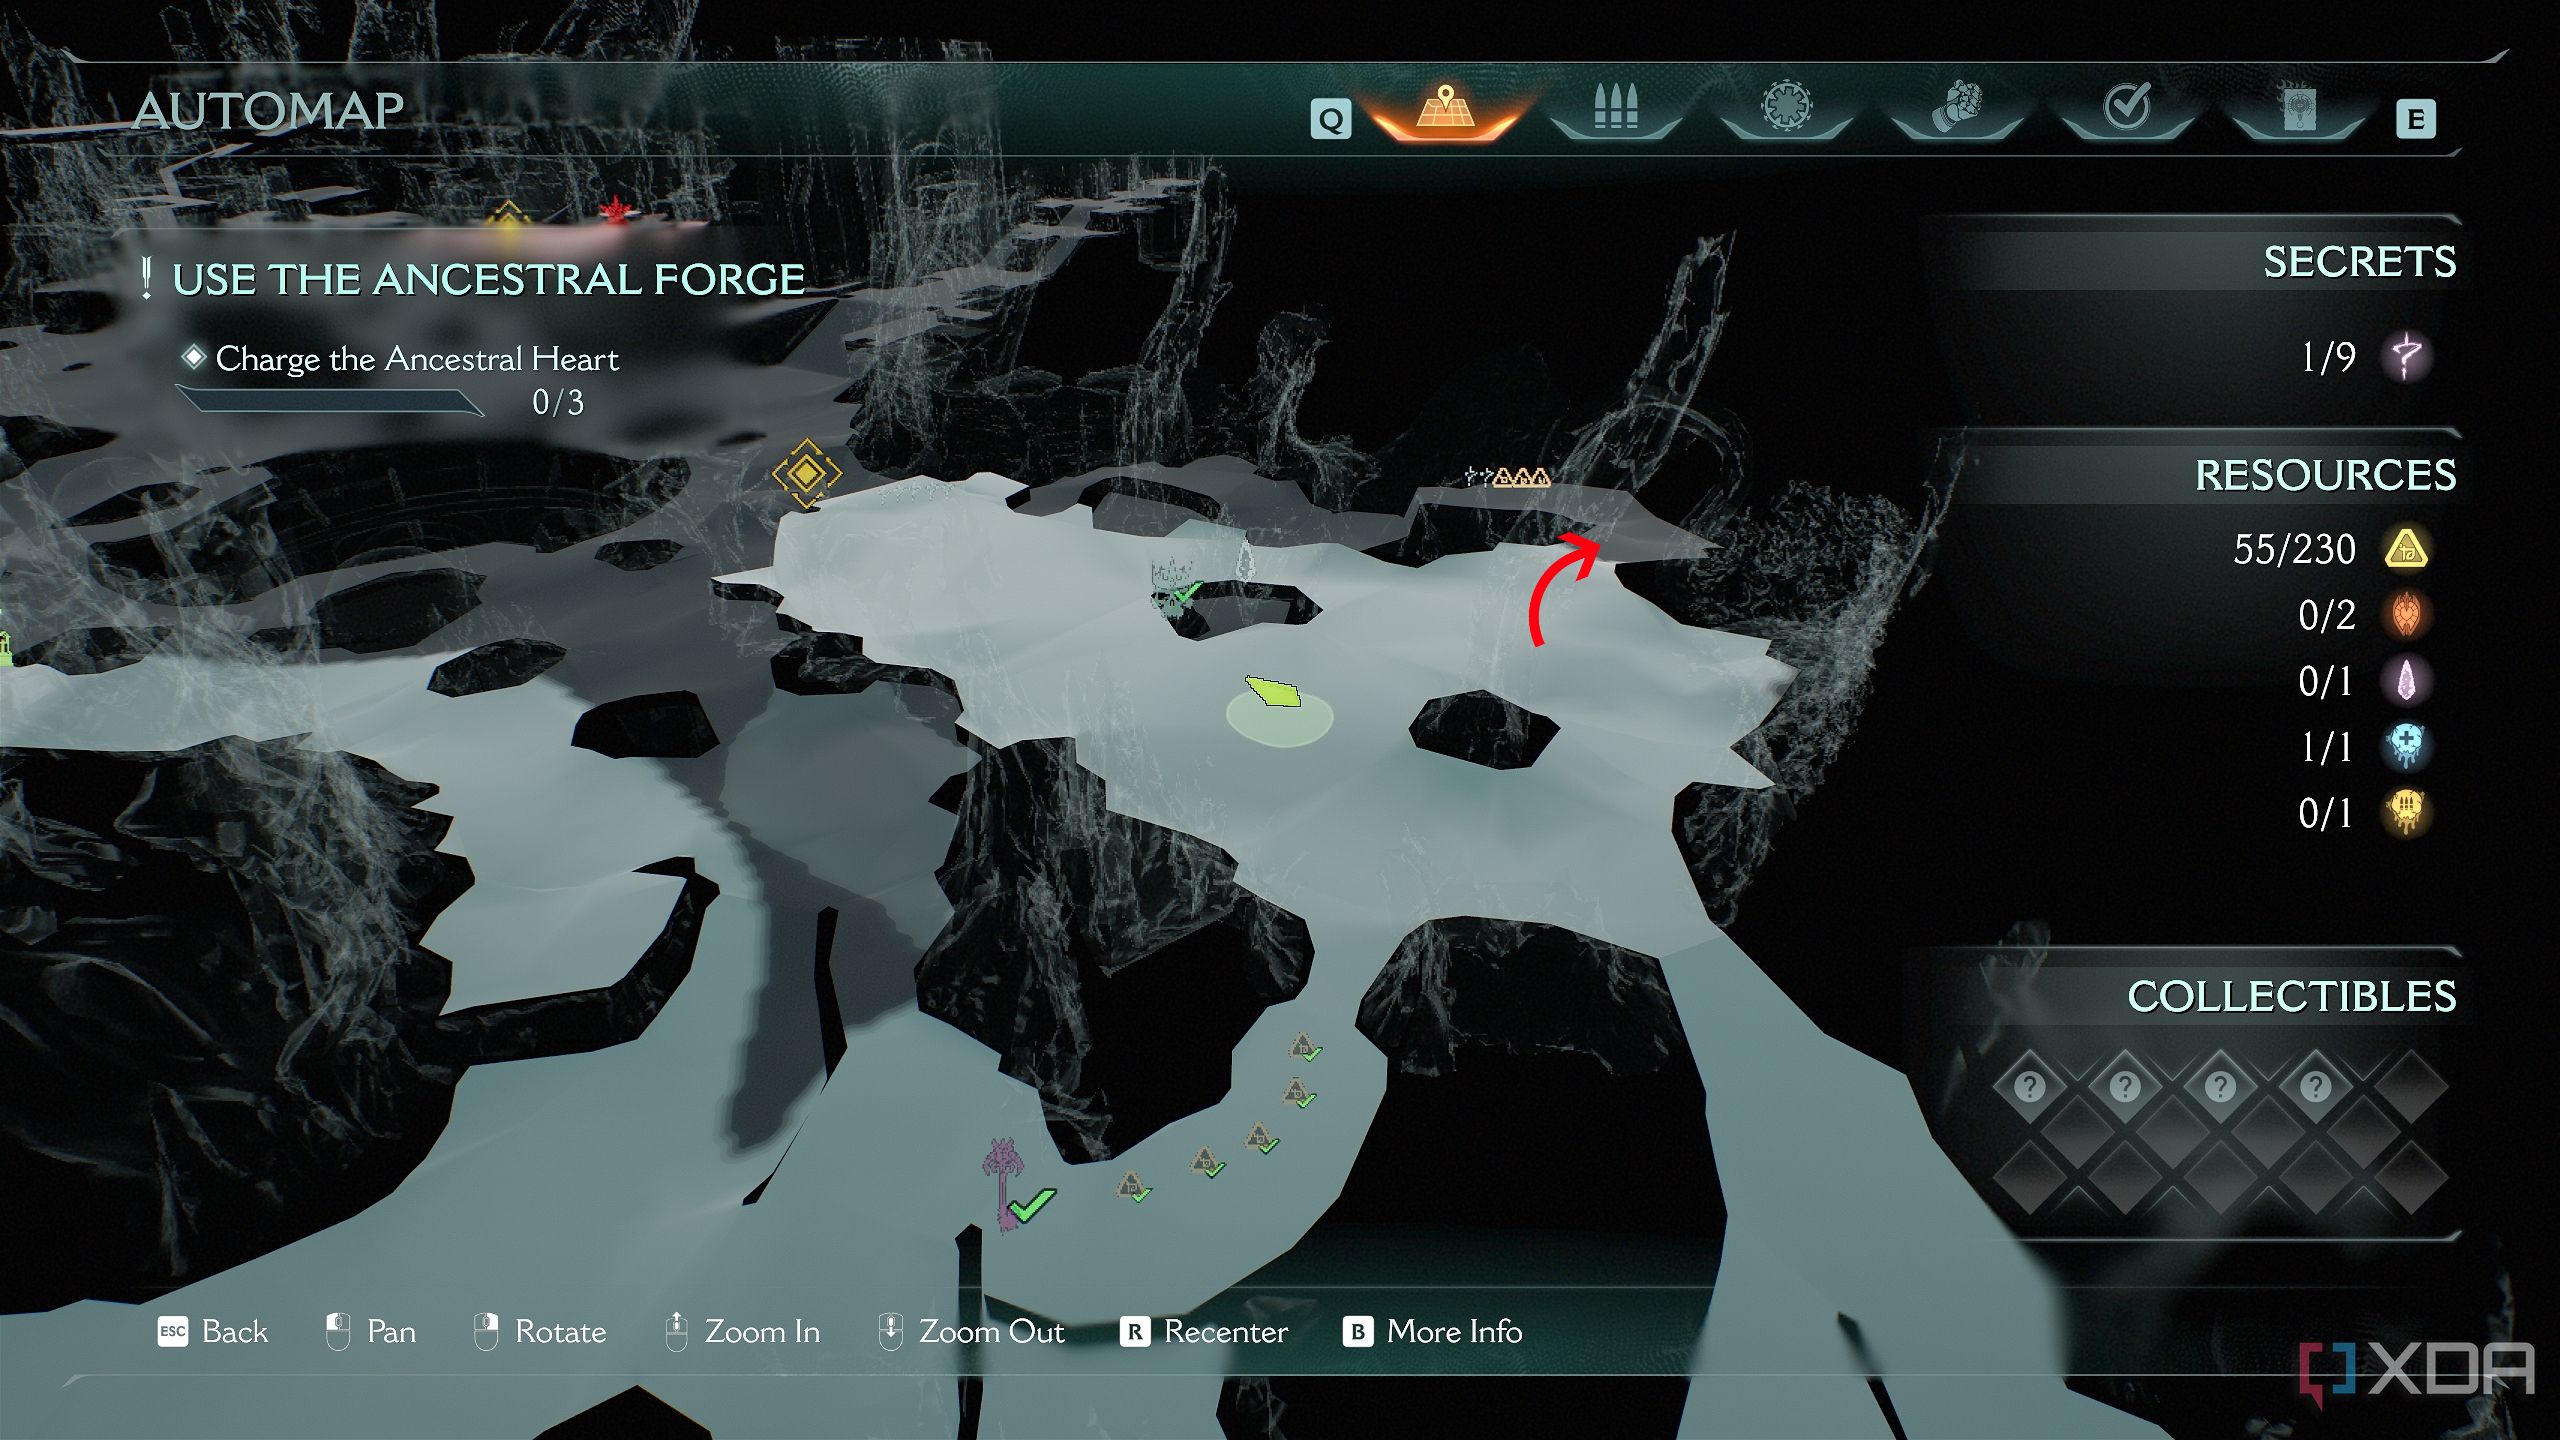
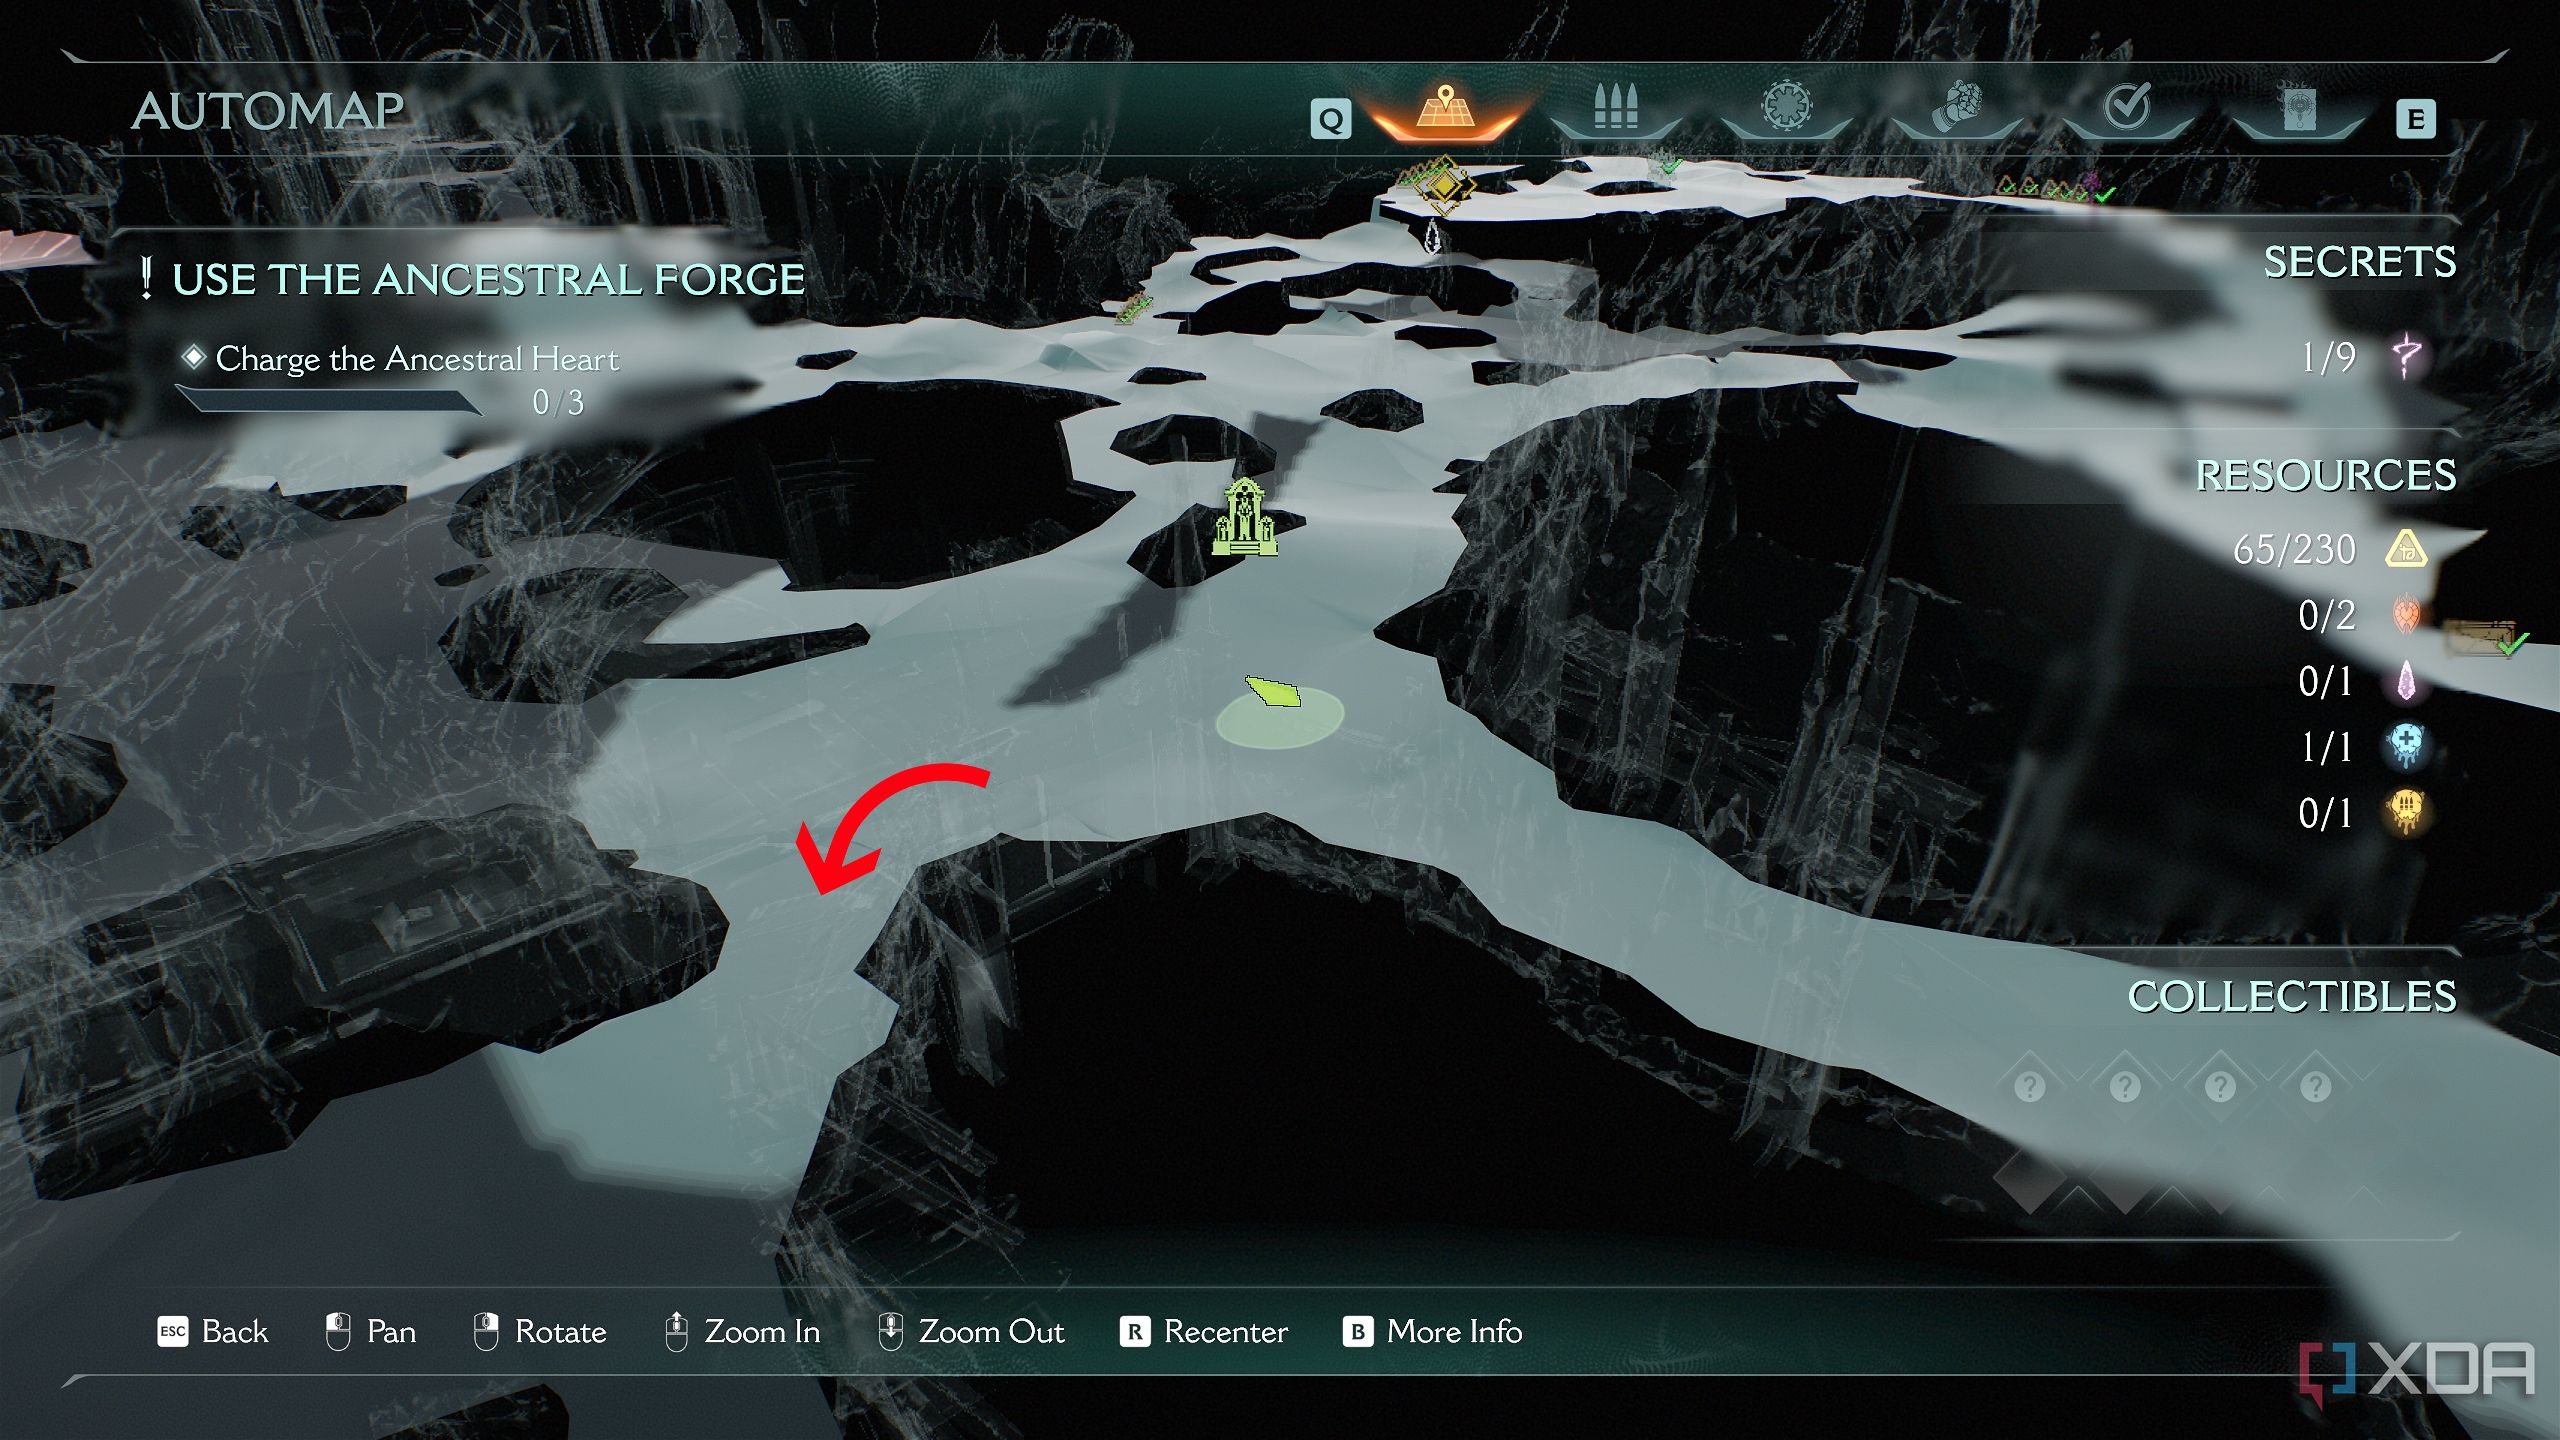
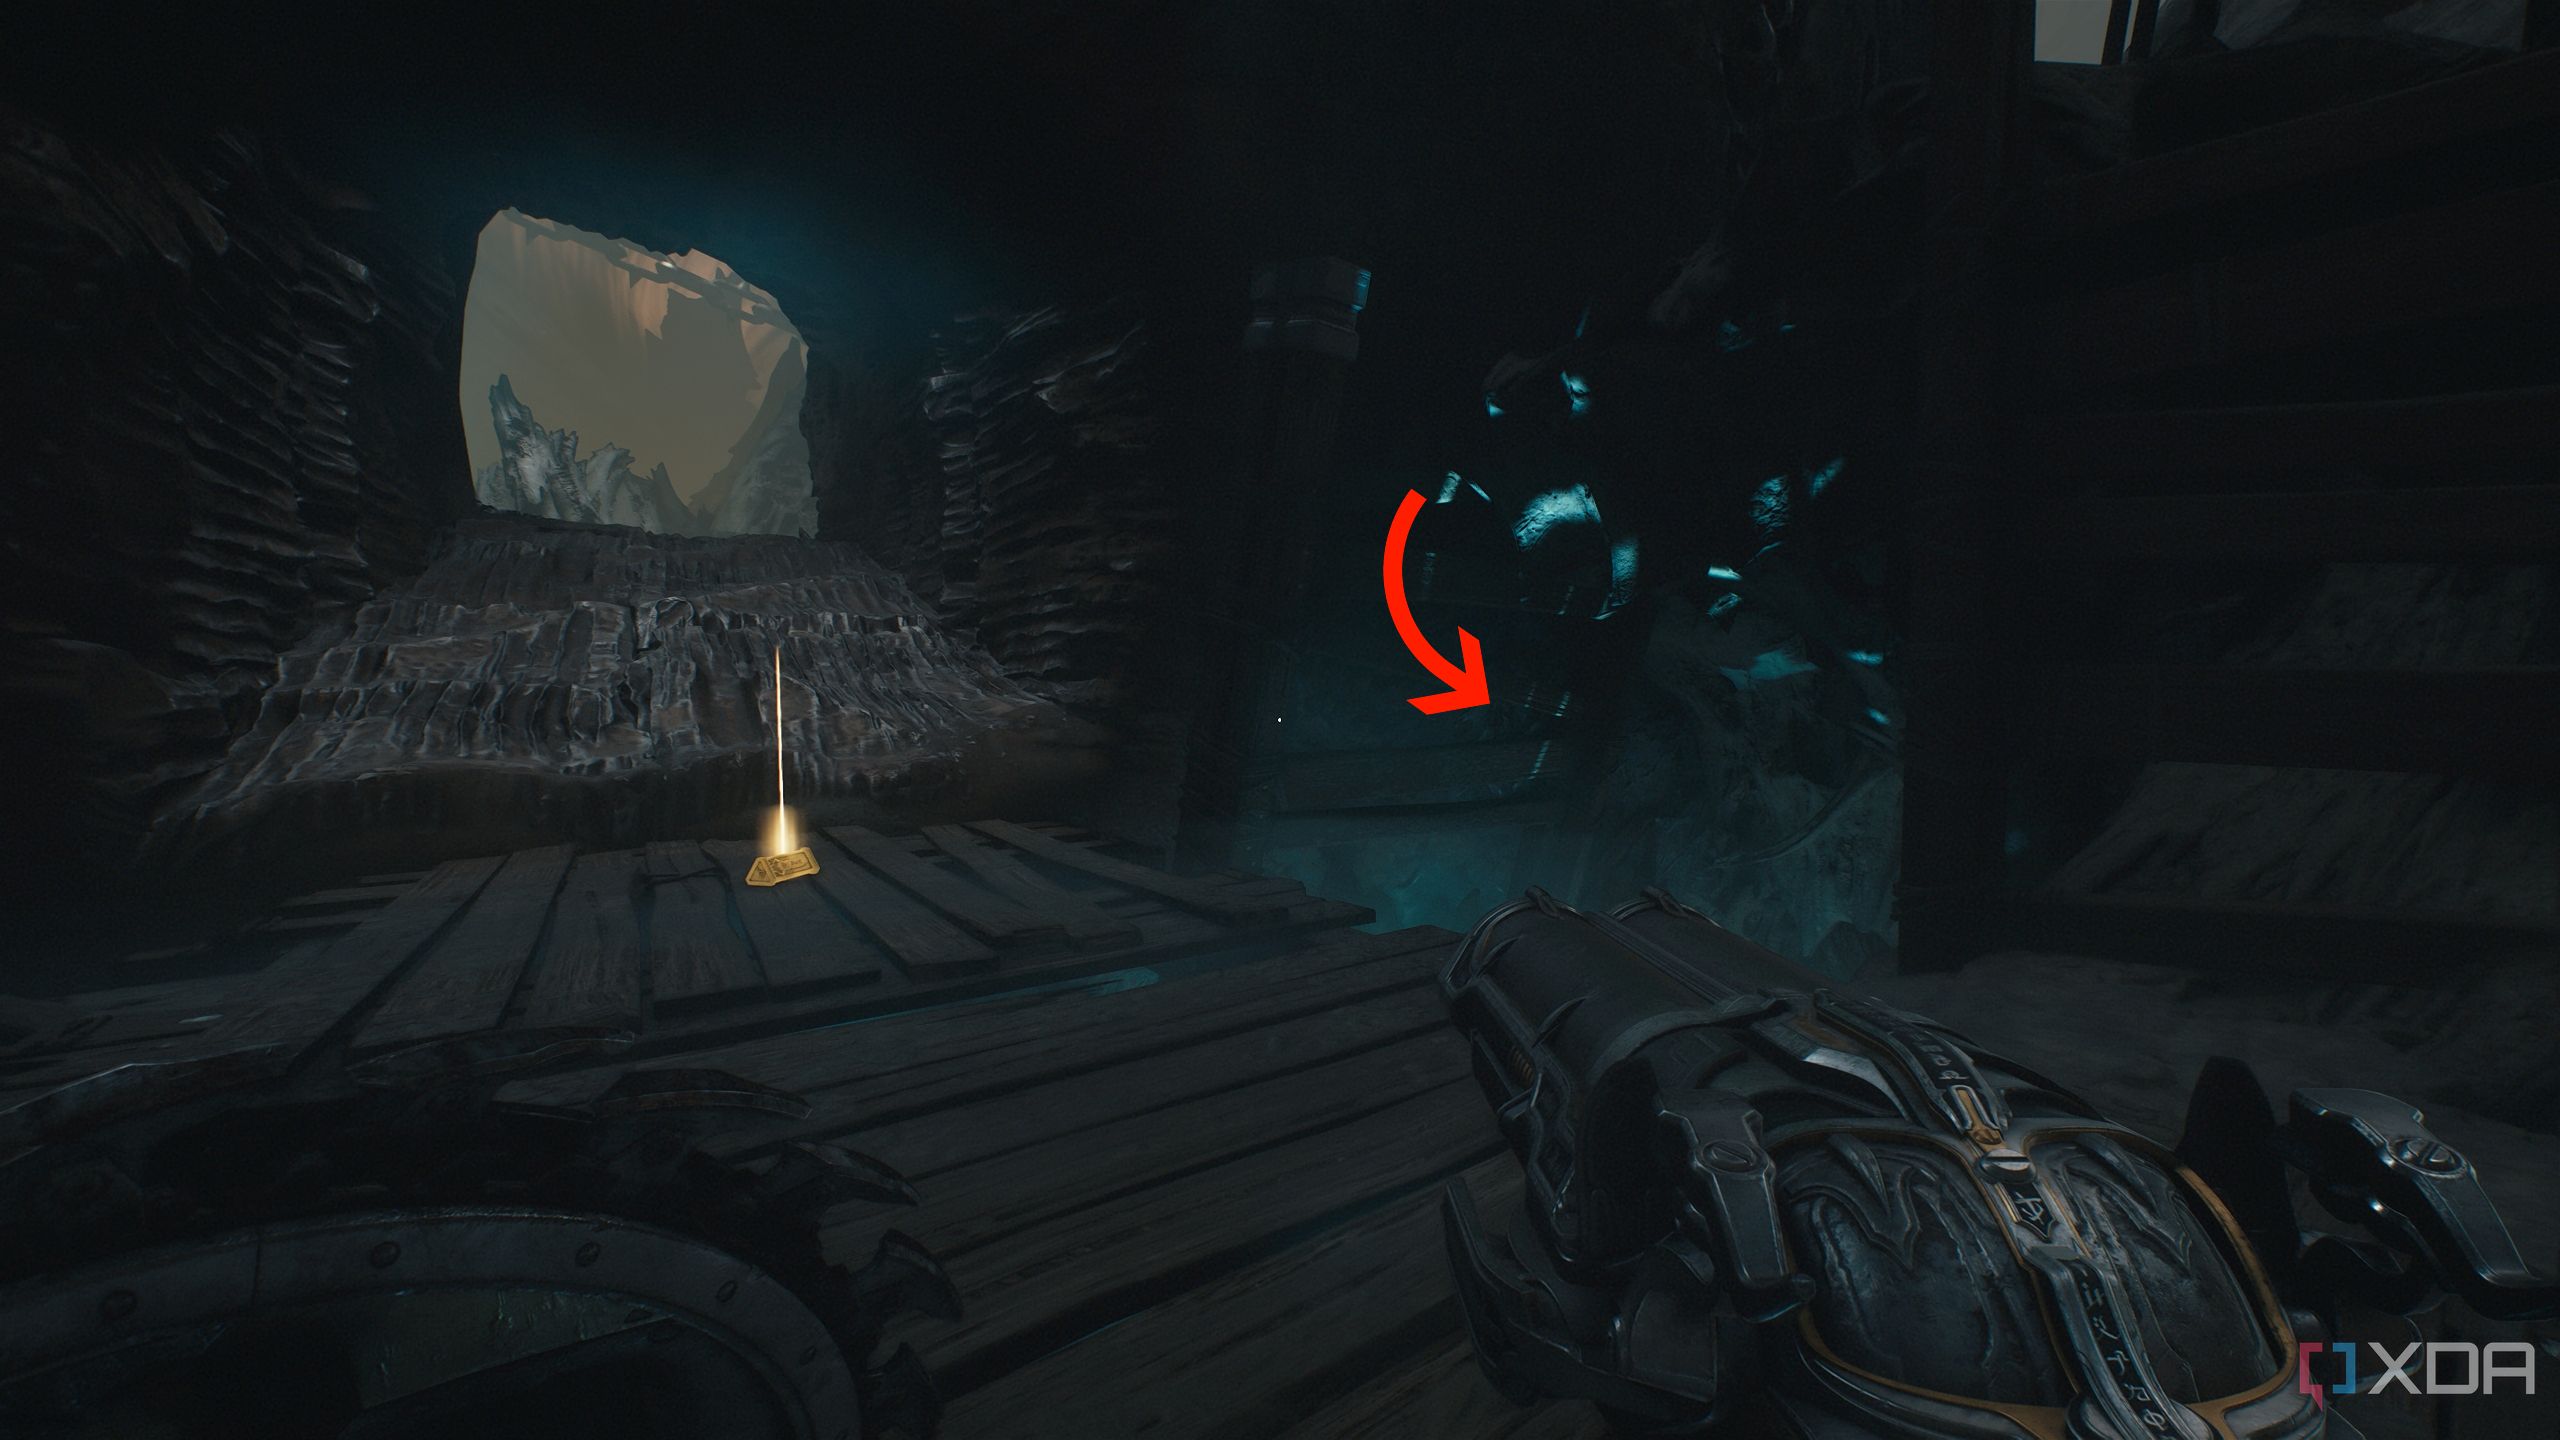
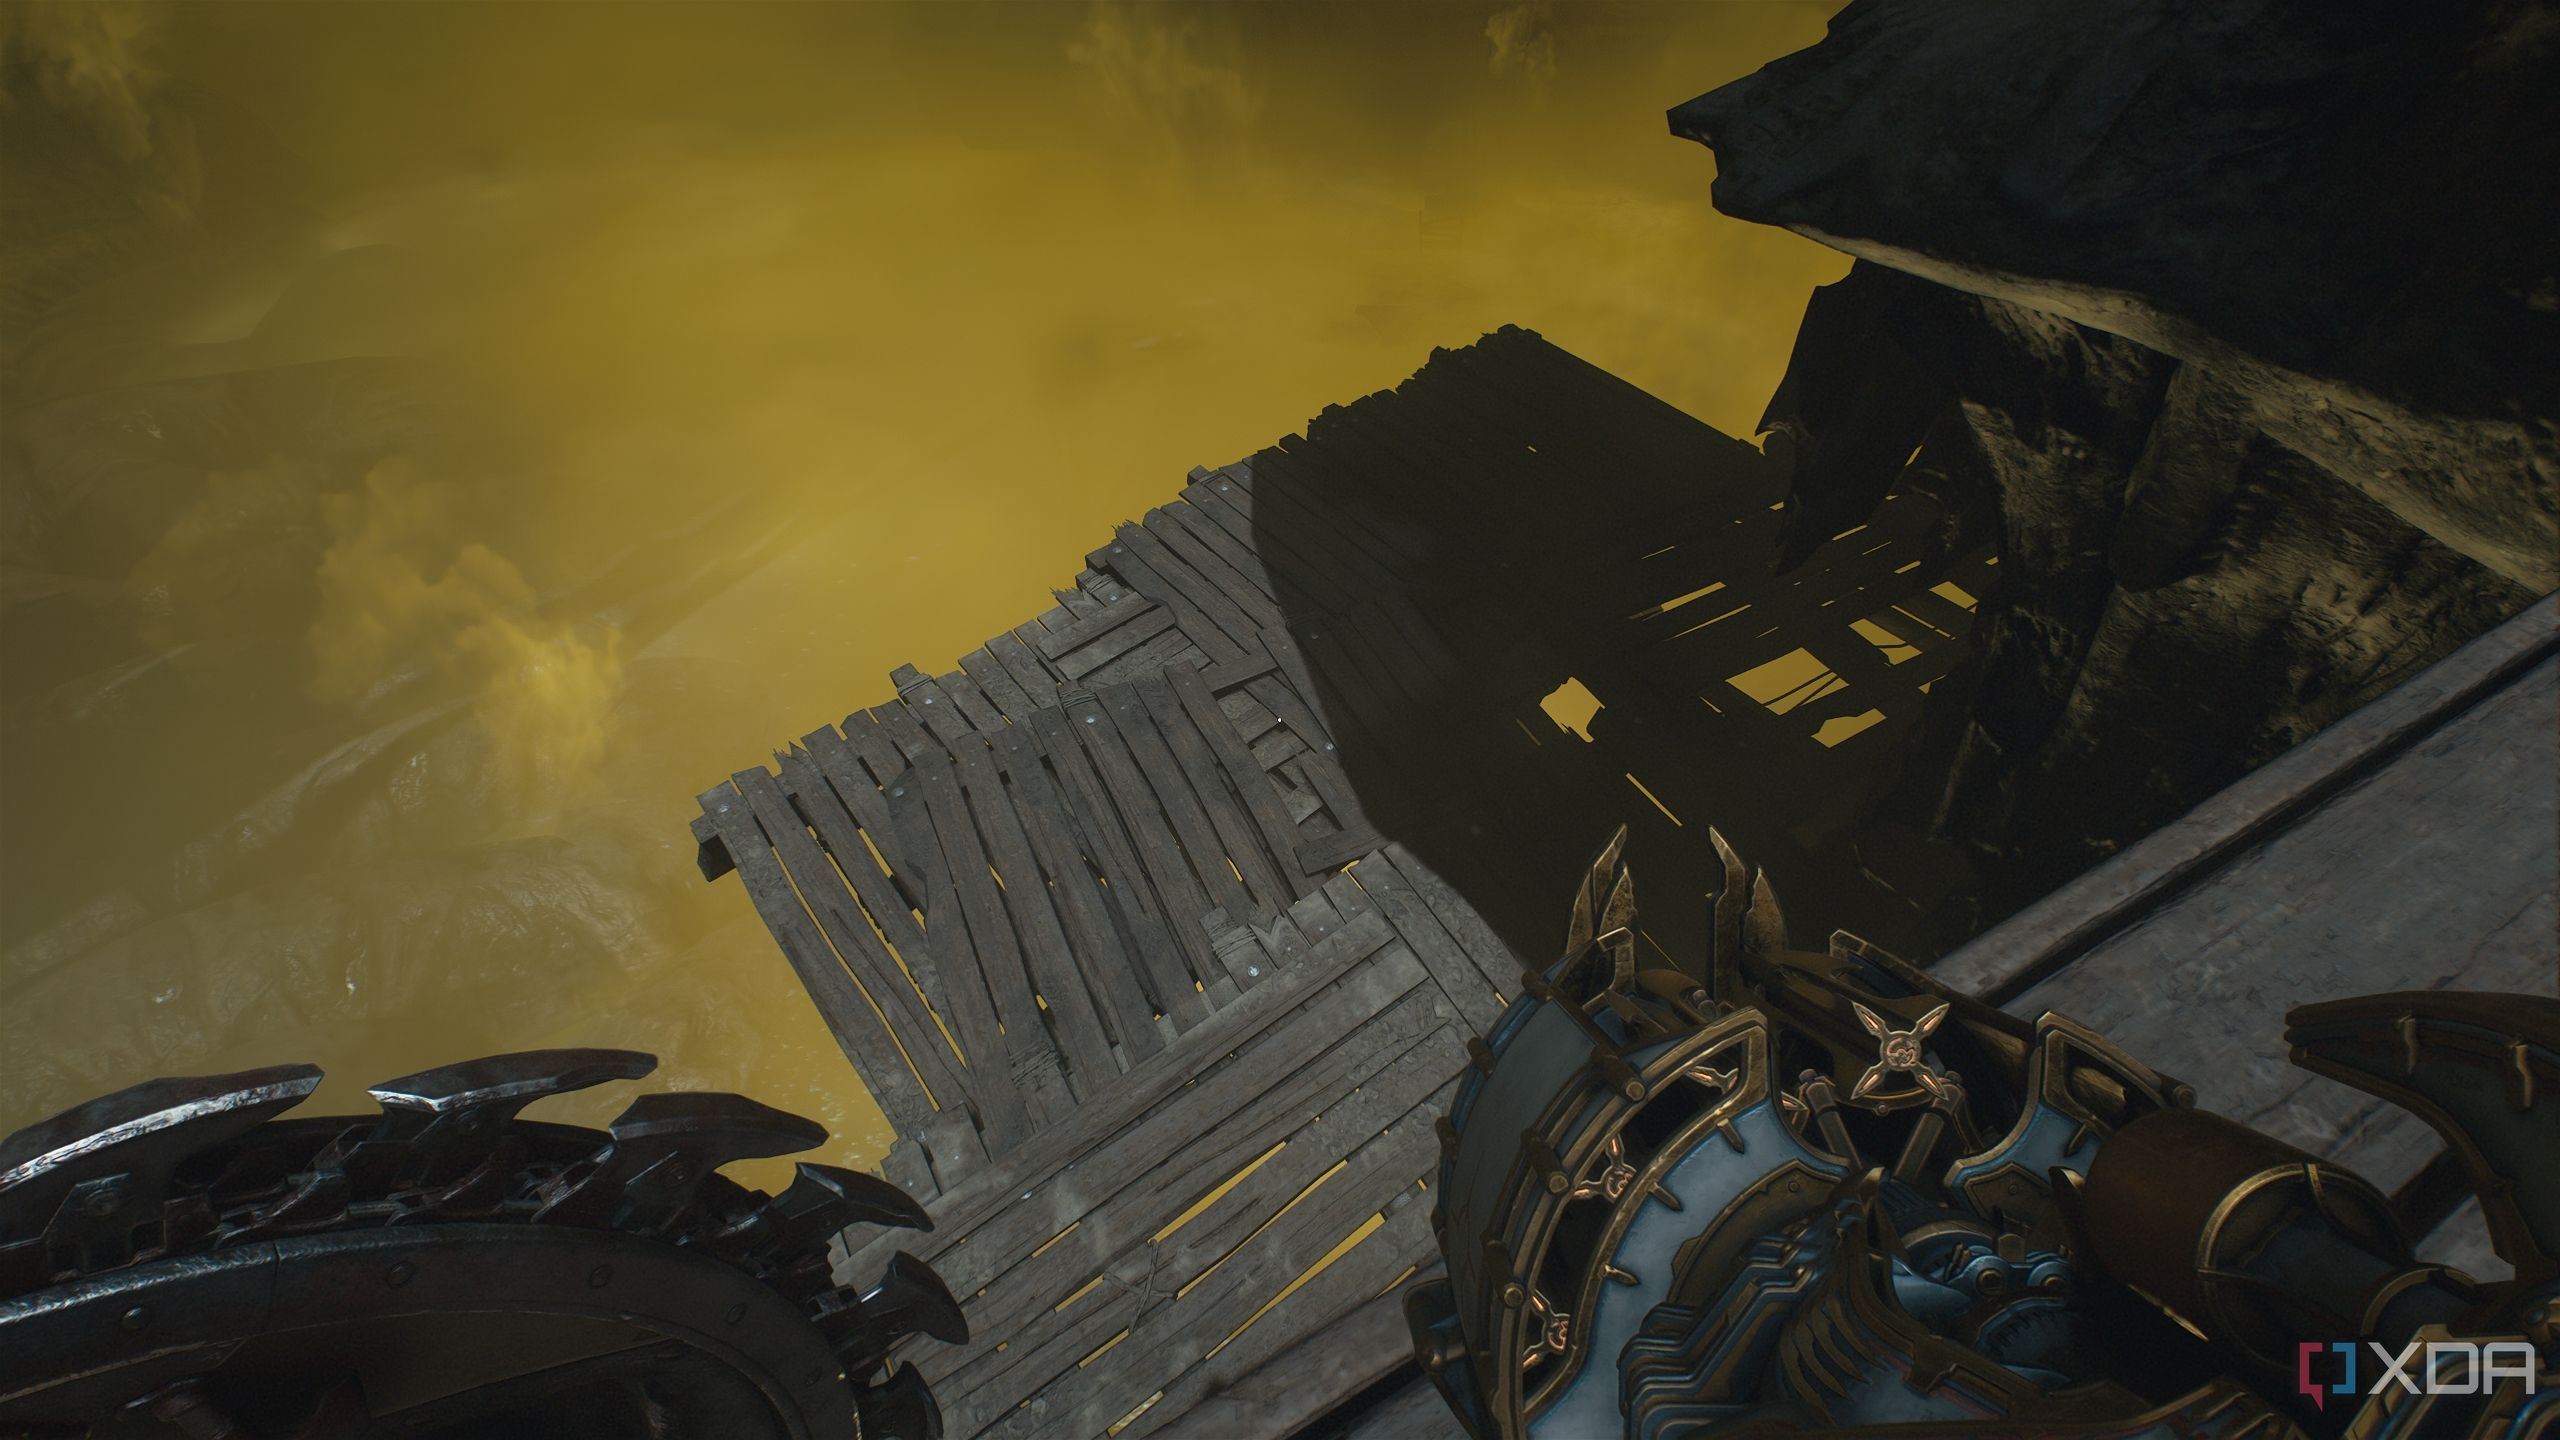
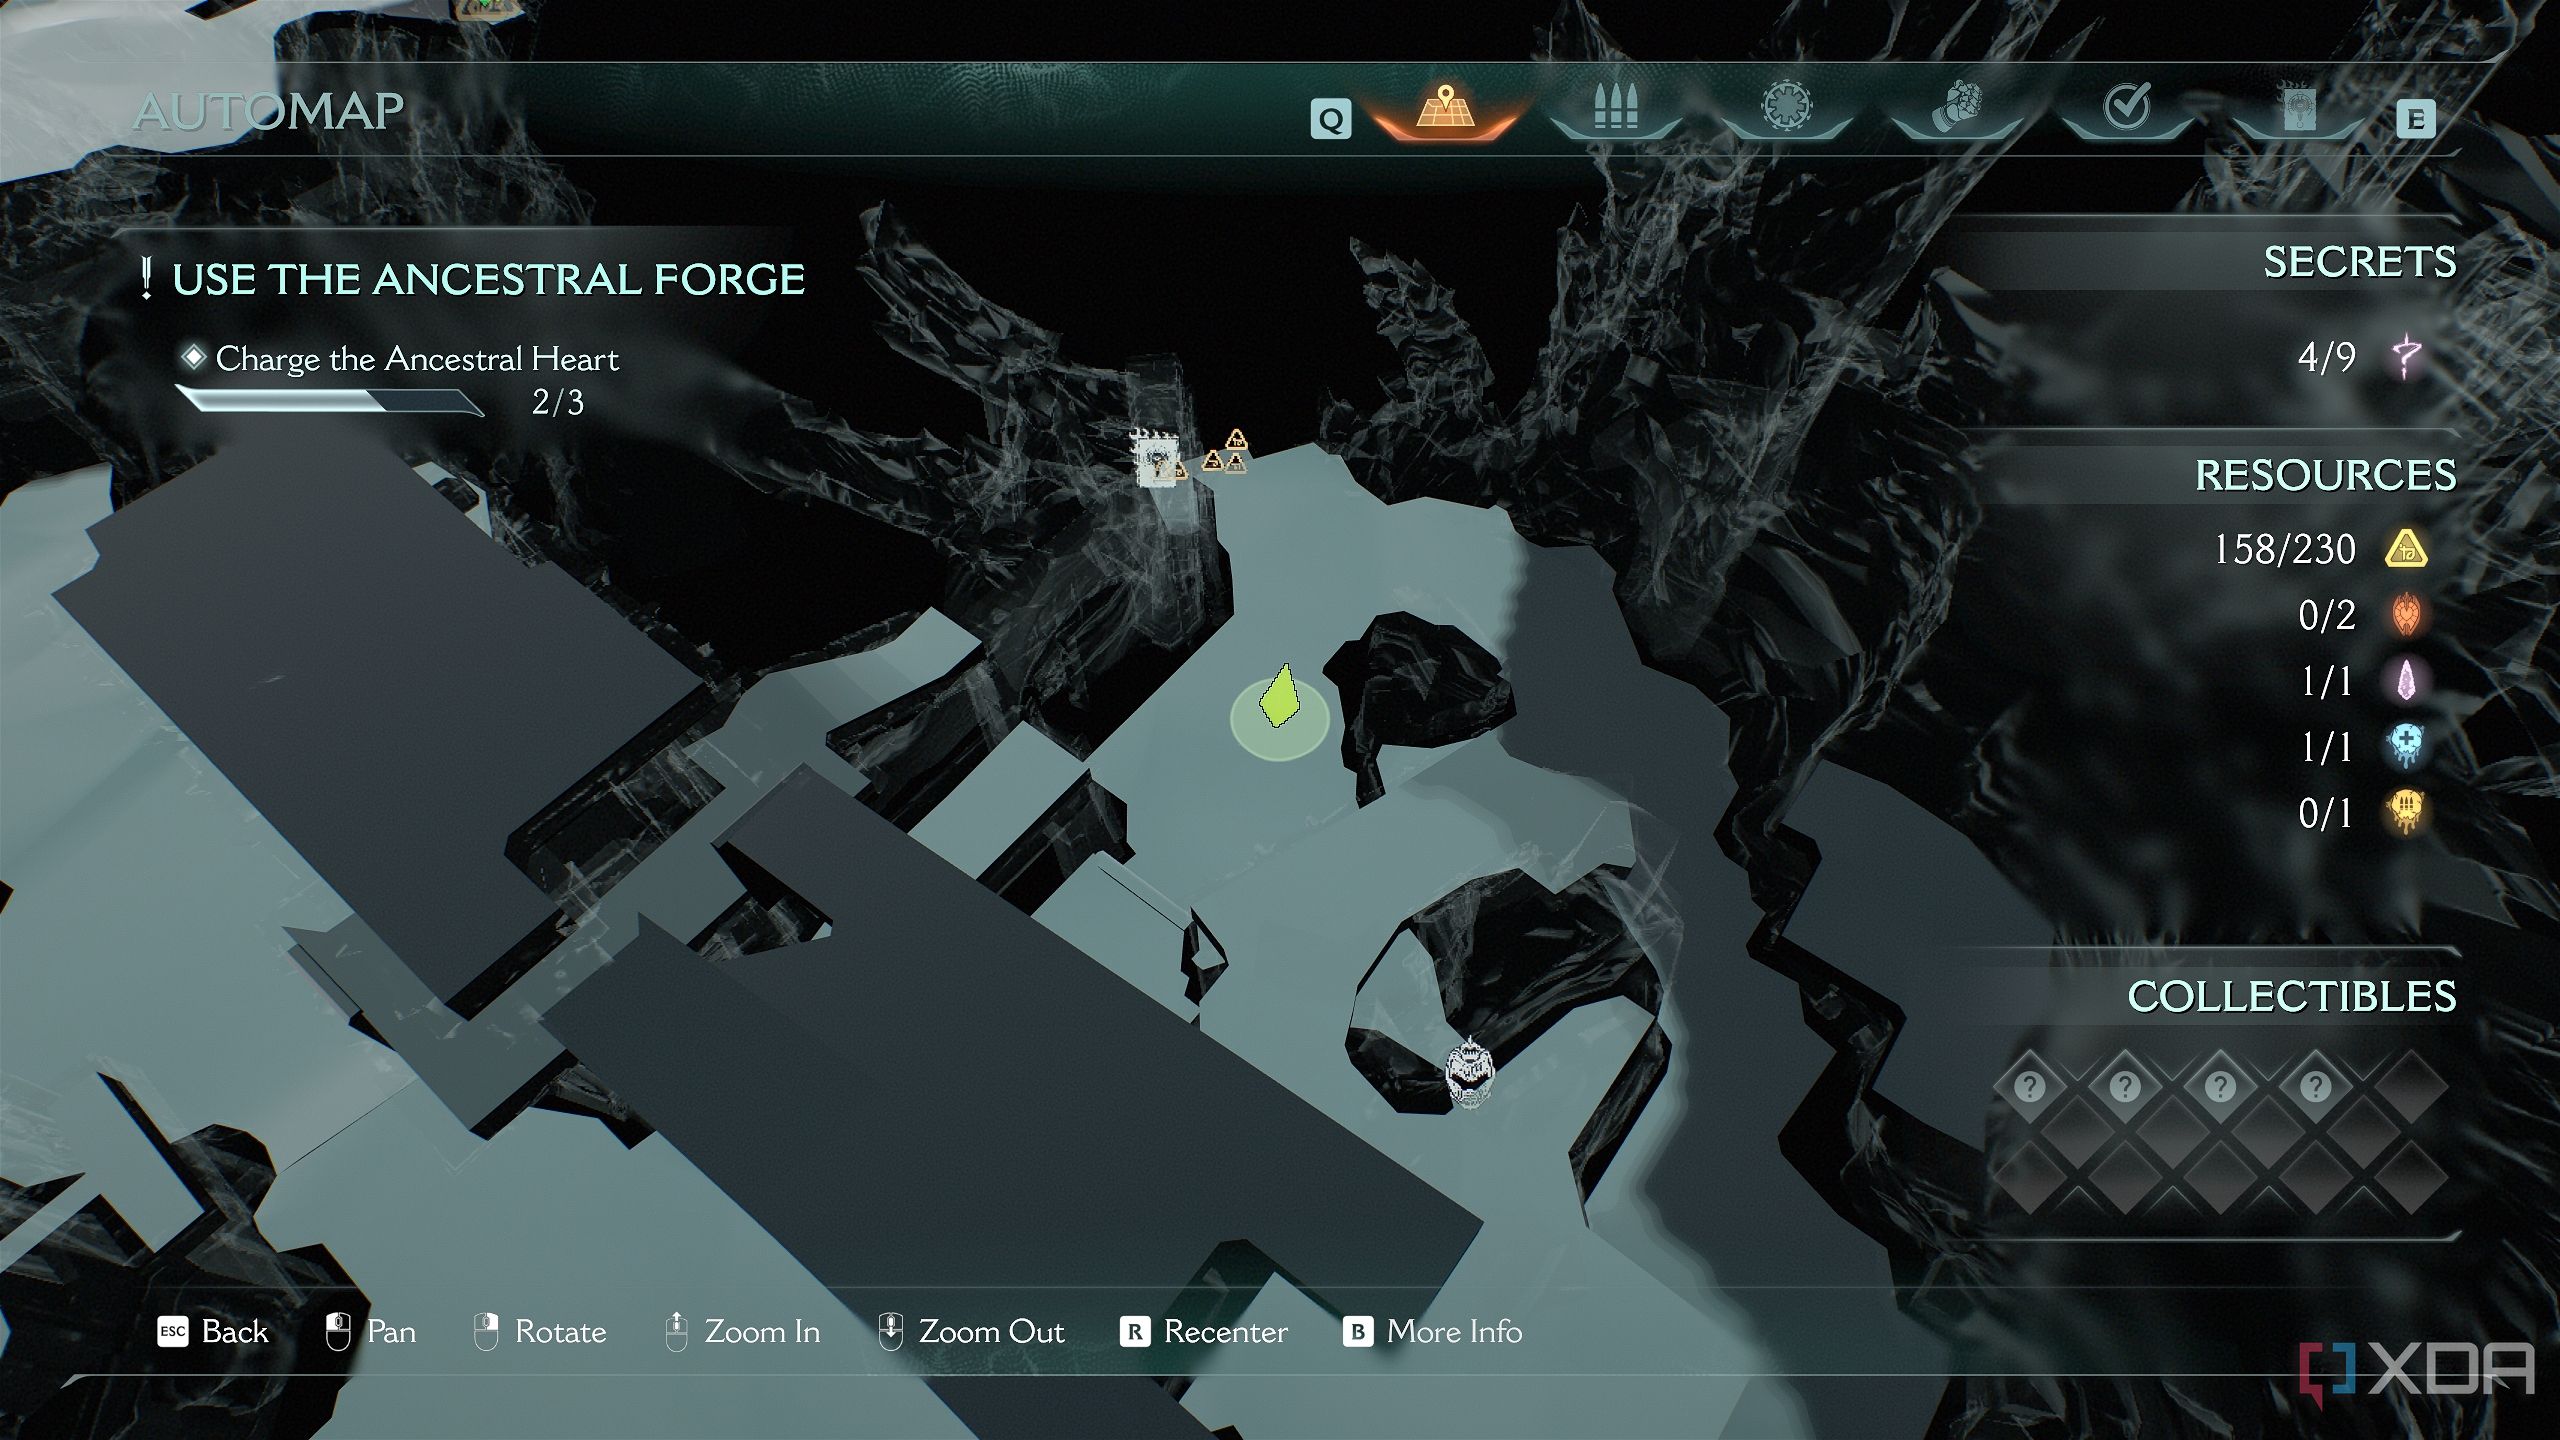
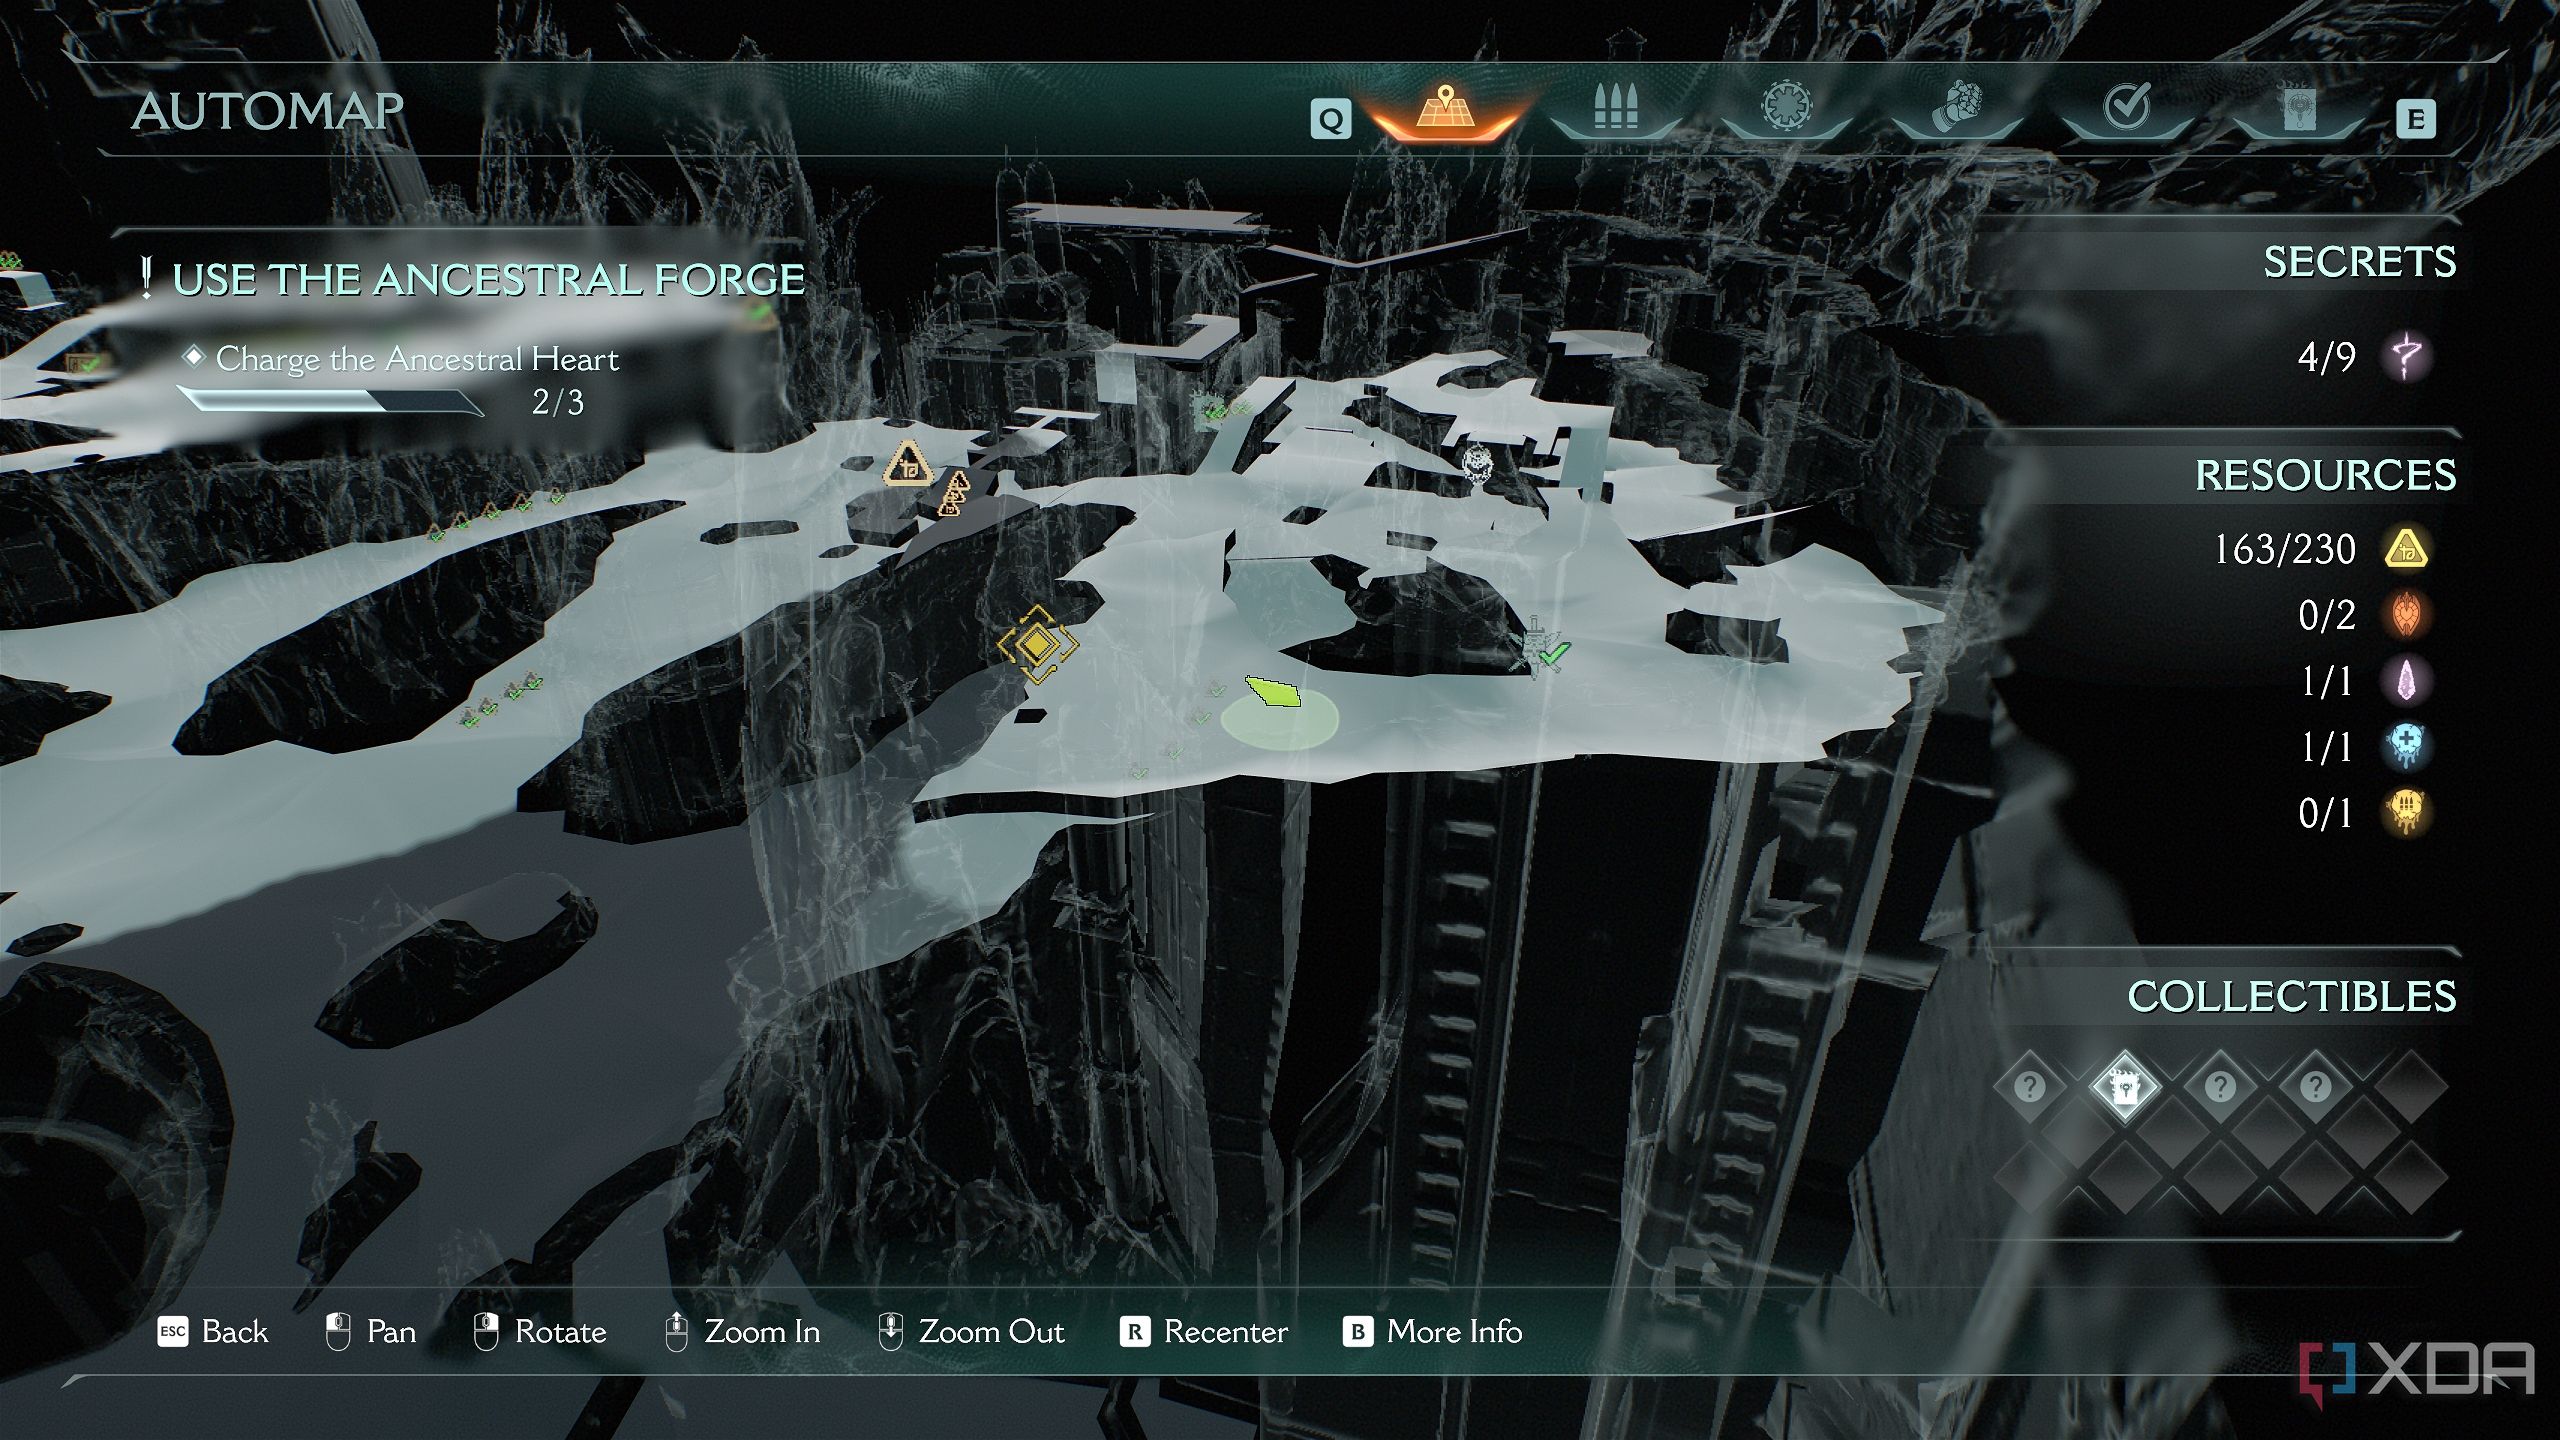
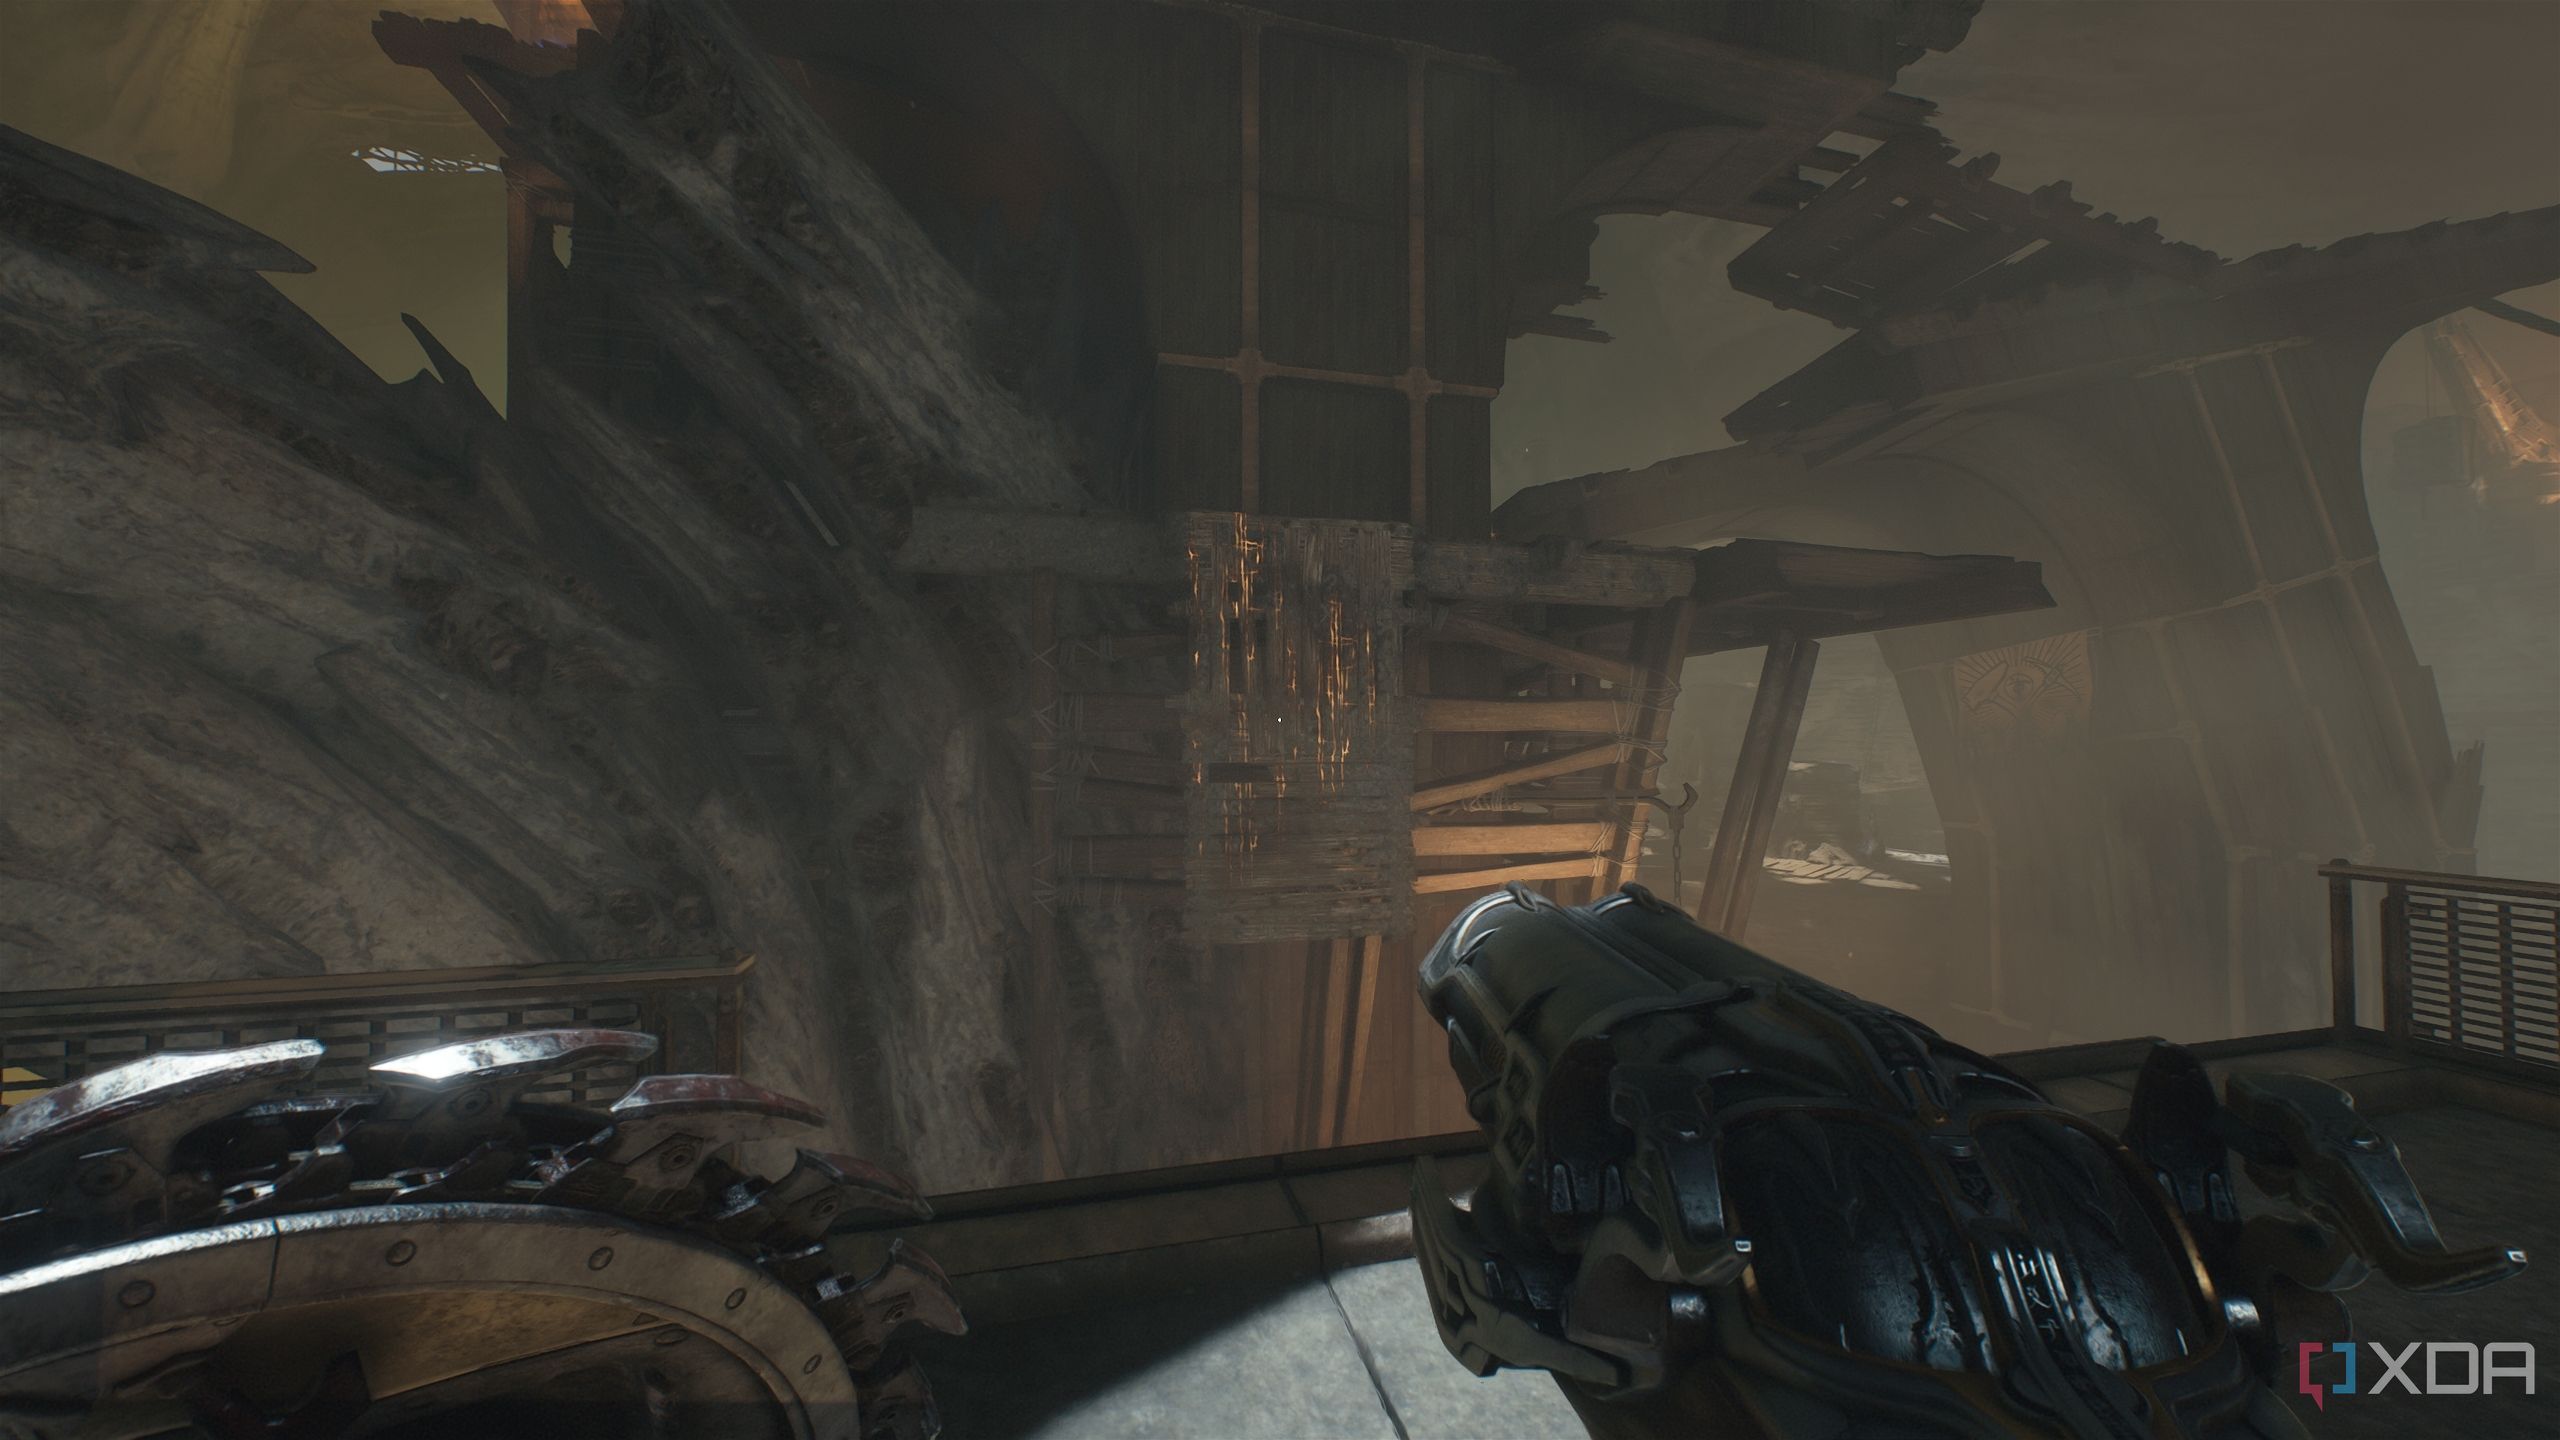
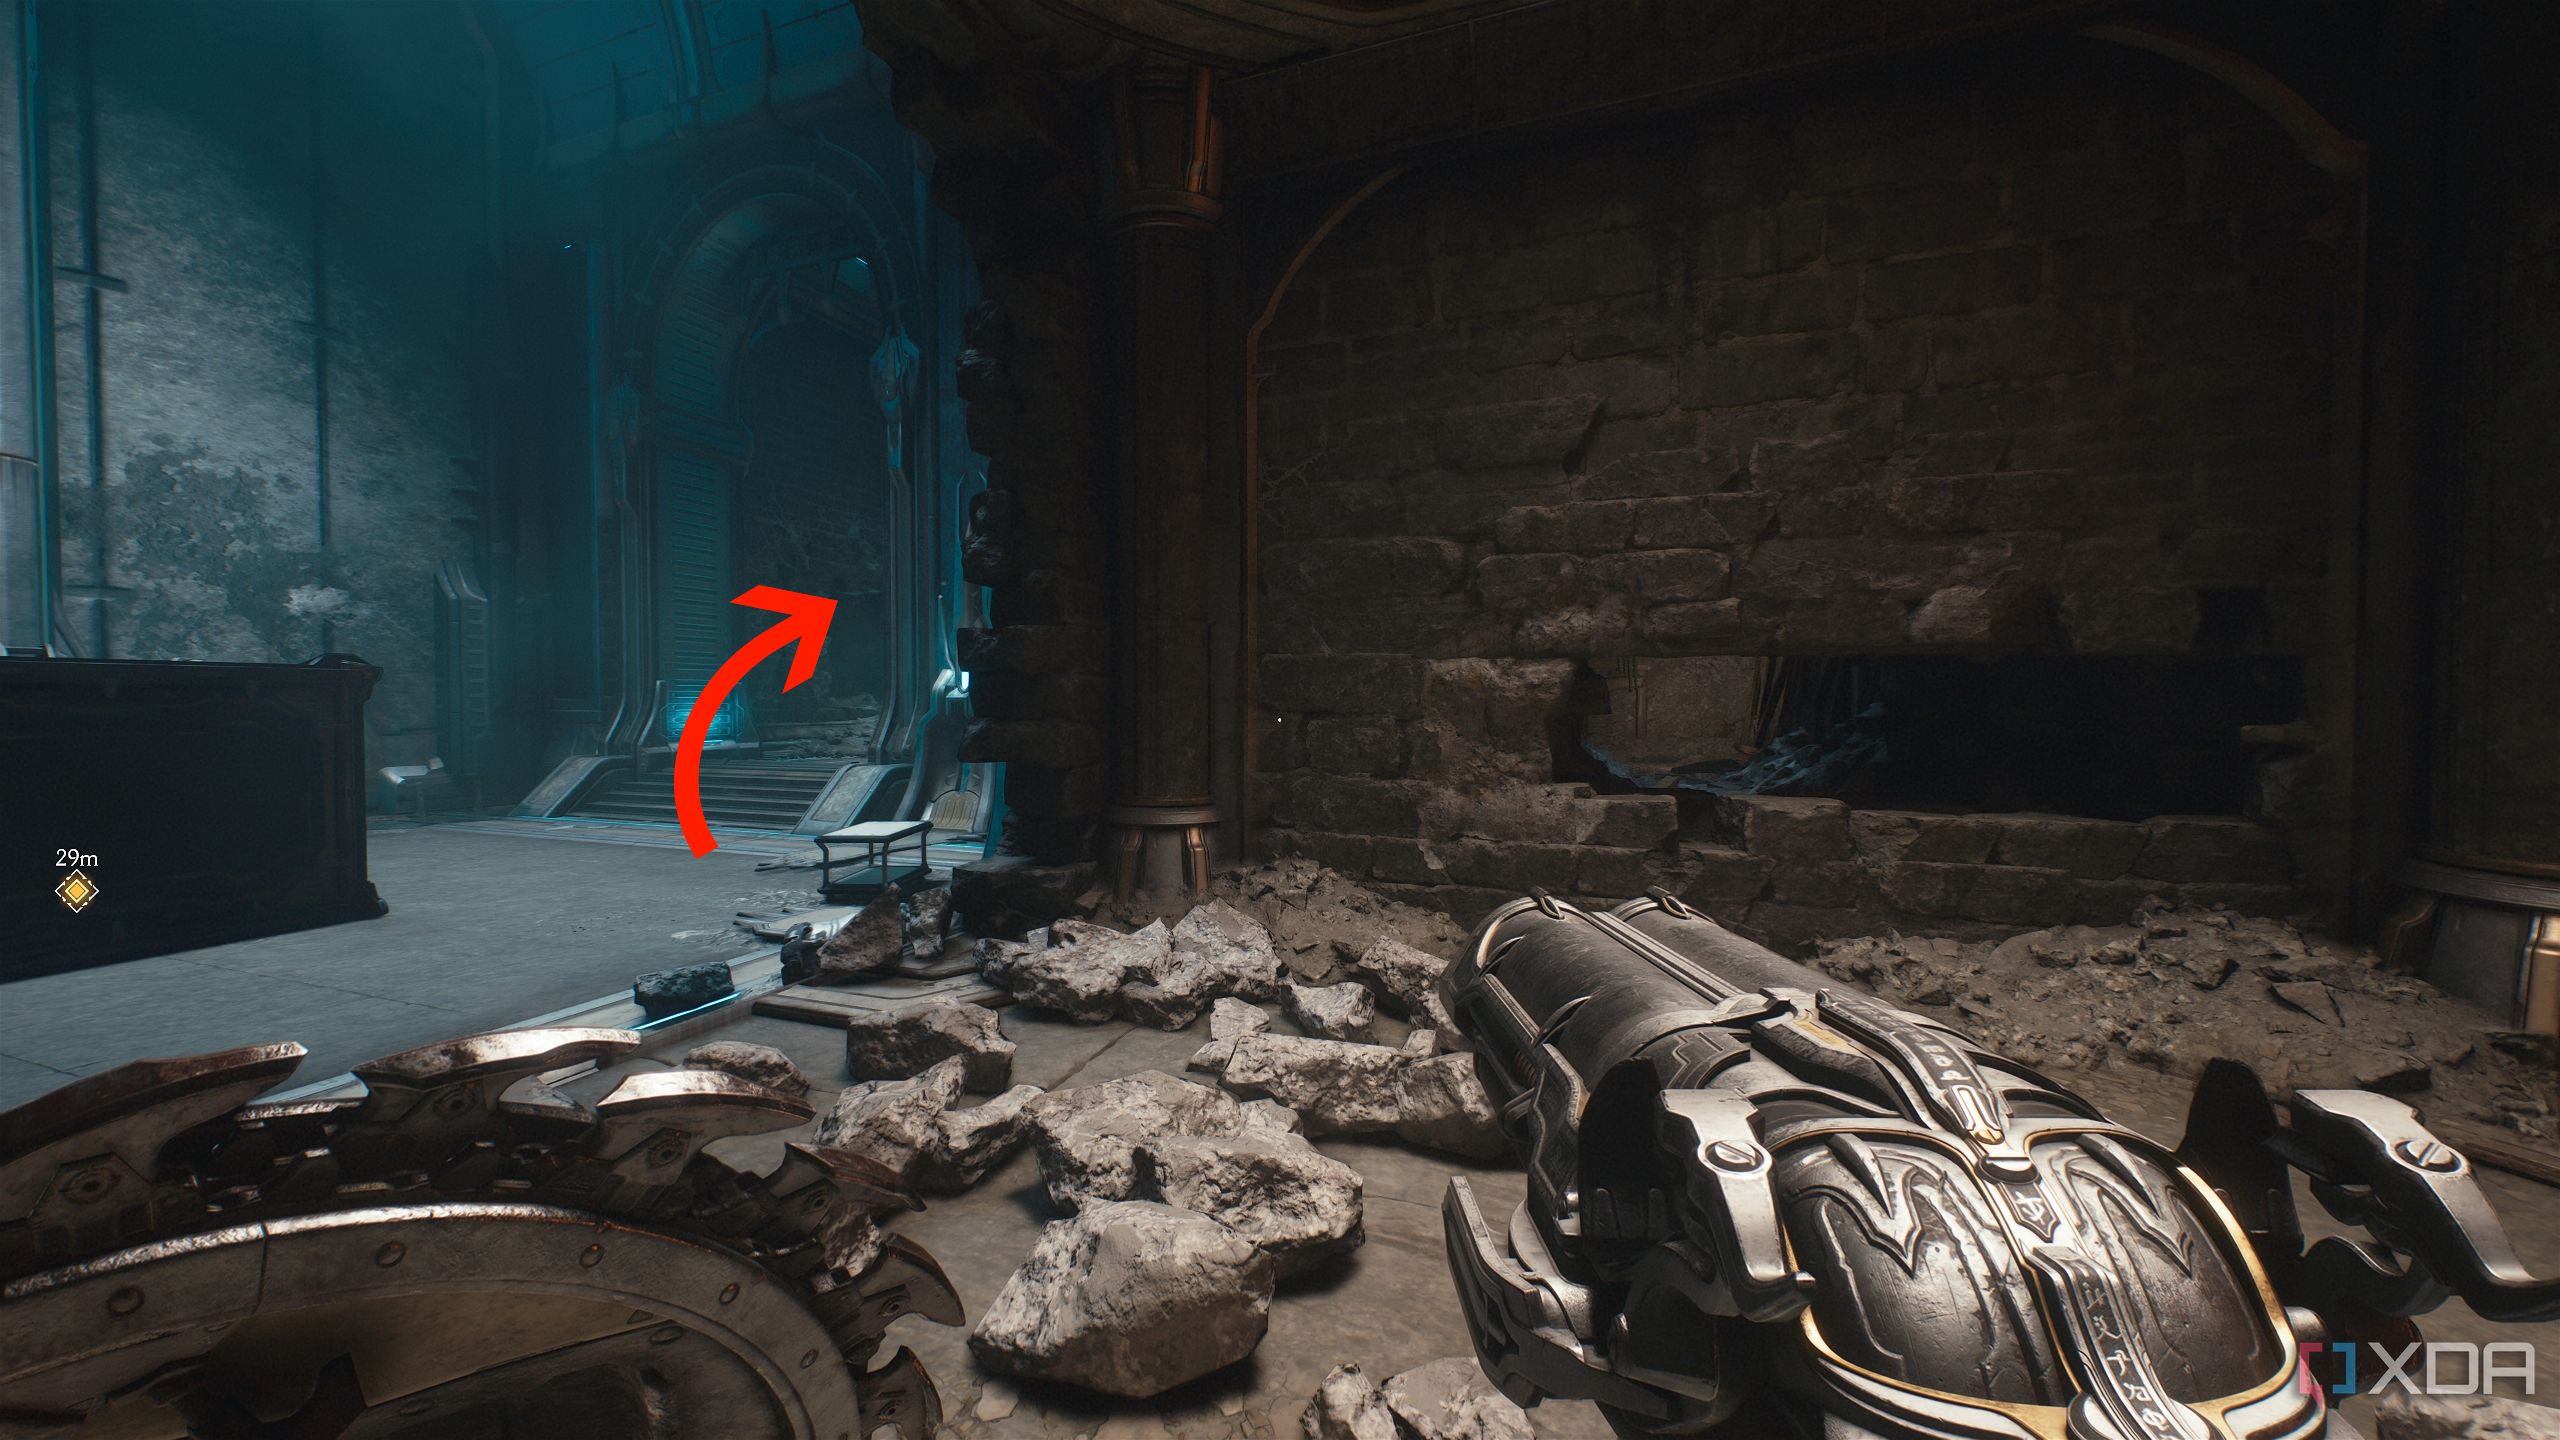
Follow the objective here and pull the switch to make ⅓ progress in the main quest. Then, stand in the center of the arena, and refer to this location.
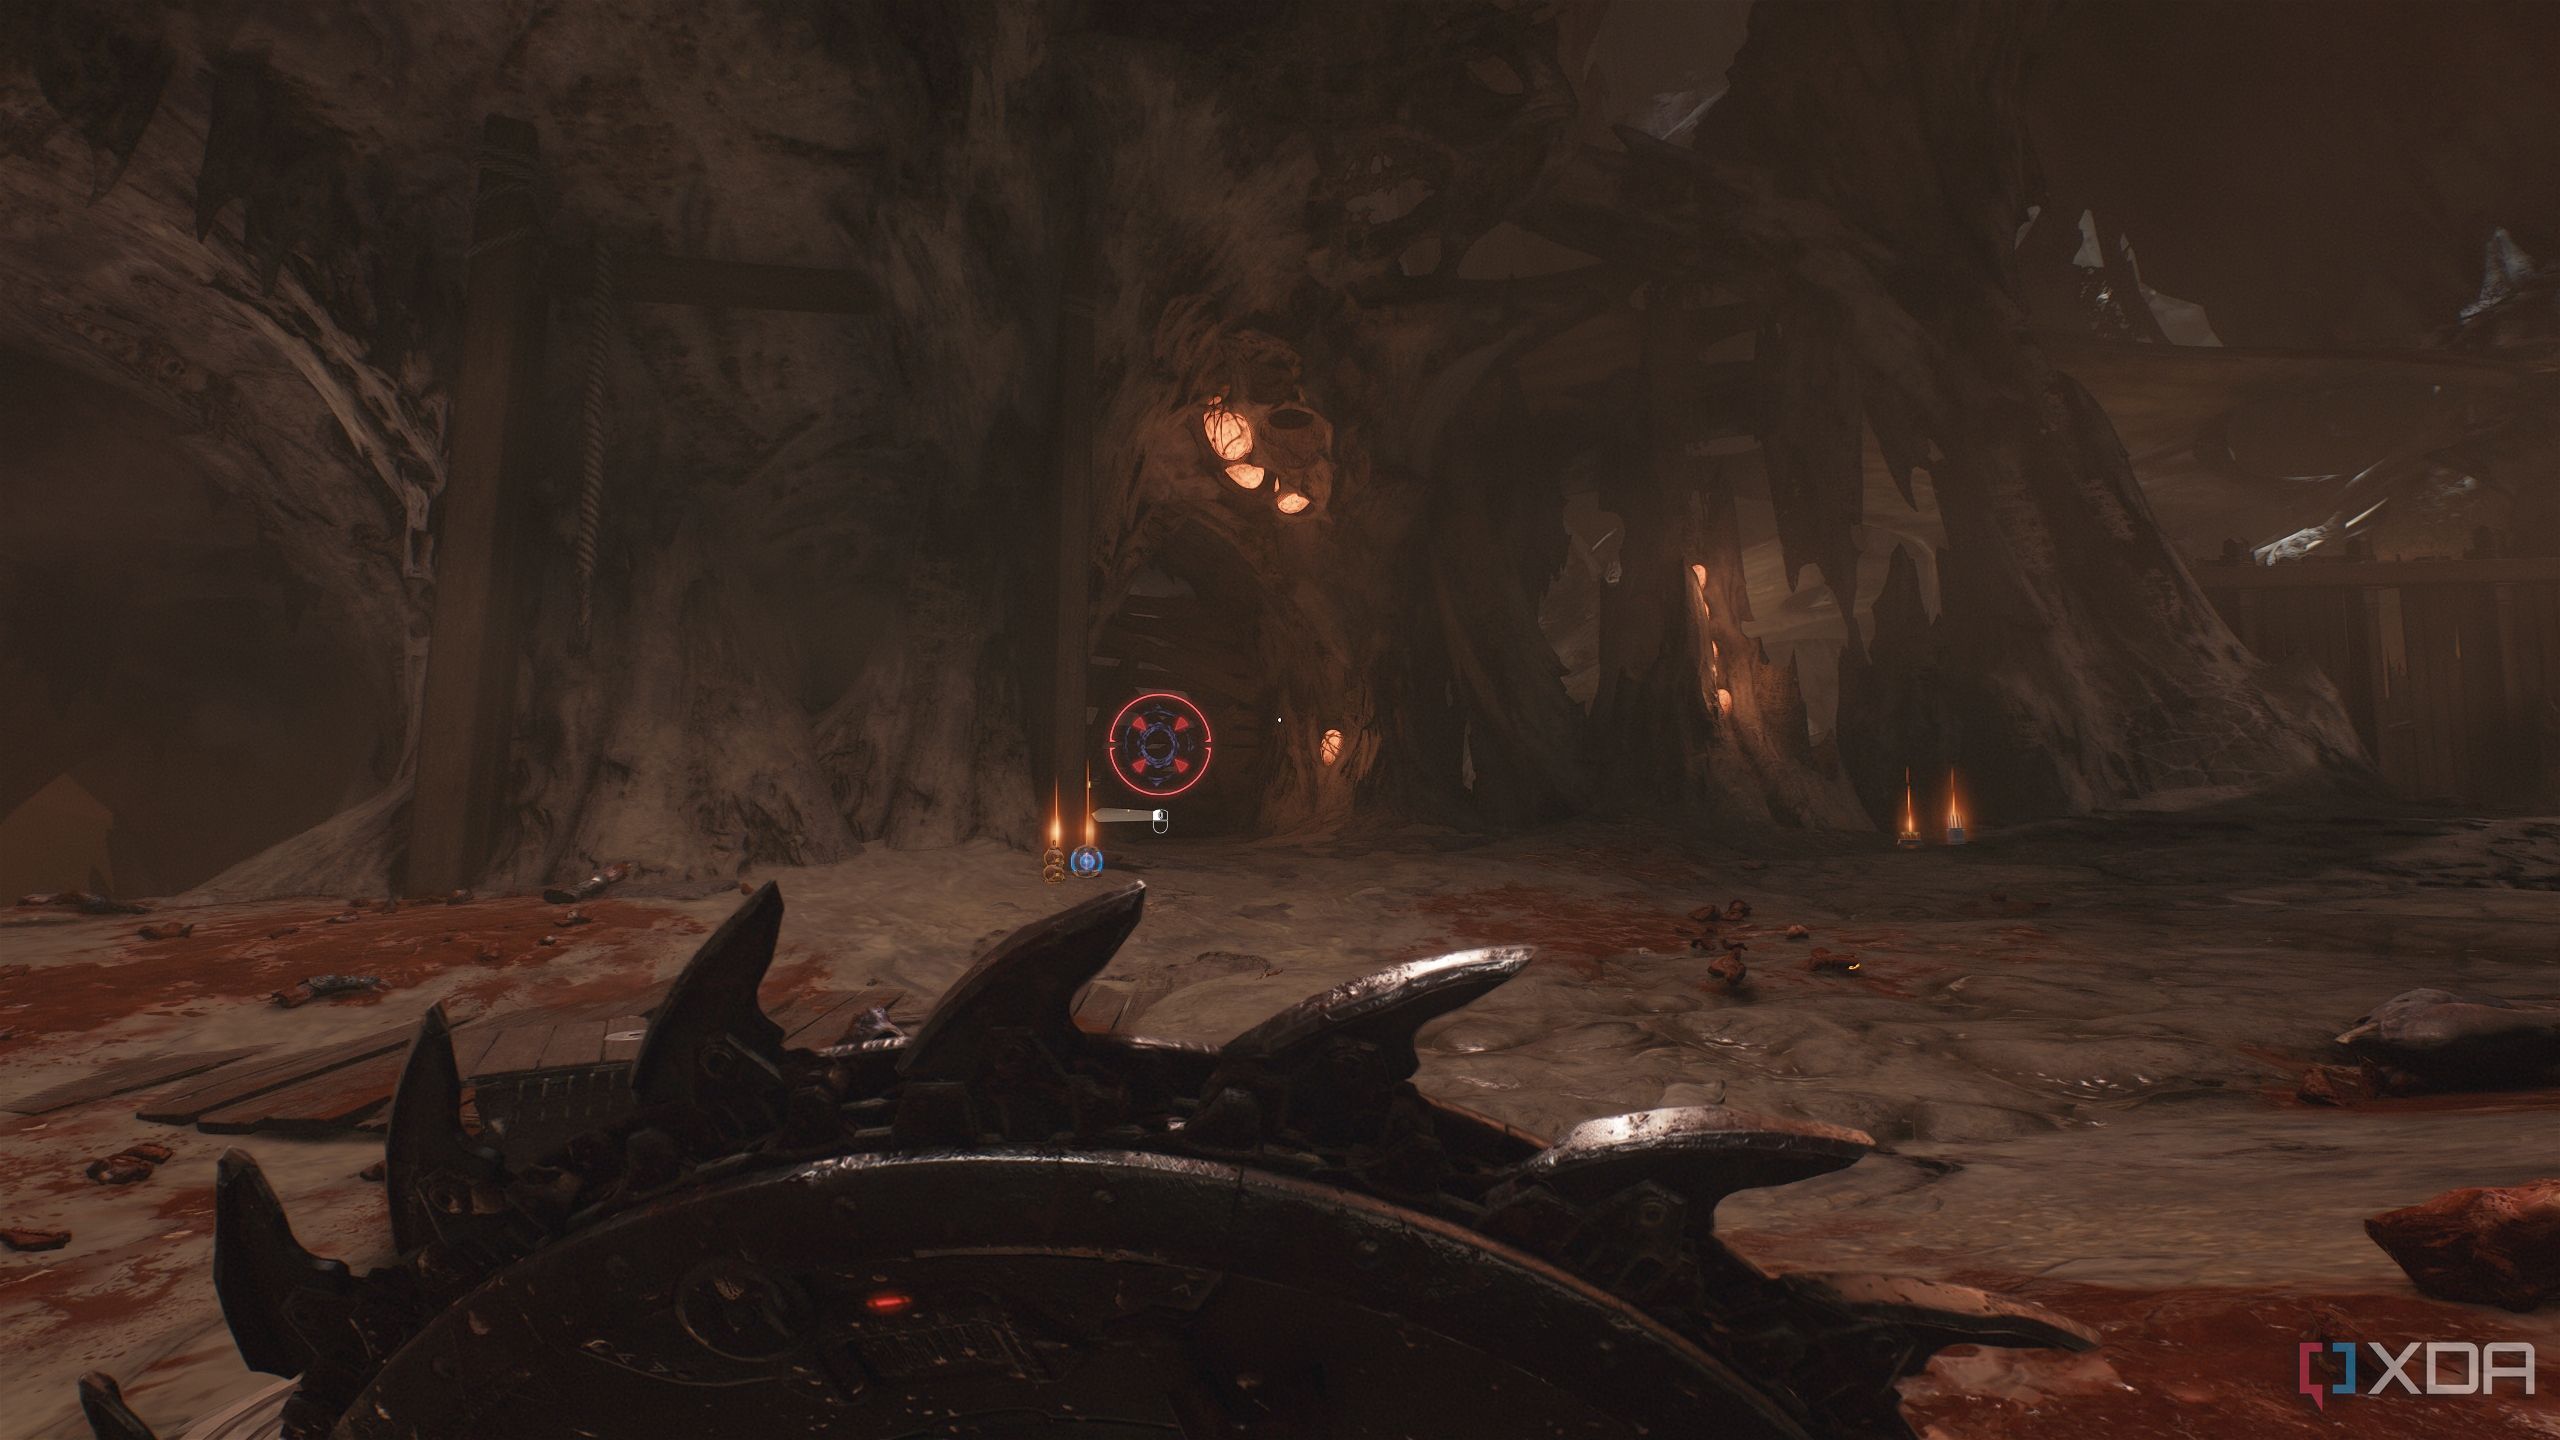
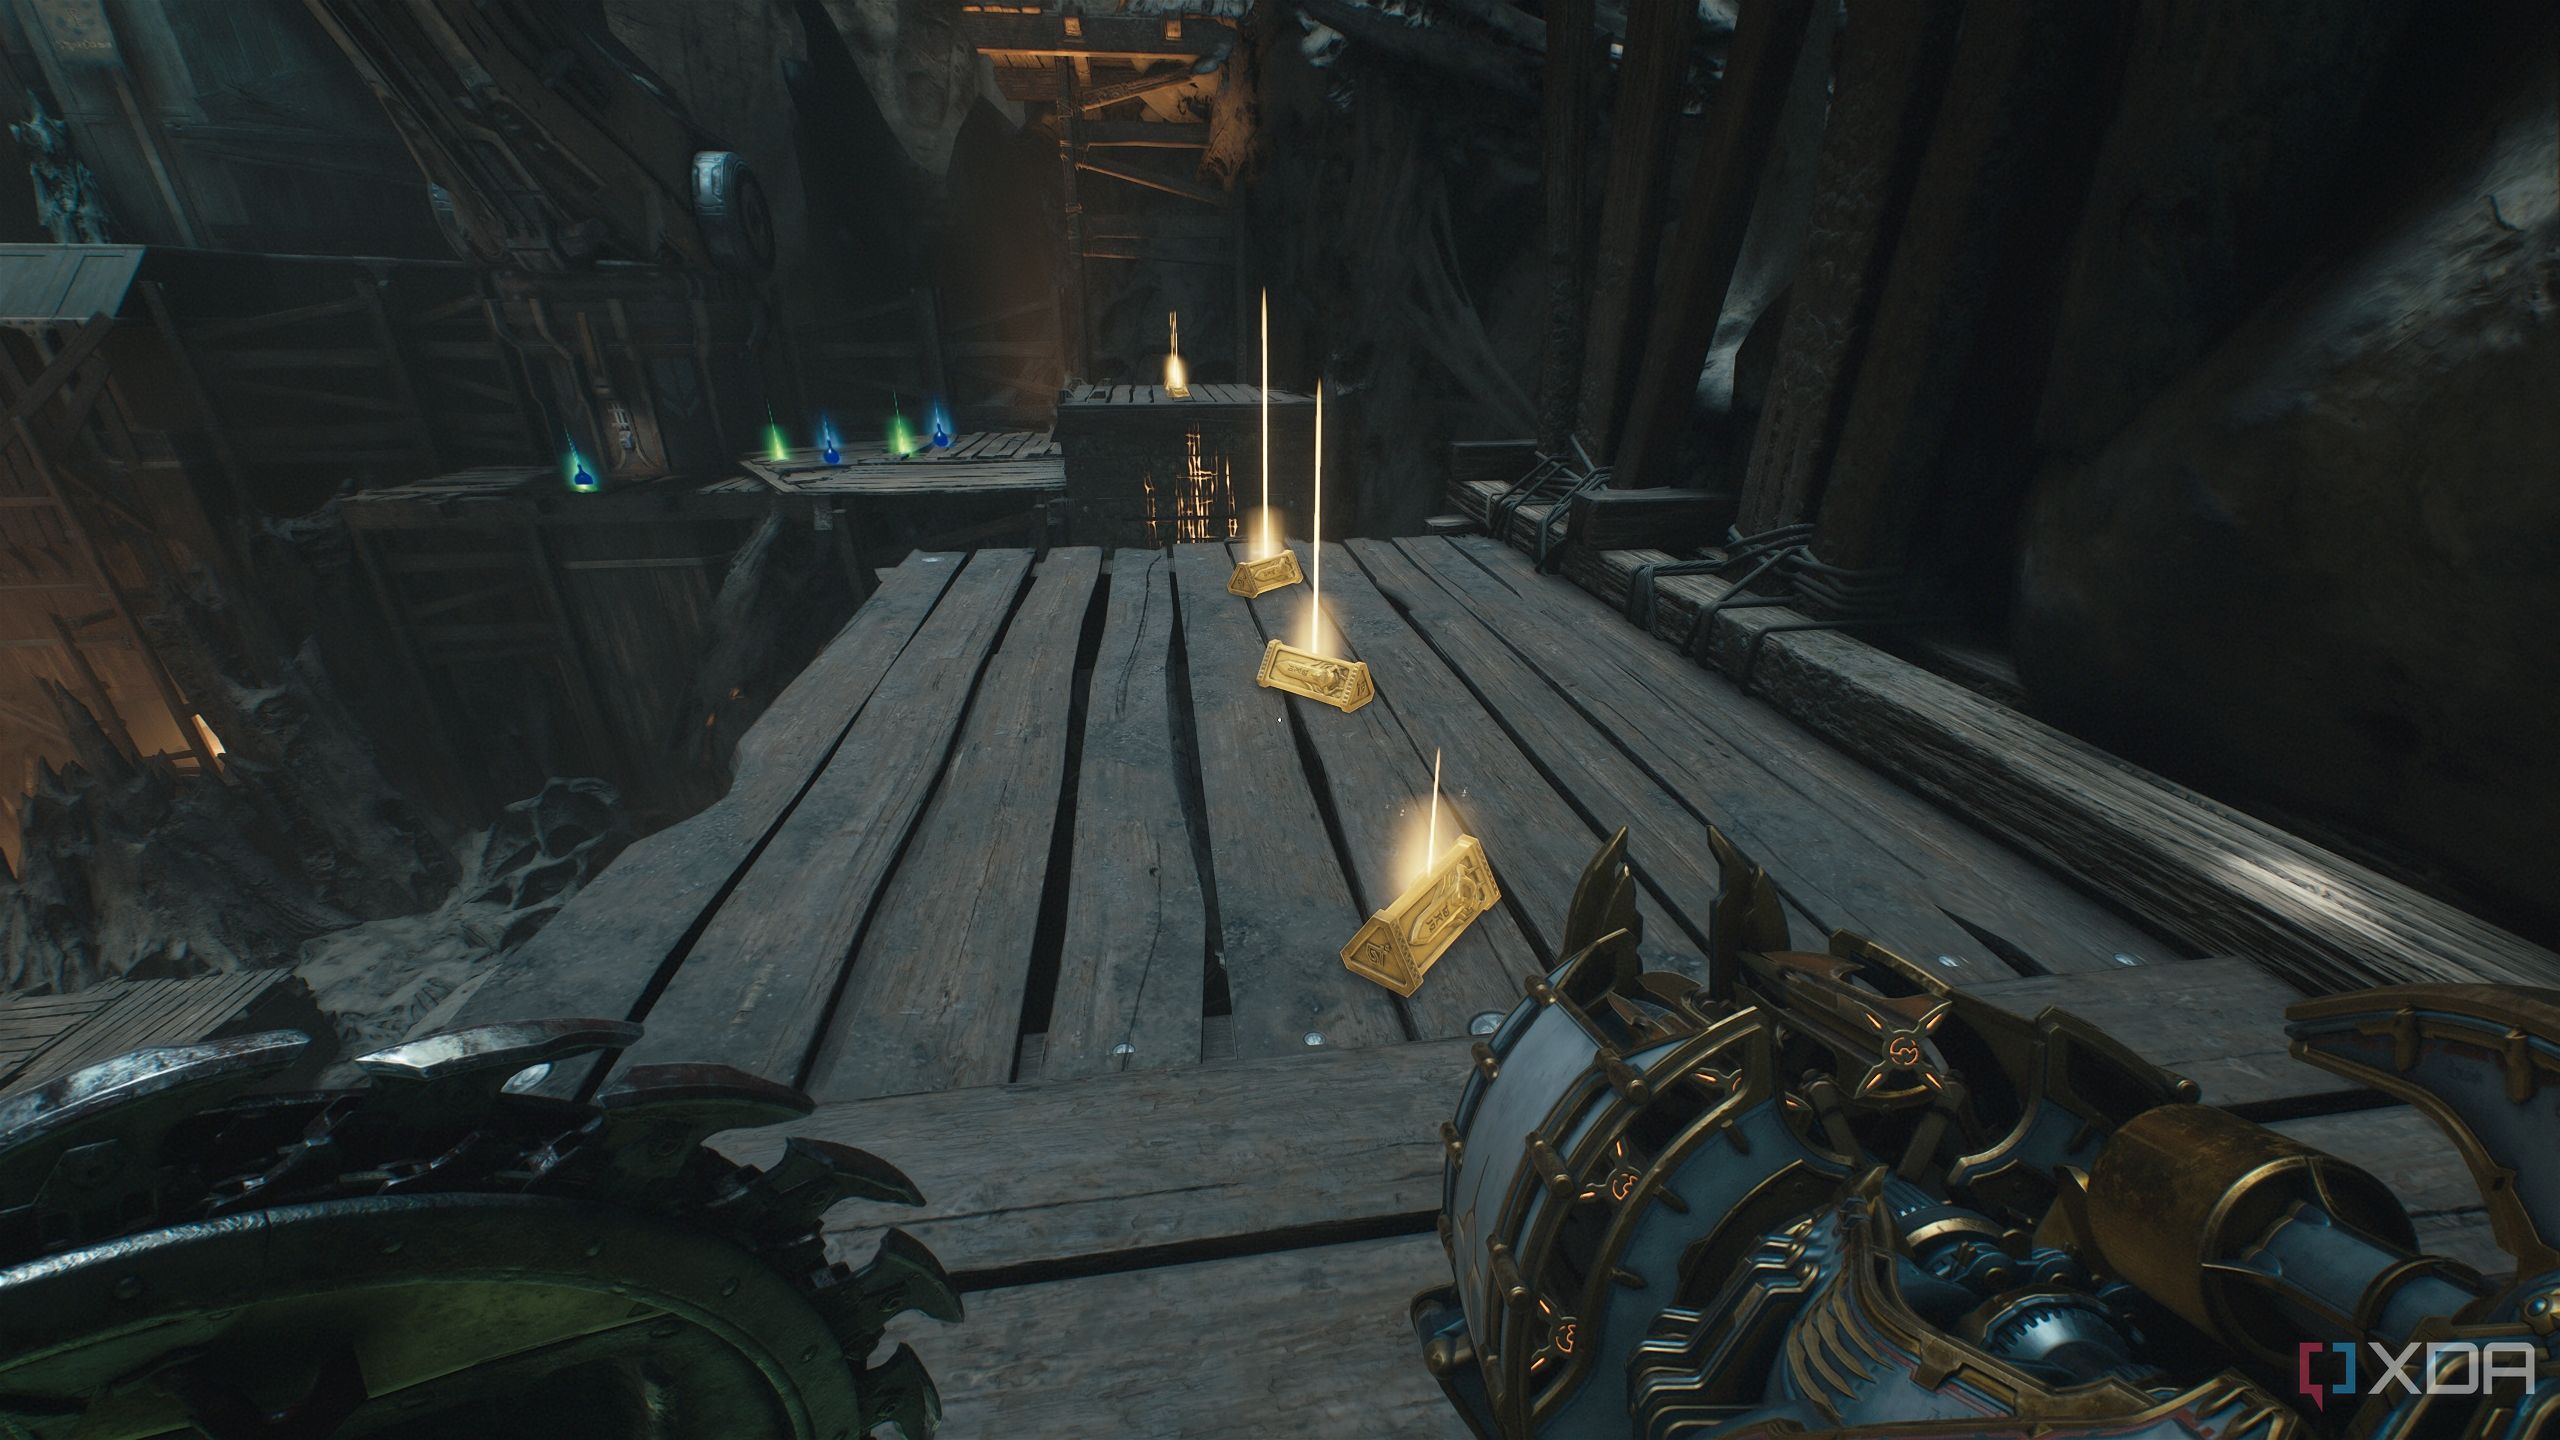
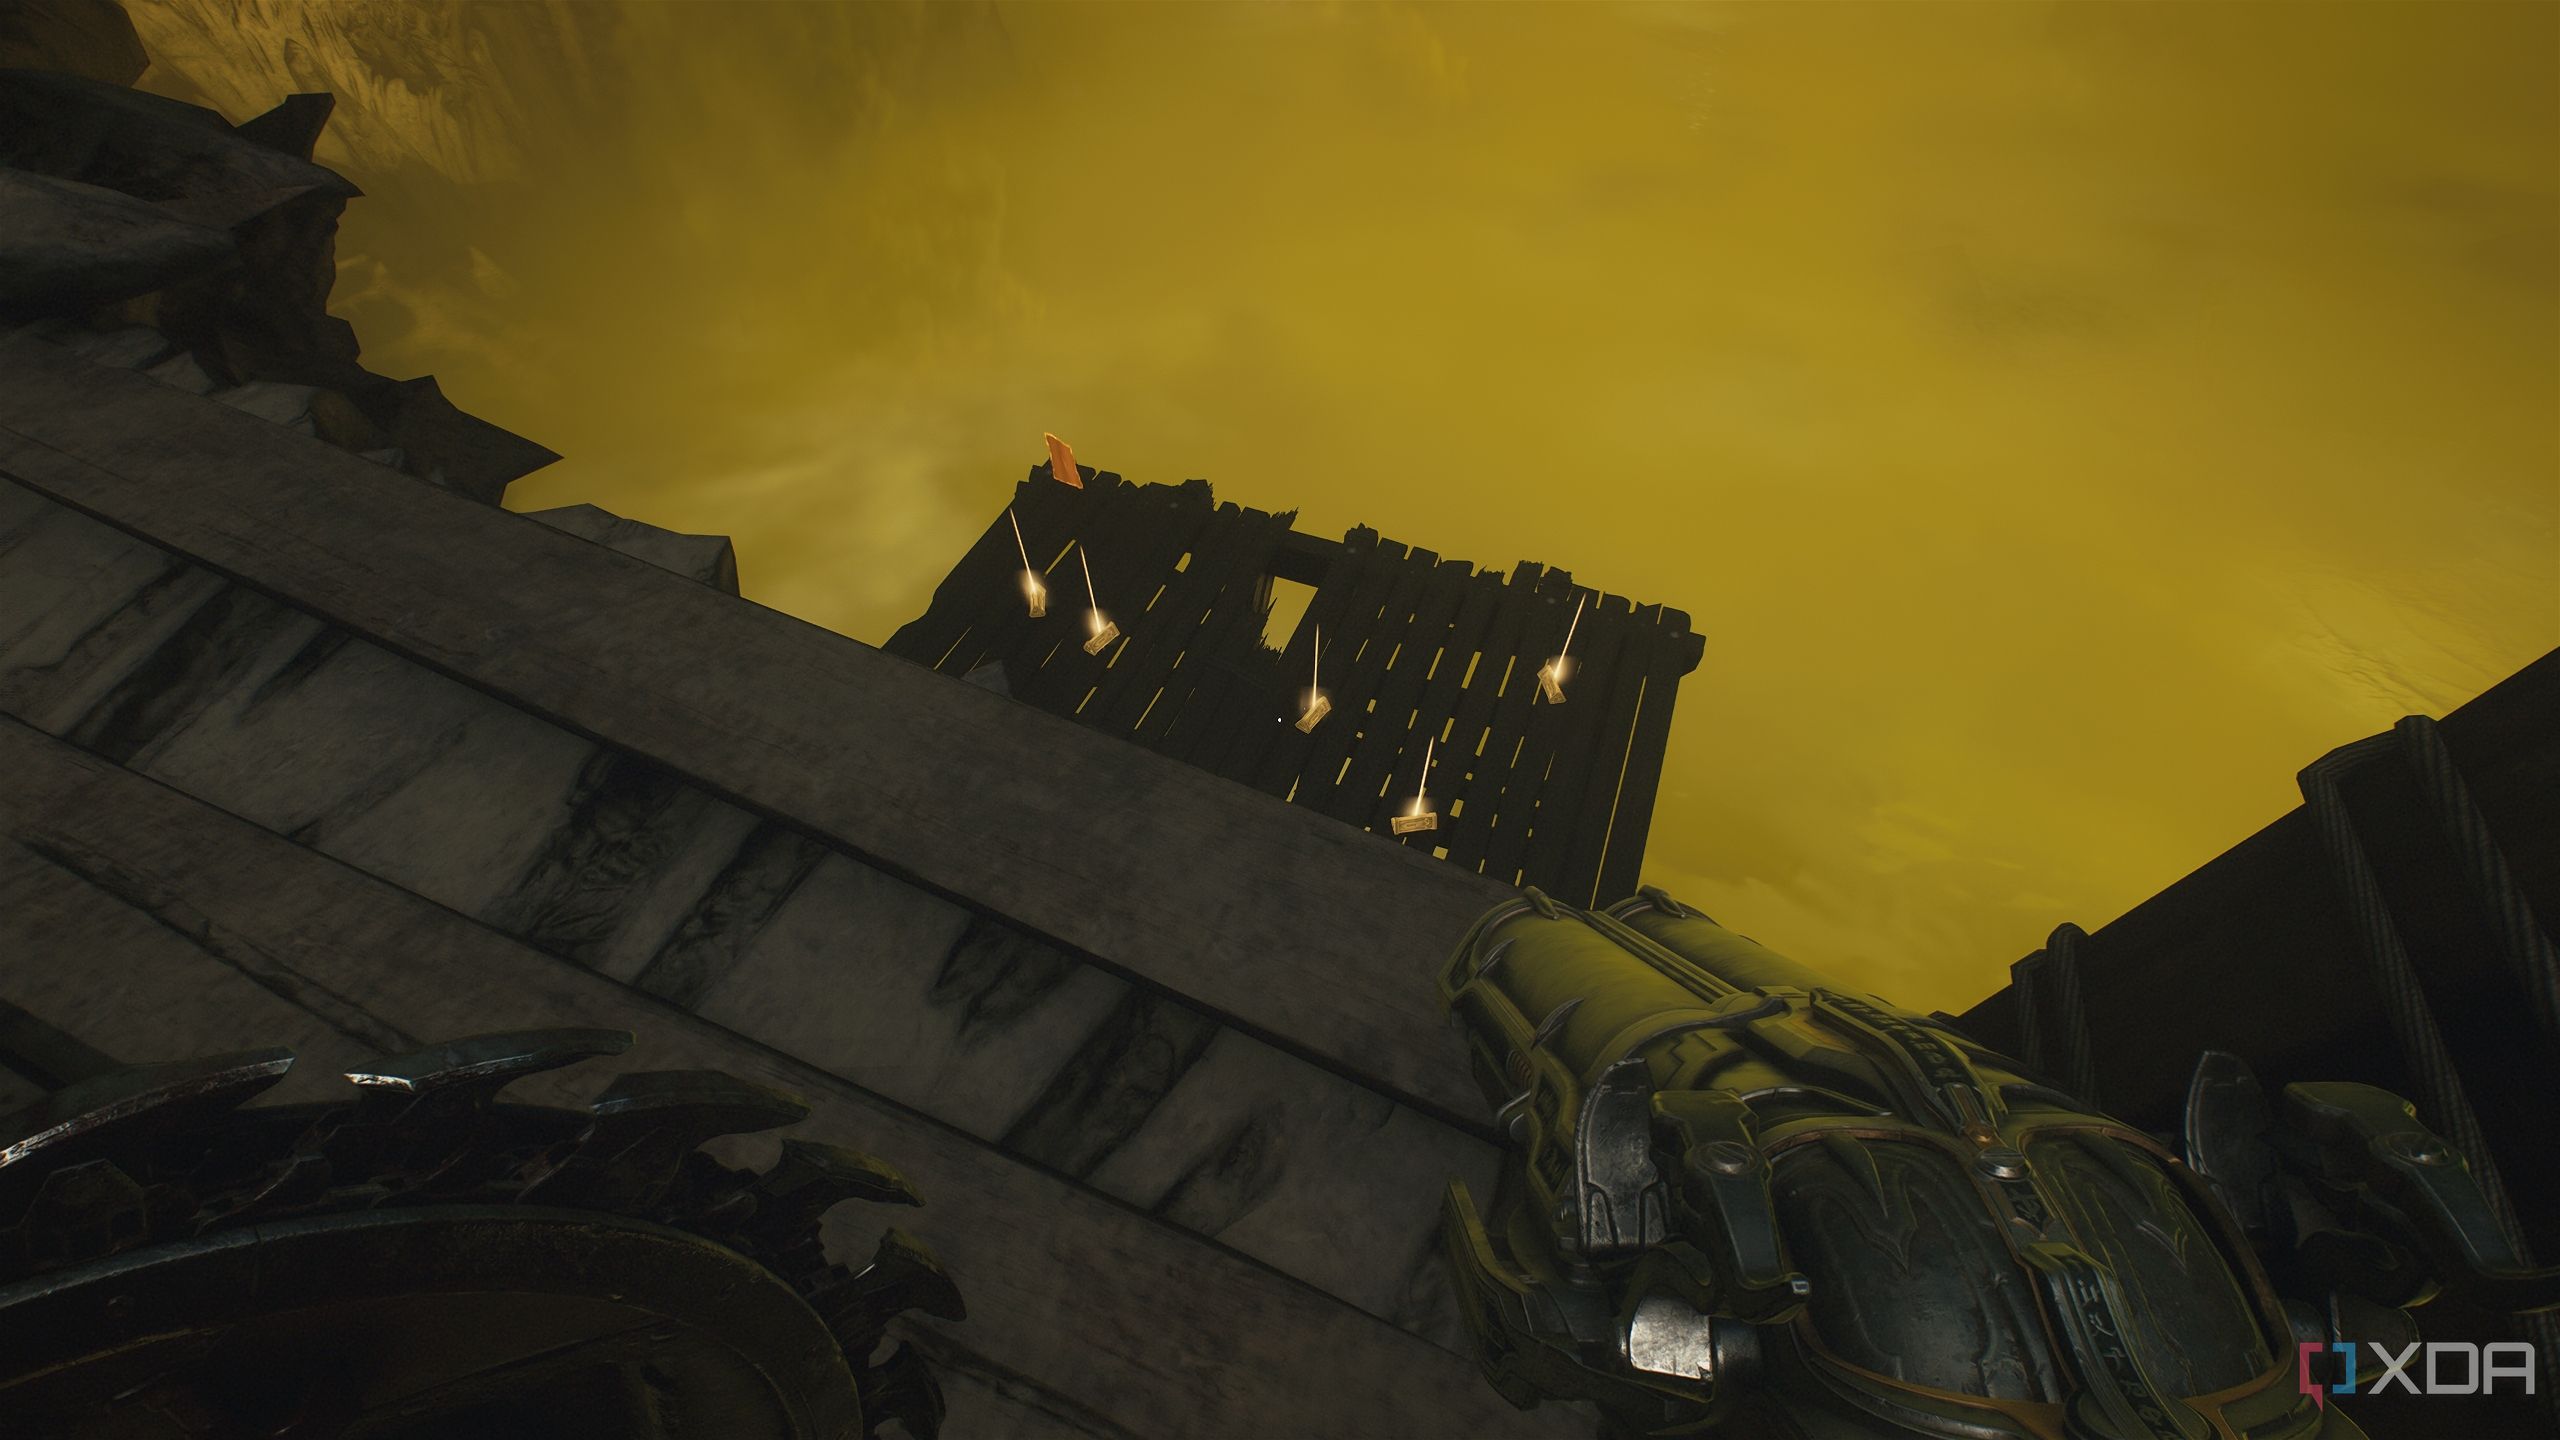
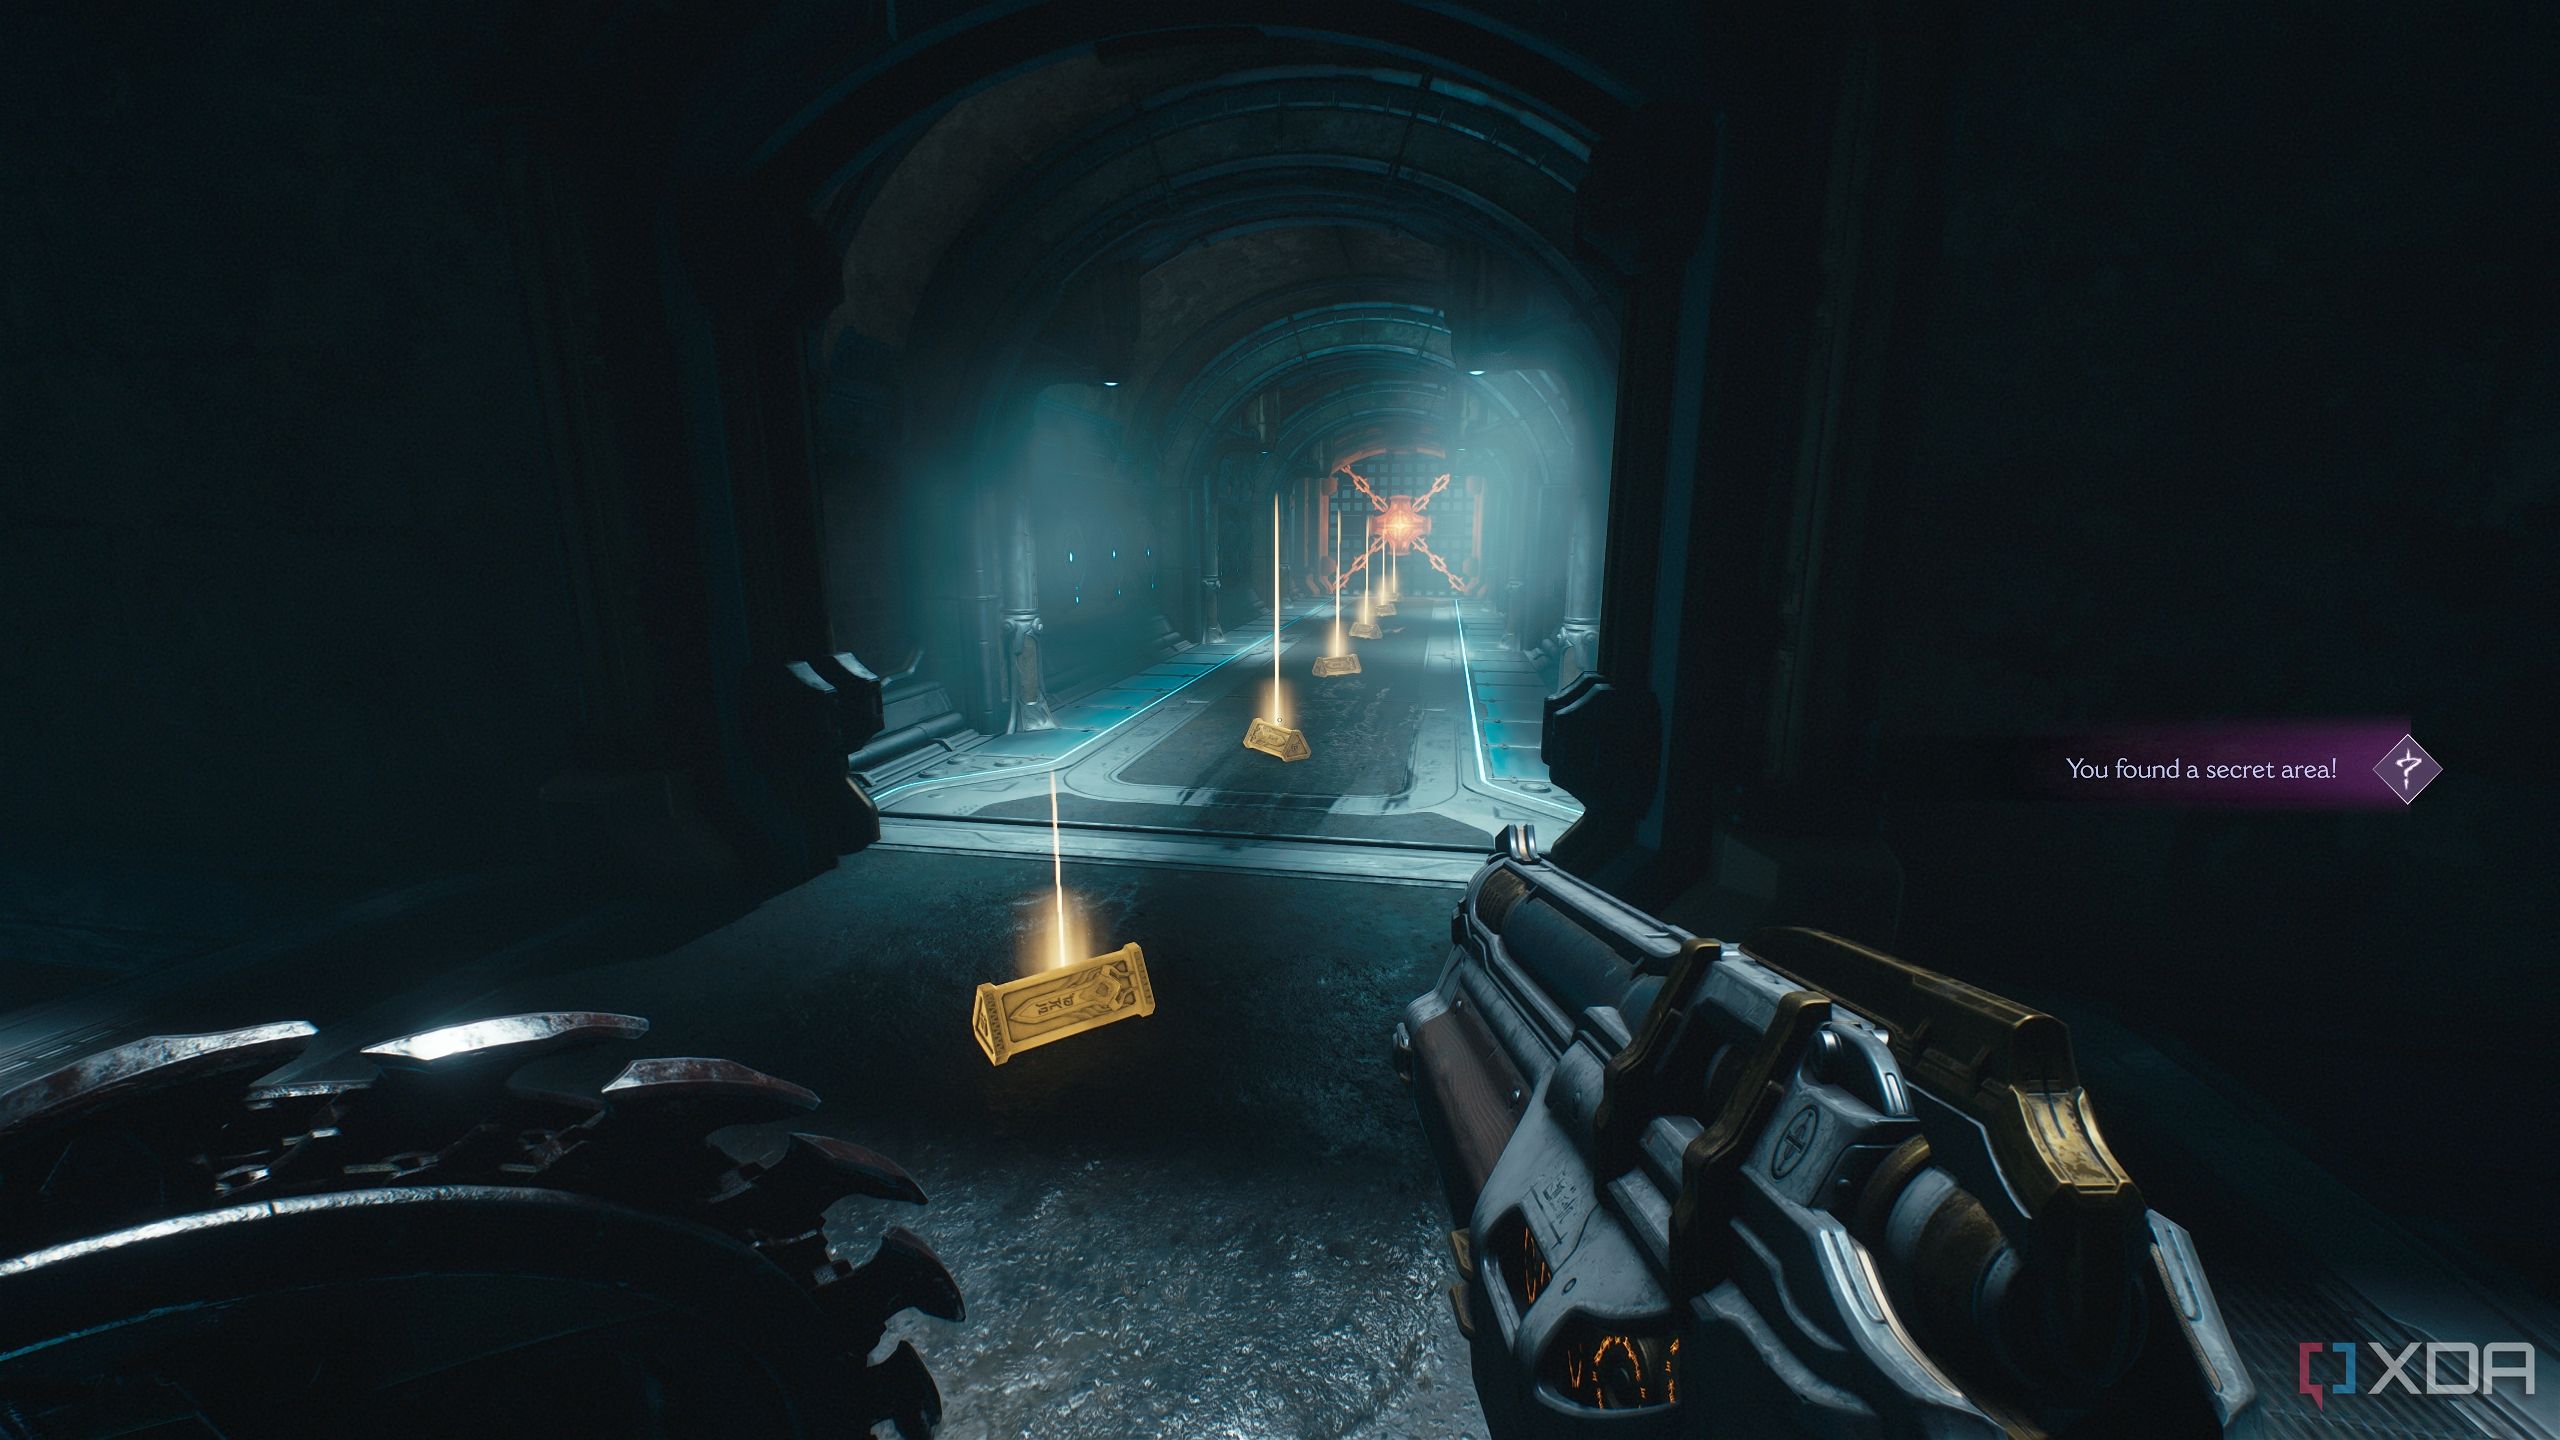
You should see a wooden wall you can Shield Charge through.
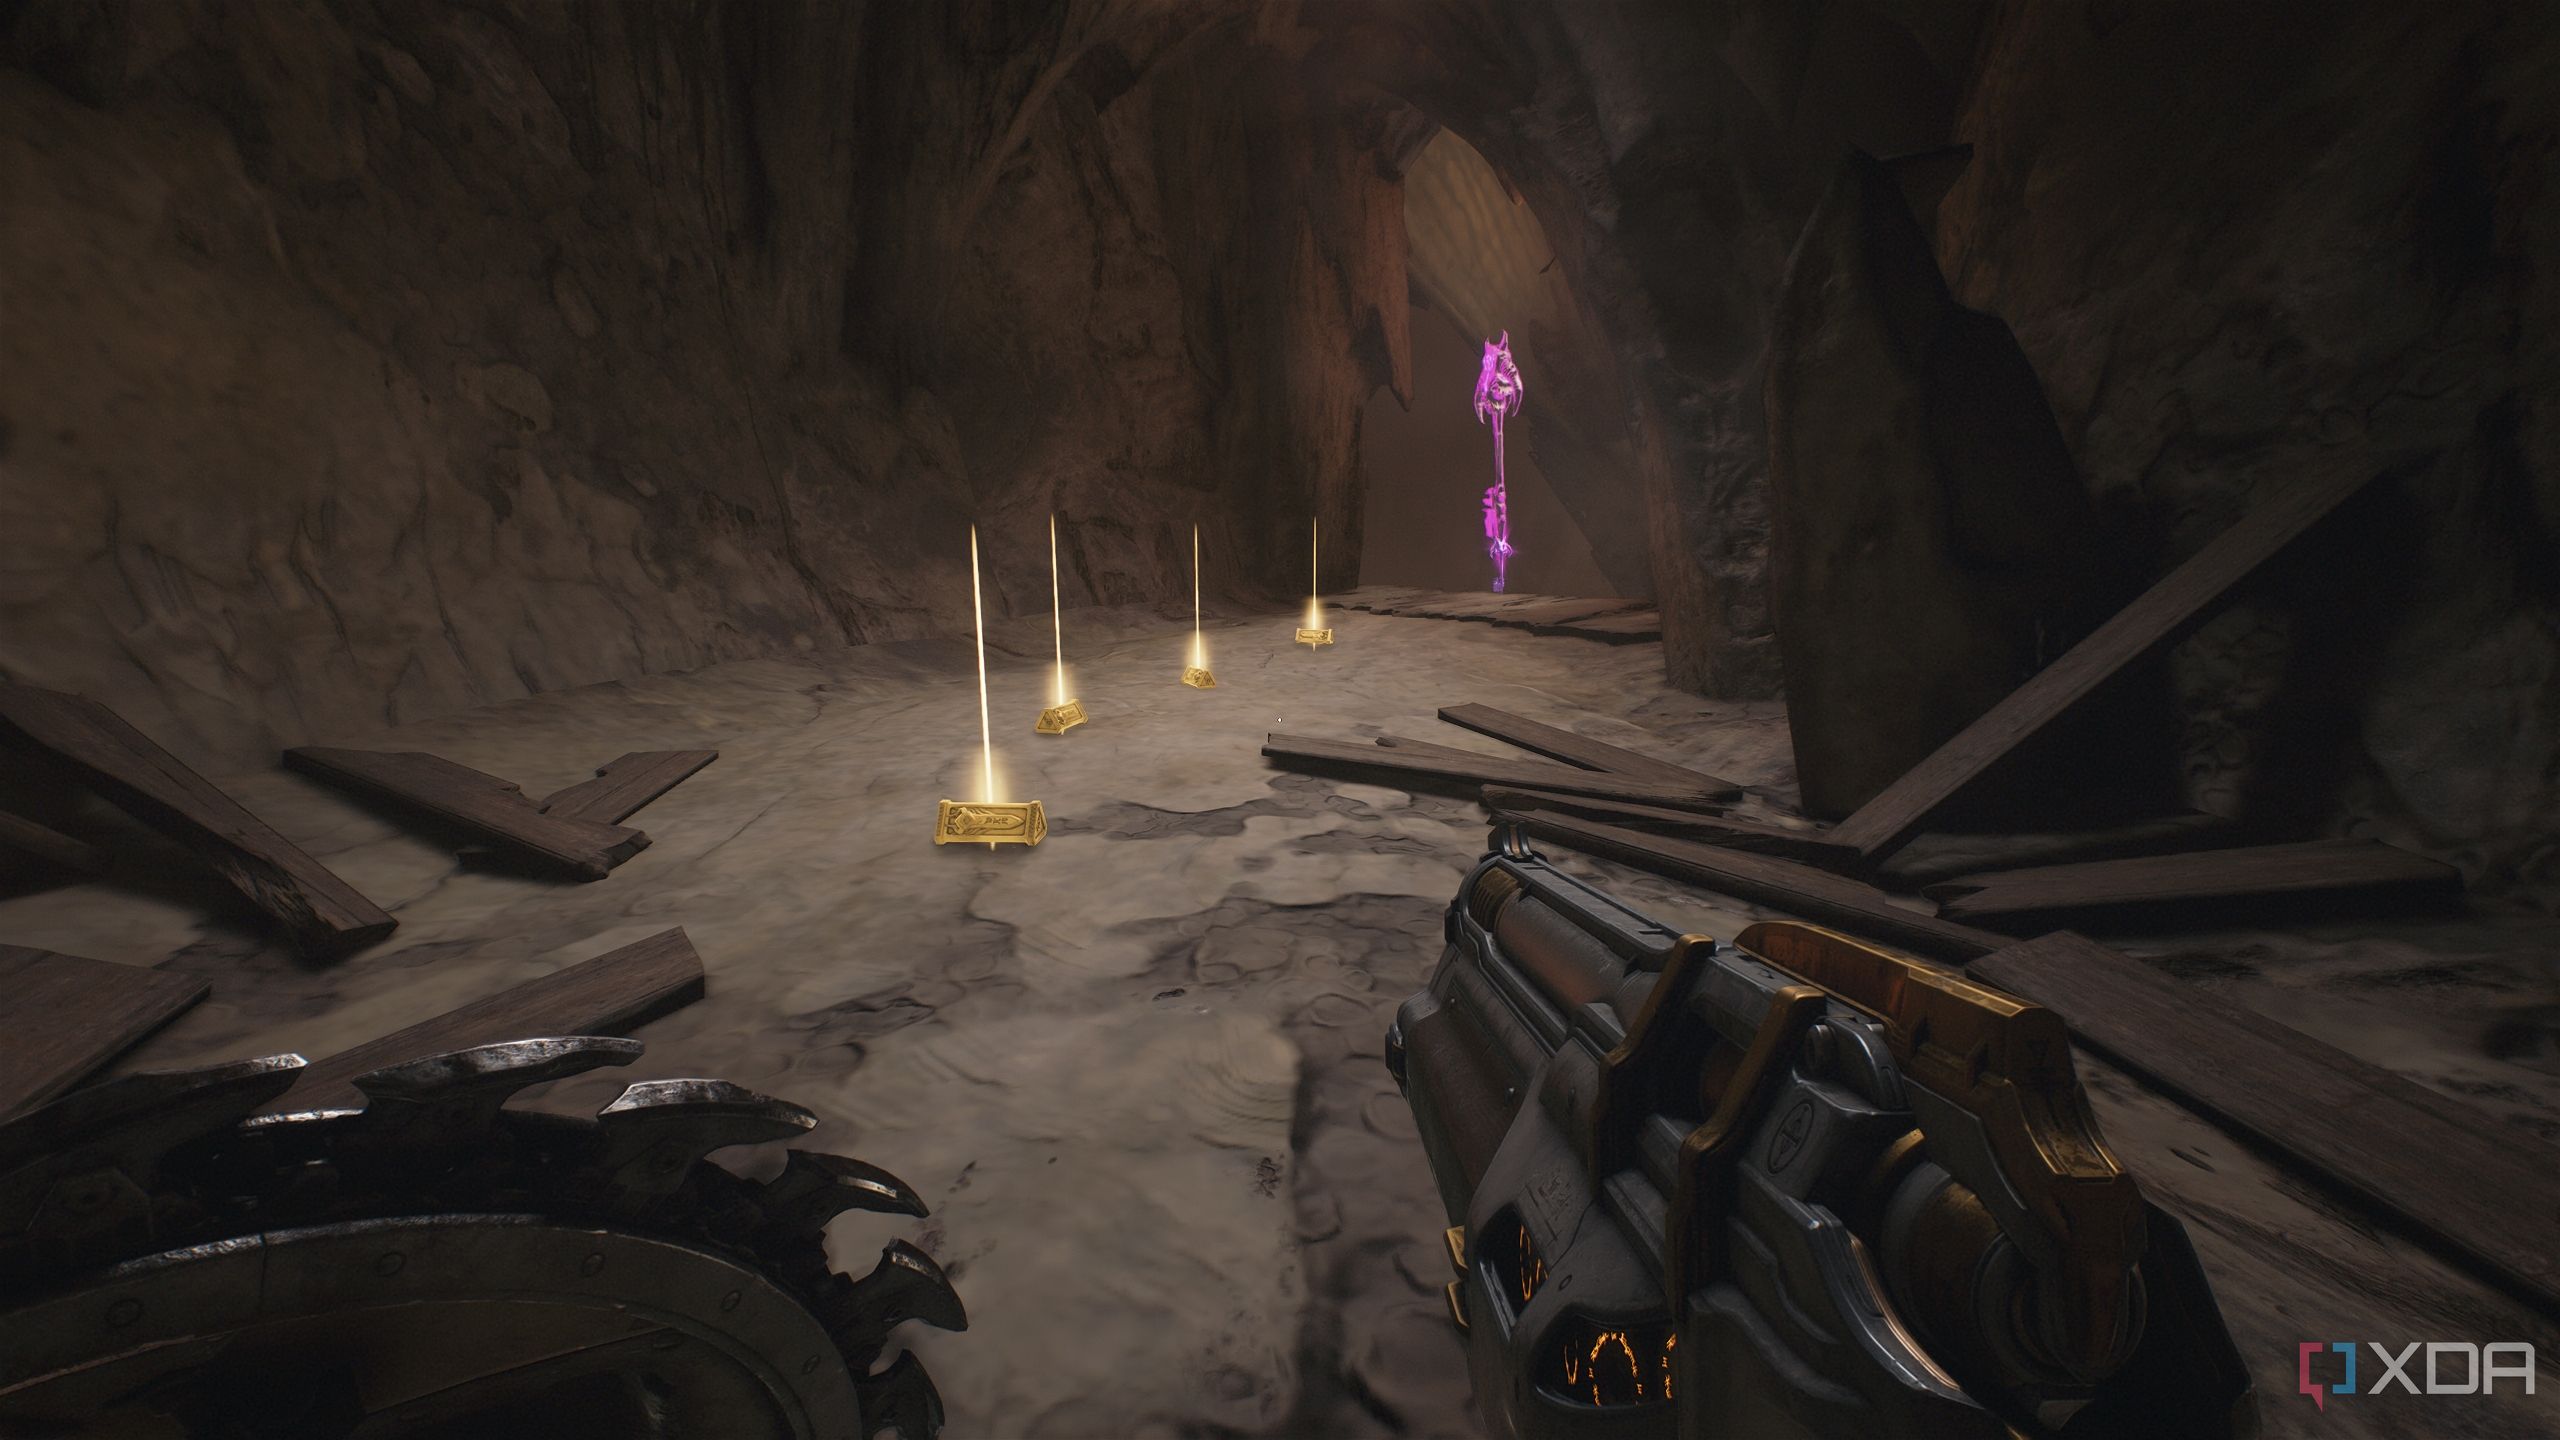
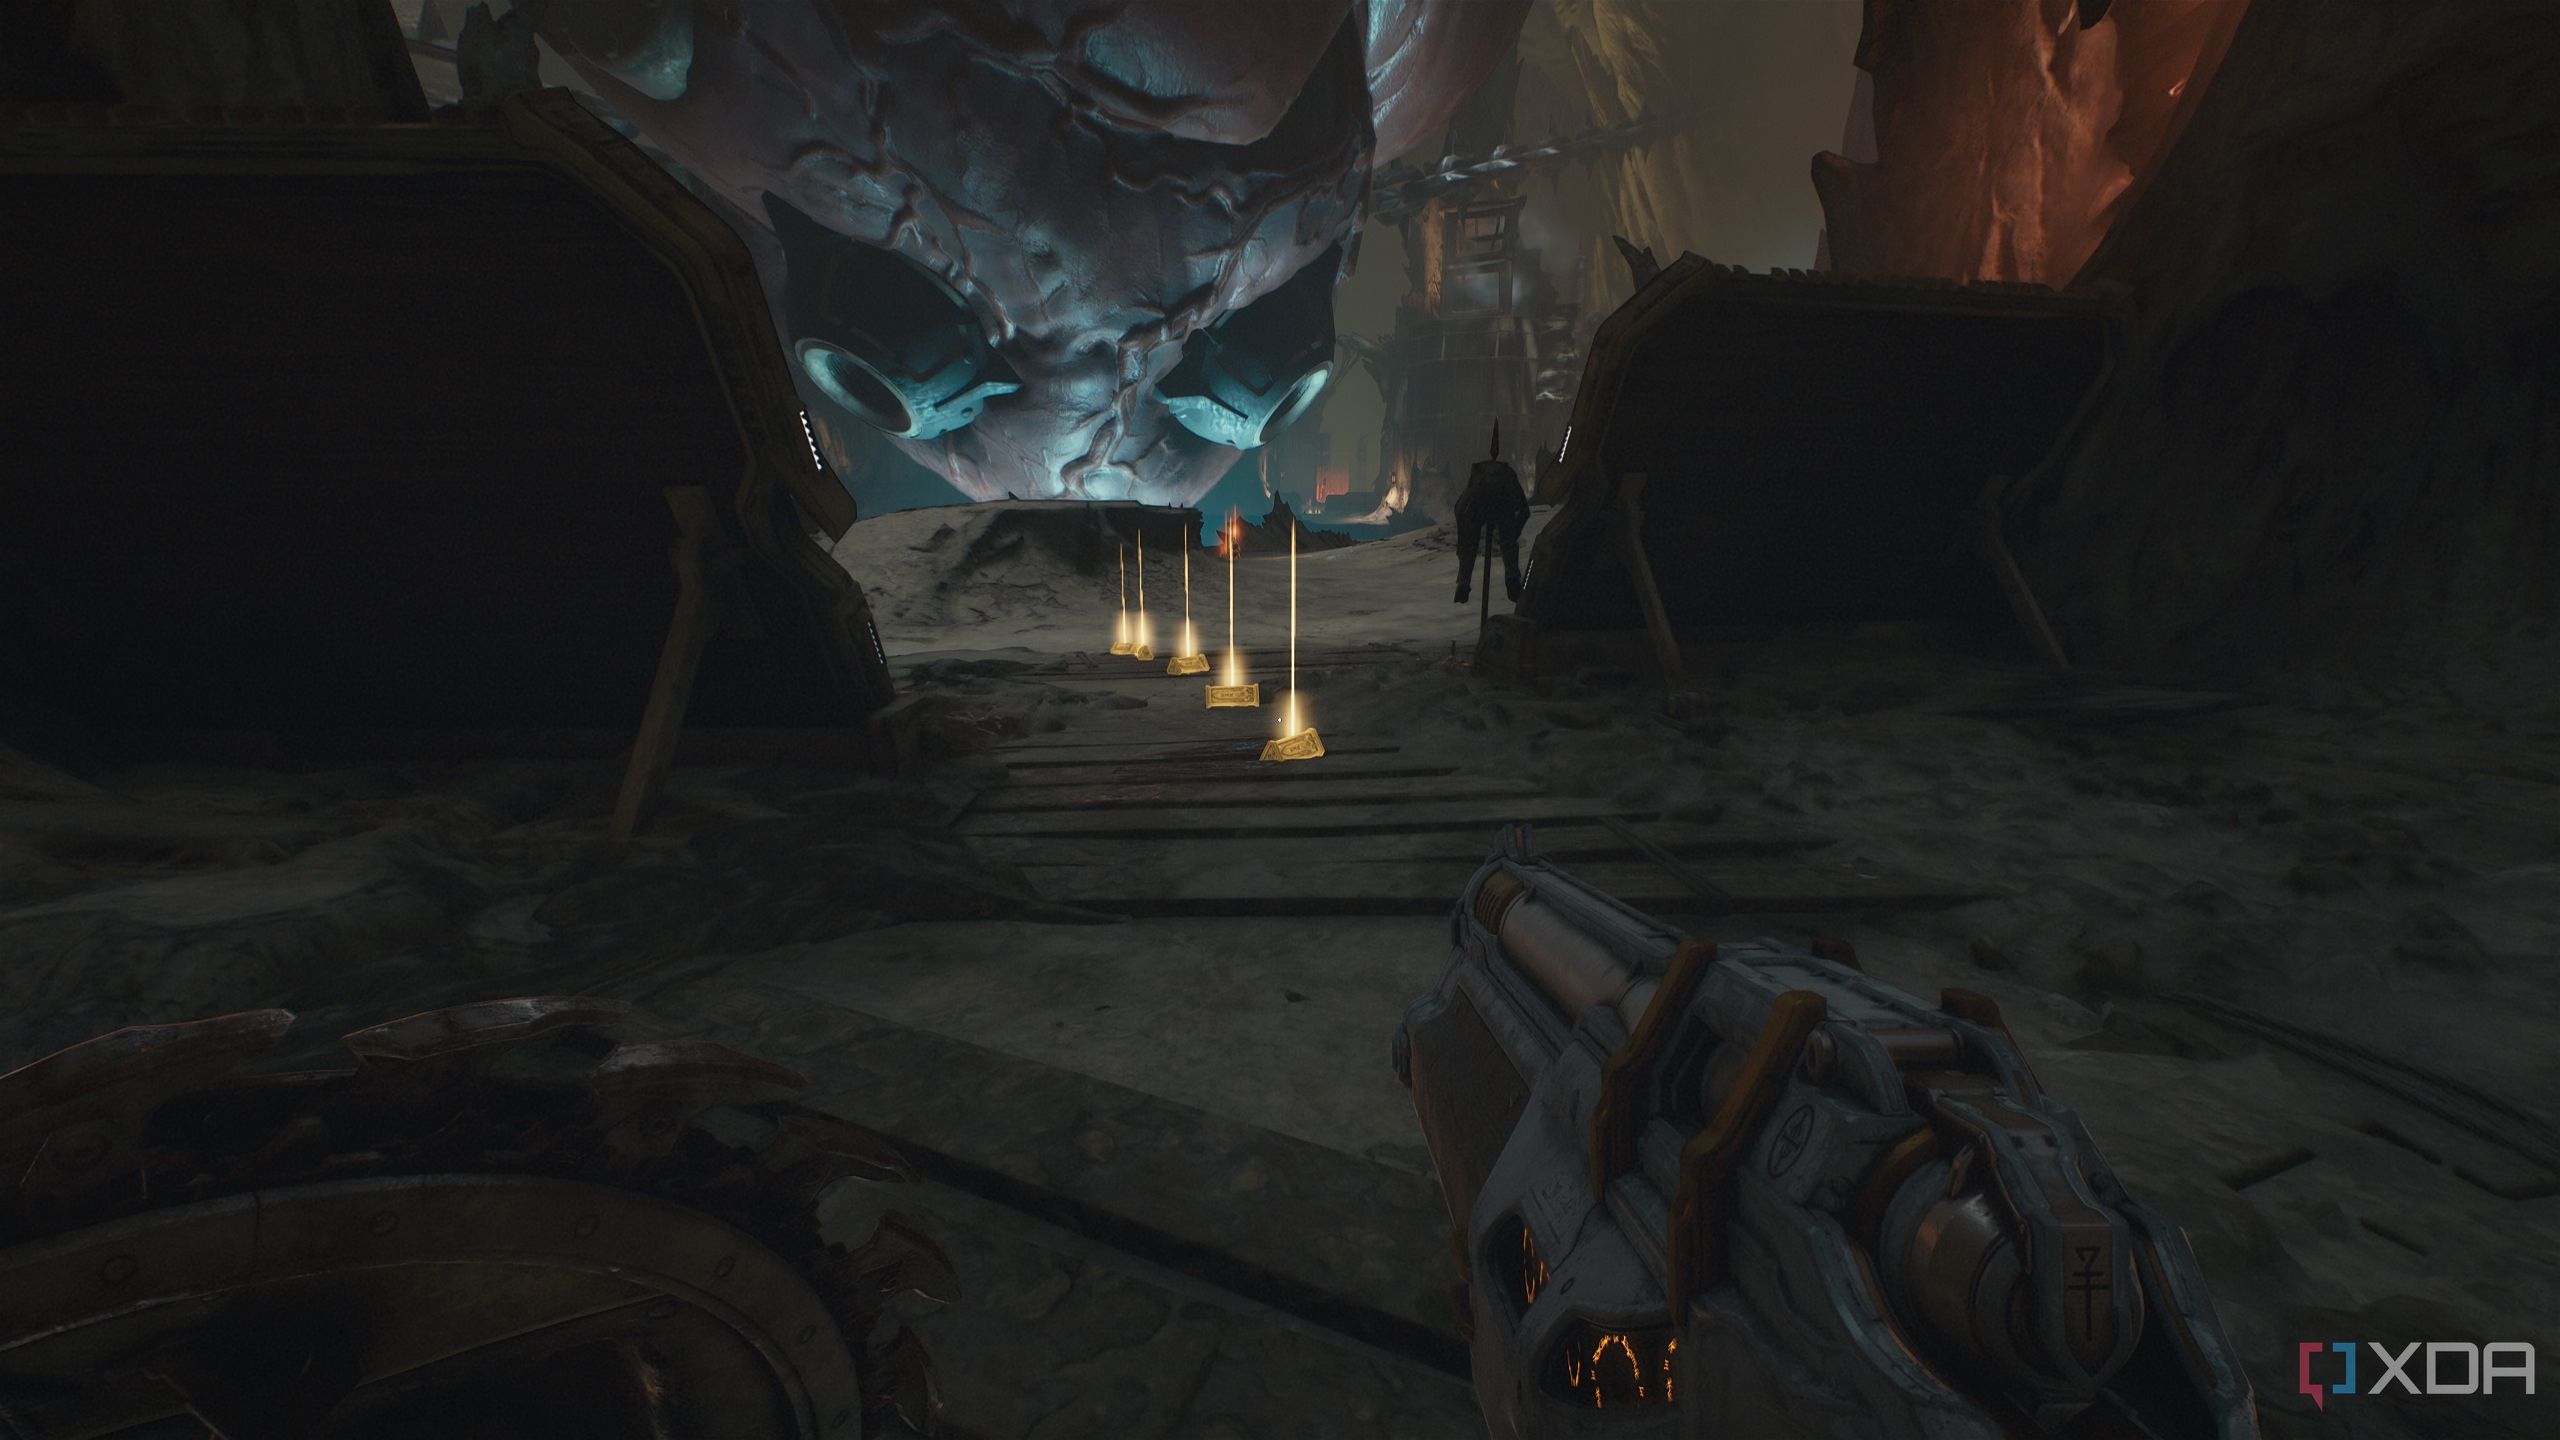
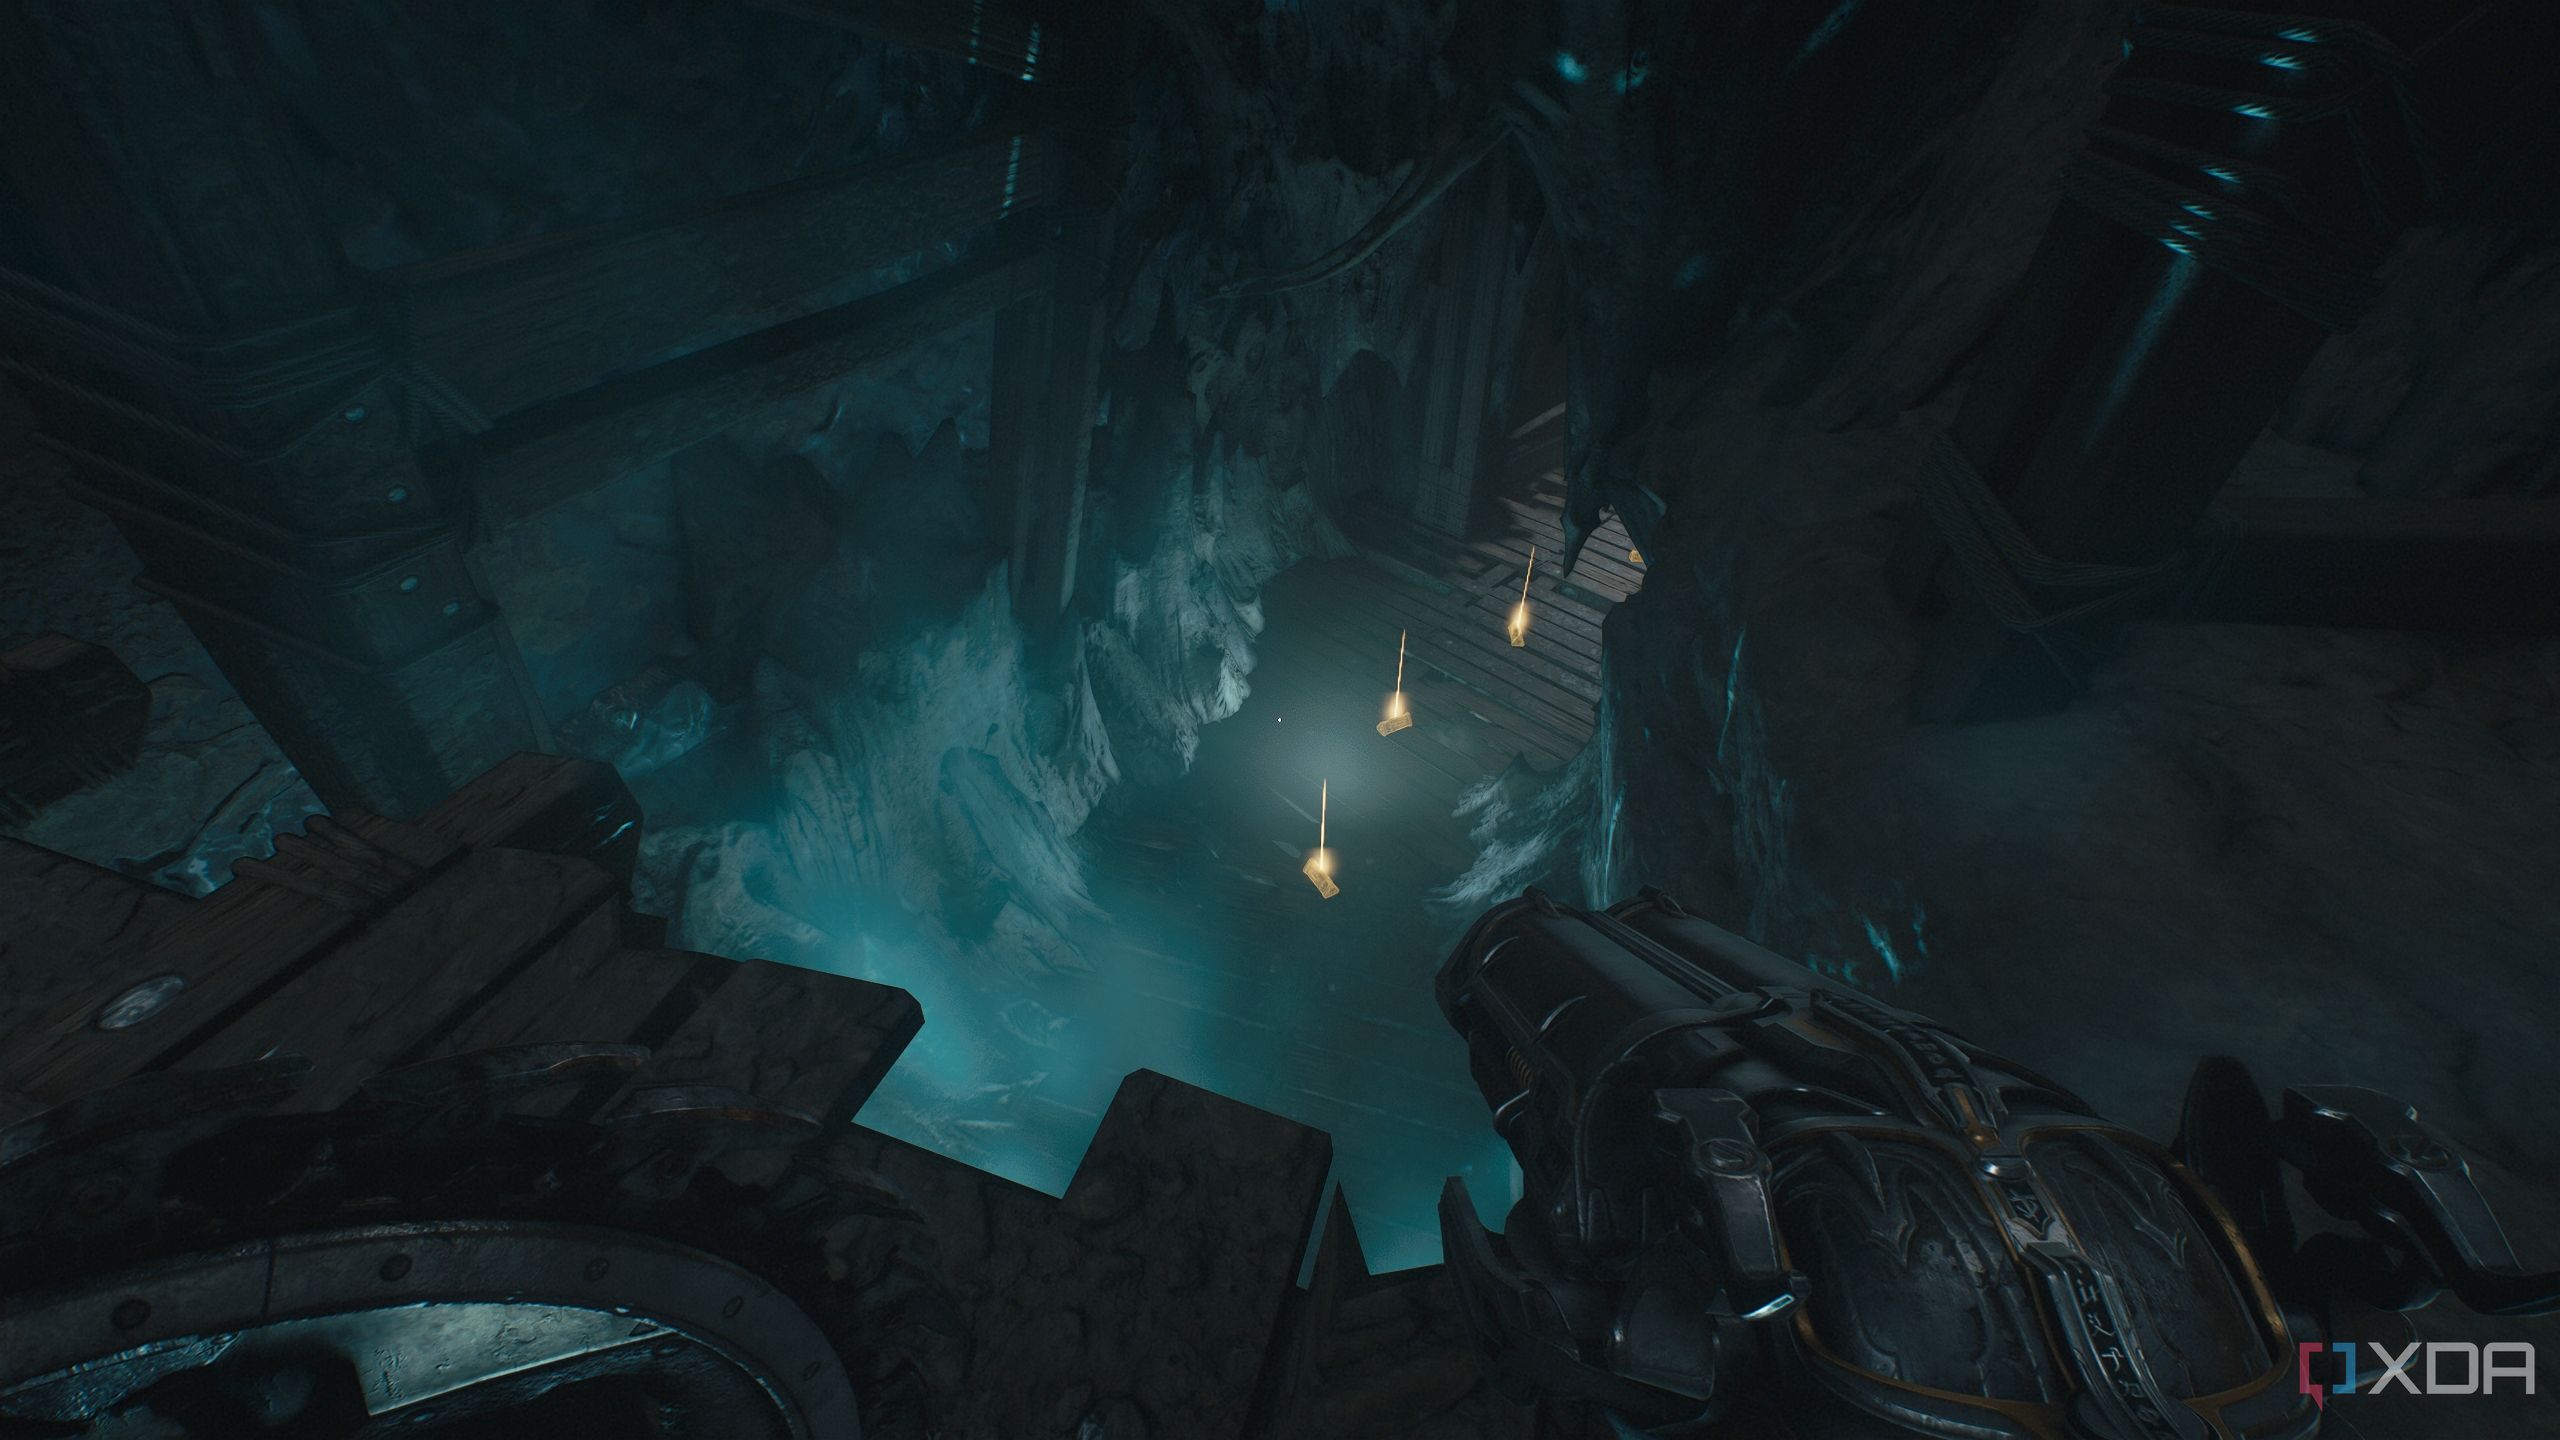
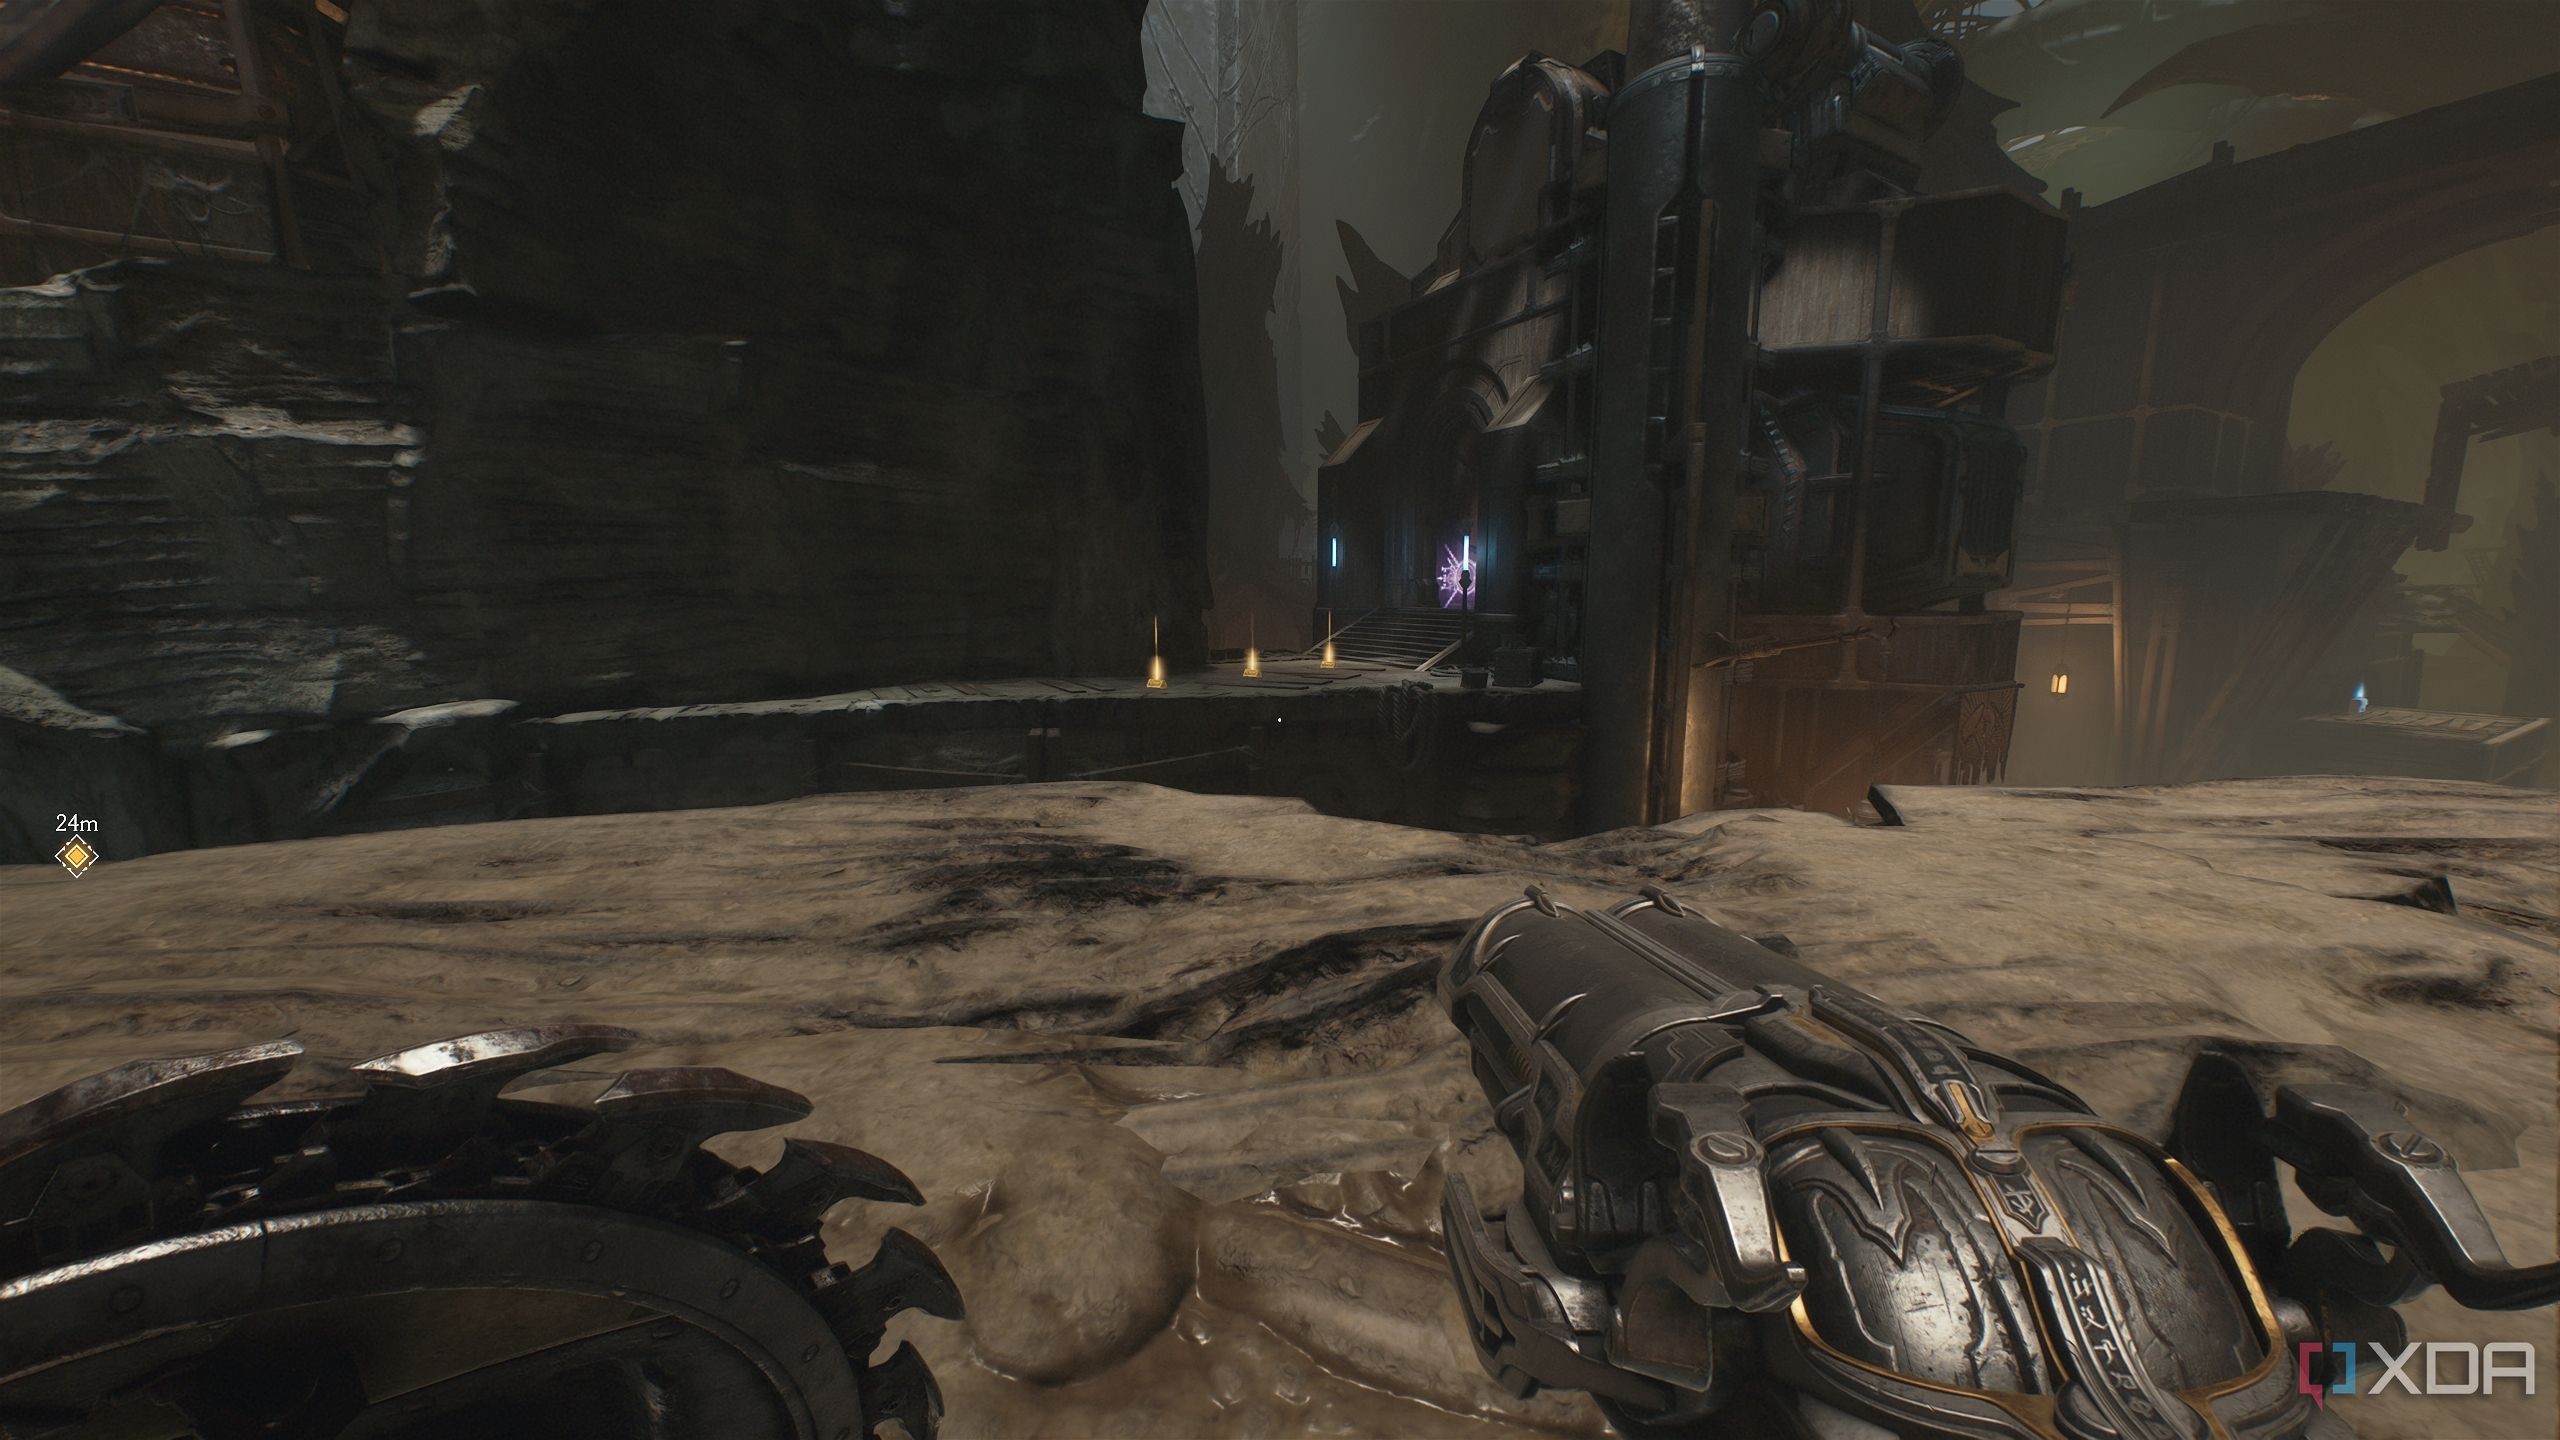
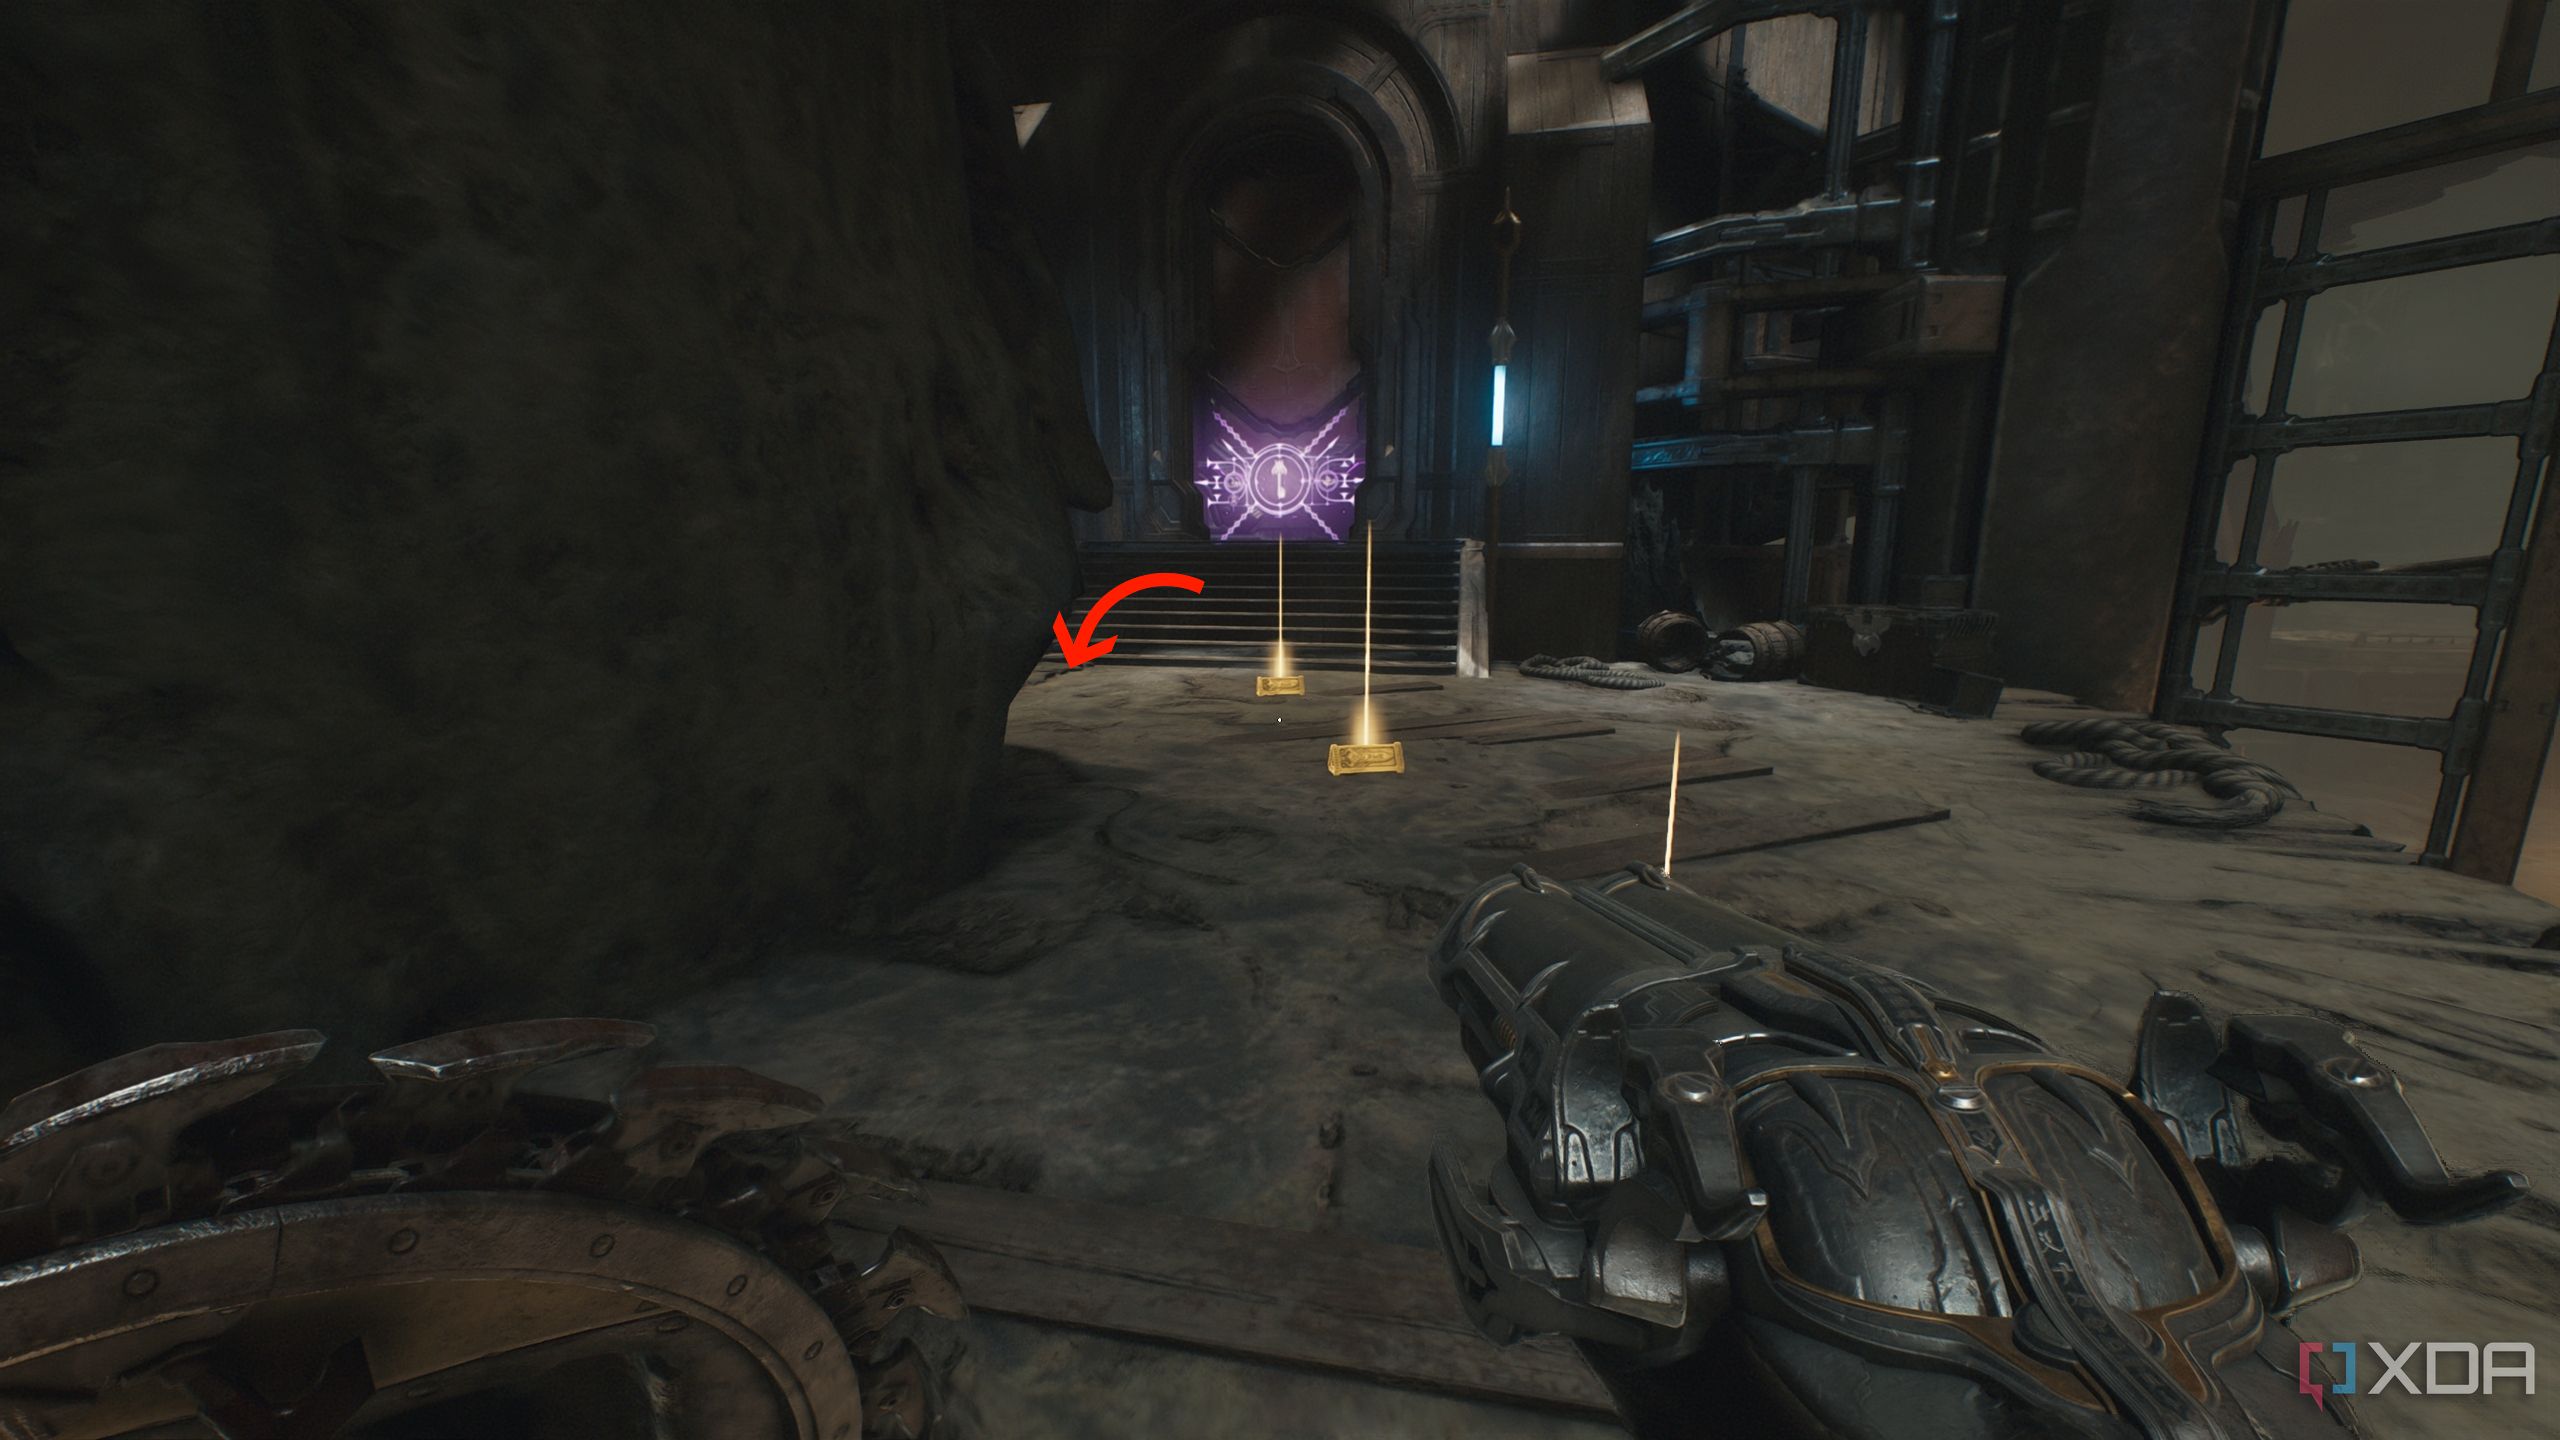
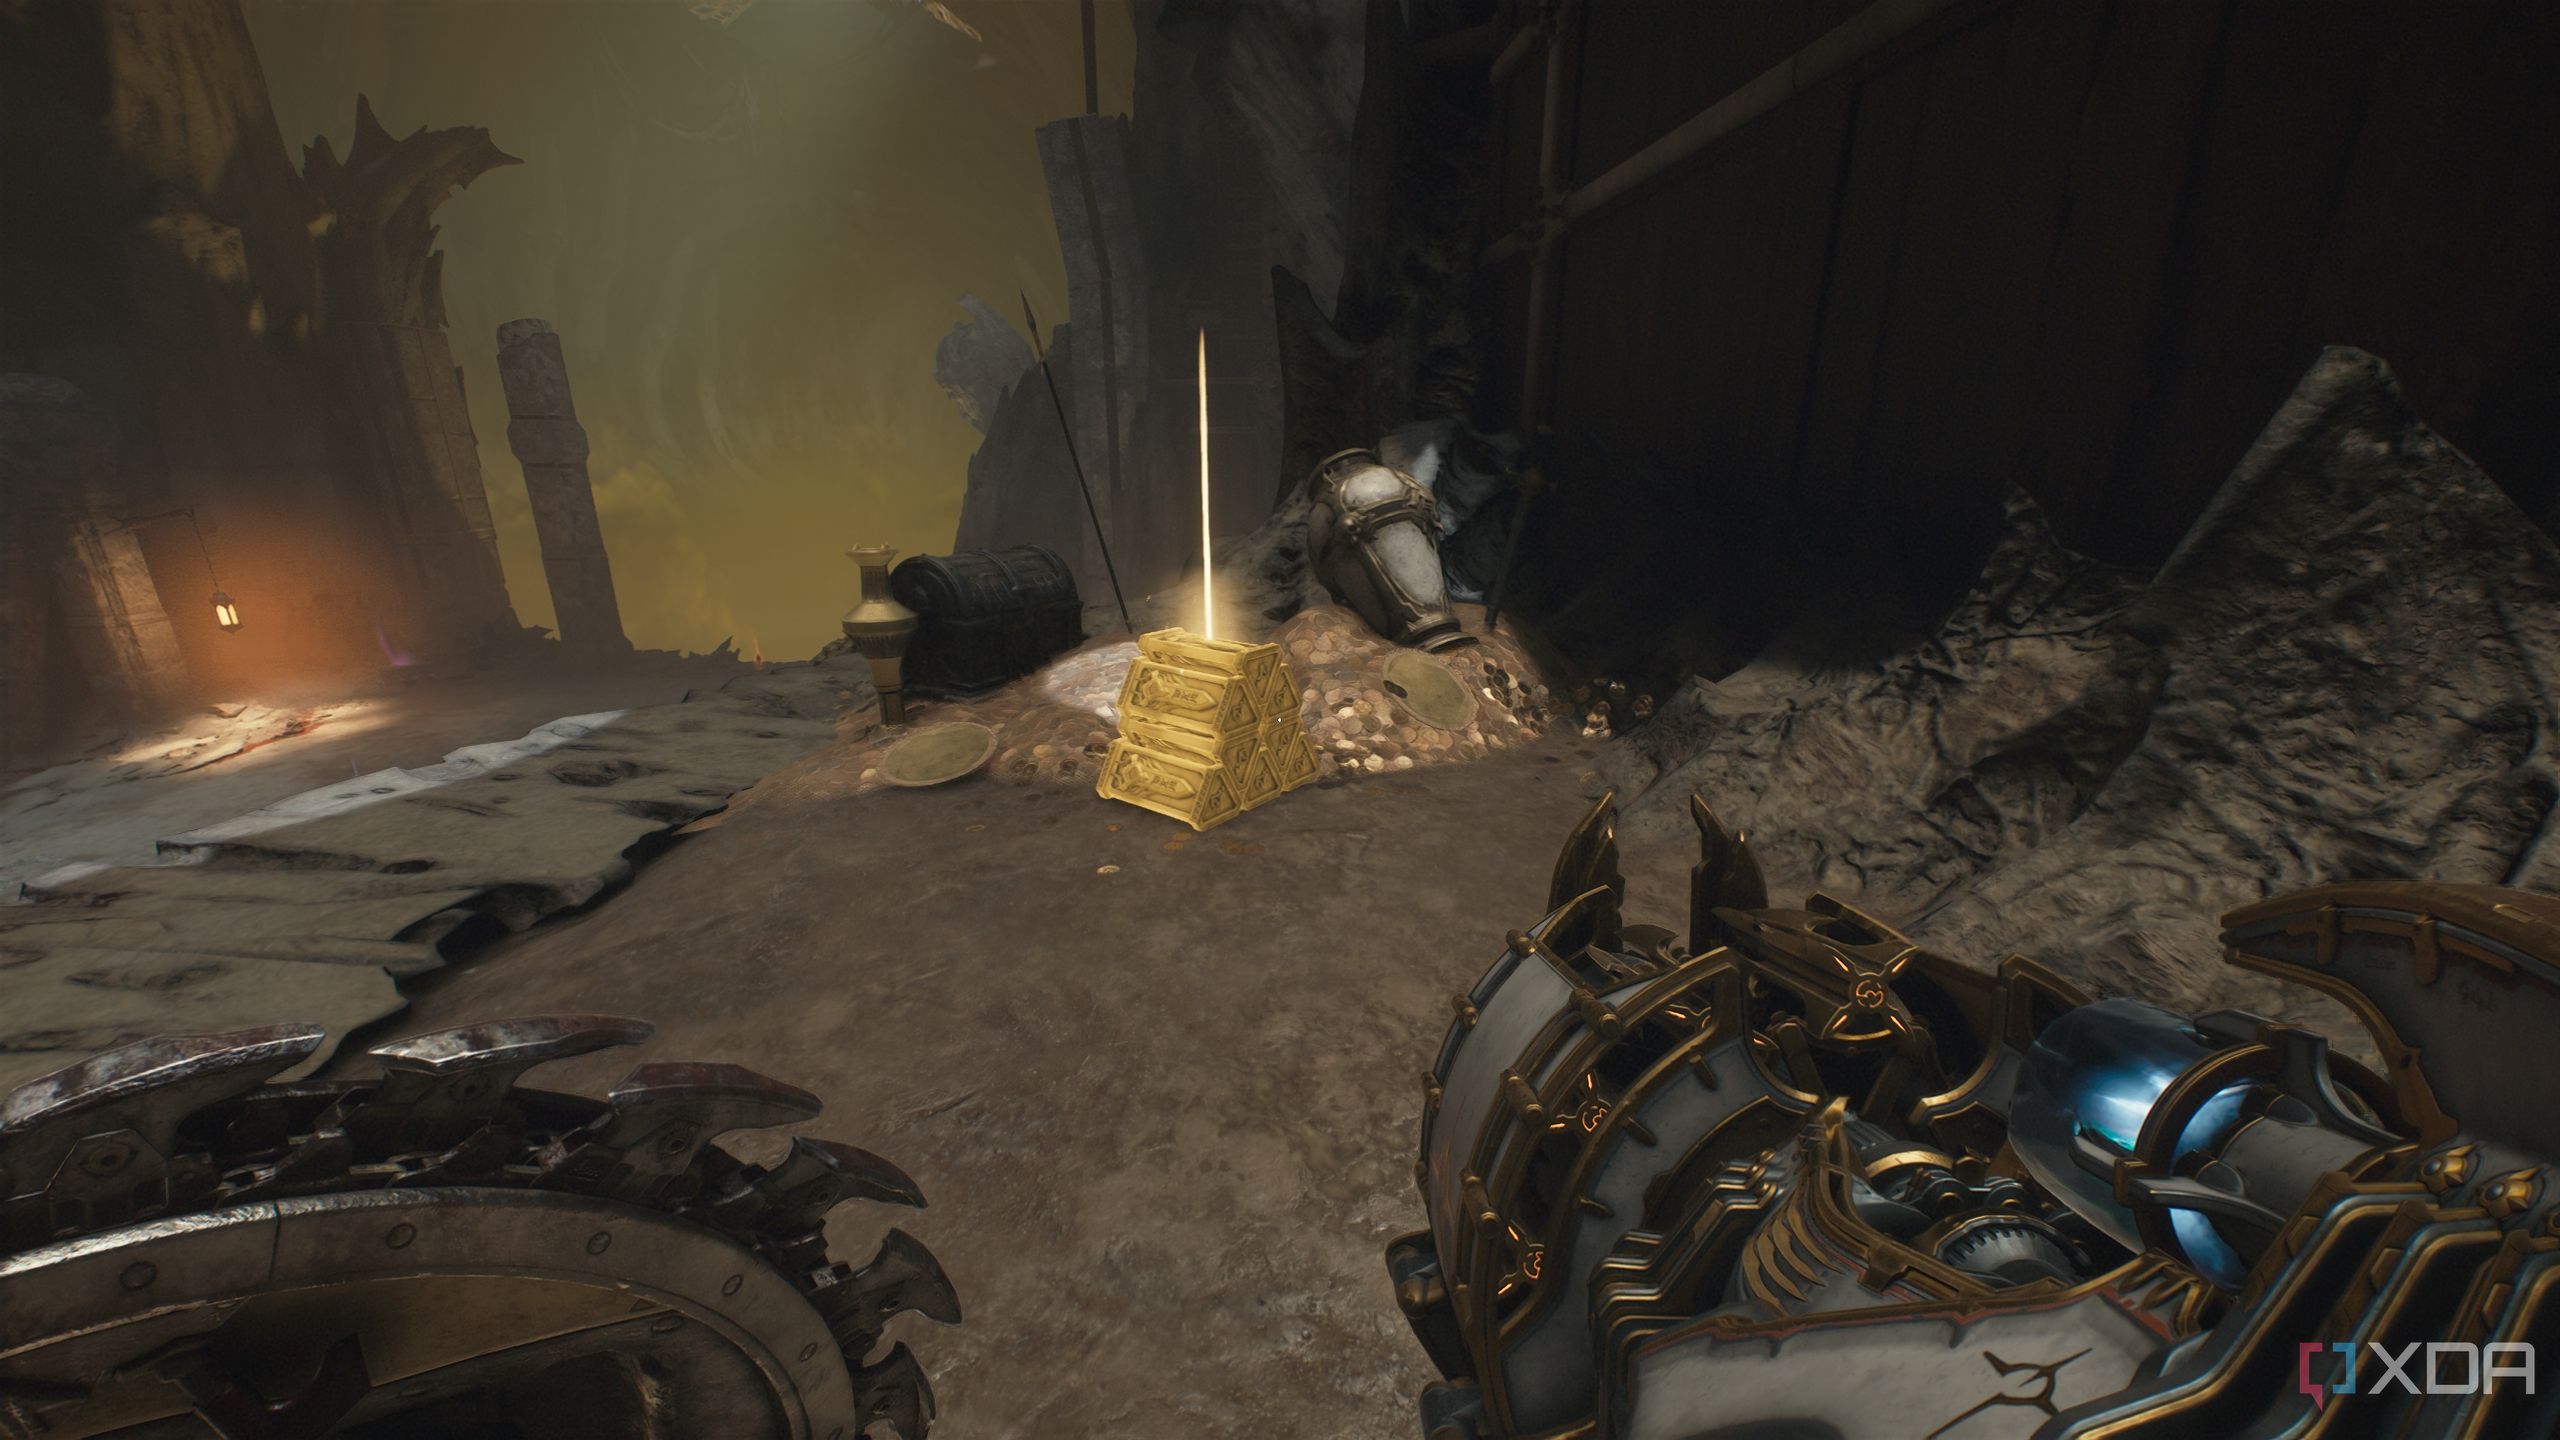
Do that, and you’ll see a trail of gold bars and the purple keycard.
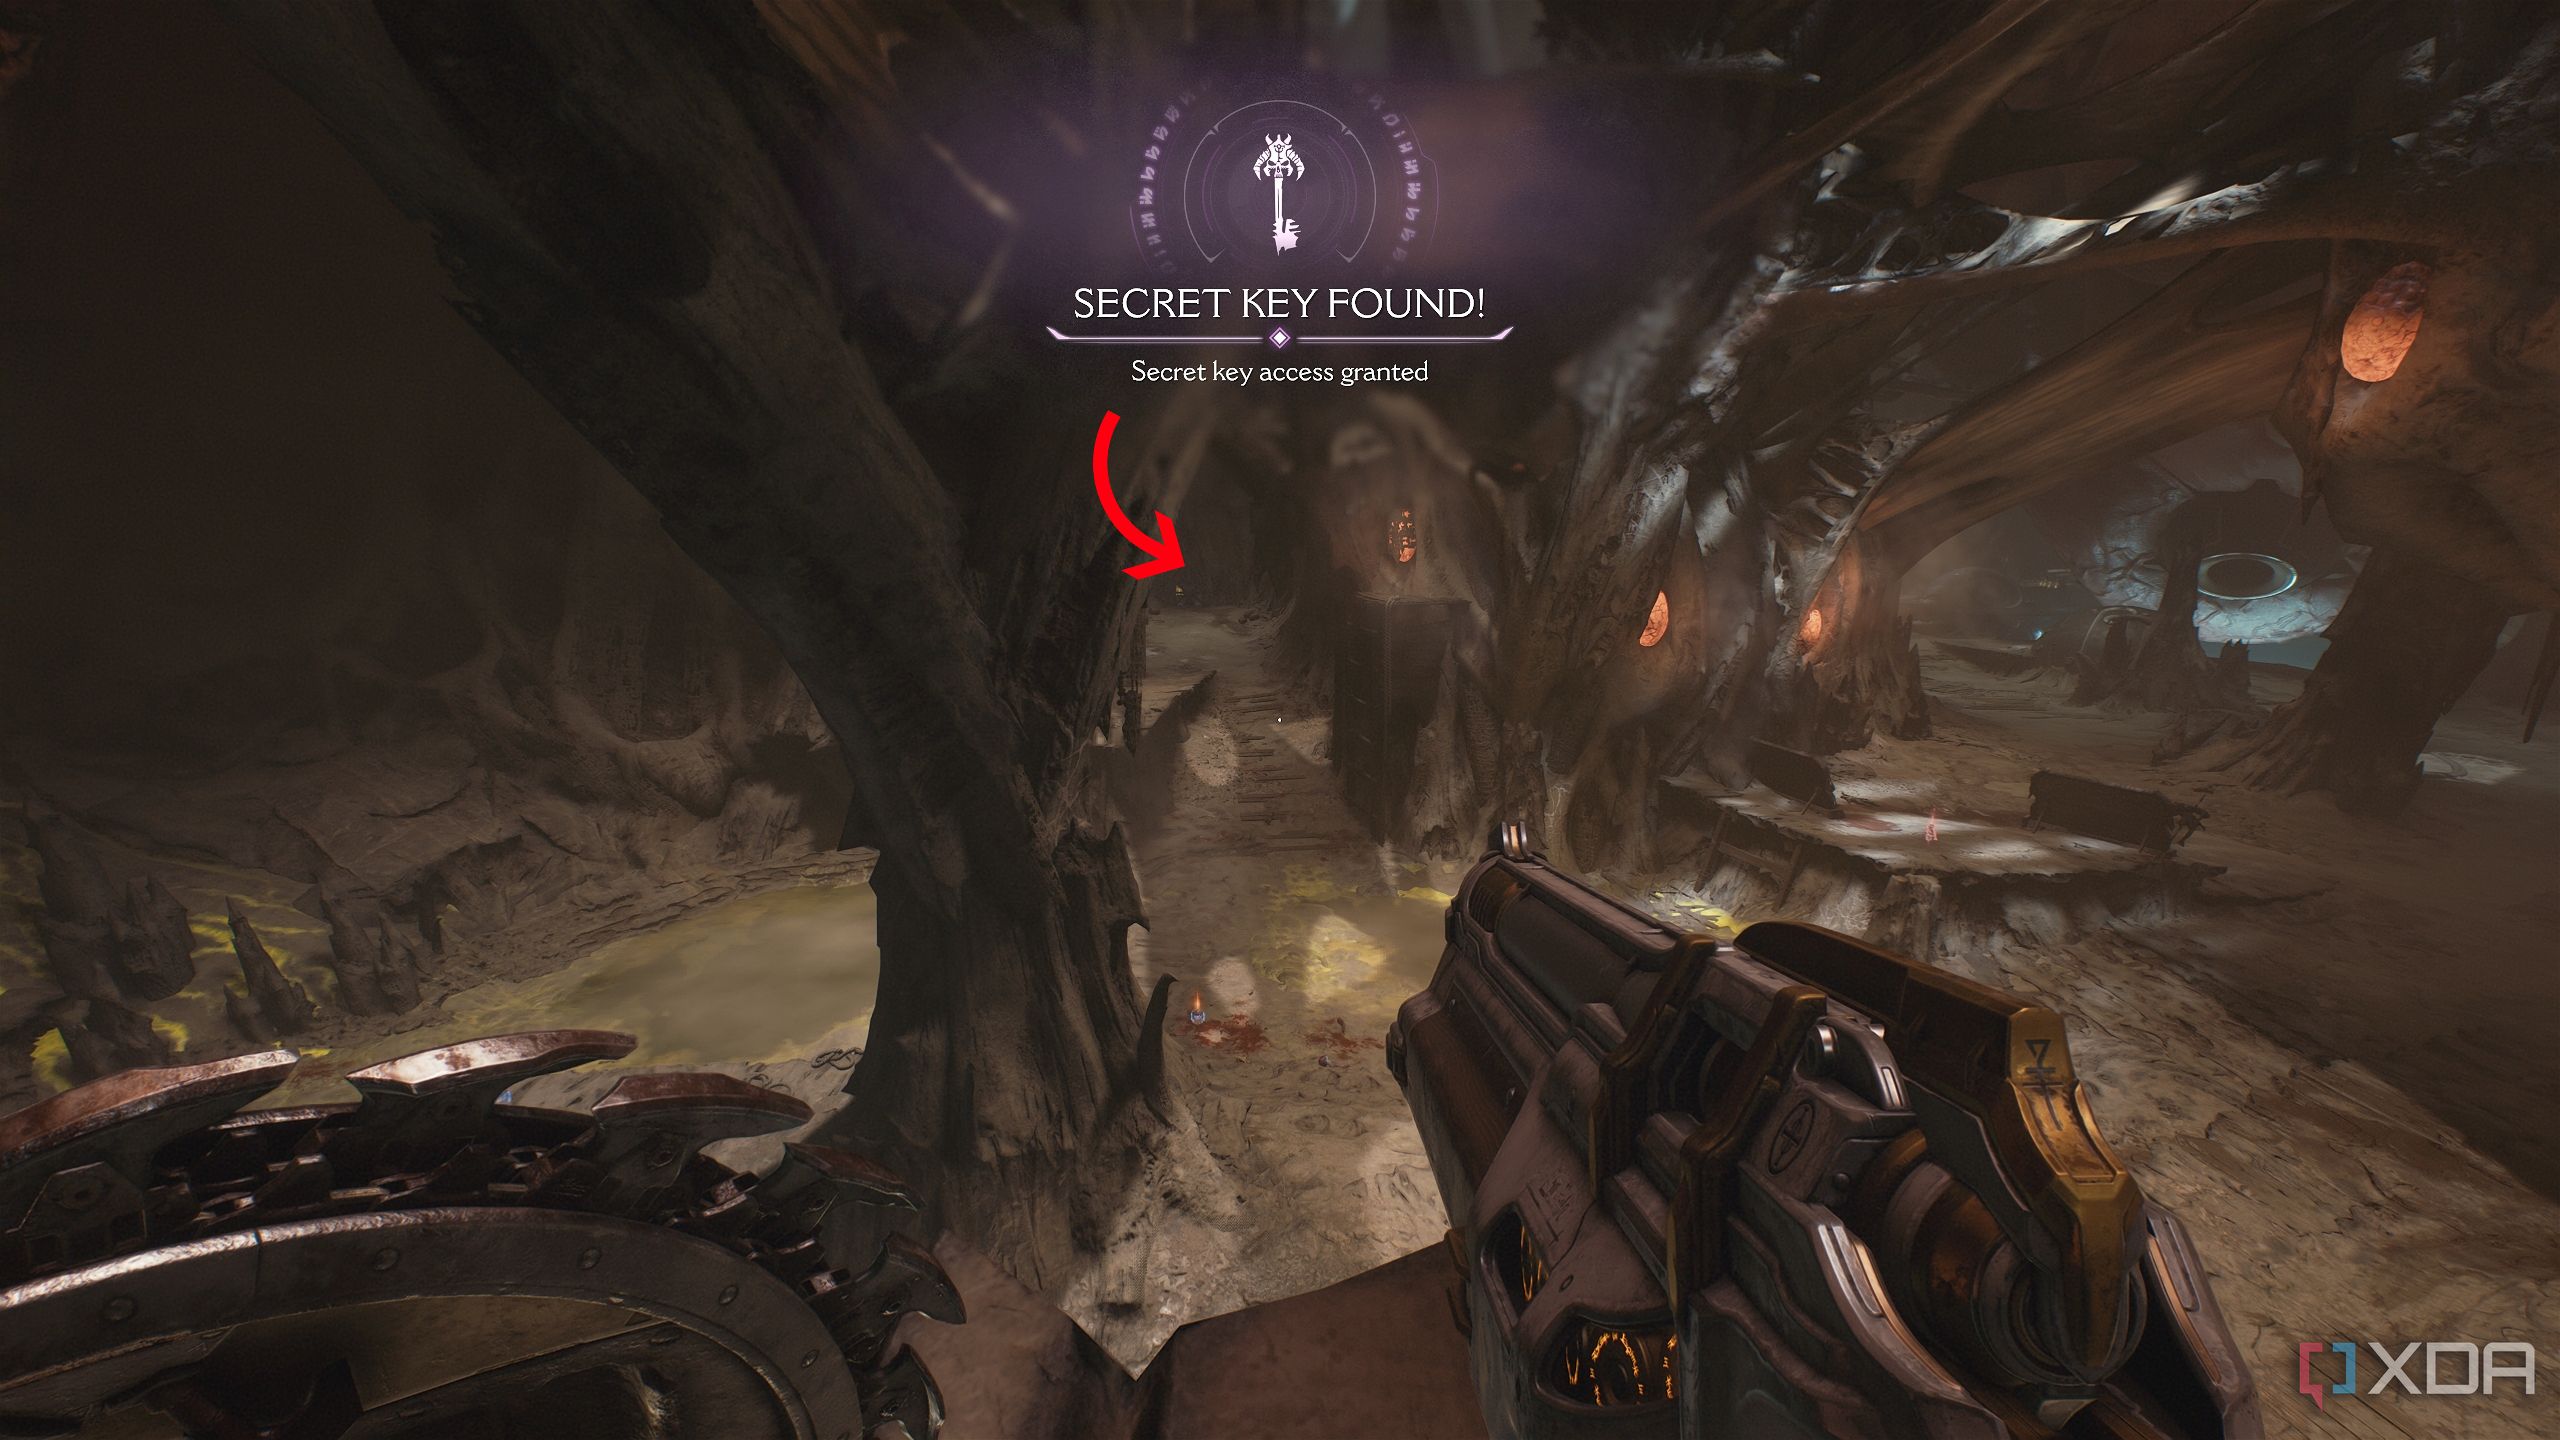
Grab it and look straight ahead to see a purple-locked gate.
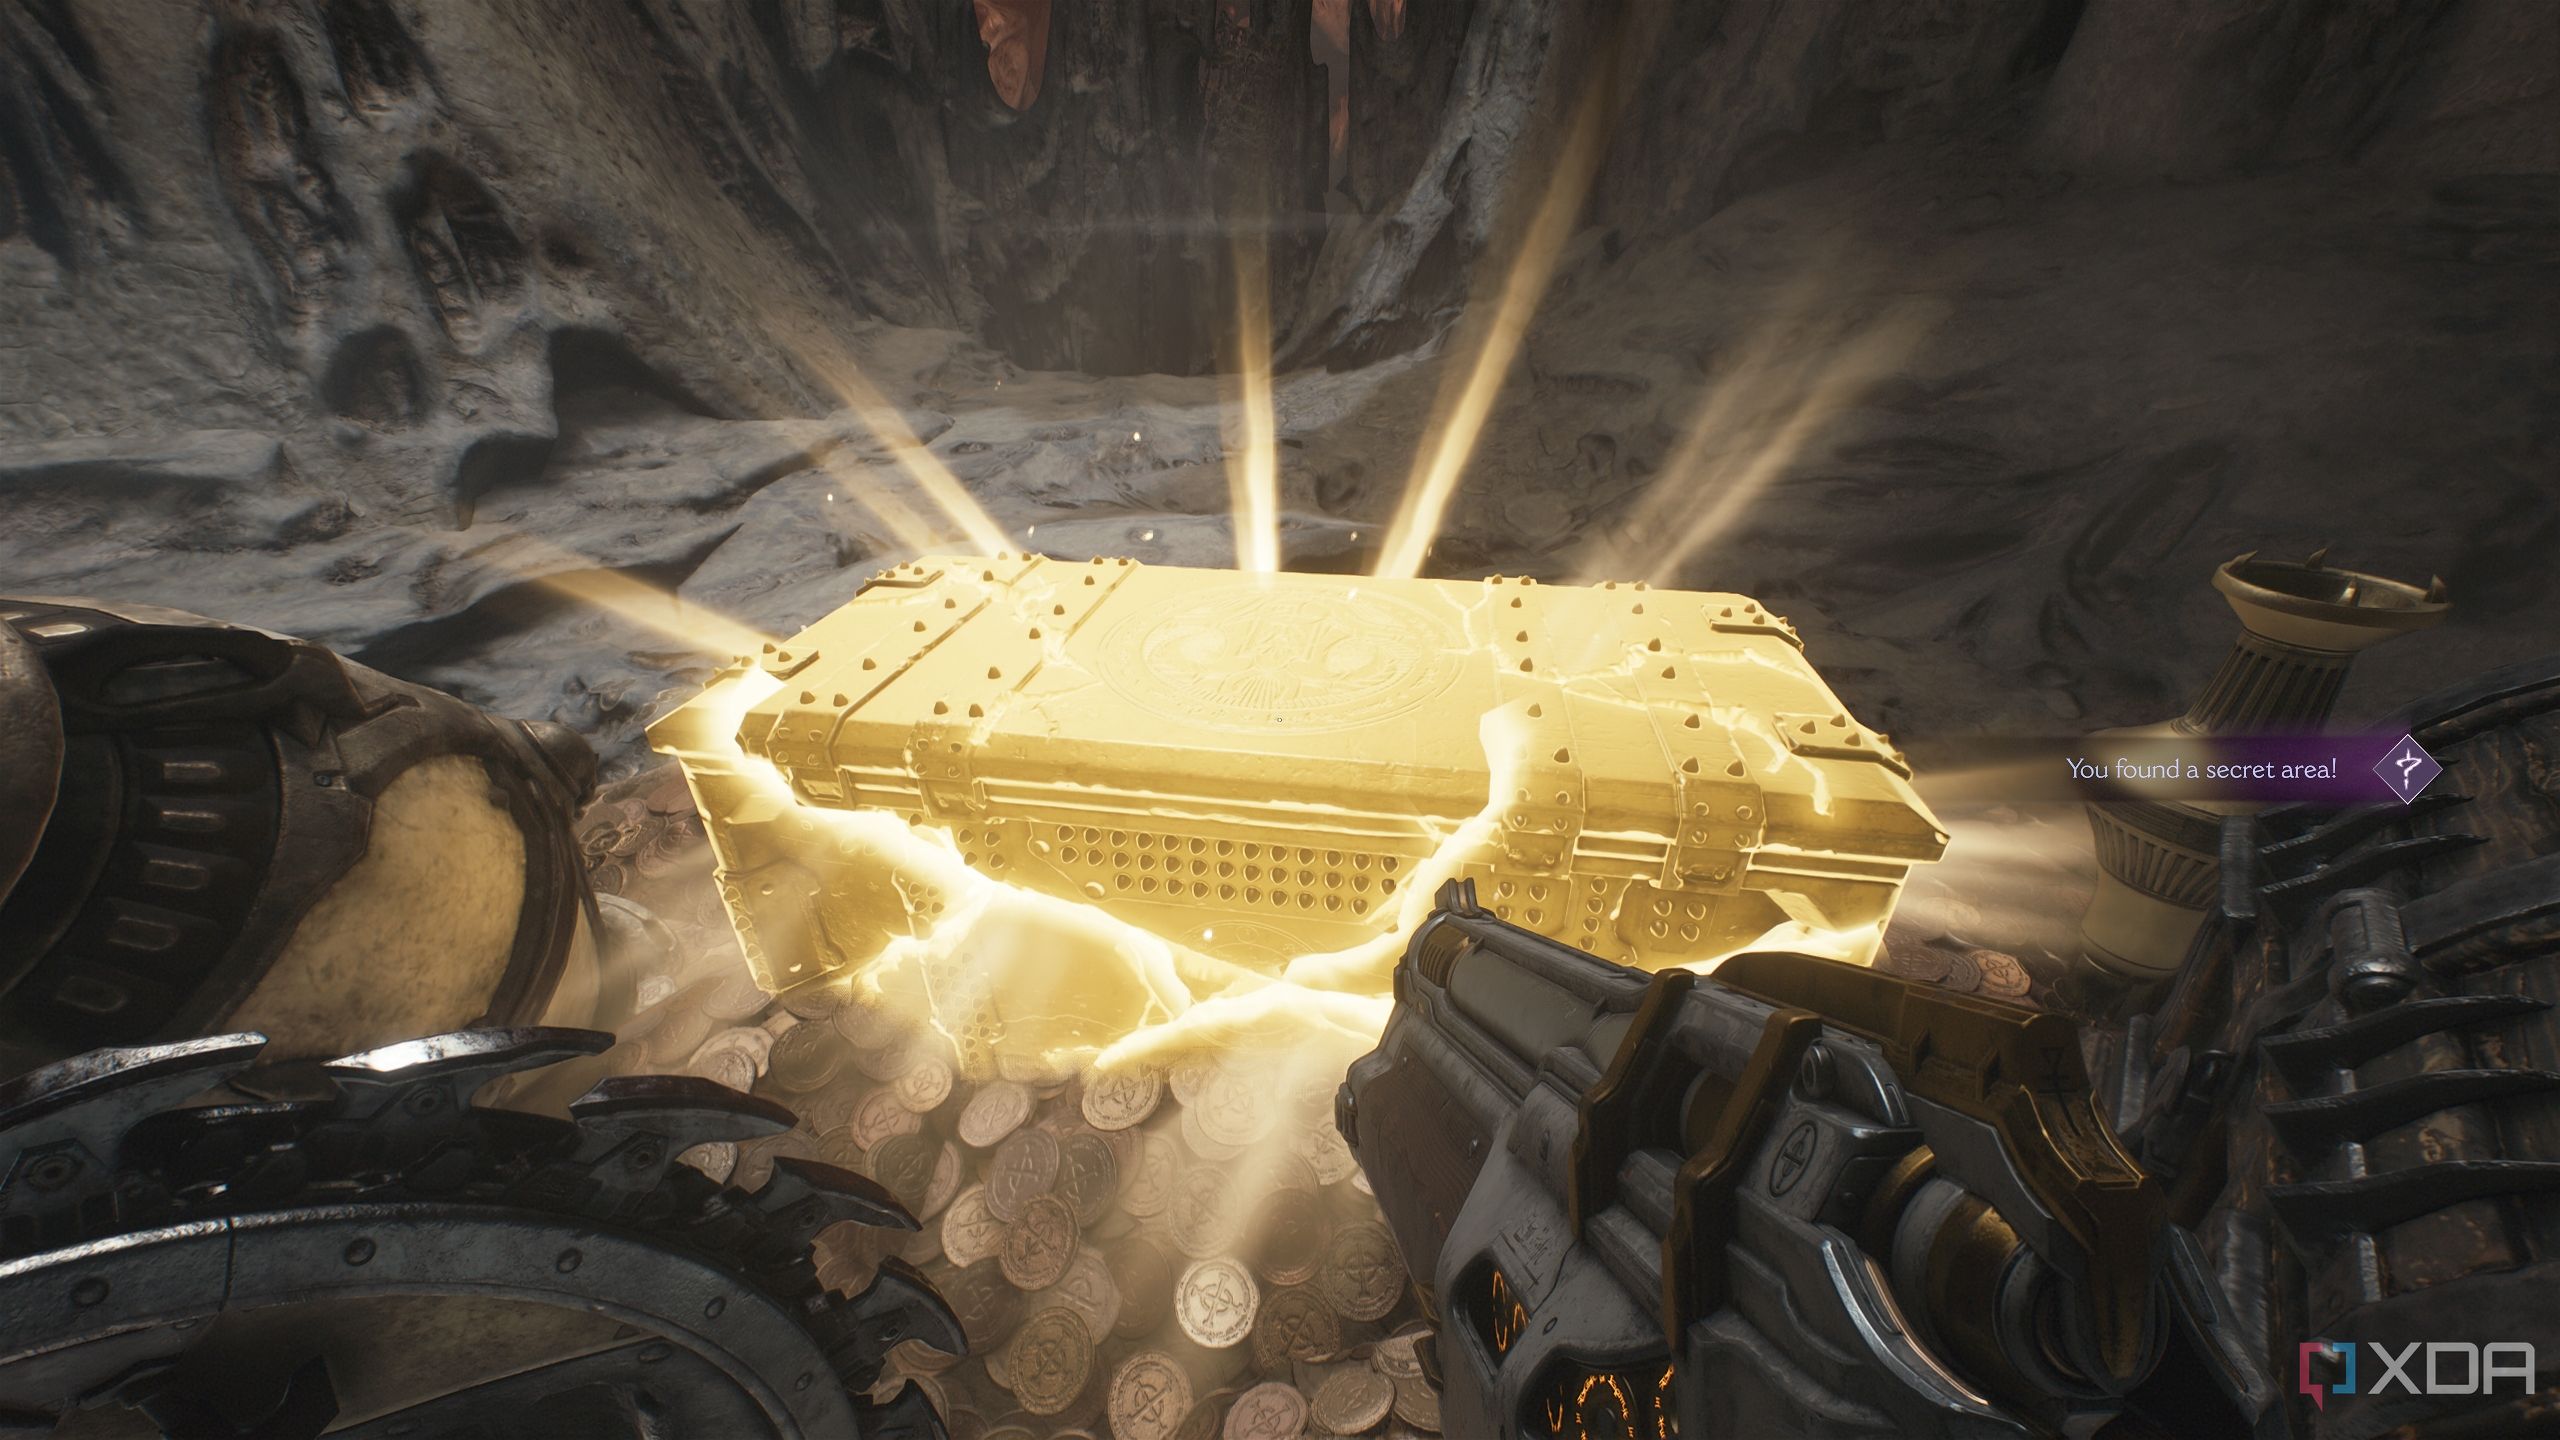
Jump down and head straight to open this gate and gain access to secret area 1 and a gold chest.
More trails of collectible gold bars
Plenty of gold to pick up in easy-to-miss lanes
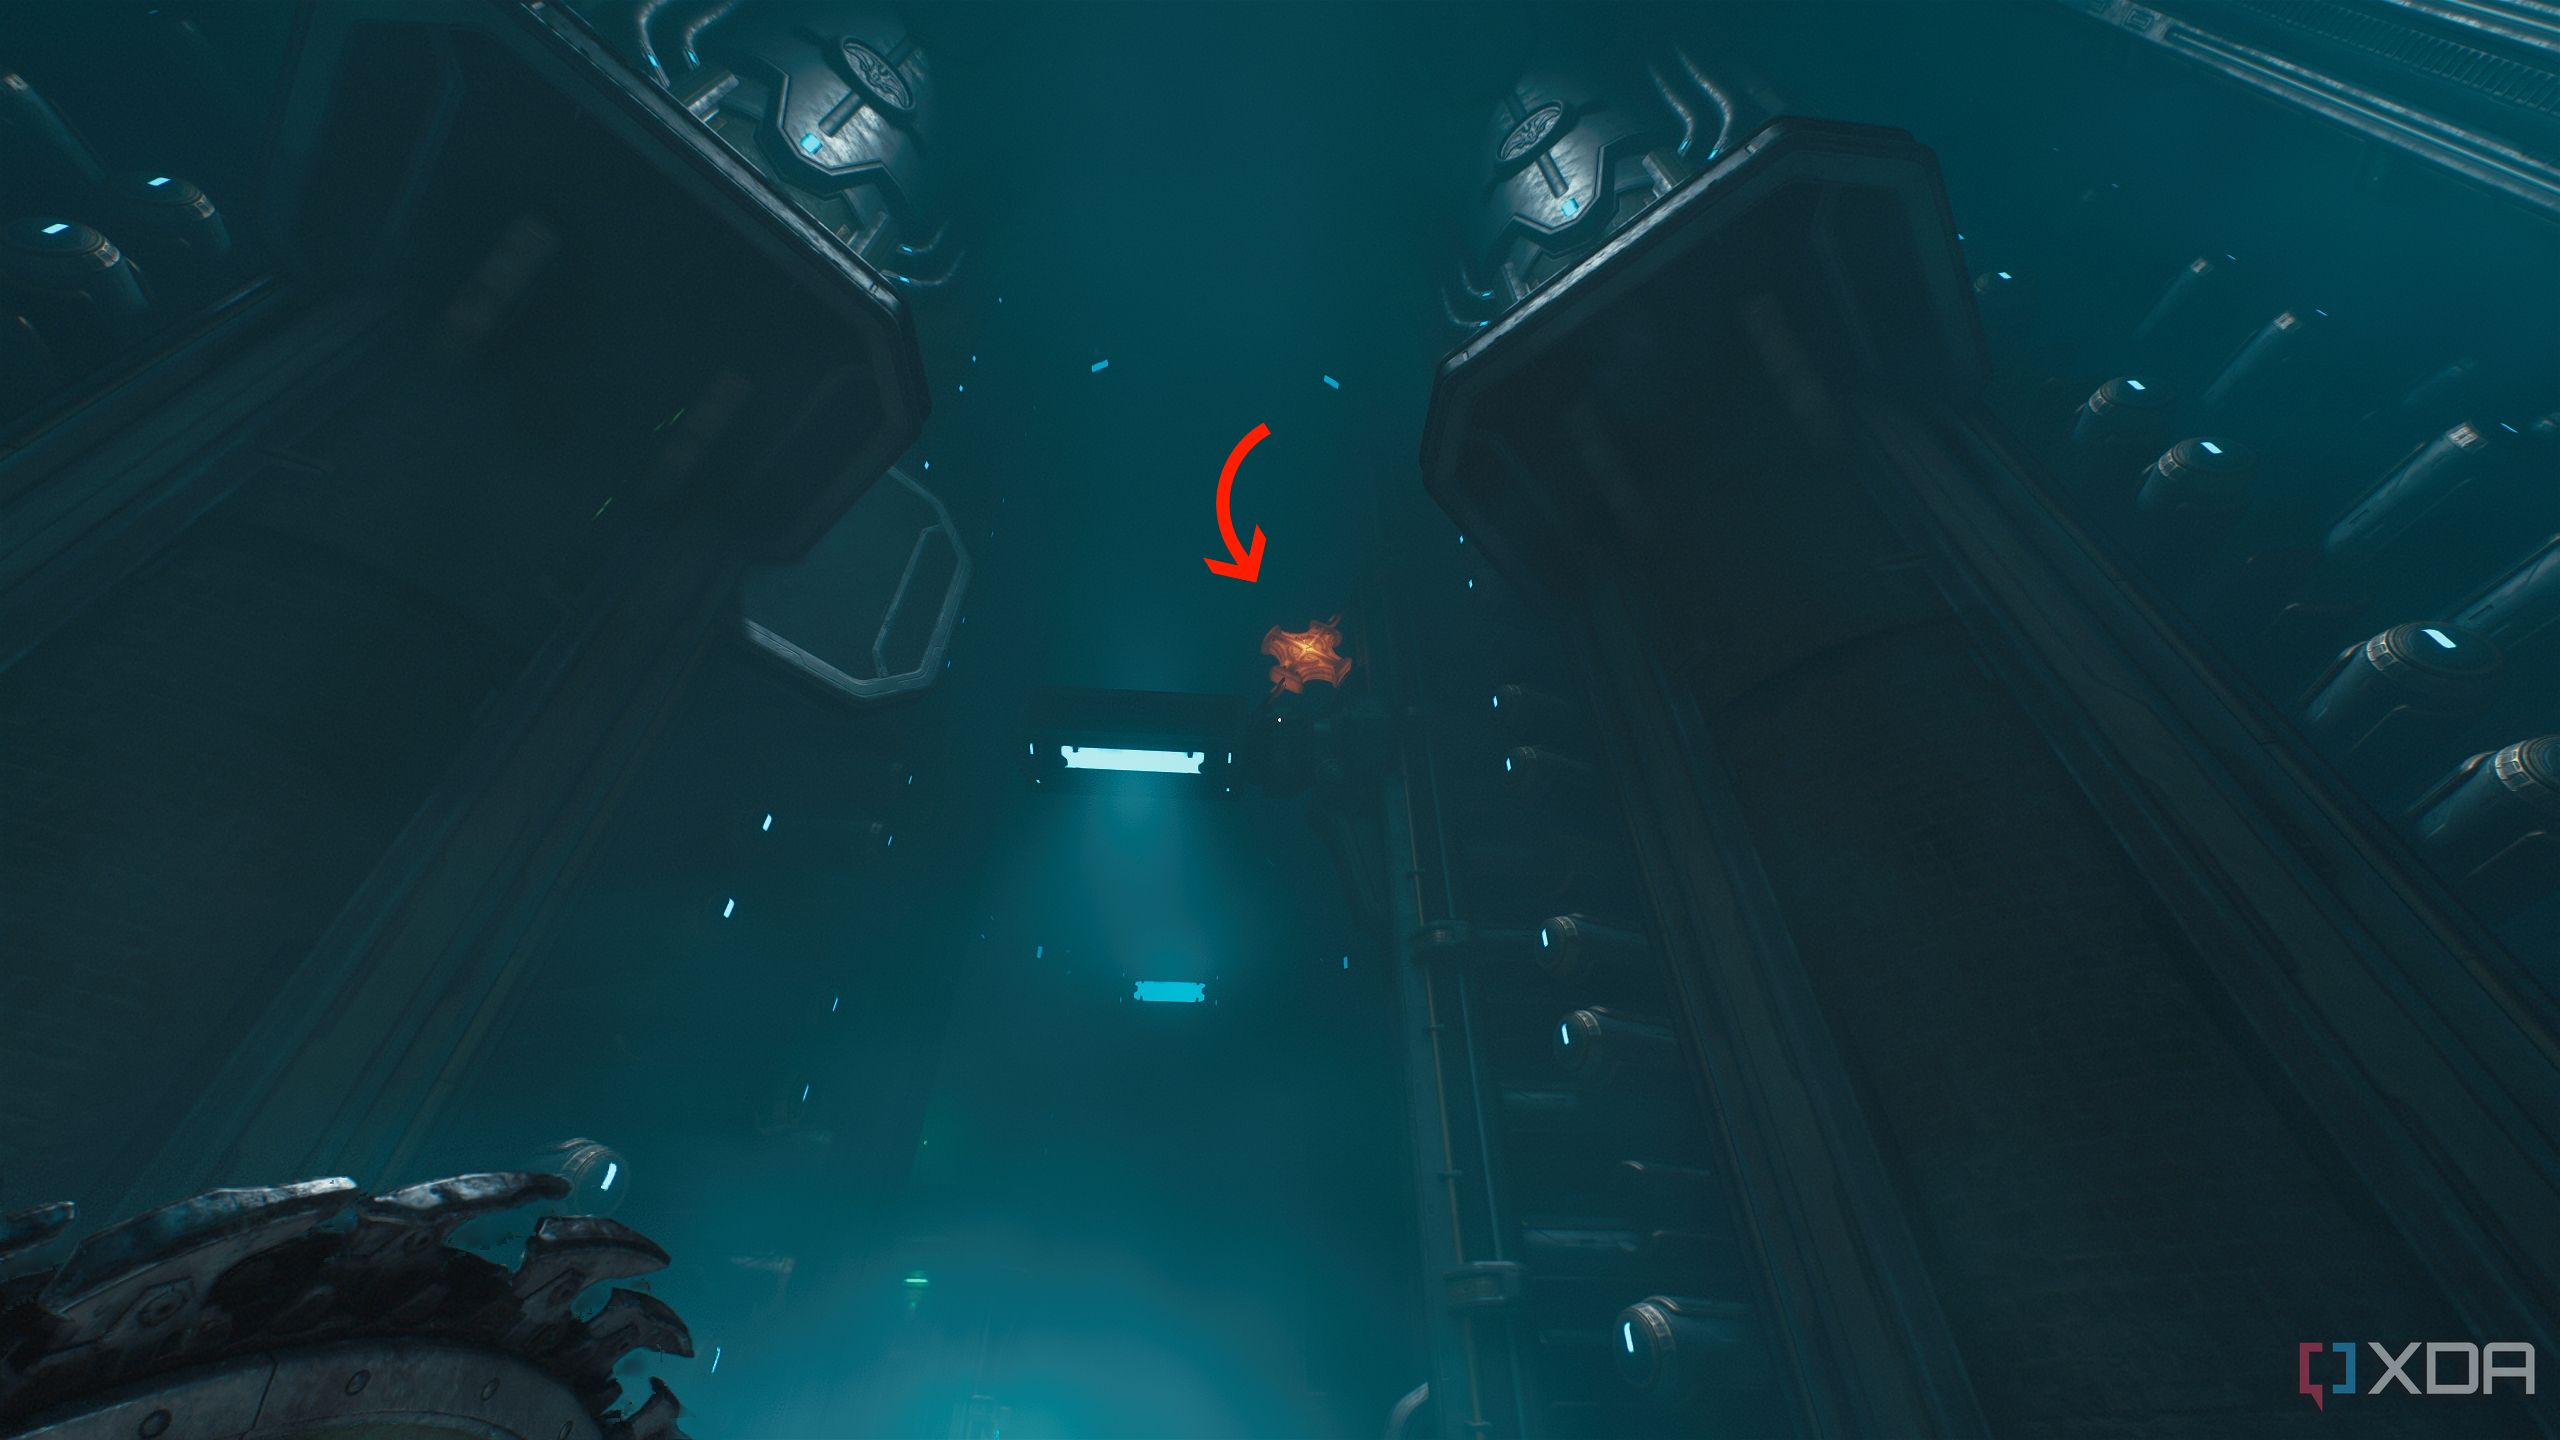
Head back to where you just gained the Demonic Essence. Here, instead of going through with the objective, head down and right to see a small path winding down.
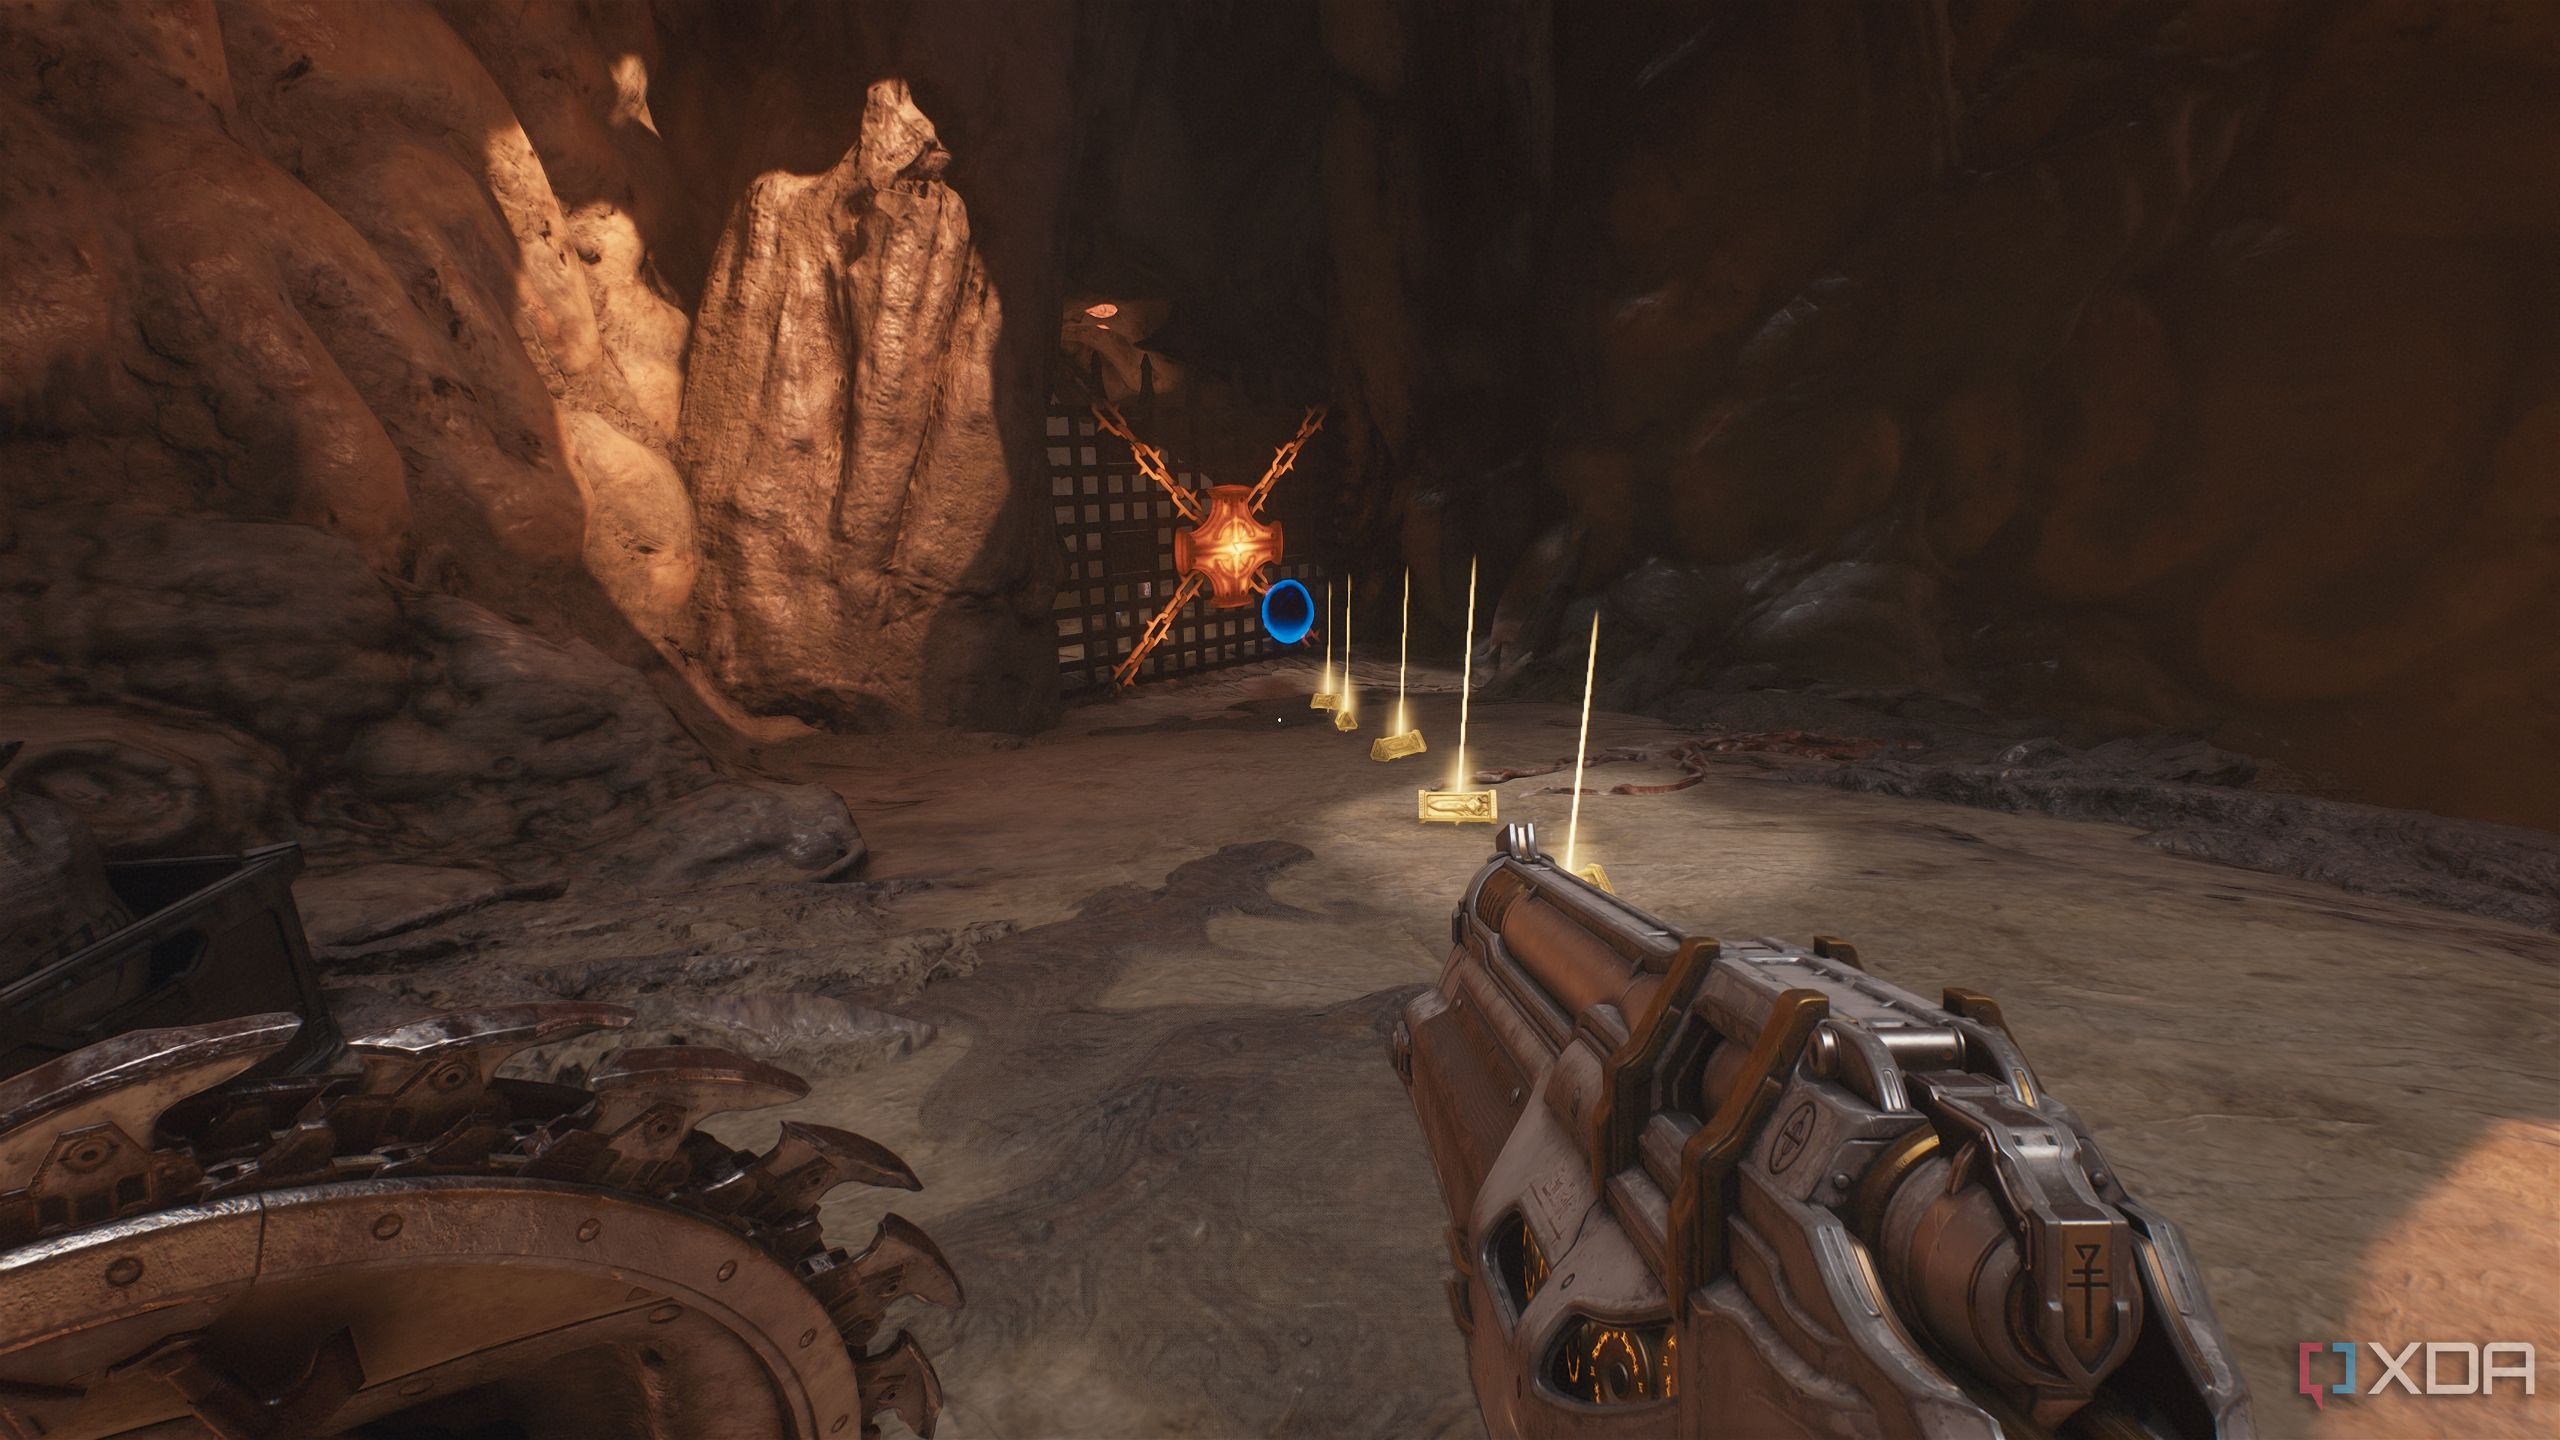
Follow it to find a trail of gold bars, a health-armor max pickup, and a heated metal cross.

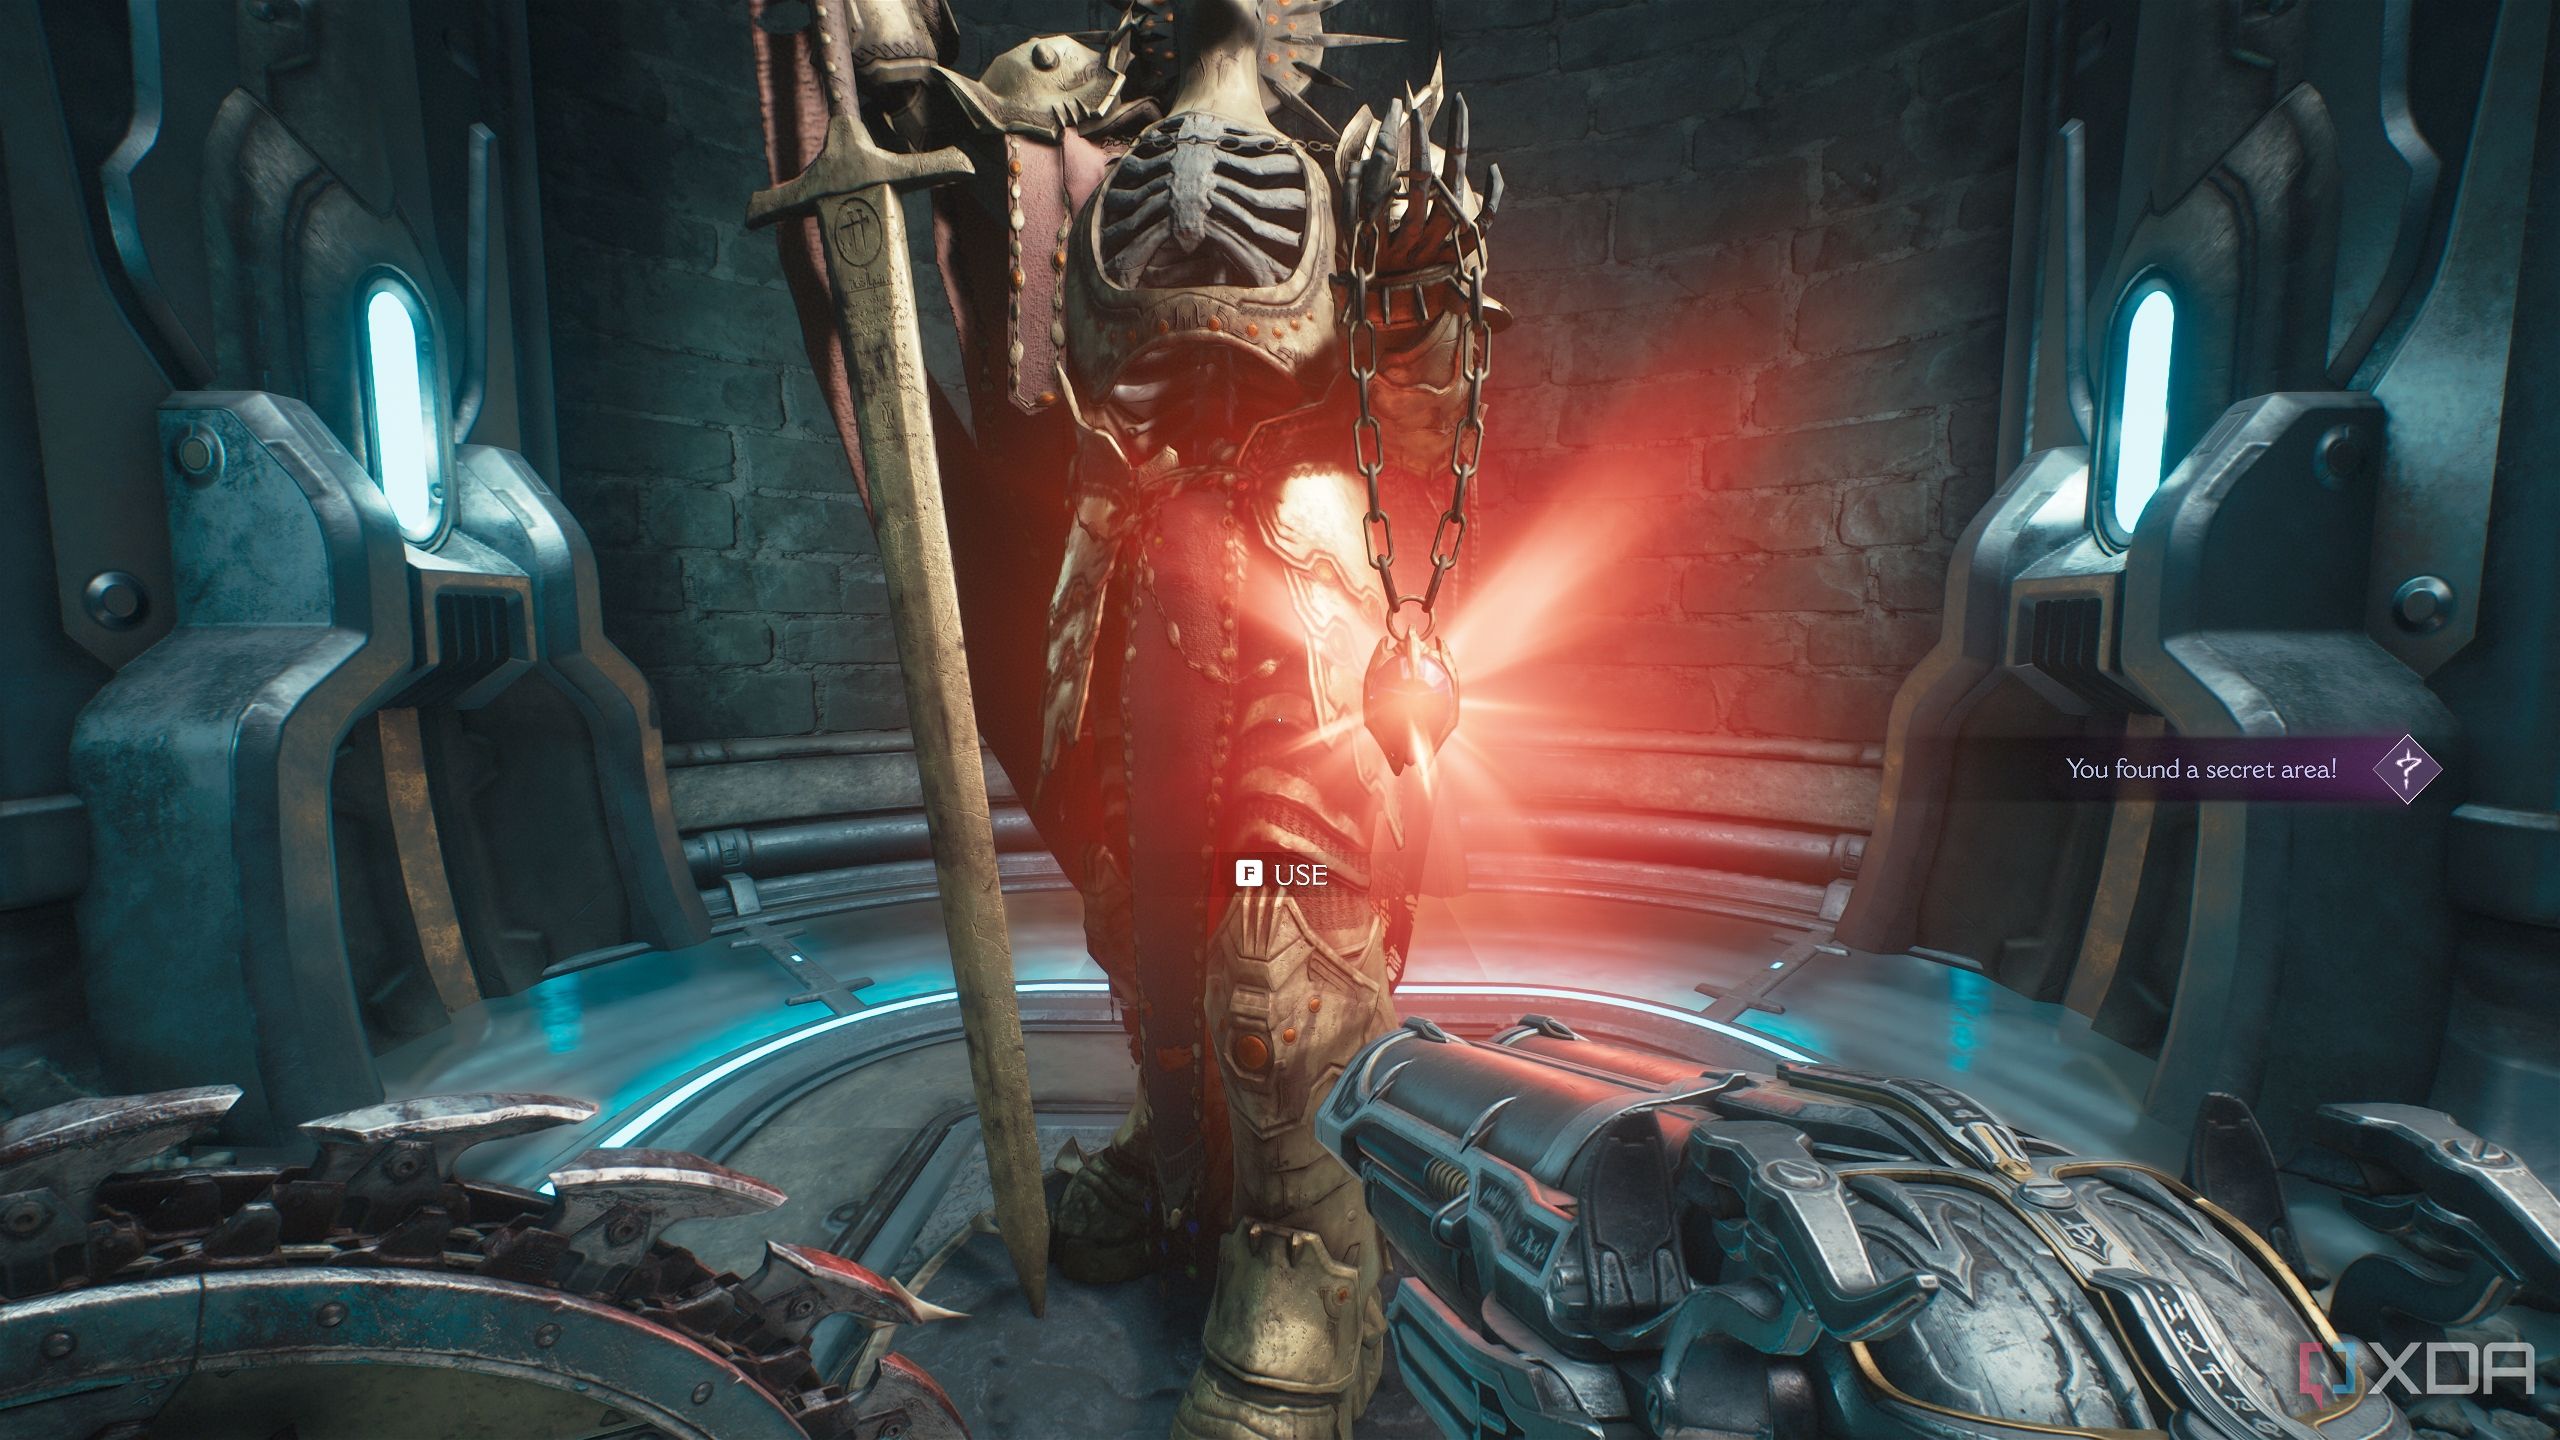
Break it down to reach a new puzzle, where you’ll see a wraithstone guarded by a magical seal.
We’ll get to it later. For now, you should see some more gold bars on the ground past the magical seal — pick those up.

Related
The DOOM series: Every core game ranked
What are the best entries of the DOOM series that you should play? Here's every core game ranked!
Secret area 2 and Wraithstone lion statue puzzle
Plenty of legwork involved for this one

Head back to the Sentinel Shrine, and instead of going in the first lane to the left, enter the second one instead. Here, make sure you pick up trails of gold bars on both the left and right sides of the arena, as marked above.
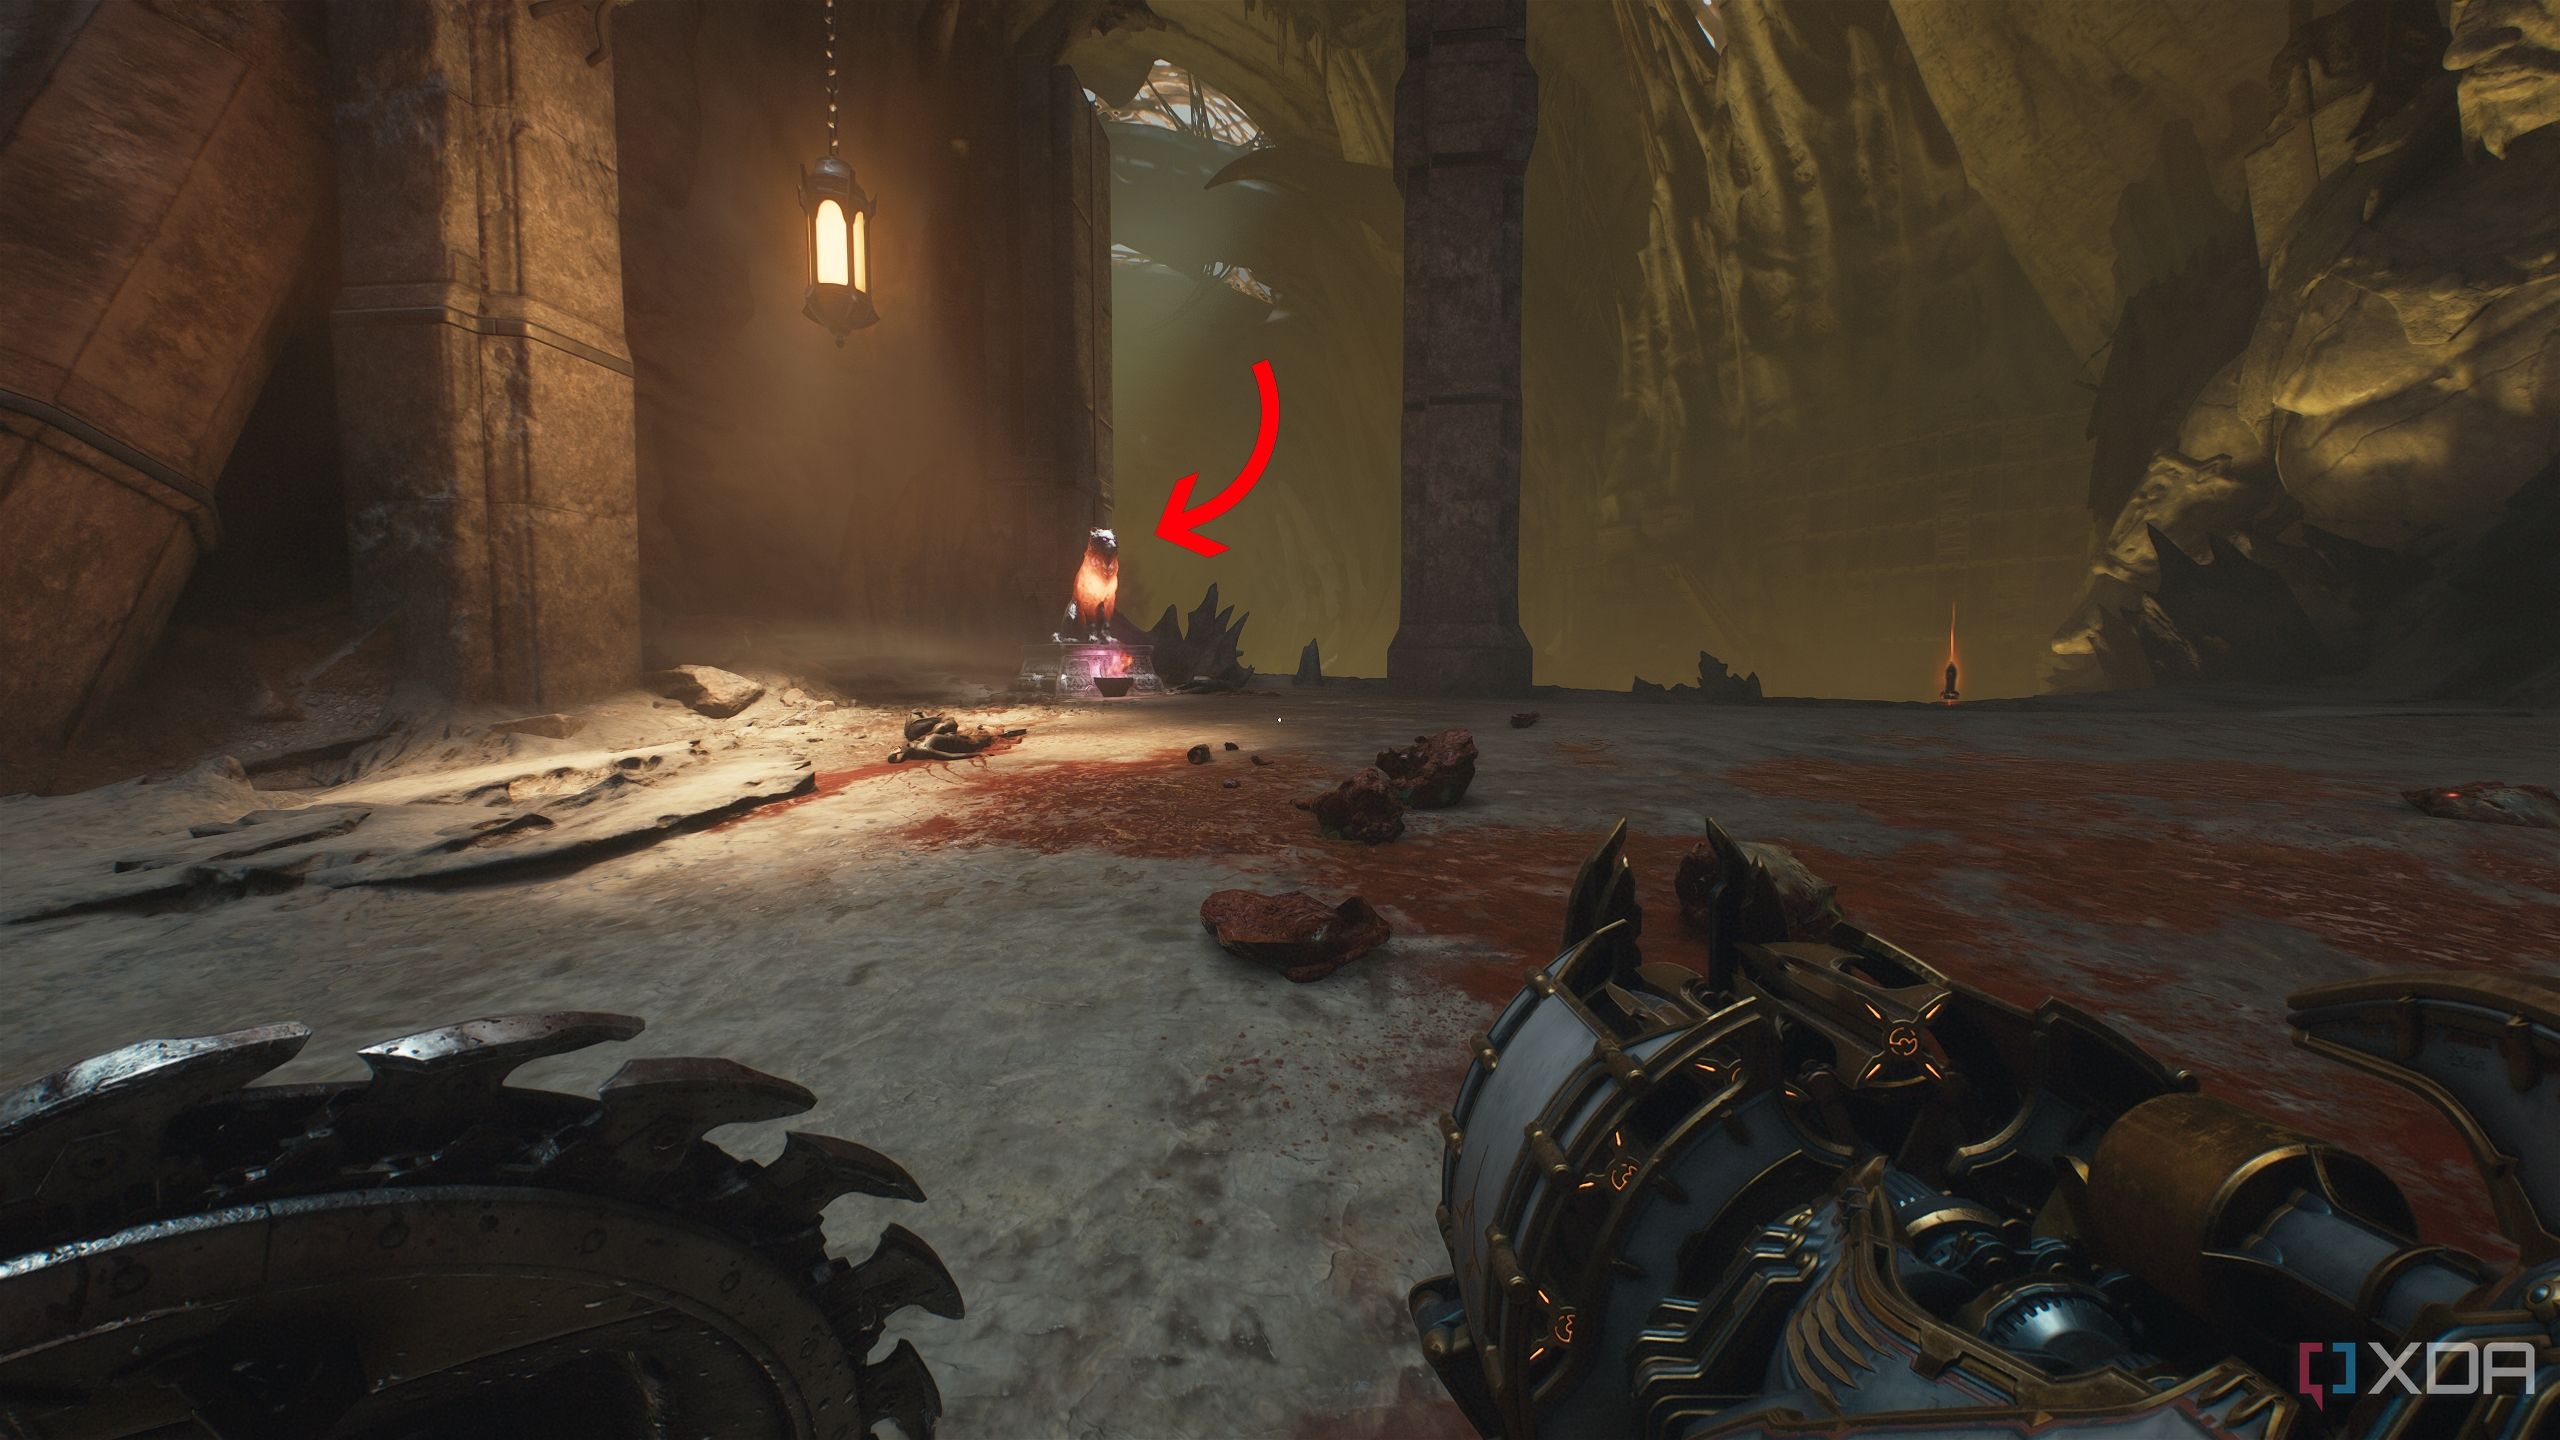
Now, enter the small arena ahead to fight a Hellknight and a Vagary. Once the enemies are down, you’ll see the demonic seal lift from a lion-seal statue. This is what you need to break the seal and acquire the first wraithstone in the game. Simply go ahead and throw your shield at the statue to break it.

Now, head back to the sentinel shrine, and go back to where you started the level from.
You’ll remember the purple-locked gate which is to your left now.
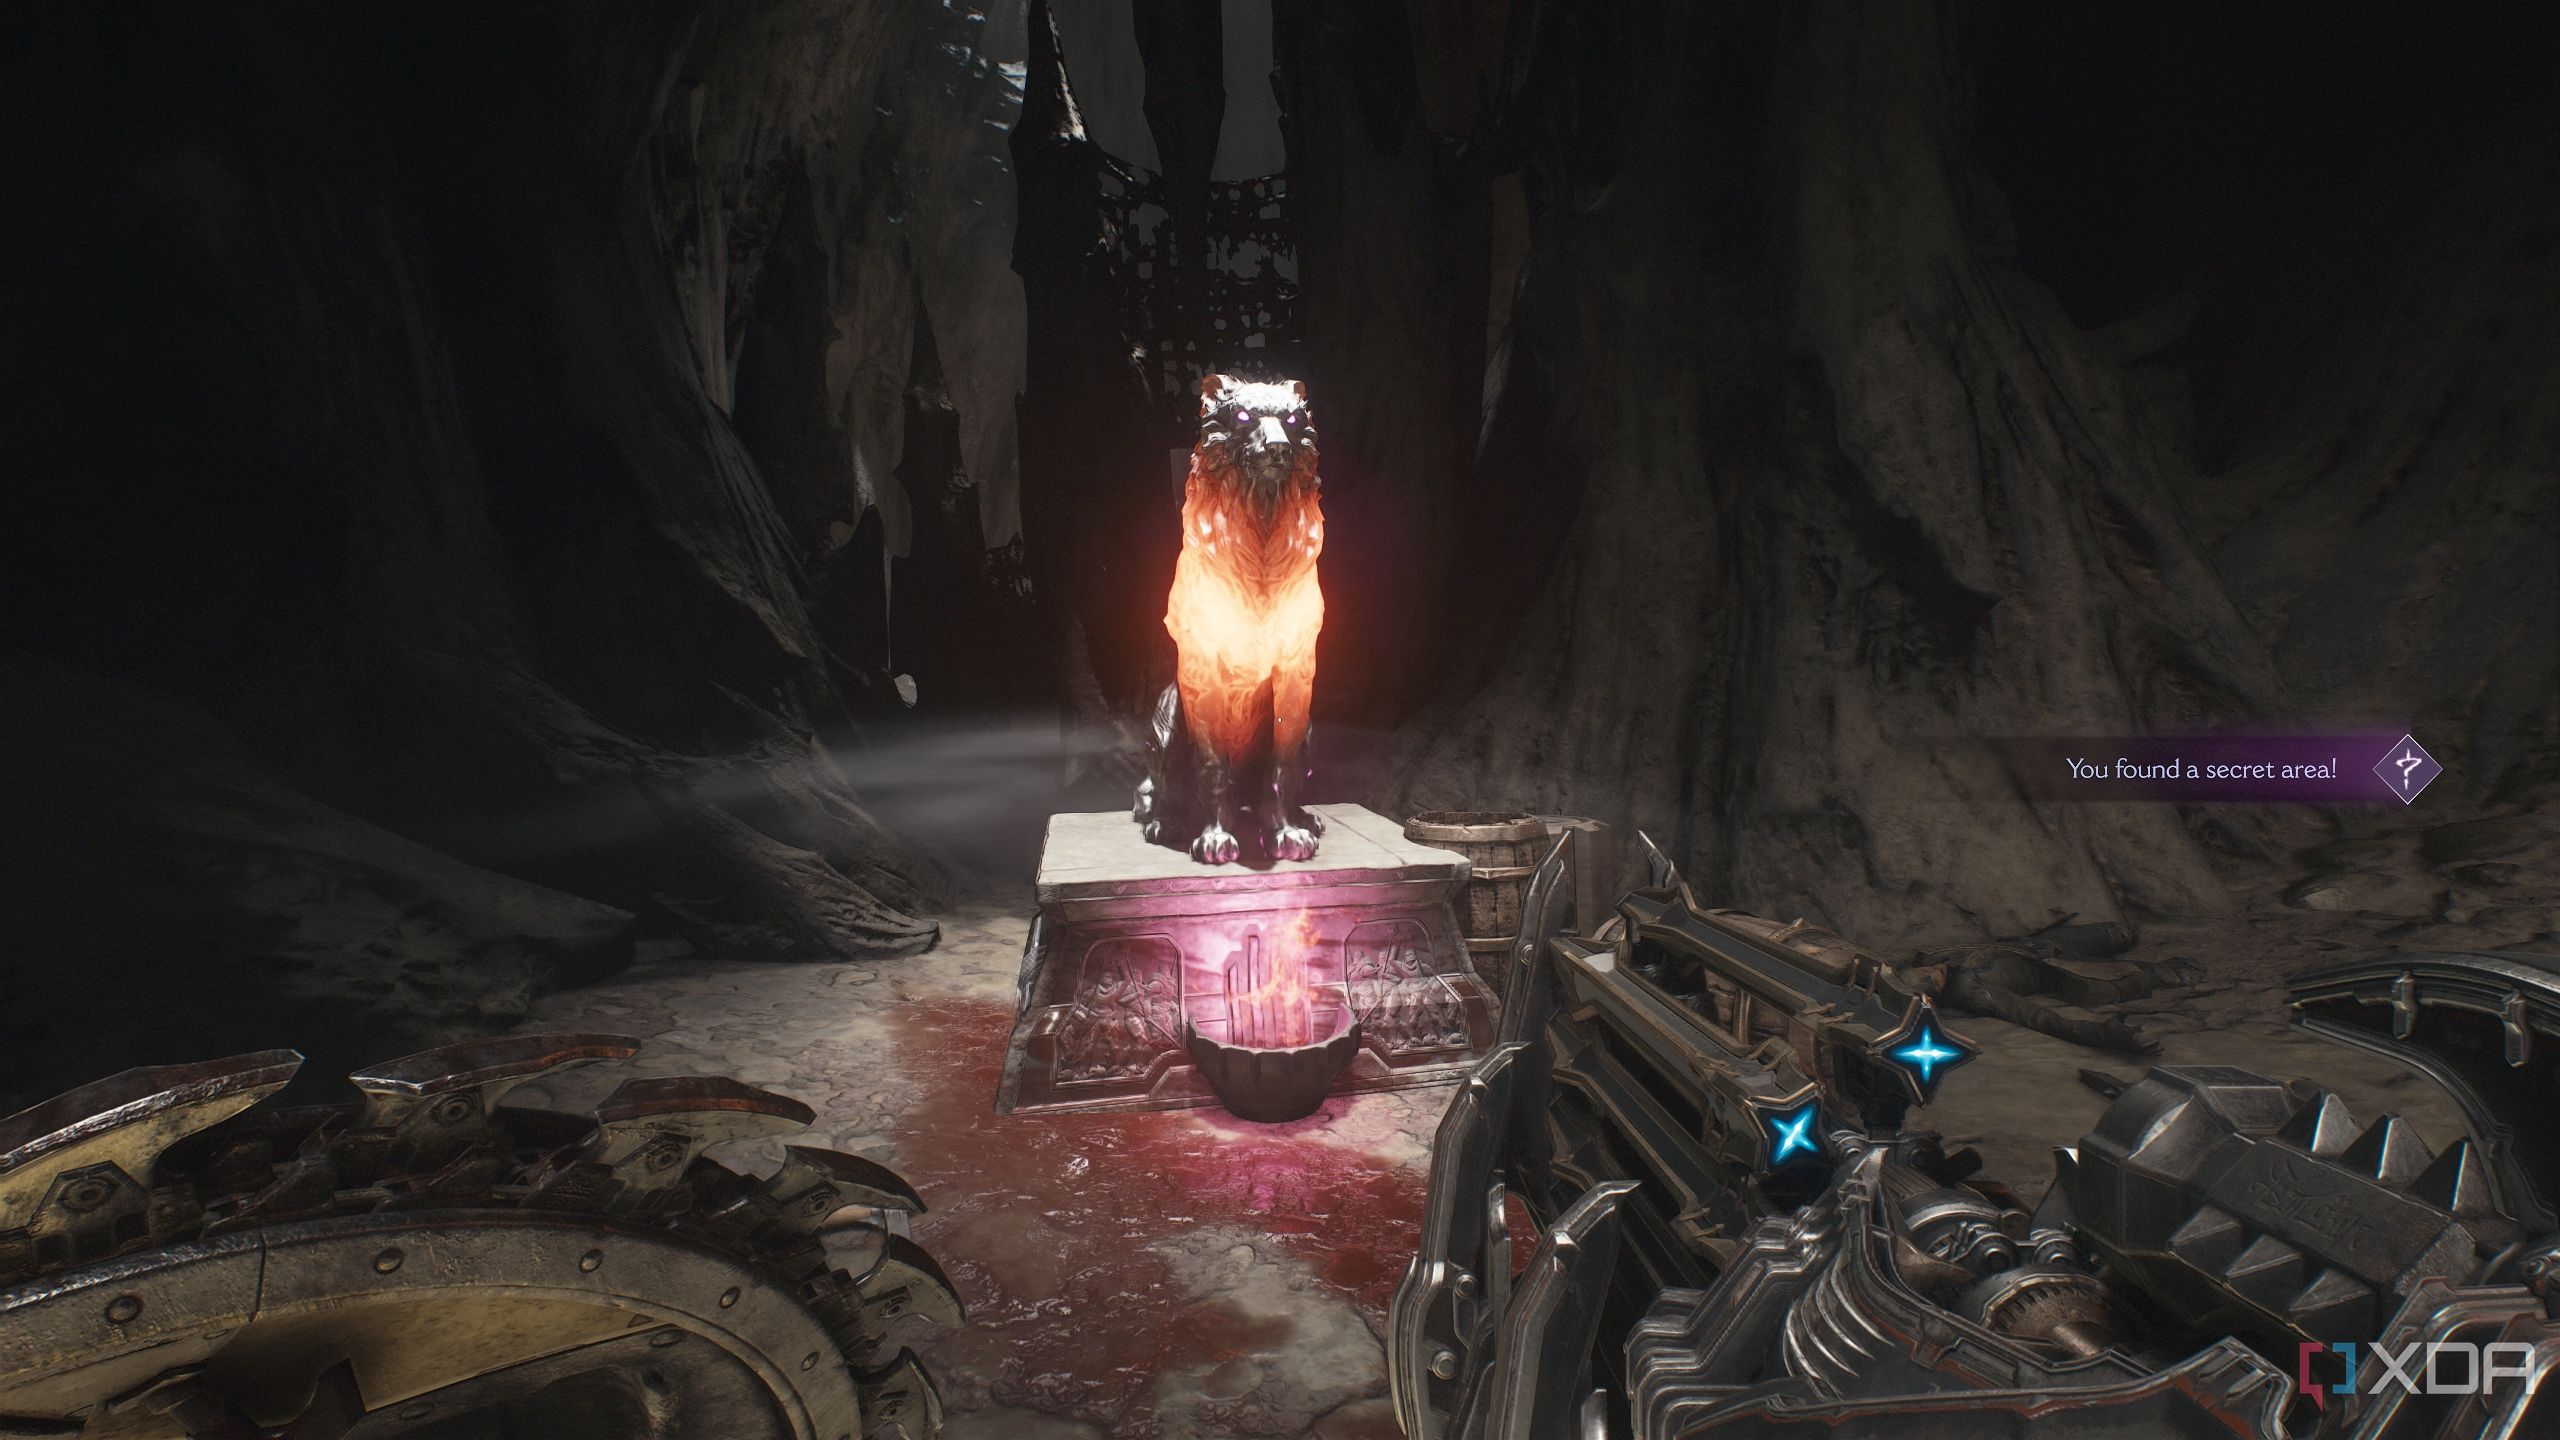
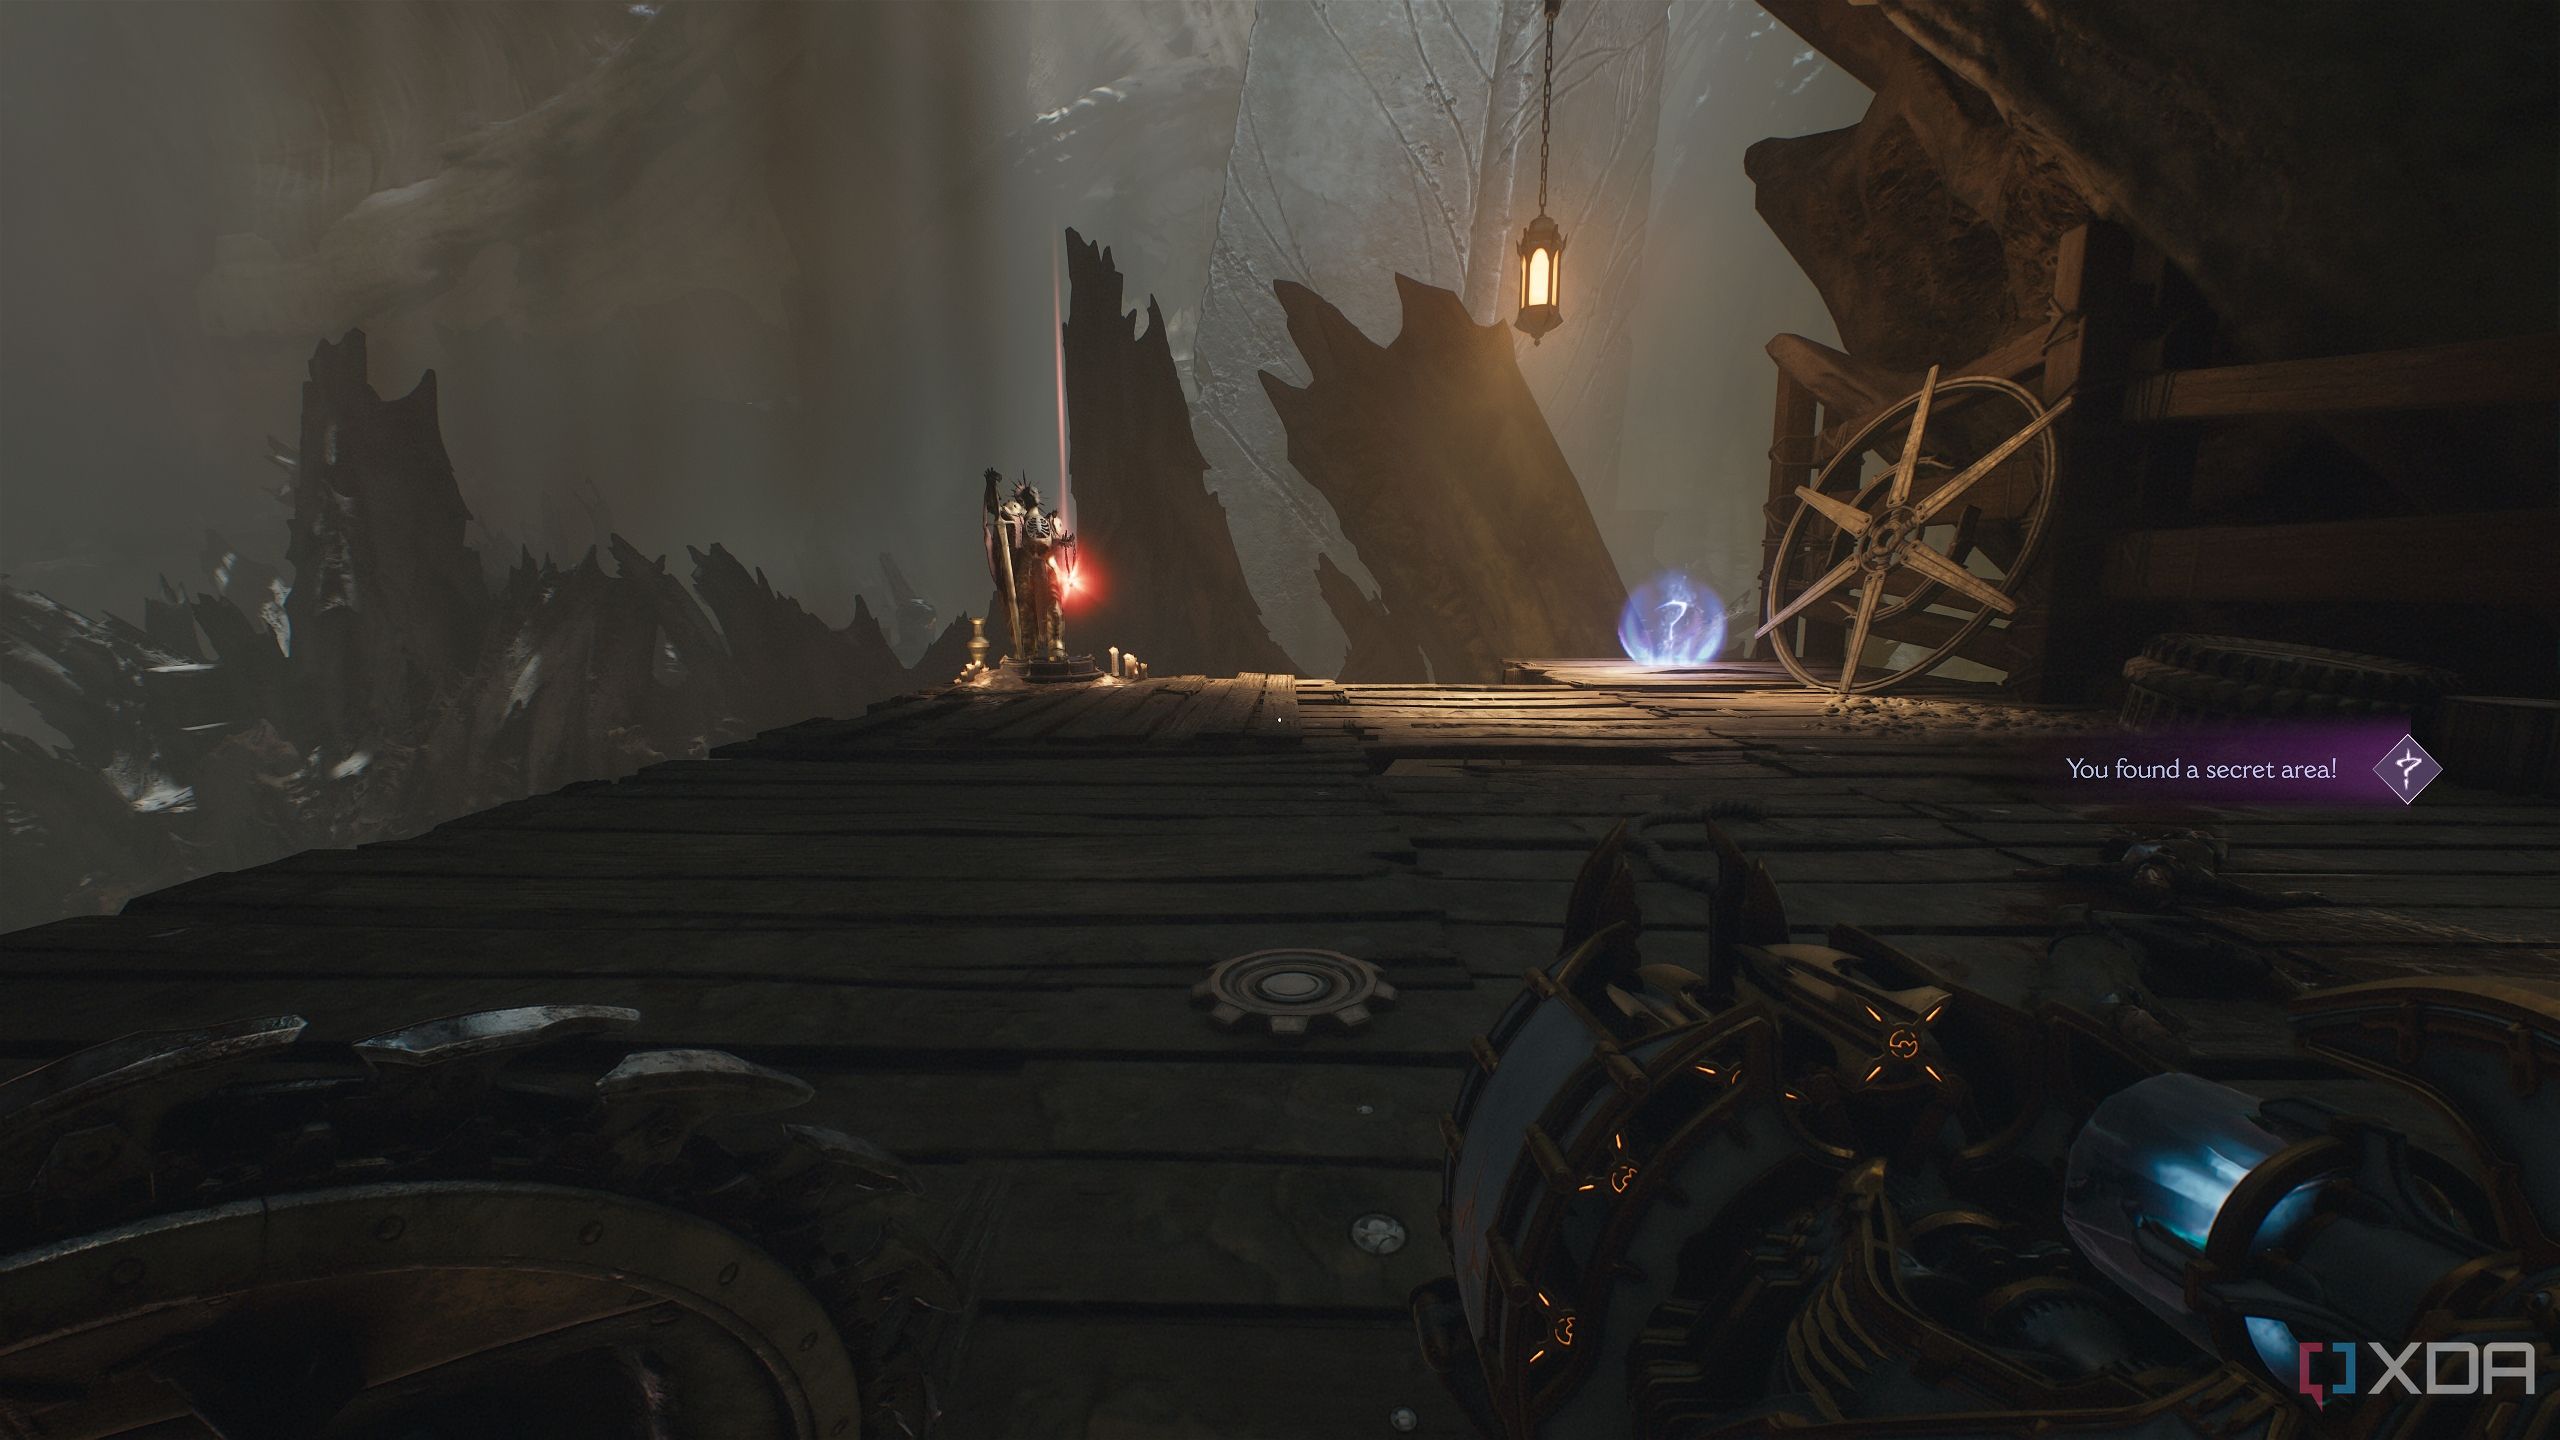
Approach it and enter the area to unlock secret area 2 and another lion statue. A Shadow Imp Stalker will attack here. Deal with it and break the statue, and you’ll be ambushed right outside.
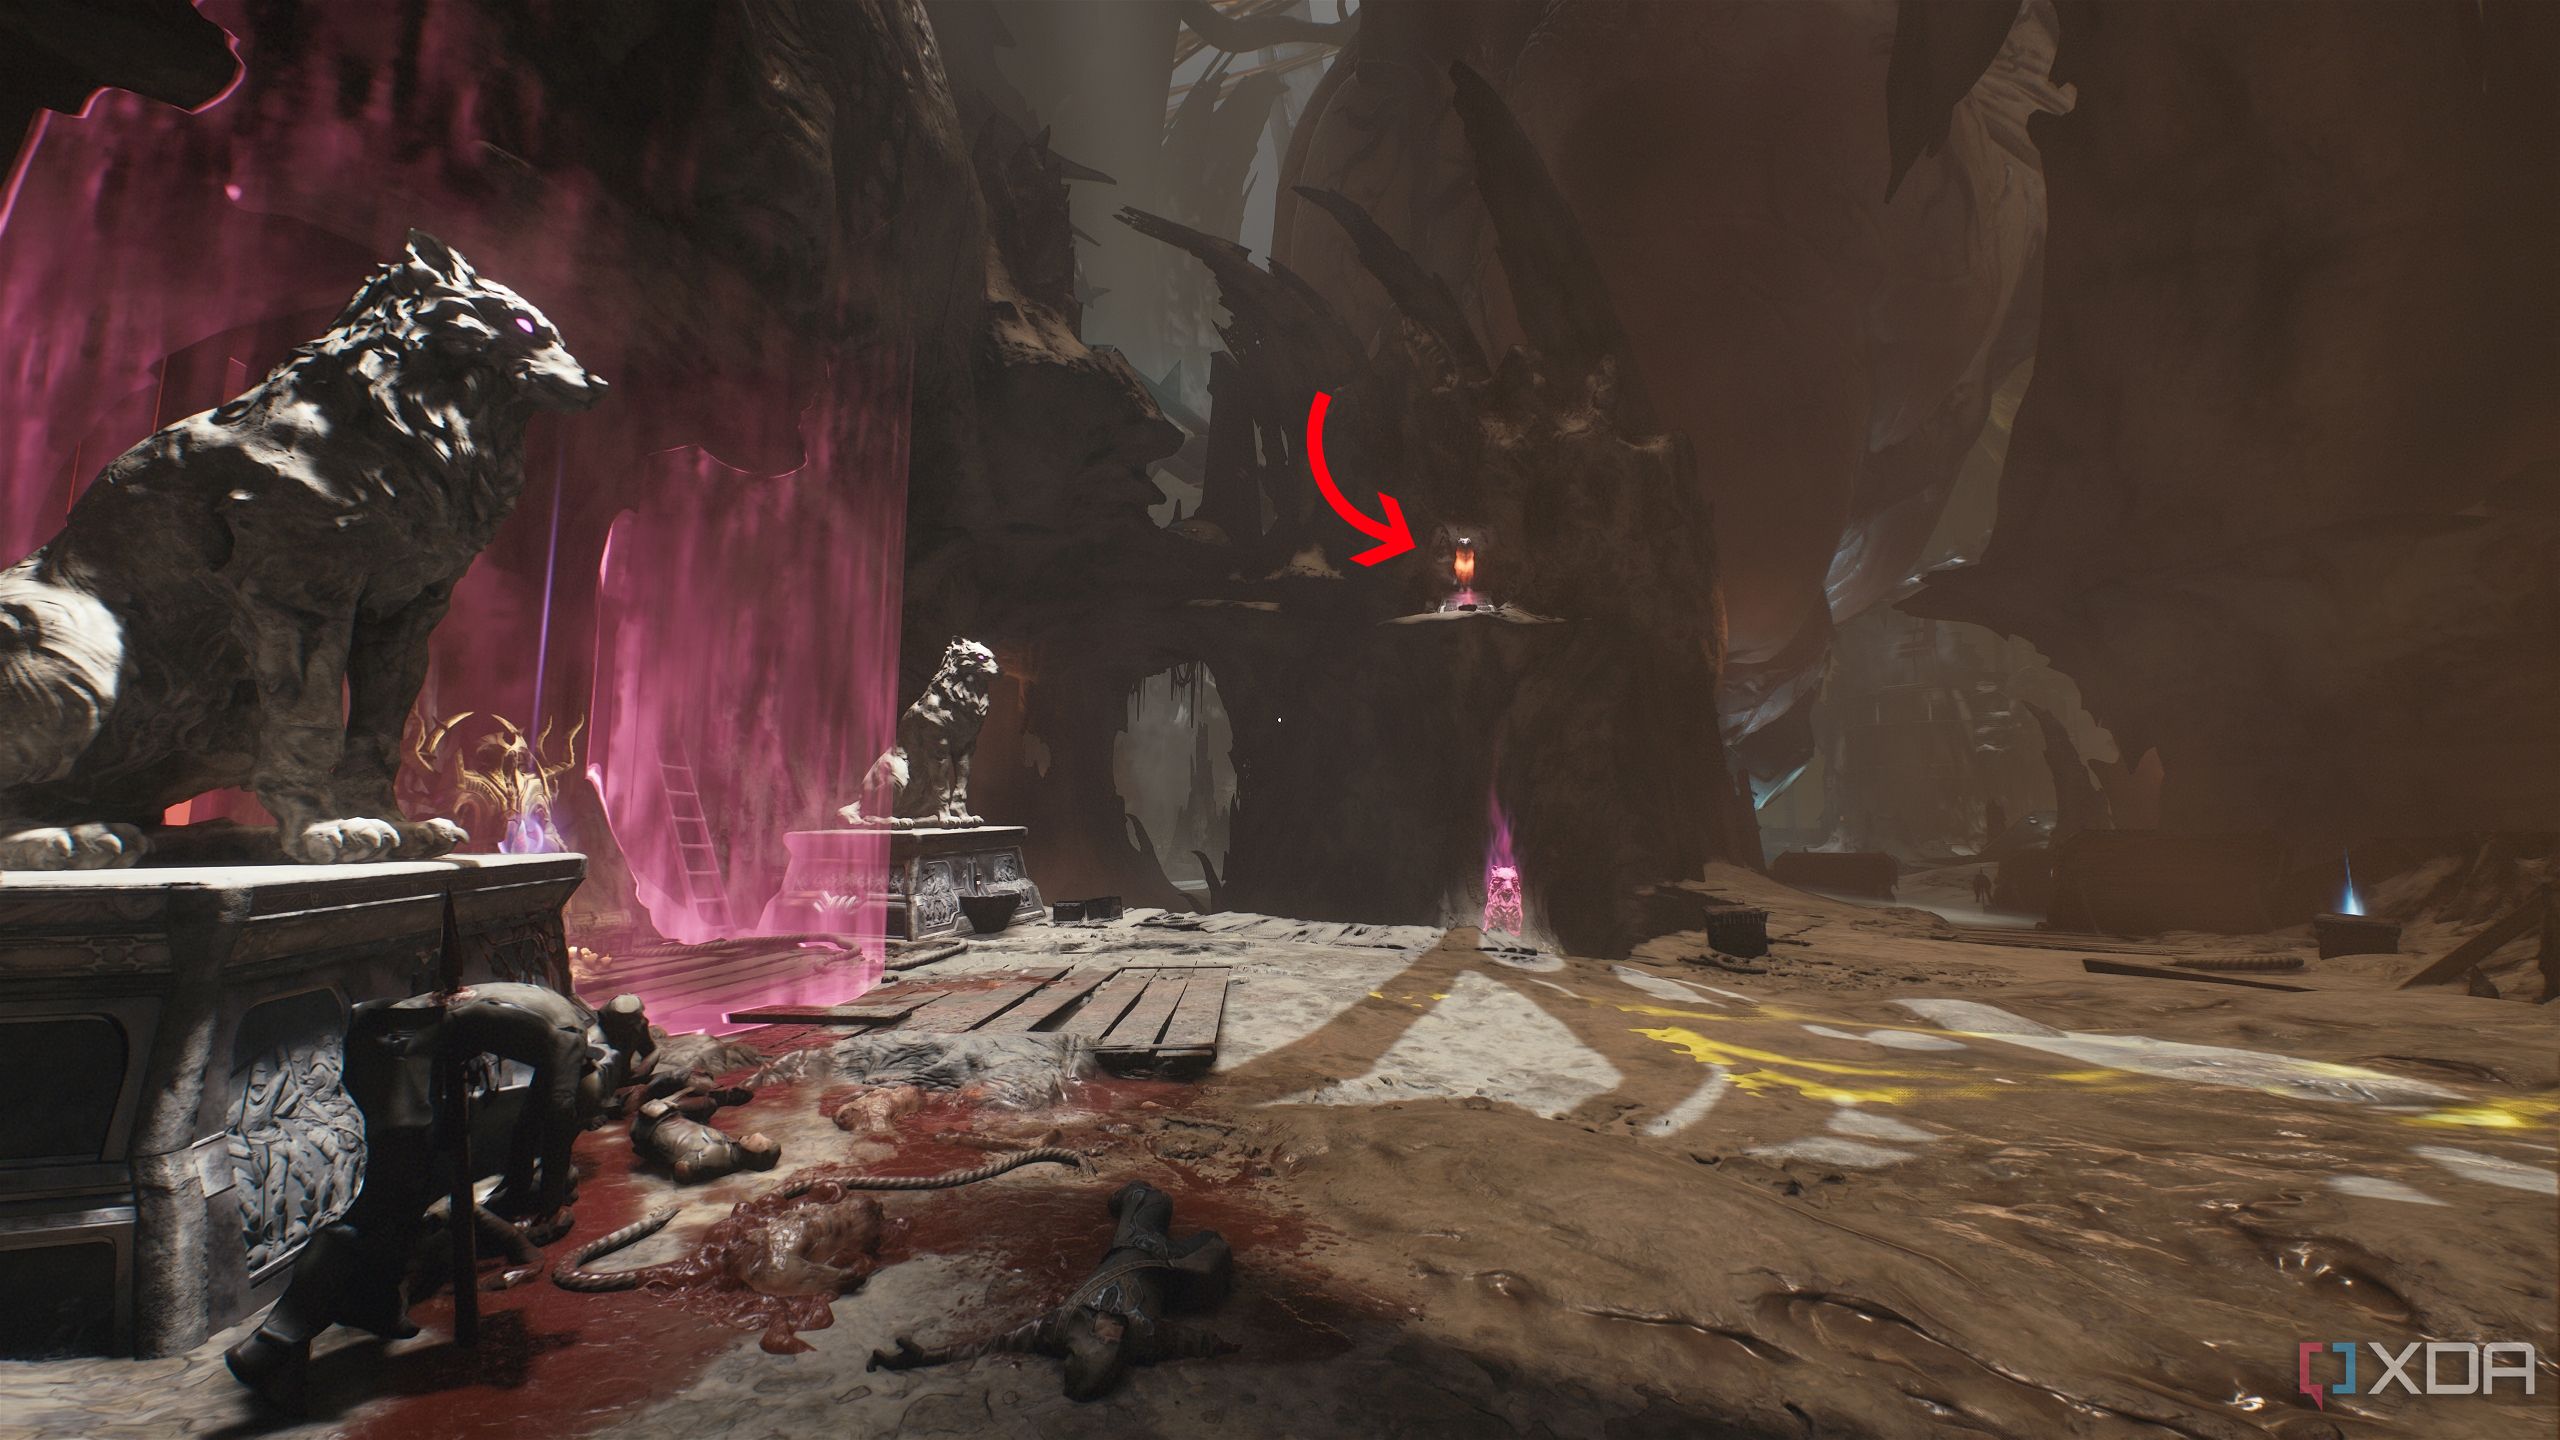
Go back towards the locked wraithstone where you first saw the puzzle. Here, for the third statue, simply look above the three bigger statues, and you’ll see the third seal to break.
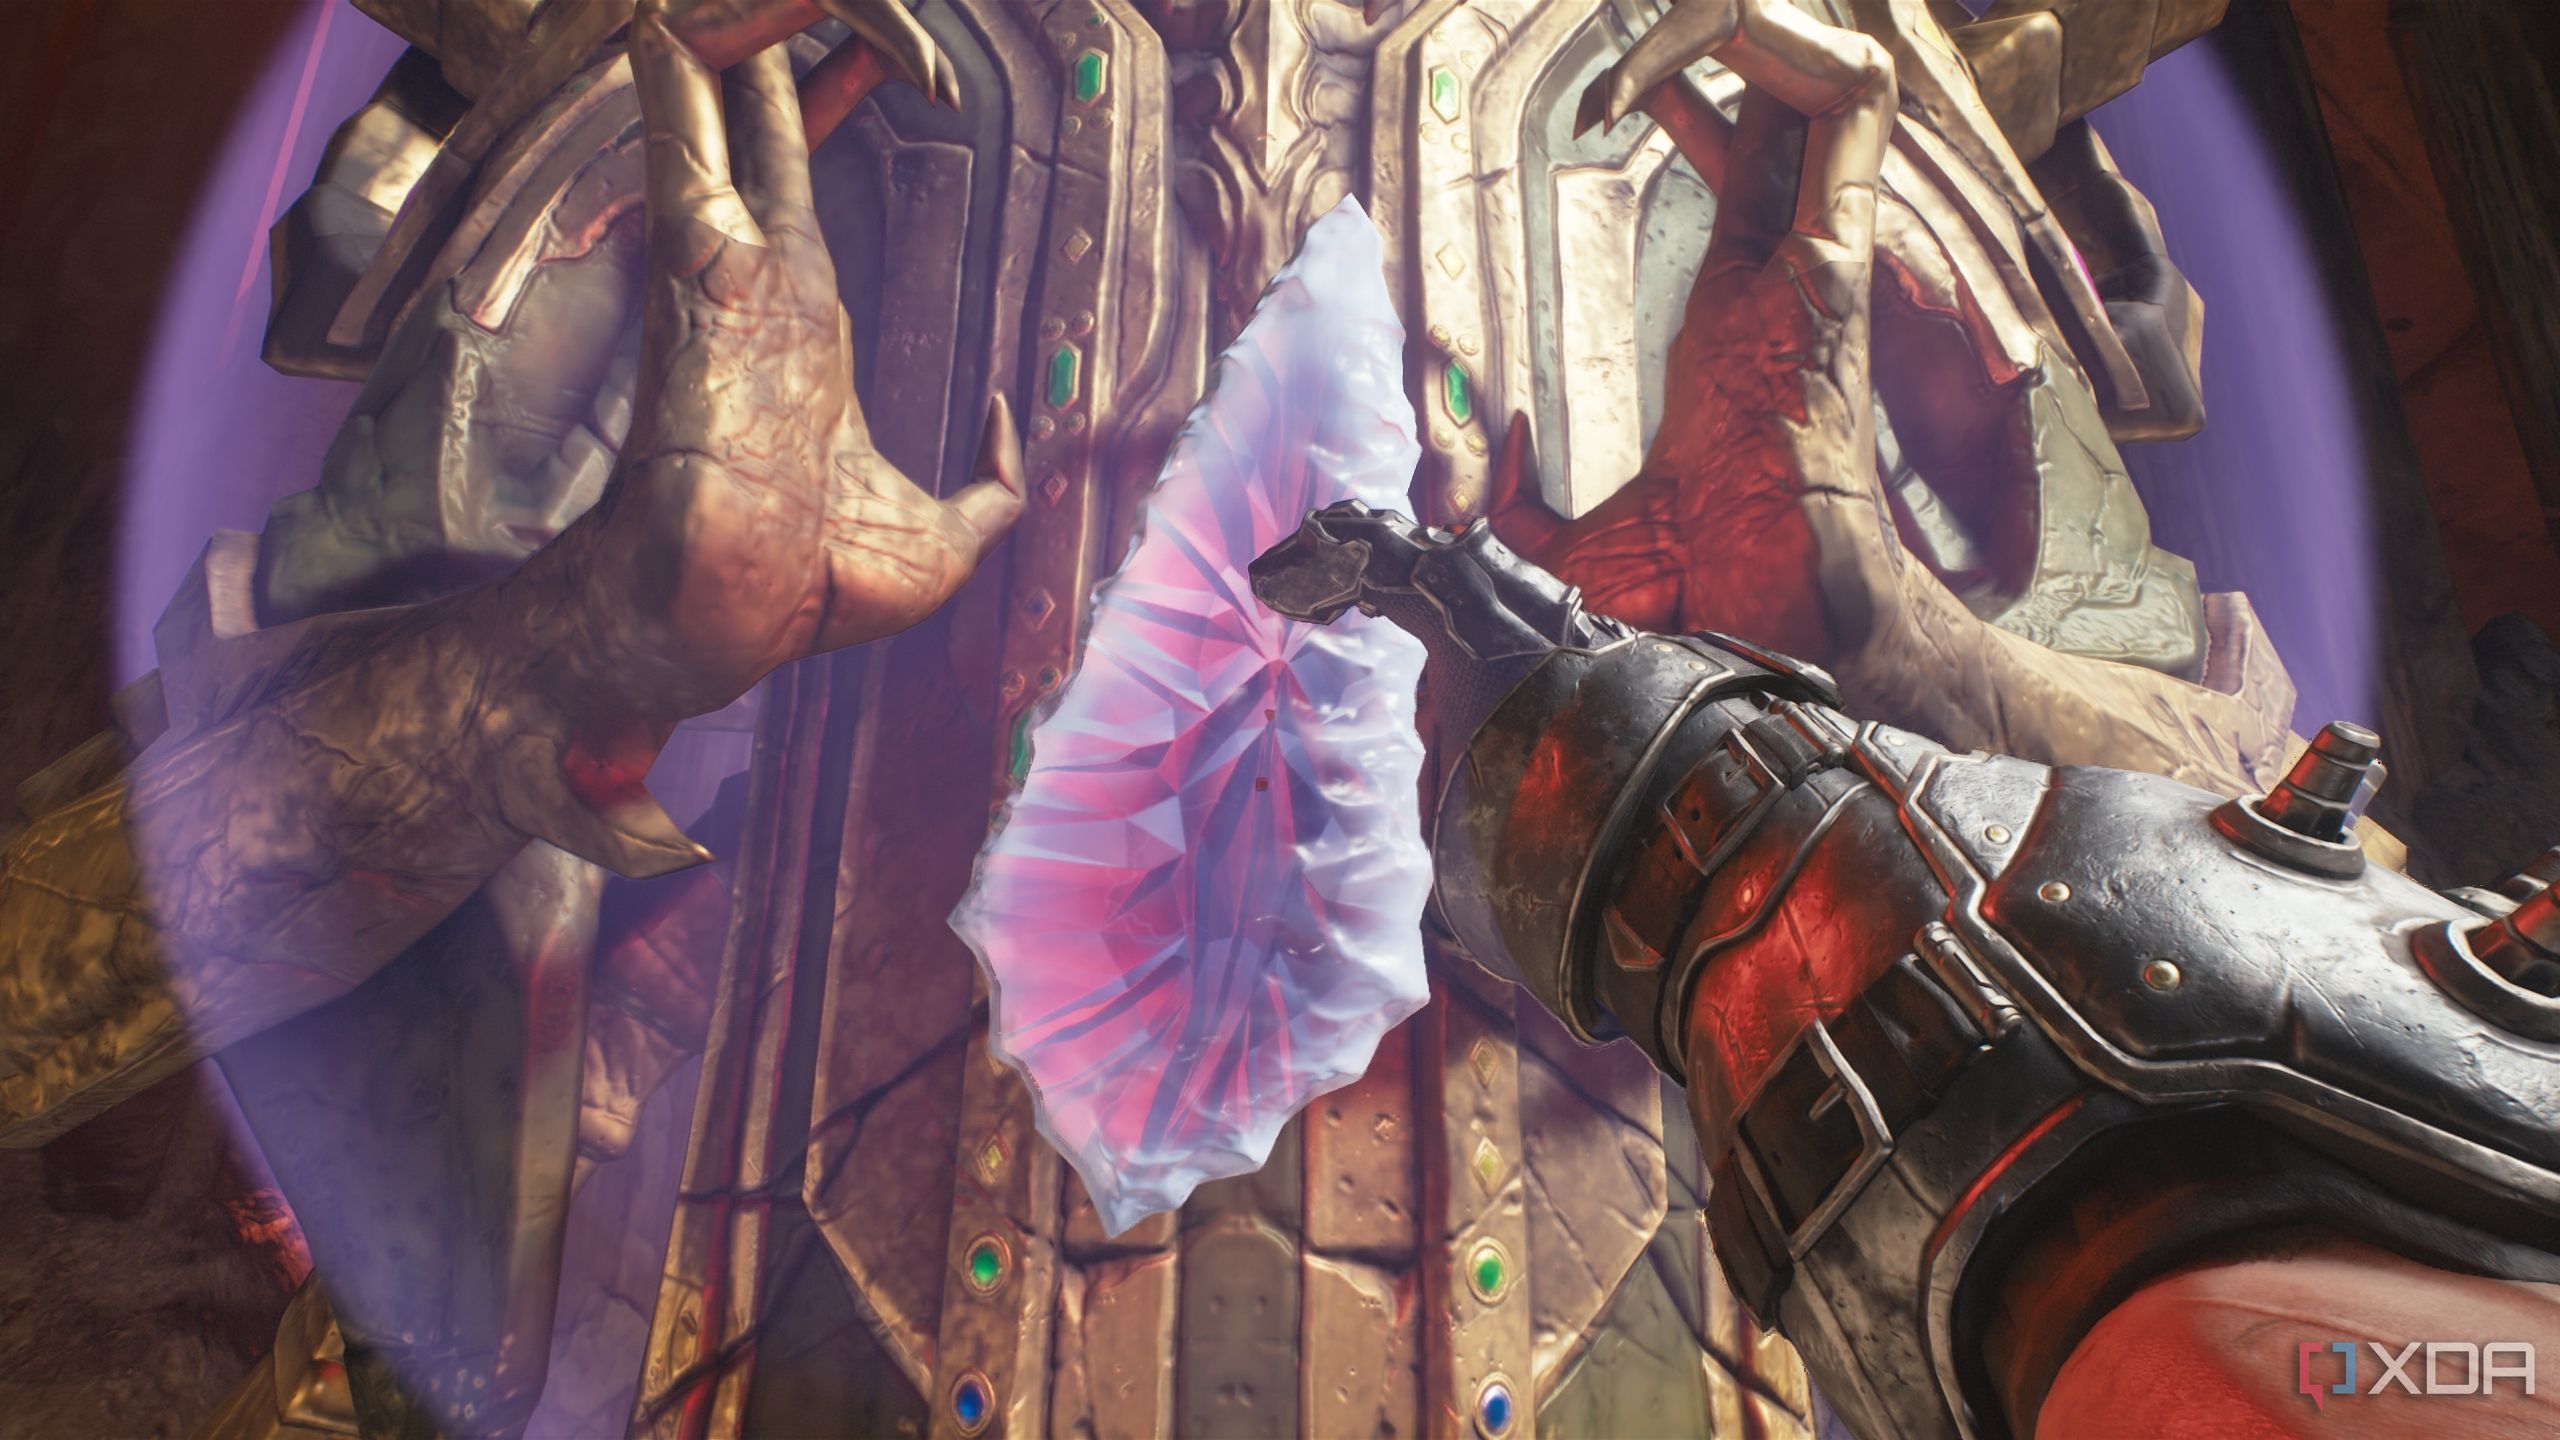
Break it, and you’ll have a Whiplash and a Revenant to fight. Once that’s done, walk up to the statue and acquire the wraithstone.
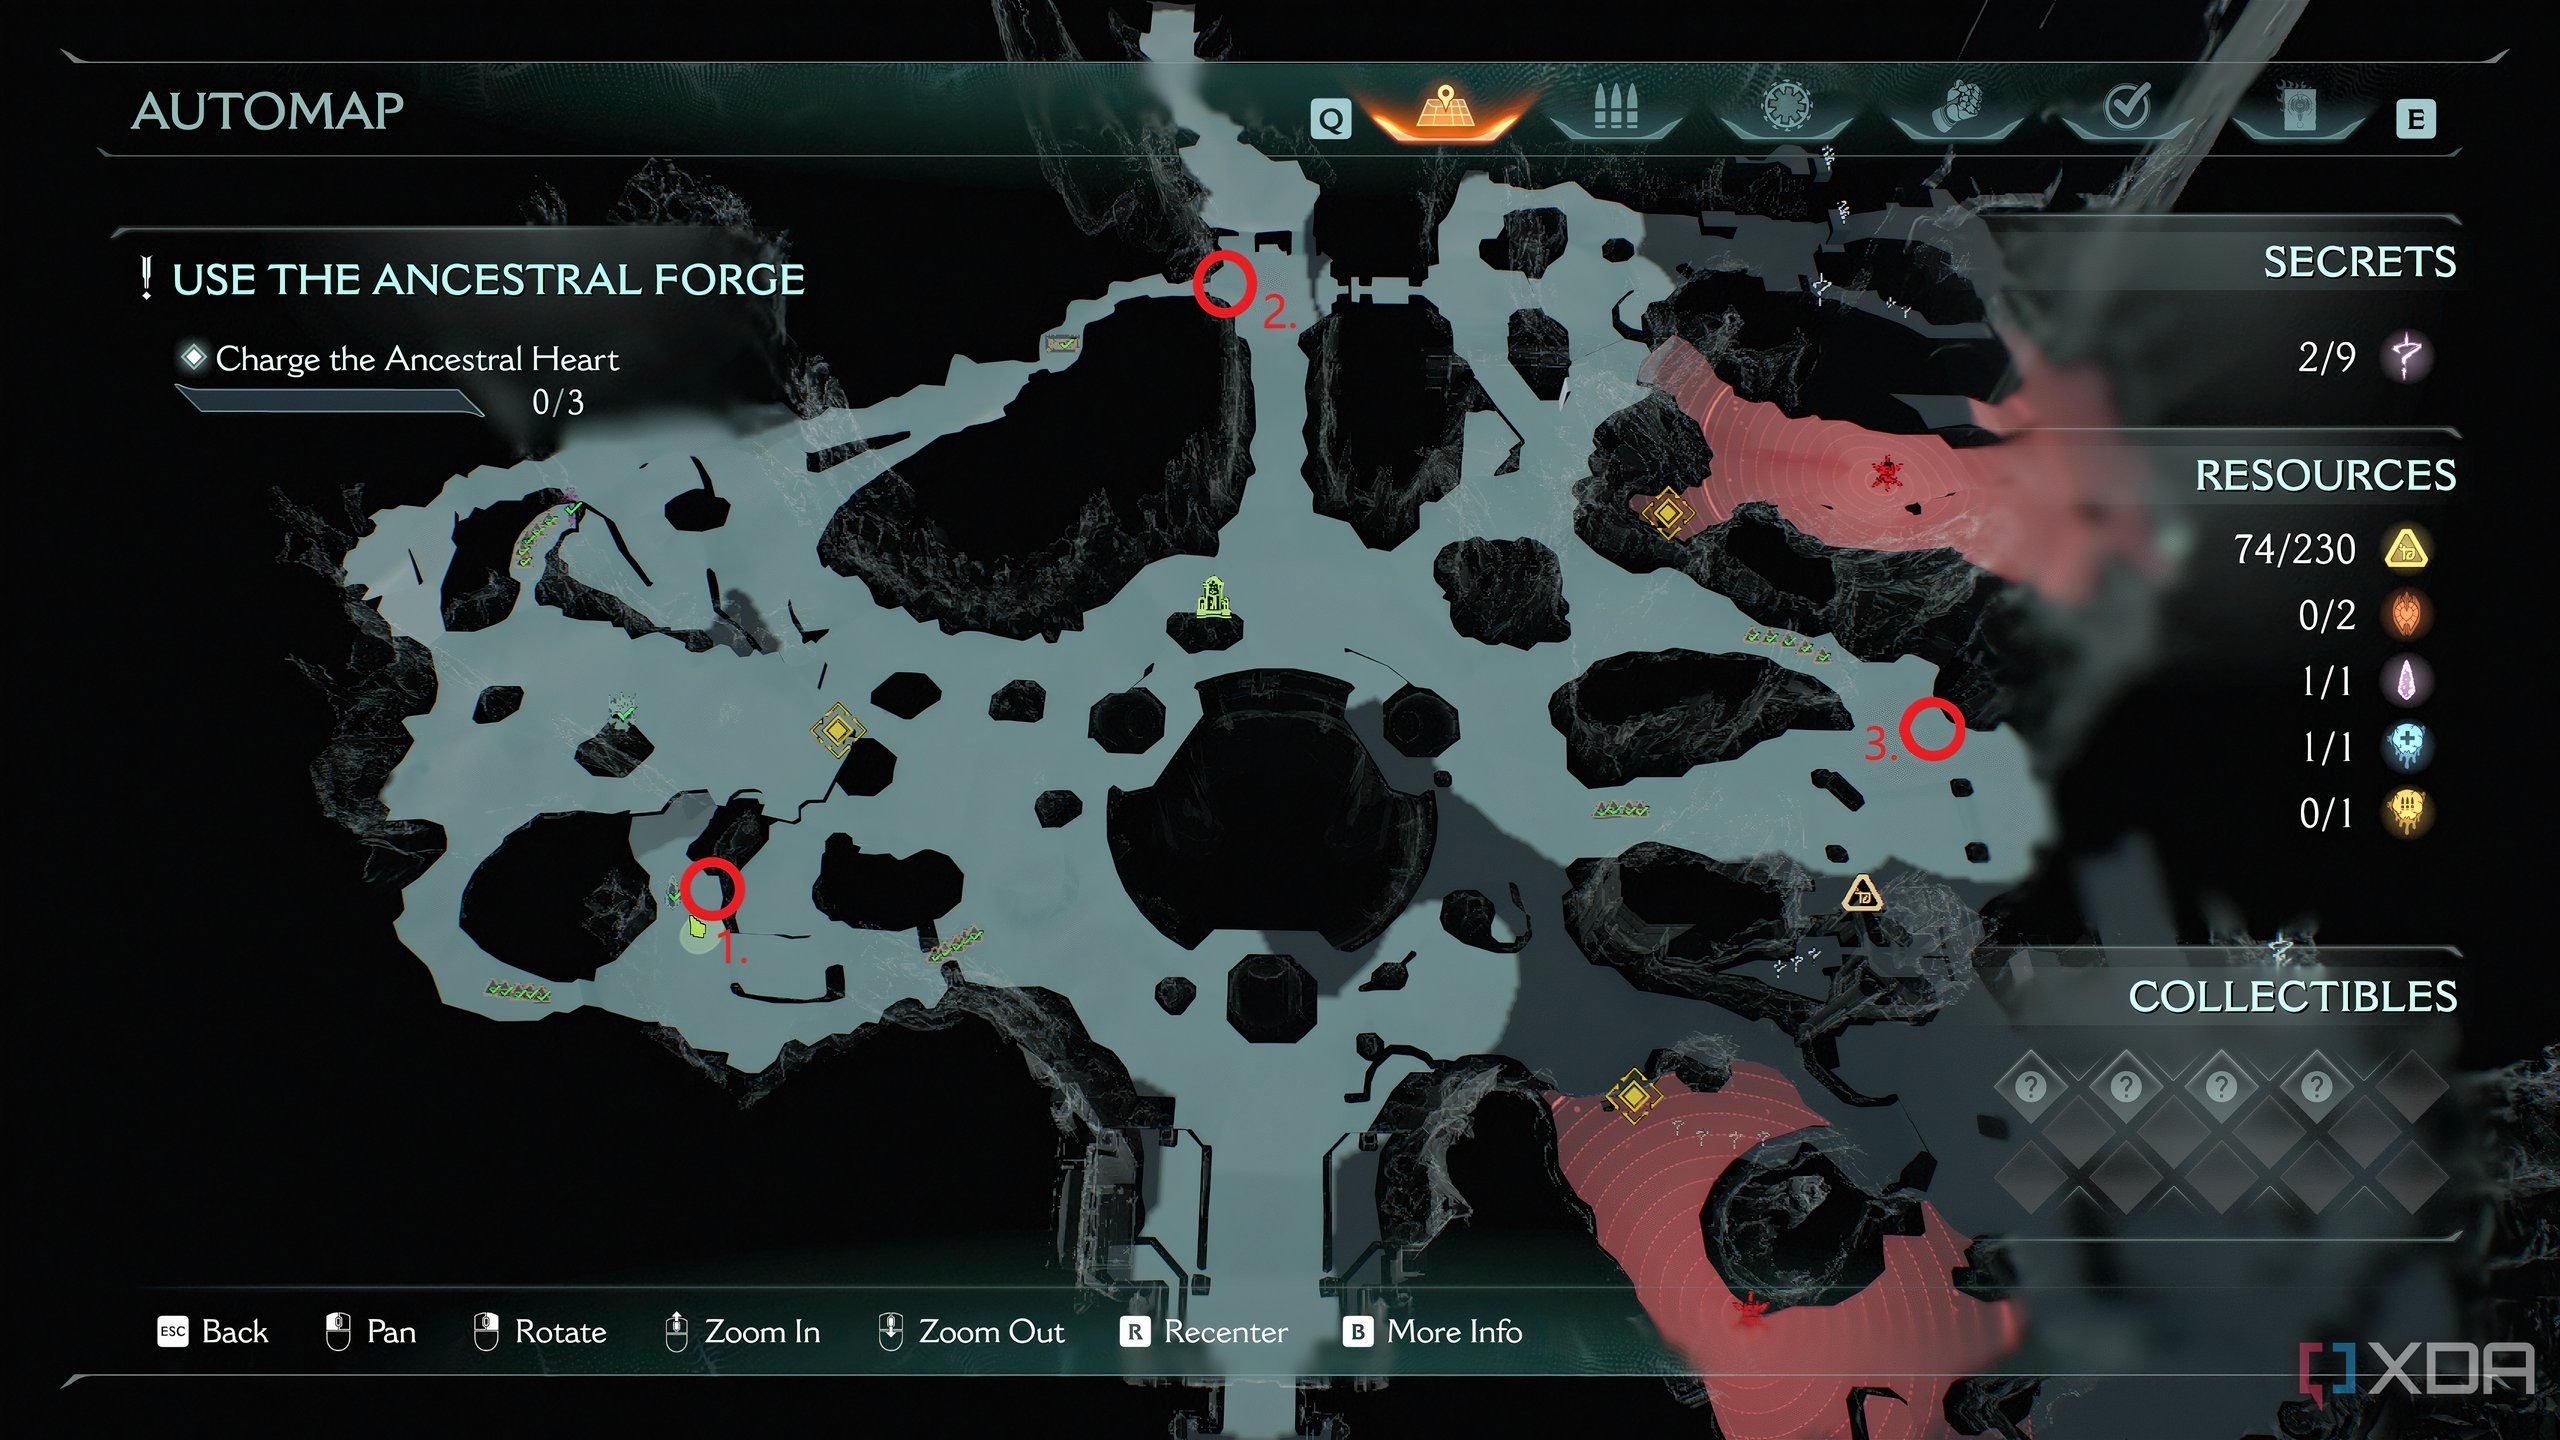
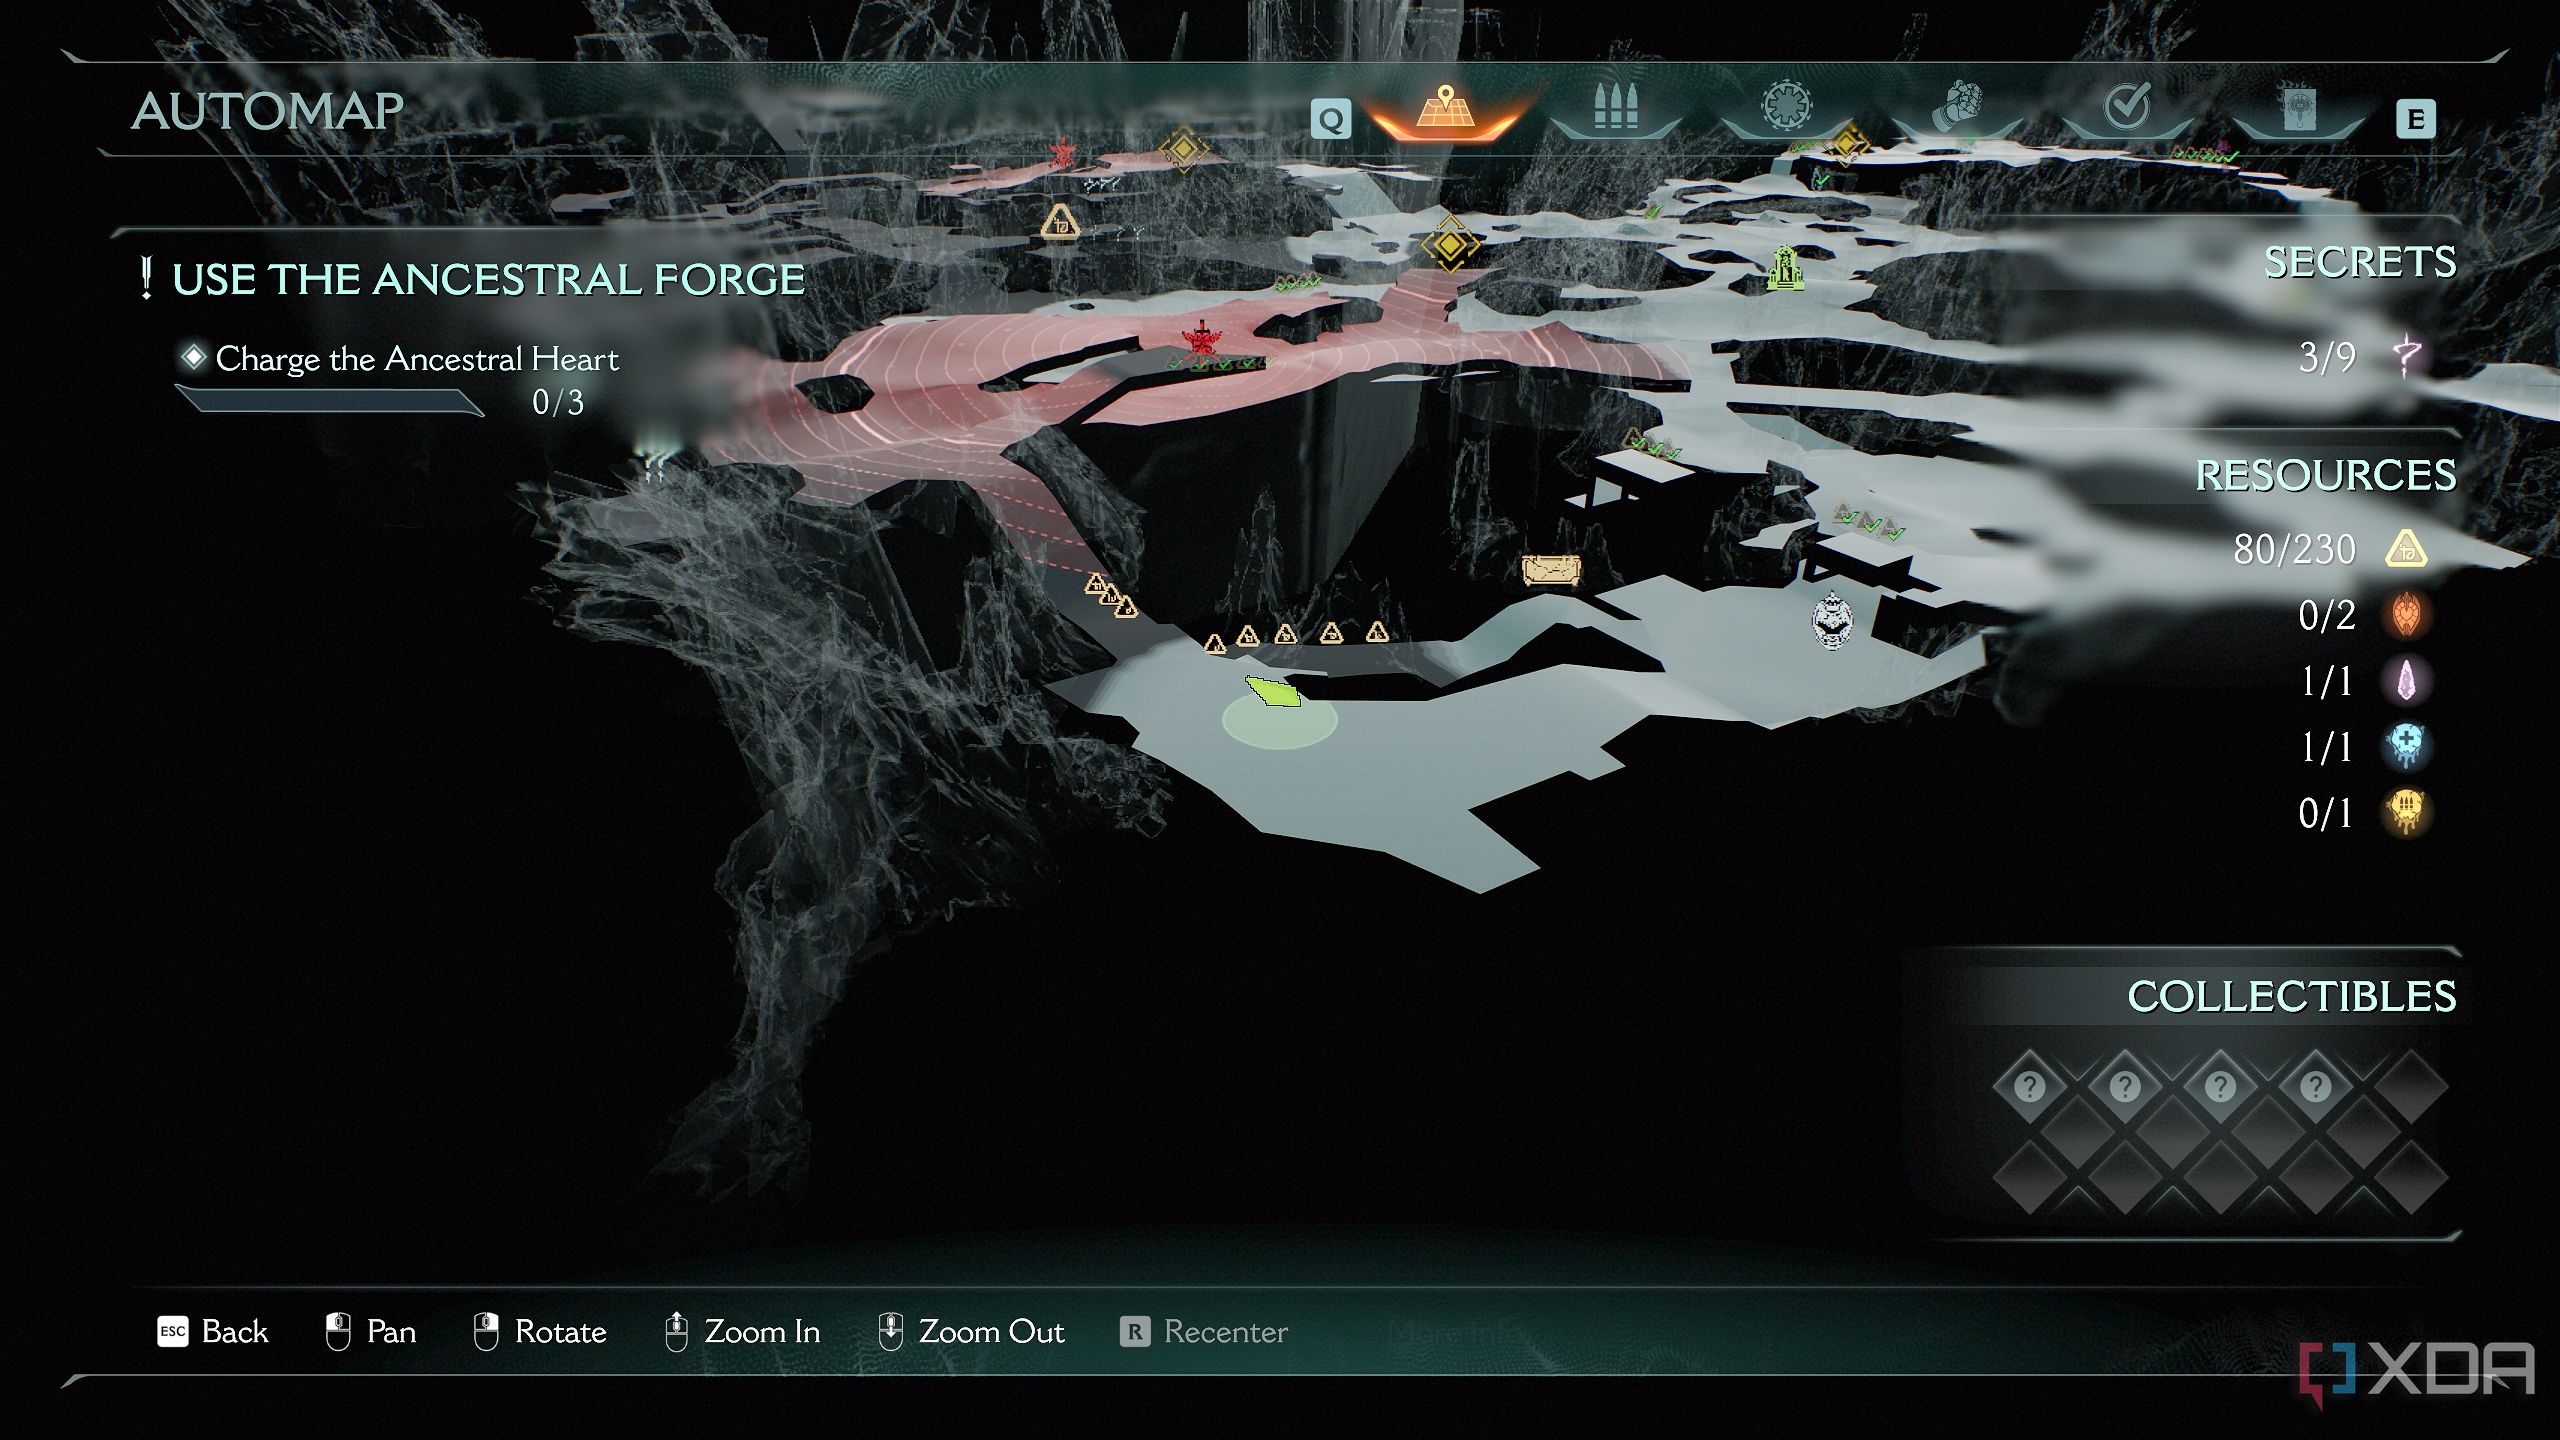
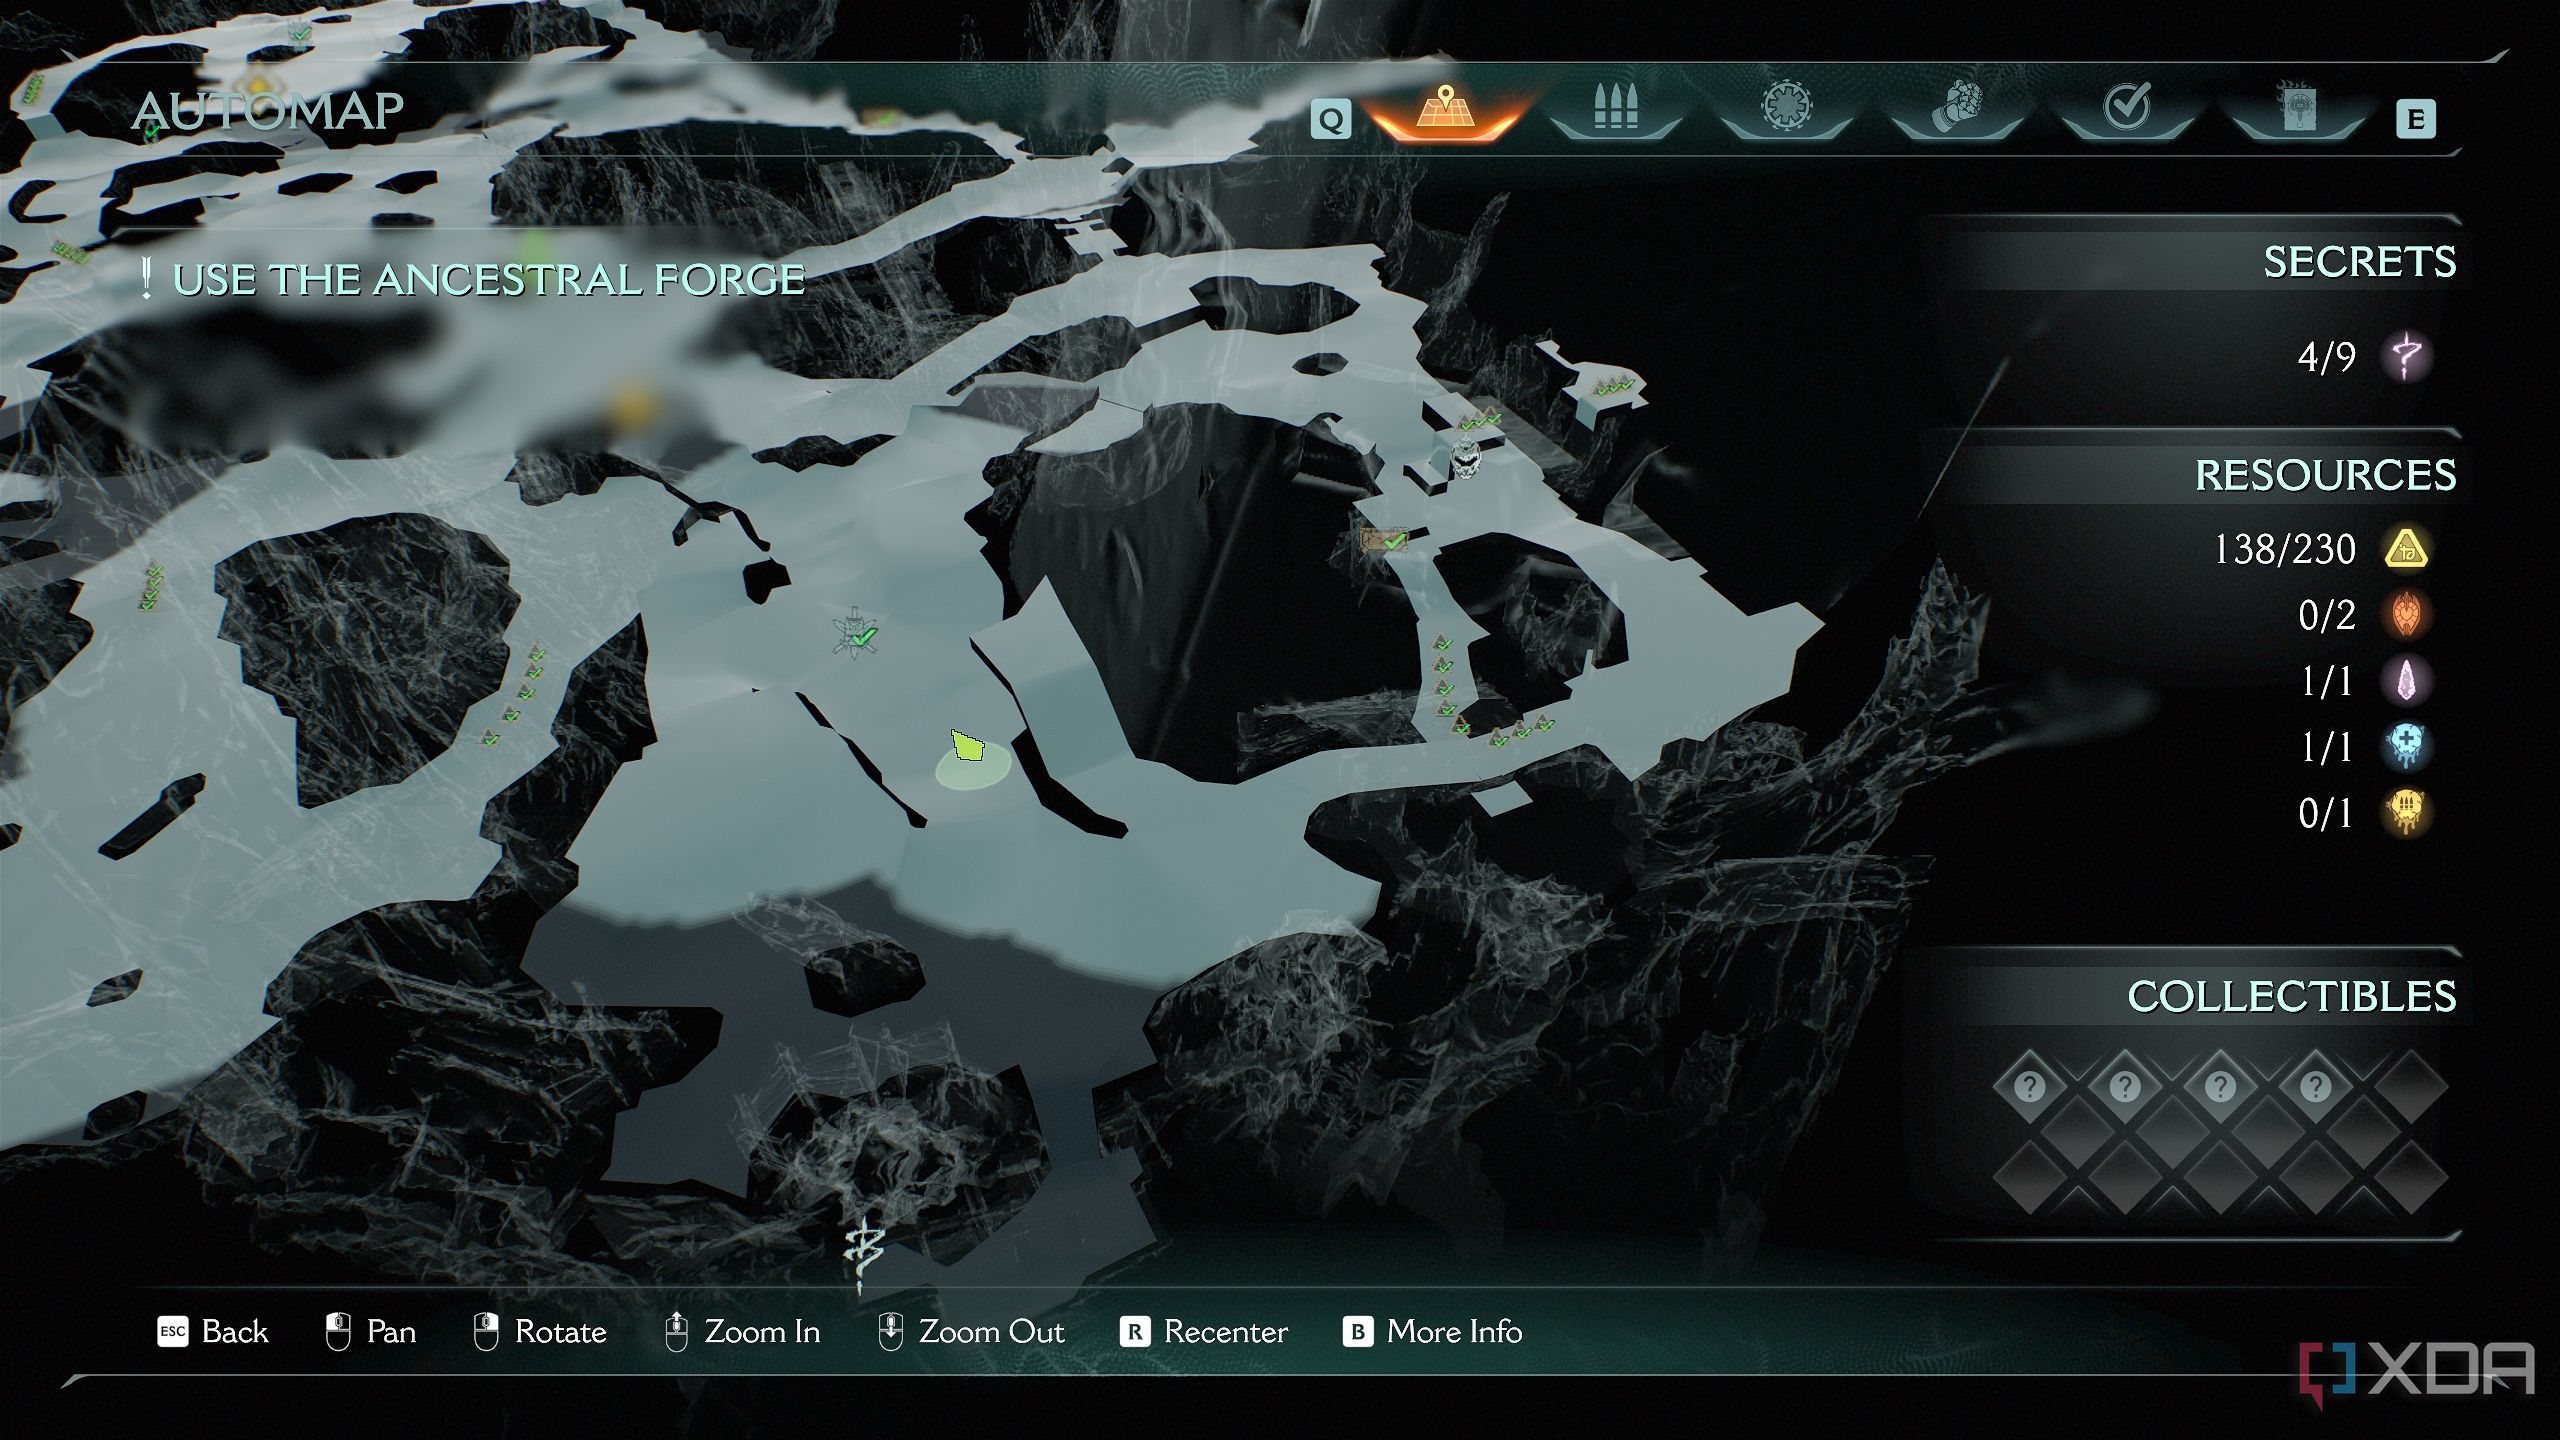
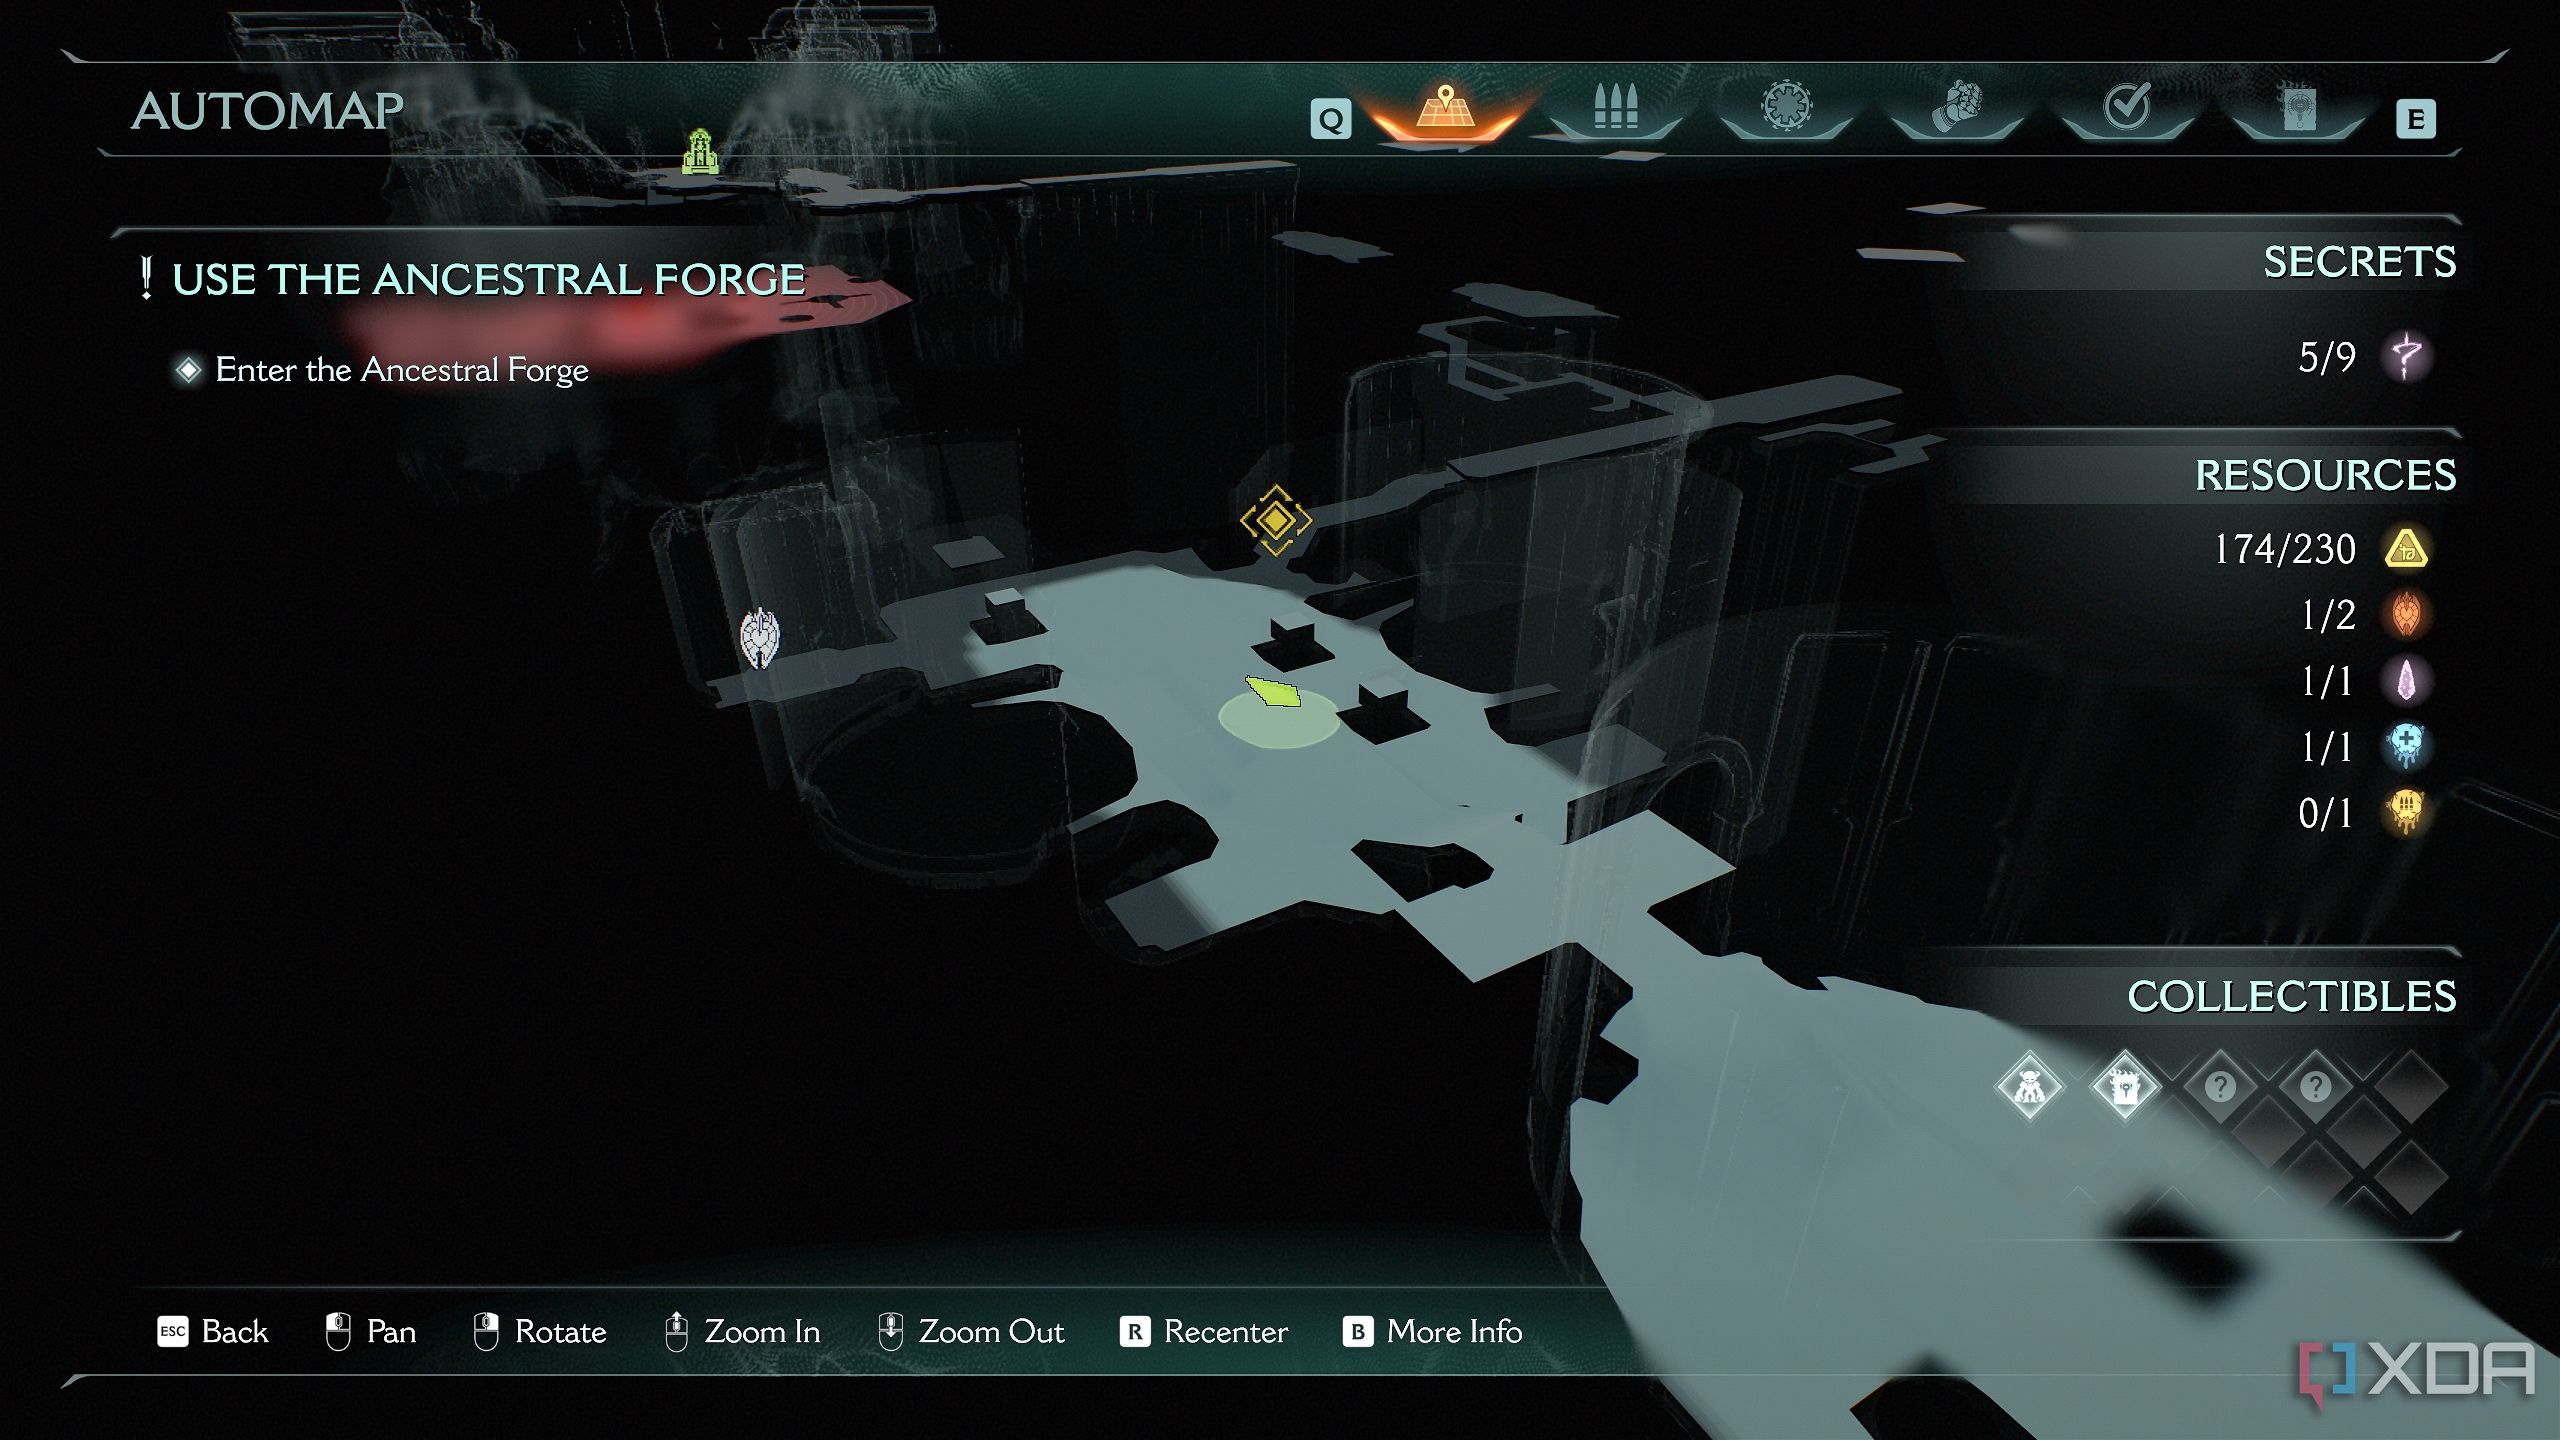
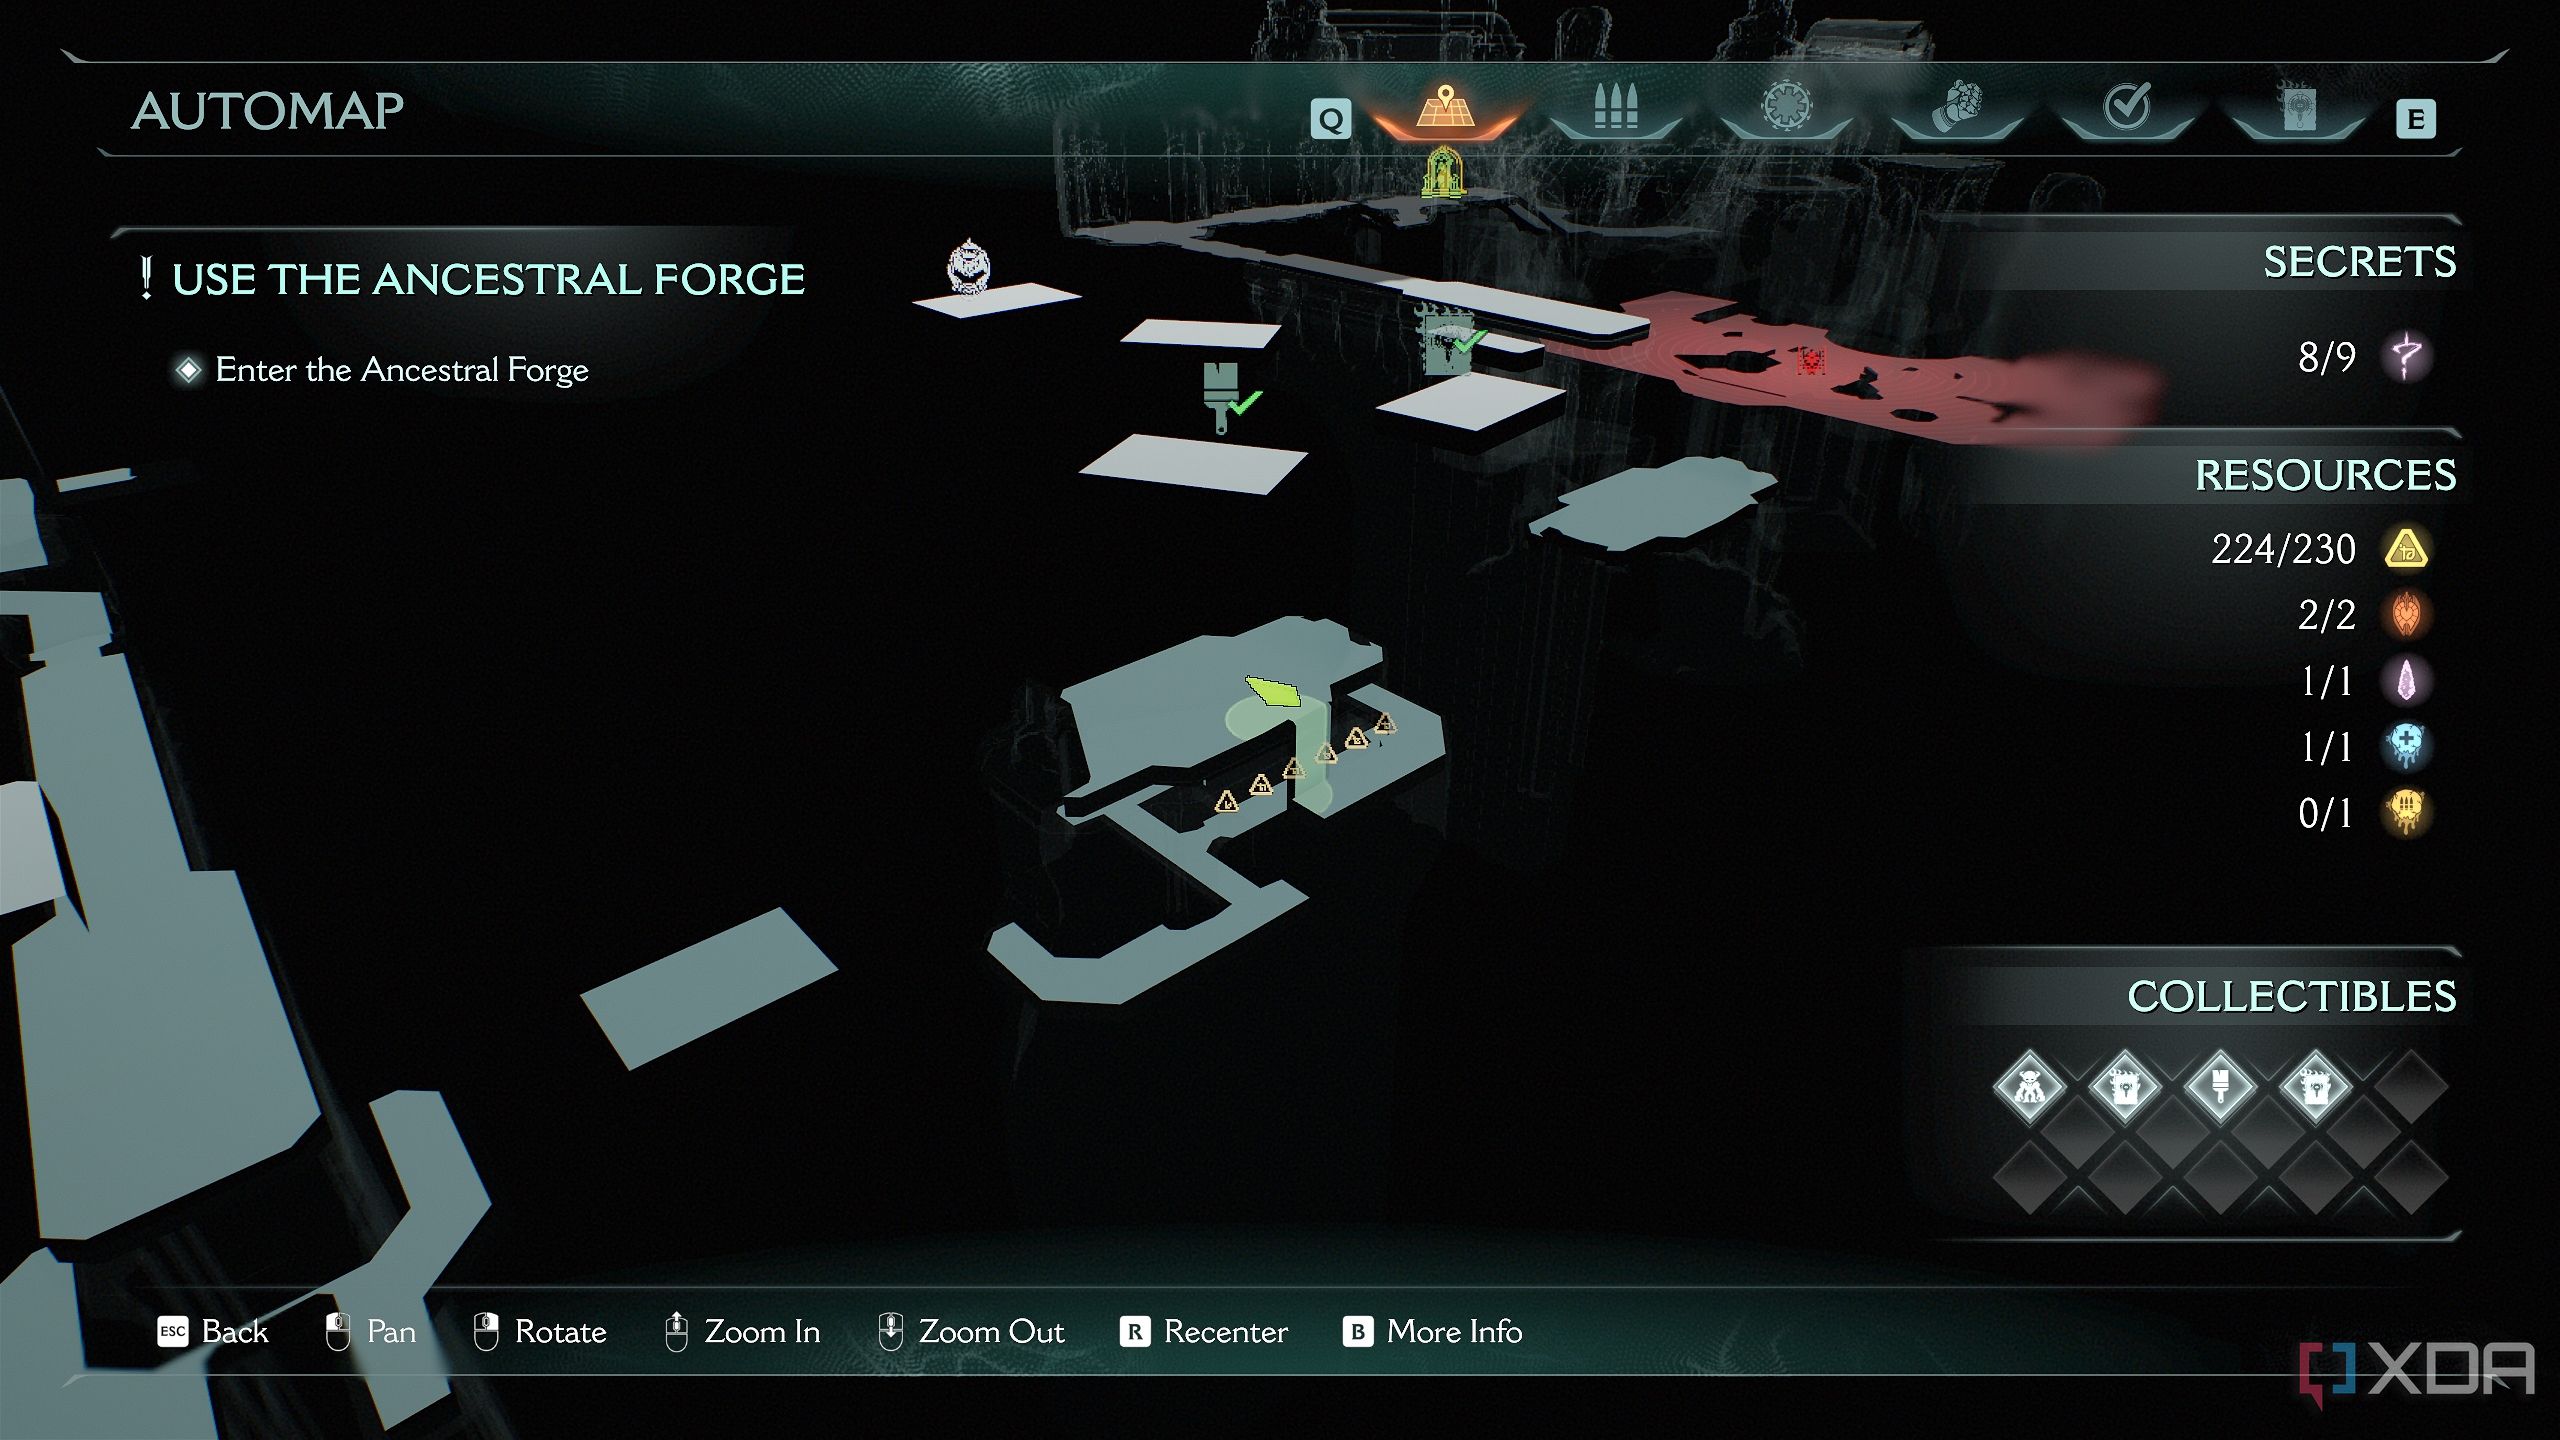
Here's the location of all three lion seal statues on the map if you need to refer to them. Make sure you have the purple keycard secured.
Secret area 3 and a Life Sigil
Earning a new life after a sizable battle
Heading back to the Sentinel Shrine at the beginning of the arena, take the first lane to your left.
You'll reach an arena with plenty of demons to mow down.
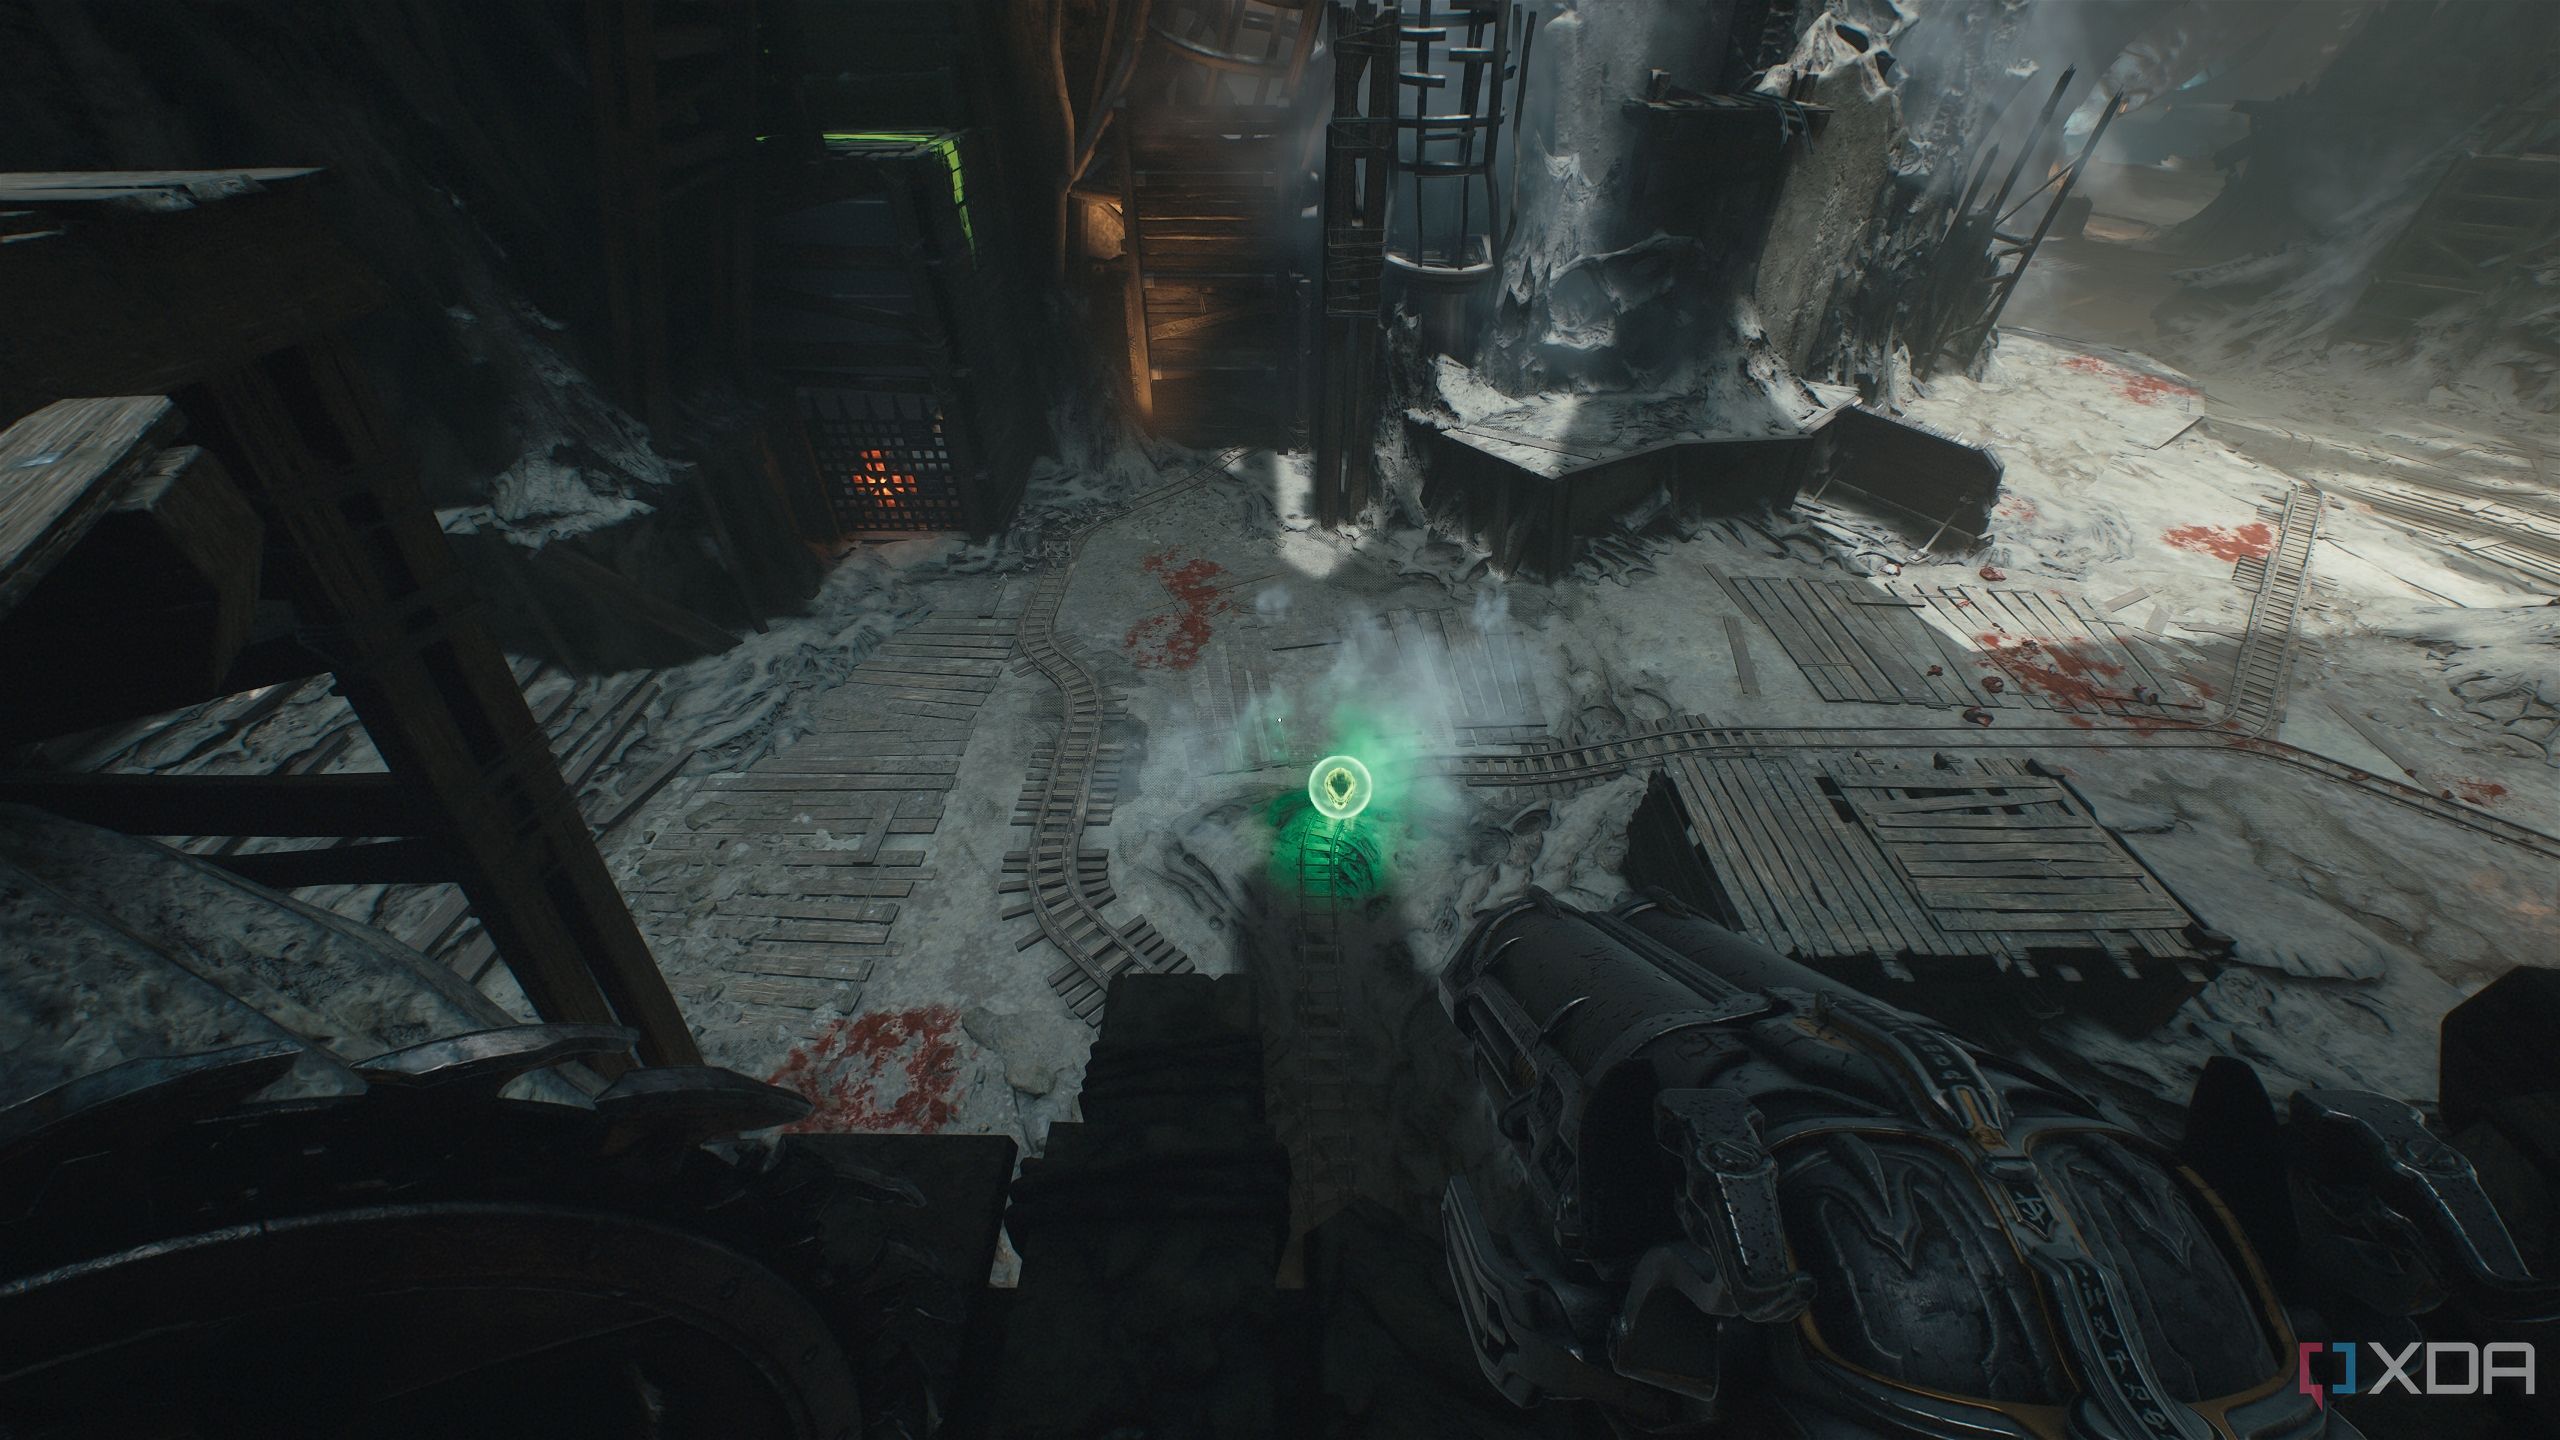
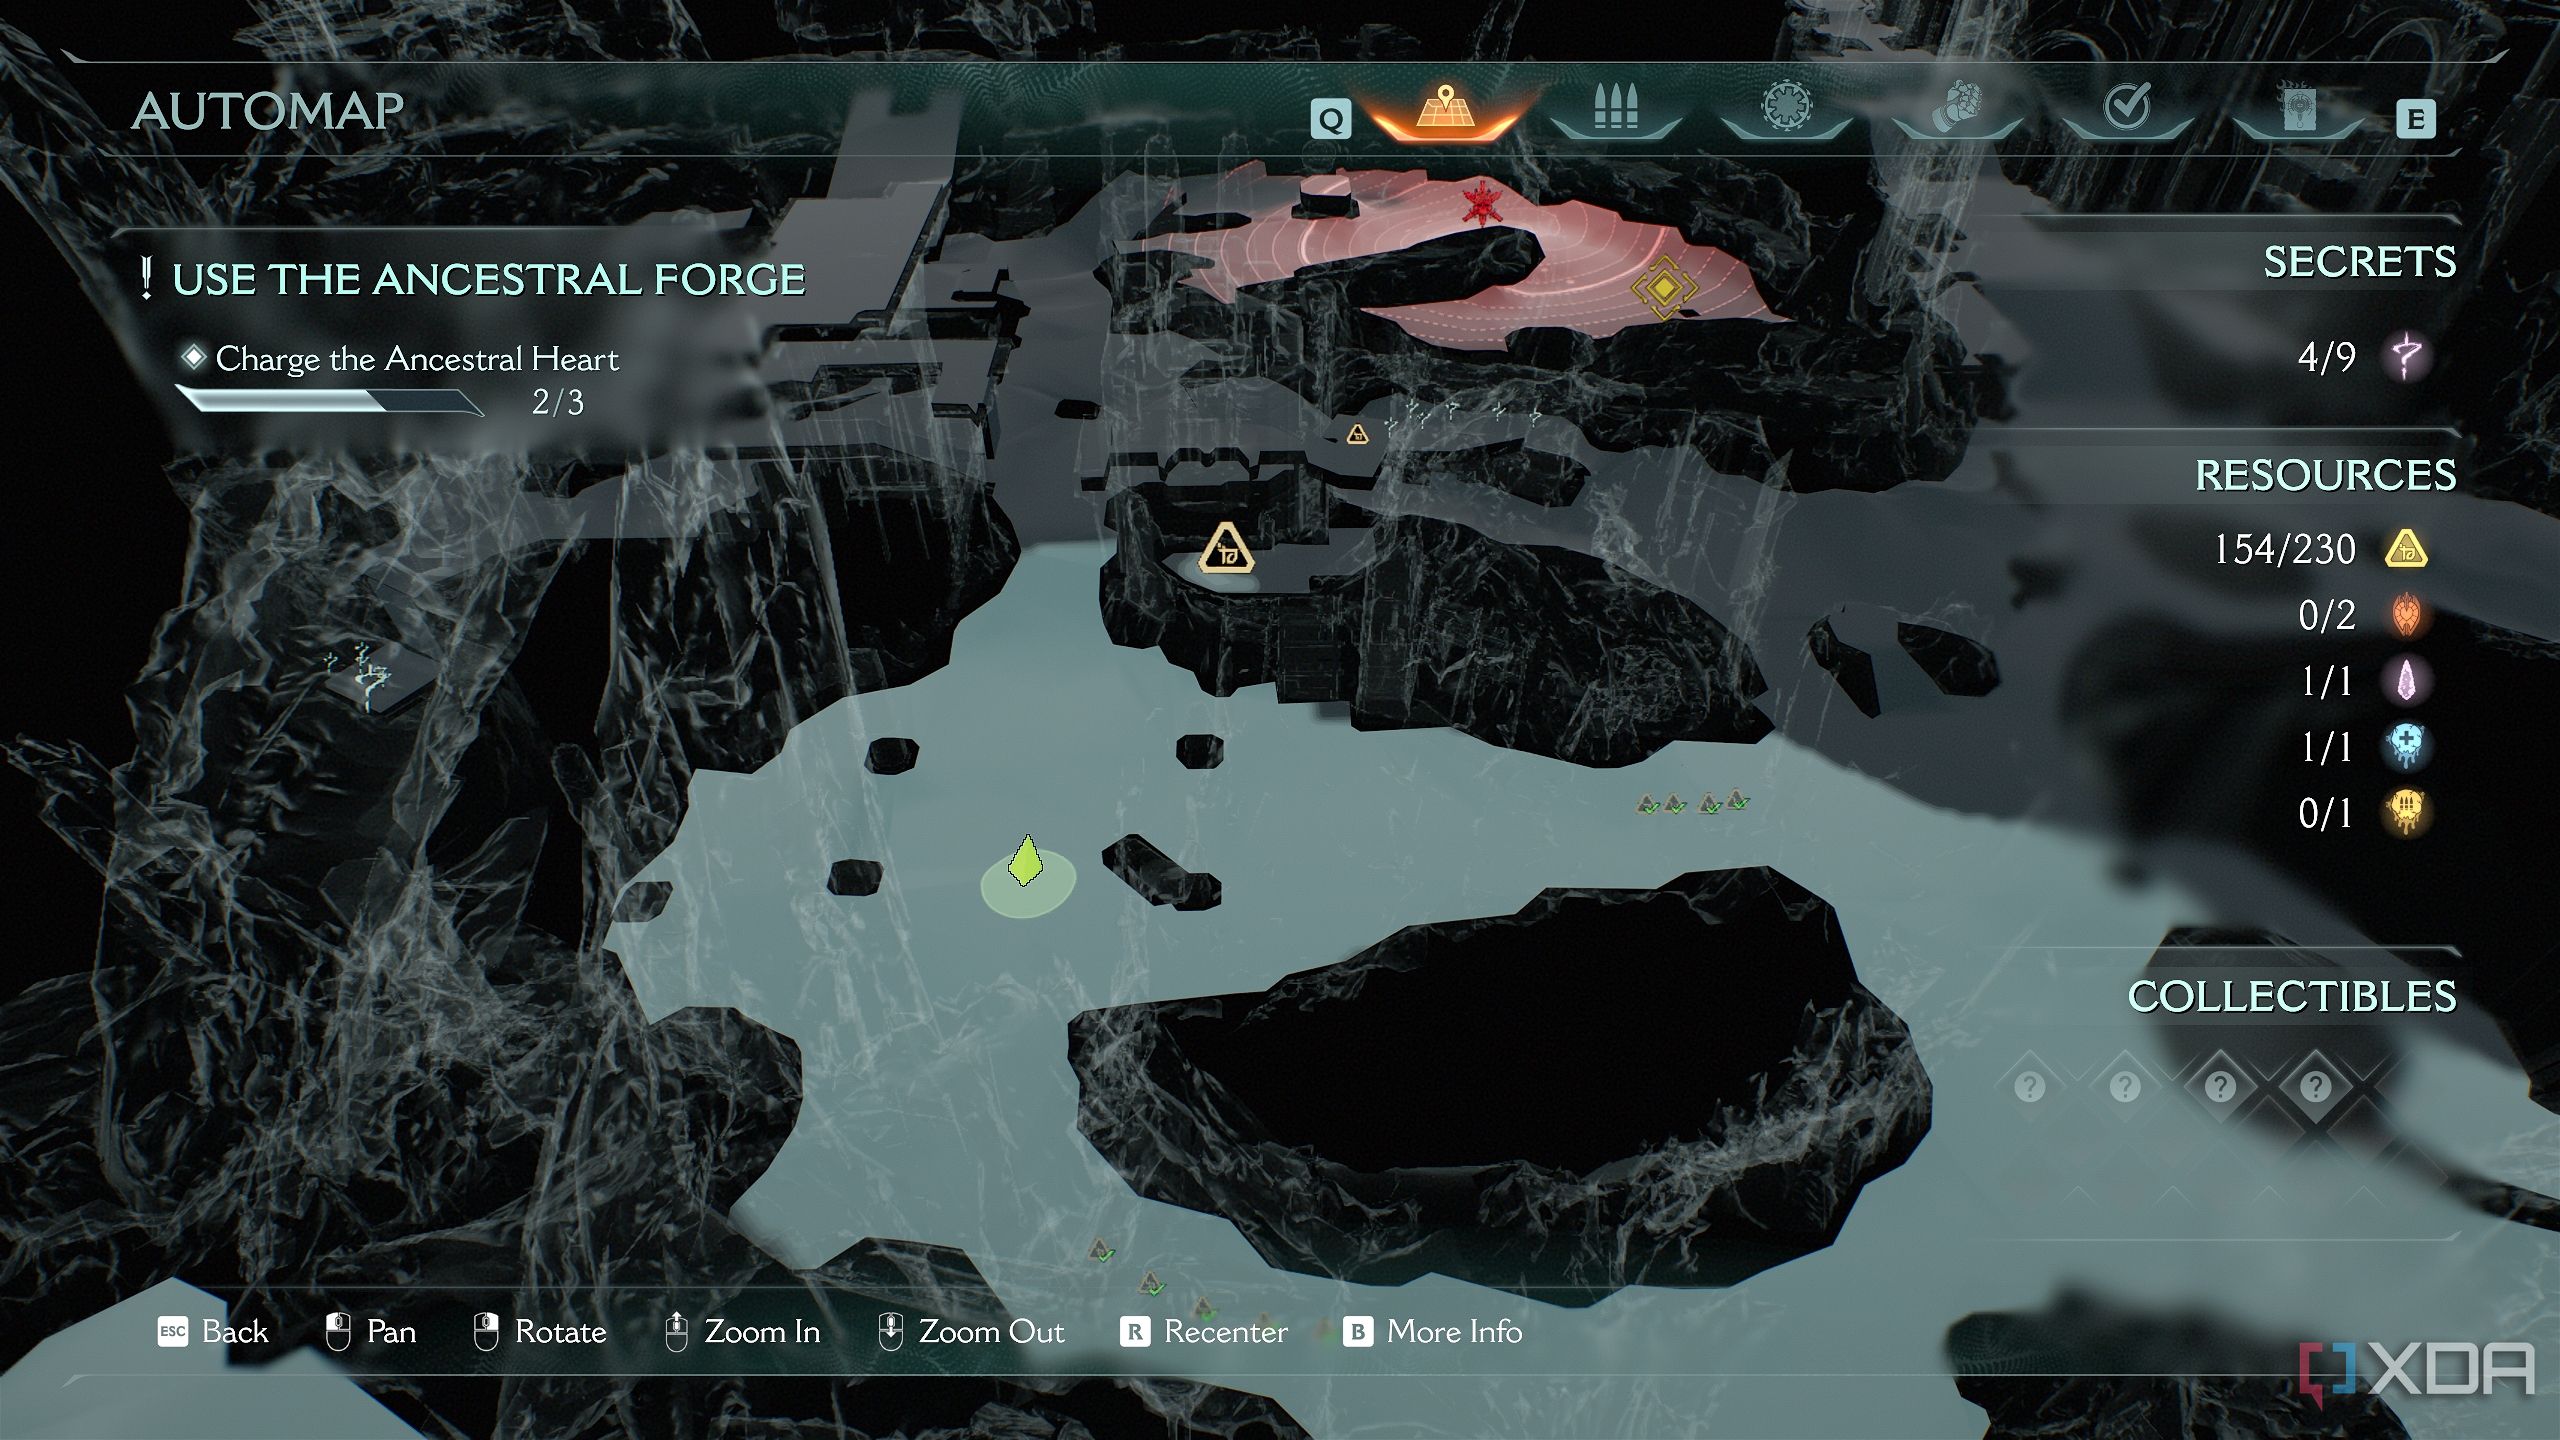
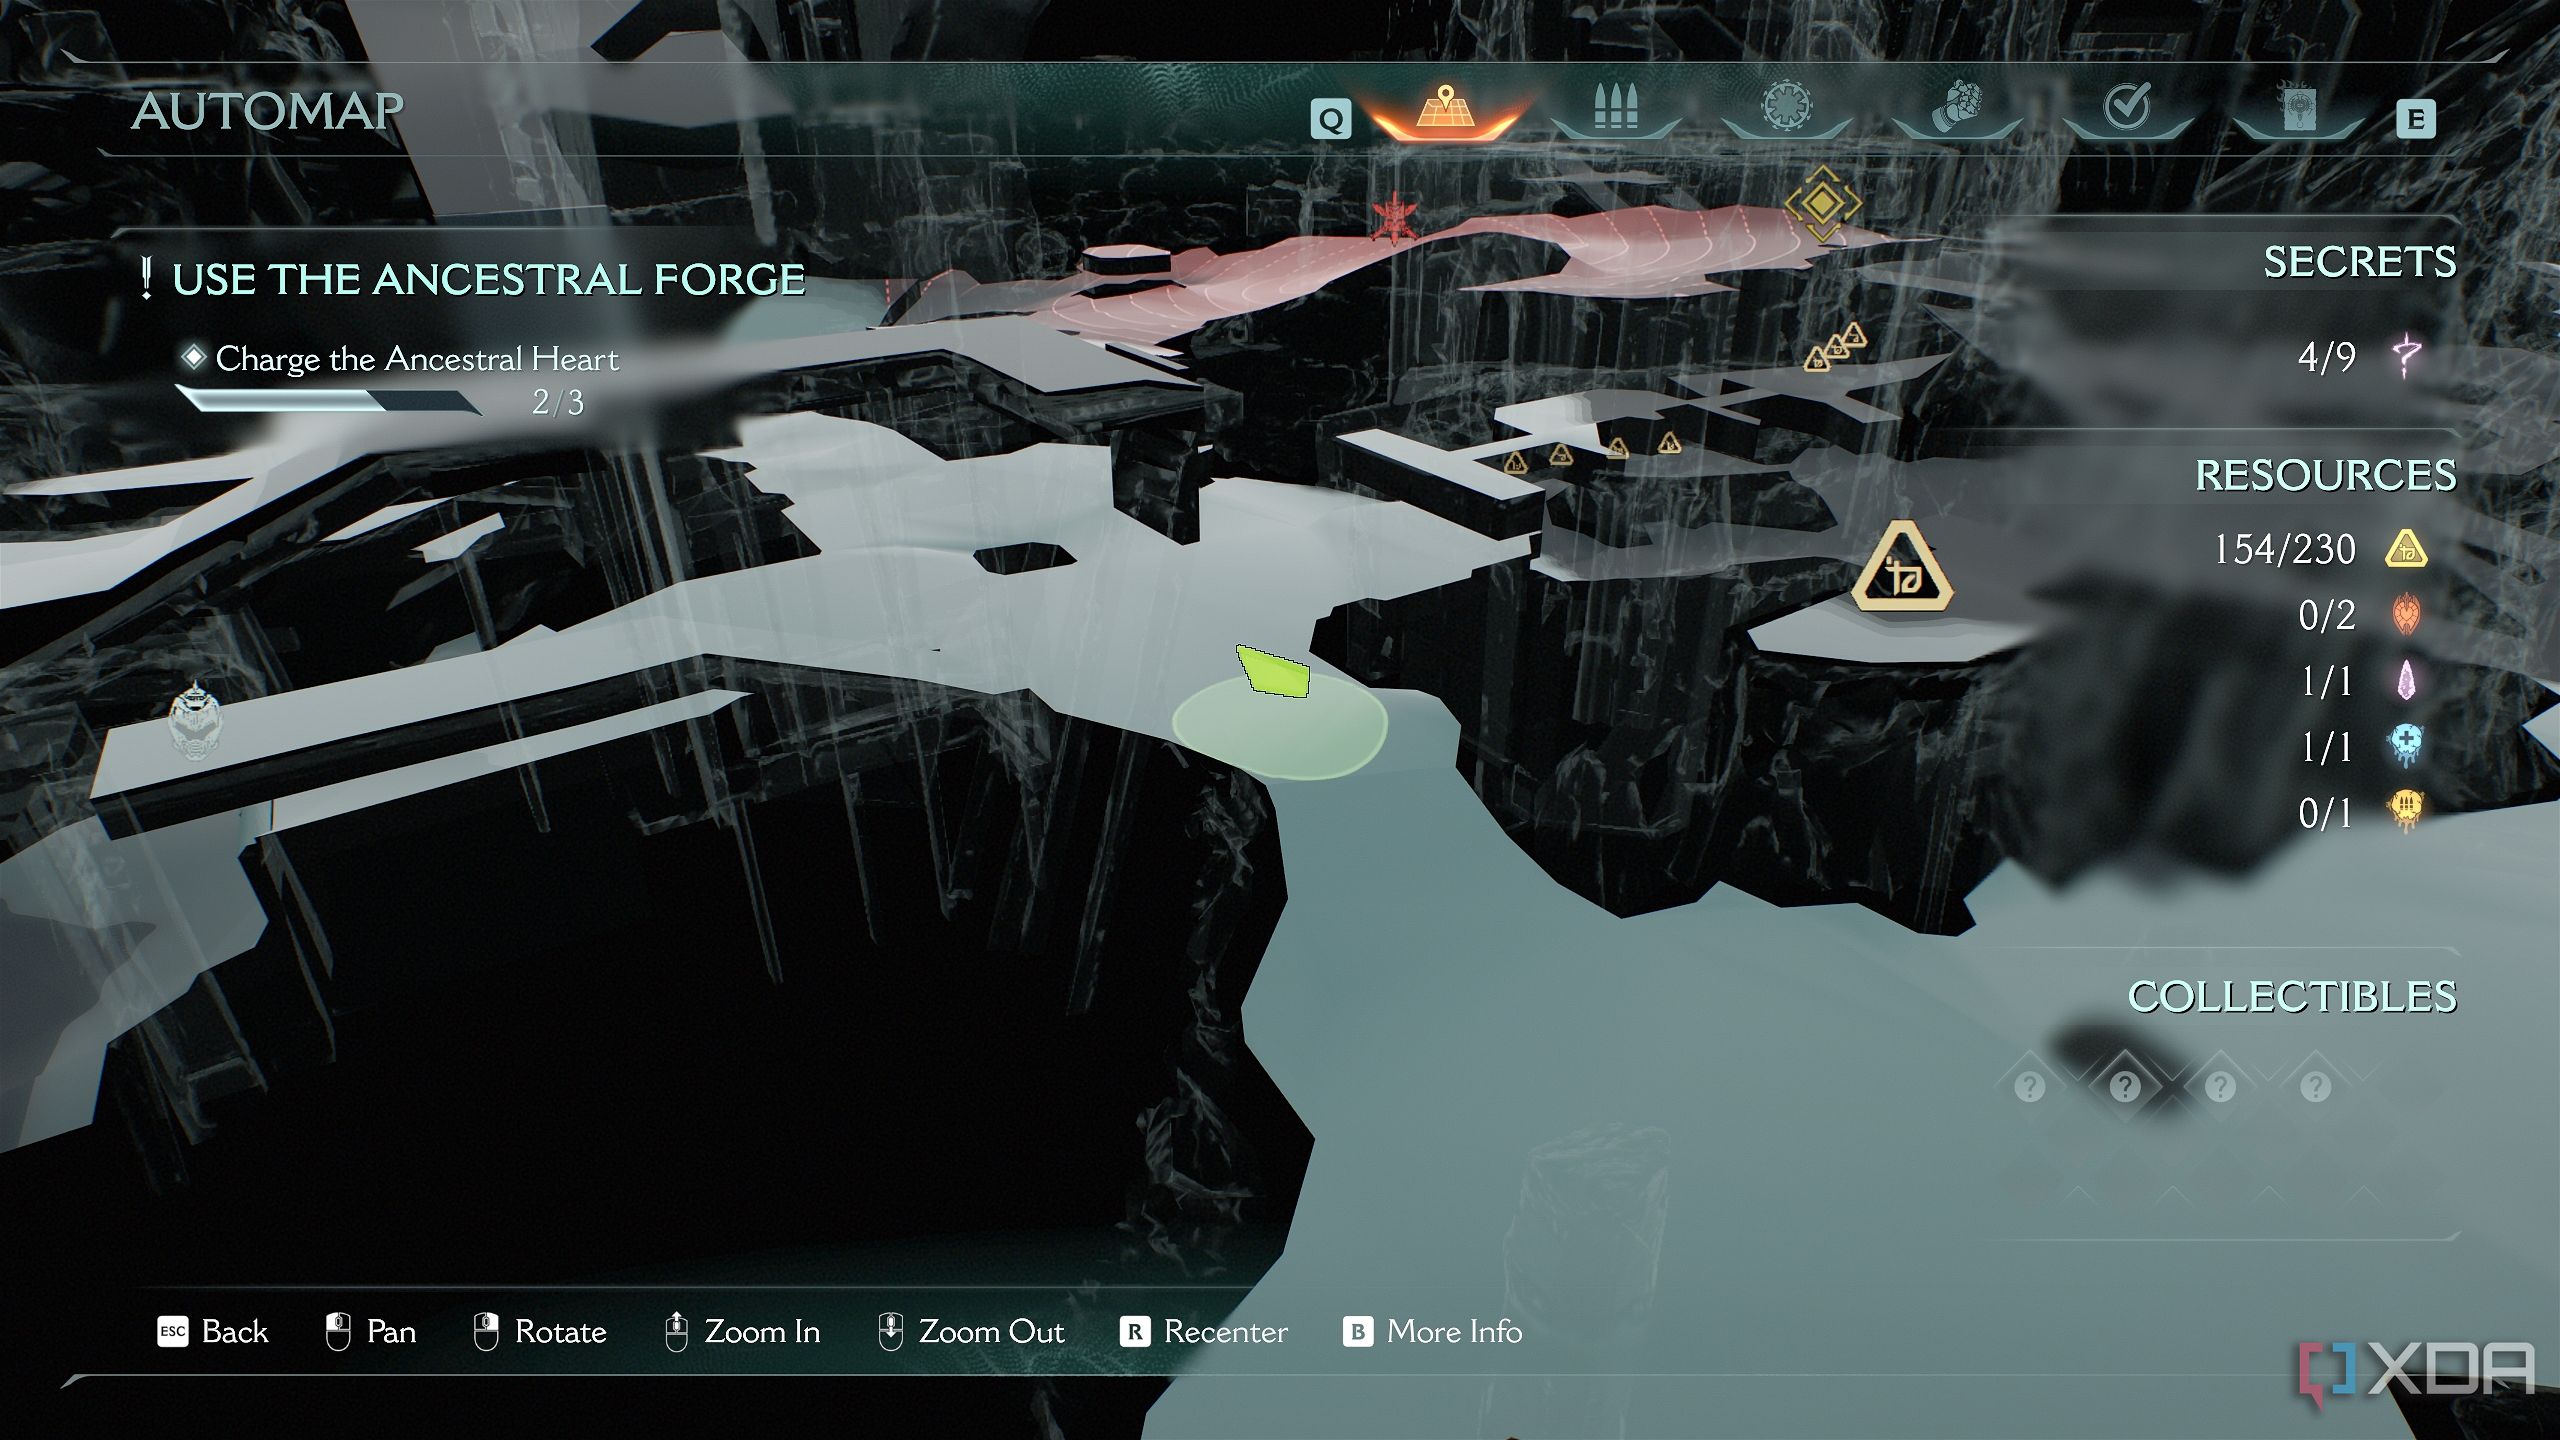
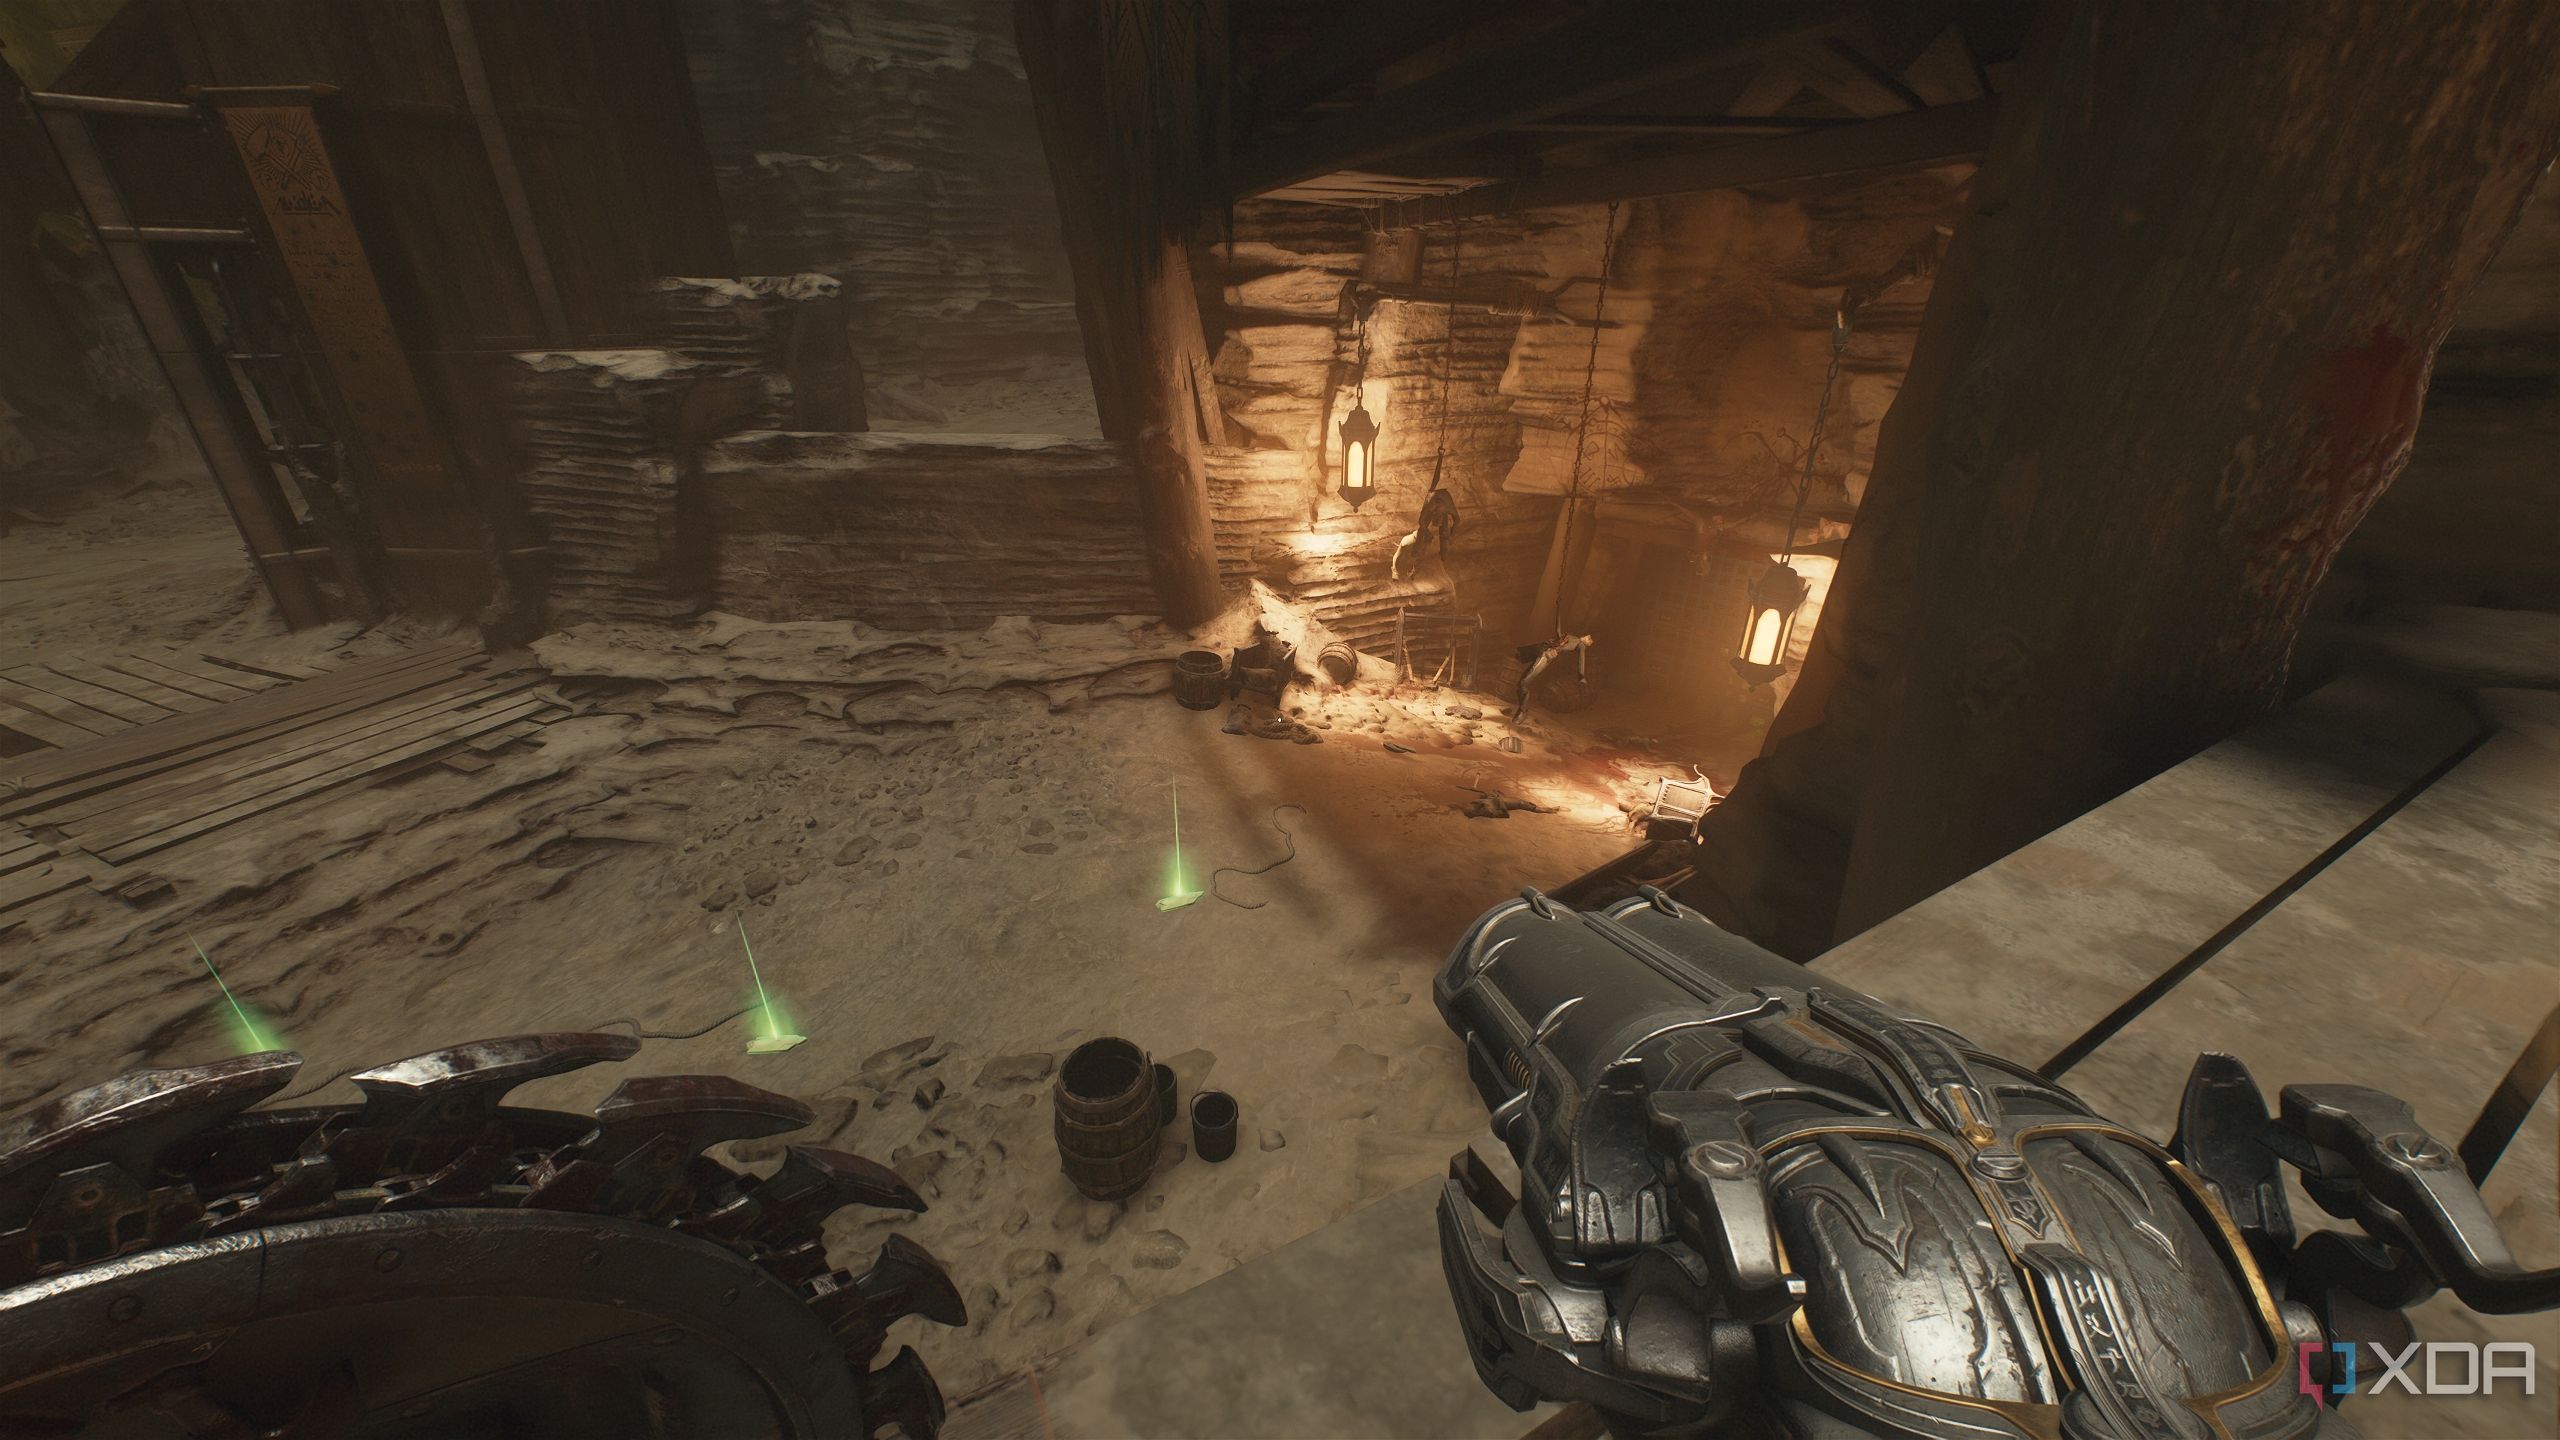
Once the dust has settled, head forward until you see a green flesh node at the top-right.
Use your shield to climb up to the flesh node, and you’ll unlock secret area 3.
From here, scramble up the wooden wall, collect the gold bars, and jump across to the next scramble wall to pick up more gold bars, health, and armor pickups.
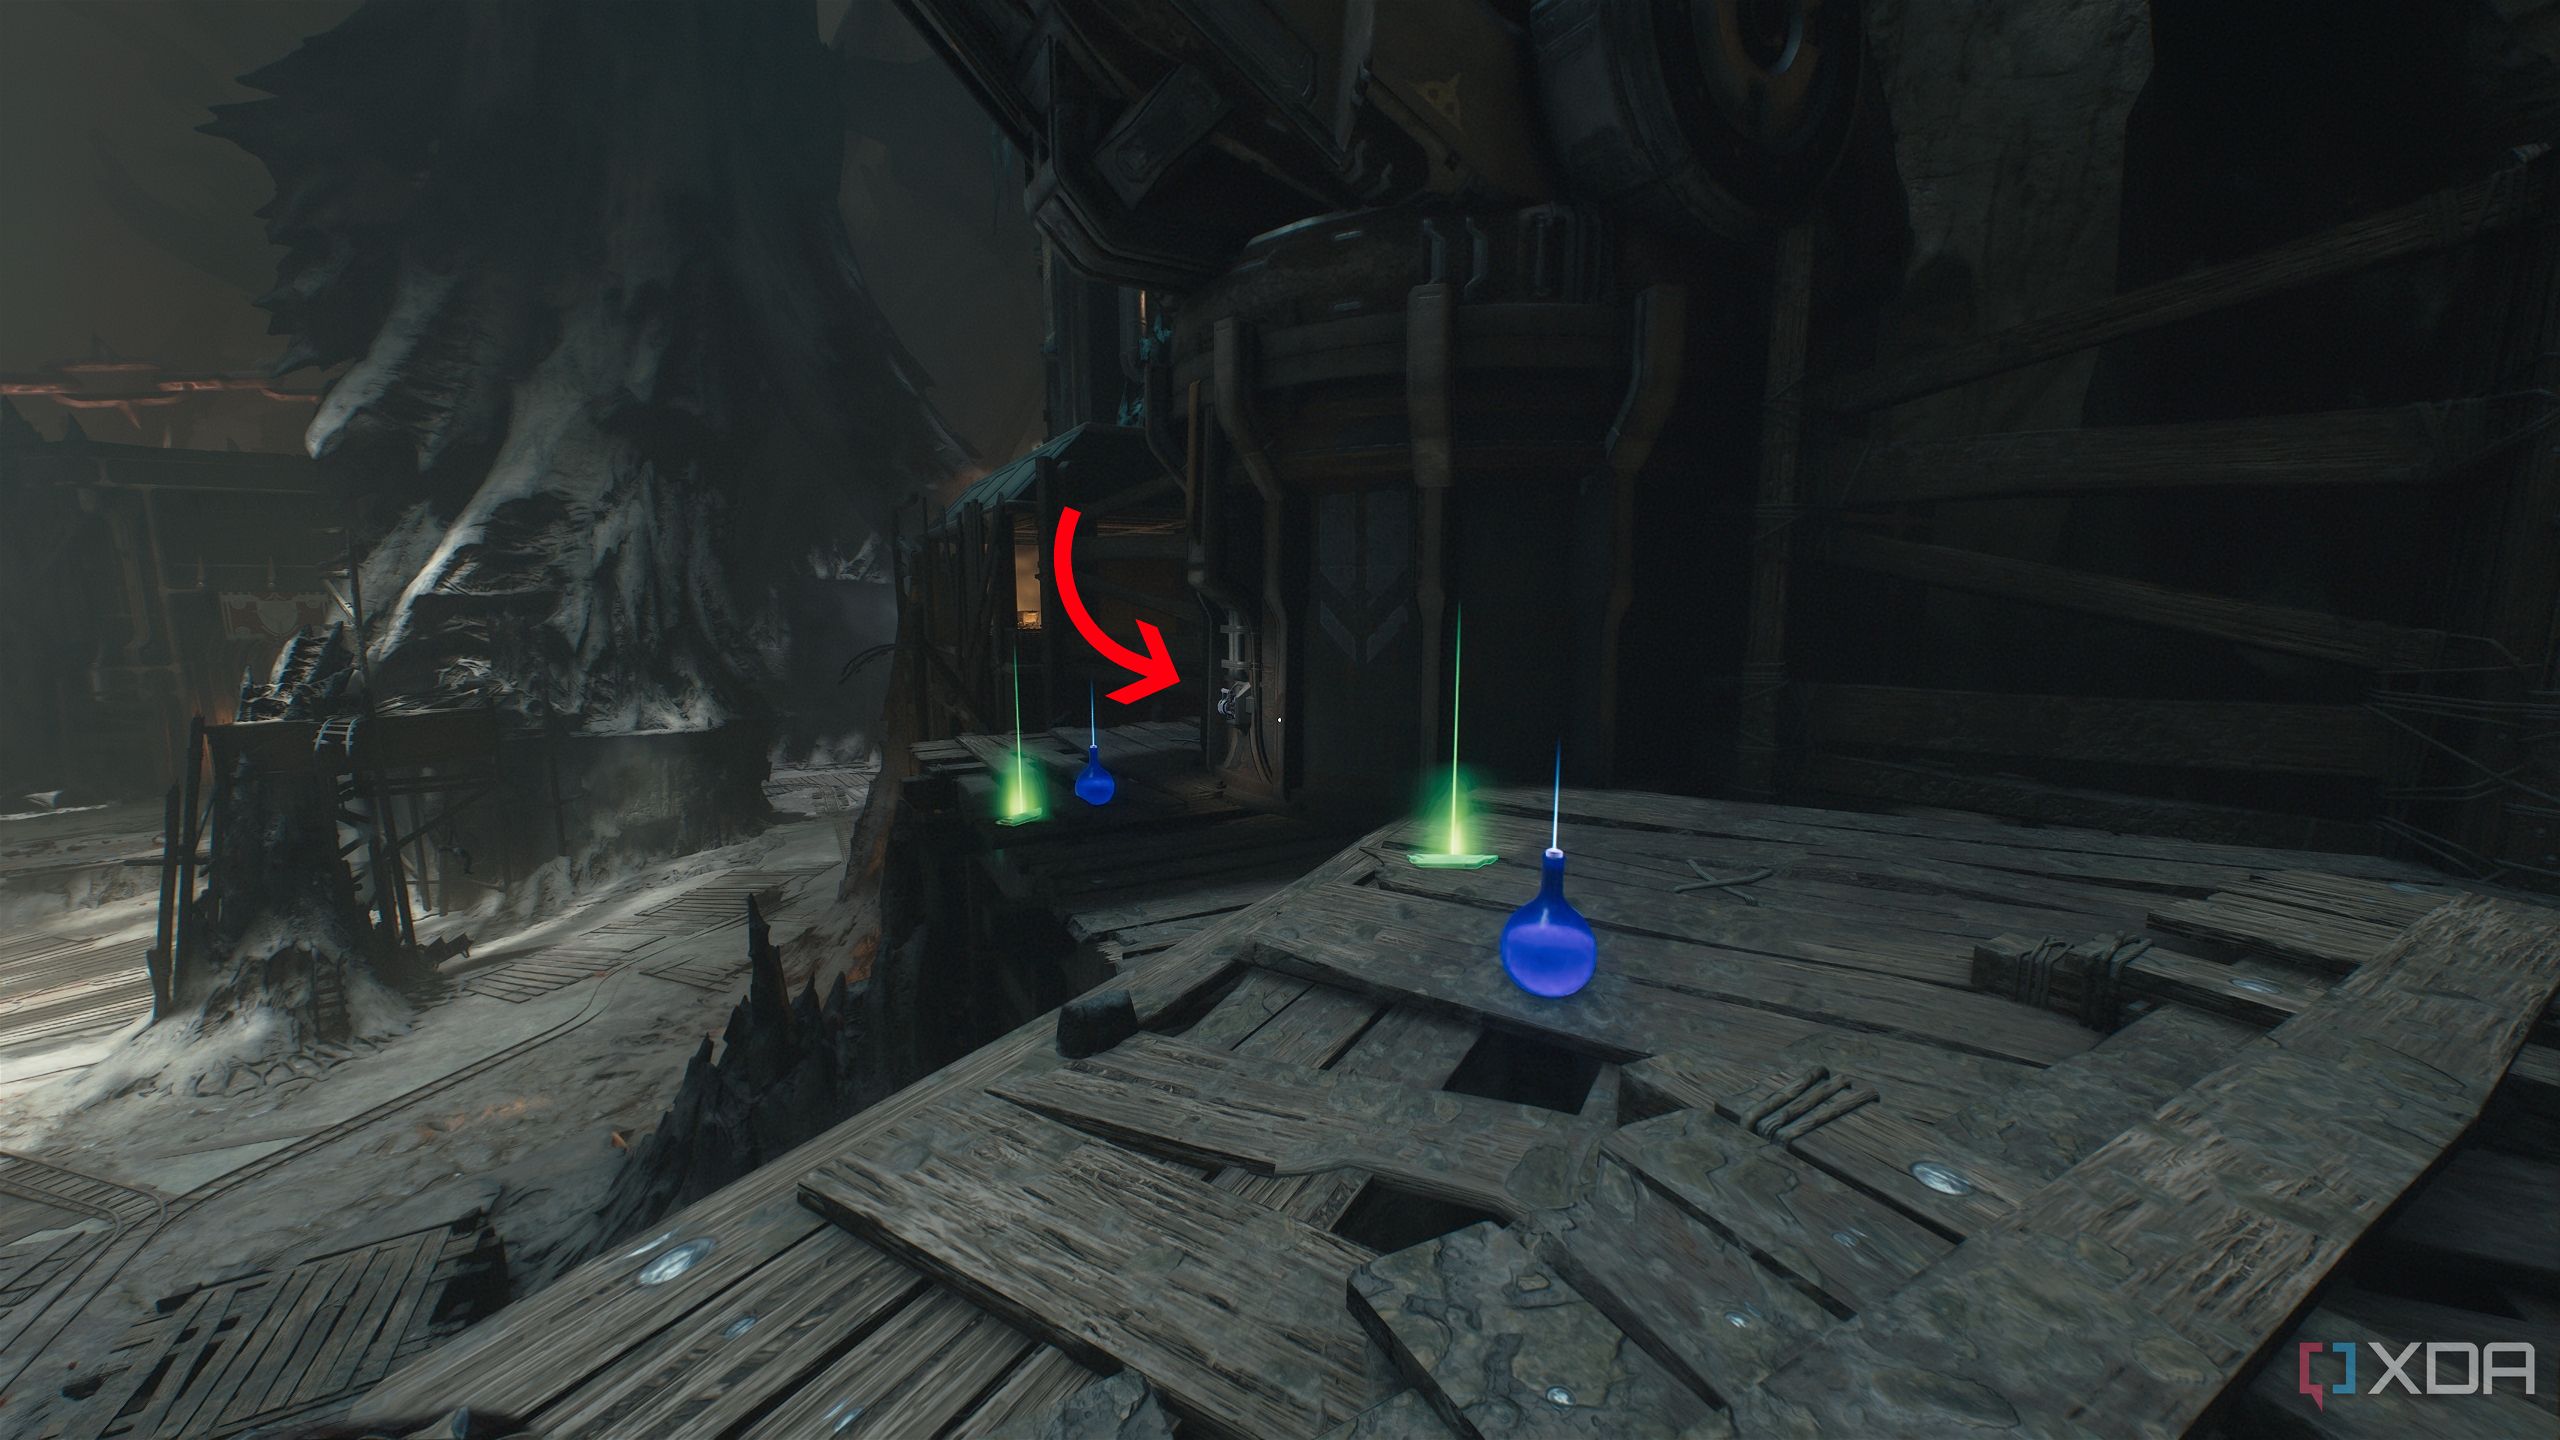
Right behind the armor and health is a small interactable switch.
Use it and the crane overhead will drop a Life Sigil on the ground if you need it.
Secret area 4 and a gold chest
Gold-trailing off the main path
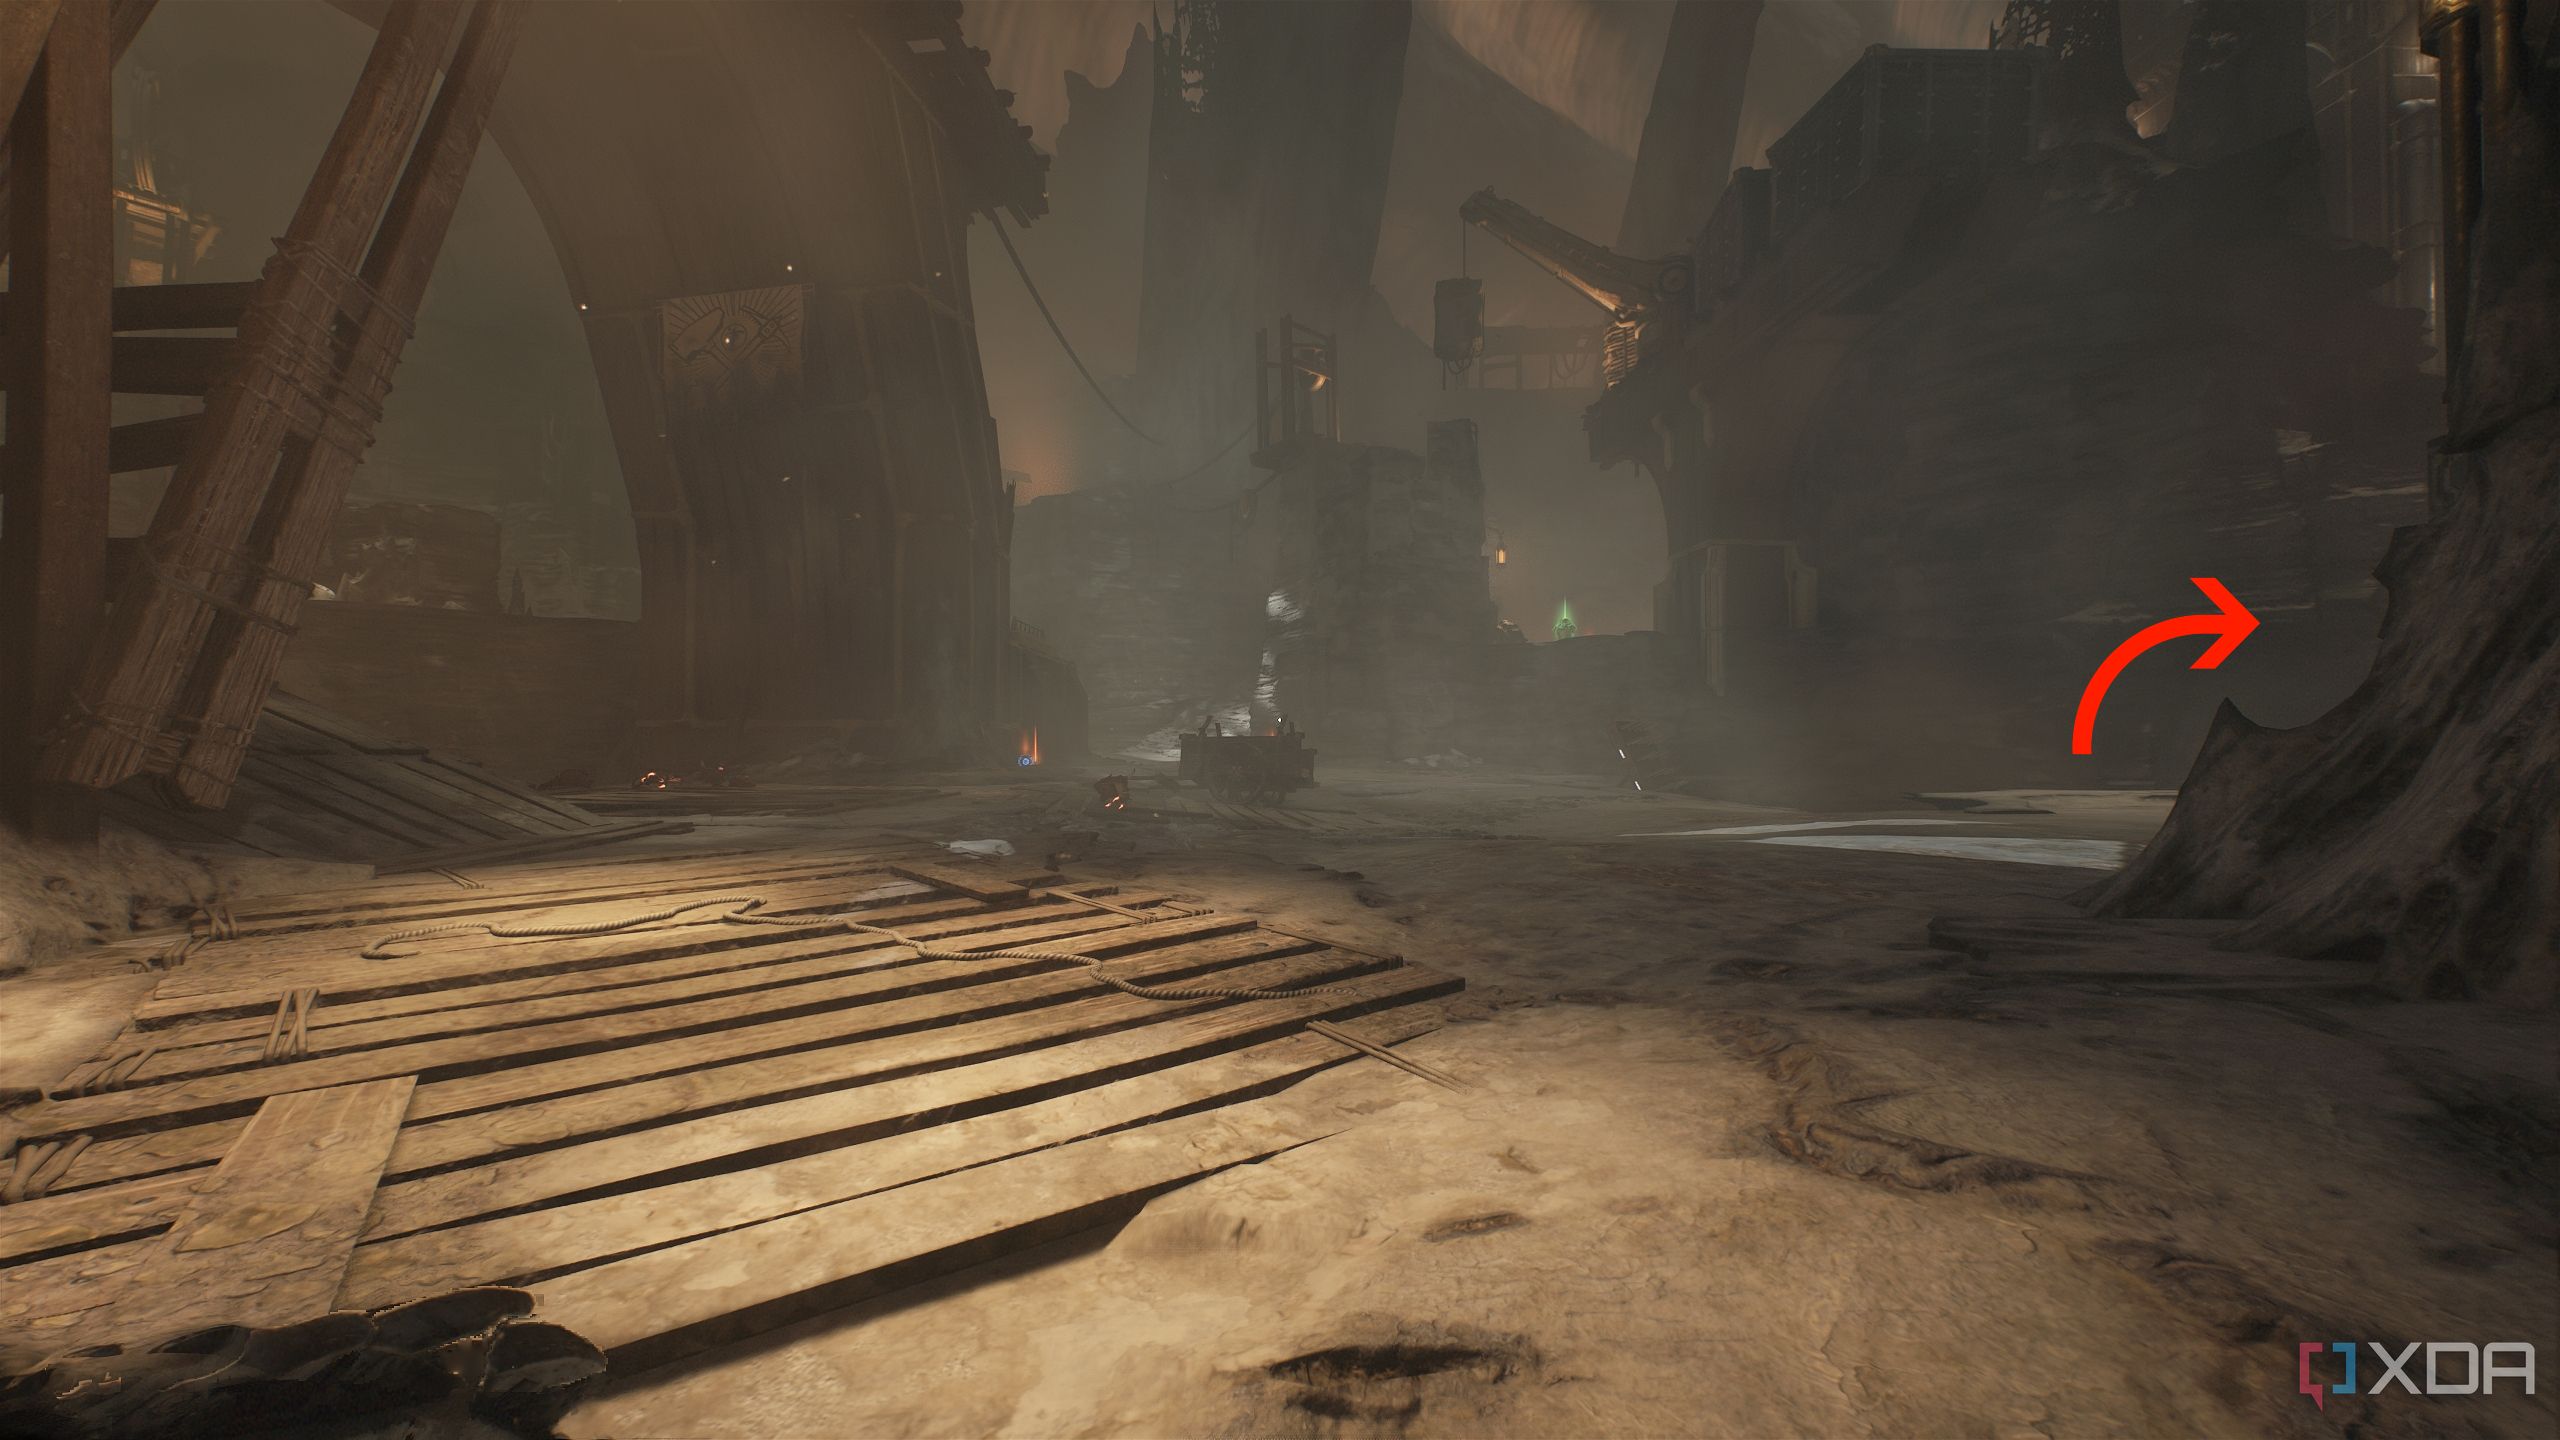
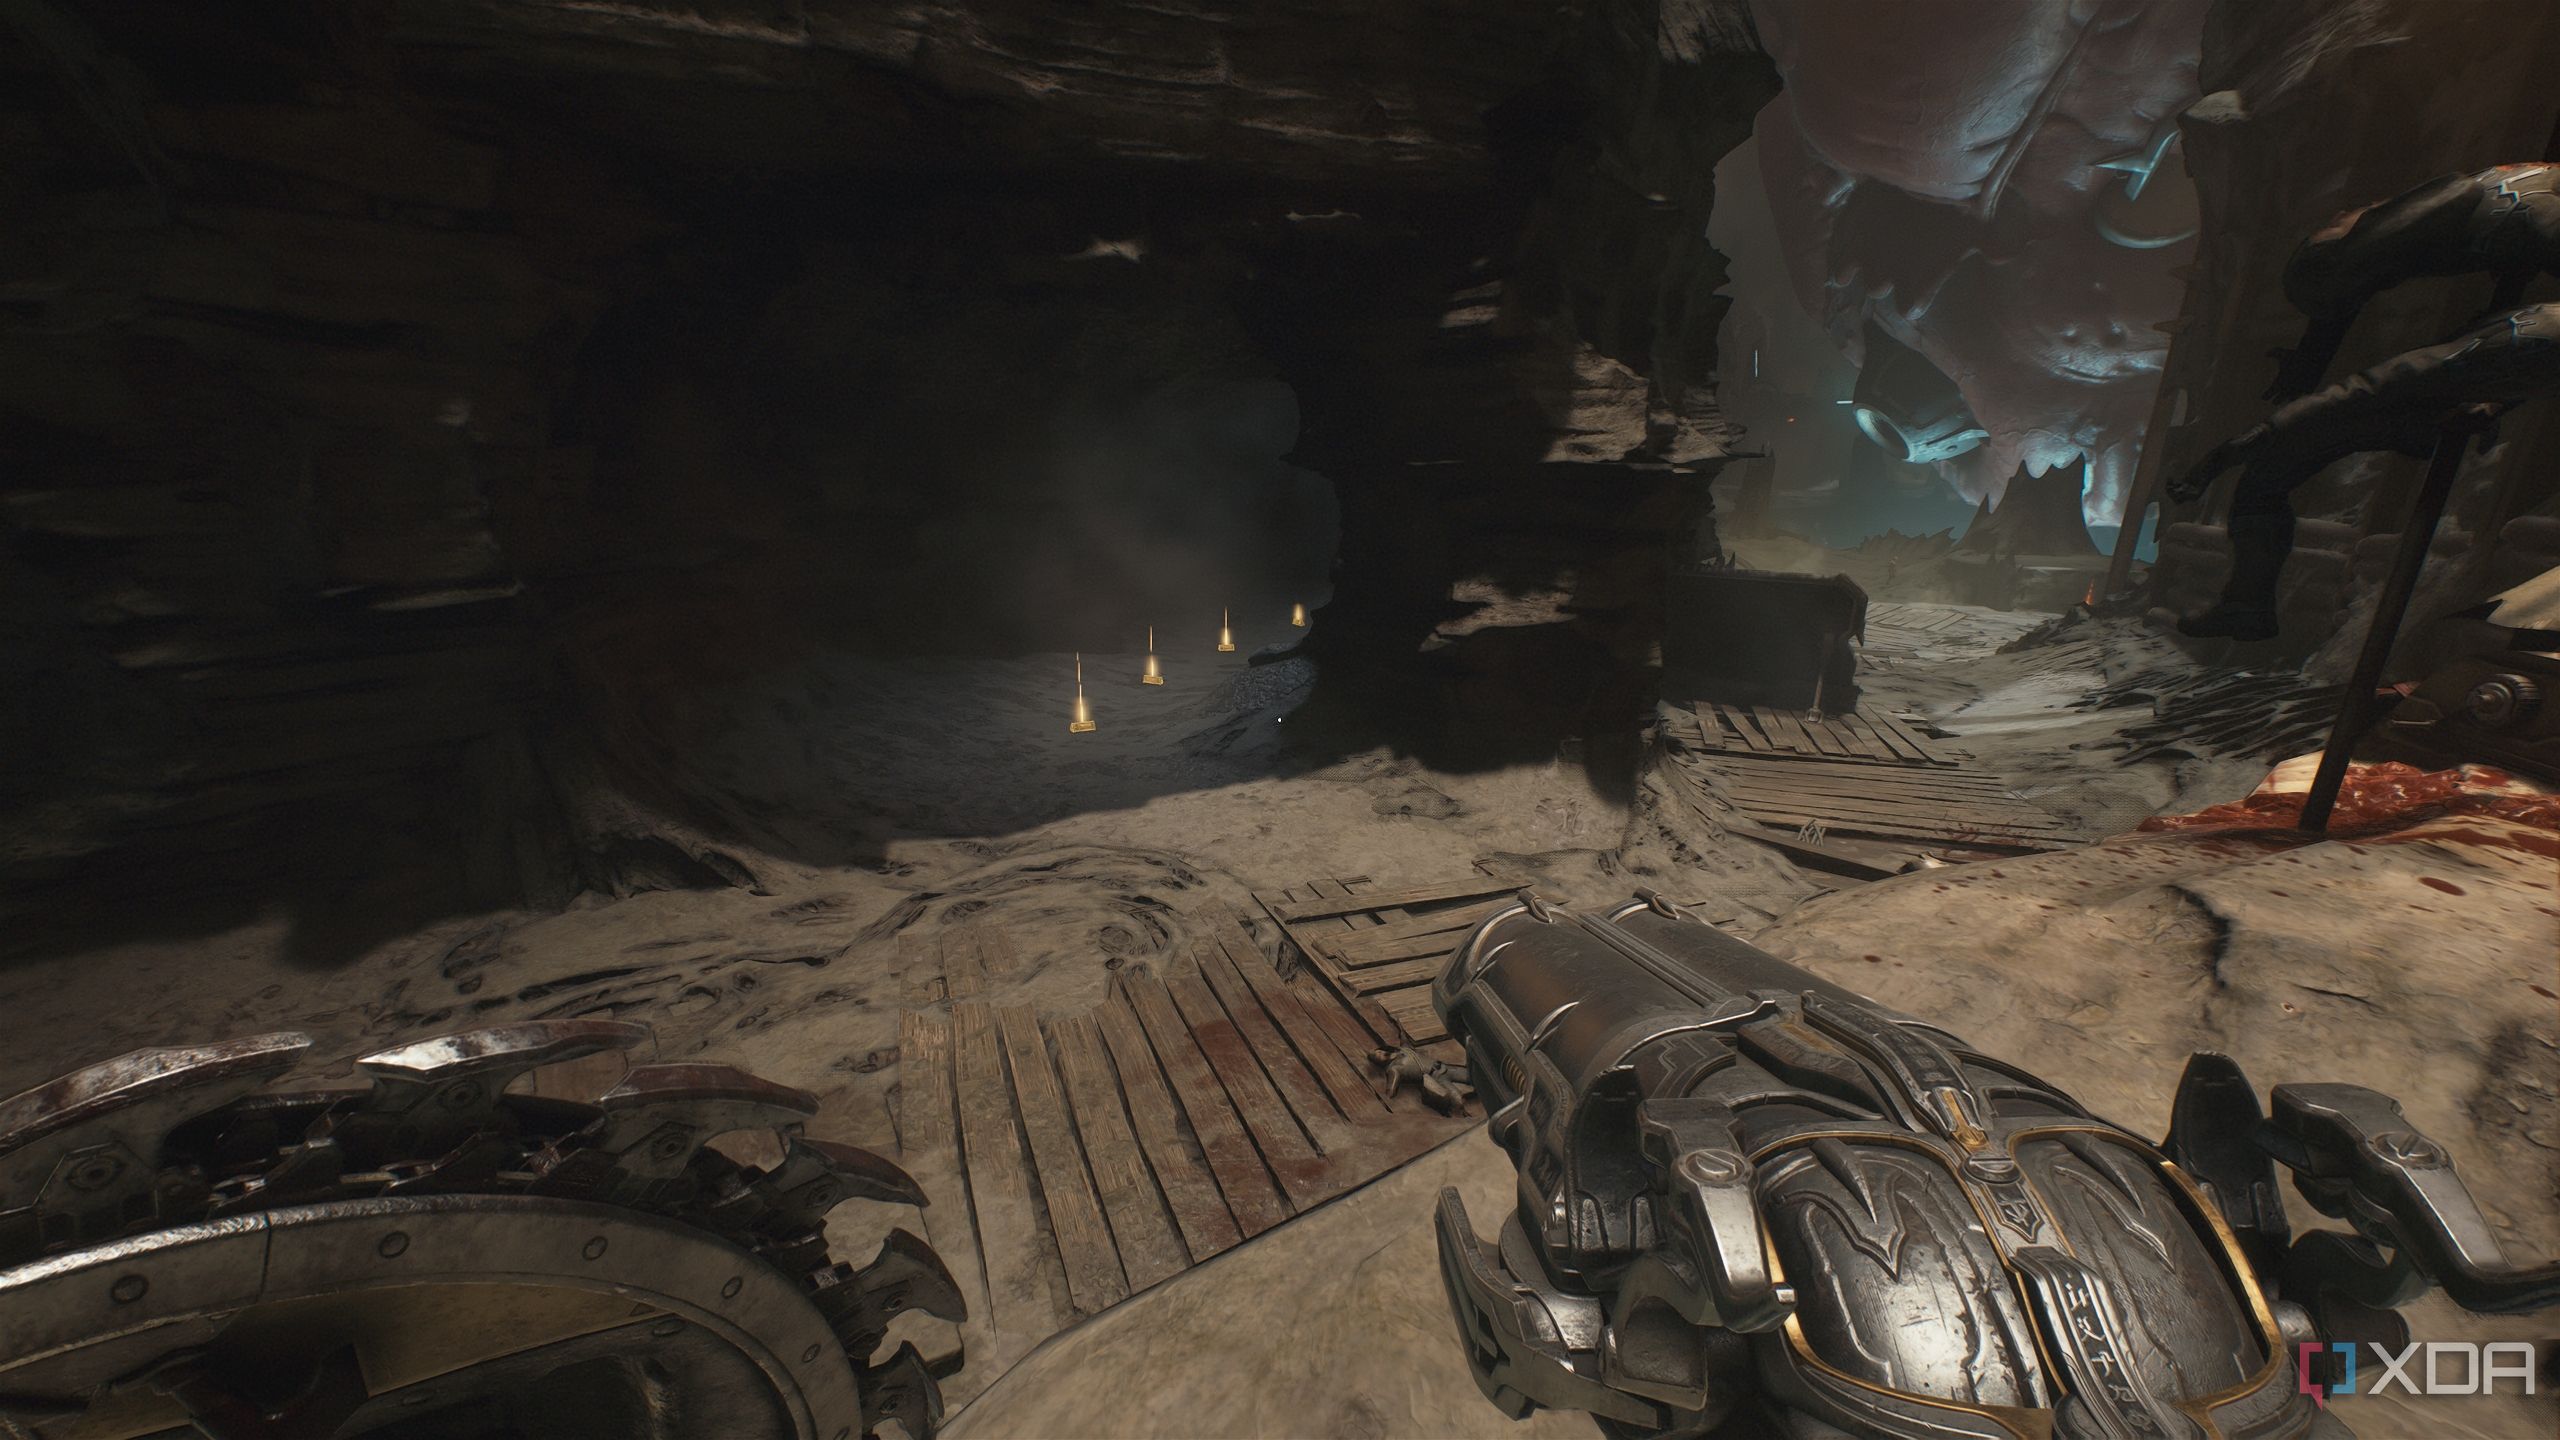
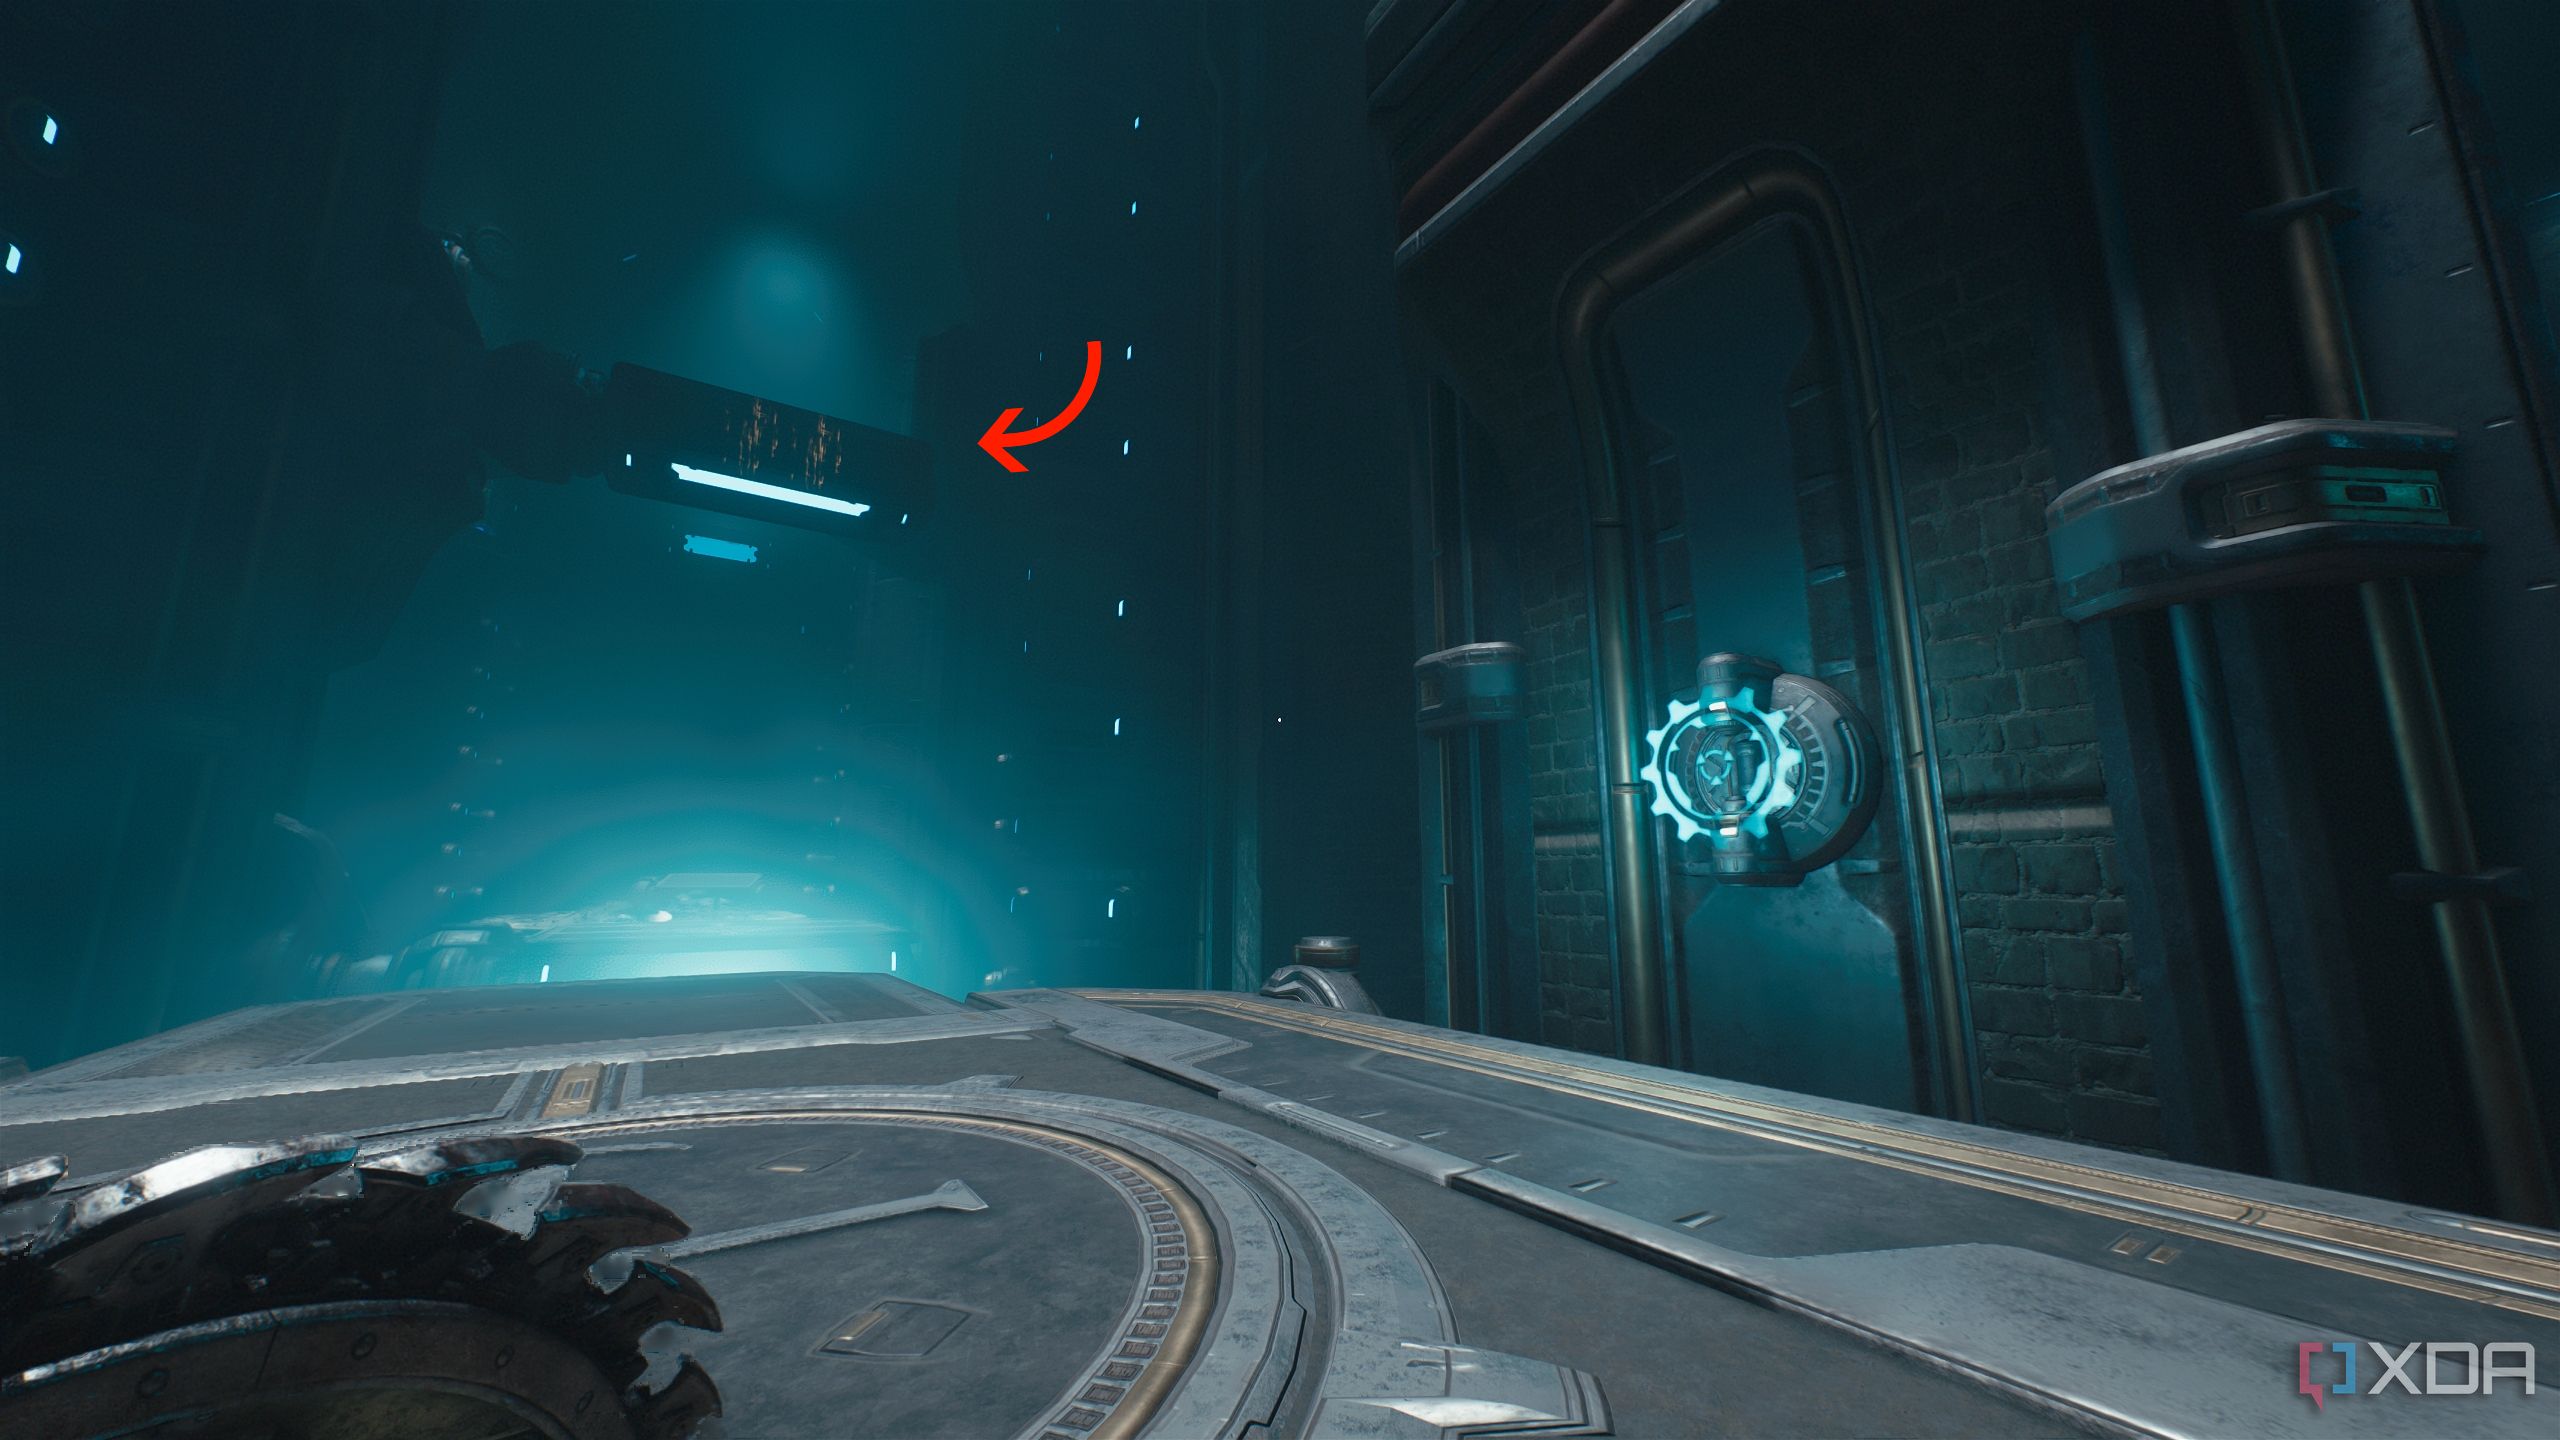
From this Life Sigil, head left and forward, and the path will turn right.
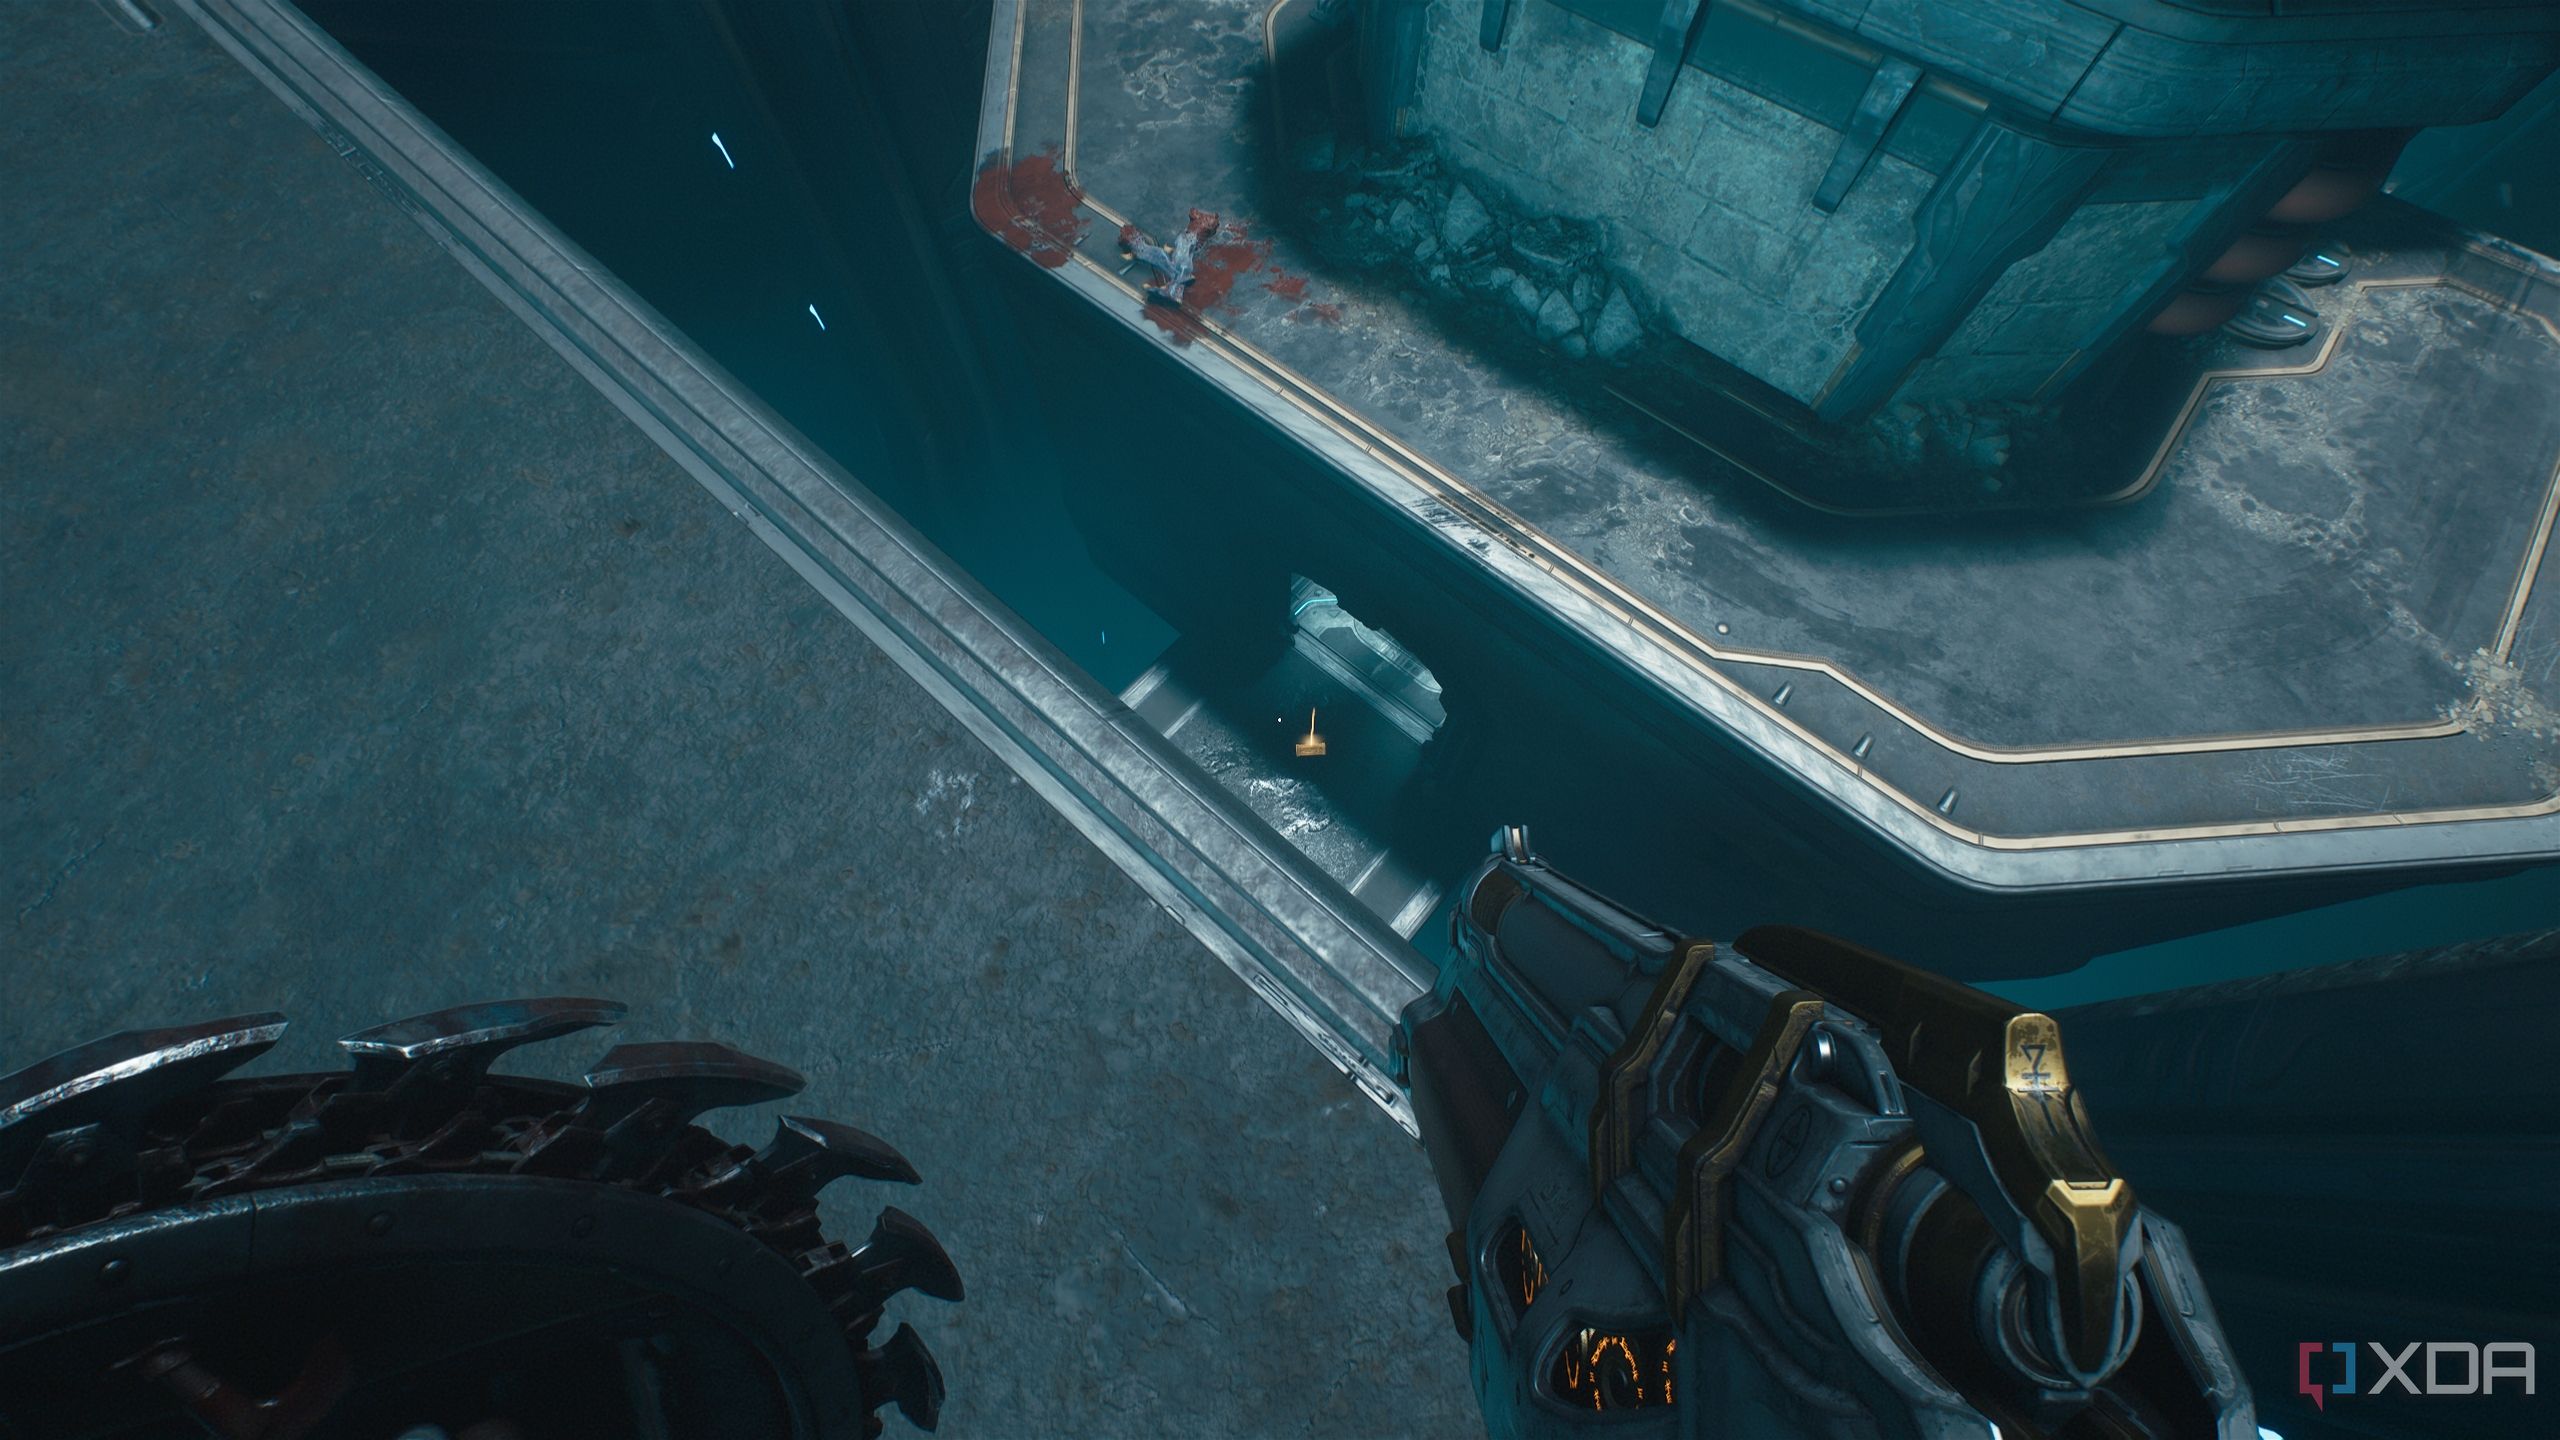
Here, pick up the trail of gold bars on the ground, but before moving forward, look to the right, where blue light is shining out of the wall.
Approach it, and drop down to pick up another trail of gold bars.
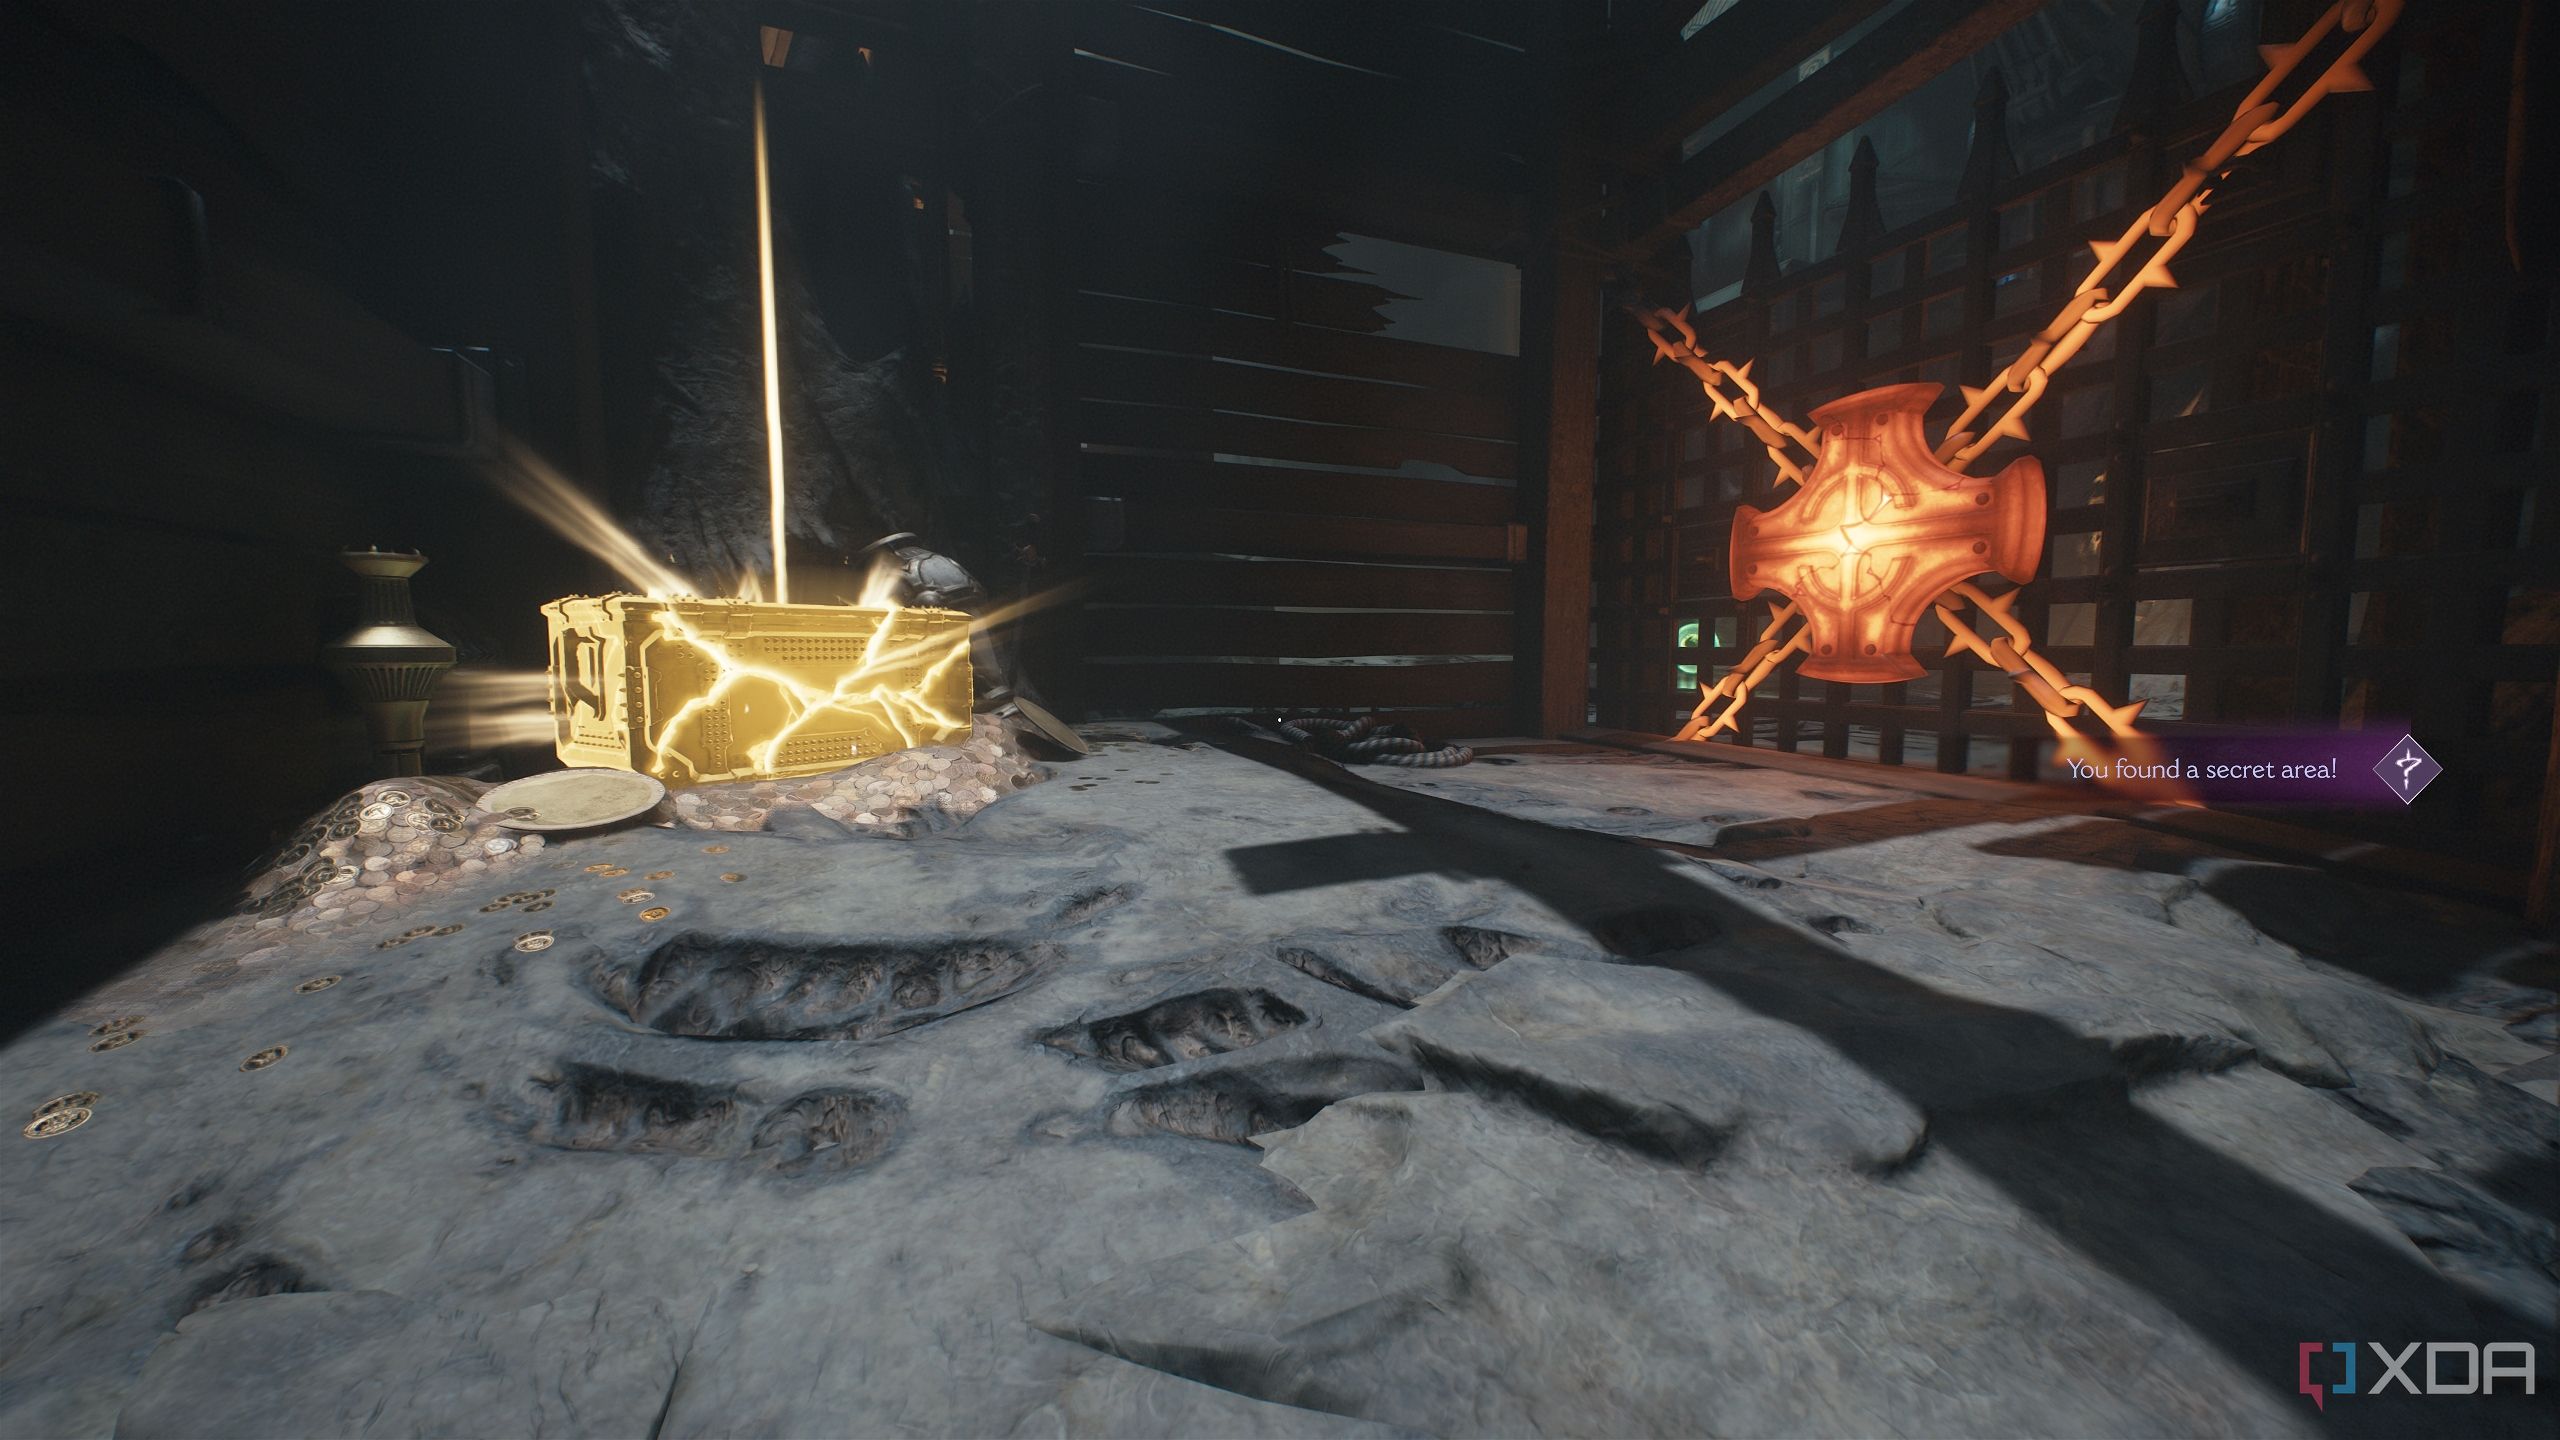
Here, you’ll unlock secret area 4 and a gold chest placed next to a heated metal cross. Collect the chest, and break the cross to get back to the Life Sigil from earlier. Now, retrace your steps and move to the combat encounter up ahead.

Related
6 reasons I'm excited for DOOM: The Dark Ages
Six bloody good reasons DOOM: The Dark Ages could be the most fun FPS of the generation.
Codex Page and gold stacks
Collecting more lore for the Slayer's library
Up ahead, enter the arena, and you’ll have to contend with plenty of Imp Stalkers, Hellknights, Pinky Riders, and a Cyberdemon.
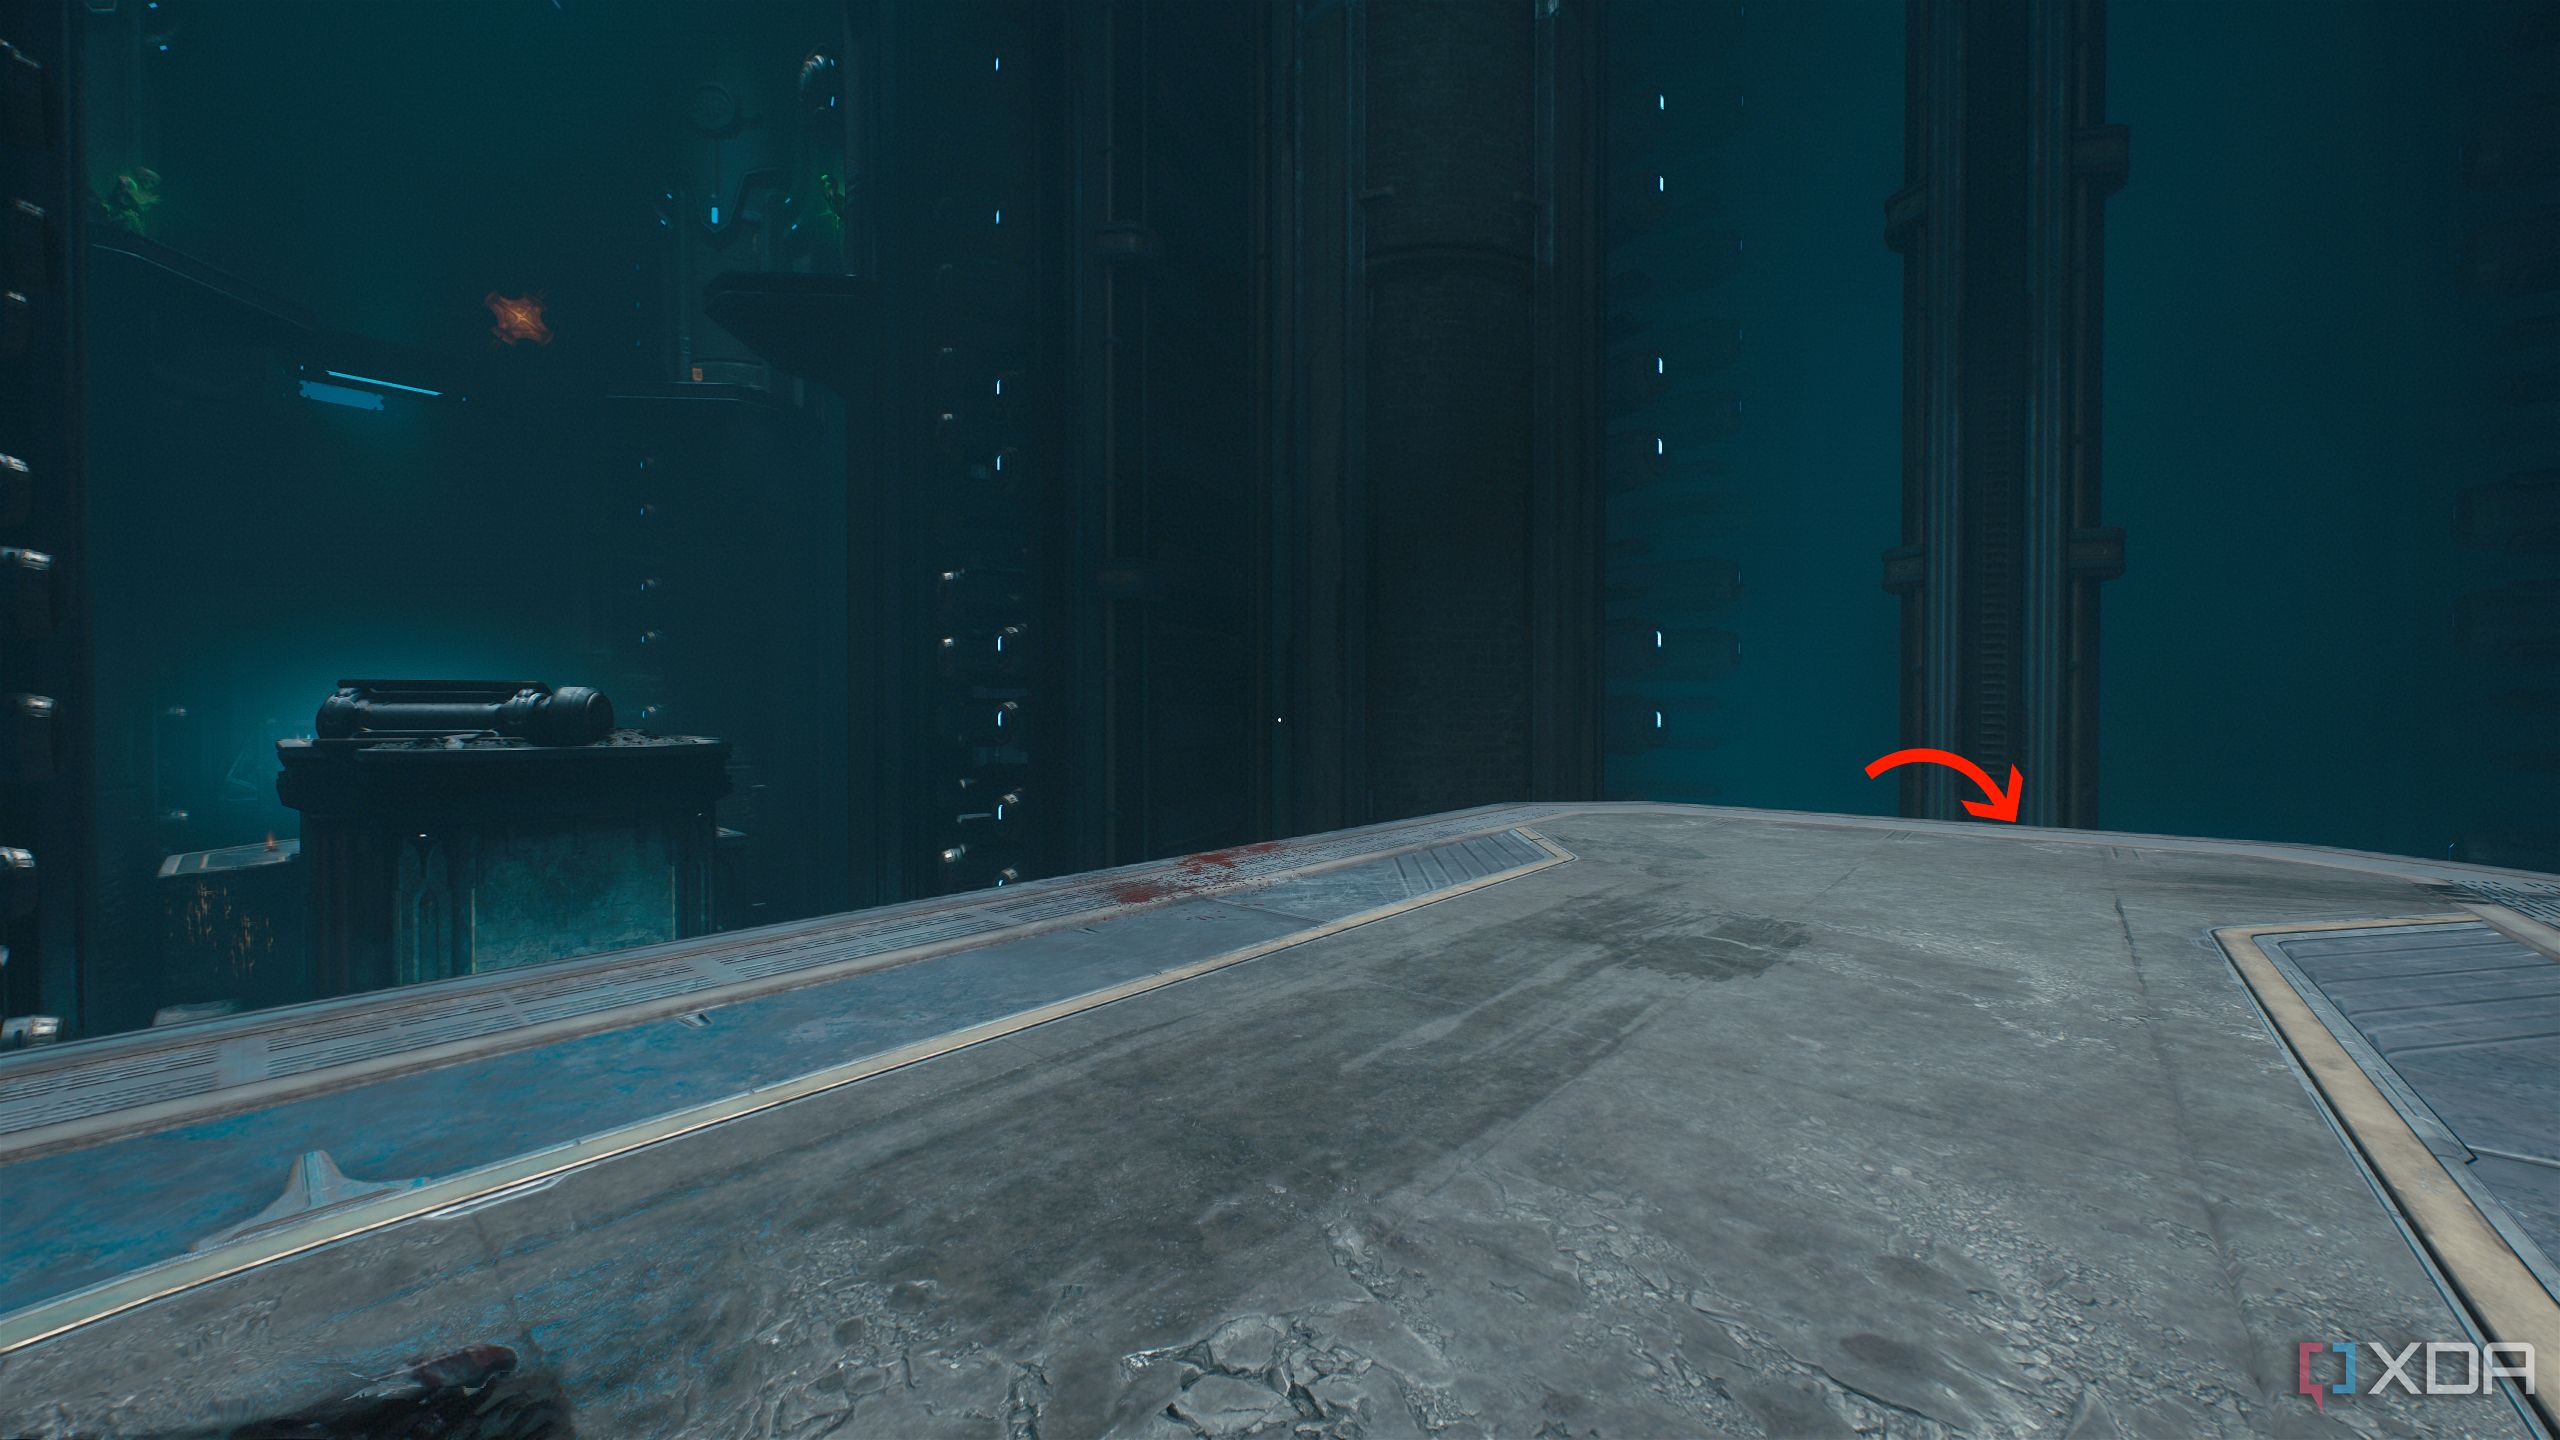
Once you’re done with the battle, turn around to reach the back edge of the arena.
Refer to the location on the map above. Here, you’ll see a small drop below.

Jump down to the wooden platform below to collect two gold stacks. The moment you collect them, three Hellknights will attack, so be careful.
Once you’ve got those, climb up and head straight towards the objective switch here, and turn on the switch to make ⅔ progress in the main quest. From here, drop straight down past the switch.
You'll land in the arena where you fought the Vagary to unlock the second lion statue.
From here, head opposite the statue’s mantle to reach a new arena where you’ll fight a Revenant and two Mancubii.
Once done, refer to the location above, and then go right.
After heading right, you'll spot a small trail of gold bars in a crevice to the left.
Head back, and move right under the huge archway.
Follow the path ahead to a trail of armor pickups.
Drop down and approach the left edge ahead to see a small wooden platform to jump down to.
Get there to pick up more gold bars and a Codex Page for the Ancestral Forge.
Secret area 5, Red Ruby 1, and a Toy Collectible
Scrambling up wooden walls to reach a 2-in-1
Once you reach the third objective switch located above, you’ll have to fight through a horde before the demonic seal around the switch goes away.
Before pulling the lever, look to the right, and you’ll see a color-locked purple gate ahead.
Sprint and jump towards it, picking up the gold bars in front of it.
Before unlocking the gate, drop down to the left side.
Pick up two gold stacks before moving back and unlocking the gate.
Now, move through the room you just unlocked to climb up a scramble wall and fight a Spiderdemon.
Climb further up to take down the Shielded Soldiers above.
Follow the wooden platforms to reach secret area 5.
Here, you’ll unlock a Red Ruby, as well as a secret toy collectible for the Vagary. Head to the point of no return after completing all three objectives.
Secret area 6 and Red Ruby 2
Now onto the linear aspects of the level
Once you’re past the first point of no return in the level, you’ll fight a Mancubus and a Whiplash demon before reaching a larger room where a Revenant will fight you.
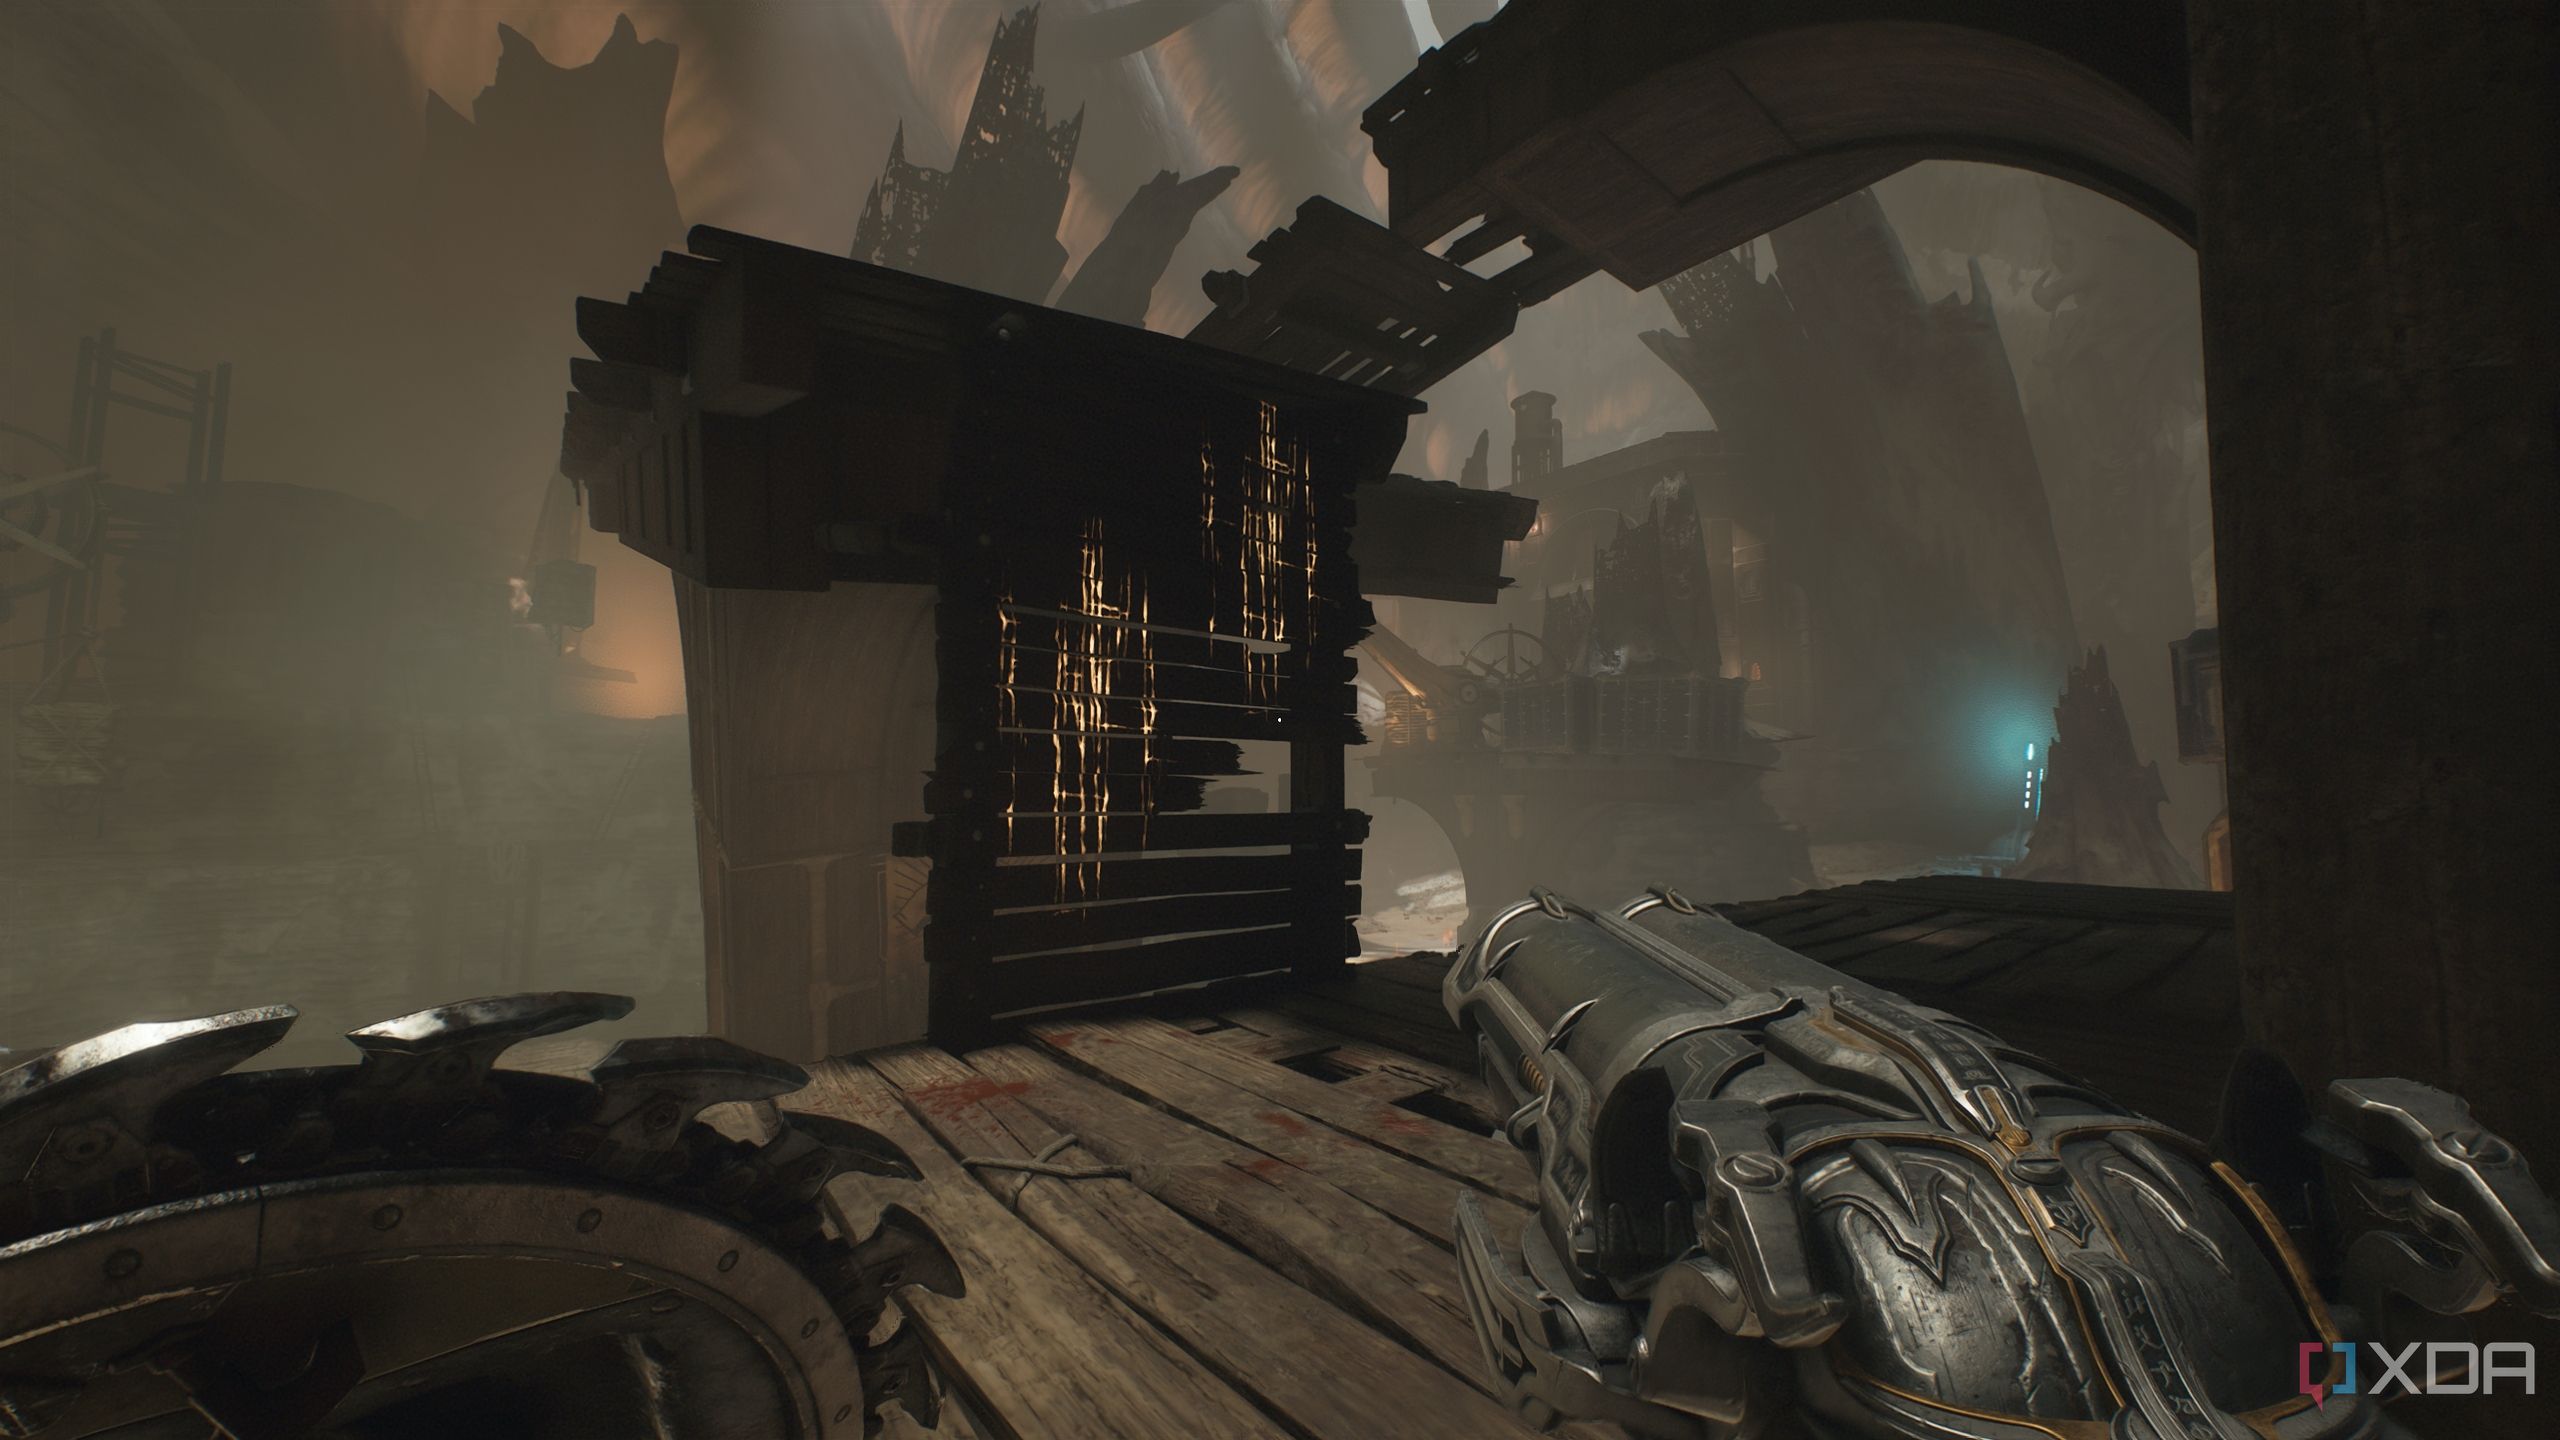
Clear this room, and in the back wall, you should see an impossible-to-miss wooden wall with a Shield Charge symbol.
Bash through it and enter the opening in the wall. From a small gap in the wall, you should see a heated metal cross.
Throw your shield at it to cut it down, and a metal gate to your left will open up.
Enter it to unlock secret area 6 and another red ruby.
Related
Secret area 7 and a gold chest
Moving up to the platforming section in the forge

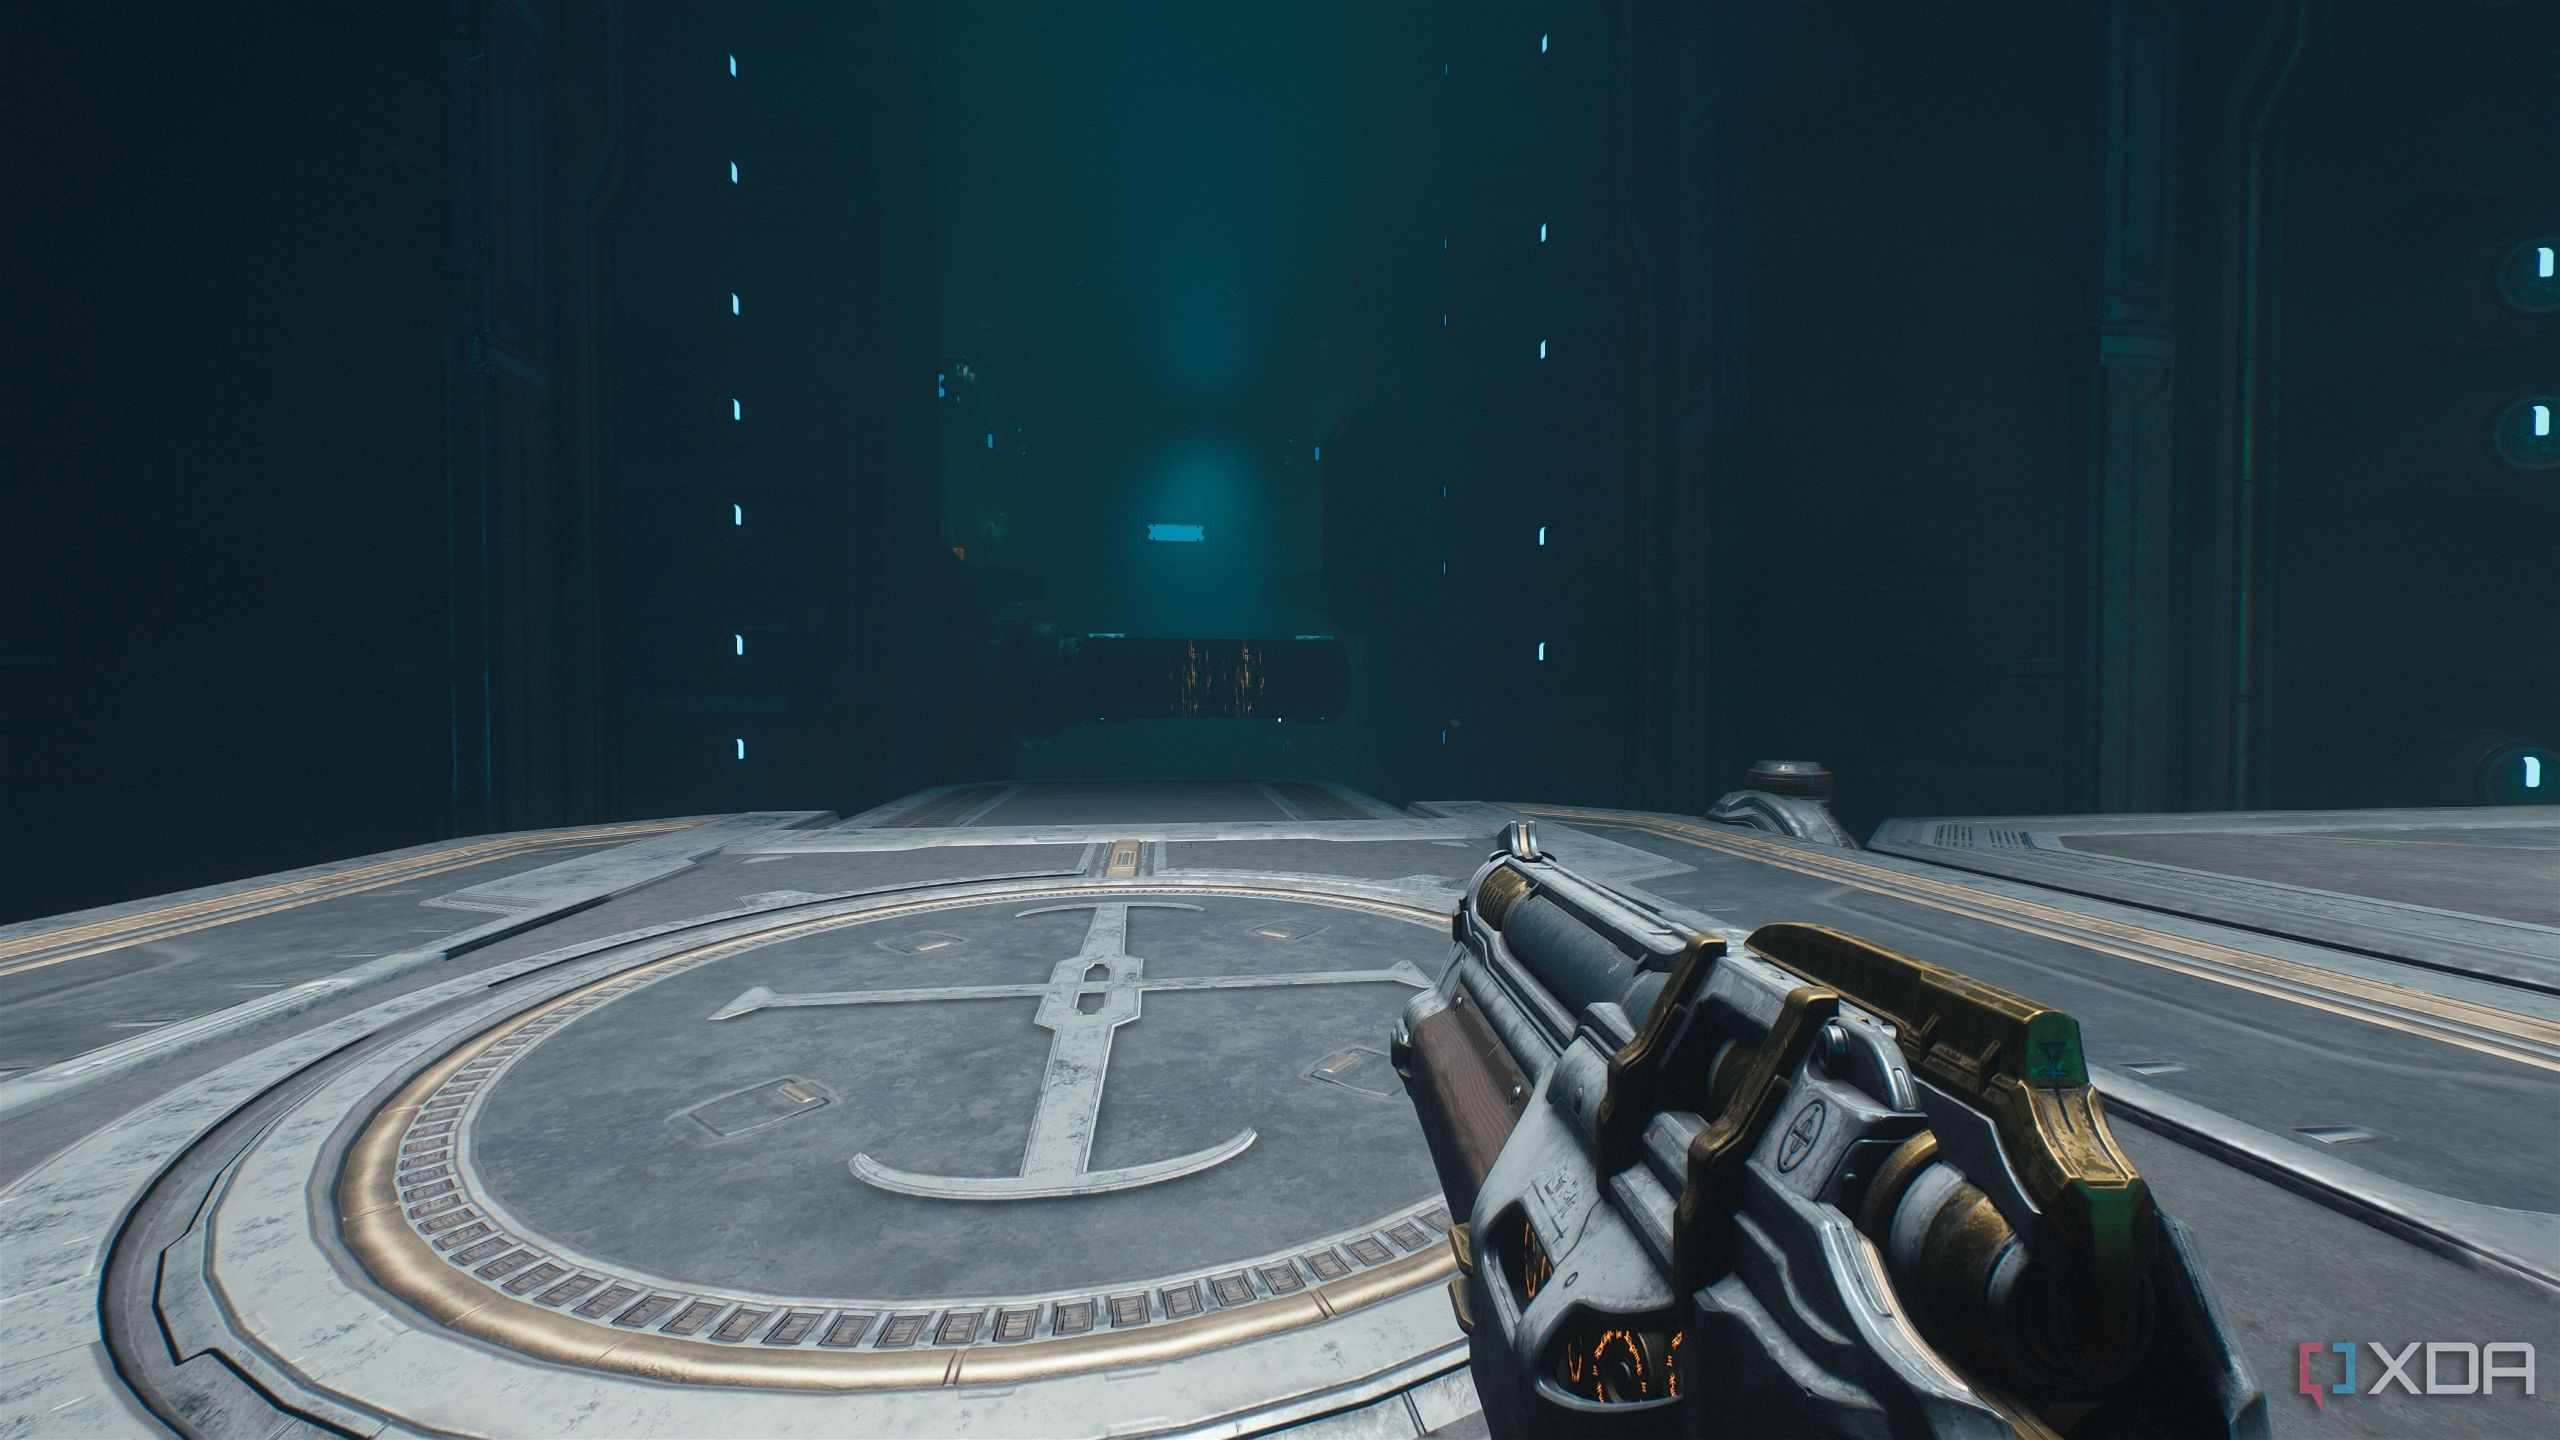
Immediately in the next room, there’s a platforming section after you fight a Shadow Imp Stalker and two Stone Imps.
Here, instead of jumping to the far platform on the left, simply walk down ahead of the platform you’re on, and turn around.
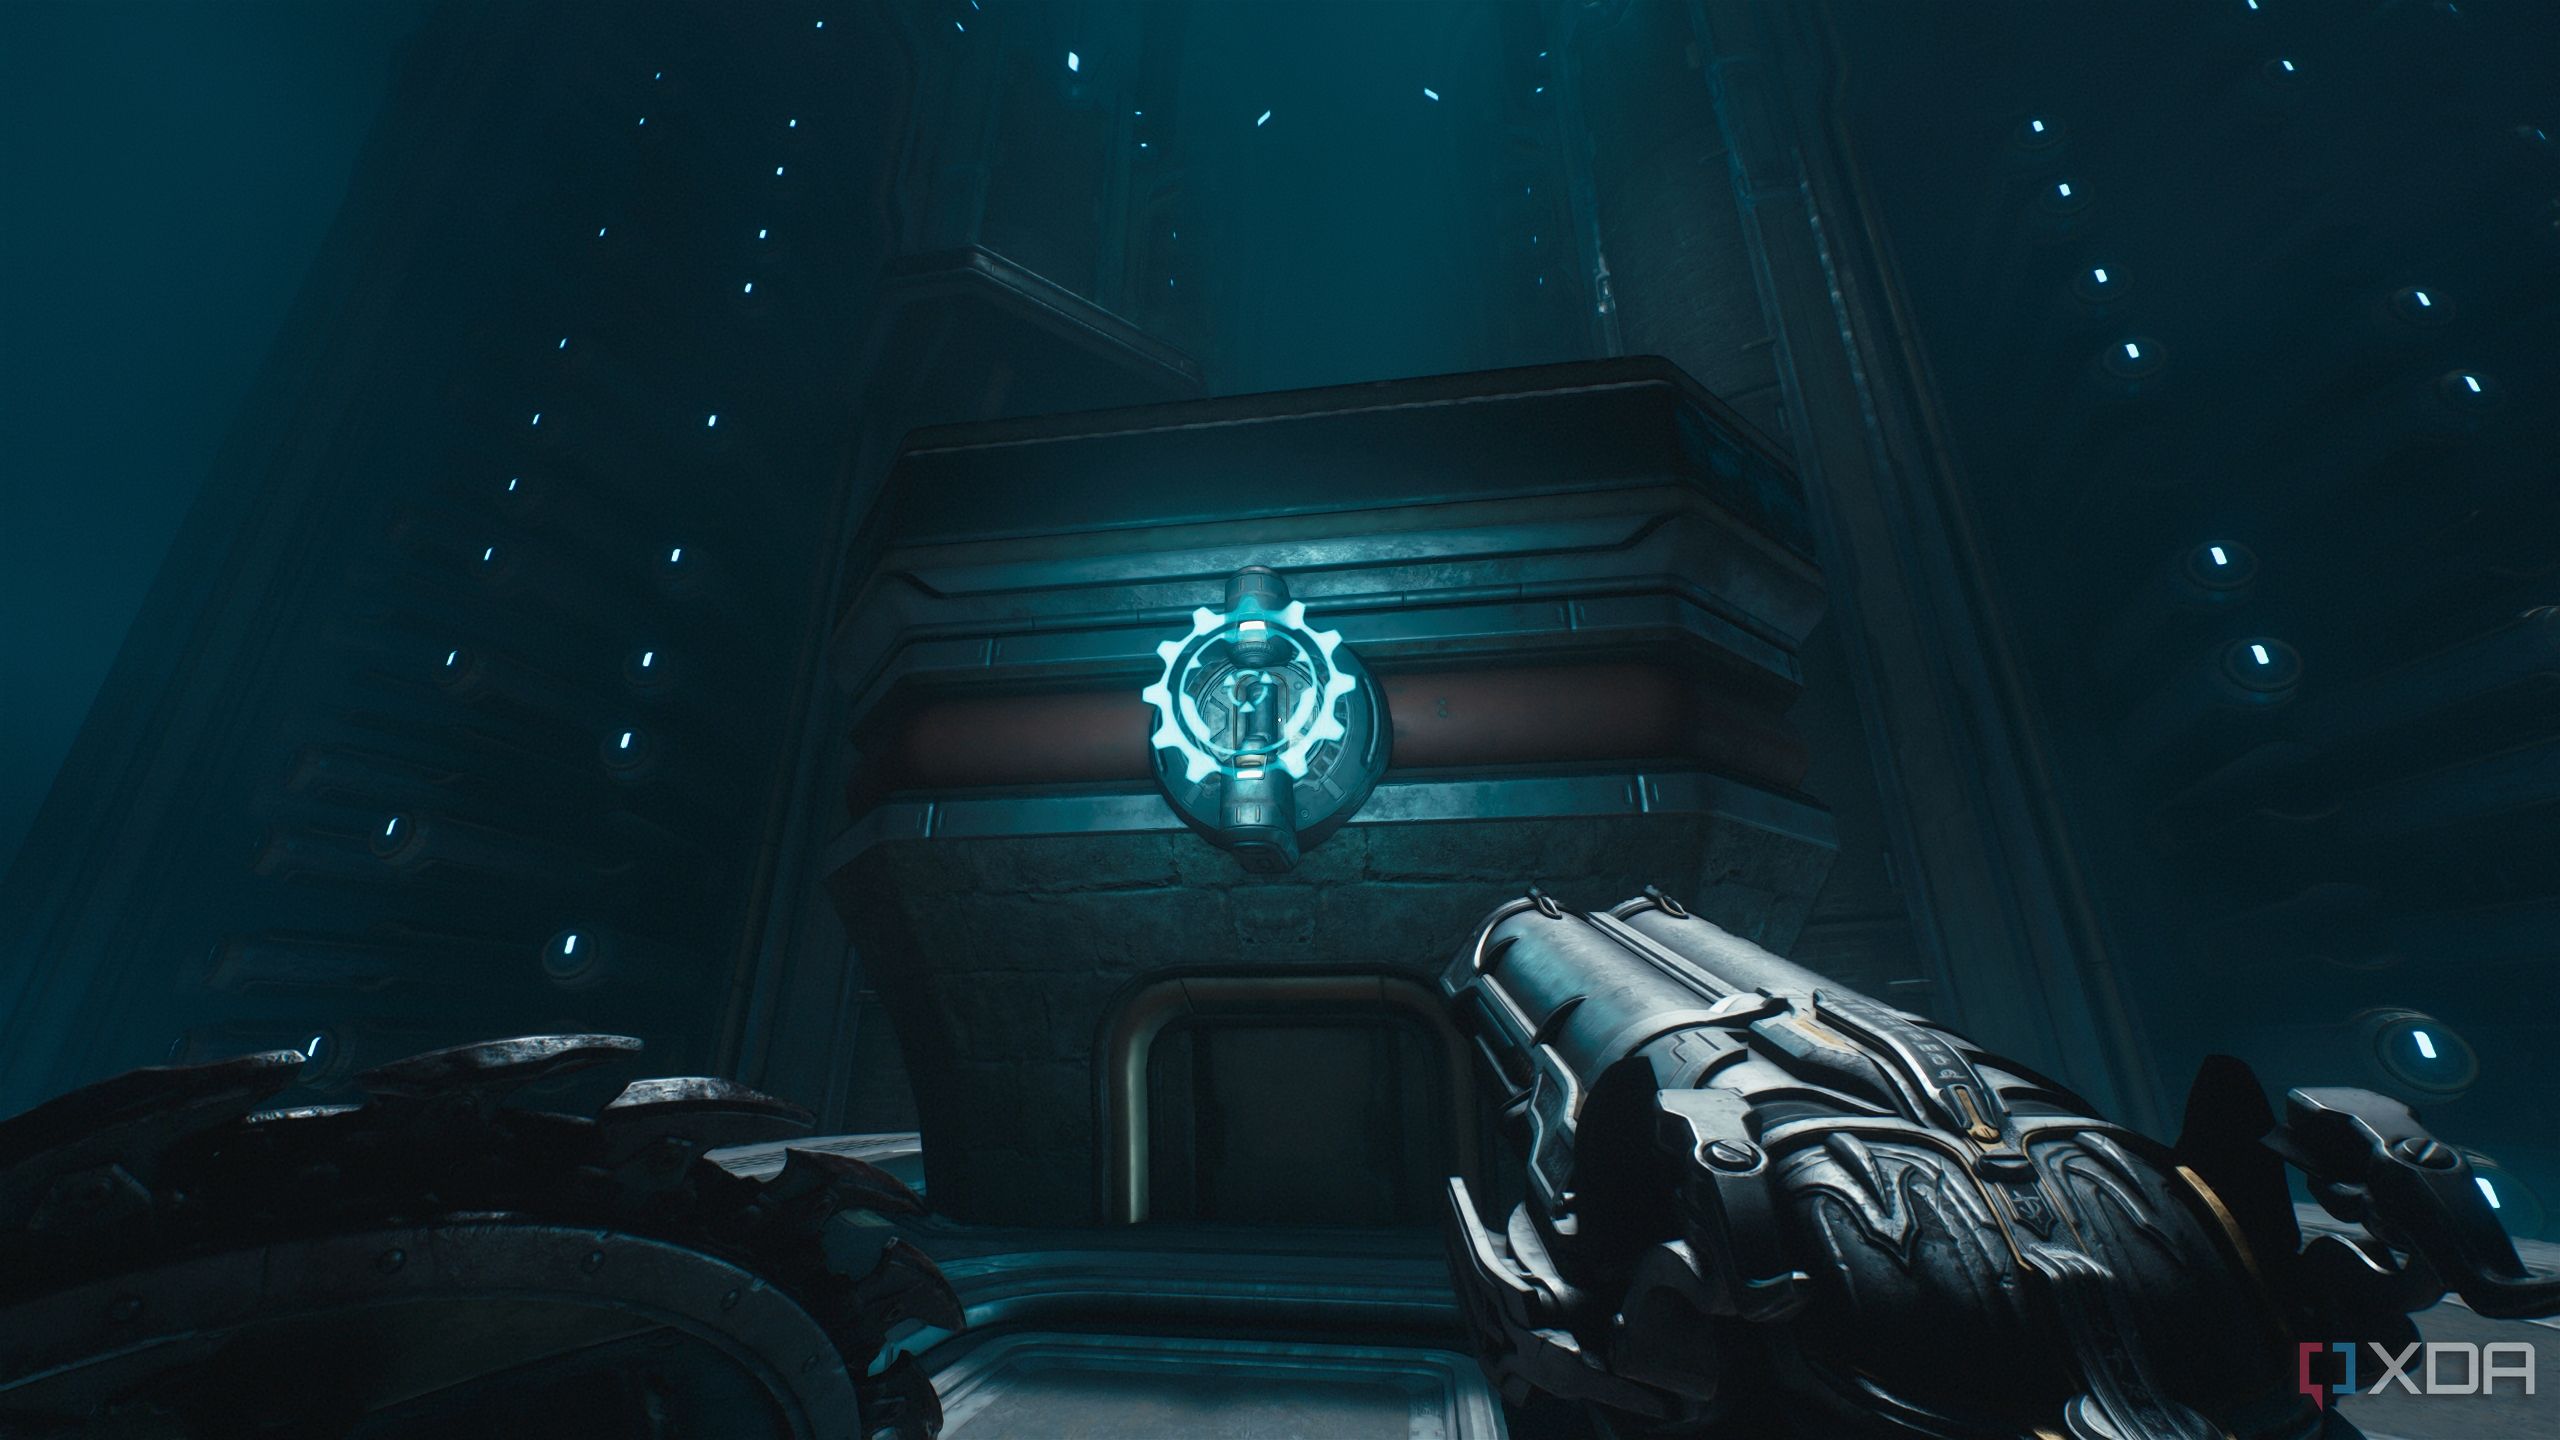
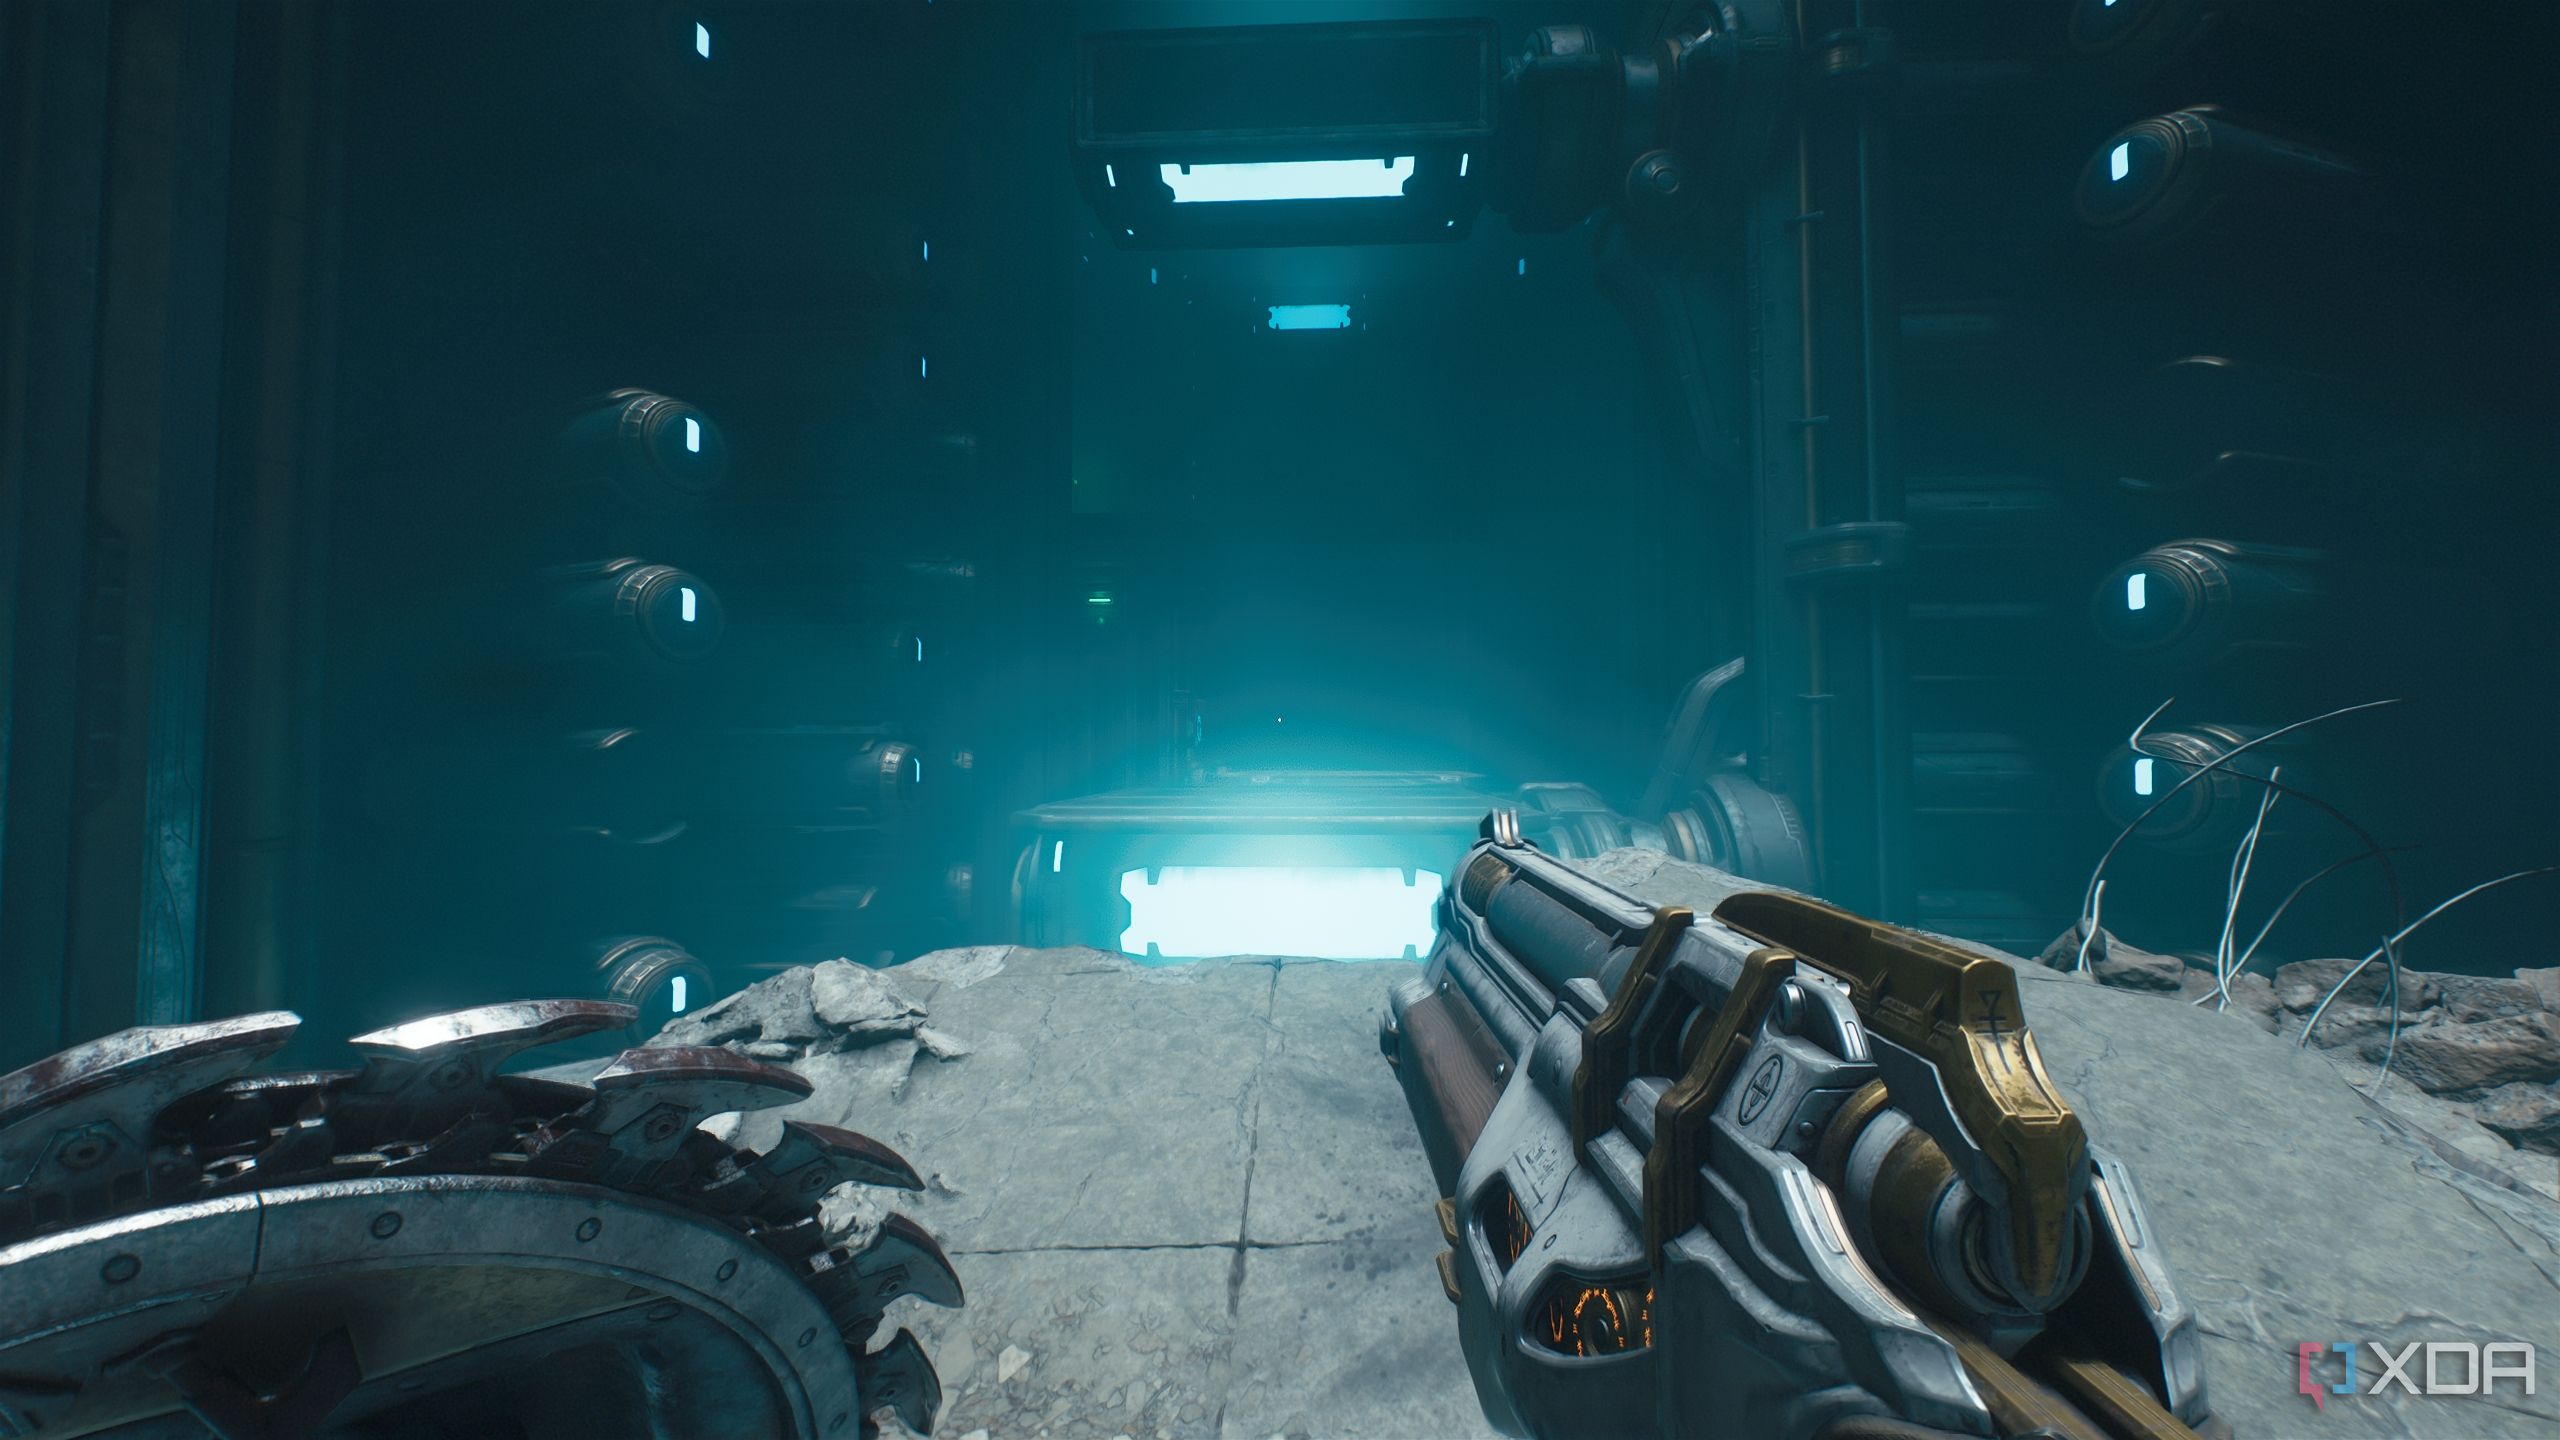
You should see a blue energy node to stick your shield in. Stand right in front of it.
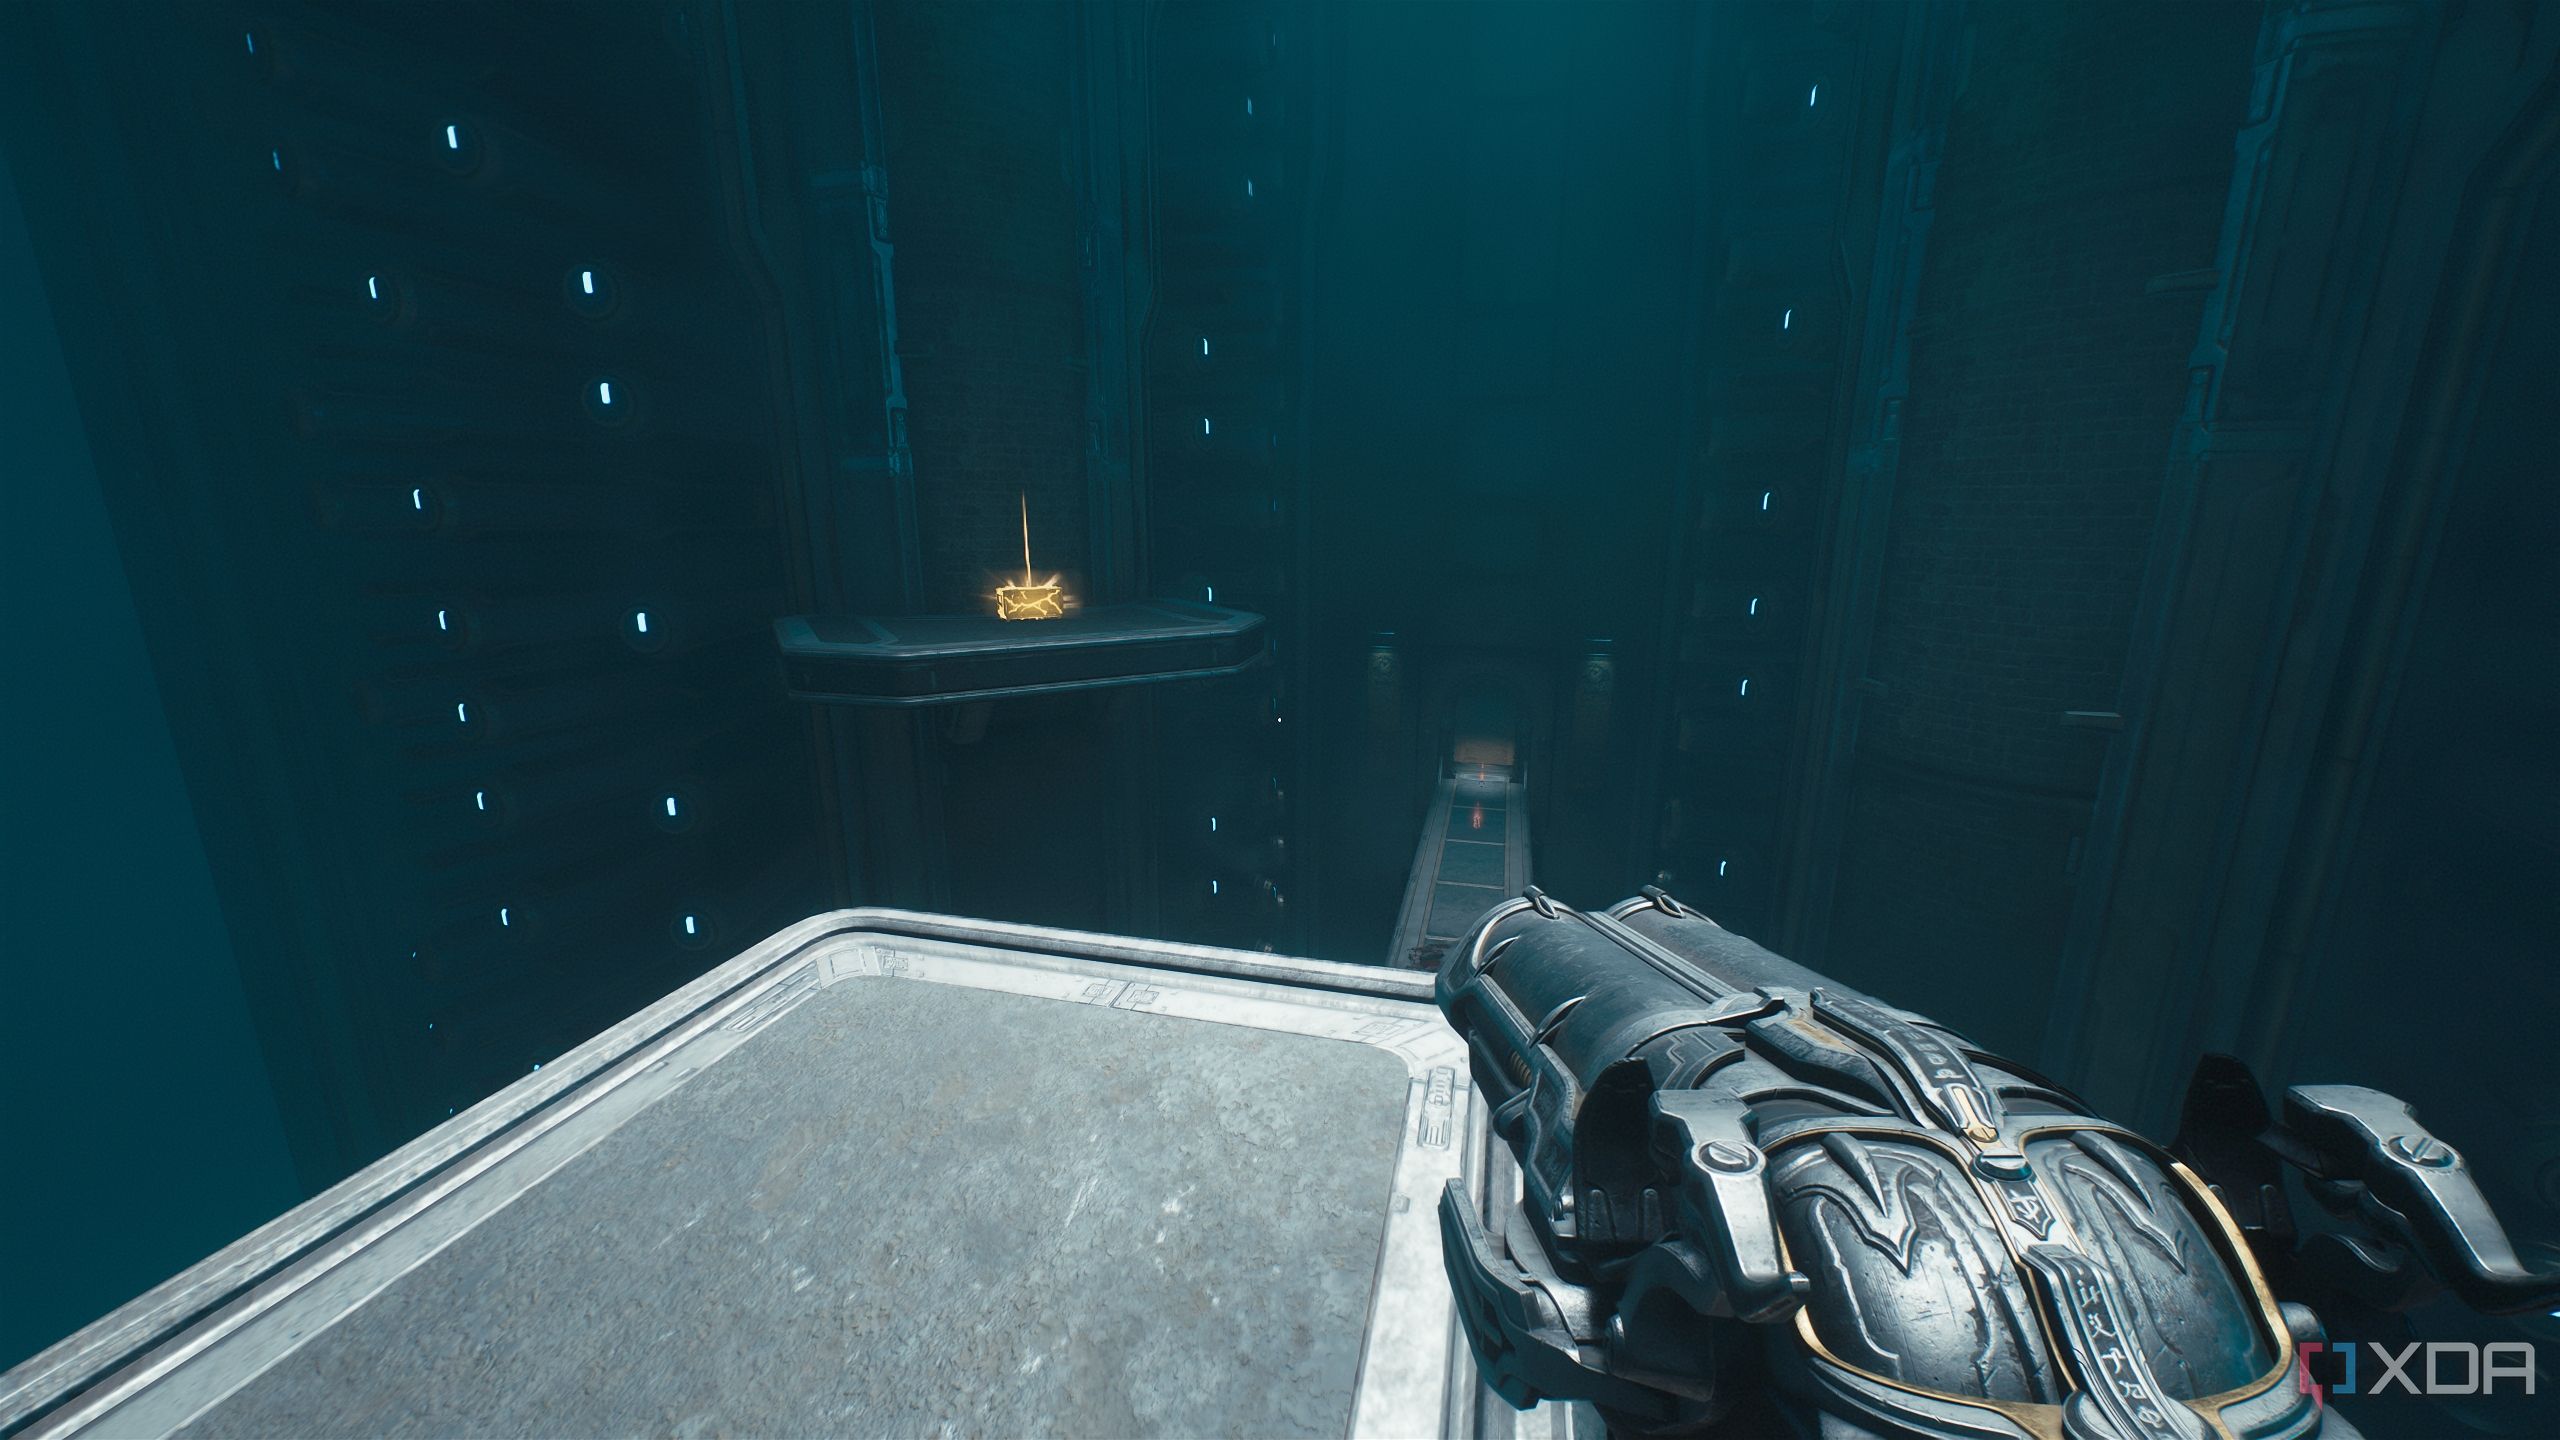
With the node activated, your platform will move overhead, taking you with it to a gold chest in the distance.
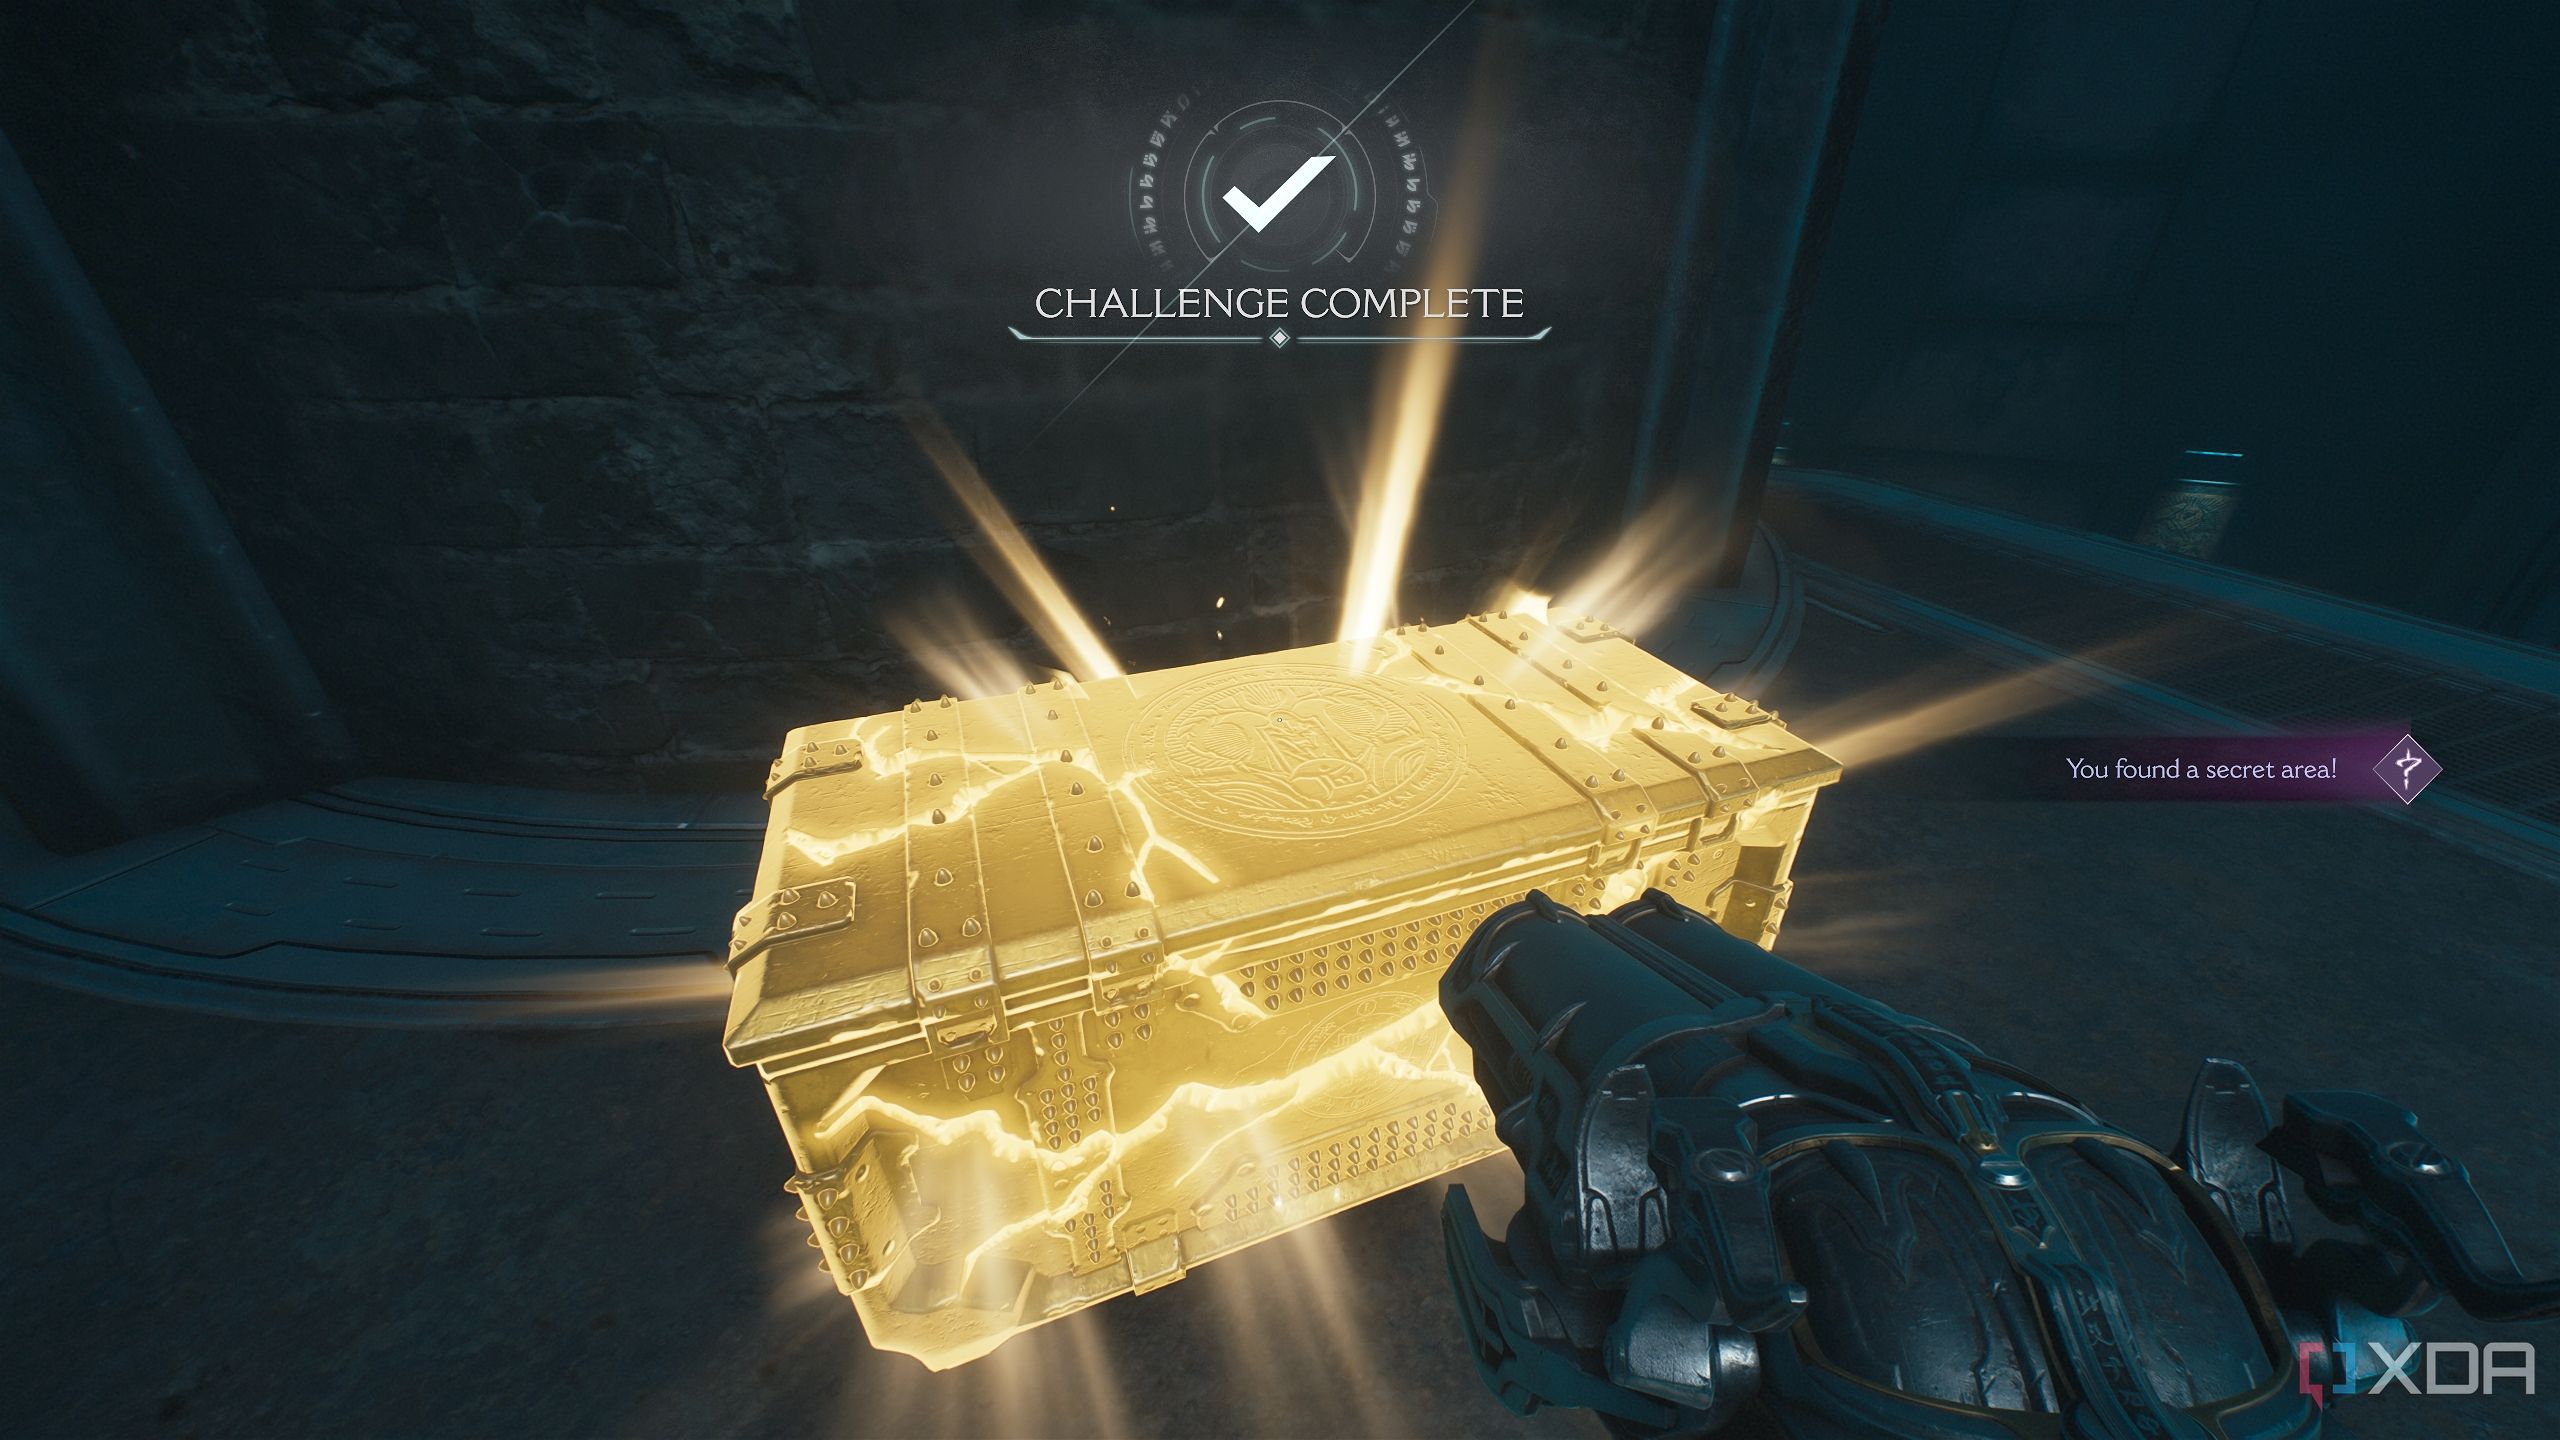
Sprint and jump to it, and you’ll unlock secret area 7 along with the gold chest.
Secret area 8 and gold bars
Gold bars on the balcony ledge
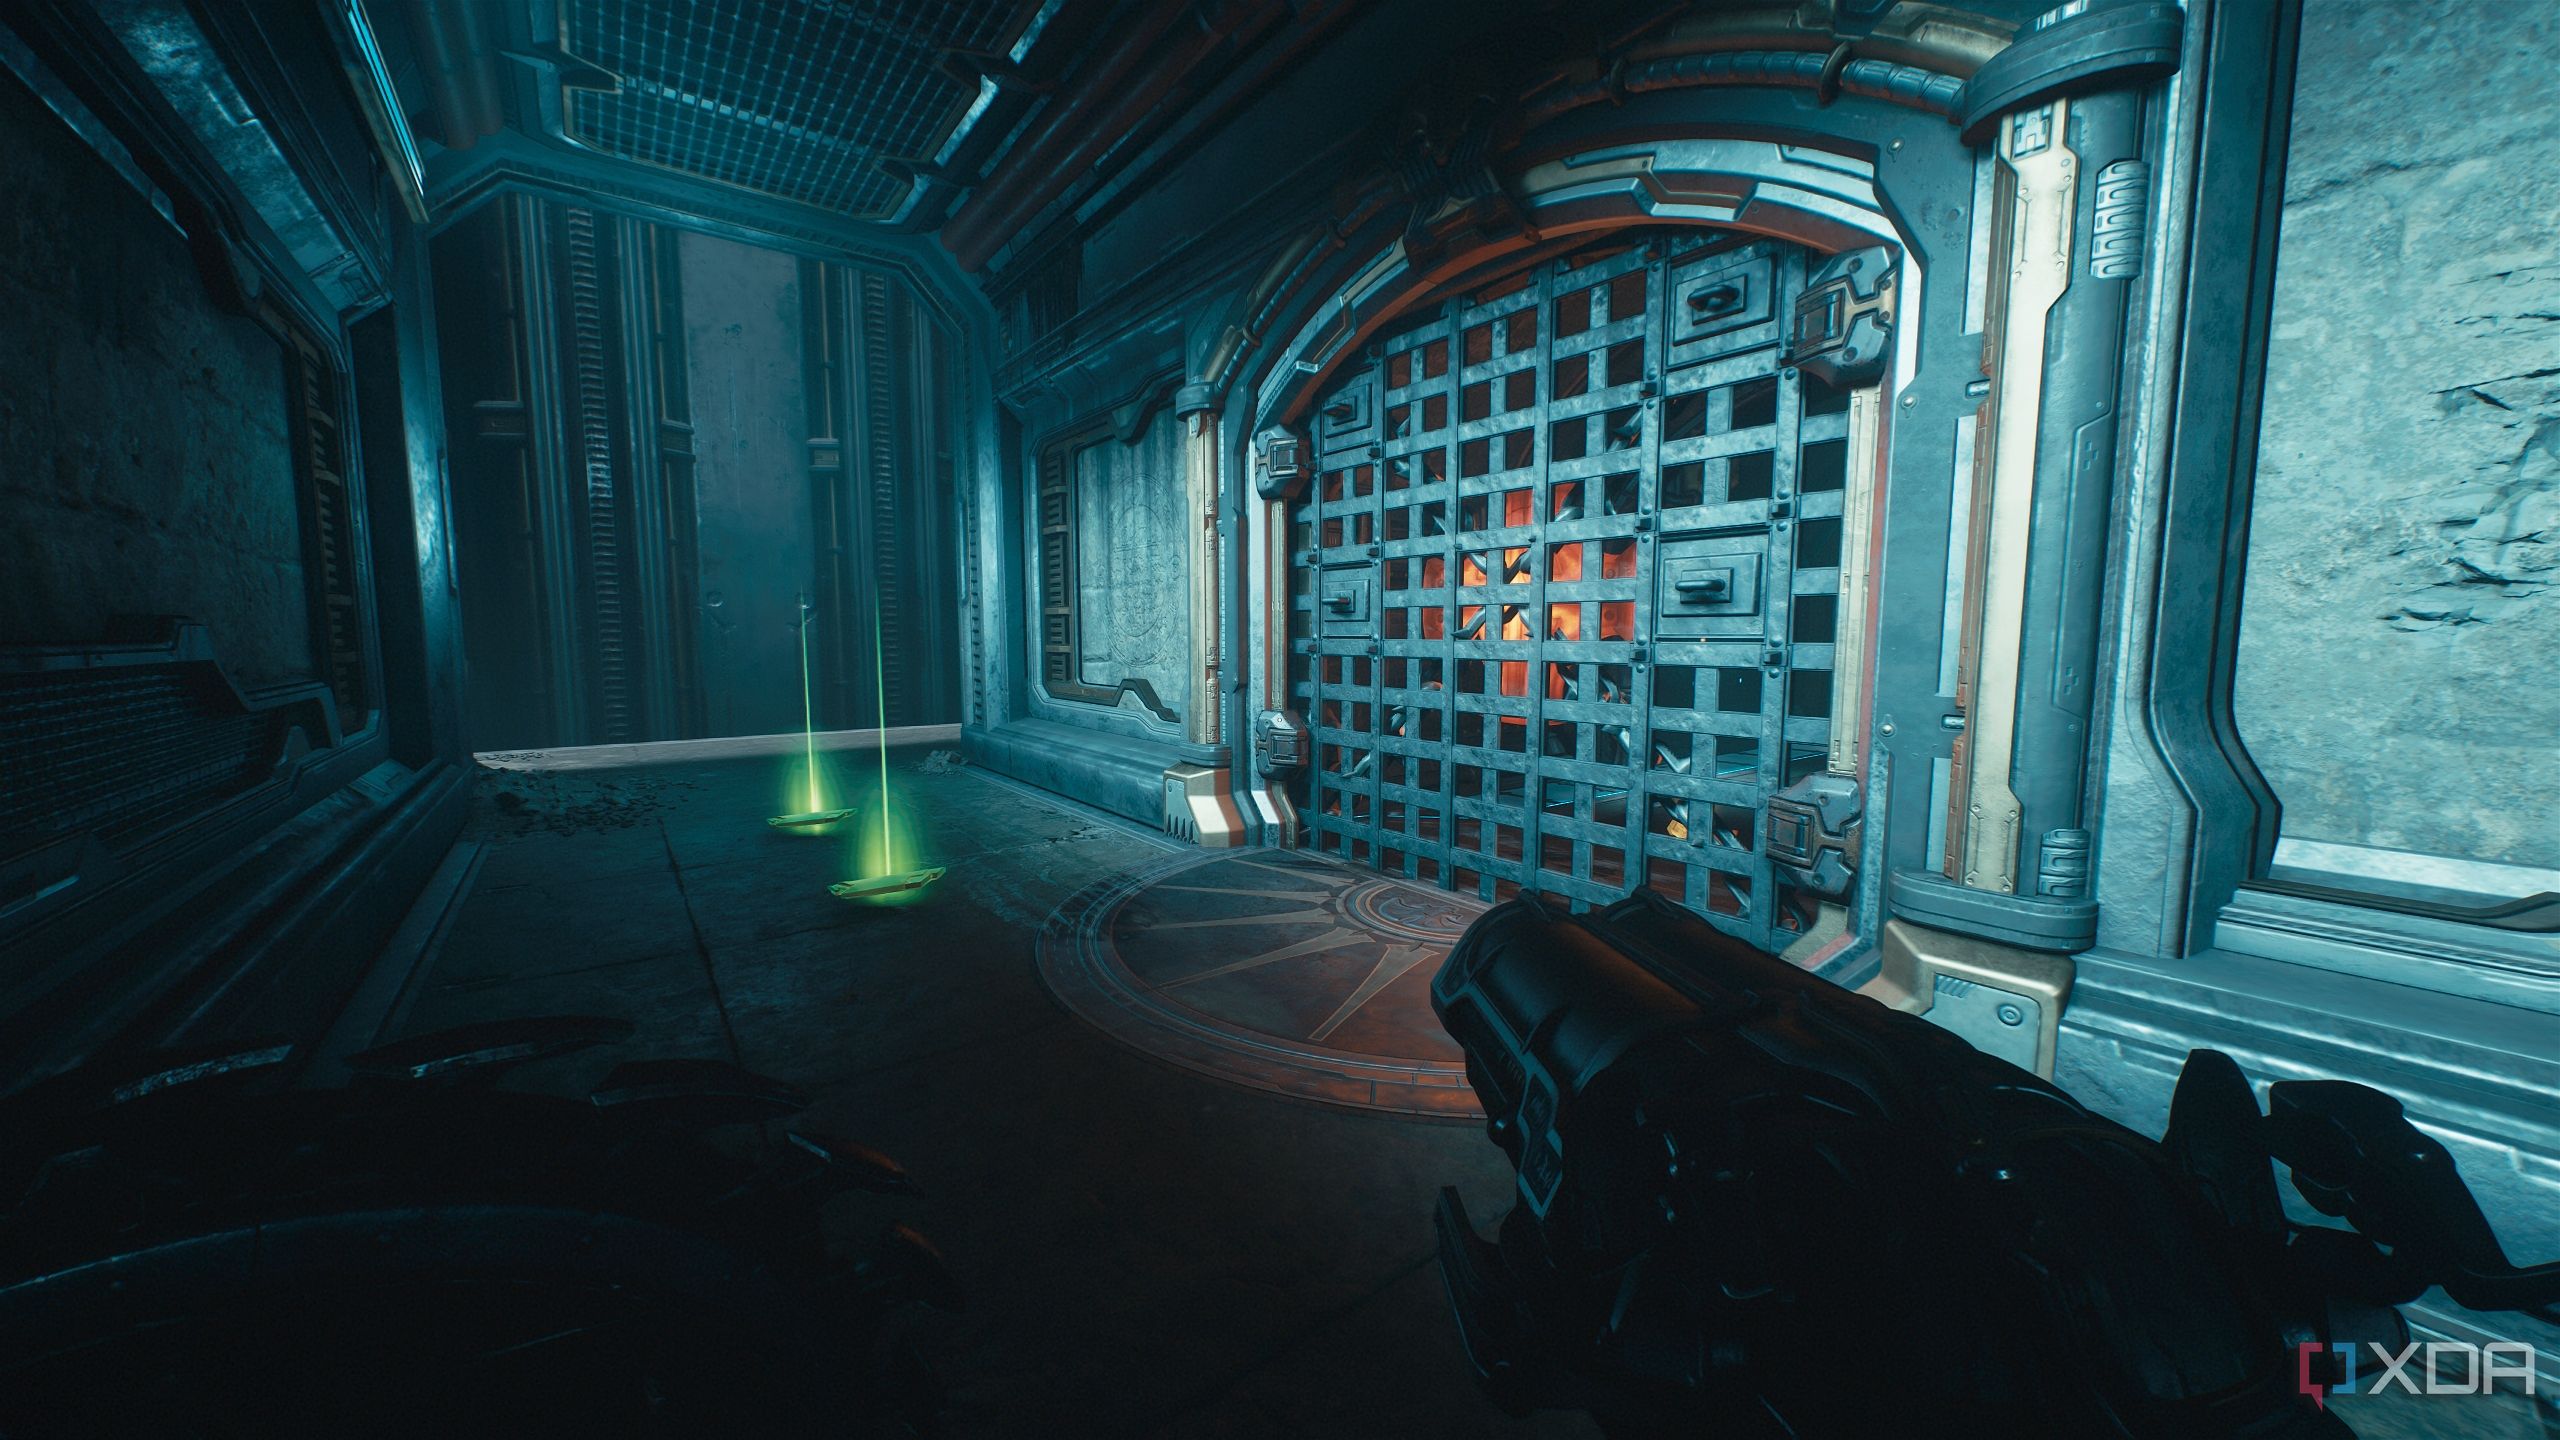
Moving along to the next big platform, you’ll reach a structure where you’ll see a barricaded gate with a heated metal cross on the other side.
Move along up a couple of scramble walls to reach the top of this structure, and you’ll fight a few flying Lost Souls and Soldiers.
Once that’s done, look towards the objective, and jump to the next platform that is lined with glowing blue lights.
Immediately turn around, and look below towards the platform you just came from.
You should see a gold bar calling out. Drop down to it, and you’ll unlock secret area 8 and a trail of gold bars.
Related
10 best first-person shooters that are free to play on Steam
Enter the genre of fast paced first-person shooters with these 10 free-to-play titles on Steam
Secret area 9, Codex Page 2, and a Weapon Skin
The final secret area, way up above

Reach the top of the structure again.
Now, you will see a heated metal cross overhead, in the direction of the objective. Break it down to make its platform come a little lower. You’ll need it later.
Move forward to the next platform ahead, and you'll see a blue energy node here. Turn around so that the node is on your left, and you’ll be face-to-face with a scramble wall ahead.
Sprint and jump onto the scramble wall.
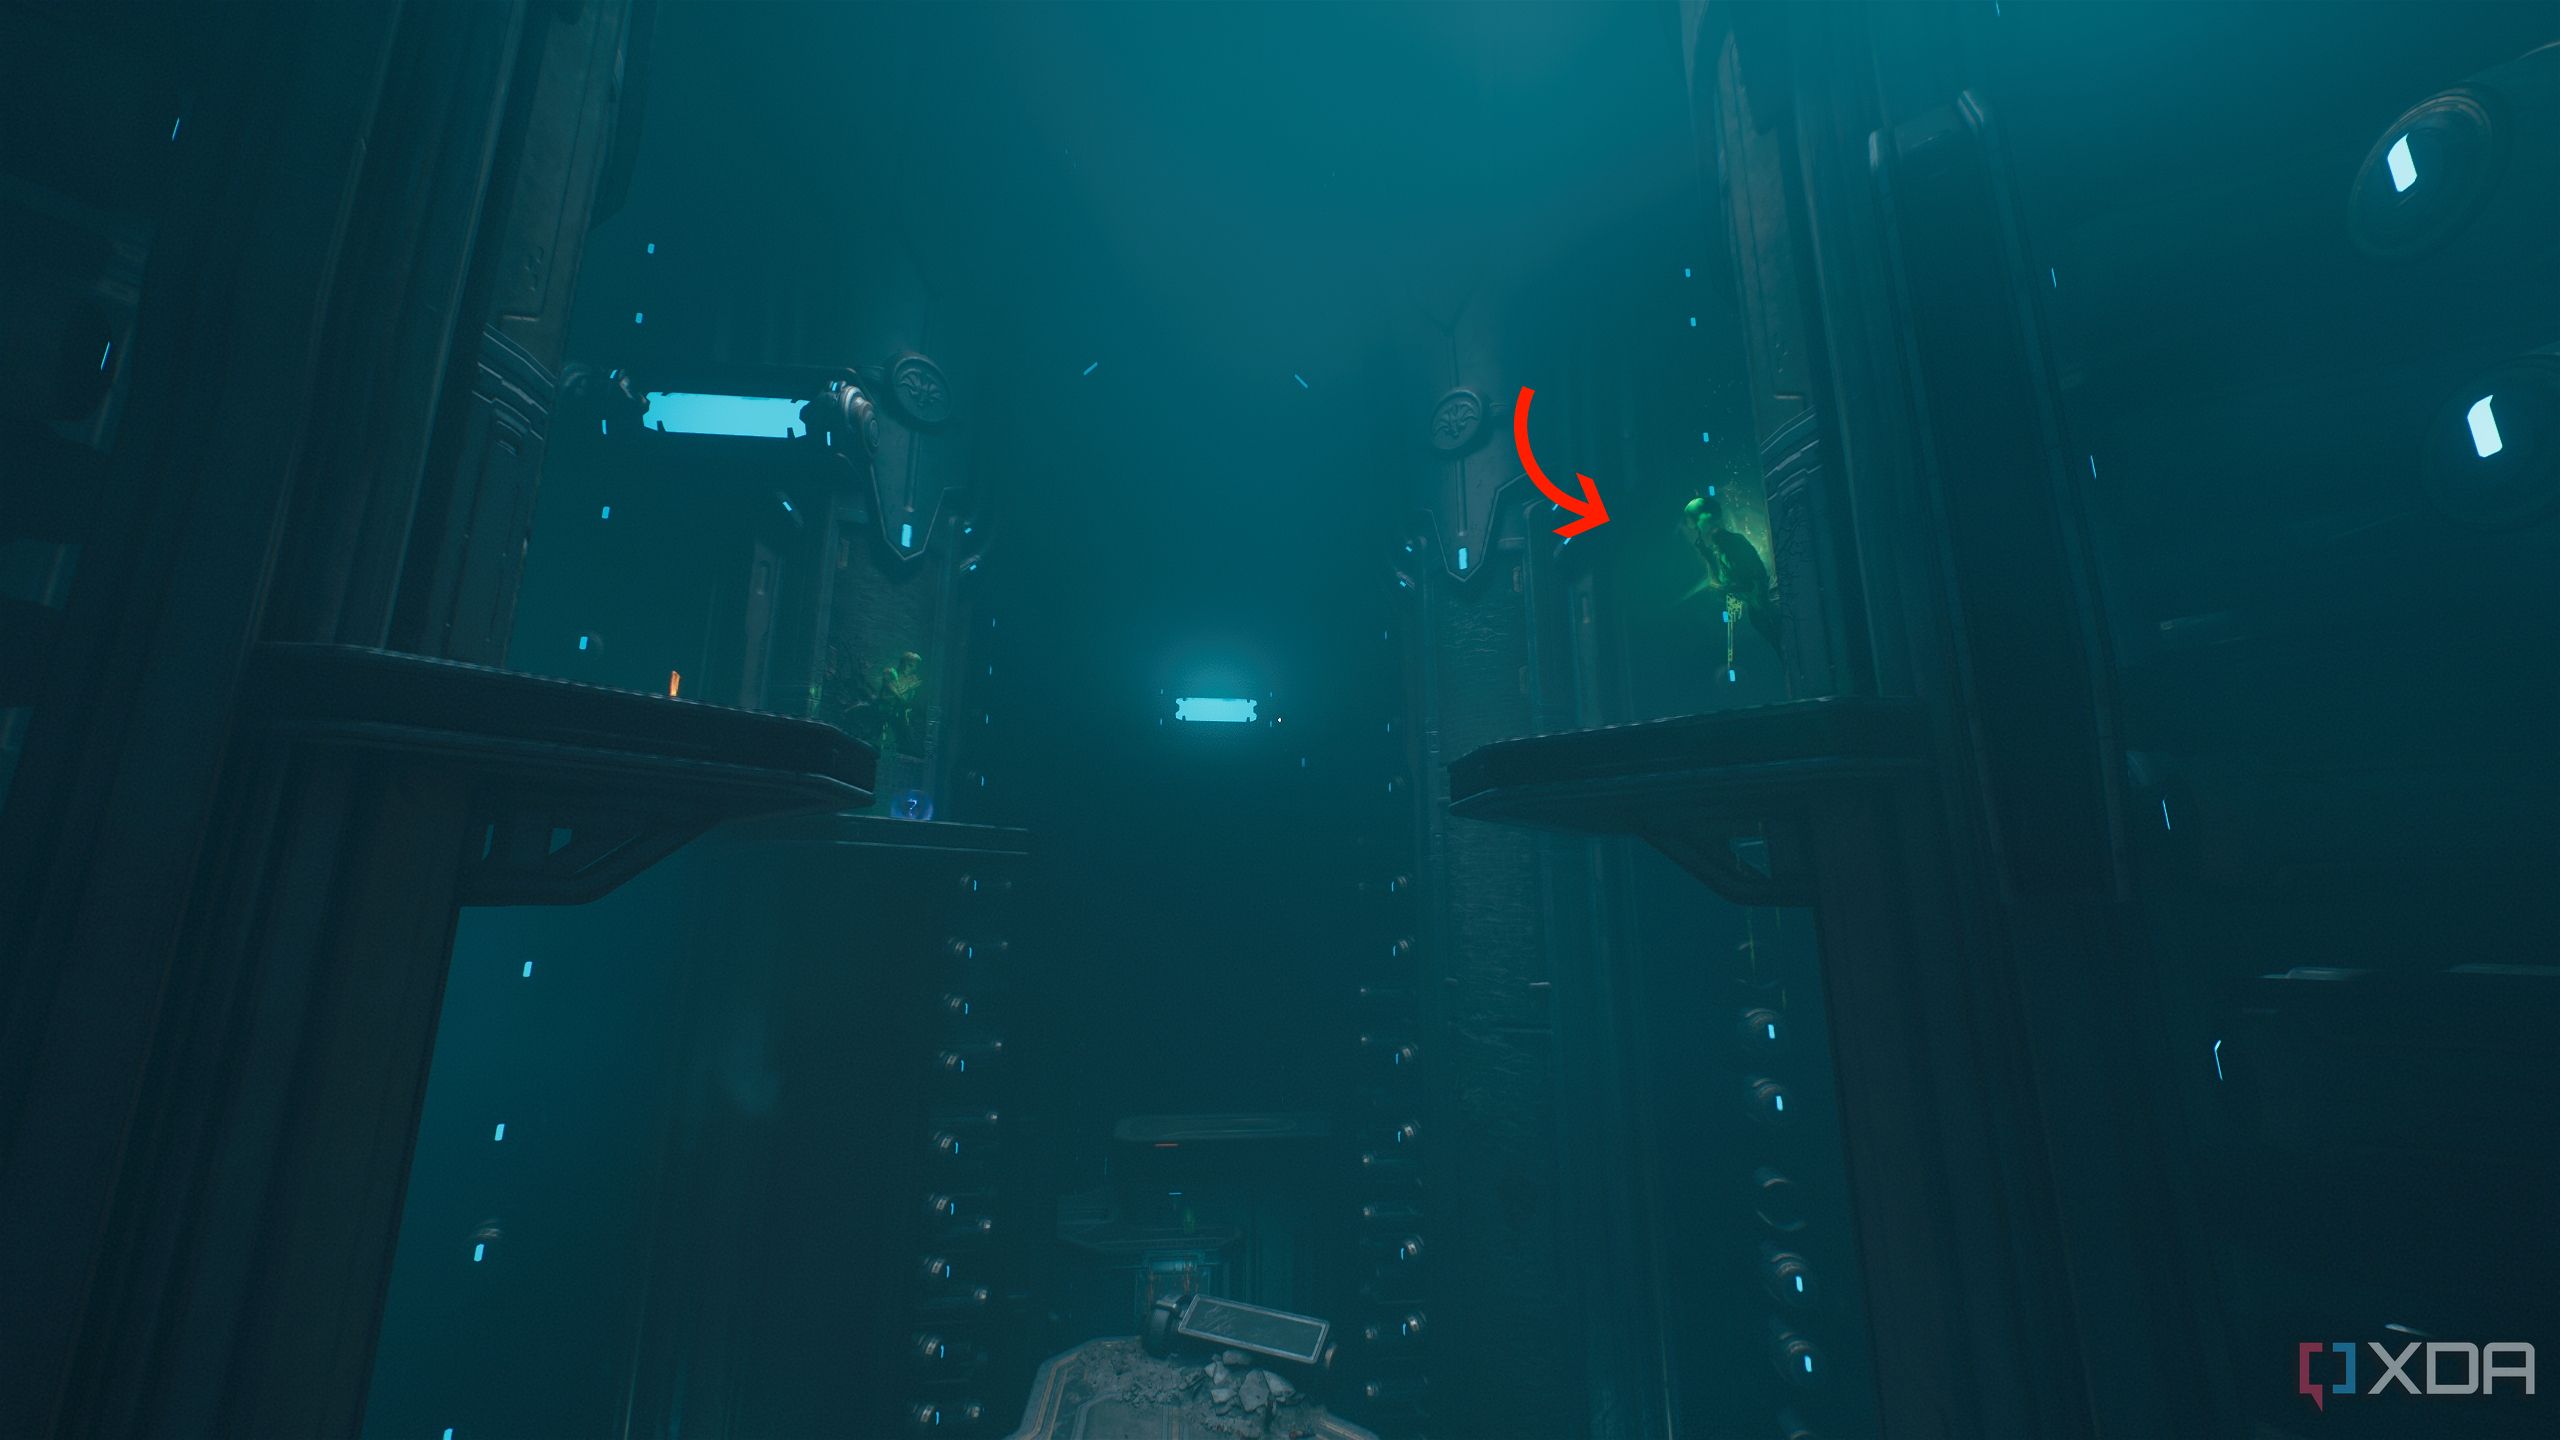
Use the green flesh node on the right to reach its platform.
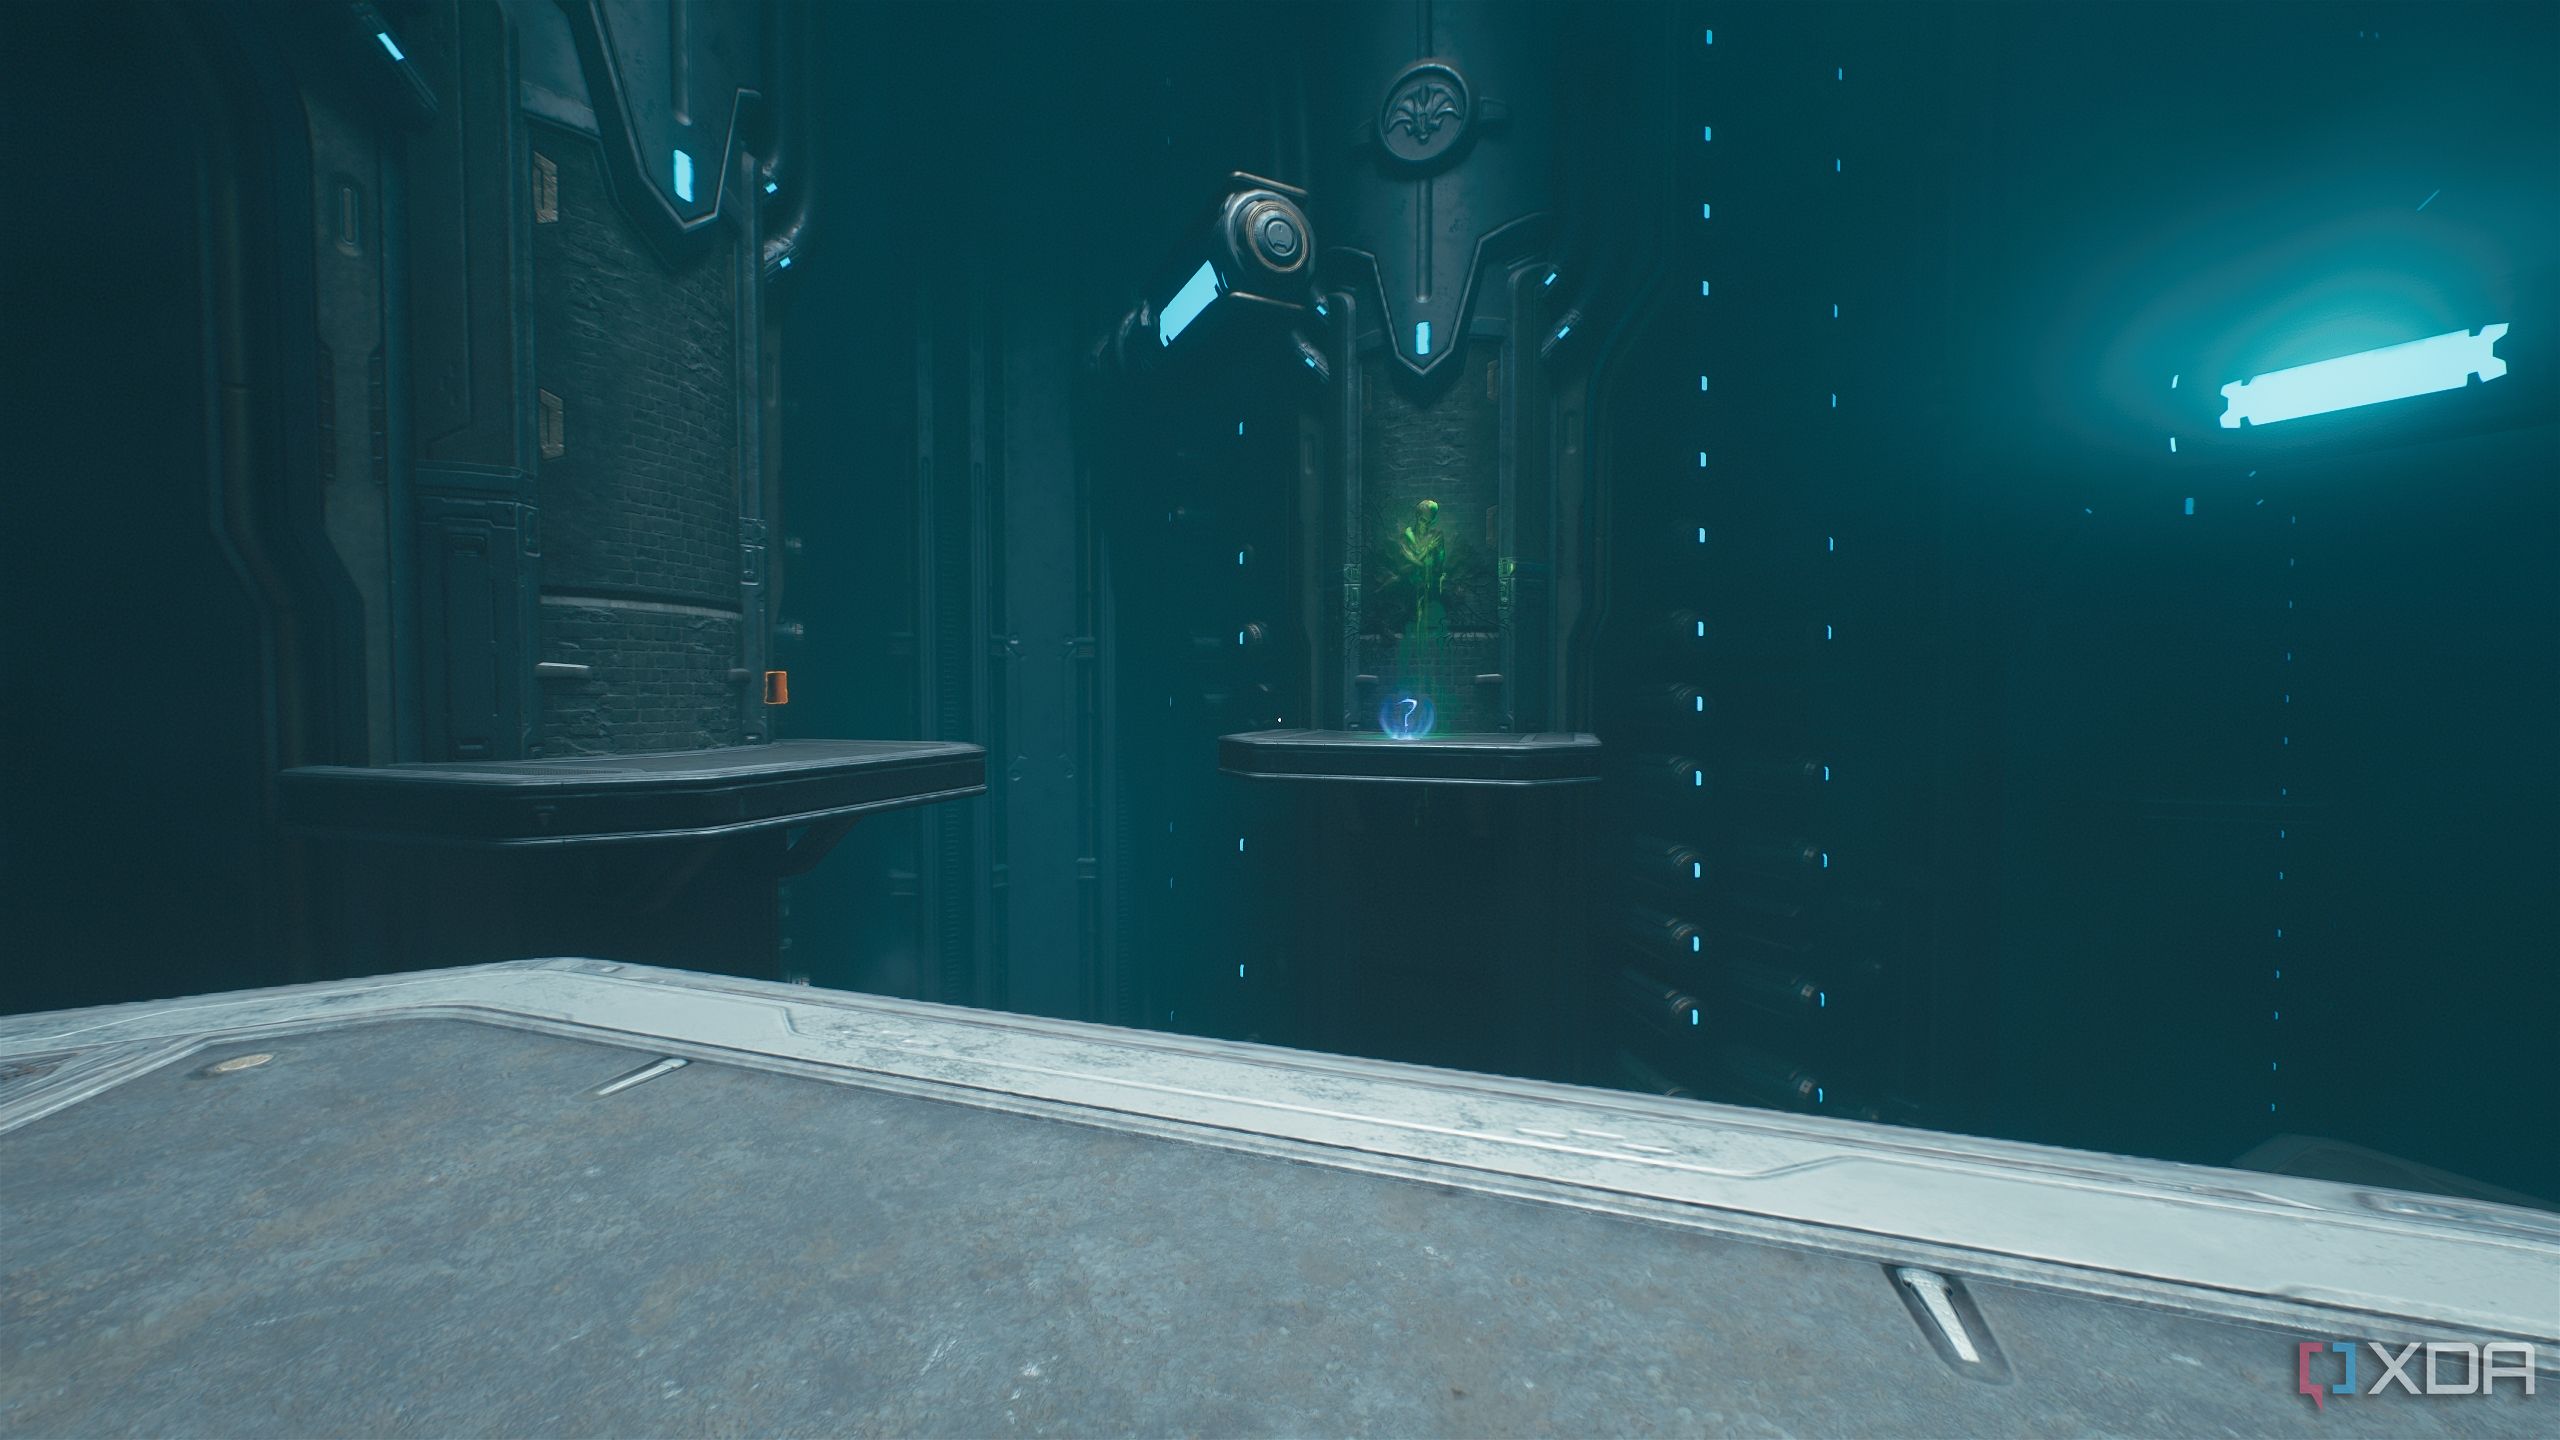
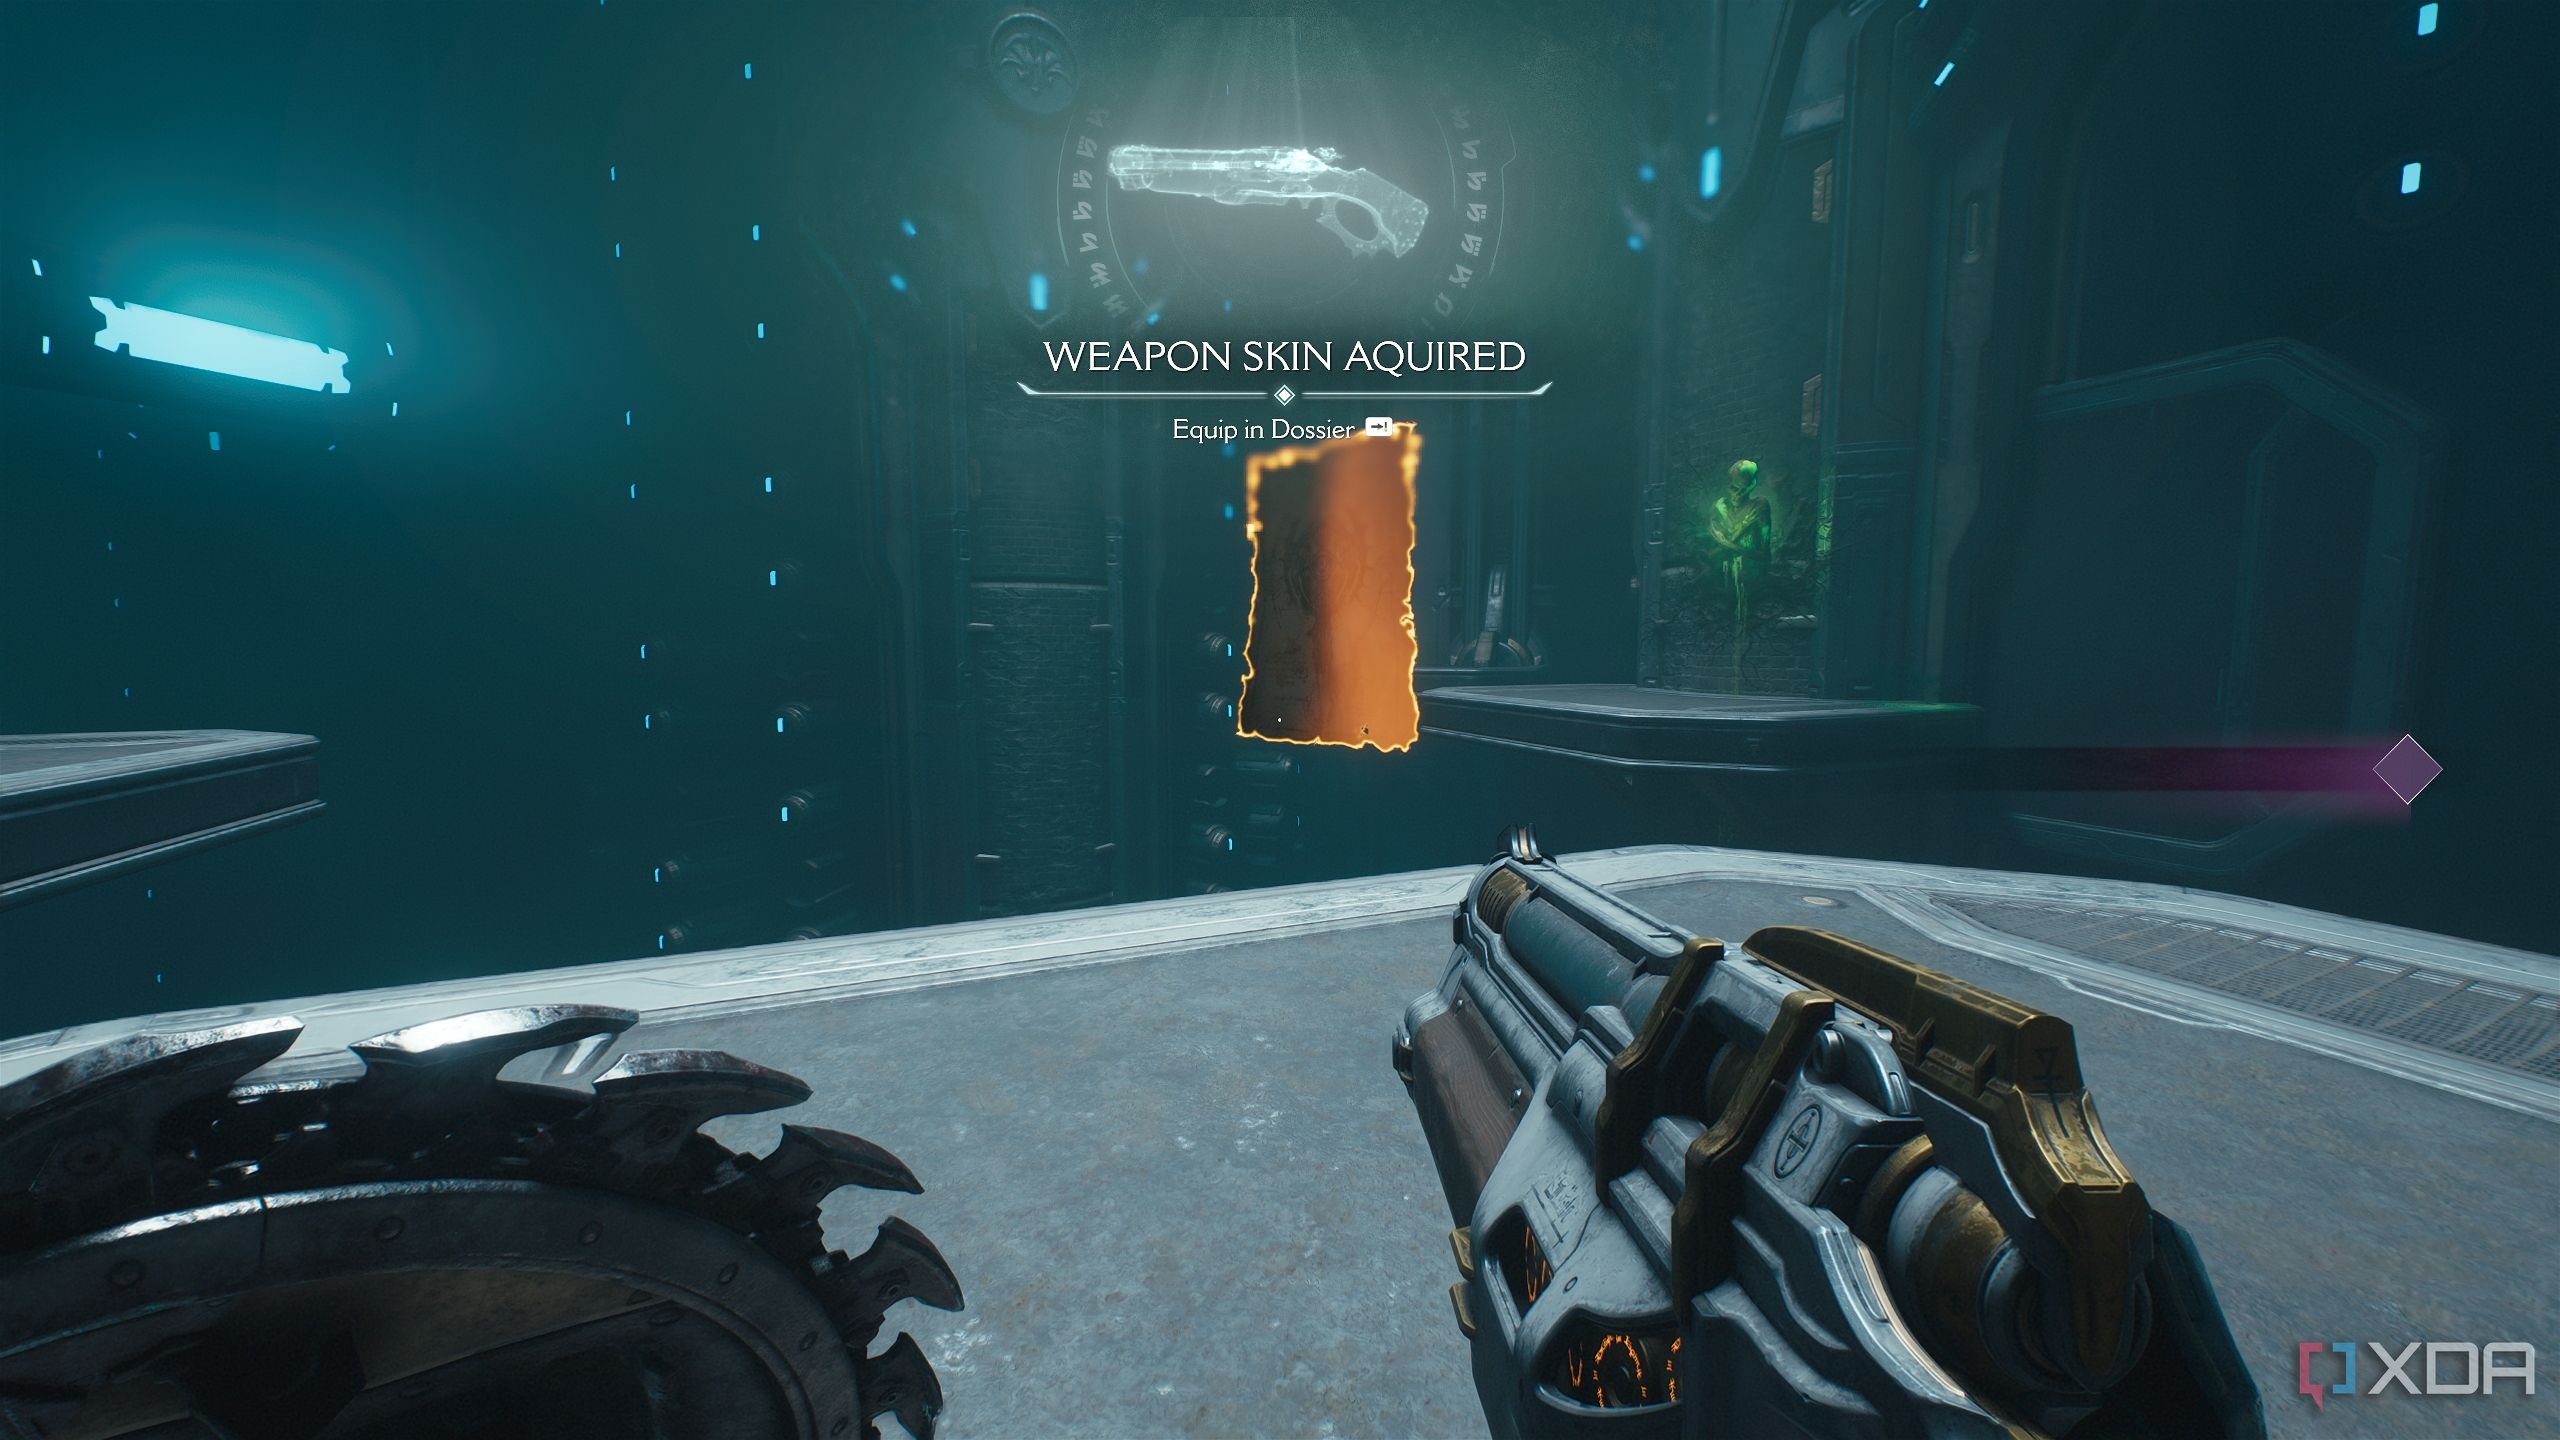
From here, use the second green flesh node ahead to unlock secret area 9 and a Weapon Skin.
Then, jump to the next platform to collect the second Codex Page.
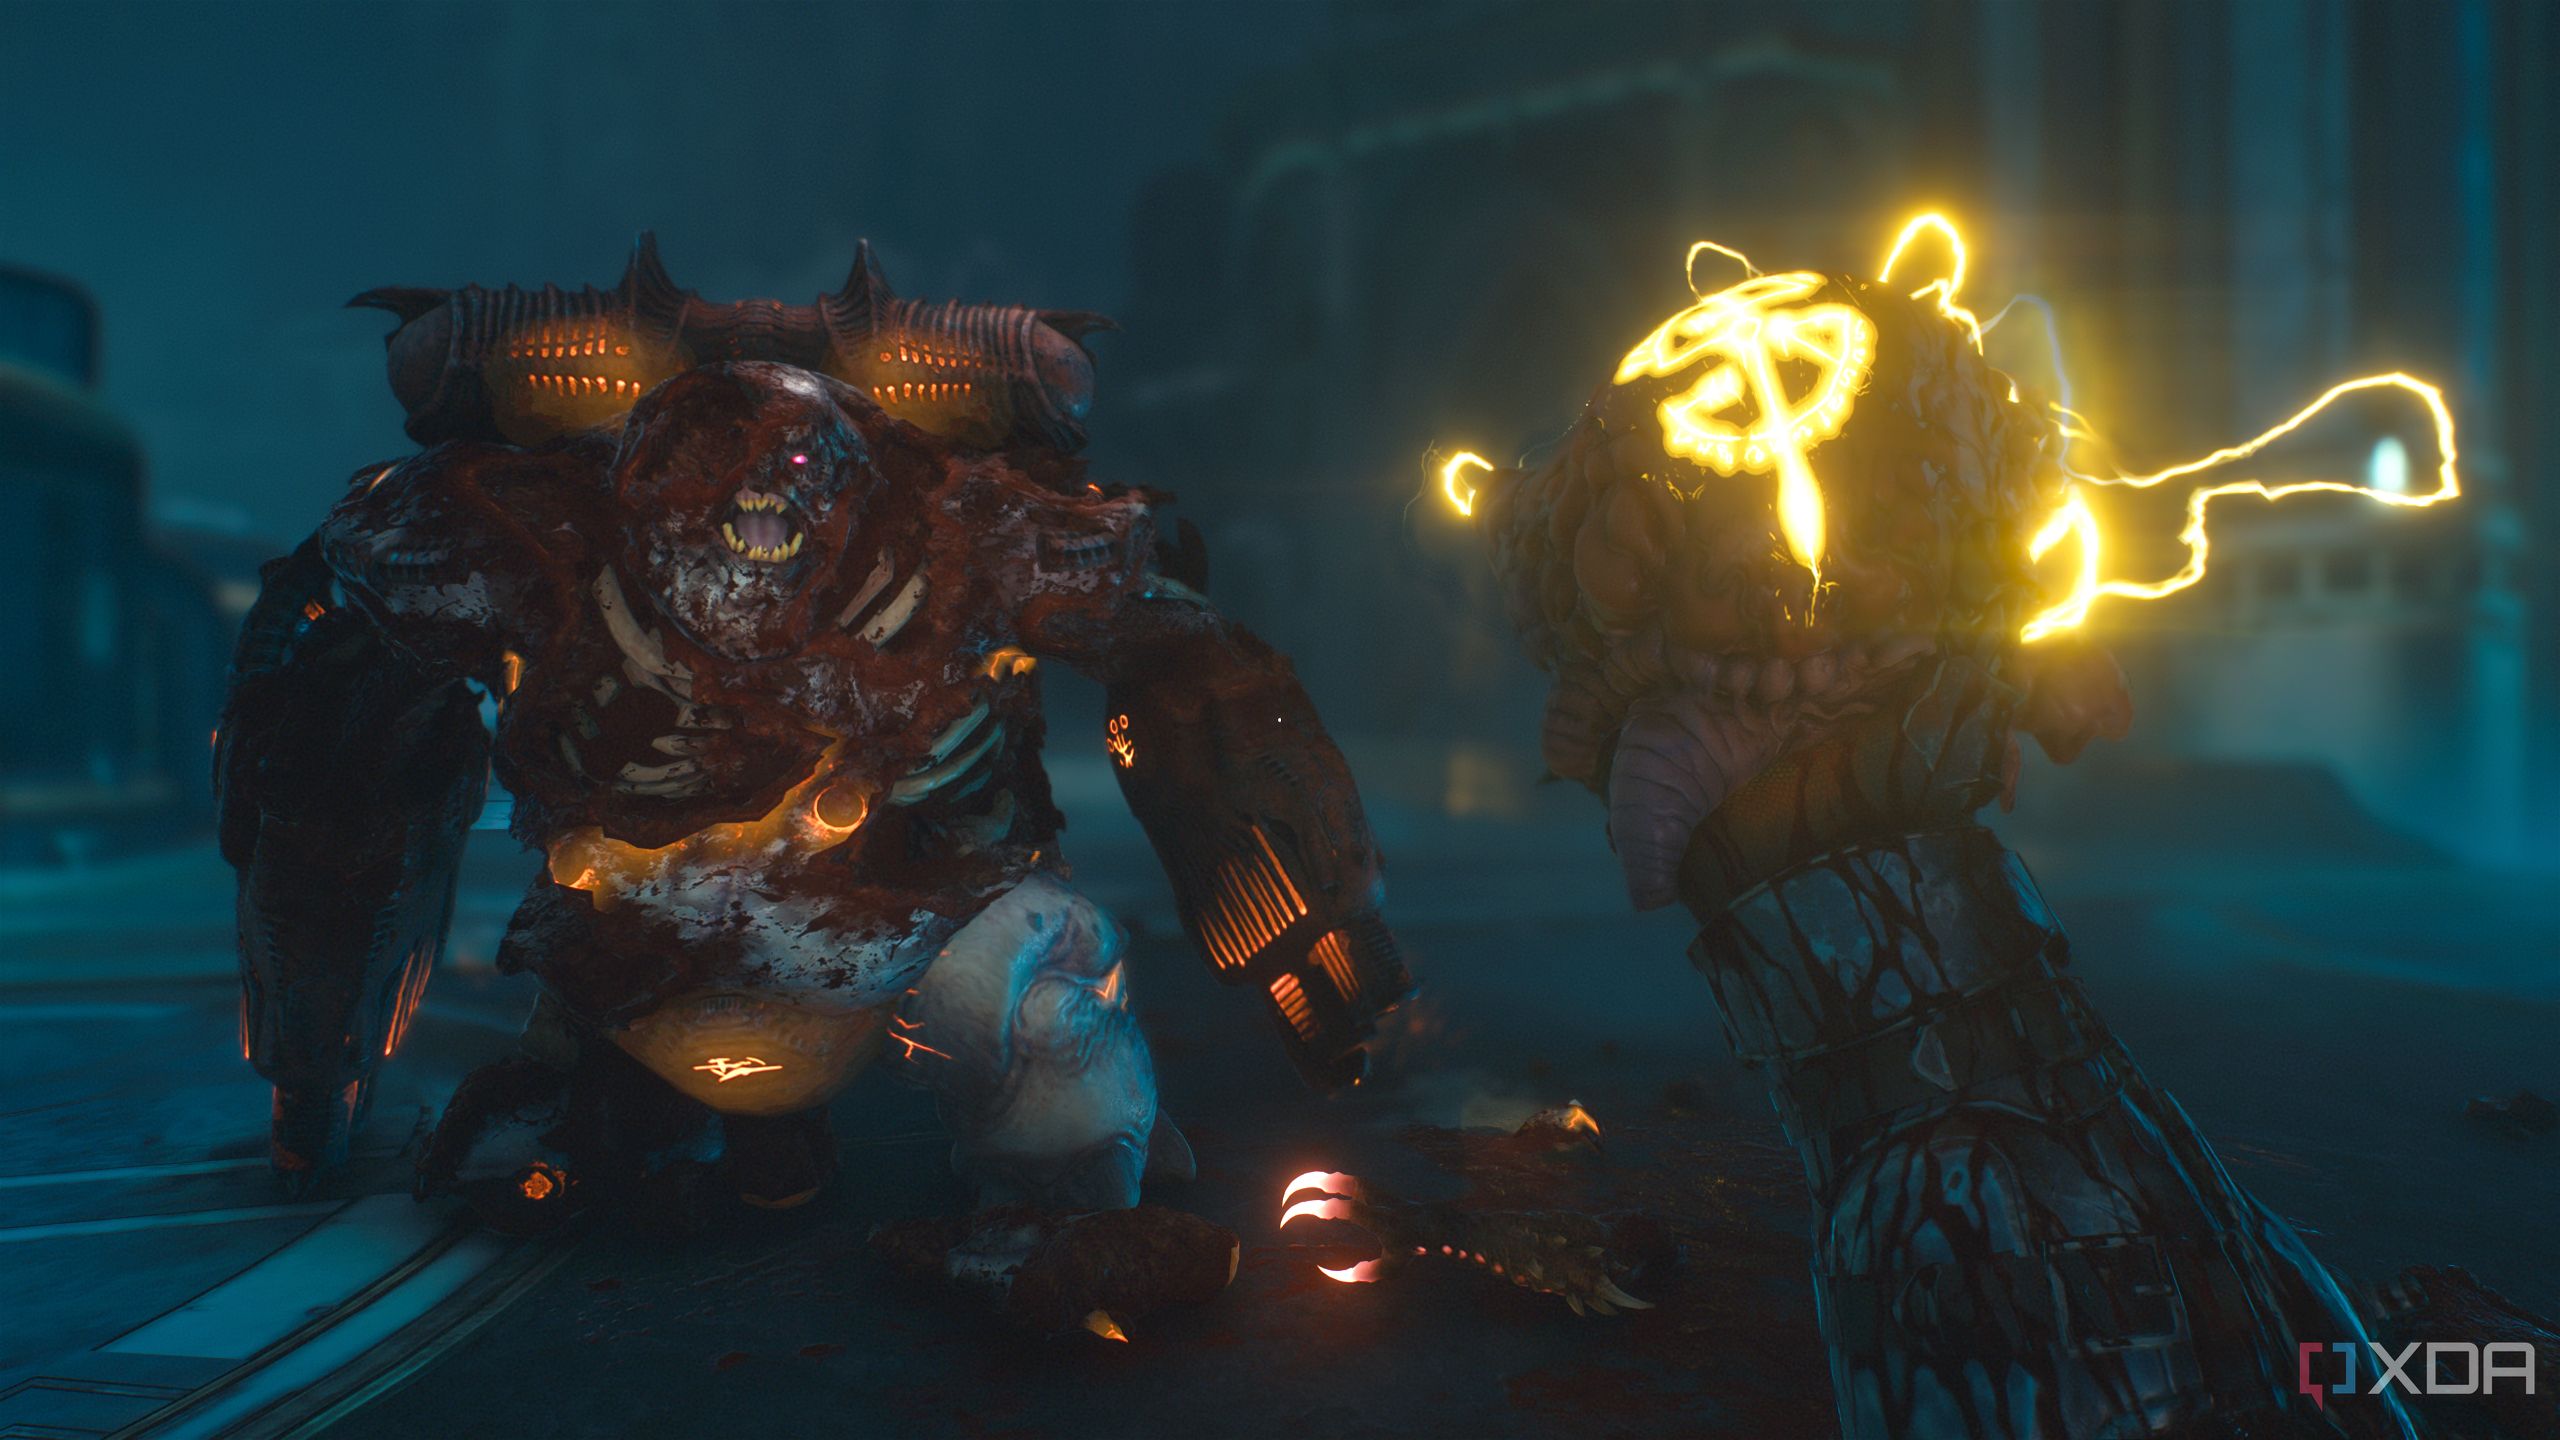
That’s the final secret and collectible, and you’re good to move forward with the objective to end the level with an enhanced Mancubus who will drop a Demonic Essence for maximum cell ammo.
All collectibles in Chapter 9: Ancestral Forge in Doom: The Dark Ages
Once that’s complete, Chapter 9 of Doom: The Dark Ages will be complete, and you’ll finally have the 100% completion achievement for this level.
|
Achievements in Chapter 9: Ancestral Forge |
|
|
Gold |
230 |
|
Rubies |
2 |
|
Wraithstone |
1 |
|
Demonic Essence |
2 |
|
Secret Areas |
9 |
|
Codex Entries |
2 |
|
Collectible Toys |
1 |
|
Skins |
1 |

DOOM: The Dark Ages
Released May 15, 2025
ESRB m
Developer(s) id Software
Publisher(s) Bethesda Softworks
Engine id Tech
Multiplayer Online Multiplayer
Franchise DOOM


 English (US) ·