.png)
Chapter 2: Hebeth is a largely linear level in Doom: The Dark Ages. However, it's still got plenty of secrets and small detours you can make to collect toys and unlock secret areas. Follow this guide to get that 100% completion tag once you finish level 2 in Doom: The Dark Ages.

Related
Review: I played DOOM: The Dark Ages, and it hit me like a flail
Doom: The Dark Ages is arguably the best Doom yet. A fantastic medieval setting and heart-thumping gameplay give us a power fantasy for the ages.
Chapter 2: Hebeth in Doom: The Dark Ages has plenty to offer
From multiple Life Sigils and secret areas to tons of gold stacks to collect, Chapter 2: Hebeth has a lot to offer to players of Doom: The Dark Ages. Following the objectives in the chapter along with the instructions provided below, it won't be long before you can move to the next level in peace, knowing you've left nothing behind.
This guide covers each collectible required for 100% level completion in chronological order. It is recommended to follow this guide in the order stated.
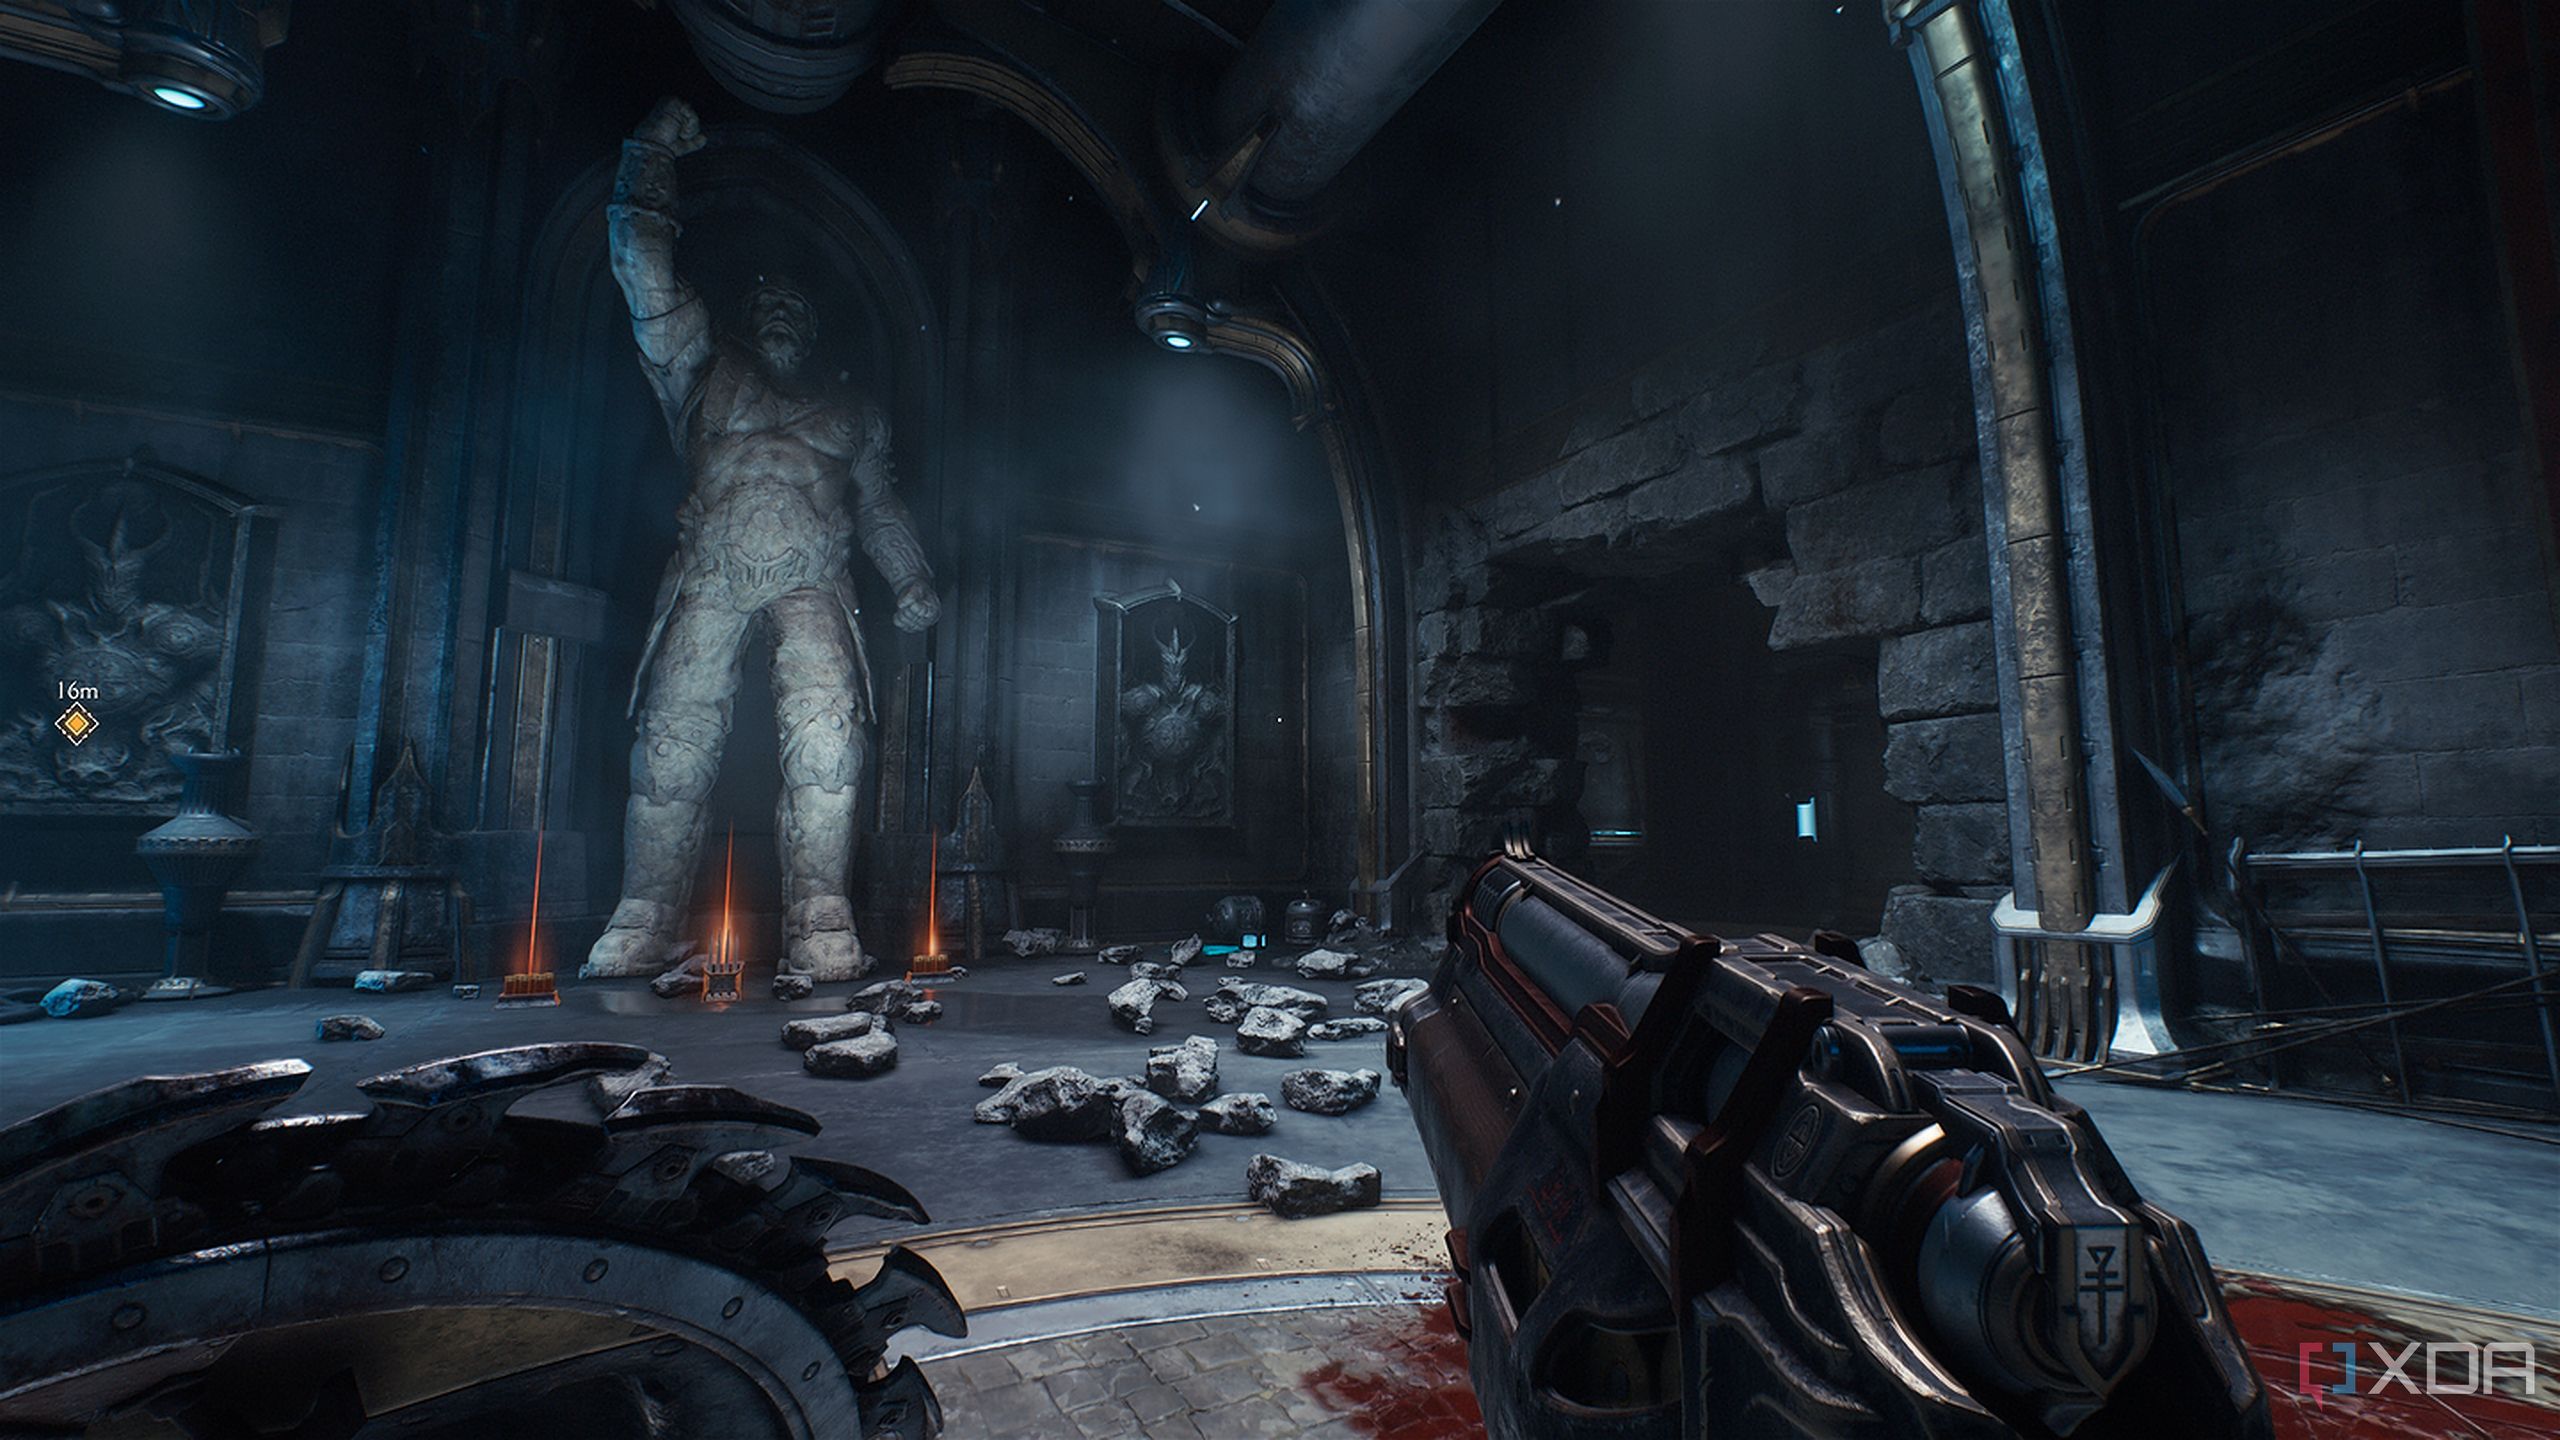
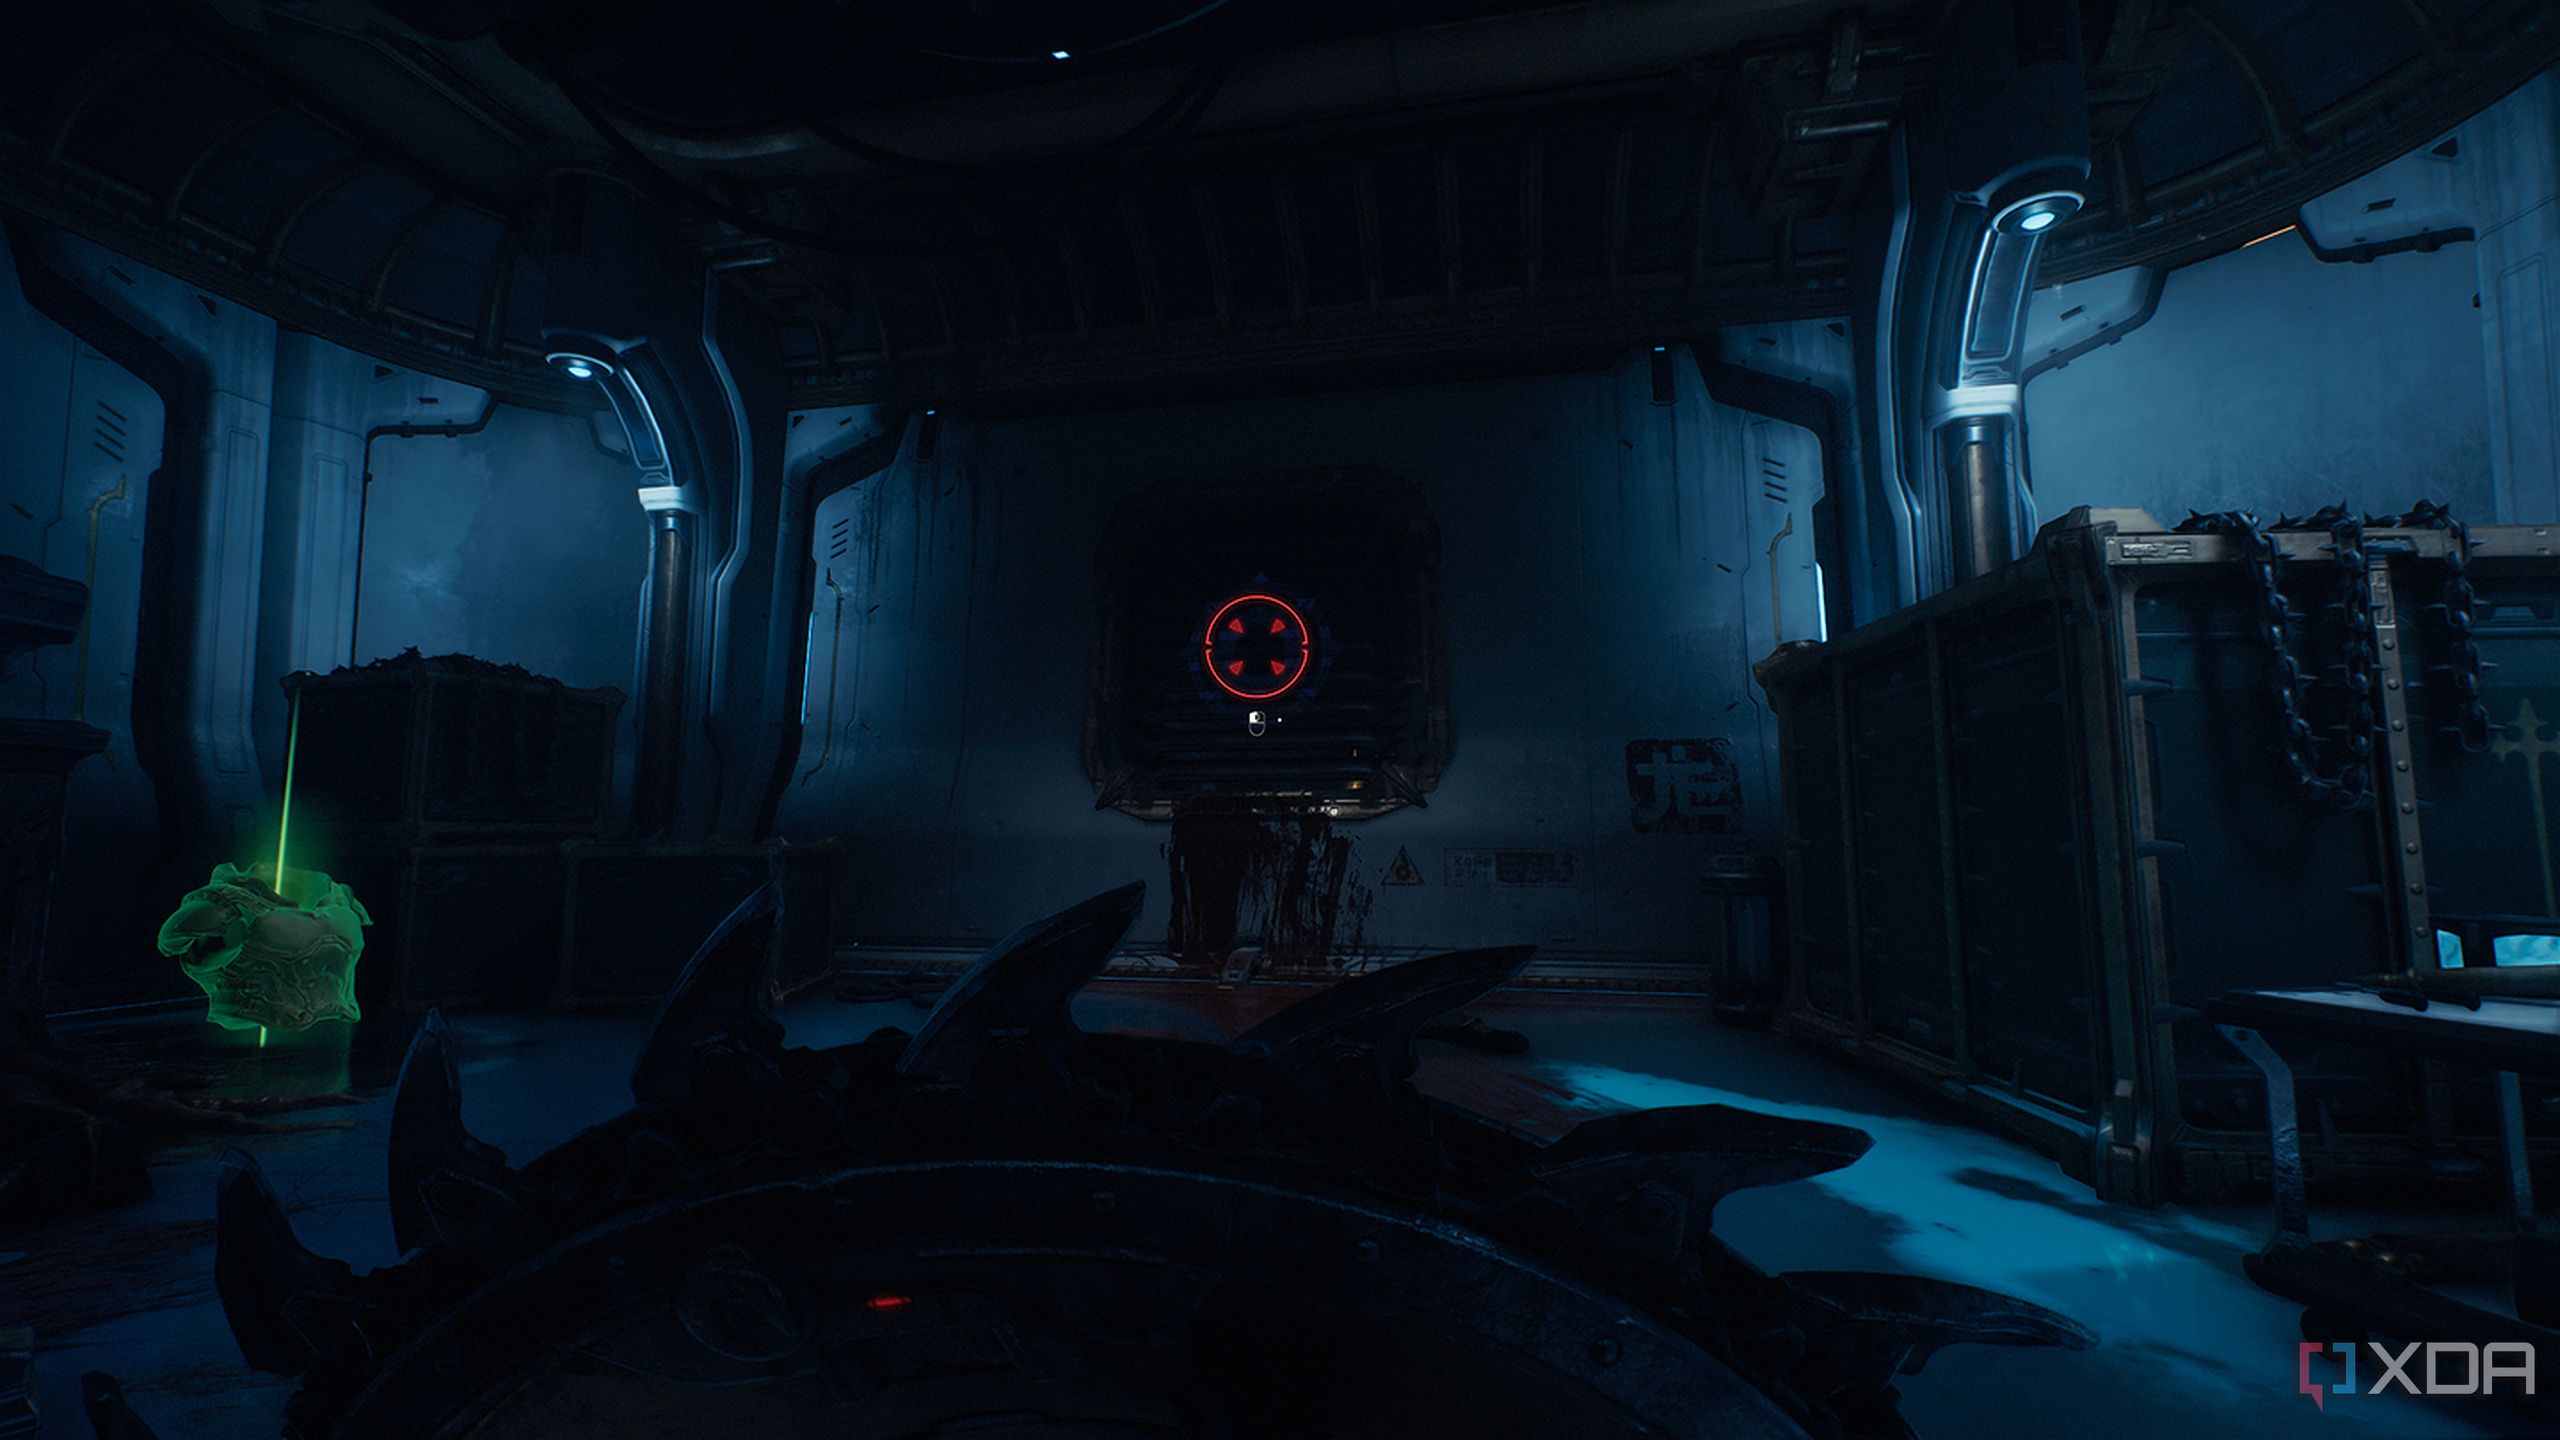
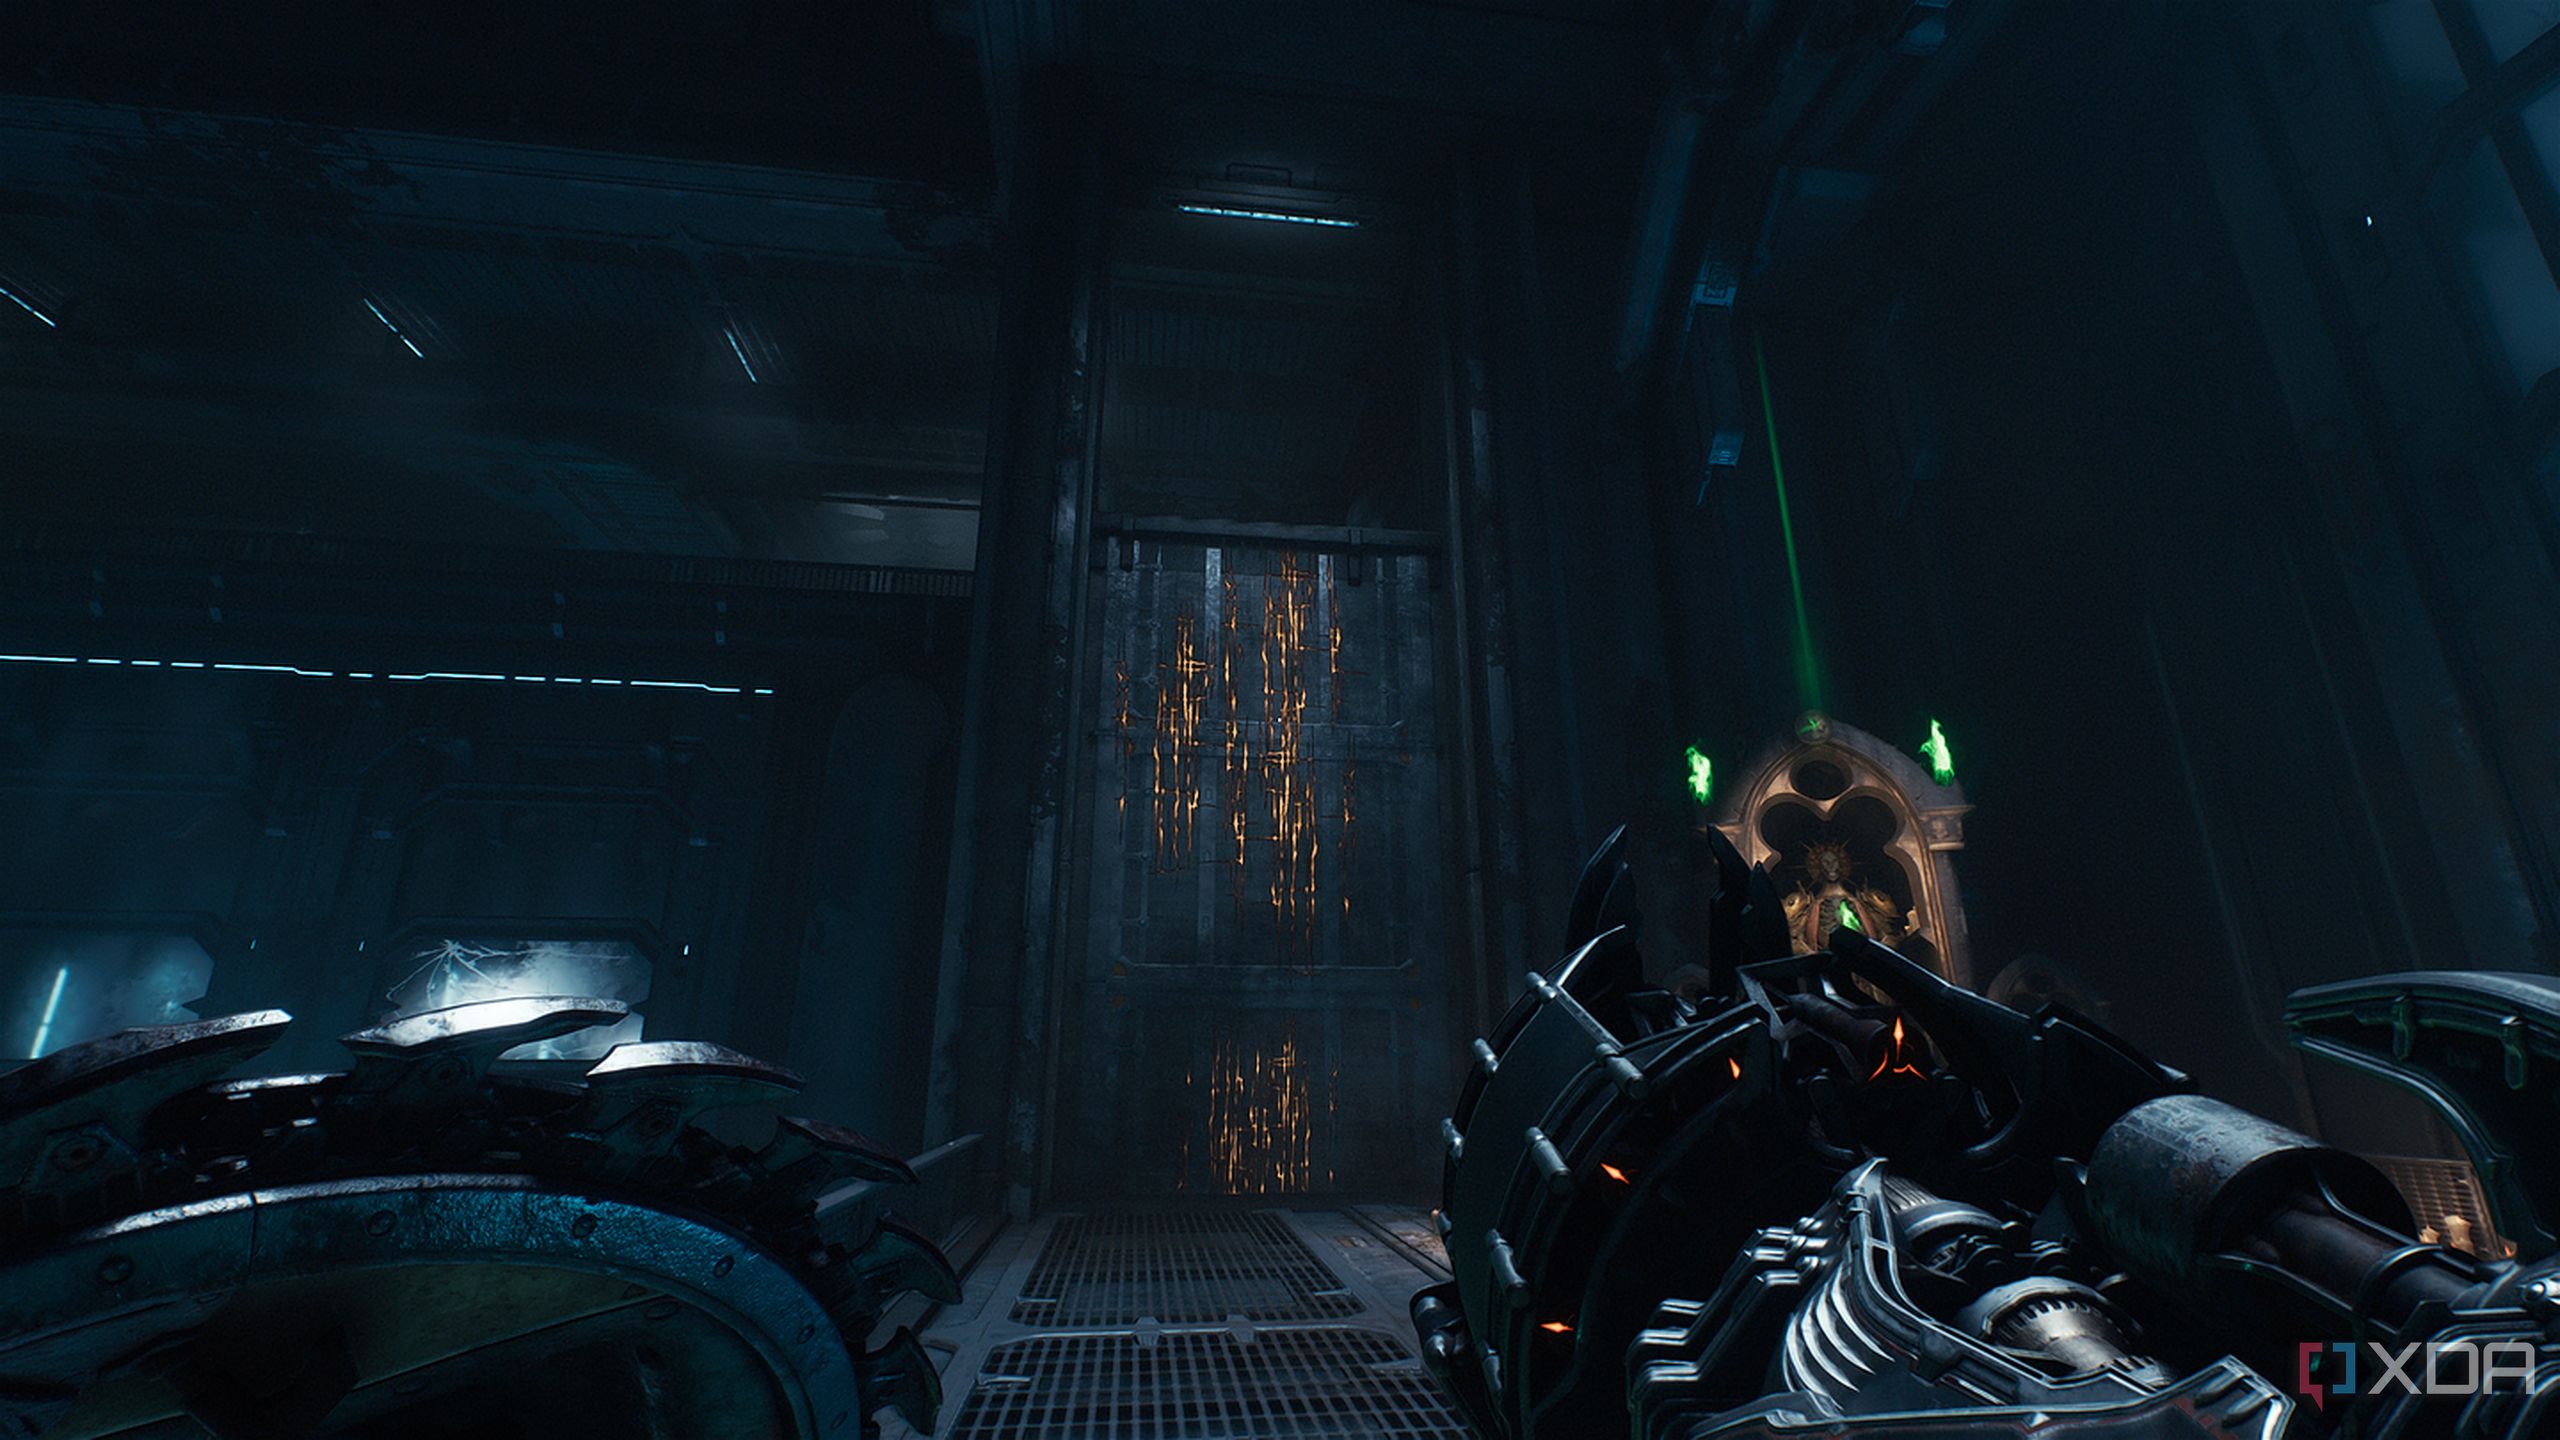
Life Sigil 1 and a secret area
1-UPs make a return in The Dark Ages
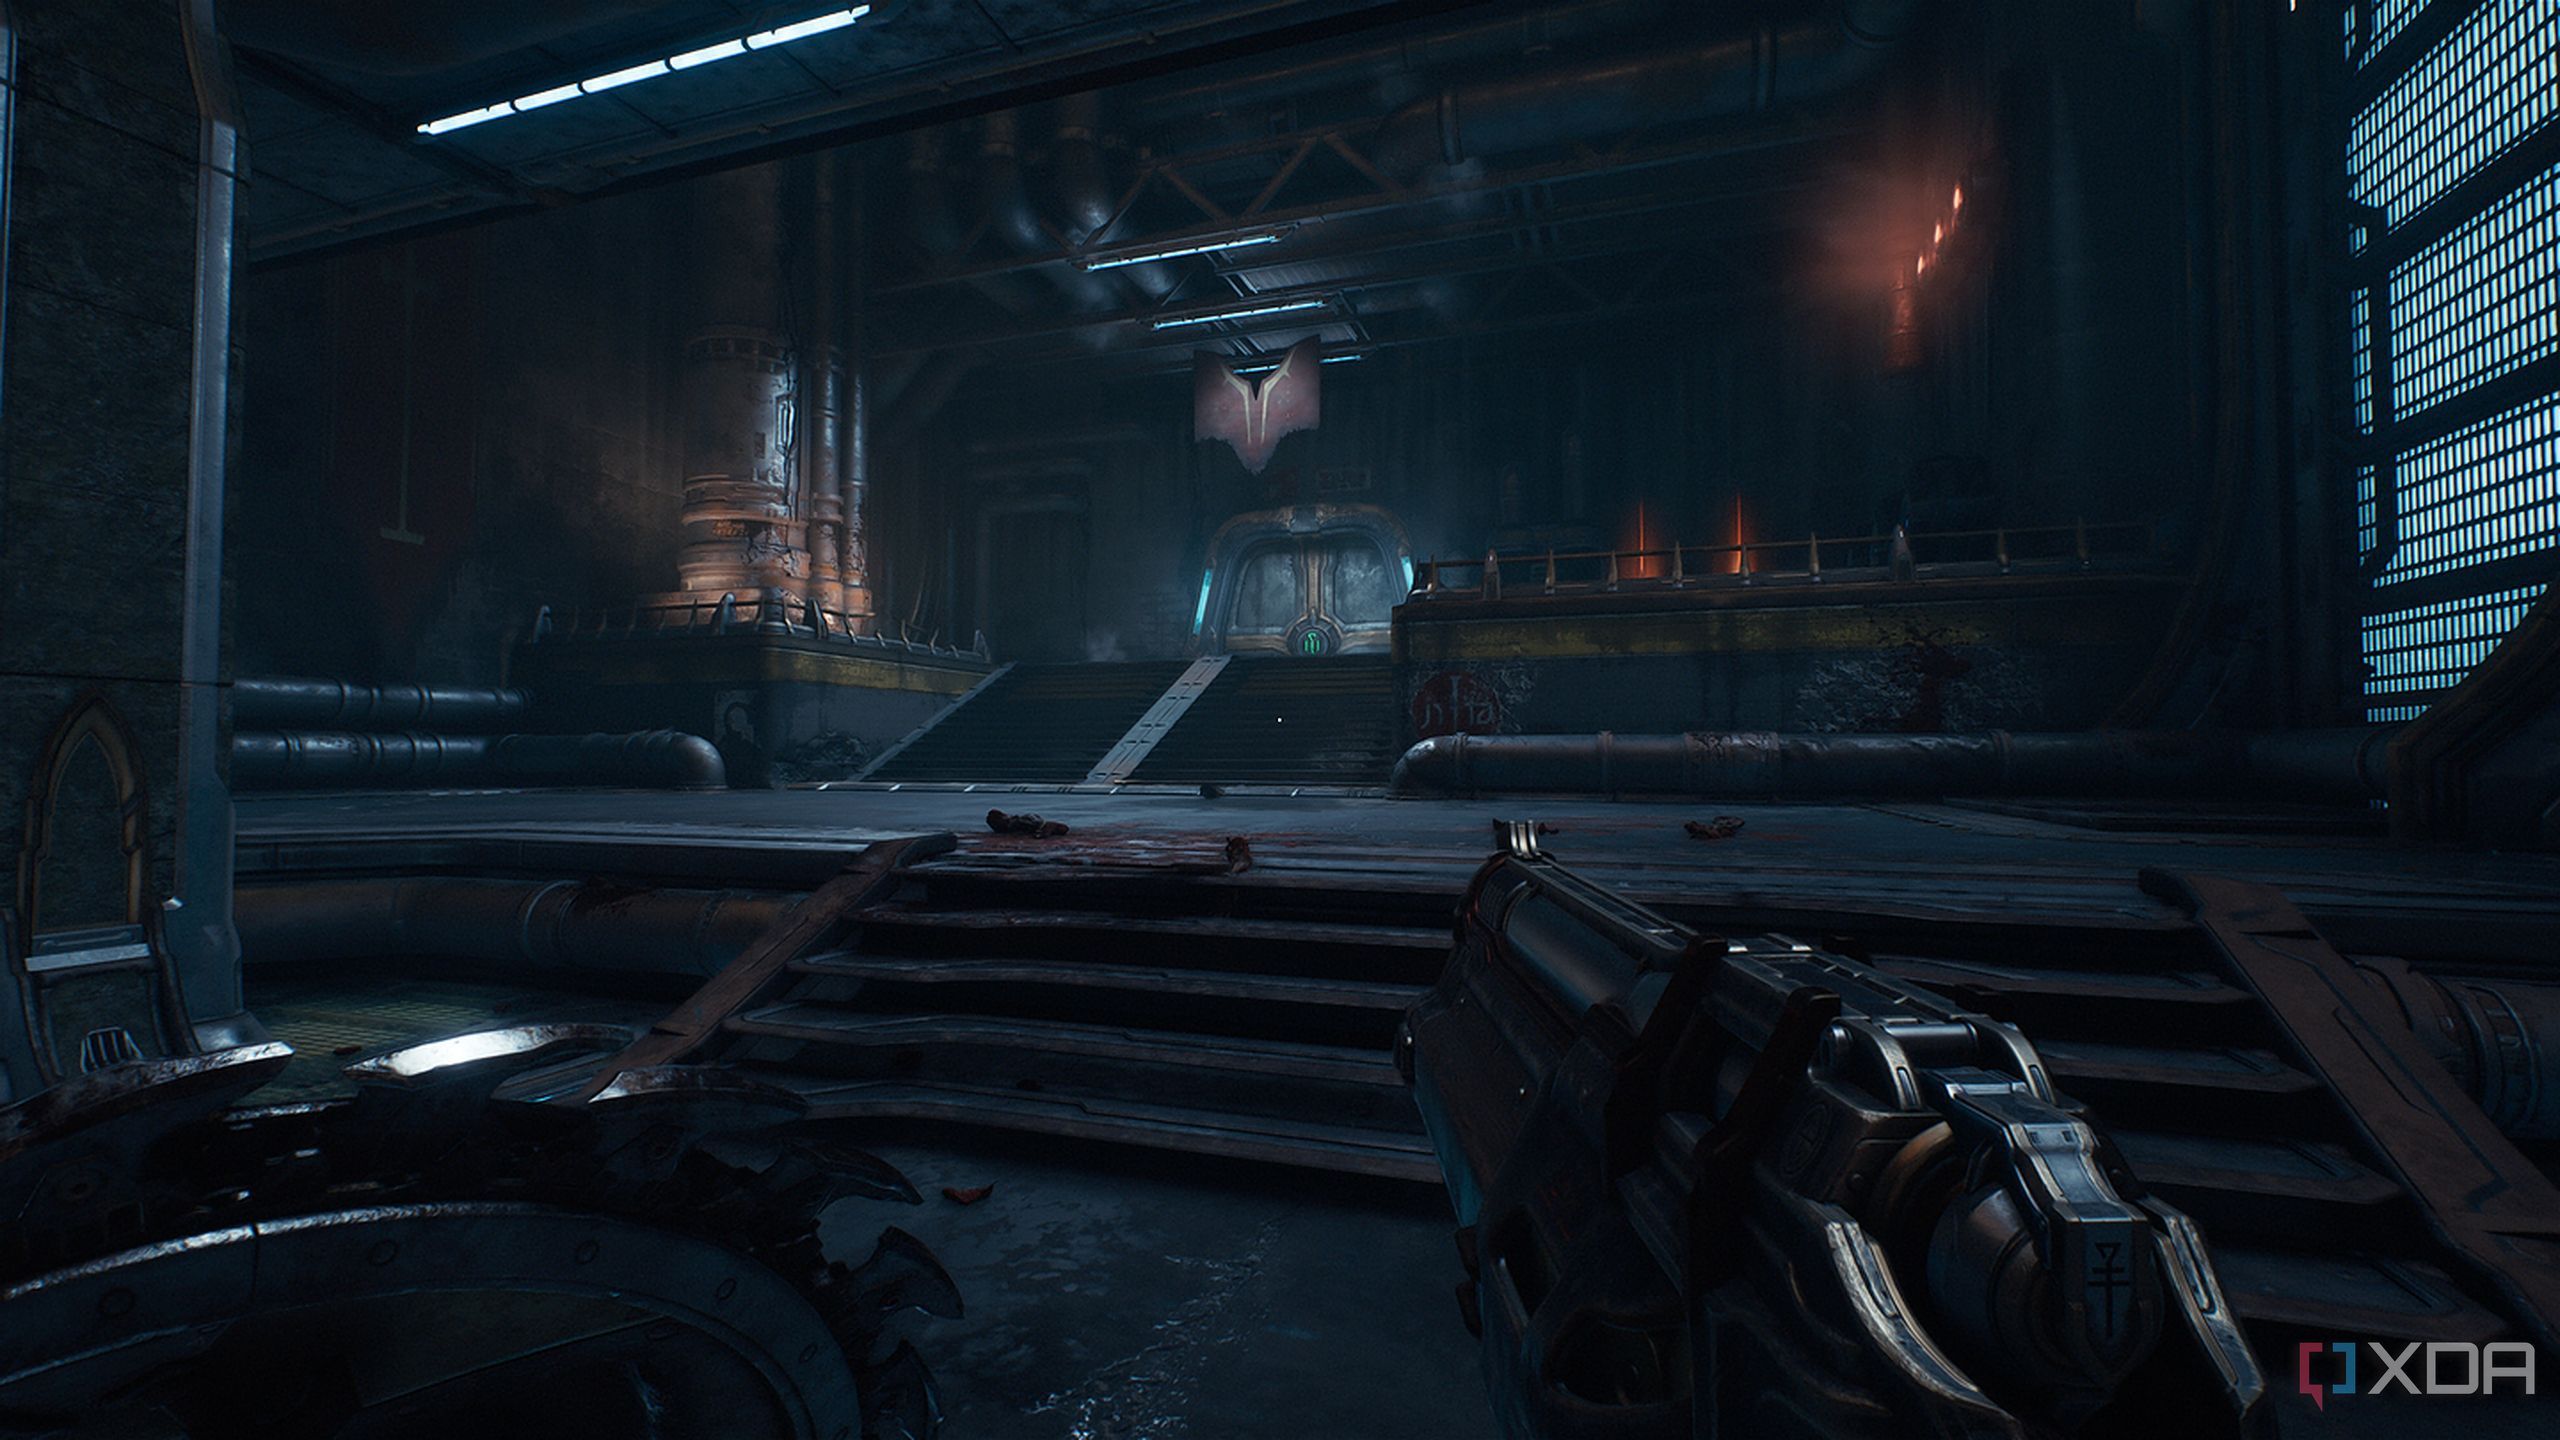
Once the level begins, it’s a straight shot to the first interior room where you’ll find a few demons and Shield Soldiers to take care of.
However, after entering the room and taking care of the demons inside, stop for a second. Before you head through the main door with a green sigil, look to the left to find a Life Sigil.
It’s inaccessible, but all you need to do is retrace your steps to the entrance of the room. Here, to the left, you’ll find a wall with a shield symbol on it.
Bash through it using your shield to come across a few harmless demon cultists.
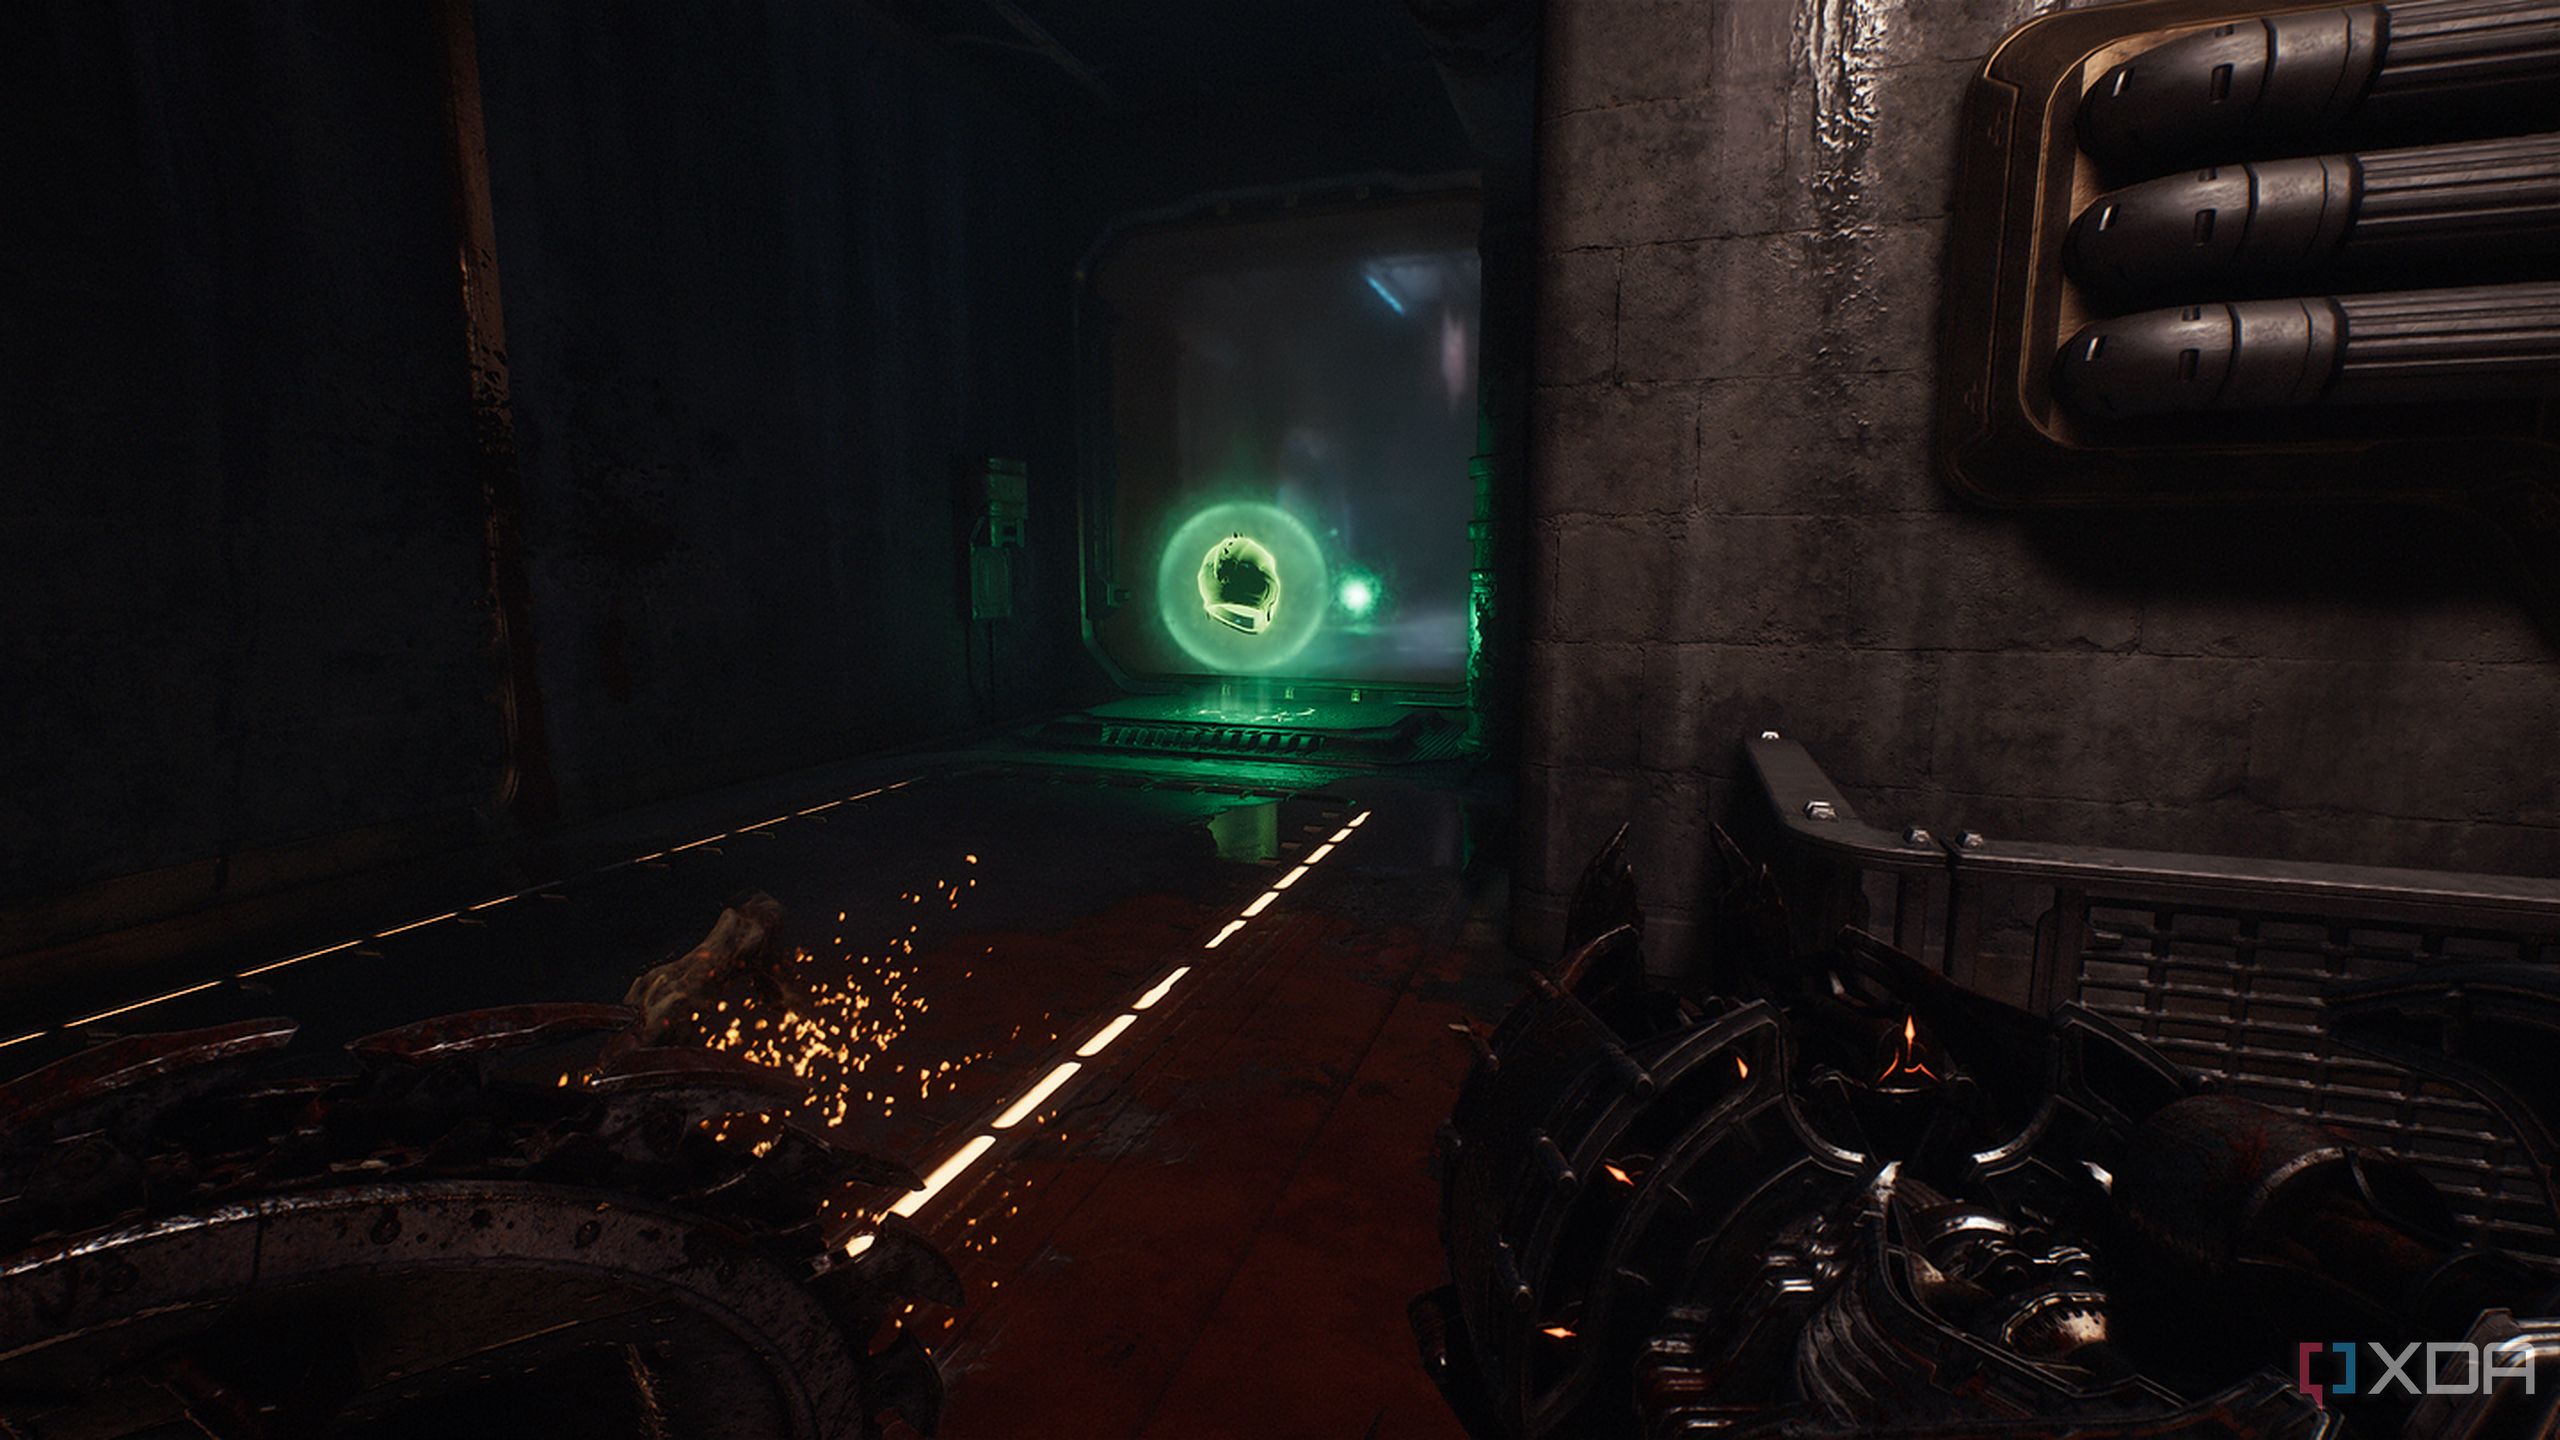
Take care of them and head left to find the Life Sigil you just saw.

Related
The DOOM series: Every core game ranked
What are the best entries of the DOOM series that you should play? Here's every core game ranked!
Collectible — Imp Stalker Toy
Adding to the collection of the Slayer
In the very next room, you’ll be greeted by an Imp Stalker, a couple of Imps, and more Shielded Soldiers. Once they’re taken care of, head up the stairs, and stop at the top.
Before you head towards the sunlight outside, look to the left to find a small pathway leading to a couple of big boxes at the end.
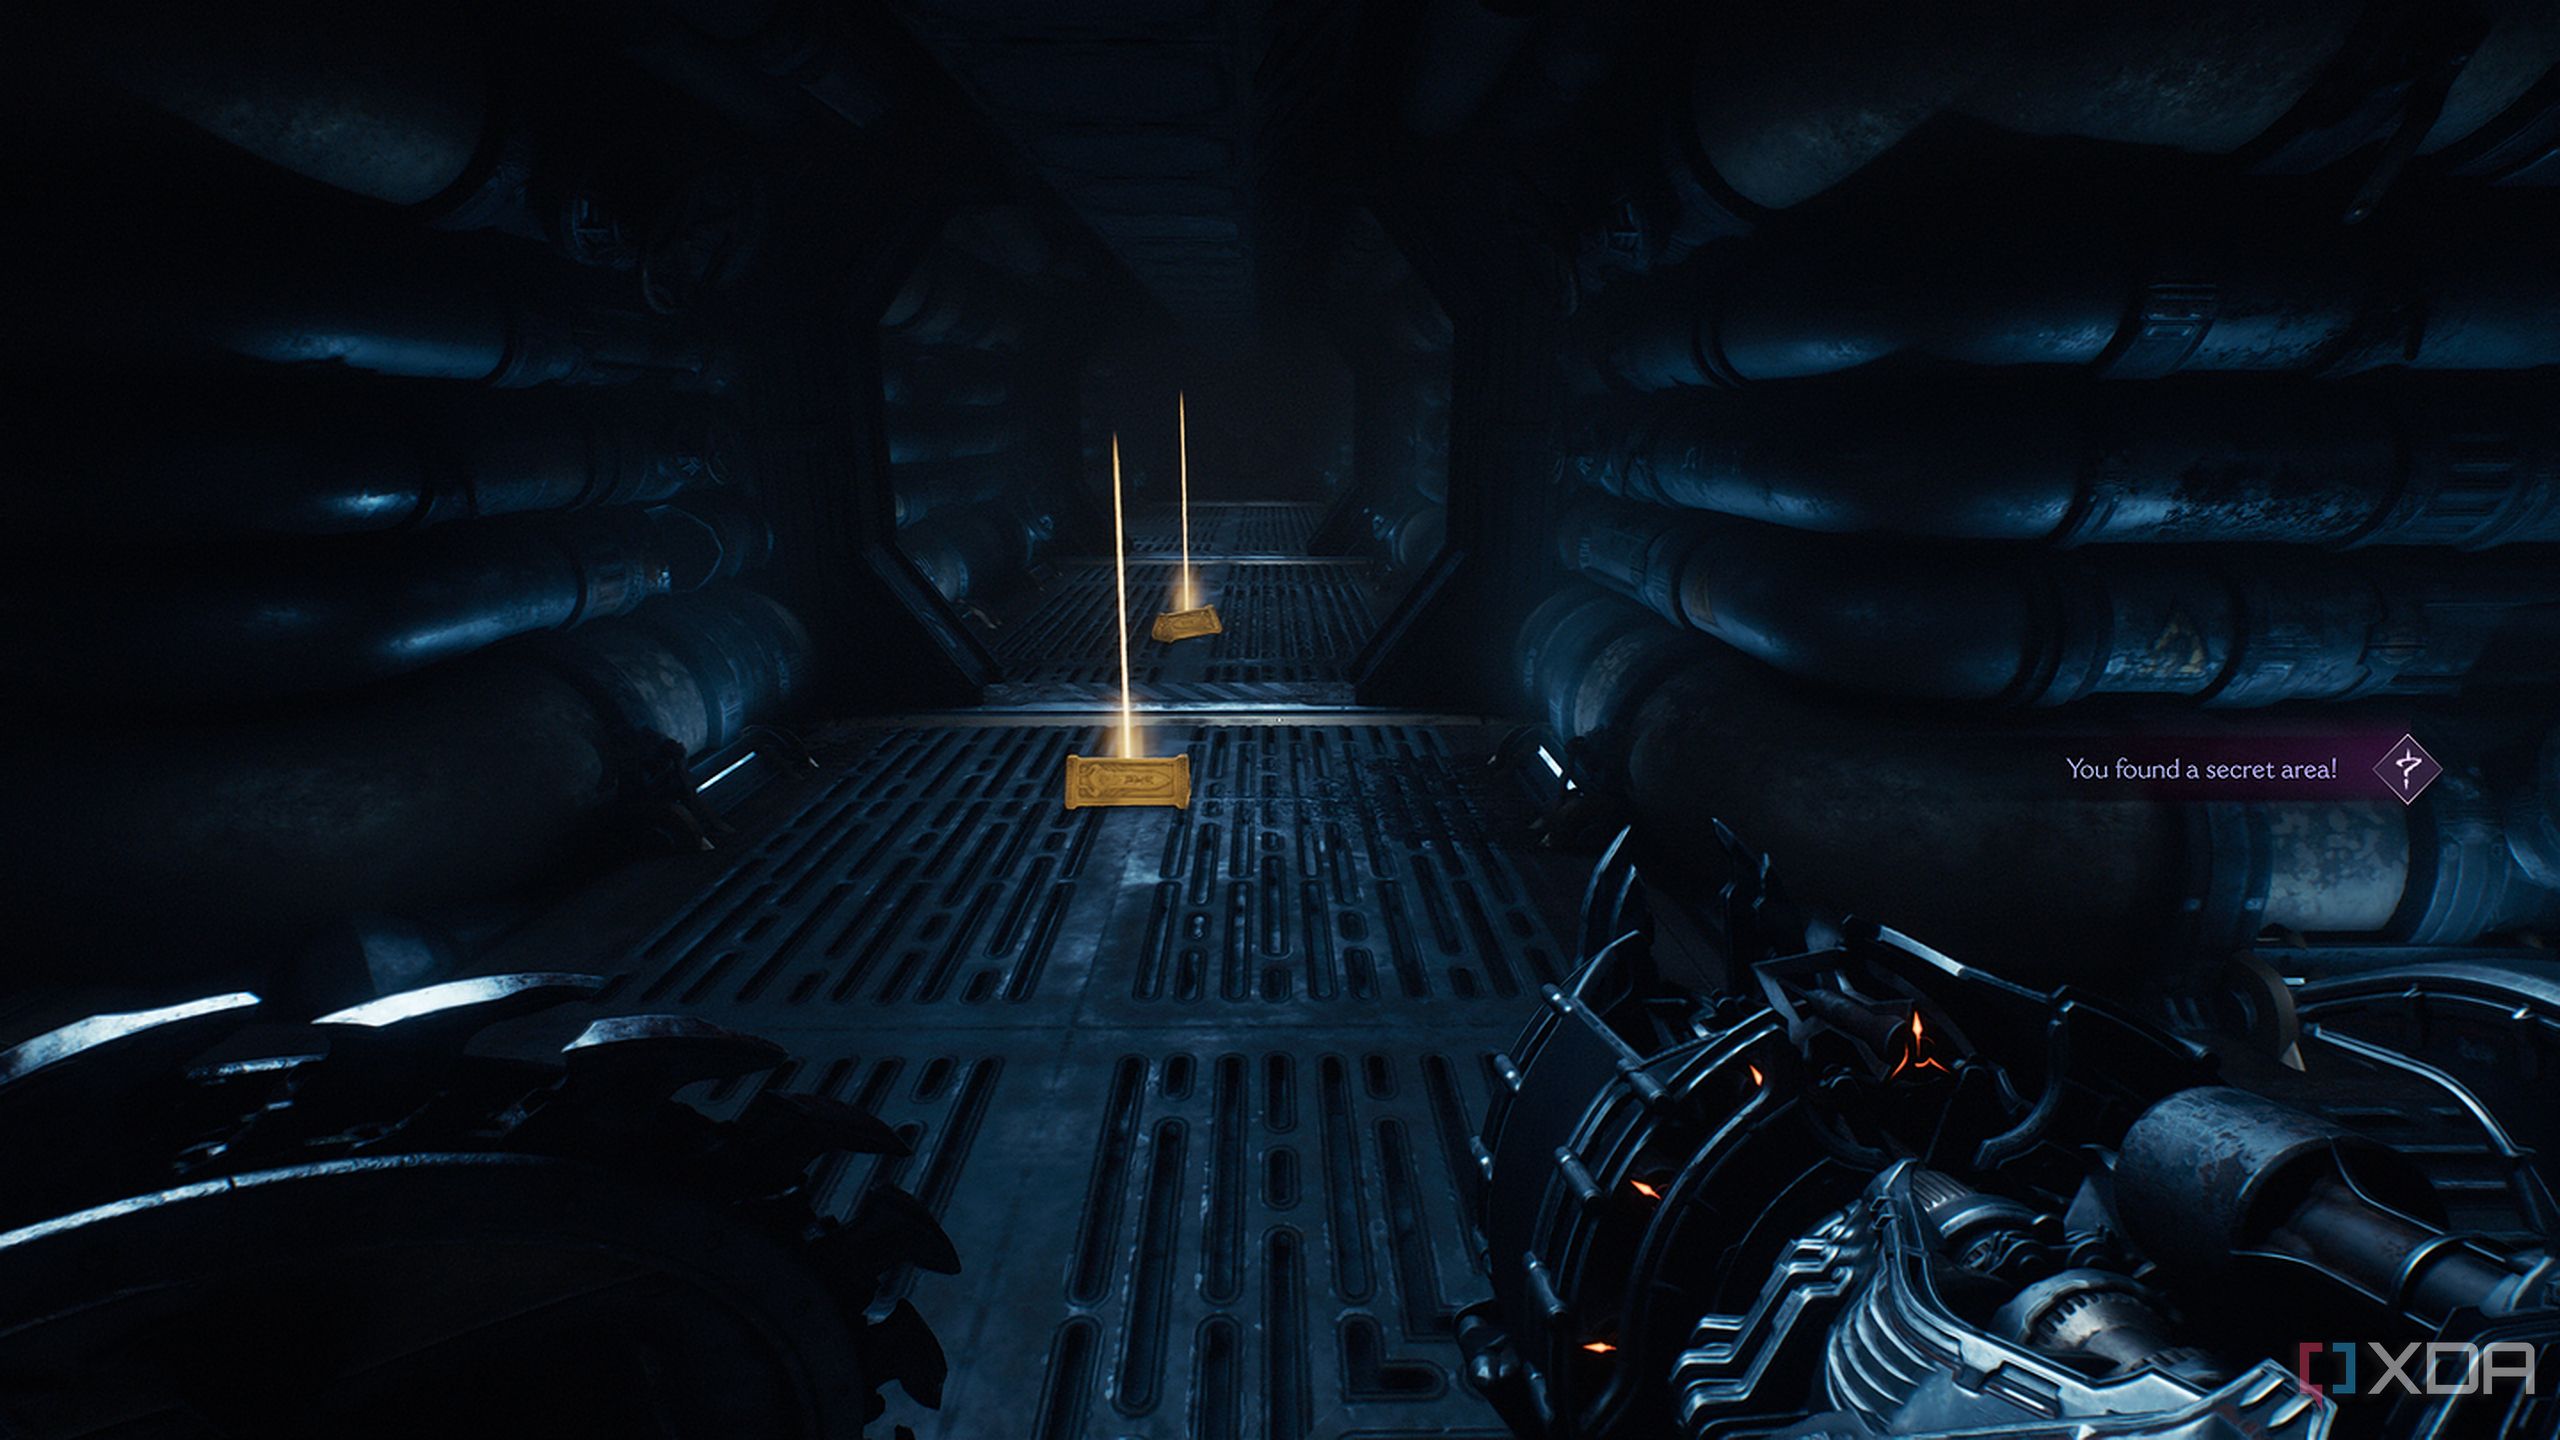
Head towards them and climb the boxes to find a space to climb through in the wall.
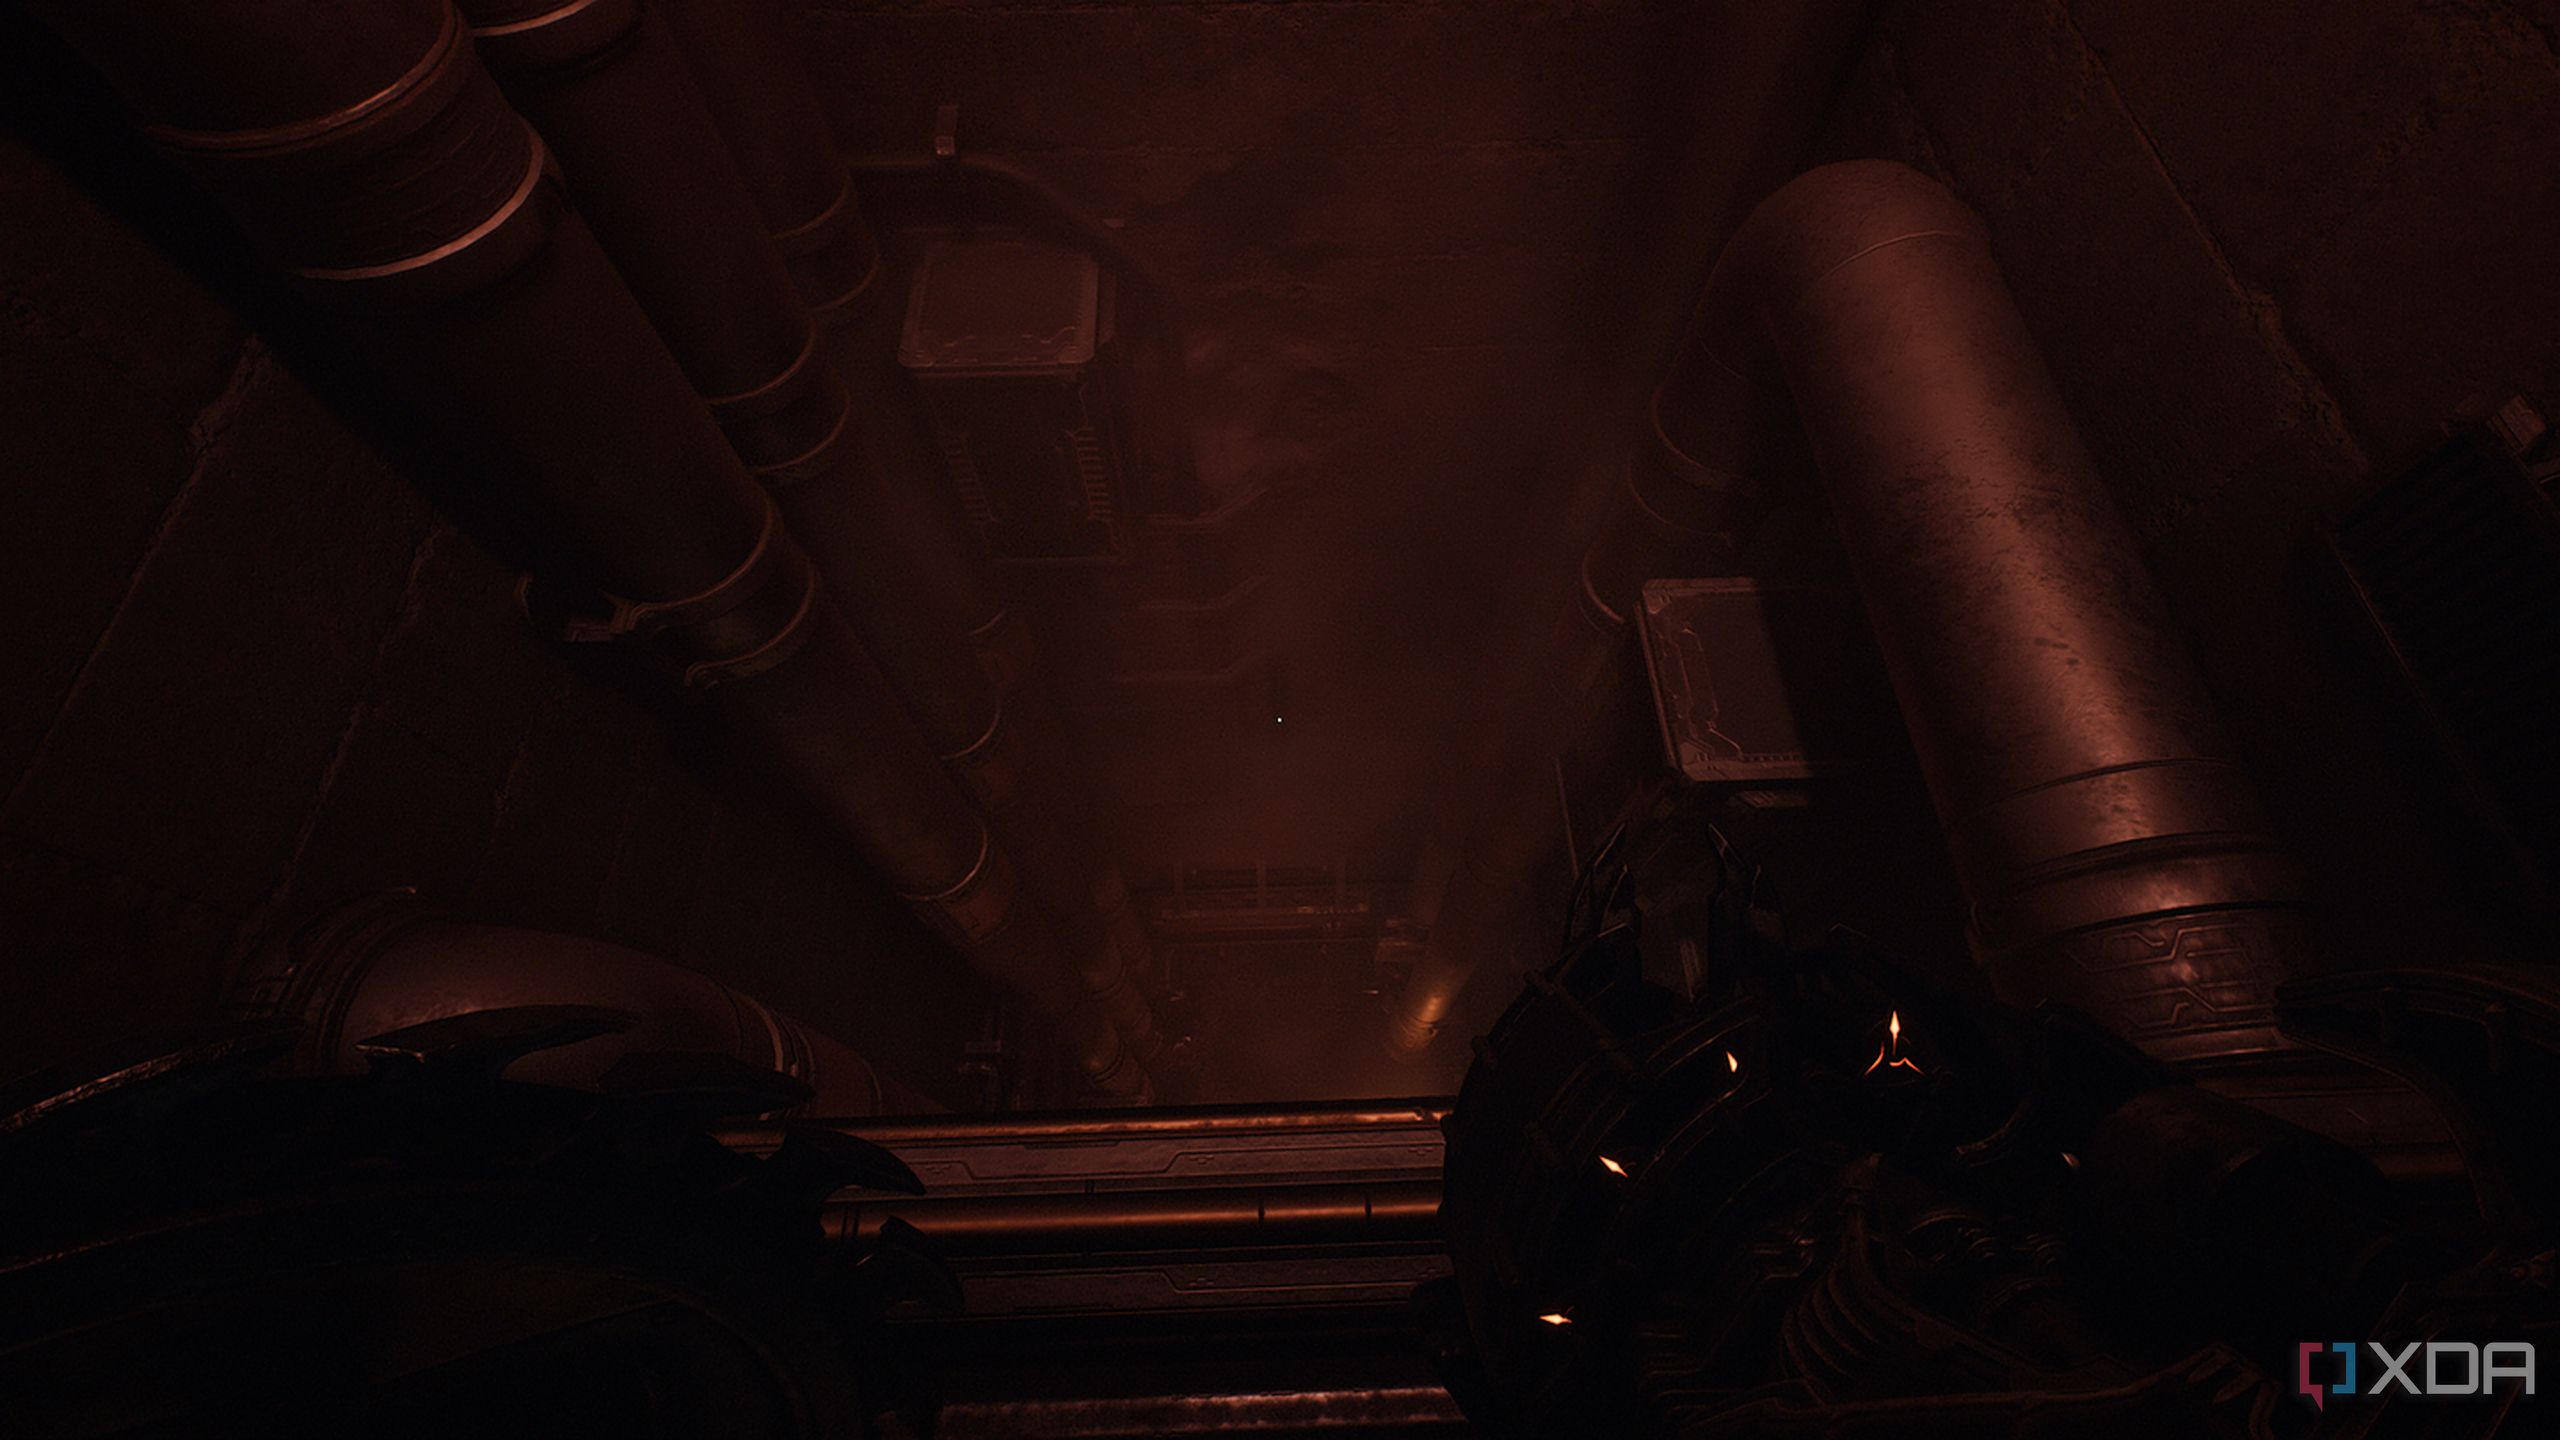
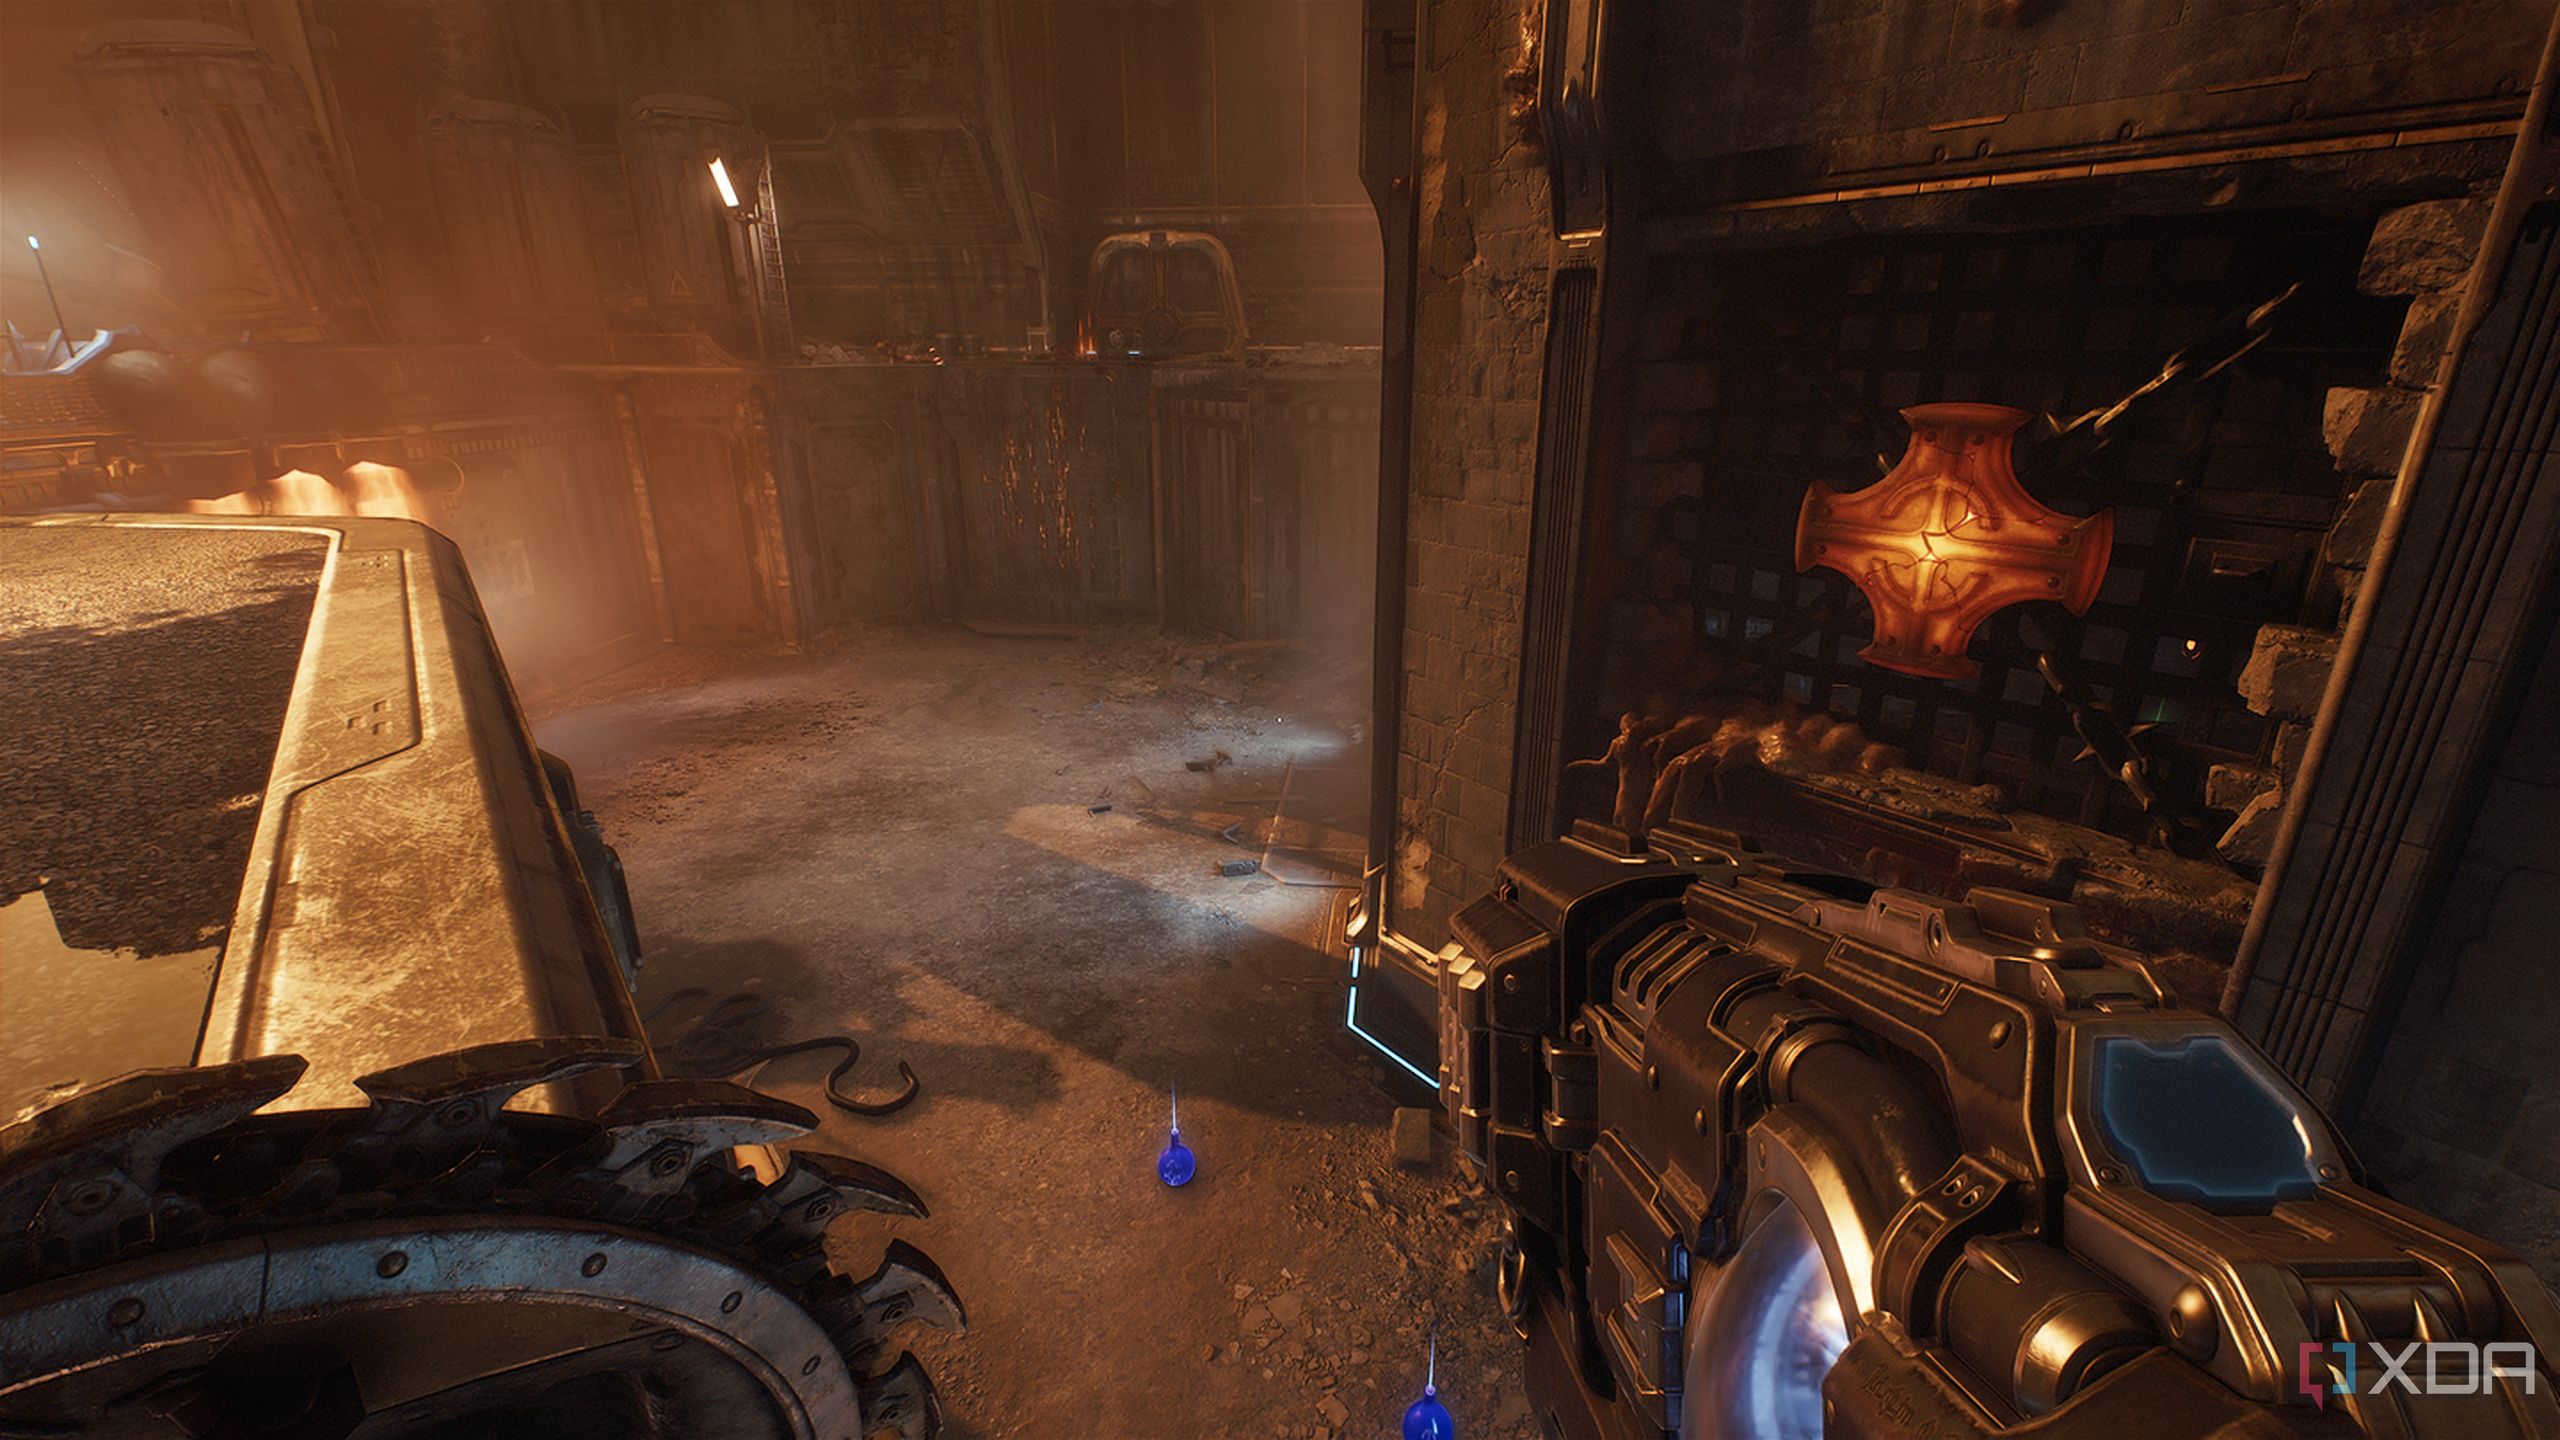
Here, you’ll see a long shaft heading down, bathed in red light.
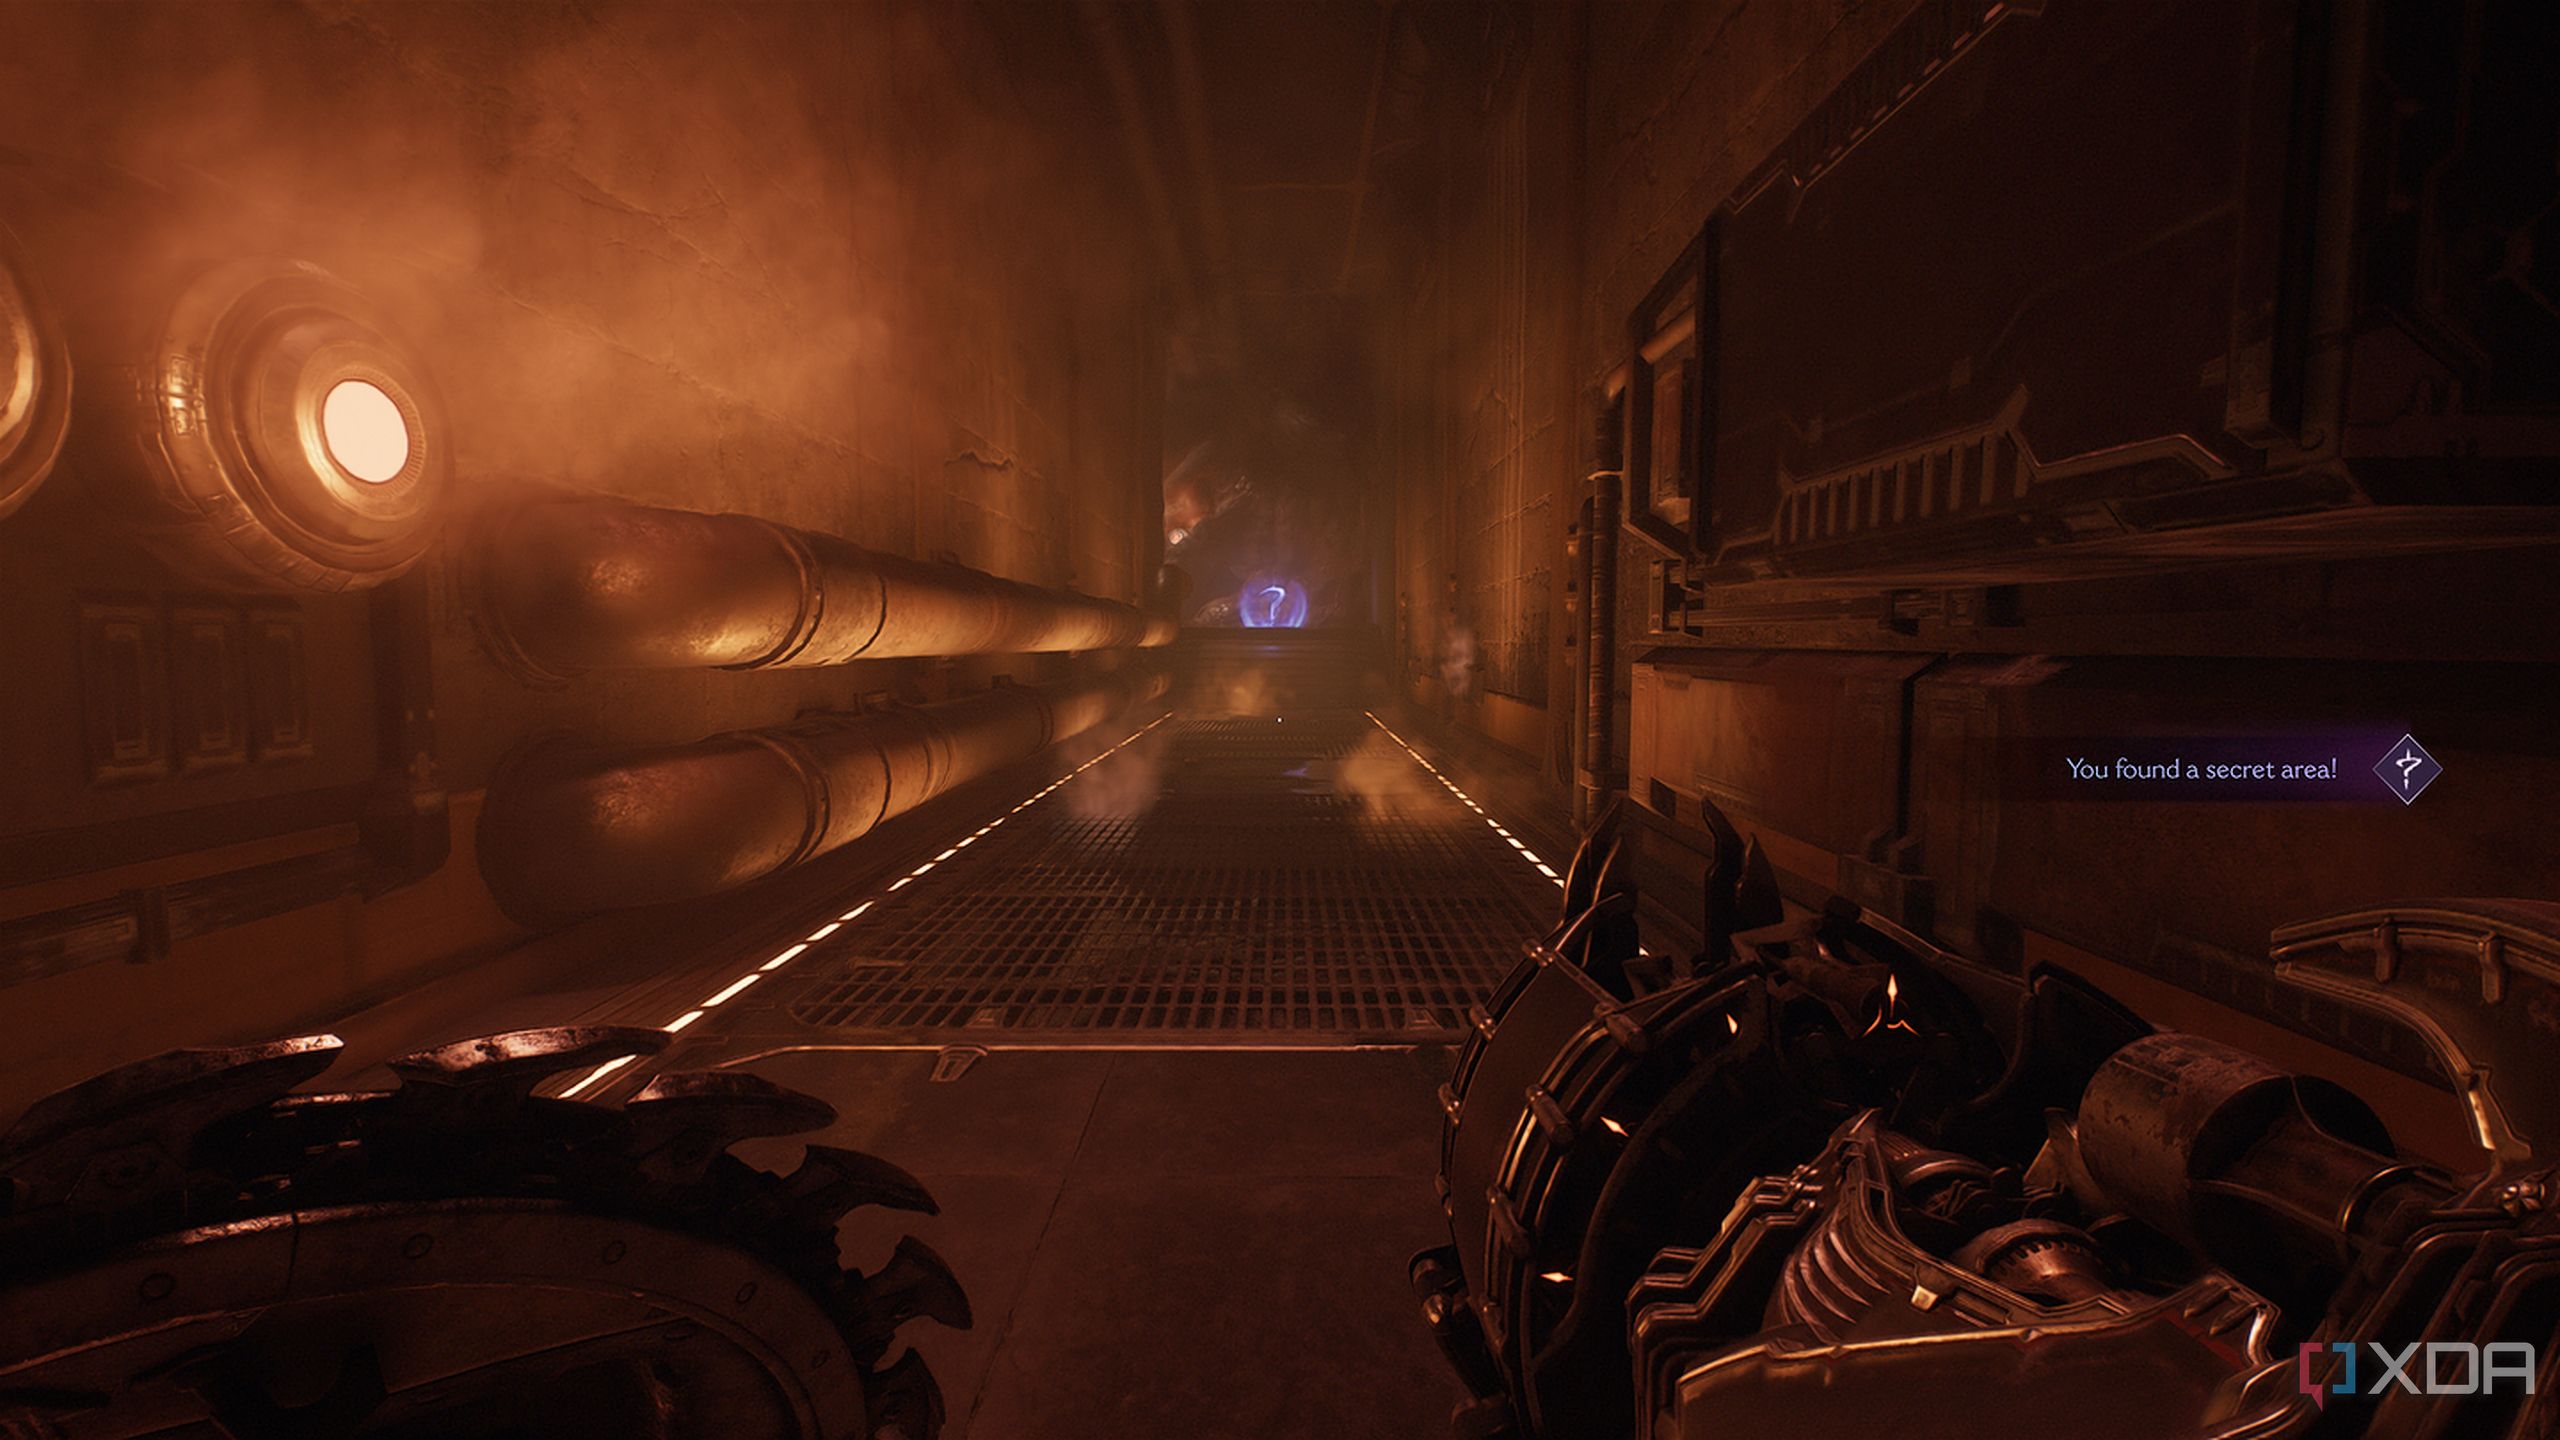
Fall down to the bottom (the Slayer never takes fall damage since gravity is probably afraid of him), walk down the corridor.
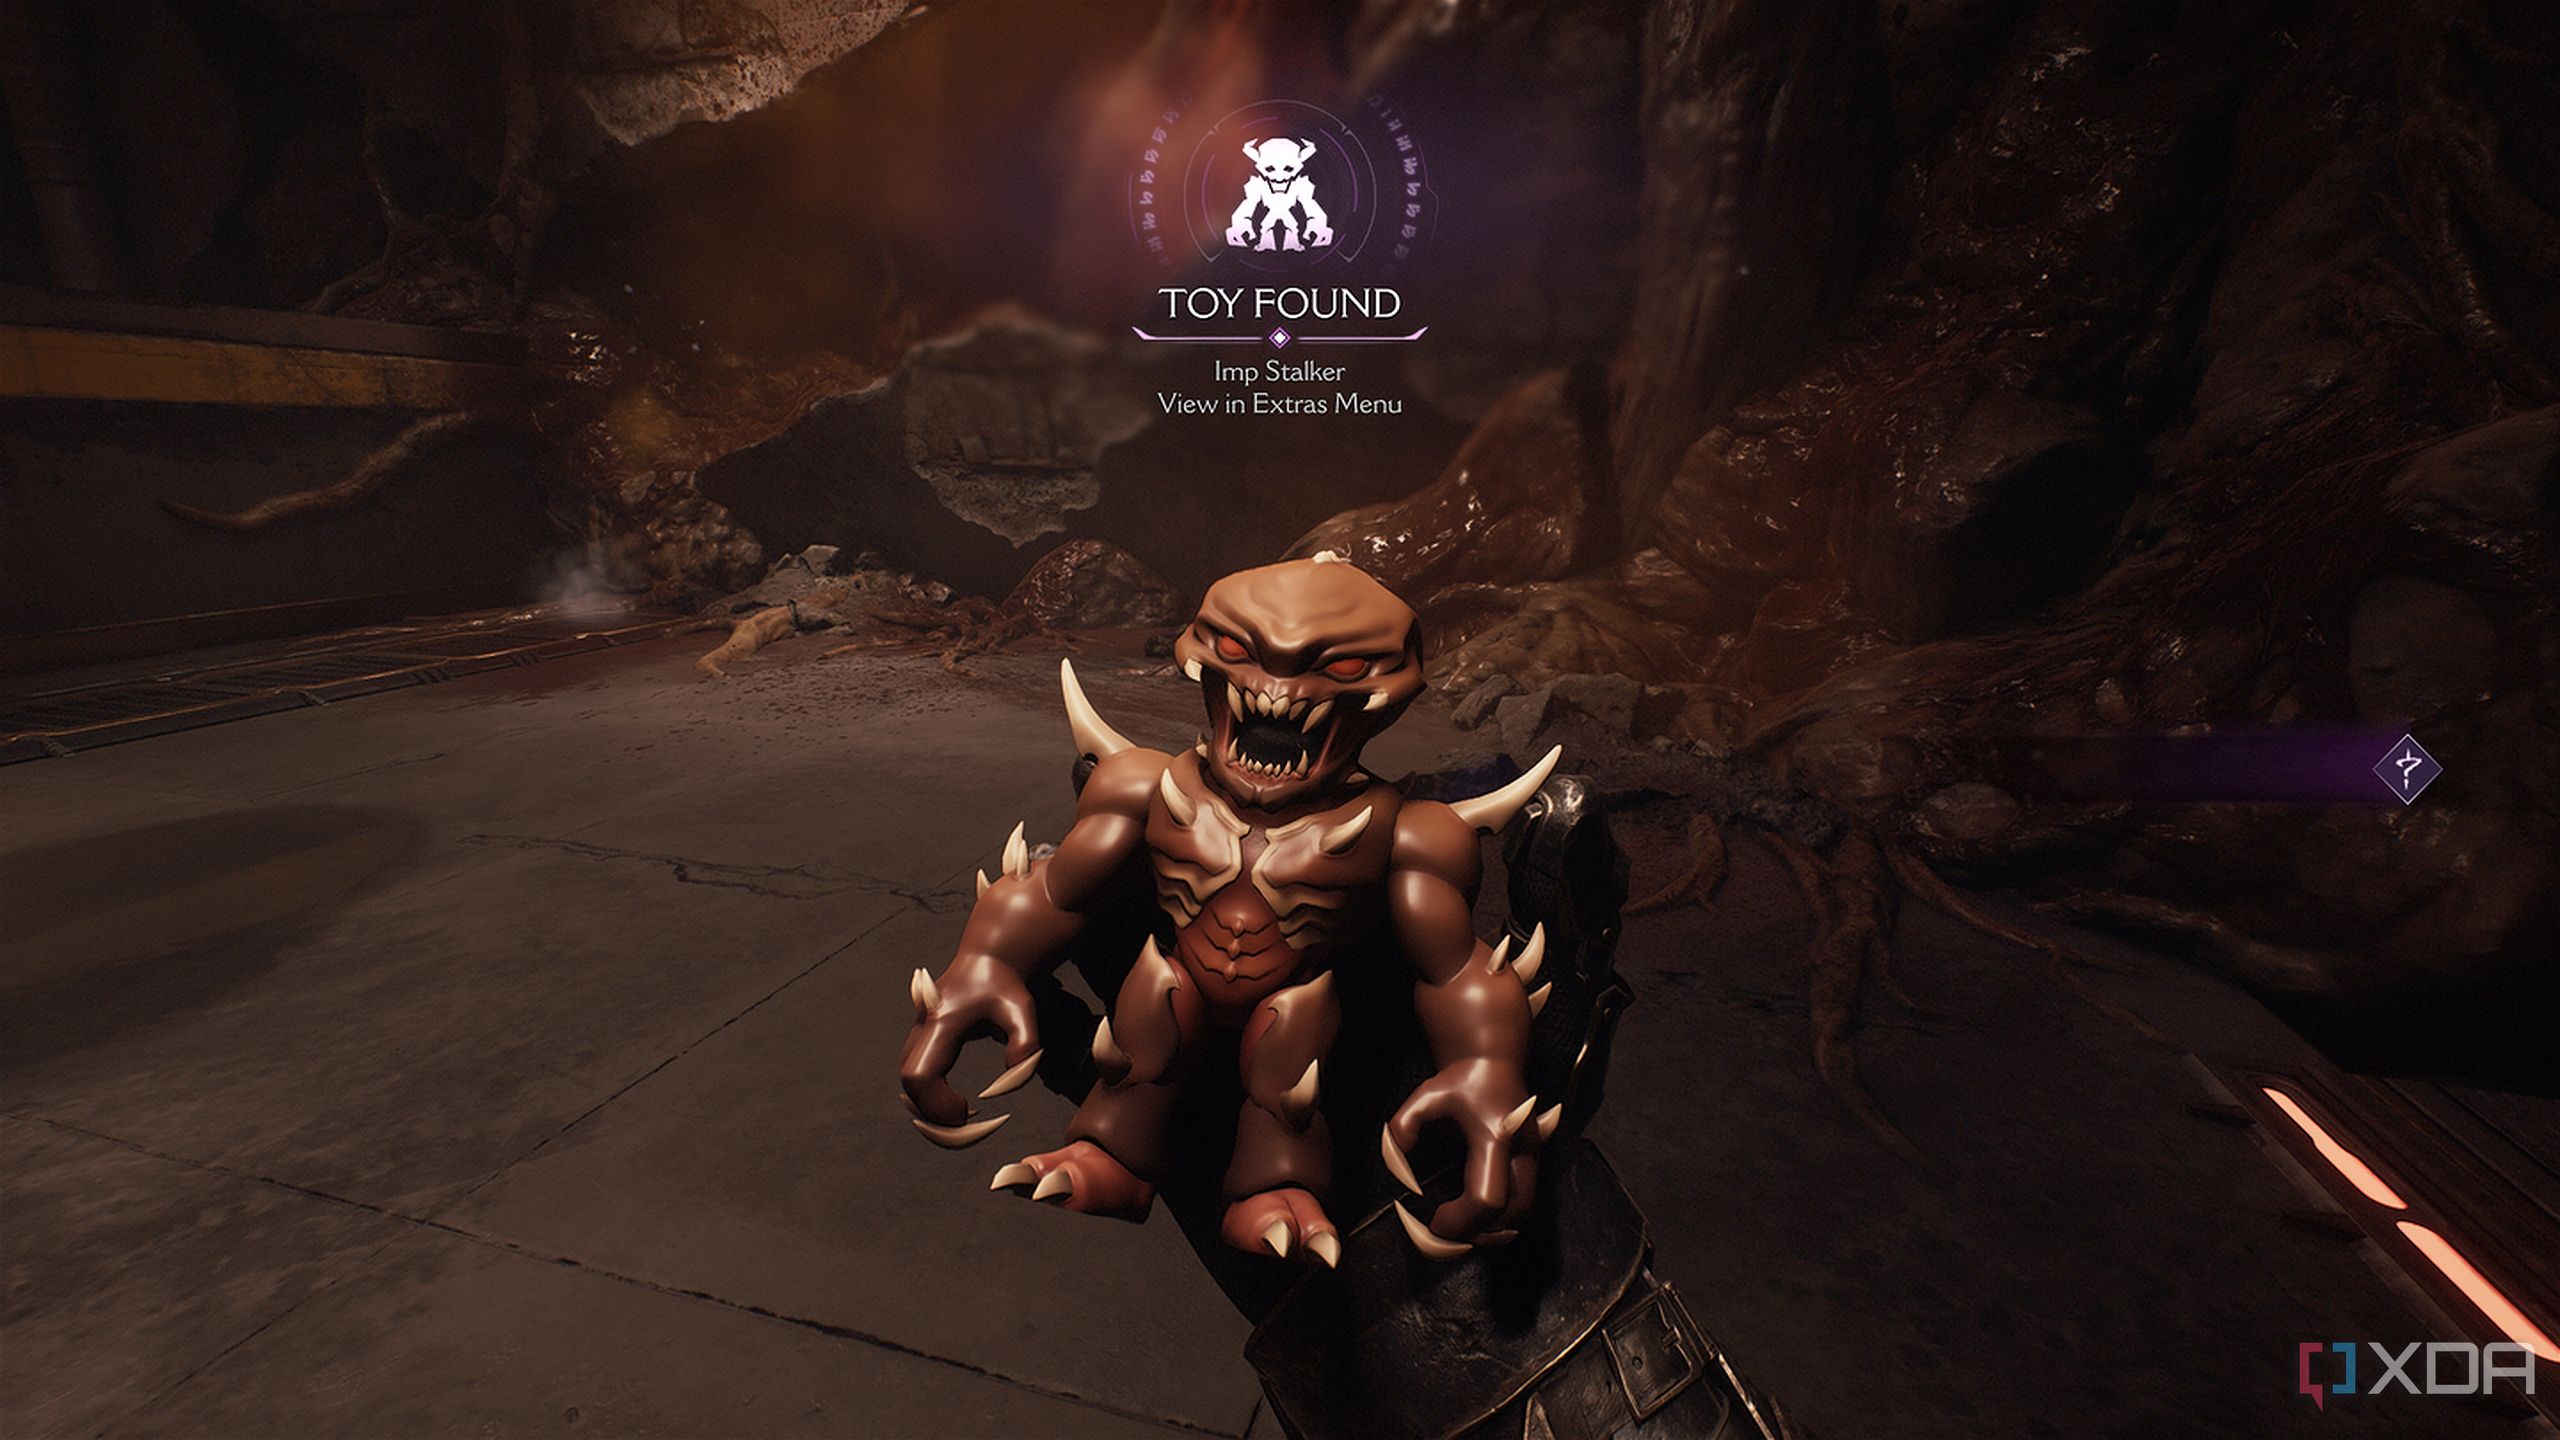
Pick up the Imp Stalker Toy collectible, and look around to find the heated metal cross to break through. Cut it down, and you’ll be right back where you started.
Codex Page — The lore of Hebeth
More lore never hurts, does it?
Once you cross the metal walkway into a room where two Soldiers try to ambush you, take care of them and jump straight down towards your objective.
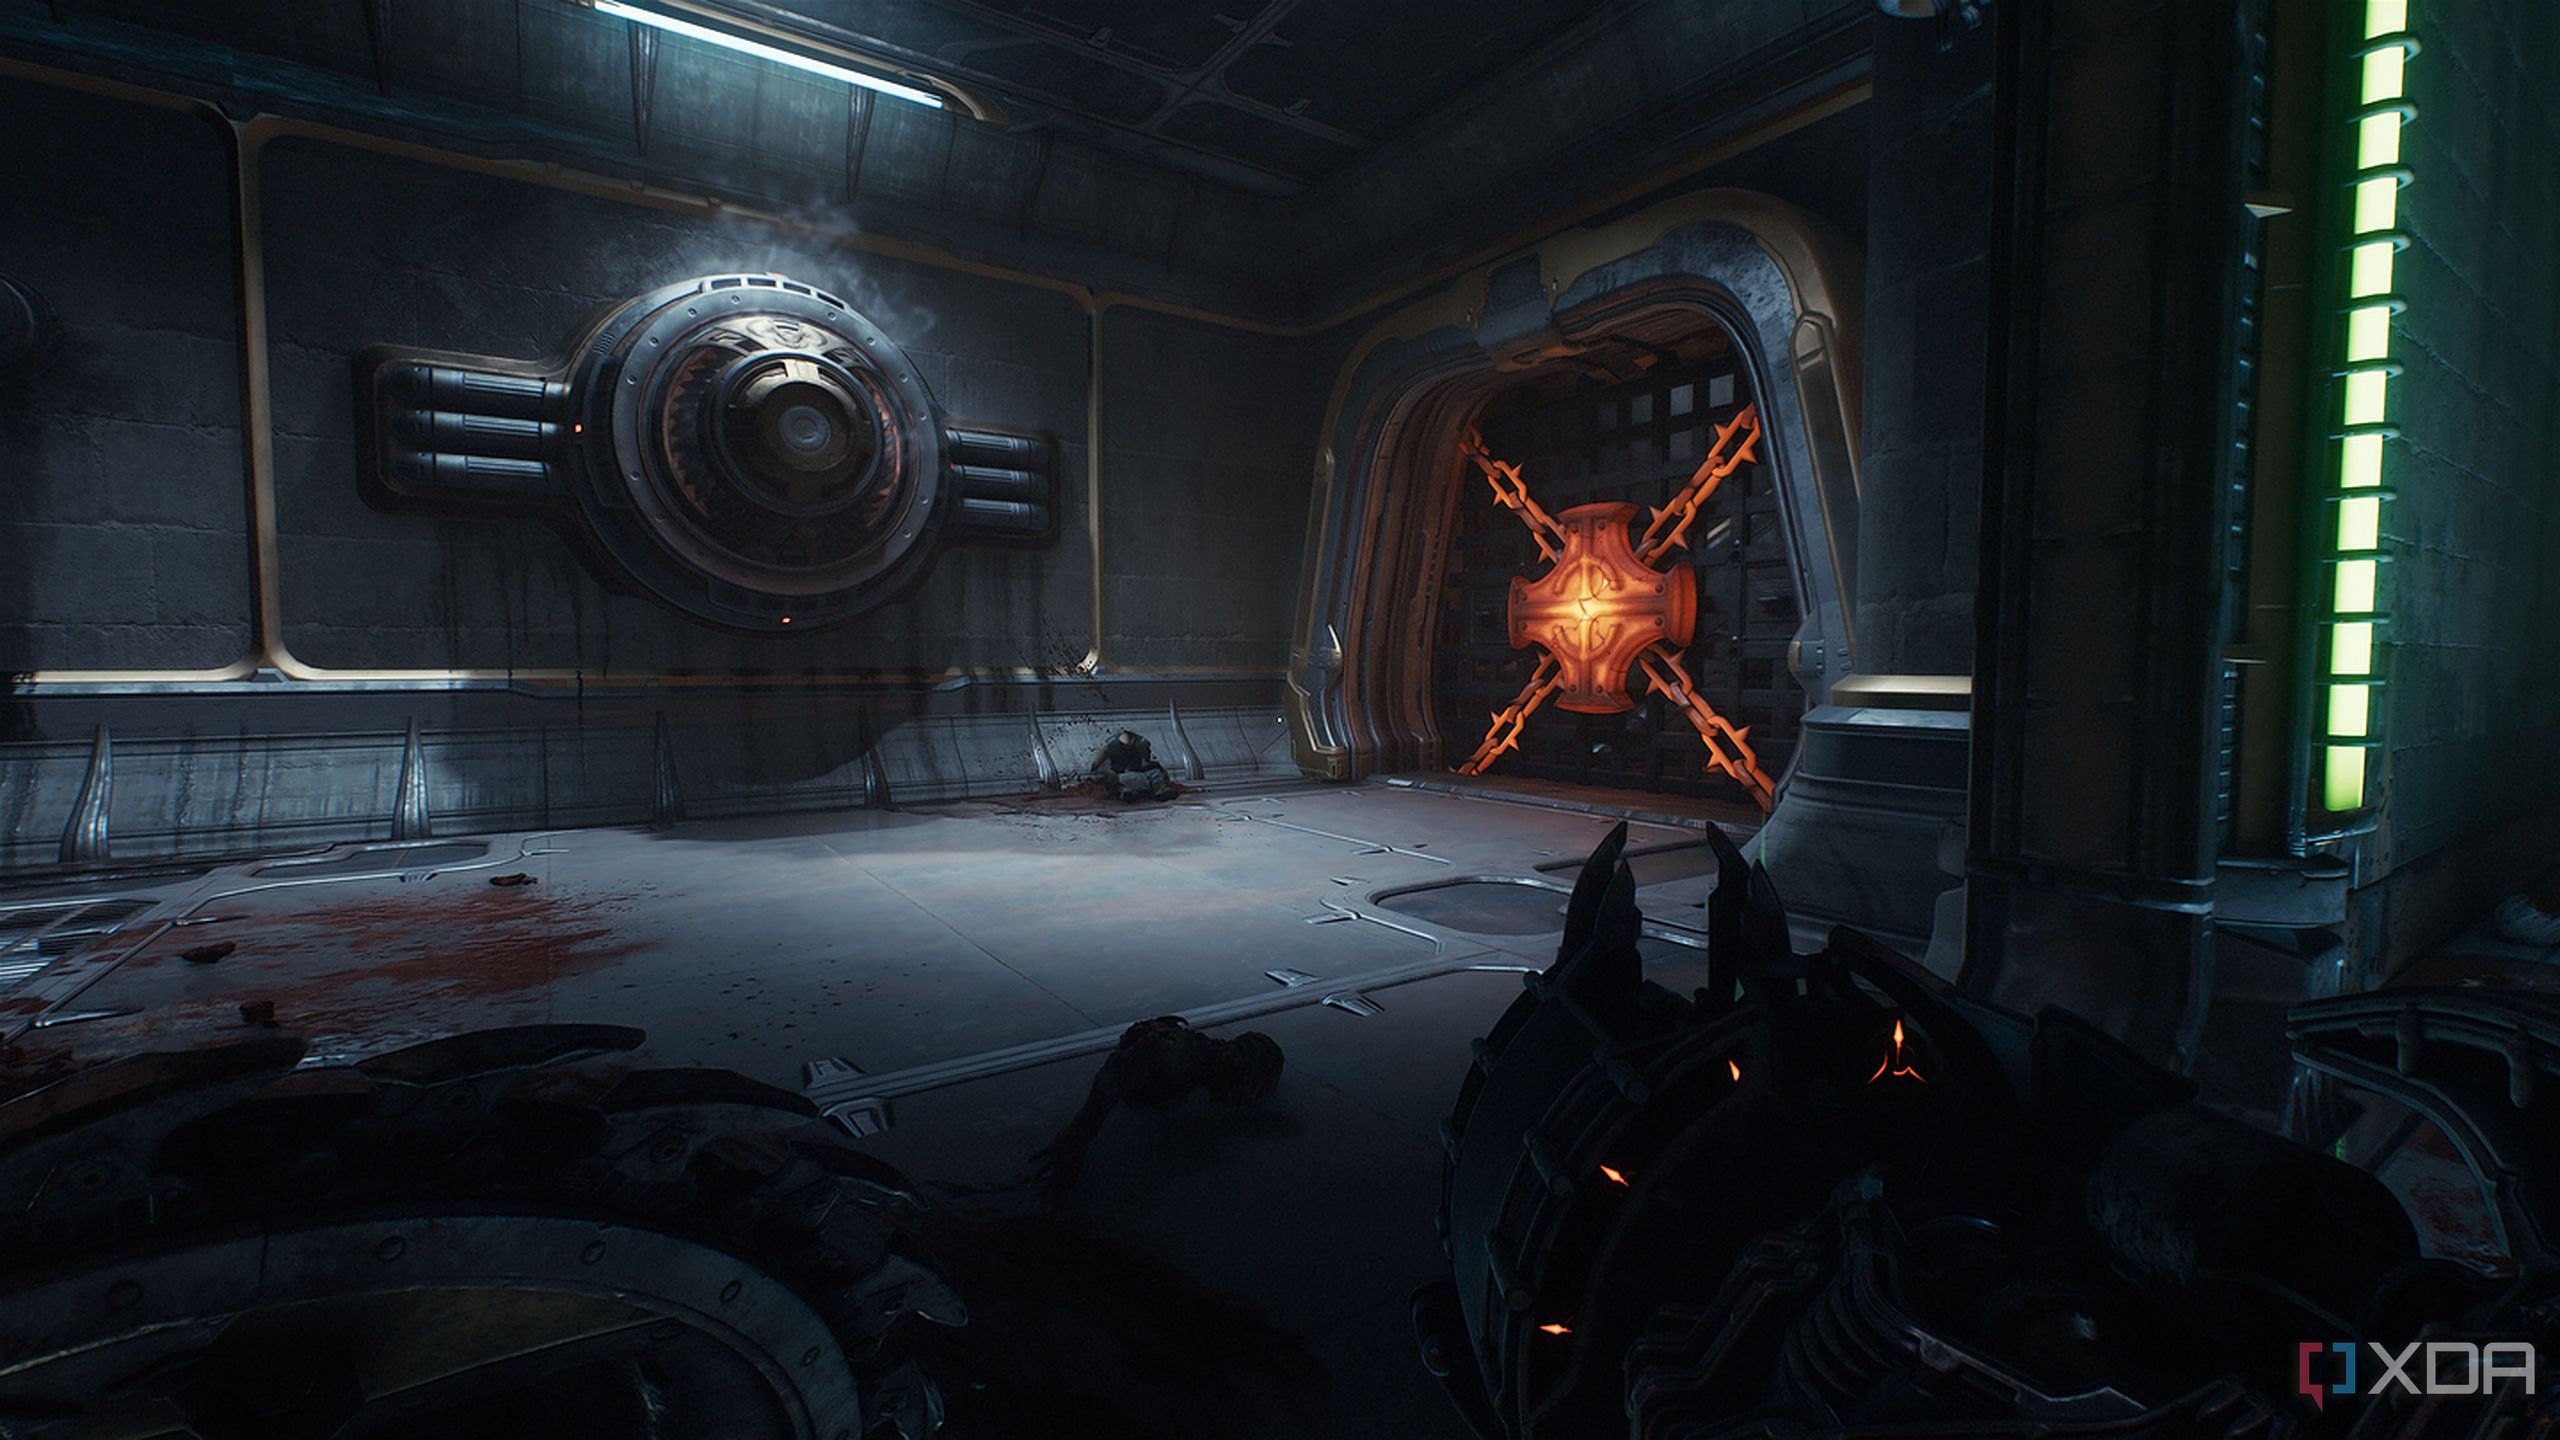
After downing the Imp at the bottom, you should see a heated metal cross to throw your shield at, but before that, simply look to the left.
A bunch of huge boxes appear to be blocking off the path, but climb over them to find a secret corridor with a bunch of NPCs taking cover and shelter.

Here, grab the Hebeth Codex Page before getting back to business.
Related
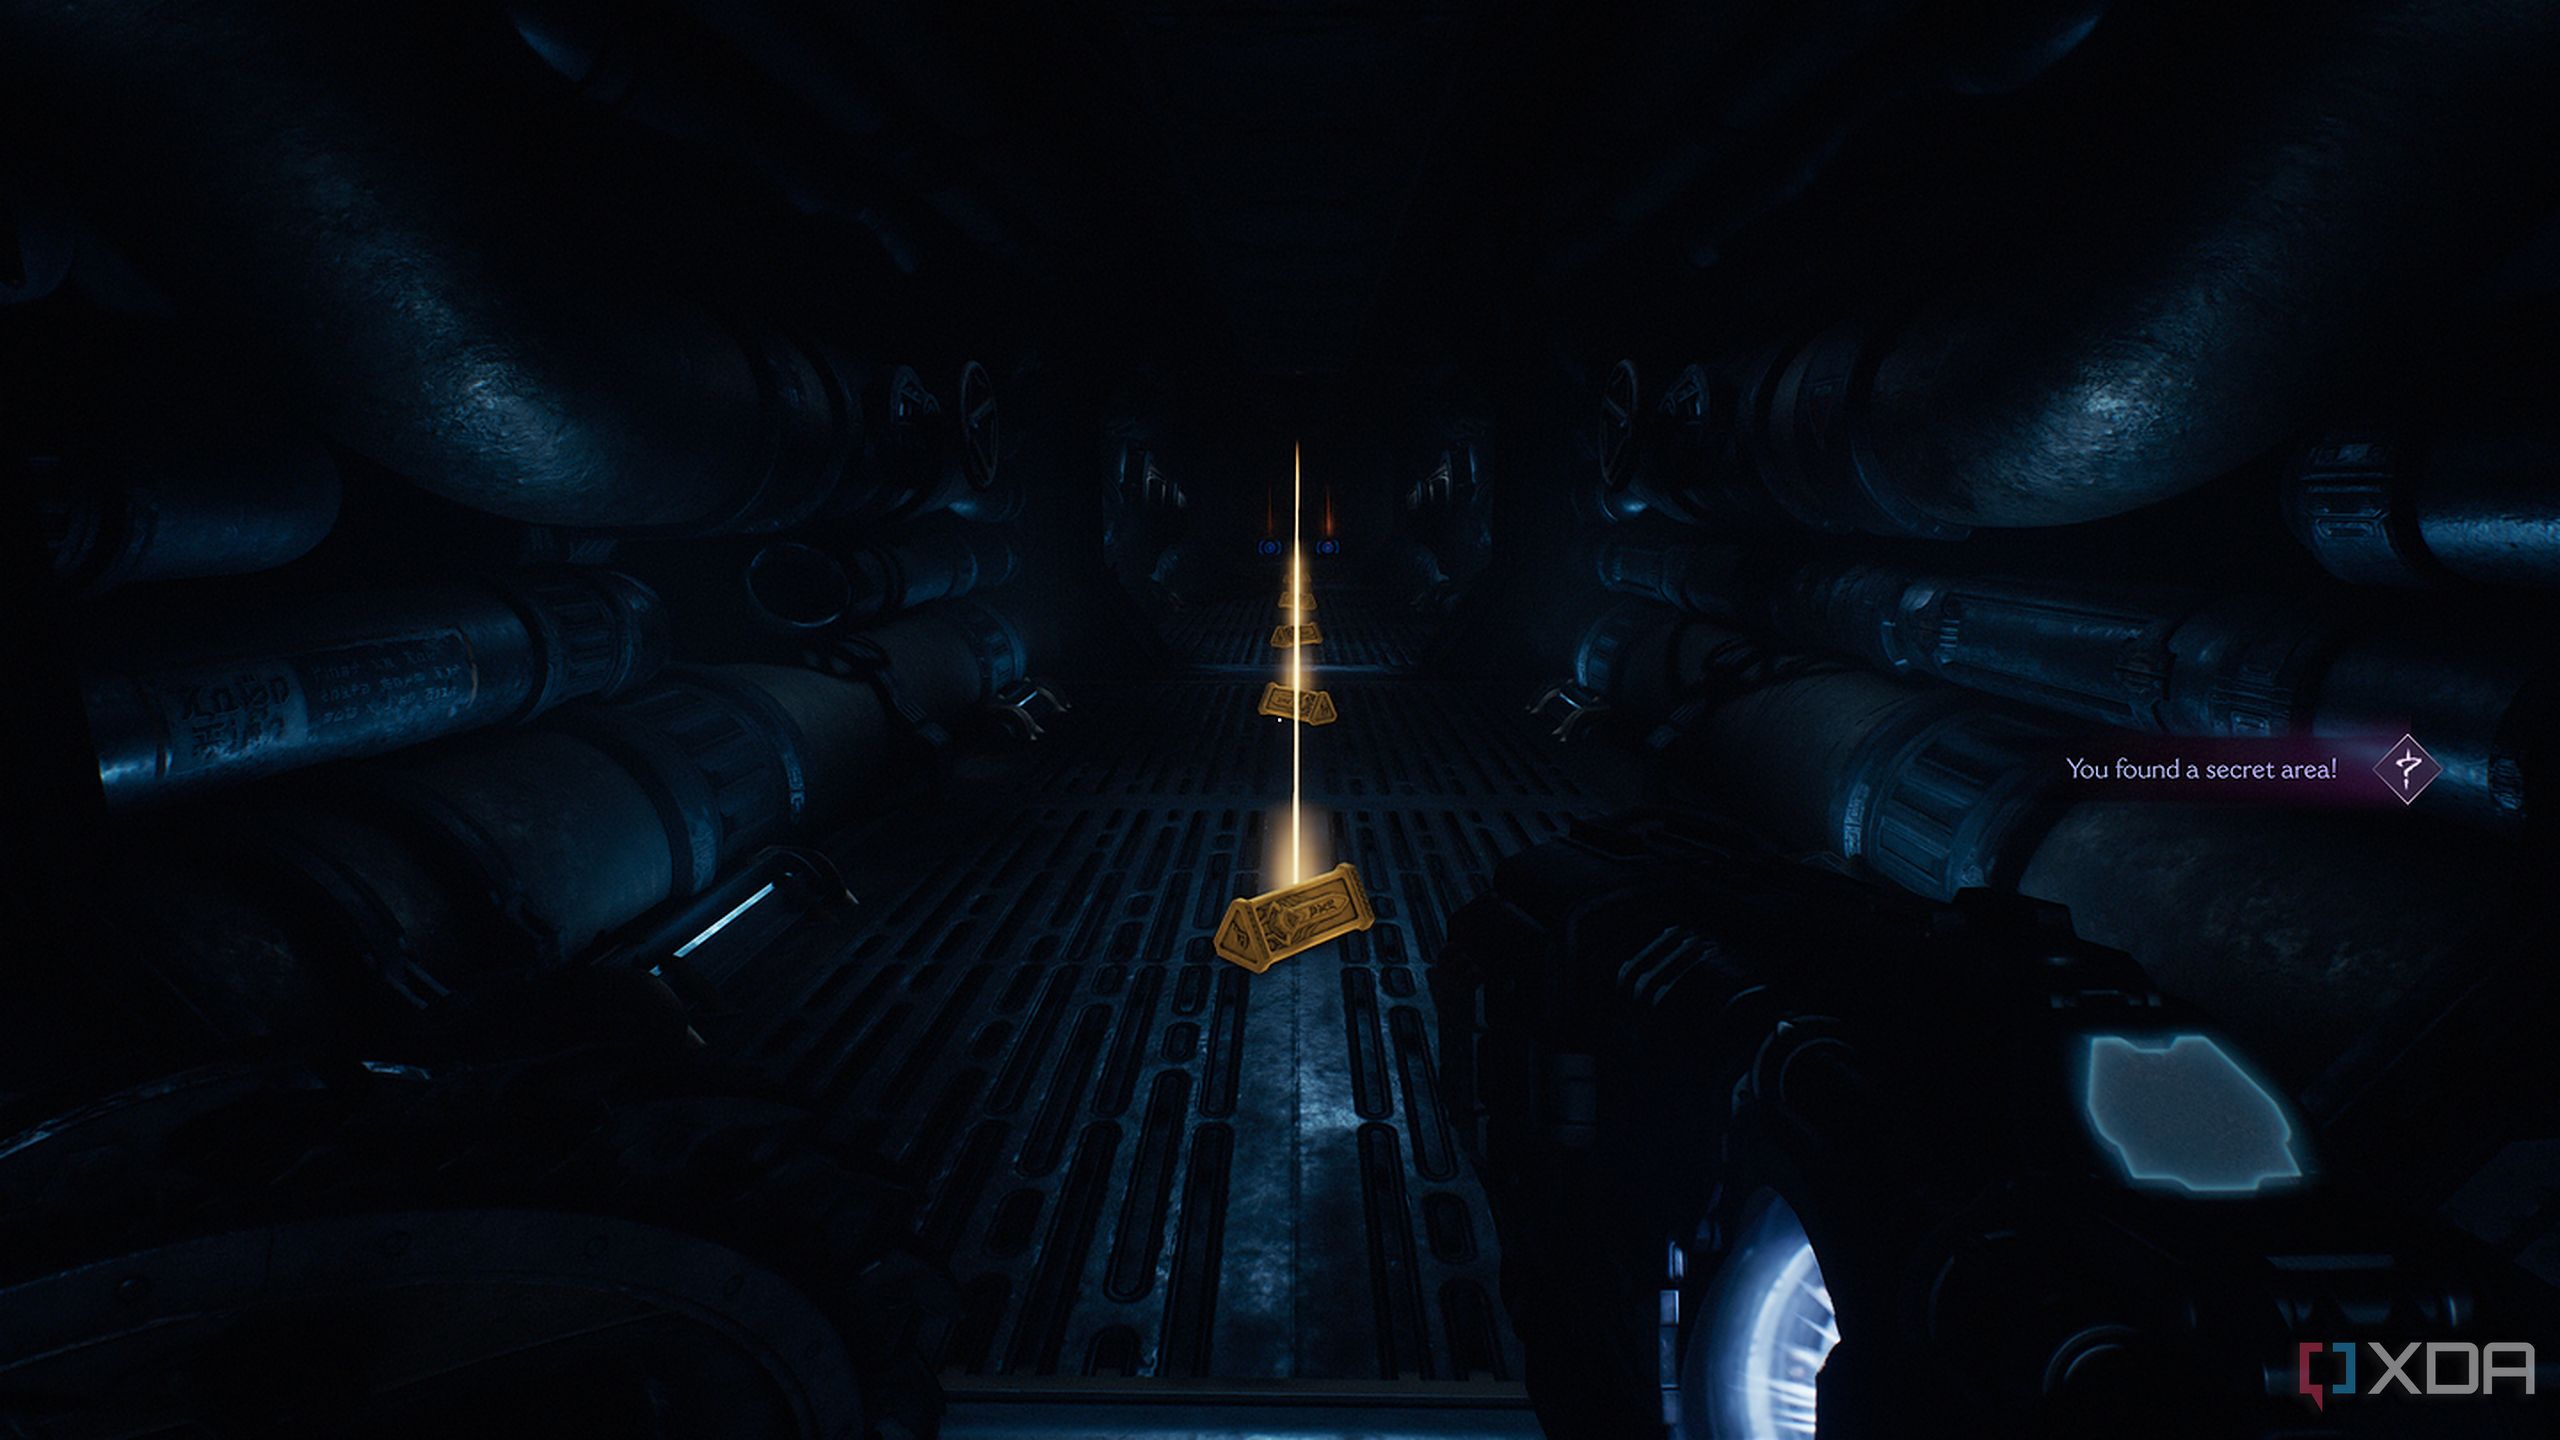
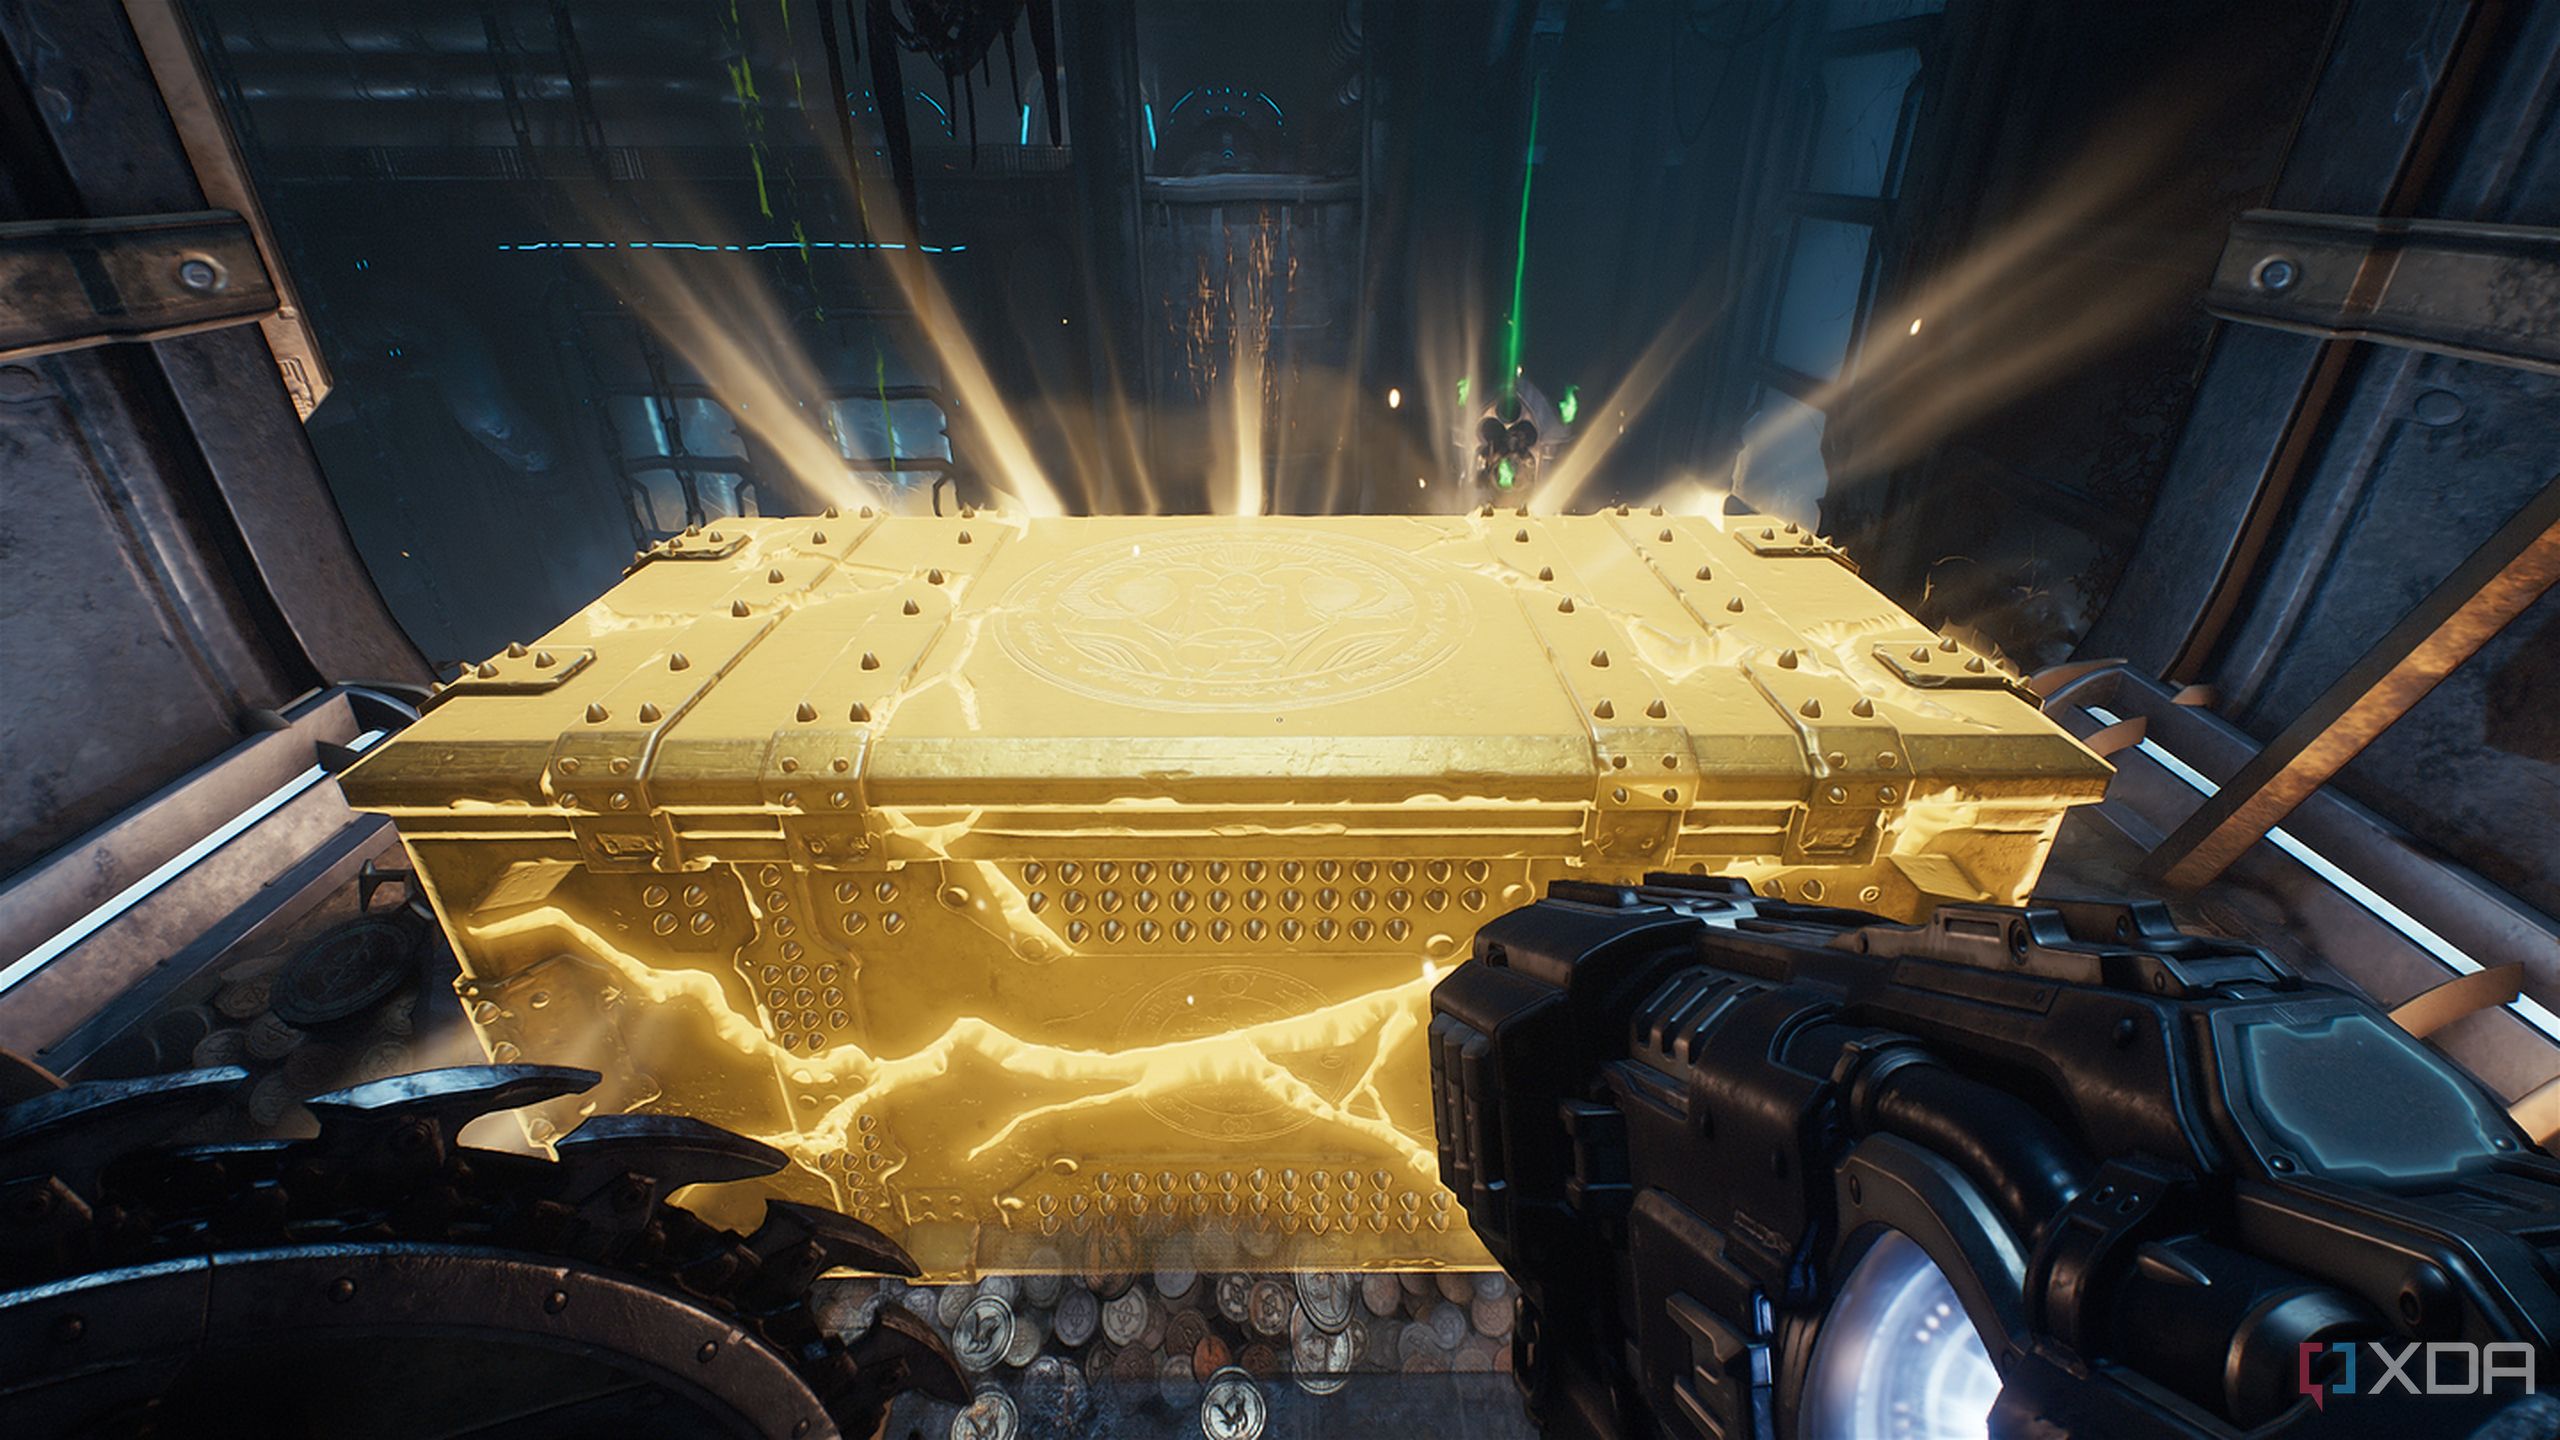
A gold crate waiting to be punched
Slayer, destroyer, plunderer
After contending with three Hell Knights in the open, you’ll re-enter the Weapons Facility and walk through an idle corridor with NPCs, leading to a room that opens up quite a bit.
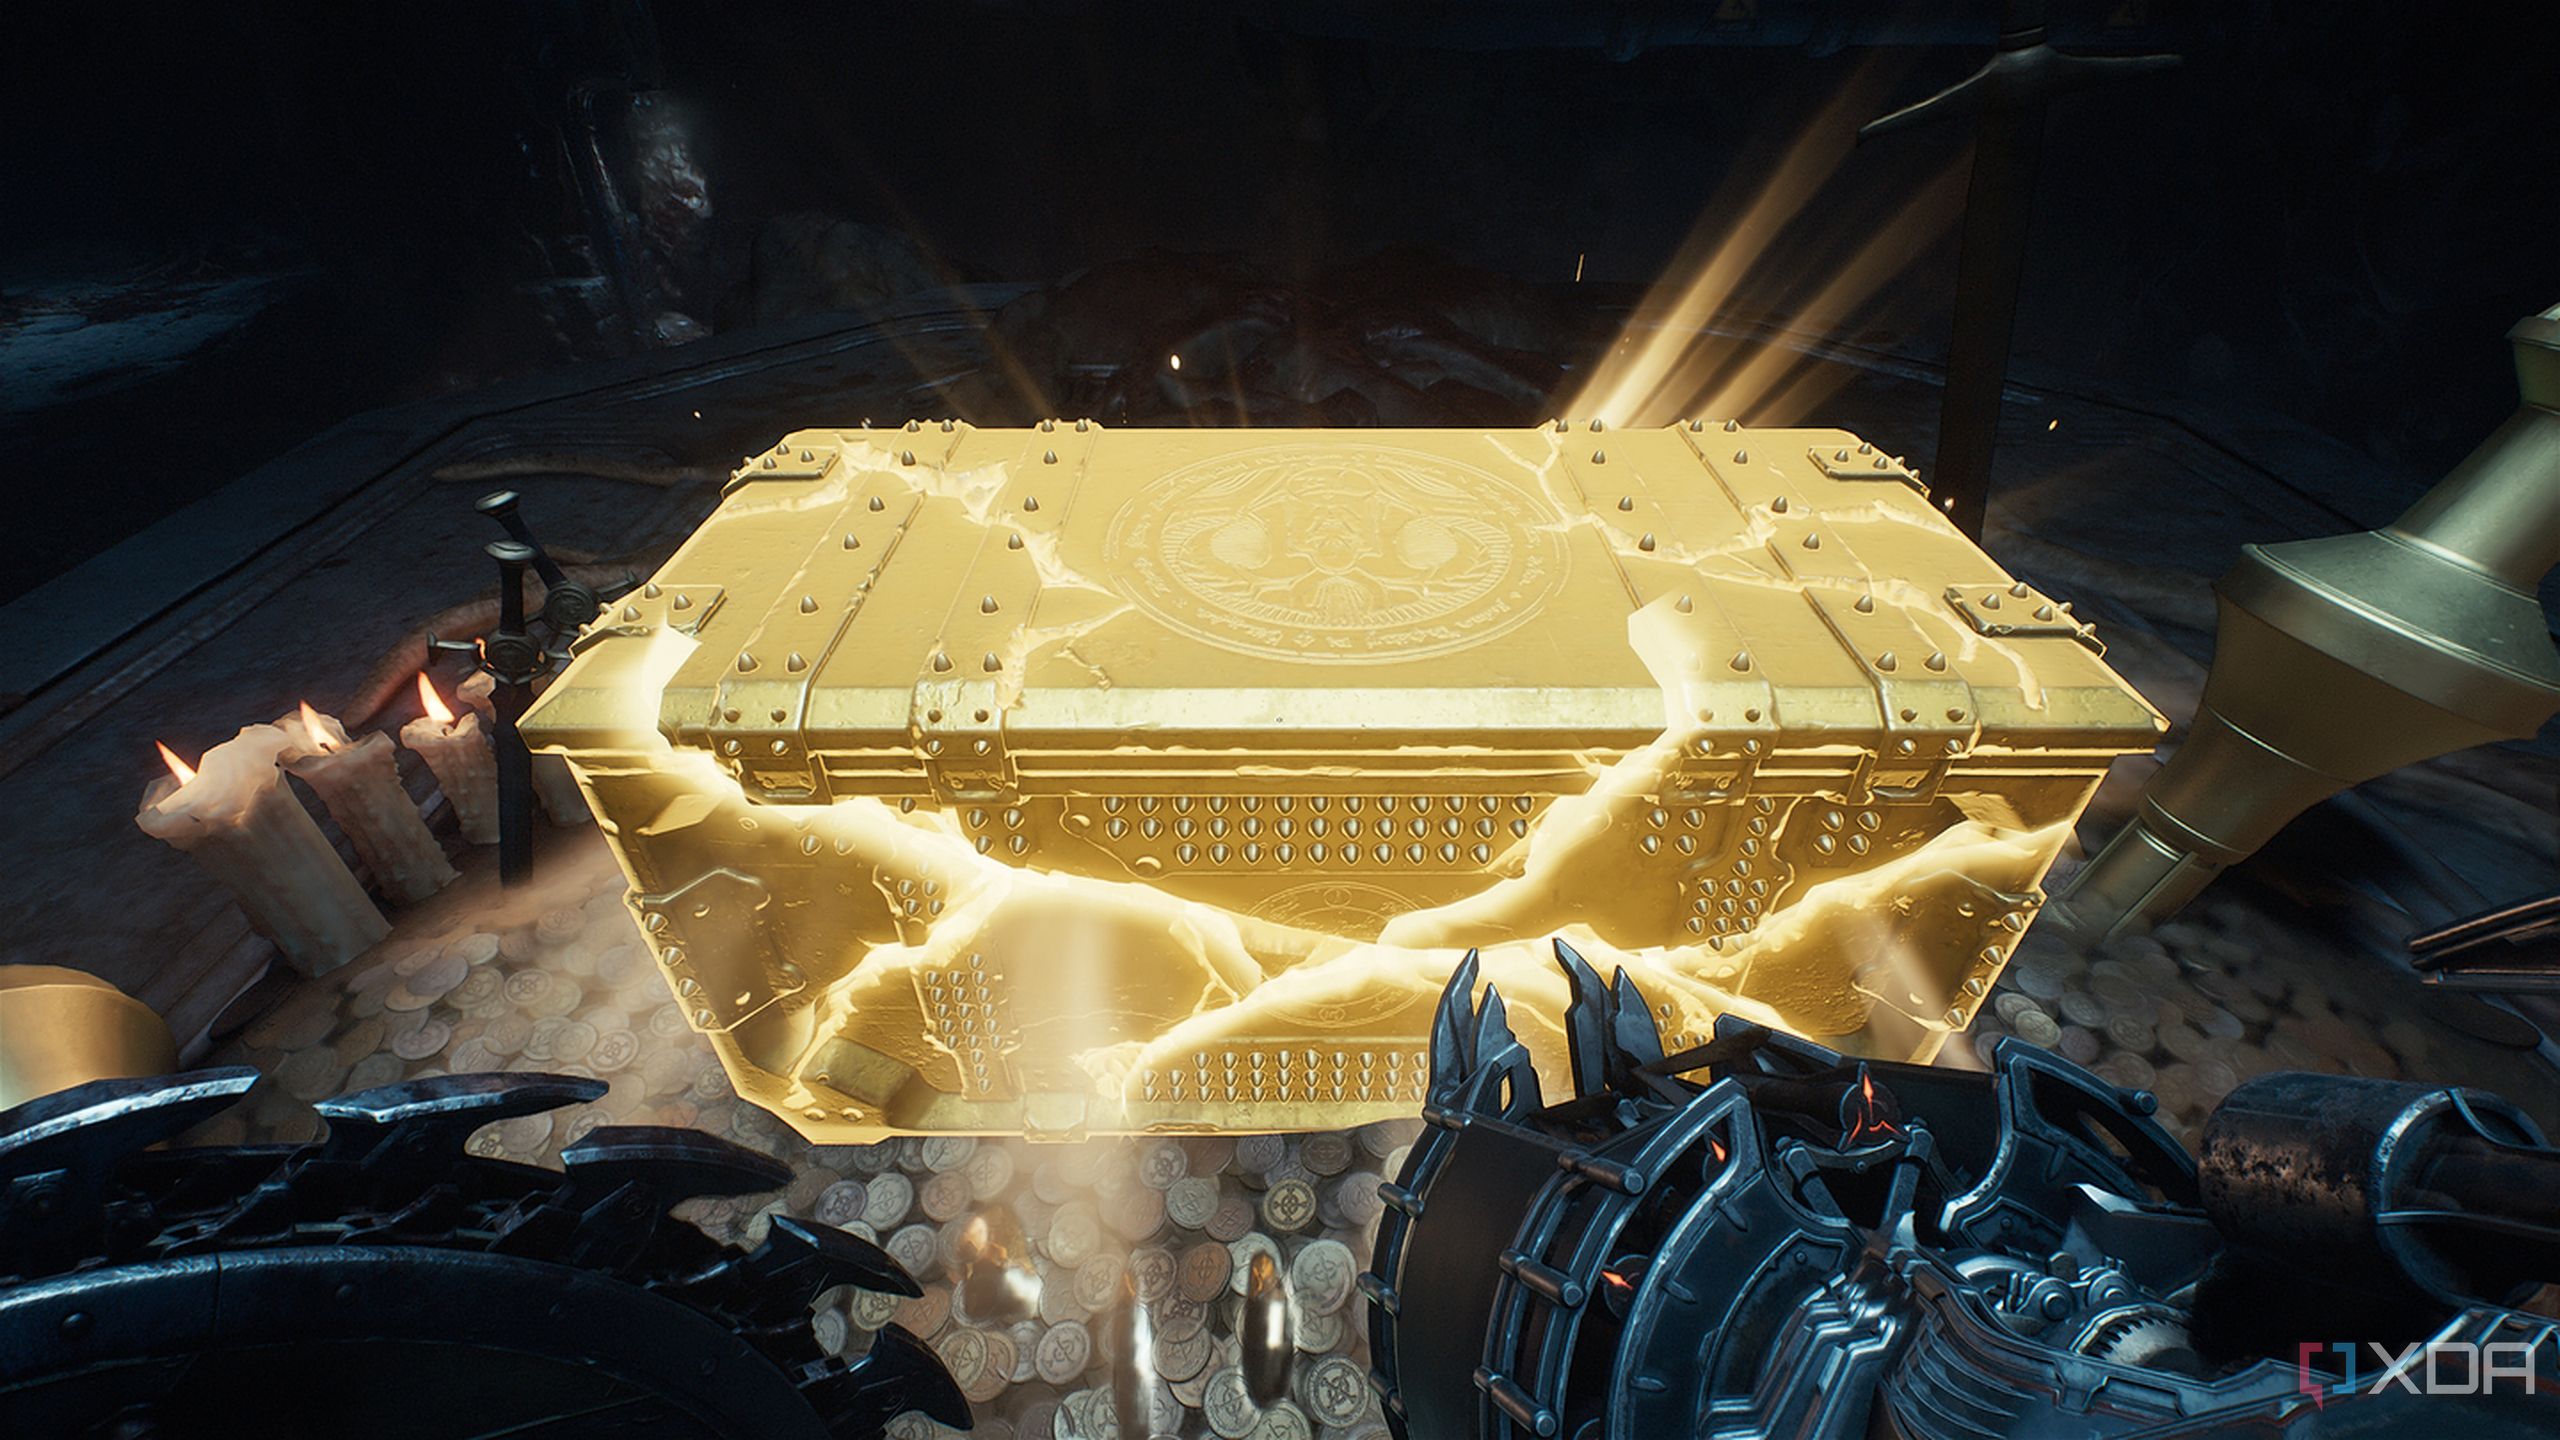
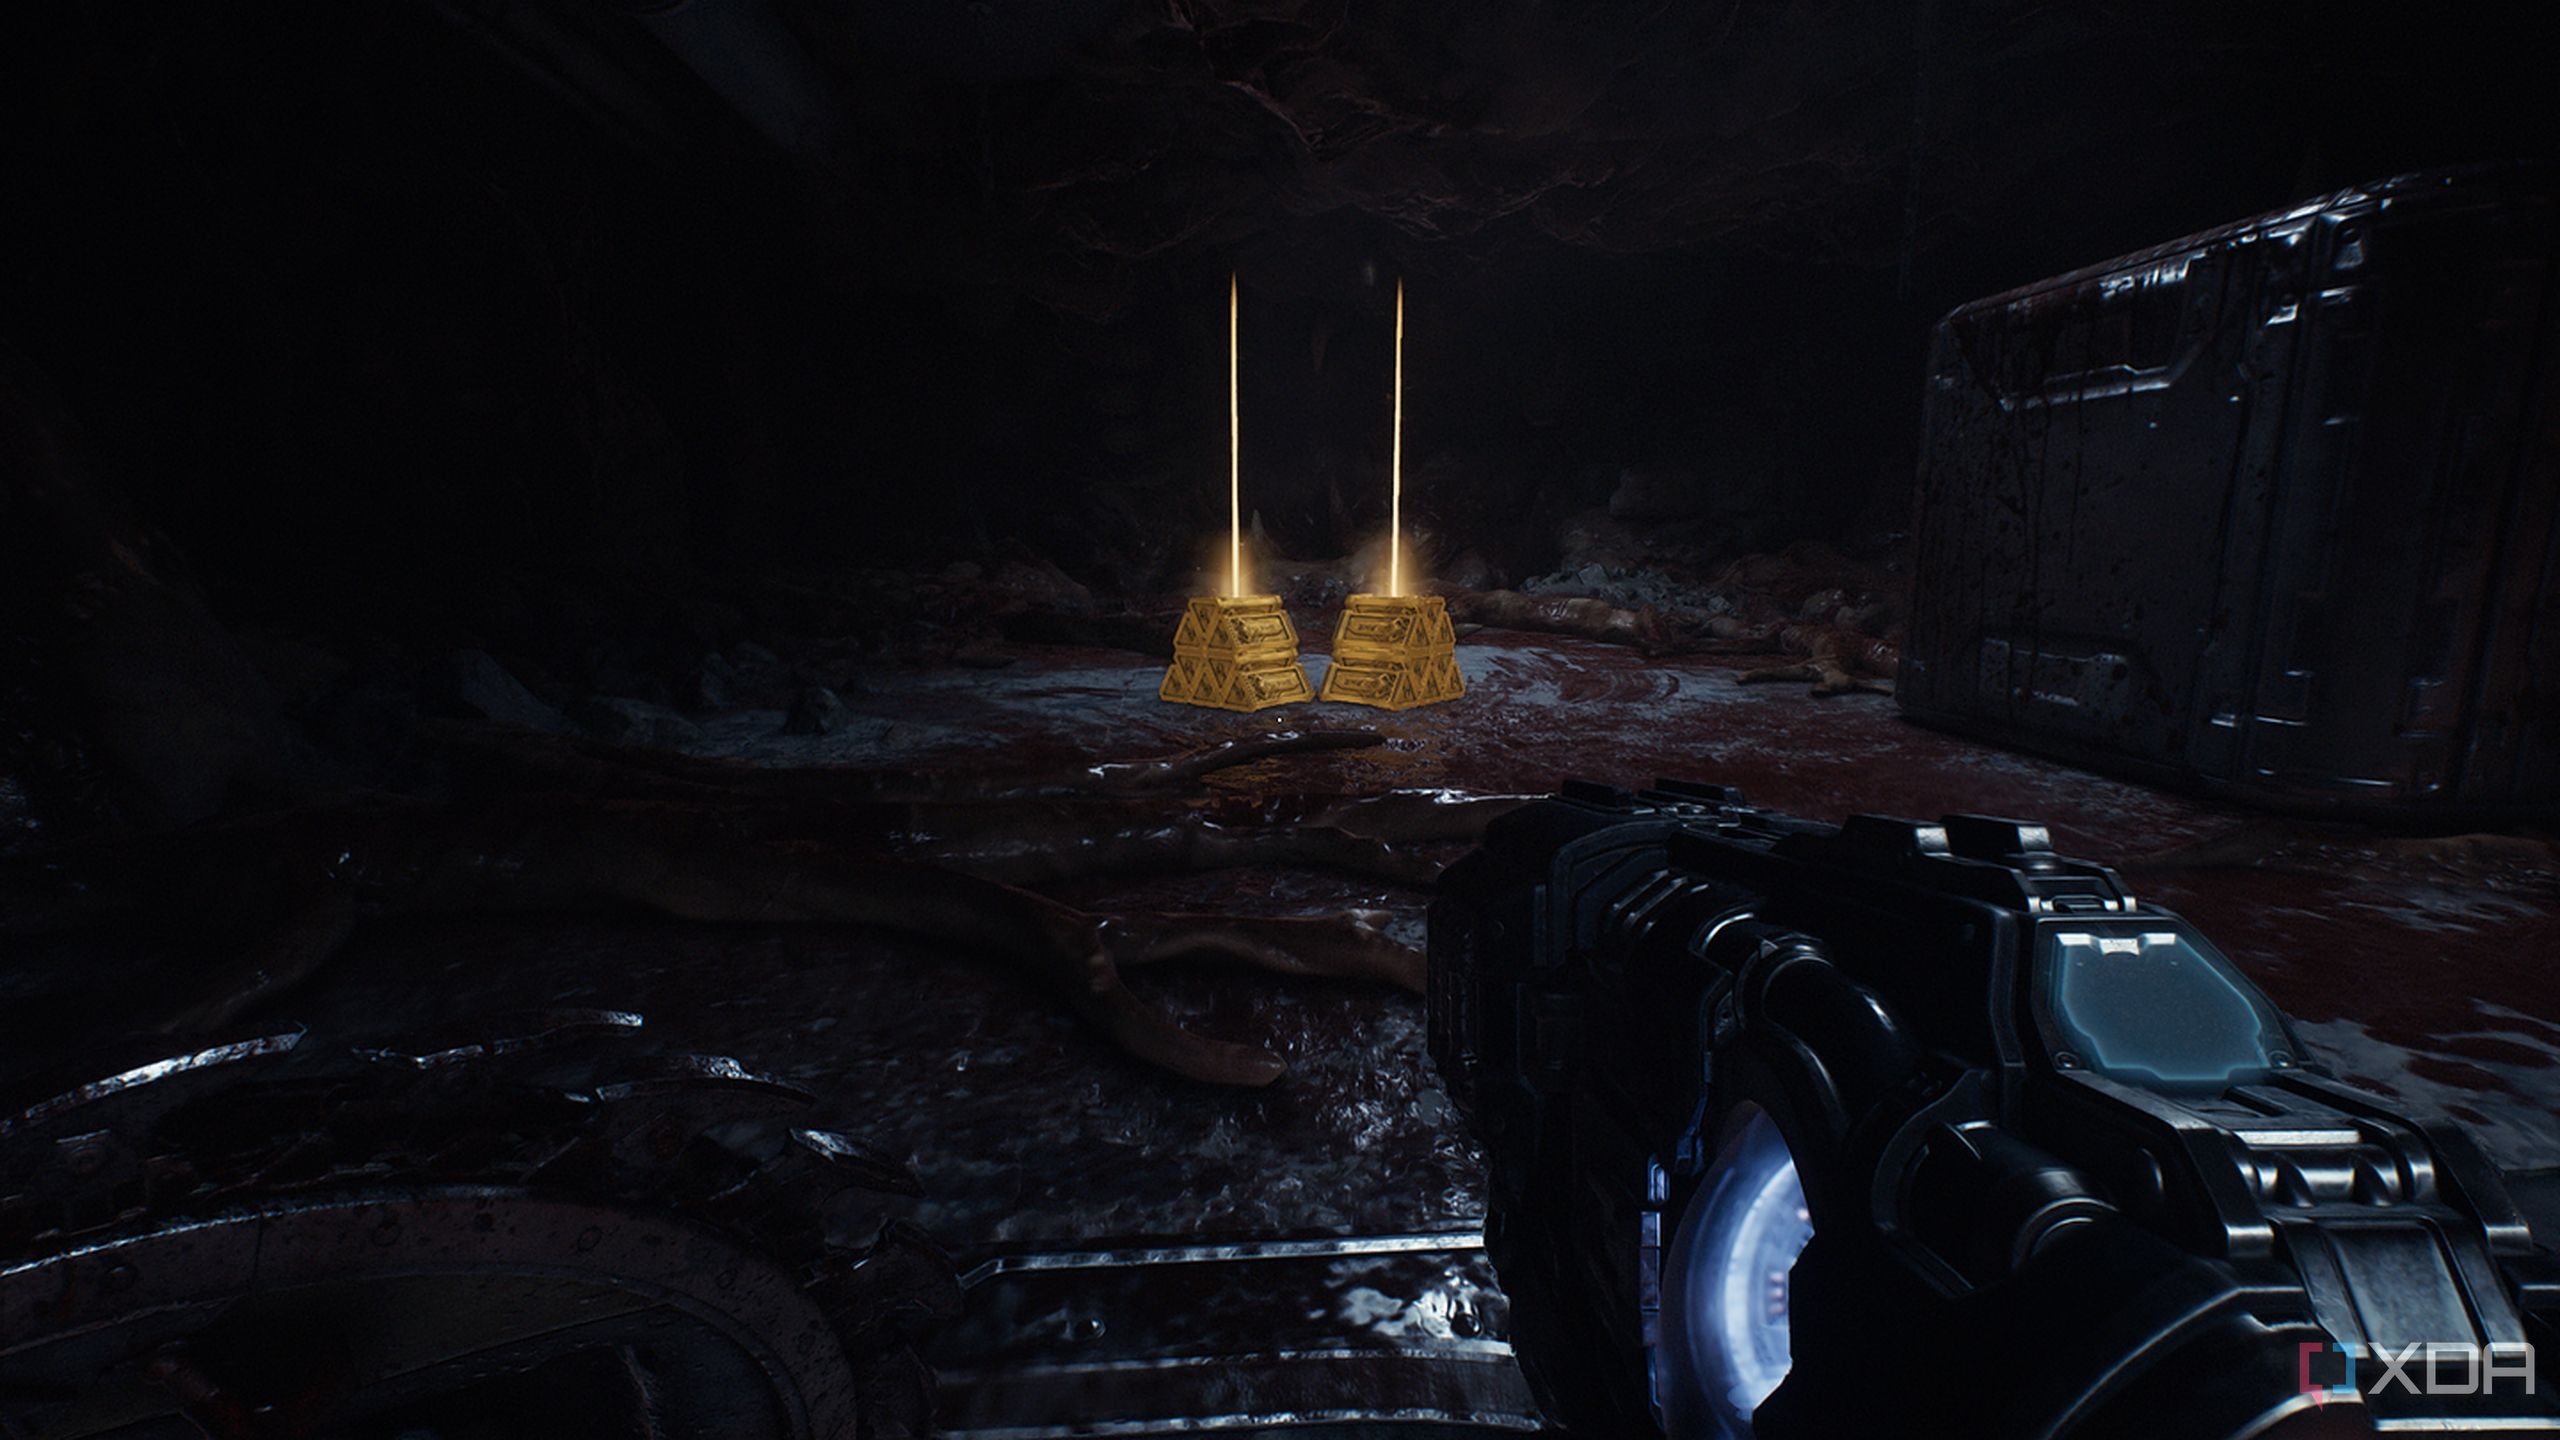
Here, you’ll find a gold crate in the center. Head to it and open it (punch it to smithereens).
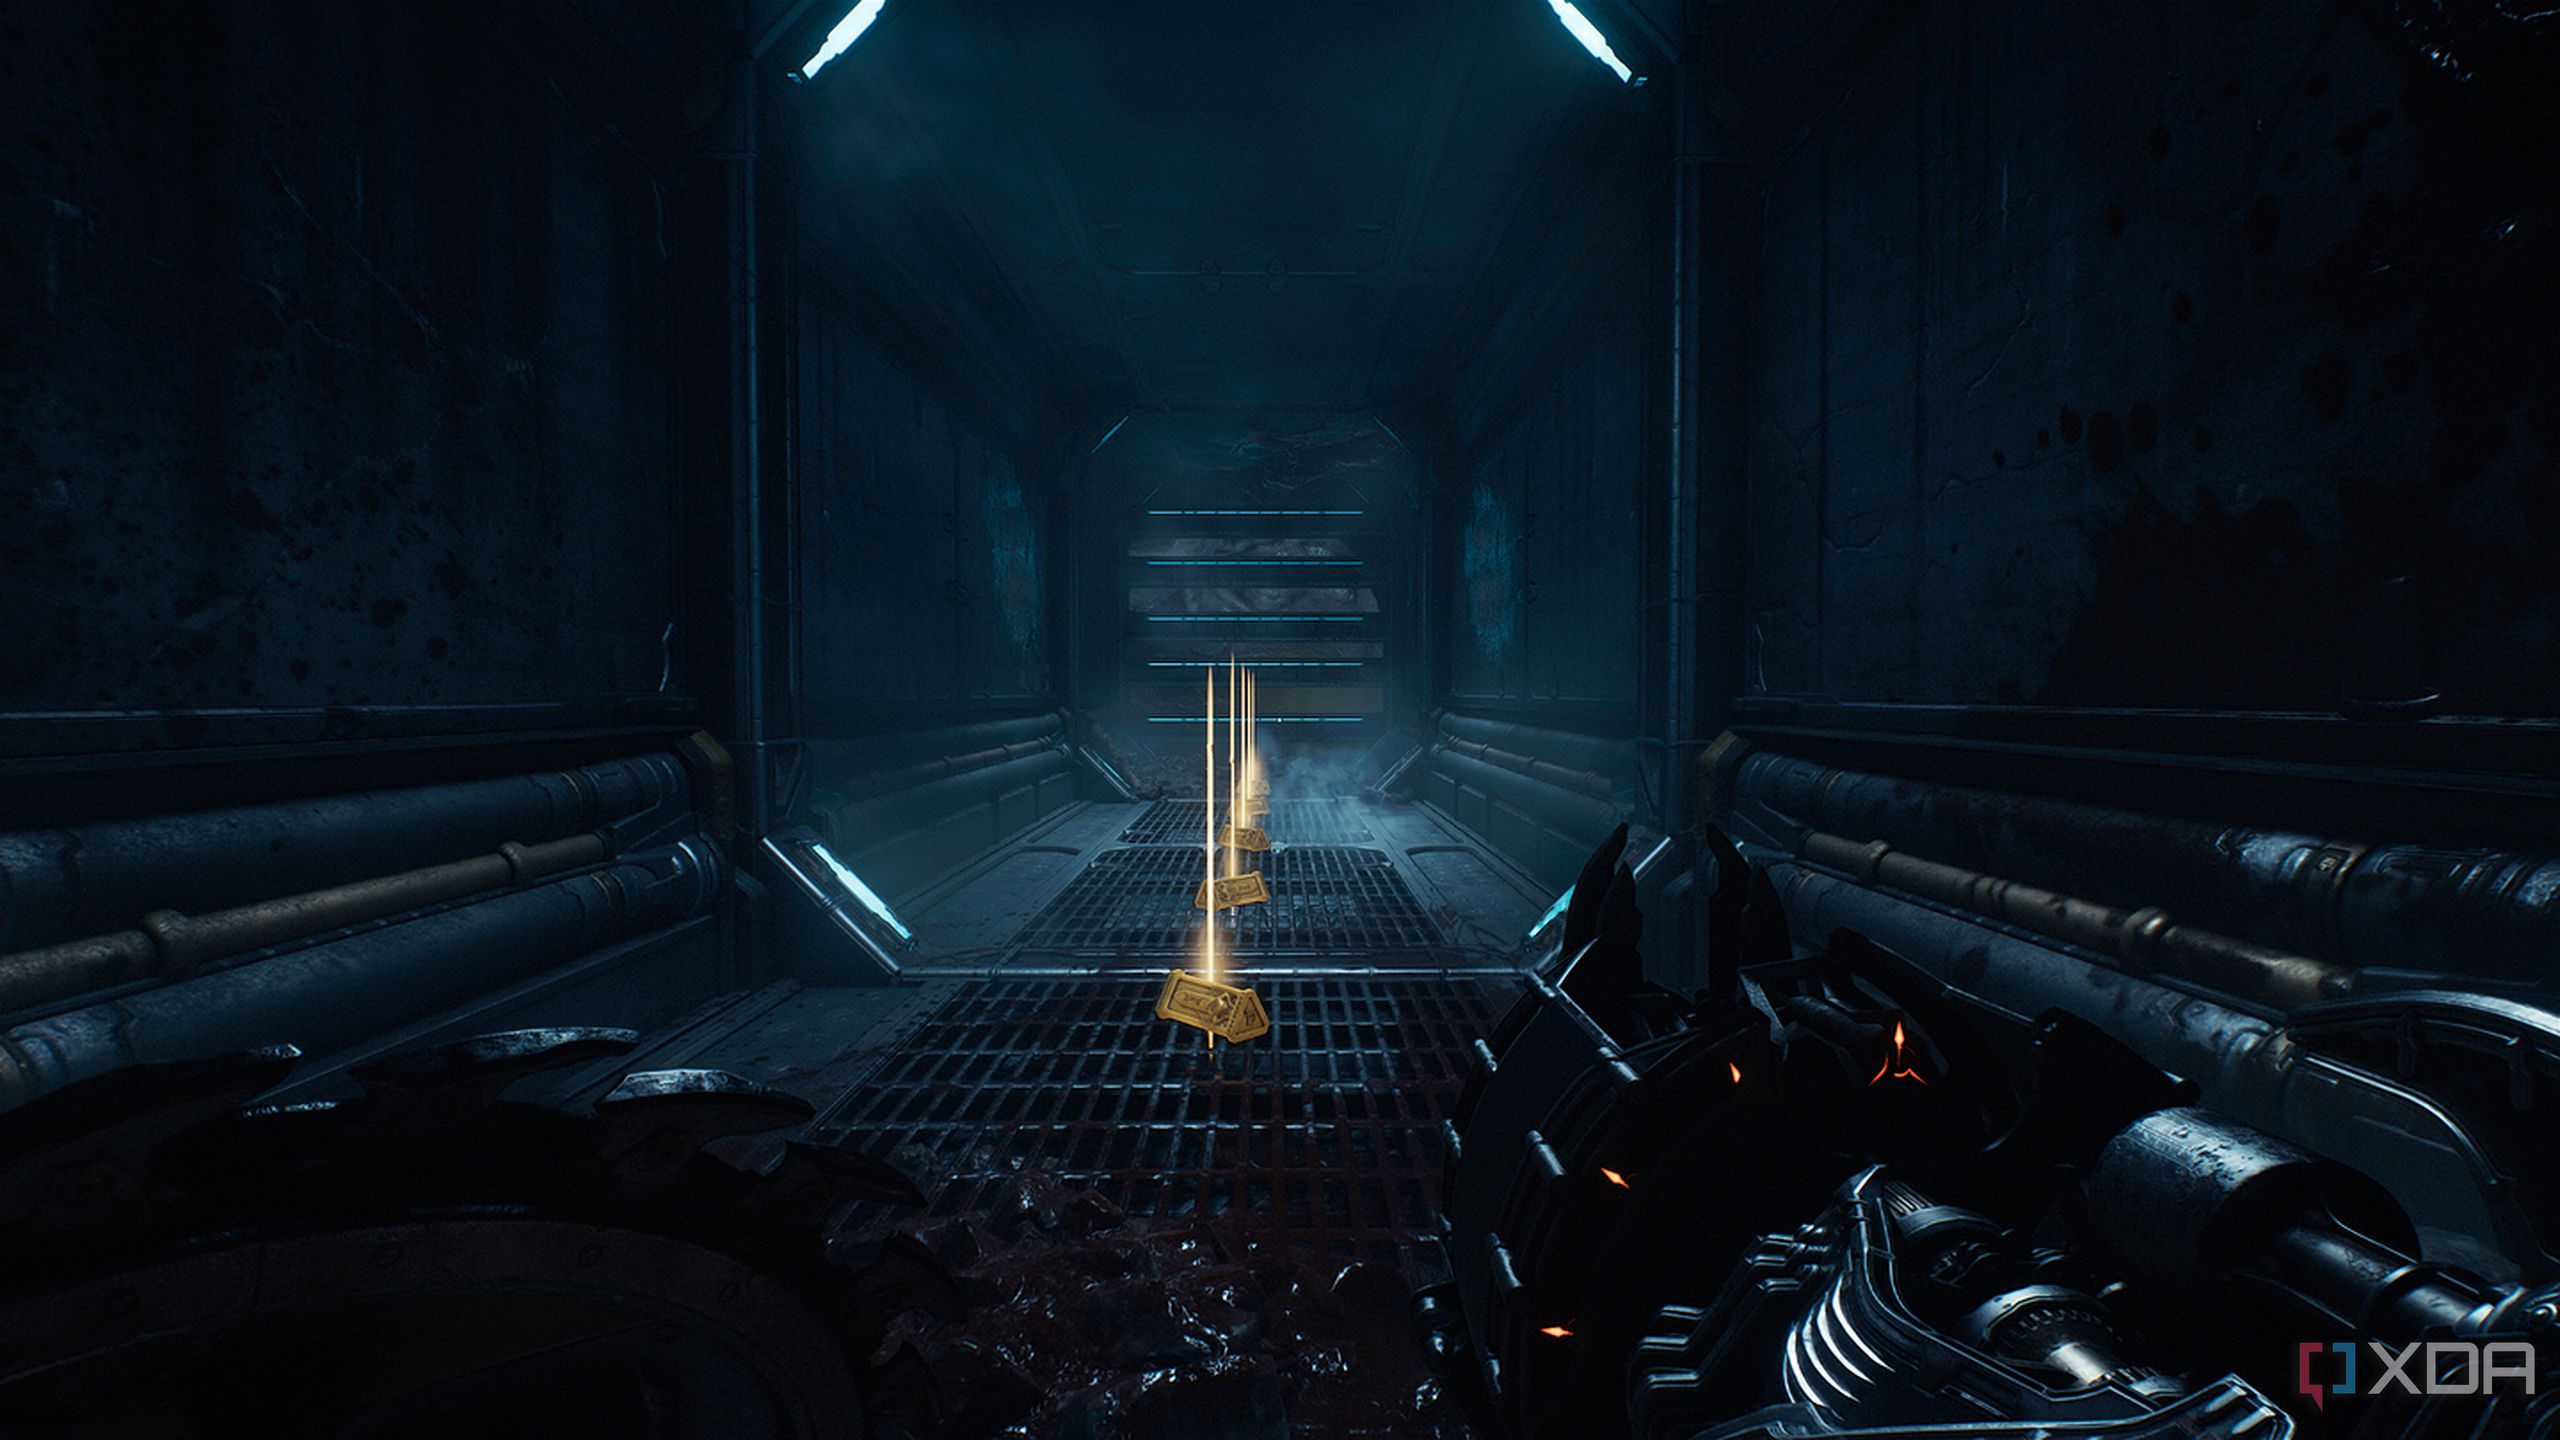
From the location of the crate, drop down to the north-west corner to find more gold pickups.
From there, explore the floor further to find more gold bars.
Head back up the stairs and you’ll see a Sentinel Shrine in the corner of the room. You can use gold to upgrade your weapons and shield here, but don’t forget to pick up some more gold bars right behind the Sentinel Shrine.
More gold bars if you know where to look
After all, upgrades don’t come cheap
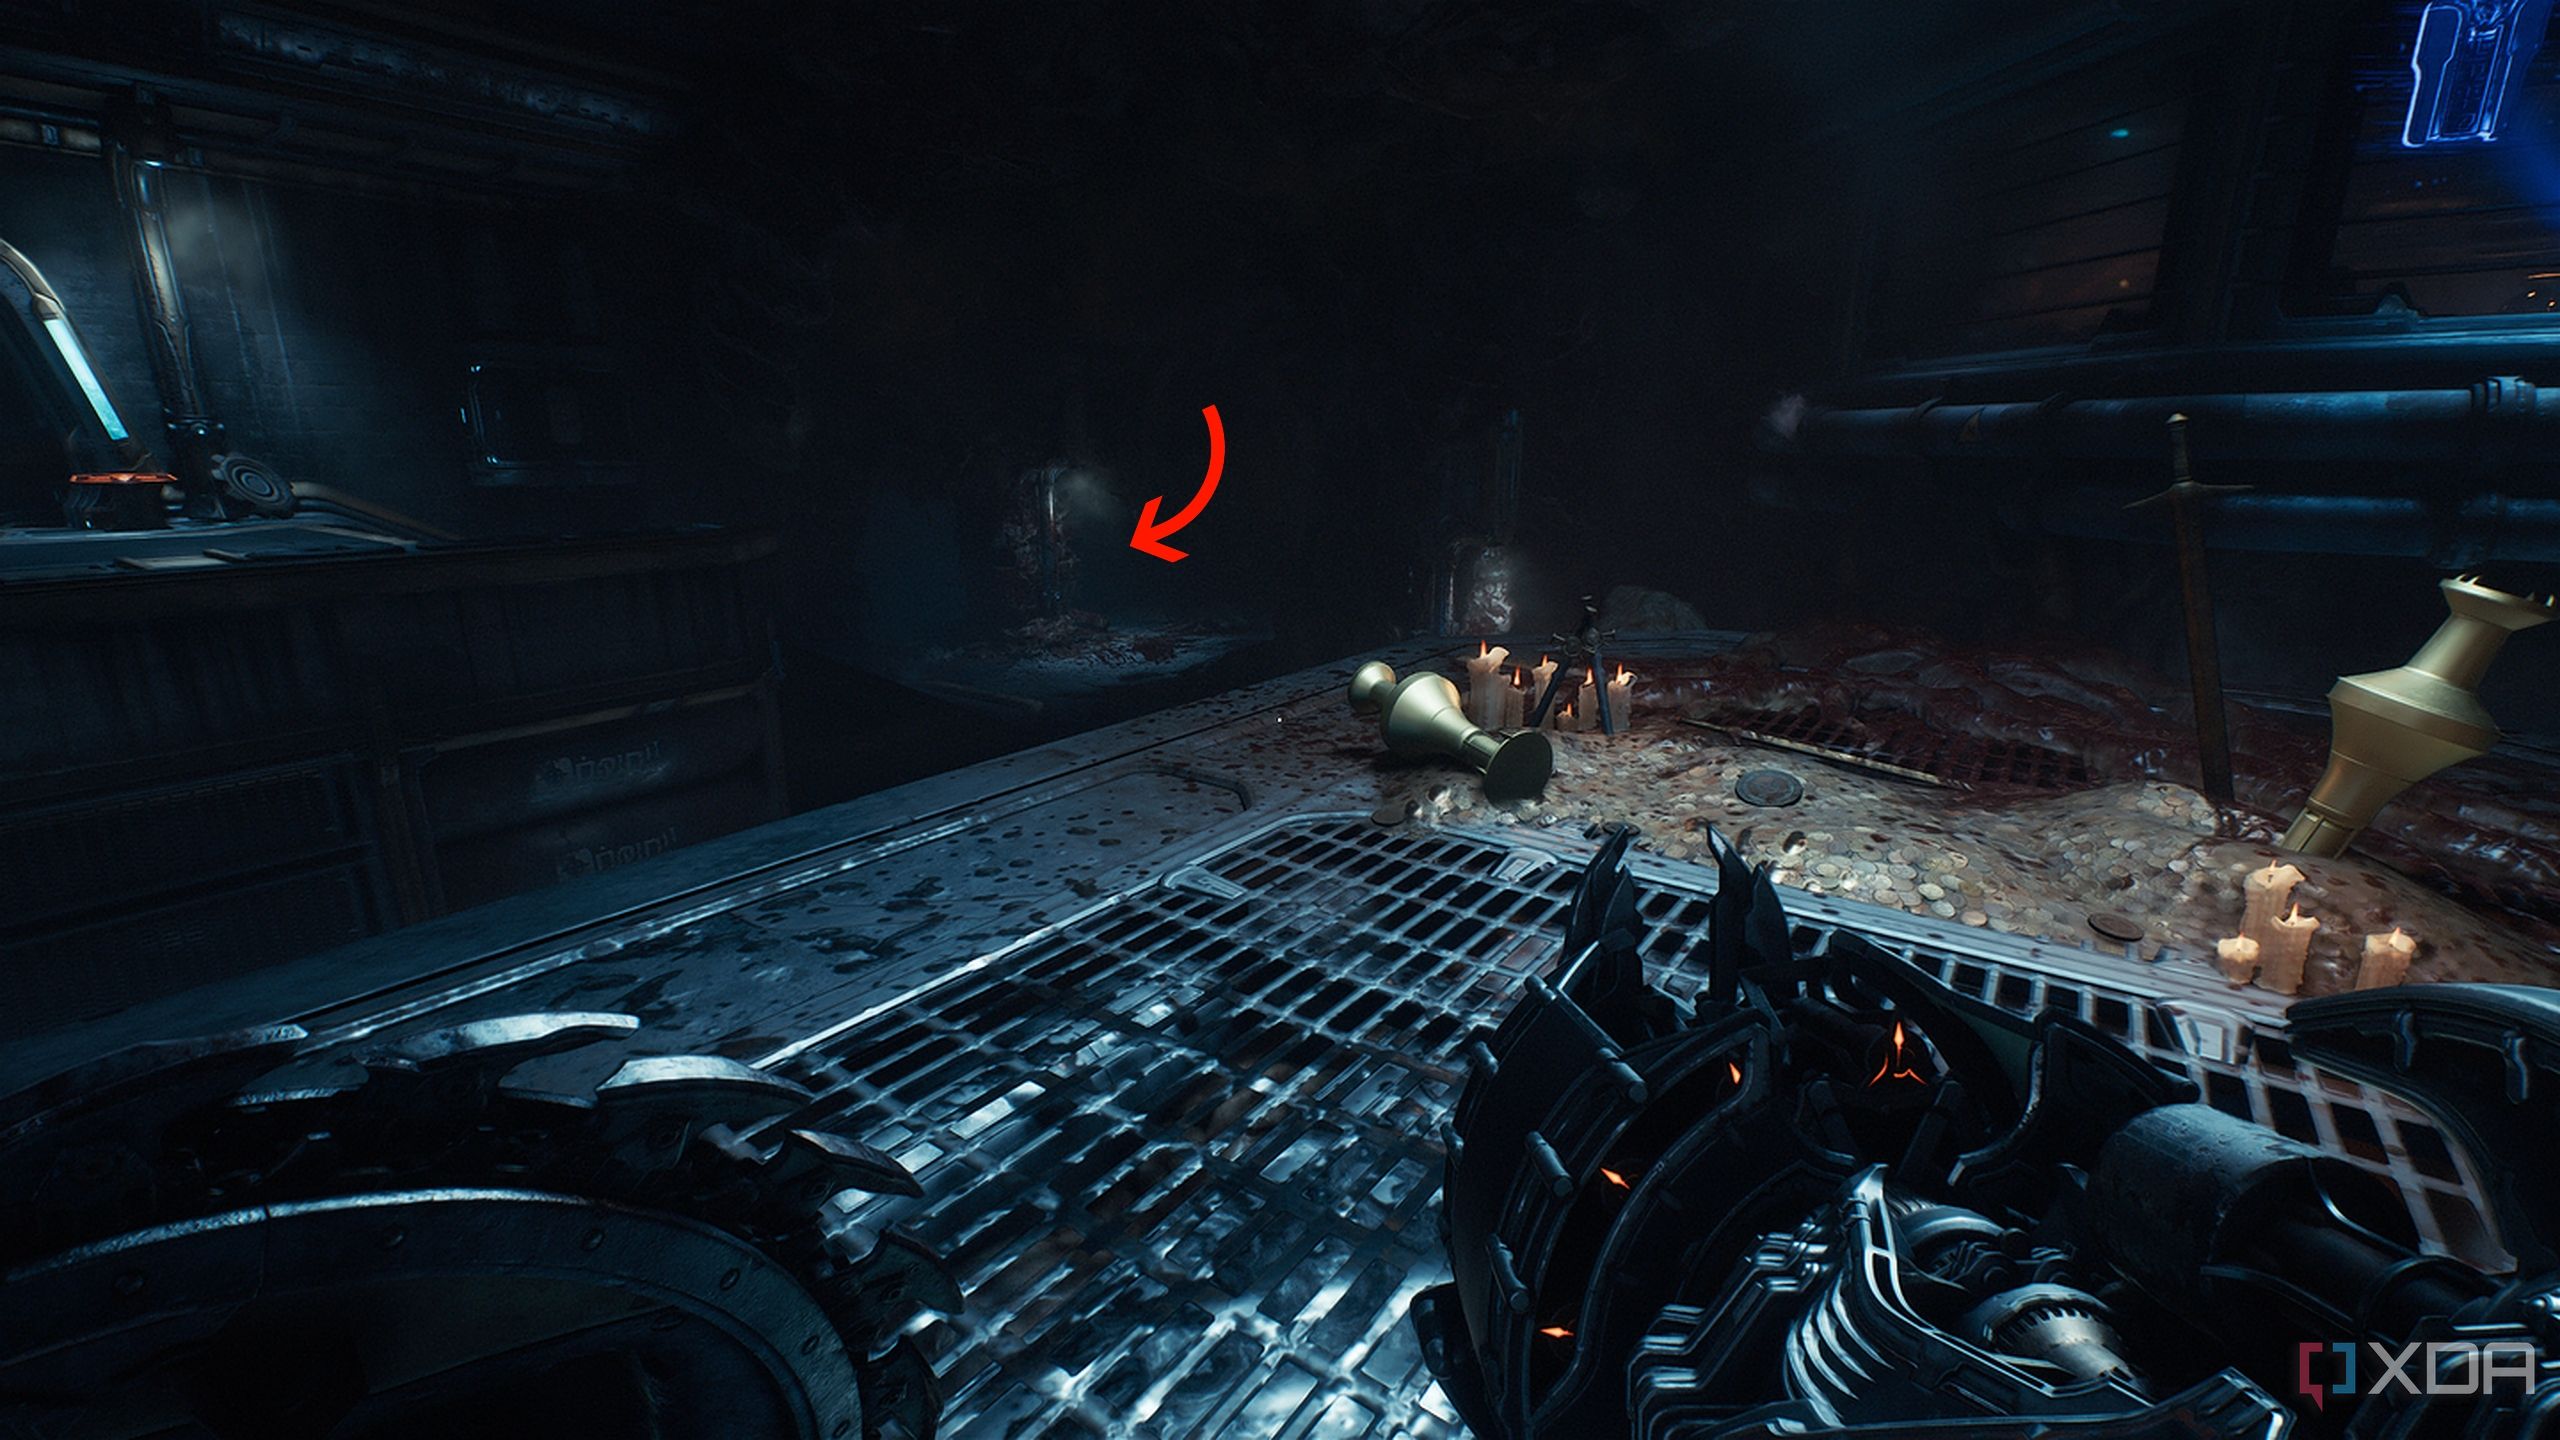
Exit from the last room with the Gold Crate and Sentinel Shrine and you’ll enter a corridor with a few Shielded Soldiers and Stalker Imps. Take care of them and head to the left side of the corridor.
Here, you’ll find a red, glowing demonic seal guarding a bunch of cultists a bit towards the lower floor, right next to a Sentinel Knight statue in the wall.
Get in front of the statue to see a climbable wall right above the demonic seal.
You’ll find an imp flinging fire at you right as you get to the top, but there are more gold bars to collect here.
Heading back on track, you will come across Stone Imps in a room with King Novik’s statue. From the statue, head left, and the corridor will branch off into left and right pathways.
On the left, shield bash through the wall to pick up more gold in a room with cowering NPCs. Be wary of the Imp Stalker ready to ambush you outside.
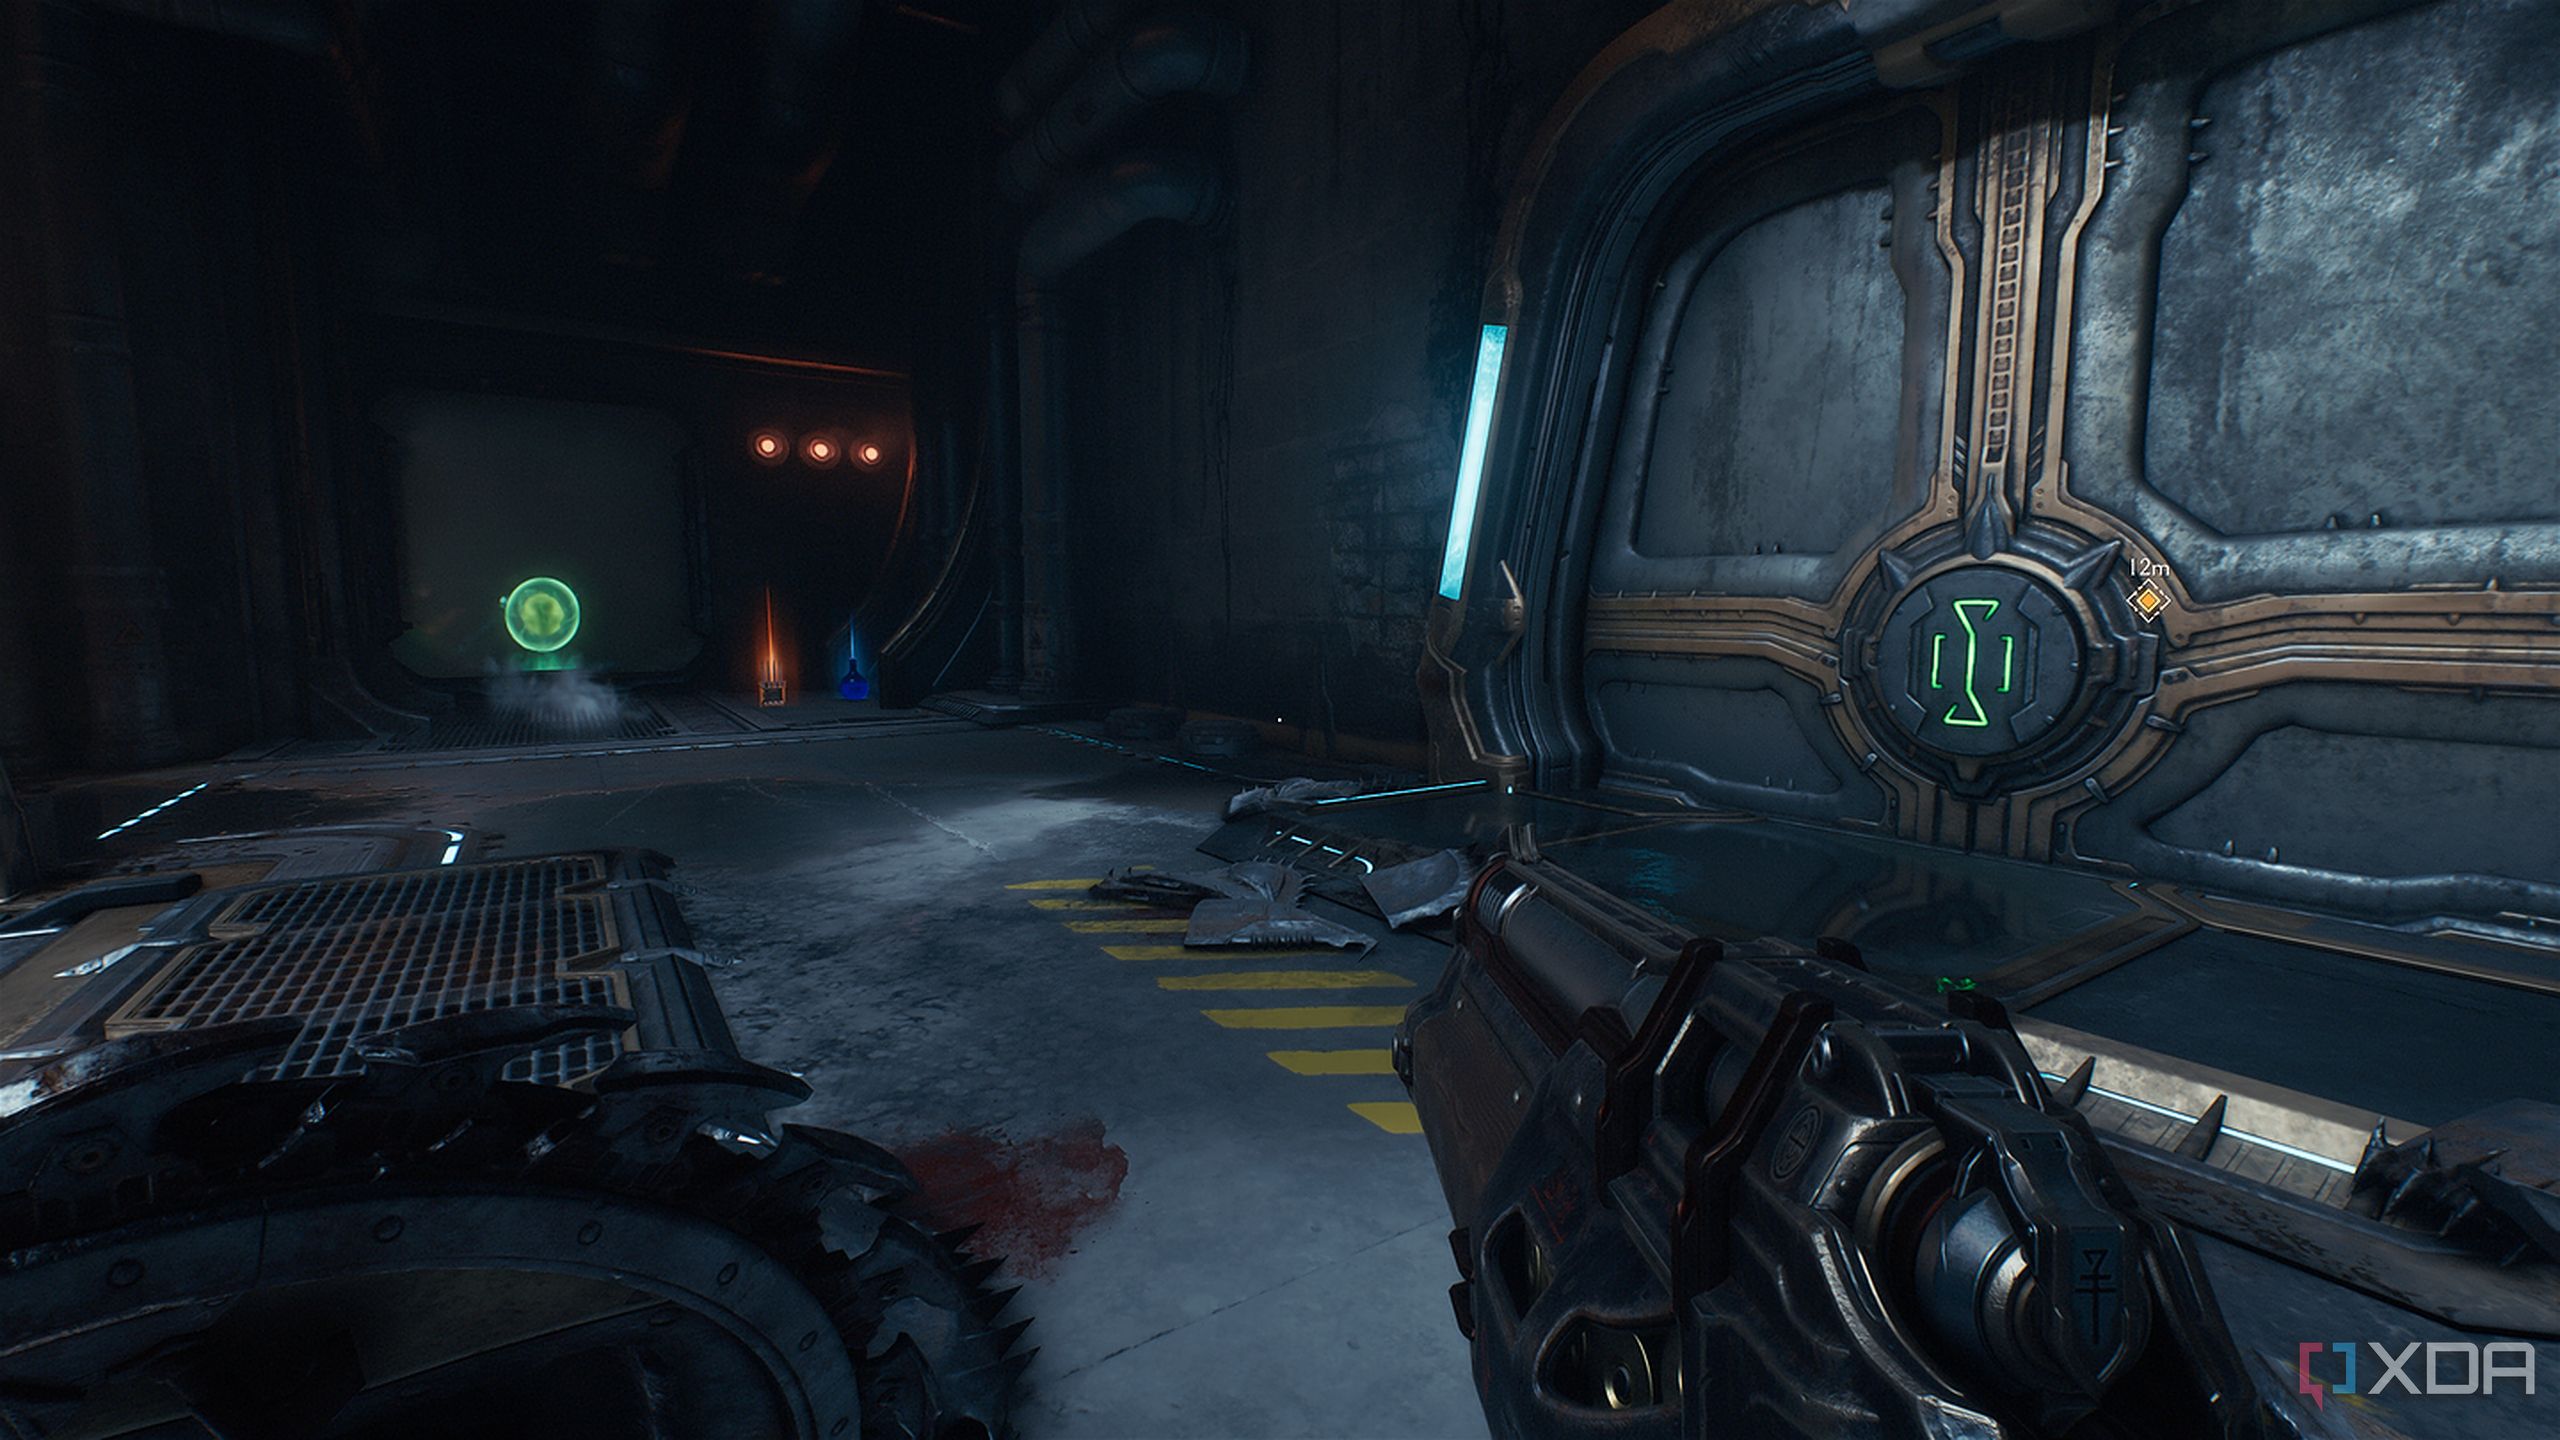
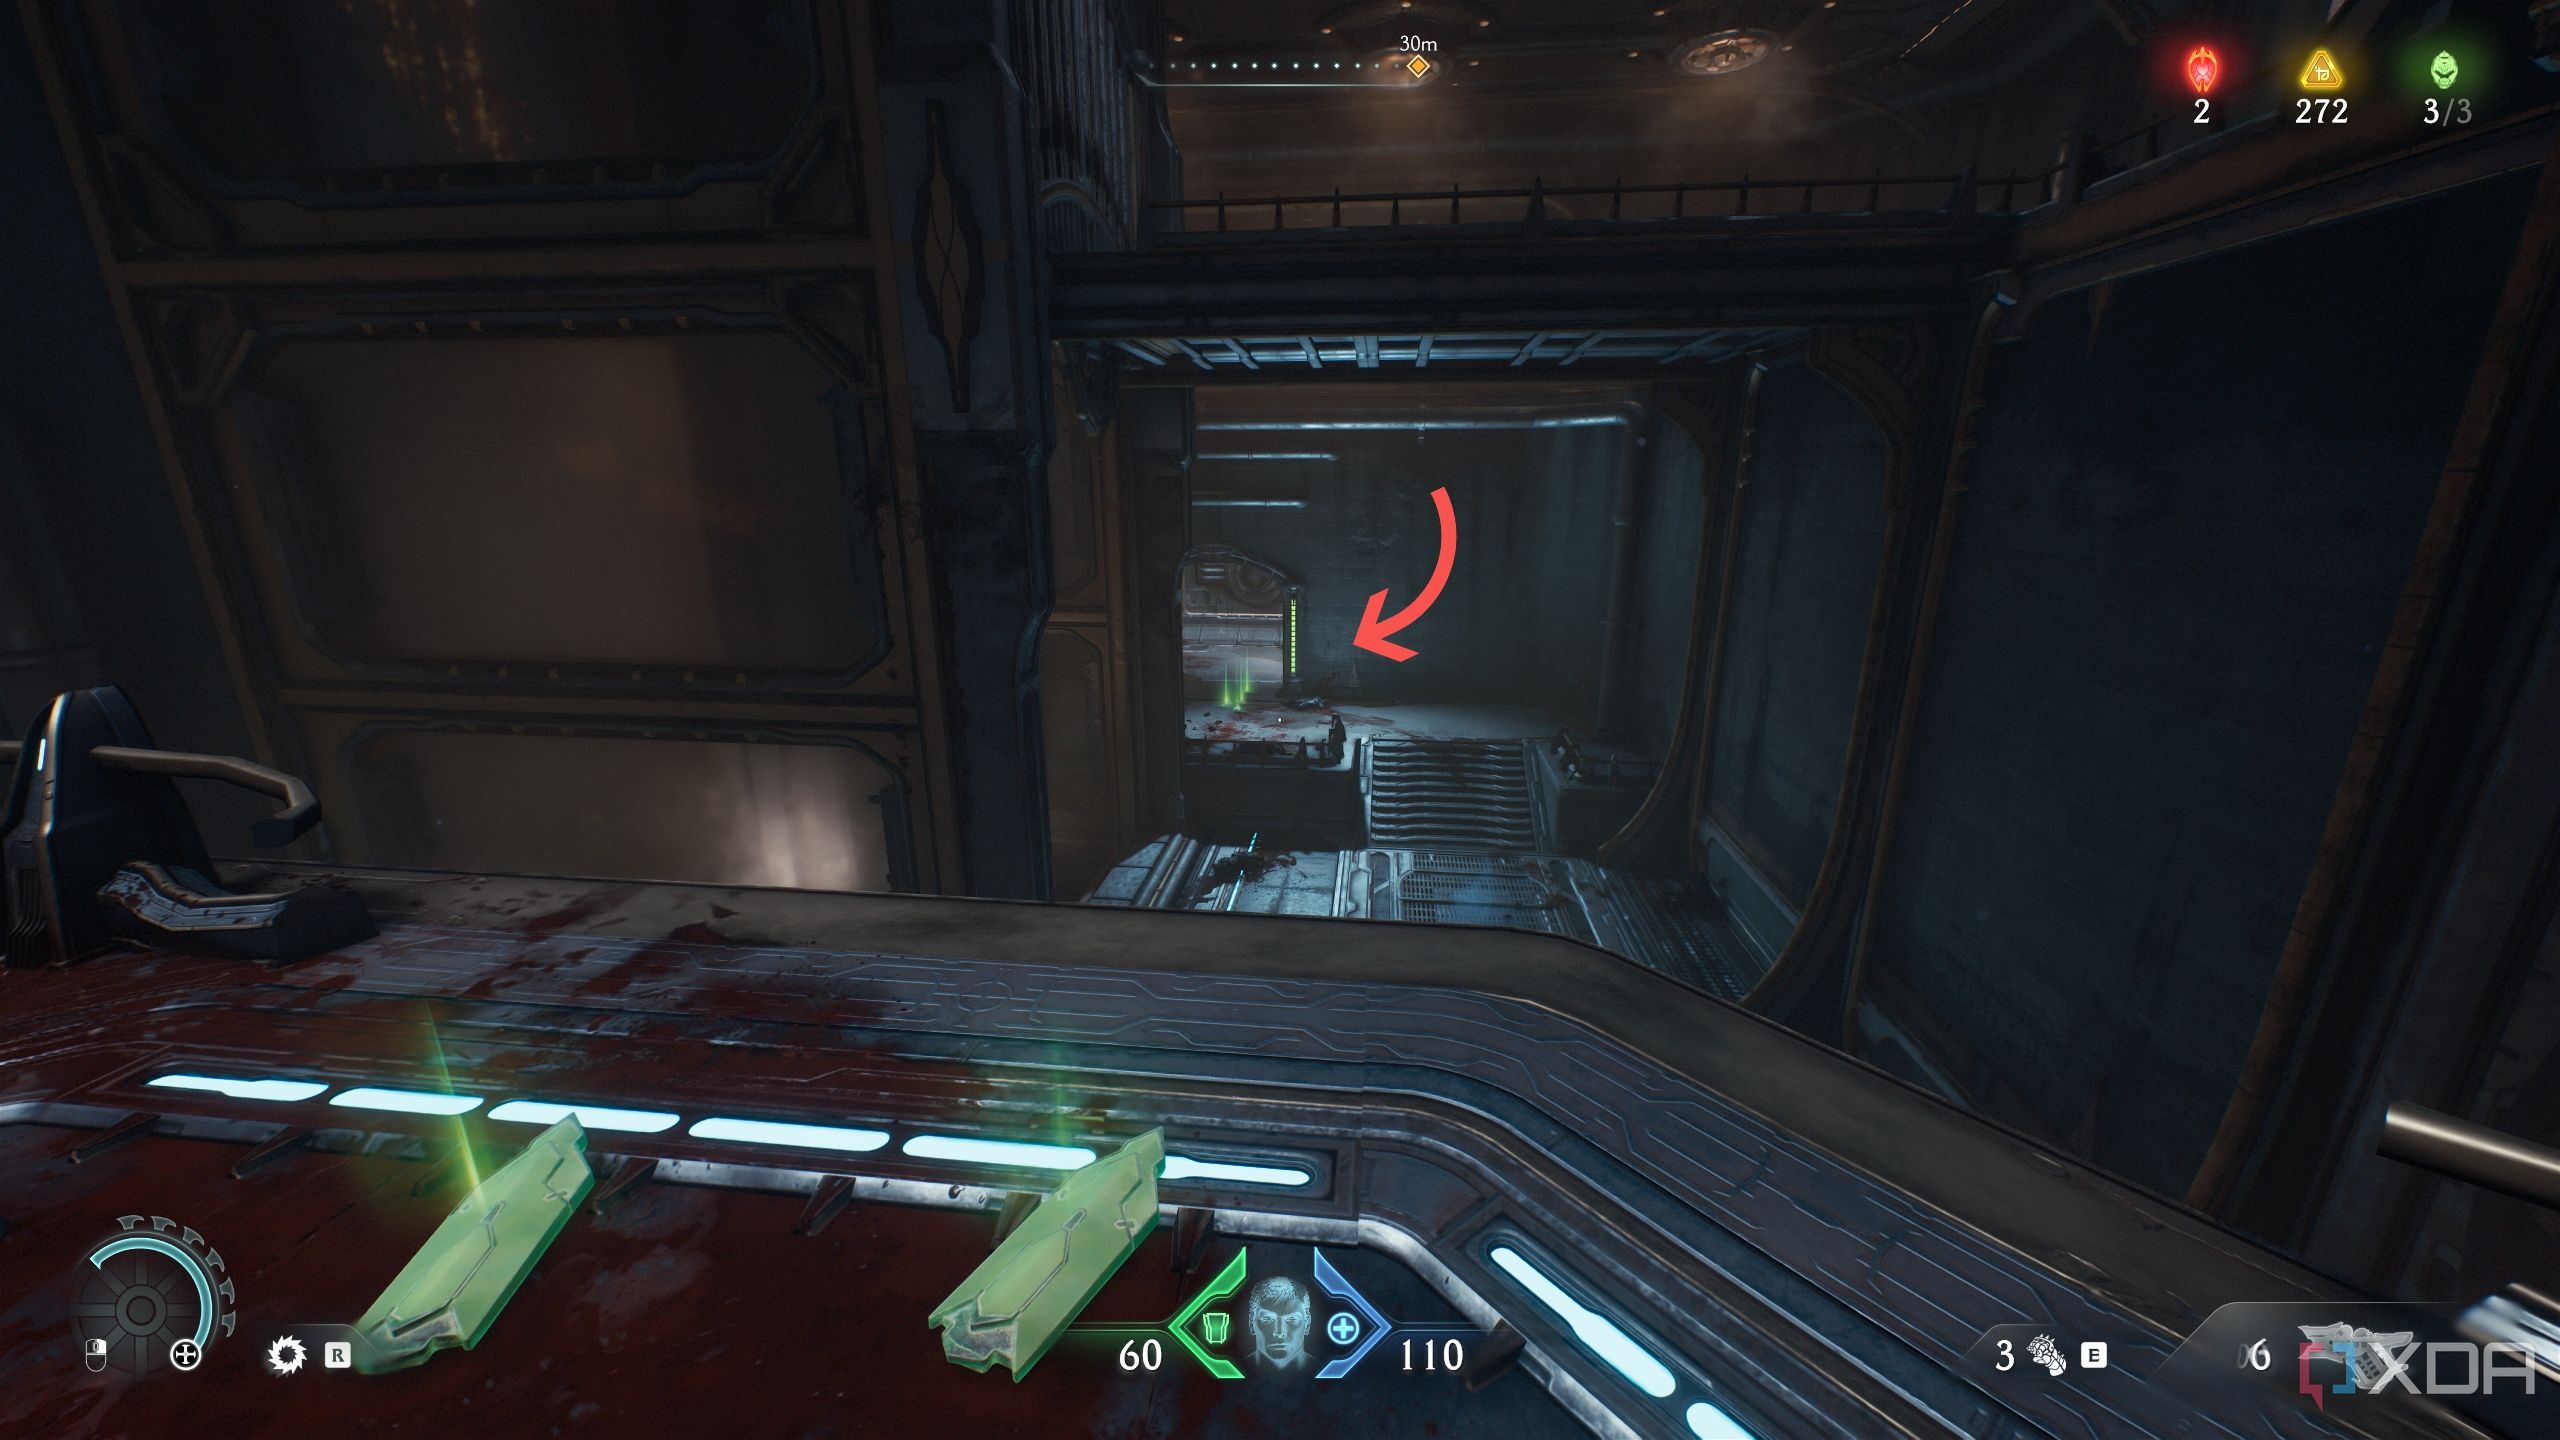
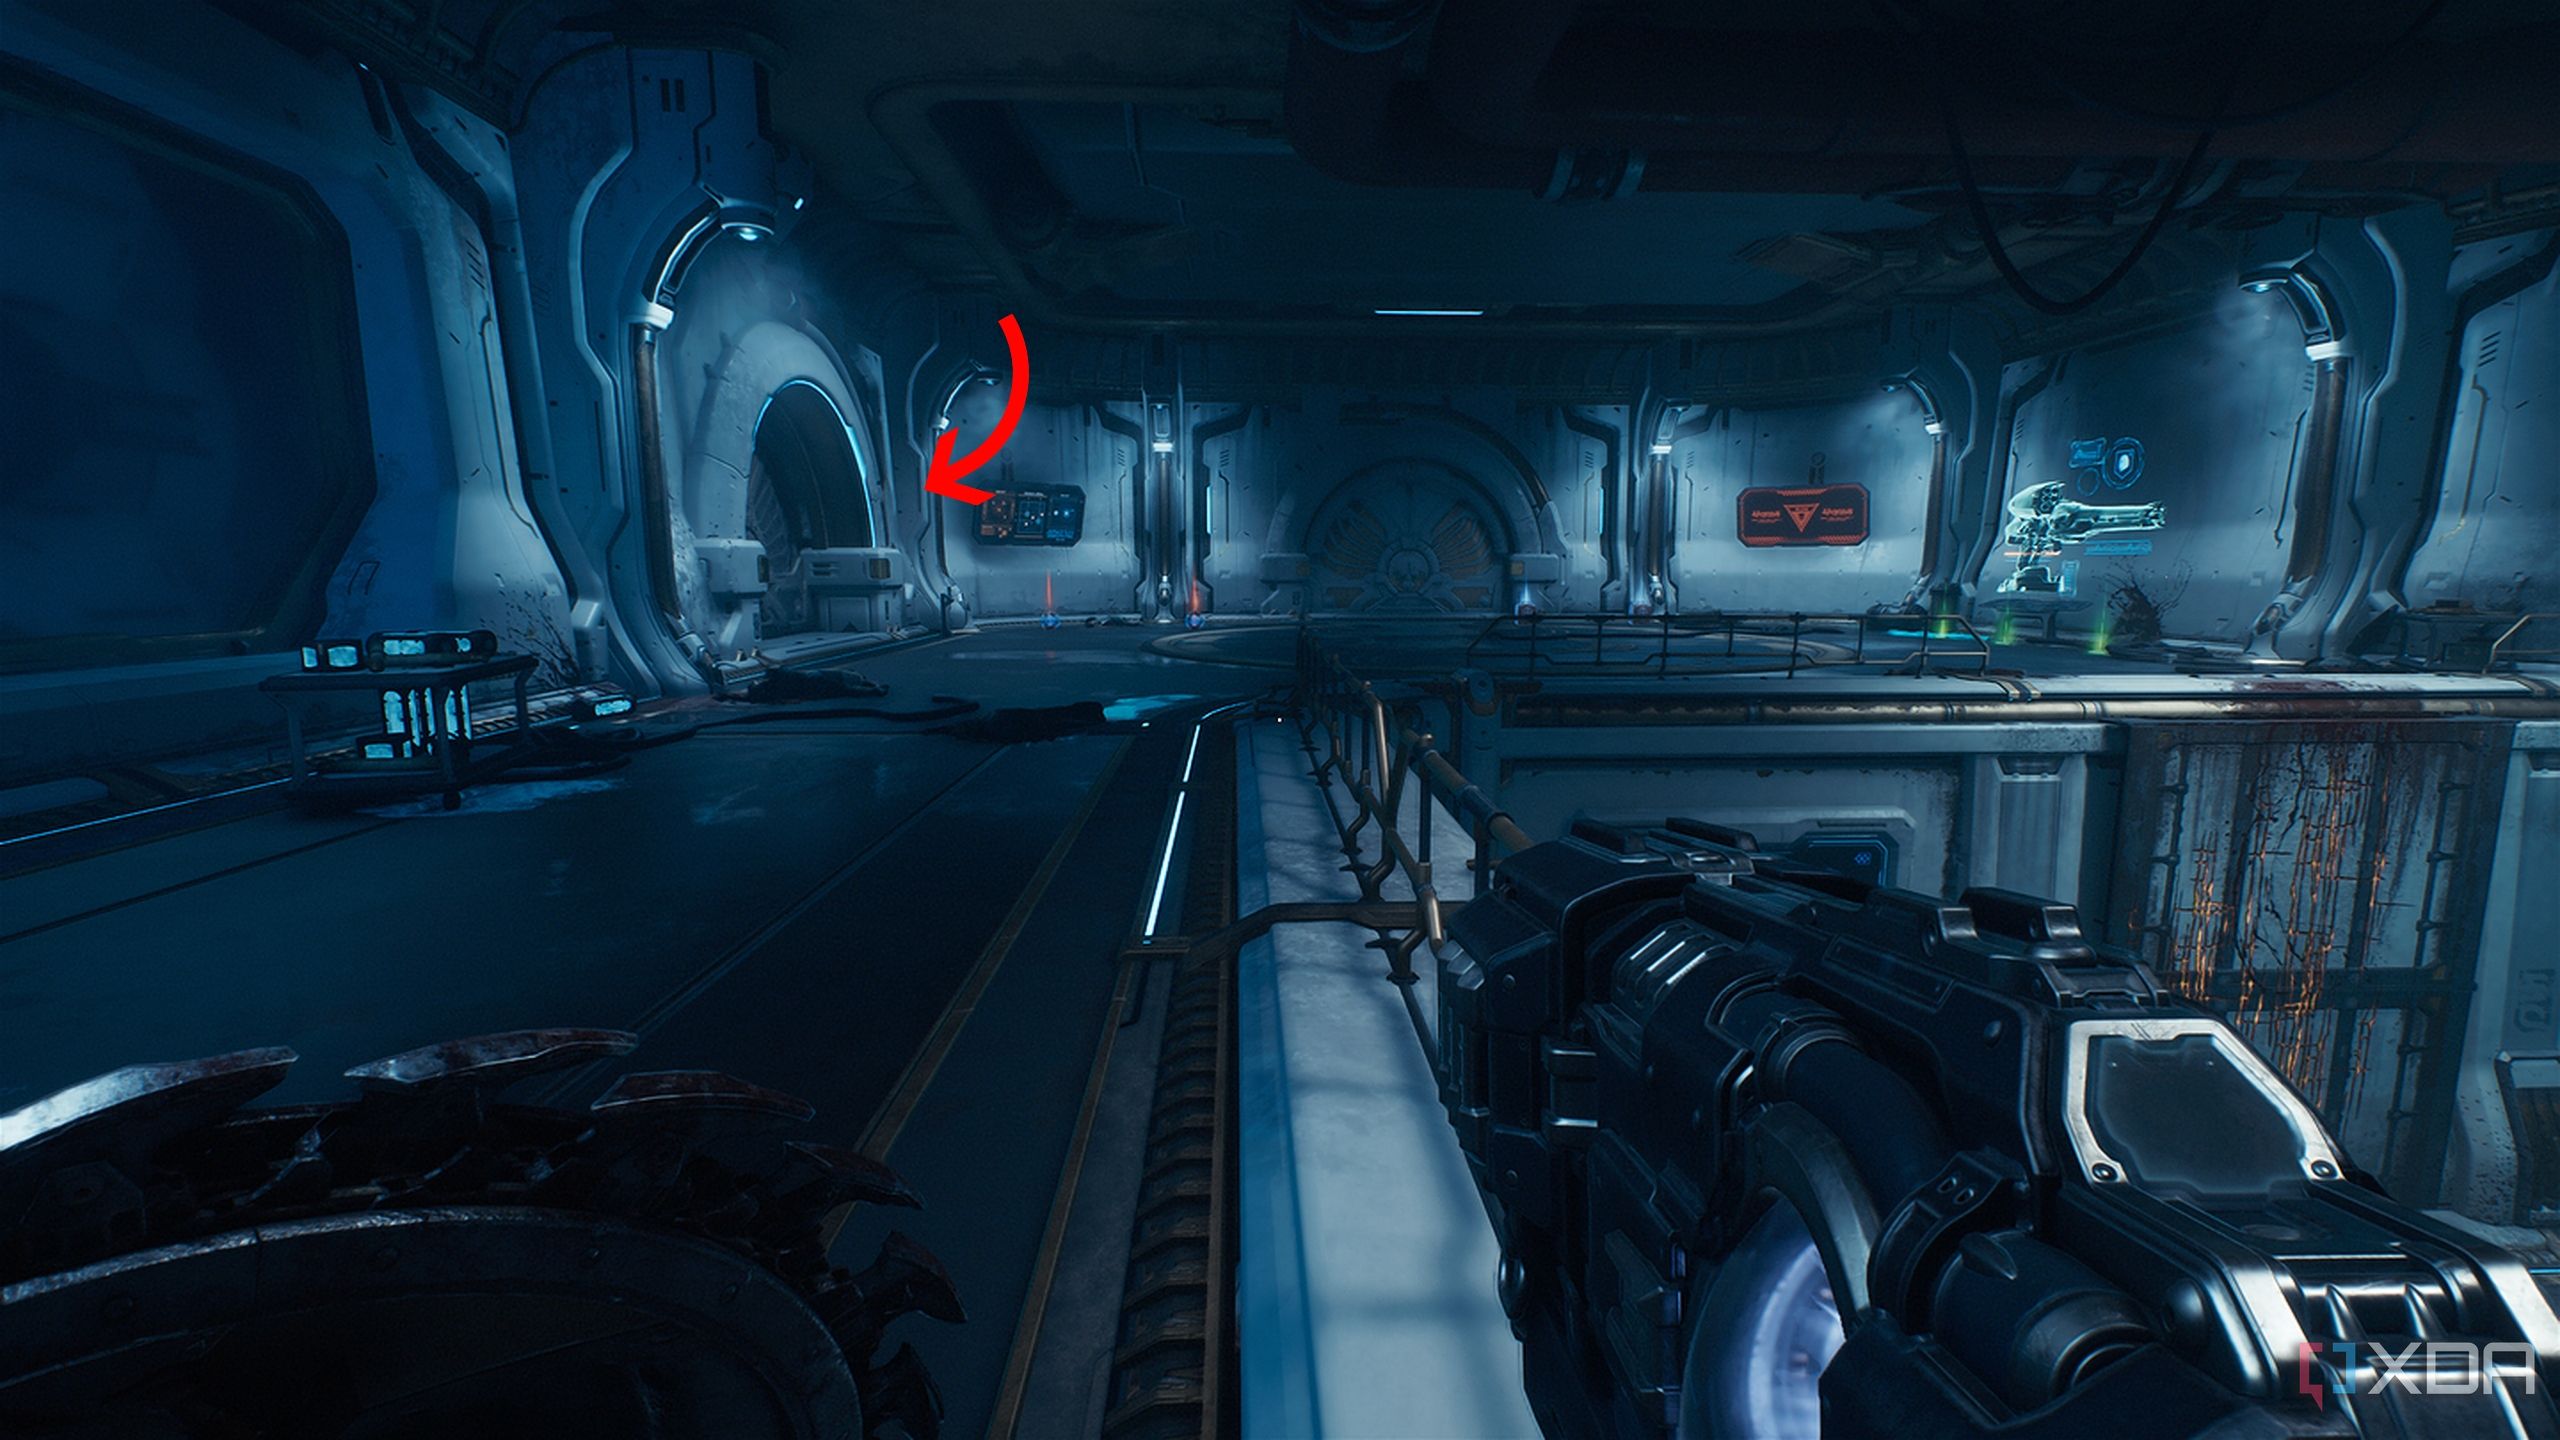
You’ll find more gold stacks once you reach the room with the Blue Keycard. Make sure to pick it up for 100% level completion.
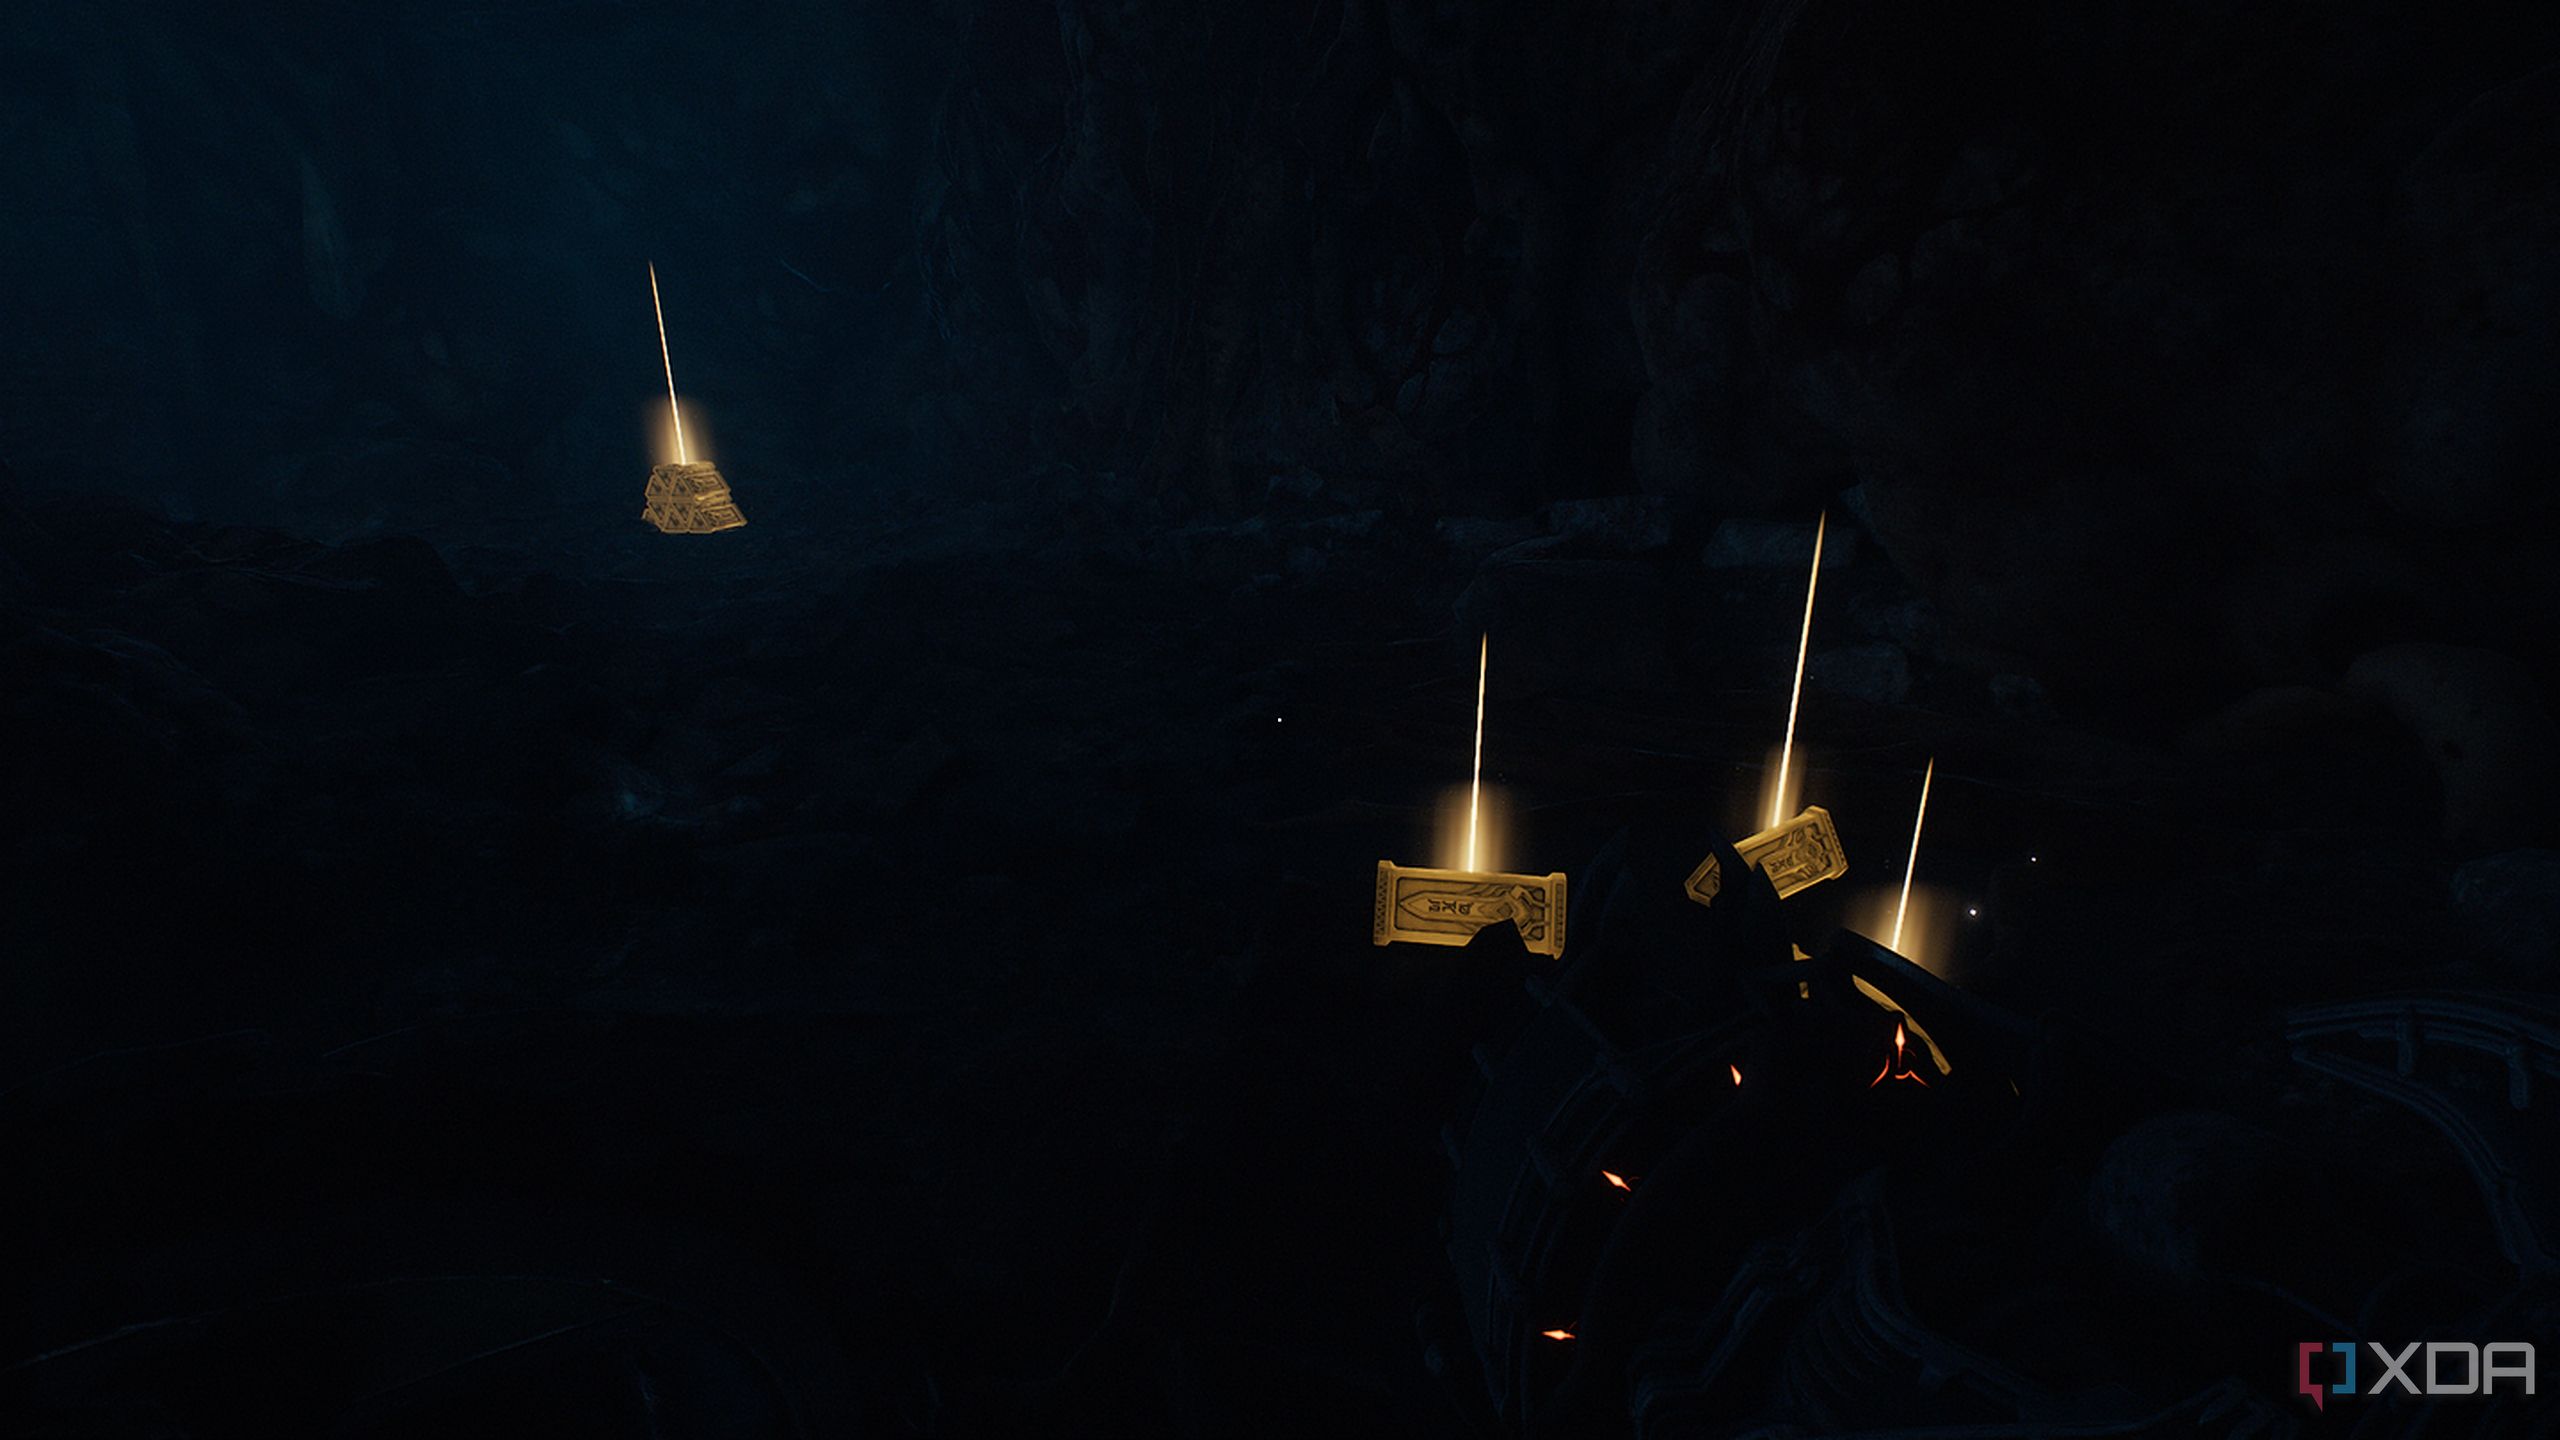
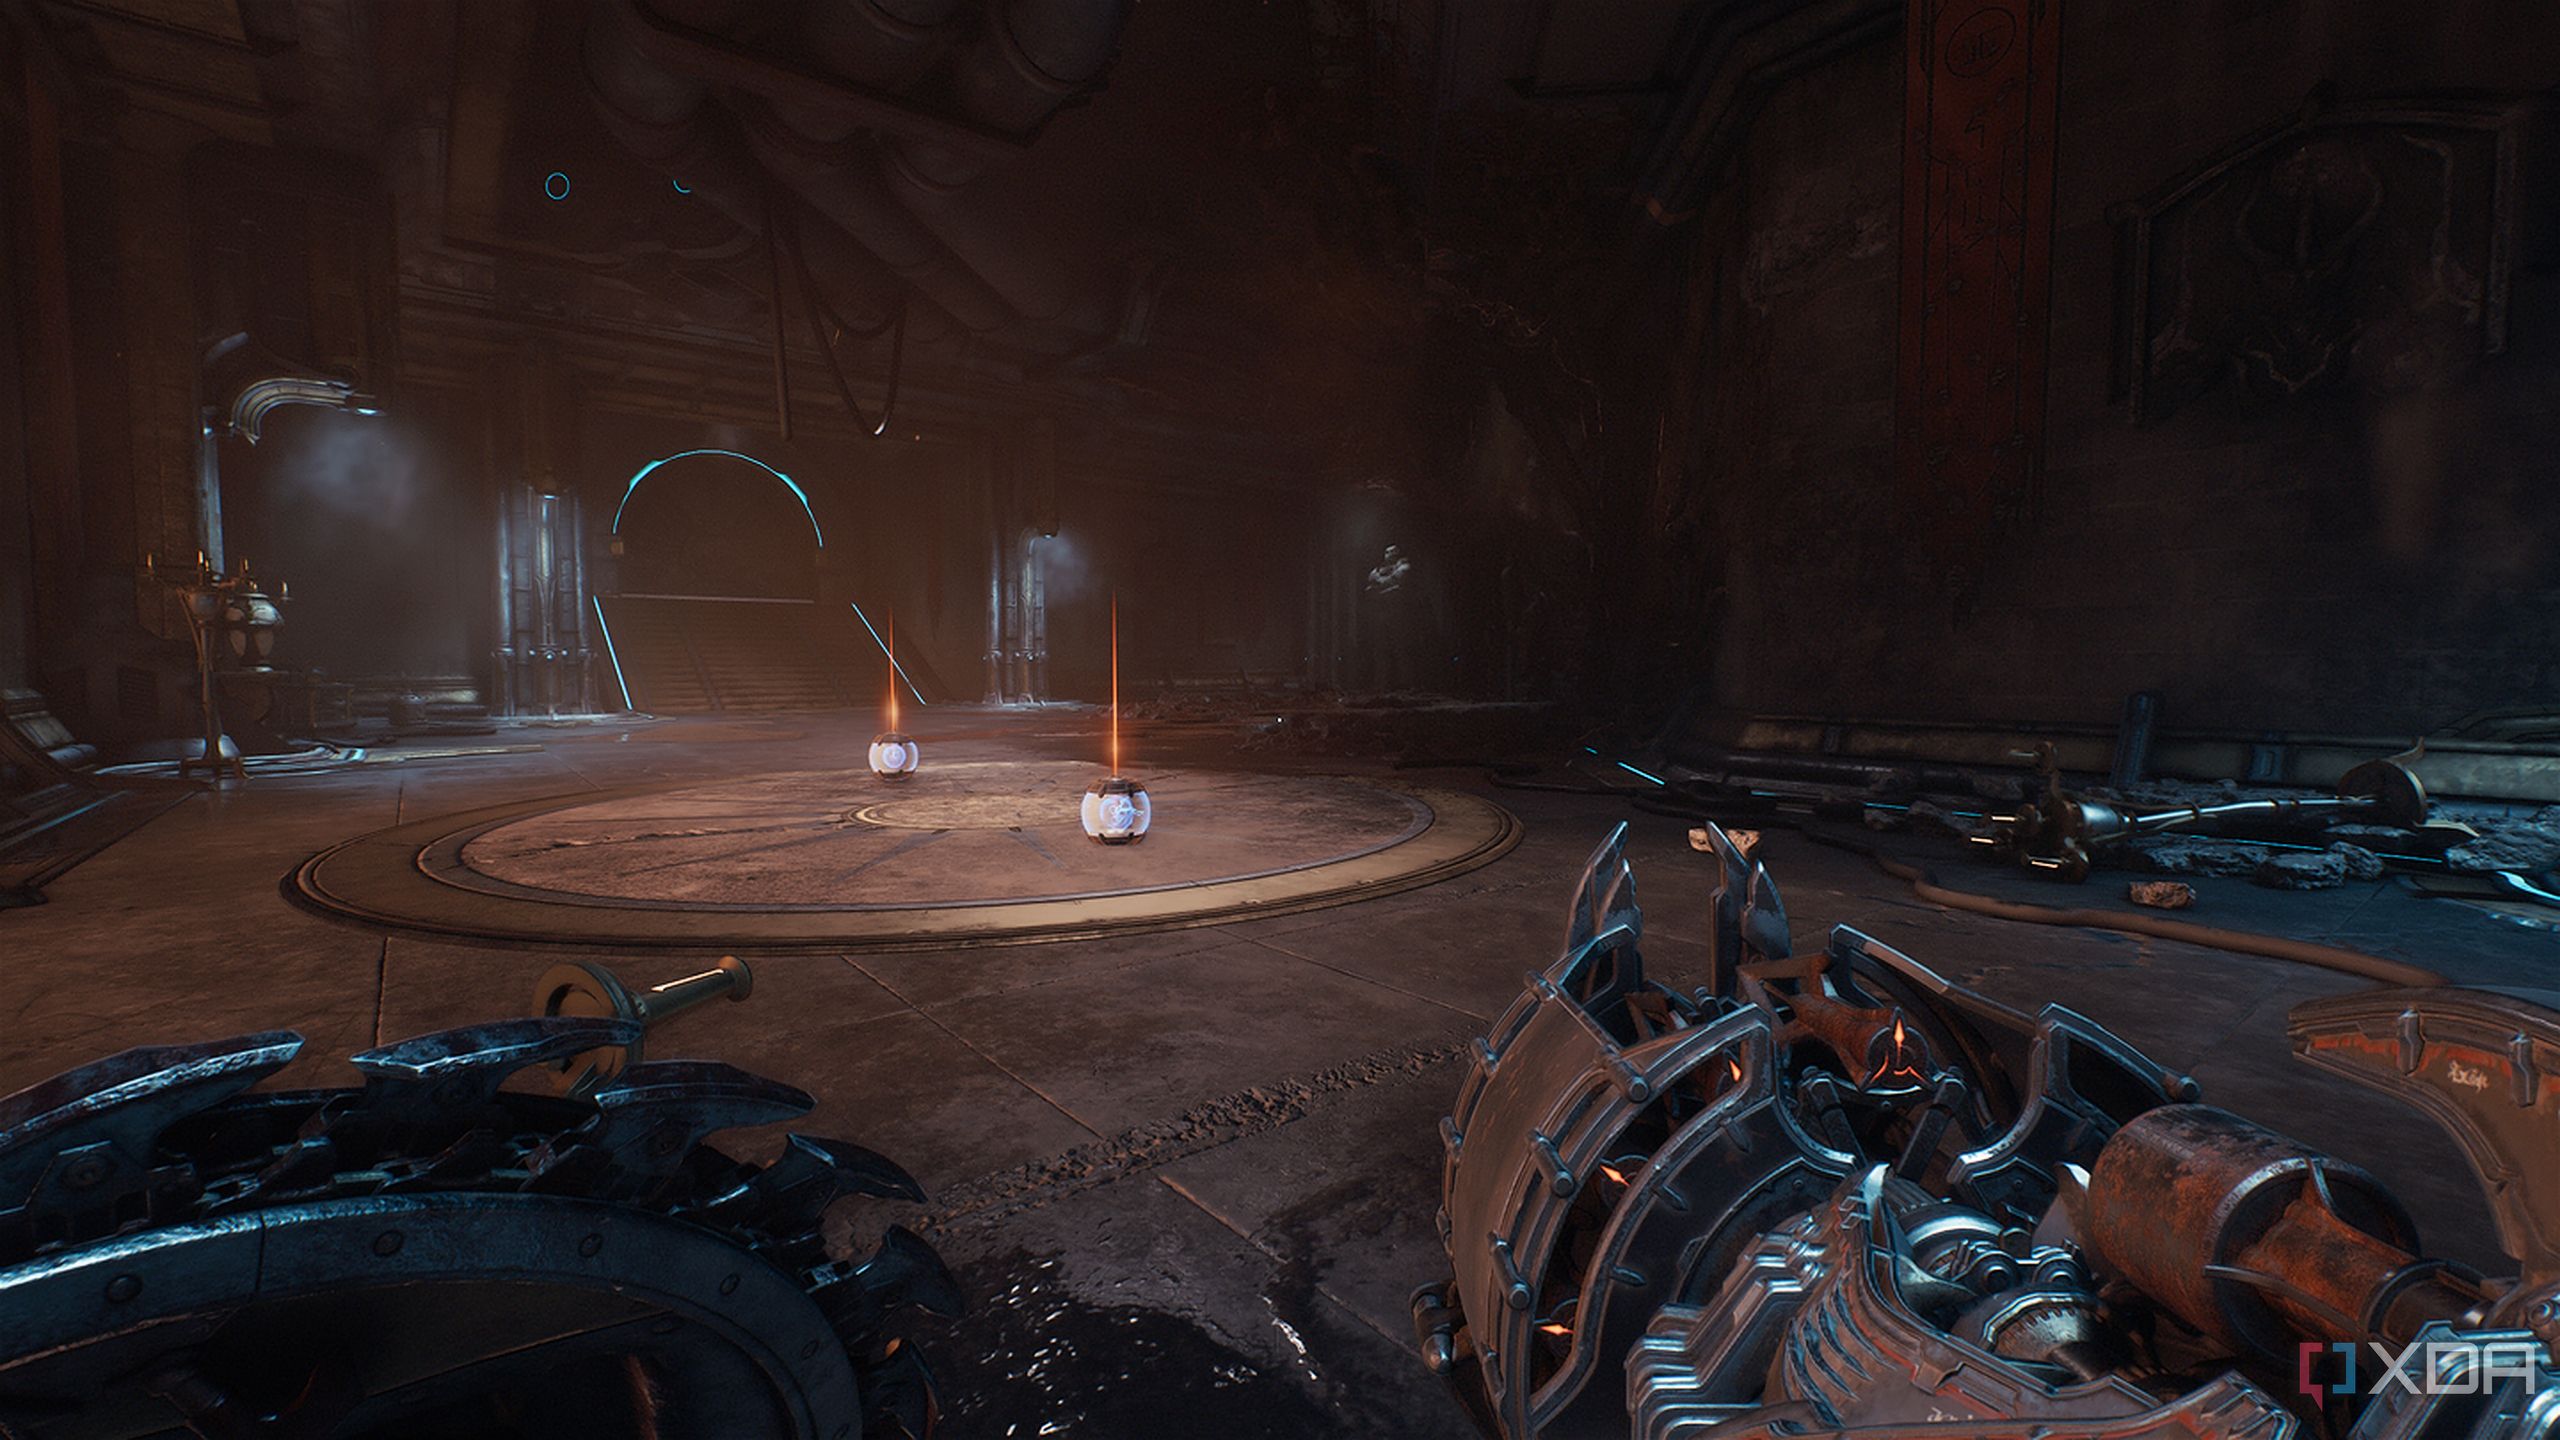
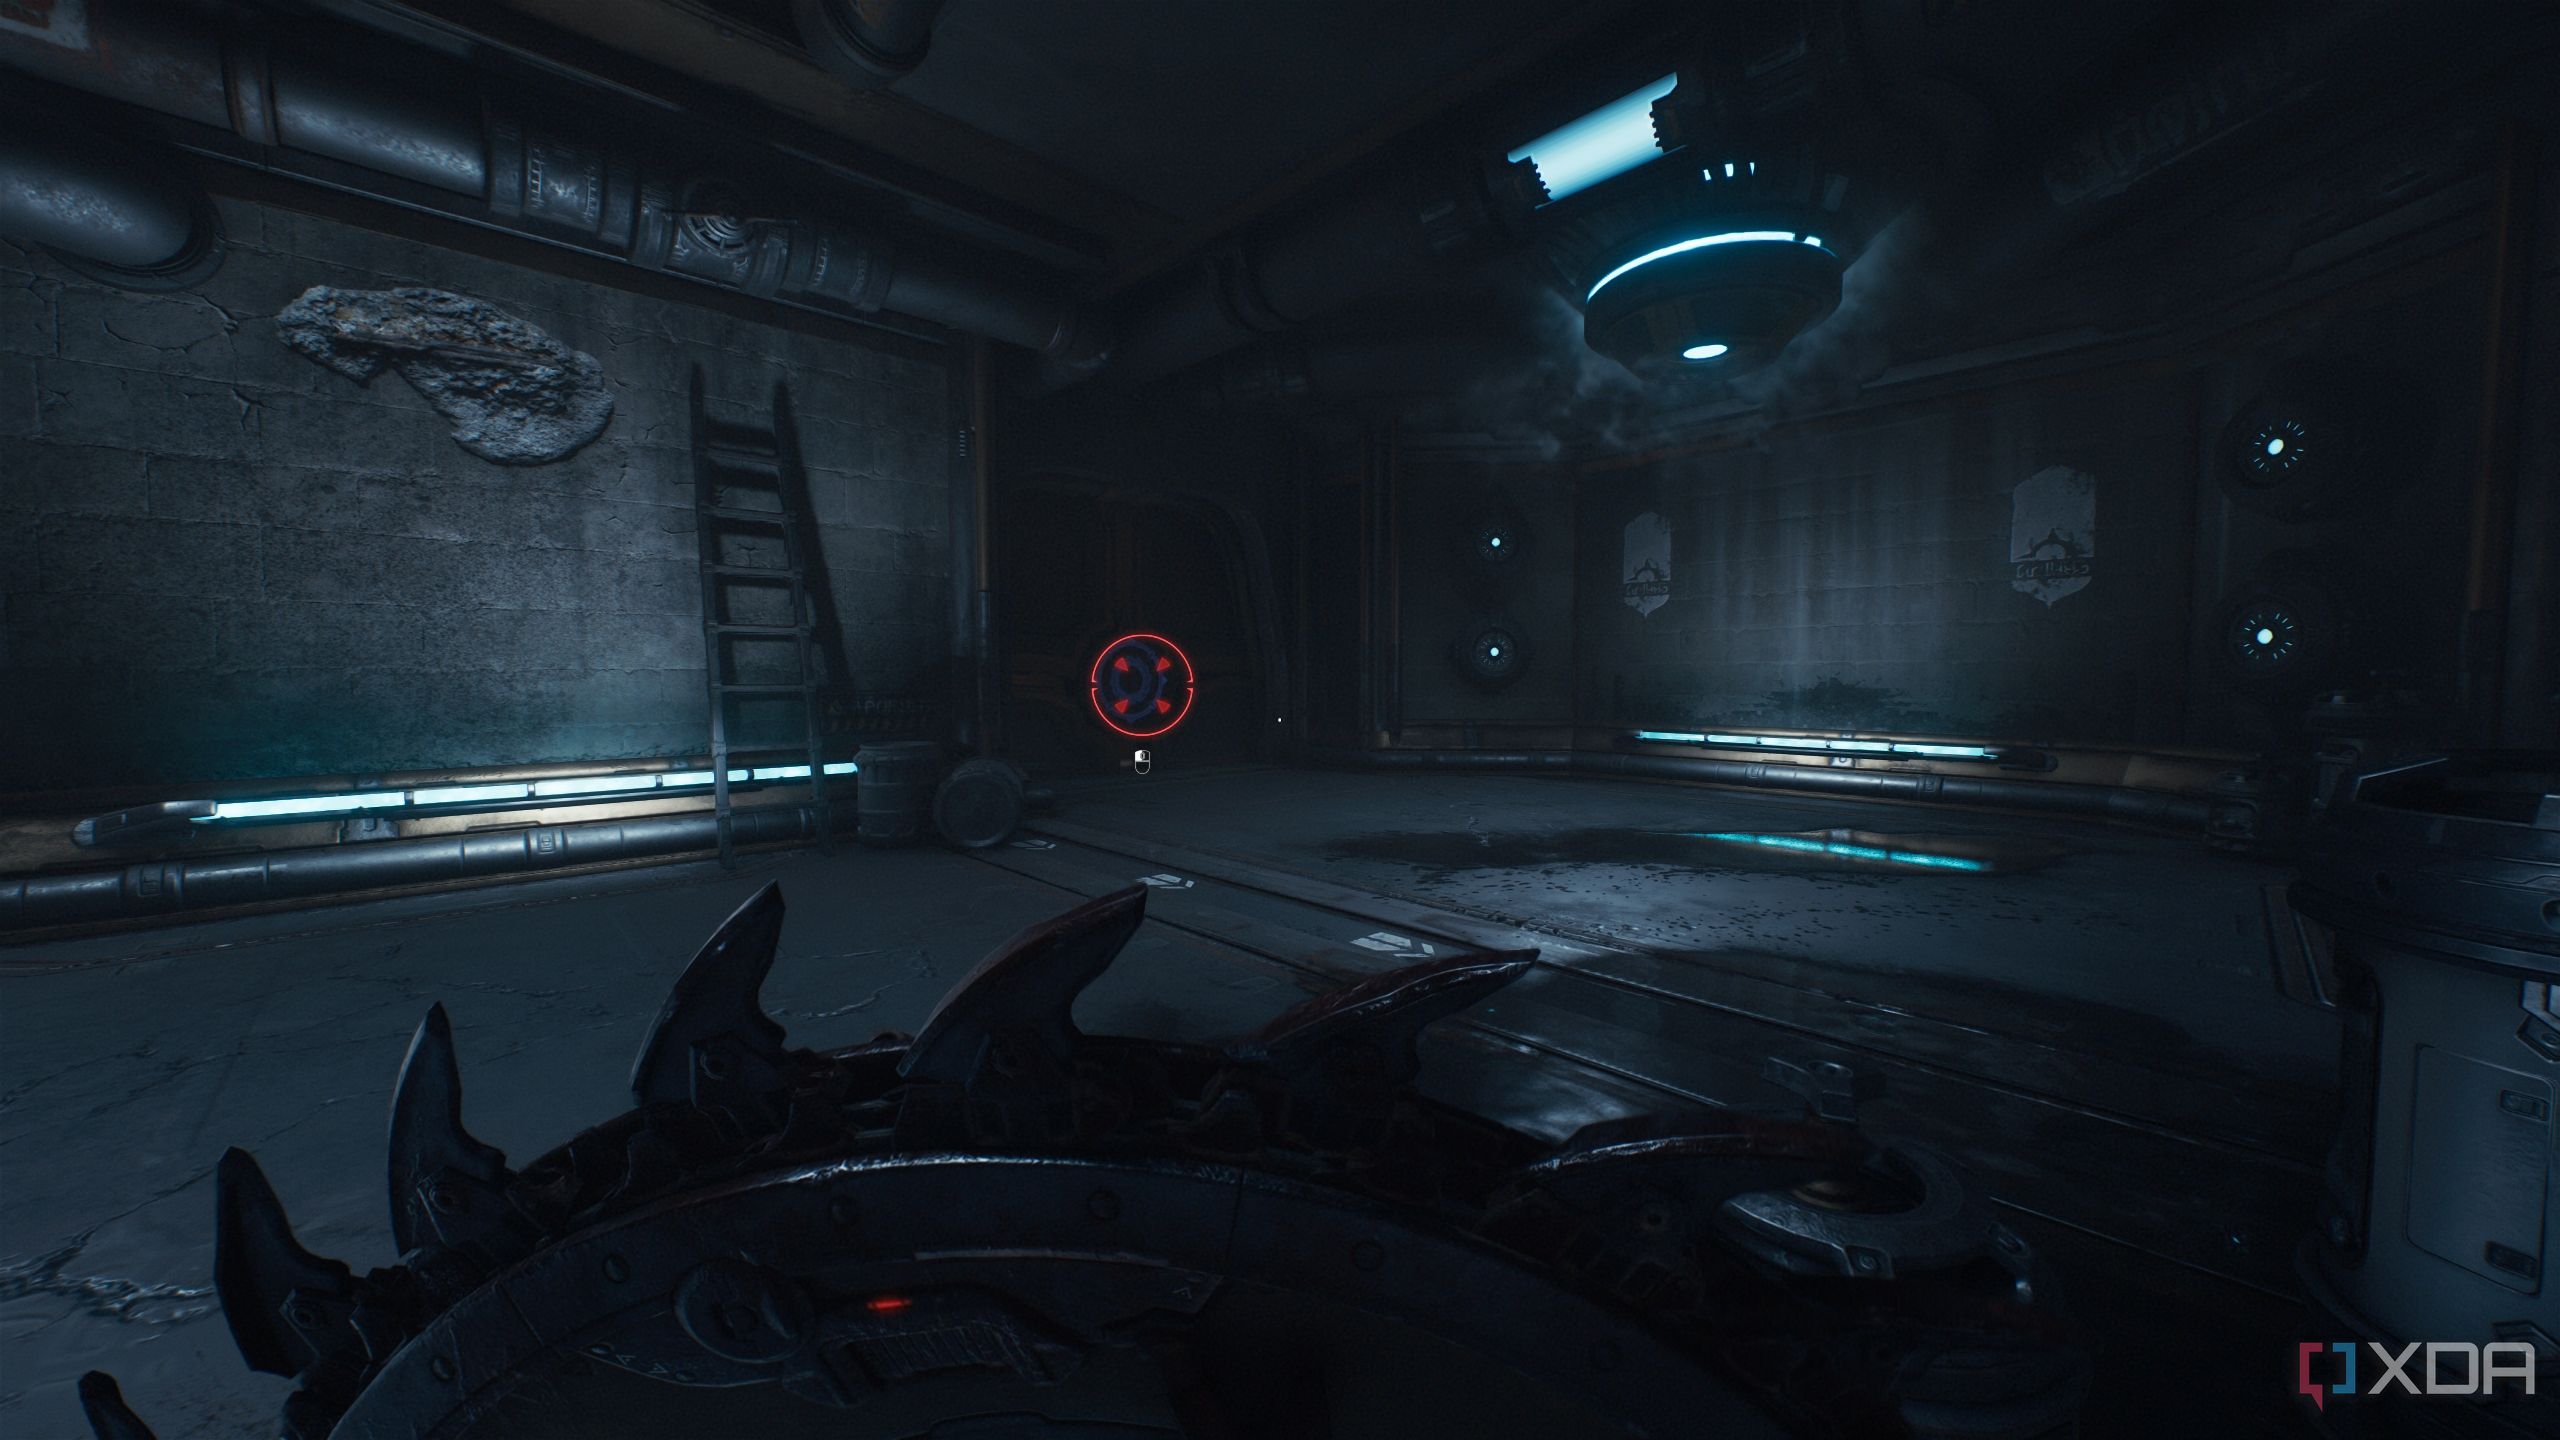
Life Sigil 2 and more gold bars
Nine lives are overrated, I'll make do with three
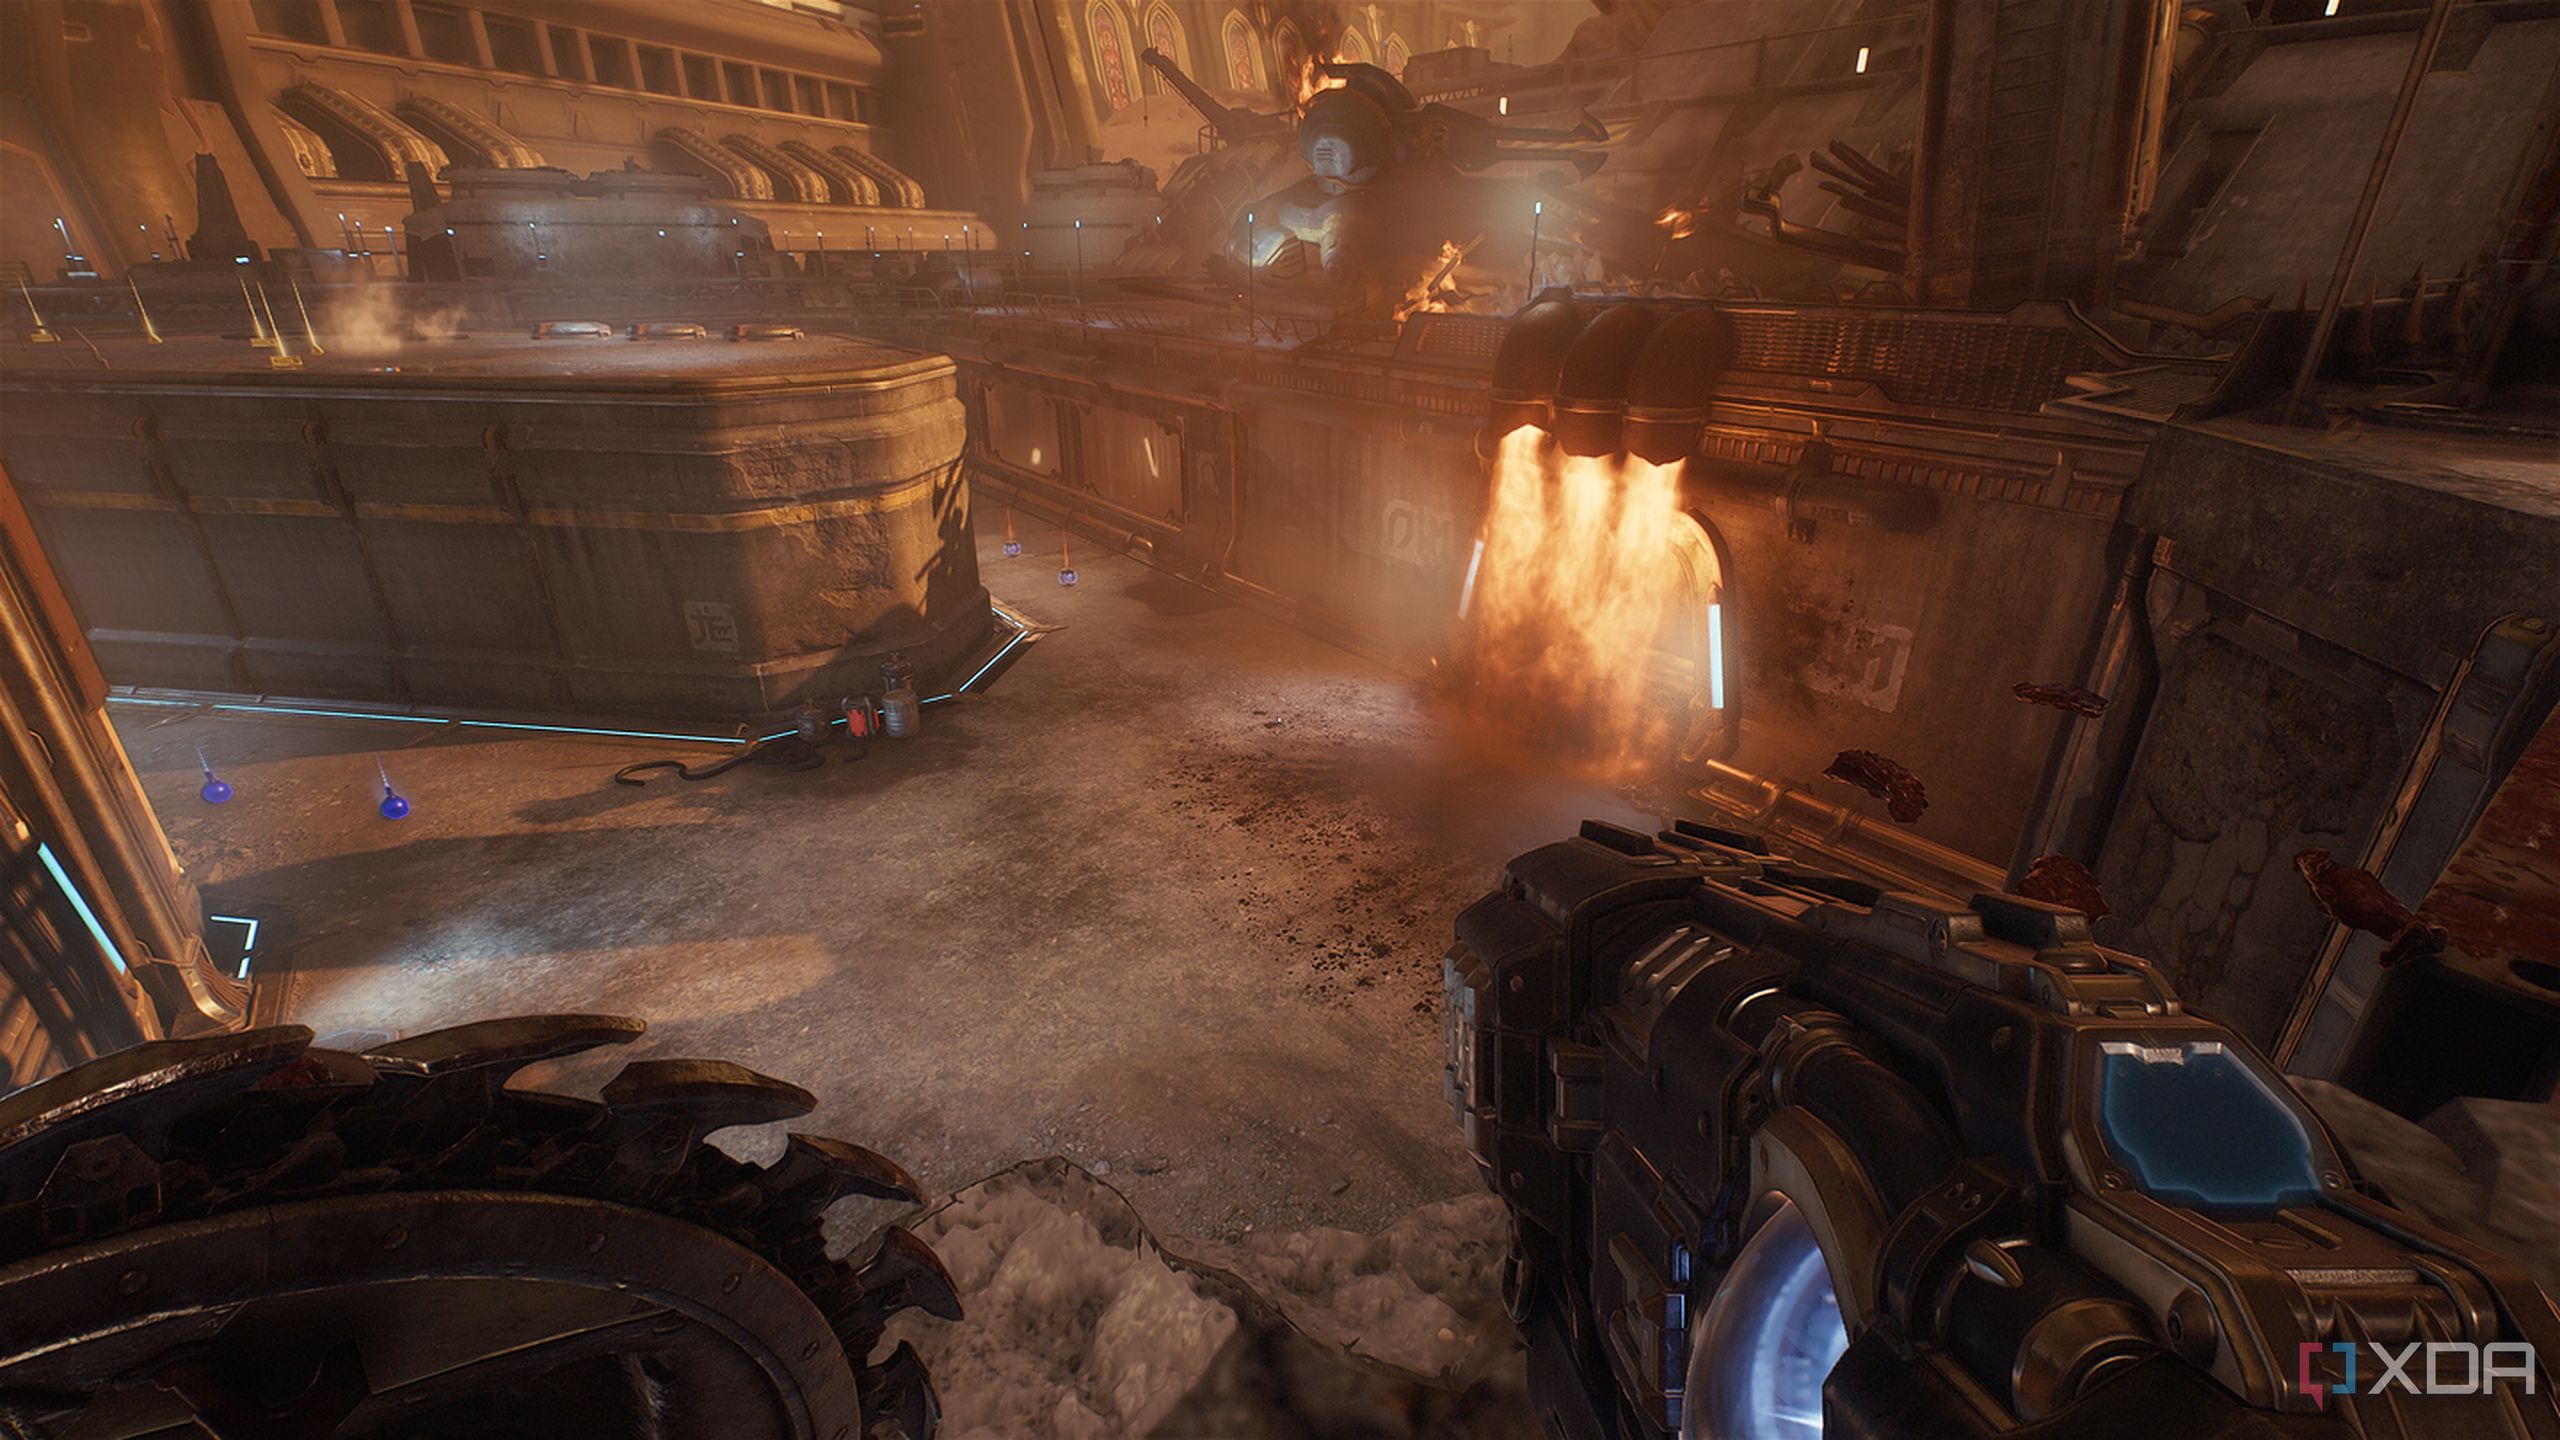
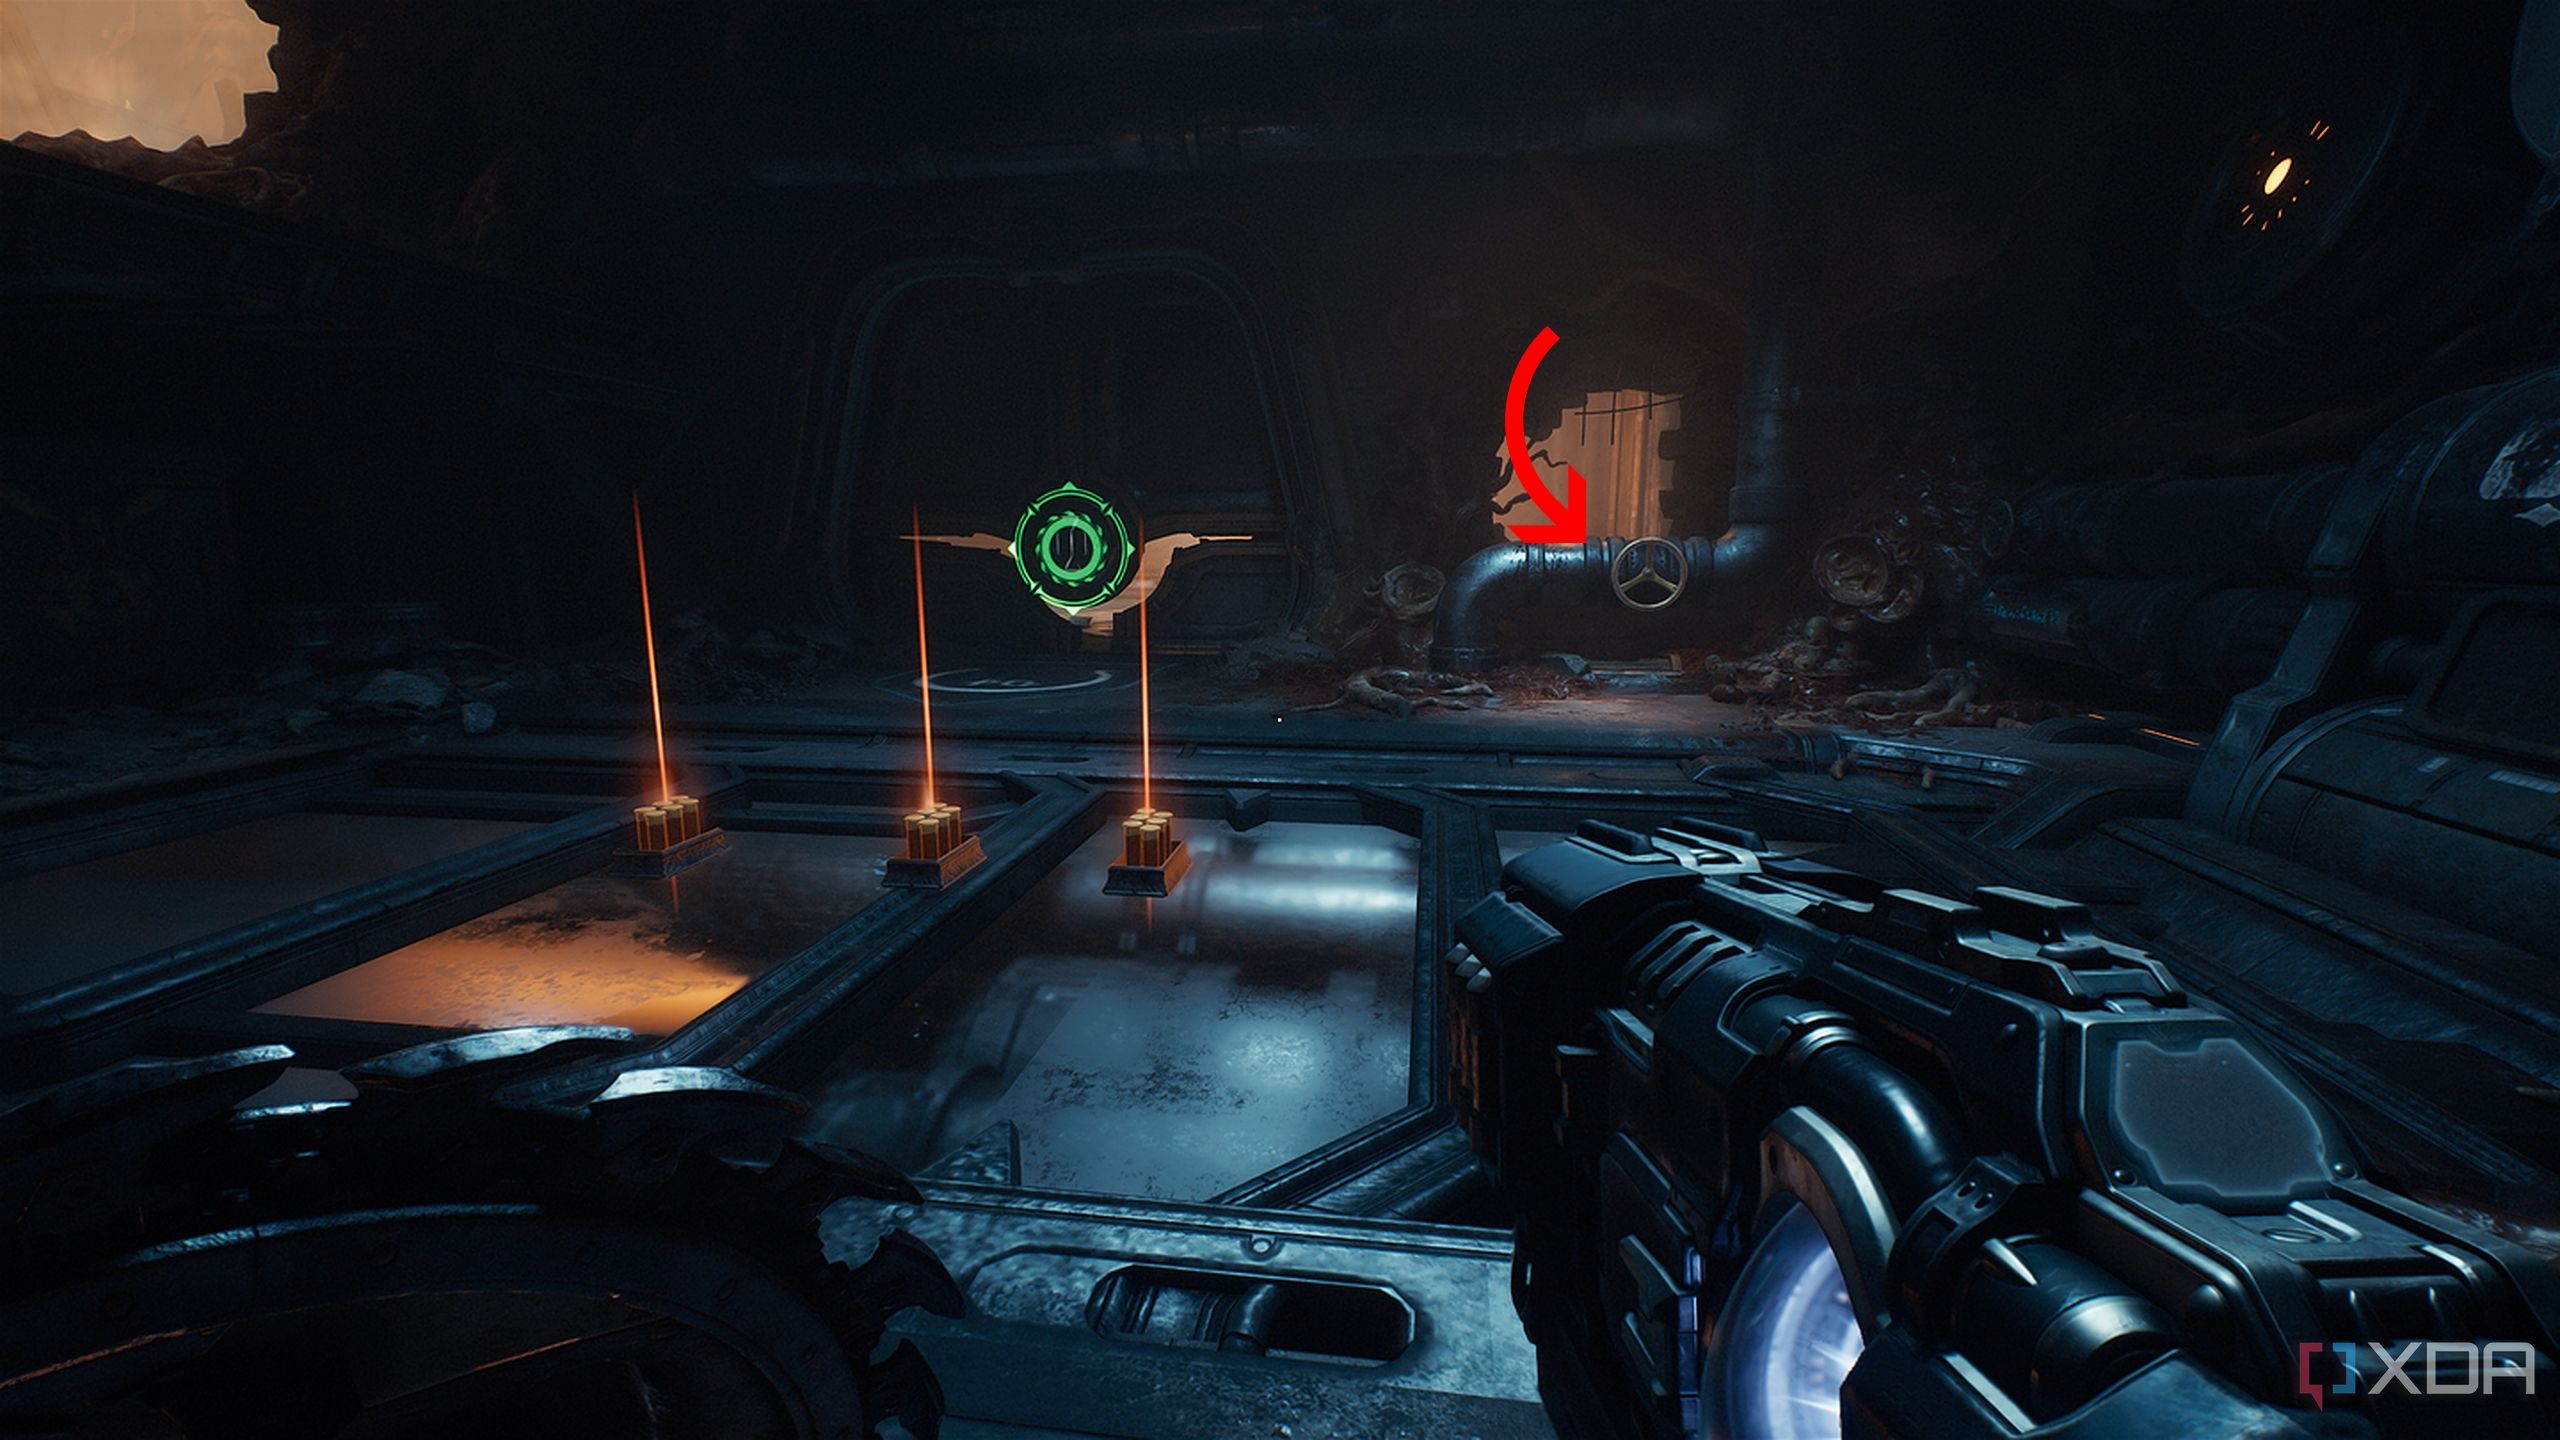
Right as you get the Energy Accelerator, a door ahead opens up, with a huge glowing hologram of an Atlan Mech head. You’ll be bombarded by enemies with plasma shields here, so take care of them first.
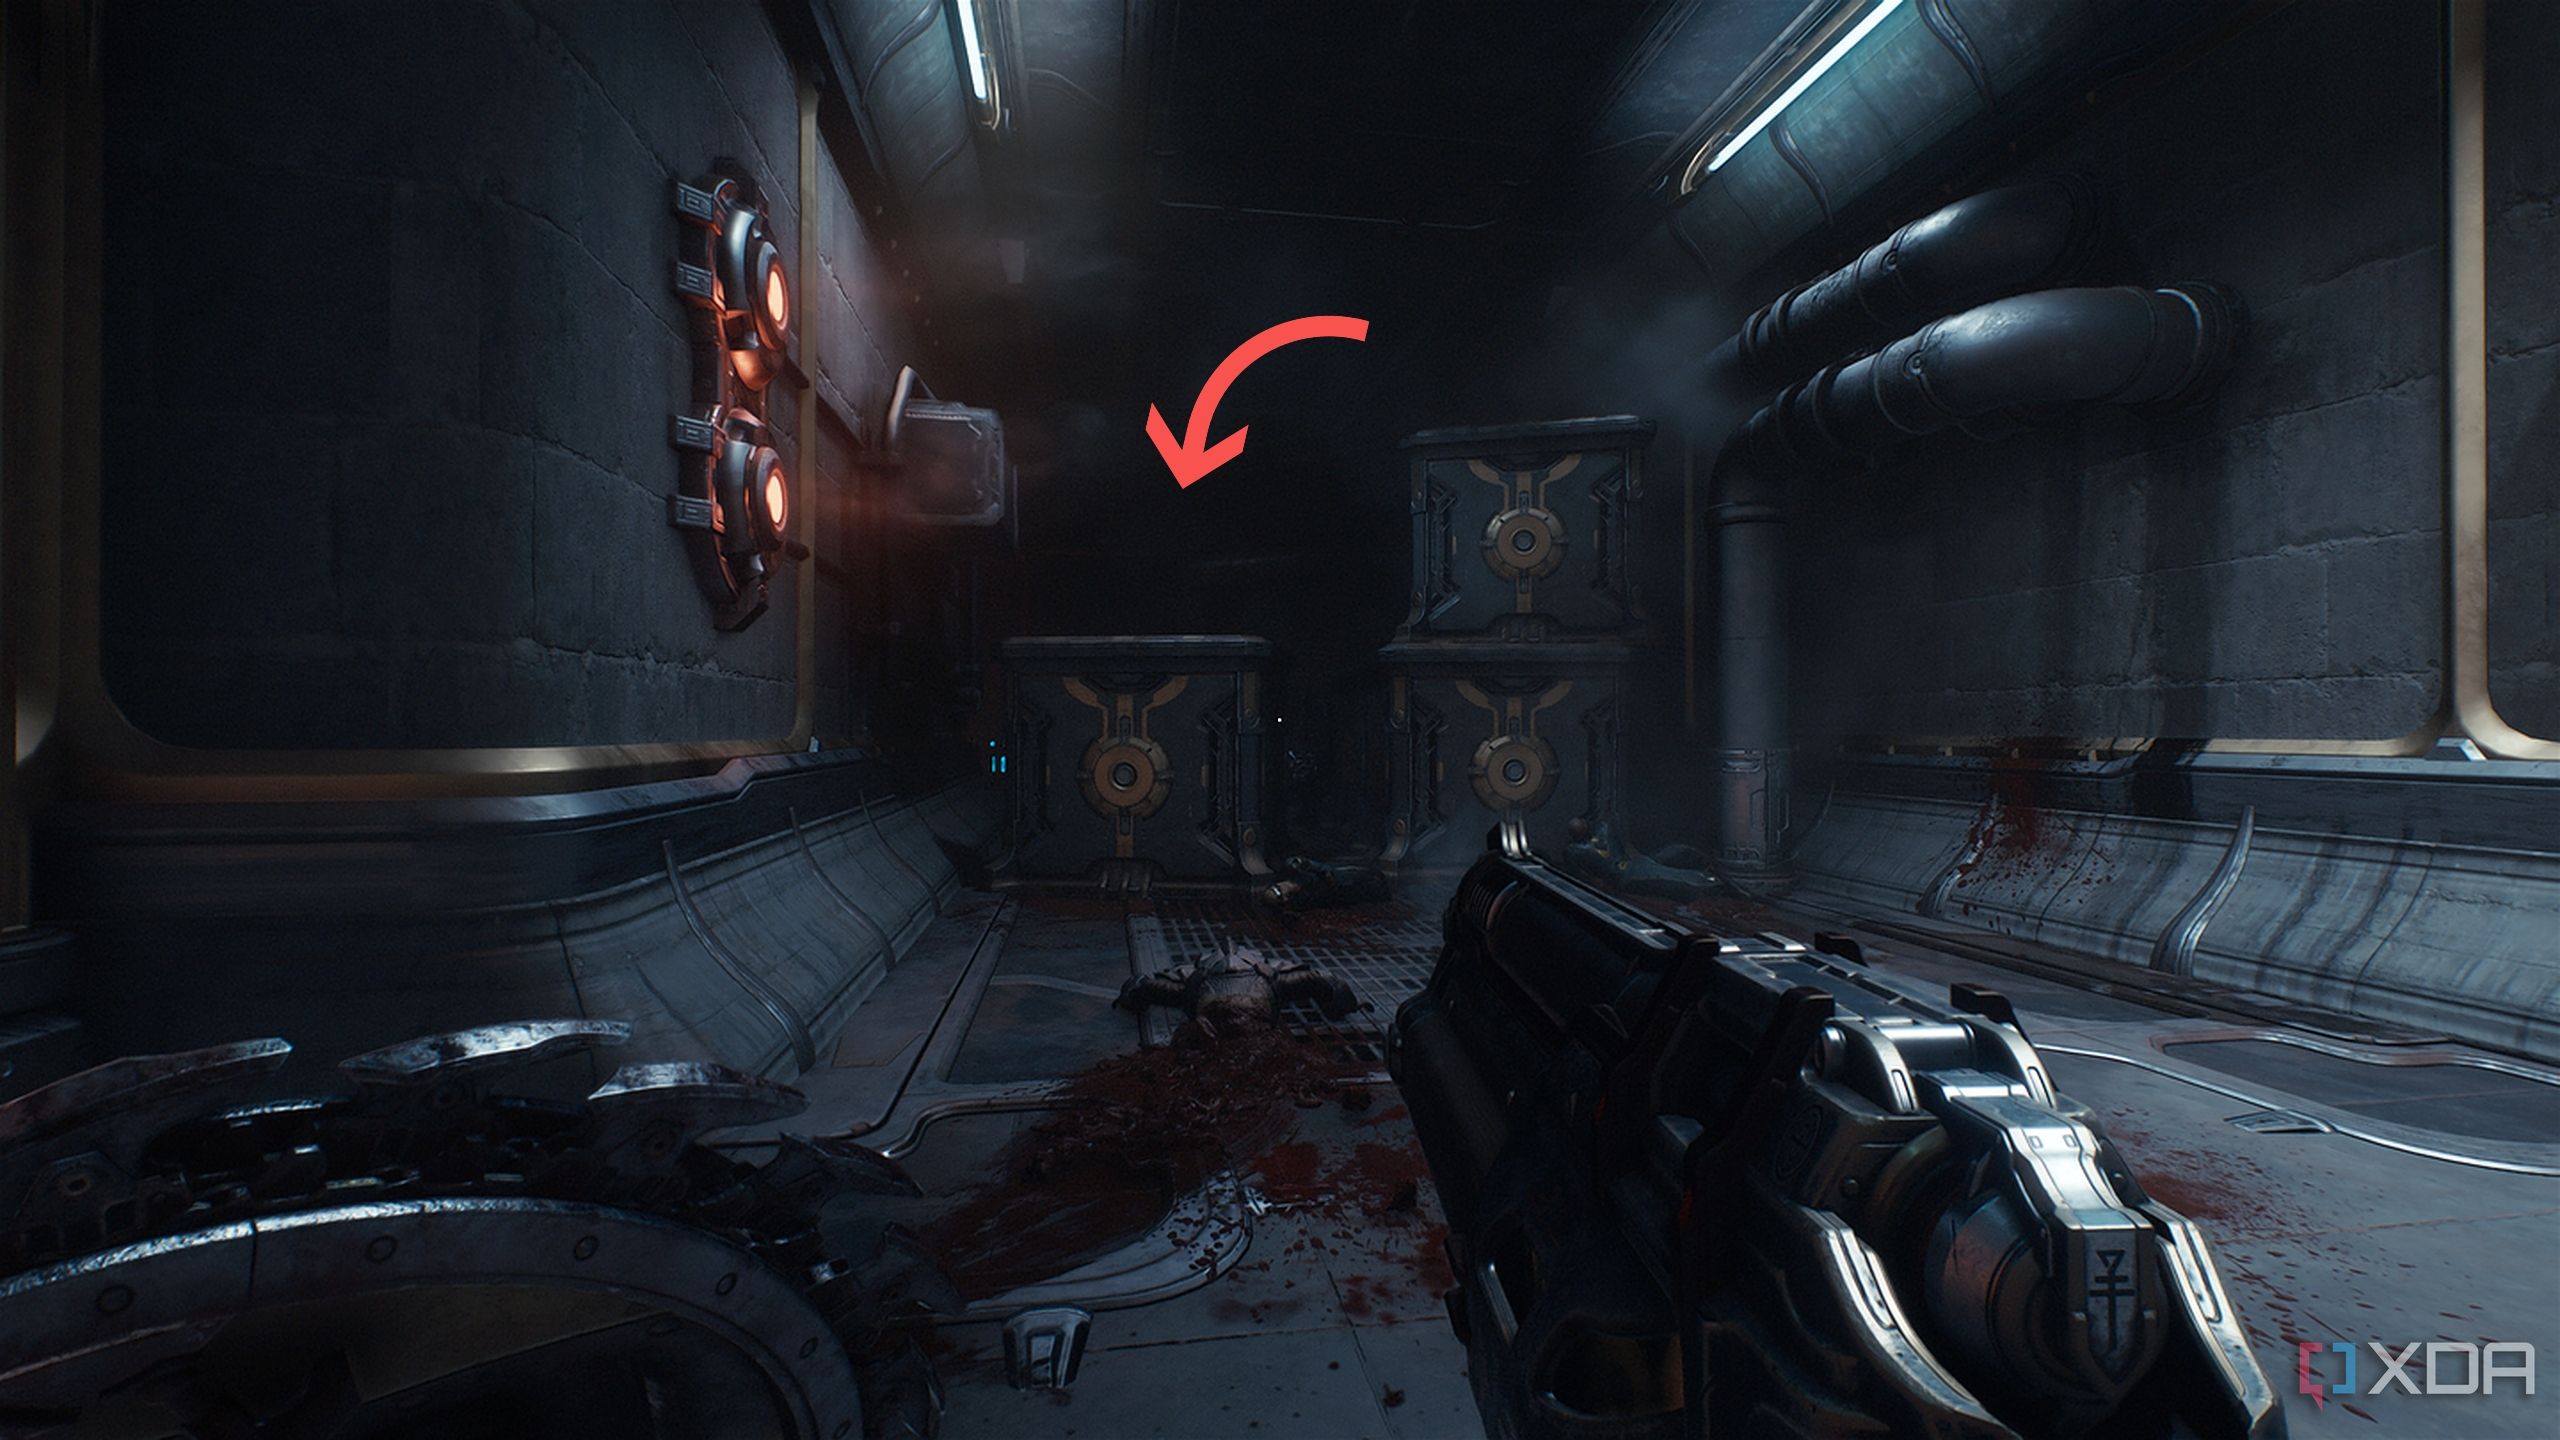
Then, look to the left of the hologram to find a vent you can shield bash through.
Enter the vent to find more gold bars lined up, but before you turn back, look to the left to see a shiny green Life Sigil beckoning you.
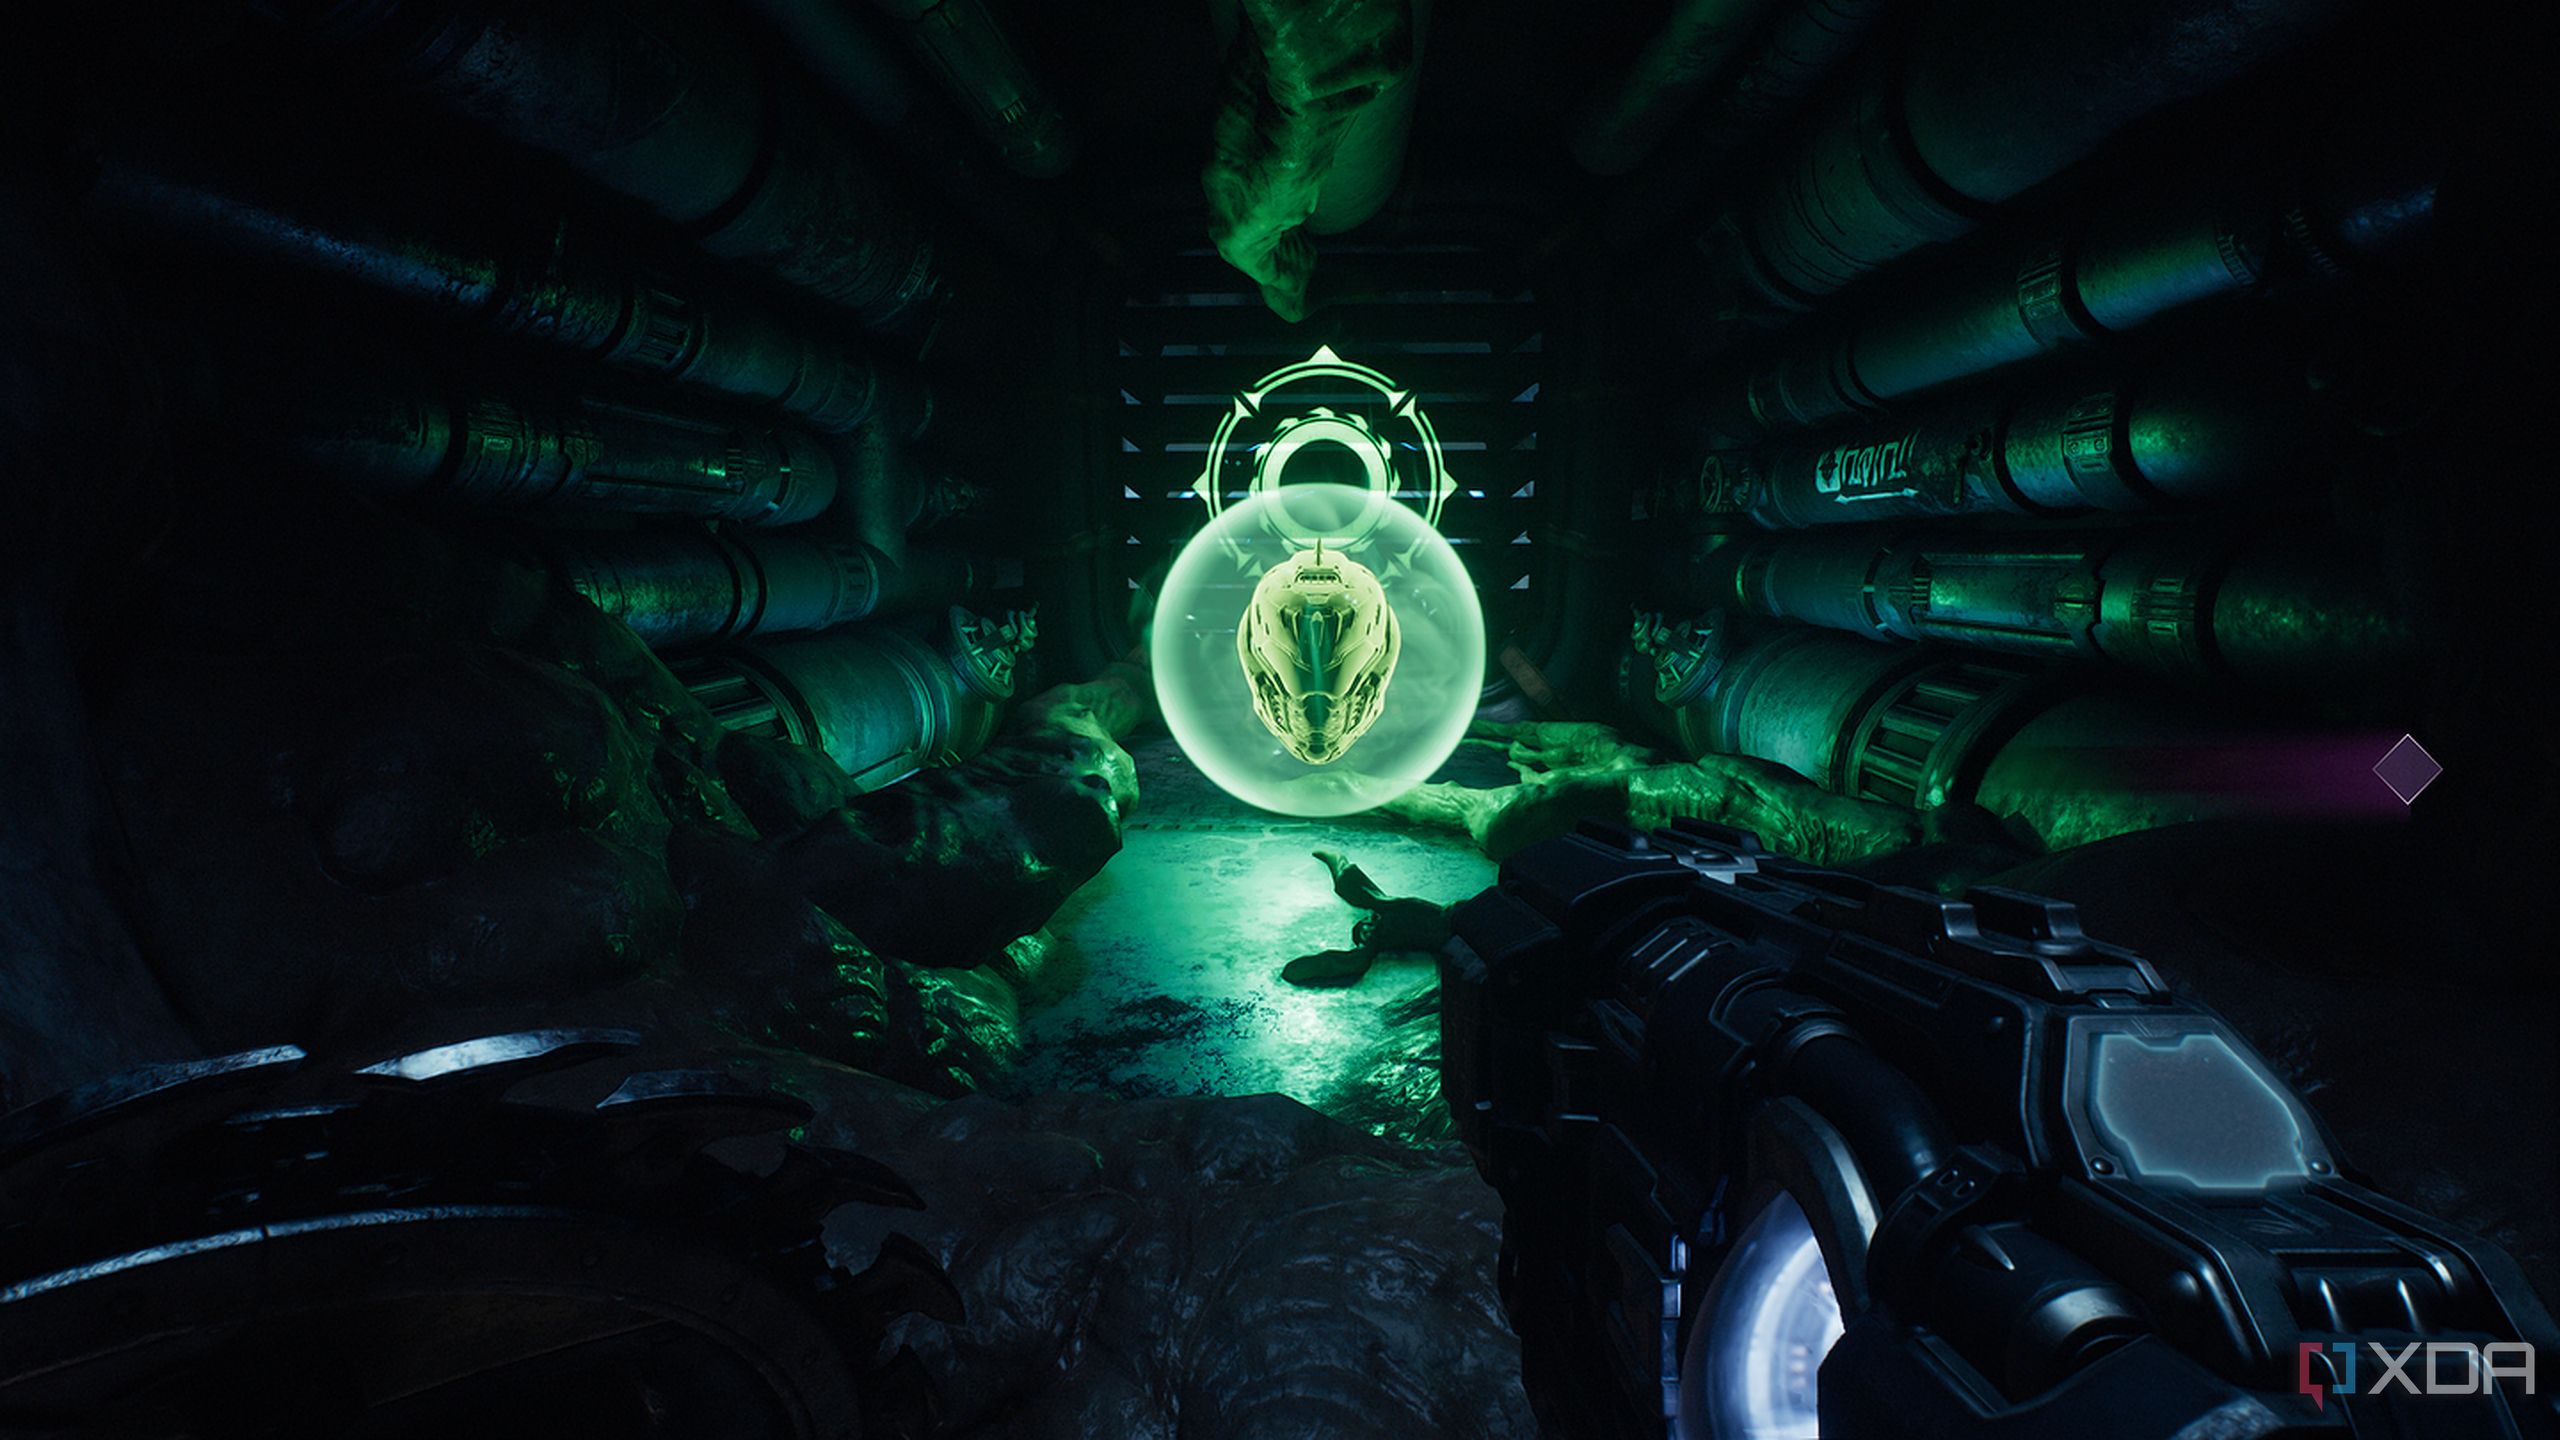
Head towards it, collect the second life sigil, and bash through the vent ahead to get back to the arena.
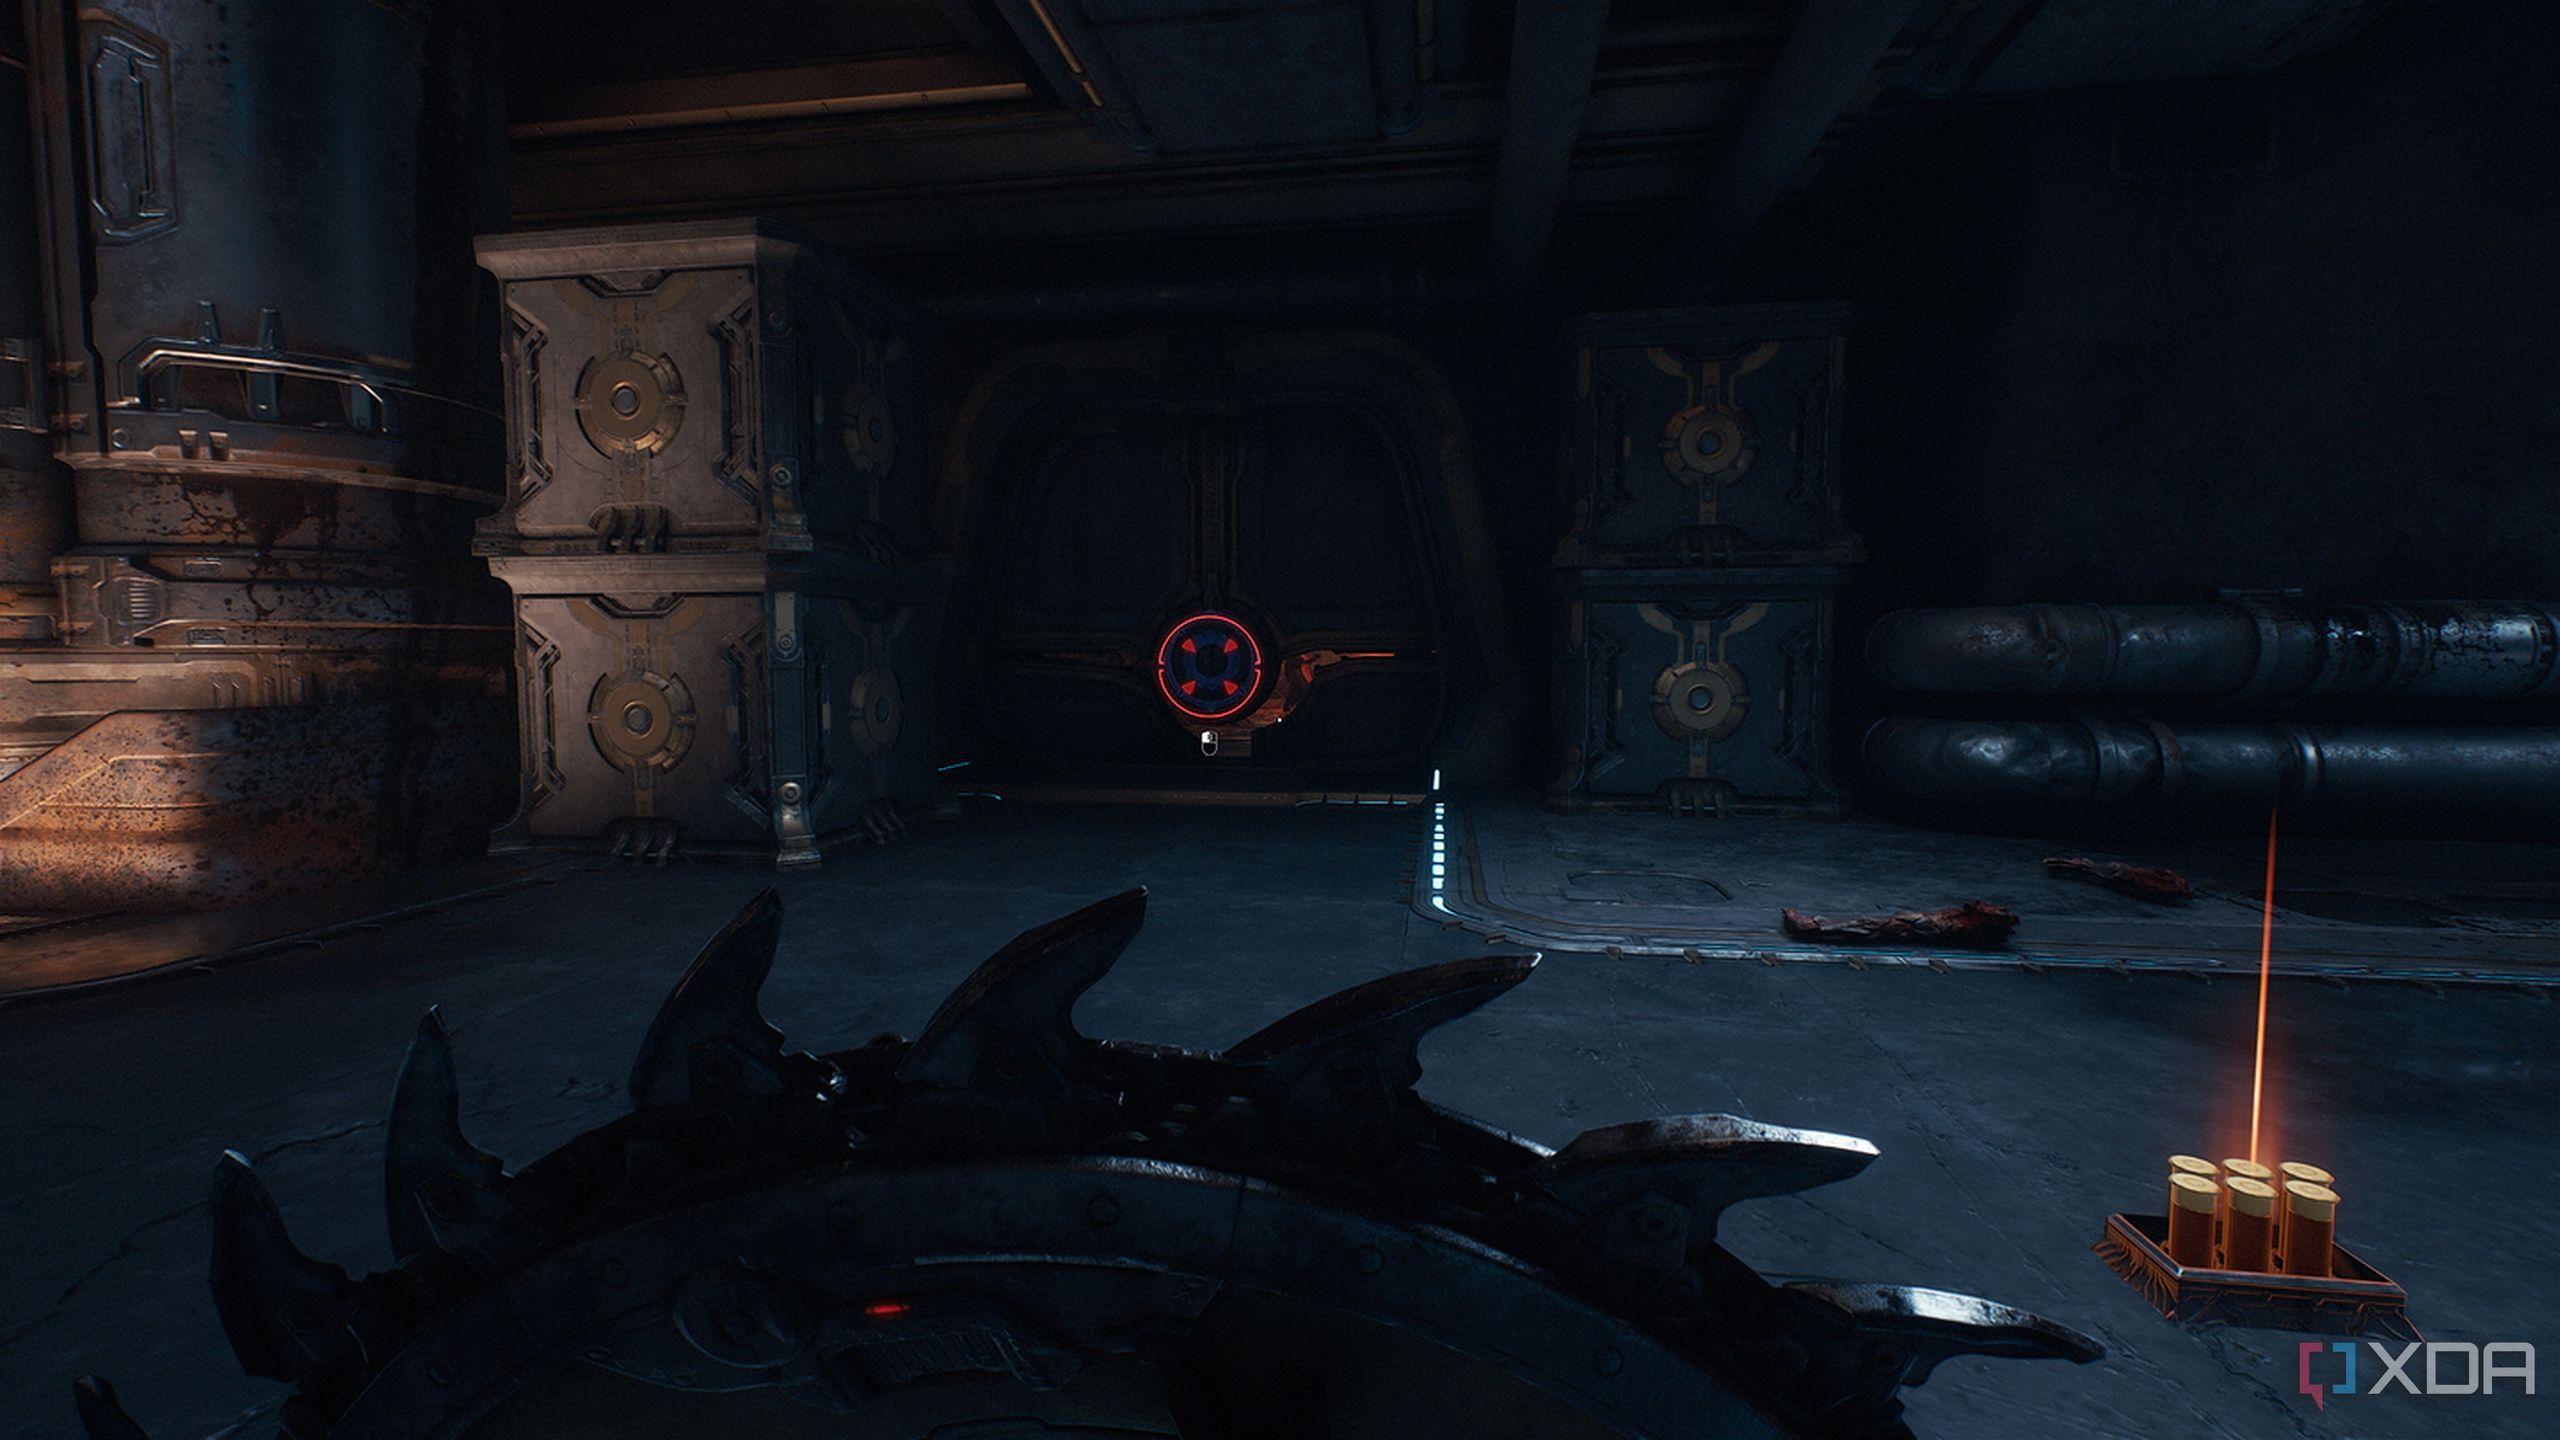
Heading back on track towards your objective, you’ll come across a heated metal cross to throw your shield at, which will drop a couple of boxes down to climb over.
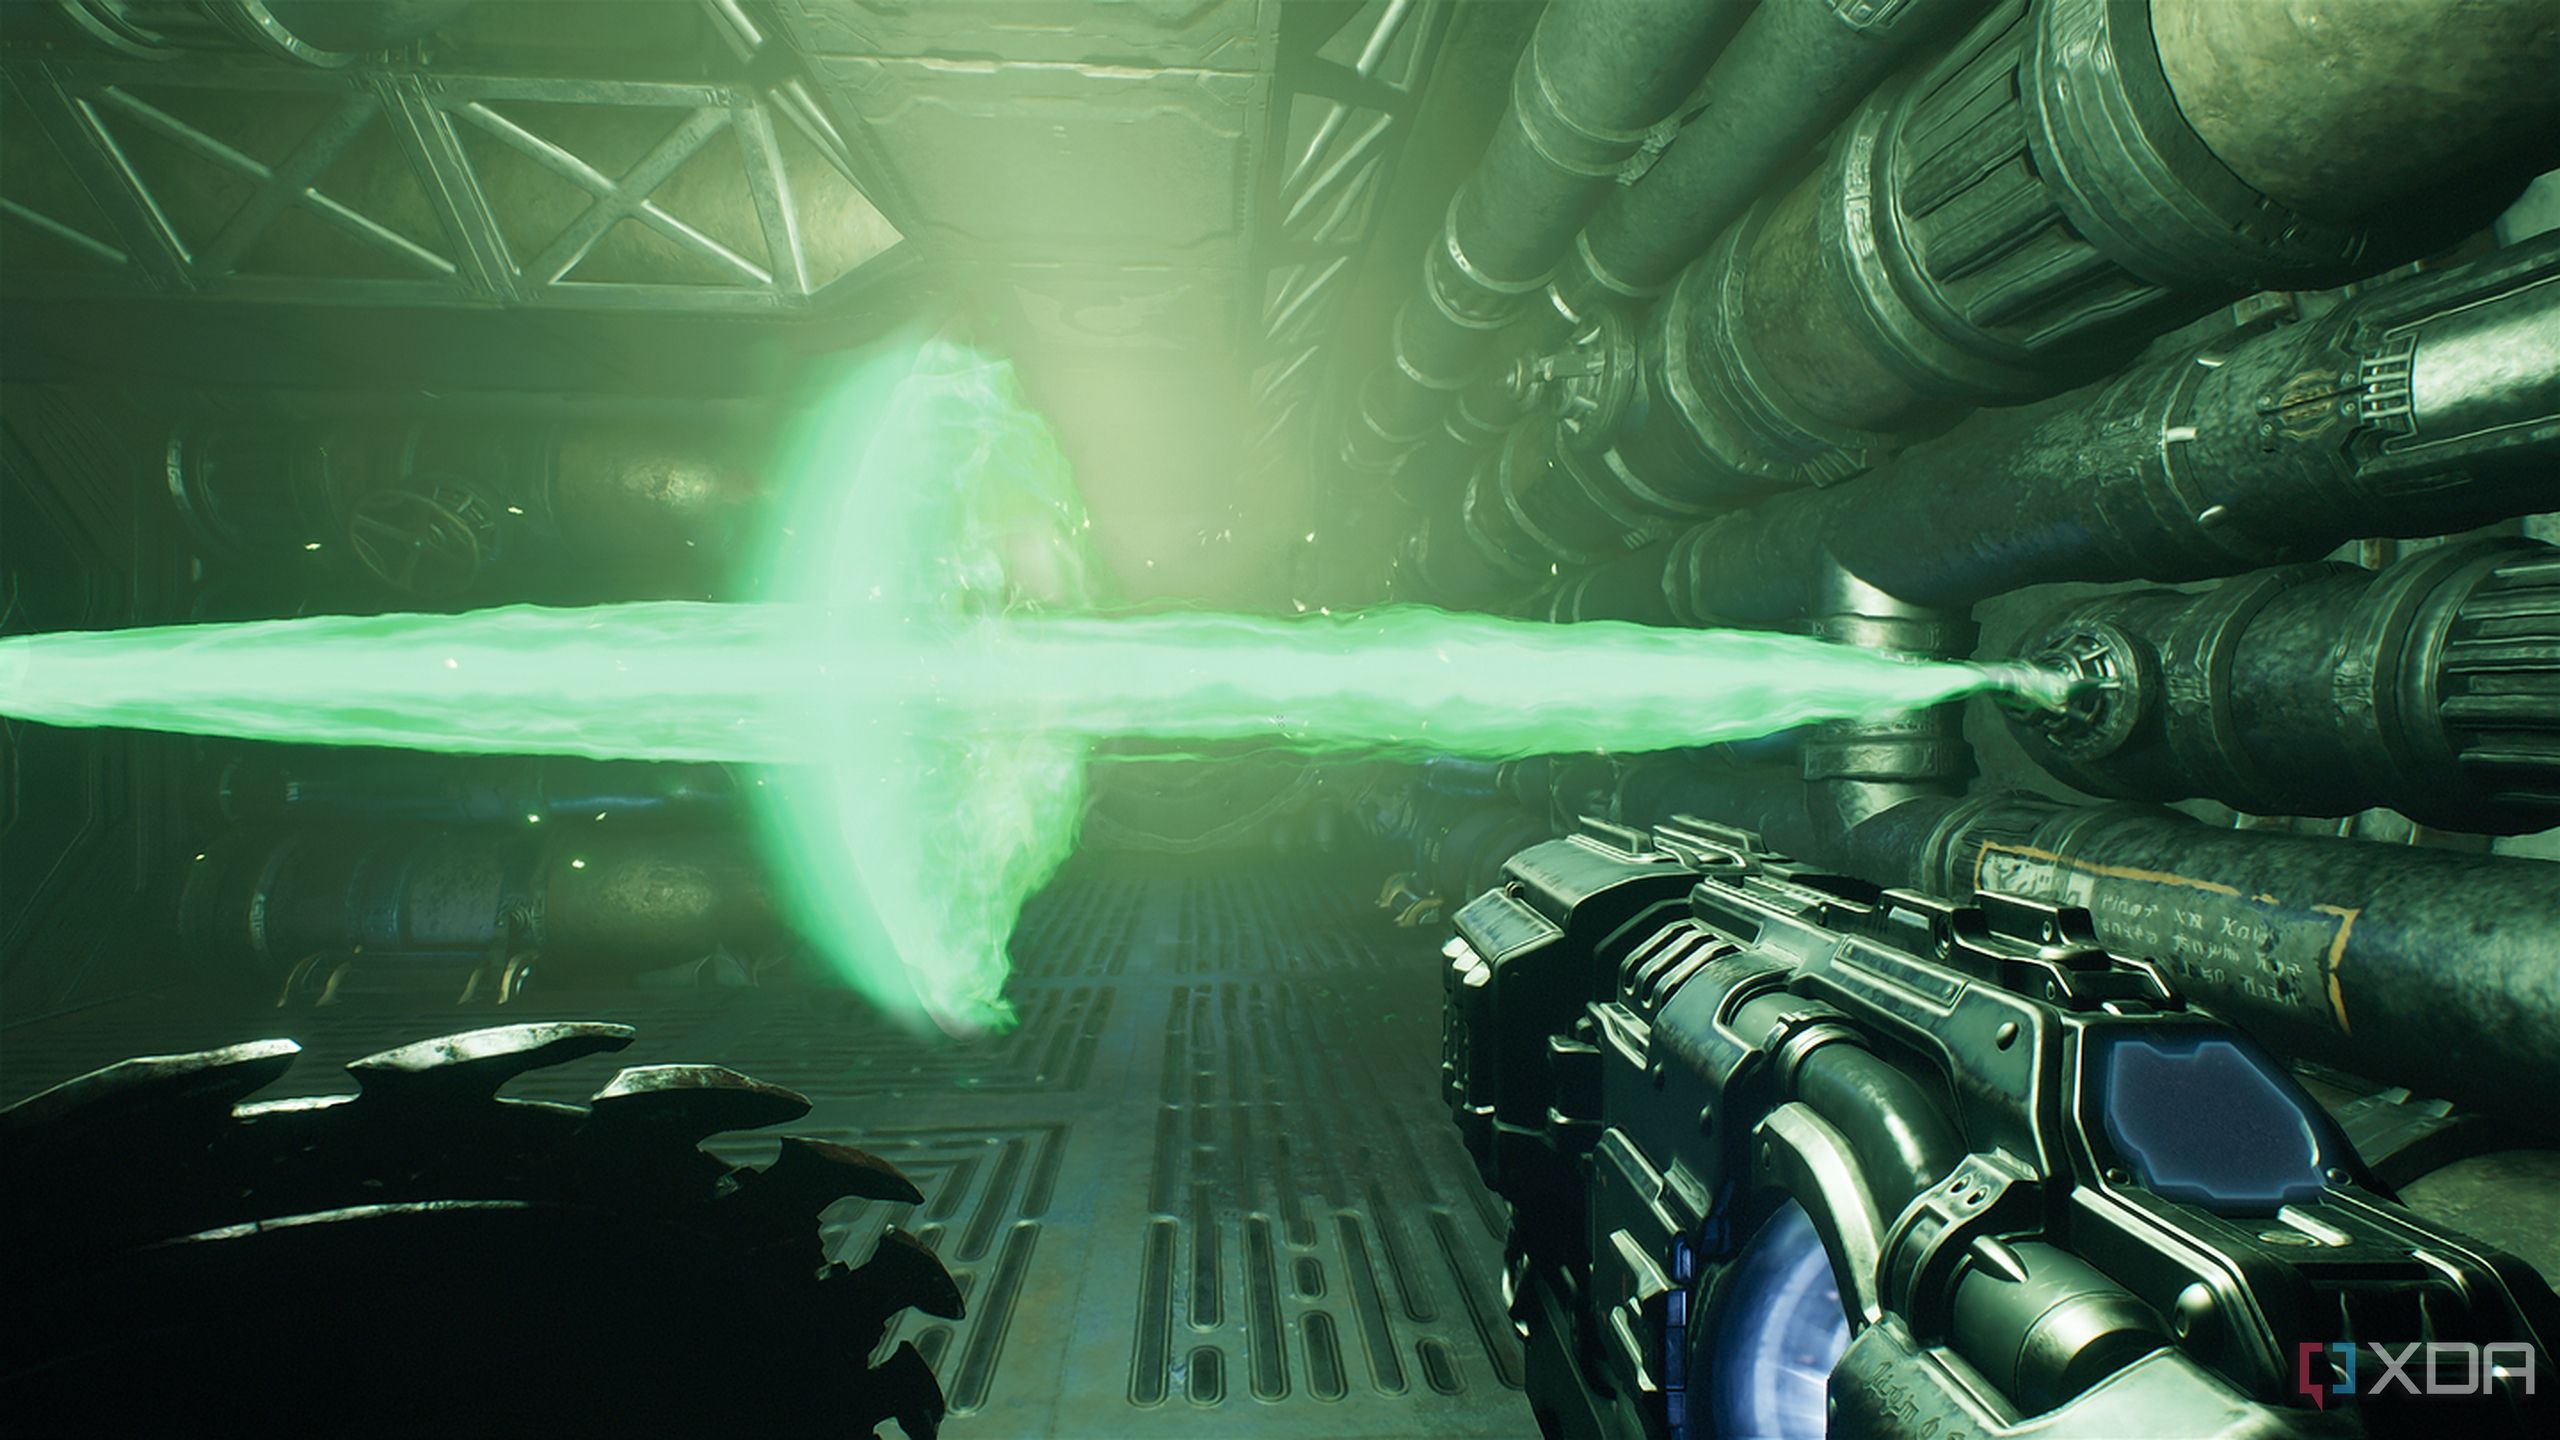
Scramble up the wall to enter a vent, and you’ll meet a machine throwing green-colored energy blasts at you.
Parry one of the blasts right back into the shooting machine, and it will explode, exposing a gold stack to pick up.

Related
10 best first-person shooters that are free to play on Steam
Enter the genre of fast paced first-person shooters with these 10 free-to-play titles on Steam
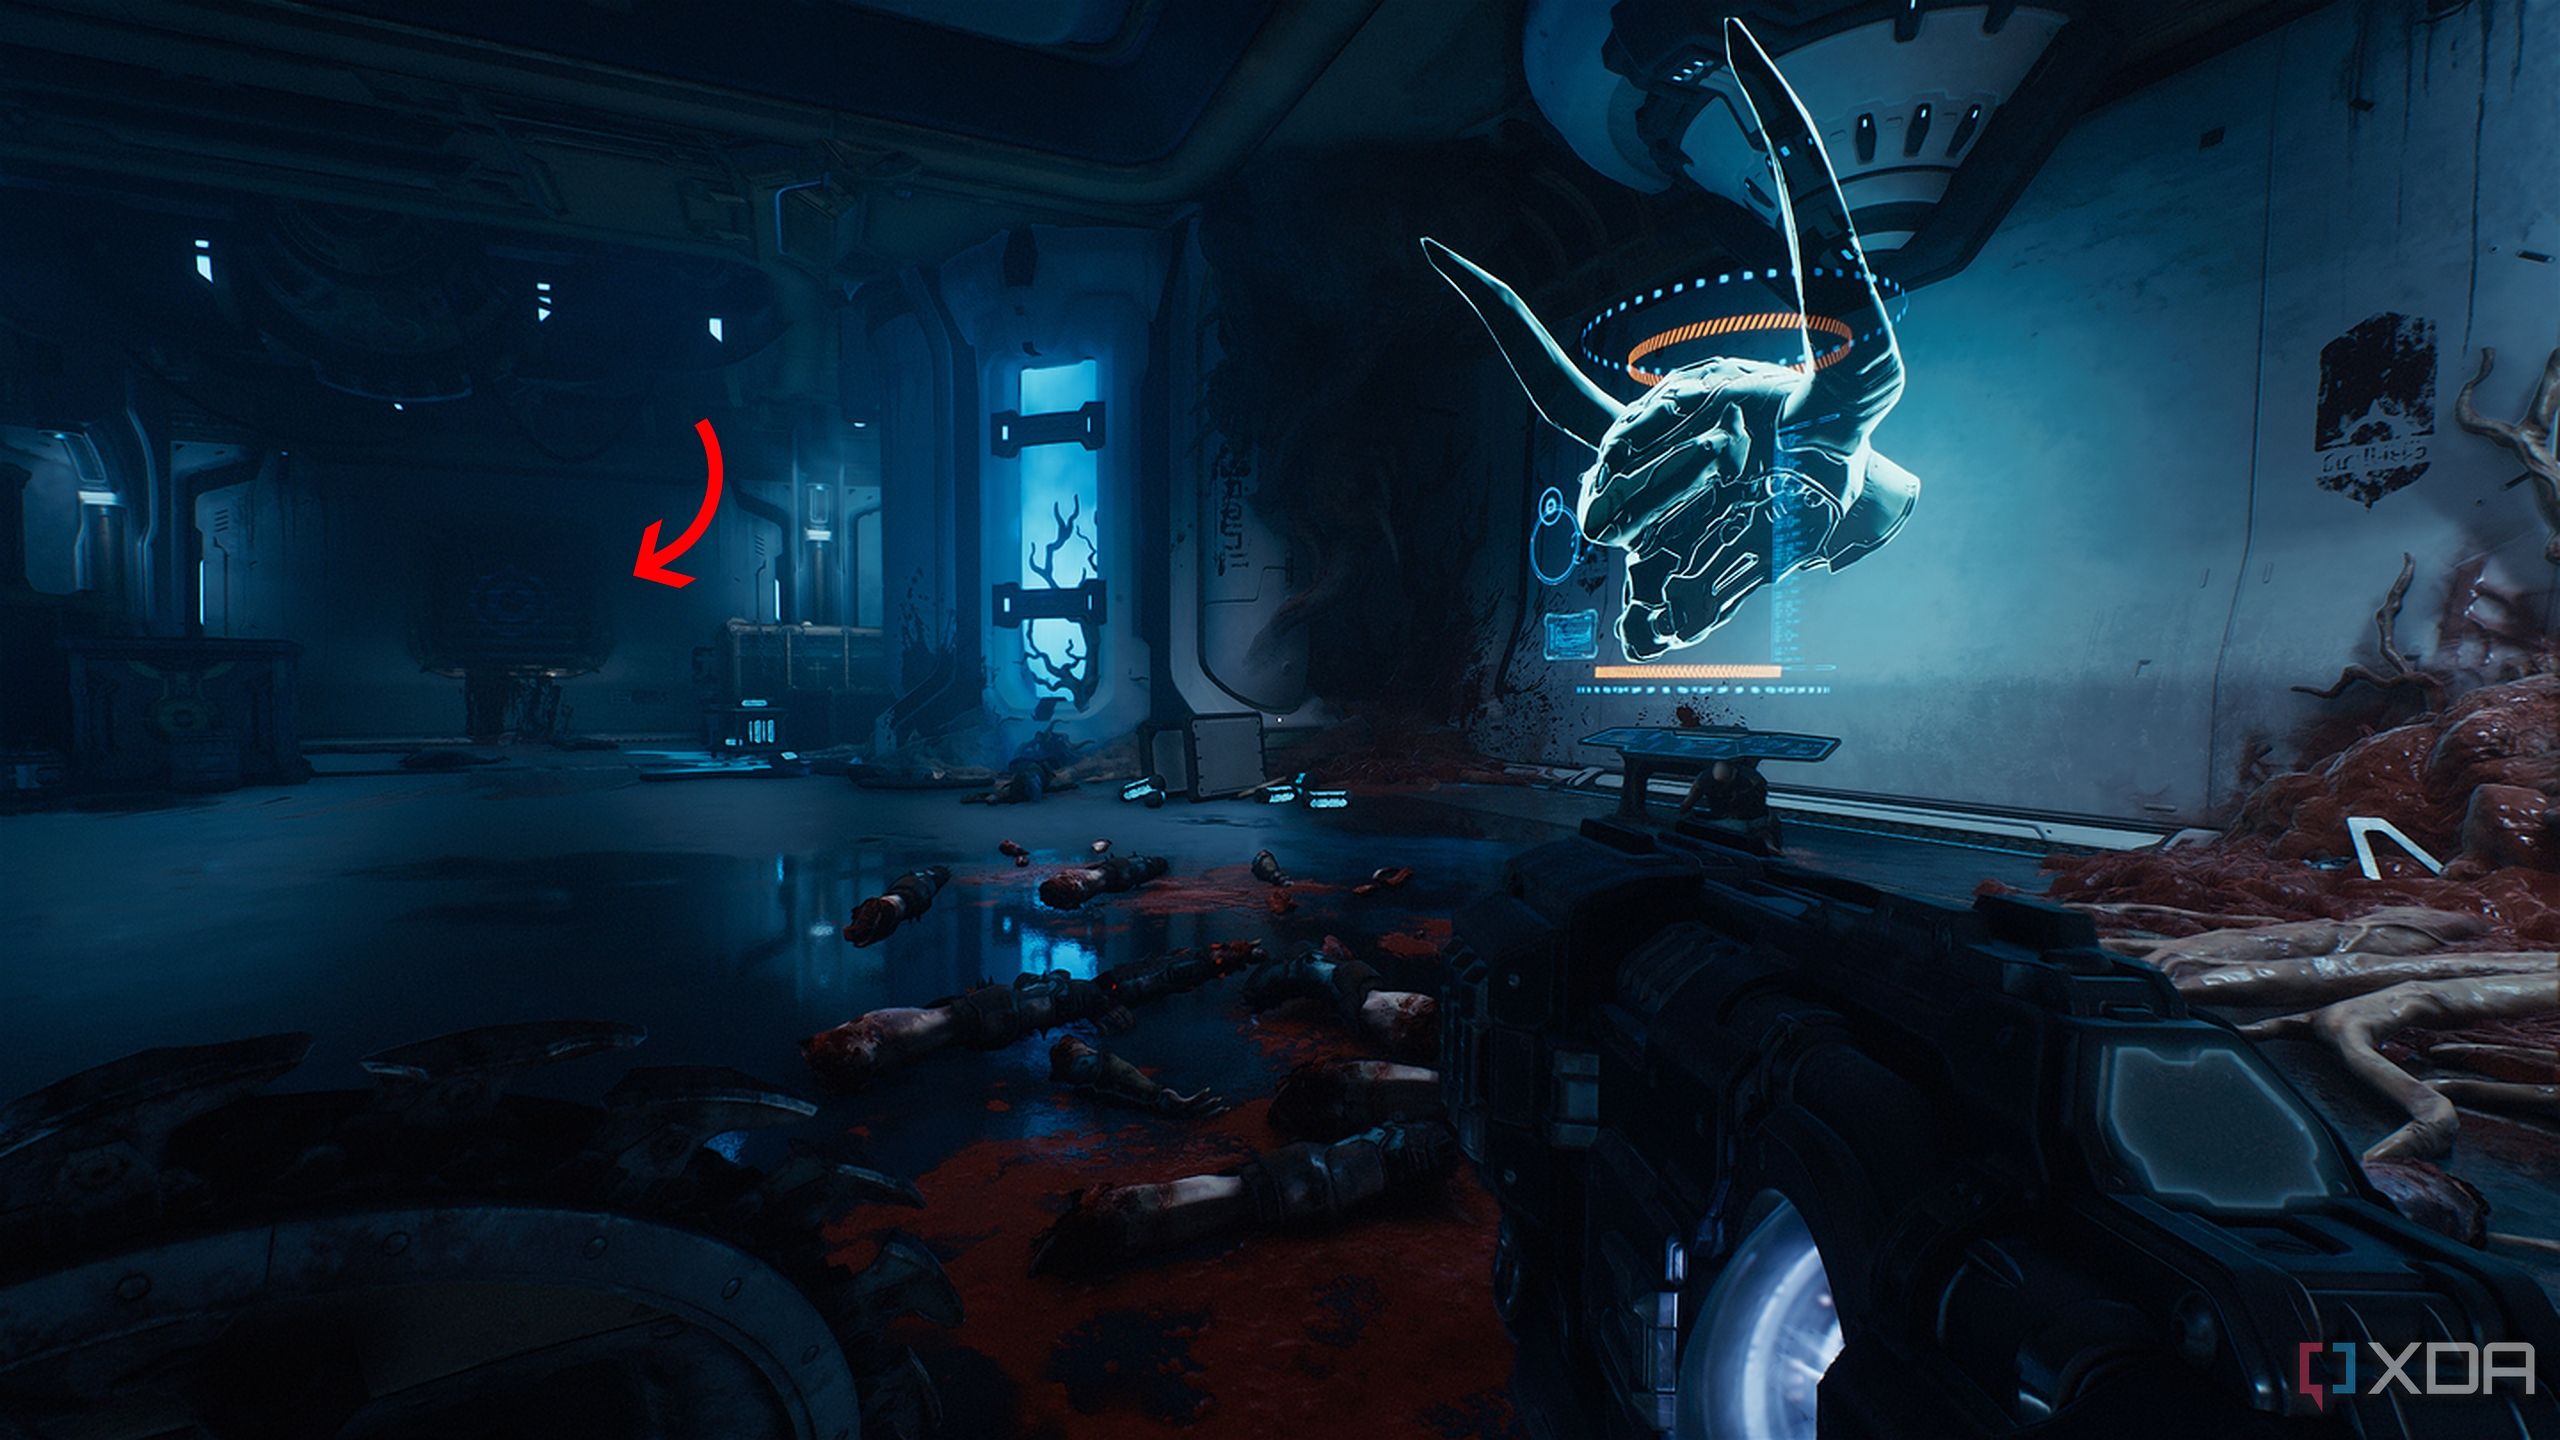
Gold stacks and a new secret area
Cultists beware
After you move into a room with a huge hologram of a full-size Atlan Mech, you’ll fight a Mancubus and a Hell Knight here.
After that, head up the stairs towards your objective, and you’ll be right back in an old familiar corridor.

This is where the demonic seal prevented you from getting to a few praying cultists.

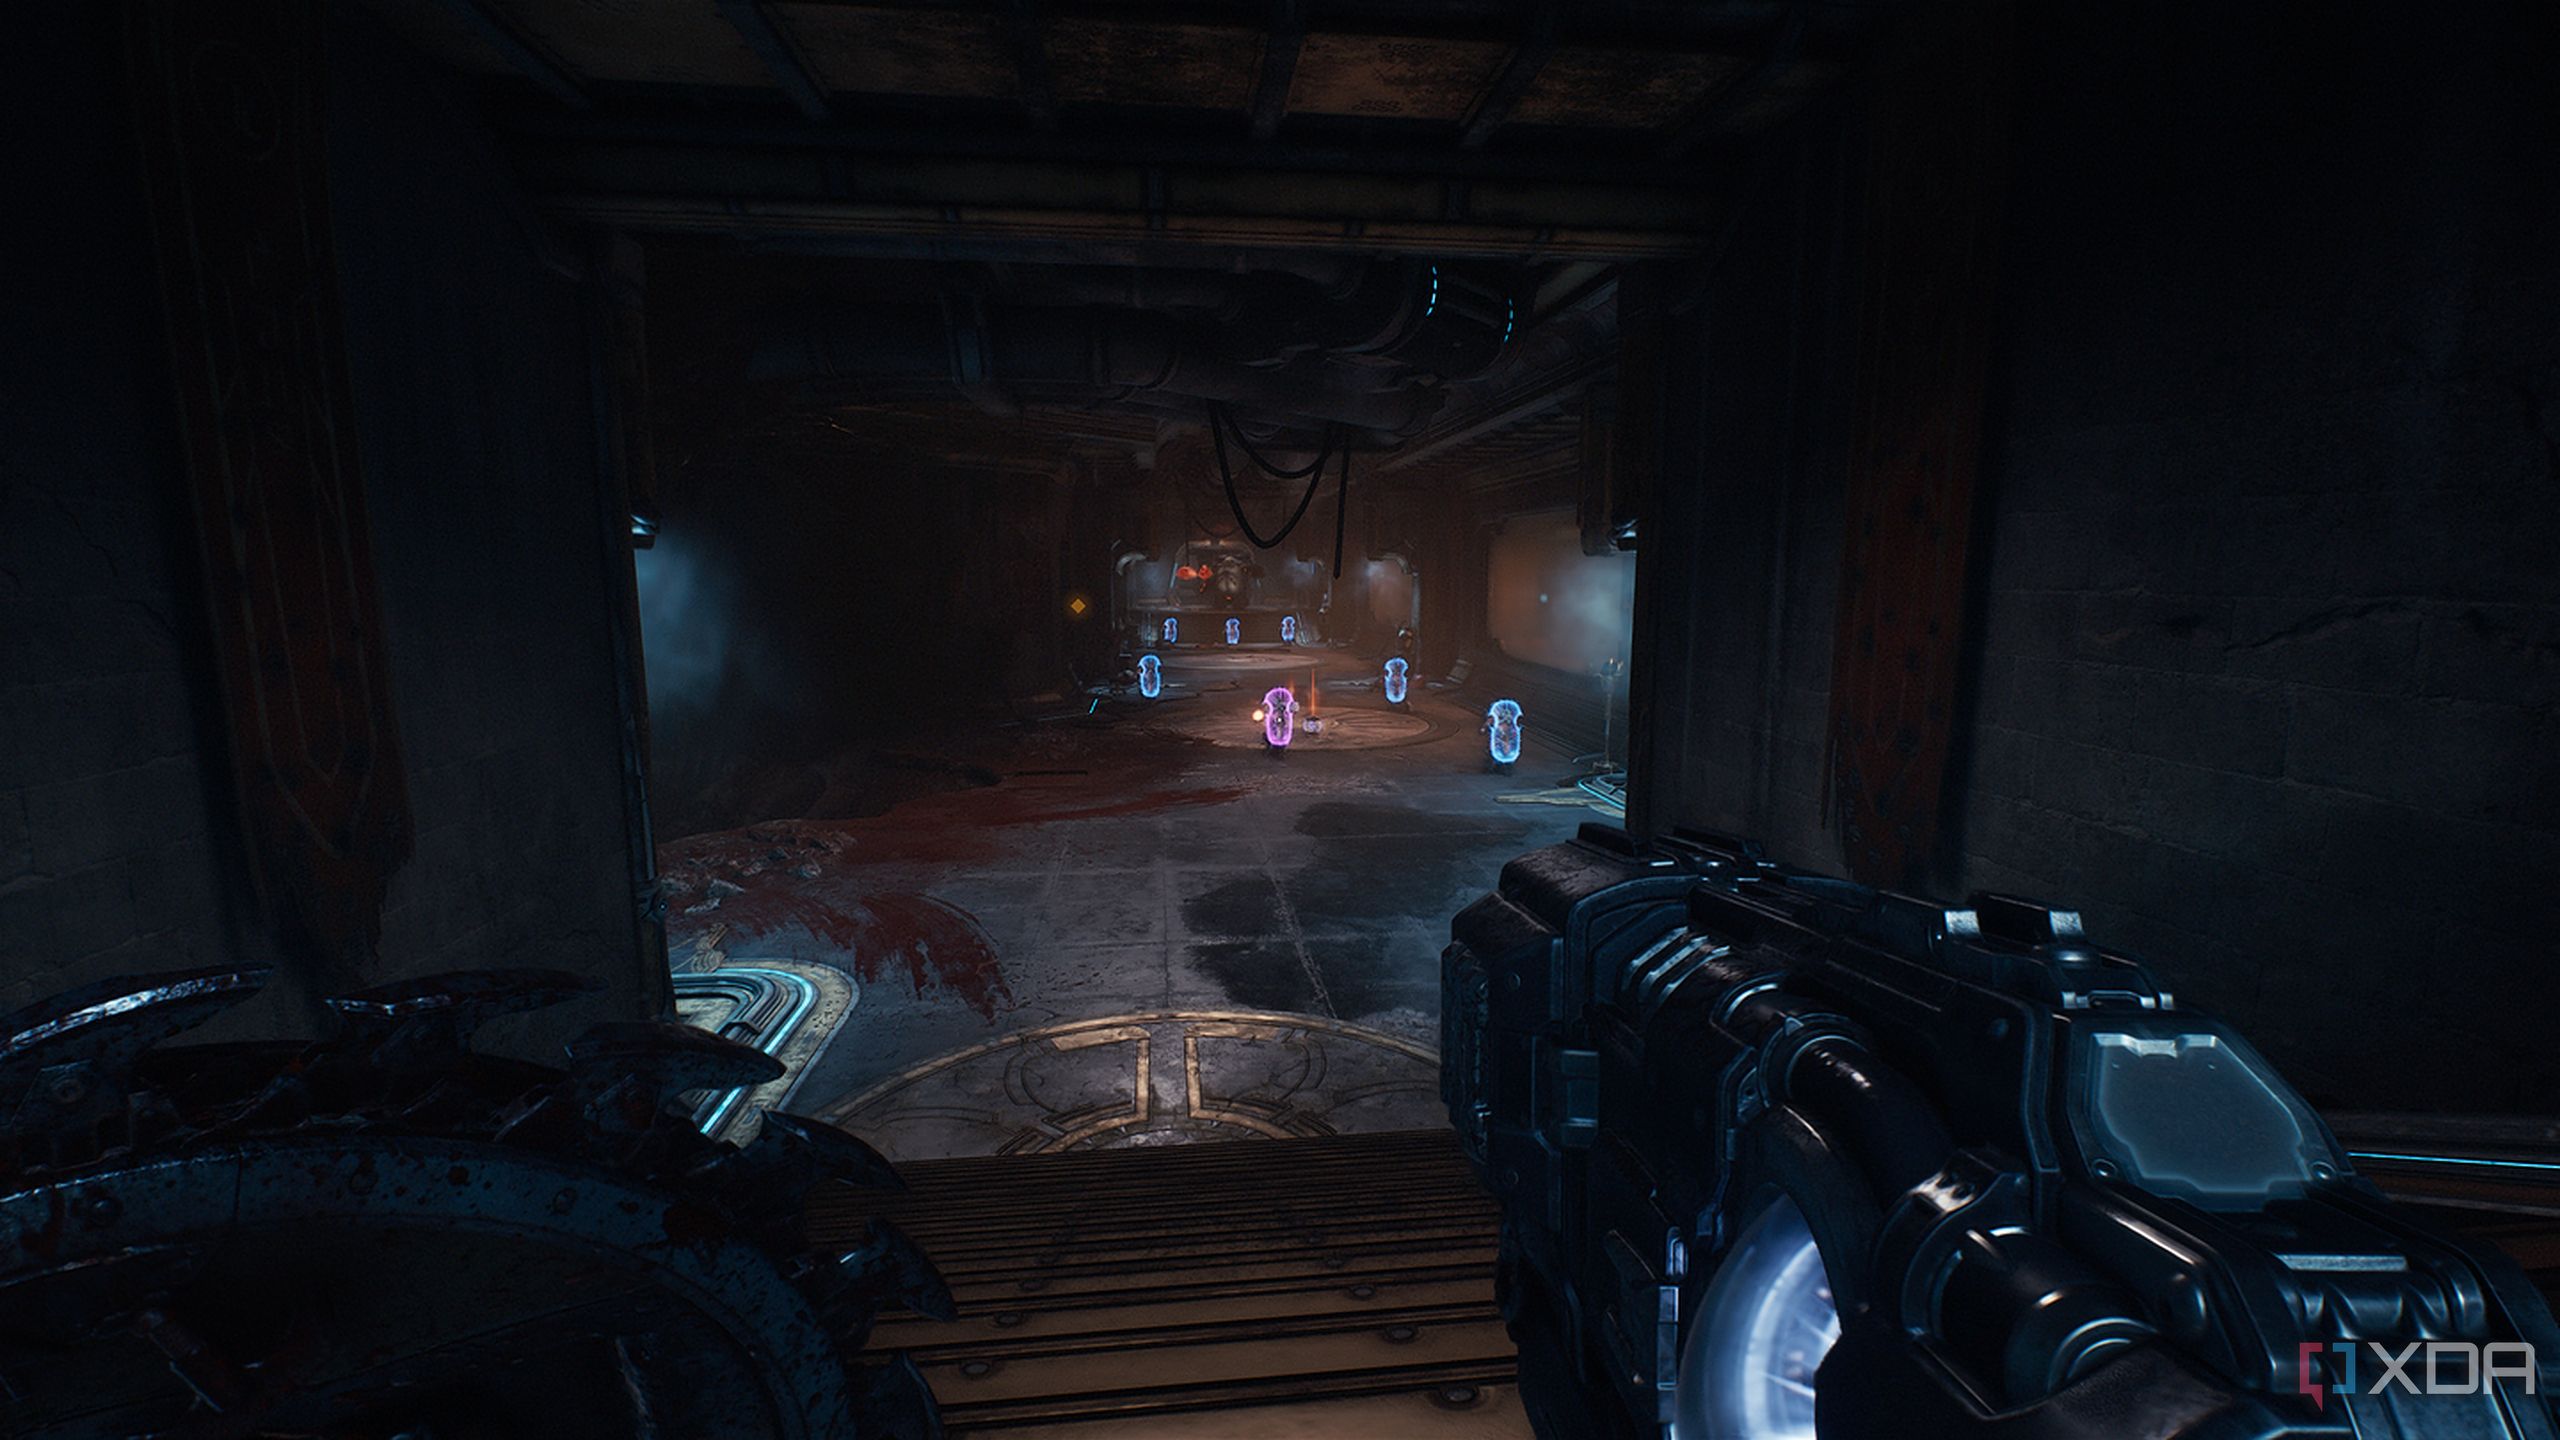
Head down to the left to show the cultists the price of praying to demons and clear the prayer circle up.
Don't forget to pick up the gold stack to them up a tiny flight of stairs before you move back into the main corridor to fight another Mancubus.
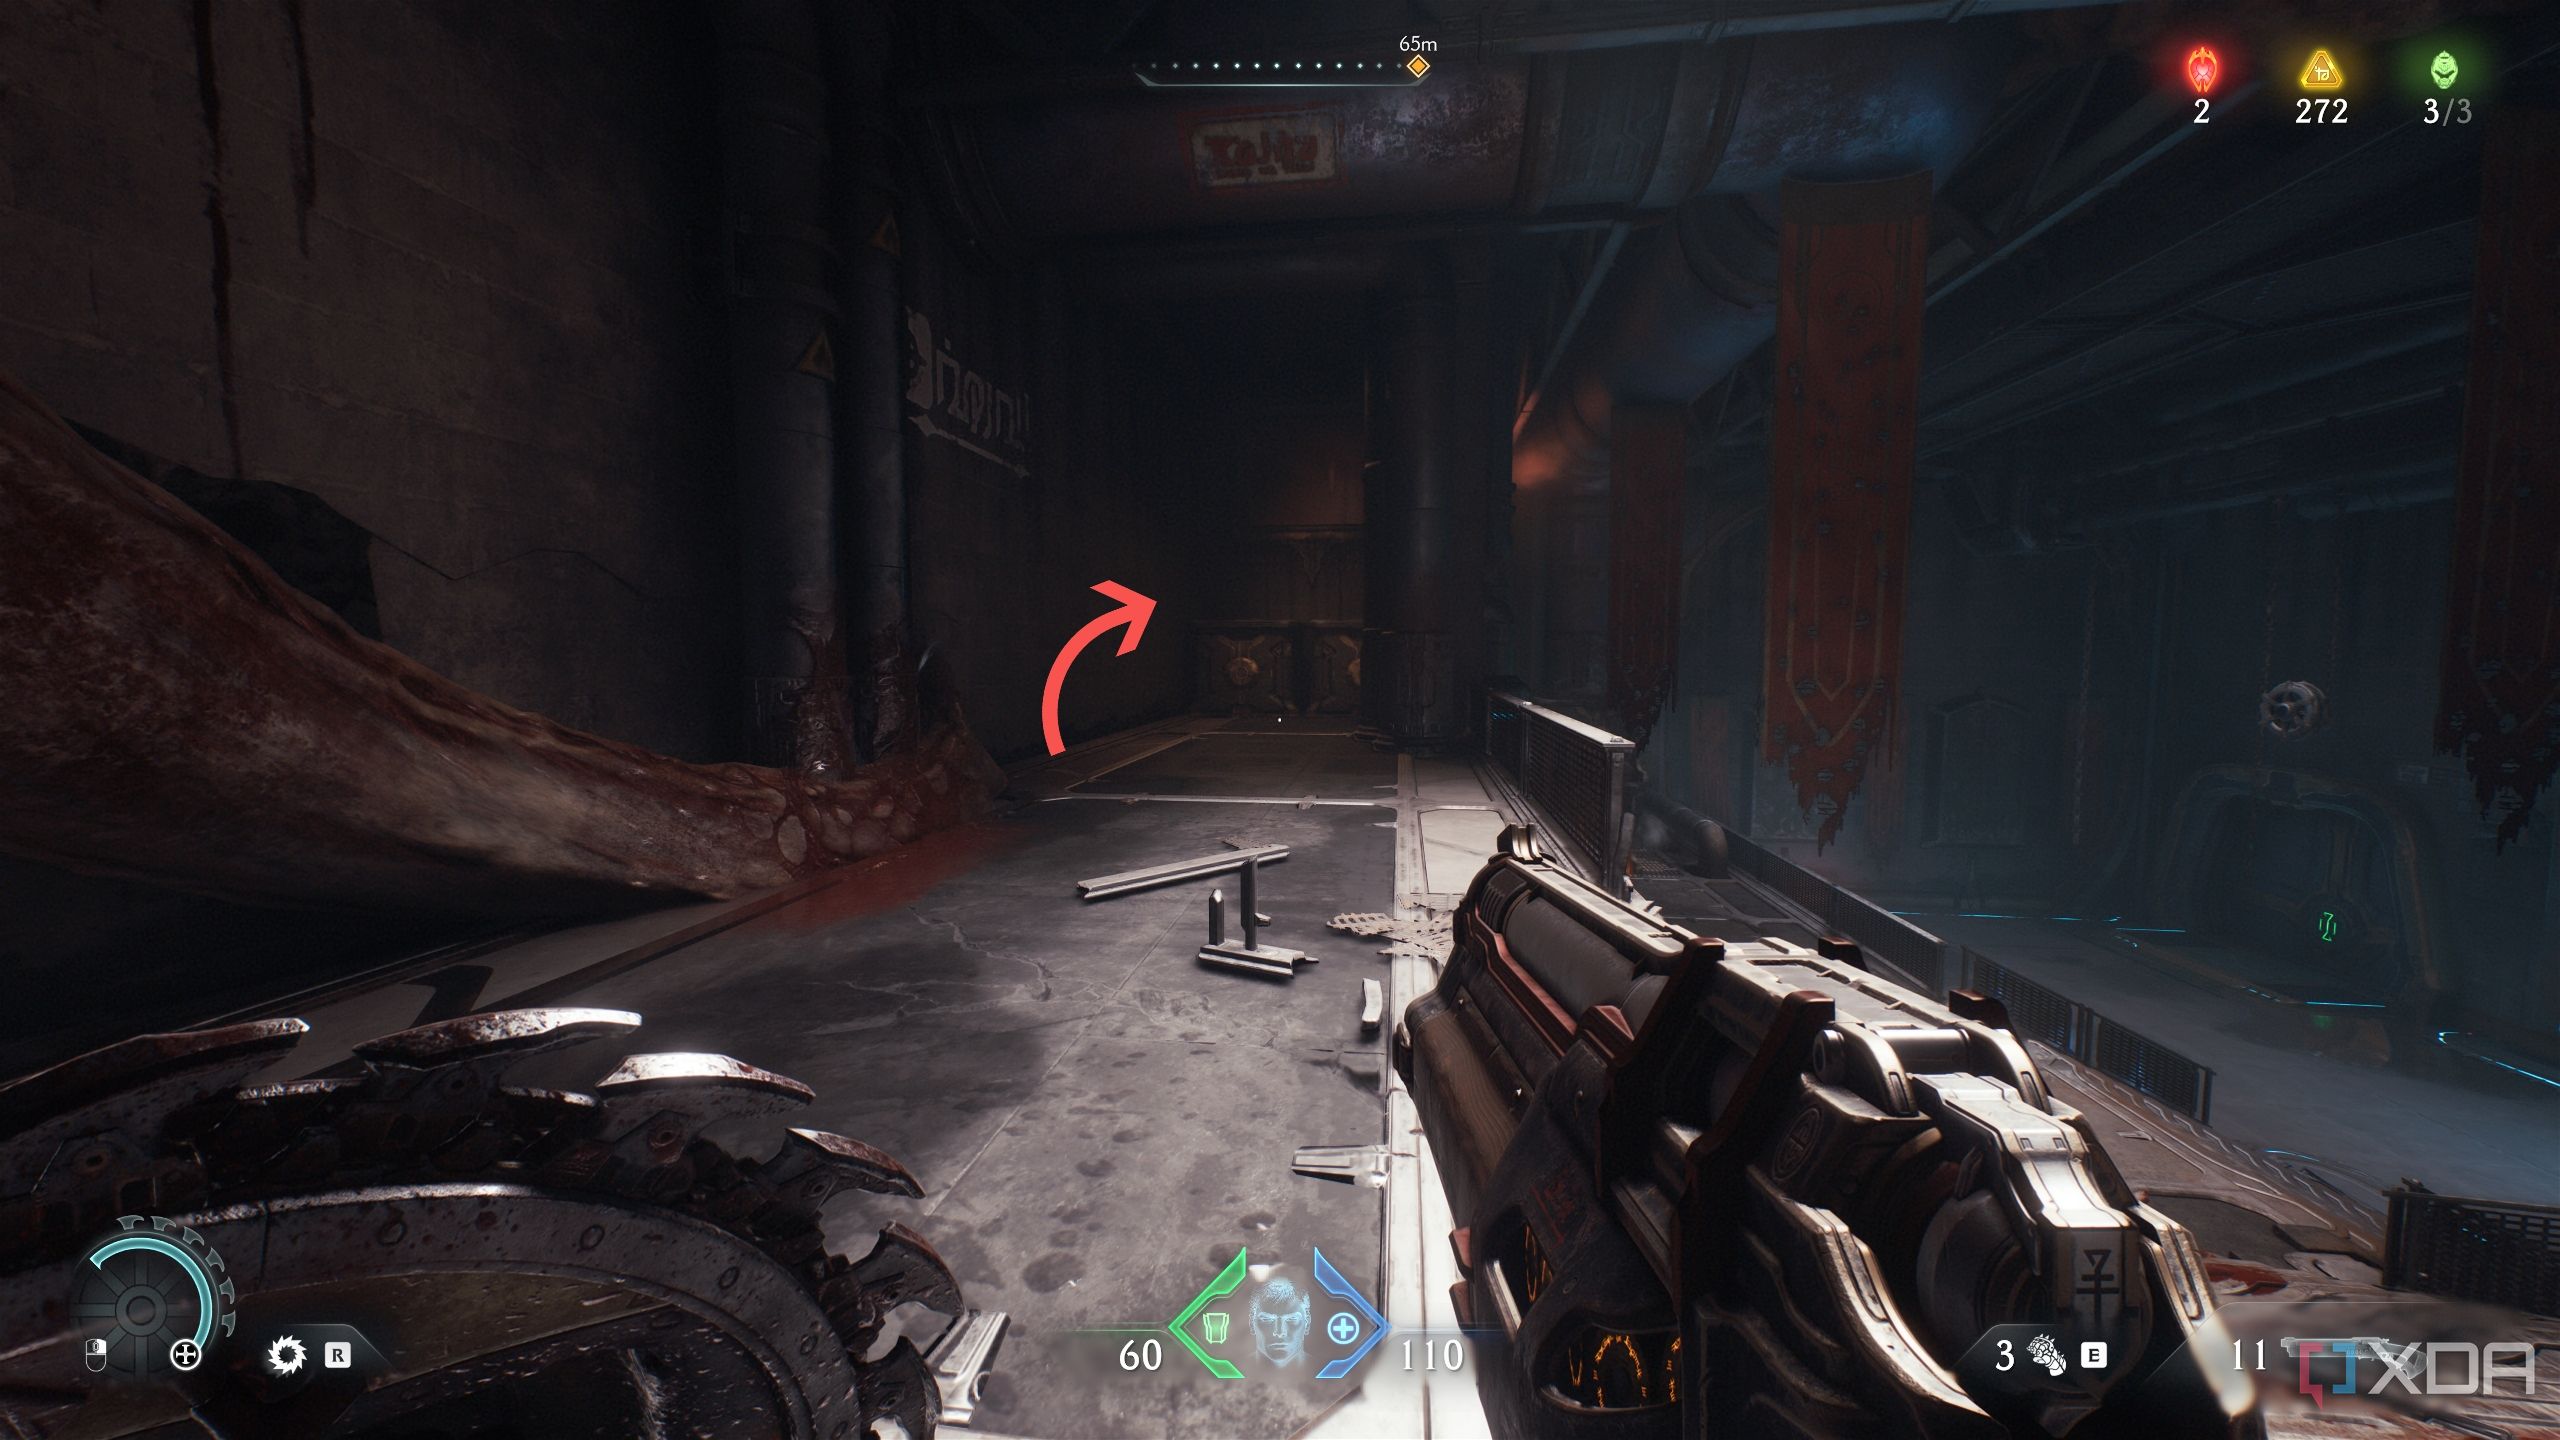
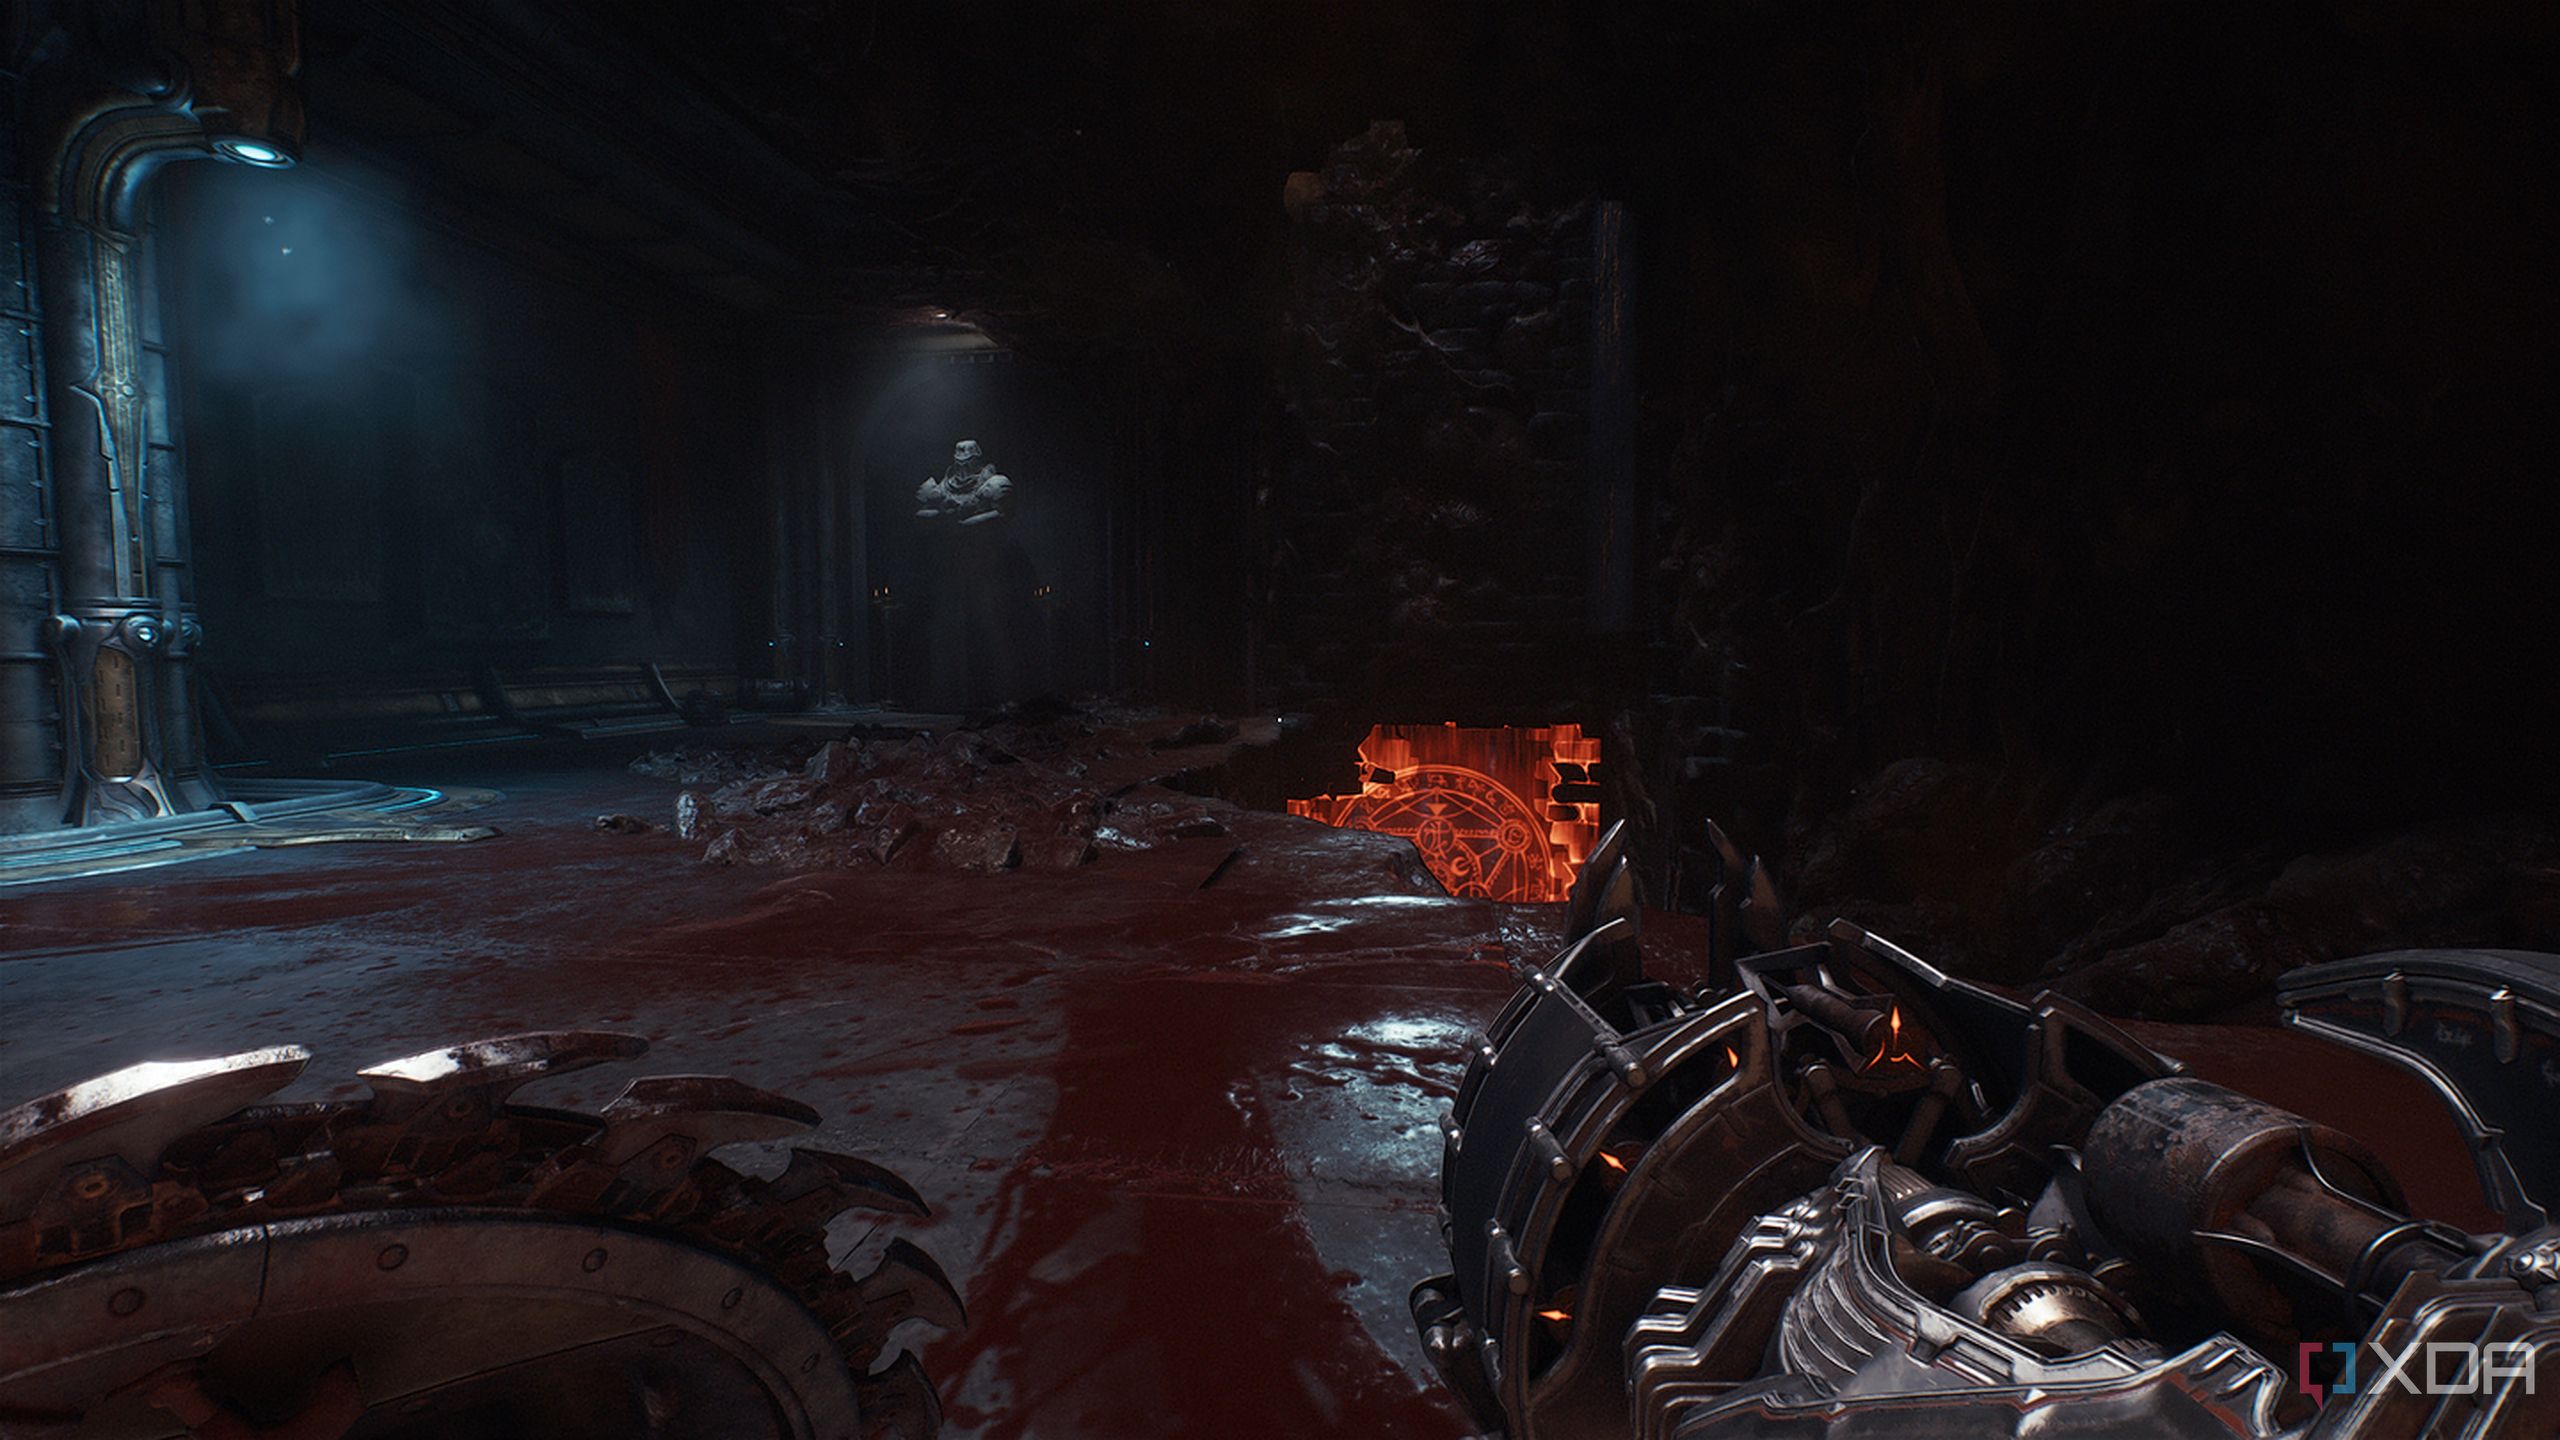
Life Sigil 3, and more gold
To get back on the horse
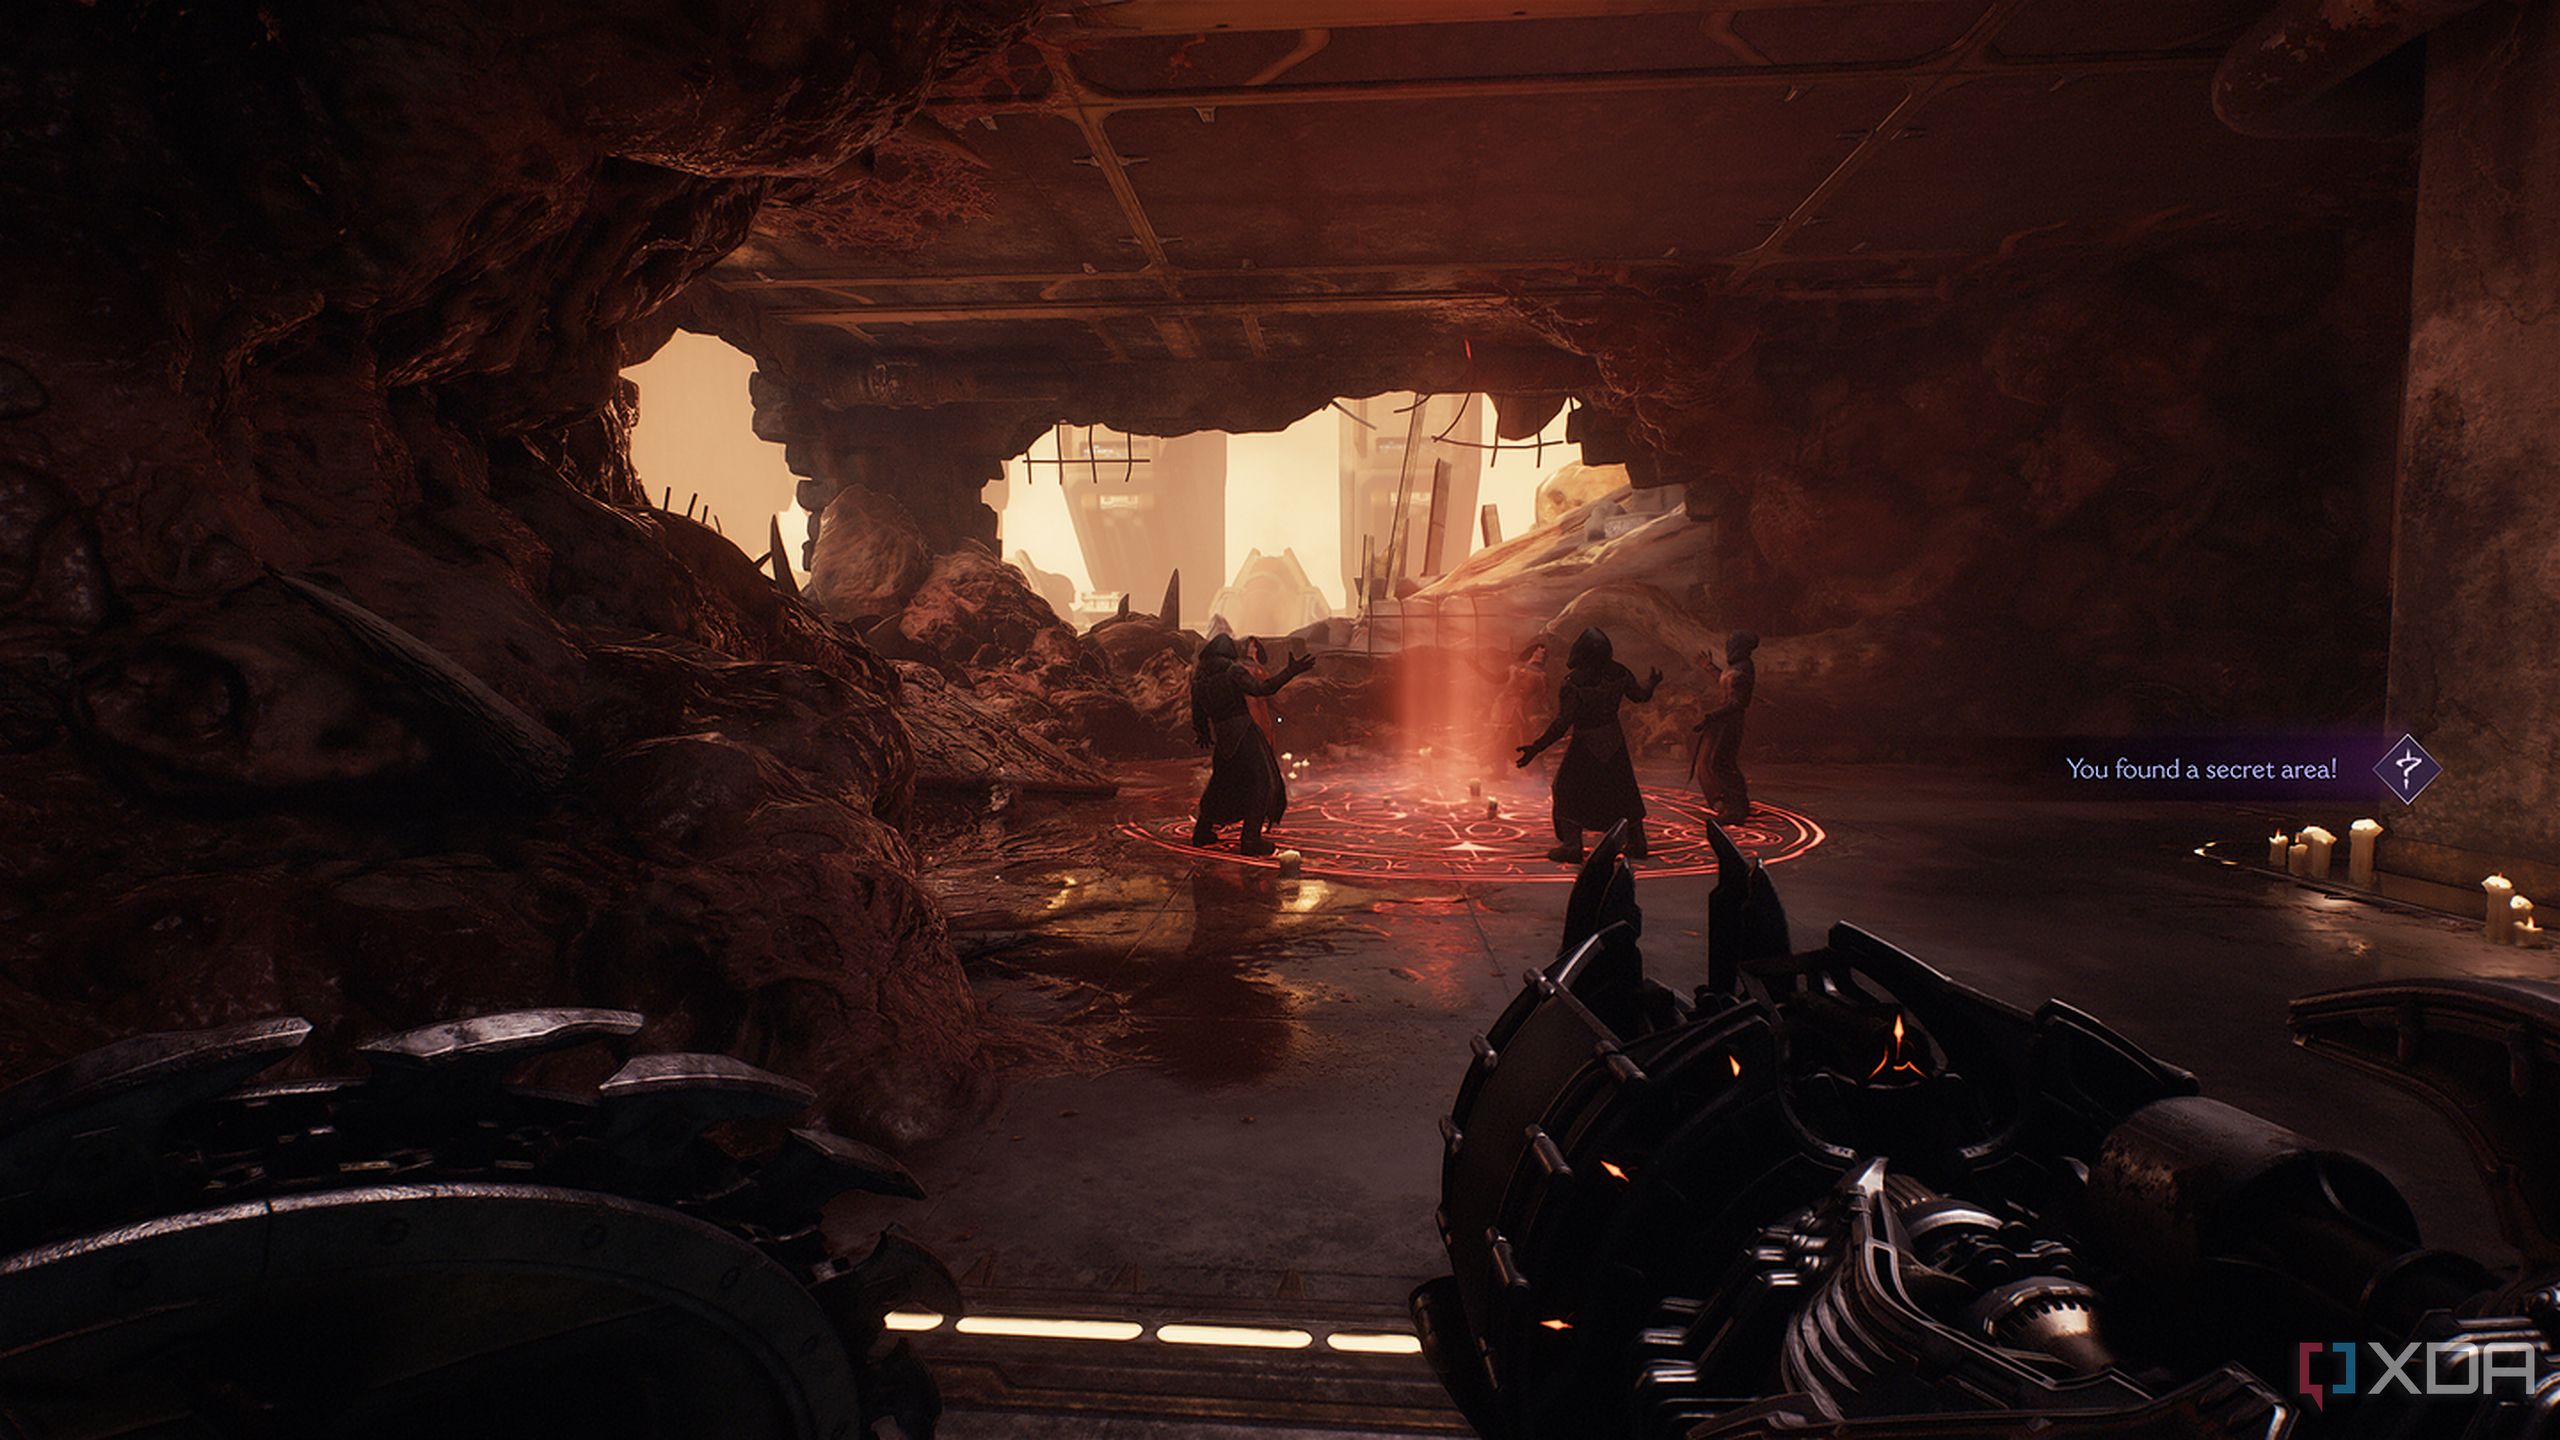
Once the map opens up again, and you find yourself in your first encounter with Imp Stalkers and a Hell Knight, take care of them before looking down to find a secret room. The entrance, however, is covered by flames.
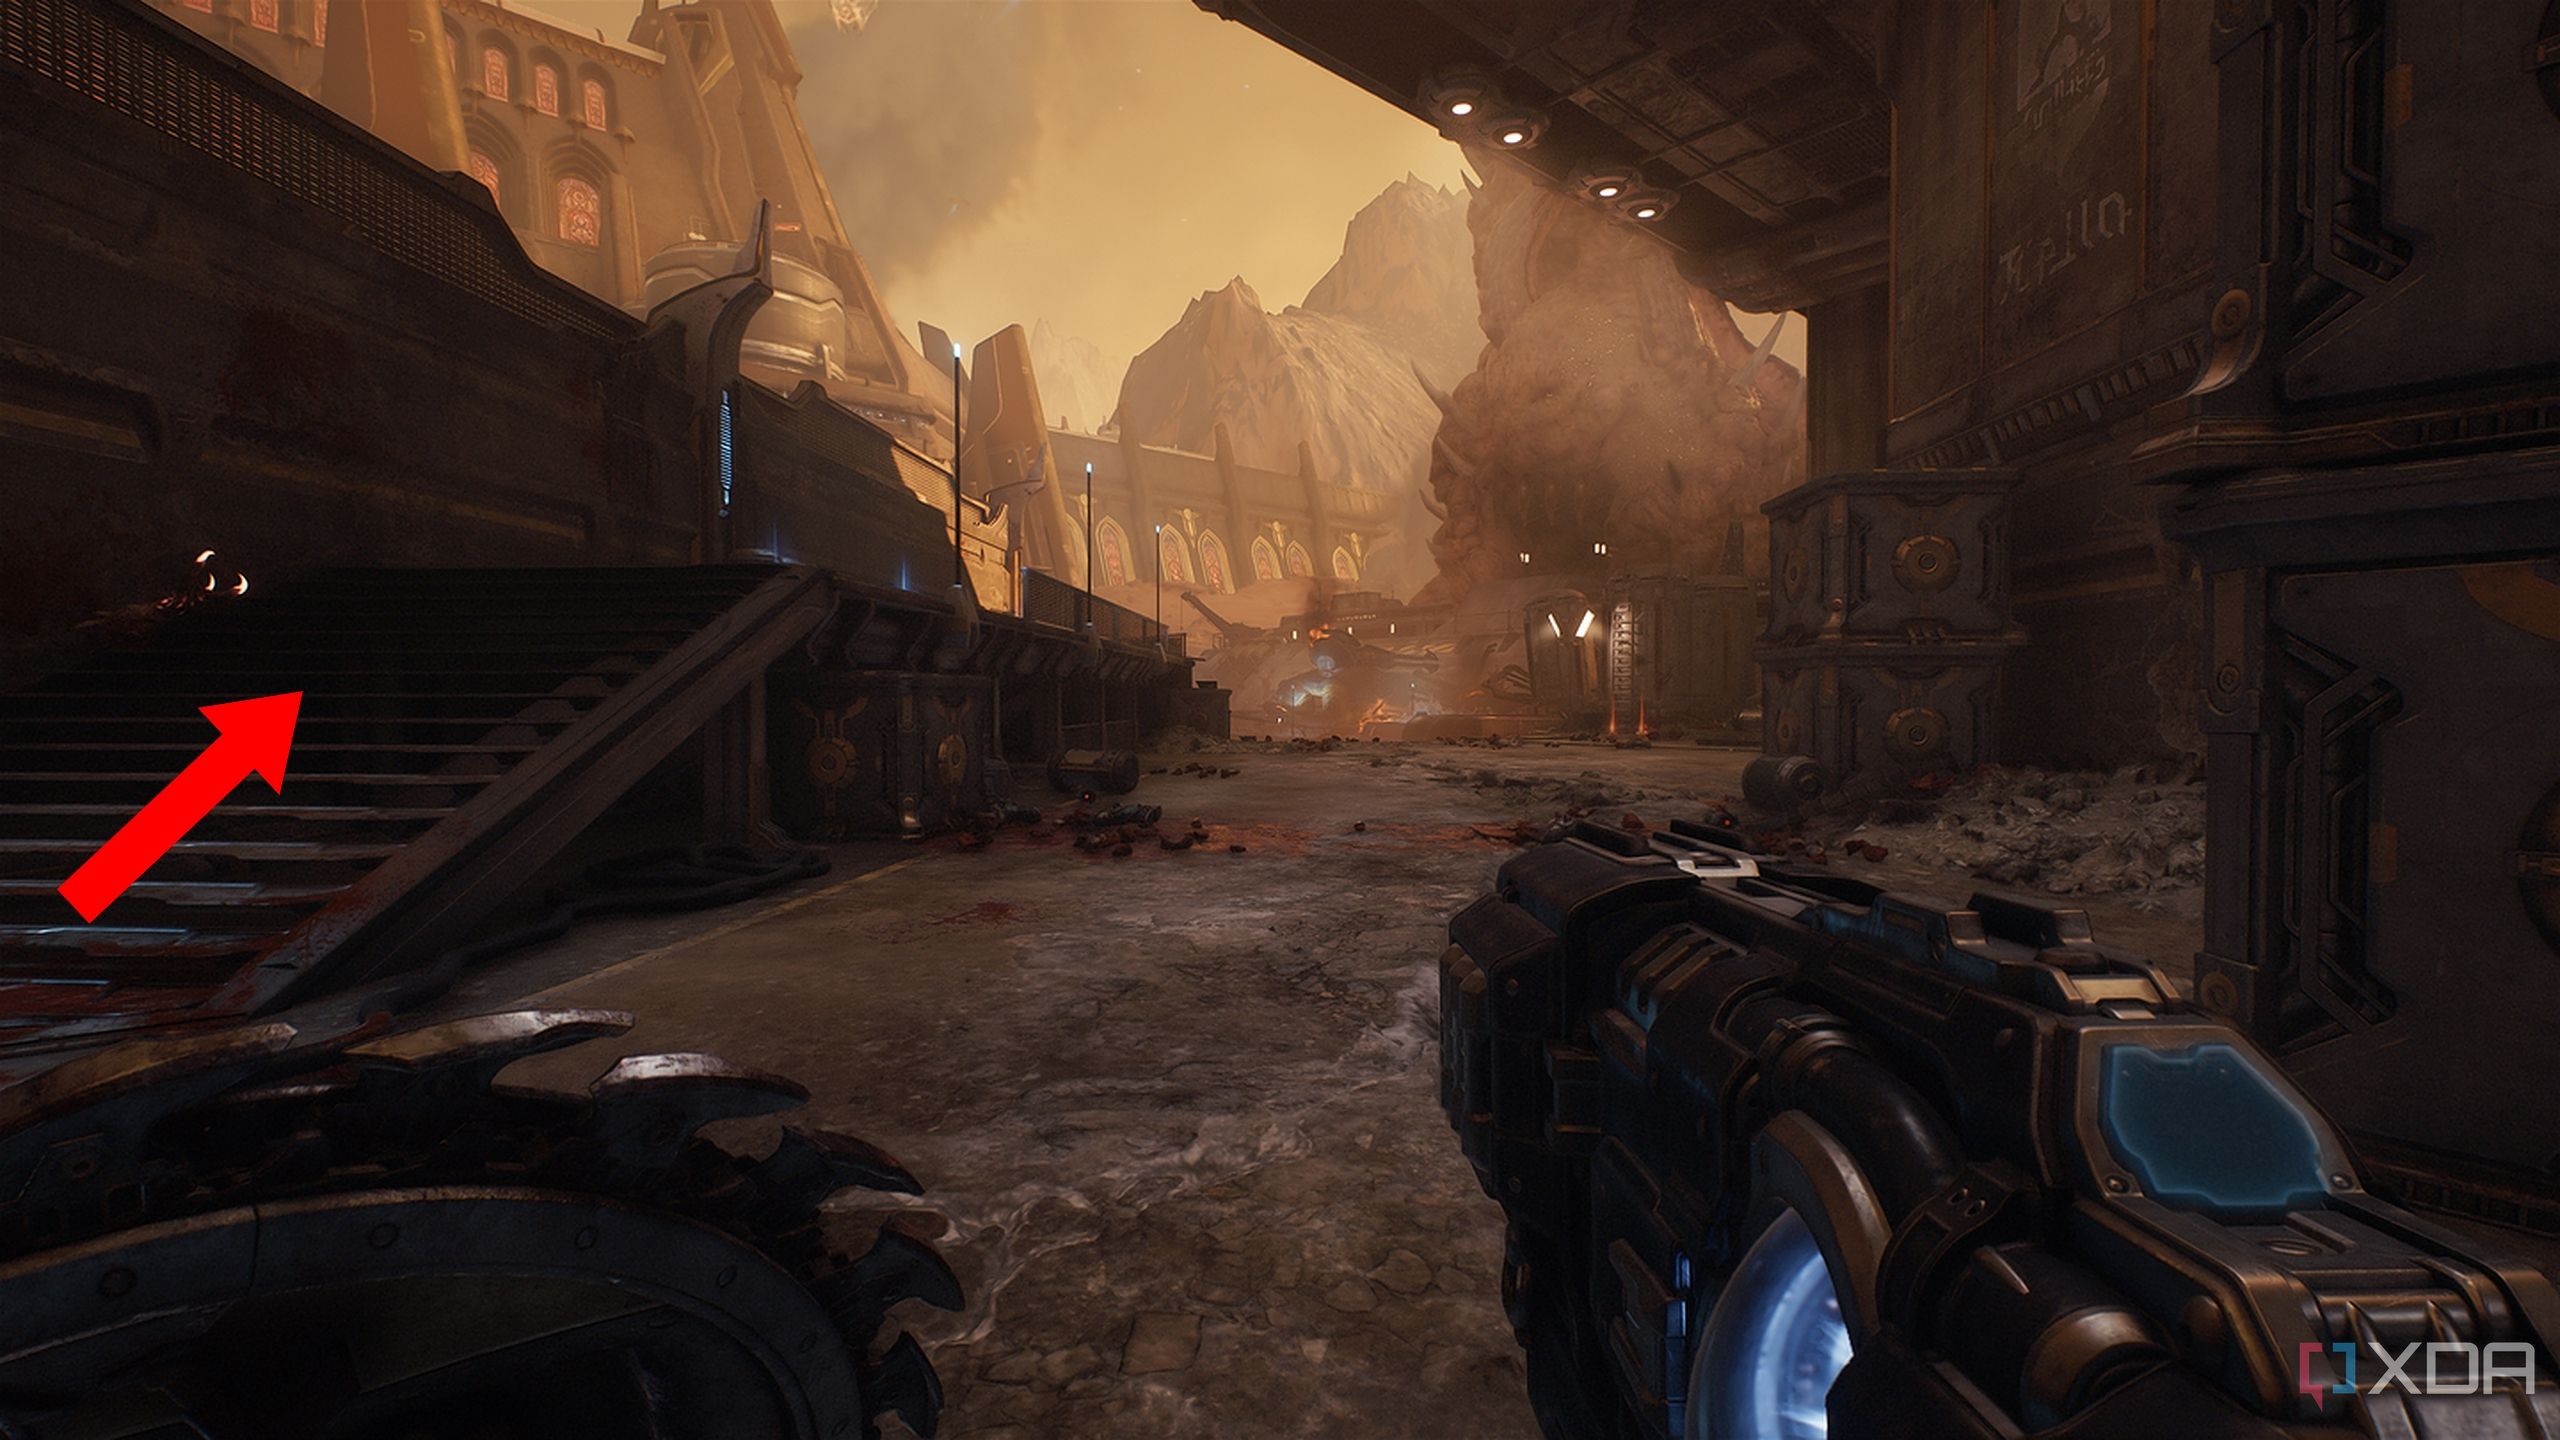
Take a few steps back to the area of the first encounter, and you’ll find a walkway on the left side.
Follow it and jump on the building in the middle to pick up some gold bars.
Then, look to the left to find a heated metal cross to break with a Shield Throw, and jump into the hole you’ve created in the wall.
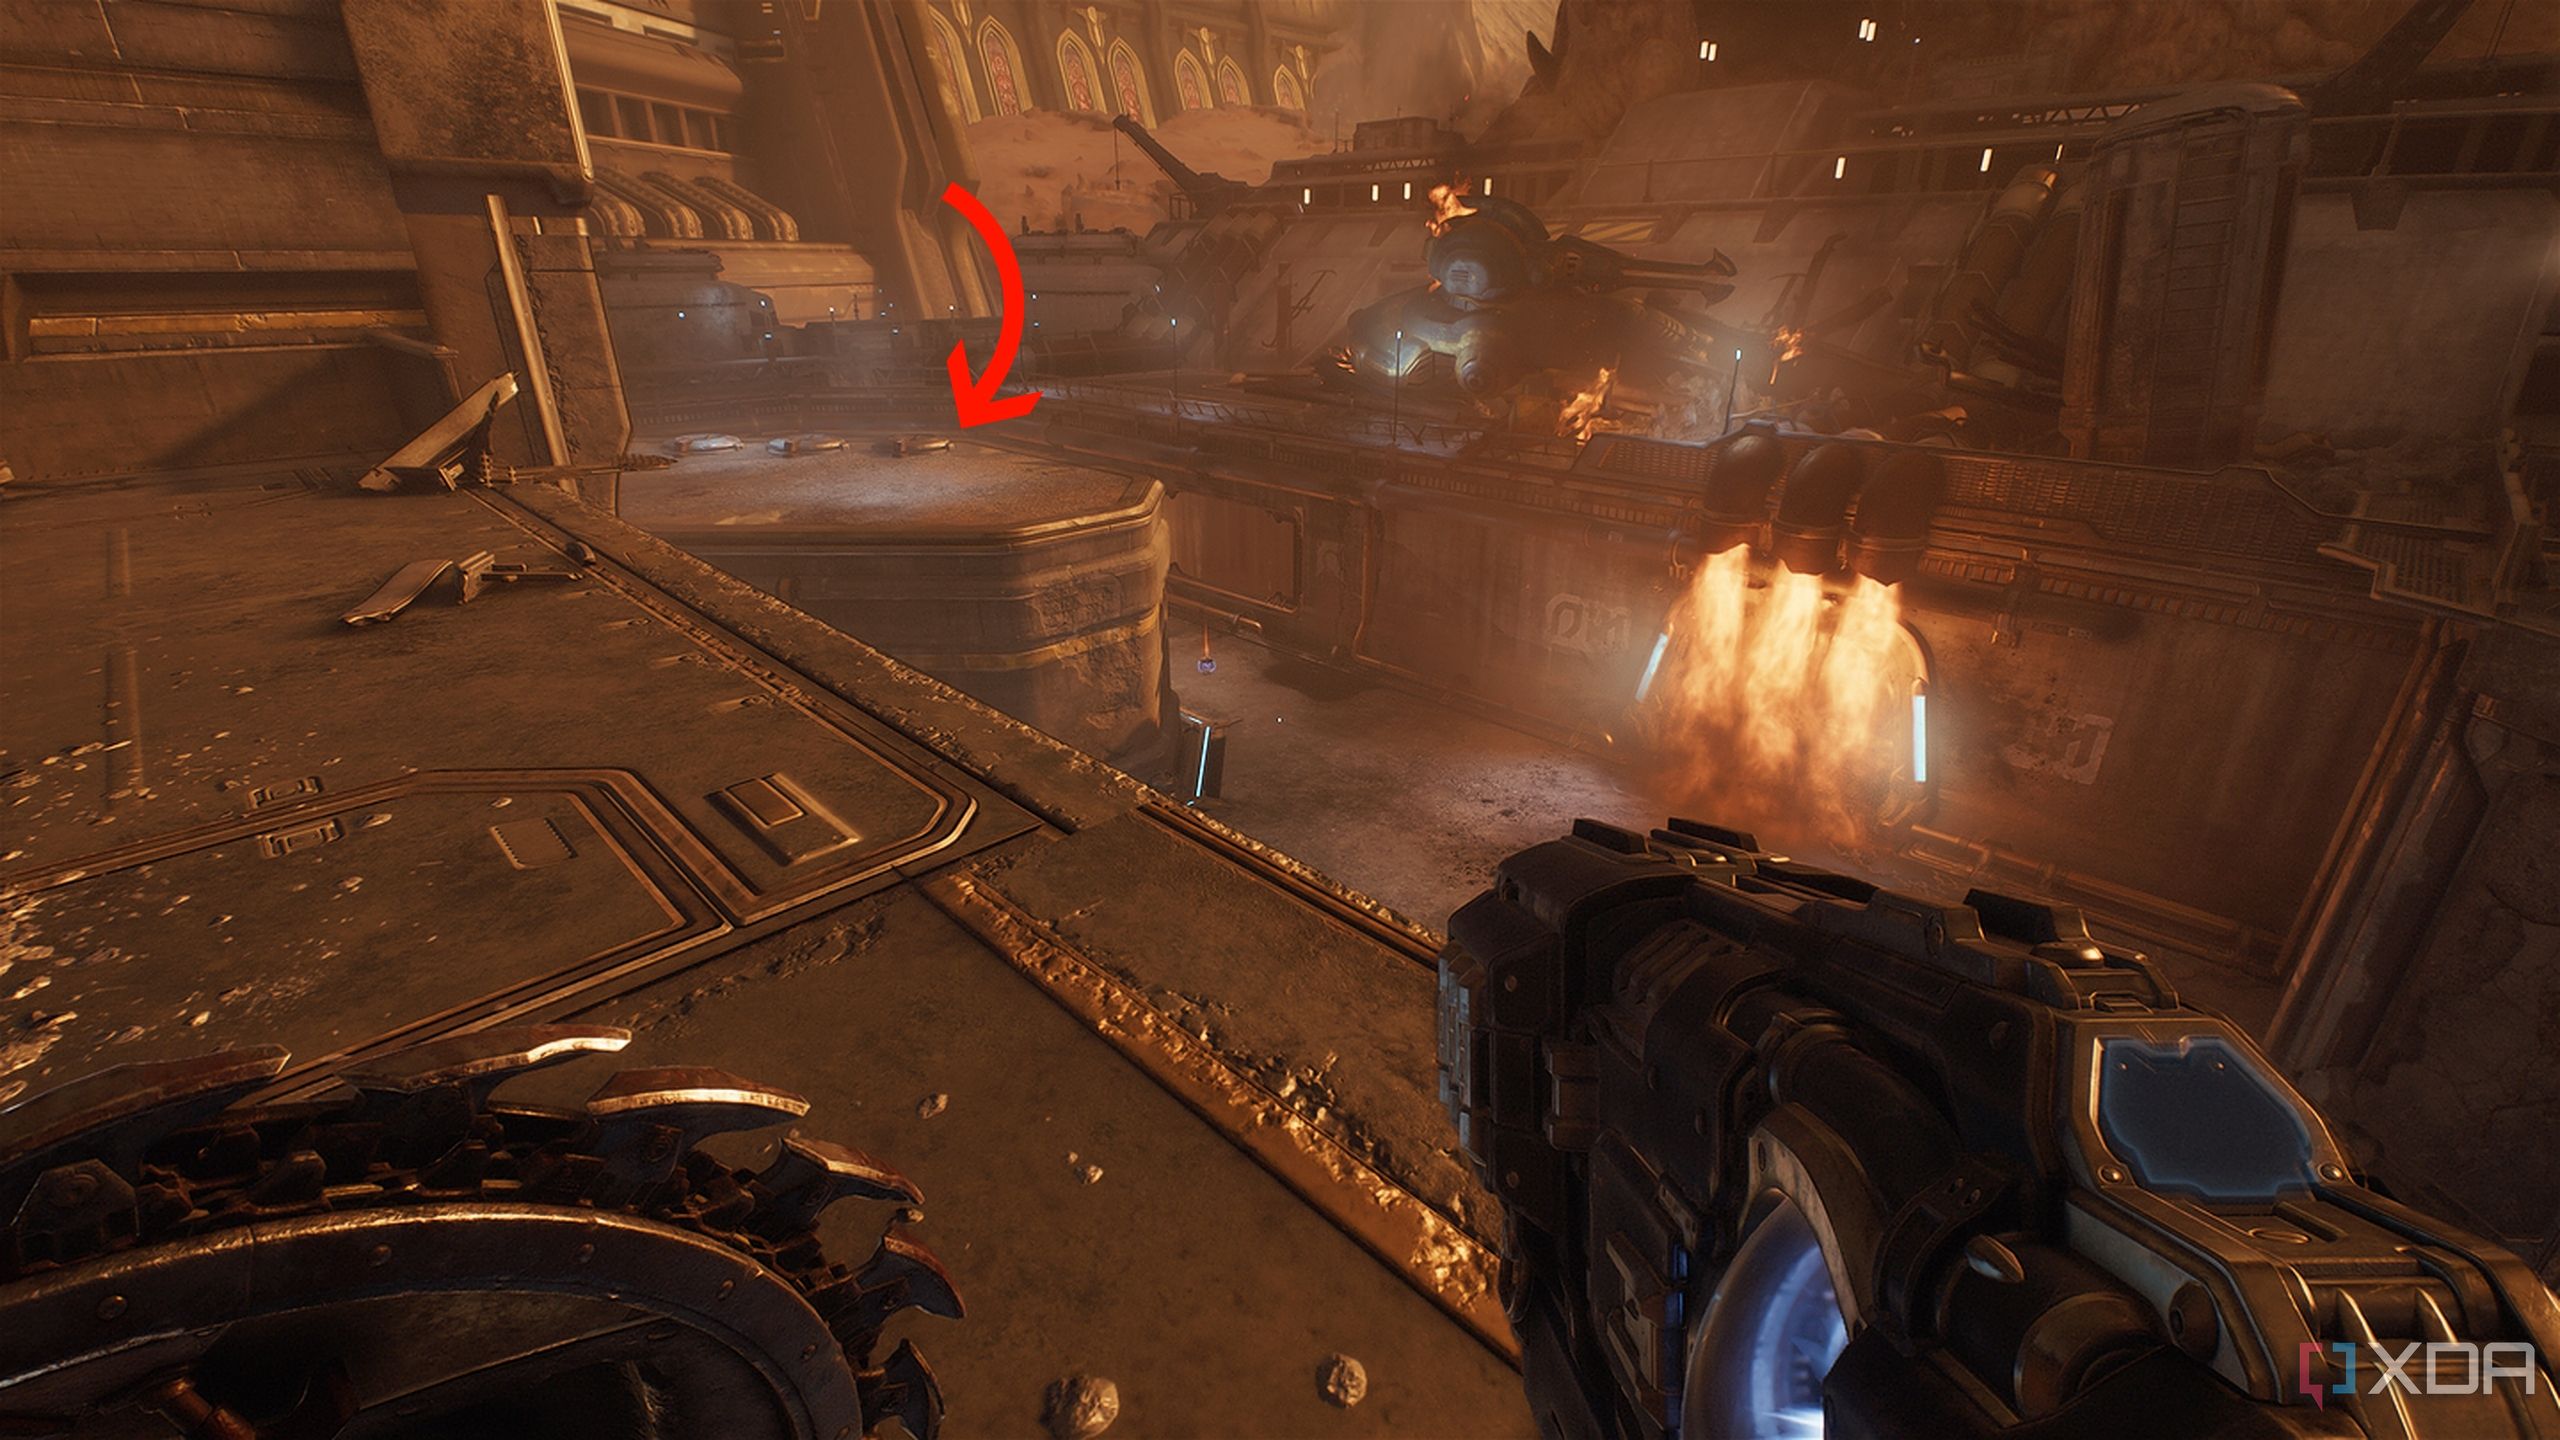
You’ll get armor here, but more importantly, a valve to turn and shut the flames down in the room ahead. Bash through this room’s door, and you can now access the new secret area.
Pick up the gold bars, and prepare for an ambush by a Hell Knight.

After that, a Life Sigil will lie ahead for you. Follow the corridor out to break another heated metal cross and get back on track.
In the very next area, you’ll get into a particularly tough encounter, combating multiple enemies that include a hell knight, Imp Stalkers, Shadow Imp Stalkers, and even a Mancubus. Regardless, don’t forget to take a breather and look in the north-west corner to find a small secret area with a gold stack.
Weapon Skin for the Accelerator rifle
The fancy tools of Doom
As you reach the first area where you learn to throw the shield at poisoned skeletons and jump up high, you’ll land on a platform with a Sentinel Shrine.

Scramble up the wall behind the Shrine, and before you go straight ahead, look to the left to find a small open vent in the roof with a climbable hatch, right on top of some boxes.
Climb the boxes and enter the hatch, following the vent to get plenty of gold bars.
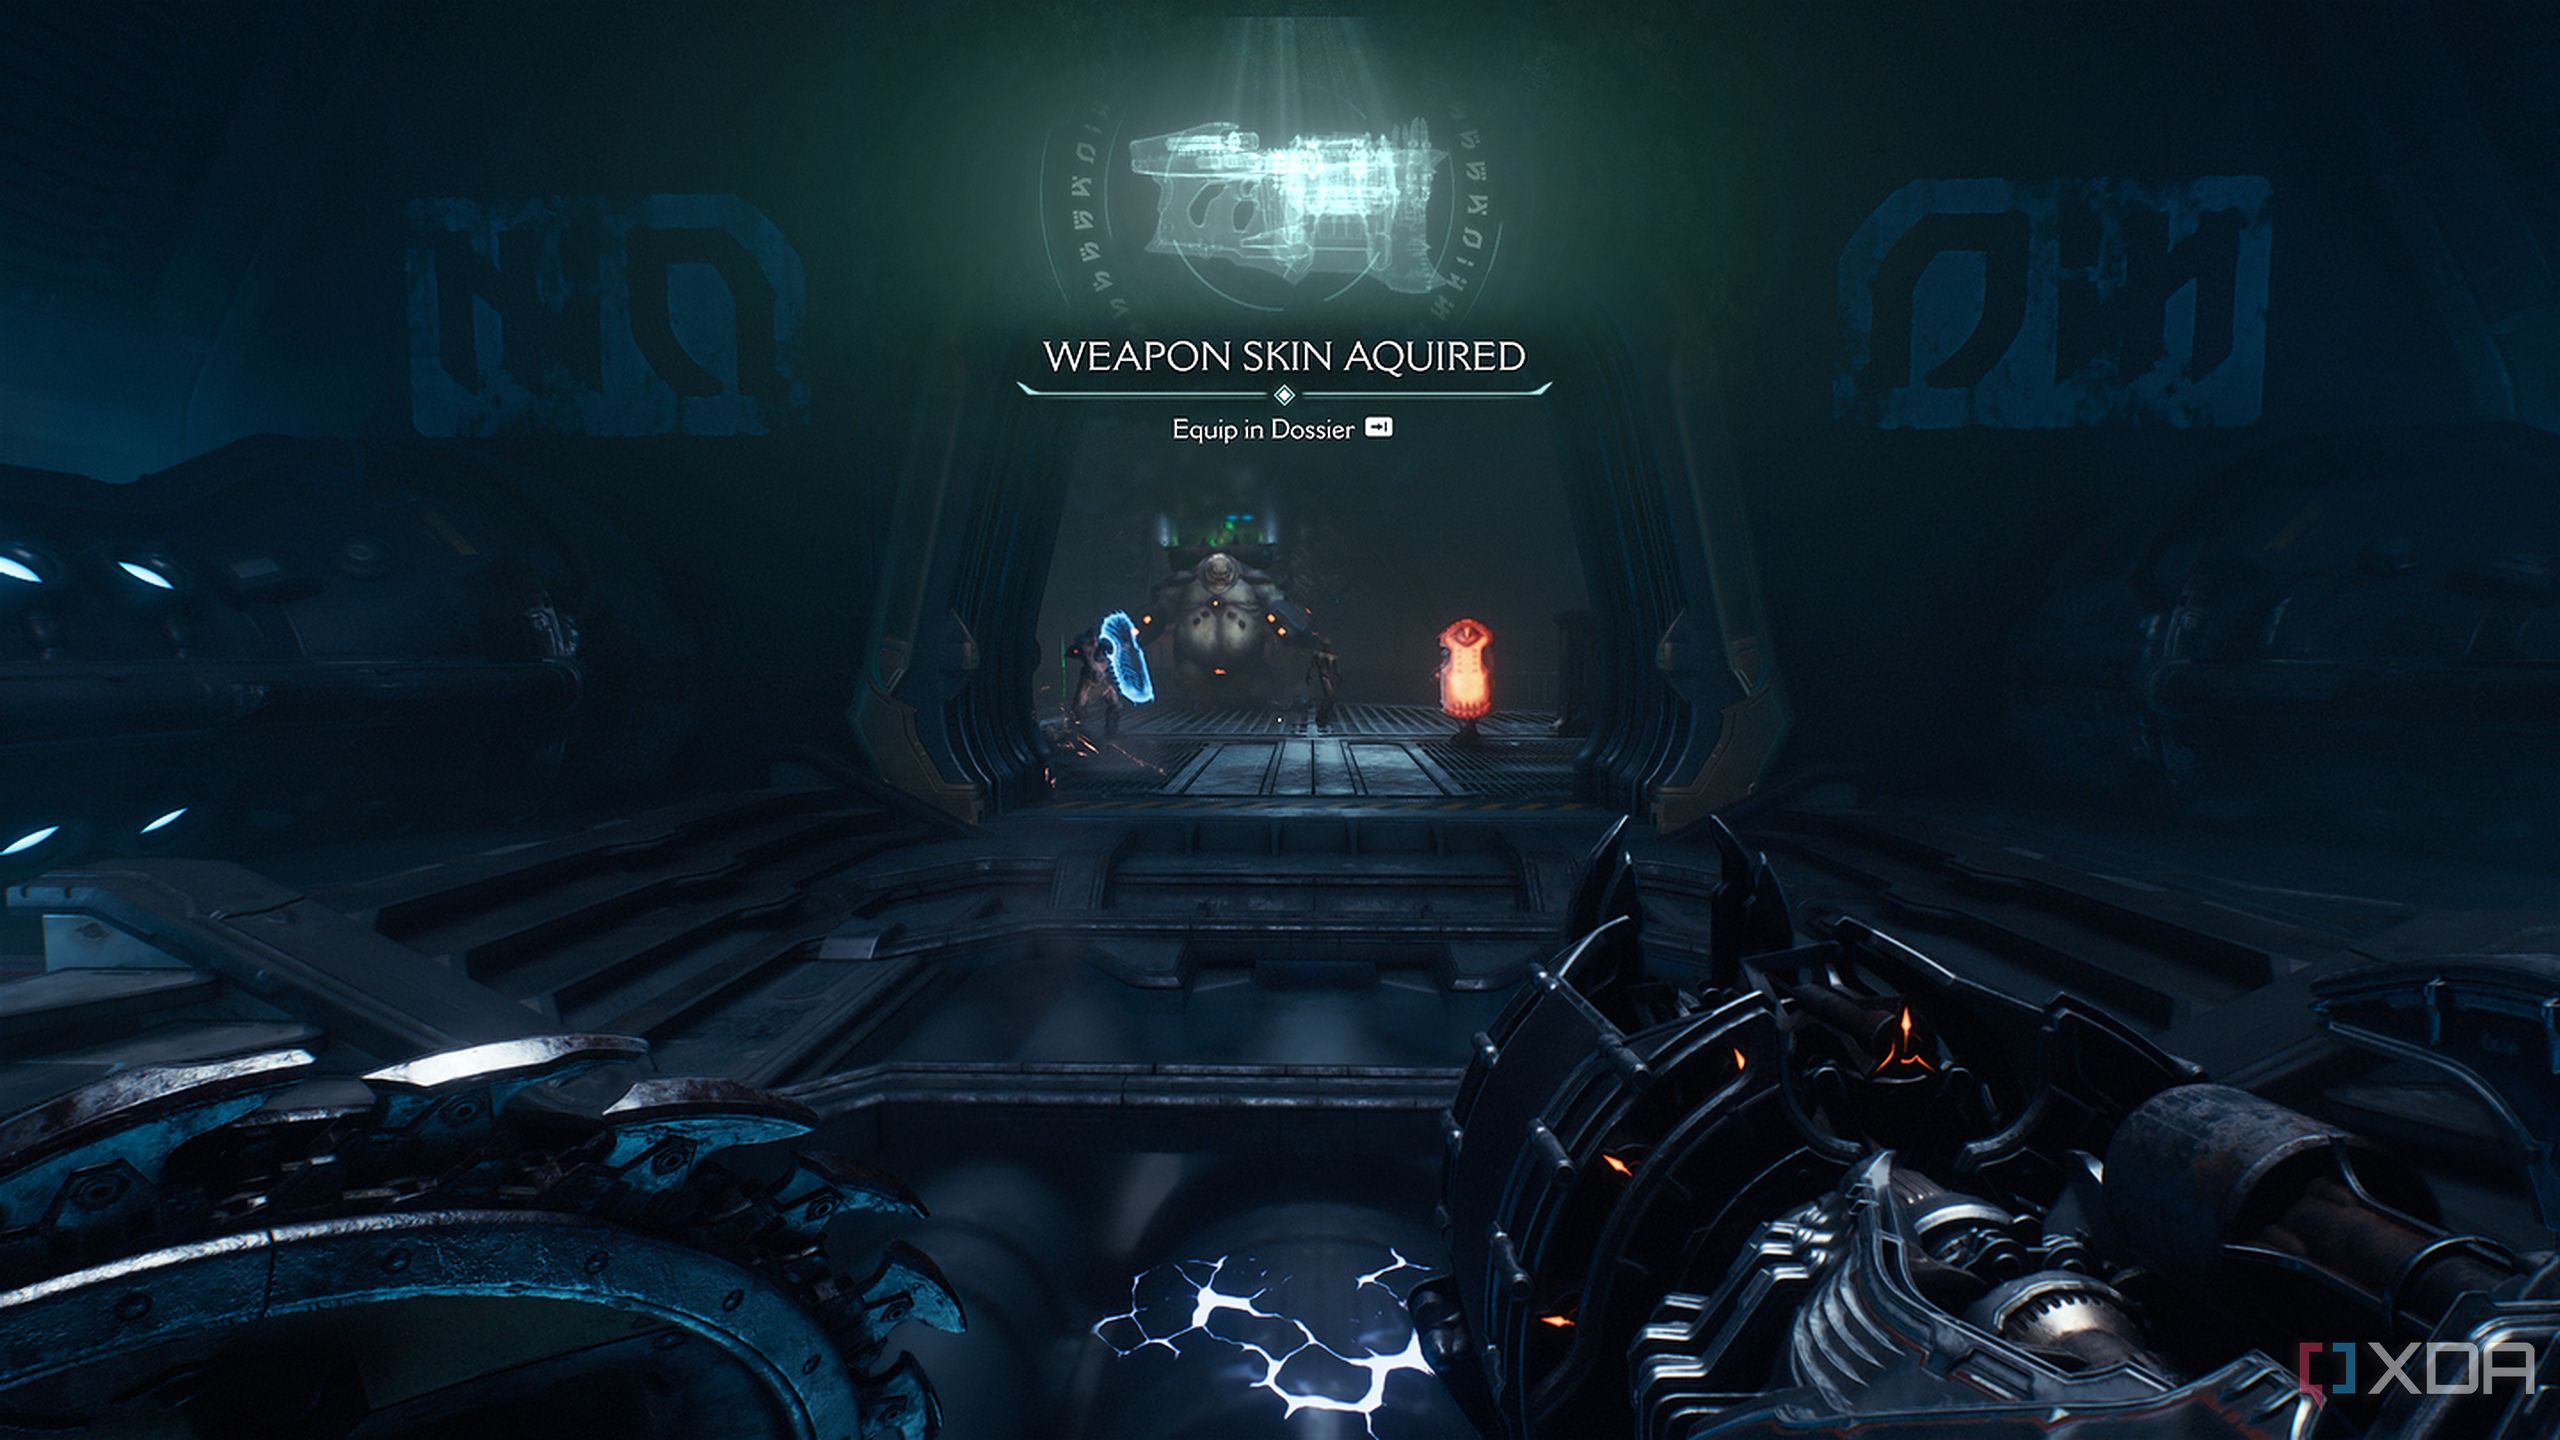
Land down into a secret area and grab the Weapon Skin collectible for your Accelerator. Careful, though — a Mancubus is waiting right outside to ambush you, along with other demons.
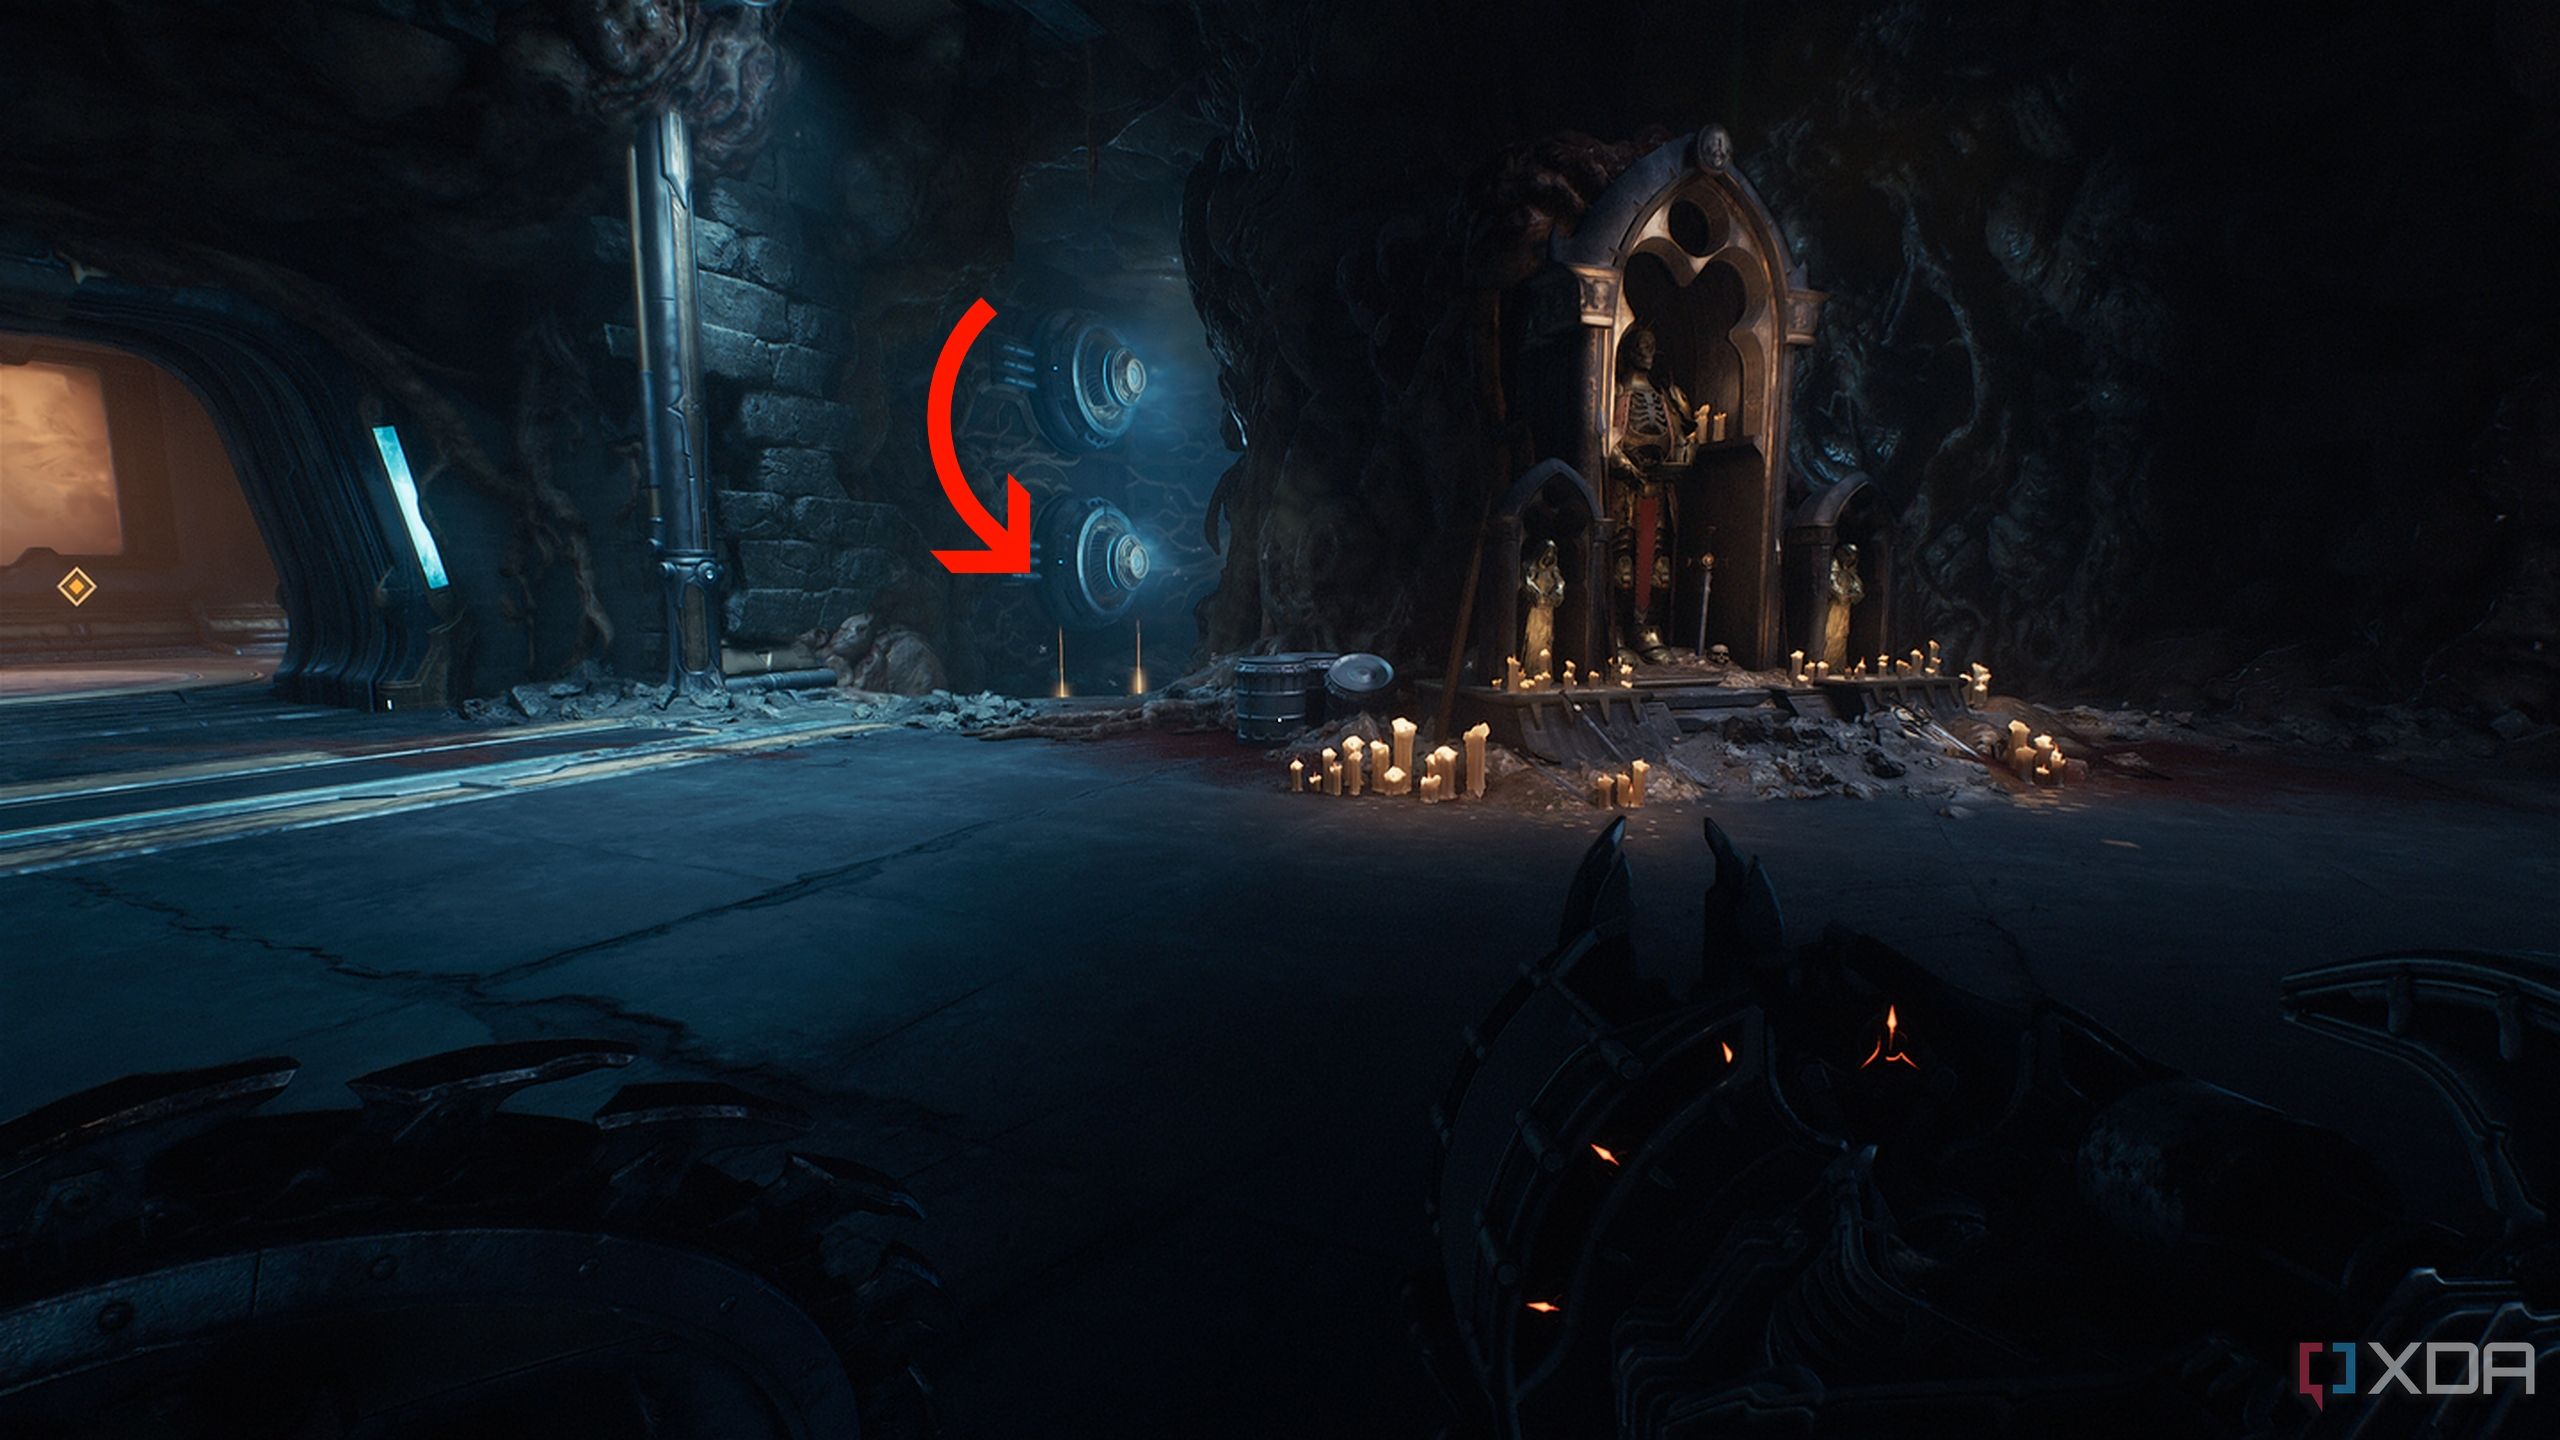
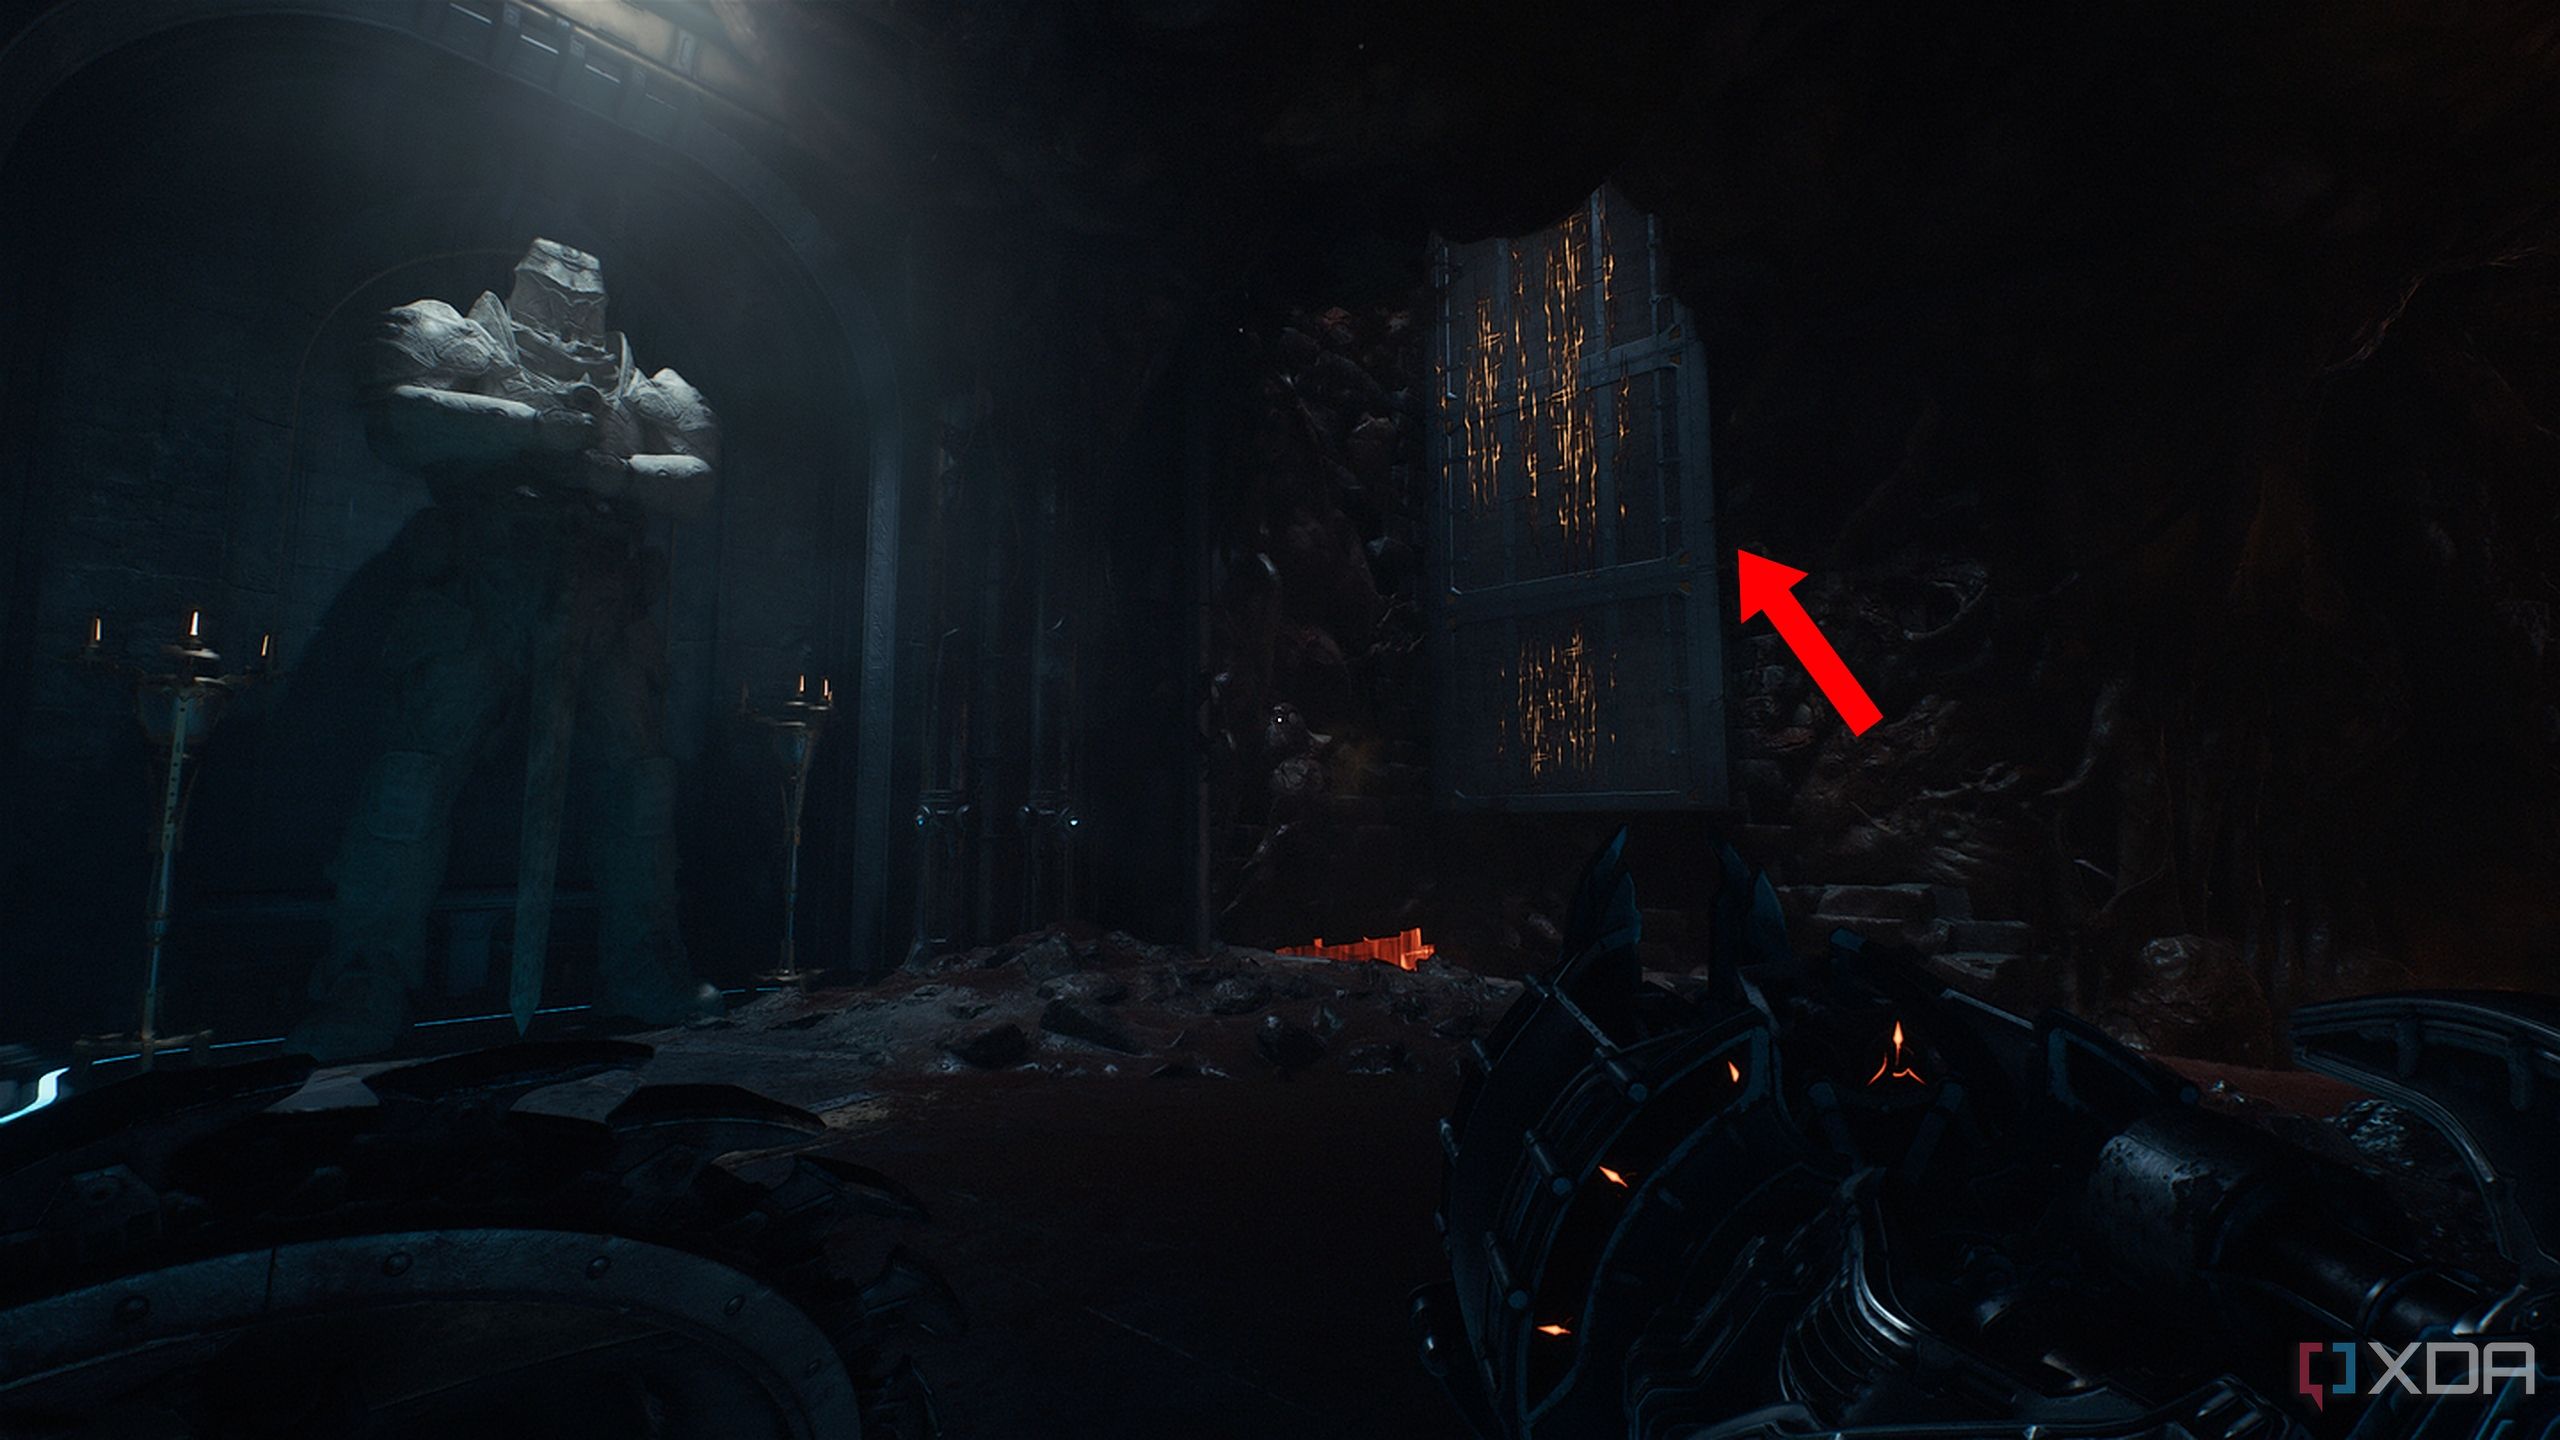
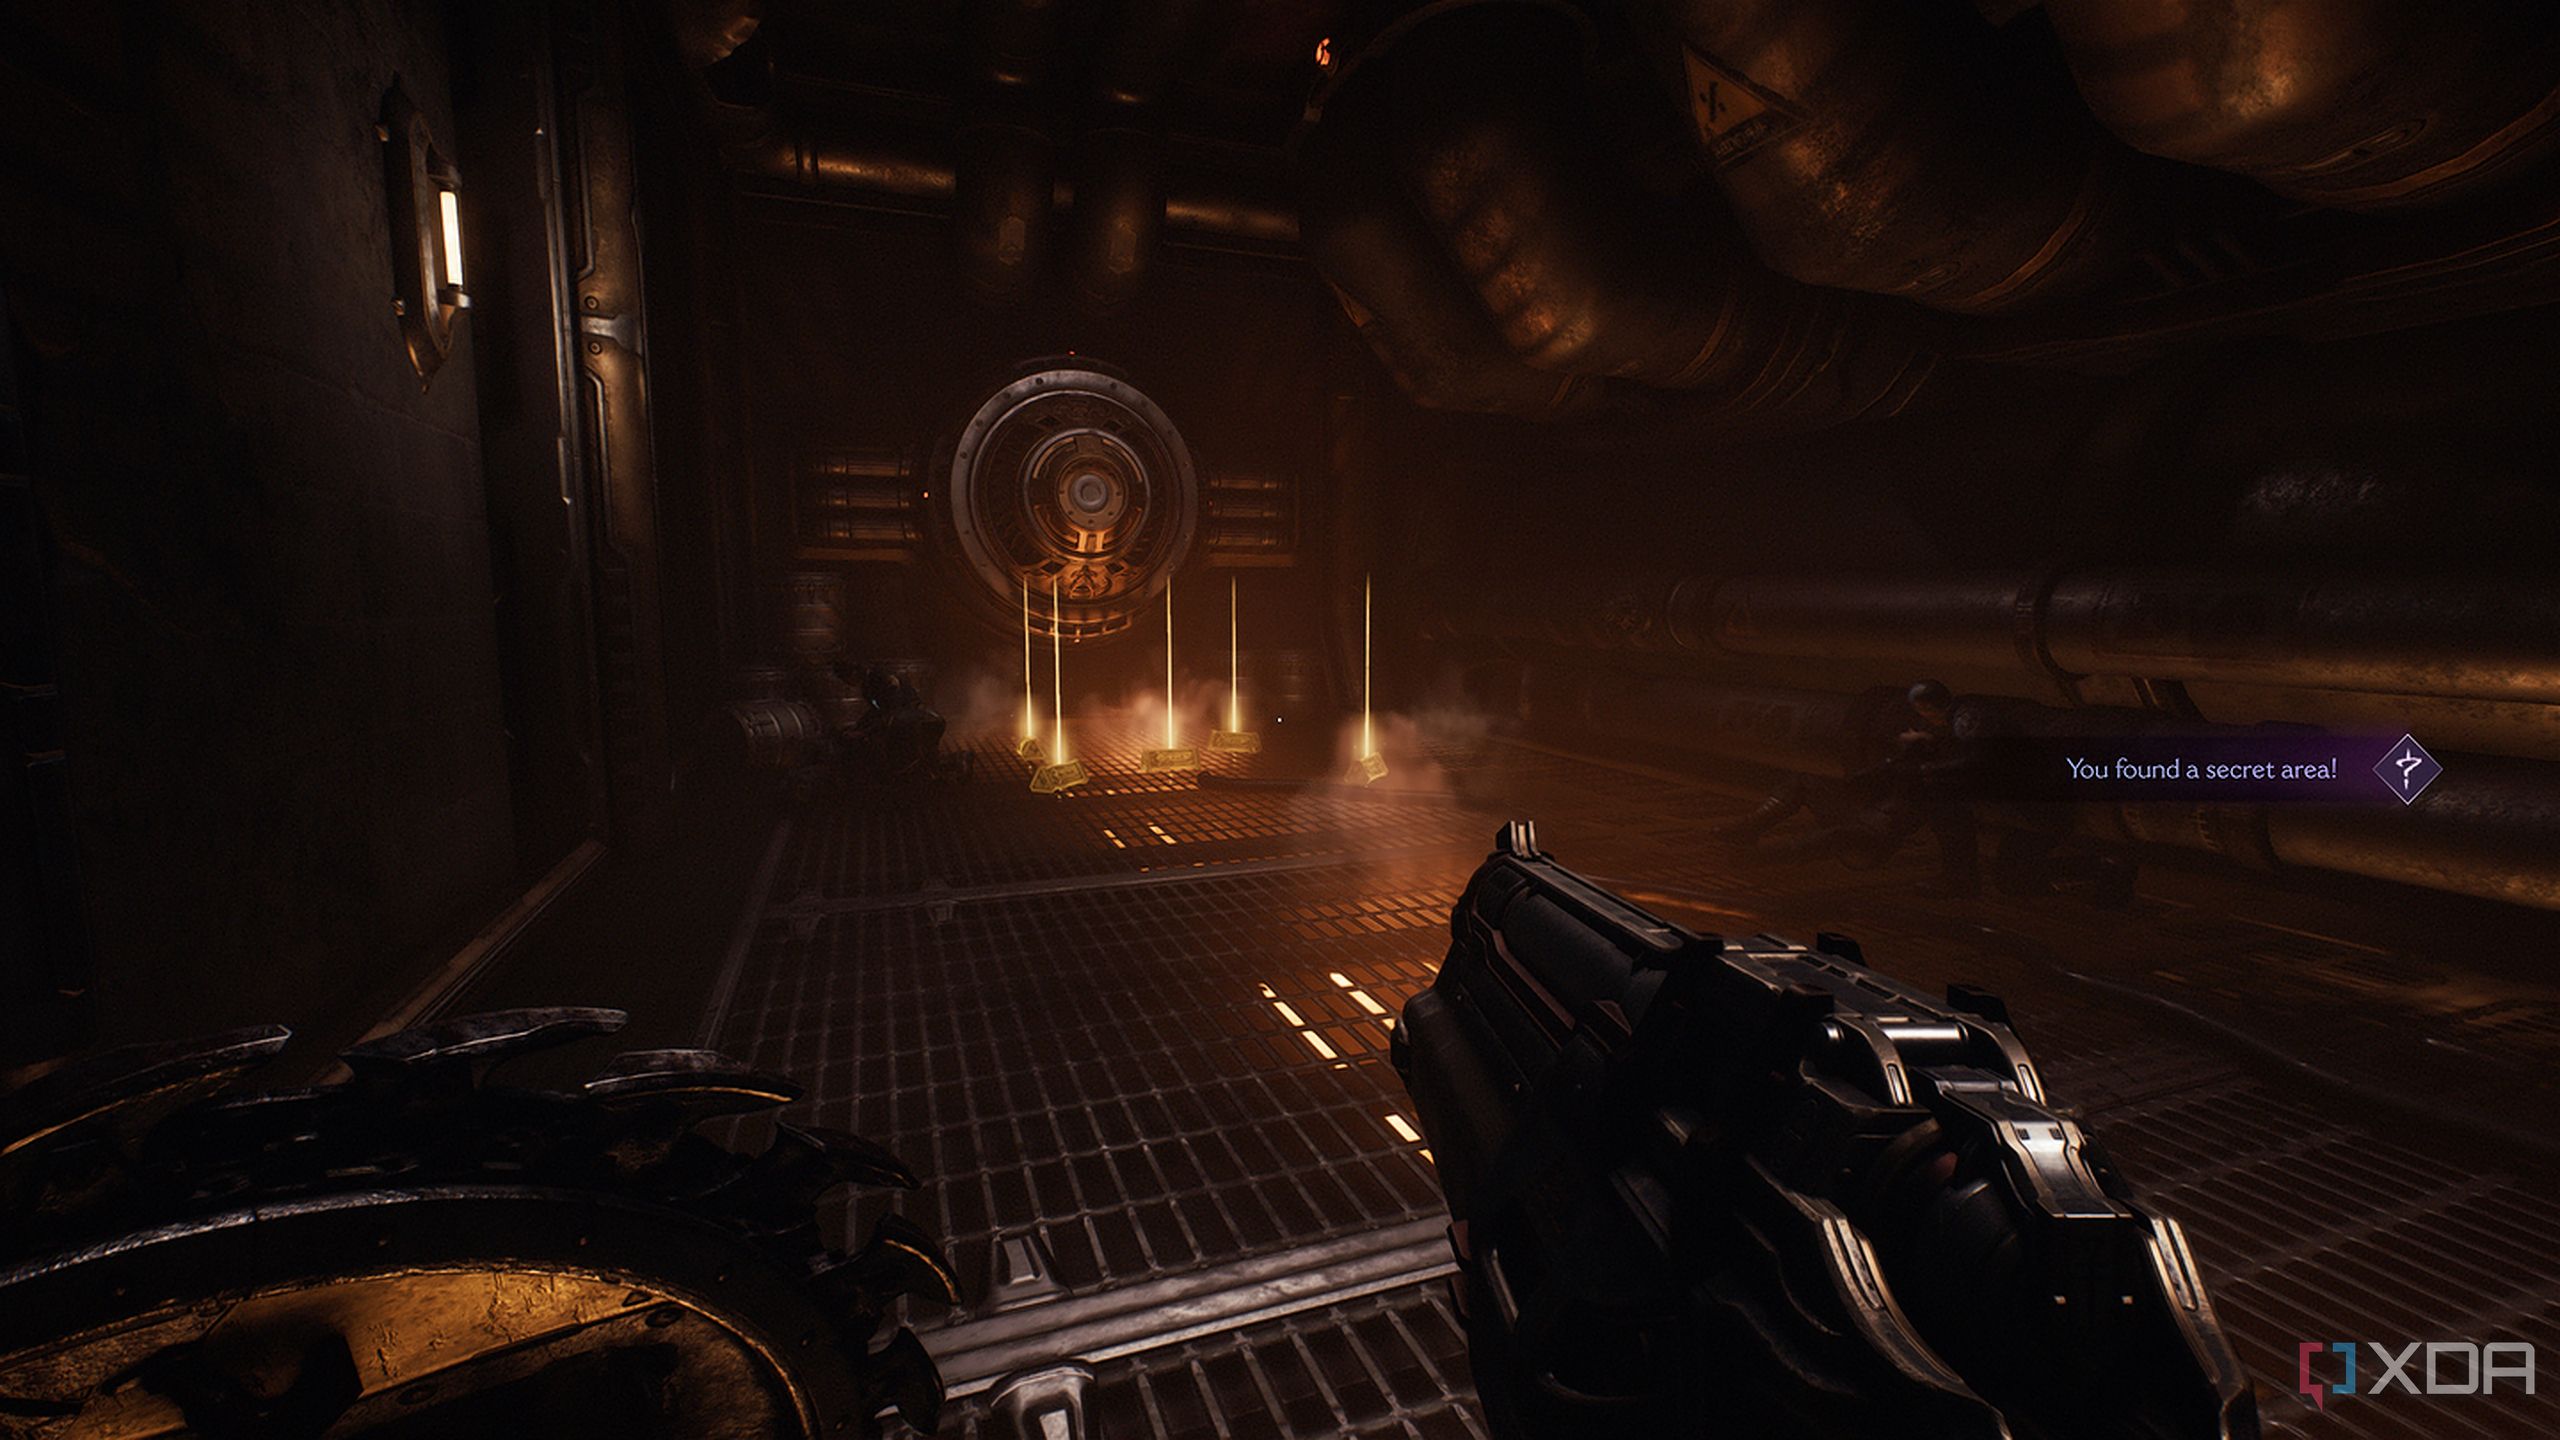
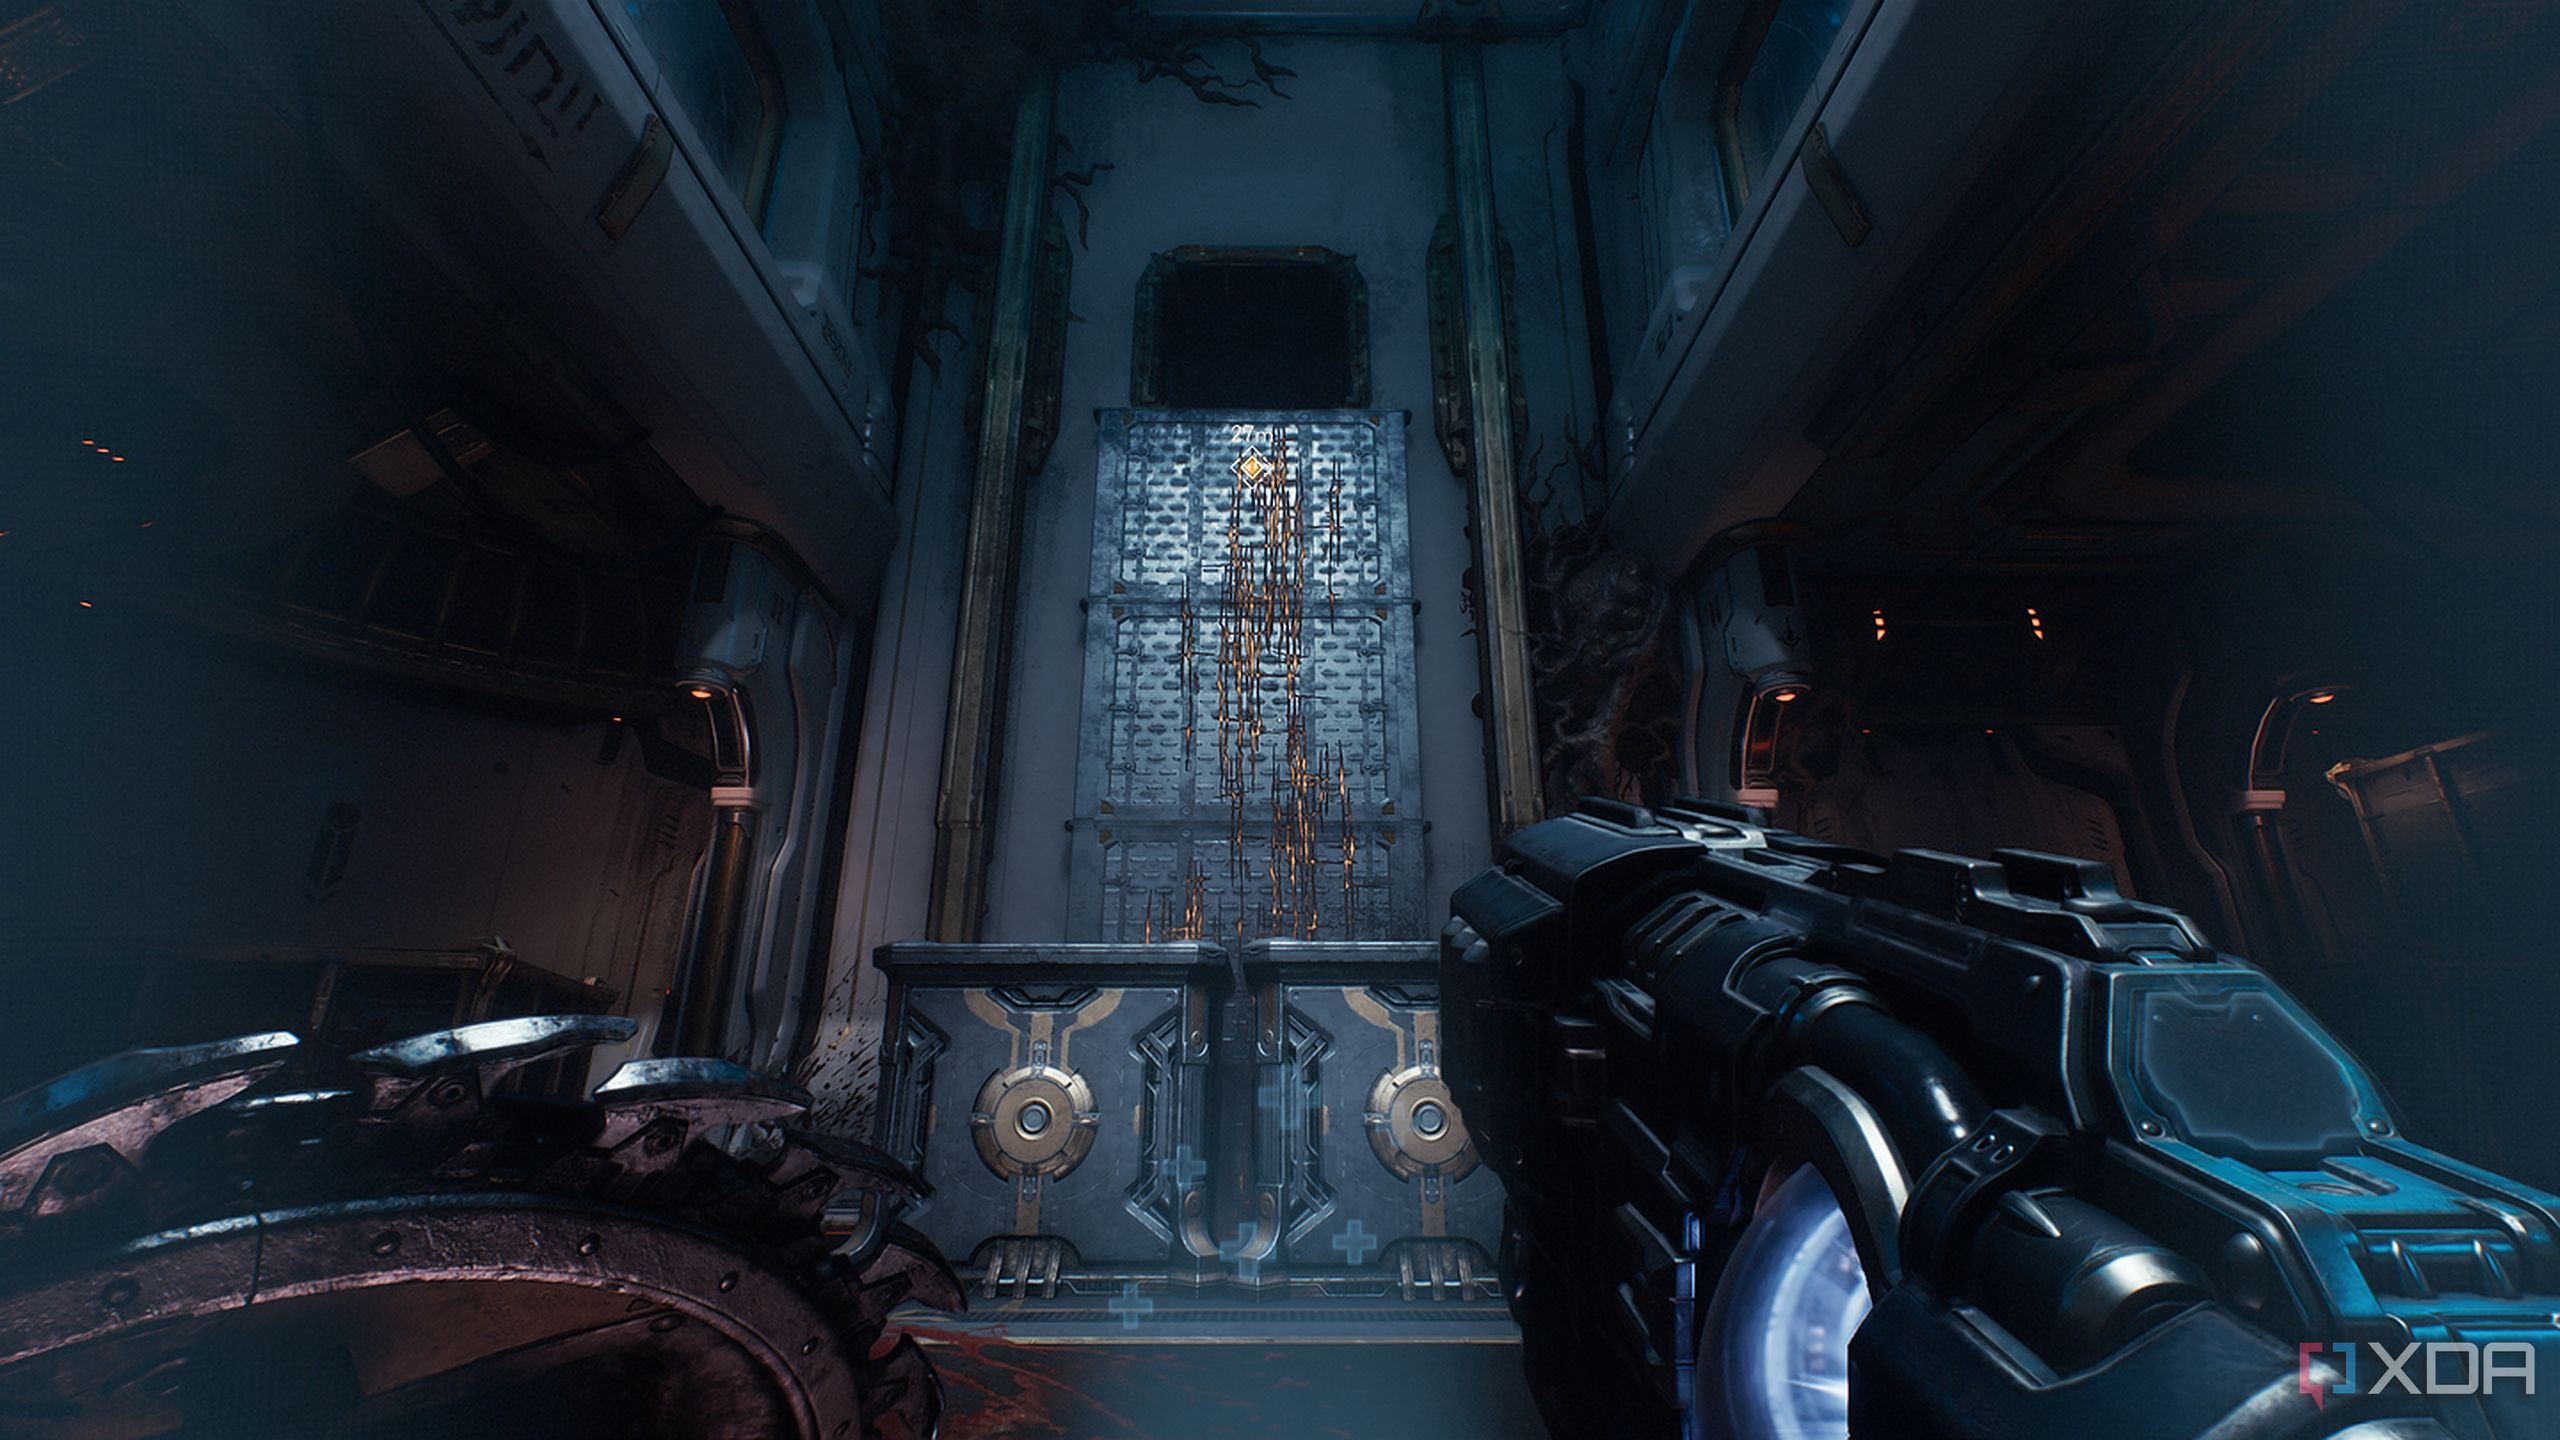
The final gold crate to collect
This one took me the longest
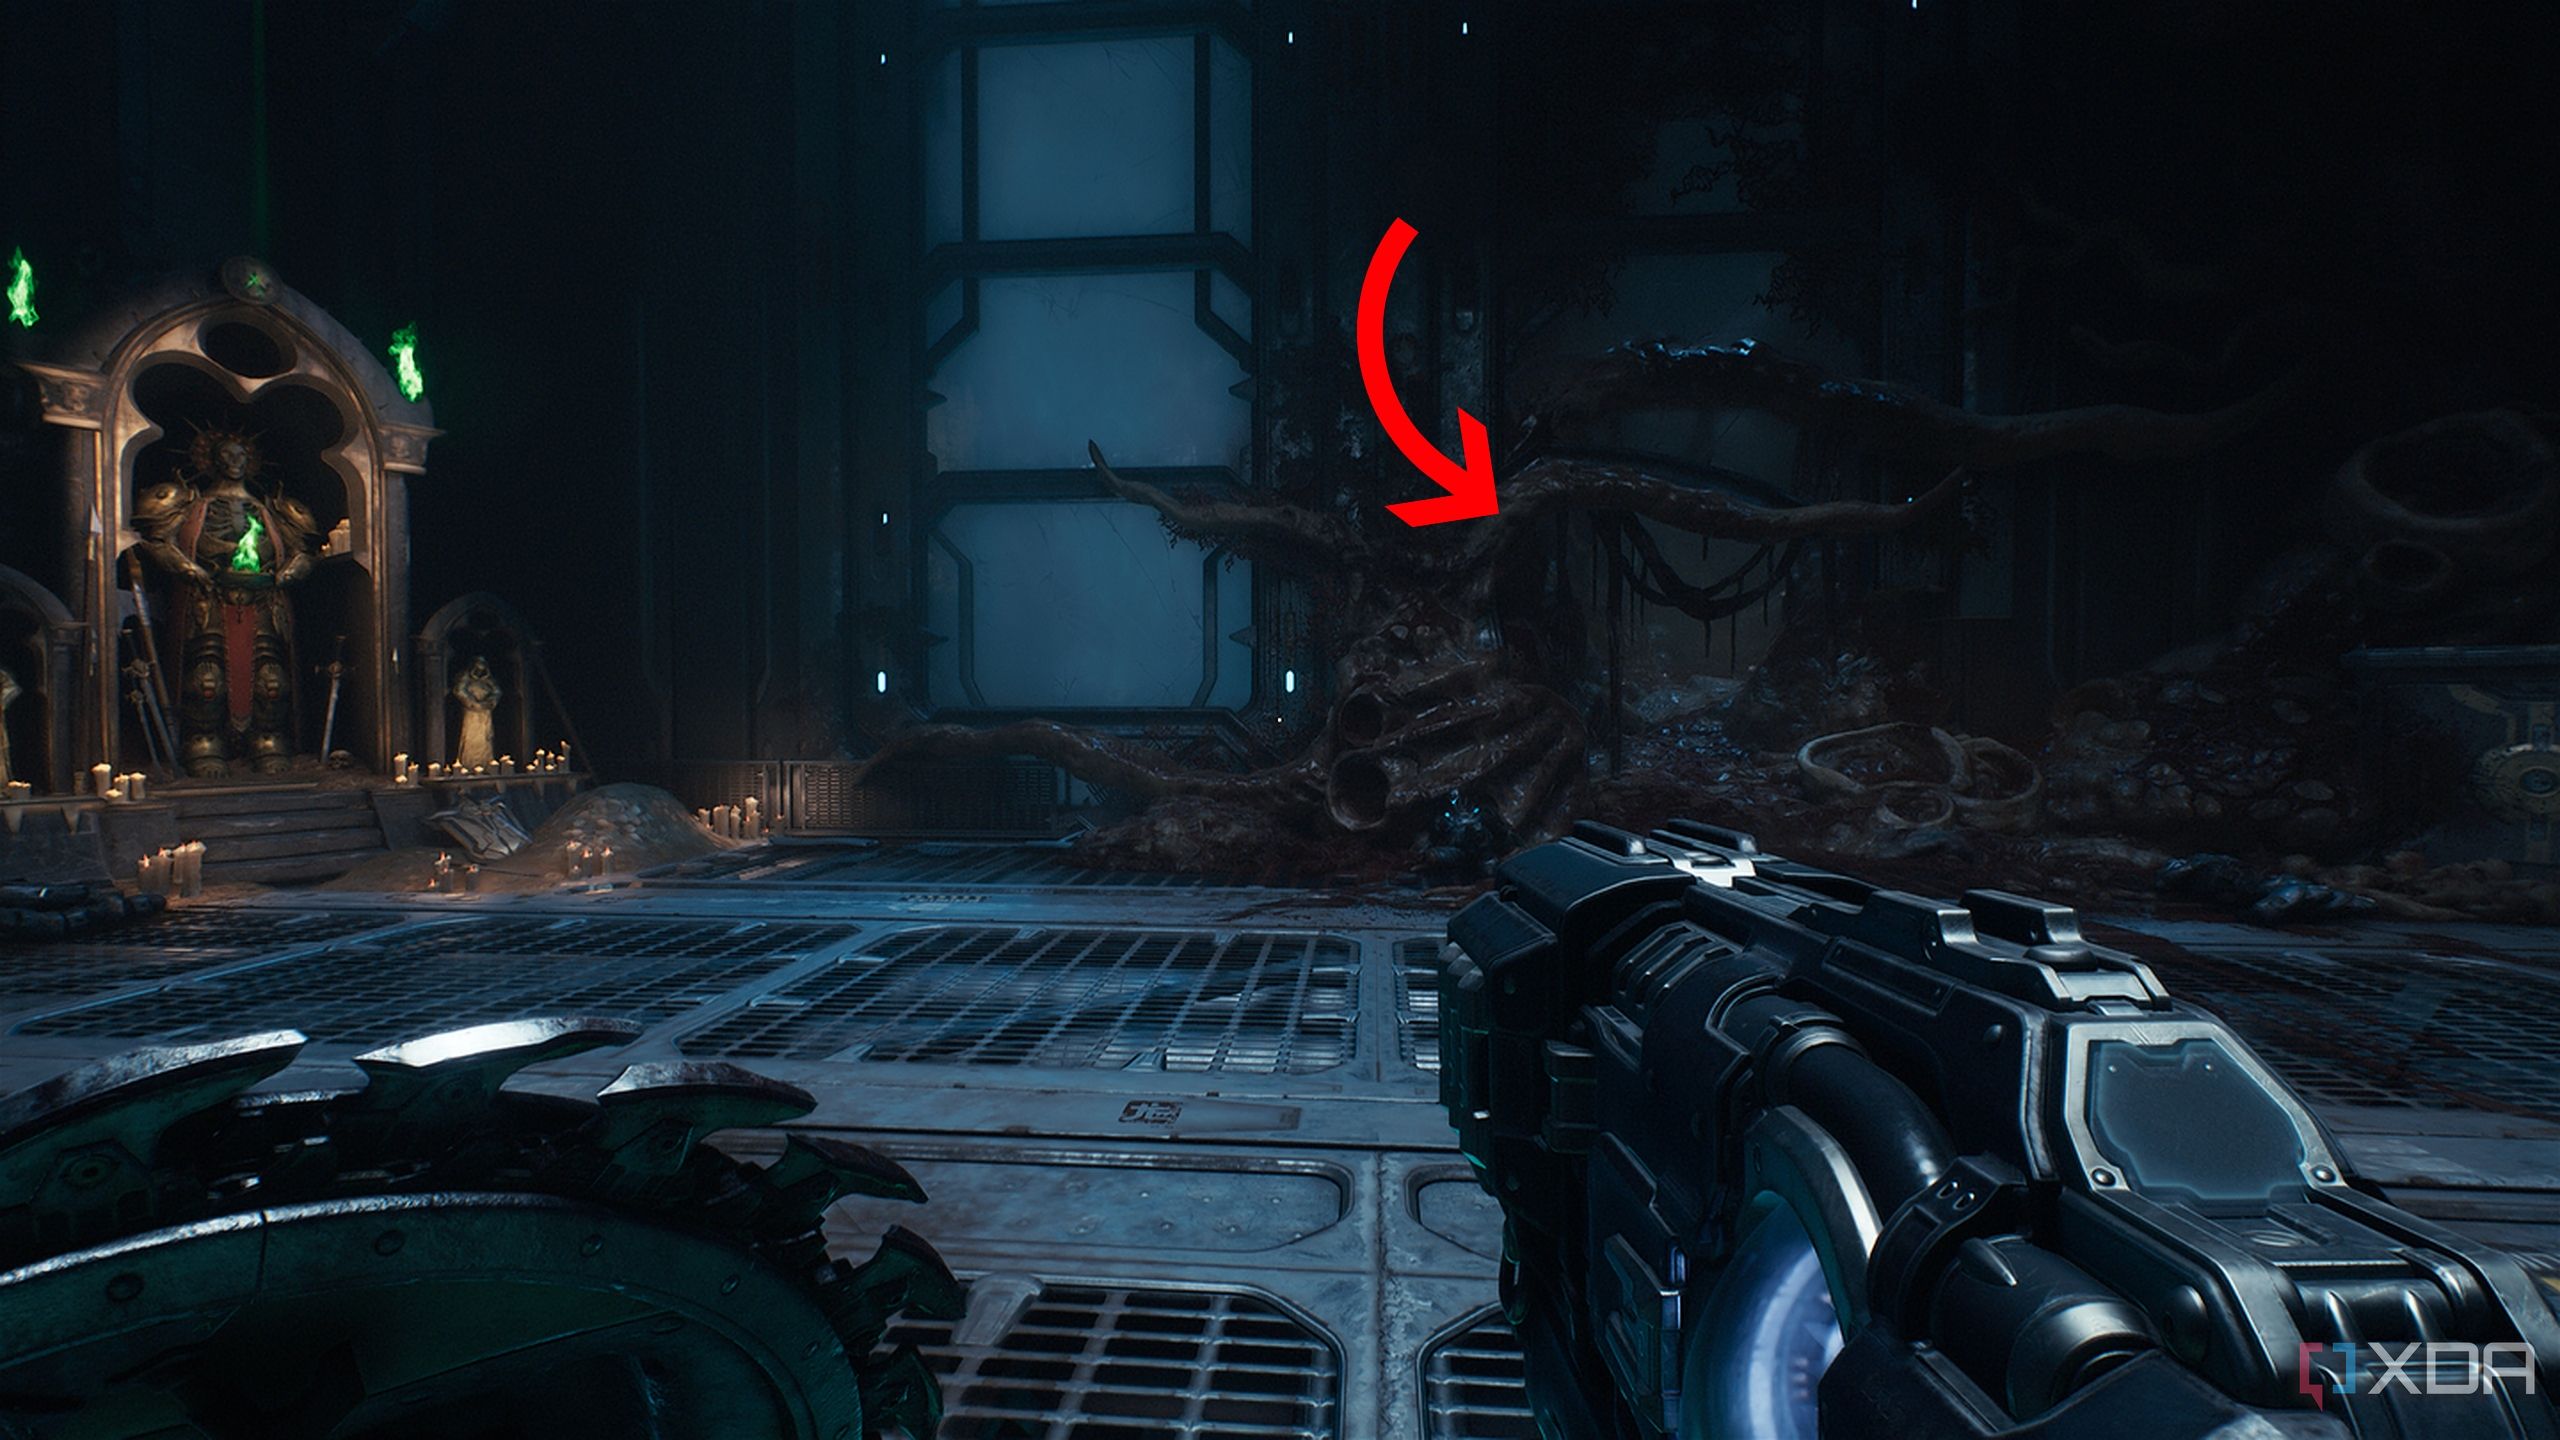
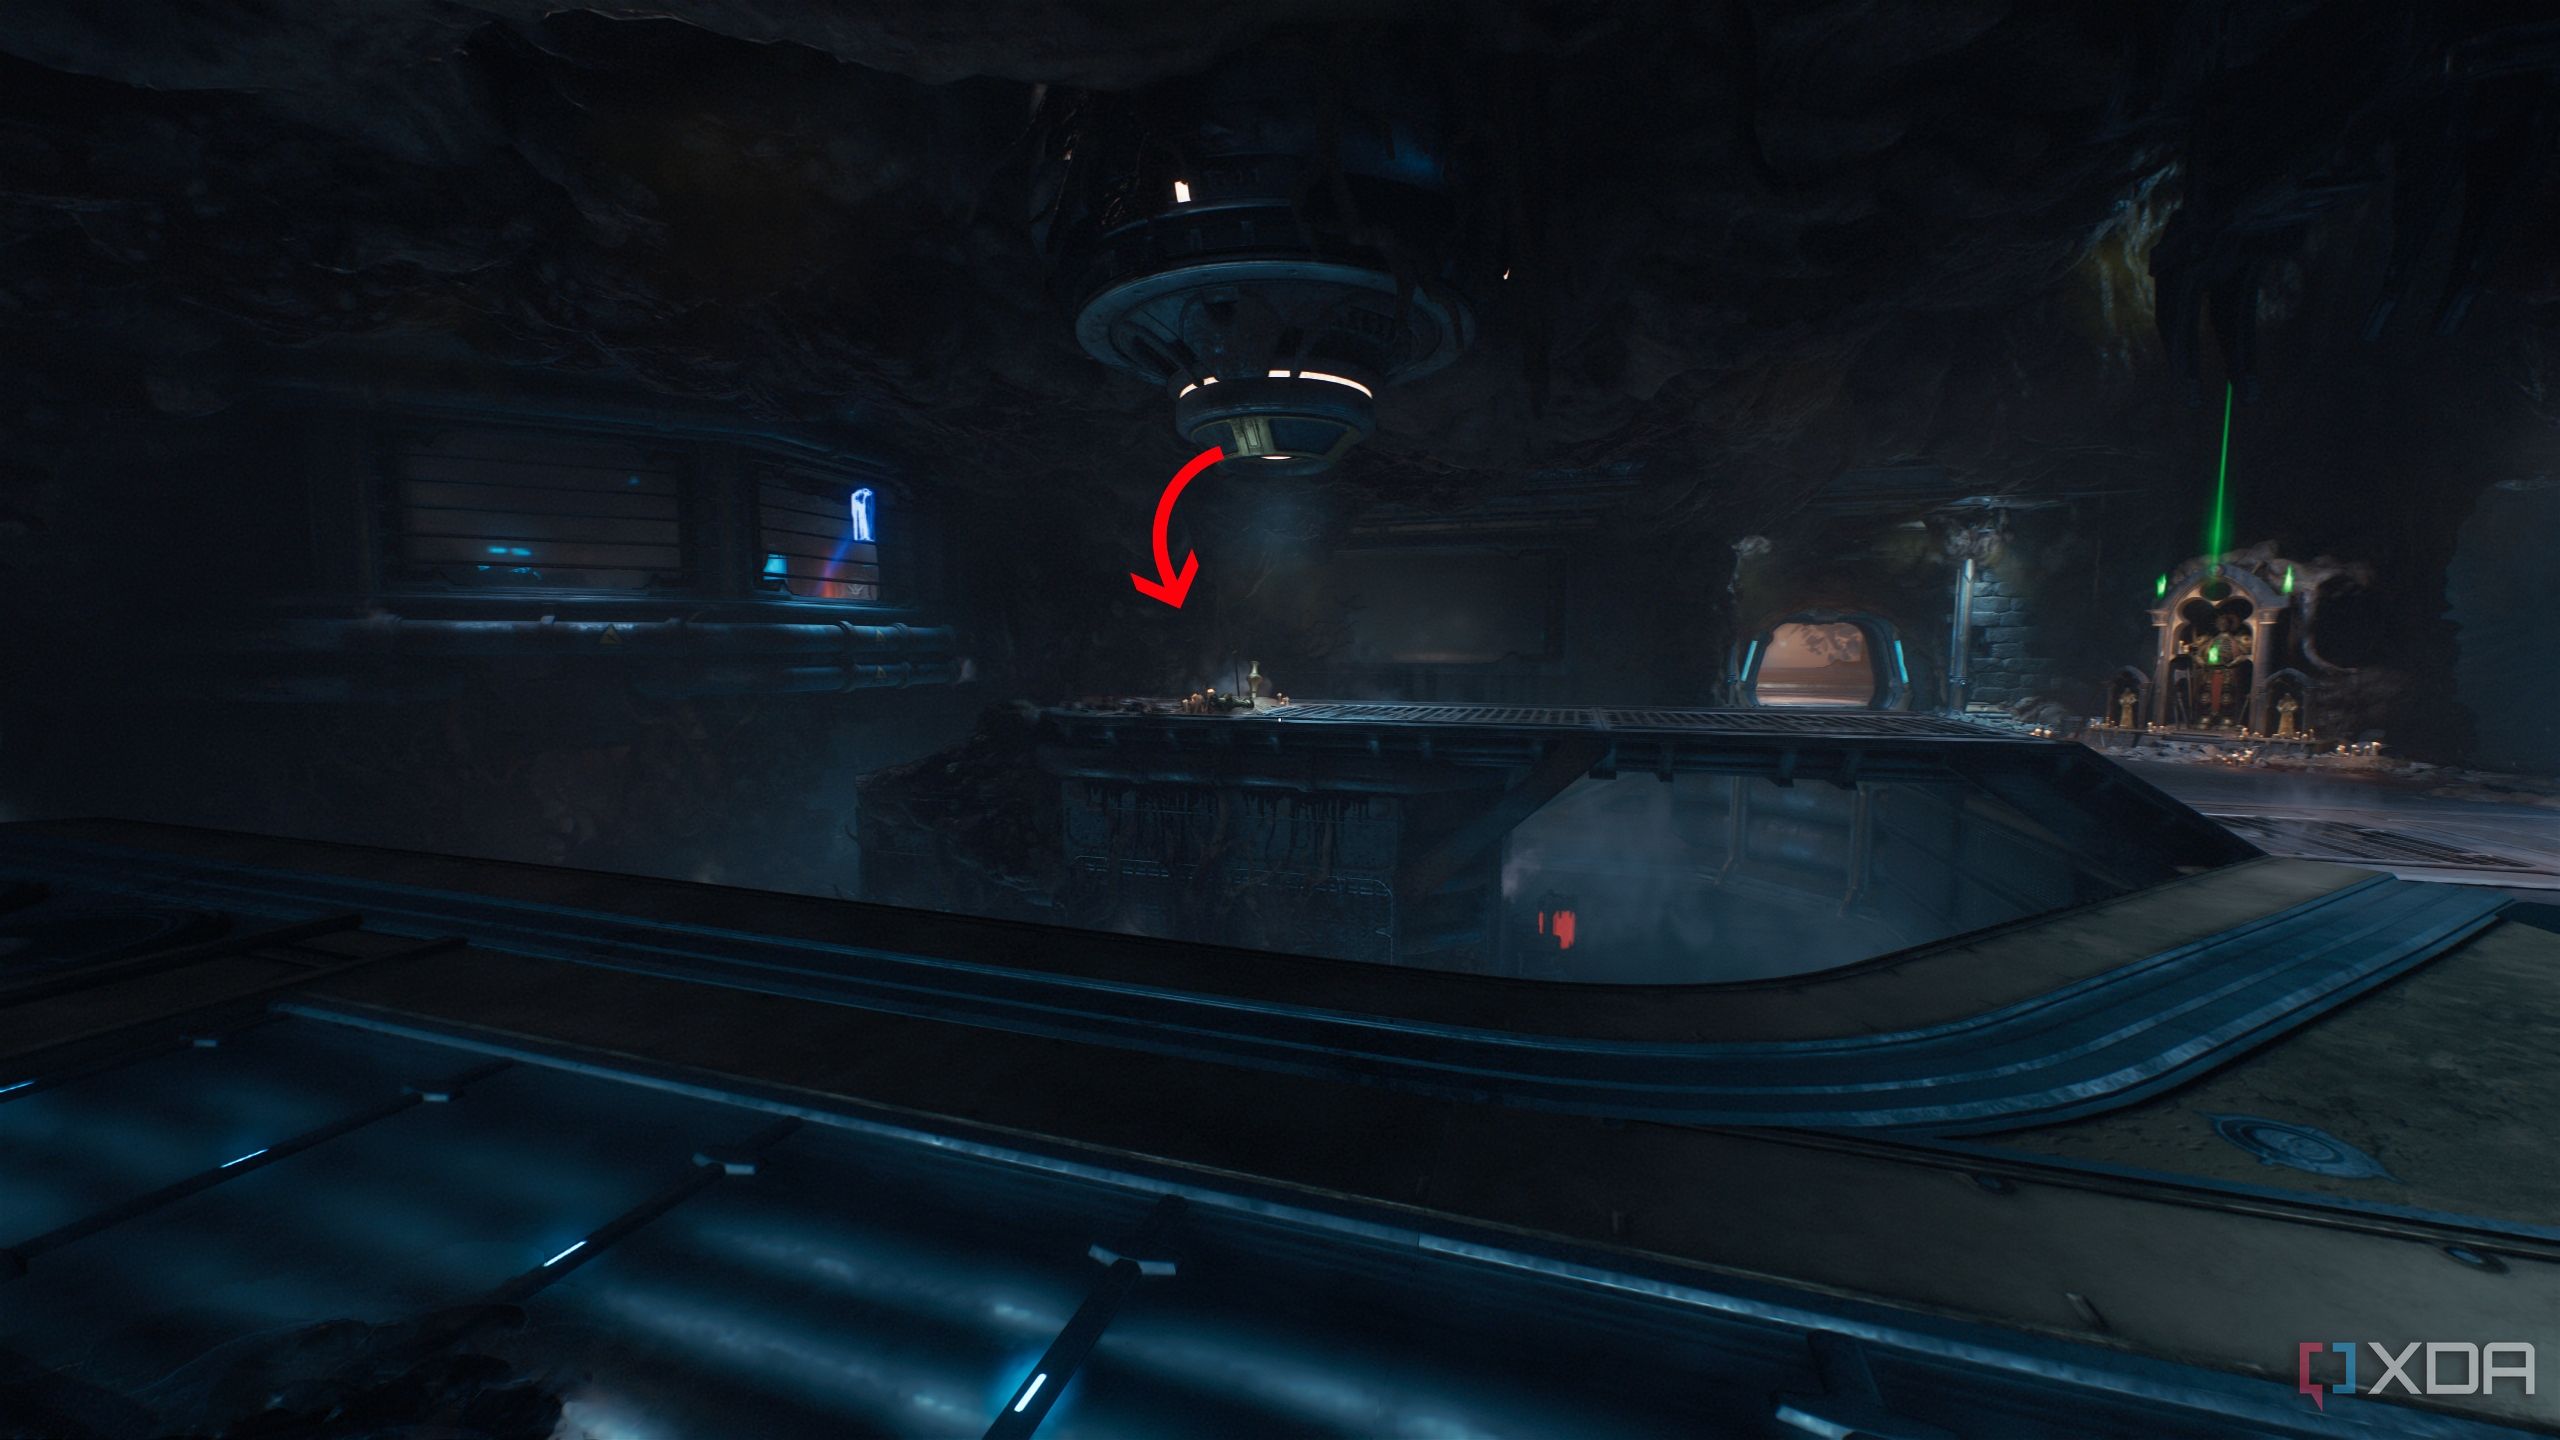
Standing next to the Sentinel Shrine, look backwards towards the roof to find a gold crate you need to get to. This is easy to miss, but right next to the shrine, you should see a hole in the wall, concealed by gory and demonic outgrowth.
Head into the hole to enter a vent system. Scramble up the wall, and you’ll unlock a new secret area along with the gold crate.
All collectibles in Chapter 2: Hebeth in Doom: The Dark Ages
That's it — once you go through the above instructions and collect everything the map has to give you in Chapter 2 of Doom: The Dark Ages, you'll have completed everything in this chapter.

DOOM: The Dark Ages
Released May 15, 2025
ESRB m
Developer(s) id Software
Publisher(s) Bethesda Softworks
Engine id Tech
Multiplayer Online Multiplayer
Franchise DOOM
Chapter 3: Barrier Core does not have any collectibles or secret areas to find. Players can get 100% completion for the level by simply going through the objectives in this chapter.


 English (US) ·