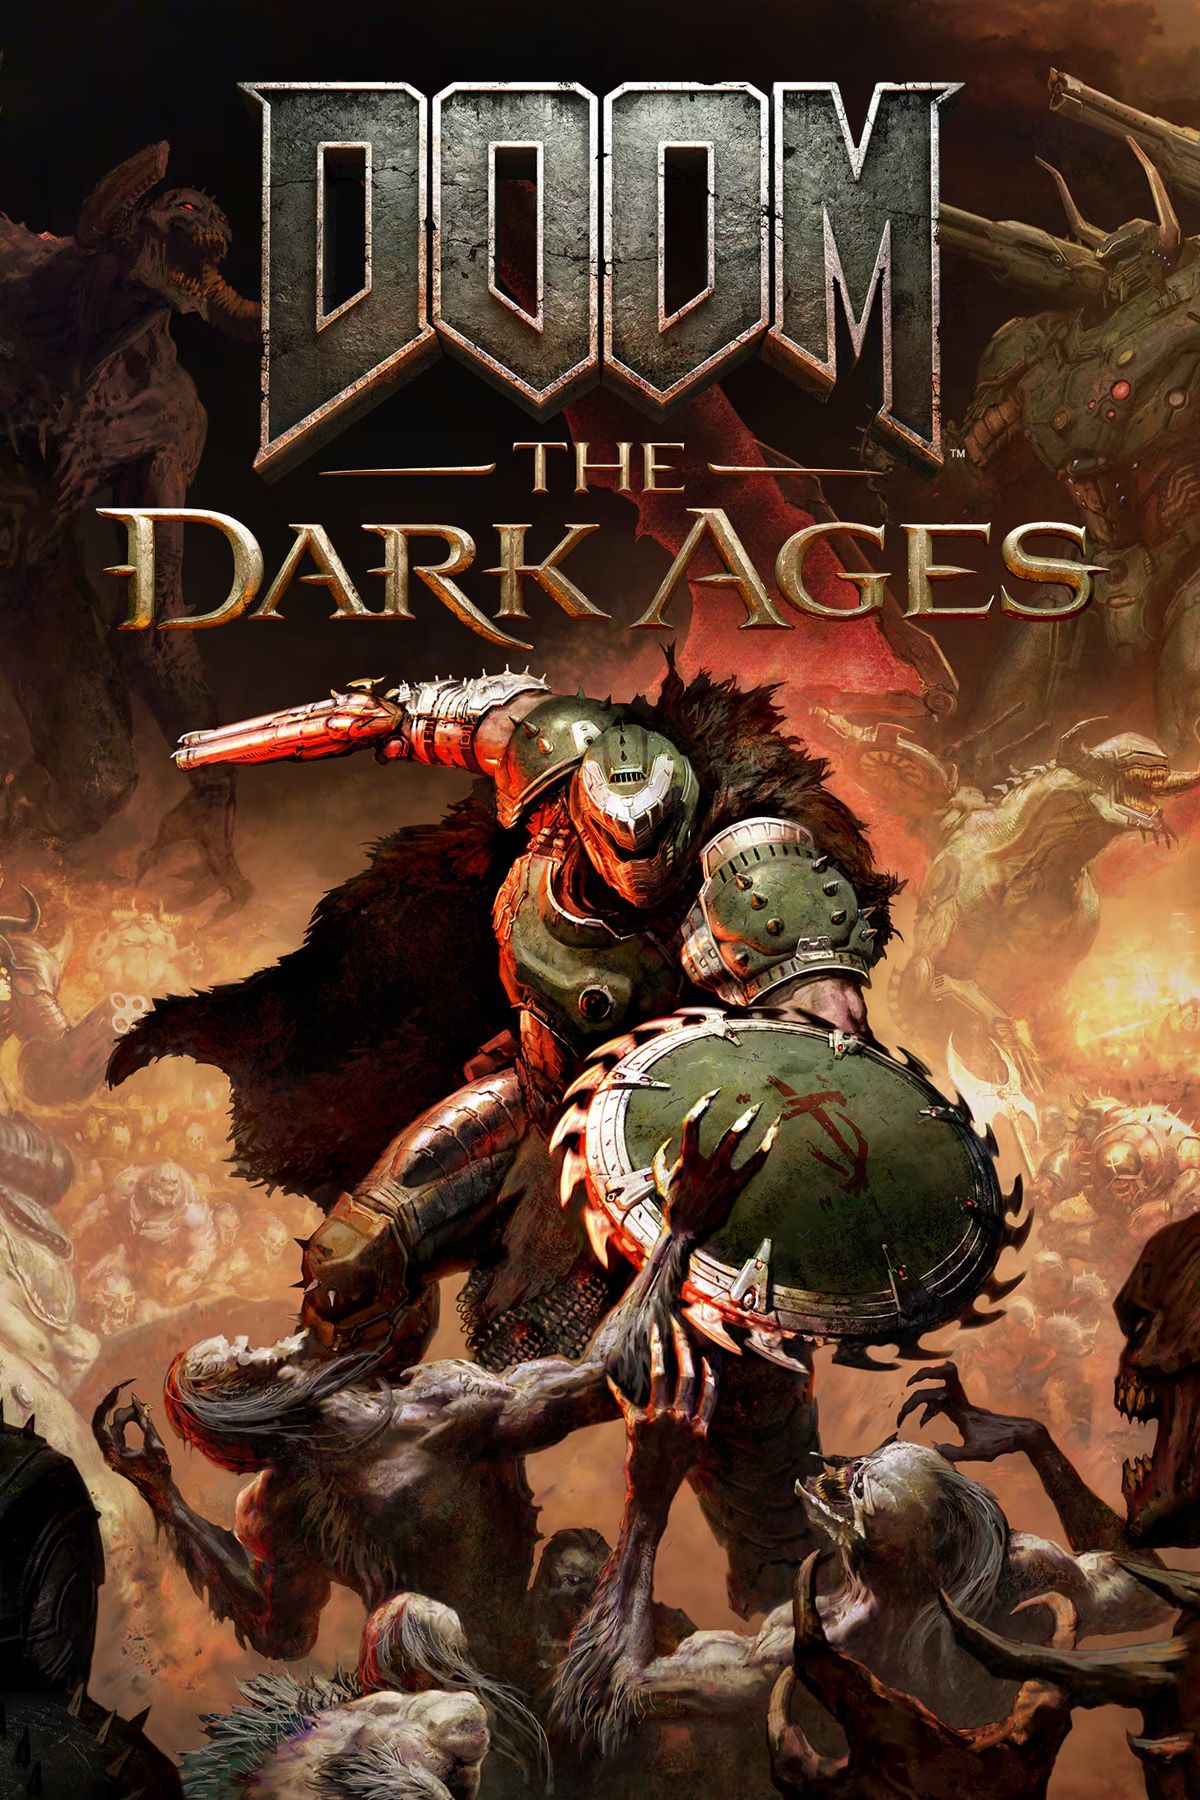
.png)
Chapter 14: Spire of Nerathul in Doom: The Dark Ages is the biggest level in the game so far. If you thought chapter 6 was huge, wait till you get to the fourteenth level, which throws everything at the player from on-foot battle arenas, to dragon mount segments.
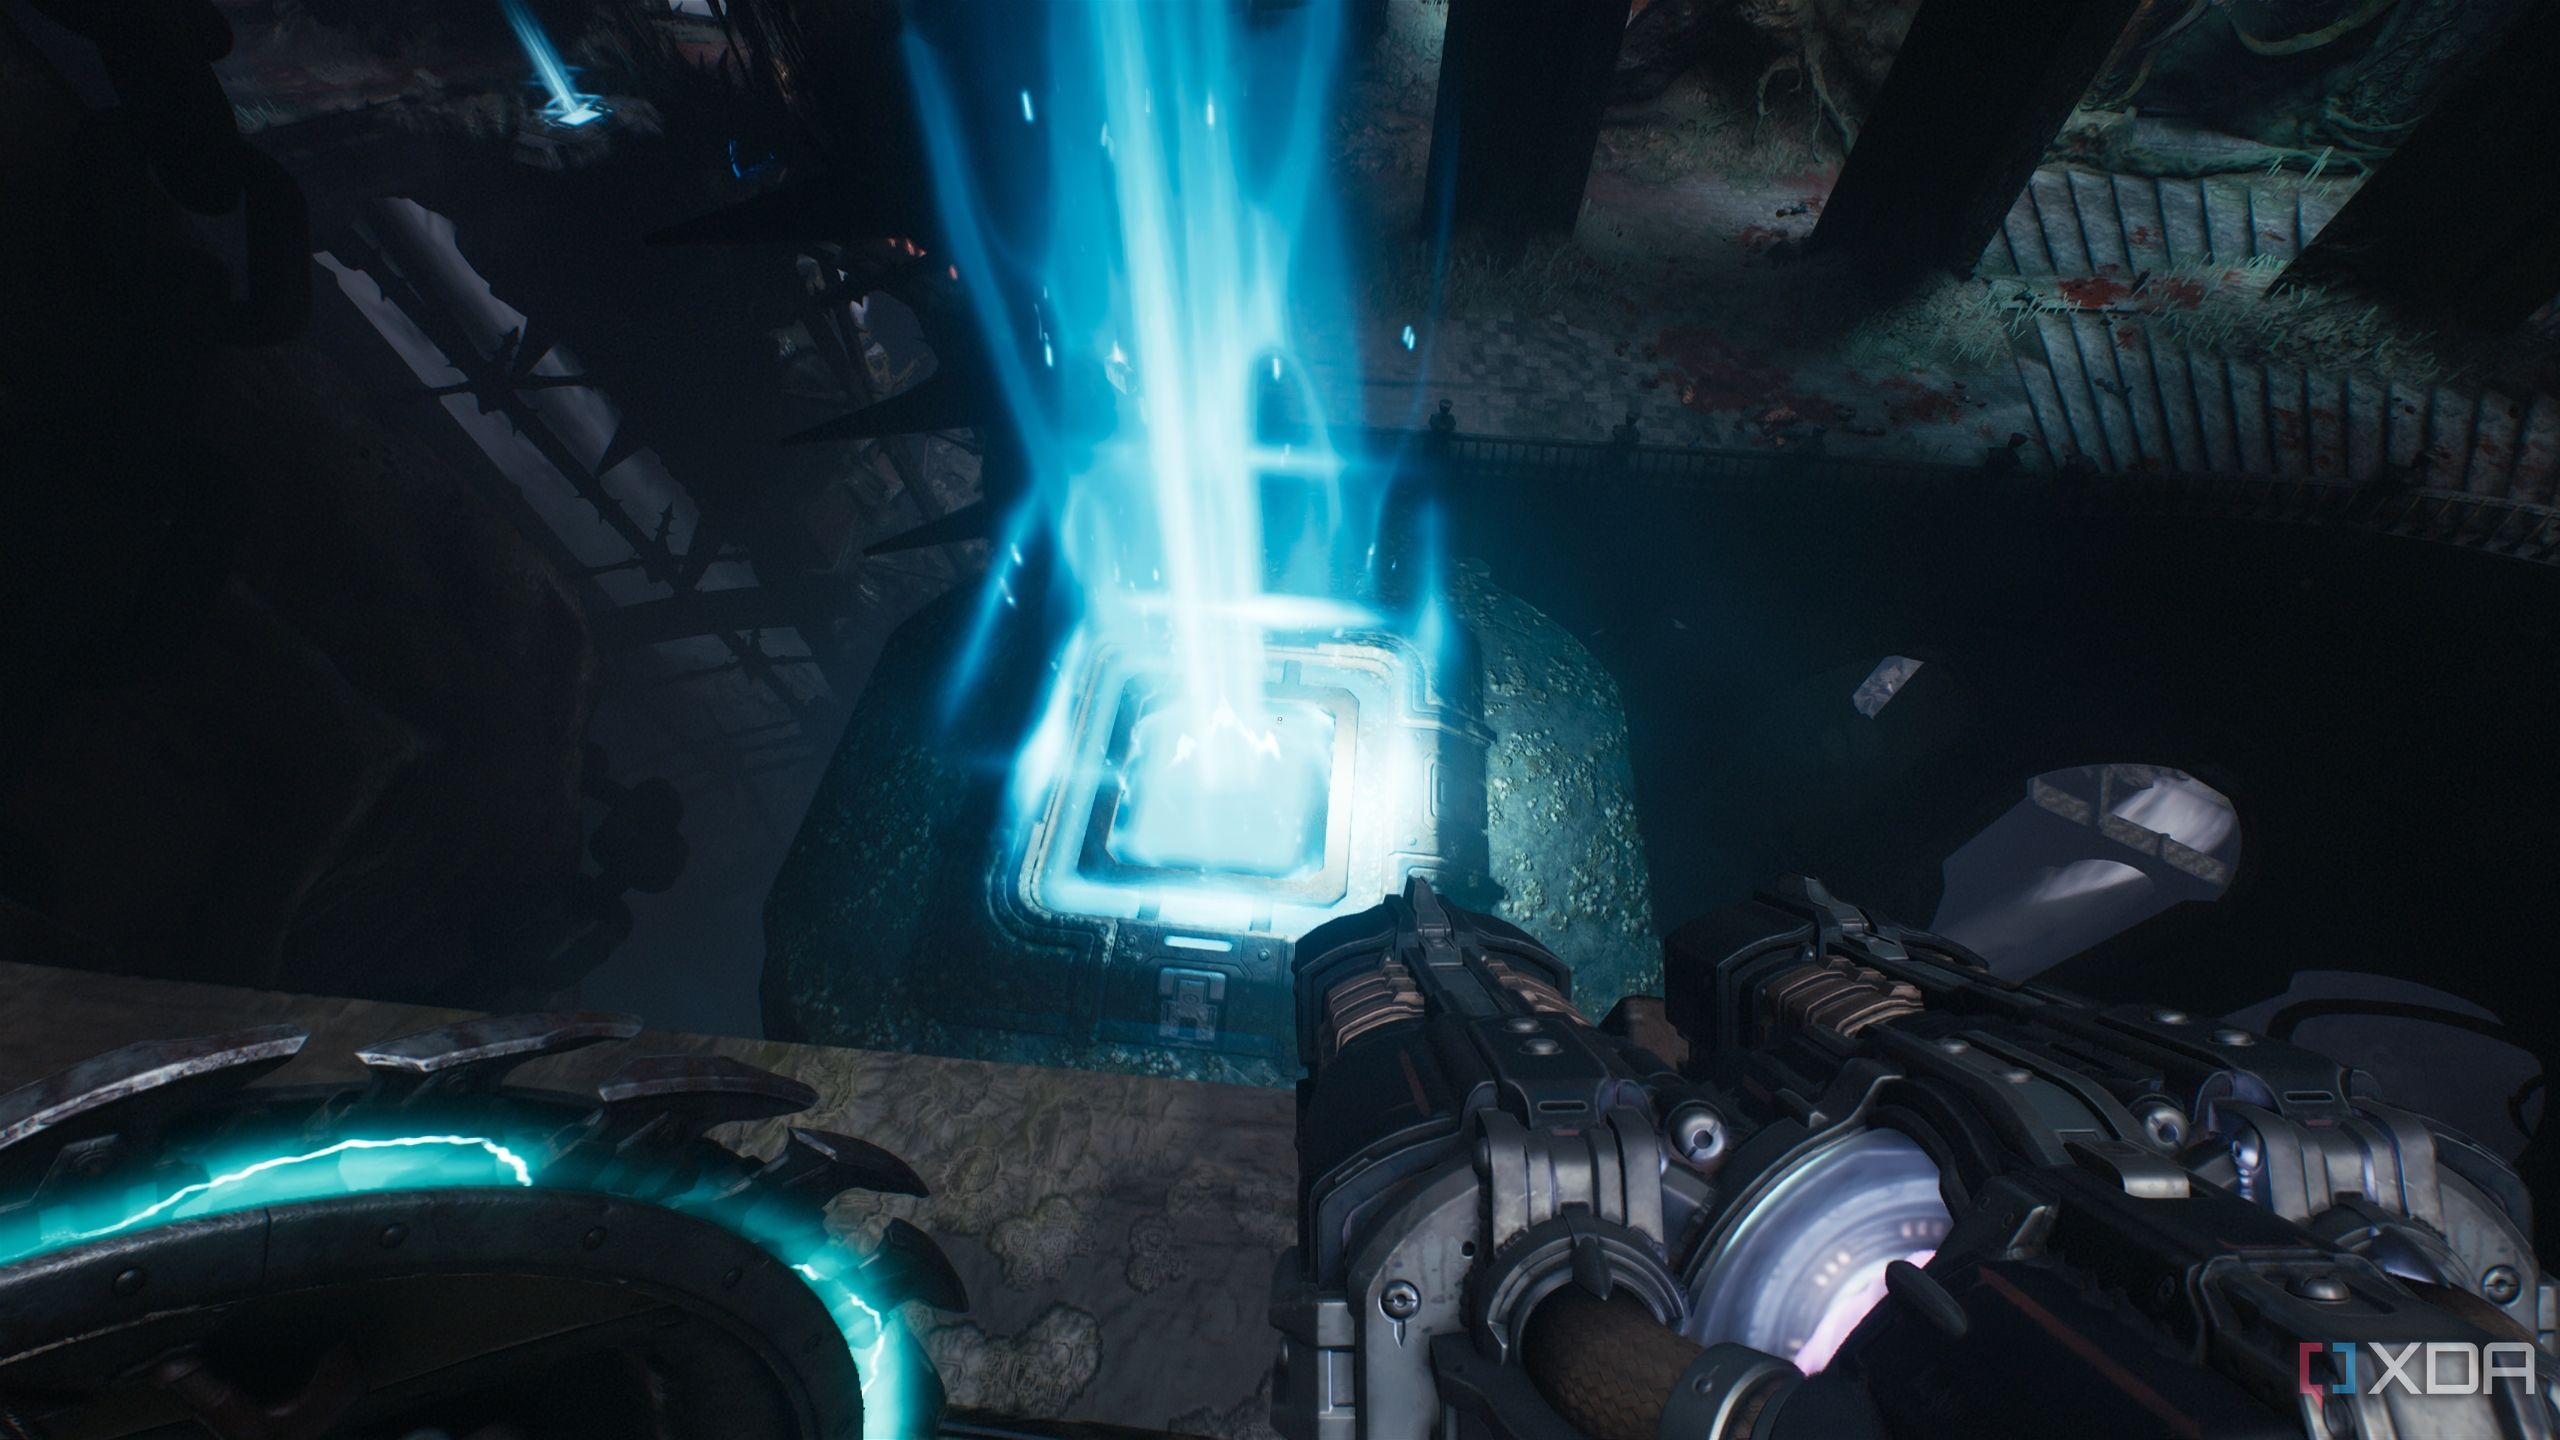
To top it all off, it all happens in a drowned, Lovecraftian city as the Slayer searches for an ancient deity. The rain lashes down to the ground, and the water seems to have a life of its own in this visually-impressive chapter, thanks to the id Tech engine 8. Sure, path tracing is yet to grace the game, but it looks amazing regardless.
In order to get 100% completion of each level, make sure you complete the mission challenges for this level.
Chapter 14’s mission challenges are-
- Killing 2 leader demons
- Using 250 auto-turret rounds to damage demons
- Chasing and destroying 2 Hell Fighter ships
Related
DOOM: The Dark Ages Chapter 13: From Beyond — 100% completion guide
Chatper 13 in Doom: The Dark Ages puts the slayer back on his dragon mount, fighting off something he's never seen before.
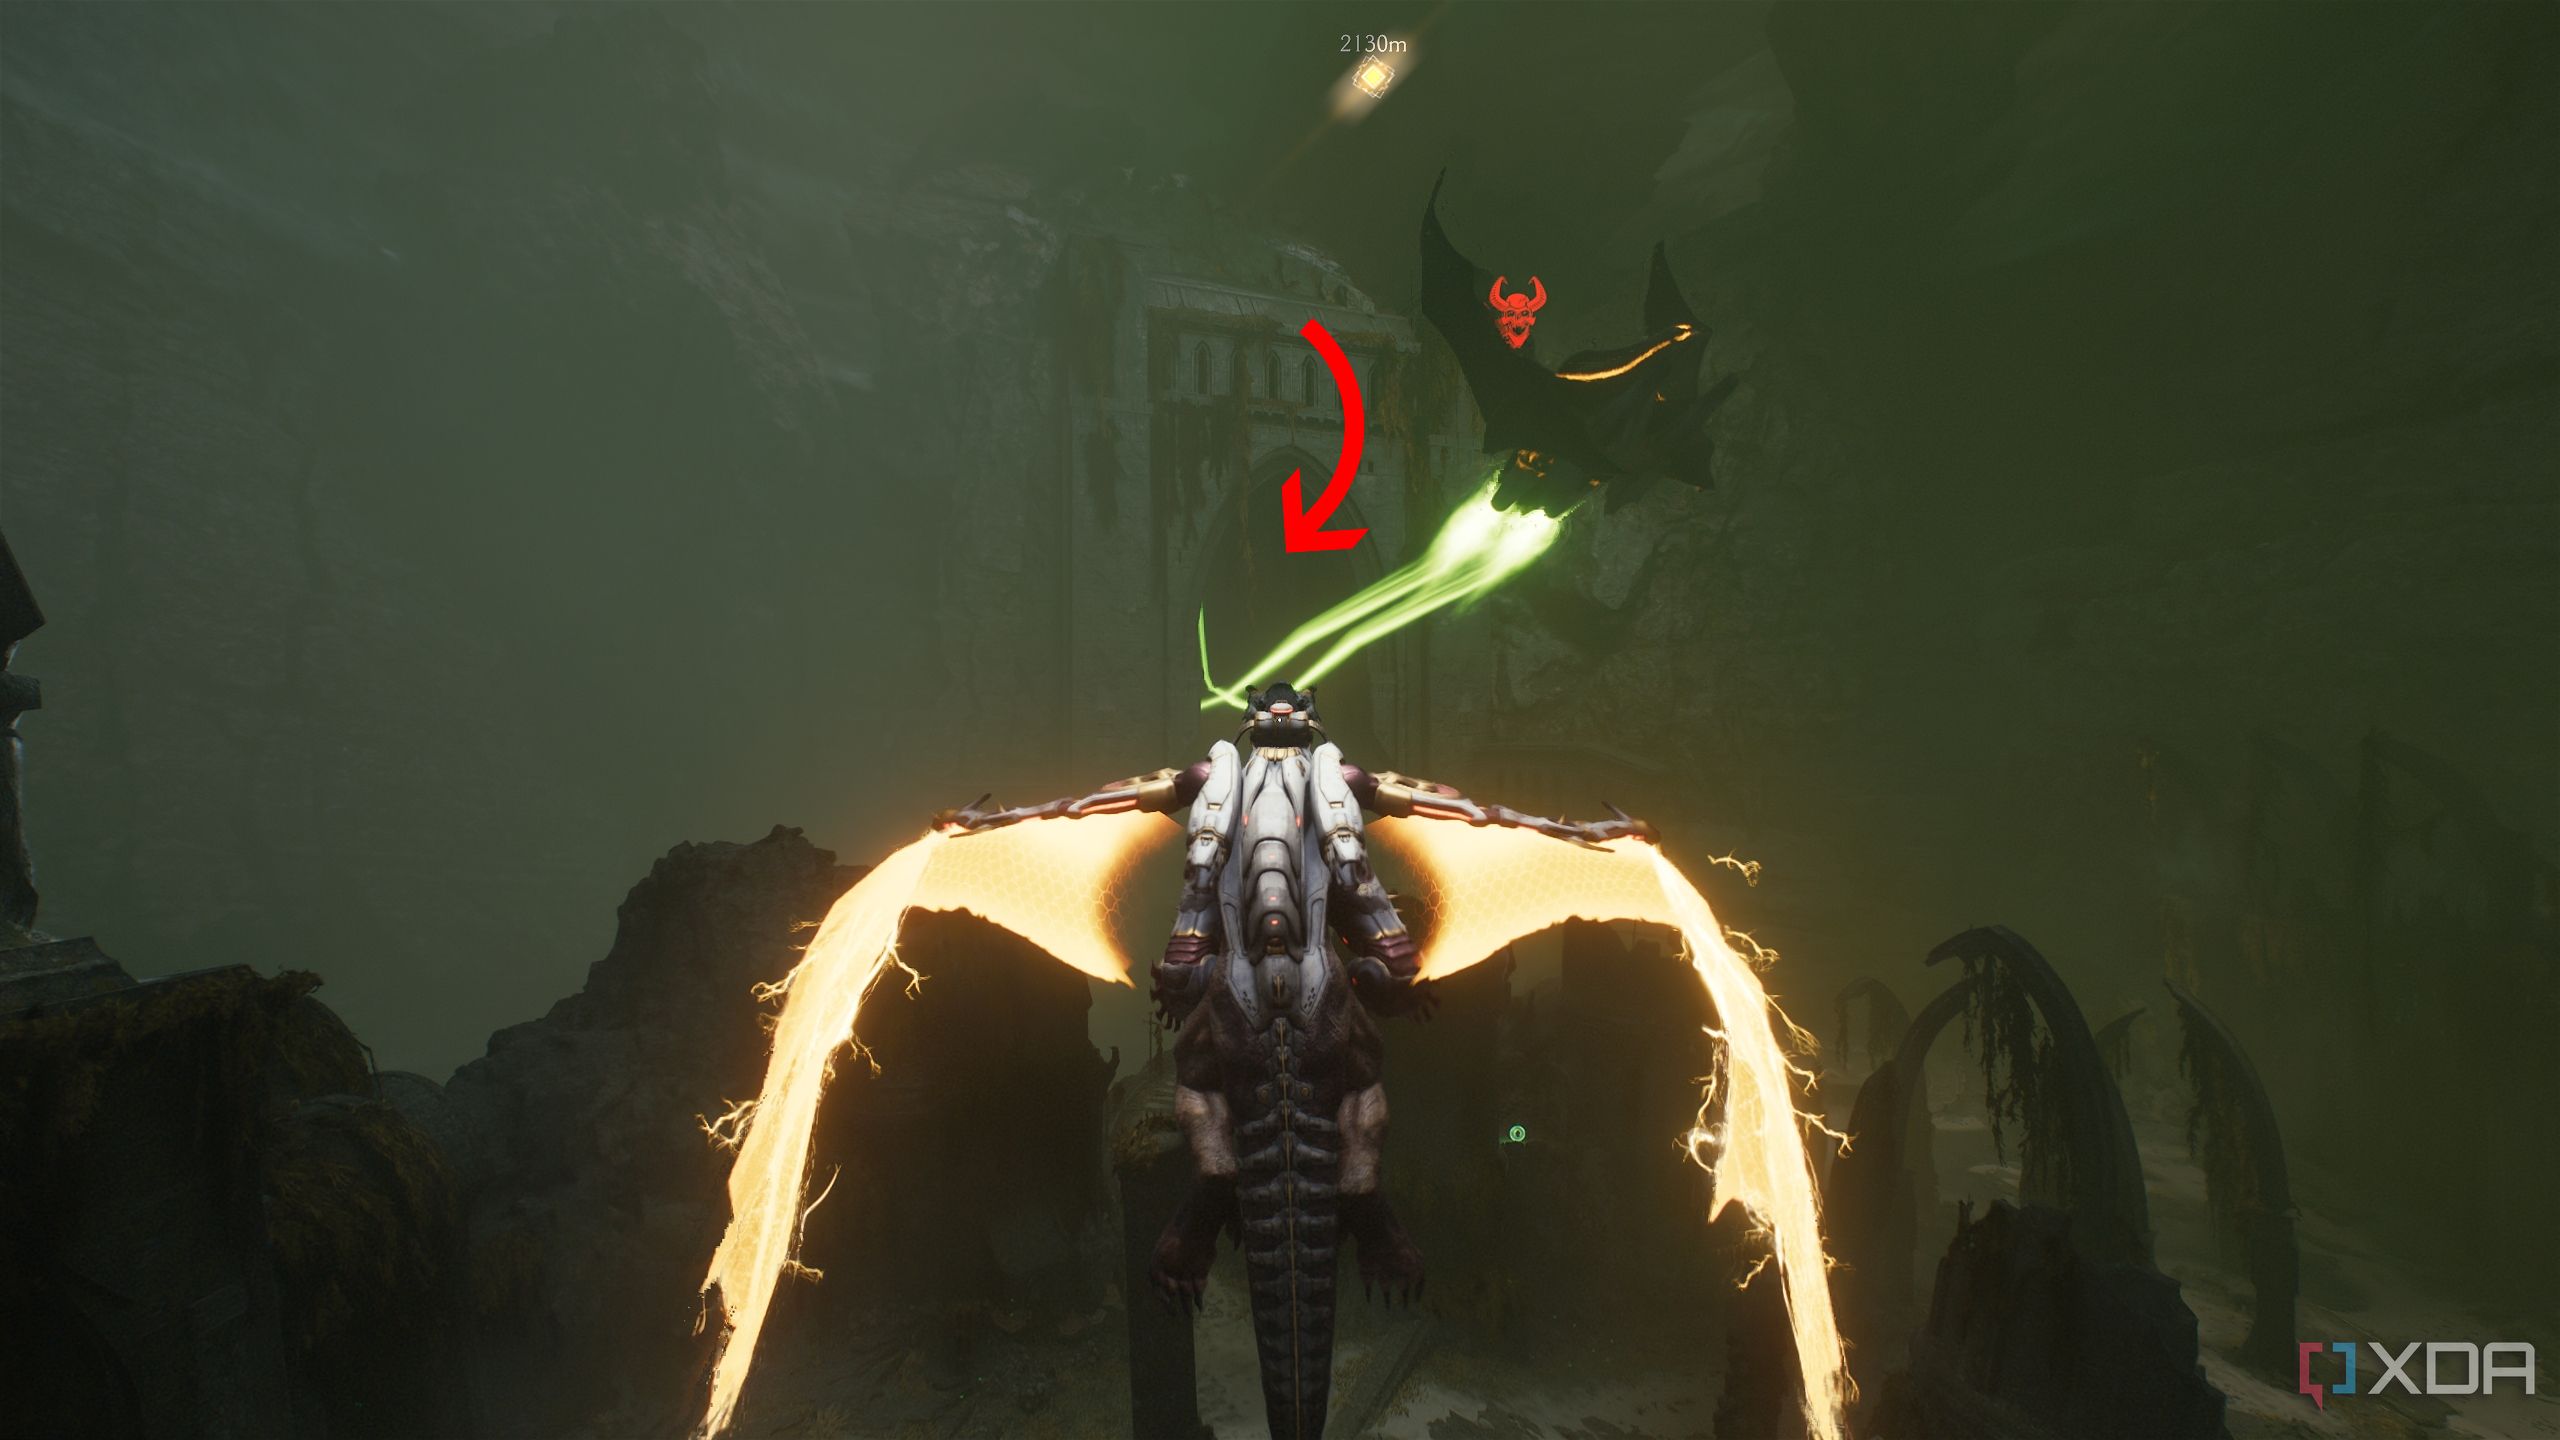
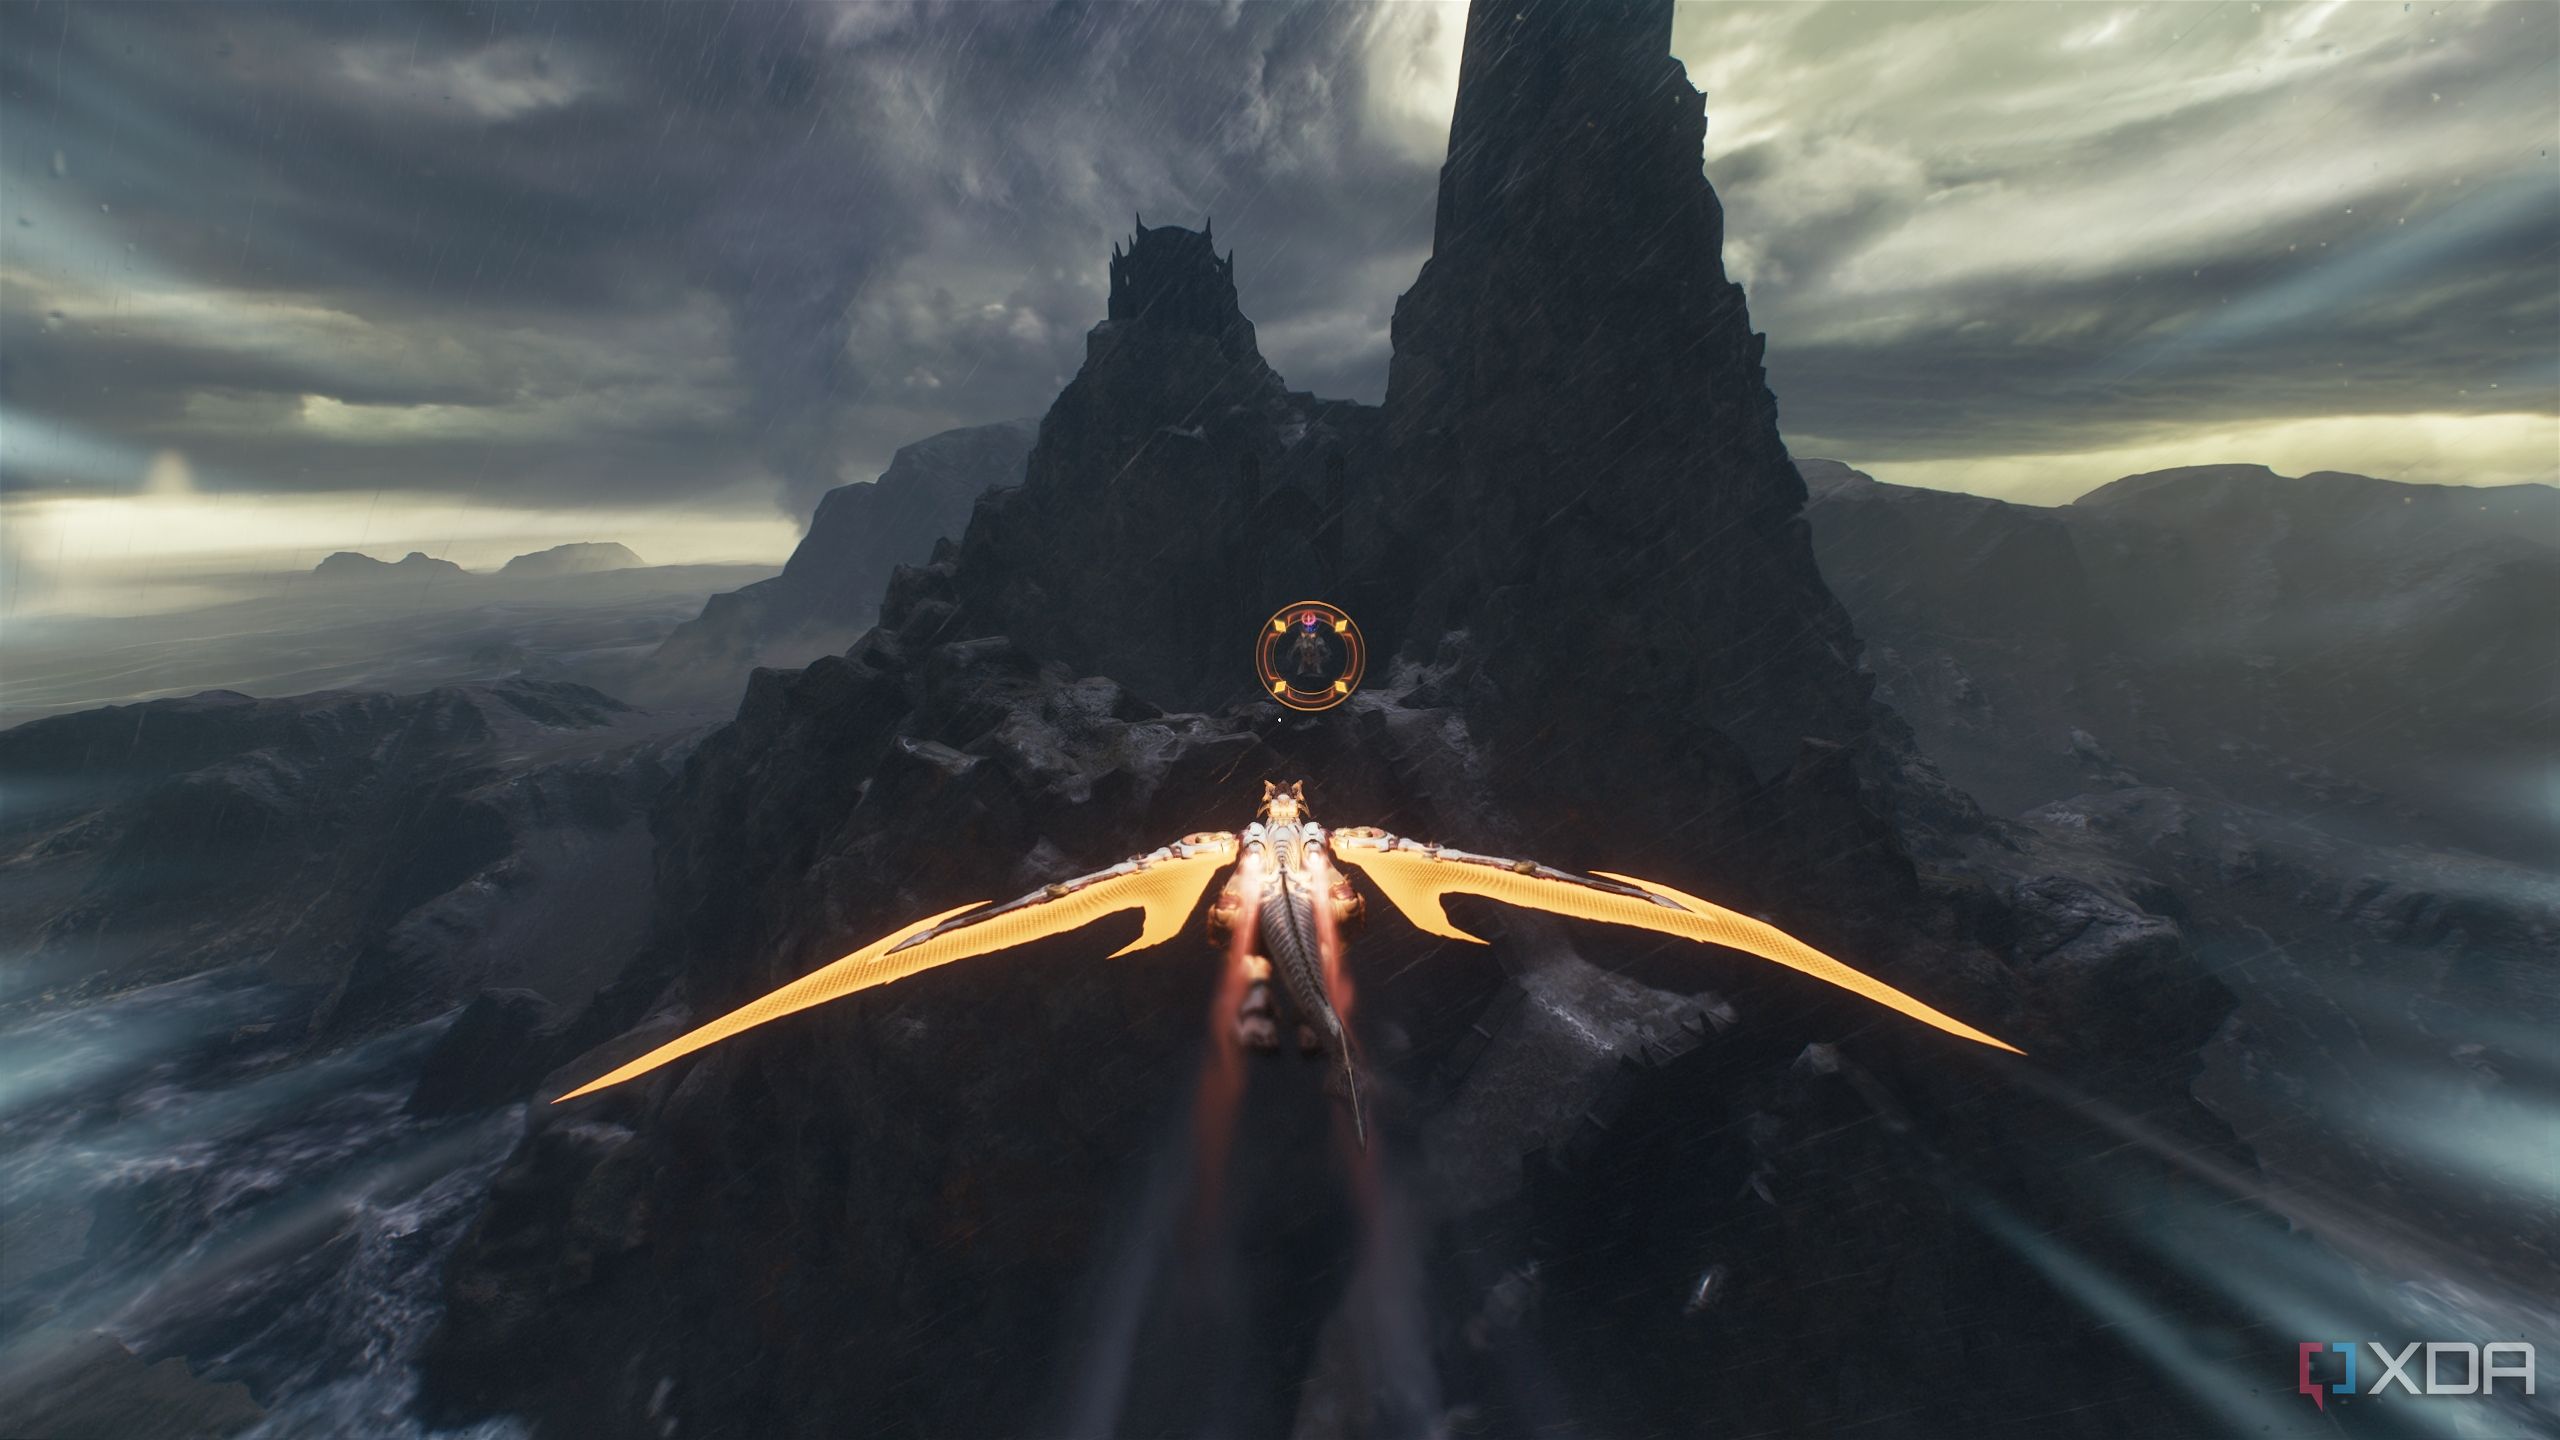
Chapter 14 of Doom: The Dark Ages takes a Lovecraftian twist
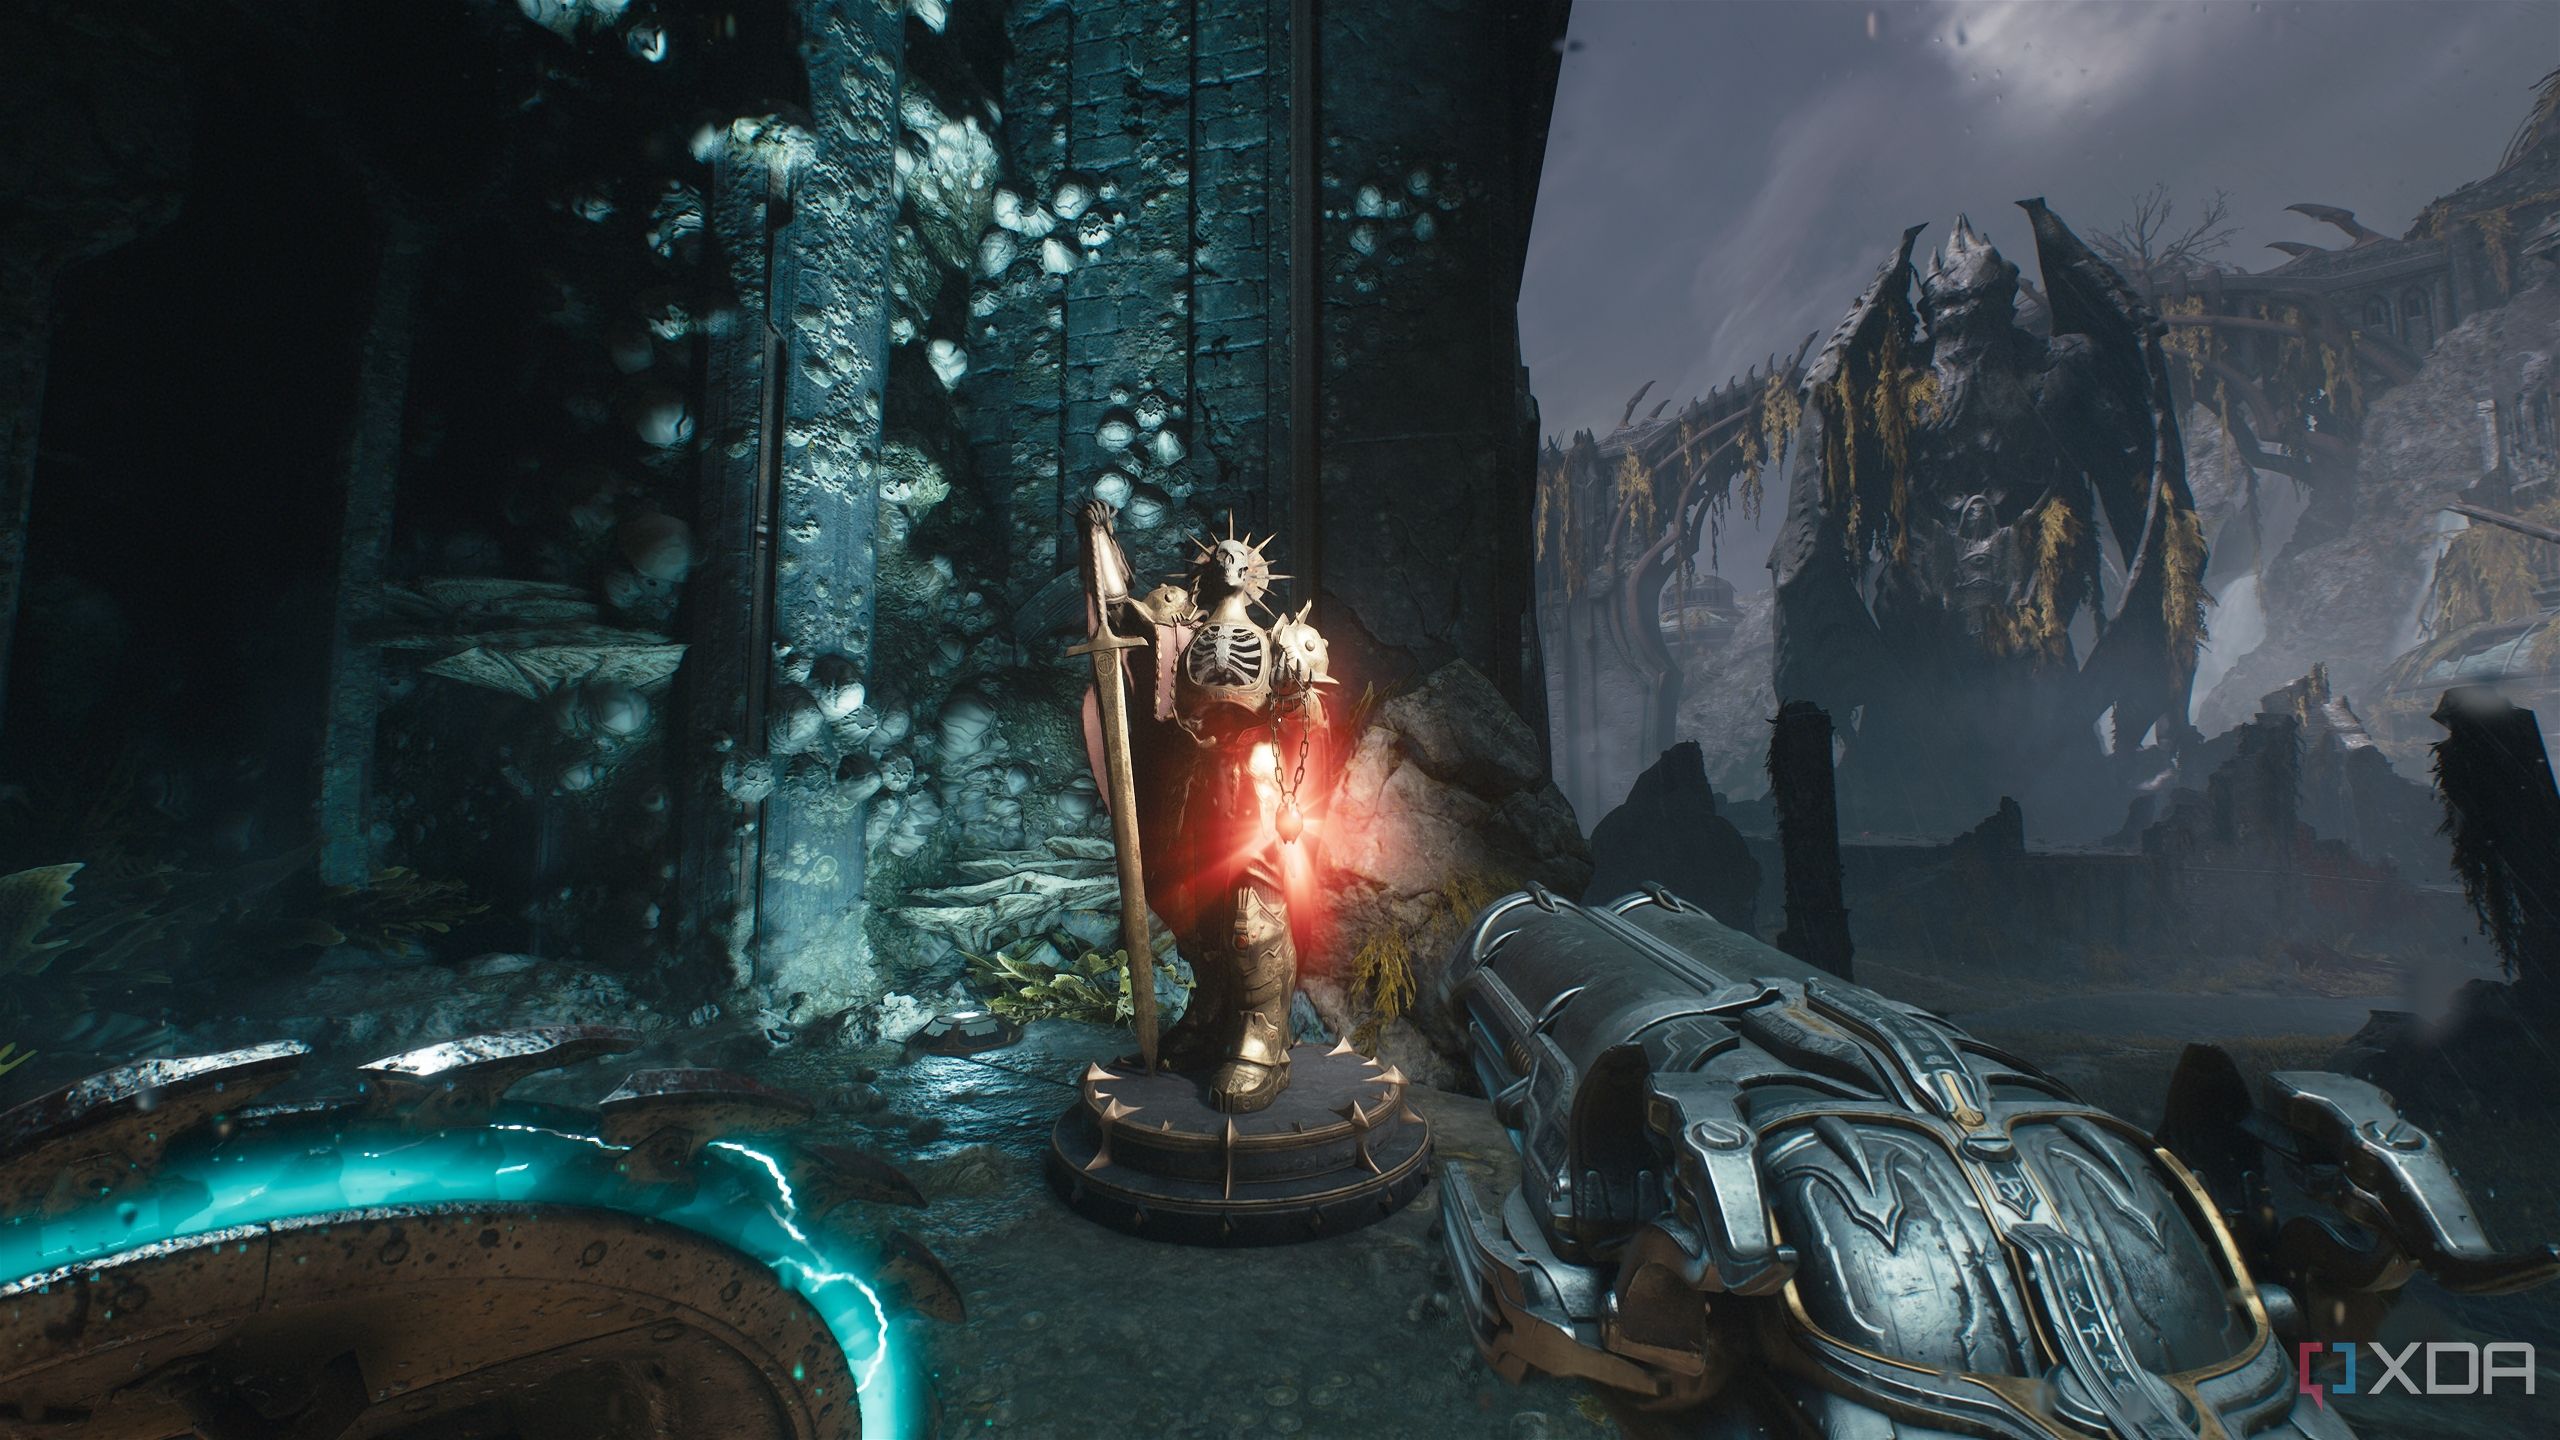
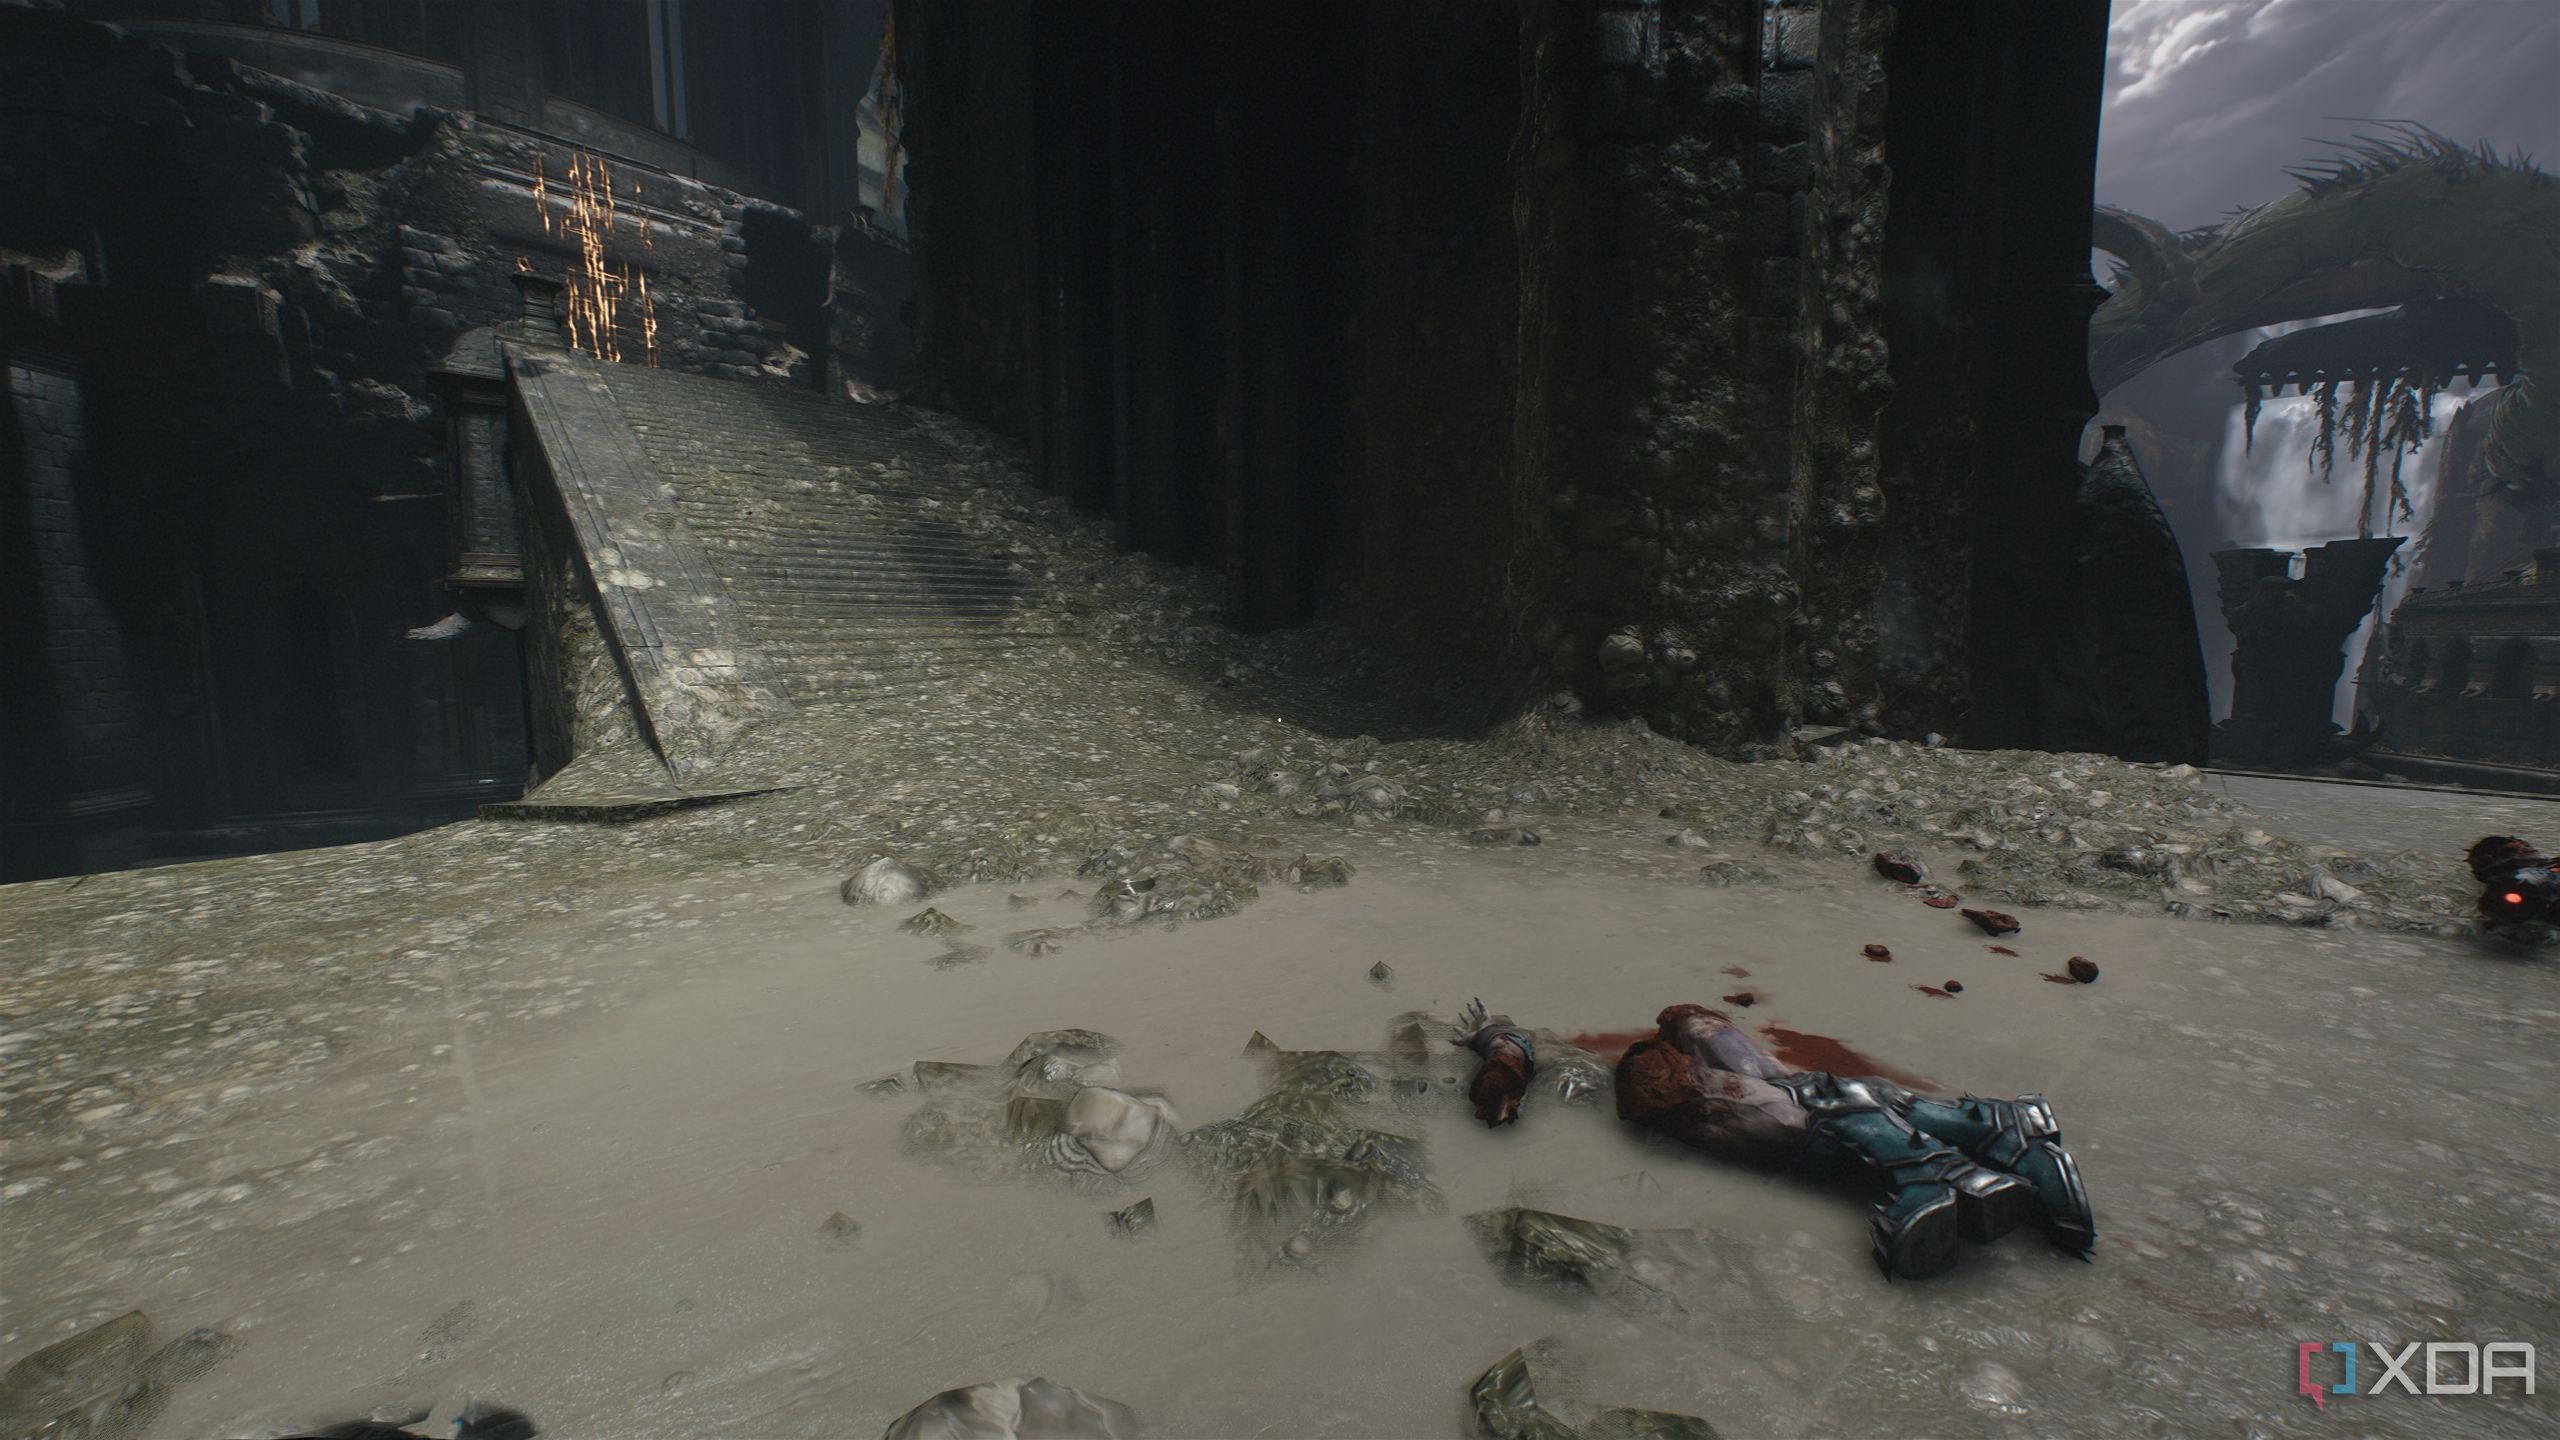
Blood isn’t what’s soaking the Praetor armor
In chapter 14, the Maykrs try to find a way into the new dimension into which the huge leviathan pulled Commander Thira and Bishop Kreed. Following the objectives in the chapter along with the instructions provided below, it won't be long before you can claim that sweet 100% completion tag for the level. Check out our review of Doom: The Dark Ages.
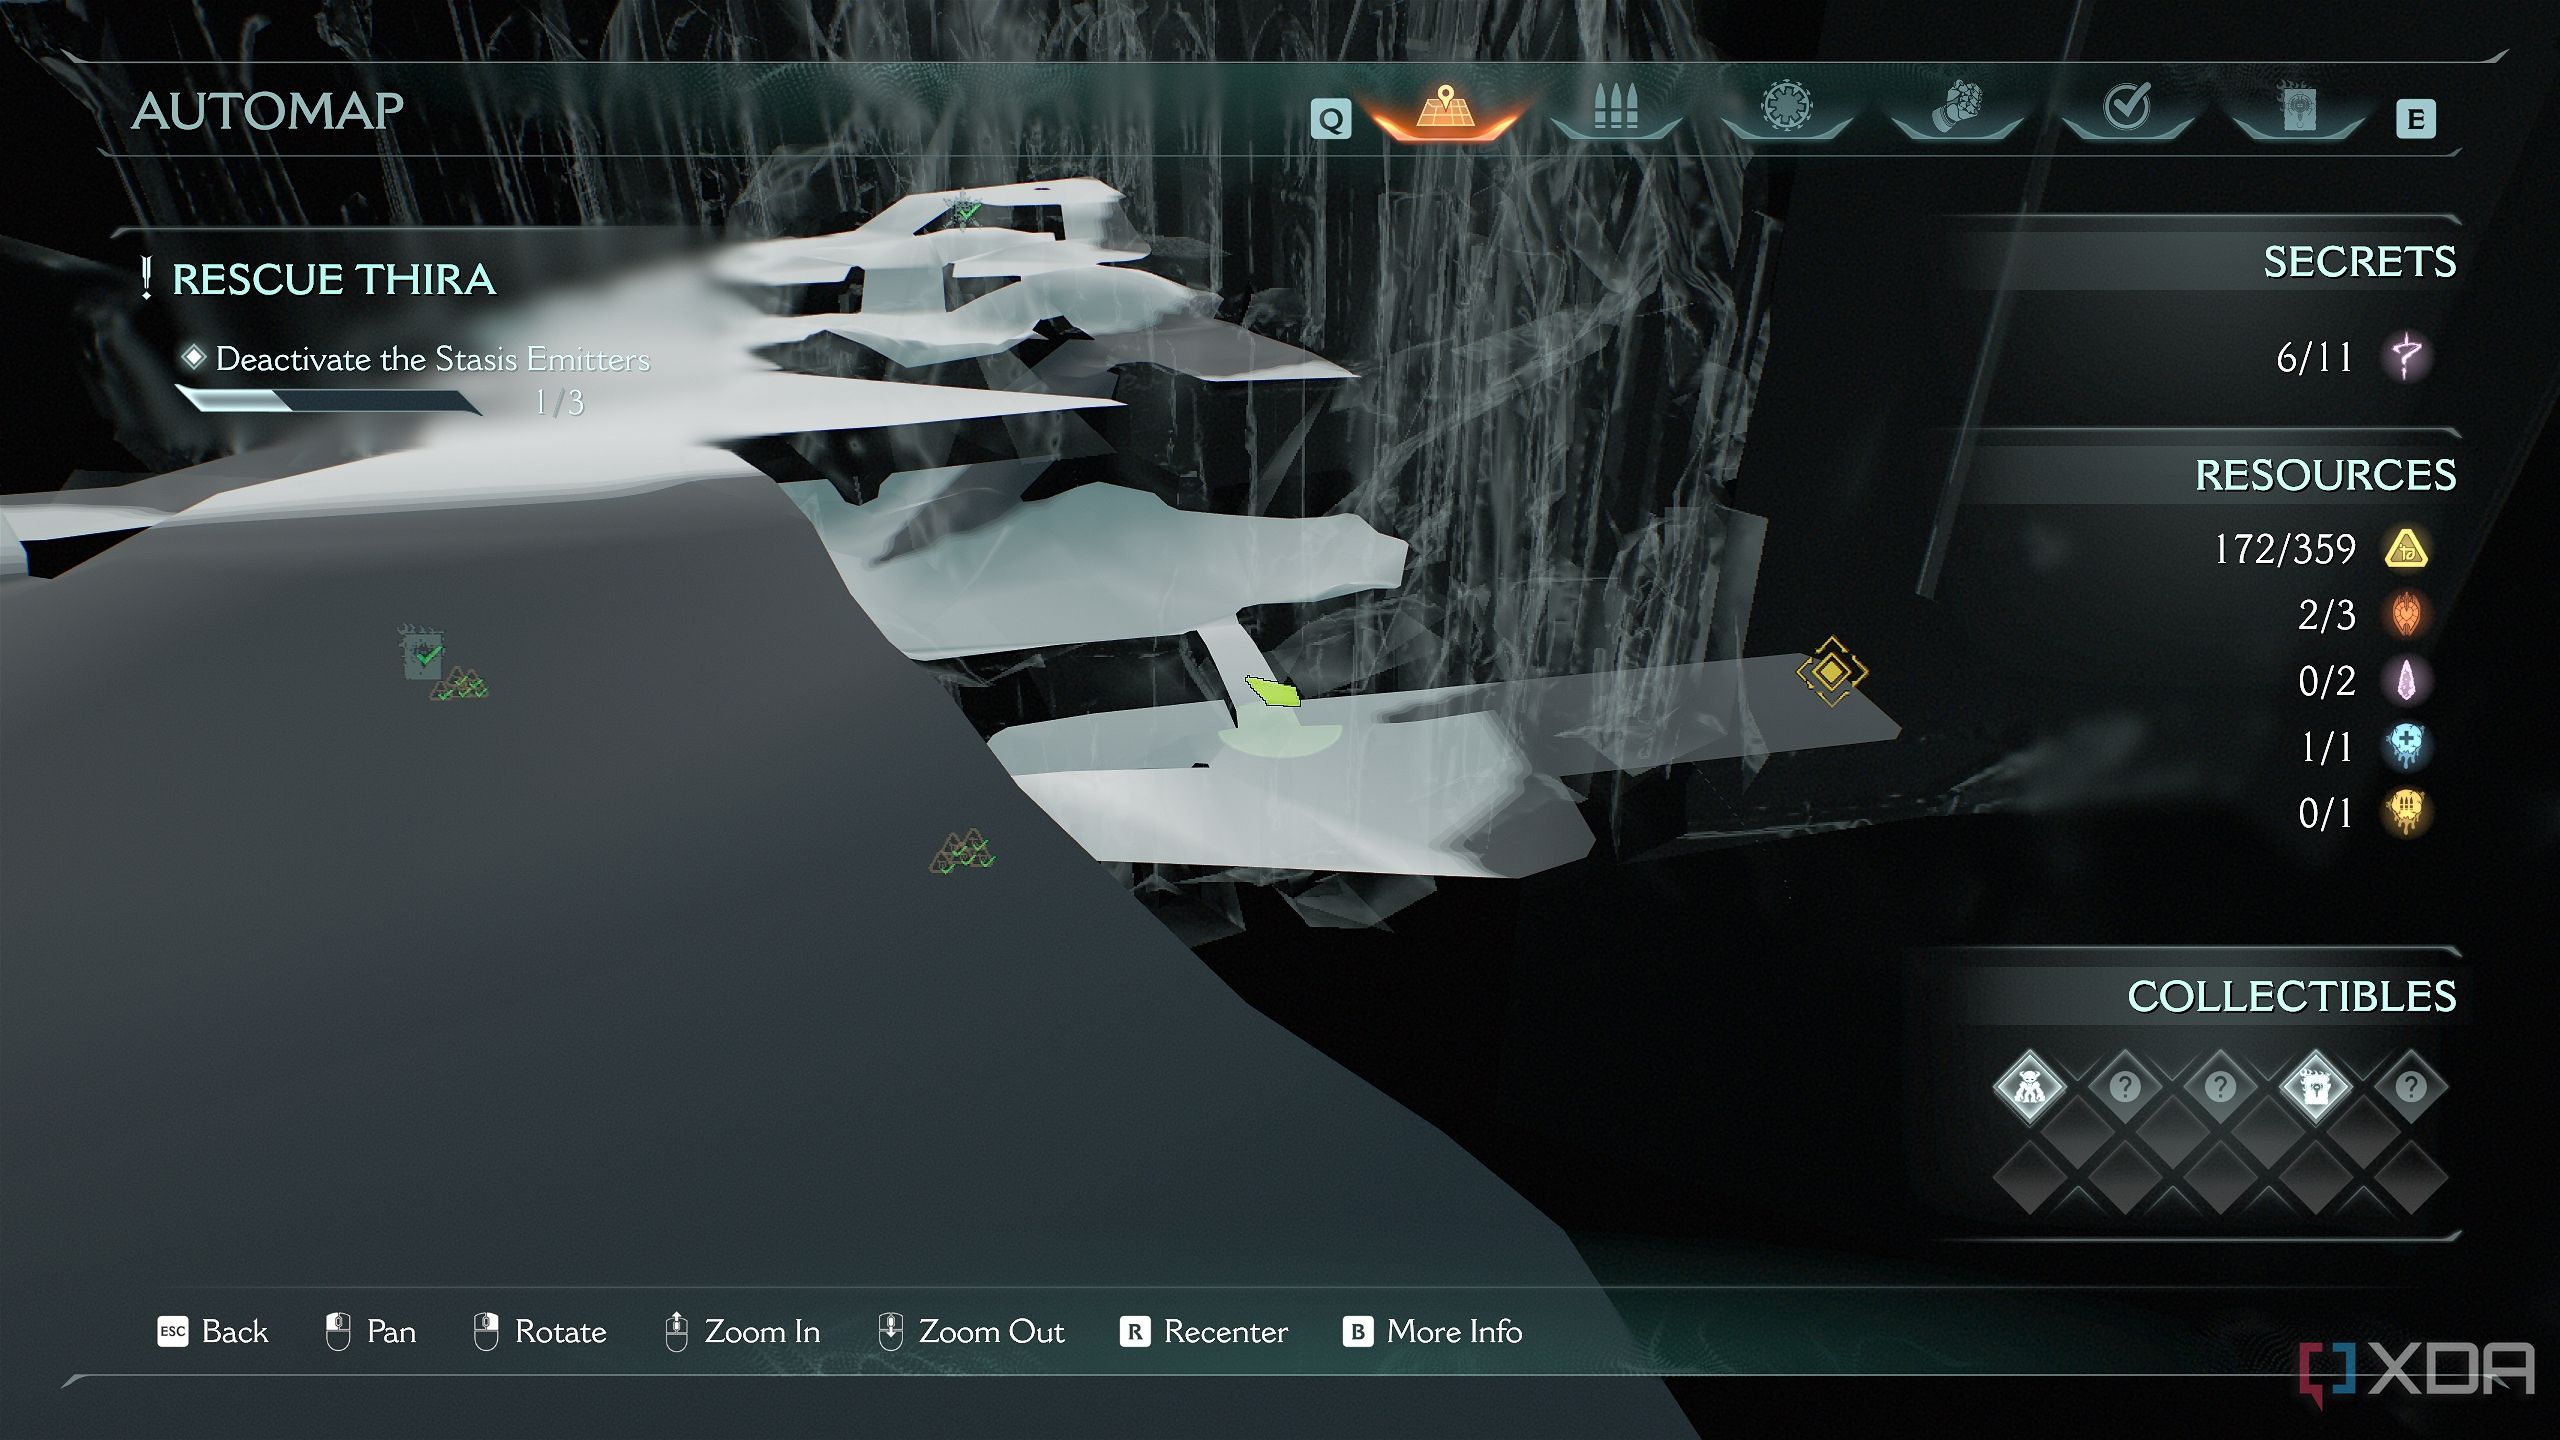
This guide covers each collectible required for 100% level completion in chronological order. It is recommended to follow this guide in the order stated.
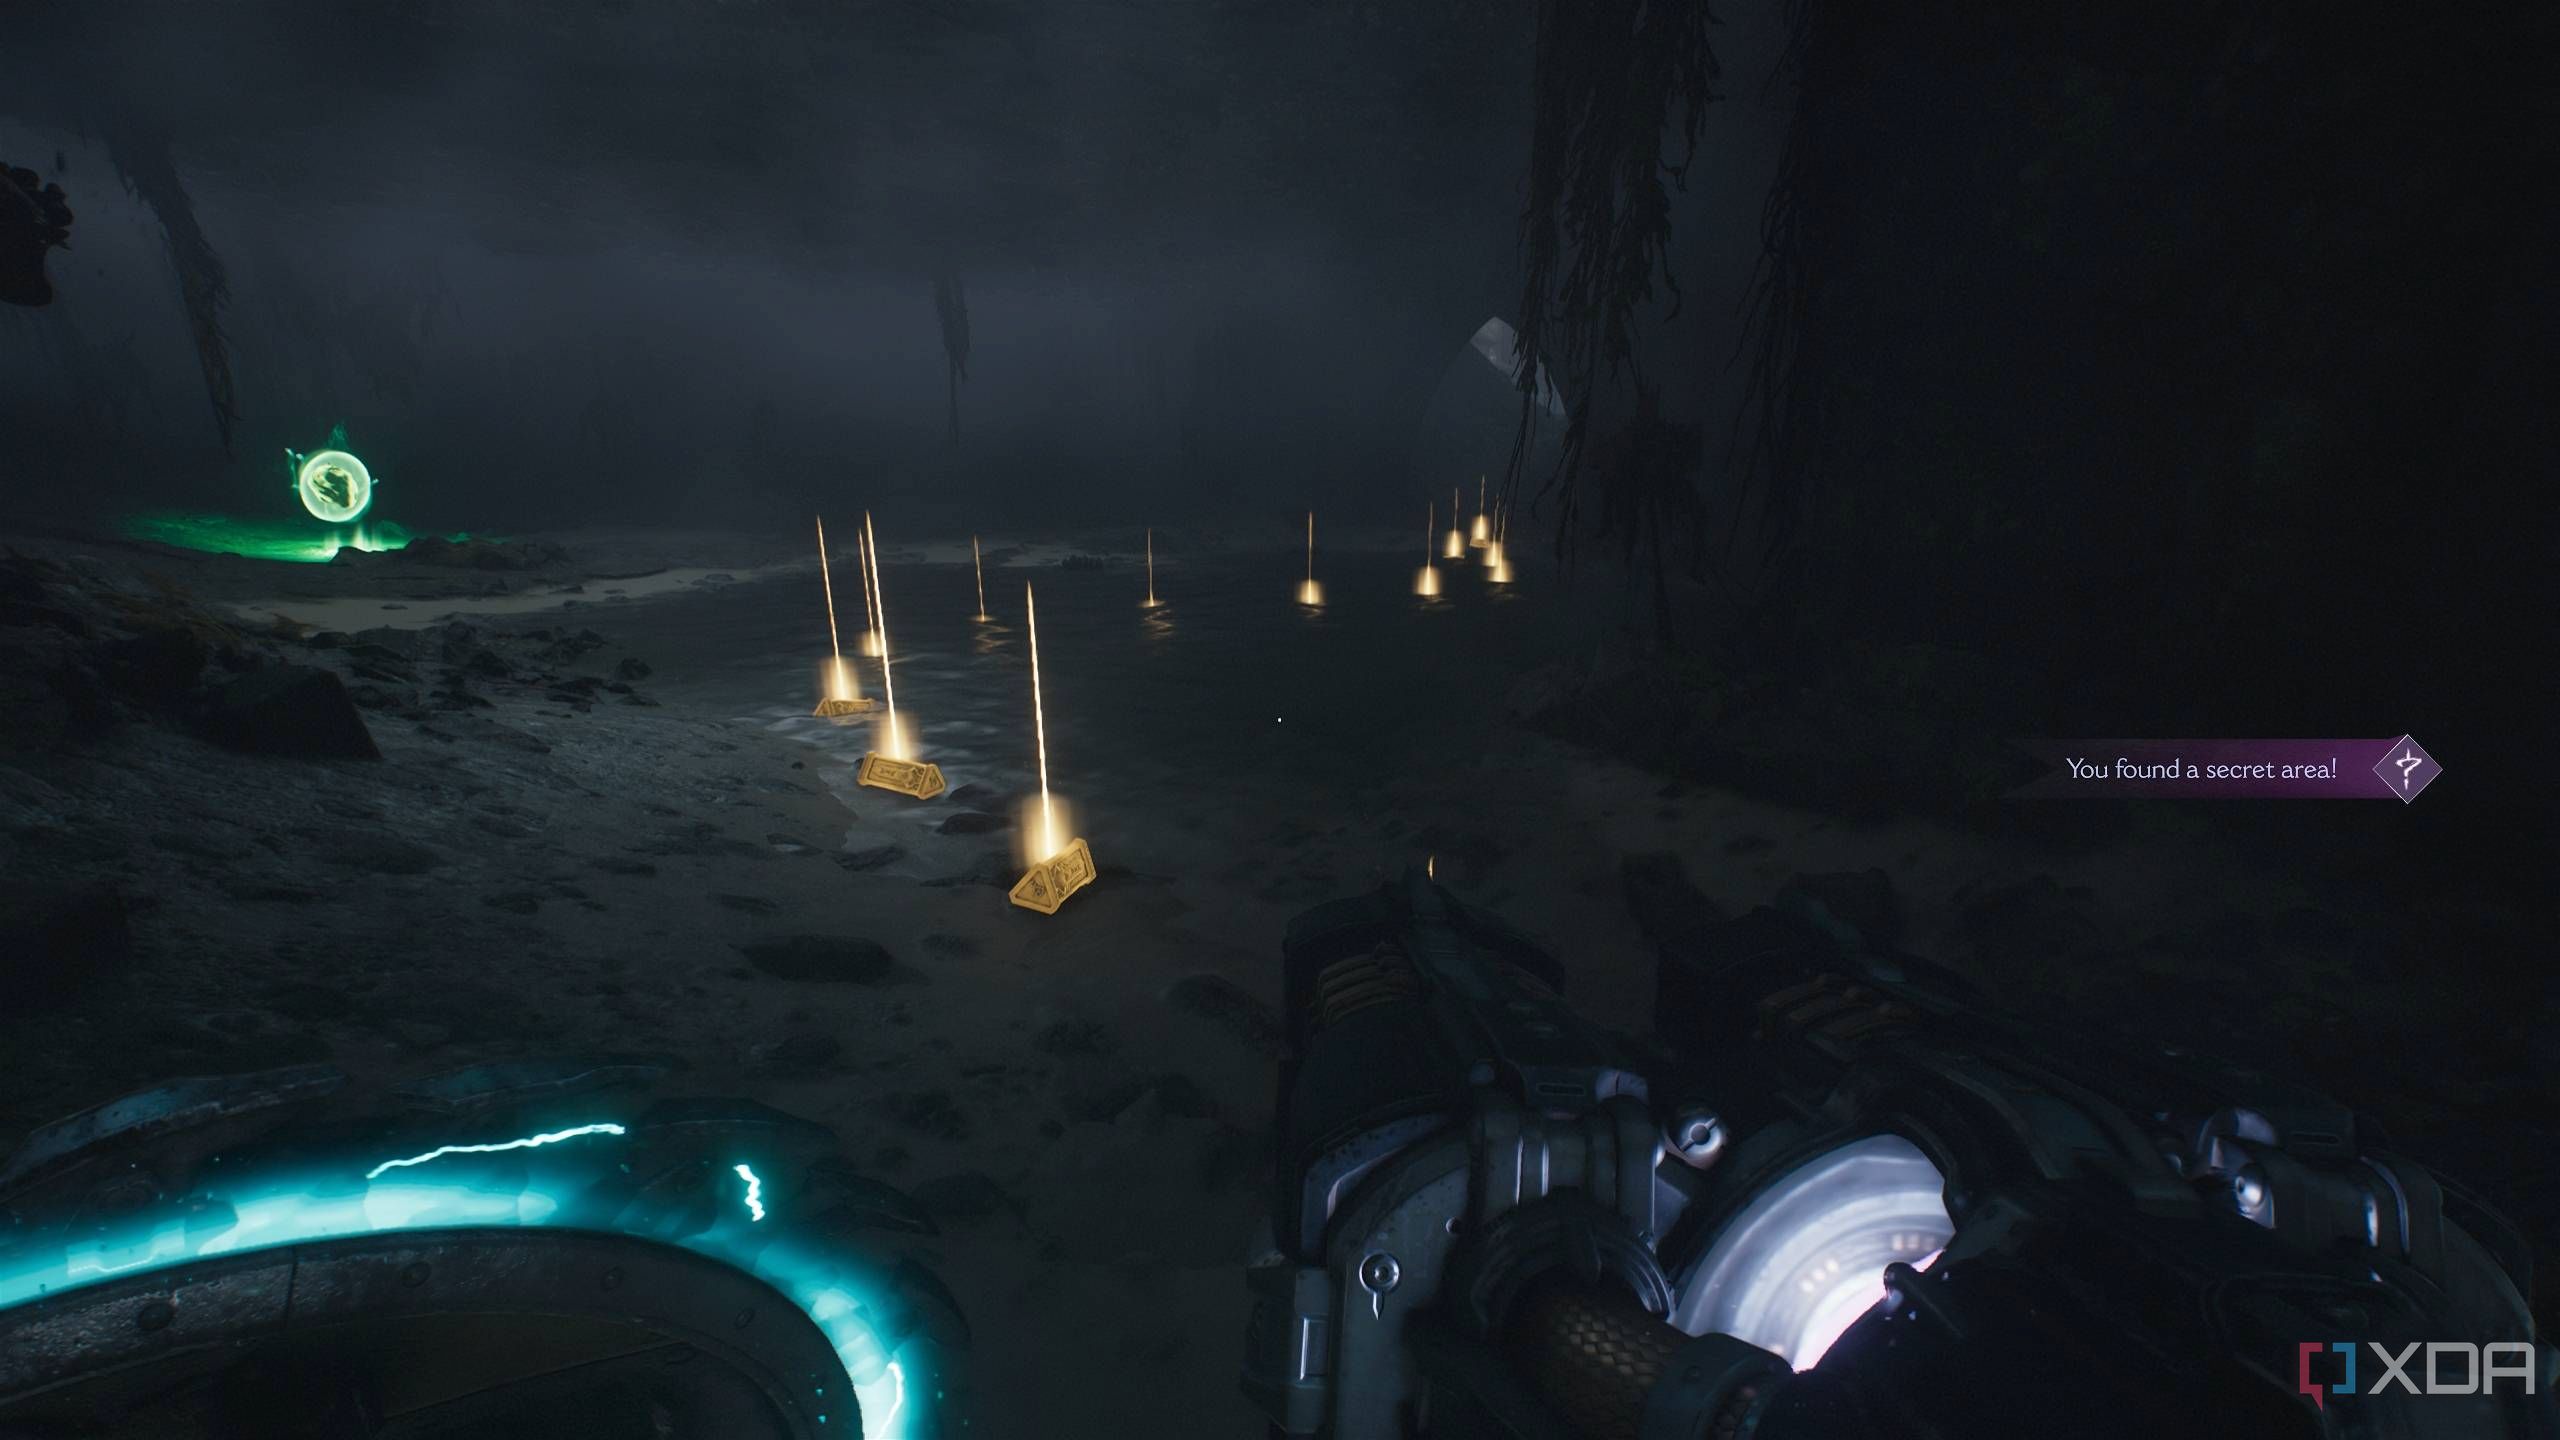
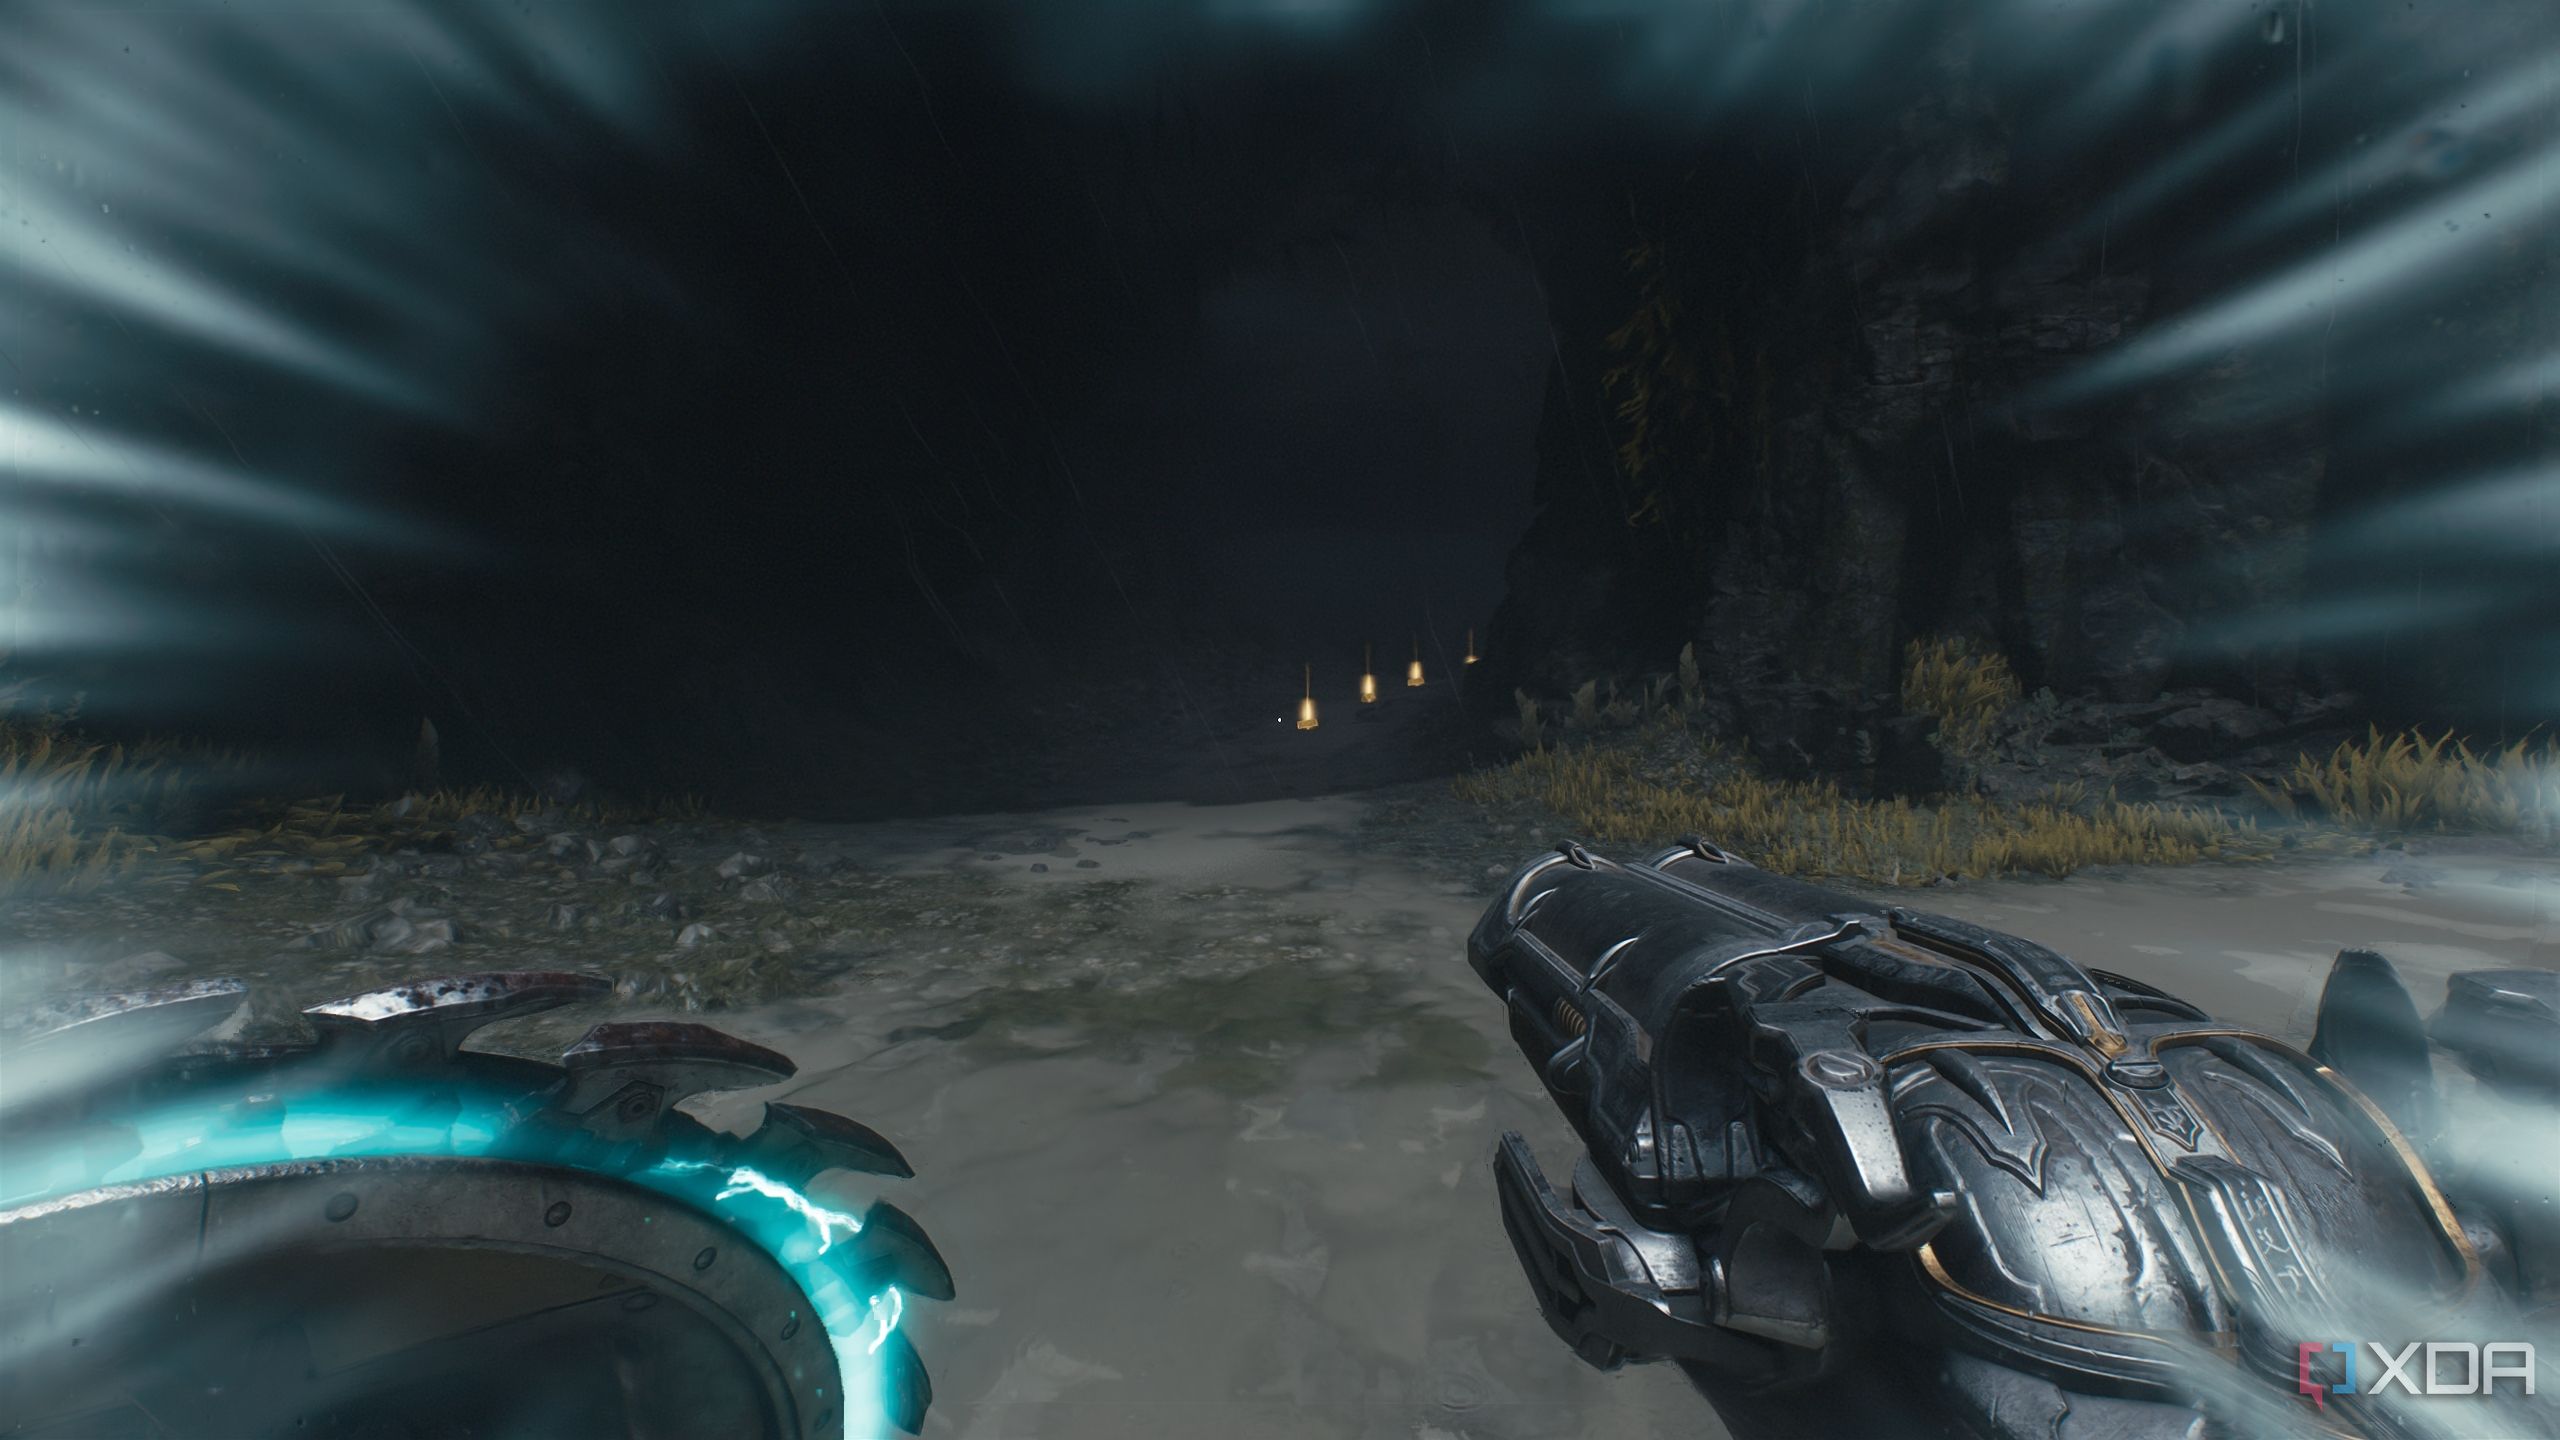
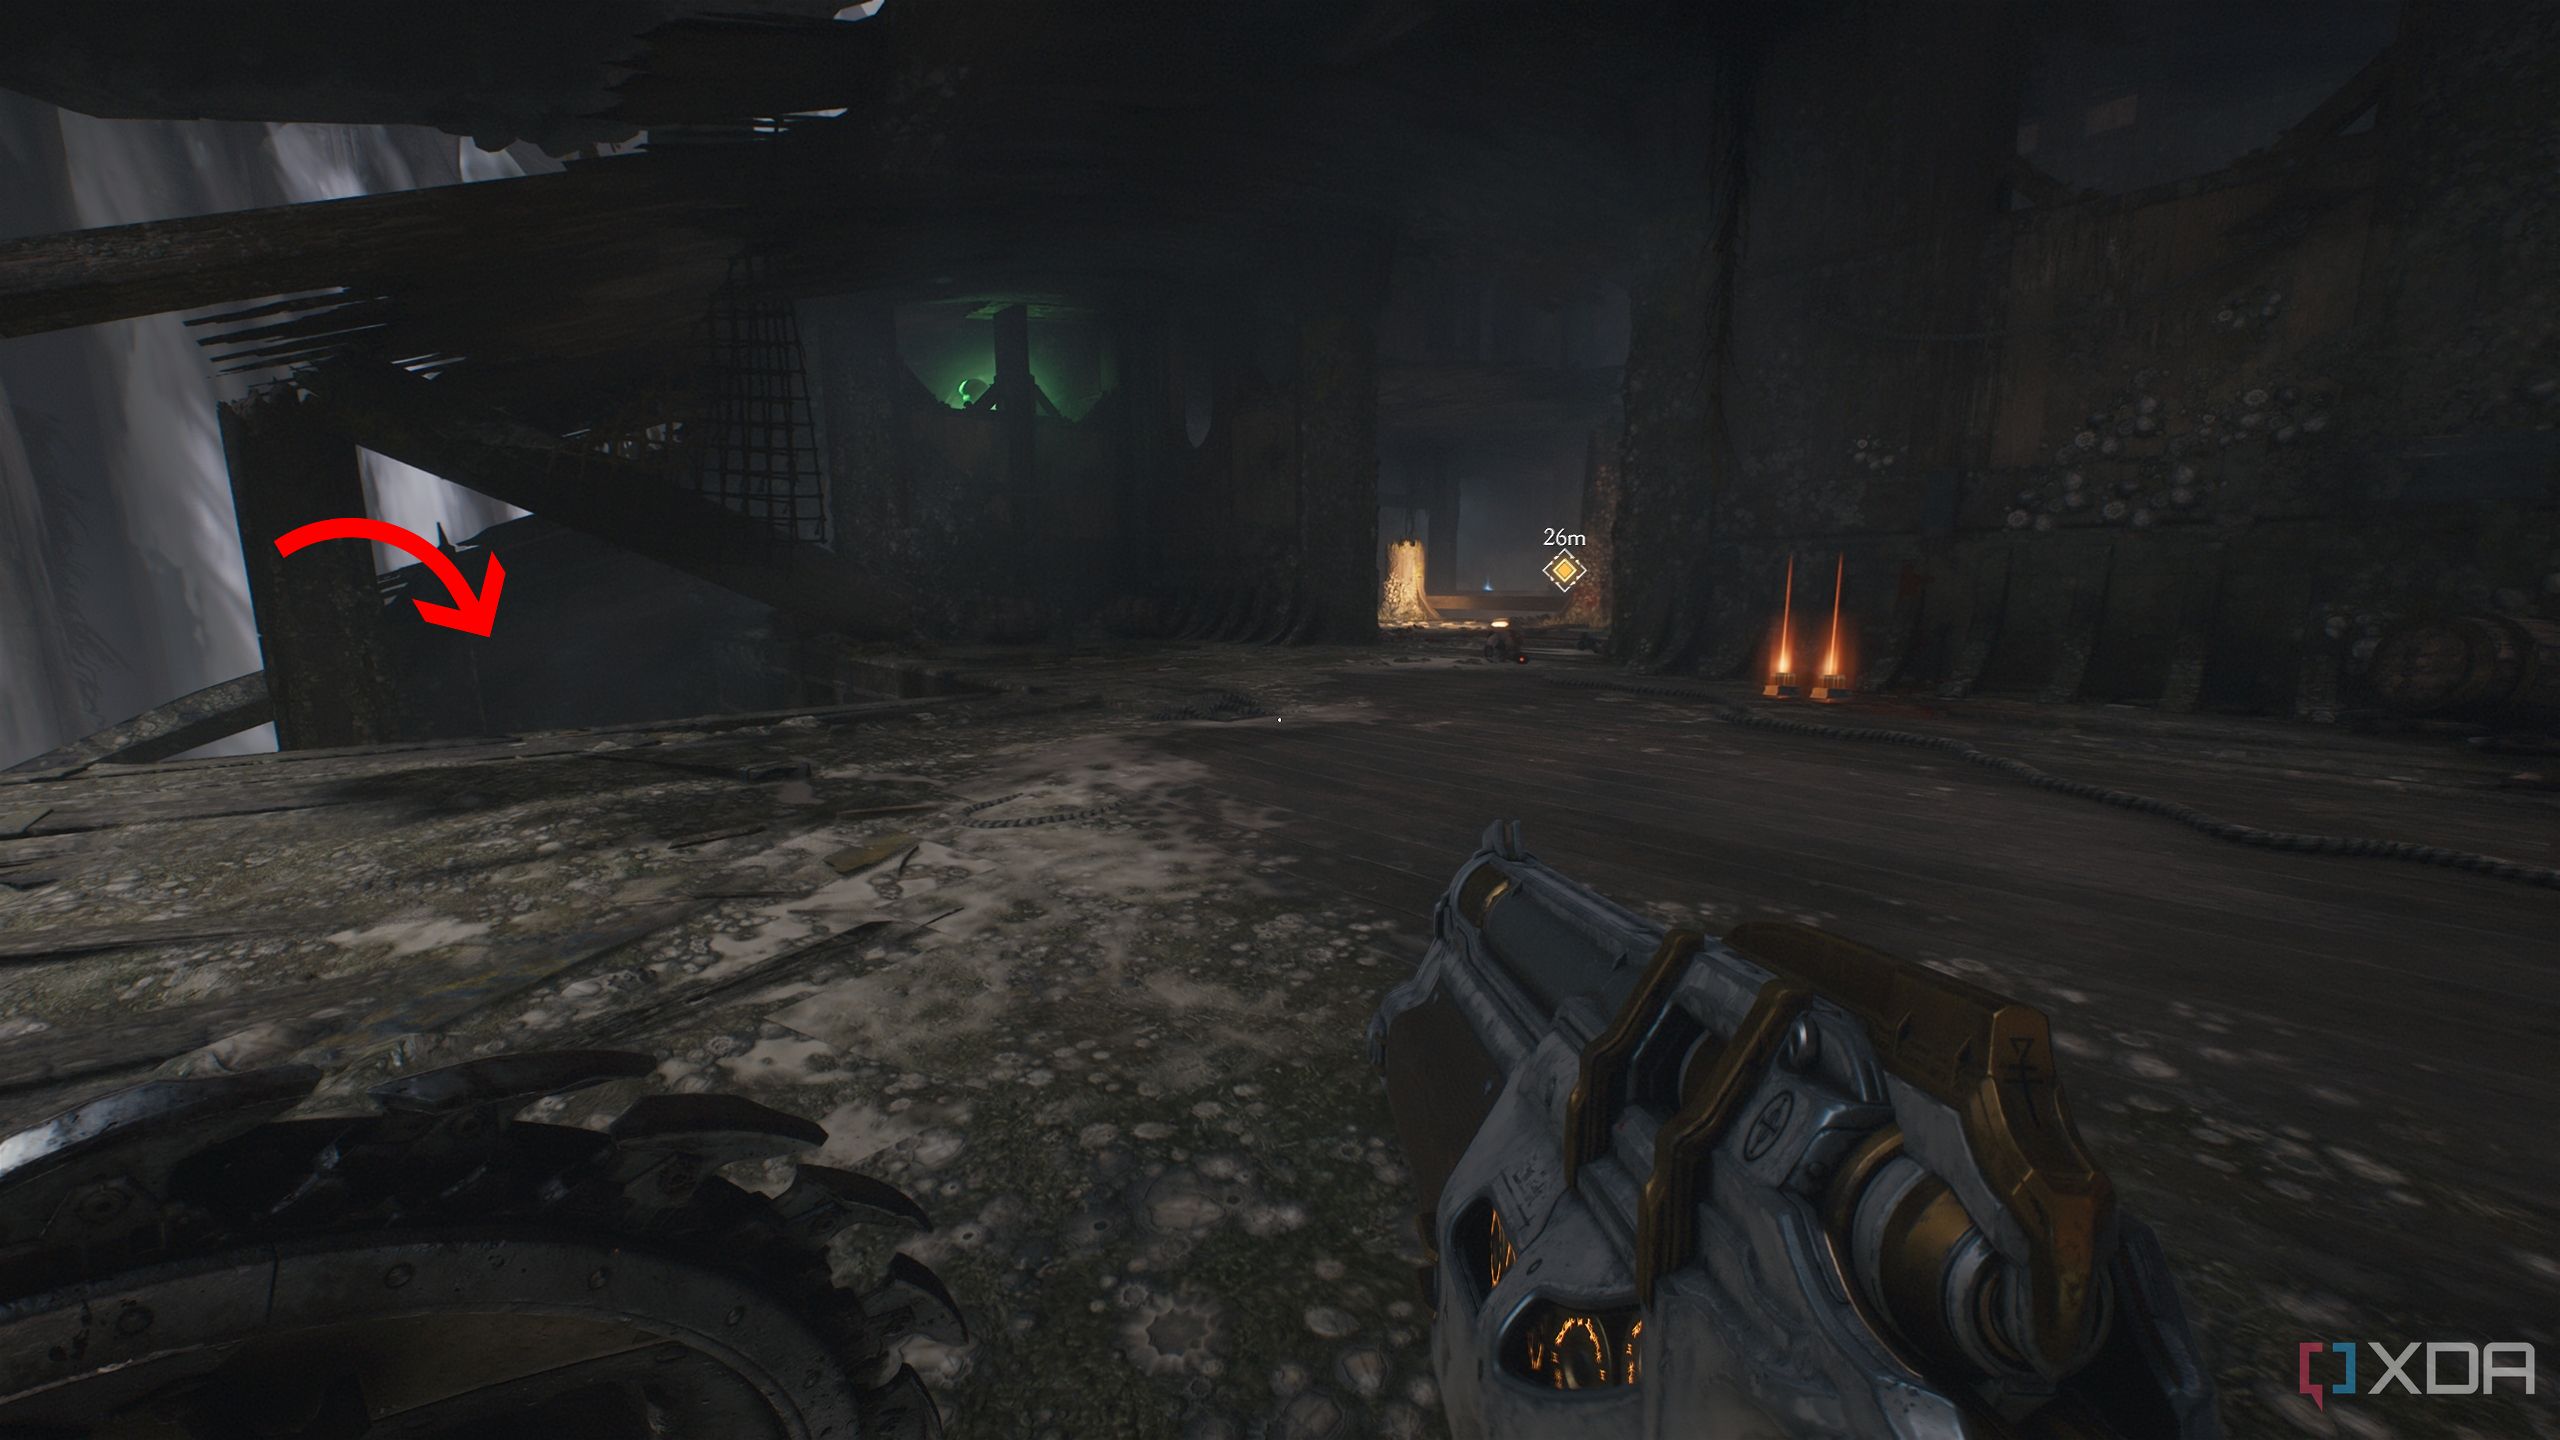
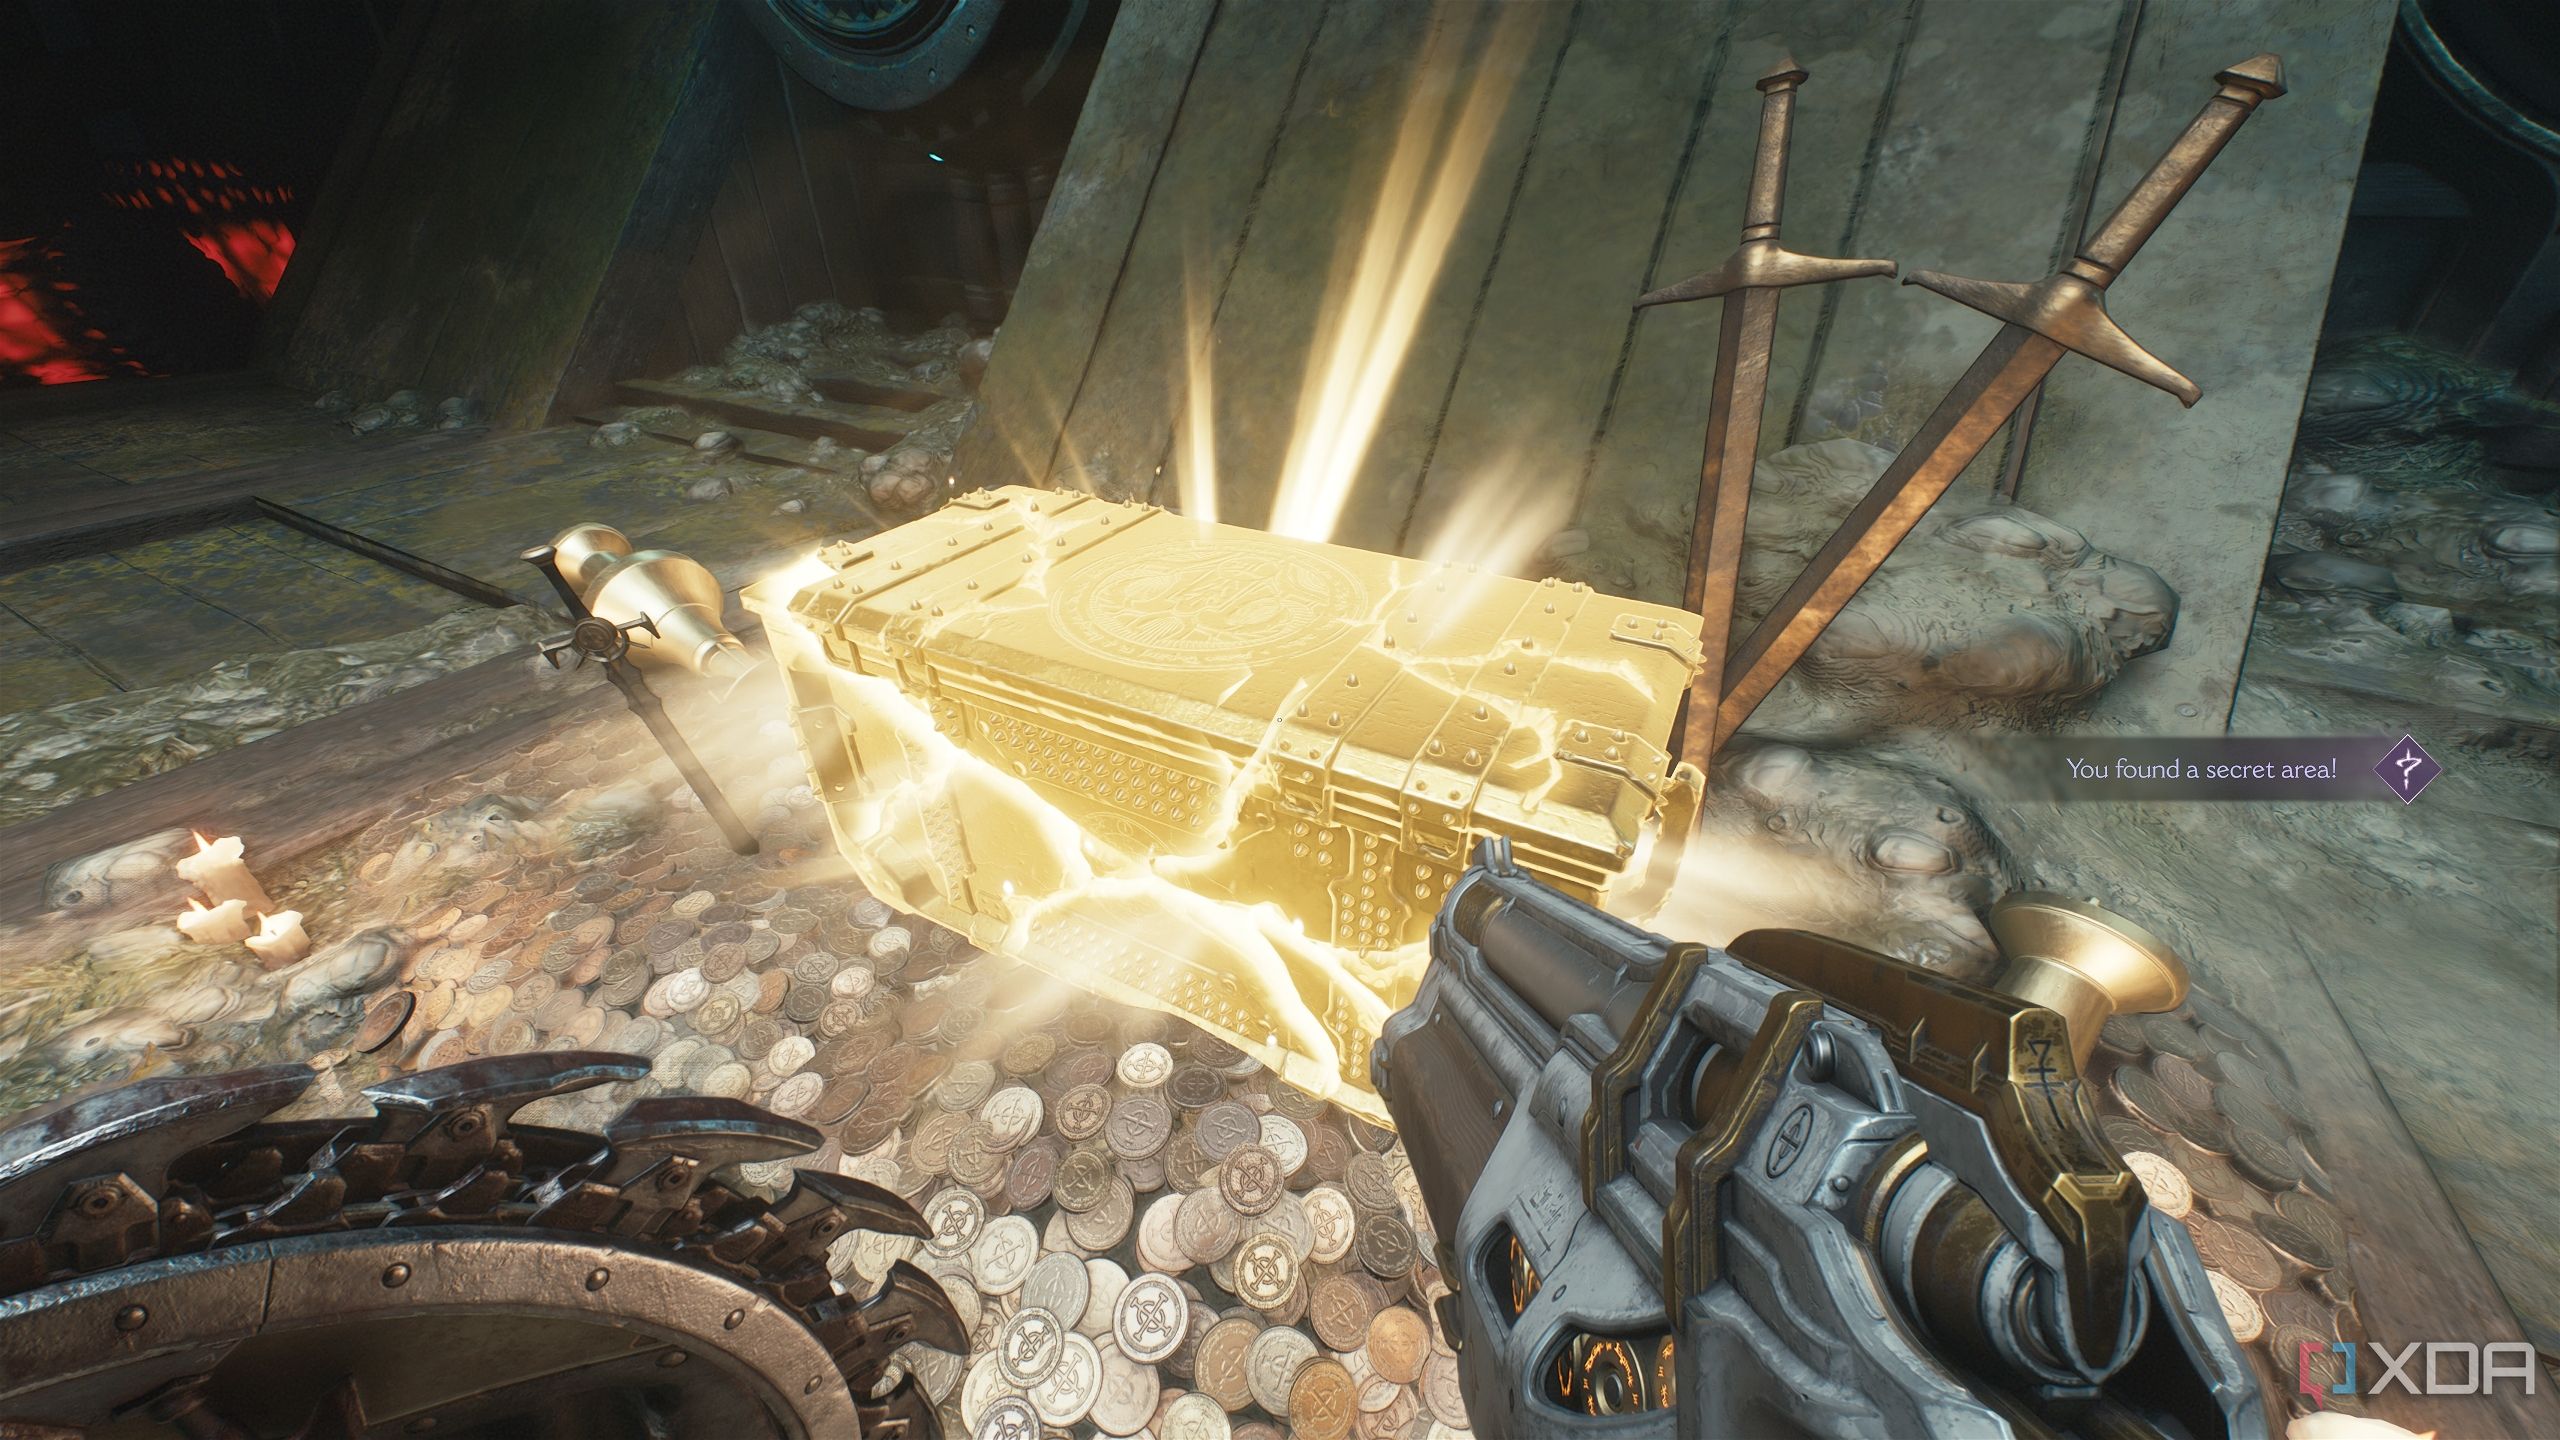
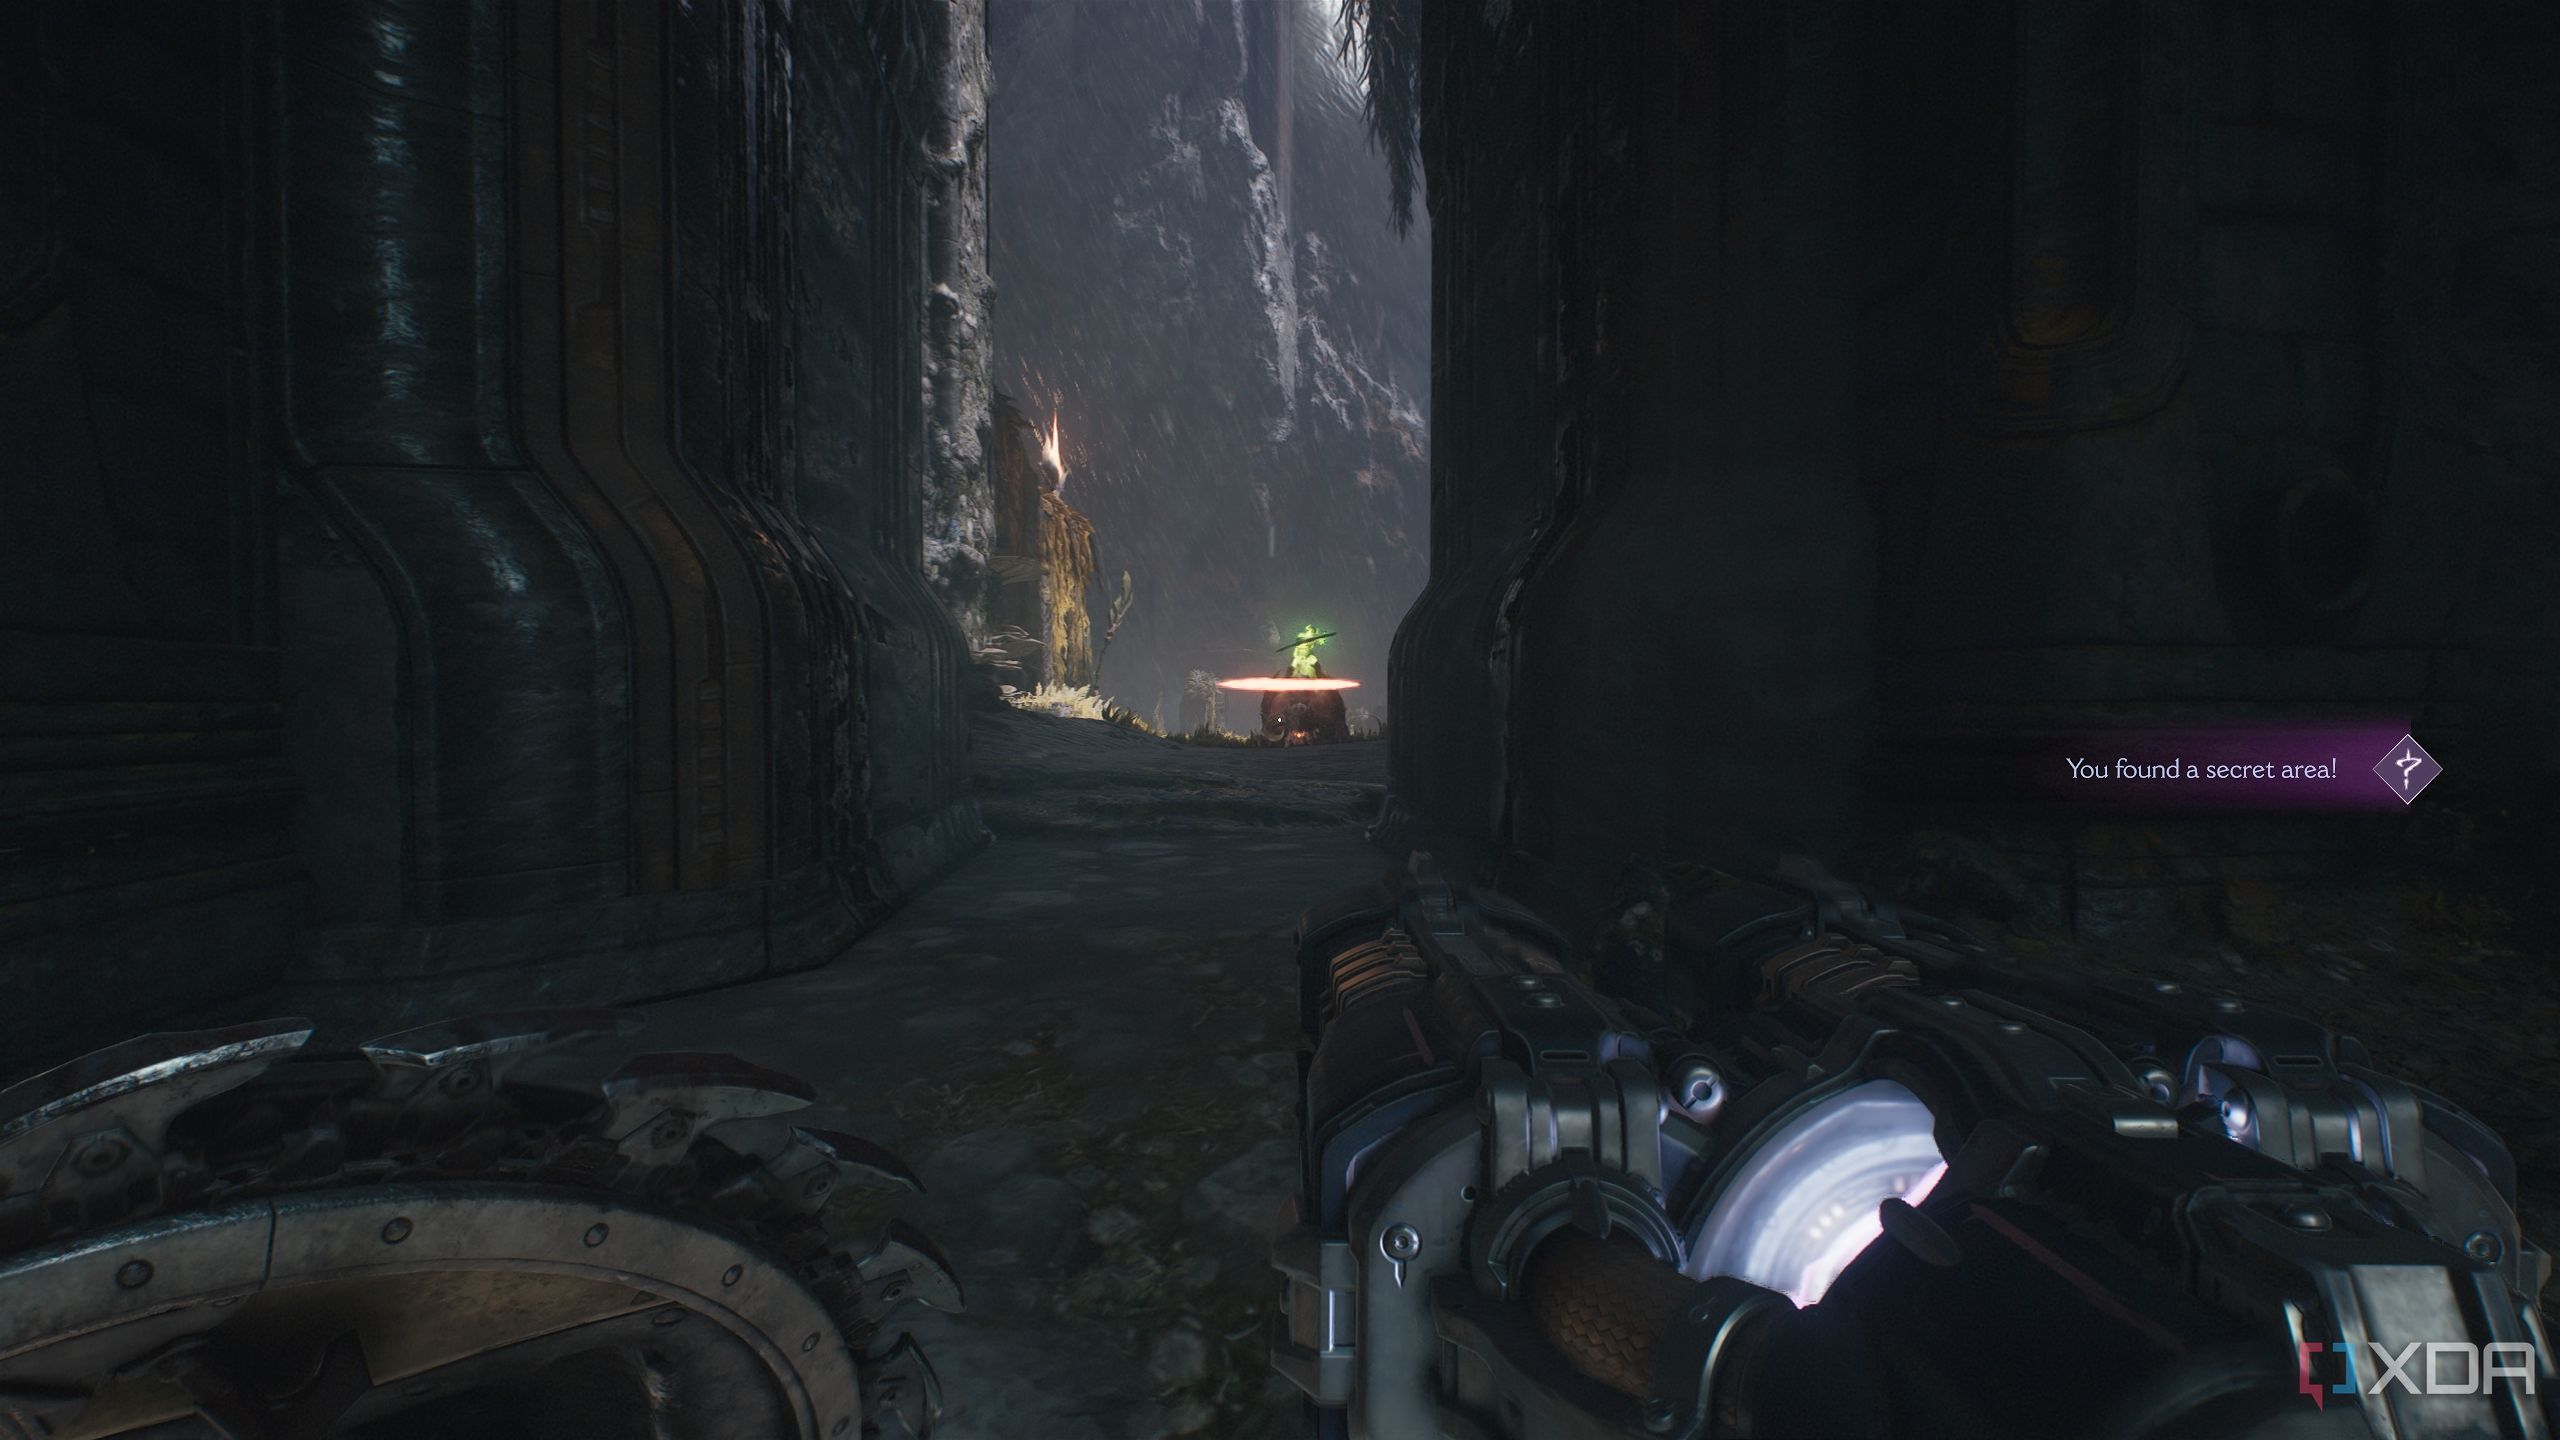
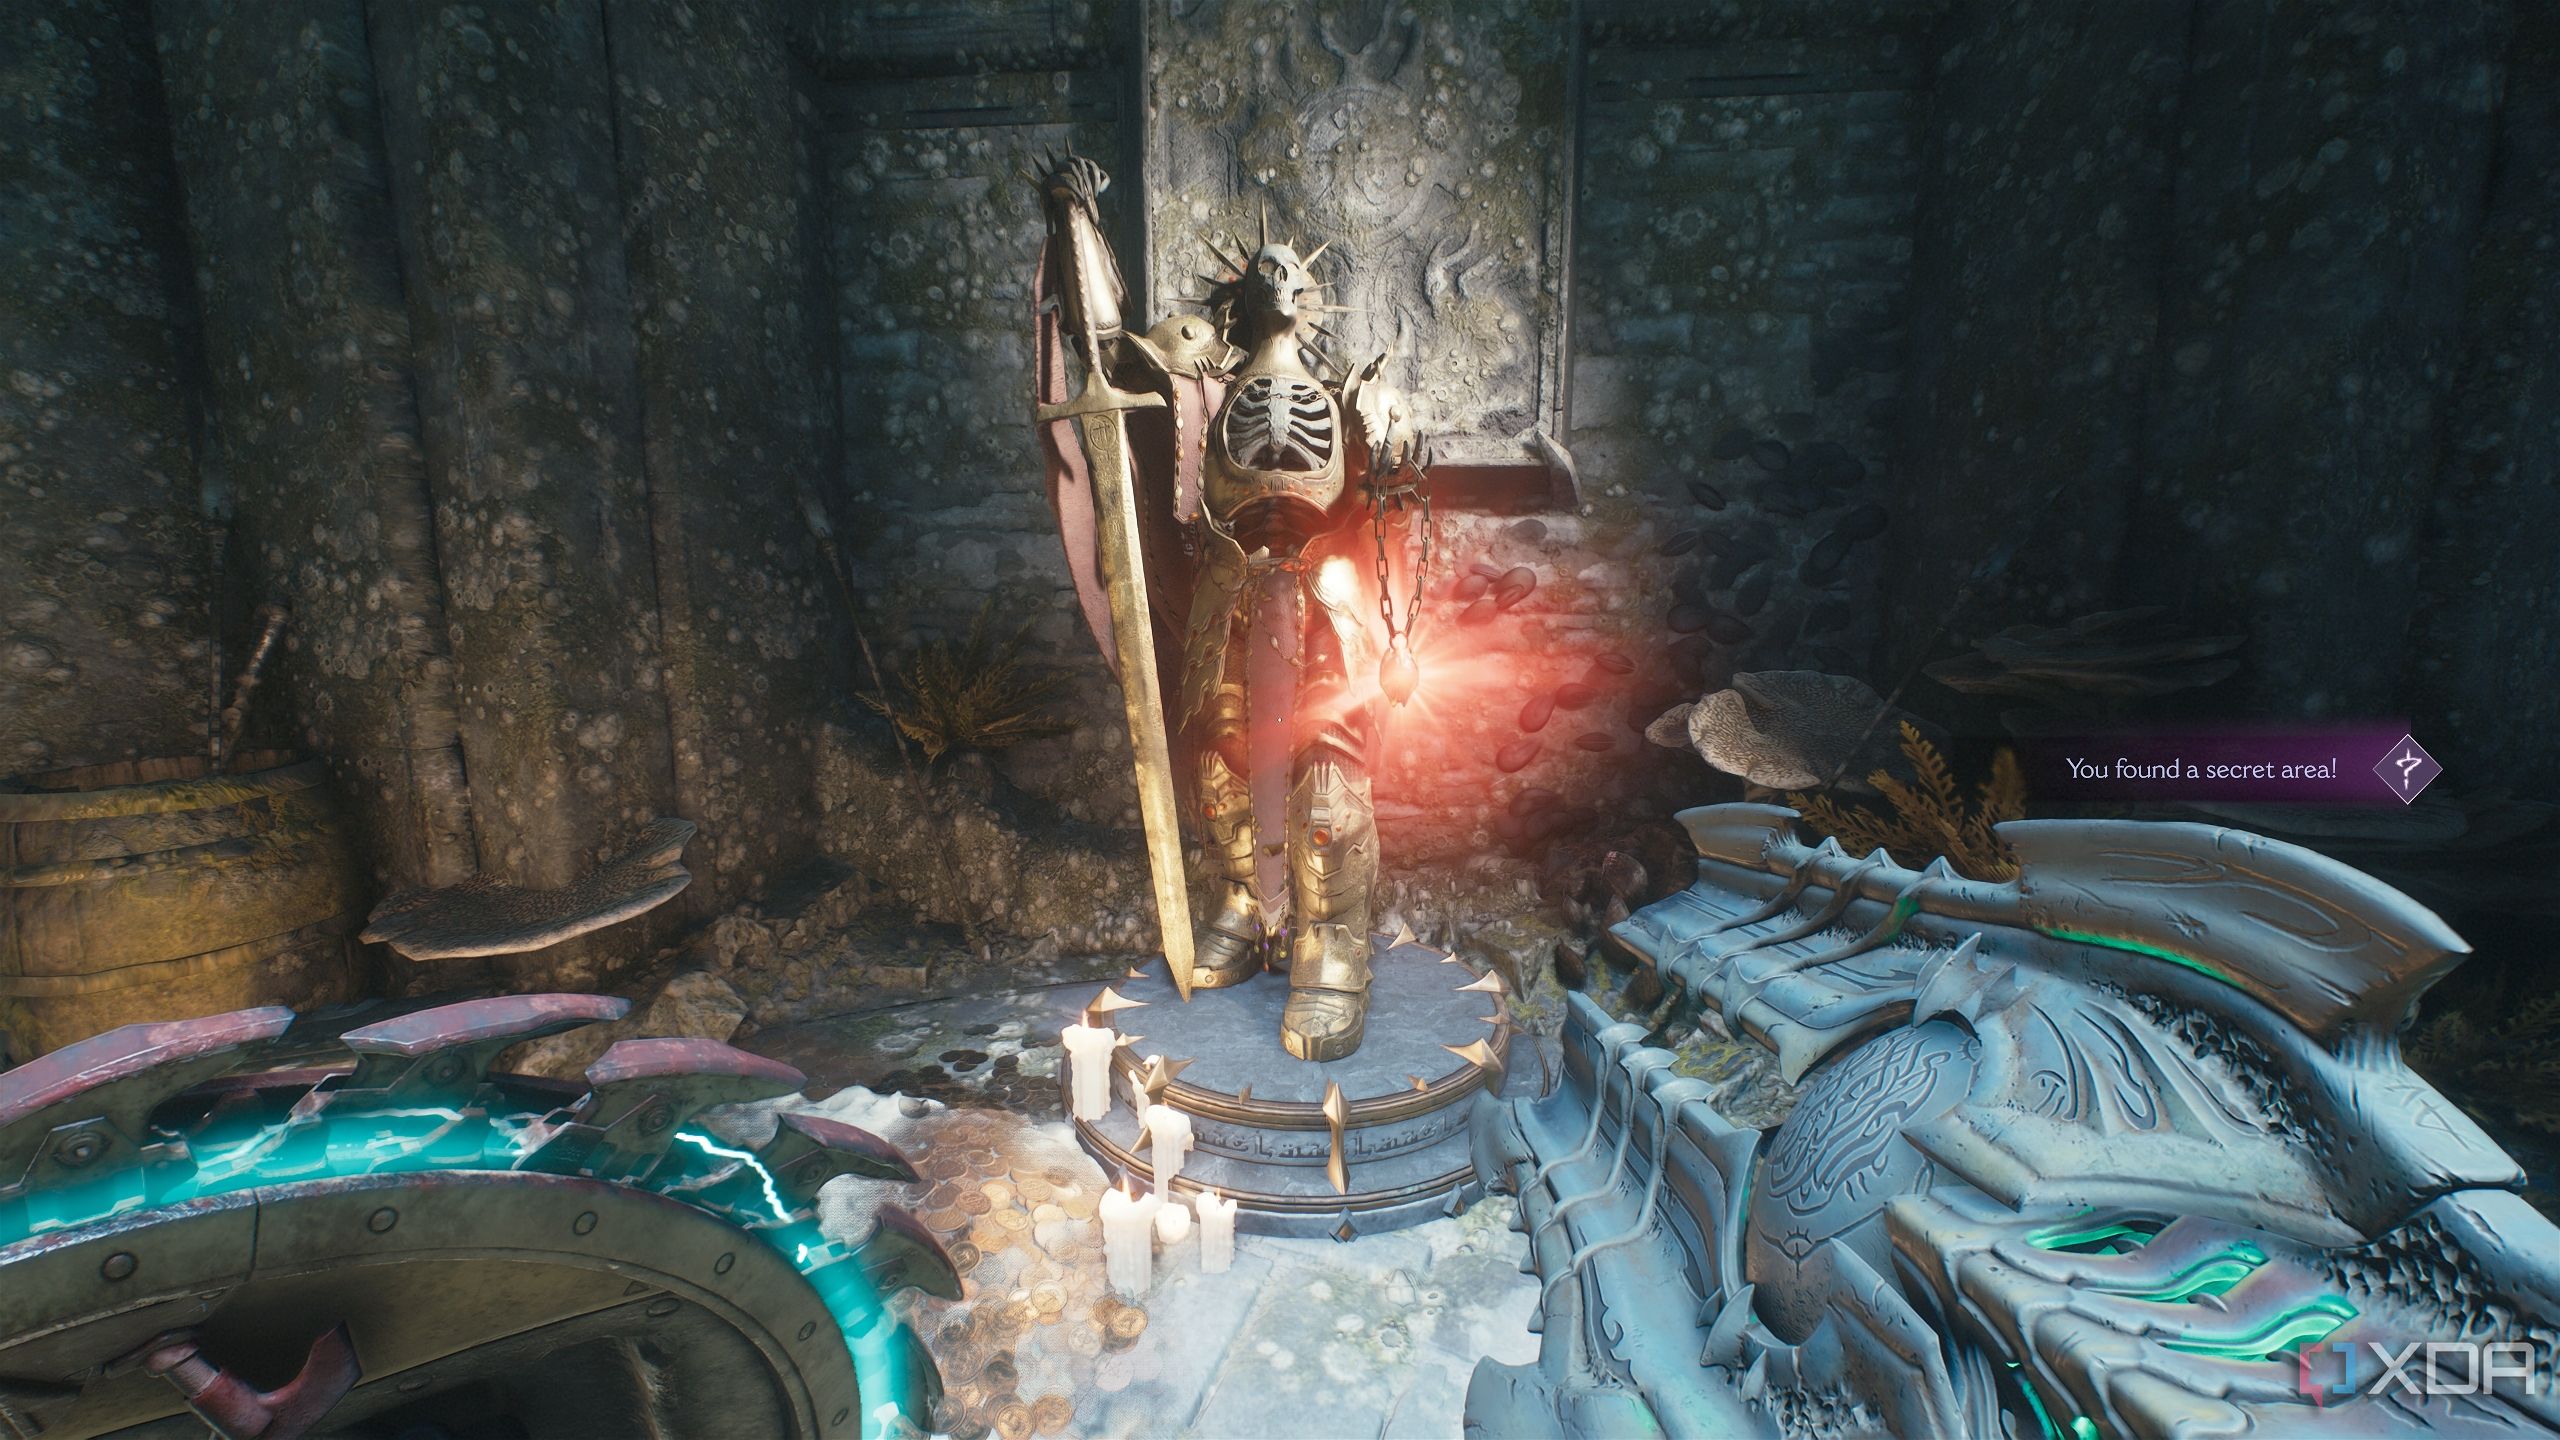
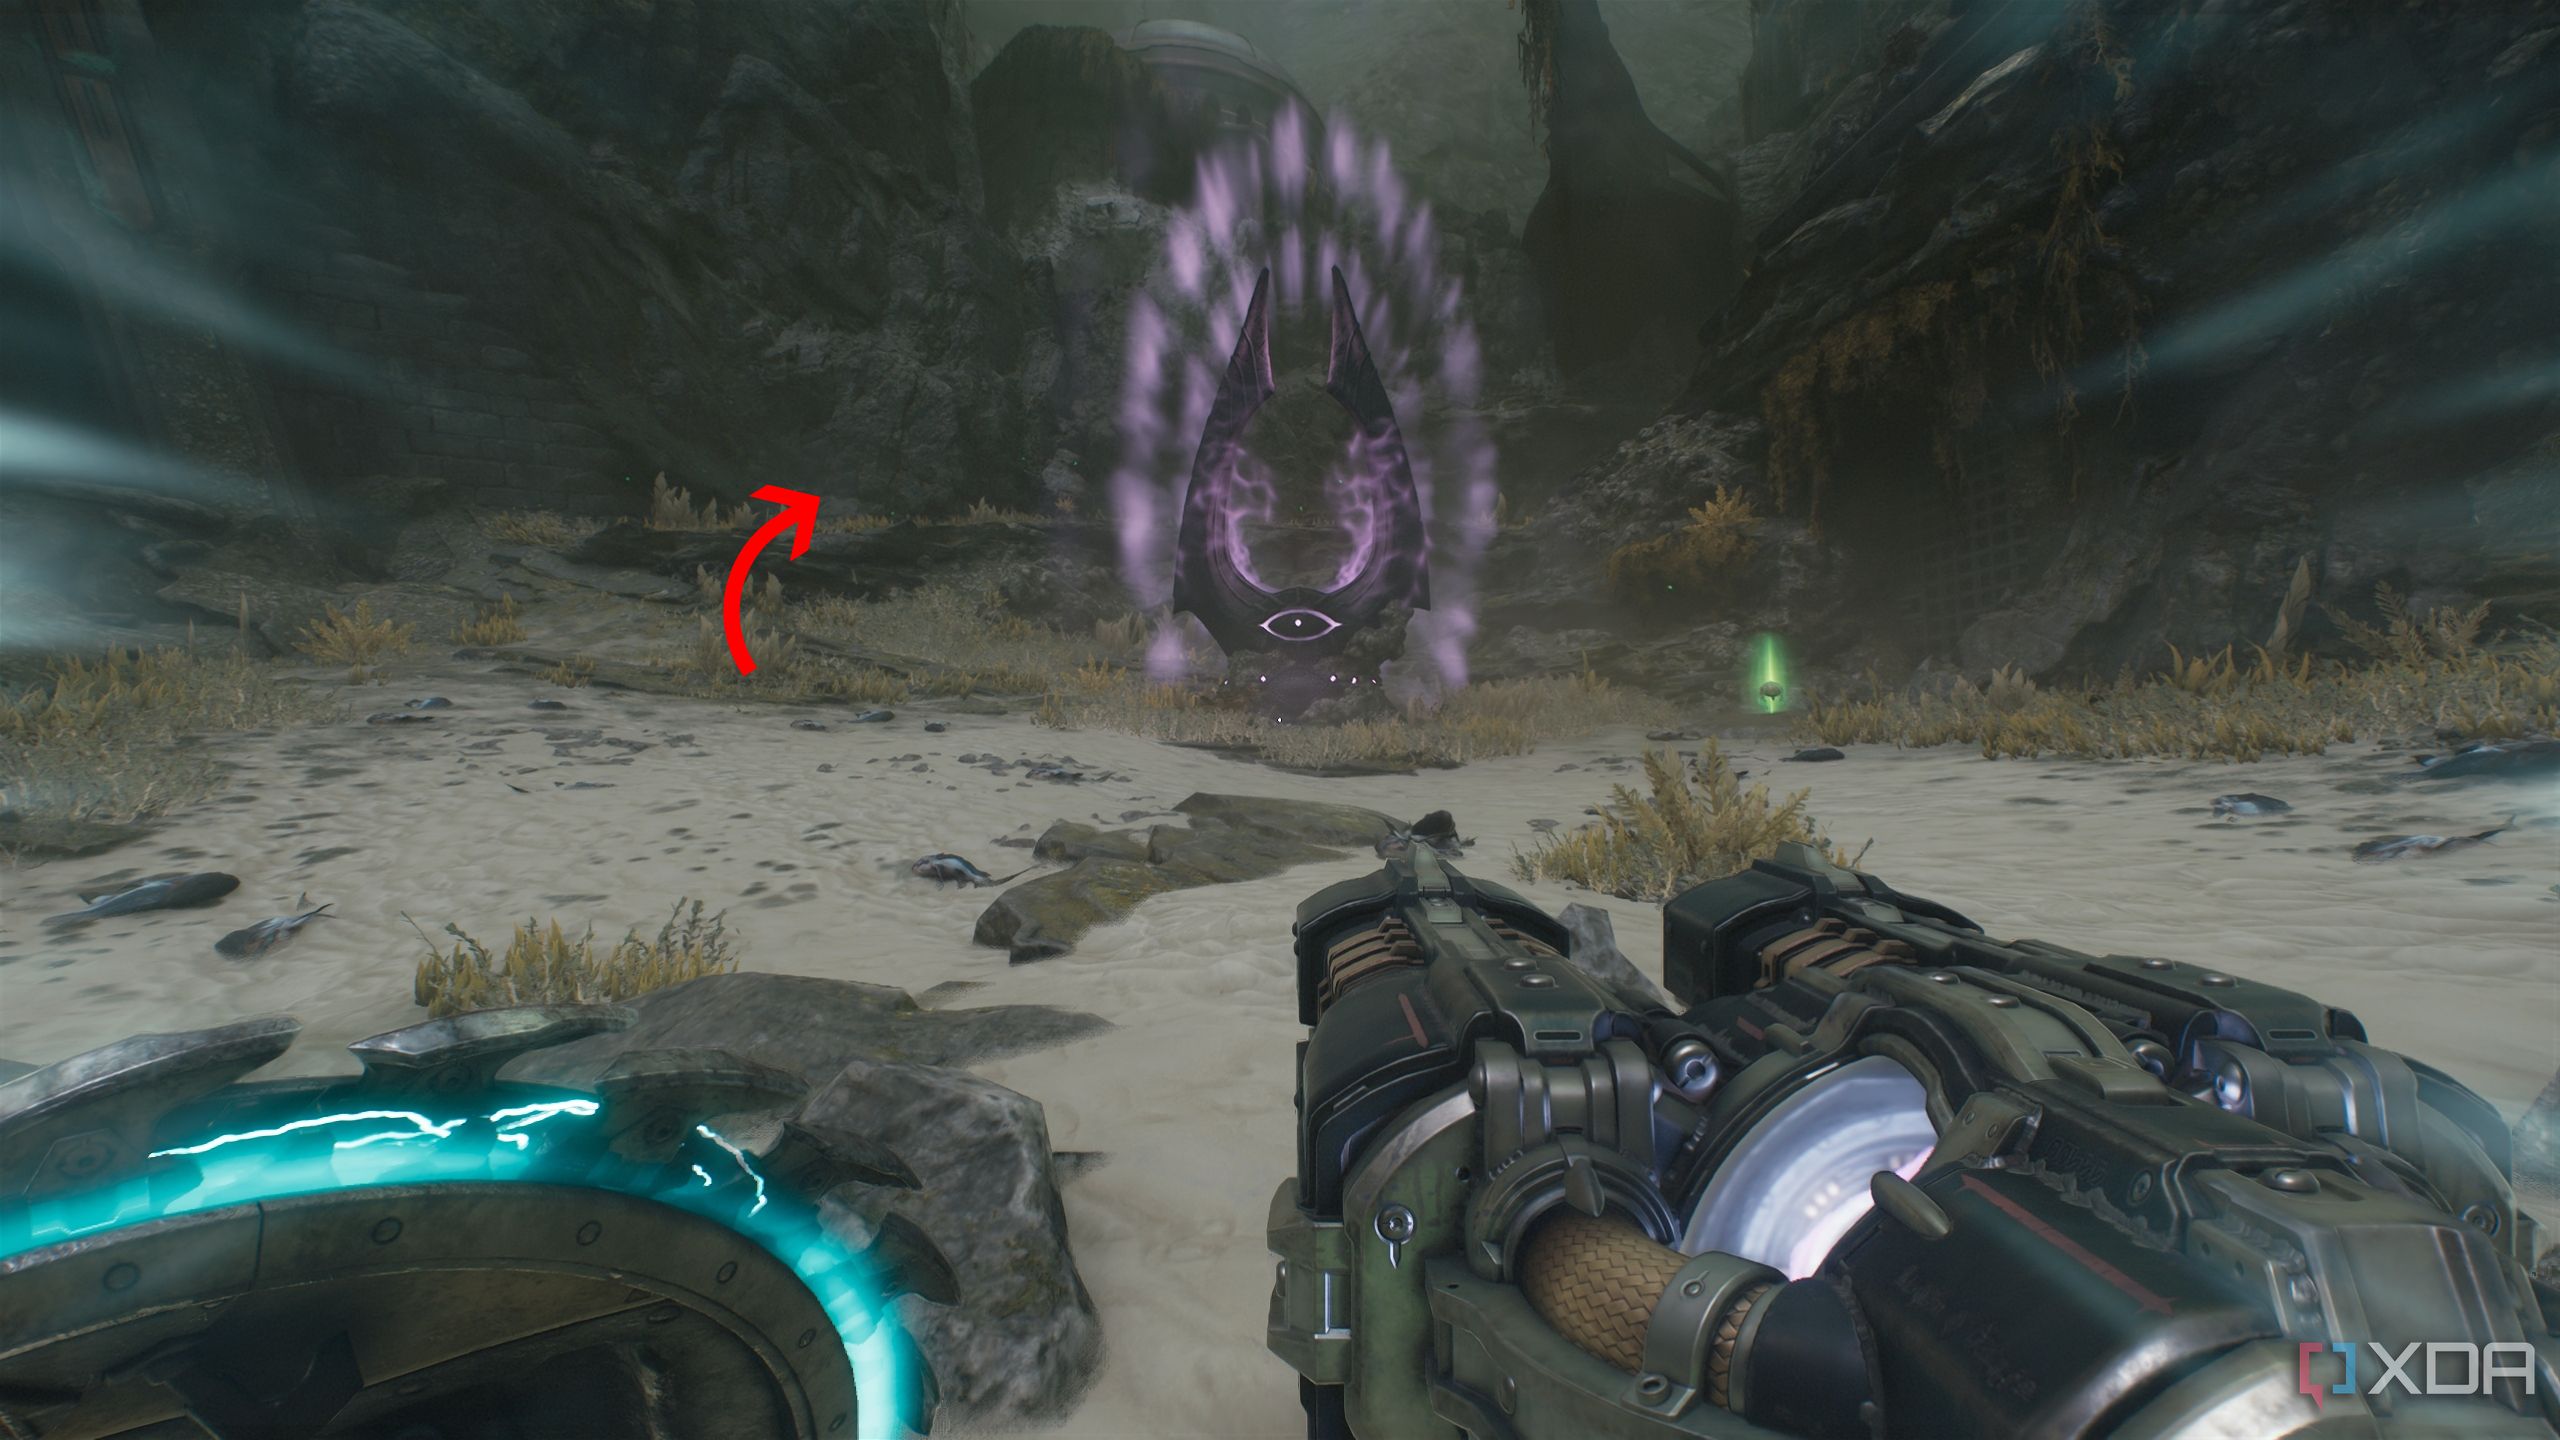
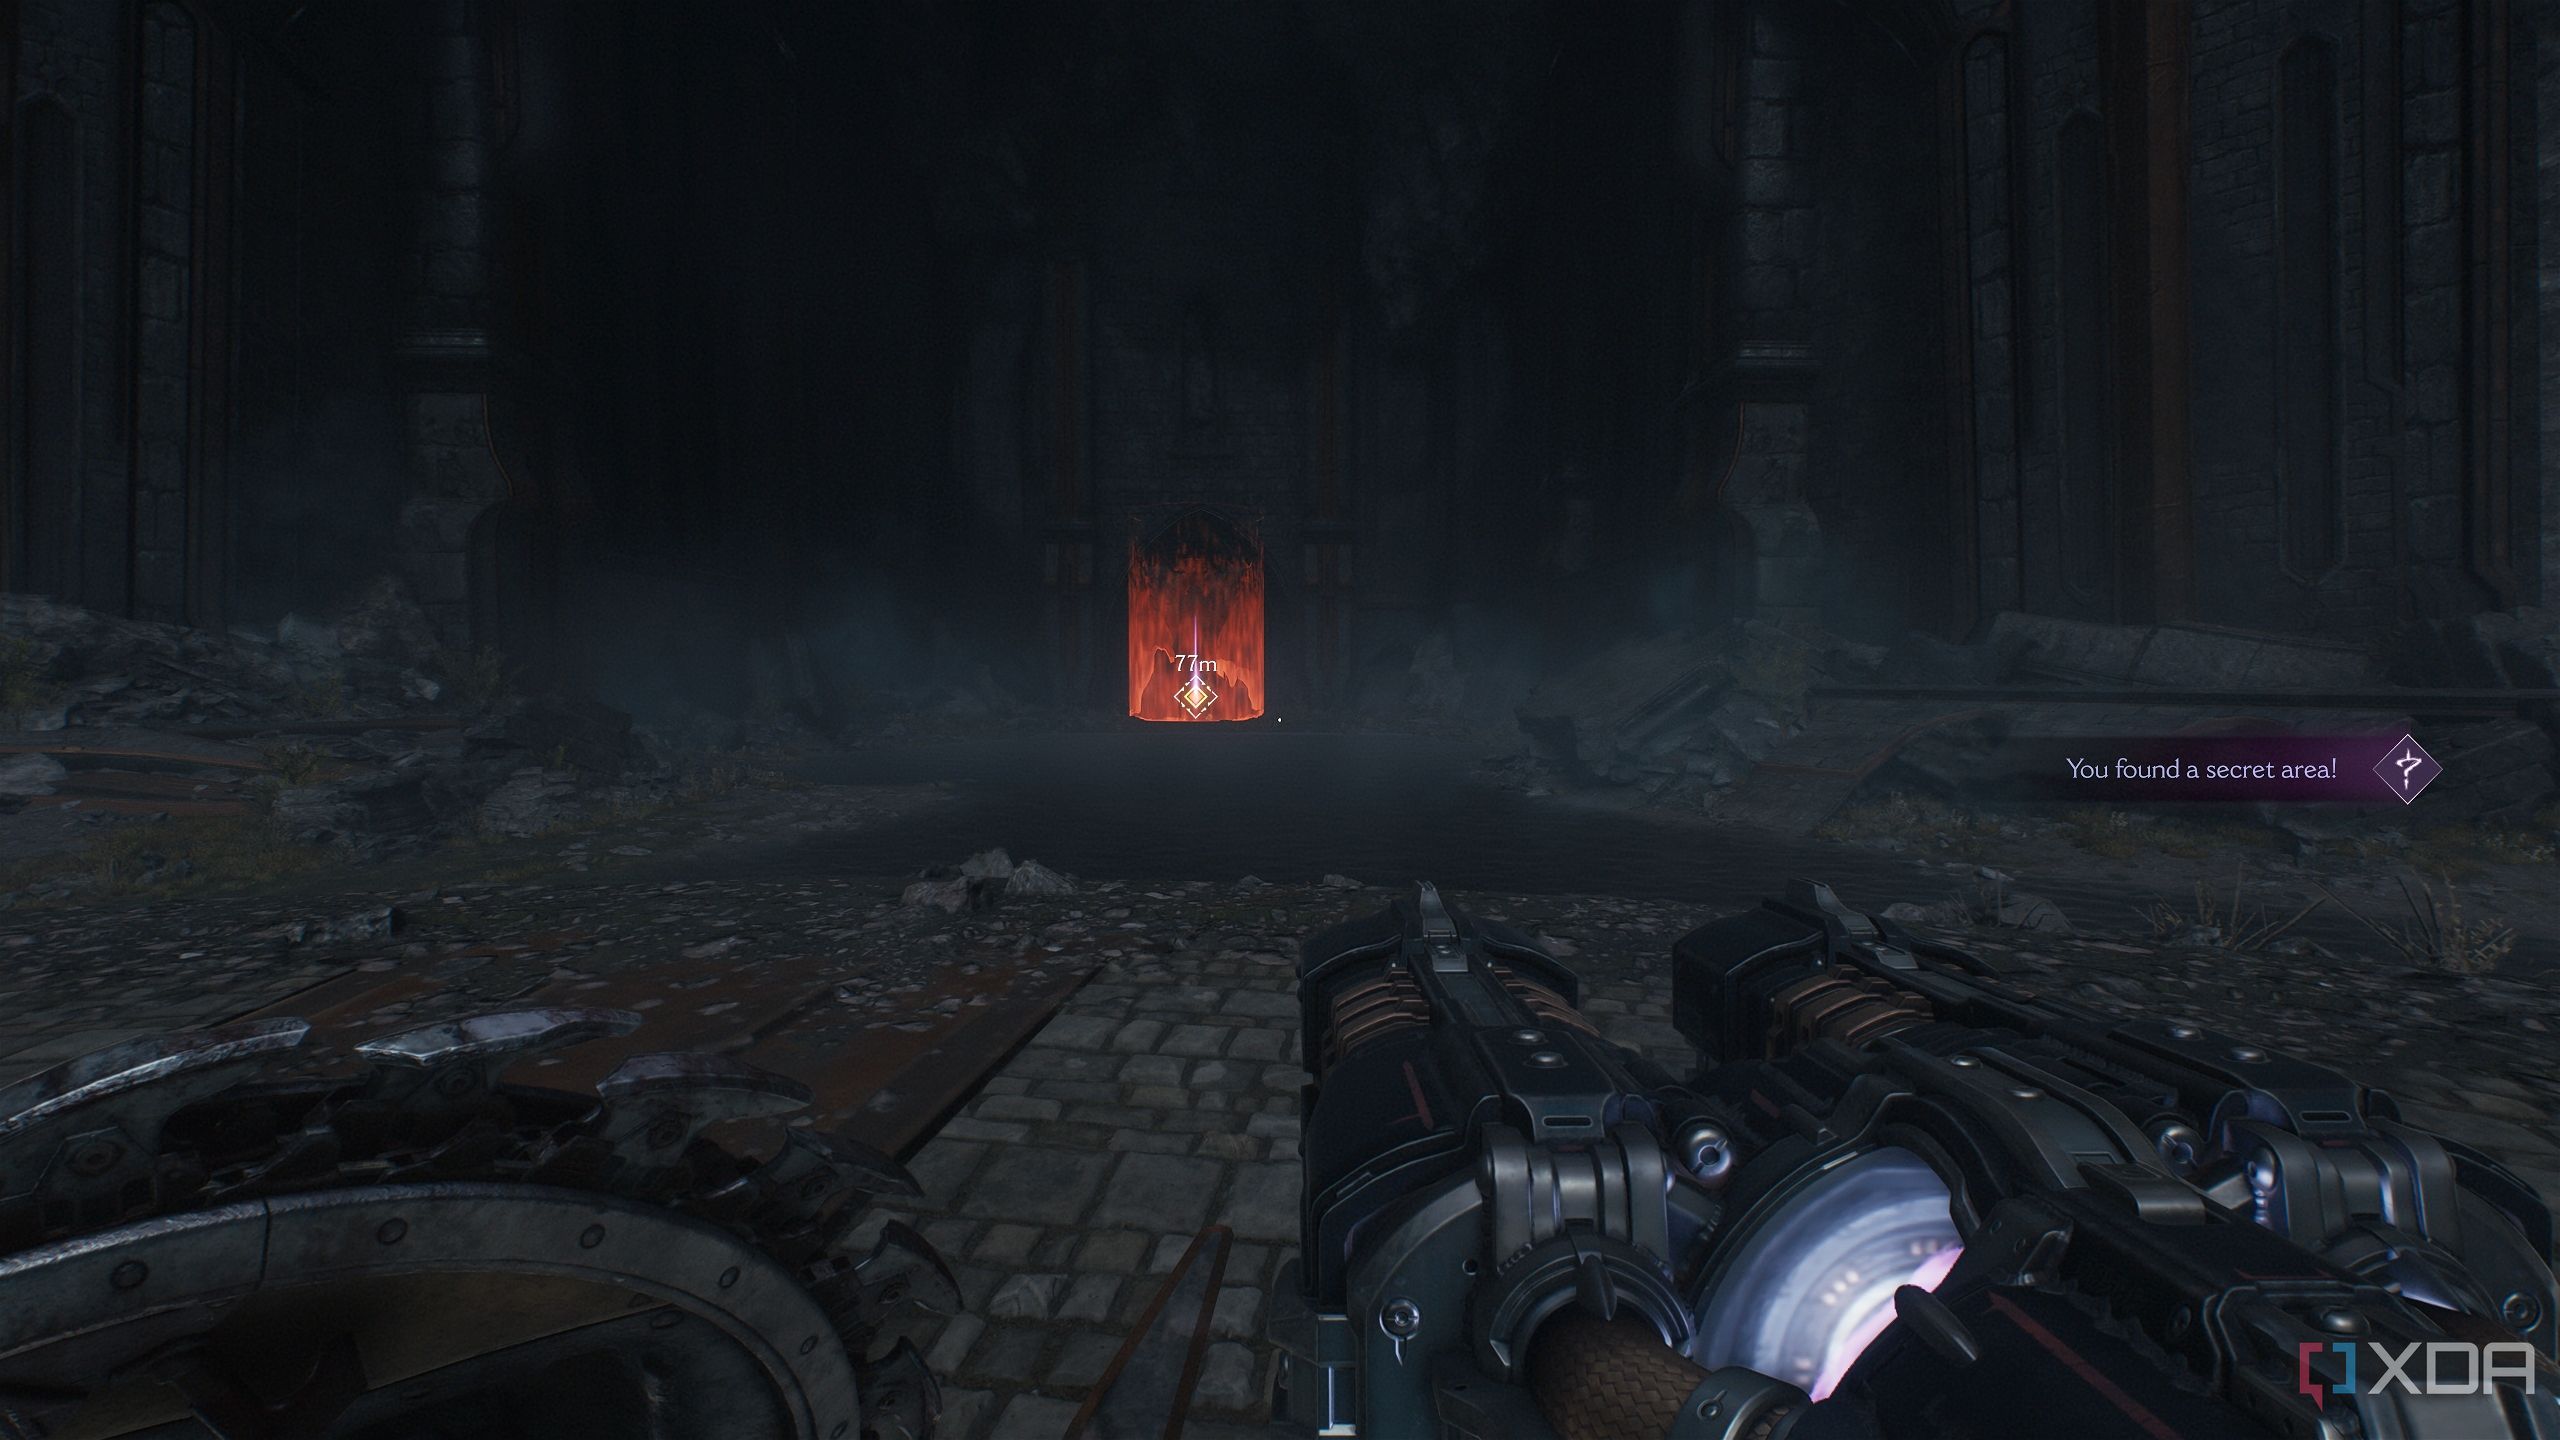
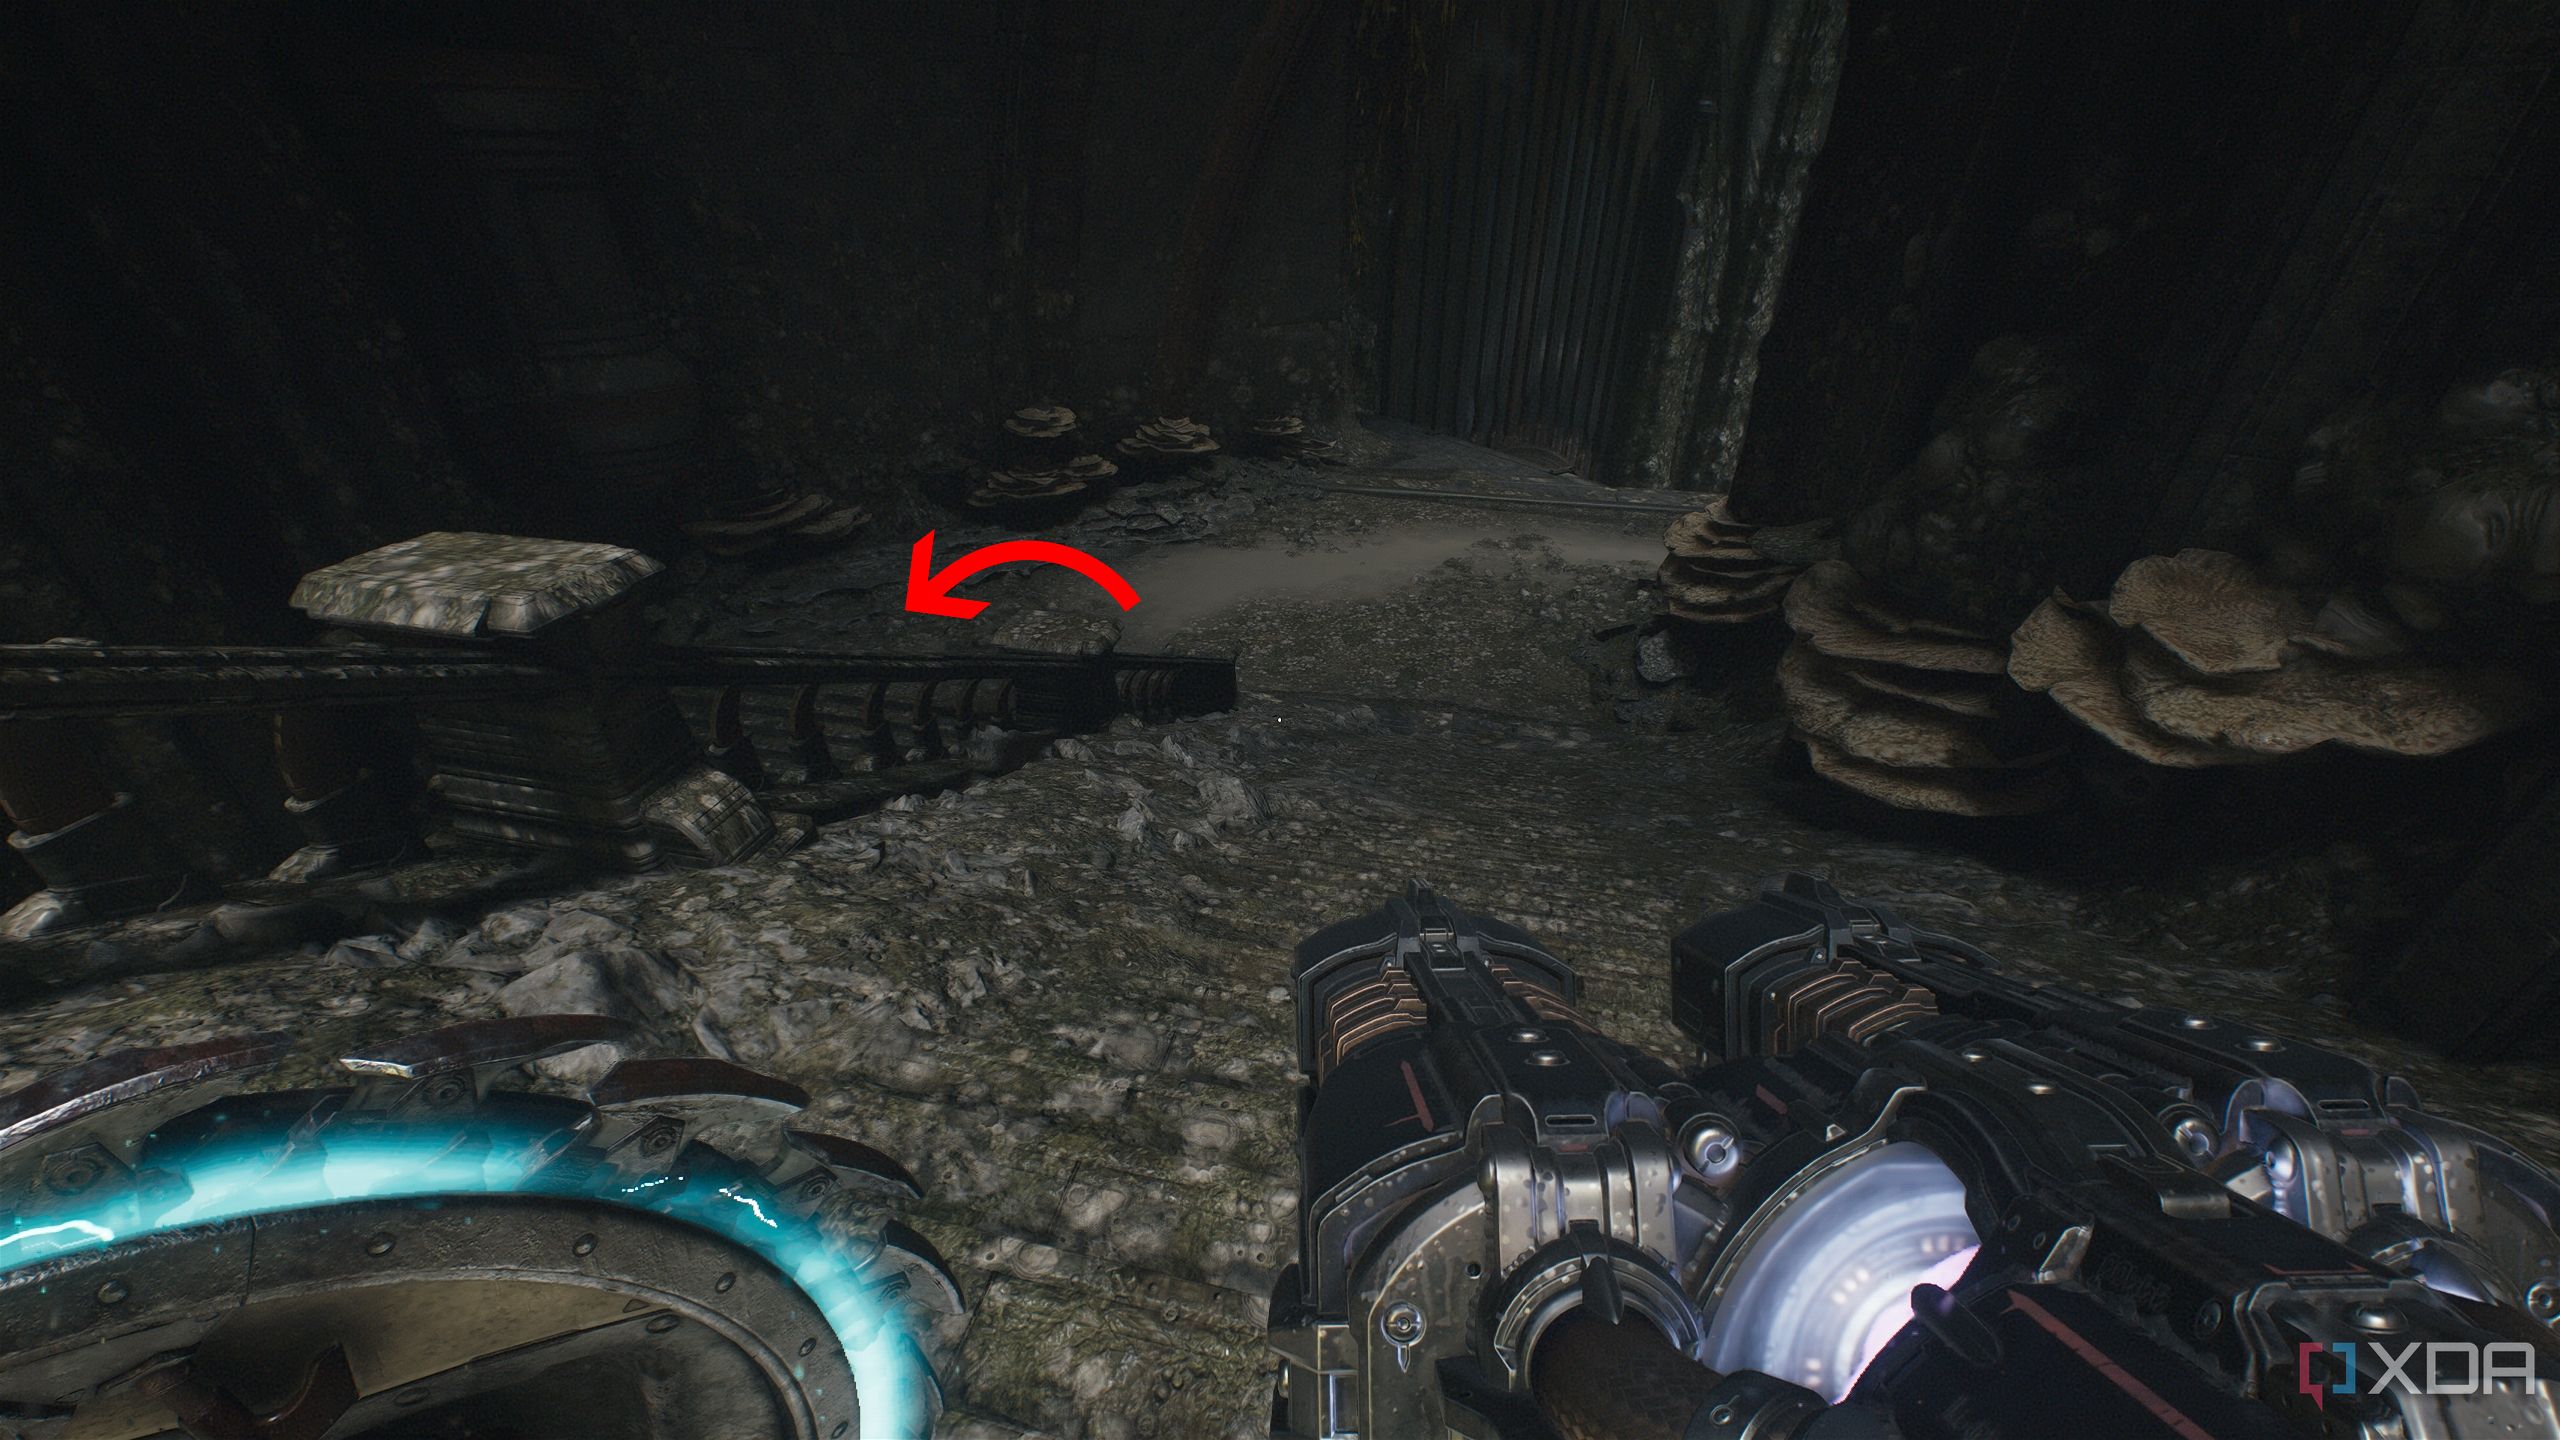
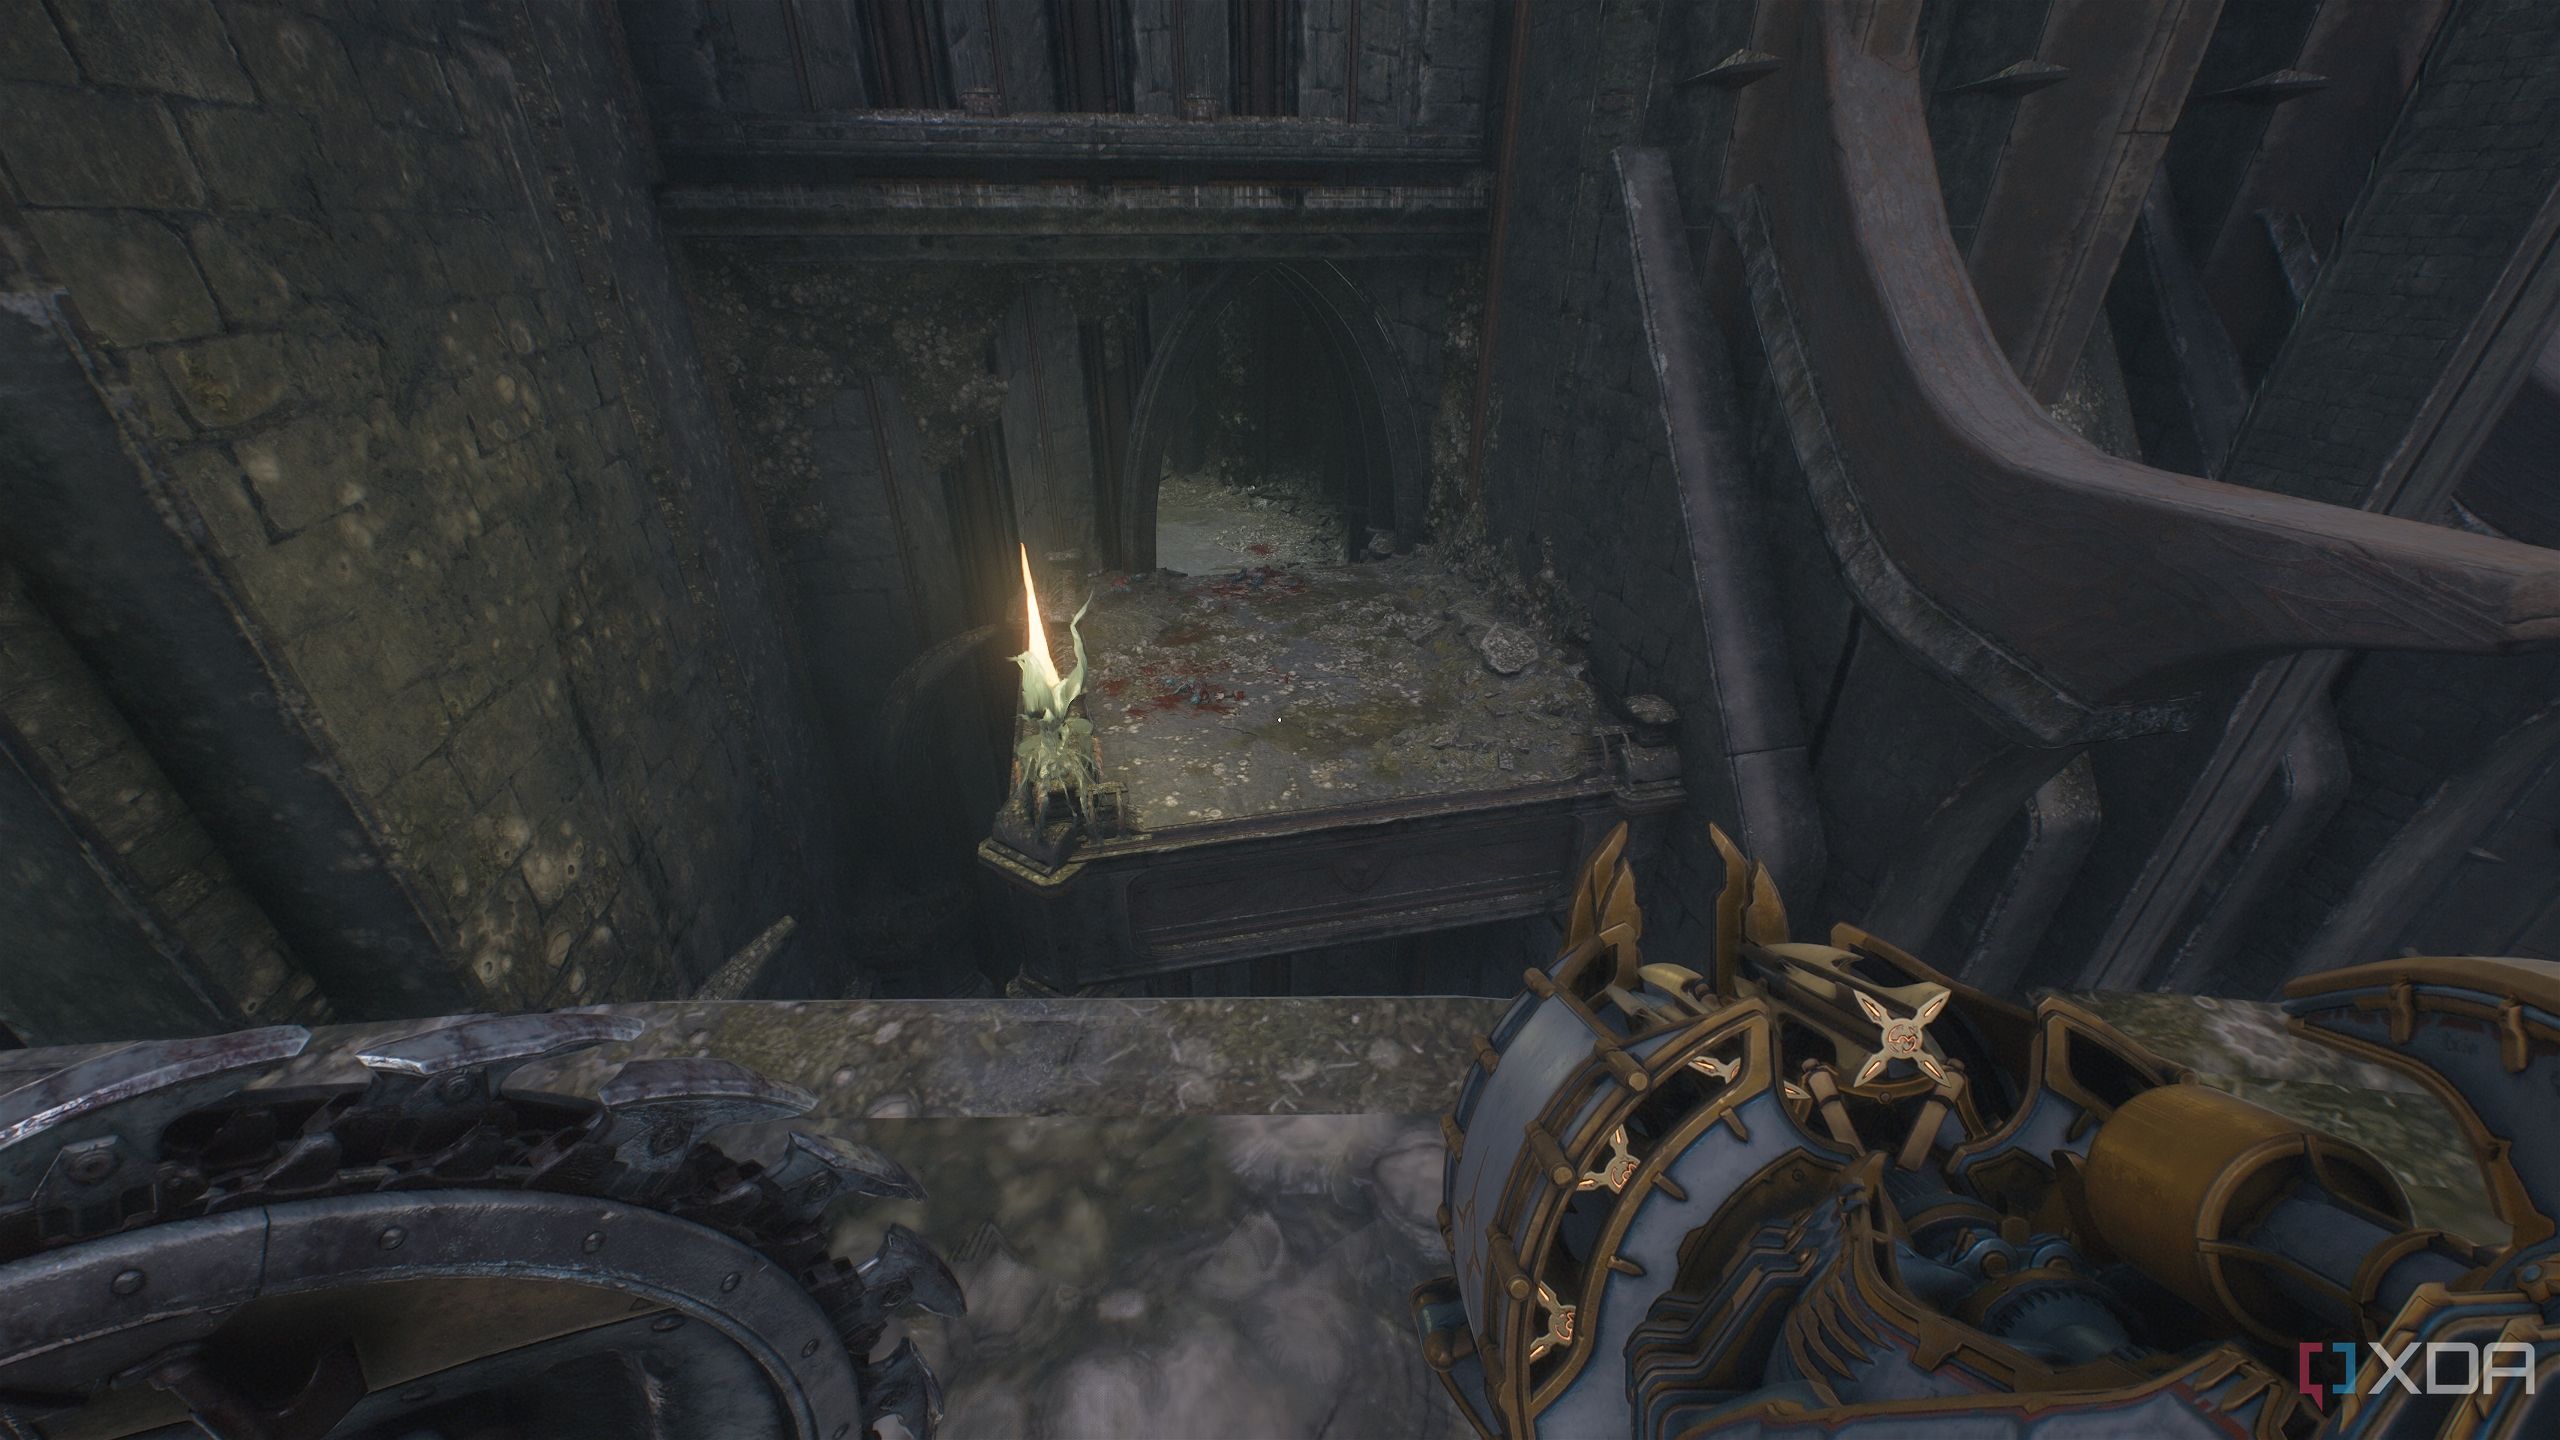
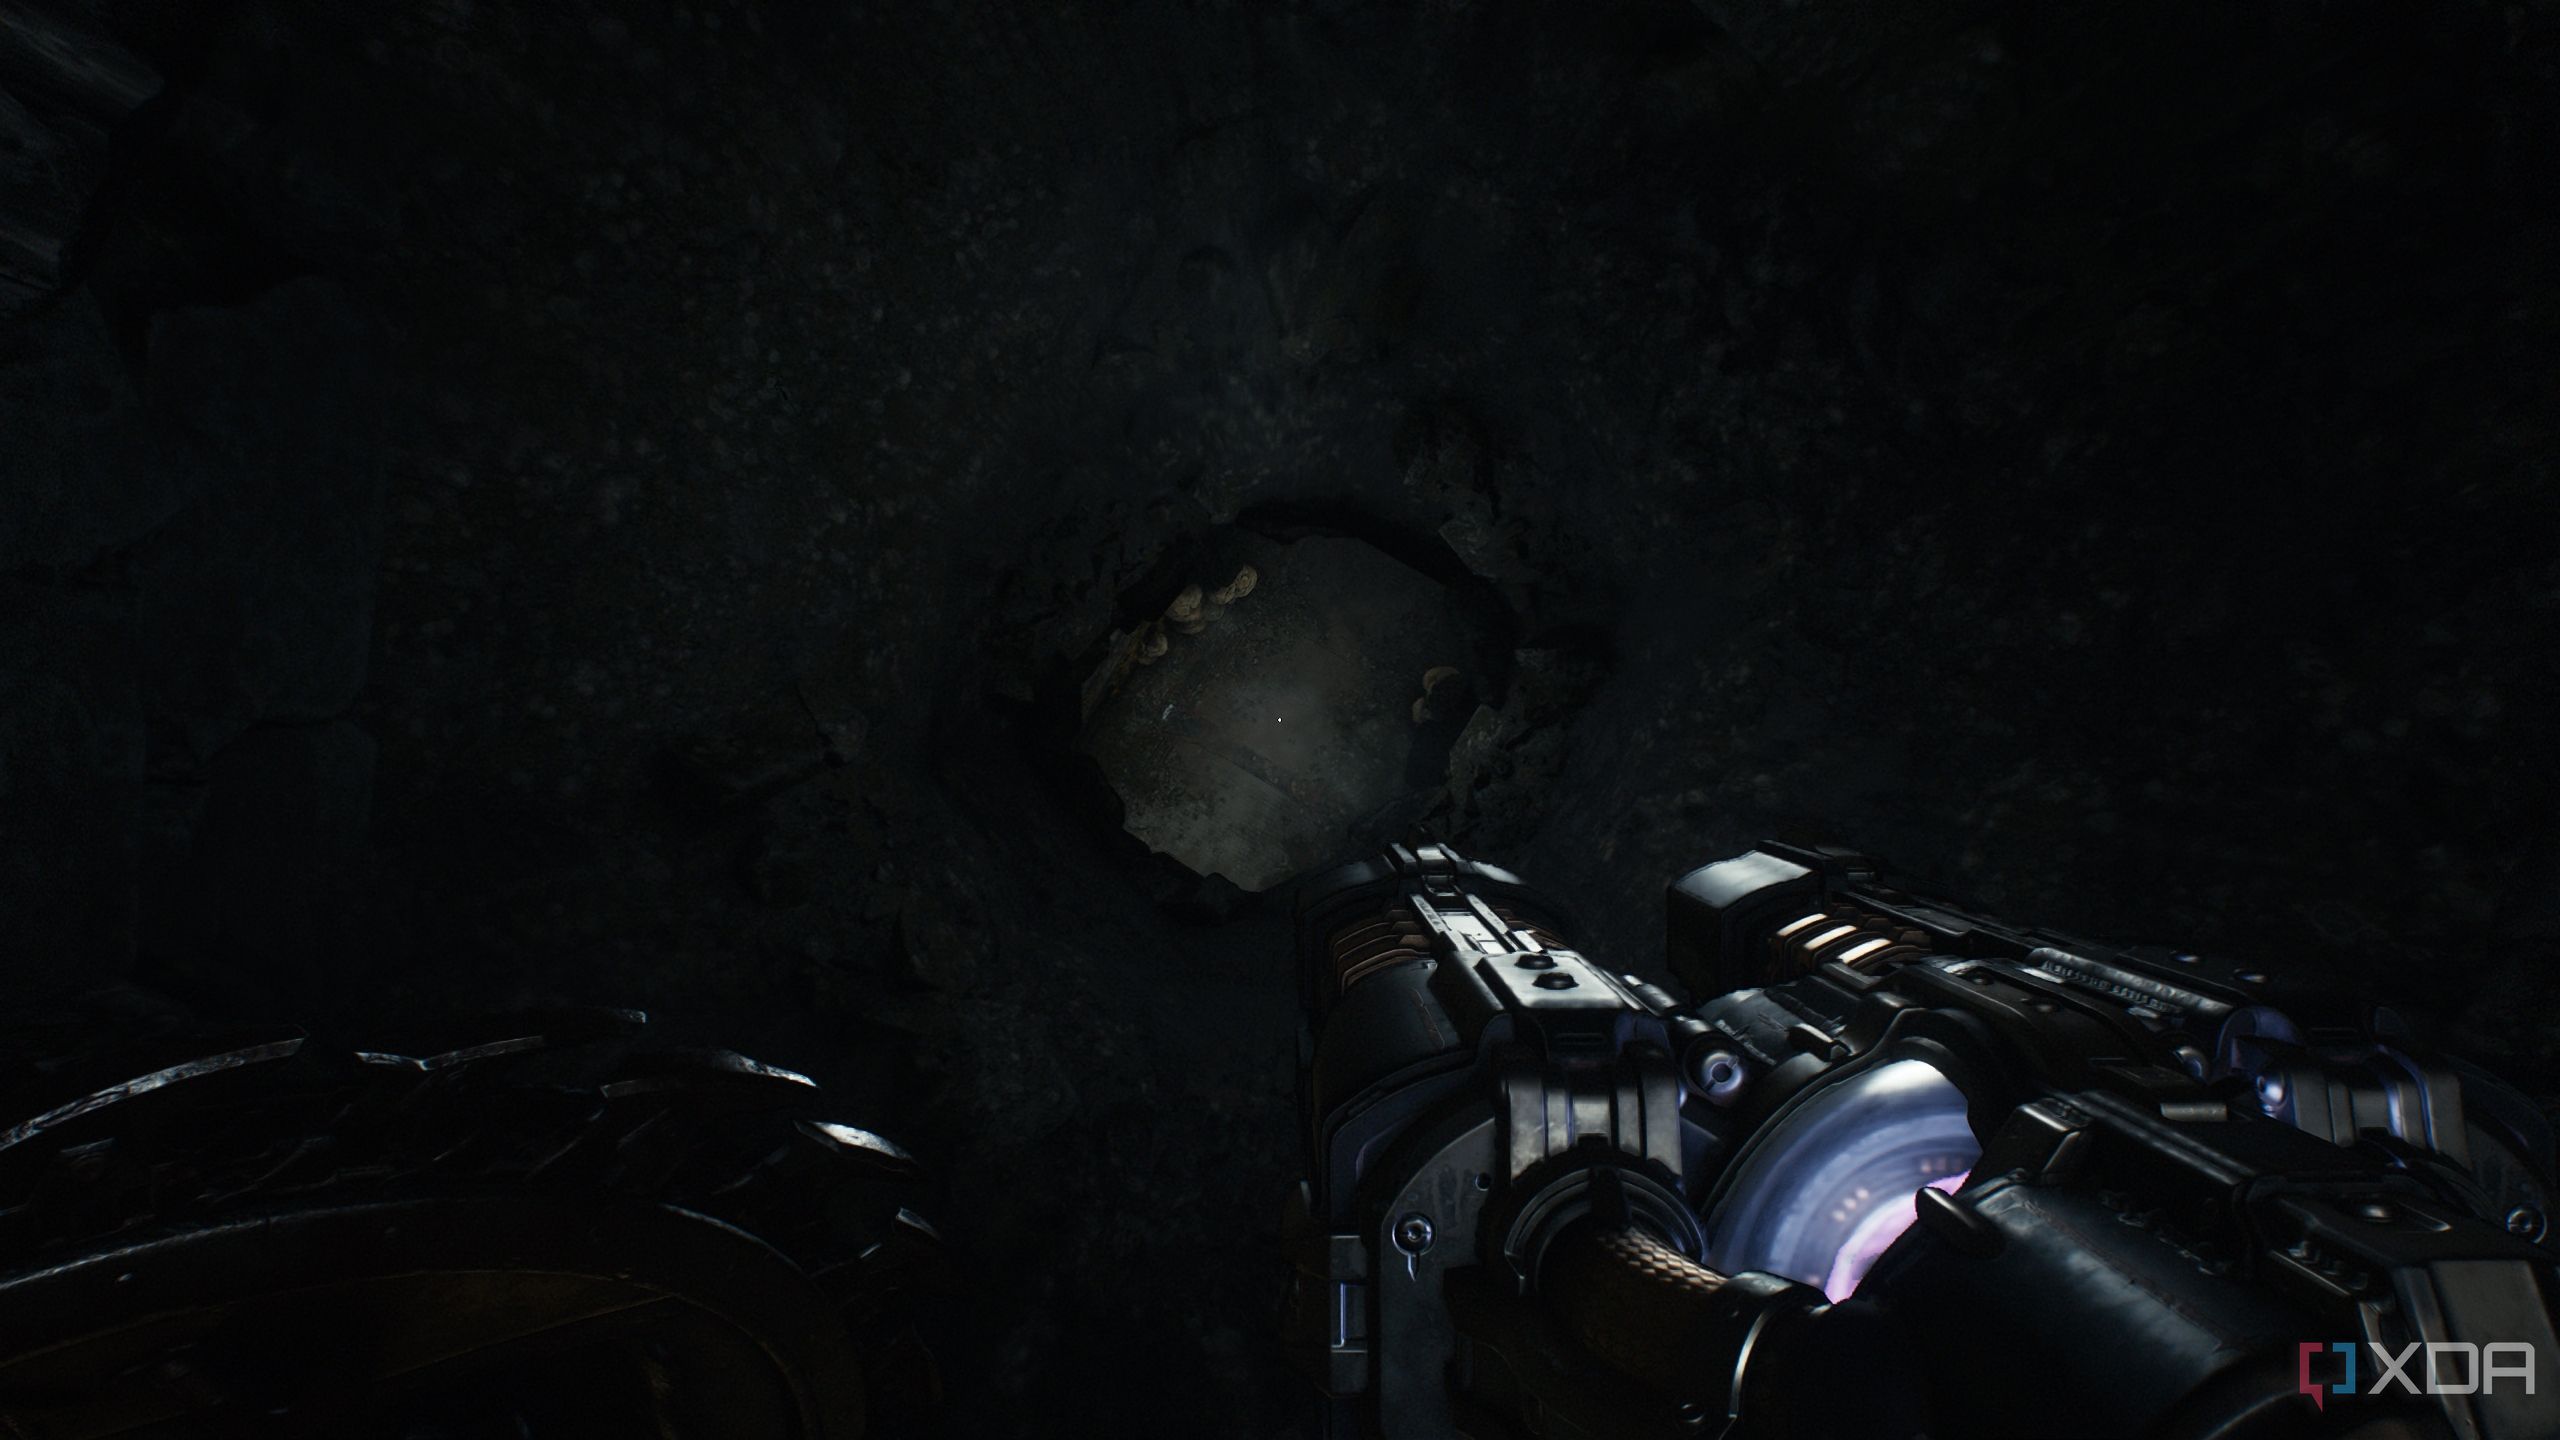
Secret area 1 and a gold chest
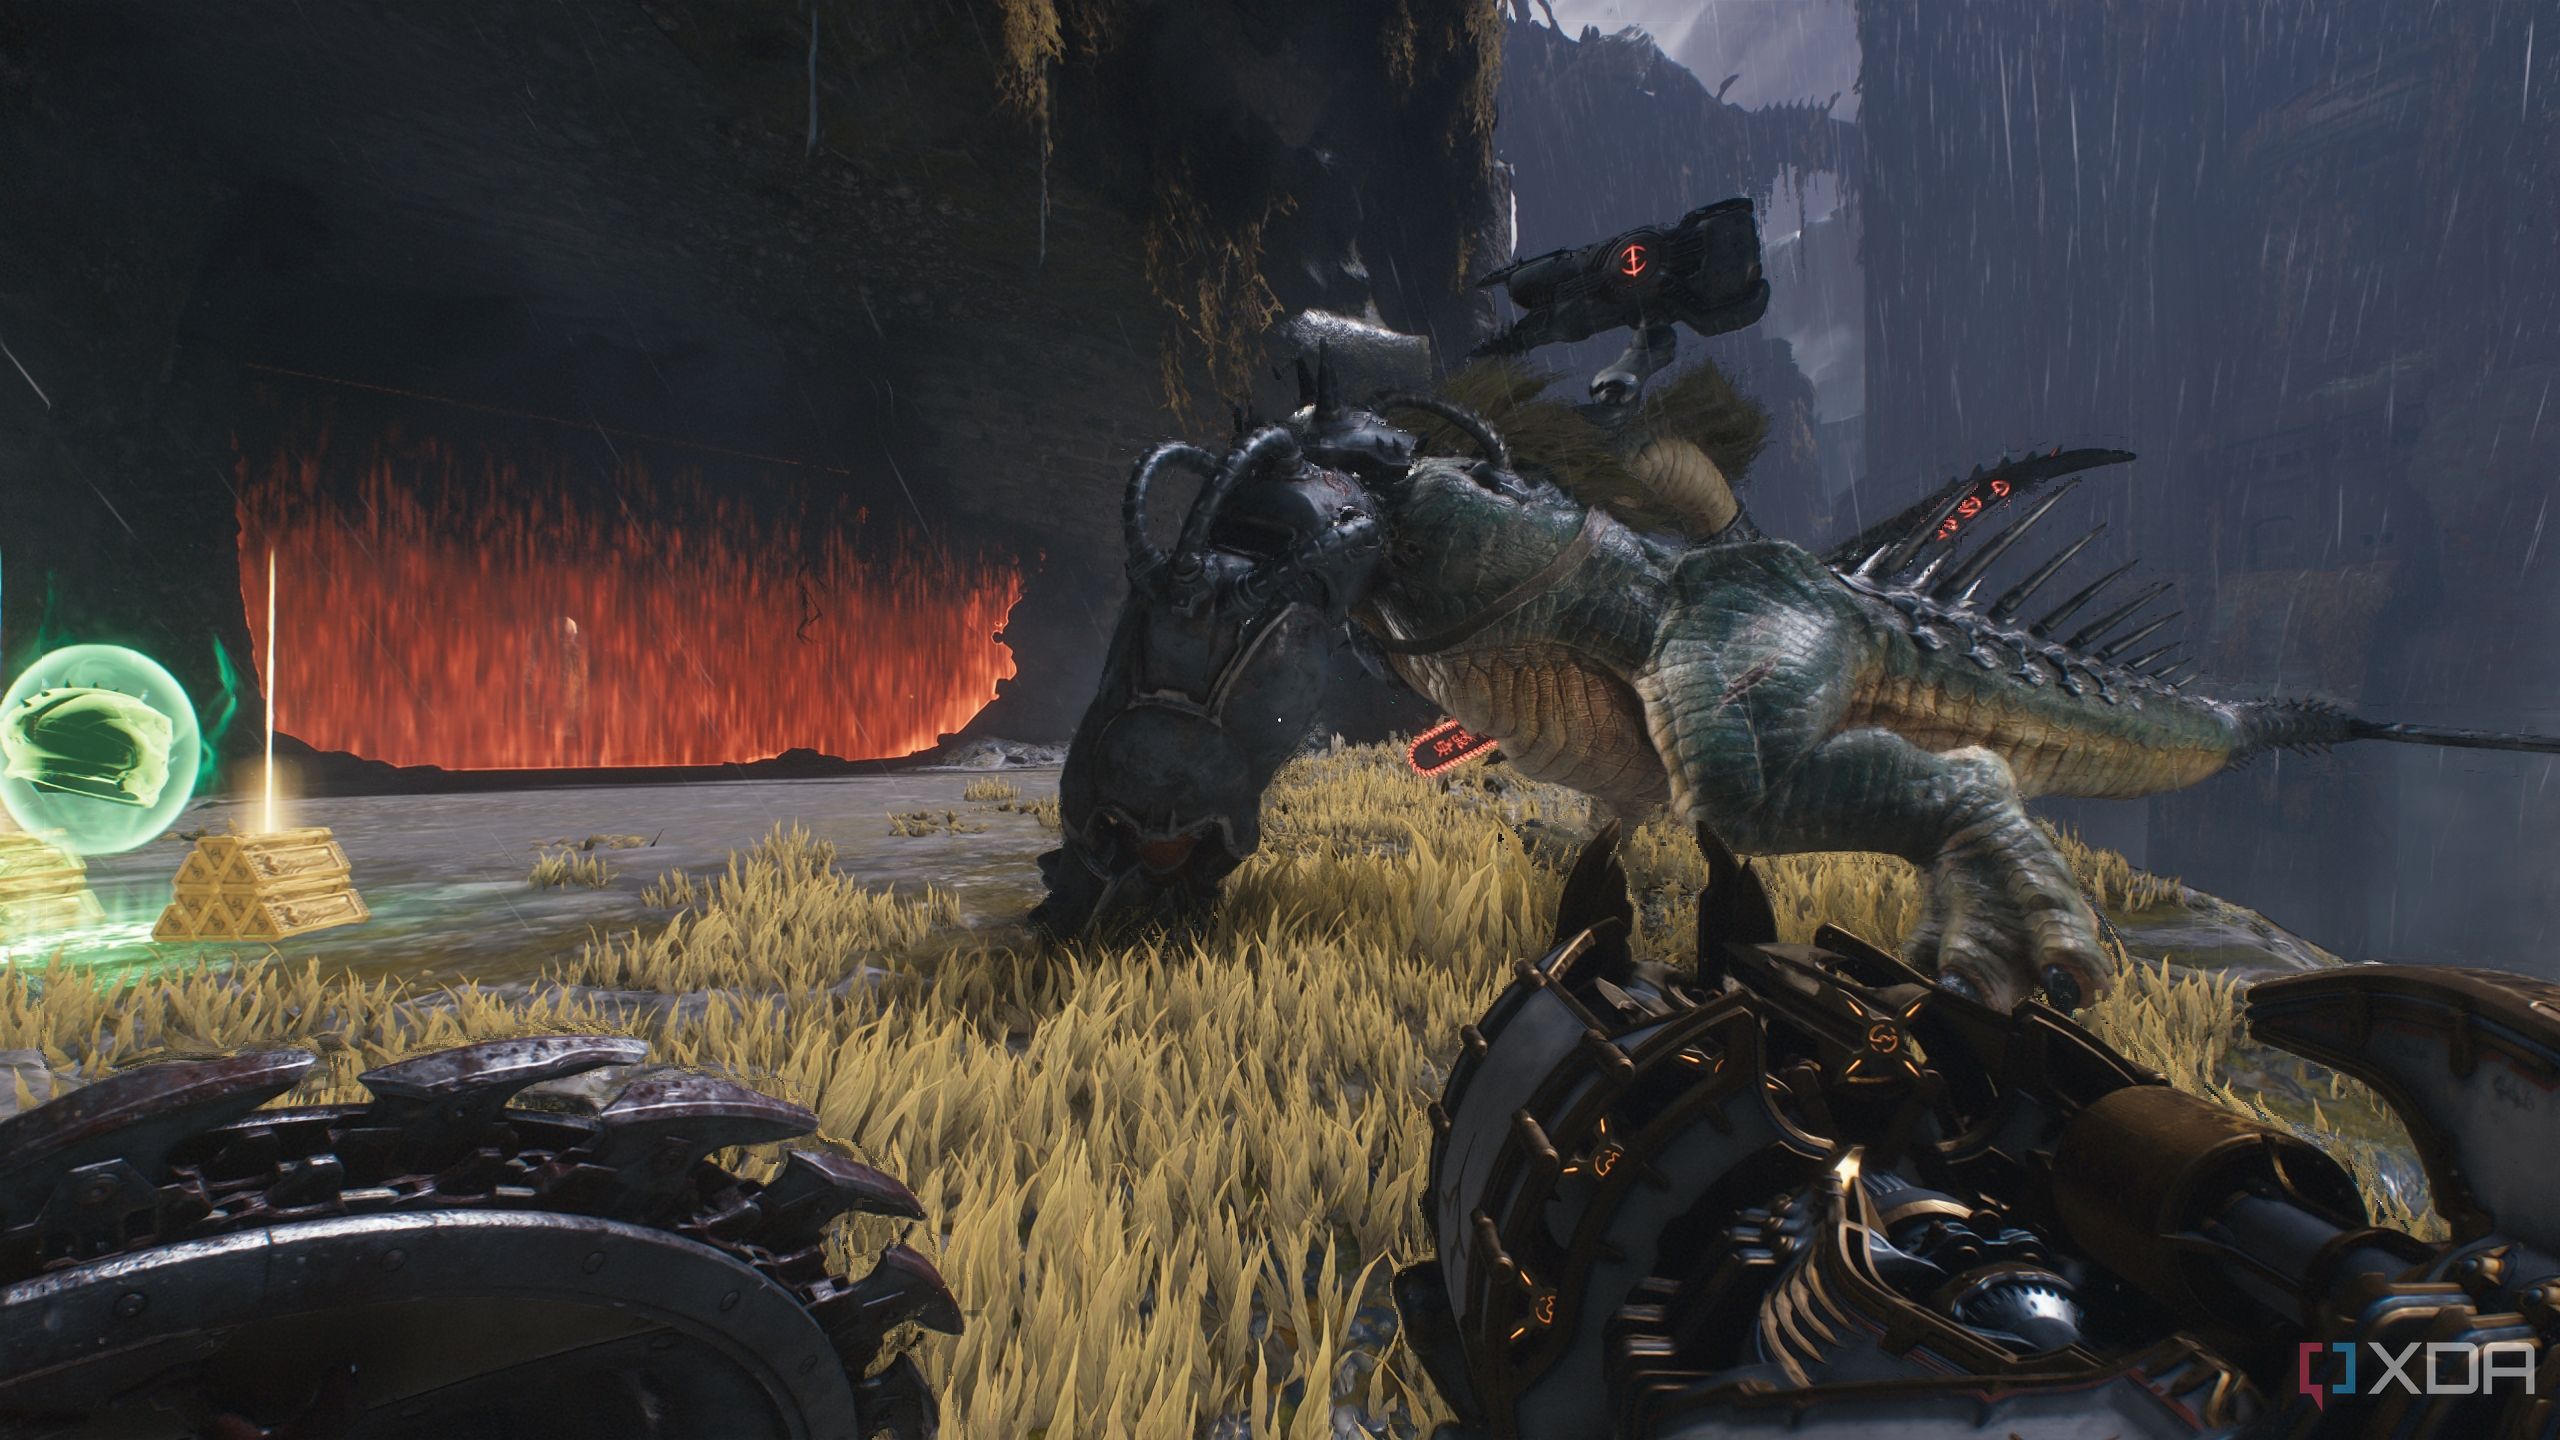
A new demon type has arrived
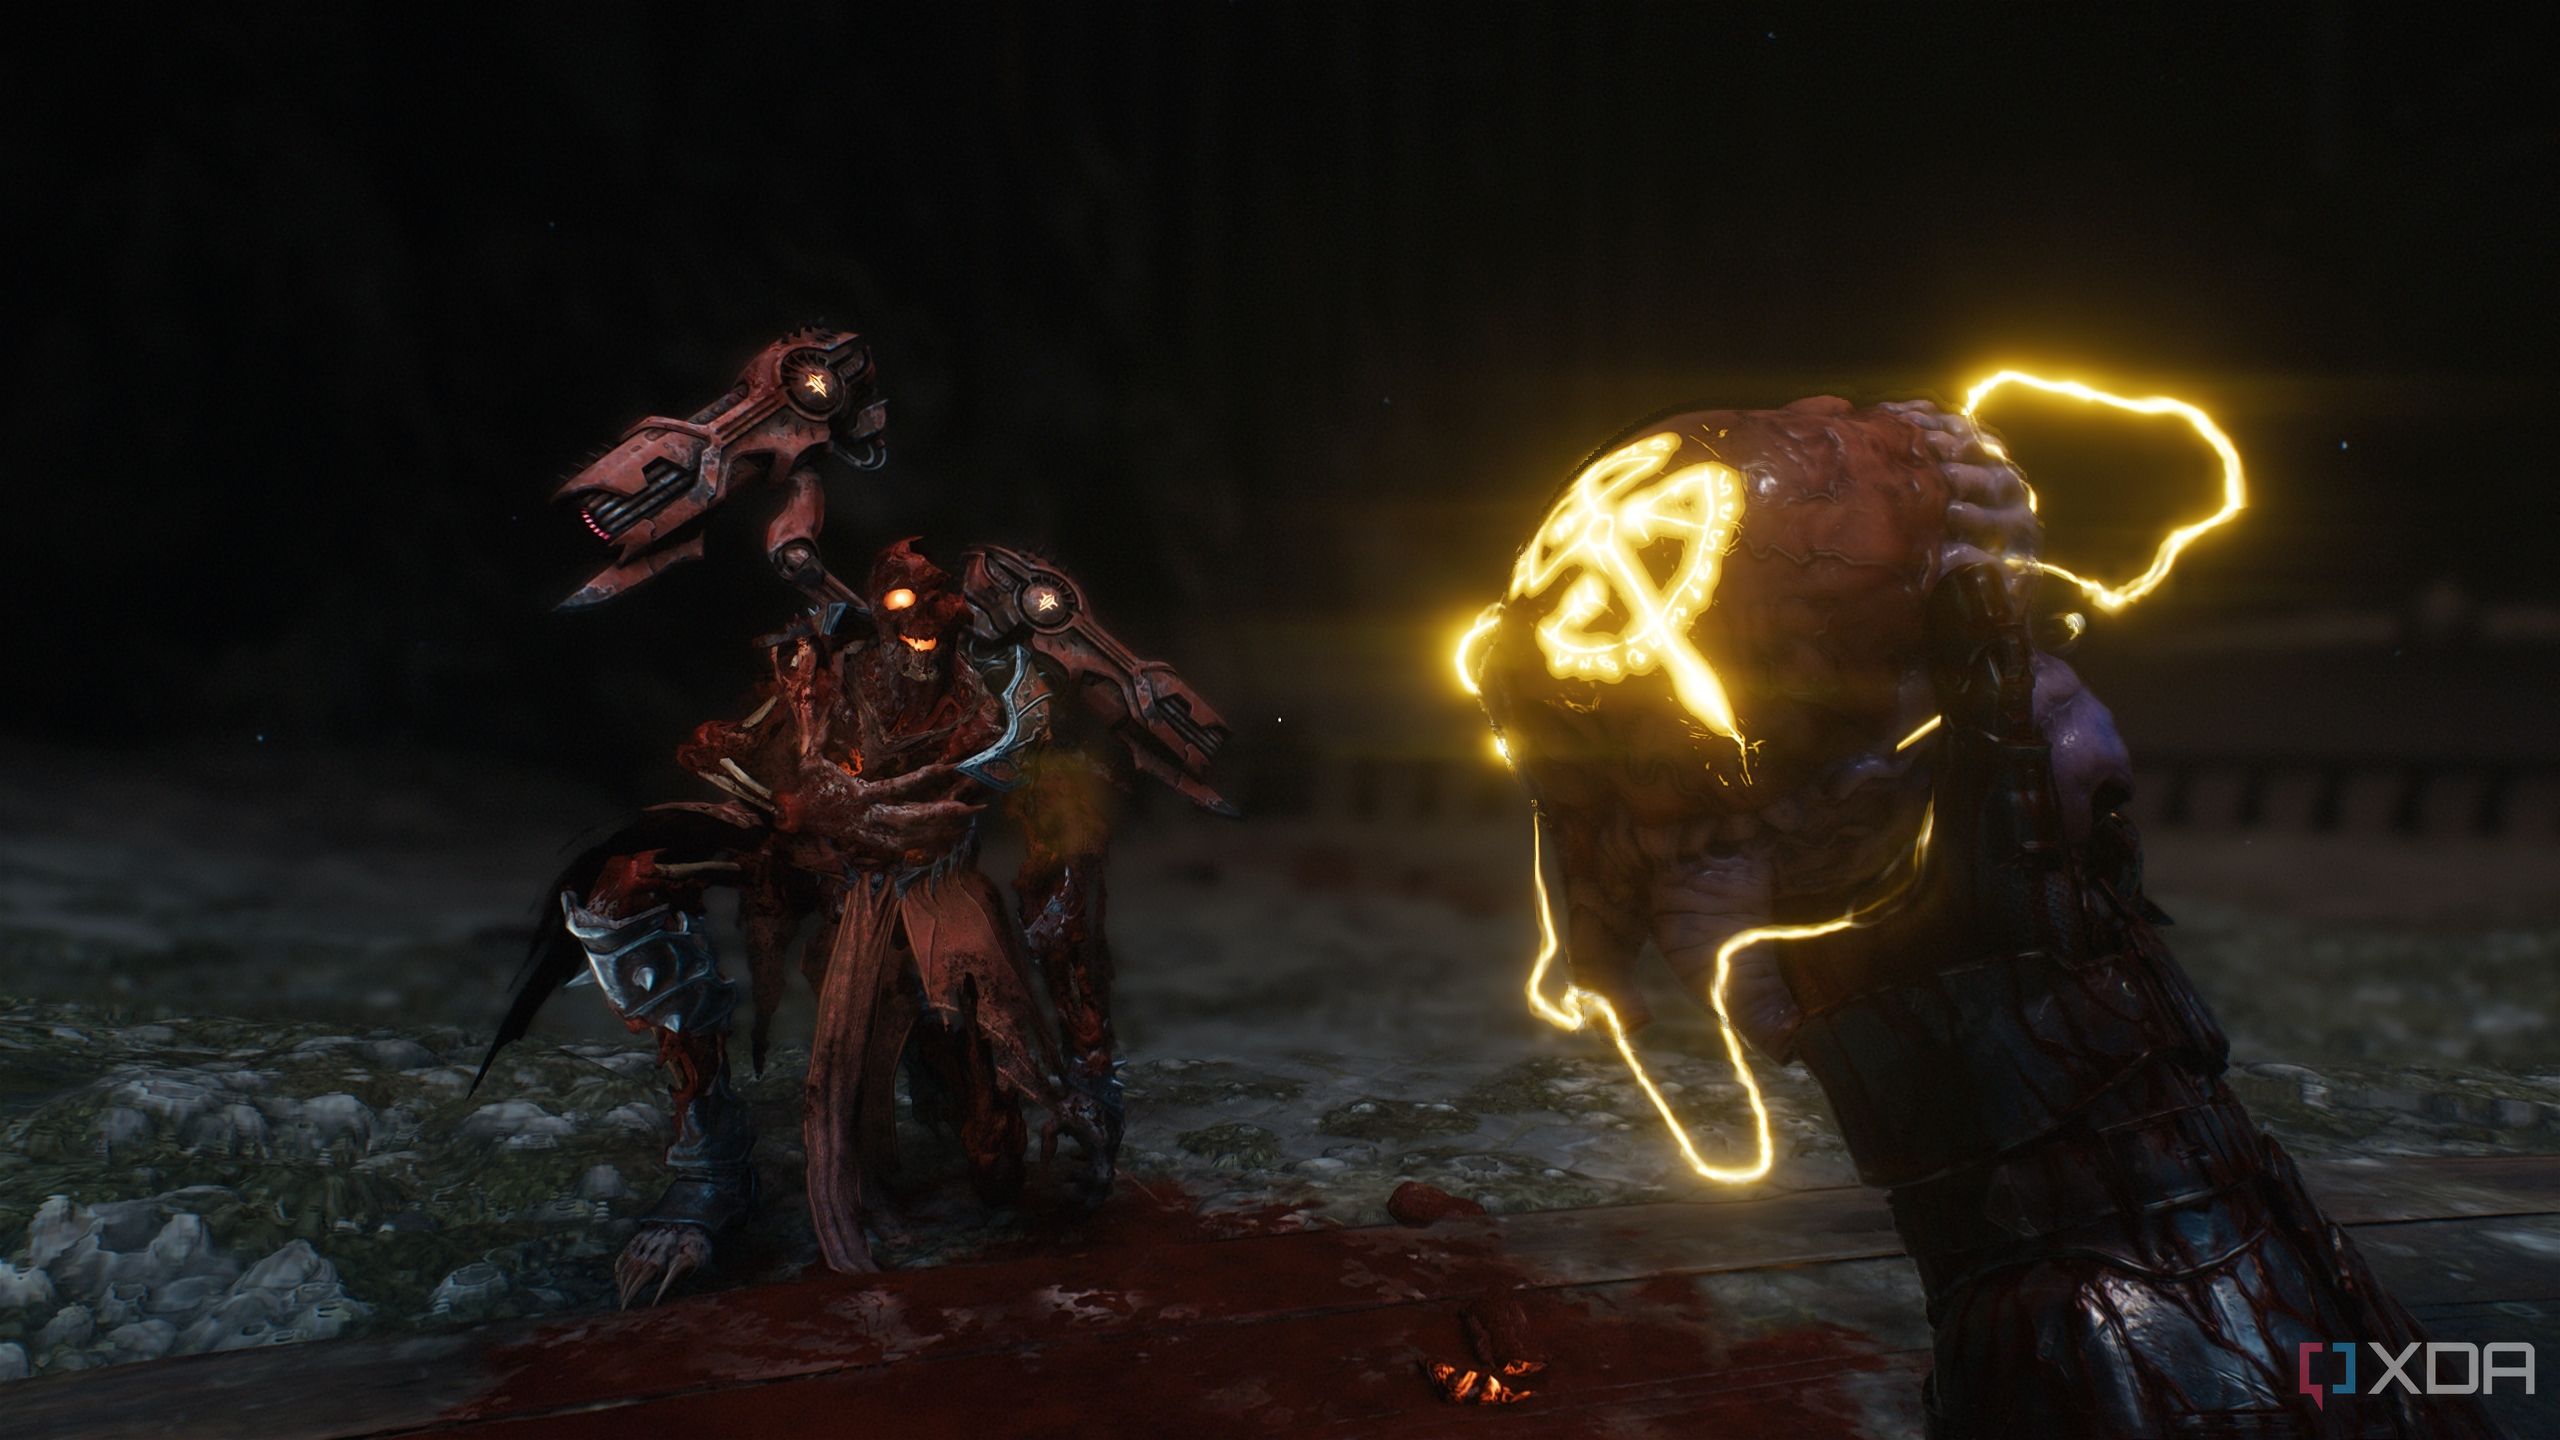
In the first battle encounter, the Slayer will face hordes of demons, with the fight ending in a face-off against a Komodo champion.
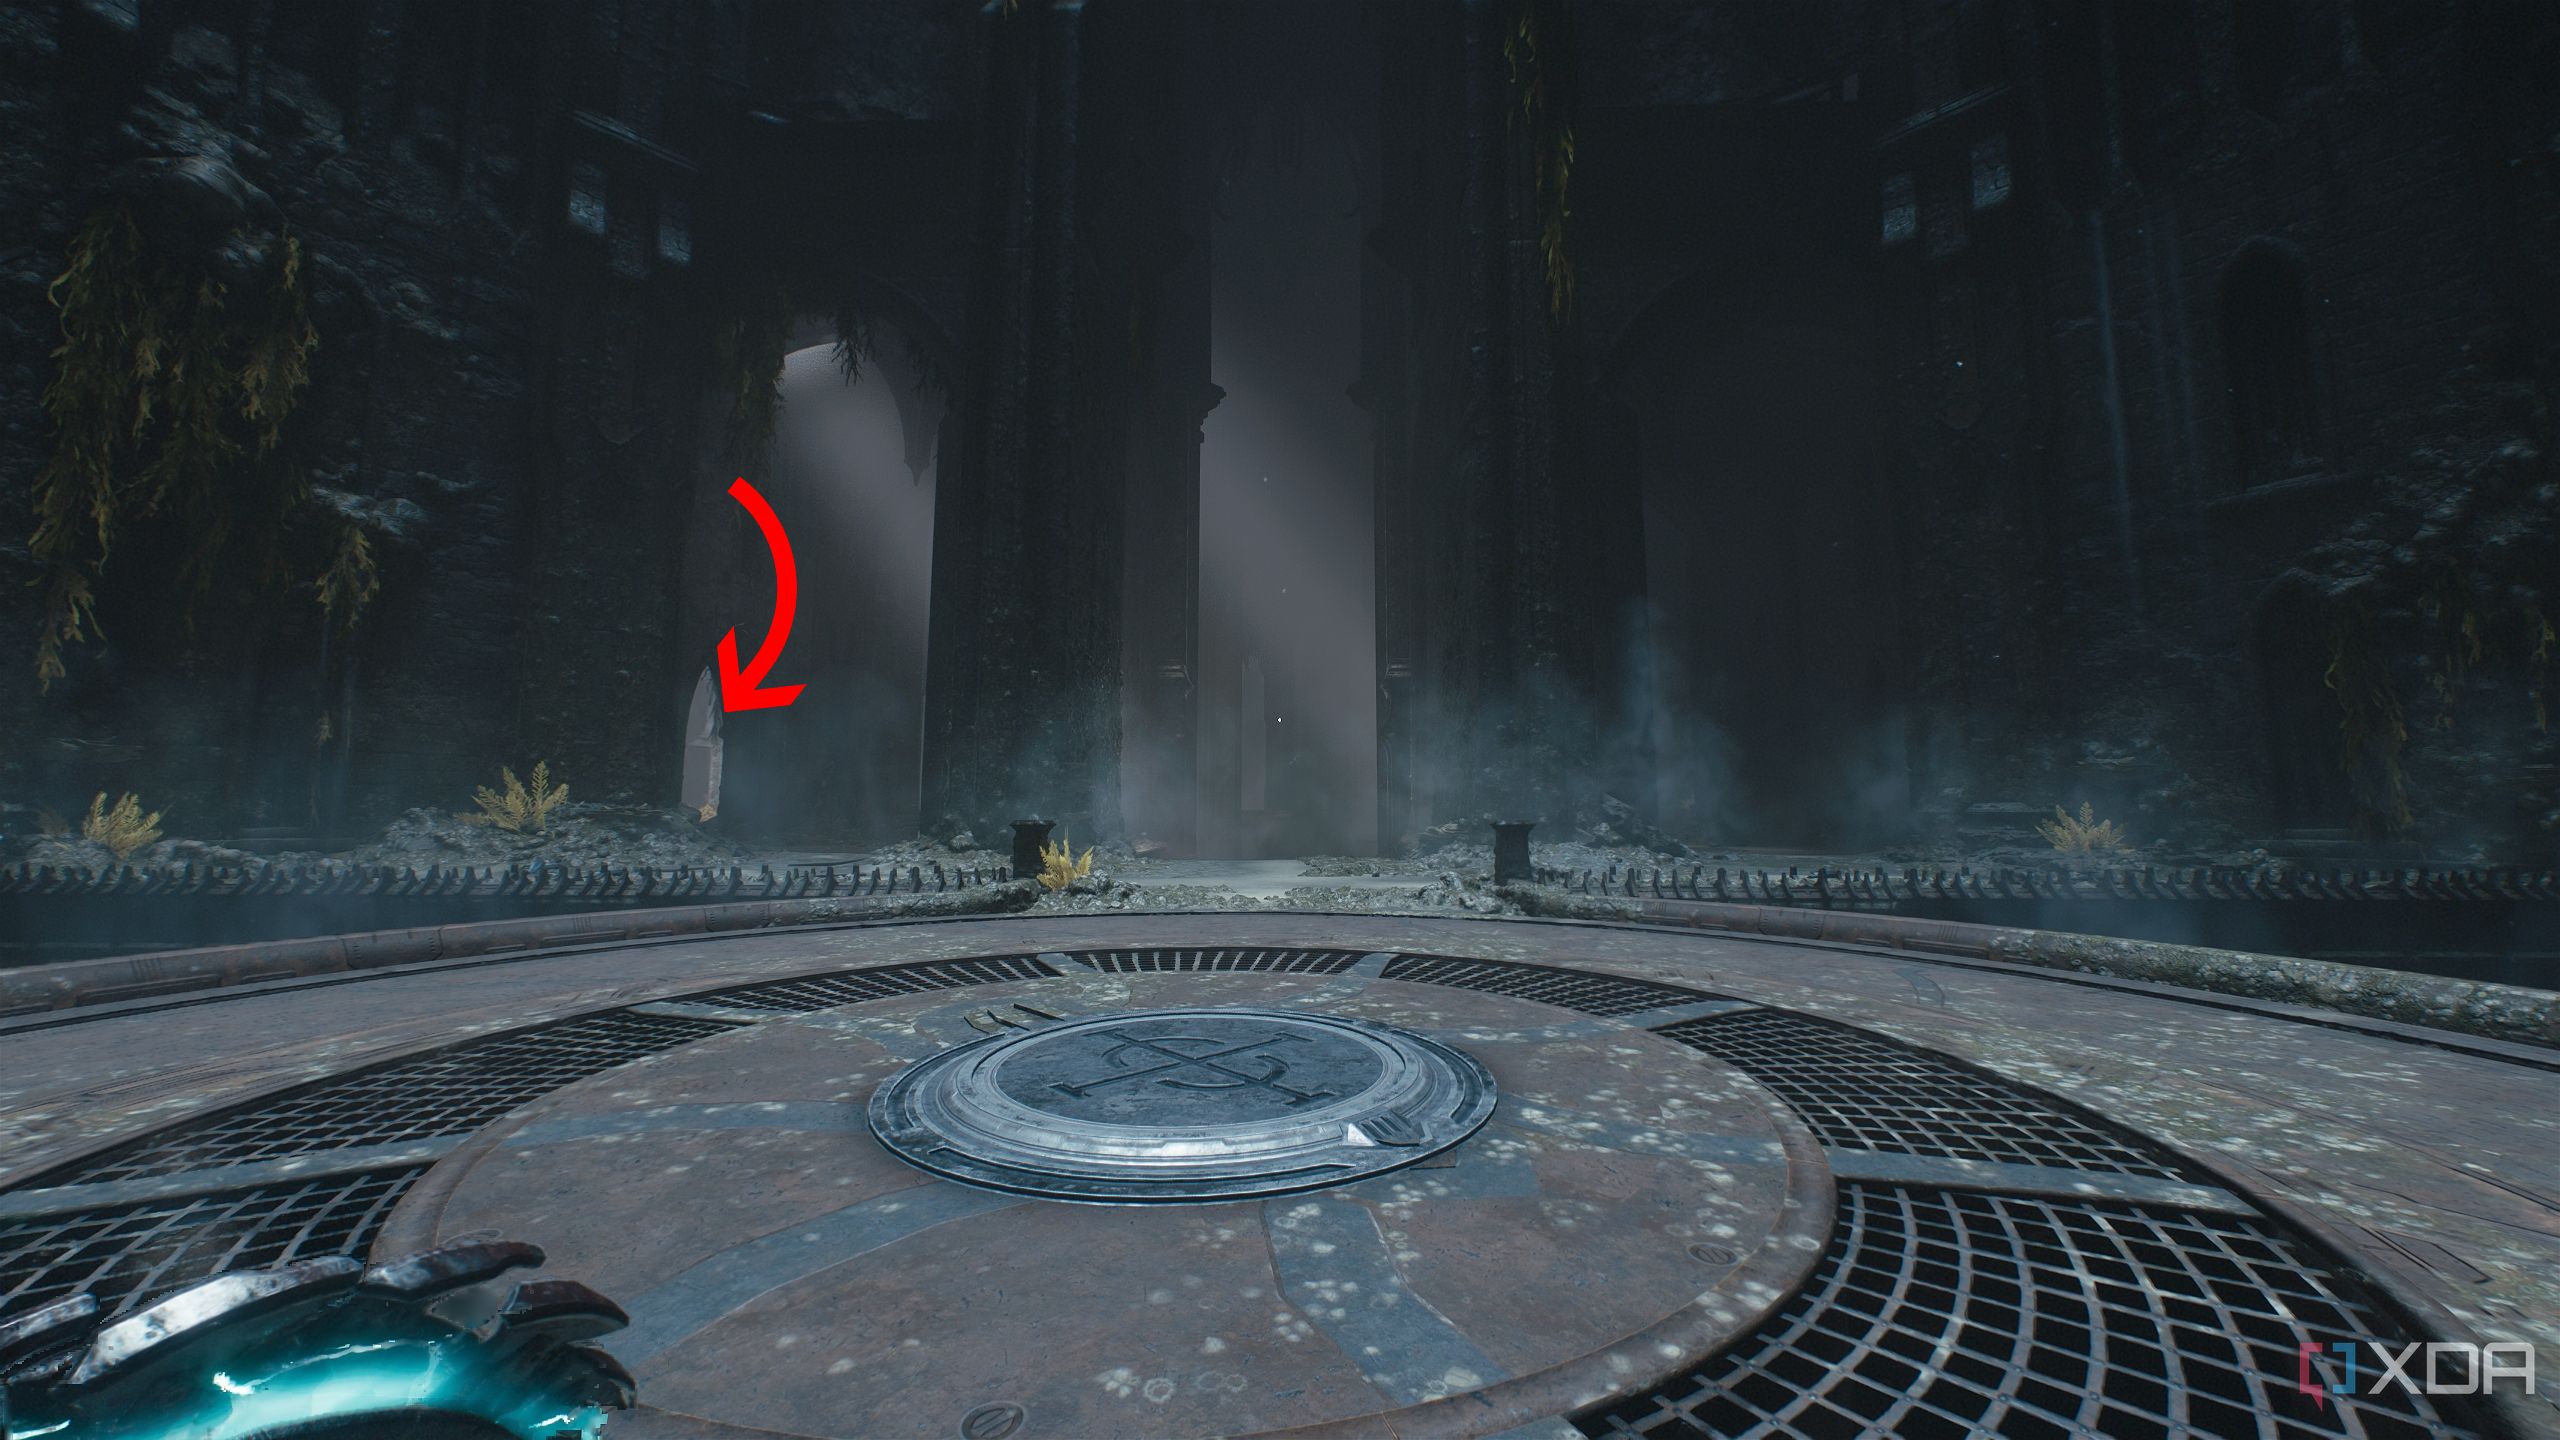
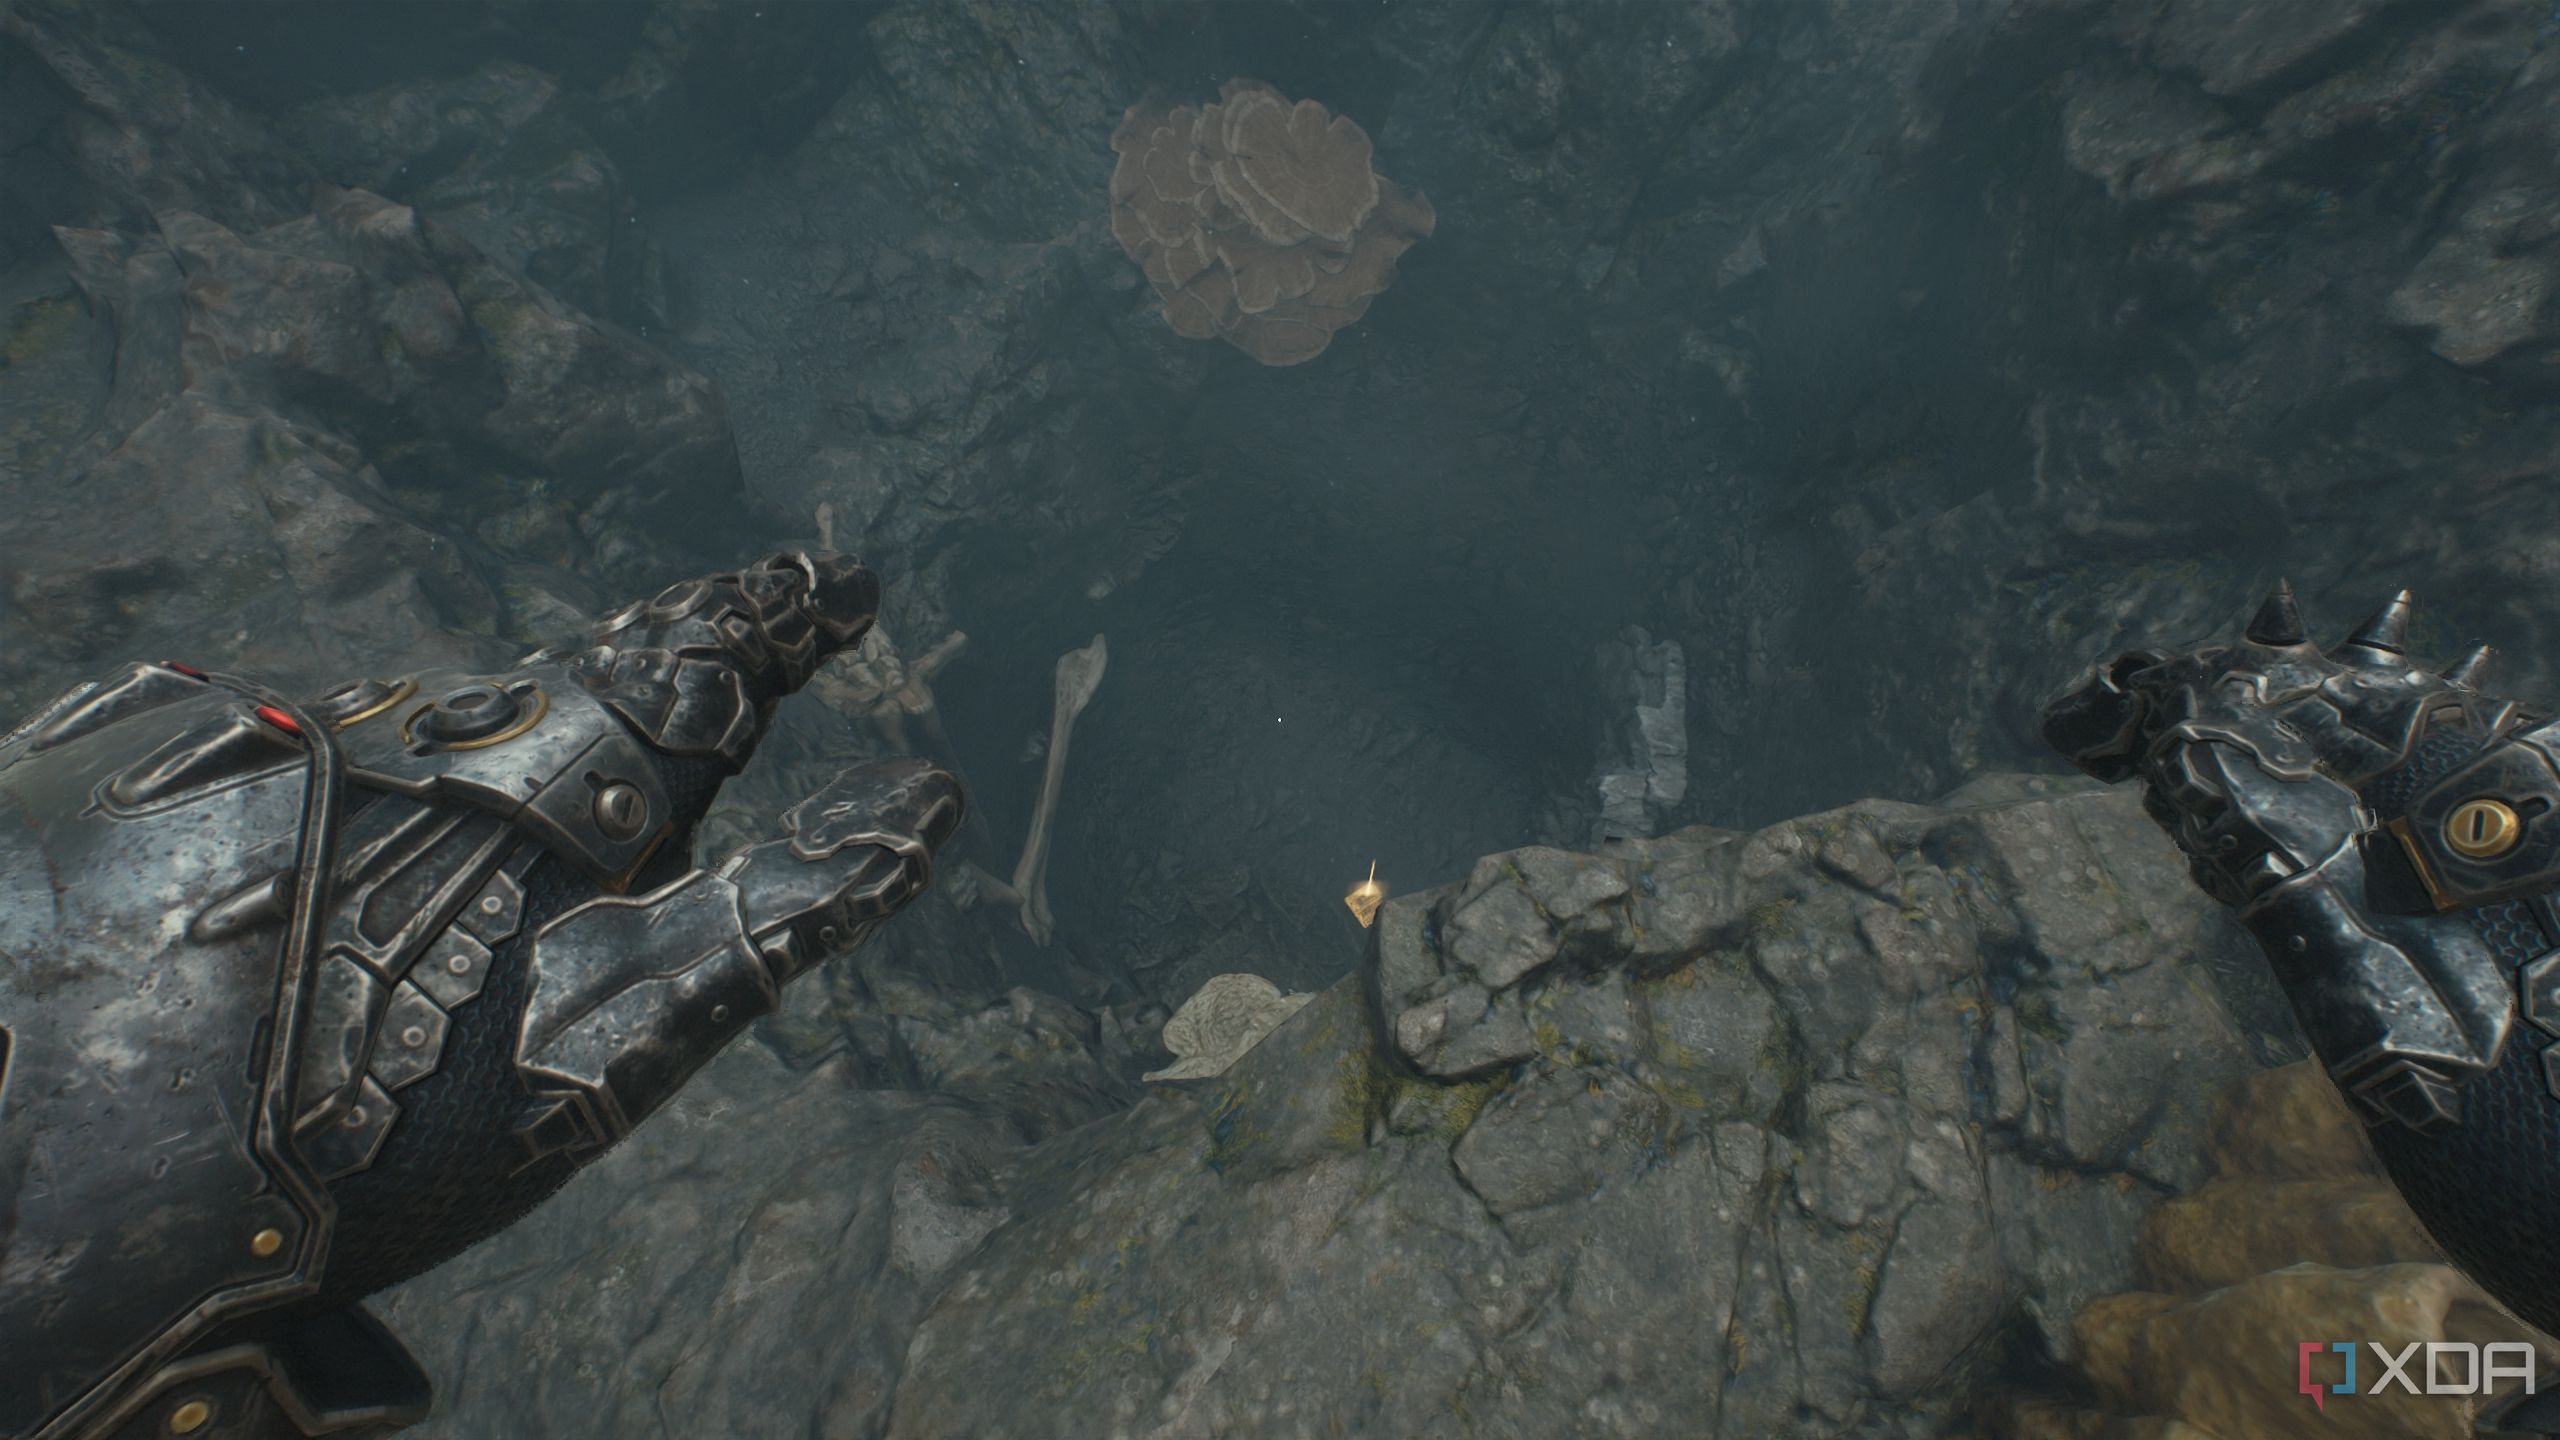
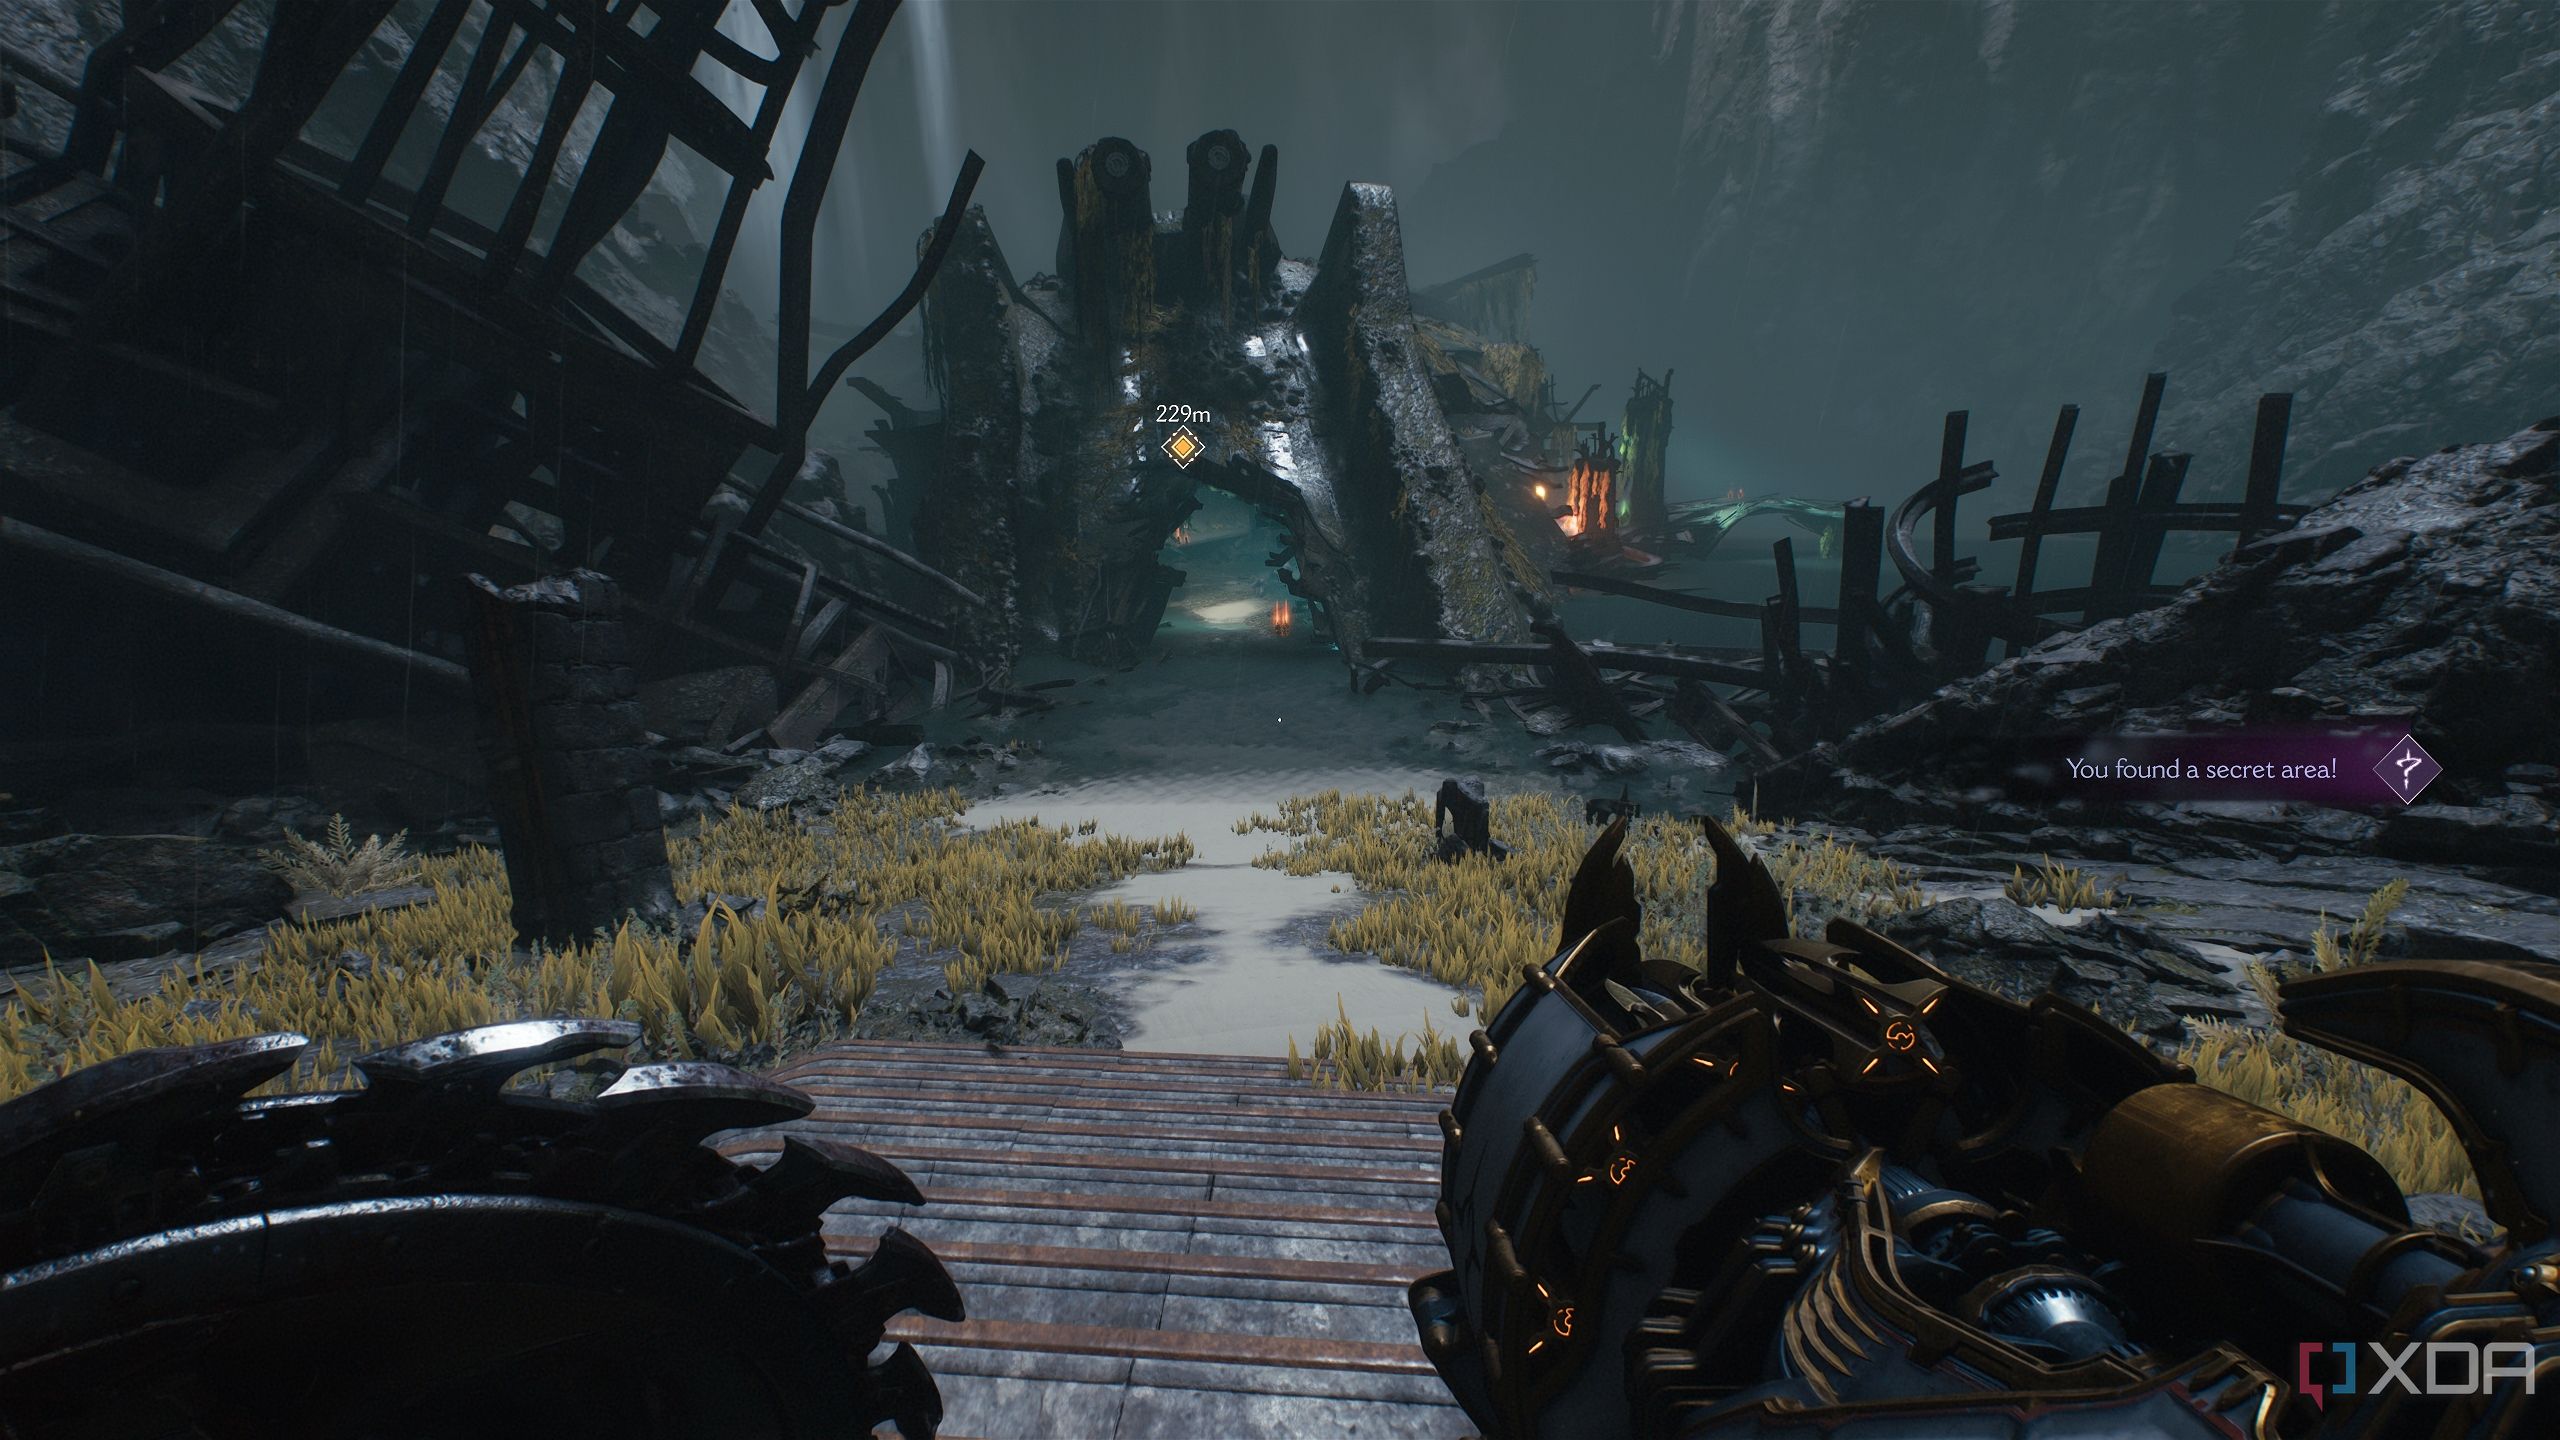
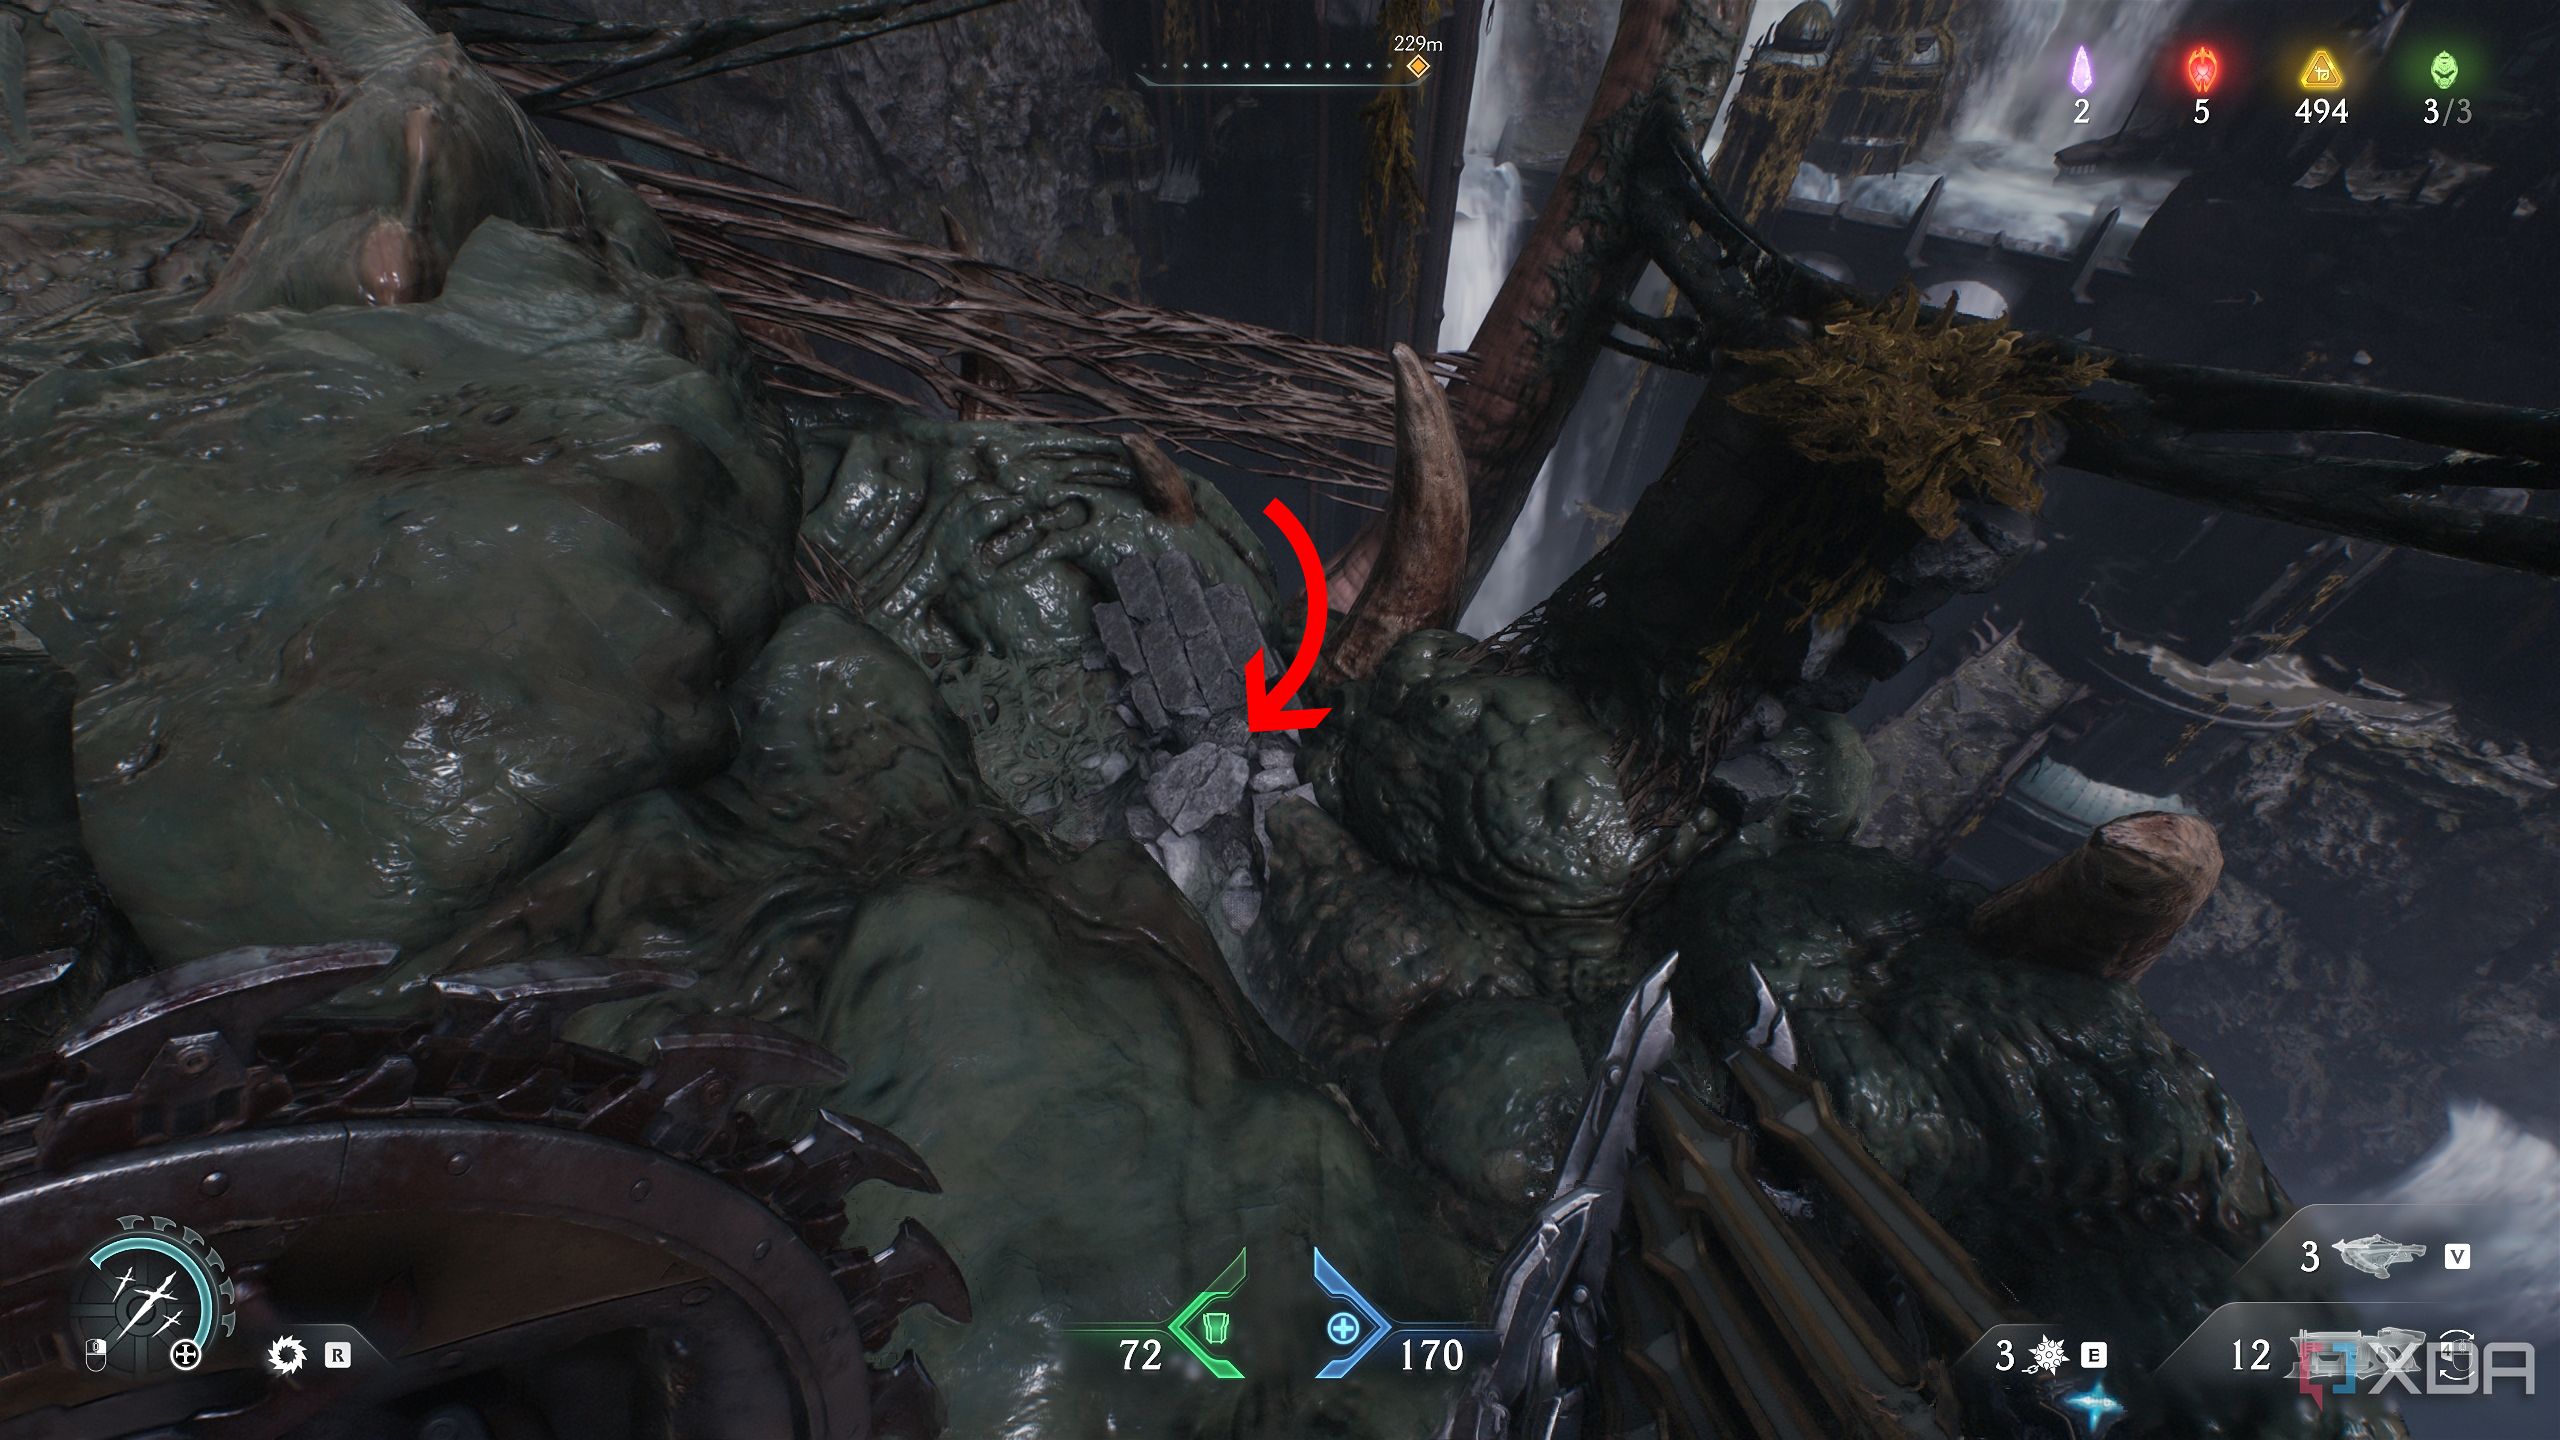
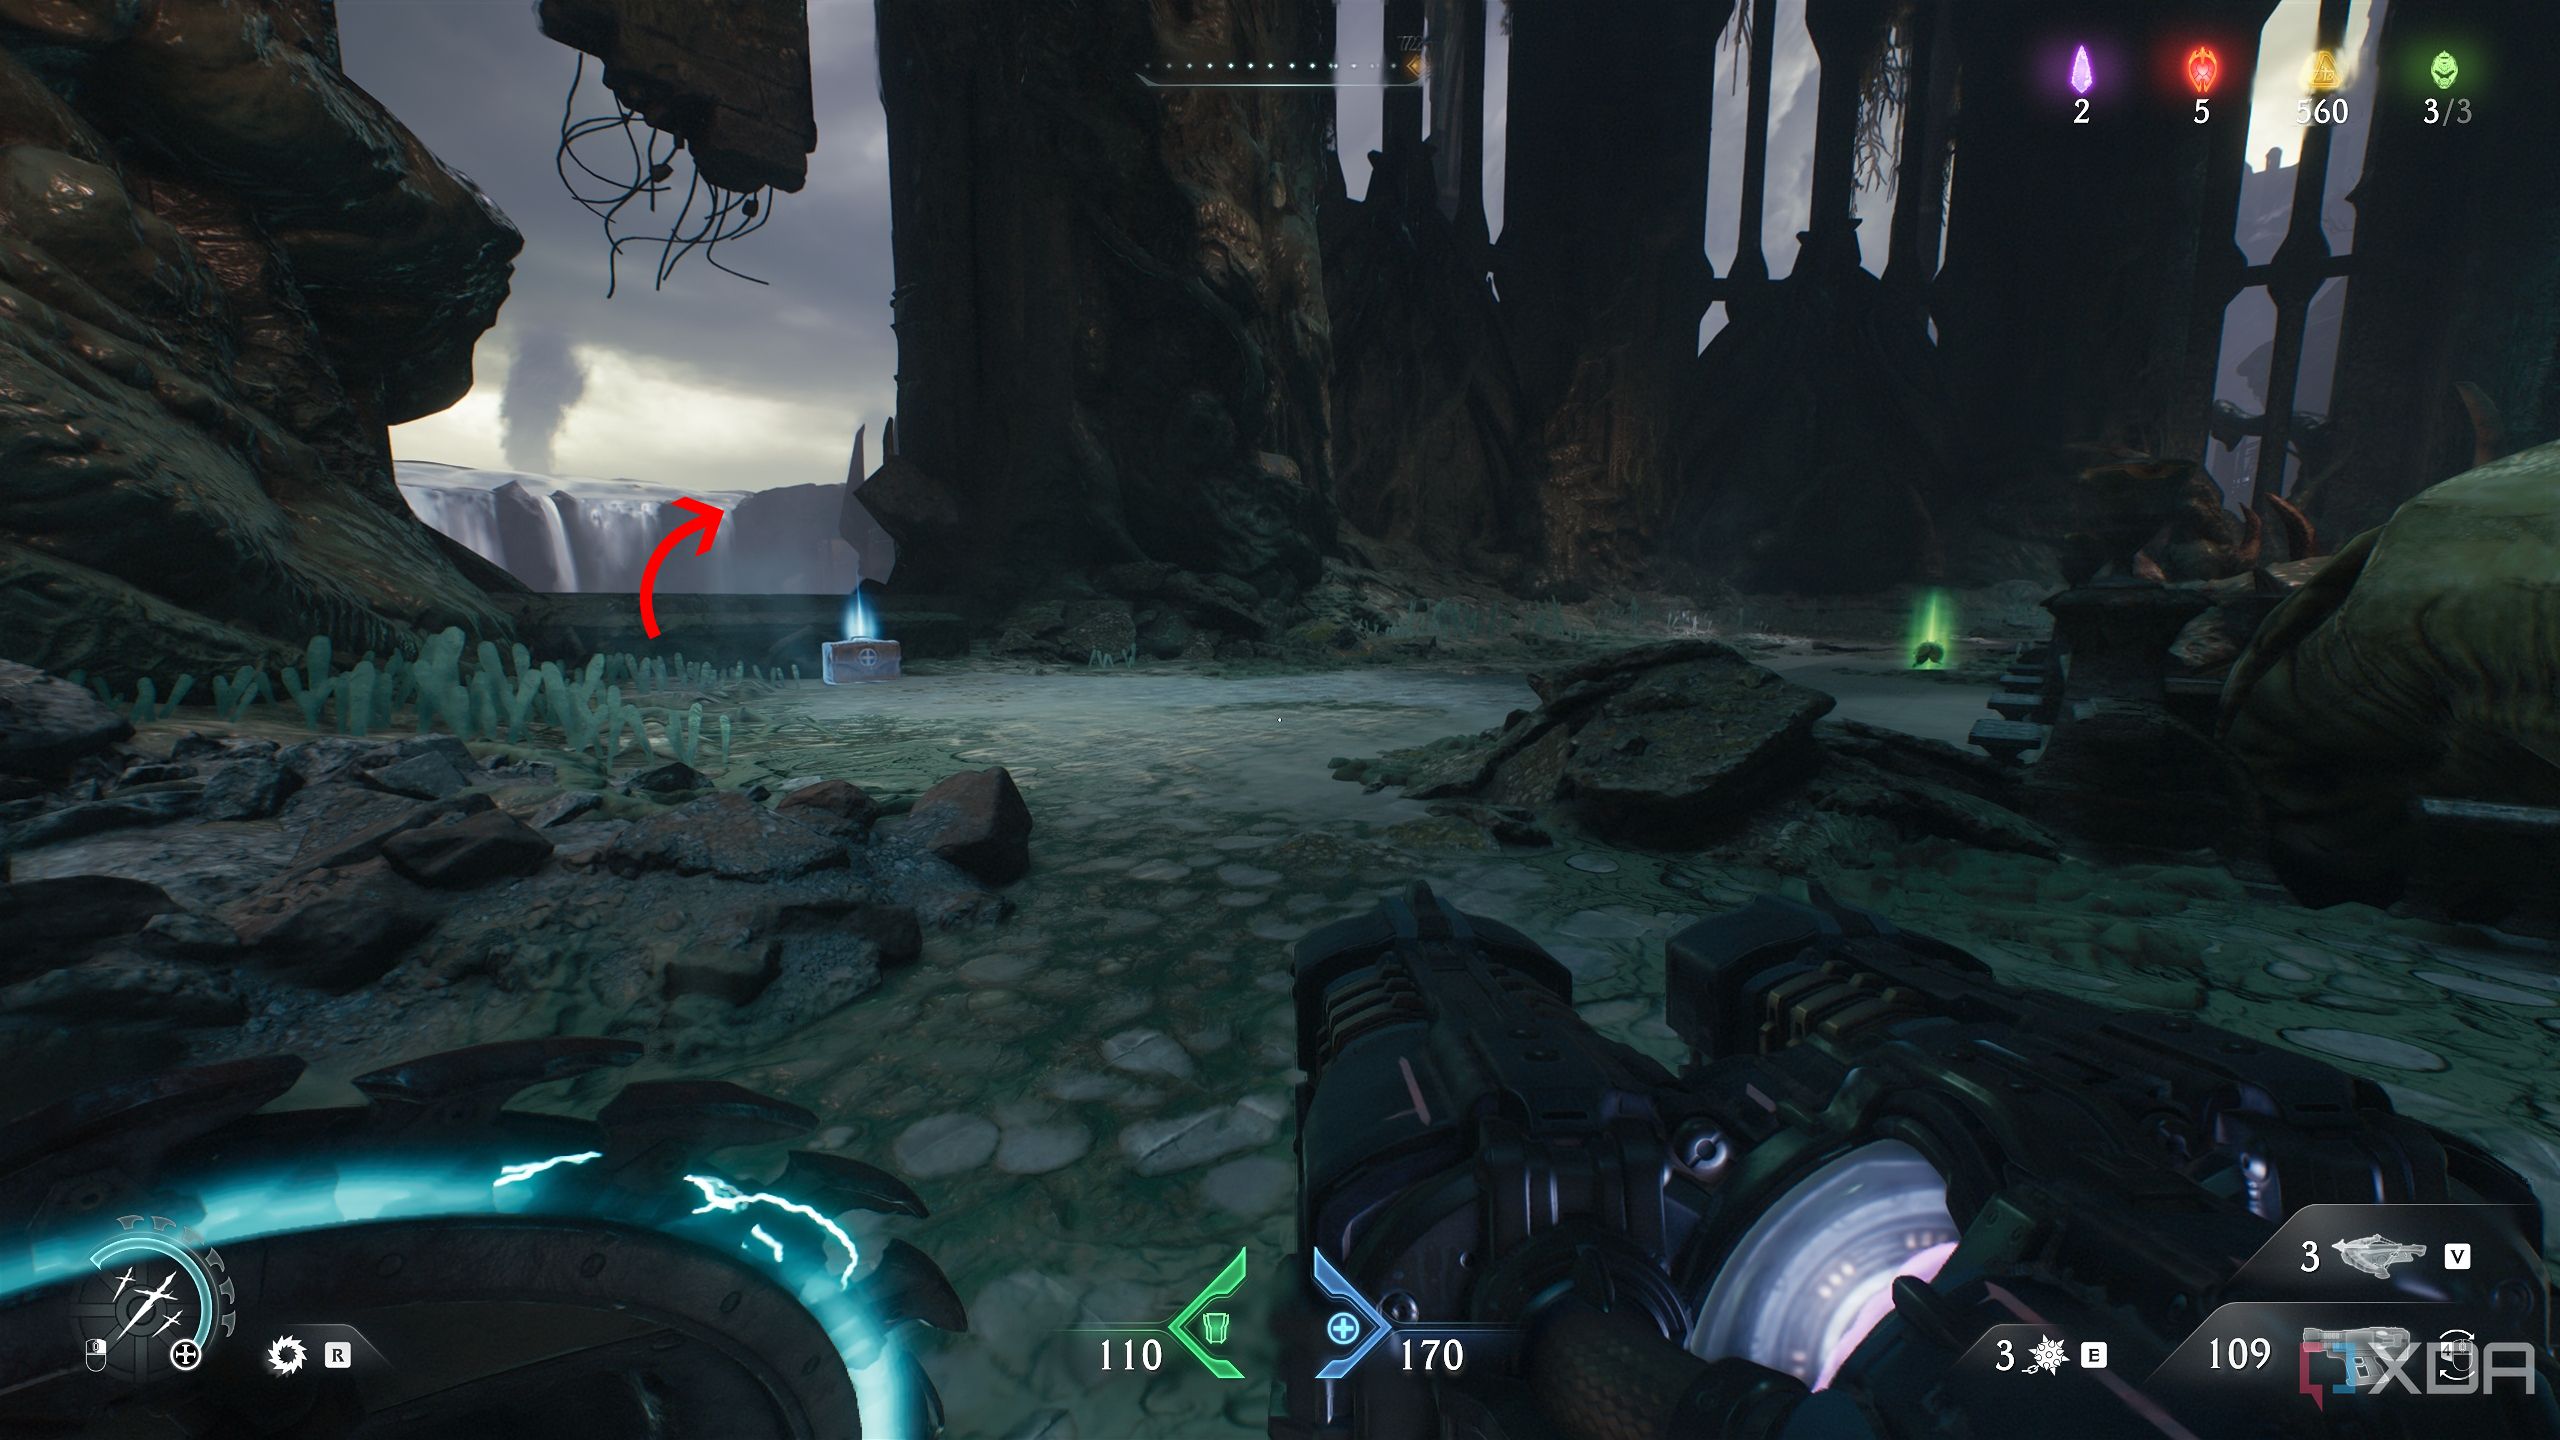
Once that’s done, instead of heading to the objective, head to the western edge of this arena. You’ll reach a cliff right alongside the water — reach this location on the map.
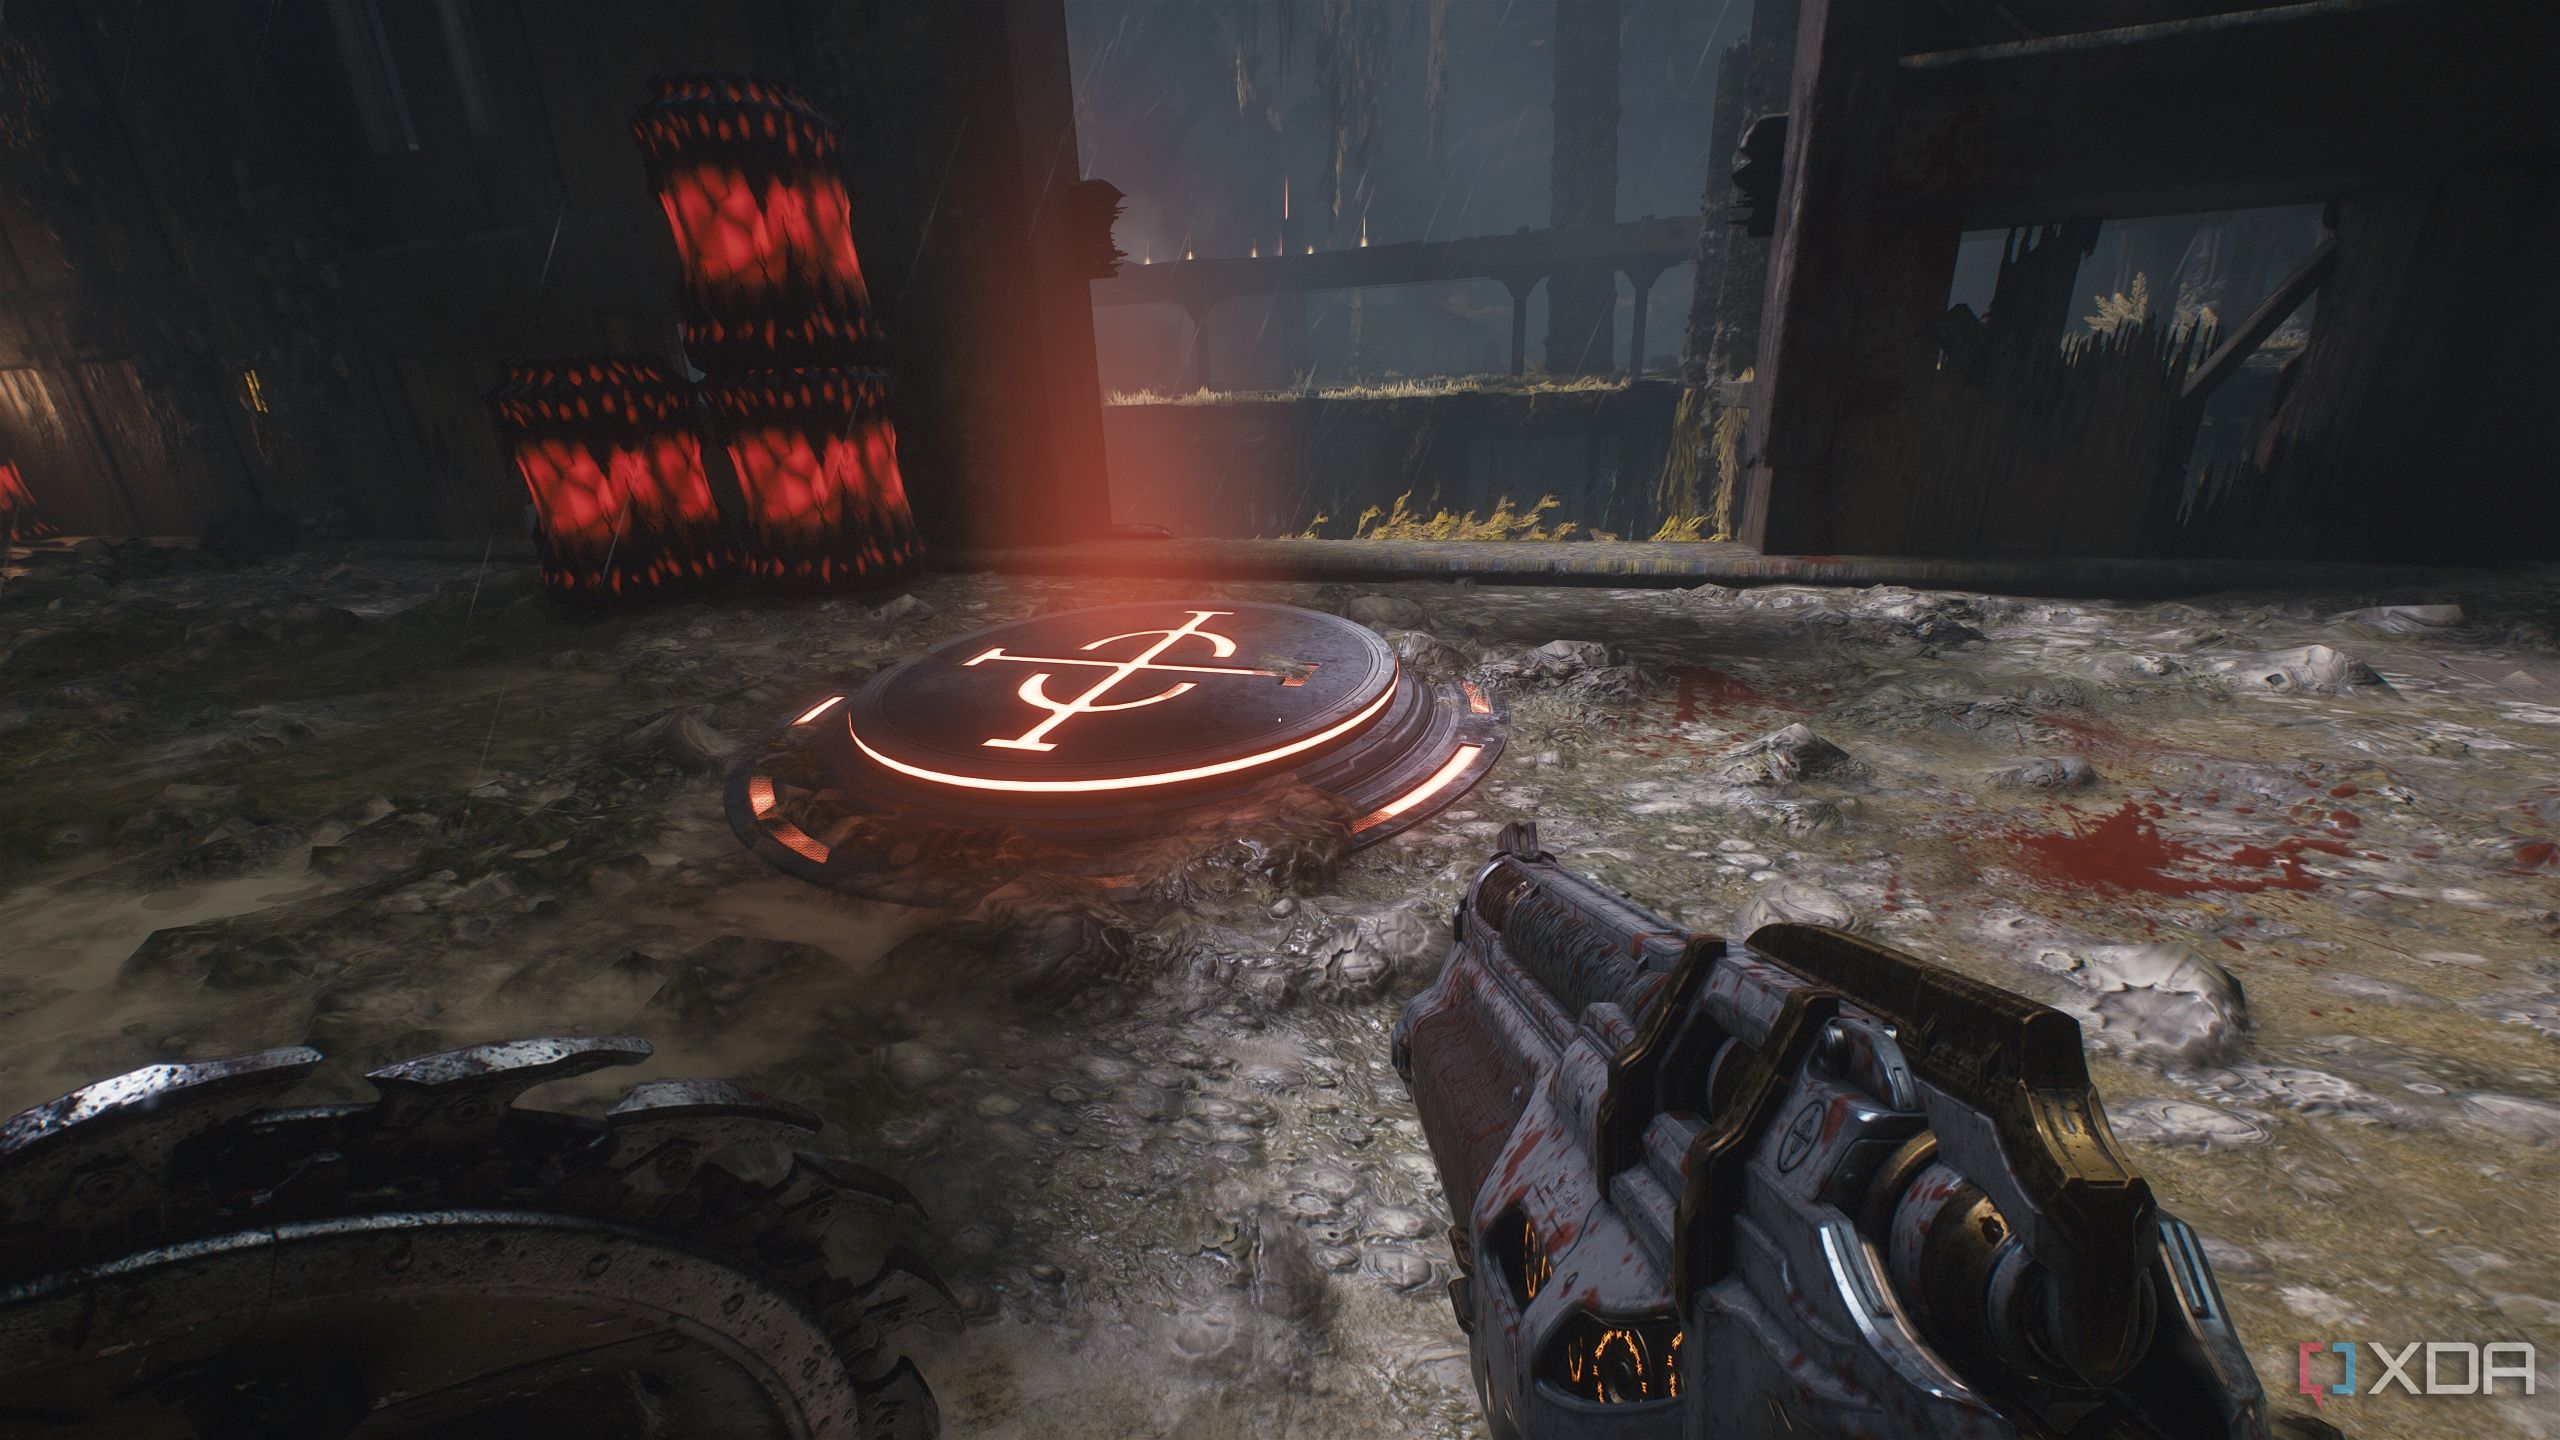
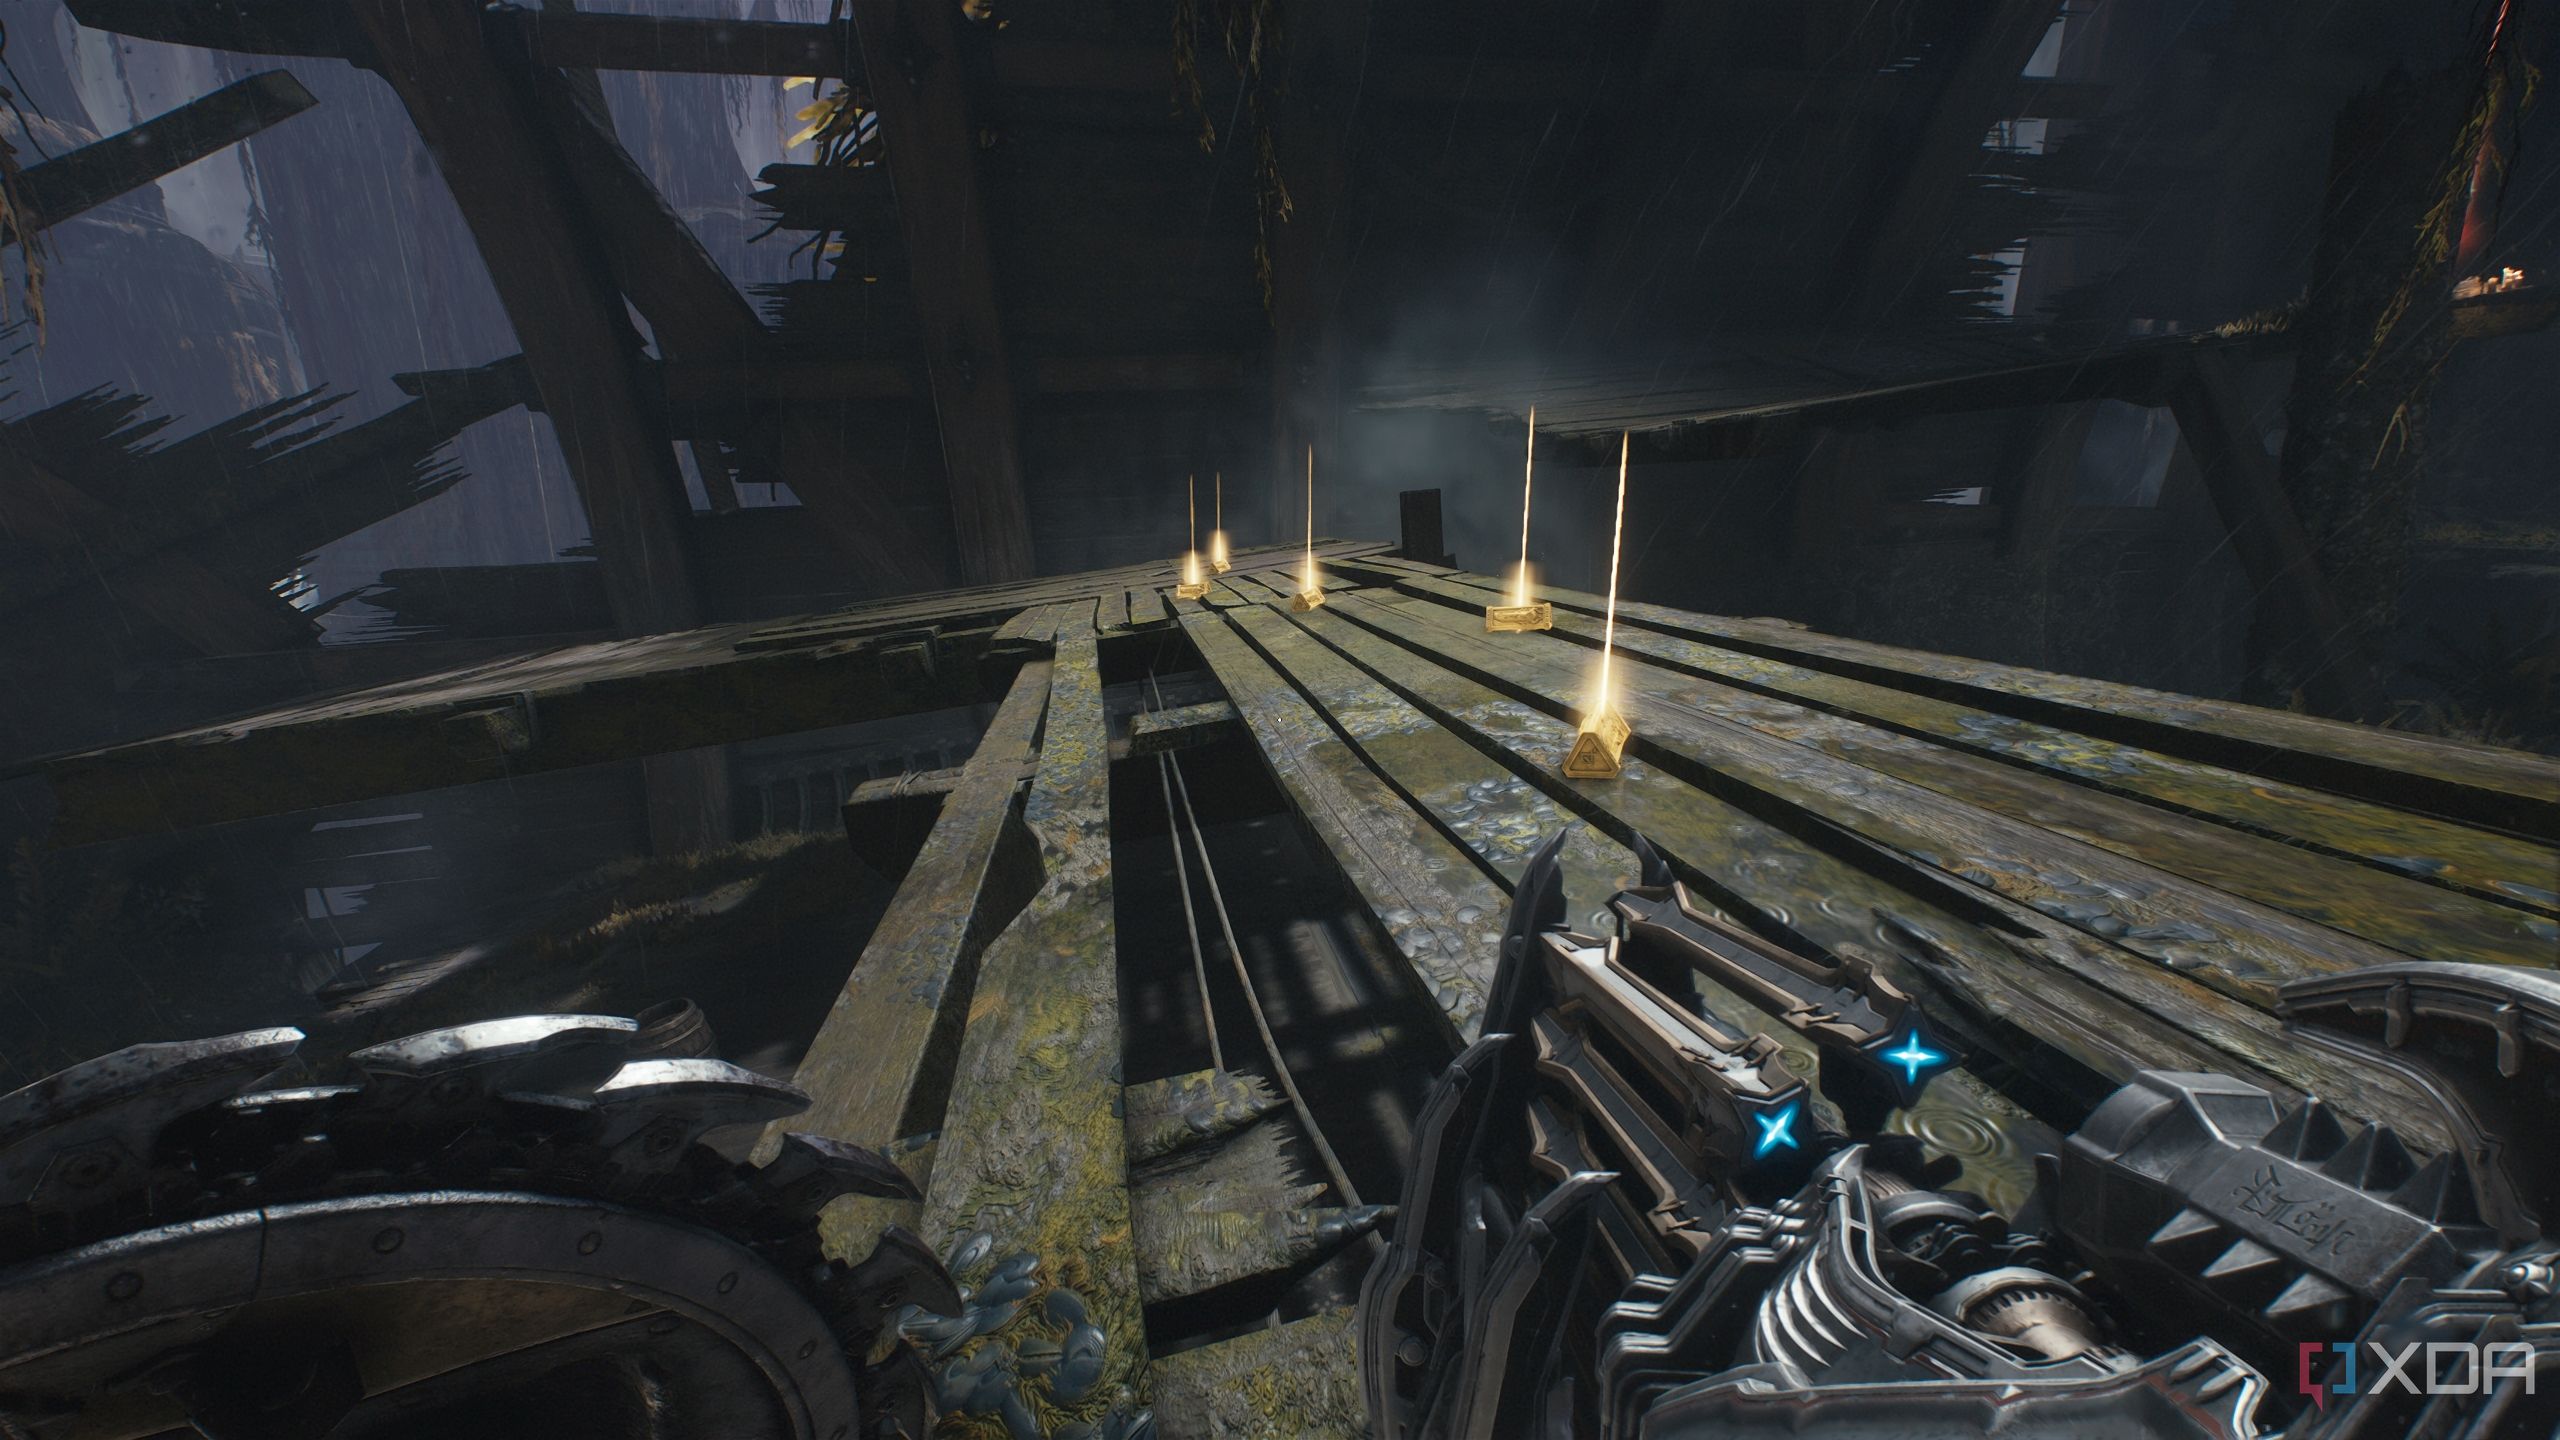
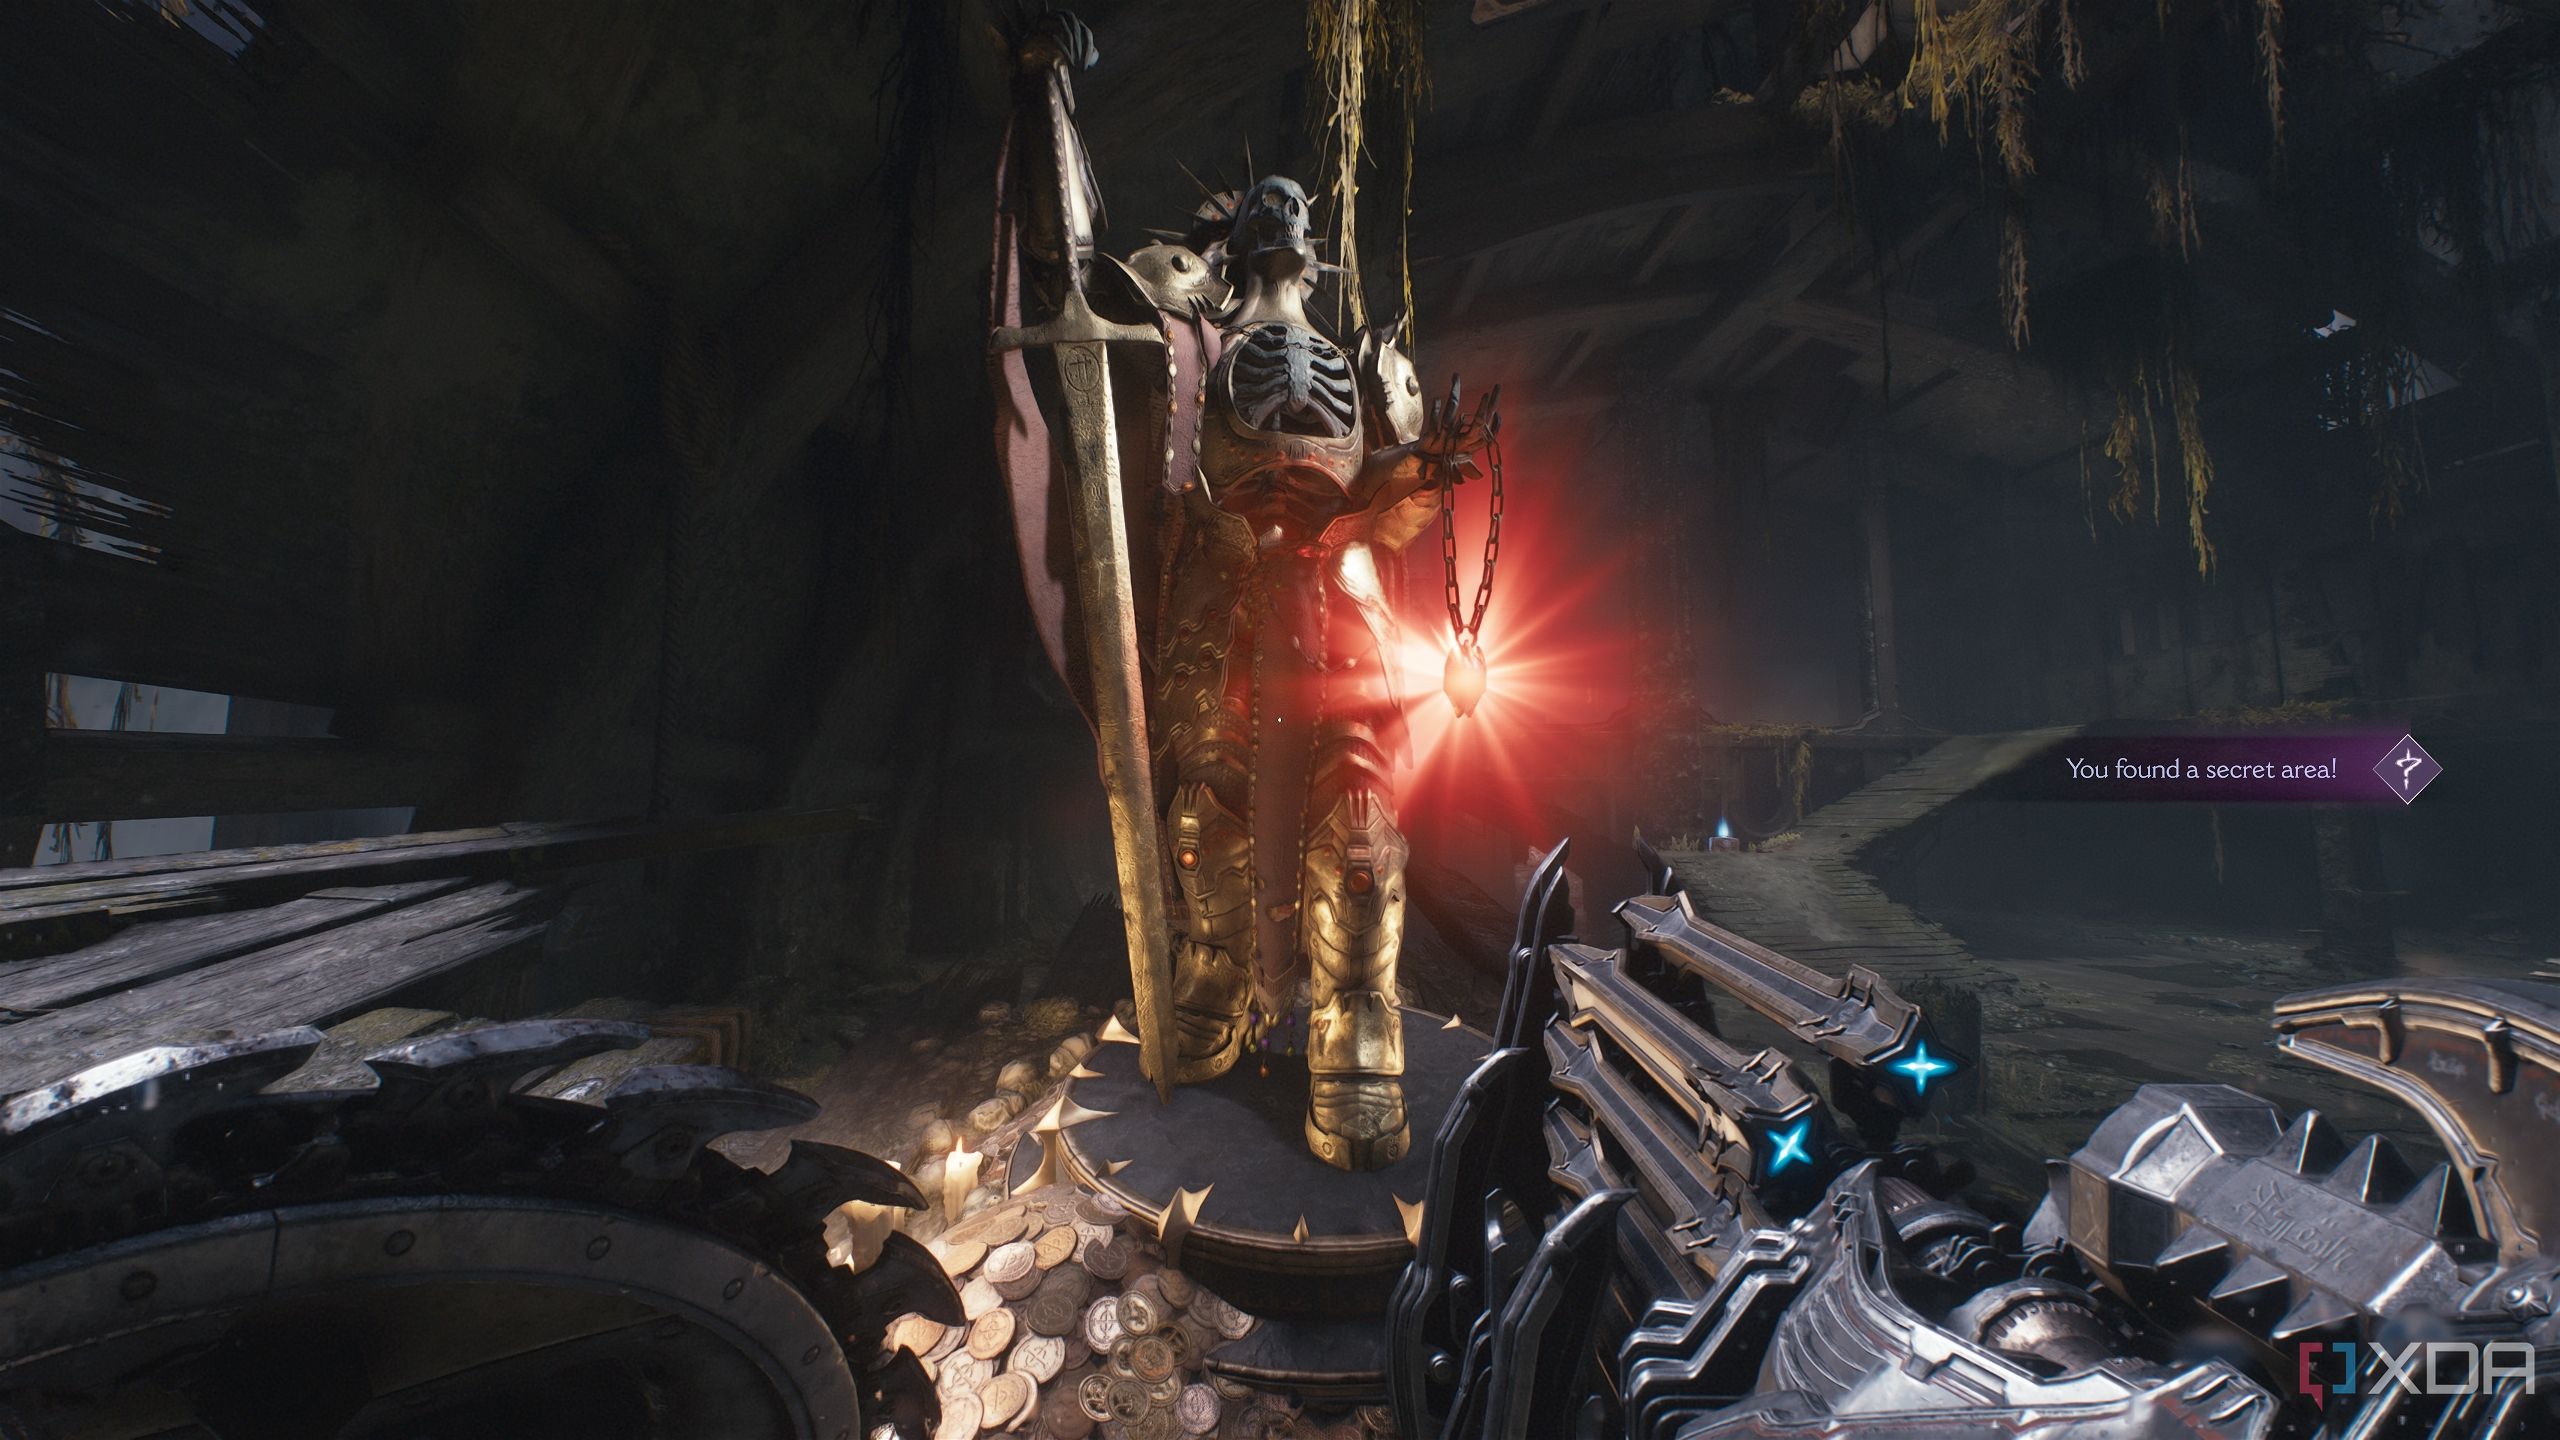
Look below the left edge of the cliff you’re on to see a small, rocky area underneath — a max armor-and-health pickup will be visible, too. Drop down there, grab the pickup, and look inside to see a gold chest.
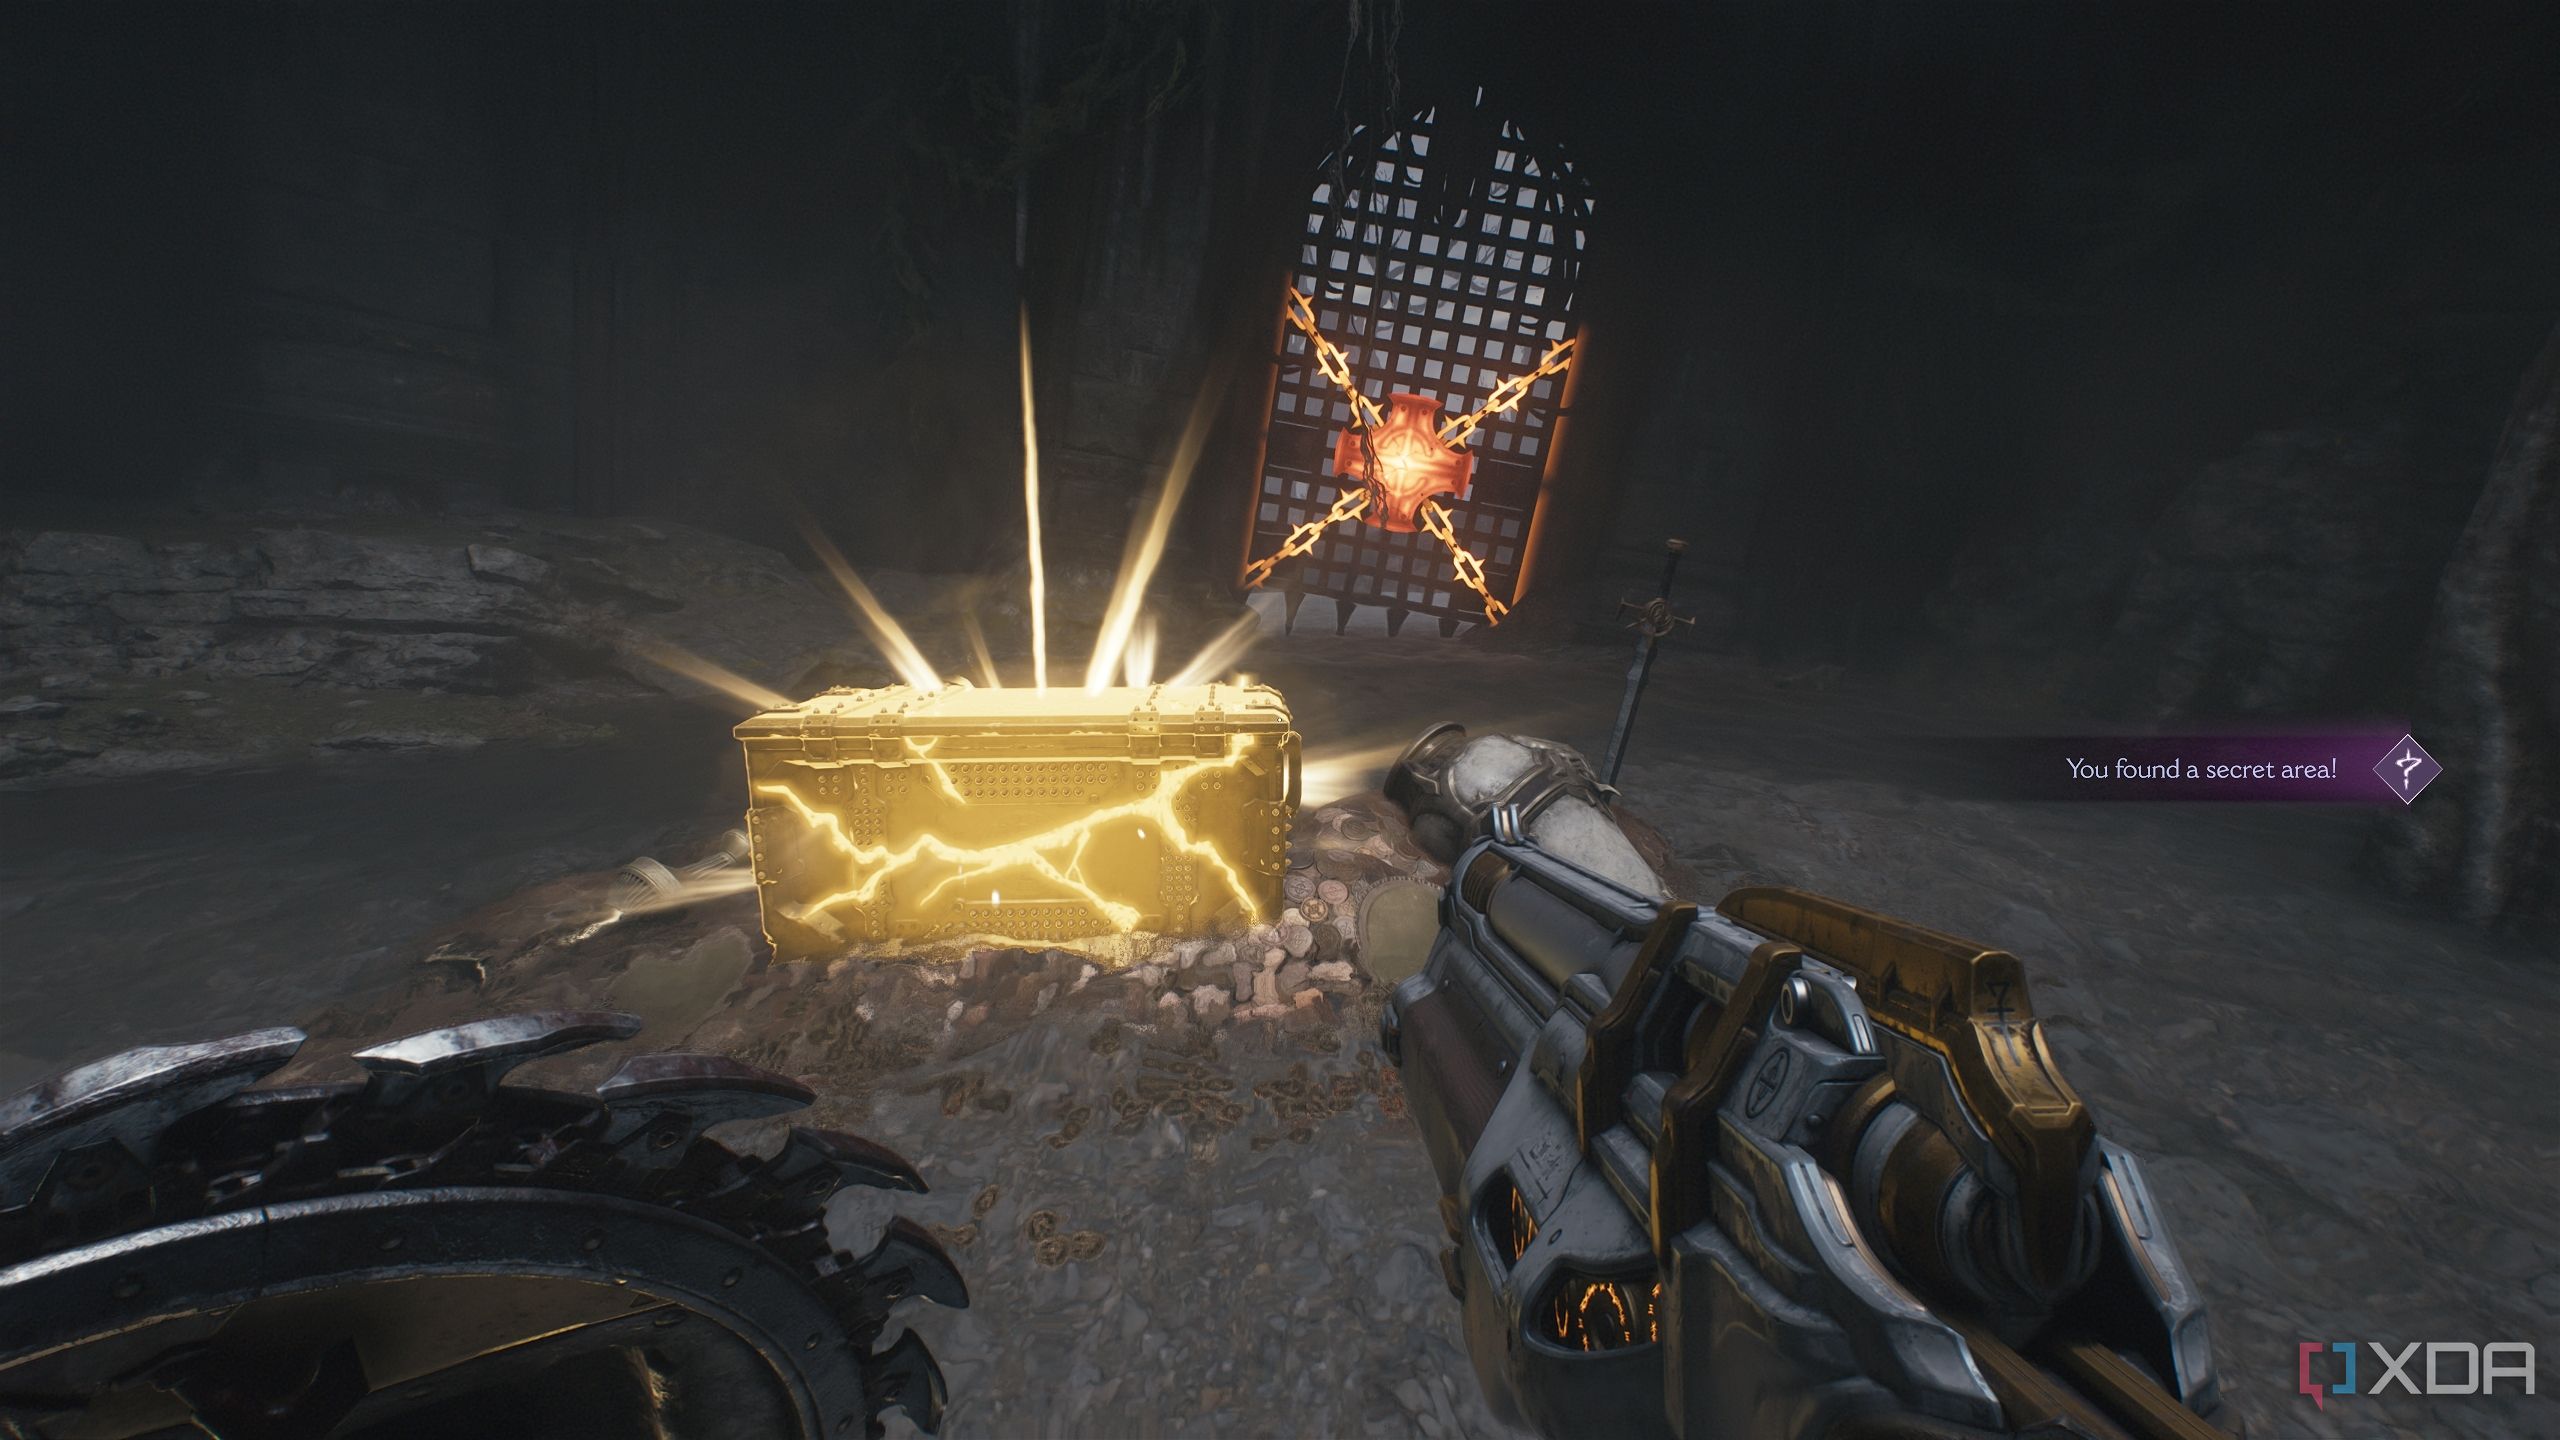
Approach it, and you’ll unlock secret area 1. Hit the heated metal cross to get back outside towards your objective.
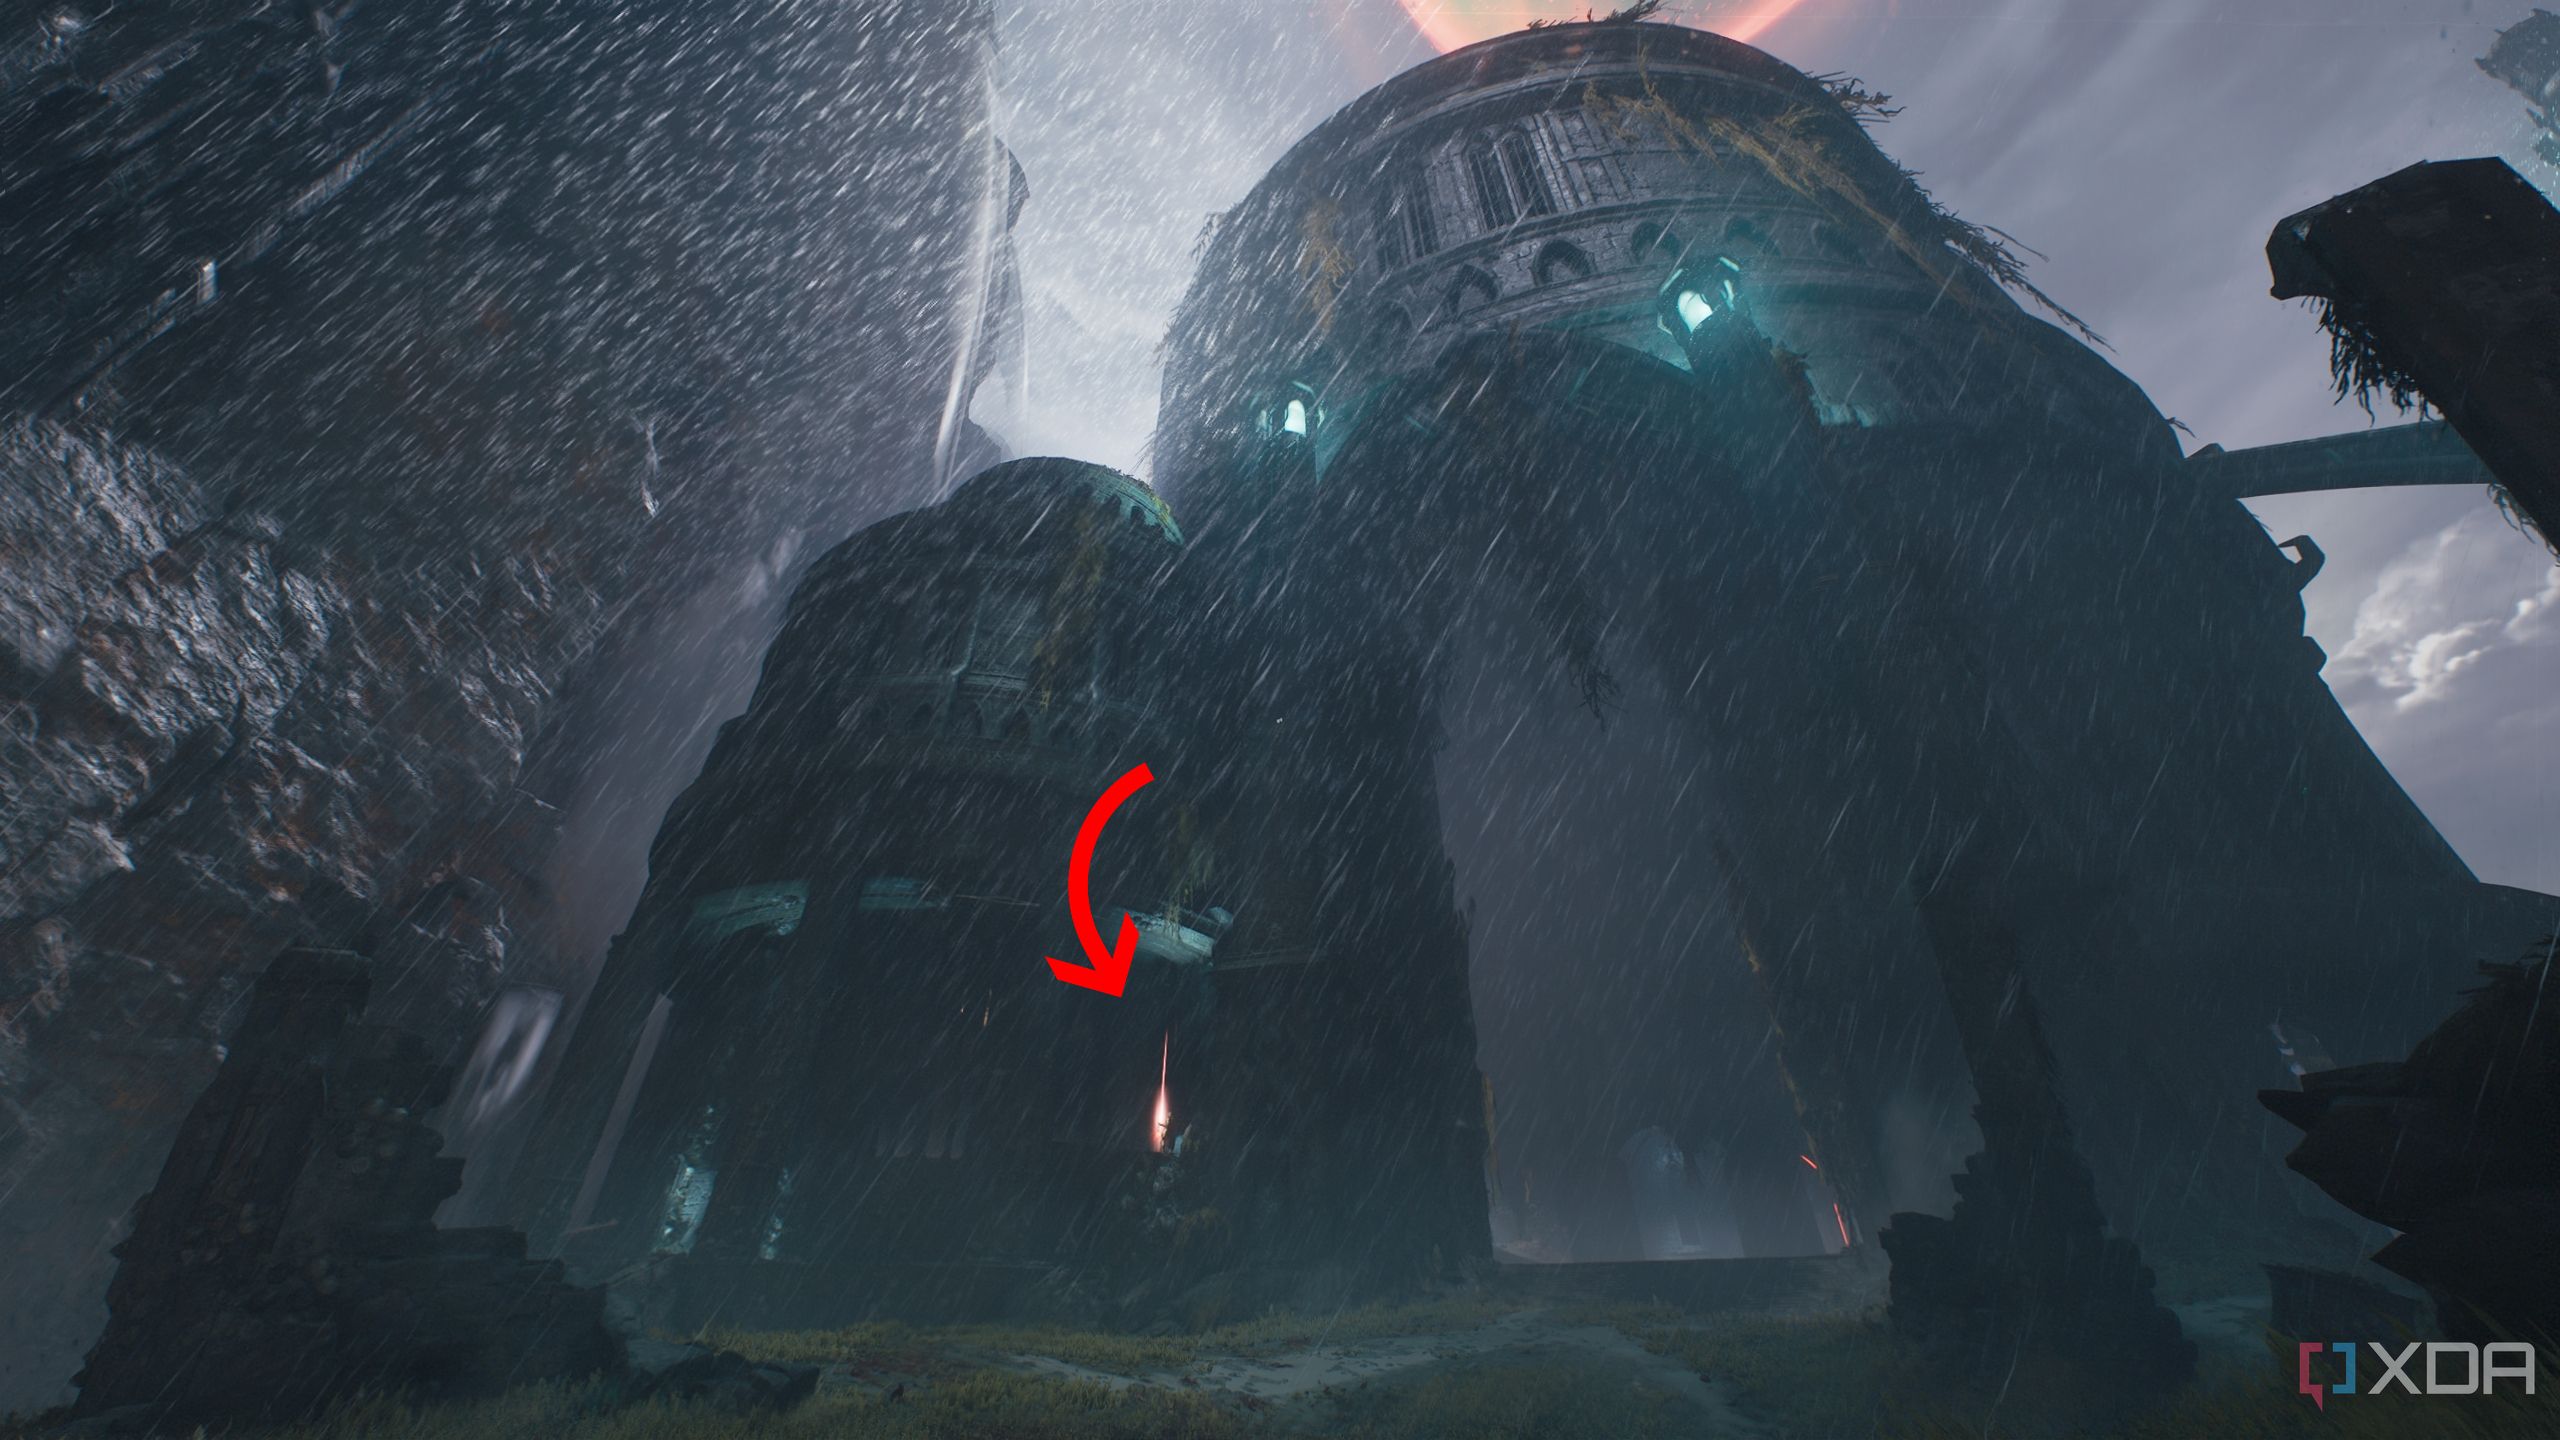
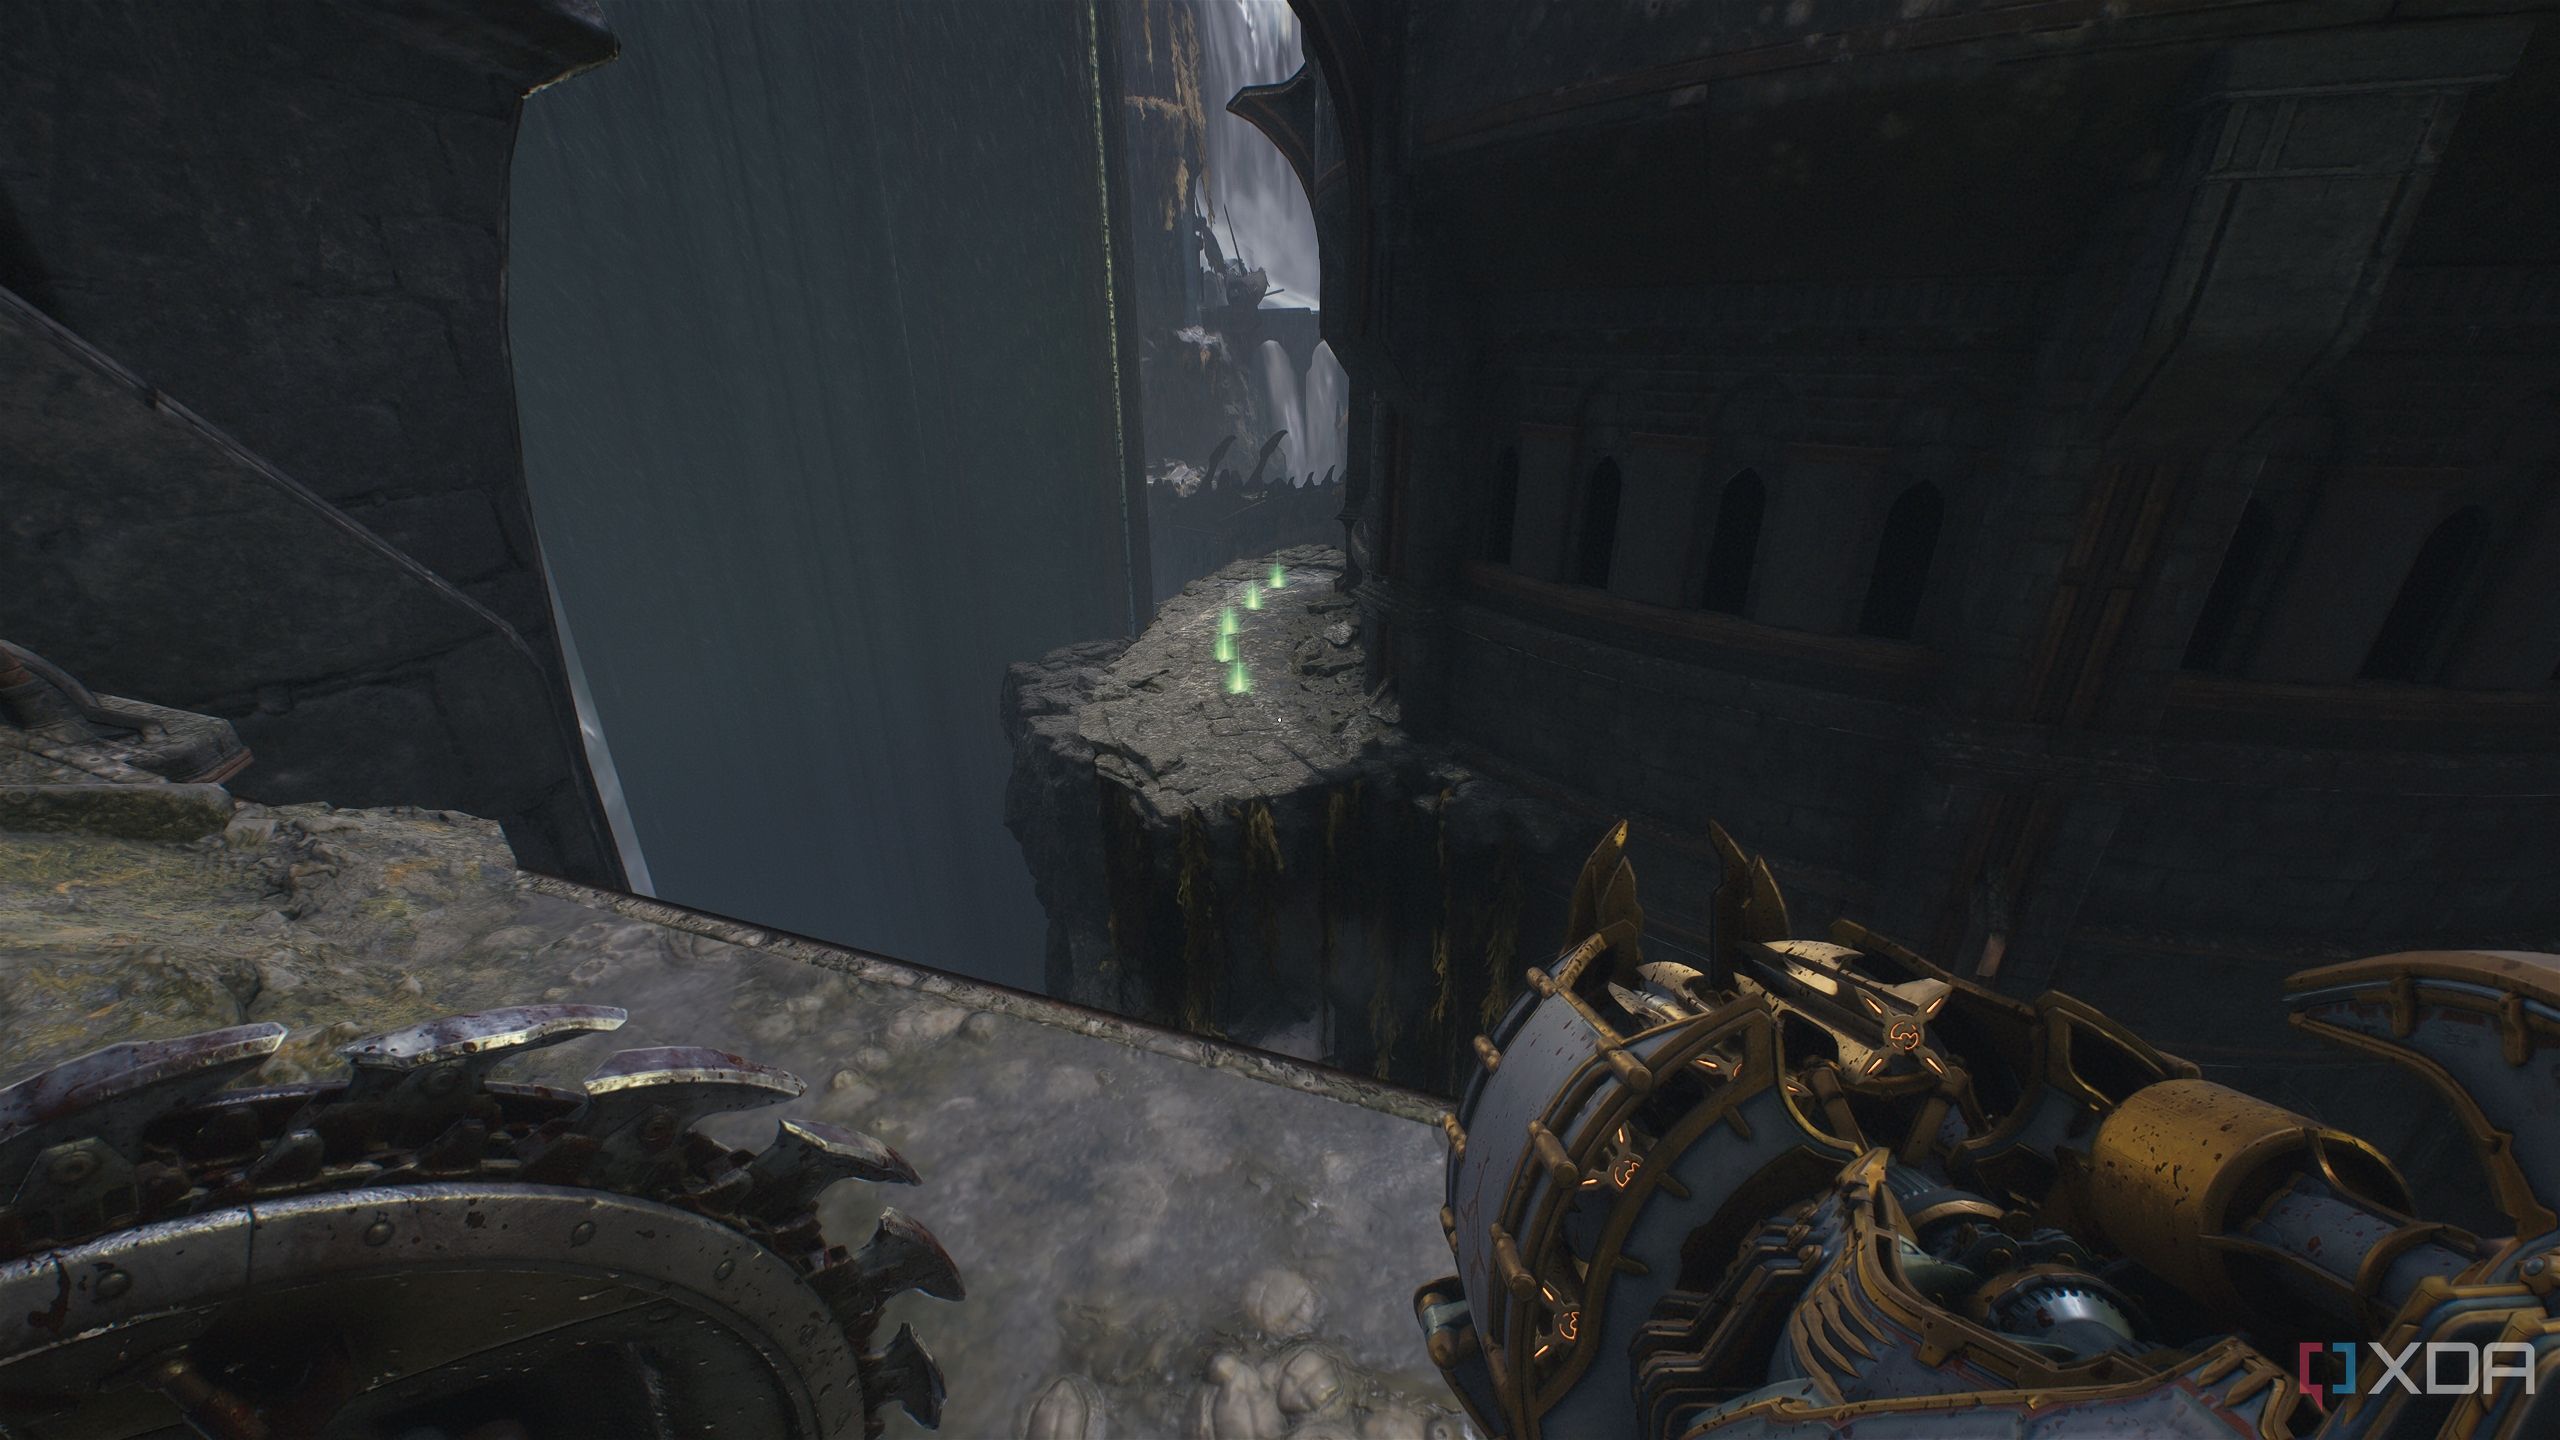
Hell Fighter ship and the first landing zone
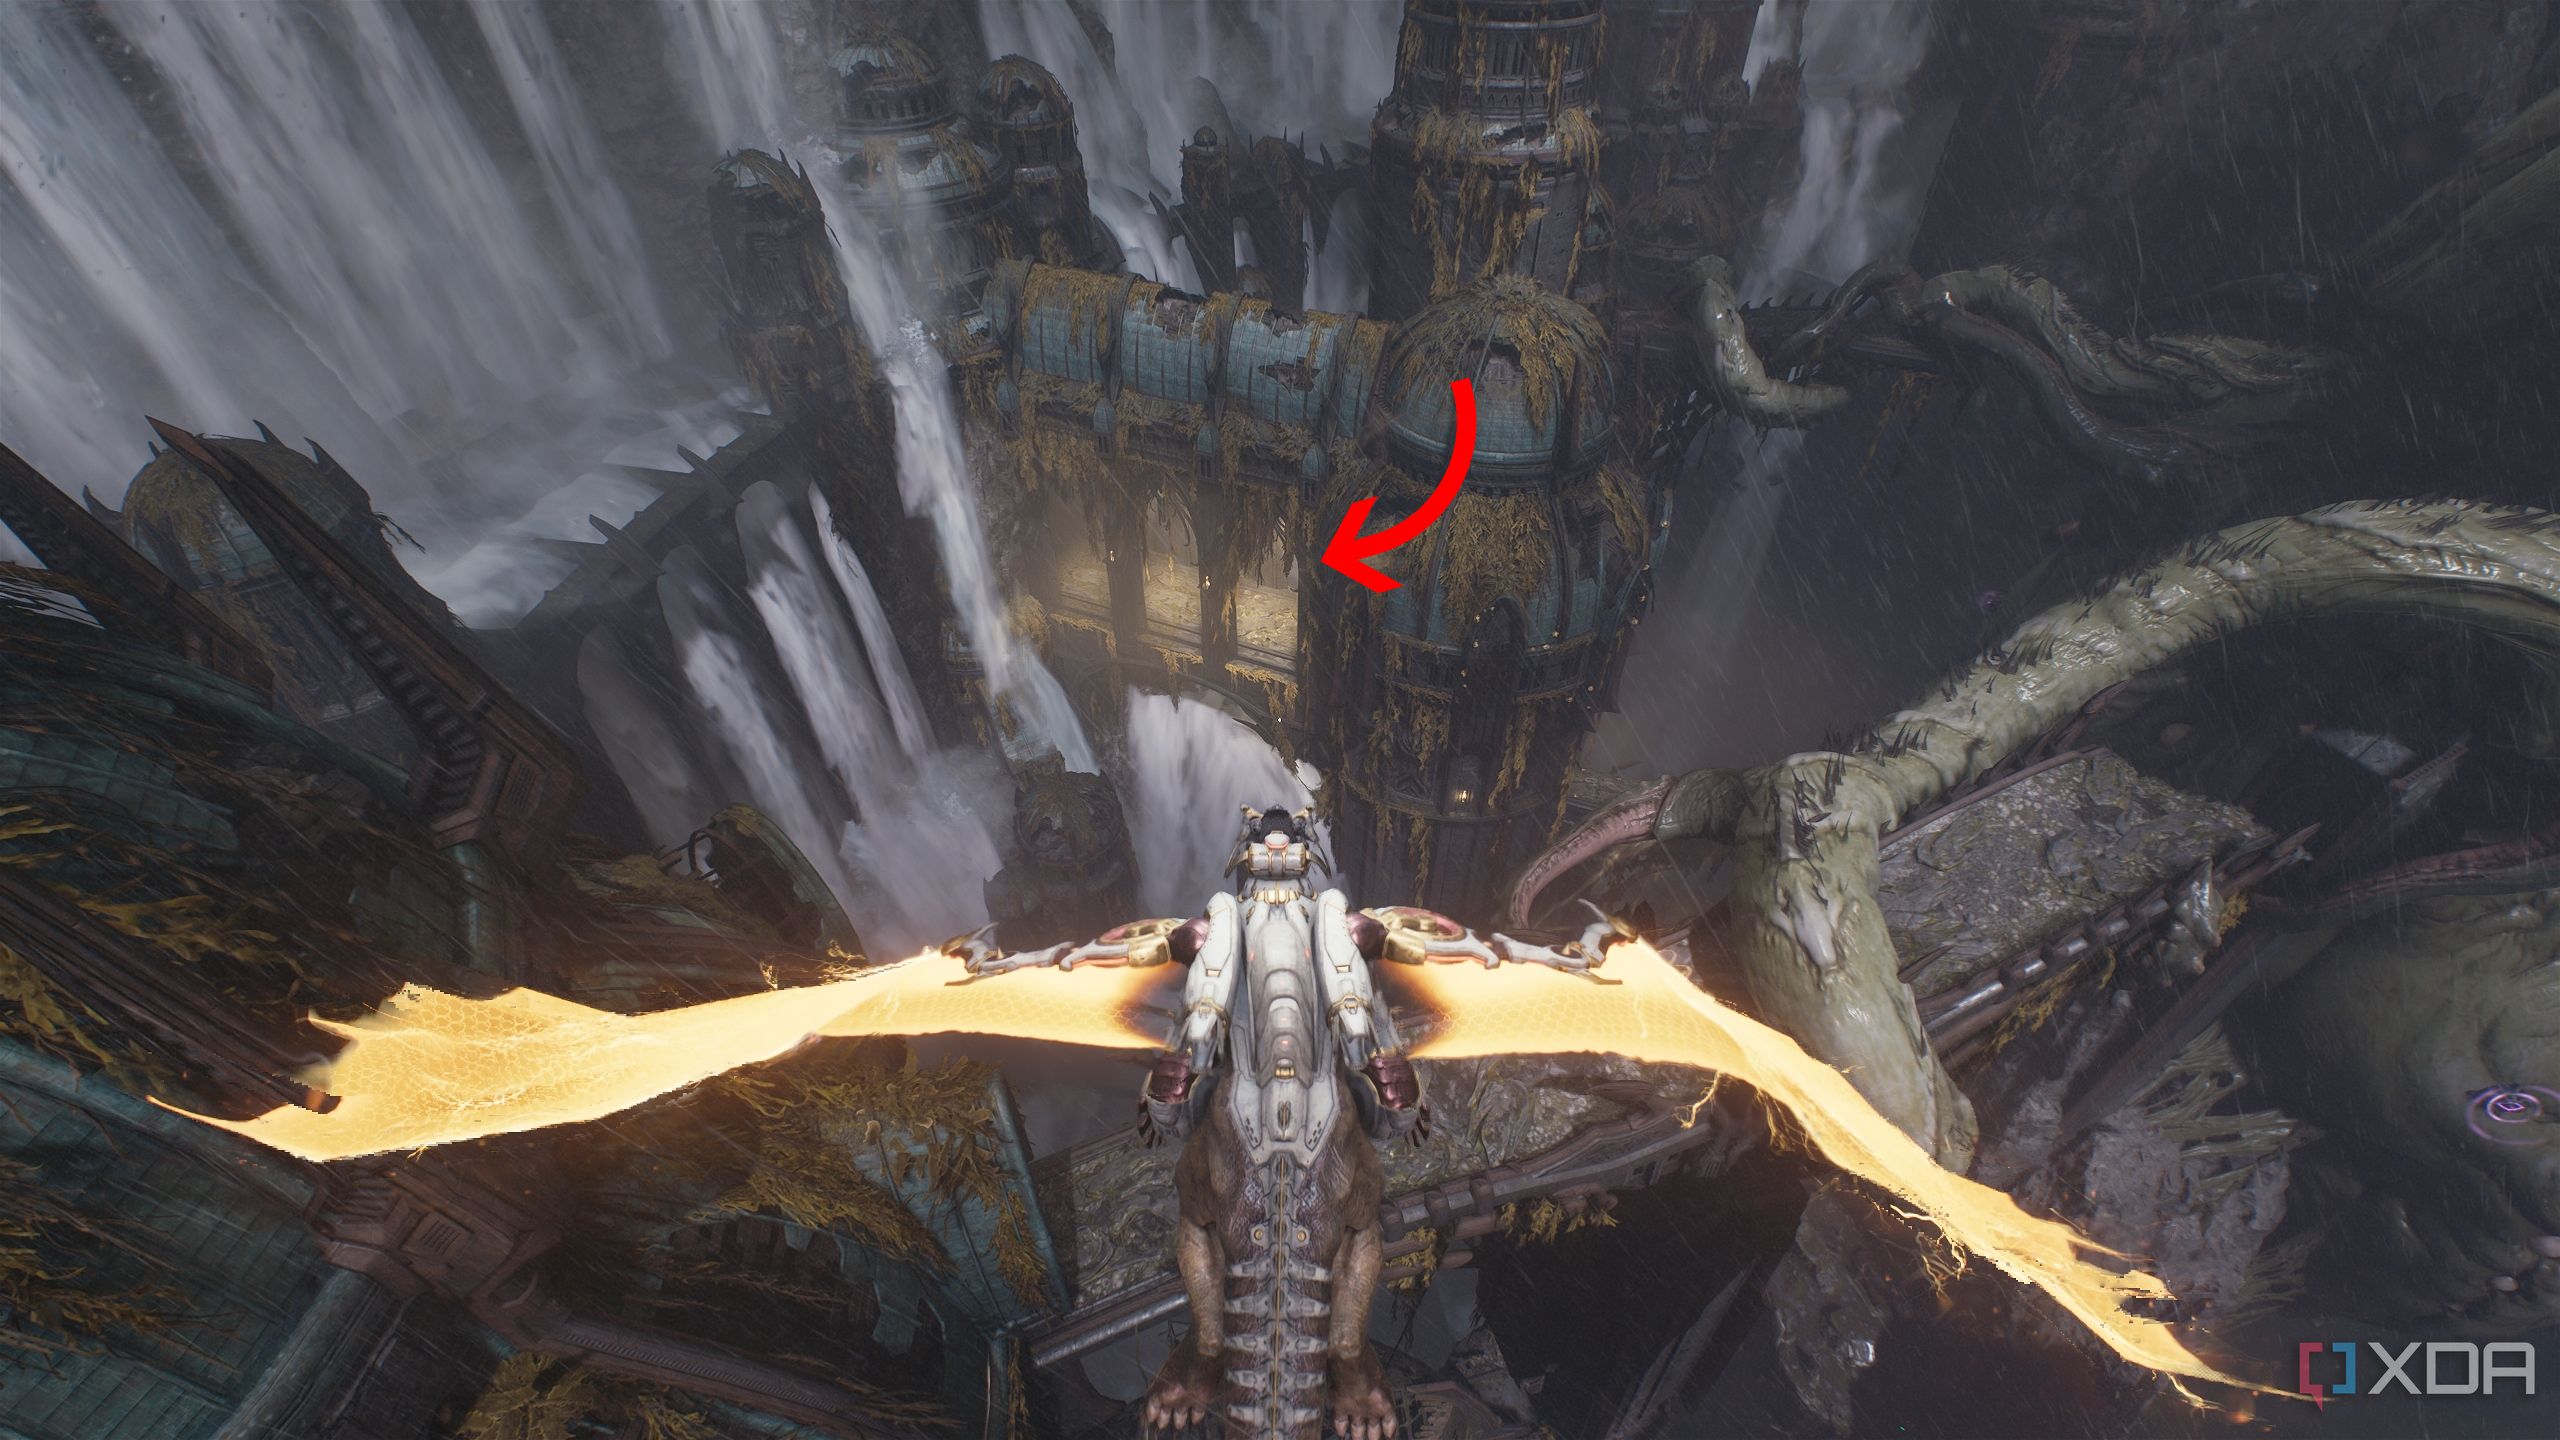
Very reminiscent of chapter 5
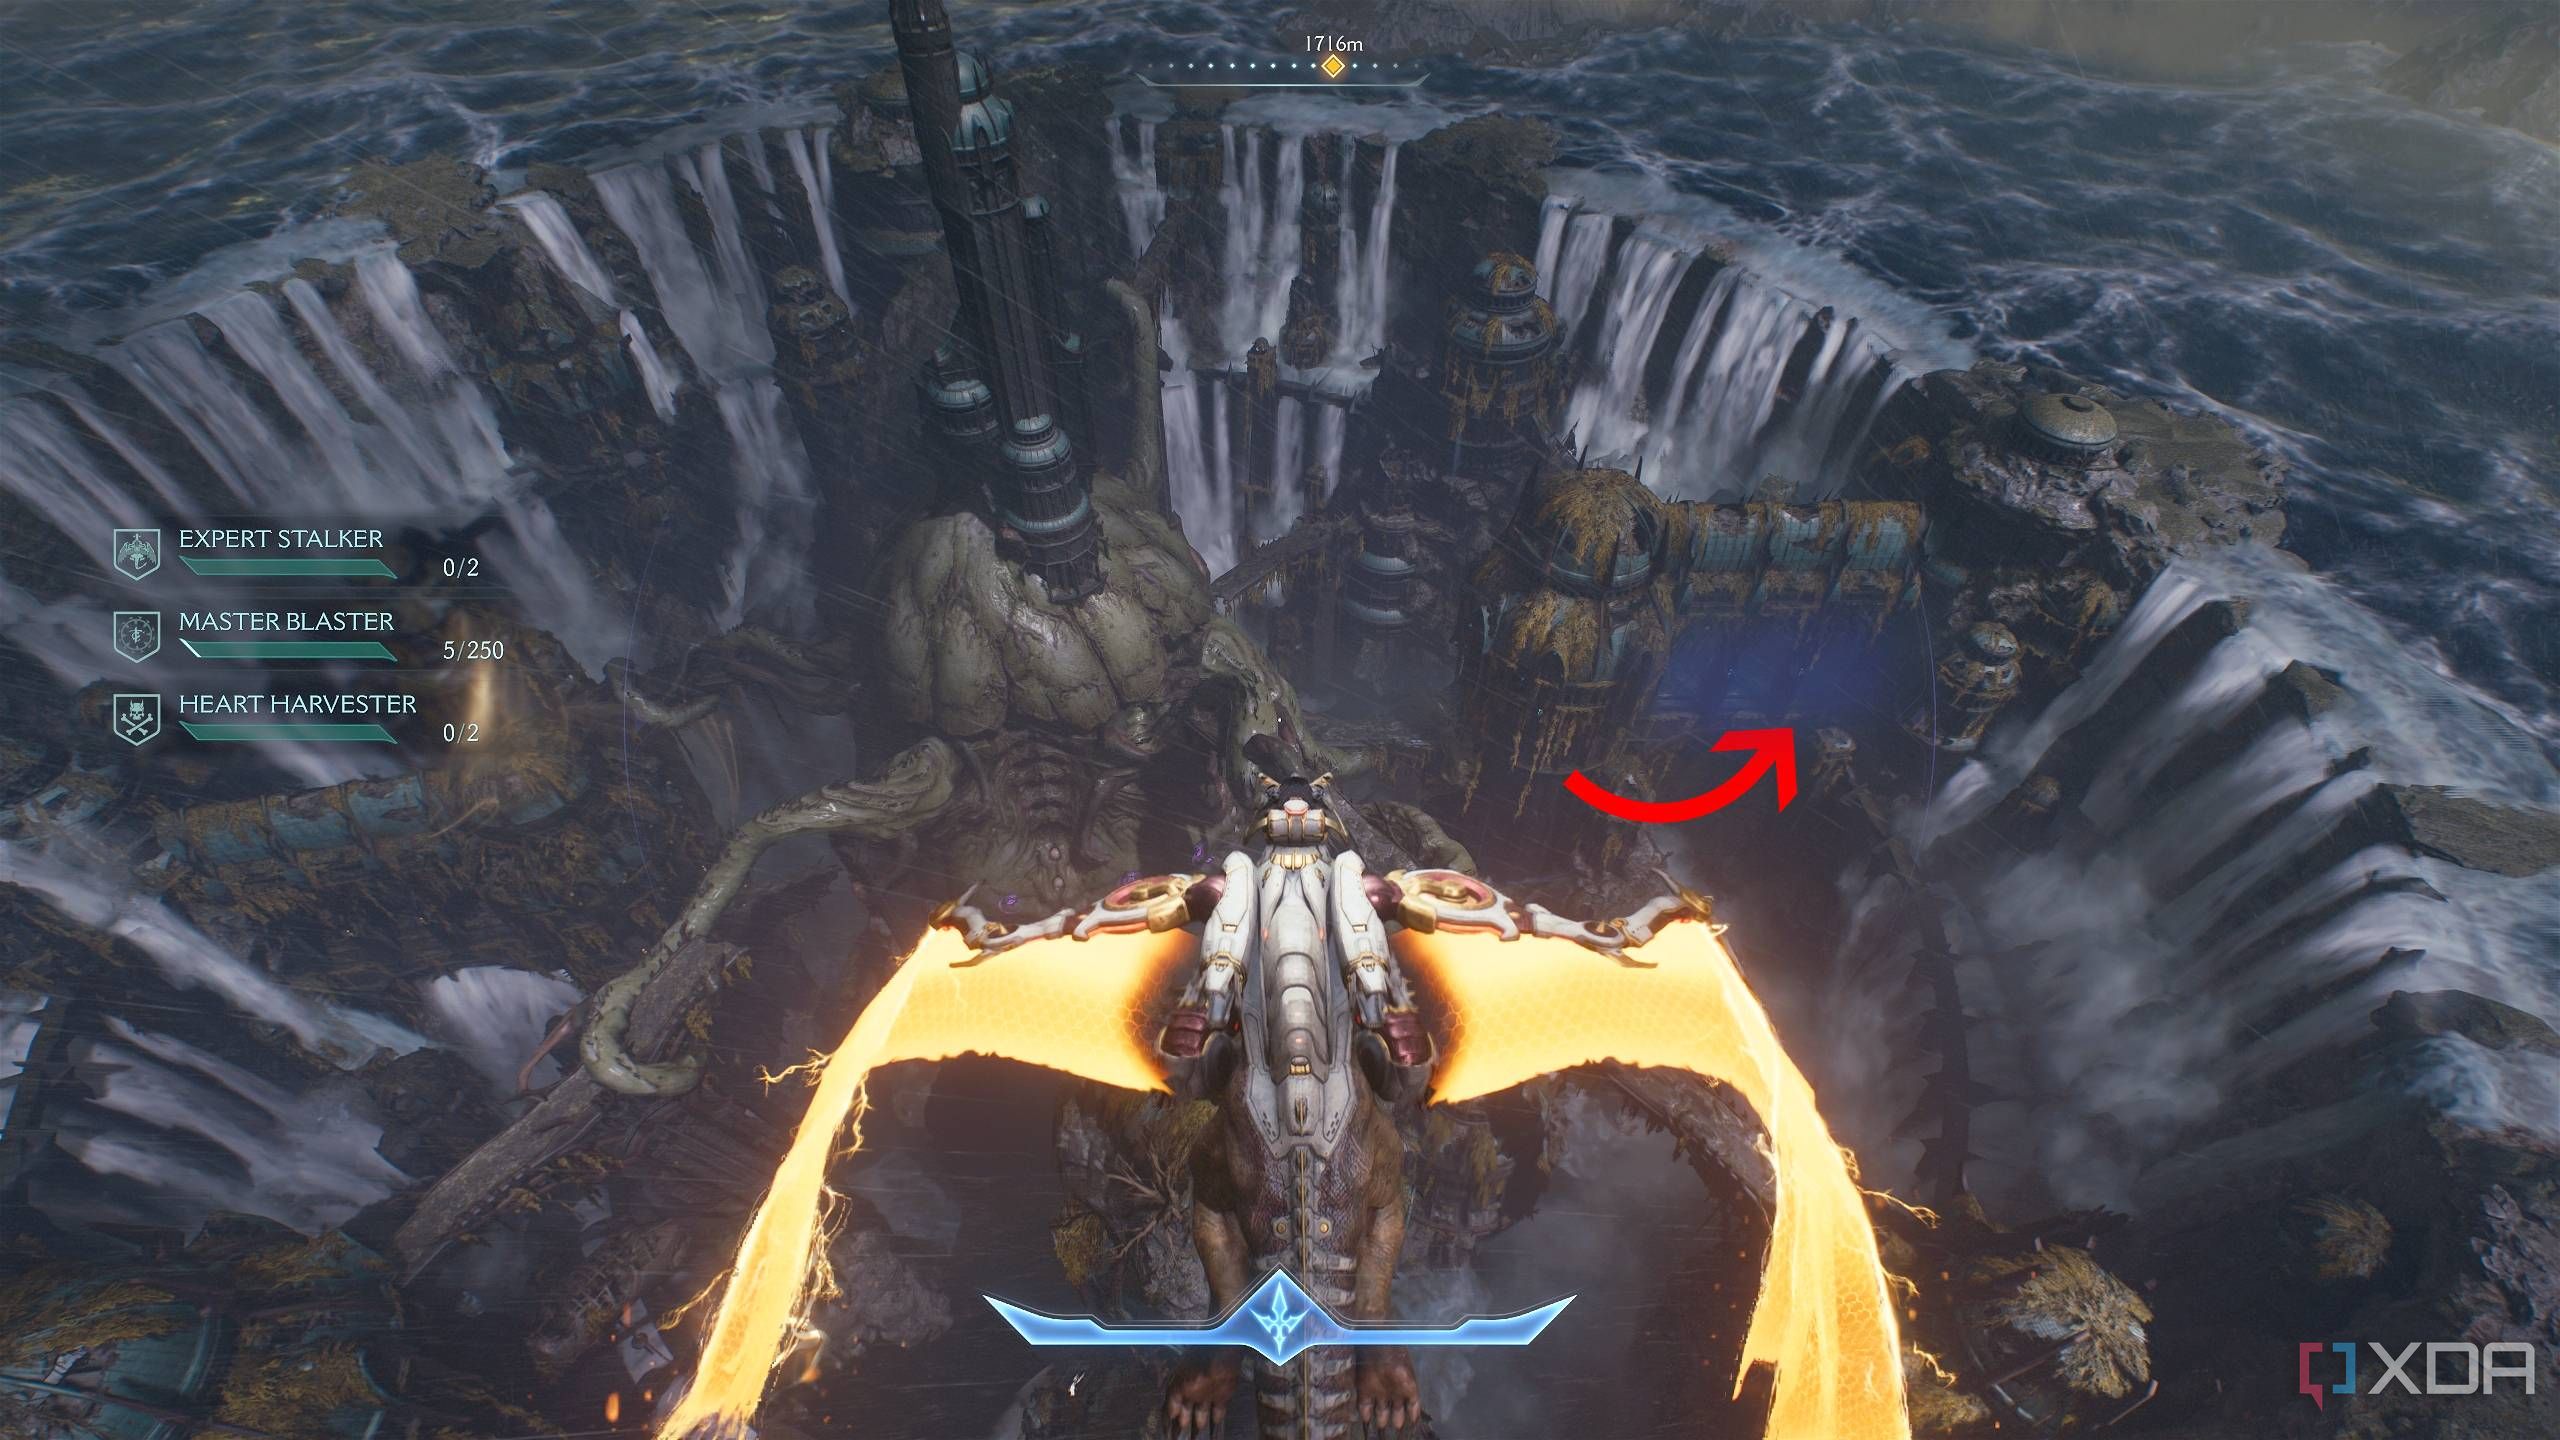
Fly to the top of the ancient structure between the falling waters, and look for a blue-lit corridor. This is part of the objective, so it’s impossible to miss.
Fly into the blue corridor, and you’ll immediately enter a chase with the first Hell Fighter ship. Chase it and take it down to progress through the Expert Stalker mission challenge.
Fly further until you reach a tentacle to fight — you know the drill. Beyond this tentacle is the first landing zone of the level.
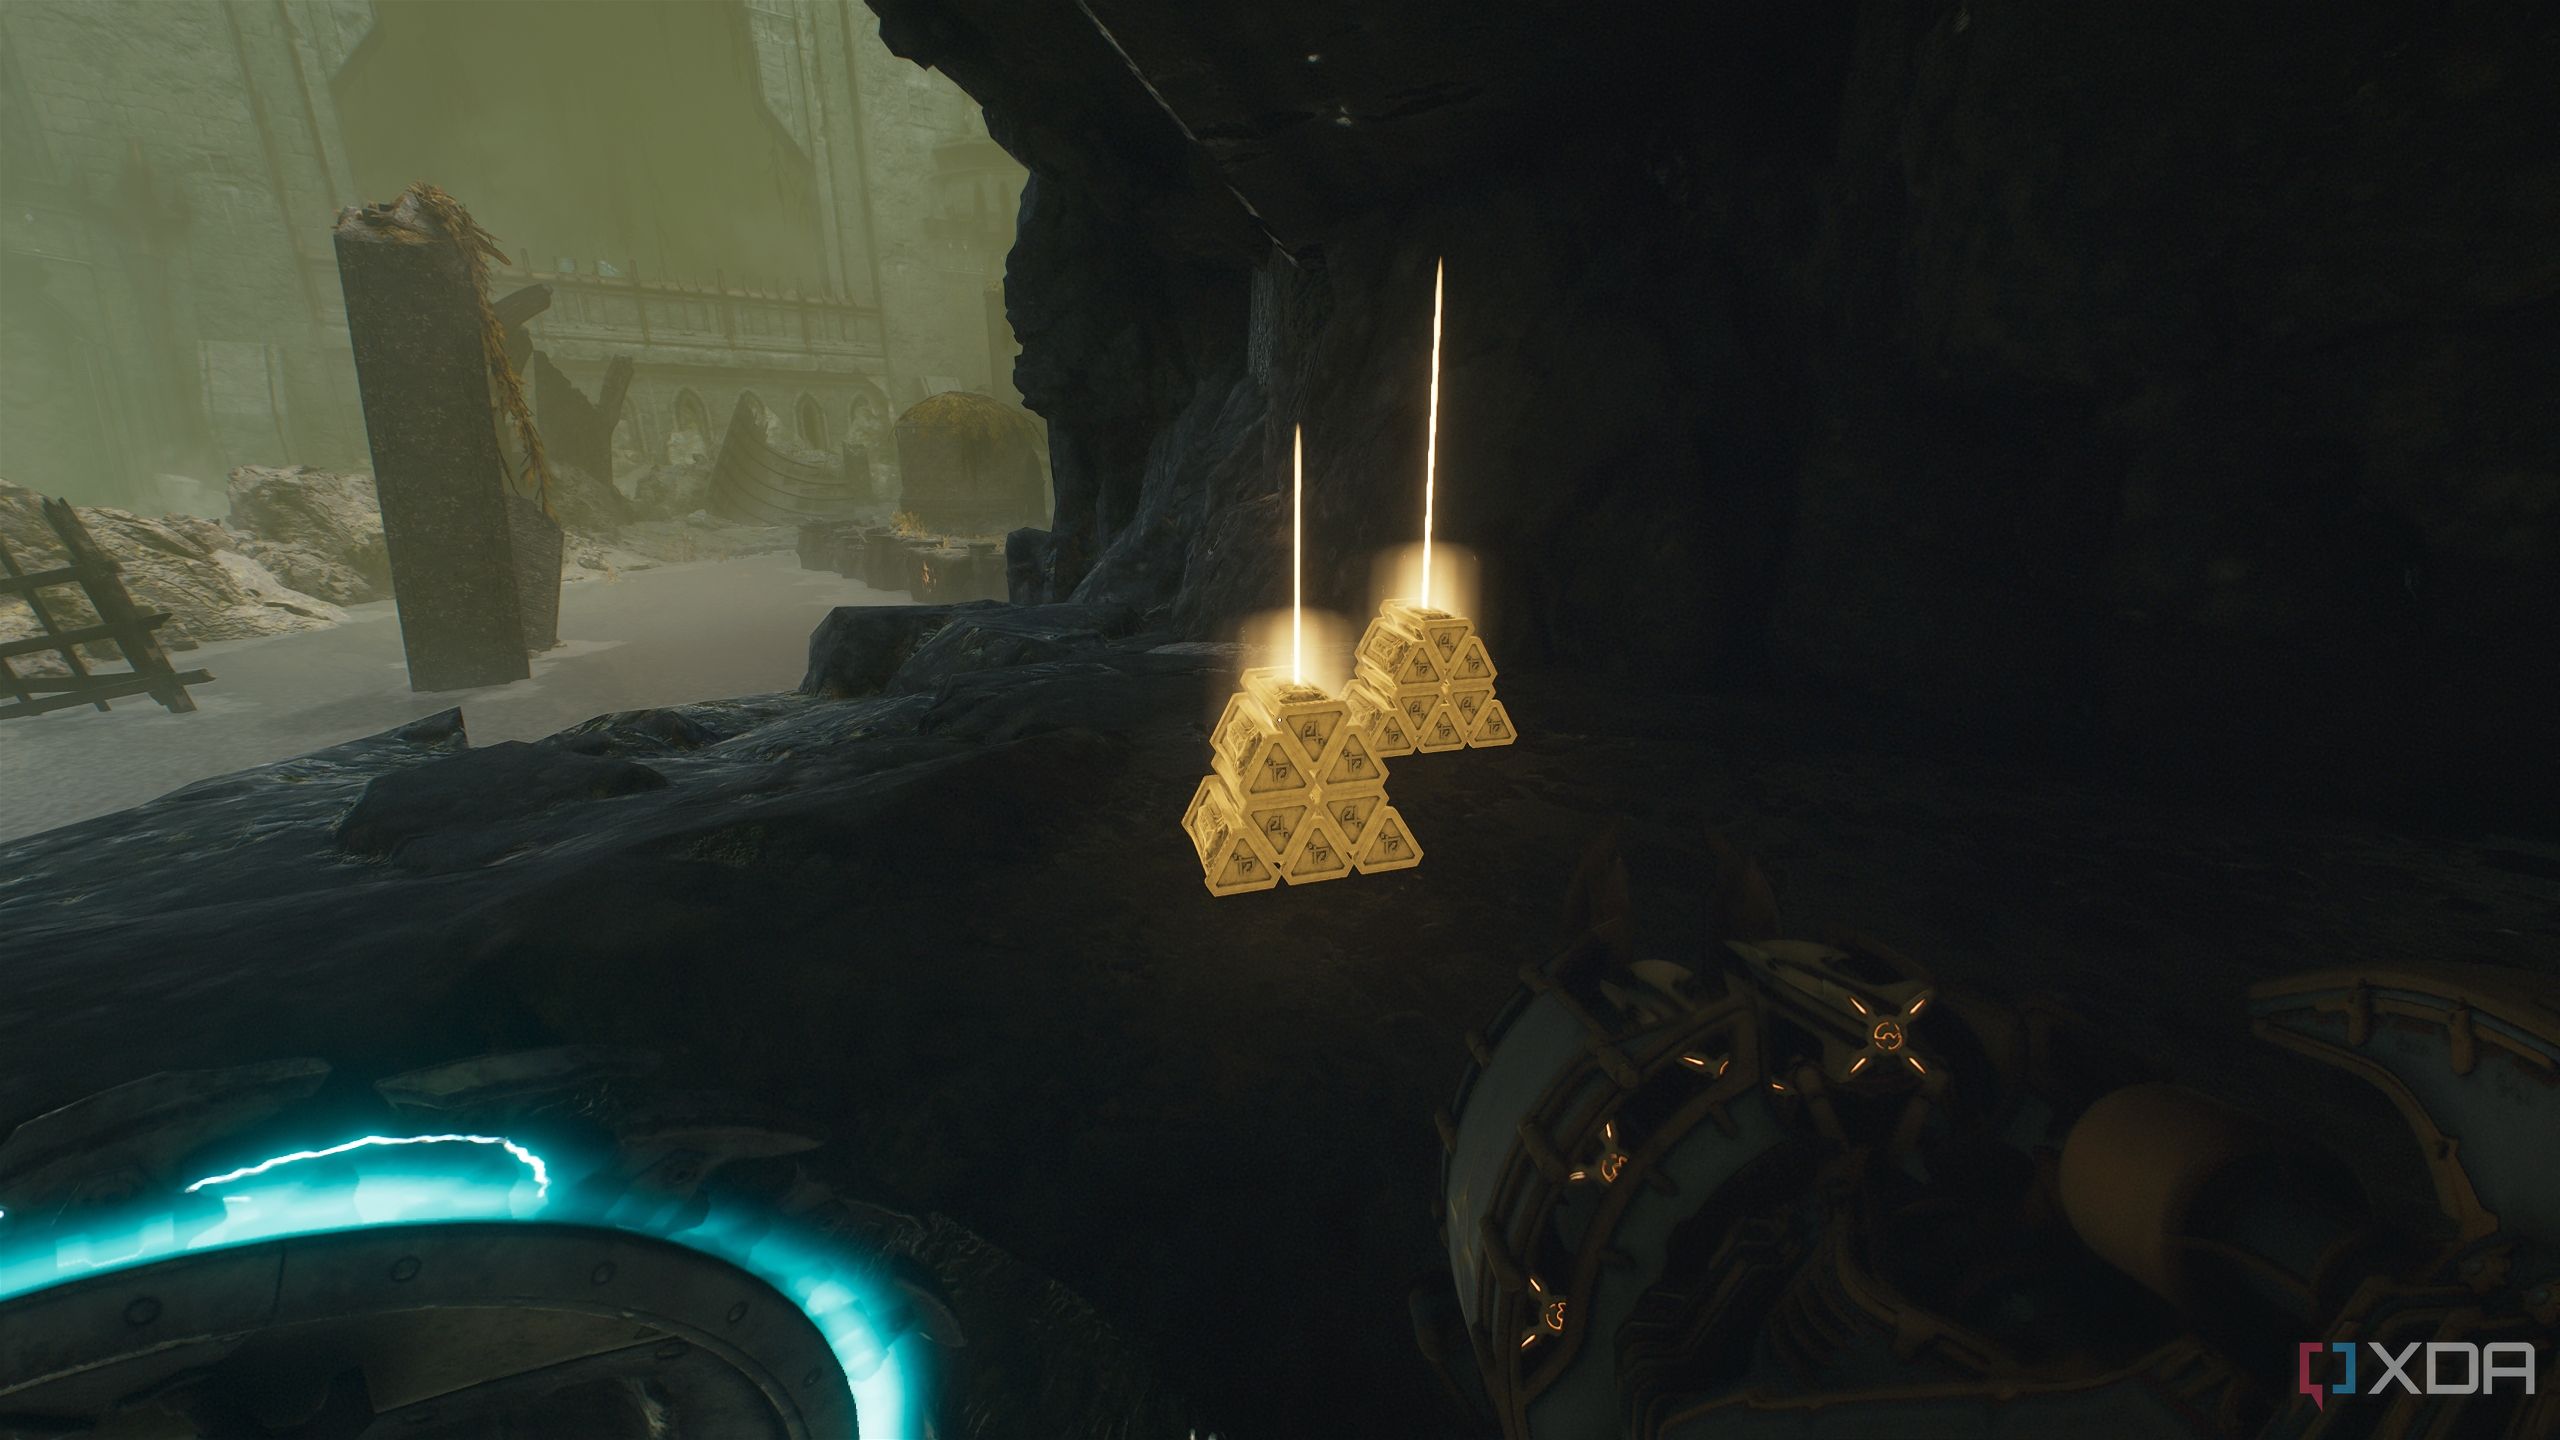
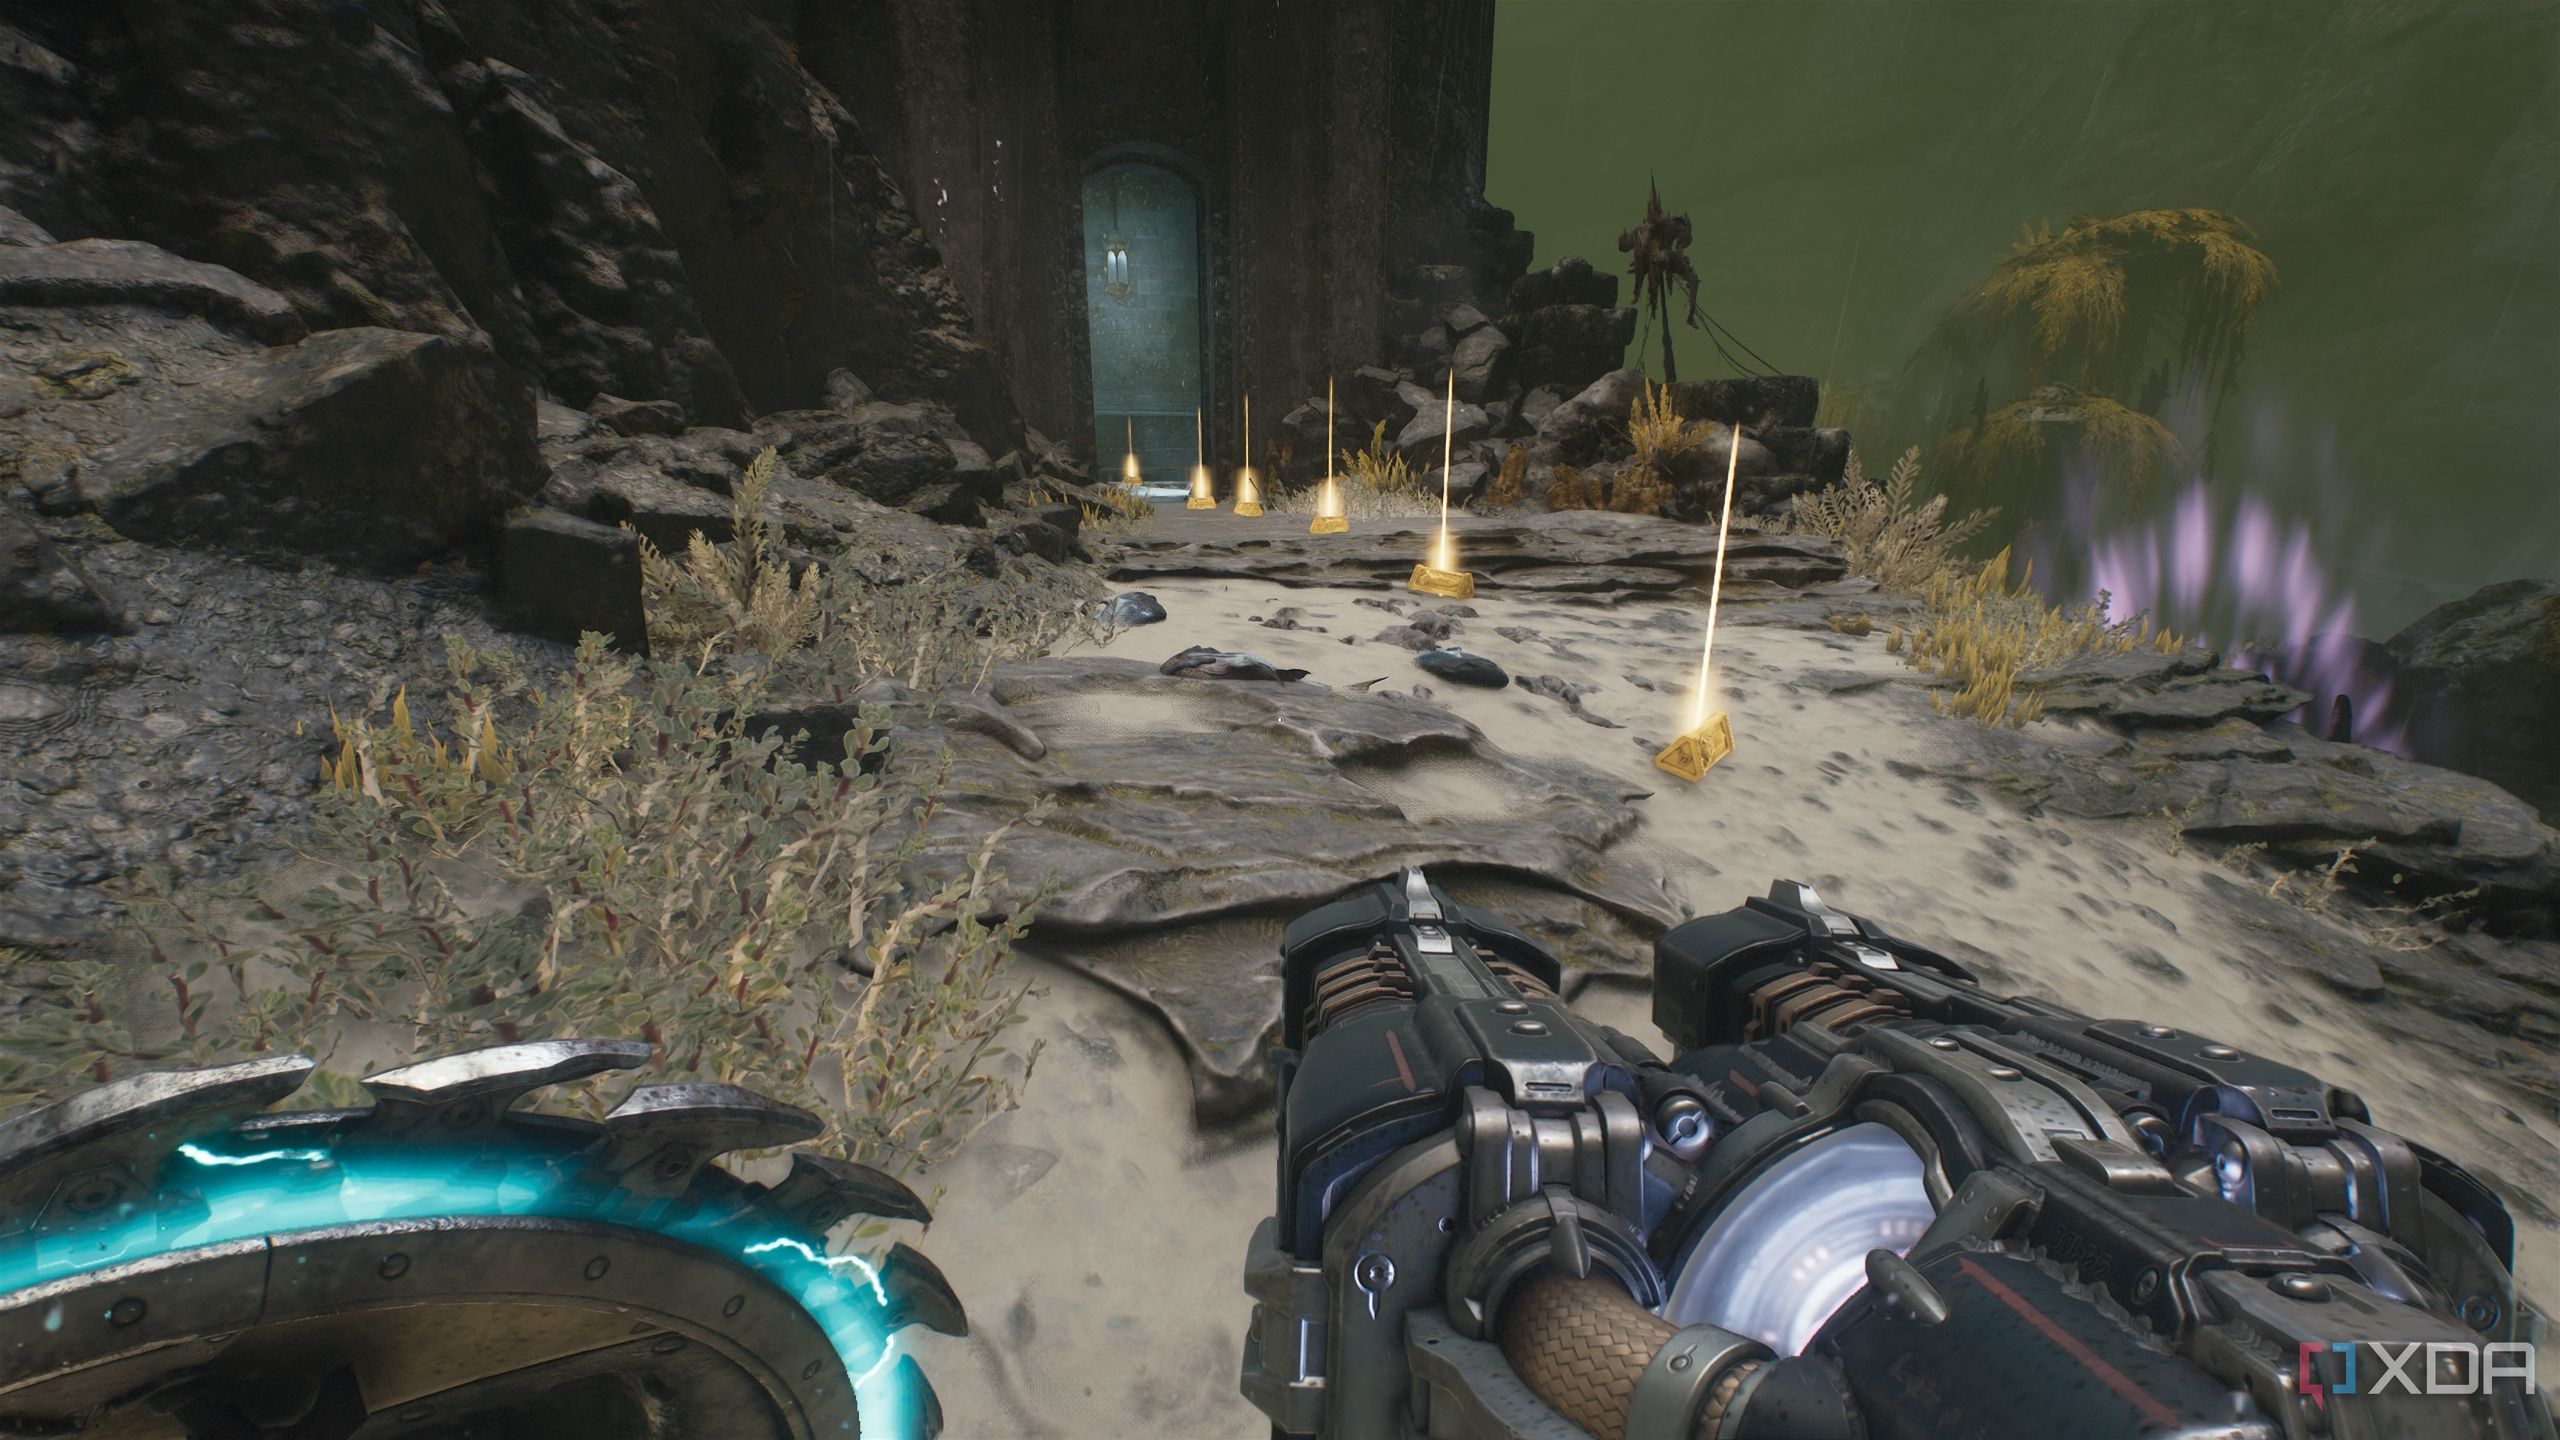
Secret area 2 and gold bars
Right behind a Sentinel Shrine

Once you get off at the first landing zone, you’ll enter a huge combat encounter with dozens upon dozens of demons to mow through.
This is a great place to progress through the Master Blaster mission challenge, as there are more than enough demons for the Auto-Turret to hit.
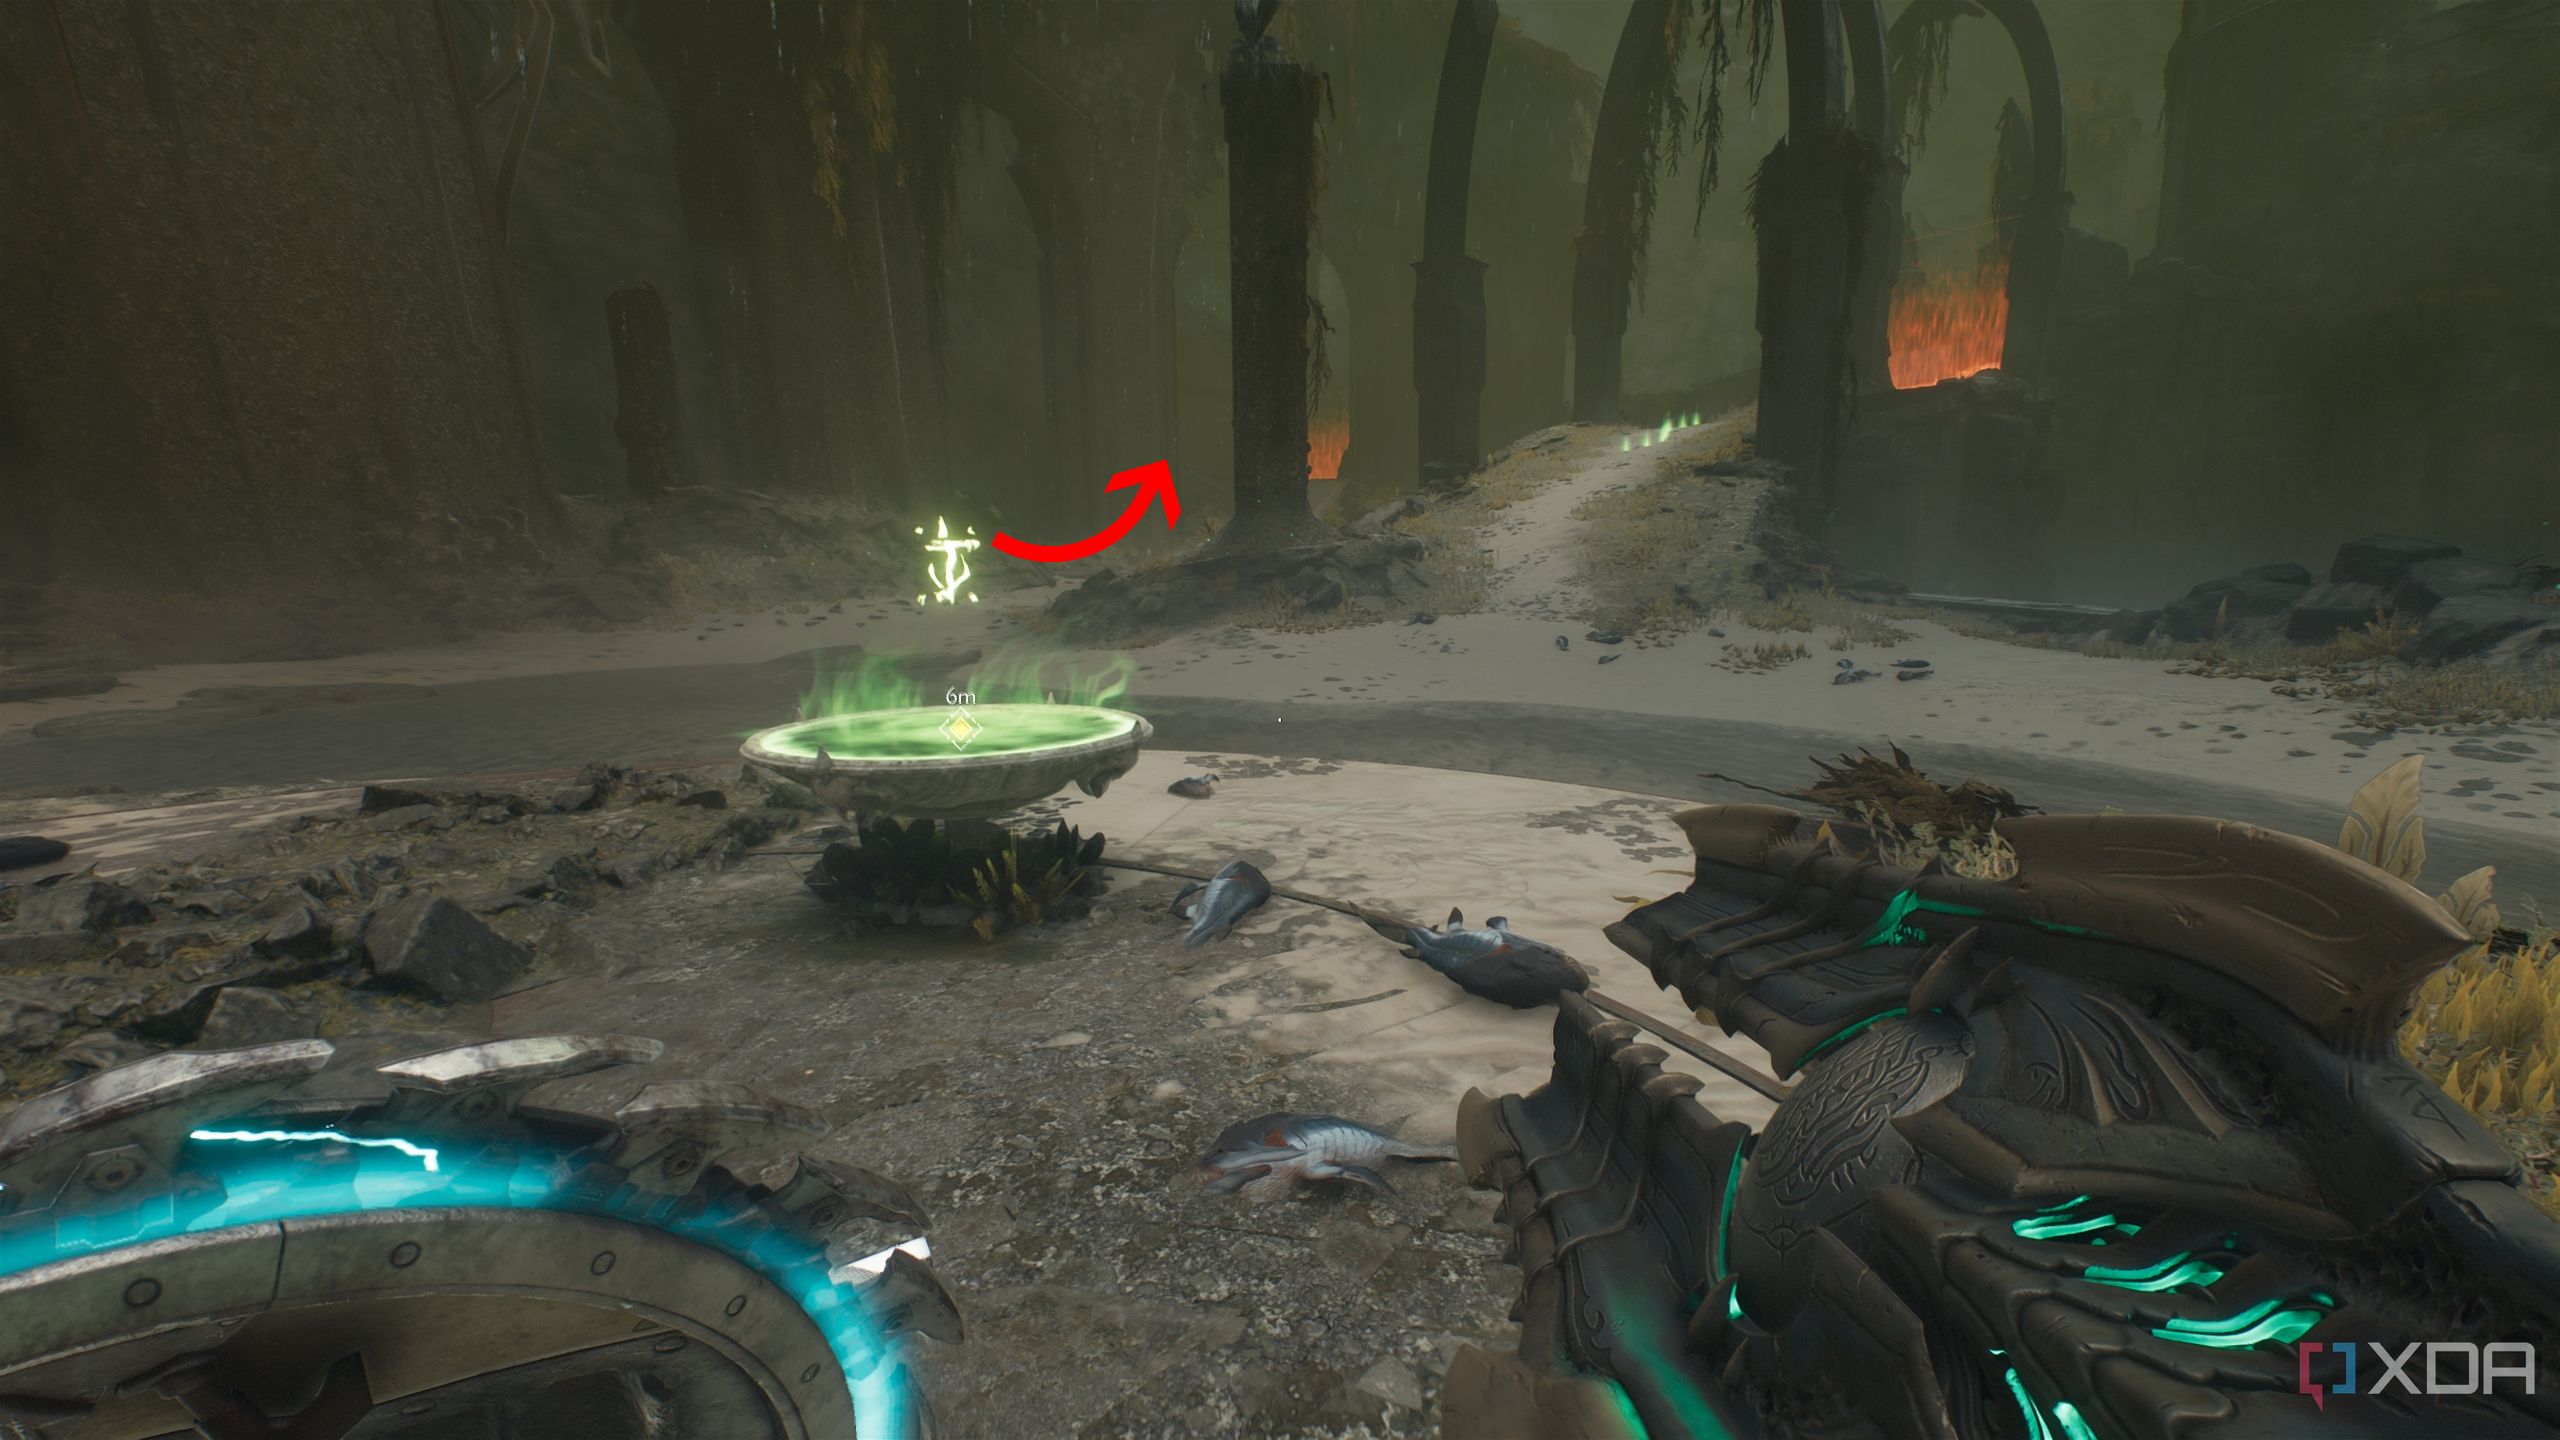
Next, stand at the Sentinel Shrine you’ll discover here, and look directly behind it in the distance to see a trail of gold bars on the water-logged ground.
Approach it to pick up the trail of gold bars, and you’ll unlock secret area 2, along with a Life Sigil.

Related
The DOOM series: Every core game ranked
What are the best entries of the DOOM series that you should play? Here's every core game ranked!
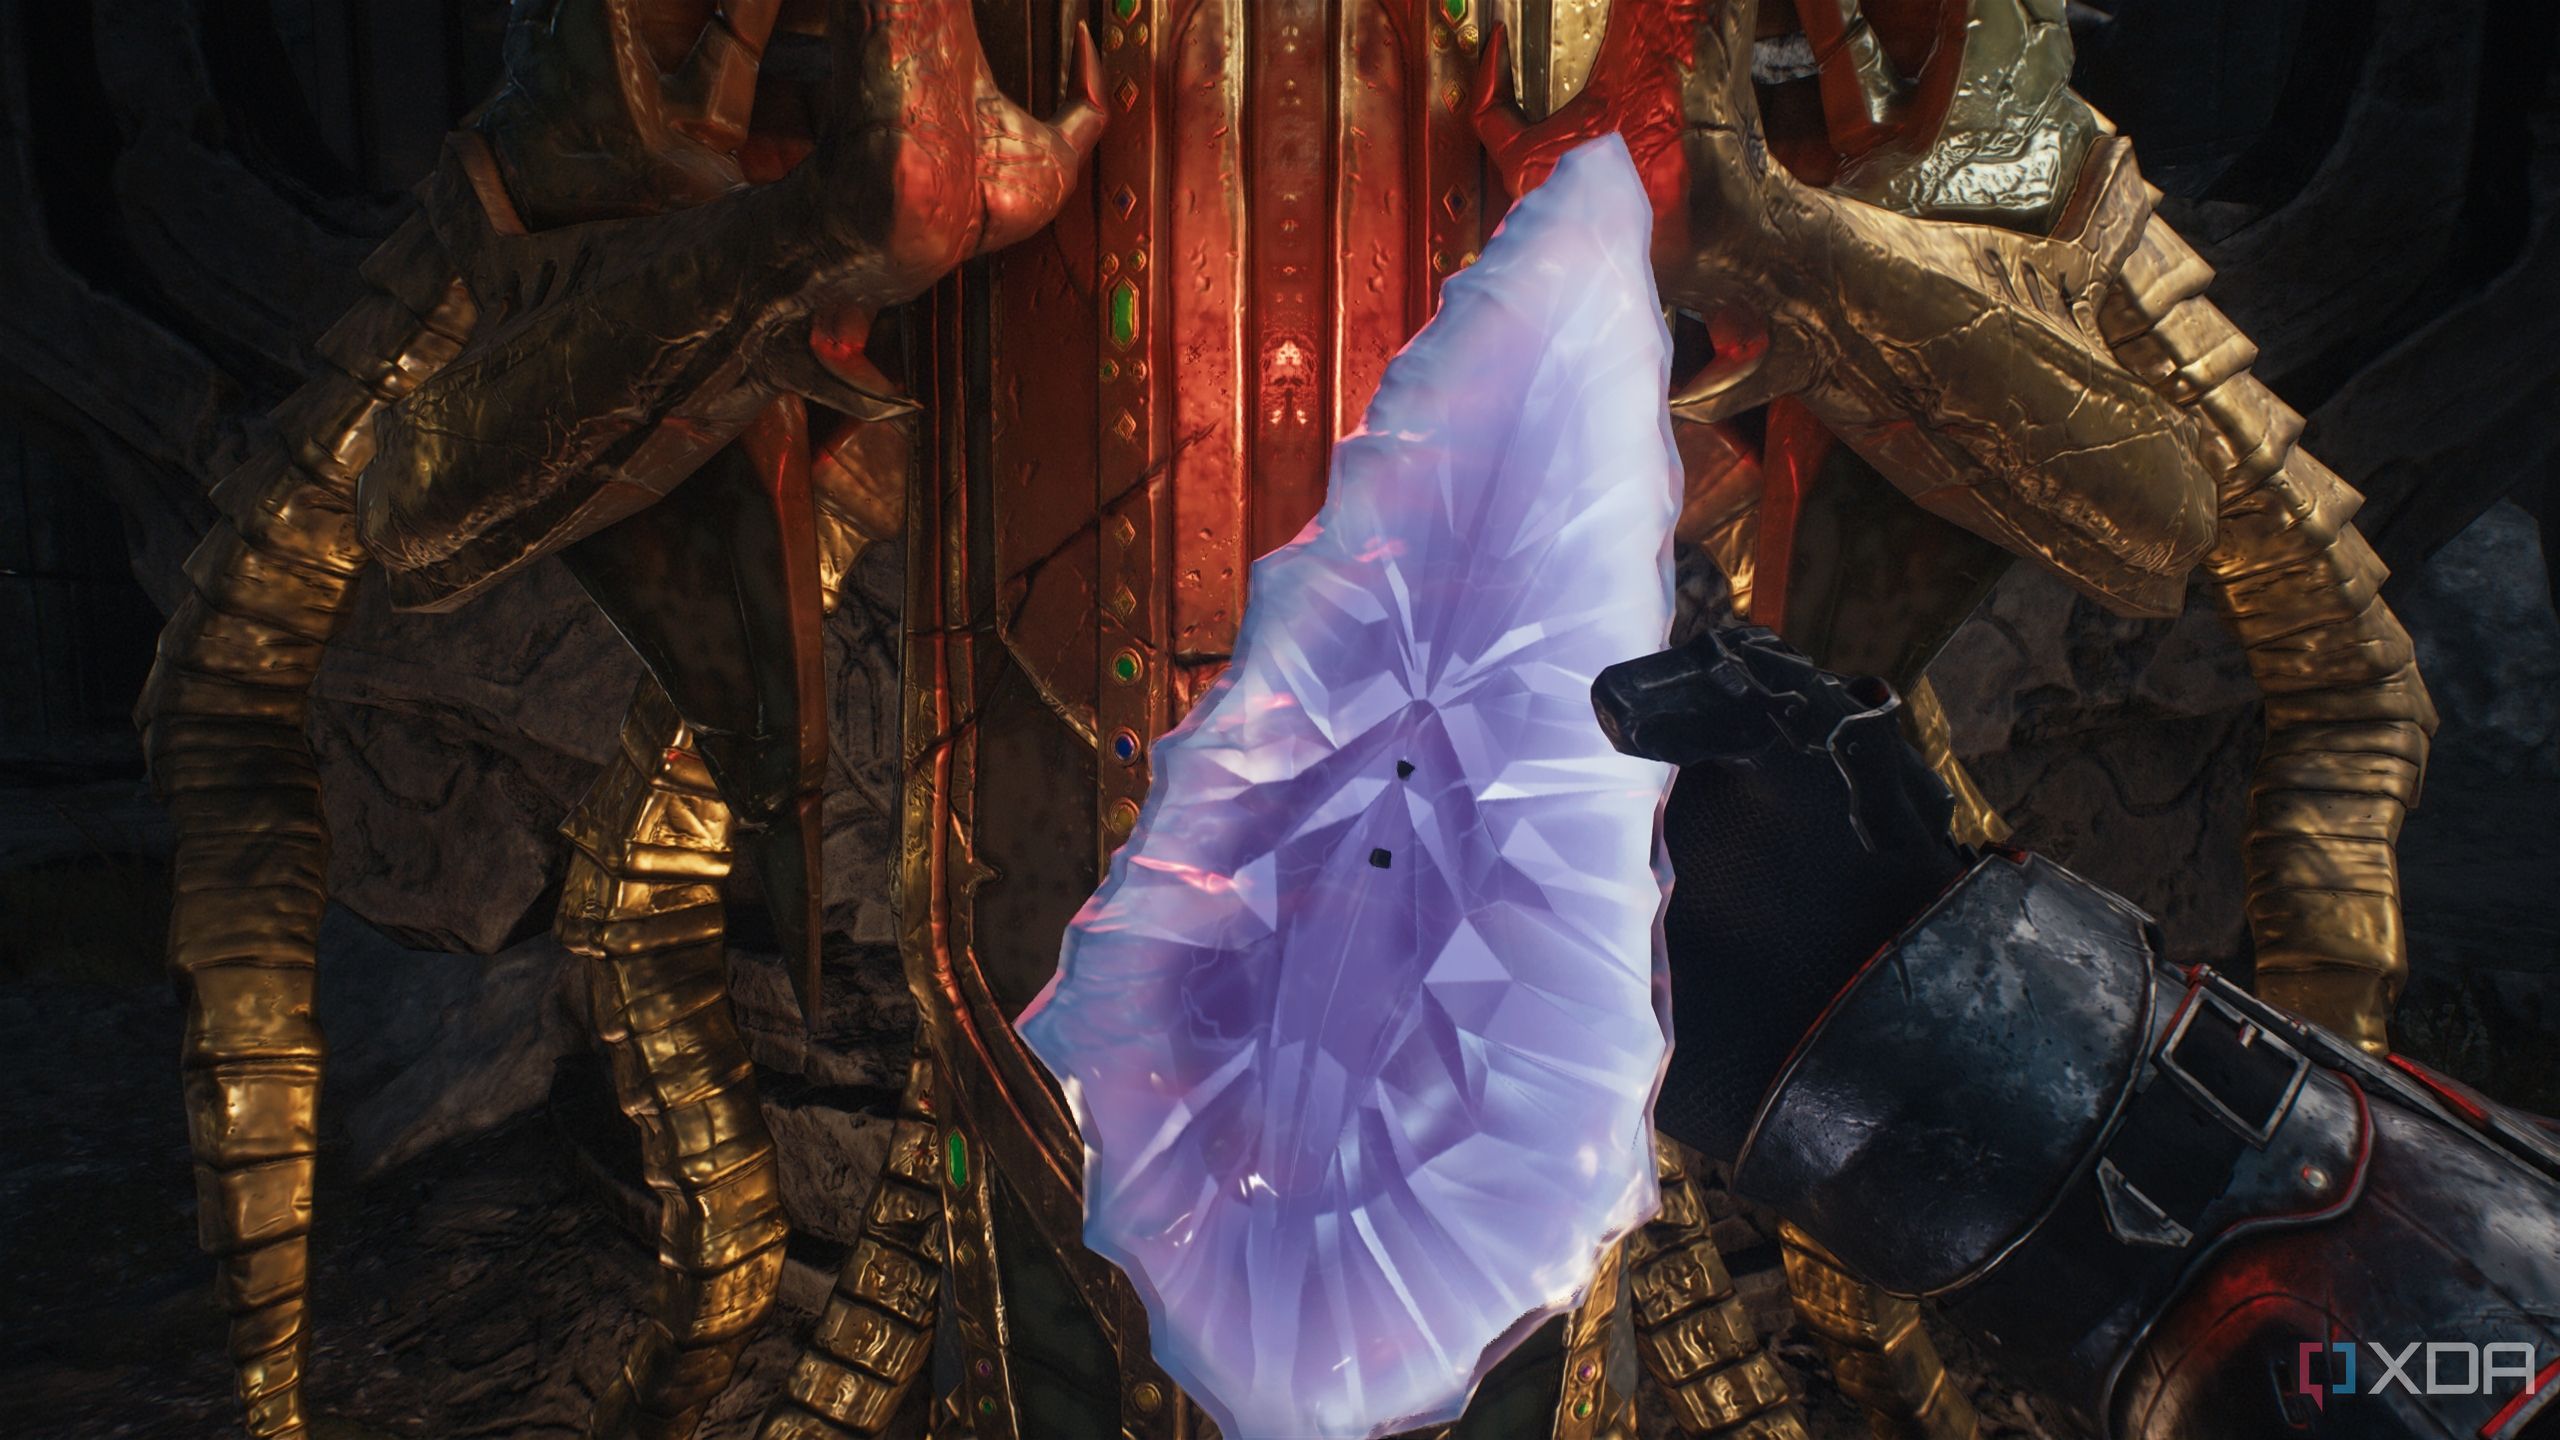
The first Red Ruby in the level
Easy to spot, hard to get to
Head back to the Sentinel Shrine to face it again, and to the left, just below the central structure, you’ll see a small building with a Red Ruby emitting a glow.
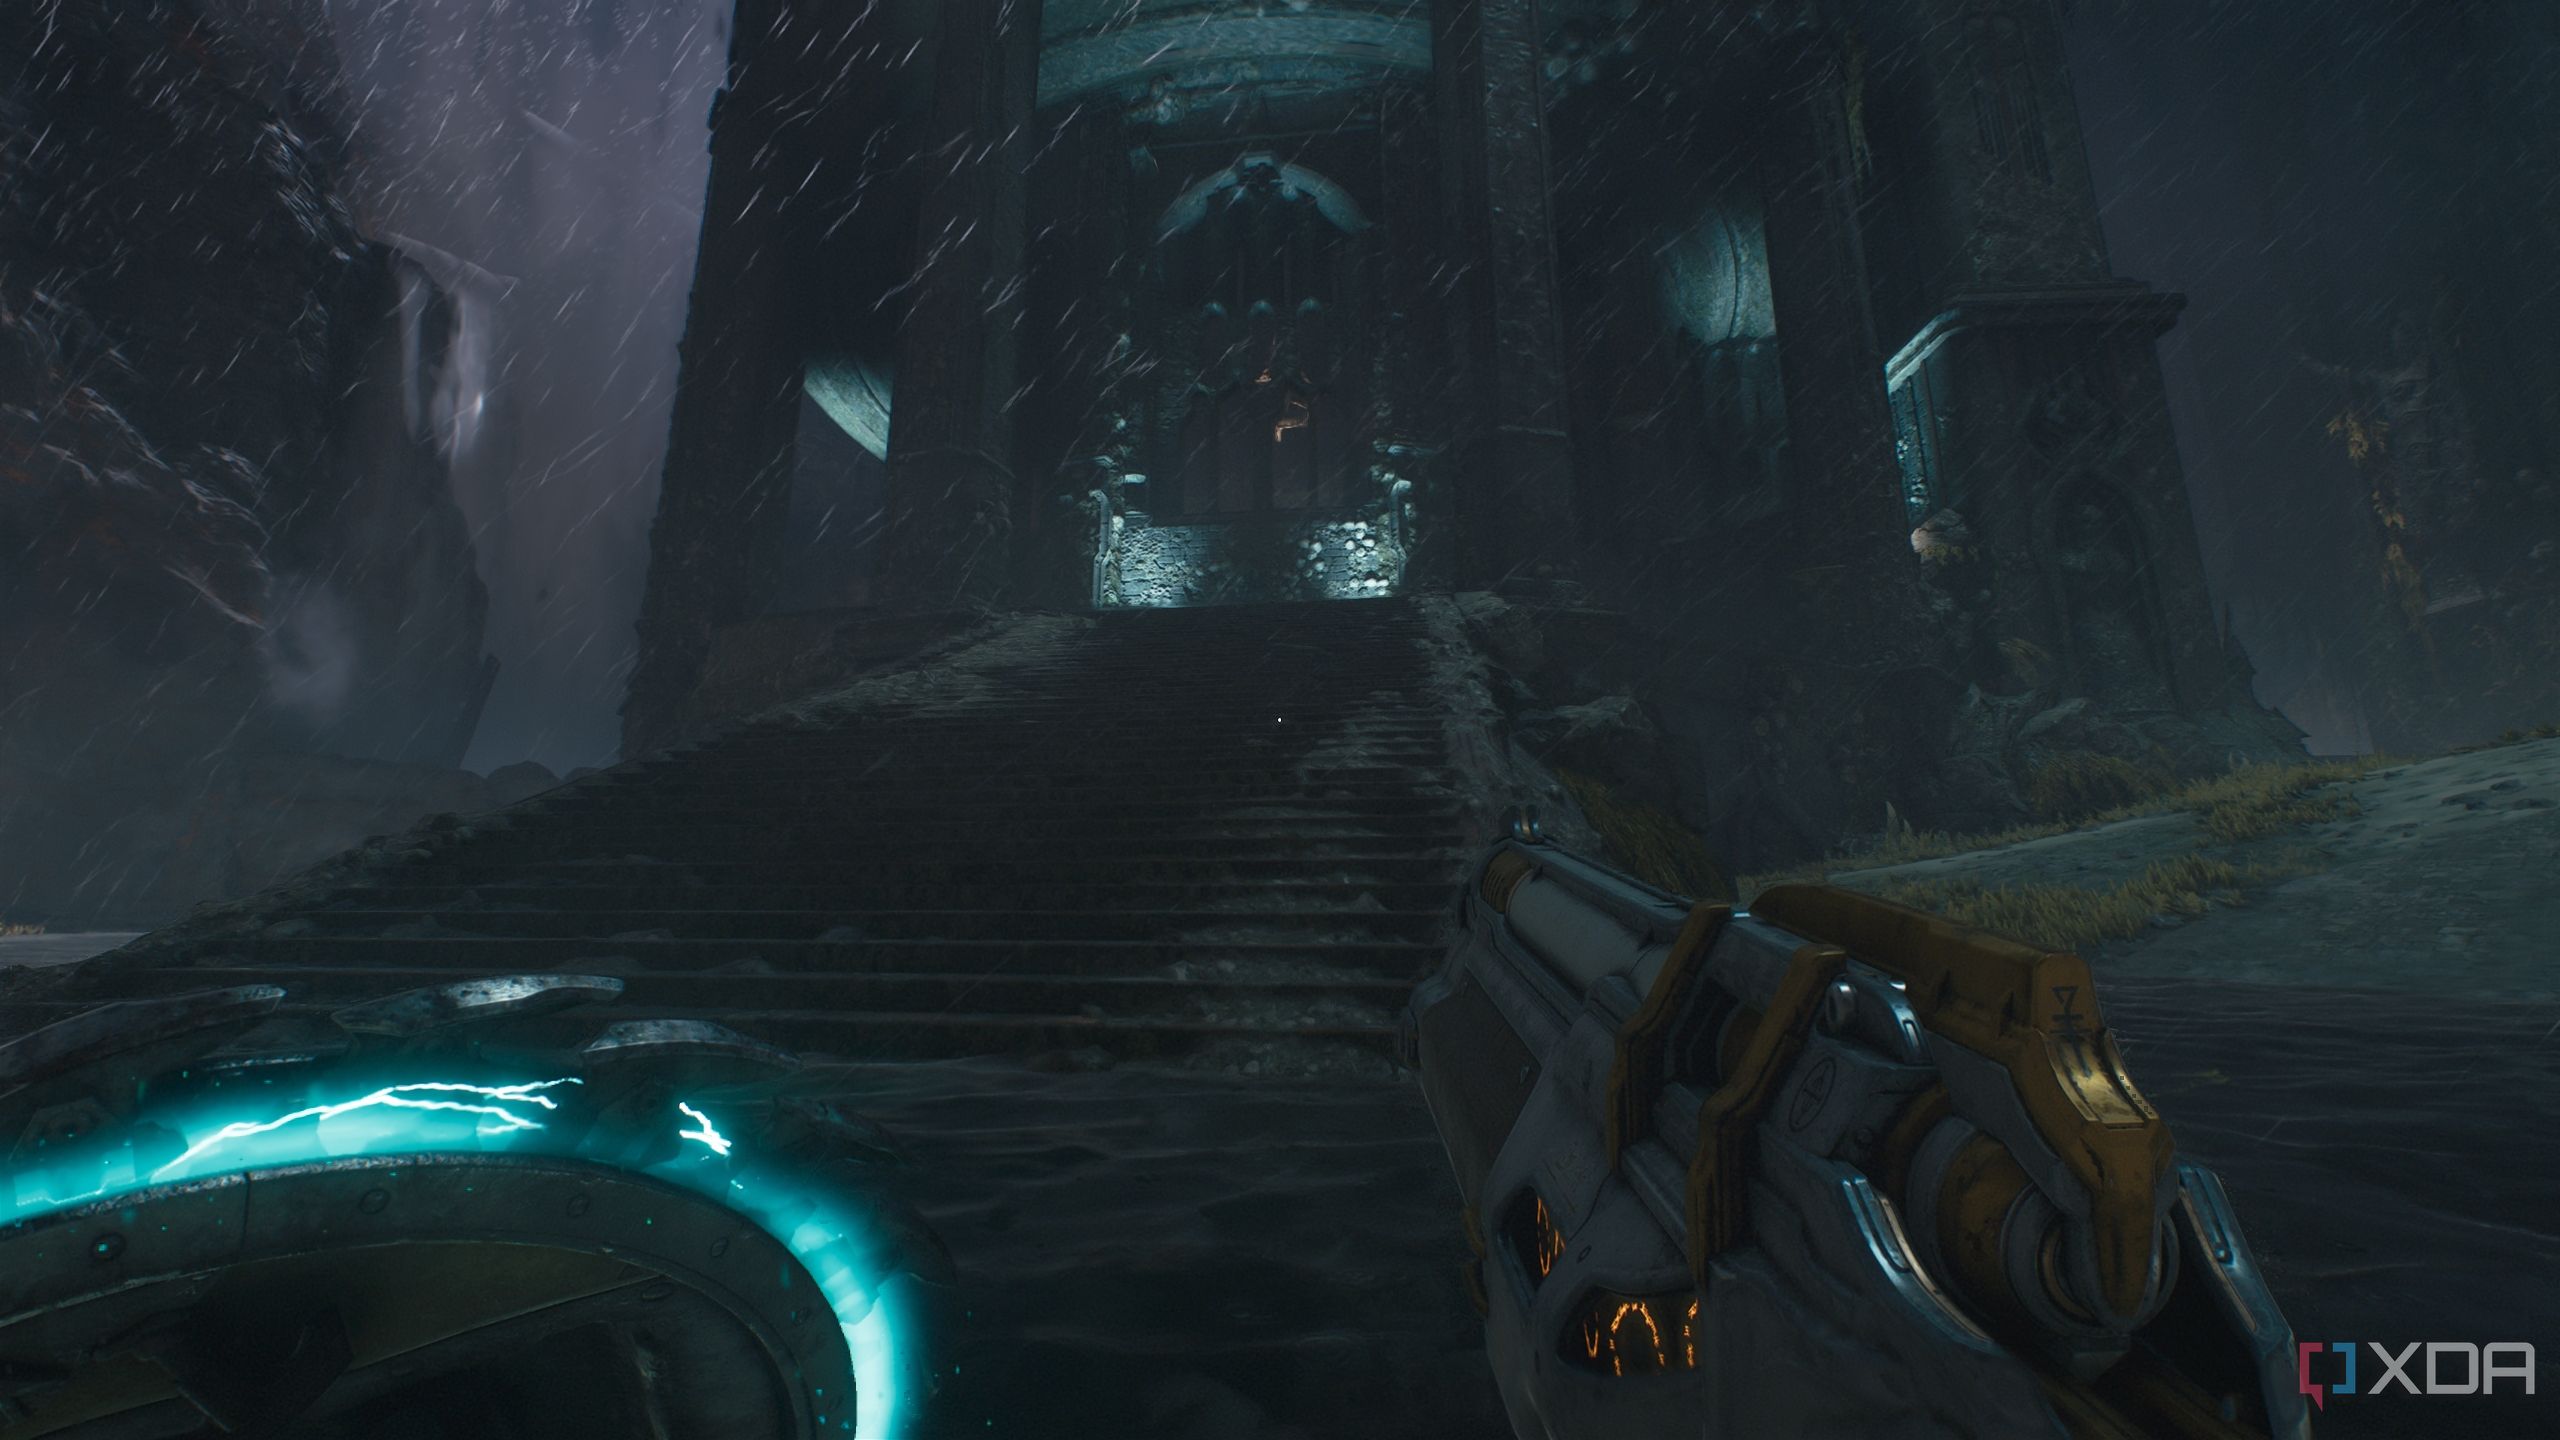
Approach this building from the front, climb the winding staircase to the left, and reach the landing at the top.
You’ll see a Red Ruby statue glowing across the hall. Approaching it will lock the area, and you’ll be ambushed by a Revenant and an Agaddon Hunter.
Dispatch them, and you’ll get the first Red Ruby in the level. Then, simply head towards the main objective, fighting an armored Mancubus and a Cacodemon Hybrid before moving past the second point of no return in the chapter.
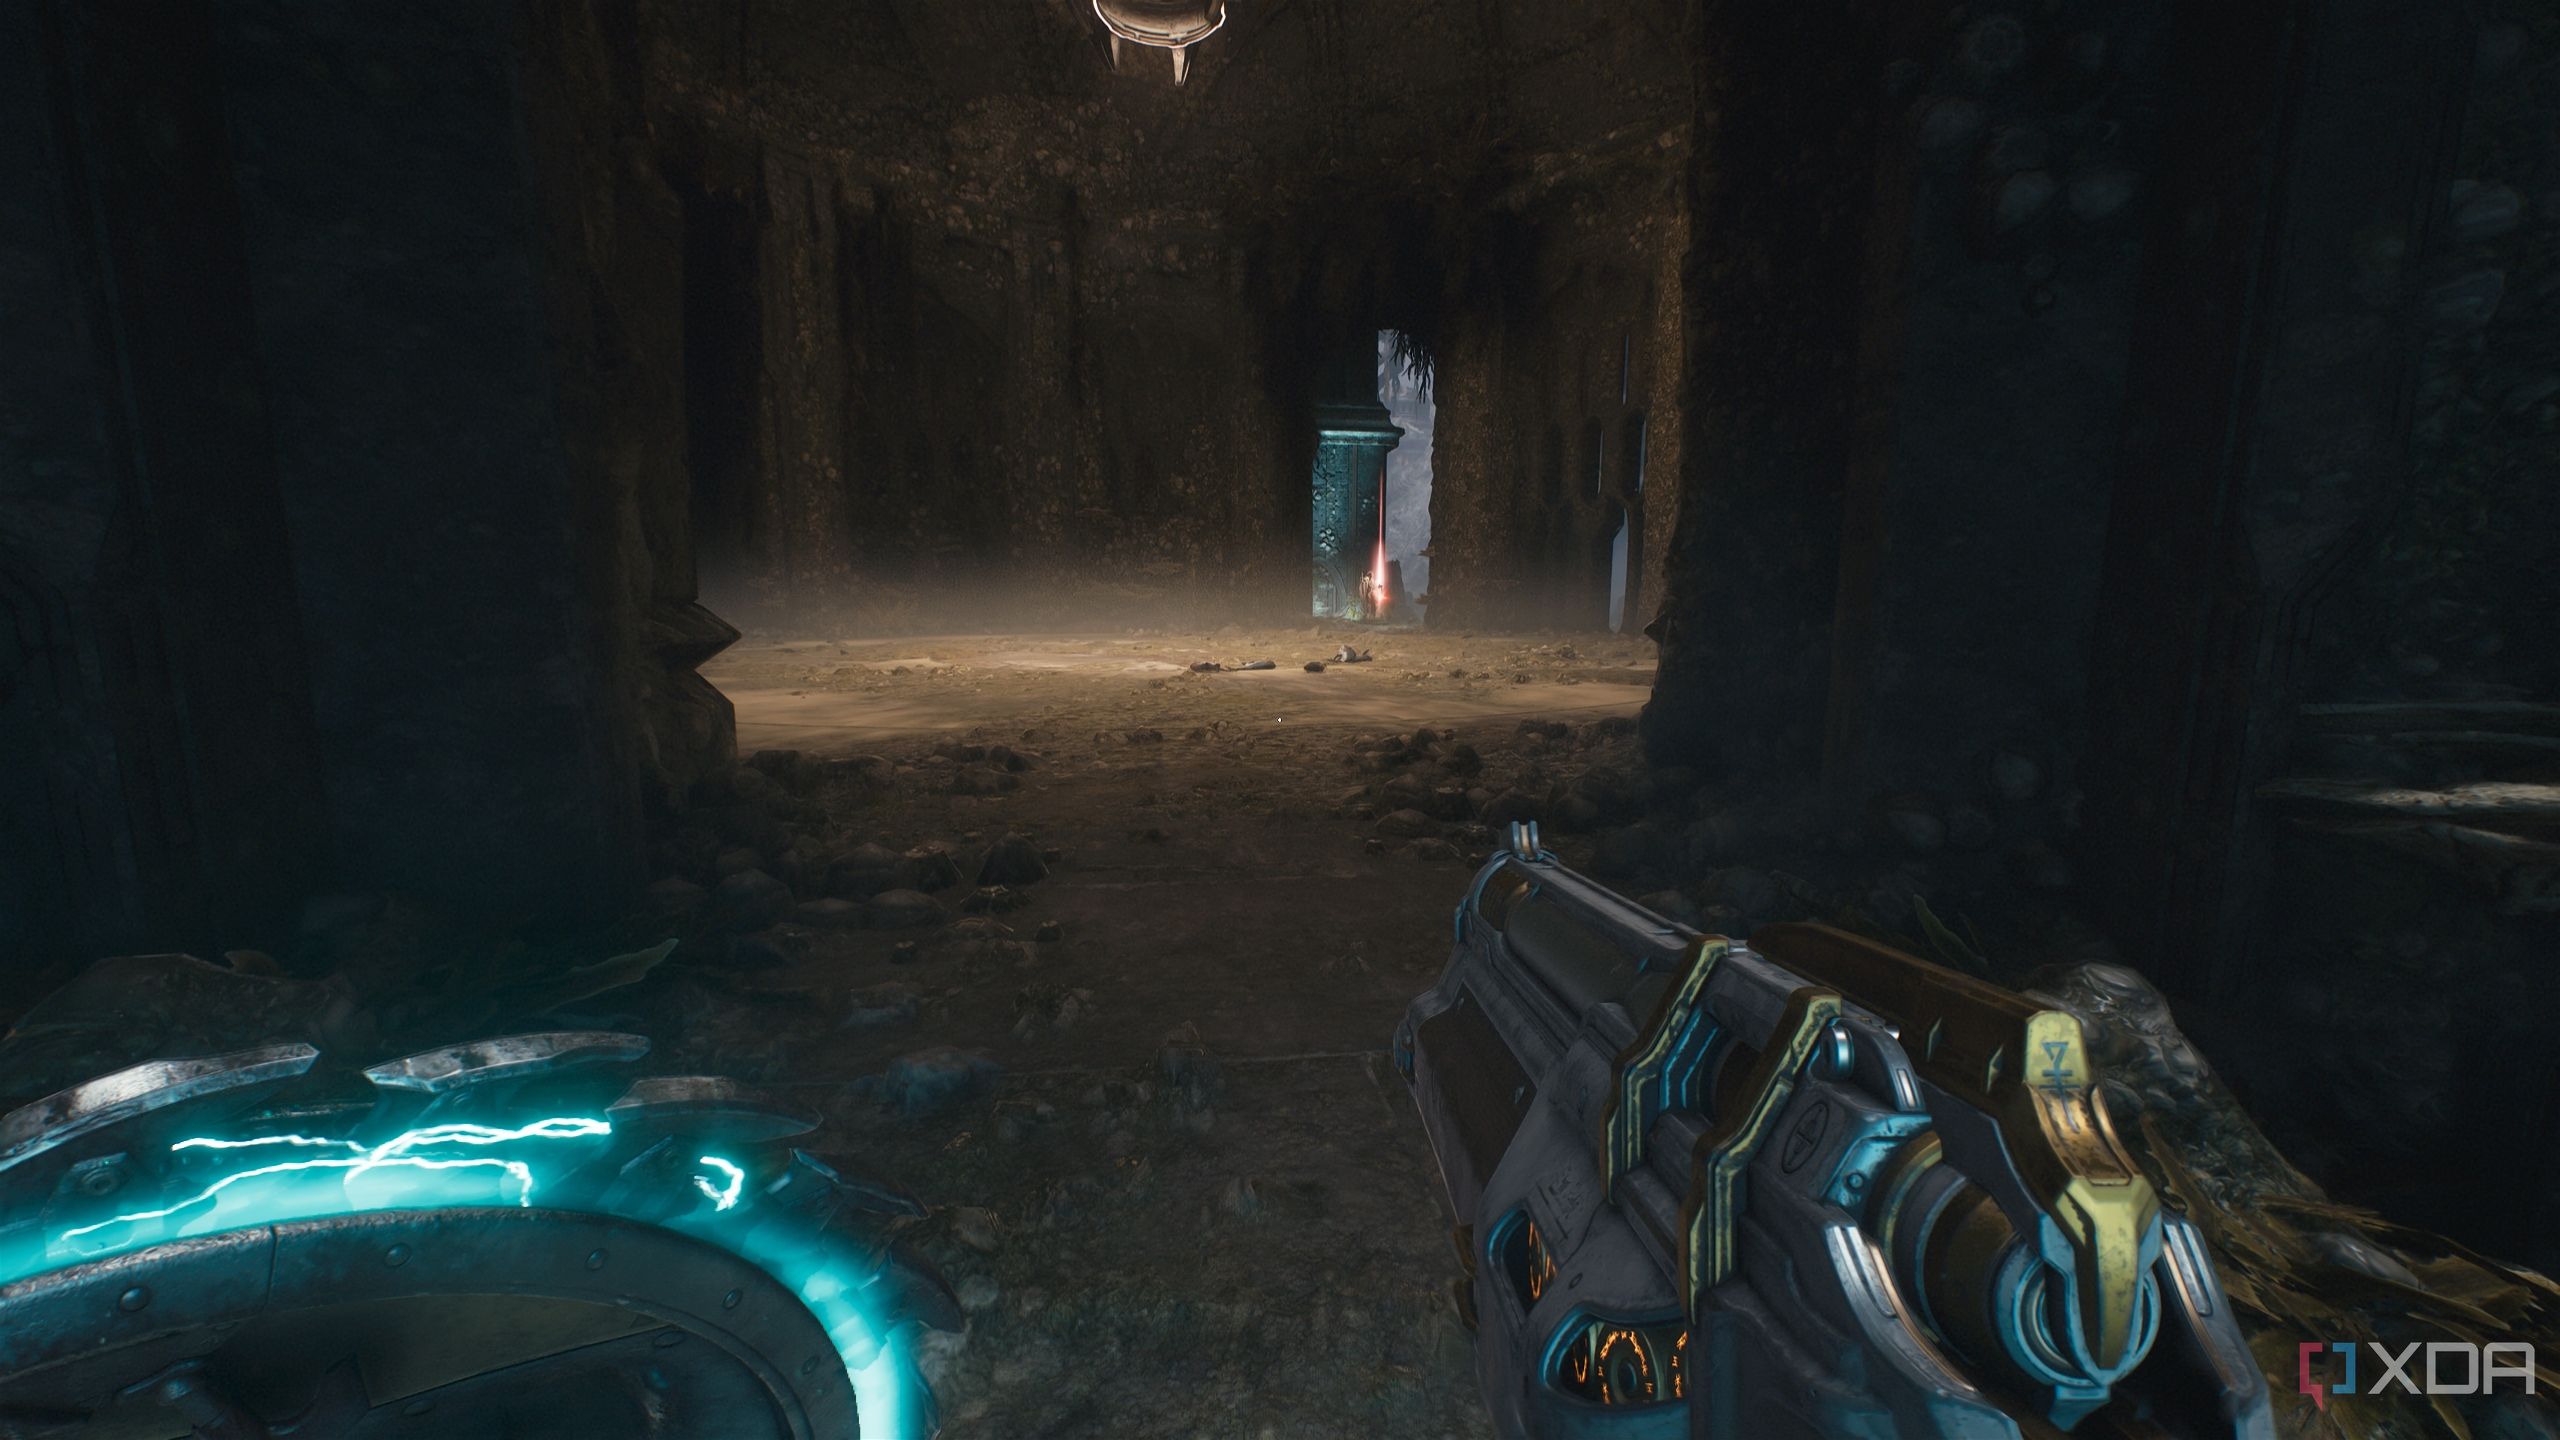
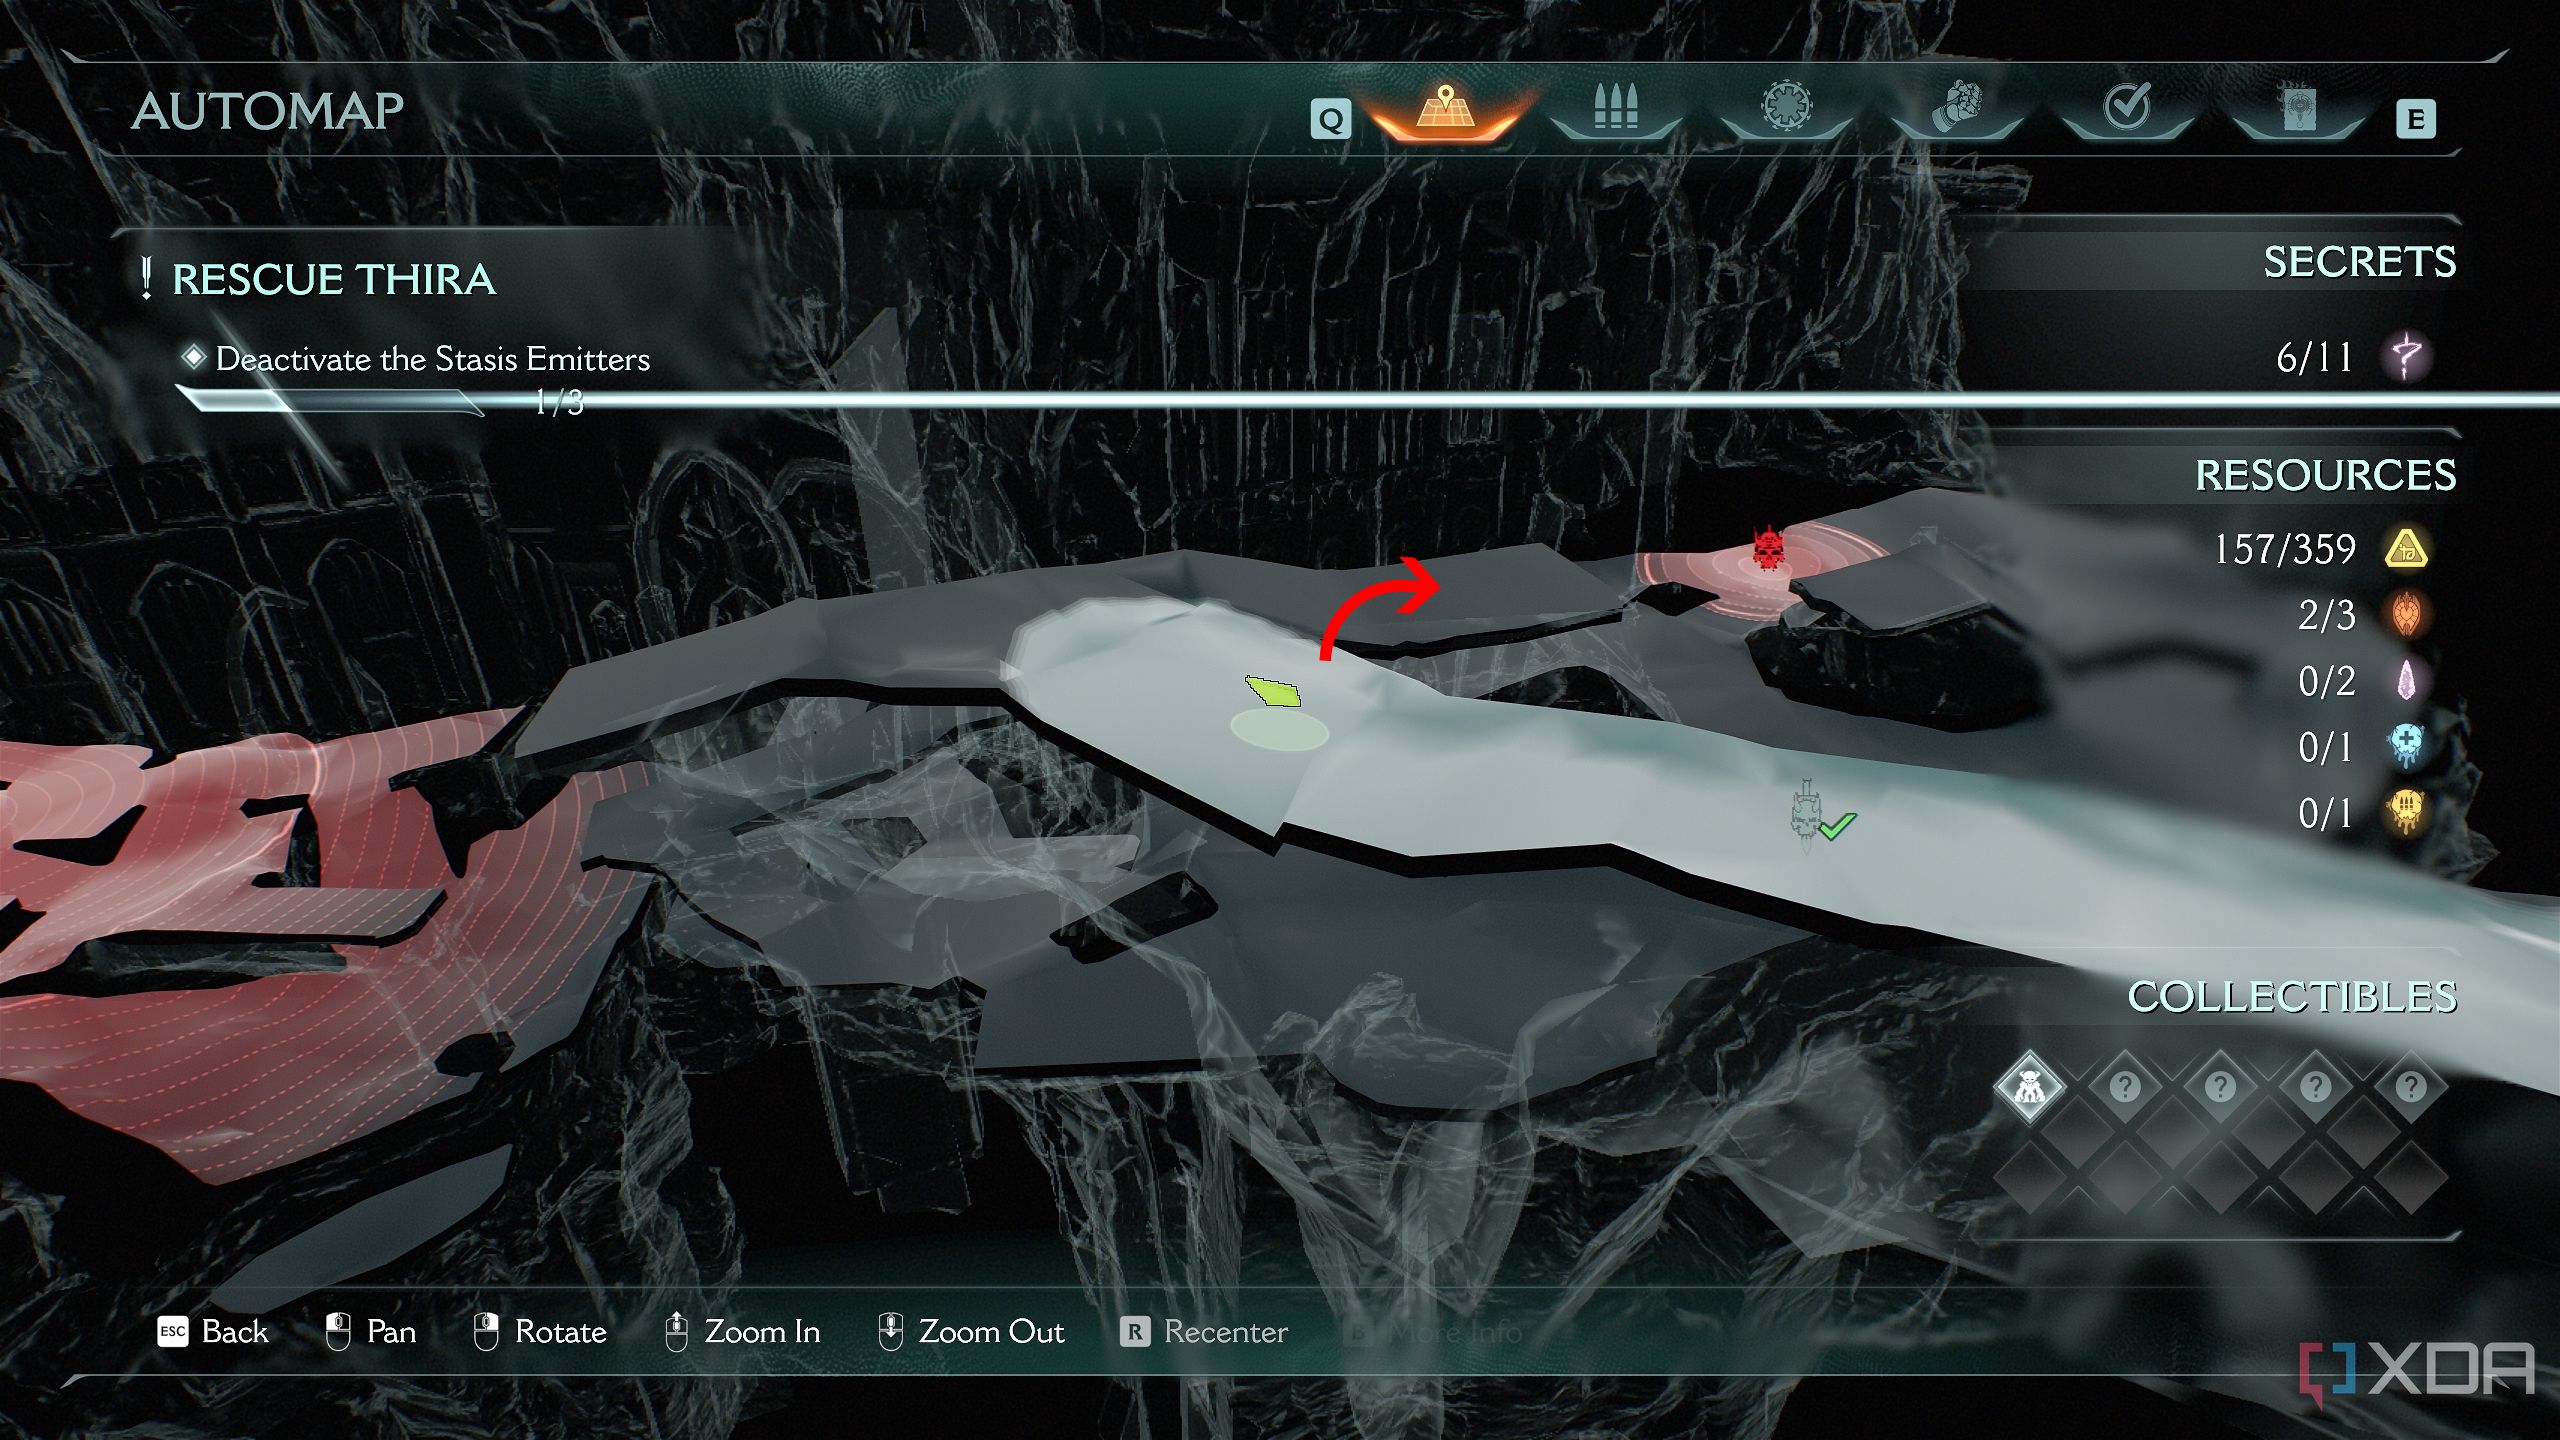
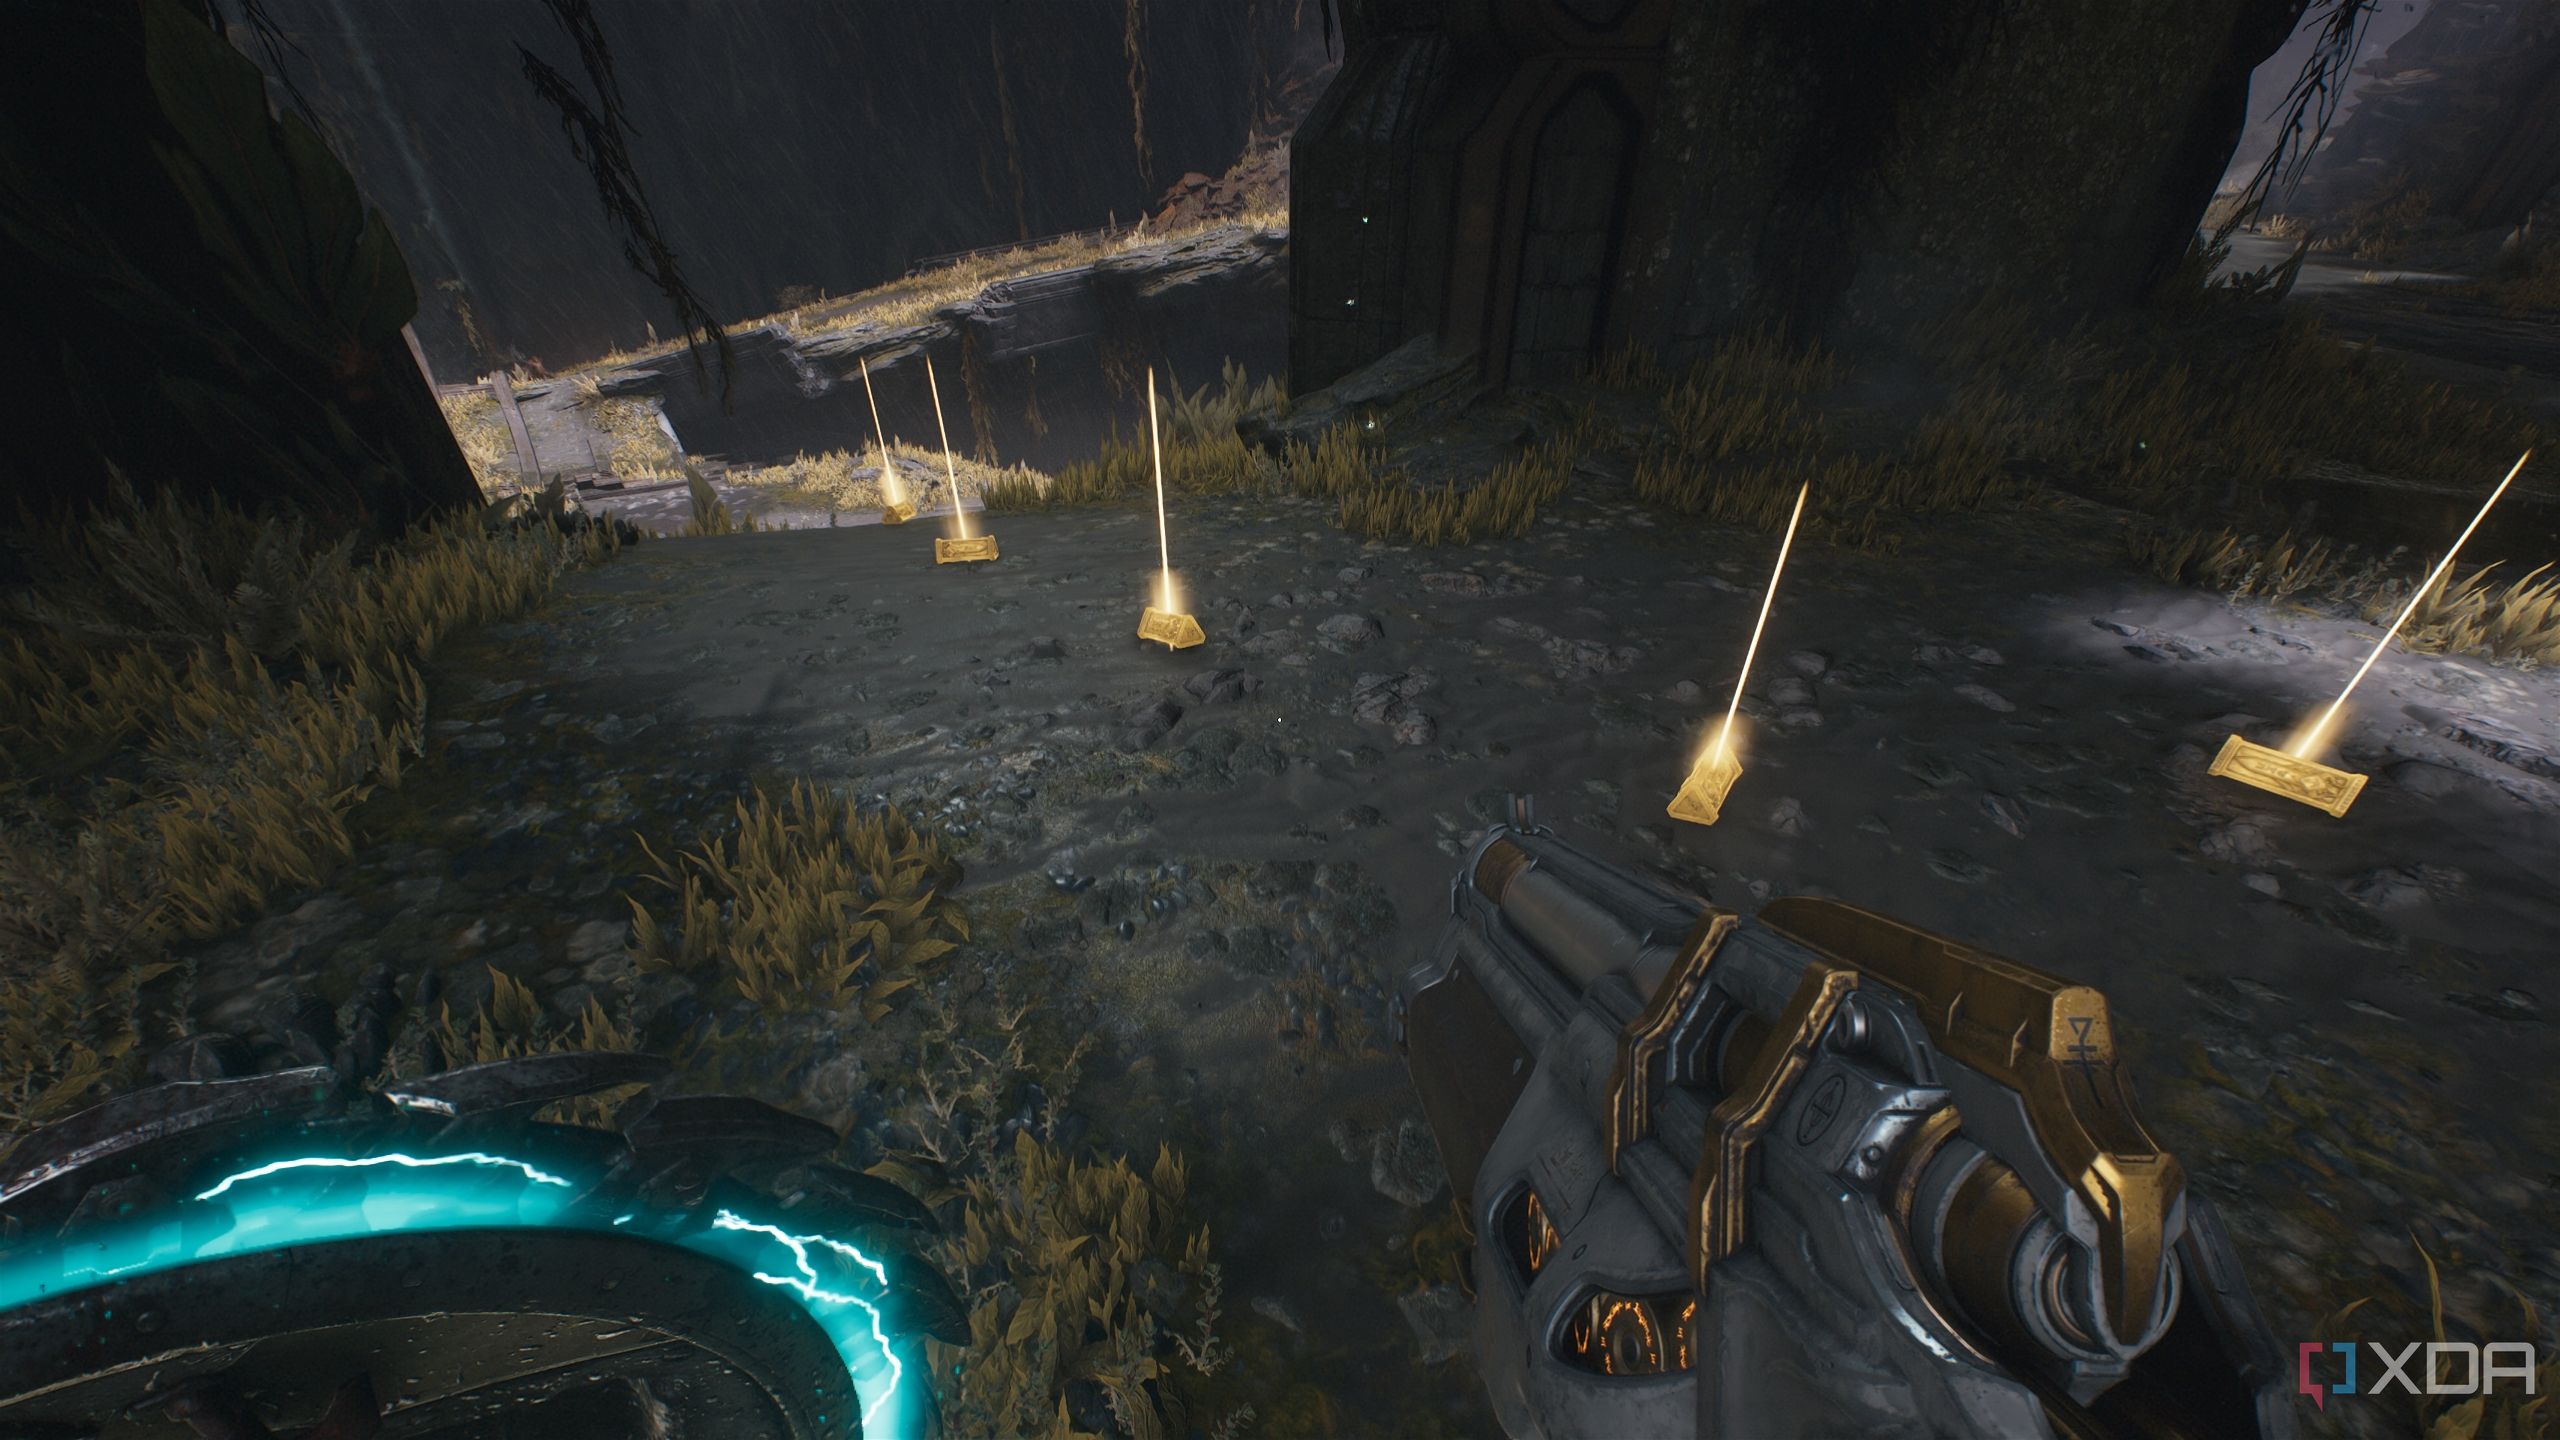
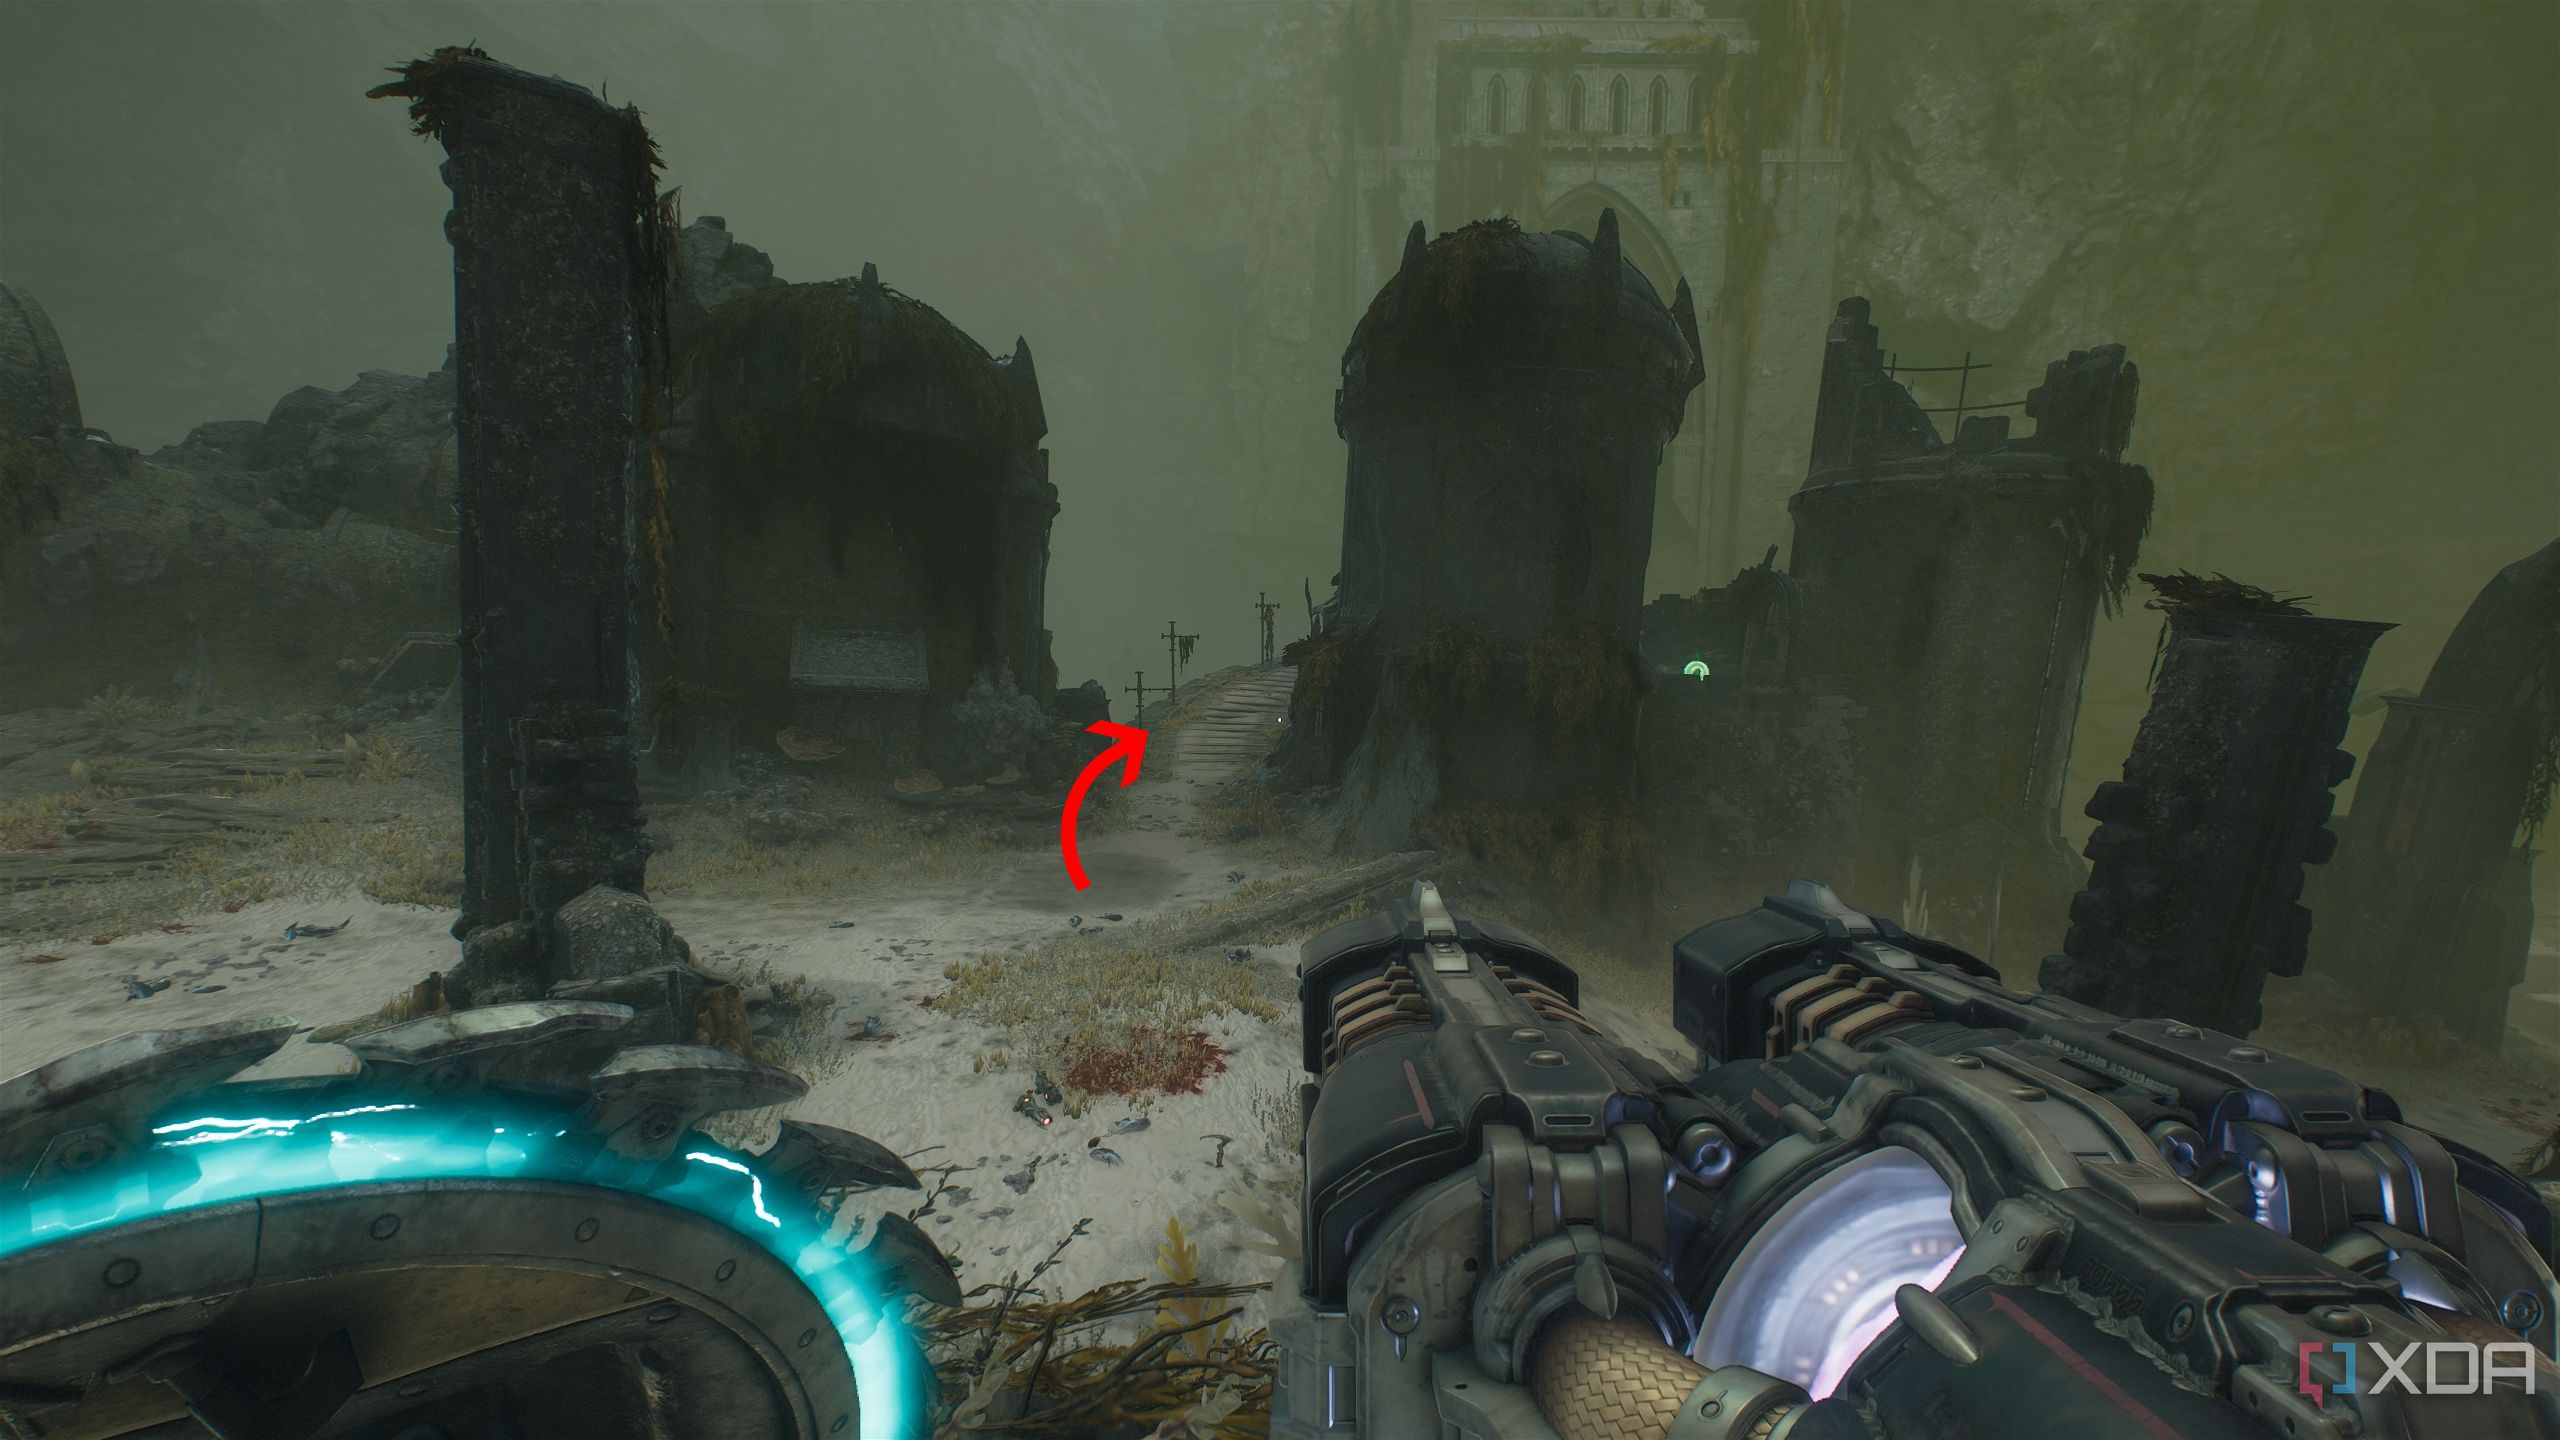
3 trails of gold bars
A tough fight to pick up three gold trails
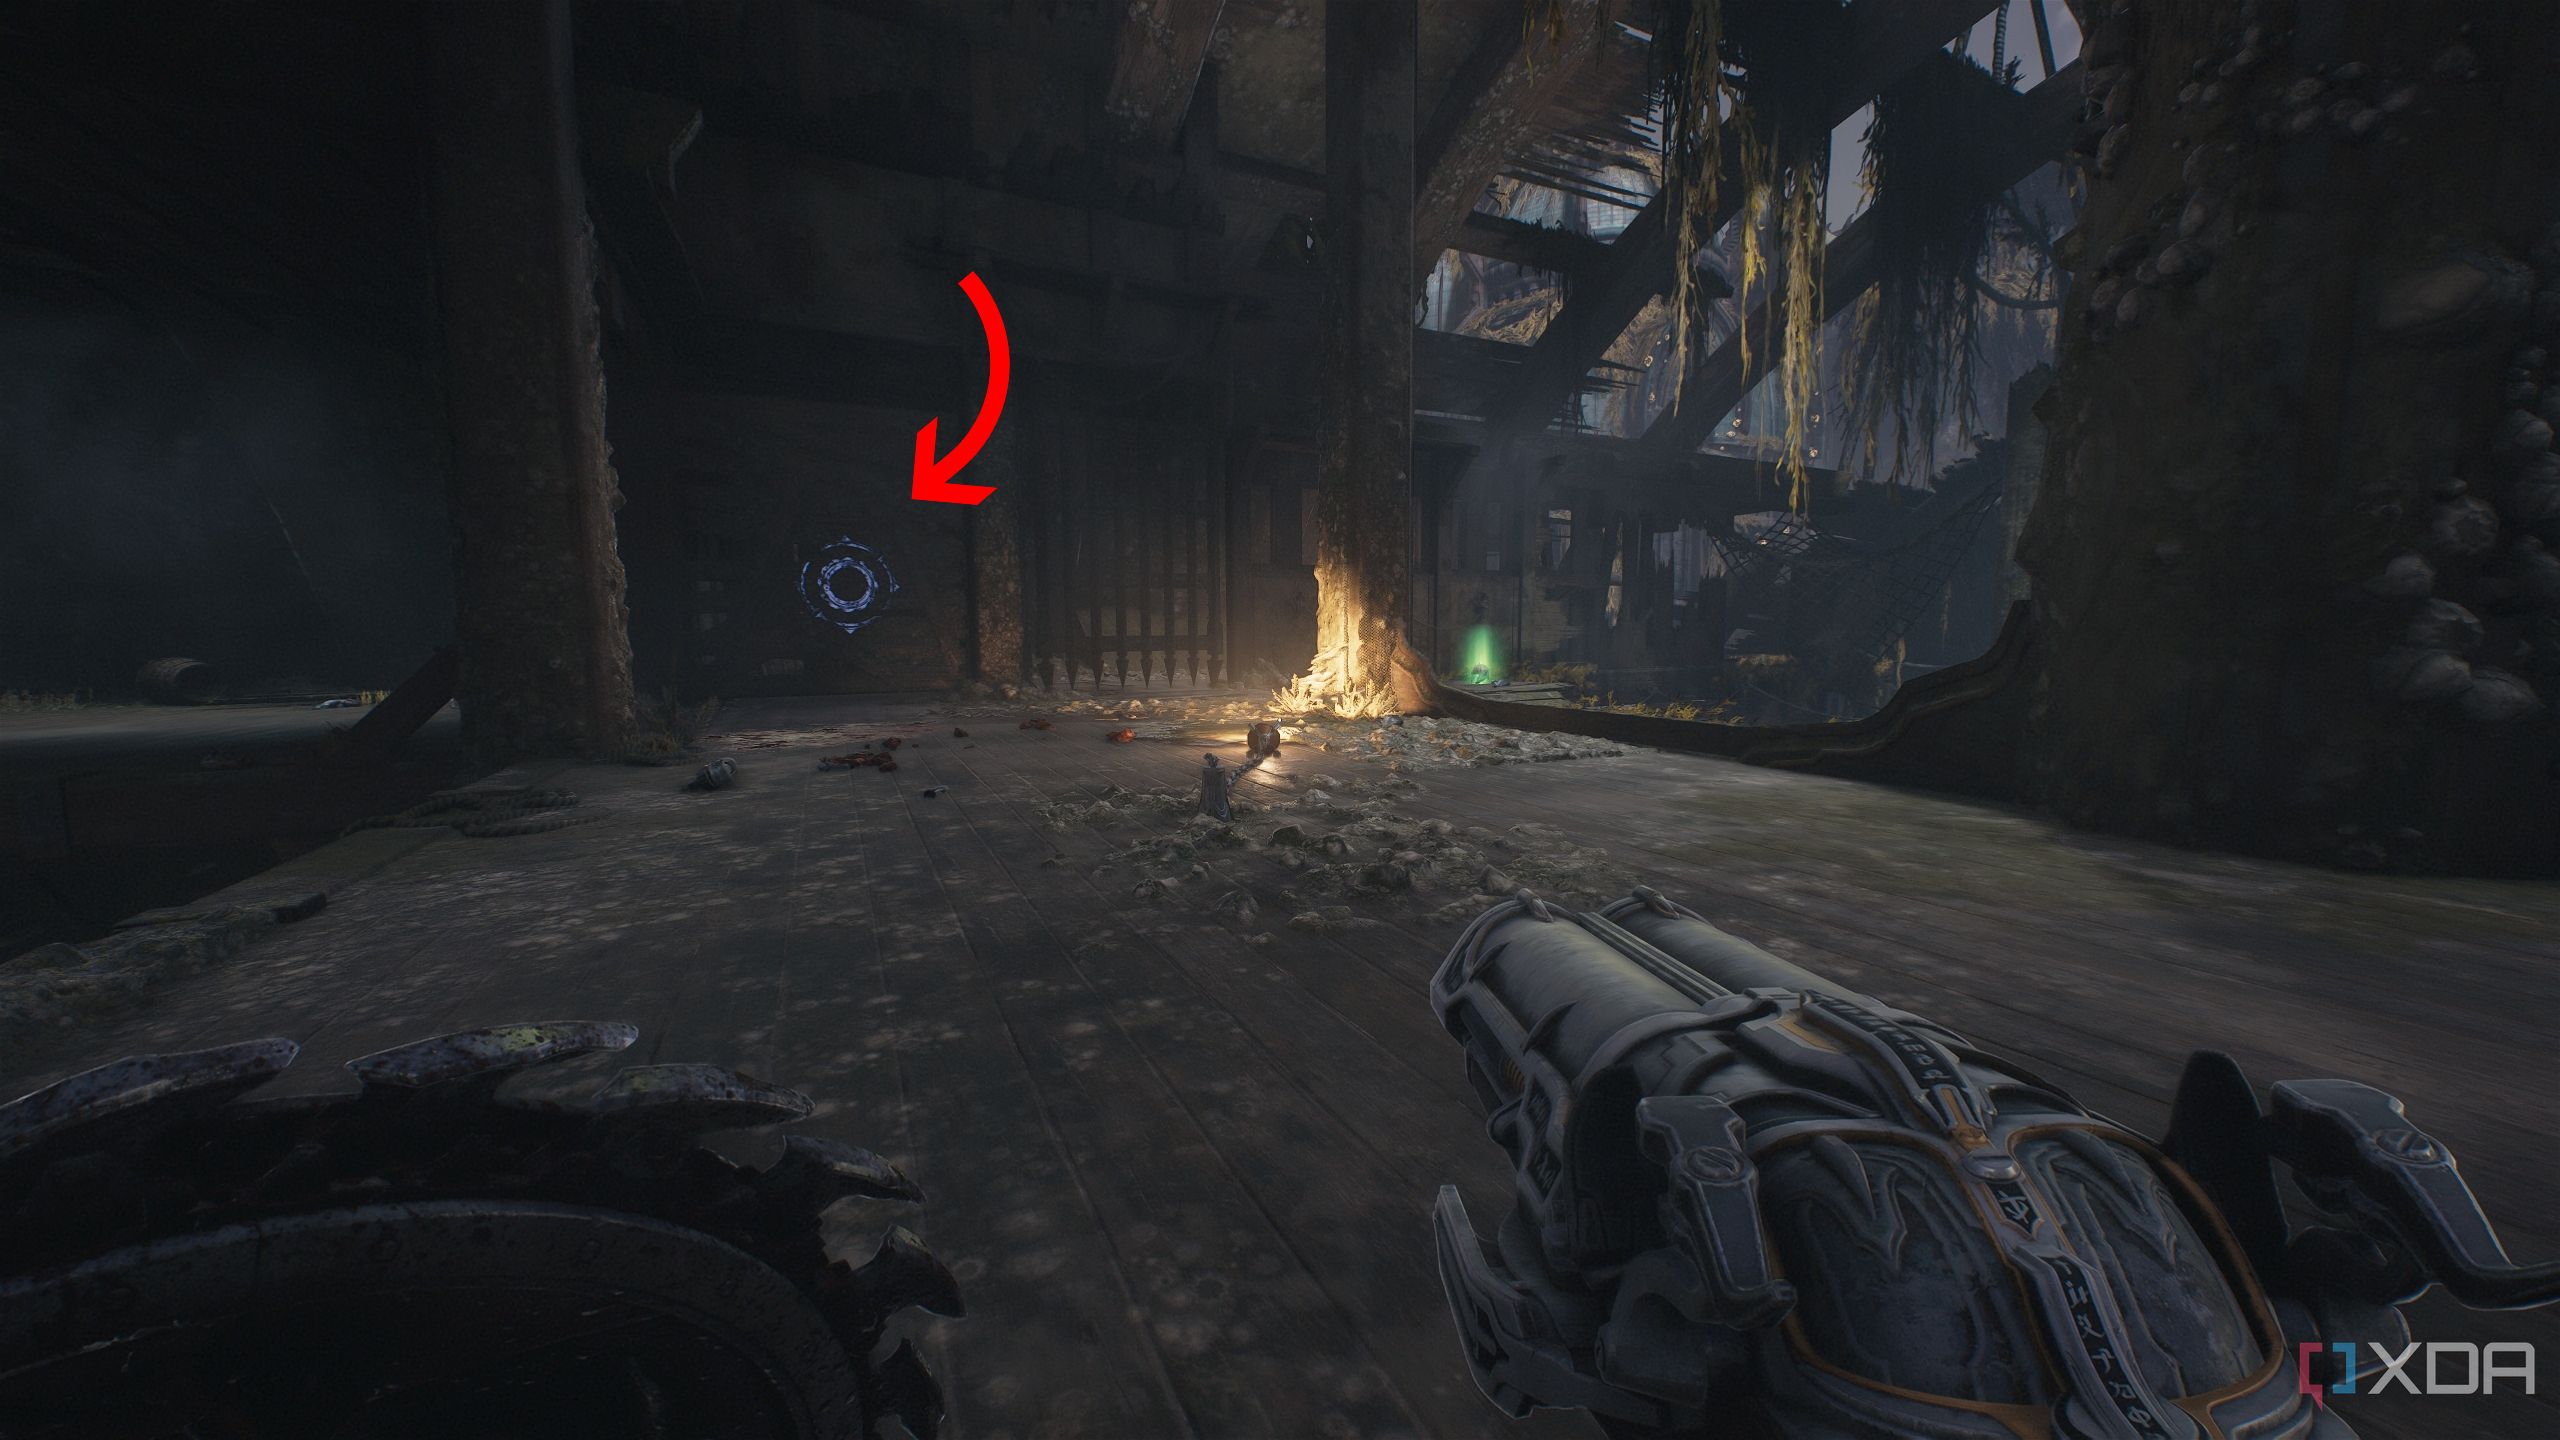
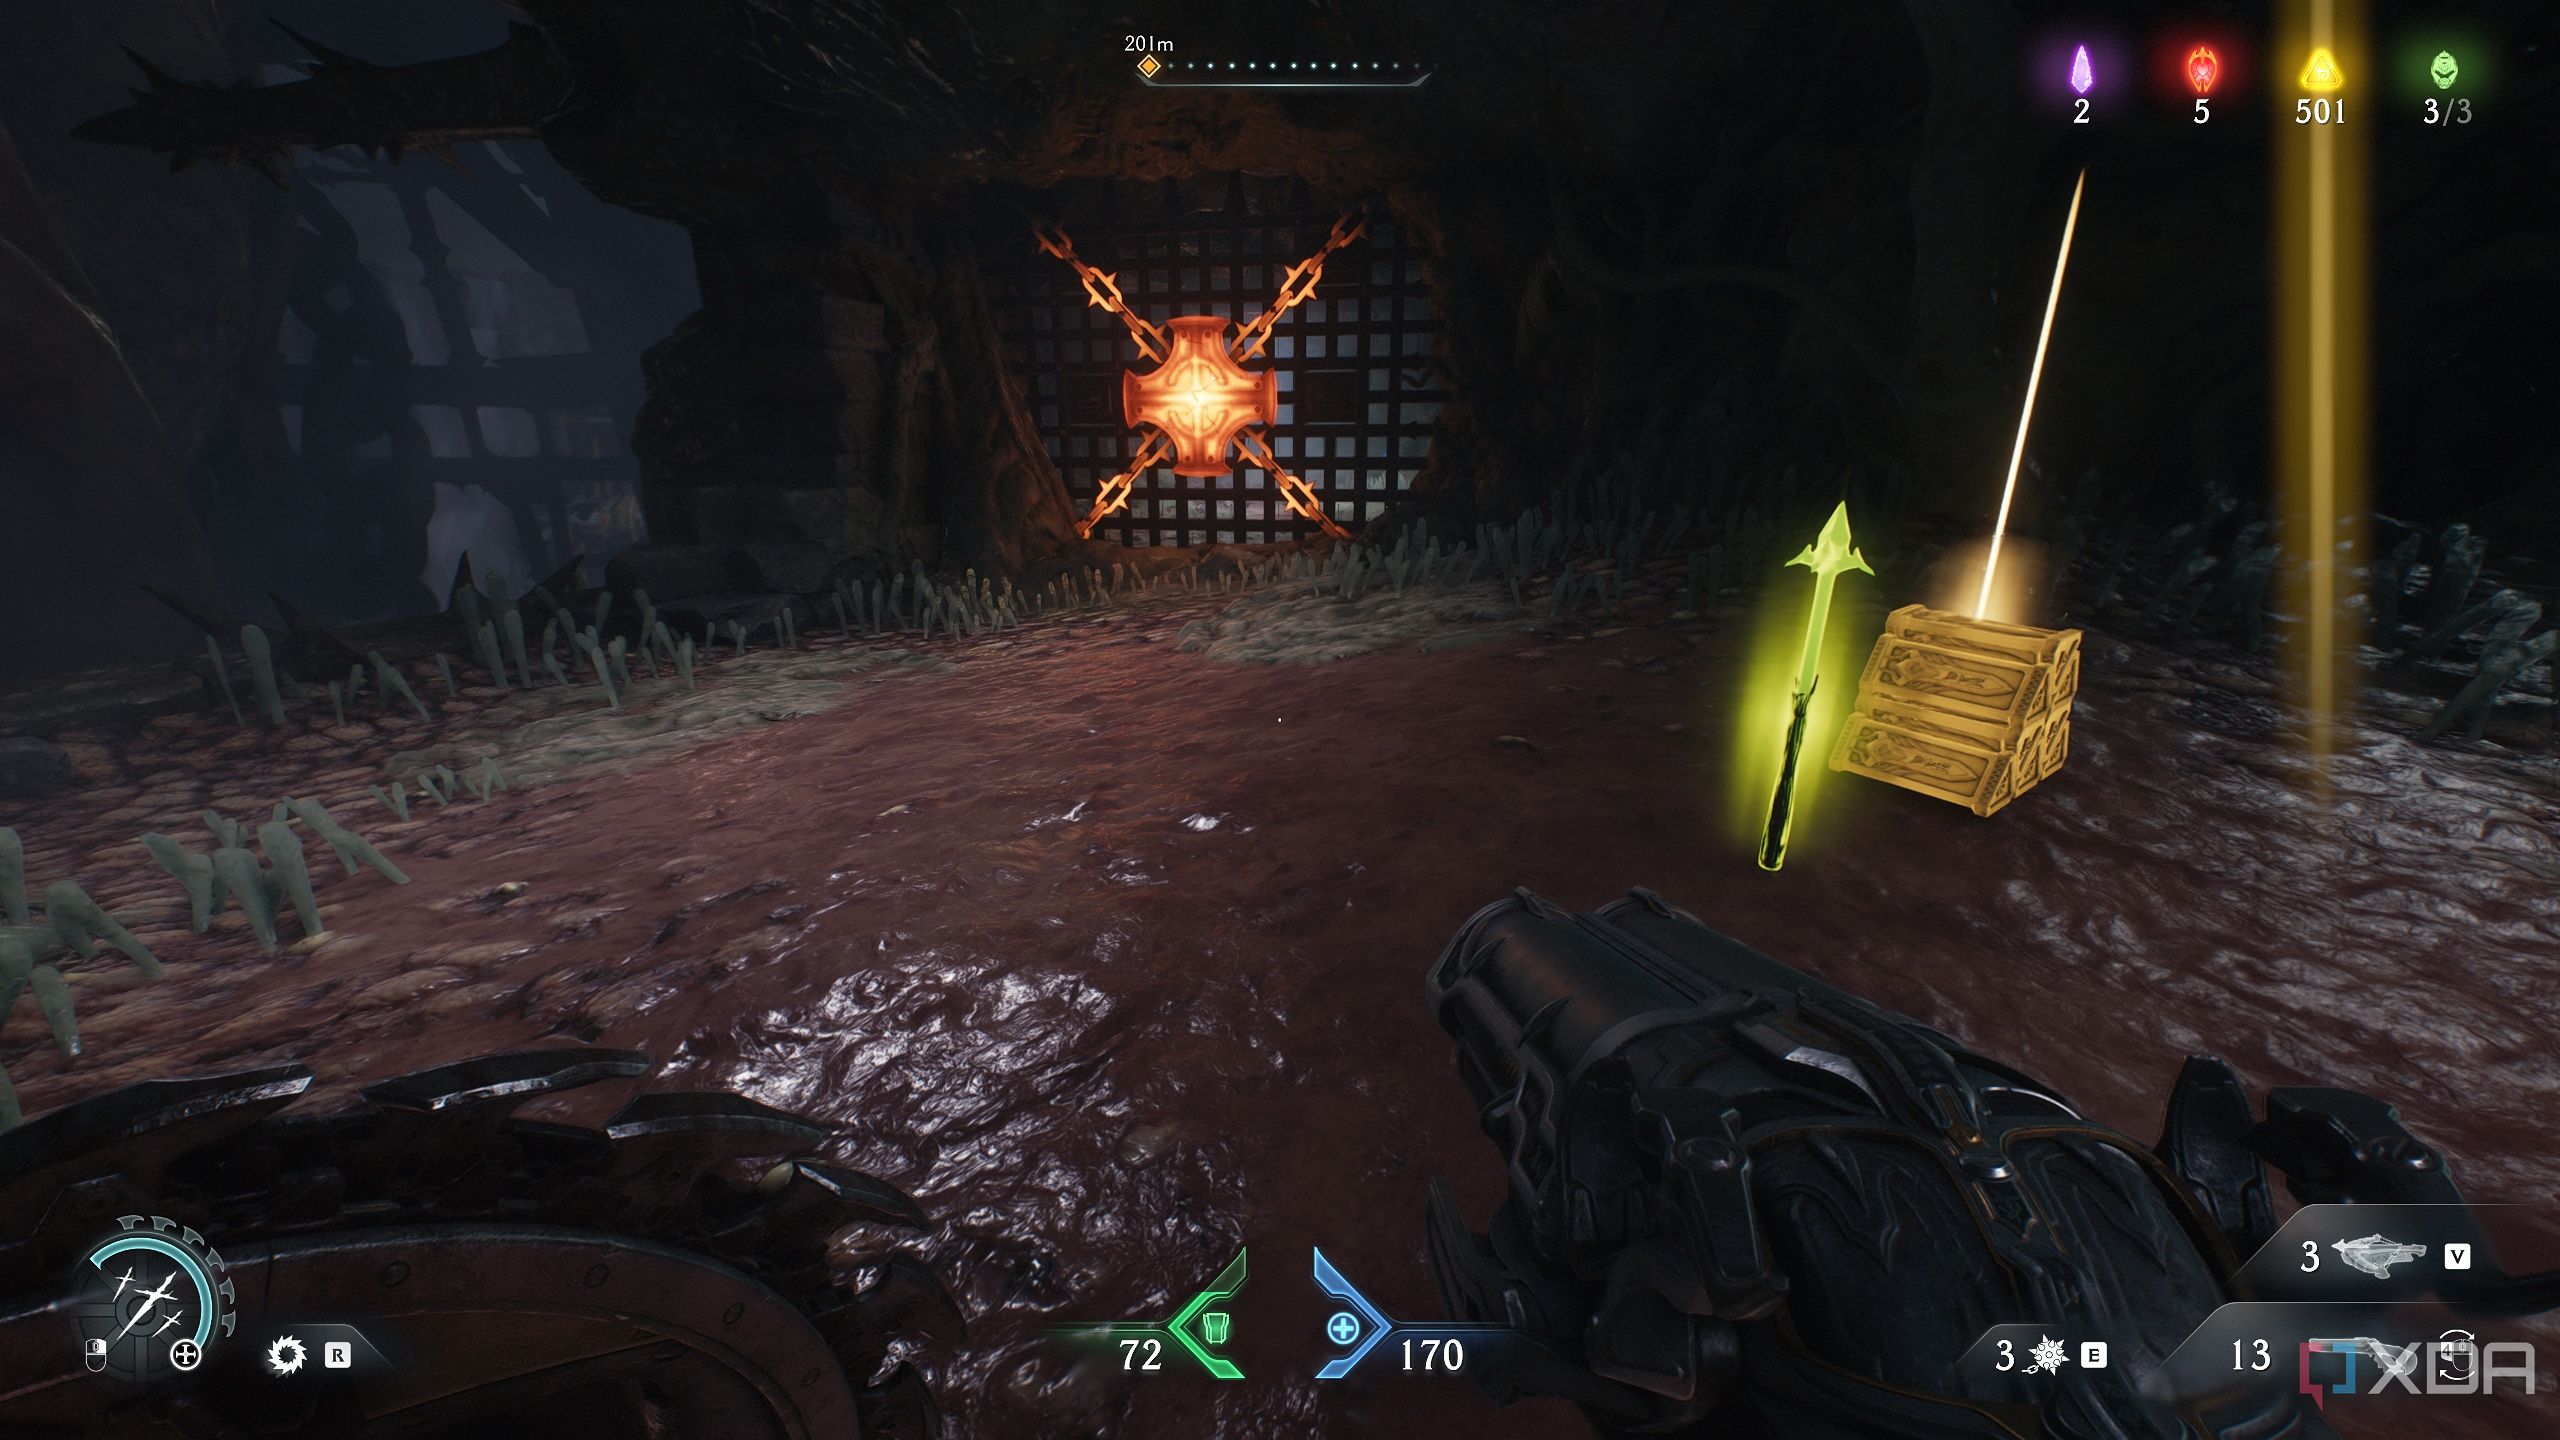
Once your elevator lands, don’t head forward — instead, go left to see a small stone structure emitting a blue light.
Next to it, there’s a trail of gold bars to pick up. You’ll immediately enter combat with an Arachnotron and a Vagary — it’s a tough fight.

Once dispatched, approach the central Cthulhu statue and pick up another trail of gold bars in front of it.
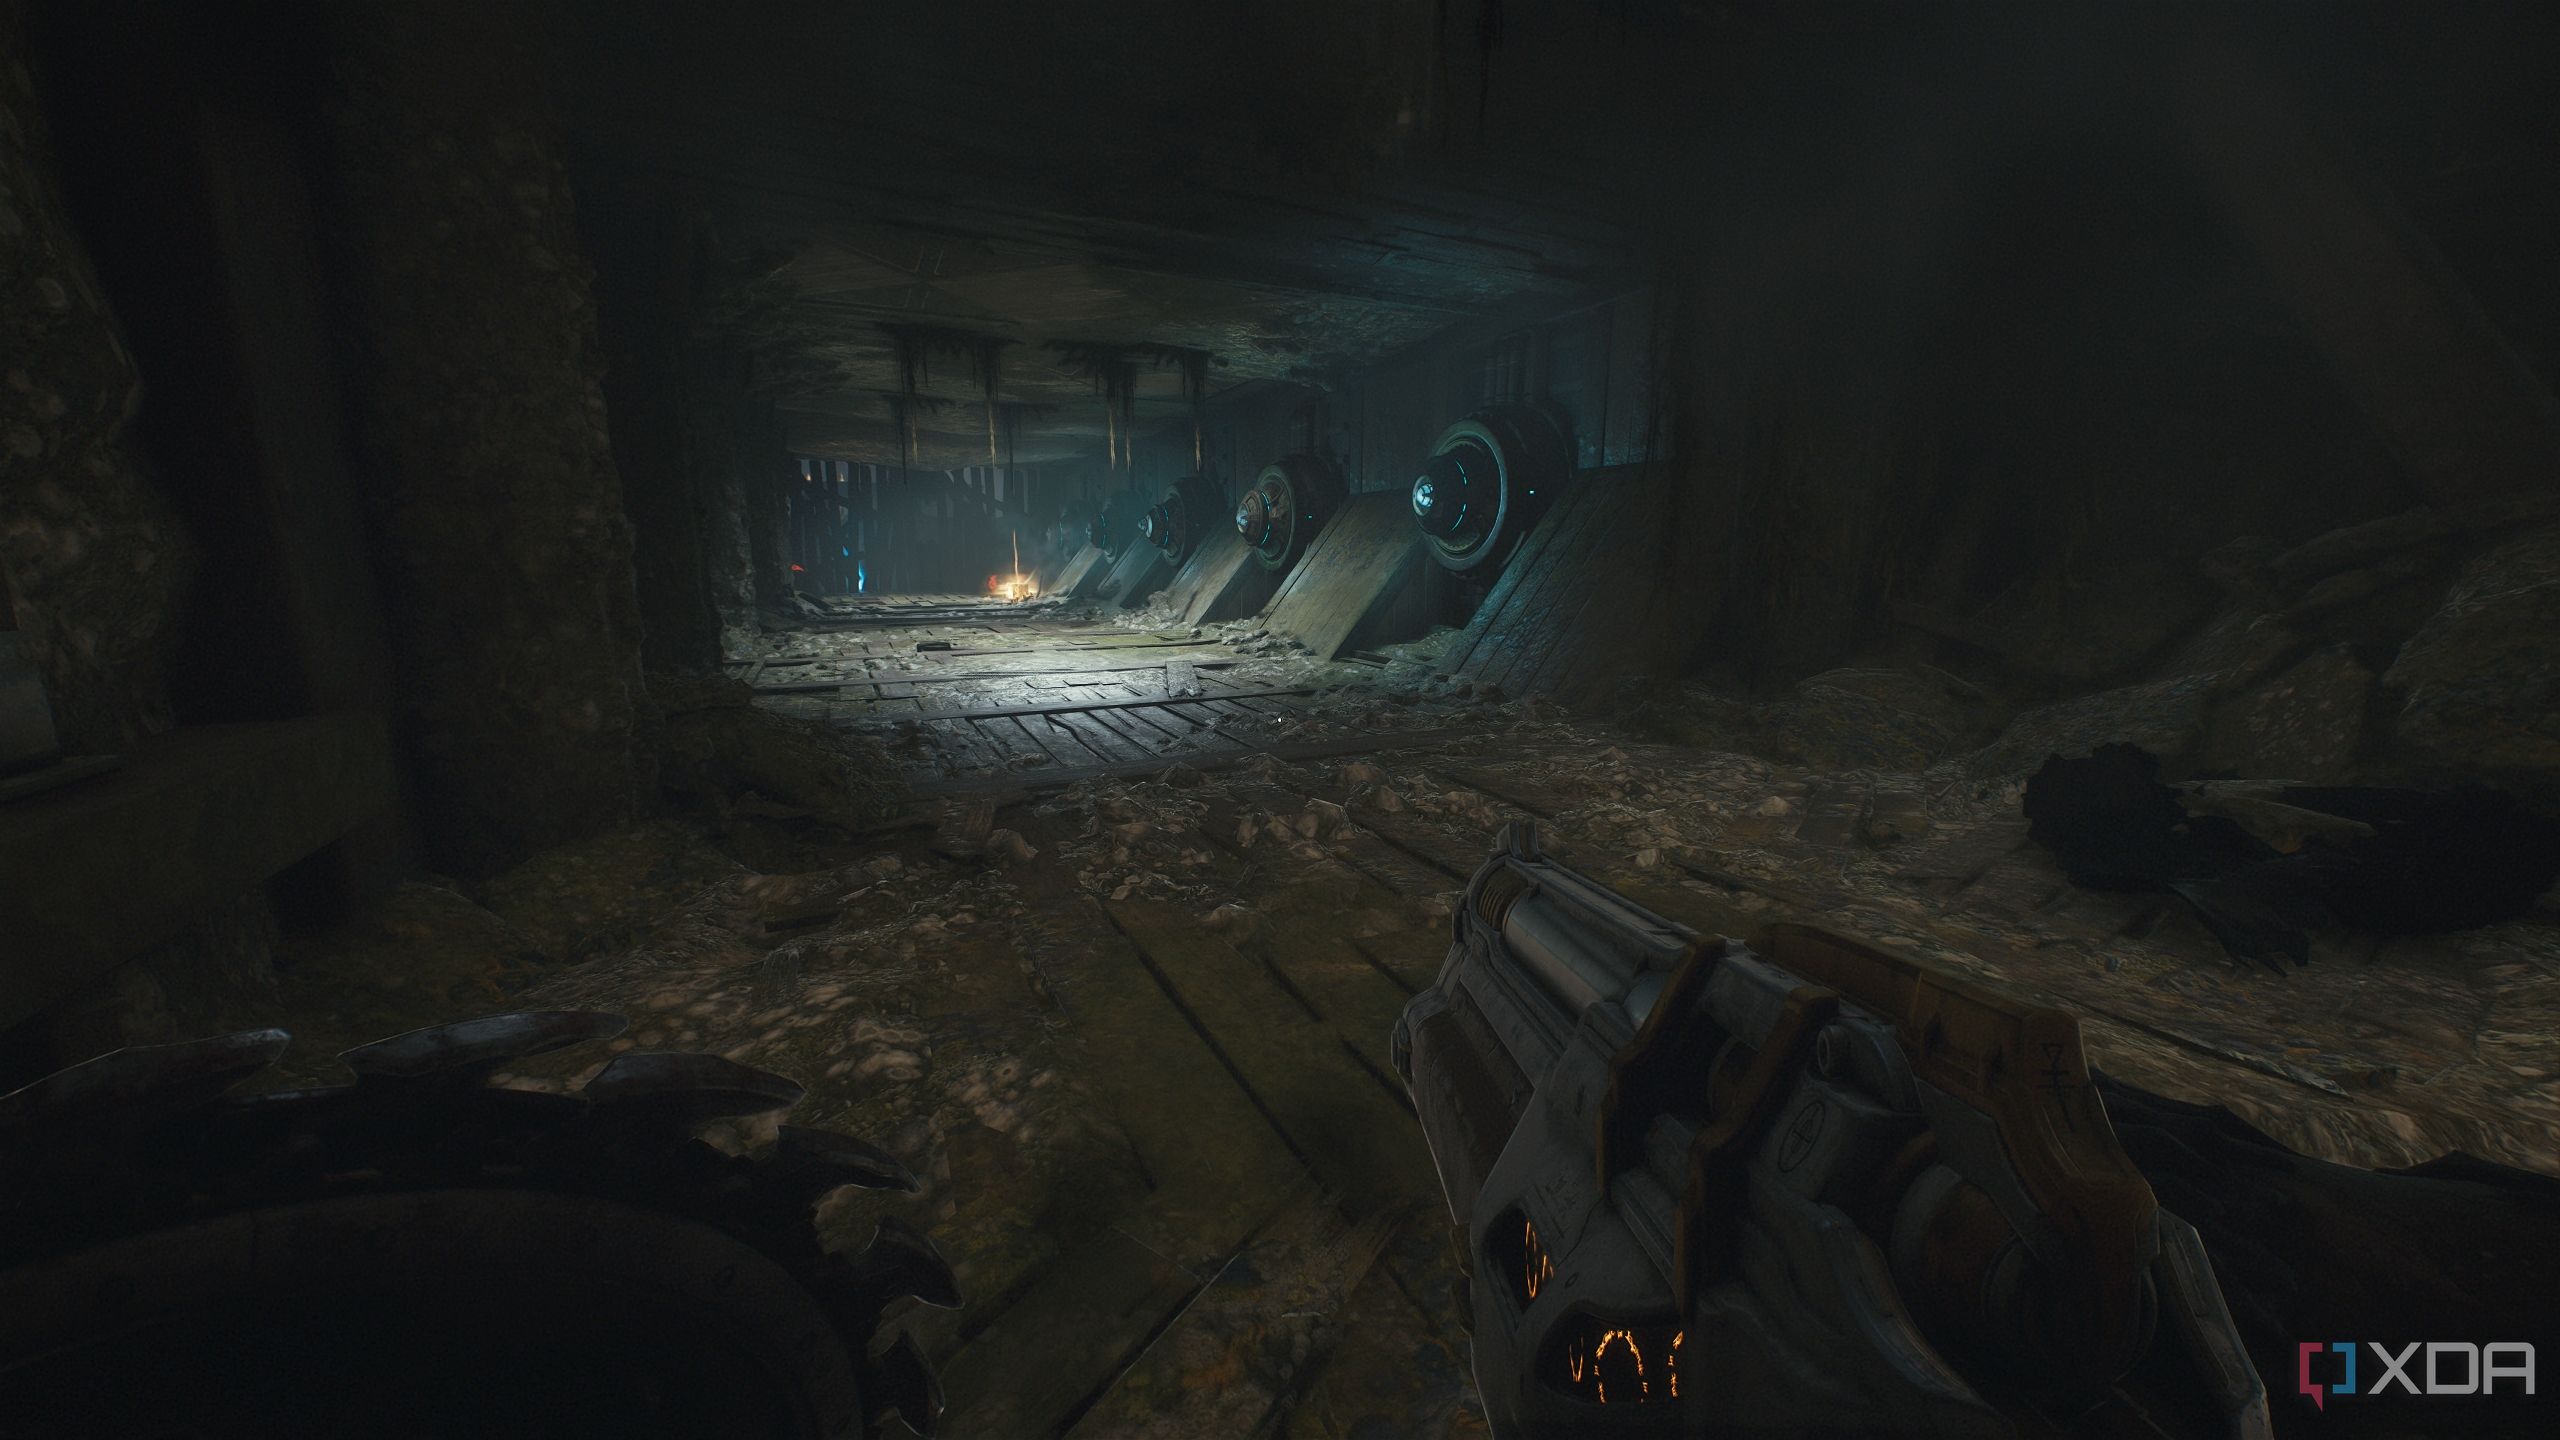
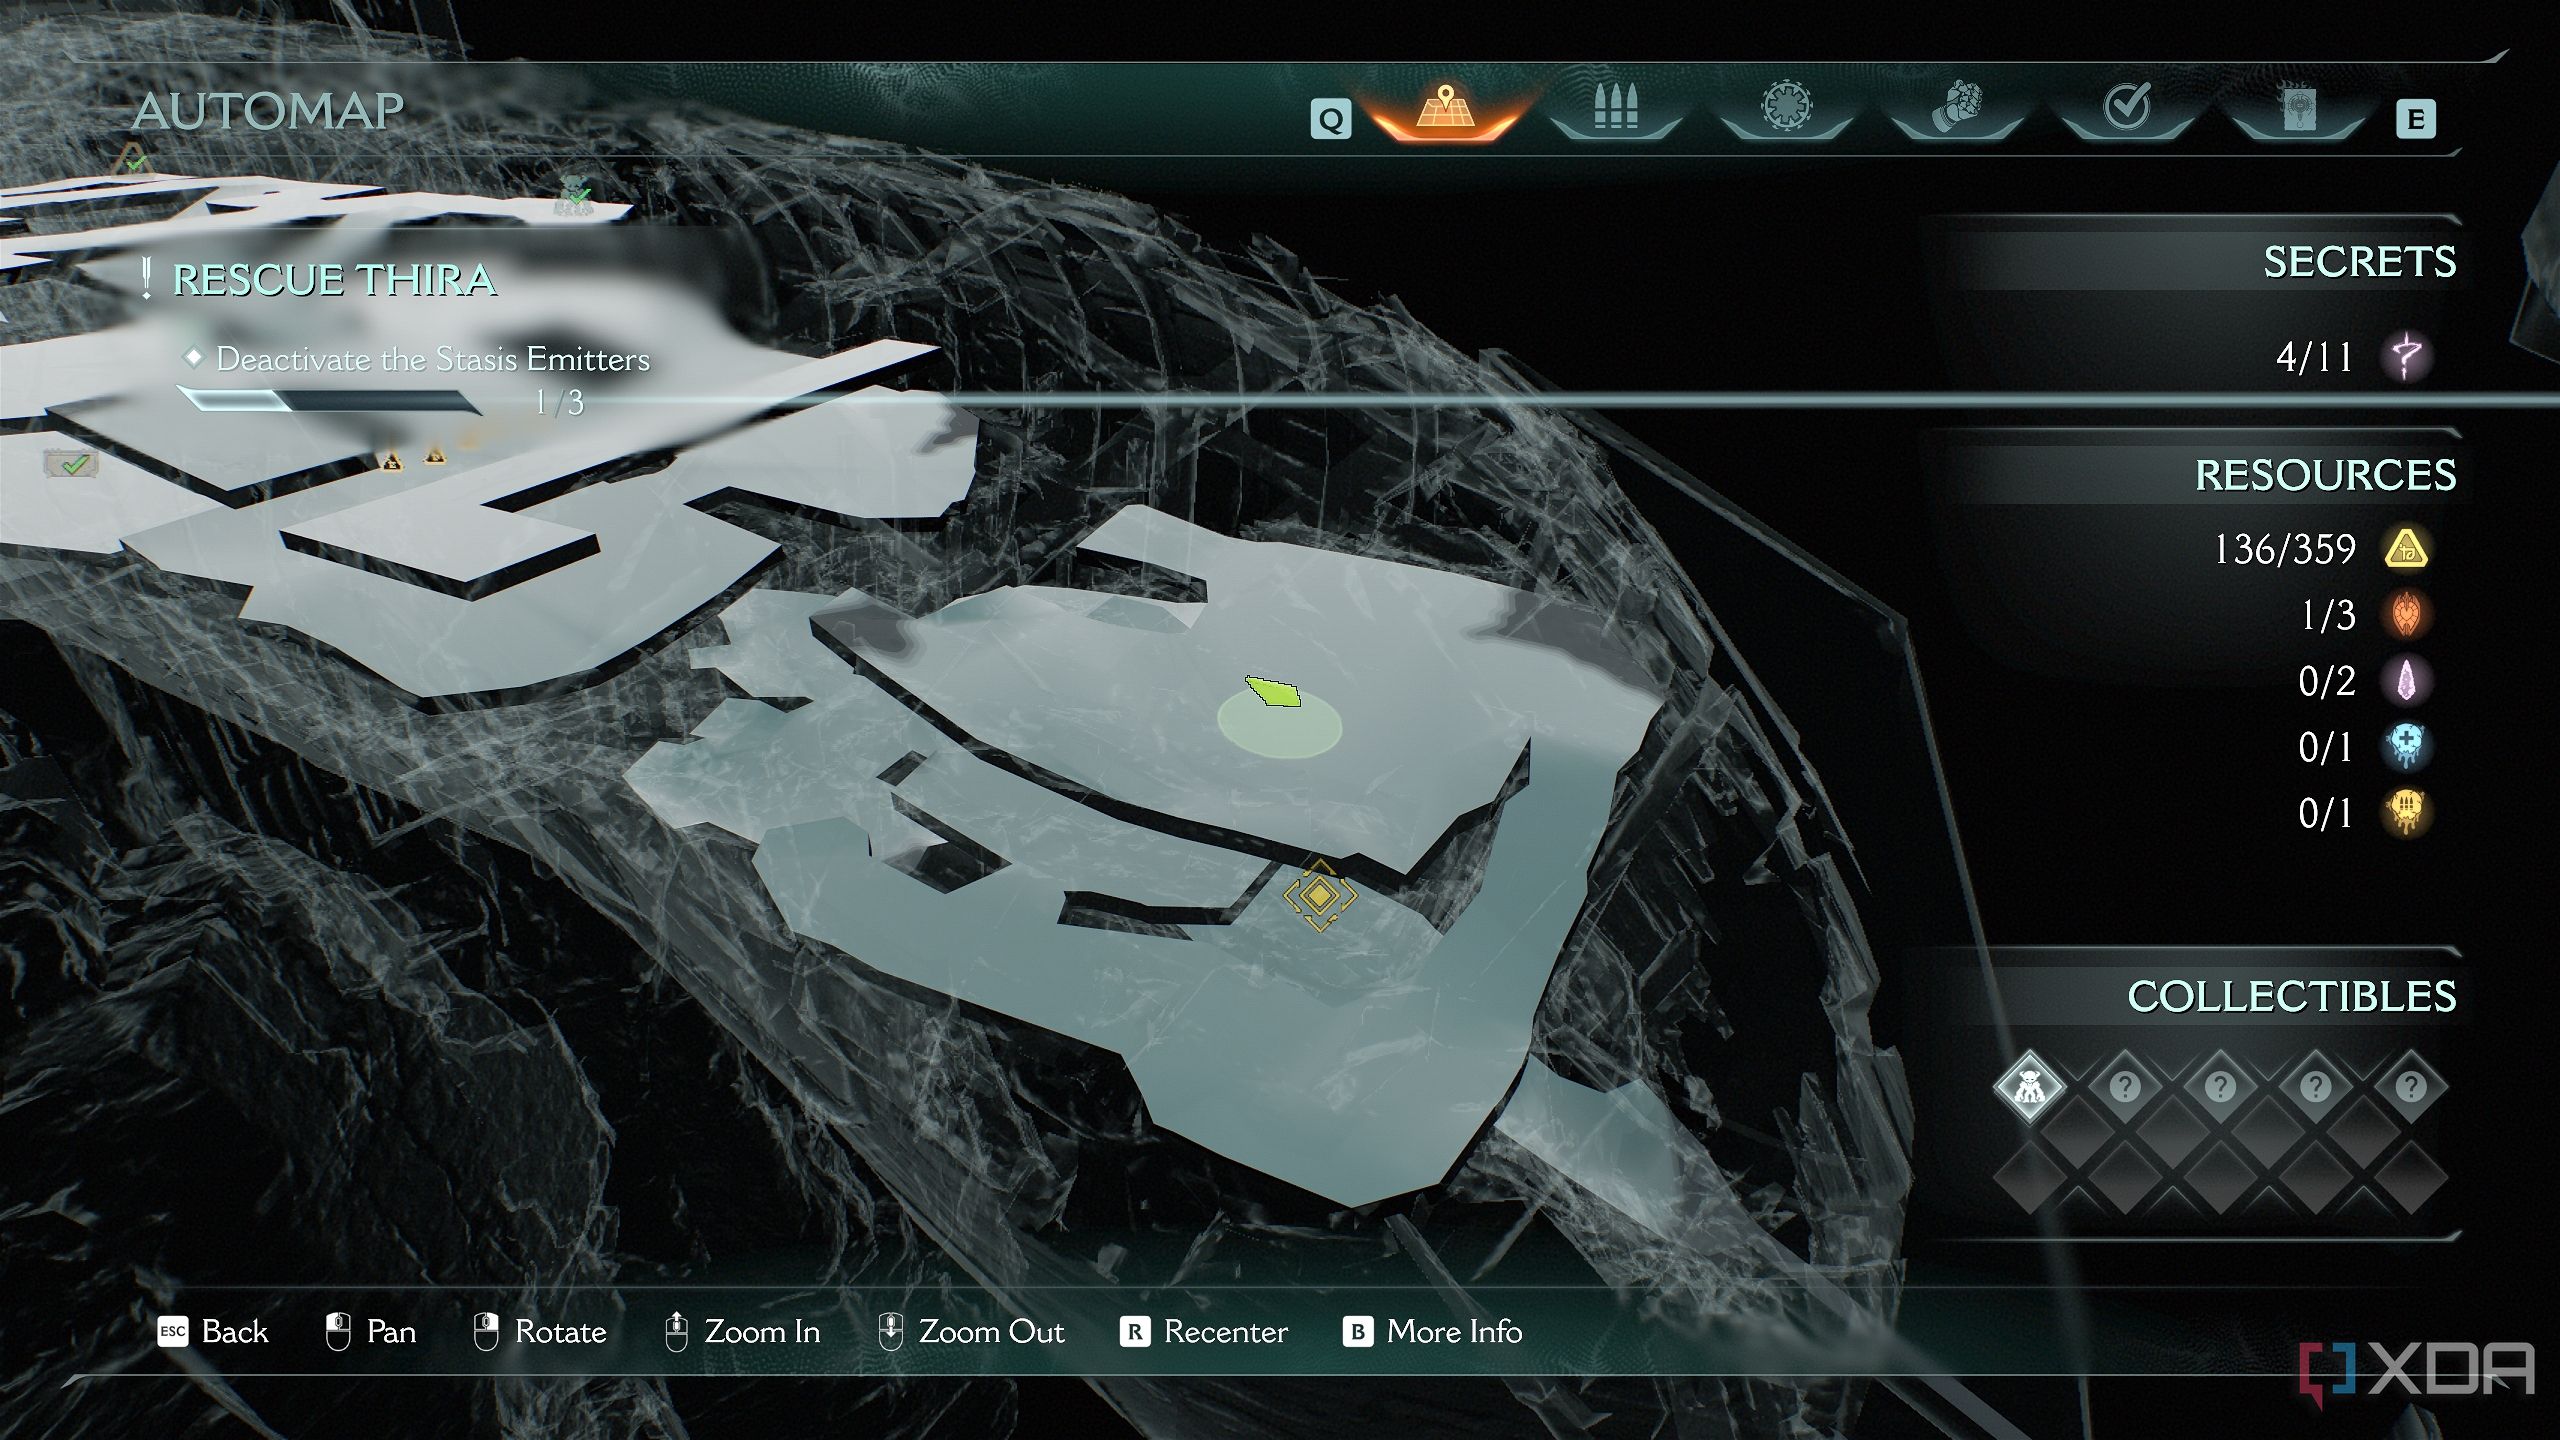
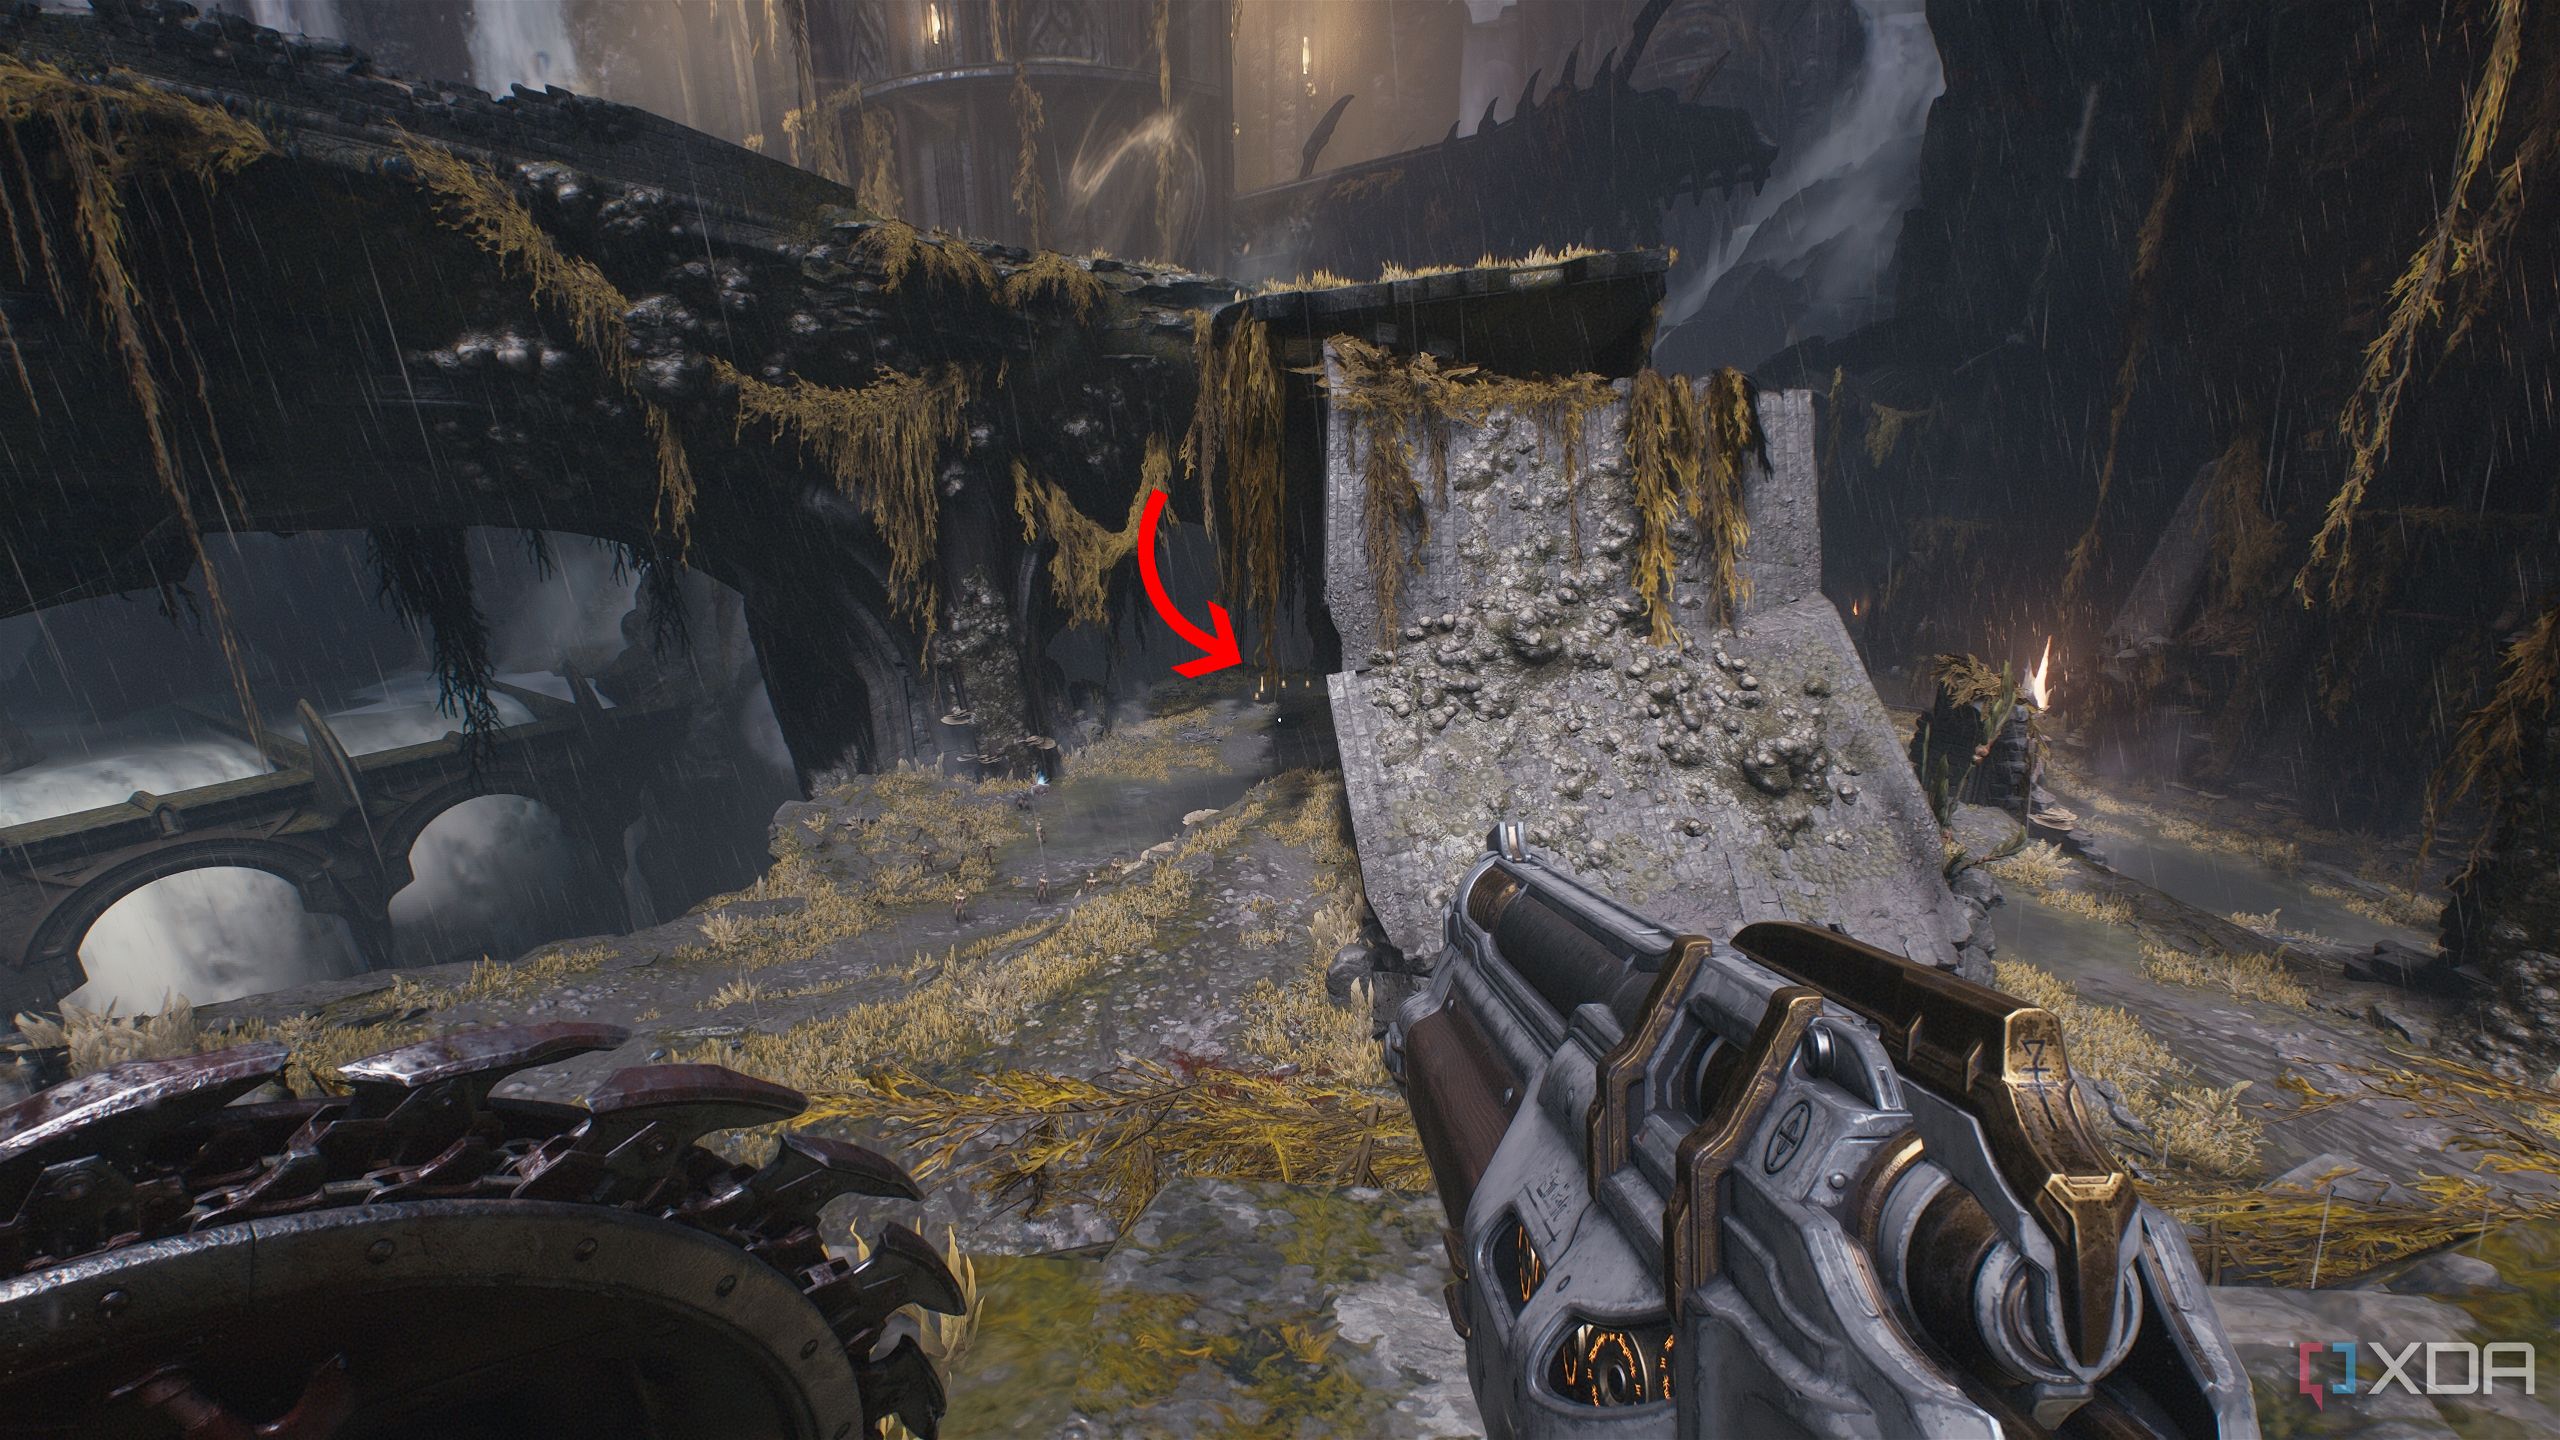
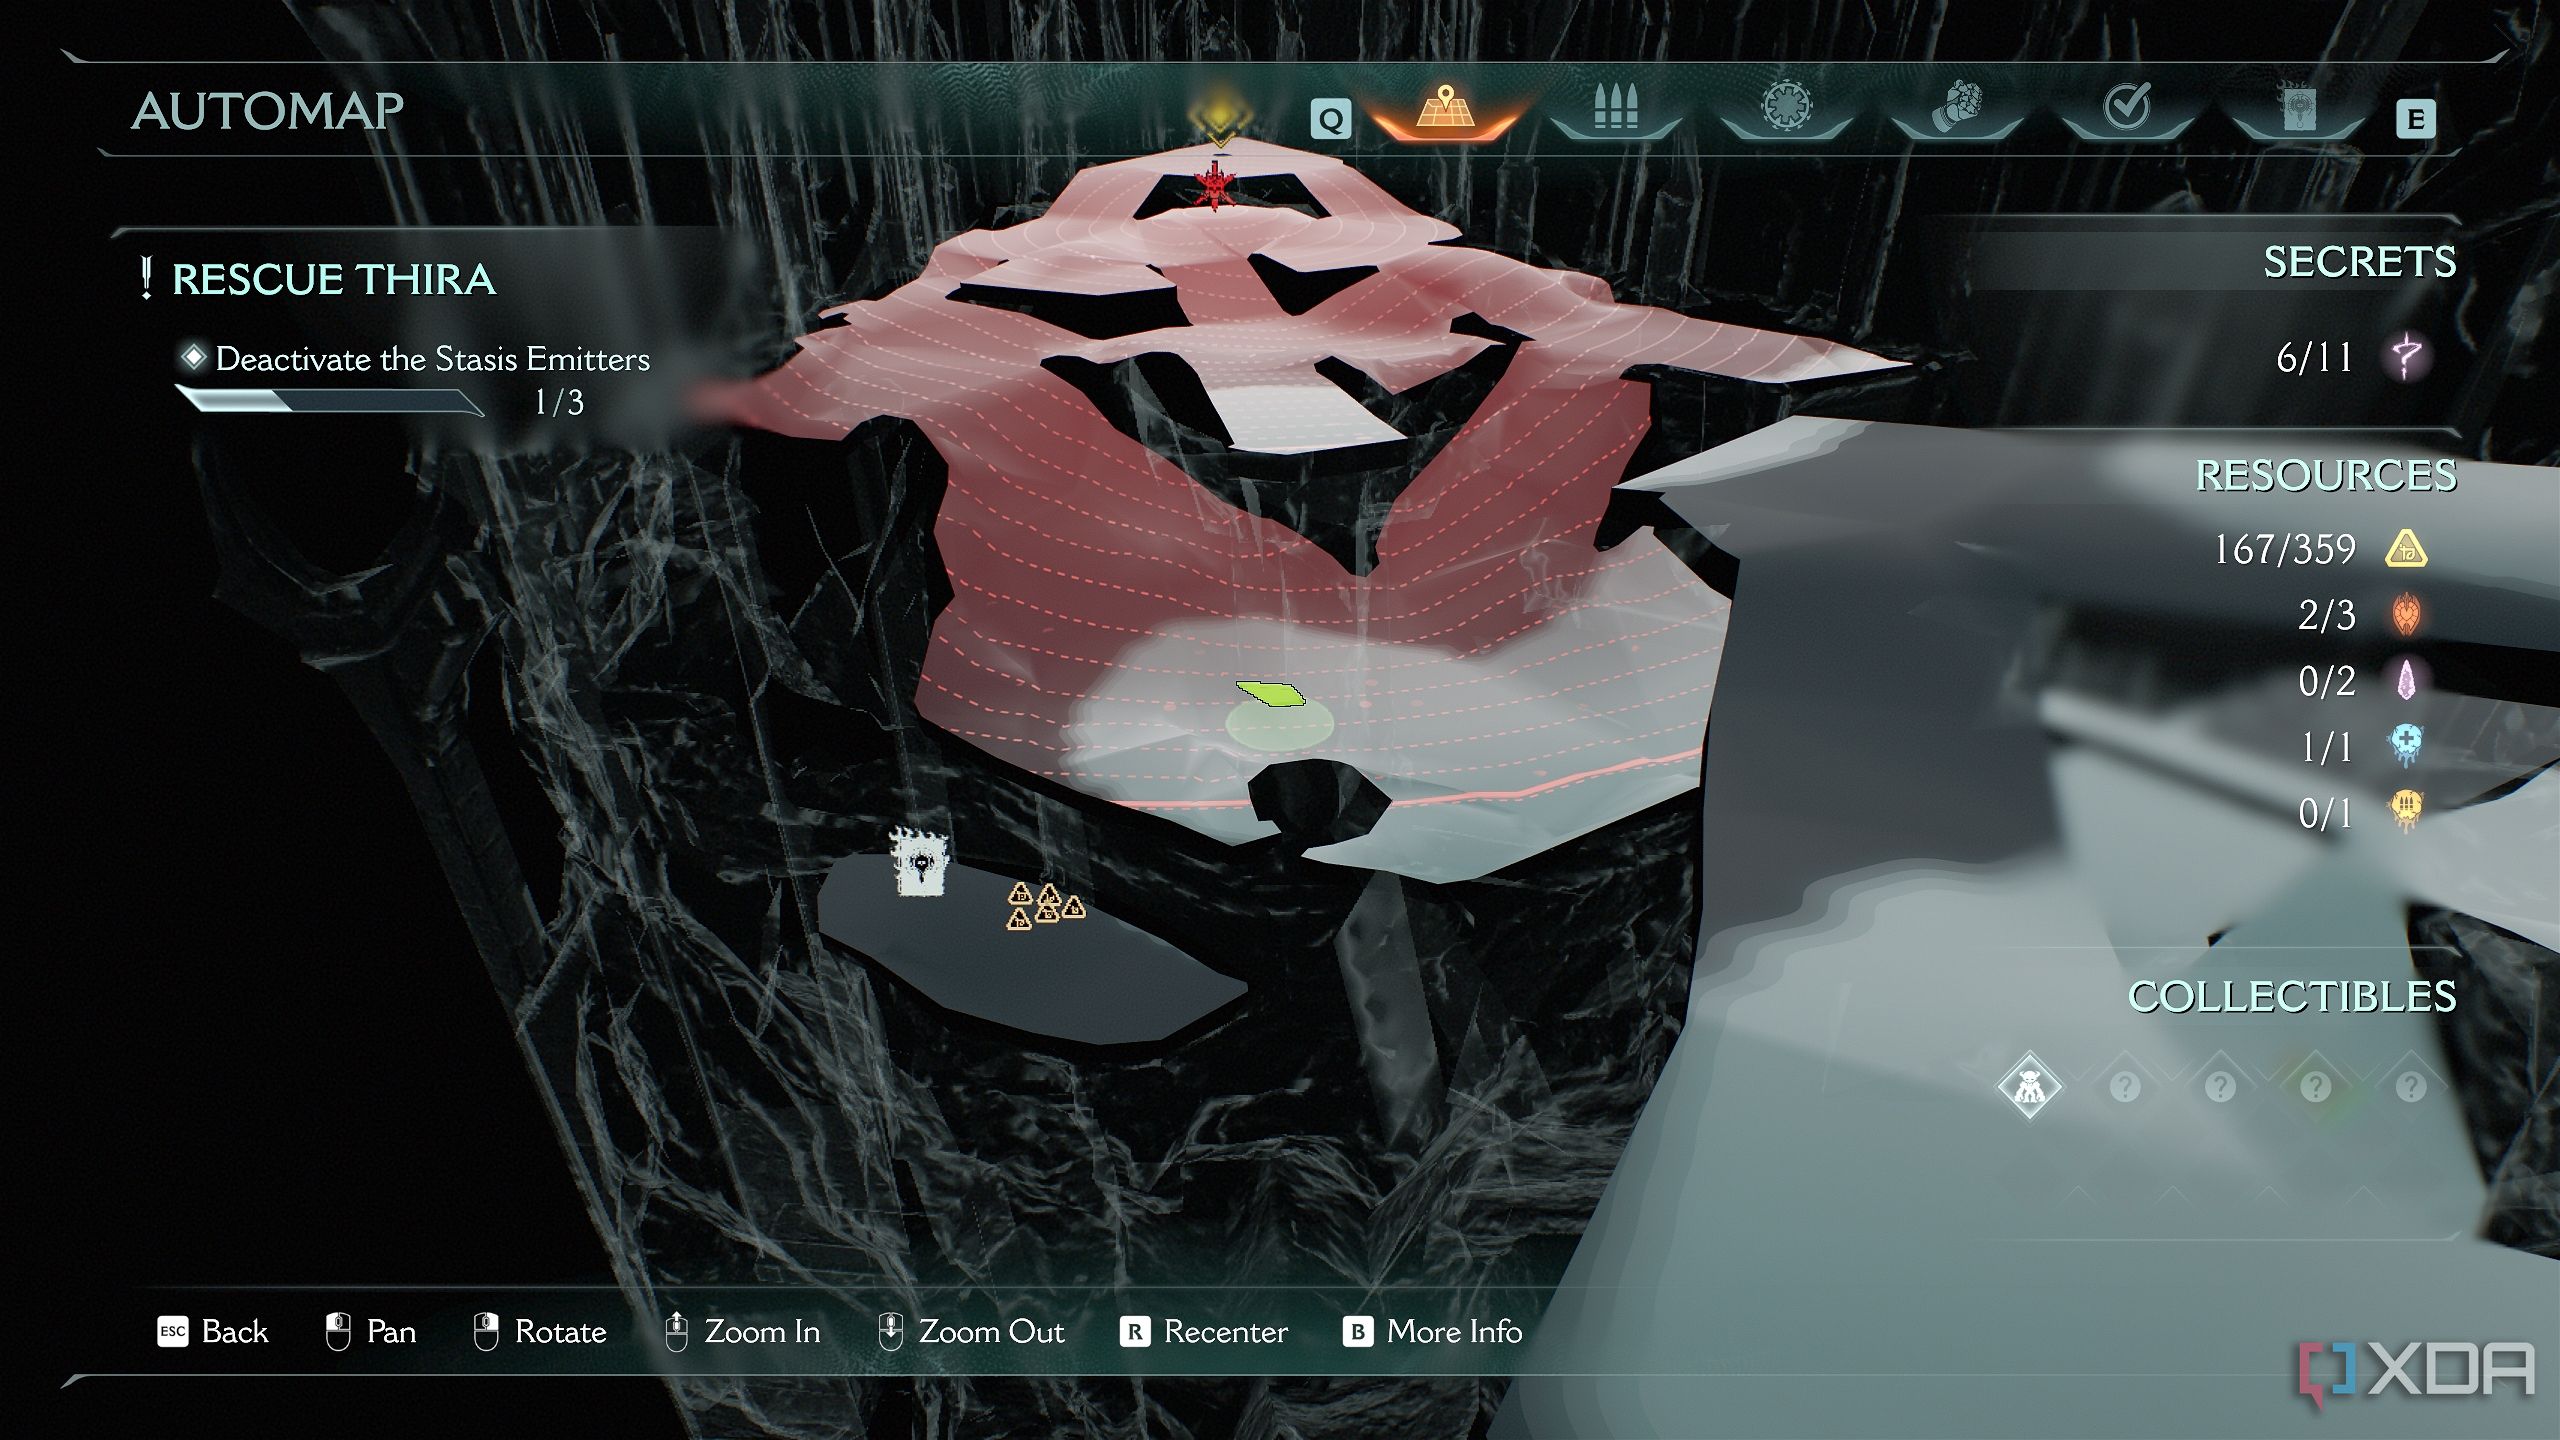
Next, before you approach the stasis emitter, go to the eastern edge of this arena.
Here, you’ll see a small, dark cave-like tunnel with another trail of gold bars to pick up. After that, hit the Stasis Emitter and proceed forward.
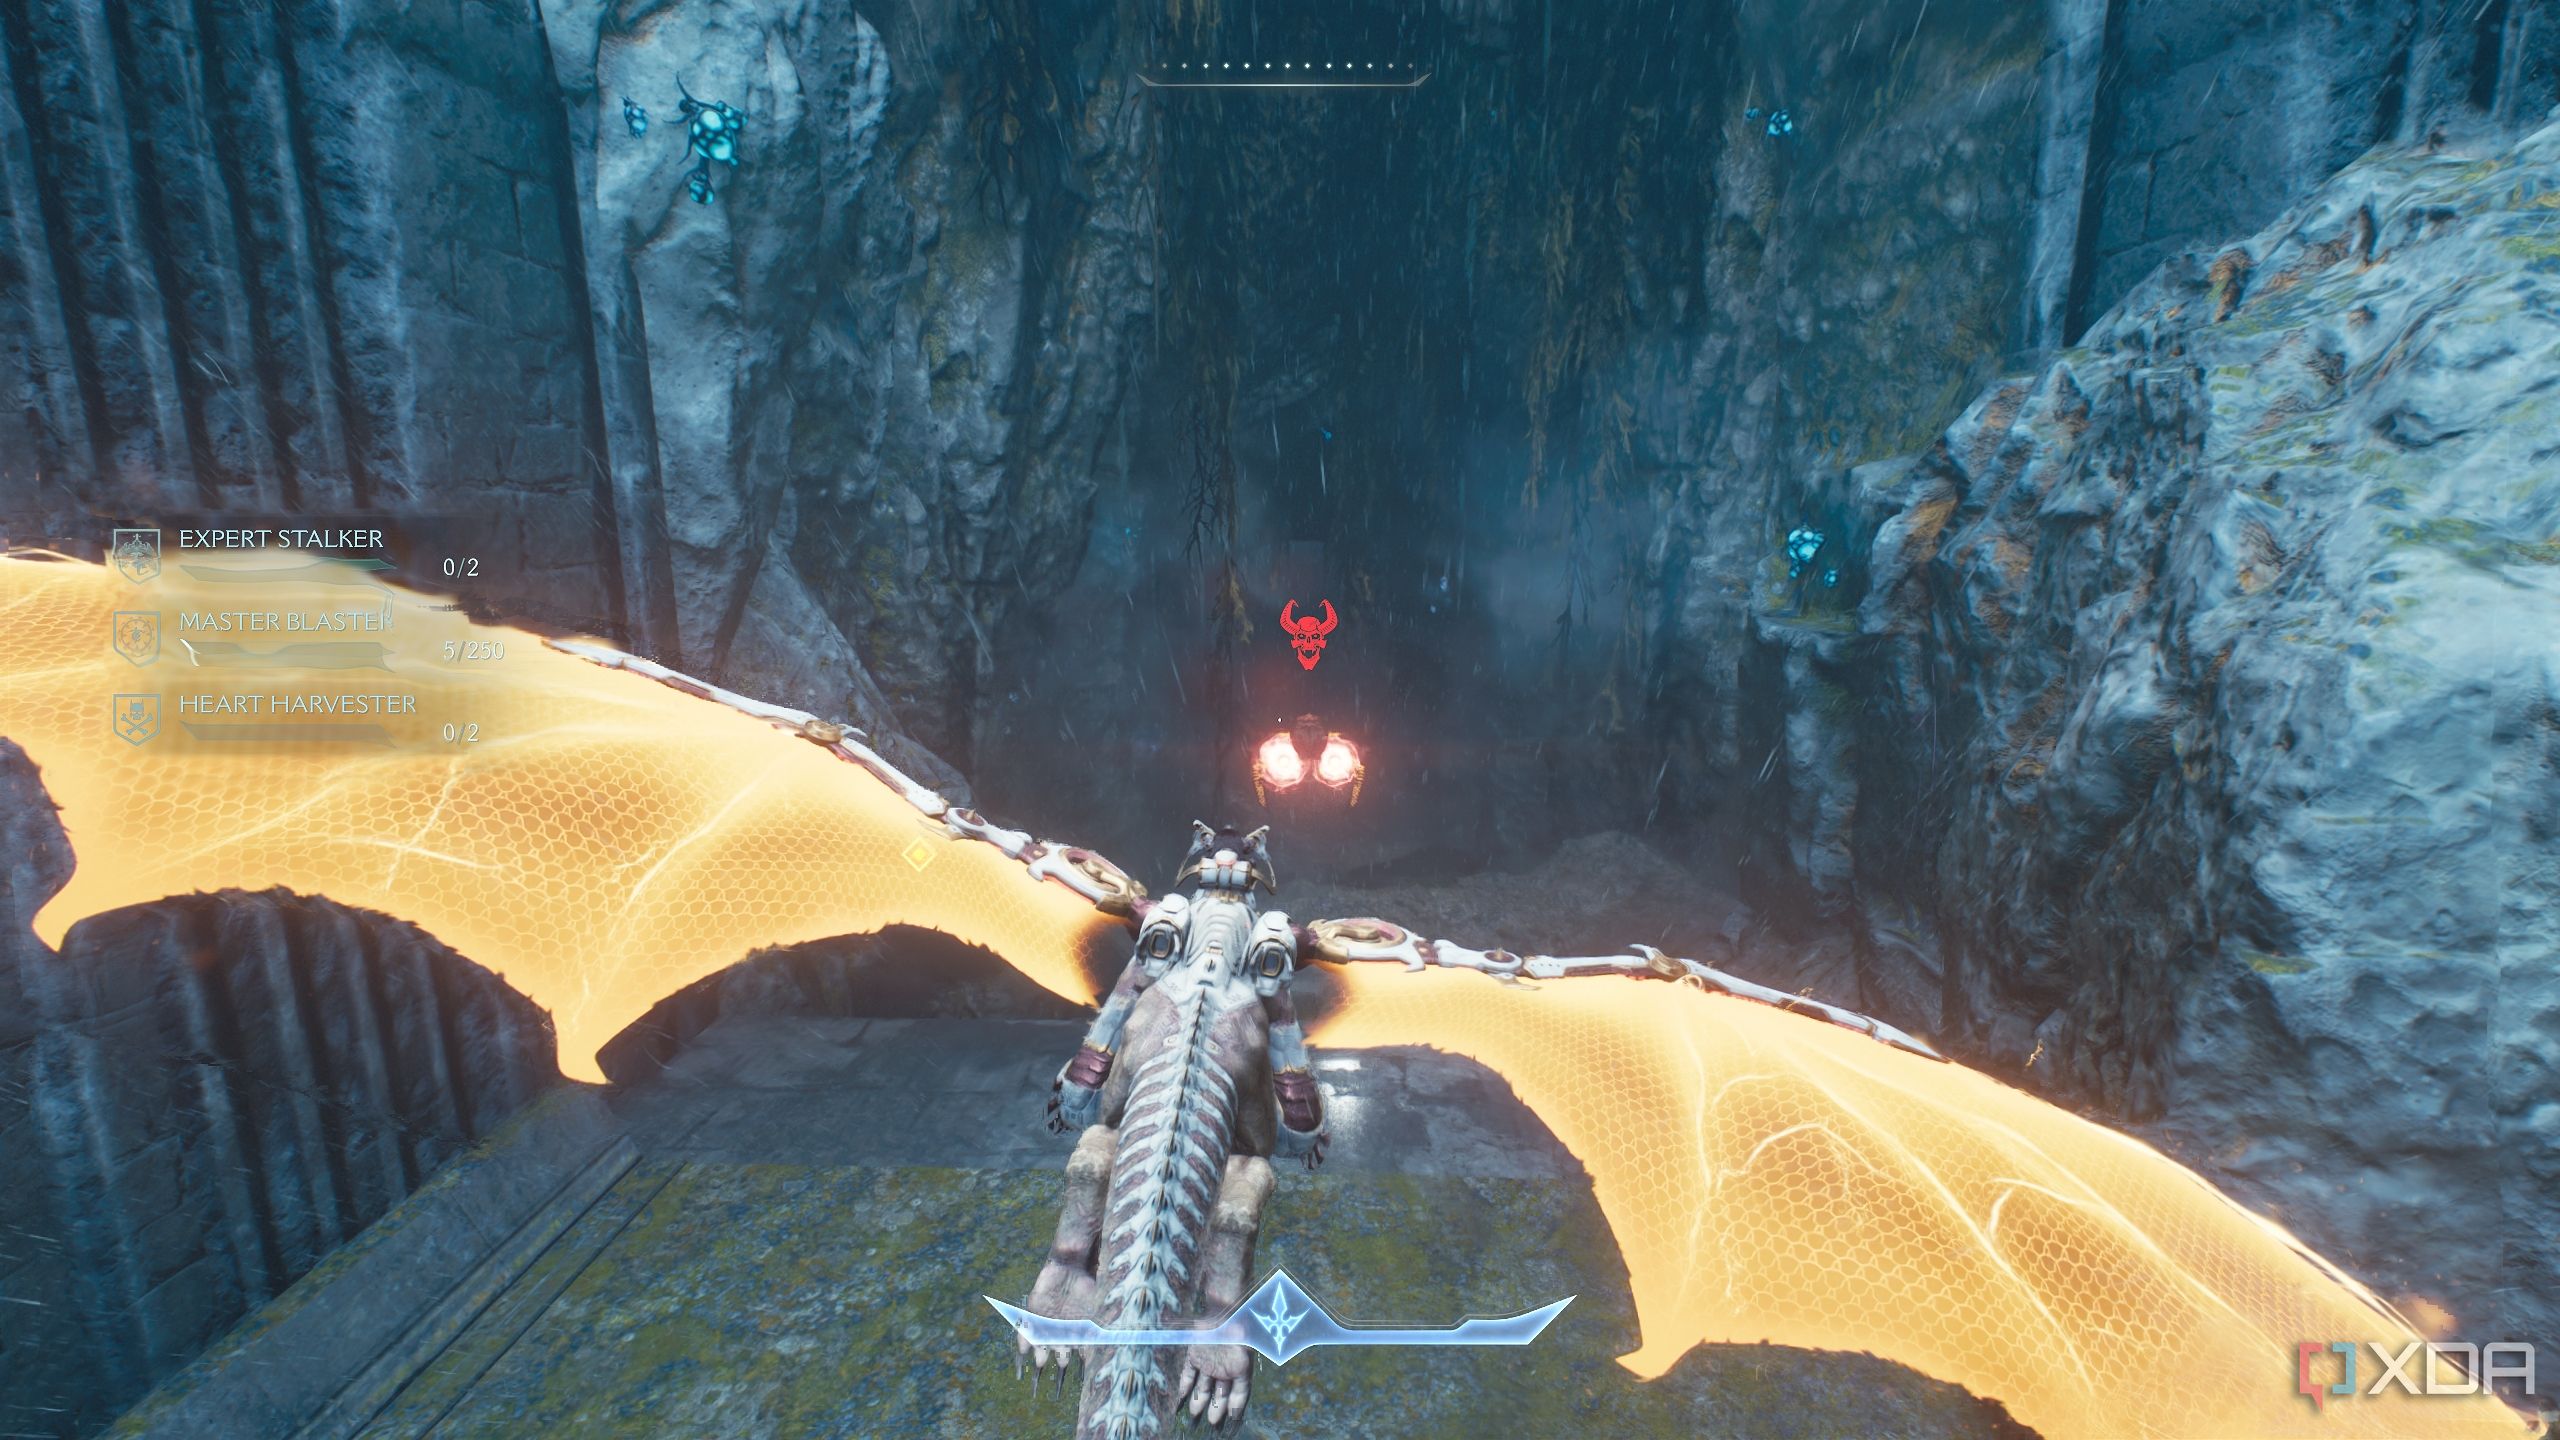
Completing the Expert Stalker mission challenge
Wrapping up the mission challenges
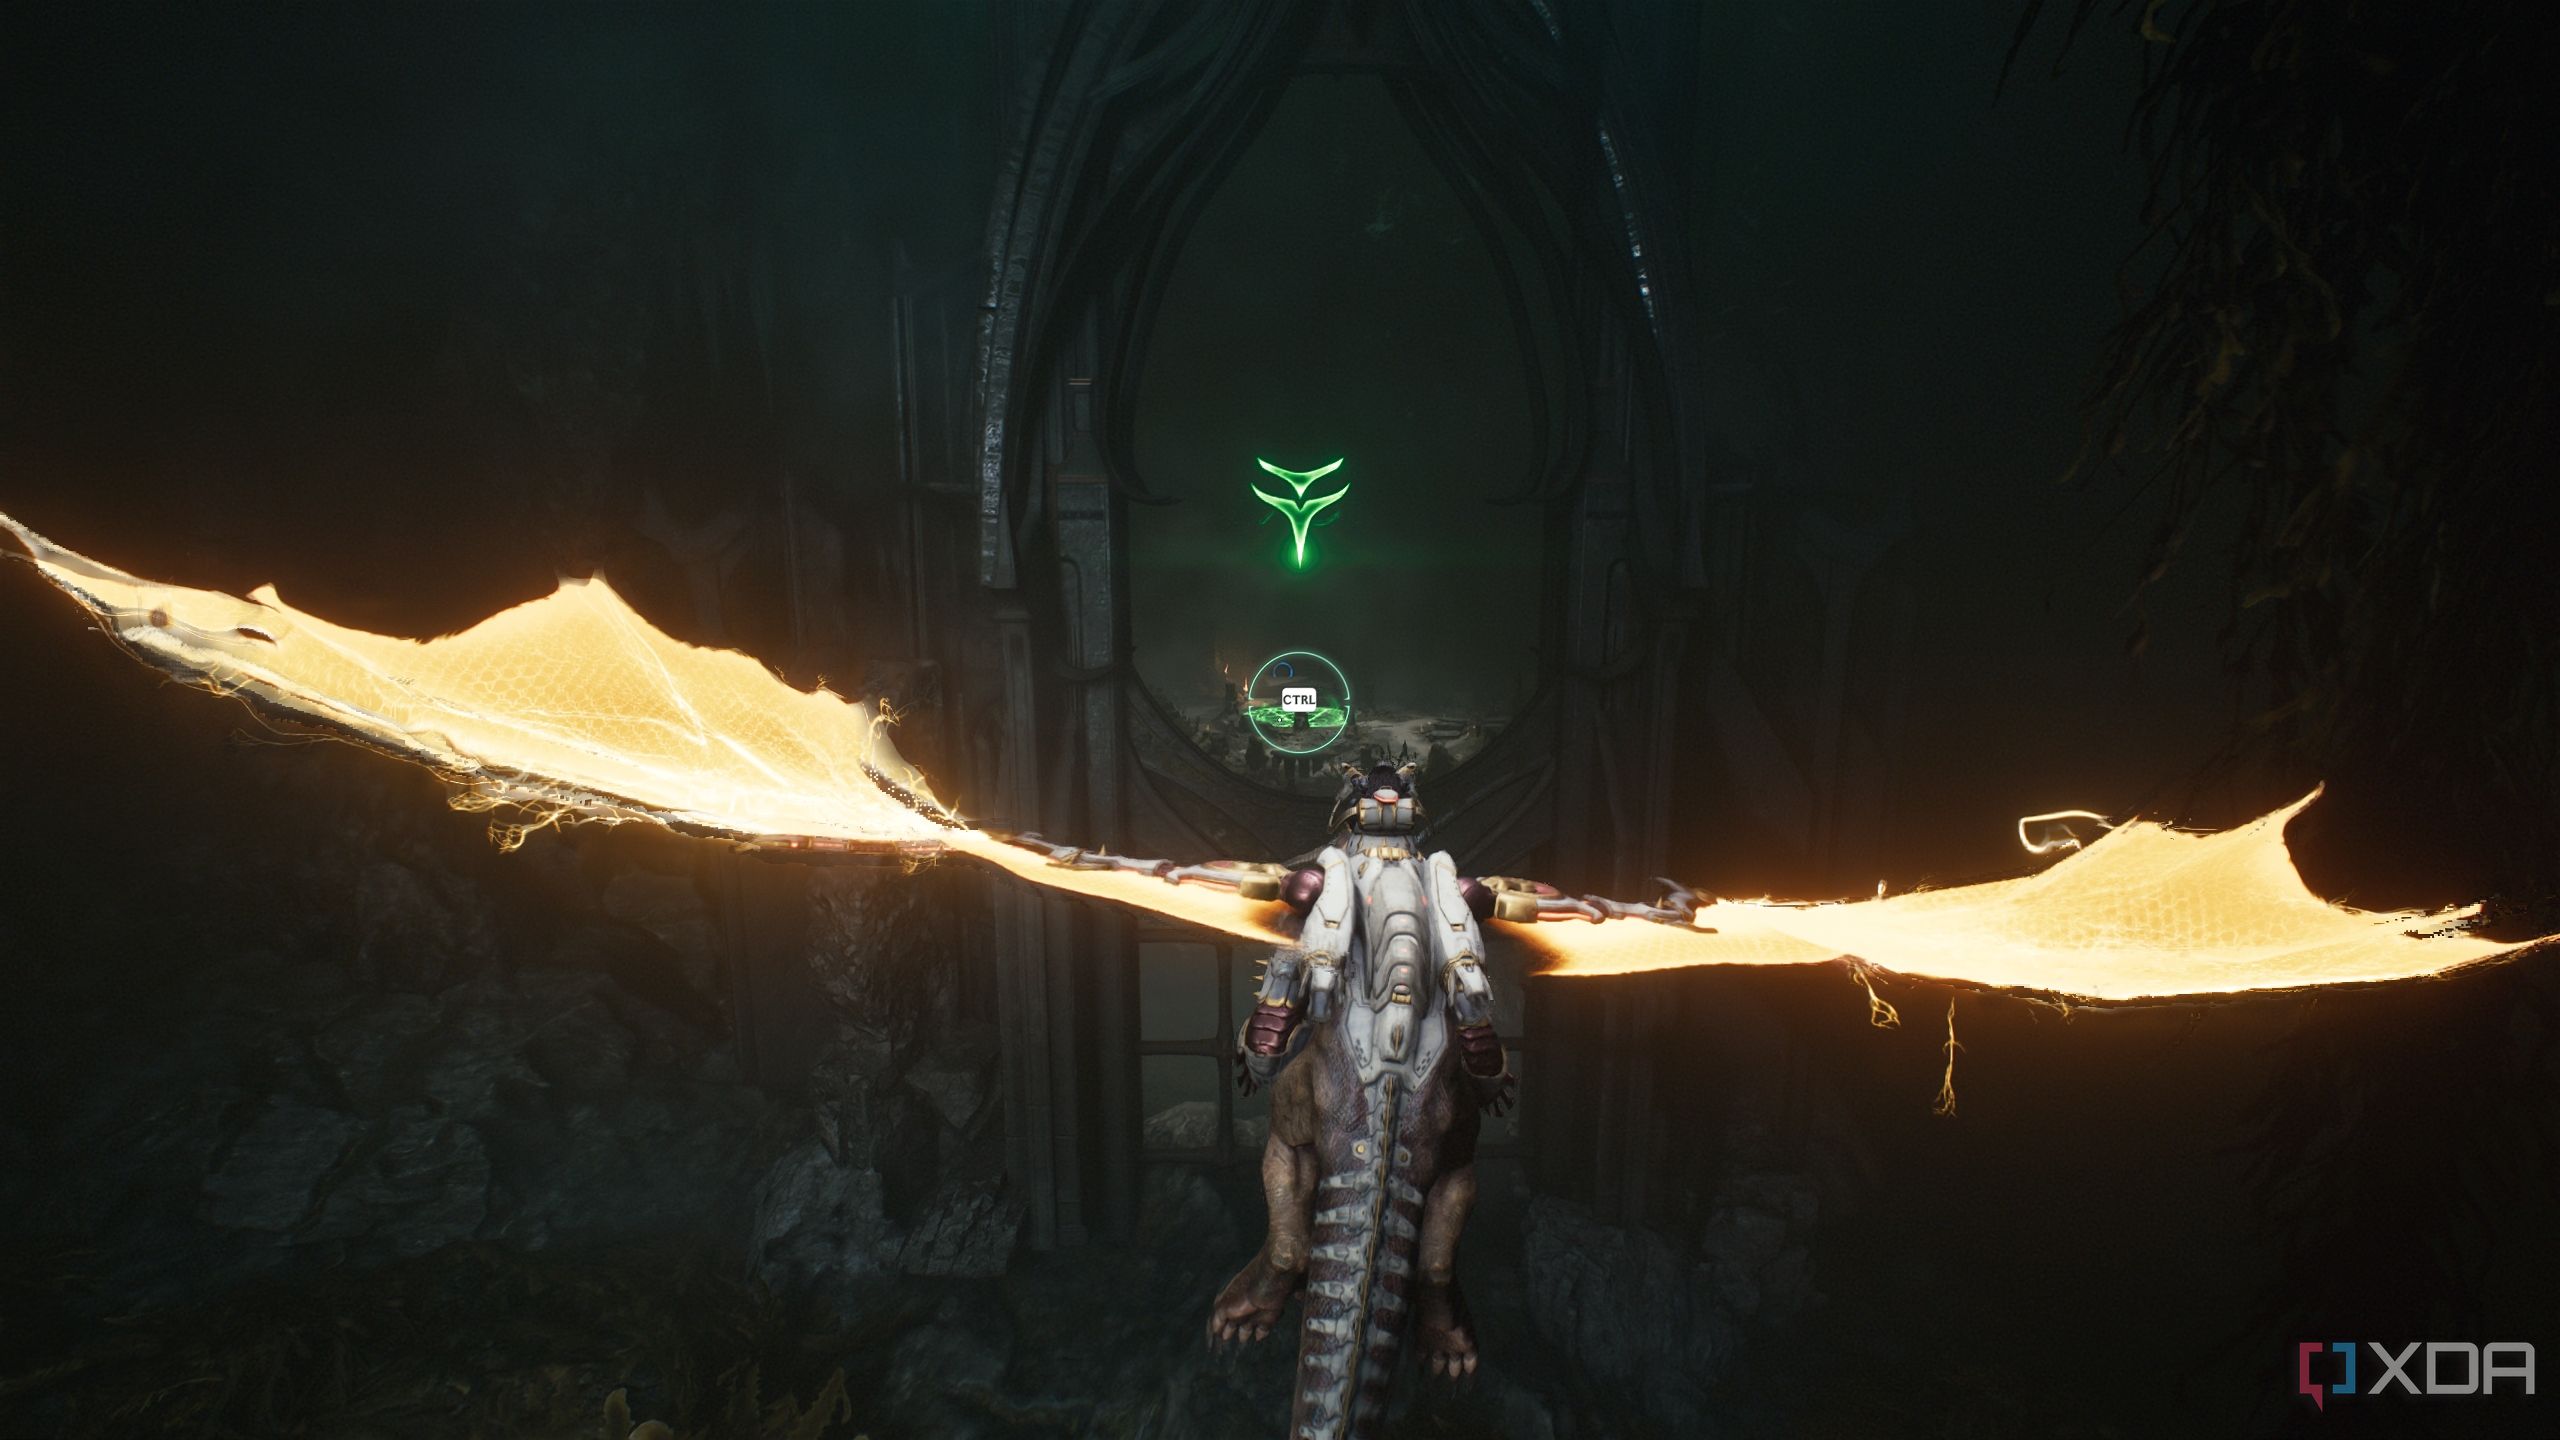
Once you hit the first Stasis Emitter, you’ll mount your dragon again and take to the skies. You’ll have to fight two Giant Cacodemons, but after that, head towards the objective to spot a corridor with yellow light.
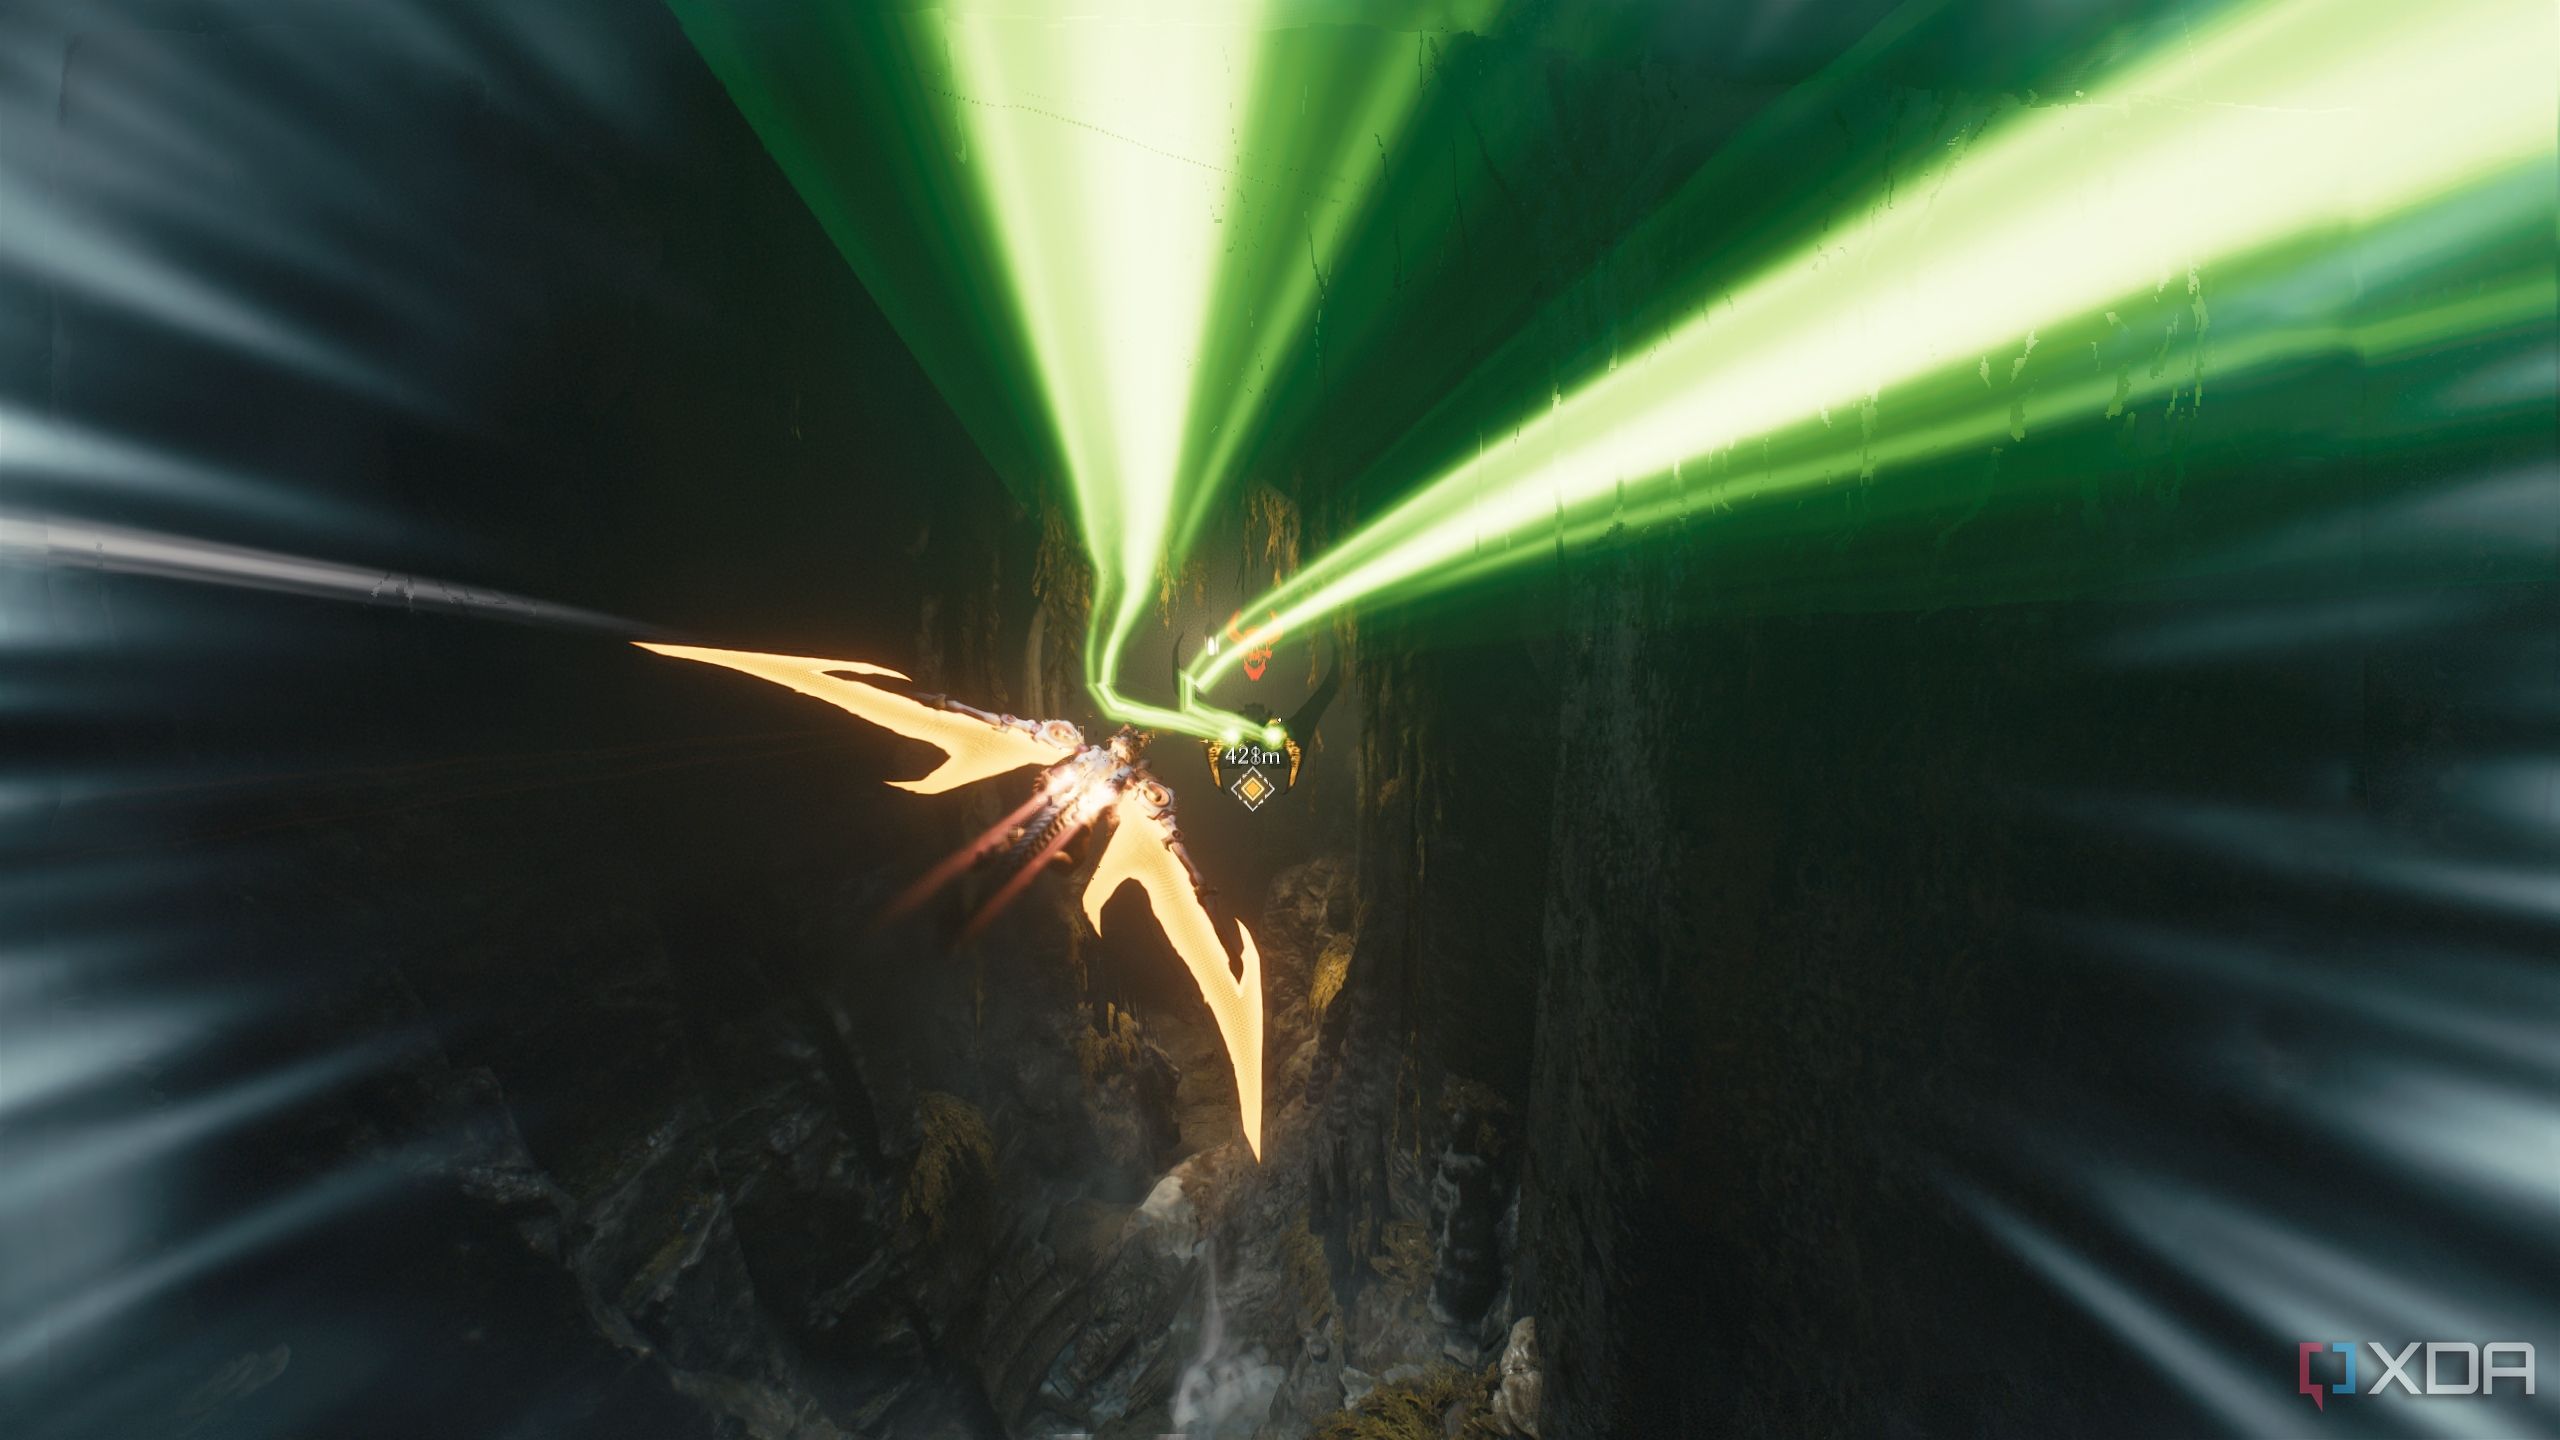
Enter it, and you’ll enter your pursuit with the second Hell Fighter ship. Take it down to complete the Expert Stalker challenge.

Follow the path, repeating the process of fighting another tentacle monster and going through it to reach the second landing zone.
Secret area 3 and collectible toy
The Arachnotron is just as ugly in toy form
Once you’re at the second landing zone, you’ll head up until you reach a jump pad that pushes you to the top of a shipwreck.
Here, instead of heading inside, look to the left, and you’ll see a small area to explore.
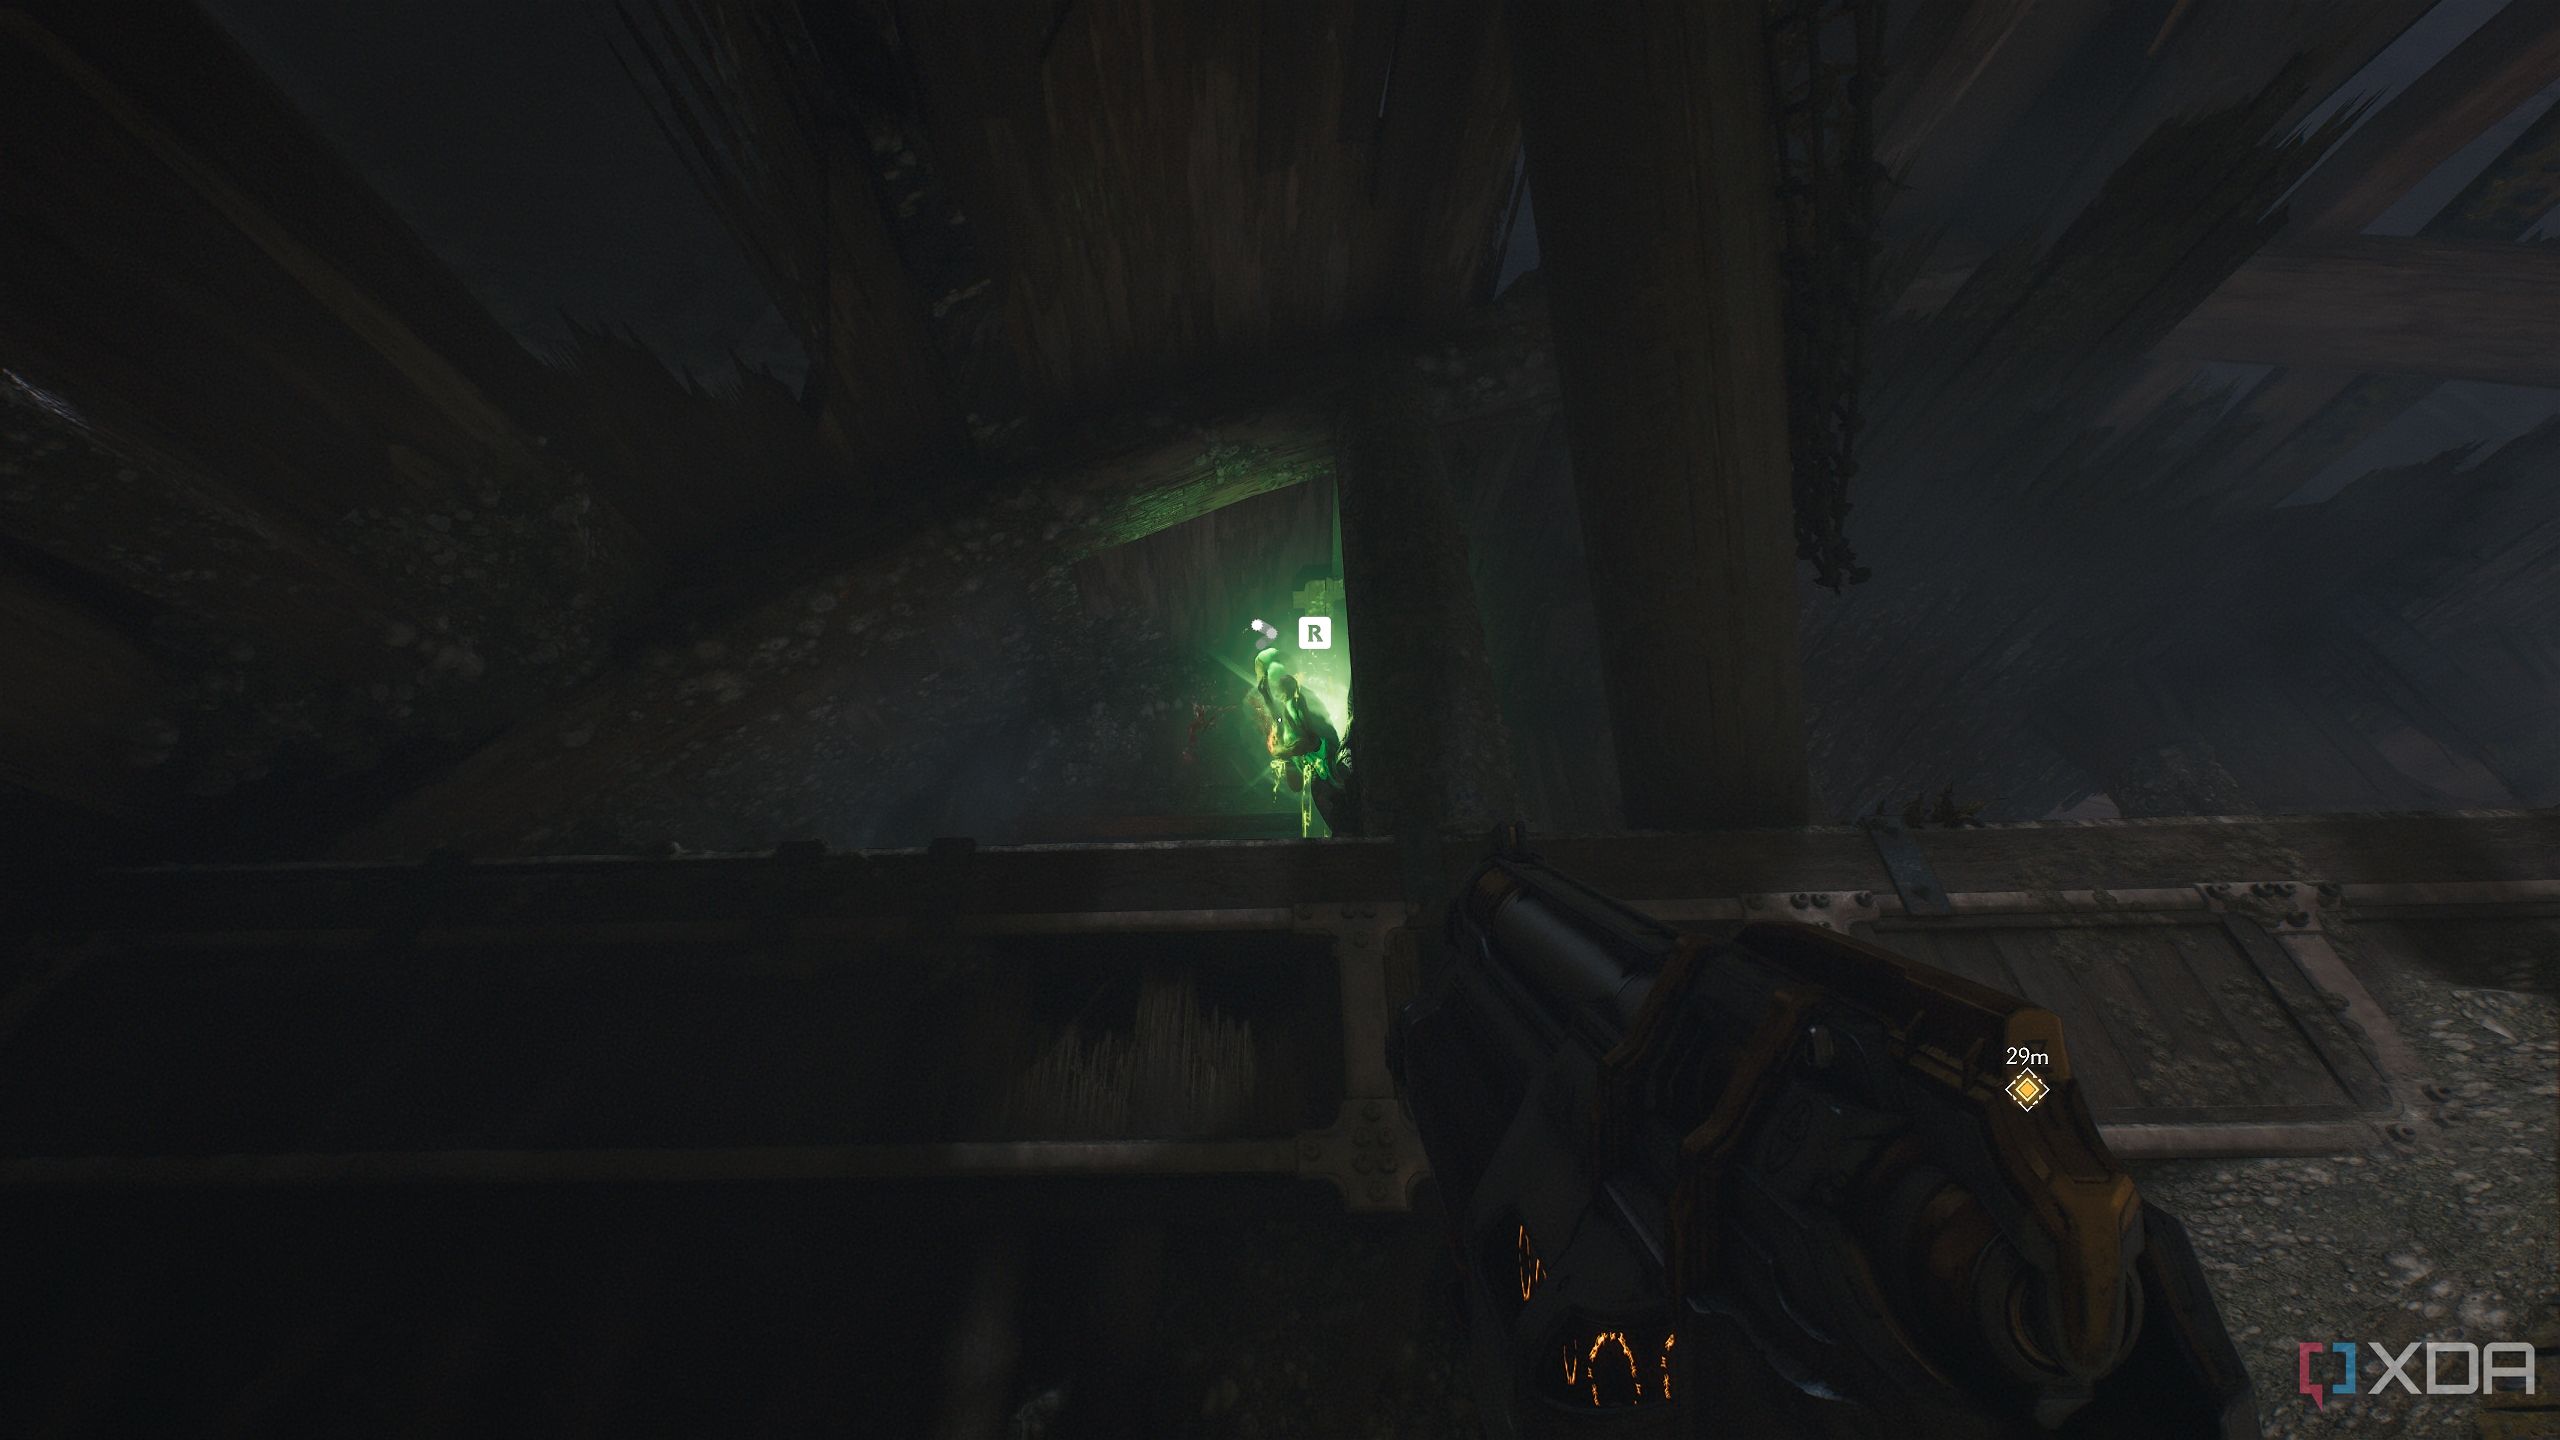
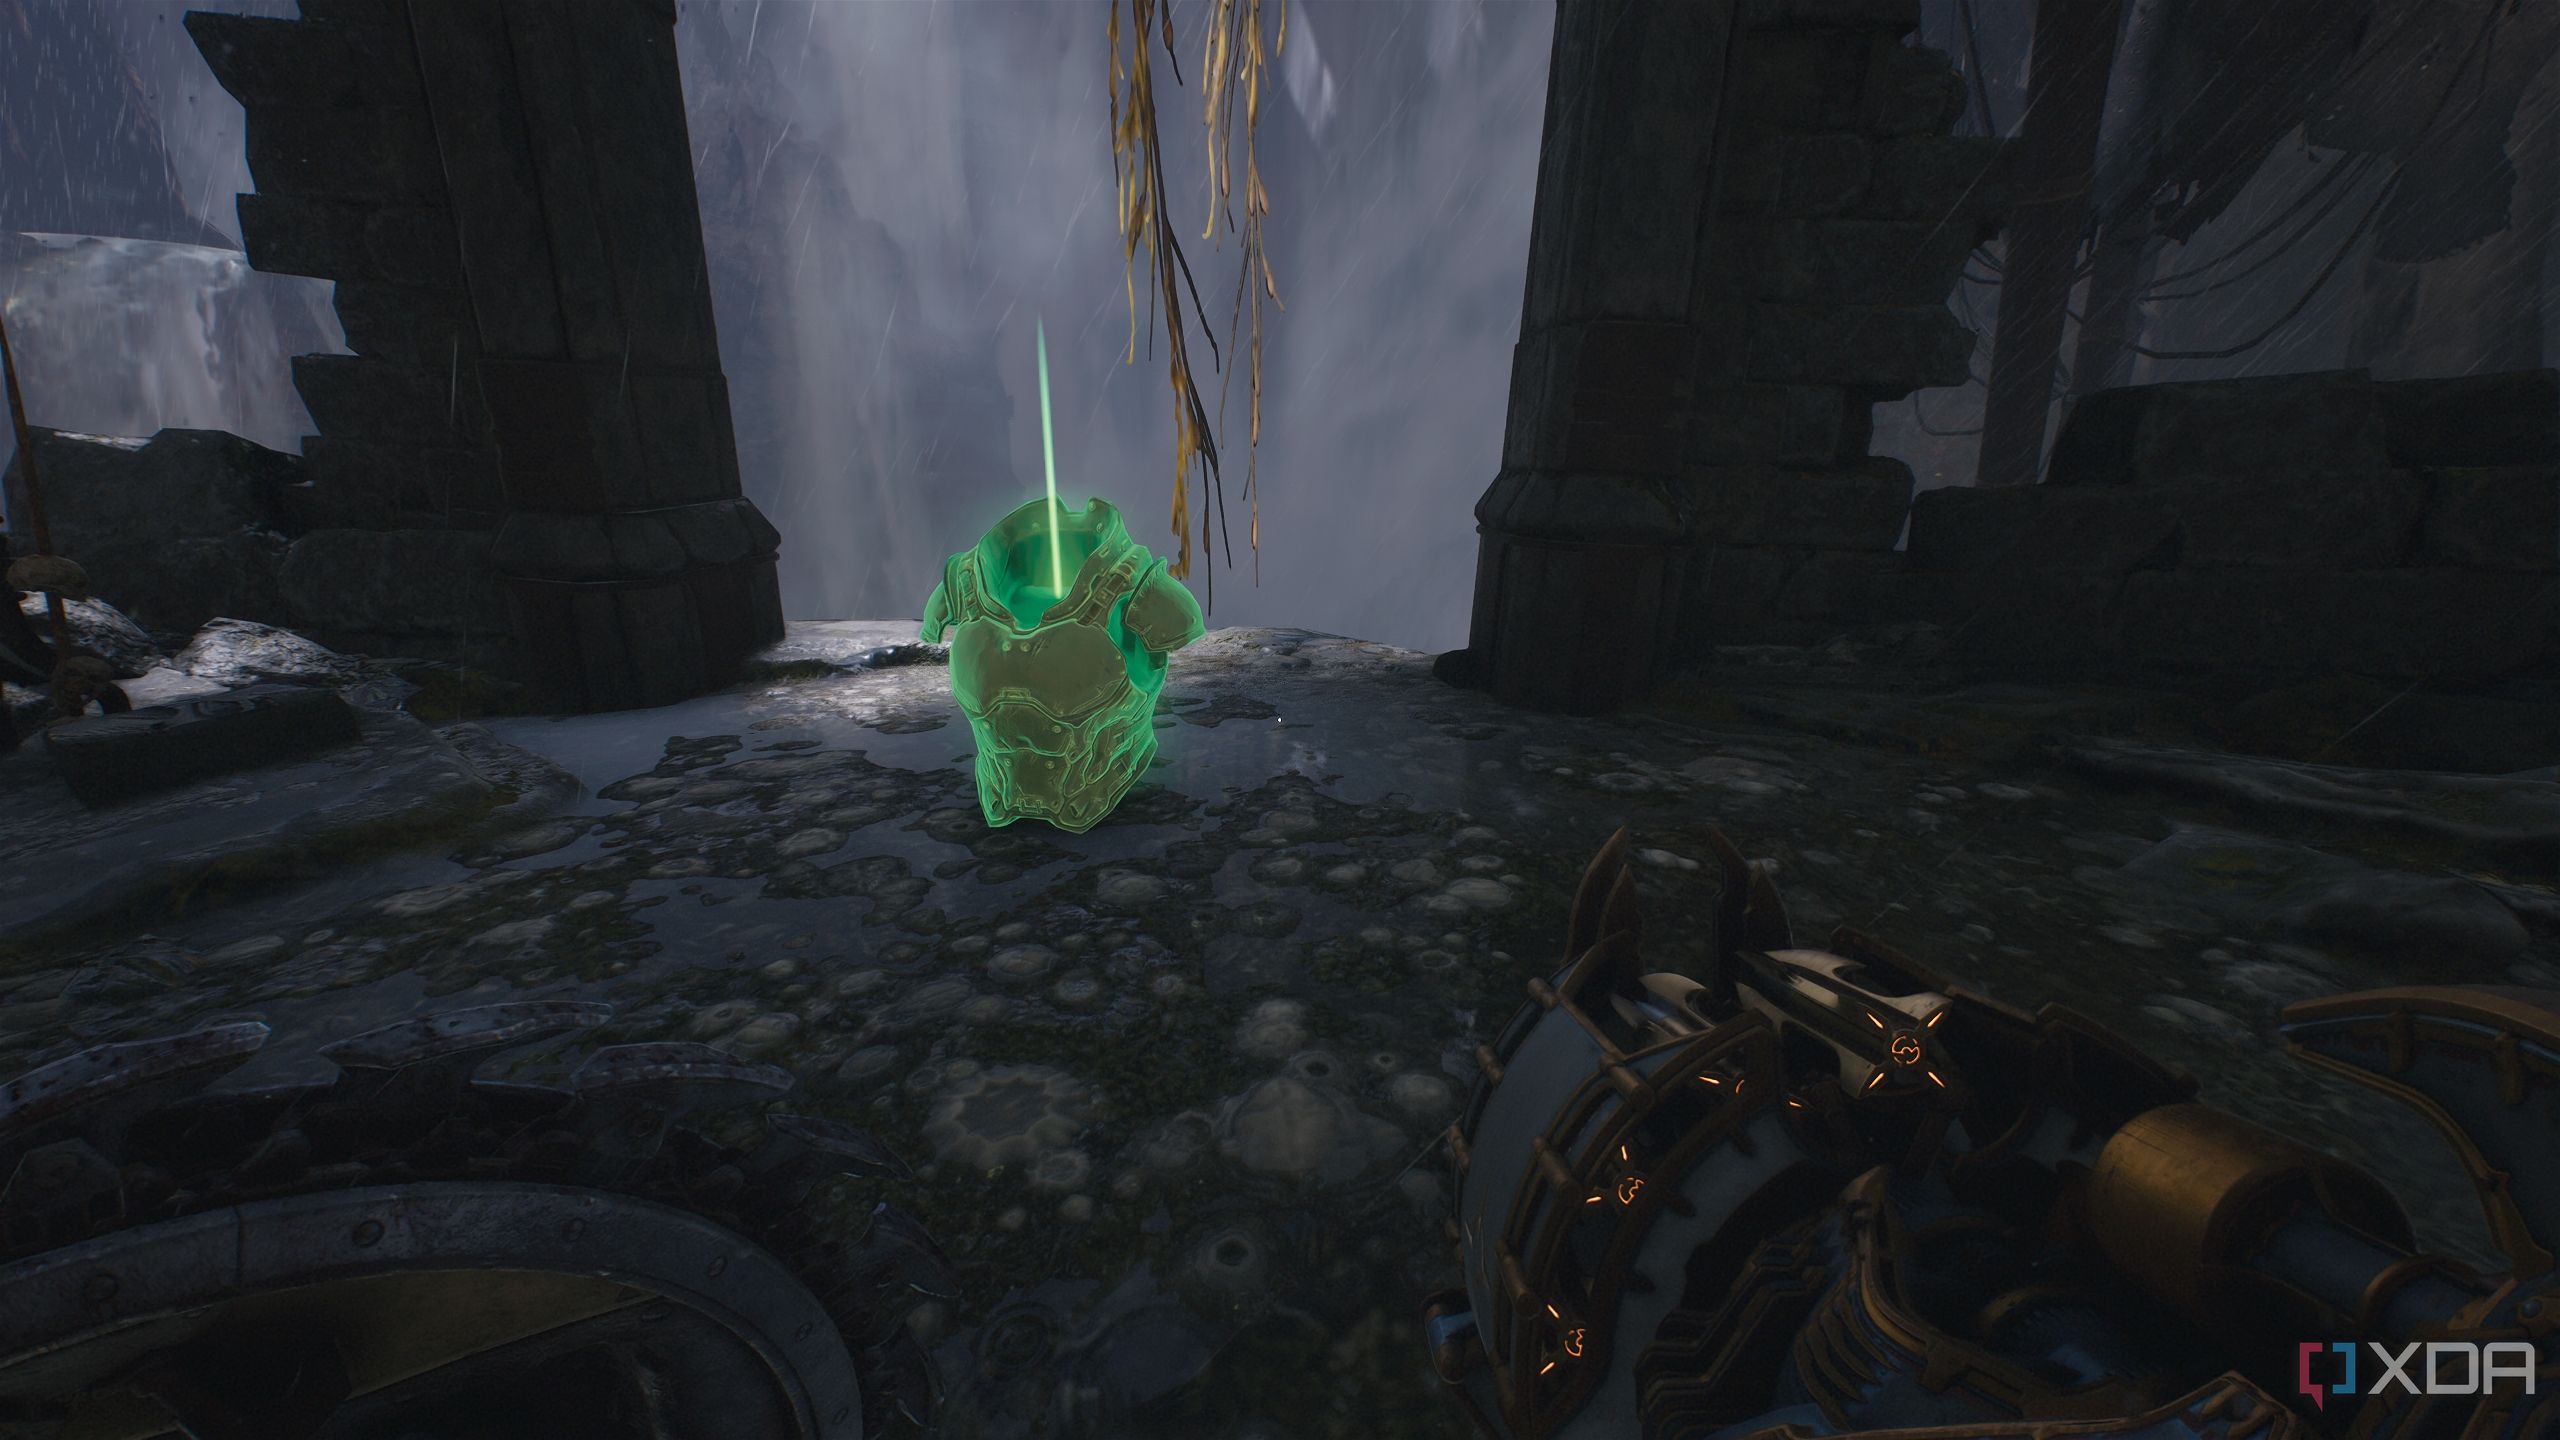
Get there, pick up the armor if you need it, and look above the ledge to see a green flesh node hidden behind some barrels. Simply throw your shield at the flesh node and jump up — you’ll land on the ledge above and collect a gold stack.
Exit through the heated metal cross, and head forward to fight a few demons and a Revenant. Then, stand in the middle of this small arena.
Look to the left to see a wooden wall with a Shield Charge symbol. Bash through it, and you’ll see a path leading to a distant secret collectible.
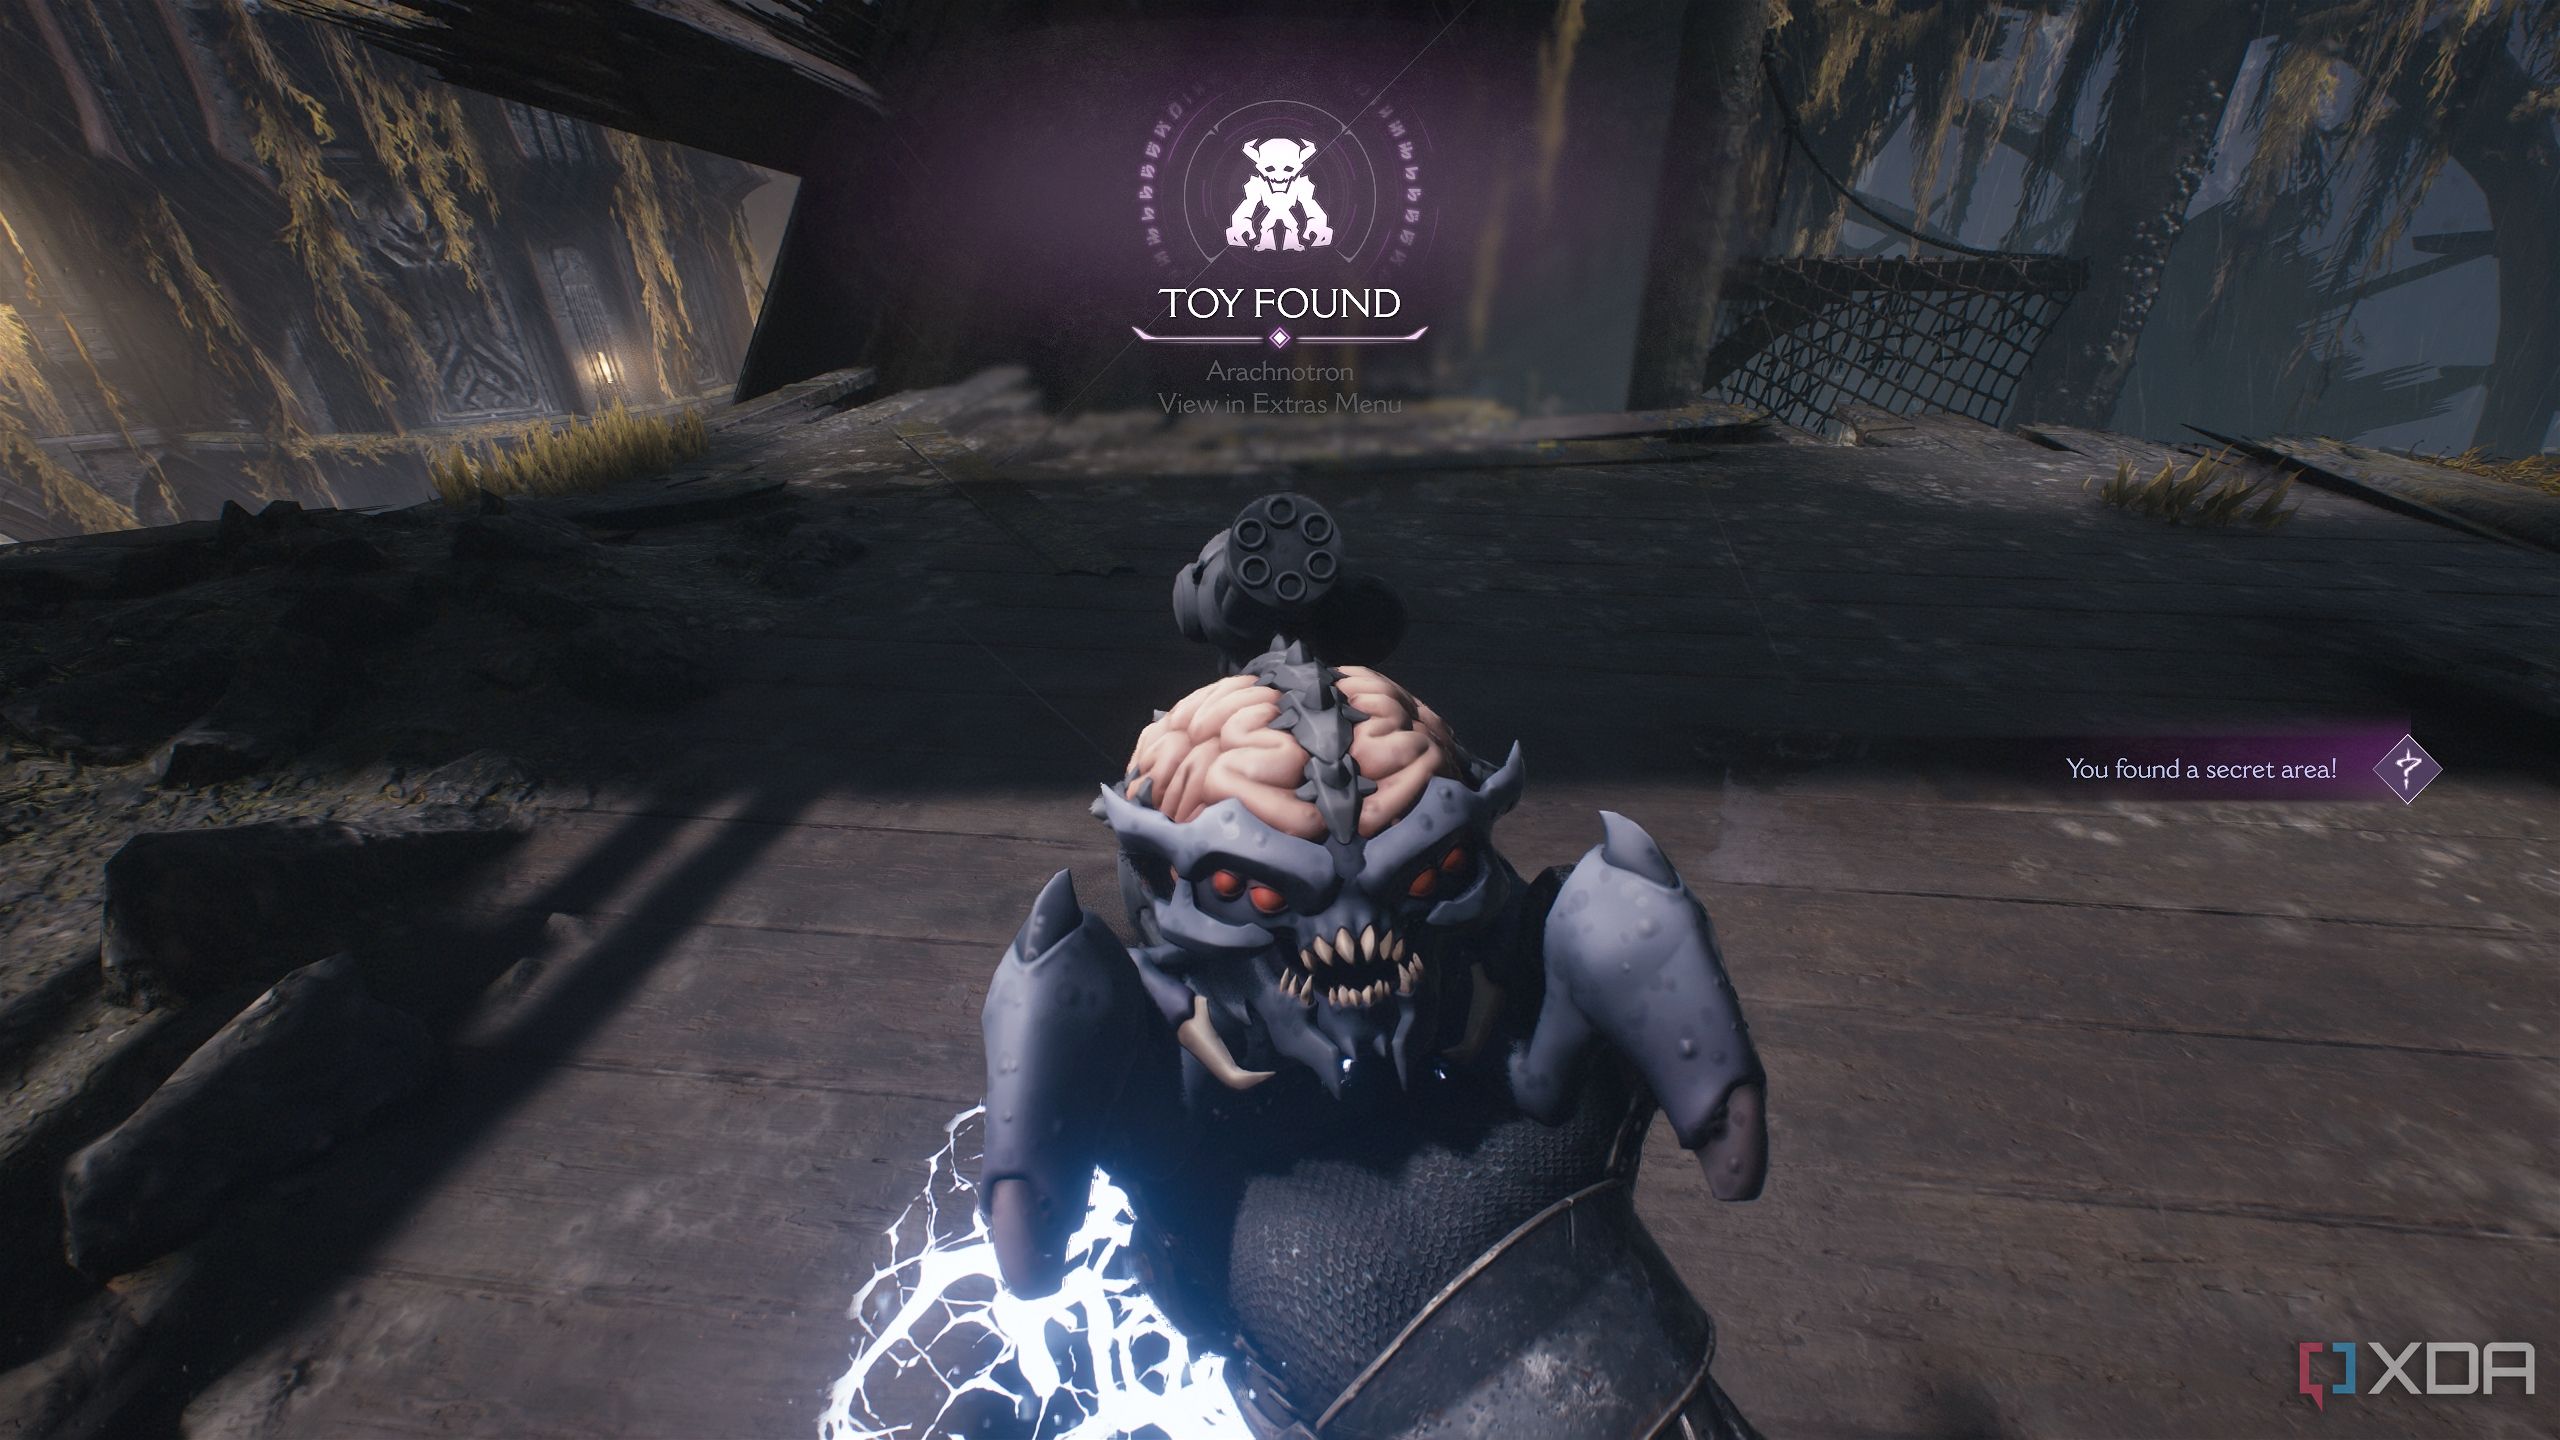
Approach it, and you’ll unlock secret area 3 and the Arachnotron toy collectible.
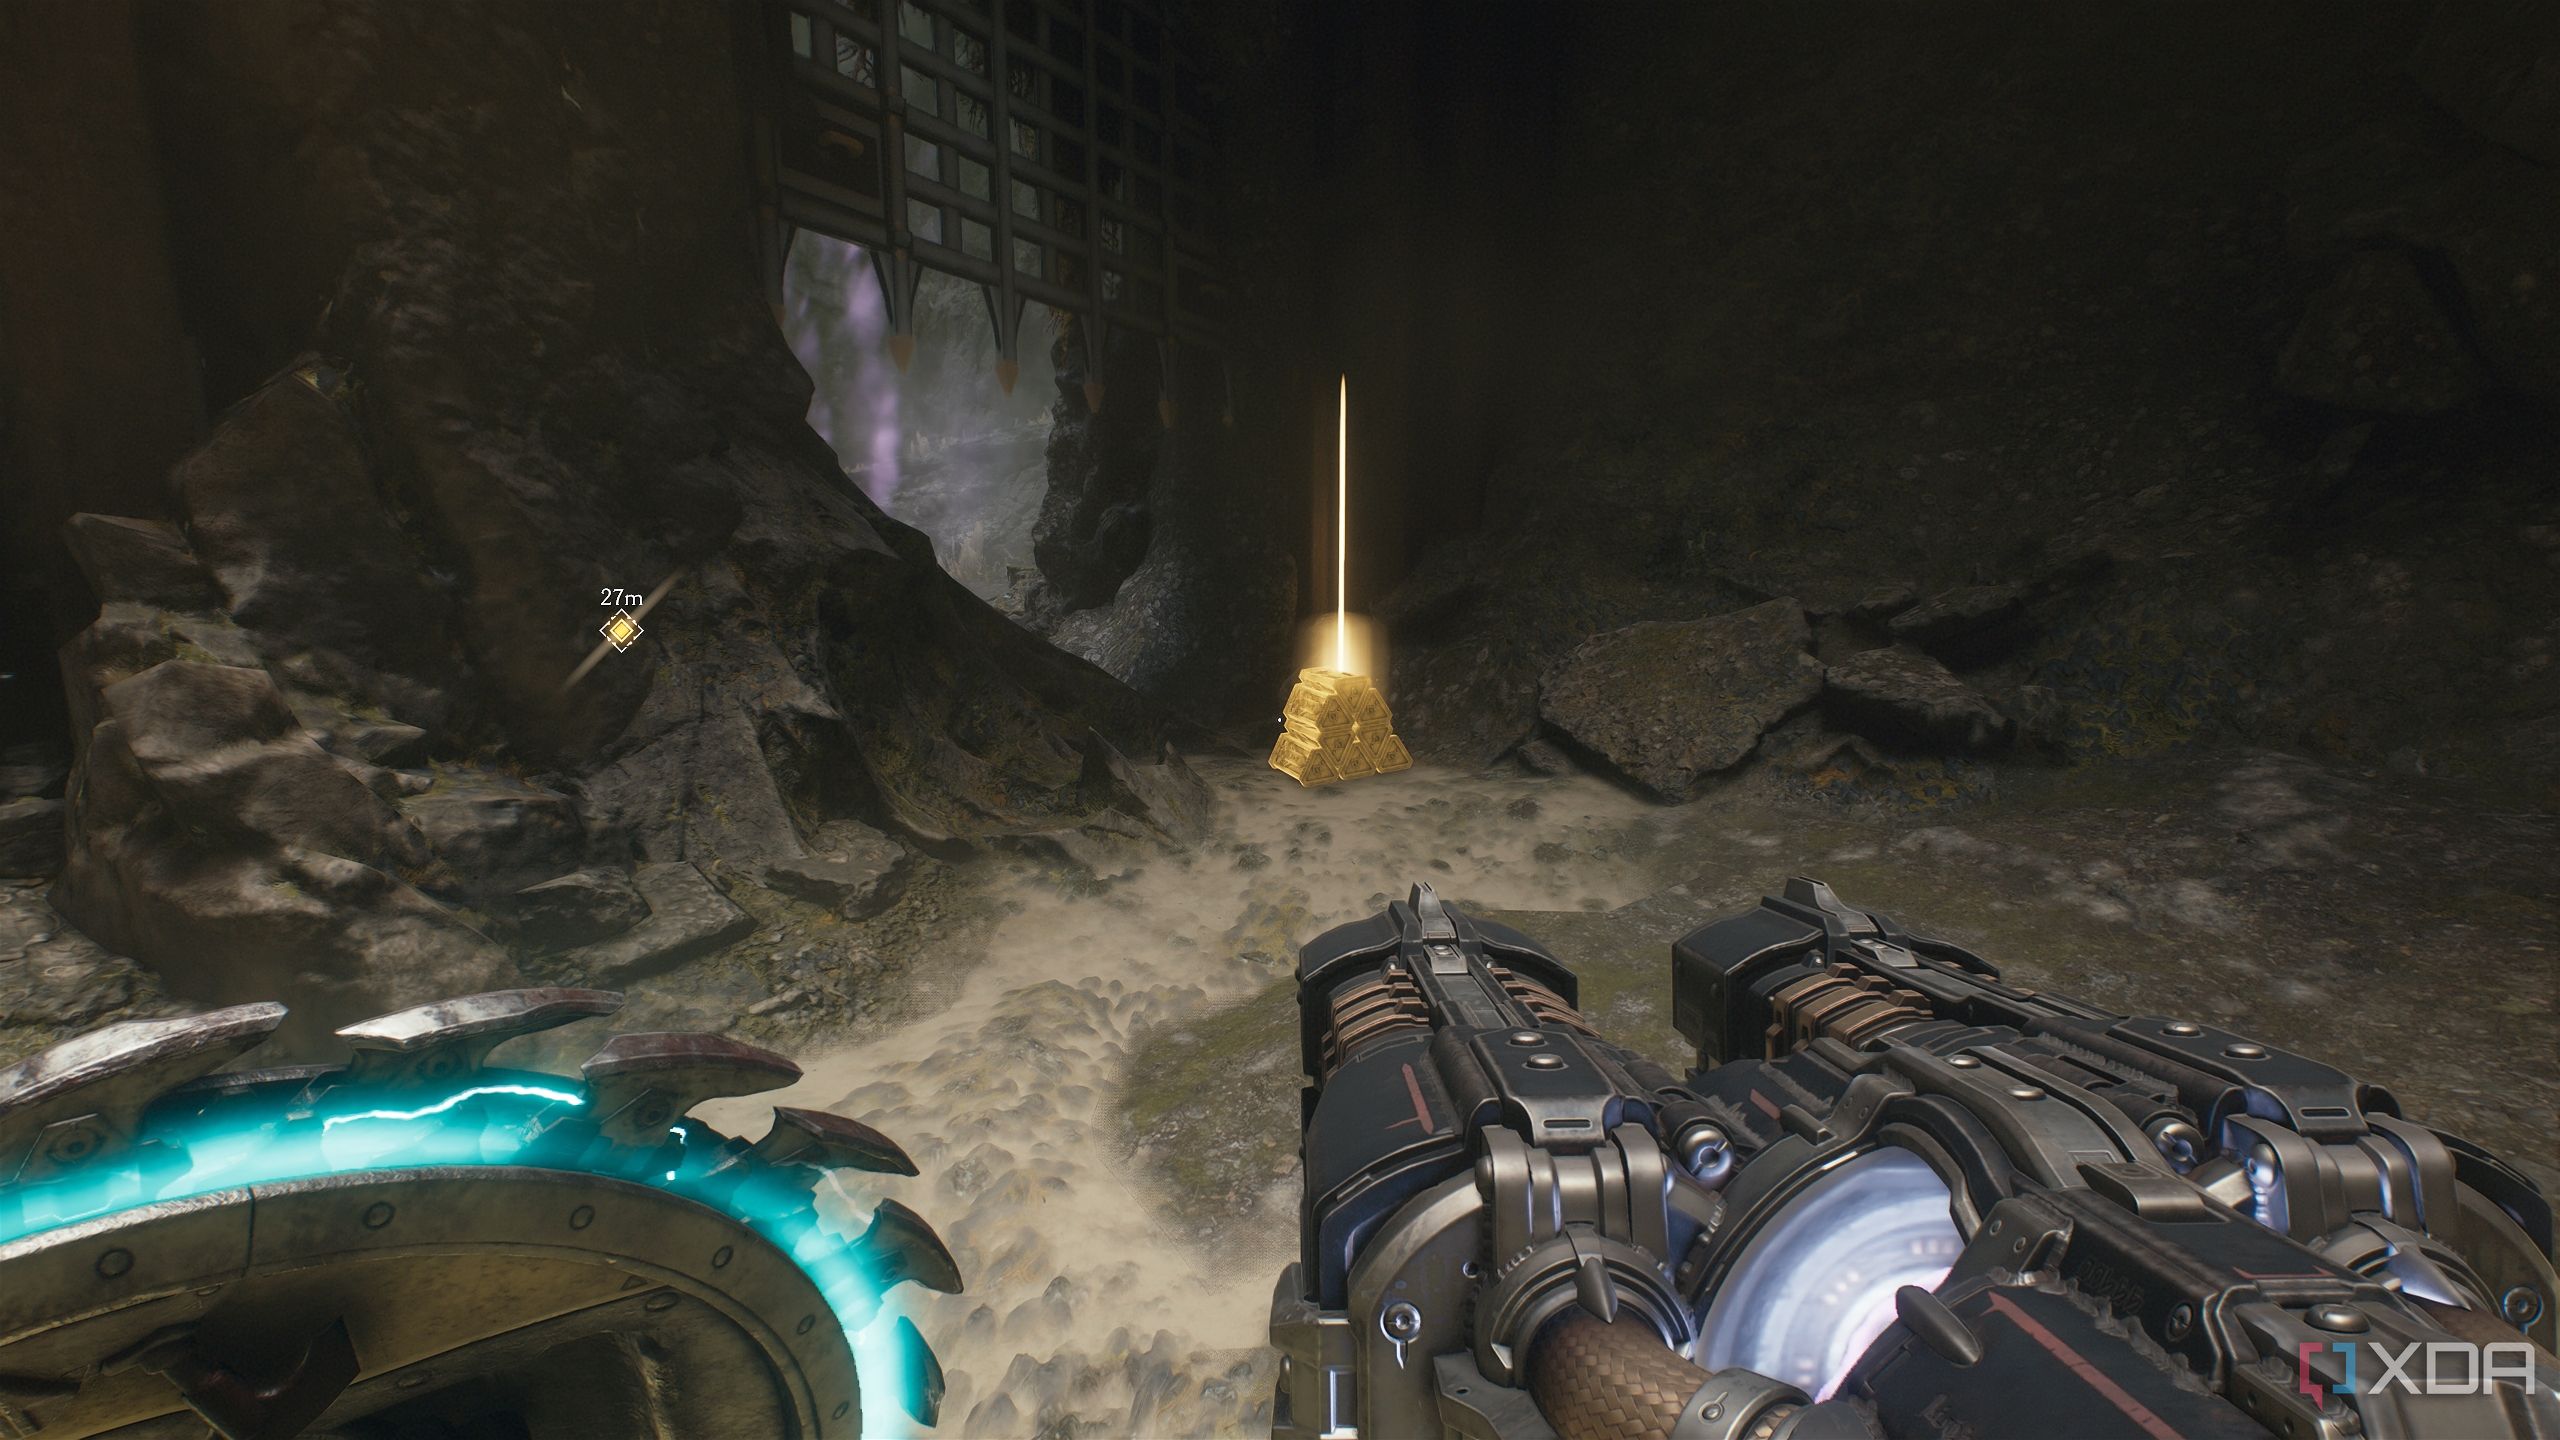
Secret area 4 and a gold chest
Exploding out of the fourth secret area... literally
In the same area, before you head forward, deal with a Cacodemon Hybrid that will attack first. Then, head to this location, just under the staircase.
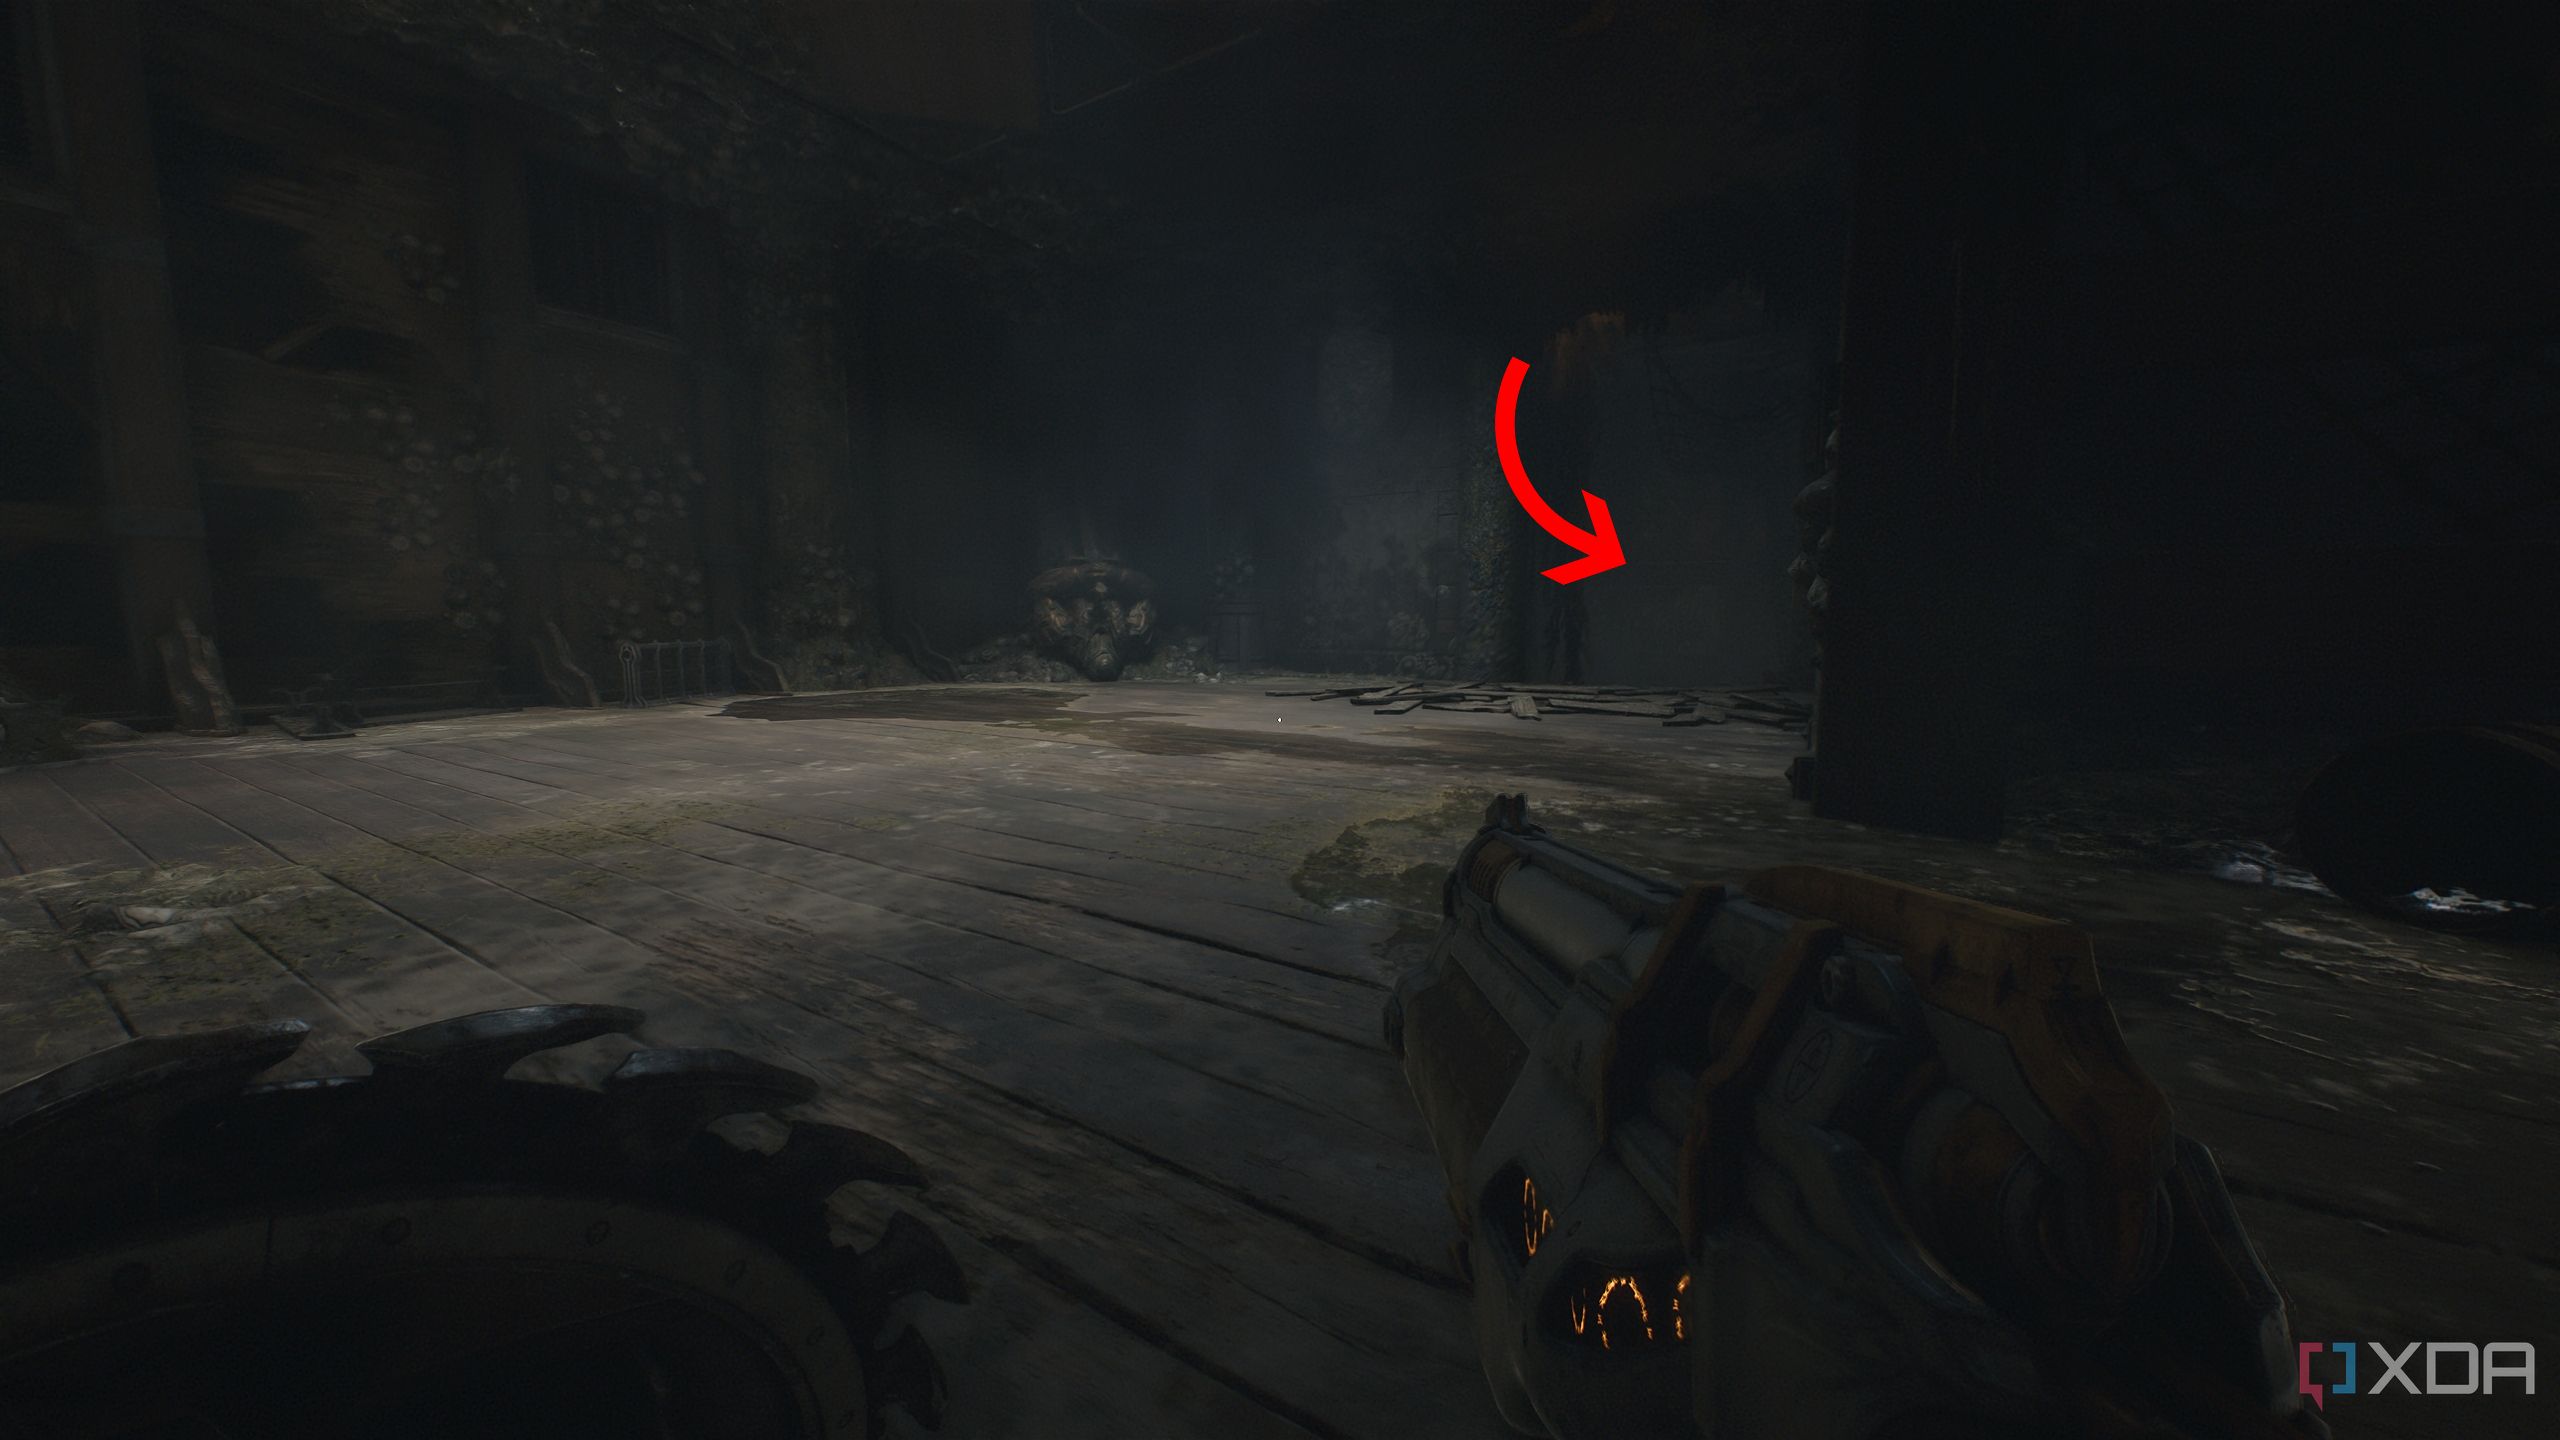
Turn around, and you’ll see a small opening in the far side of the wall.
Drop through it, and you should see a distant gold chest.
Approaching this gold chest will also unlock secret area 4. Once you’ve got the gold, just shoot the explosive barrels next to it to blast the wooden wall and expose the jump pad ahead.
Related
Secret area 5 and Red Ruby 2
A rewarding puzzle for the second Red Ruby
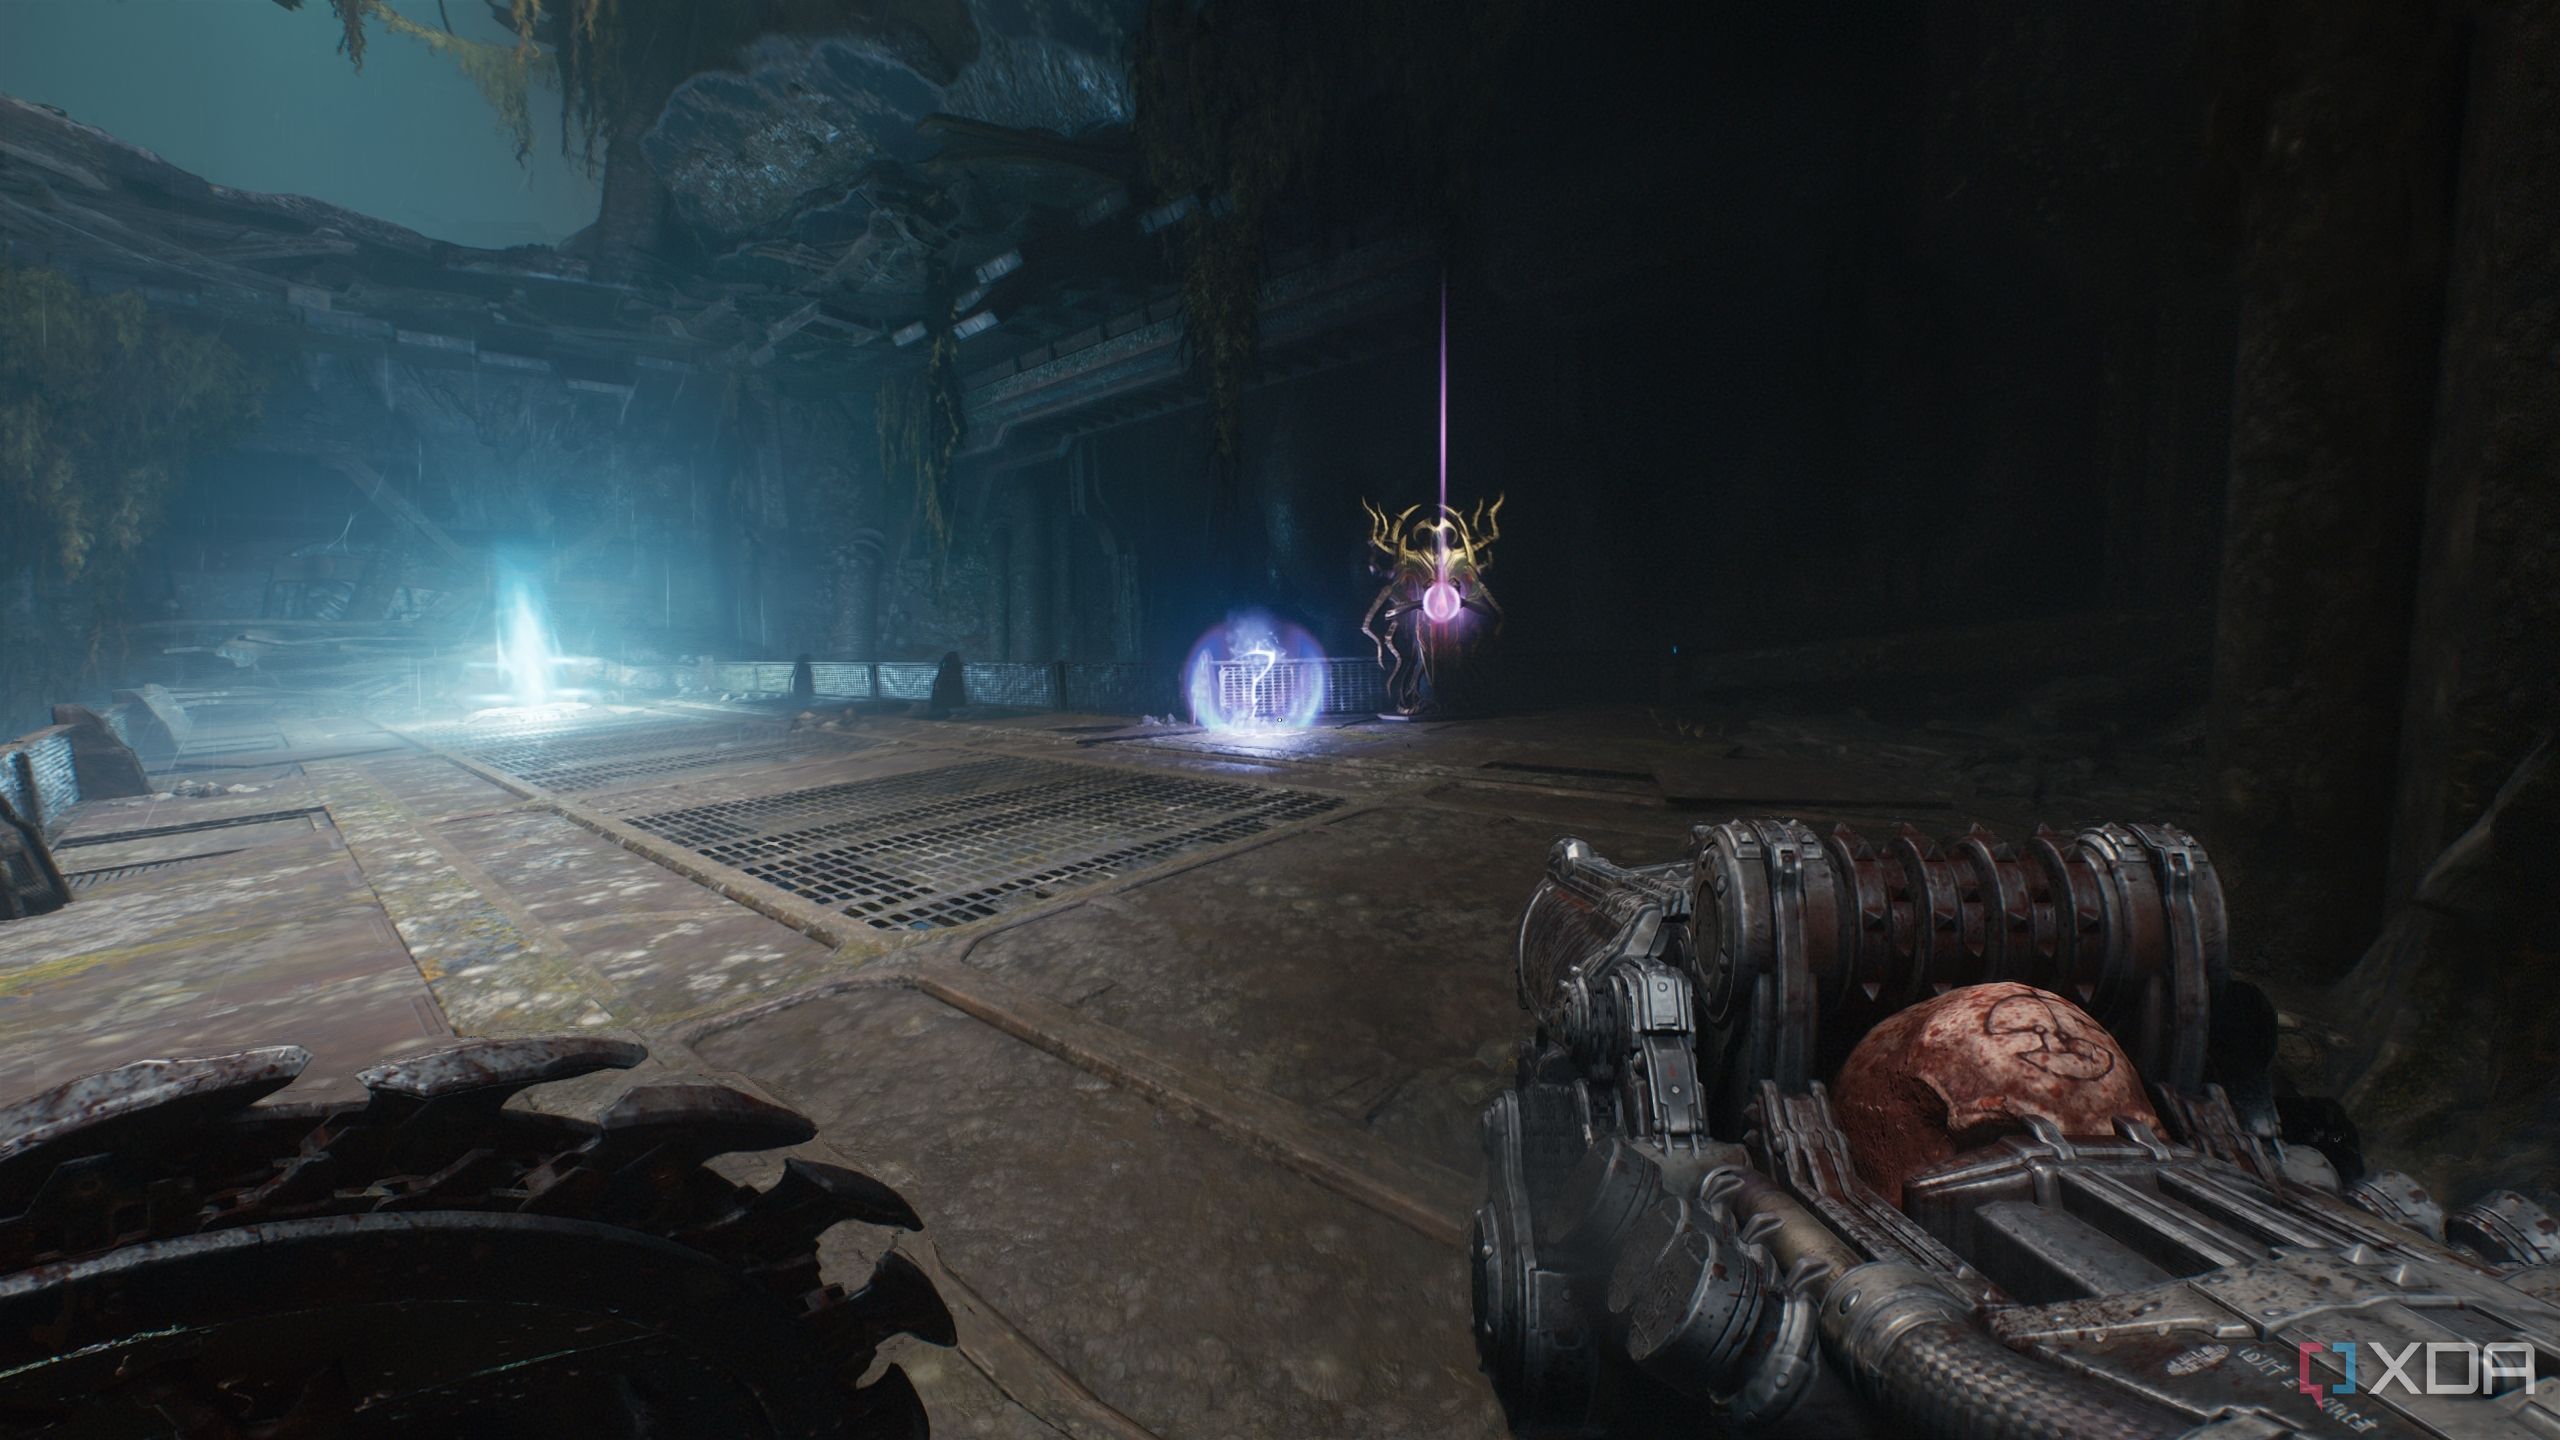
Once you move forward, you will spot a Red Ruby statue and some gold bars on a platform above.
You can’t reach it yet — move forward, and you’ll drop down into an area with many explosive barrels.
Several Shadow Imp Stalkers and other Stalkers will attack you, and you’ll see a red switch on the floor.
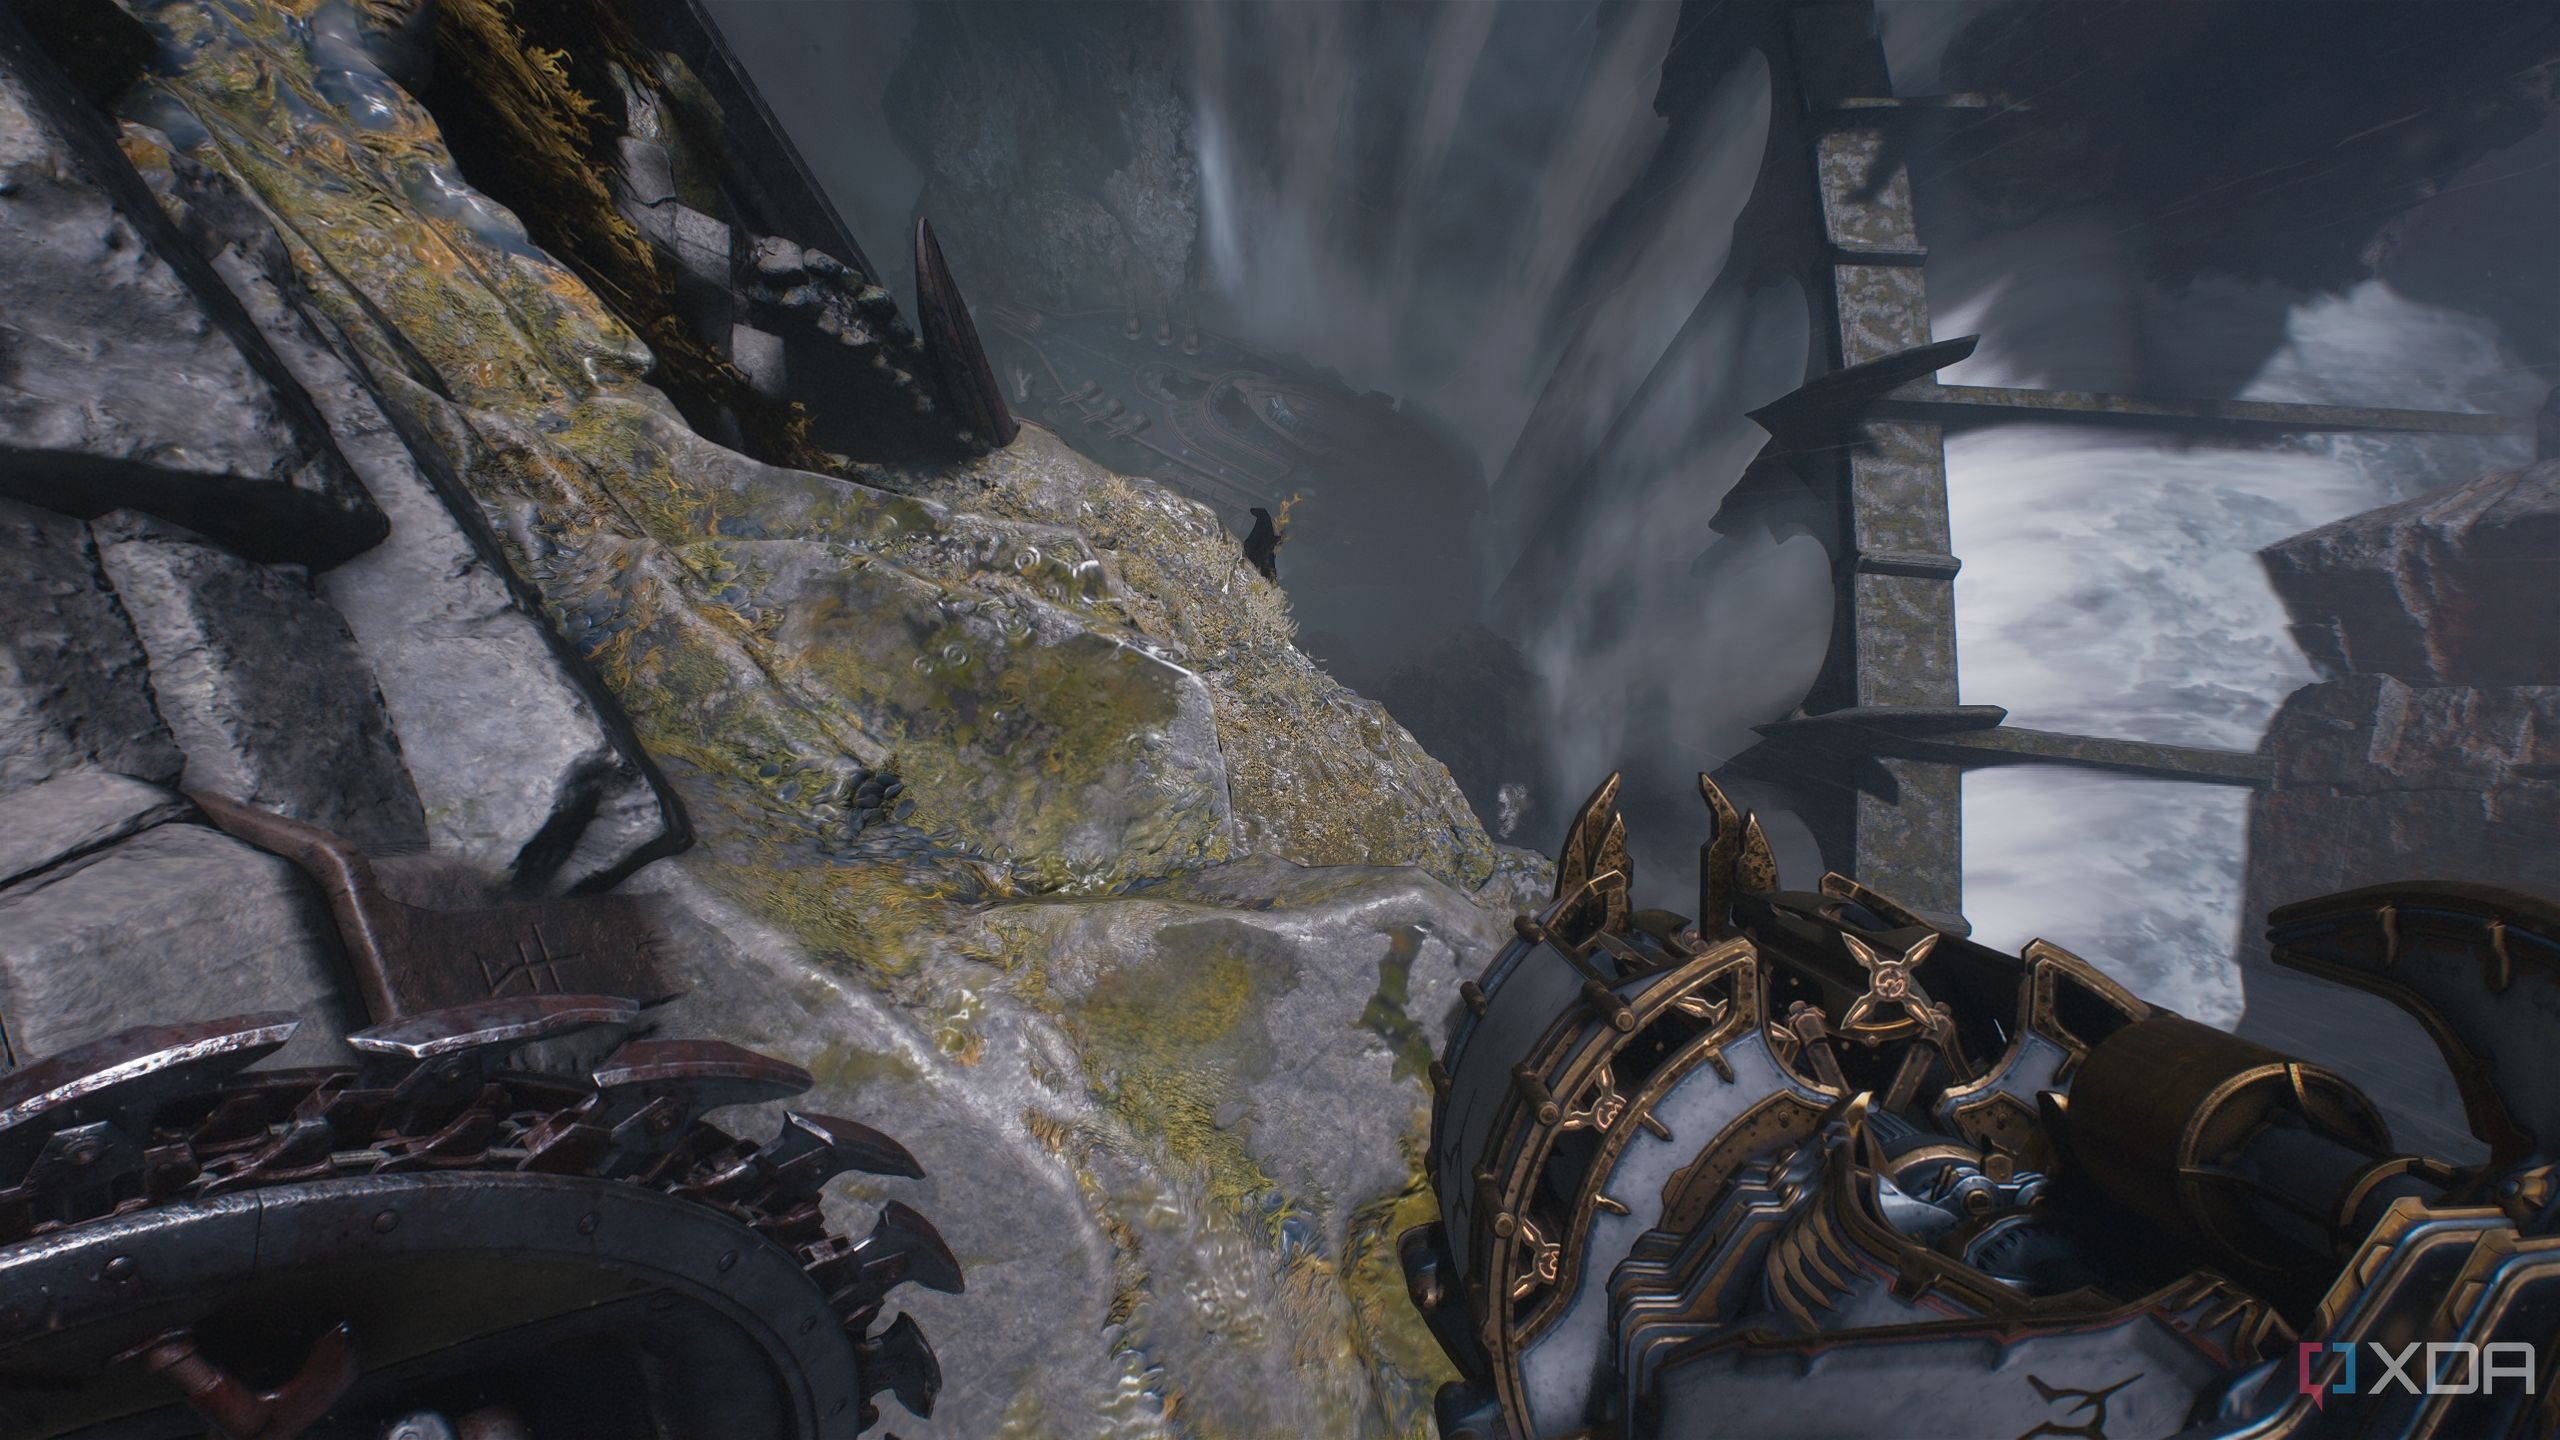
Ignore it and move forward and upwards until you reach the platform shown in the image.
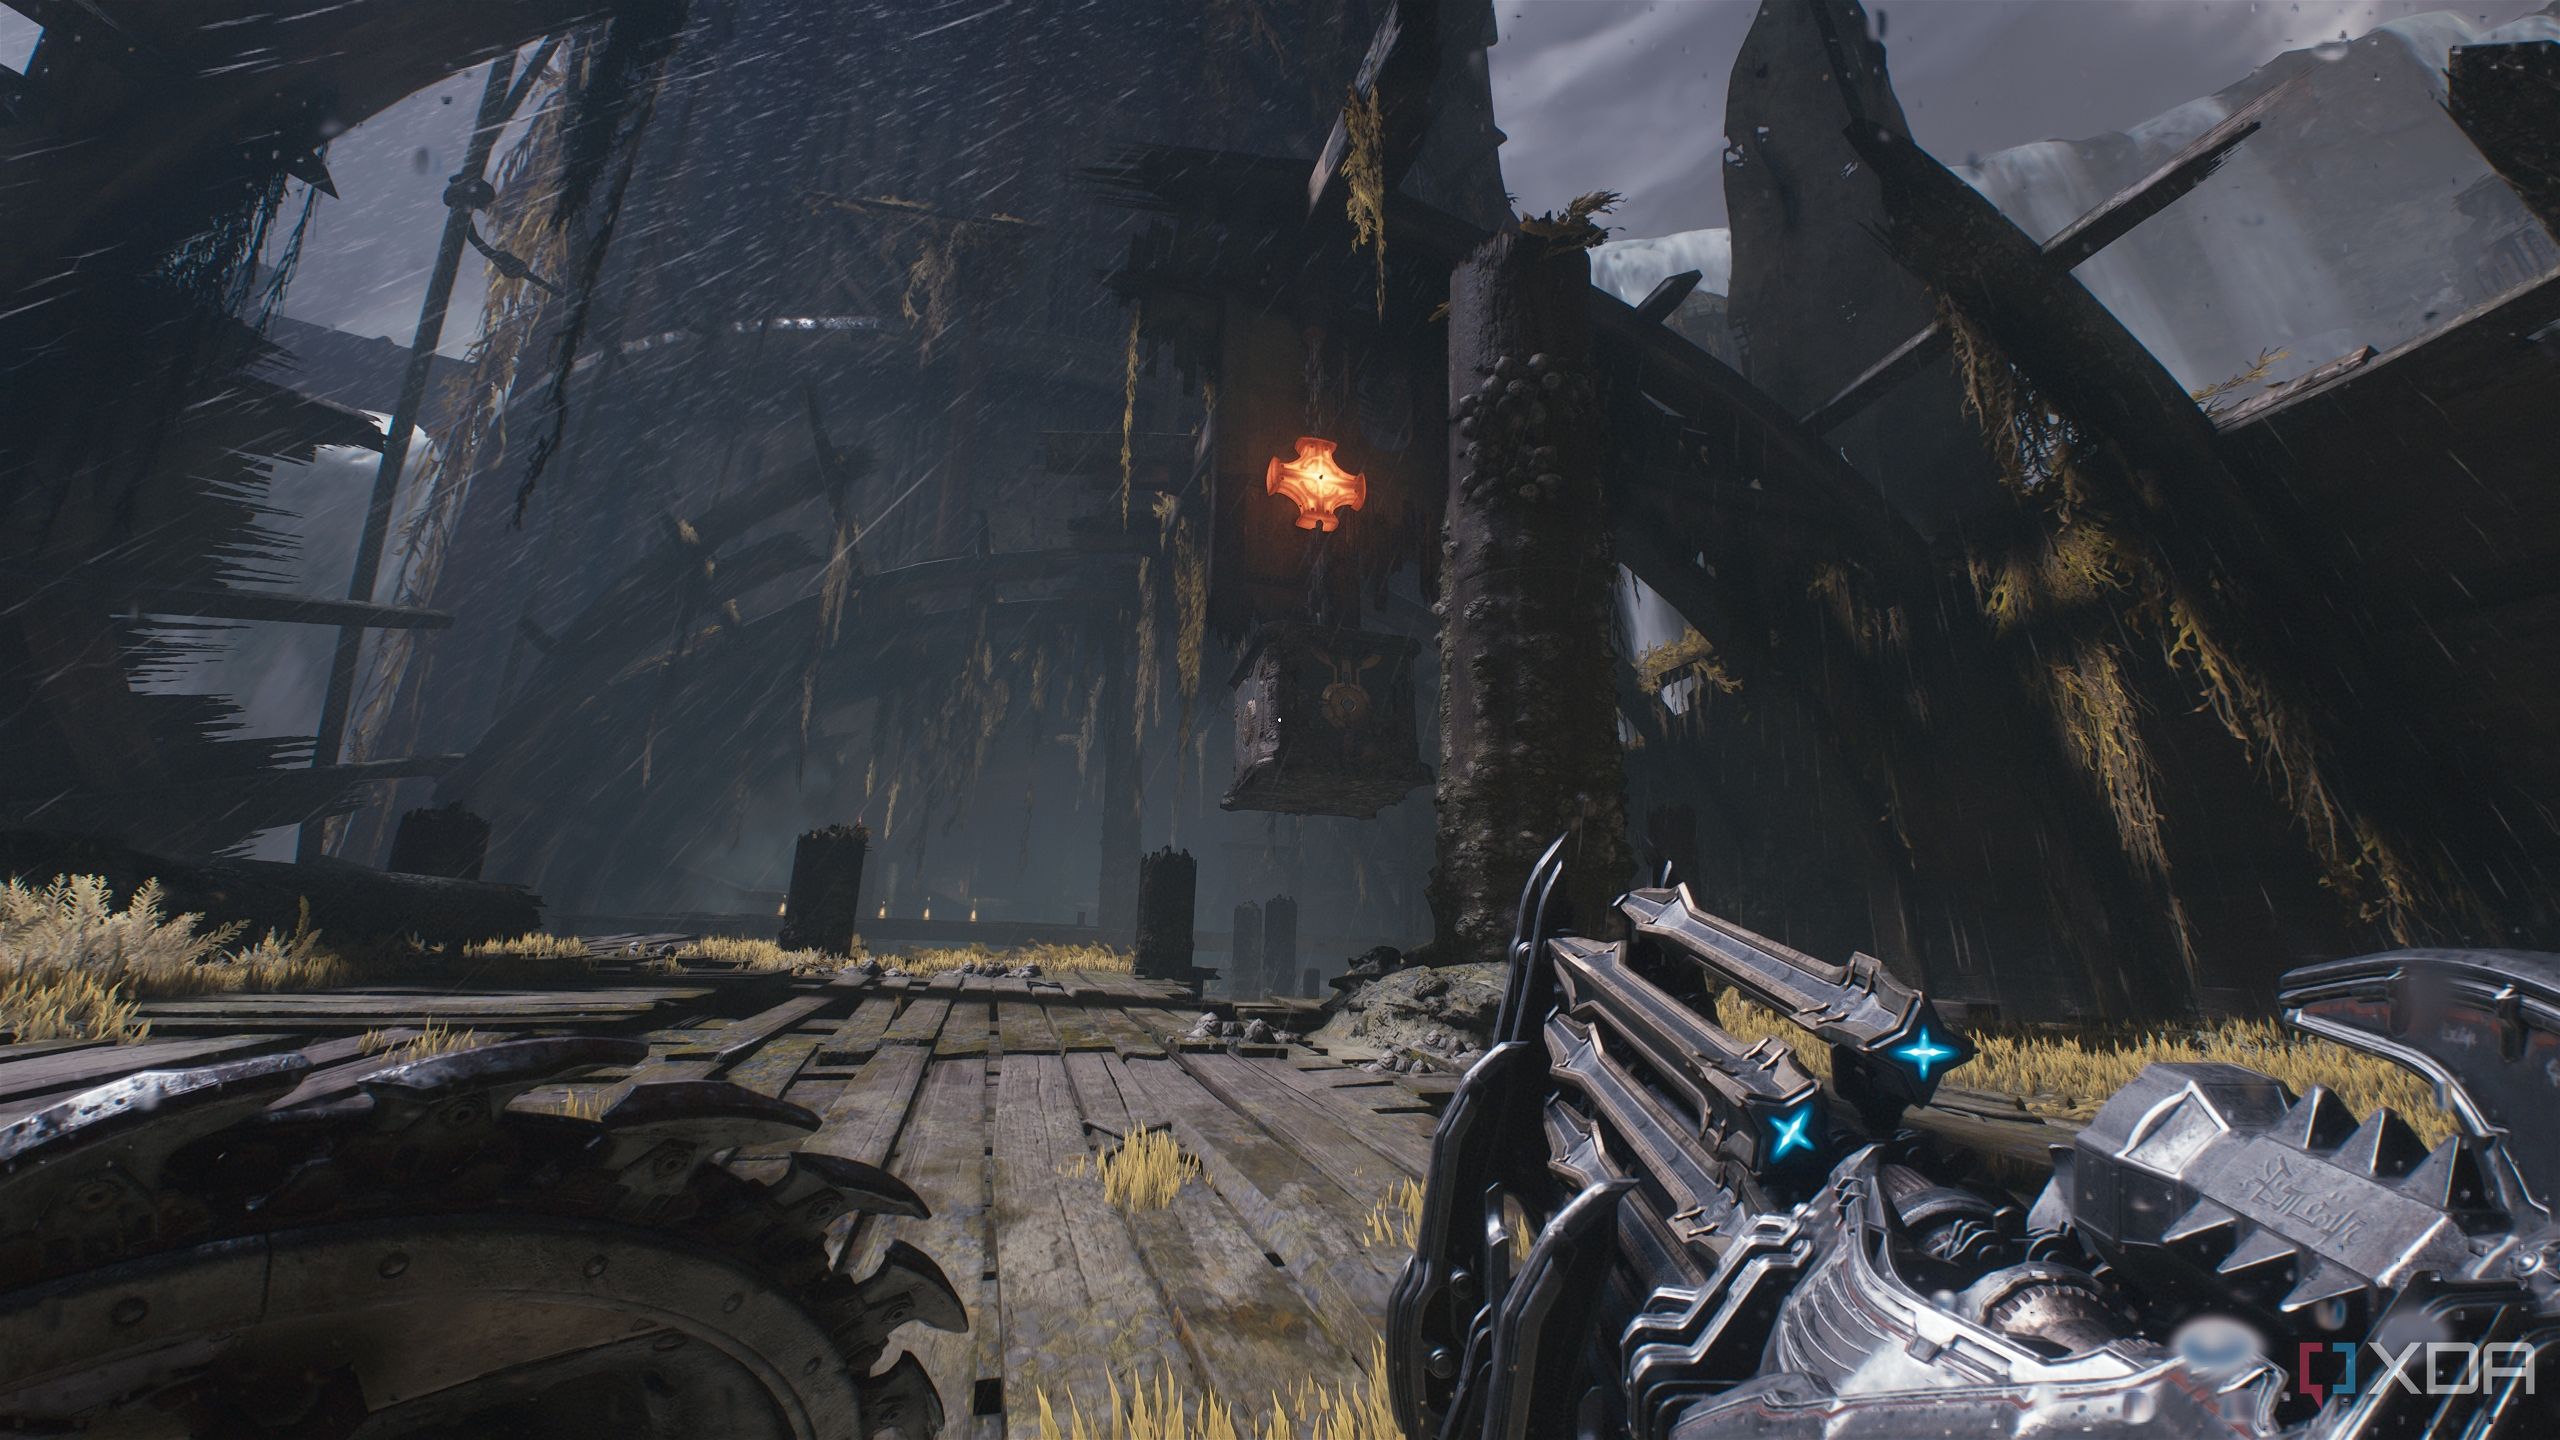
Look up to see a heated metal cross with a box attached. Break it down and it will fall down to the switch.
Head towards it, and you’ll see a jump pad ahead that is now unlocked.
Jump down to the jump pad, and it will push you up to the platform with a trail of gold bars.
Pick them up and approach the ruby statue ahead. Approaching it will unlock secret area 5 and collect the second Red Ruby.
Secret area 6 and gold stacks
Walking the plank and dropping like a tank

Moving towards the objective marker after getting the second Red Ruby, you’ll walk across a big wooden log before dropping down near a small horde of fodder demons.
Turn around immediately and approach the southern edge of the cliff you’re on — you’ll see an armor pickup ahead.
Right underneath the armor pickup, way down below, is another rocky platform you can land on.
Drop all the way down, and you’ll immediately have to fight a Komodo demon. Once you take care of it, pick up the two gold stacks here, and head inside.
Heading inside, you’ll unlock secret area 6, but will also have to contend with an armored Pinky Rider.
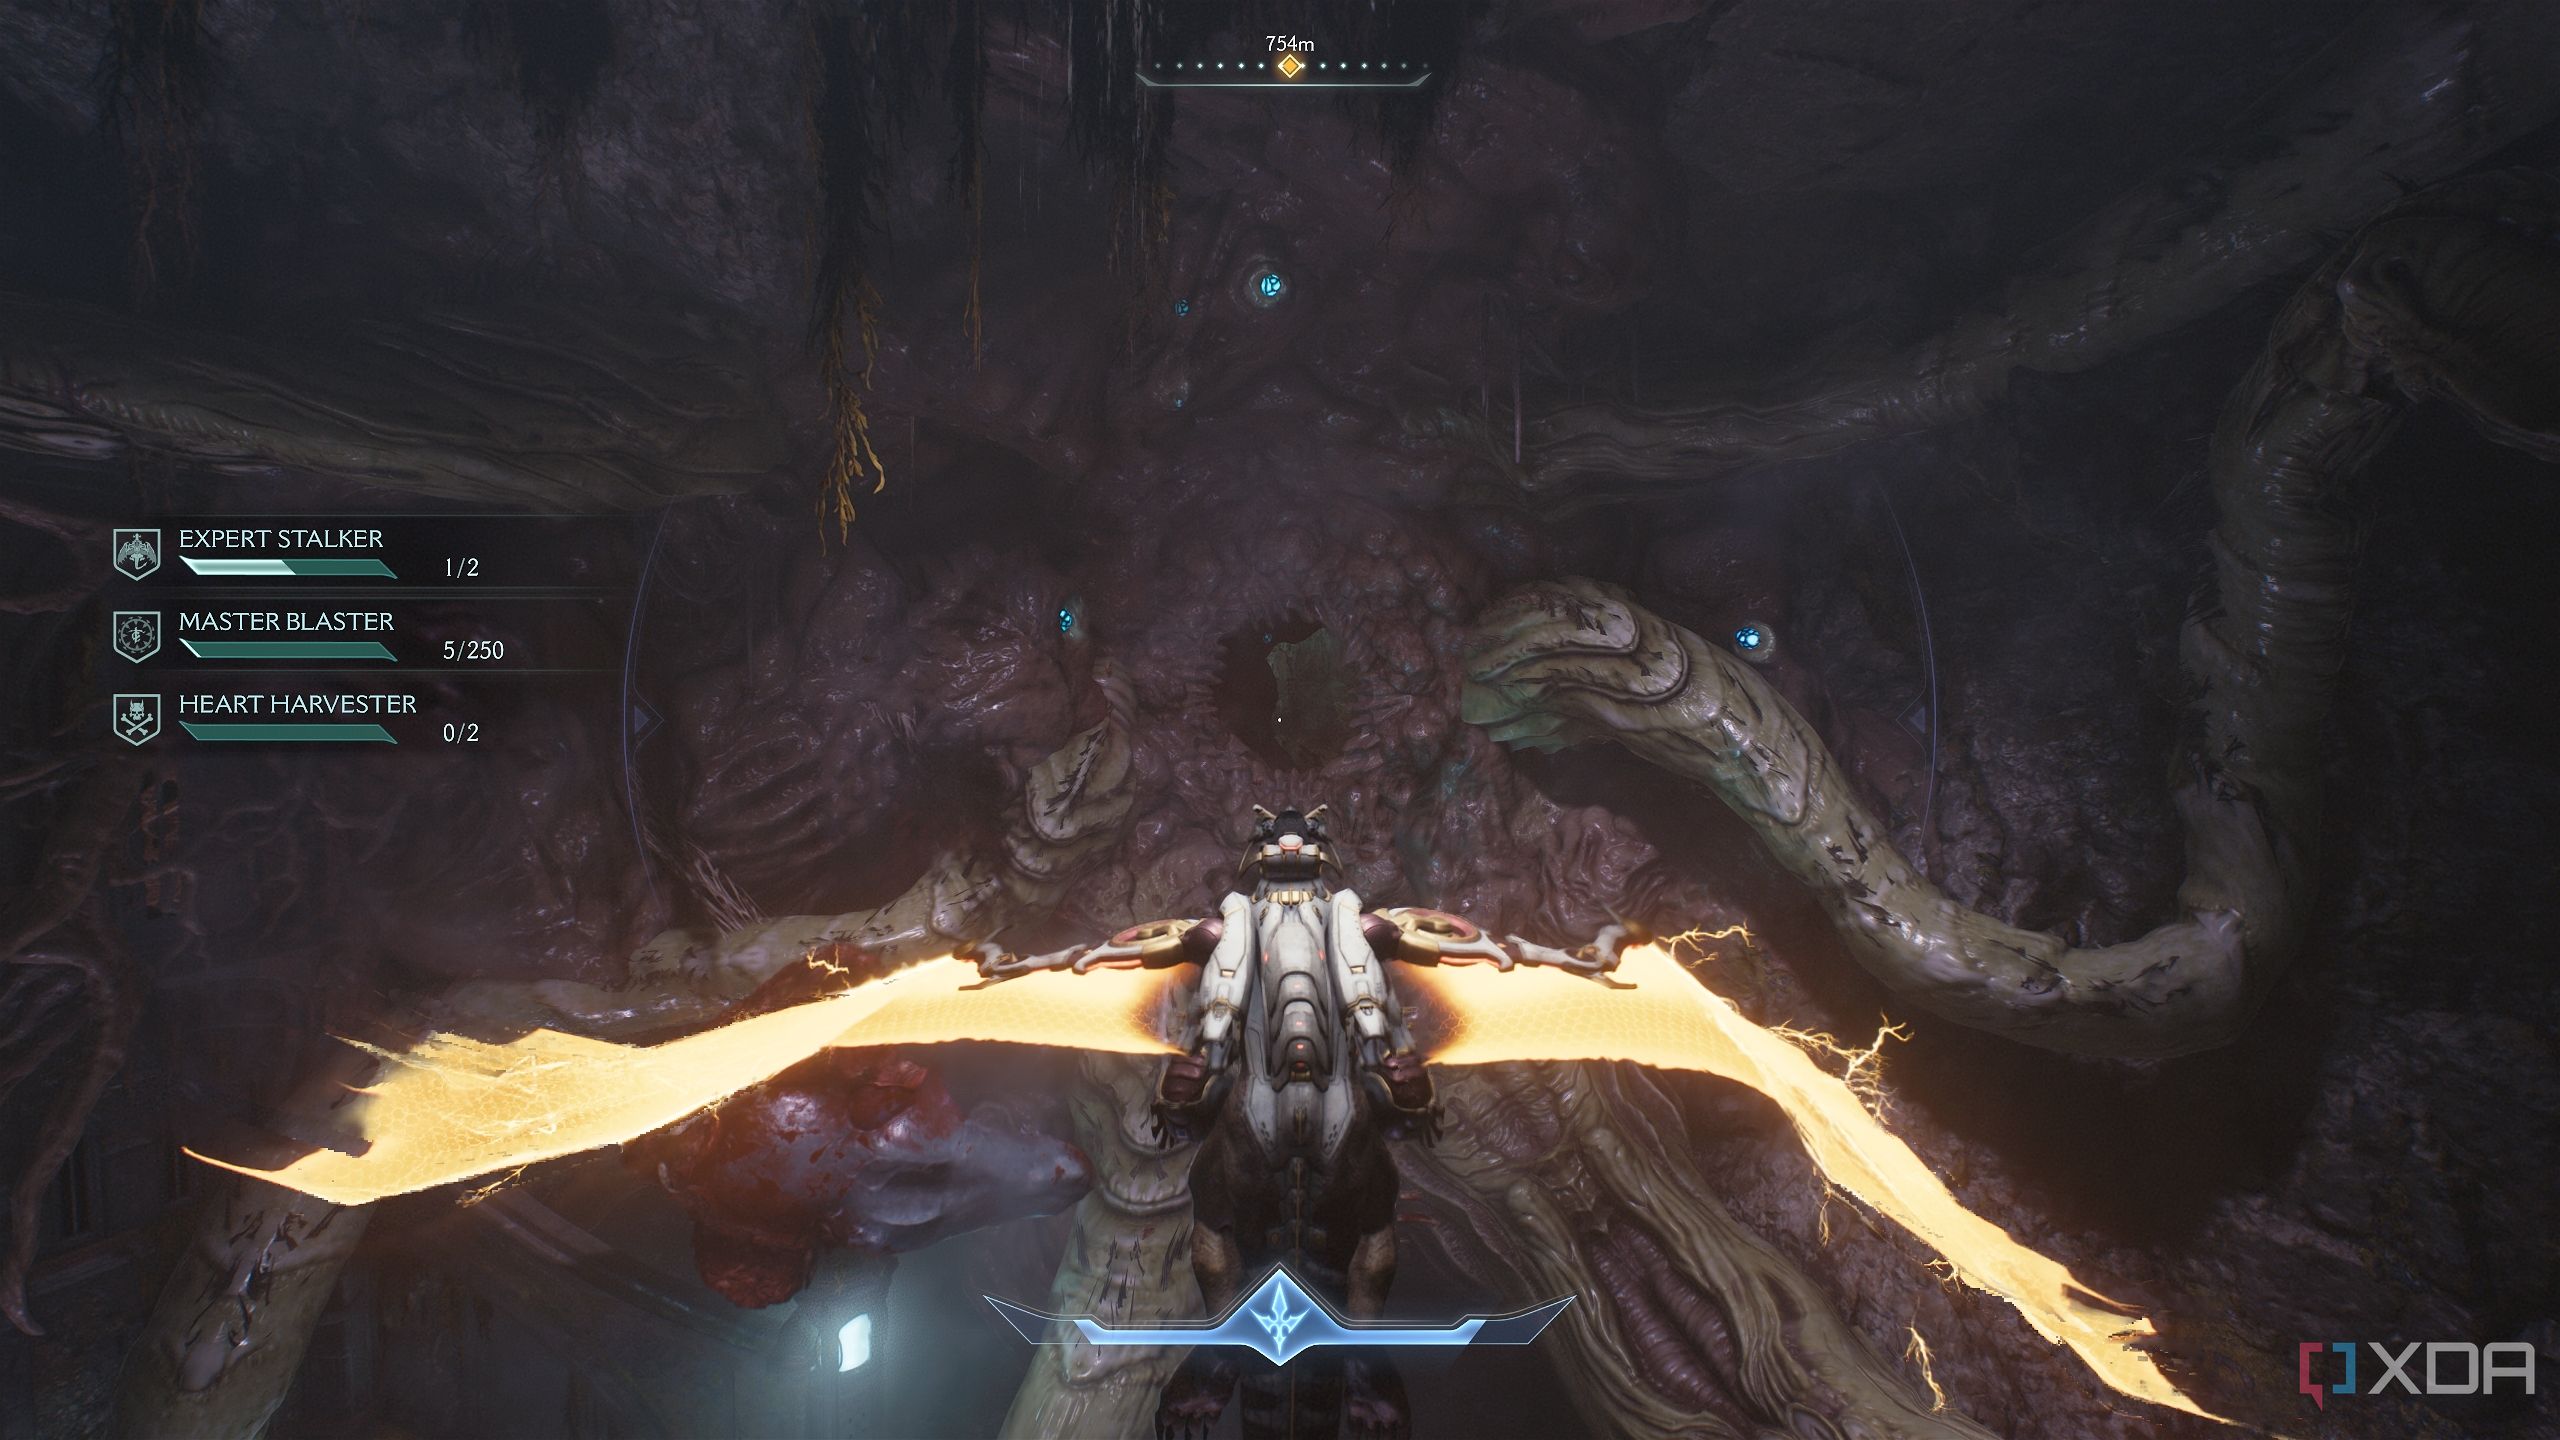
Heart Harvester challenge and Demonic Essence
Leader number 1 — down
Walk along the main, long path, and instead of heading left towards the objective, drop down into the arena on your right.

Here, walk forward to the edge to spot a Gore Portal. Shield Charge into the Gore Portal to begin a combat encounter with a leader Cyberdemon — take down the dozens of Soldier demons around, along with a Whiplash, to finally expose the leader Cyberdemon and kill it.
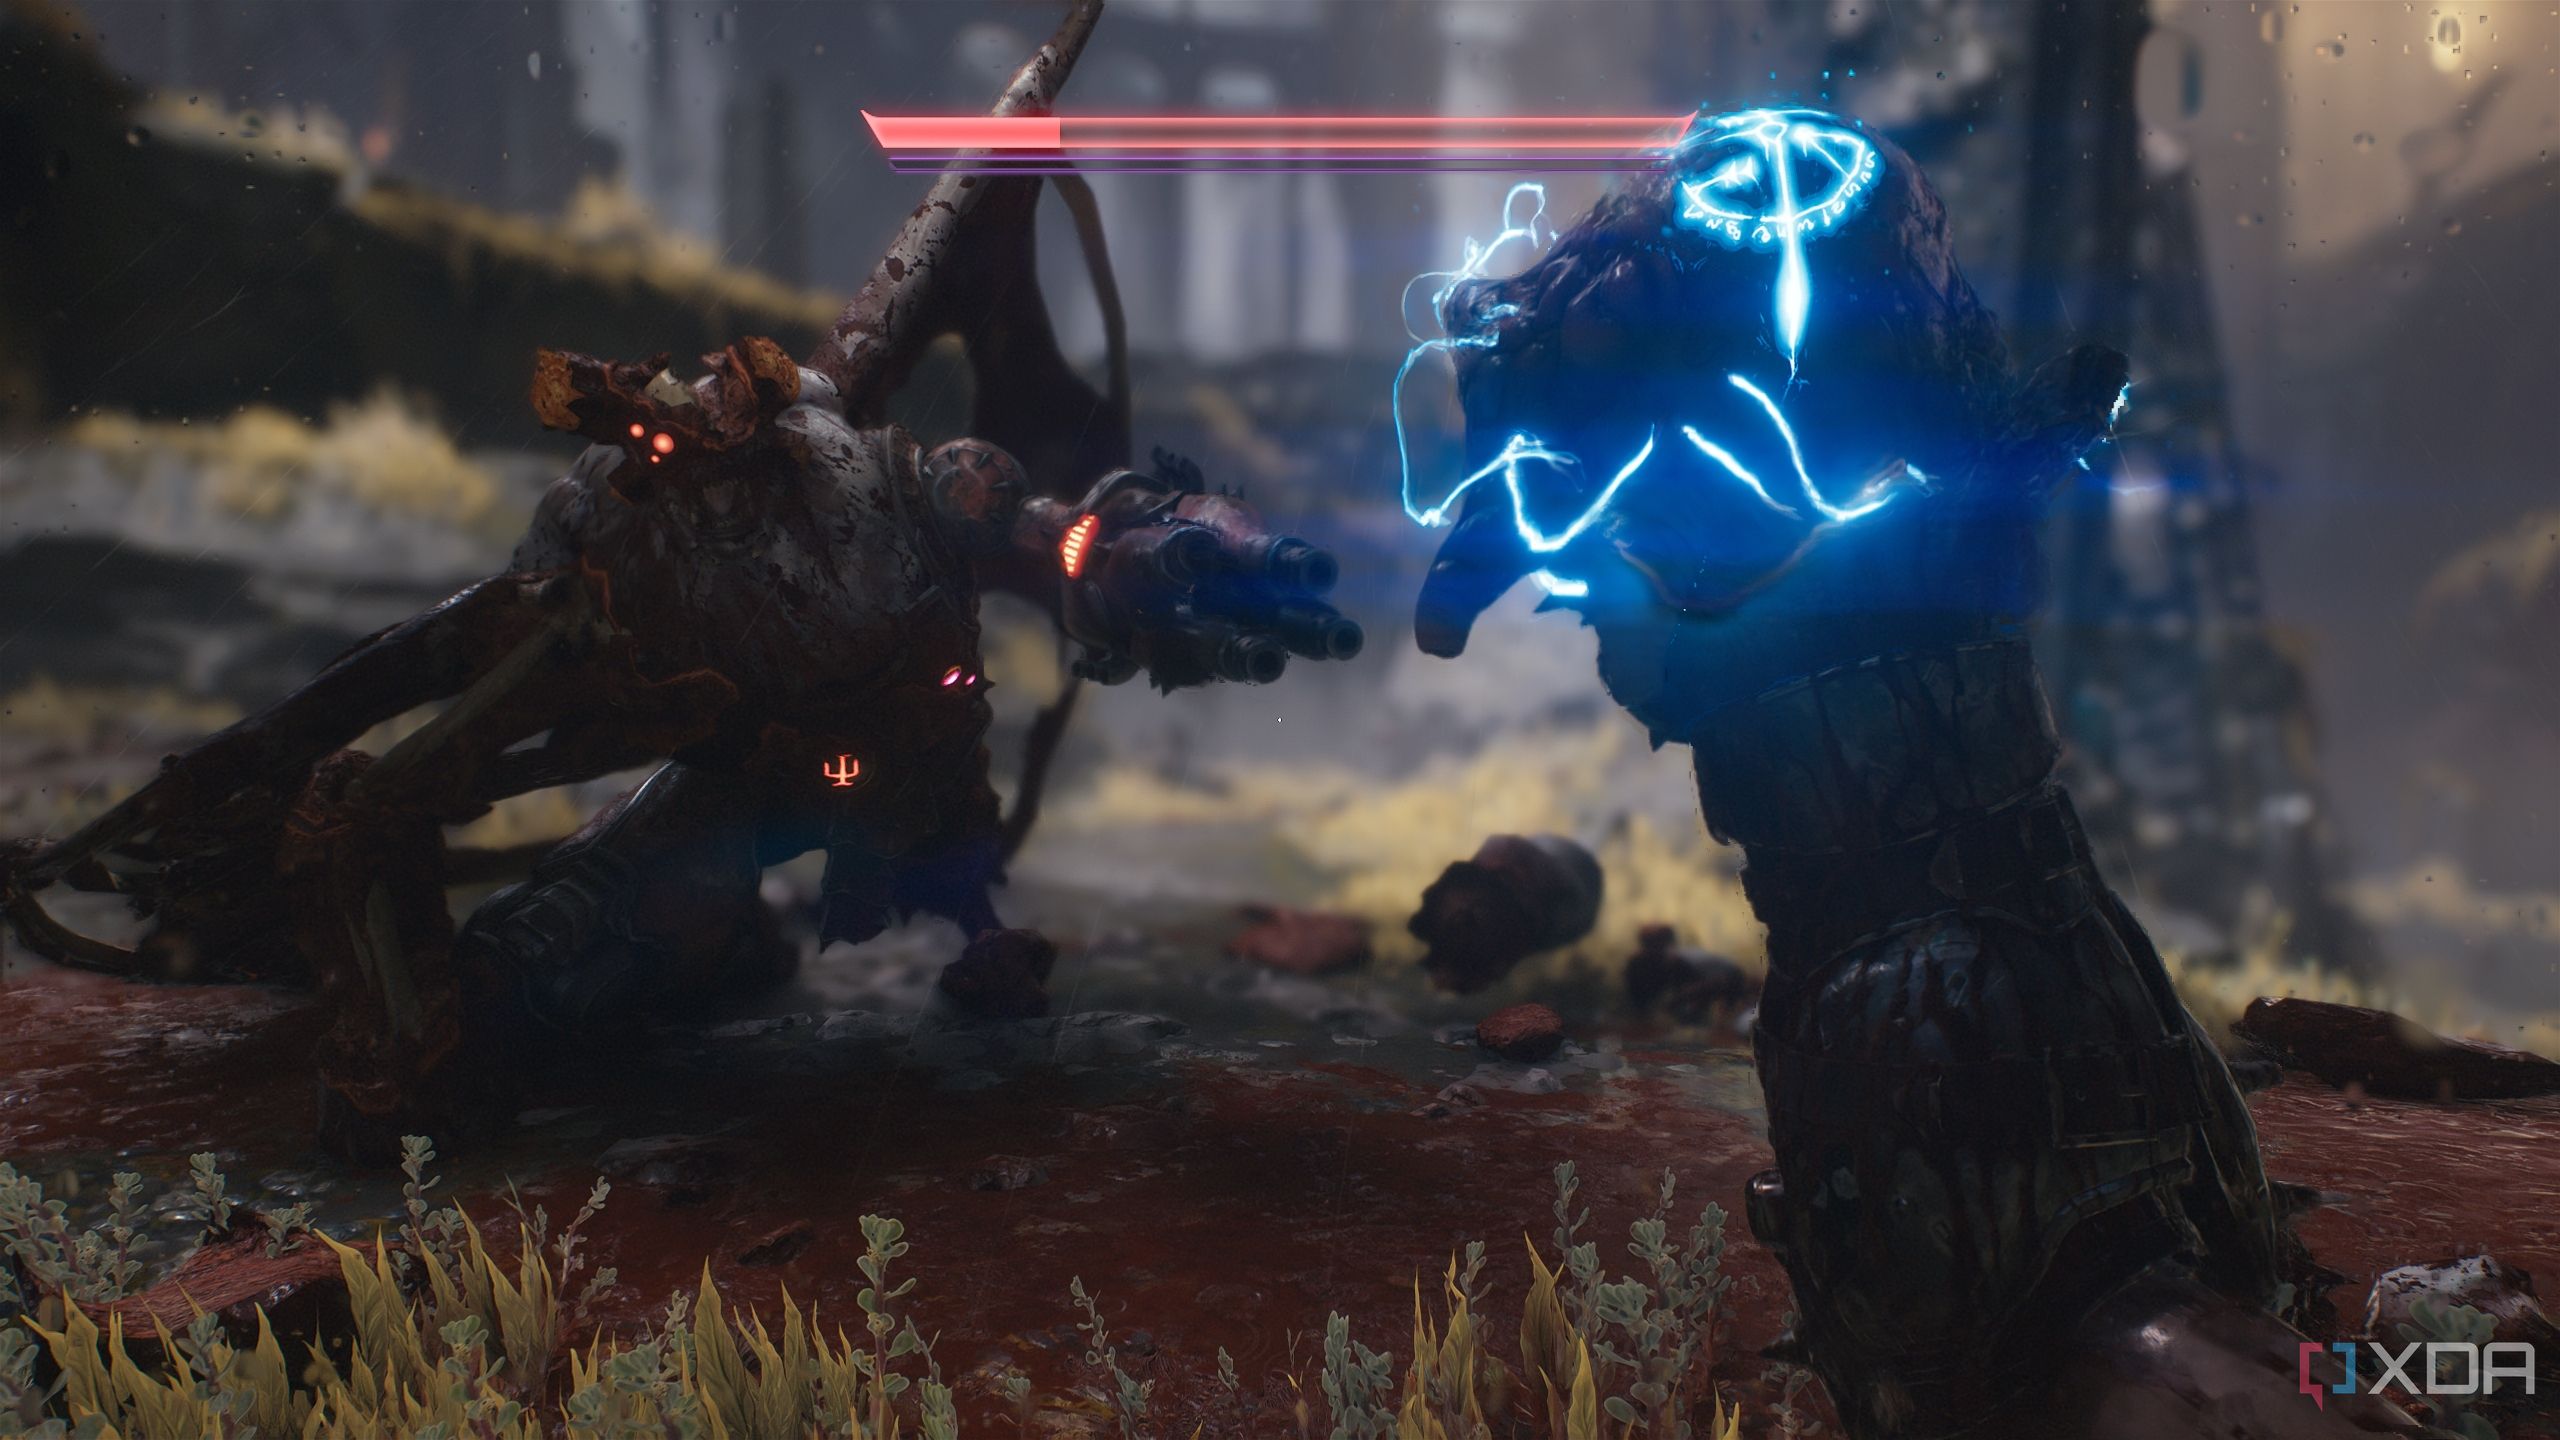
Not only will this get you a Demonic Essence for max health, but it will also progress the Heart Harvester mission challenge.
From here, walk back to where the Gore Portal was, and climb up the slanting platform above. From the top of this platform, you should be able to see a faint trail of gold bars in the distance.
Approach them and pick them up, dispatching the Soldiers and Zombies on the way. As you walk towards the objective from here, several Imp Stalkers will attack you.
This is probably the best place to parry their green attacks and complete the Master Blaster mission challenge.
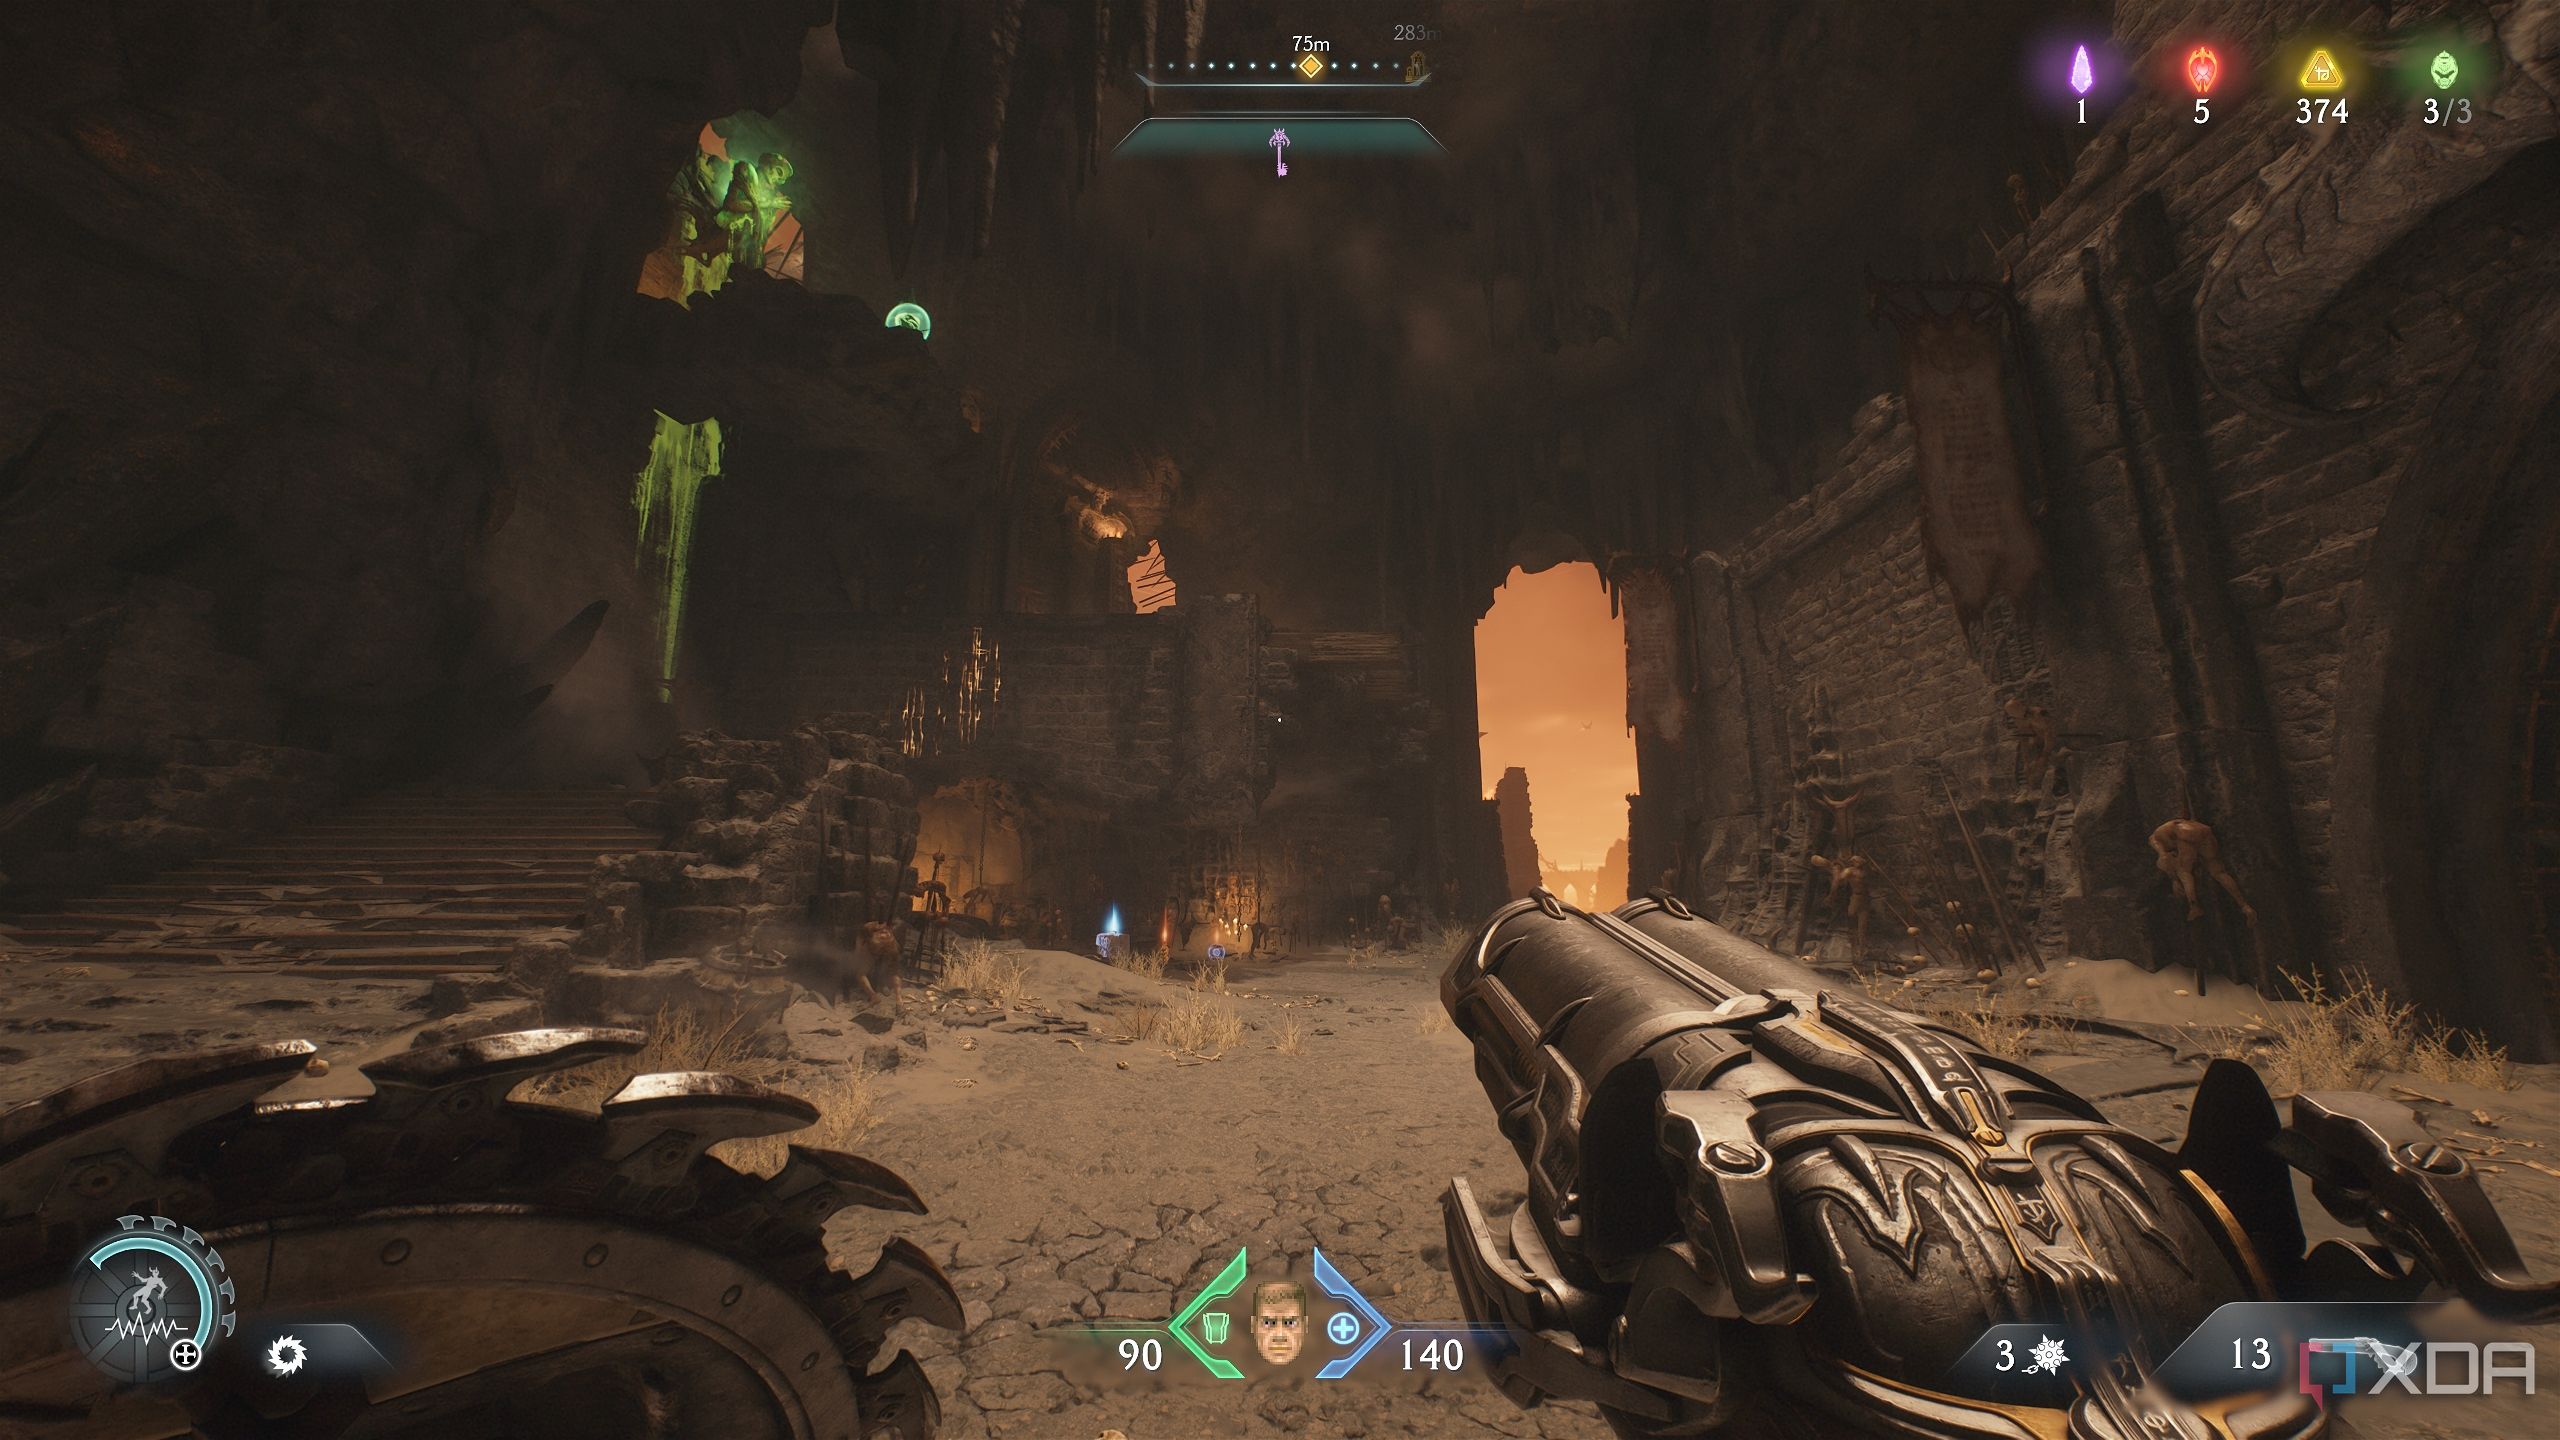
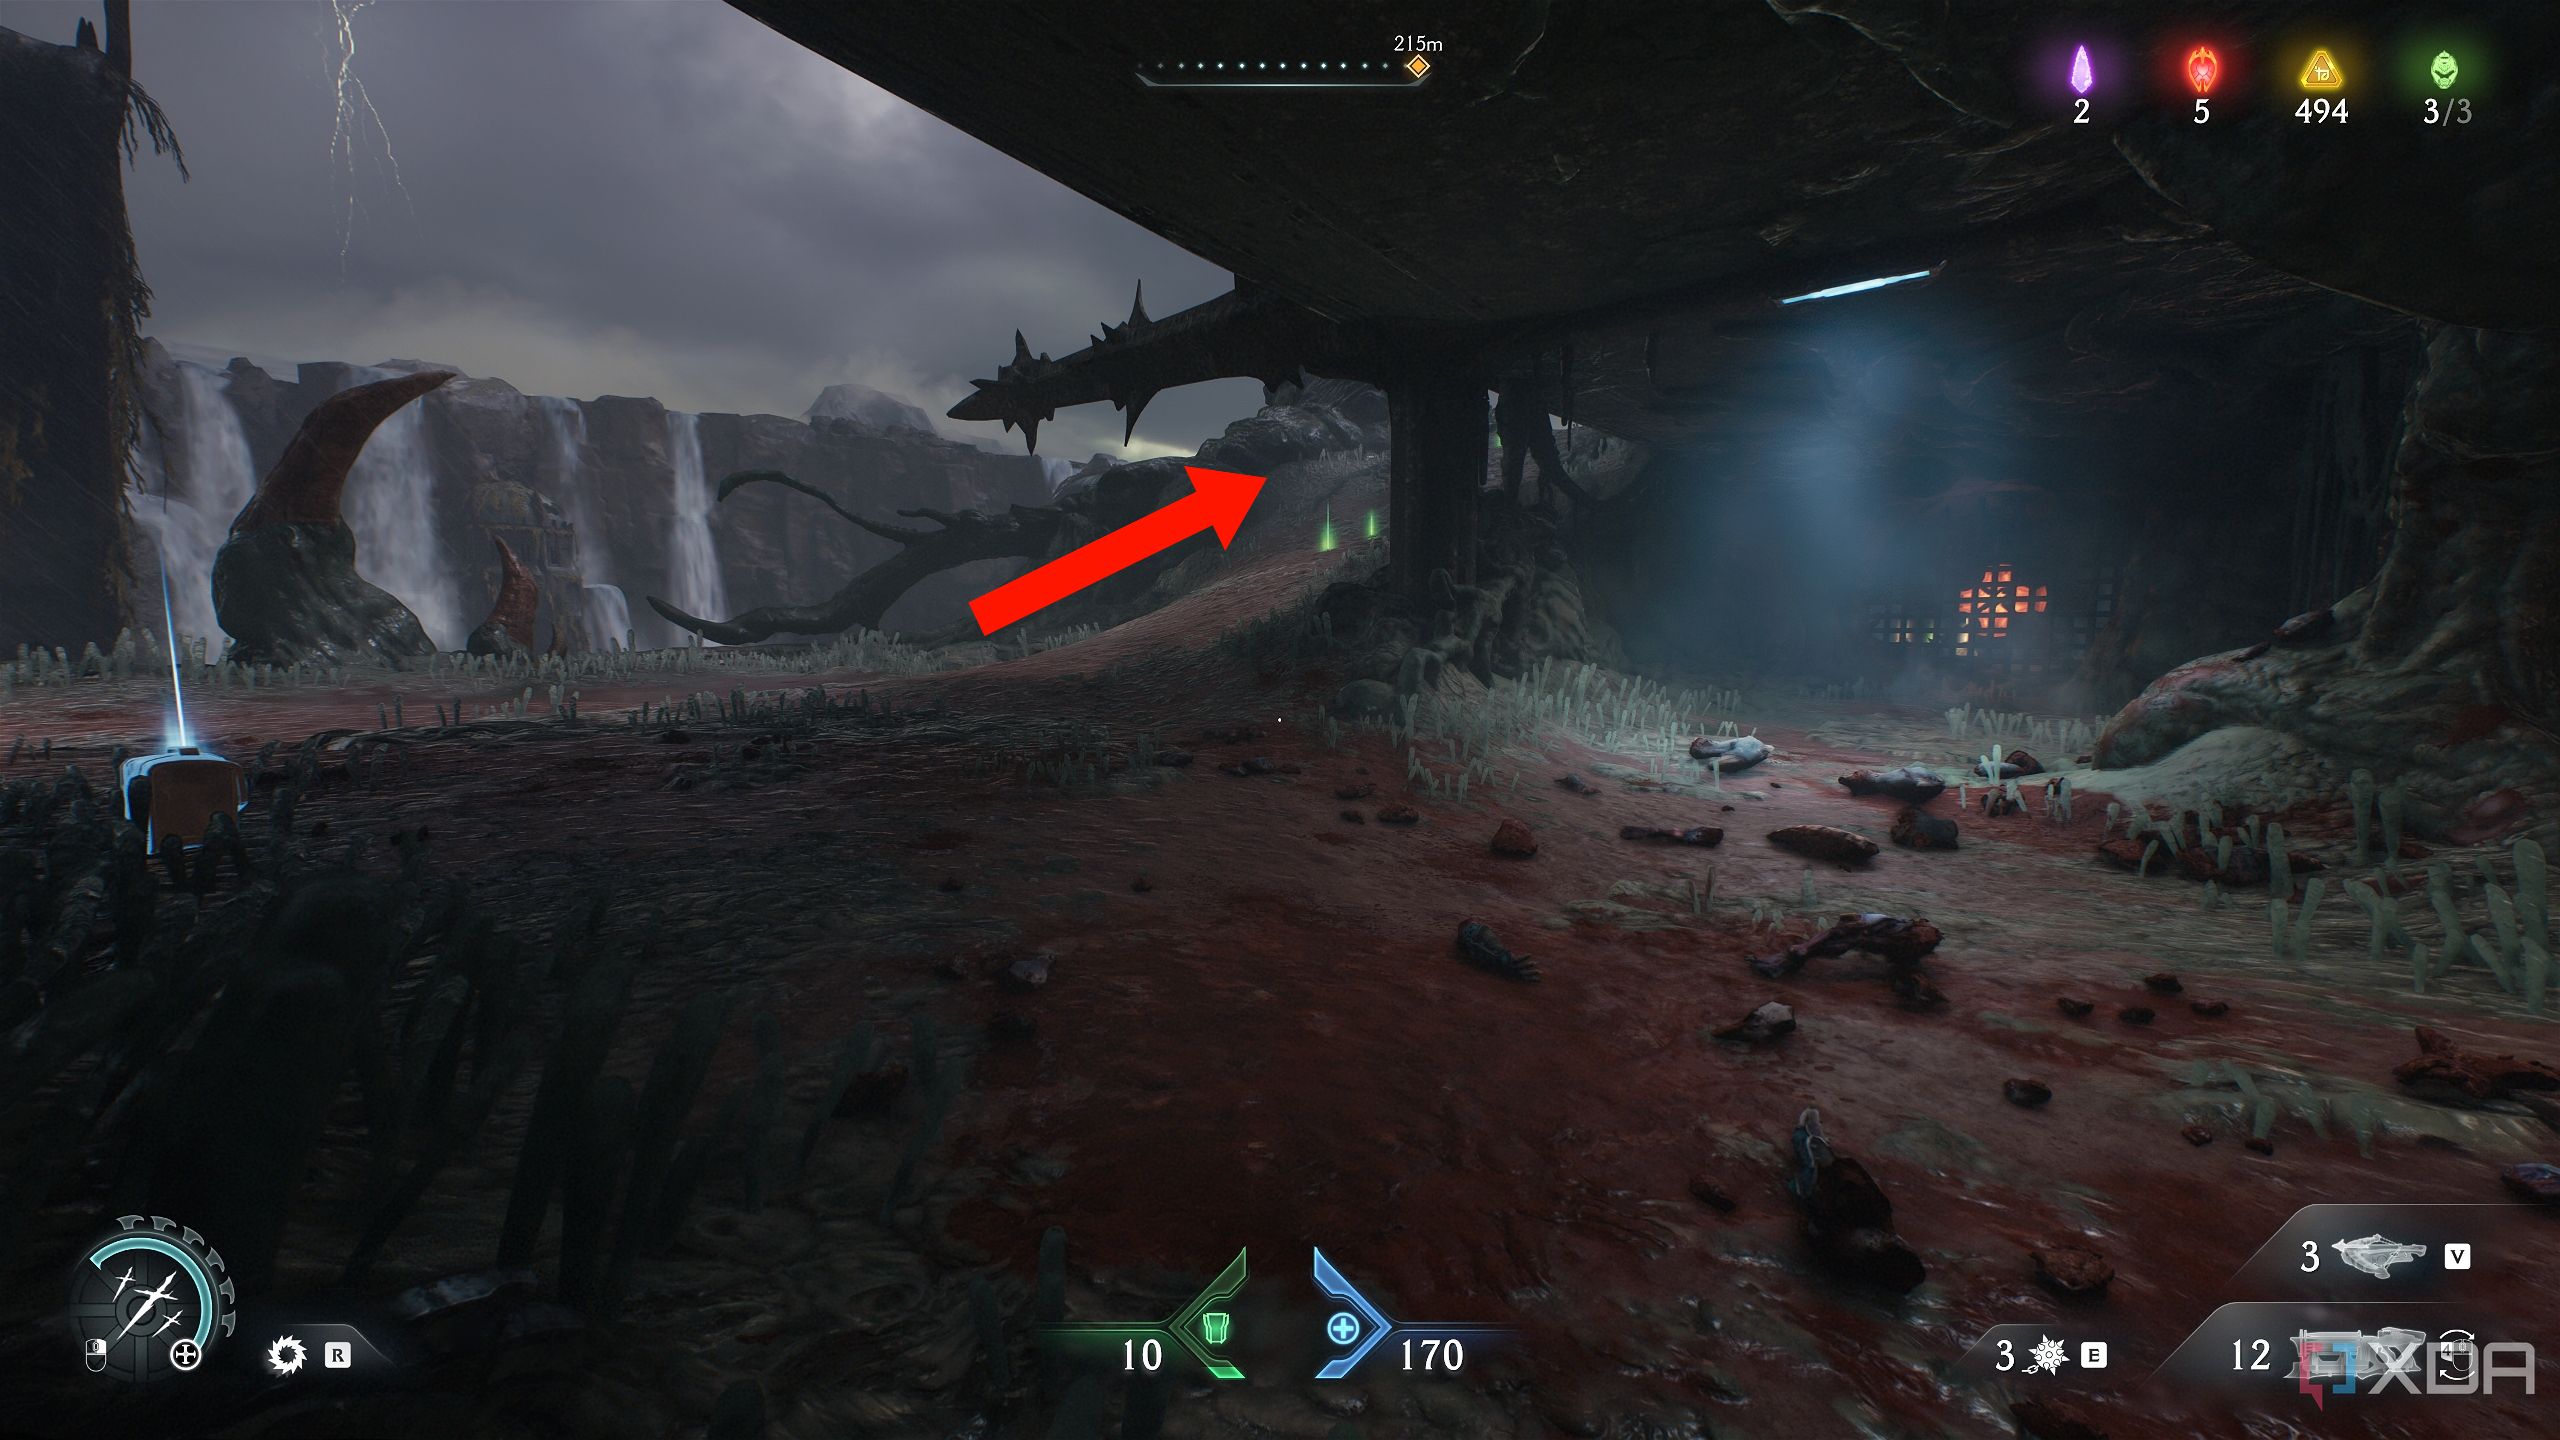
Codex Page and more gold bars
Collecting lore about the Spire of Nerathul
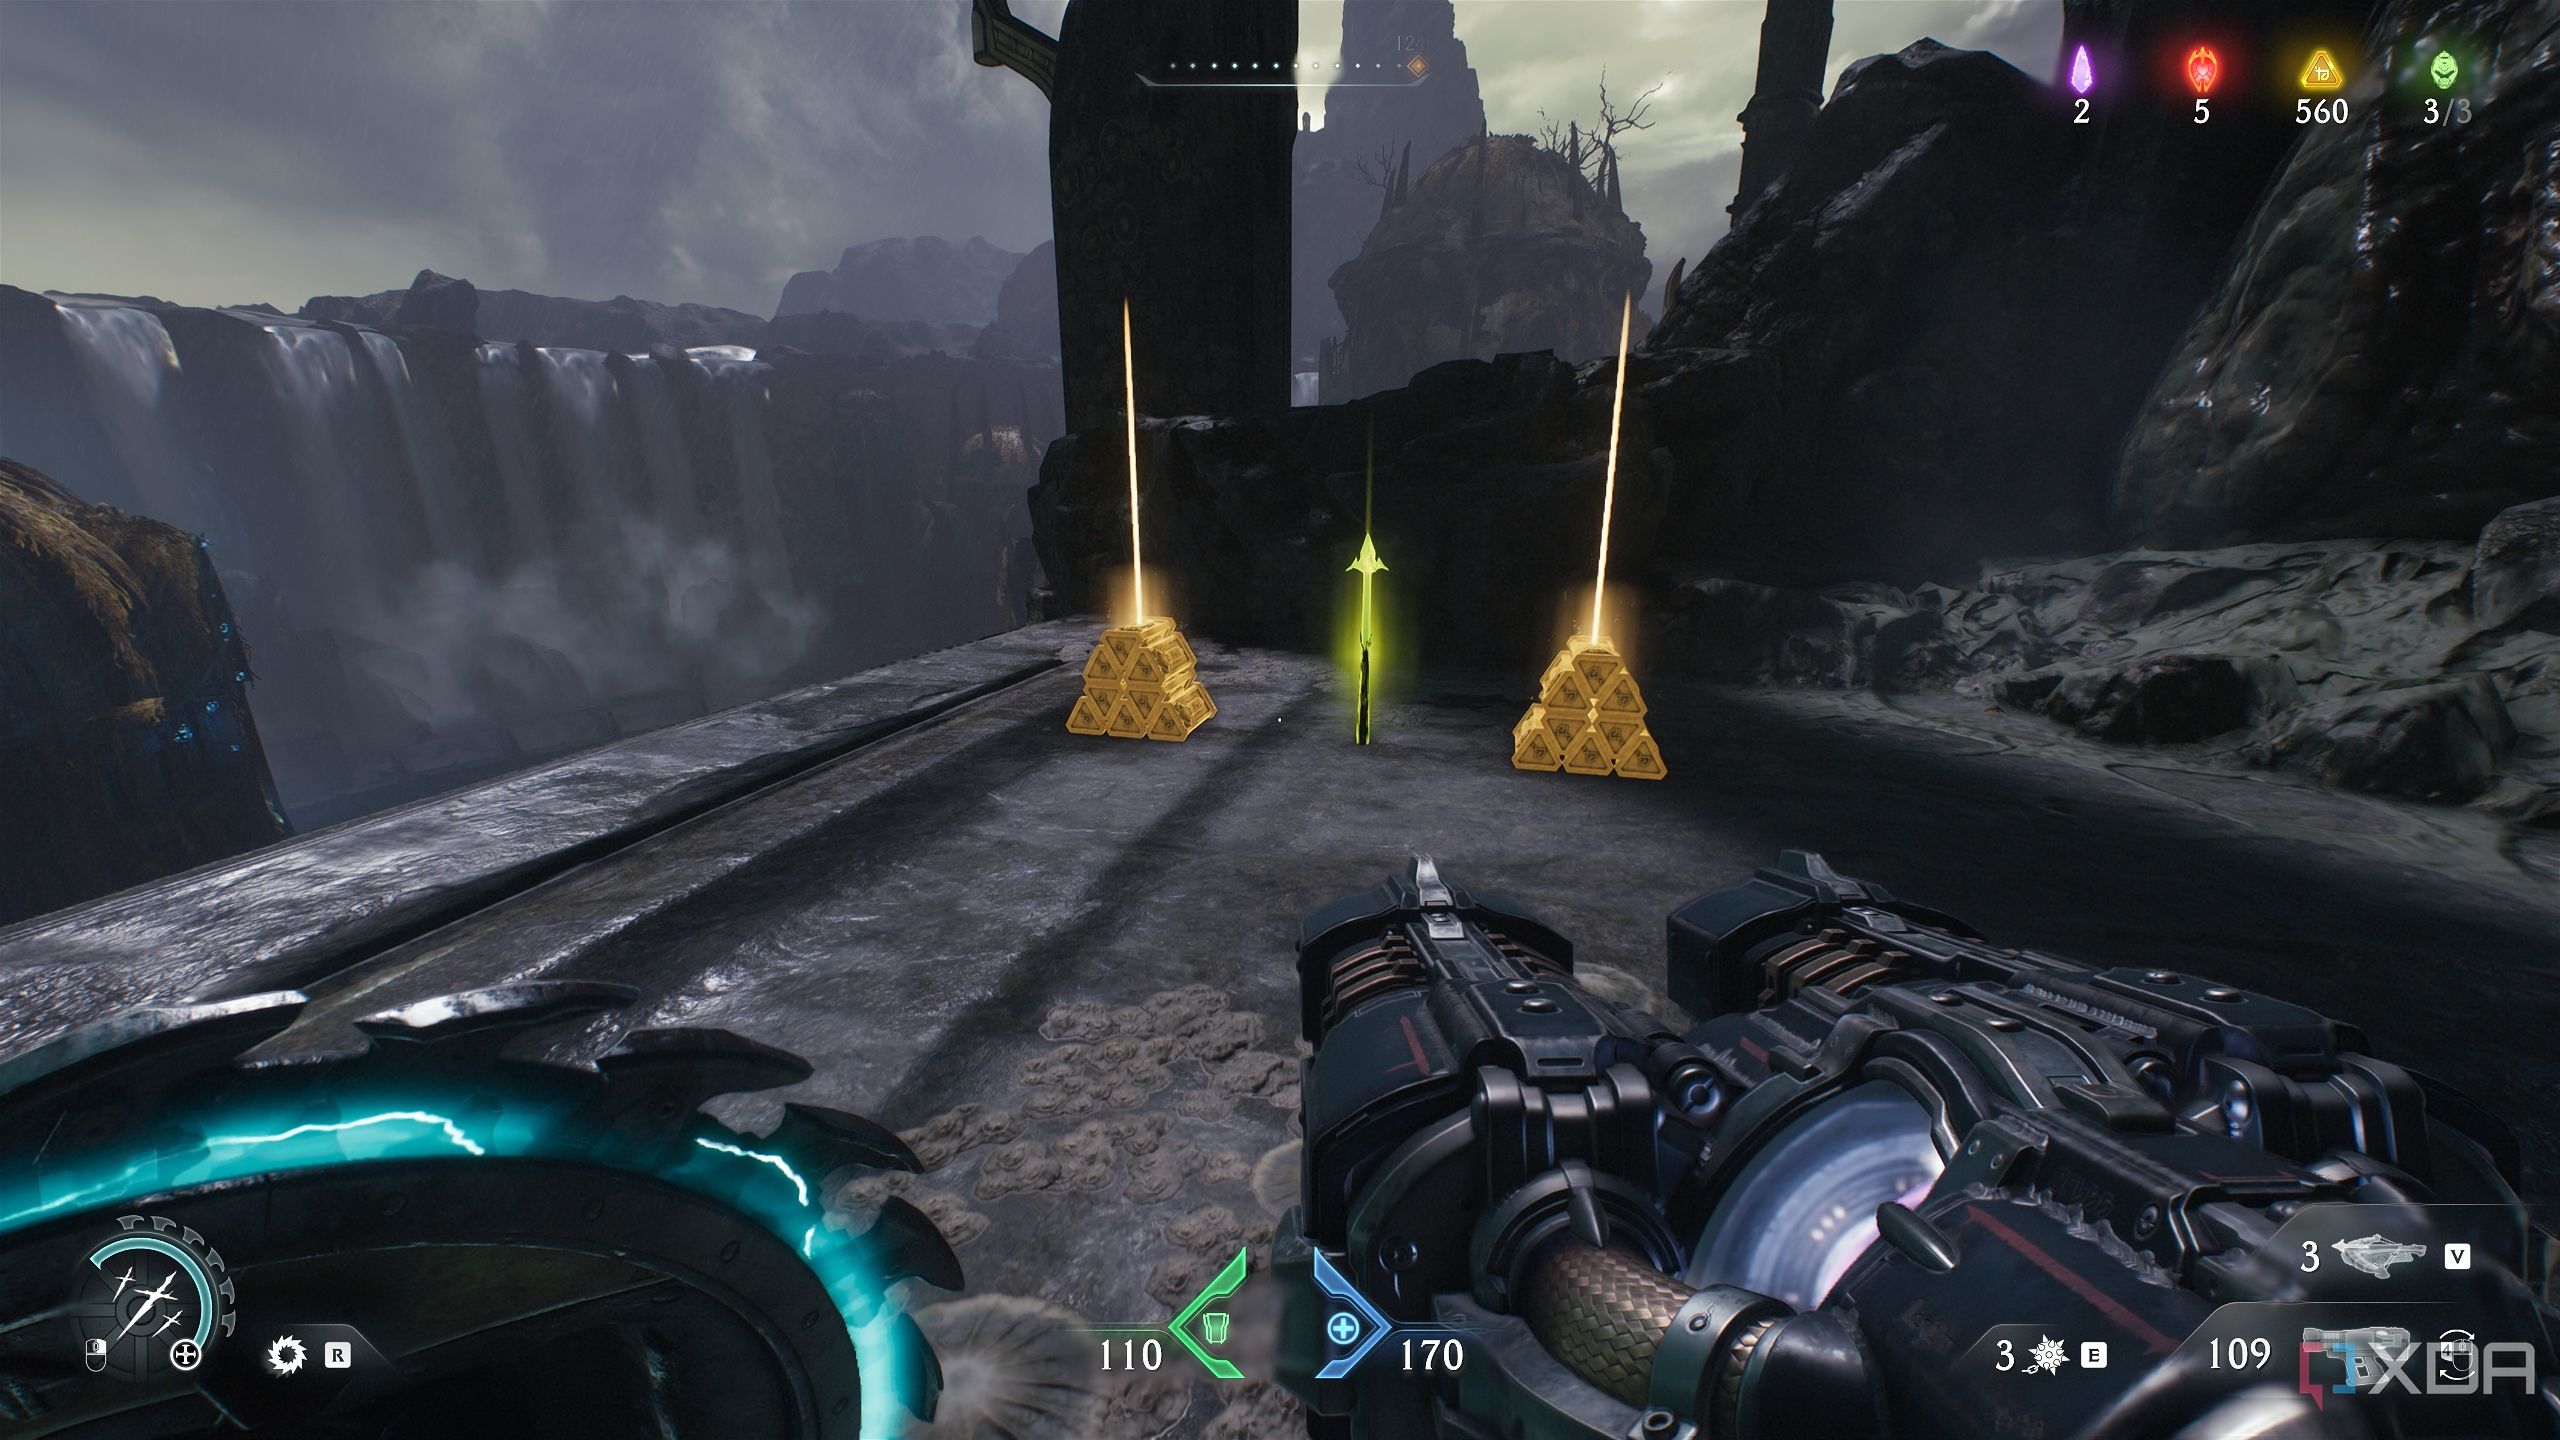
Heading towards the objective now, you’ll have to cross a stone beam across flowing waters.
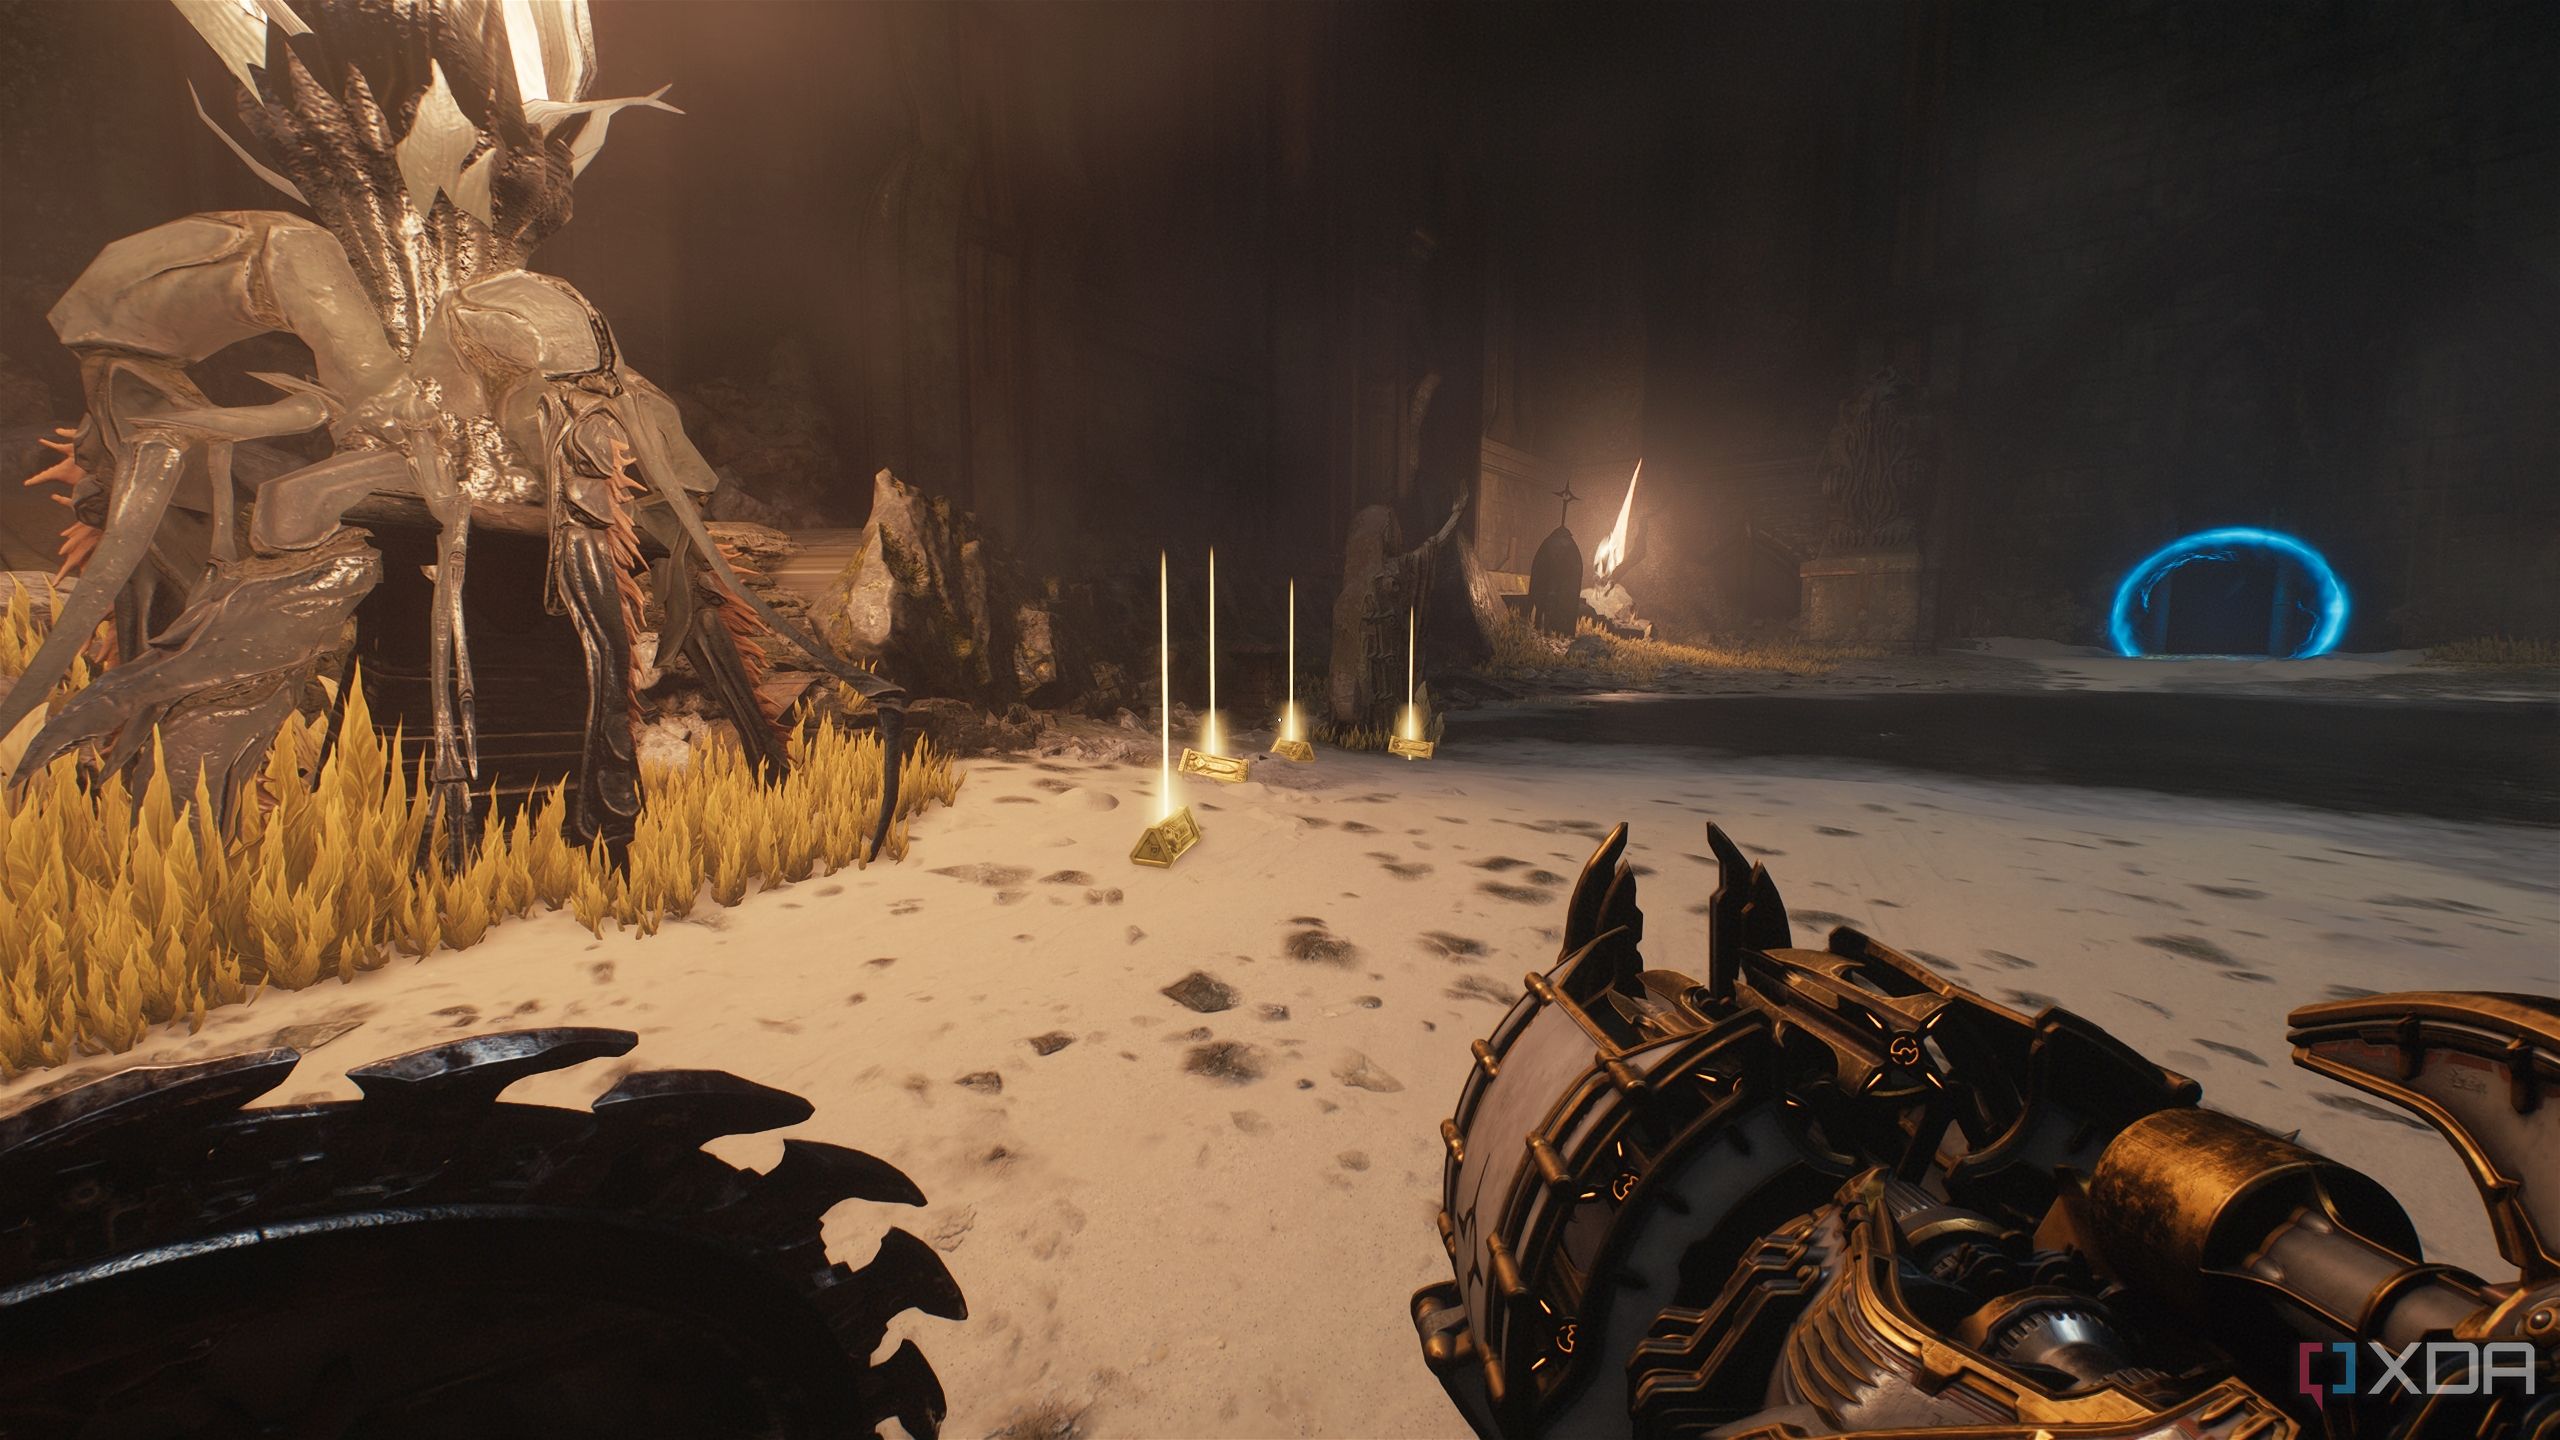
Instead of crossing it, look to the left, and you should see a bunch of gold bars lying on the ground below, just ahead.

Pick them up, and from here, in the distance, you should also see more gold bars and a Codex Page.
Cross the flowing water, and head left to drop down to a small rocky platform below, where you can pick up more gold bars and collect the Codex Page for the Spire of Nerathul.
Now, all that’s left is to dispatch the armored Mancubus, the Vagary, and the Arachnotron, before you can proceed with the objective and approach the second Stasis Emitter. Mount your dragon after that to move to the next location.
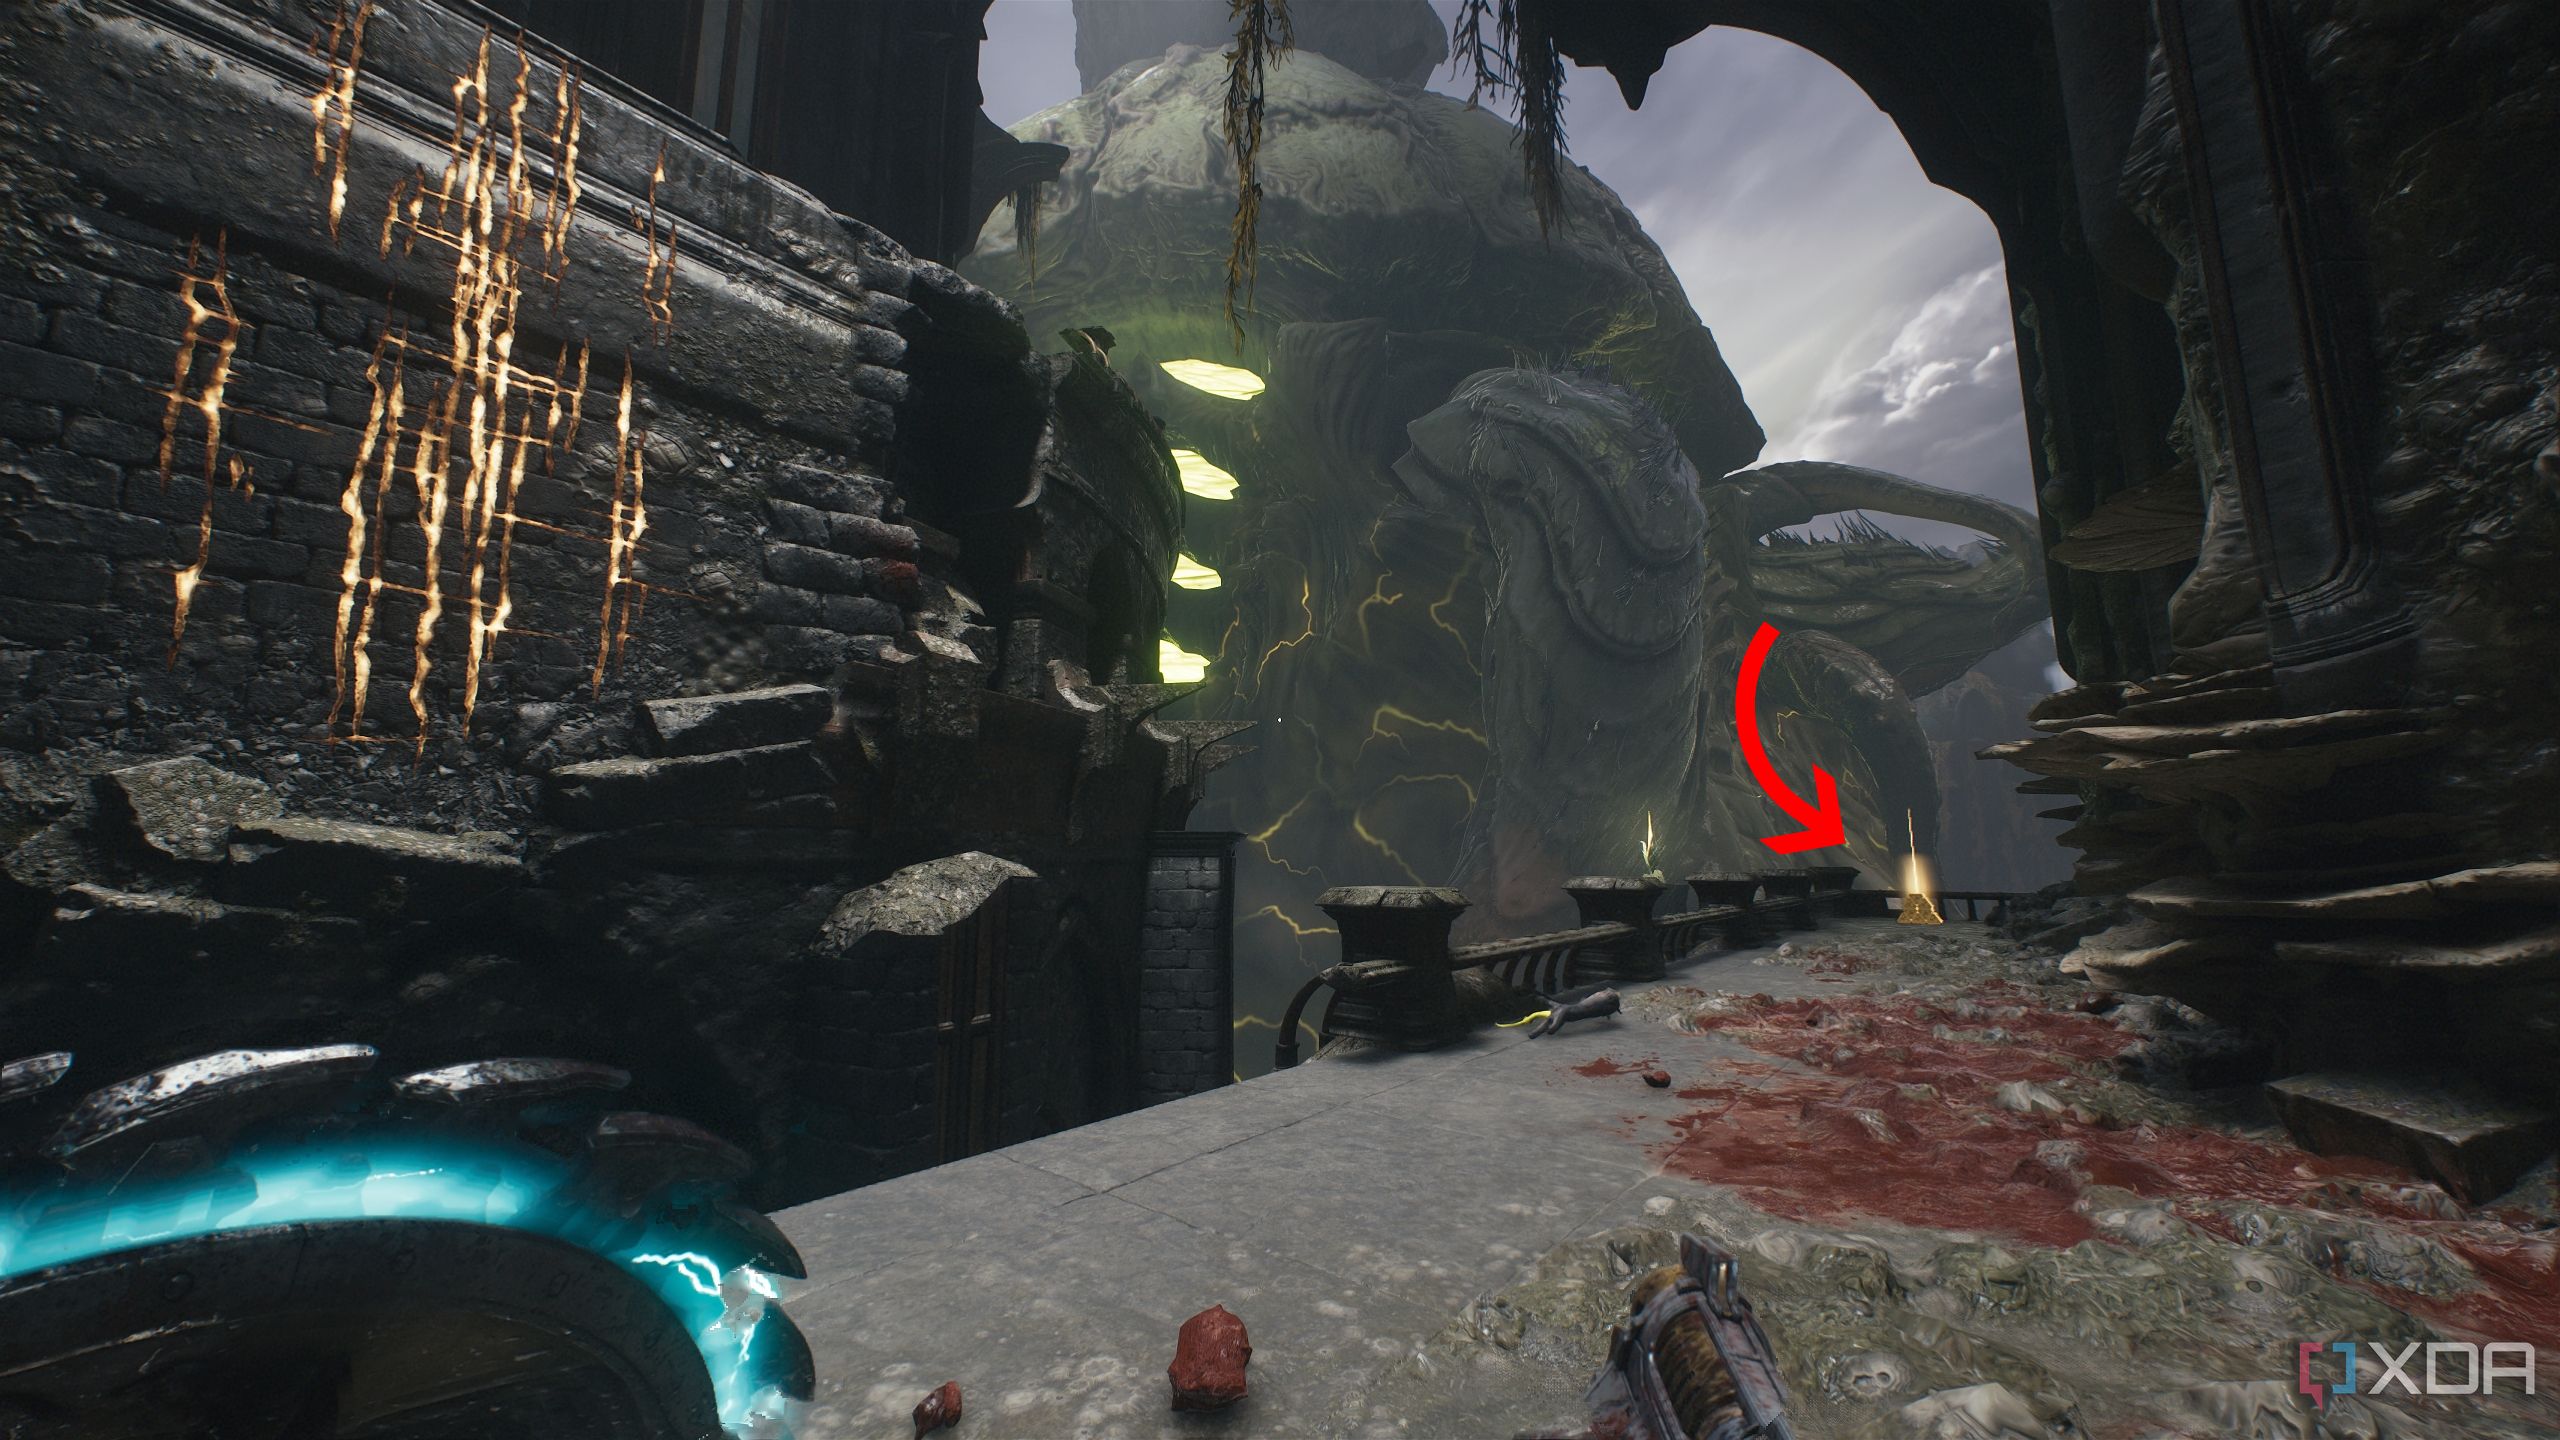
Secret area 7 and Red Ruby 3
Getting the Heaven Splitter shield rune
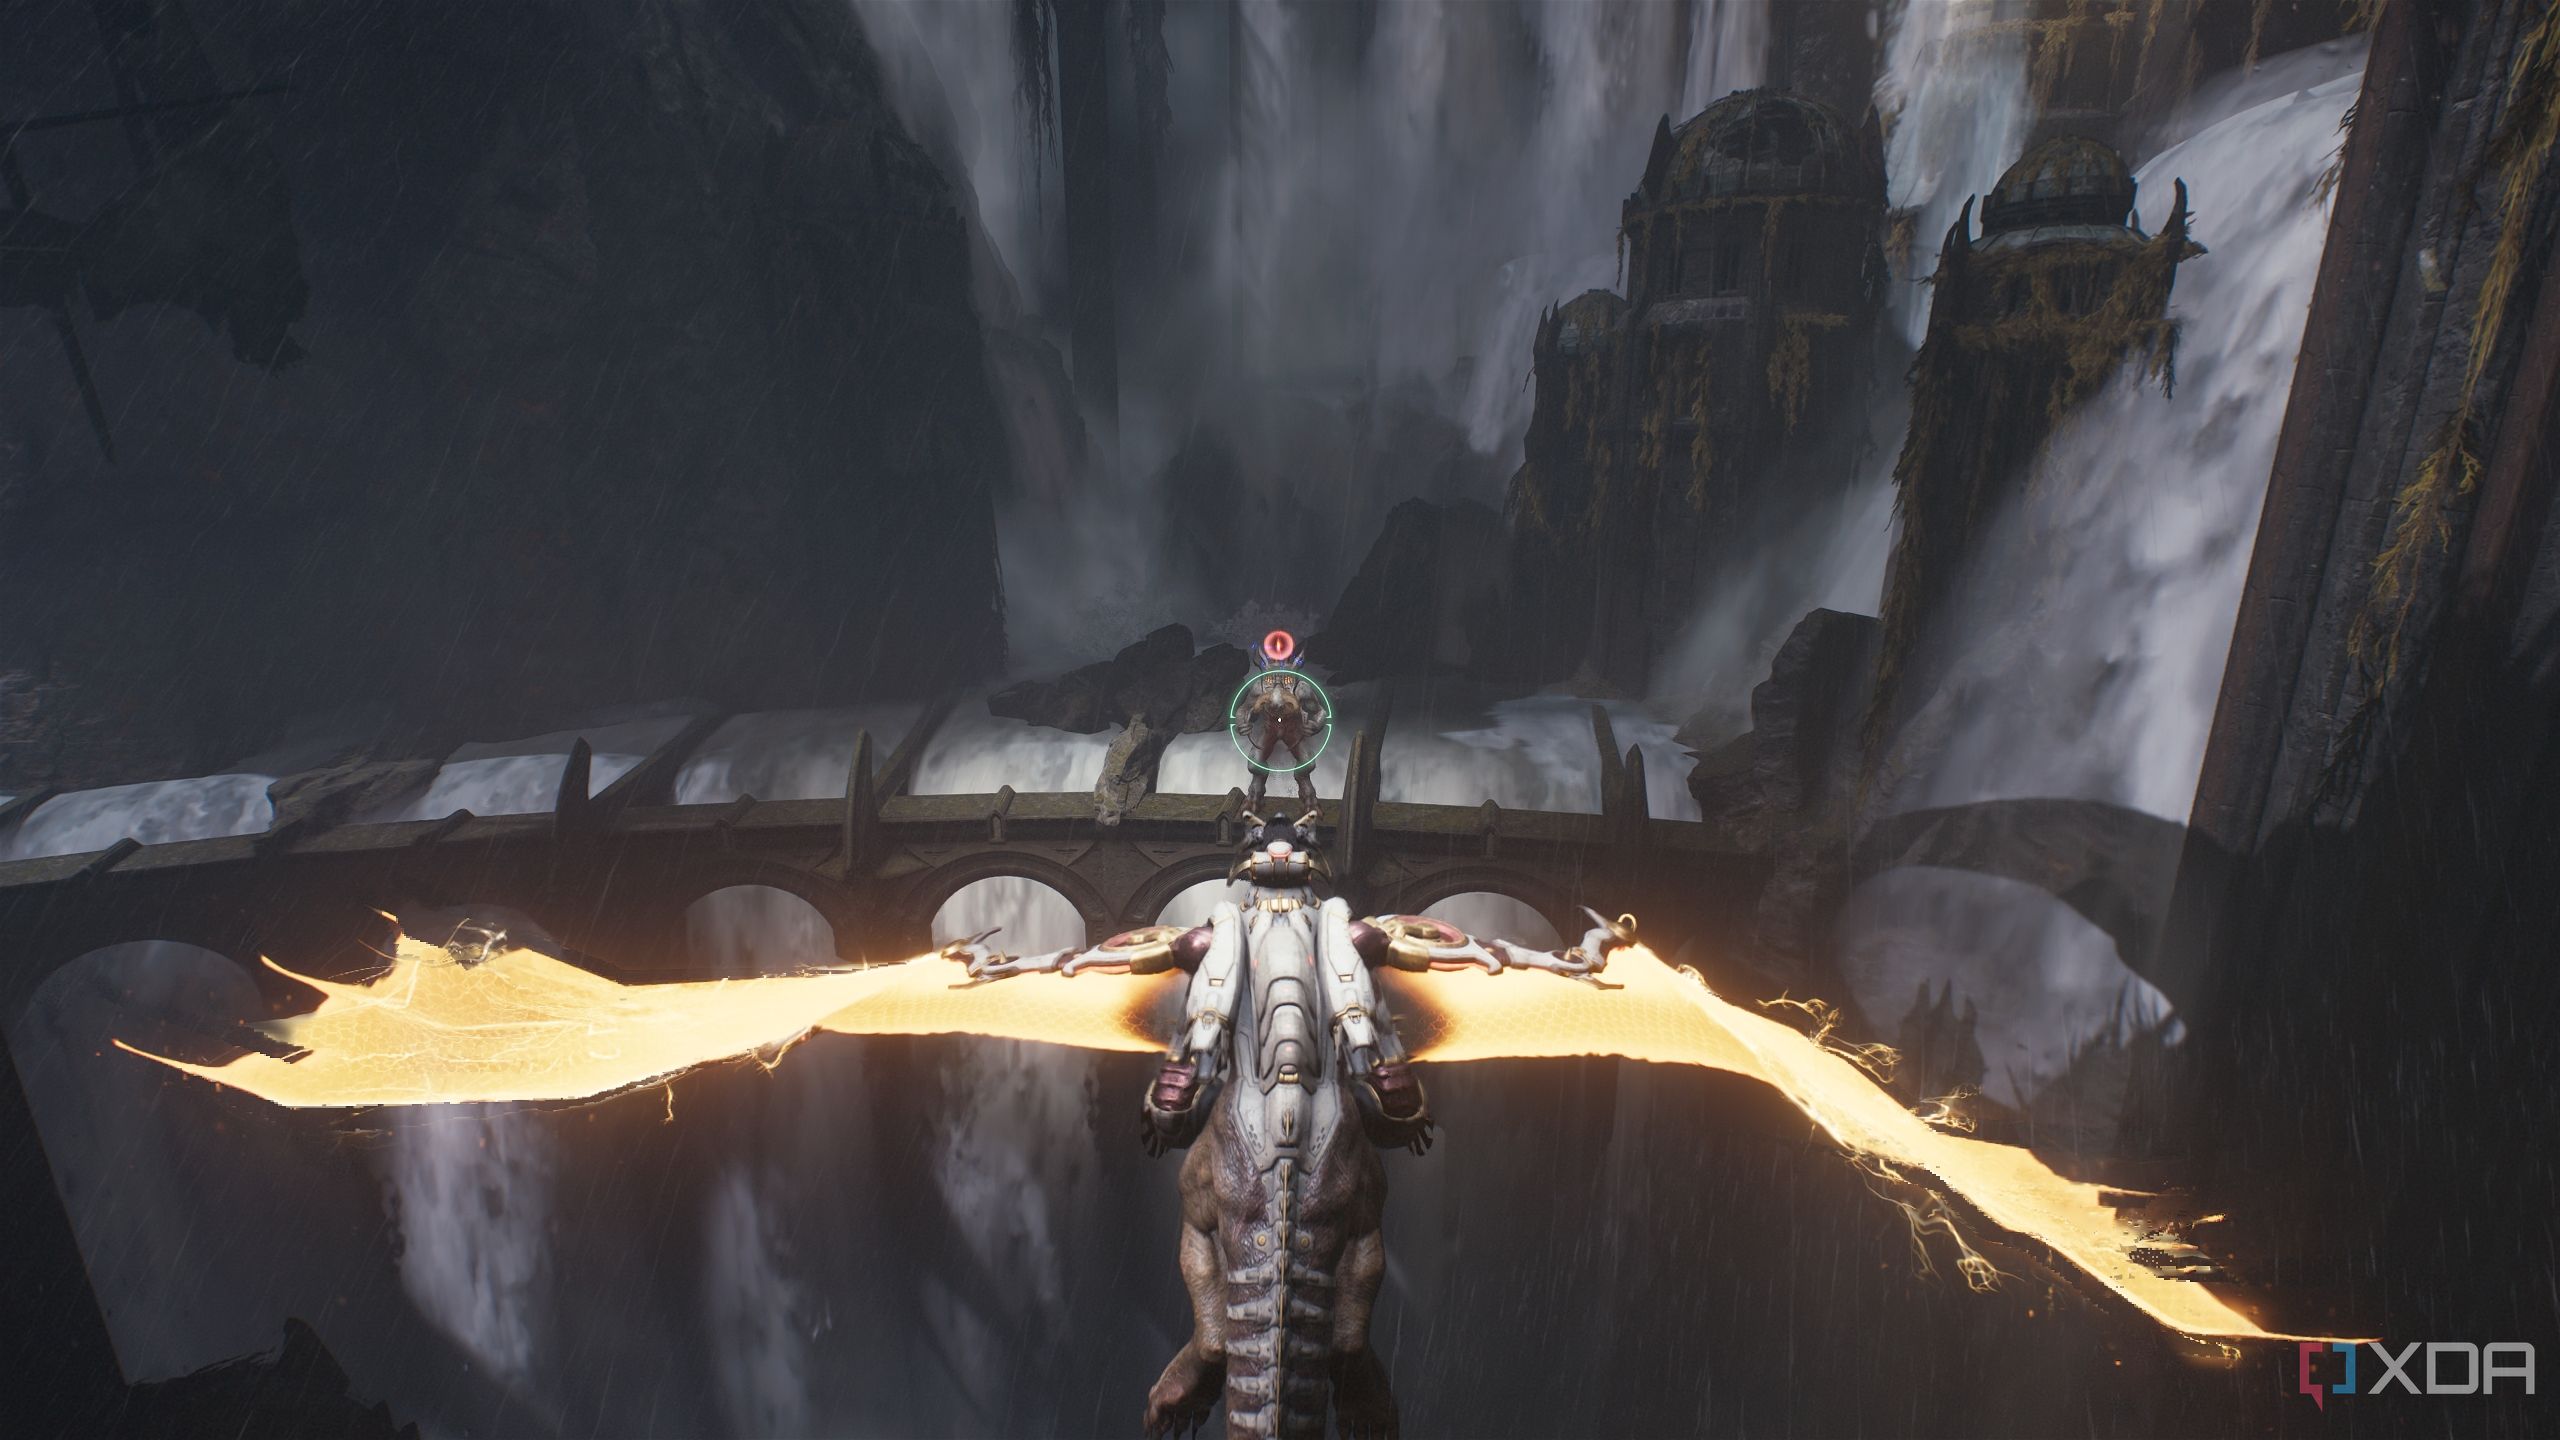
After you mount your dragon, you’ll immediately see a Titan in front of you to take down. Dispatch it, and a Hell Fighter ship will emerge — chase it down and destroy it.

This Hell Fighter ship will lead you to the third landing zone in the level. Land here, and once you’re back on foot, you’ll see a new Shield Rune in the middle of the arena ahead.
Collect it, and head right towards a small, locked structure.

Look ahead into the water where parts of a shipwreck are visible through the water.
Jump towards that area and dive underwater — you’ll see a huge hole in the ground you can swim inside. Once inside, pick up the gold stack on entry, and continue swimming through the path, avoiding the fiery projectiles on the way.

You’ll eventually come up to a chamber with a hole in the roof — swim towards the hole.
Upon exiting, you’ll unlock secret area 7 and collect a third Red Ruby from the statue here.
Secret area 8 and a Life Sigil
Stacks of gold under the central pathway
From the shield rune in the center of the arena, head left instead of taking the central path.
Now, once you’ve climbed halfway through the left path, look towards the central path, underneath it. You should see some gold stacks calling out to you.
Sprint and jump towards them, collect them, and climb up the scramble wall towards the central path. Up ahead, you’ll have to fight an enhanced armored Mancubus, two Revenants, and more Imp Stalkers than you can count.
Once they’re all down, face the Stasis Emitter ahead and turn around. Climb up the platform going up, and to the left, you should see a staircase up ahead.
Head towards the stairs and climb them up — some Lost Souls will appear from thin air to attack you, so deal with them.
At the top, you’ll unlock a Sentinel Shrine, a long trail of gold bars, and secret area 8 along with a Life Sigil.
Related
How Doom: The Dark Ages will take Doom to new heights
Doom: The Dark Ages is the next evolution of the Doom series, and it could end up being the best one yet.
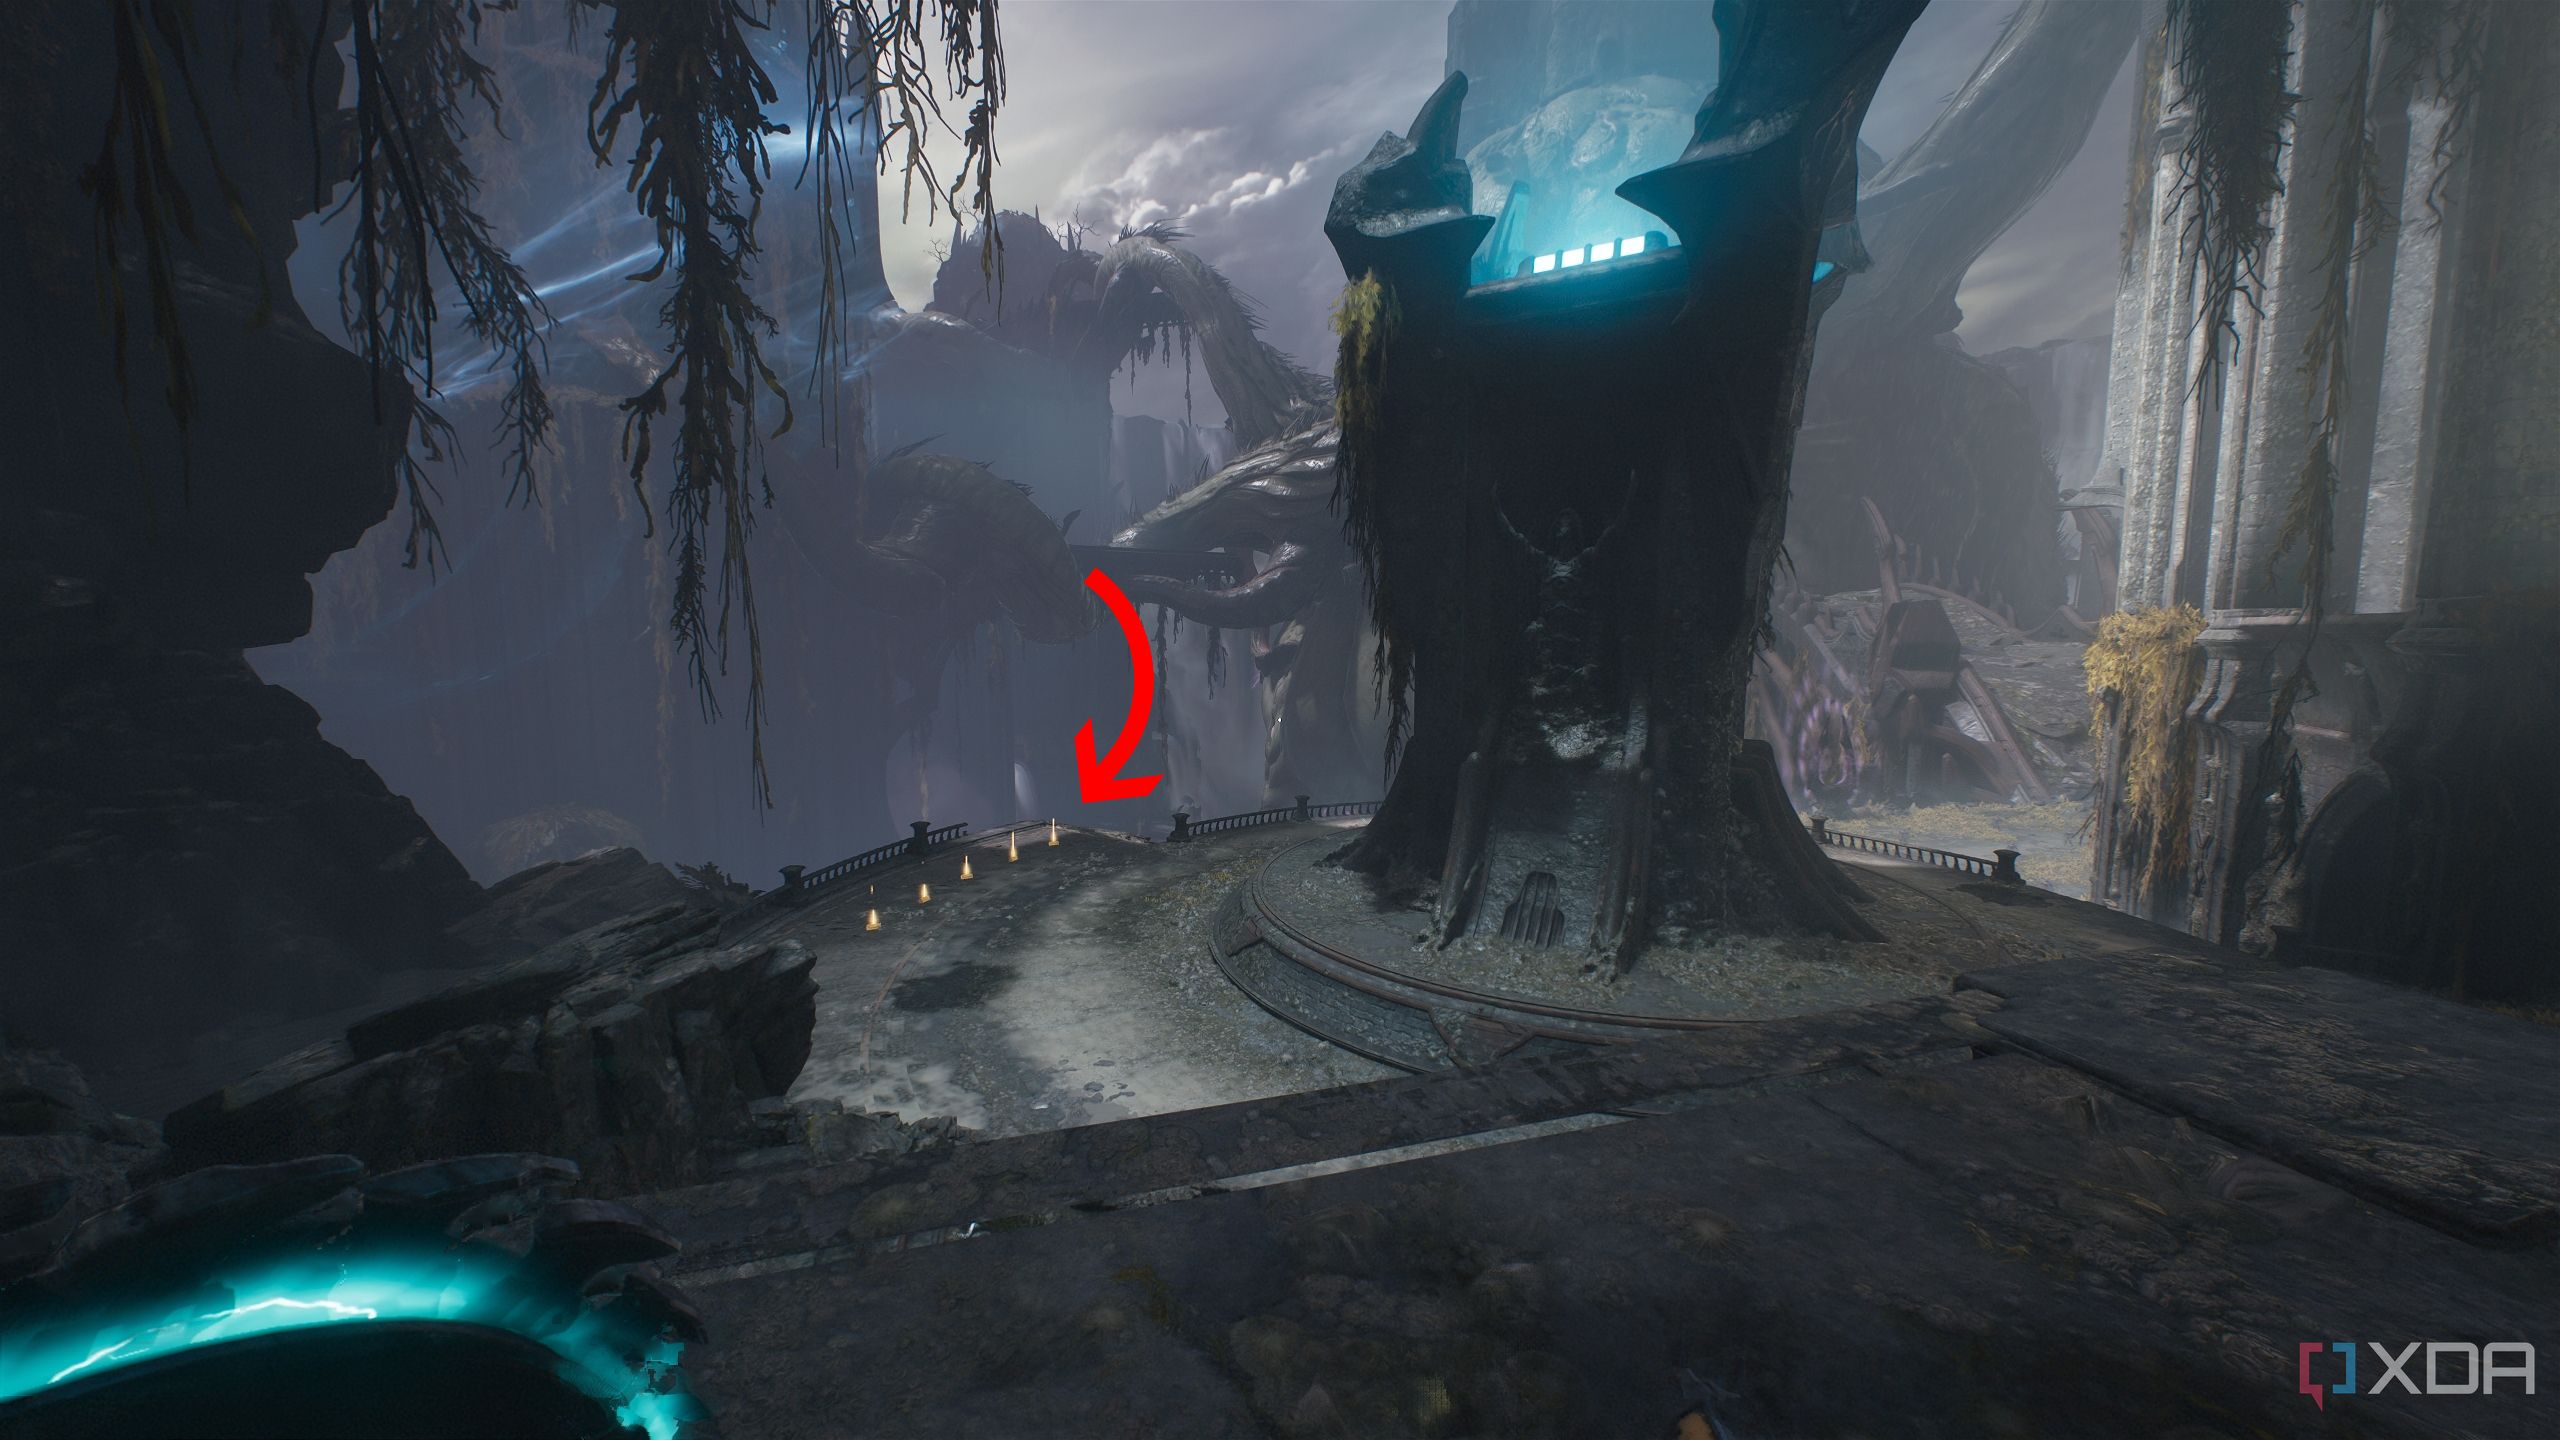
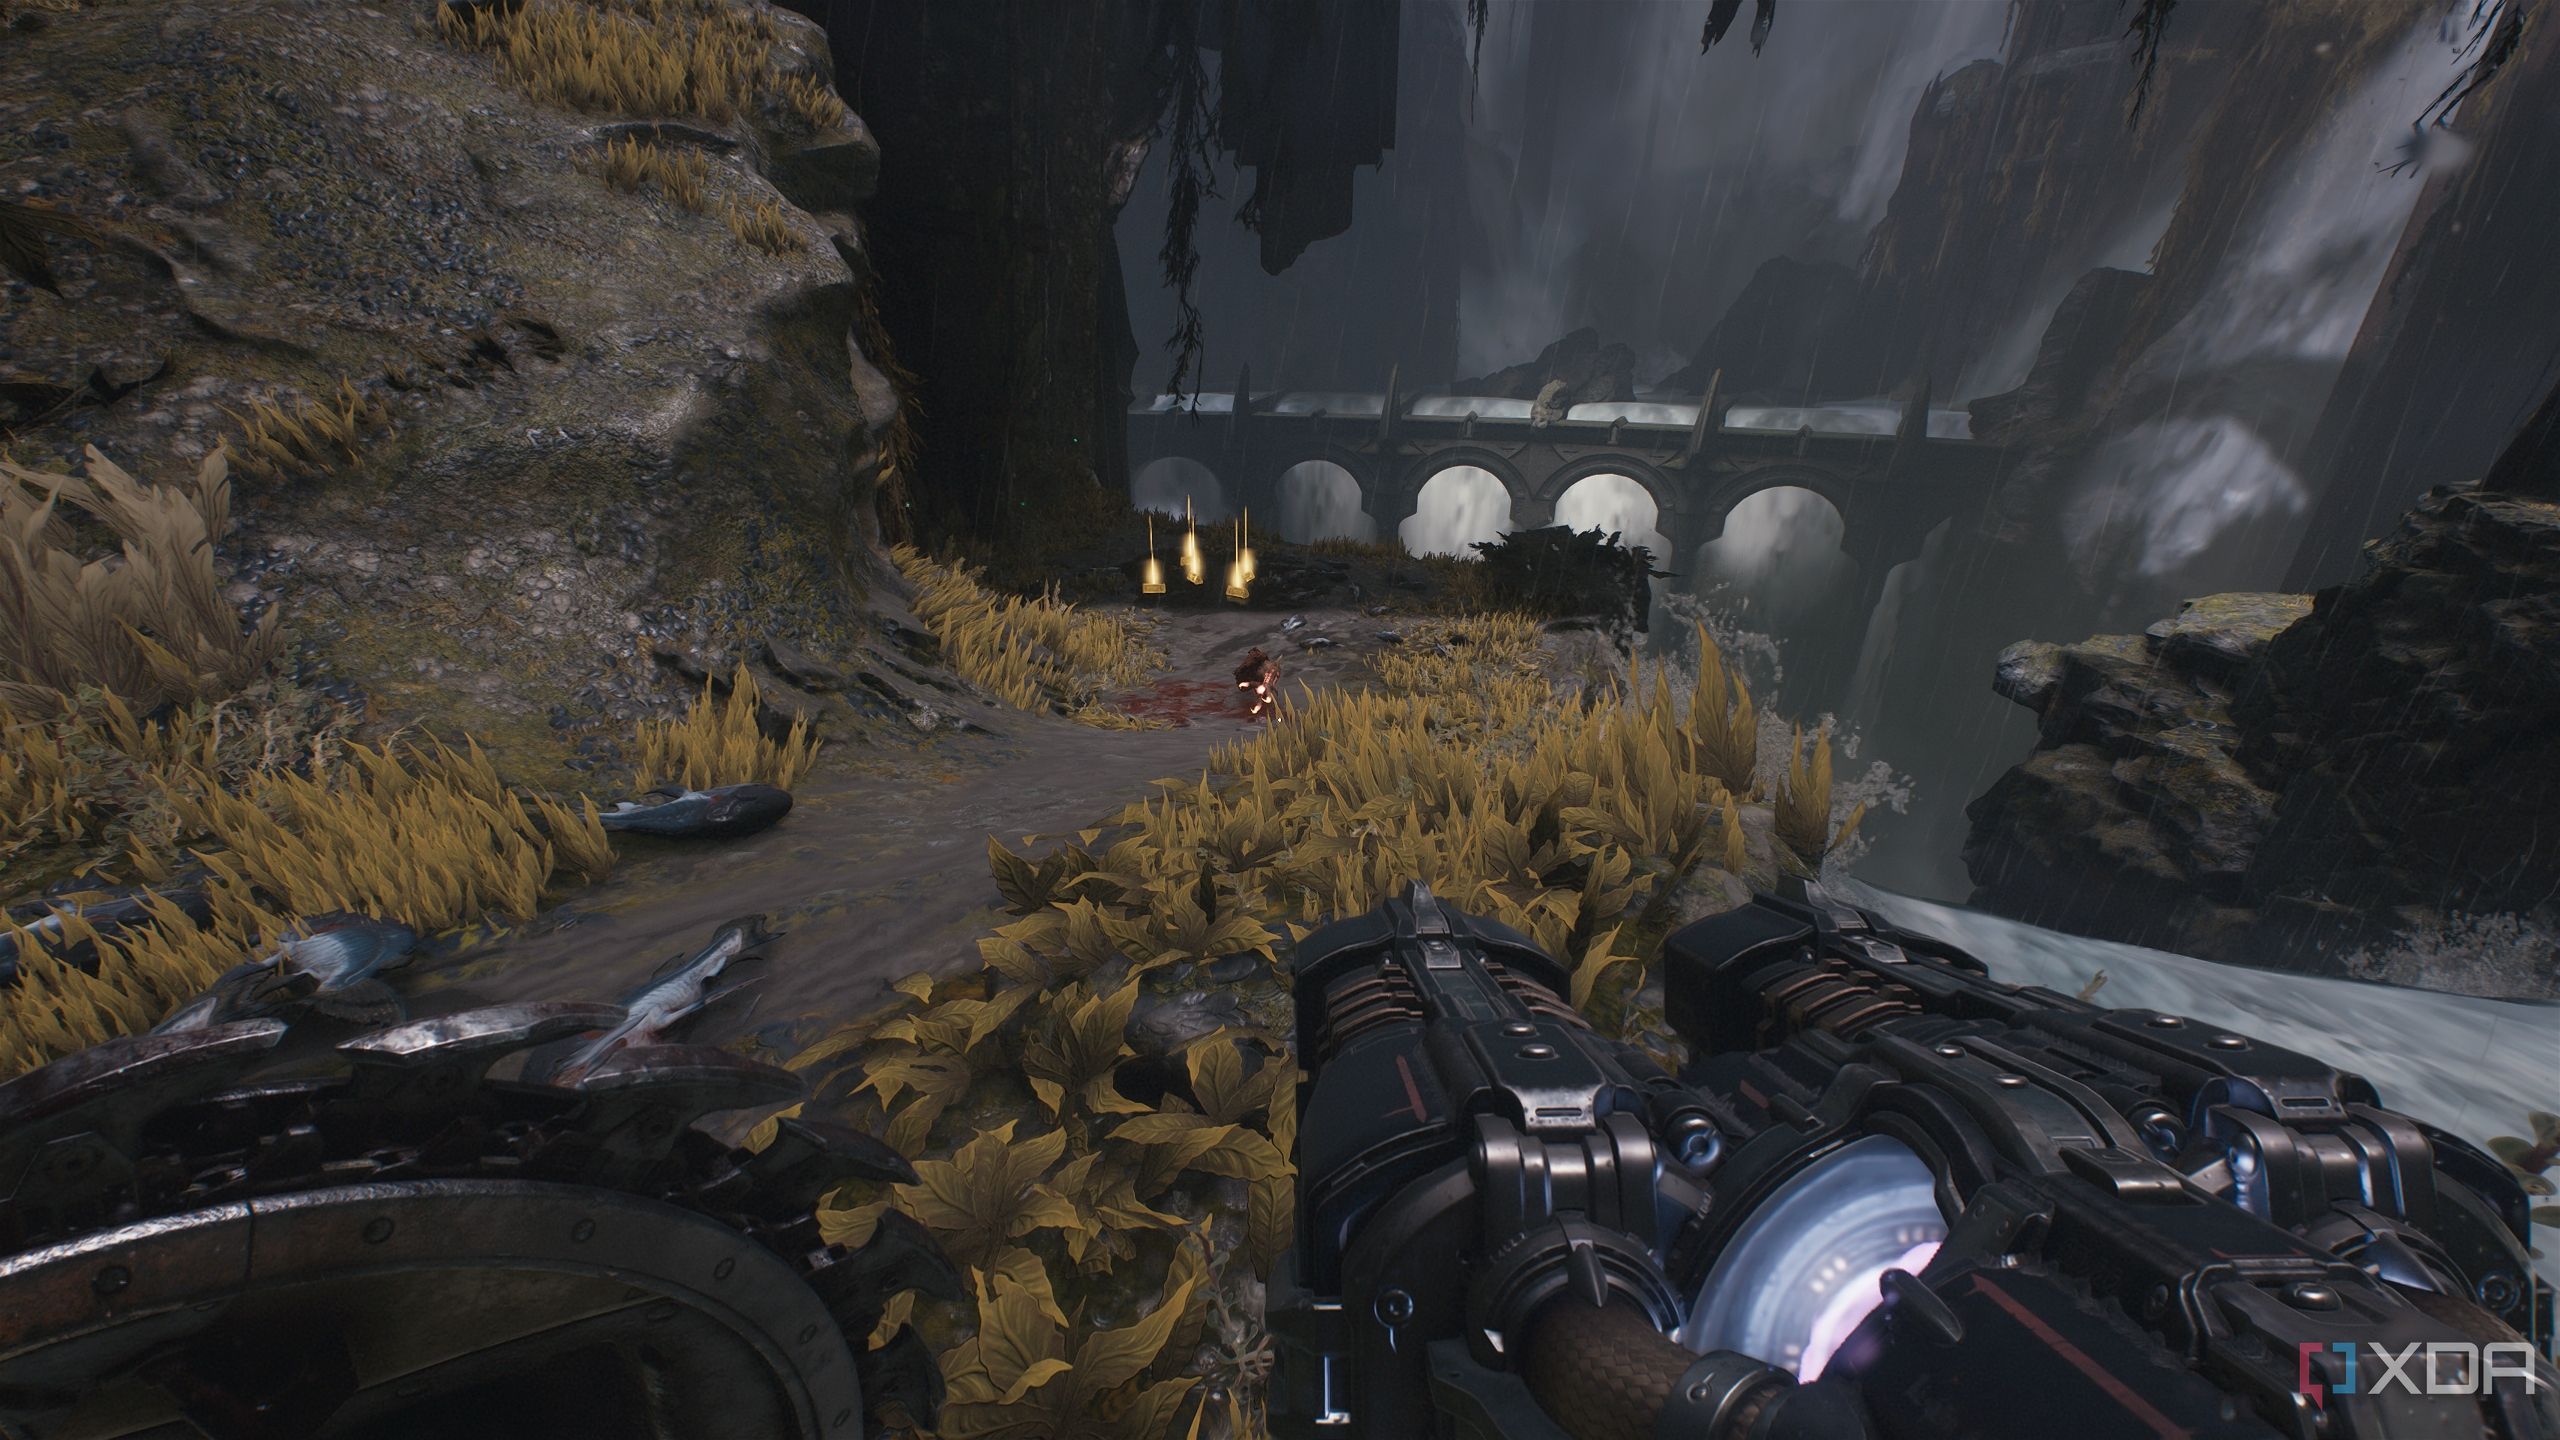
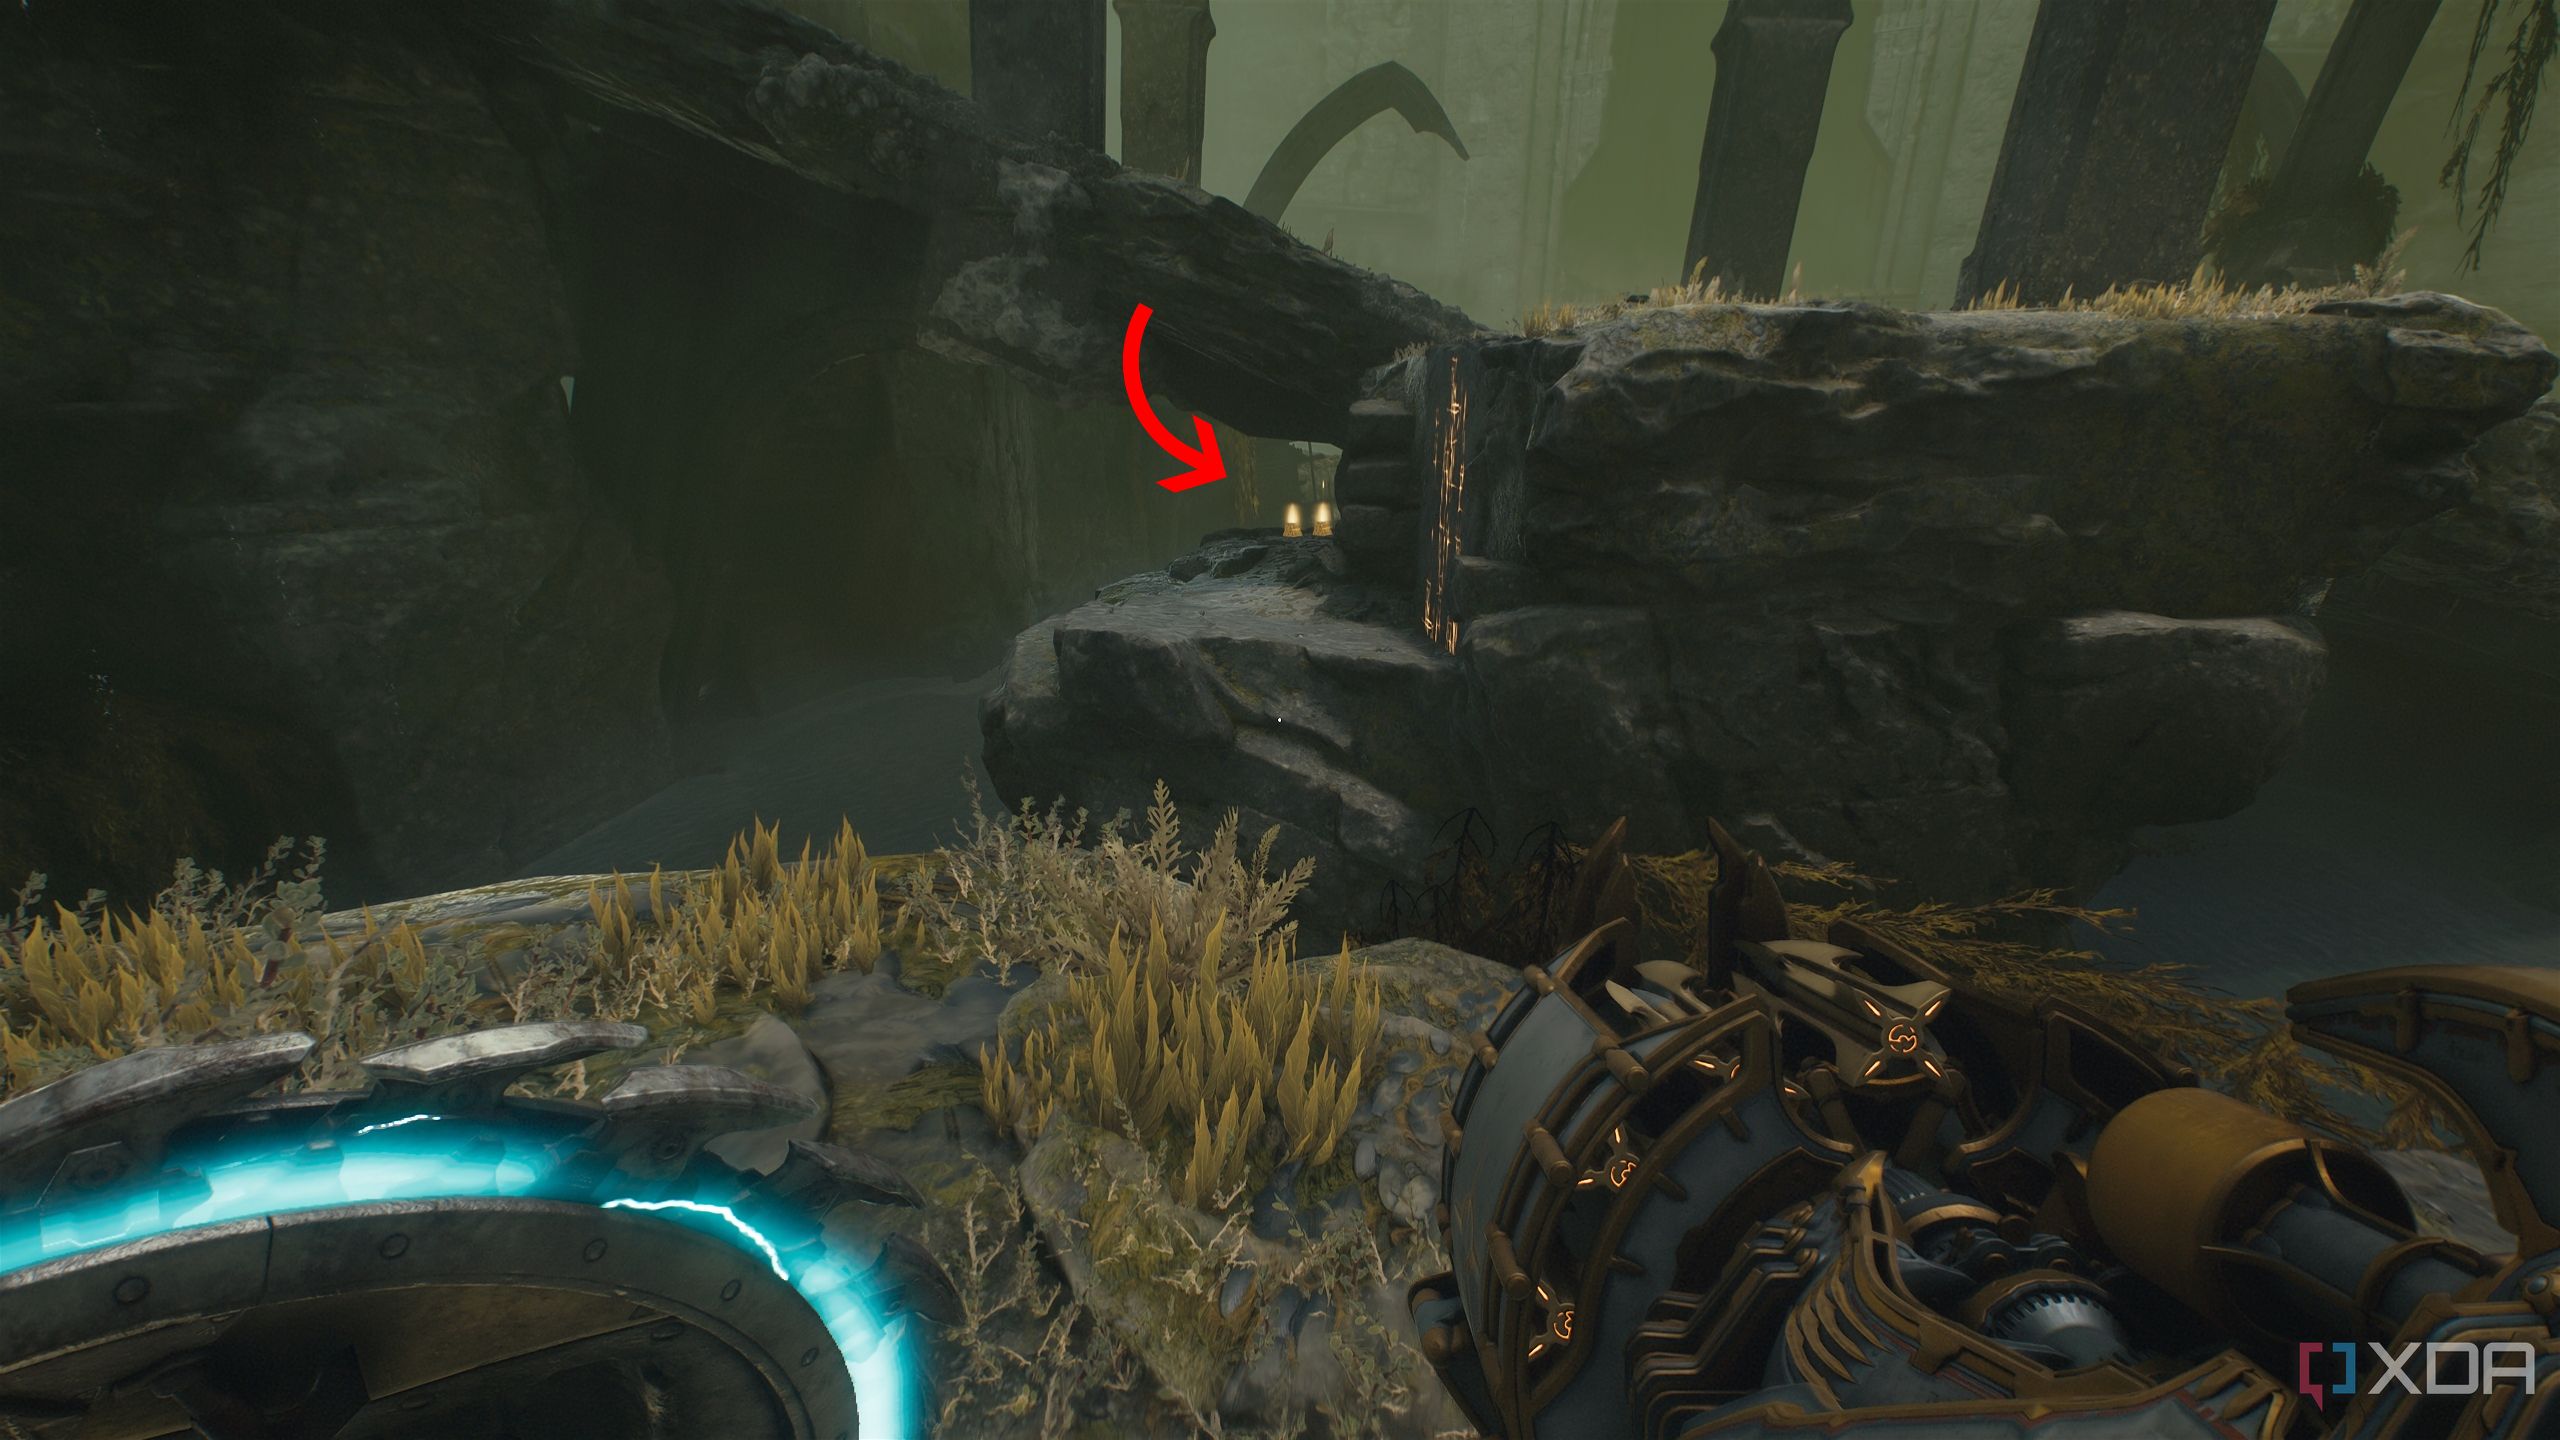
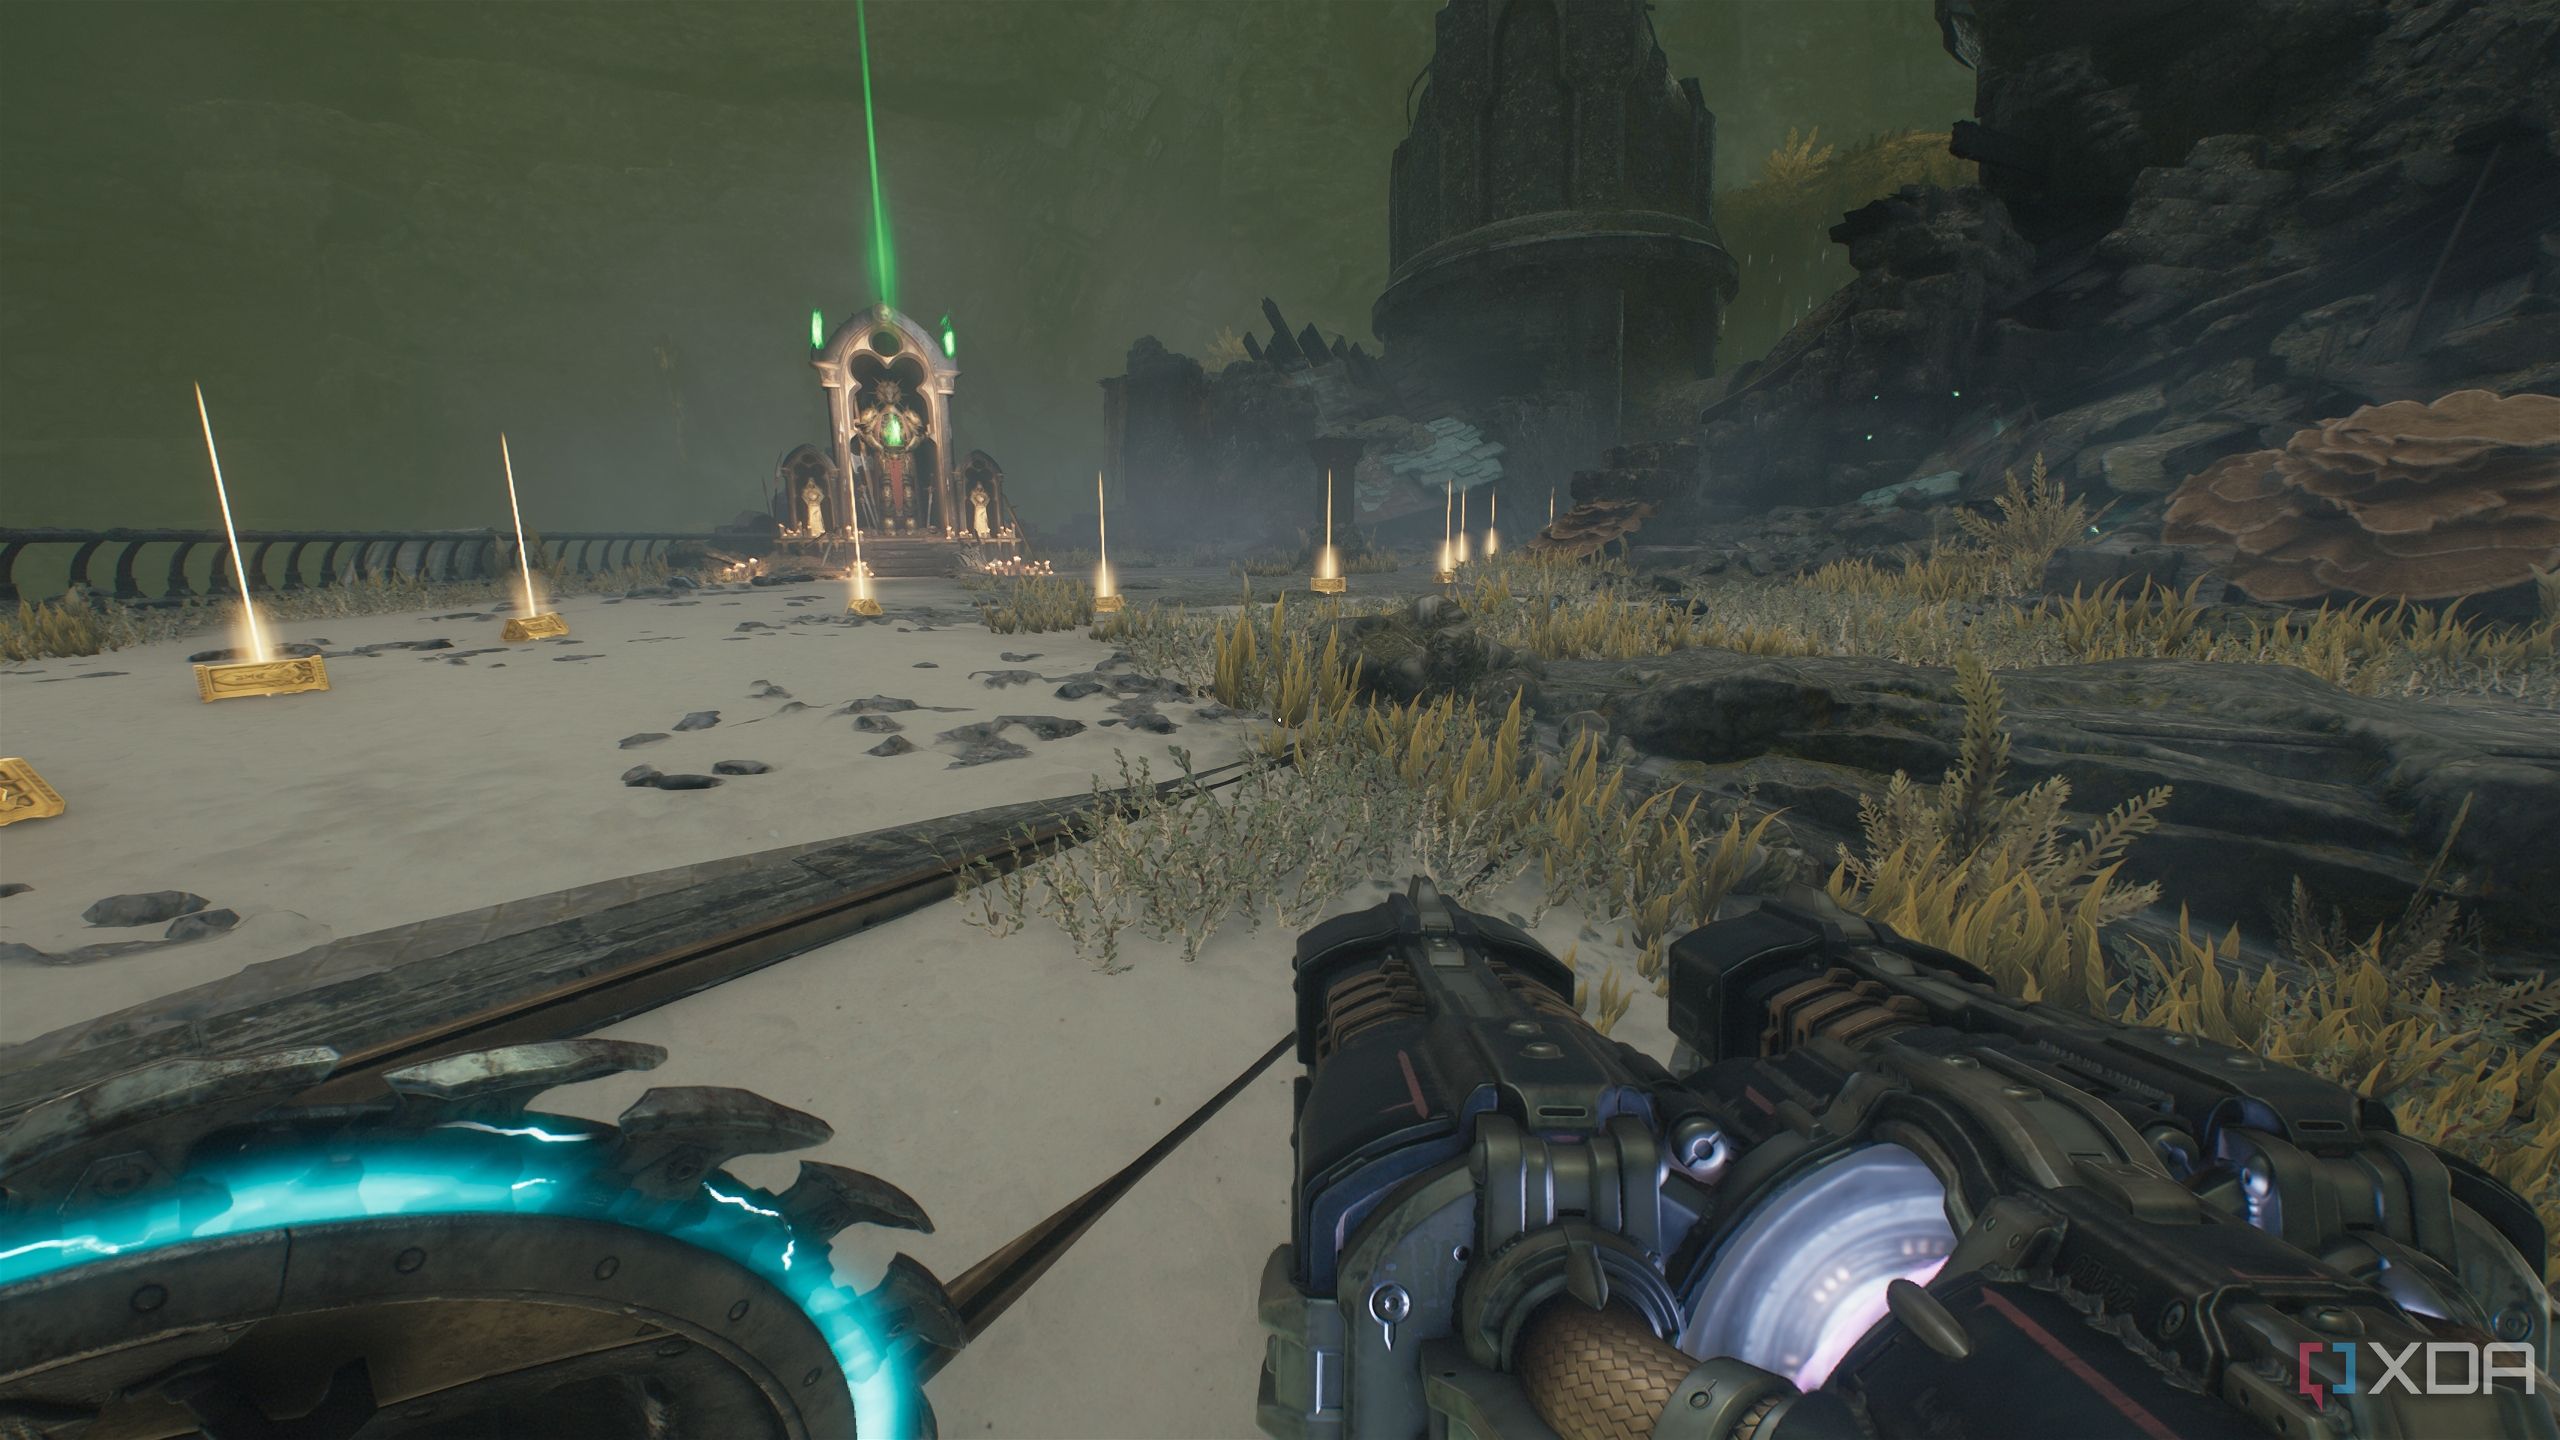
Trails of gold bars around Stasis Emitter 3
Wait a second before destroying the emitter
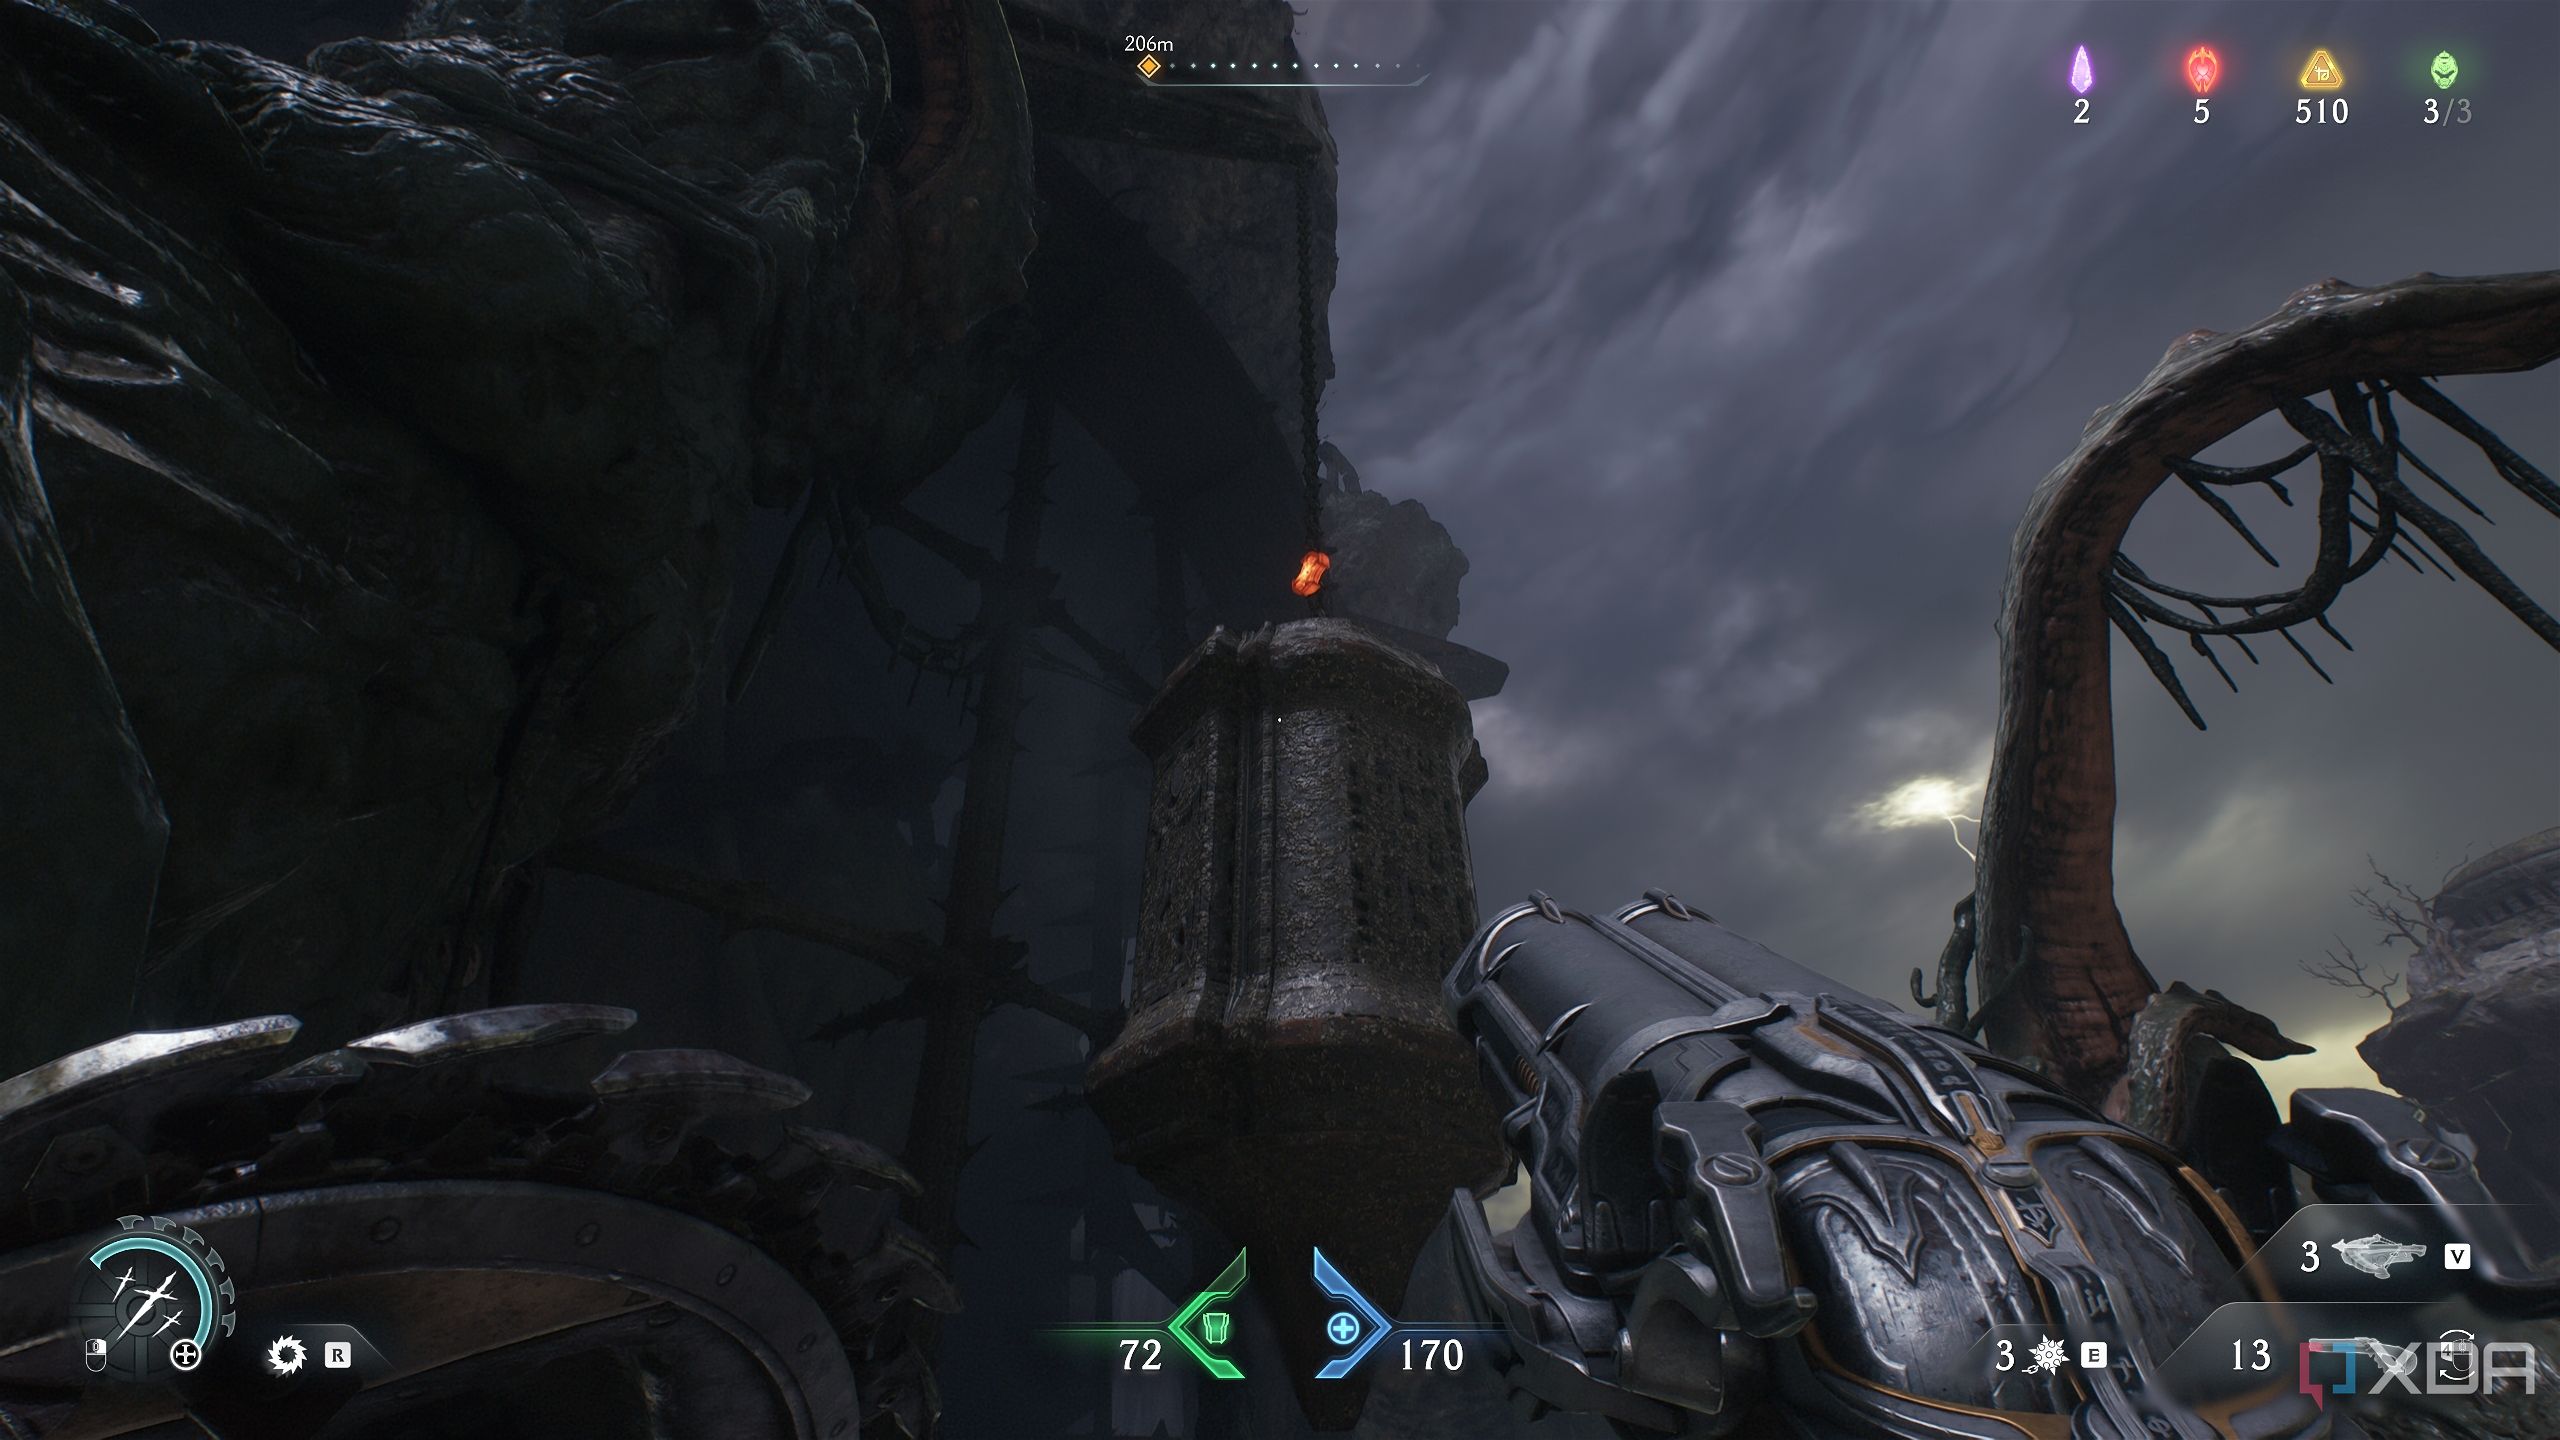
Now, head back to the Stasis Emitter, but instead of interacting with it, climb up the ledge behind it.
Walk a few steps along this path, and you’ll see a long trail of gold bars leading you inside a building.
Follow the gold down some stairs, and you’ll reach a gold stack before coming back to the Stasis Emitter. Interact with it to complete the objective. Mount Serrat again, and you’ll begin chasing another Hell Fighter ship.
Be careful here — don’t follow the ship!
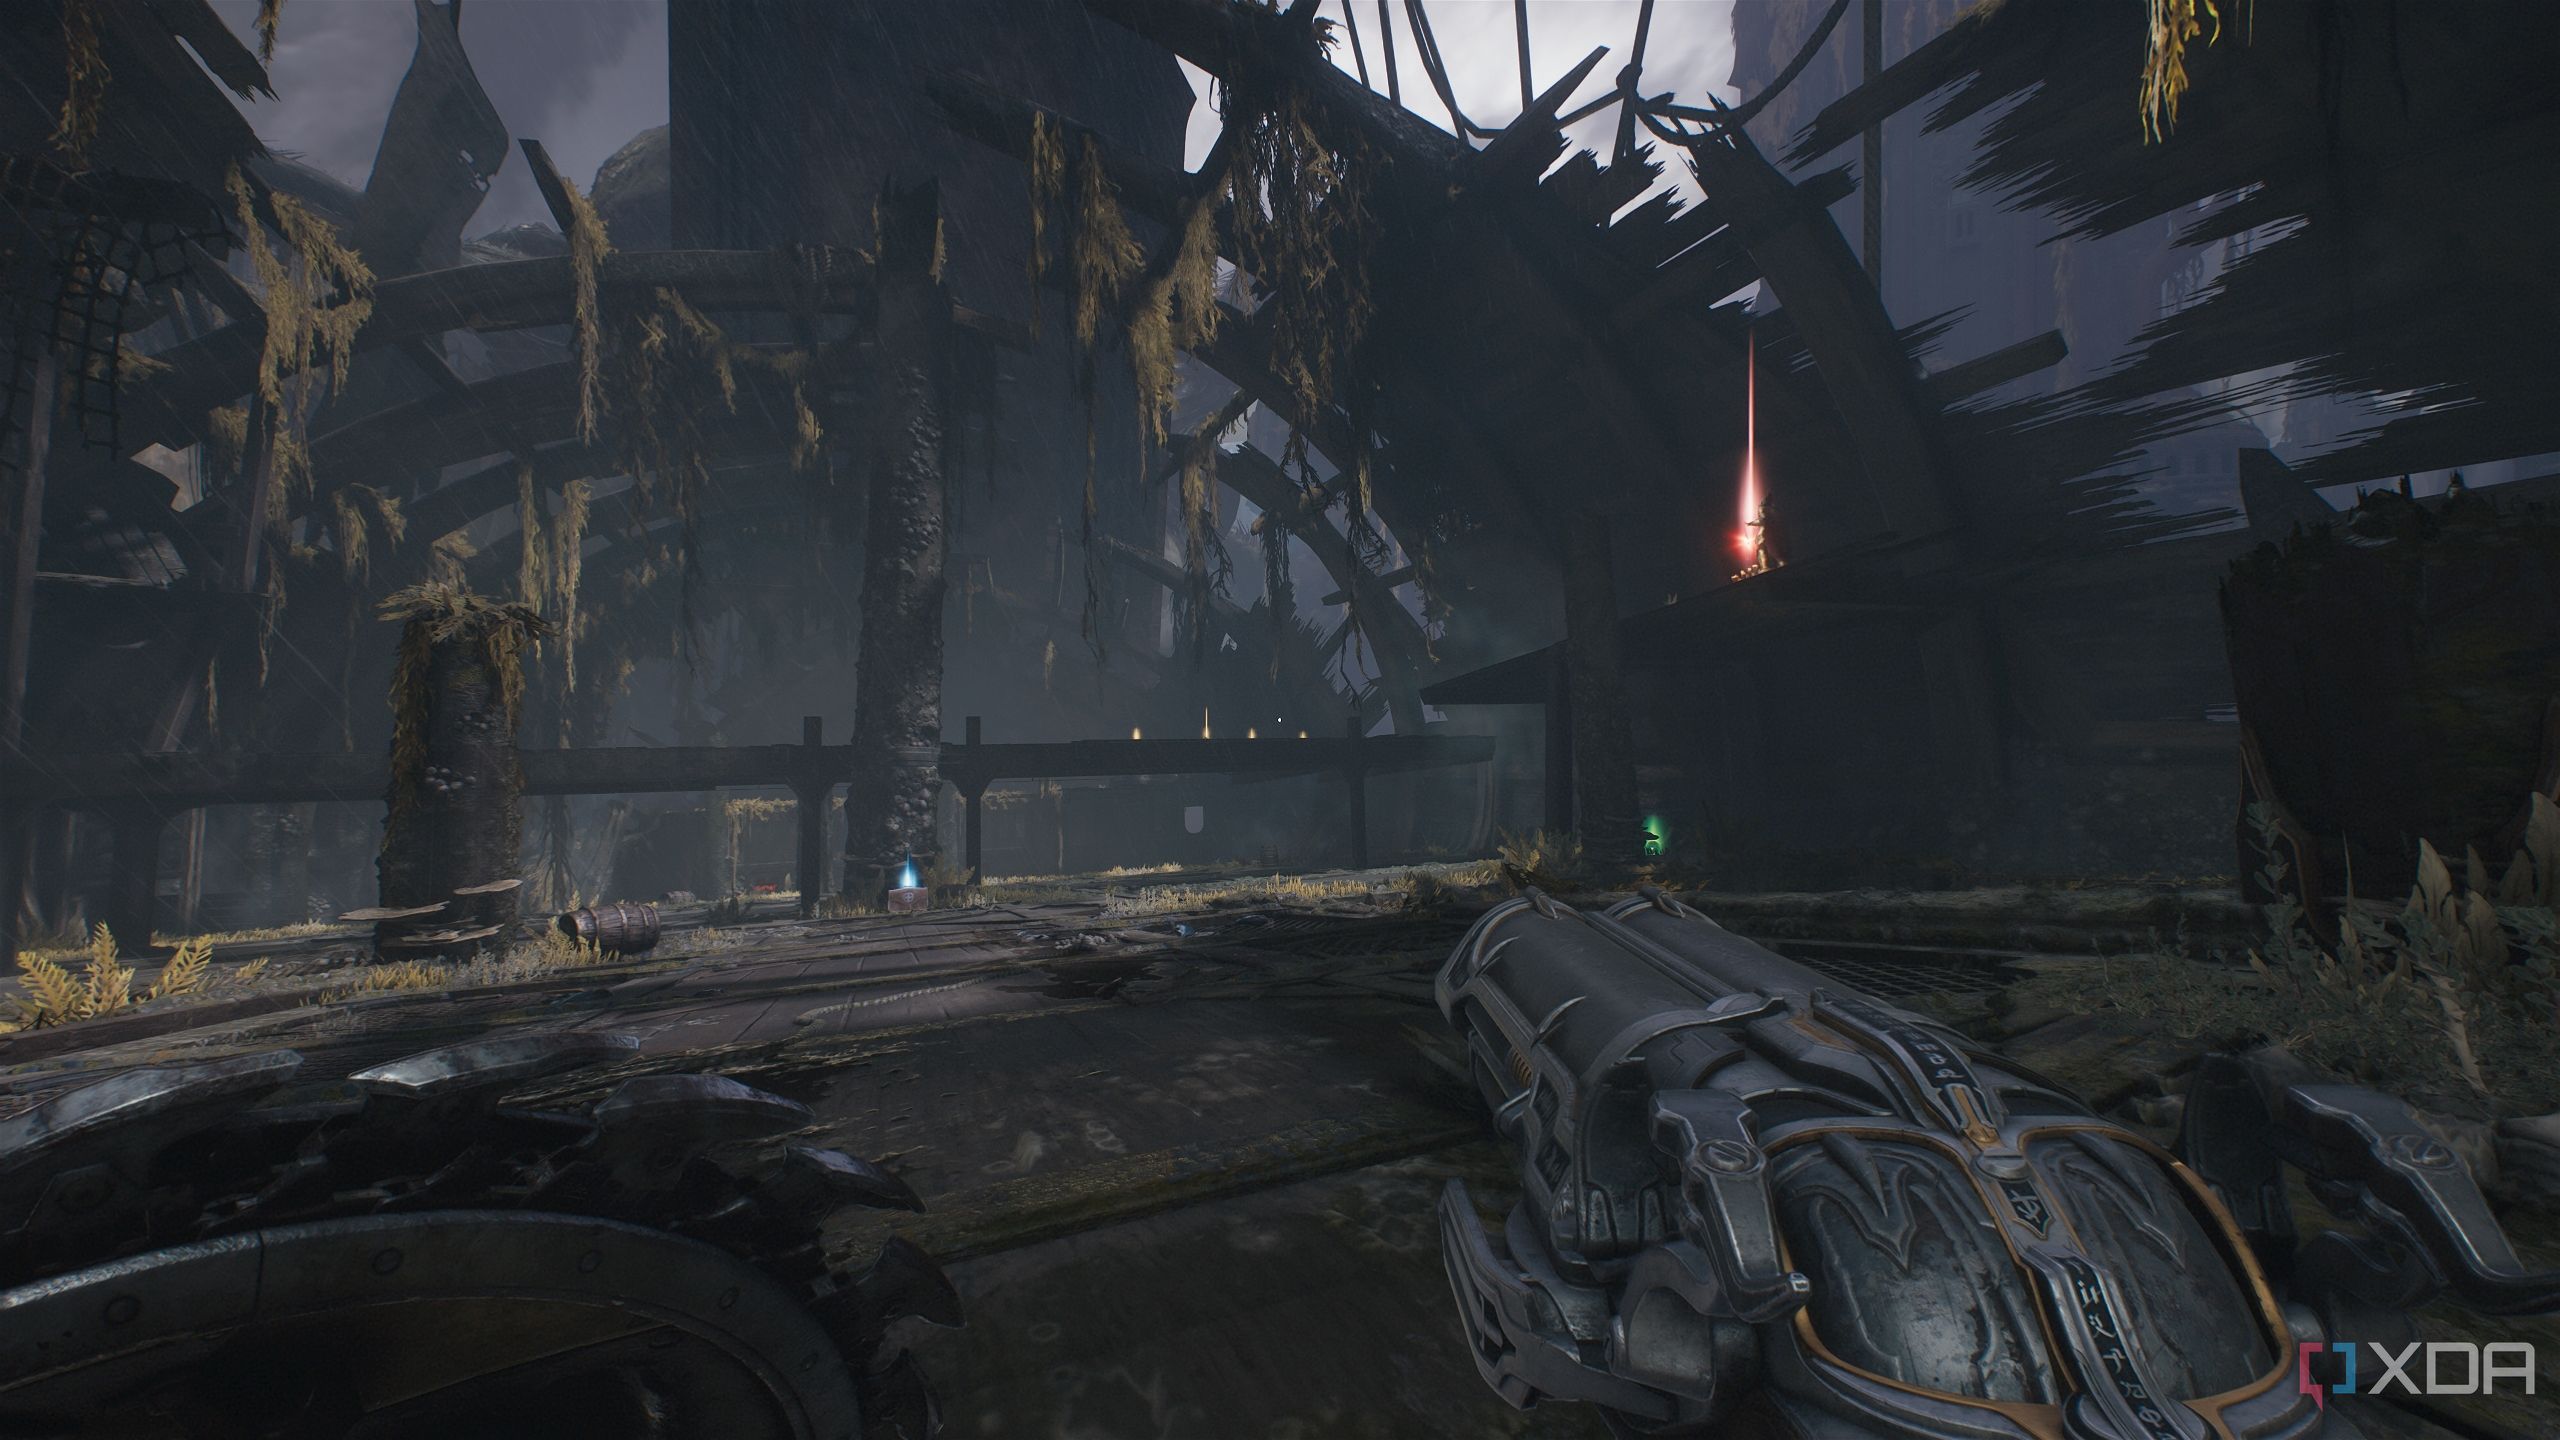
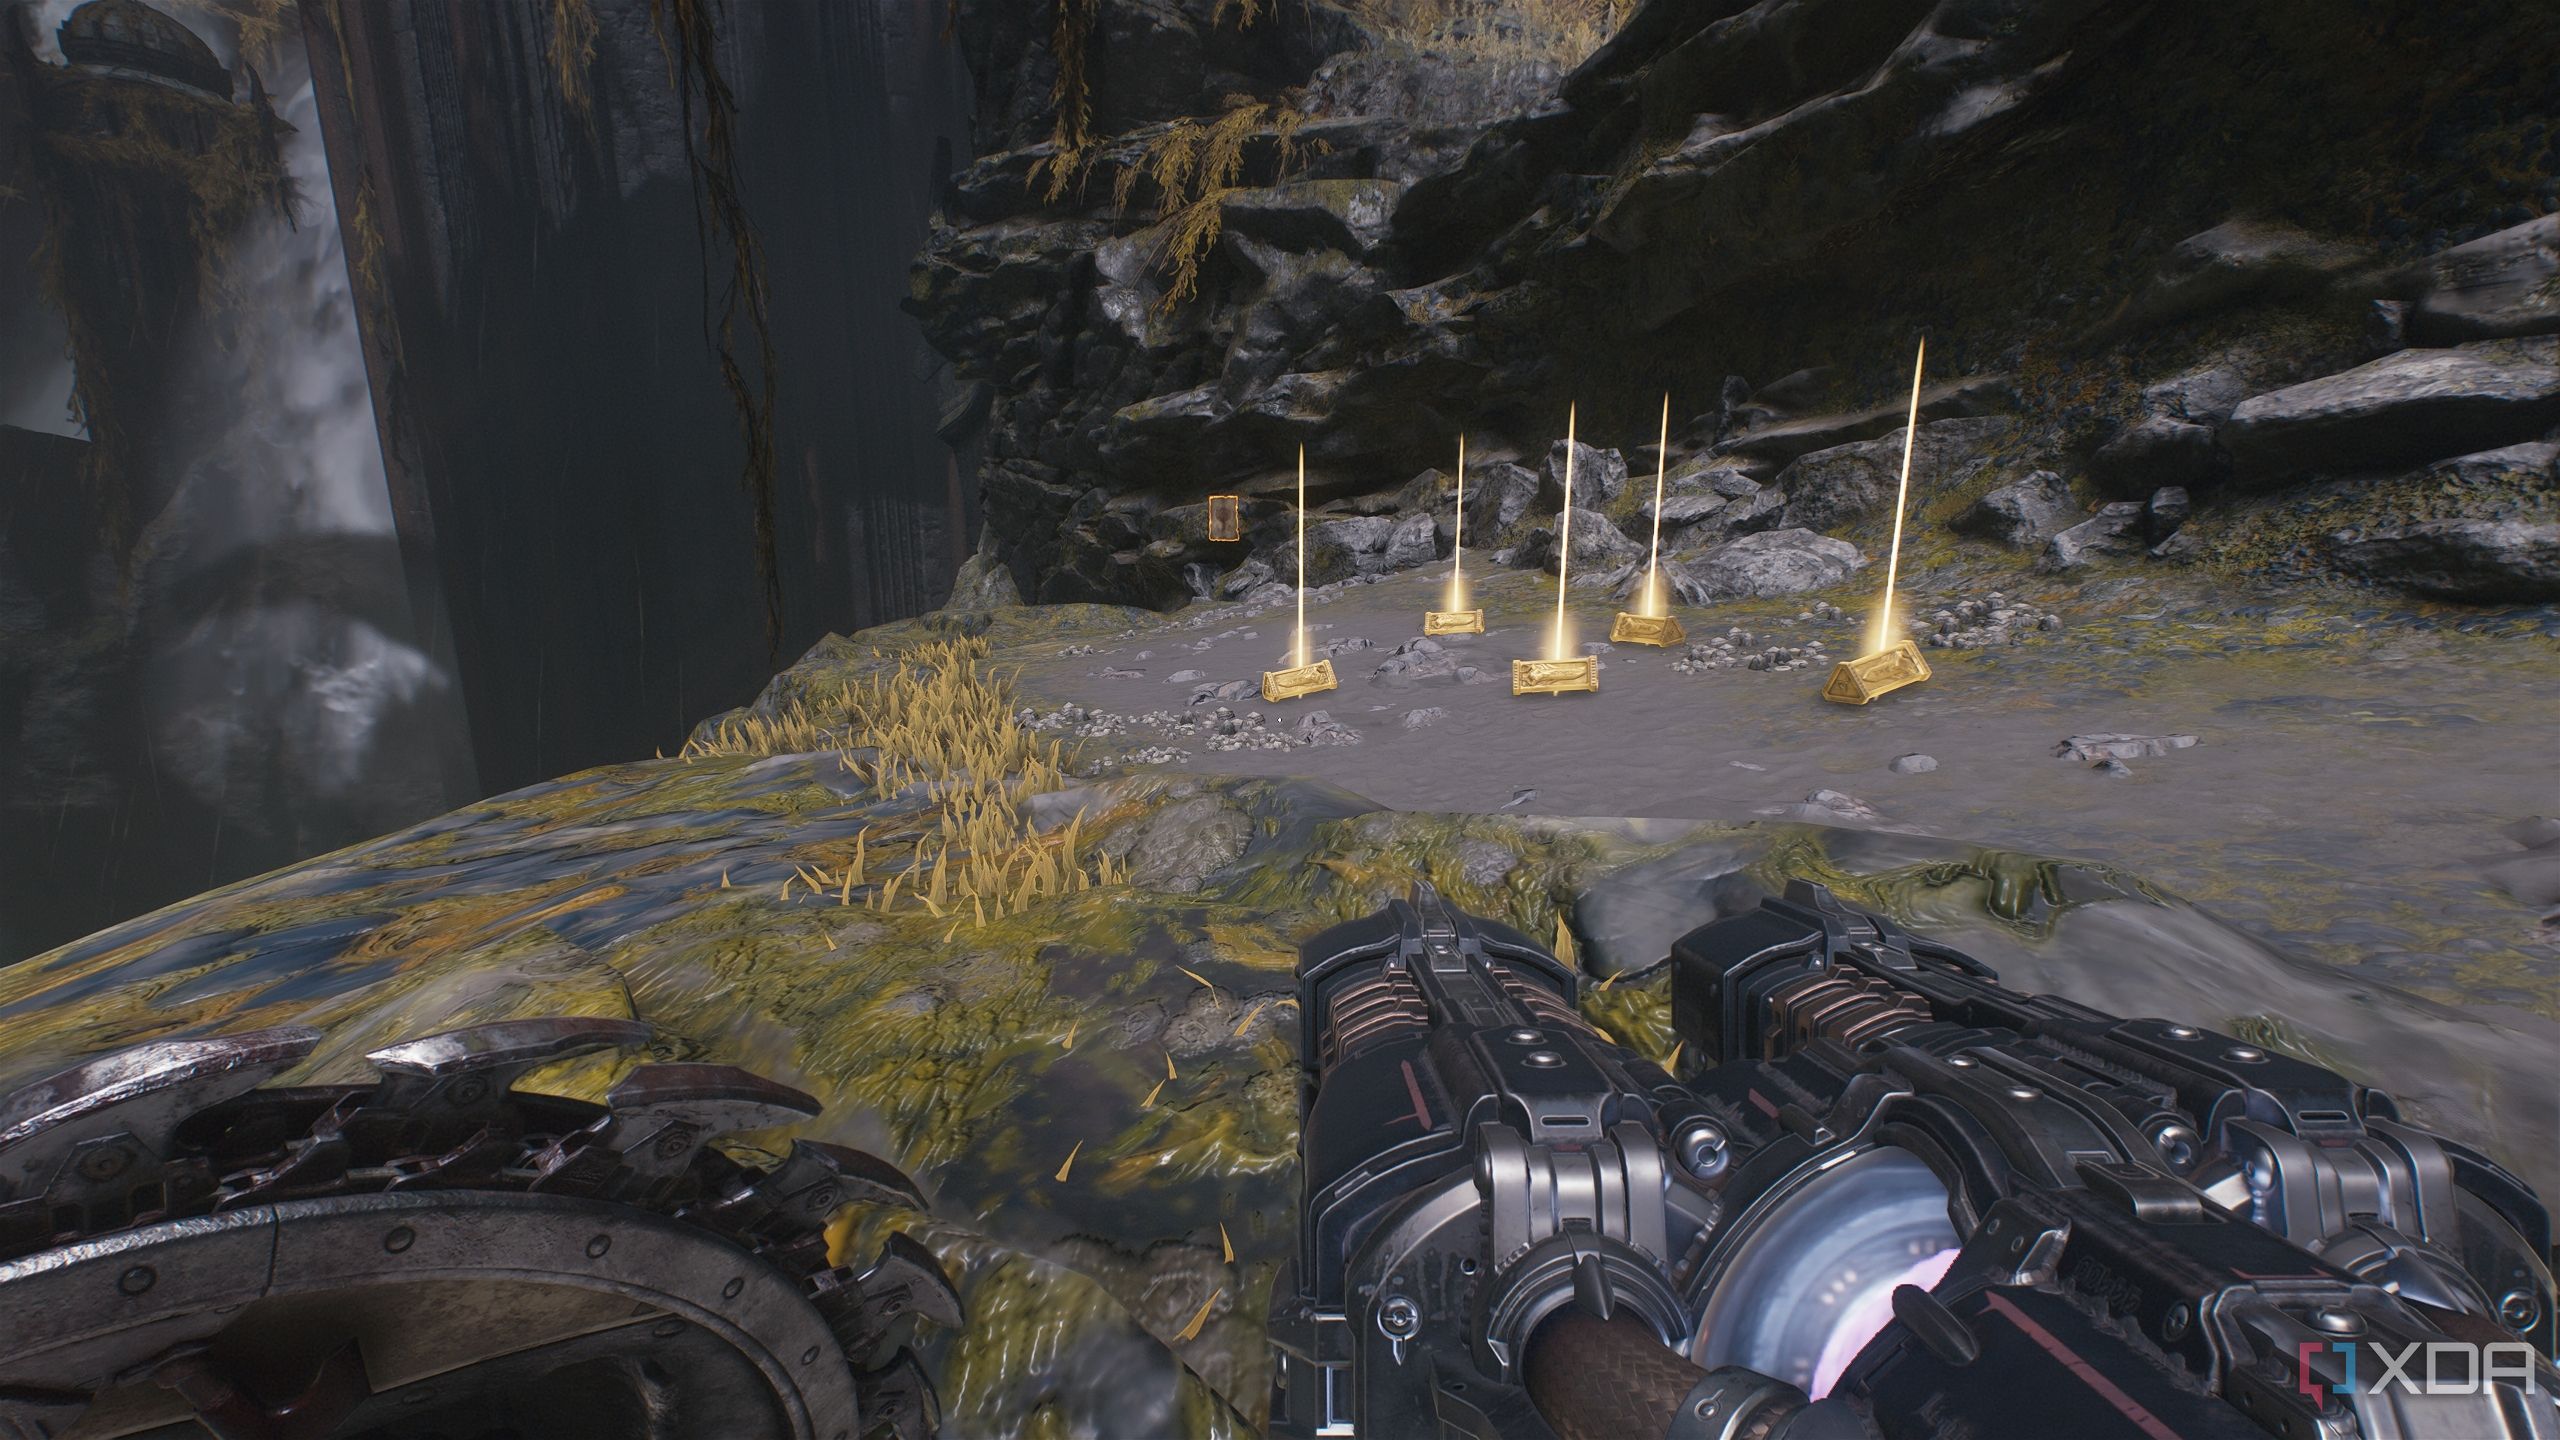
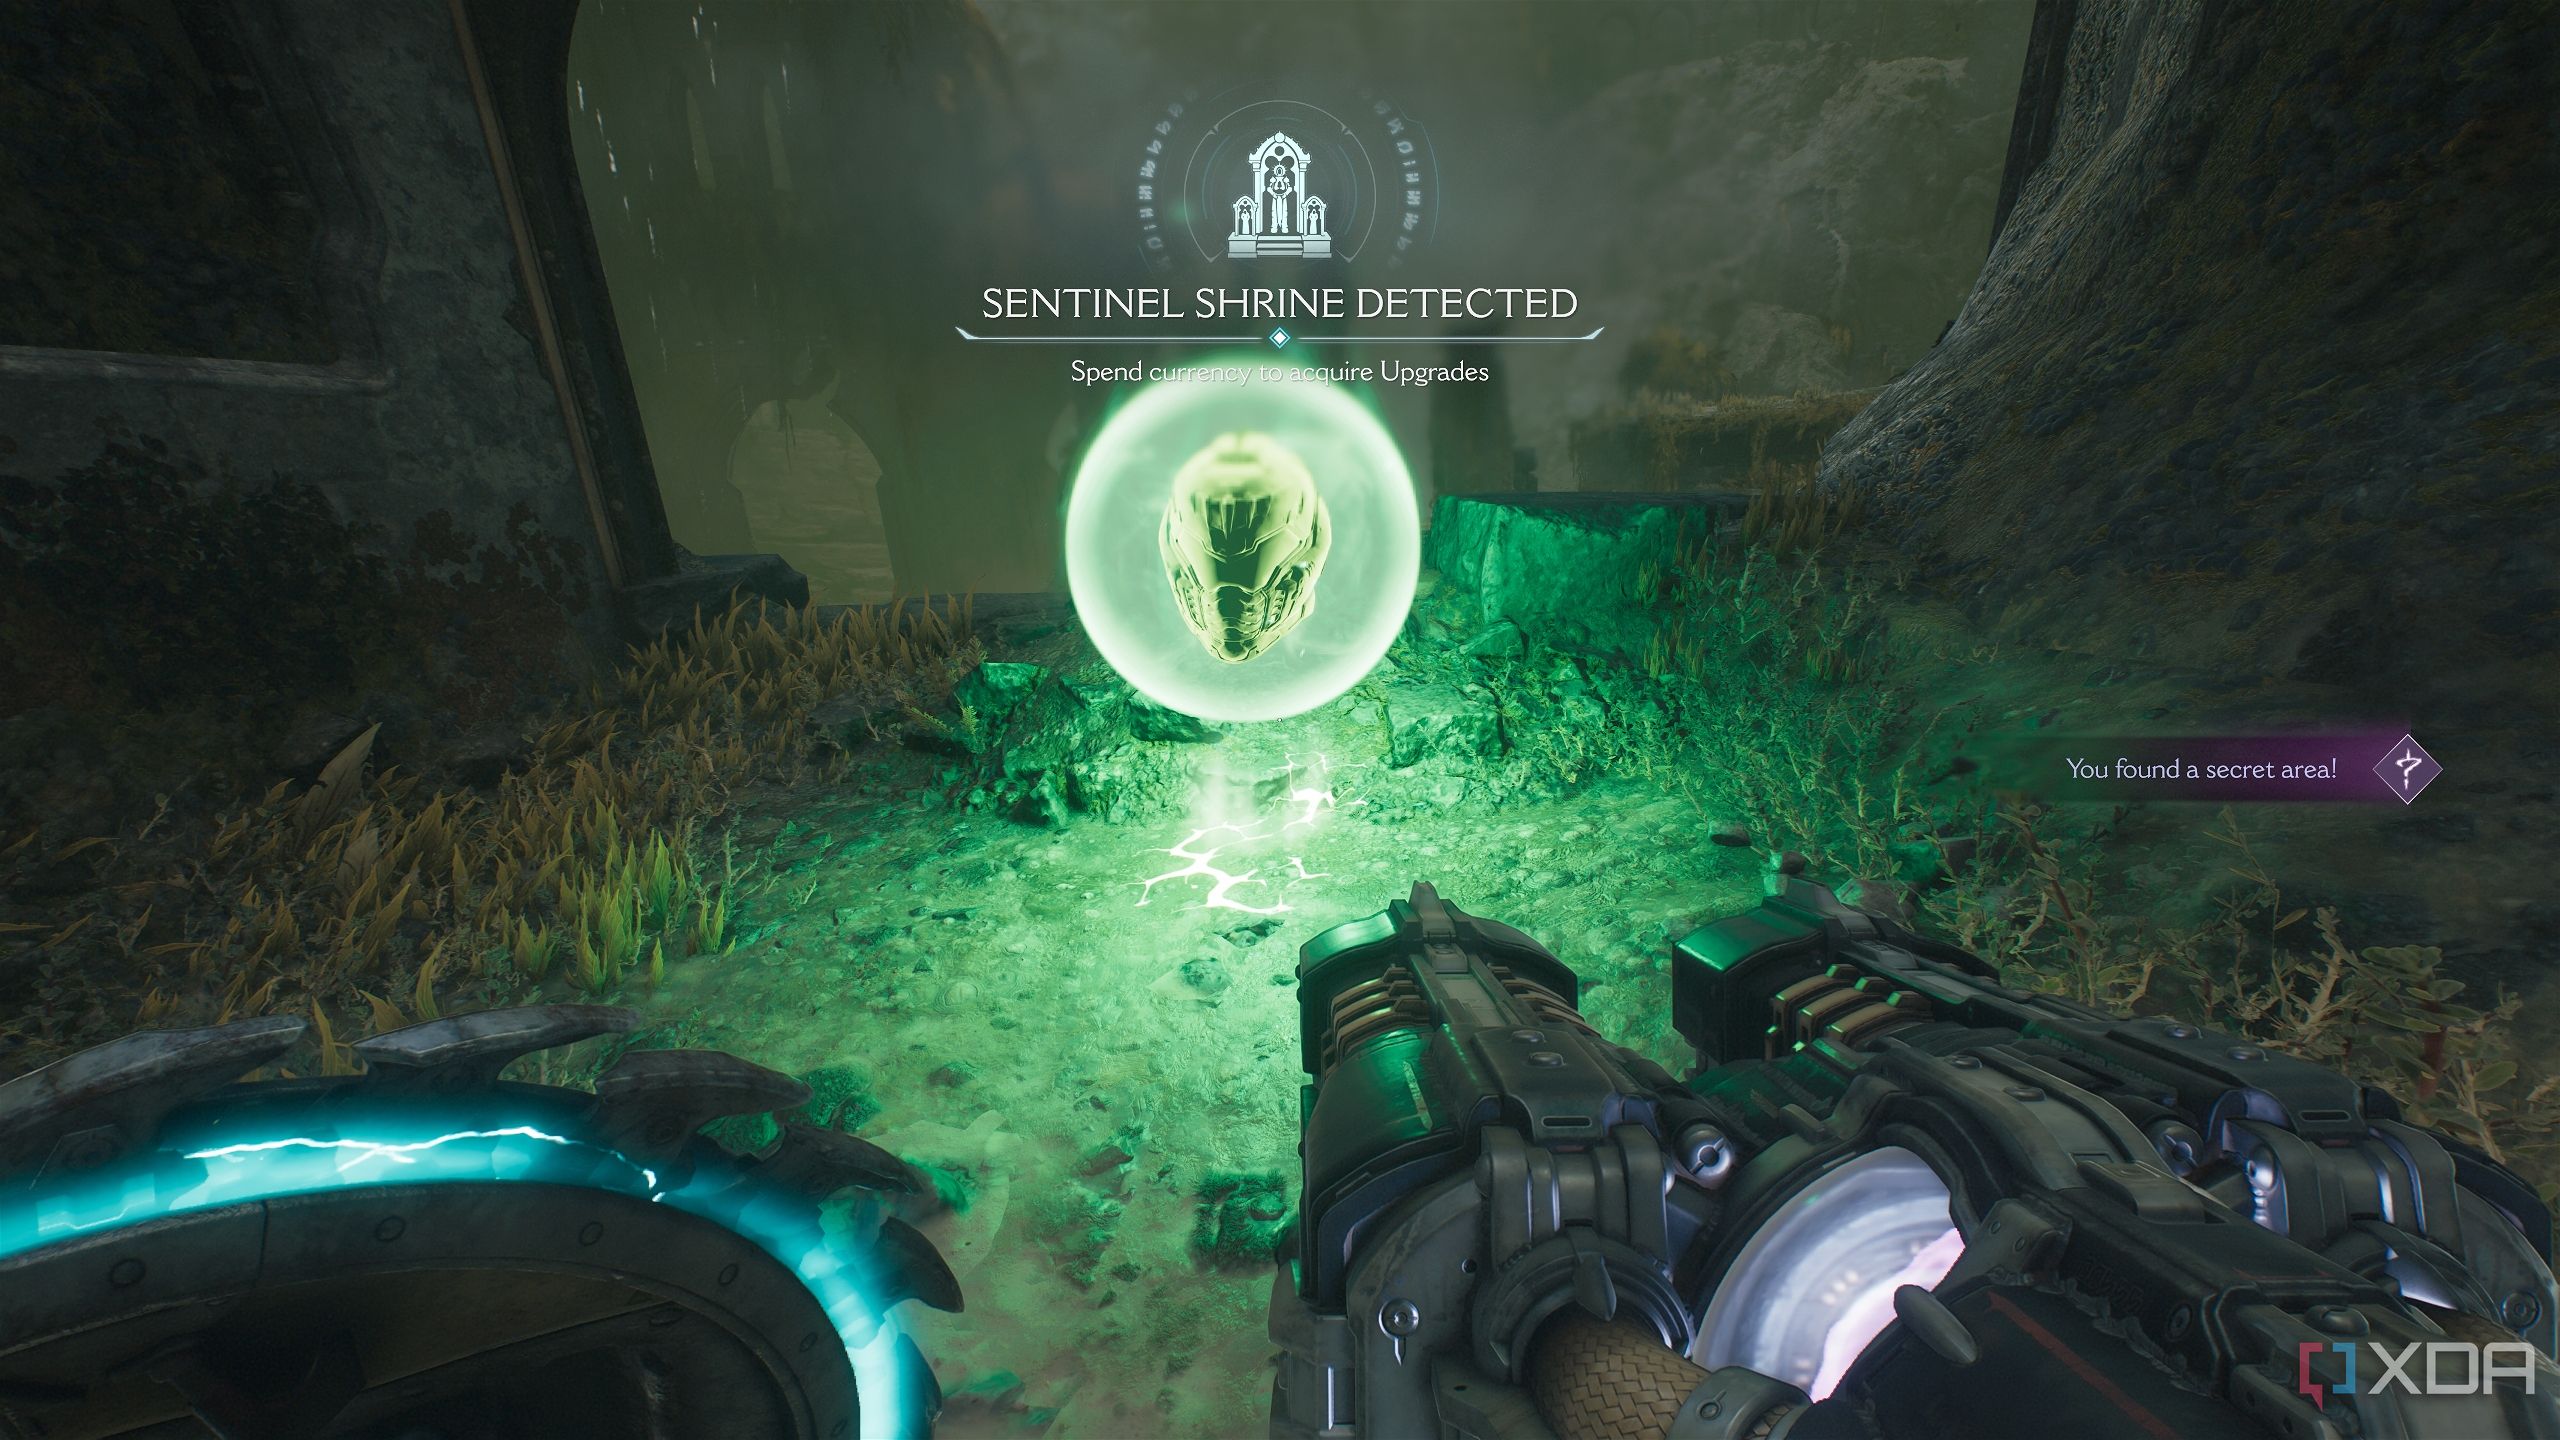
Secret landing zone and more gold bars
Not chasing the fighter this time
Instead of following the last Hell Fighter ship, head inside the entrance it came from.
Follow the path for a short while, and you’ll reach a secret landing zone with a Sentinel Shrine and multiple trails of gold bars on the ground.
Collect them all, and keep checking your Automap to ensure you’ve picked up every last bit of gold here.
Then, head into the blue teleporter up ahead.
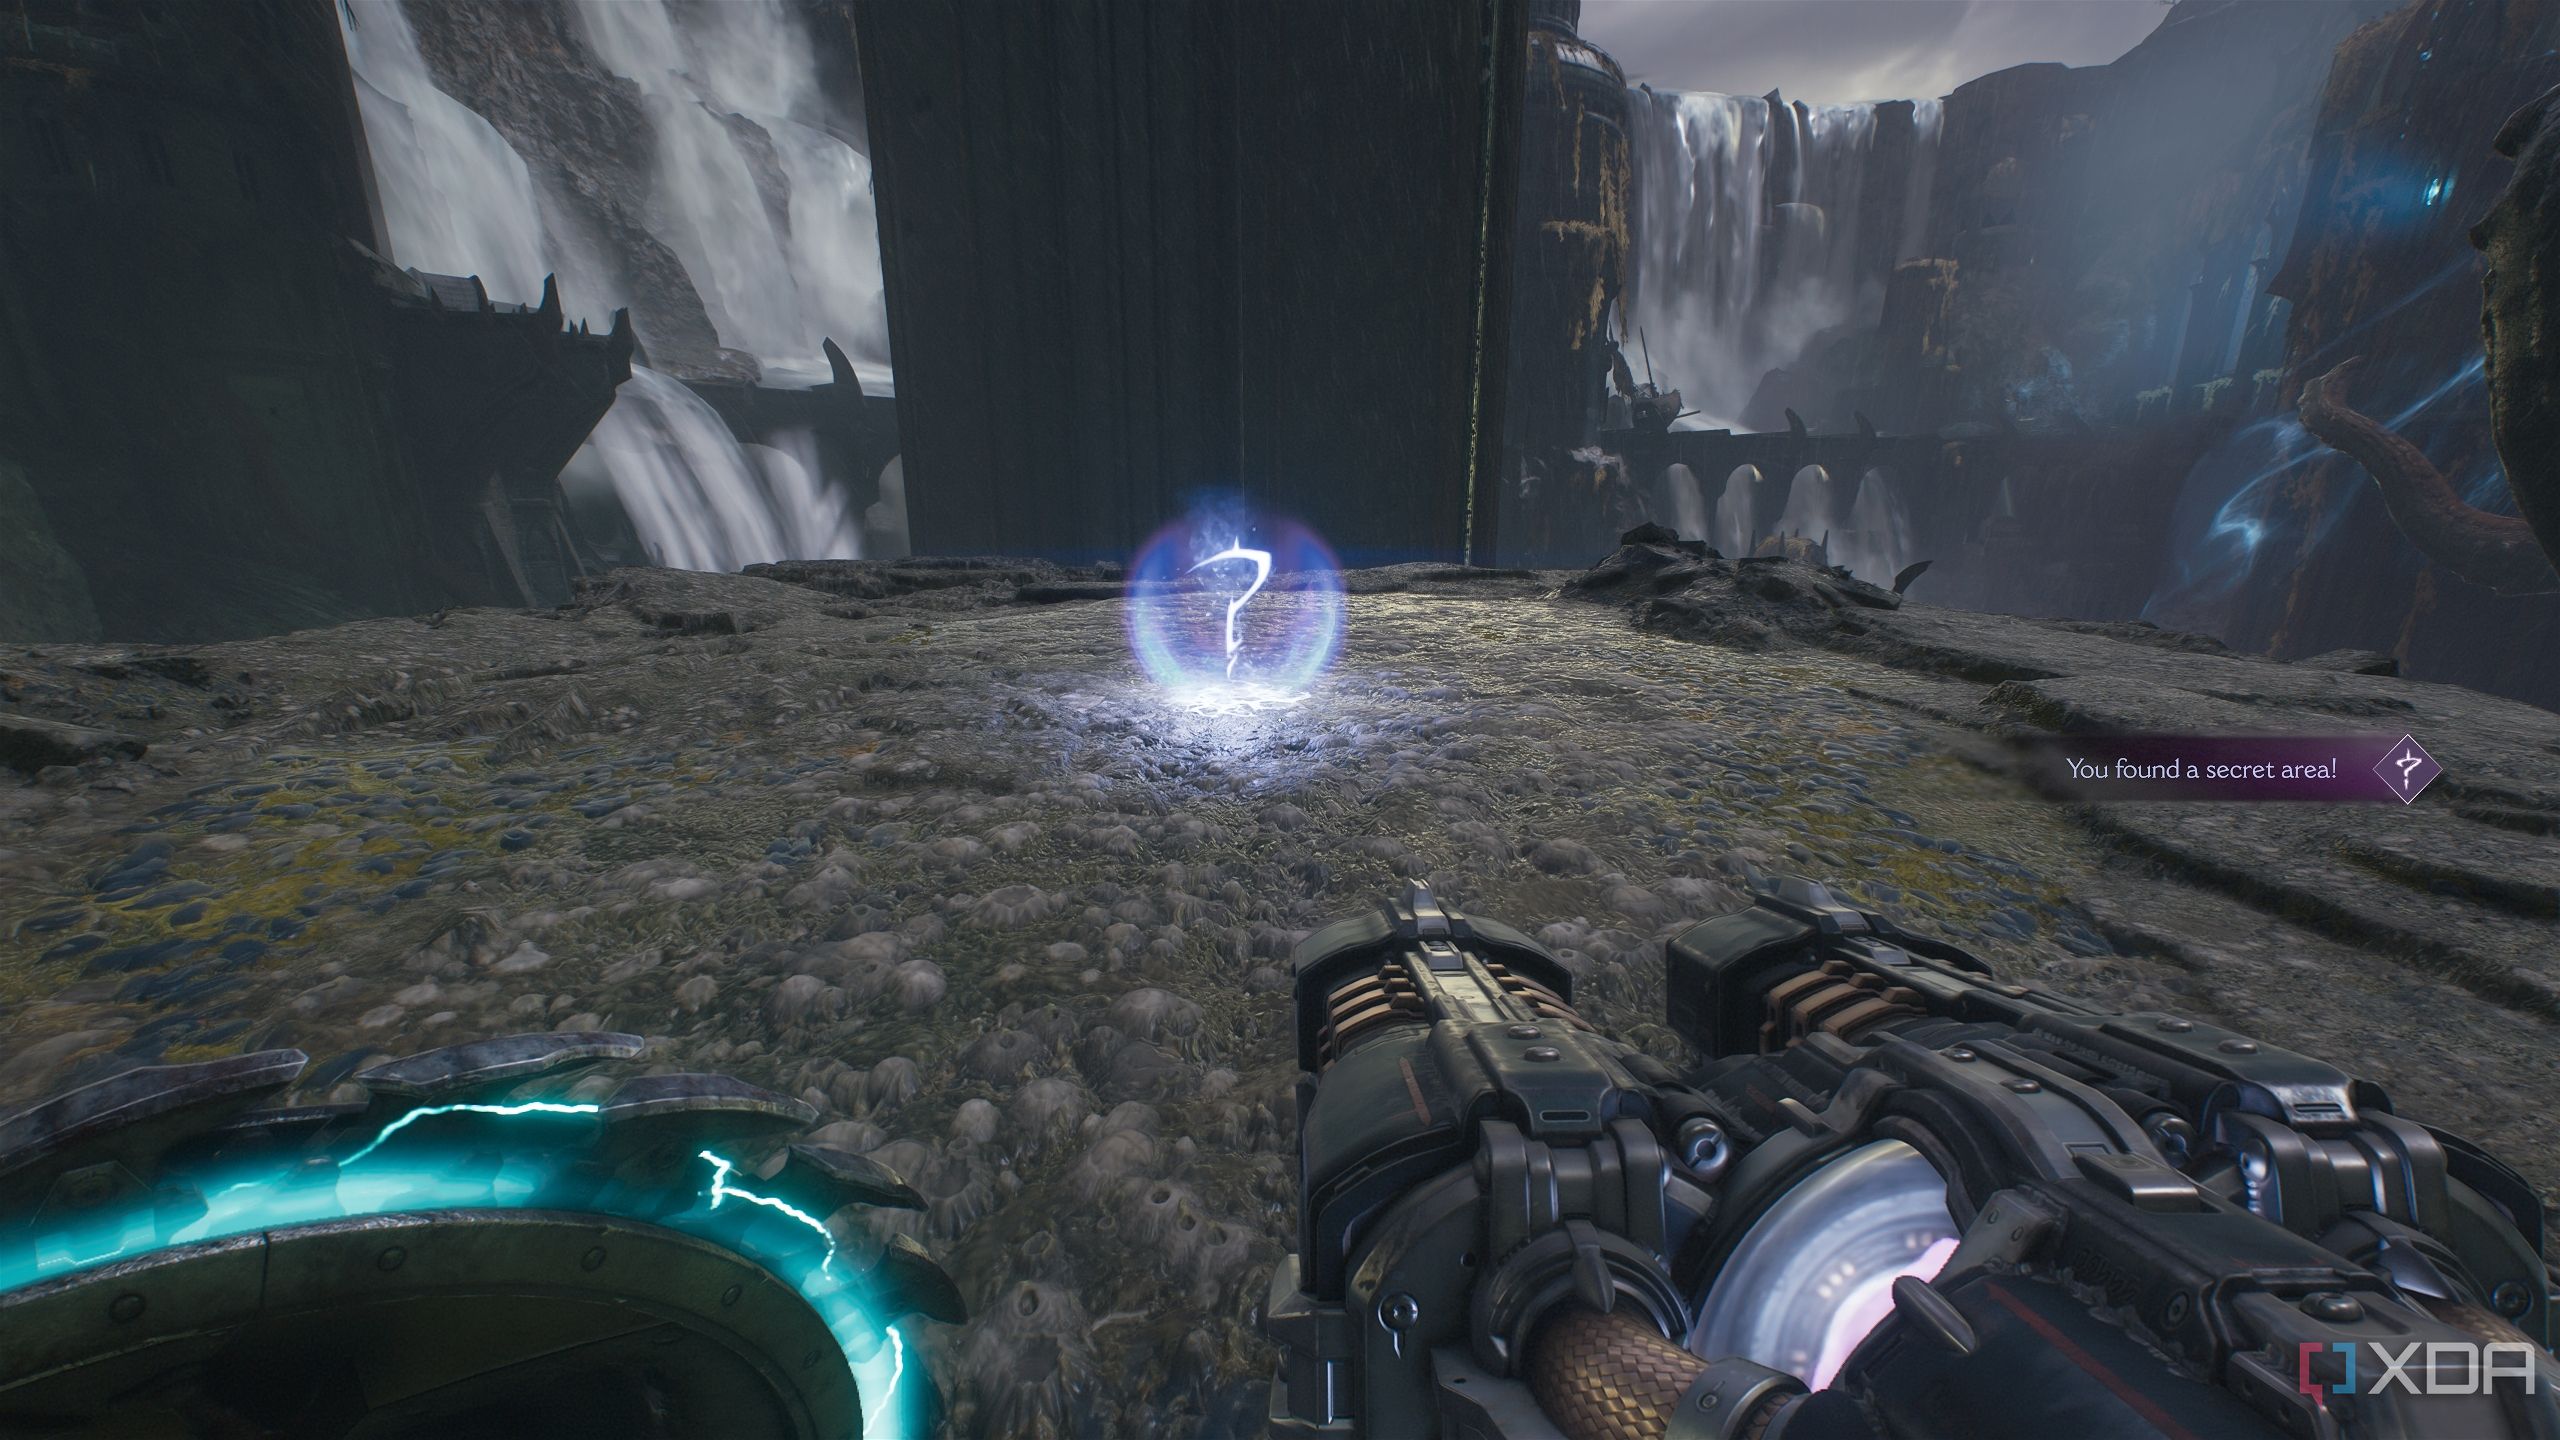
Secret area 9, a Weapon Skin, and a Wraithstone
An entire Imp island that many players would miss
Once you enter the teleporter, you’ll immediately enter and unlock secret area 9, which is a huge secret area with hundreds of imps attacking you.
Keep fighting and heading towards the objective marker here, and you’ll reach a Wraithstone statue along with a collectible weapon skin for the Grenade Launcher.
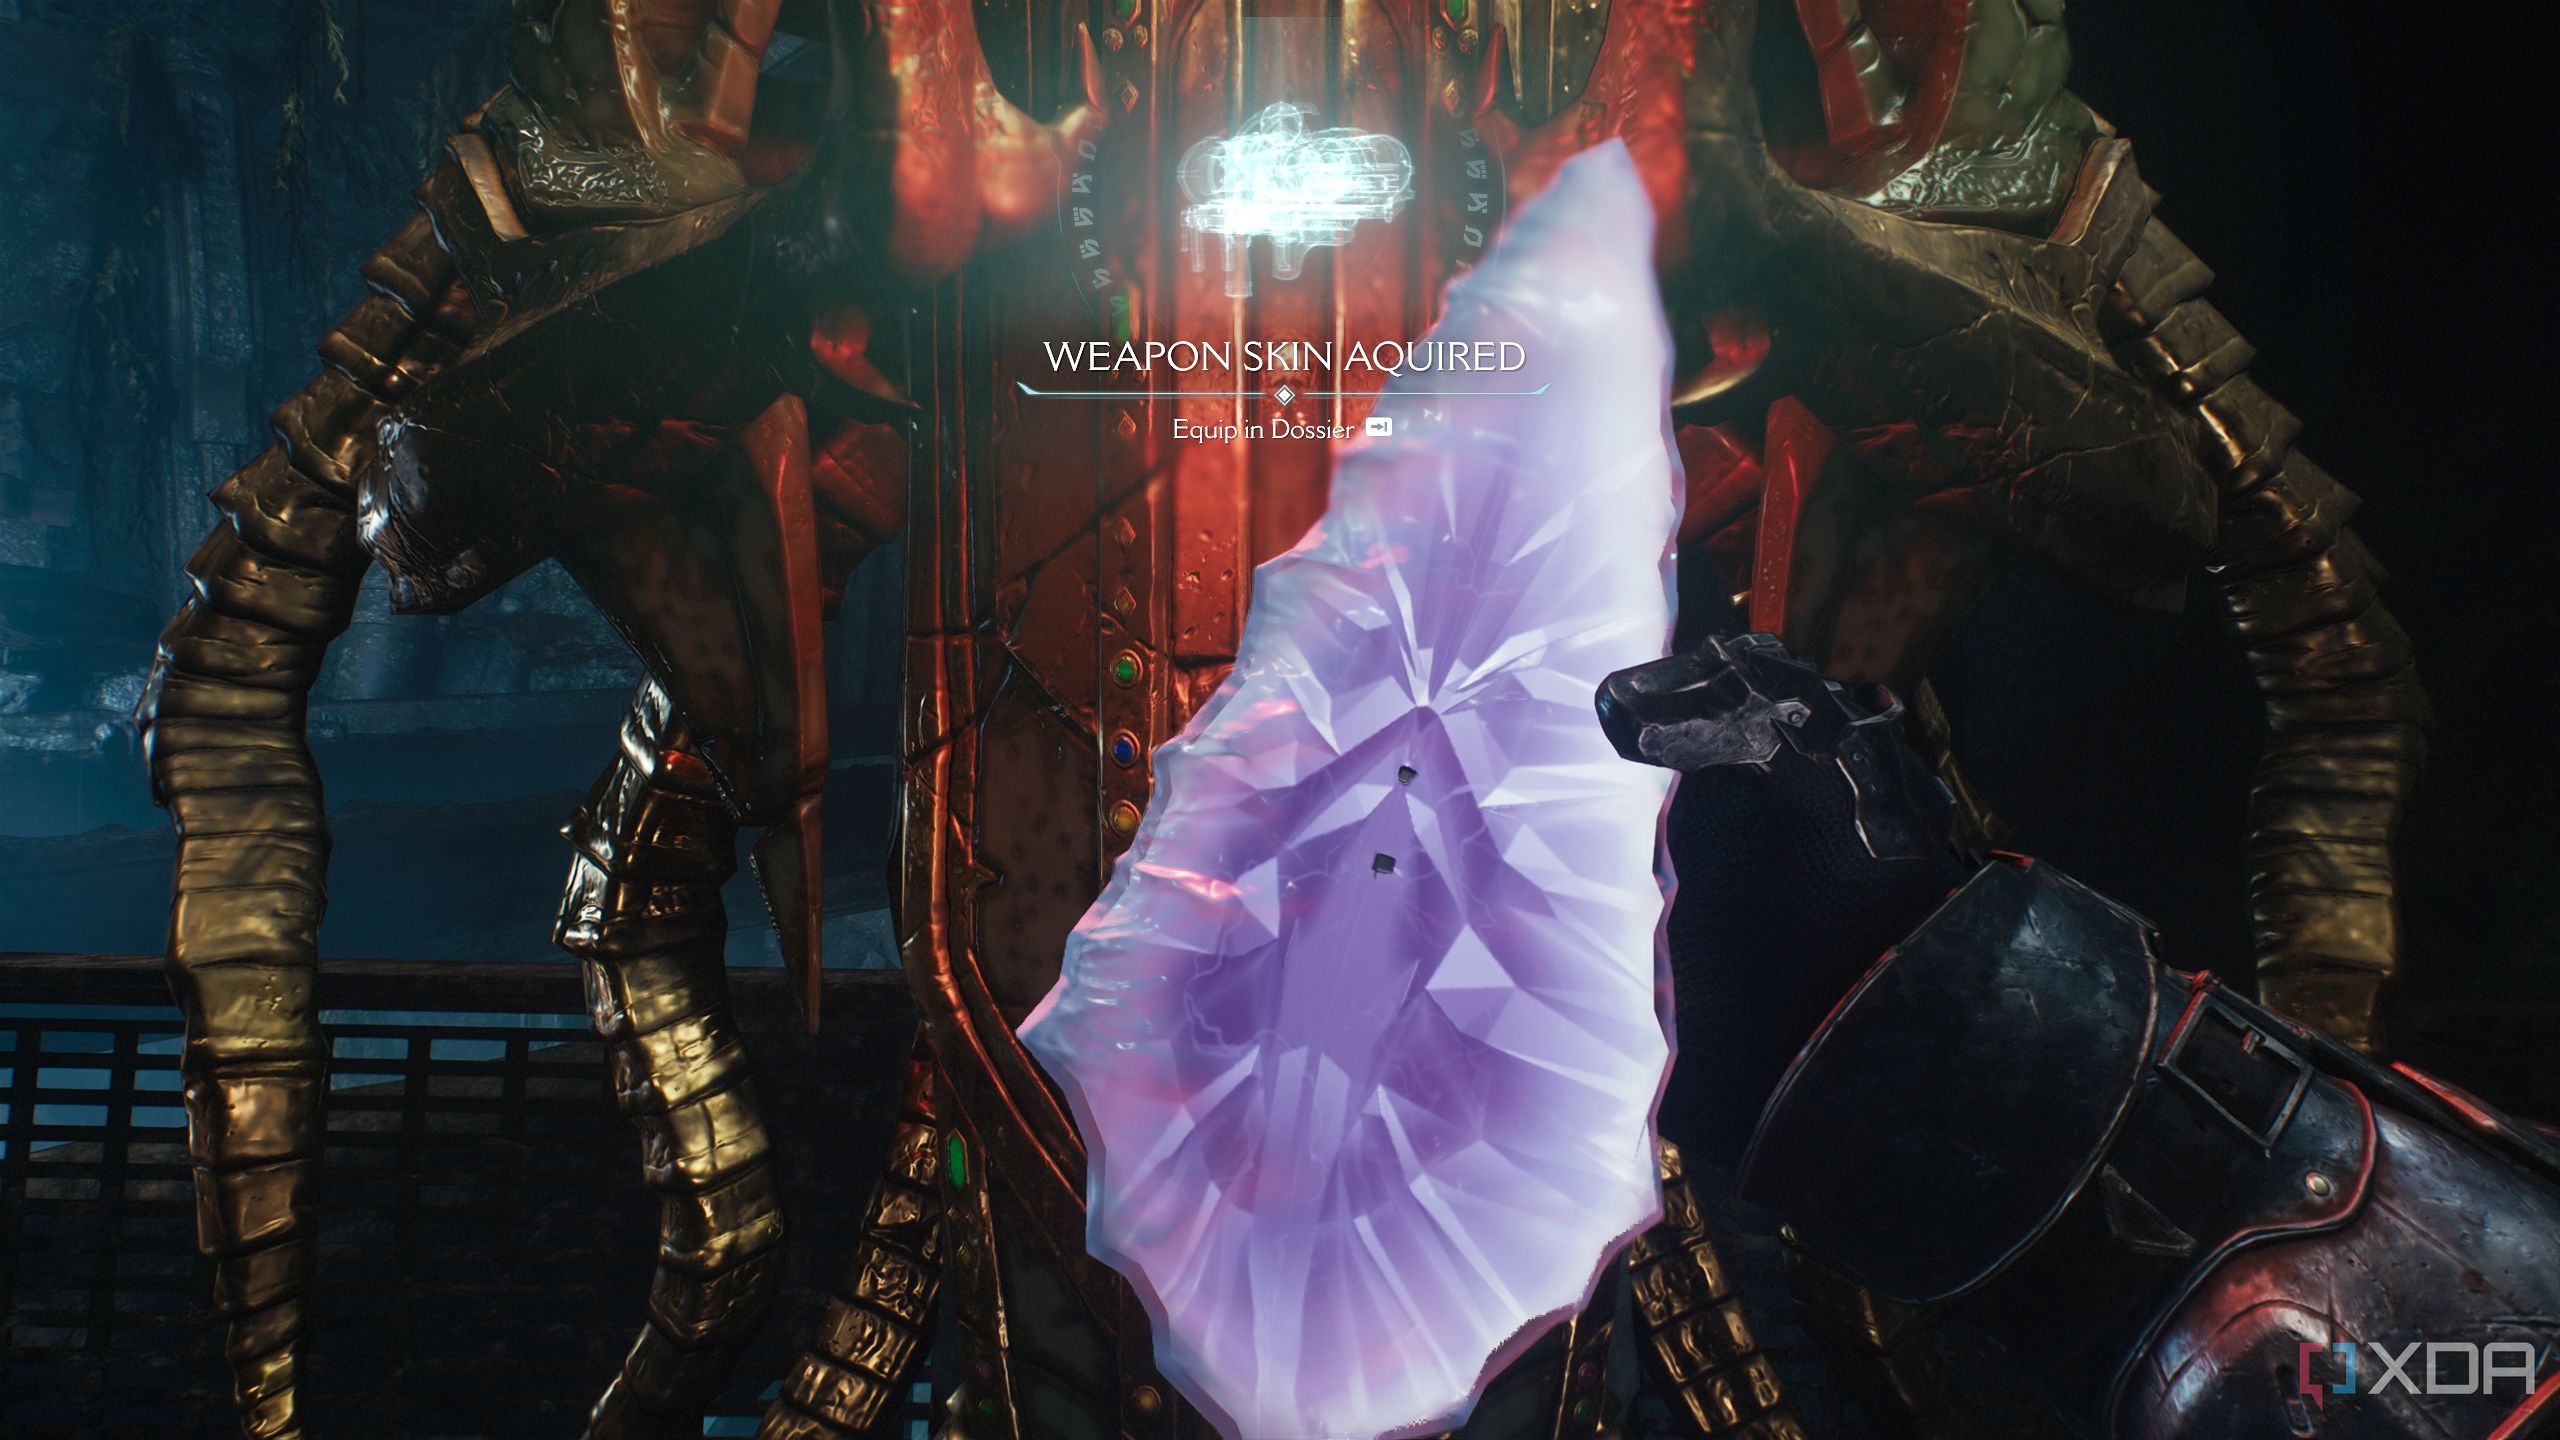
Grab them both and walk onto the jump pad straight ahead. You’ll reach a platform where Serrat lands.
Secret area 10 and a second Wraithstone
The rocky overlook in the distance
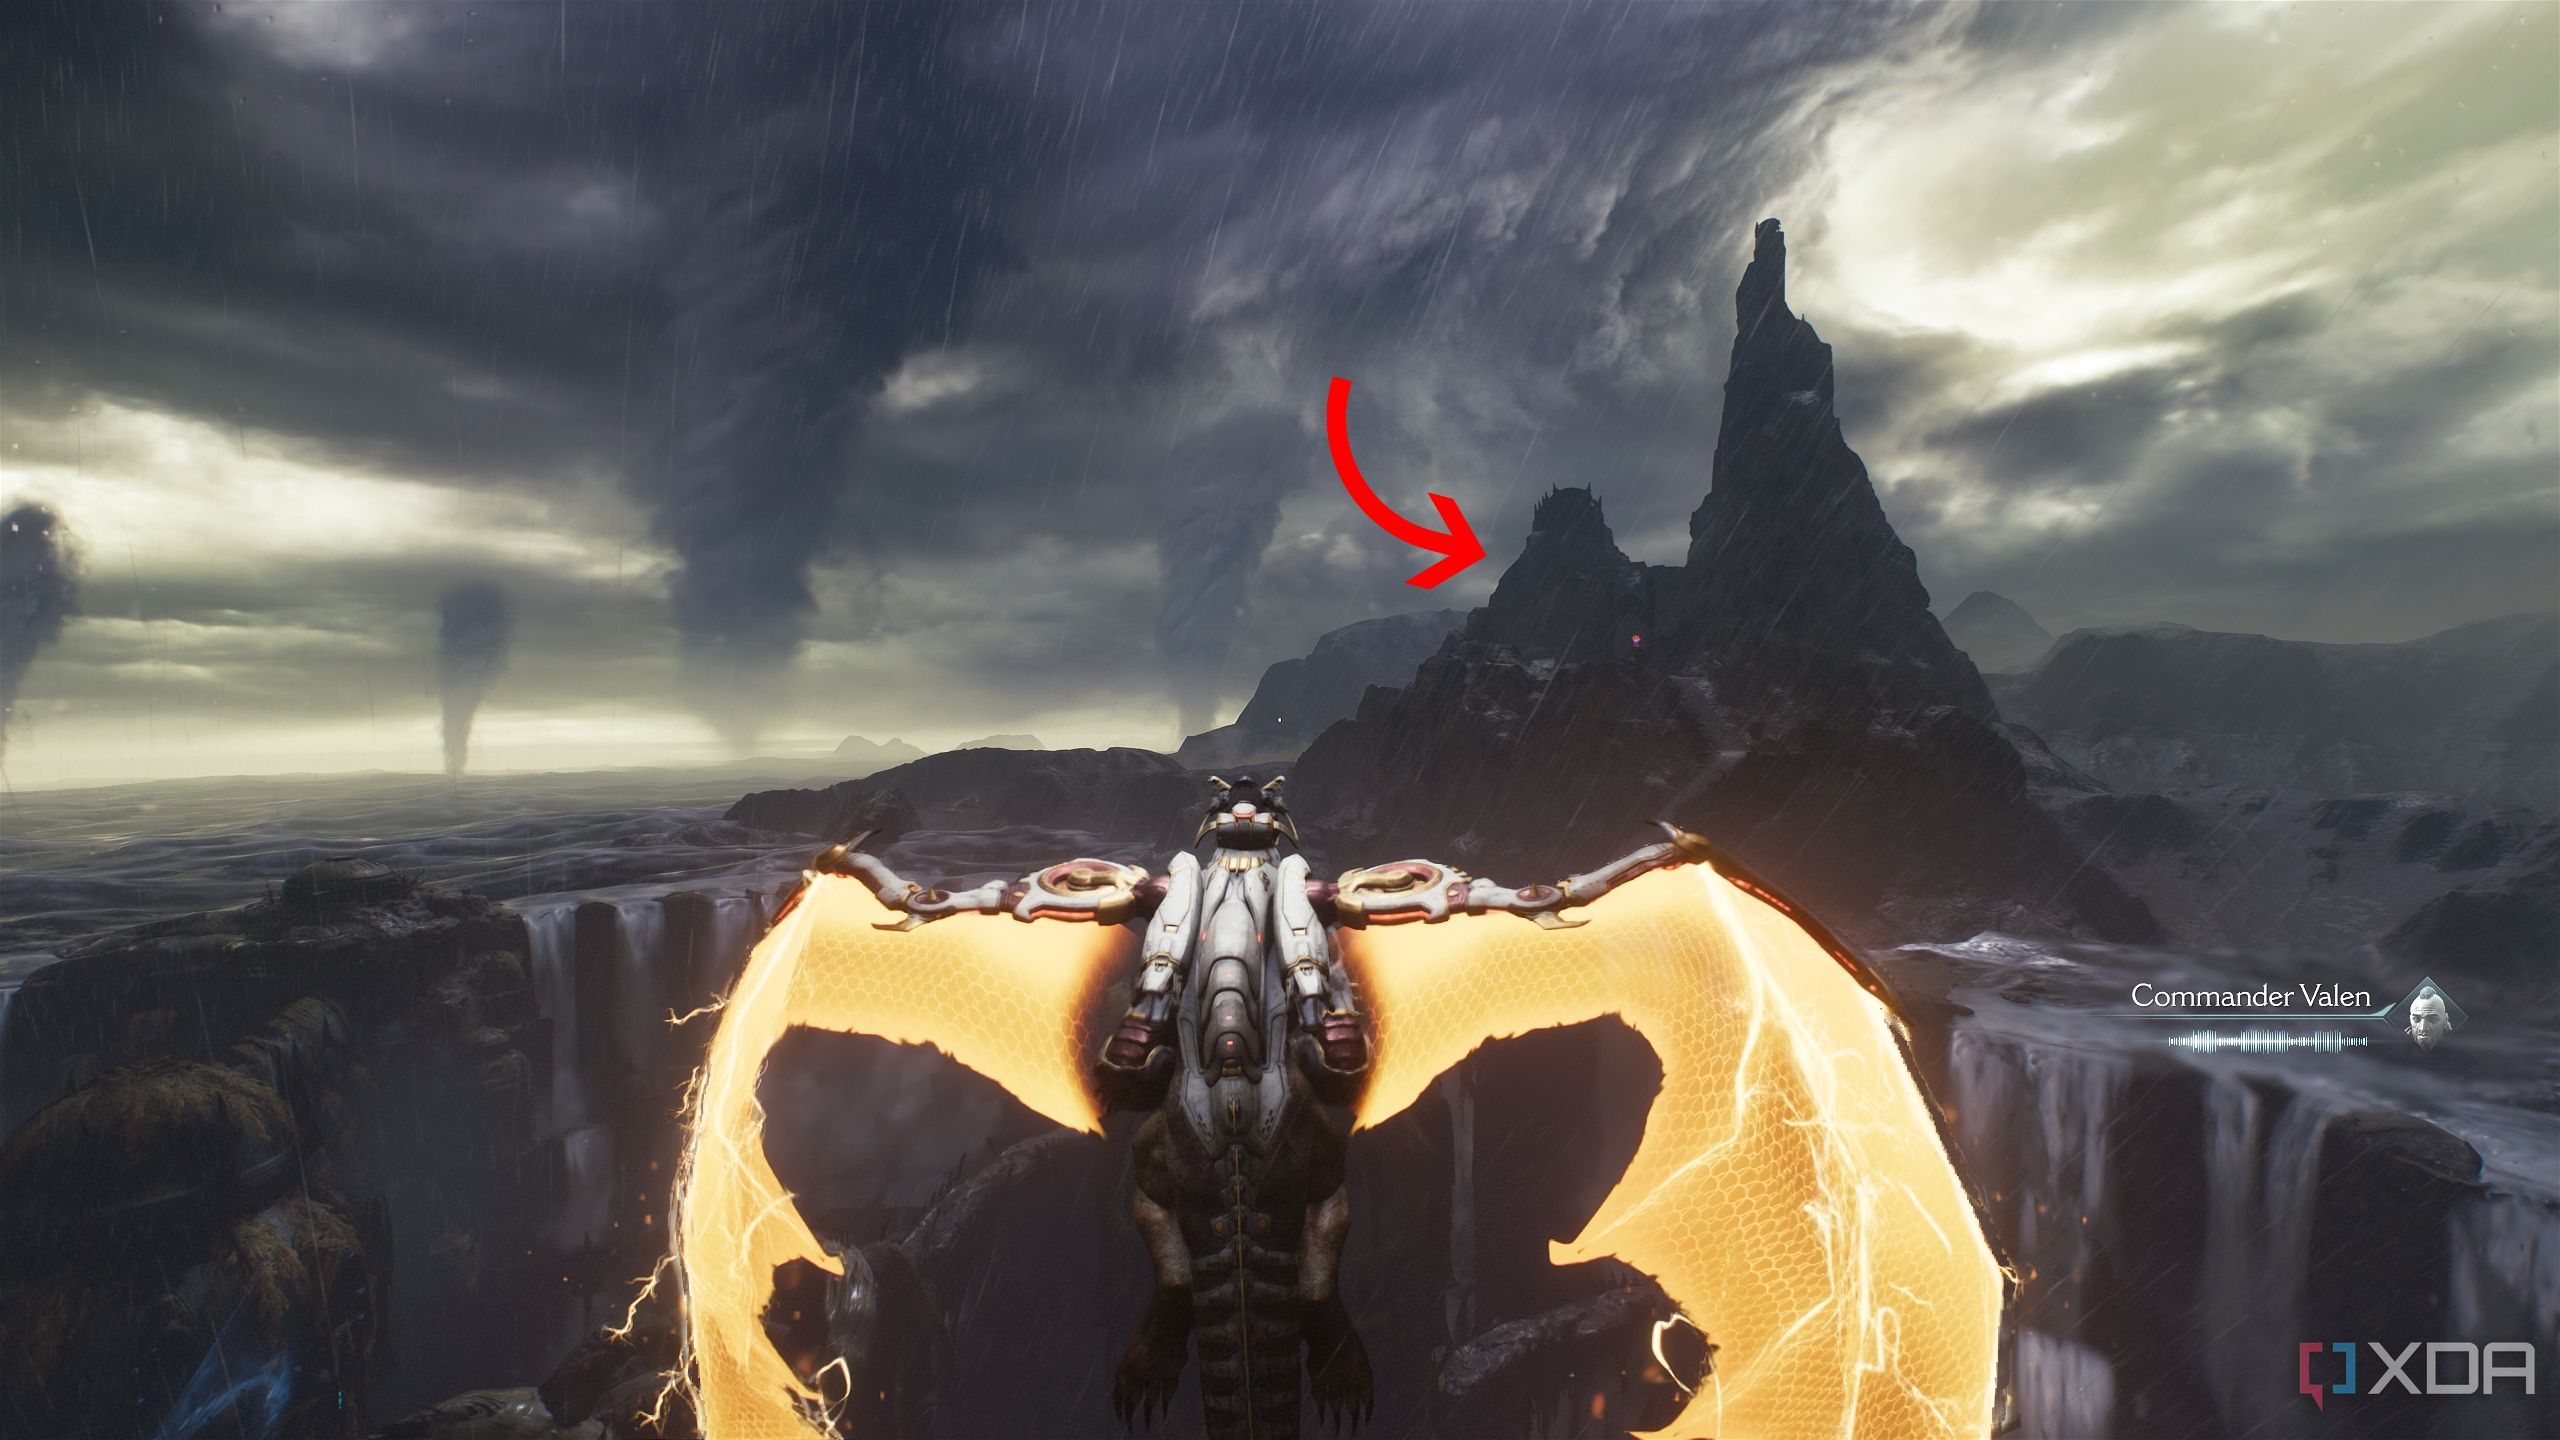
Now back atop your dragon, don’t follow the objective marker just yet. Instead, fly straight upwards, and spot this structure in the distance. It doesn’t look approachable, but it’s the second secret landing zone in the level.
Take out the Titan guarding the gate, and you’ll unlock the landing zone behind it.
Landing here will immediately unlock secret area 10 for you. You’ll see a Wraithstone statue locked behind a demonic seal straight ahead — there’s a lot of fighting to do before you can get it. Fight through the hordes of demons that will appear now, including a Cacodemon Hybrid and a Cyberdemon.
Then, the demonic seal will disappear, and you’ll get your hands on the second Wraithstone in the level. Serrat will land again, and you can ride it back toward the objective, to the fourth landing zone.
More gold bars and a stack of gold
Gold bars and heaps of dead fish
Once you get to the fourth landing zone, you’ll be on a round, stone platform. Walk ahead and take a left from the pile of dead fish ahead of you, towards a yellow light pillar.
Walk down the stairs next to it, but instead of going forward, turn around and take the second set of stairs going further down.

You’ll see a pile of gold bars lying ahead of you. Continue walking down this path, and you’ll pick up more trails of gold bars until you’re walking under a bridge, where another trail of gold awaits.
Keep walking ahead to collect more gold until you’ve made your way back up the stairs on the other side. From here, look up to see a scramble wall to your left, overhead. Approach it and a Whiplash will ambush you.
Dispatch it and instead of climbing up the scramble wall, look to the side to find a gold stack waiting for you. With that done, climb up the scramble wall towards the objective.
Related
10 best first-person shooters that are free to play on Steam
Enter the genre of fast paced first-person shooters with these 10 free-to-play titles on Steam
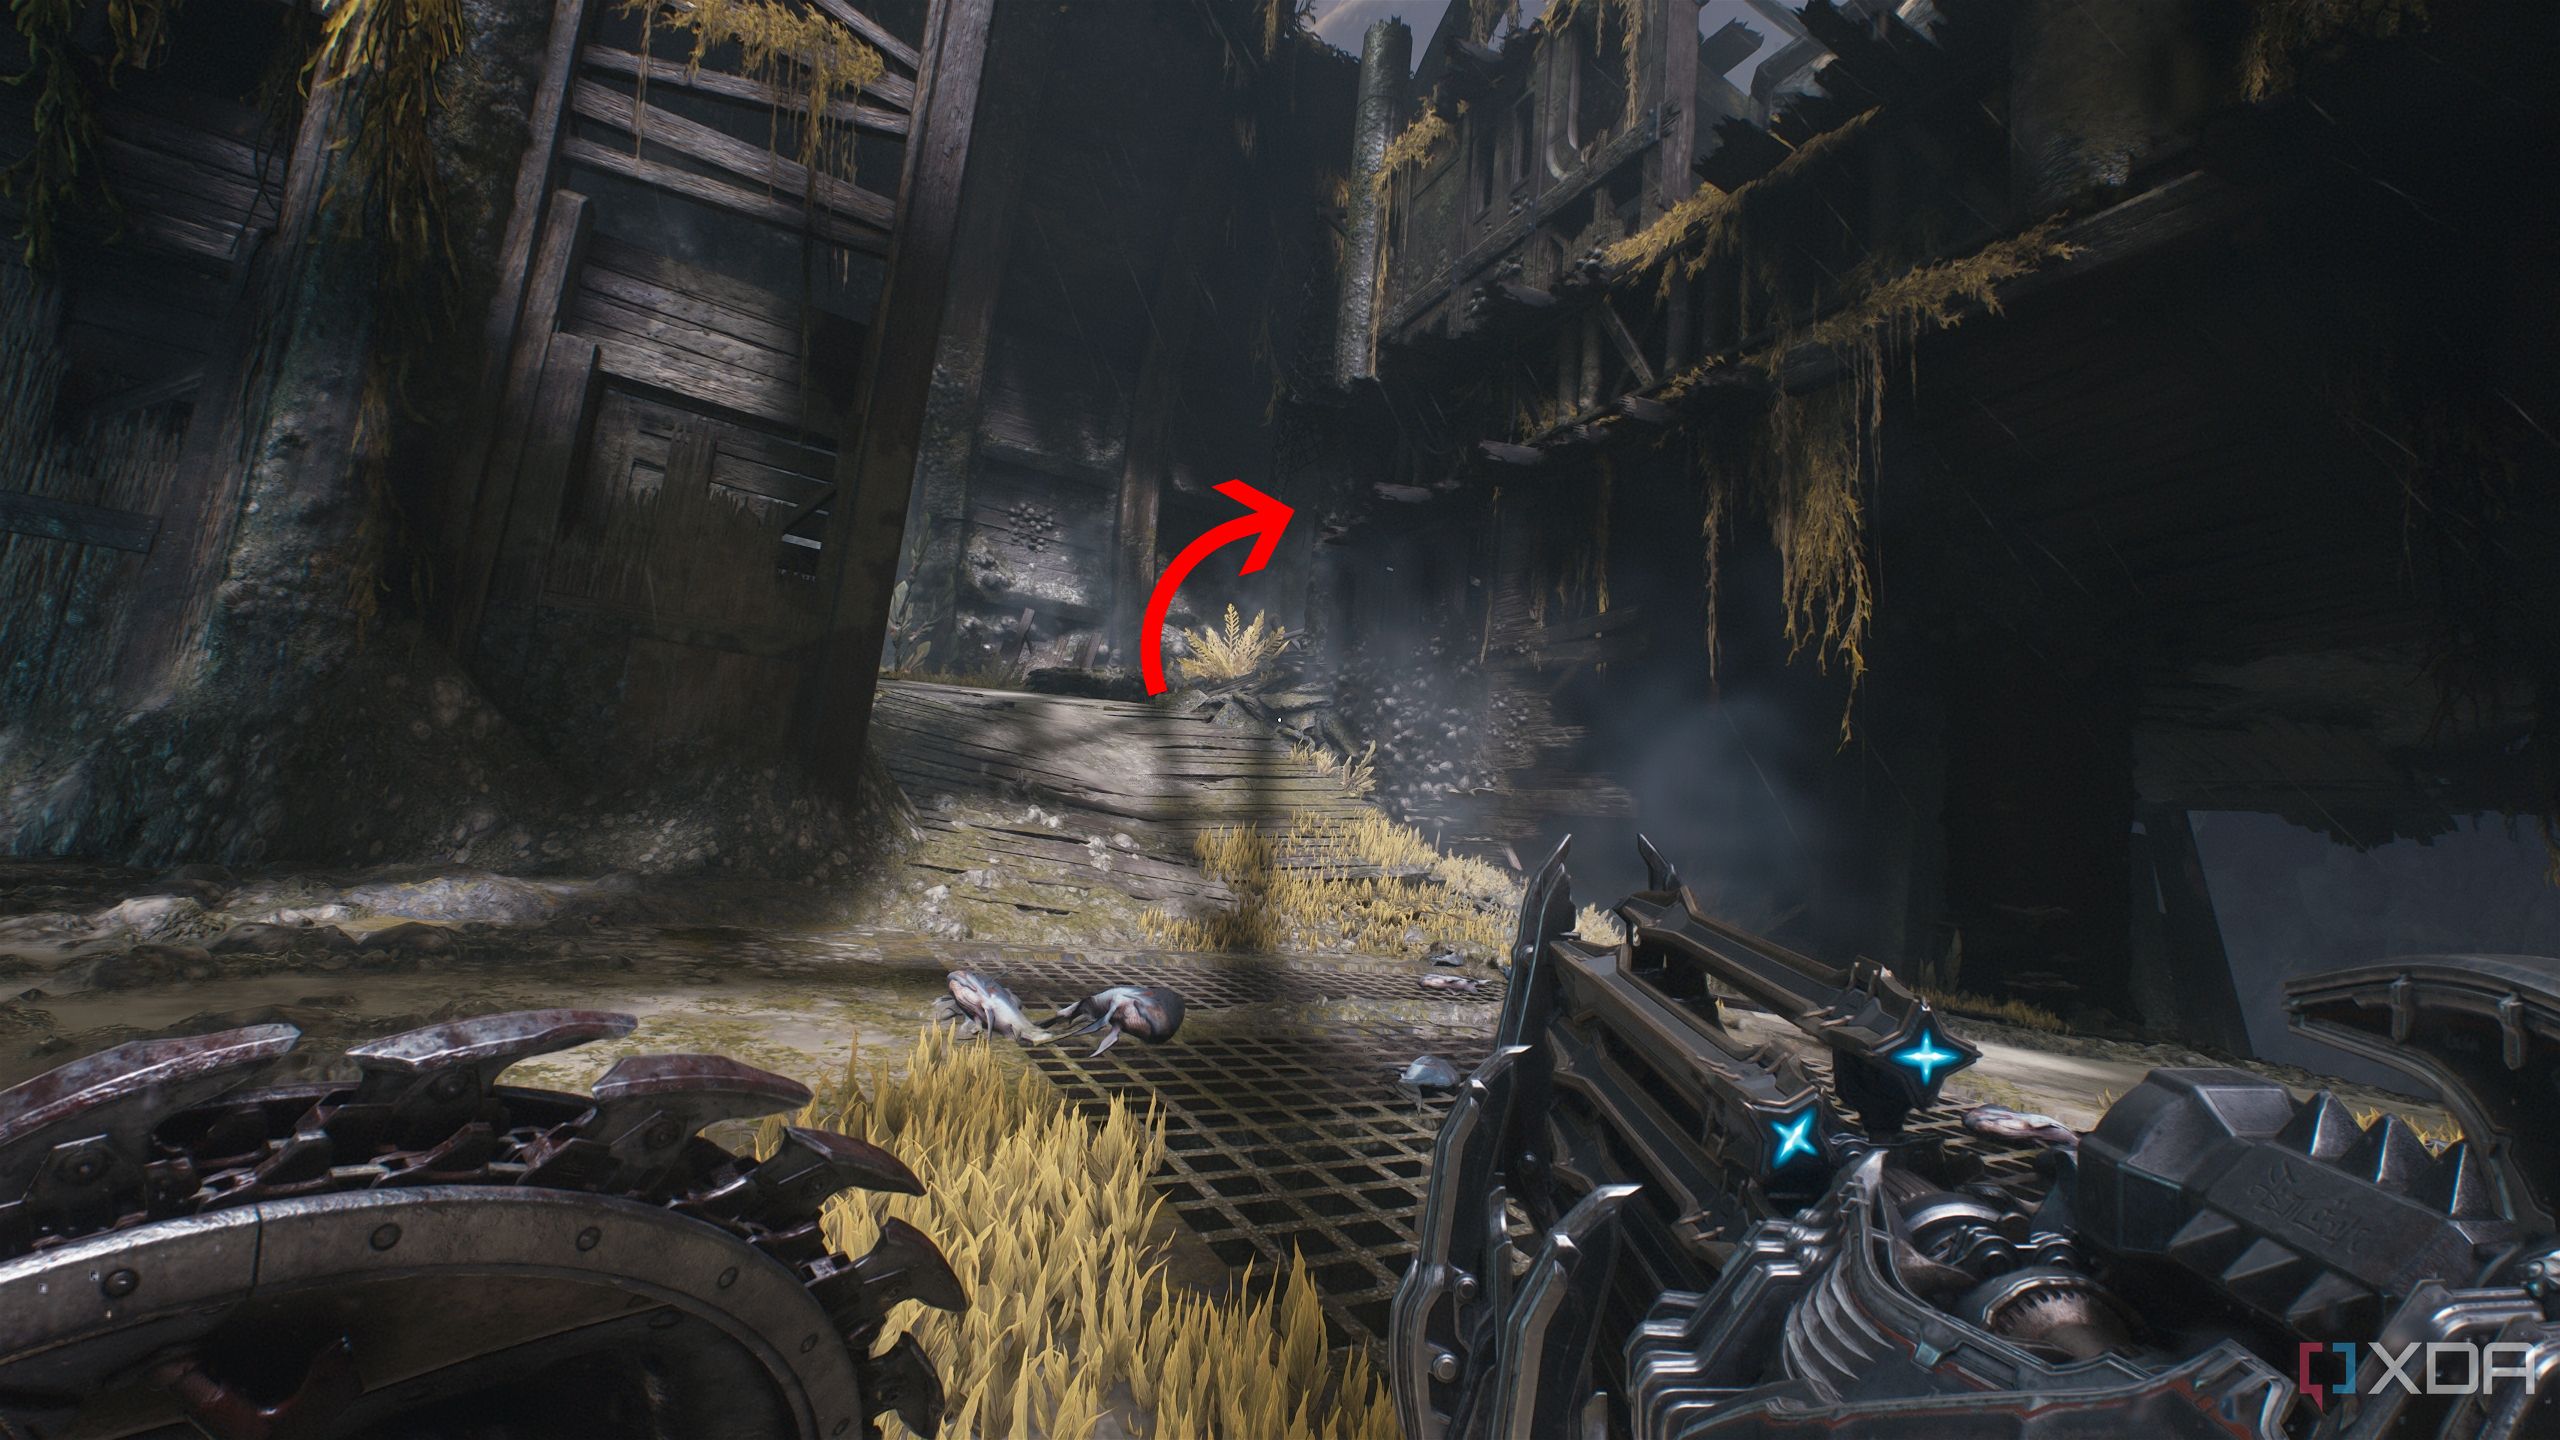
Secret area 11 and a toy collectible
Revenants aren't as annoying in toy form, thankfully

Climbing up the wall and then some stairs, you’ll reach a jump pad ahead in the center of the chamber. Use it to go several levels above.
From the new platform, head towards the objective and jump on to the platform with three Soldiers and a yellow spire.
Immediately turn around, and you'll see a ledge with bits of armor lined up. Jump down to it, and continue heading along the ledge.
At the end of the ledge, look below to see a secret collectible. Jump down to it.
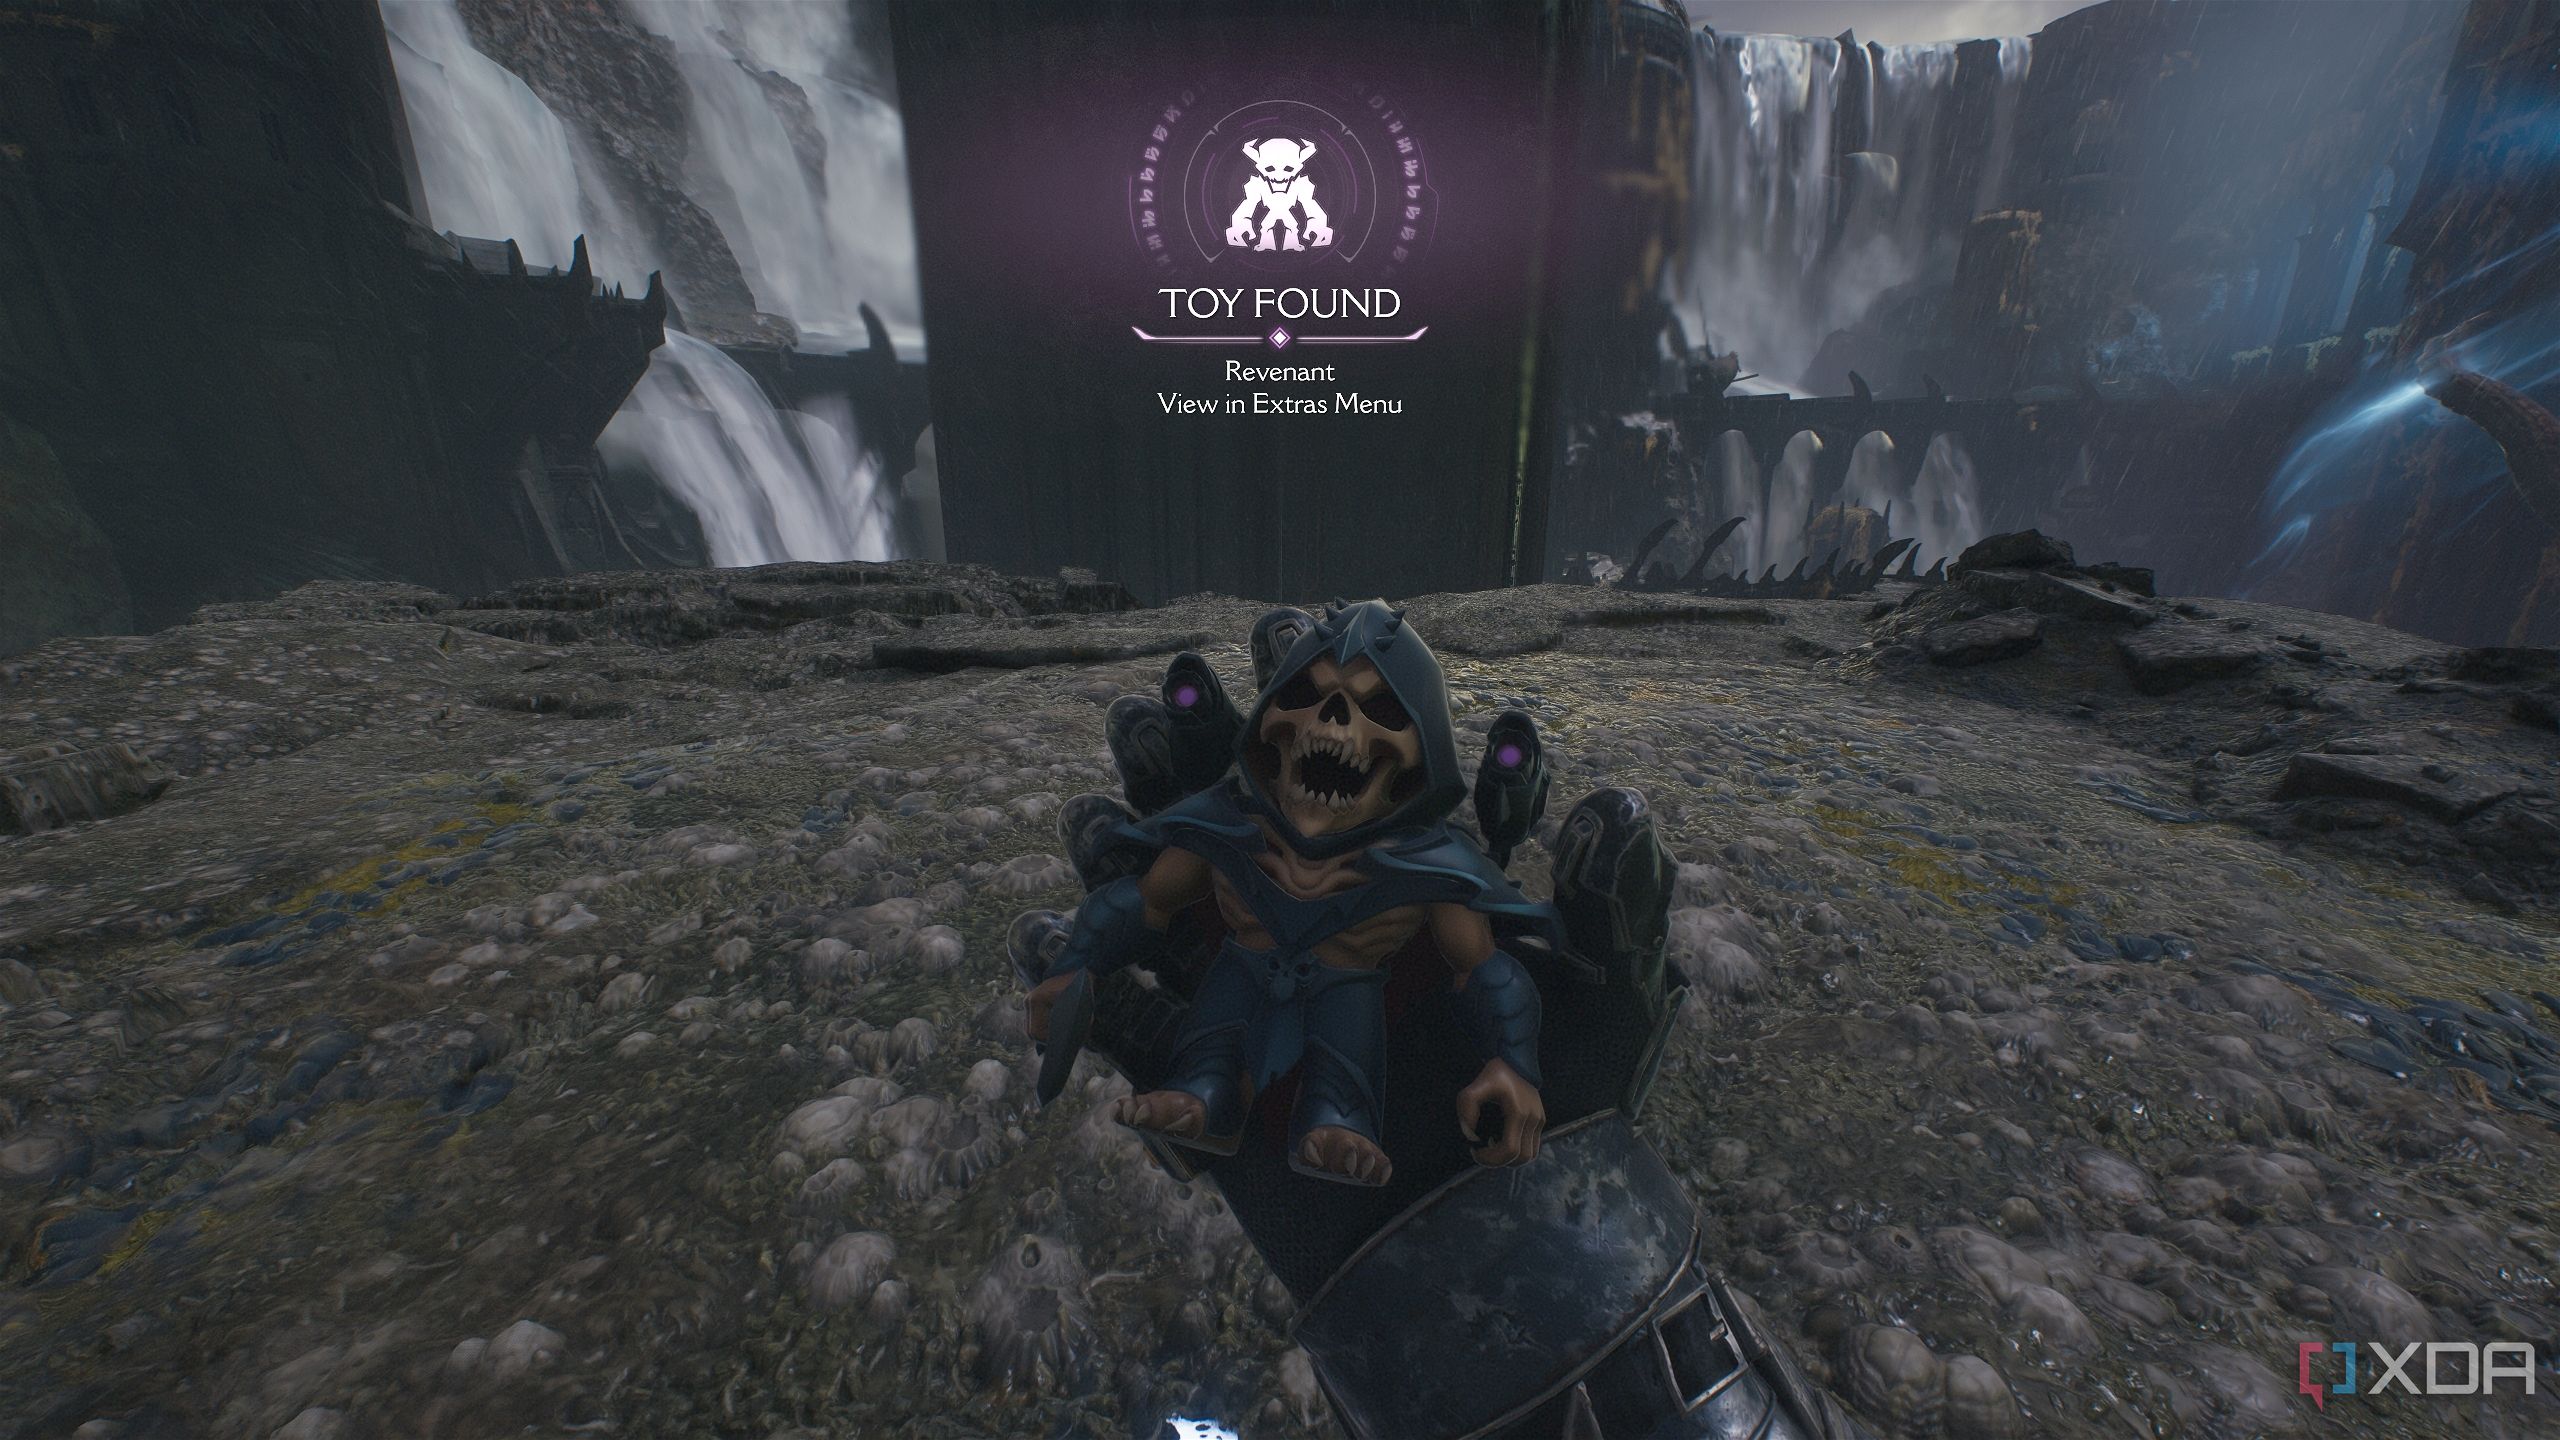
Approach it, and you’ll unlock secret area 11 the Revenant toy collectible. Get back up the jump pad and follow the objective to a deity statue you need to Shield Charge.
Demonic Essence and Heart Harvester
Finishing up a mission challenge
Once you drop down the hole under the statue, you’ll enter a particularly long encounter where you have to fight an Agaddon Hunter, a couple of Mancubii, a leader Revenant, and a Komodo.
Once the fight is over, you’ll gain a Demonic Essence for ammo, and also finish the Heart Harvester mission challenge. From here, it’s a straight shot to acquiring the BFC and swimming to the next point of no return in the map. Enjoy the ride.
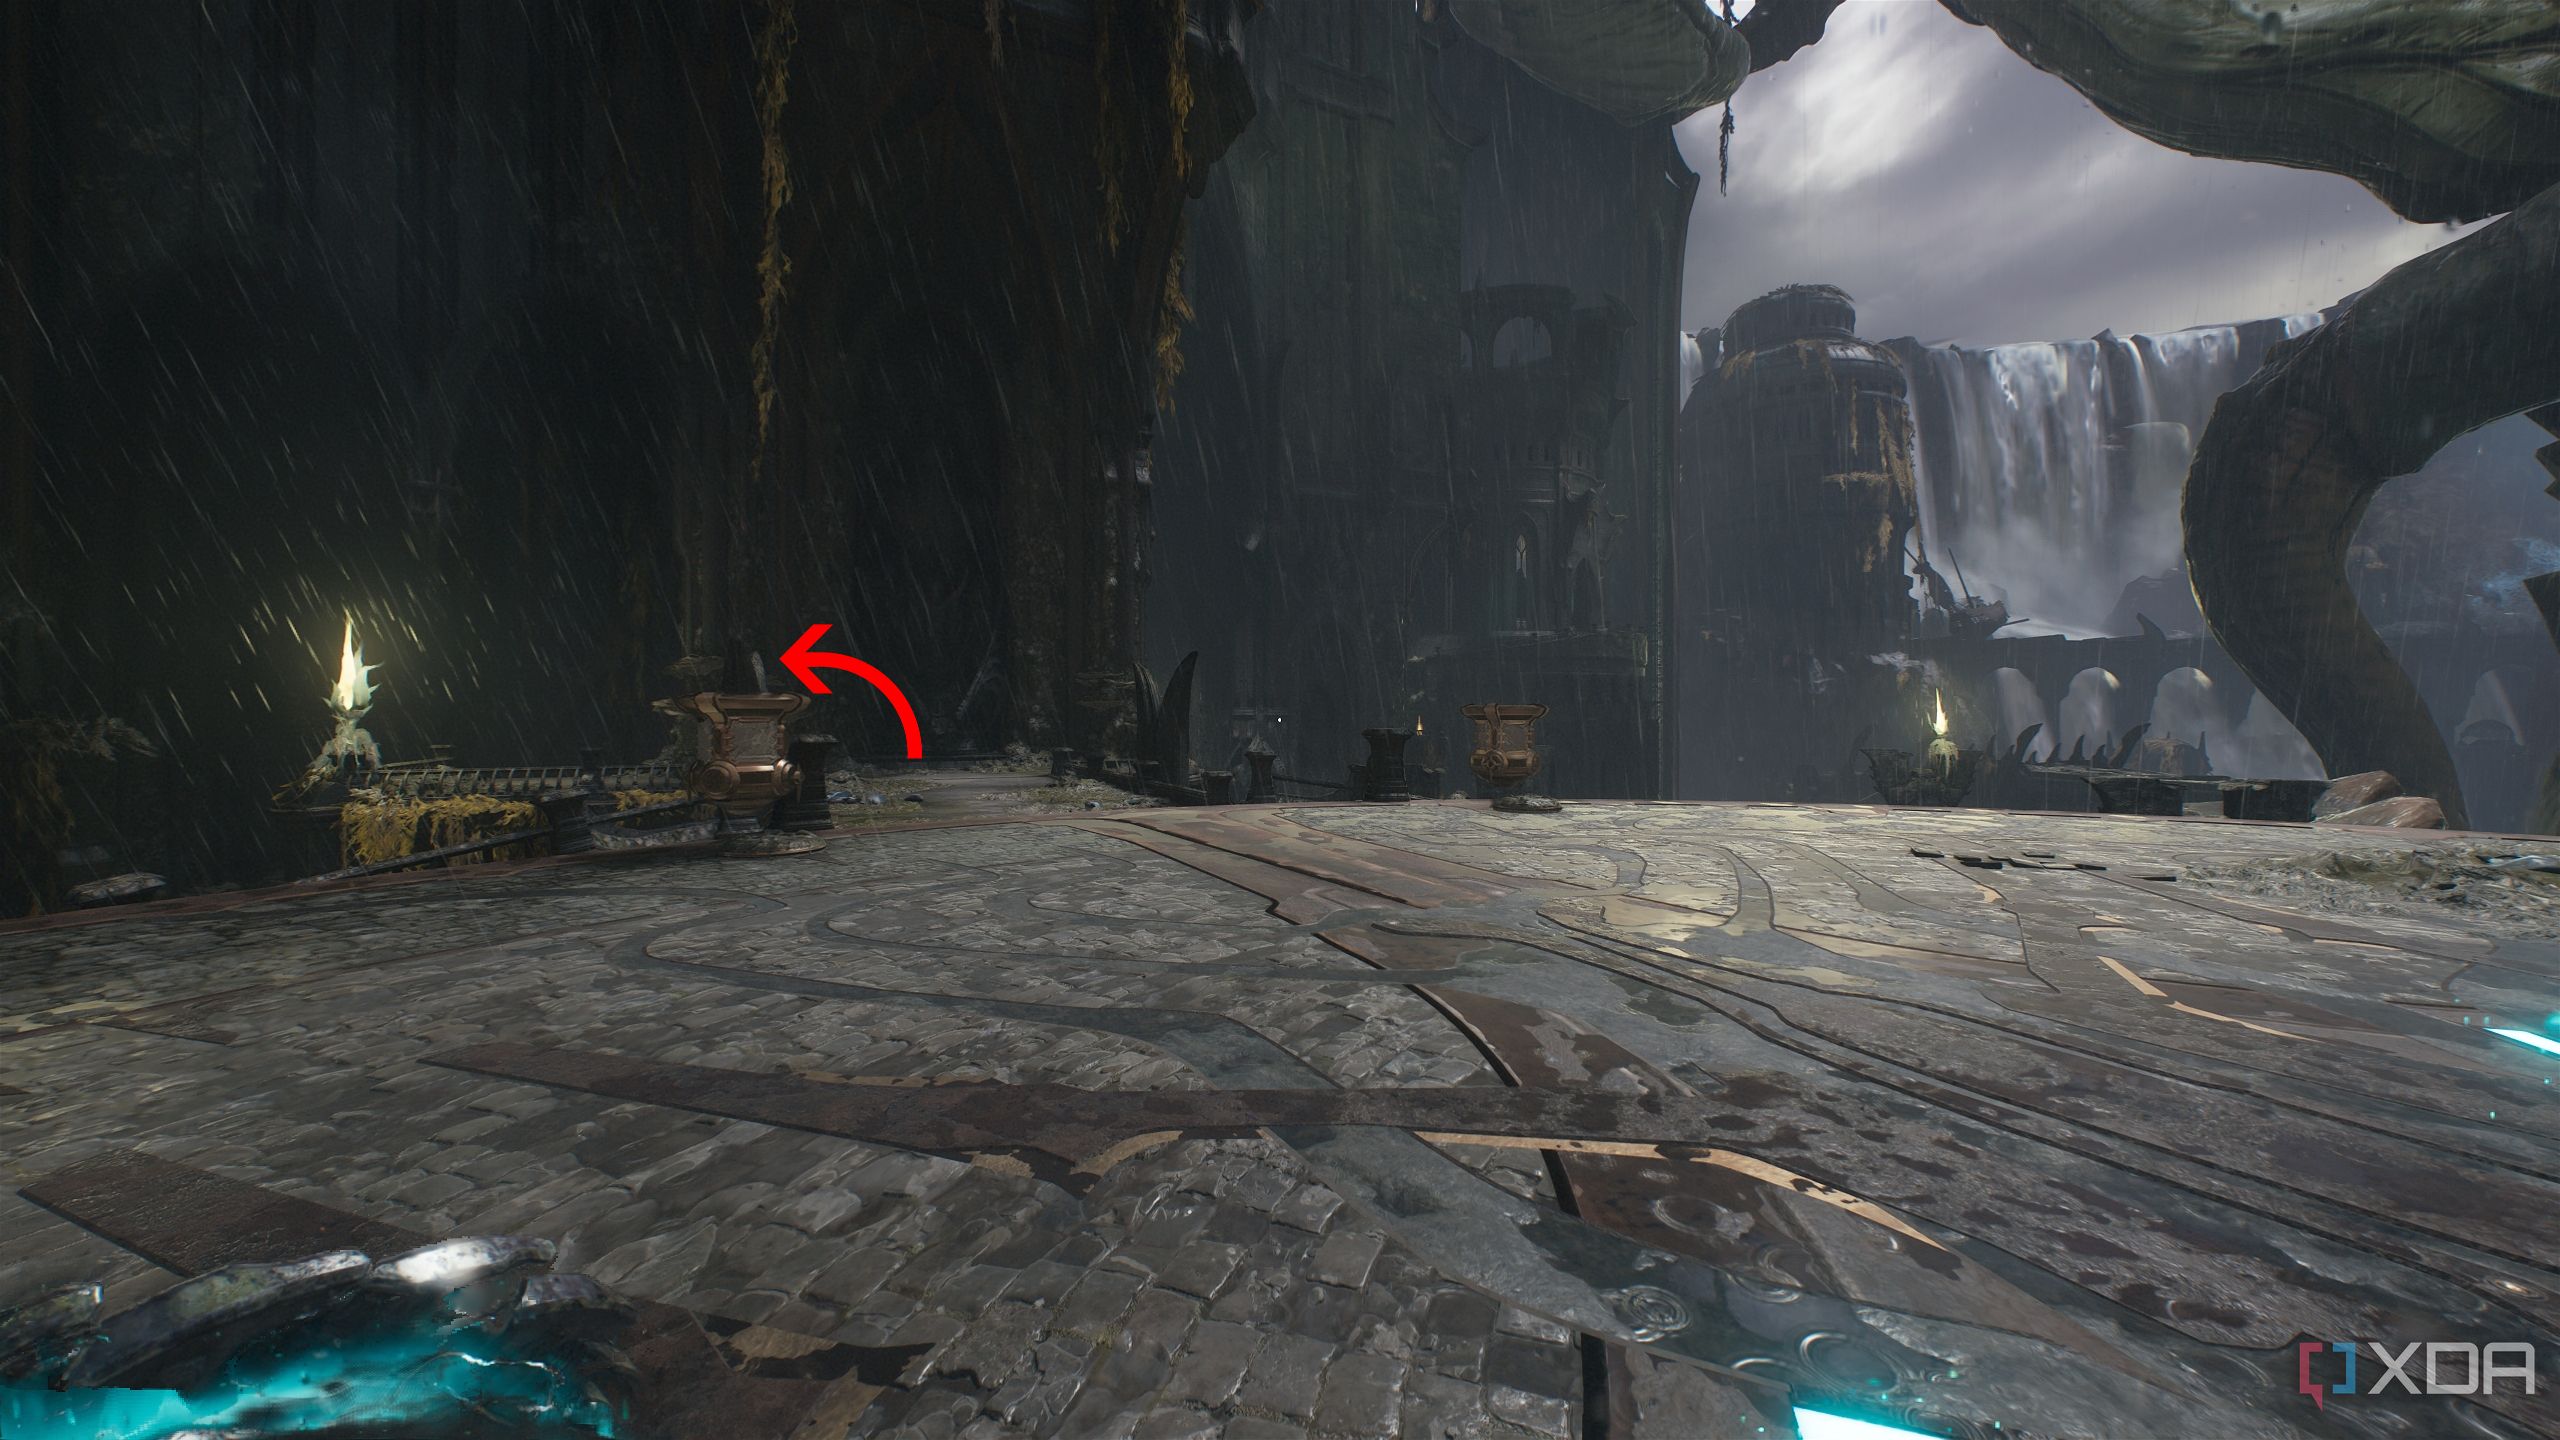
Gold stacks and a gold chest
Heated crosses everywhere for the final batch of gold
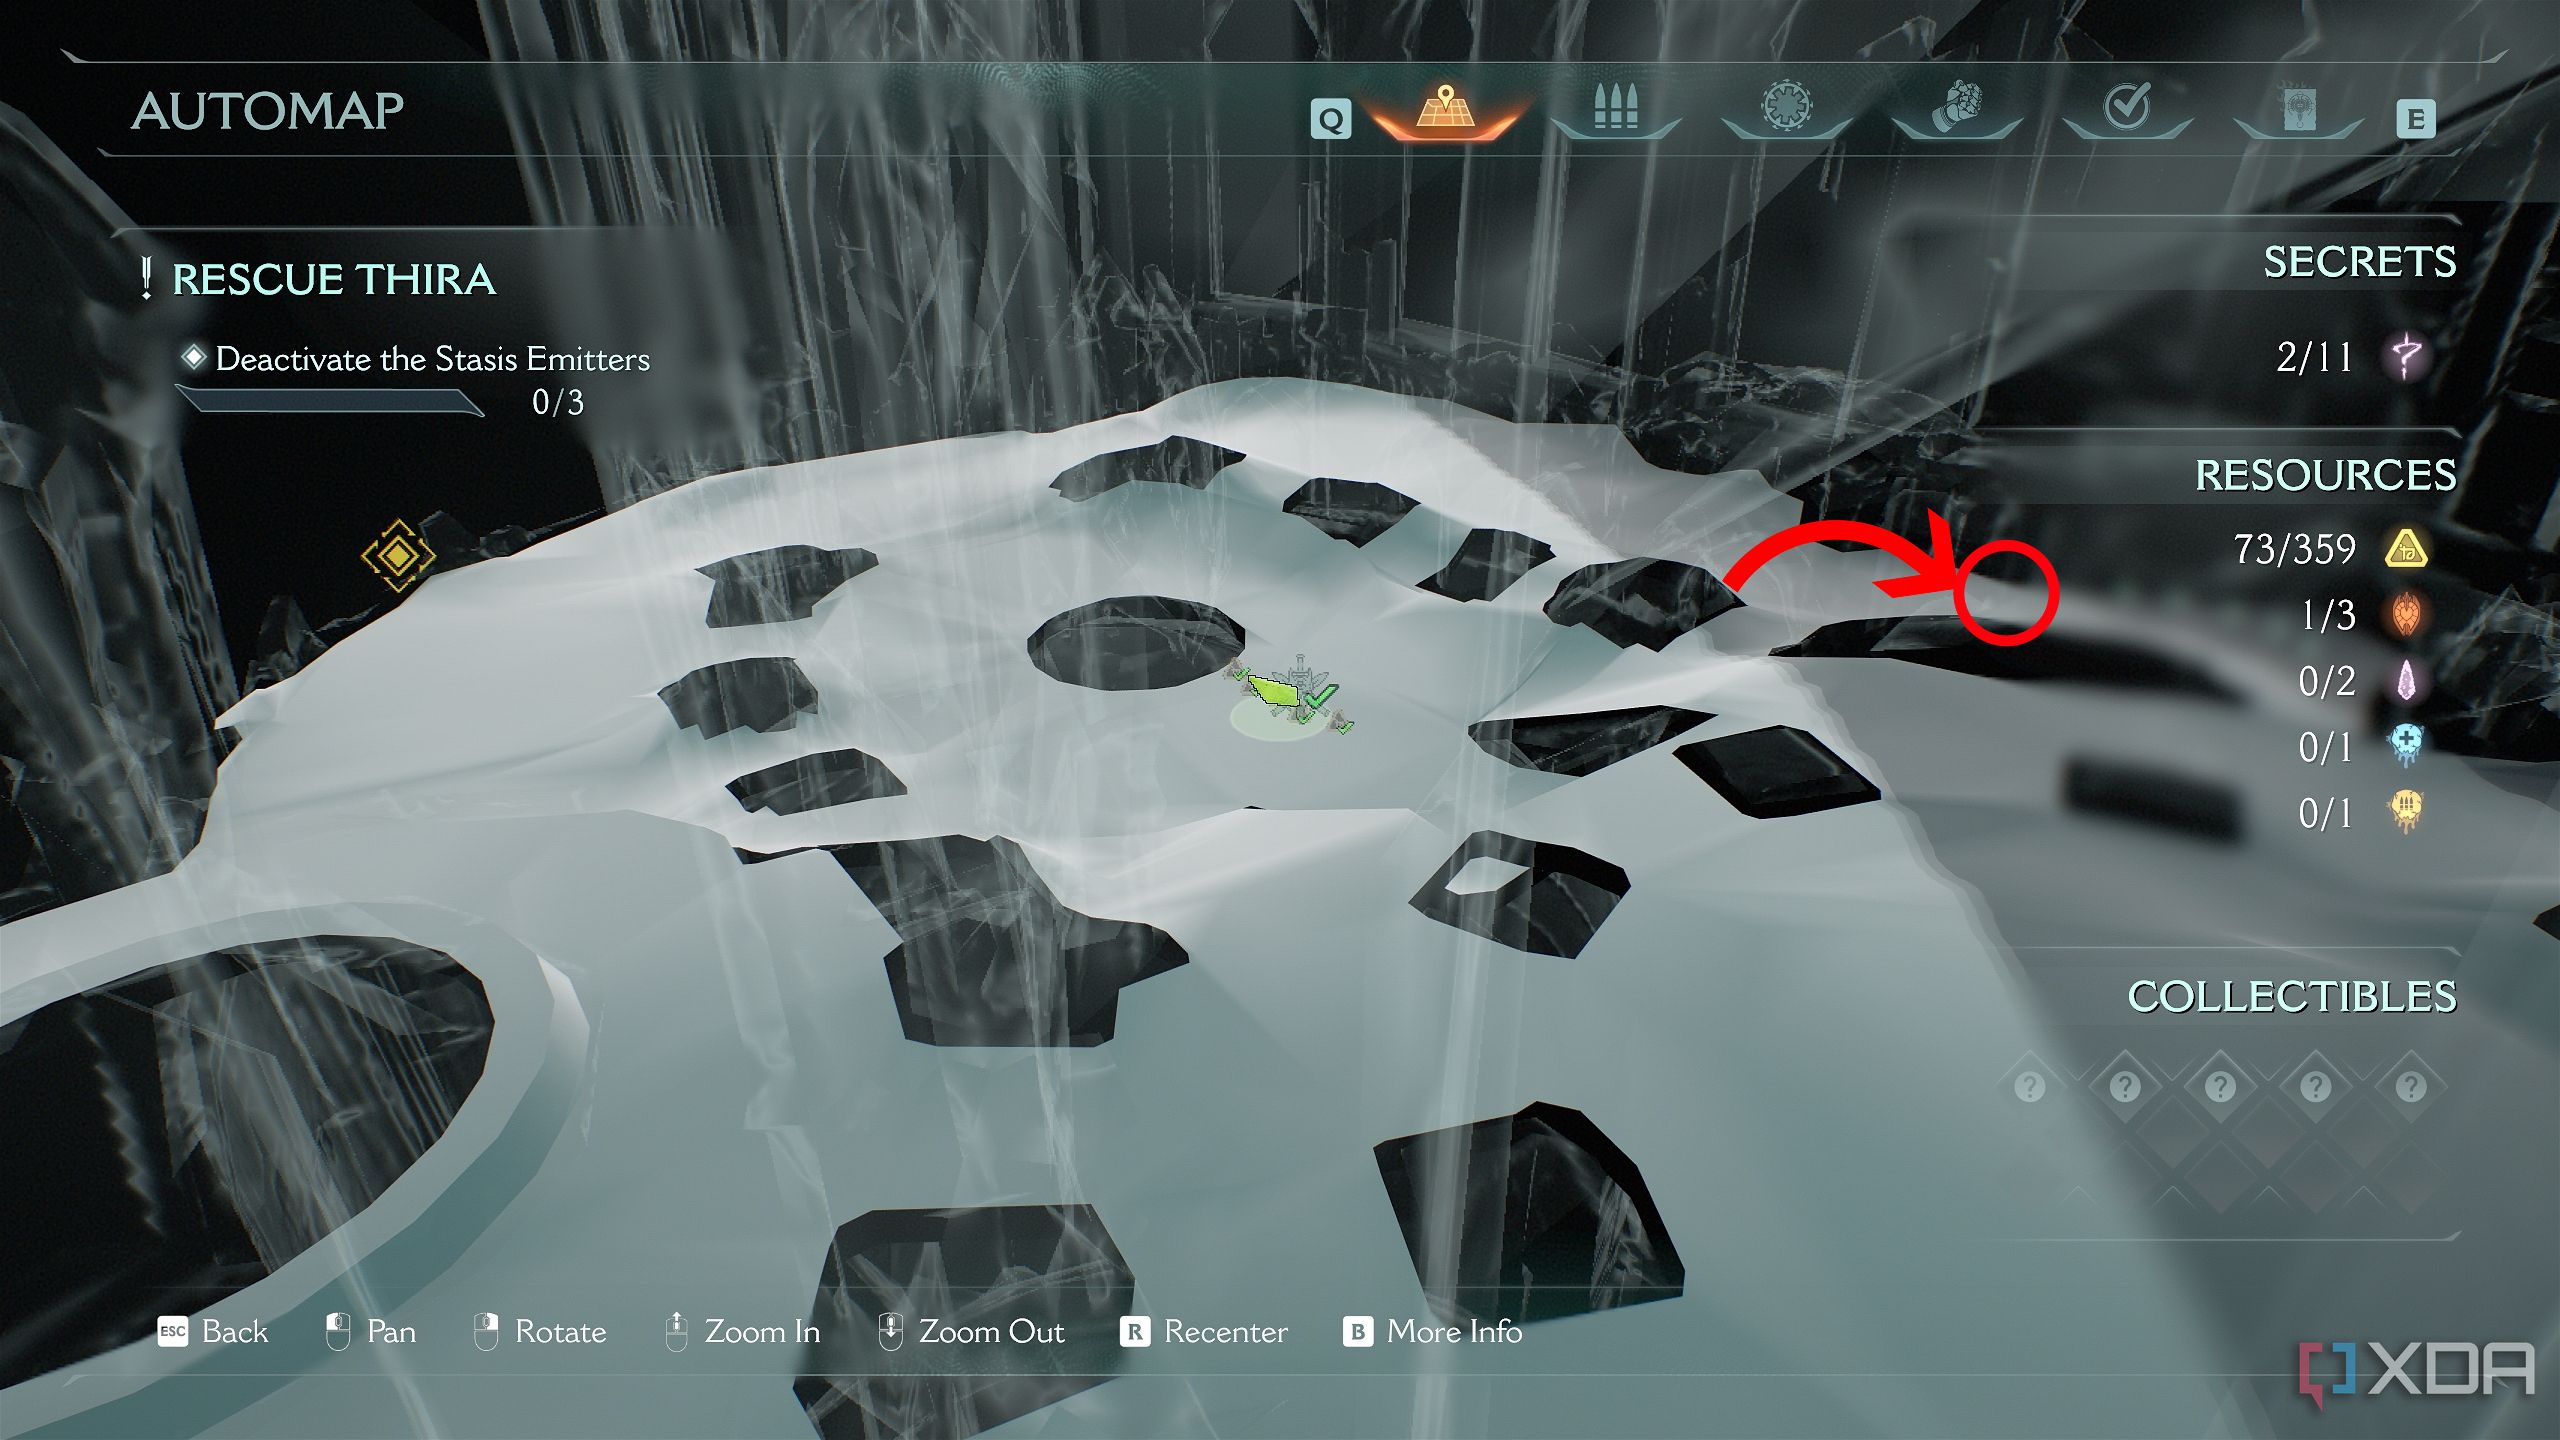
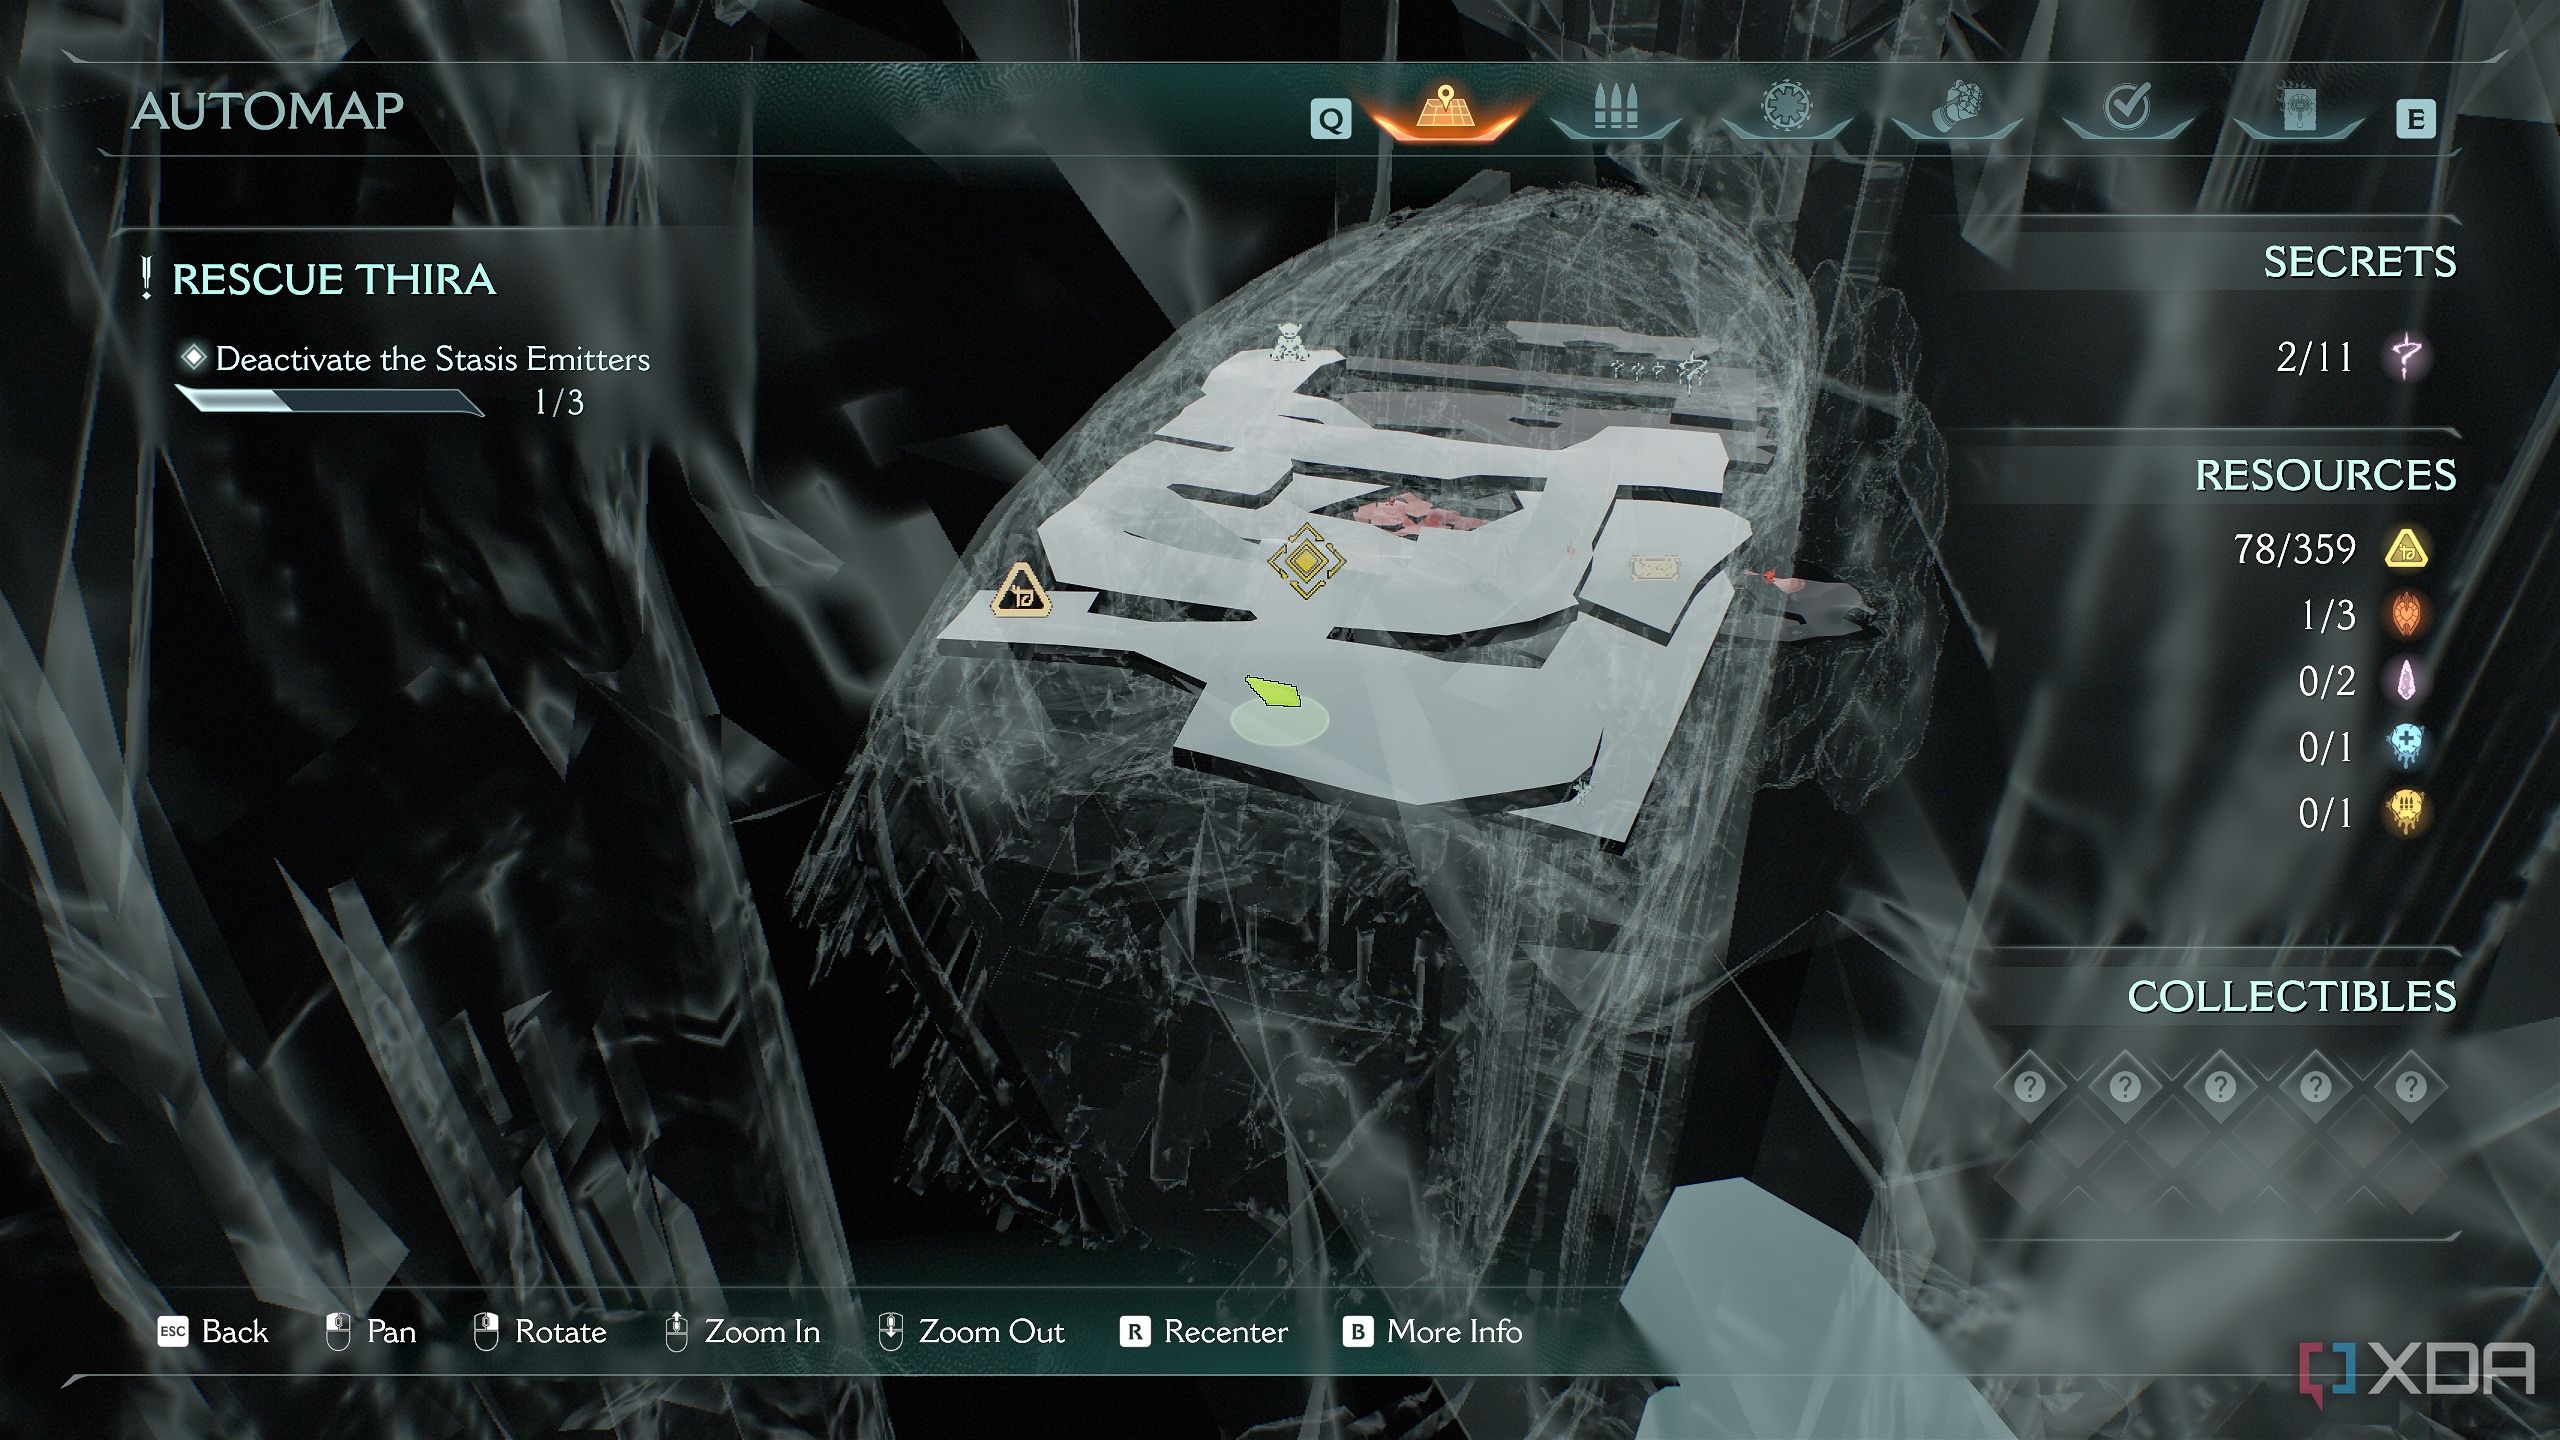
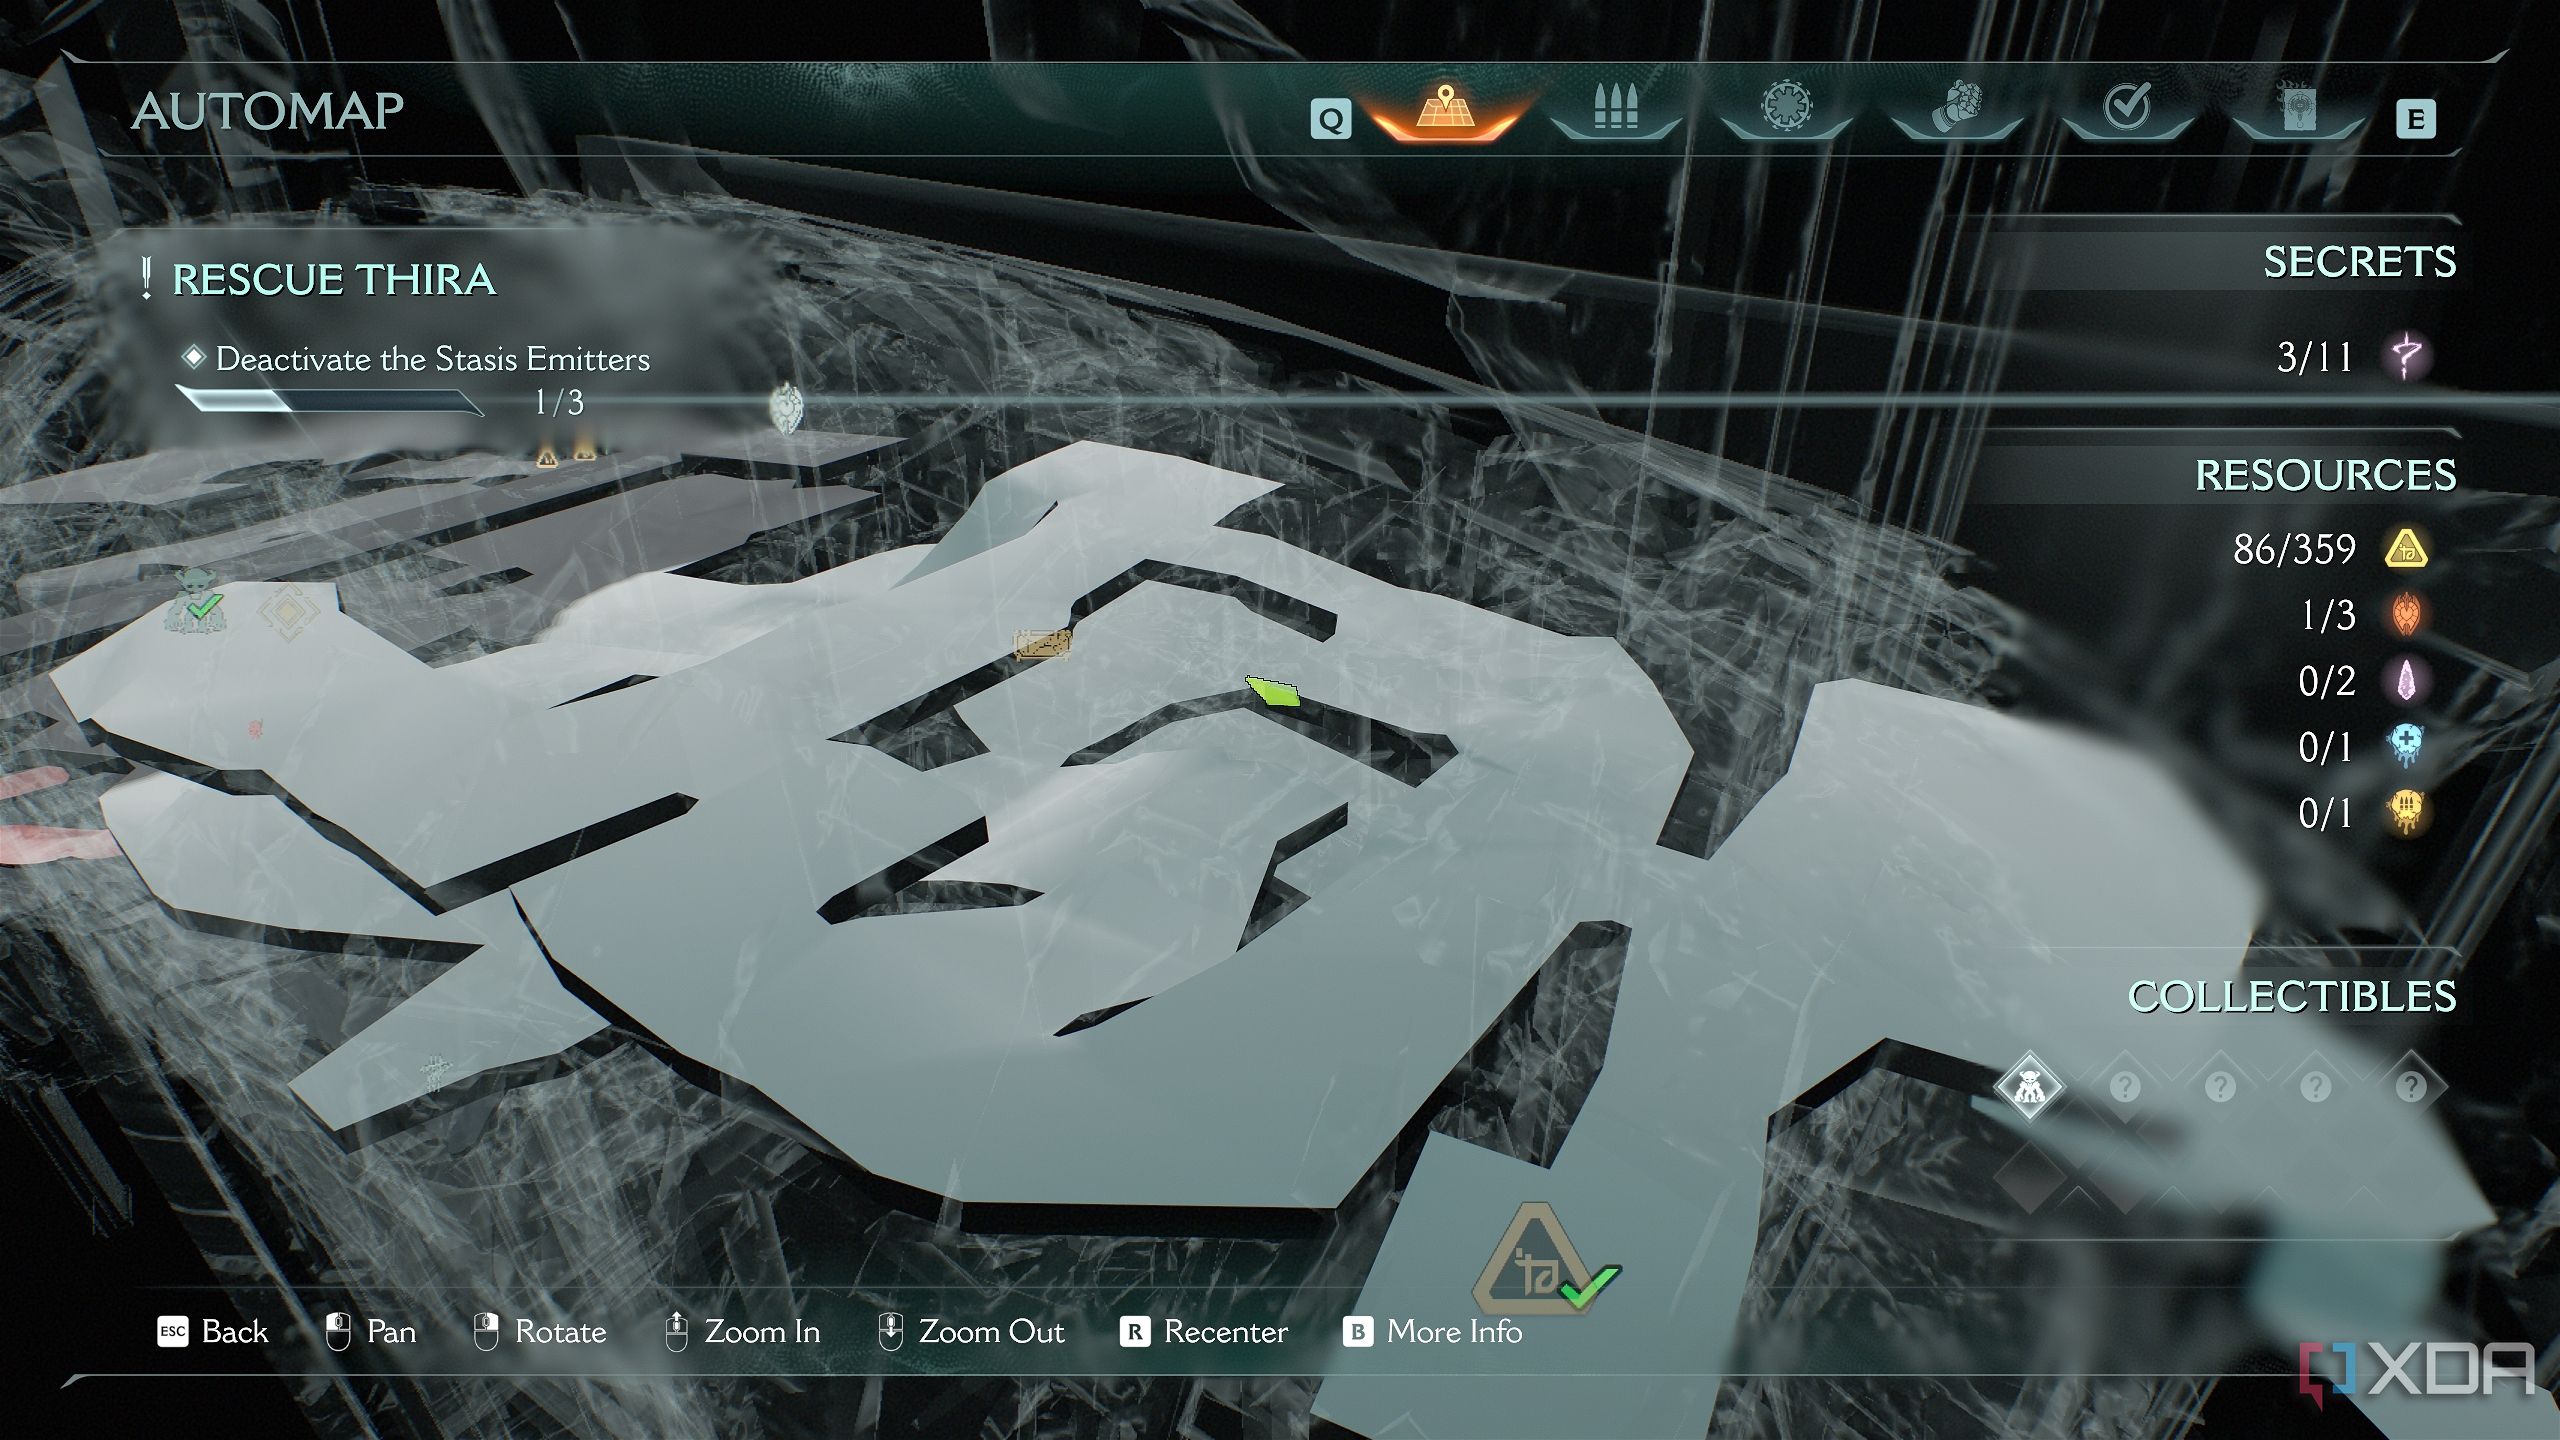
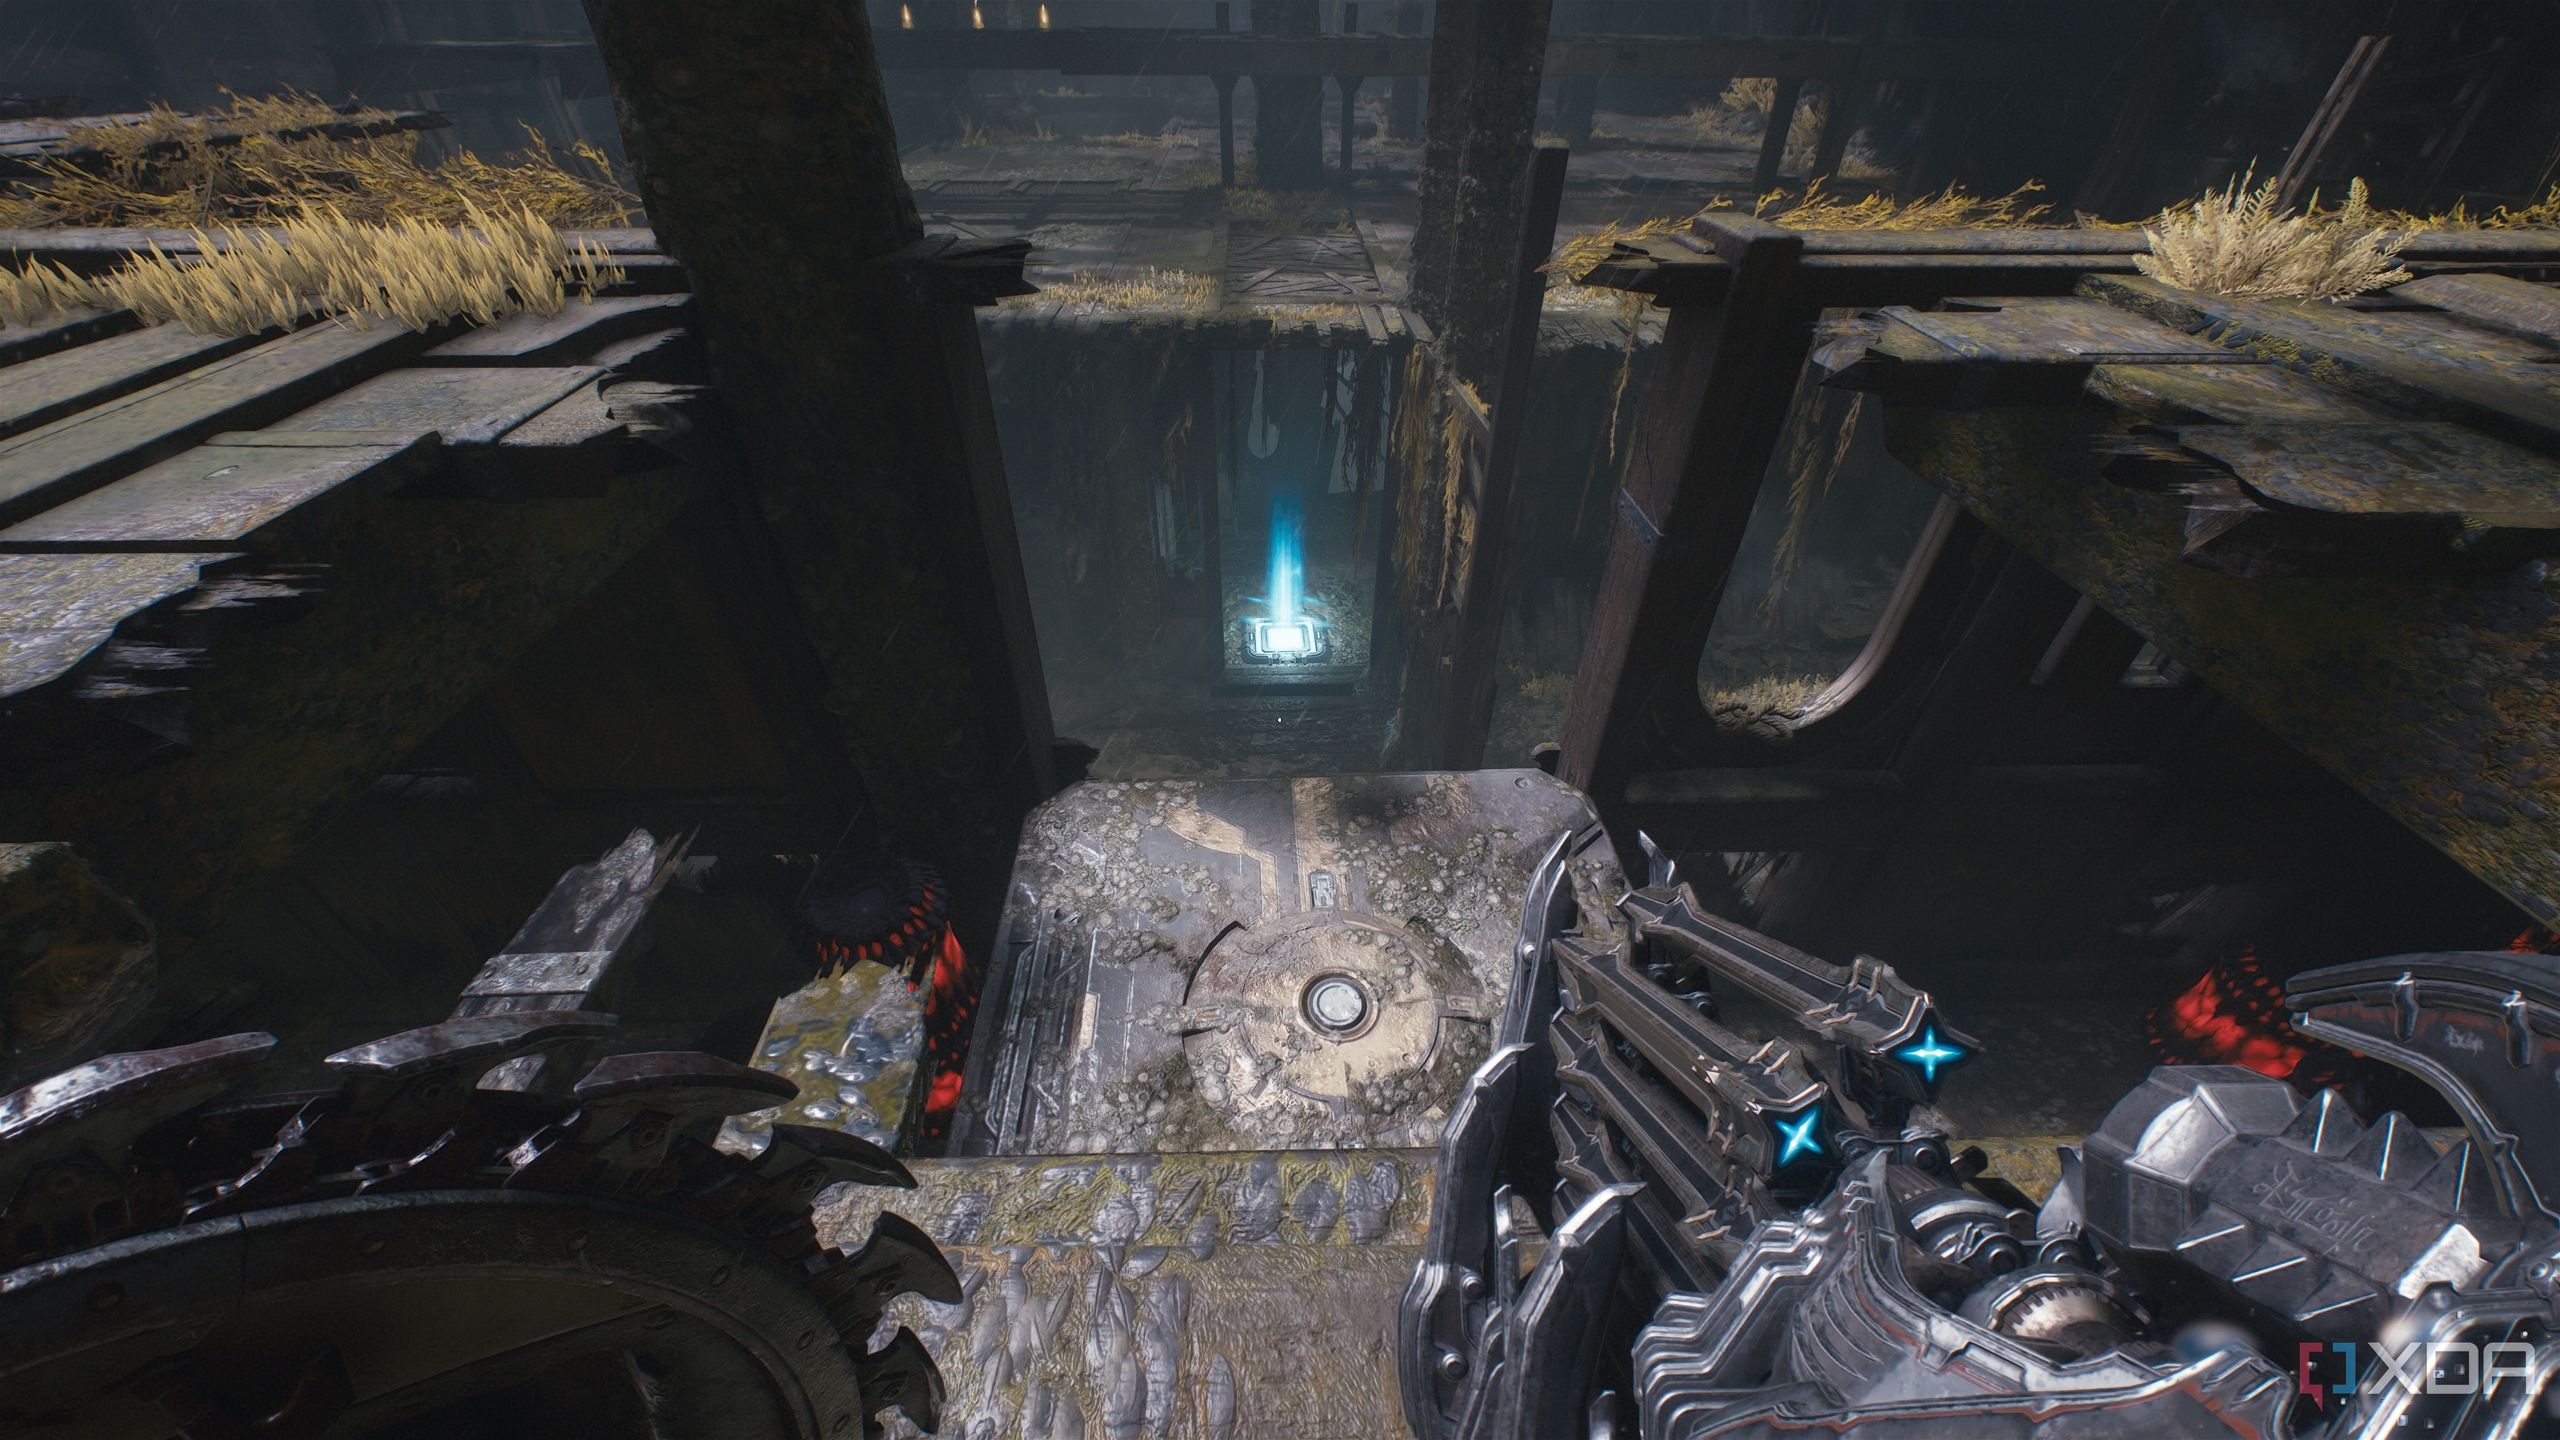
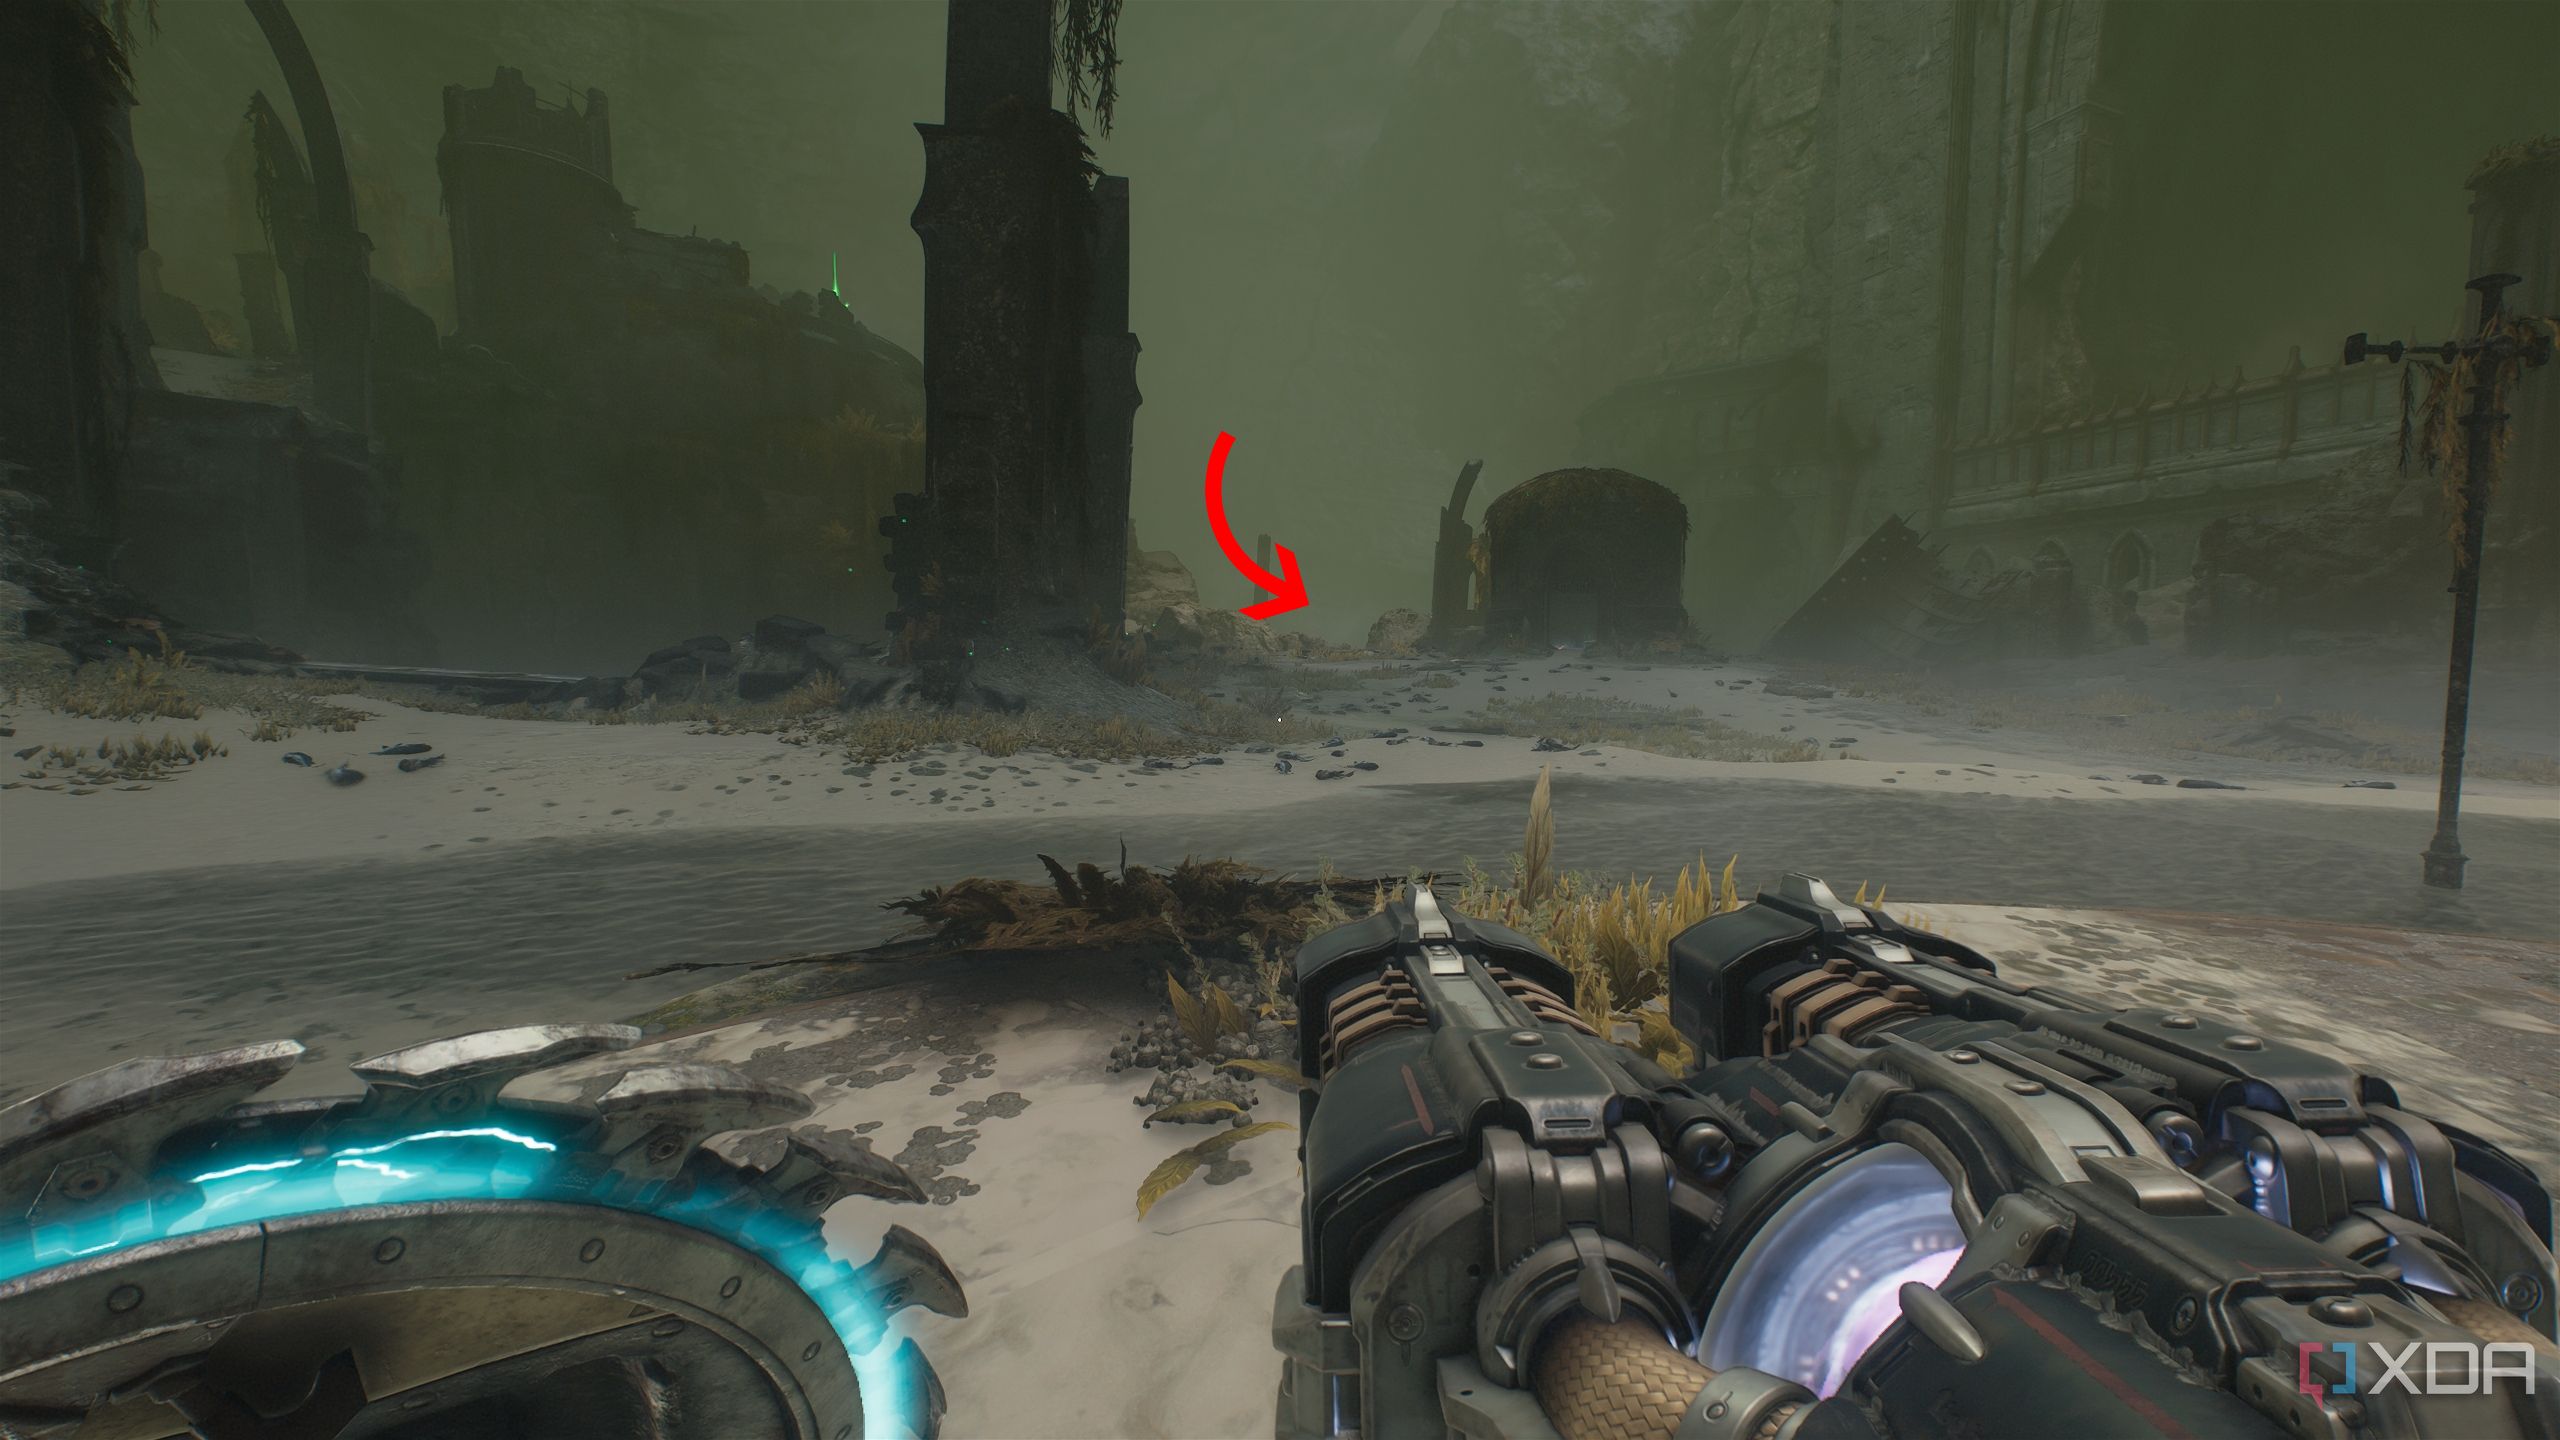
Once you reach the captured creature in the center of the huge chamber, follow the lights left towards the objective. You’ll fight an Arachnotron and a Whiplash here, and then climb up.
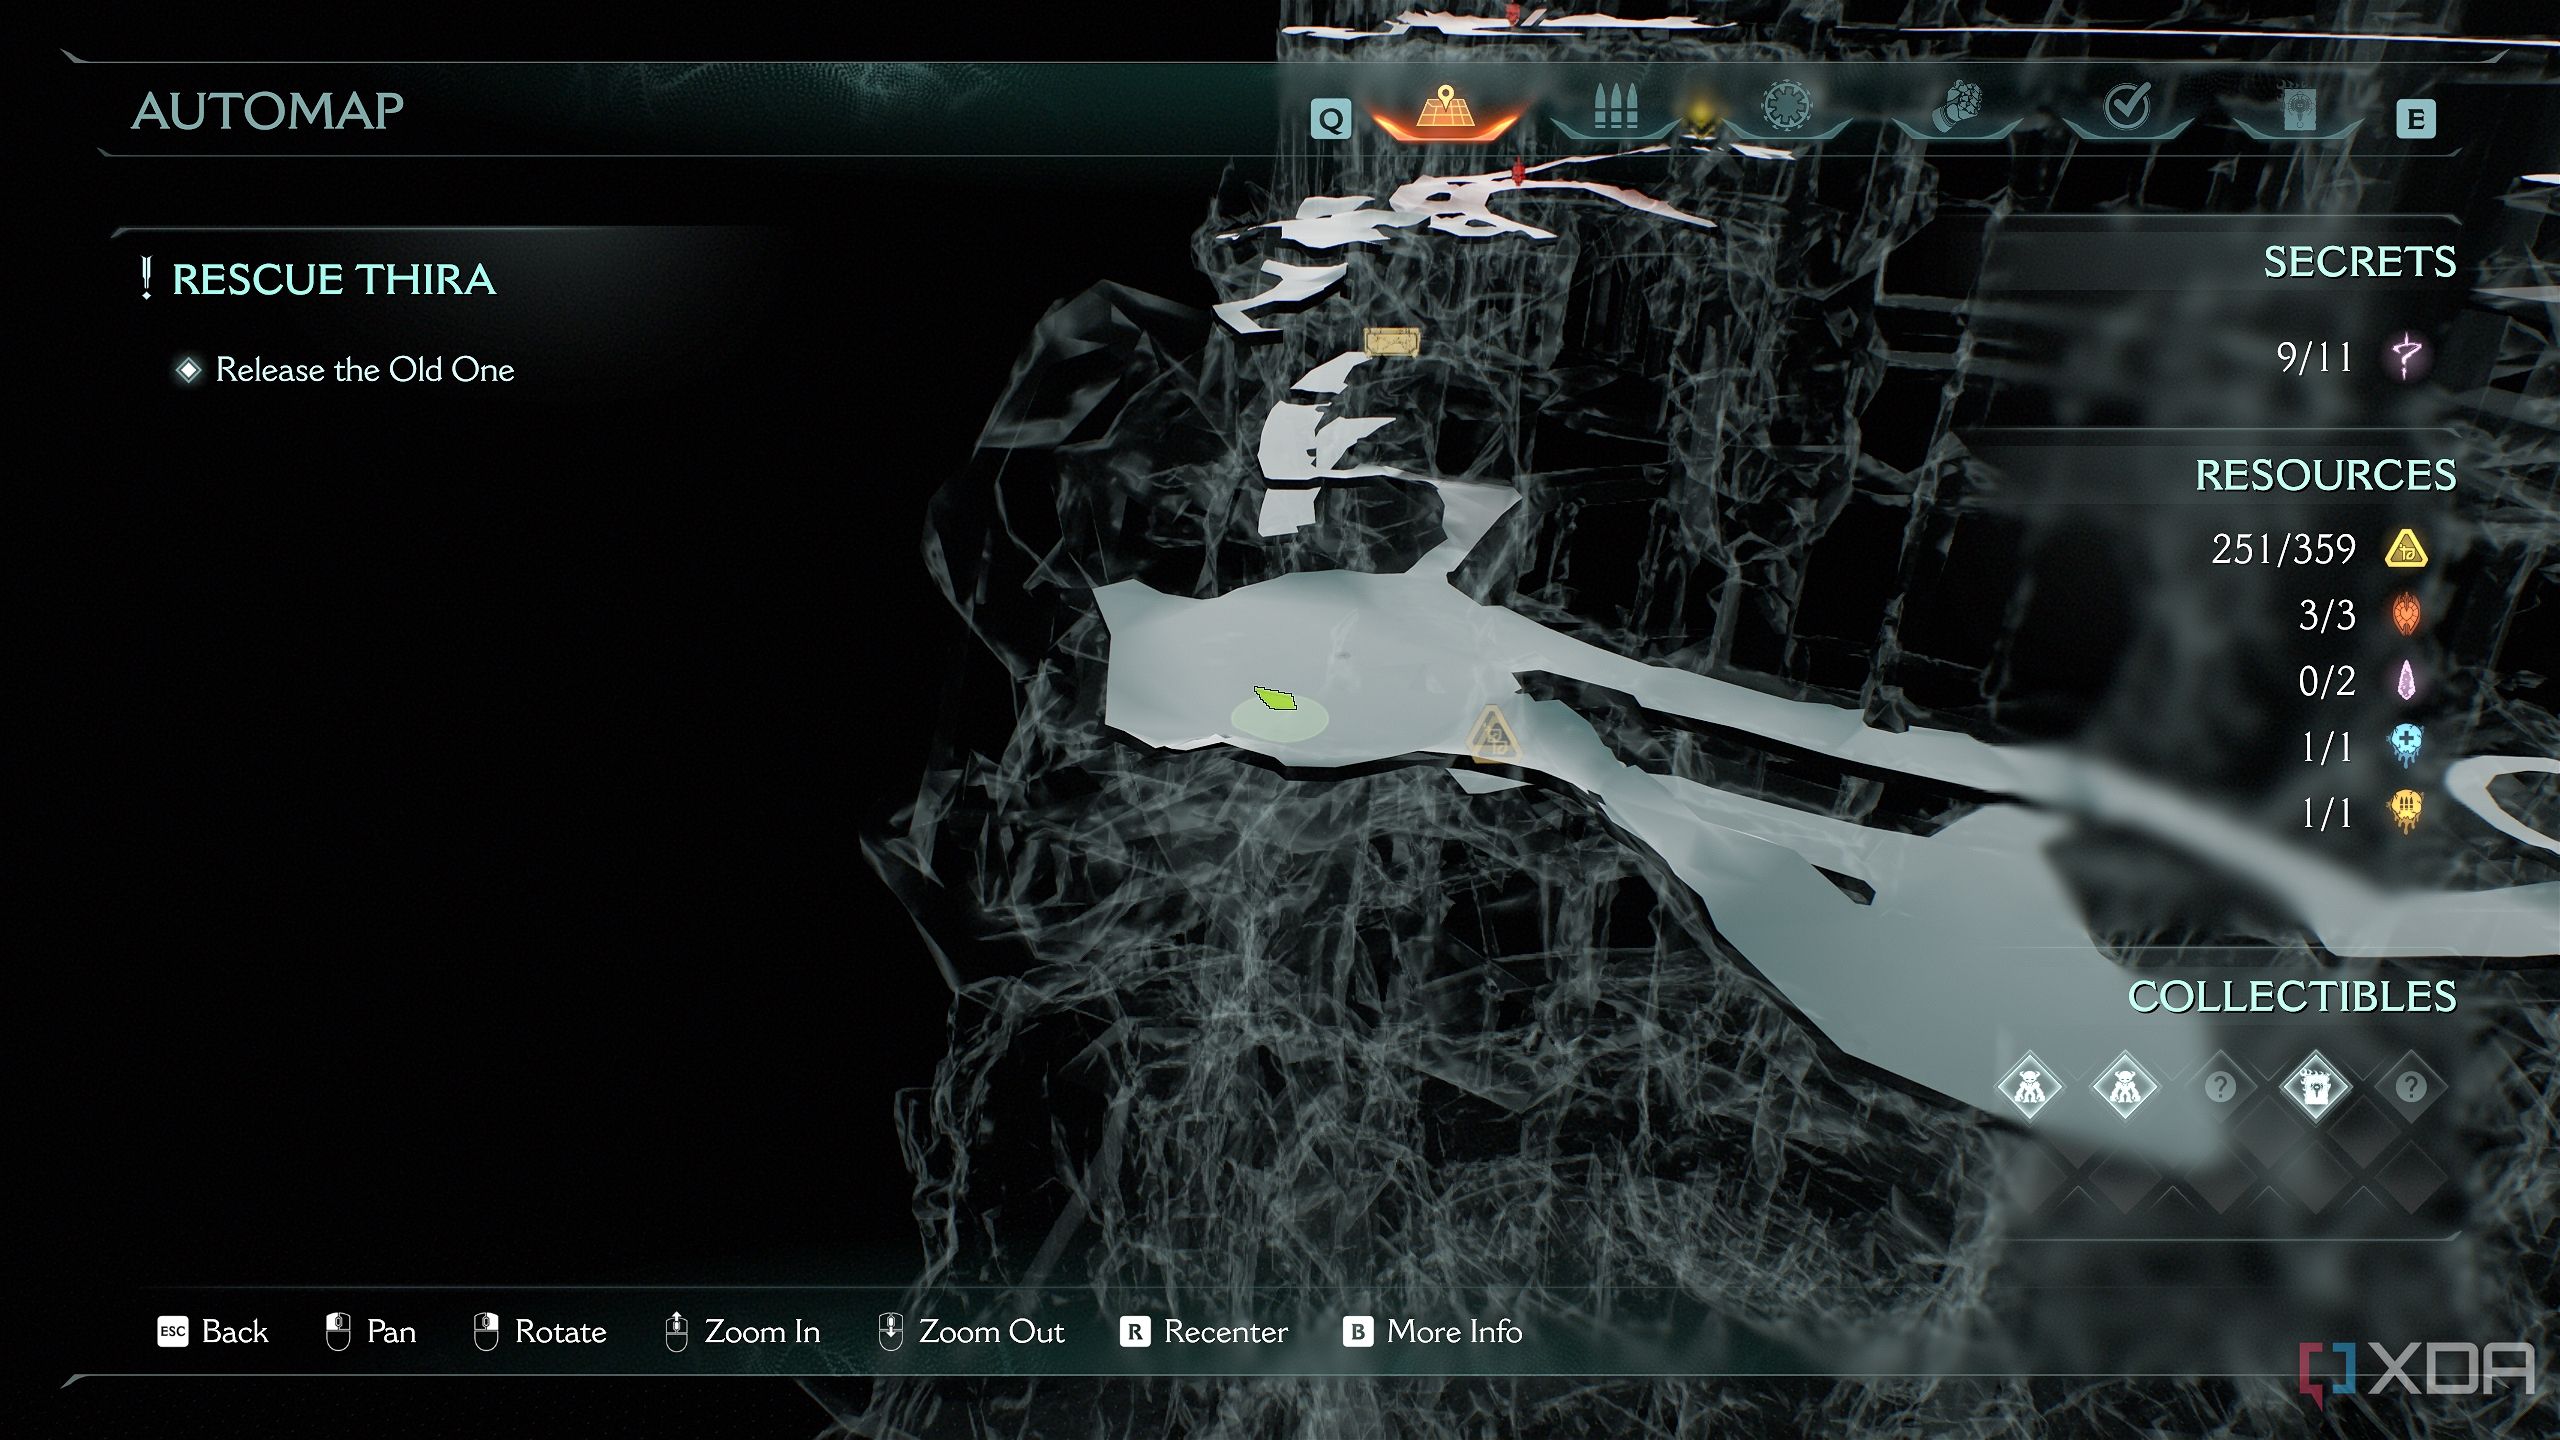
Once you reach this platform on the map shown above, head to the left edge of the cliff.
You’ll see a small area below you can drop to.
Jump down, and you’ll reach a small, fleshy tunnel, at the end of which are two gold stacks and ammo for the BFC.
Head back up to the same platform and look up — there’s a gold chest on a platform up above, hanging by a heated metal cross.
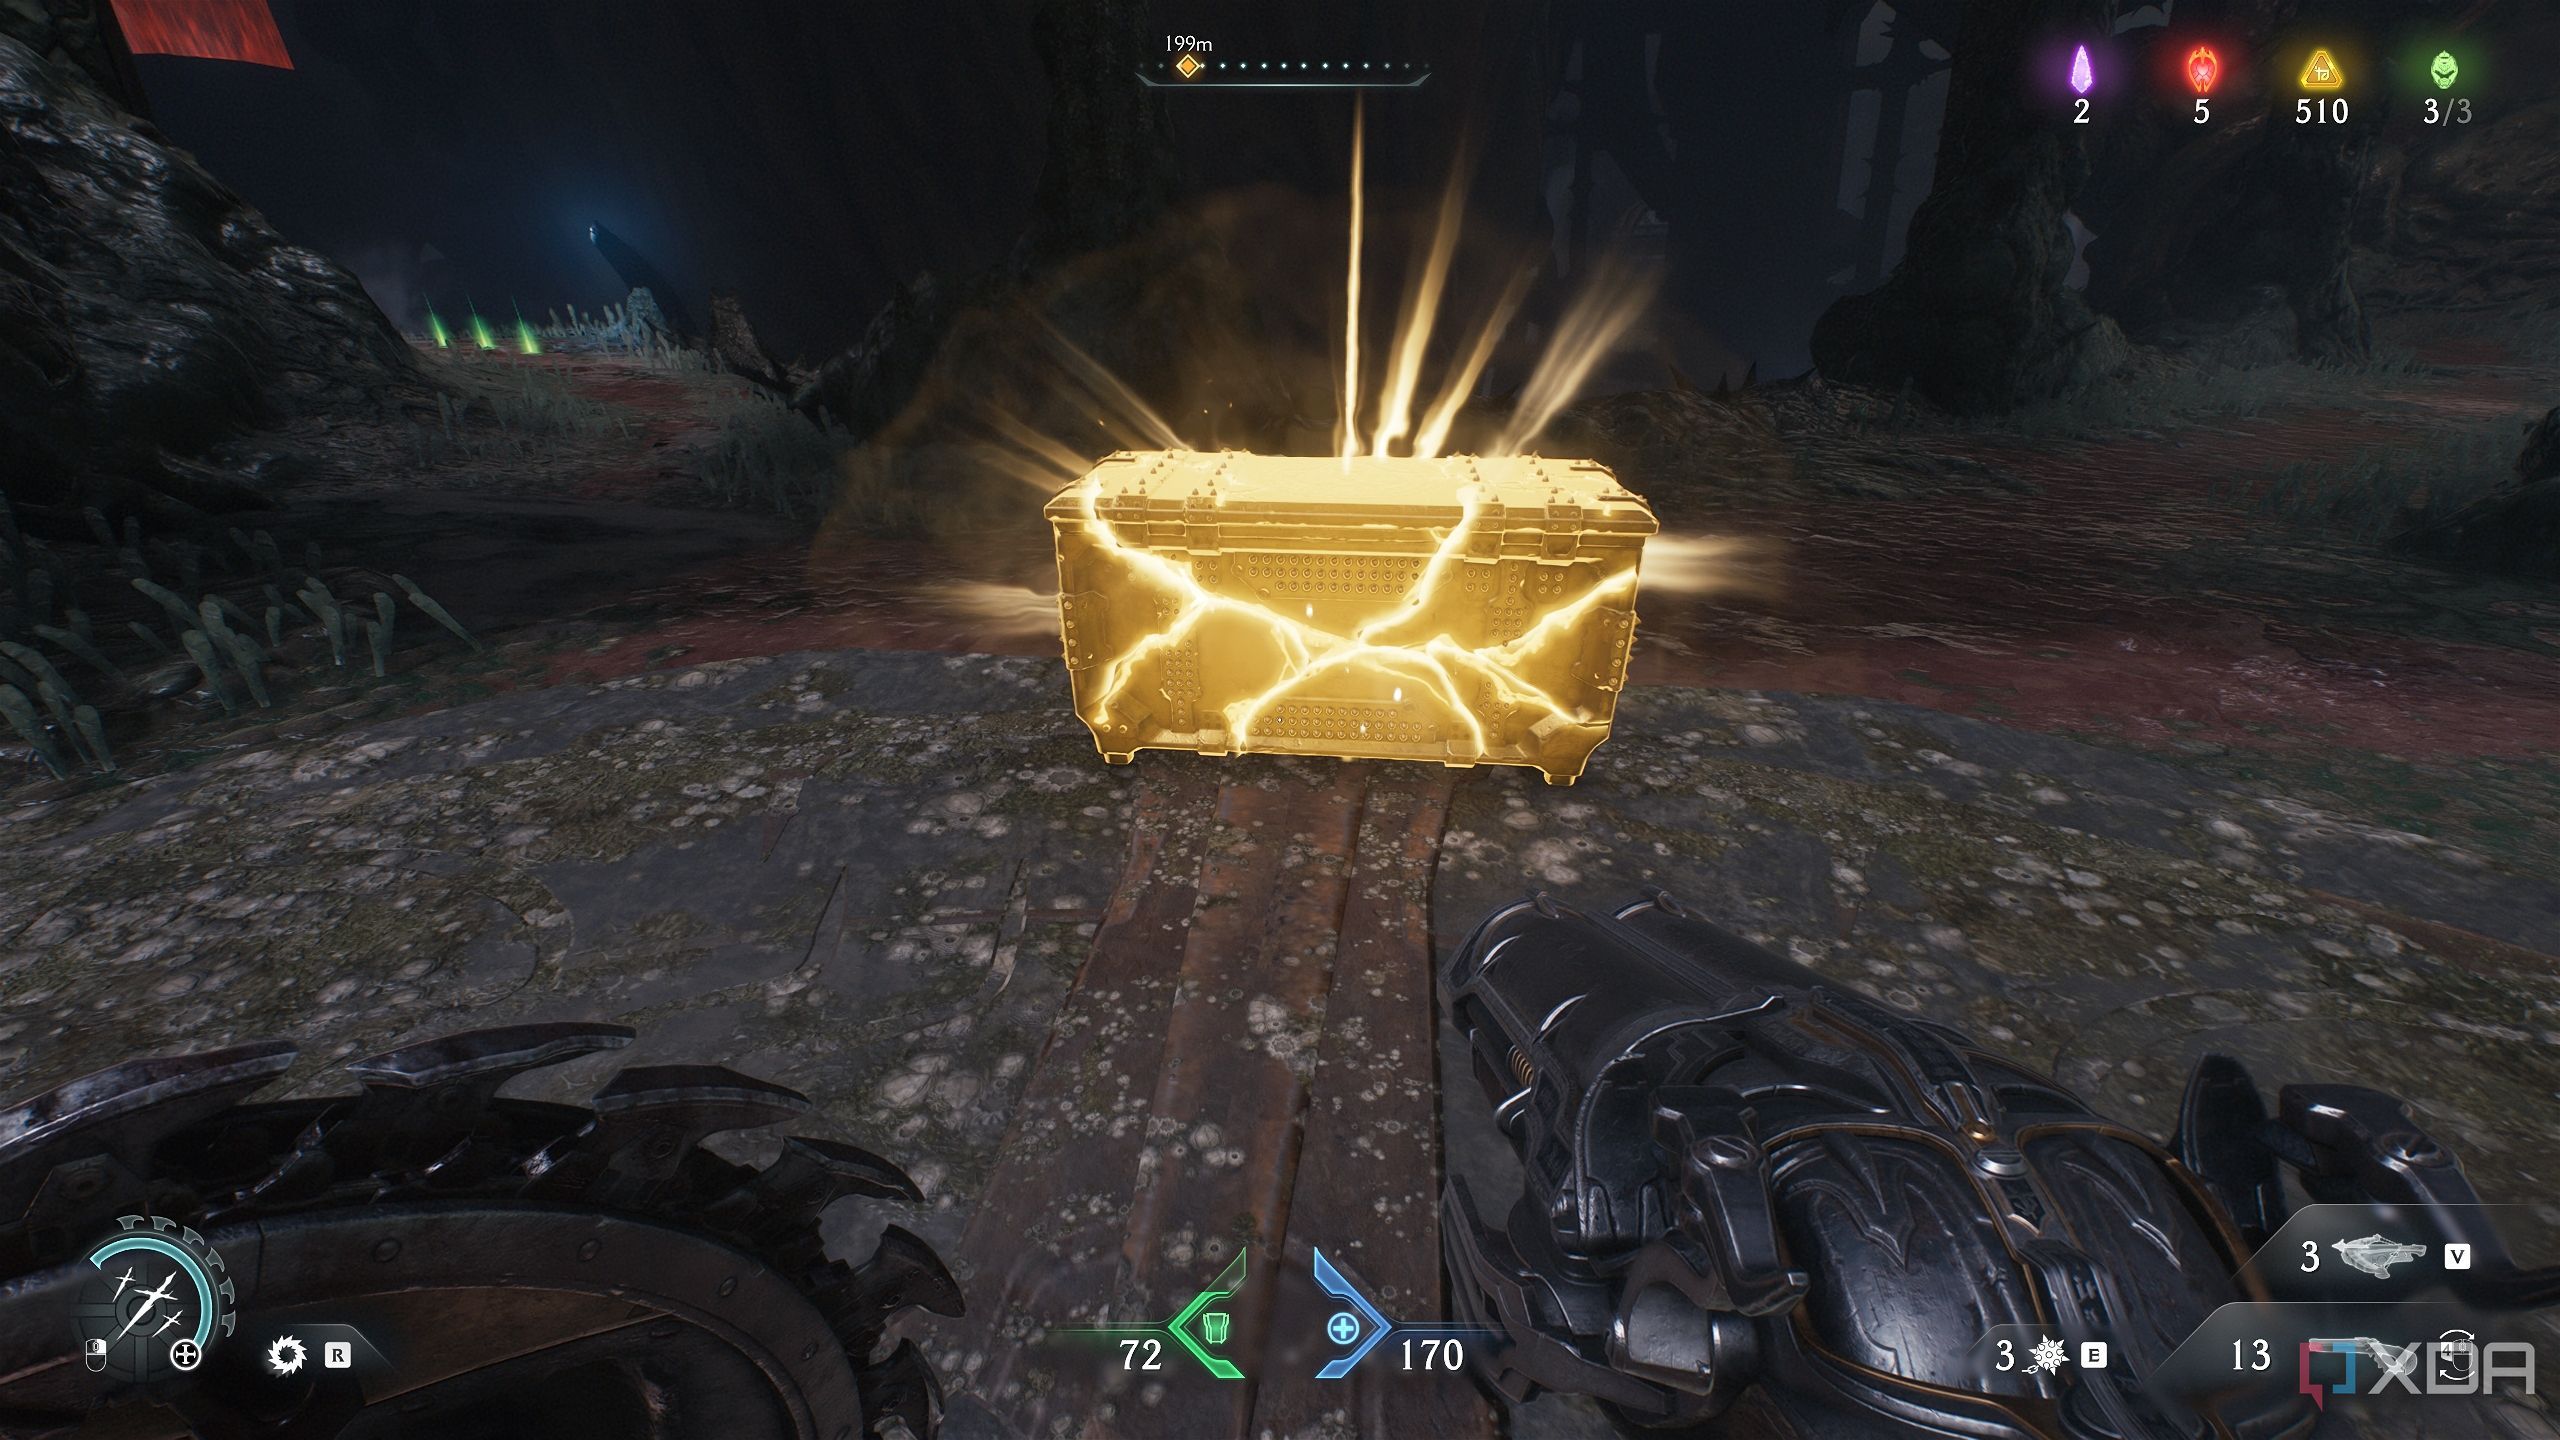
Hit it from the north-west corner of the platform you’re on, and it’ll come crashing down, giving you a gold chest.
Final gold stack and another Codex page
Easy to miss, hard to get back to
Keep following the main path up the winding staircase and mowing through the demons until you reach the first jump pad.
Jump into it to get up above, and you’ll see a health pack ahead, placed next to a huge open window.
Jump into the window, and you’ll reach an outer balcony with two gold stacks and some ammo for the BFC. Collect them and get back inside to resume killing demons. That's it — all that's left now is to go through the rest of the level.
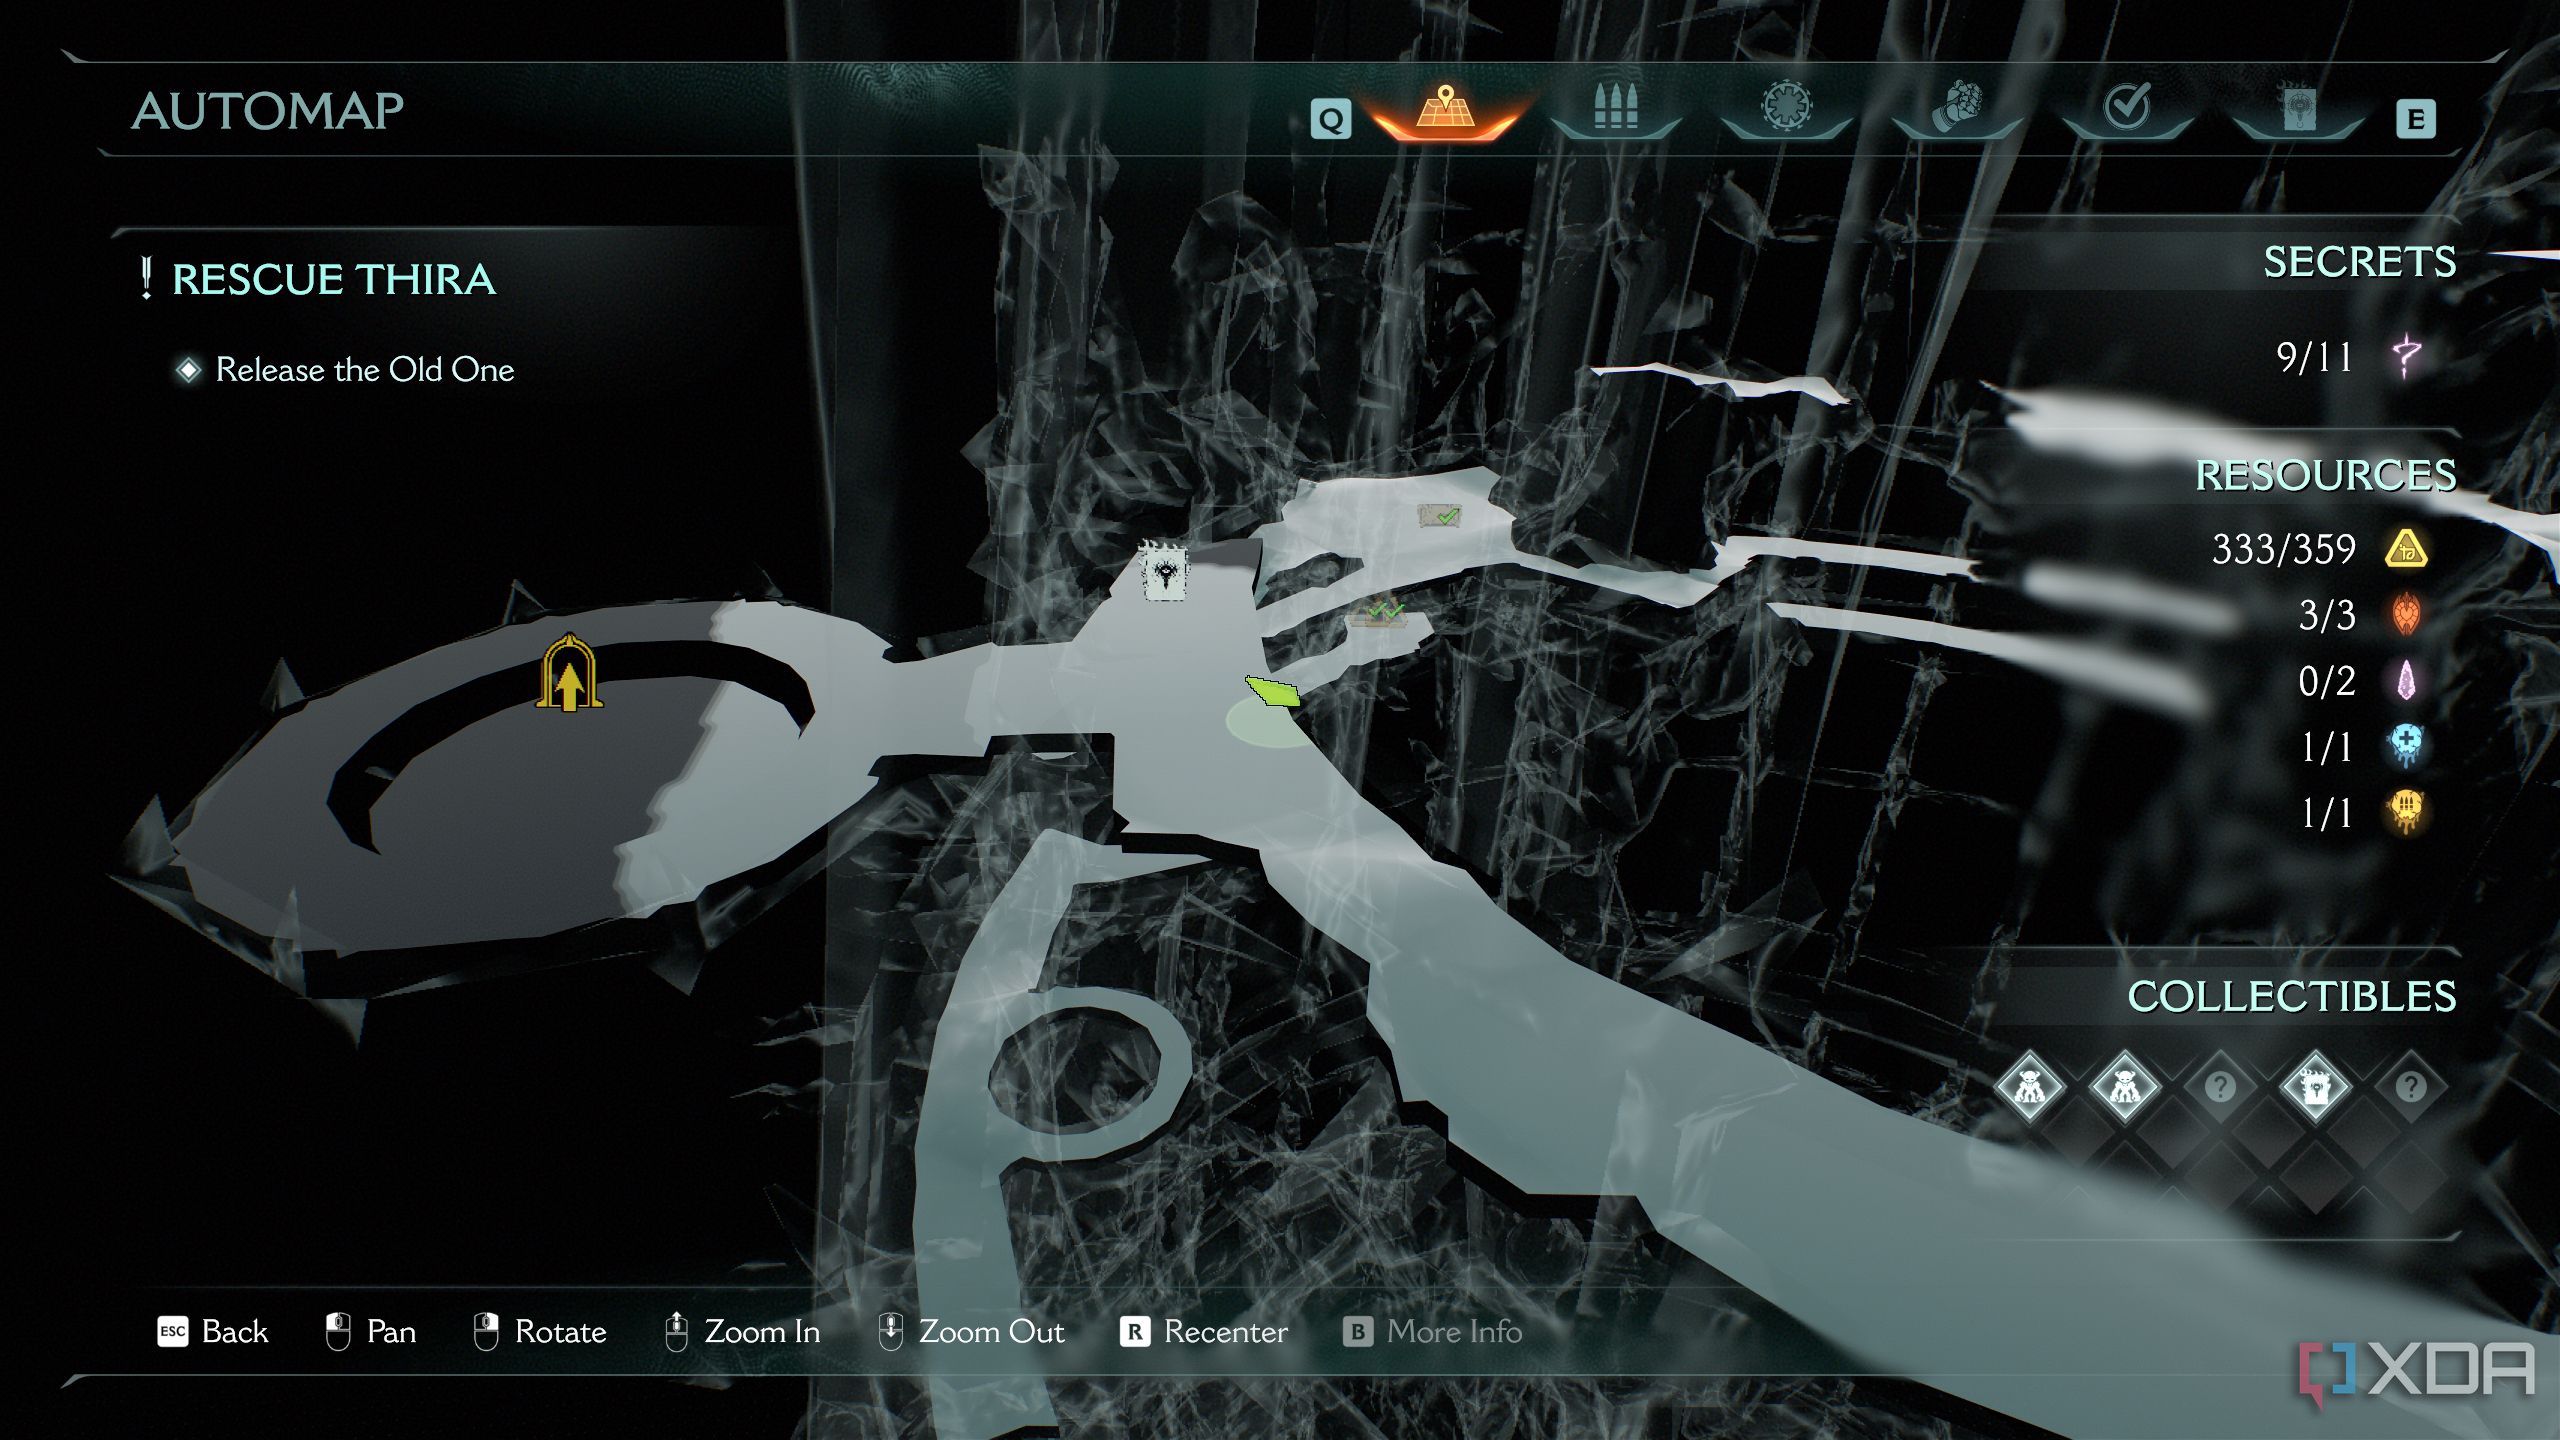
Towards the very end, before you step on the green elevator switch in the floor, take a pause.
Instead of heading left towards the green switch, make sure you look to the right, at the very end of the staircase you're on. You'll see another Codex Page for Serrat, your dragon mount. That's it — you're done. Enjoy releasing "the old one".
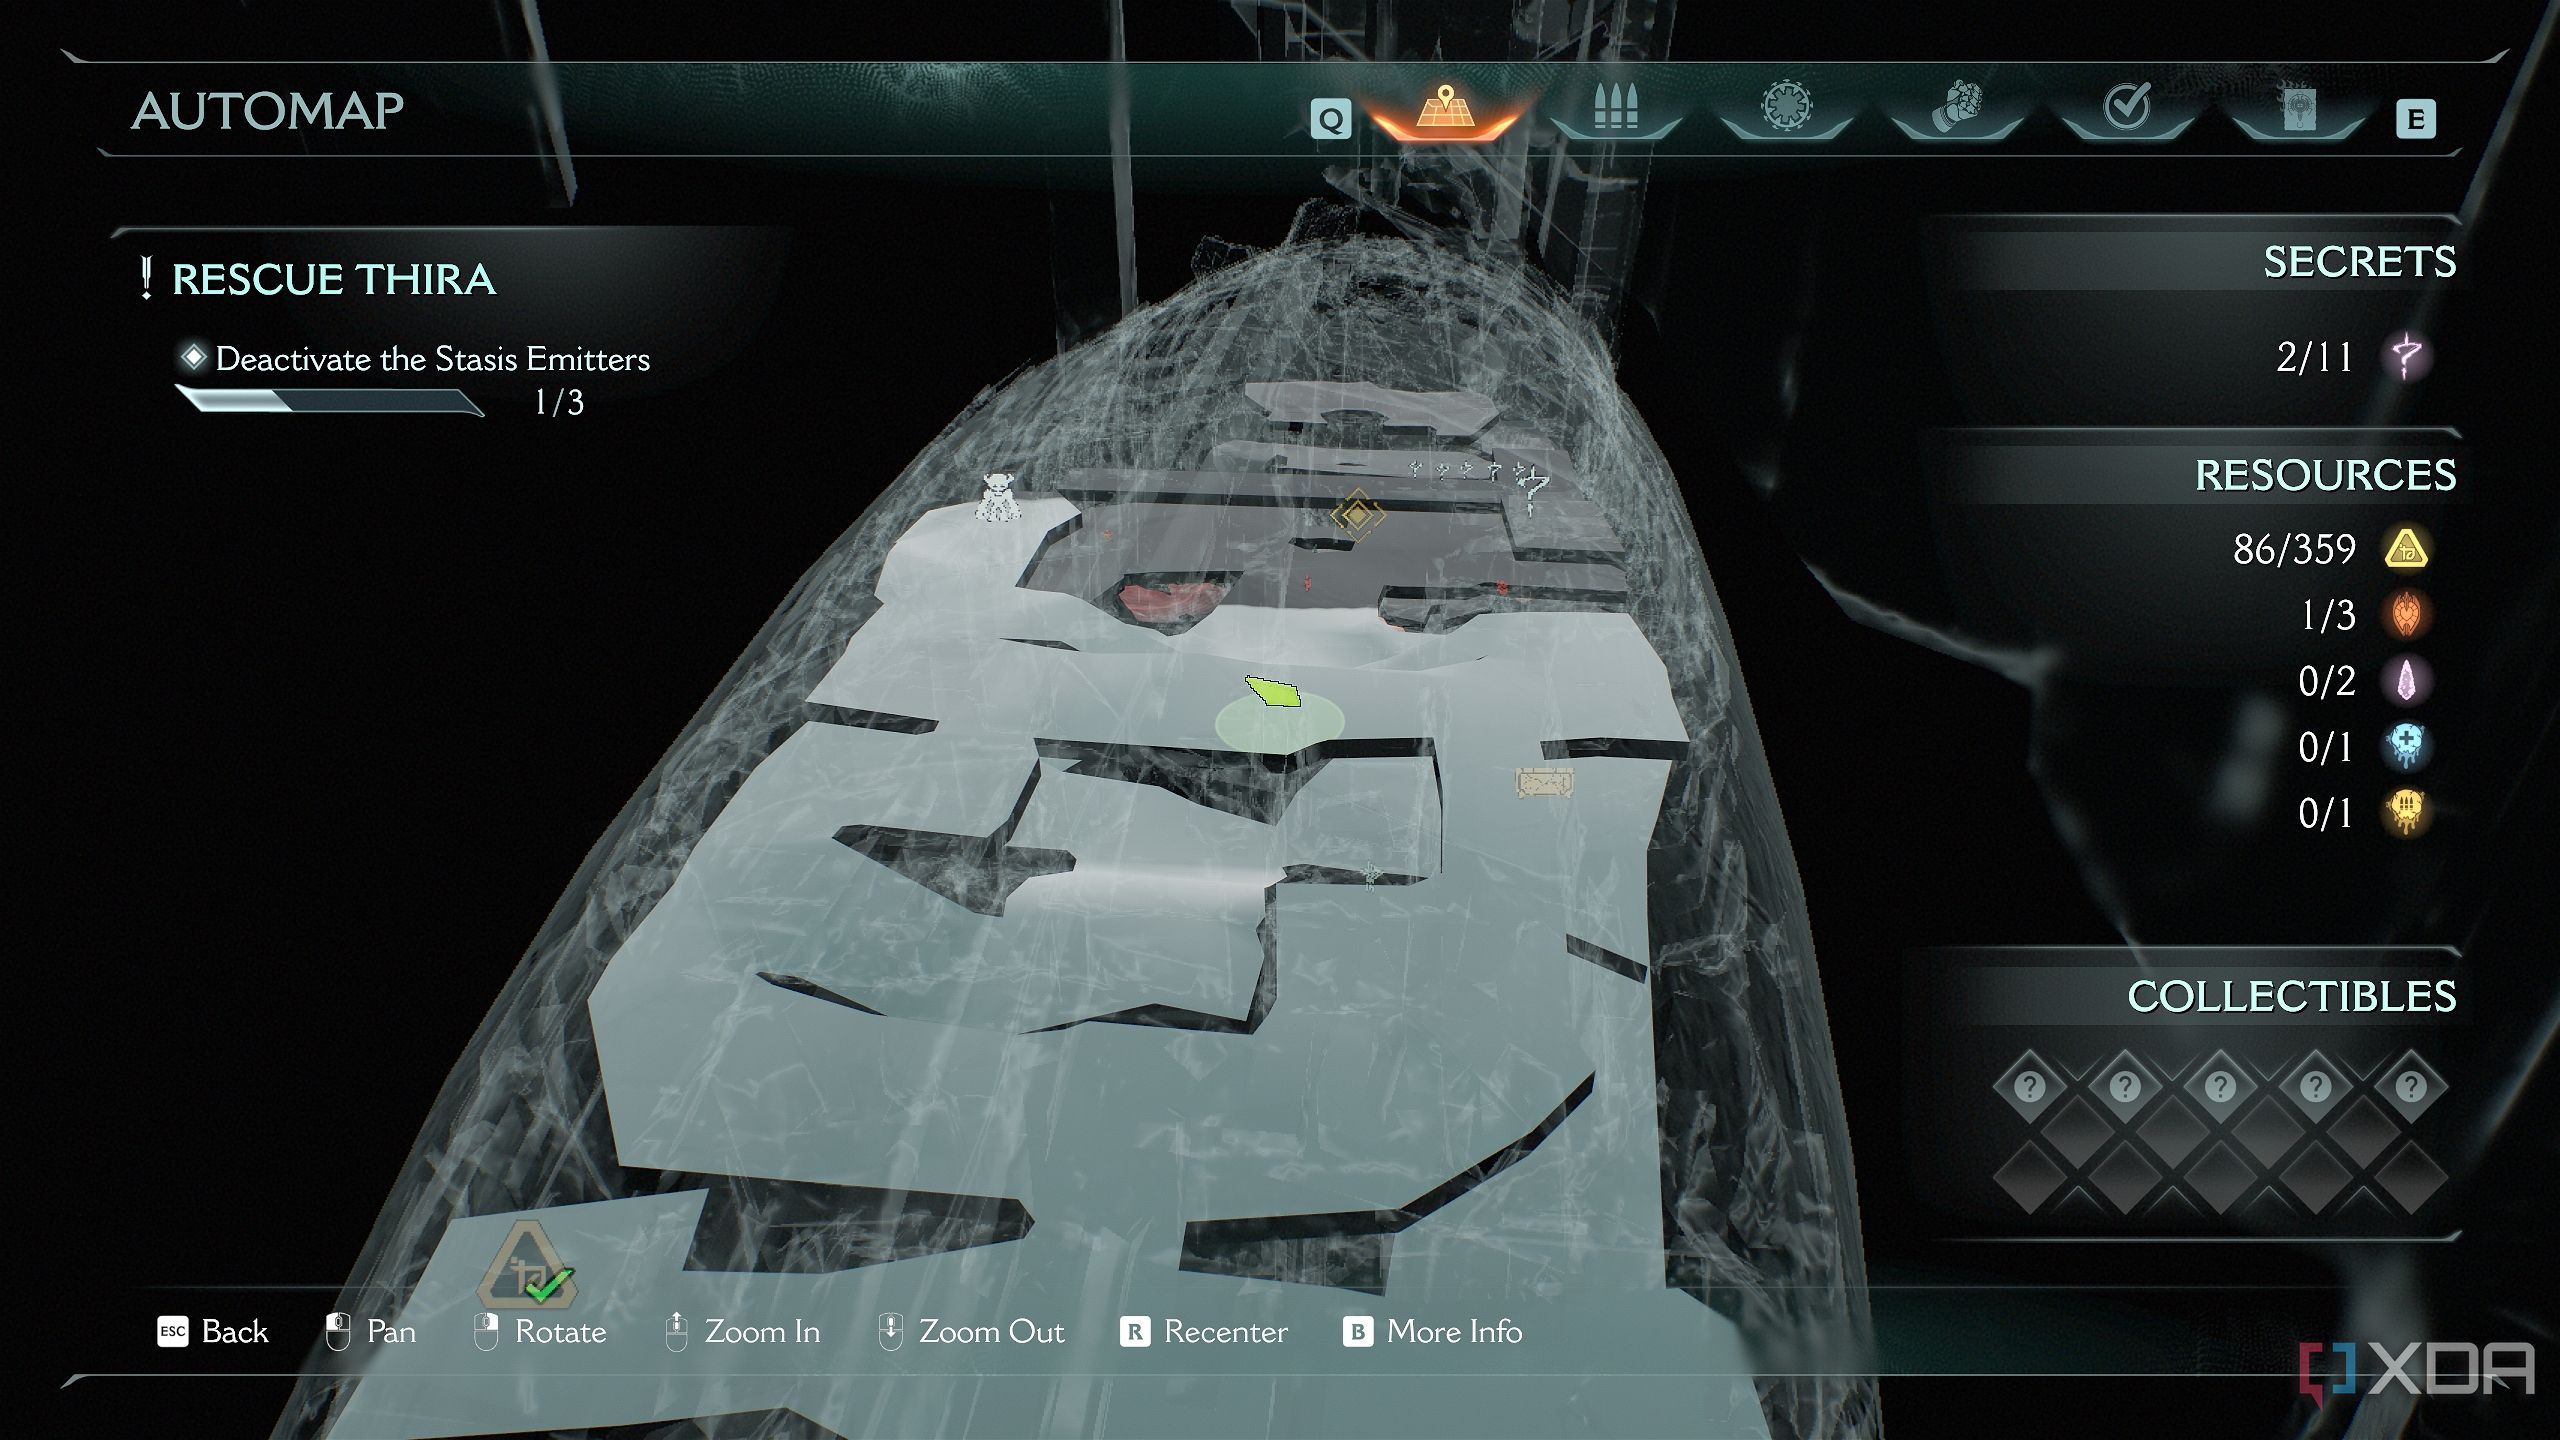
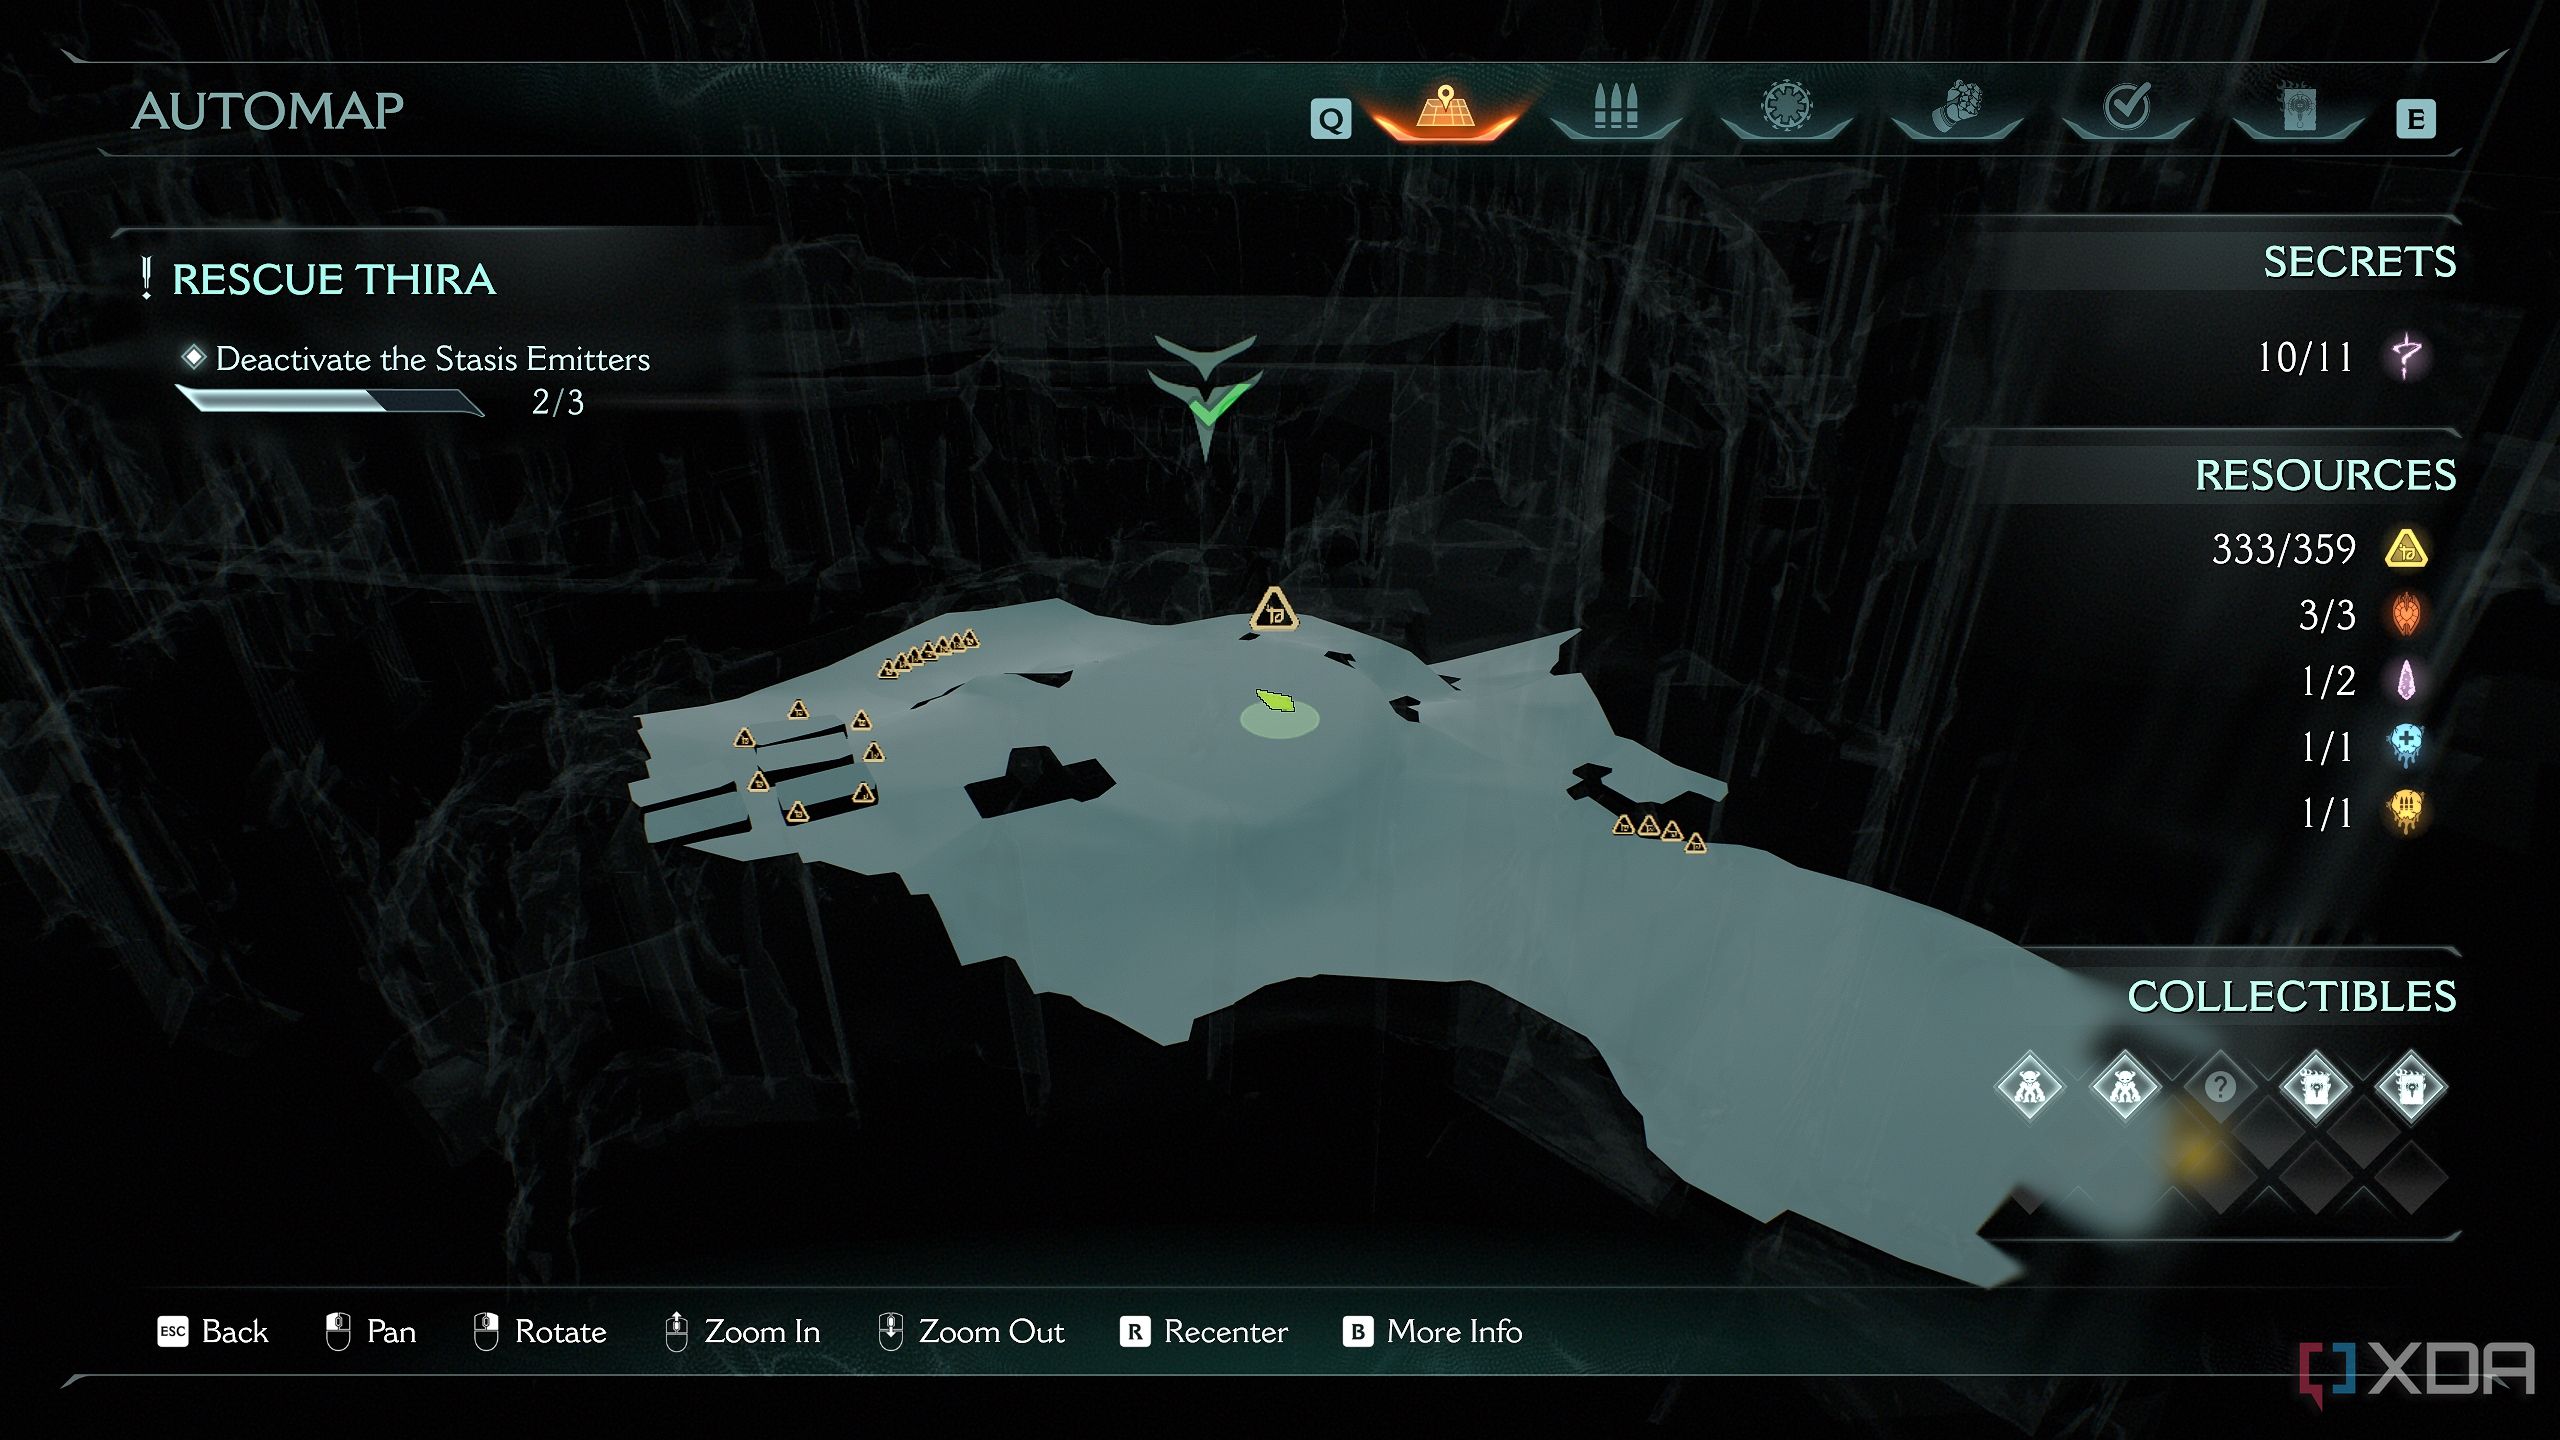
All collectibles in Chapter 14: Spire of Nerathul in Doom: The Dark Ages
Once that’s complete, Chapter 14 of Doom: The Dark Ages will be complete, and you’ll finally have the 100% completion achievement for this level.
|
Achievements in Chapter 14: Spire of Nerathul |
|
|
Gold |
359 |
|
Rubies |
3 |
|
Wraithstone |
2 |
|
Demonic Essence |
2 |
|
Secret Areas |
11 |
|
Codex Pages |
2 |
|
Collectible Toys |
2 |
|
Skins |
1 |
DOOM: The Dark Ages
Released May 15, 2025
ESRB m
Developer(s) id Software
Publisher(s) Bethesda Softworks
Engine id Tech
Multiplayer Online Multiplayer
Franchise DOOM


 English (US) ·