.png)
Chapter 15: City of Ry’uul in Doom: The Dark Ages takes the Slayer further into the Lovecraftian realm, as he enters the portal on the back of the ancient god he just woke up. This twist of art form halfway through the game is very welcome, and you can read in our review of the game how impressed it left us.
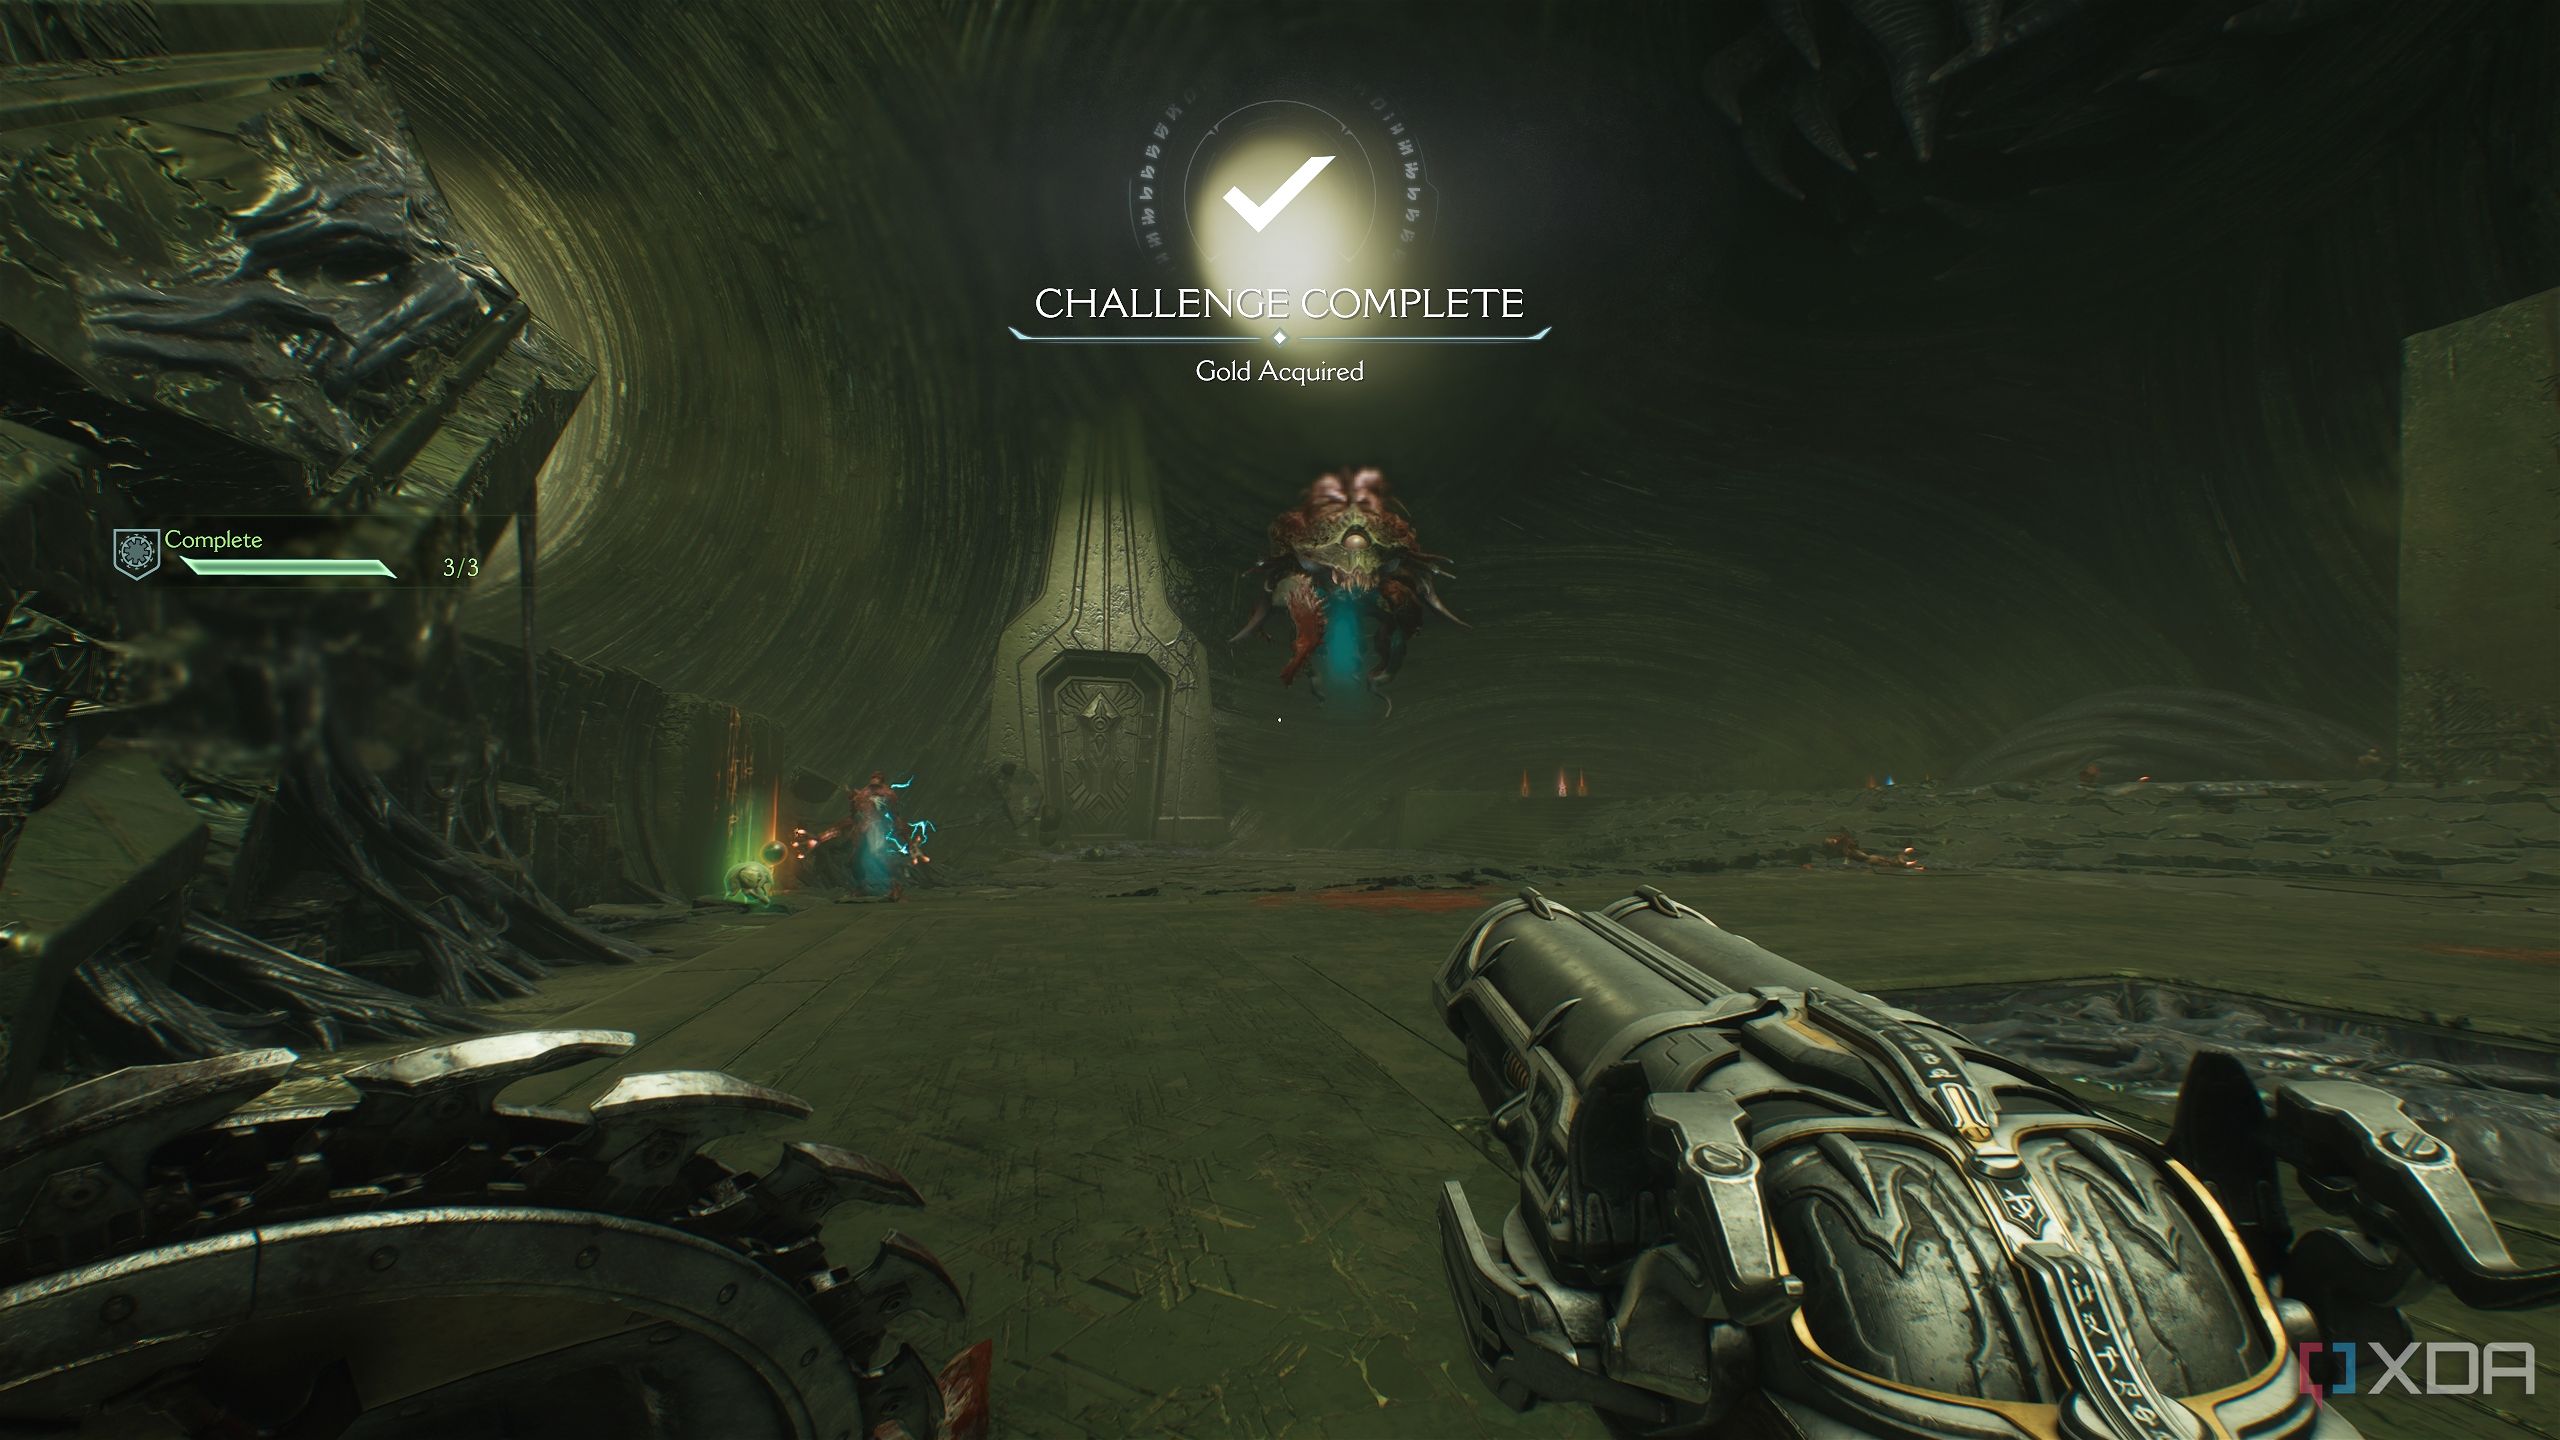
In order to get 100% completion of each level, make sure you complete the mission challenges for this level.
Chapter 15’s mission challenges are-
- Parrying Cacodemons thrice
- Stunning 8+ demons with a Heaven Splitter storm thrice
- Attacking 25 demons with the Dreadmace
Related
DOOM: The Dark Ages Chapter 14: Spire of Nerathul — 100% completion guide
Chapter 14 in Doom: The Dark Ages takes a Lovecraftian turn, as the Slayer explores a drowned ancient city to wake up an old god.
Chapter 15 of Doom: The Dark Ages goes full Lovecraft
The Slayer has seen many realms, but none so cosmic
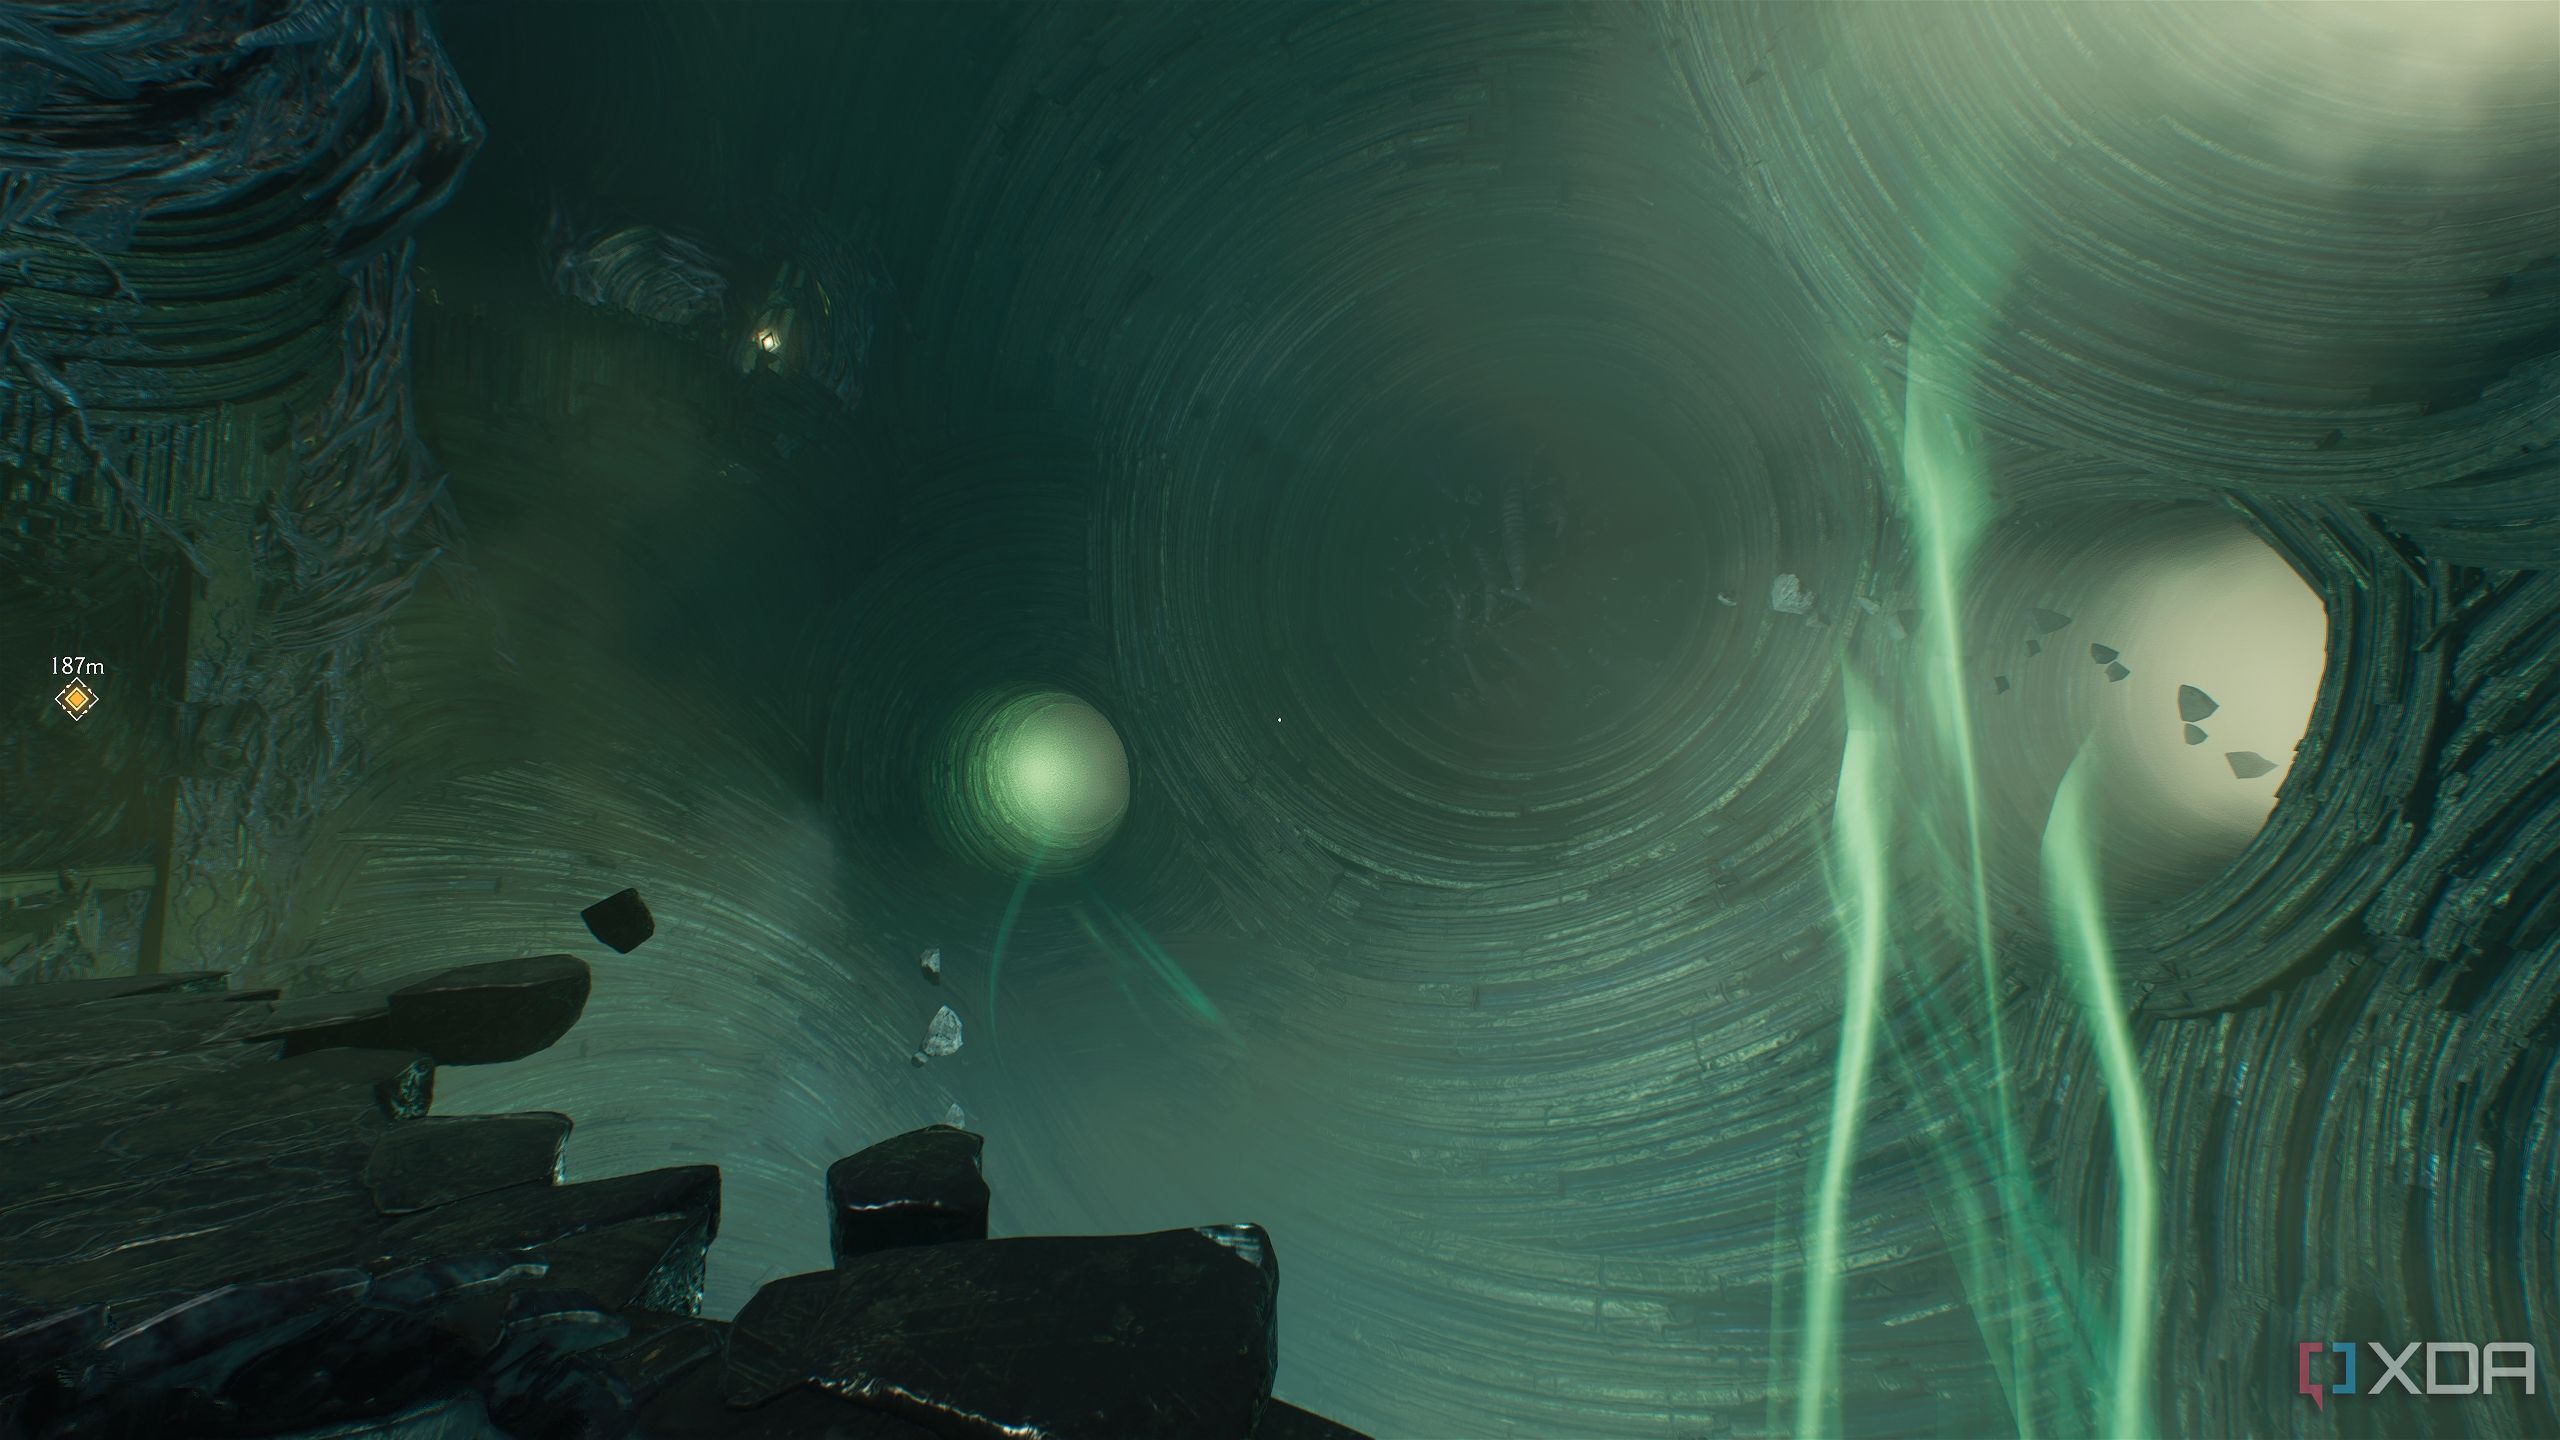
In chapter 15, the Slayer rides an ancient god into an unknown, cosmic realm in his search for Commander Thira and the Bishop Kreed Maykr. Following the objectives in the chapter along with the instructions provided below, it won't be long before you can claim that sweet 100% completion tag for the level.
Path tracing hasn’t arrived in the game yet, but regardless, the Lovecraftian horrors are a spectacle to behold, thanks to the id Tech engine 8.
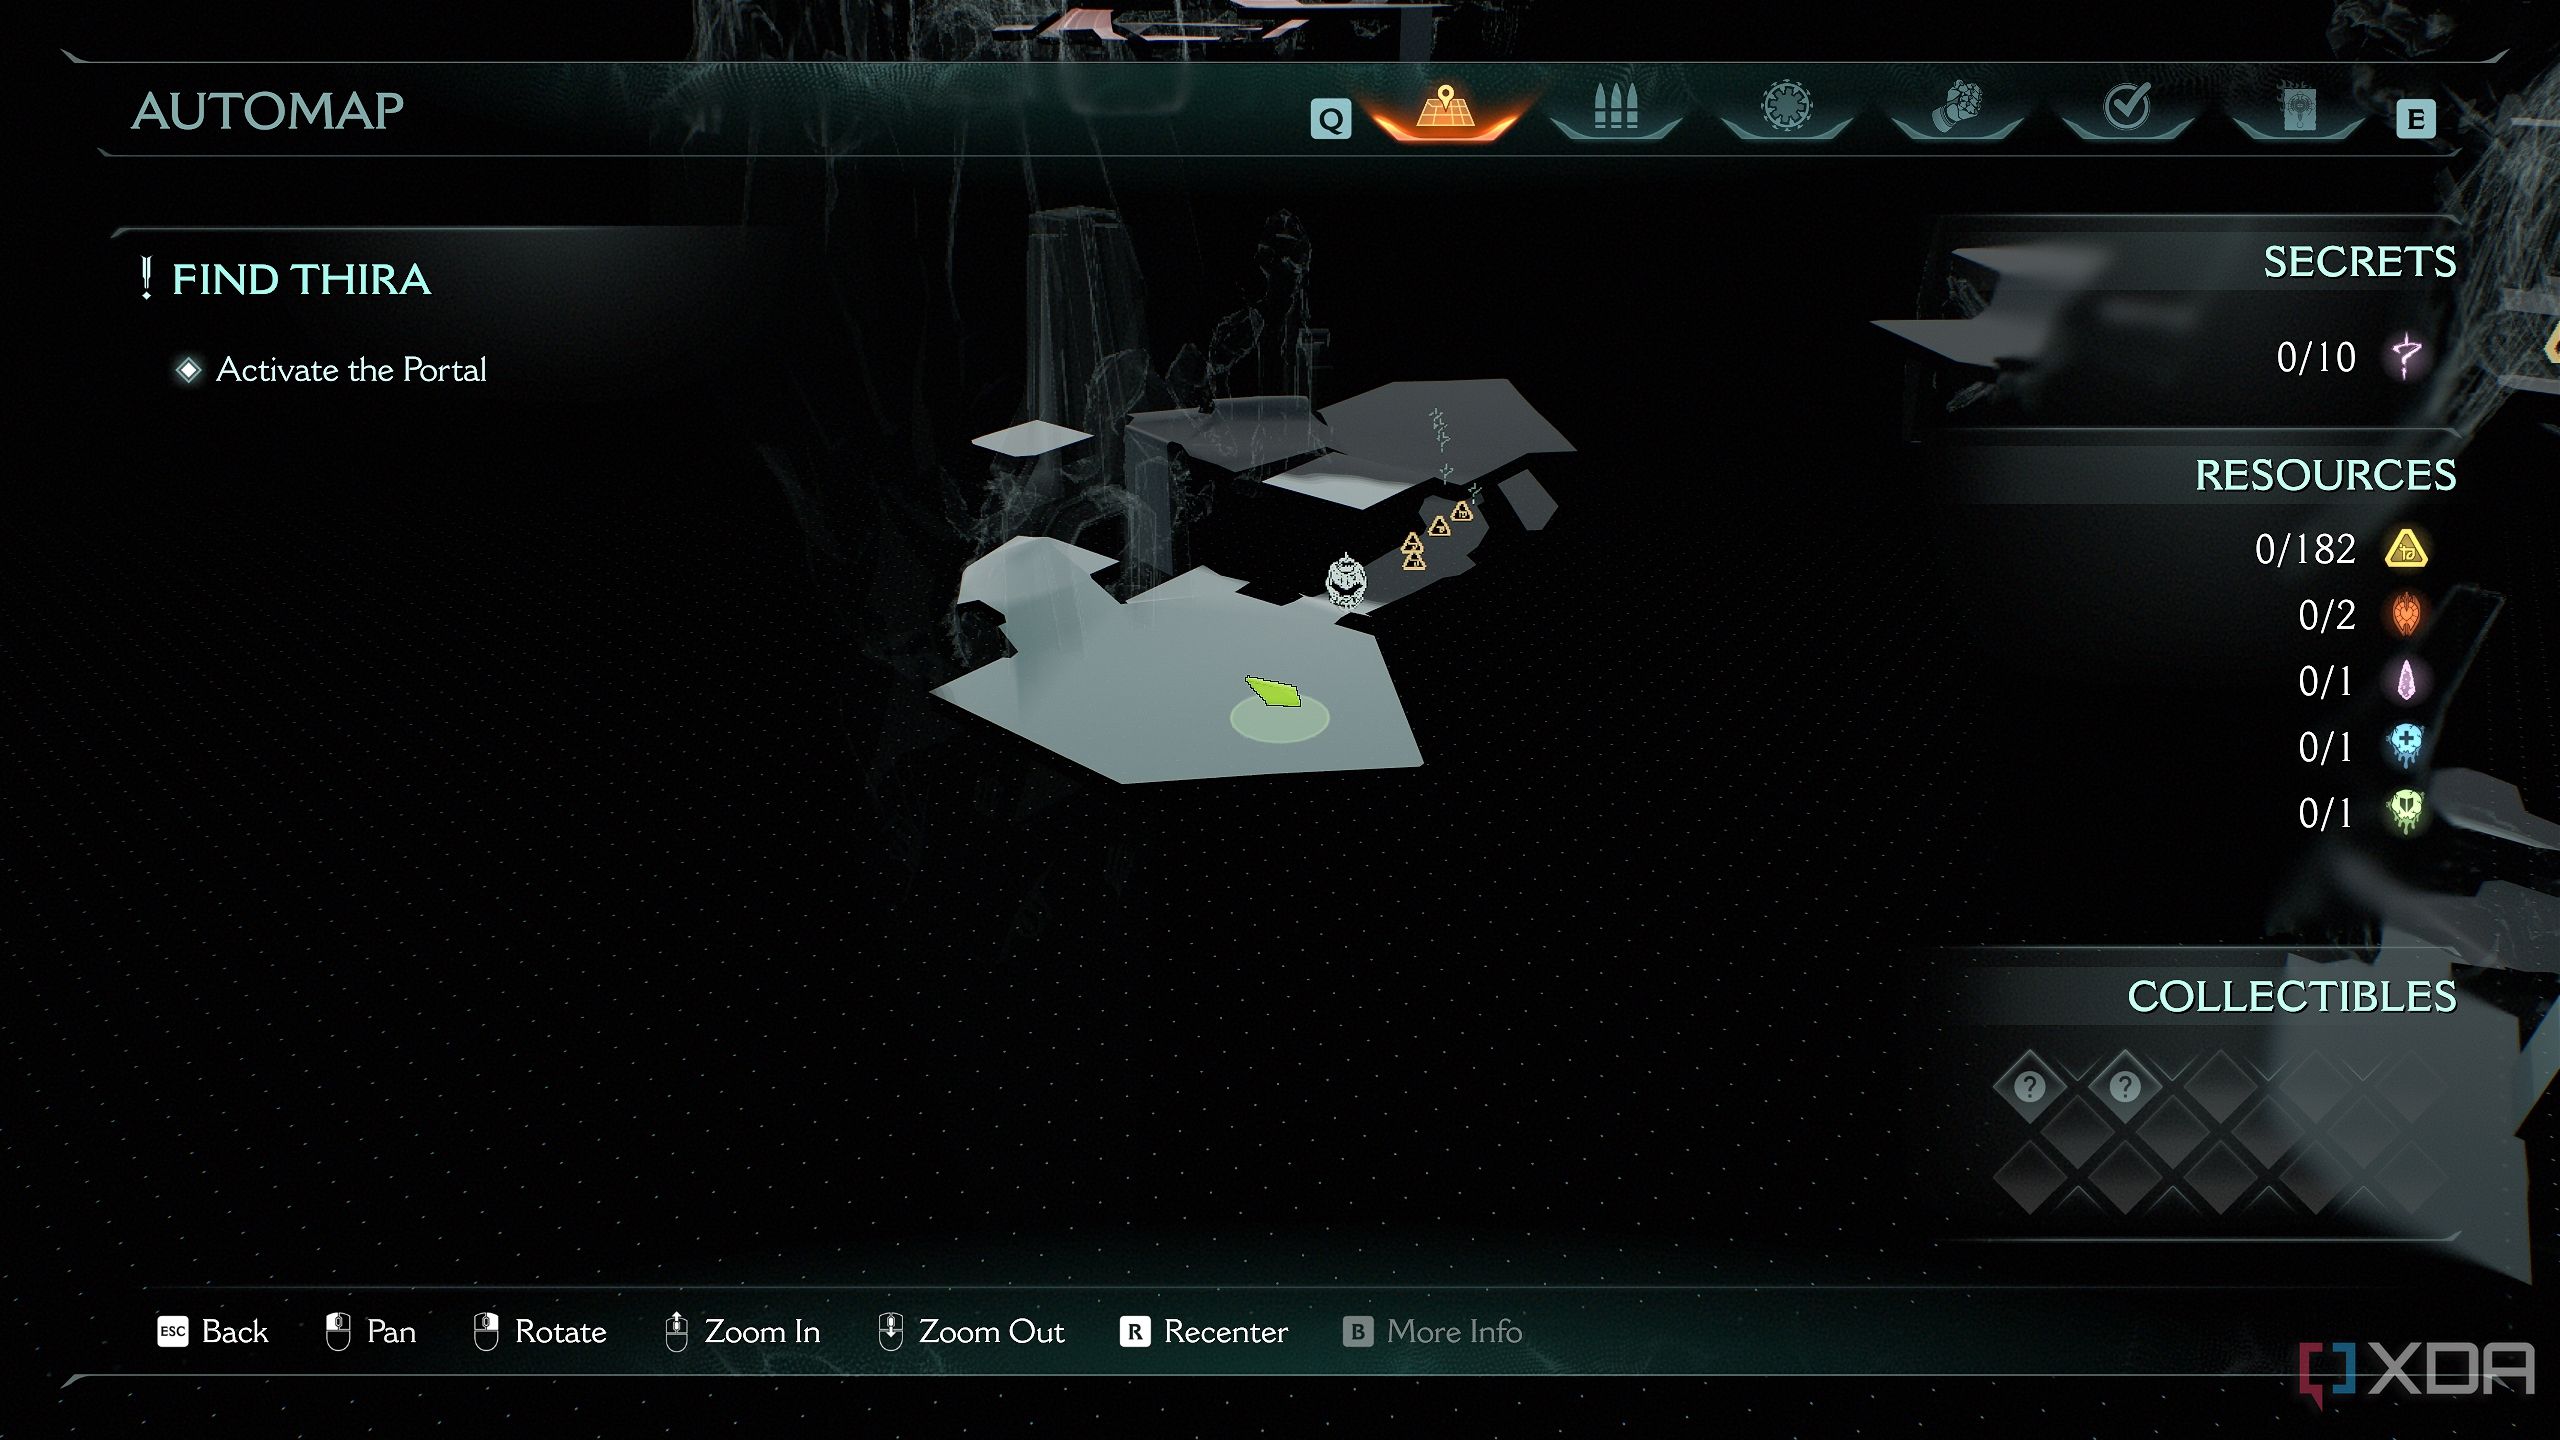
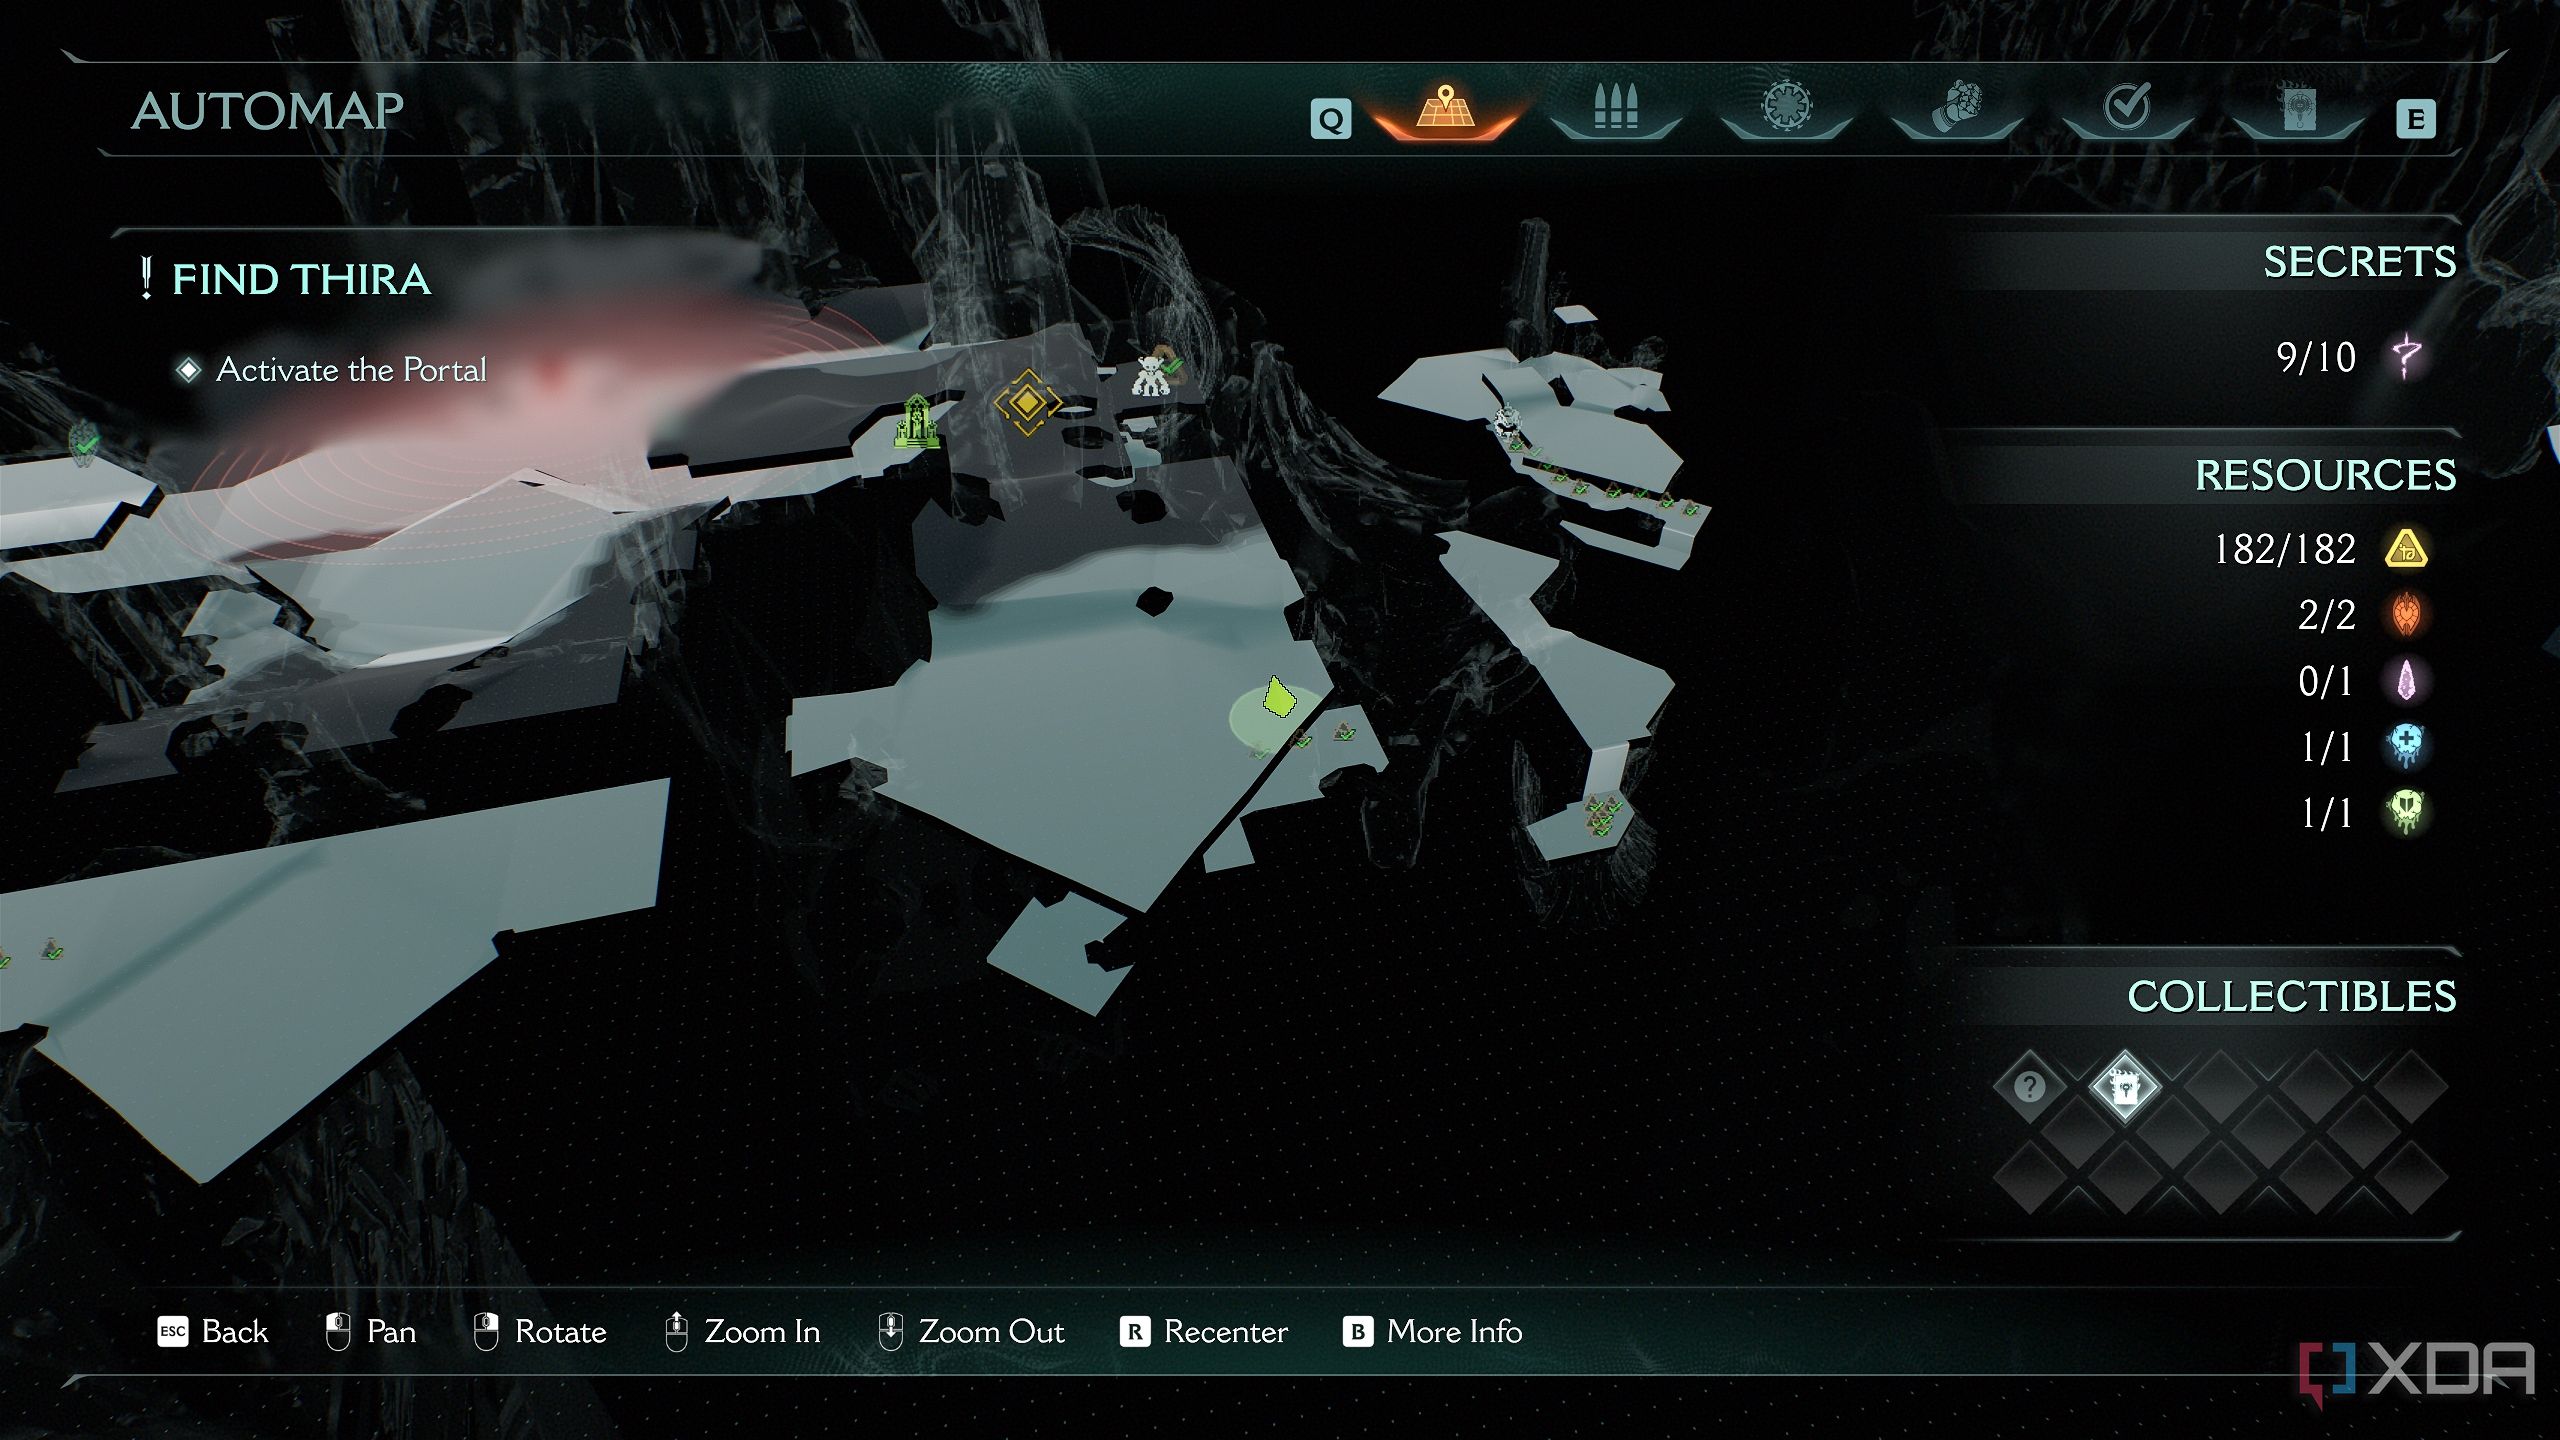
This guide covers each collectible required for 100% level completion in chronological order. It is recommended to follow this guide in the order stated.
Secret area 1 and gold stacks
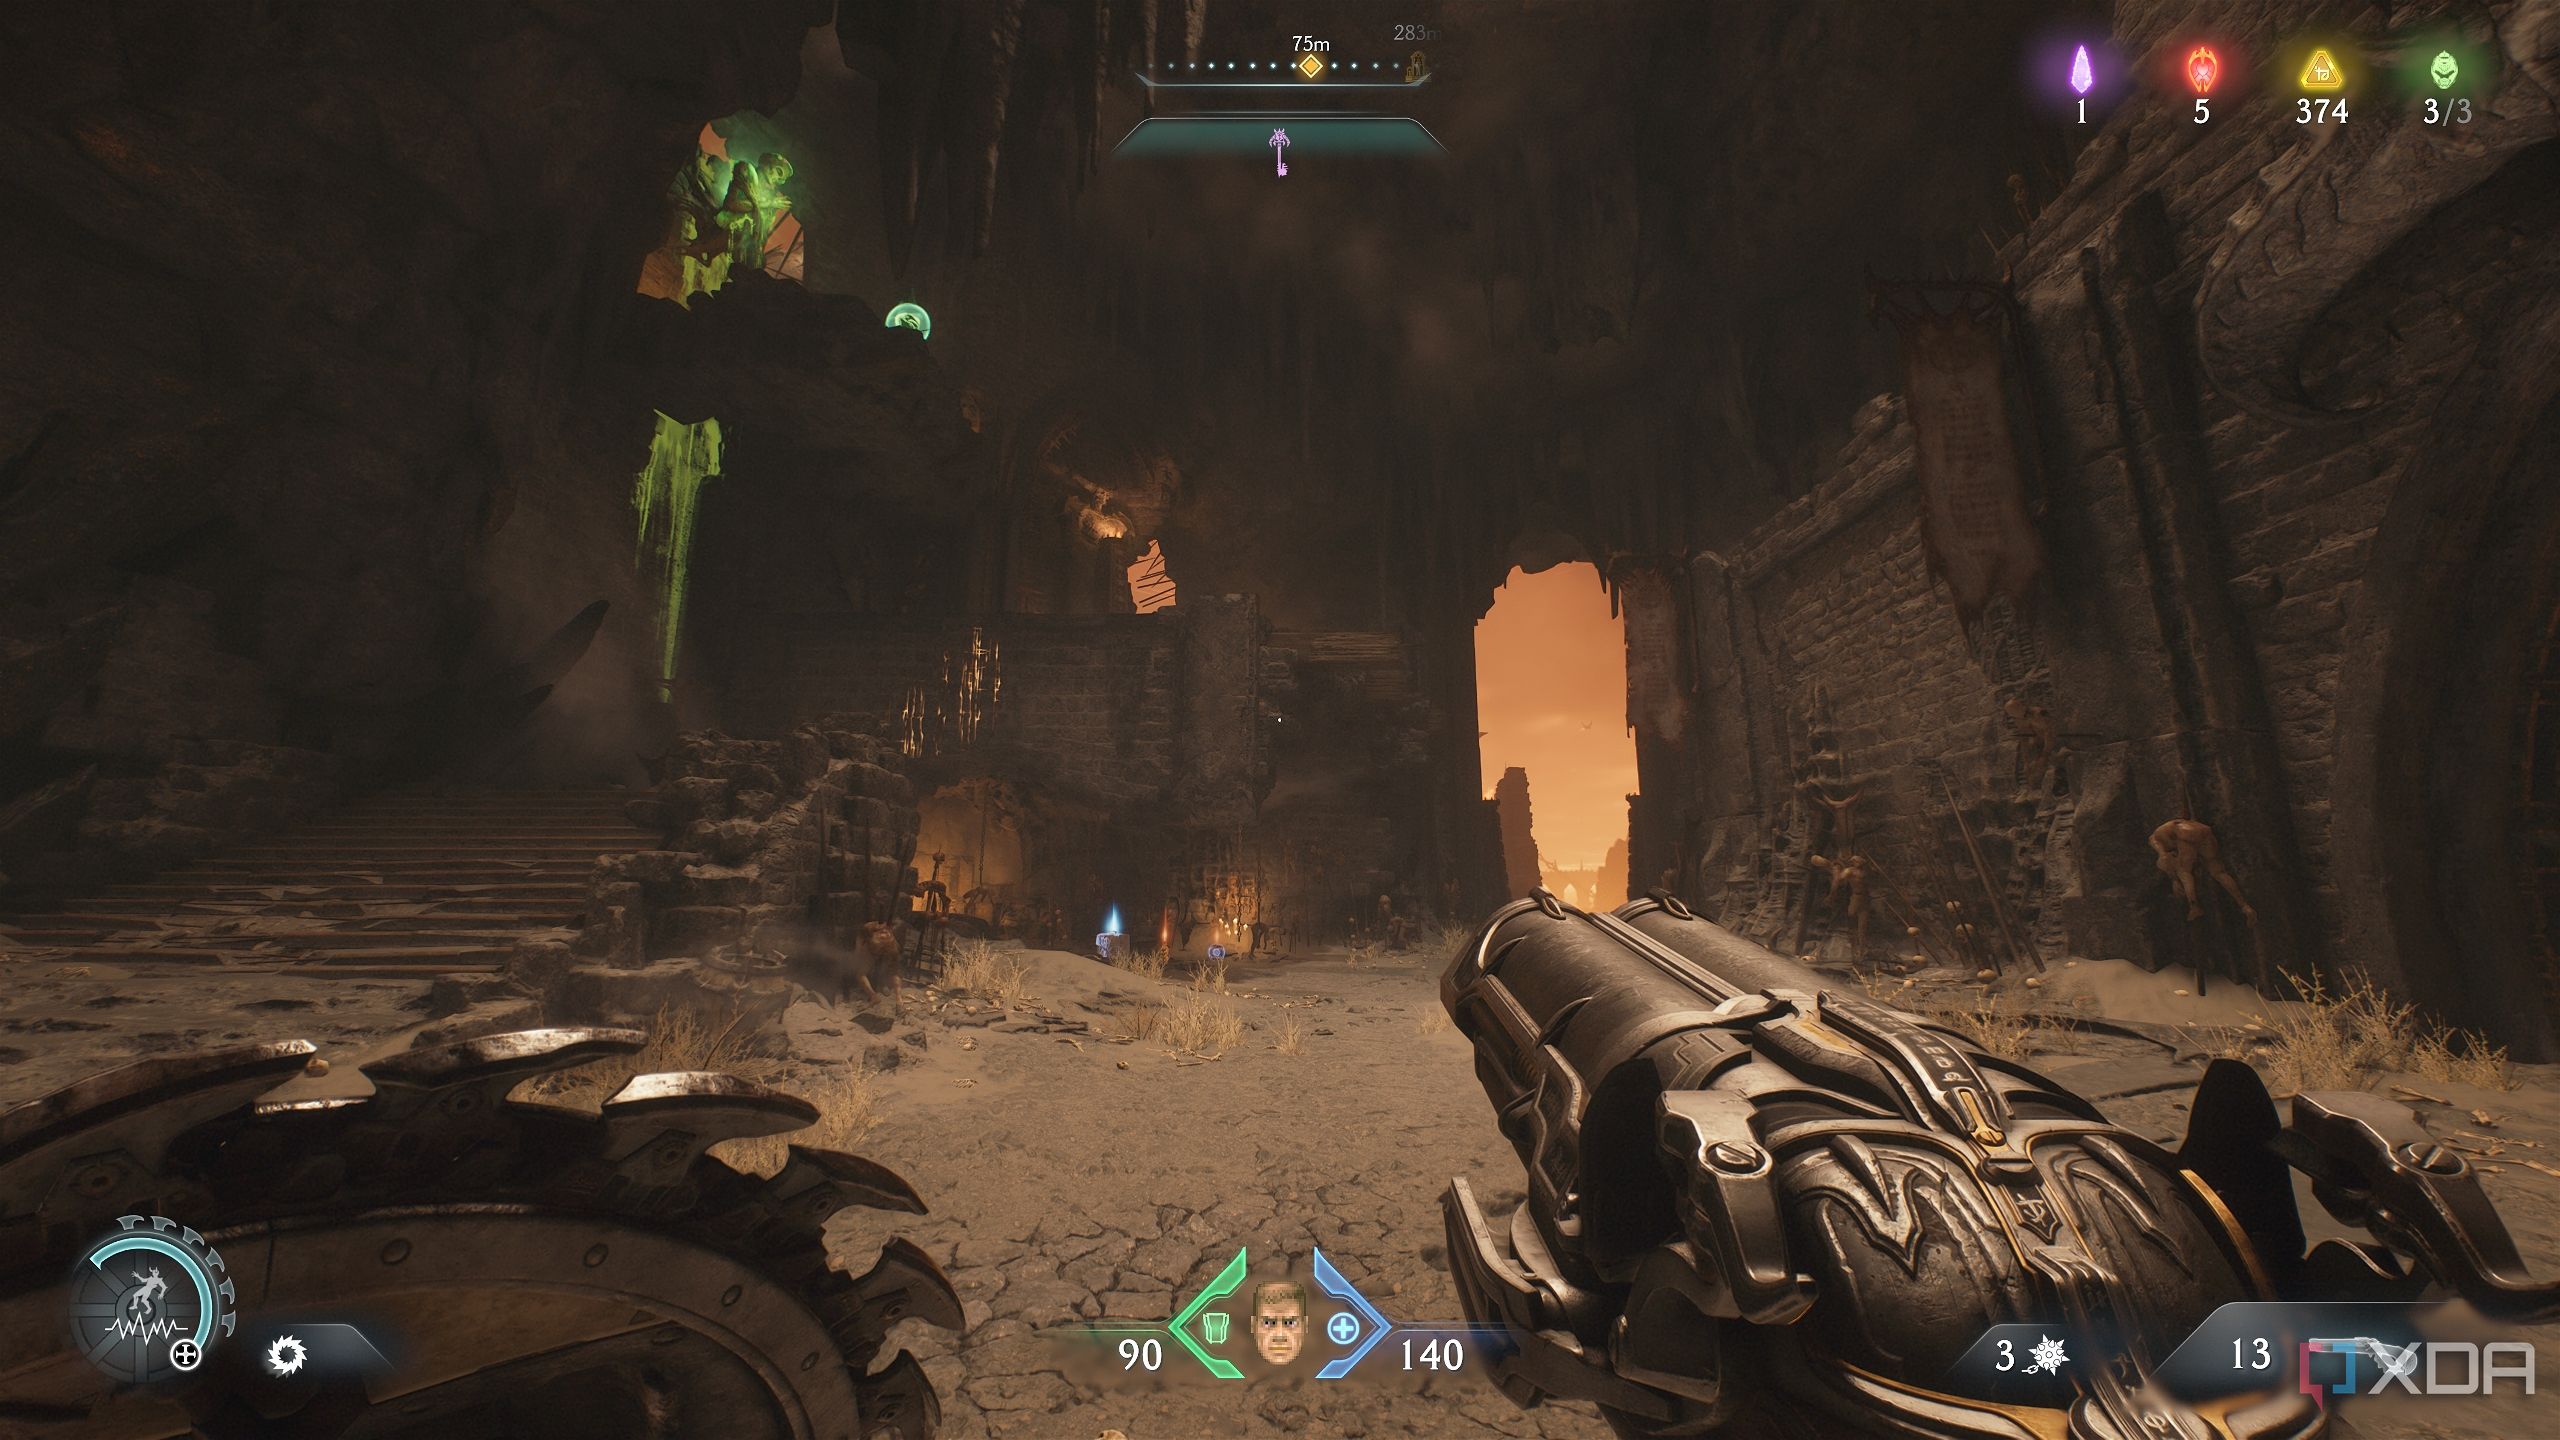
Before we start zooming across the map
Once the level begins and the Slayer has control, you’ll see several locked gates and collectibles around.
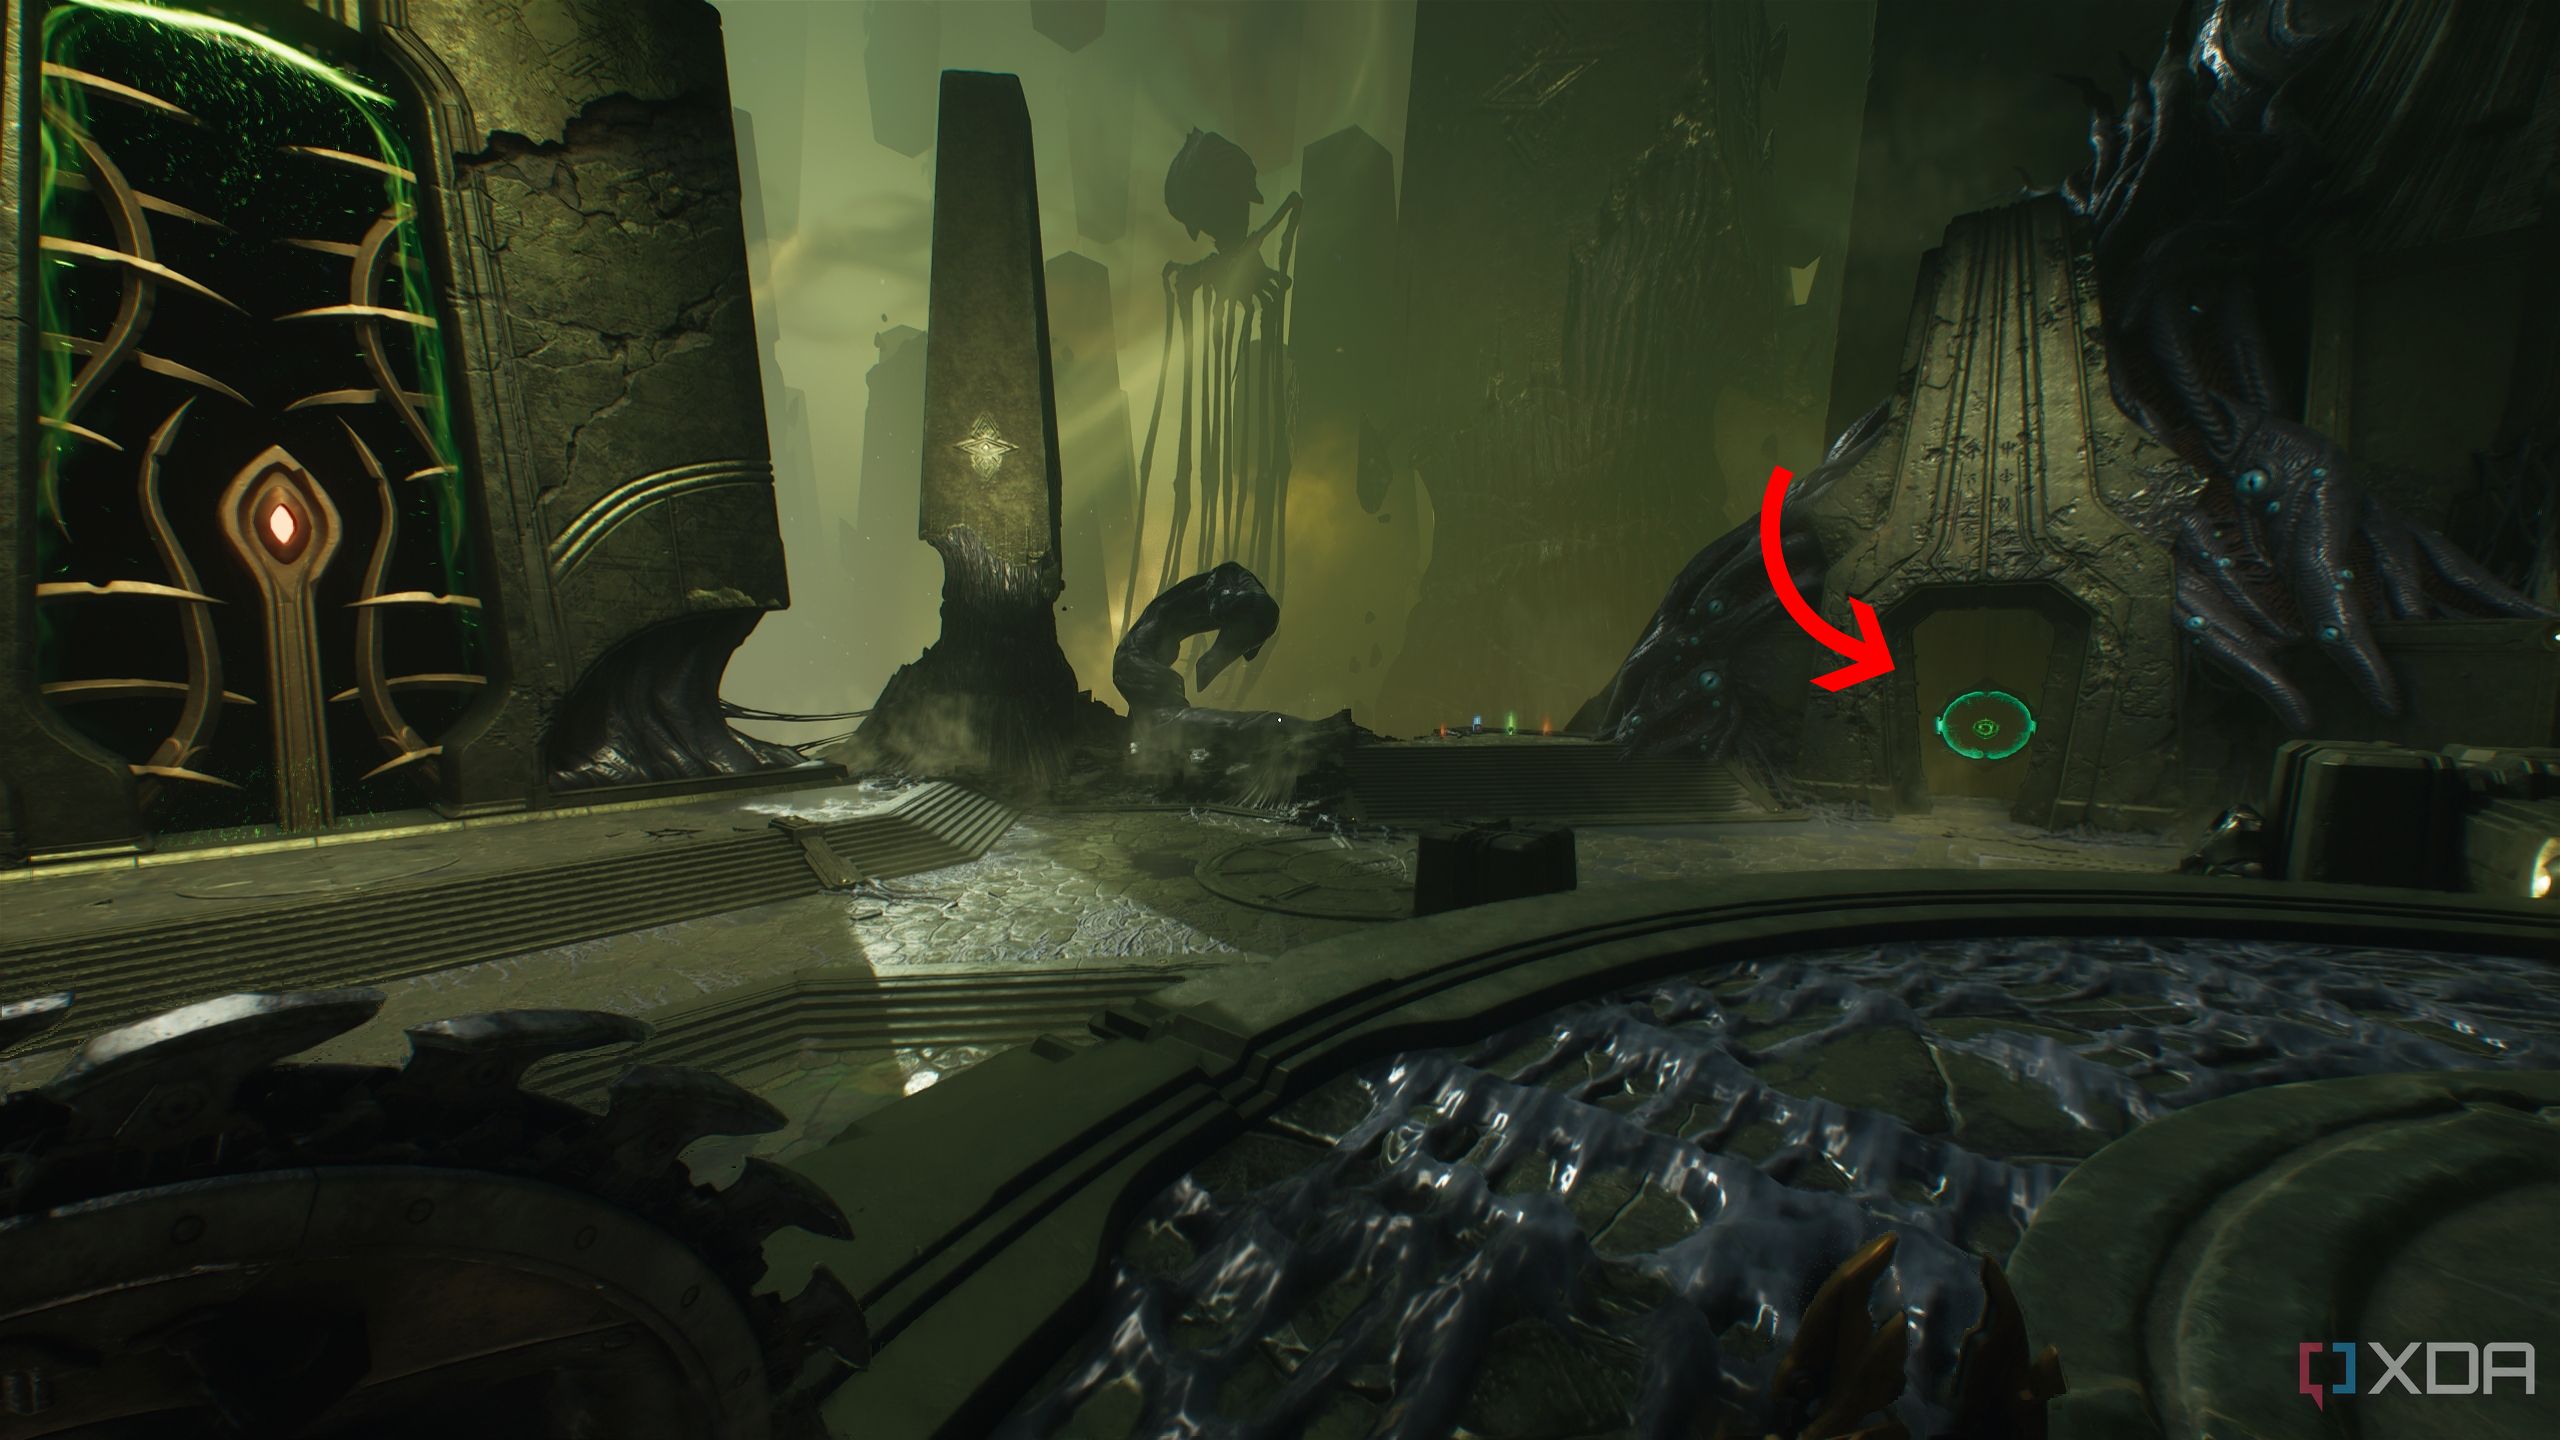
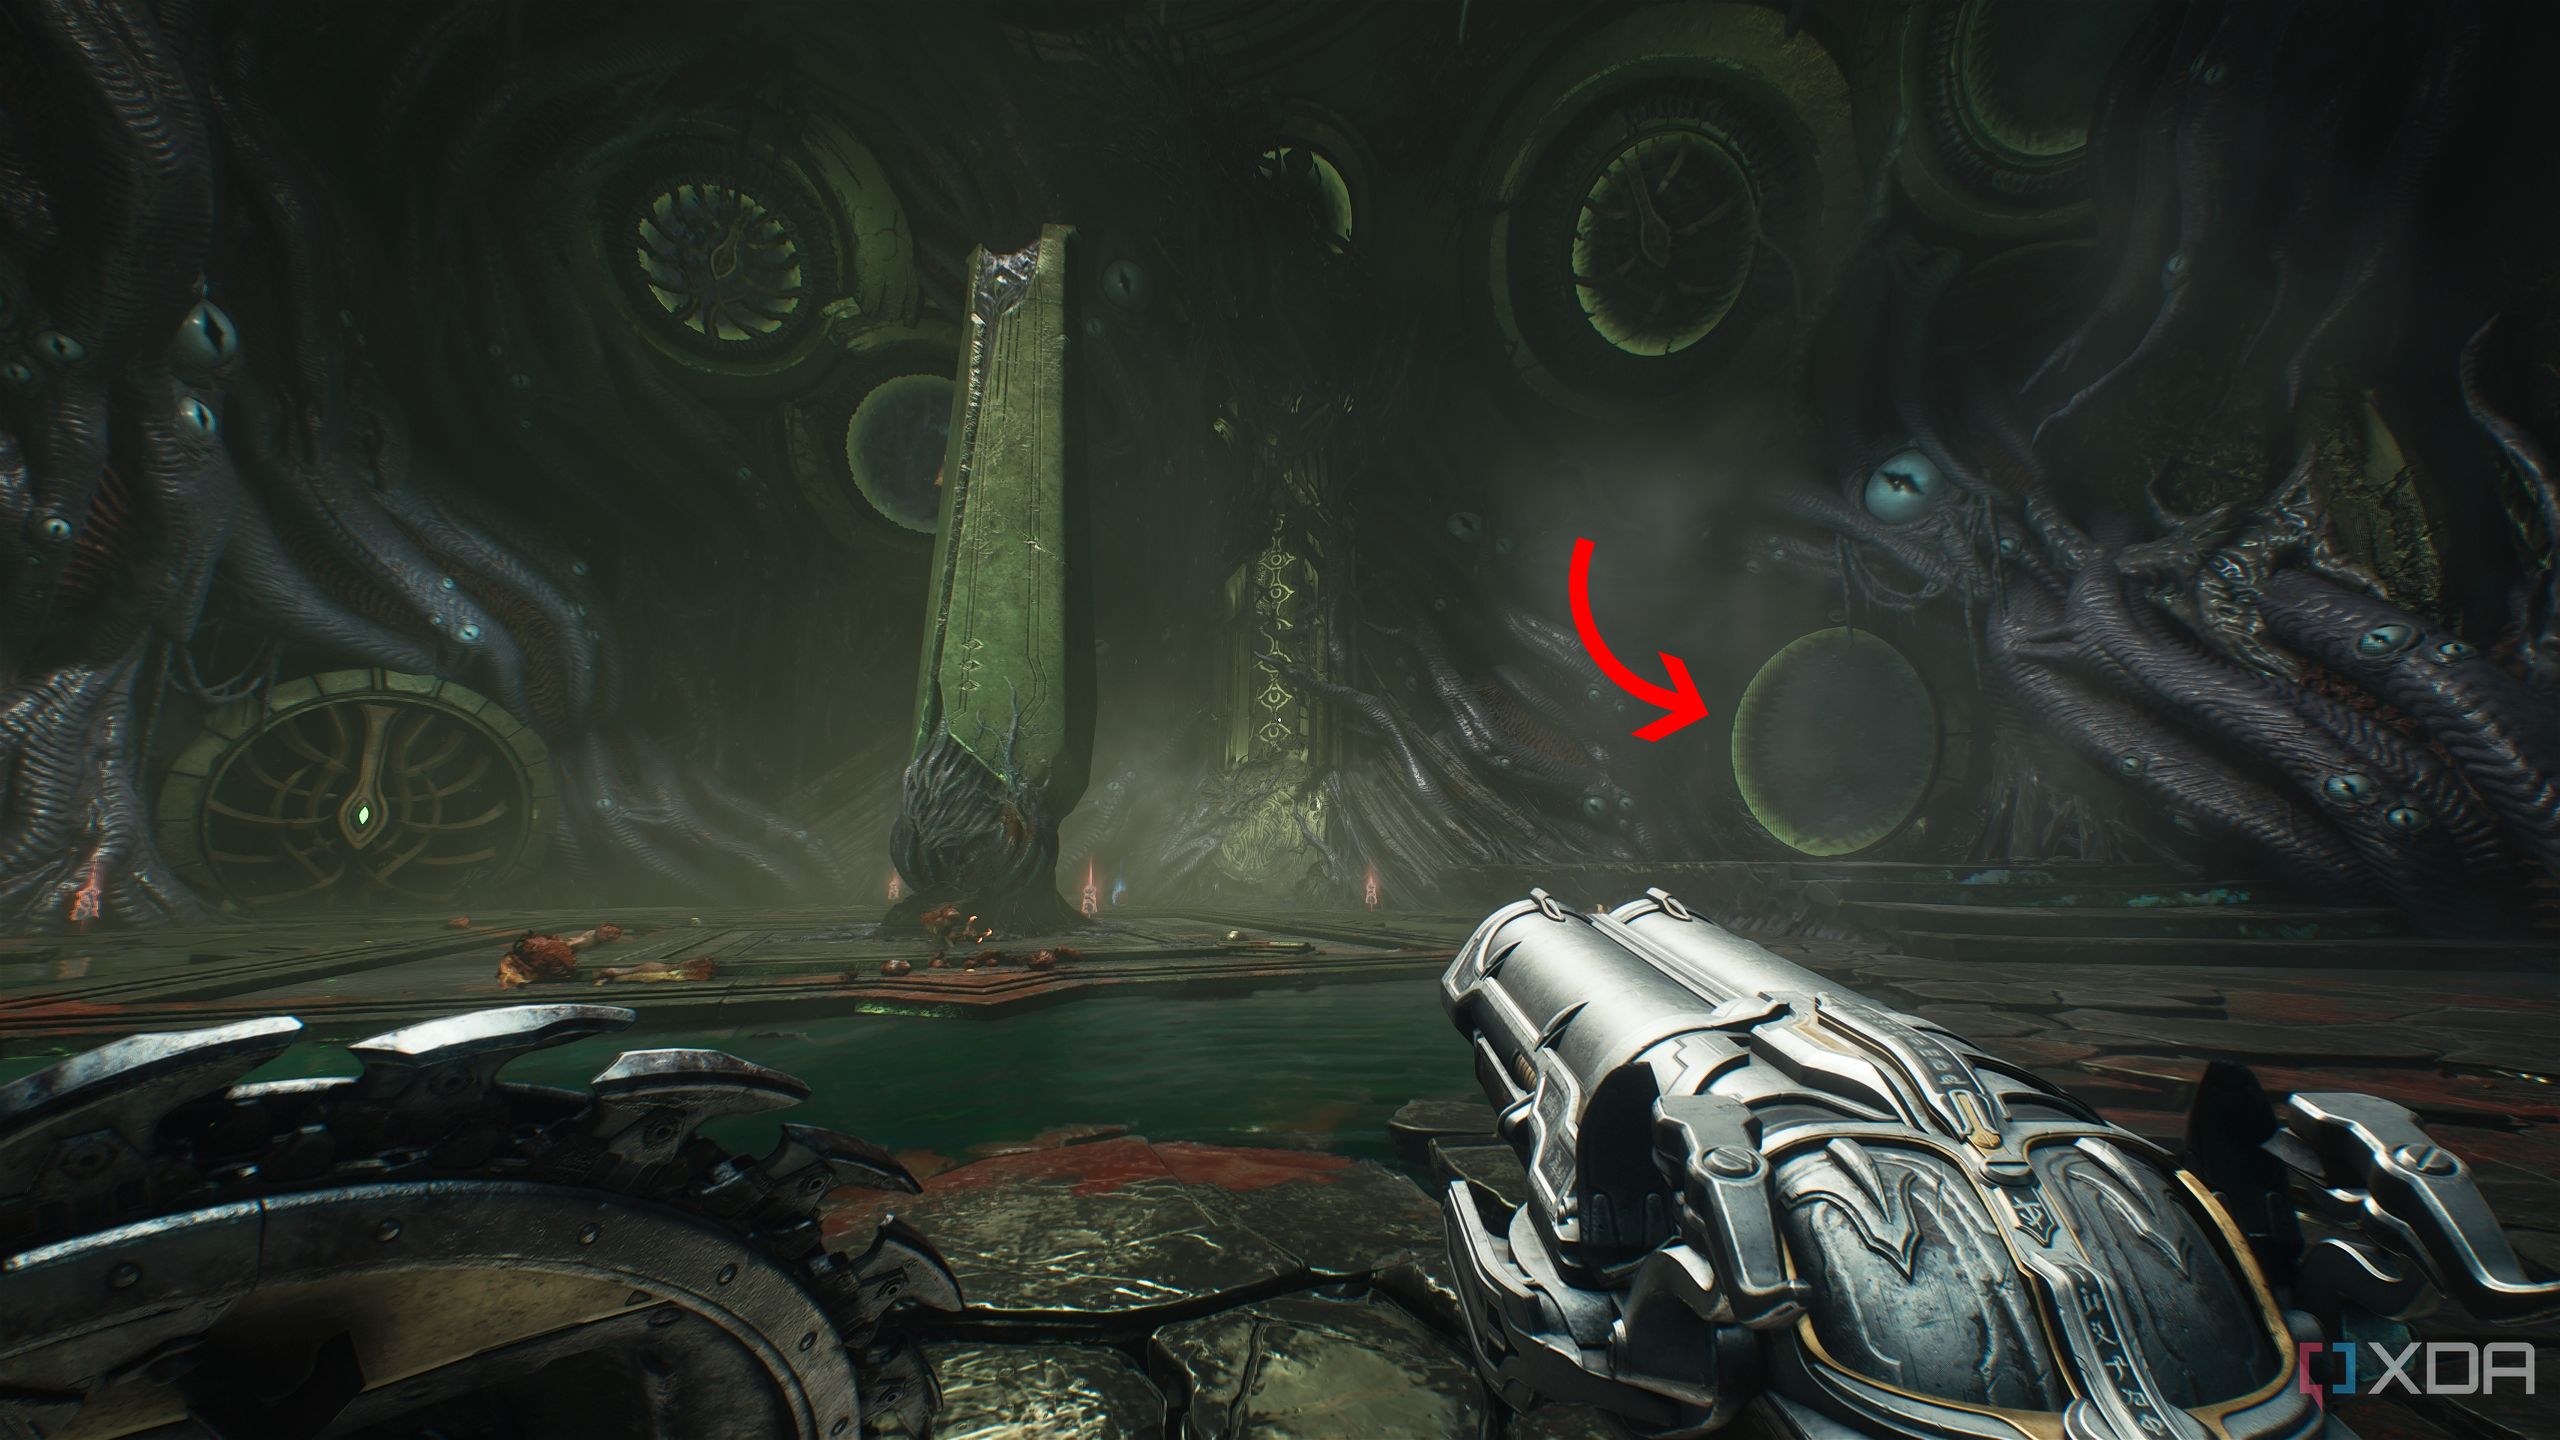
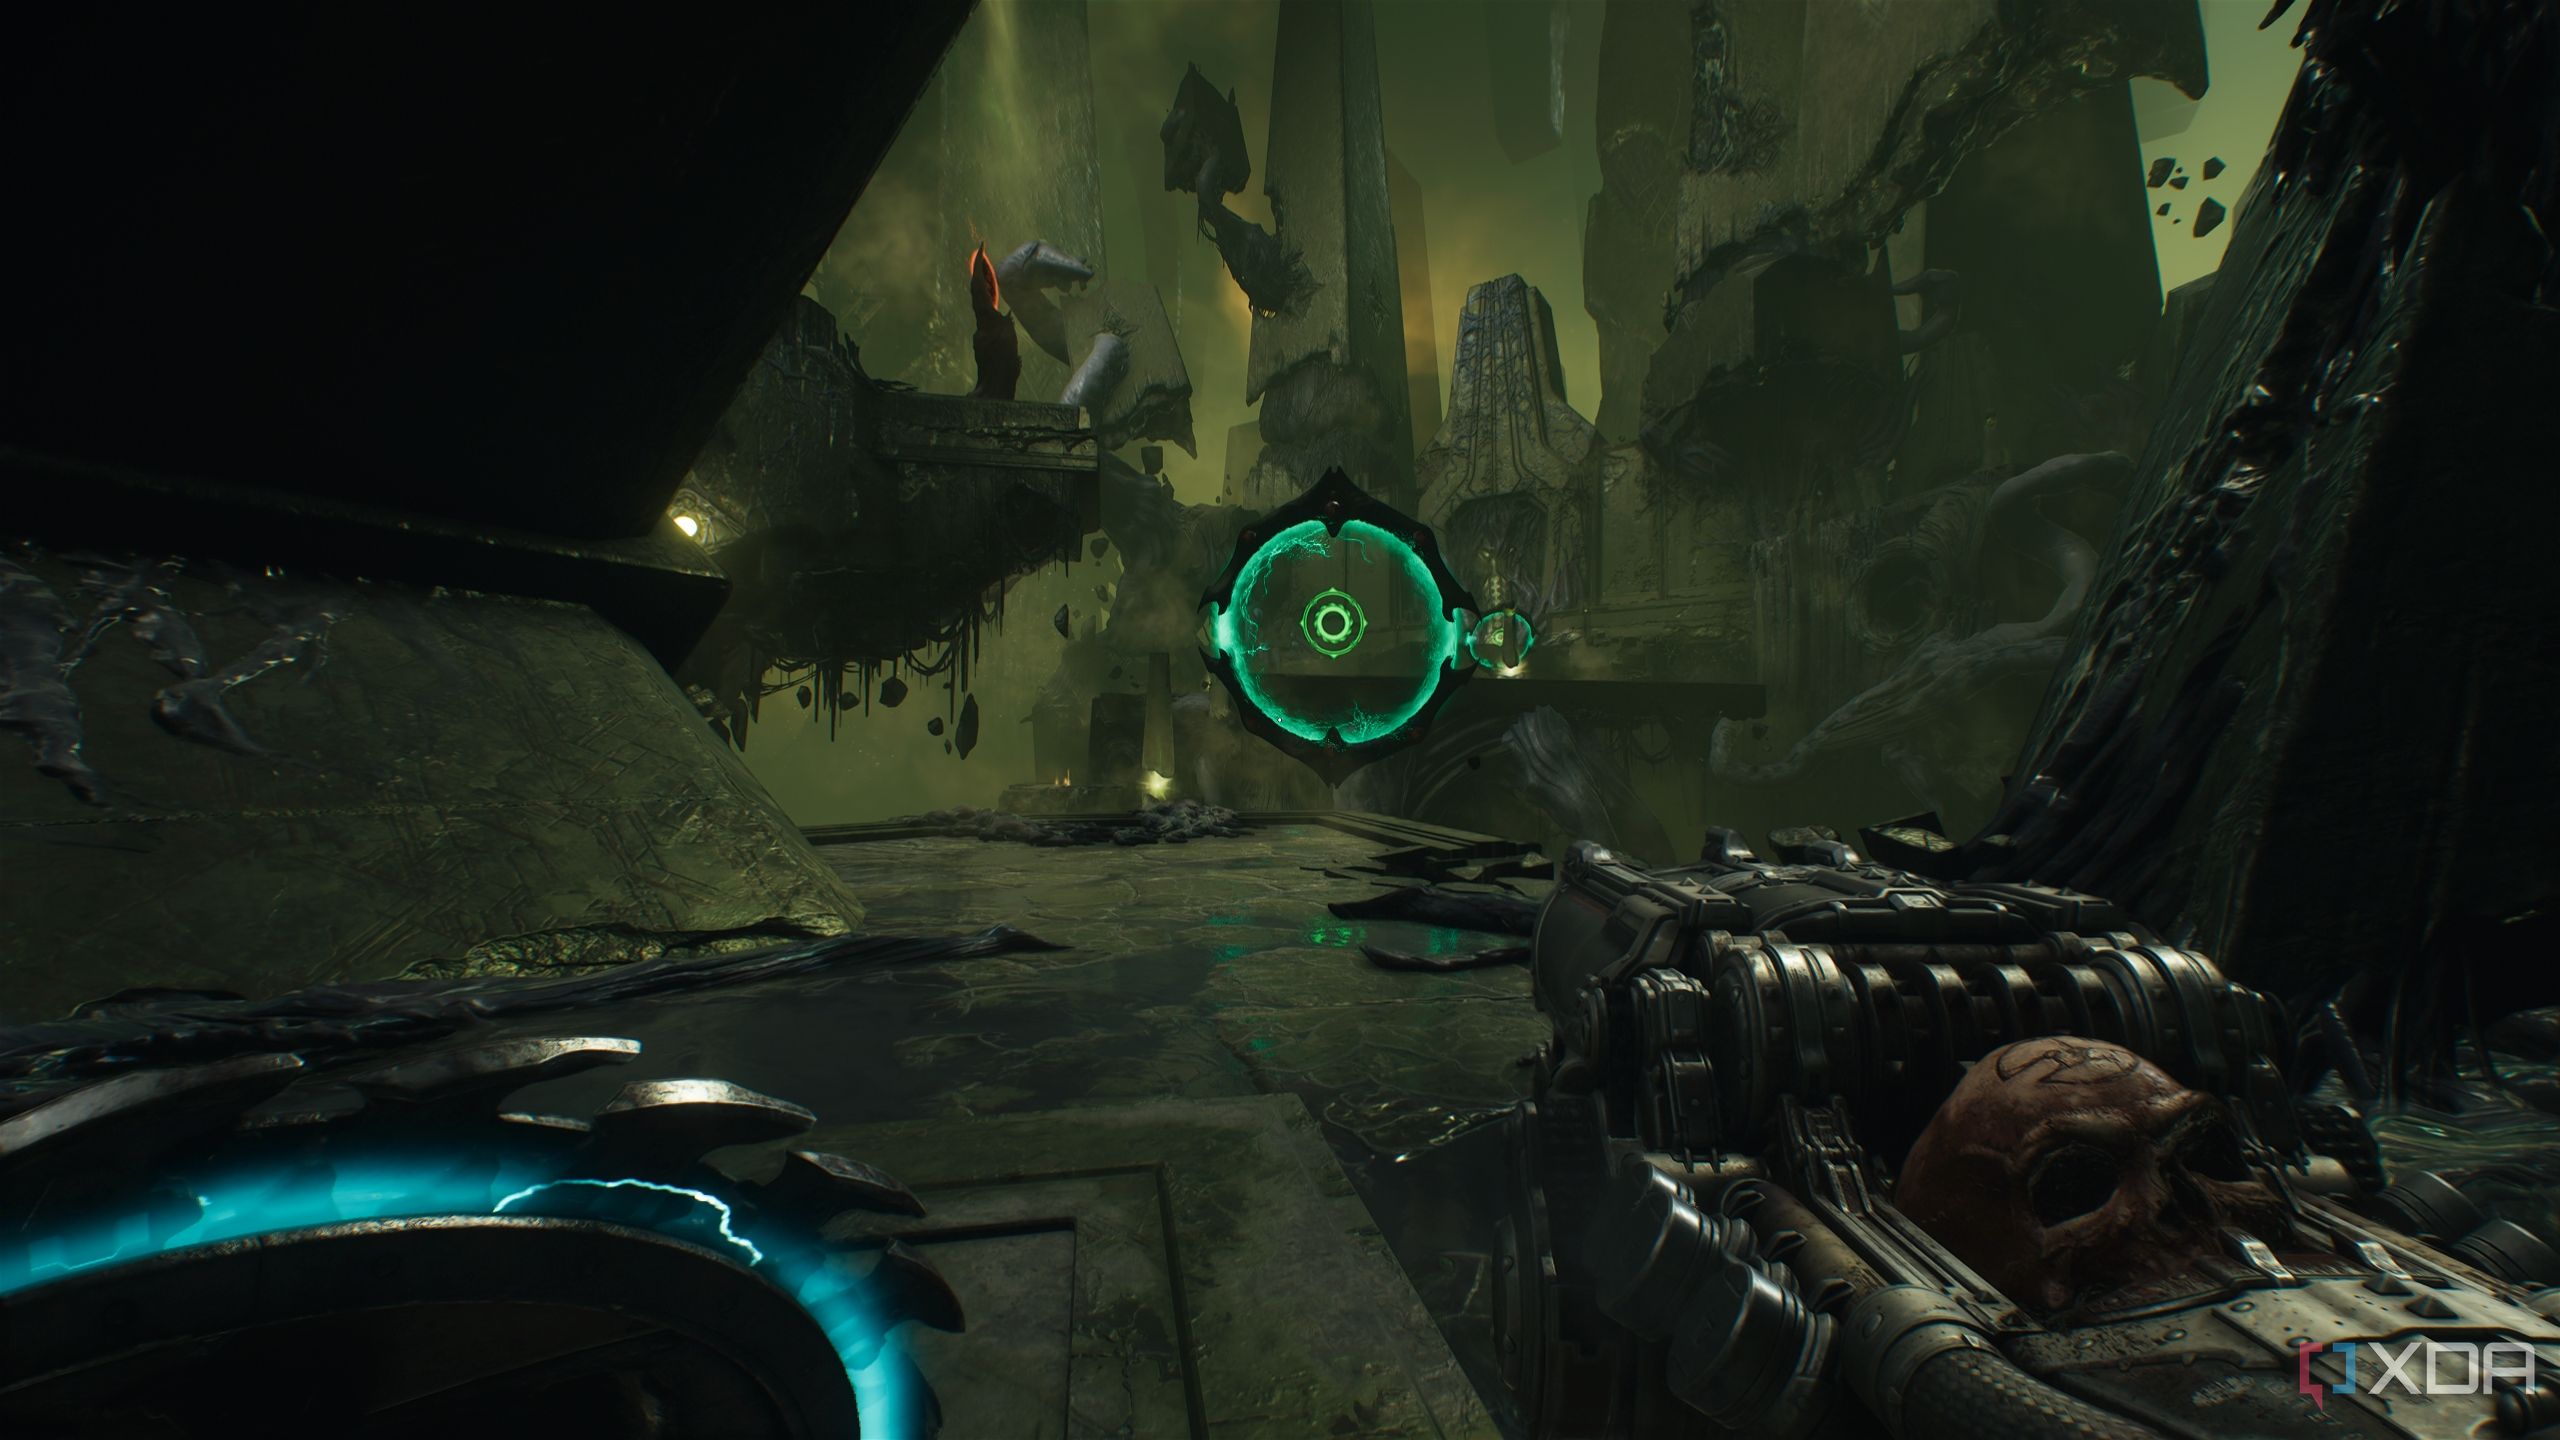
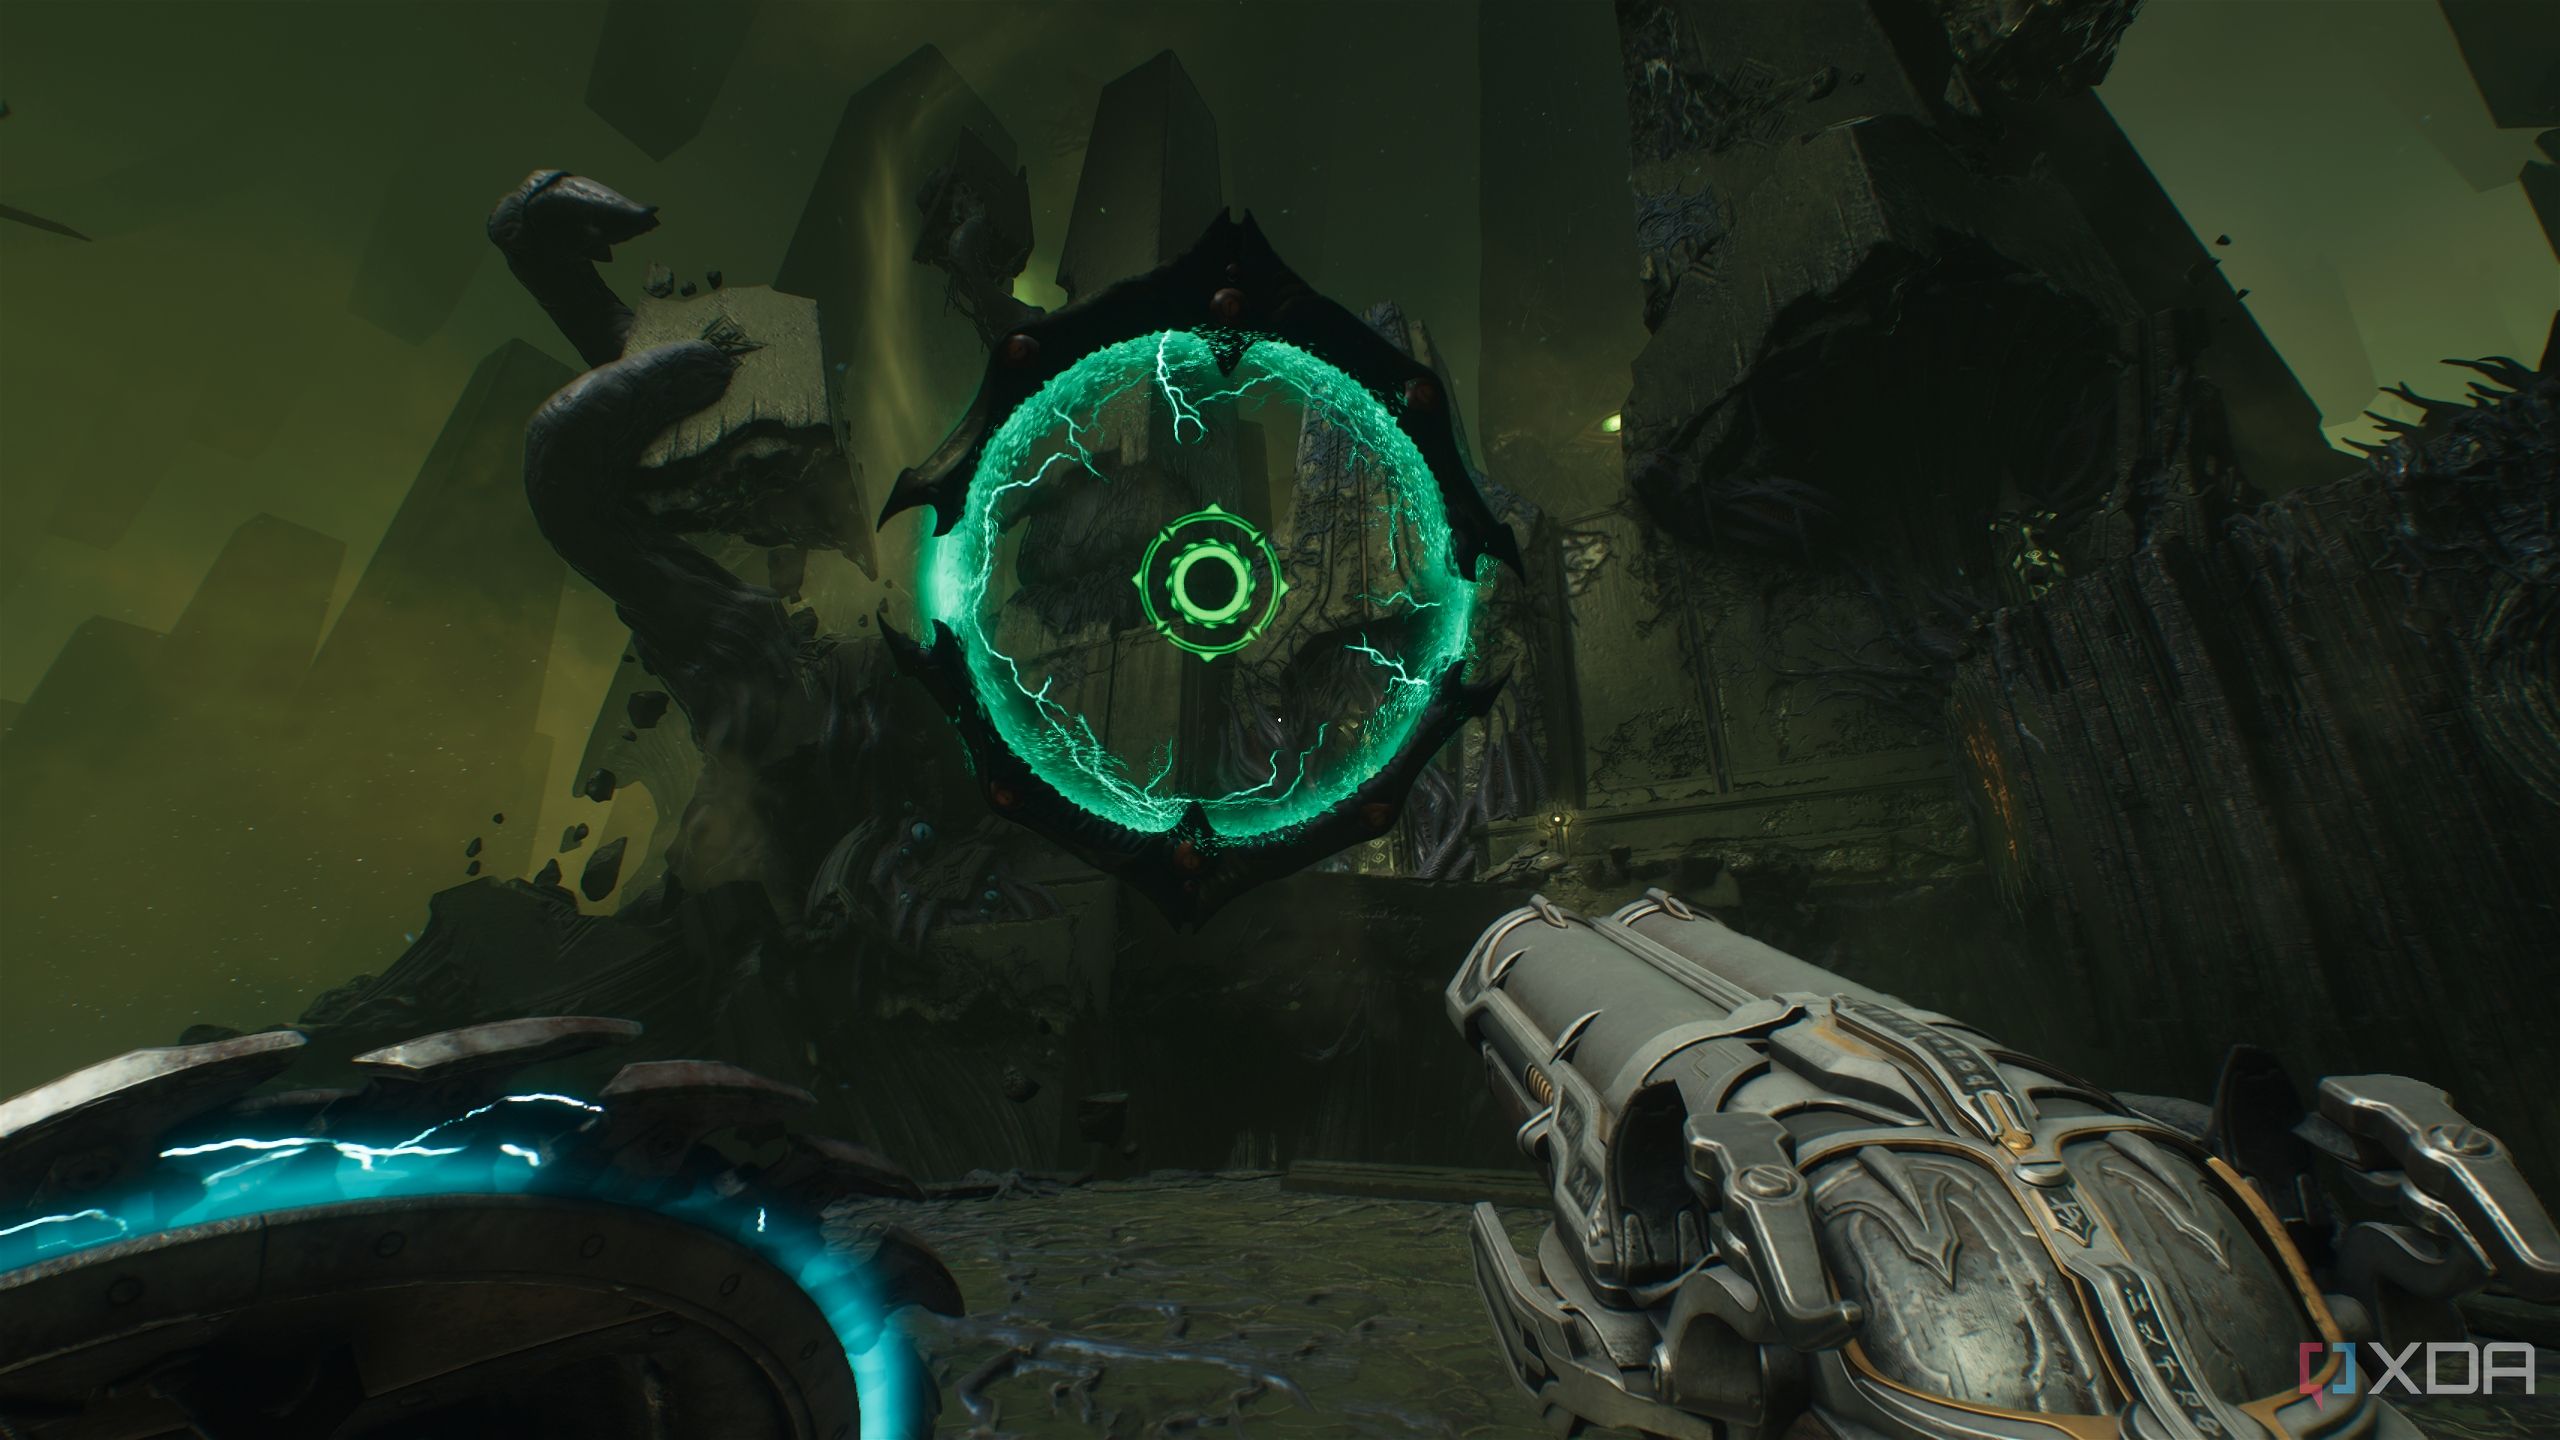
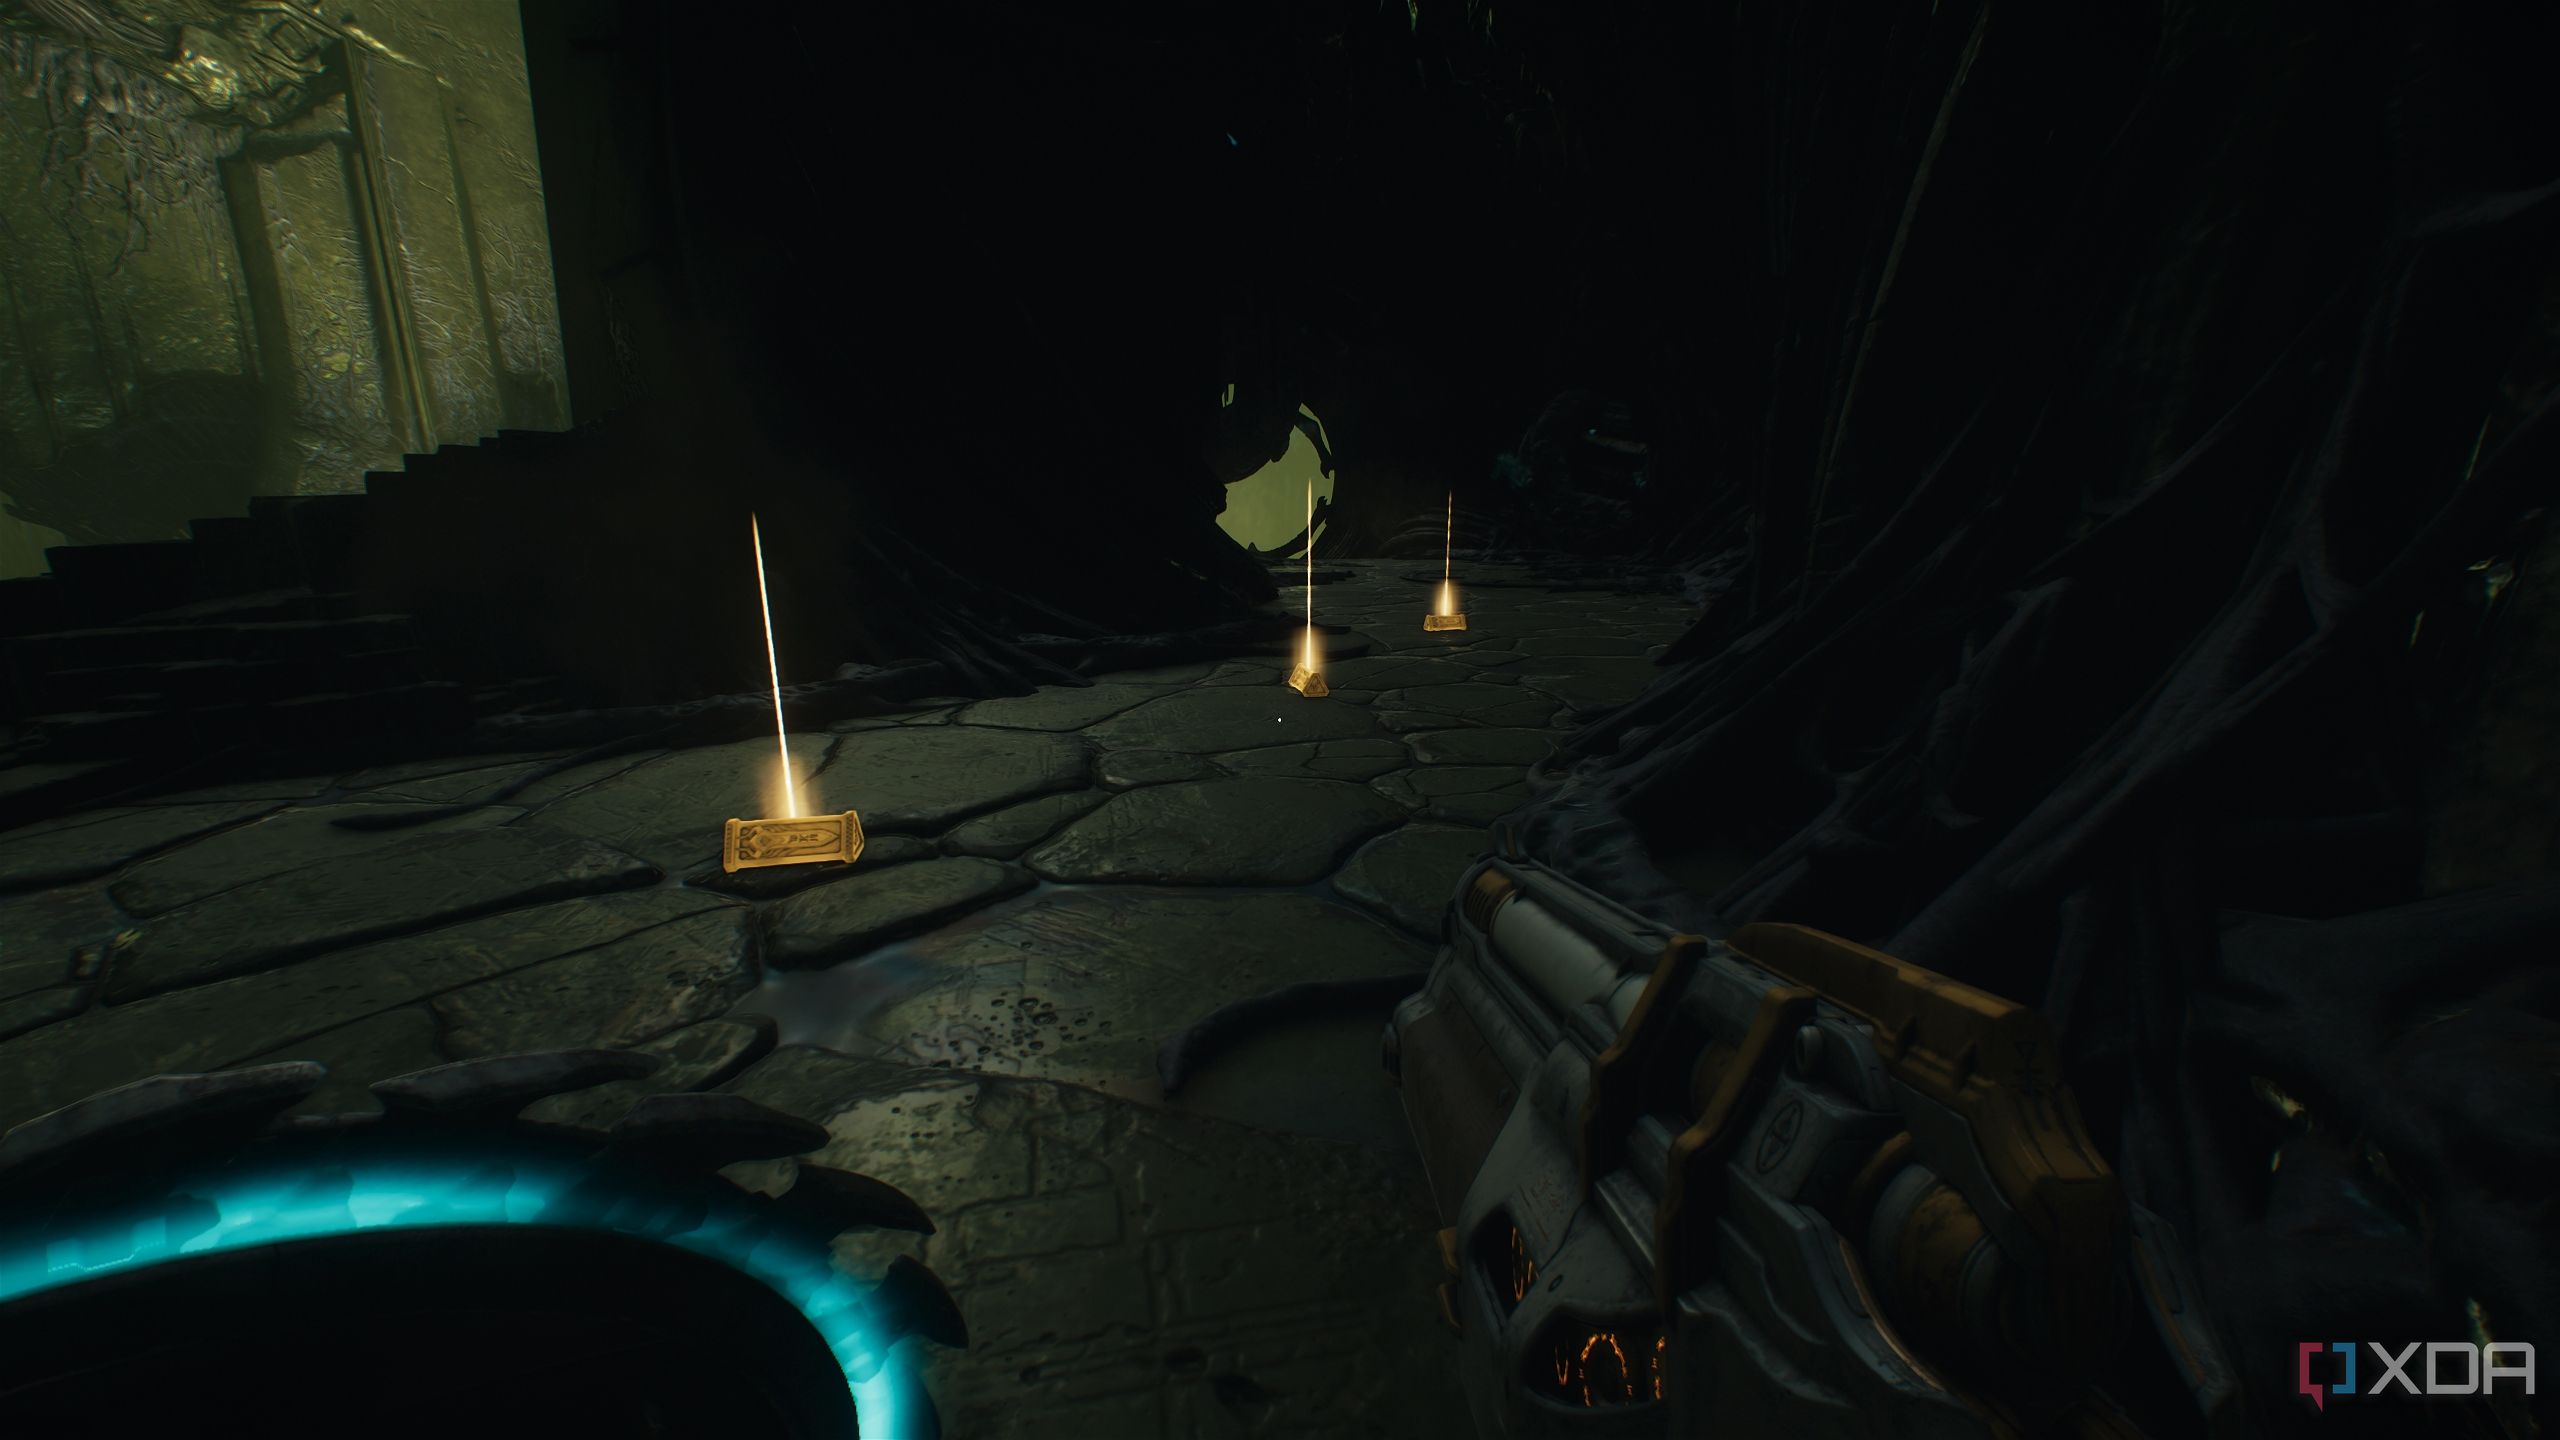
Head towards the objective and you’ll see your first Shield Charge portal. Instead of going through it, drop down to the platform below it.
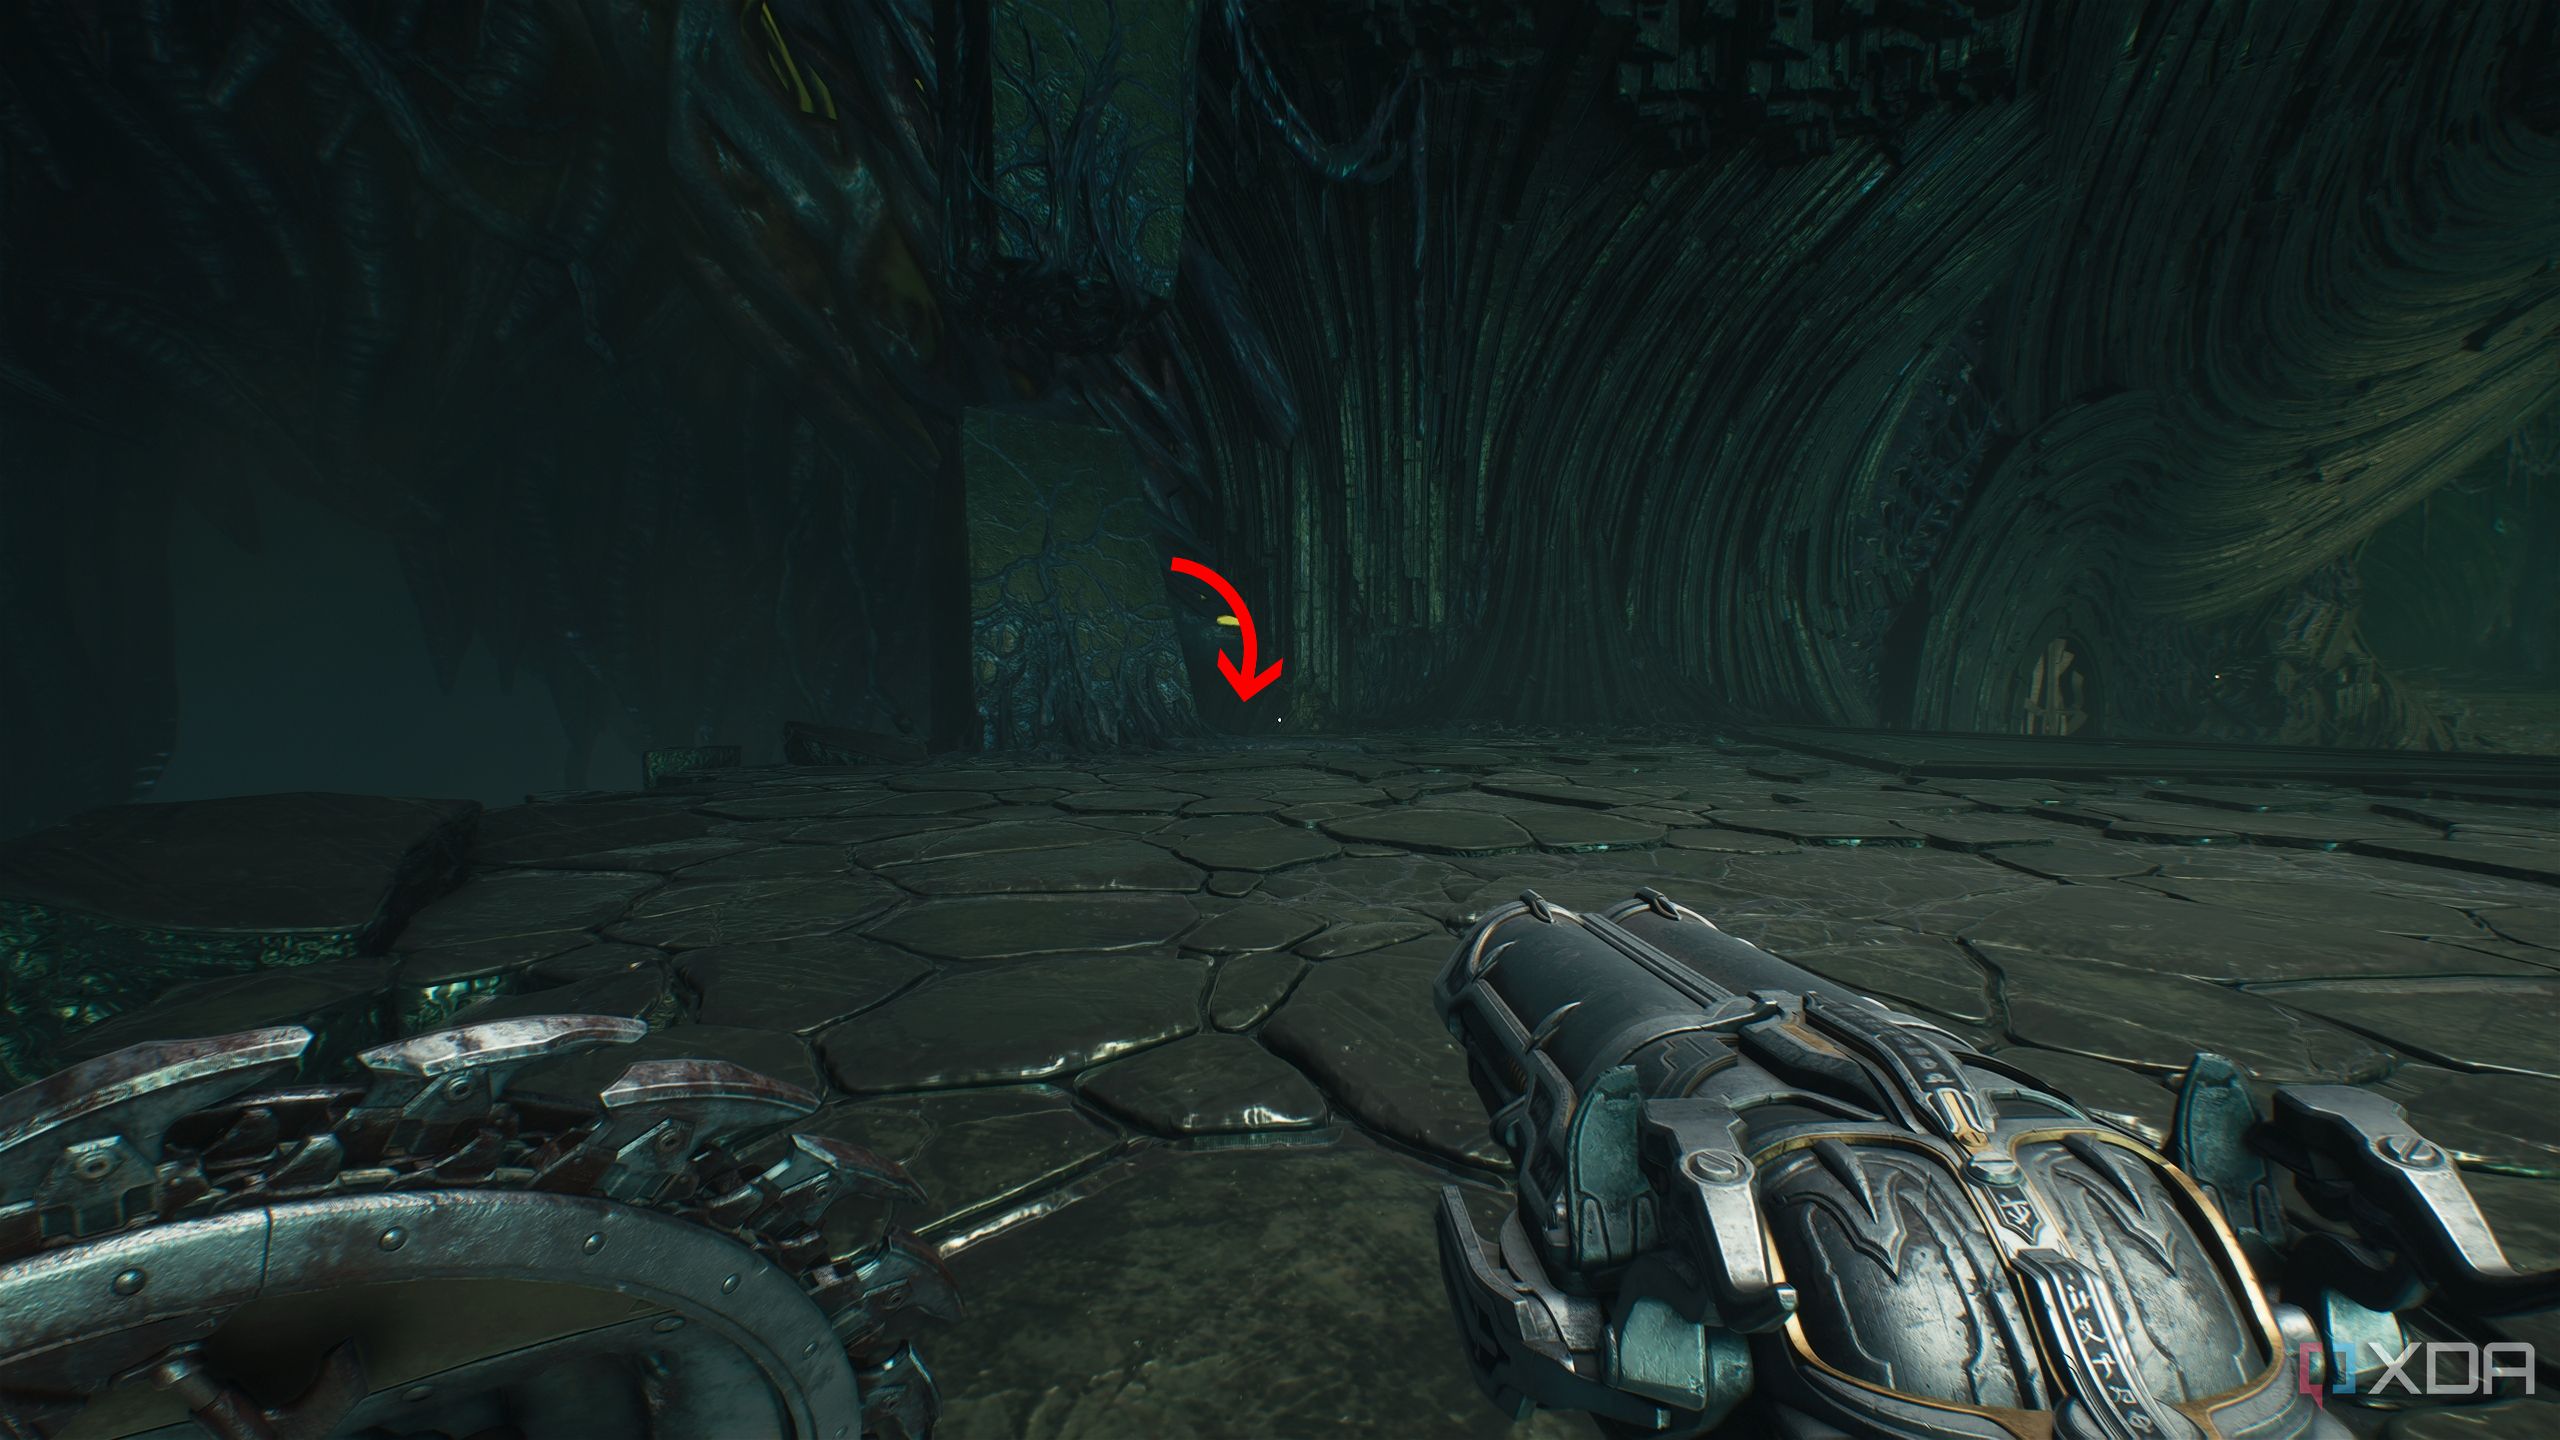
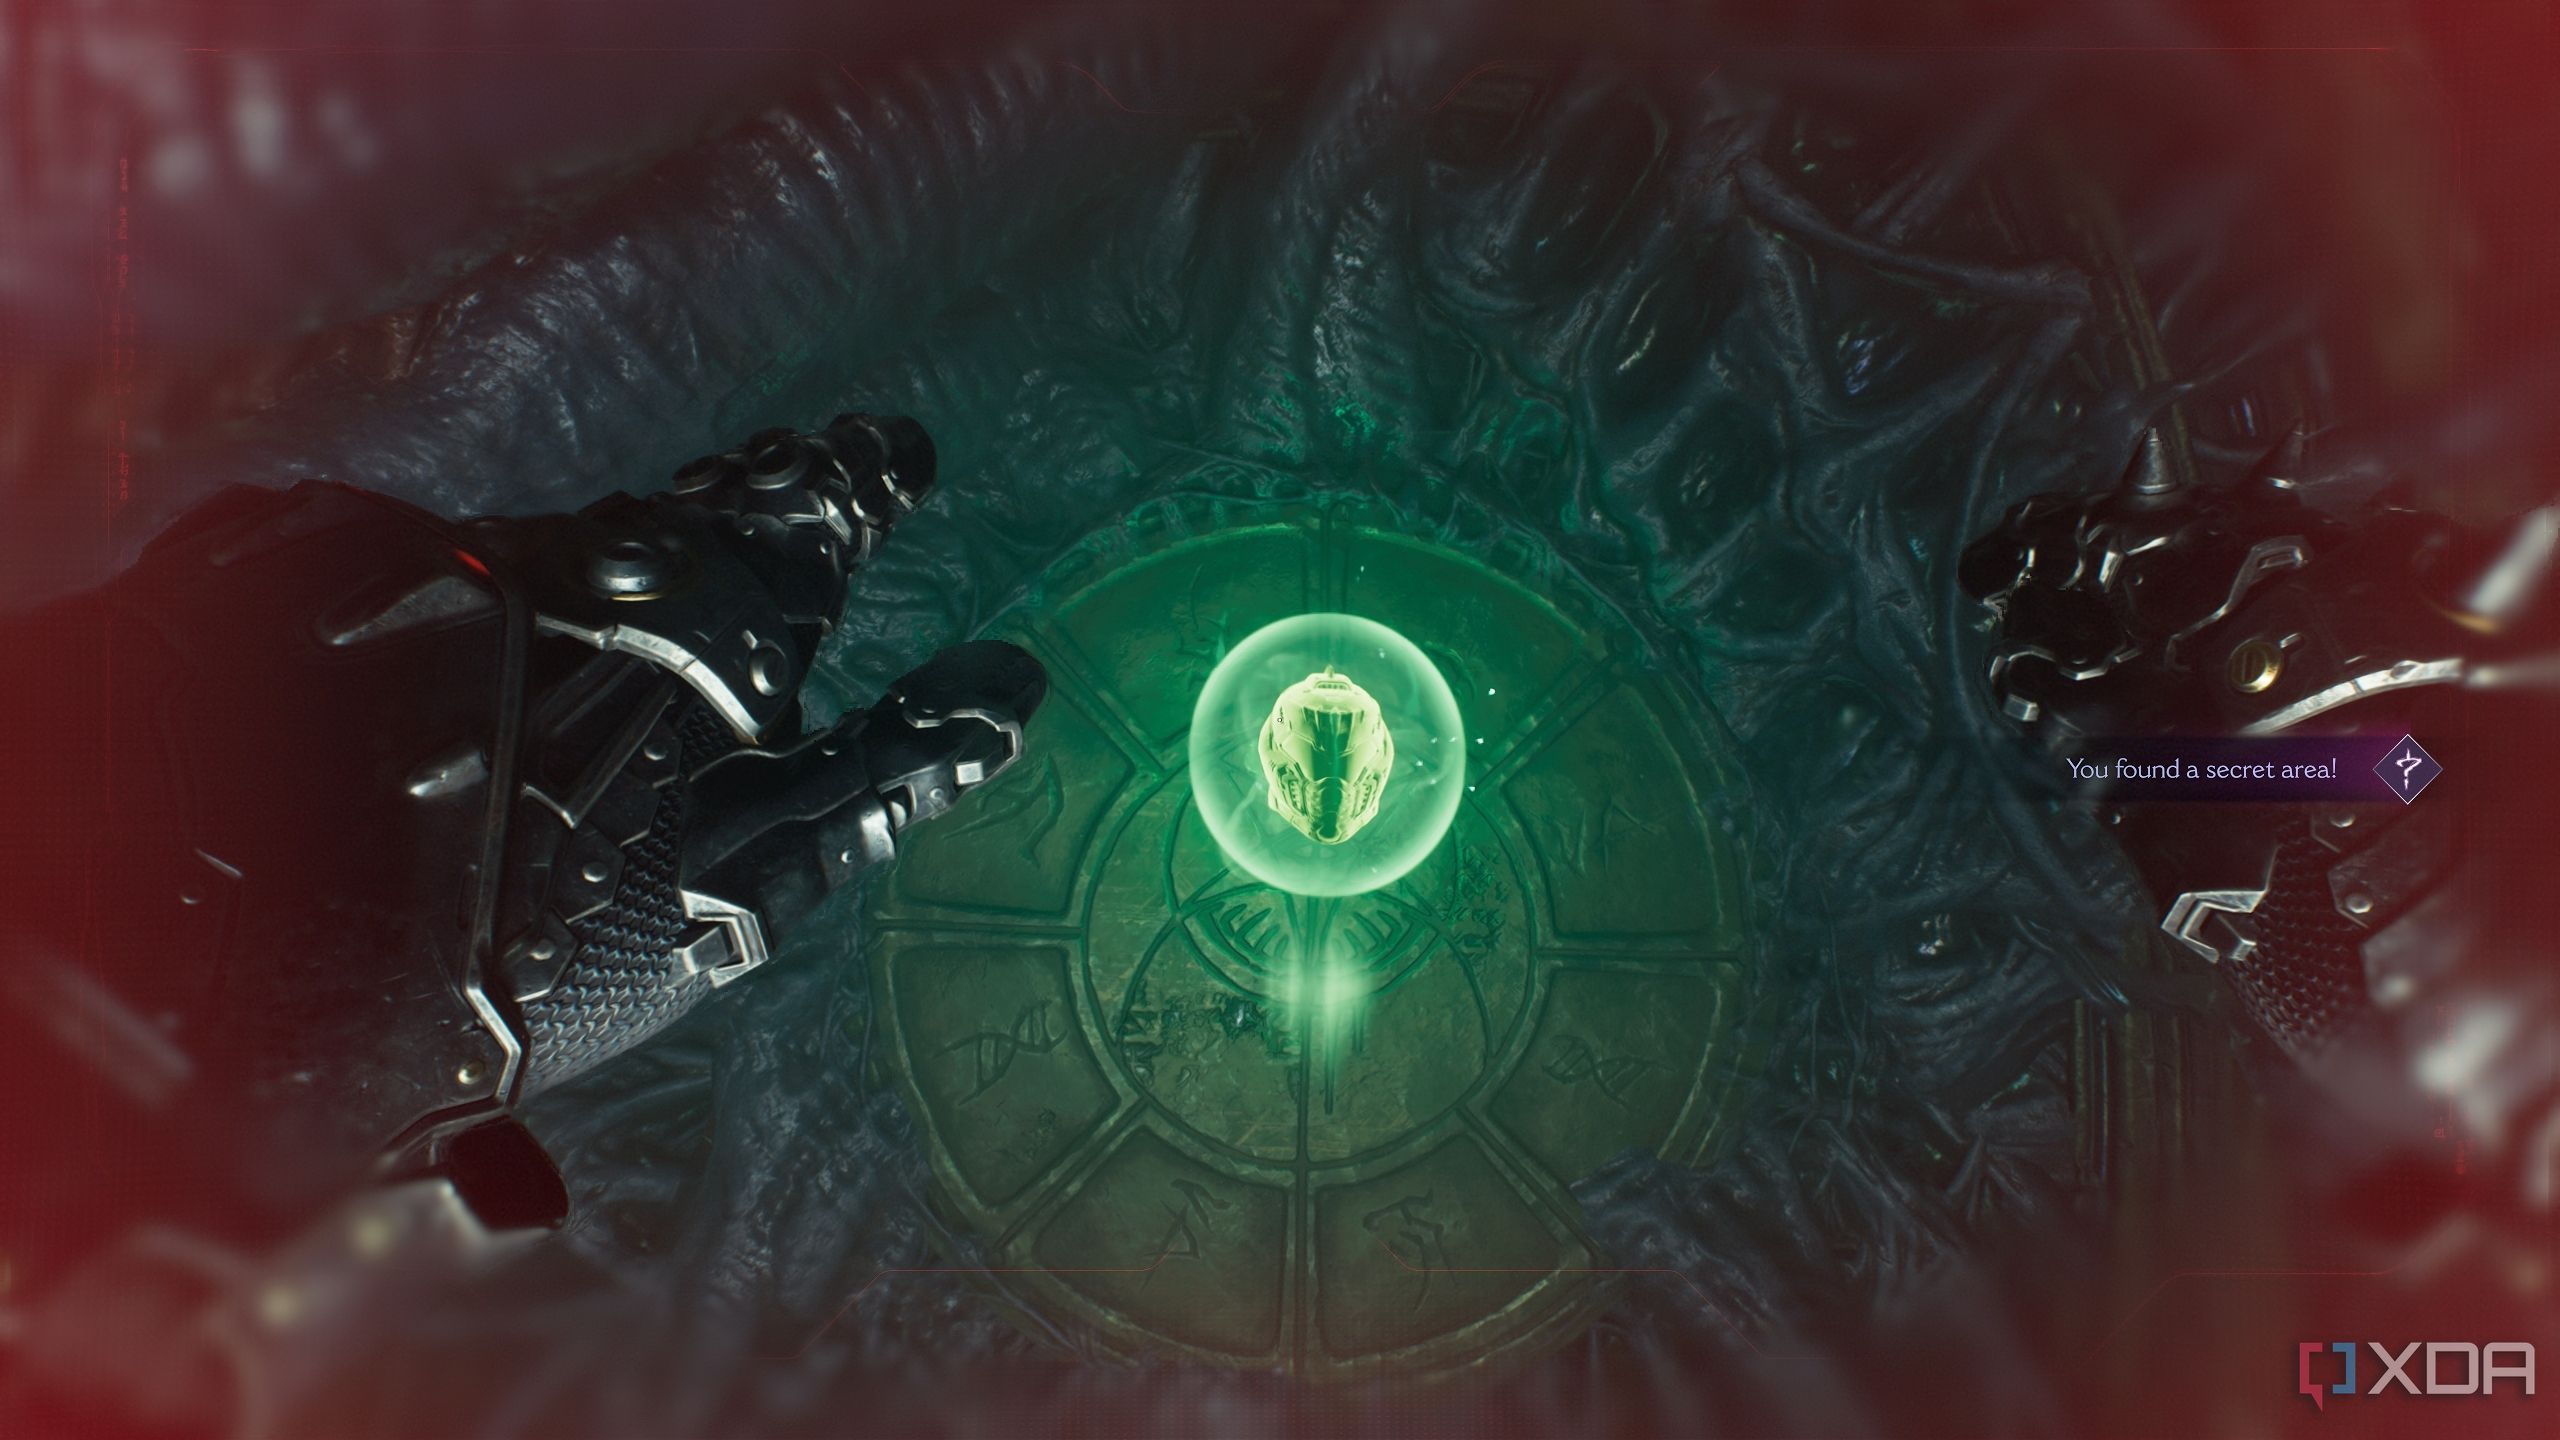
You’ll see an entrance blocked by vines with a Shield symbol on them. Bash through them, and you’ll enter secret area 1.
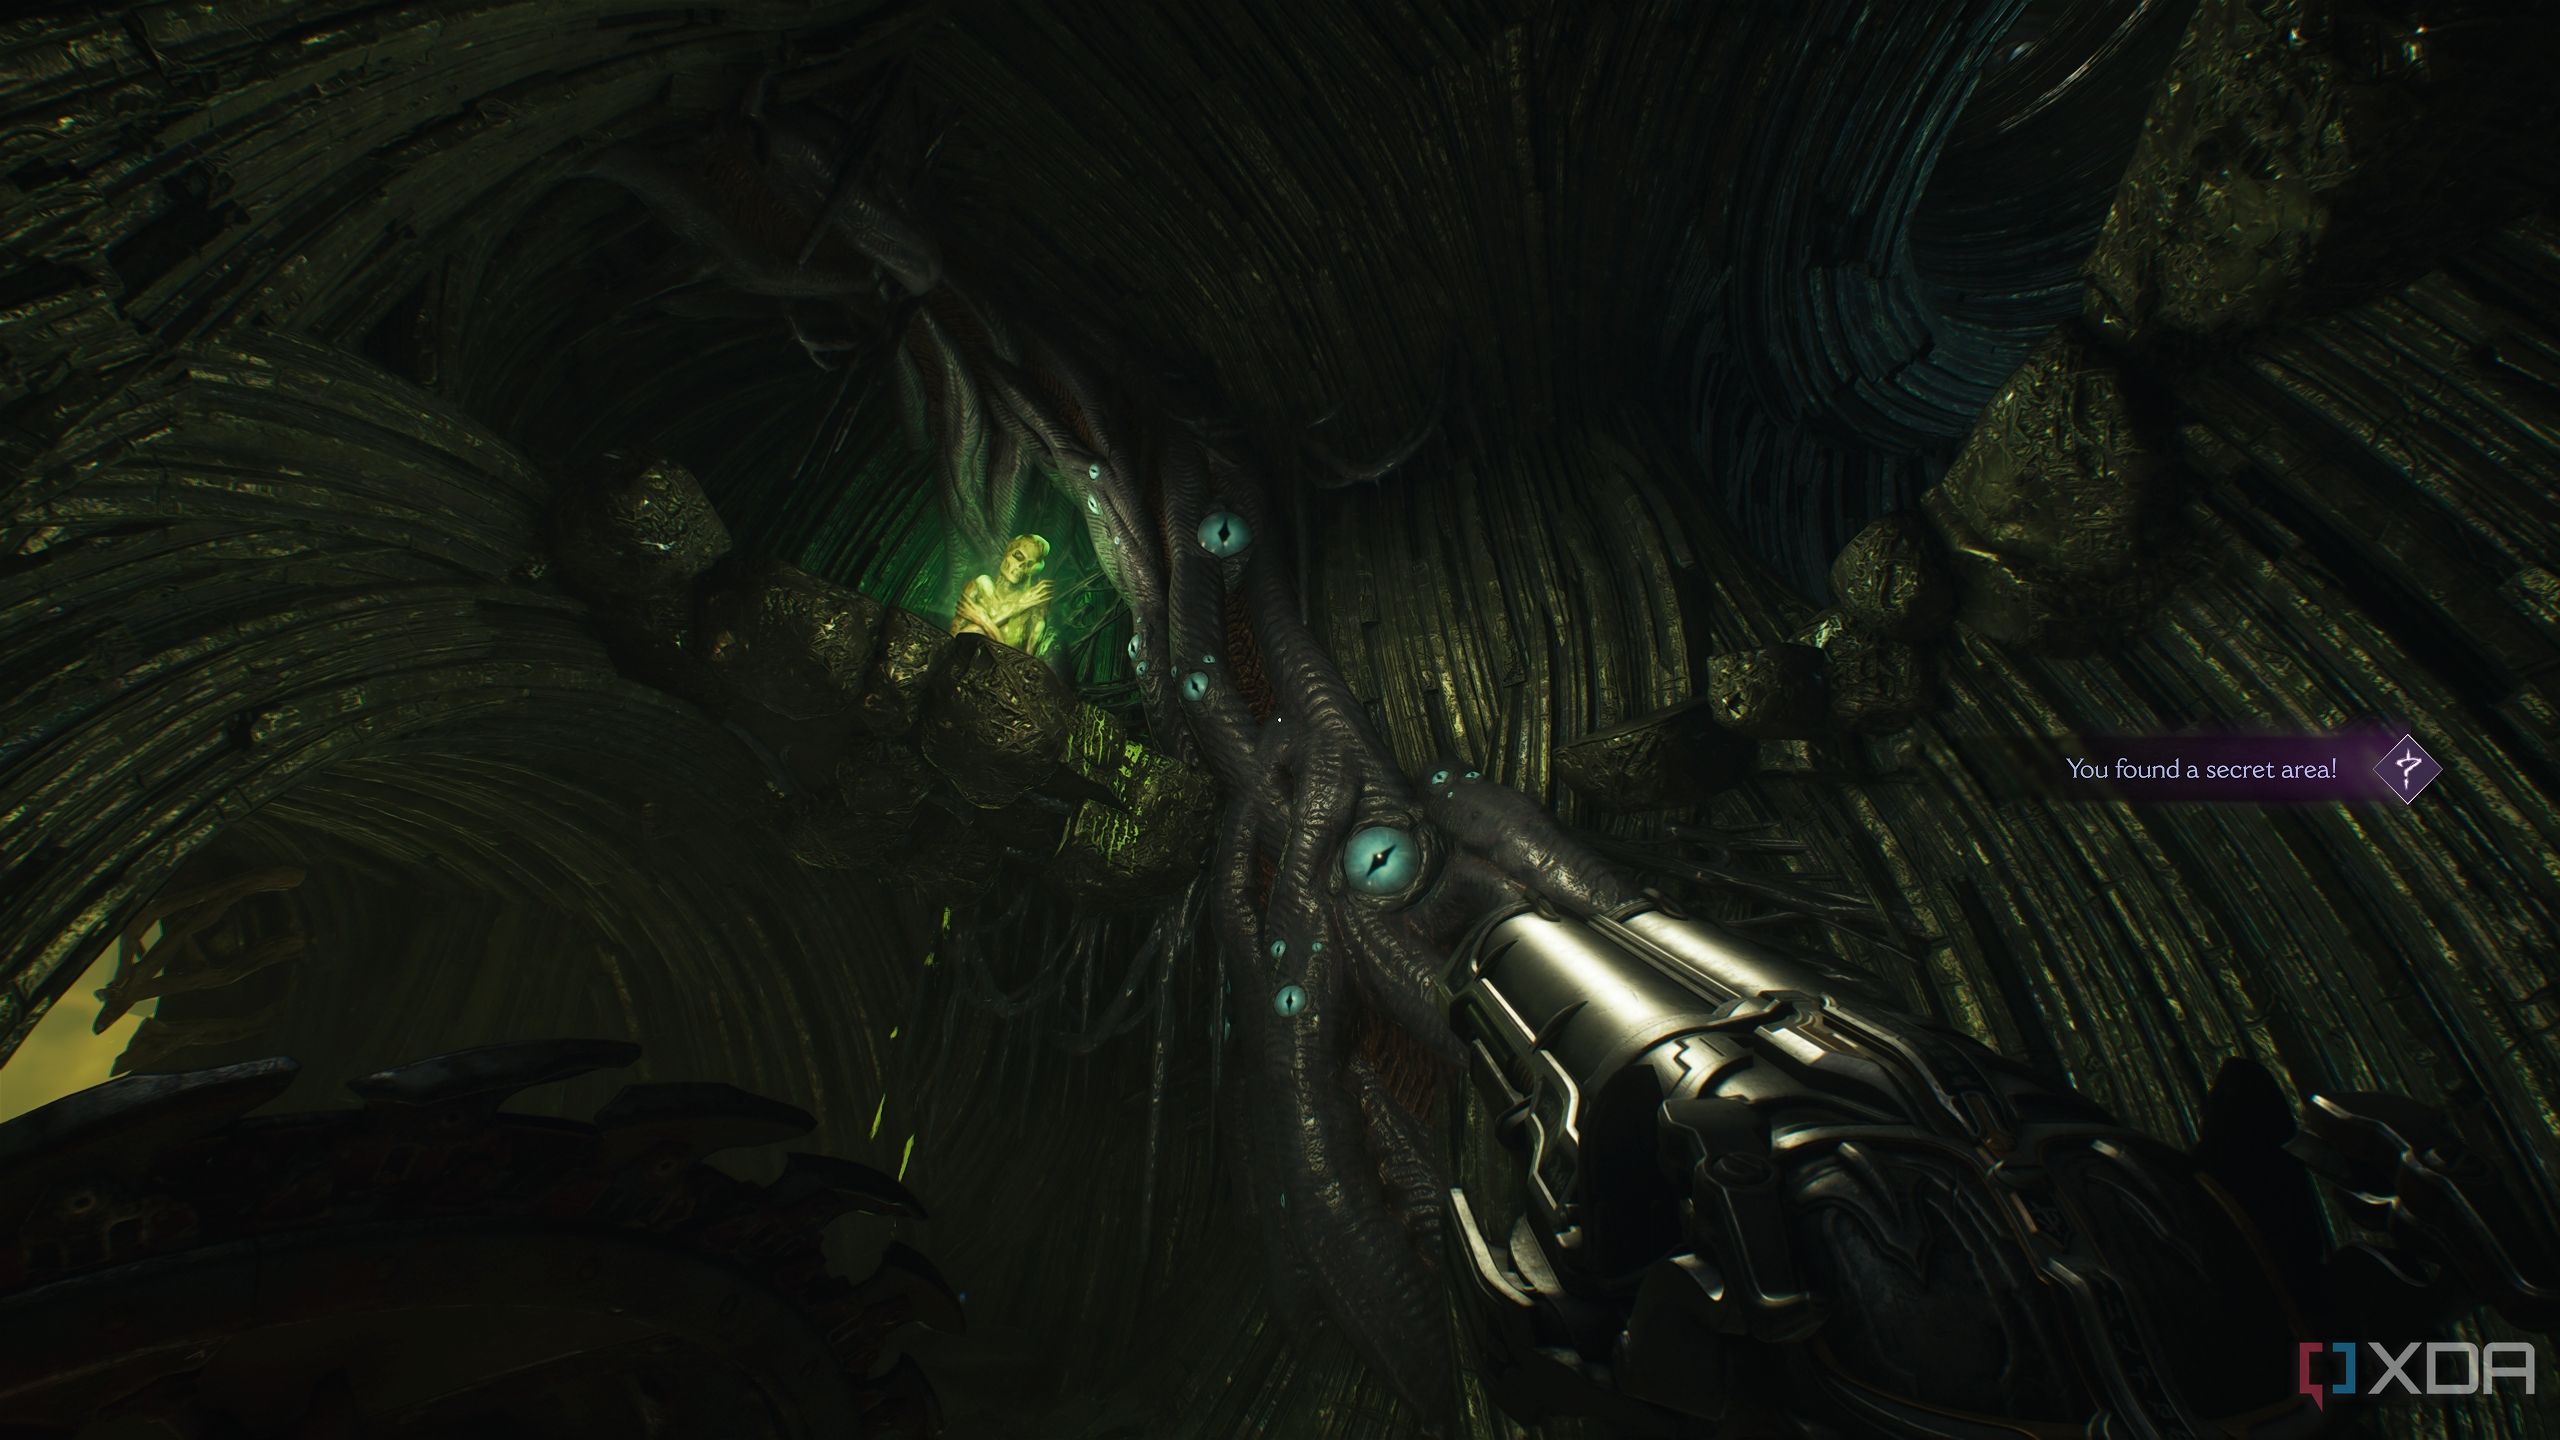
Right above you, there’s a green flesh node — use it to get up, and then jump across the gap ahead onto an elevator.
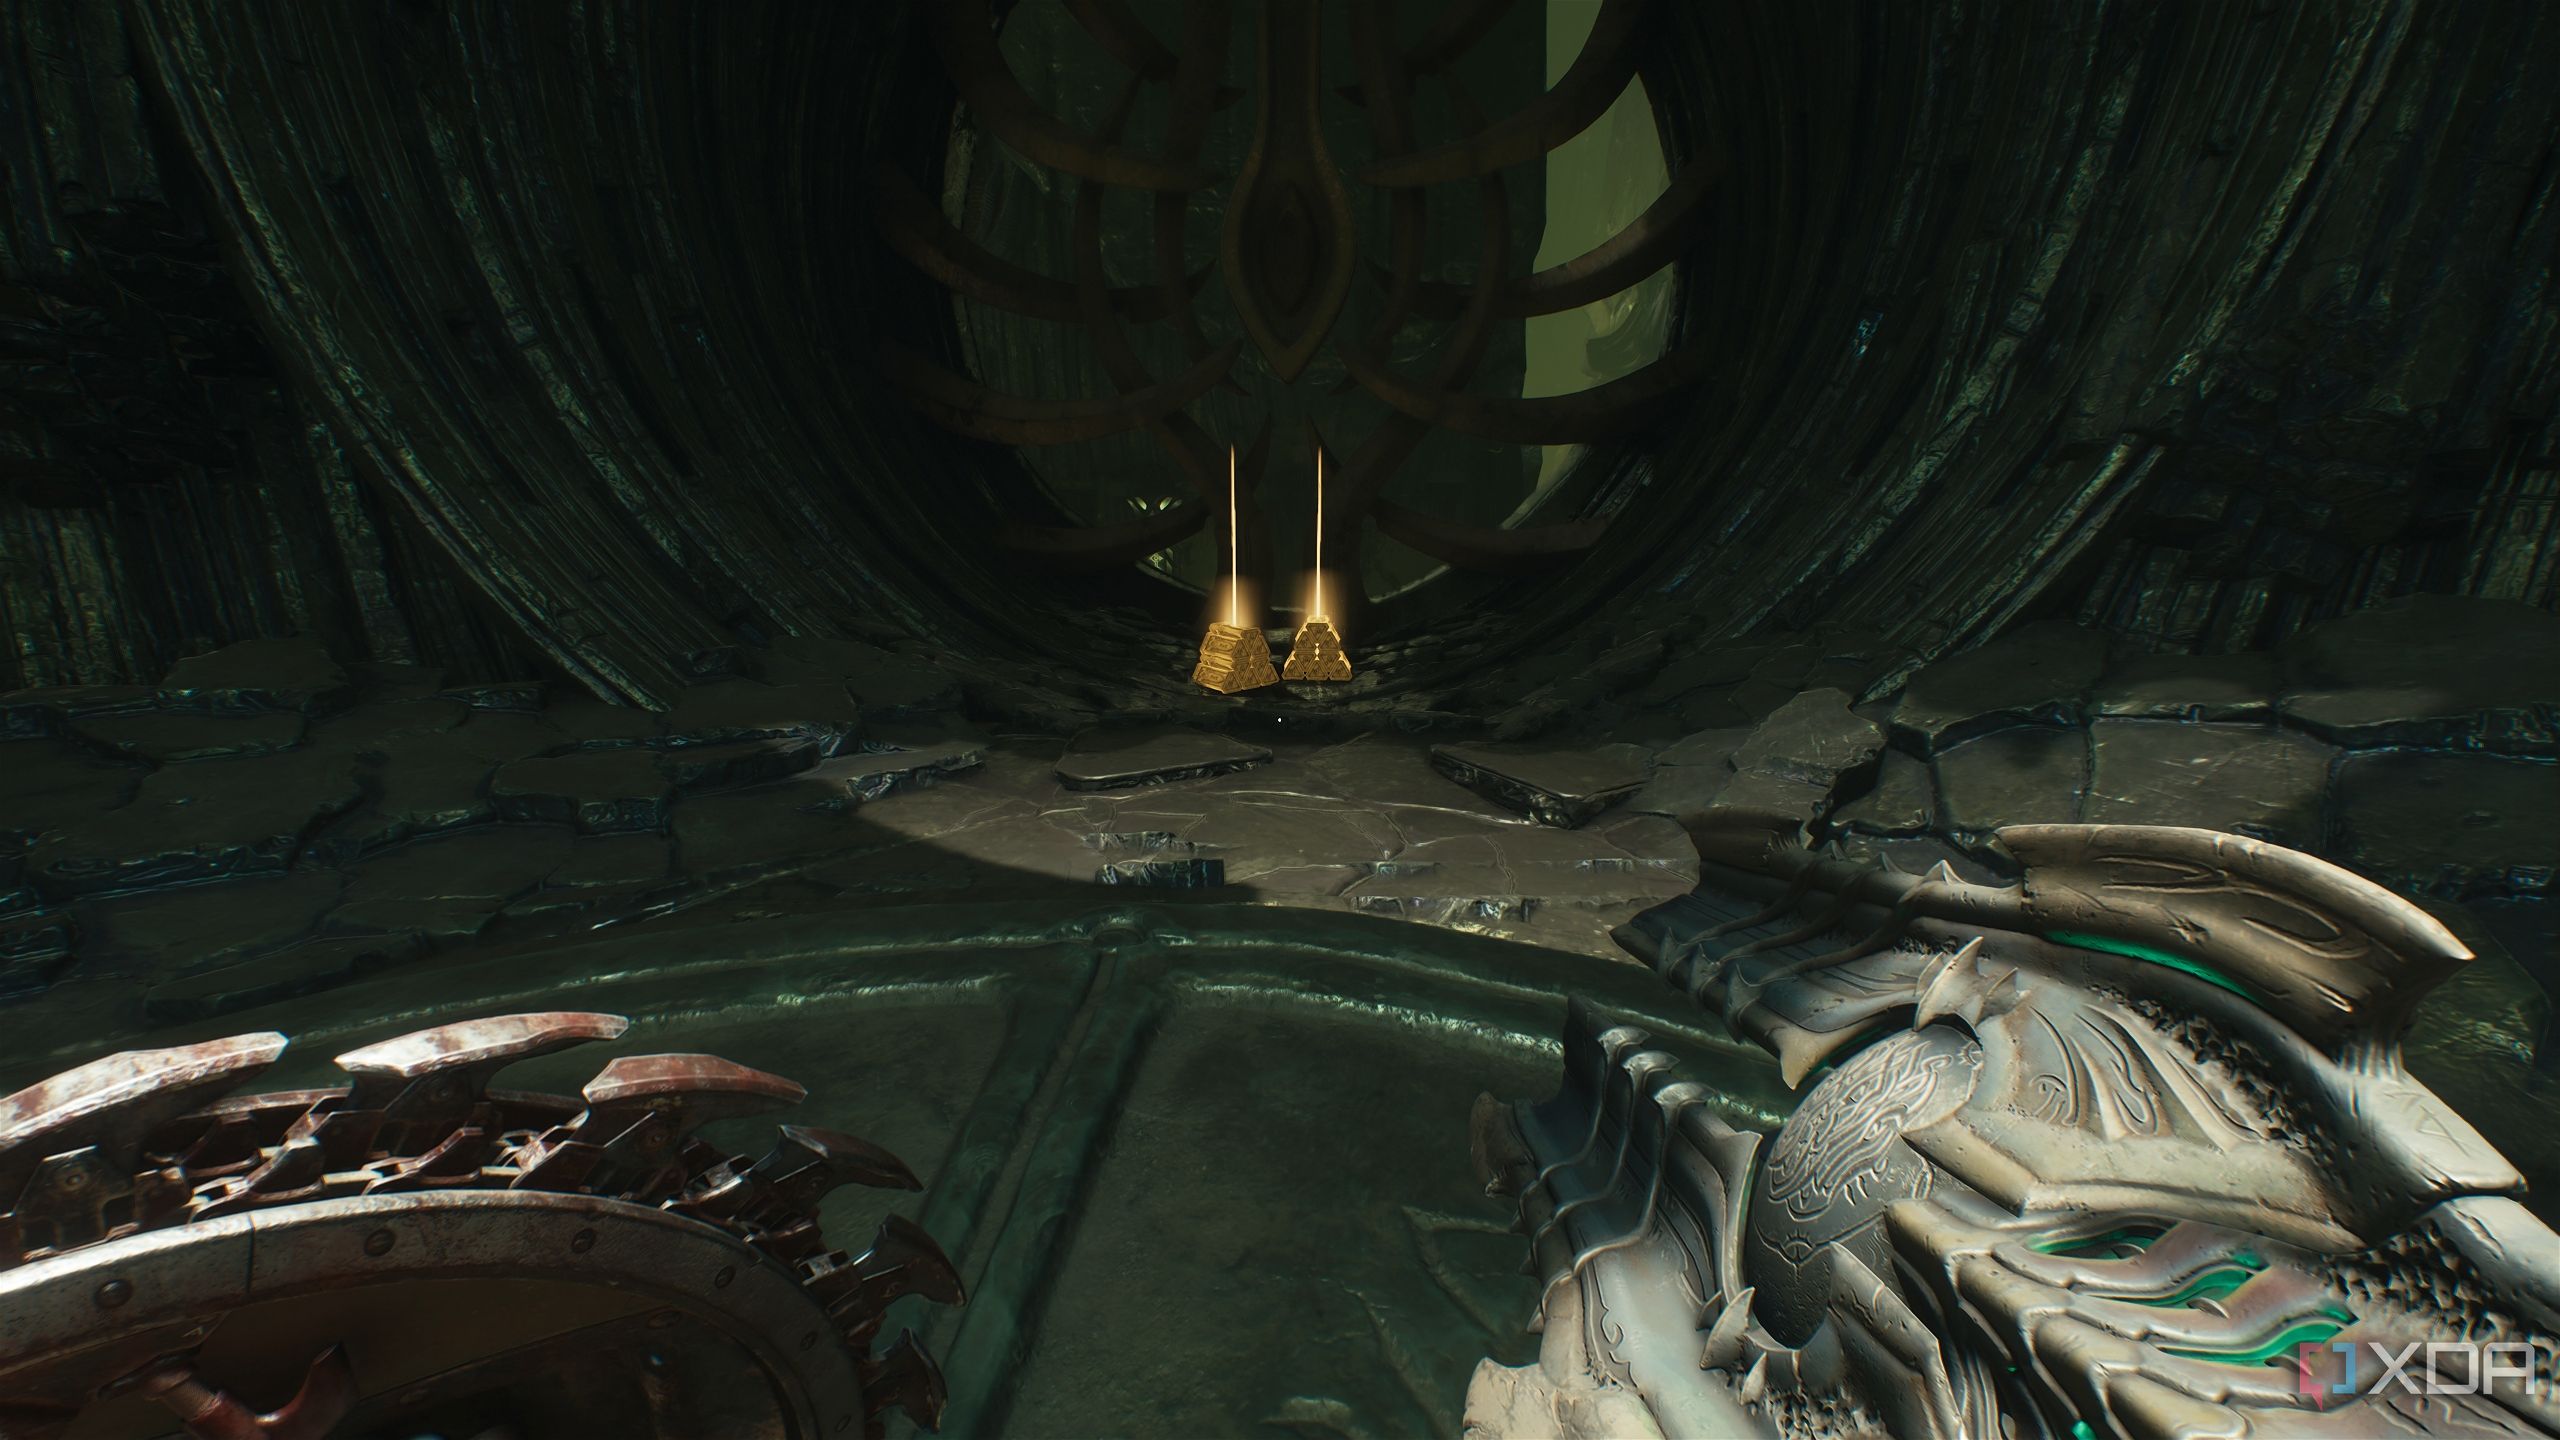
This will take you up to two gold stacks and a purple gate switch.
Interact with it to unlock the door ahead, and you’ll see that it also activates a jump pad in the distance, straight ahead.
Secret area 2 and a Red Ruby
All these collectibles before we even head towards the objective
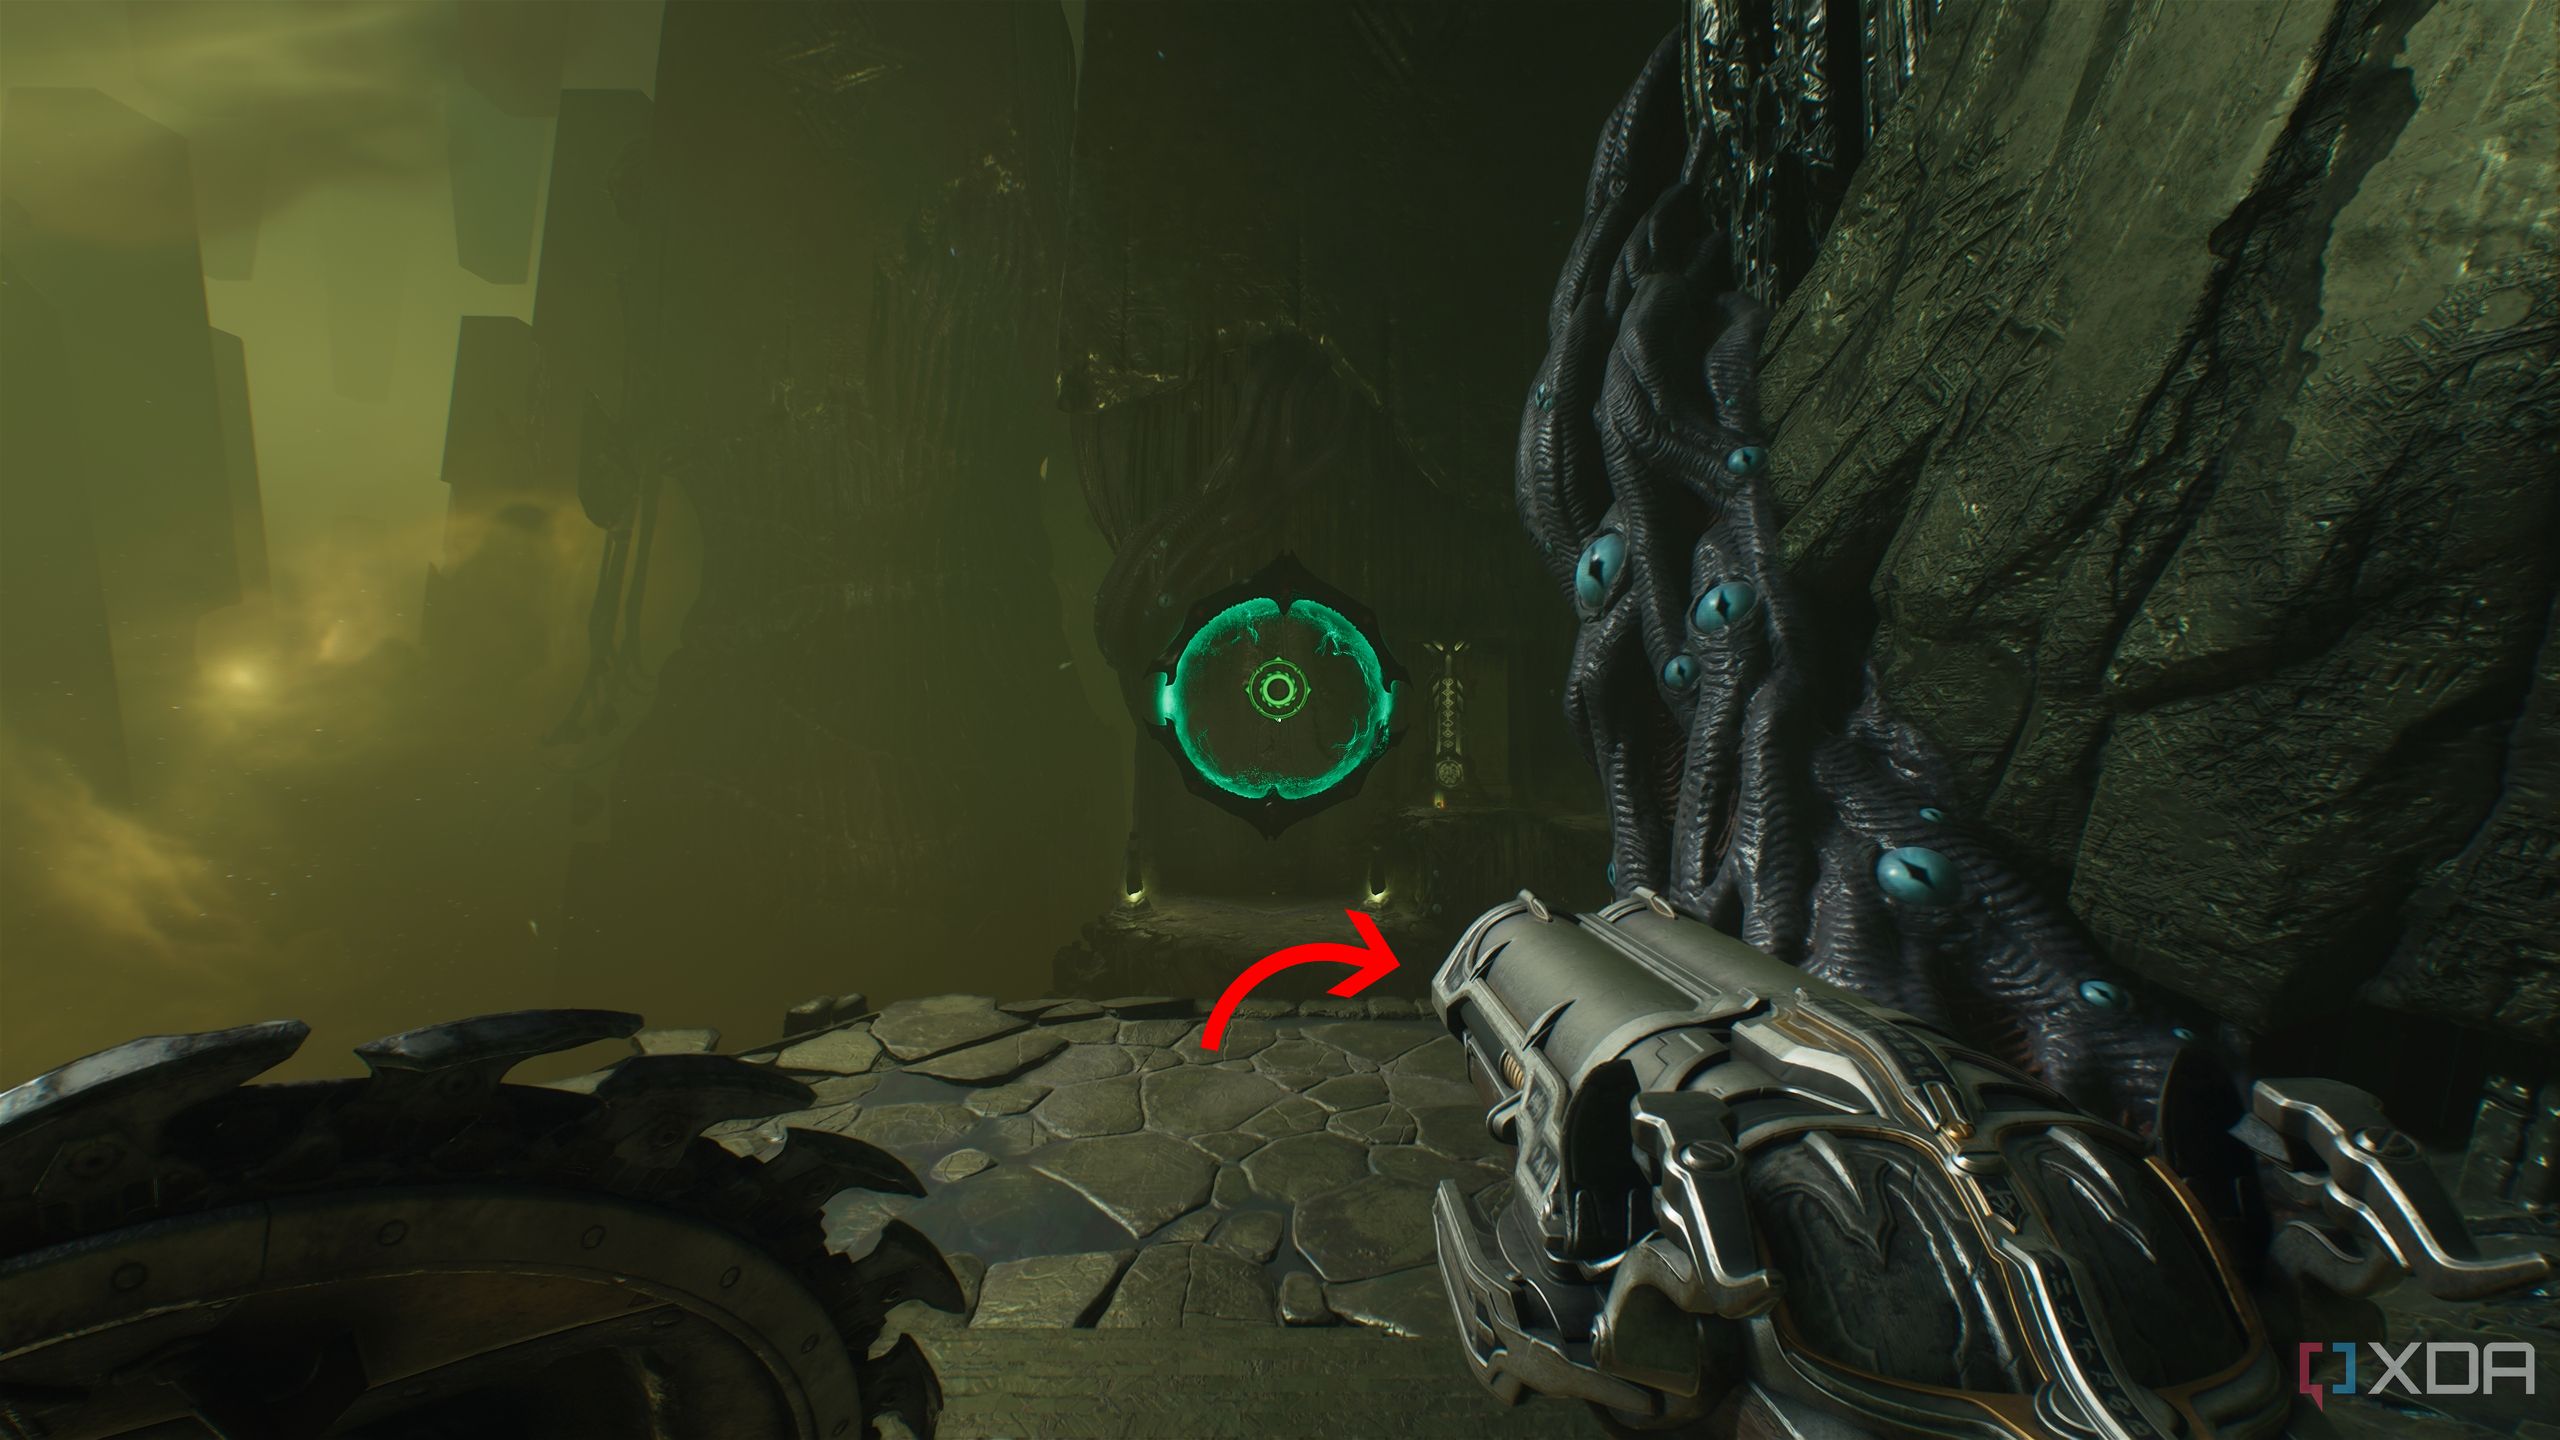
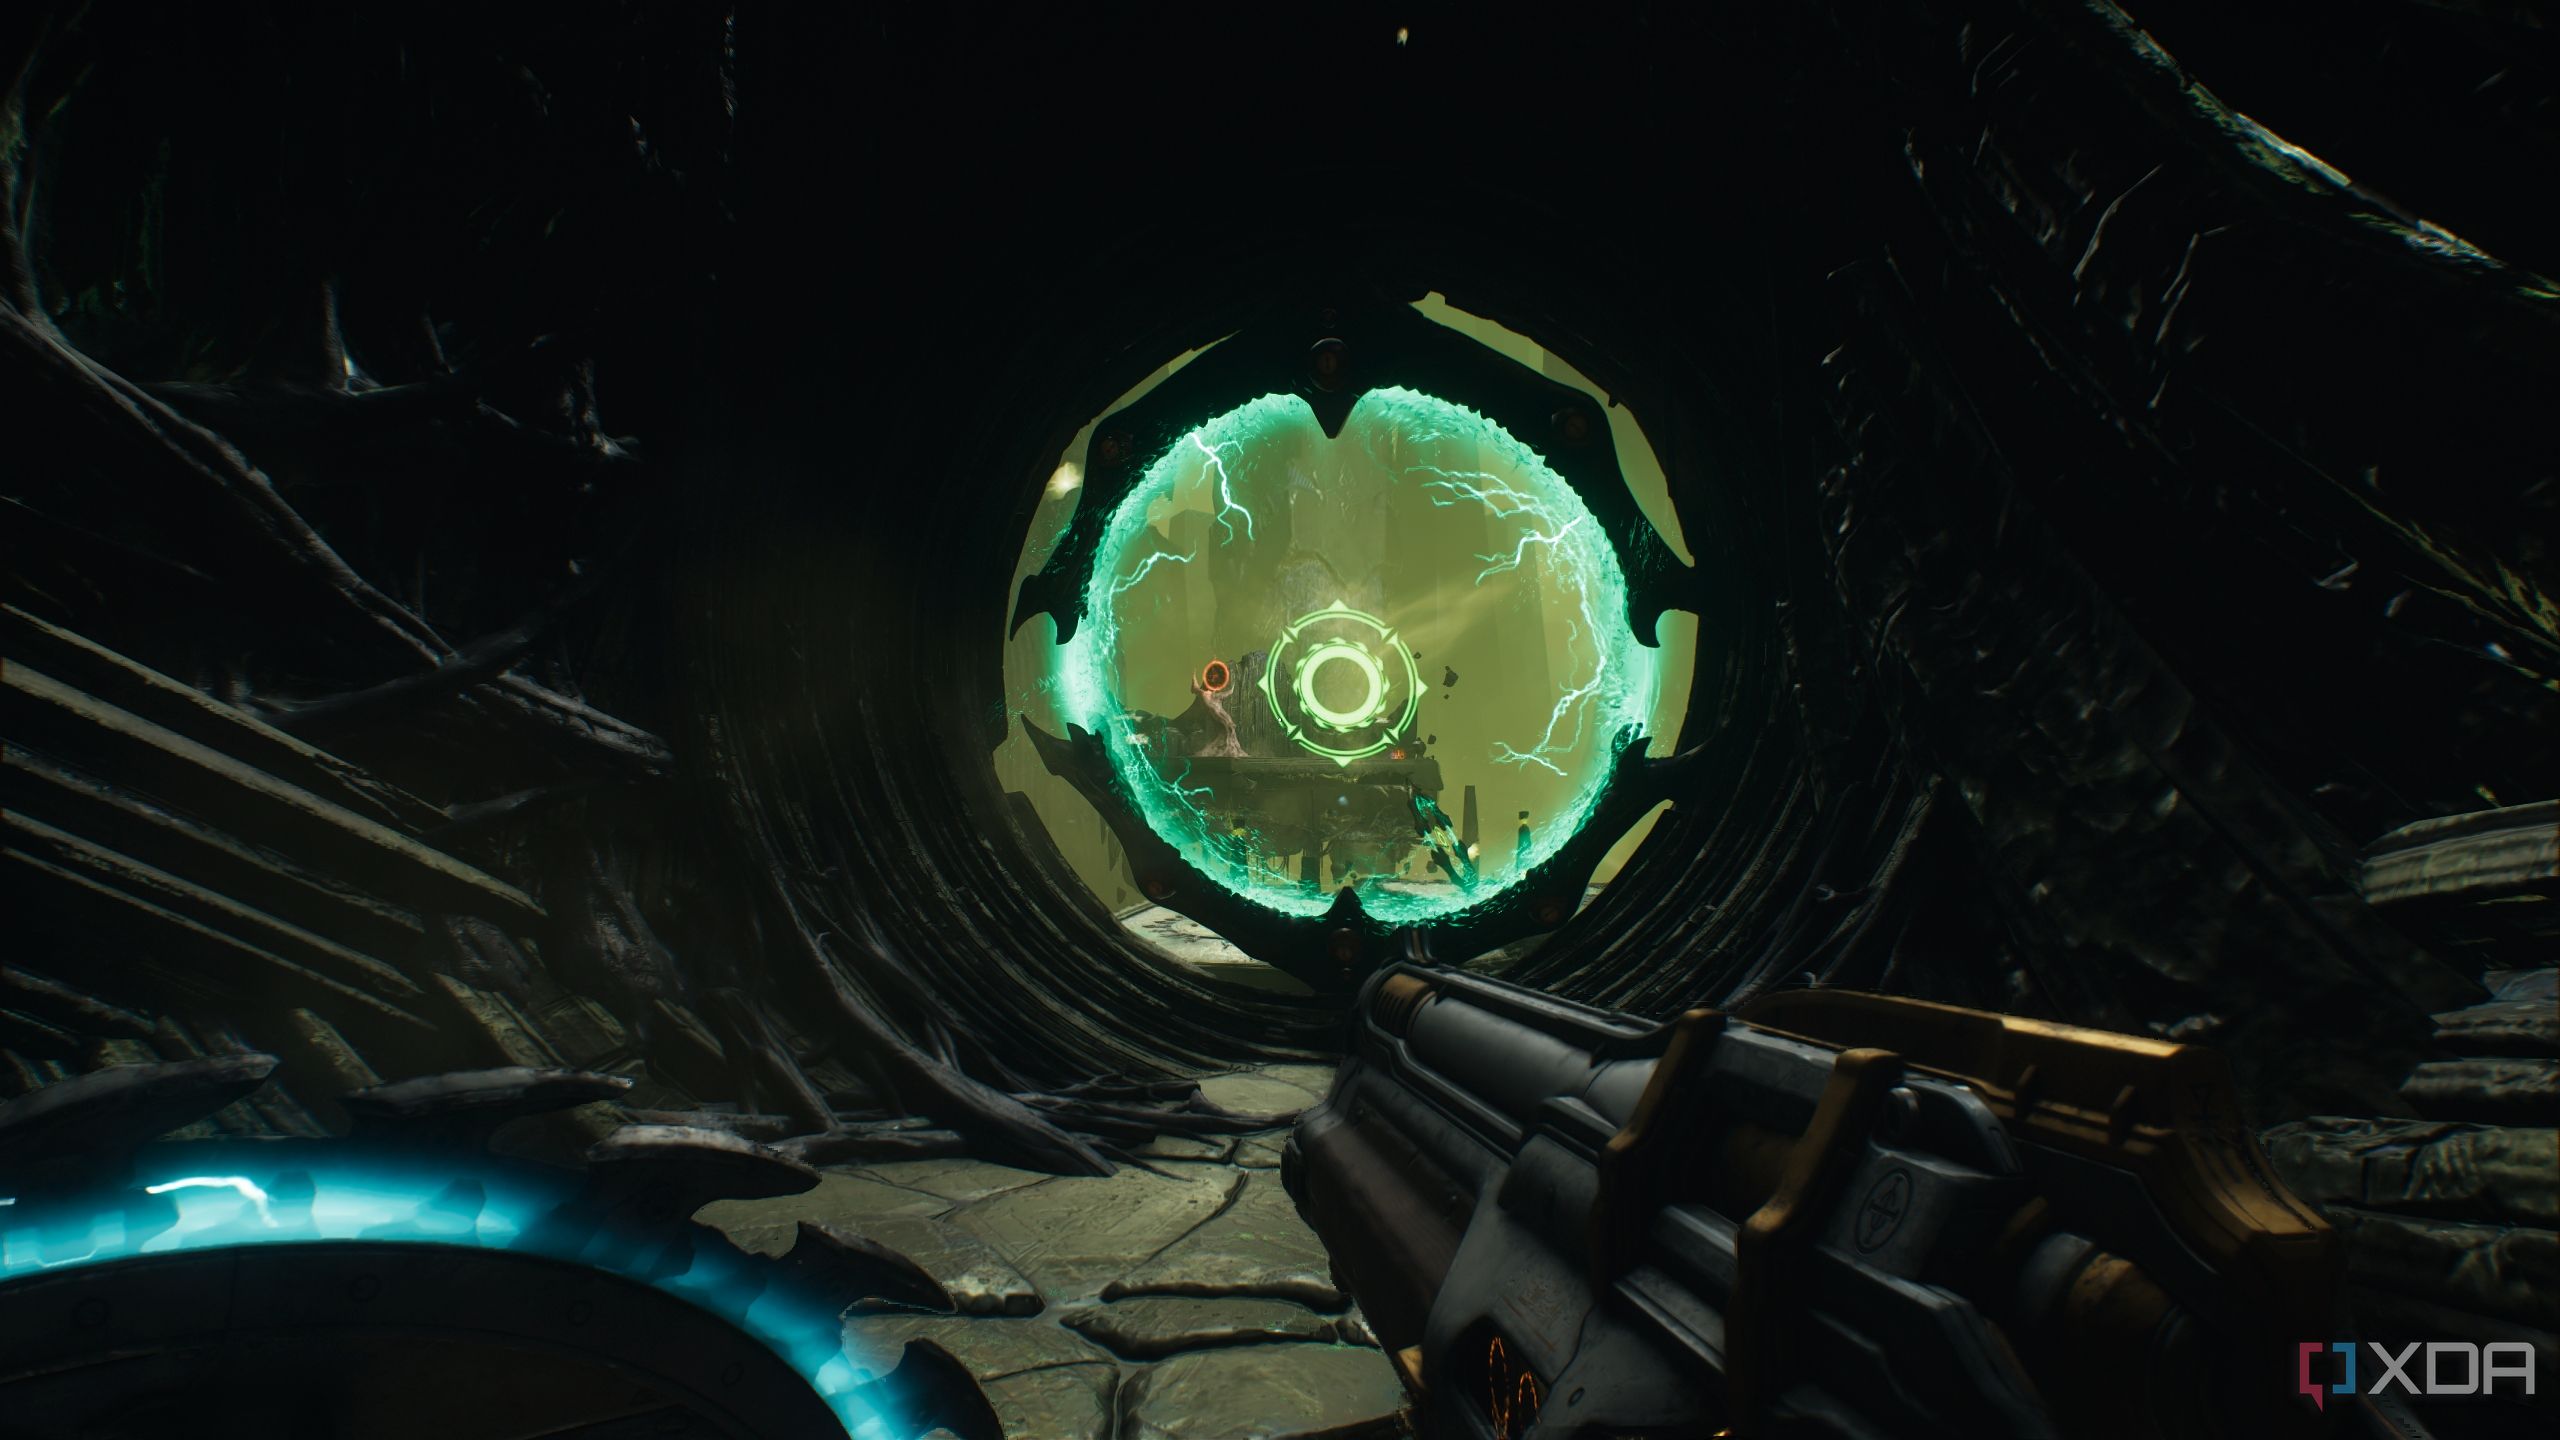
Head towards the jump pad you just activated and step into it.

This will take you a level above, where you’ll land inside secret area 2. Walk towards the statue here and collect the first Red Ruby in the level.

Related
The DOOM series: Every core game ranked
What are the best entries of the DOOM series that you should play? Here's every core game ranked!
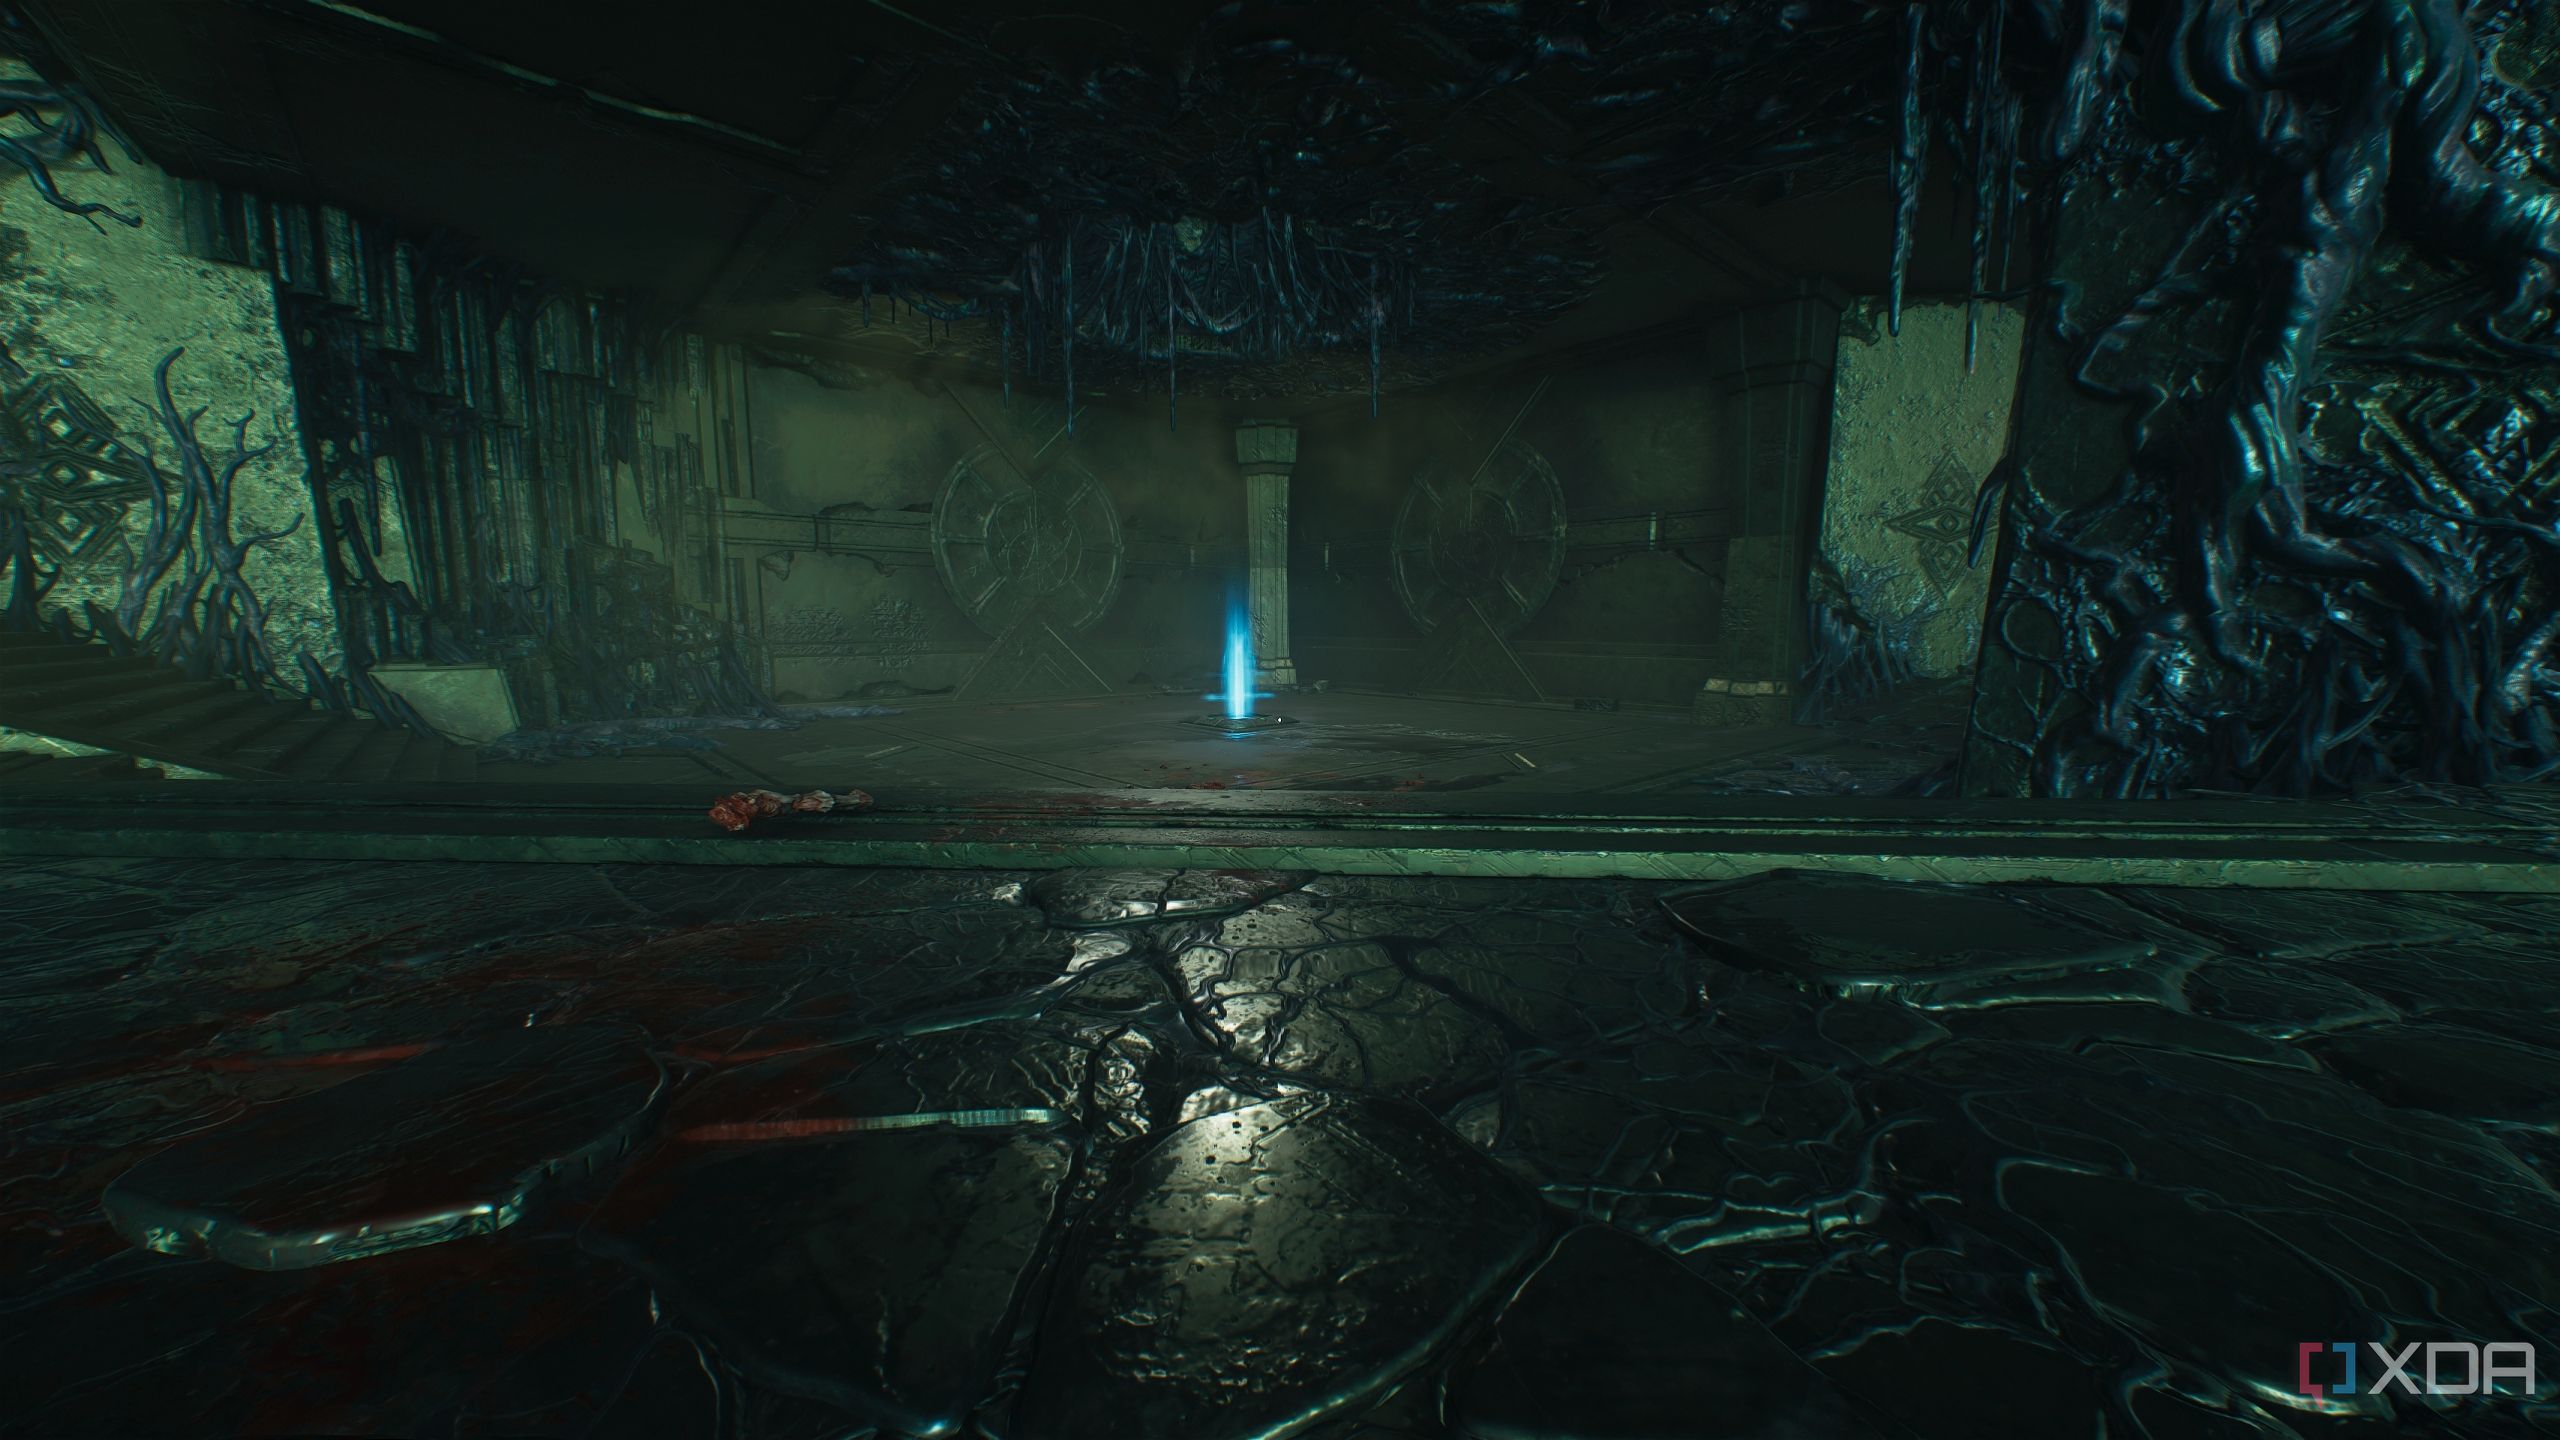
Secret area 3 and a Life Sigil
Try not to head straight into Shield Portals
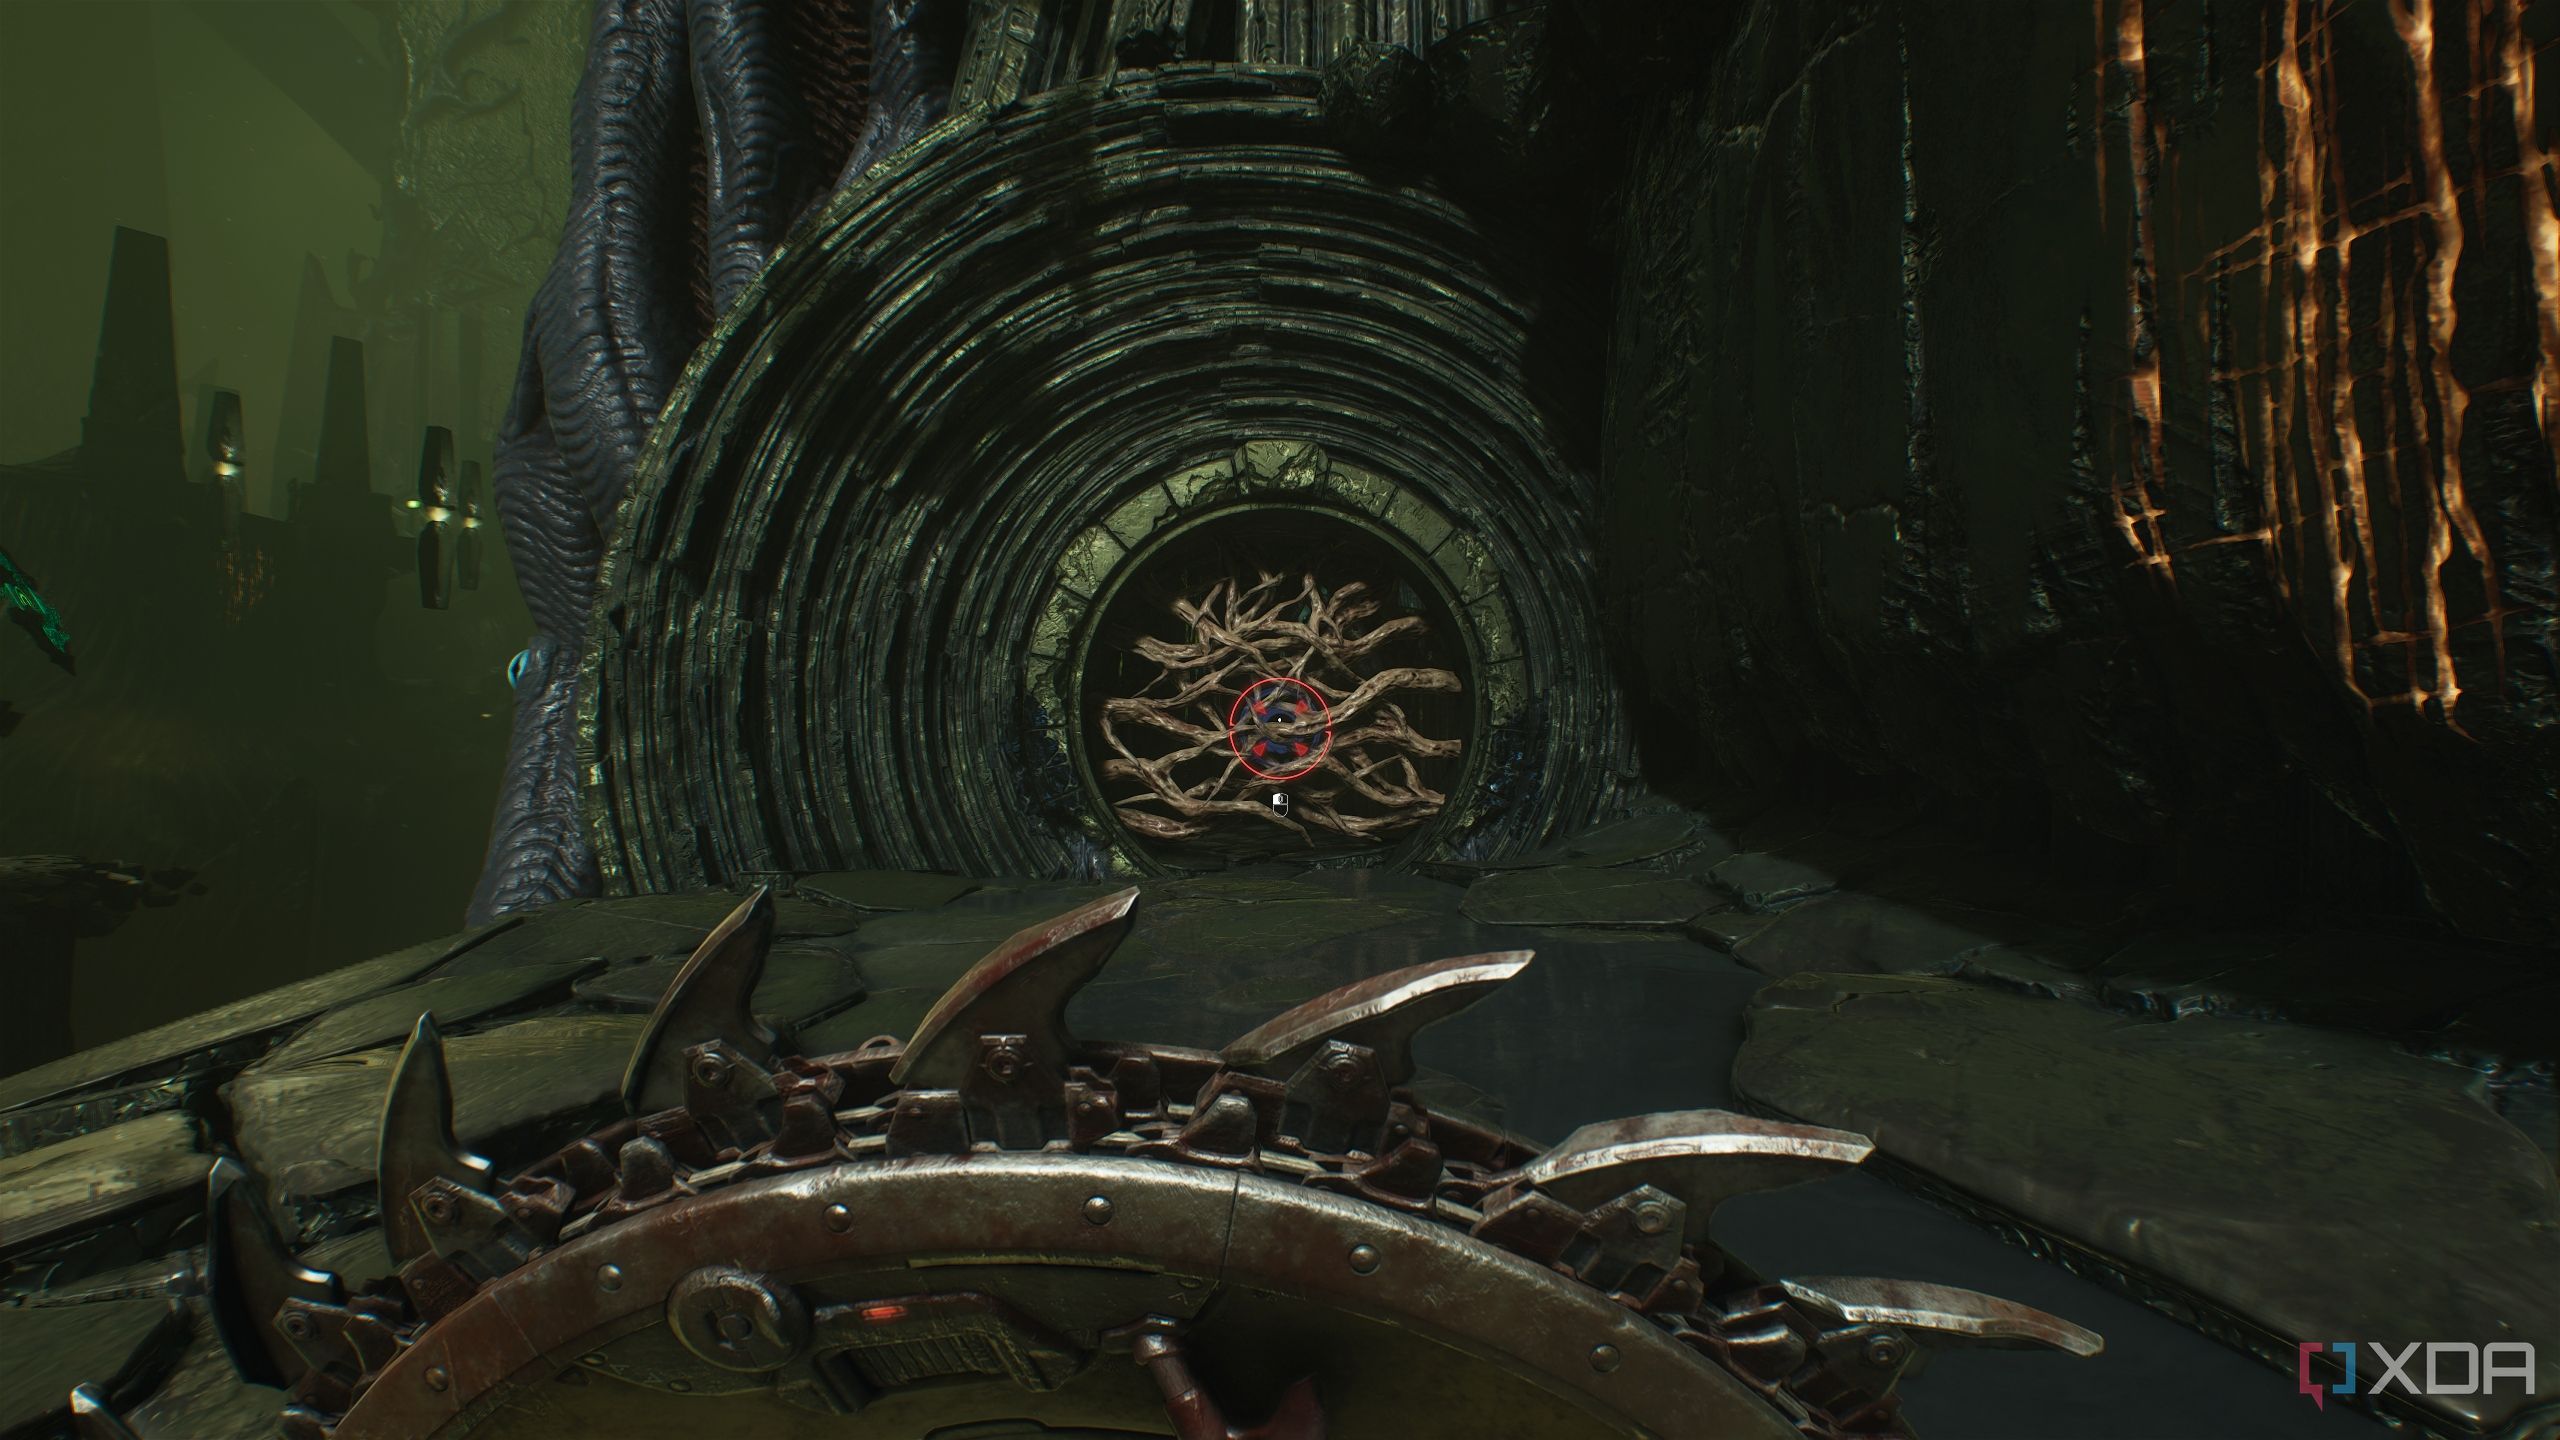
Now, head towards the objective, and fly through the first Shield Charge portal you see. Head inside and climb up the scramble wall.
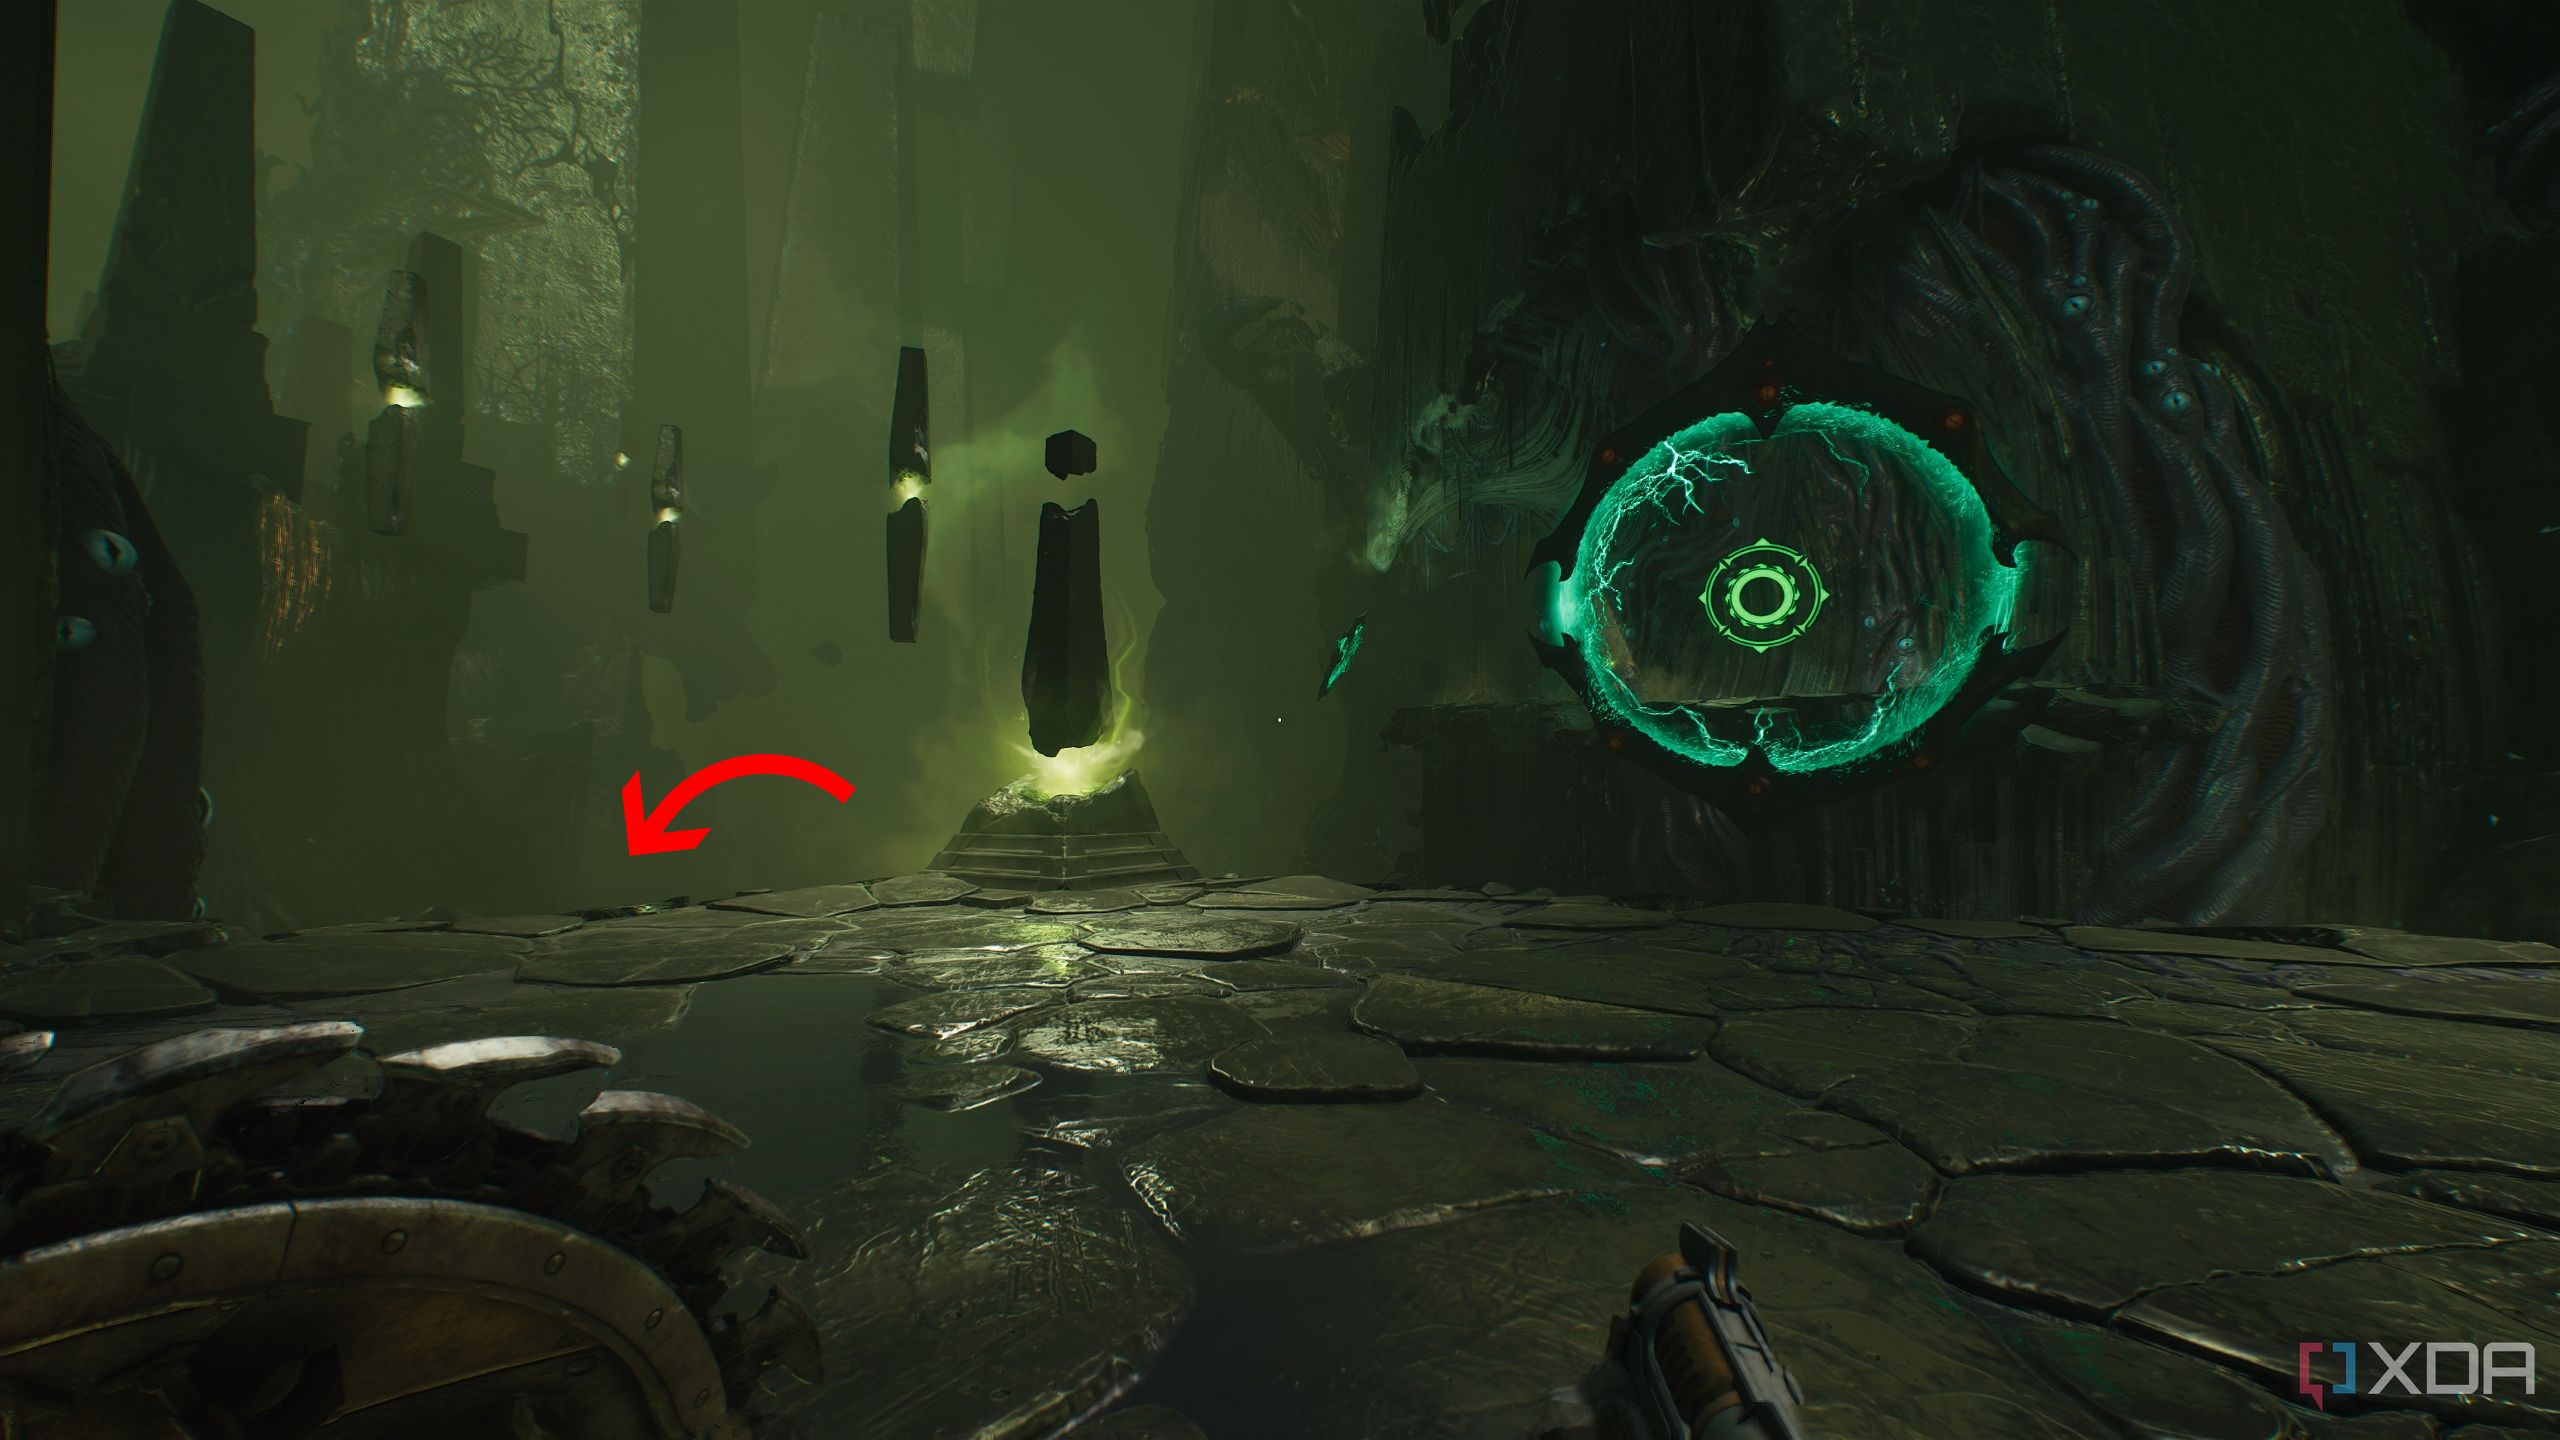
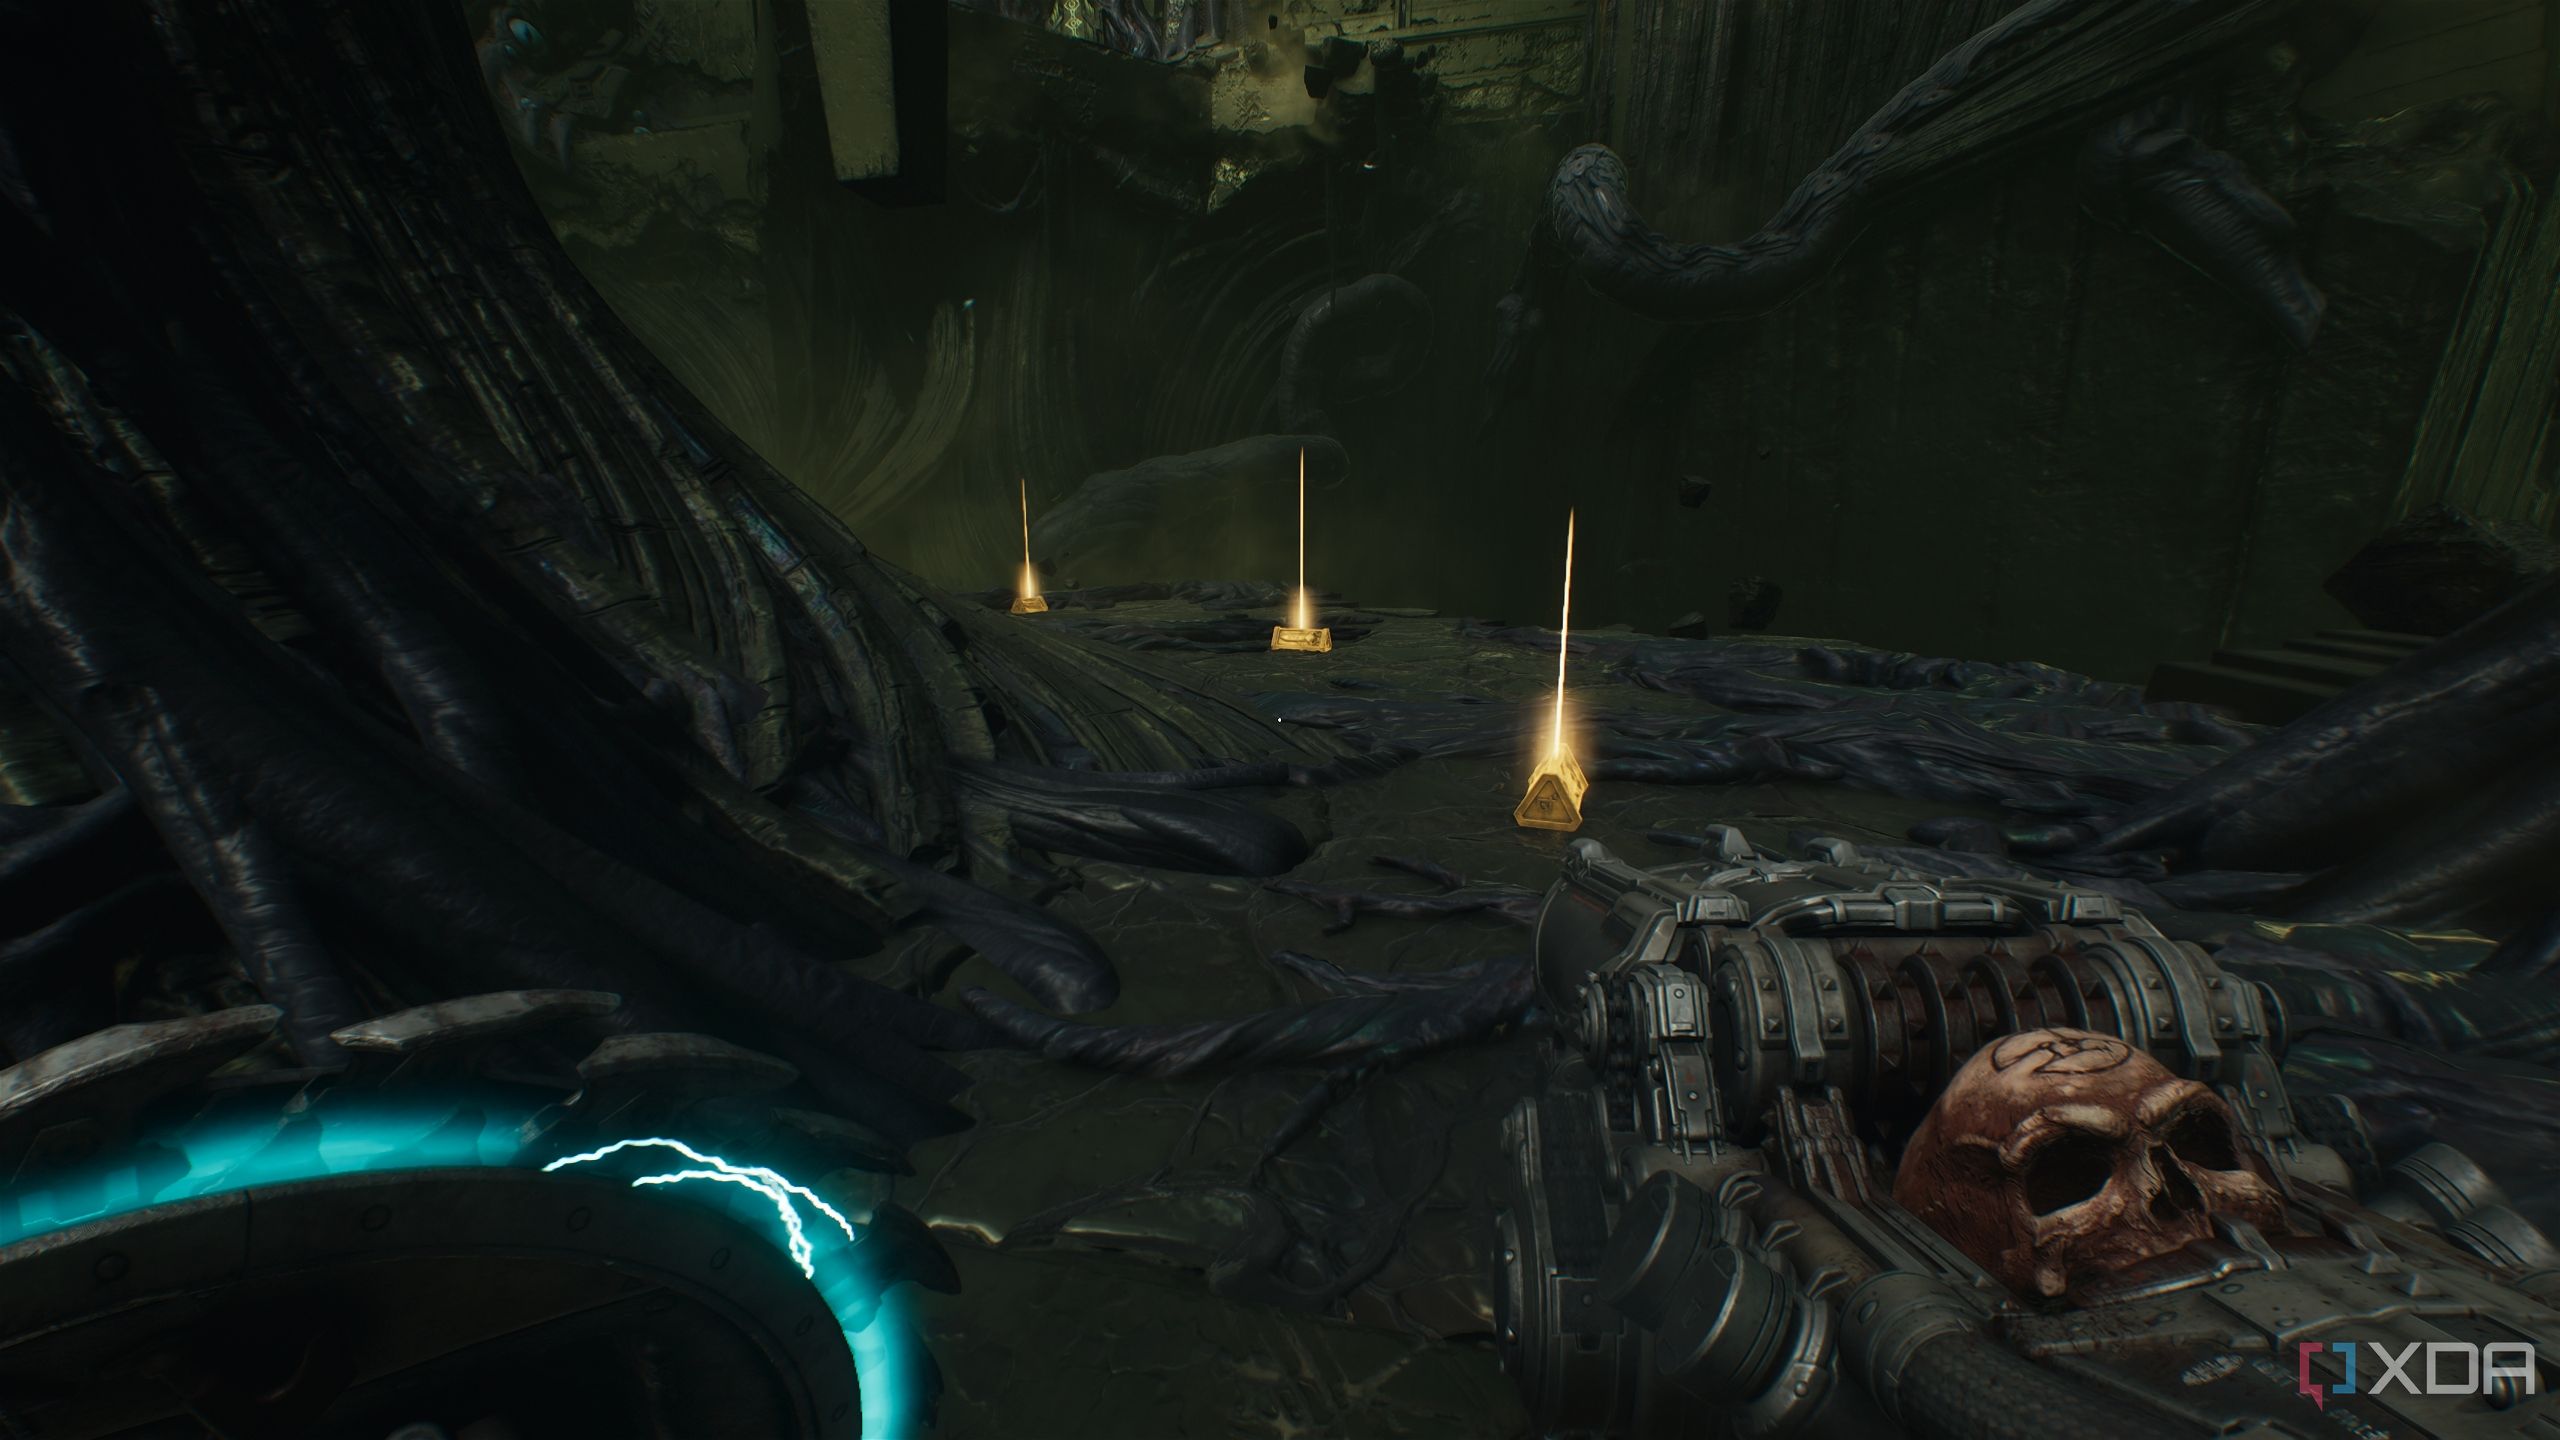
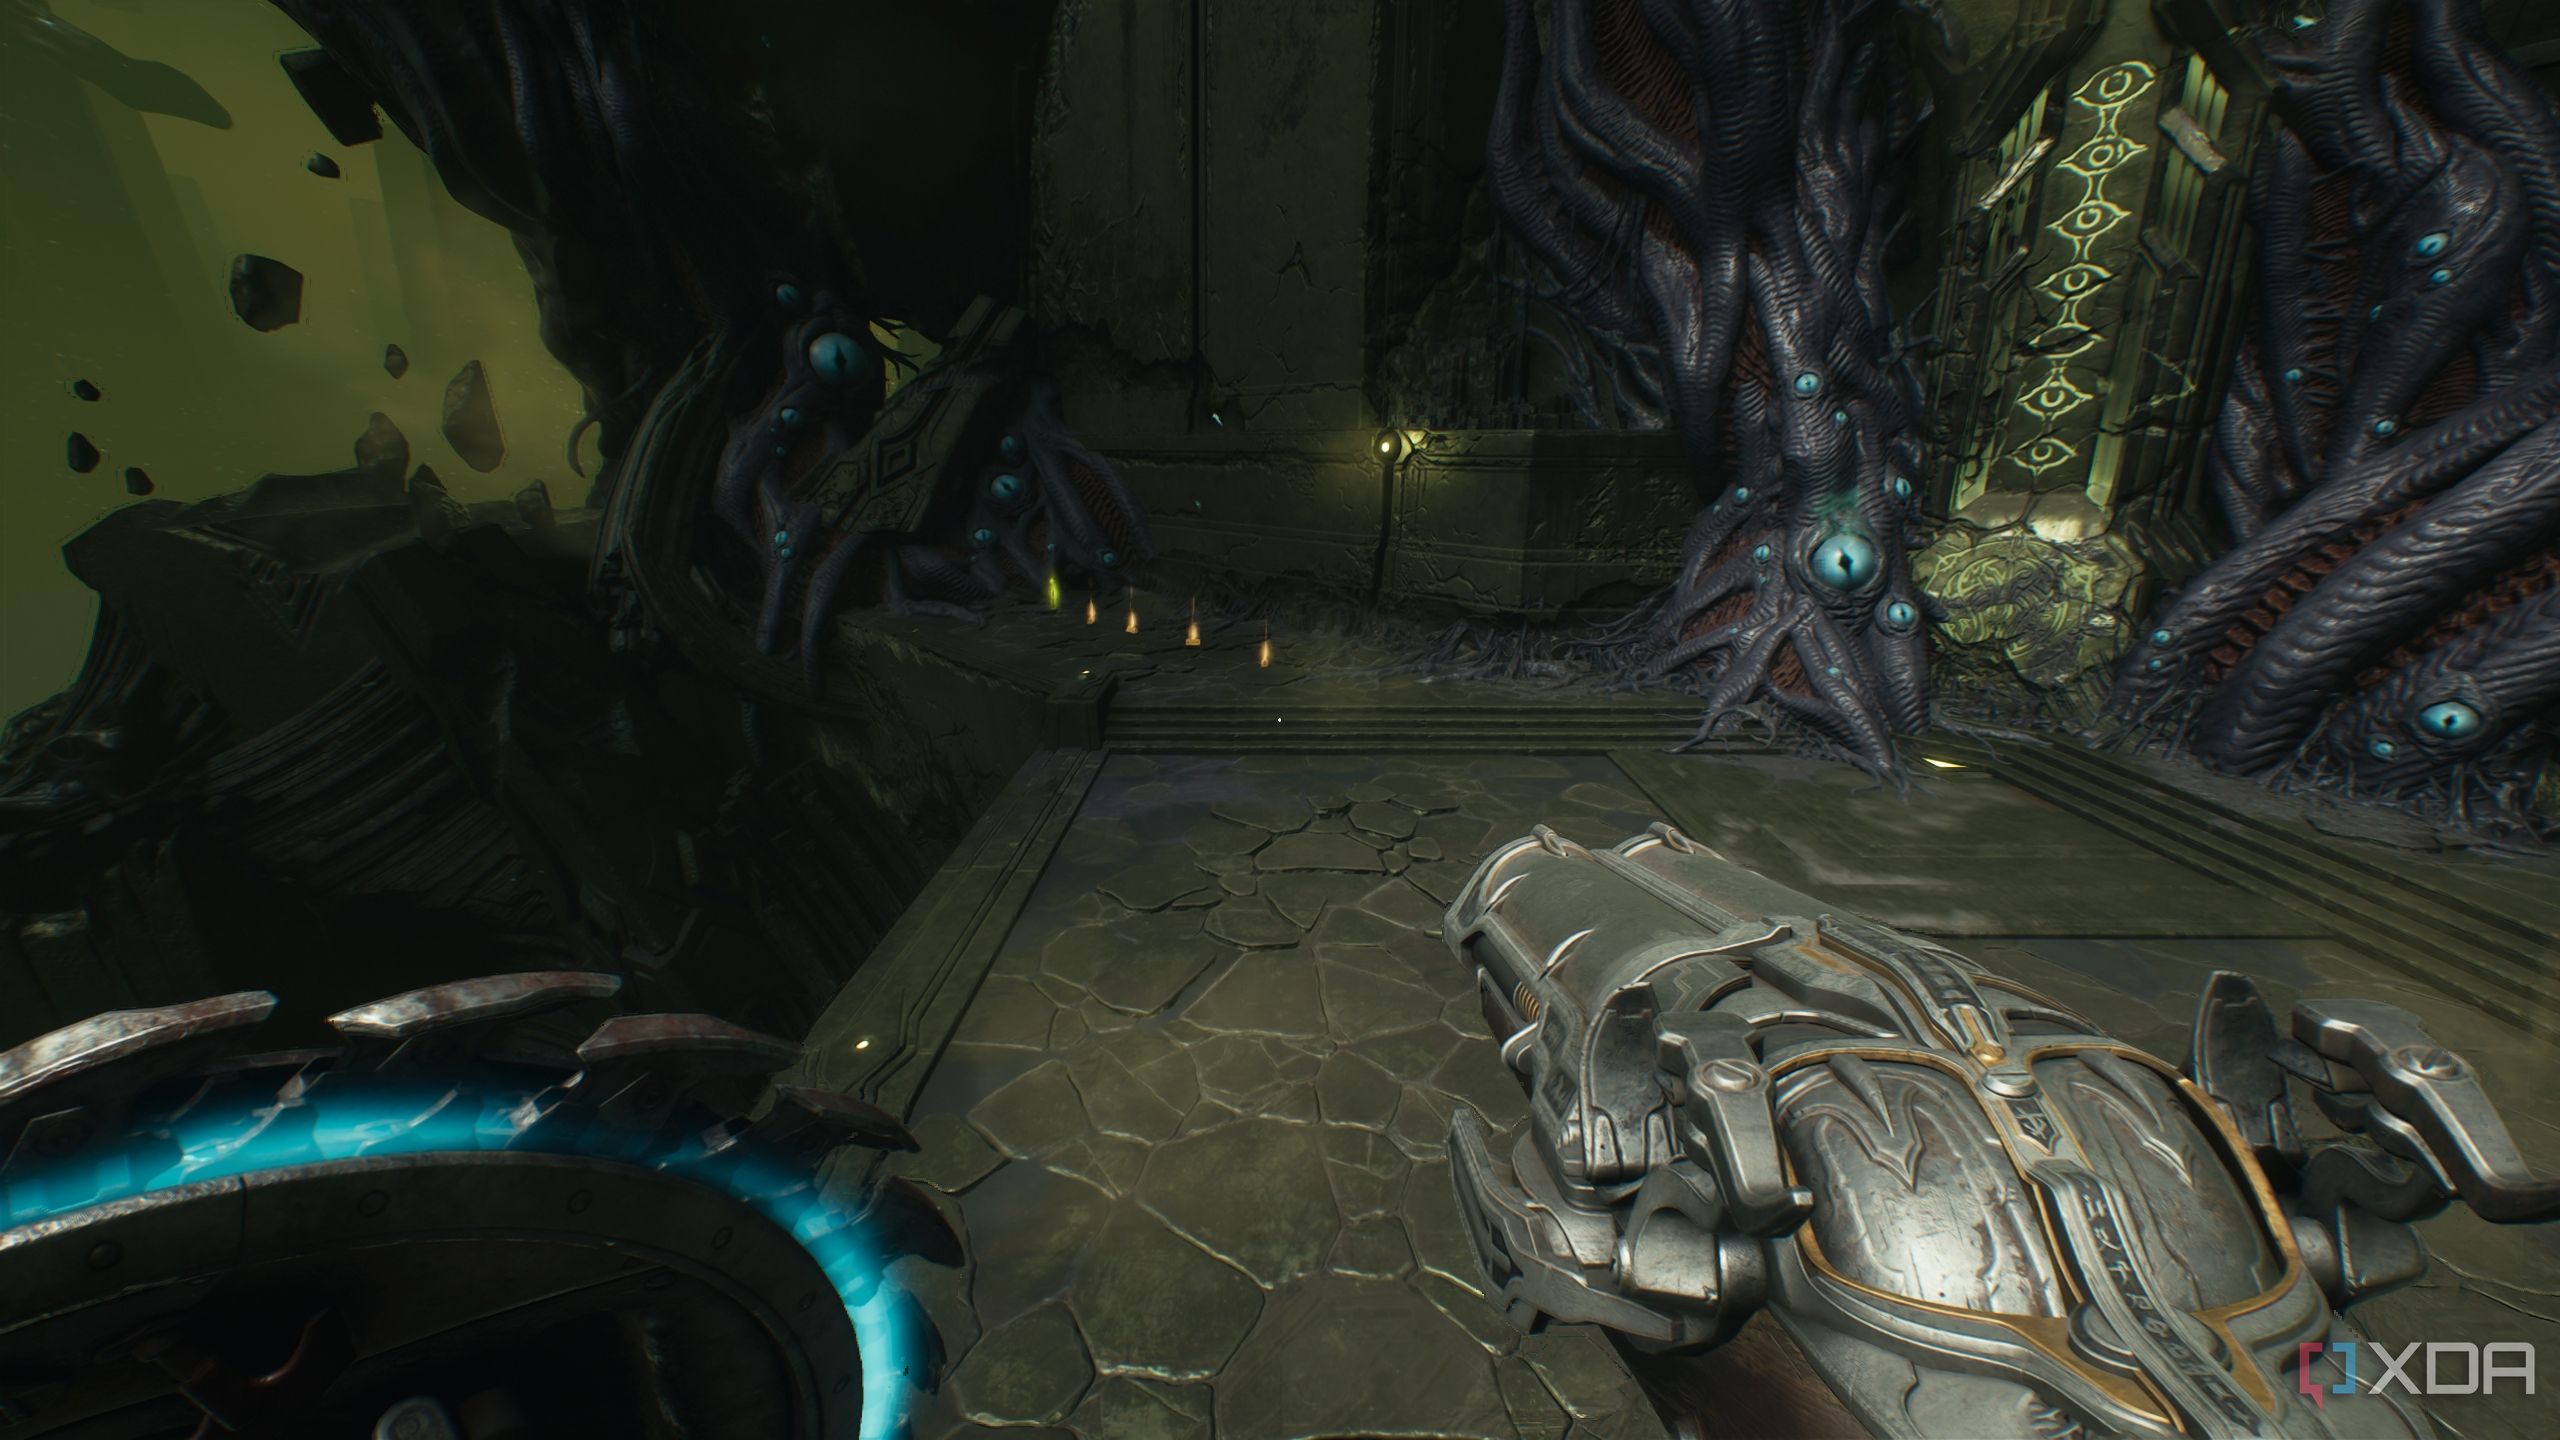
Instead of going through the second Shield Charge portal, drop down from the left edge to a platform below.

You’ll see a trail of gold bars. Pick them all up while avoiding the tentacle attacks, and you’ll unlock secret area 1 and a Life Sigil.
Secret area 4 and a gold chest
There's gold bars under there
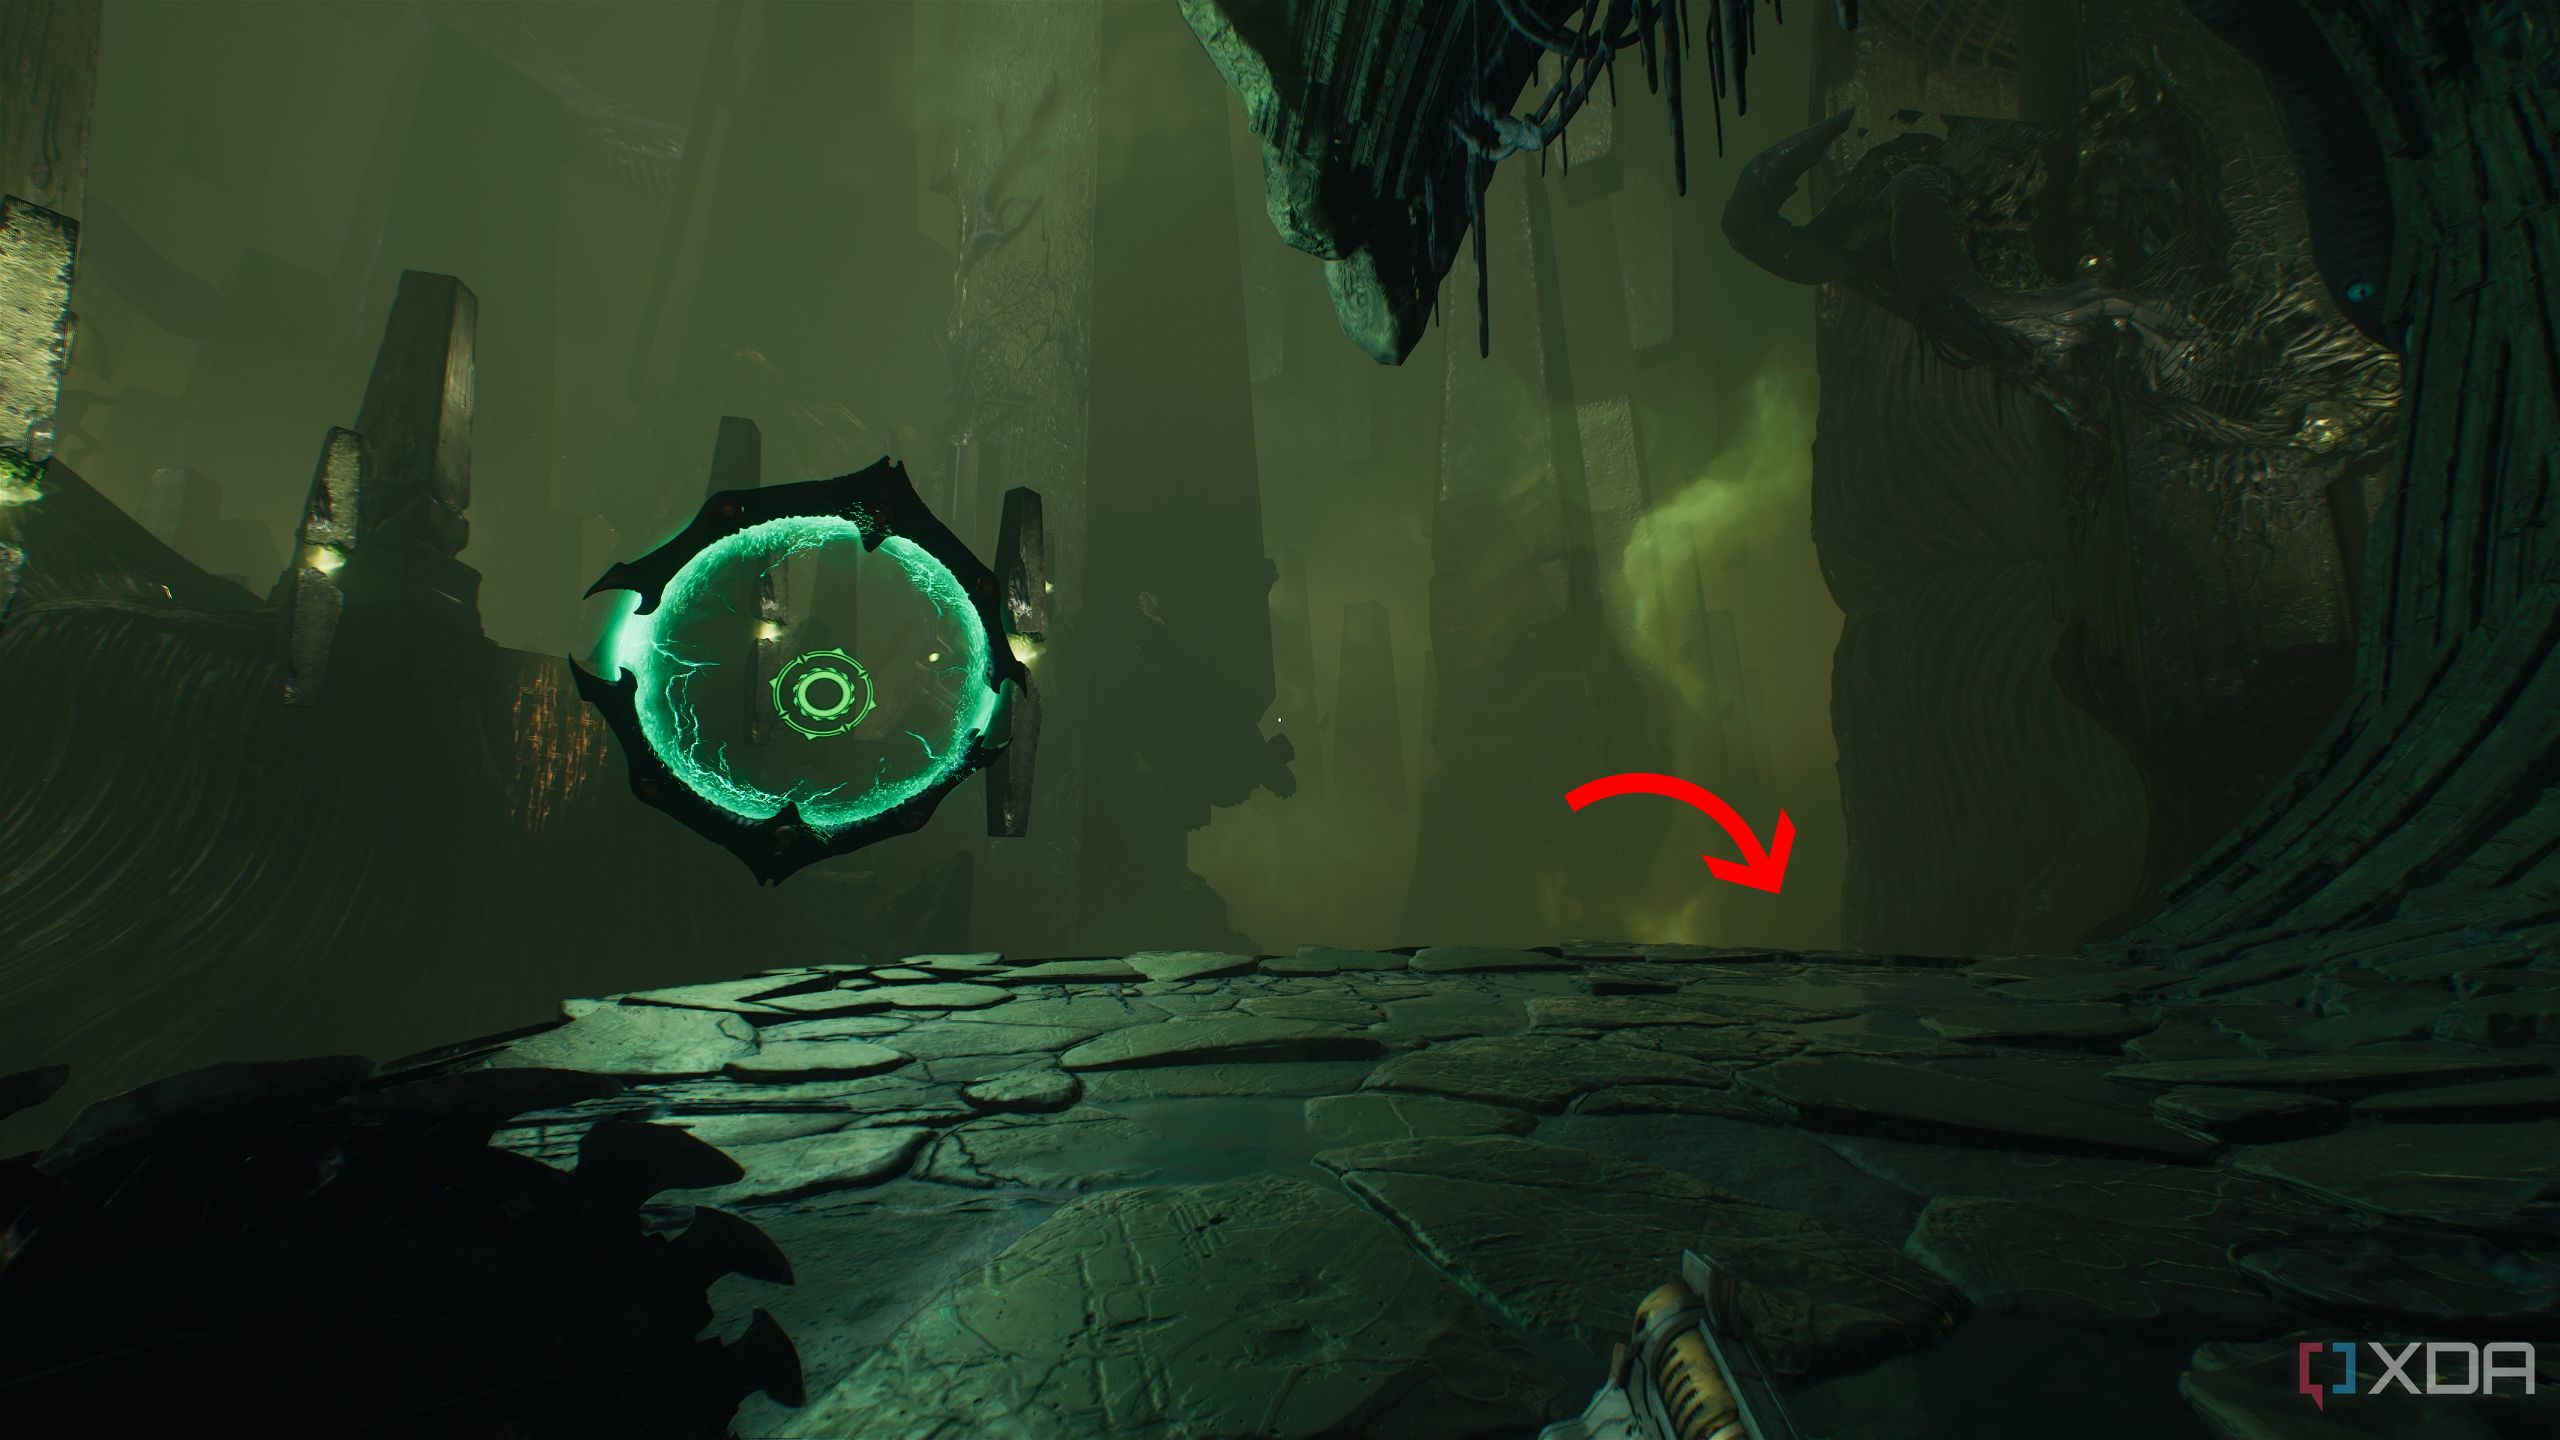
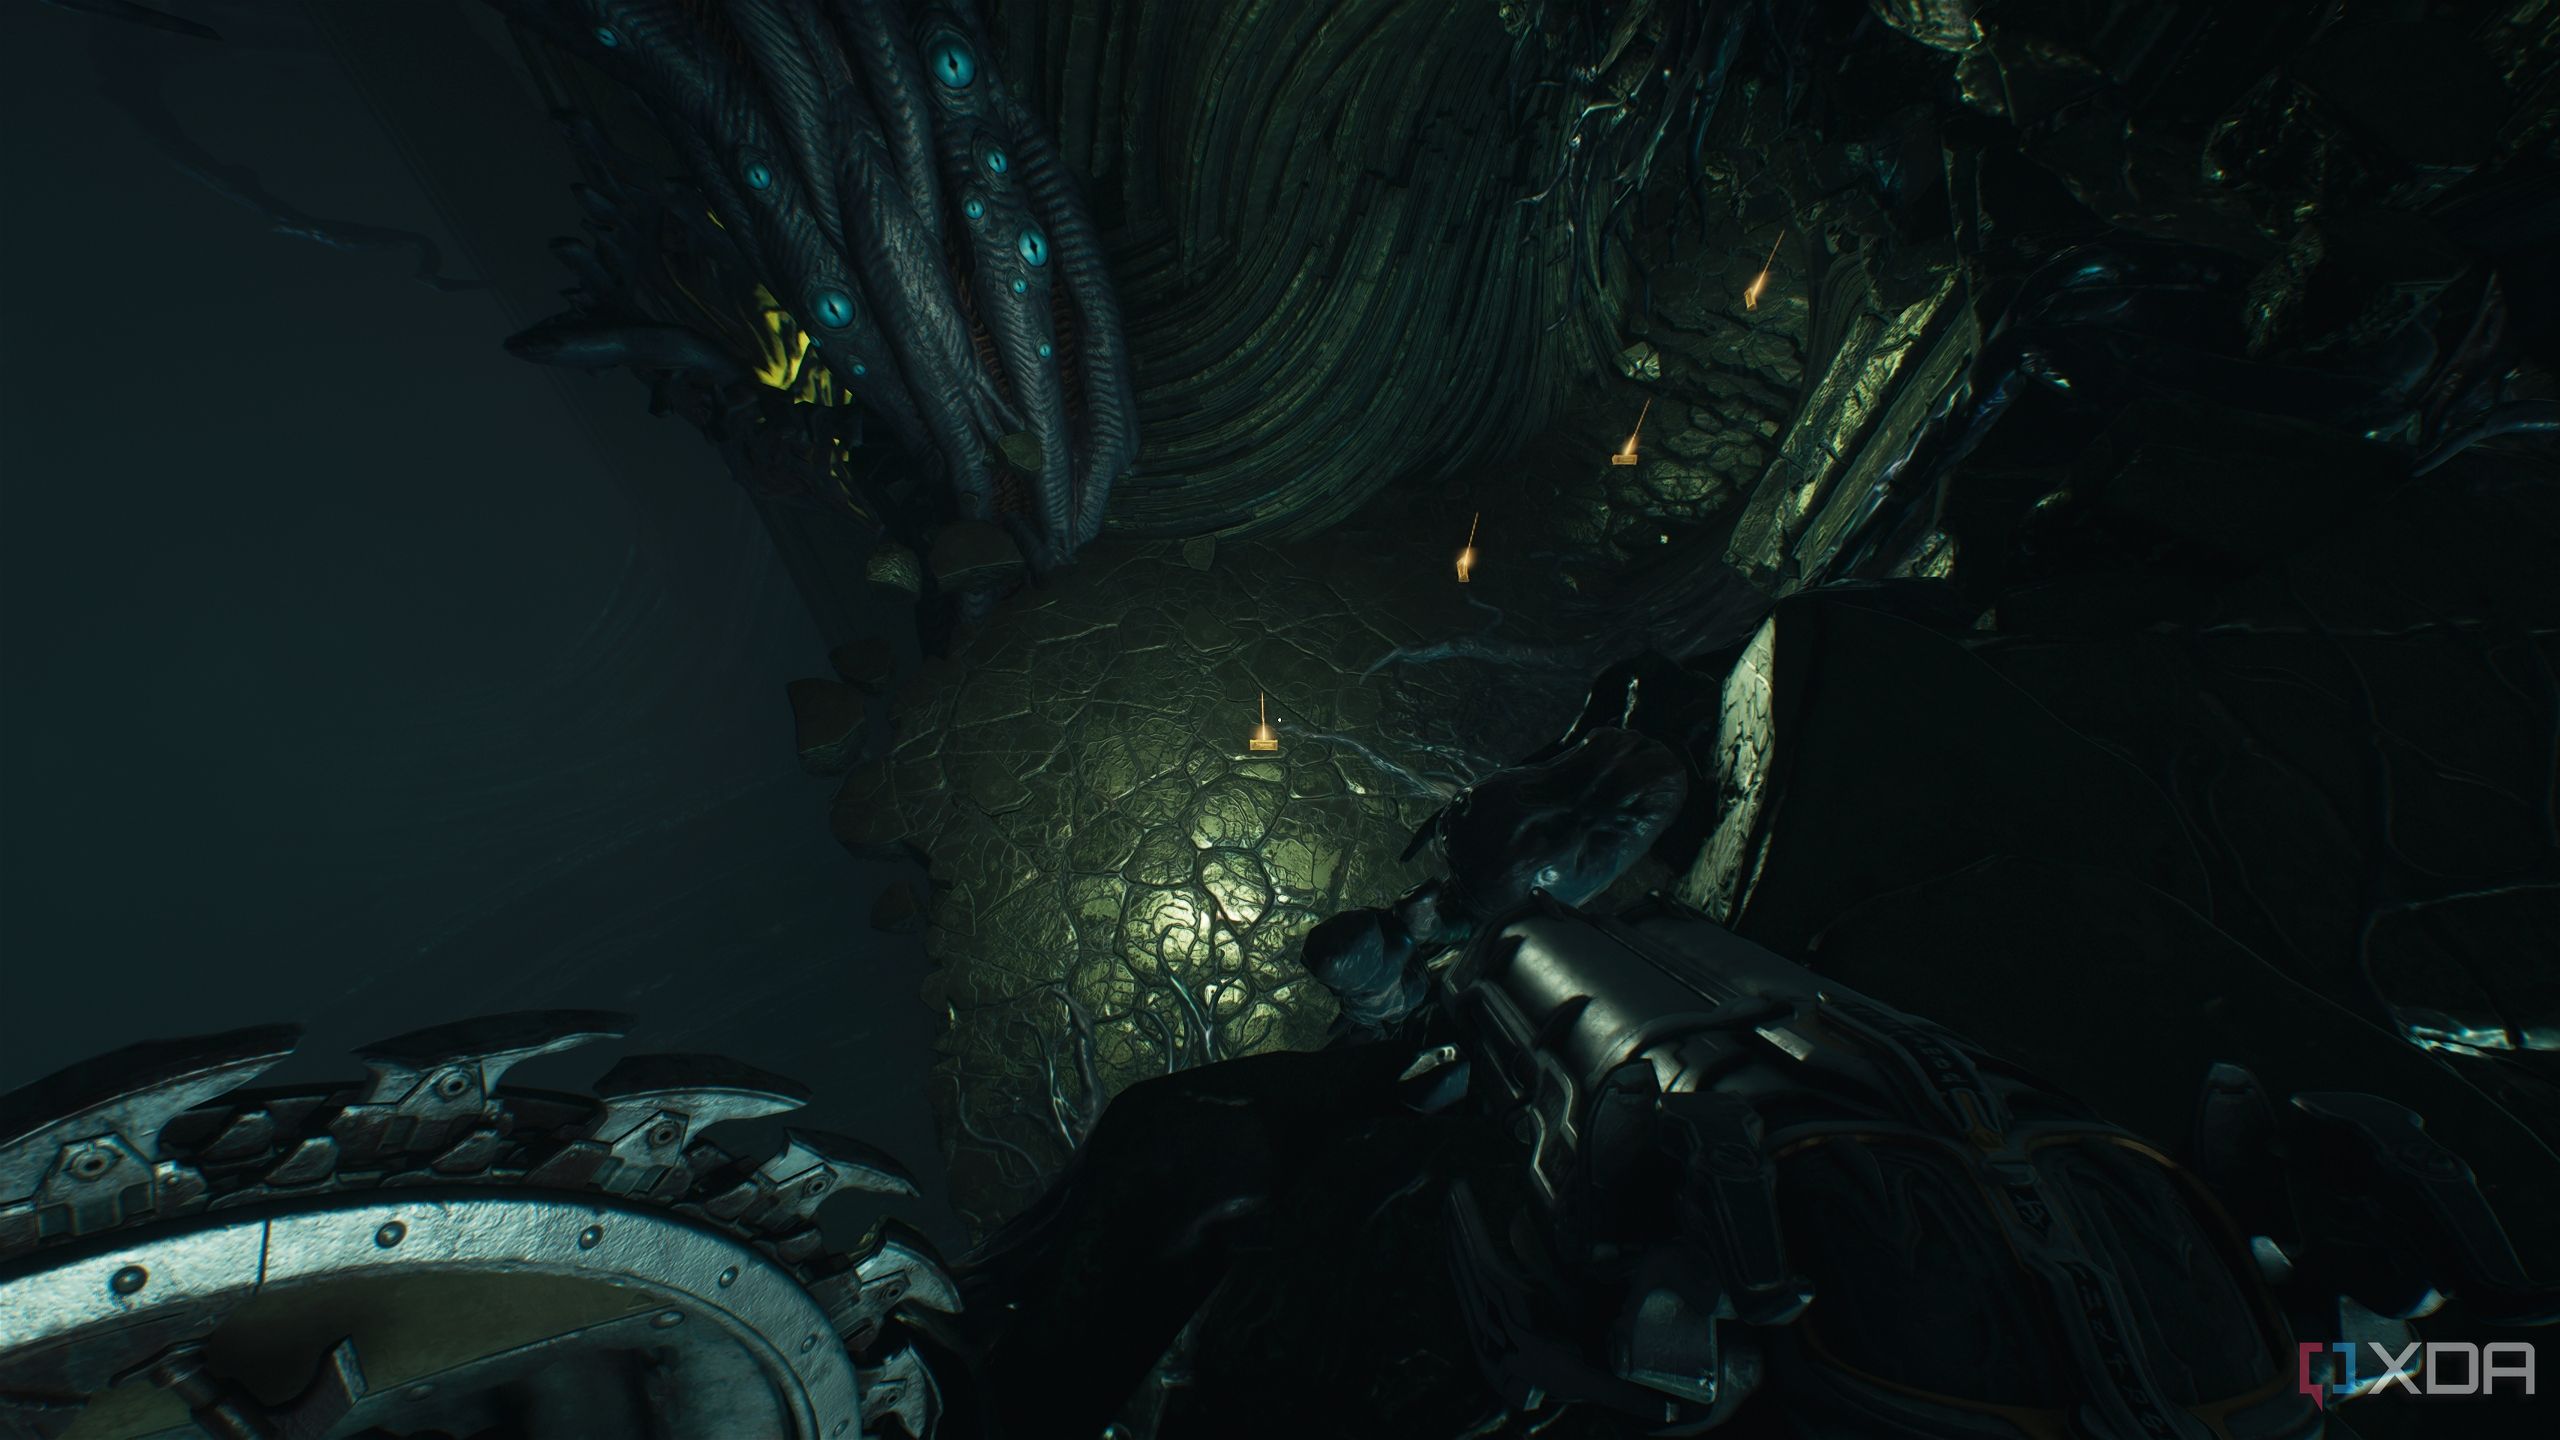
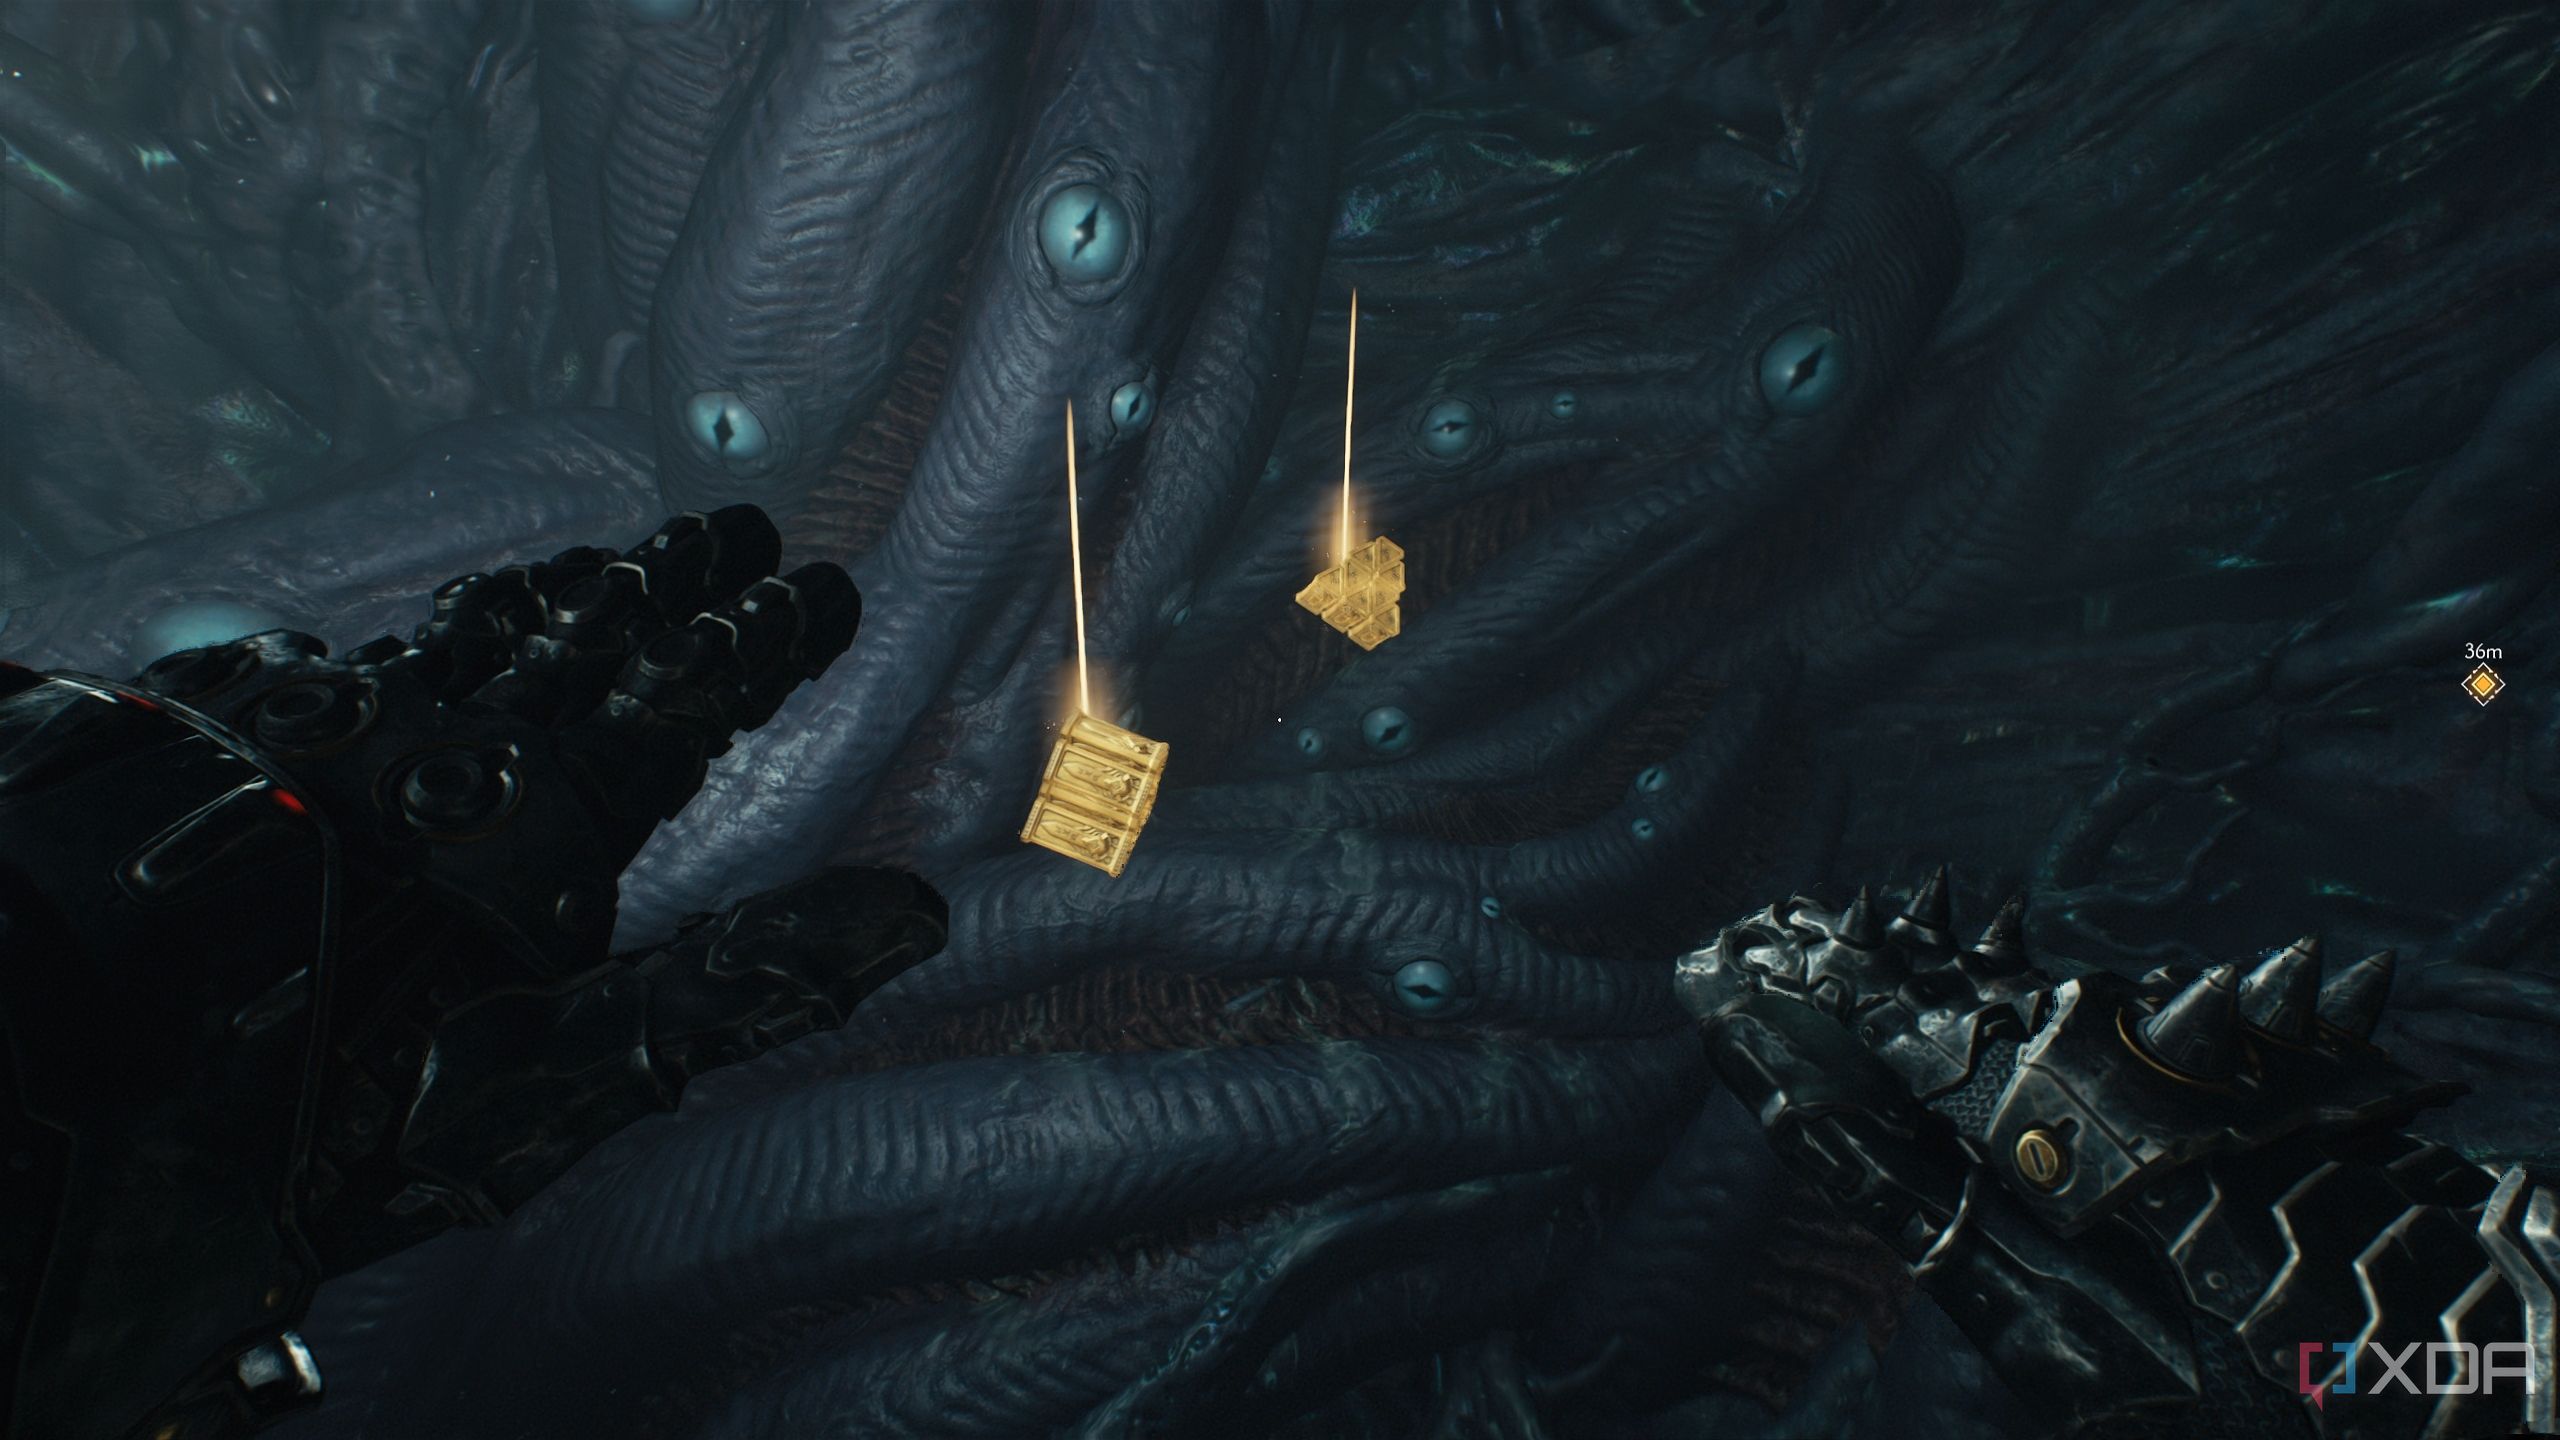
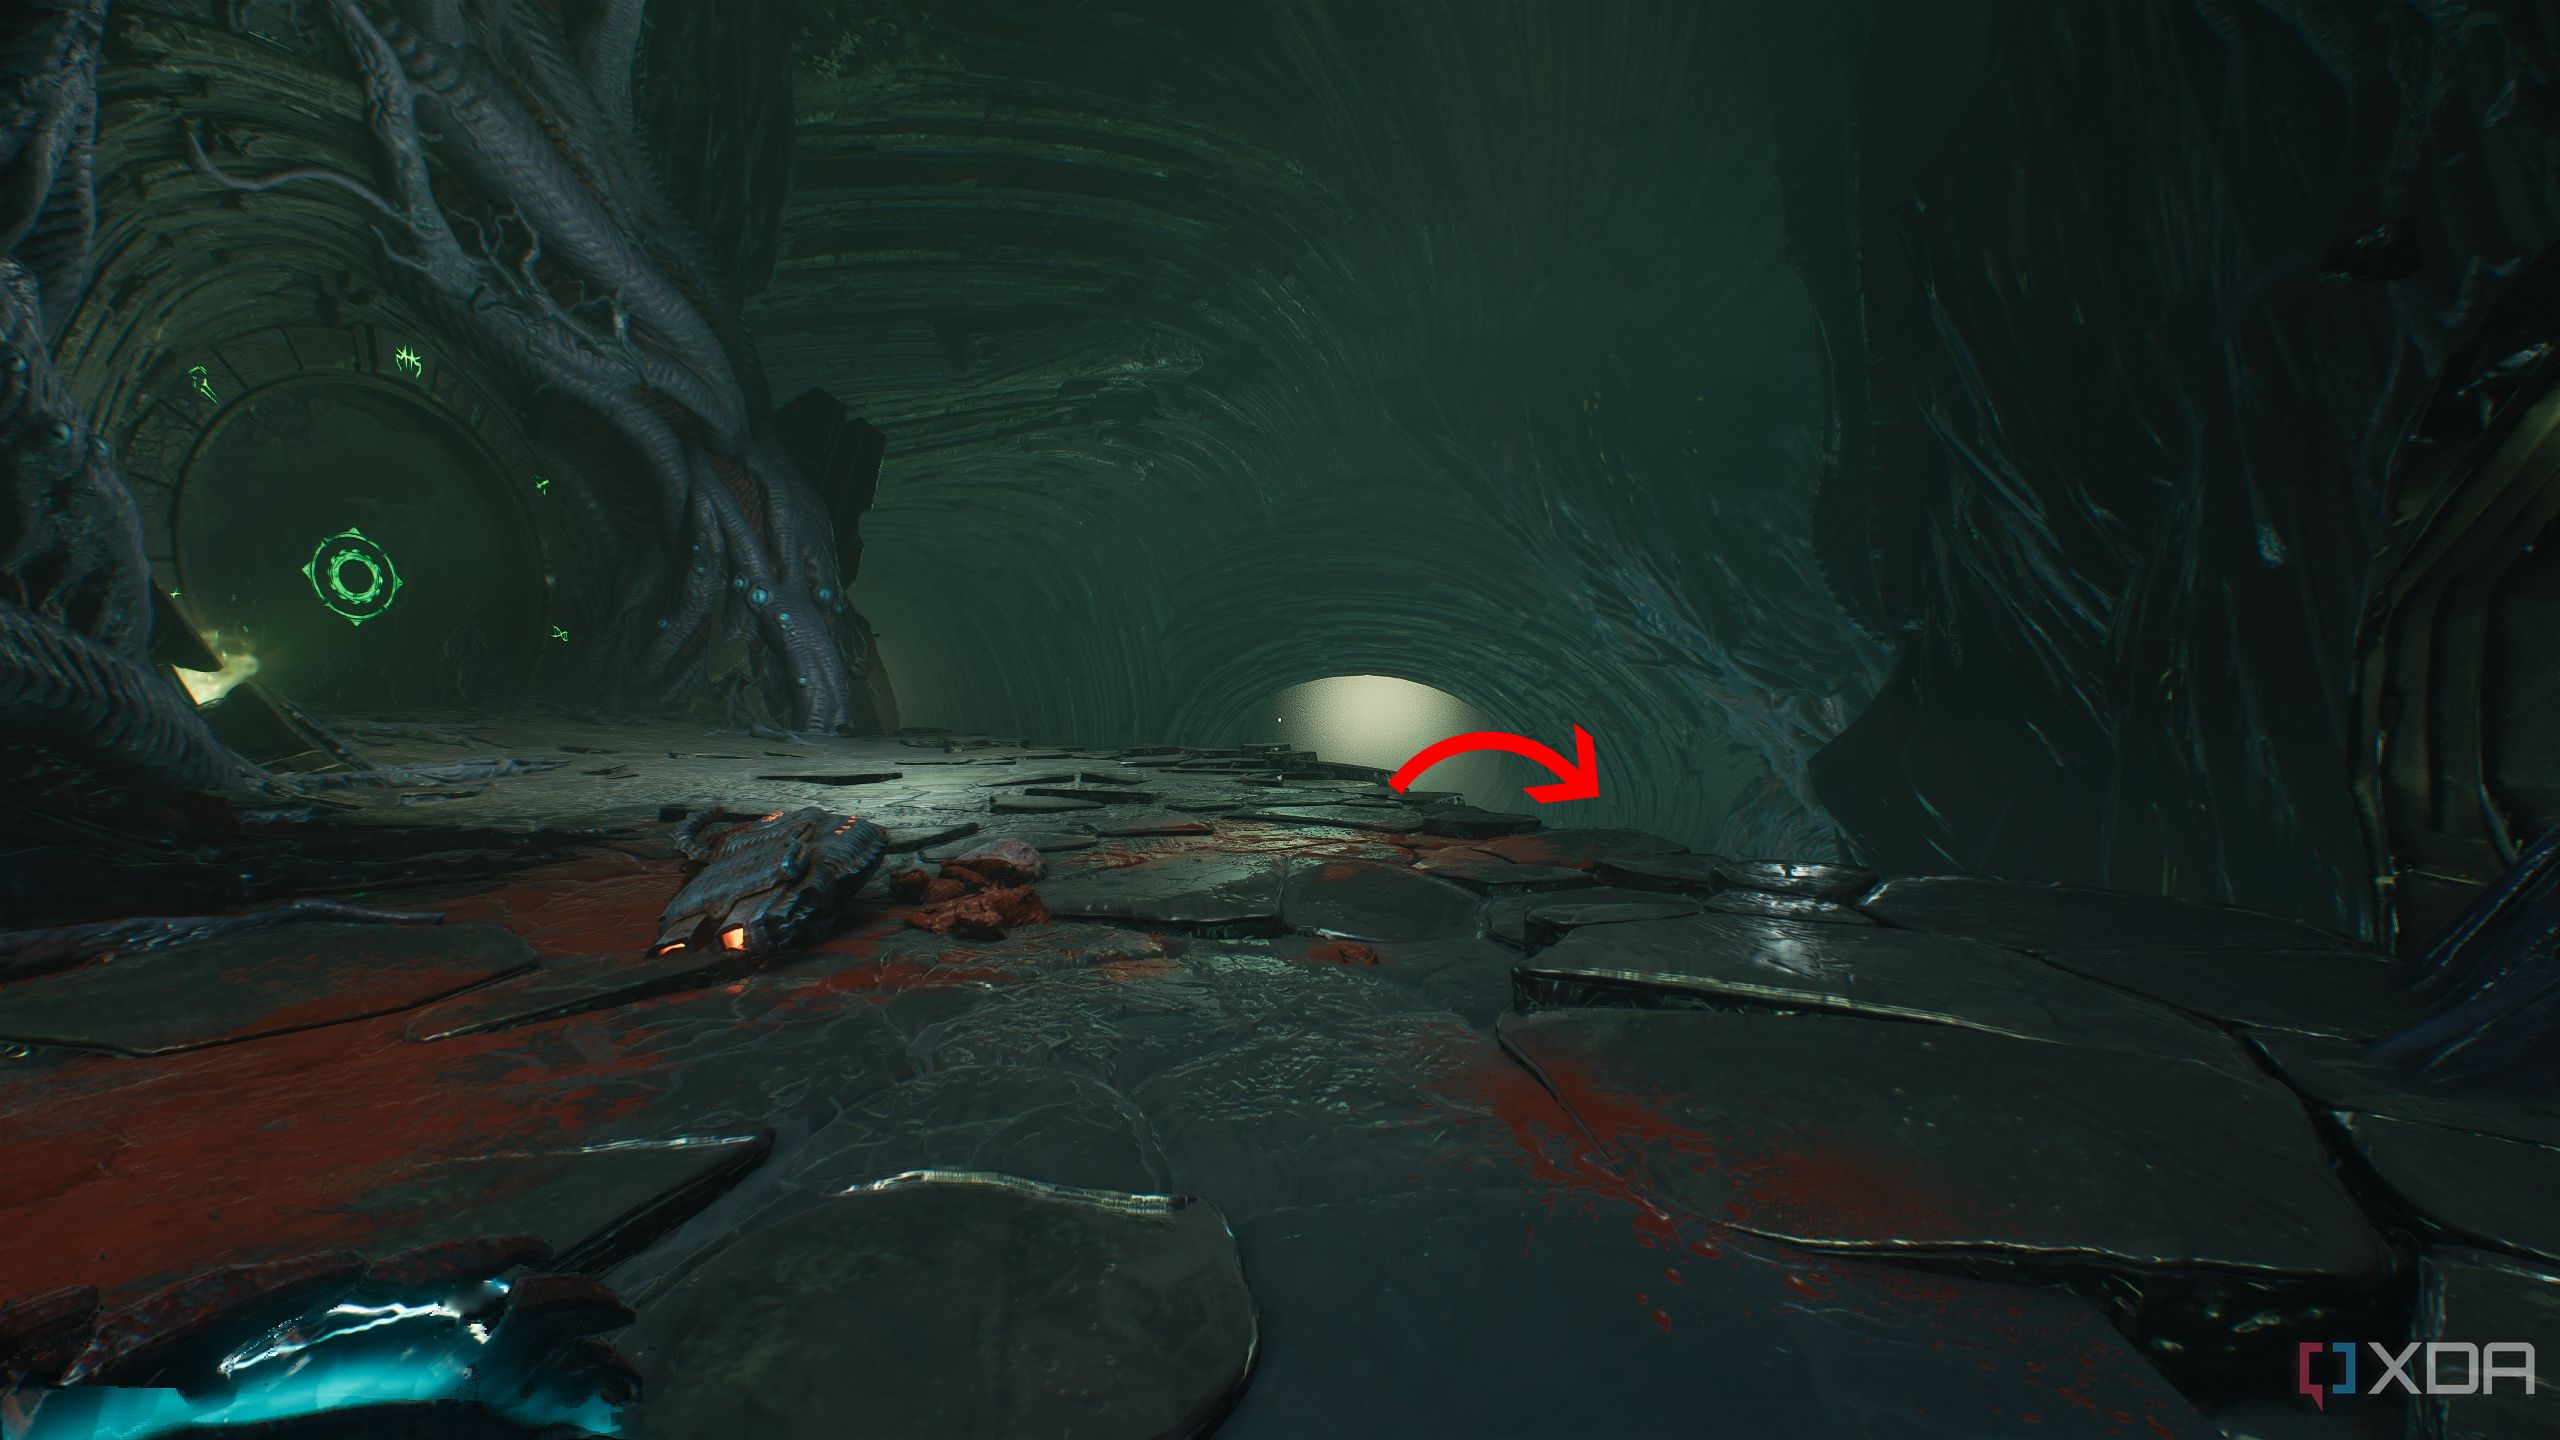
Following the main path, you’ll reach another Shield Charge Portal that will whip you across a huge gap. However, look to the right before you use it.
You’ll see a drop down below with several gold bars on the ground.
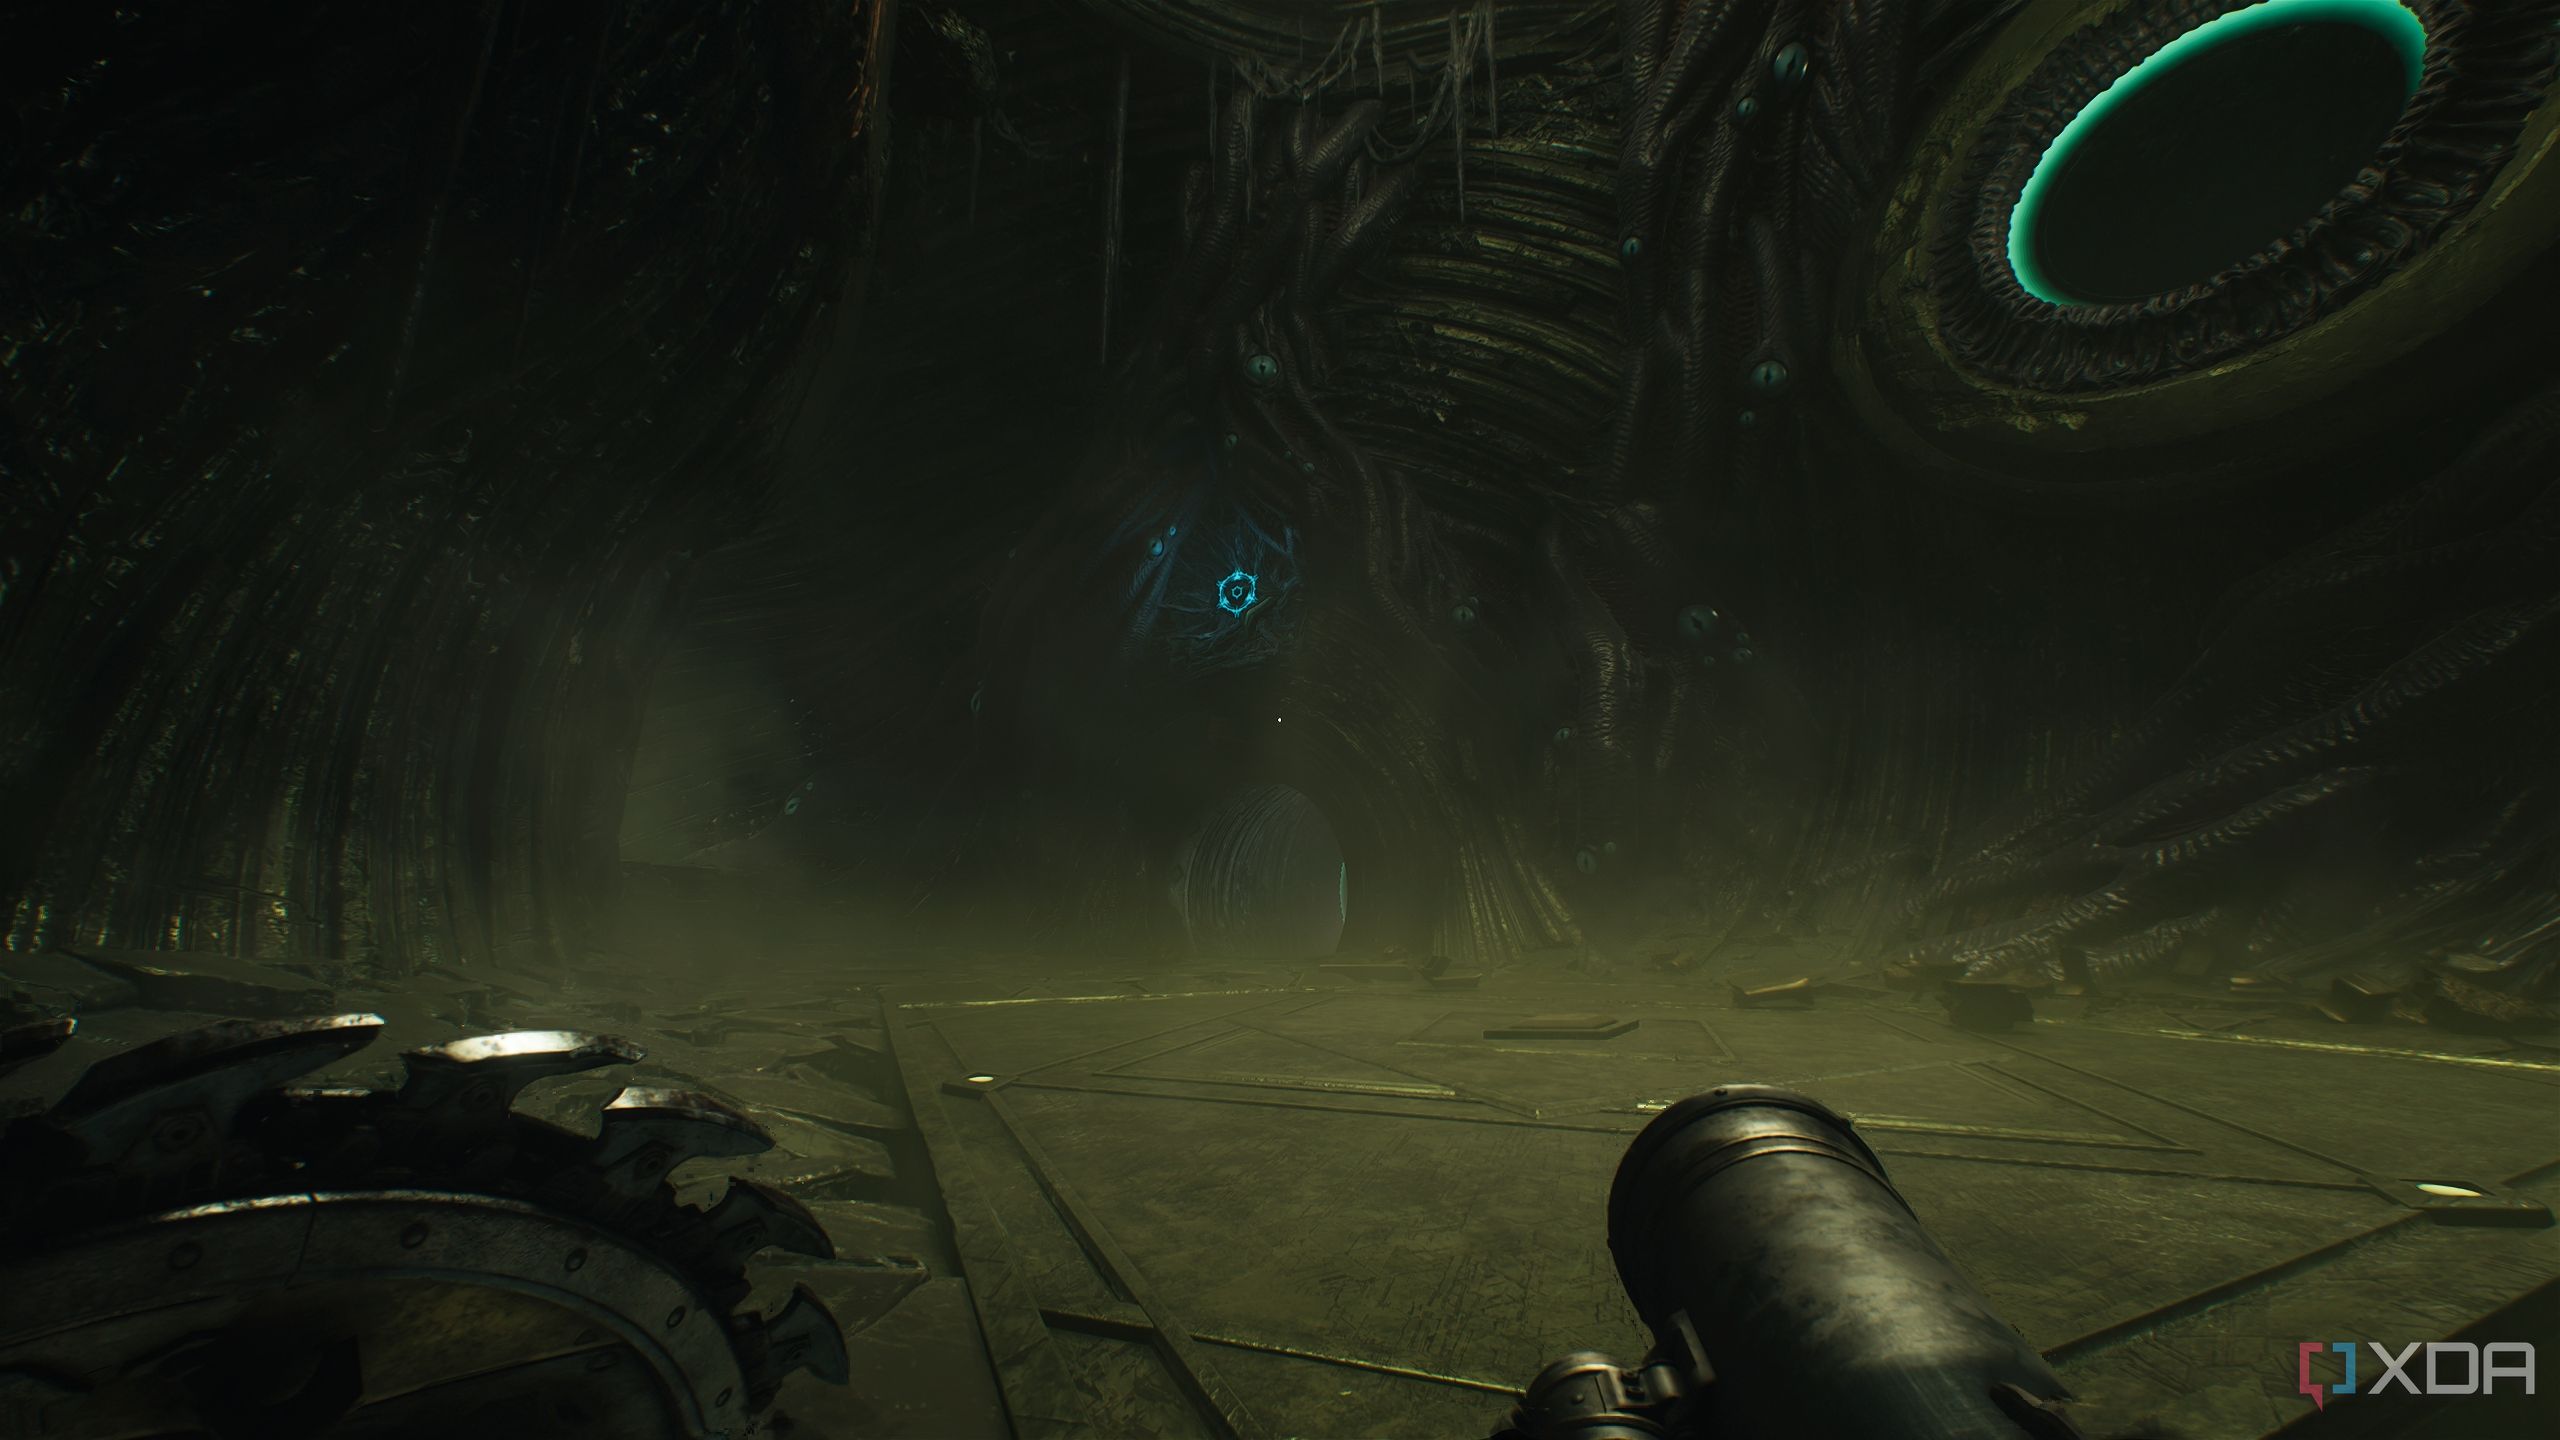
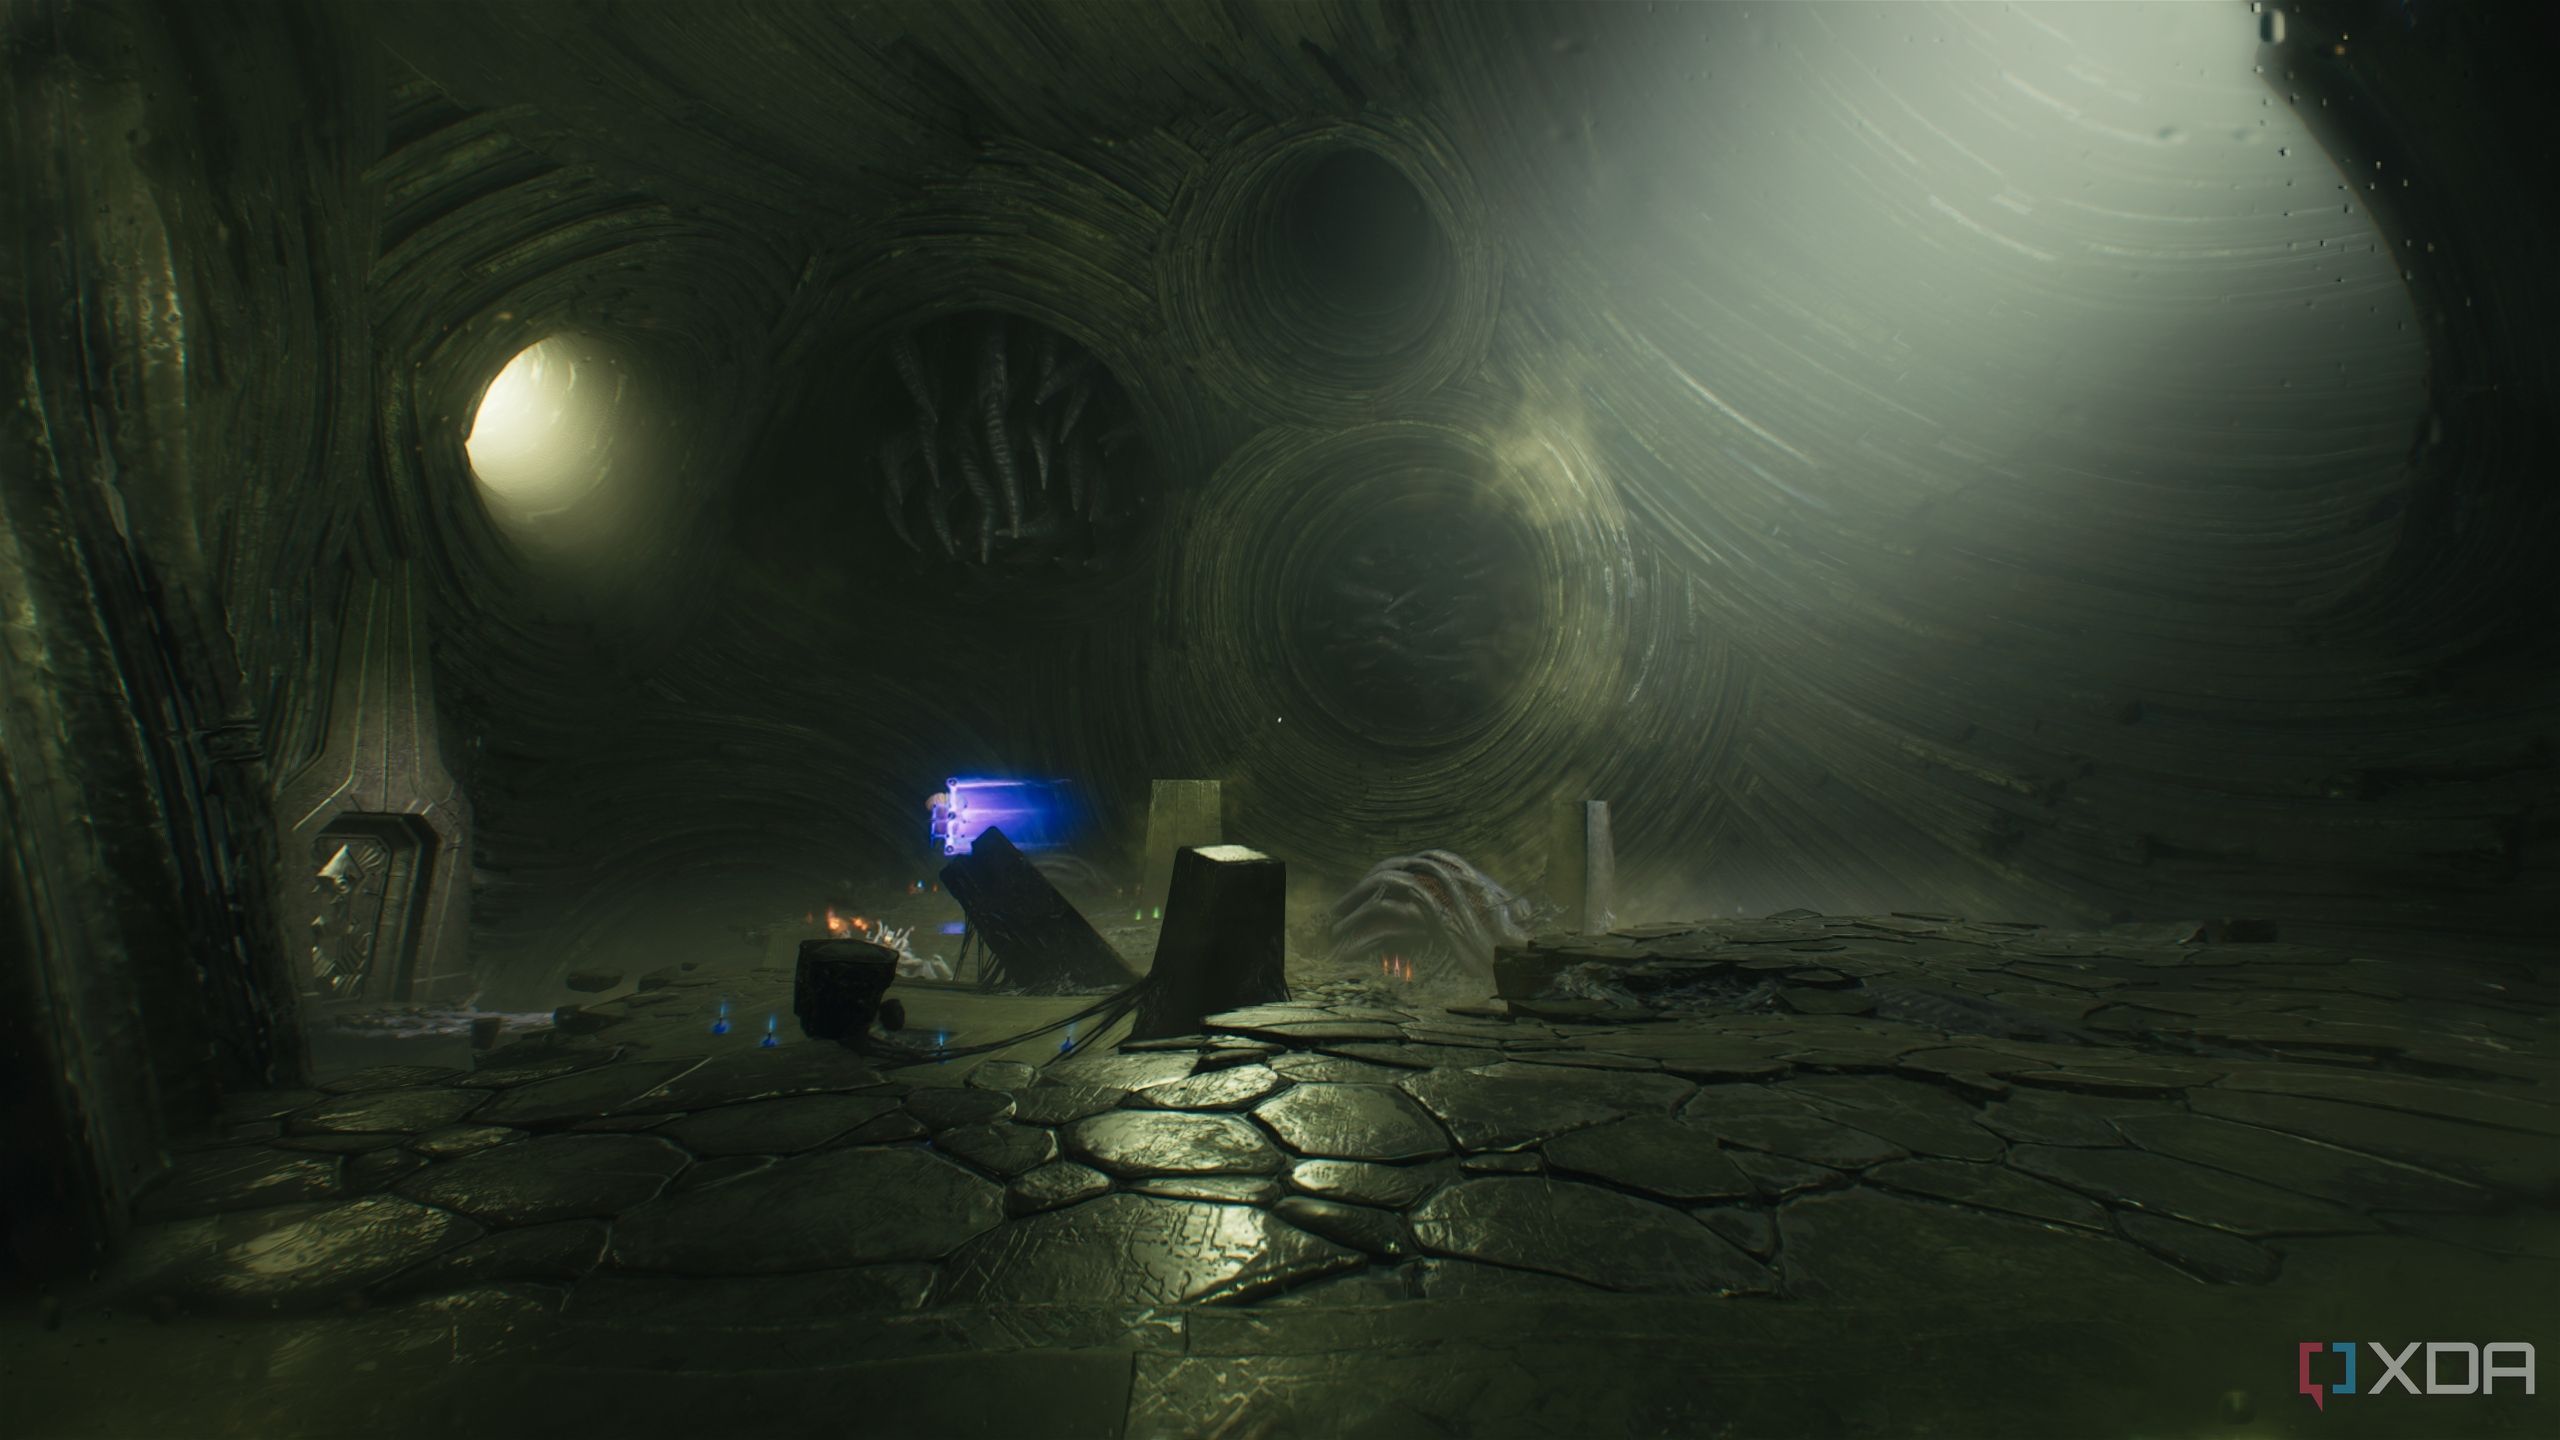
Then, use the Shield Charge Portal to travel forward to a huge arena, where you’ll encounter a Cosmic Baron for the first time. Once the fight is over, use the Cosmic Eye to move forward until you reach a humongous chamber.
Here, you’ll encounter the Acolyte demon for the first time. Fight him off and use the jump pad in this arena to climb up.
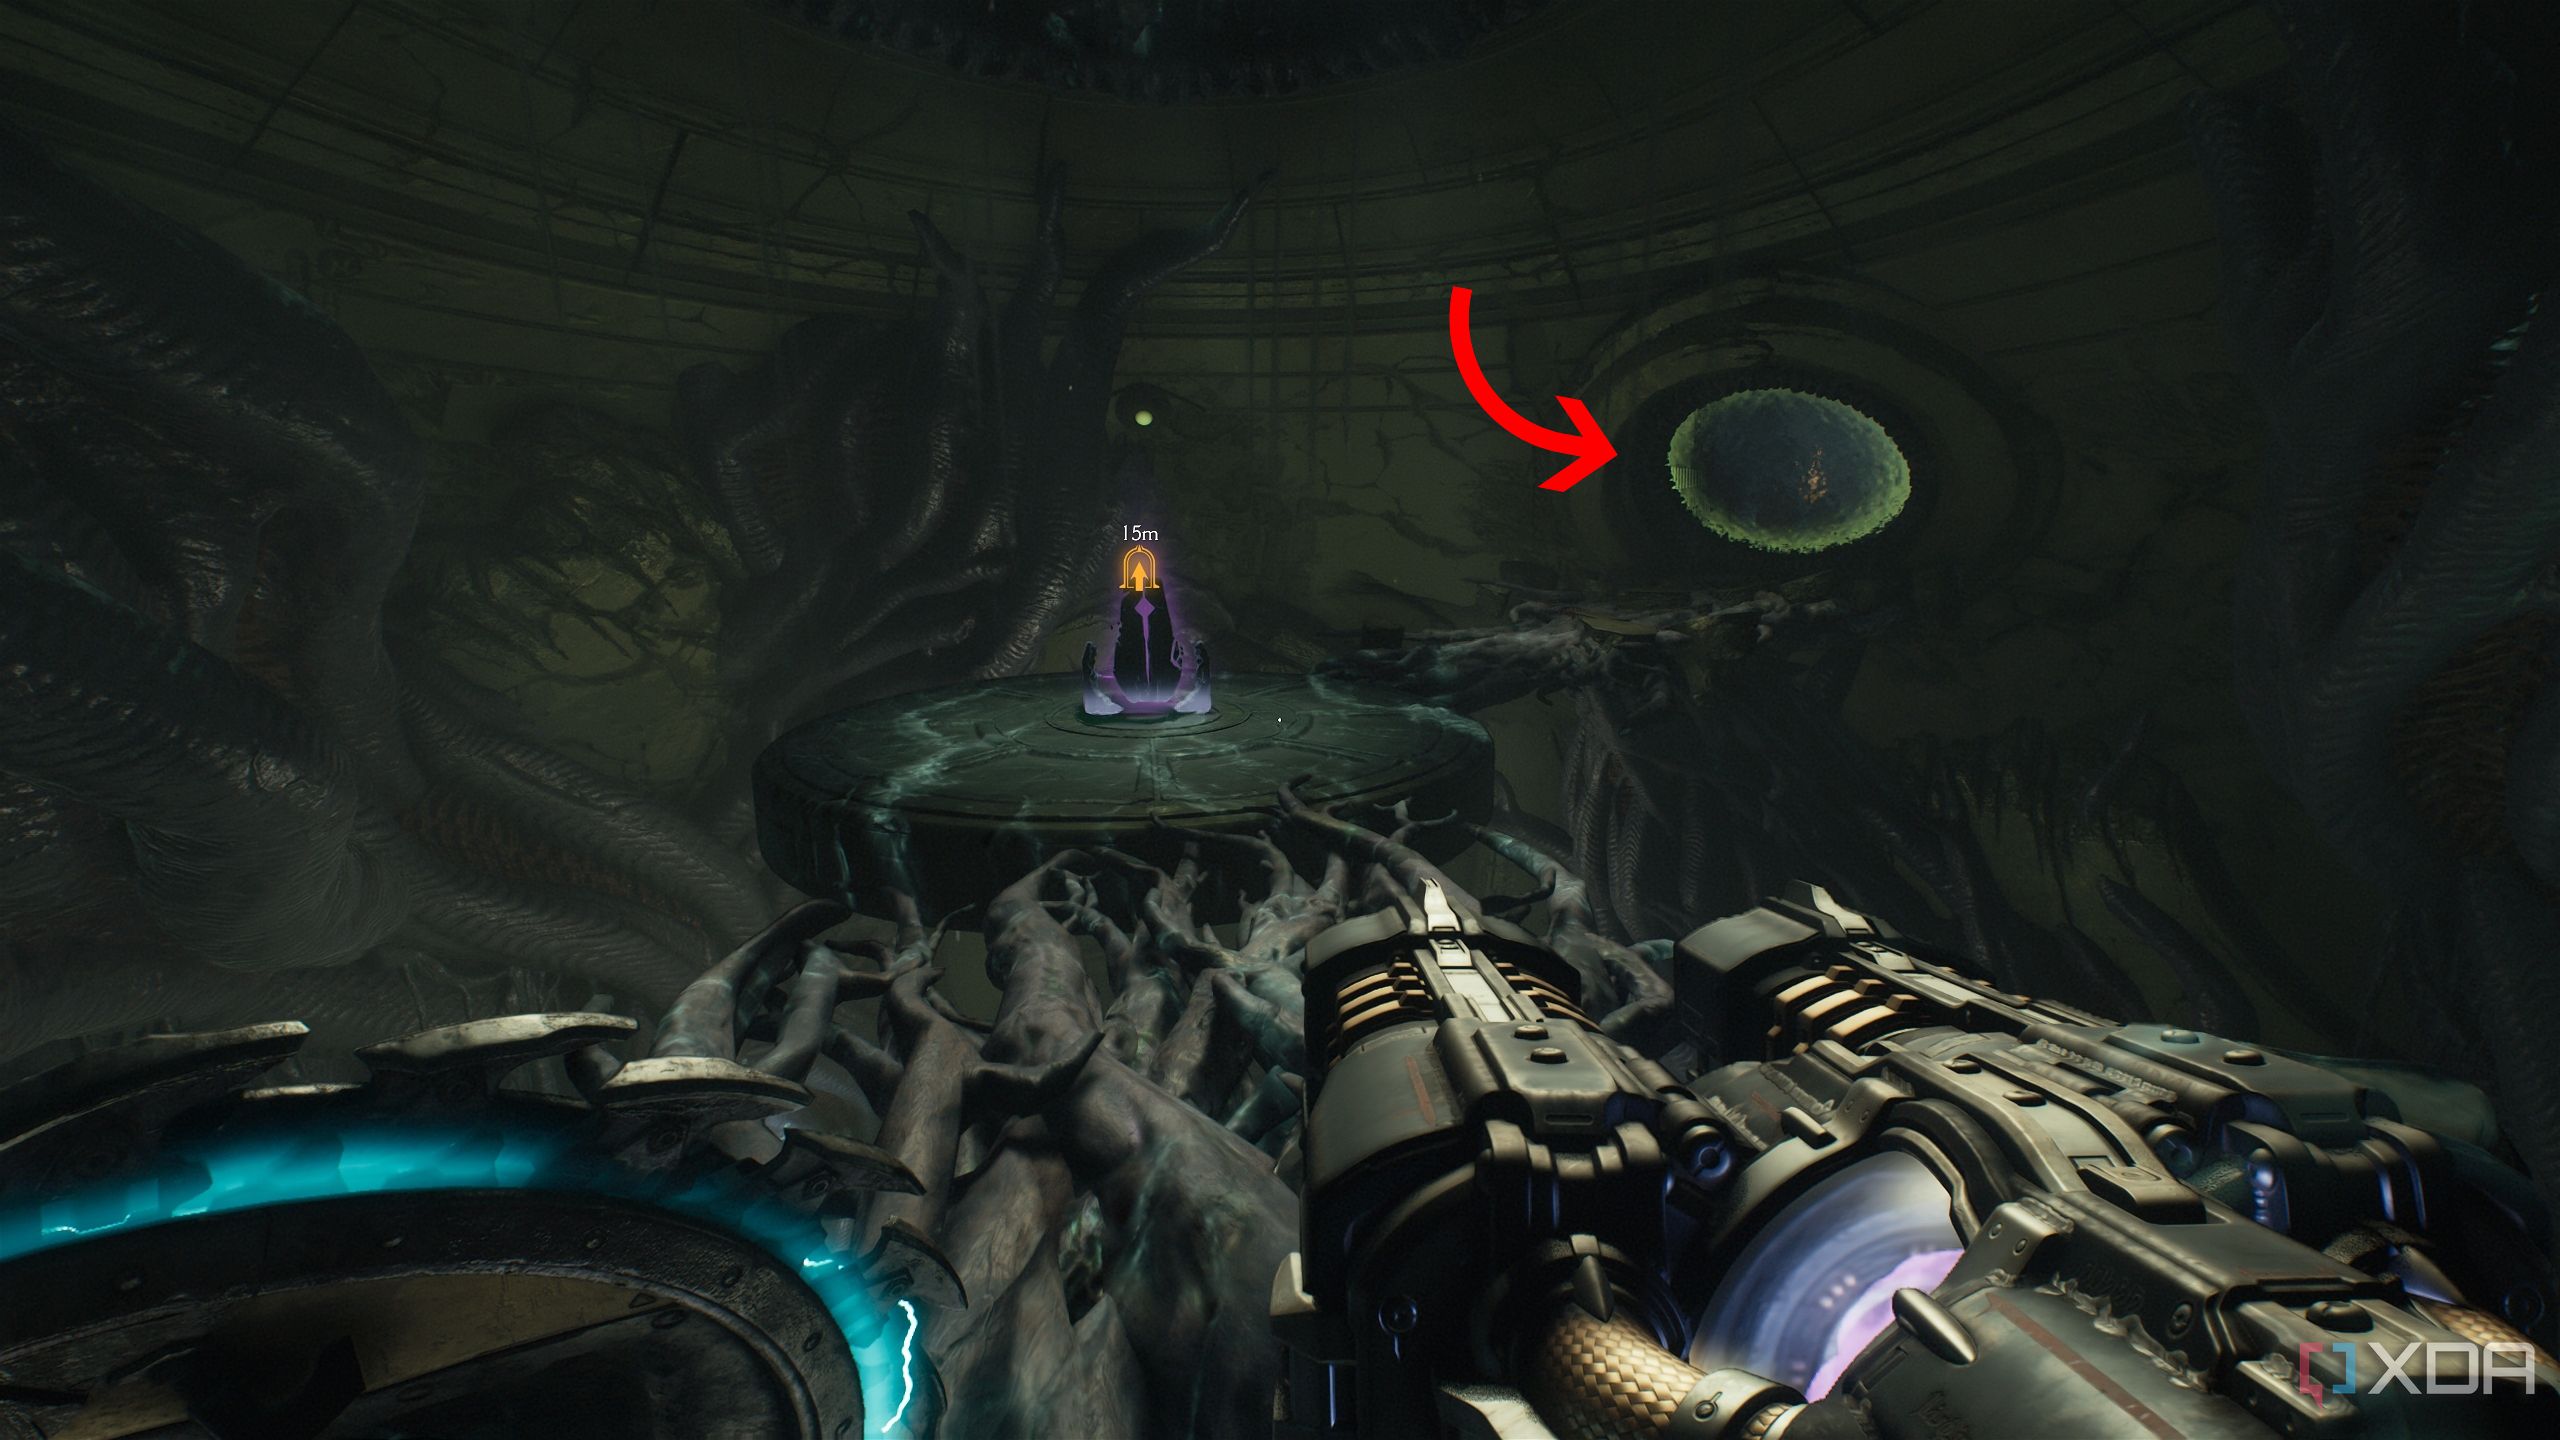
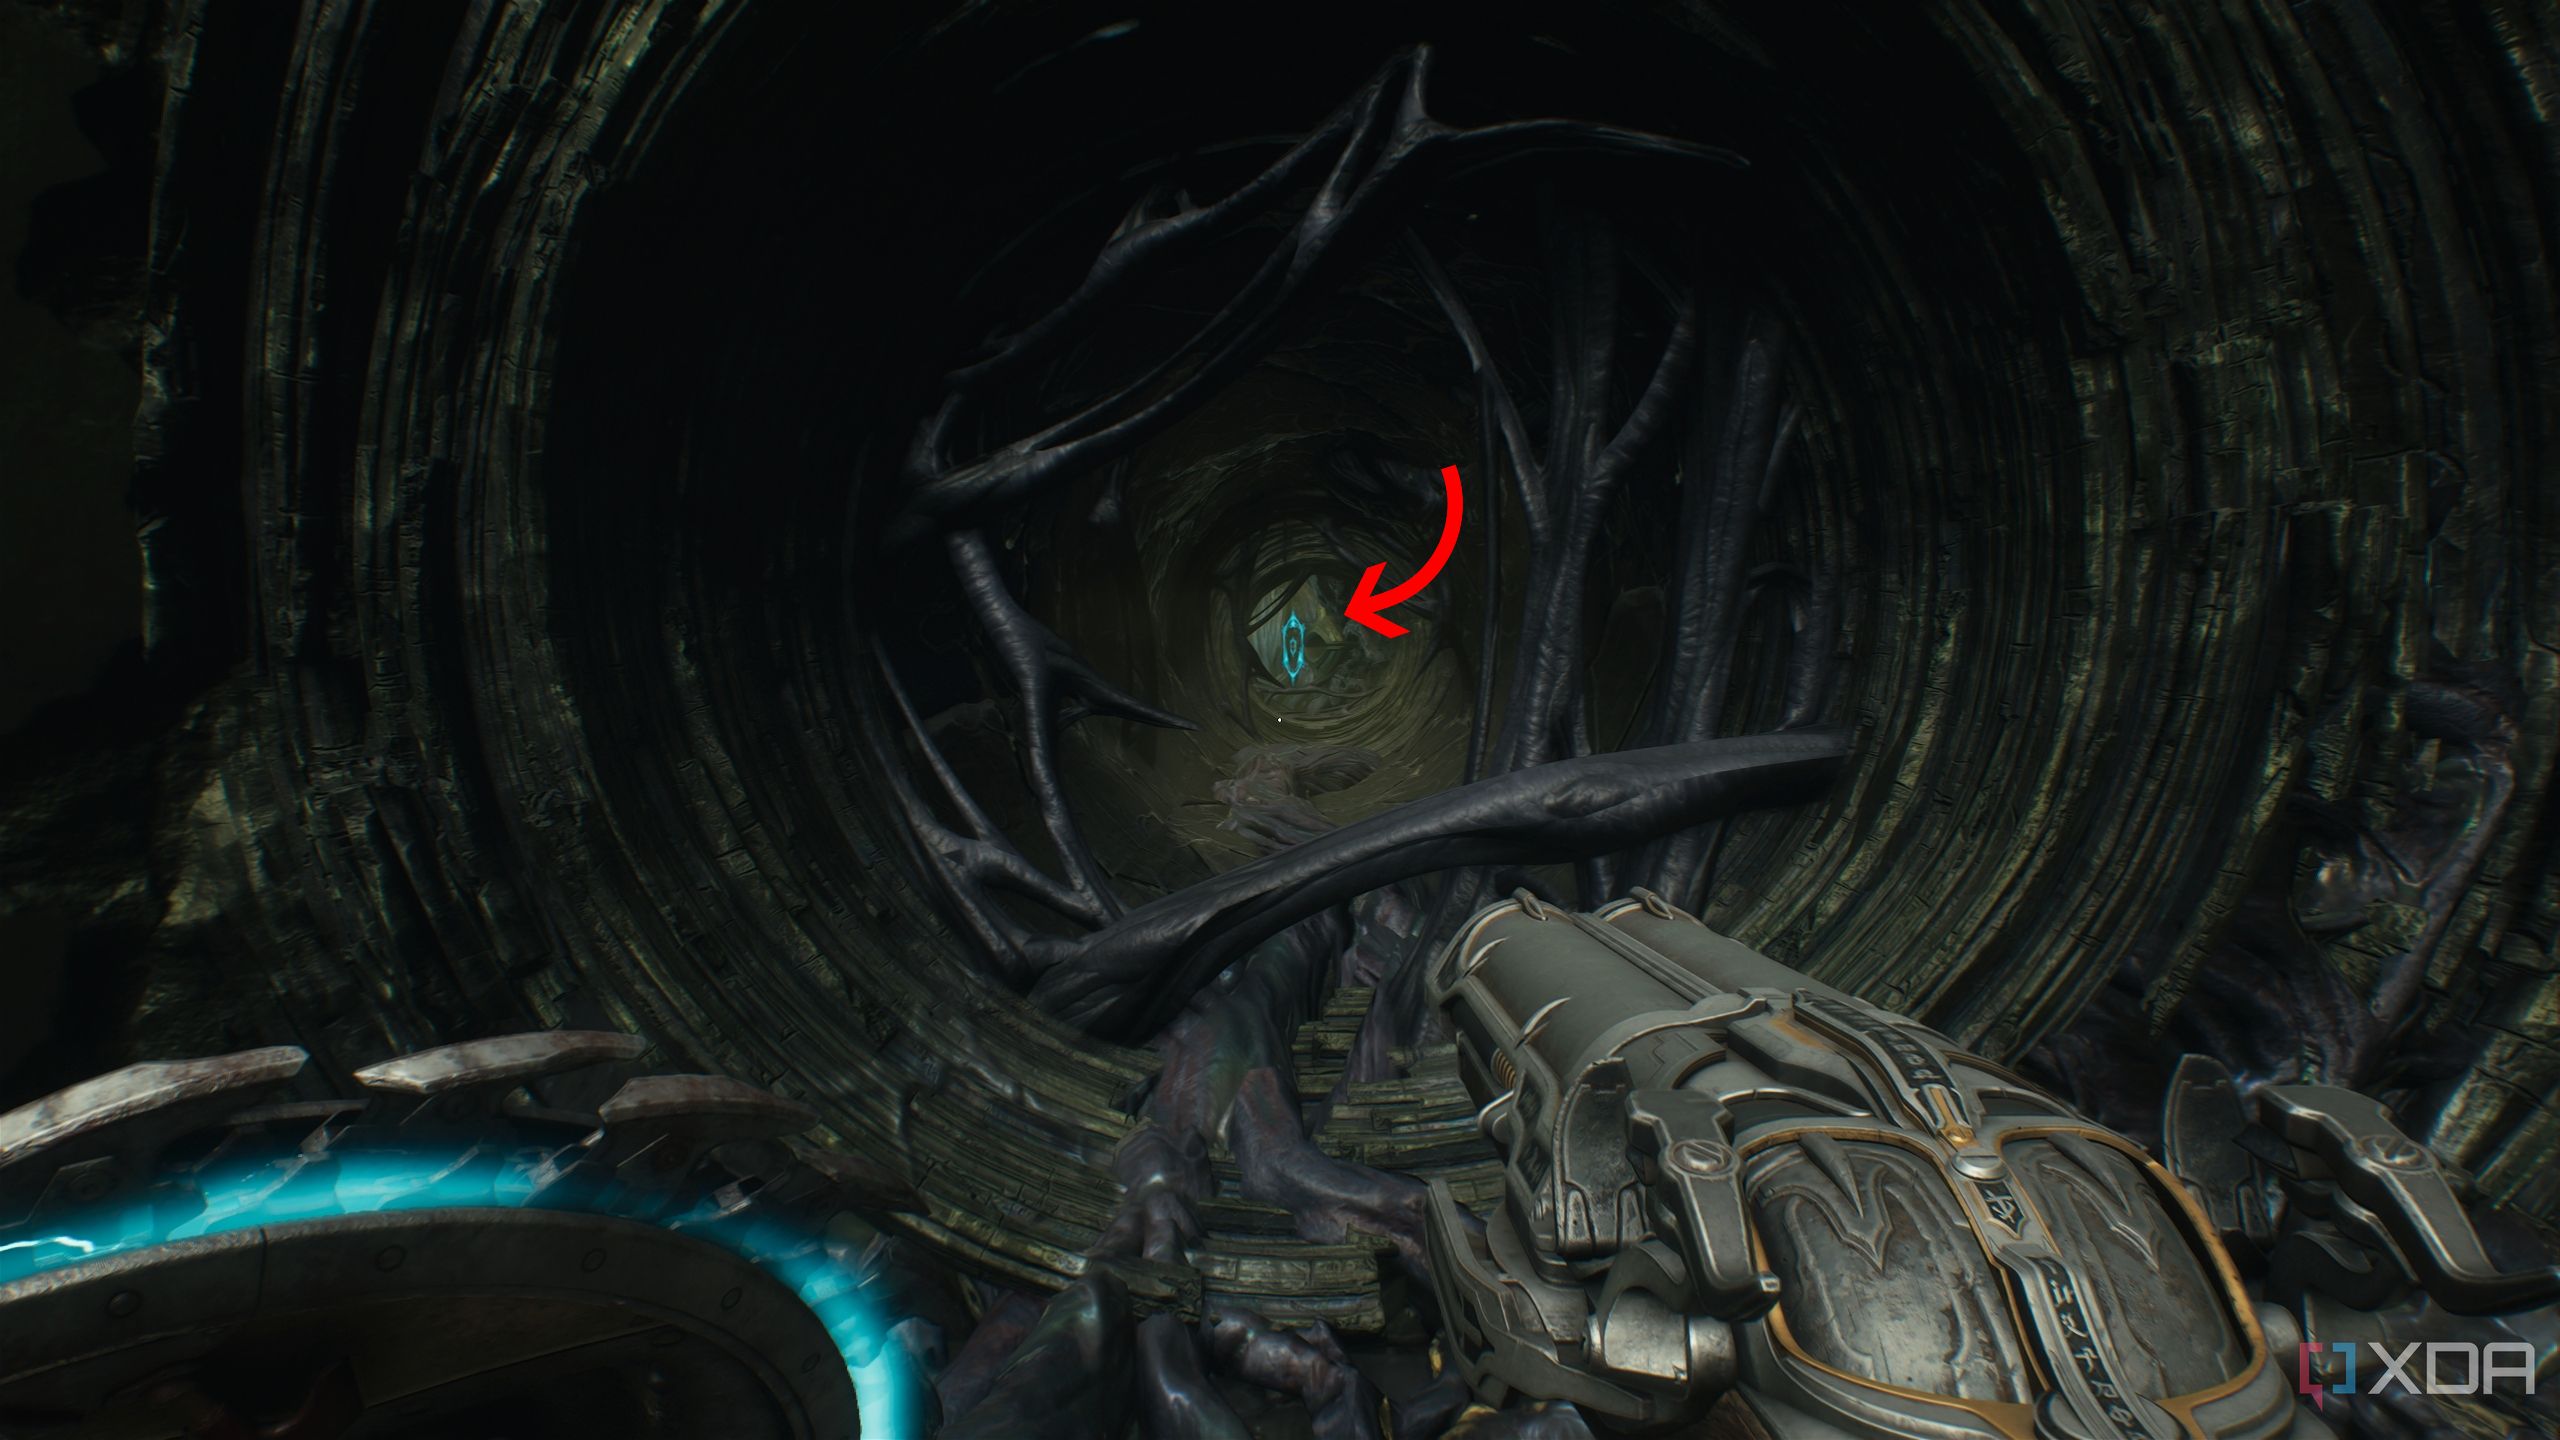
From here, look in the direction you came from, and you’ll see a green flesh node in the distance.
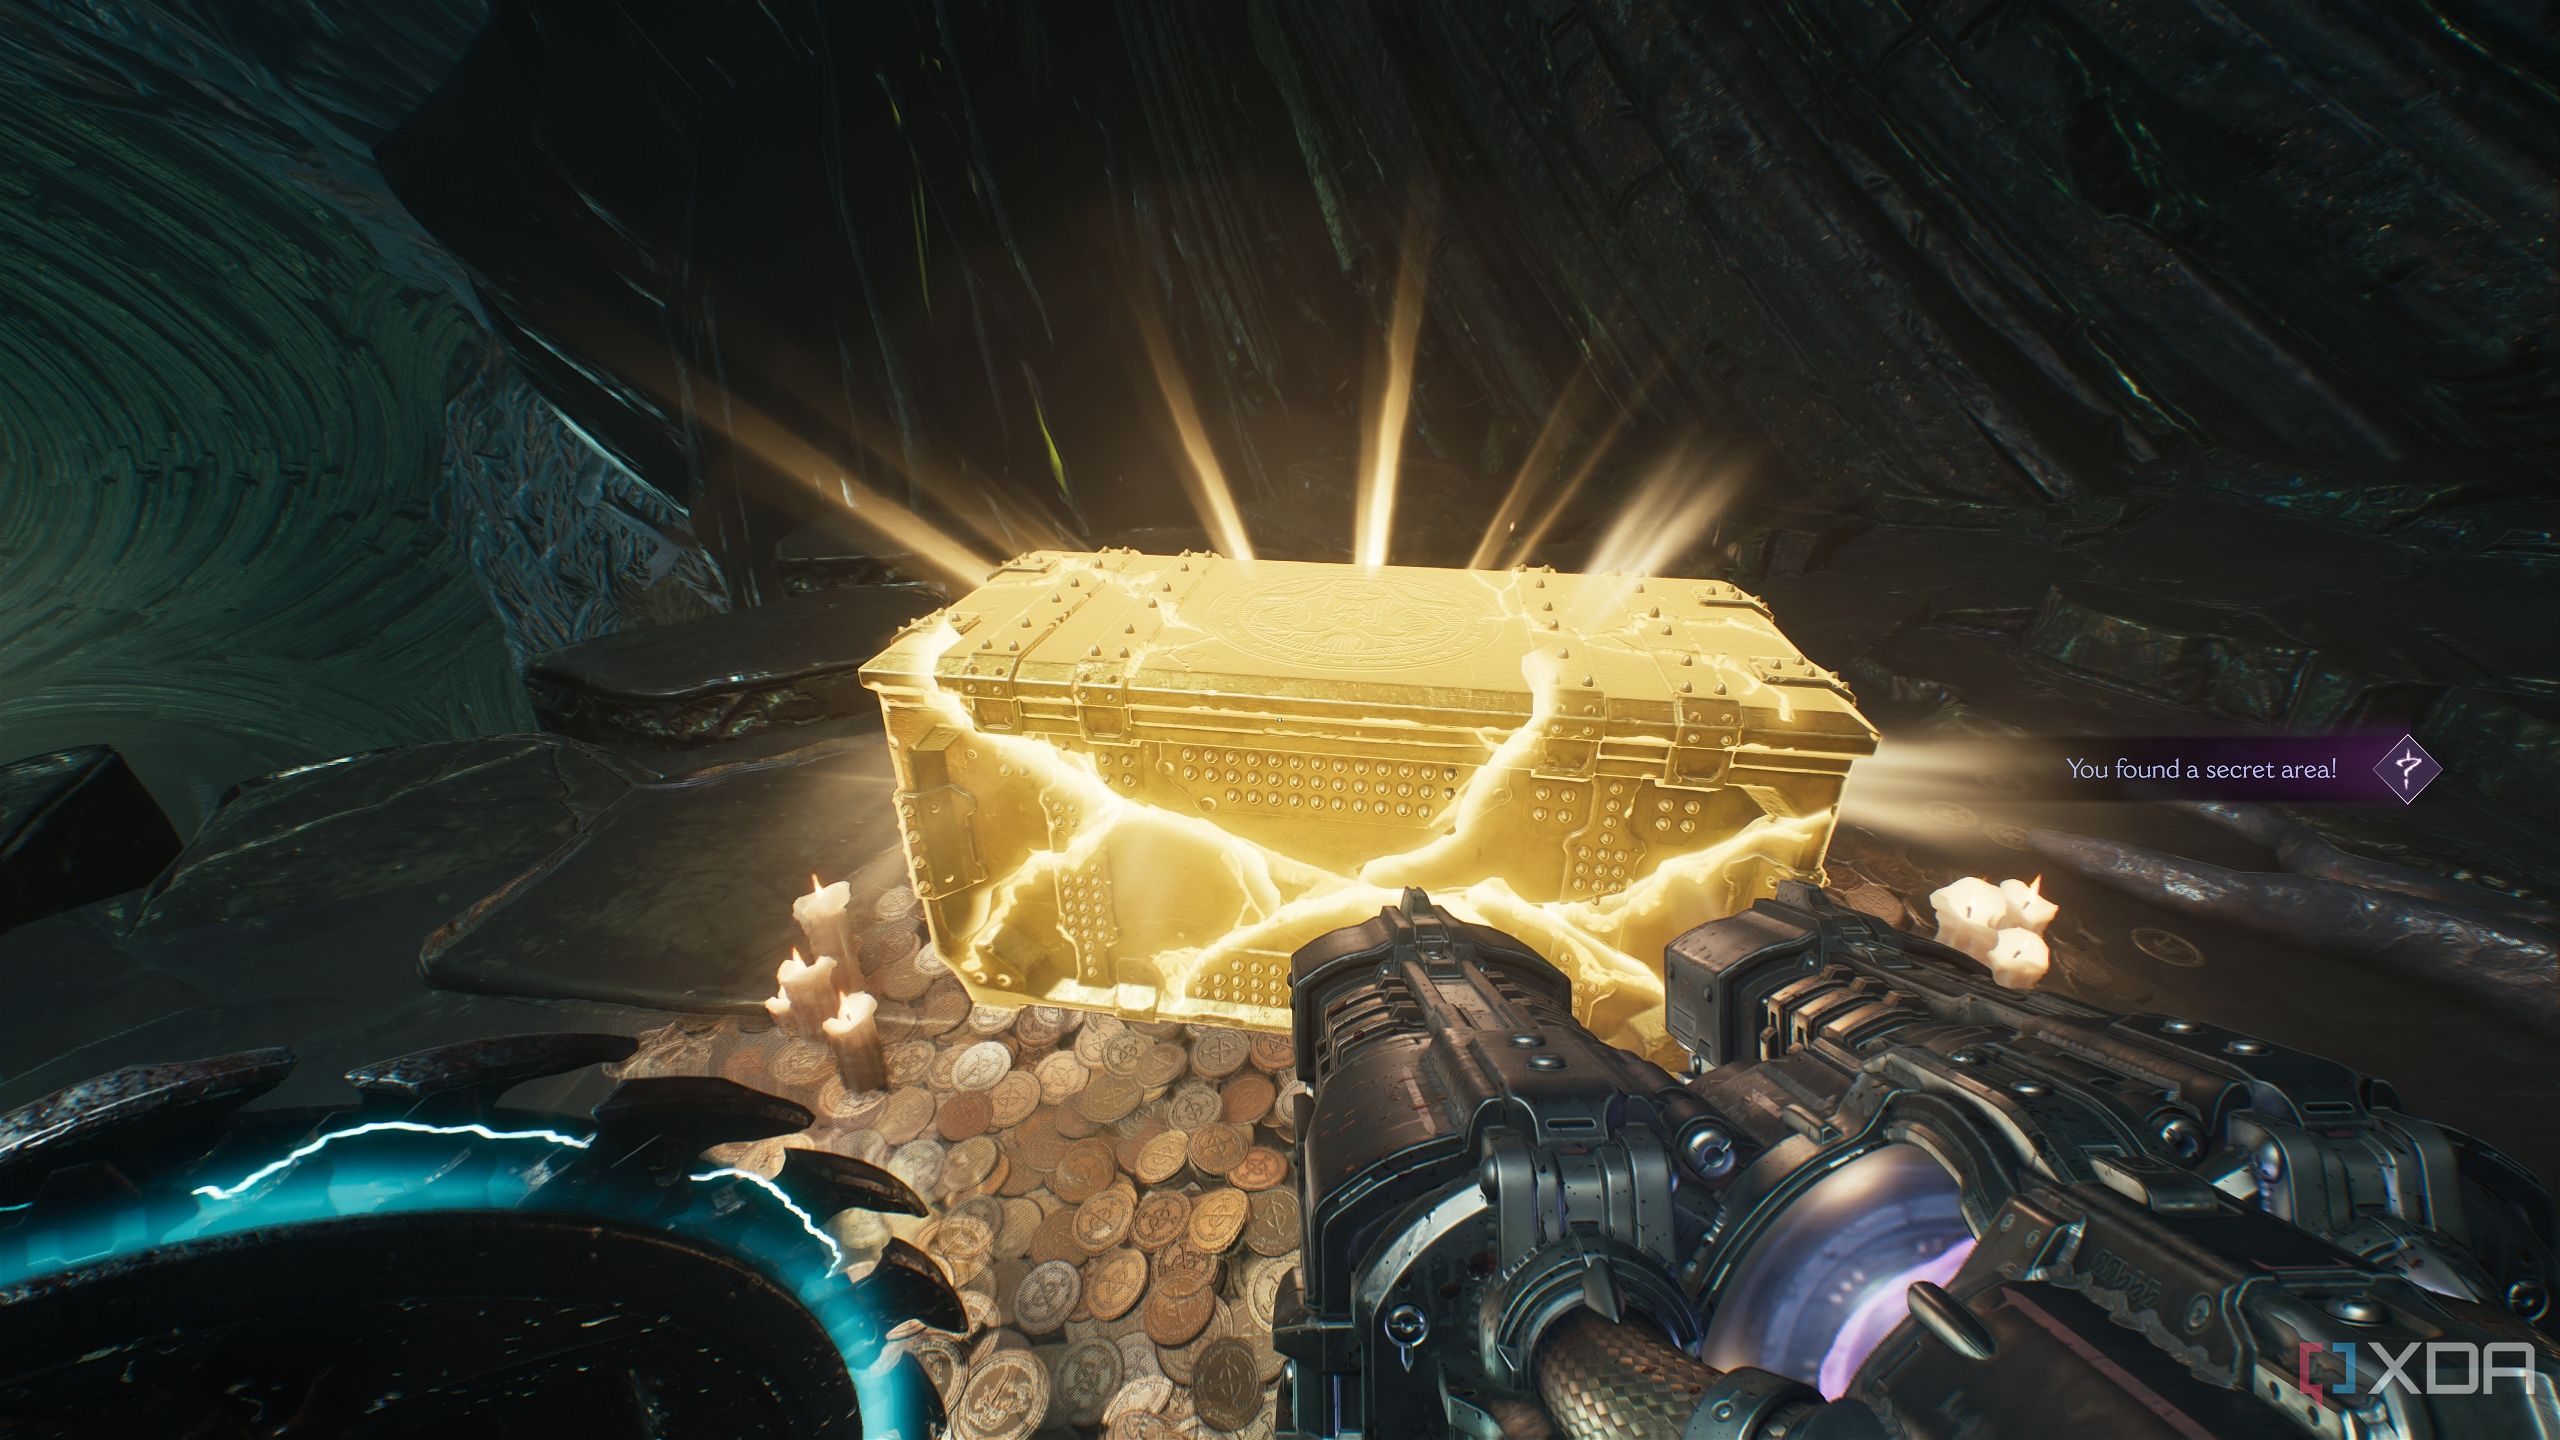
Use your Shield Recall Jump on it, and you’ll land in secret area 2, which holds a gold chest.
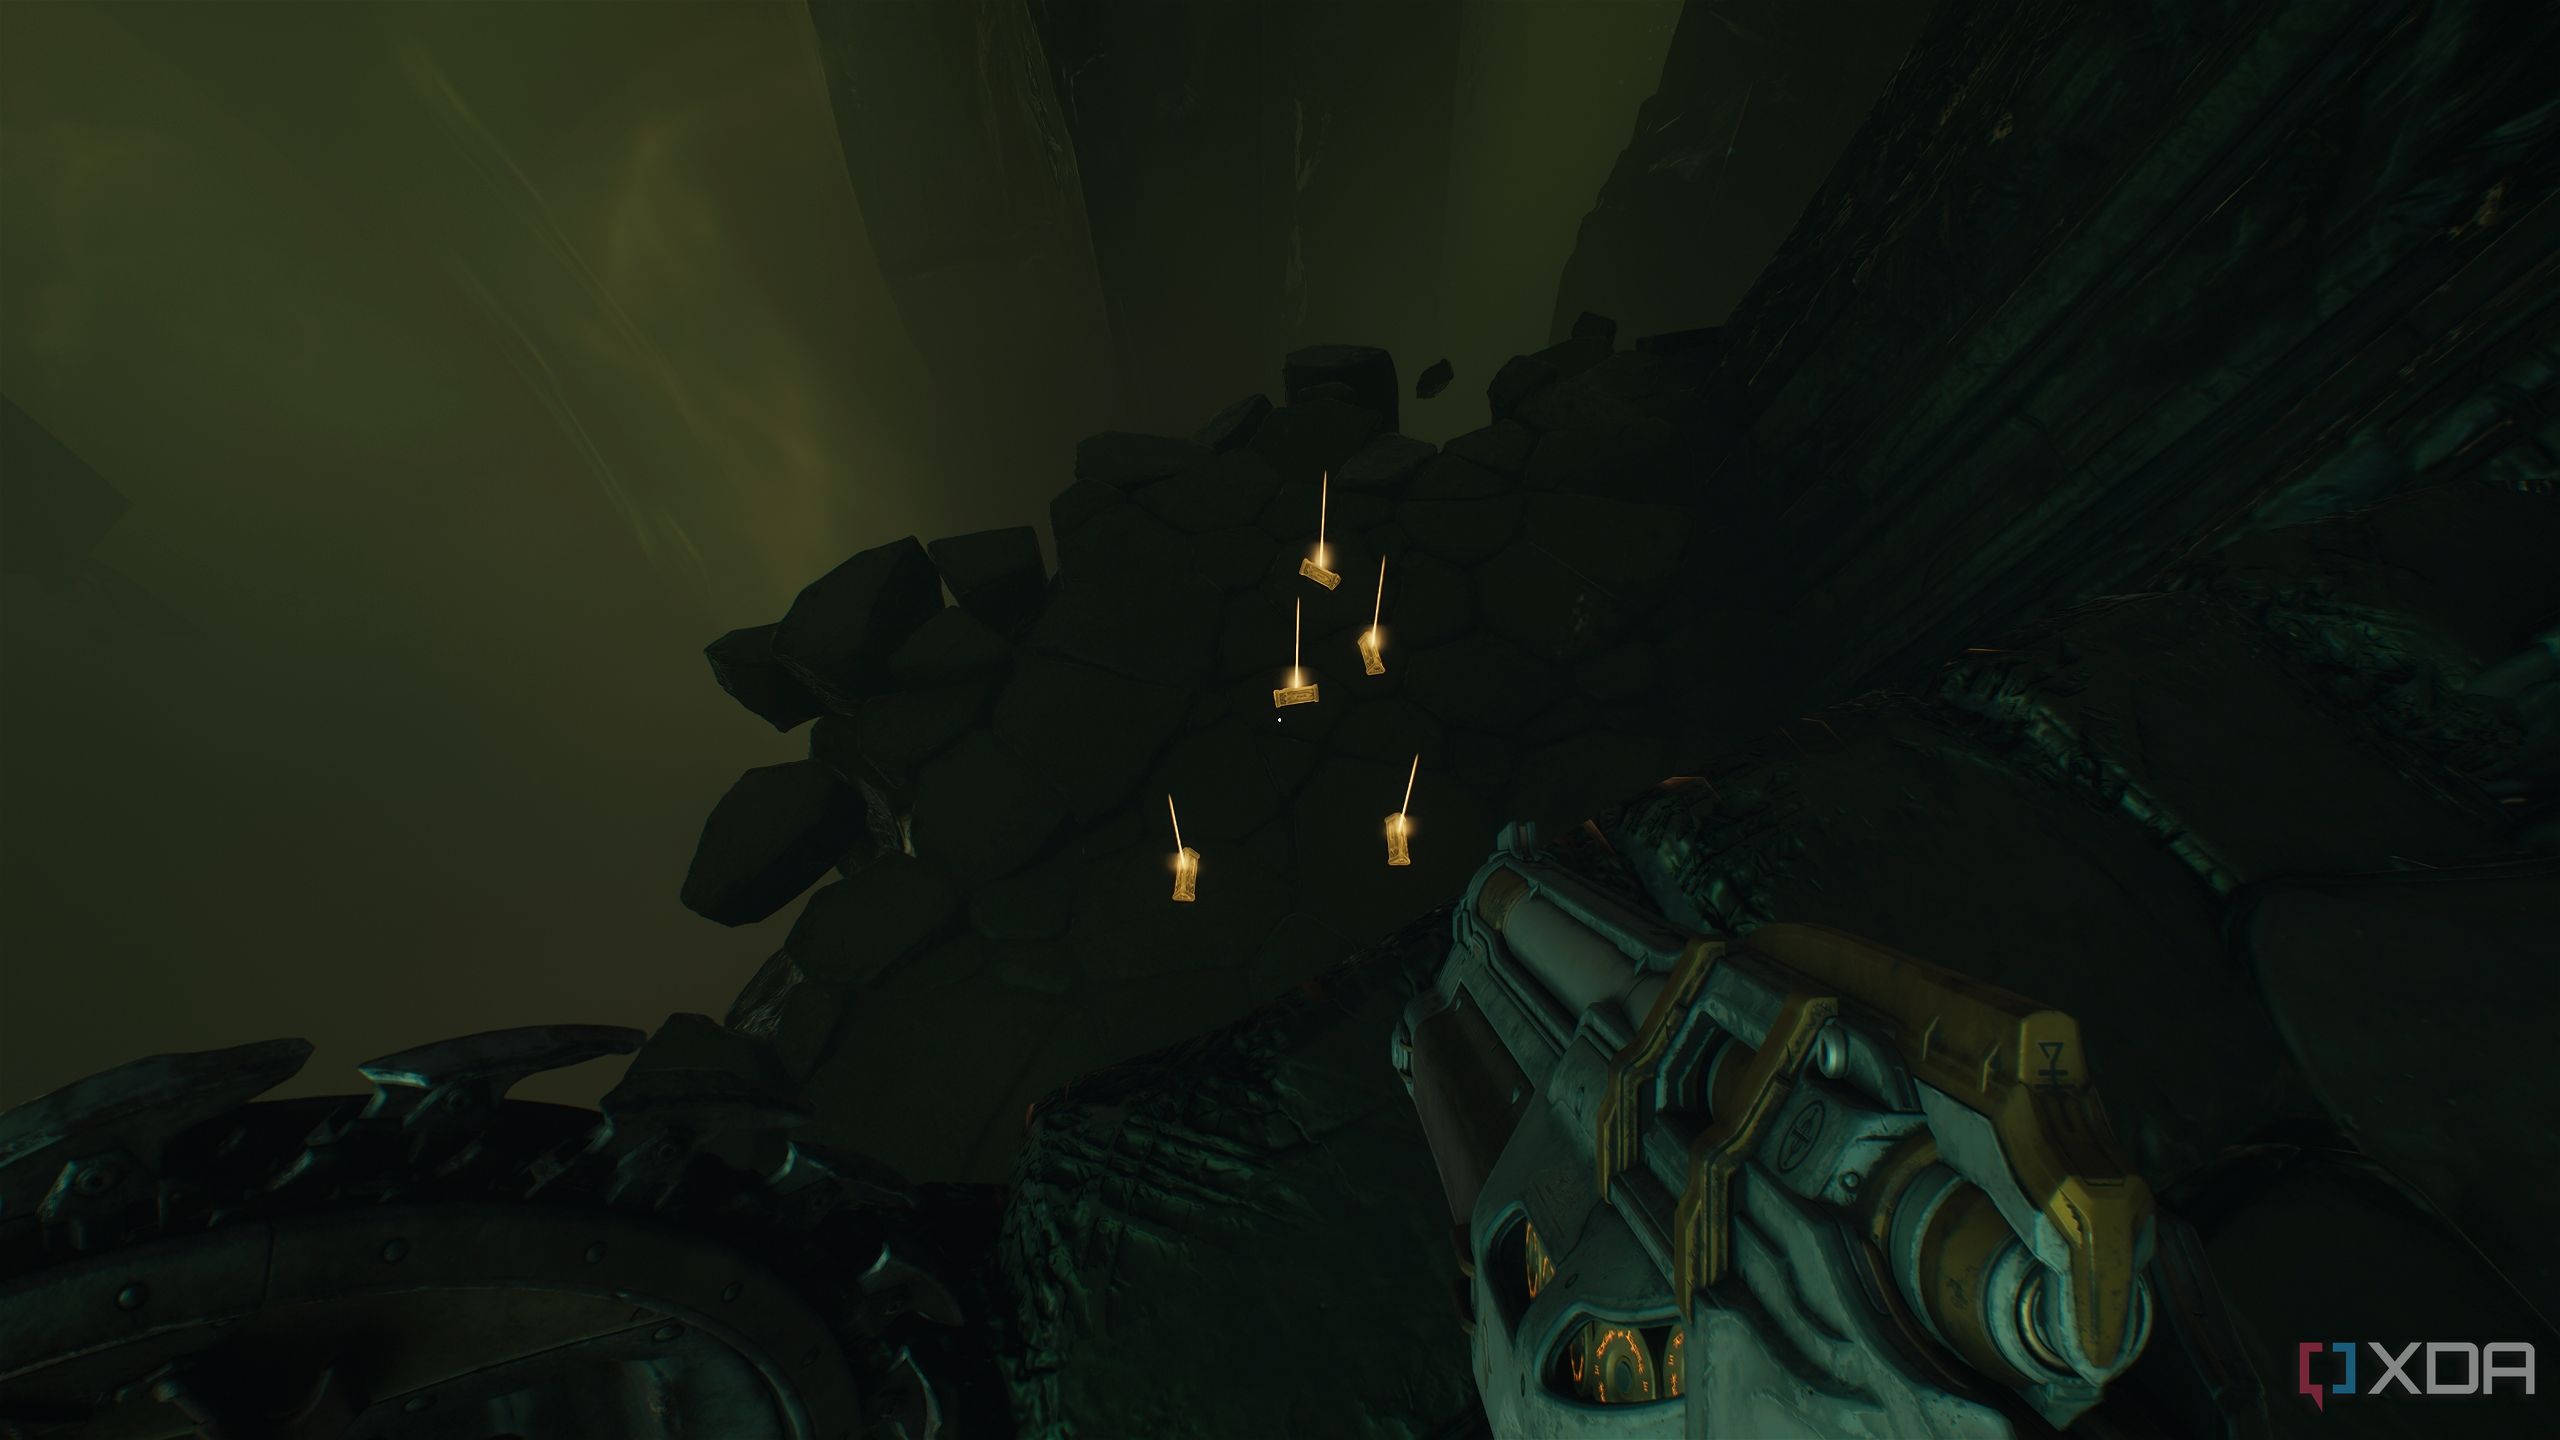
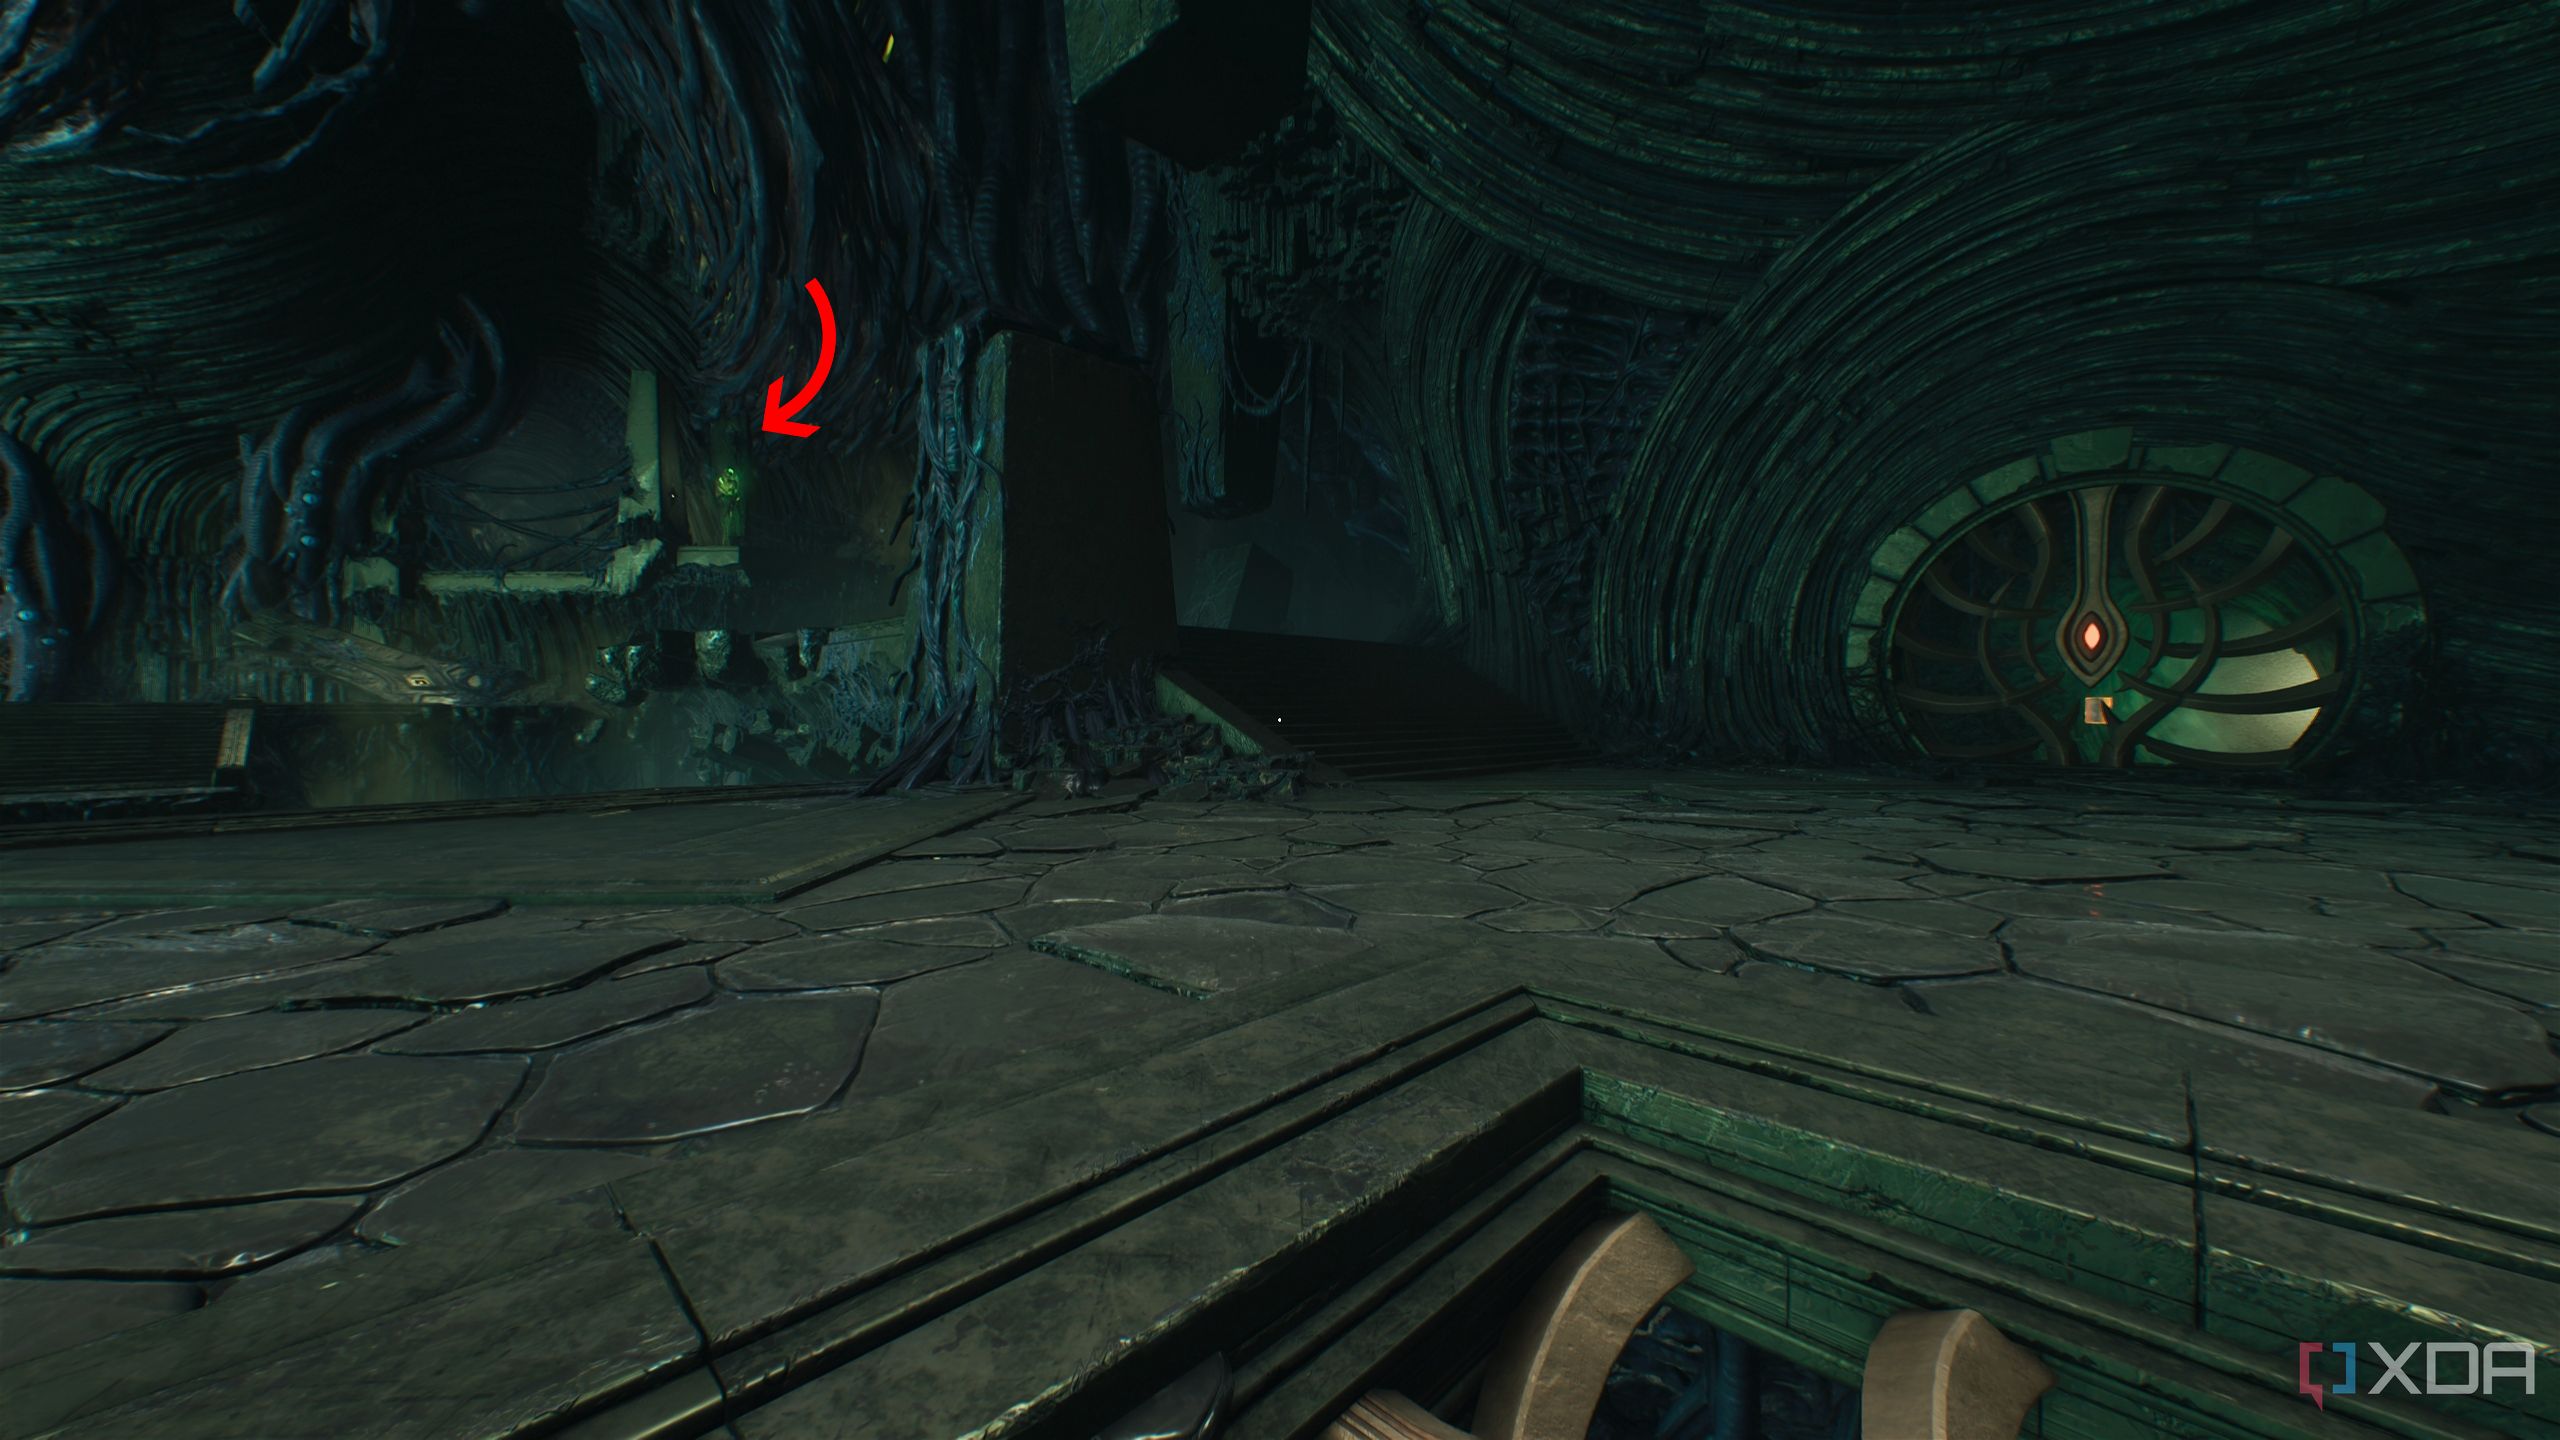
Secret area 5 and a Codex Page
A revelation about the cosmic city of Ry'uul
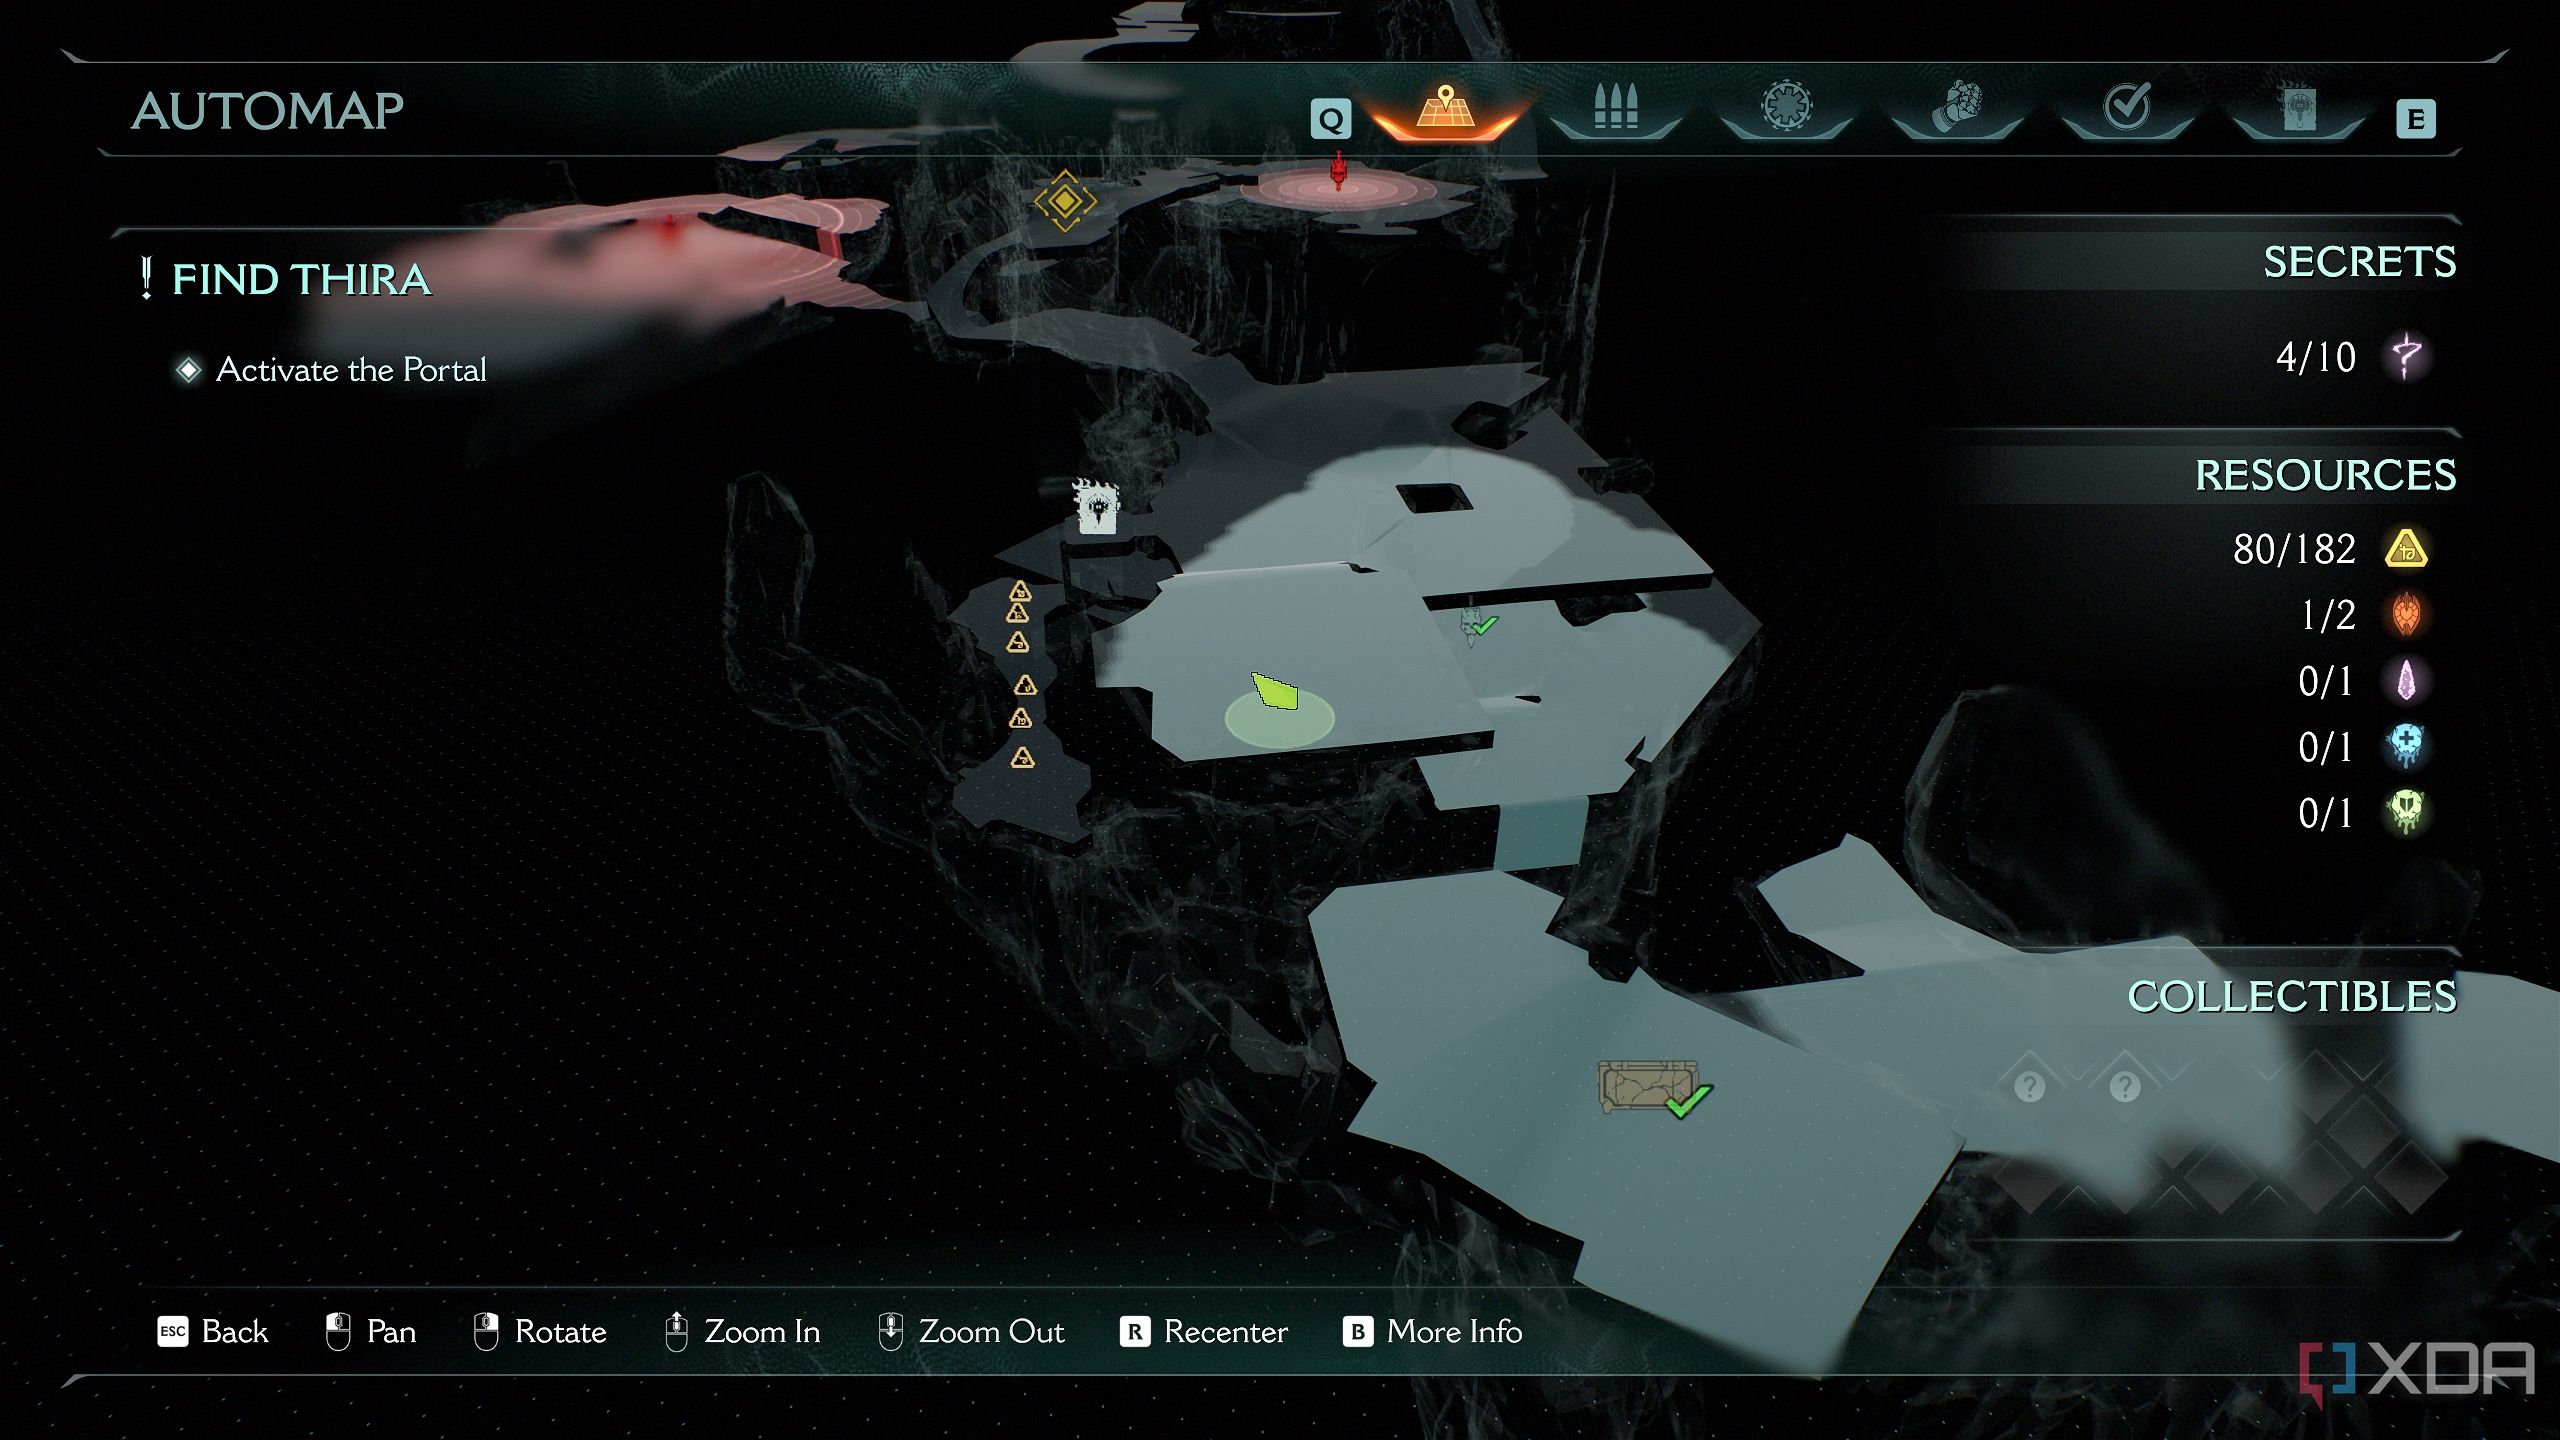
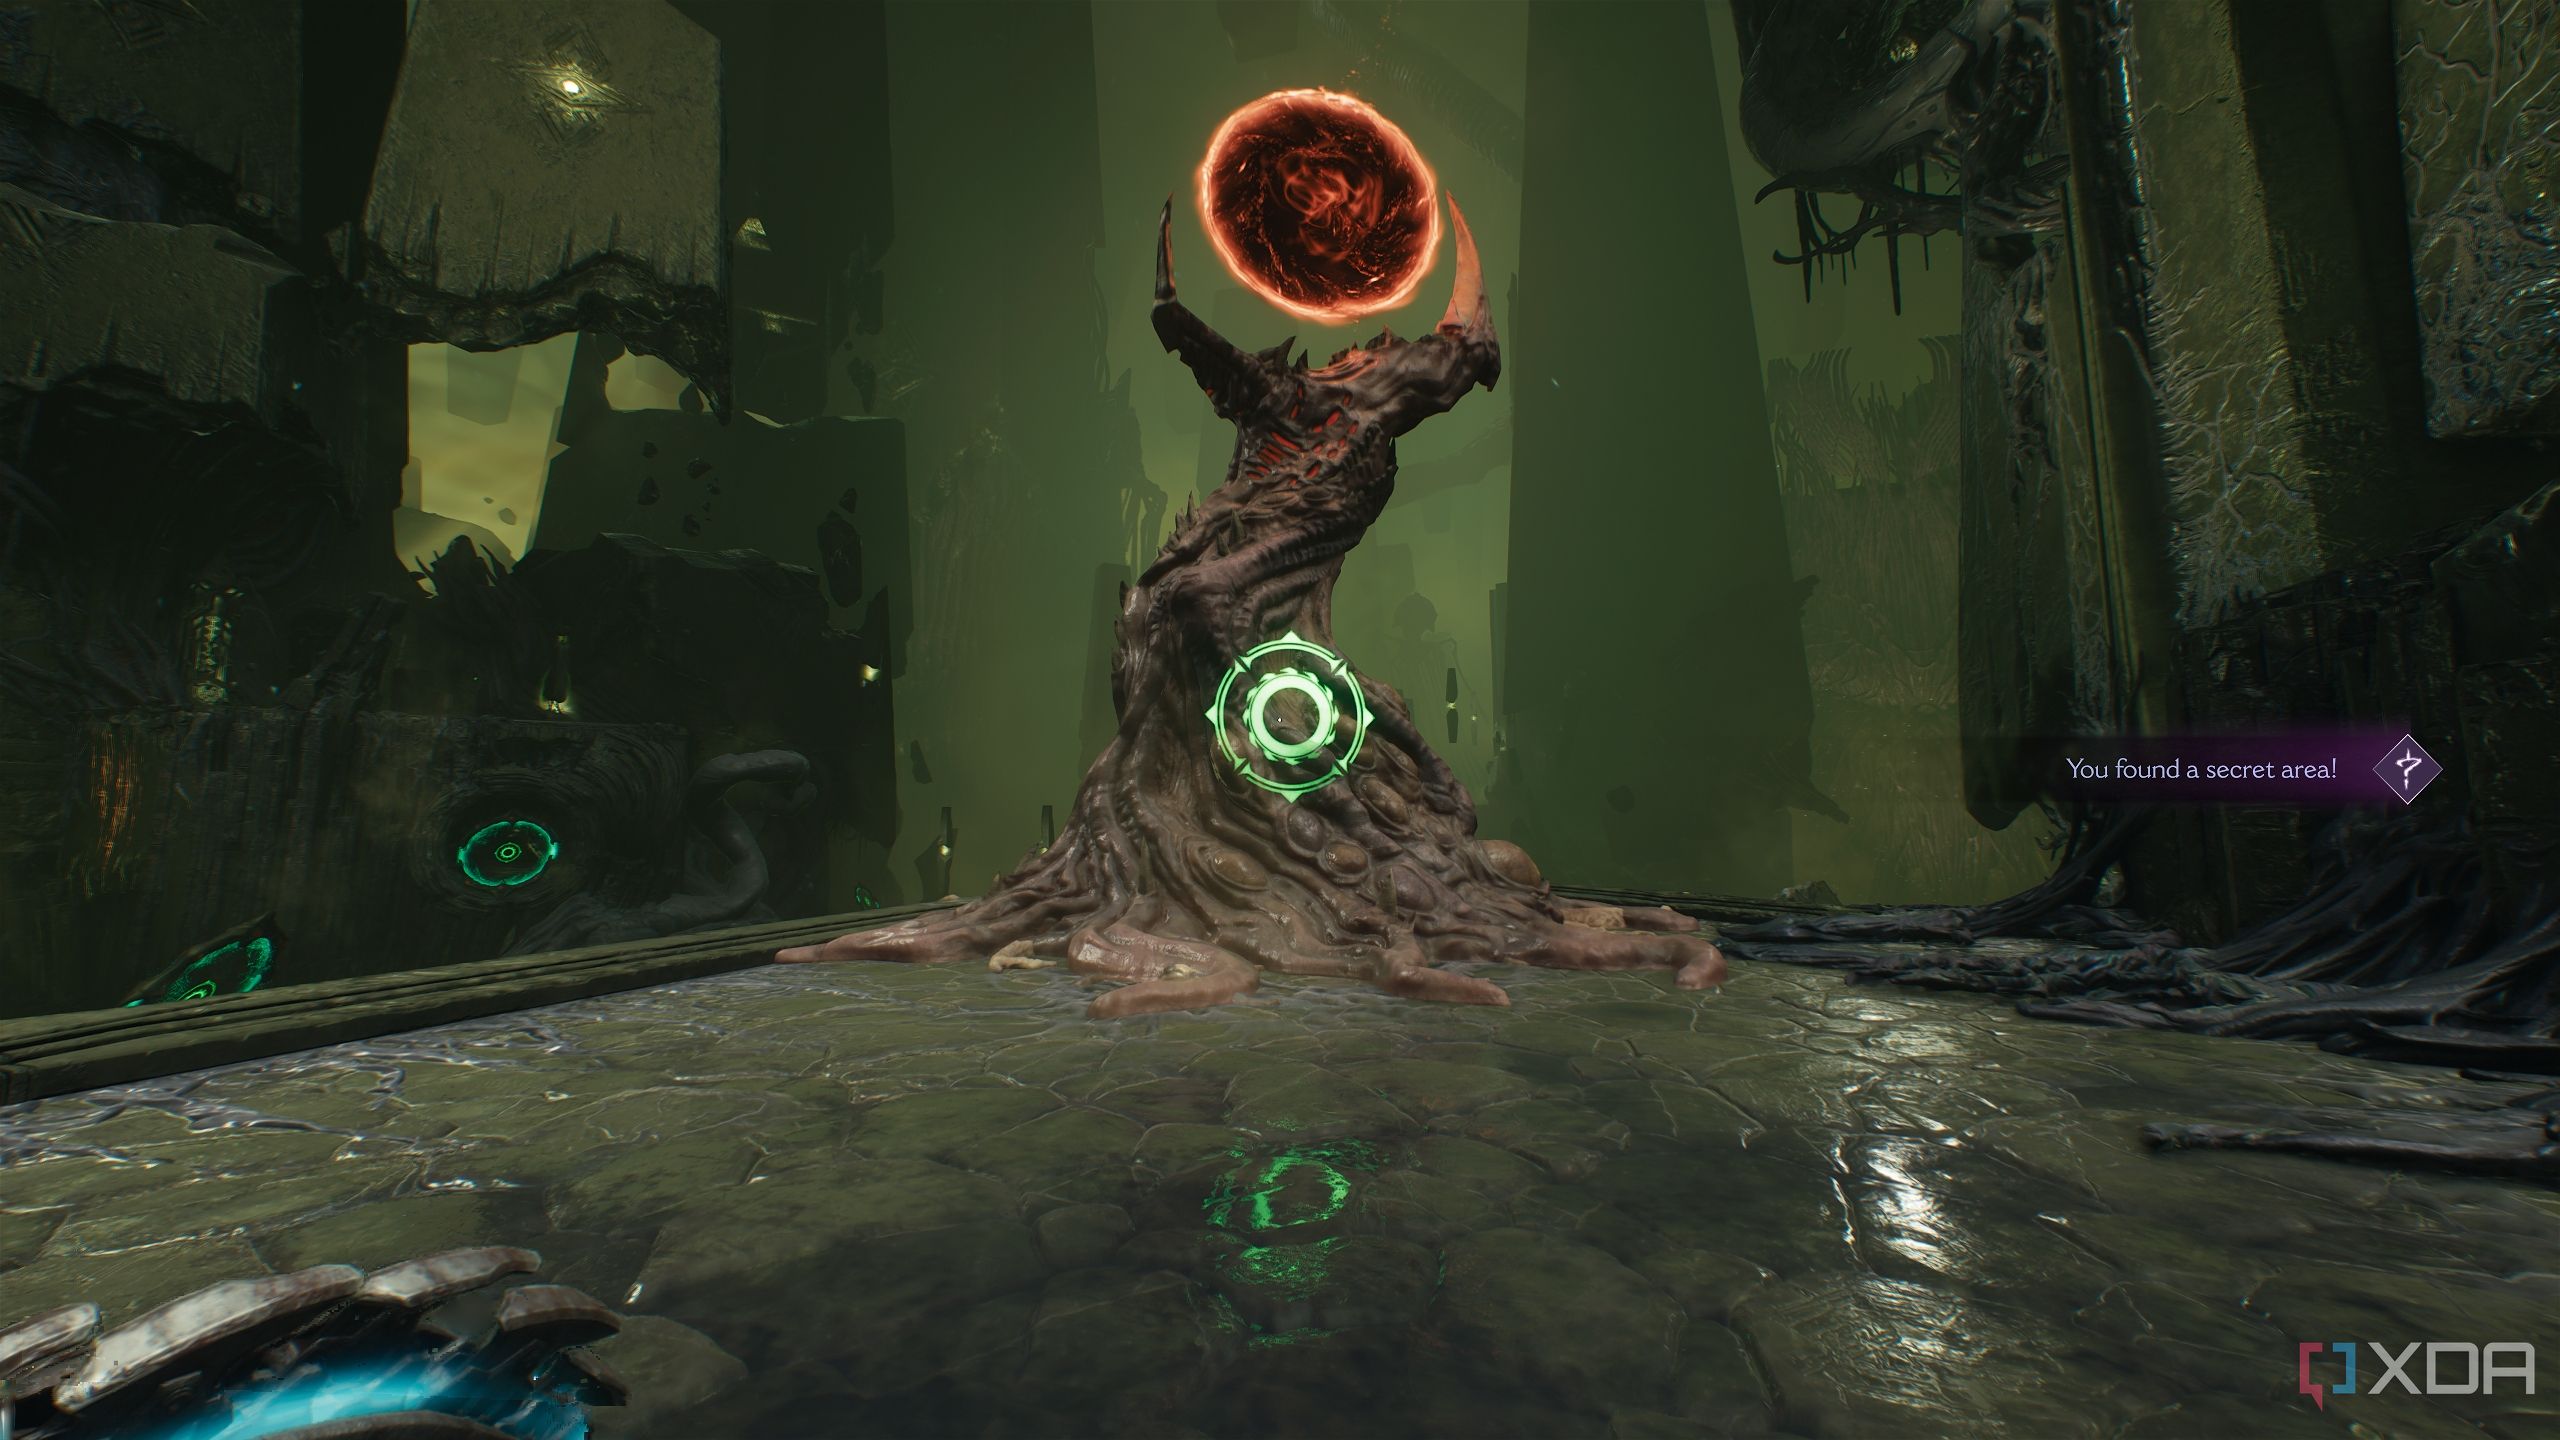
Jump back down to the central platform from secret area 4, and take a pause.
Here, right under the left edge of the platform, is another area.
Drop down into it to pick up a trail of gold bars.
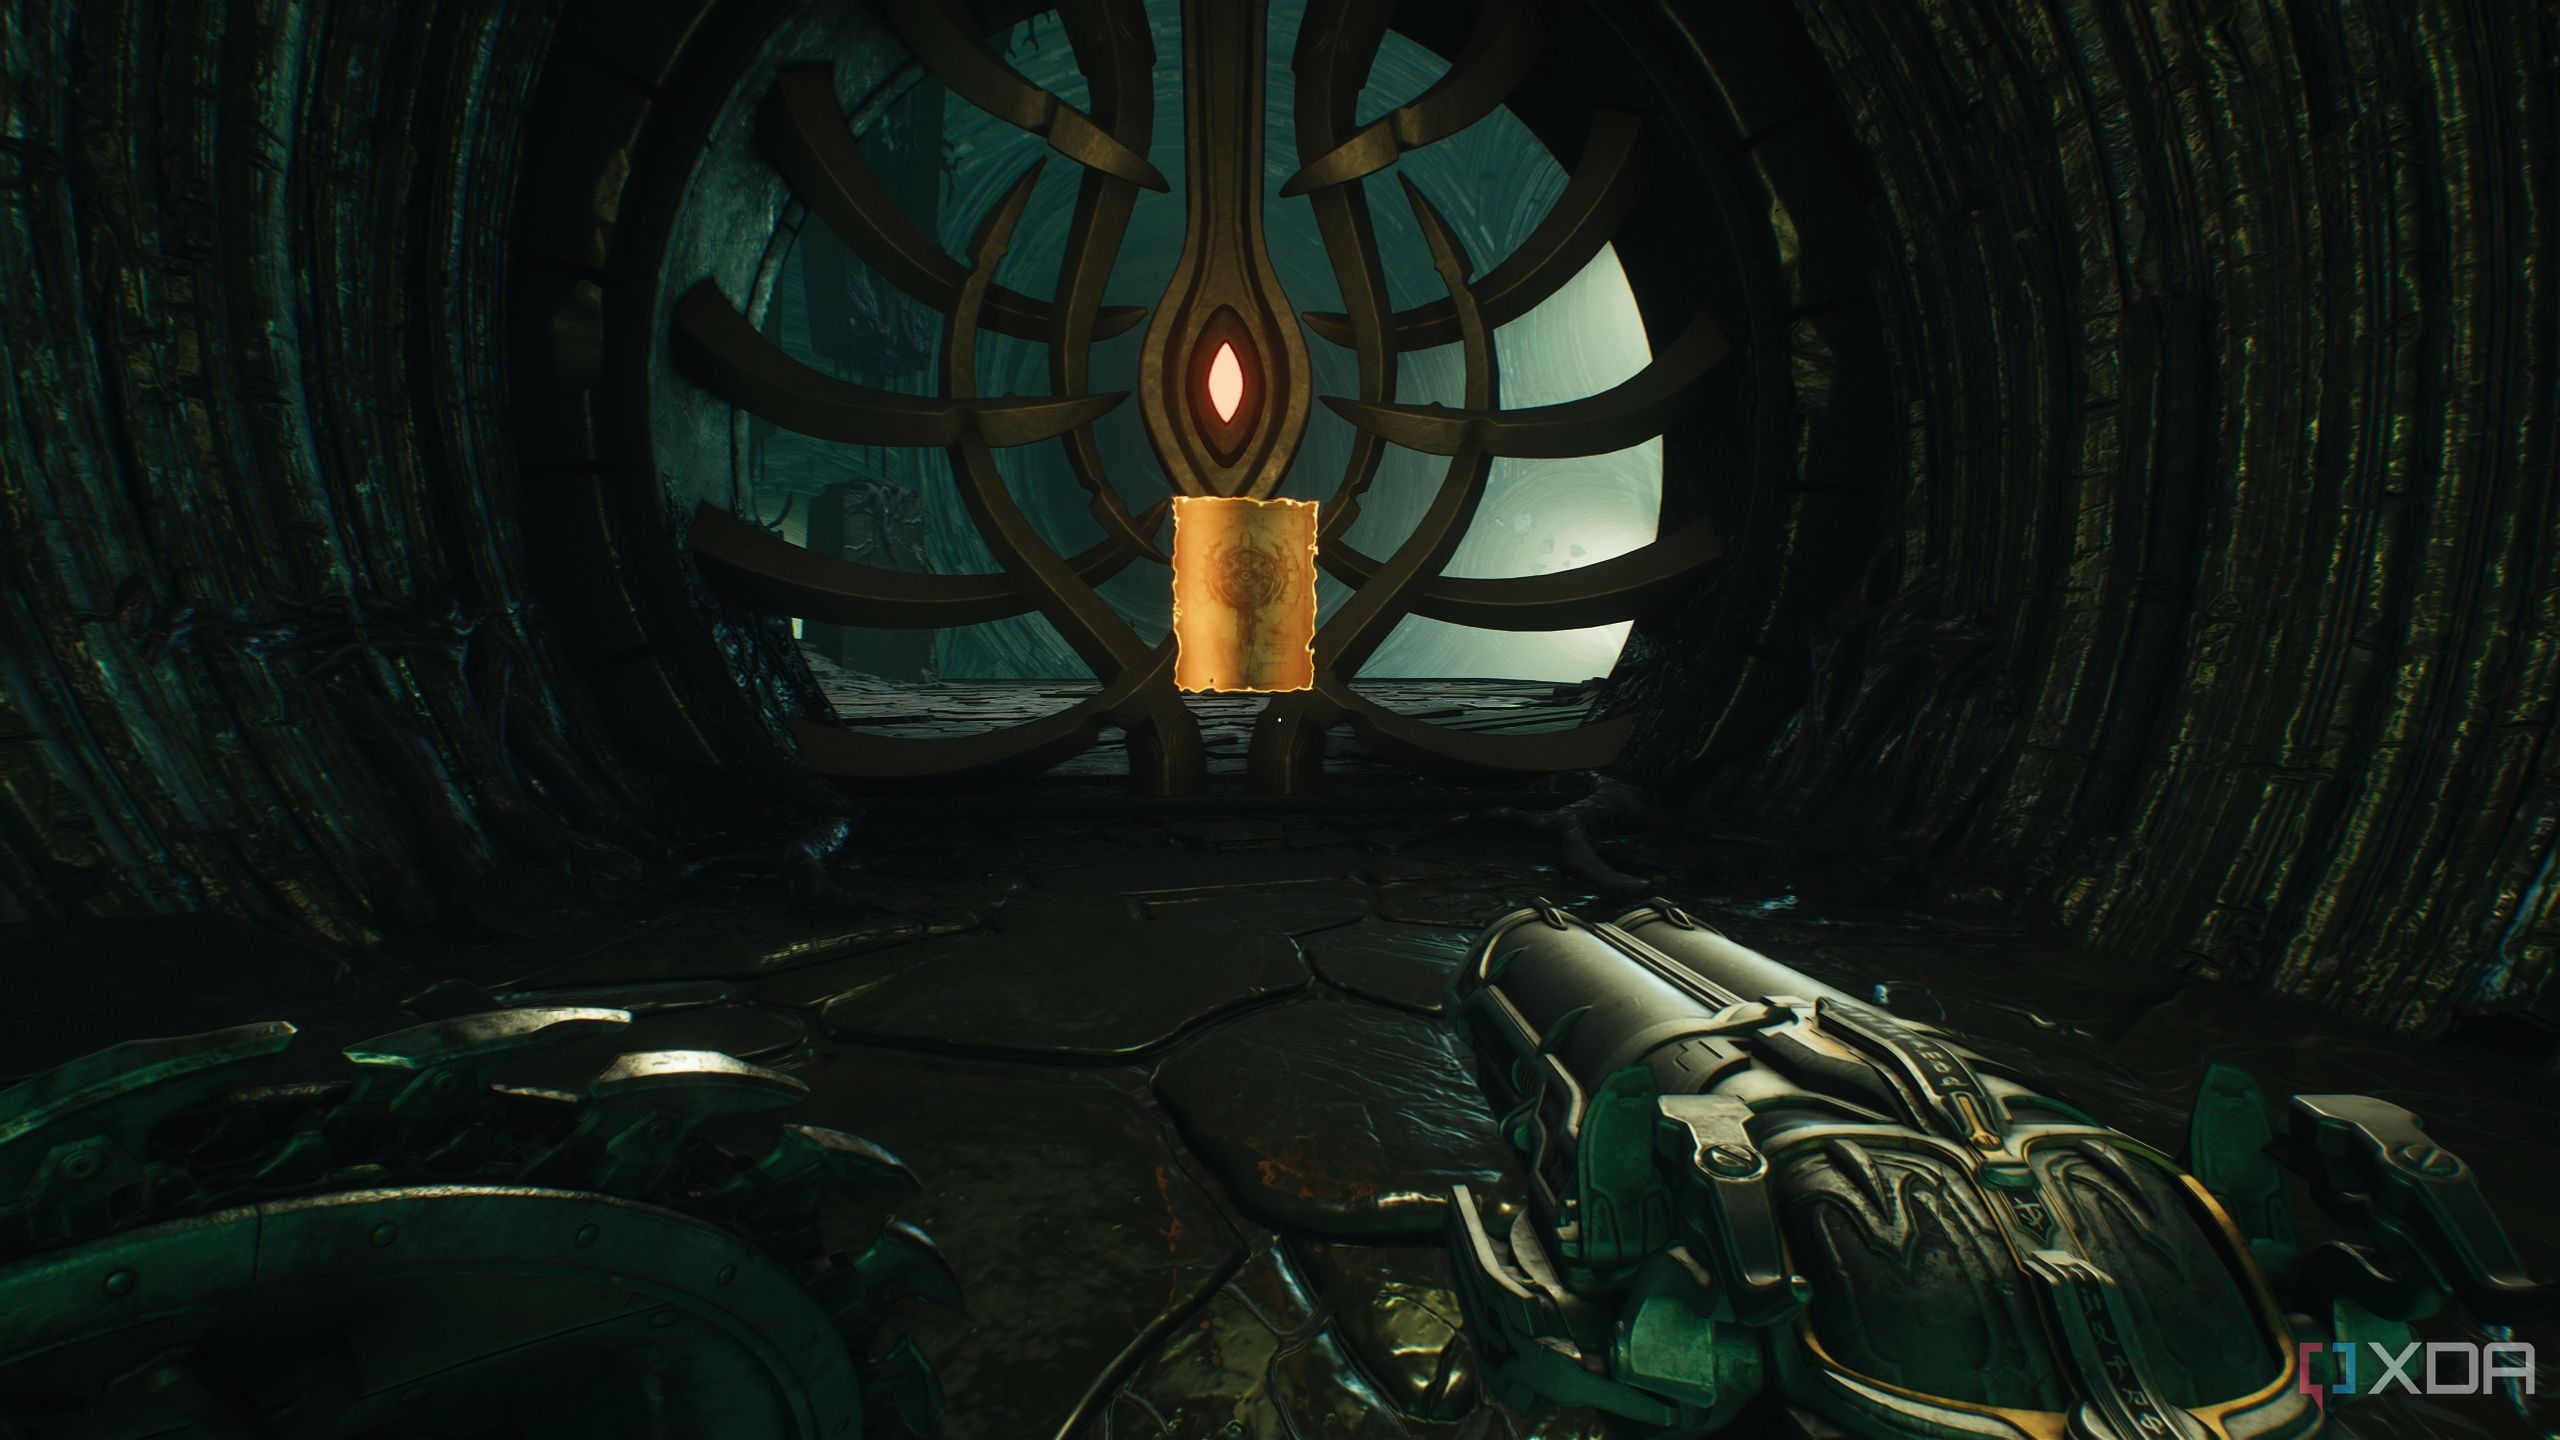
Next, scramble up the wall to collect a Codex Page.
Related
Secret area 6 and Red Ruby 2
Letting the elevator go up empty
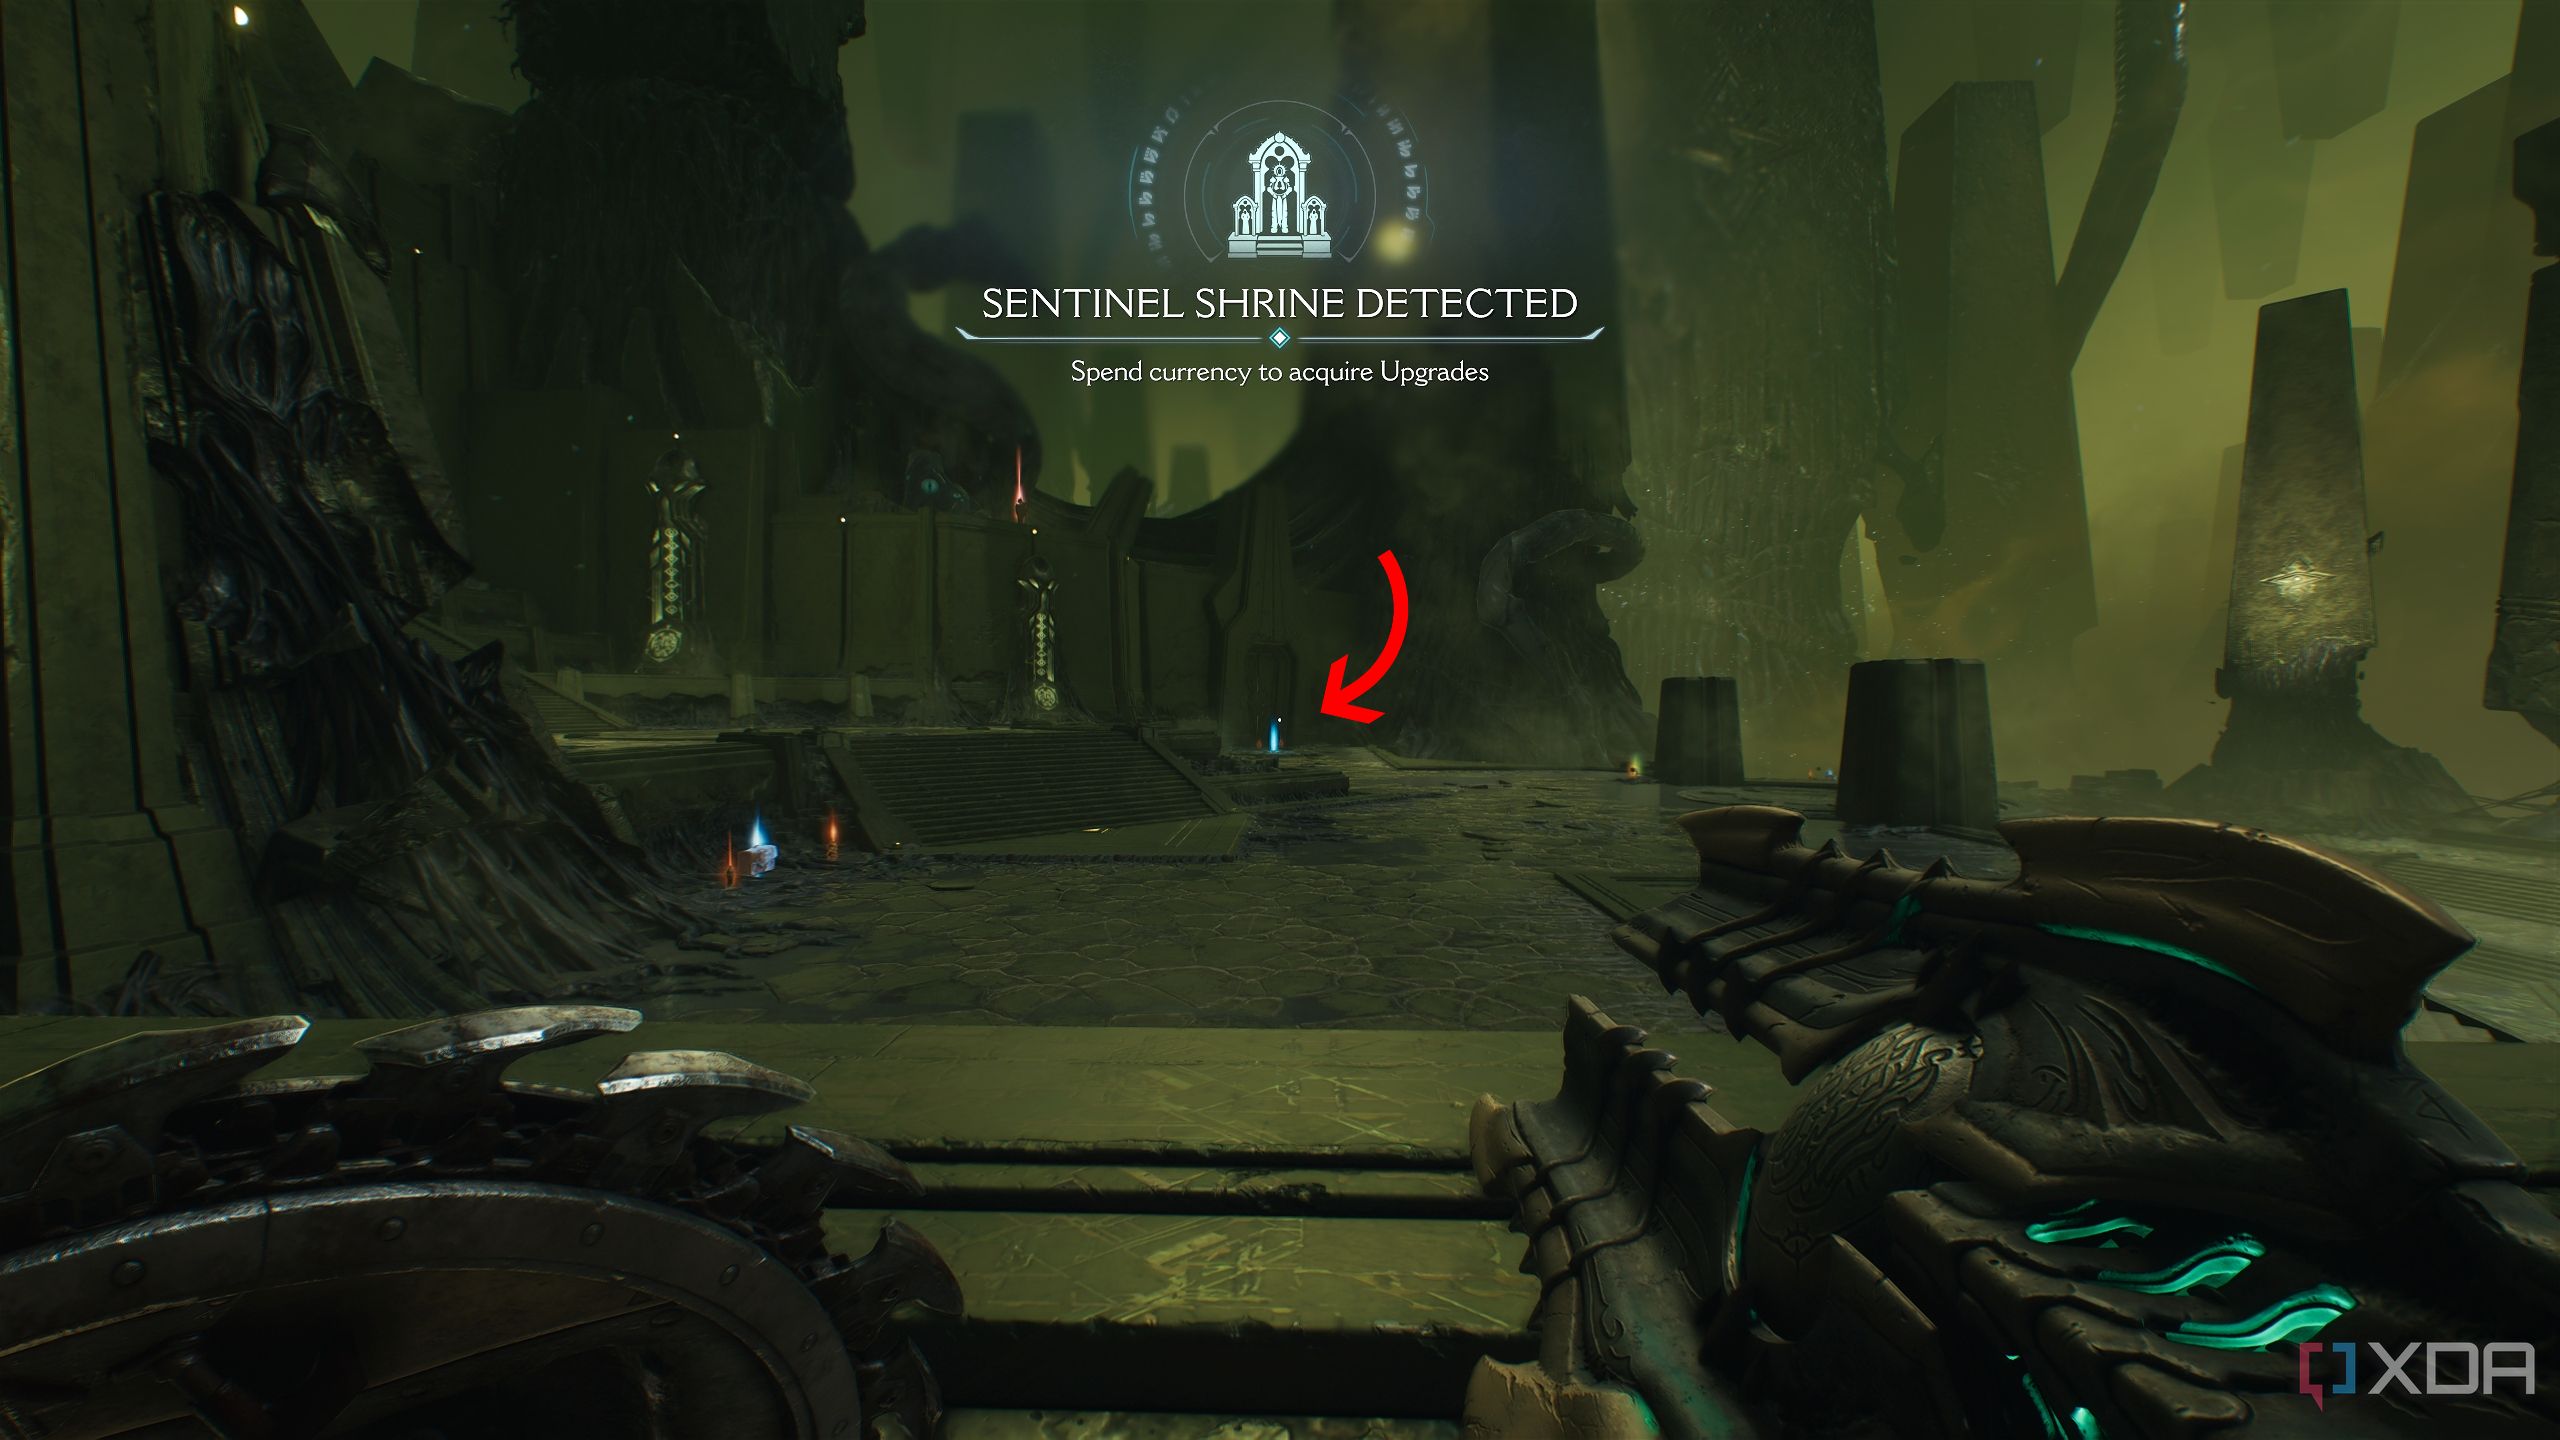
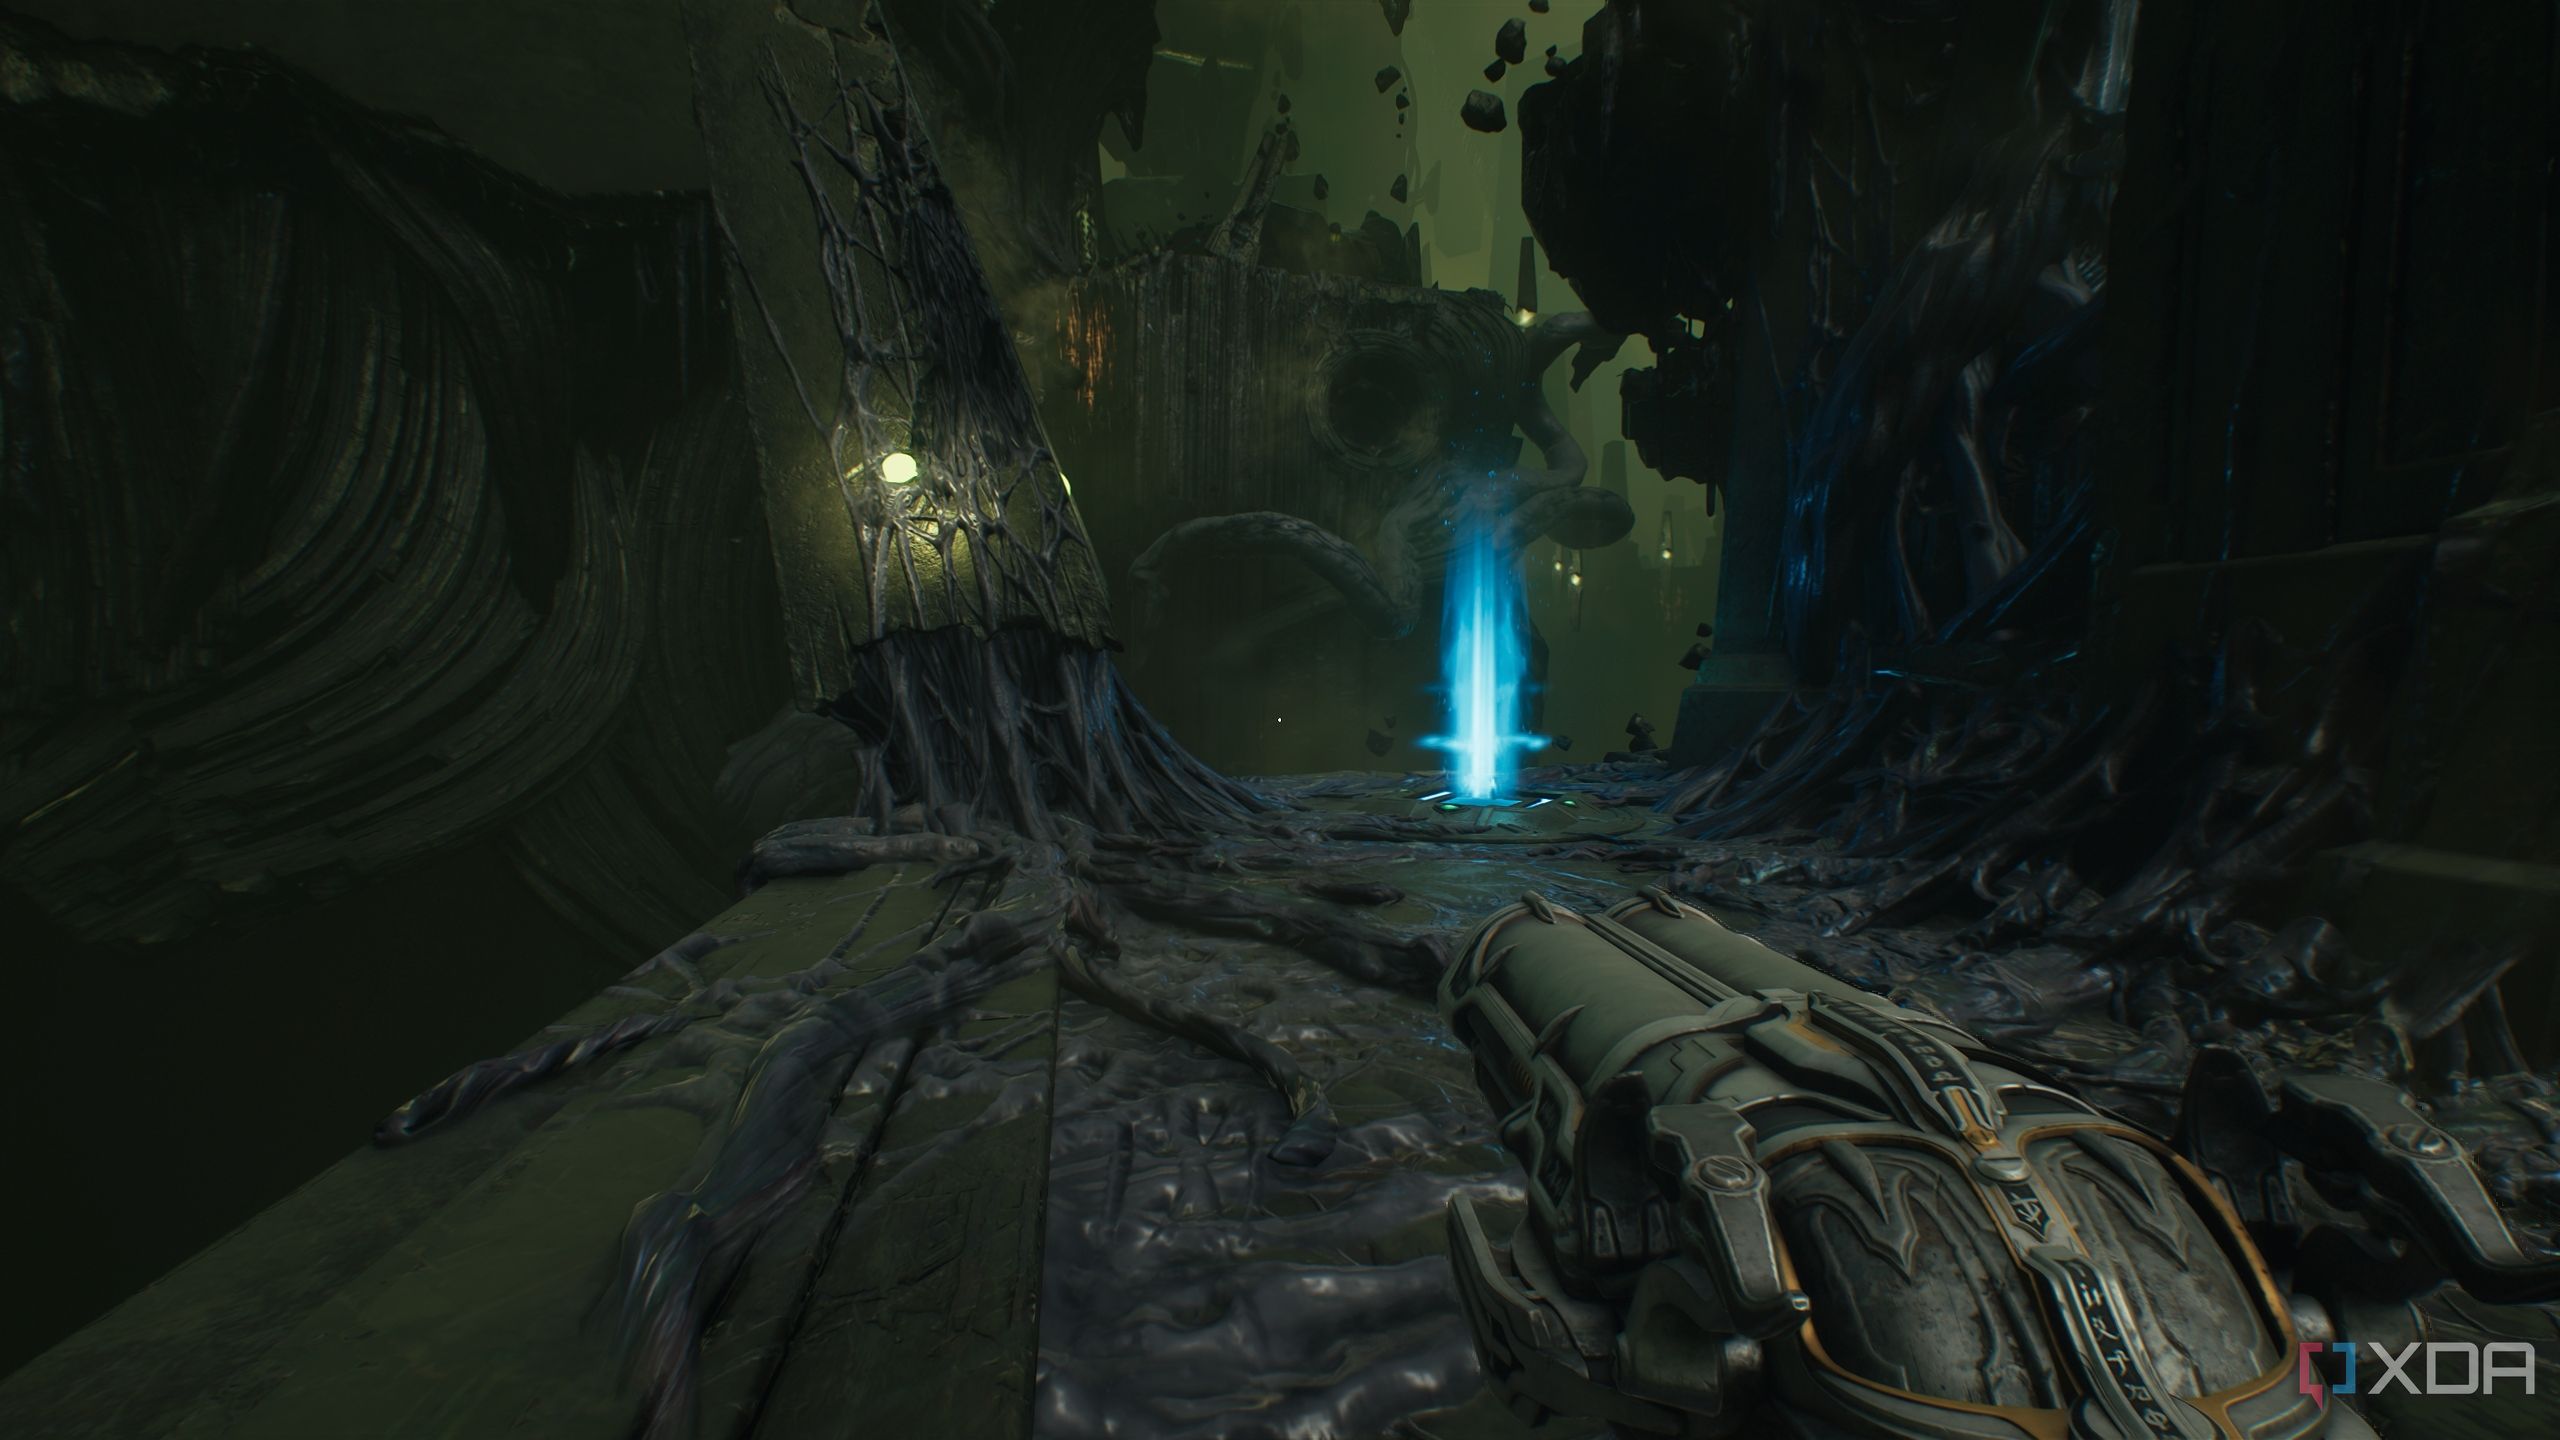
Follow the main objective until you acquire the Dreadmace. Once you enter the next room after the demons are dead, you’ll see a blue energy node up above.
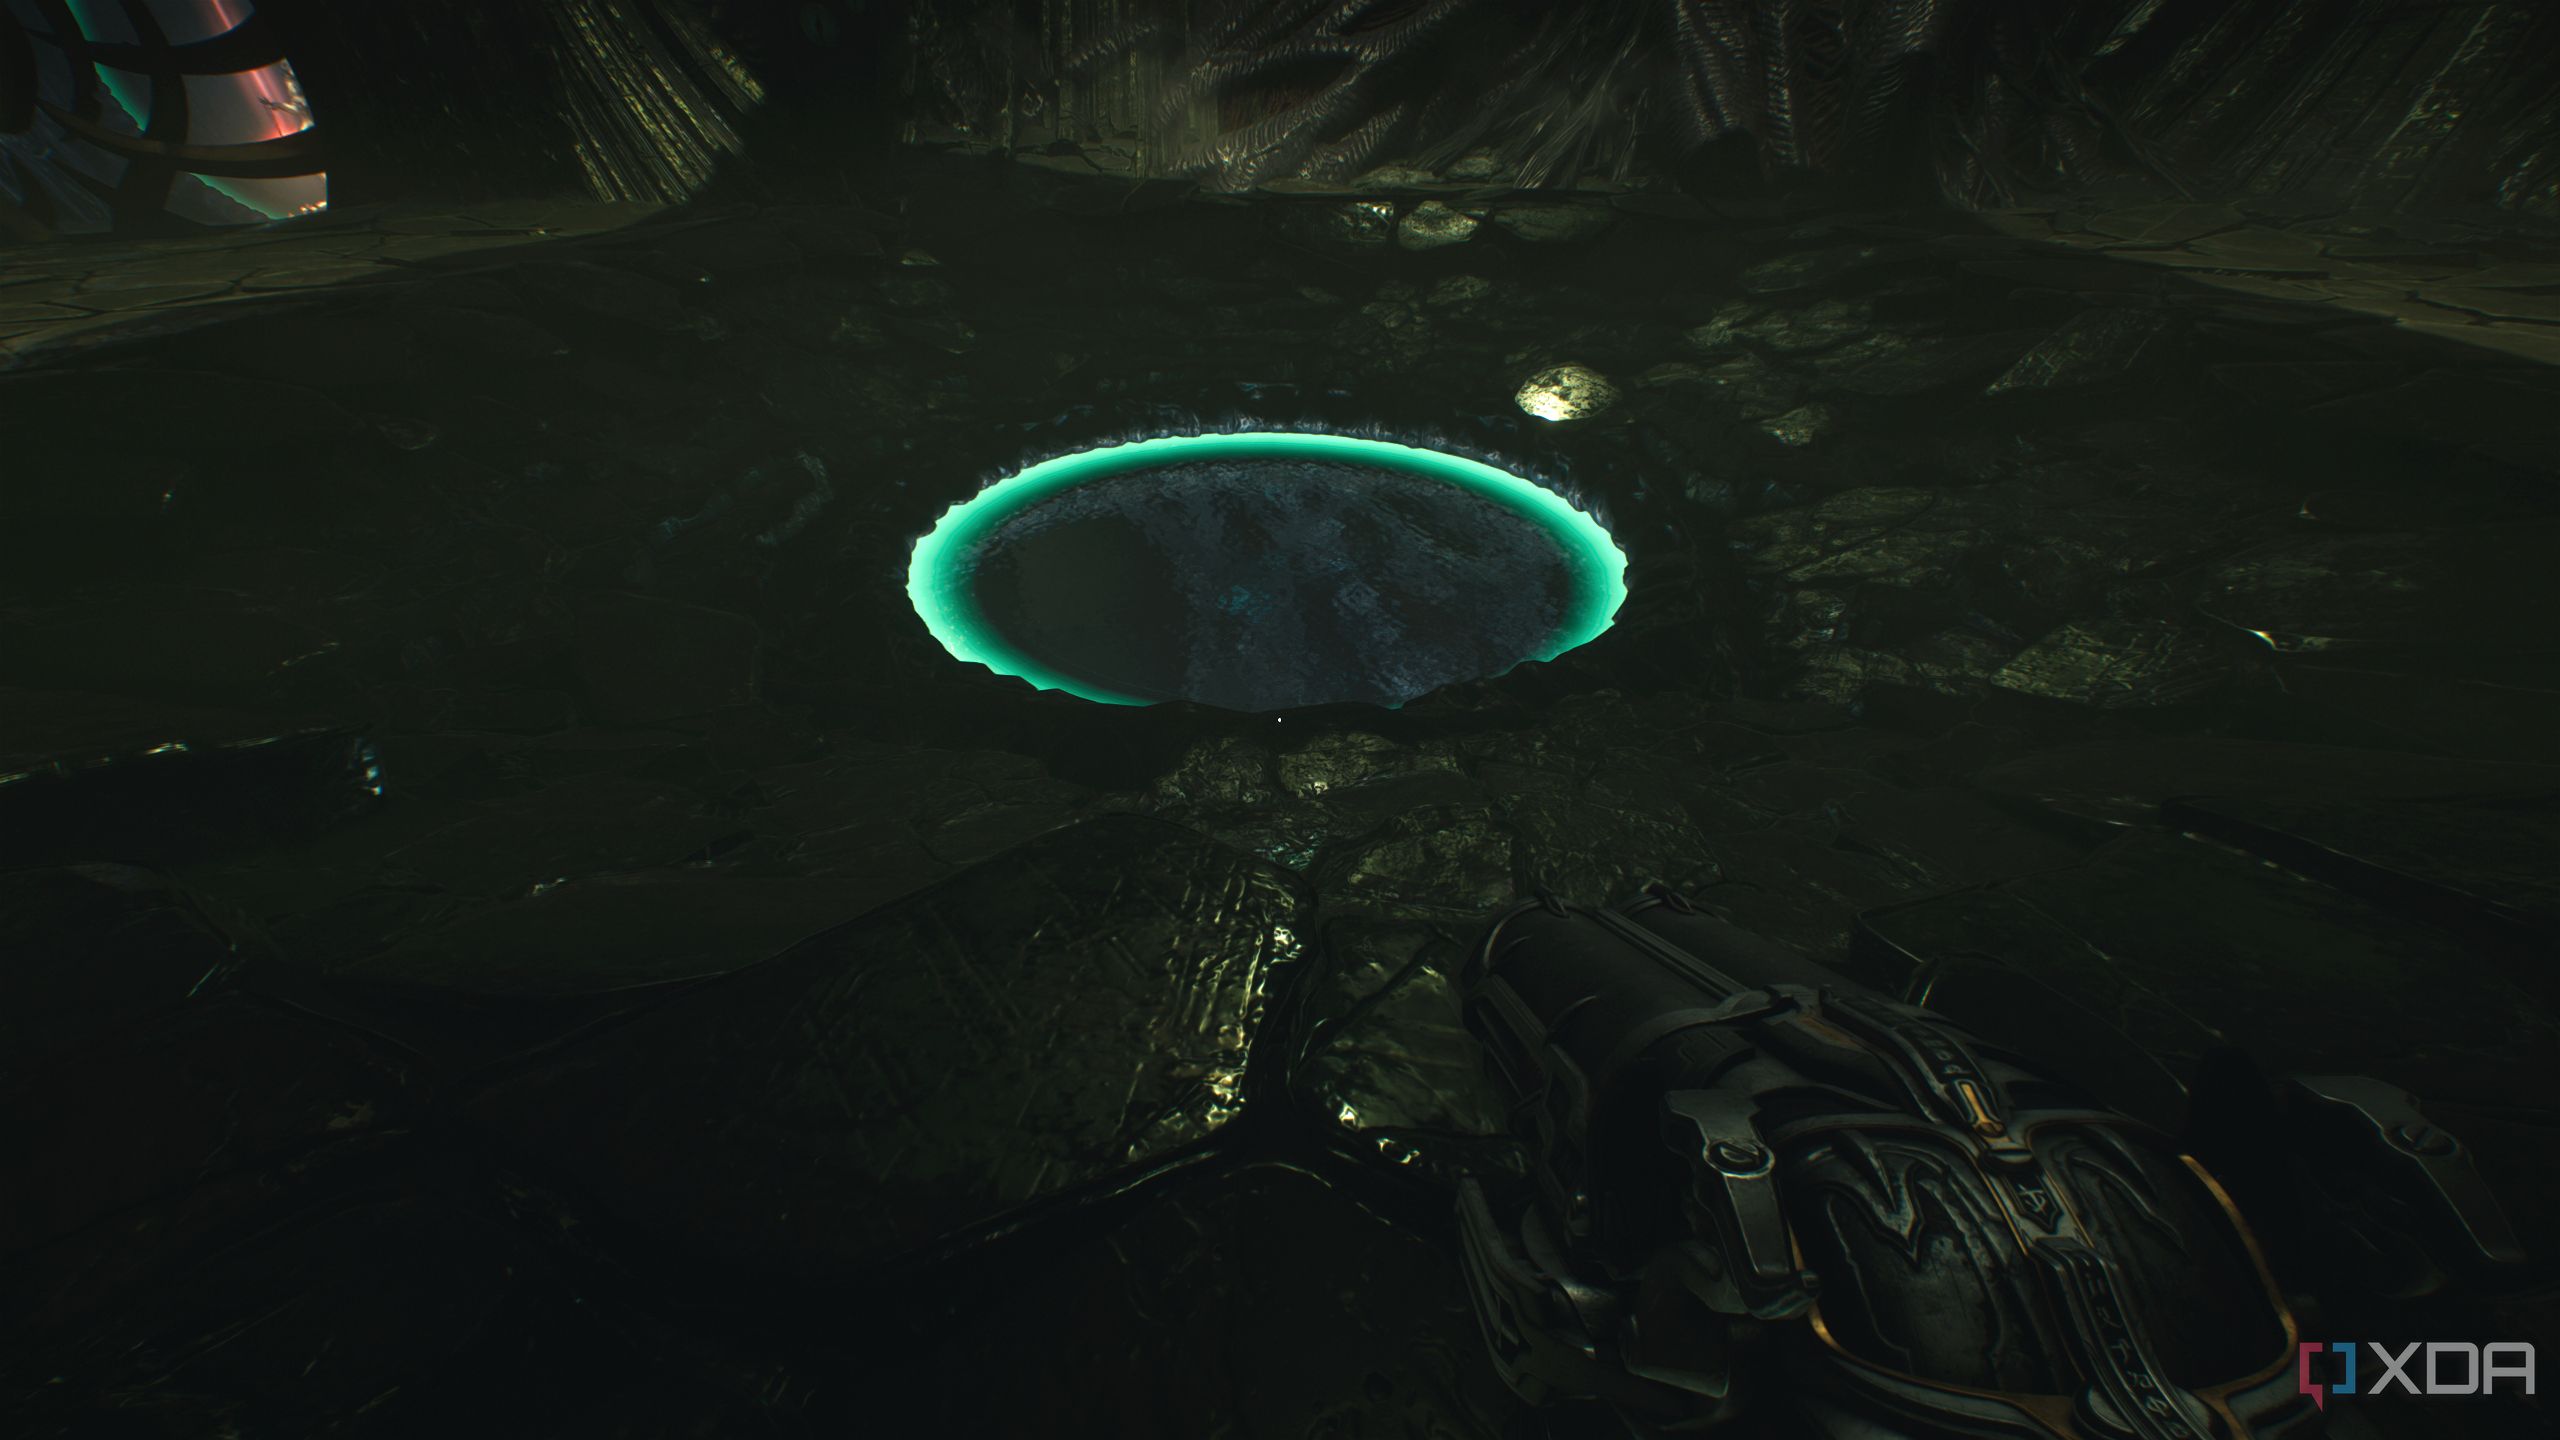
It controls the lift in the center of the room. Don’t step on the lift — instead, just hit the energy node and let the platform rise up. Underneath it, a hole in the floor will be exposed.
Dive into it and swim through to find a trail of gold bars and secret area 6.
Swim all the way to the end while avoiding the stone obstacles, and you’ll reach a statue with the second Red Ruby in the level.
Demonic Essence and the Heads-Up challenge
Facing off against a single Cacodemon to check off the challenge
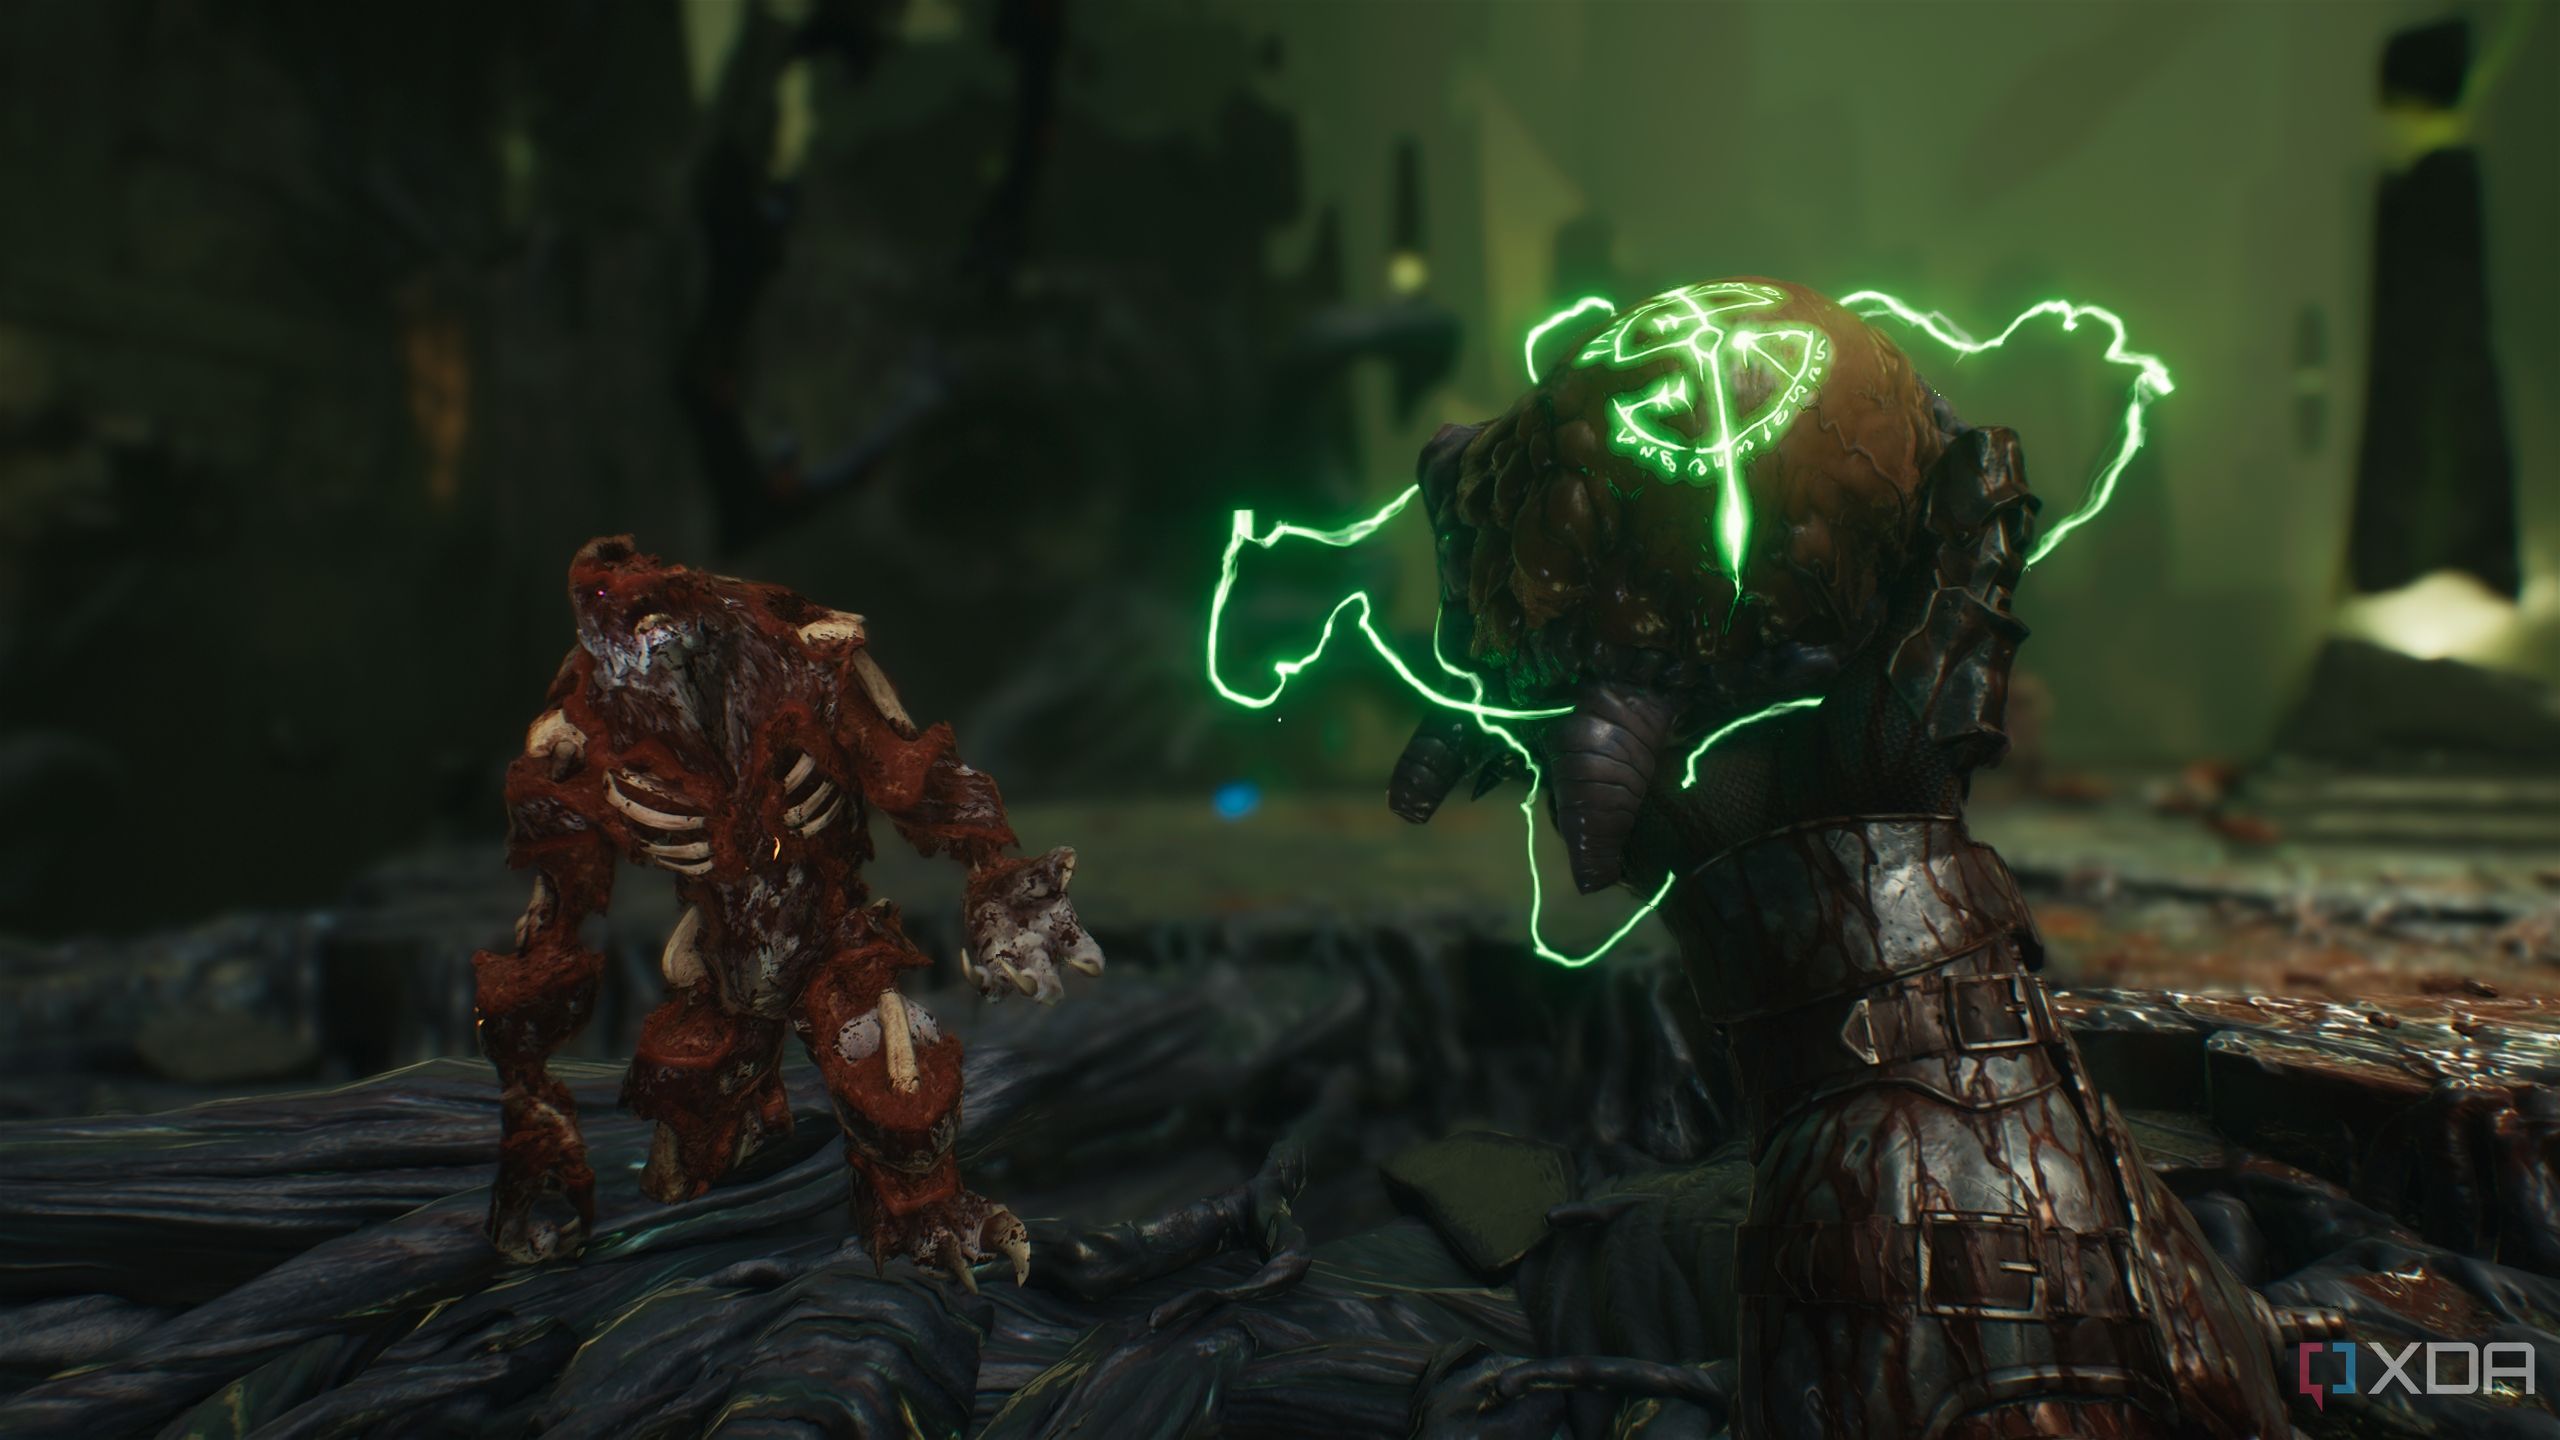
Use the lift mechanism to interact with the Cosmic Eye and head towards the objective. Here, you’ll enter a pretty big arena with a lot of demons to fight through.
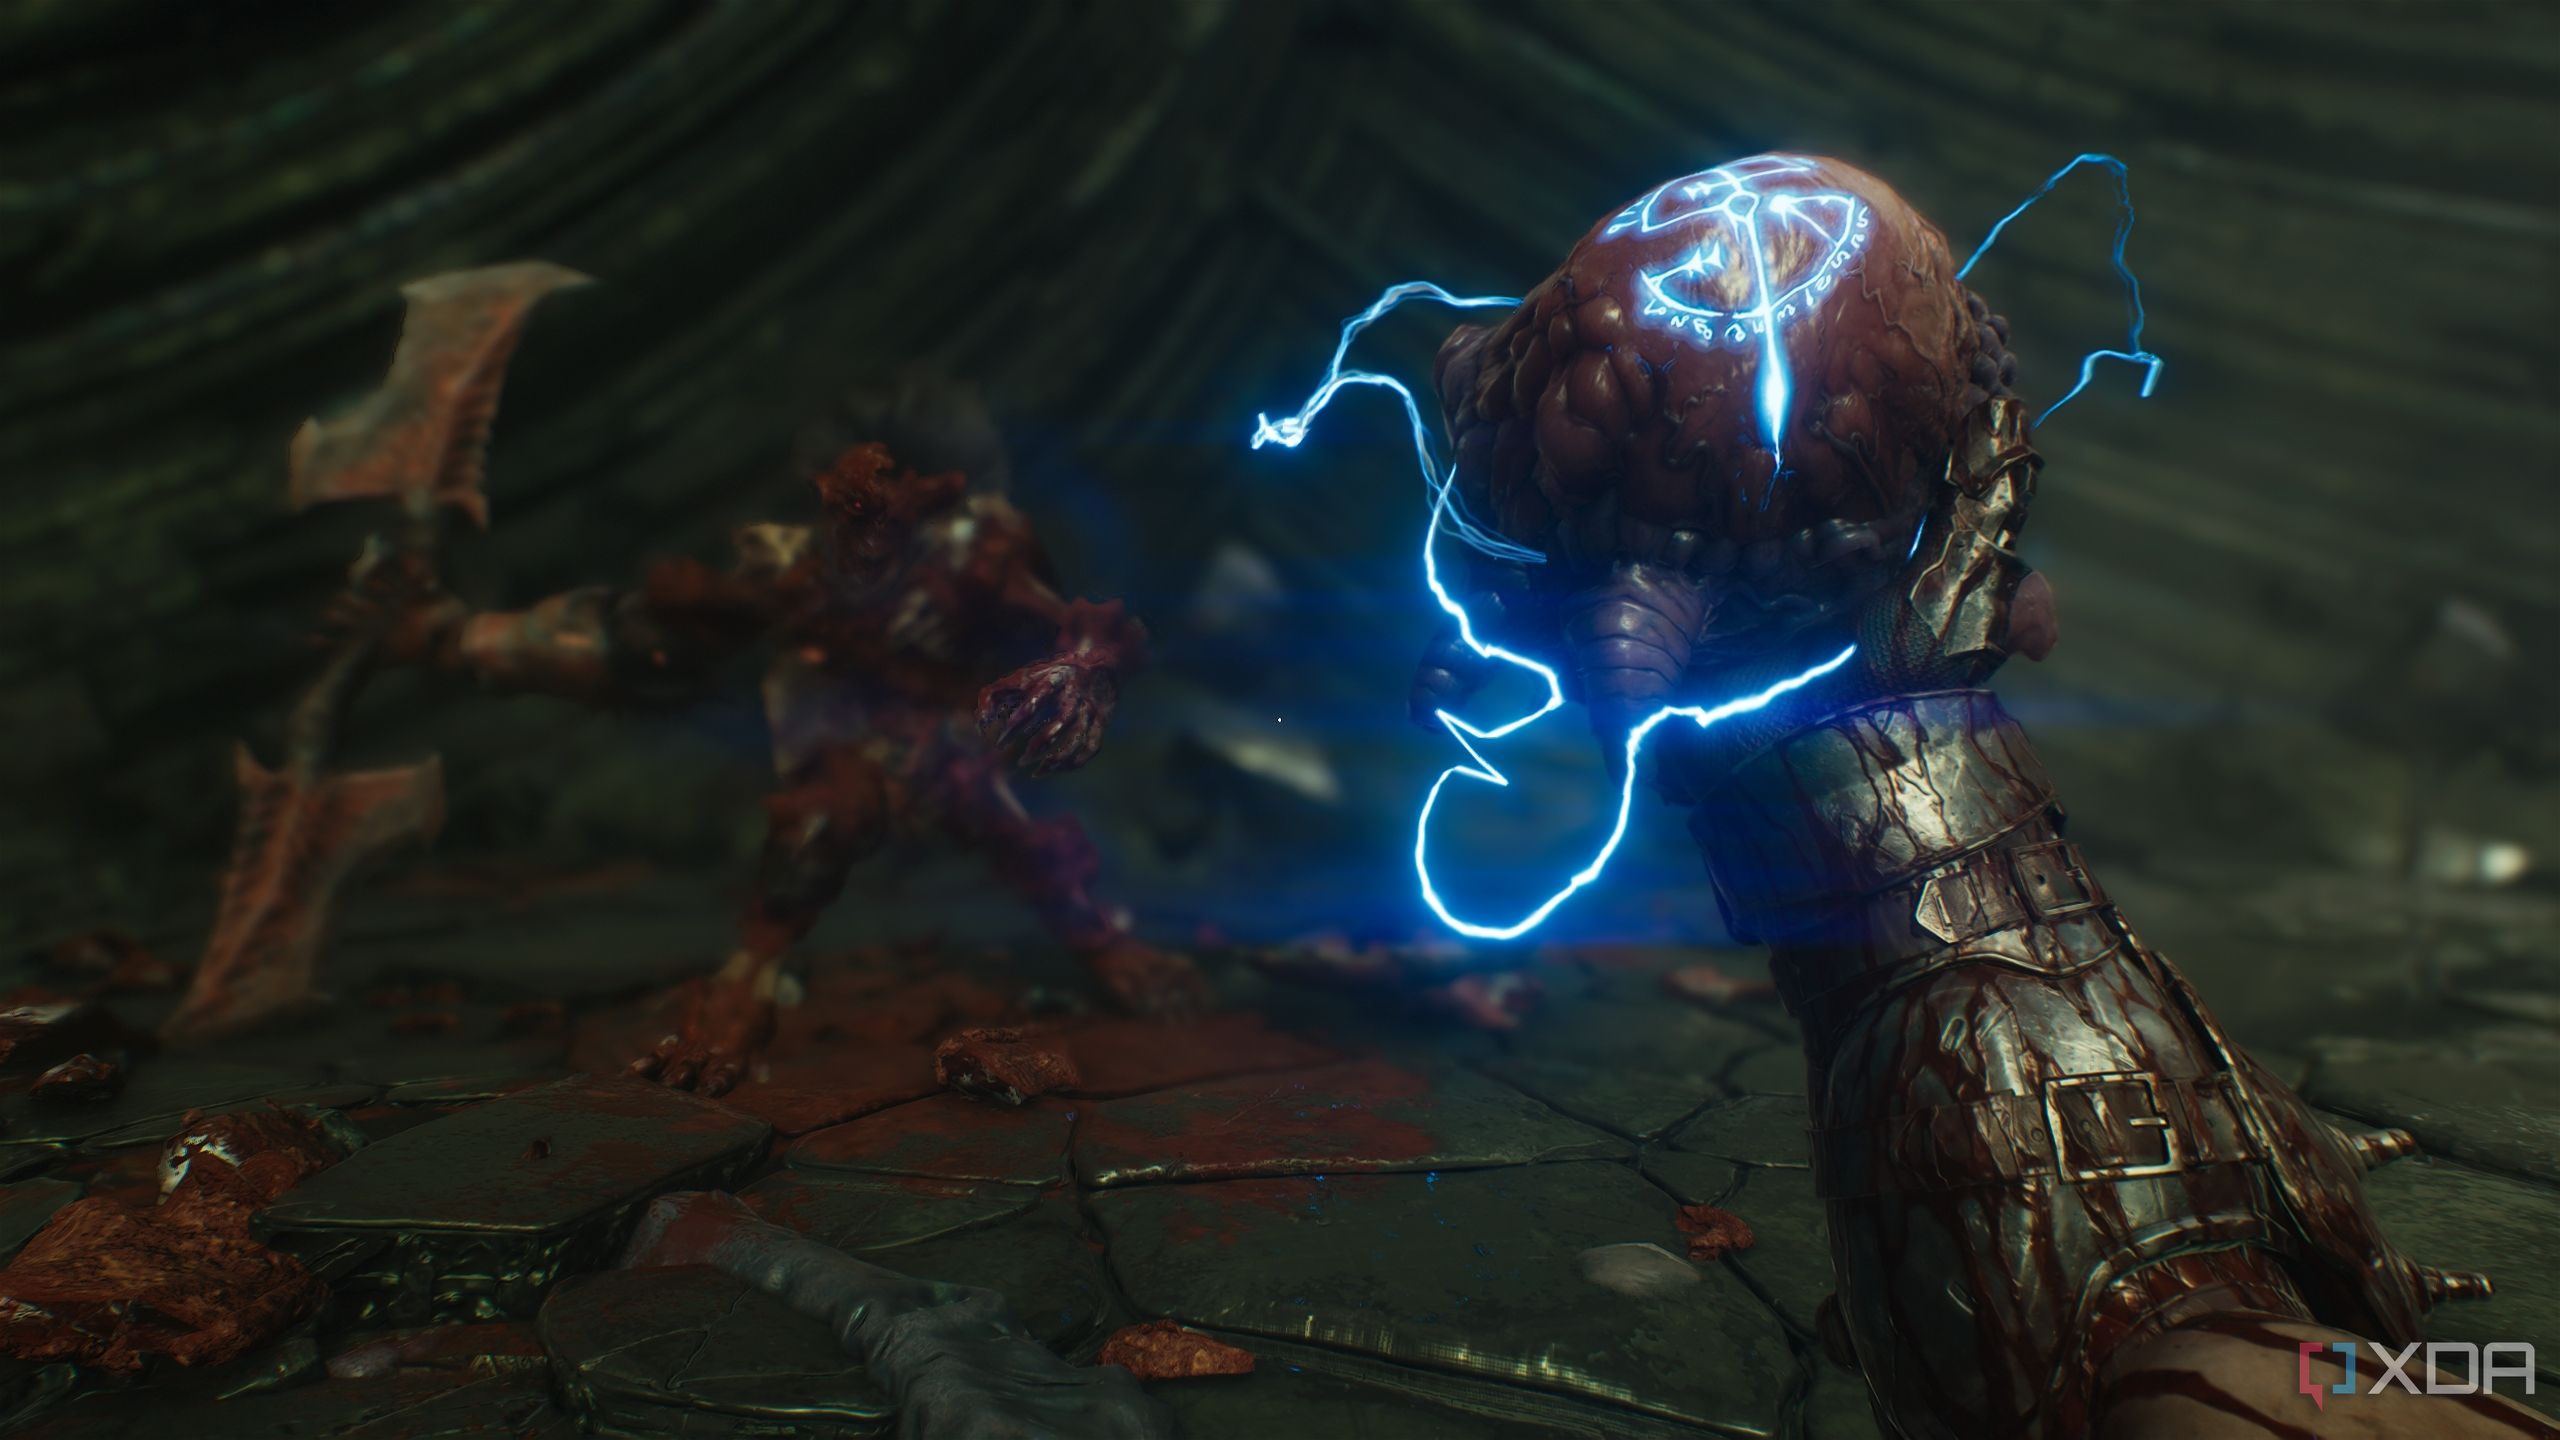
You will also fight a Cacodemon Hybrid here — parry its attack thrice to complete the Heads-Up mission challenge.
You’ll end the fight after taking down an Agaddon Hunter who gives up a Demonic Essence for max health.
Make sure you also keep using the Dreadmace as much as possible to progress through the Face Cracker mission challenge.
Secret area 7 and a Life Sigil
A new portal to swim through after a particularly enjoyable puzzle
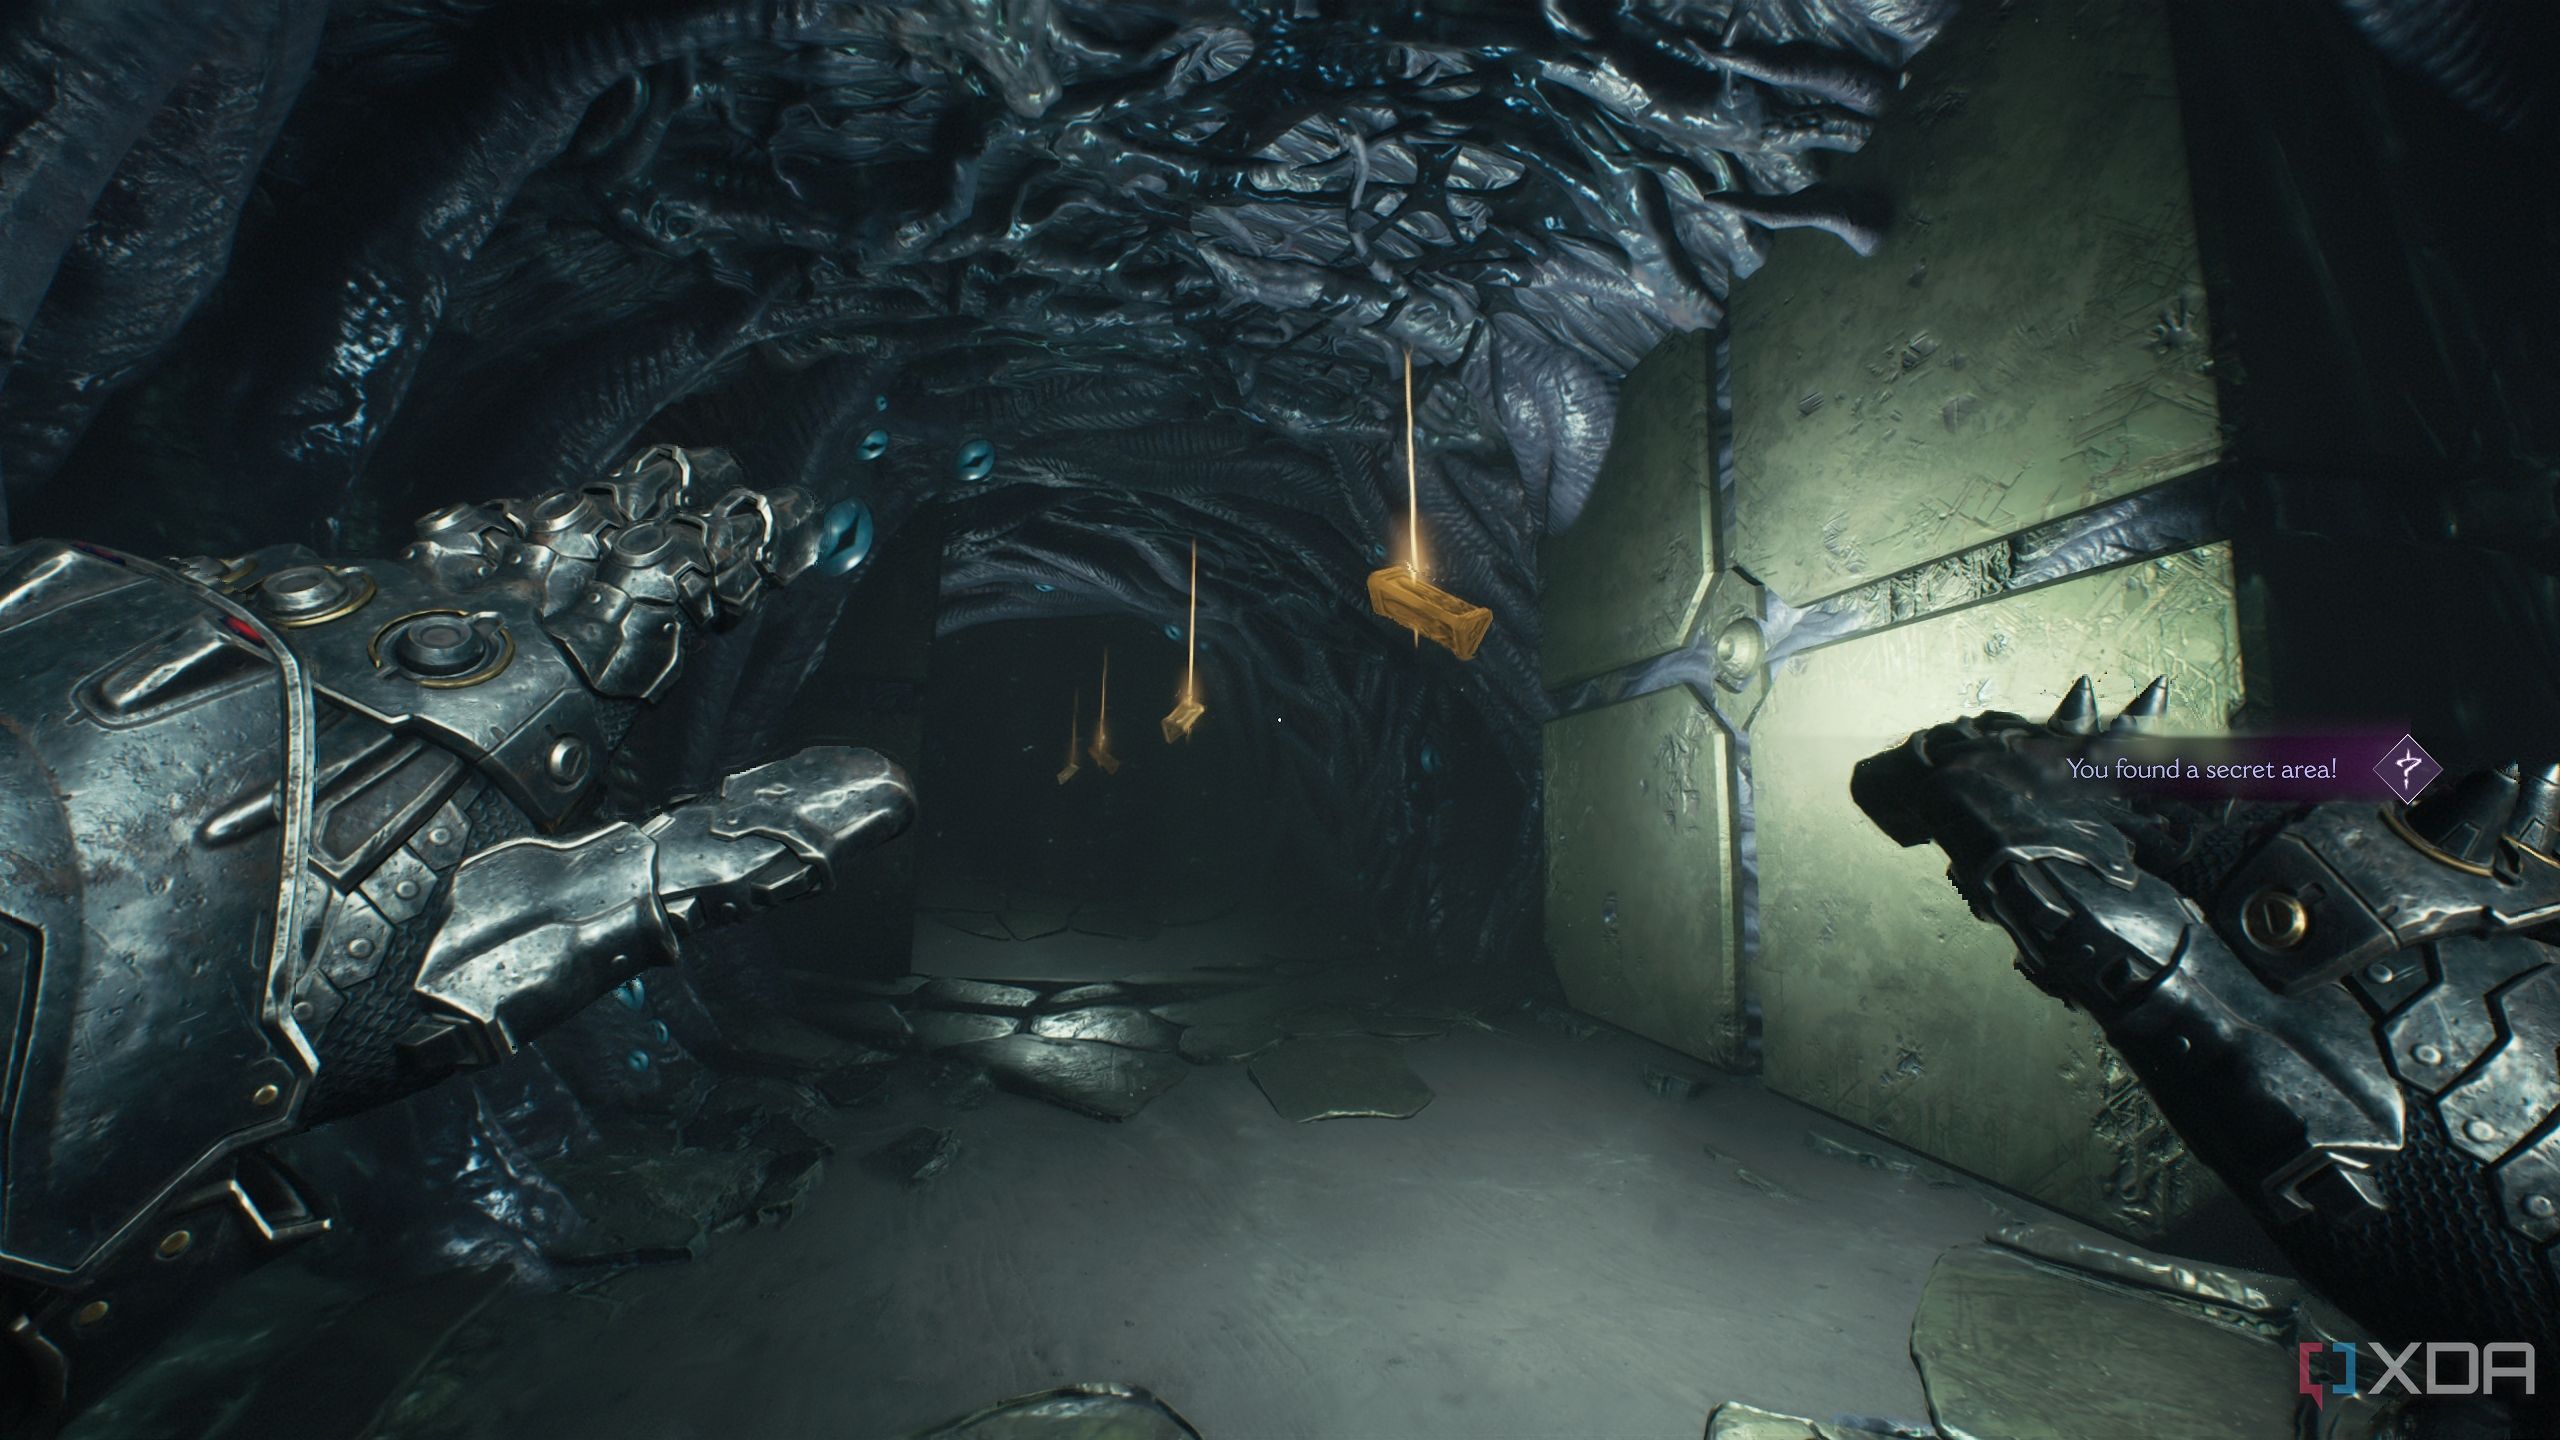
Once you’ve dealt with the puzzle in the room where the witch speaks, you’ll be back to the room where you picked up the Dreadmace. To the right will be a new portal that you can now swim through.
Head into it, and you’ll exit at a purple stone switch. Do not interact with it. Instead, head into the portal behind it, and you’ll see gold bars floating in the water.
Follow this trail of gold bars to the right, and you’ll reach two gold stacks. Collect them, and head back.
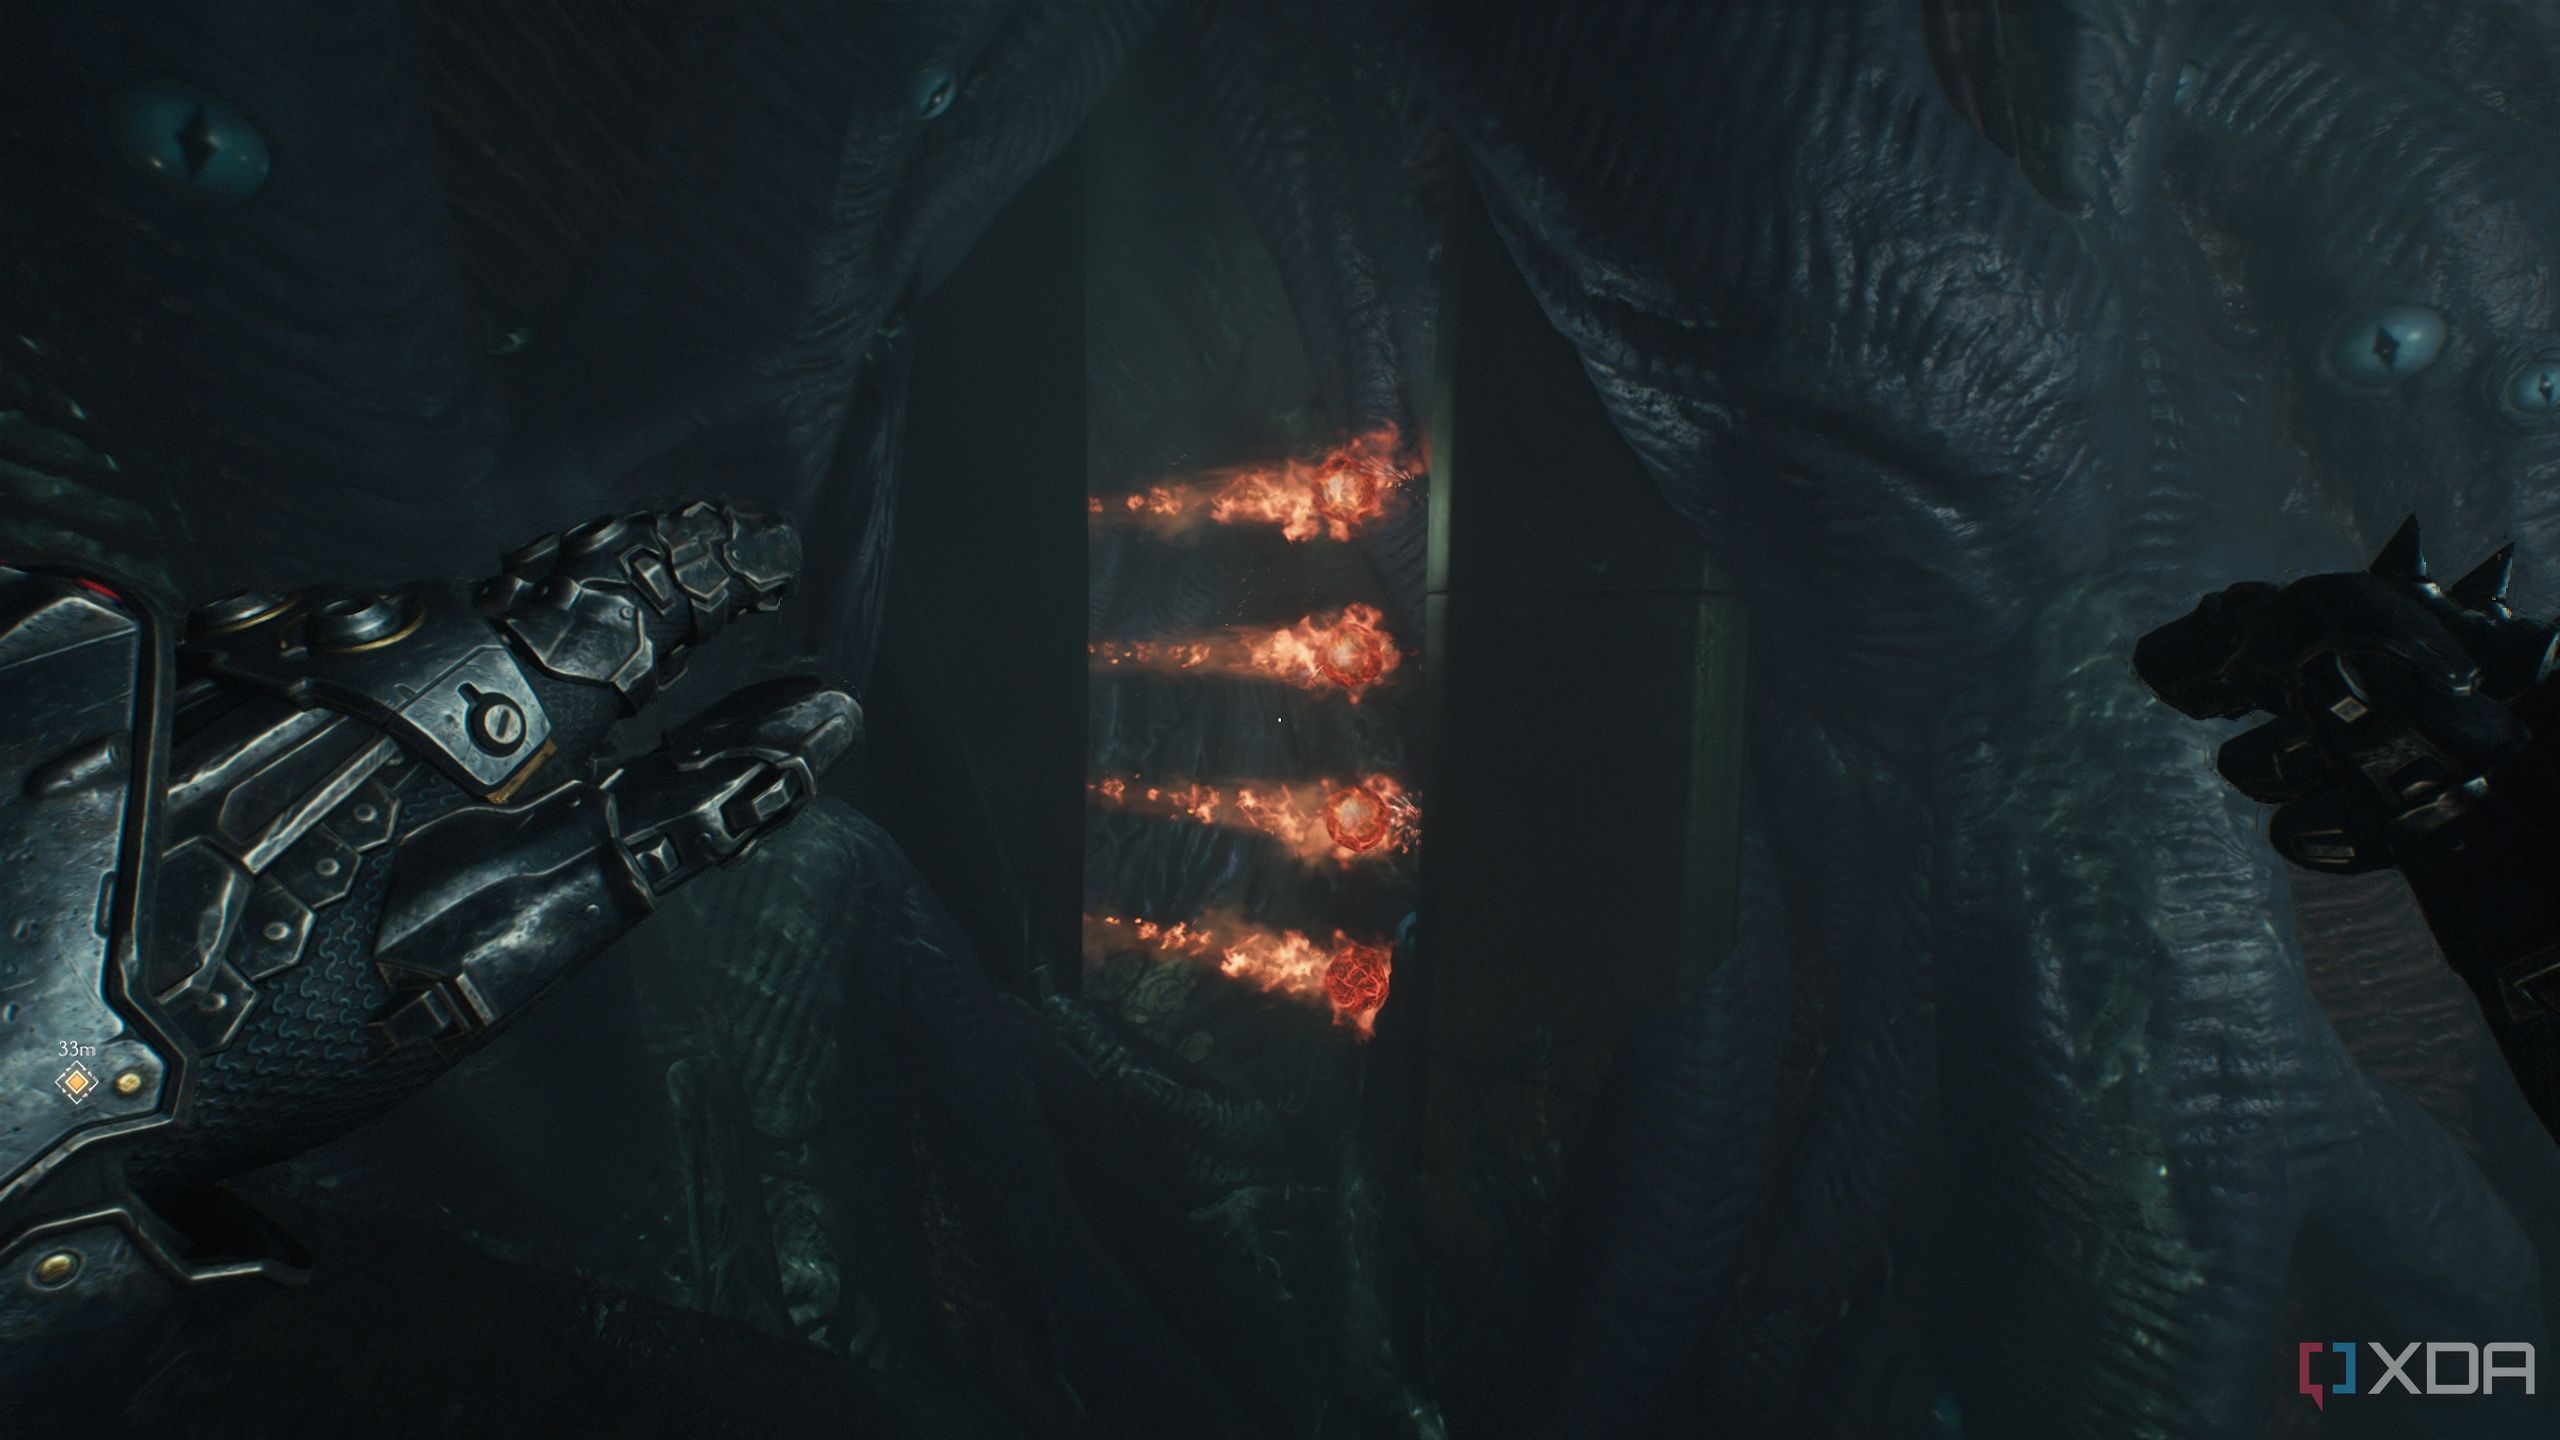
This time, look at the fiery projectile traps in the water. Head towards them and swim behind them, avoiding the obstacles.
You'll swim up to another long trail of gold bars, ending at a Life Sigil and secret area 7. Now, you can swim back to the purple stone switch and get to the next section of the map.
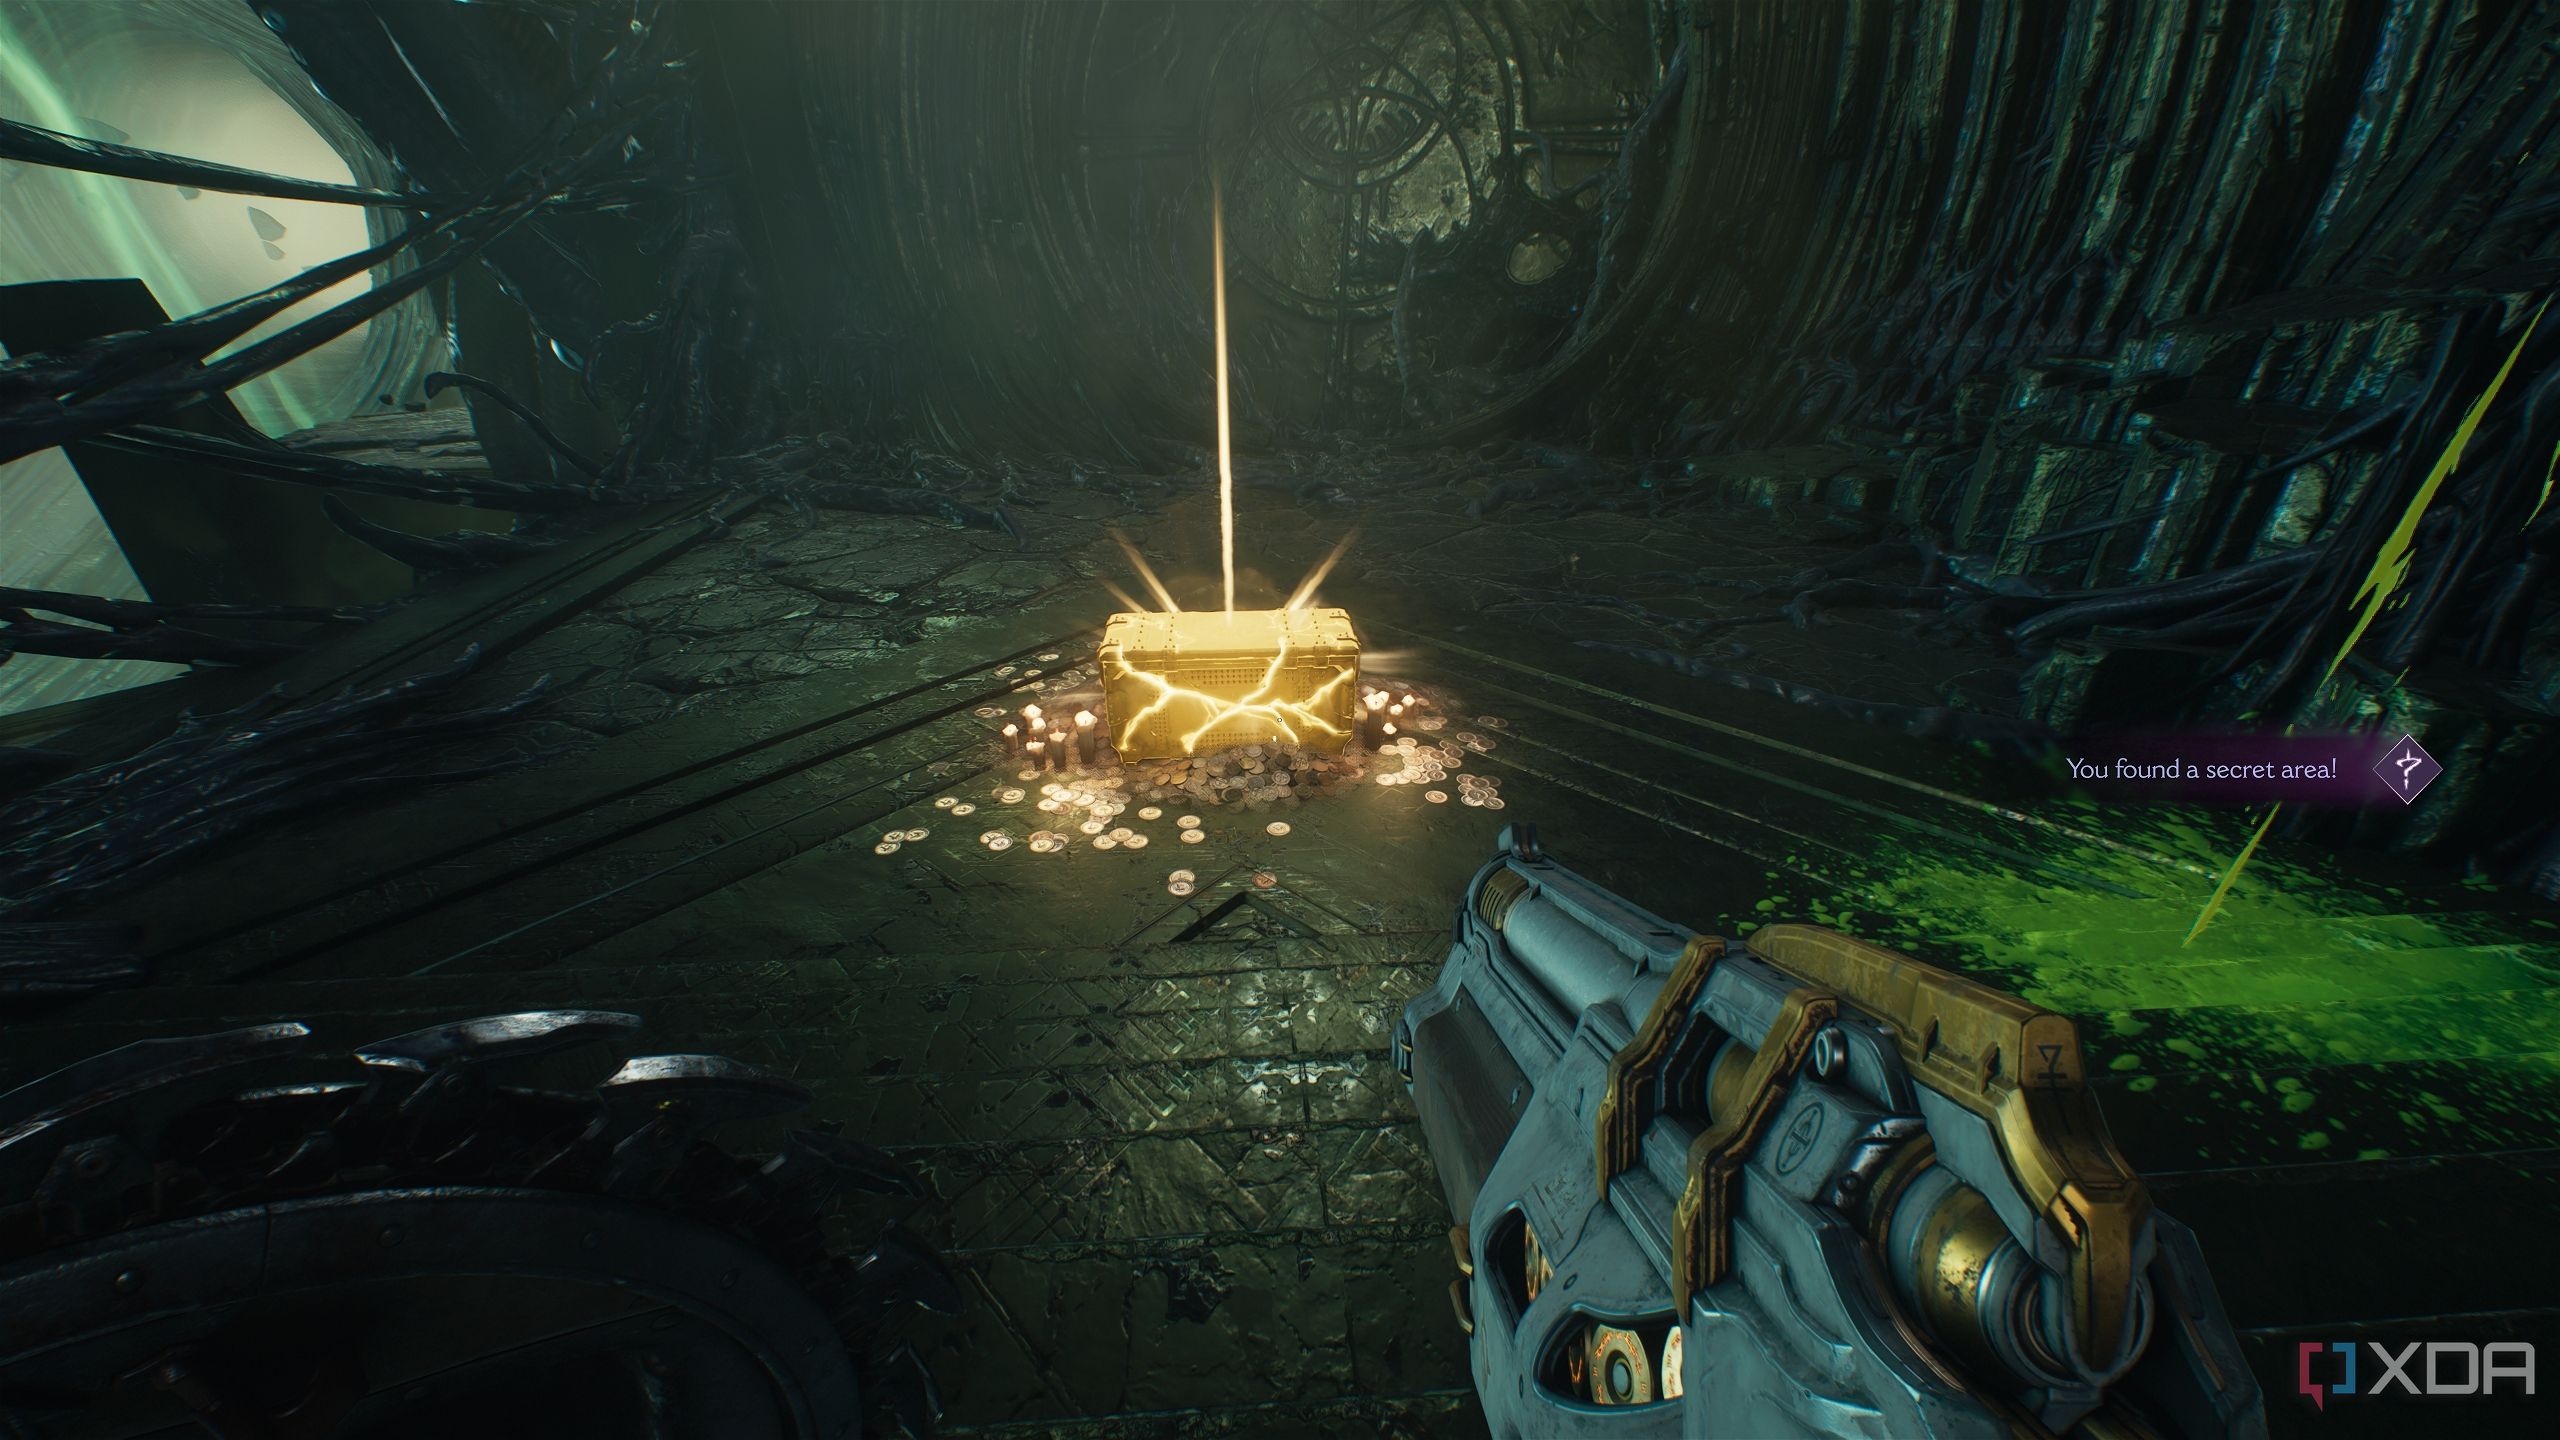
Secret area 8 and a gold chest
A chest guarded by a Mancubus and a Whiplash
Once you get to the next section, walk straight ahead, and you’ll run into an armored Mancubus and a Whiplash. Take them down, but before Shield Charging through the door ahead, just look under the right edge of the path you’re on.
You’ll see a gold chest gleaming down below. Jump towards it to unlock secret area 8 and collect the gold chest.
Related
How Doom: The Dark Ages will take Doom to new heights
Doom: The Dark Ages is the next evolution of the Doom series, and it could end up being the best one yet.
Secret area 9 and demonic essence
A long, very long segment ending in a battle
Now, you’ll exit into a big area with a Shield Portal right in front of you.
Use it to land on a trail of gold bars. Follow the bars up a scramble wall, turn around, and go straight past the armor helmet pickup. To your right is a non-functional jump pad.
So, go left and follow a trail of gold bars to a hole in the wall with a blue energy node at the end — throw your shield at it.
Now, the jump pad from before should now be active.
Use it to head up, and you’ll reach a platform above with another Shield Portal. However, a Cacodemon Hybrid will attack first. If you haven’t already finished the Heads-Up challenge, now is the best time to do it.
Then, use the Shield Portal here to reach a higher platform with another trail of gold bars and some BFC ammo. Turn around, and an armored Mancubus will ambush you.
Deal with it and climb up the scramble wall behind it. You'll reach a platform with a huge door ahead, where the objective marker is.
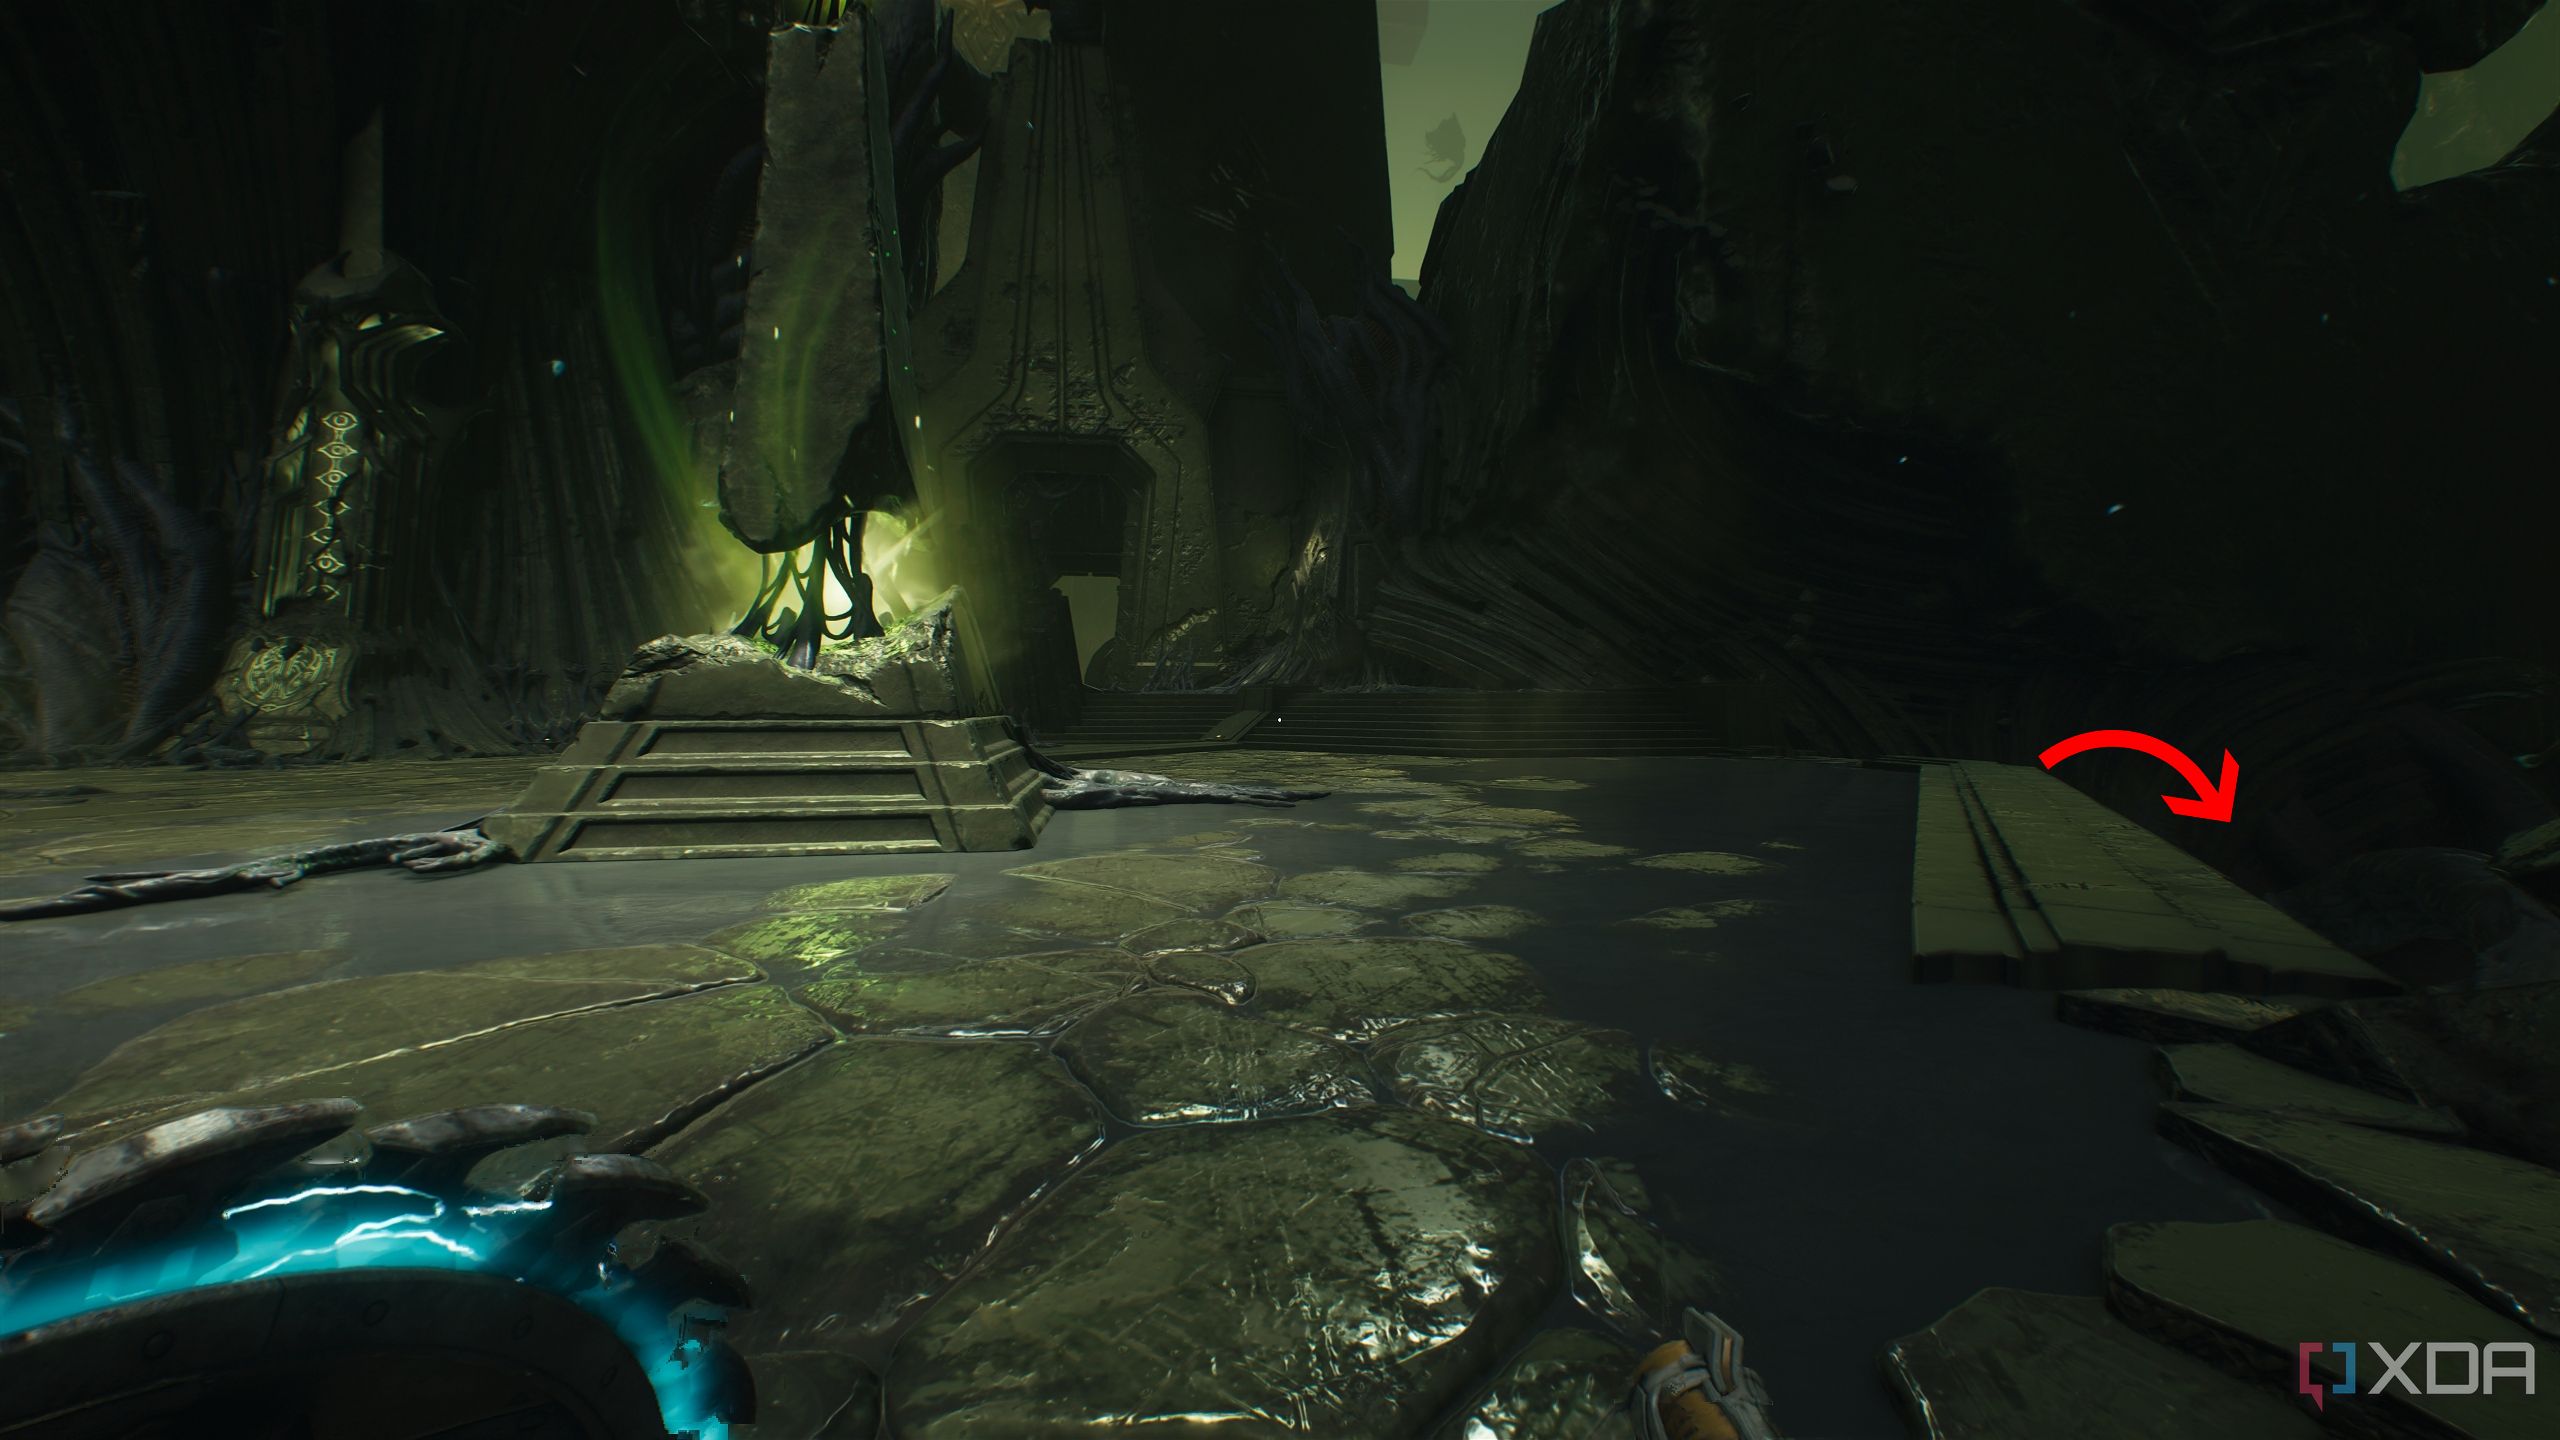
Here, take a moment to look at the map, and reach the north-eastern edge of the platform you’re on as you face the objective. You’ll notice a small area to drop down to below.
Here, a trail of gold bars is waiting — jump down to collect that gold.
Follow the trail to reach another Shield Portal.
Fly through it to land at a Gore Portal and unlock secret area 9. Bash through the portal, and you’ll land on the middle platform, having to fight with multiple demons.
This encounter will end in a face-off with Battleknight that will give you an armor Demonic Essence.
Related
10 best first-person shooters that are free to play on Steam
Enter the genre of fast paced first-person shooters with these 10 free-to-play titles on Steam
Secret area 10, collectible toy, and Wraithstone
Before you rush towards the gleaming stone
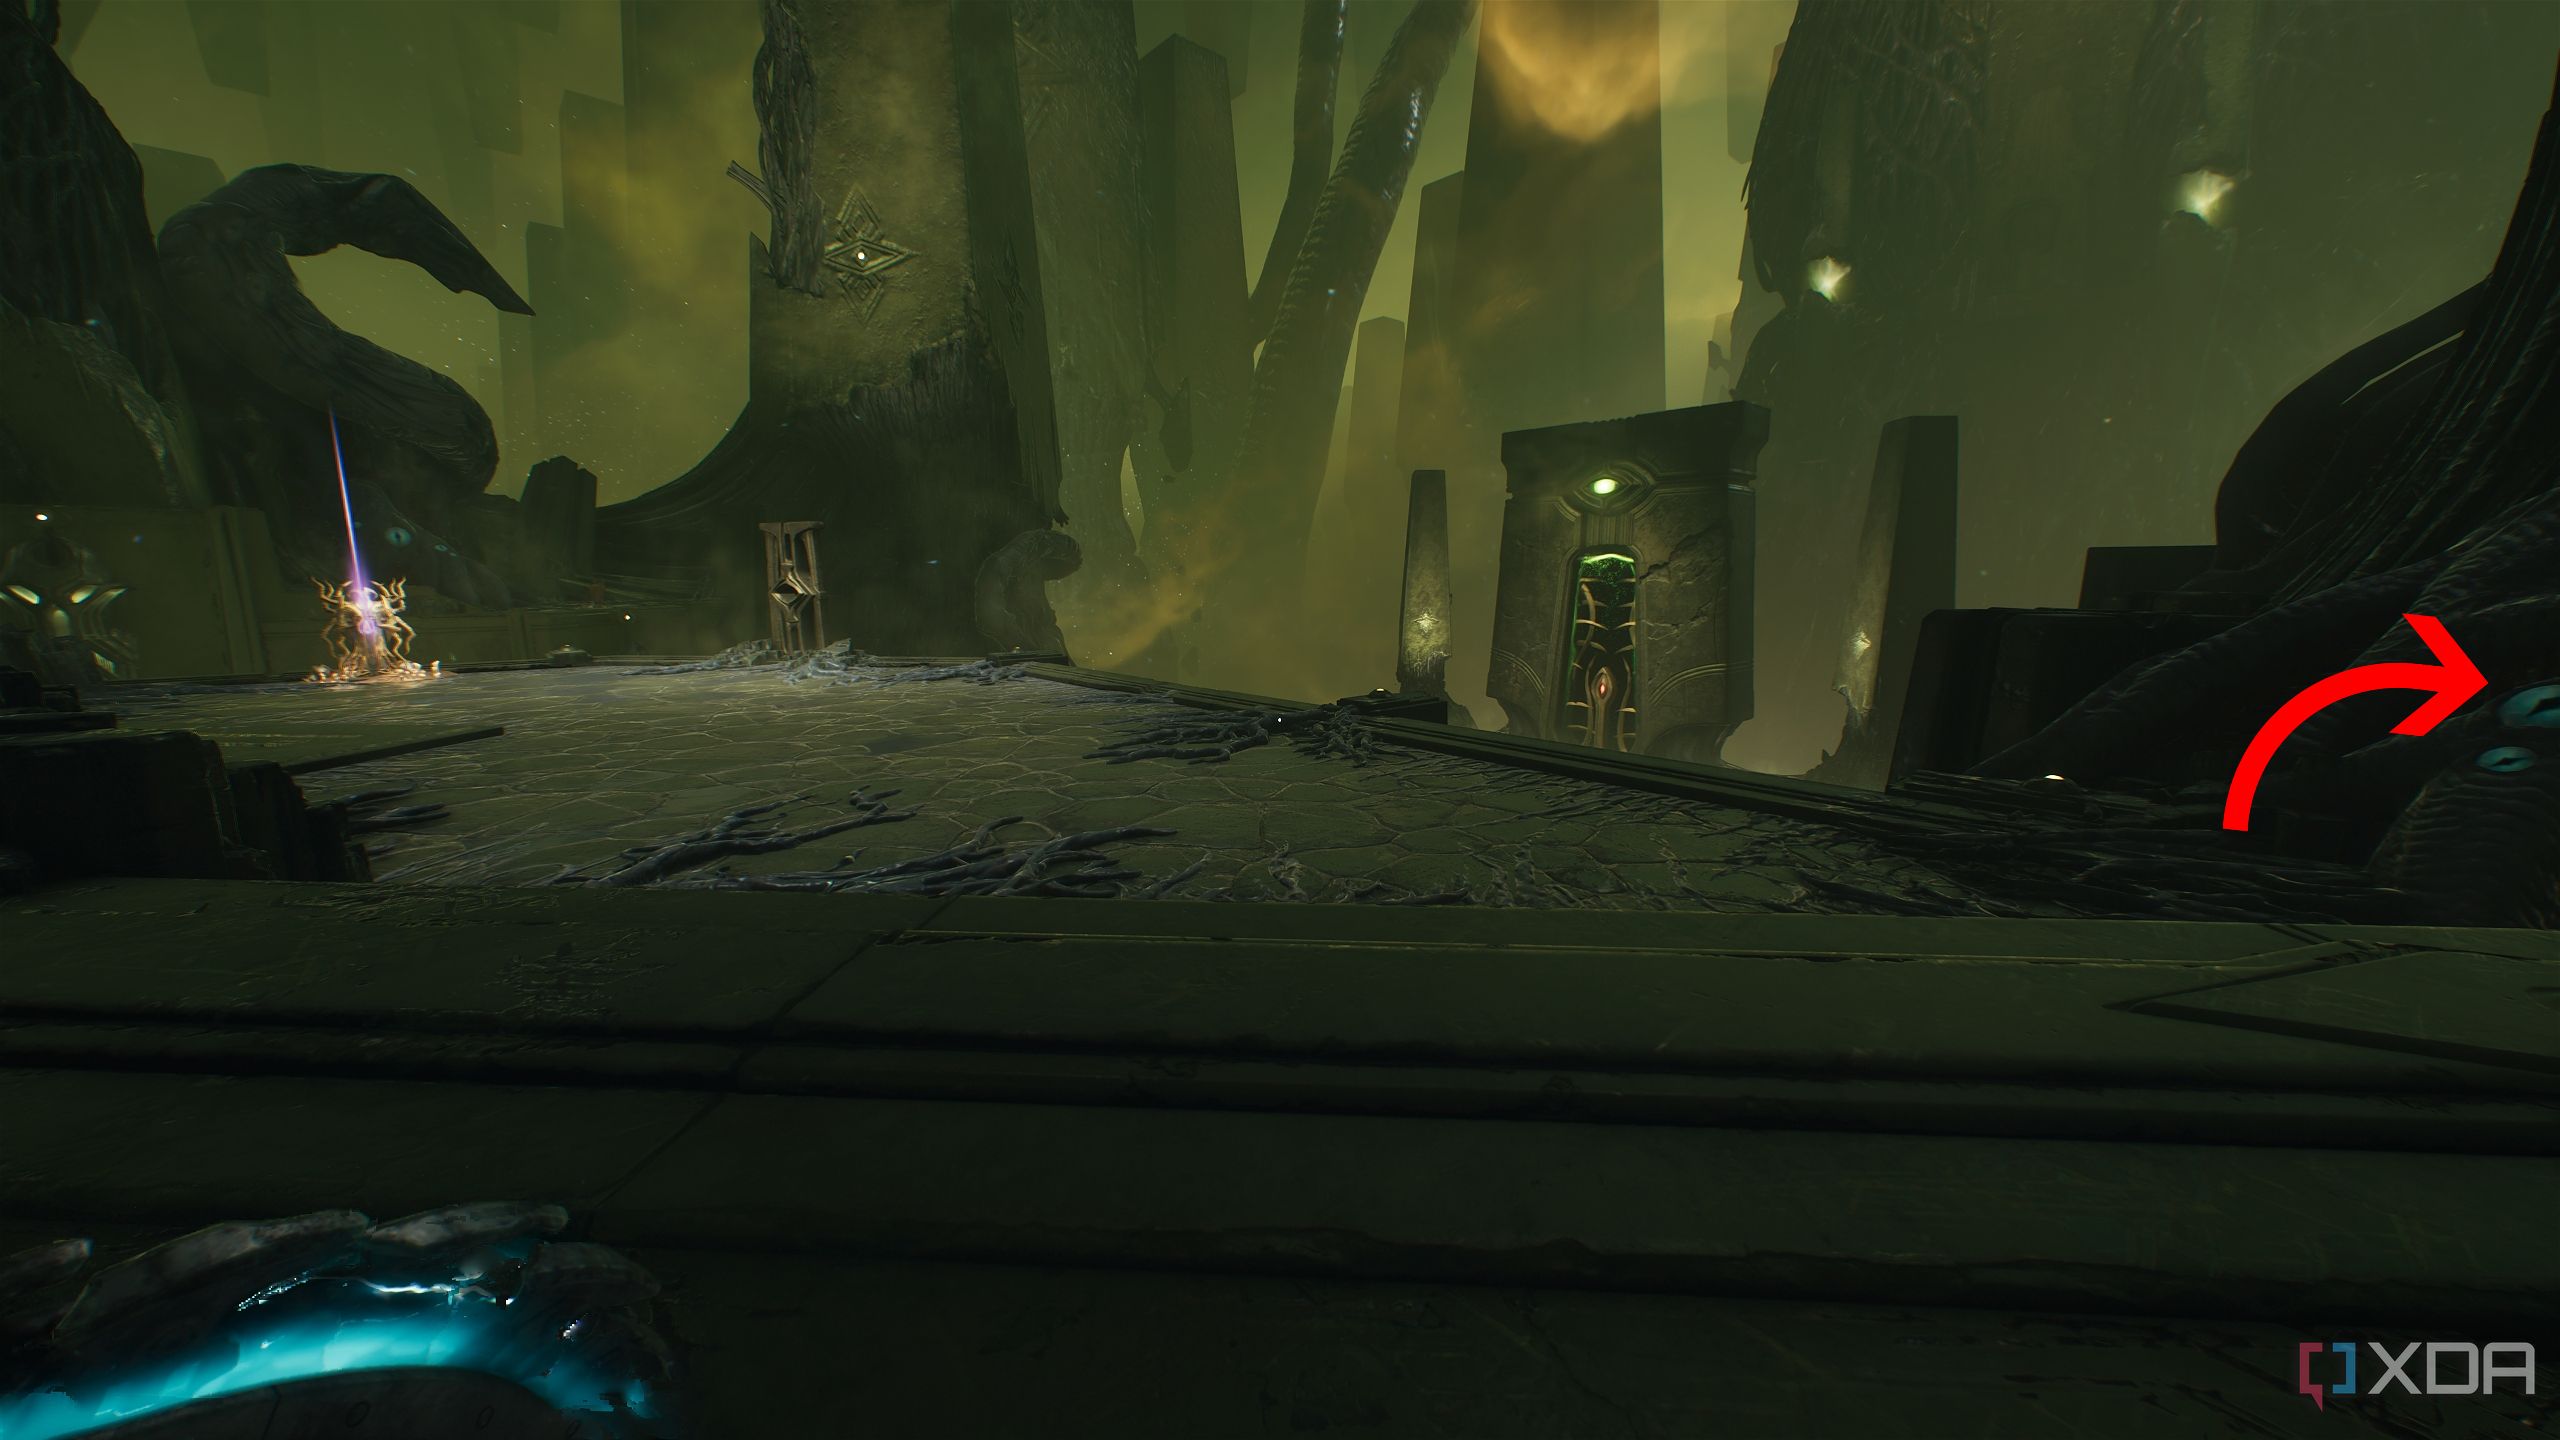
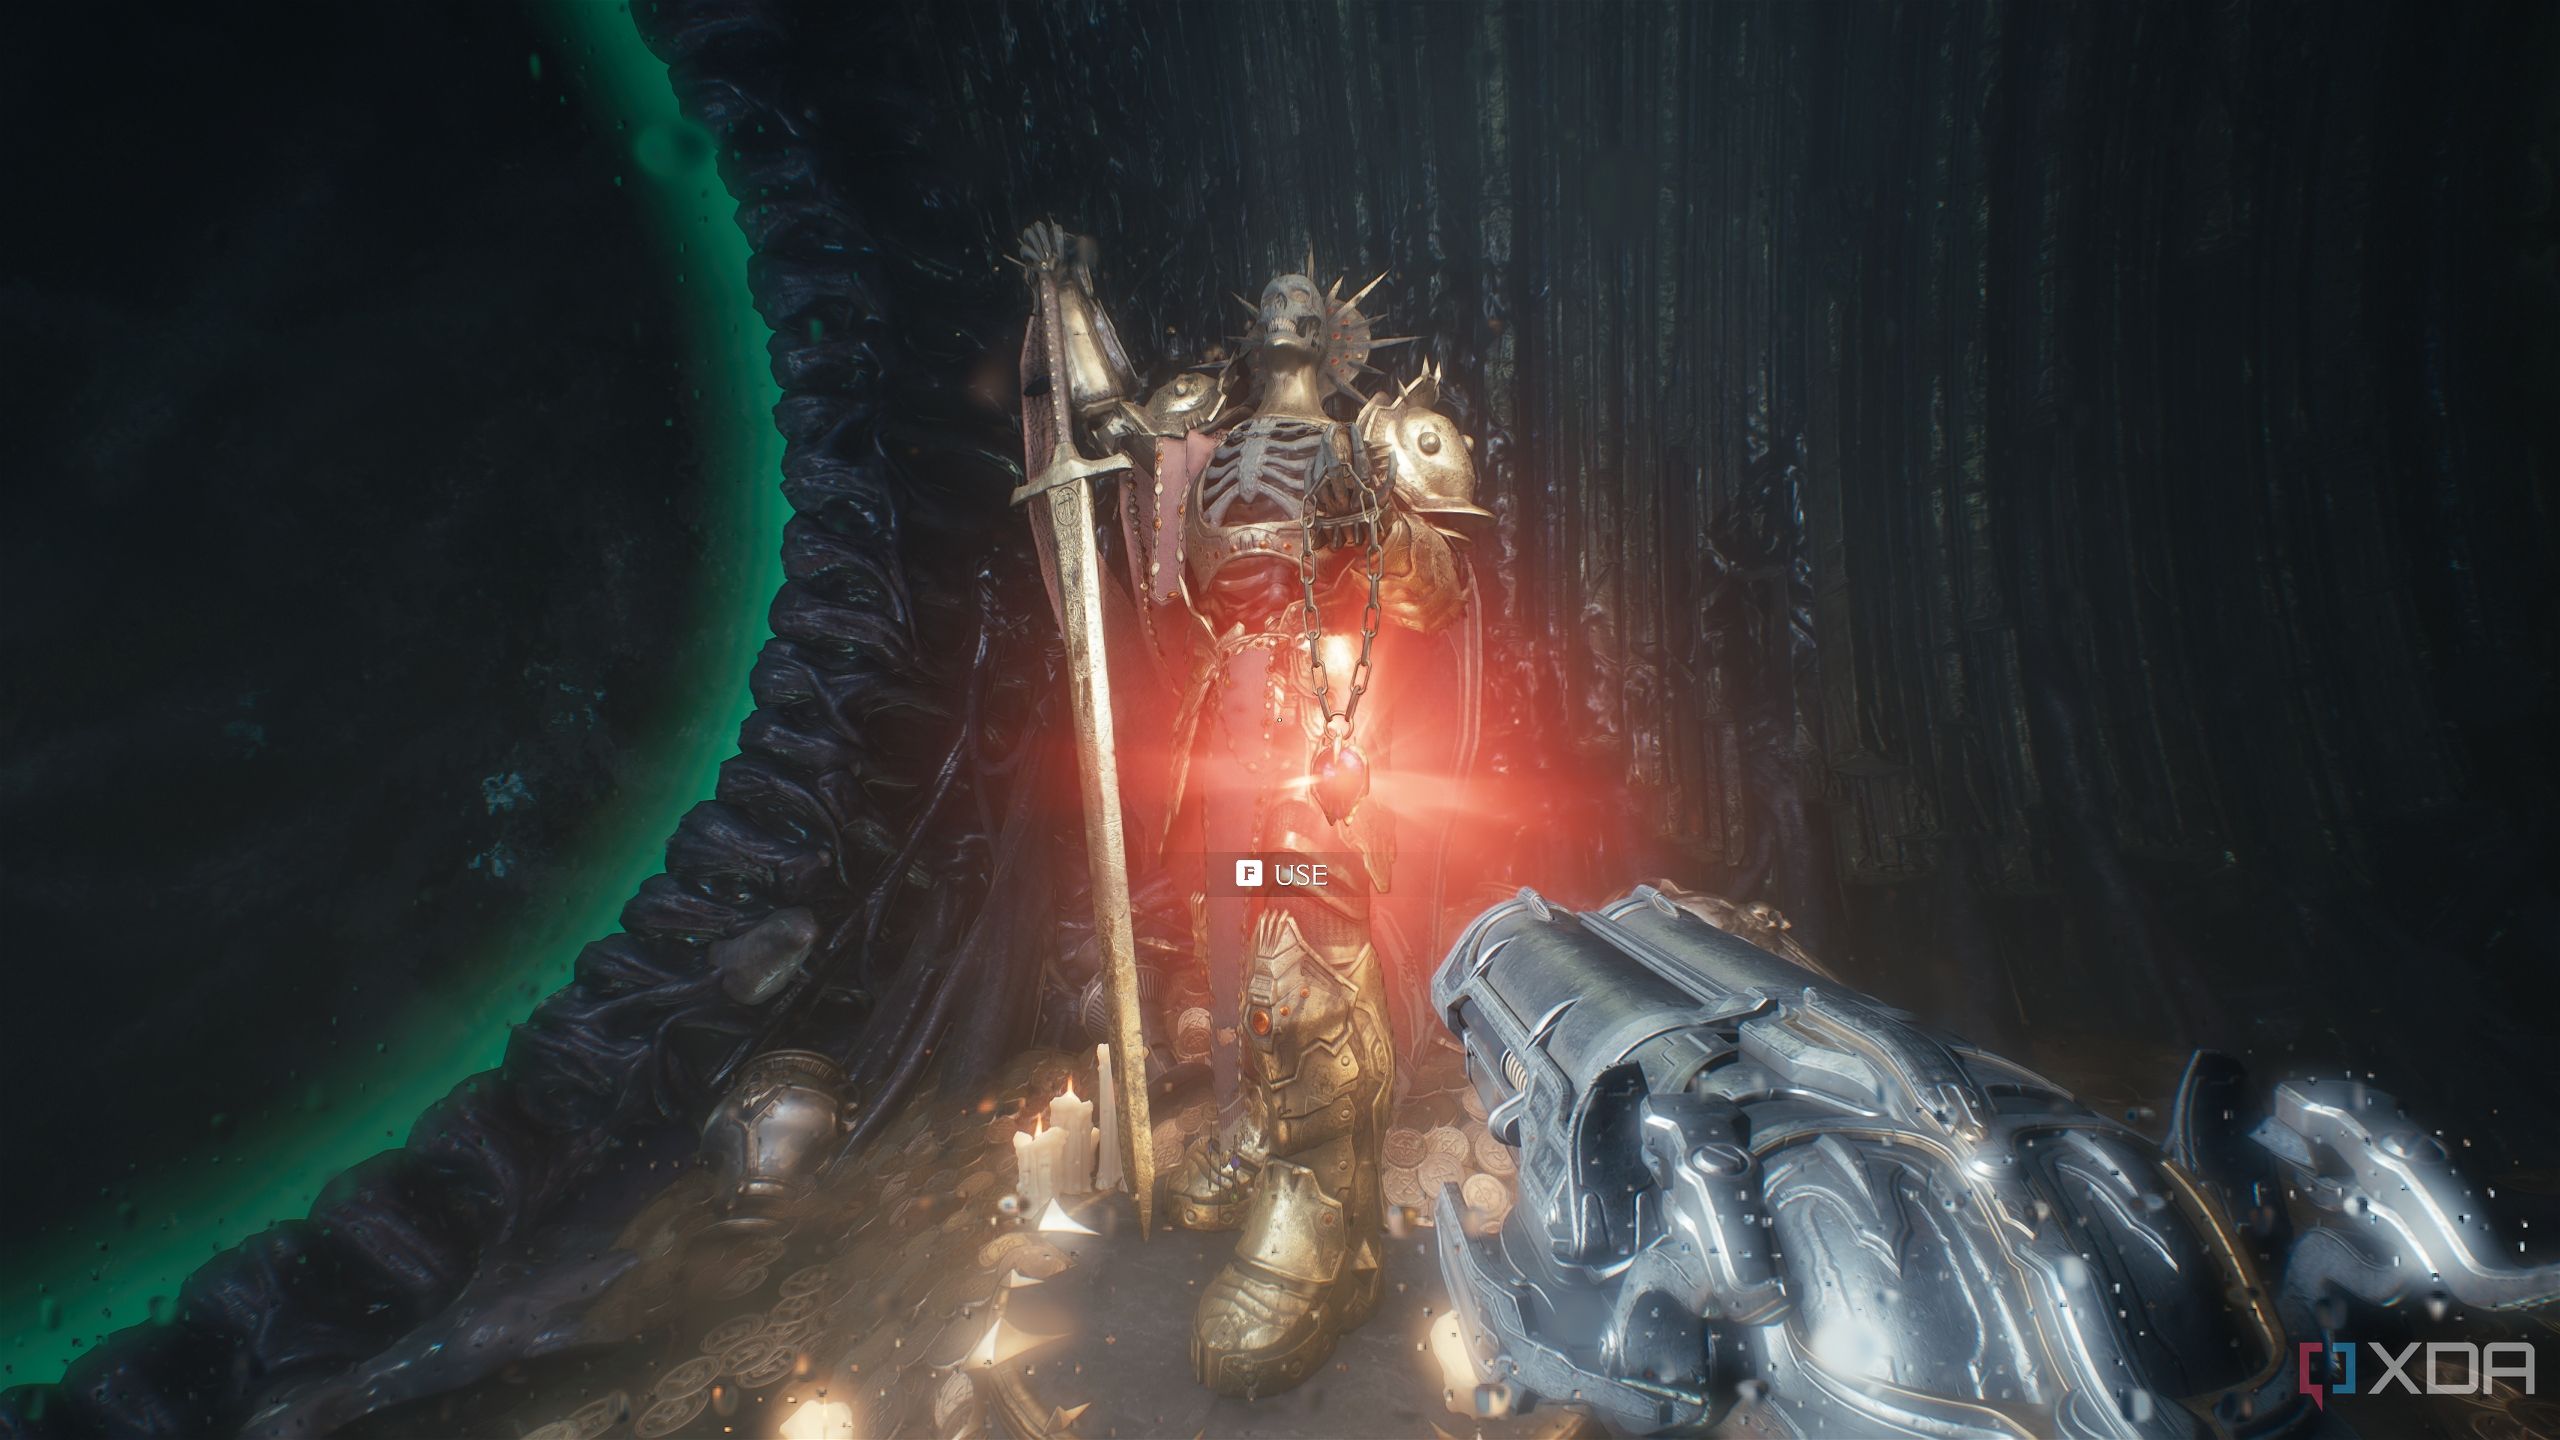
Once it’s all said and done, head towards the objective, and you’ll come back to the starting area of the map. Here, you’ll see a statue to your left, gleaming and calling out.
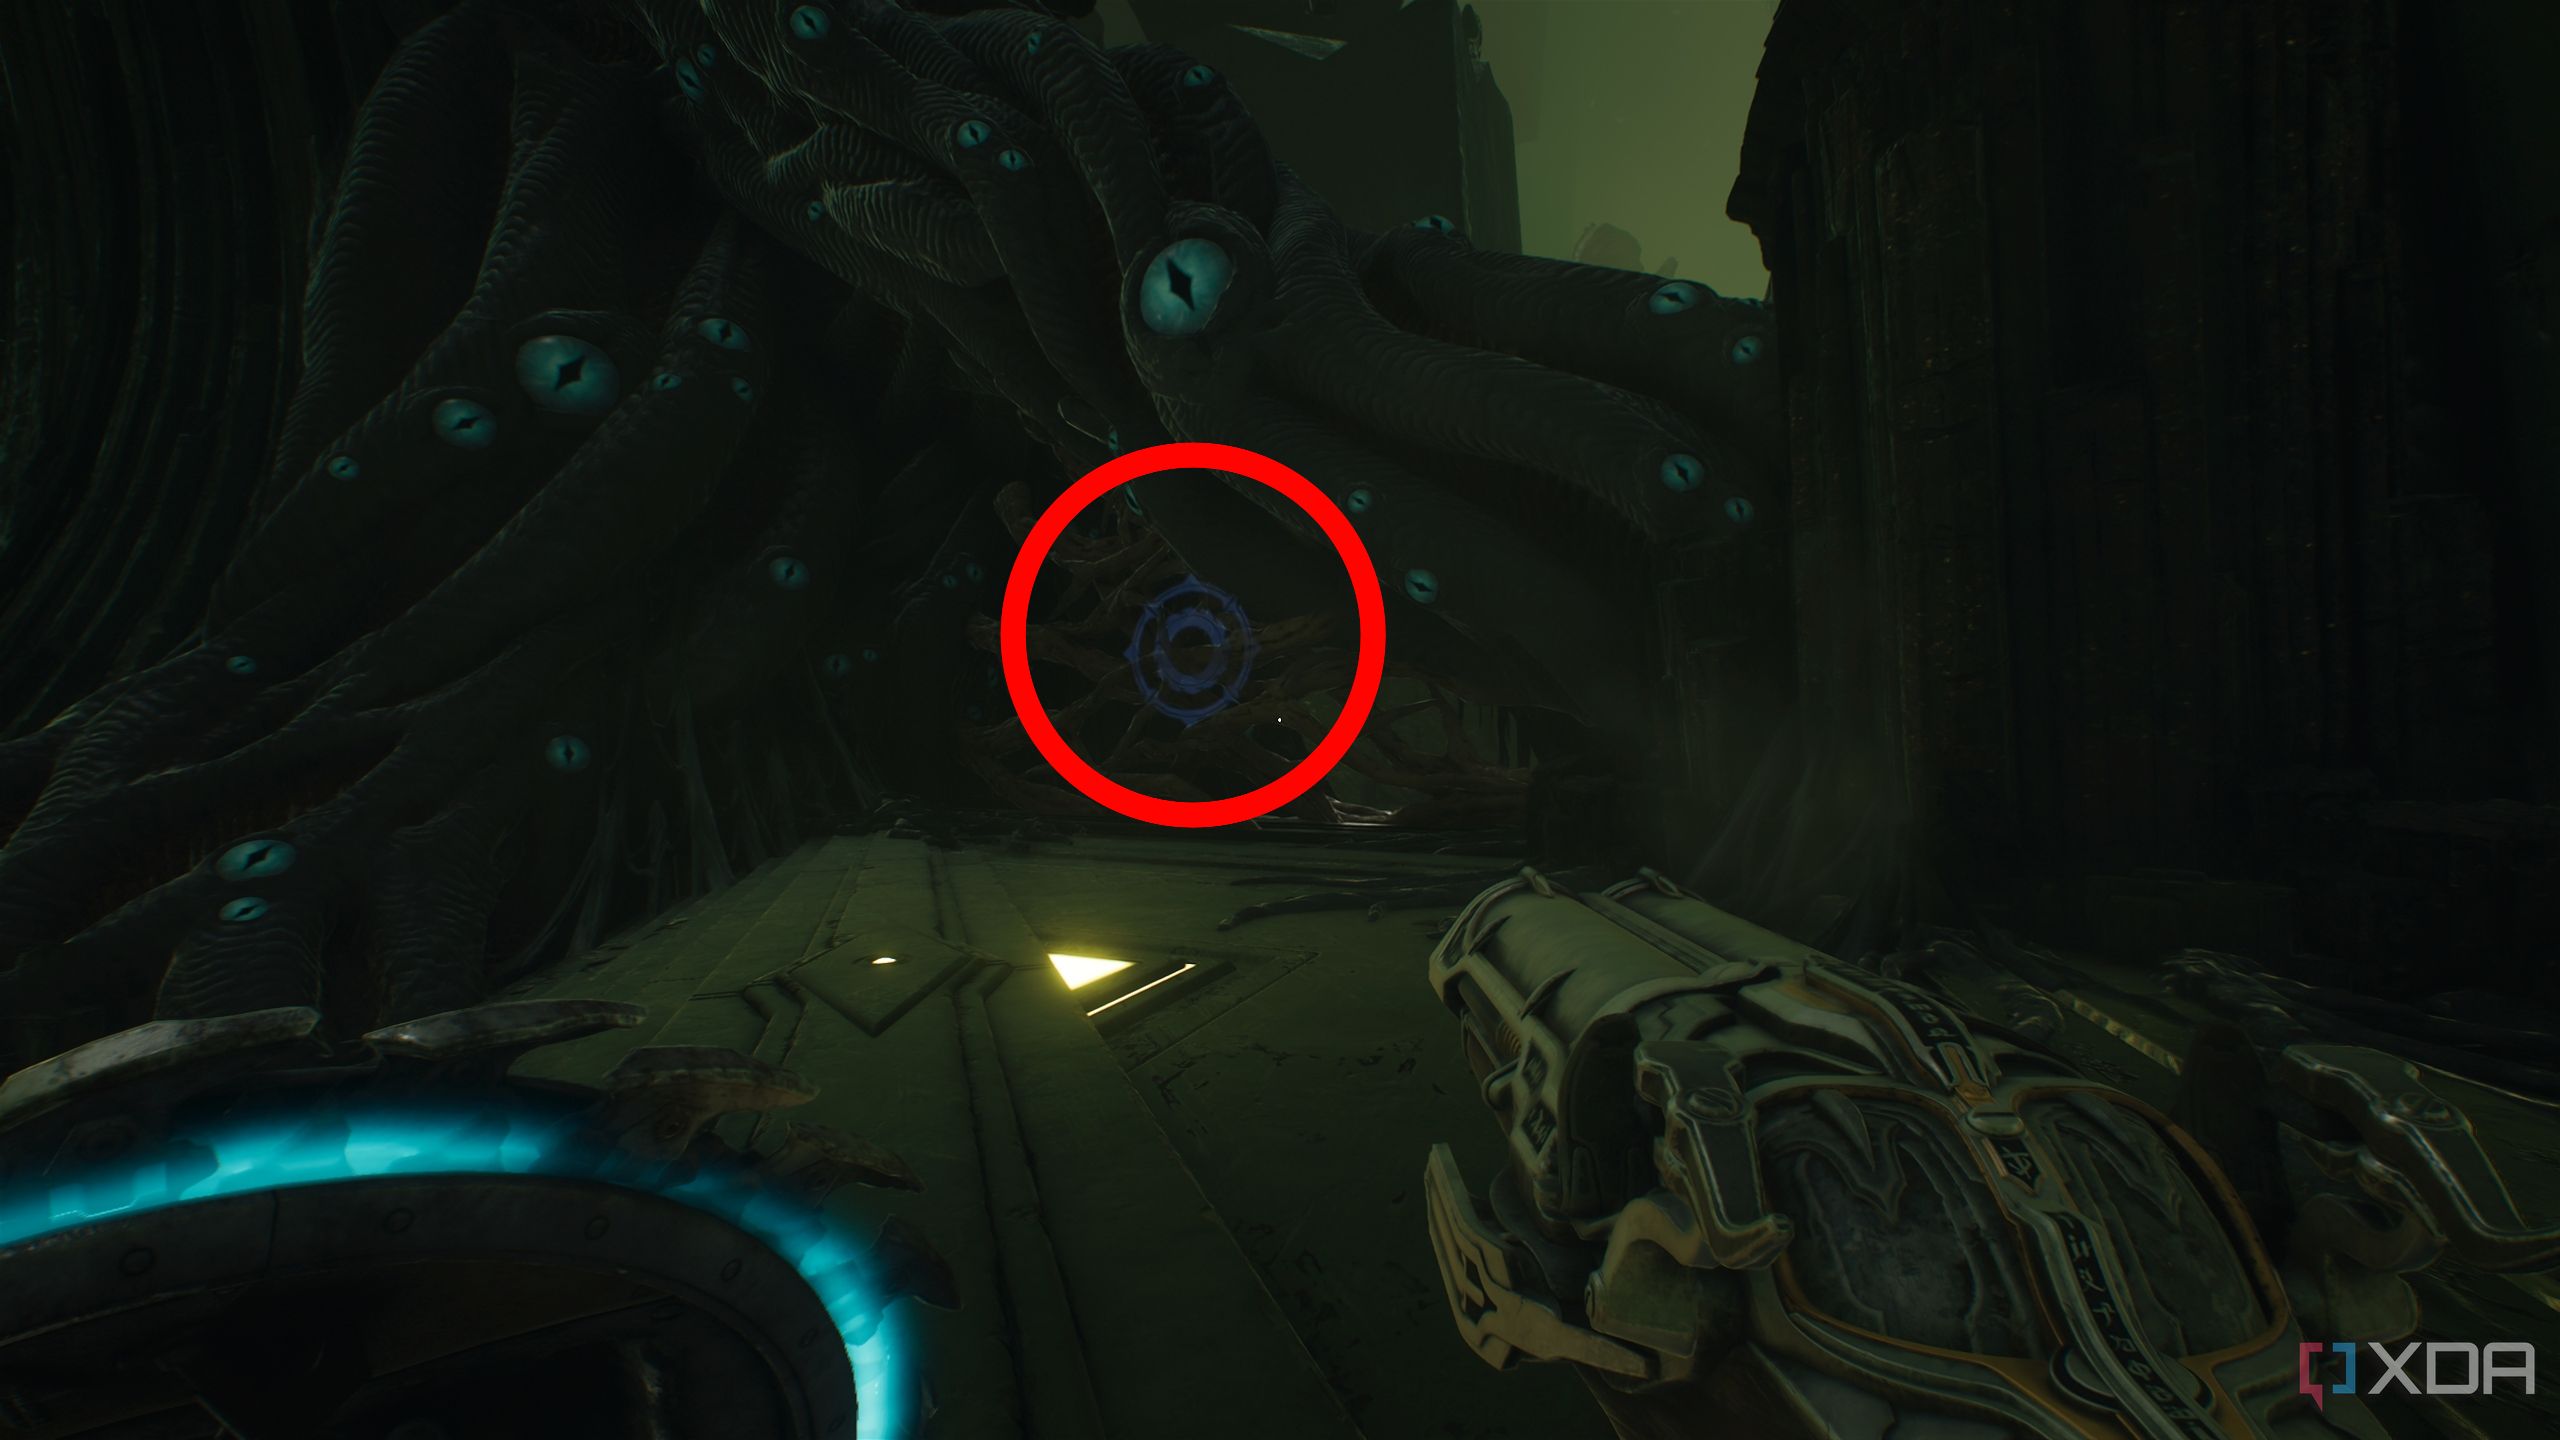
But before that, turn right to see some cosmic vines with a shield symbol.
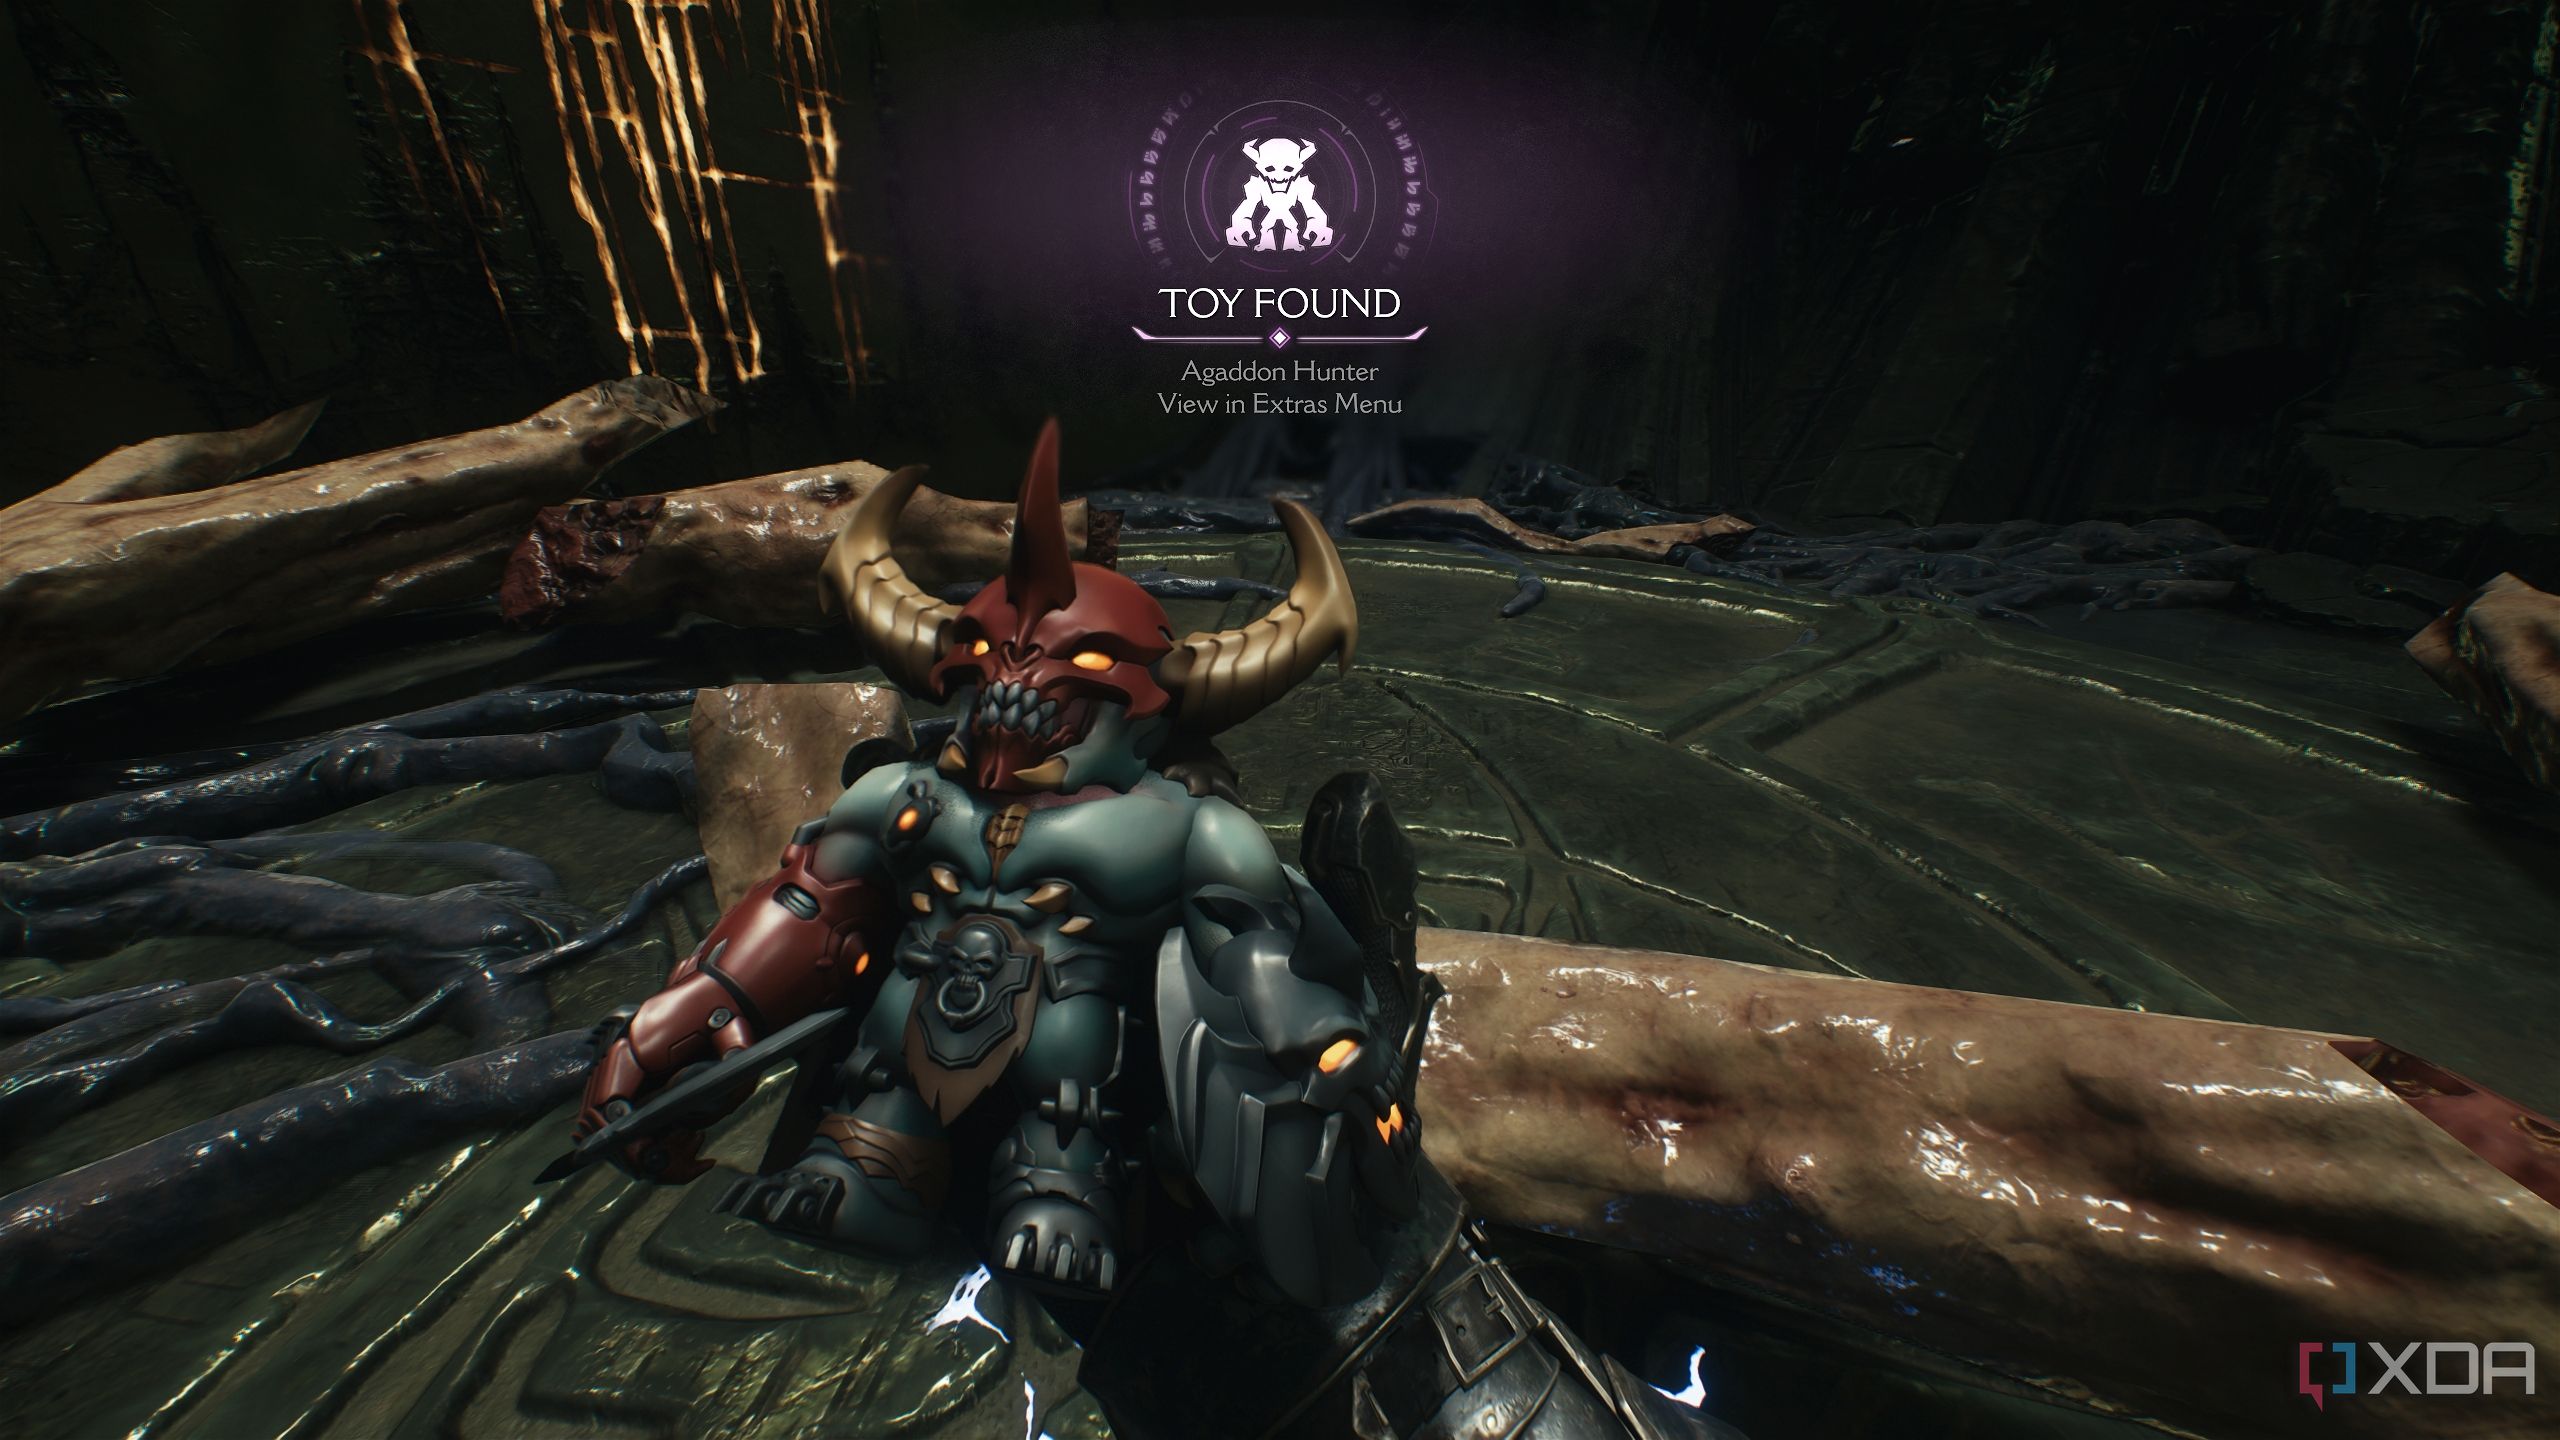
Bash through them to land down below into secret area 10. Here, you’ll collect the collectible toy for the Agaddon Hunter.

Climb back up and head towards the Wraithstone statue to collect it, bringing all the secrets and collectibles in the chapter to an end.
All that’s left now is to wrap up the chapter with a huge battle against several Cacodemons, a Komodo, multiple Mancubii, a Revenant, and a whole horde of fodder demons.
If you haven’t already, make sure you attack as many demons as you can with the Dreadmace to finish up the Face Cracker mission challenge.
All collectibles in Chapter 15: City of Ry’uul in Doom: The Dark Ages
Once that’s complete, Chapter 15 of Doom: The Dark Ages will be complete, and you’ll finally have the 100% completion achievement for this level.
|
Achievements in Chapter 15: City of Ry'uul |
|
|
Gold |
182 |
|
Rubies |
2 |
|
Wraithstone |
1 |
|
Demonic Essence |
2 |
|
Secret Areas |
10 |
|
Codex Entries |
1 |
|
Collectible Toys |
1 |
DOOM: The Dark Ages
Released May 15, 2025
ESRB m
Developer(s) id Software
Publisher(s) Bethesda Softworks
Engine id Tech
Multiplayer Online Multiplayer
Franchise DOOM


 English (US) ·