.png)
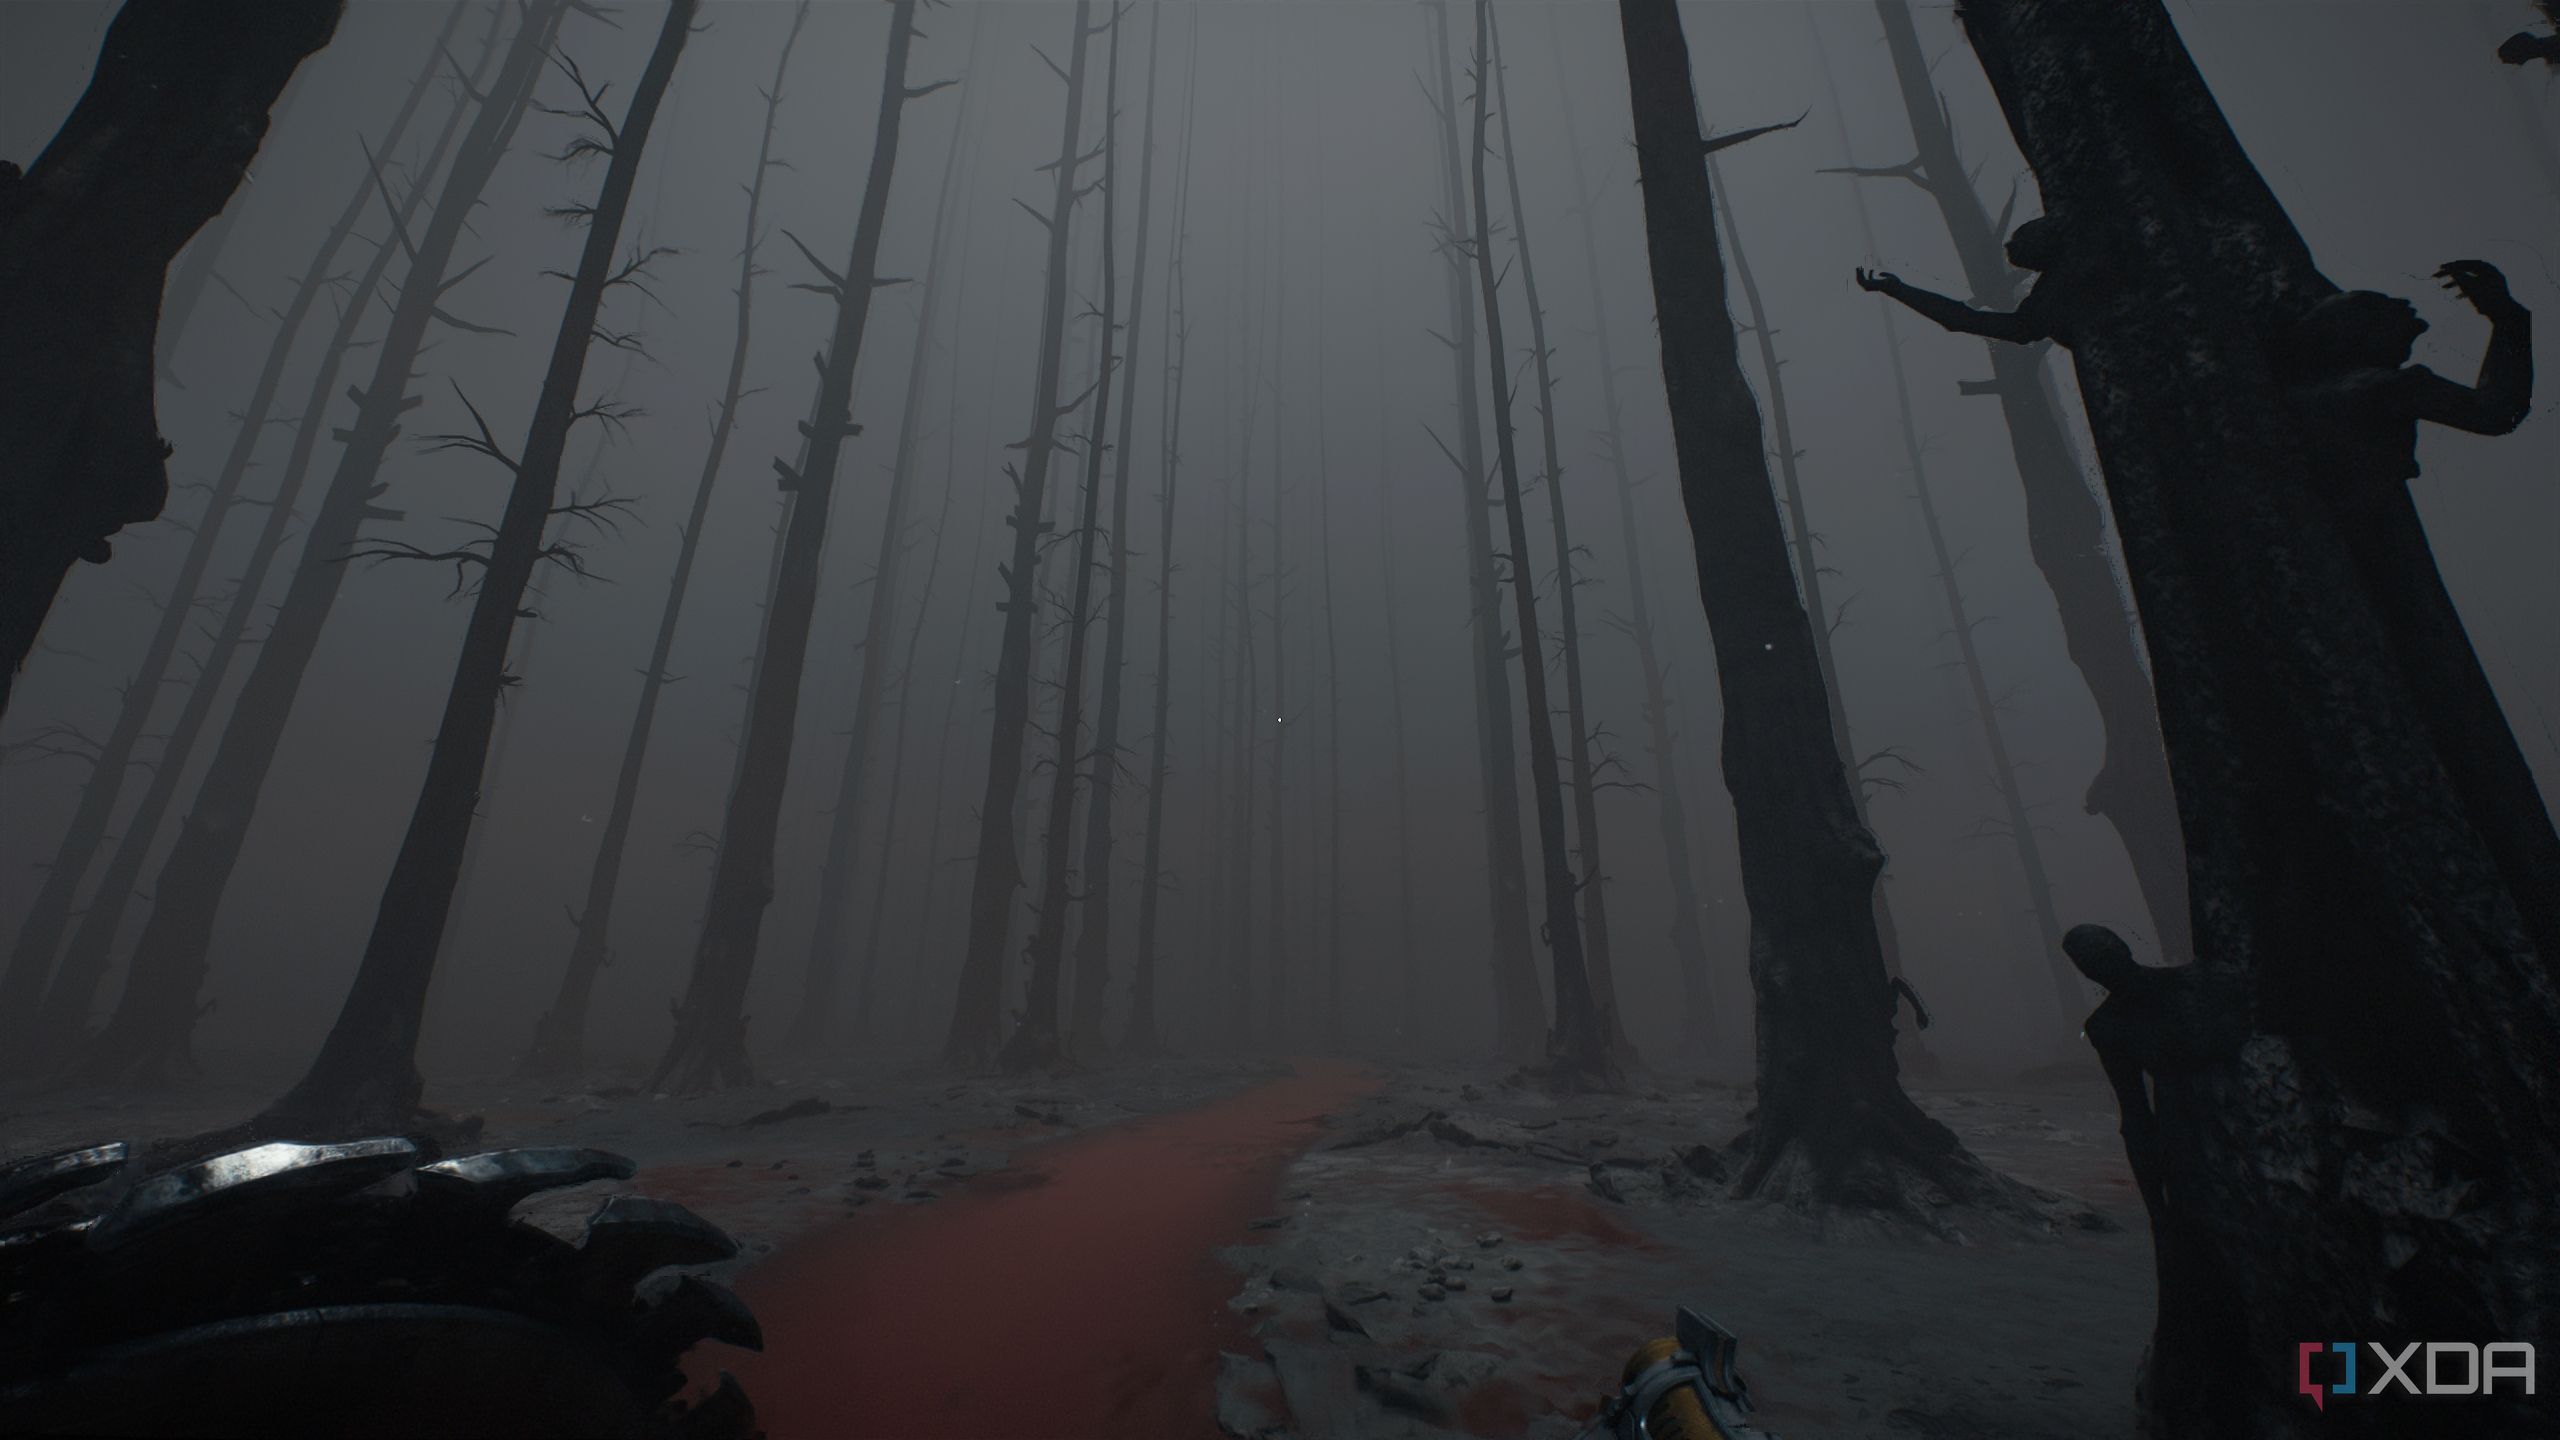
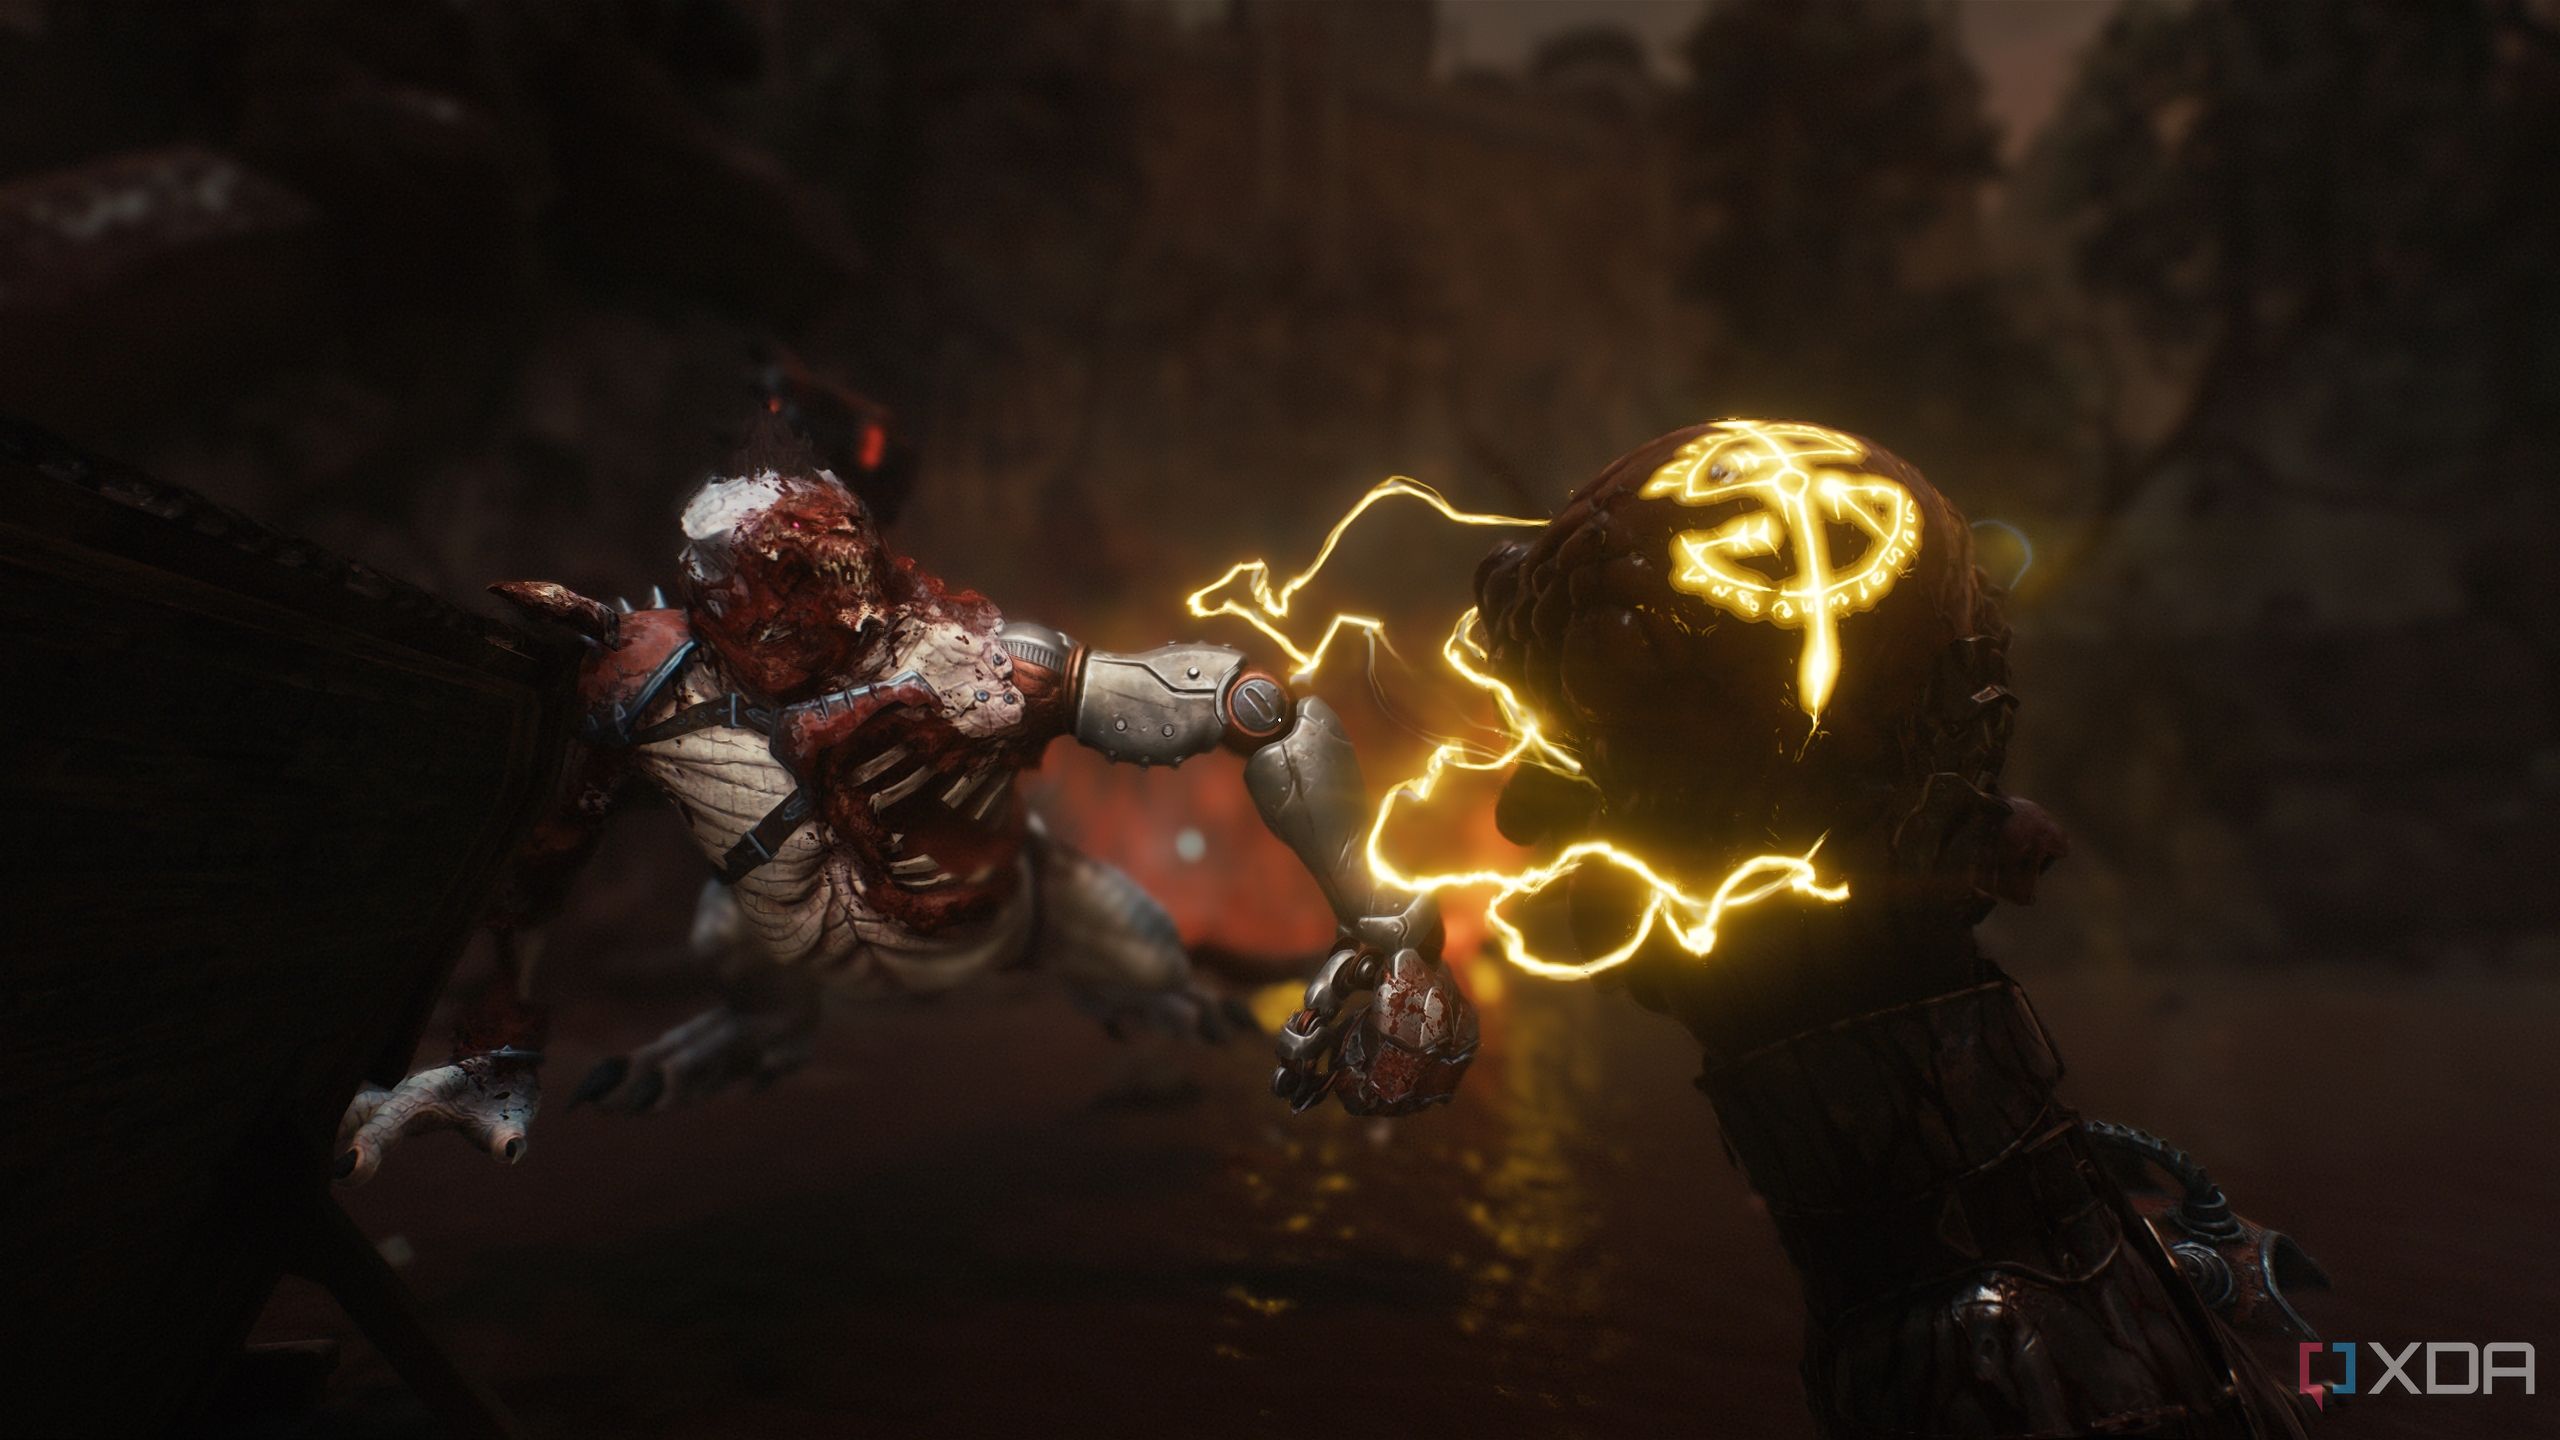
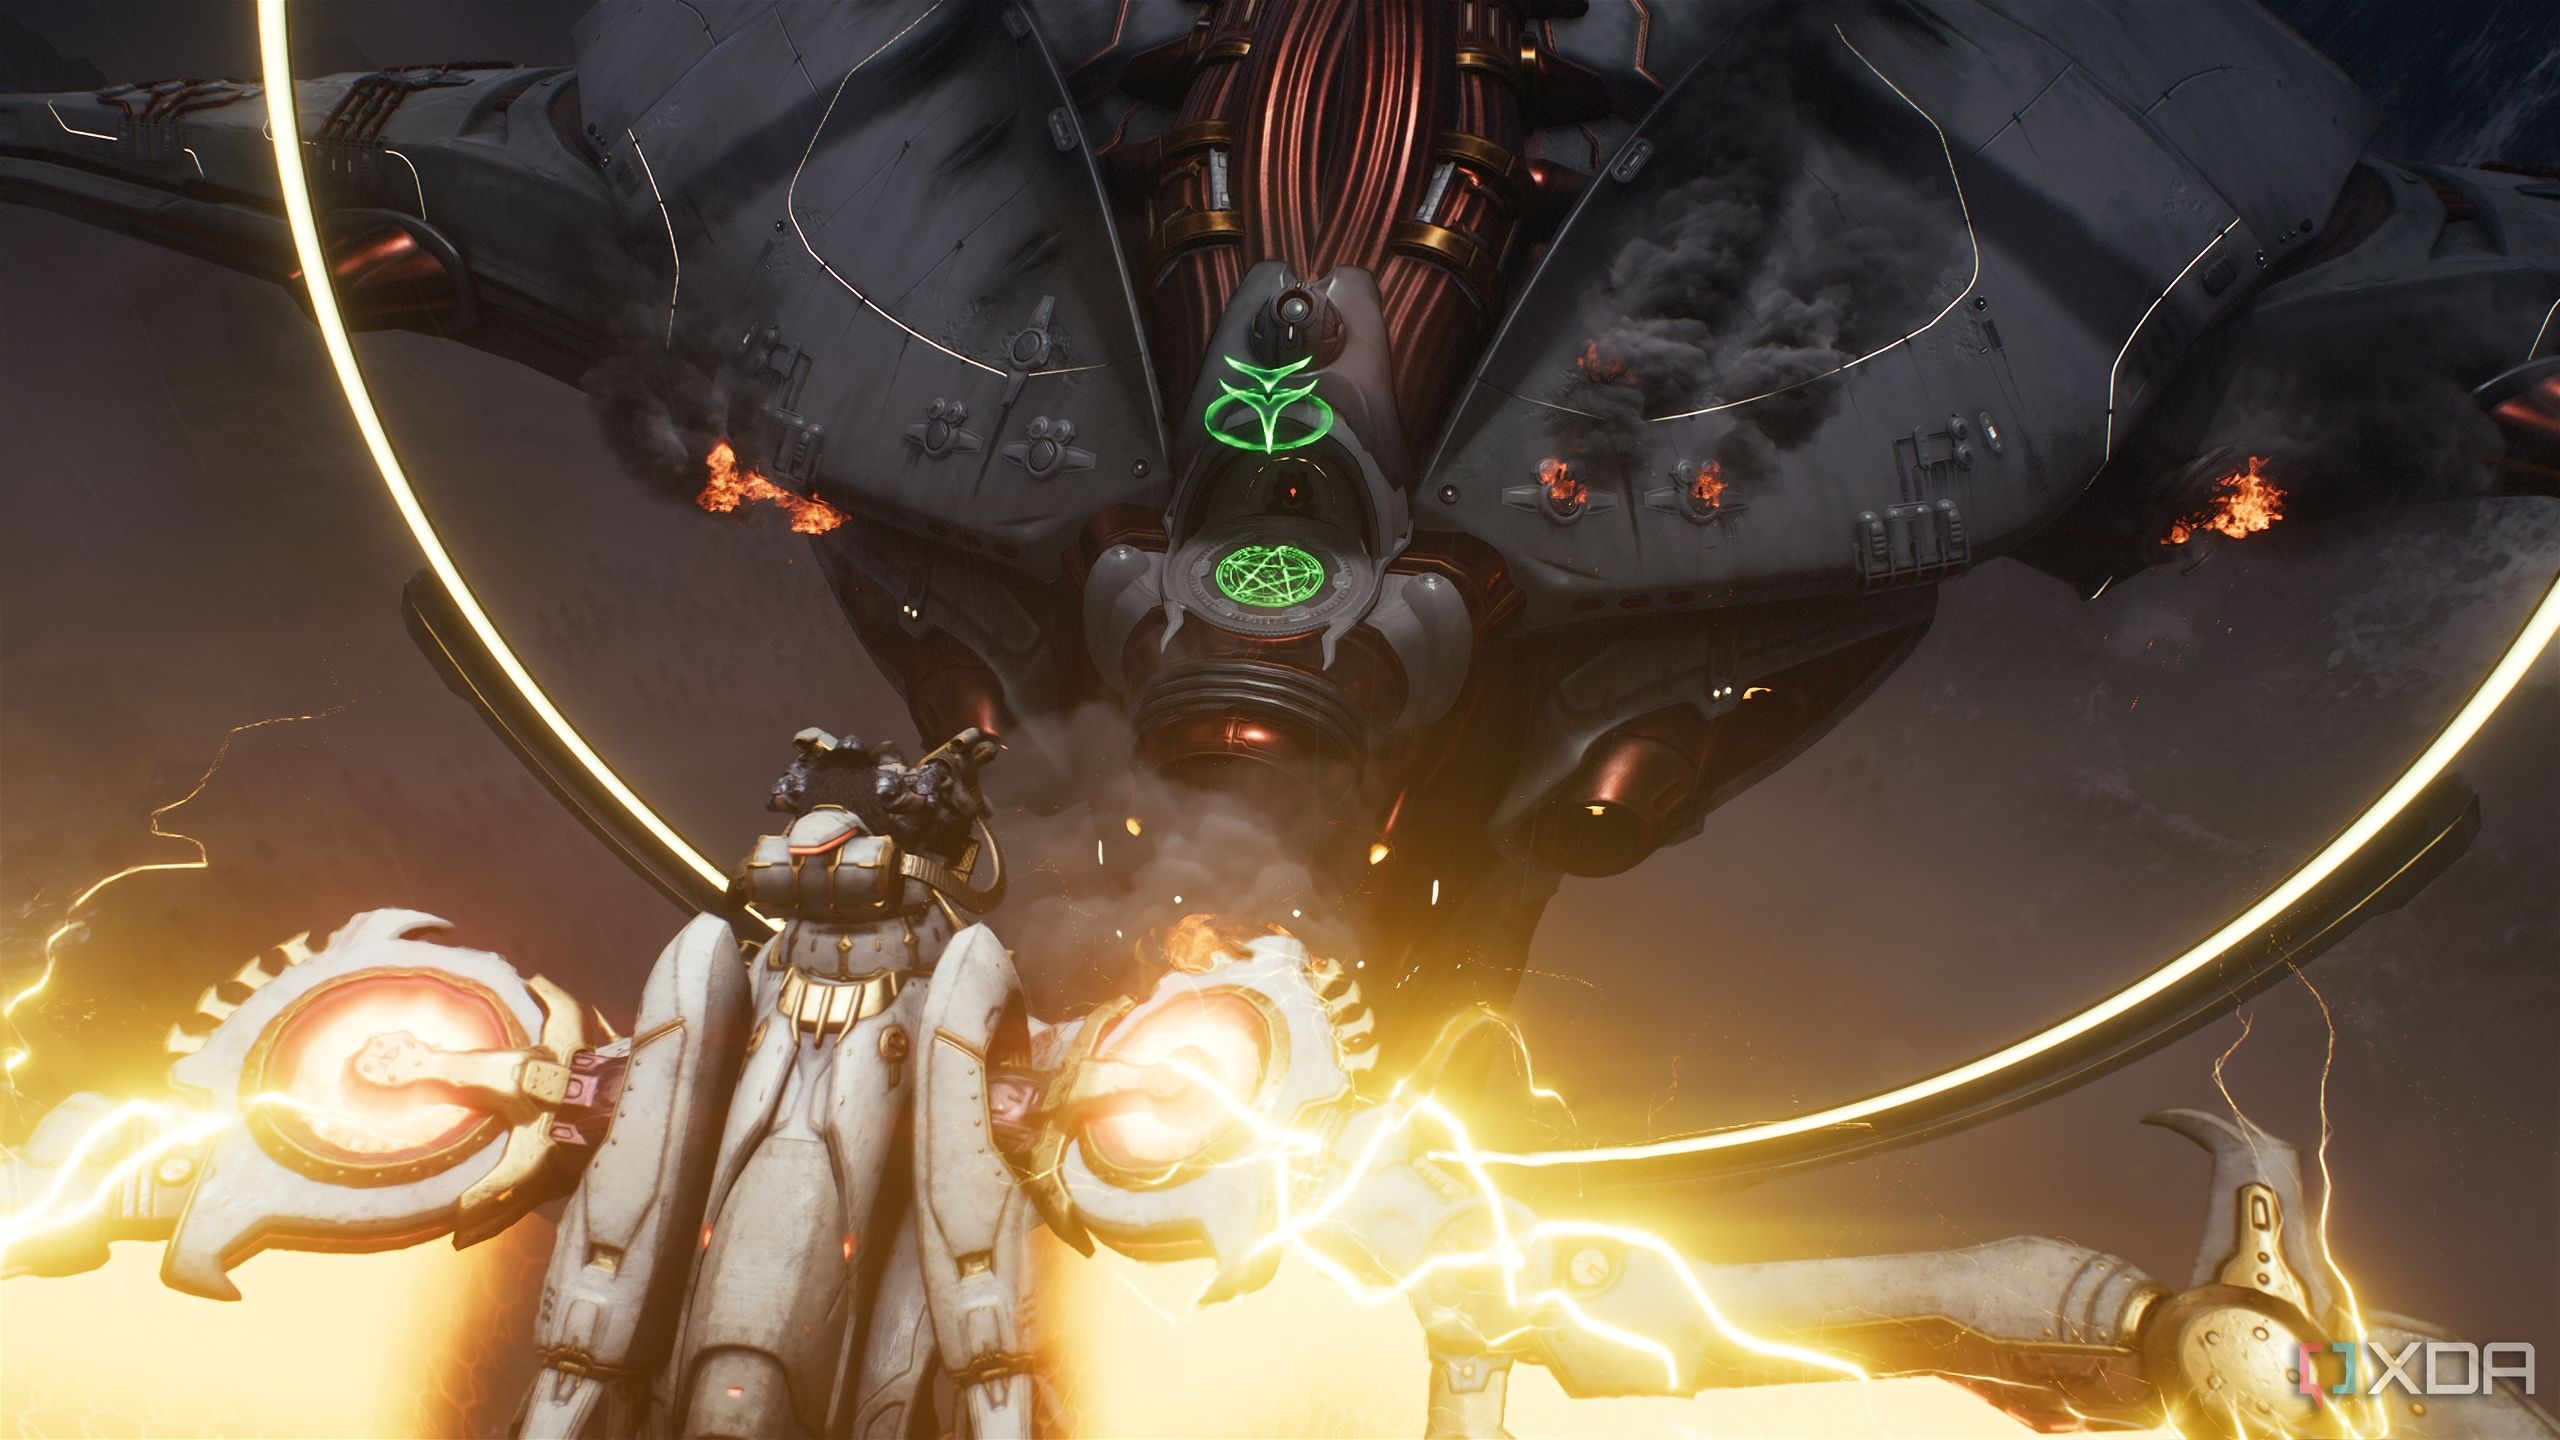
Chapter 20: Resurrection in Doom: The Dark Ages brings the Slayer back to the mortal plane. Having steered his ship towards the mortal plane in the previous chapter, the Slayer must now lay waste to a demon insurrection in Argent D’Nur. You can read in our review of the game how impressed it left us.
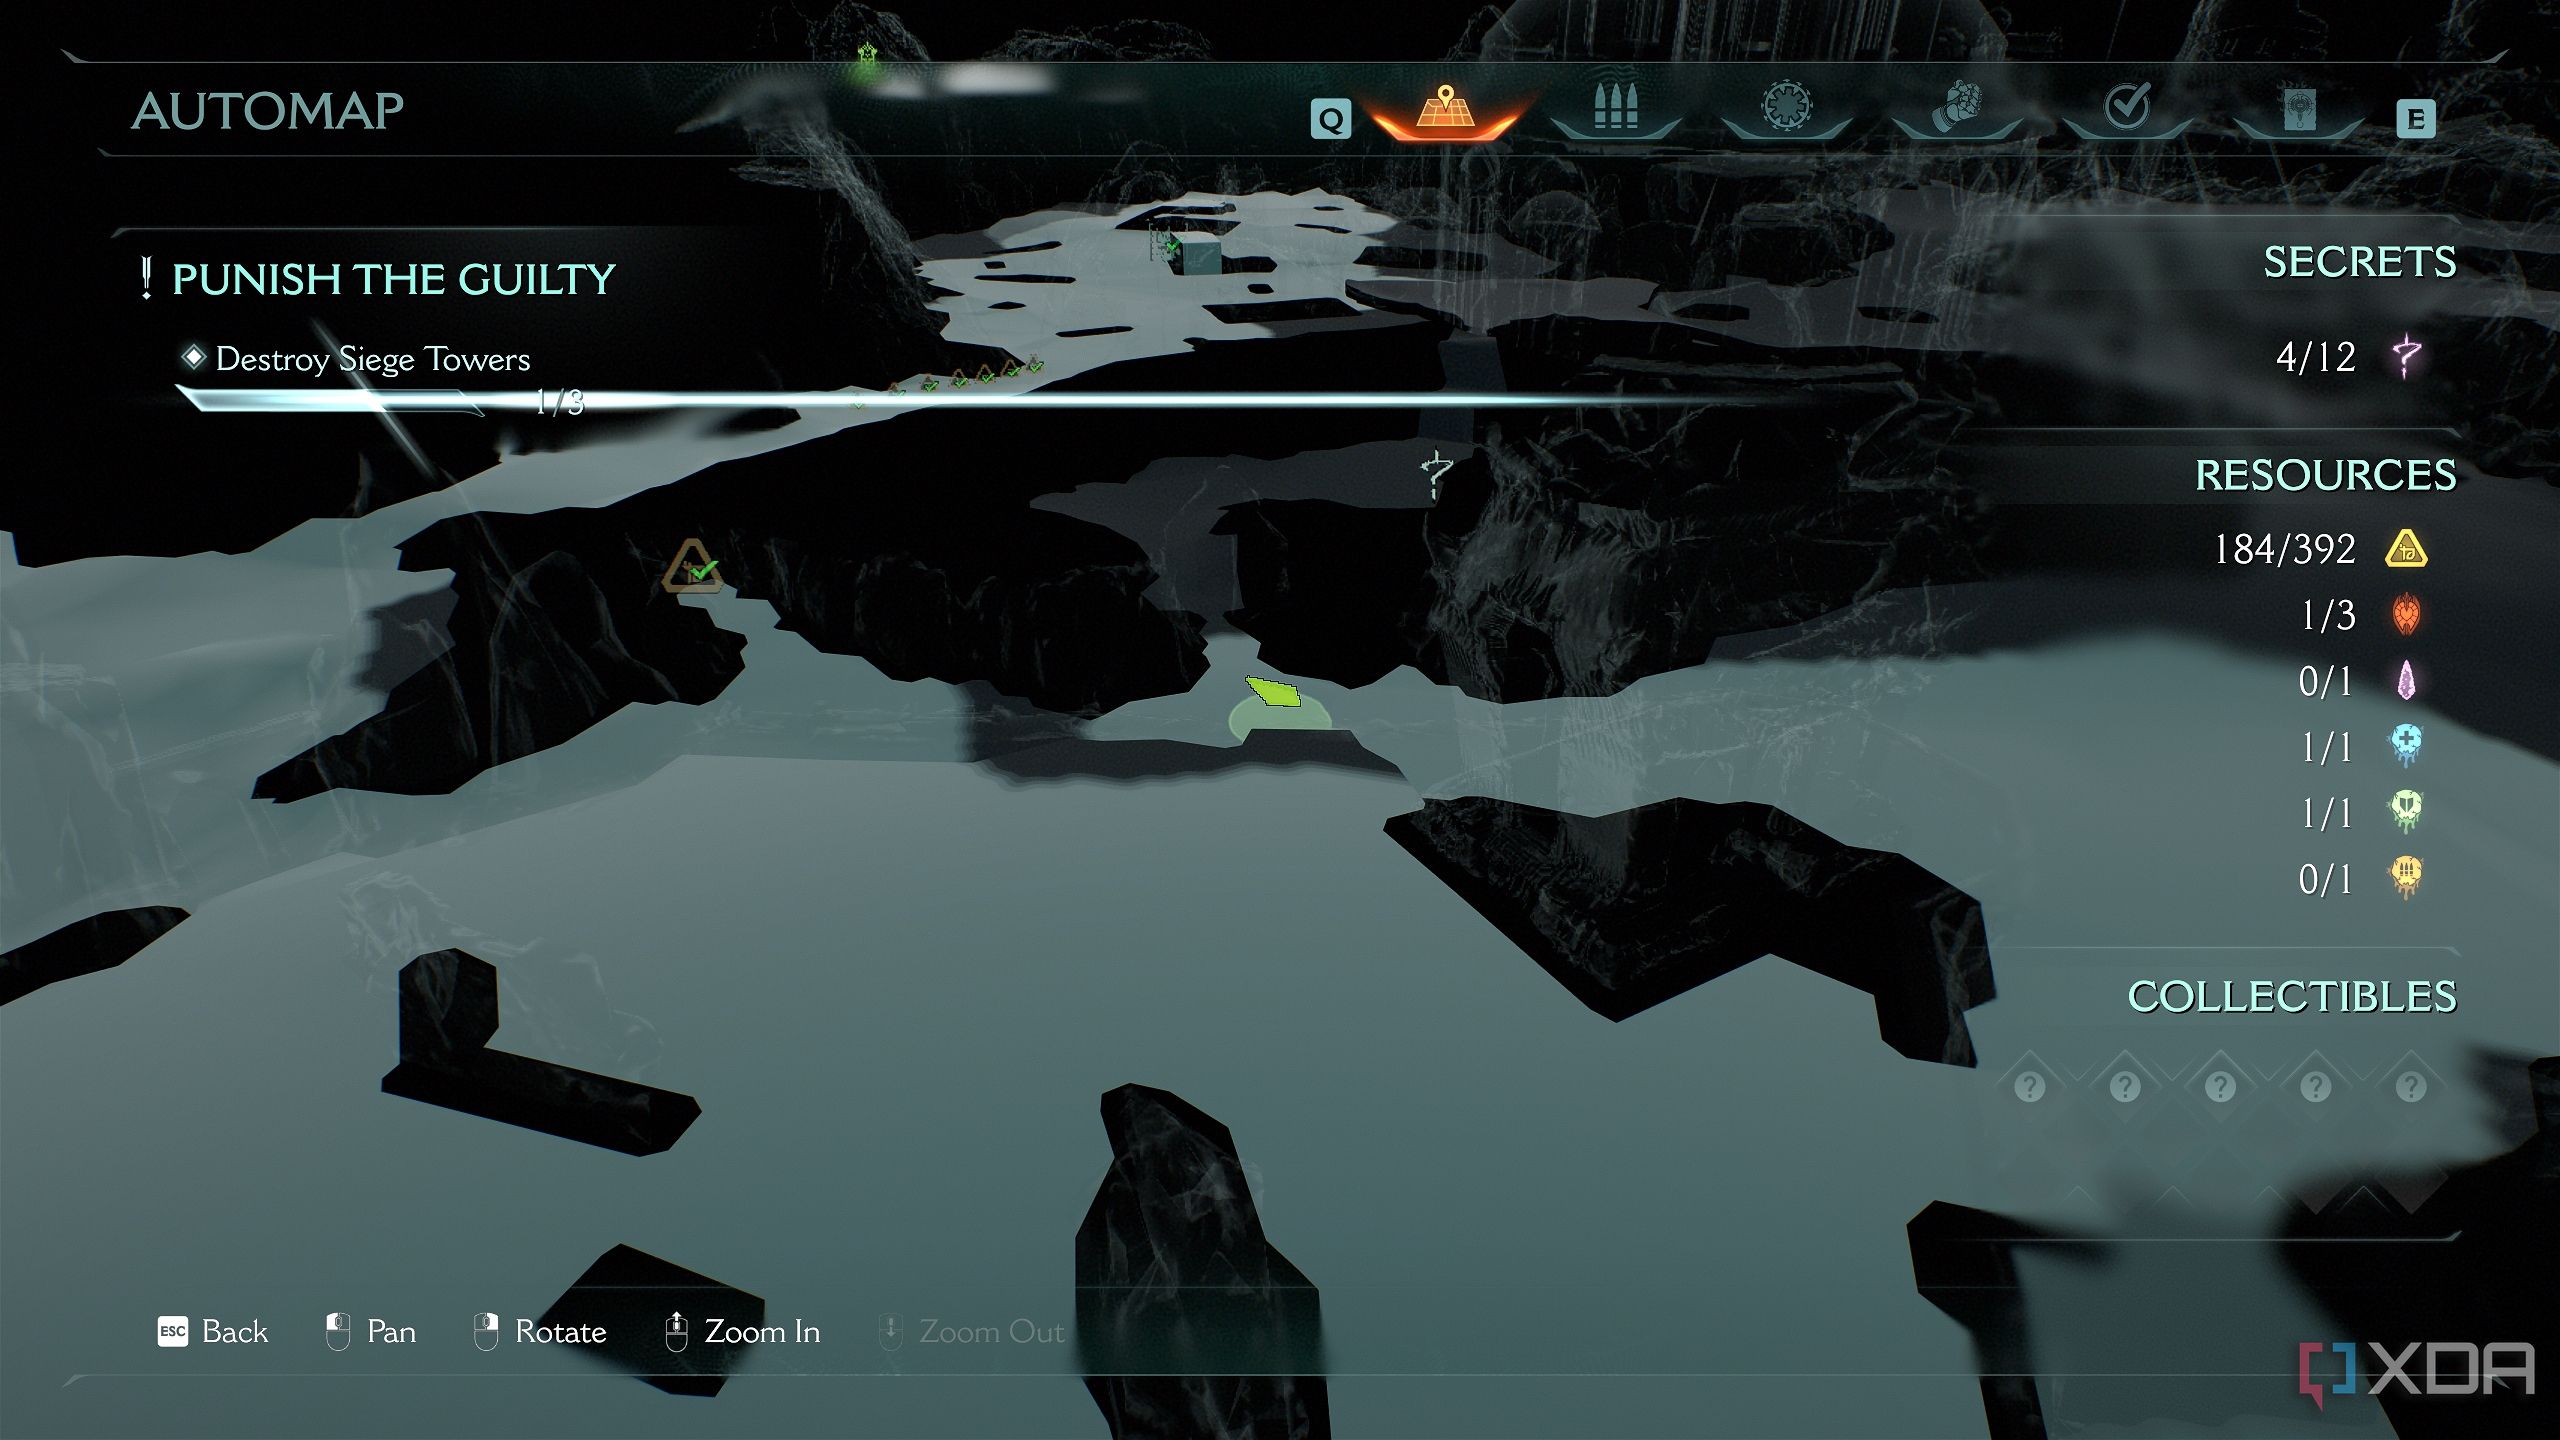
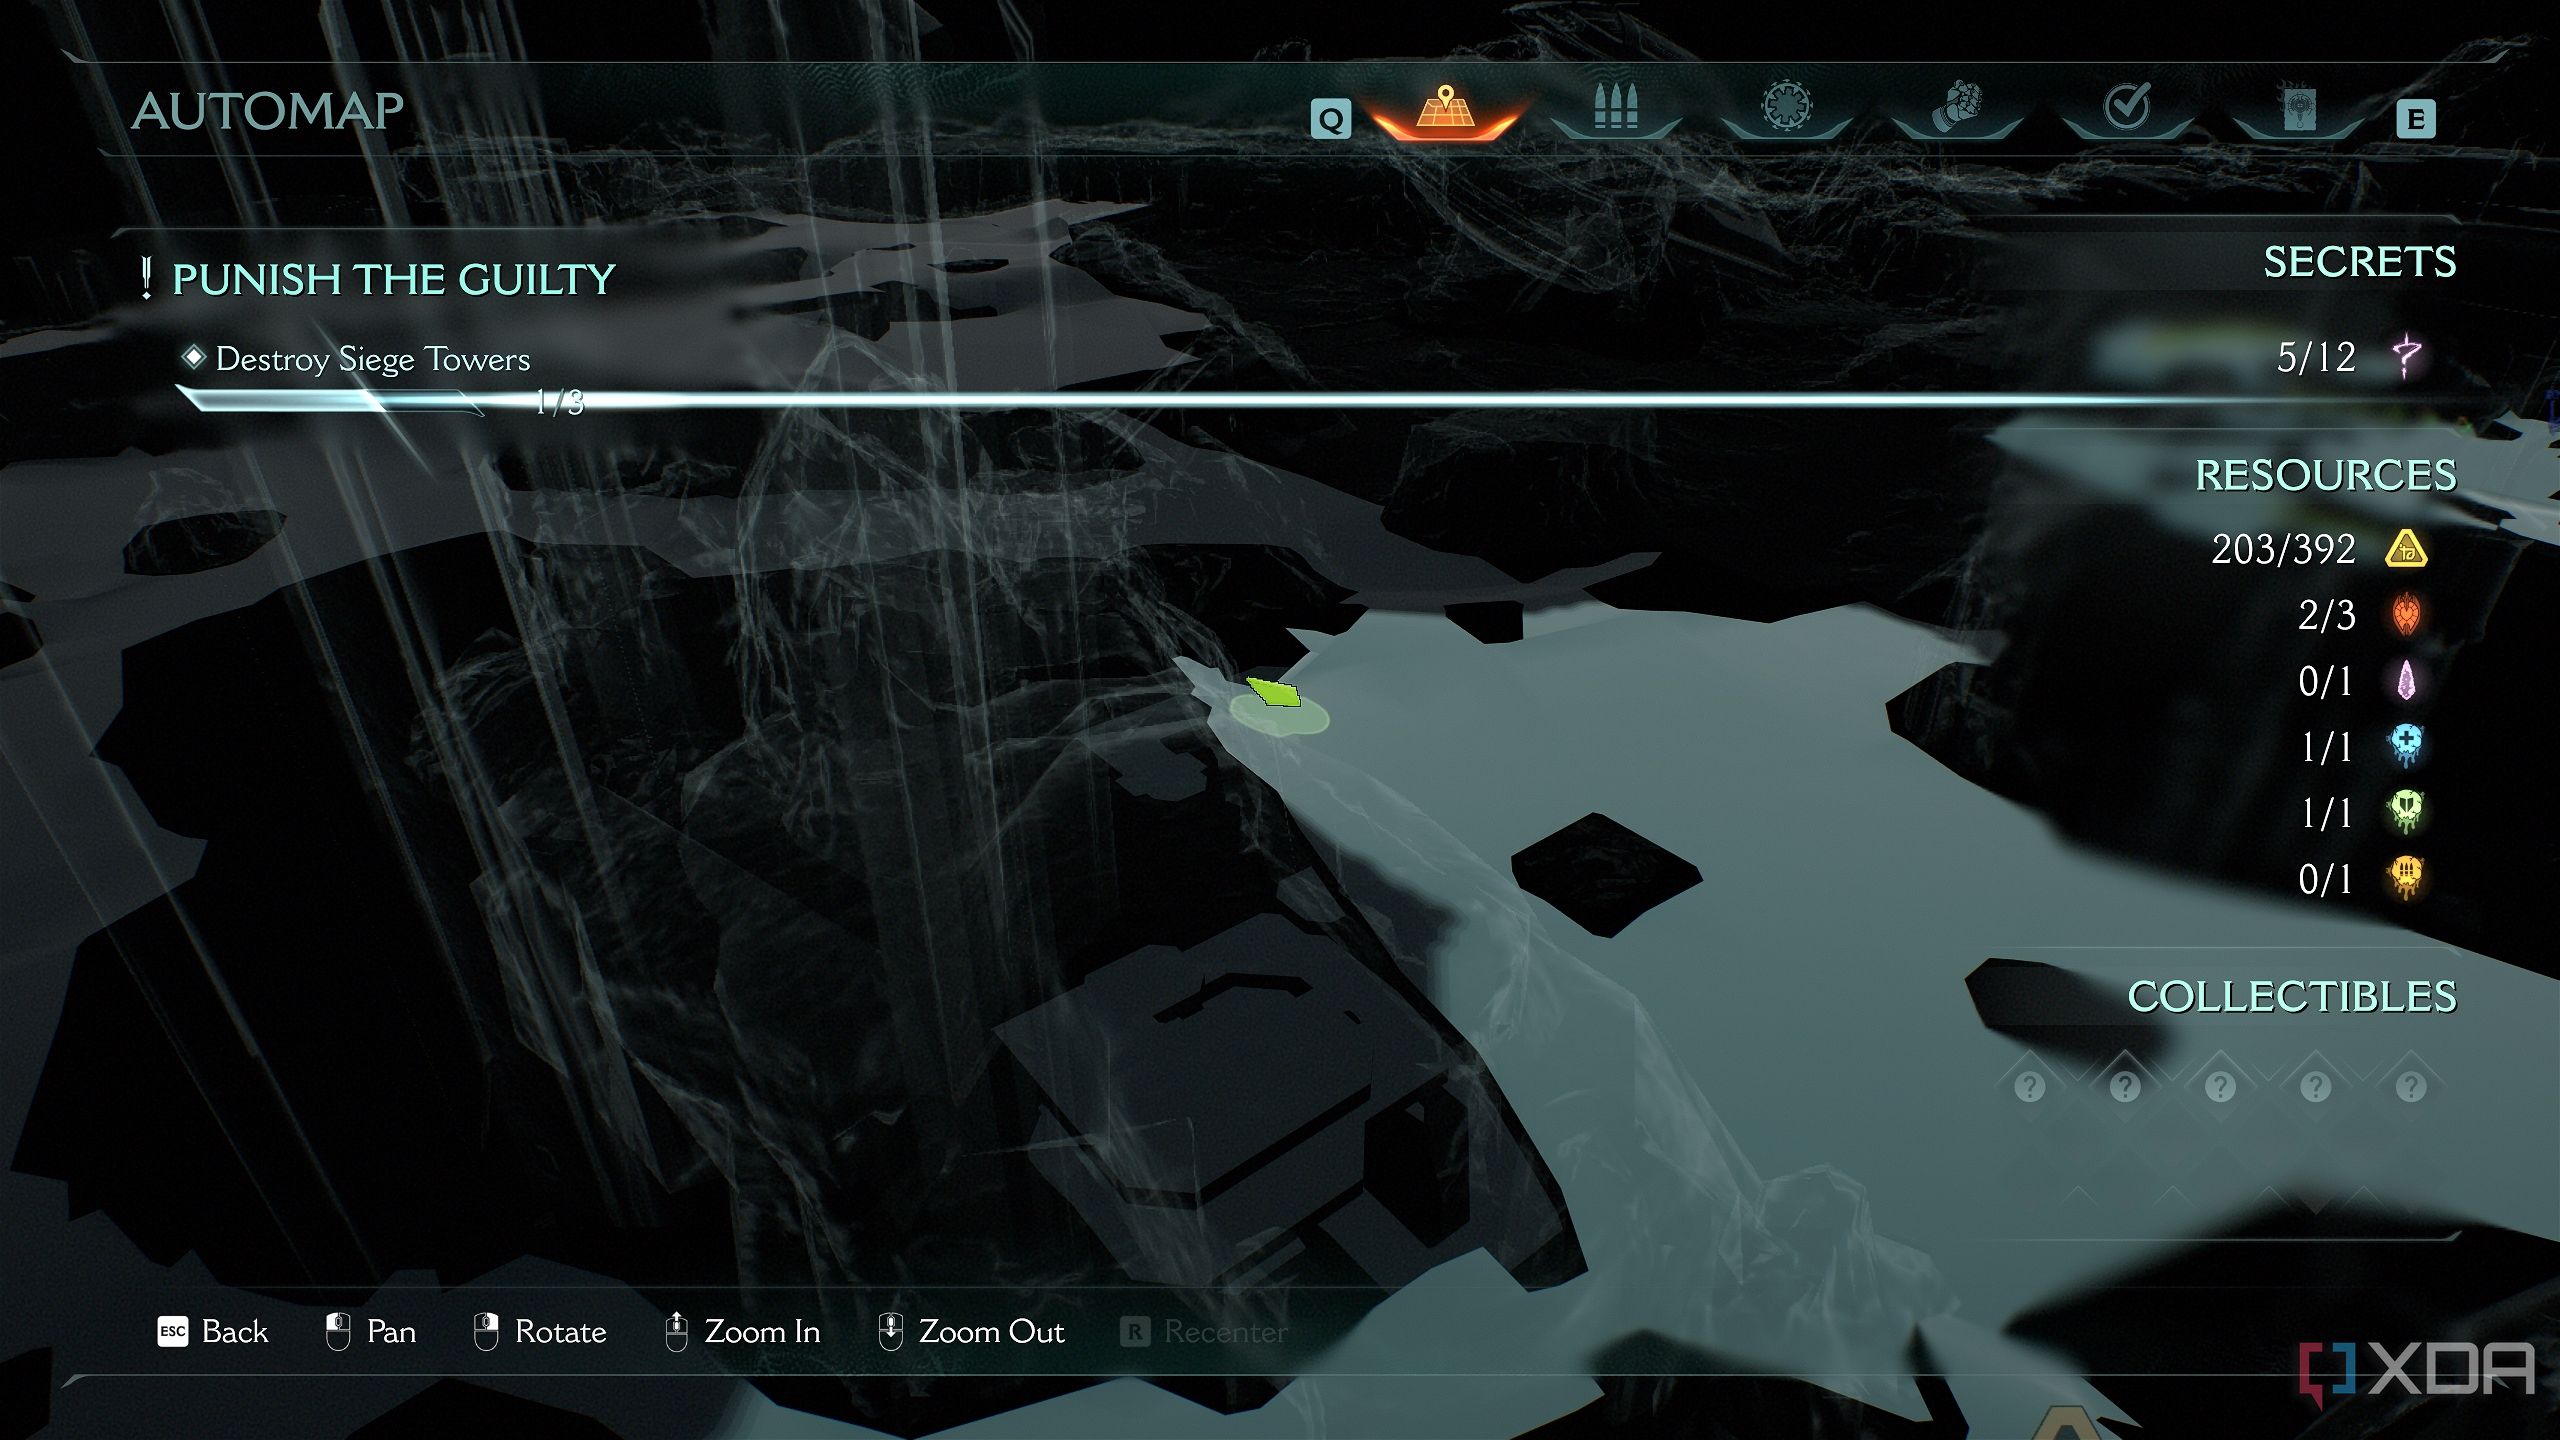
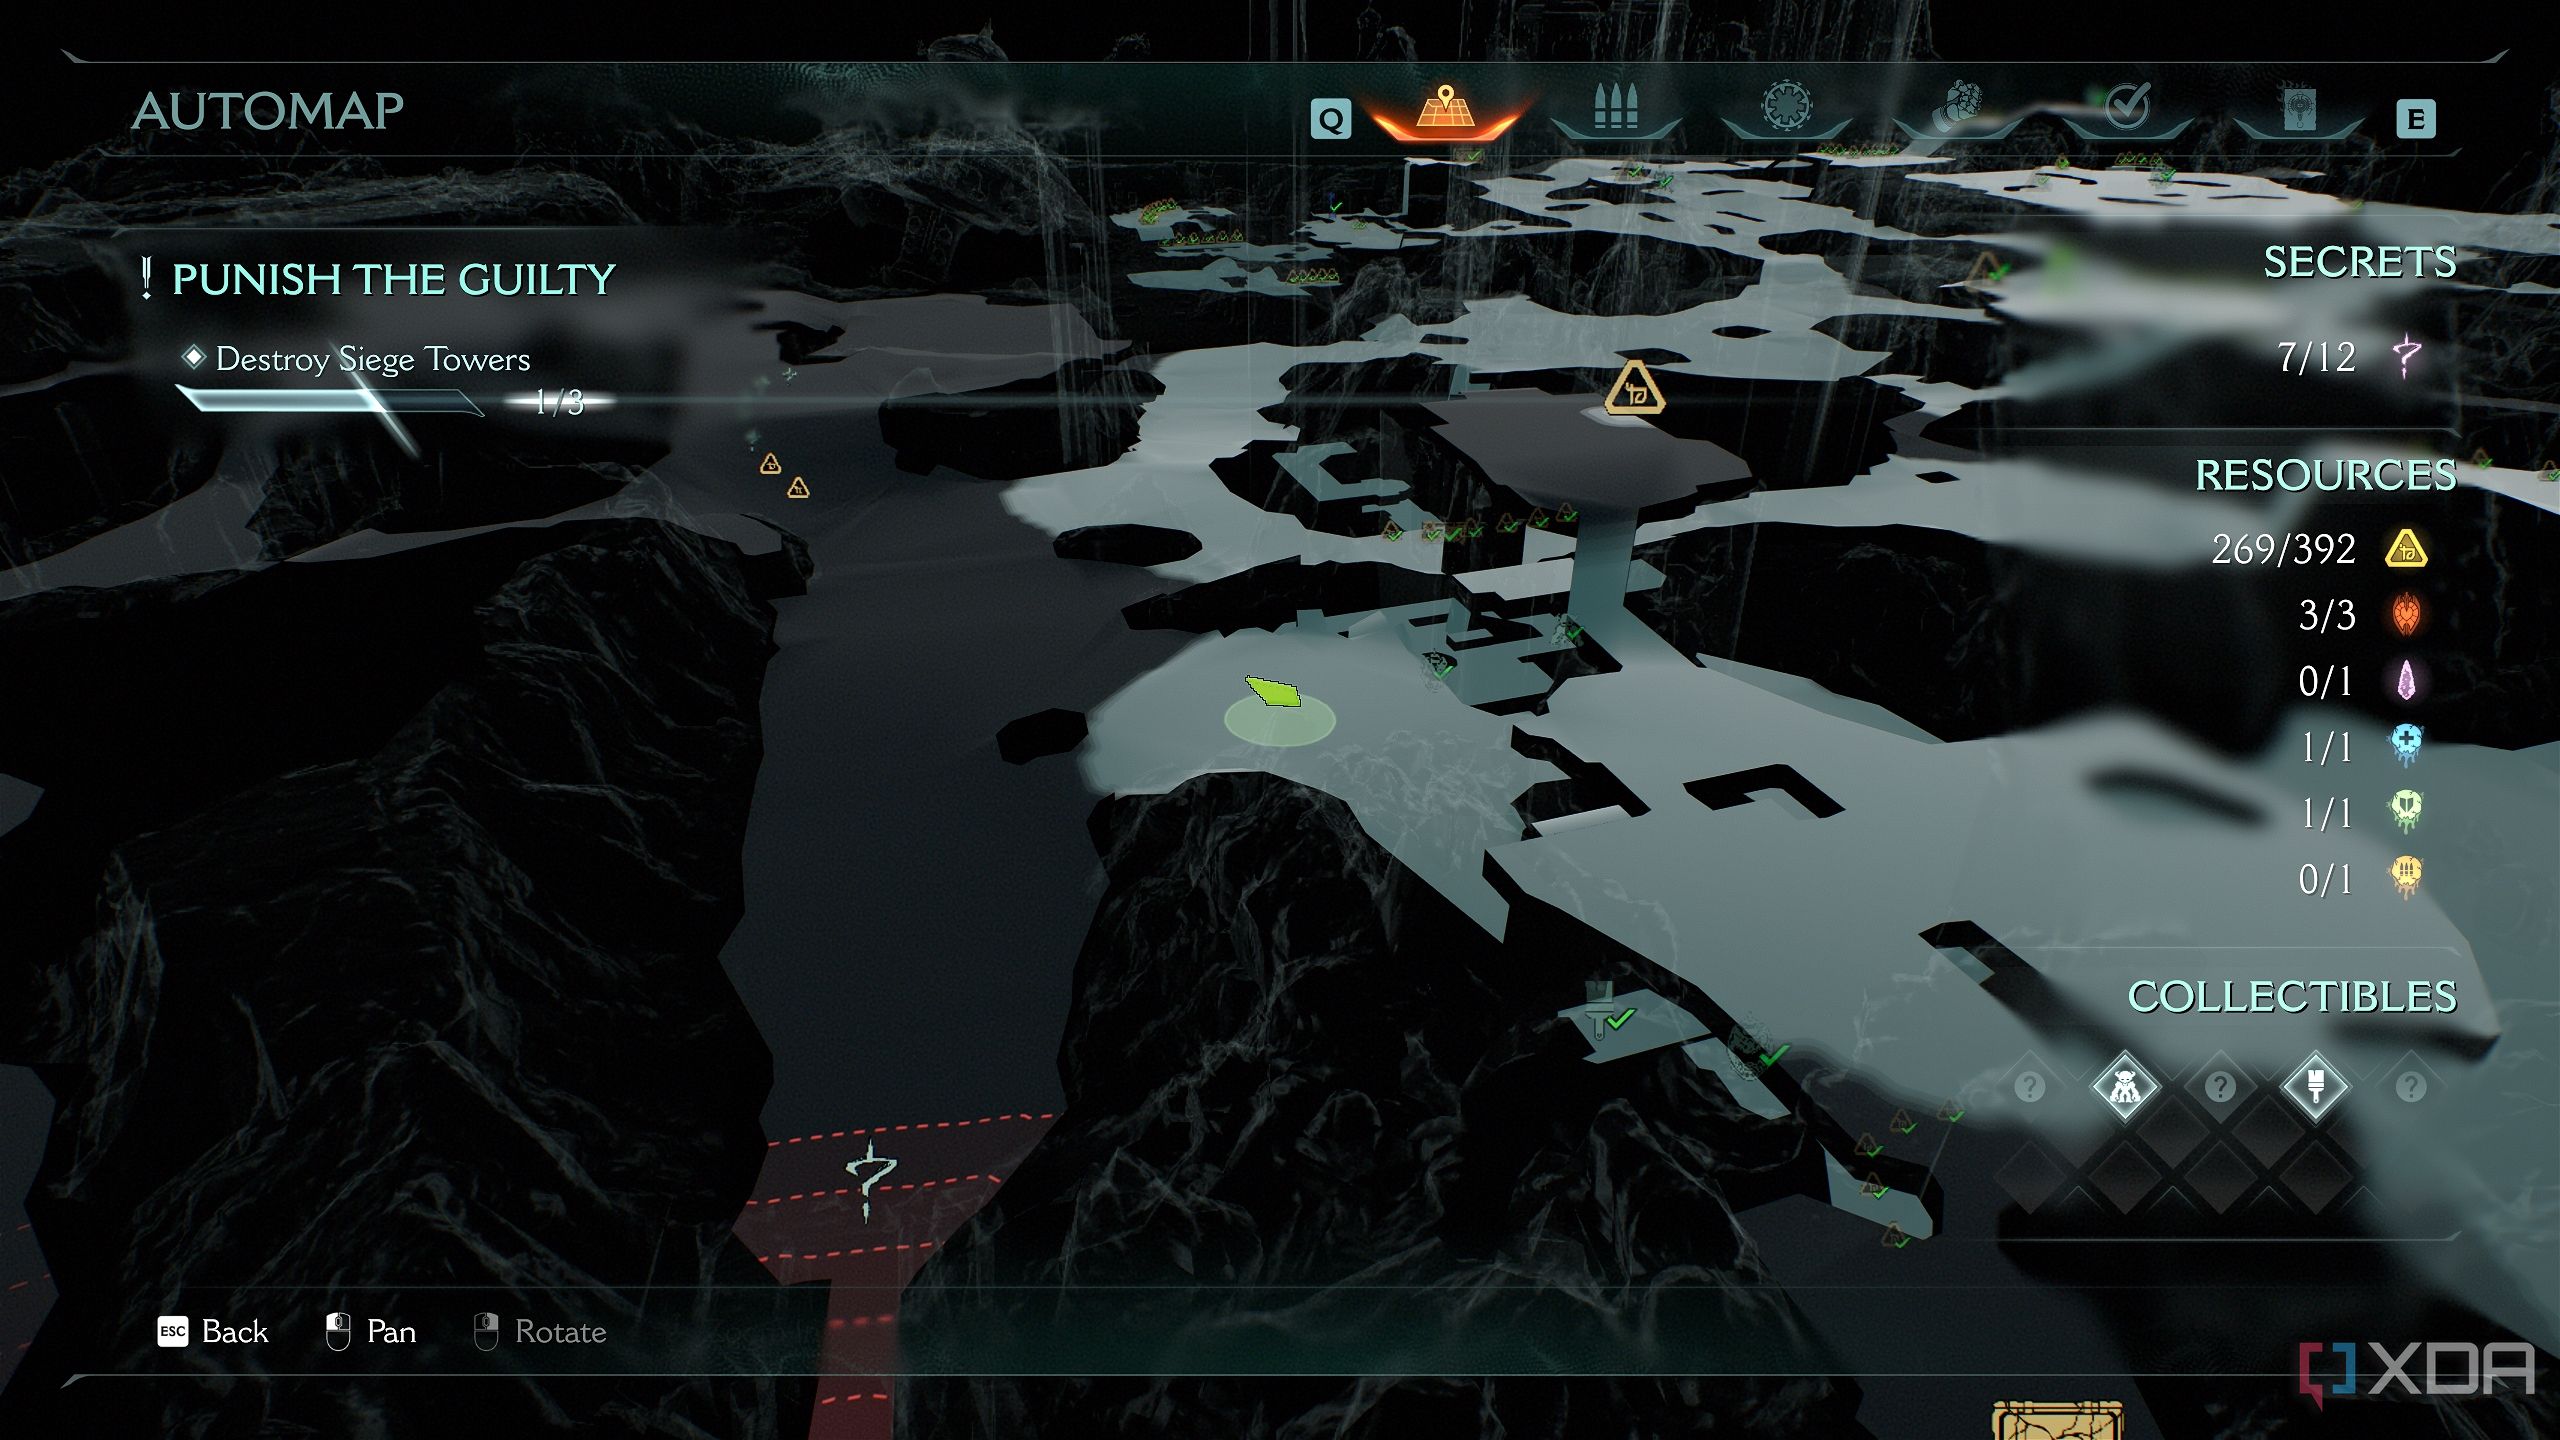
In order to get 100% completion, make sure you complete the mission challenges for this level.
Chapter 20’s mission challenges are-
- Destroying 3 Artillery Cannons
- Dispatching 3 Hell Cultists circles
- Taking down a Hell Fighter ship

Related
DOOM: The Dark Ages Chapter 18: Belly of the Beast — 100% completion guide
Chapter 18 in Doom: The Dark Ages sees the Slayer navigating the insides of the ancient deity he awoke and freed from his prison.
Chapter 20 of Doom: The Dark Ages is effectively Siege - Part 3
Fire and blood… so much of it
In chapter 20, the Slayer must lay waste to a huge battlefield, thinning out demonic forces as he goes from one arena to another. Following the objectives in the chapter along with the instructions provided below, it won't be long before you can claim that sweet 100% completion tag for the level.
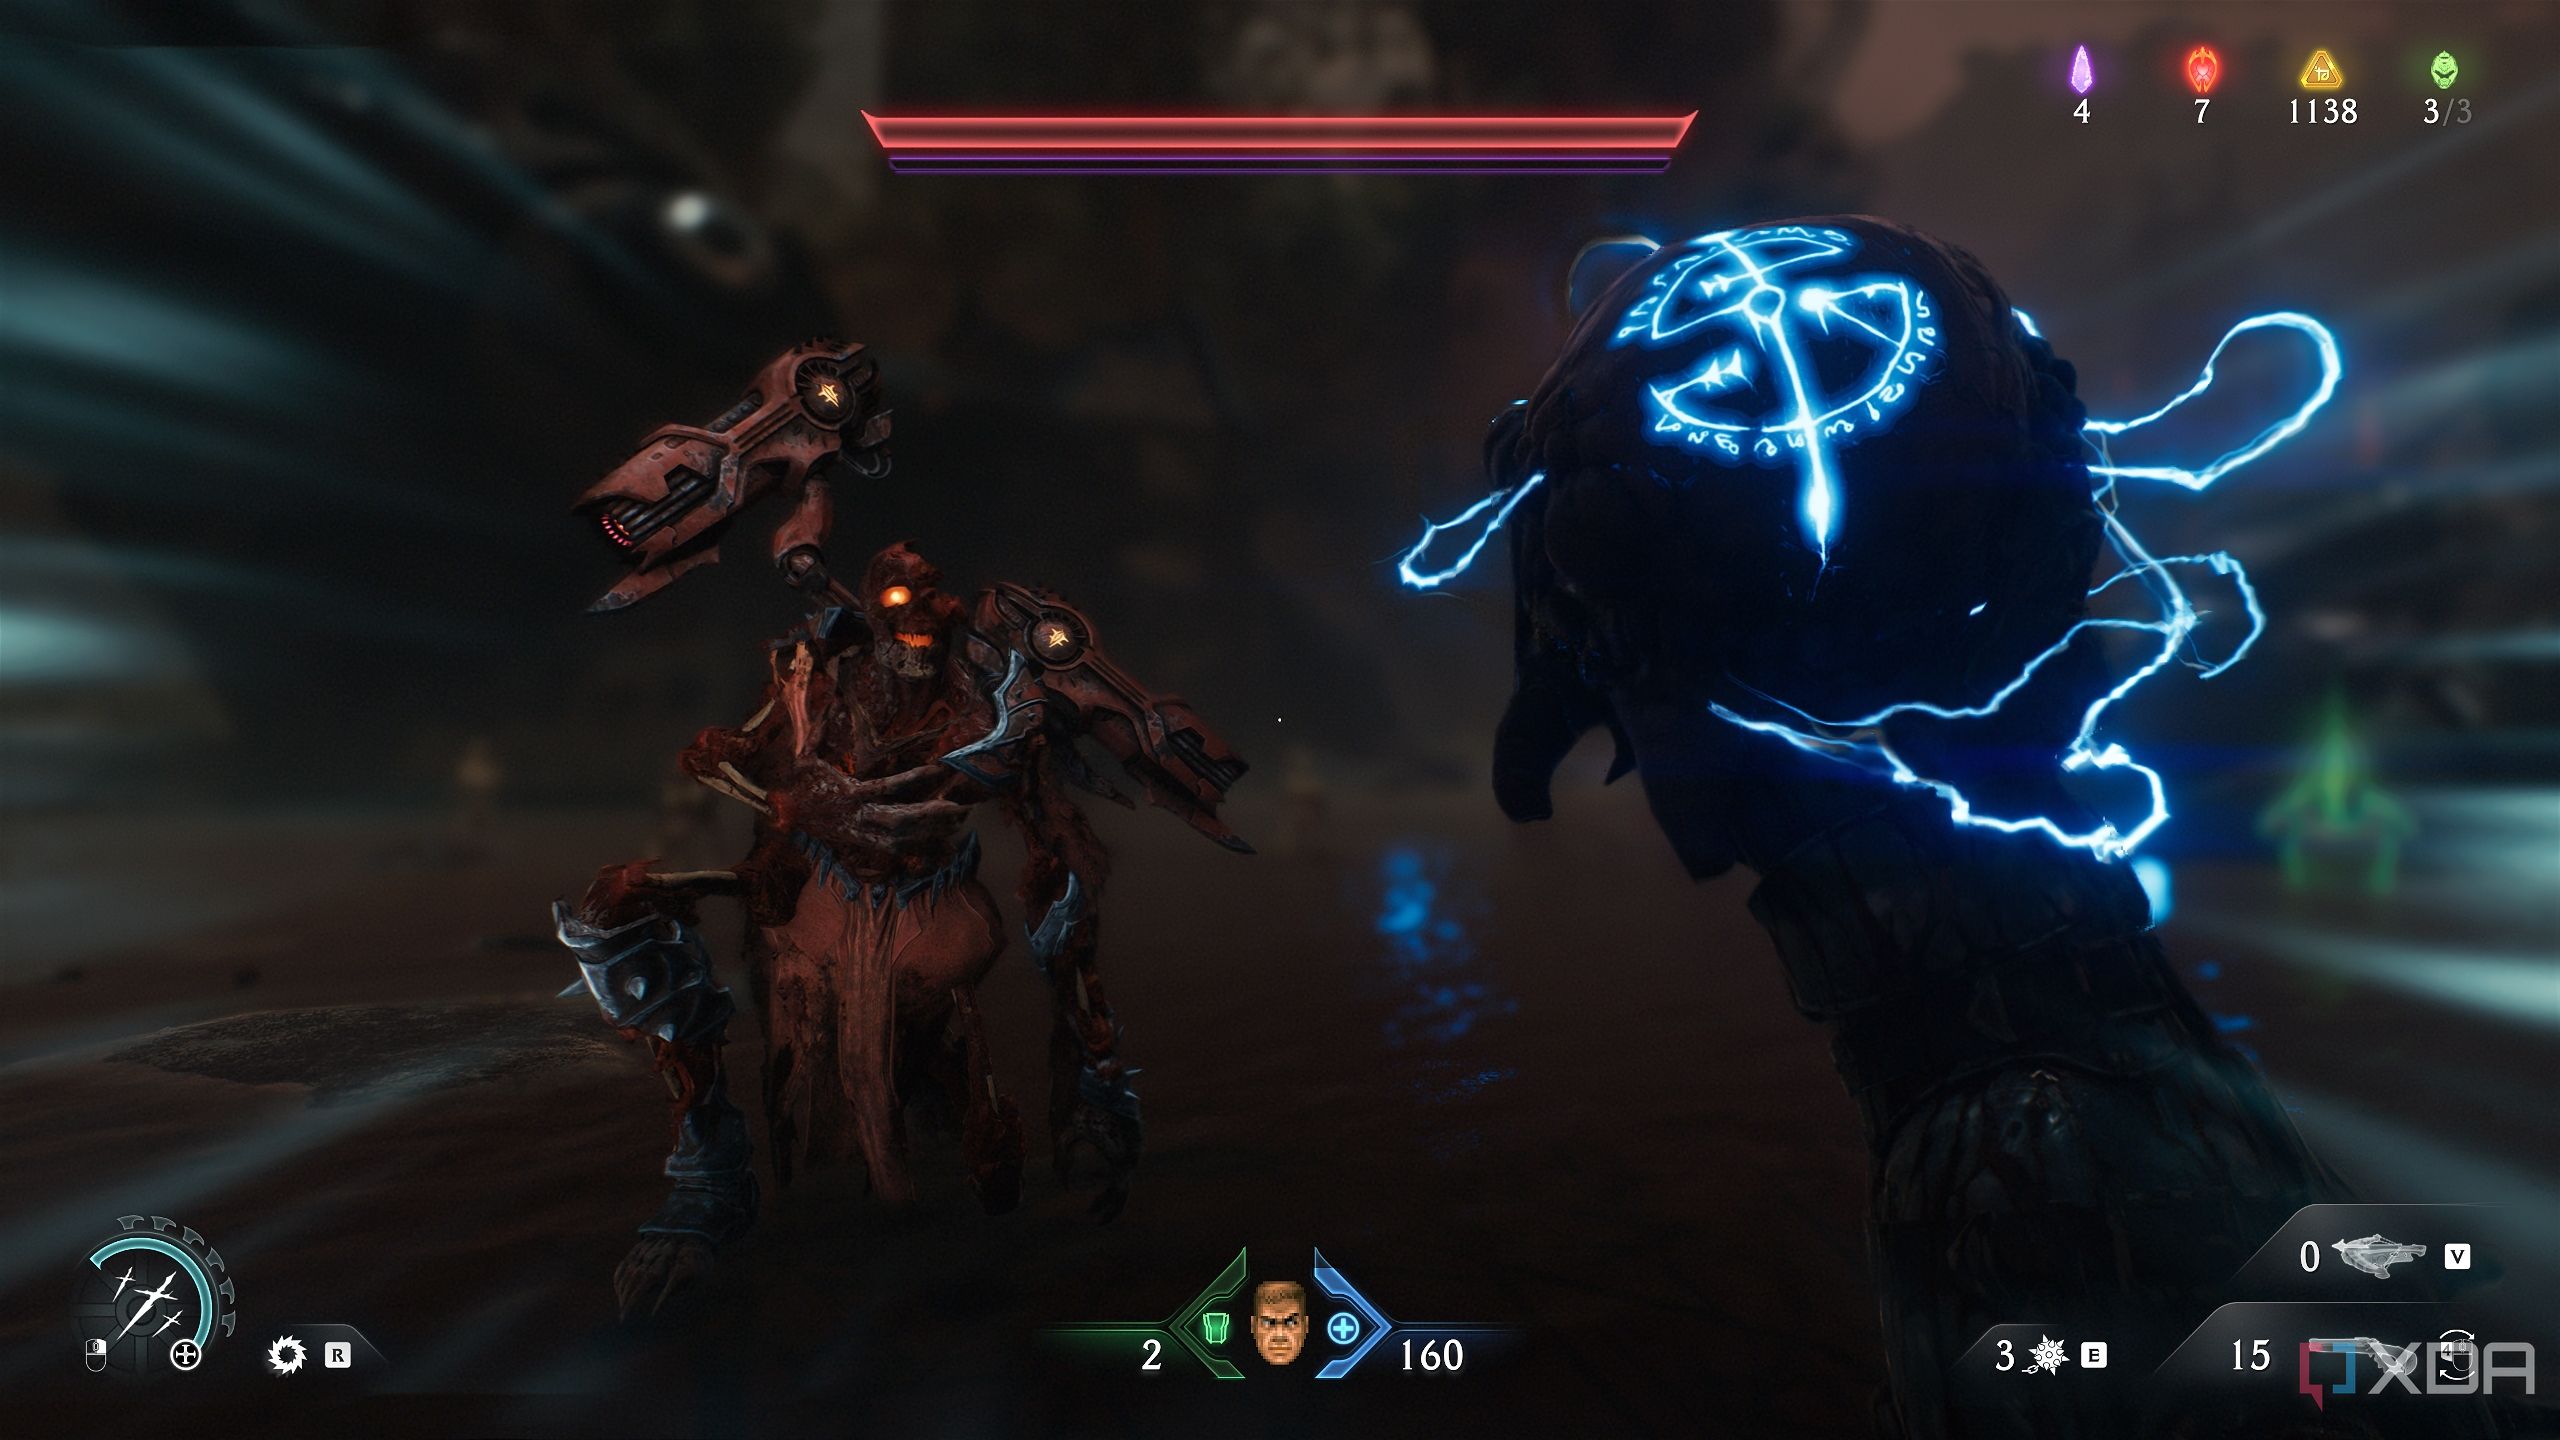
Path tracing hasn’t arrived in the game yet, but the explosive, fleshy horrors are a spectacle to behold, thanks to the id Tech engine 8.
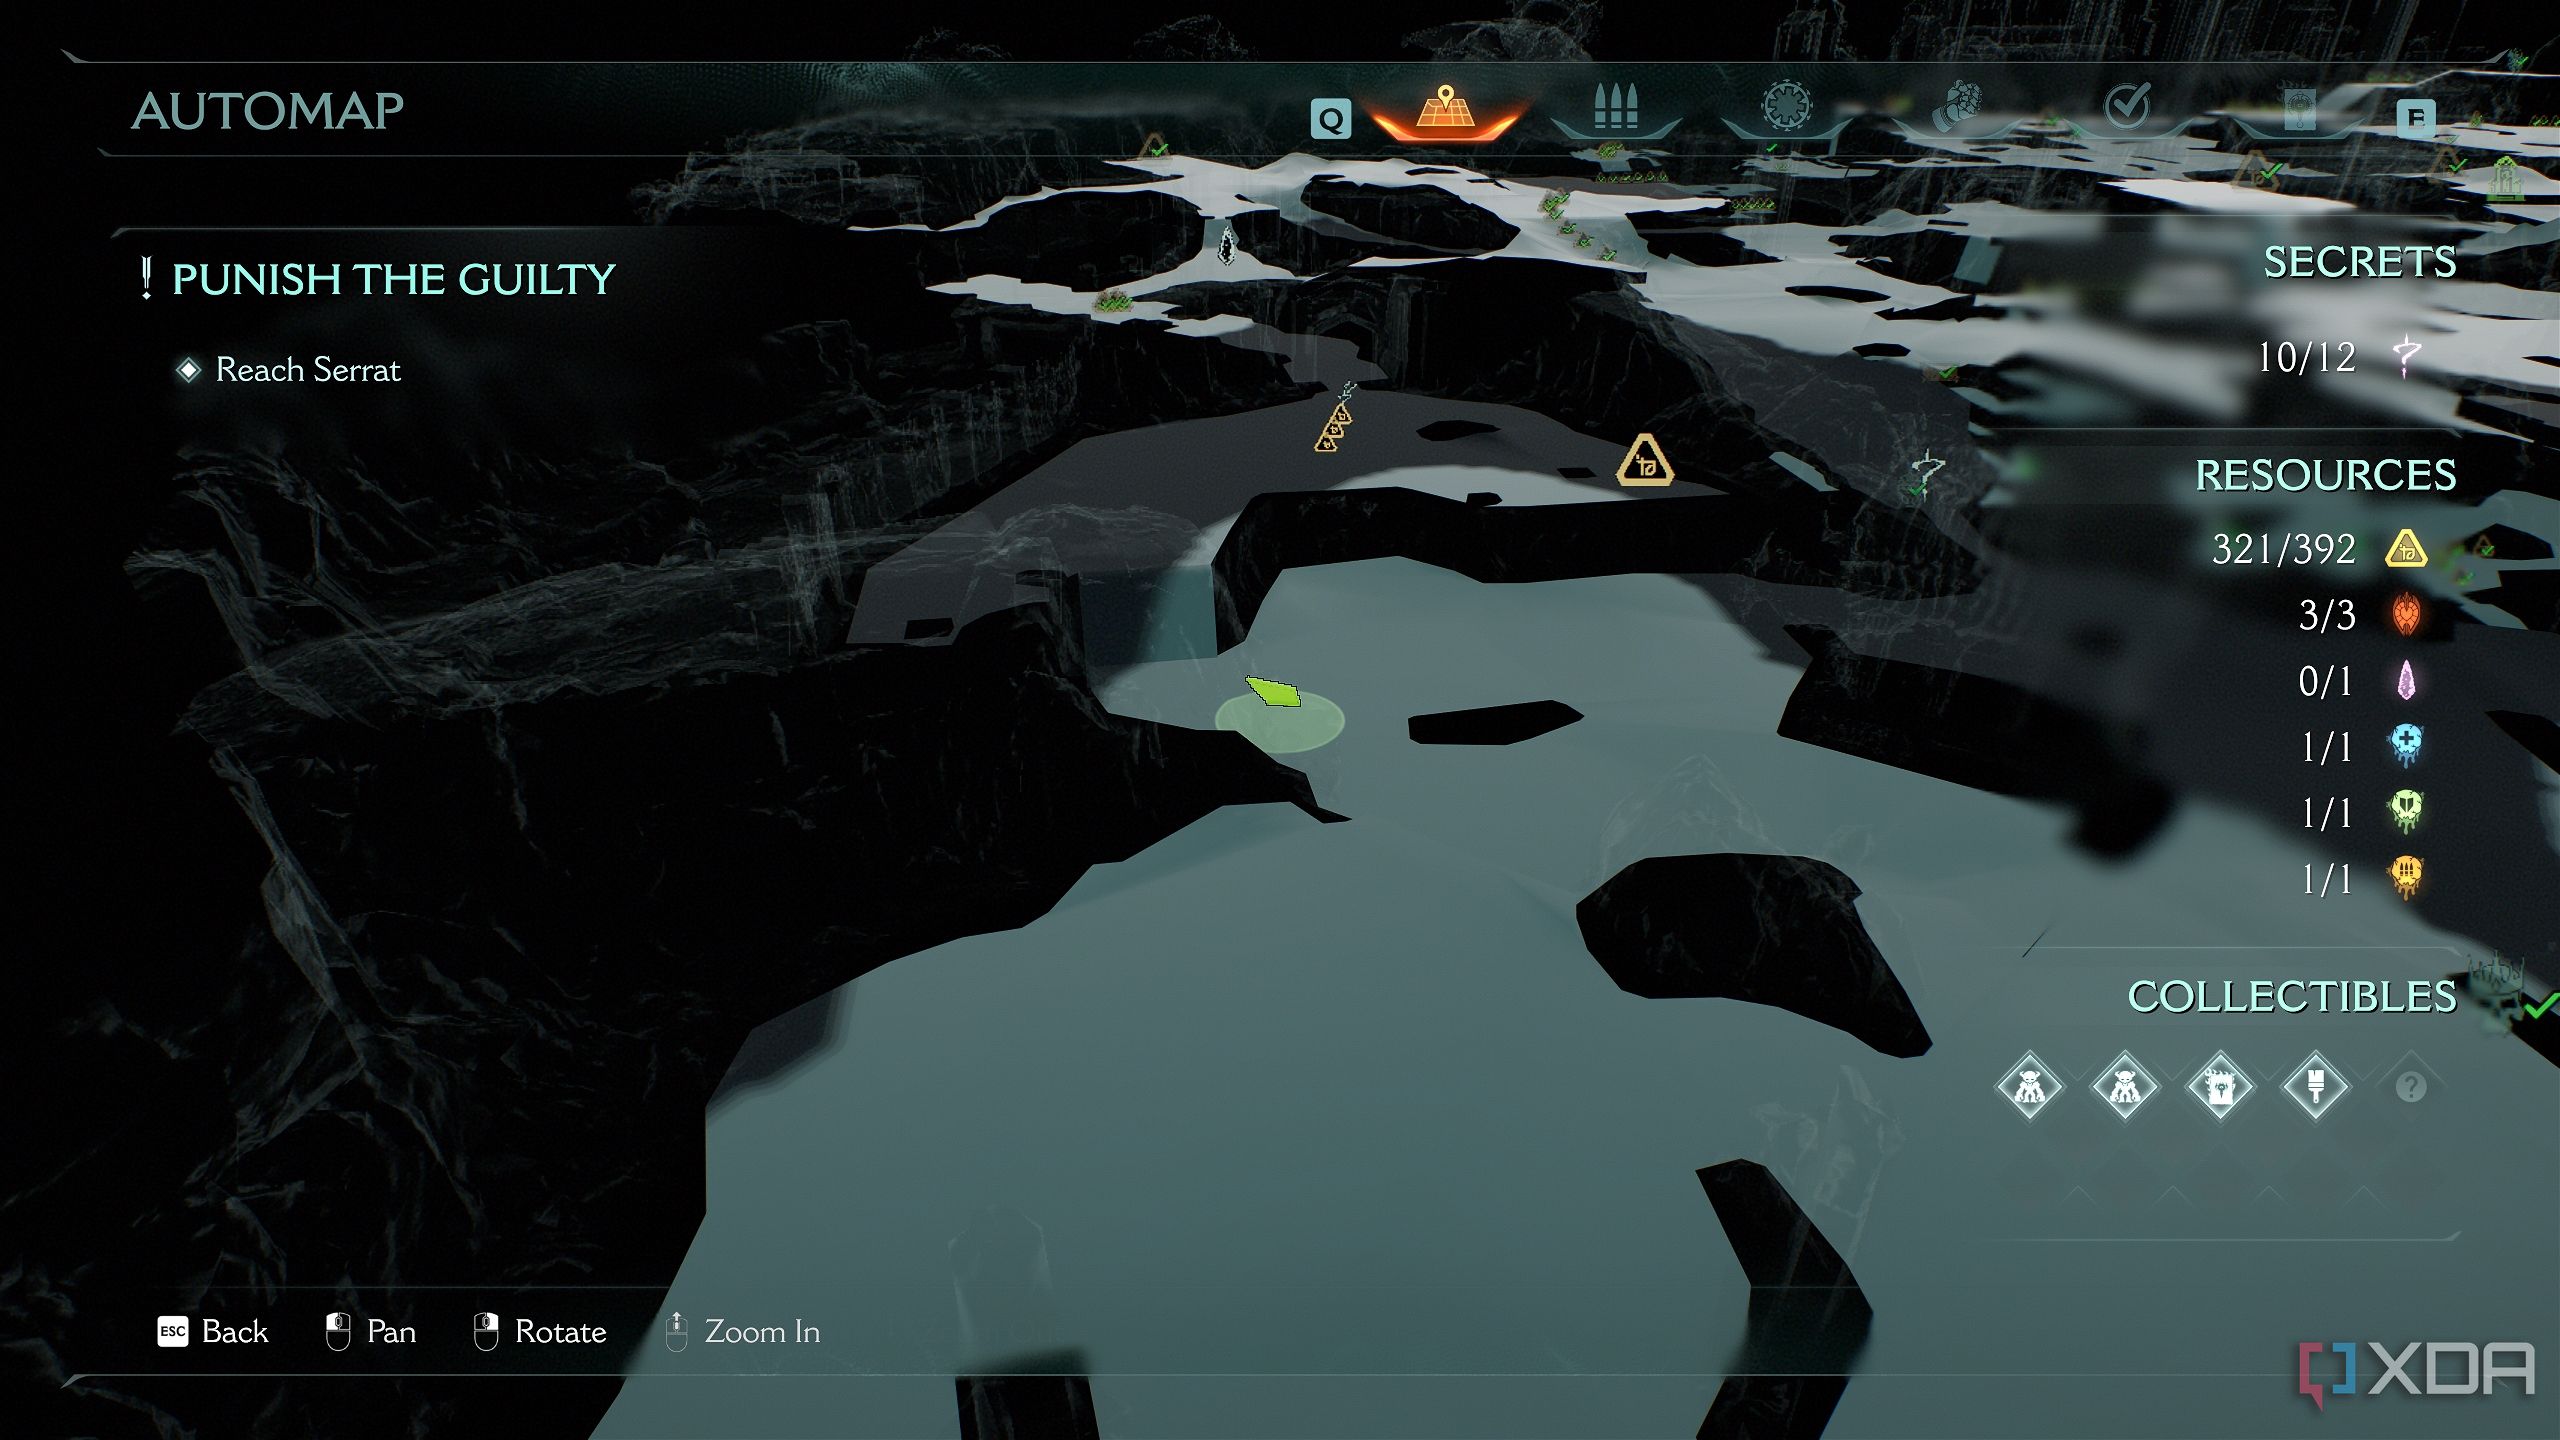
This guide covers each collectible required for 100% level completion in chronological order. It is recommended to follow this guide in the order stated.
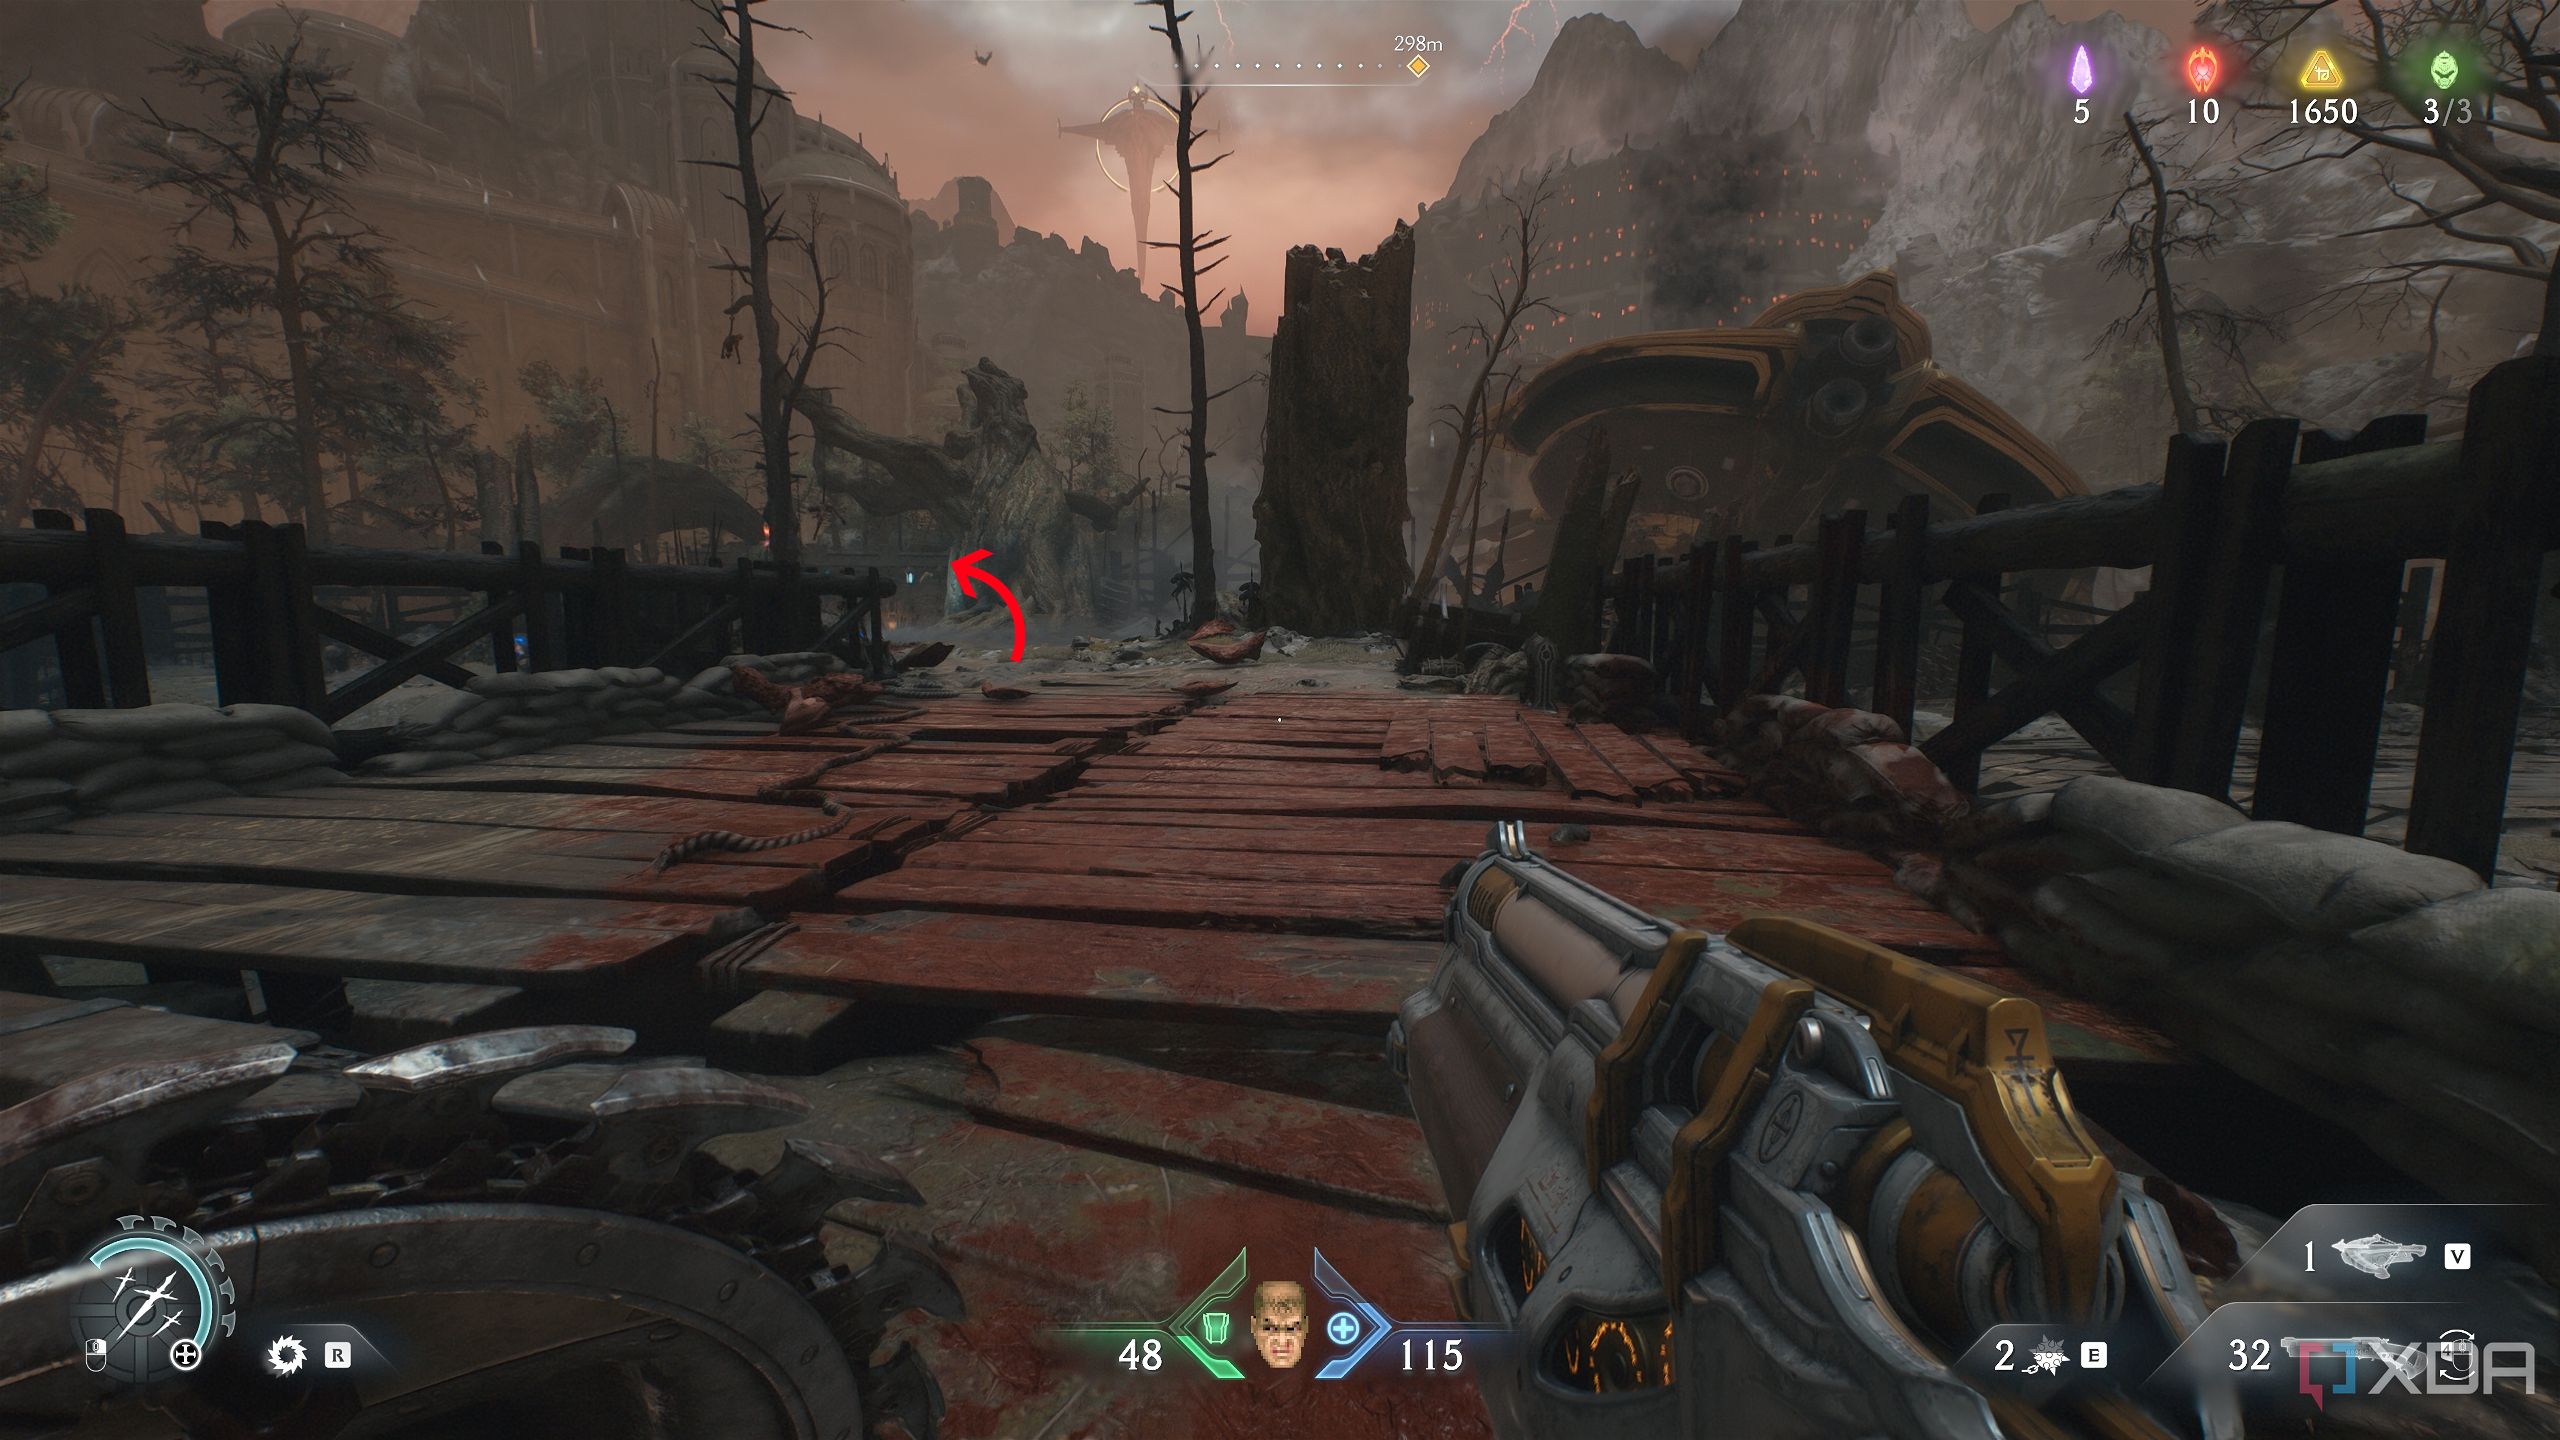
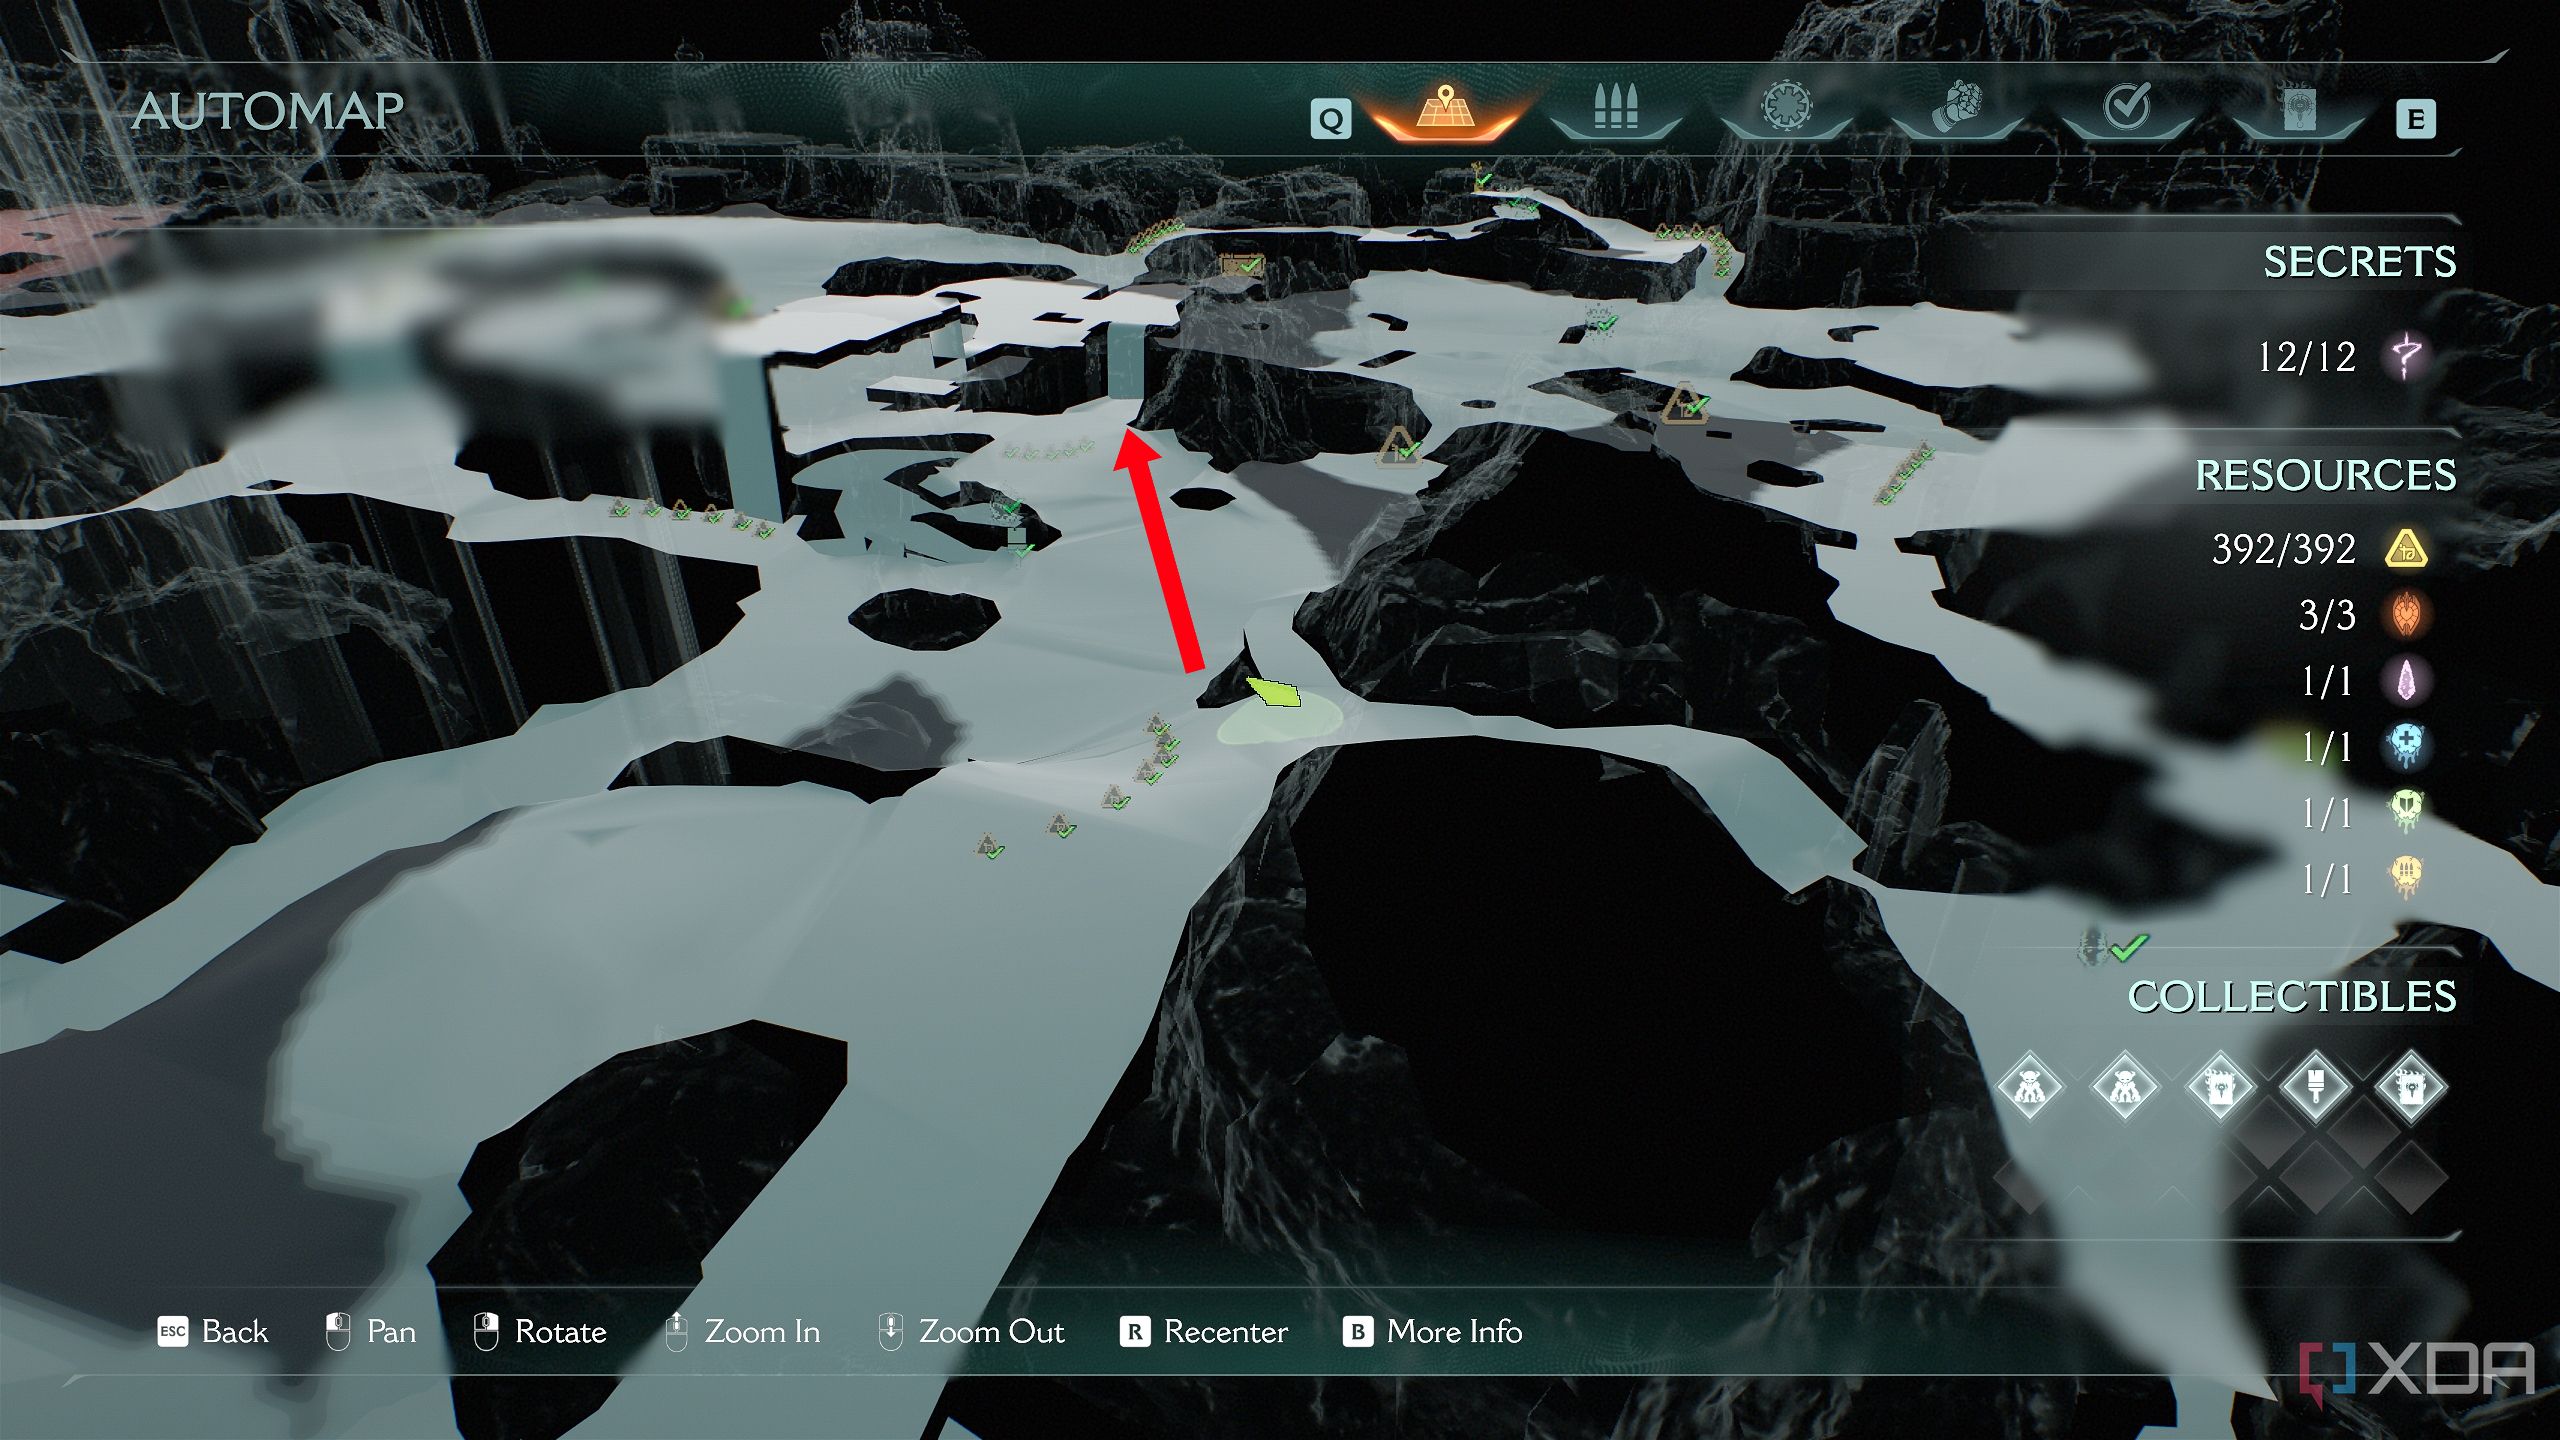
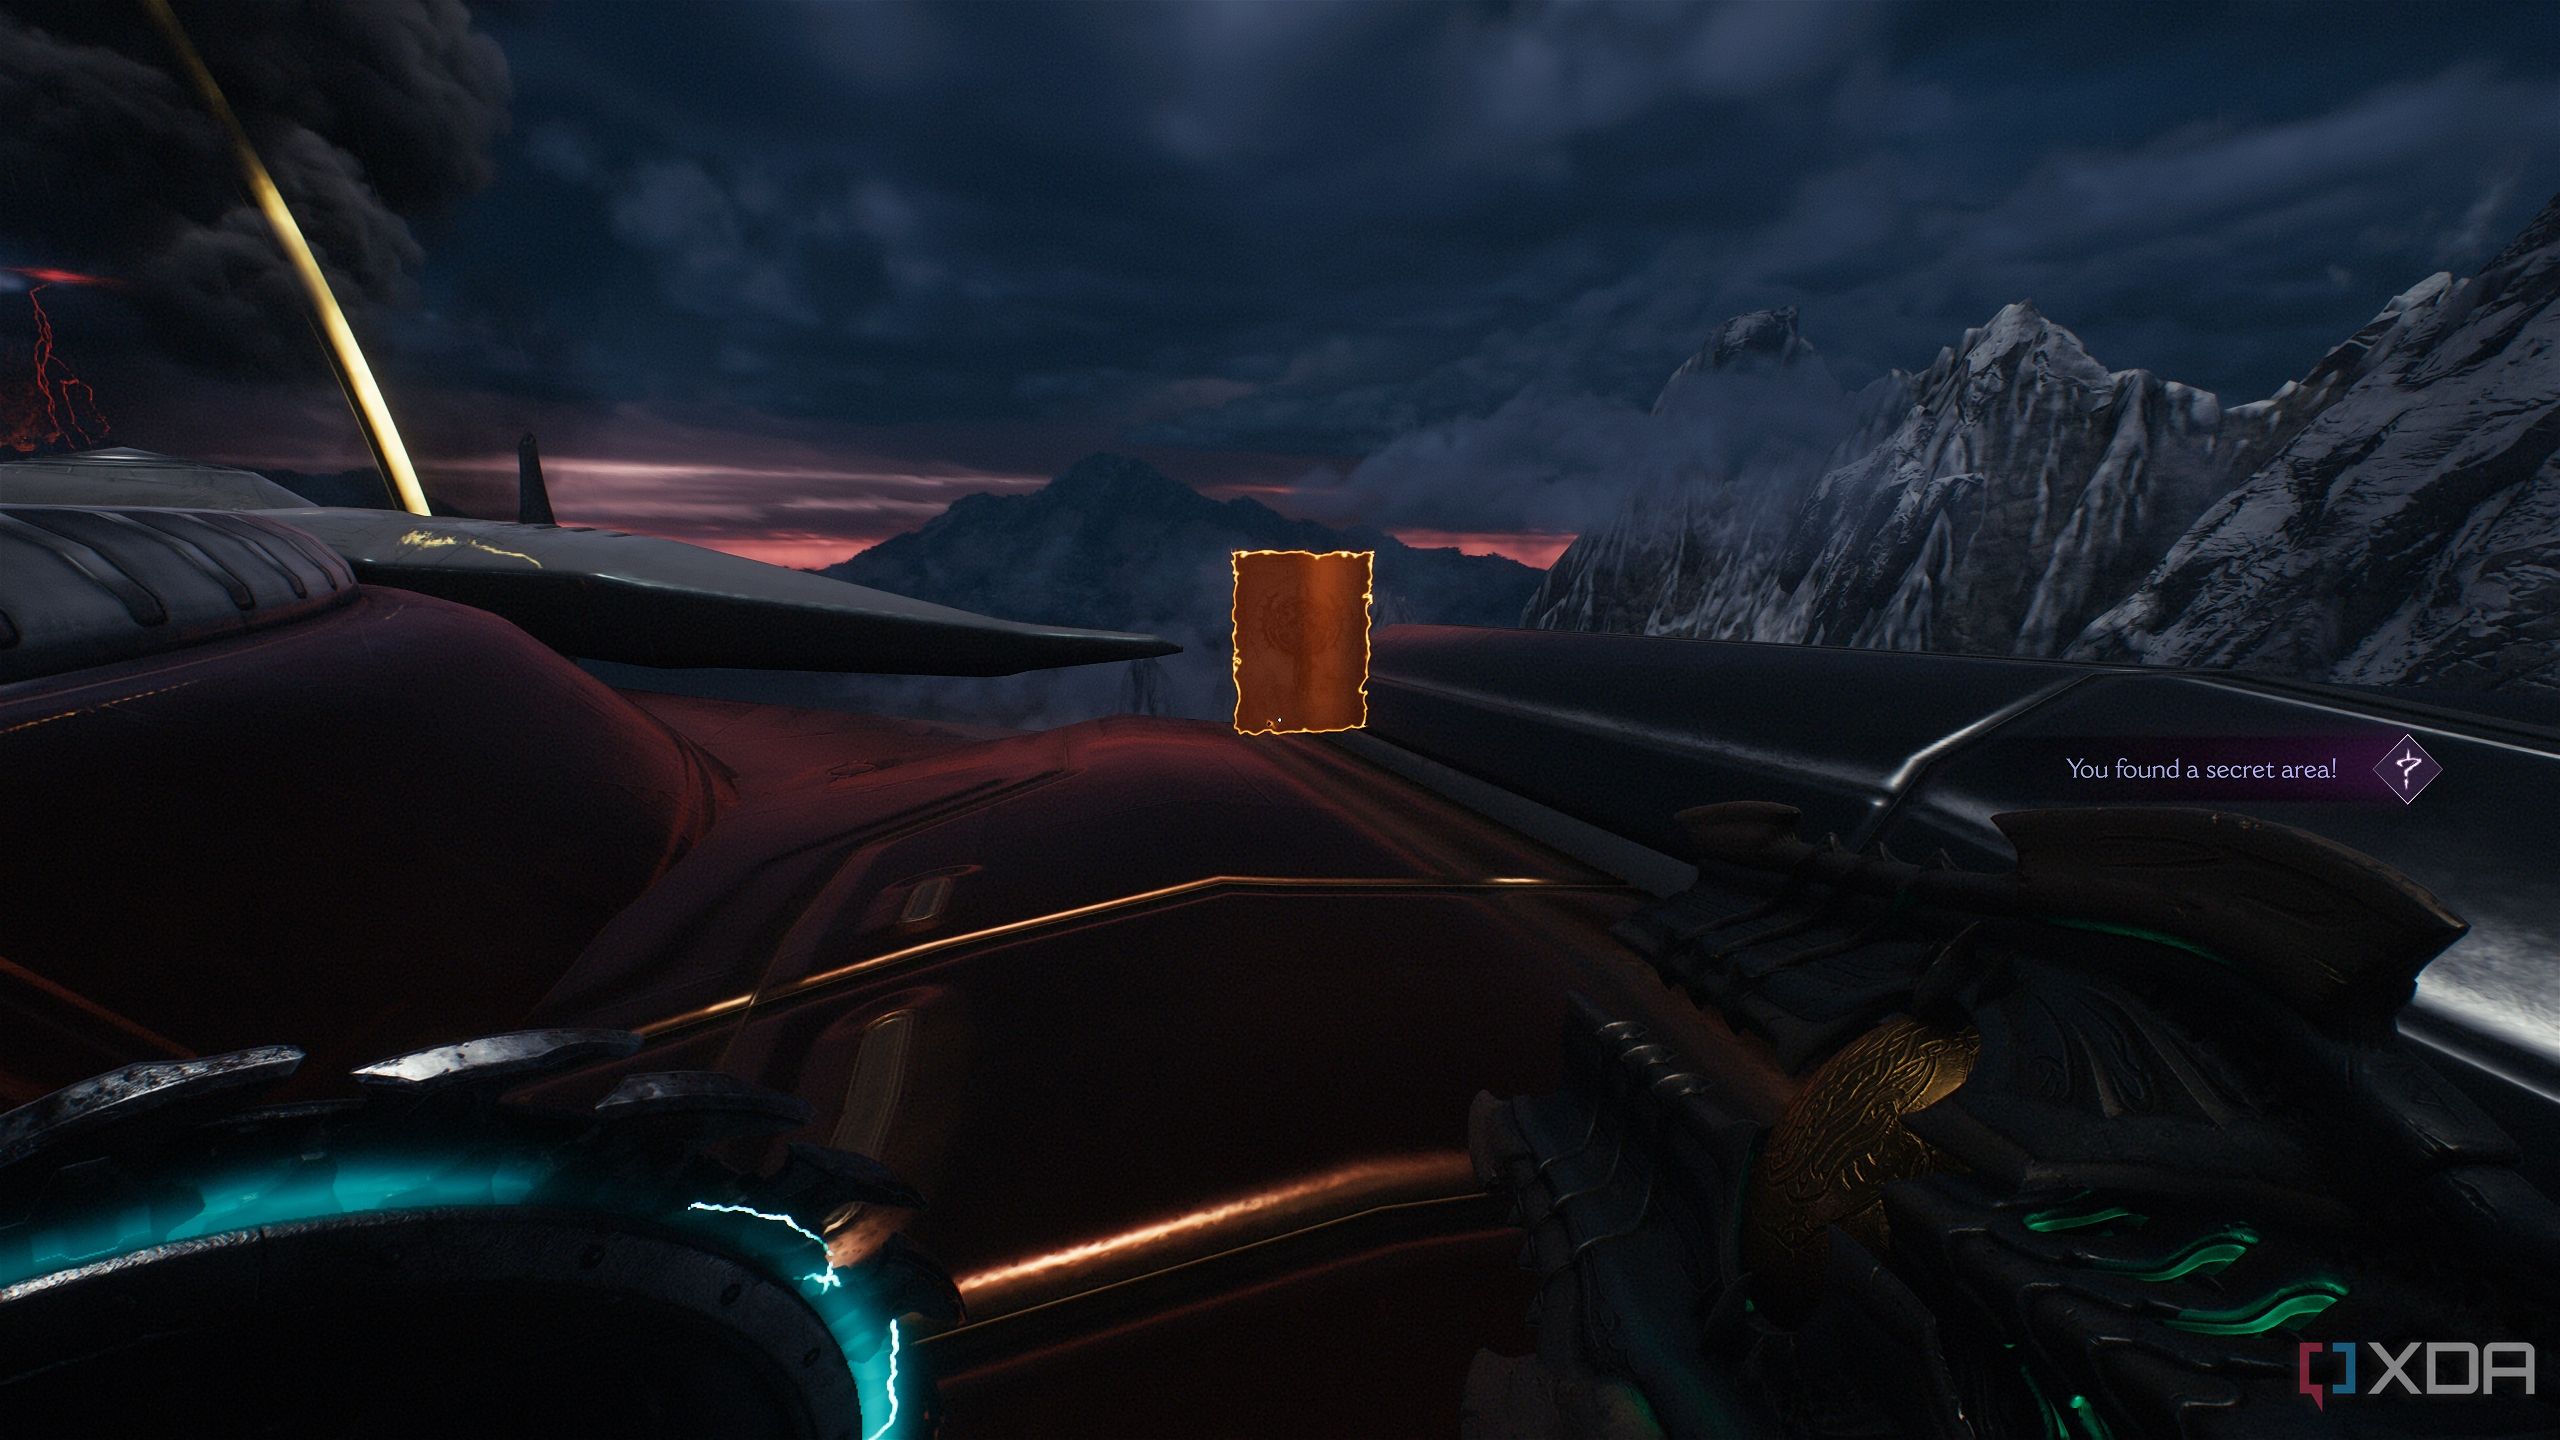
Secret area 1 and Demonic Essence
A stroll through the park and some realms
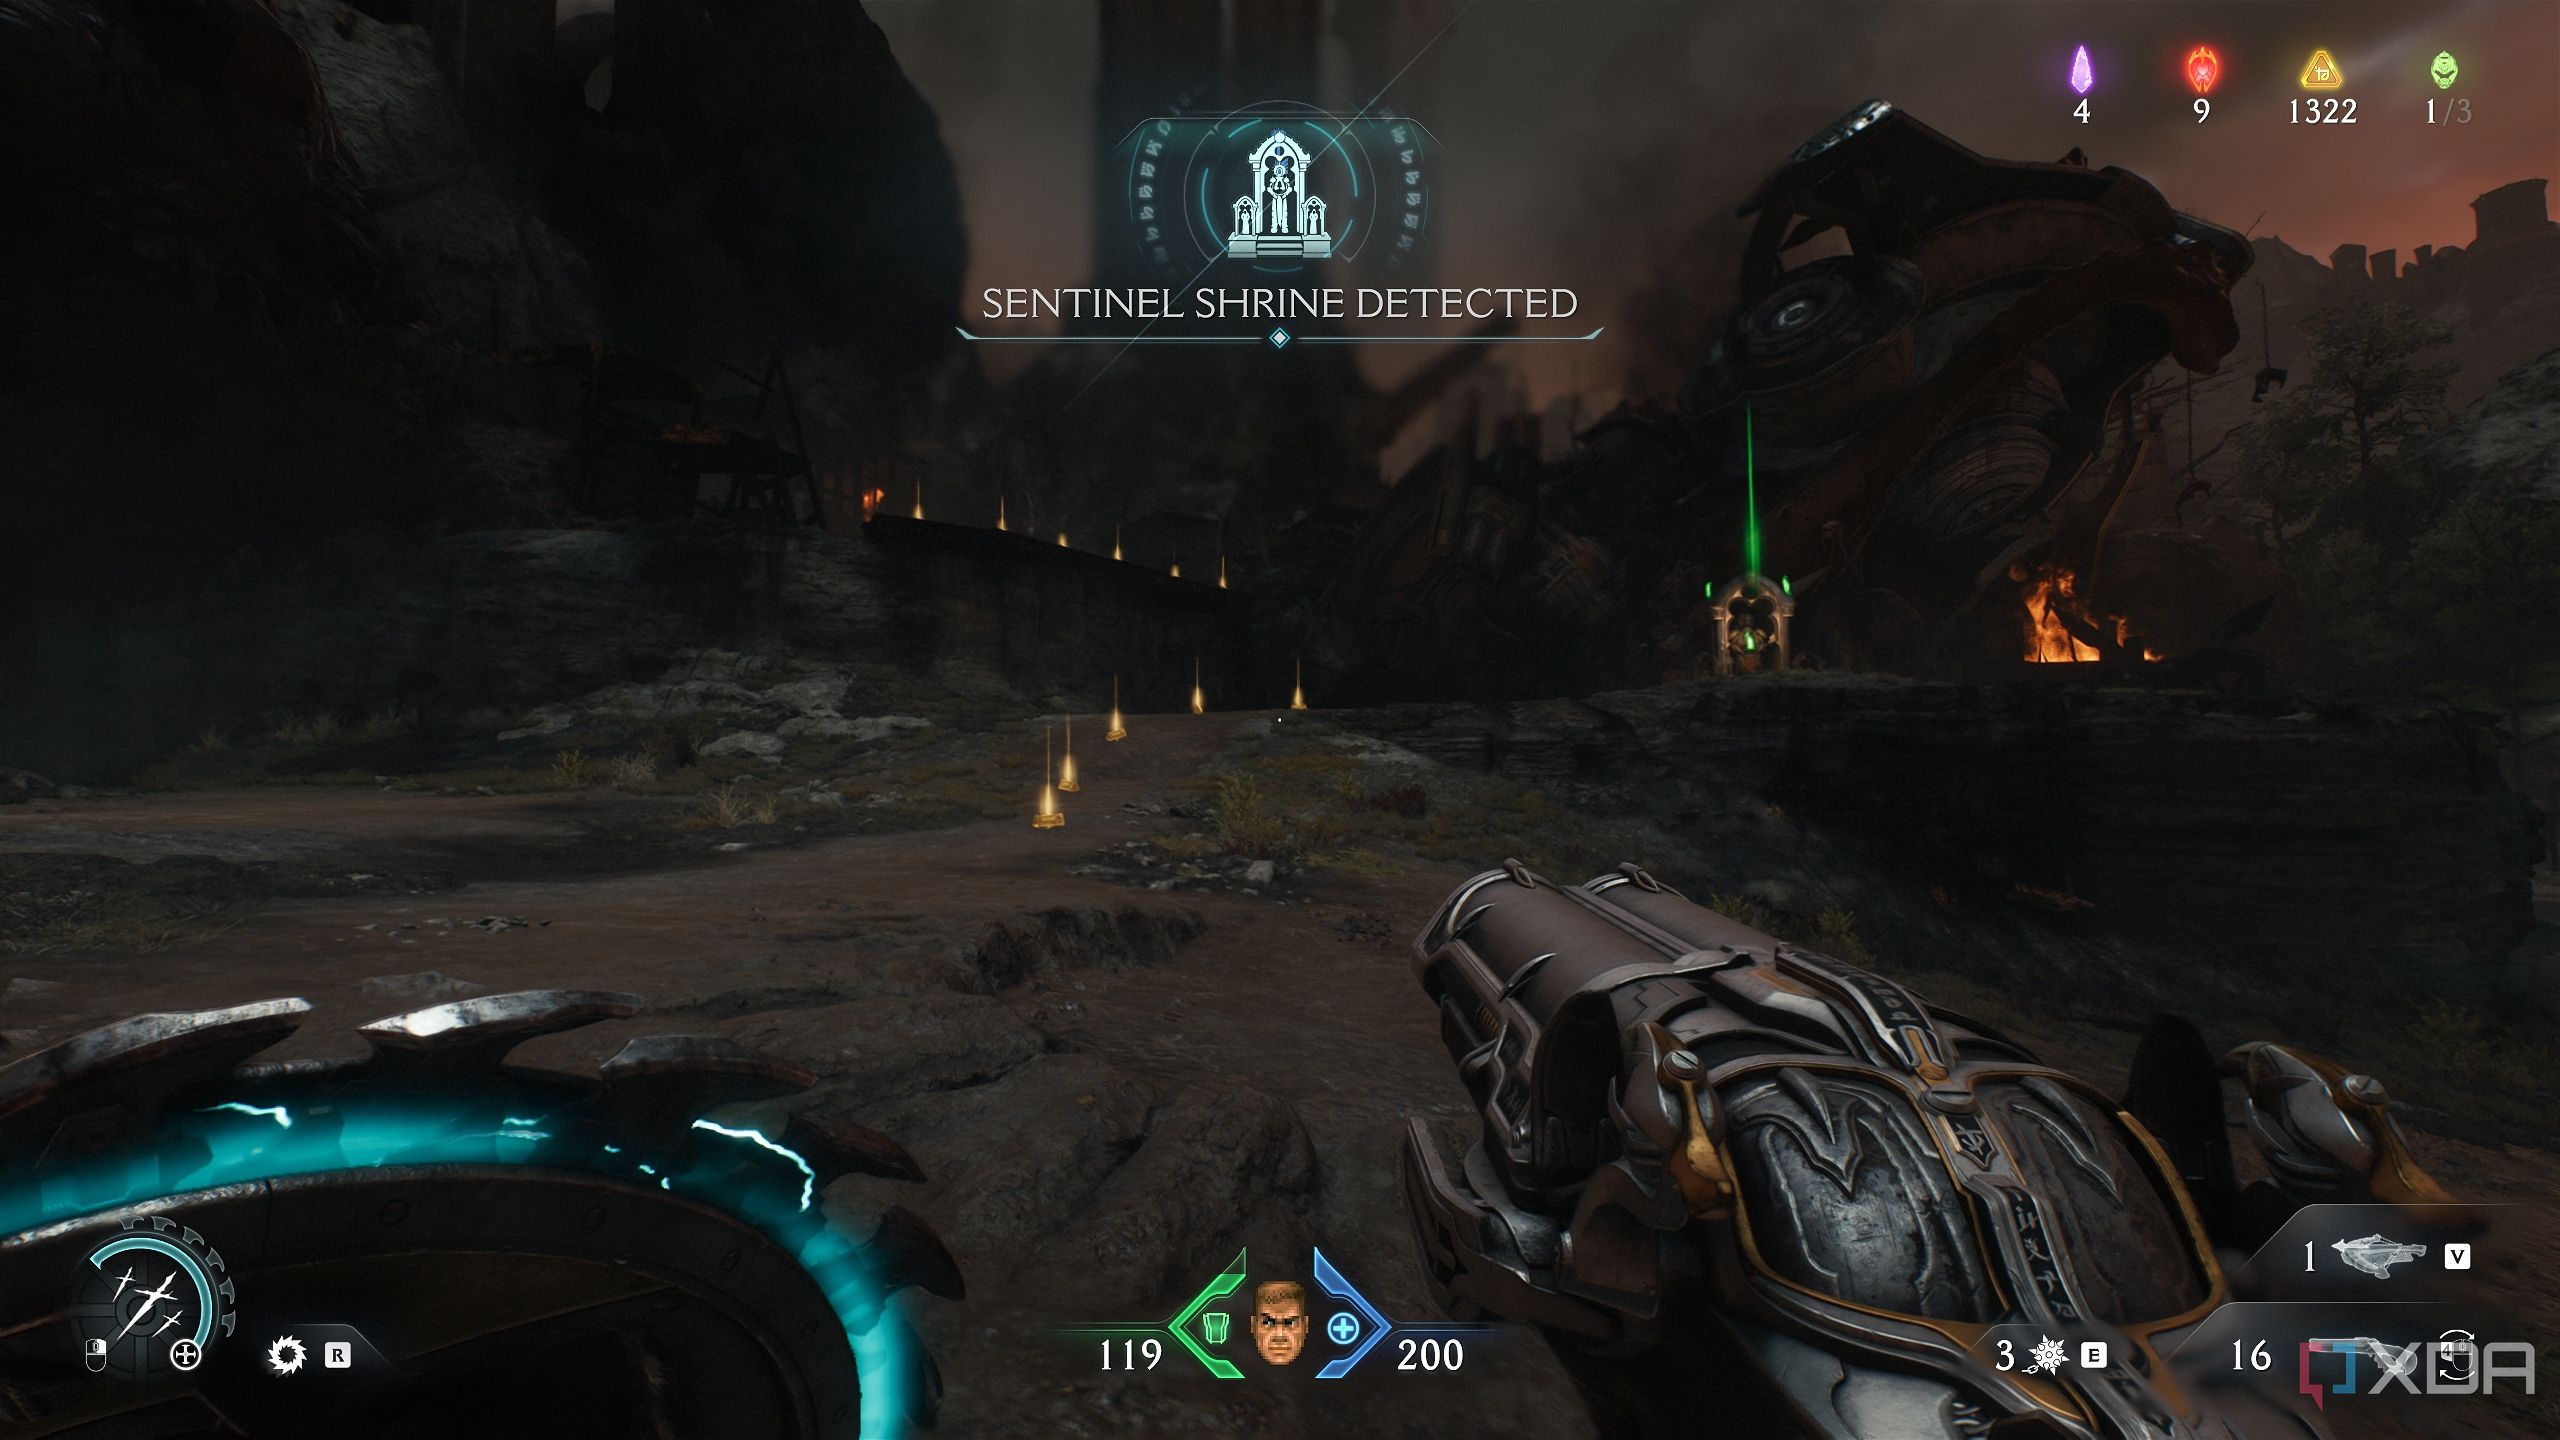
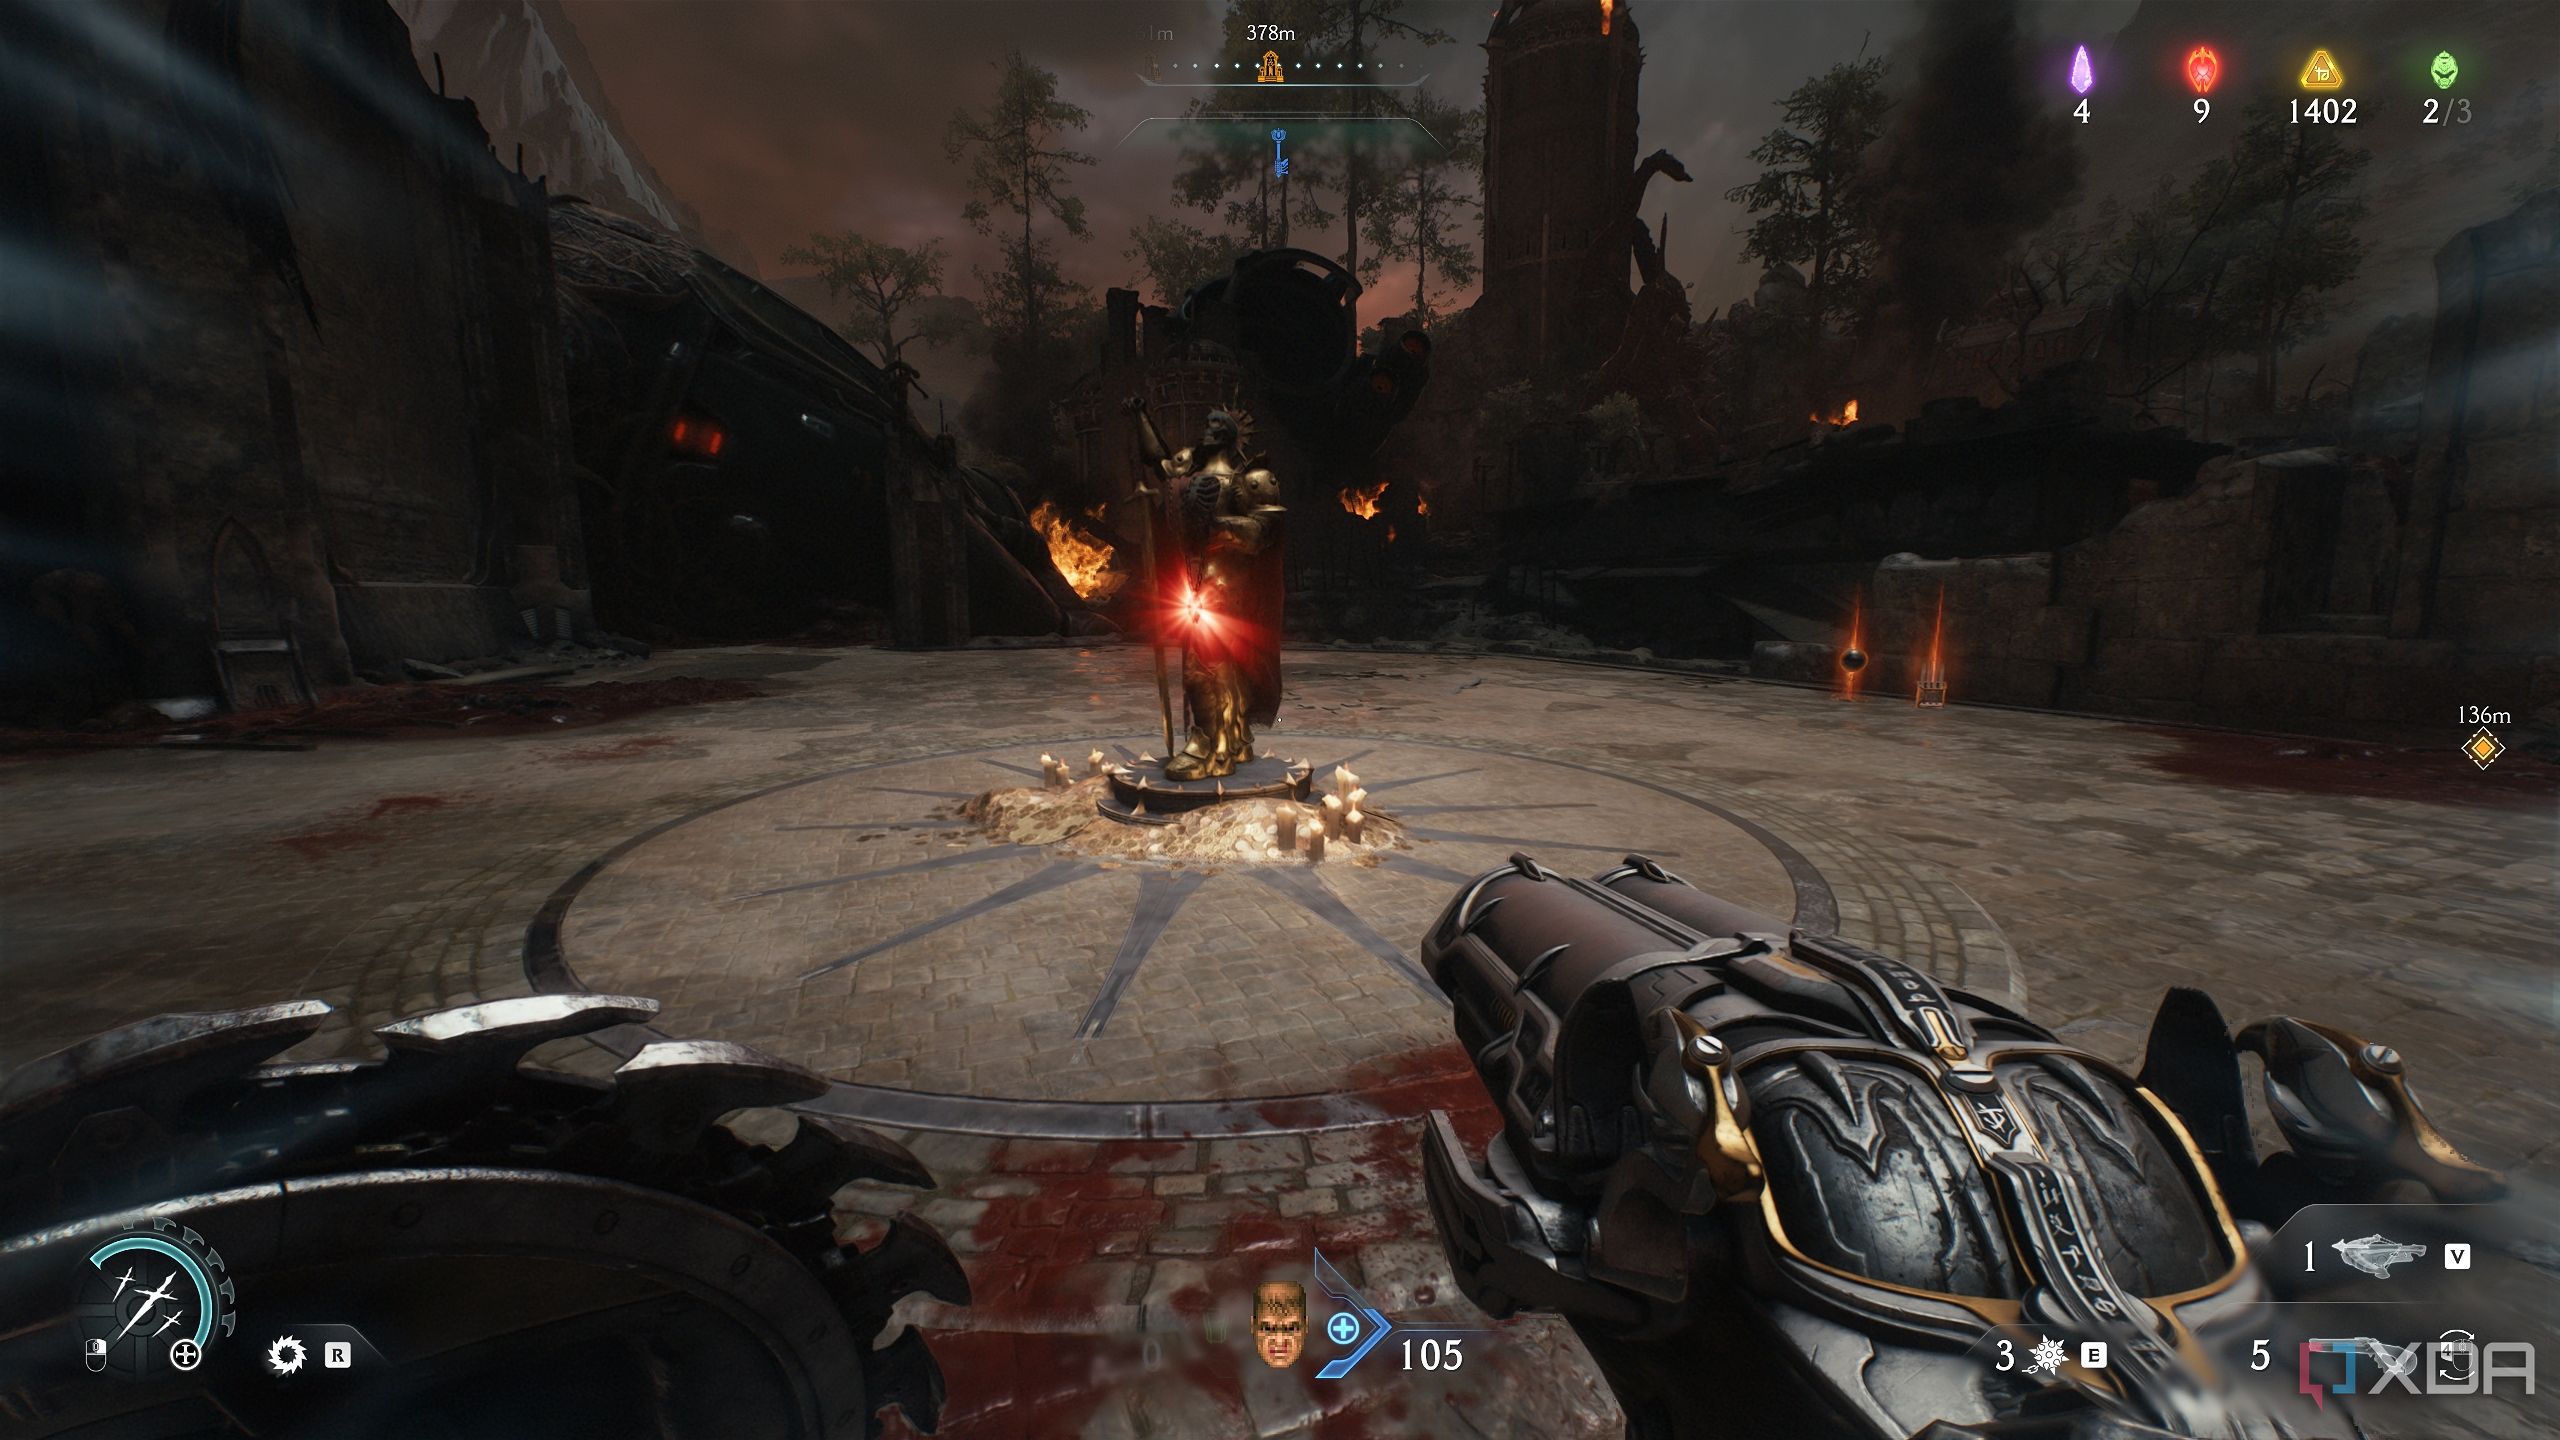
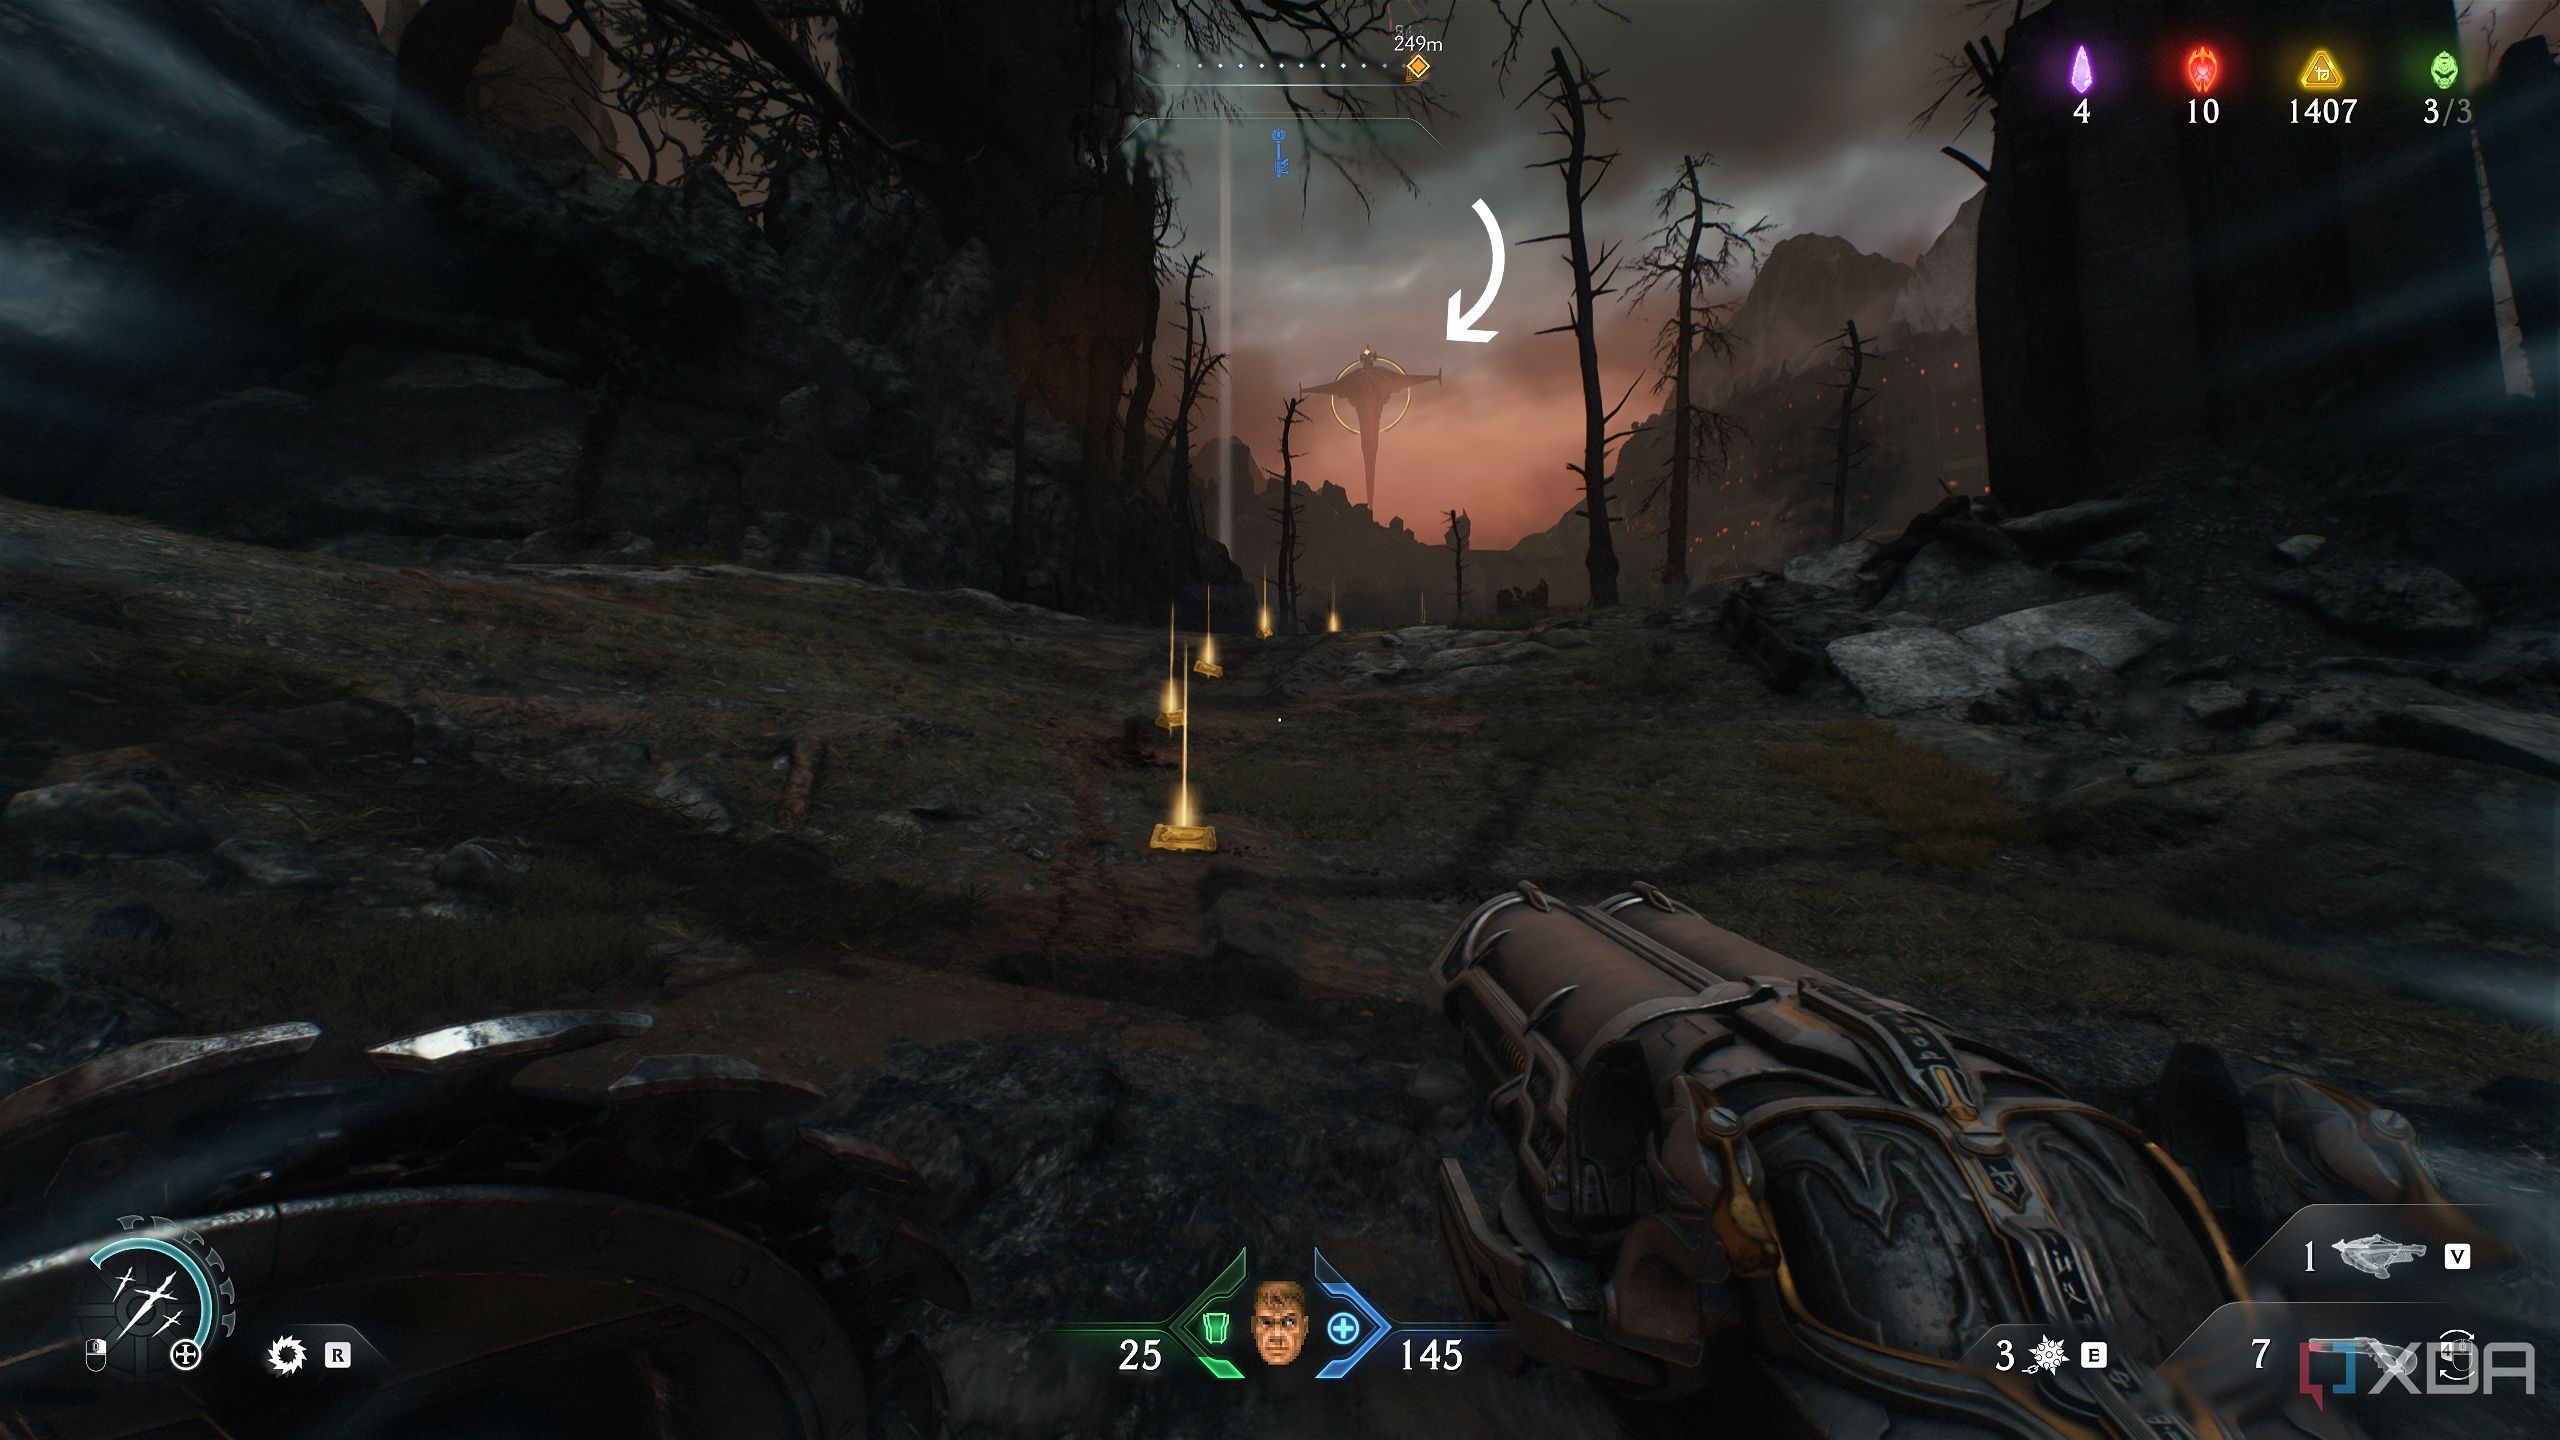
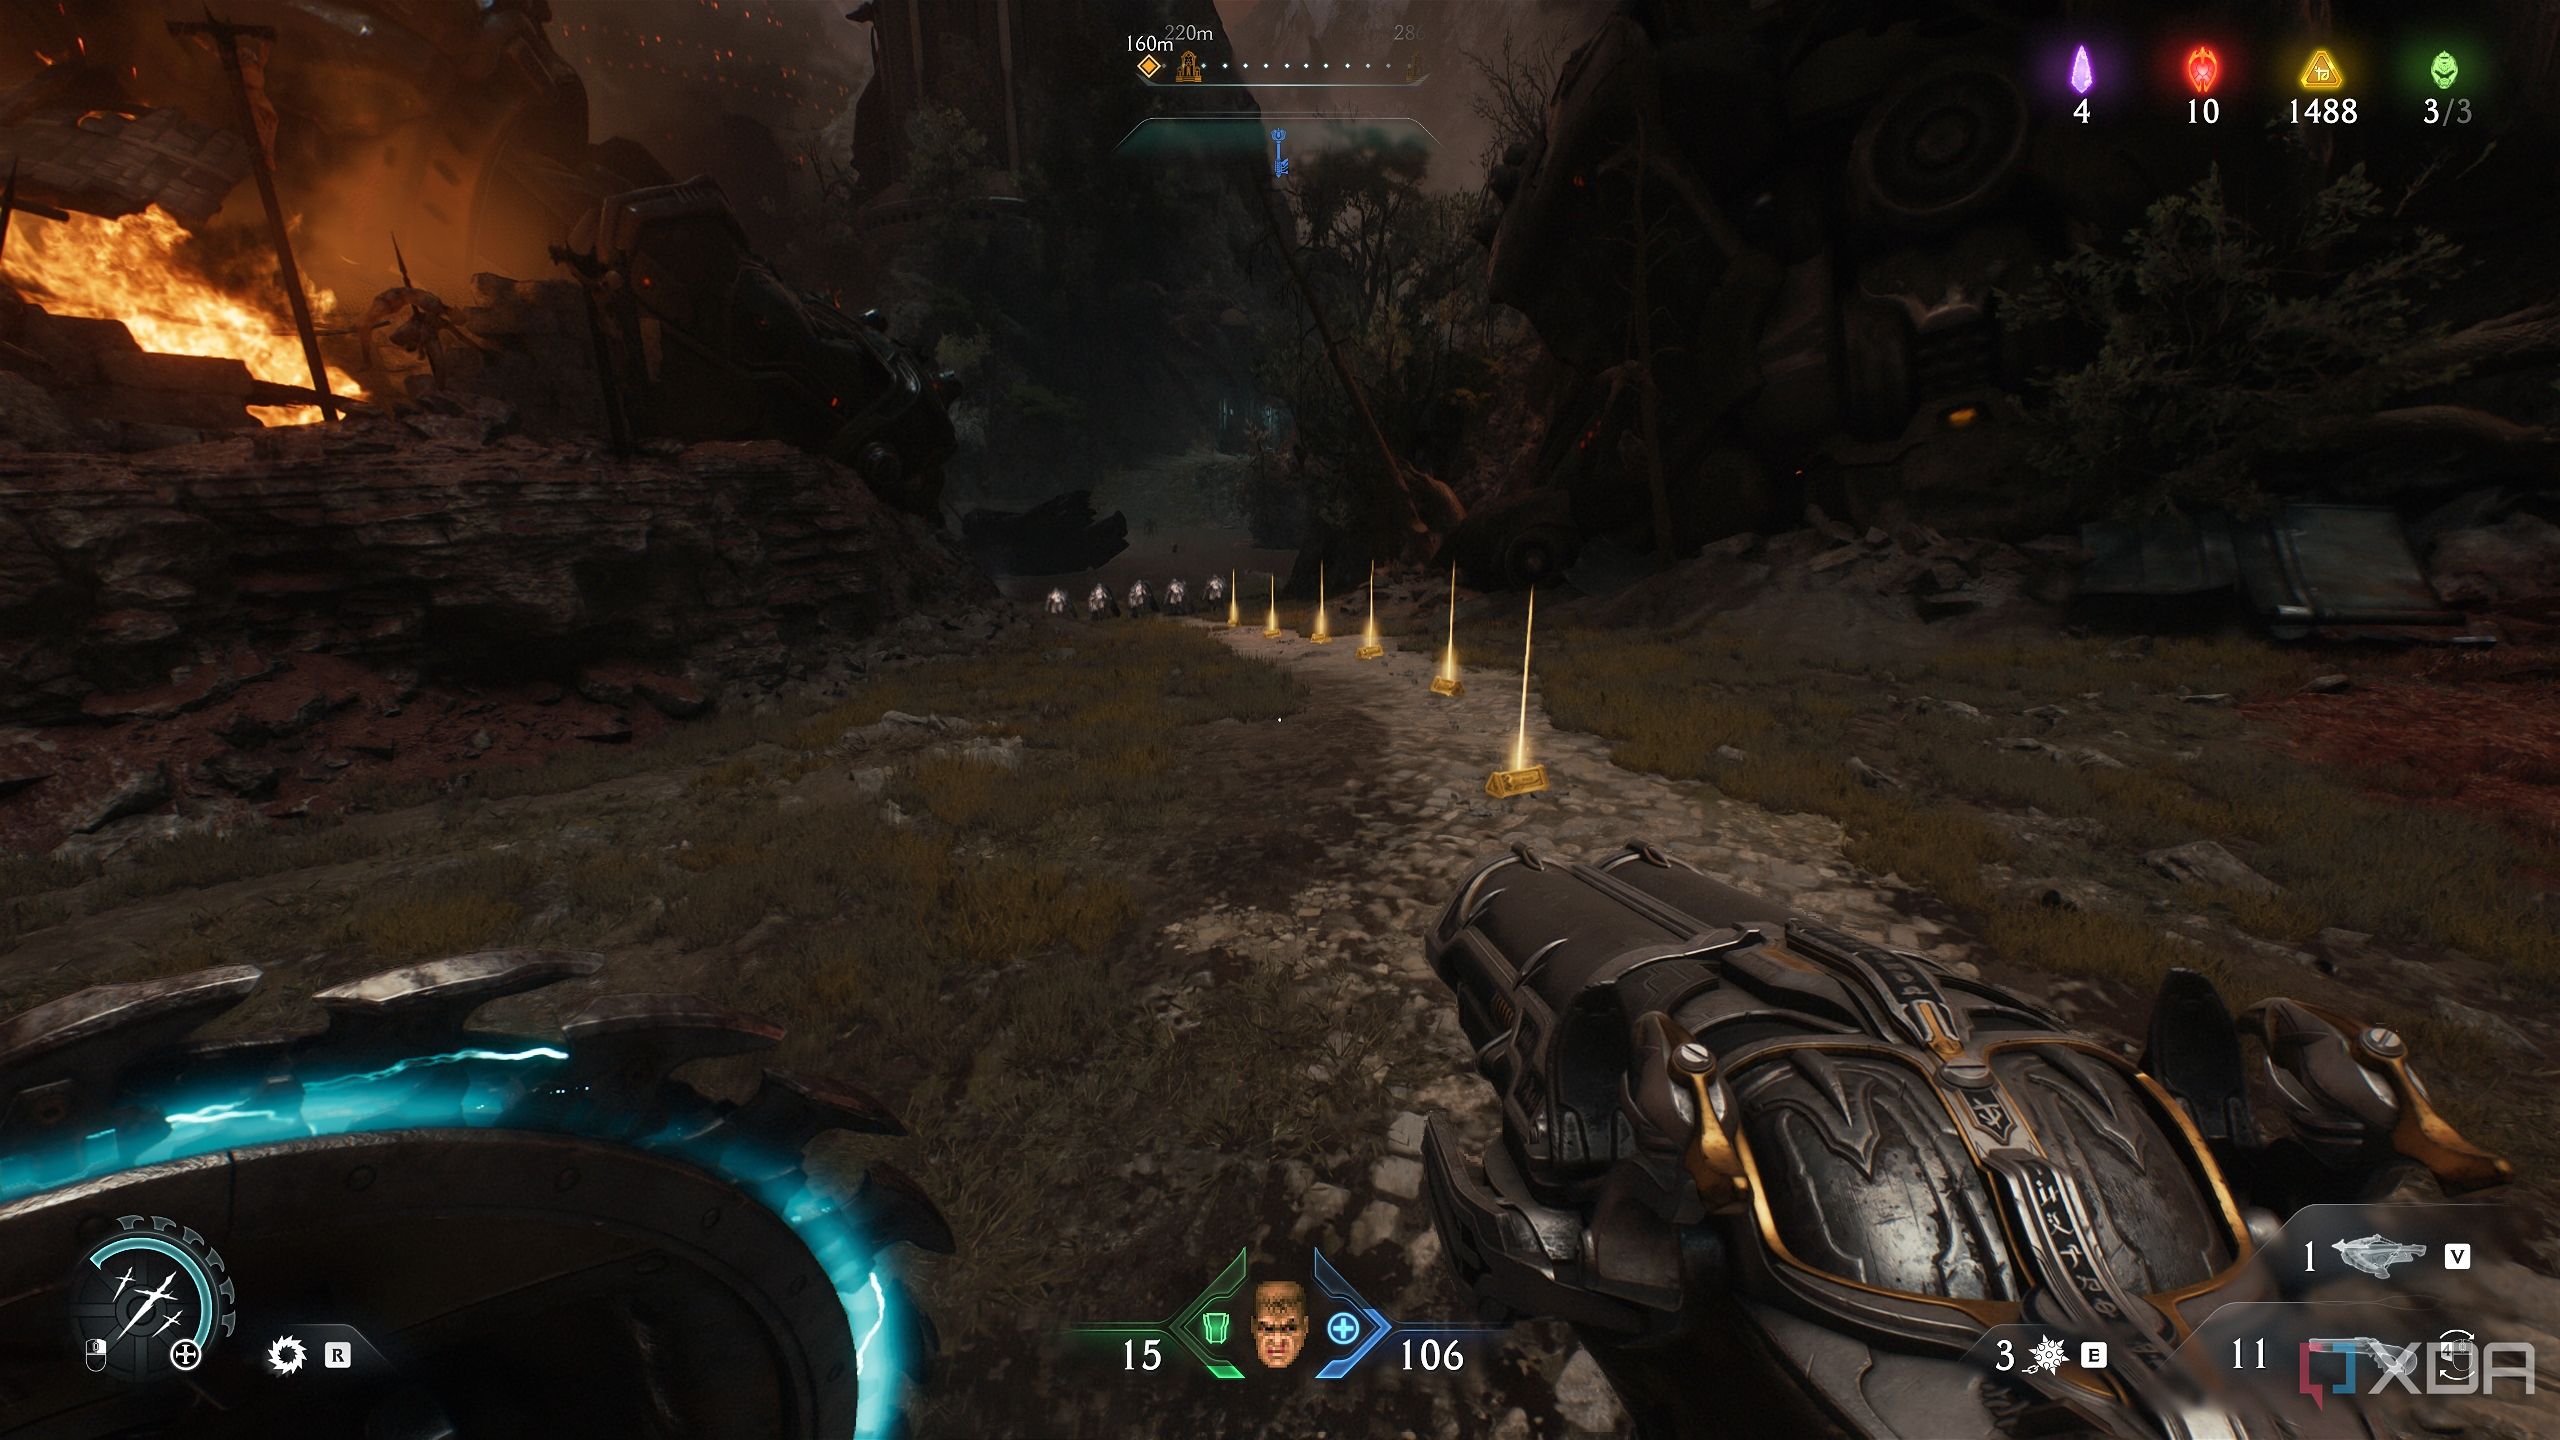
Once the level begins, follow the trail of blood until you activate the cutscenes. Then, when the Slayer is back on the mortal plane, you’ll walk forward to reach a Sentinel Shrine and the first Siege Tower.
Here, you’ll enter a Morale Encounter with a Leader Revenant, who will drop a Demonic Essence for maximum health, bringing the Slayer’s health to a maximum of 200 HP.
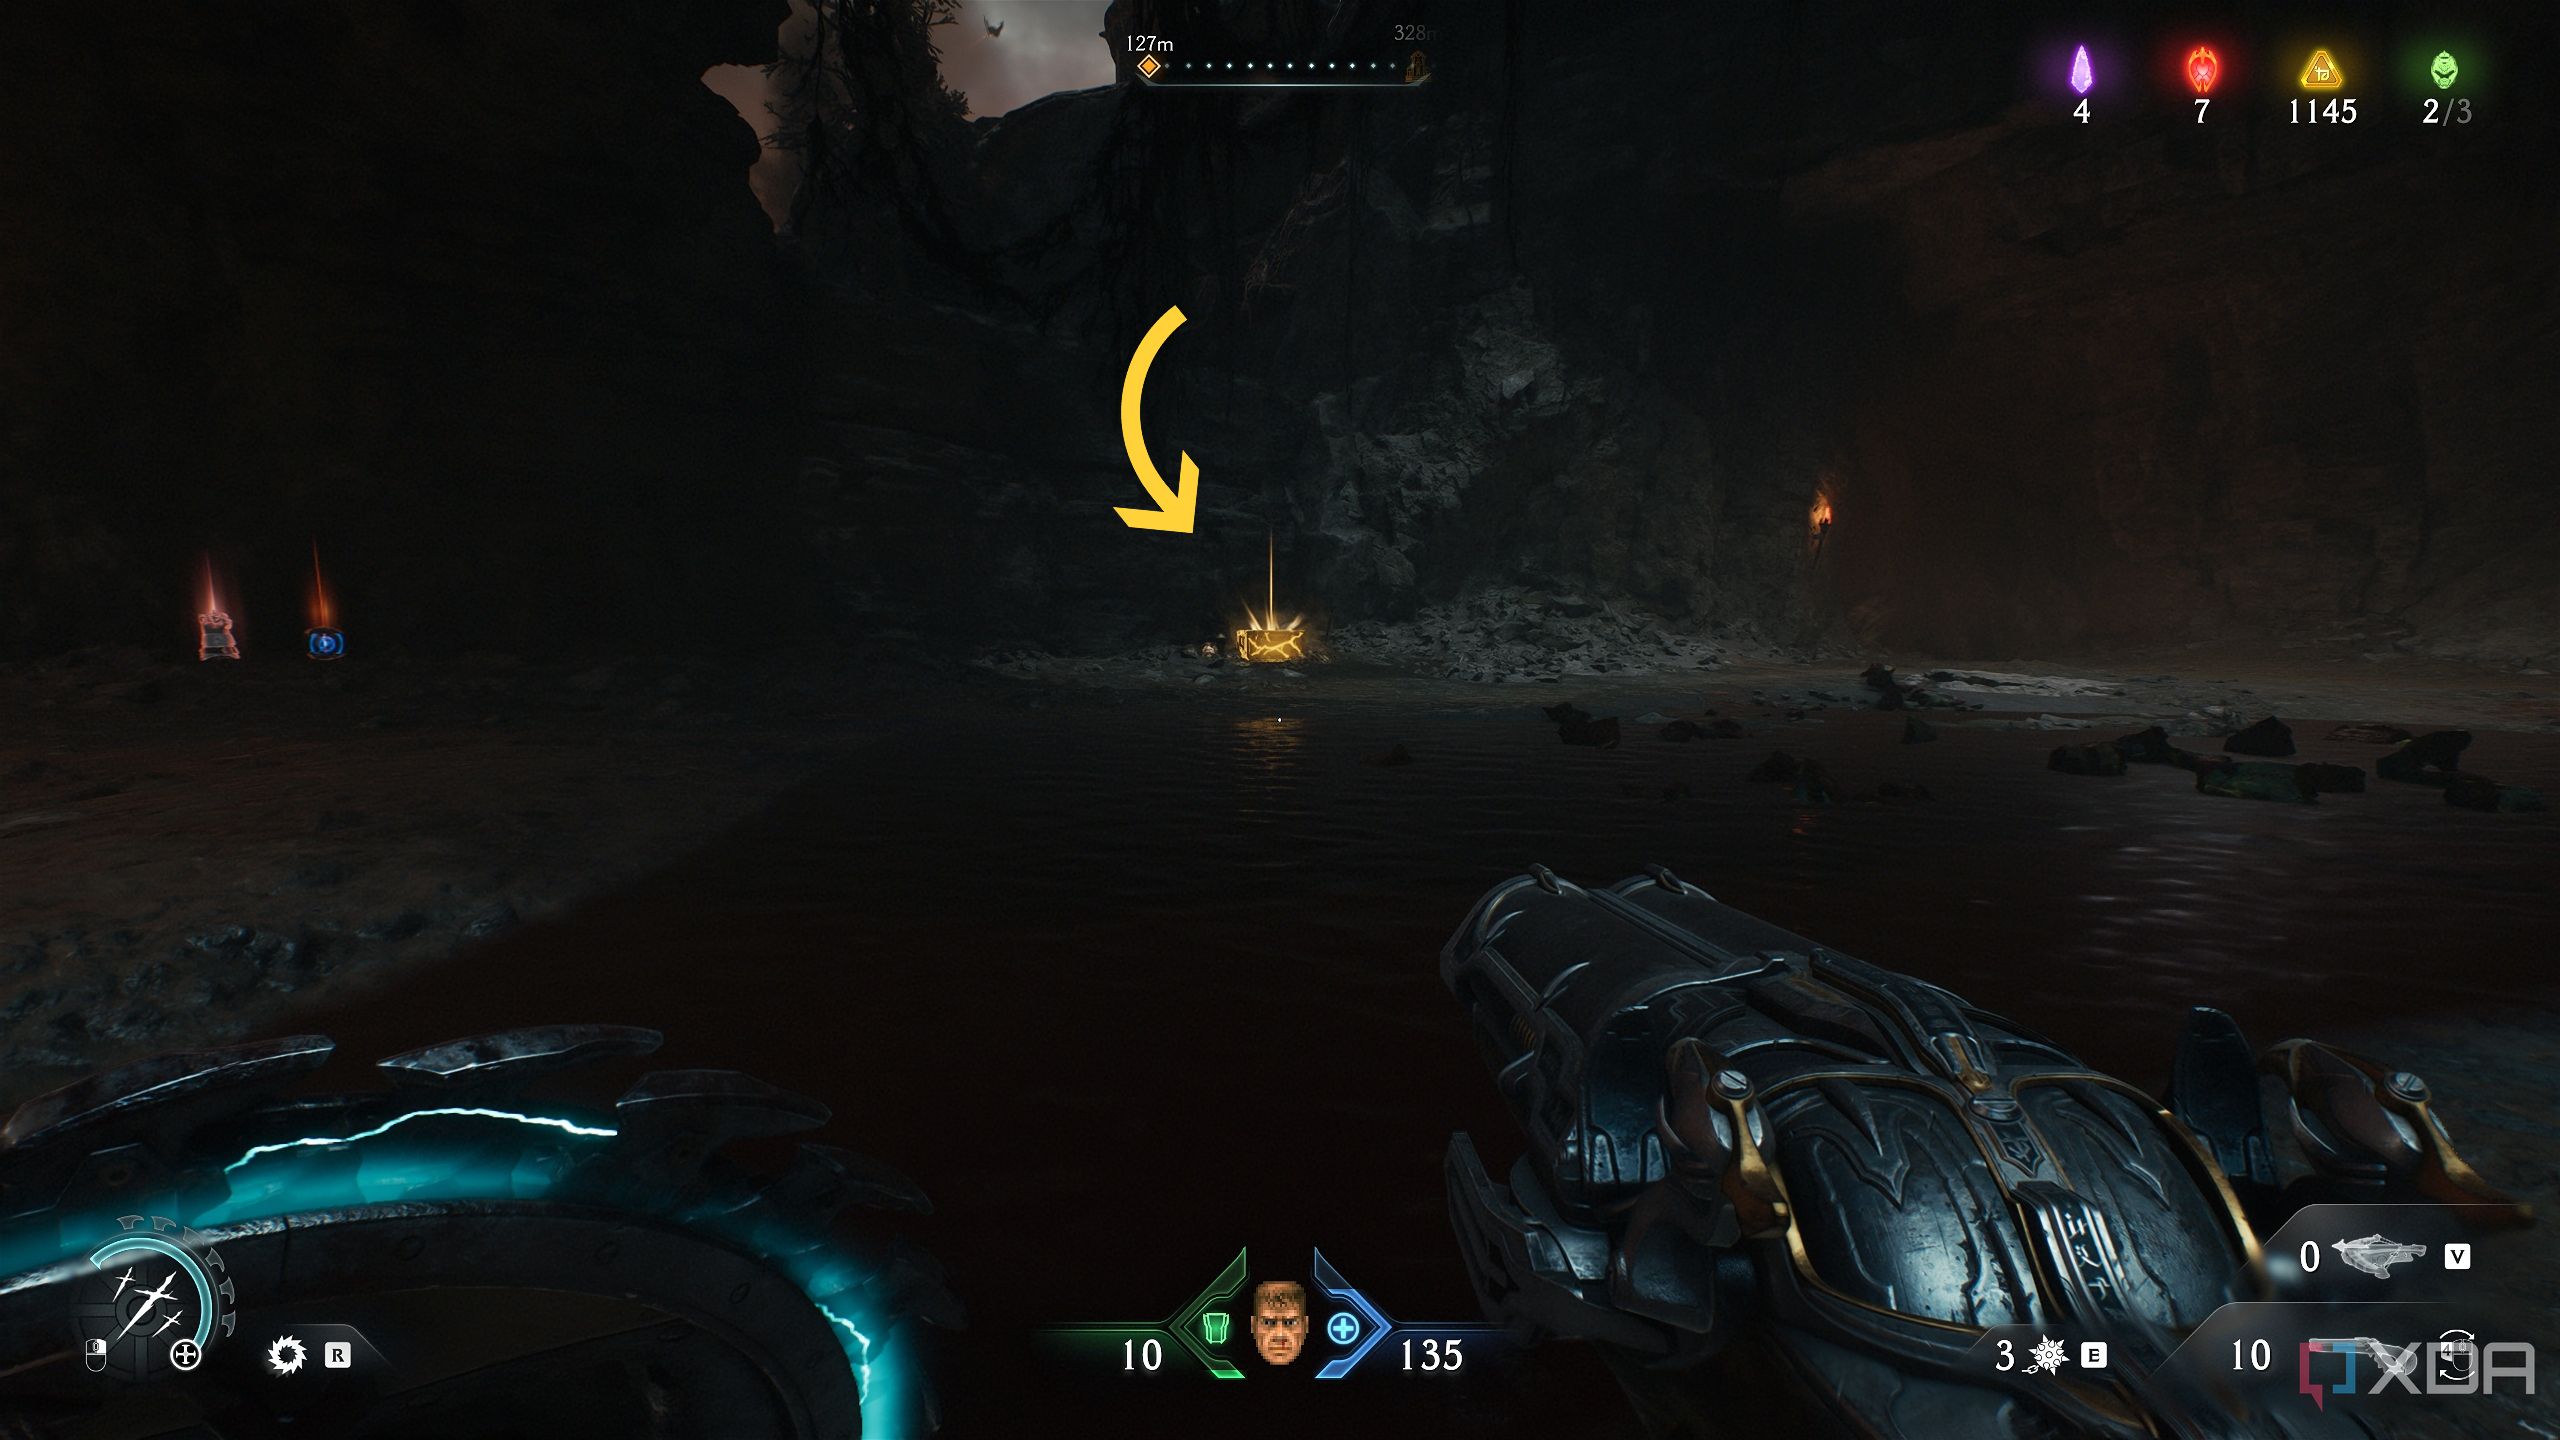
Once the Siege Tower is down, head past the tower towards the right. This is where you’d be on the map.
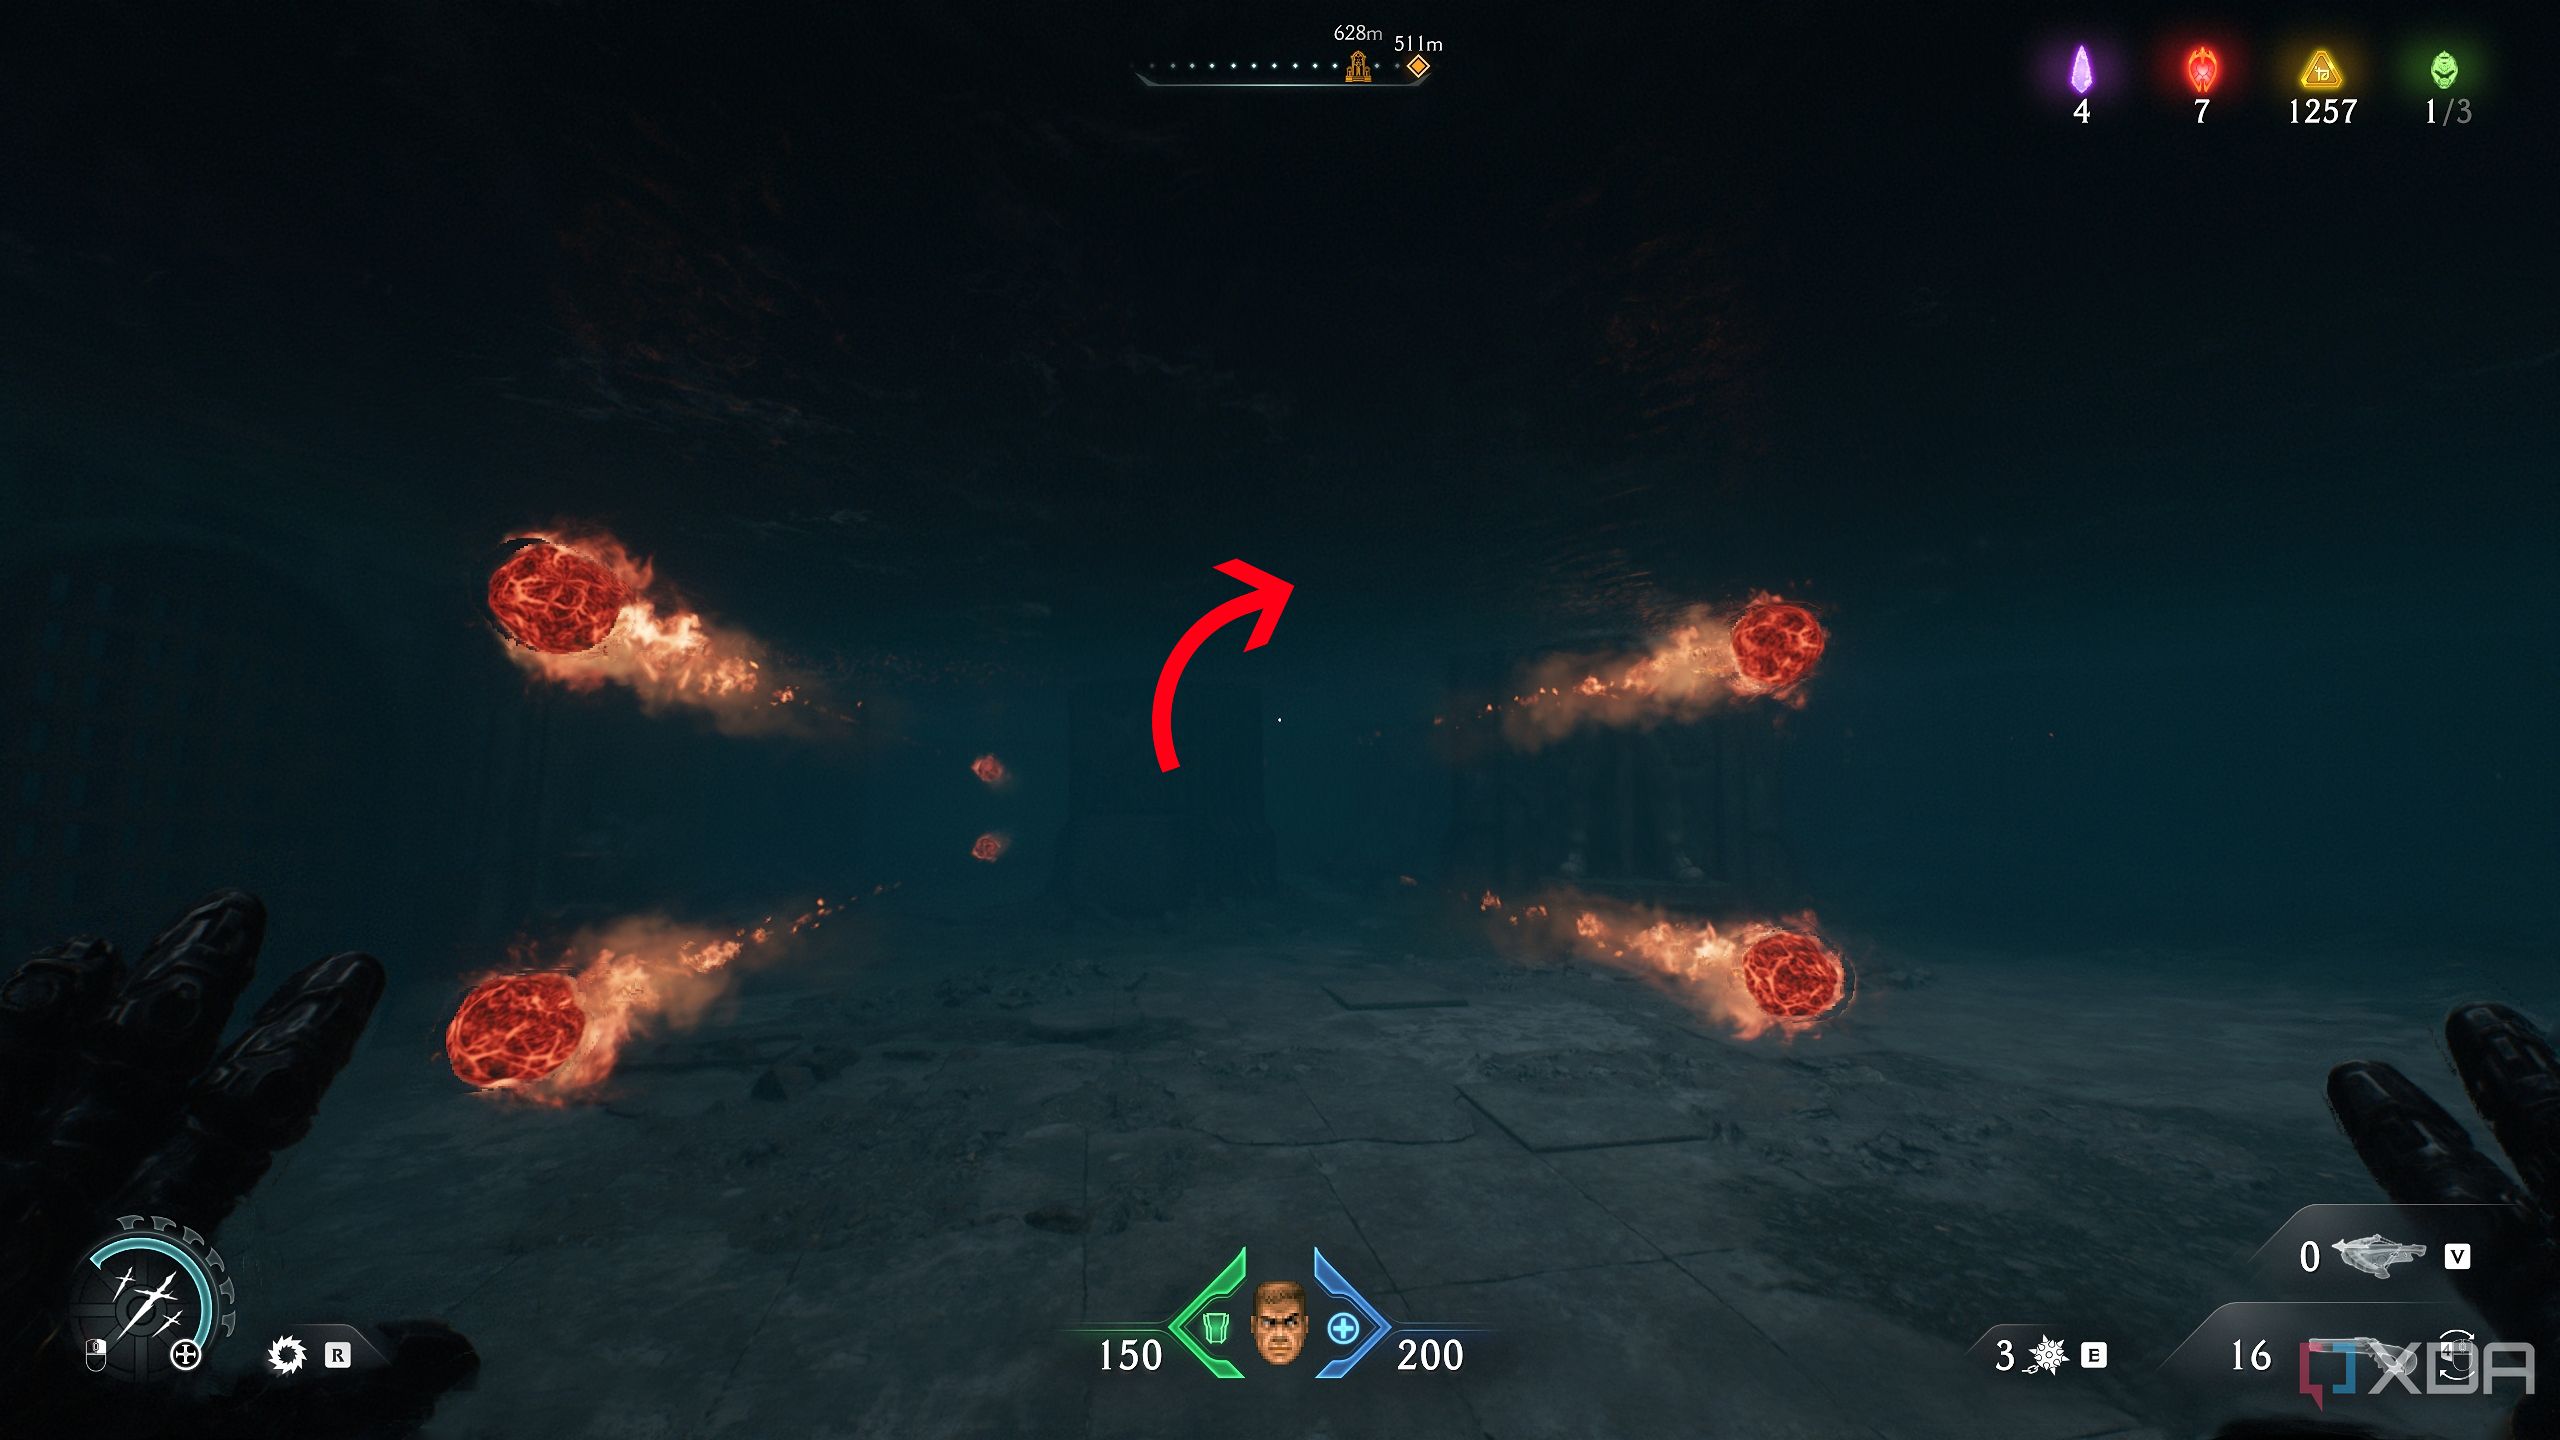
You’ll see some heated metal spikes, and past those, you’ll enter an arena with a gore portal.
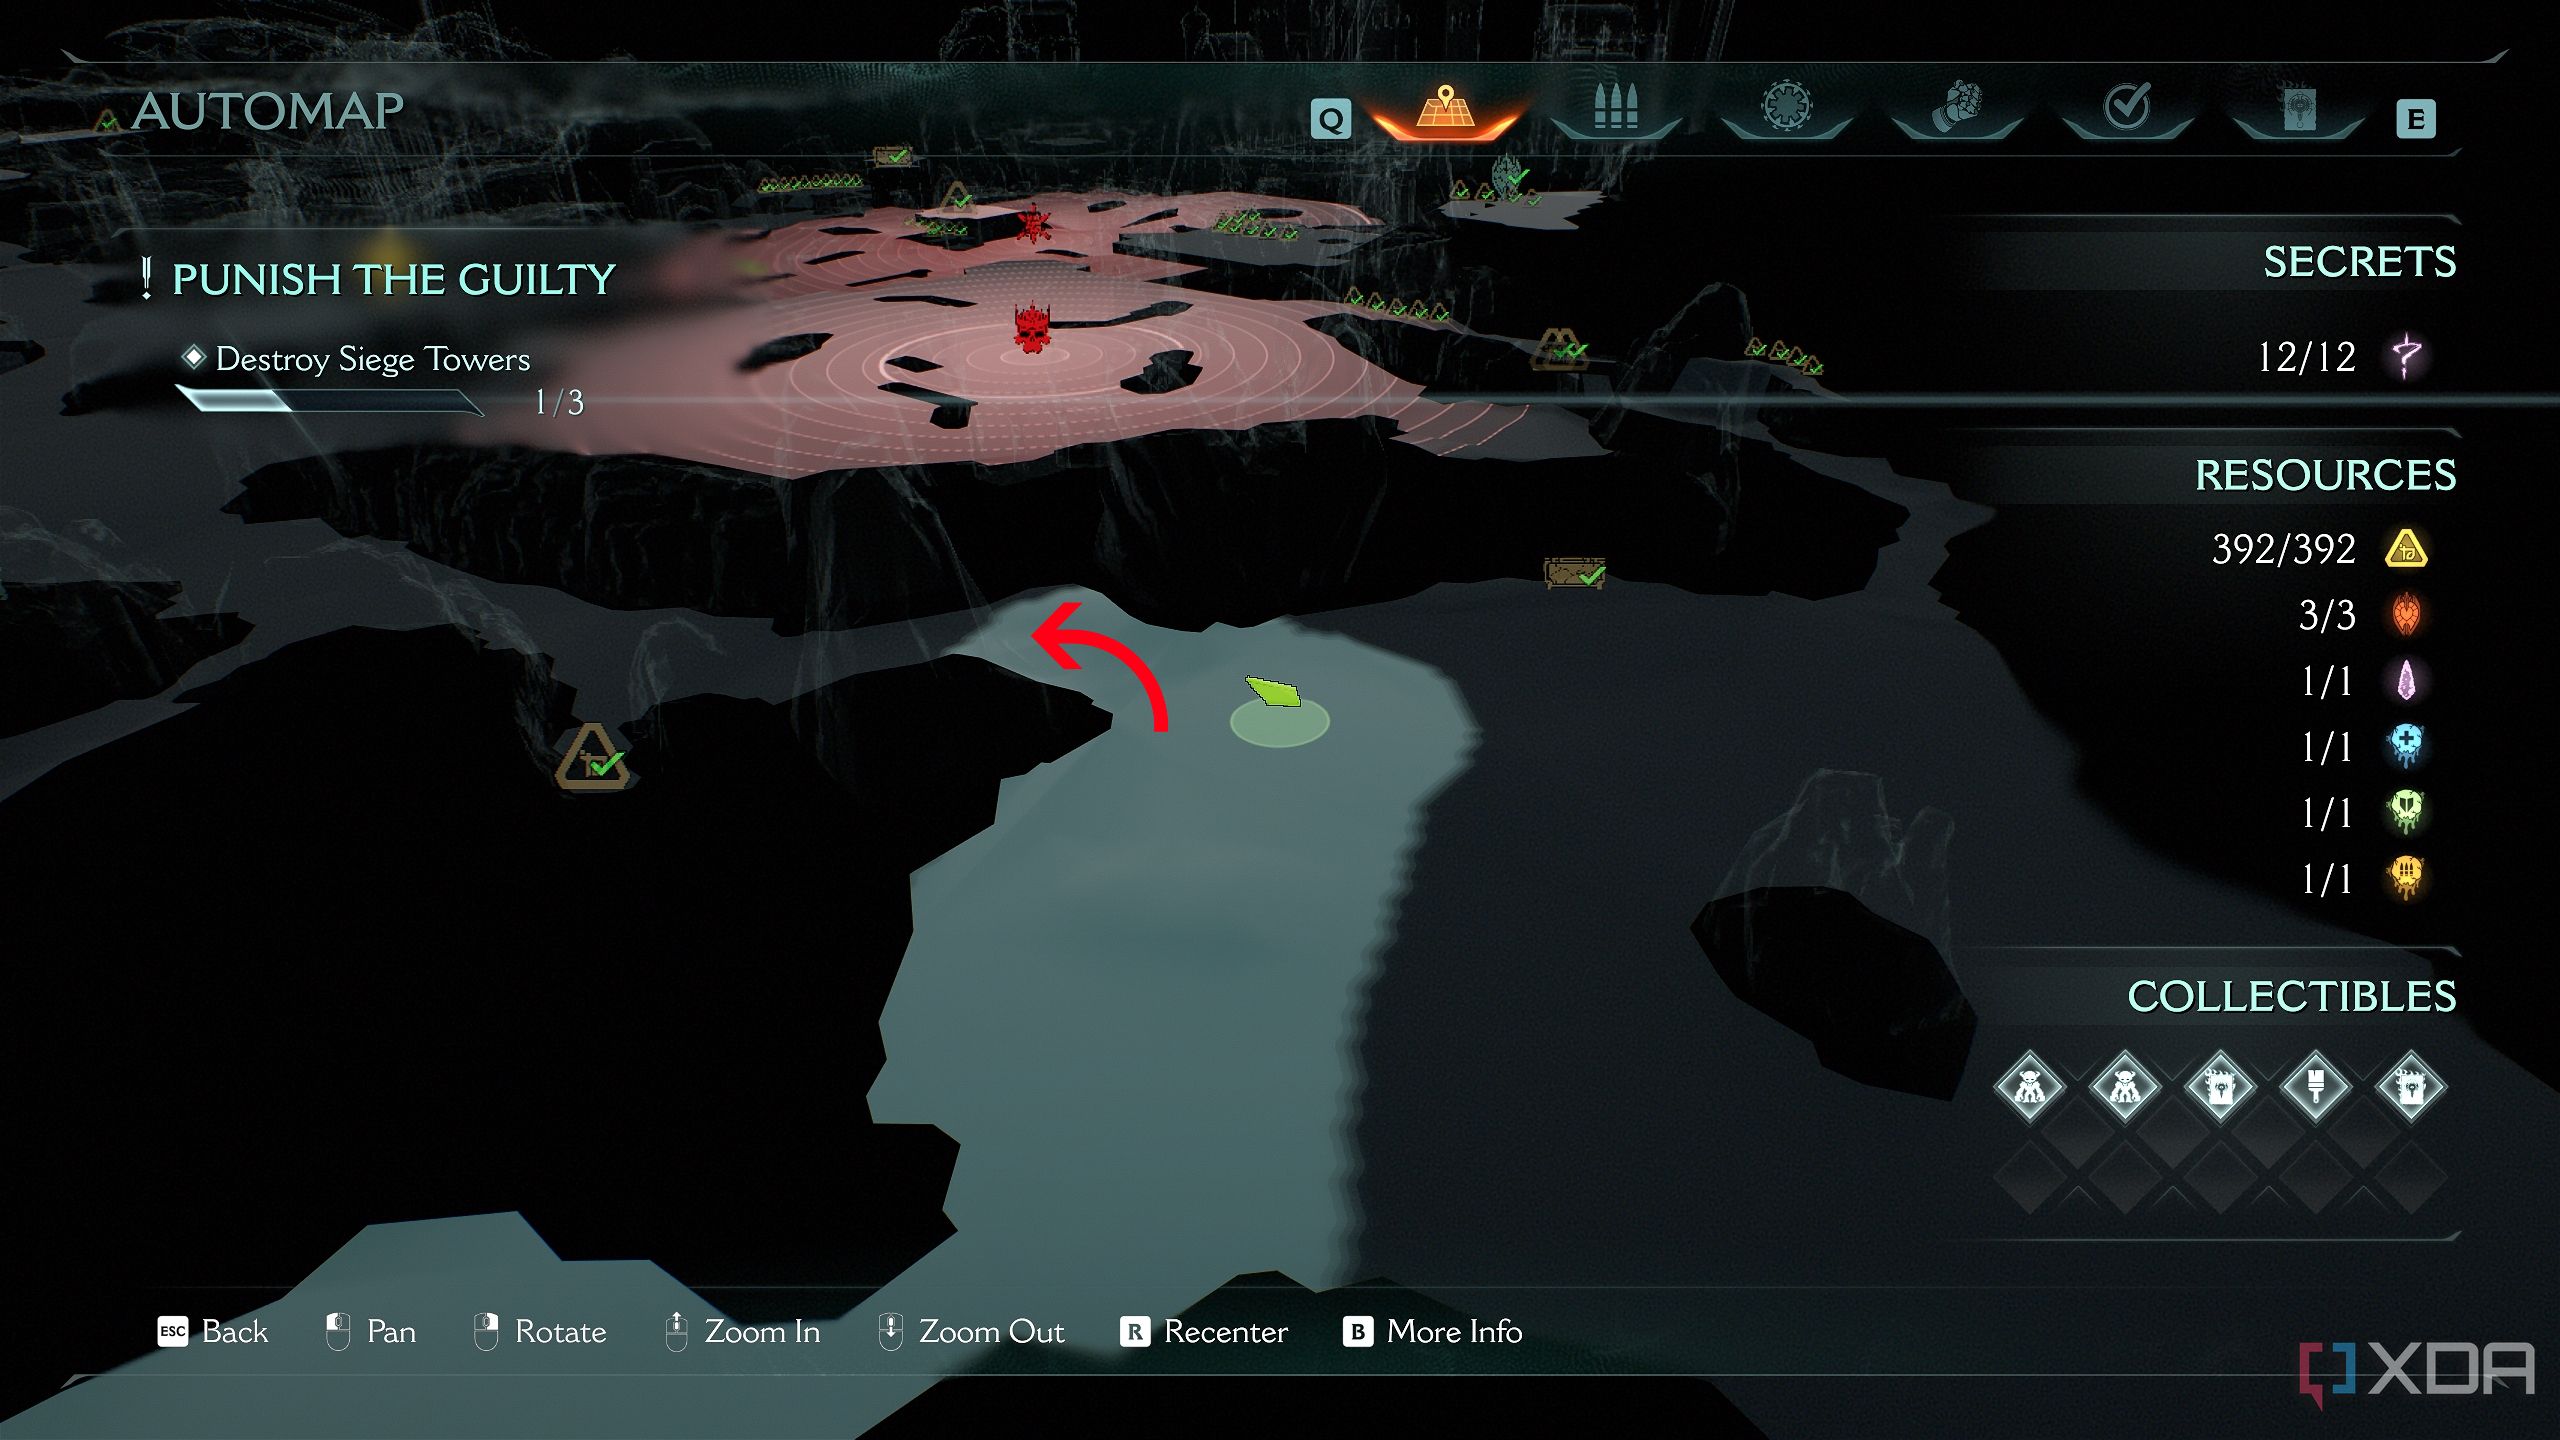
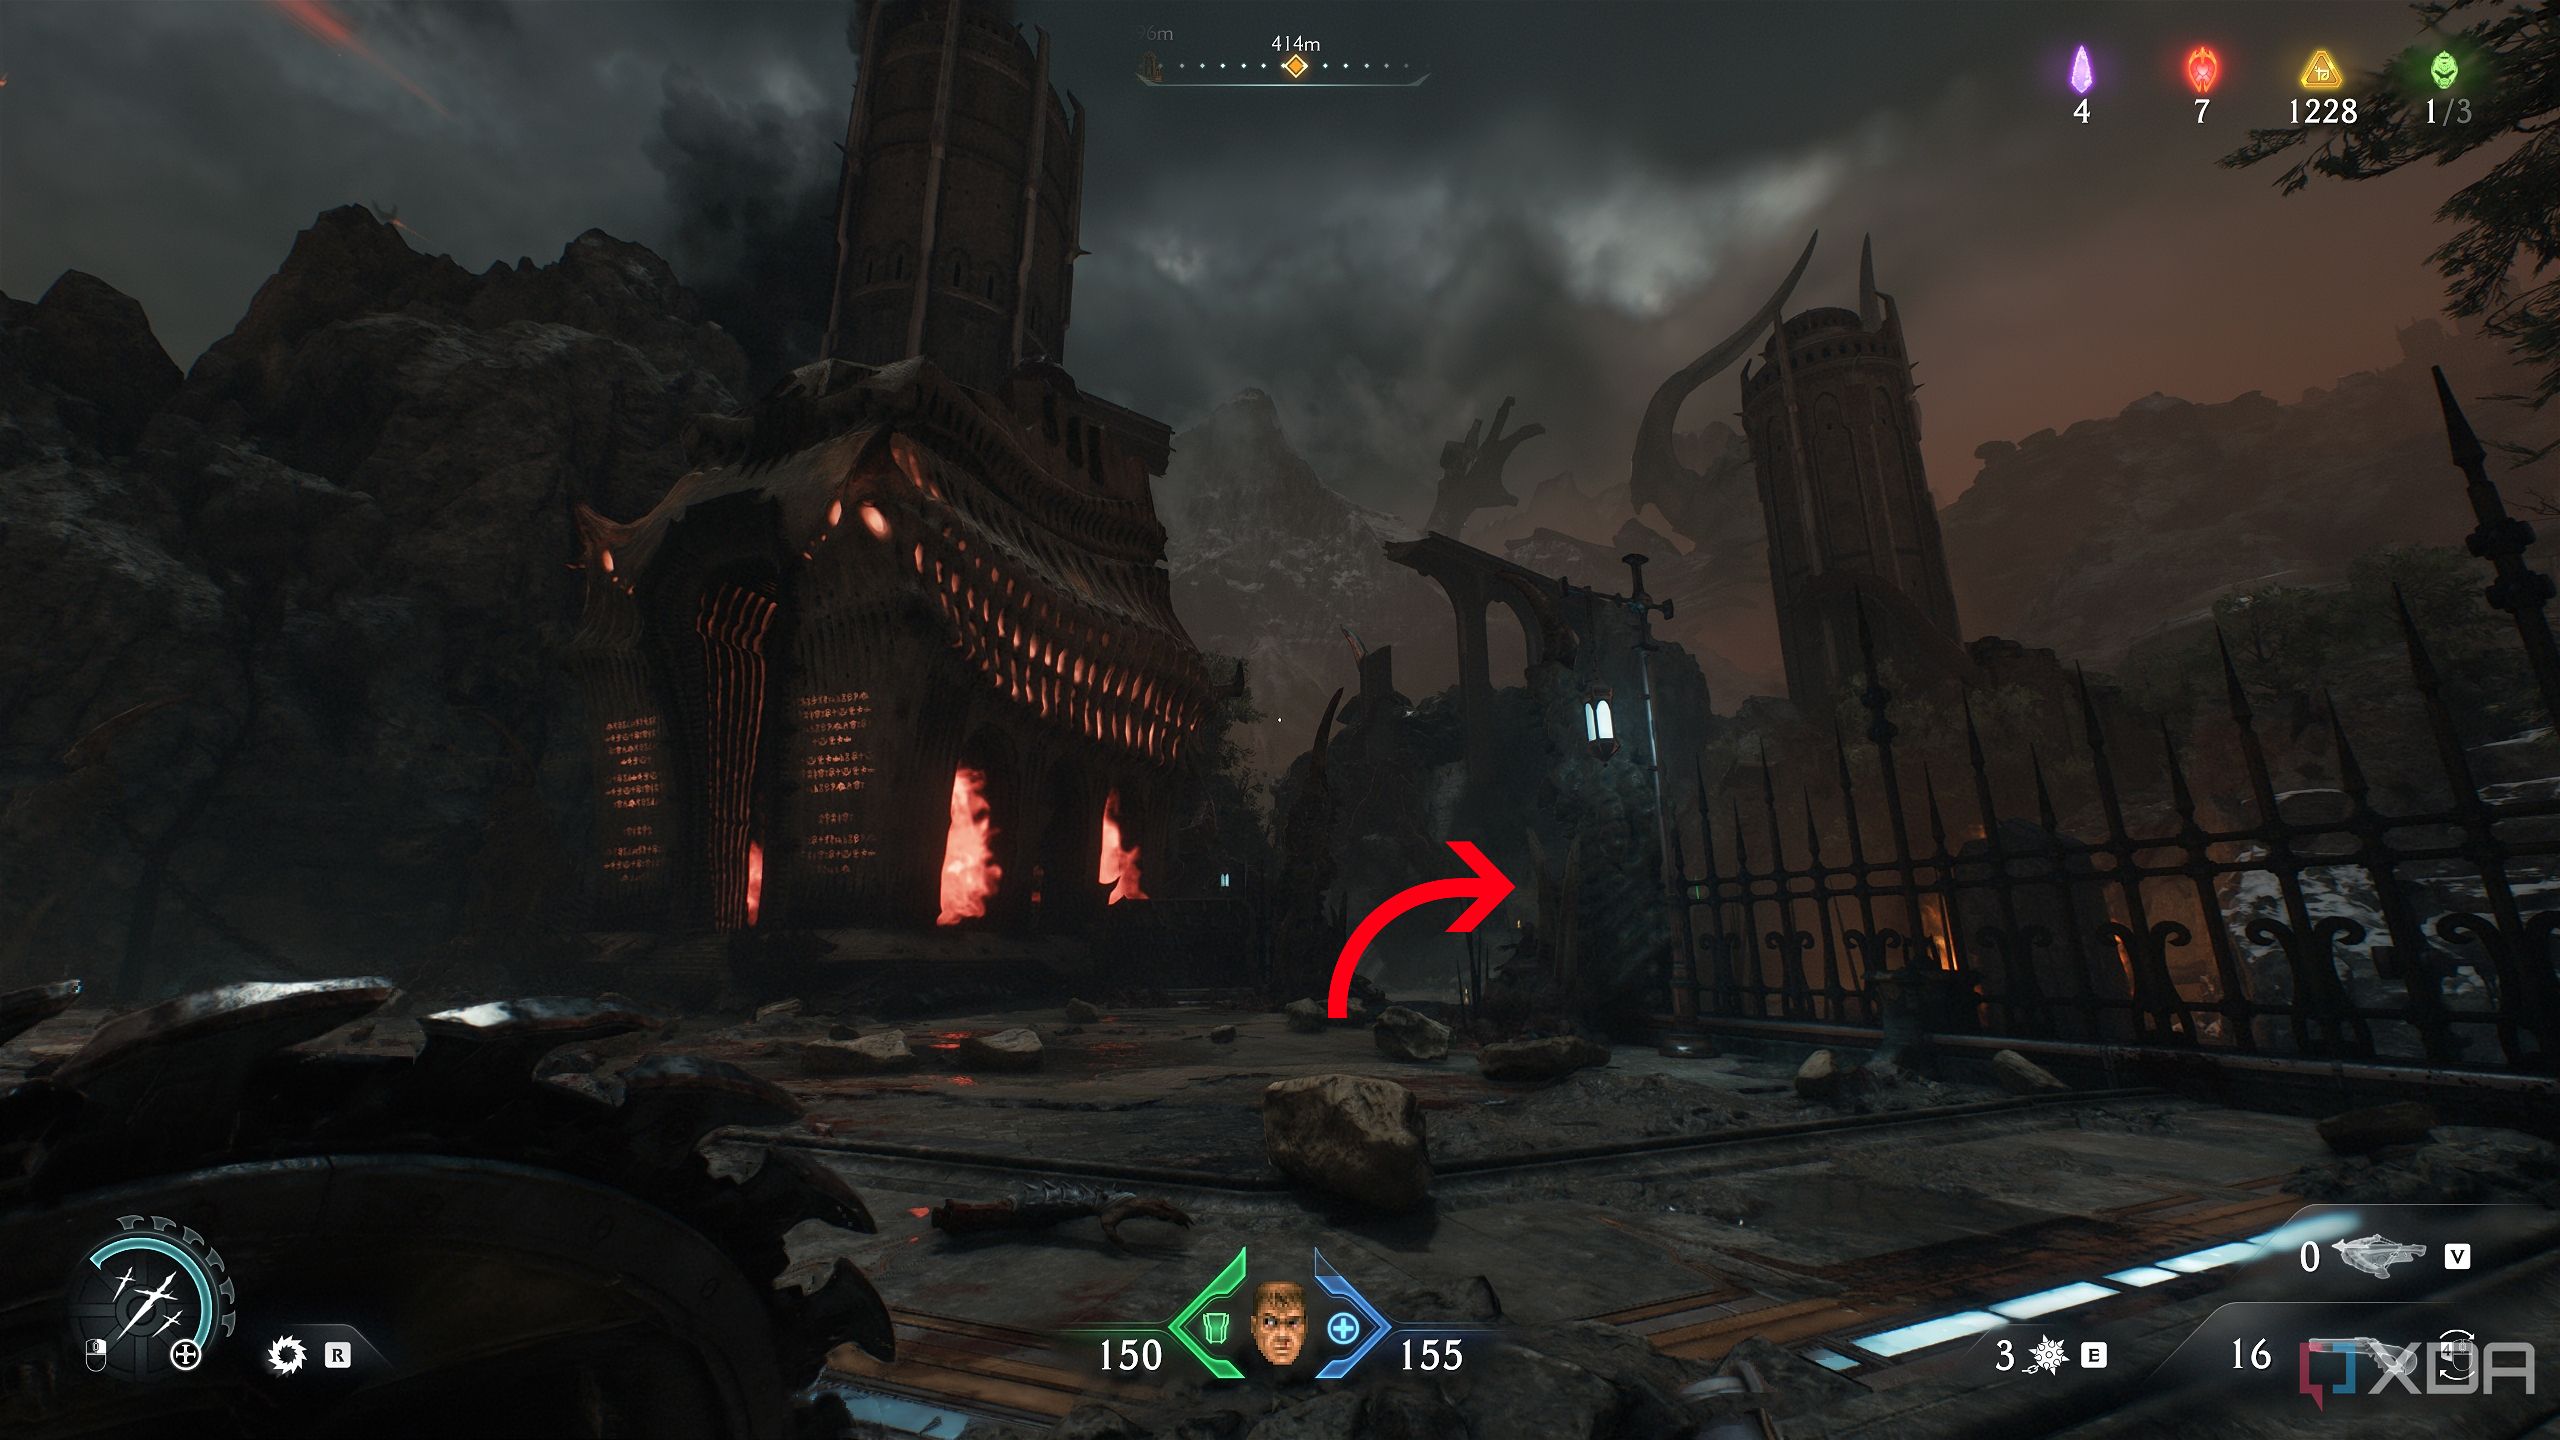
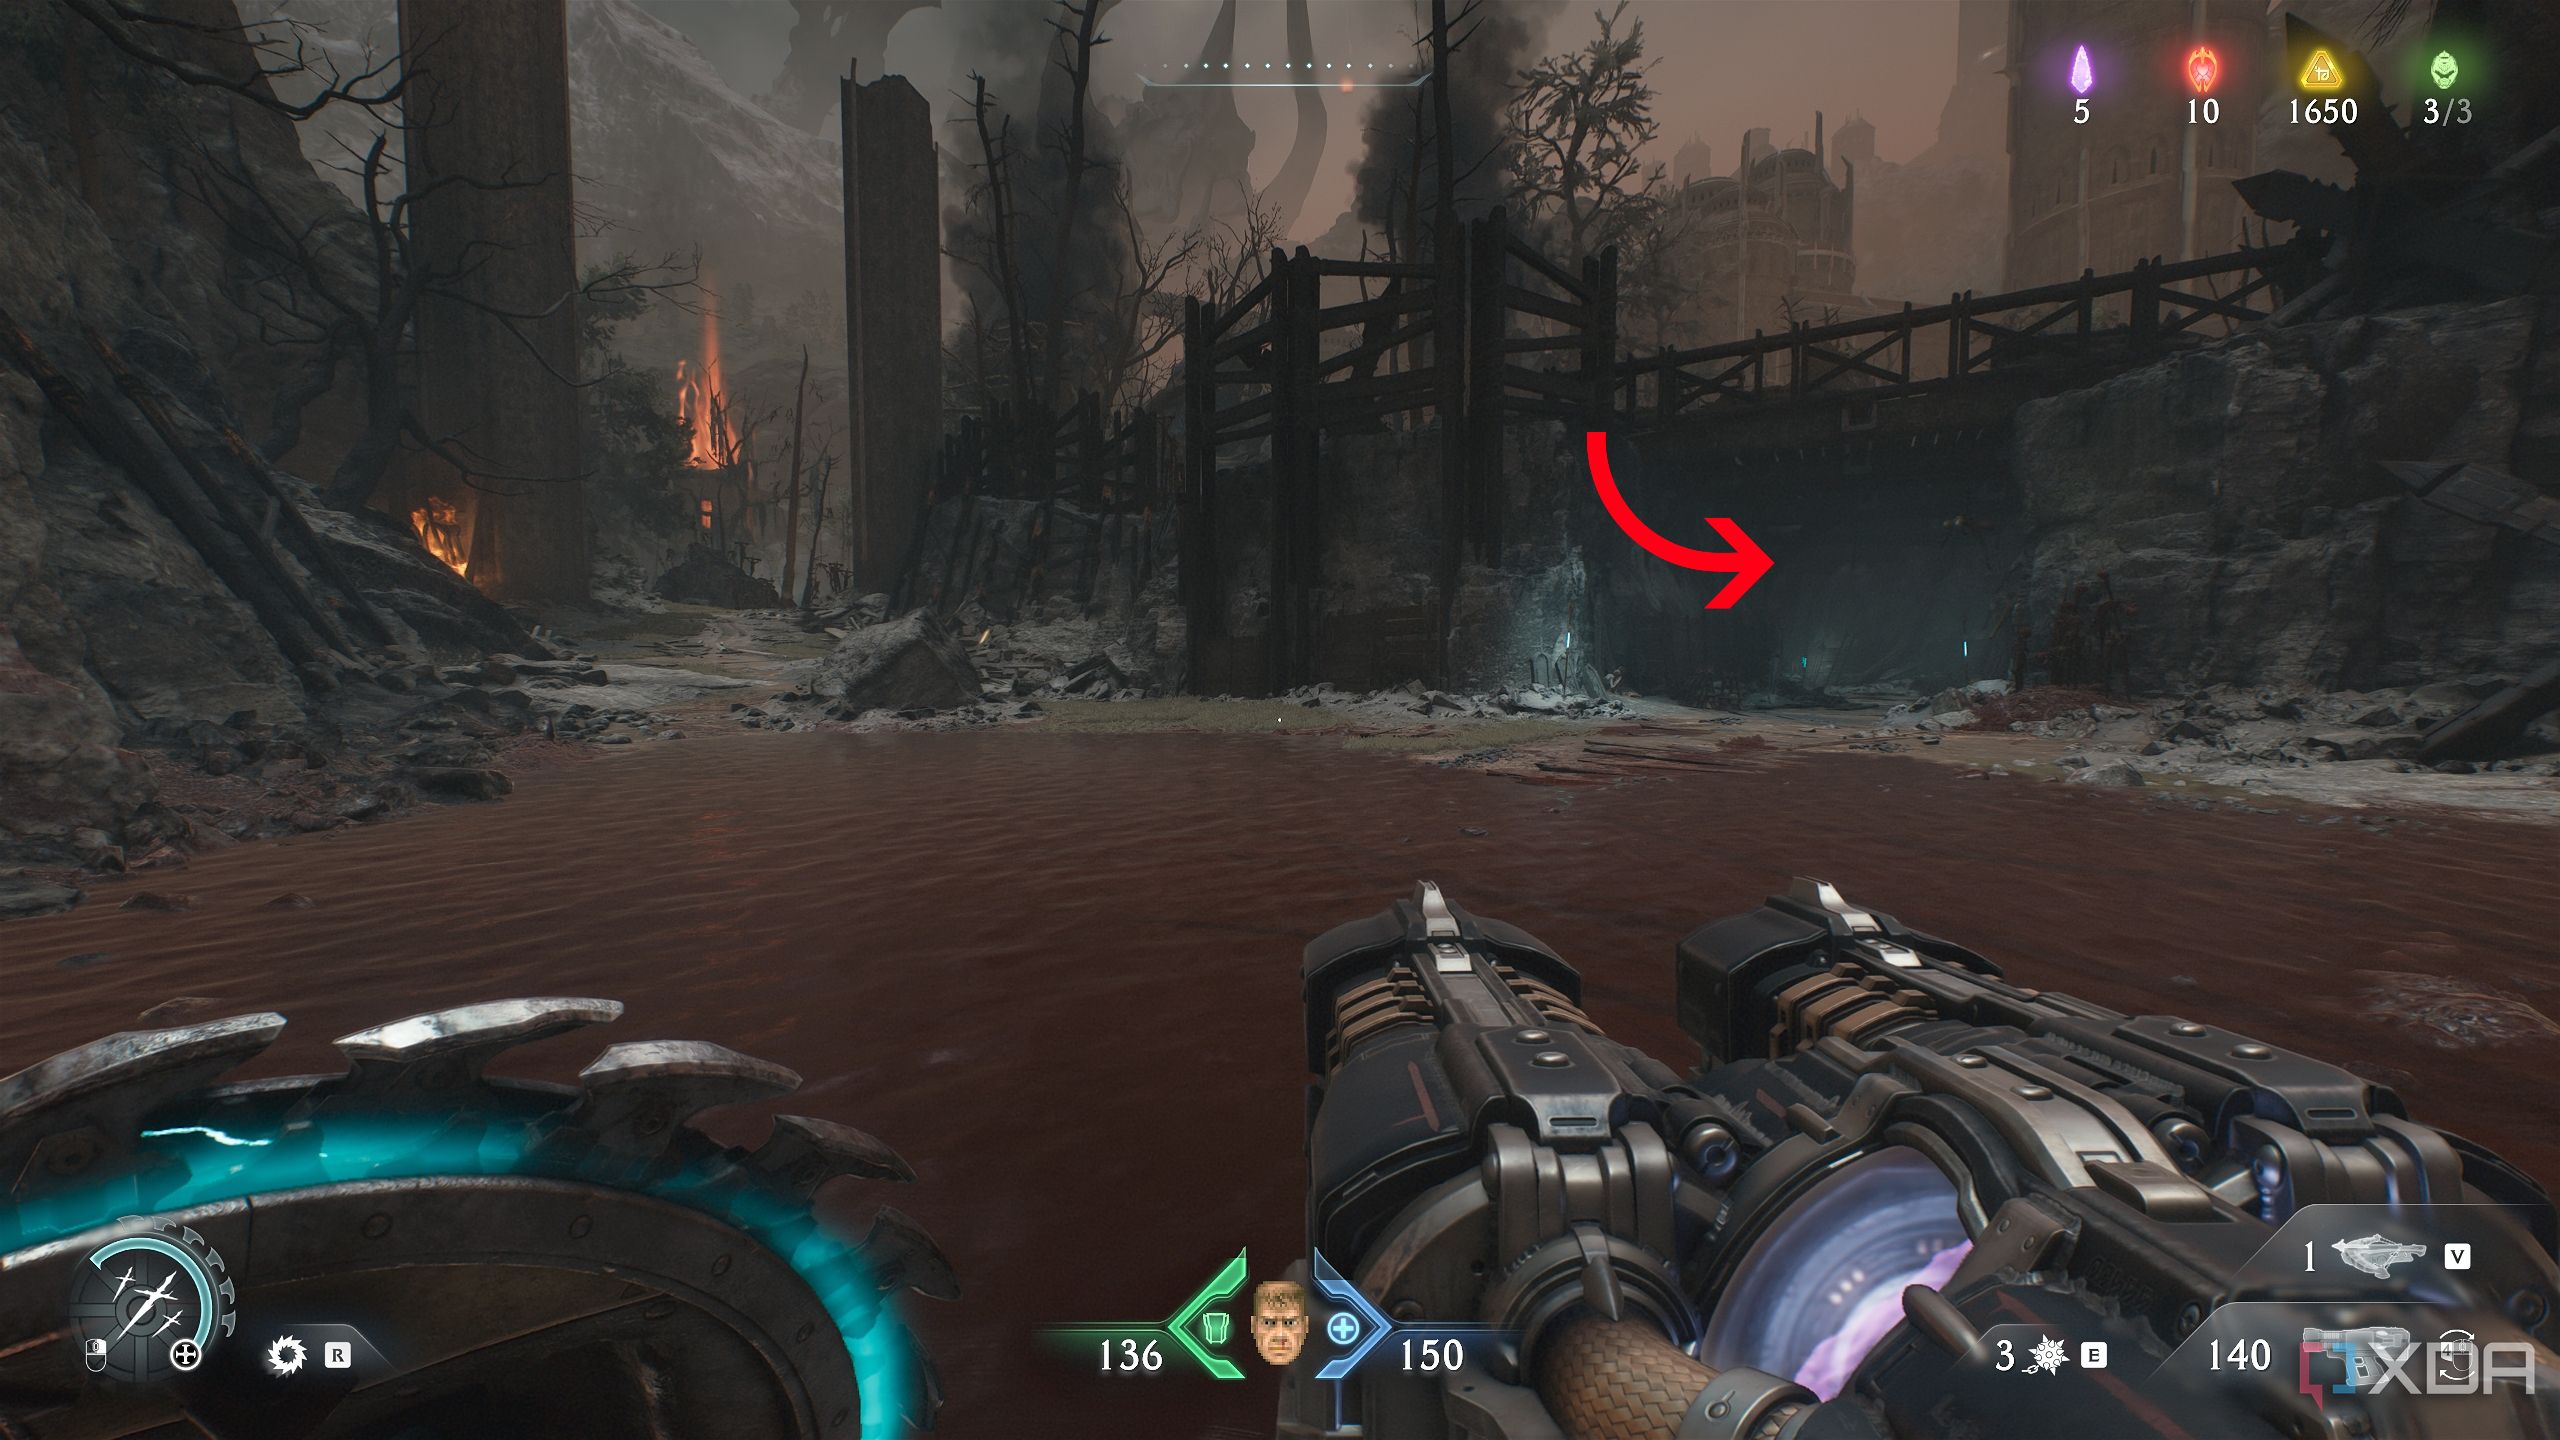
Before that, however, head left, and position yourself as such on the map.
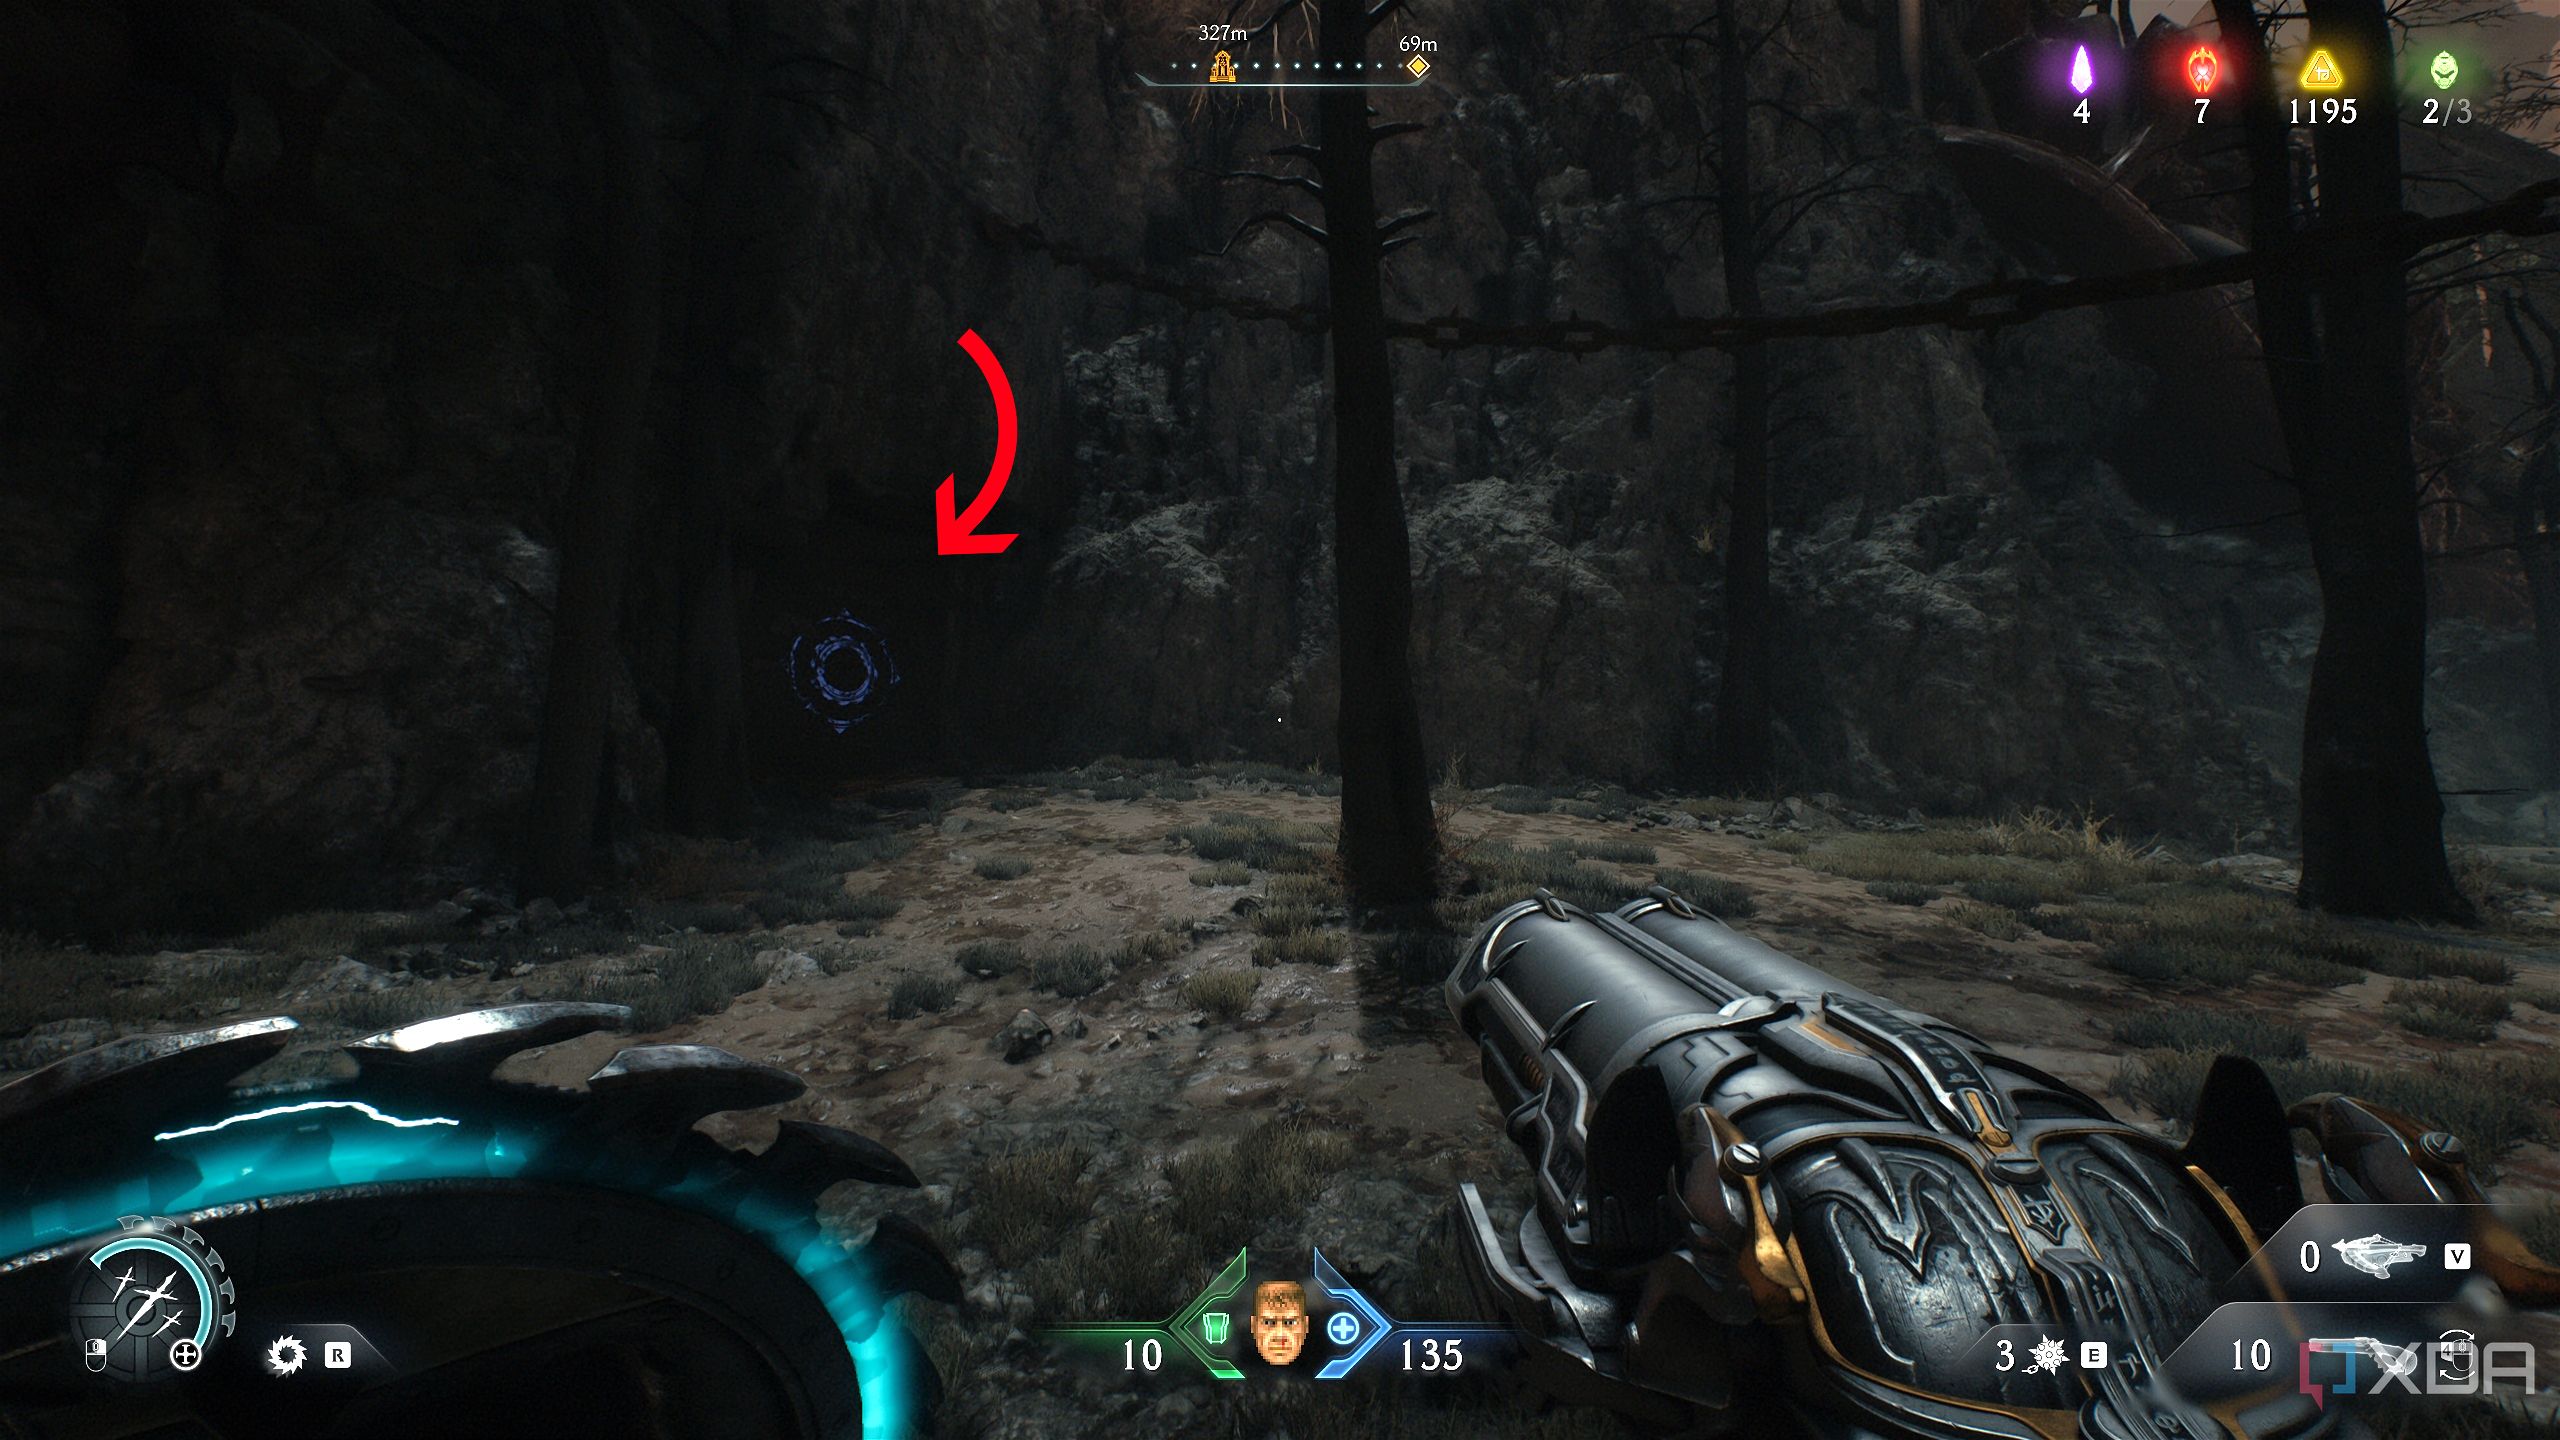
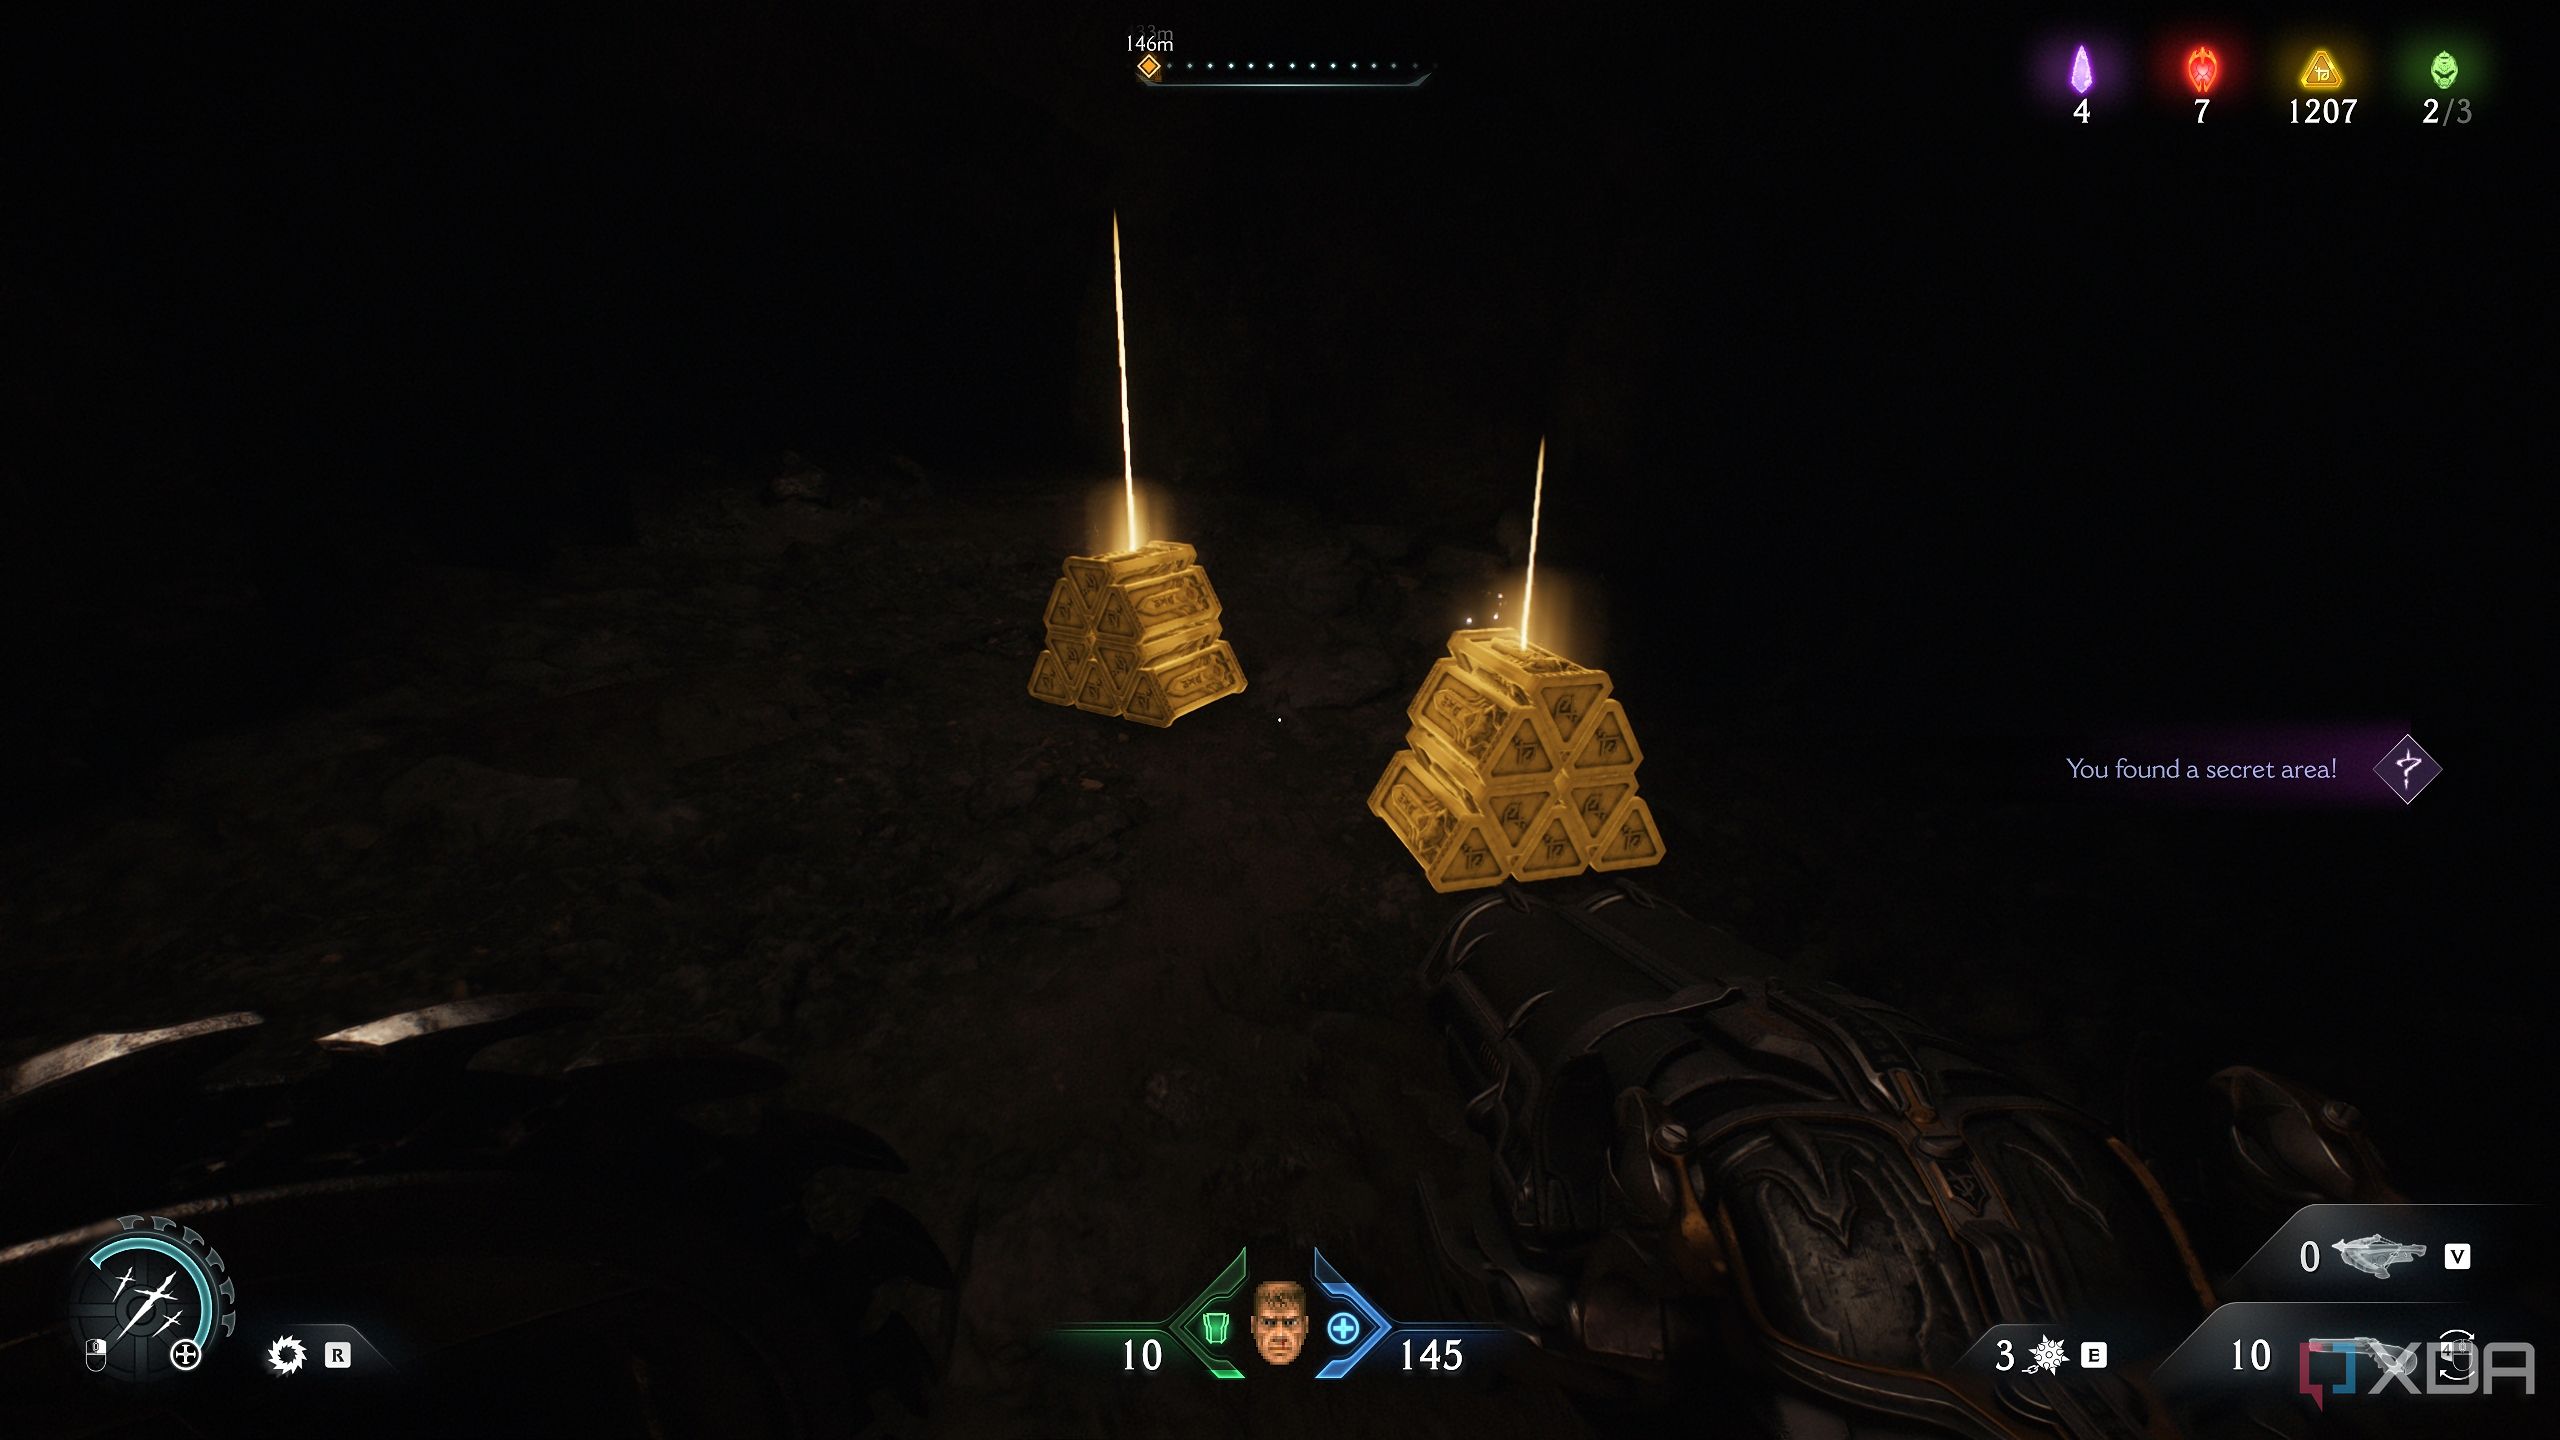
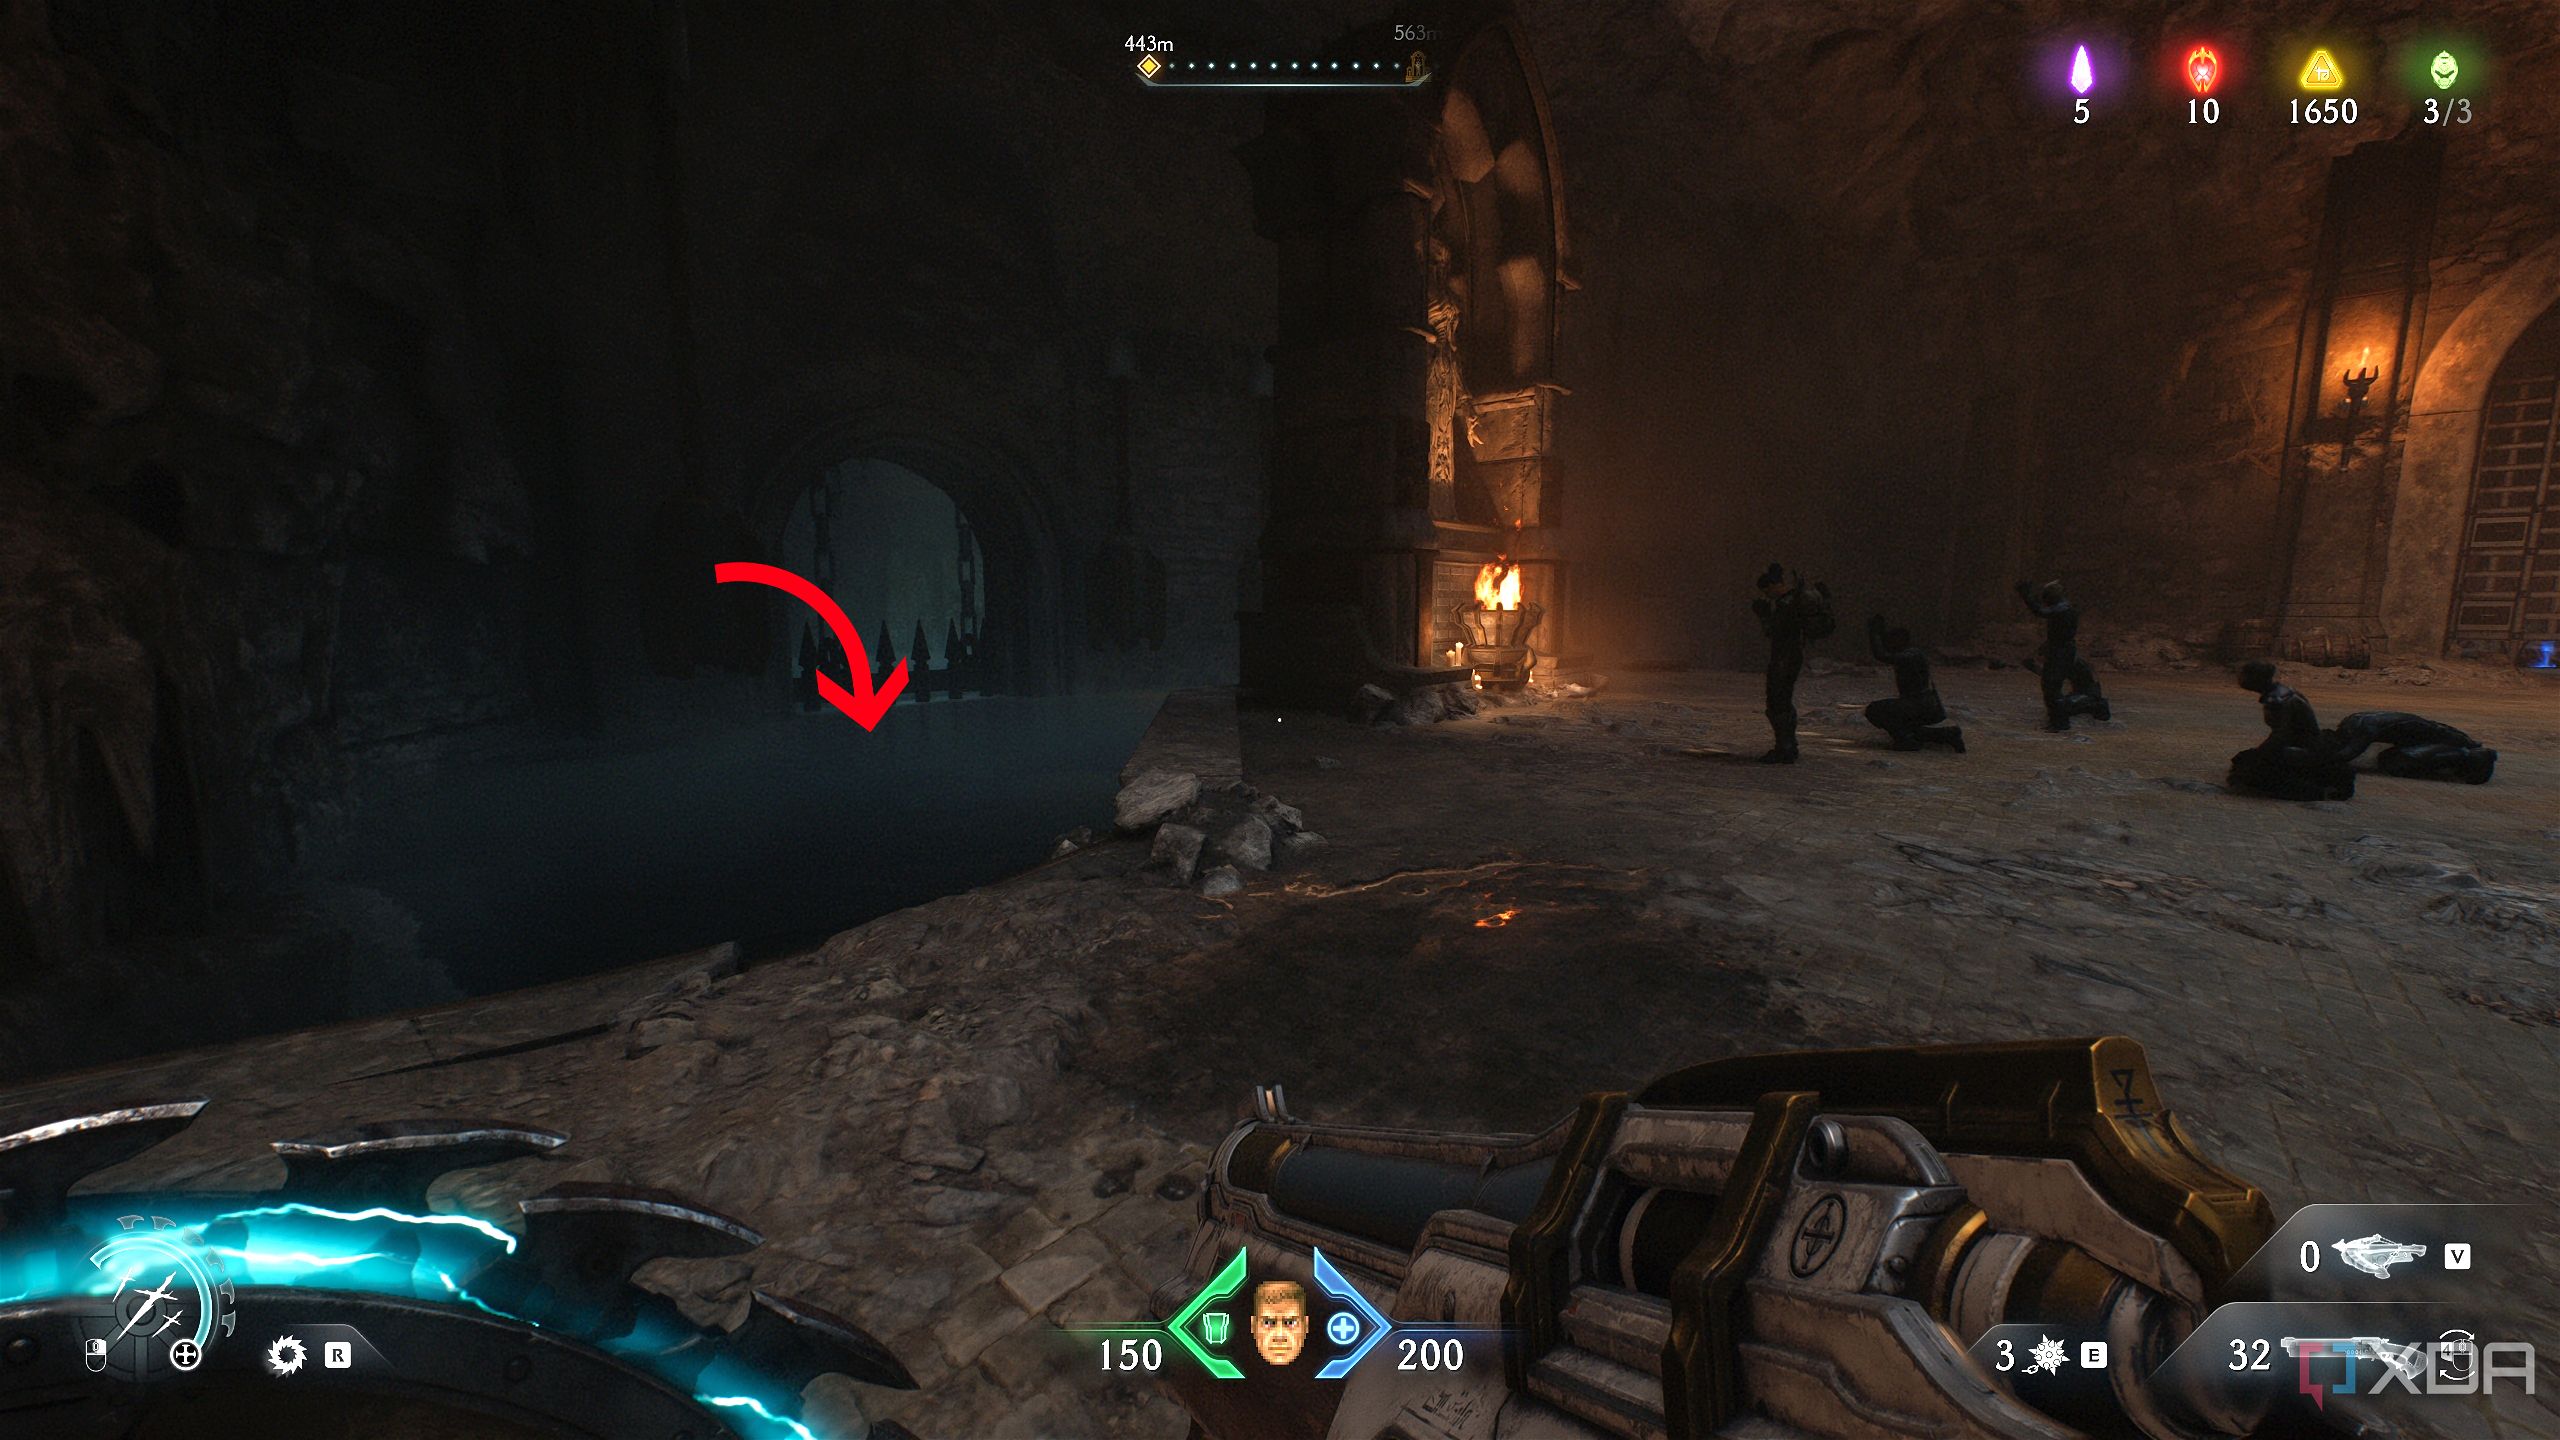
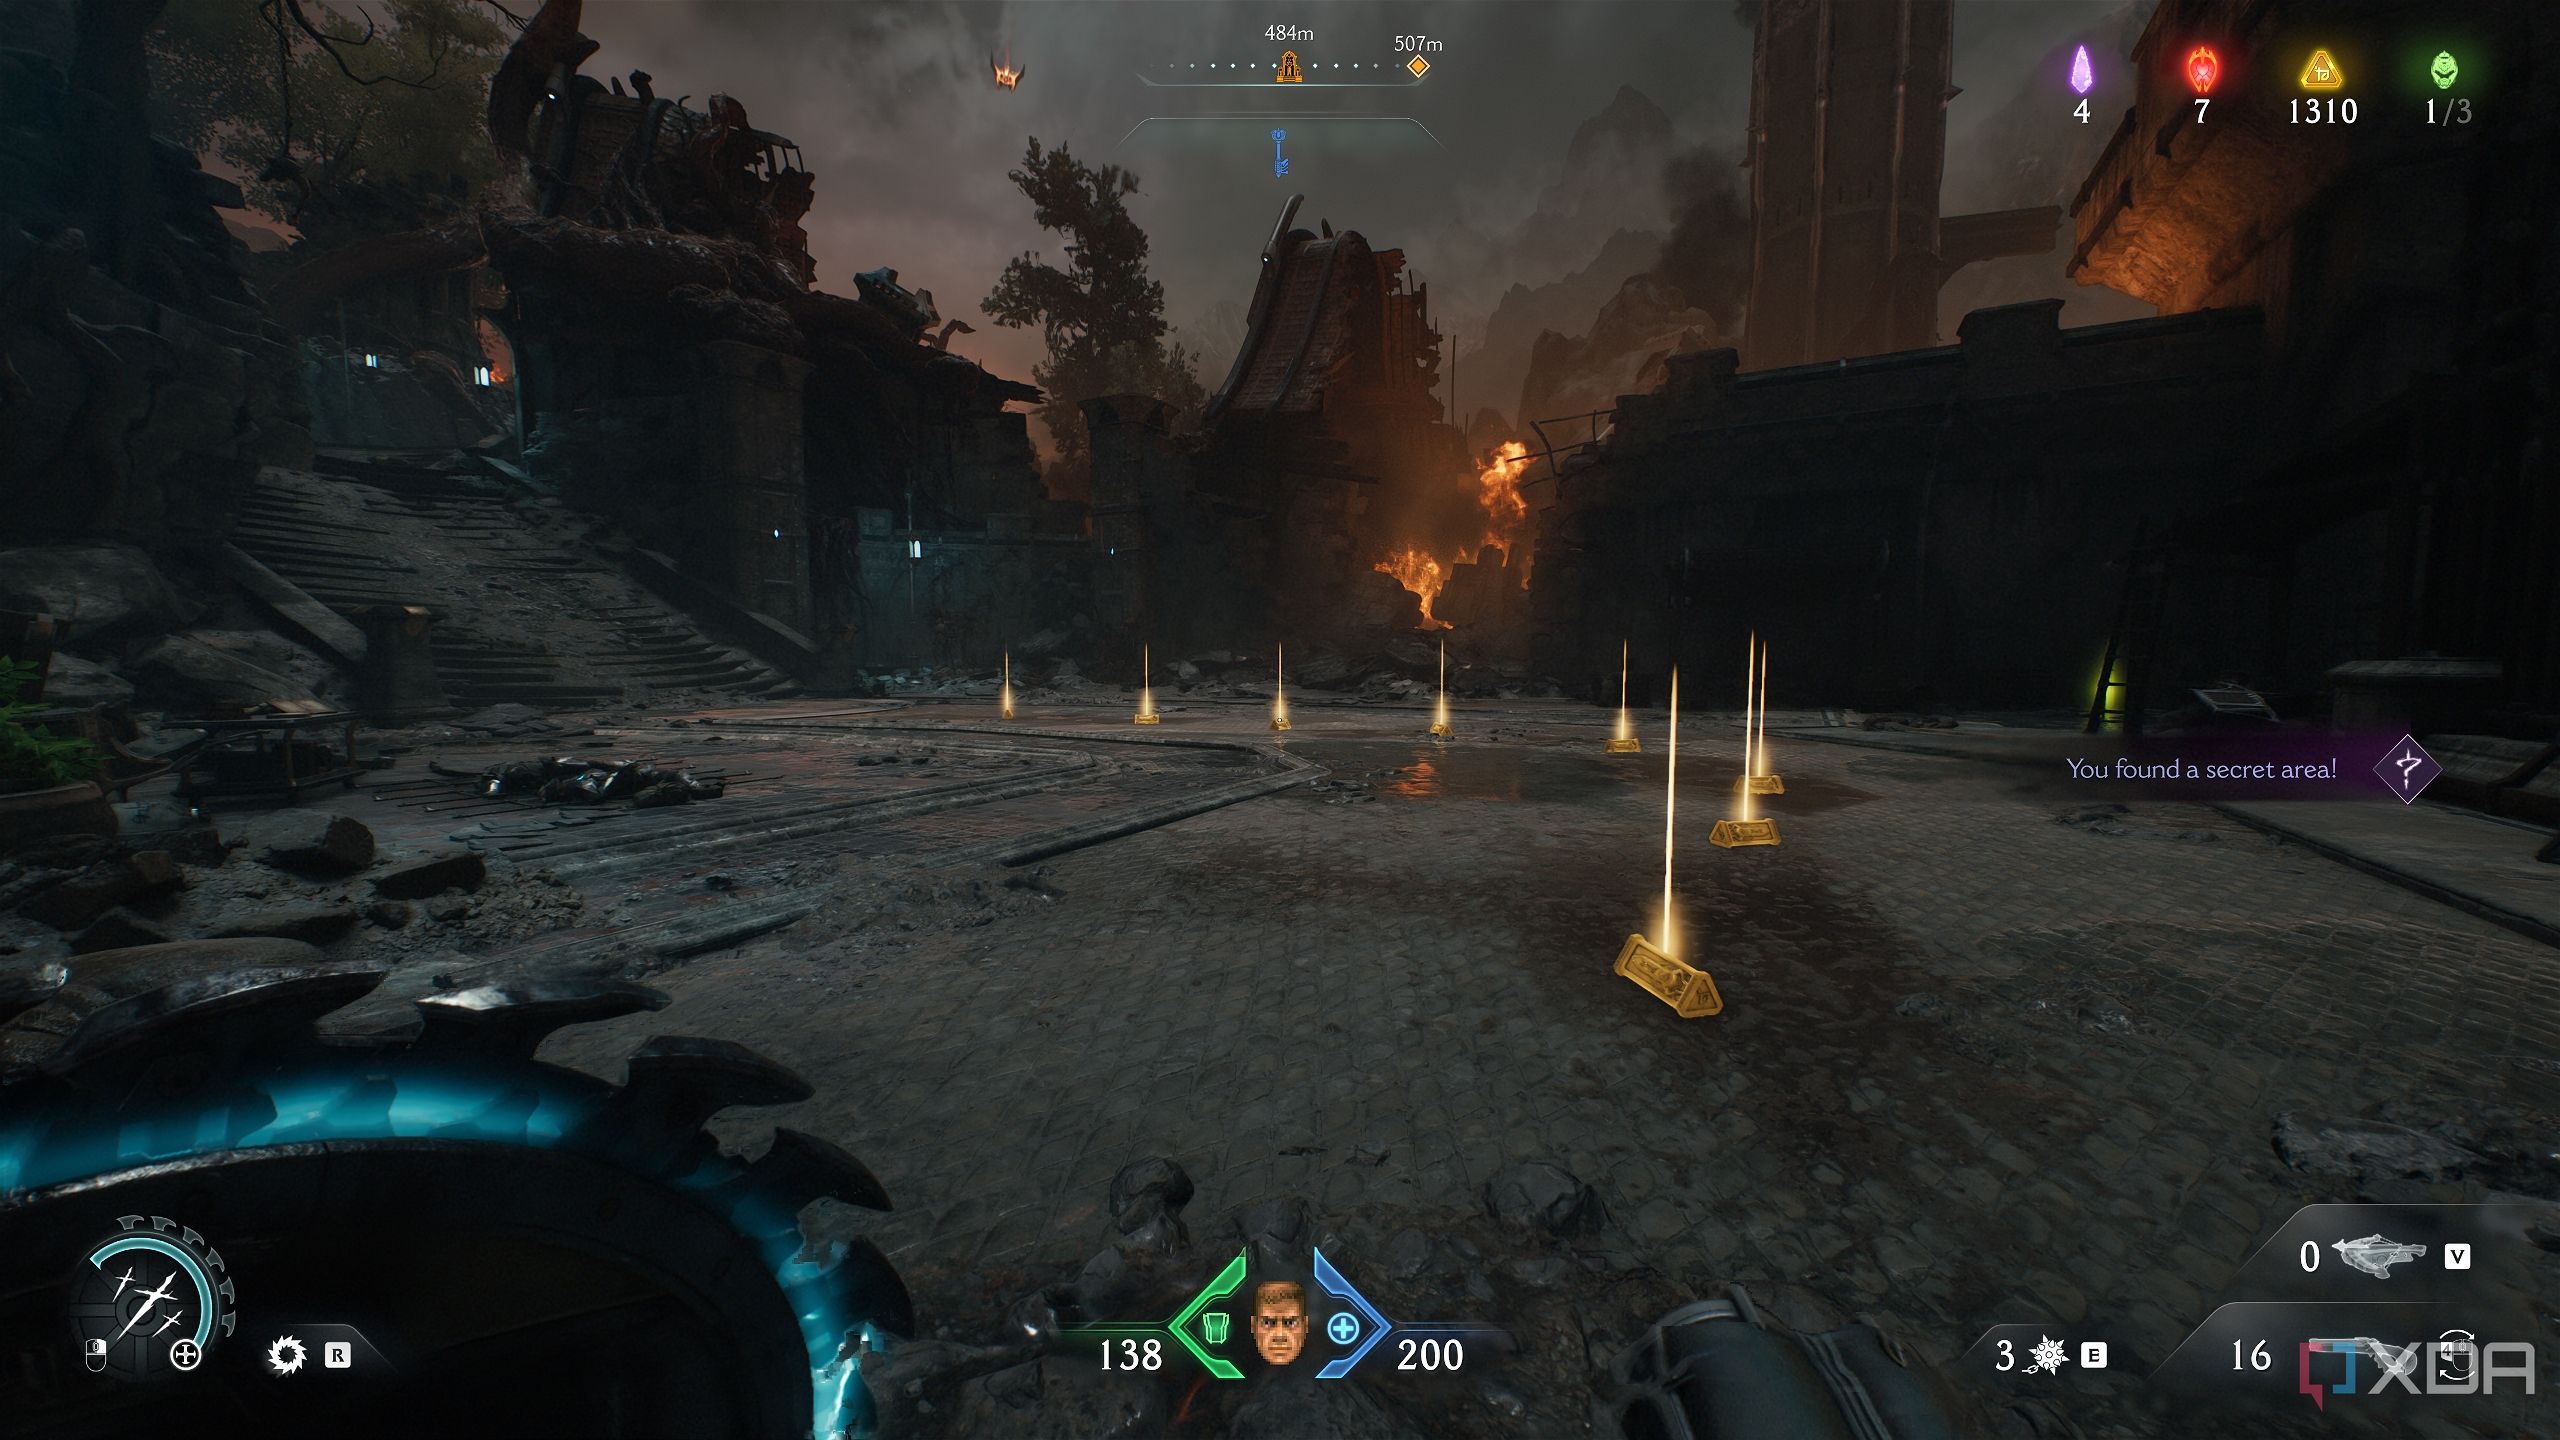
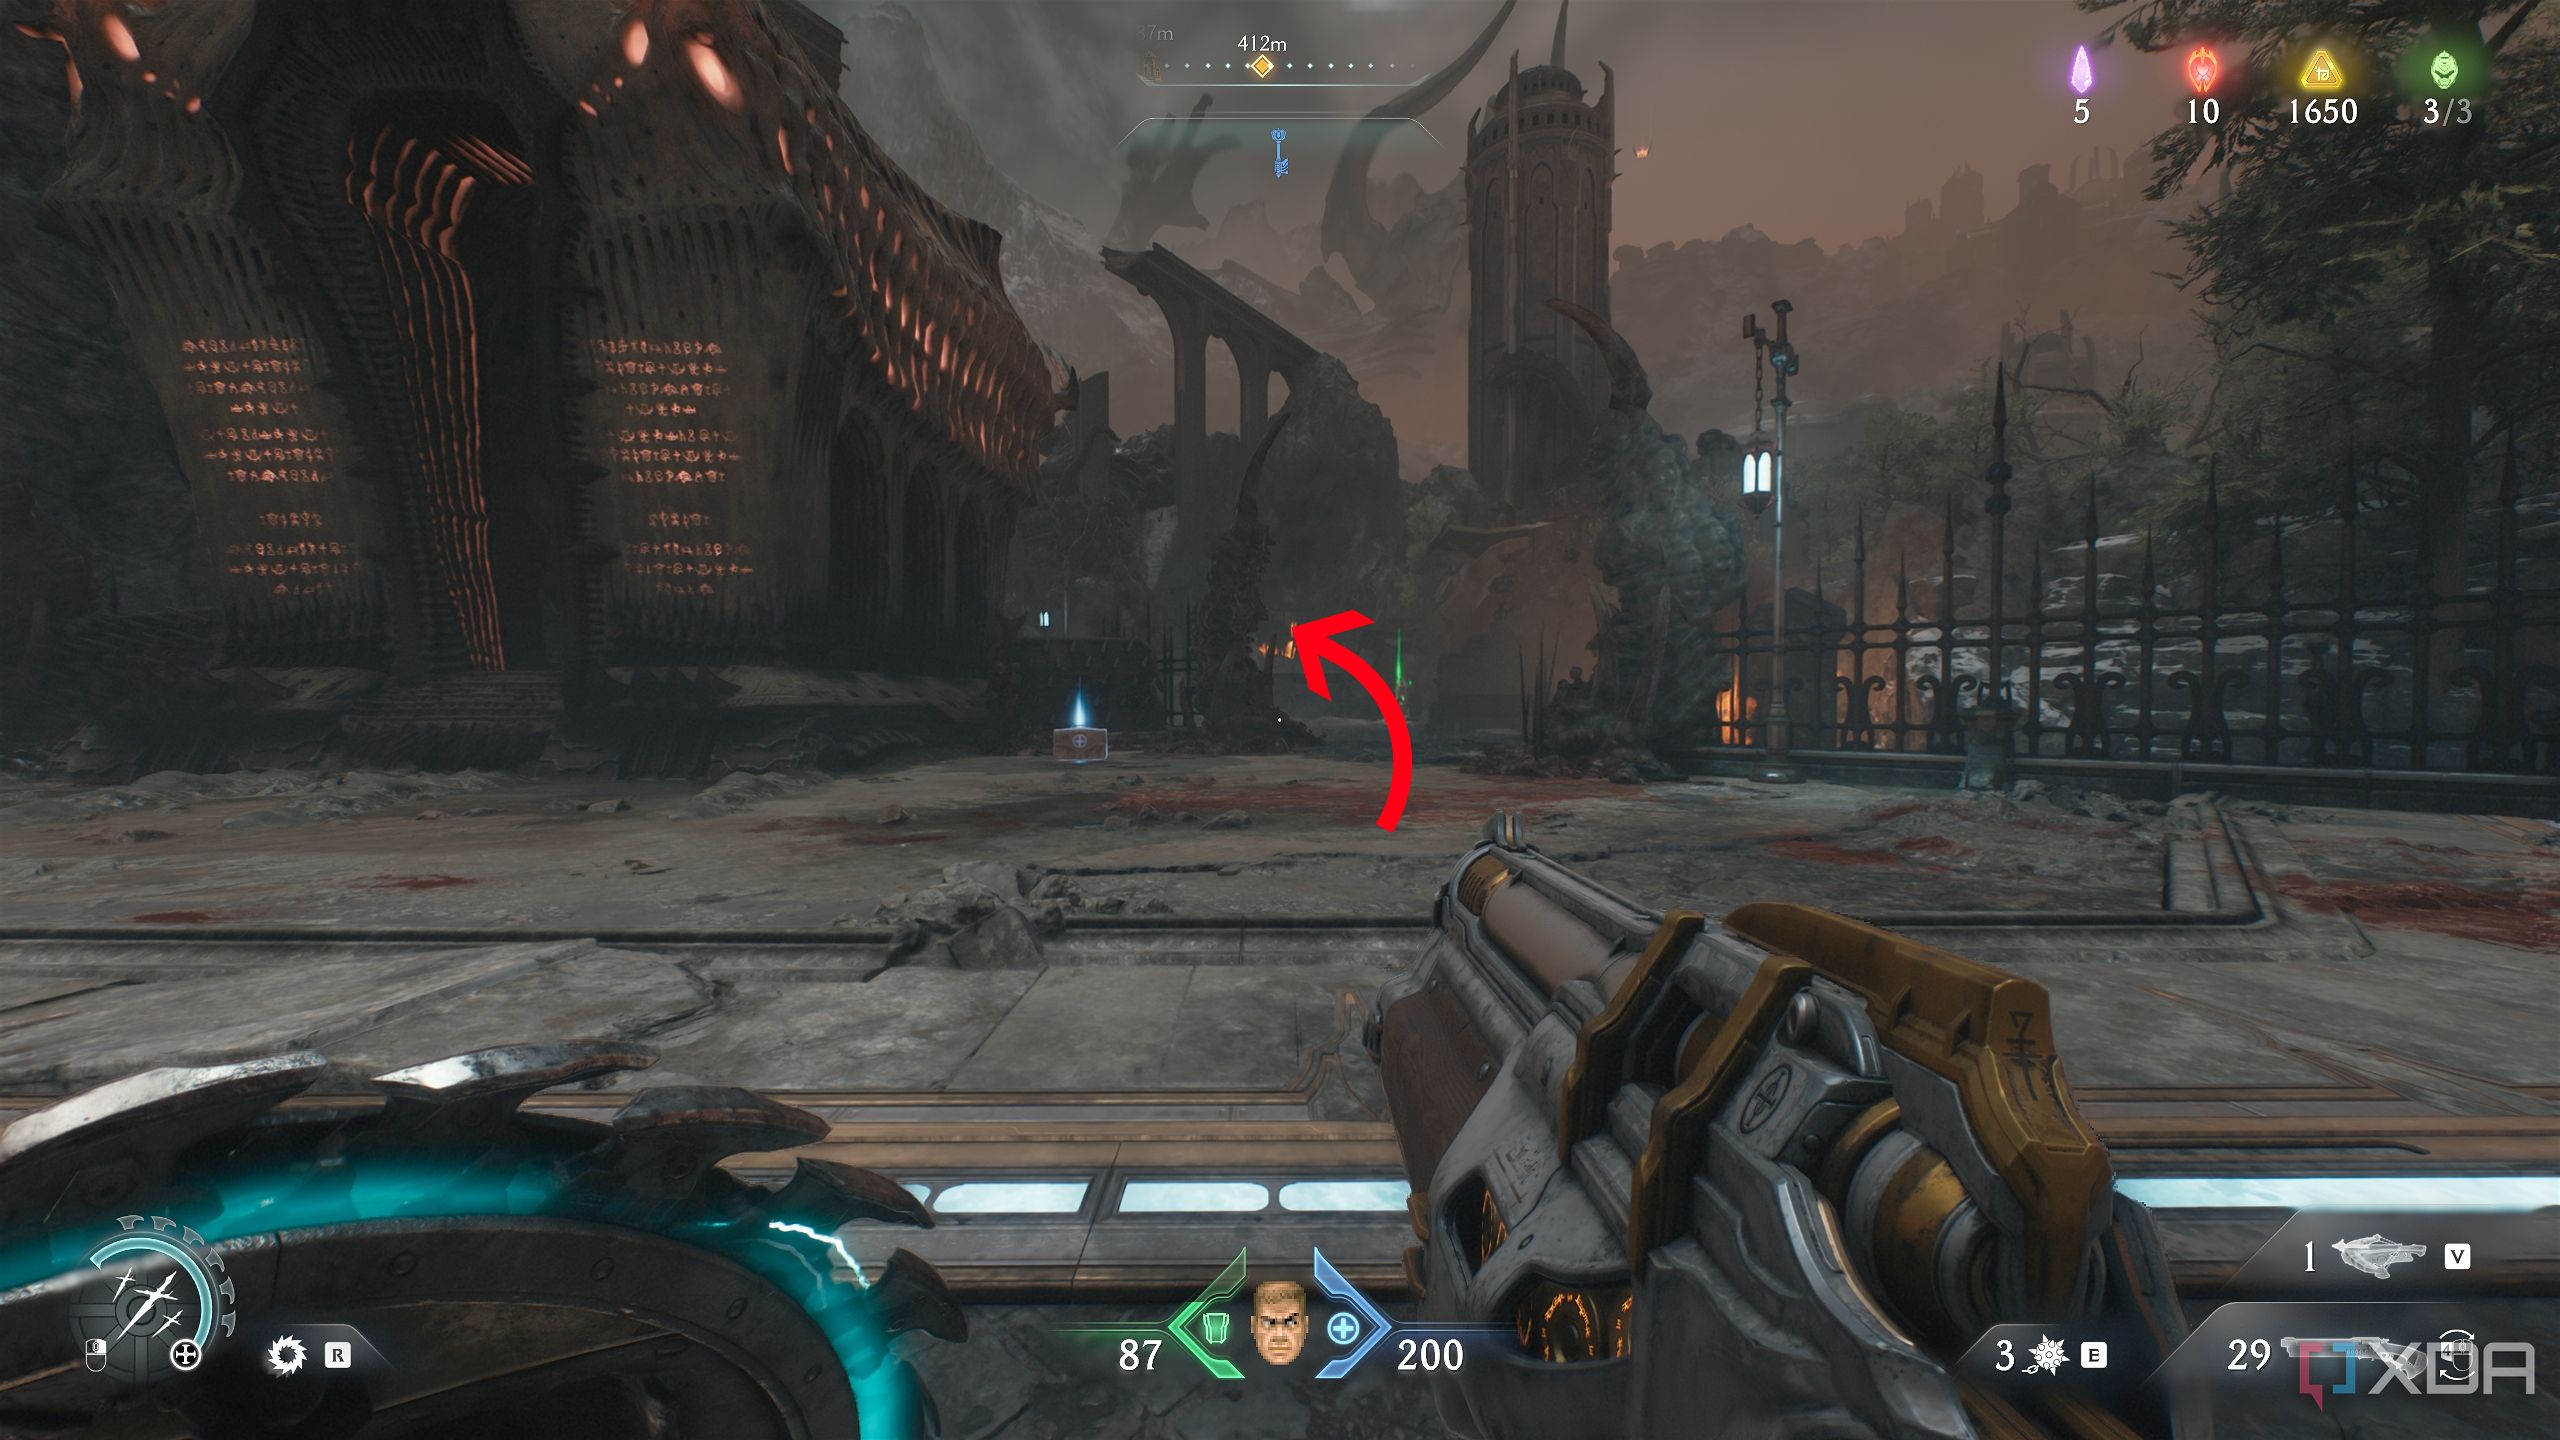
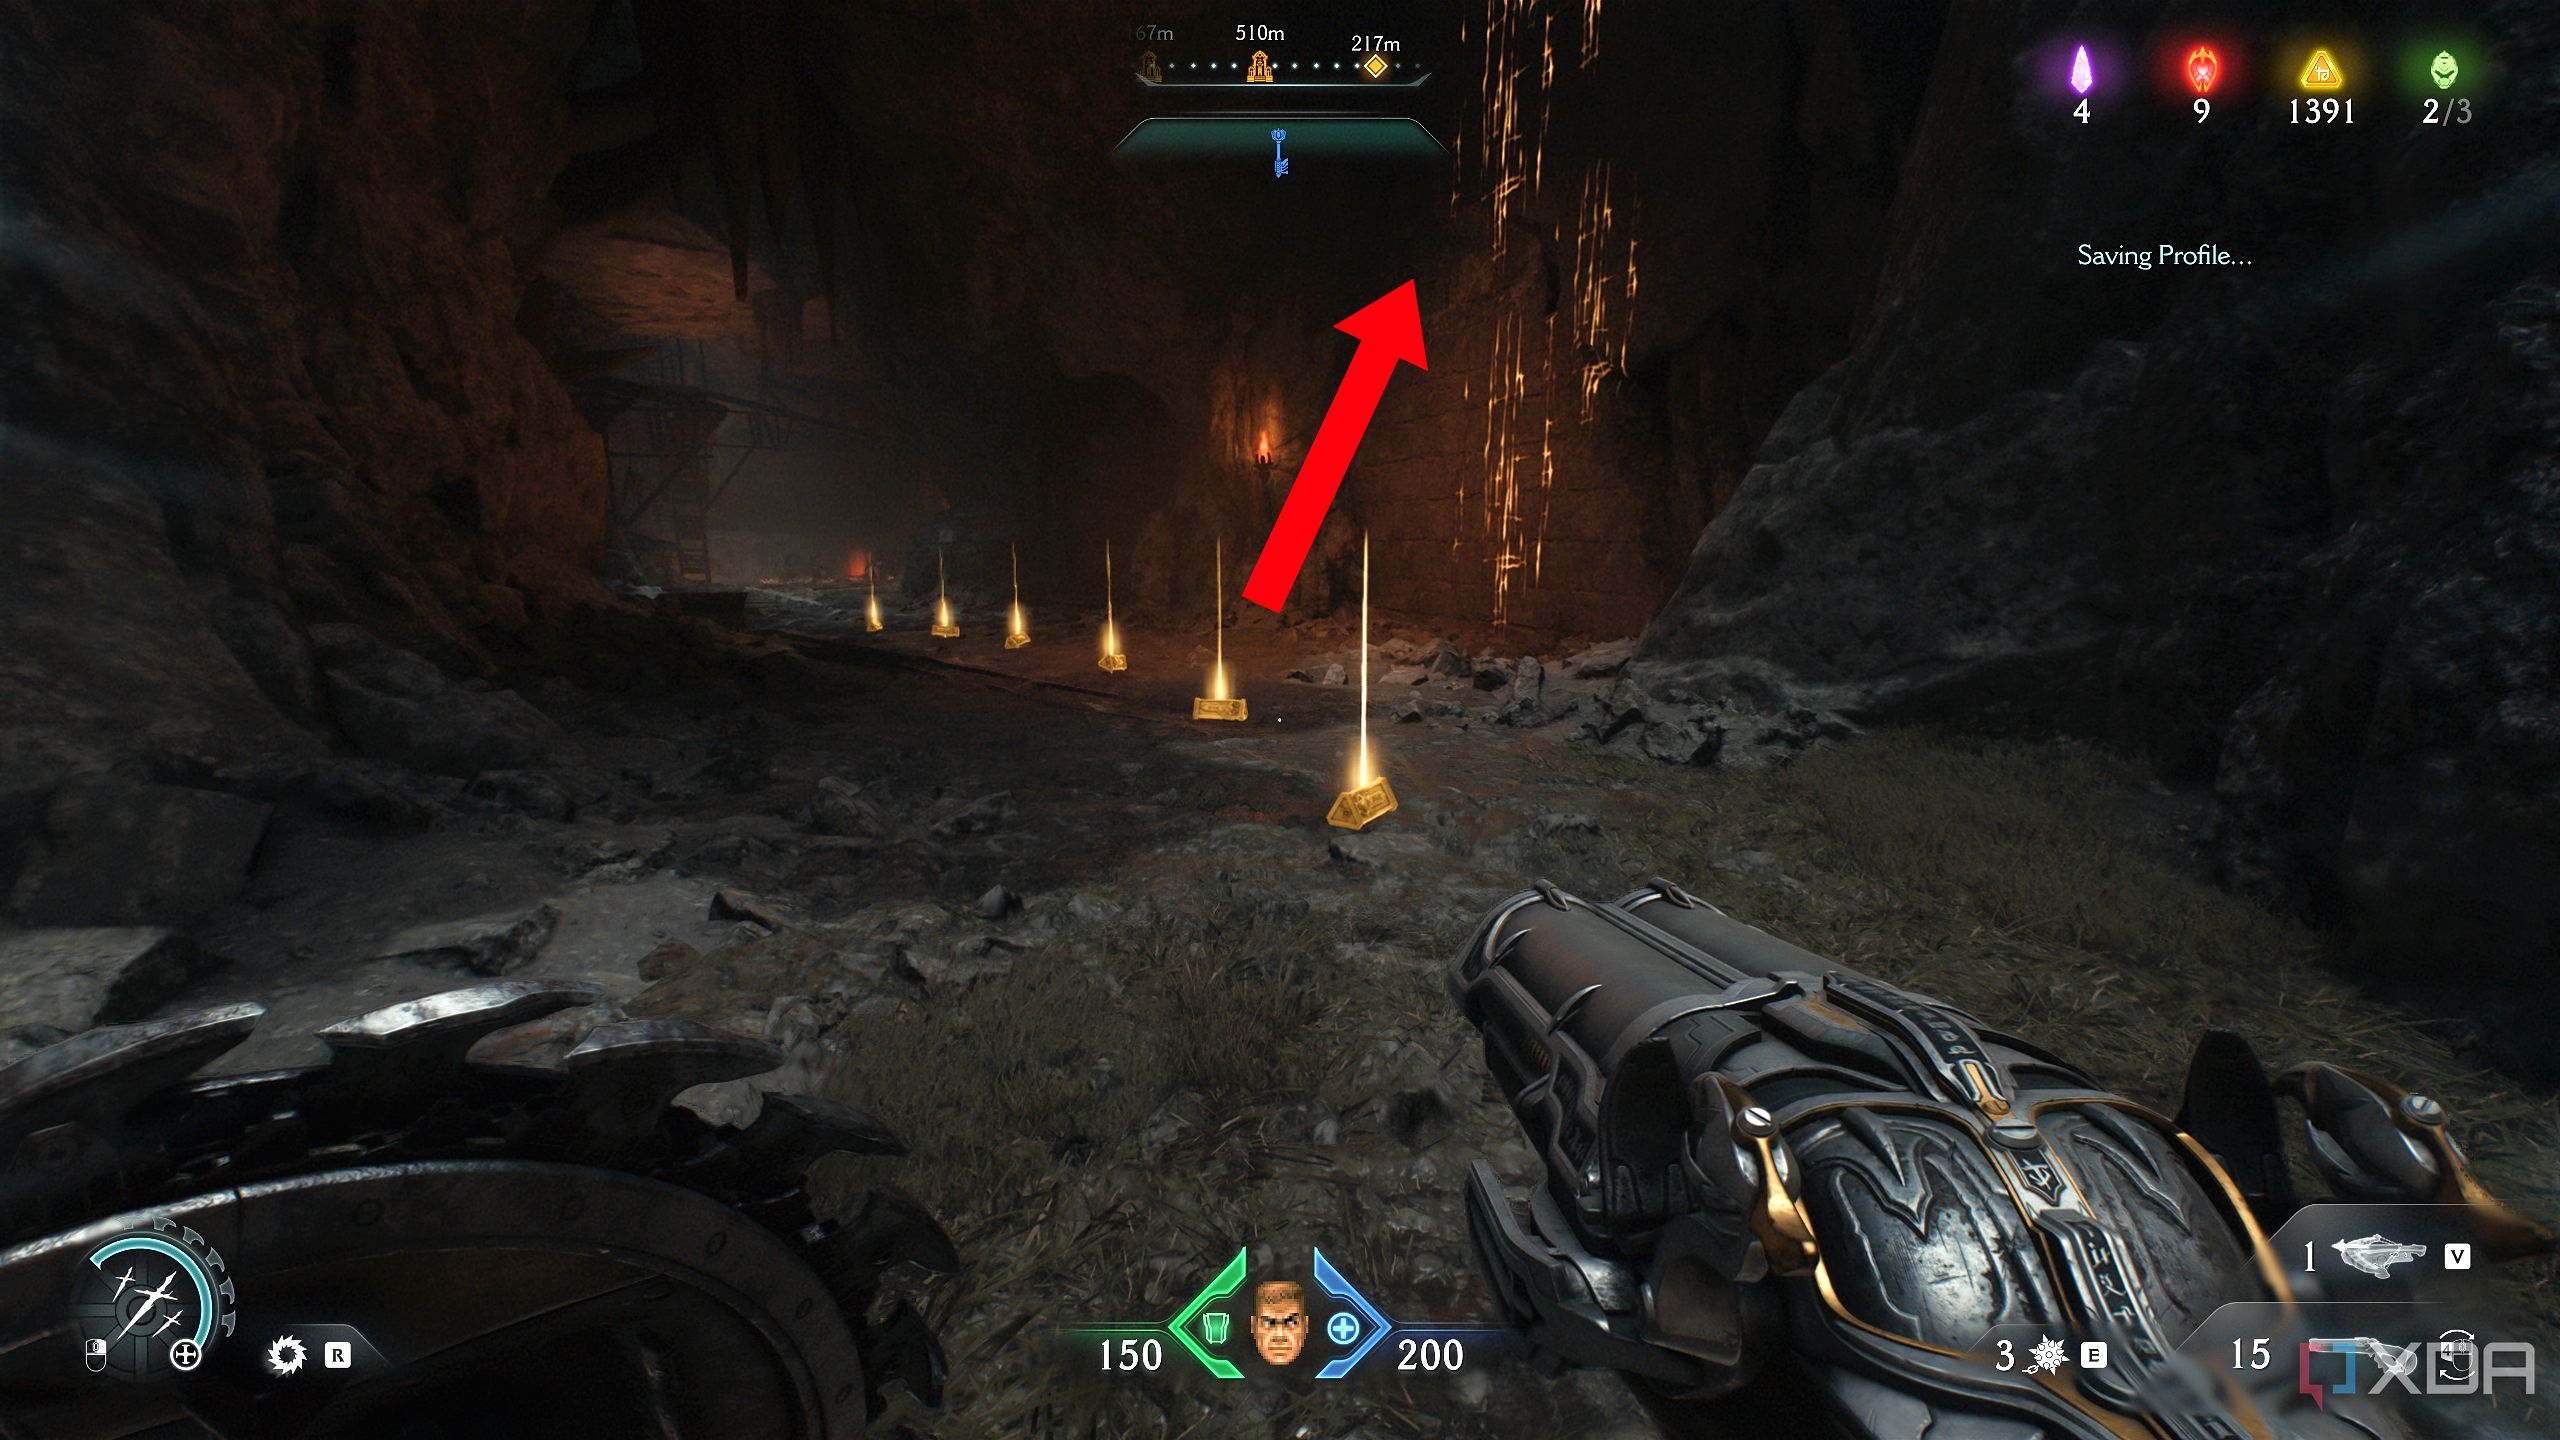
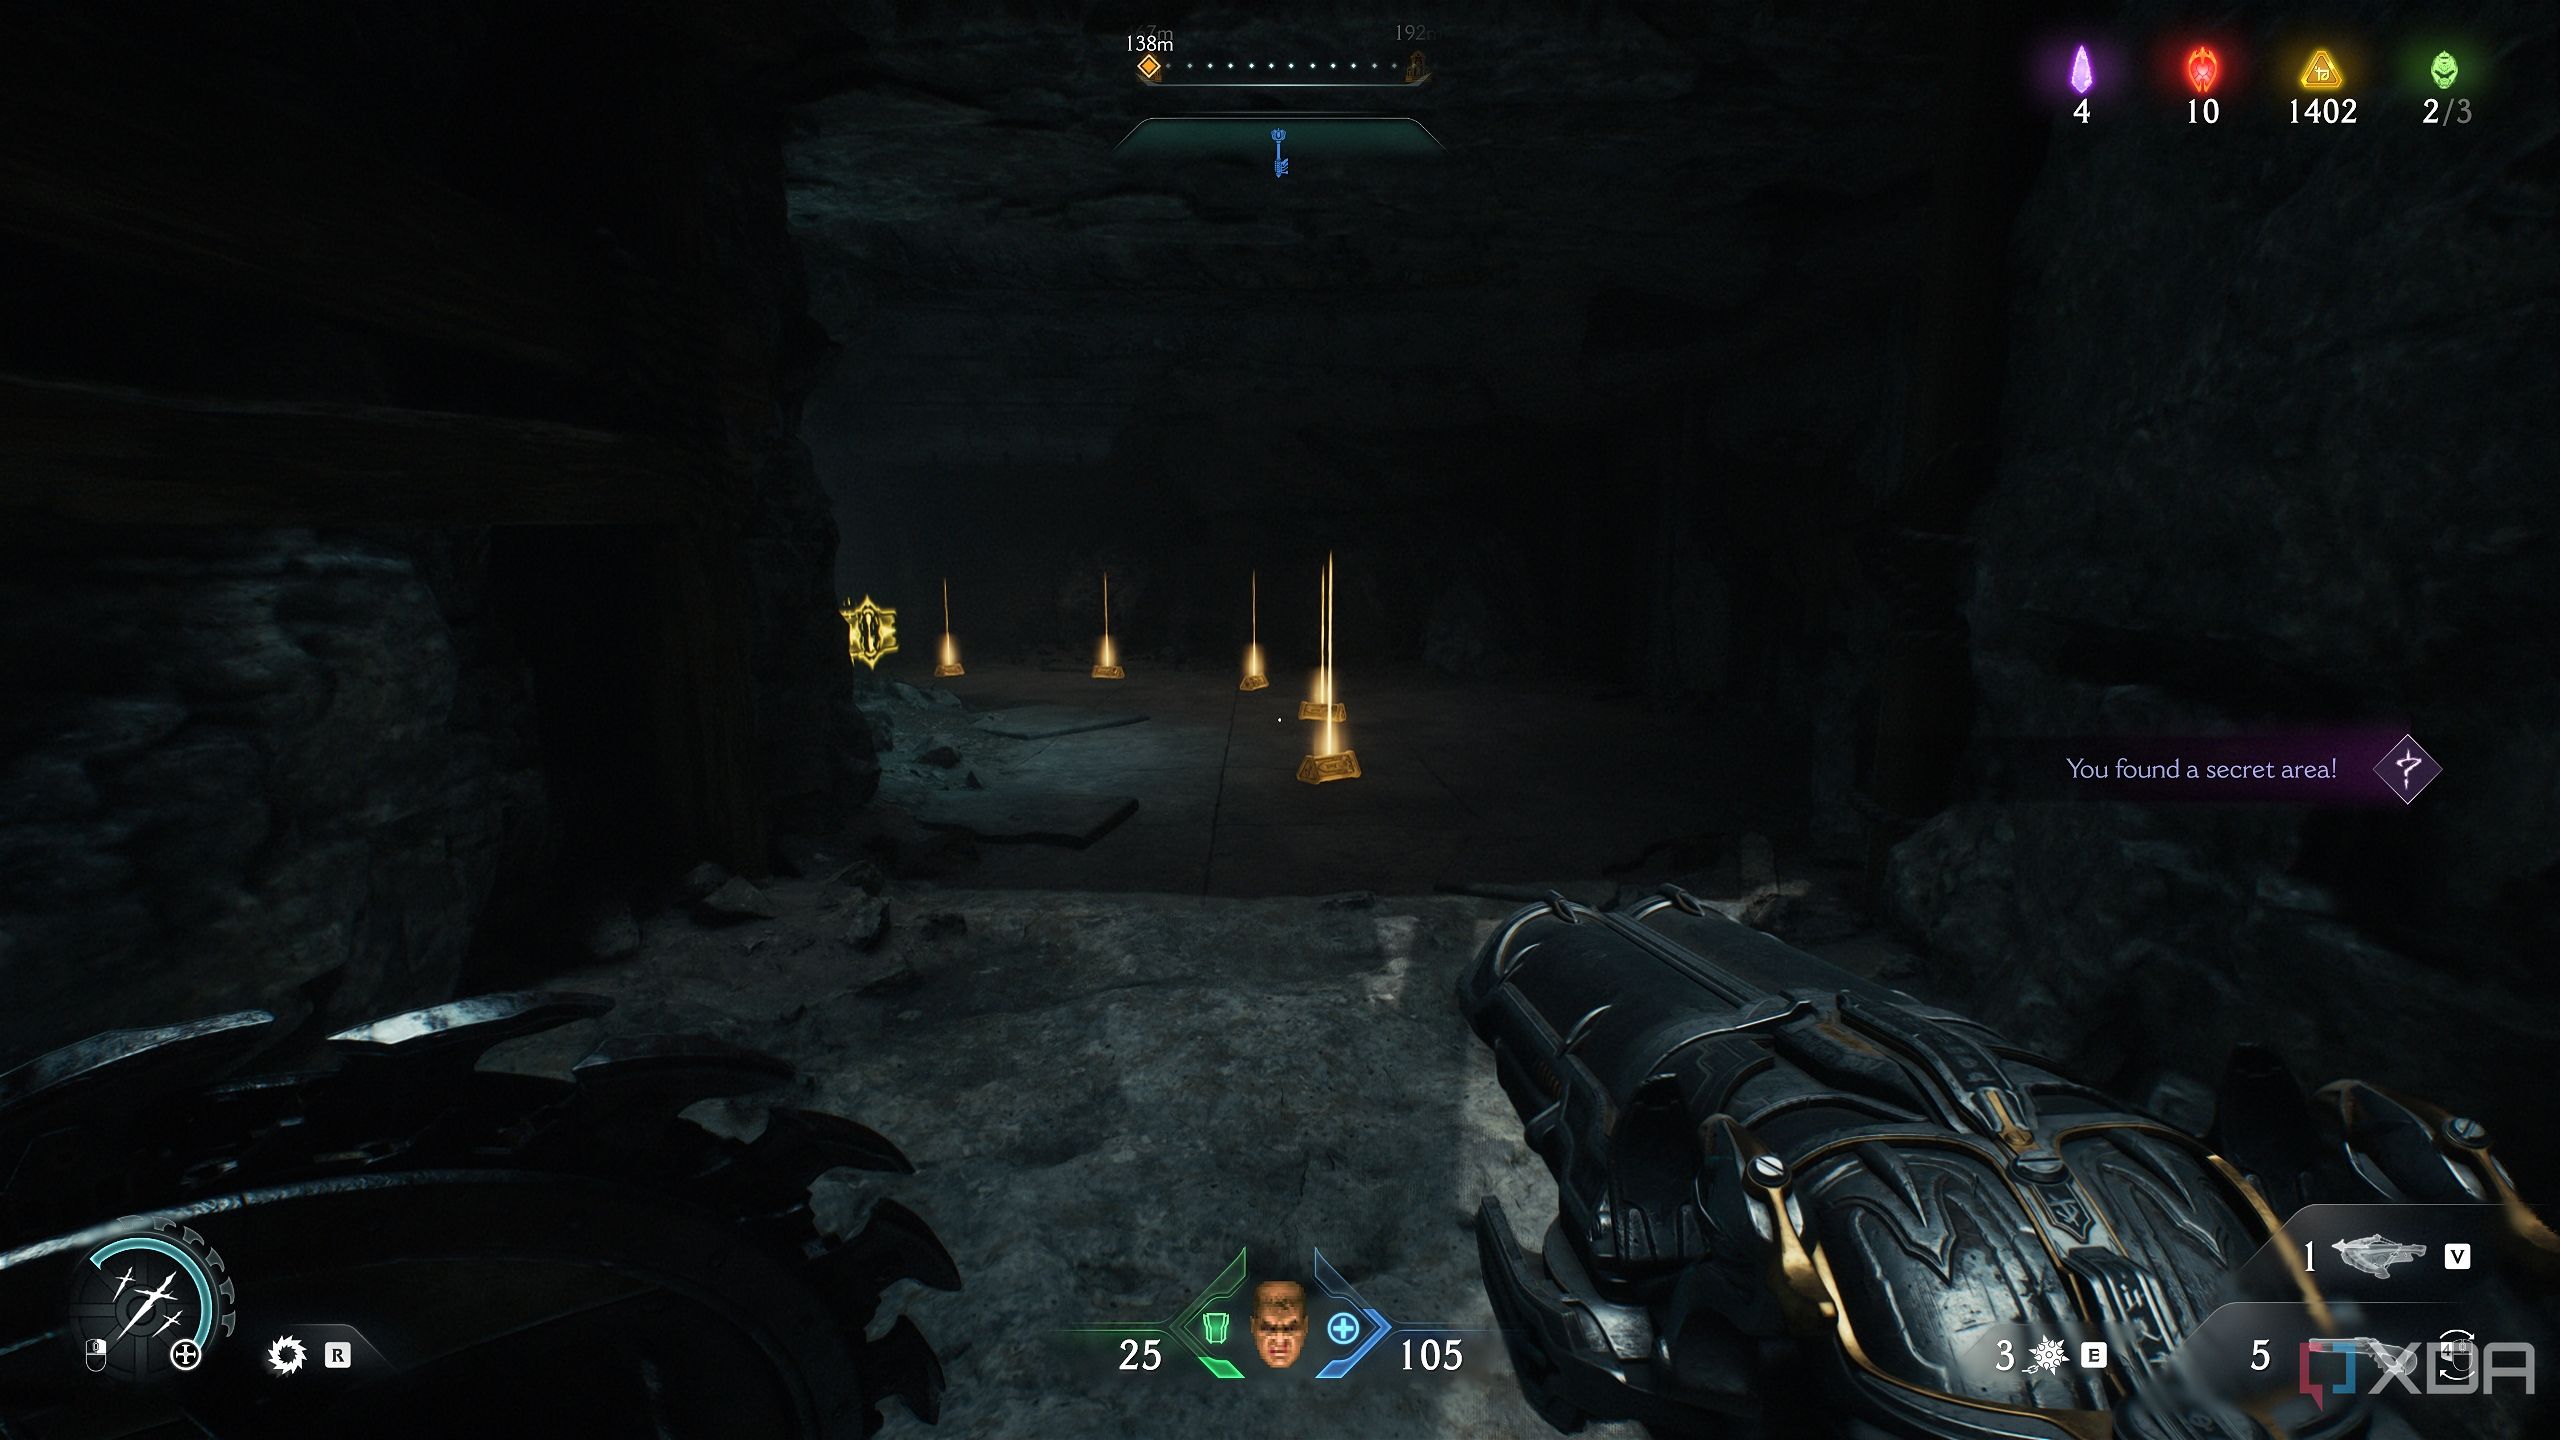
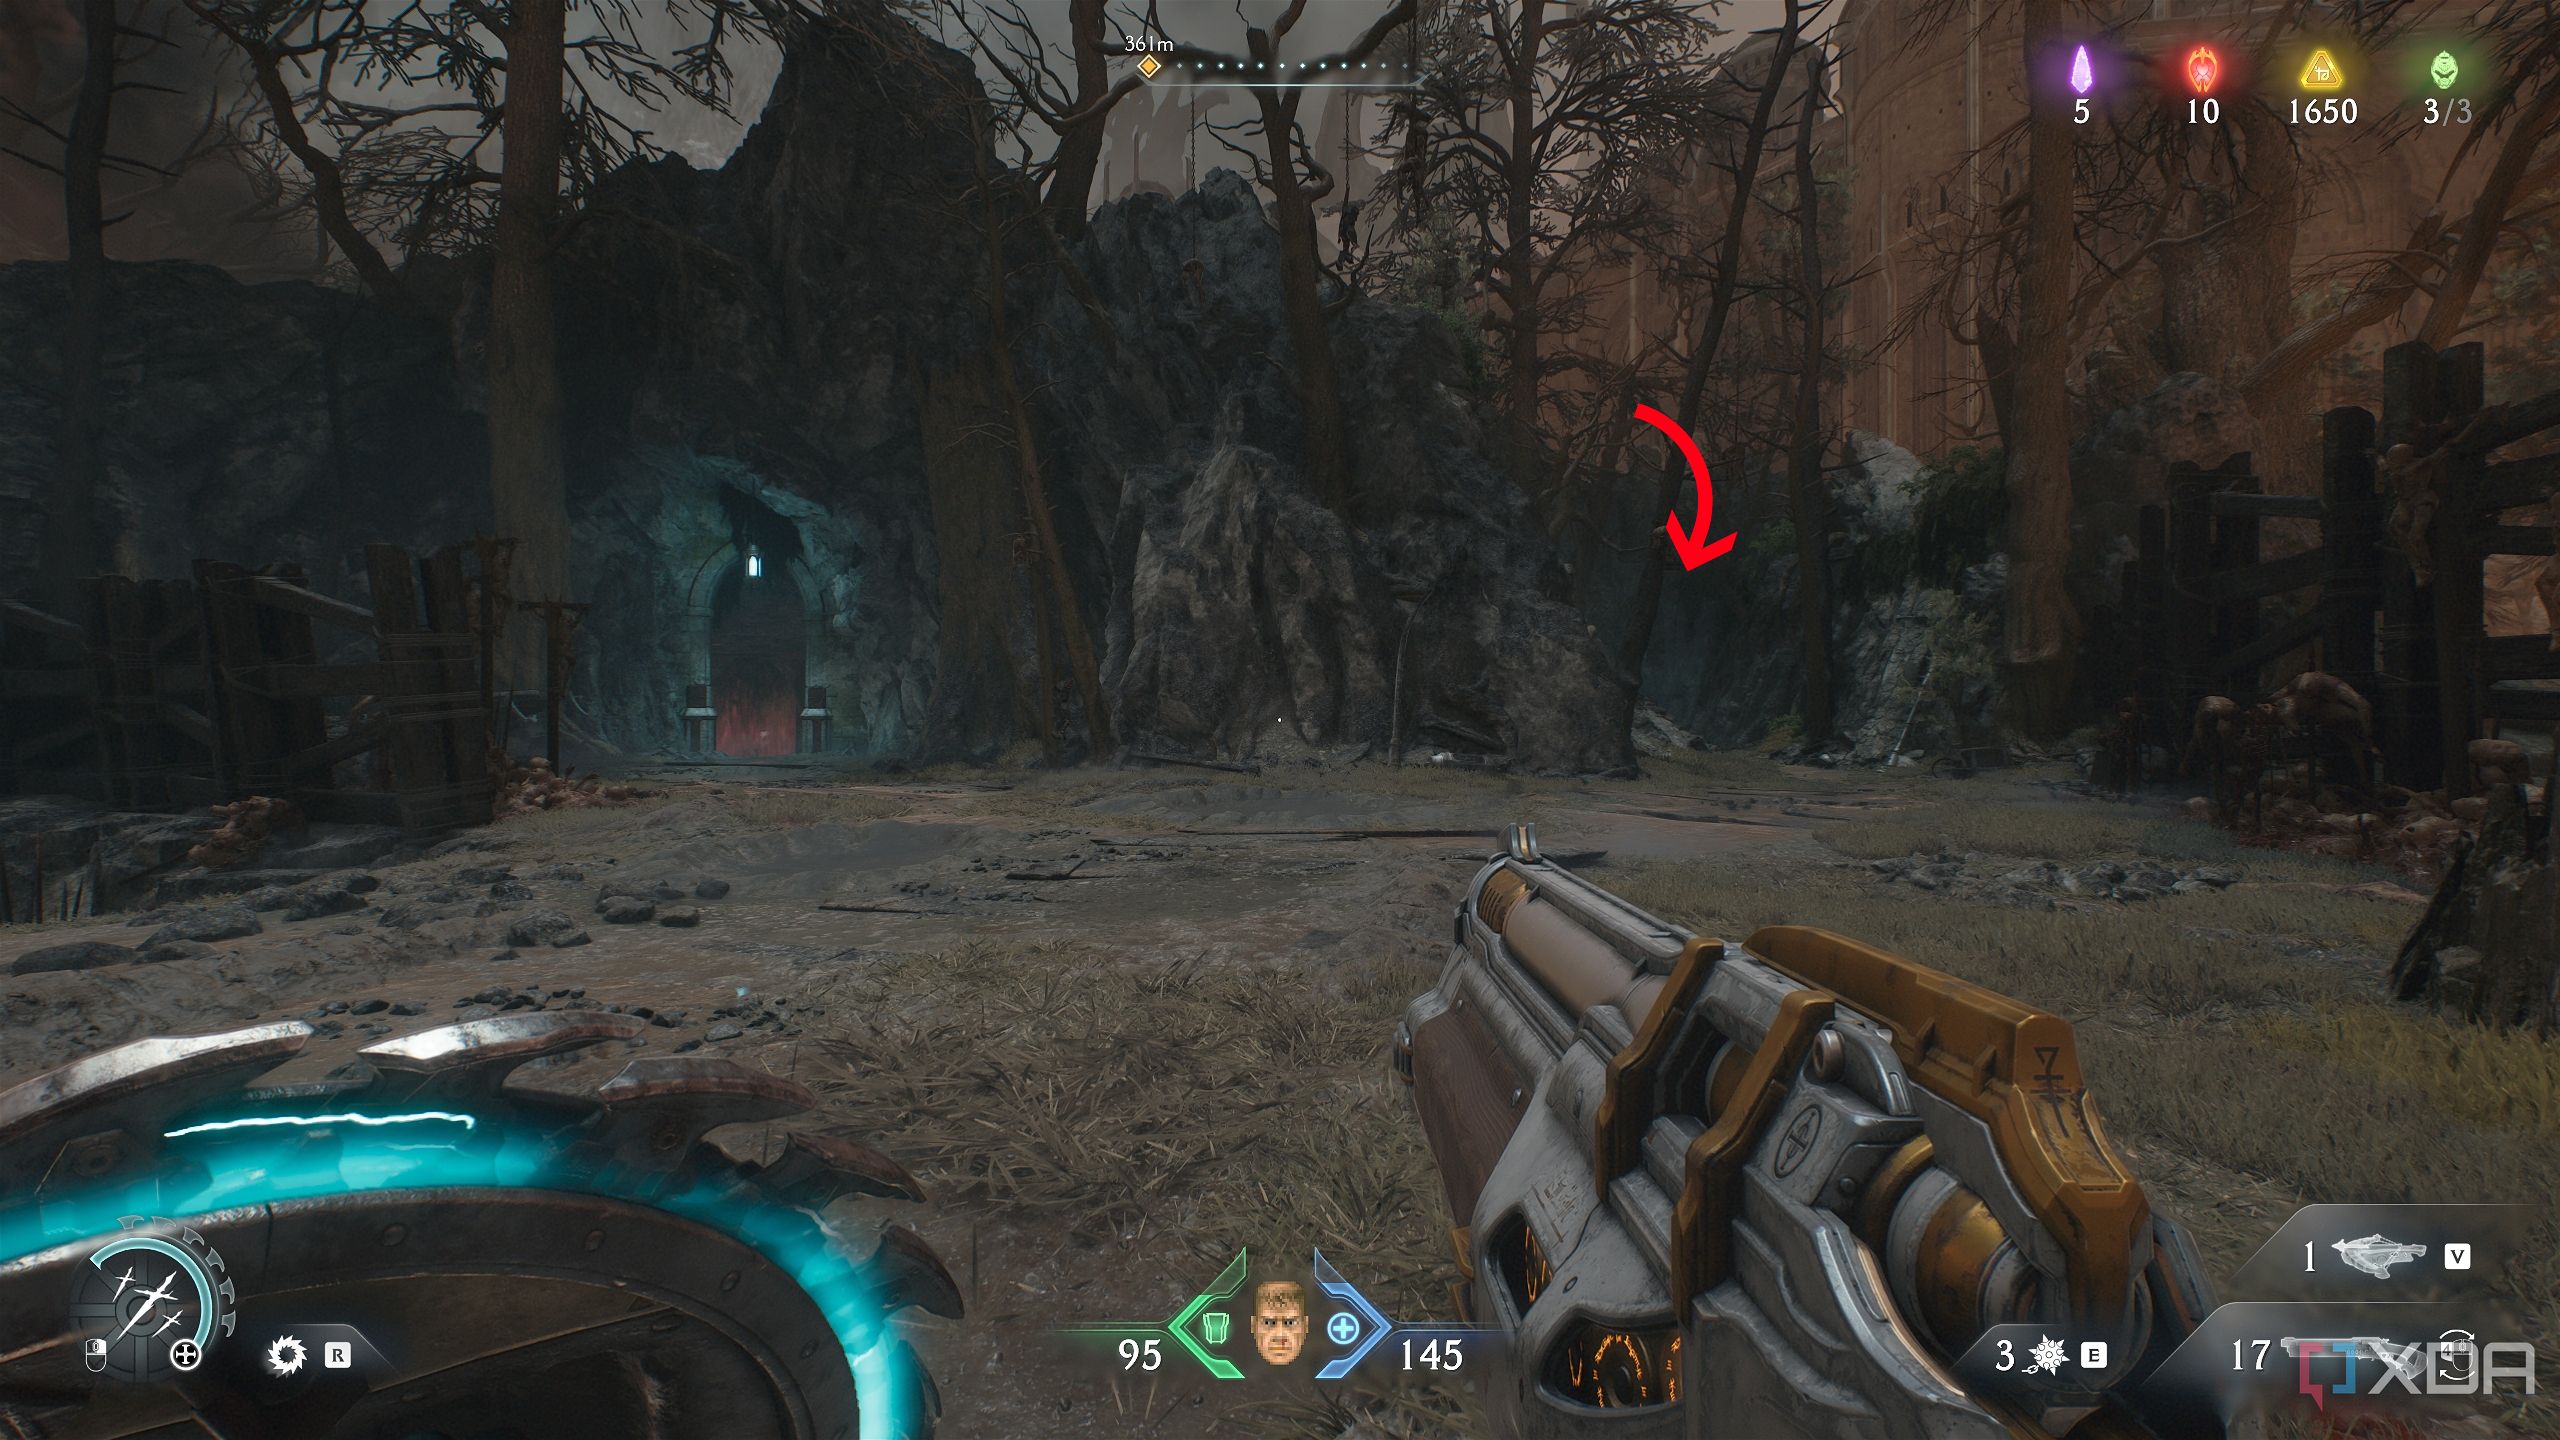
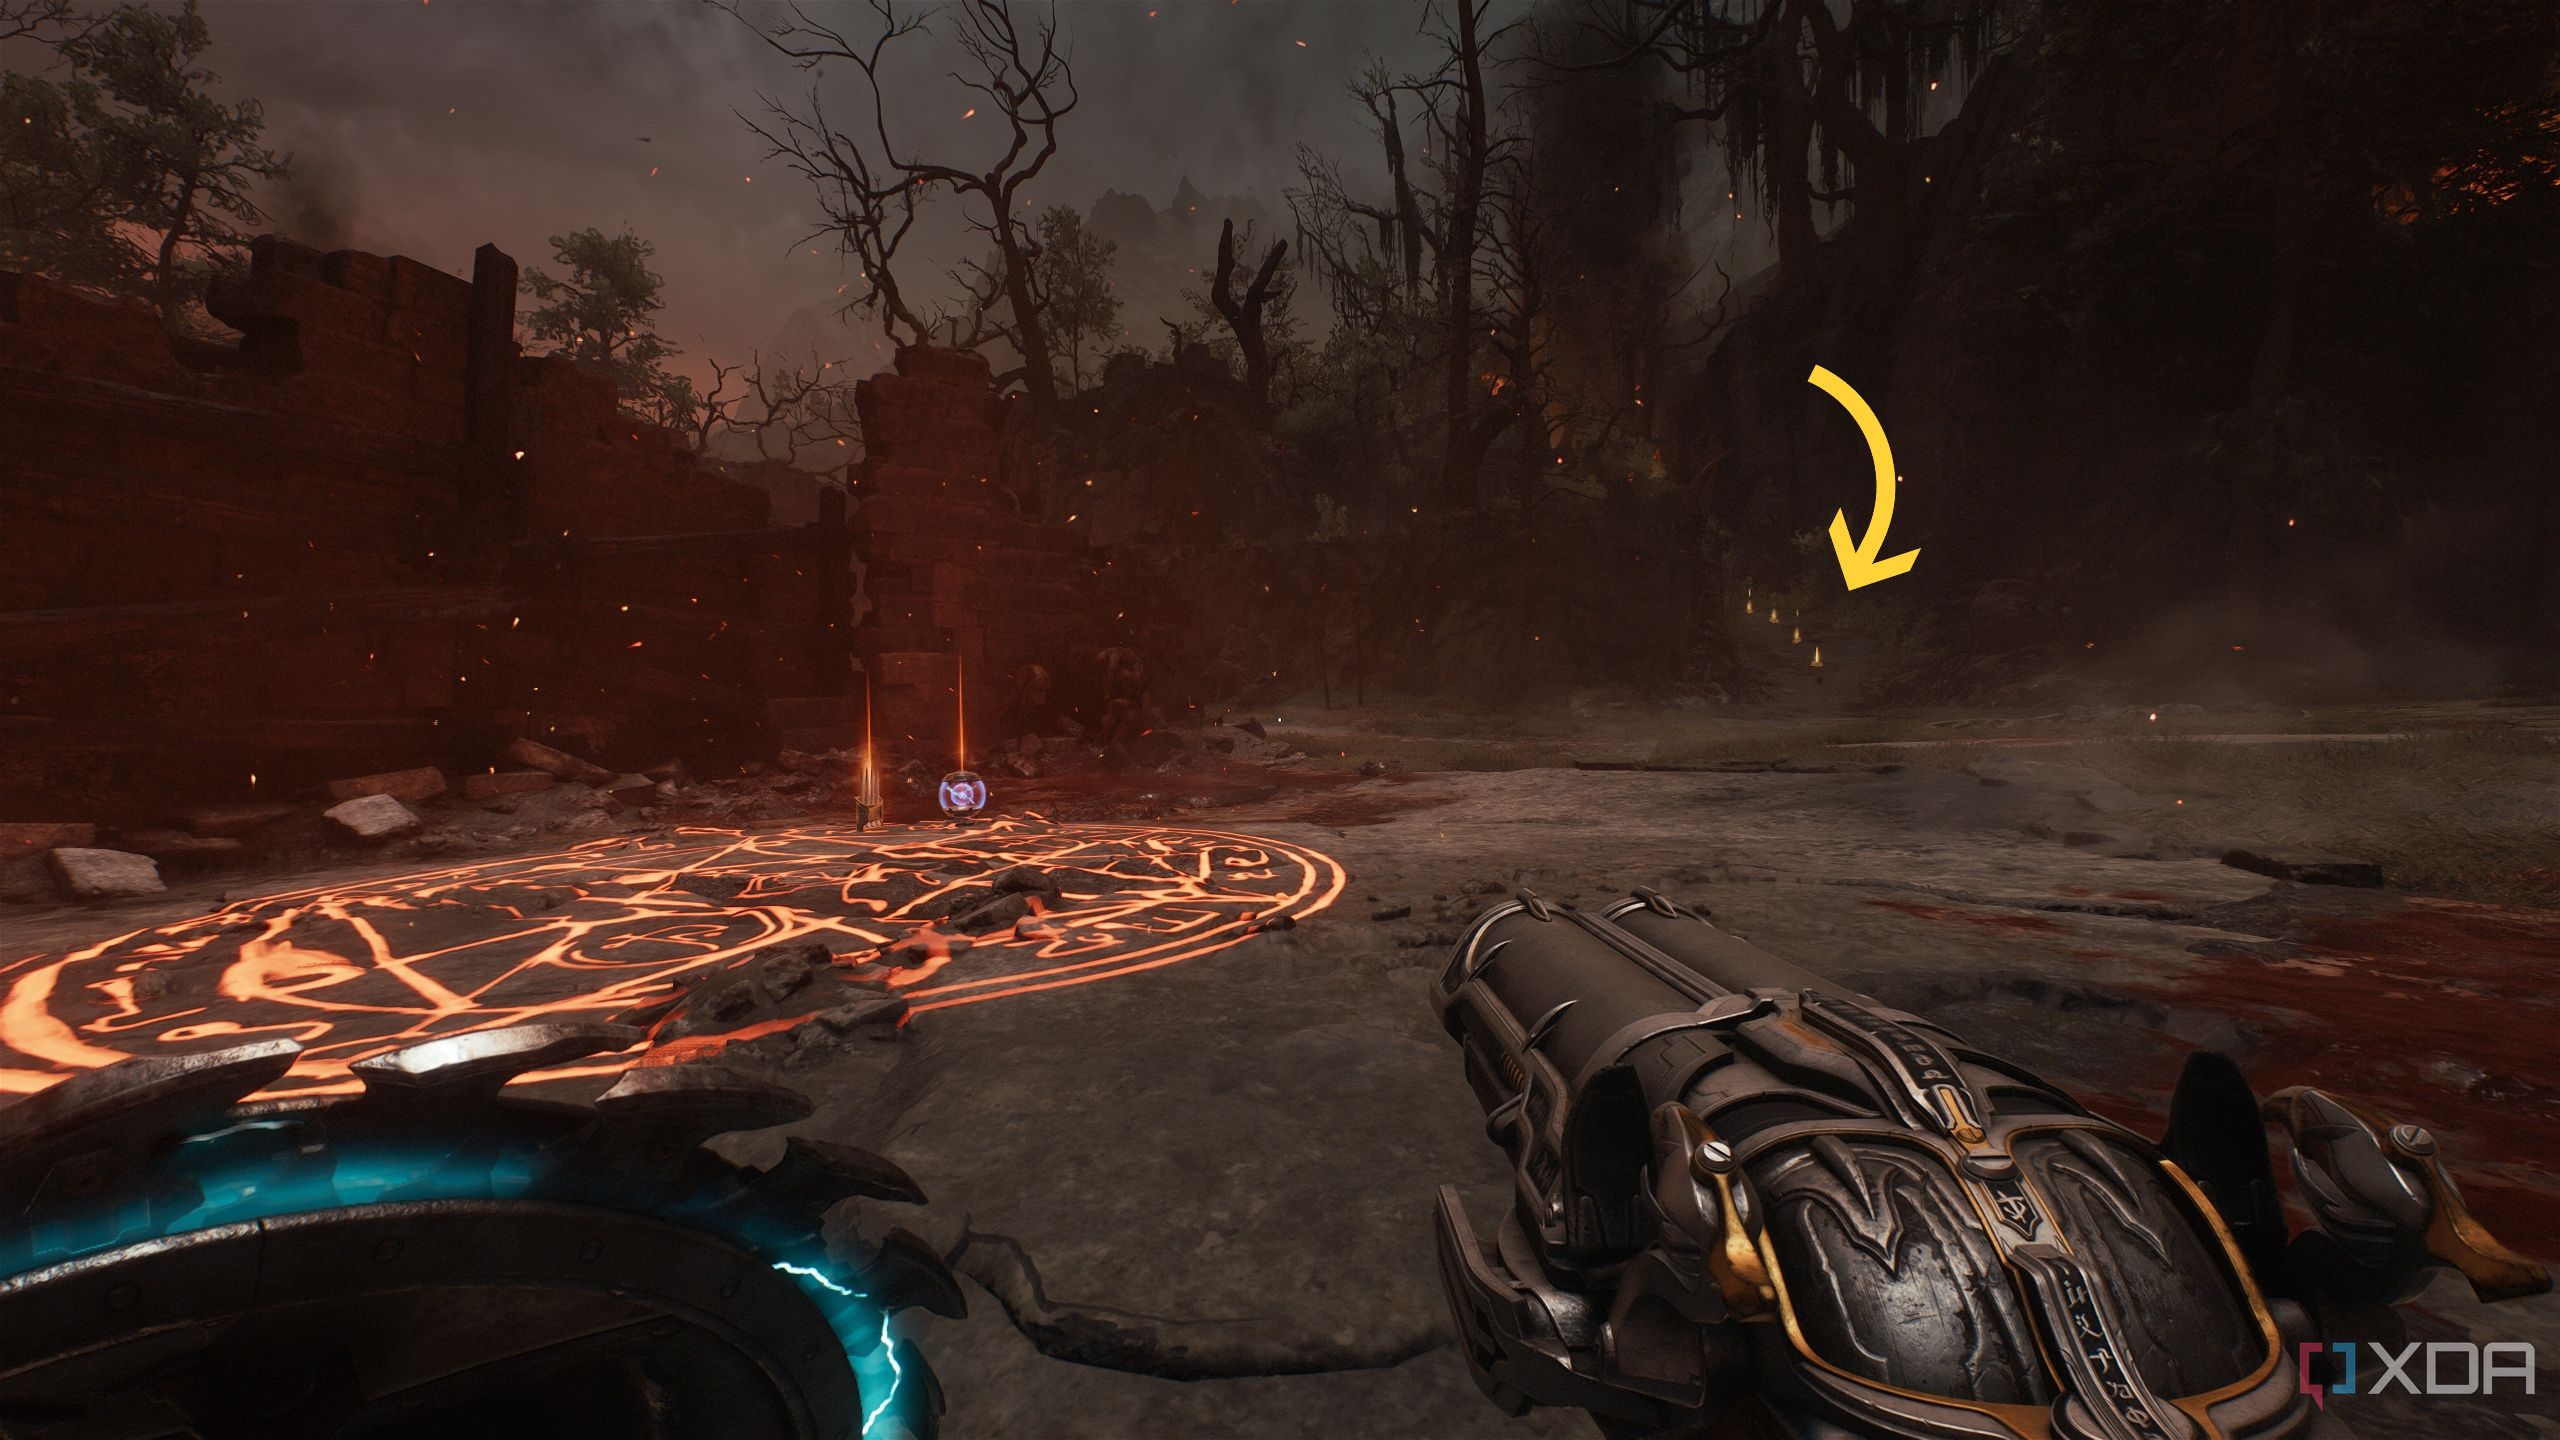
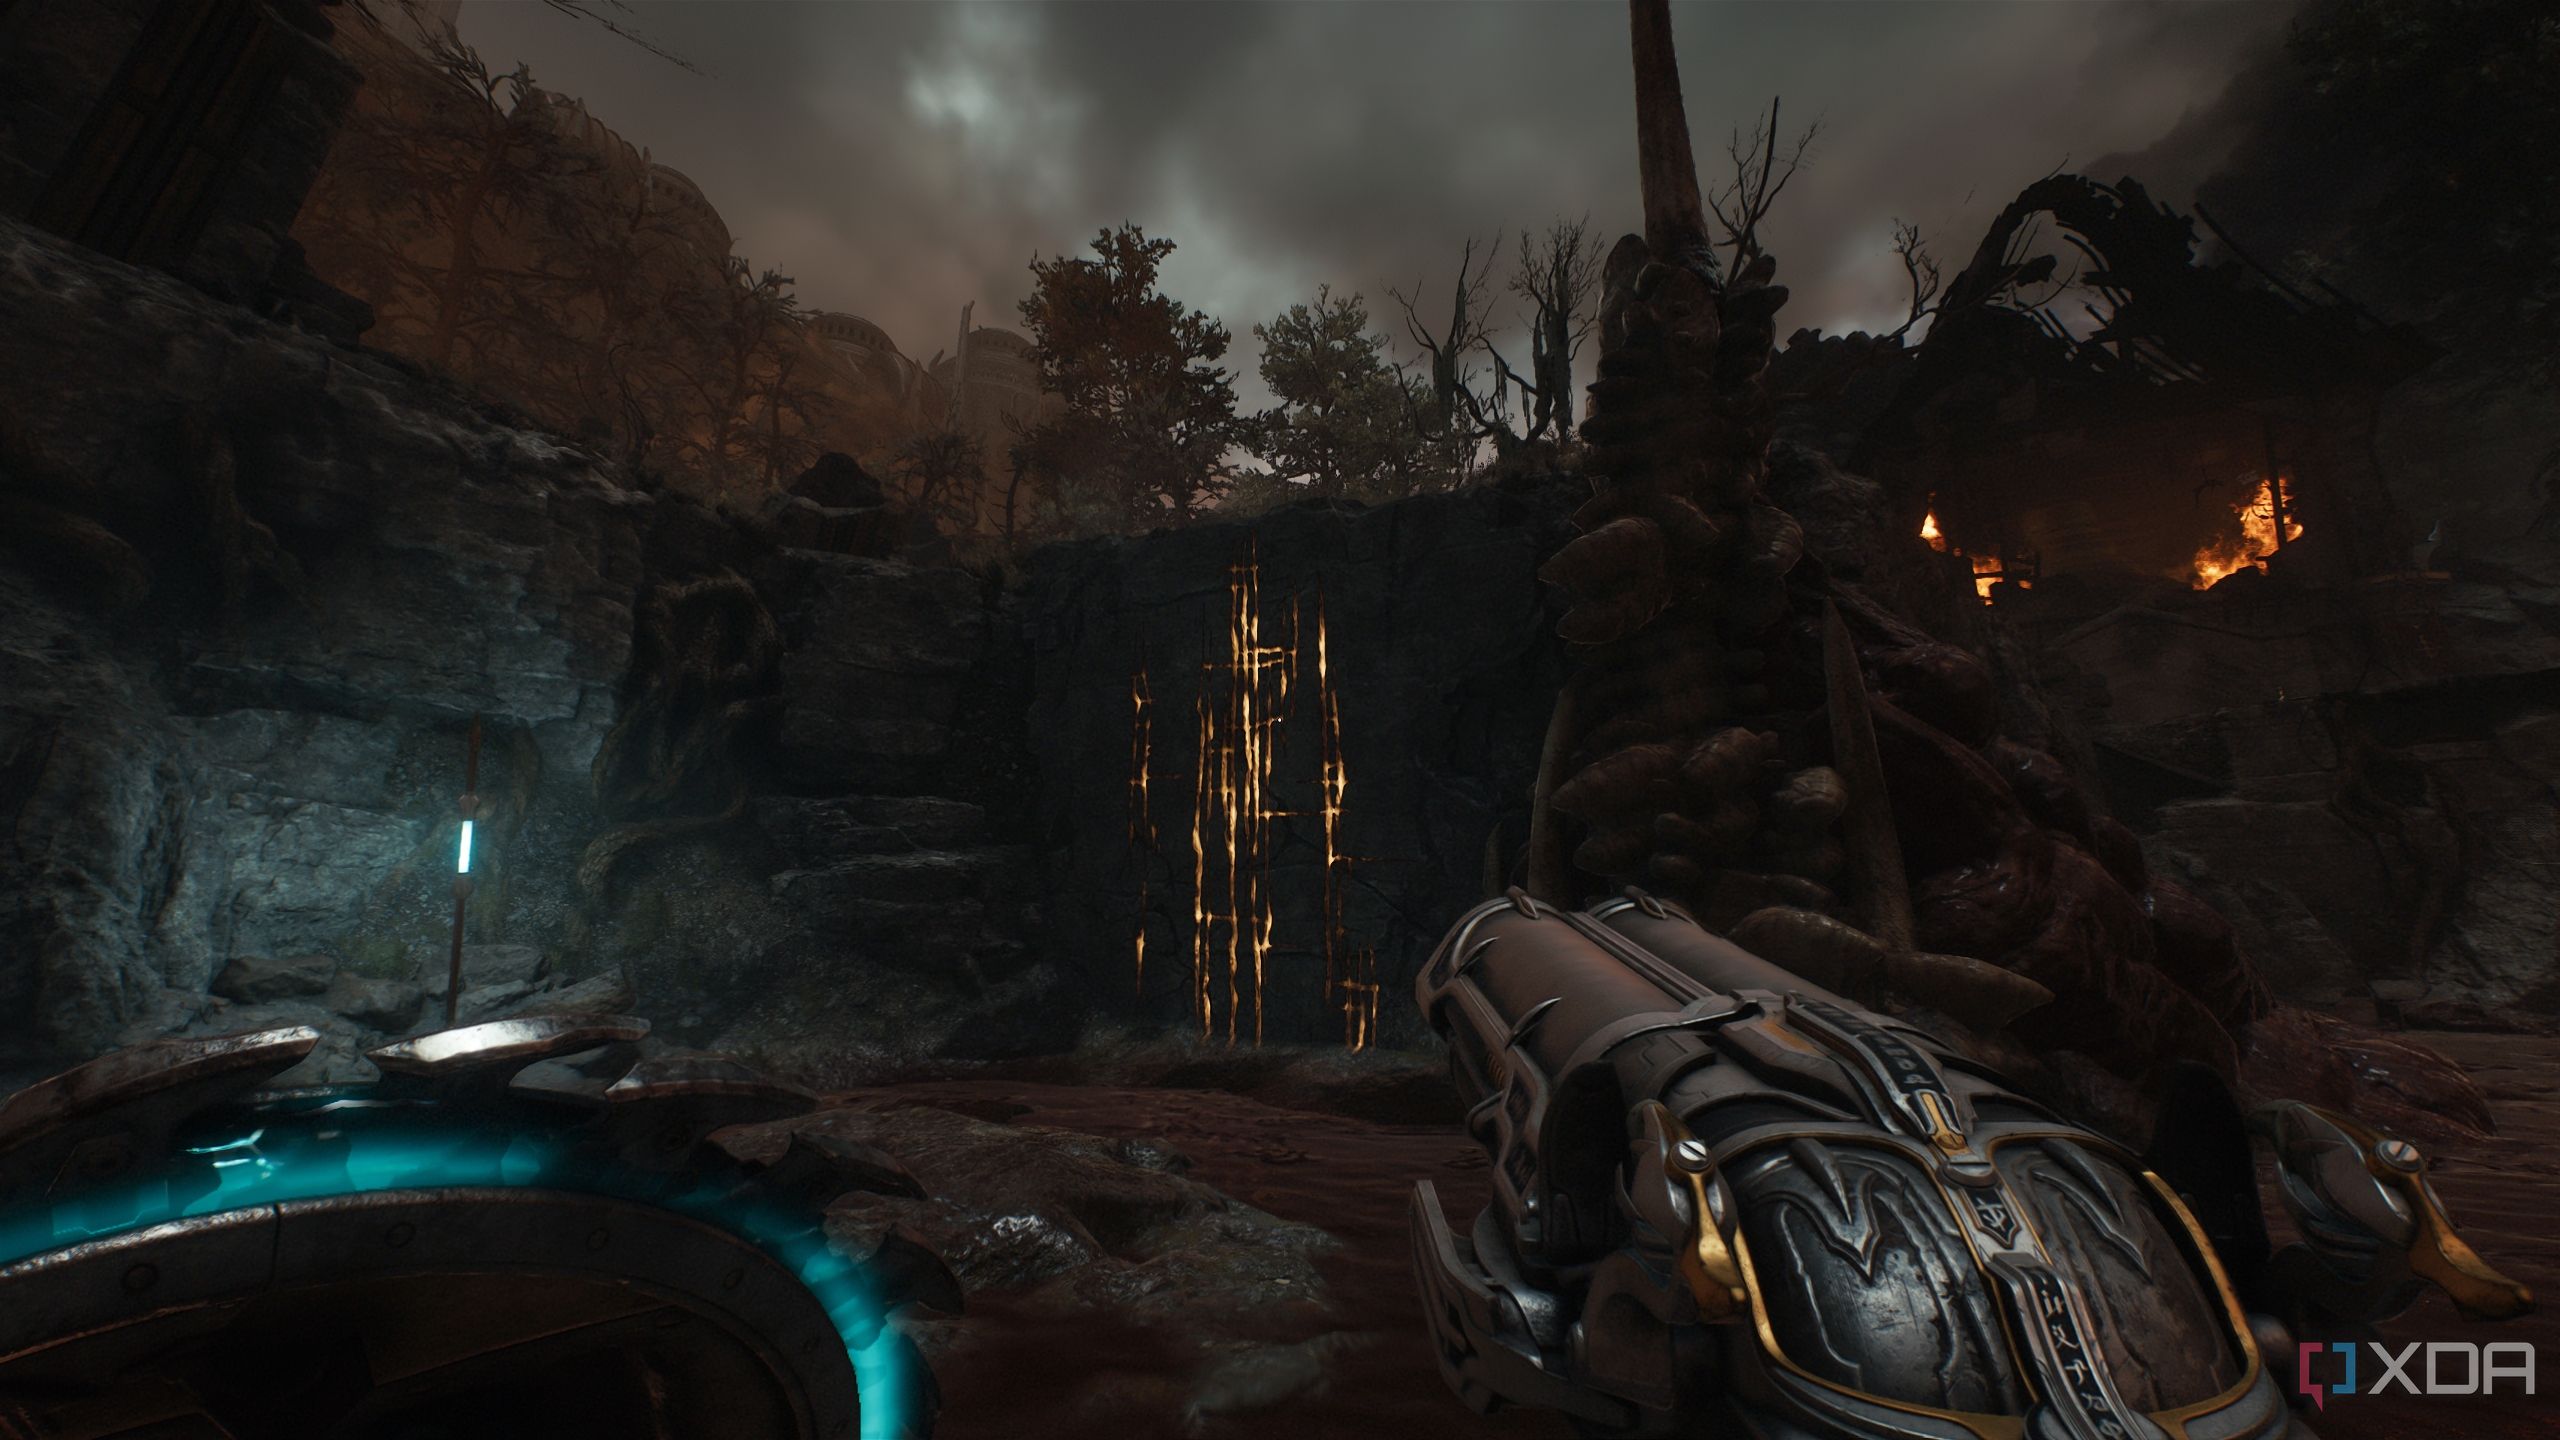
Head into the opening in the wall, and keep your eyes glued to the left side. After a few steps, you’ll see a wooden wall with a Shield symbol.
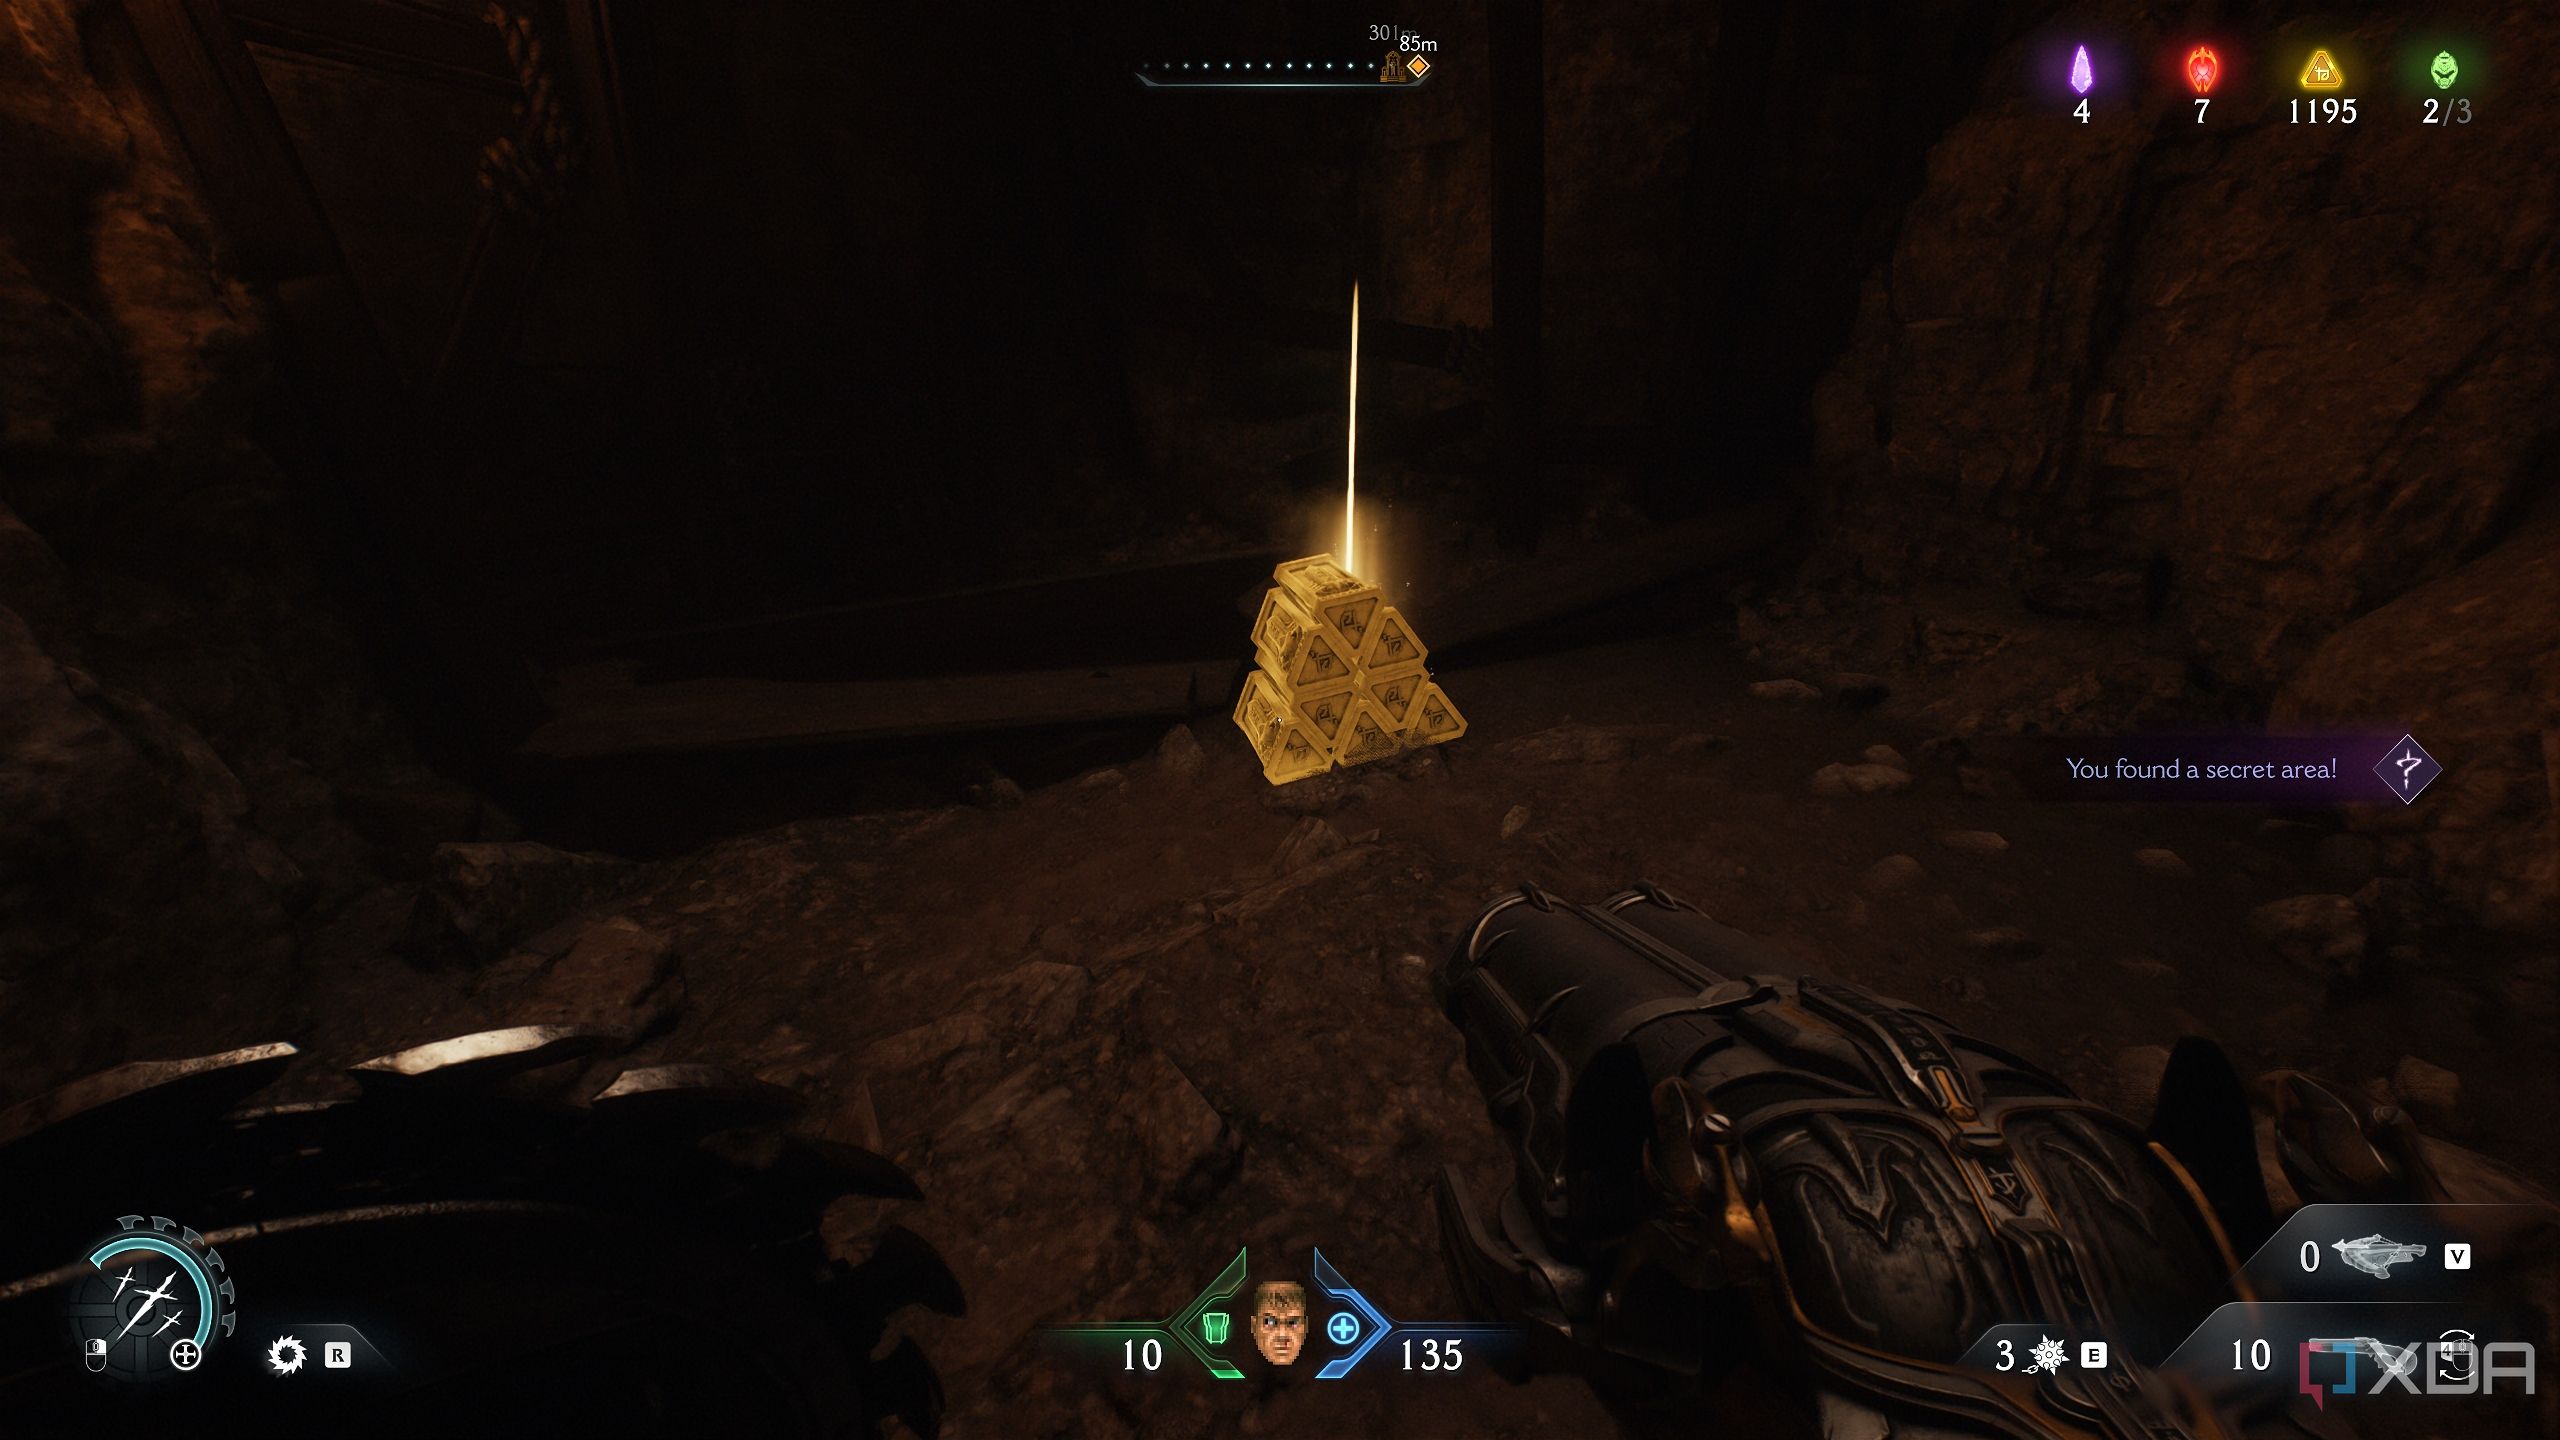
Bash through it, and you’ll unlock secret area 1 and collect the gold stack inside.
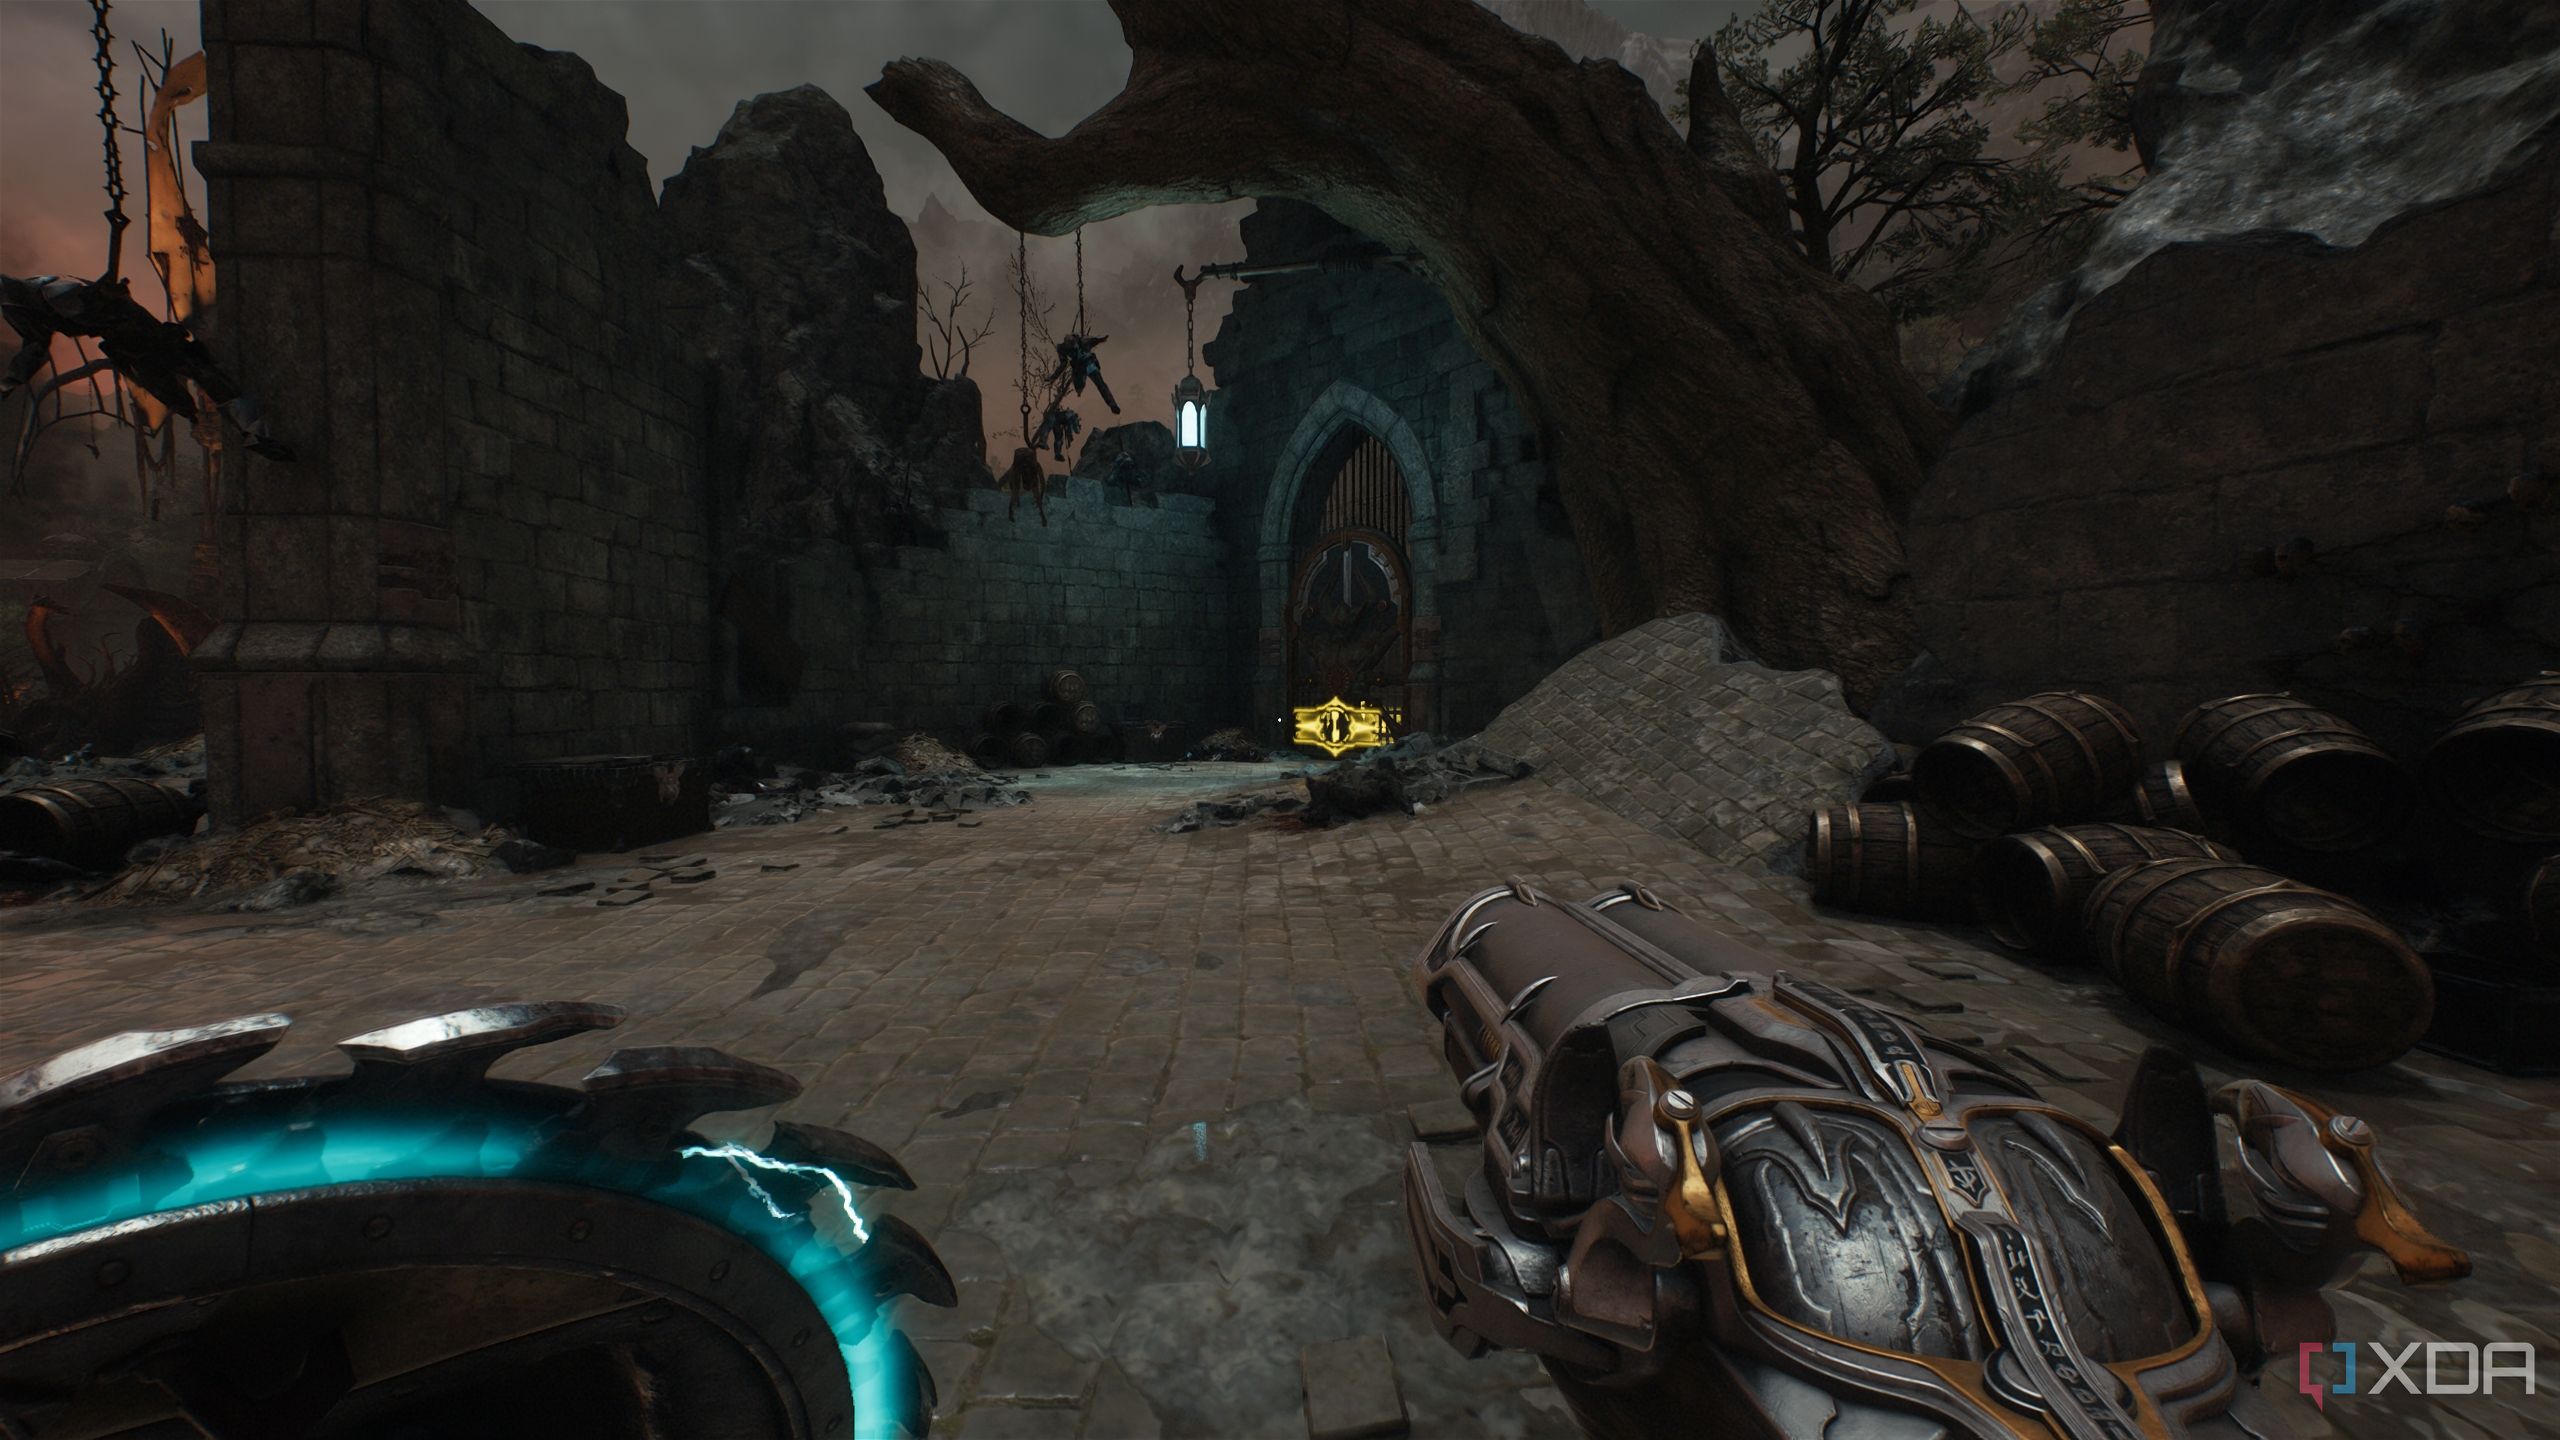
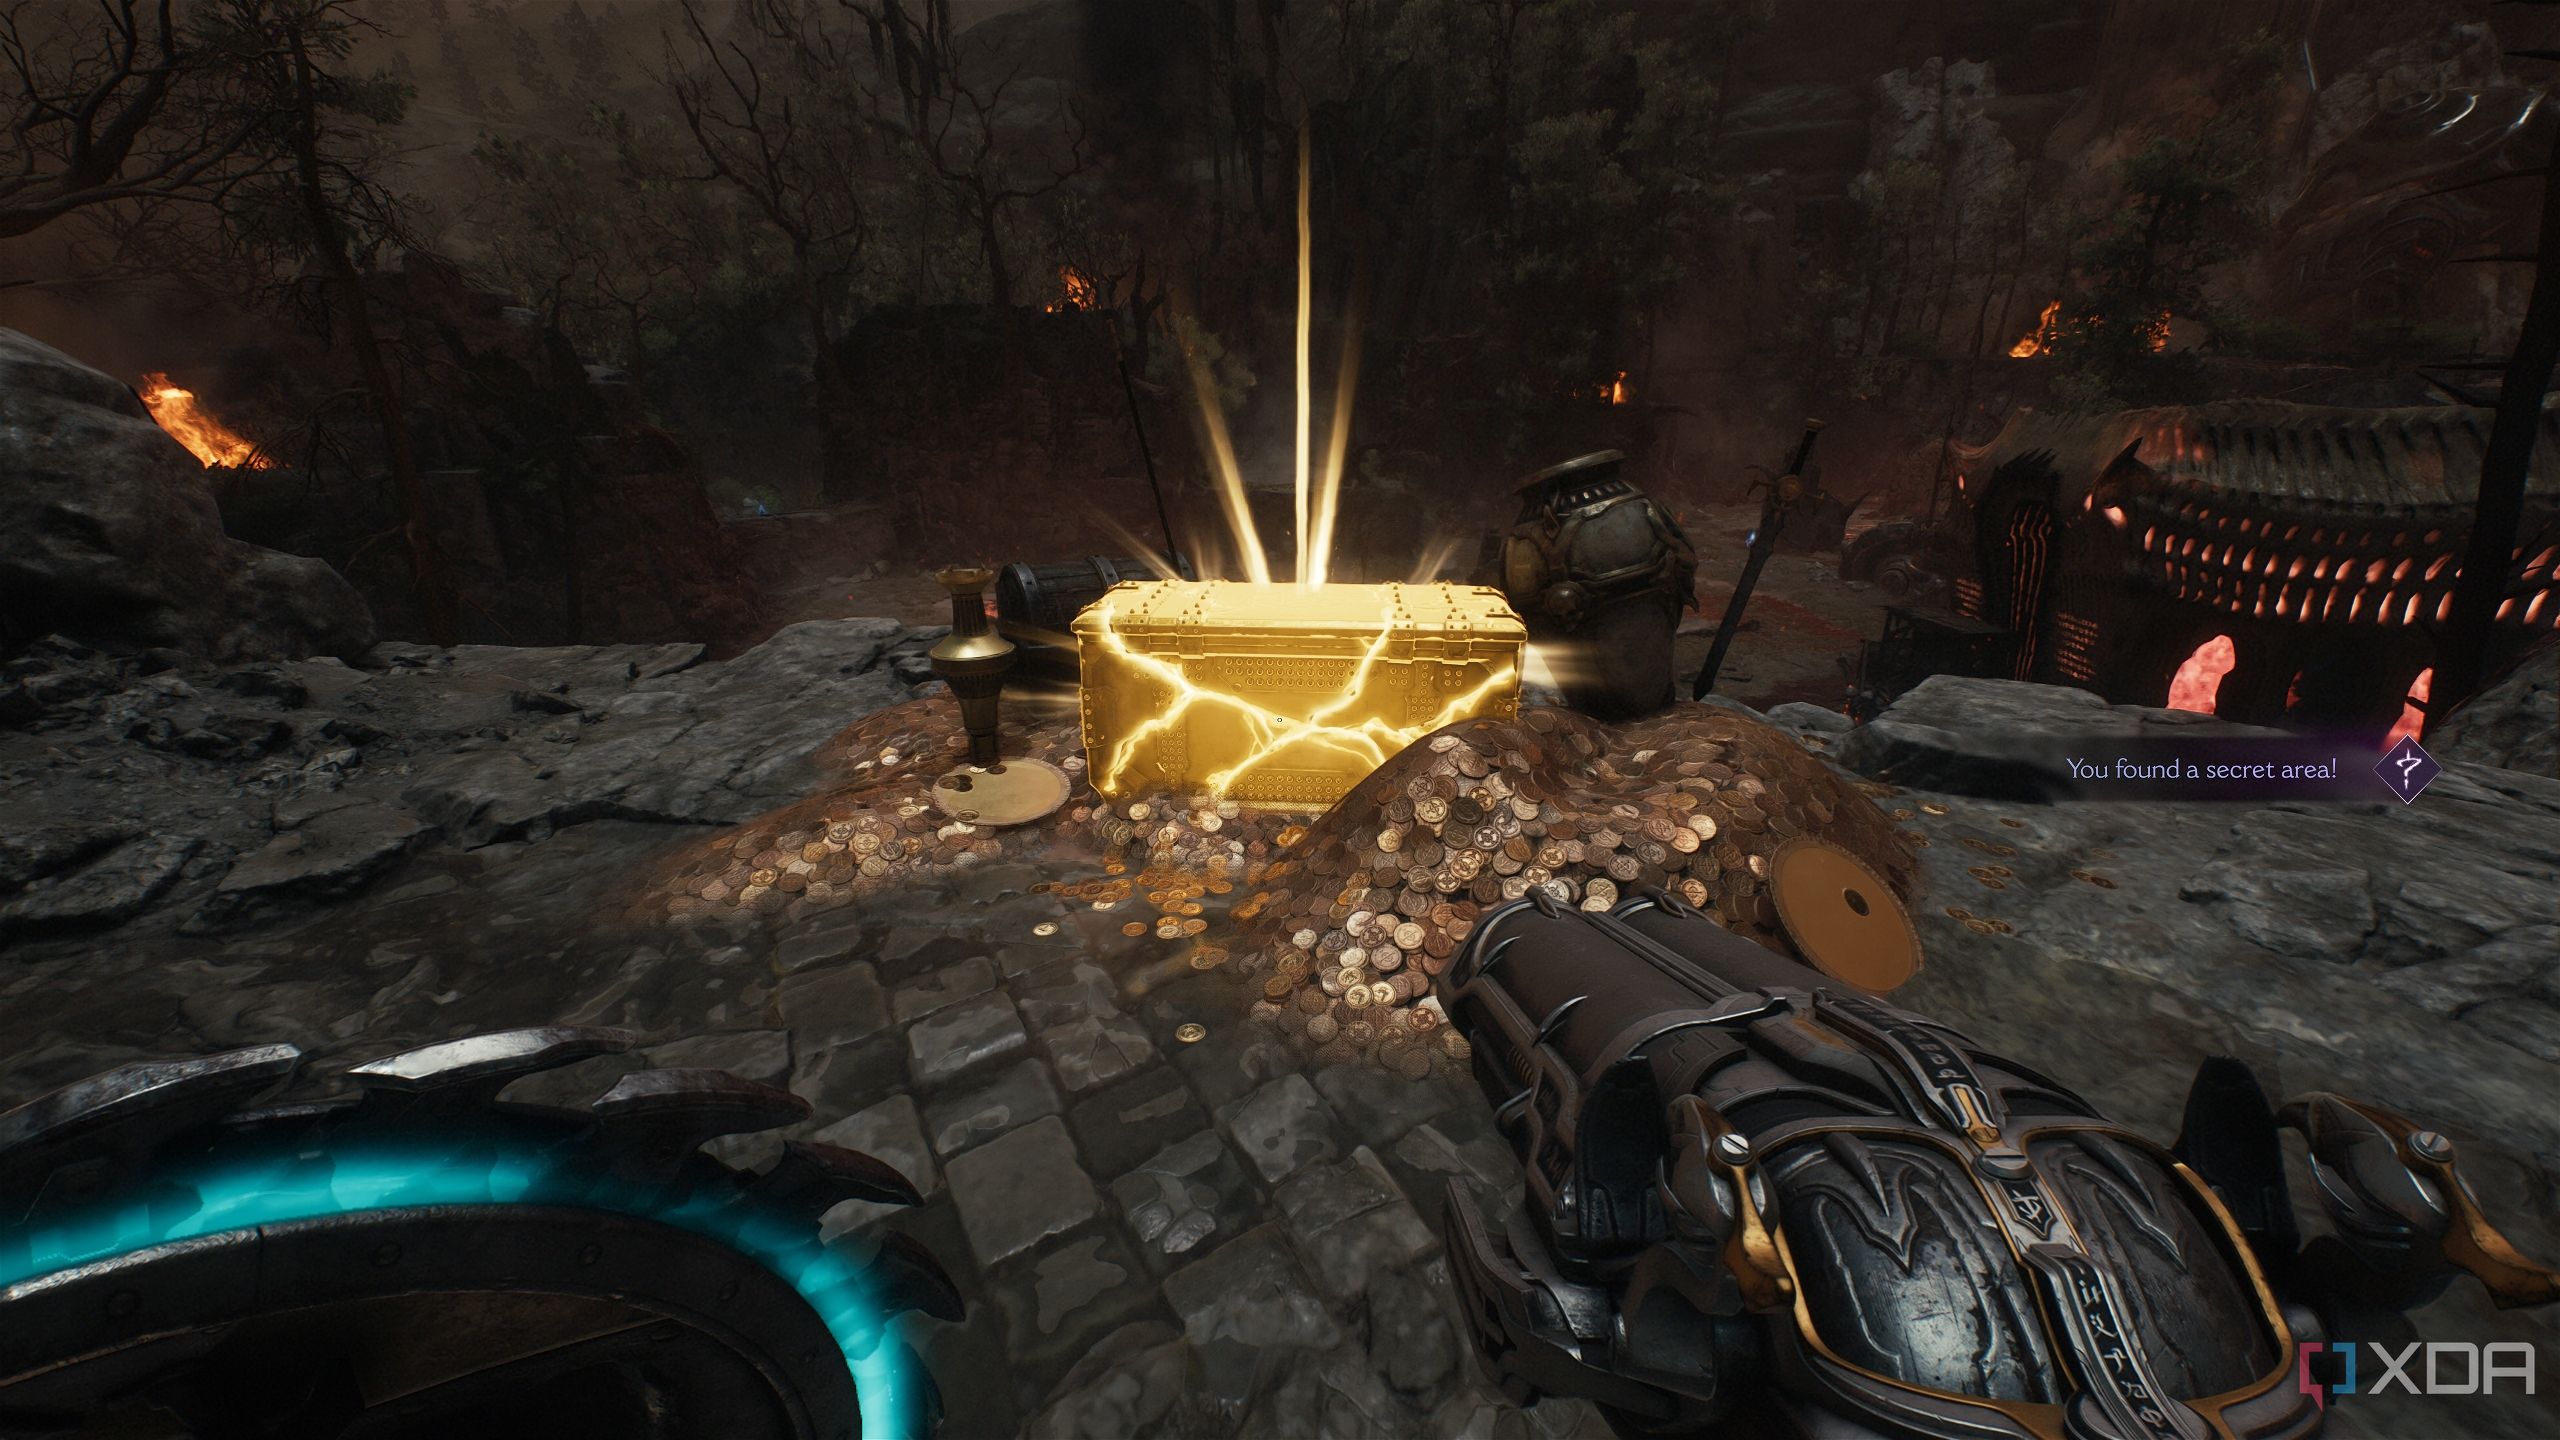
Gold chest and a gore portal
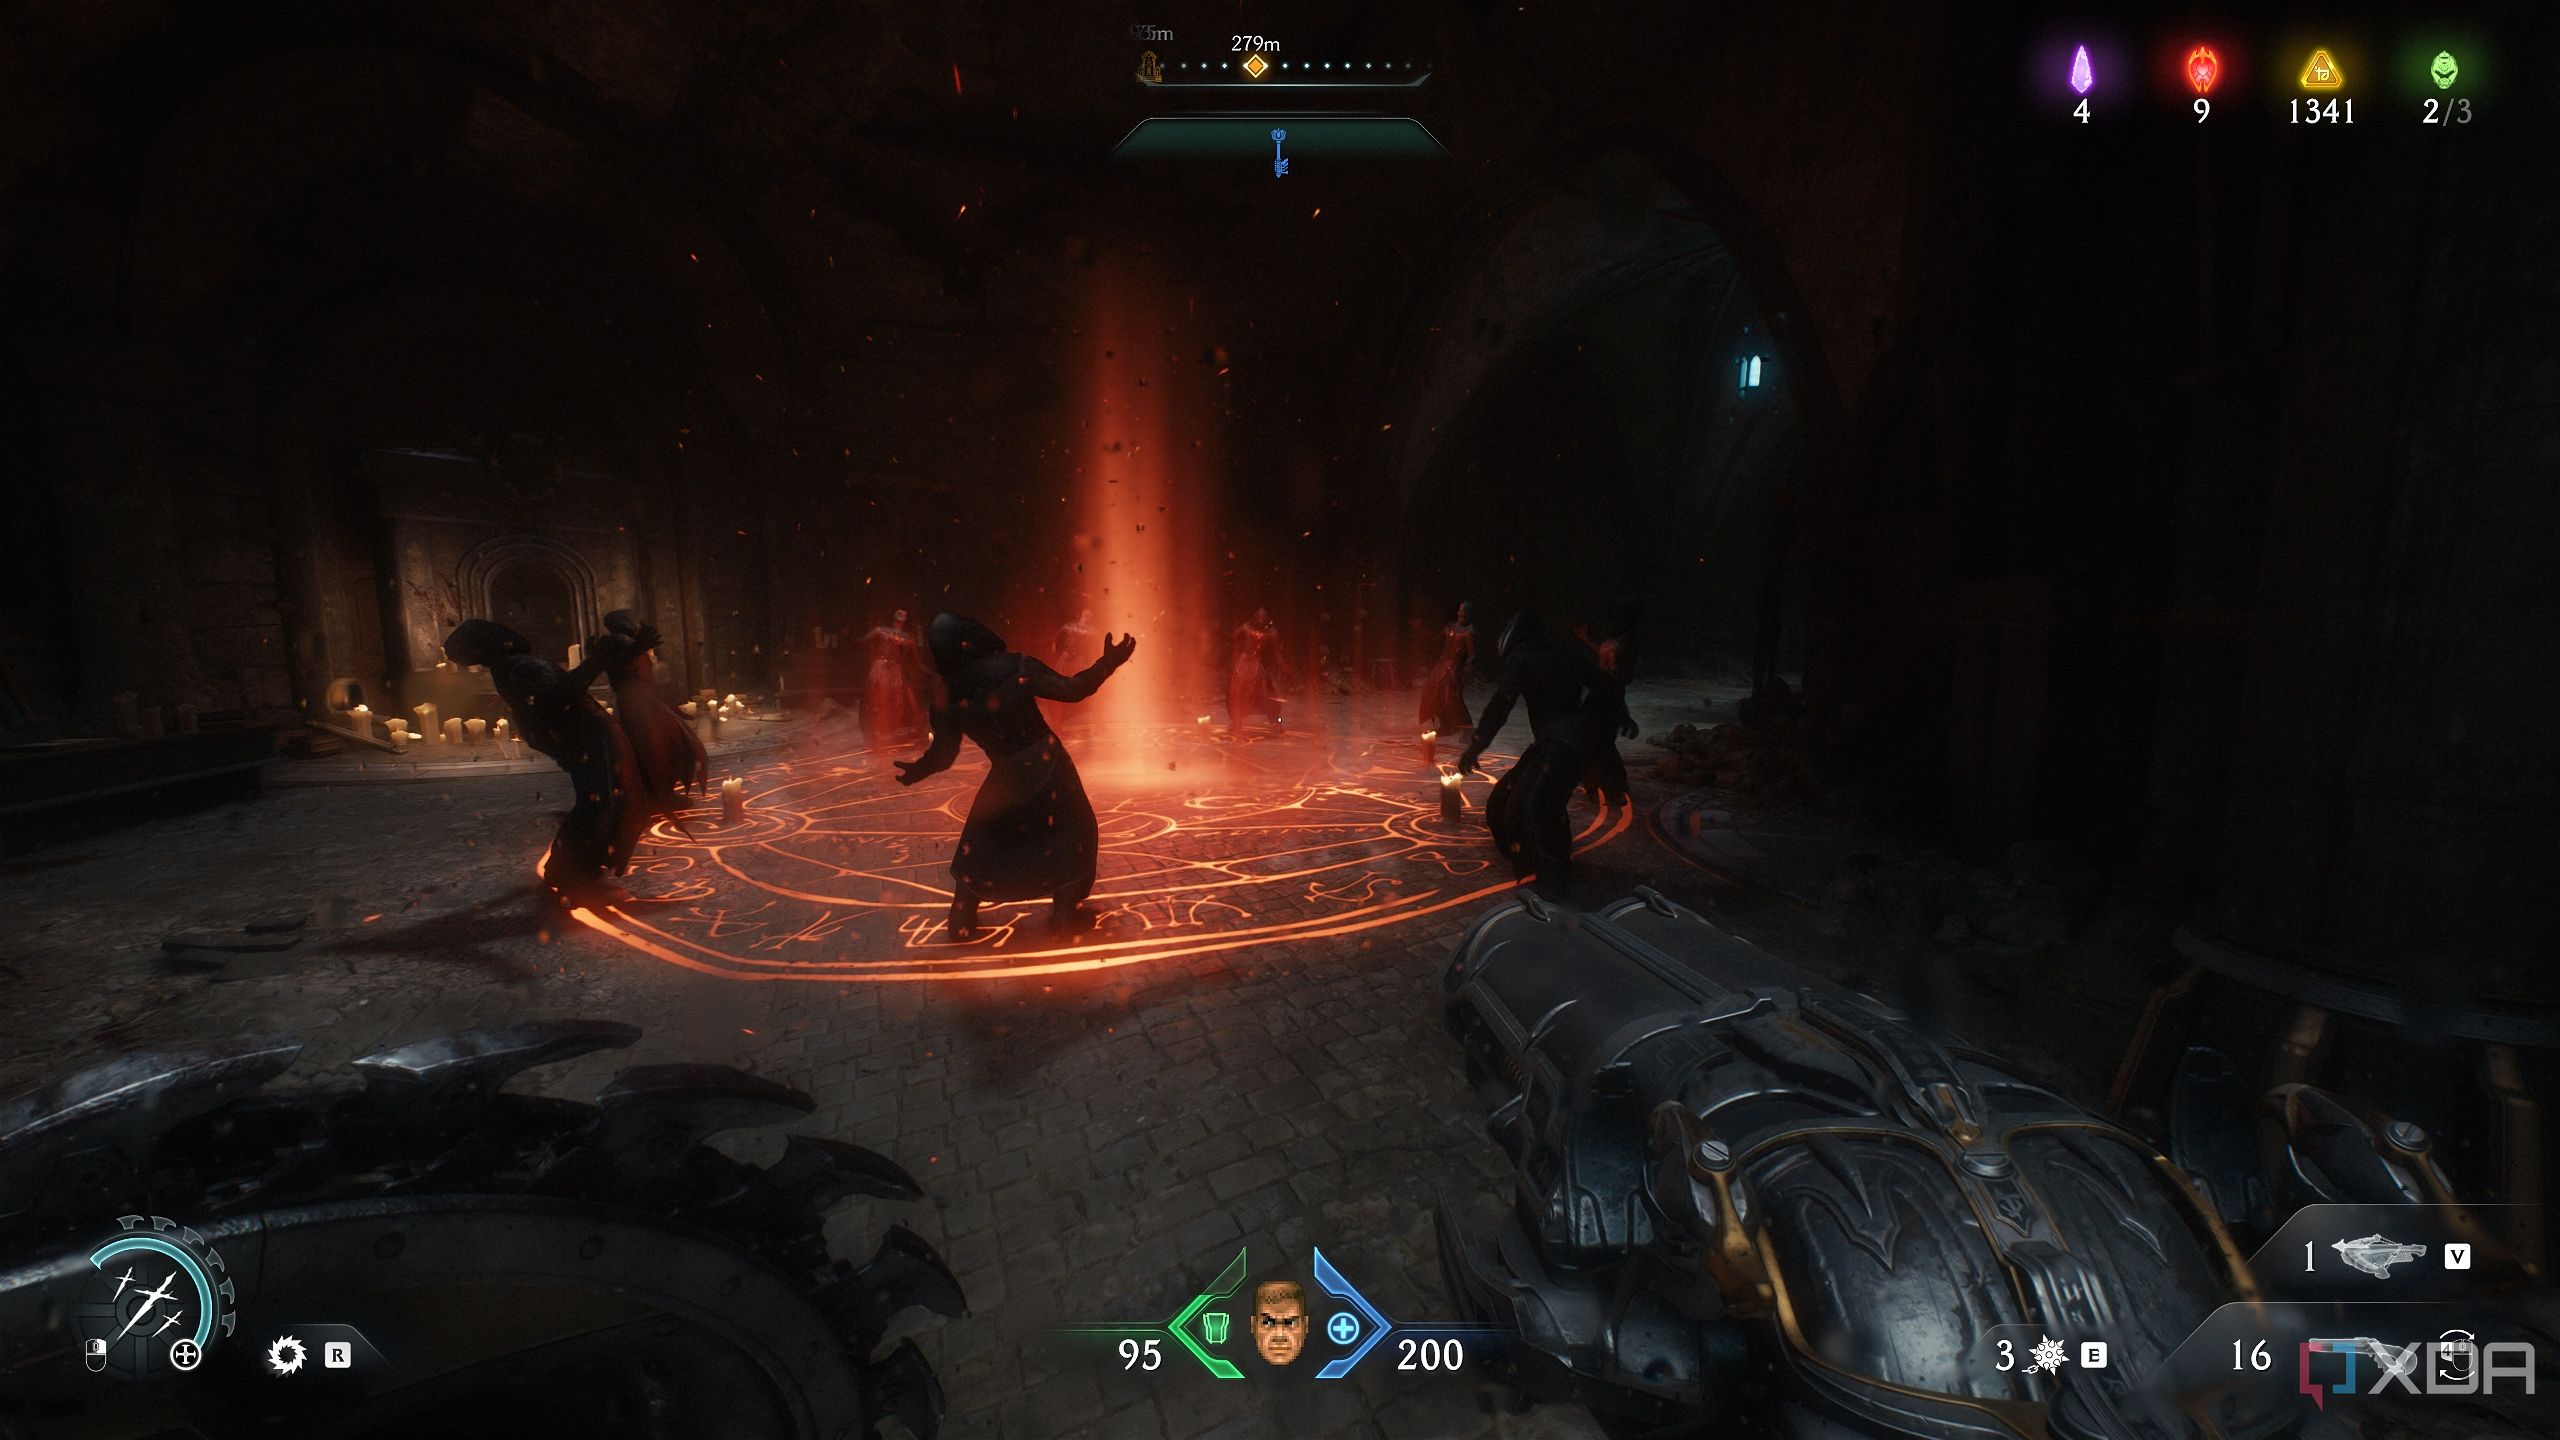
Fighting two Cosmic Barons simultaneously
Head back inside towards the gore portal, and Shield Charge through it. You’ll have to fight two Cosmic Barons simultaneously here, so fight well.
Then, once they’re dead, the demonic seals around you will fade away, giving you access to the gold chest resting just in front of the gore portal you just took down.
Secret area 2 and gold stacks
Two spiked traps and a horde of gold

Next, while facing the gold chest, take a right and enter the next room in the corner.
You’ll see two roof-spike traps ready to crush you underneath them.
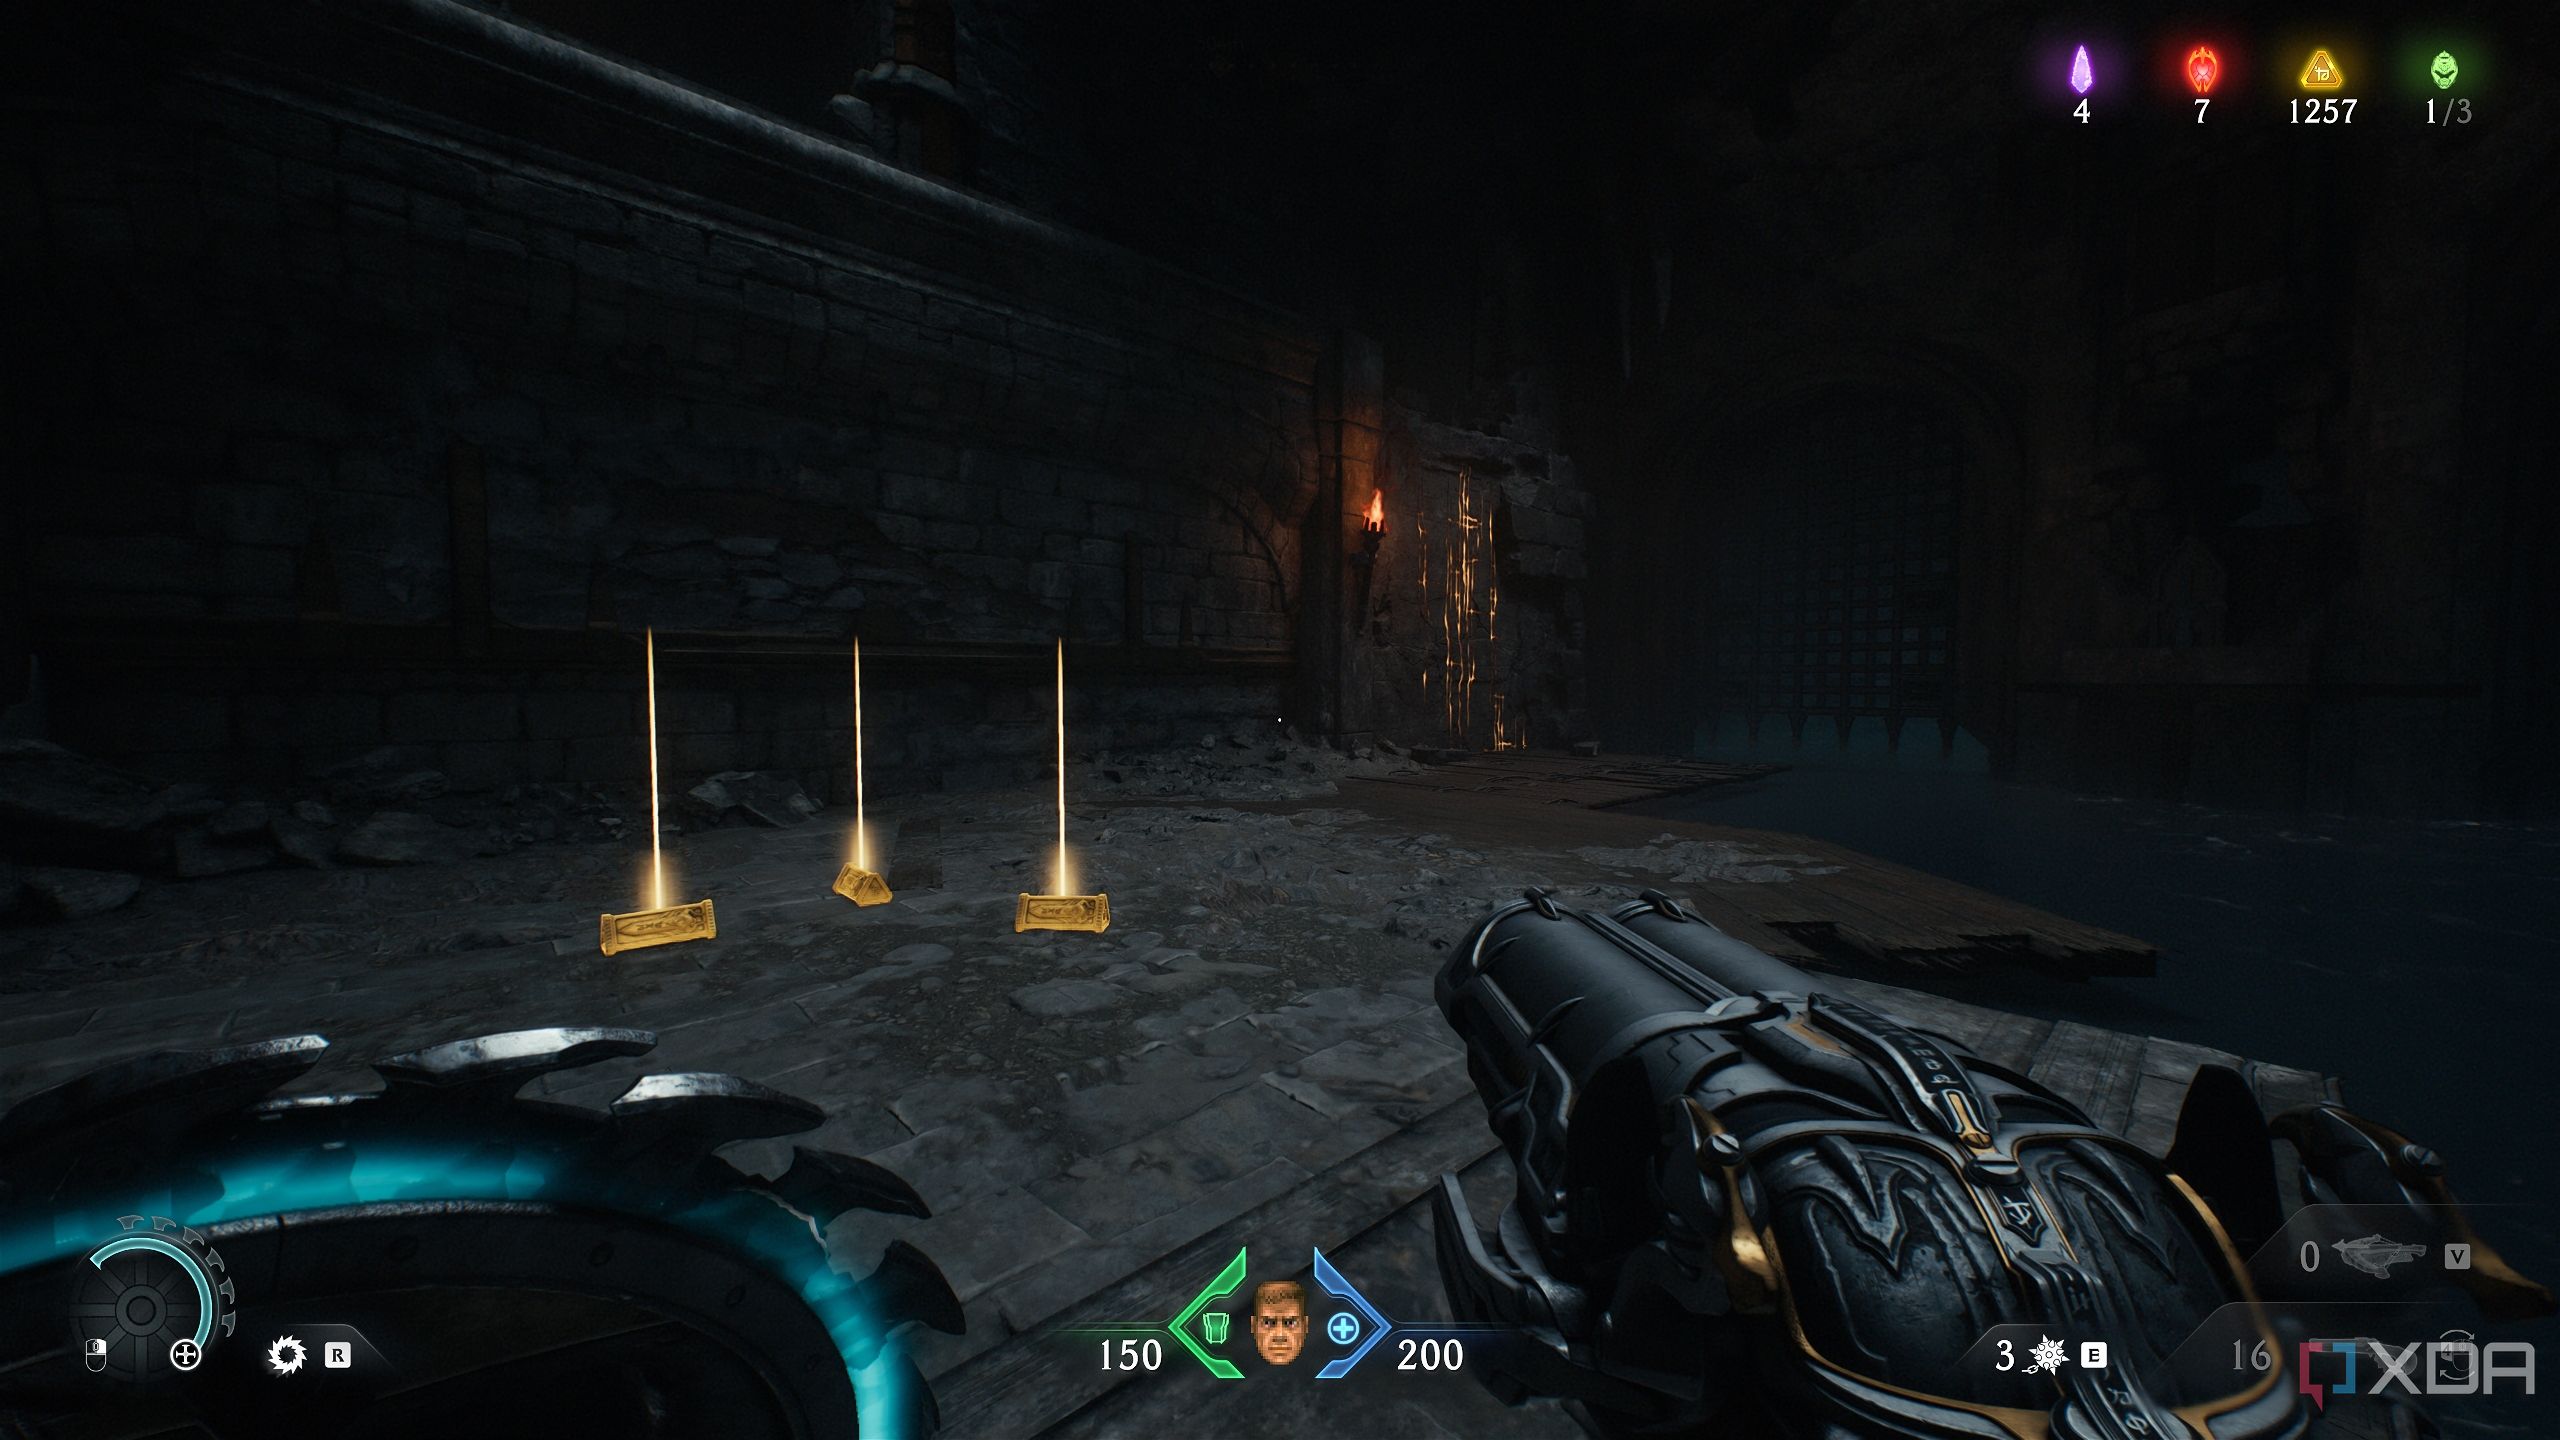
Jump onto the first one (the one closest to you), and ride it up to a ledge above. Pick up the trail of gold bars here, and climb back down, moving past the second spike trap.
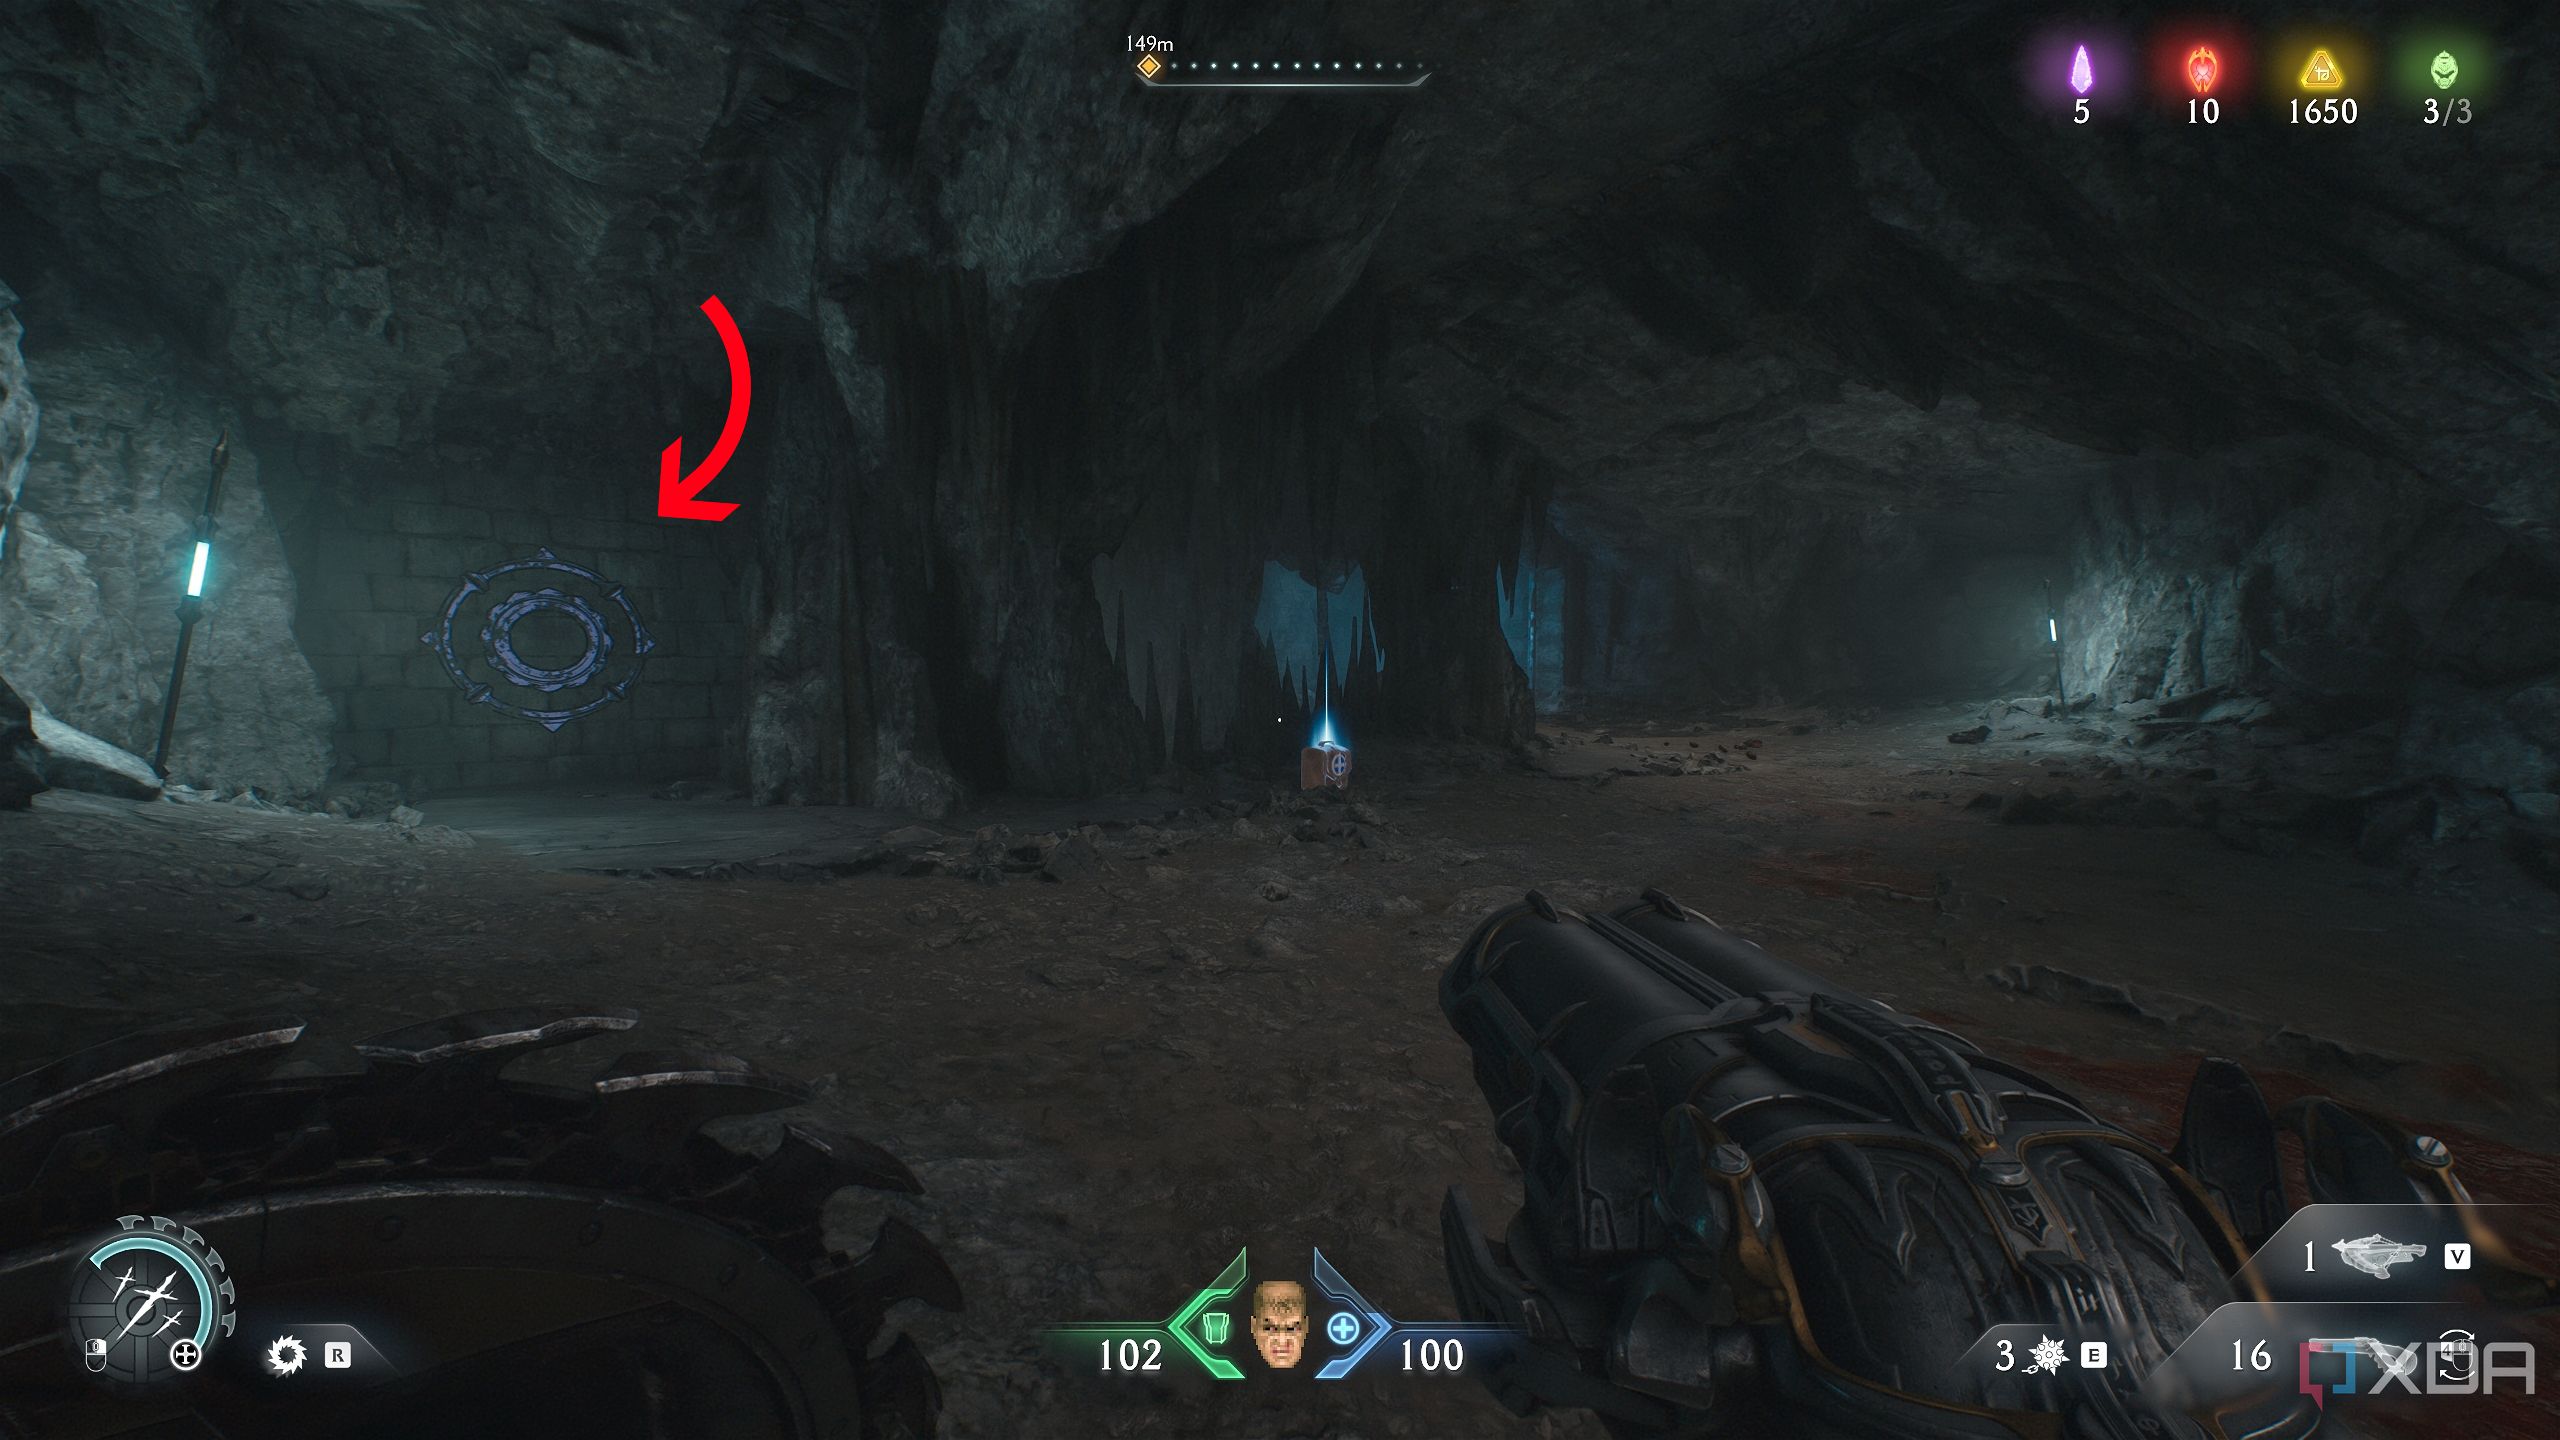
Here, you’ll notice a wooden wall you can bash through.
Do that, and you’ll collect two gold stacks from secret area 2.
Step out, and you’ll see a rocky ledge you can sprint and jump up to. From here, head outside.

Related
The DOOM series: Every core game ranked
What are the best entries of the DOOM series that you should play? Here's every core game ranked!
Demonic Essence and first Artillery Cannon
Maximum armor, engaged — oh wait, wrong franchise
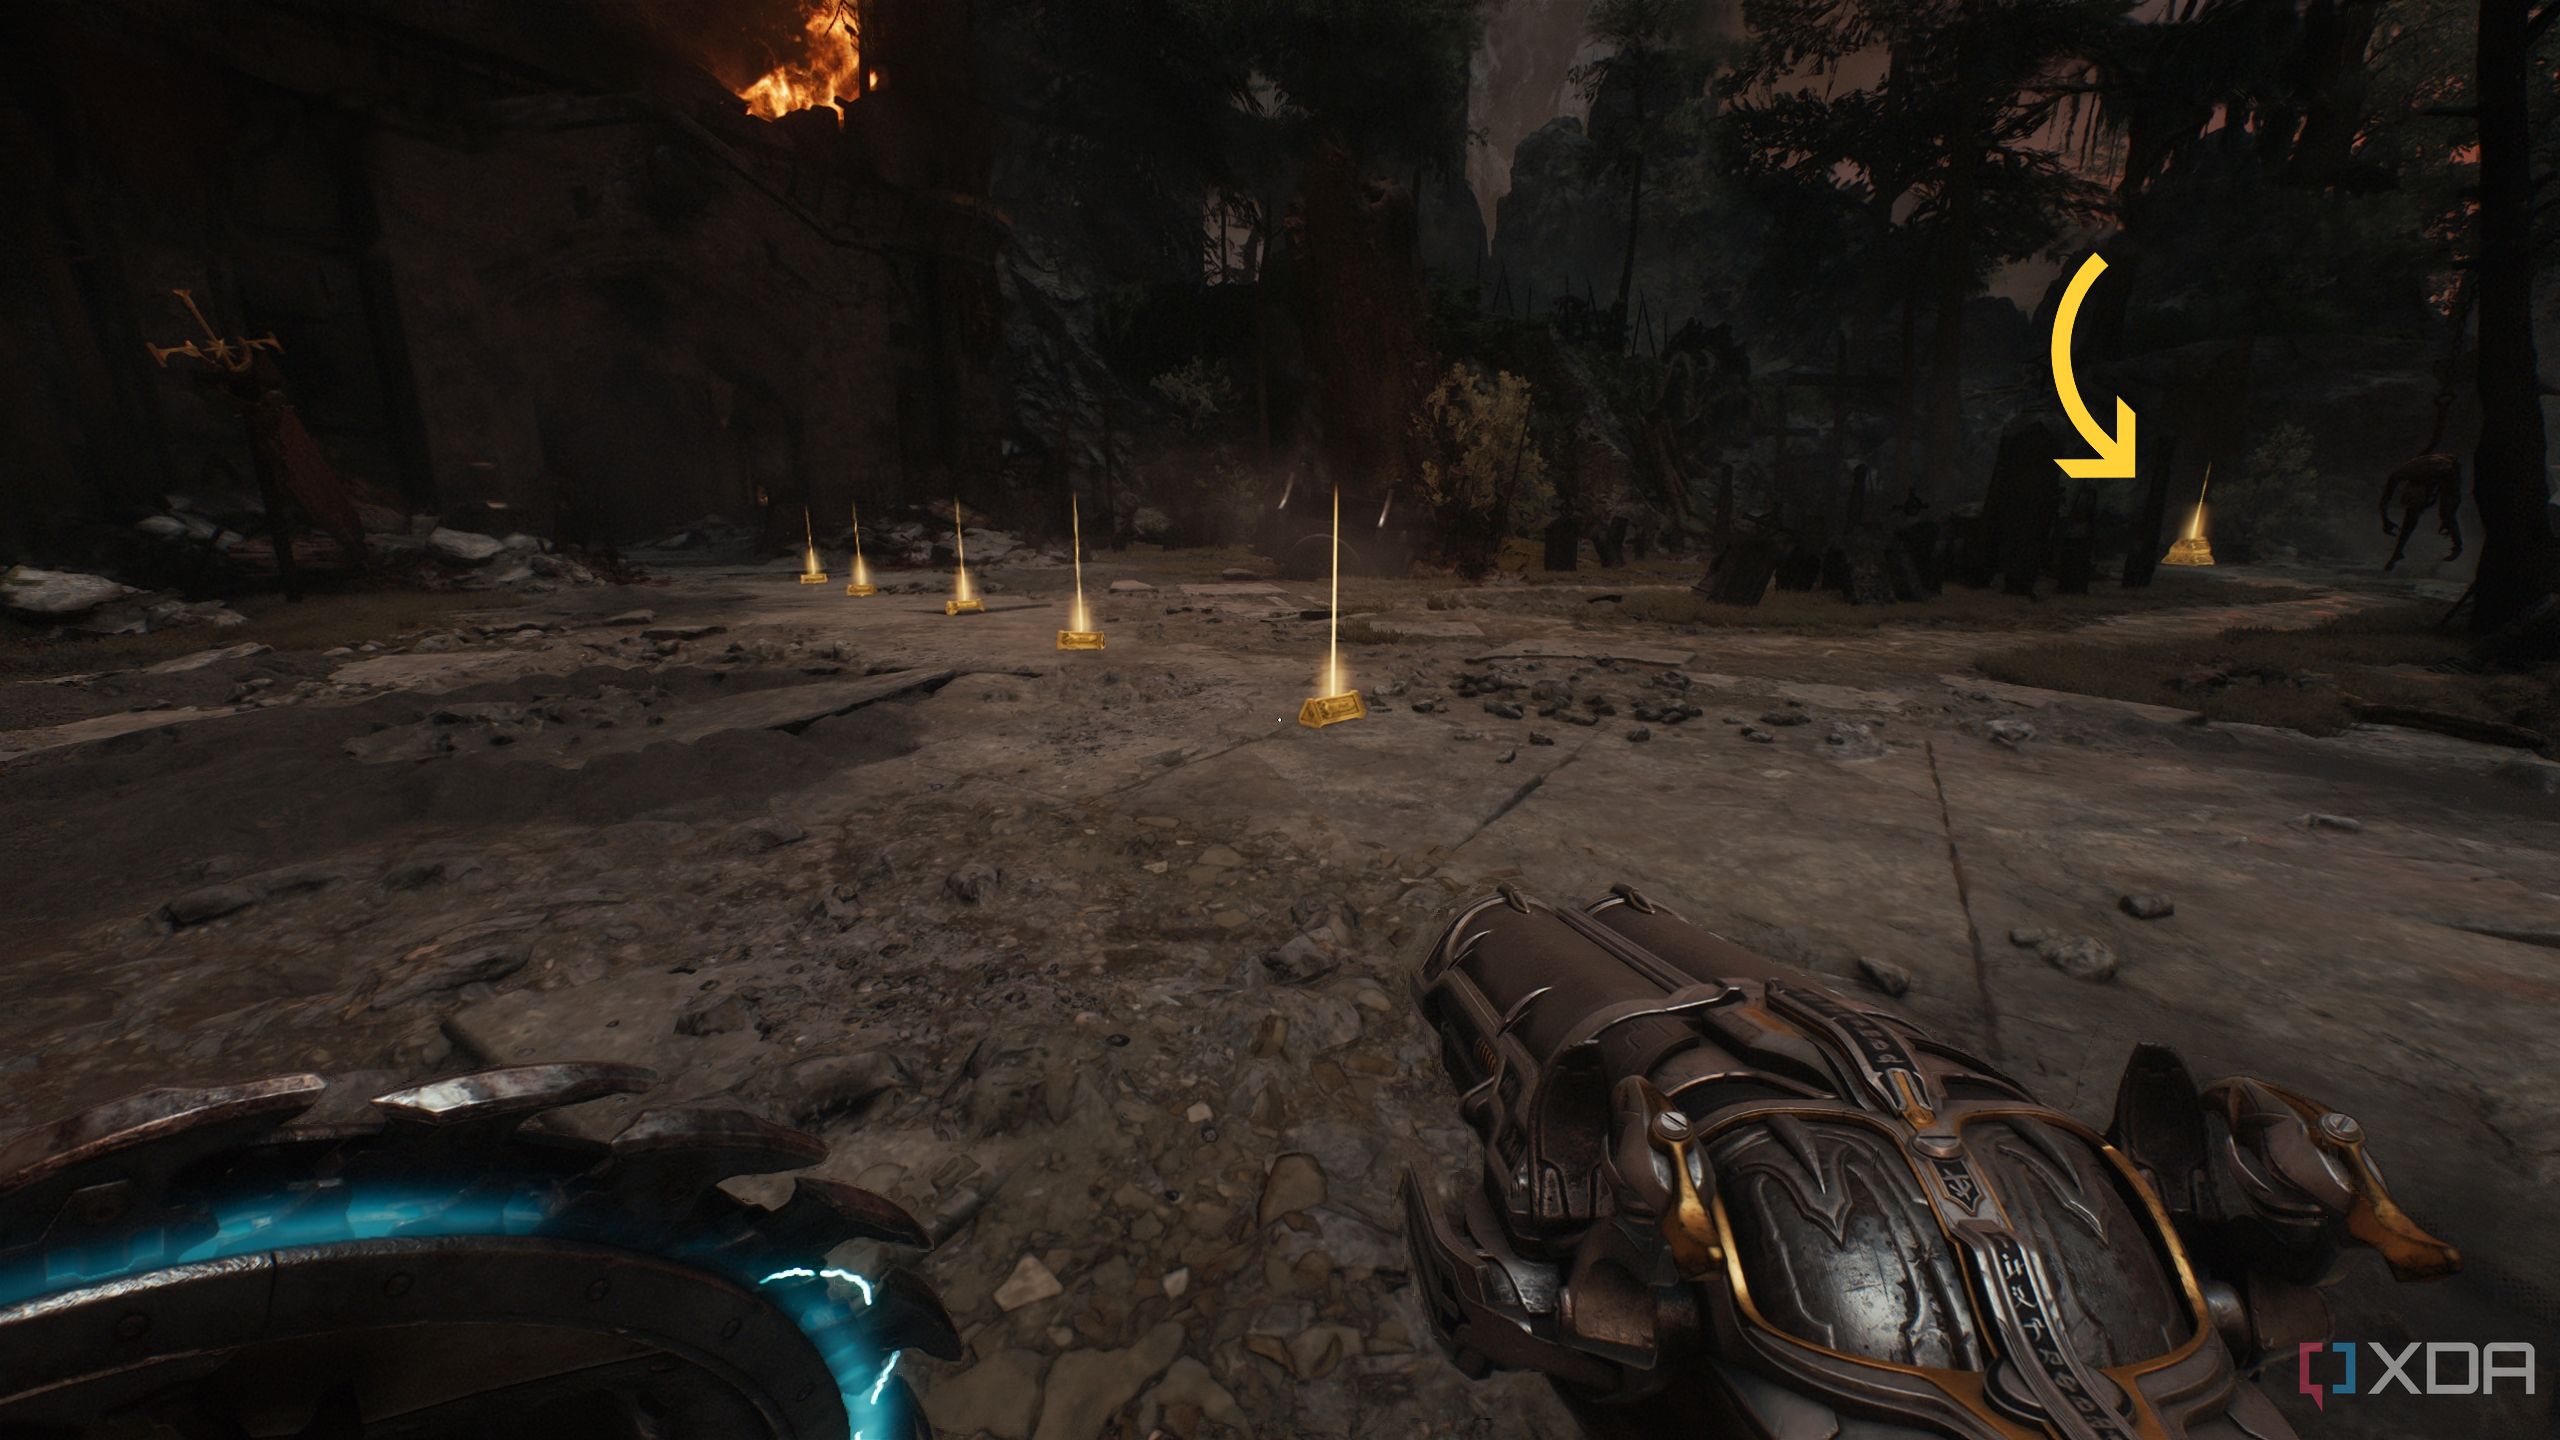
Right after heading out, you’ll come across a trail of gold bars to pick up.
Right ahead will be another Siege Tower, so there’s no getting out of this fight. Fight until you rip the heart out of the Acolyte, who will drop Demonic Essence and finally get us to maximum armor.
Then, once the Siege Tower explodes, head to its side, and you’ll come to a ledge that will let you drop below. Drop down and go right first.
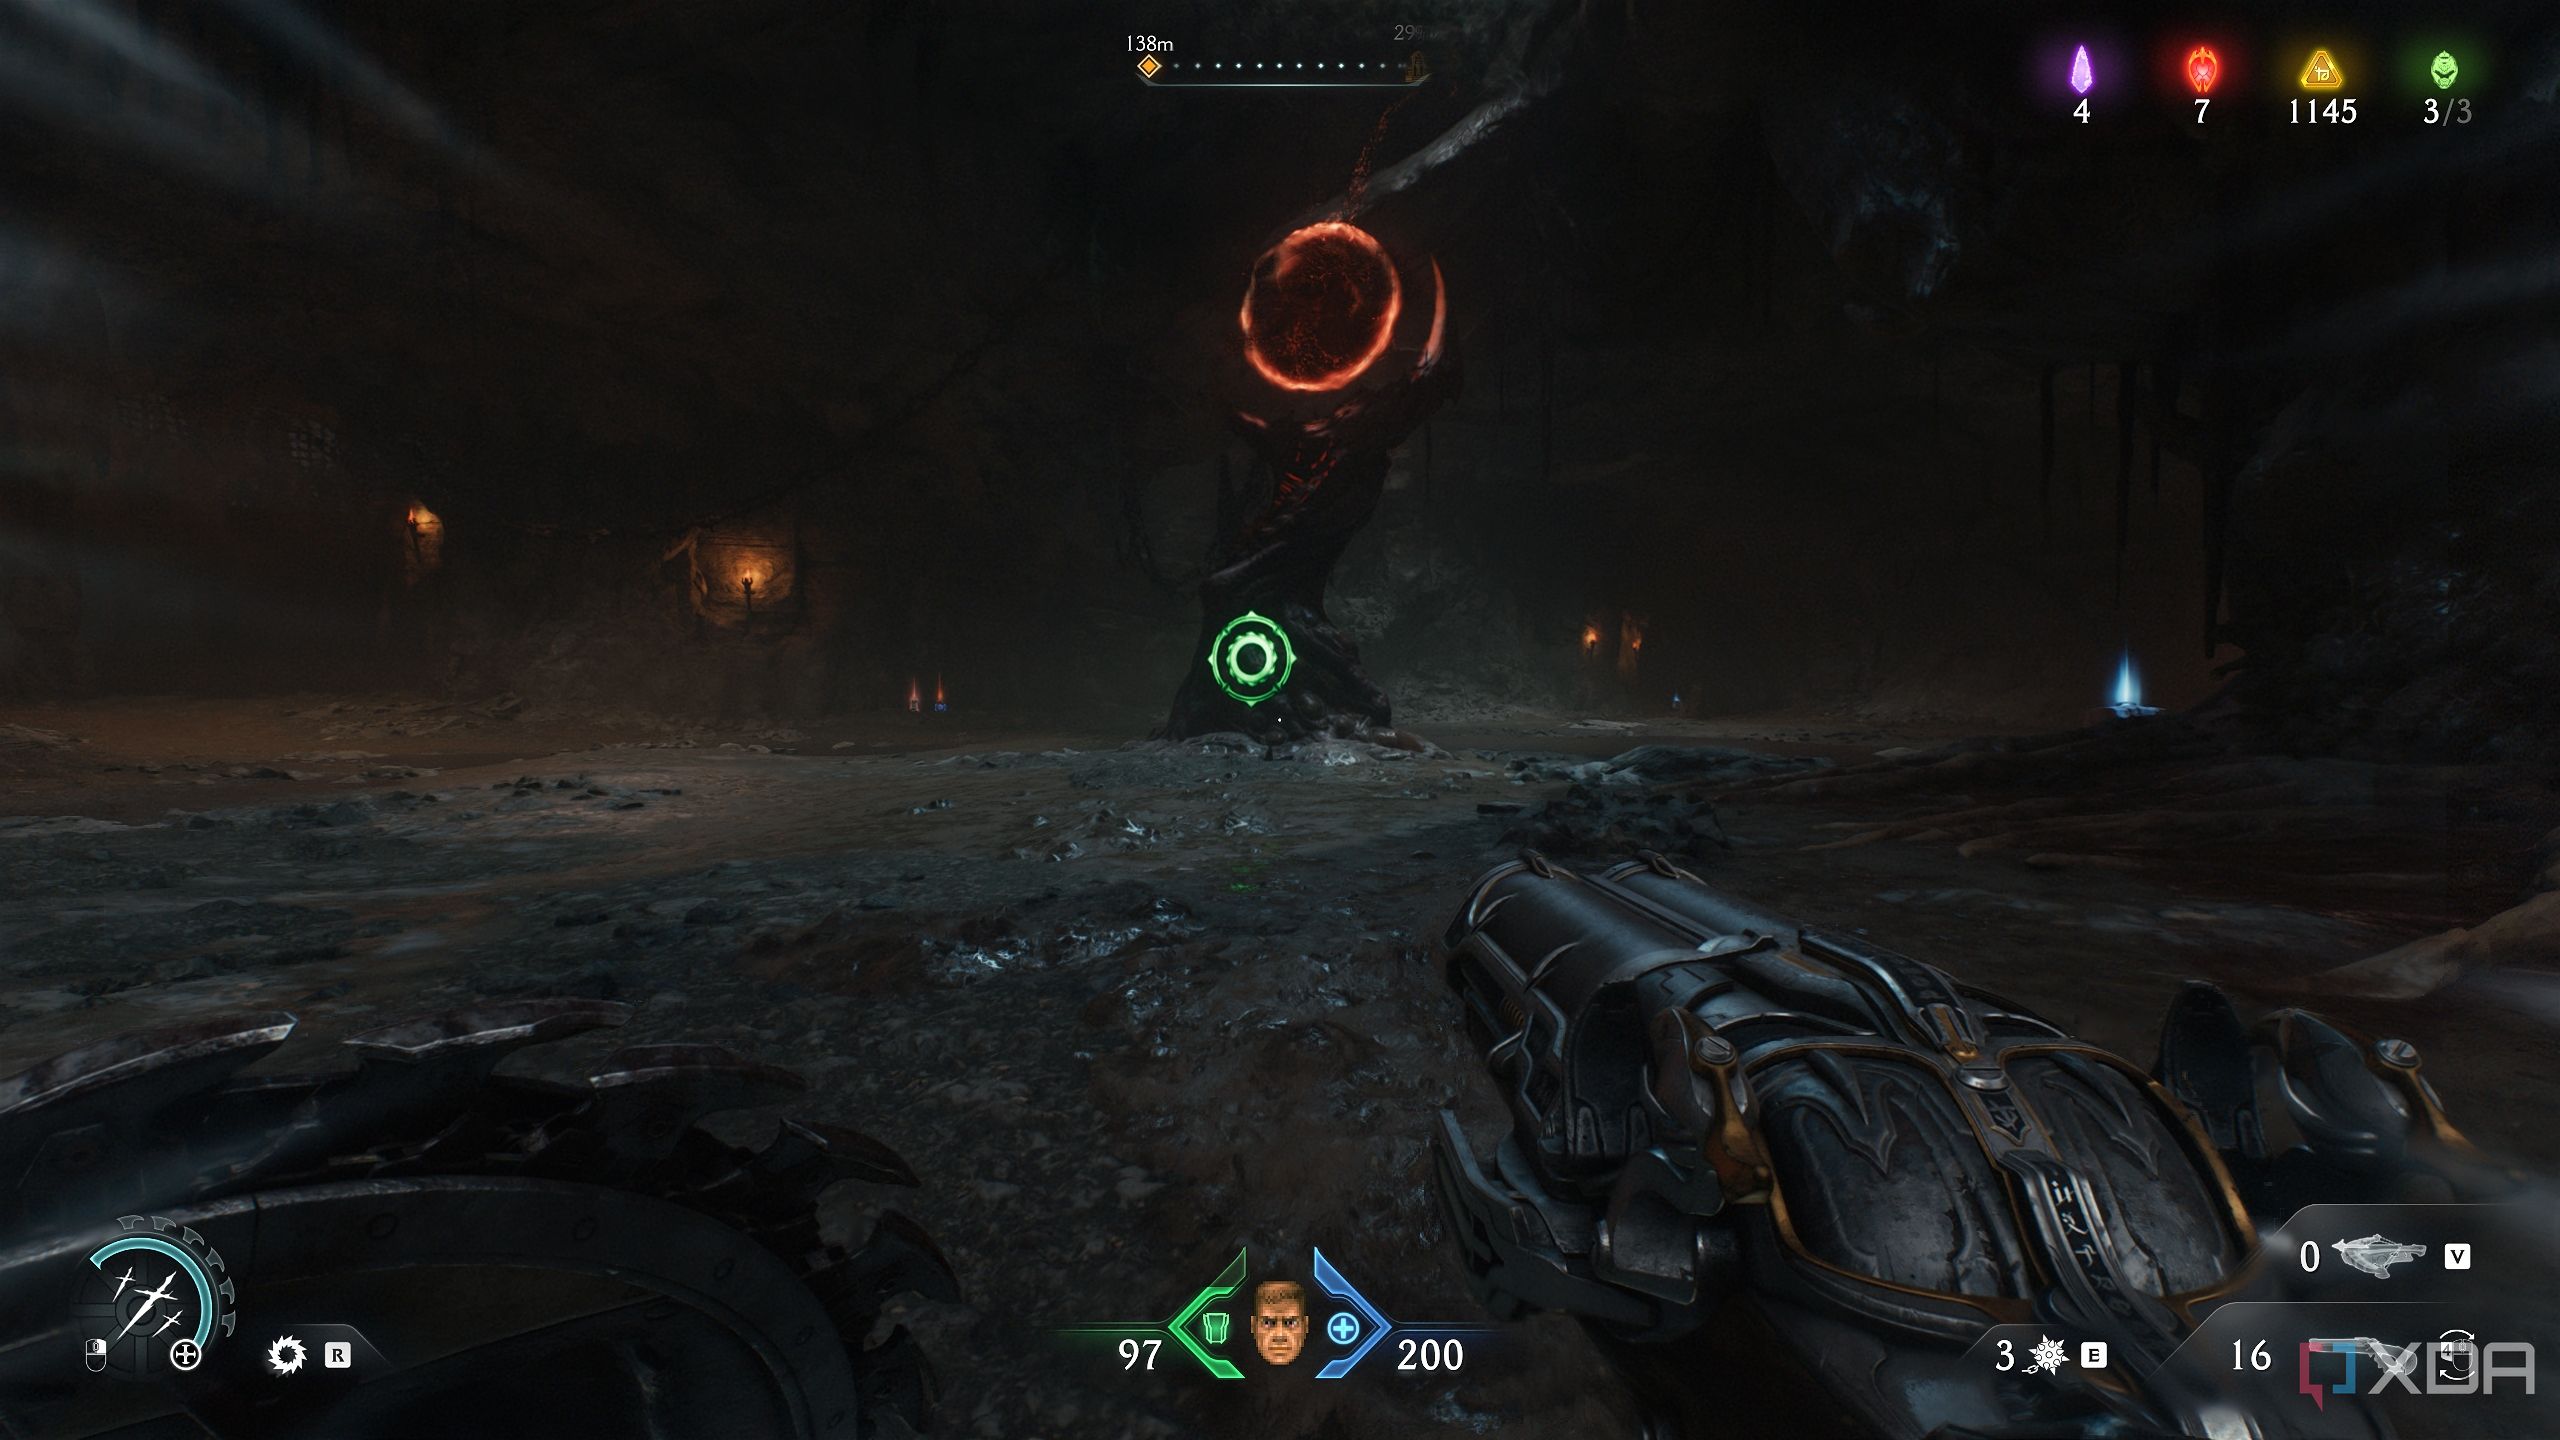
You’ll reach a big arena with the first Artillery Cannon. Pick up the Berserk power, and go to town on each and every demon until there are none left. Then, head to the center of this arena — refer to the map location shown above.
Get up the wooden platform, Shield Charge into the Artillery Cannon, and pick up the gold stack from under it.
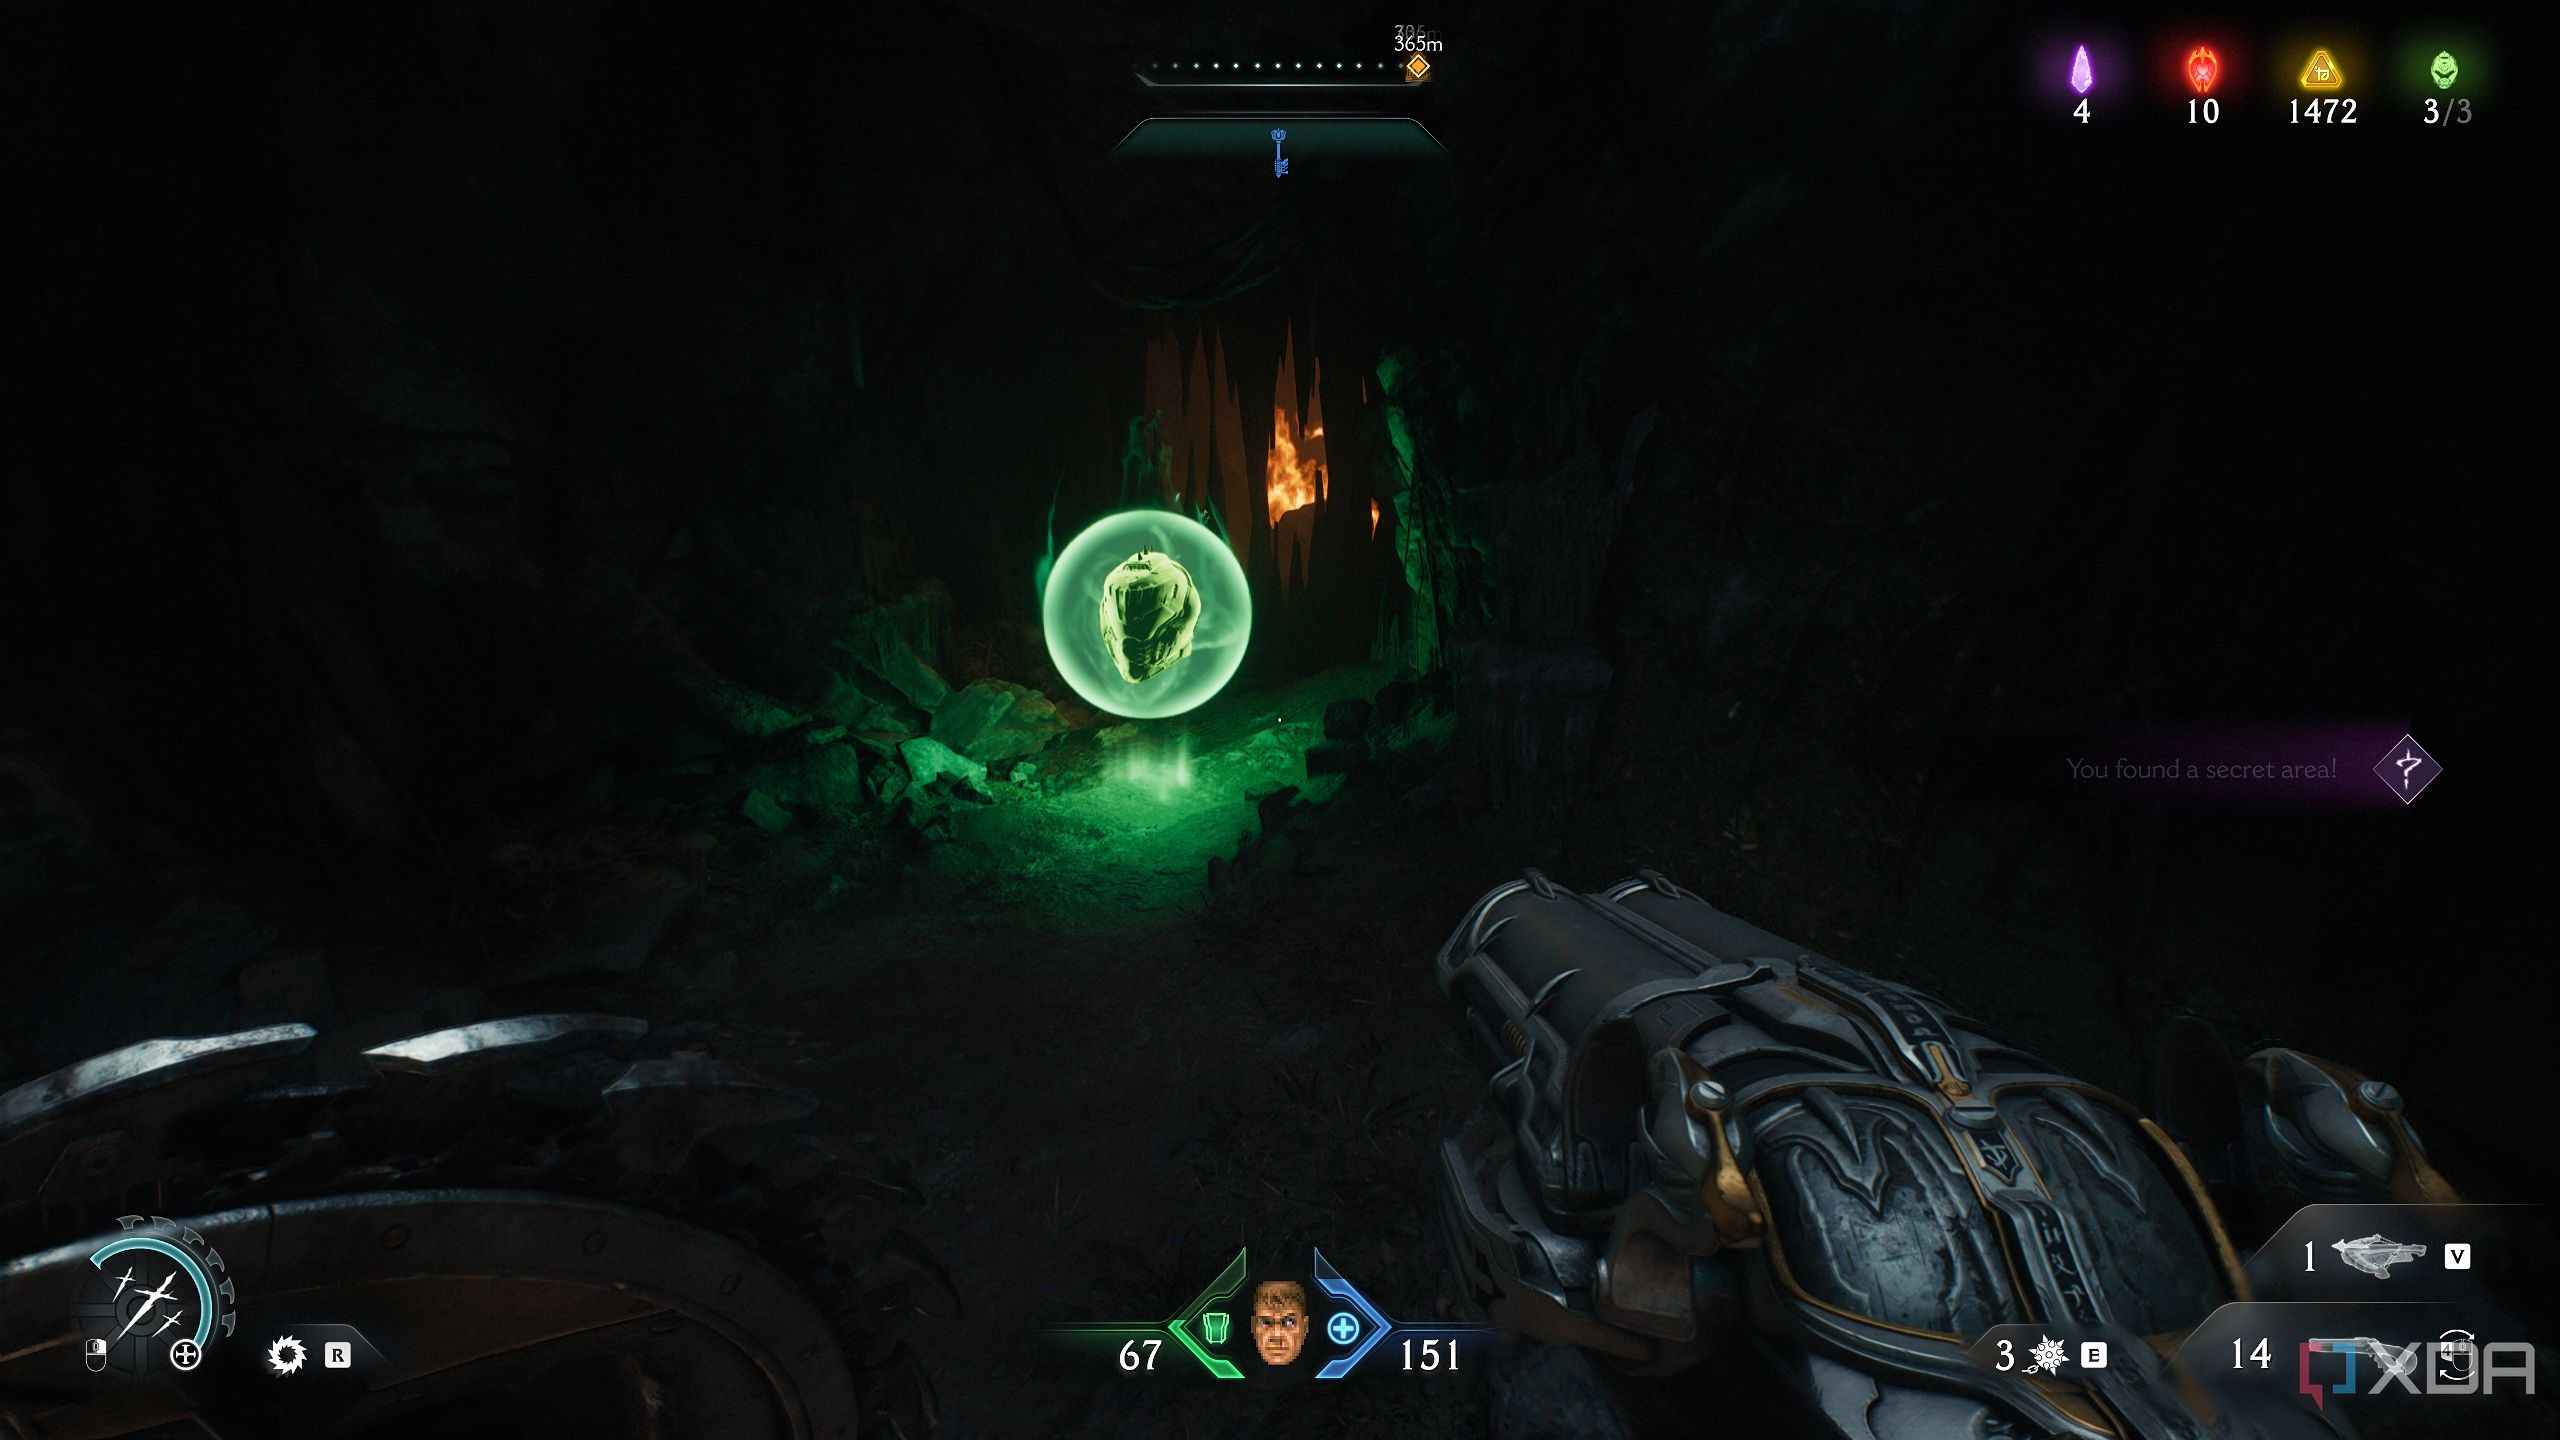
Secret area 3 and the blue key
May the Doom series never run out of color-coded keys and doors
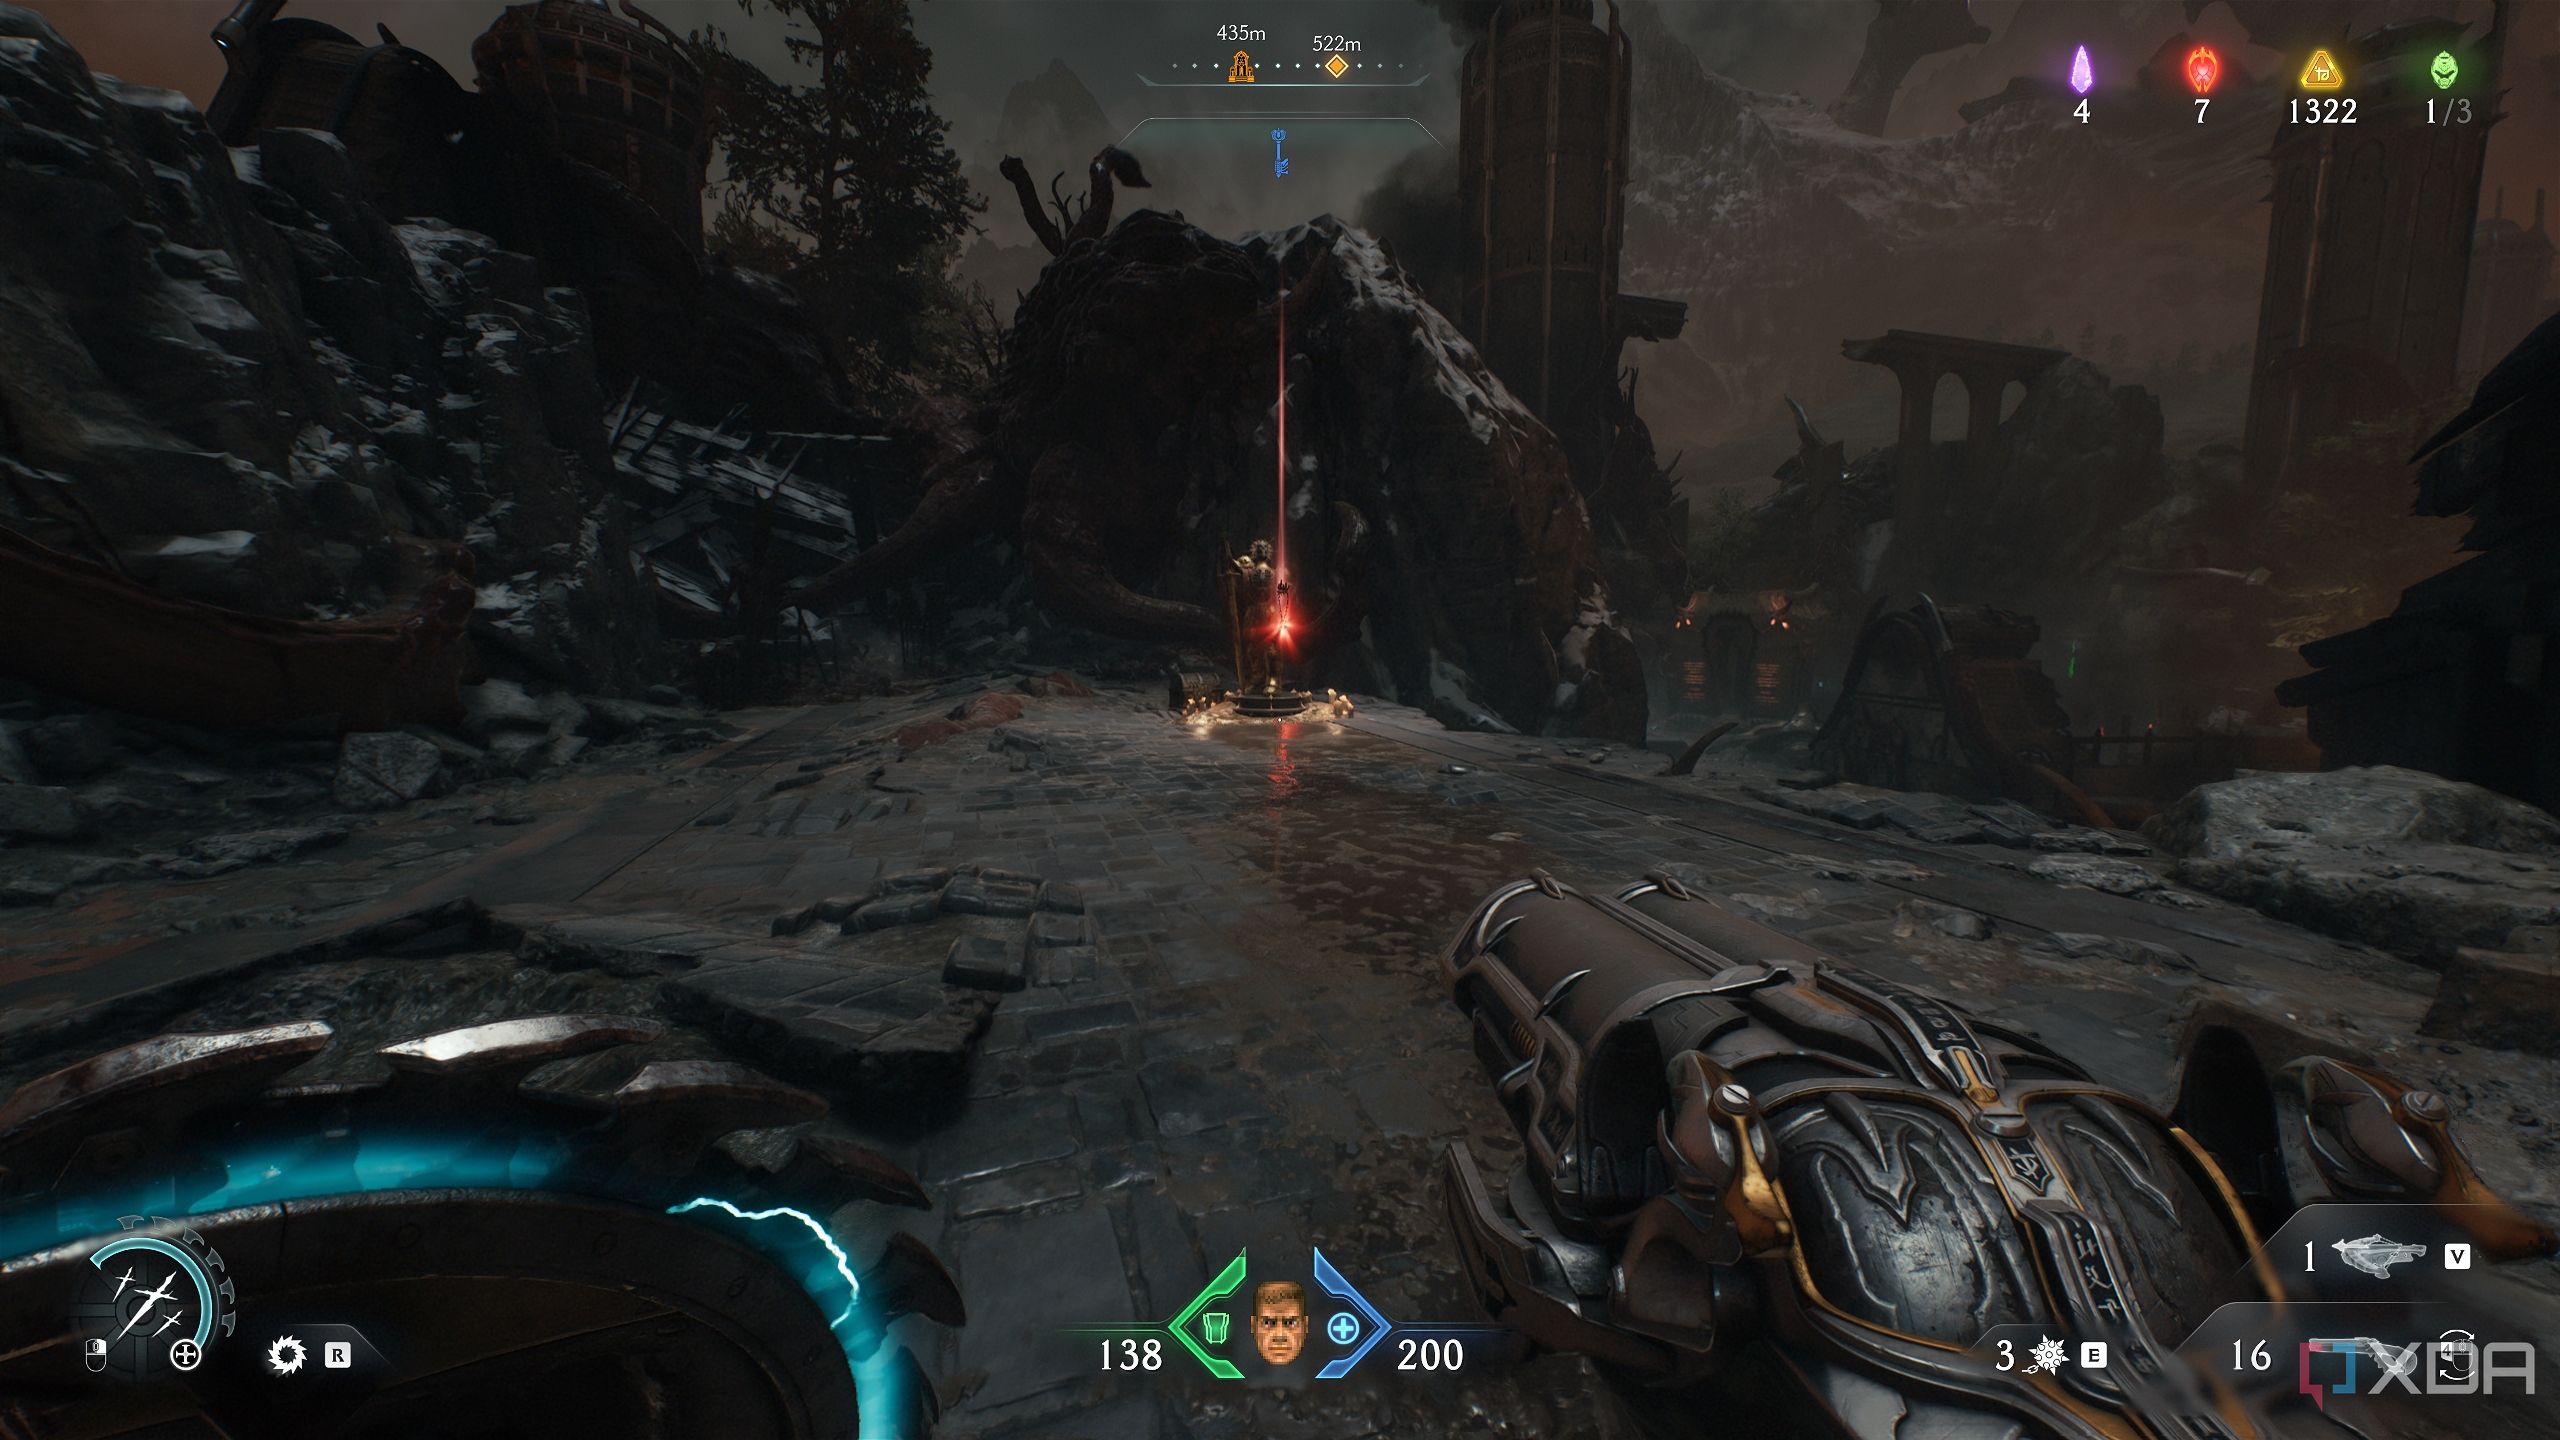
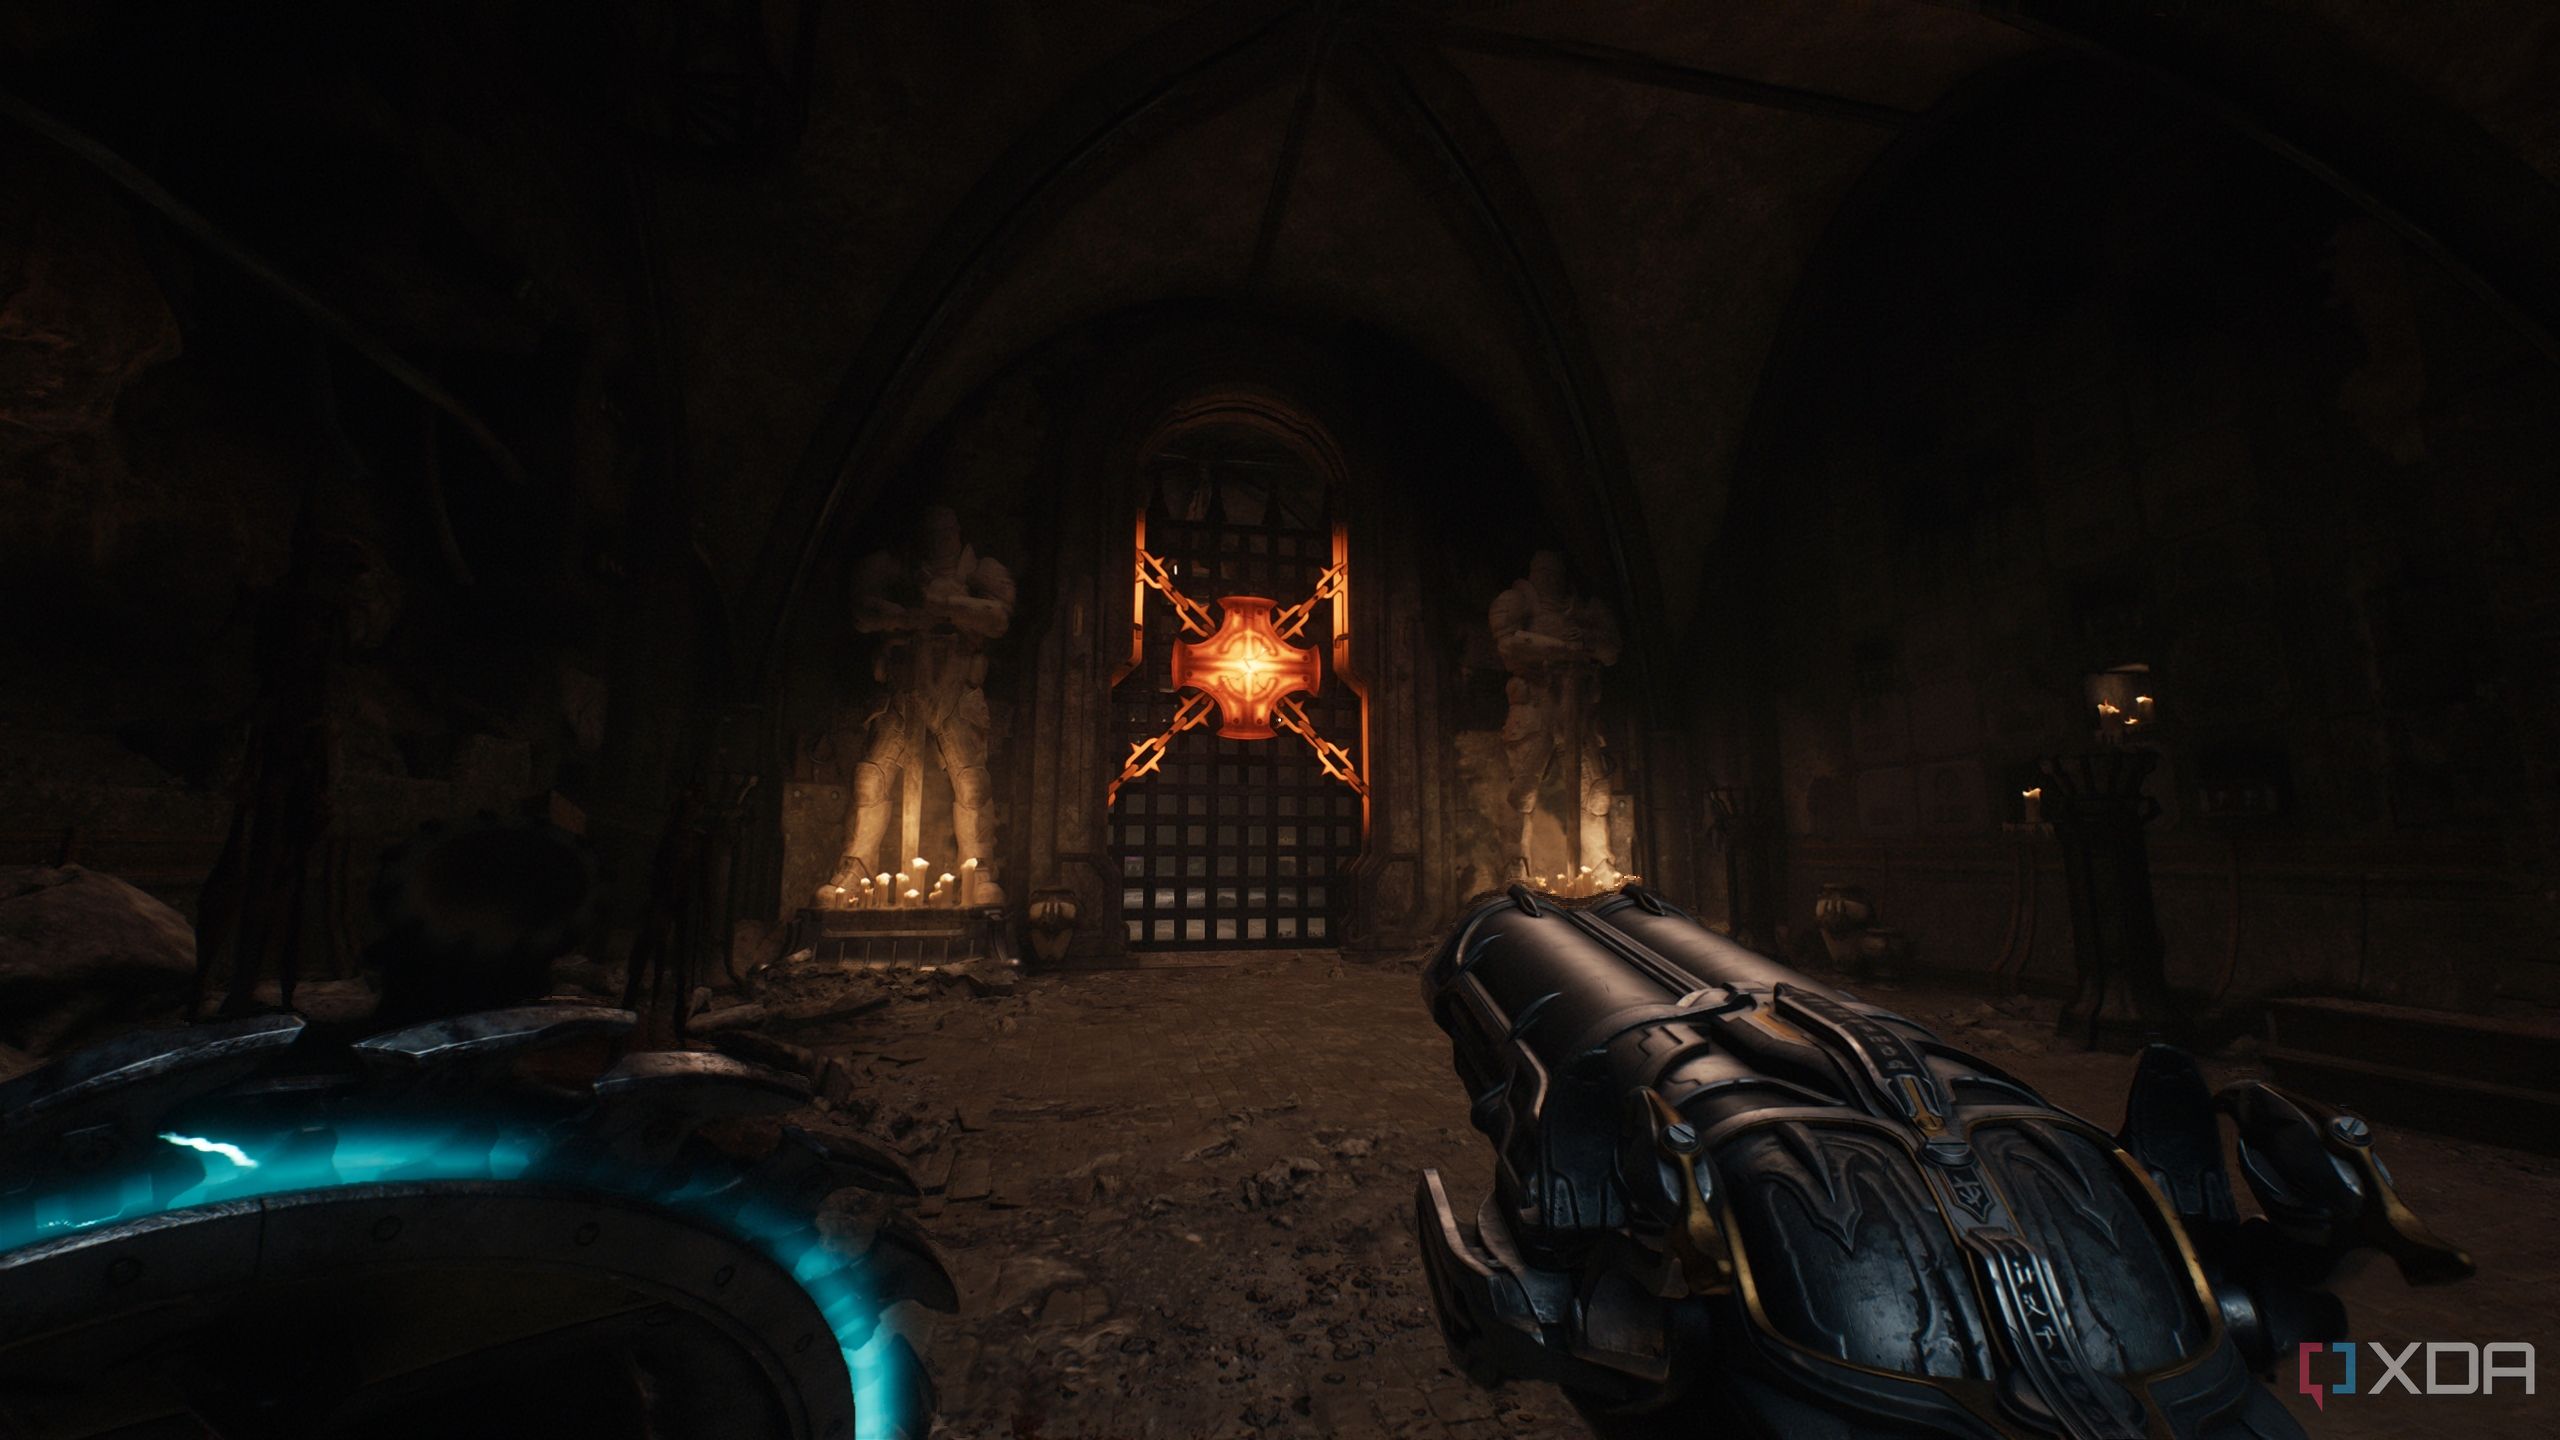
From the platform of the first artillery cannon, look ahead to see this entrance. Enter, destroy the heated metal spikes, and you’ll come up to secret area 3, where the people of the planet are taking shelter and praying to the Maykrs.
Dive into the water behind the Maykr statue, swim down, and collect the gold bars on the floor. These gold bars lead to a switch inside — interact with it and a small cutscene will play, releasing a blue energy node above.
Head back to the Maykr statue, hit the energy node behind it, and swim back into the water, this time swimming under the big gates that open up.
There’s only one way to go here, so swim ahead and surface — you’ll be met by a trail of gold bars.
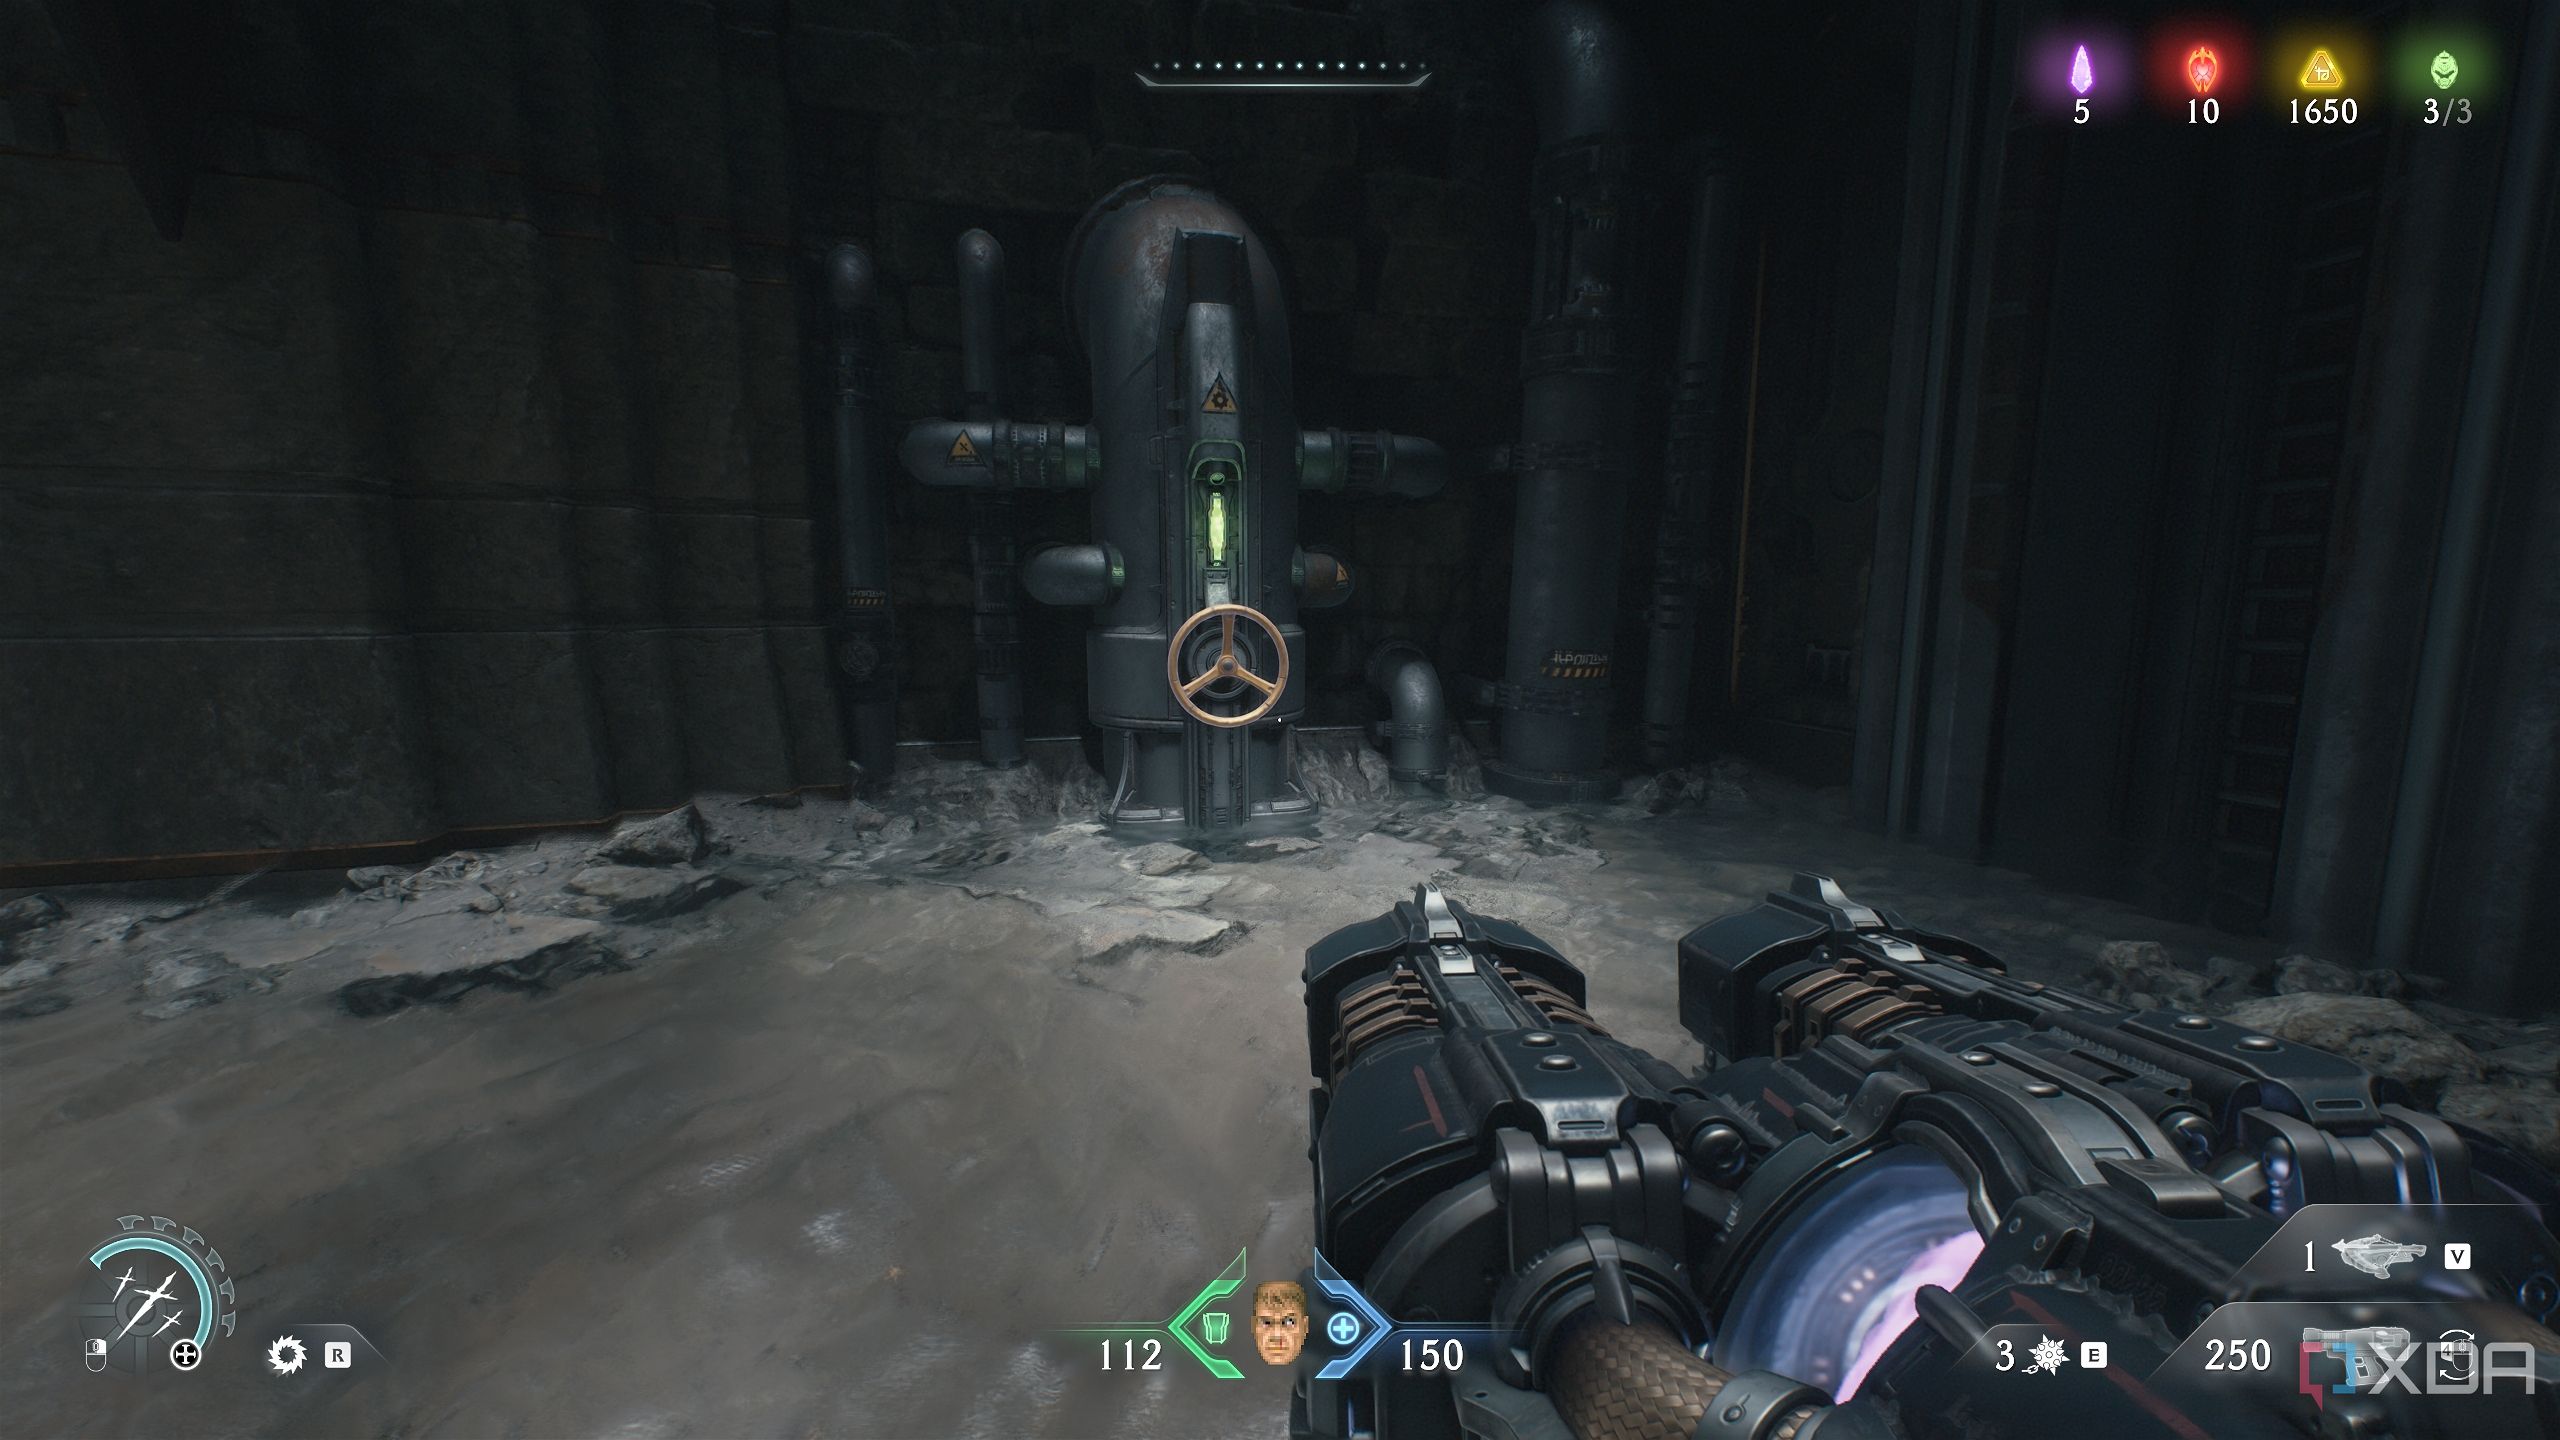
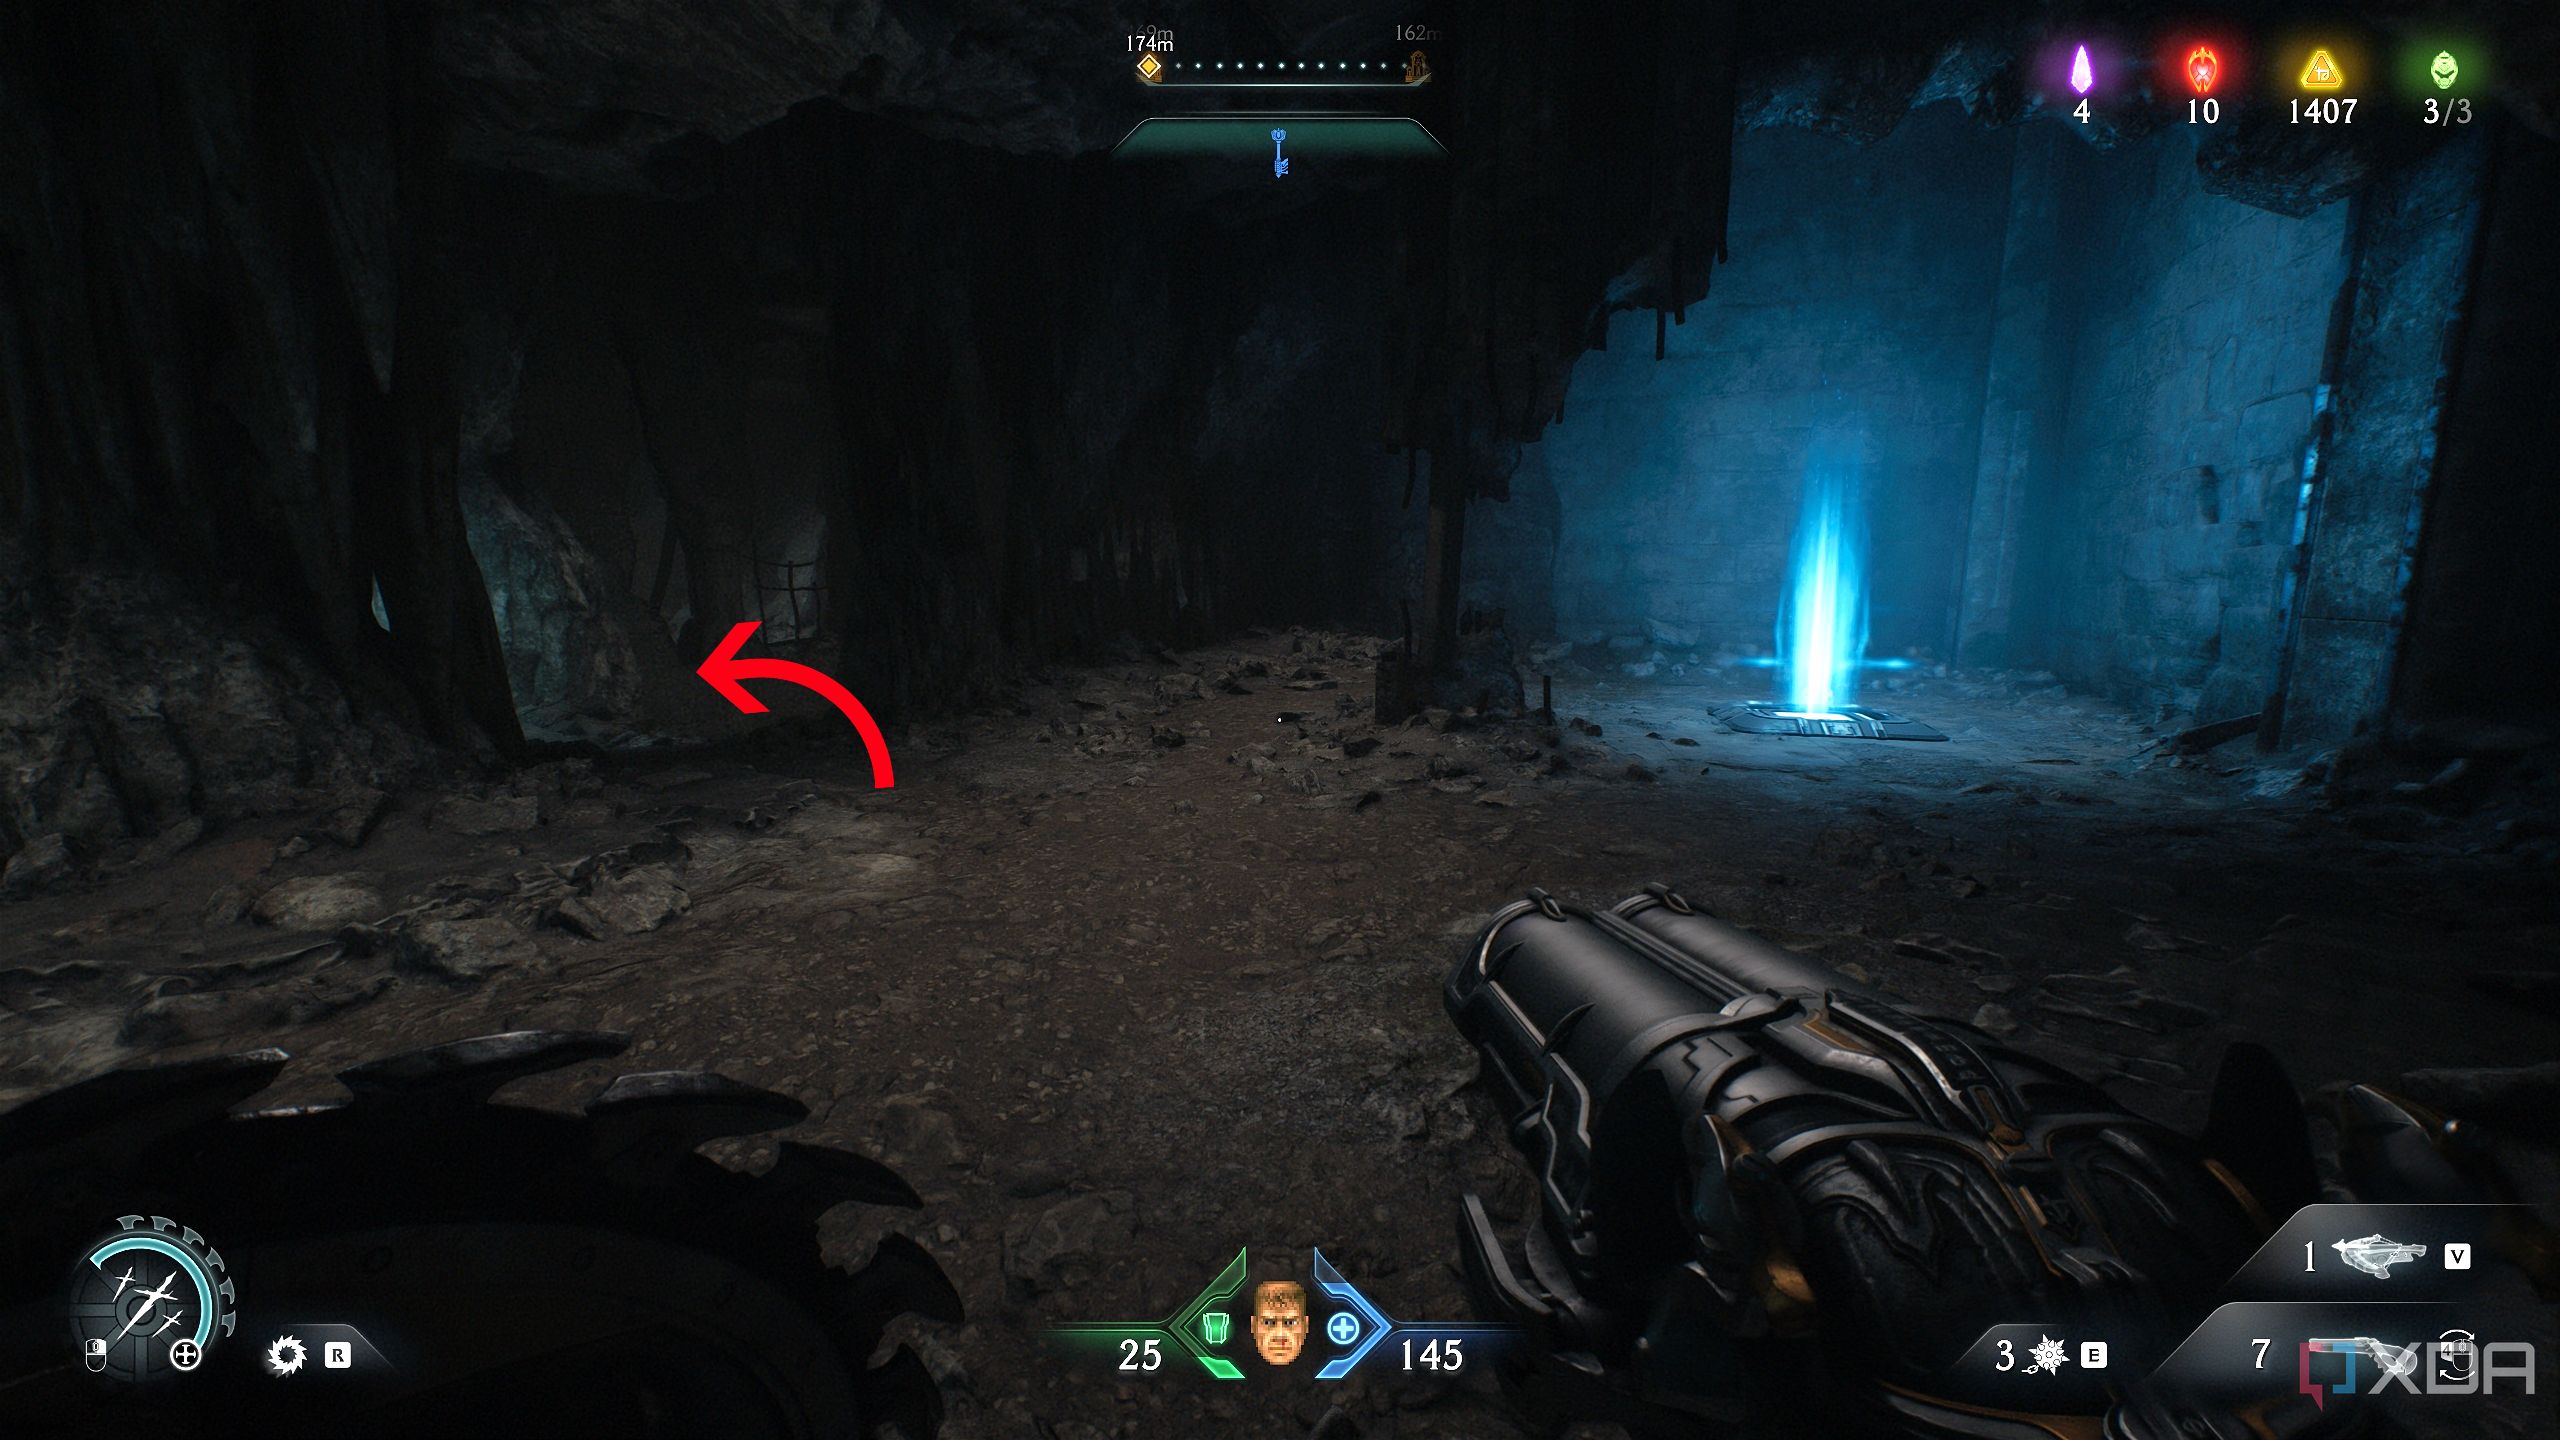
Follow this trail and you’ll see multiple fire-spitting machines. Drop down here, avoid the fireballs, and turn around to see a wooden wall you can bash through. Charge into it, and start walking right inside to reach a valve.
Use it, and the entire room will flood with water. Swim back to where you came from, and then swim towards the two machines that are spitting fireballs at you in unison.
To your right, swim up, and you’ll reach a ledge with a handful of gold bars.

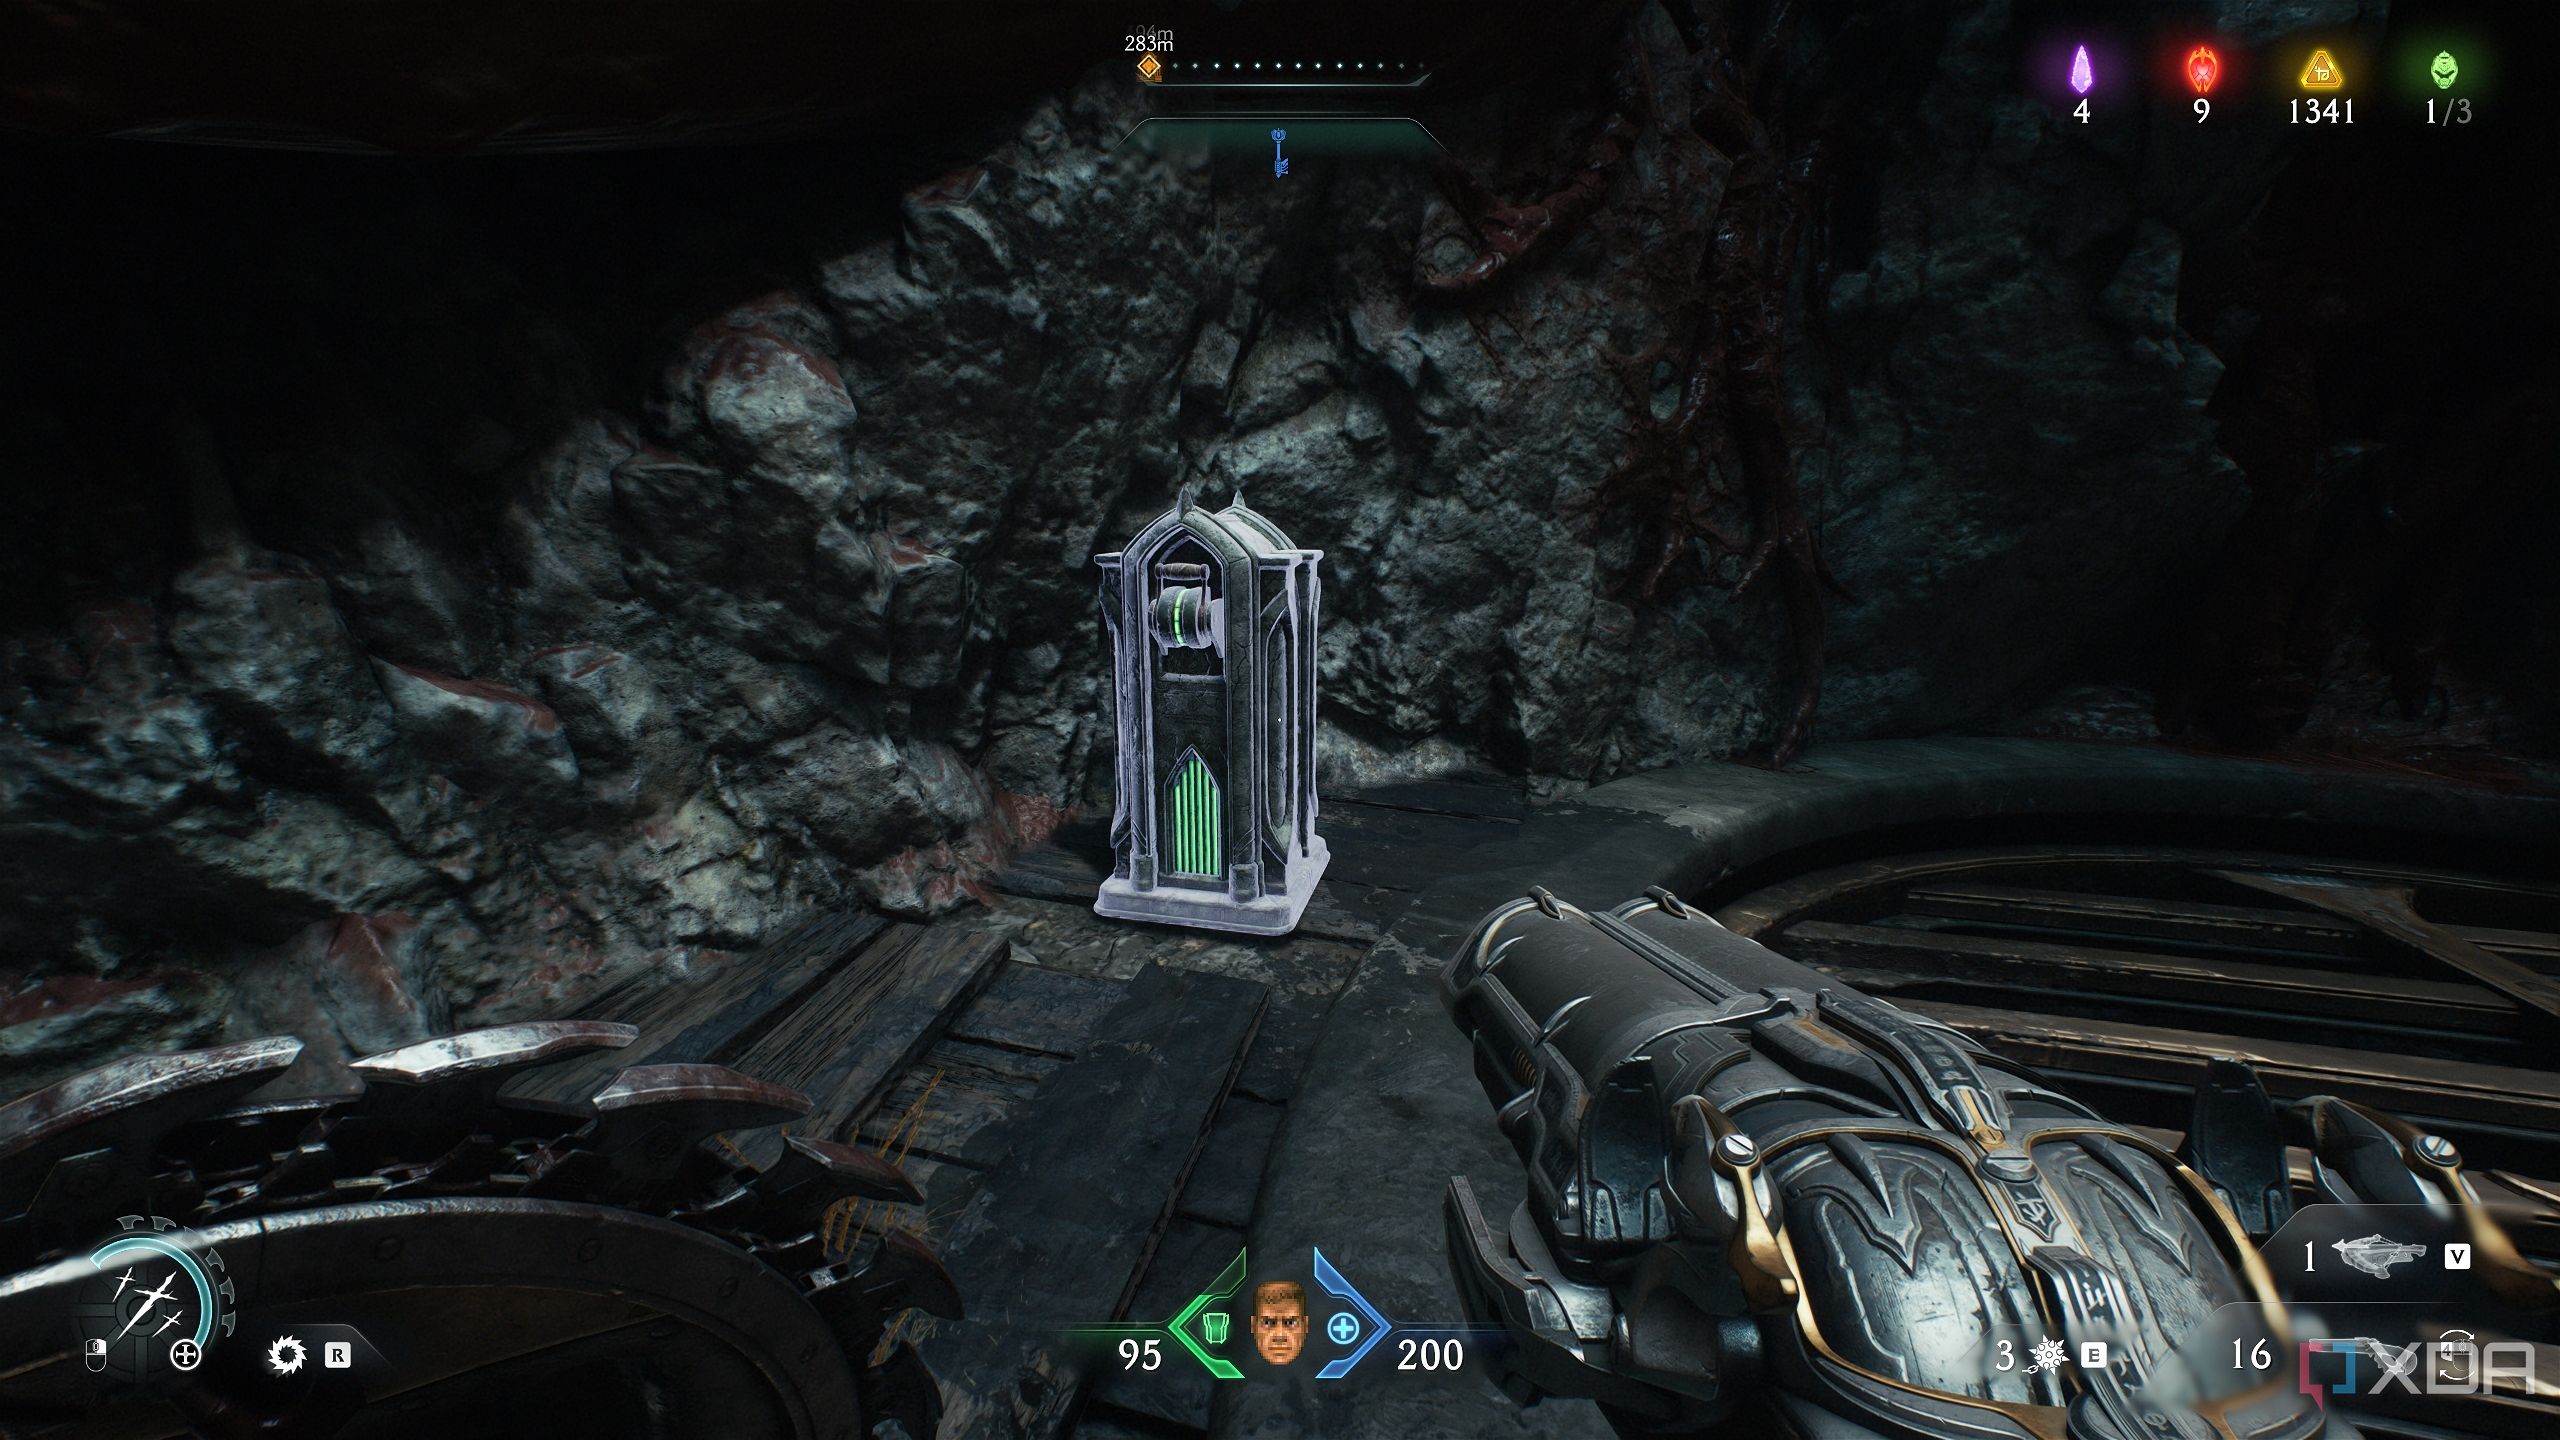
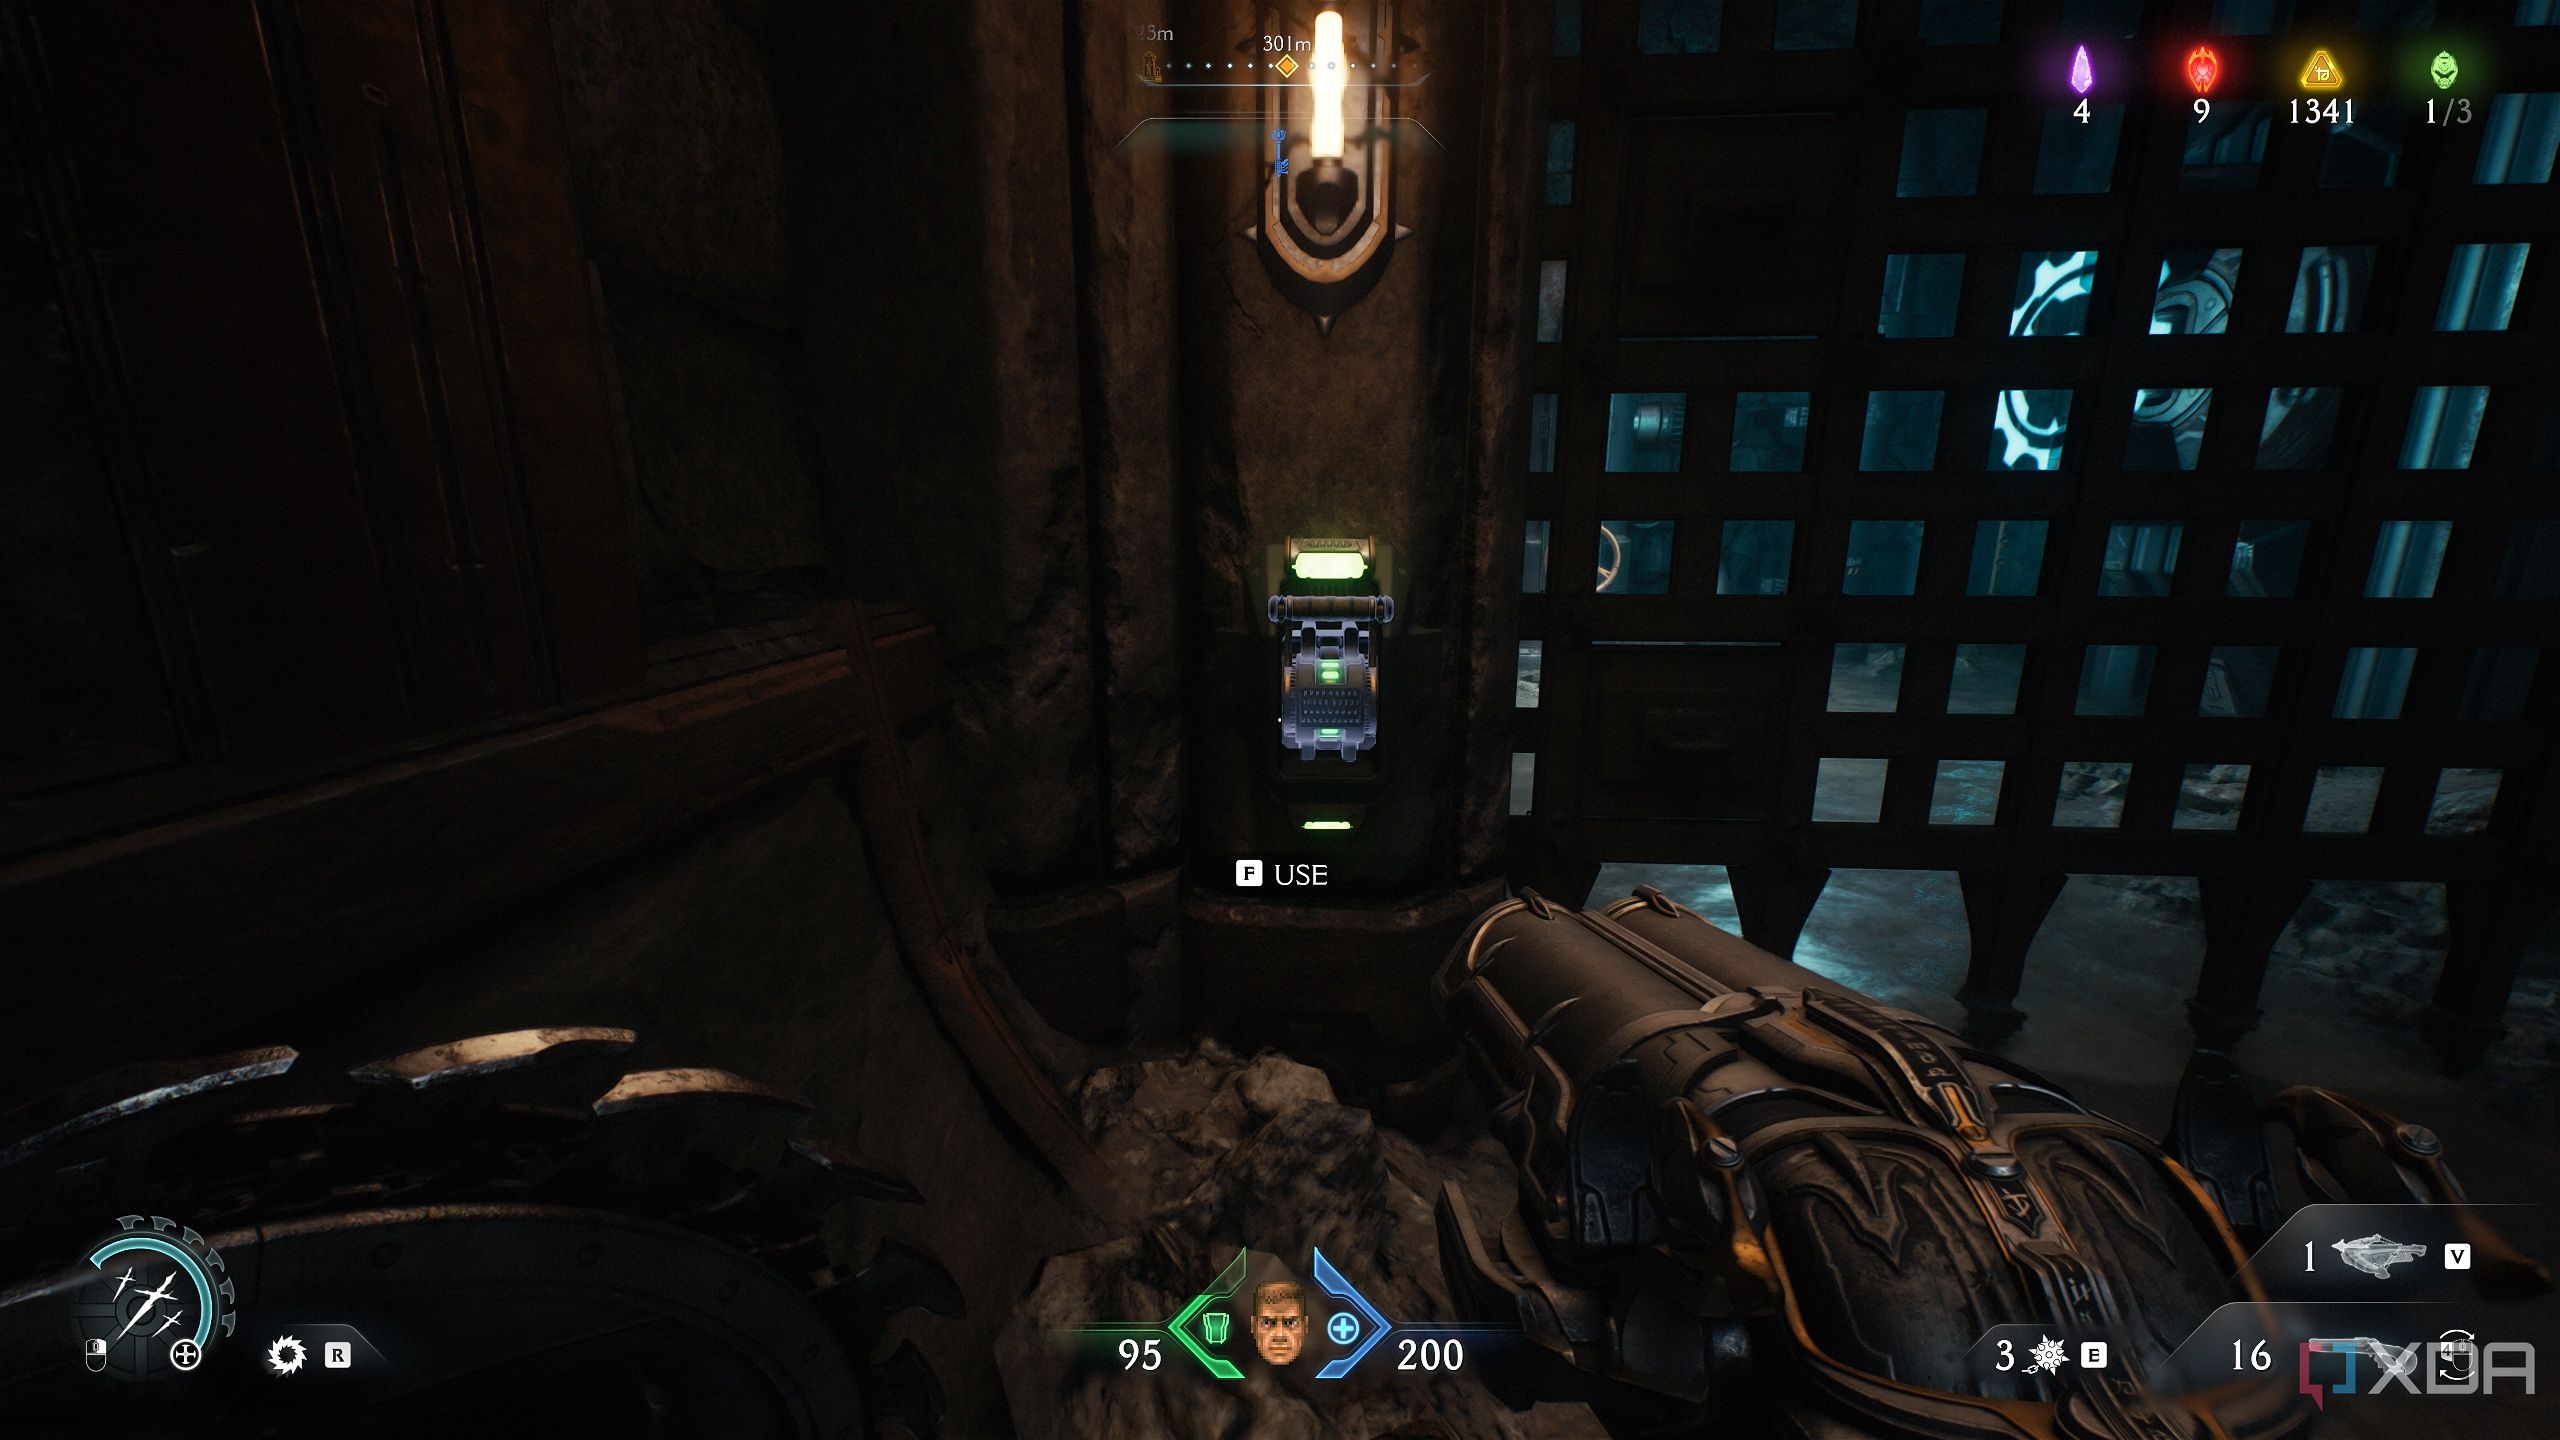
Pick them up, scramble up the wall to the next platform, and you’ll collect the blue key. Then, past the blue key, there’s a long scramble wall — head towards it and climb up.
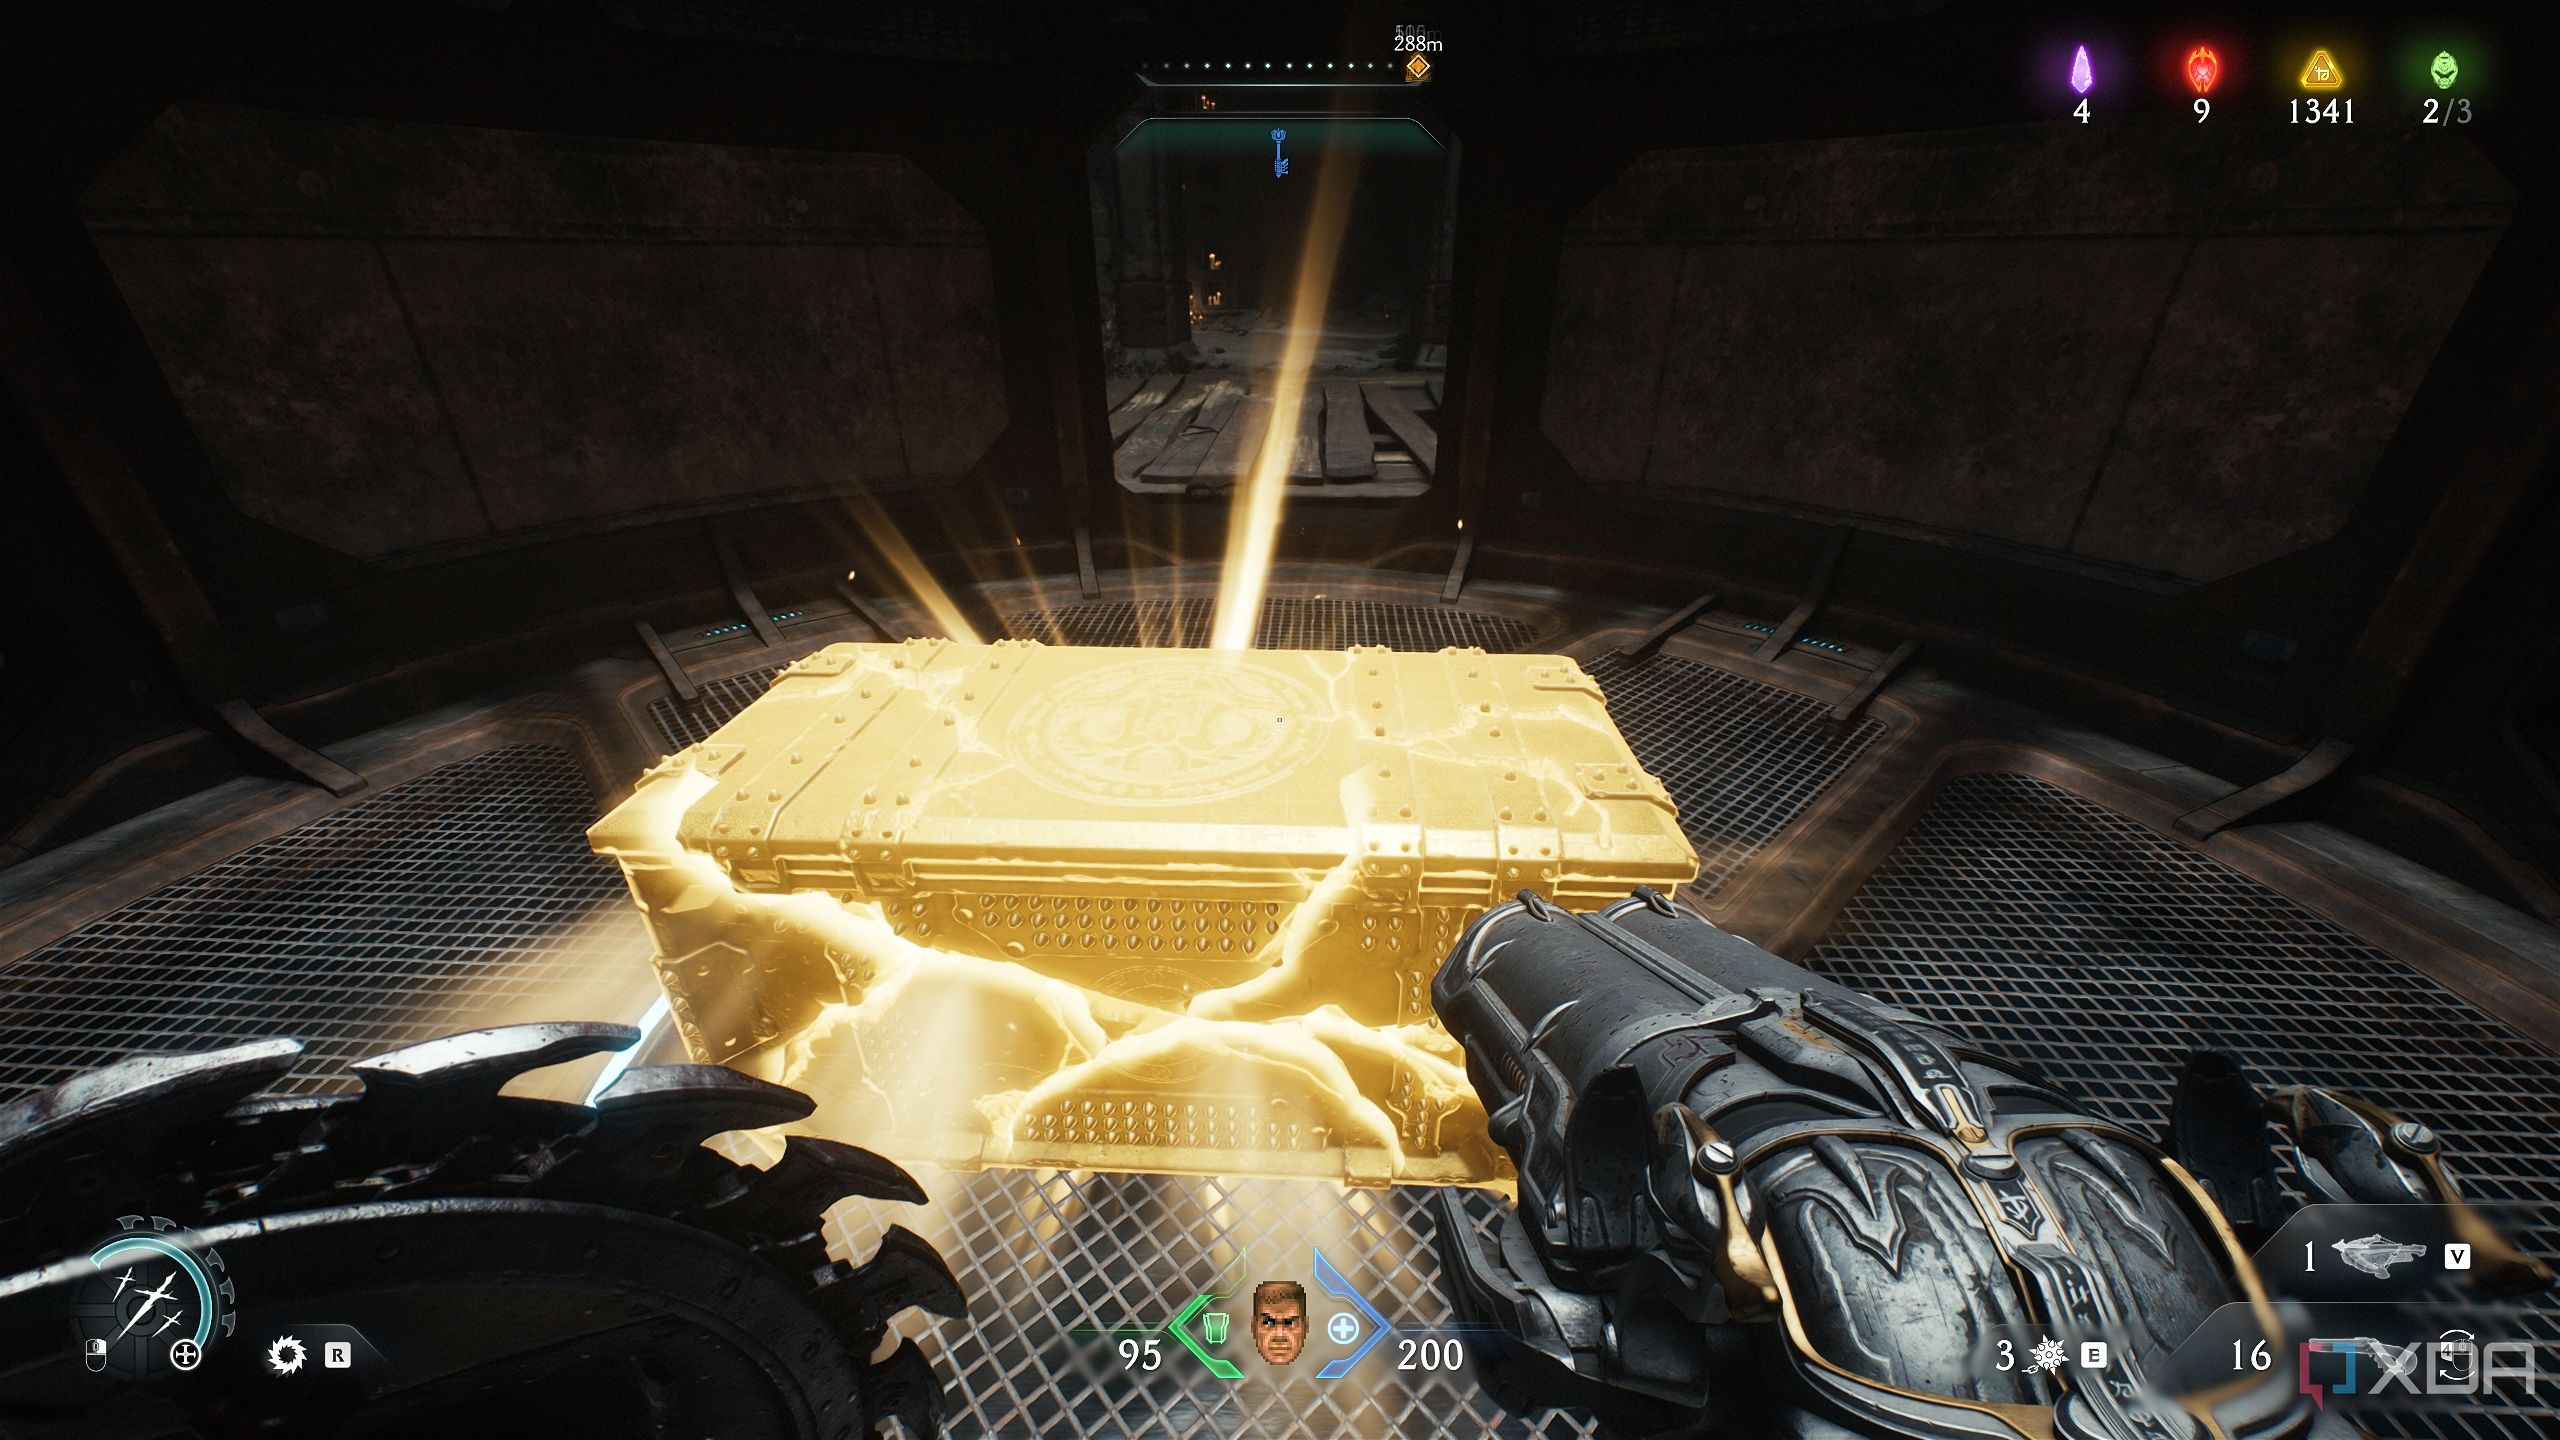
You’ll reach a gold chest to bash and collect.
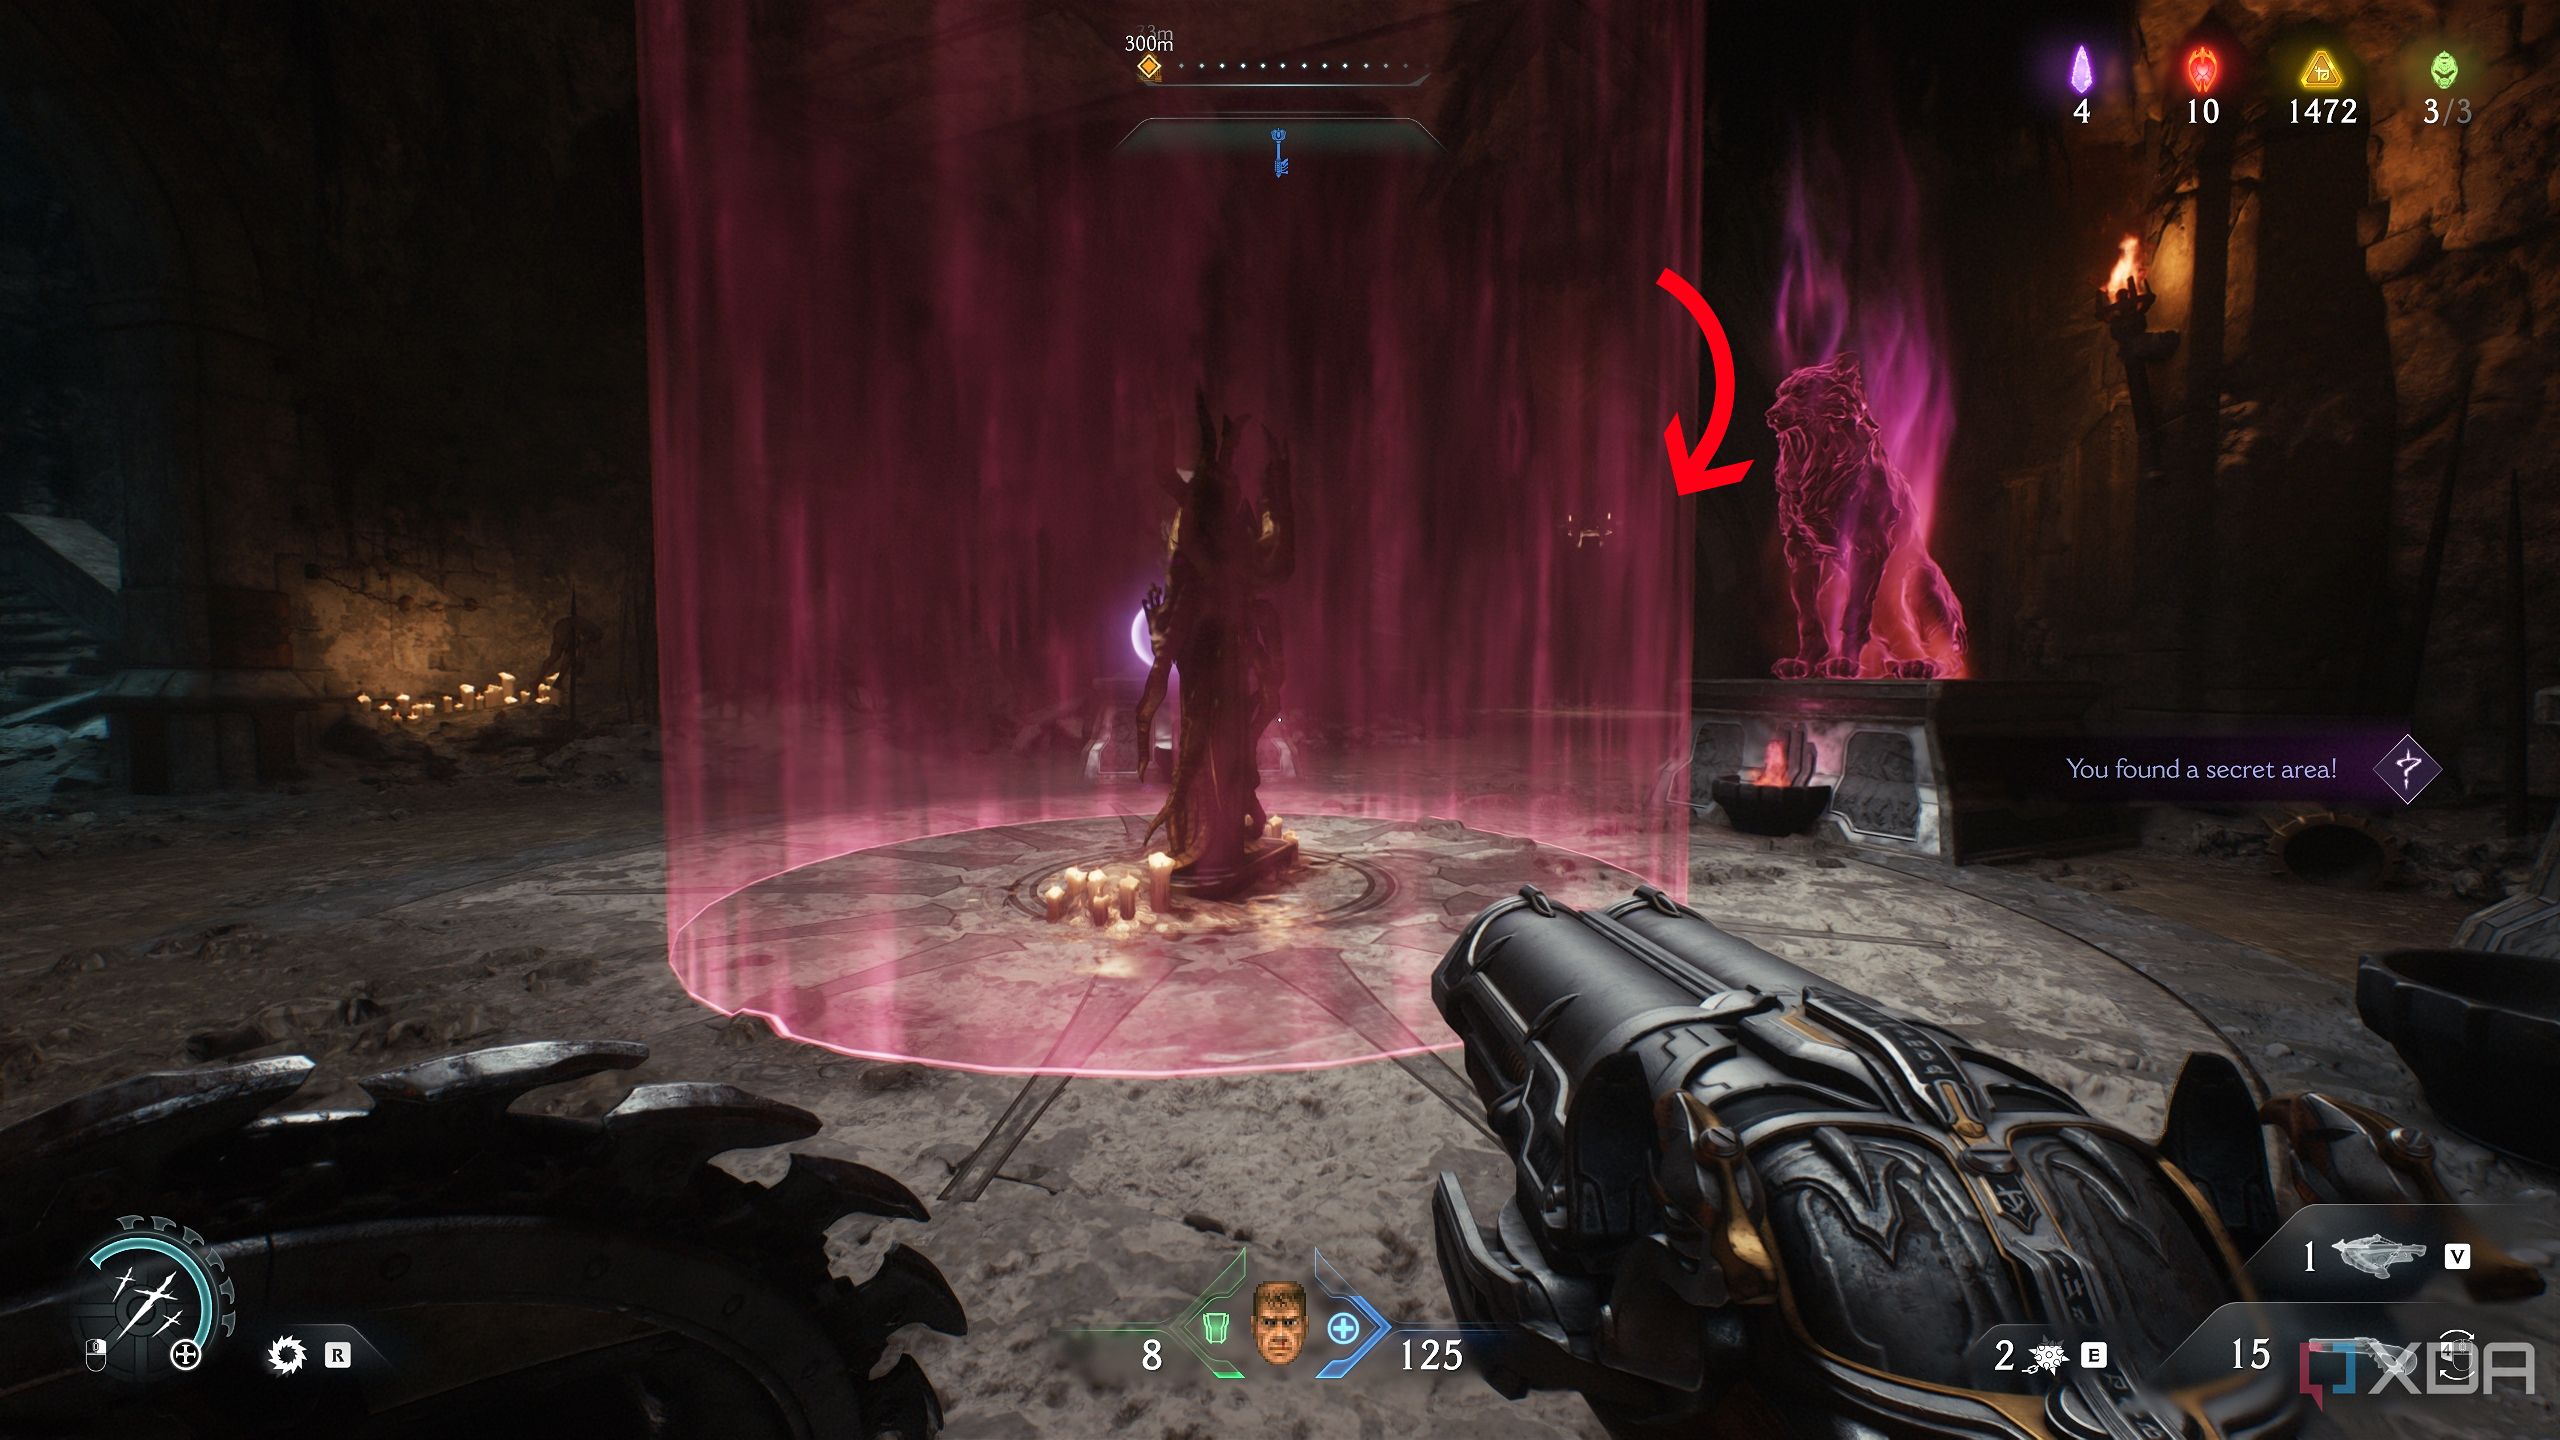
Secret area 4 and the first Red Ruby
The first blue door leading to the first Red Ruby

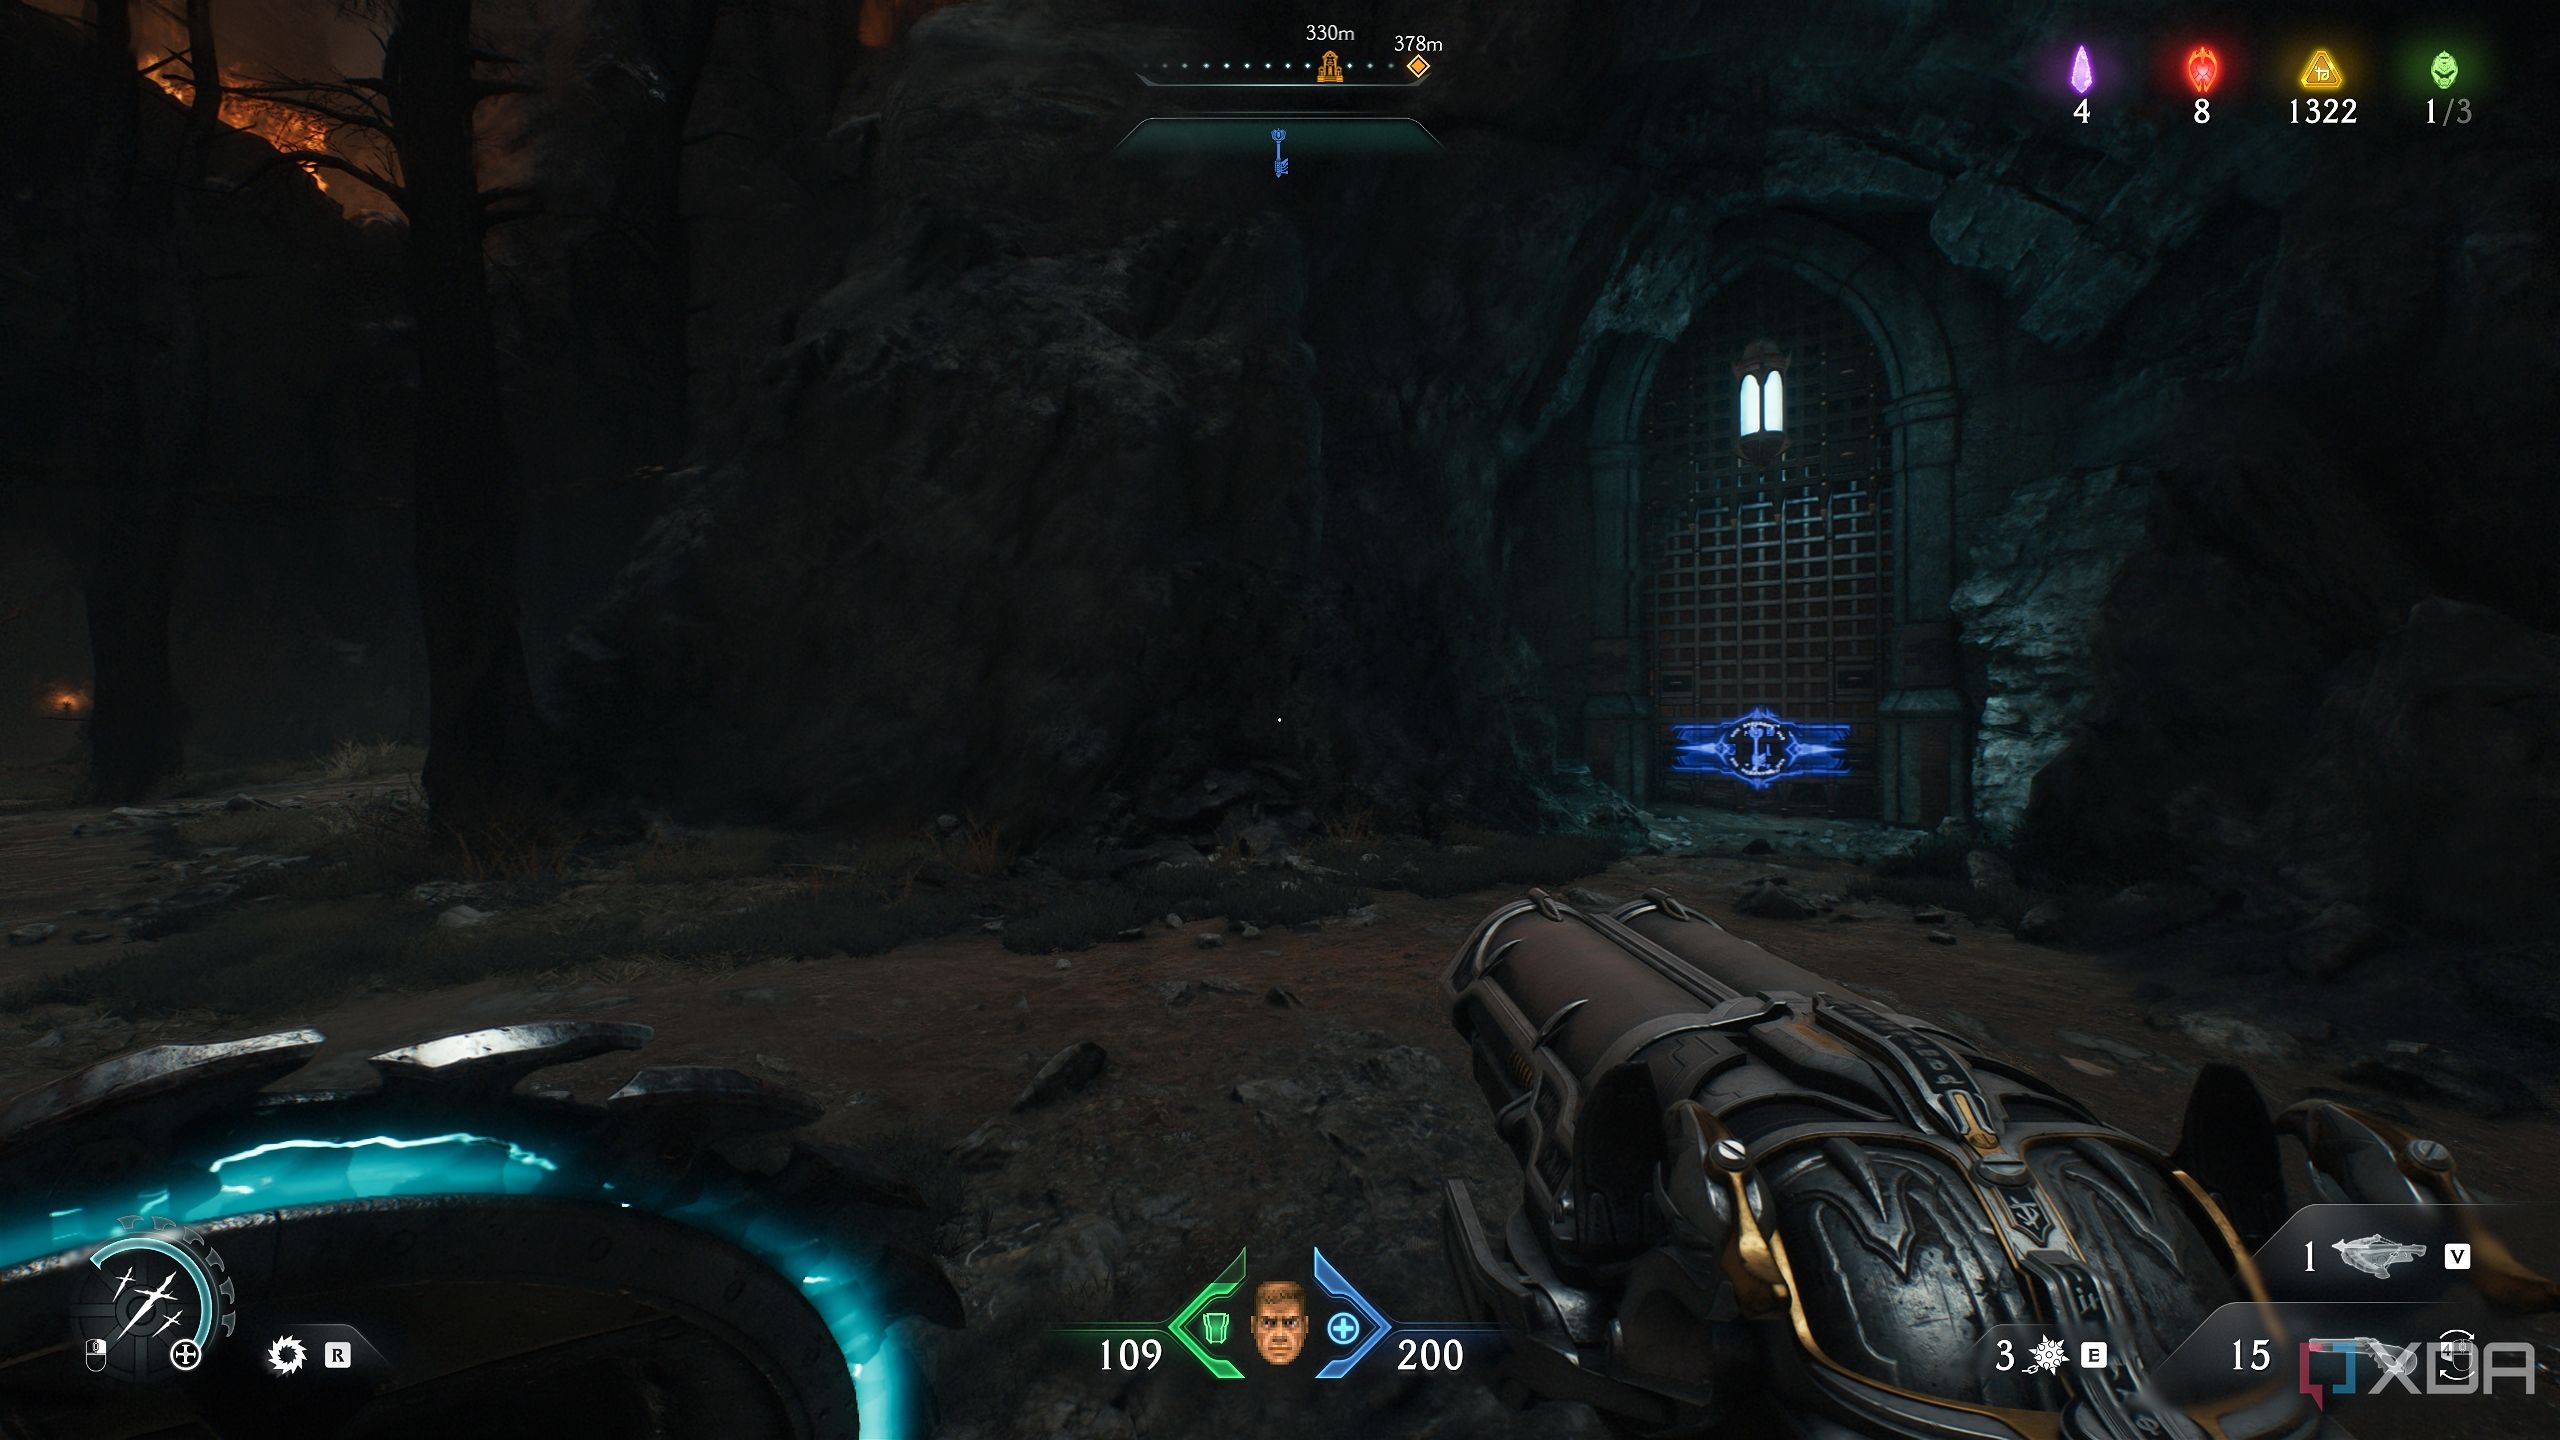
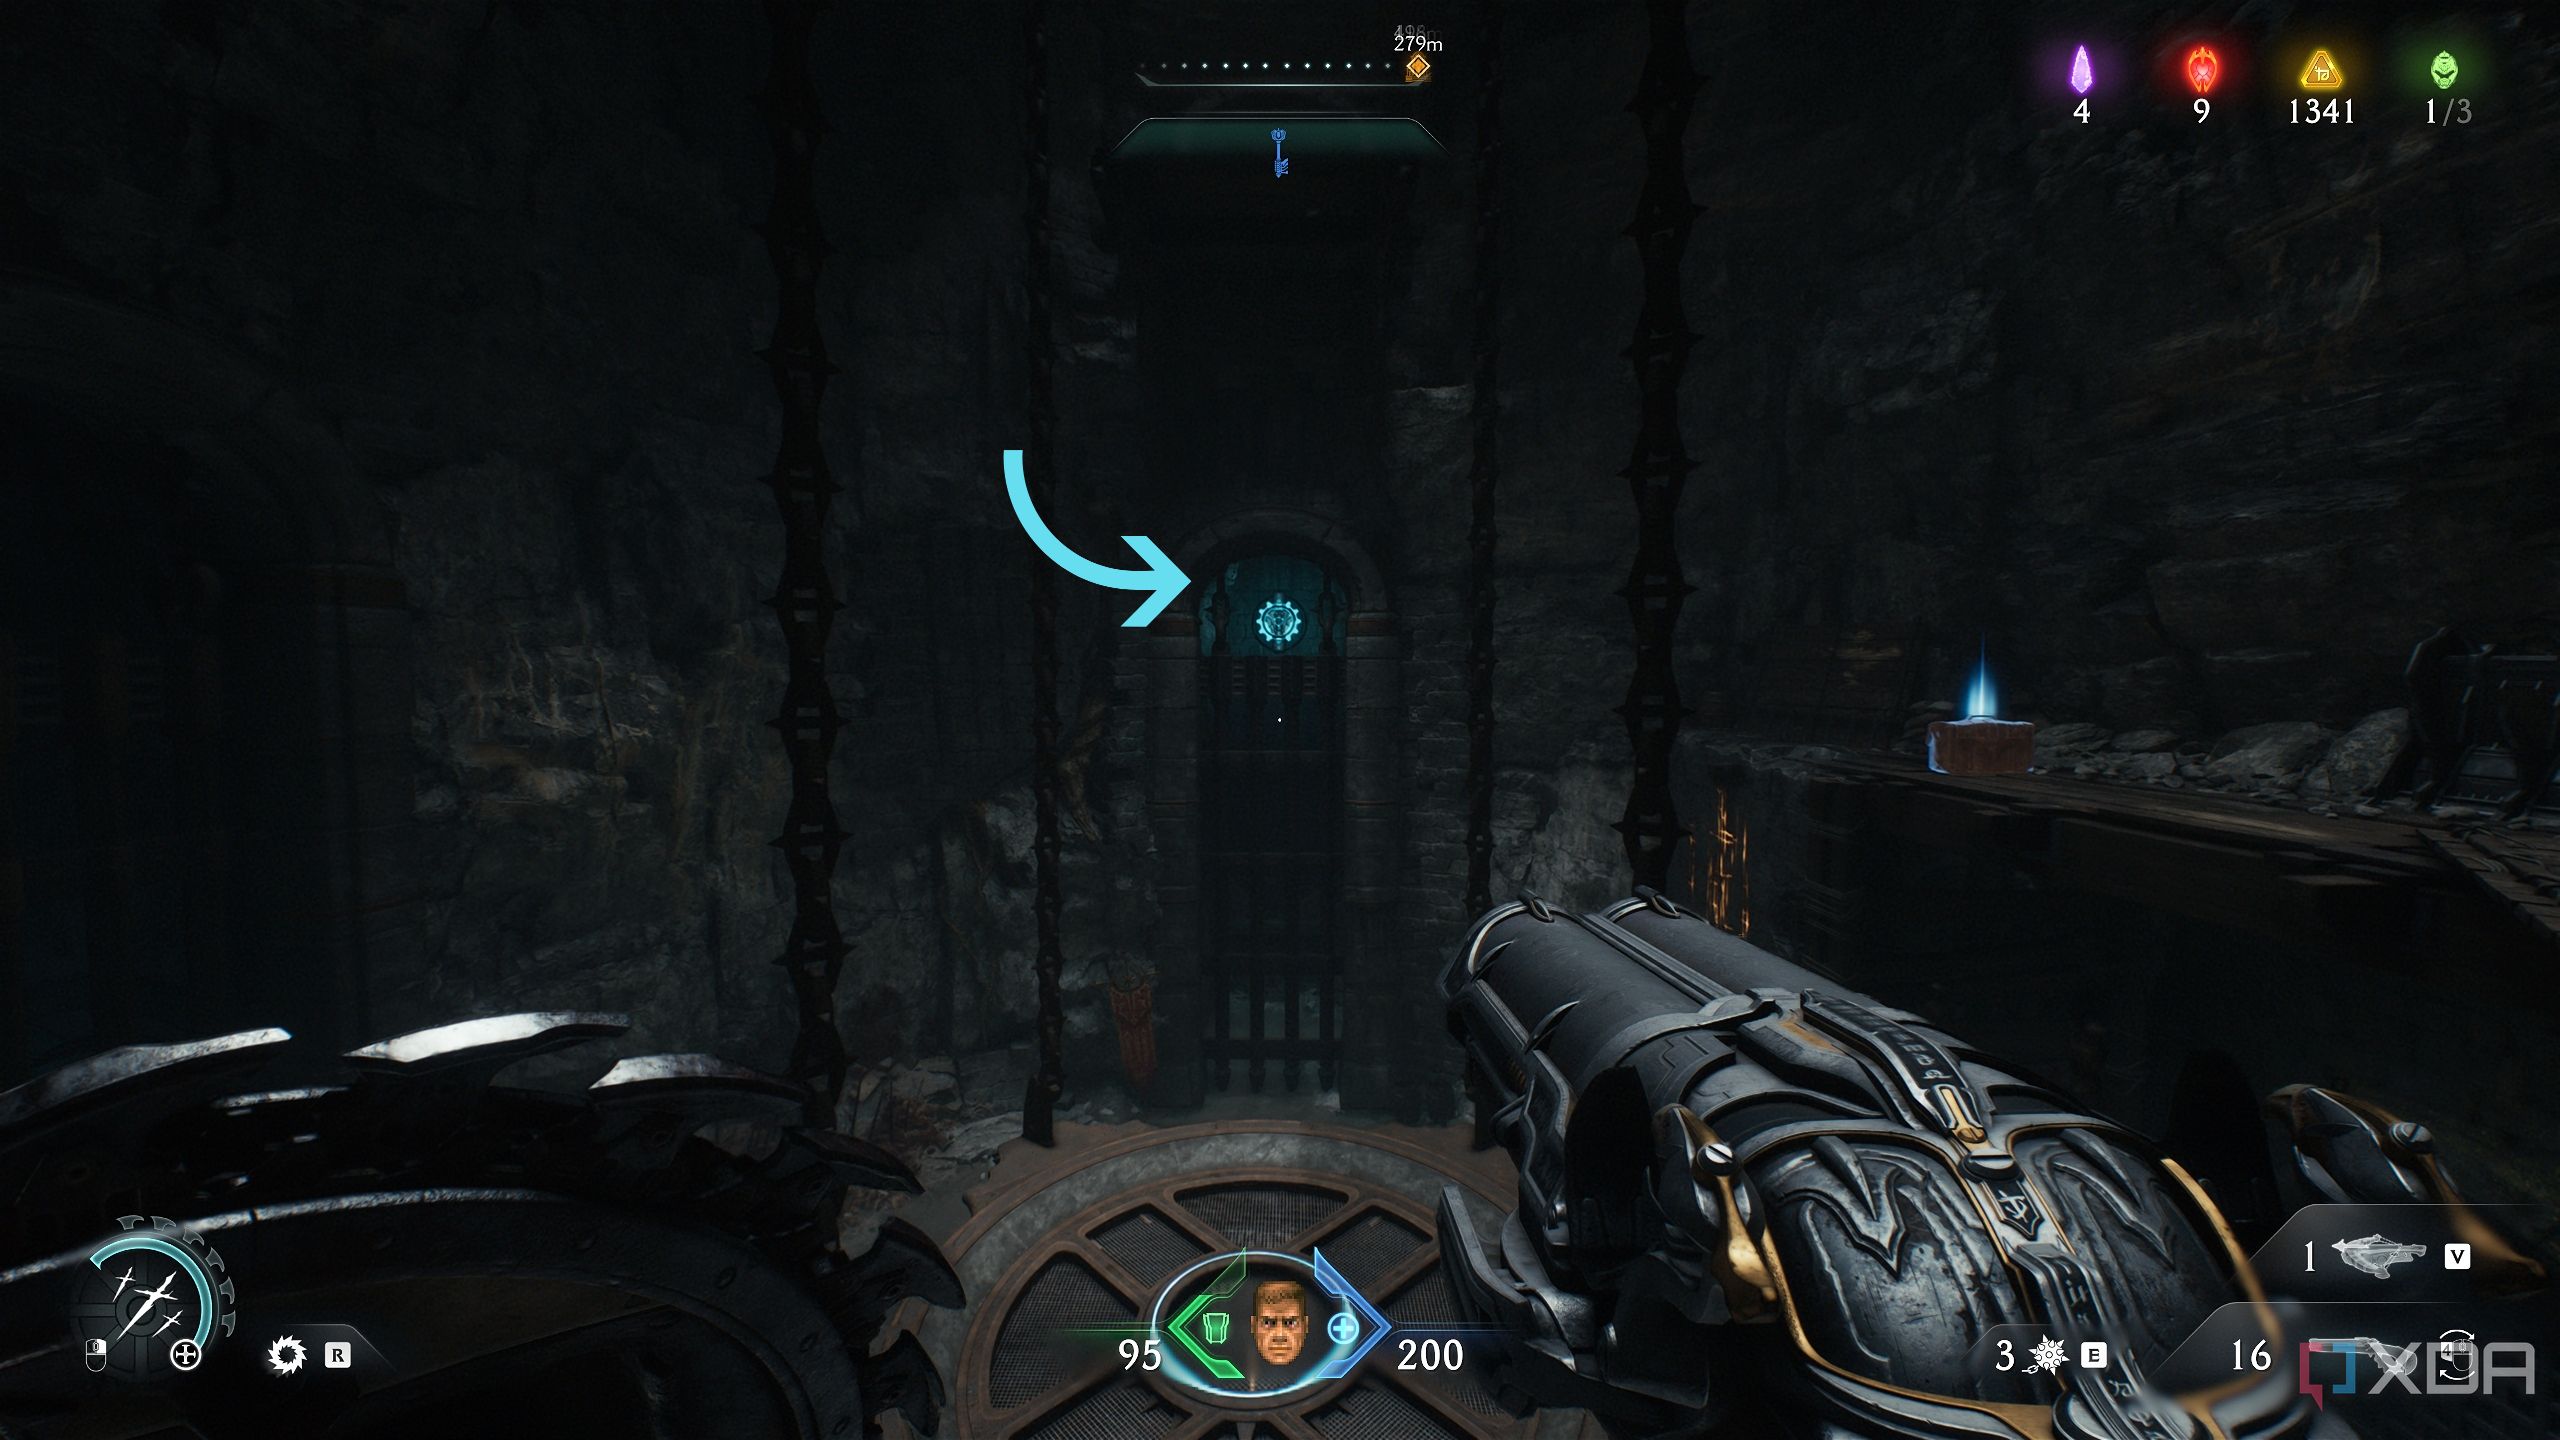
From here, you’ll immediately be met by a Mancubus that spawns down below. Jump down and deal with it, and you’ll be back in the arena with the first Artillery Cannon. This is where you’d be standing.
Look around to spot the blue-locked gate, and approach it.
Heading inside, you’ll unlock secret area 4 with more Sentinel Knights and Argent D’Nur citizens. Follow the path, picking up a long trail of gold bars, and head up the flights of stairs.
You will reach the first Red Ruby statue.
Related
The Mech and Dragon levels in Doom: The Dark Ages feel like missed opportunities
Doom: The Dark Ages is another stellar Doom game, but the new mech and dragon levels don't live up to the high standards of the series.
Secret area 5 and the second Red Ruby
Going a different direction from the siege tower this time
Jump down from the first Red Ruby statue, and you’ll be back in the arena where you brought down the second Siege Tower.
This time around, head left from the ledge beside the Siege Tower, and deal with the demons that appear.

You’ll see a Sentinel Shrine and trails of gold bars ahead, but don’t go there.
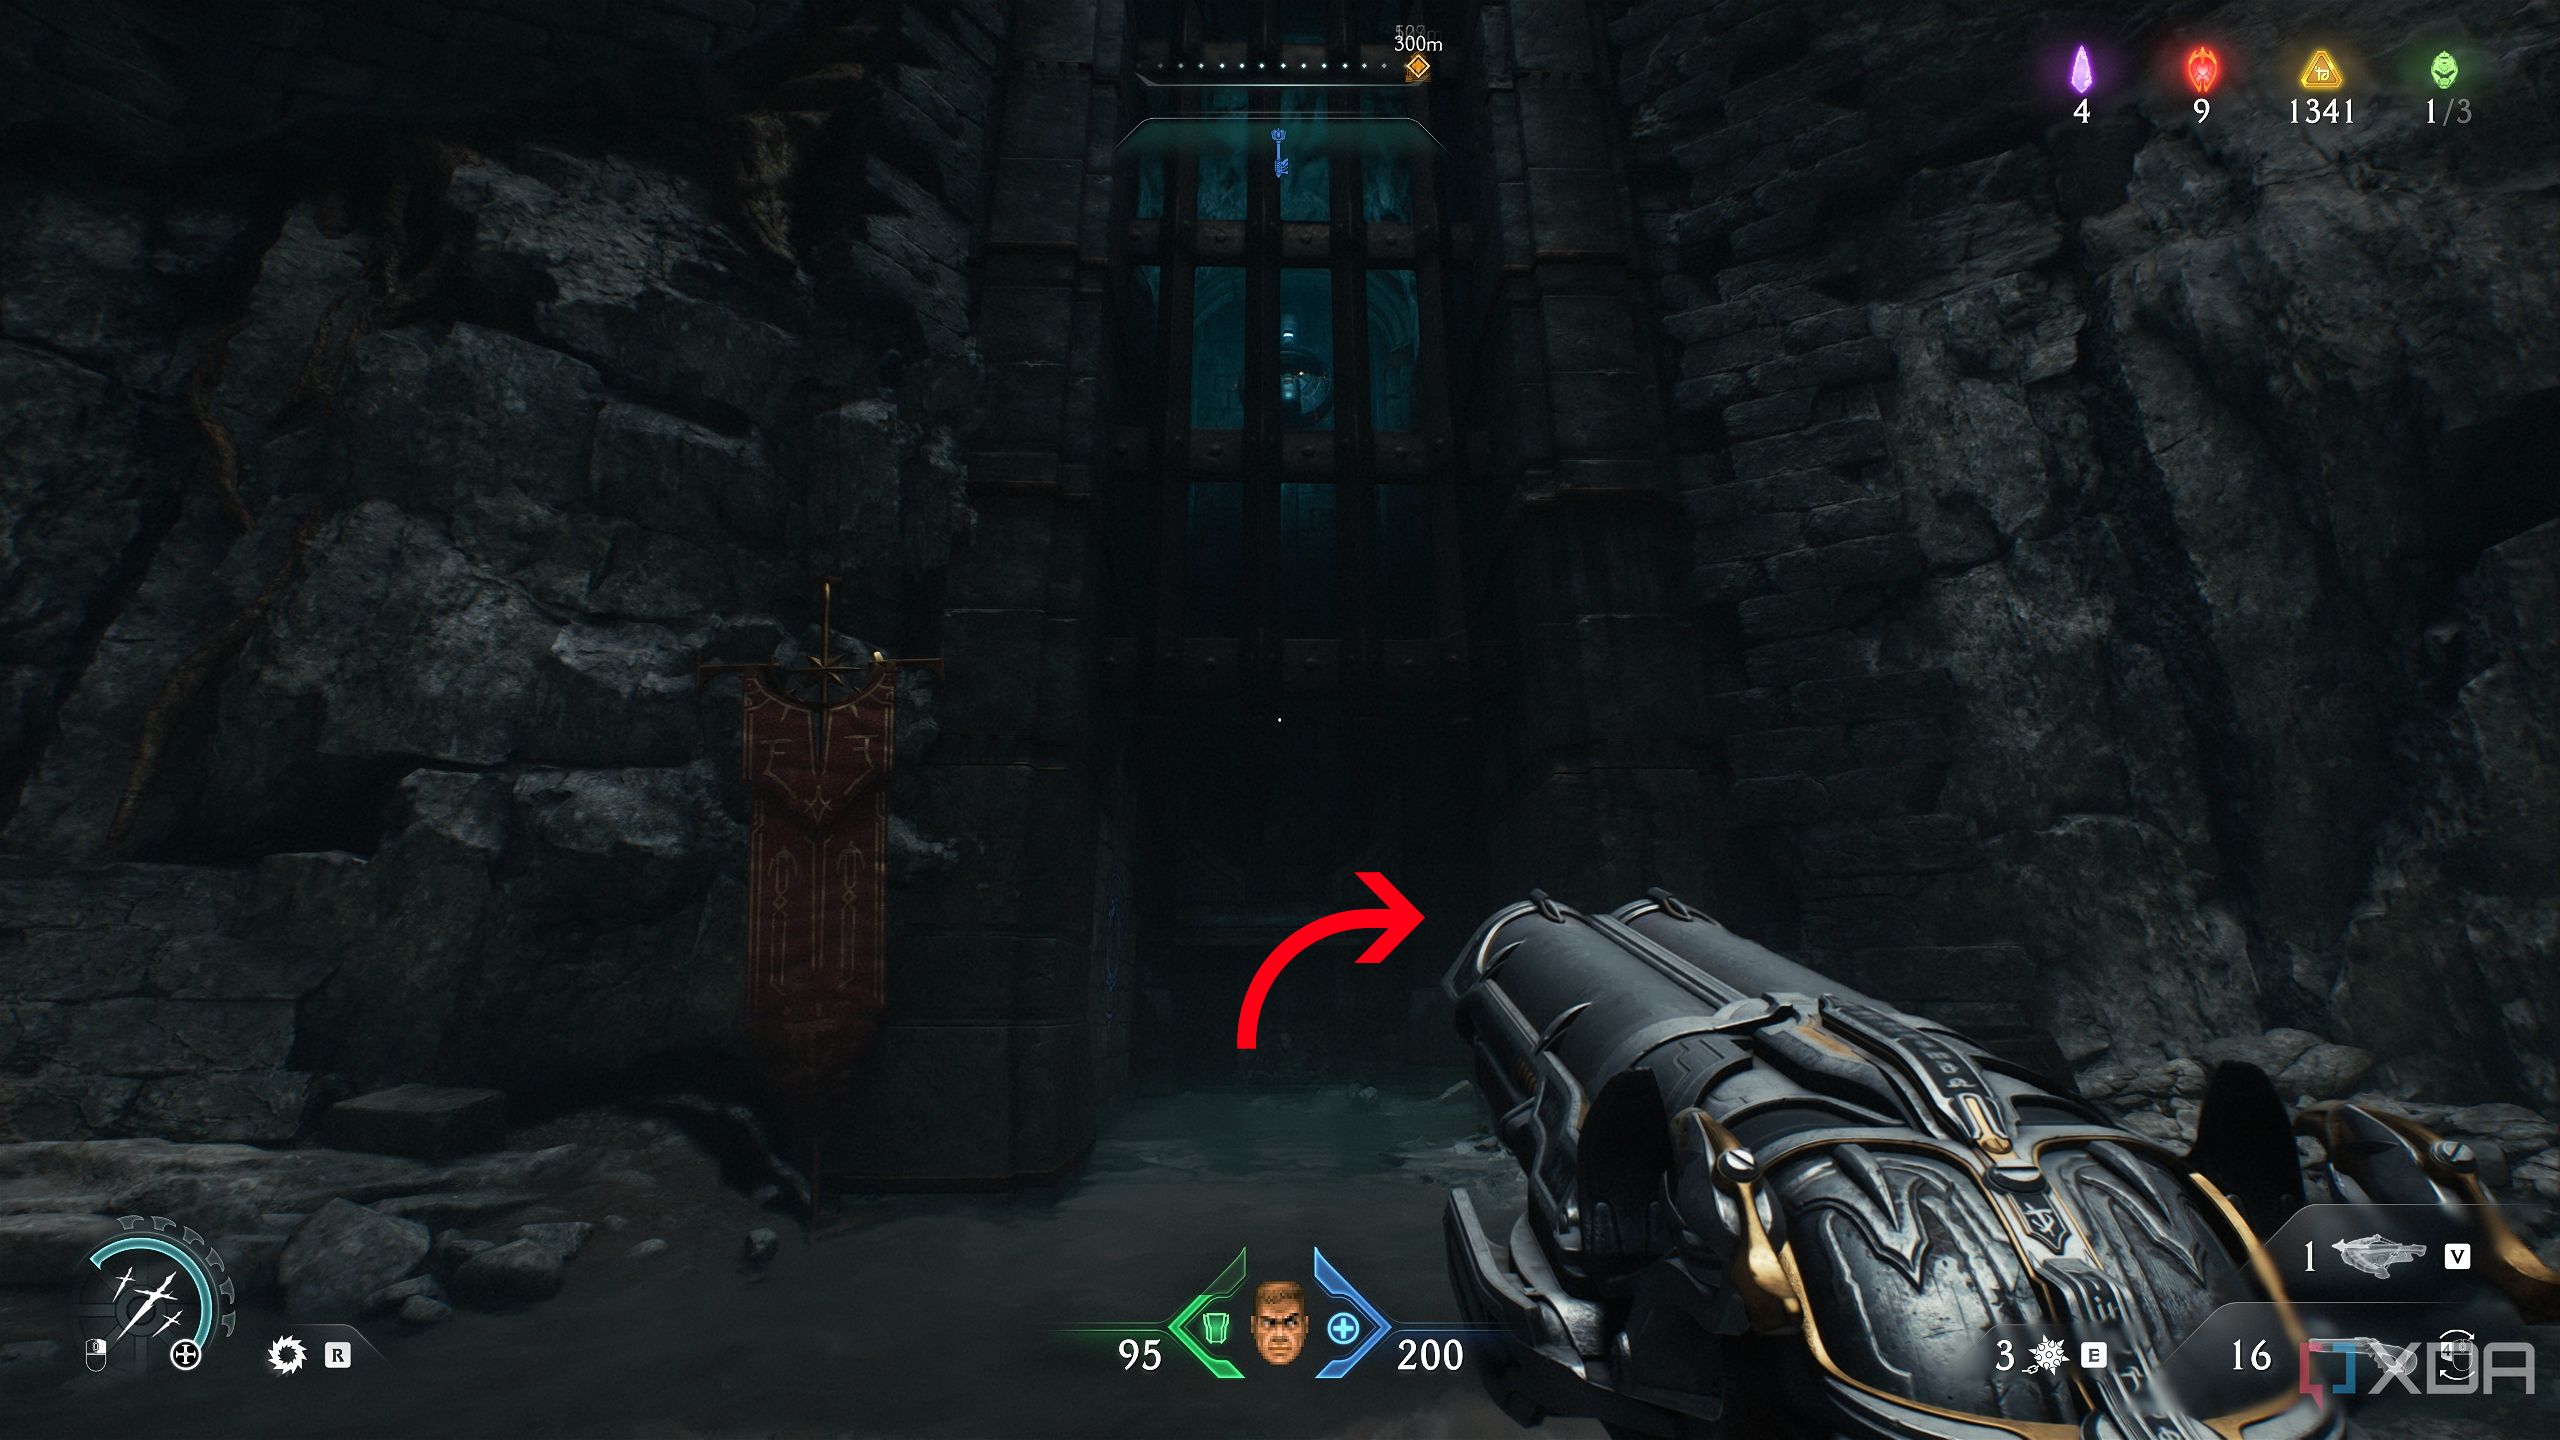
Instead, turn around, and head into the right corner of the arena here, and you’ll soon reach a blue-locked gate.
Approach it and head inside.
You’ll find secret area 5 and the second Red Ruby statue here. You’ll have to fight two Whiplash demons and a Mancubus here, so be careful. Then, head back the way you came, towards the Sentinel Shrine.
Trail of gold bars and a gold stack
Clearing an arena and collecting all the gold
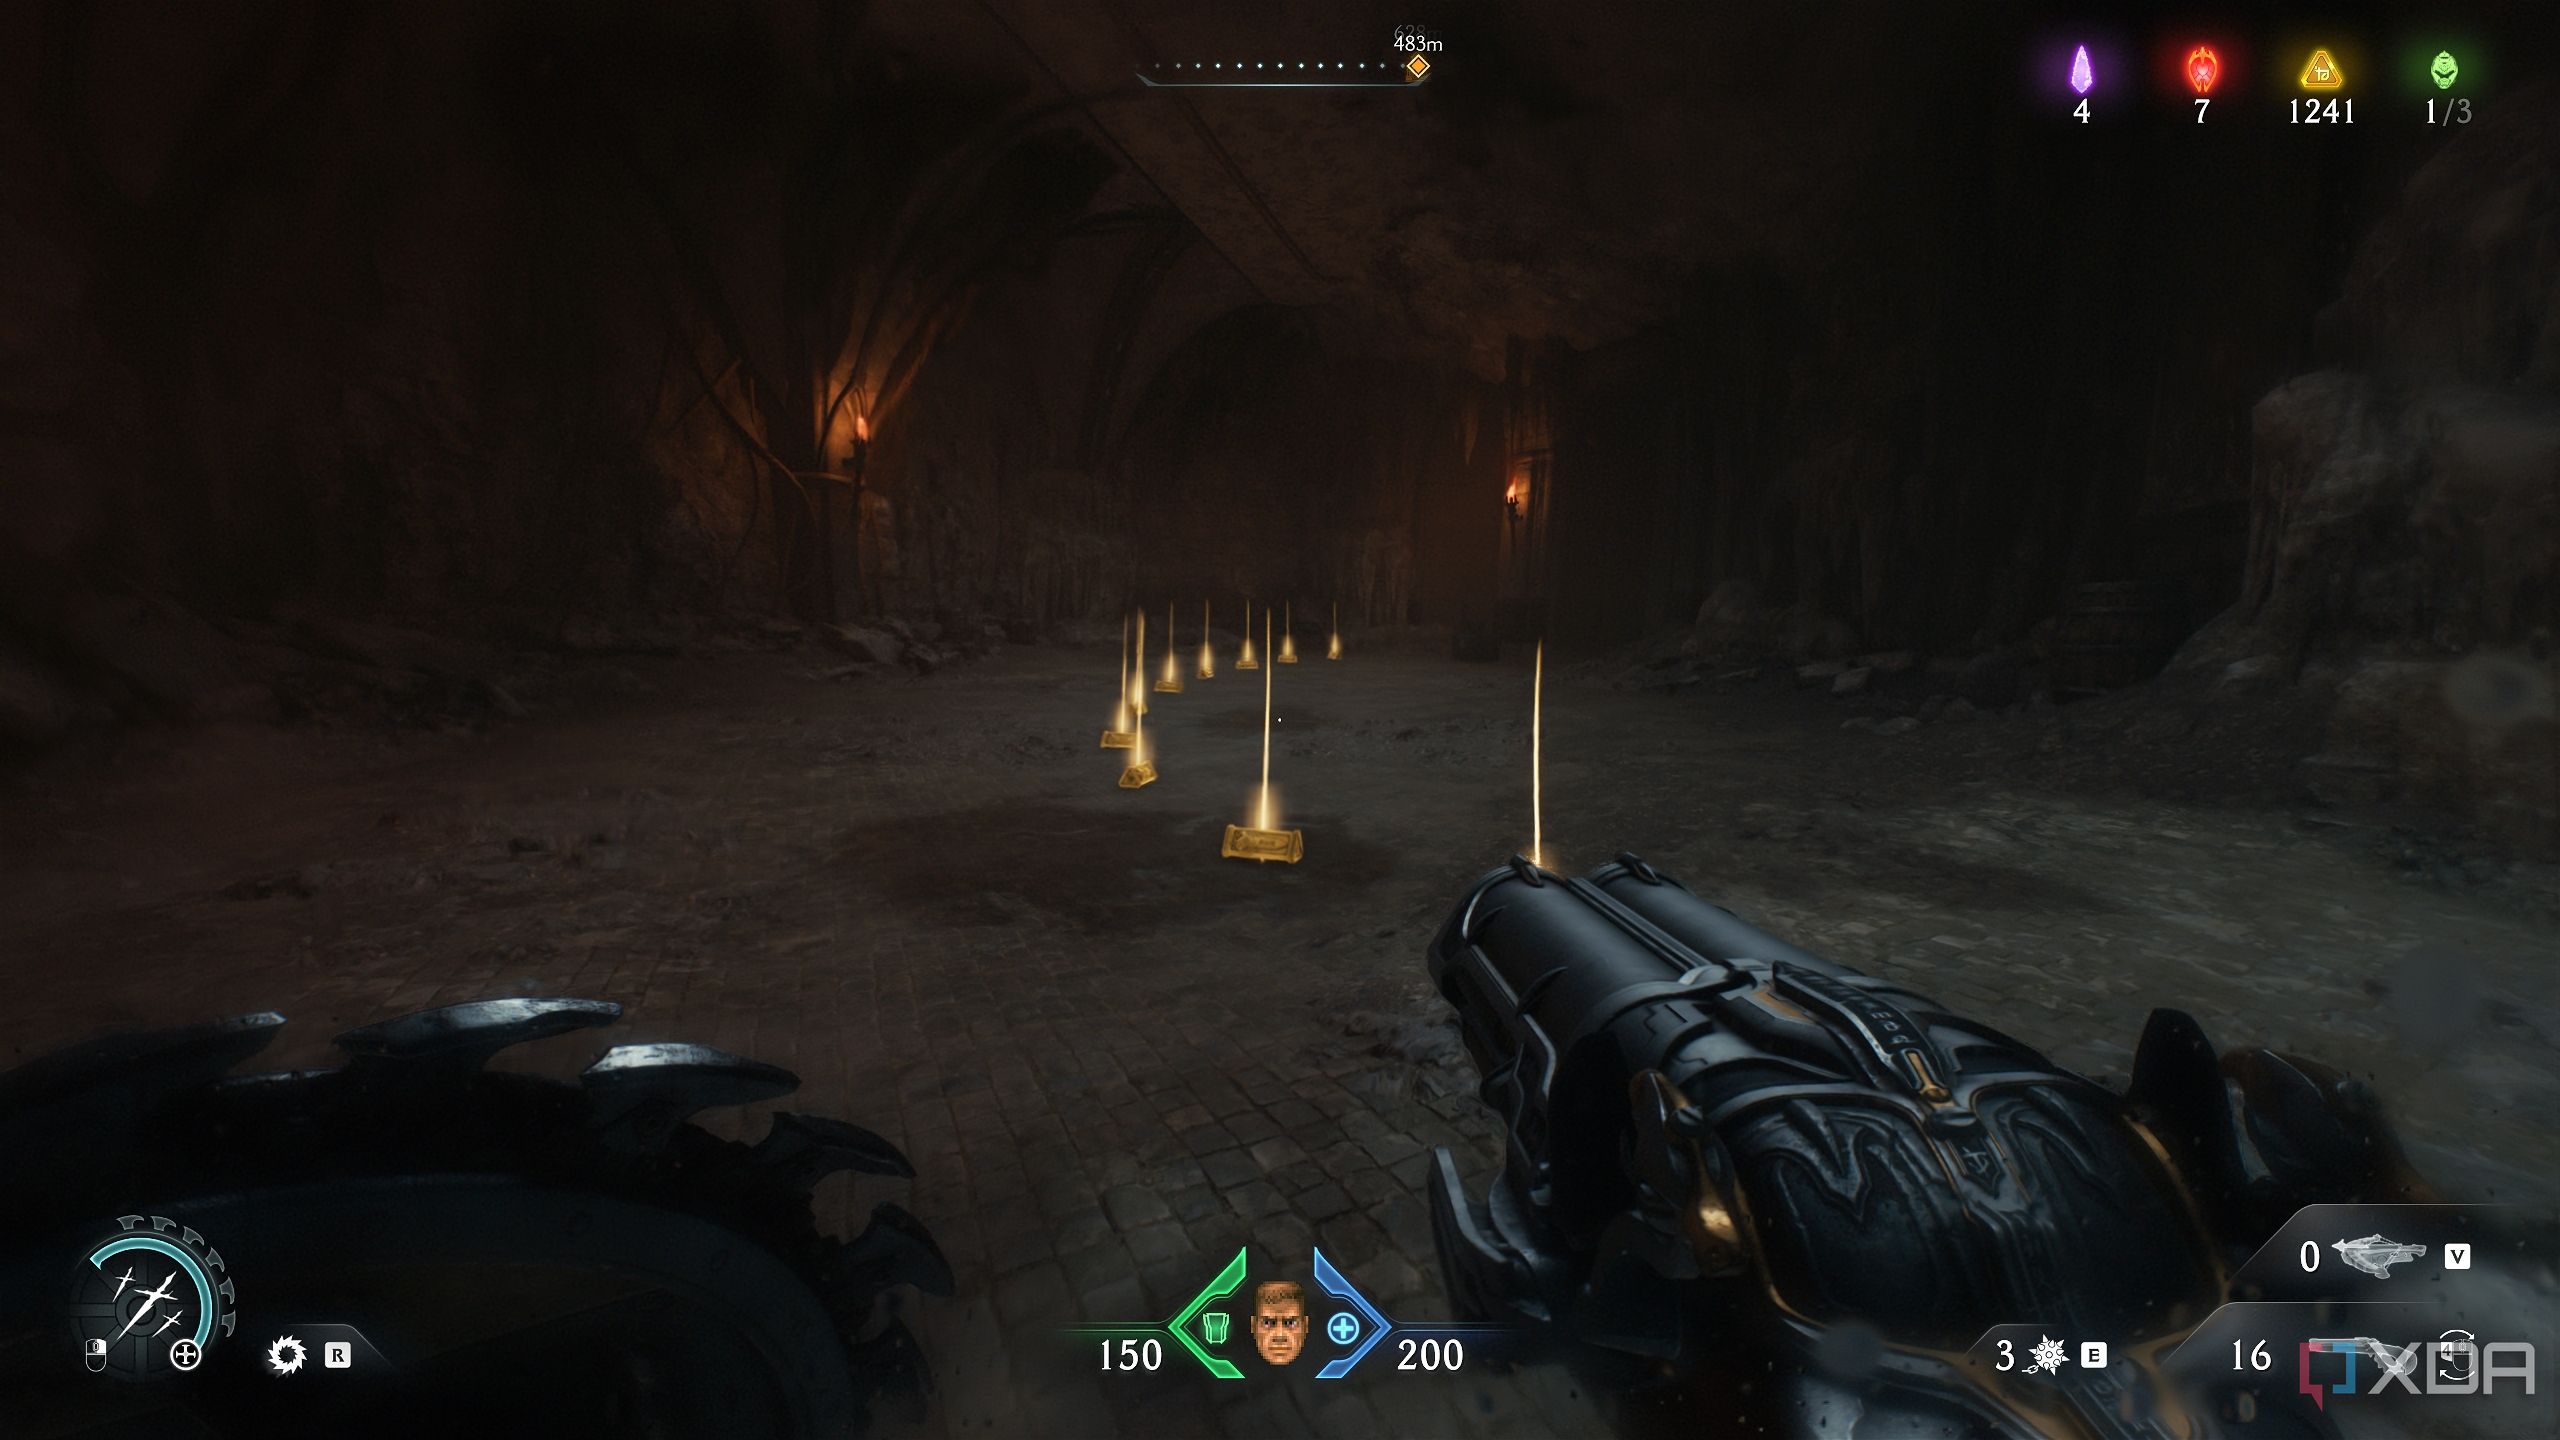
As you approach the Sentinel Shrine, pick up the trail of gold bars in front of it.
Get to the Shrine, do whatever shopping you need, and then jump down behind it to a small area.
Fight the demons here, and the area will be clear rather quickly. This is where you’d find yourself standing on the map.

Look towards the eclipsed sun in the sky, and you’ll see an entrance in the cliff face.
Enter, and take a left — you’ll fight an Arachnotron, and pick up more gold bars and even a gold stack.

Jump back down into the arena, and head to the corner of this arena.
Secret area 6 and a collectible toy
Going down a well and landing in a puzzle-room
In the corner of the arena will be a switch that opens up a well right next to you.
Drop into it and you’ll unlock secret area 6. There’s a gold chest under you that you can’t reach yet.
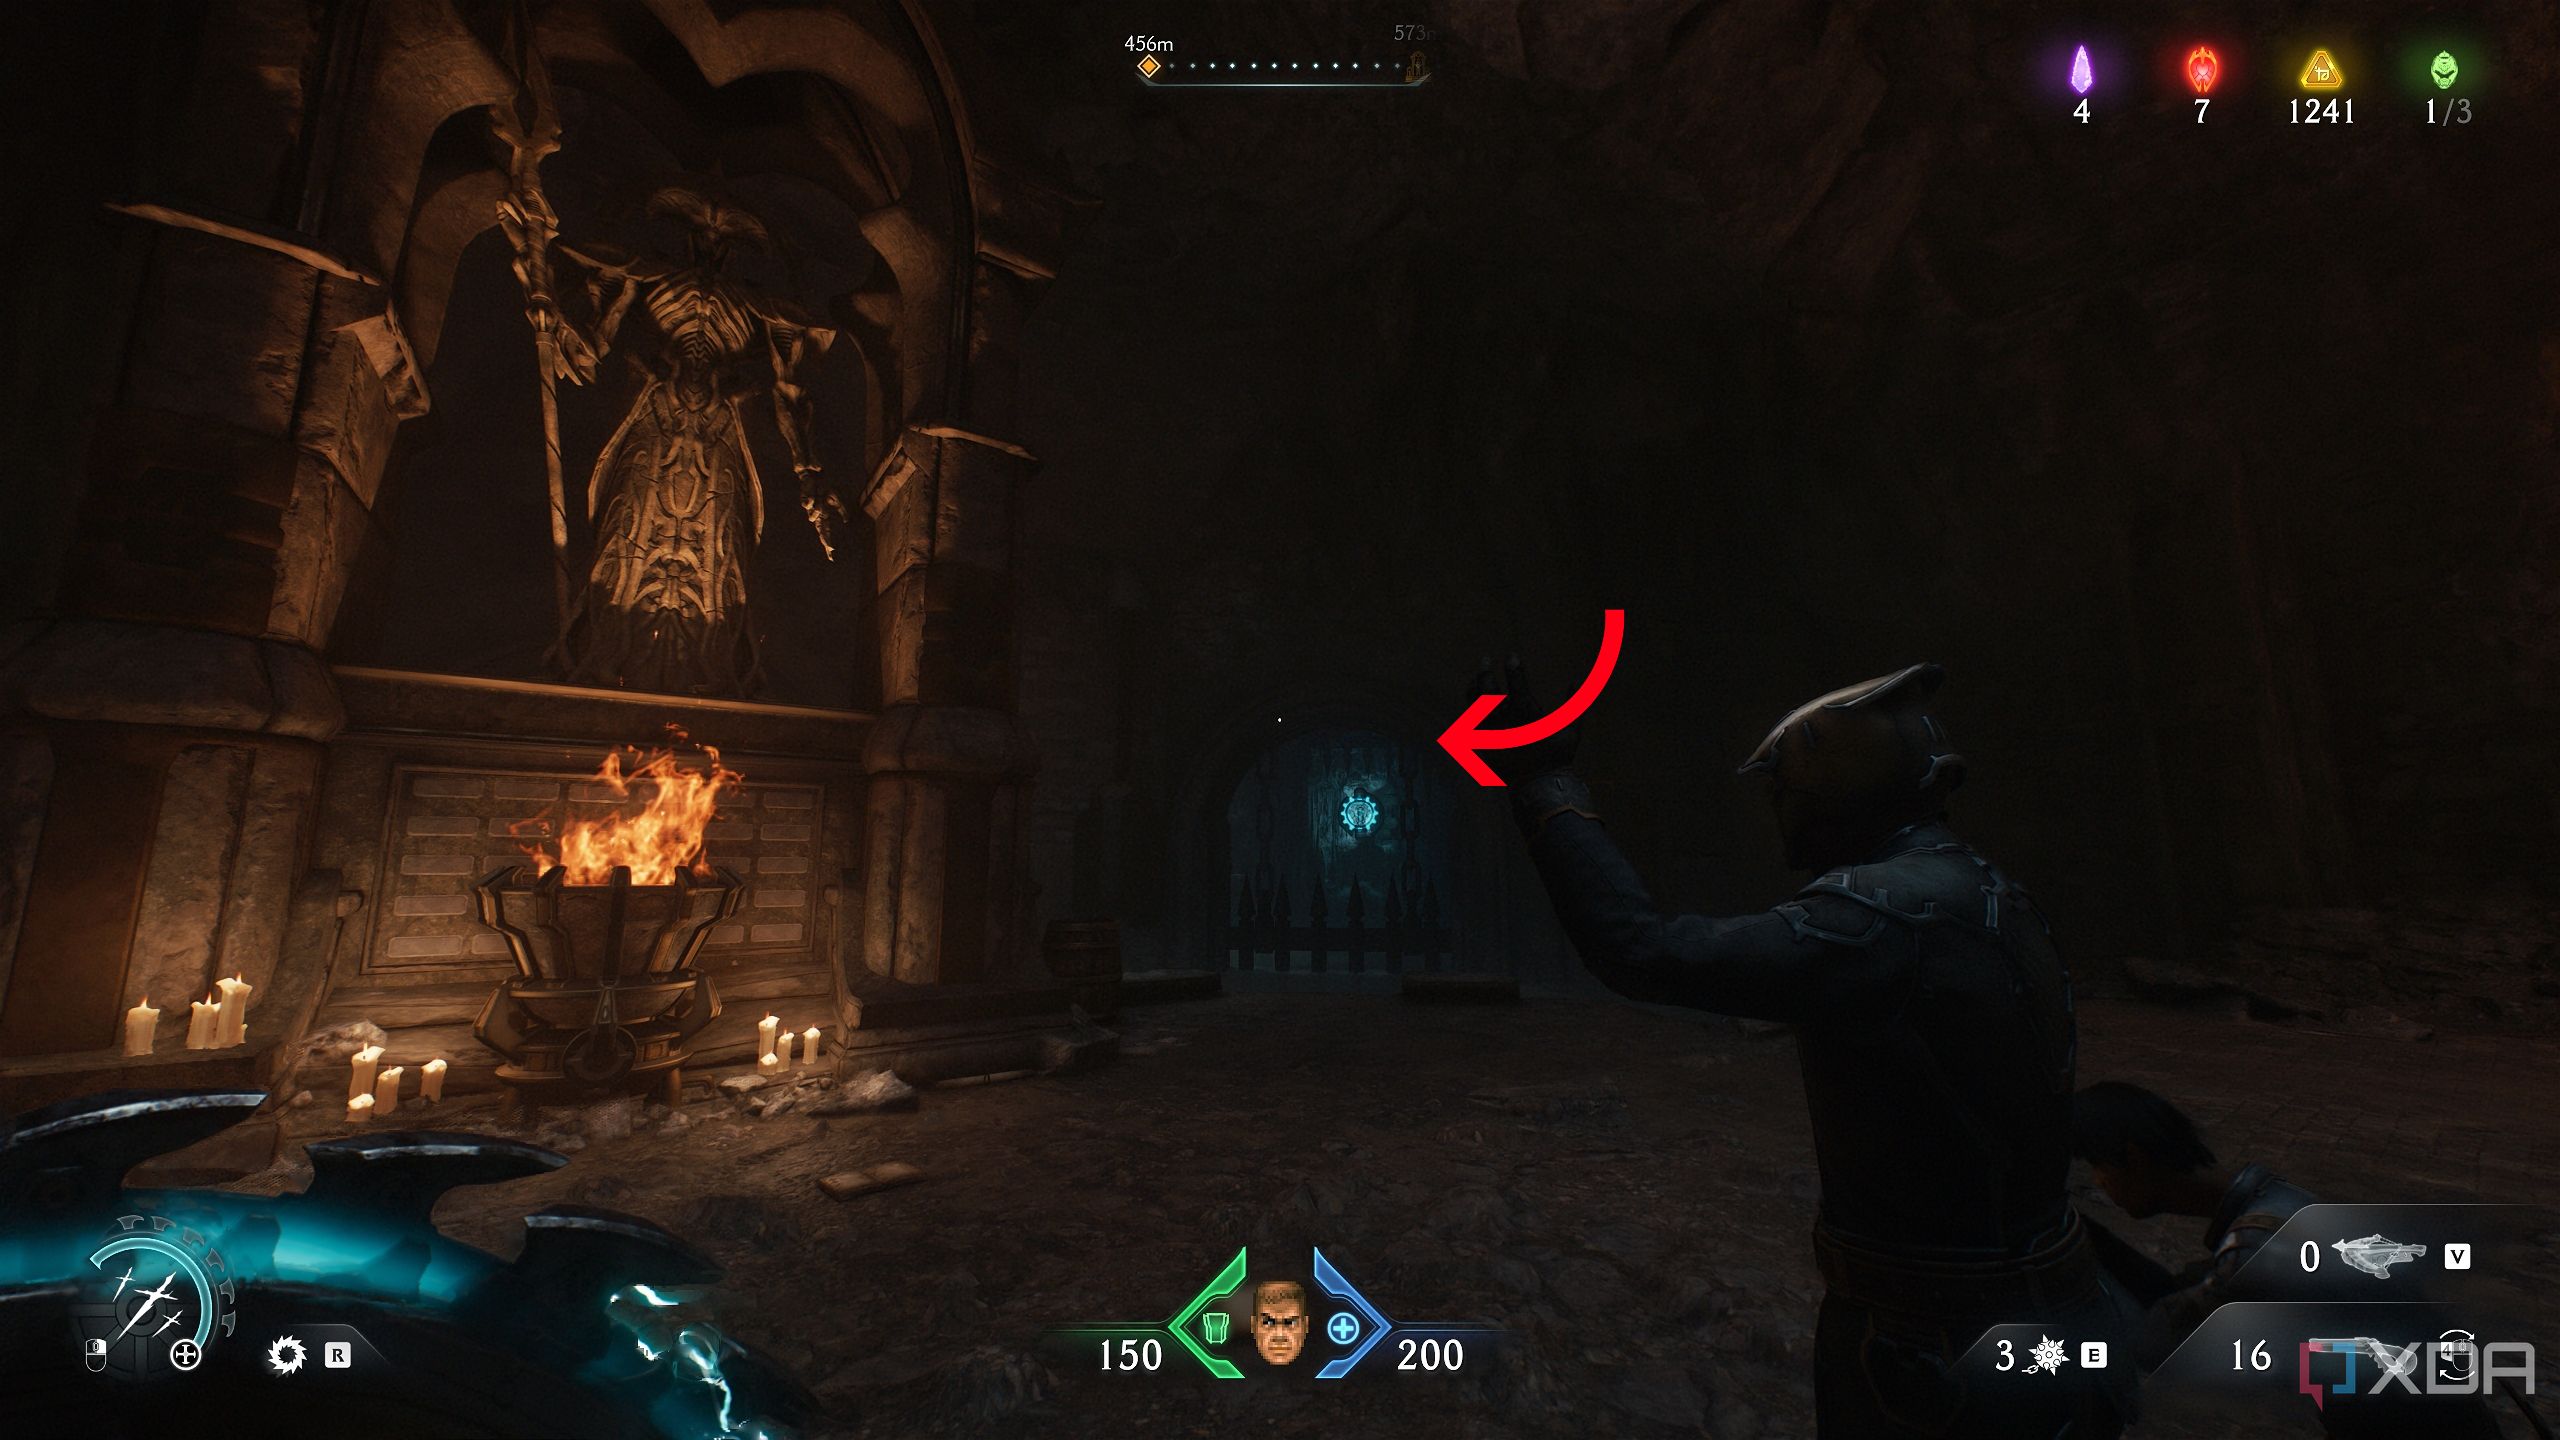
Scramble up the wall and walk to the end of the wooden platform to see a blue energy node across from you.
Hit it, and enter the gate that opens in front of it.
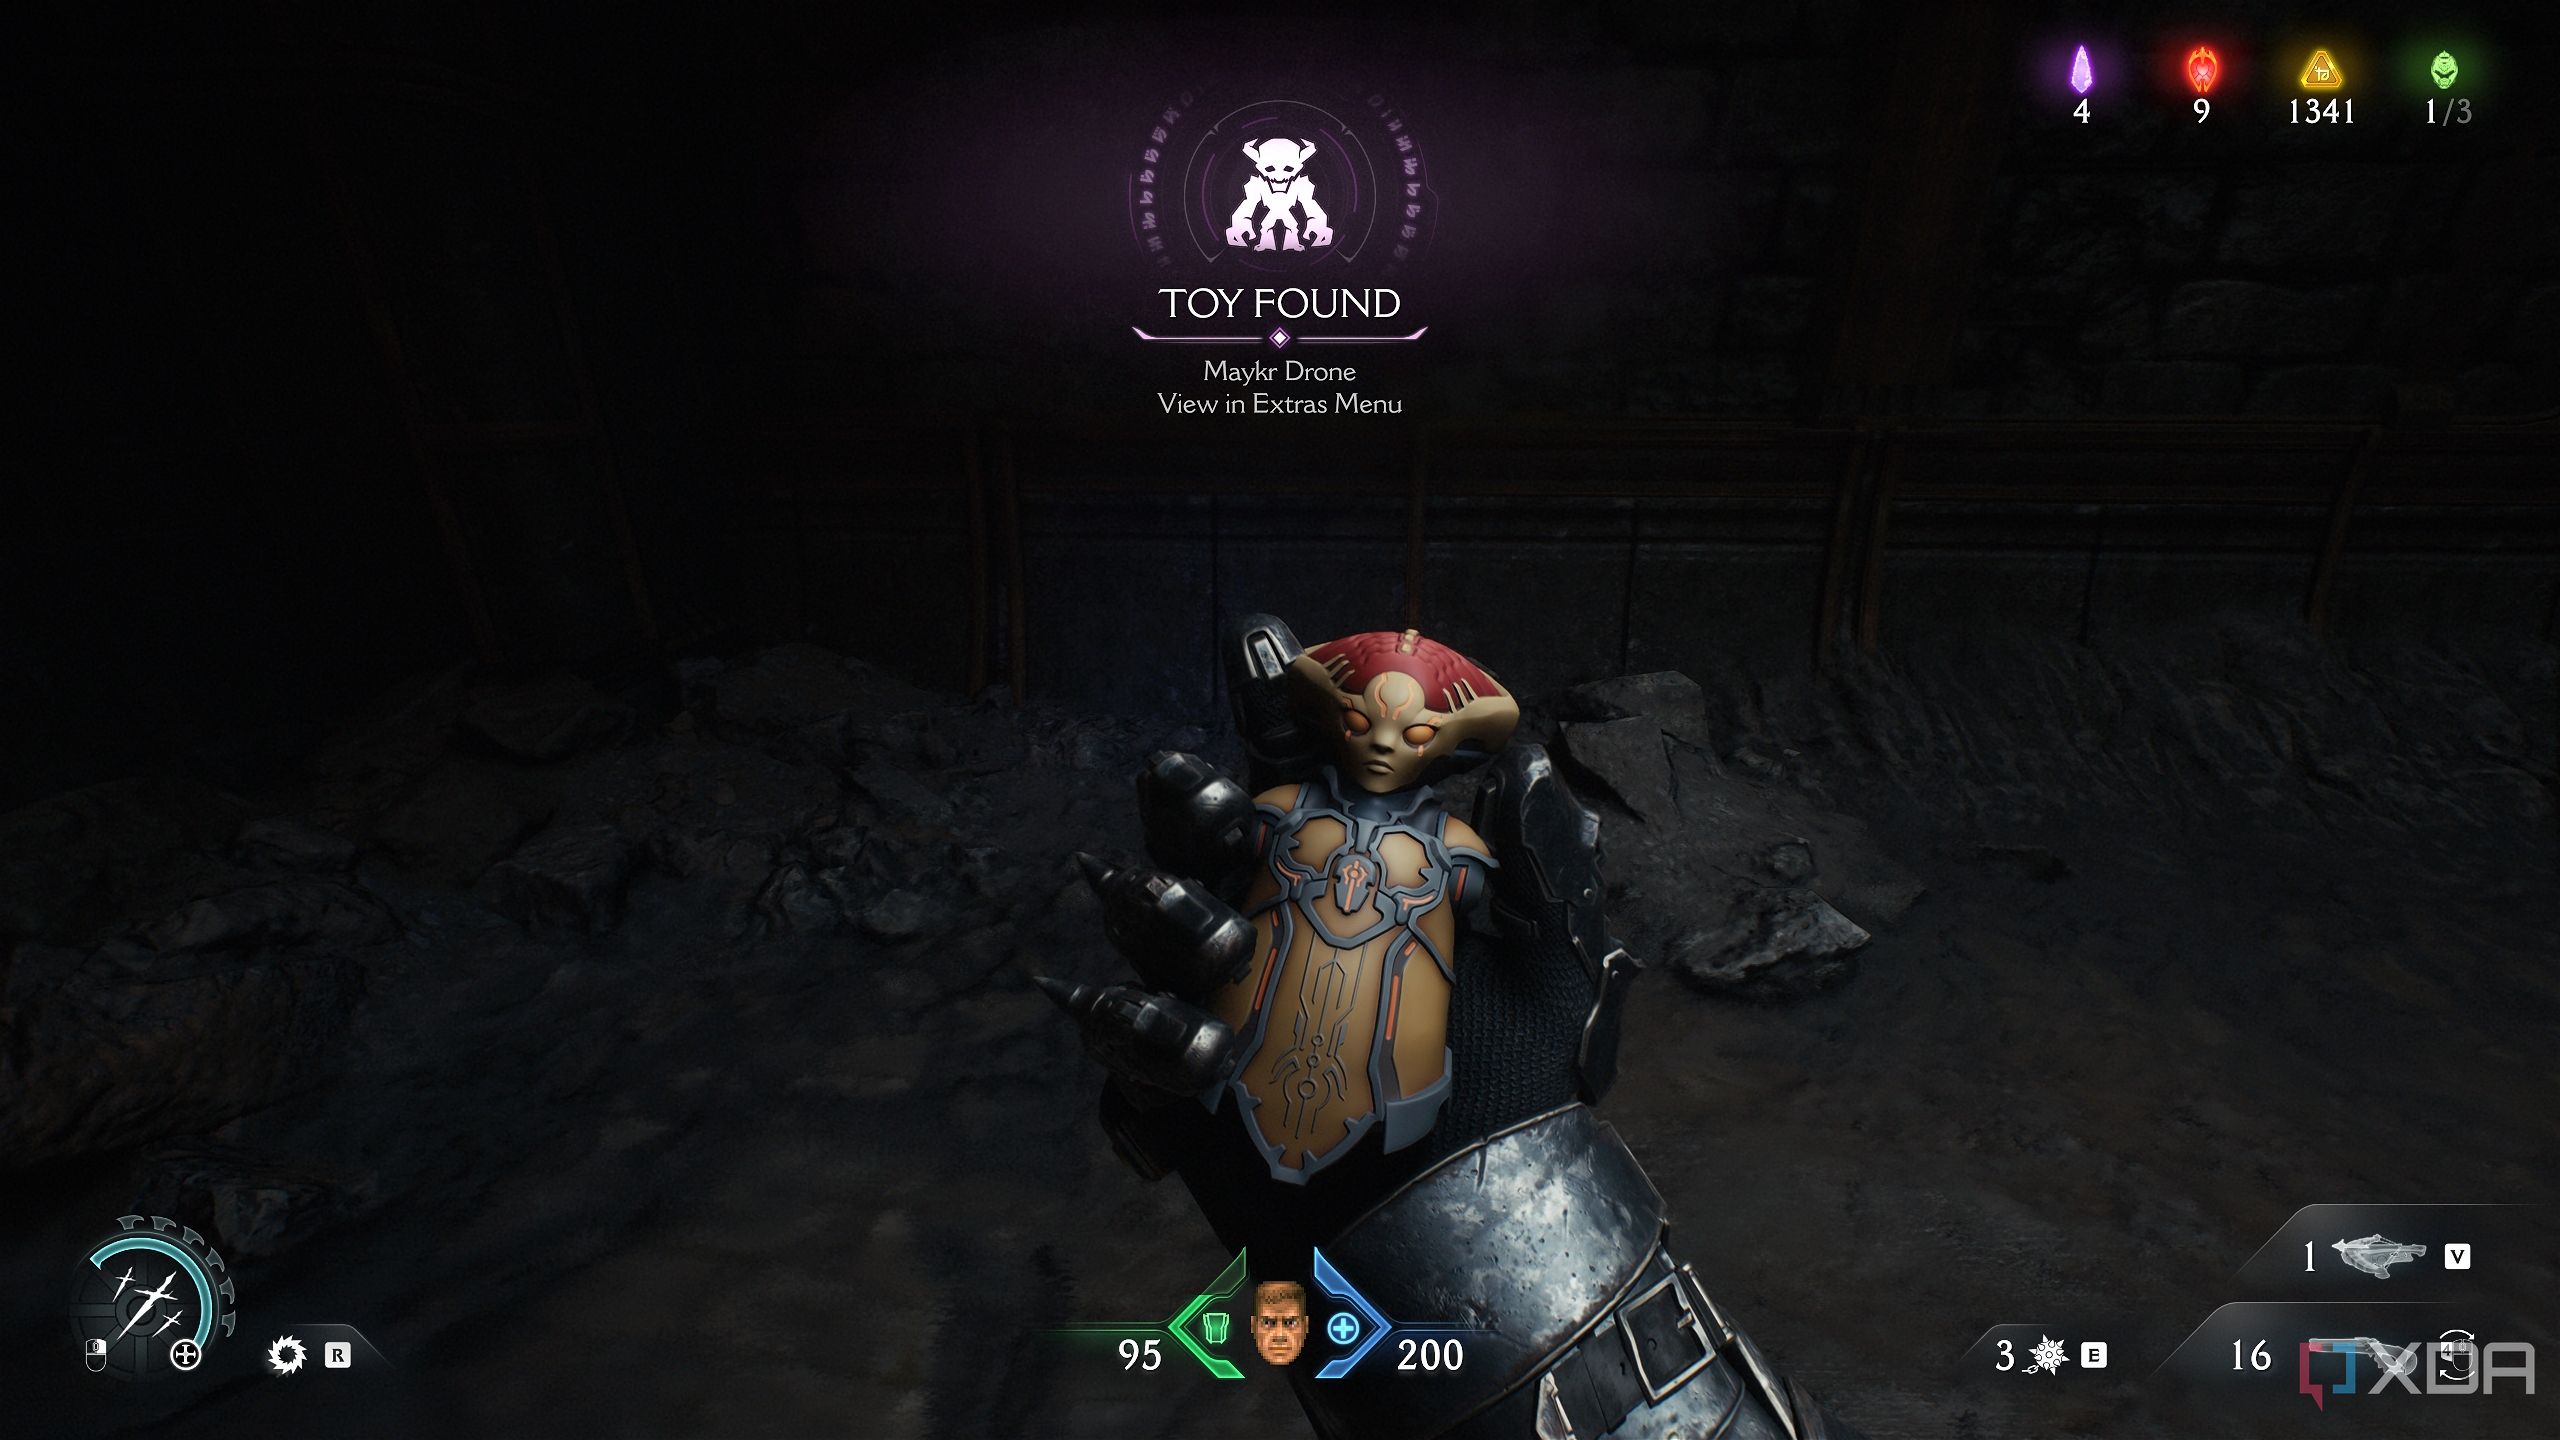
First, go right to pick up the collectible toy for the Maykr Drone. Get back, and you’ll see a Shield Bash wall right under the energy node.
Charge into it, and take a few steps forward to see a lever you can interact with. Do that, and the second energy node will be revealed, and the central platform with the gold chest will rise up. There’s a Life Sigil where the platform was, if you need one.
Then, climb up the scramble wall again, and hit the second blue energy node.
Enter the gate that rises up, and interact with the valve inside, flooding the chamber with water. Swim up to the central platform, and you’ll see only one path that isn’t blocked by a gate.
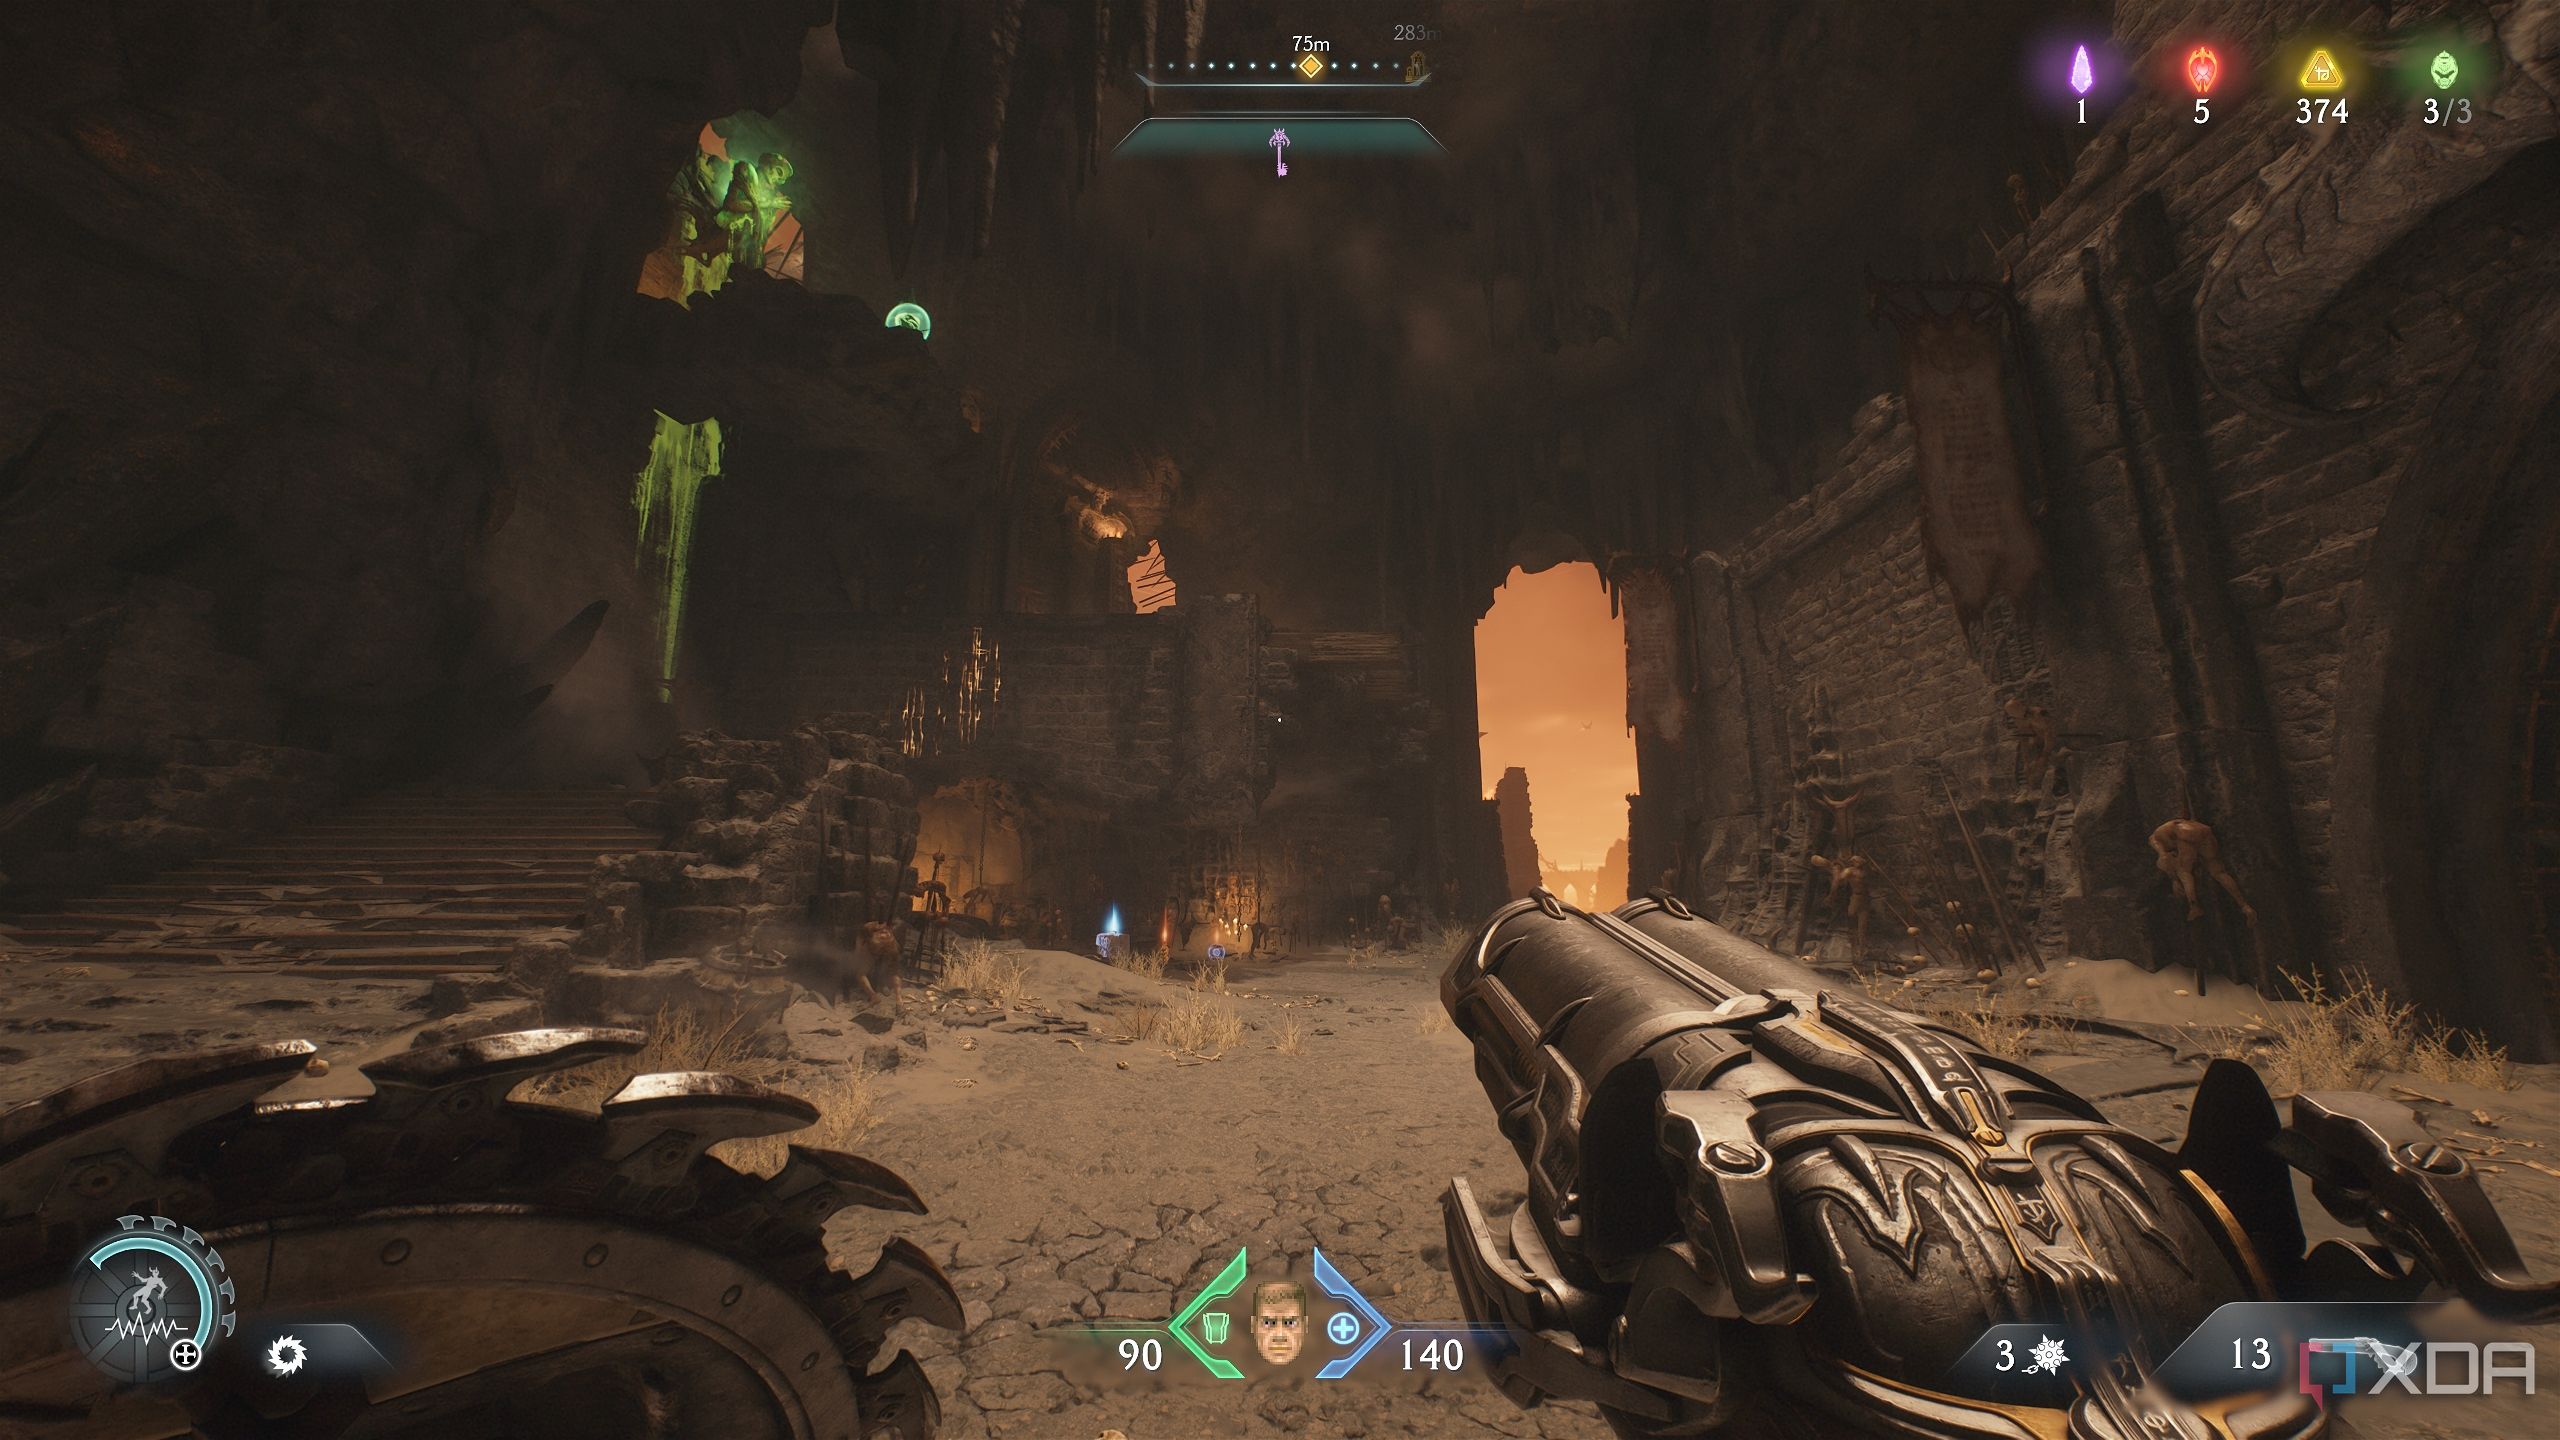
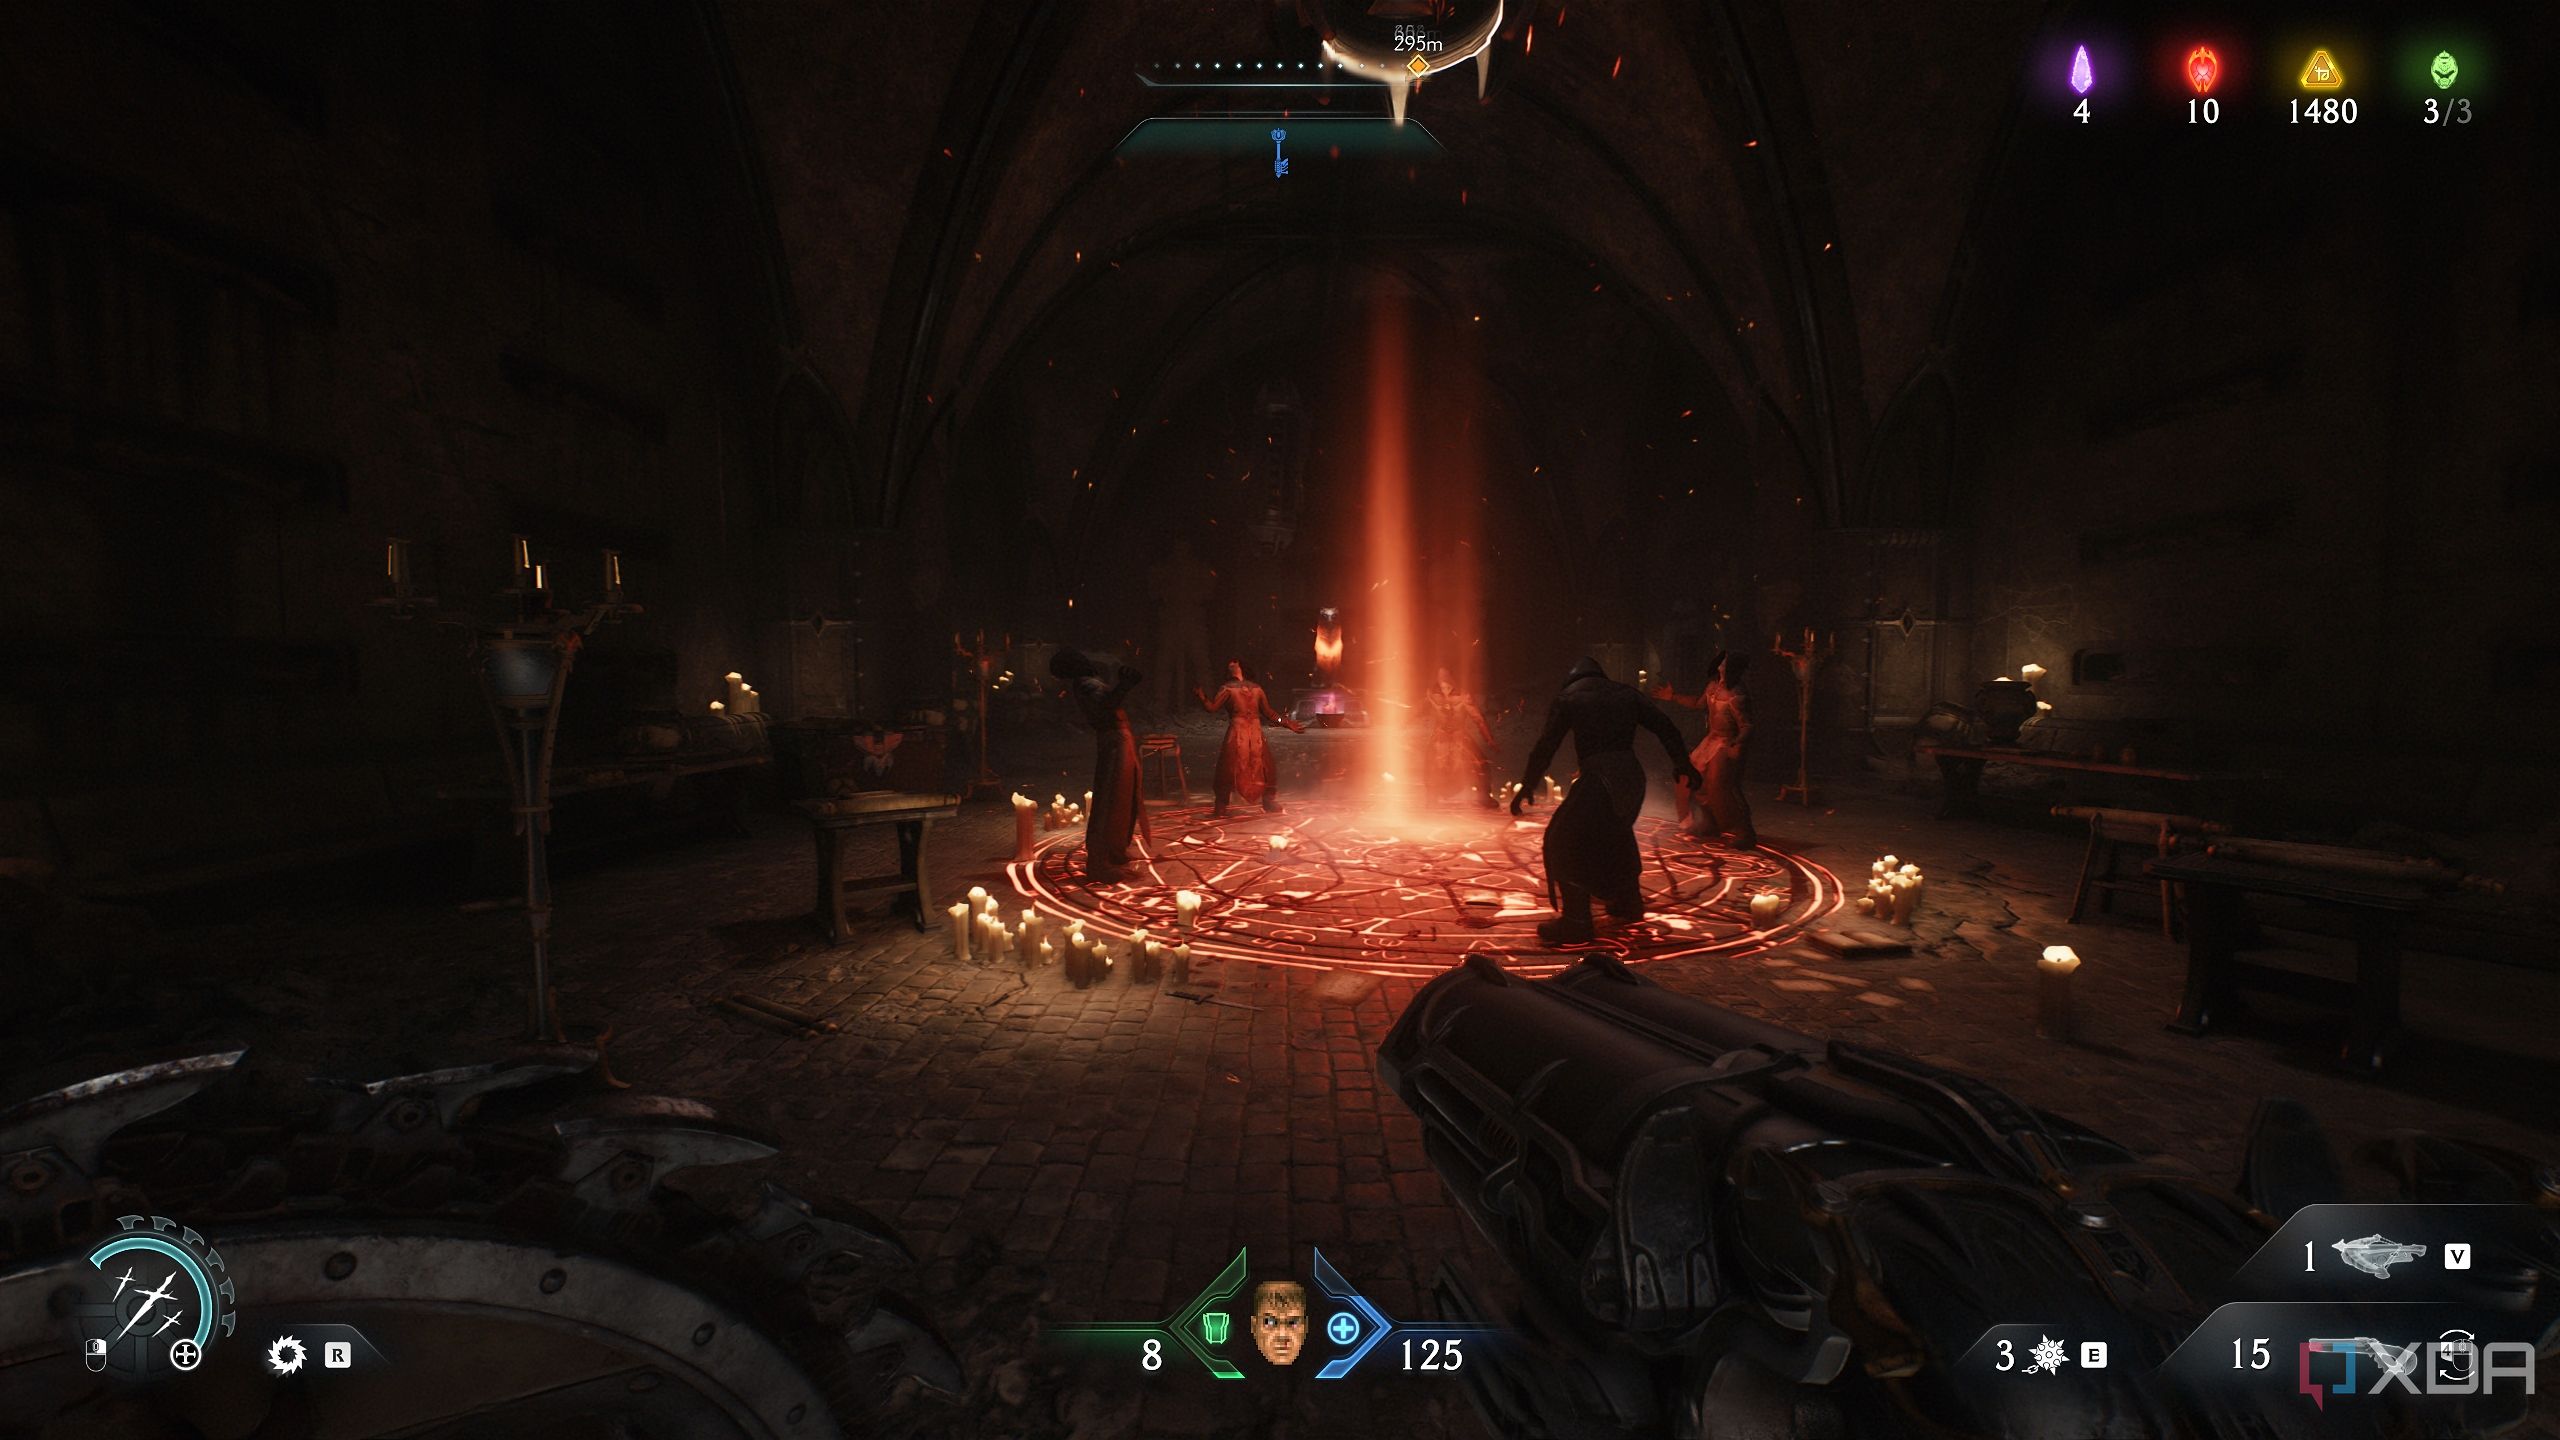
Follow it to find the first group of Hell Cultists. Clear them to progress through the Extreme Prejudice mission challenge.
Then, continue along the path to interact with another lever, which will finally release the gold chest in front of you.
Collect it, head forward, climb up the scramble wall, and stick to the path to climb out of the well. Fight the demons that appear here again.
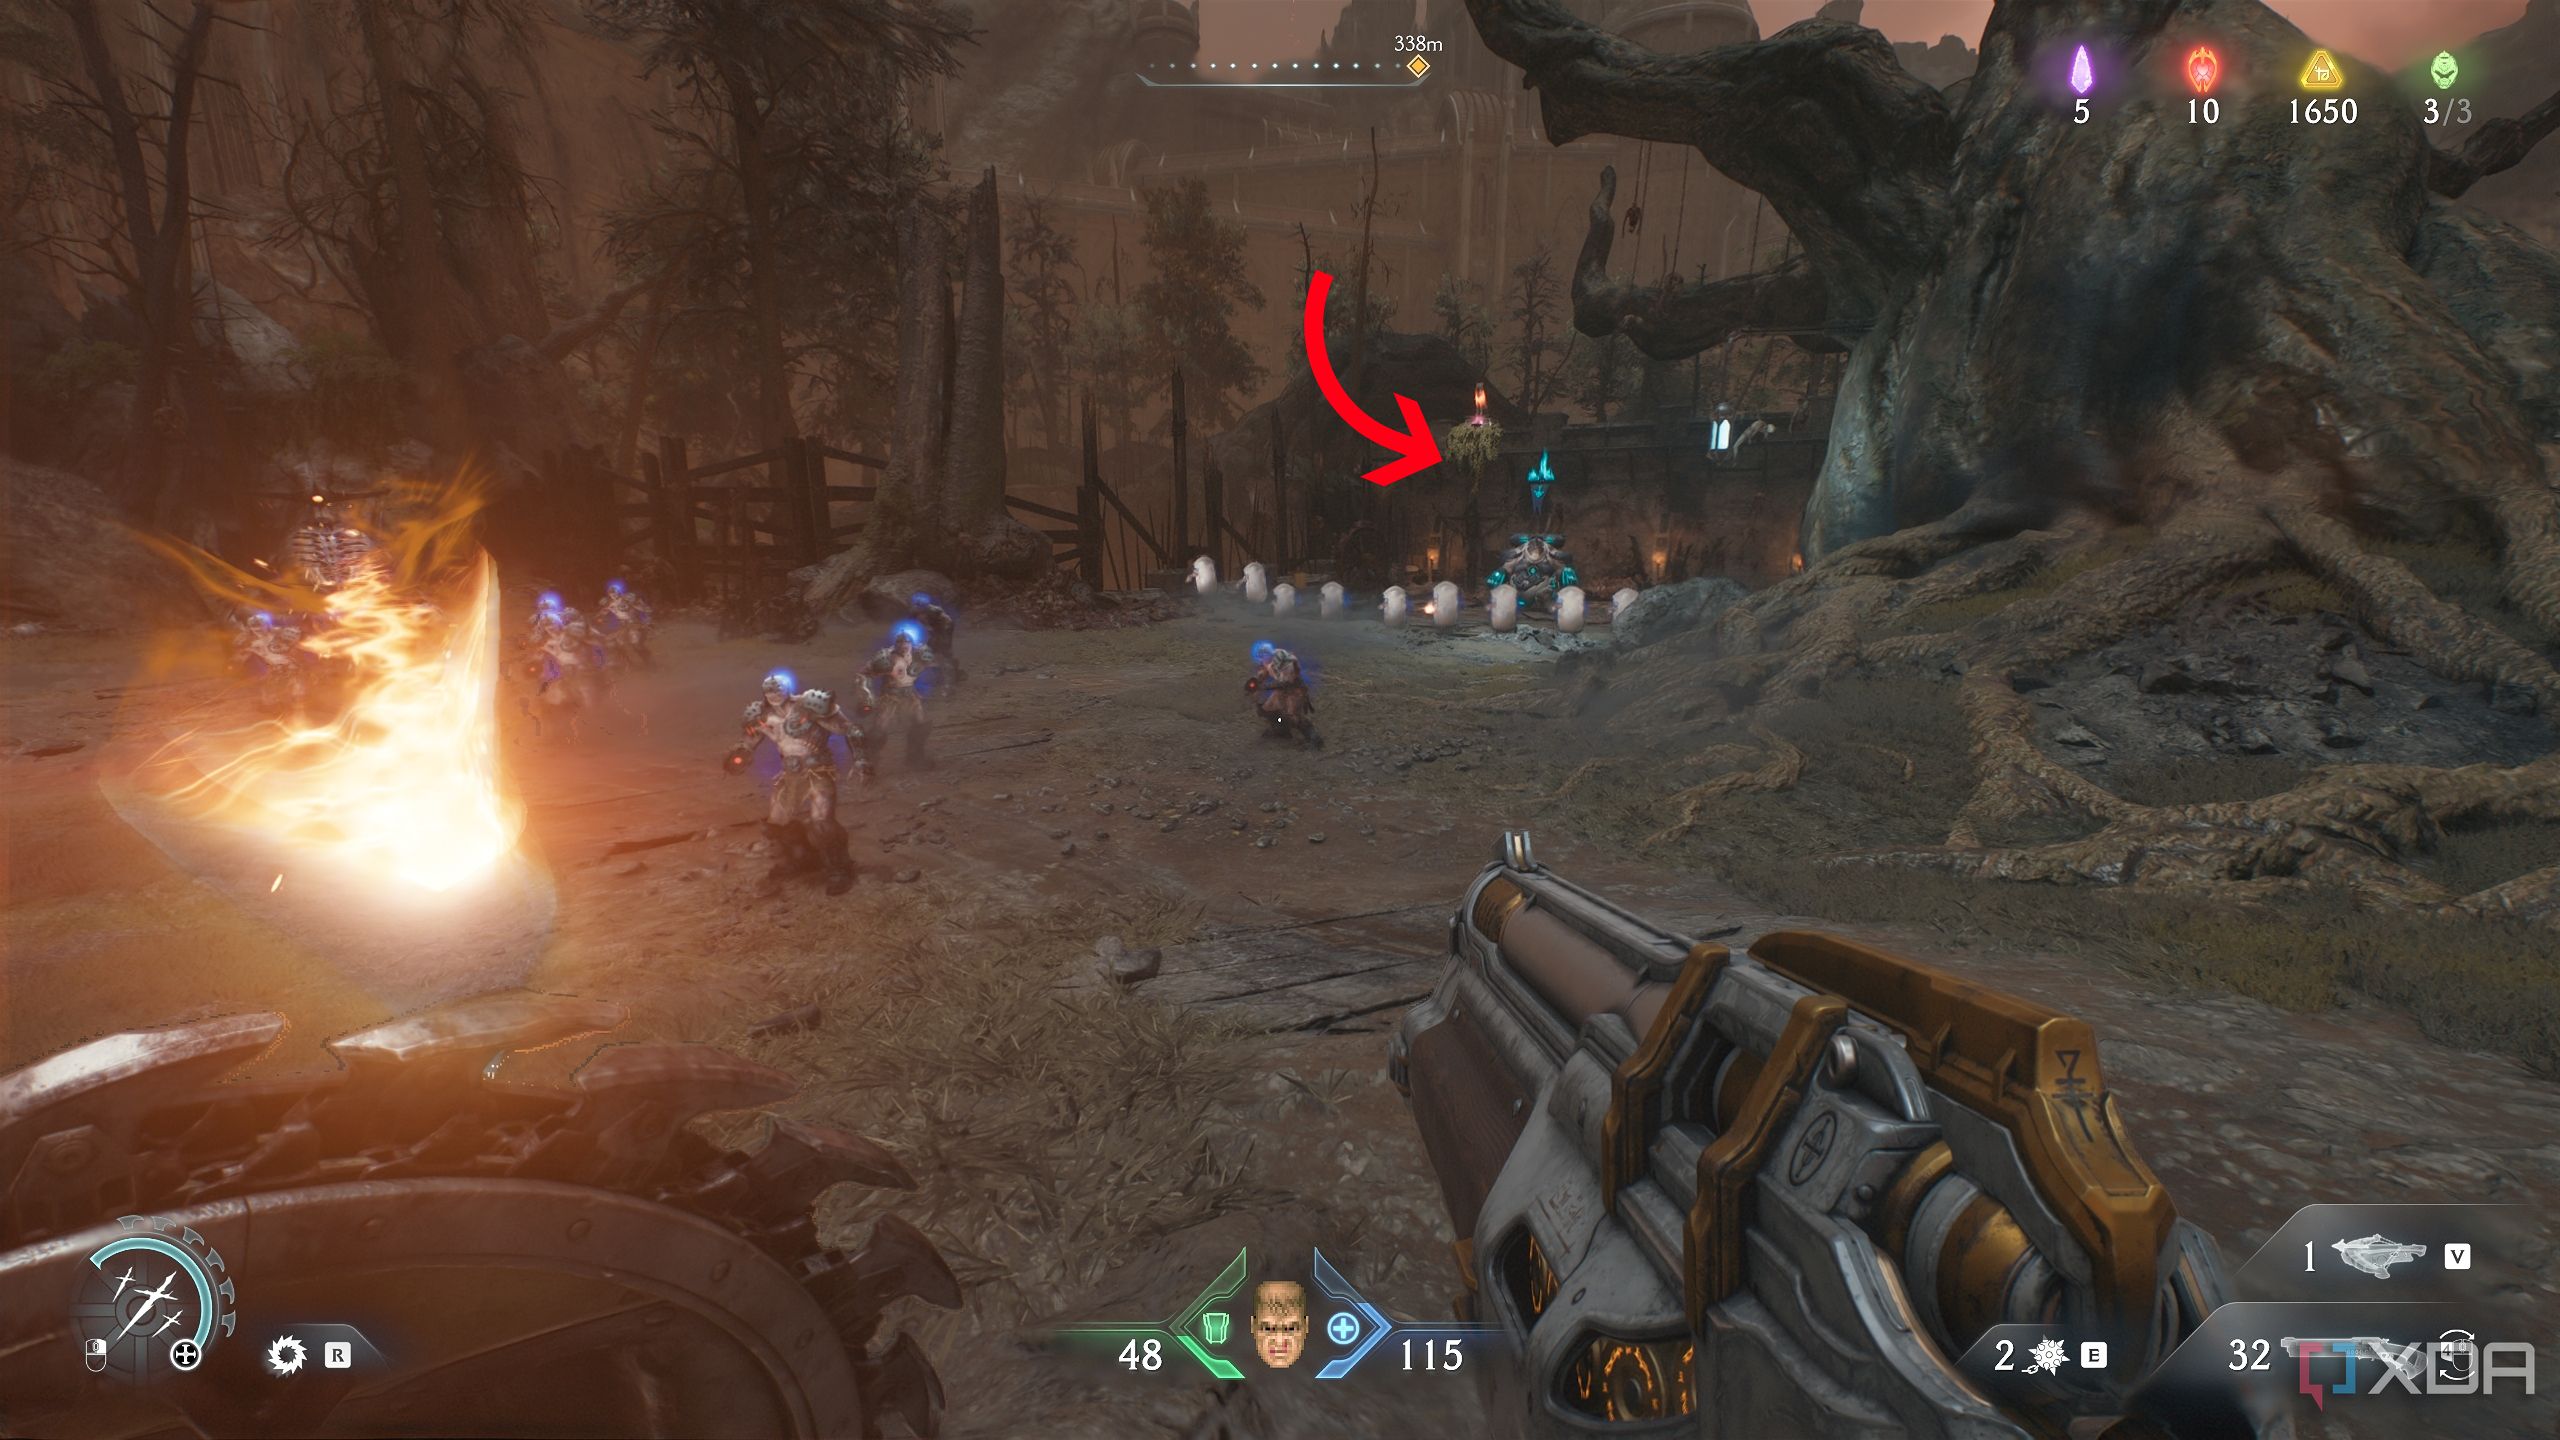
Wolf Statue 1, Hell Cultists, and more gold
There are wolf statues in this level, too
Once you exit the well, turn around and stick to the left wall to reach a huge puddle of blood on the ground.
Once you’re standing inside it, you’ll see a path ahead under a small bridge.
Follow it to come across the first Wolf Statue in the level. Destroy it with your shield throw.
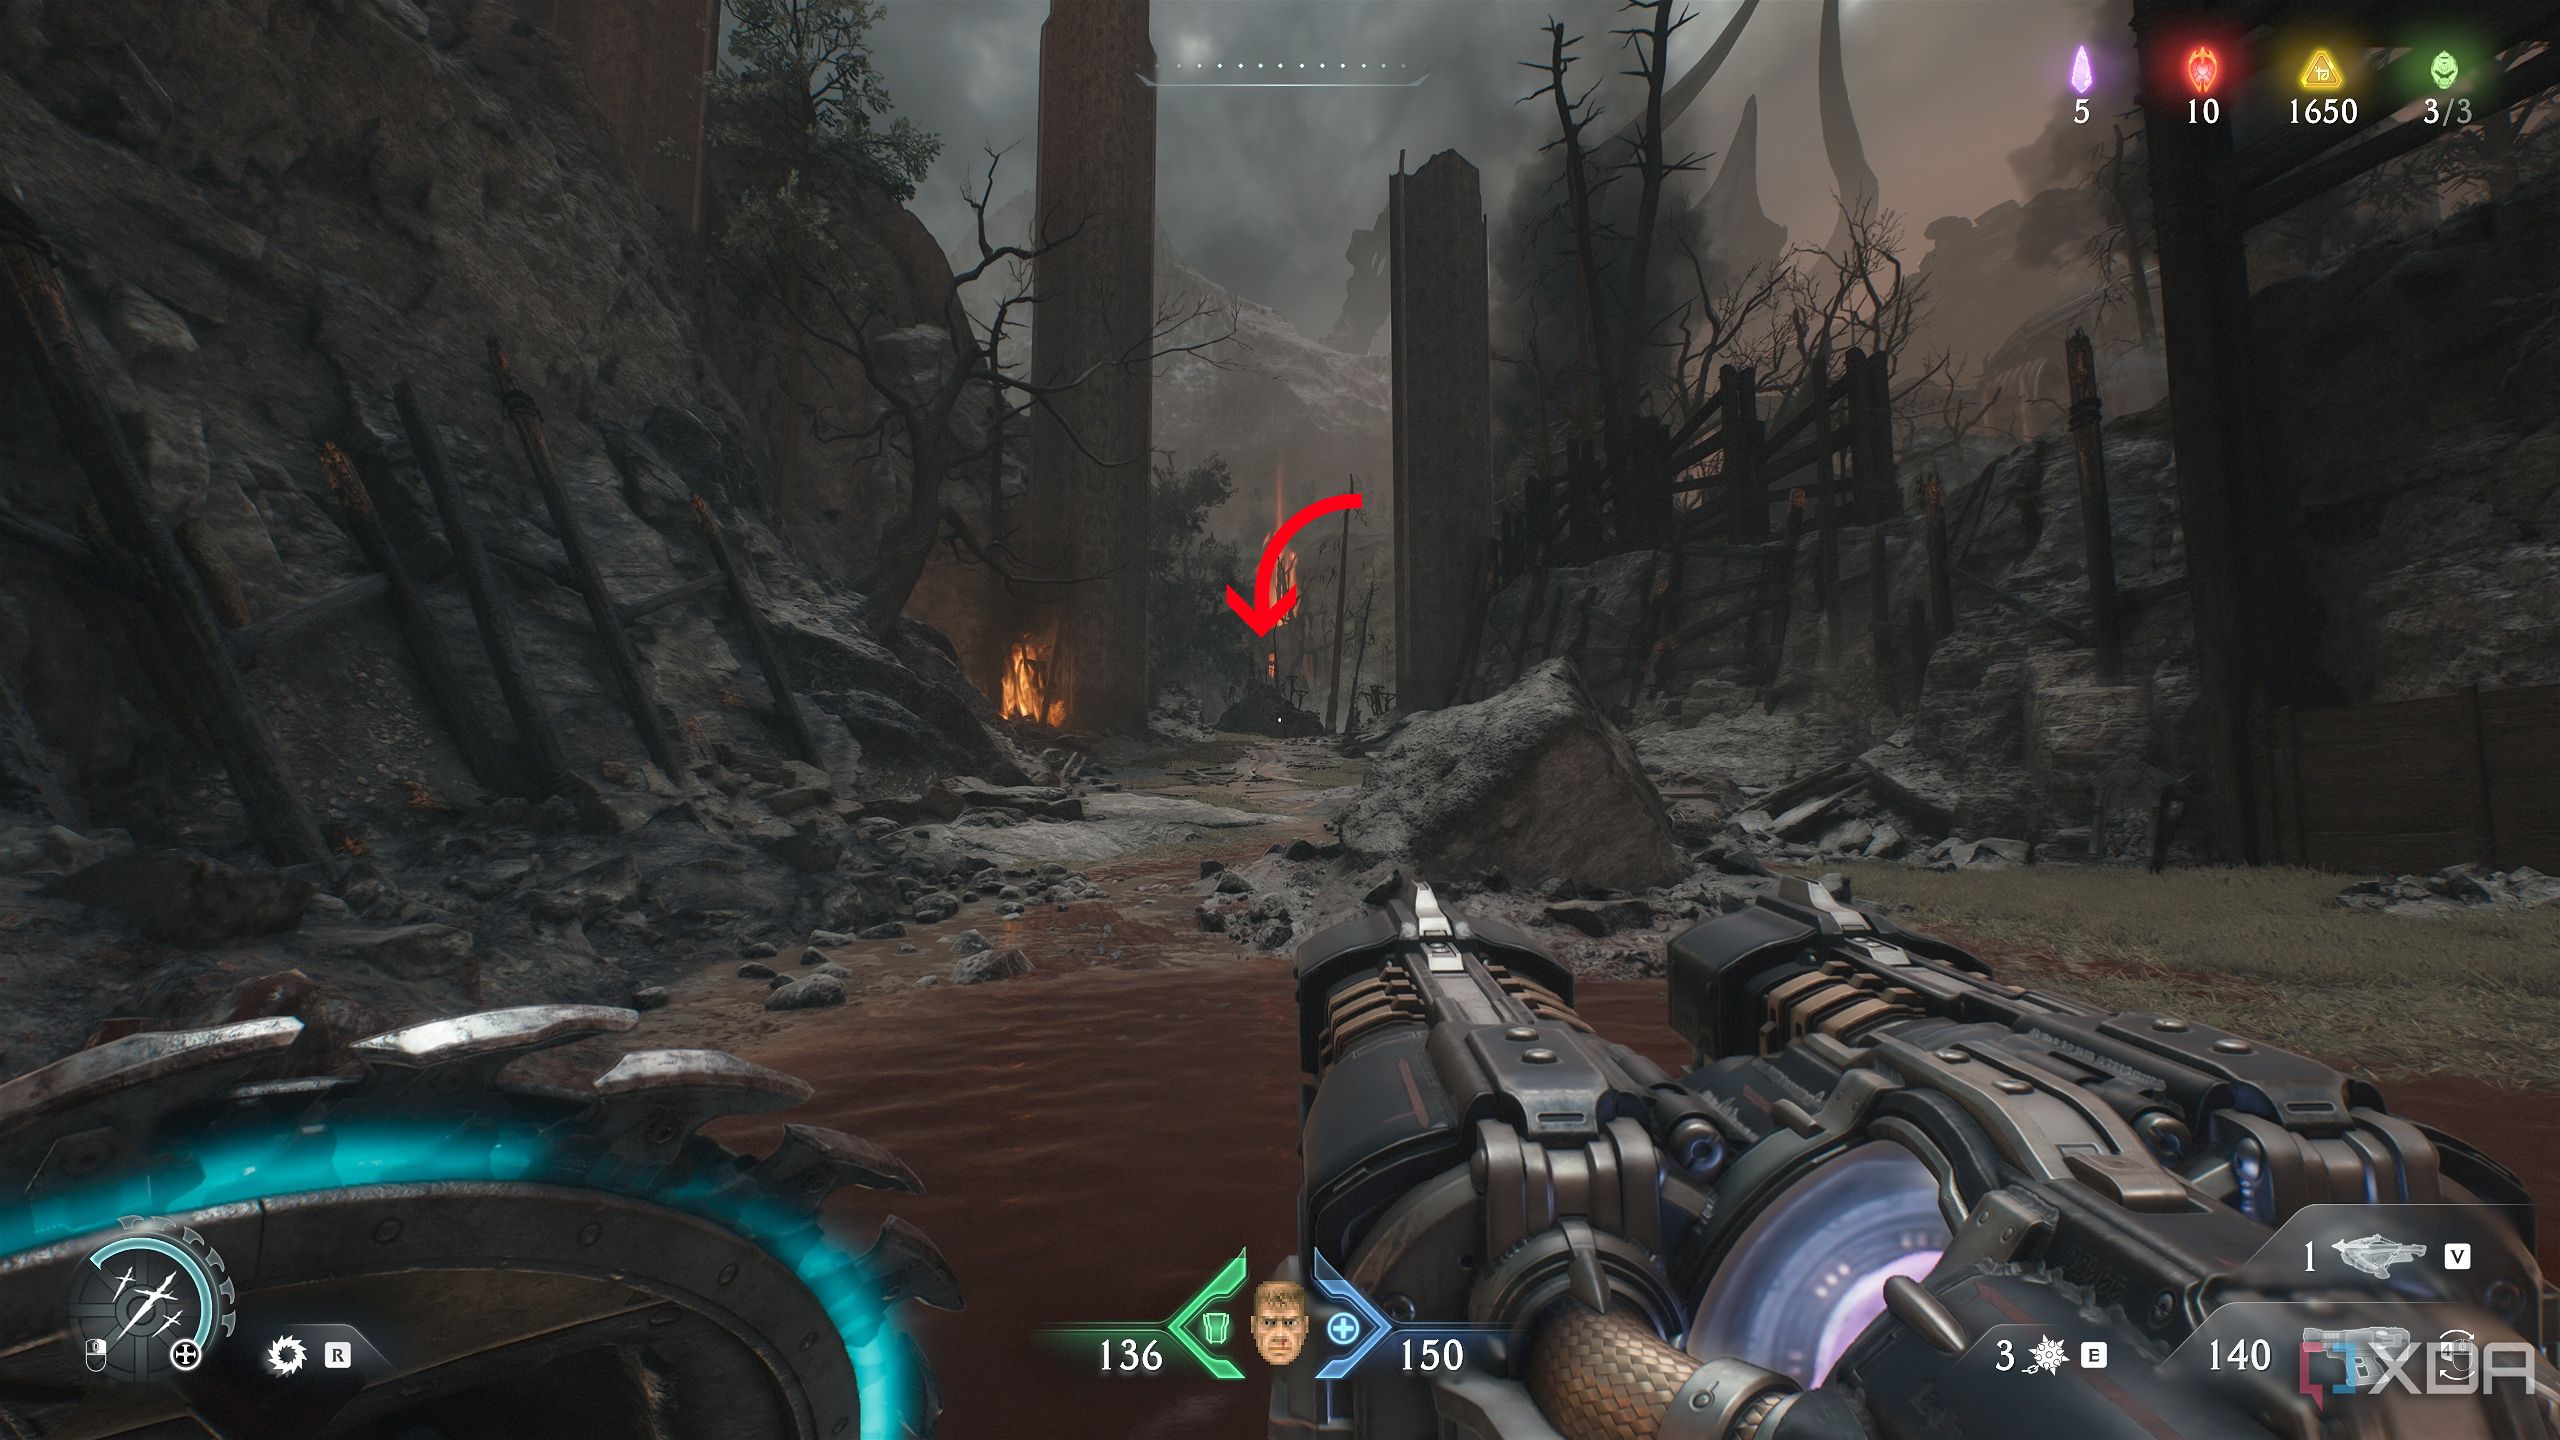
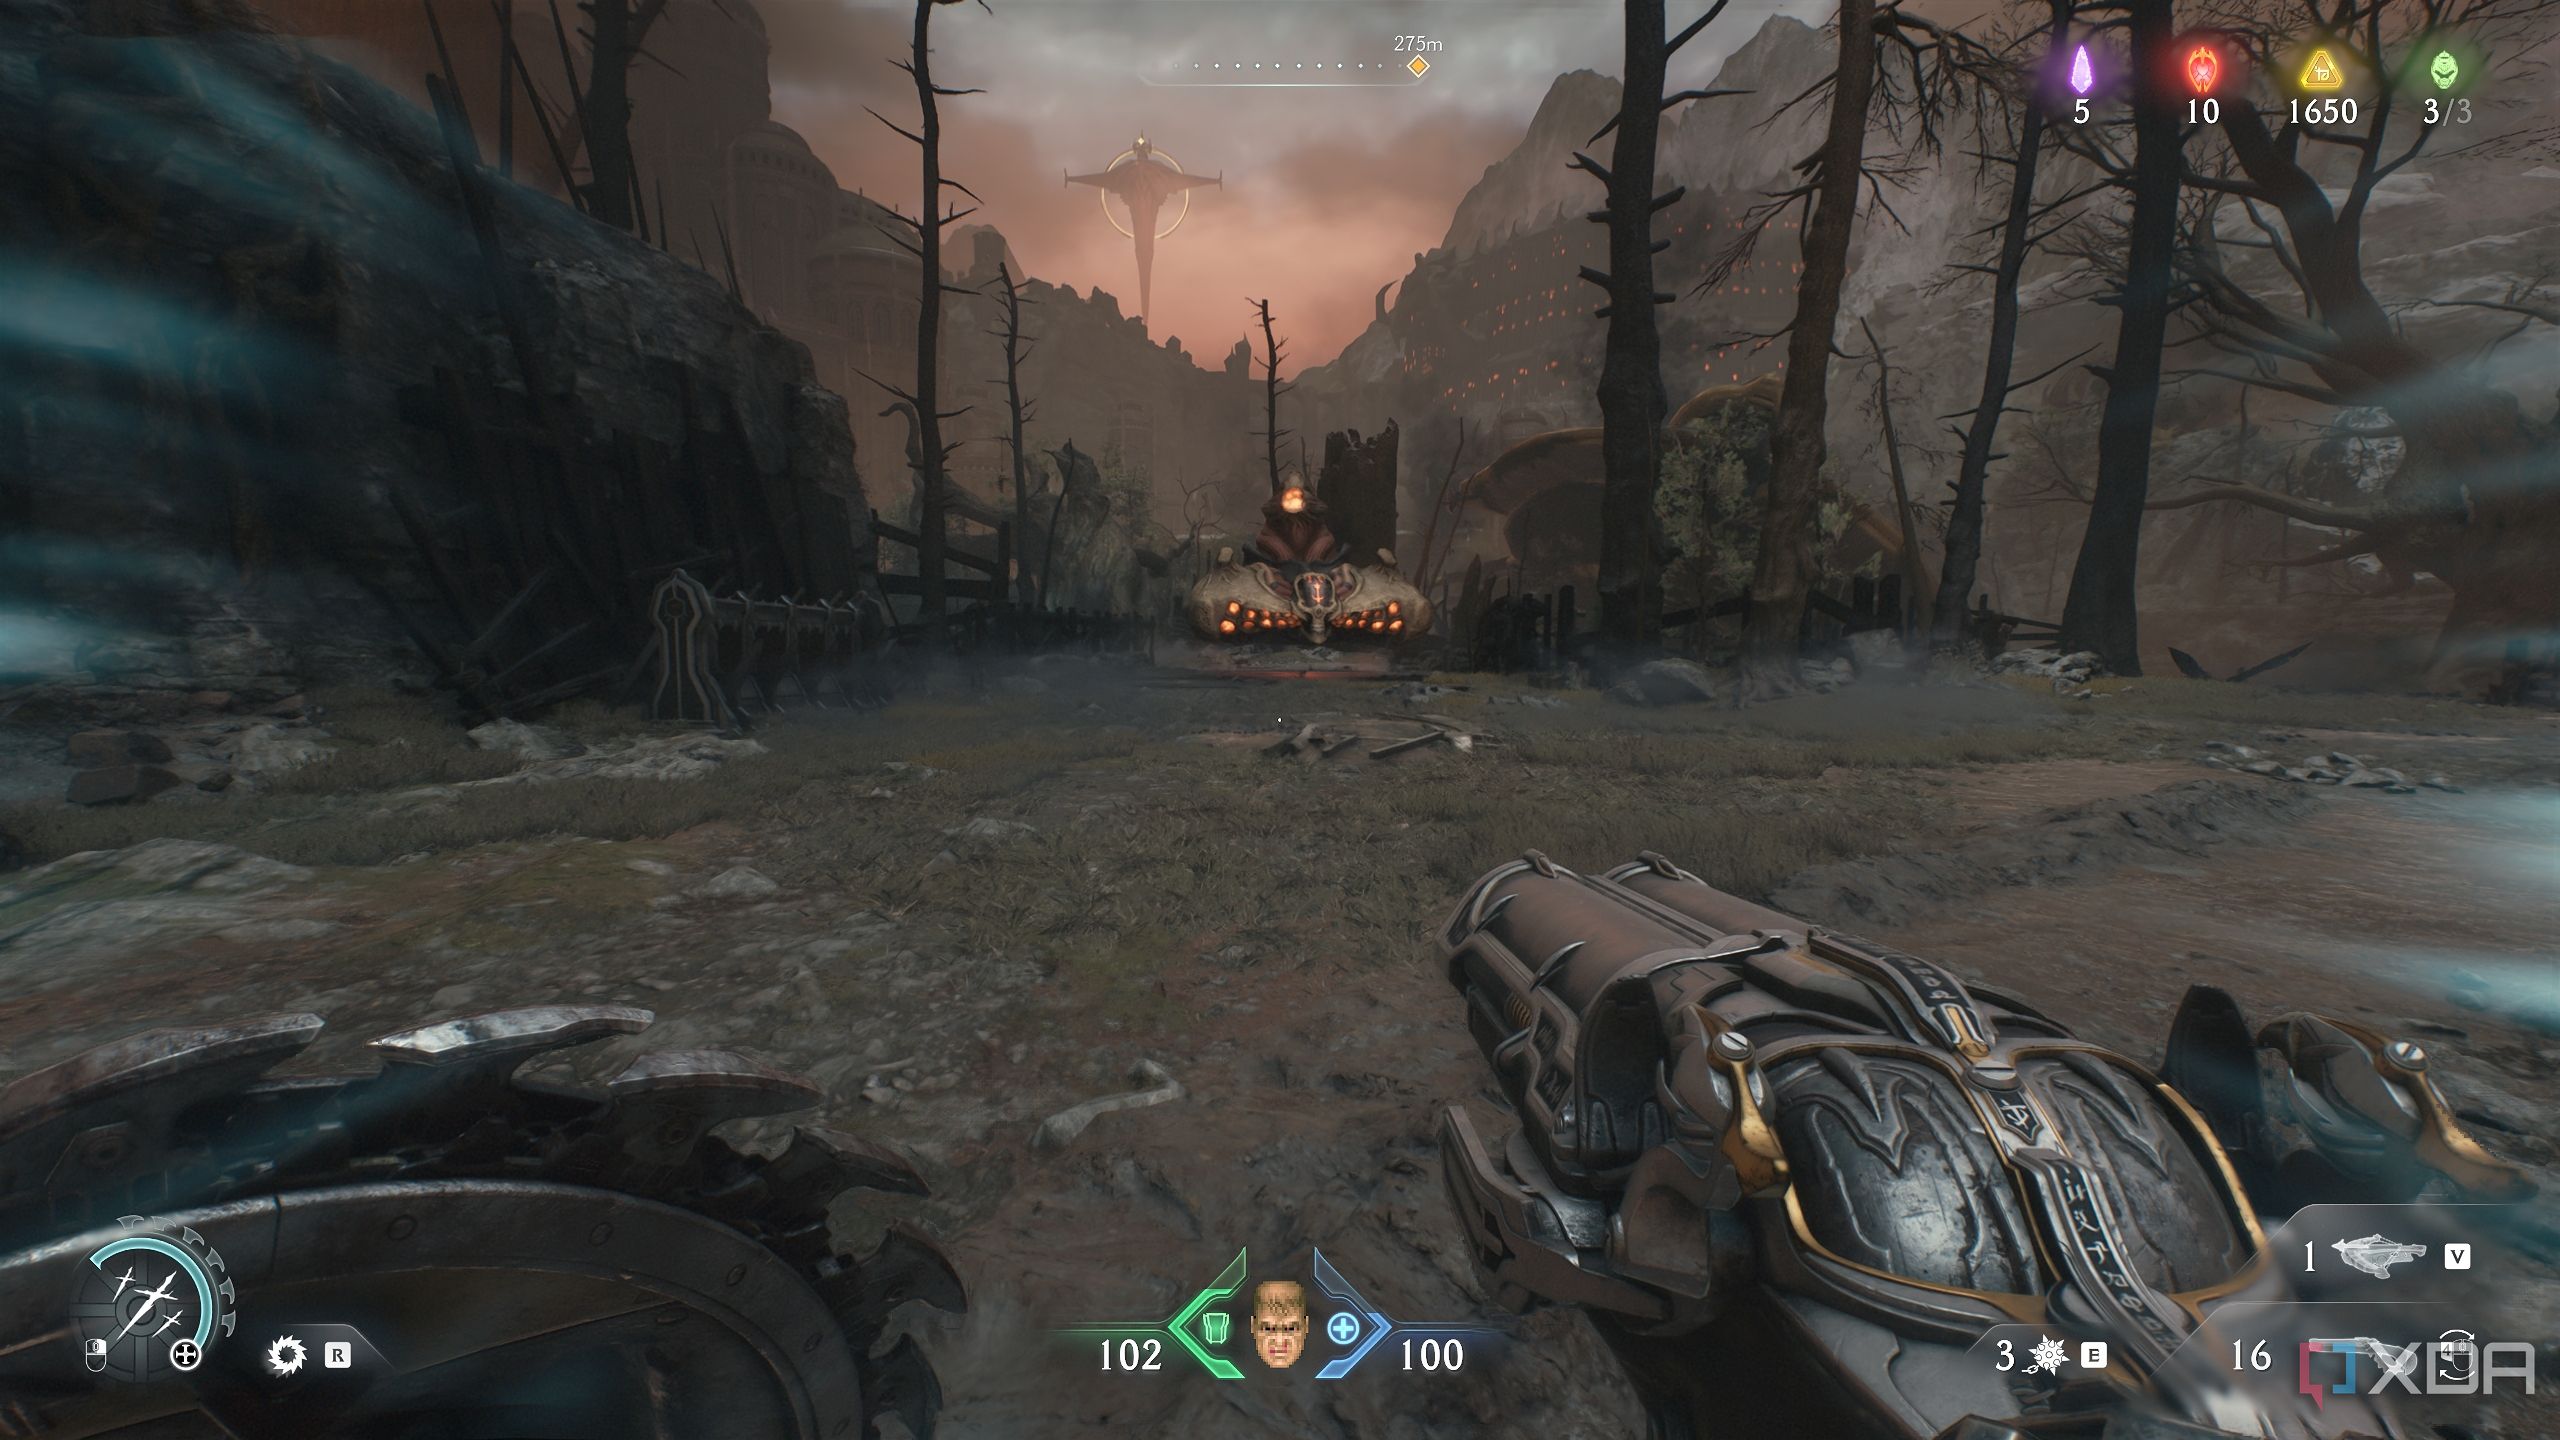
Then, head back, and move towards the burning red tower in the distance.
You will reach this location on the map. Head left to pick up a trail of gold bars, and you’ll also spot a long scramble wall here on the right side.
Climb it up to pick a gold stack, and then get back down.
Head inside, following the trail of gold bars you just picked up, and inside, you’ll see the second group of Hell Cultists to clear. Behind them, there’s a scramble wall — climb it up and pick up a trail of gold bars, moving to the next arena.
Red Ruby 3 and another Gore Portal
An Agaddon Hunter and a Cyberdemon to guard a ruby
From here, you’ll see another Red Ruby statue below, to the left.
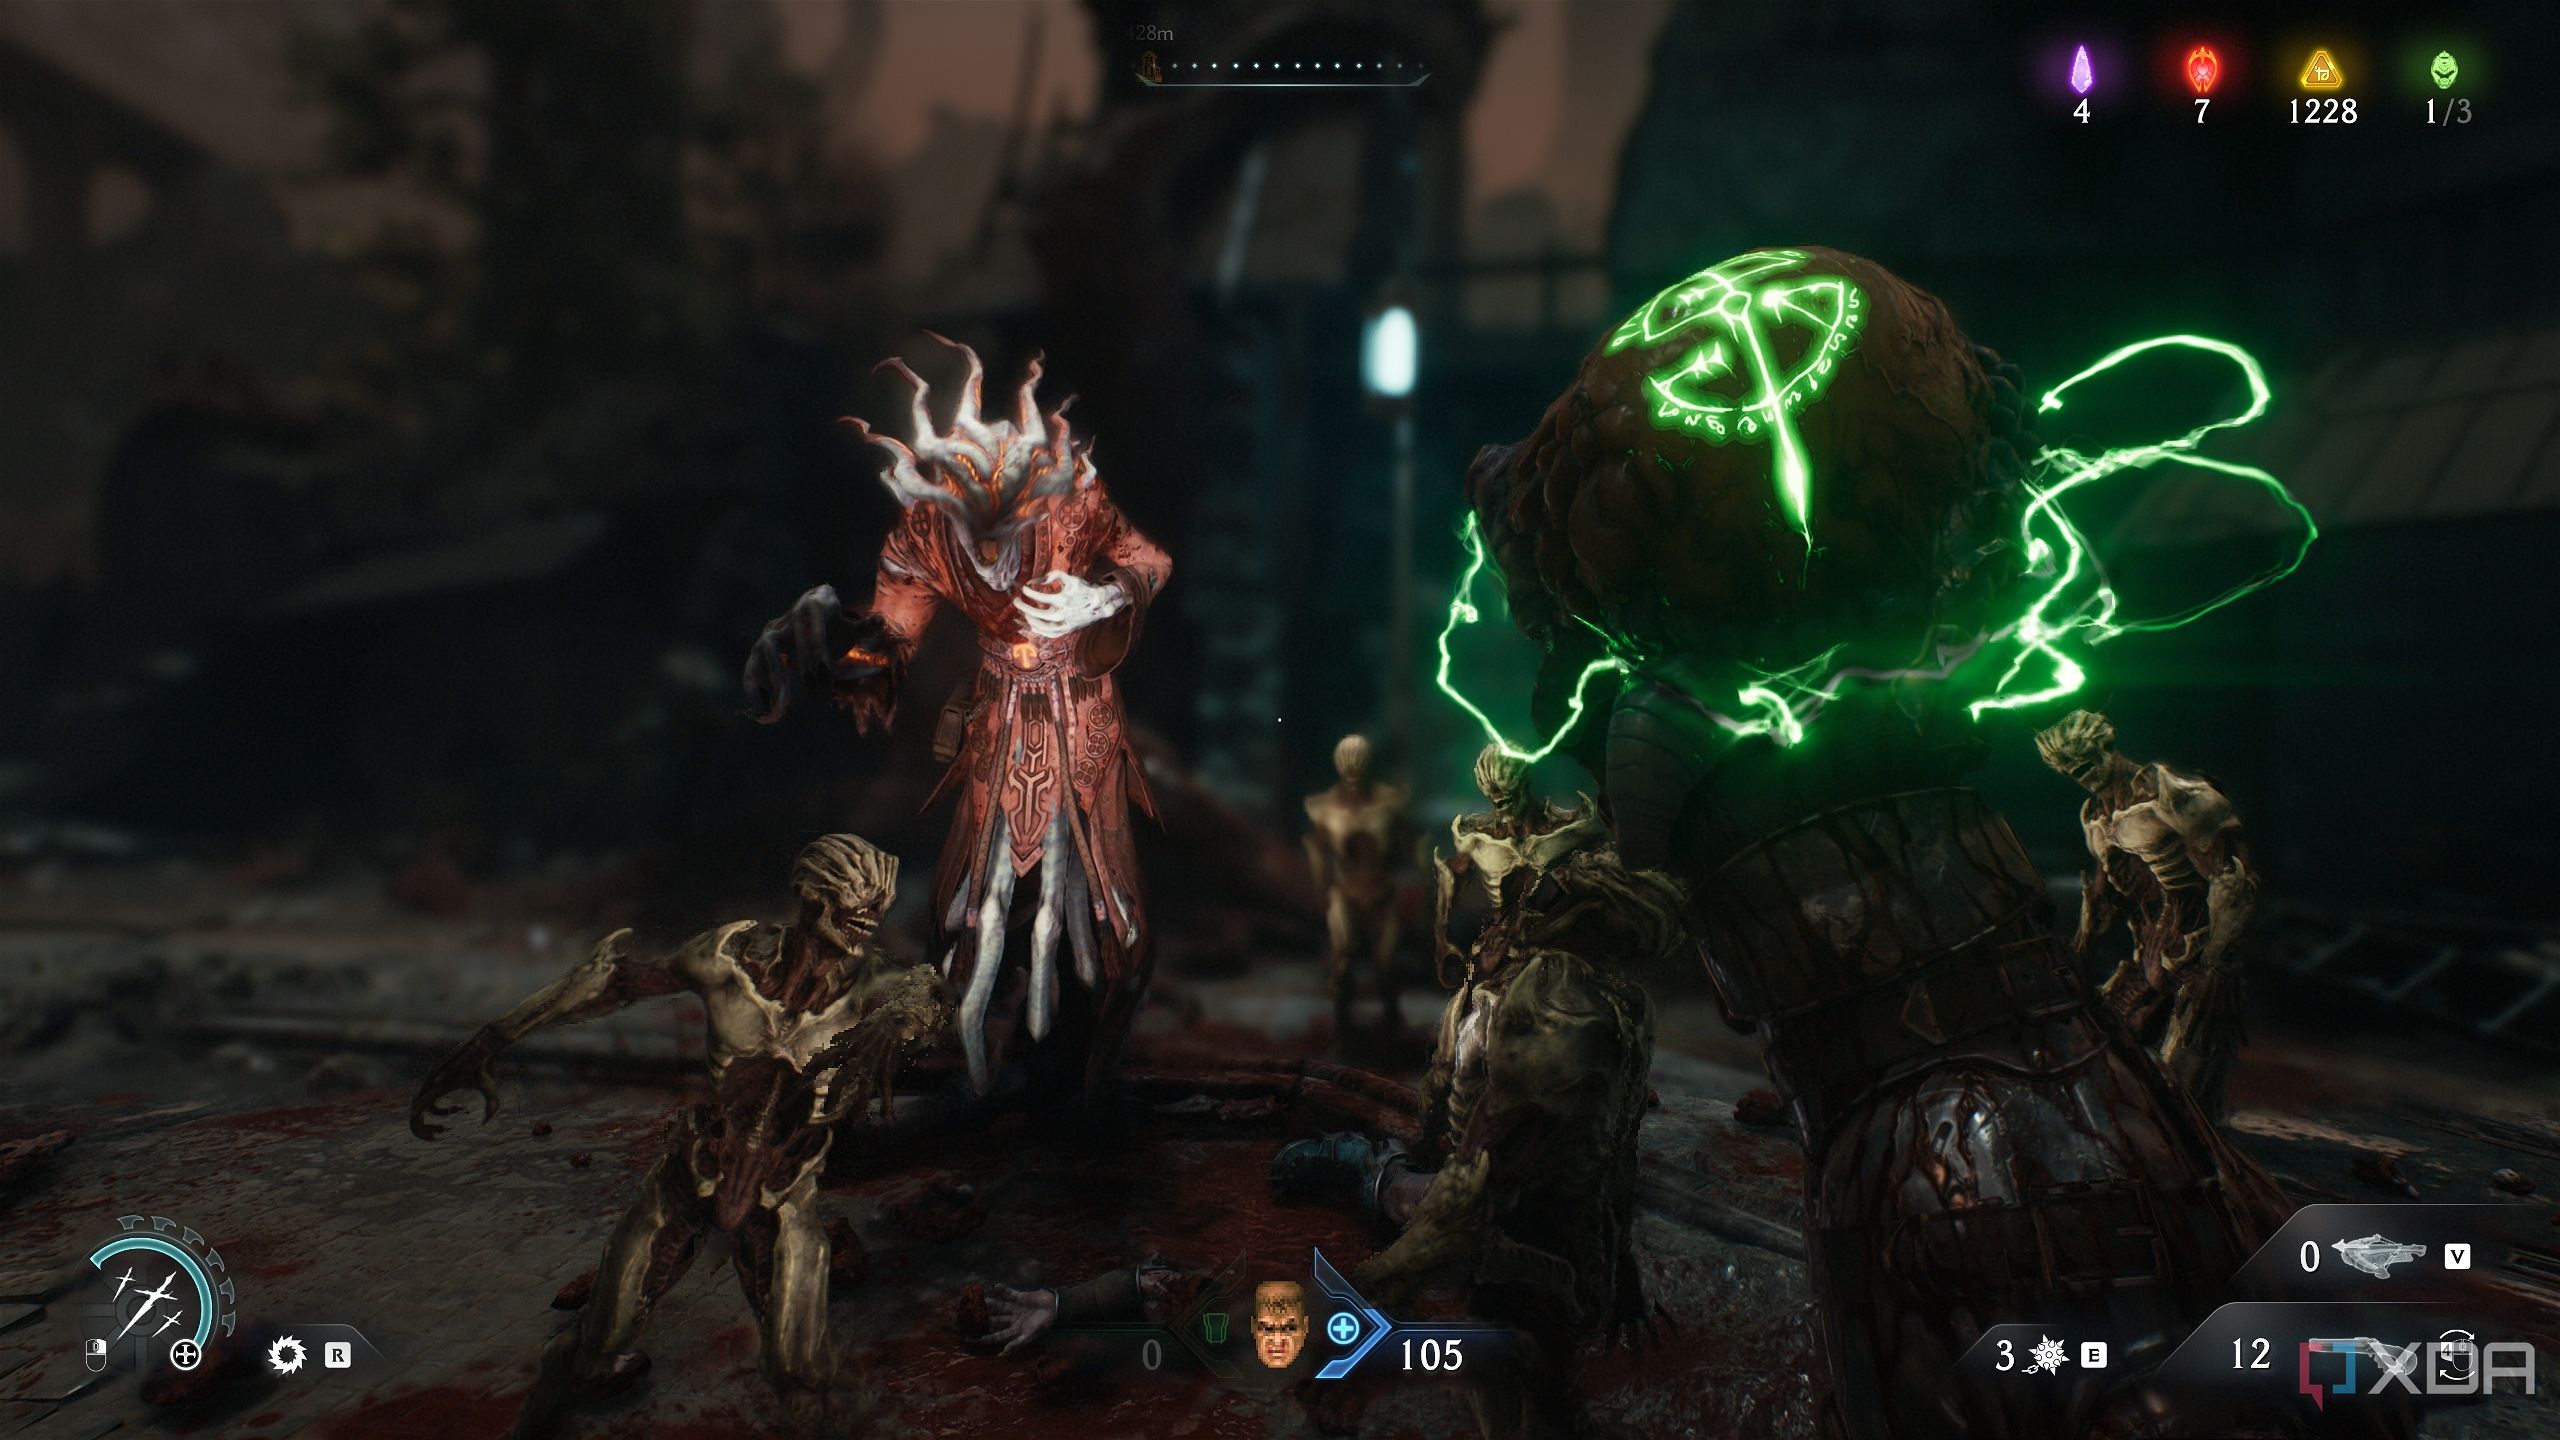
It’ll be sealed behind a demonic barrier, so walk to the Gore Portal right in front of it. Shield Charge through the Gore Portal, and you’ll have to contend with an Agaddon Hunter and a Cyberdemon.
Once they are both down, the barriers will go away, giving you the third Red Ruby in the level.
Related
Secret area 7, second Artillery Cannon, and a Weapon Skin
Progressing the Cannon Crusher mission challenge

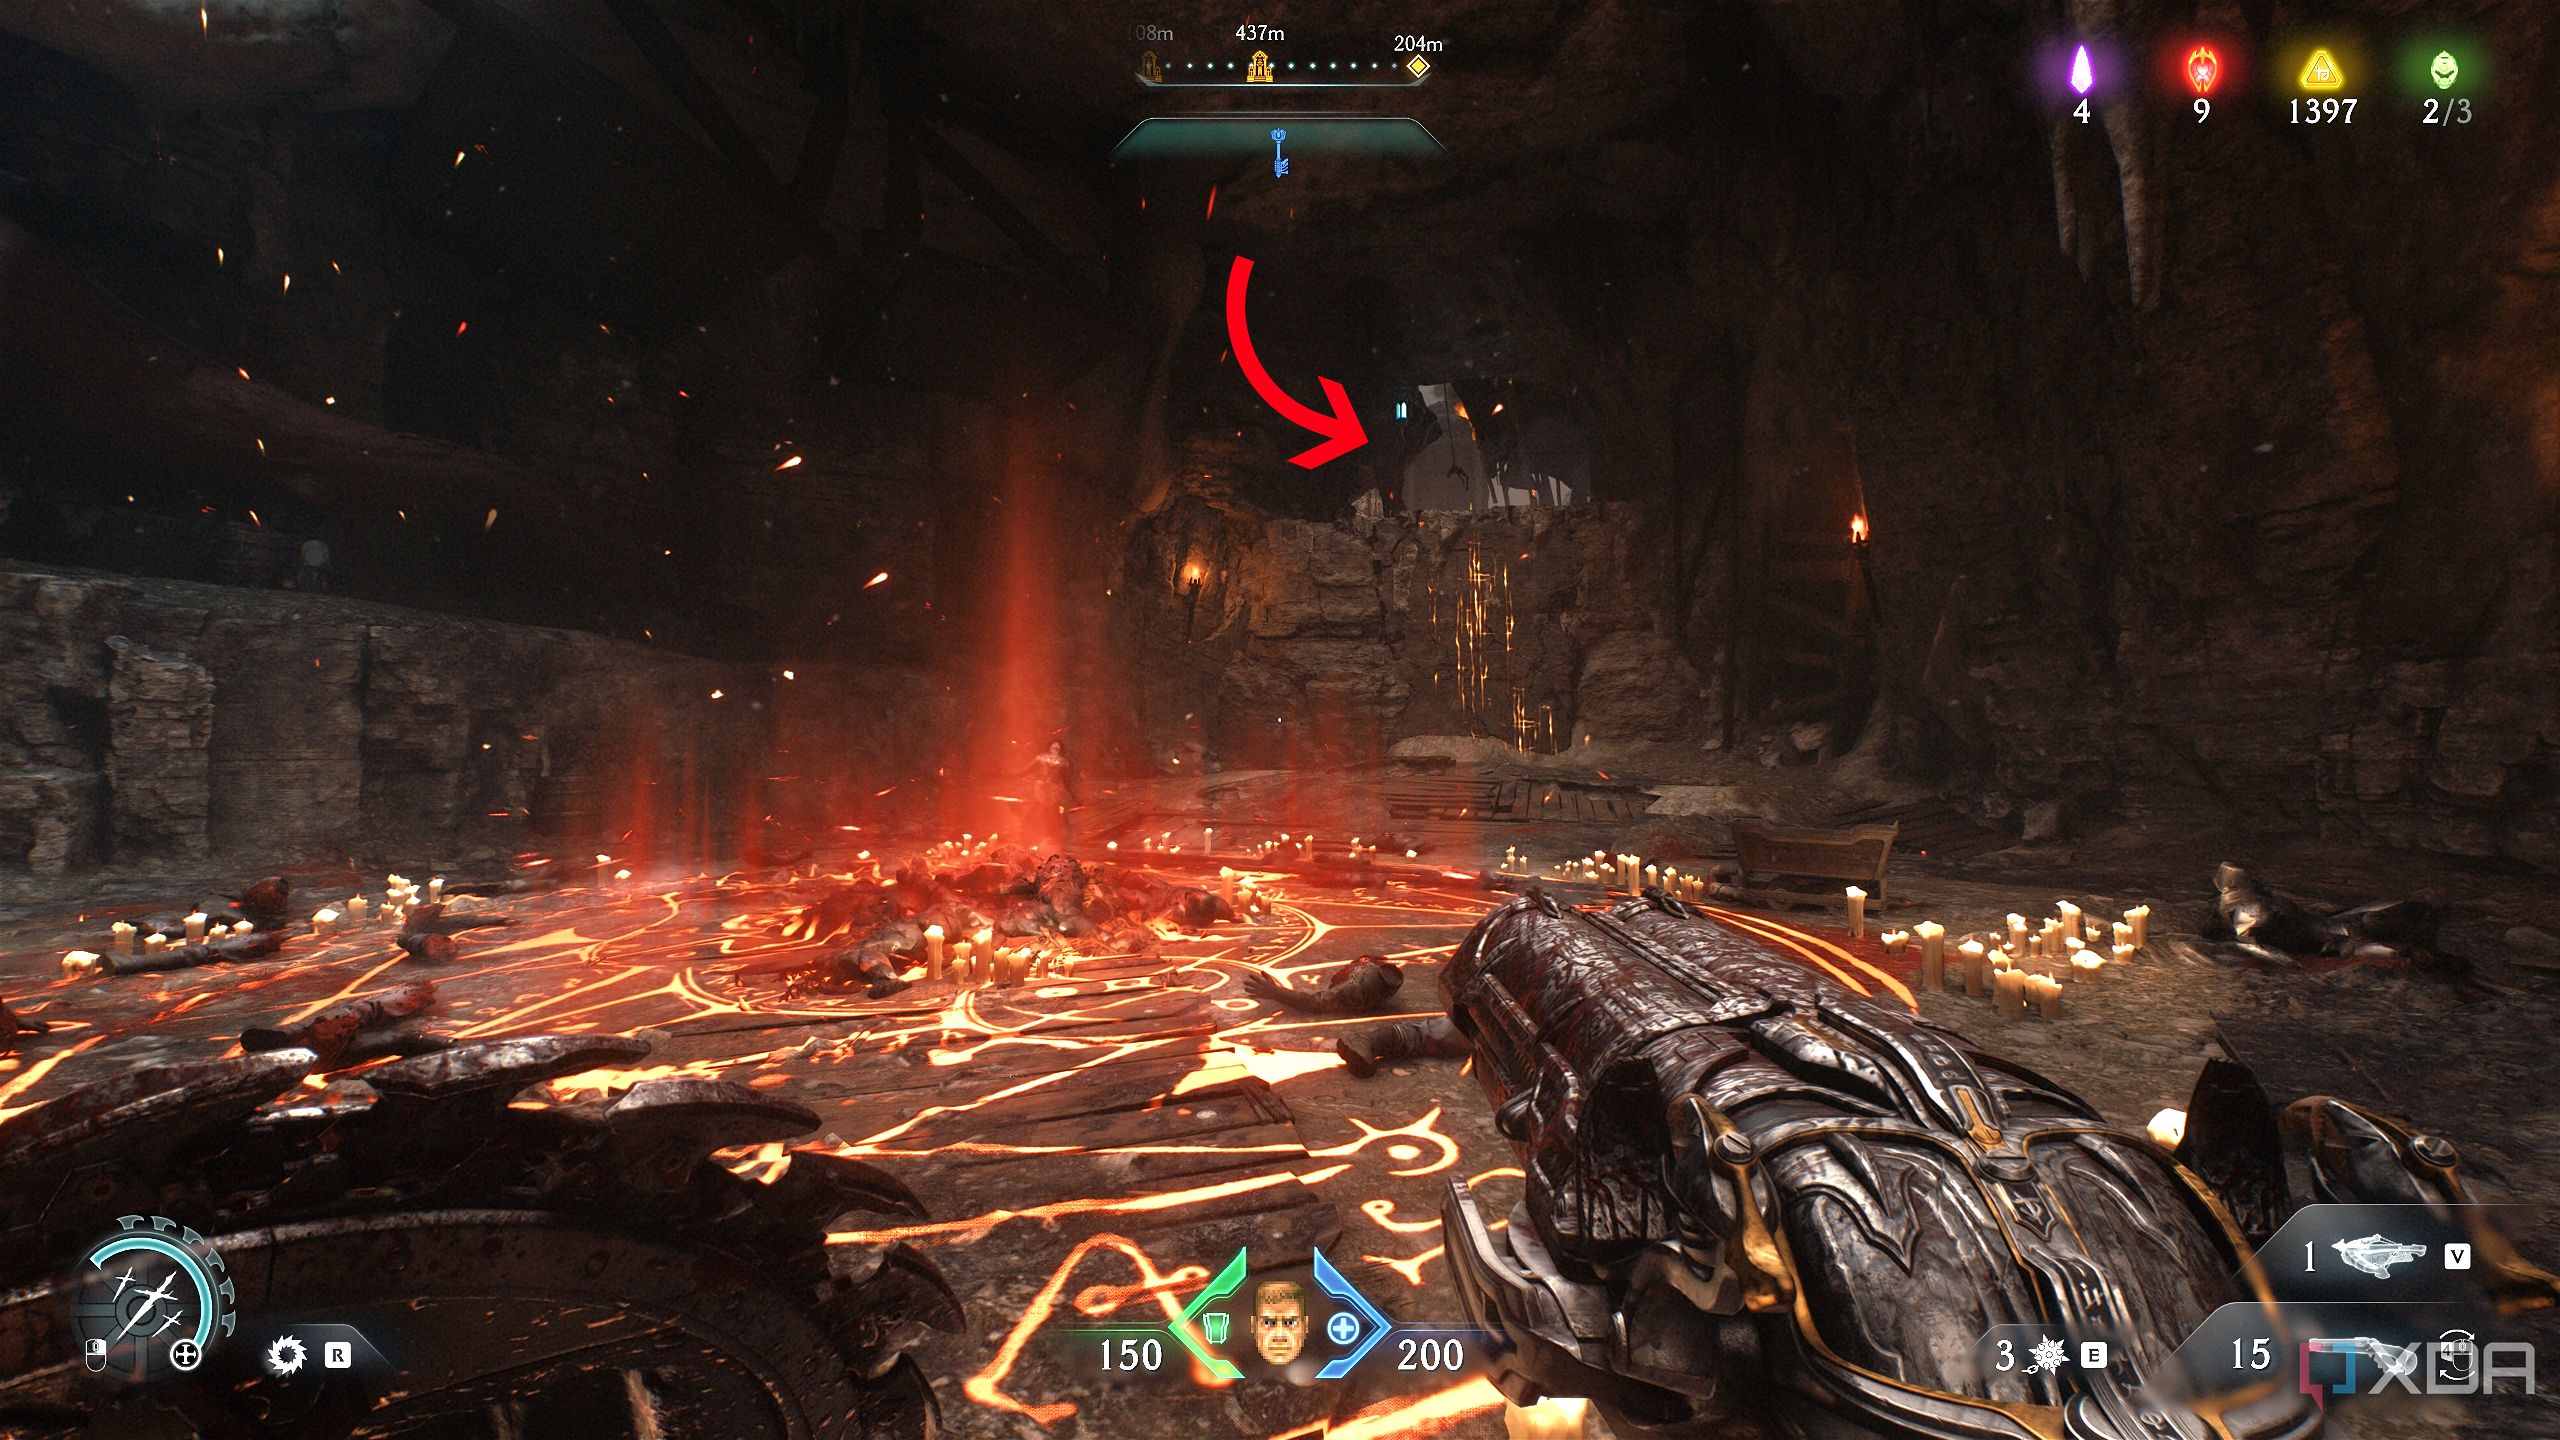
Next, stand next to the third Red Ruby statue you just unlocked, and look in the direction of the tallest tower in the background. You’ll see a small archway to the right. This is where you’d be standing on the map.
Walk under the archway, and immediately look to the left to see a hidden scramble wall.
Climb it up, and you’ll reach the second Artillery Cannon on the map, completely unguarded.
Destroy it with a Shield Charge, and drop into the hole in the floor below it. You’ll land in secret area 7 and see a trail of gold bars.
These lead to a yellow door you can’t open yet, so turn around and walk in the other direction. Two Hellknights will appear — defeat them. In the room they just appeared, you’ll see a Shield symbol on the wall.
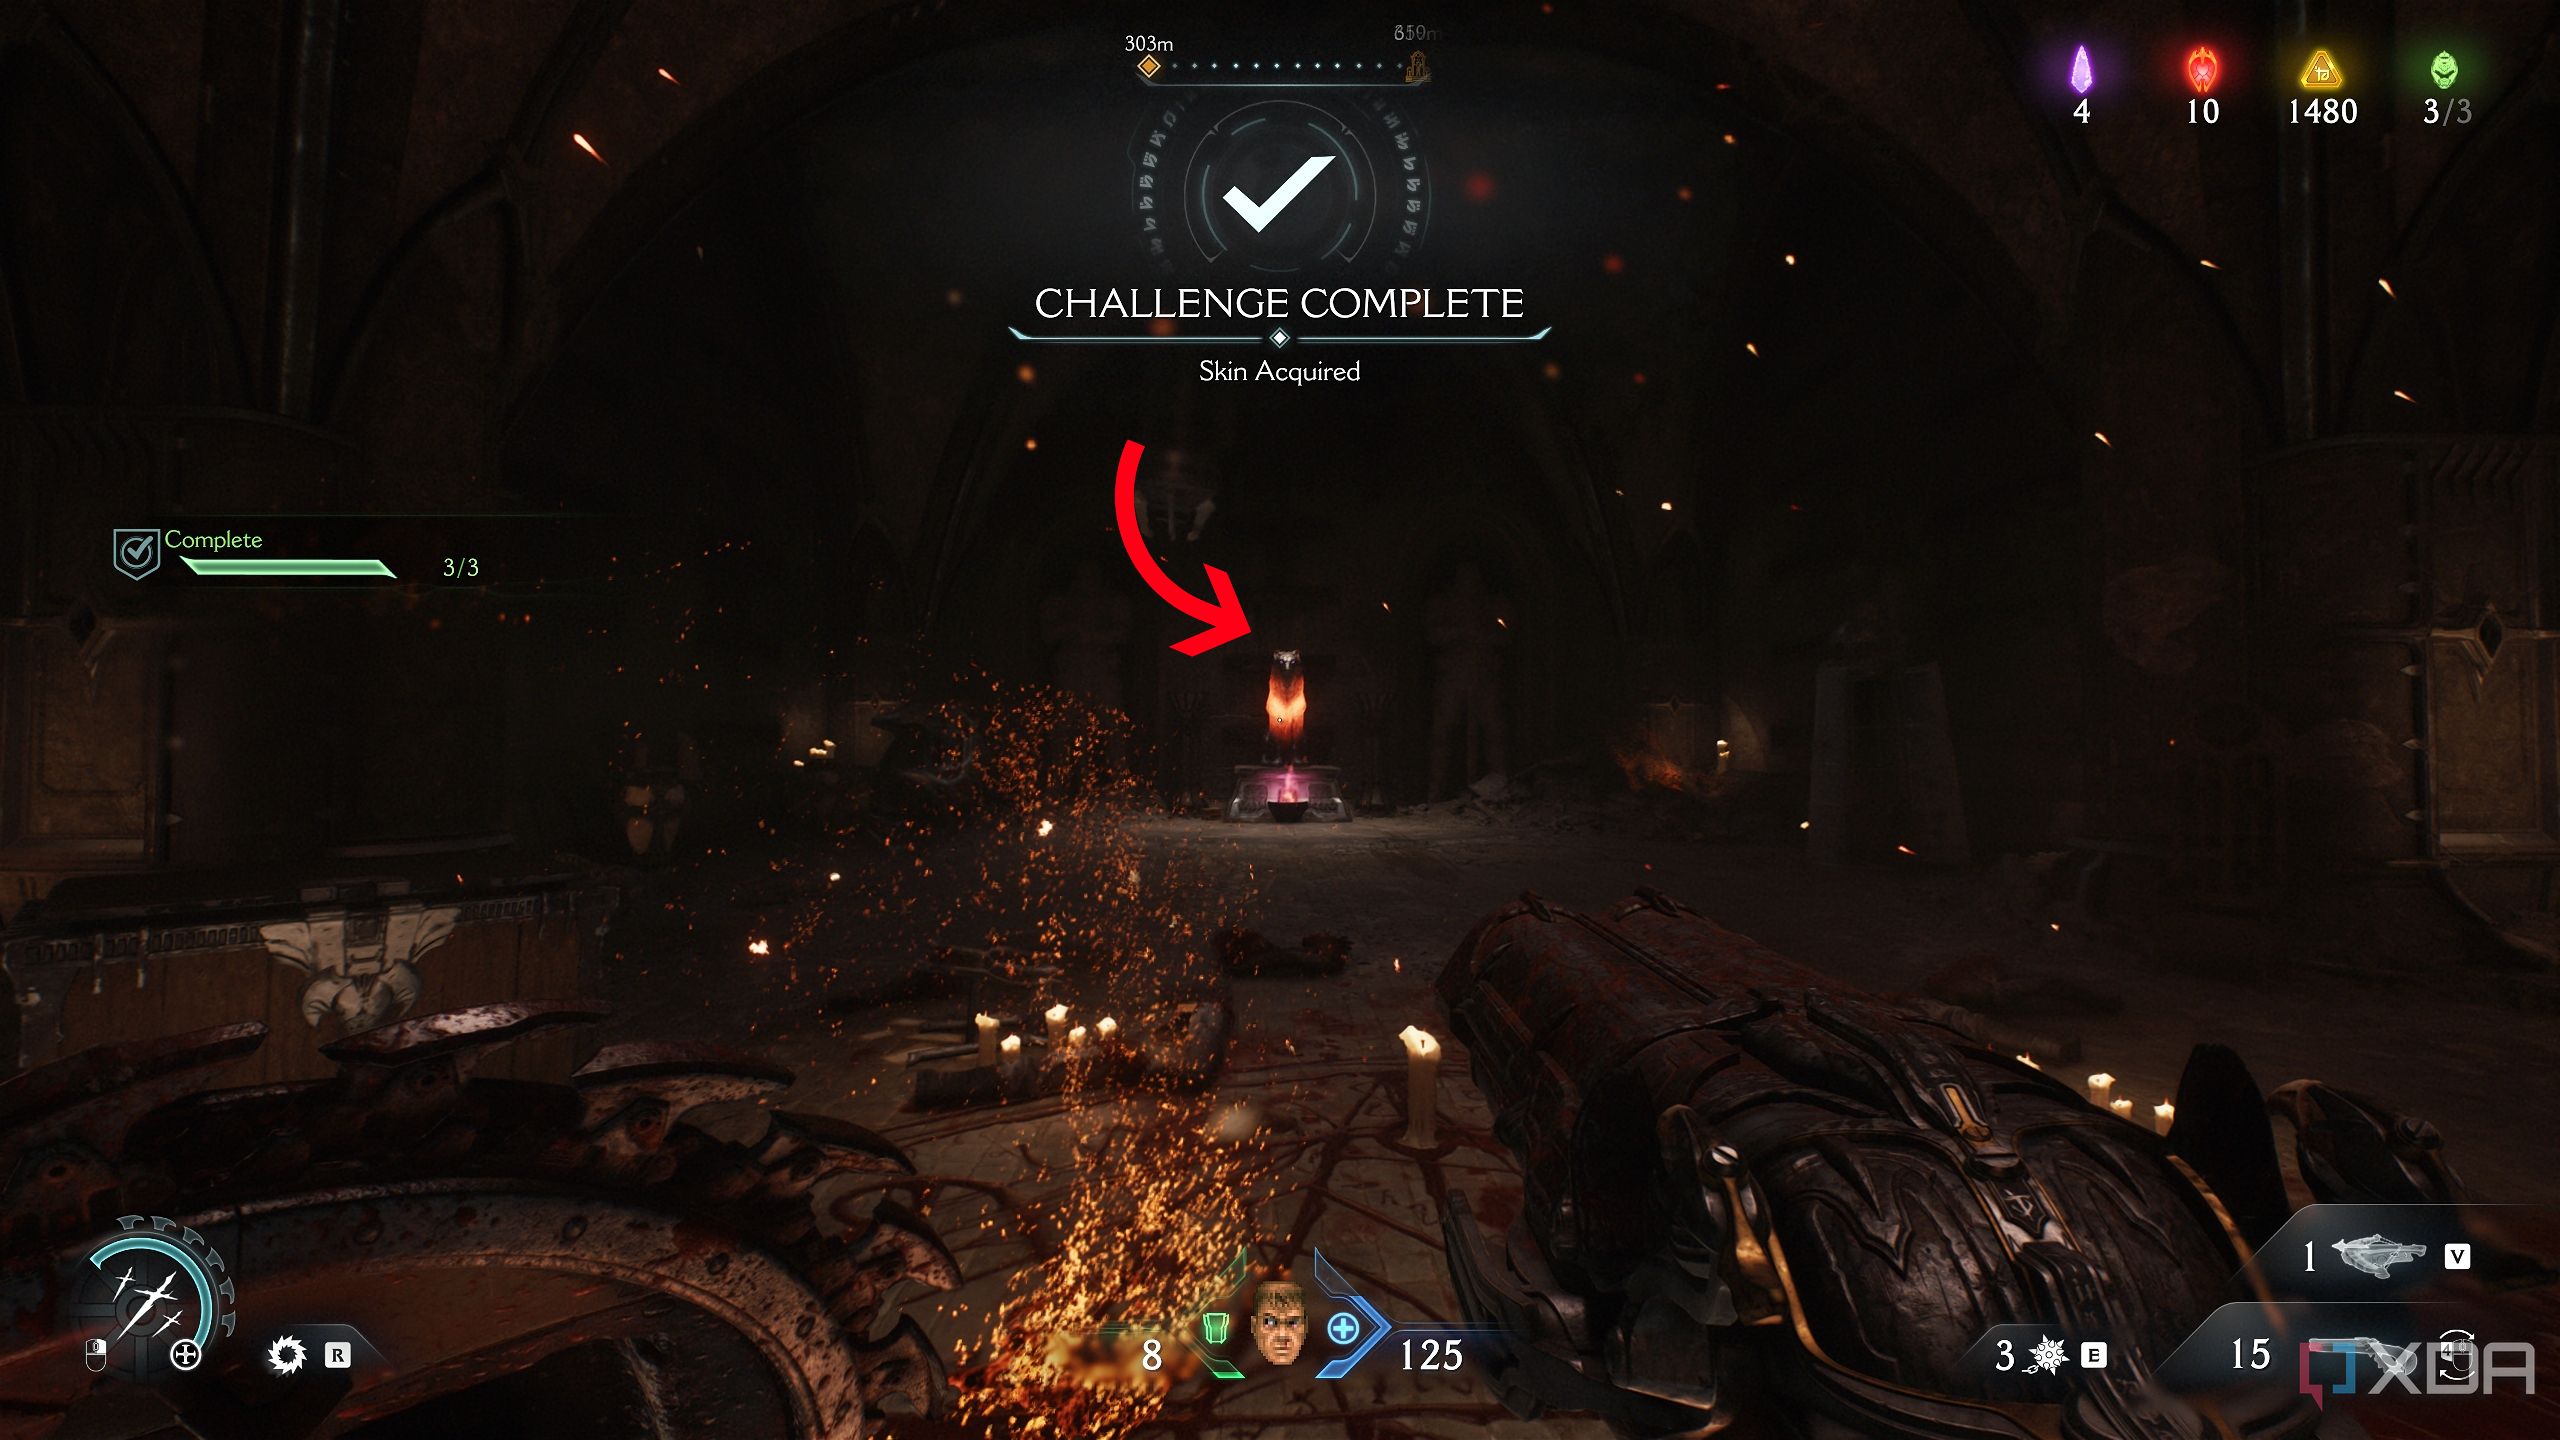
Charge through it to grab a Life Sigil if you need one. Then, you’ll also see a jump pad, but before hopping into it, head left from the jump pad towards a secret collectible.
Approach it and you’ll pick up a Weapon Skin. Now, you’re free to head onto the jump pad.
Wolf statues and Artillery Cannon 3
Wrapping up the first mission challenge in the level
Shield Charge out through the wall after you use the jump pad. This is where you’ll land on the map.
Head towards the Maykr ship in the sky, and you’ll see a trail of gold bars in the distance.
Approach and collect the gold bars, and you’ll immediately run into an Artillery Tank. Parry its surge attack to destroy it.
Right next to it is another Wolf Statue. Destroy it.
Next, cross the blood-soaked bridge the tank was on.
You’ll run into an armored Mancubus protected by Shielded Soldiers right ahead.

Take down the demons here, and behind the Mancubus will be the third Artillery Cannon. Shield Bash it and collect the gold under it. This wraps up the Cannon Breaker mission challenge.
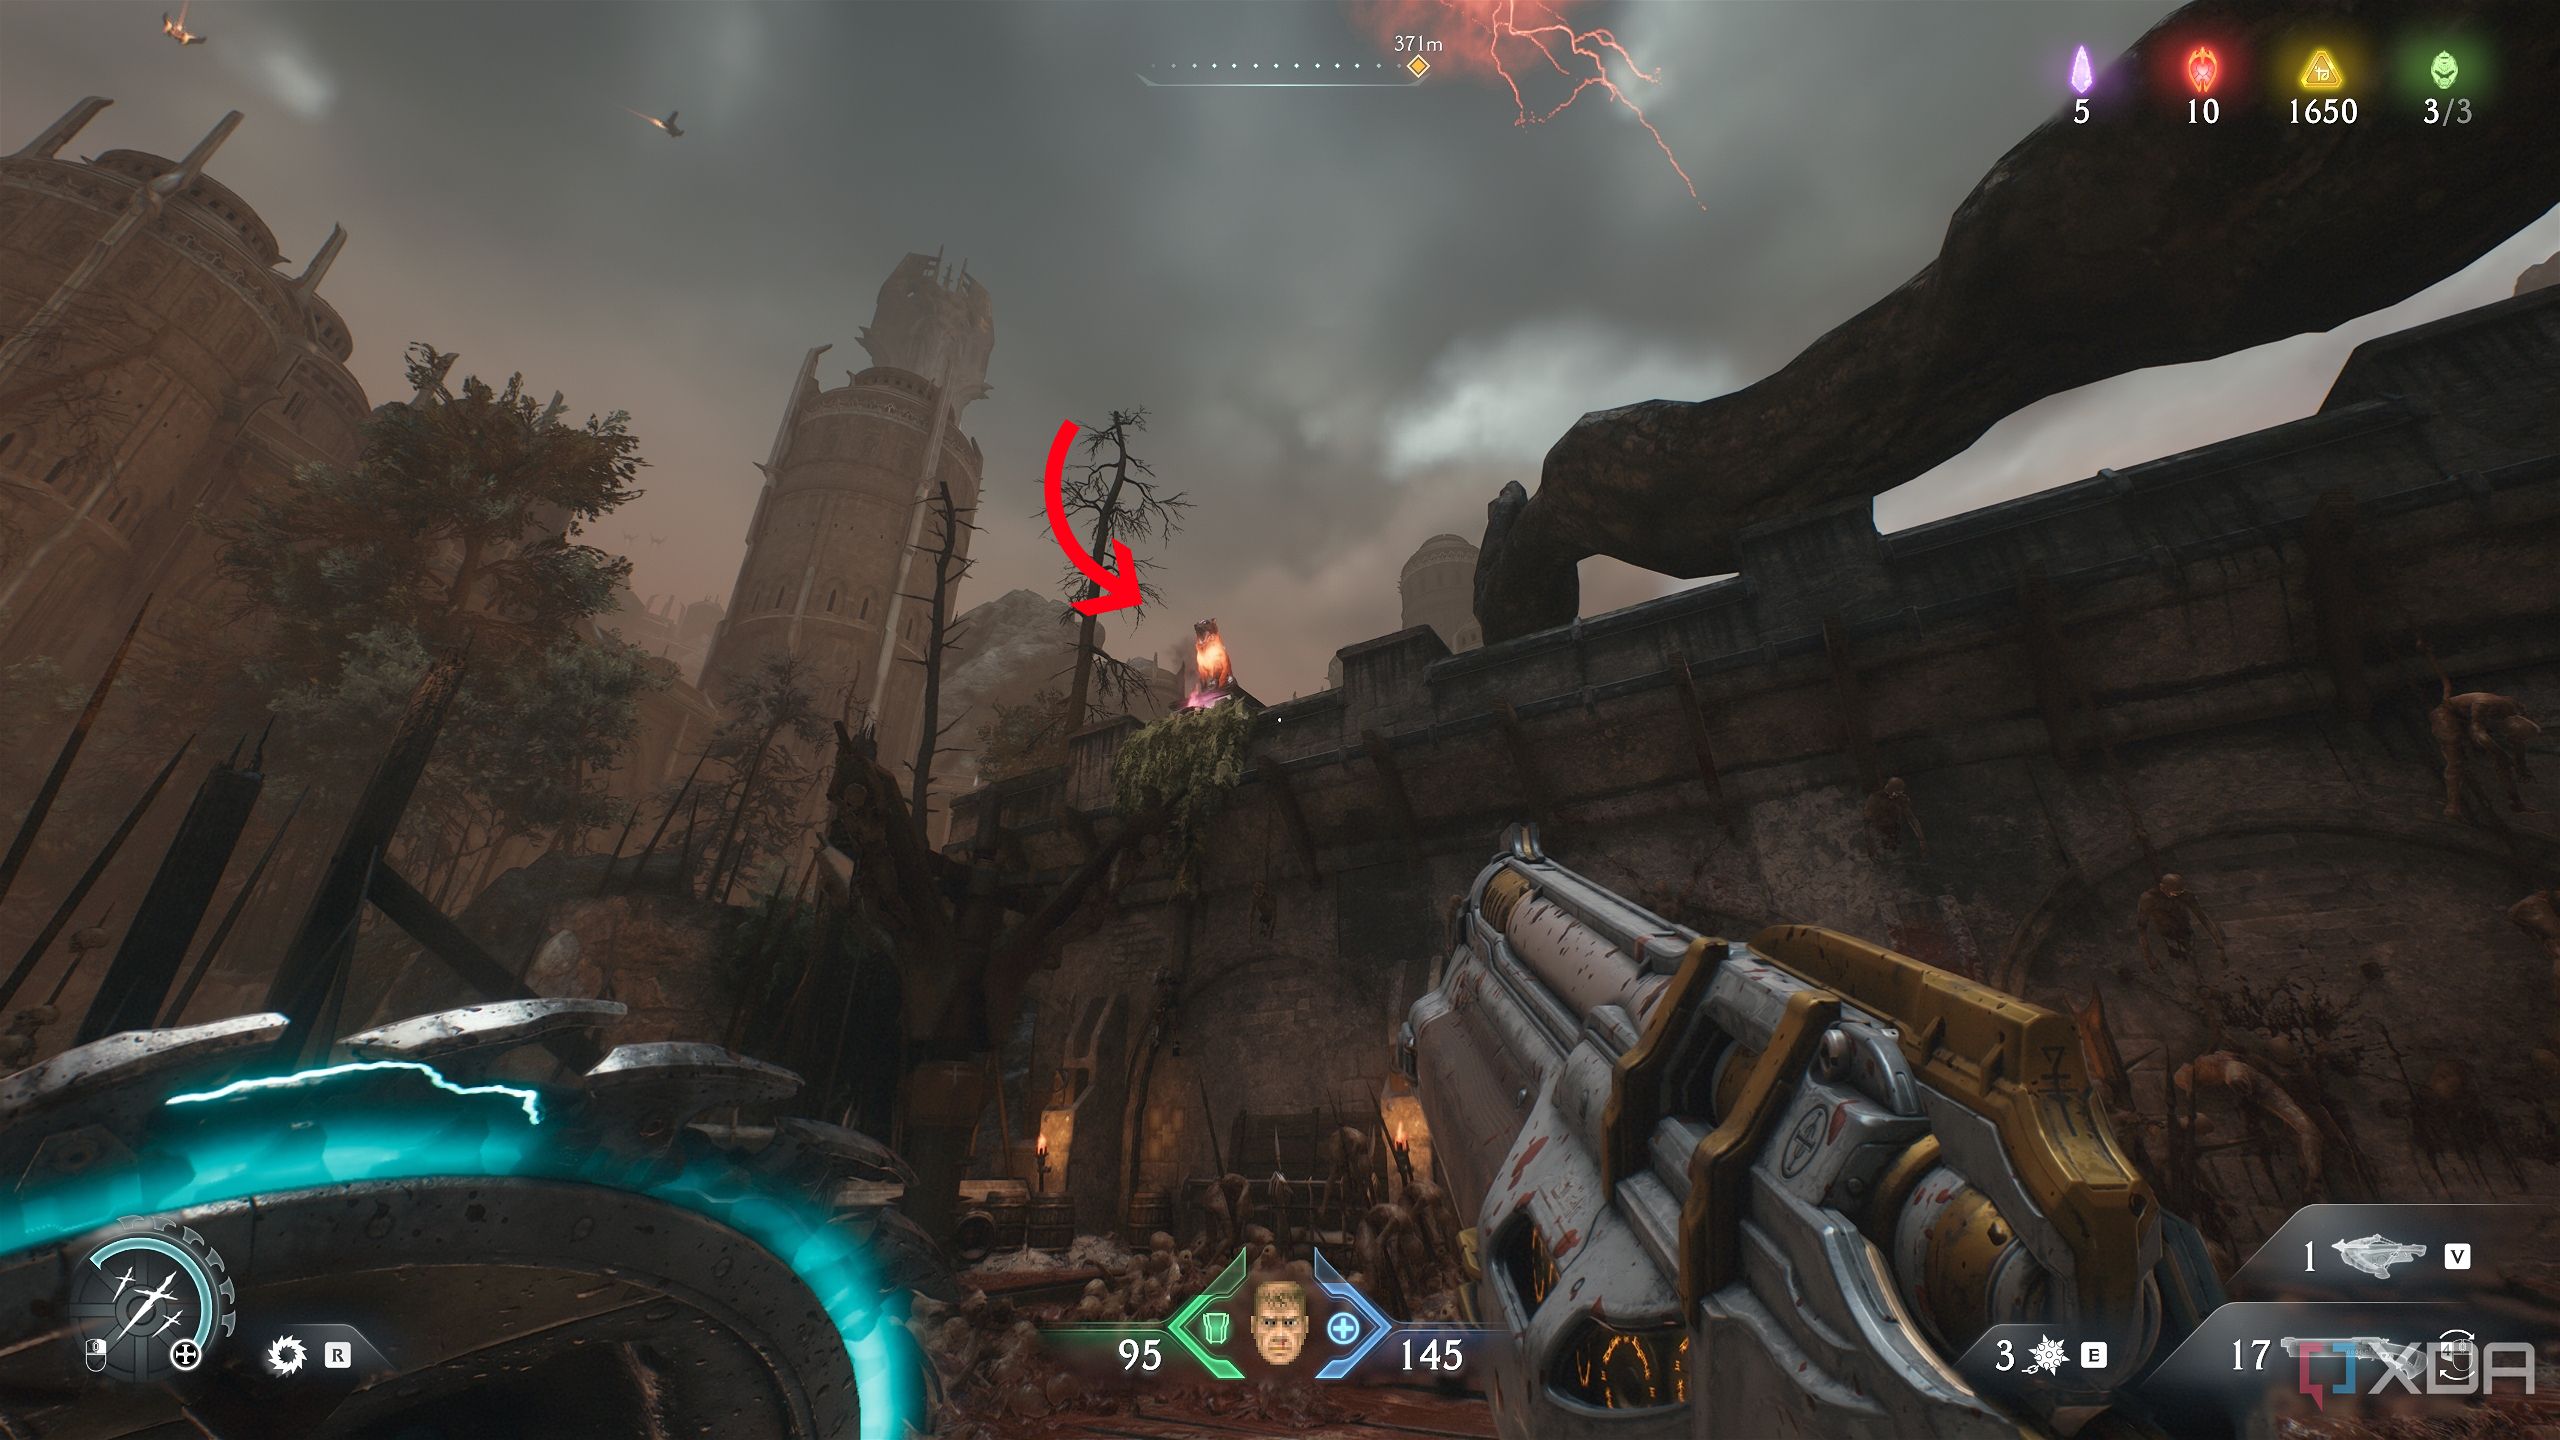
Now, look at the ledge above, and you’ll spot the third Wolf Statue.
Secret area 8 and a Life Sigil
A short hike through a narrow mountain pass
Now, standing next to the mantle of the third Wolf Statue, you should be here on the Automap.
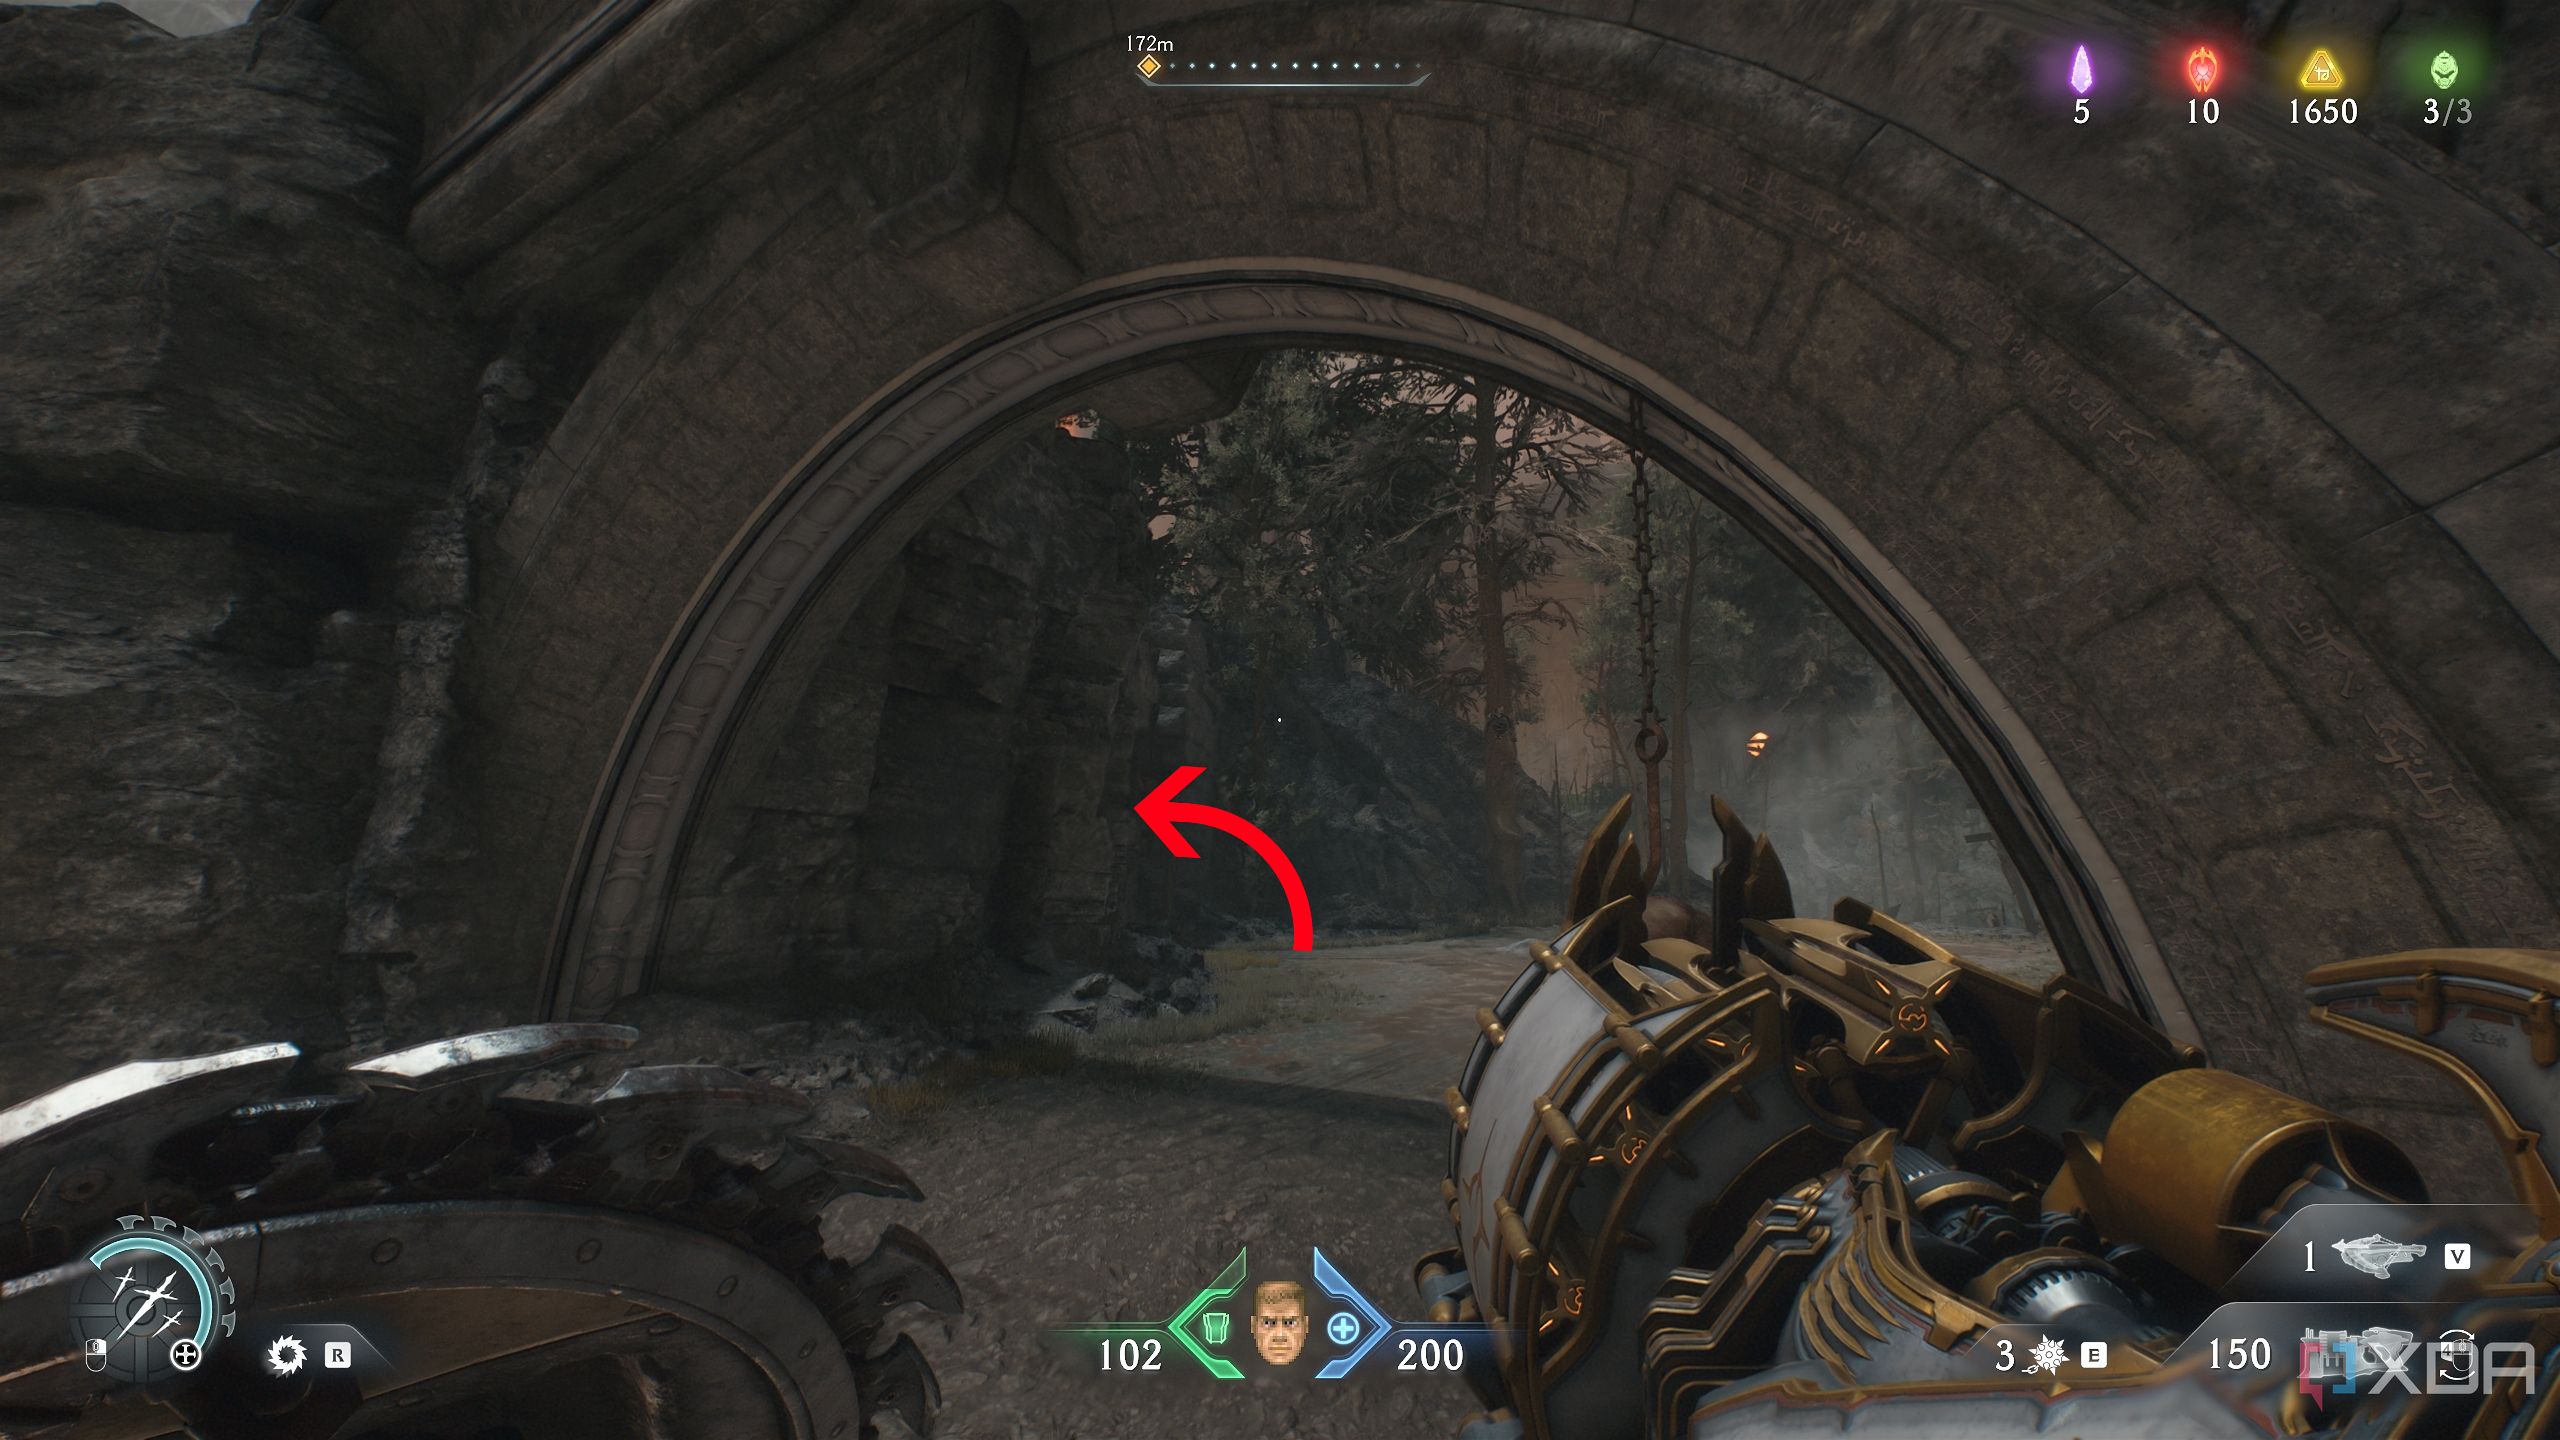
You should see two distinct paths in front of you — head to the narrow path on the right, leading into the mountain.
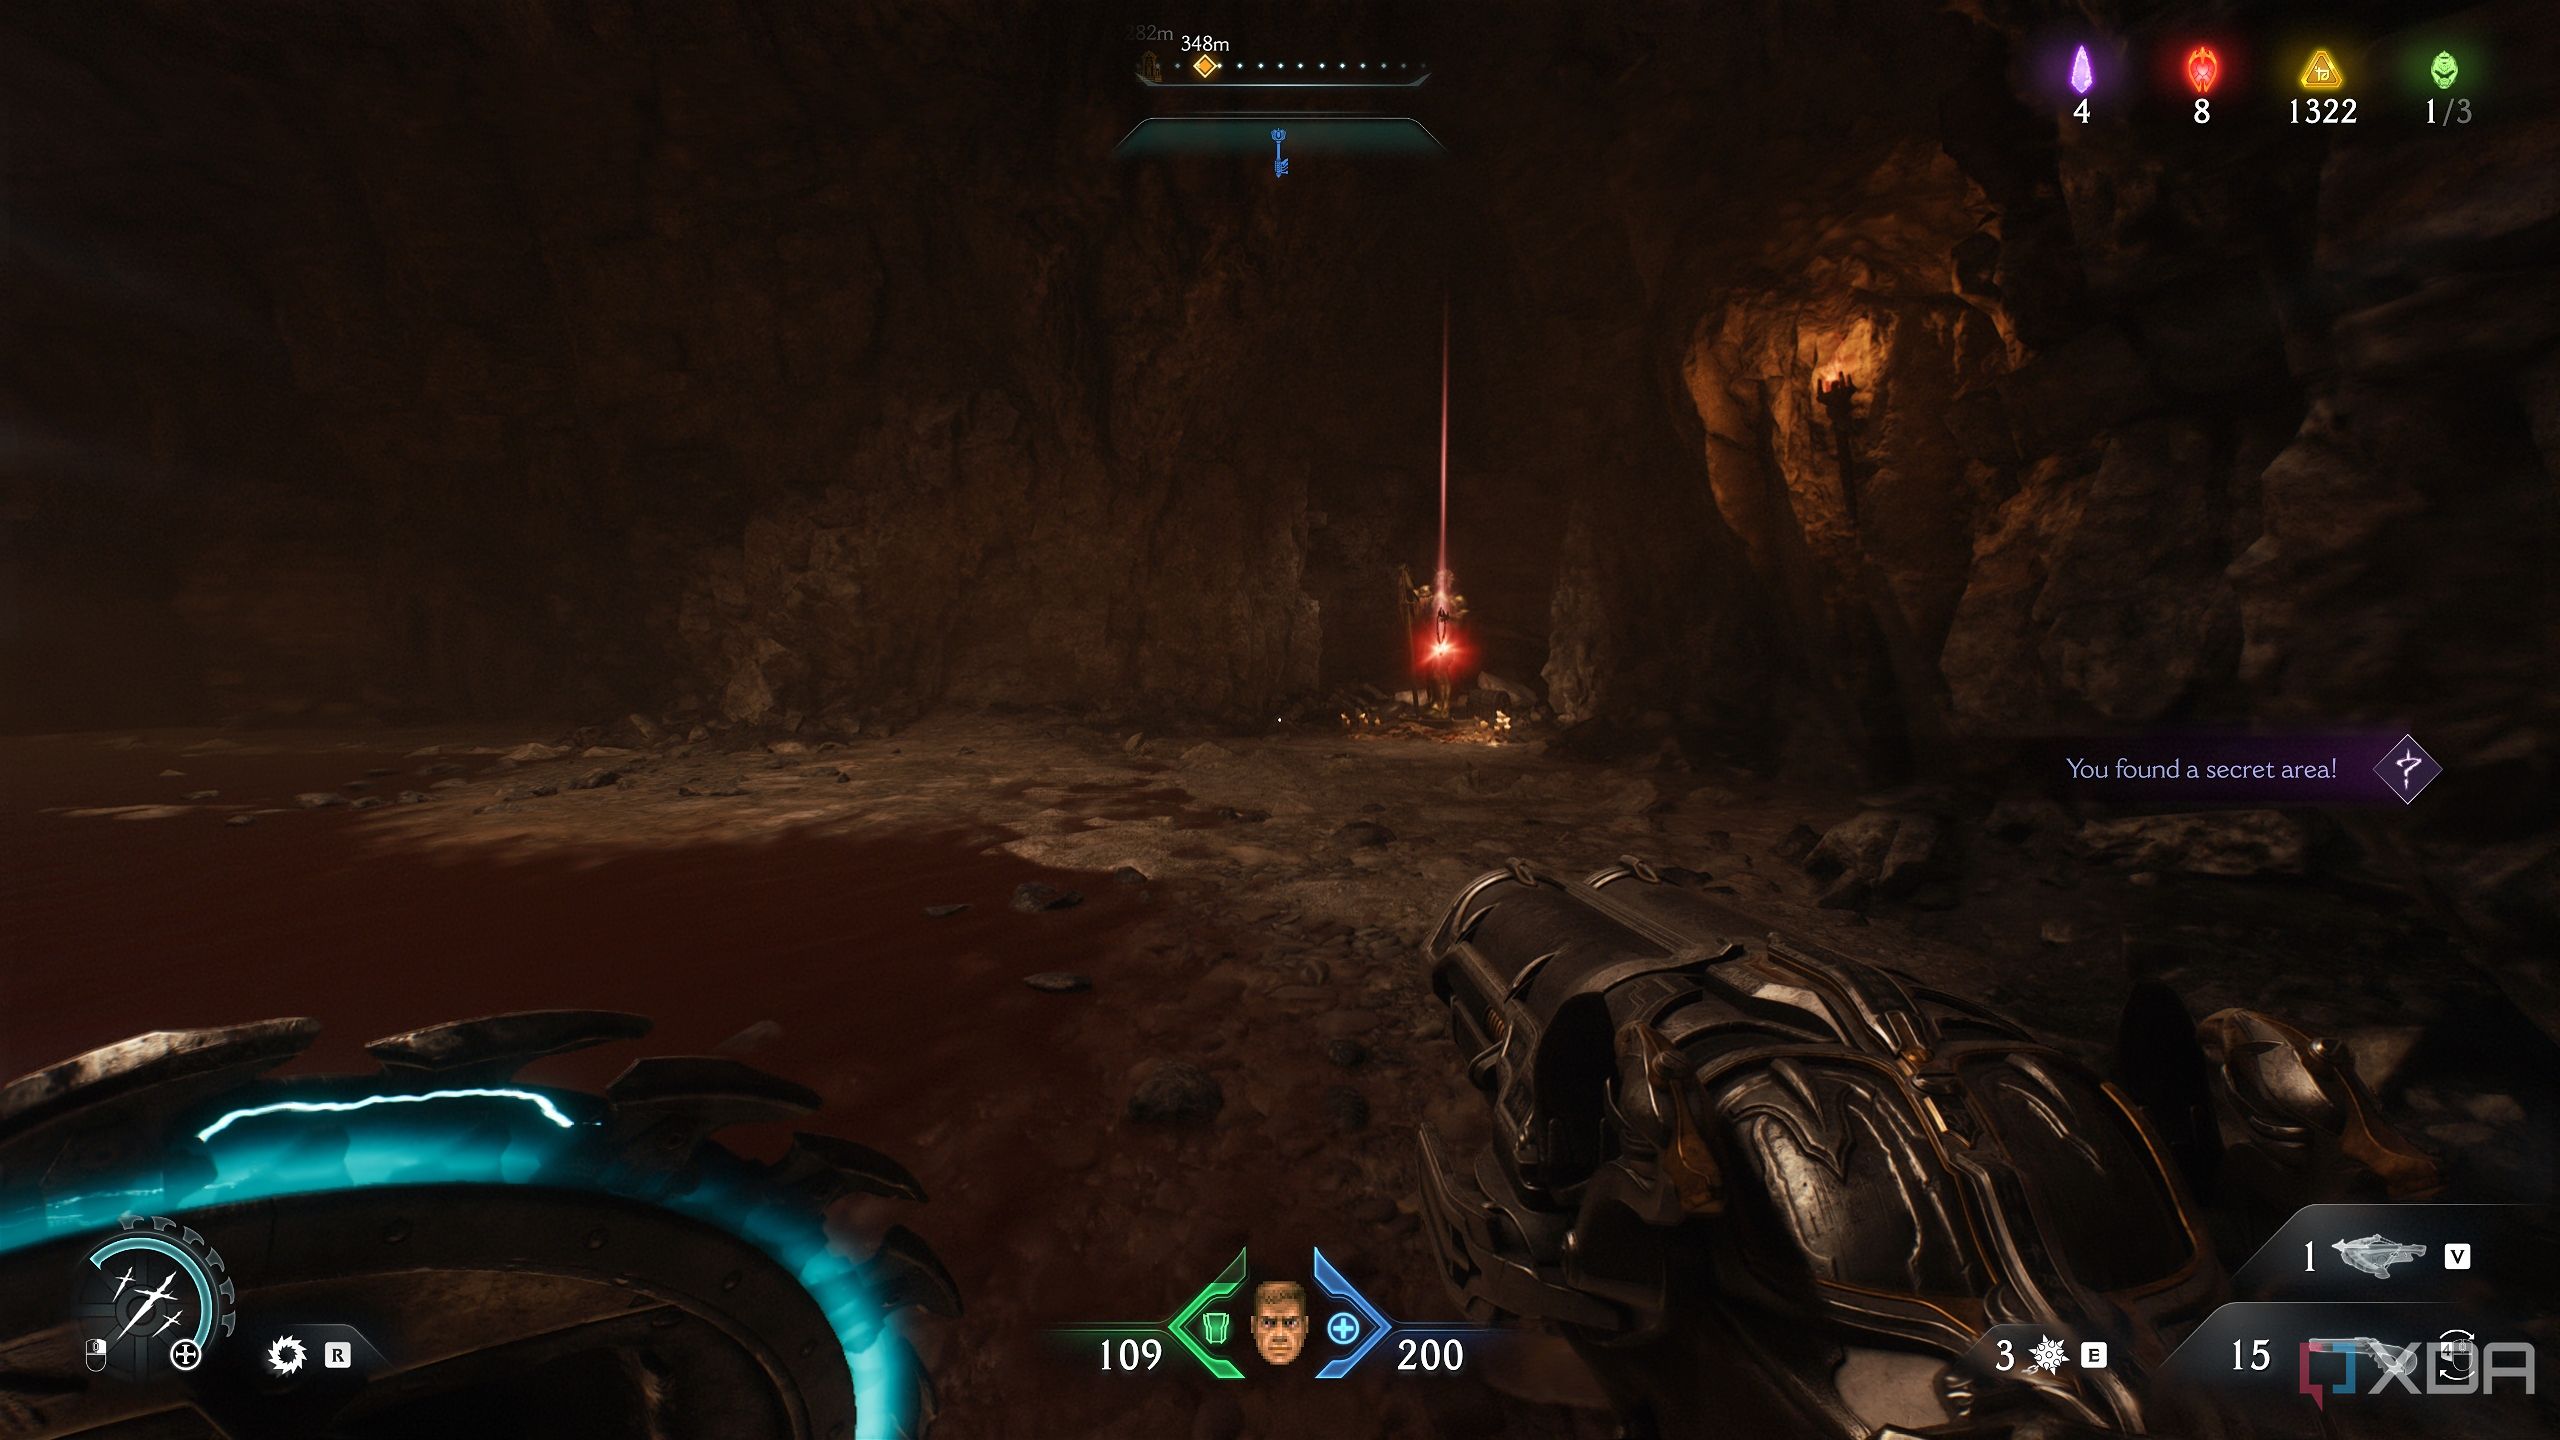
This path will lead you to secret area 8 and a Life Sigil. Simply head back outside, back to the place where you took down Artillery Cannon 3.
Secret area 9 and a Wraithstone
Finishing the Extreme Prejudice mission challenge

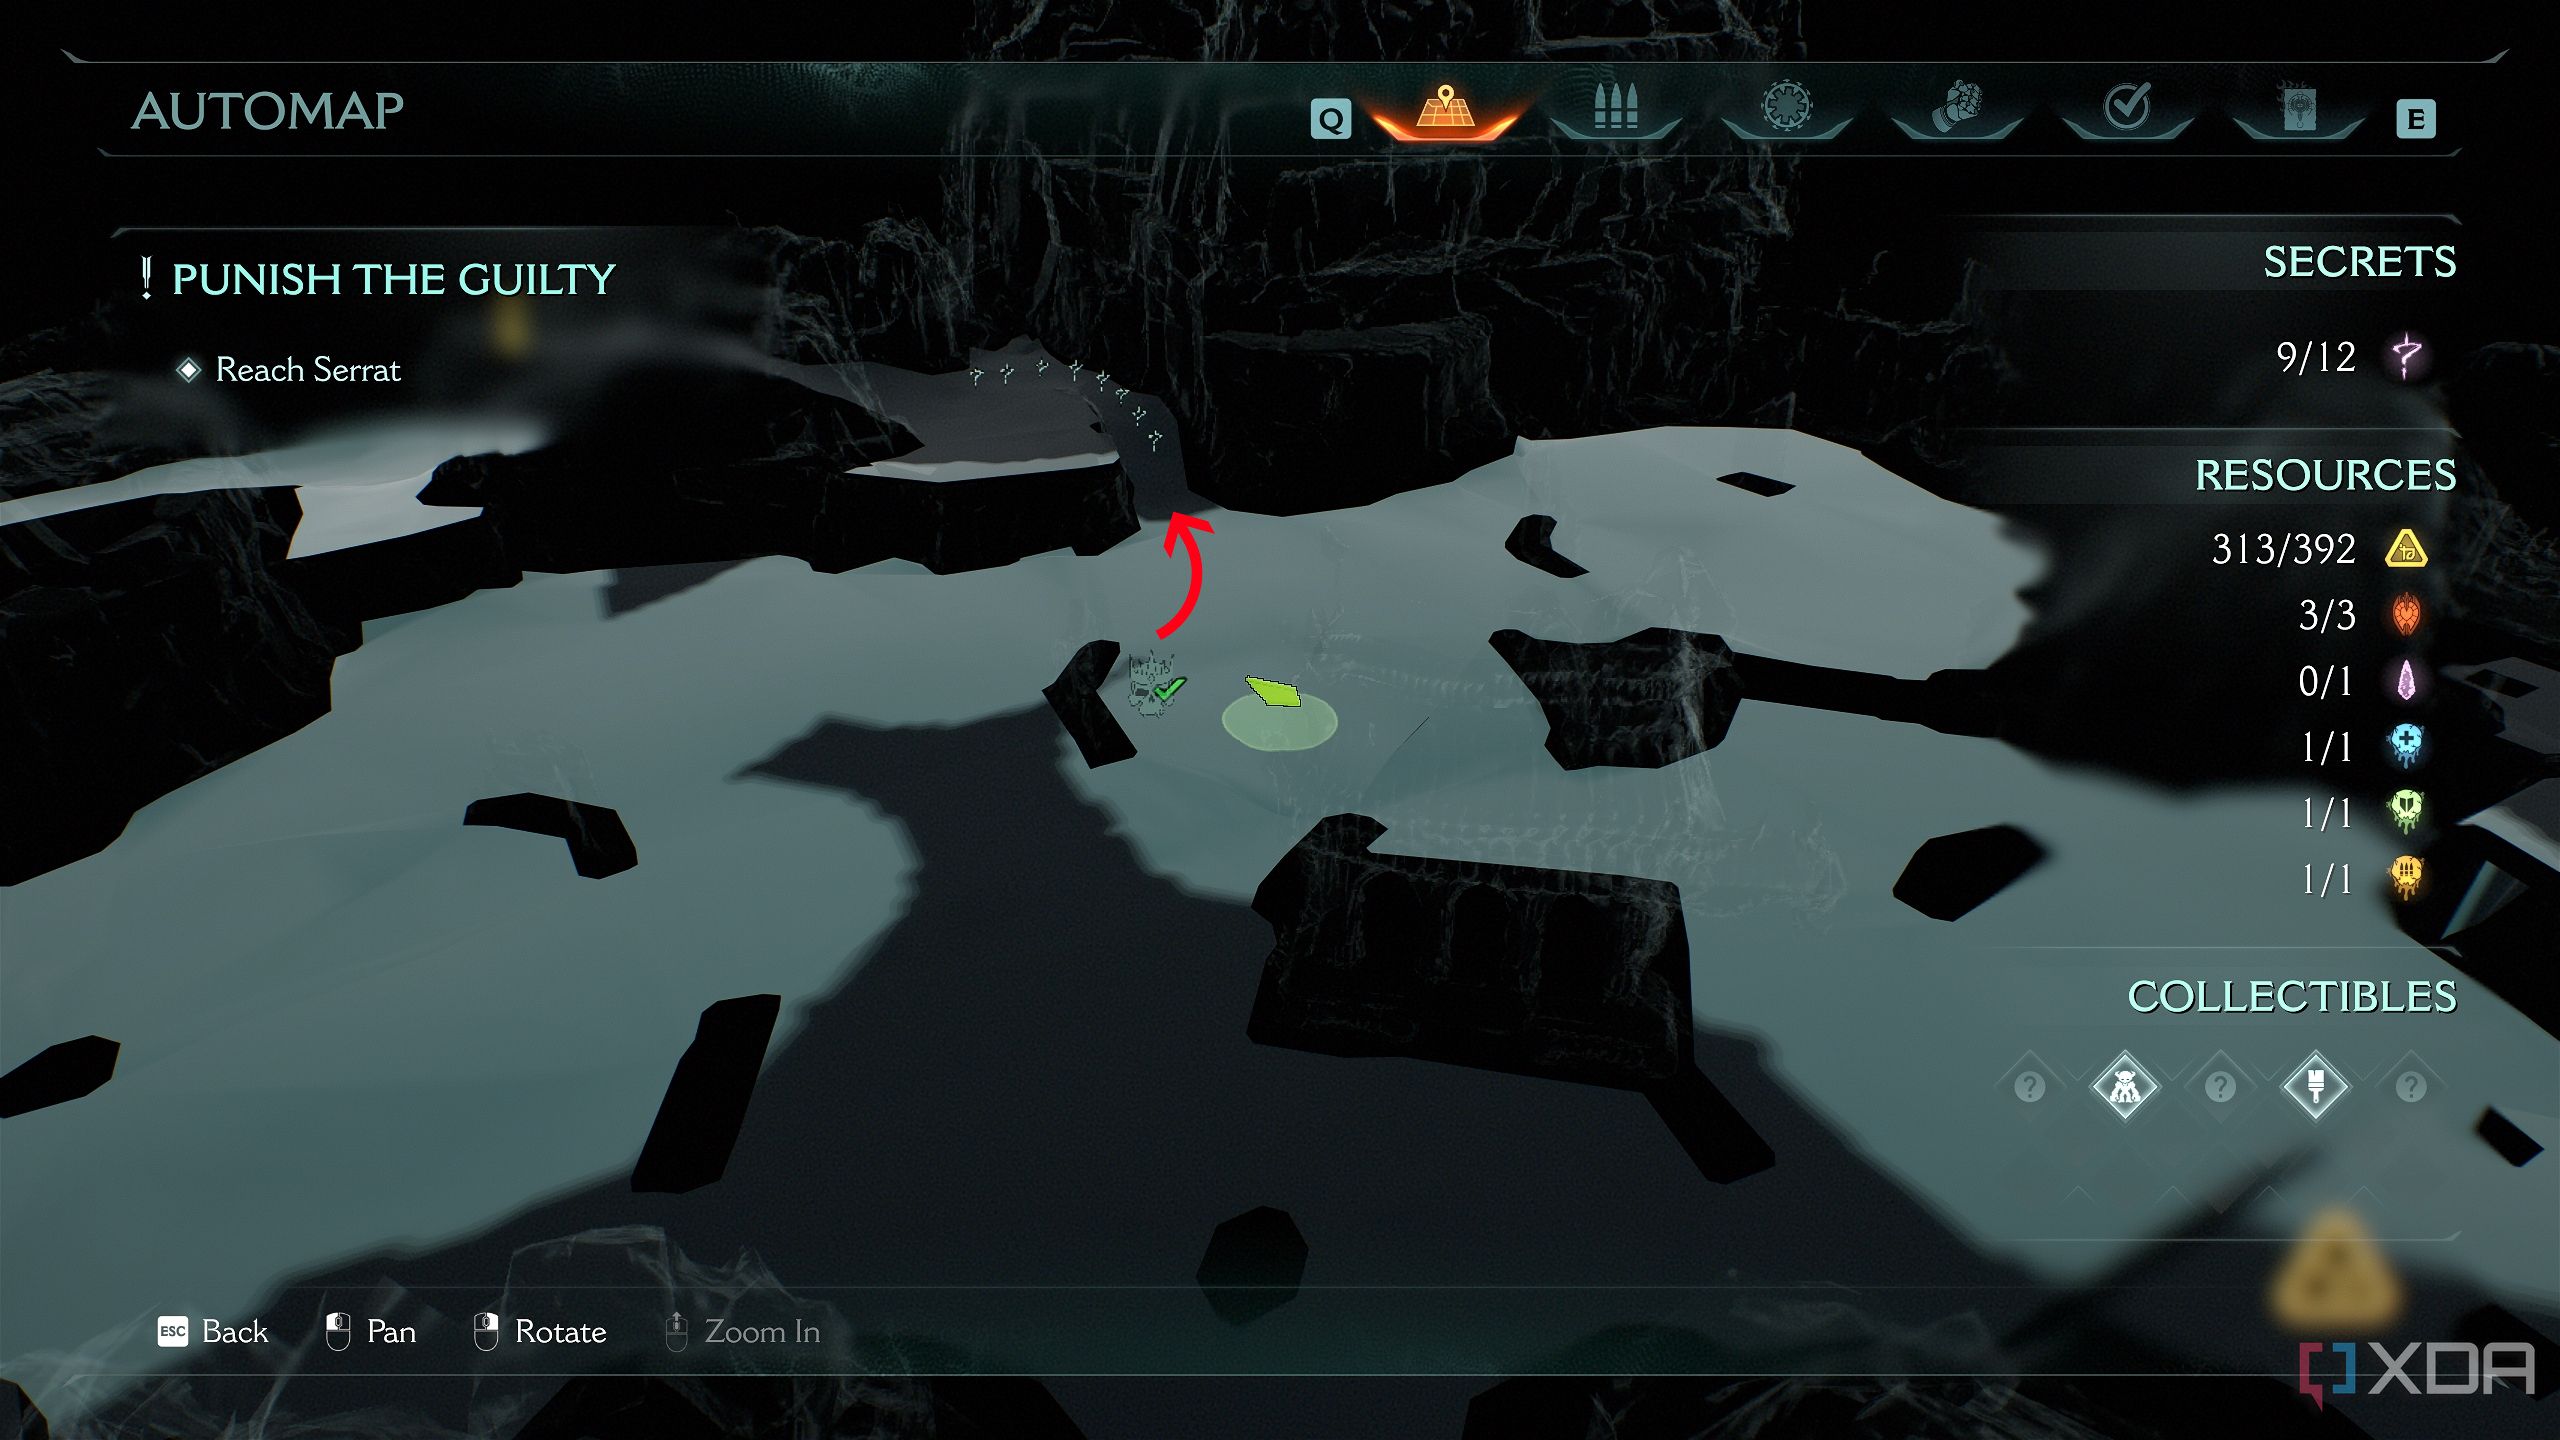
Now, from where you chose the right path to secret area 8, just pick the left path.
You’ll reach secret area 9 and see a Wraithstone statue locked behind a barrier. Three out of four wolf statues are already down, so you’re not far away from getting the Wraithstone. Just head behind the statue.
To your left, there should be a bunch of gold bars. To your right will be the third and final group of Hell Cultists. Clear them, and you’ll finish the Extreme Prejudice mission challenge.
Right behind the cultists’ circle is the fourth and final Wolf Statue.
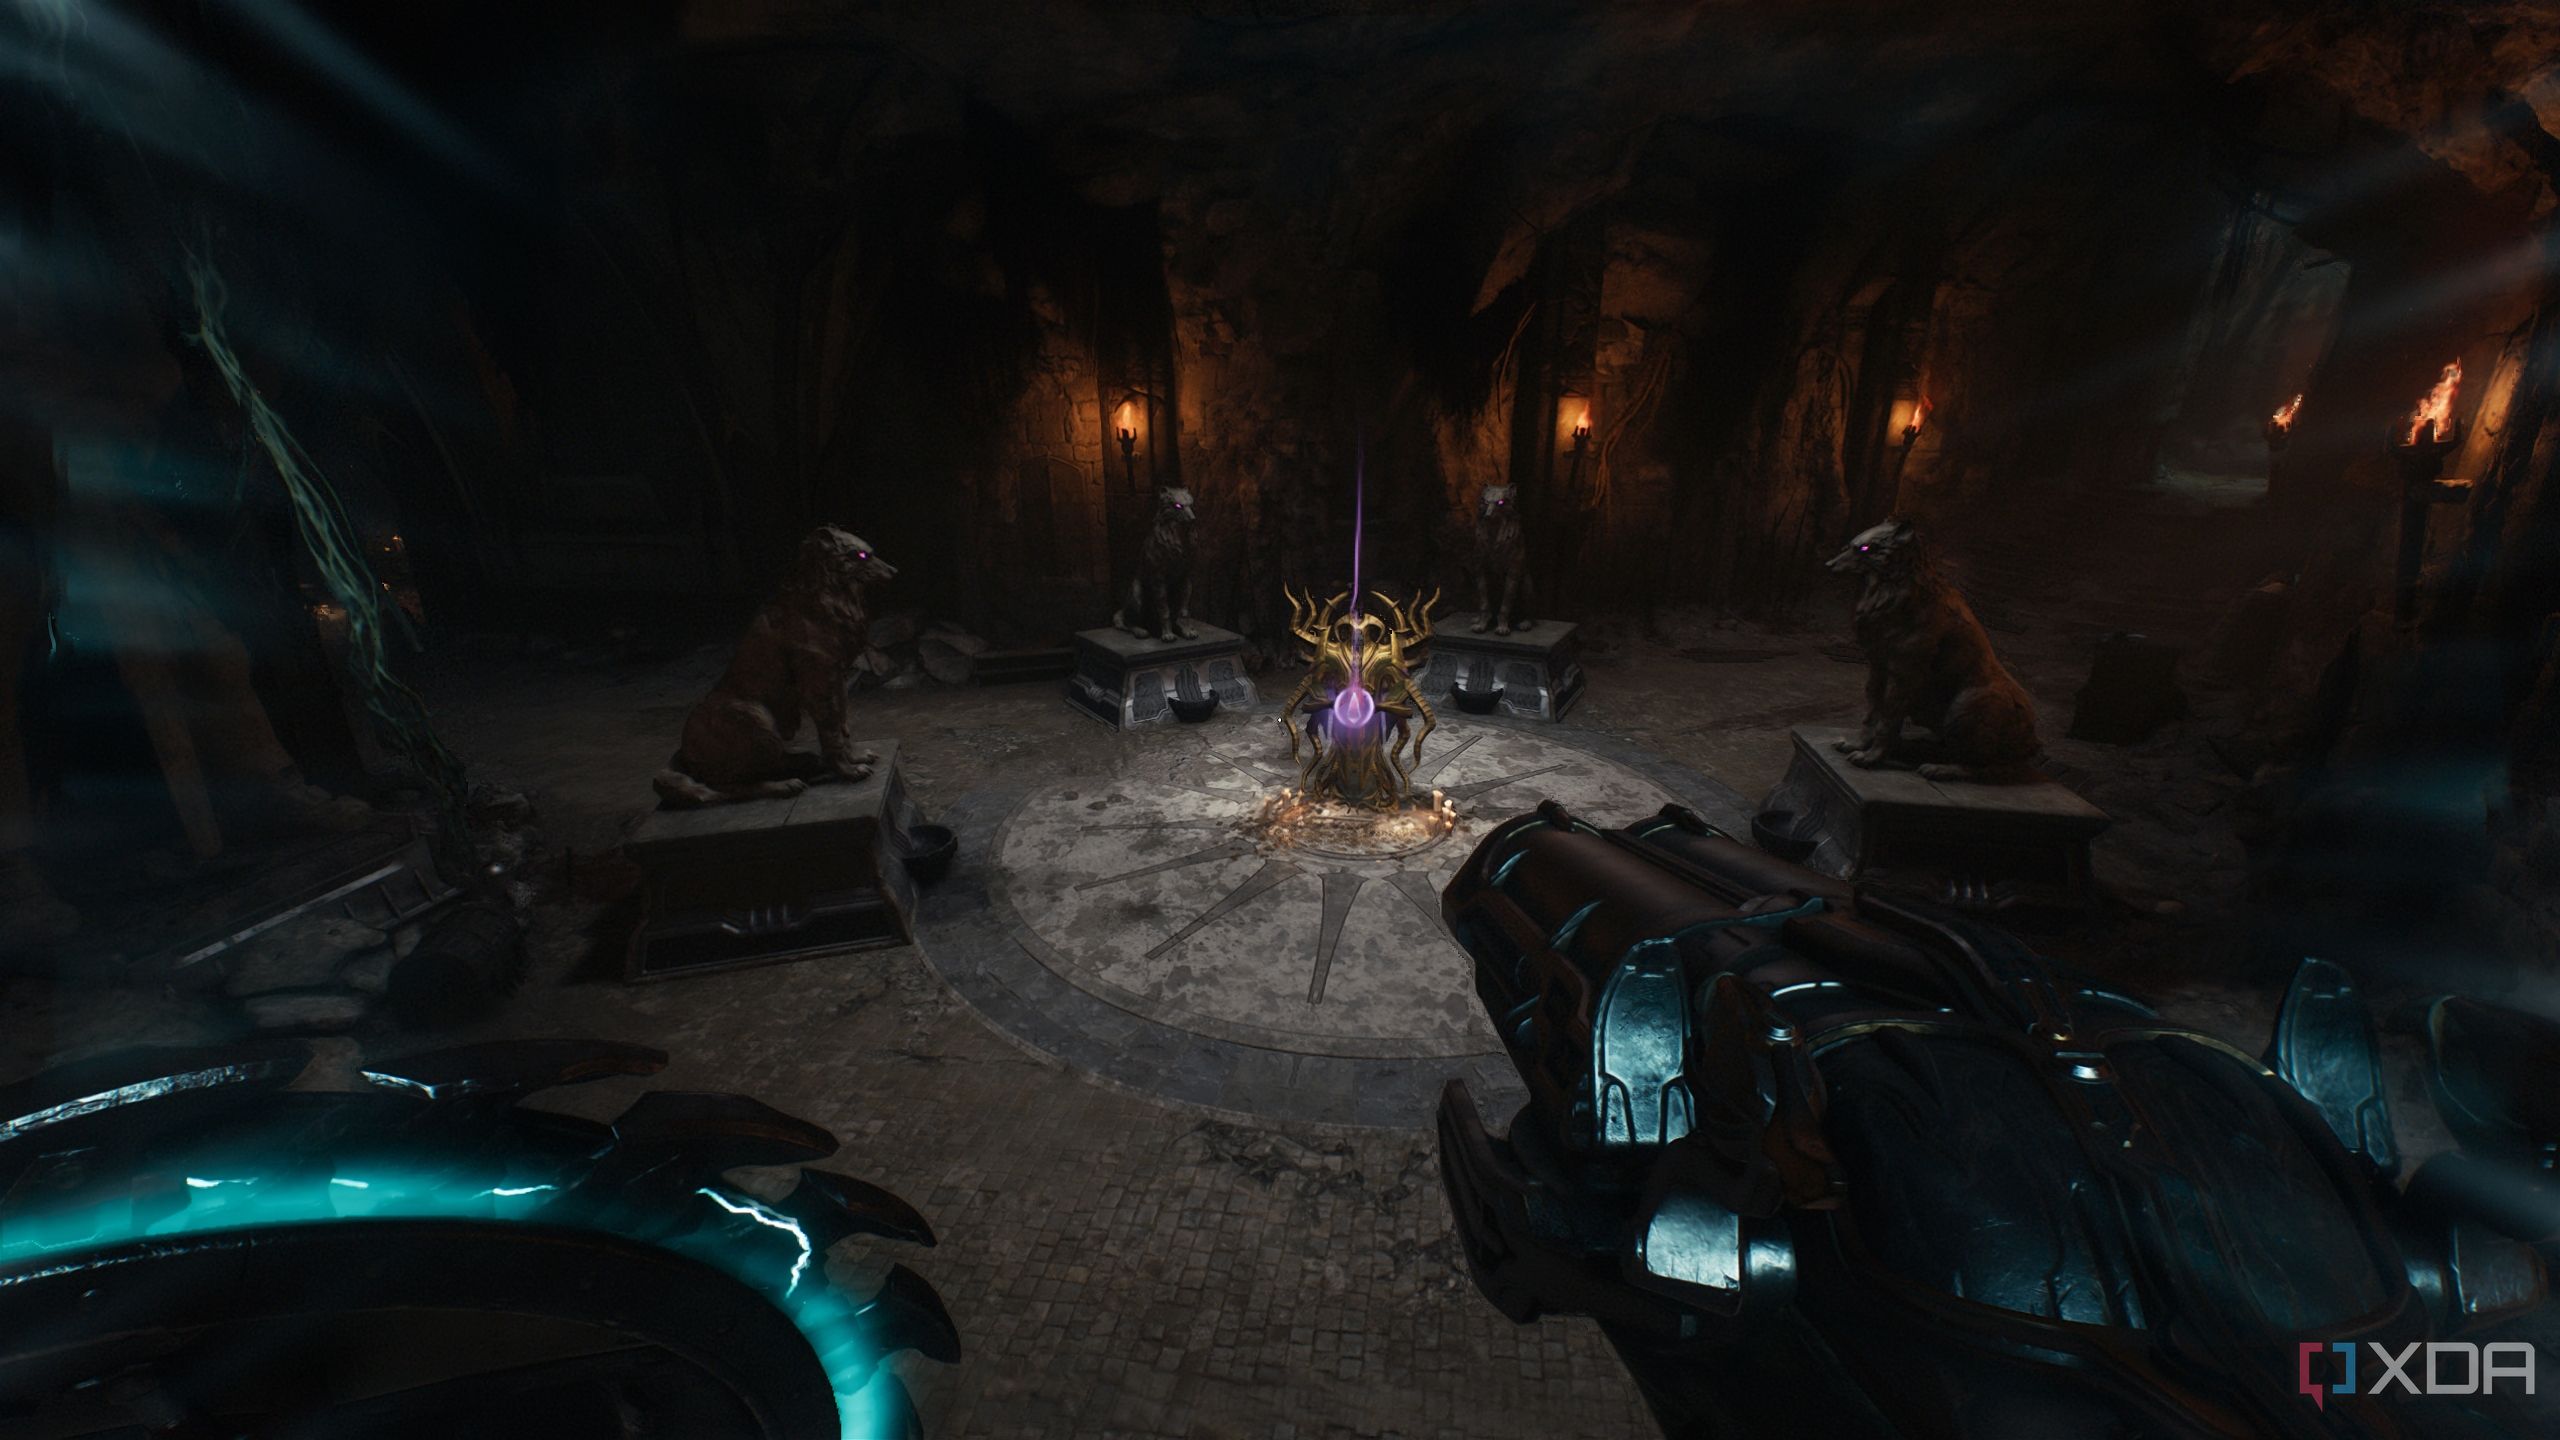
Destroy it with your shield, head back to the Wraithstone statue, and you will be able to finally collect it.
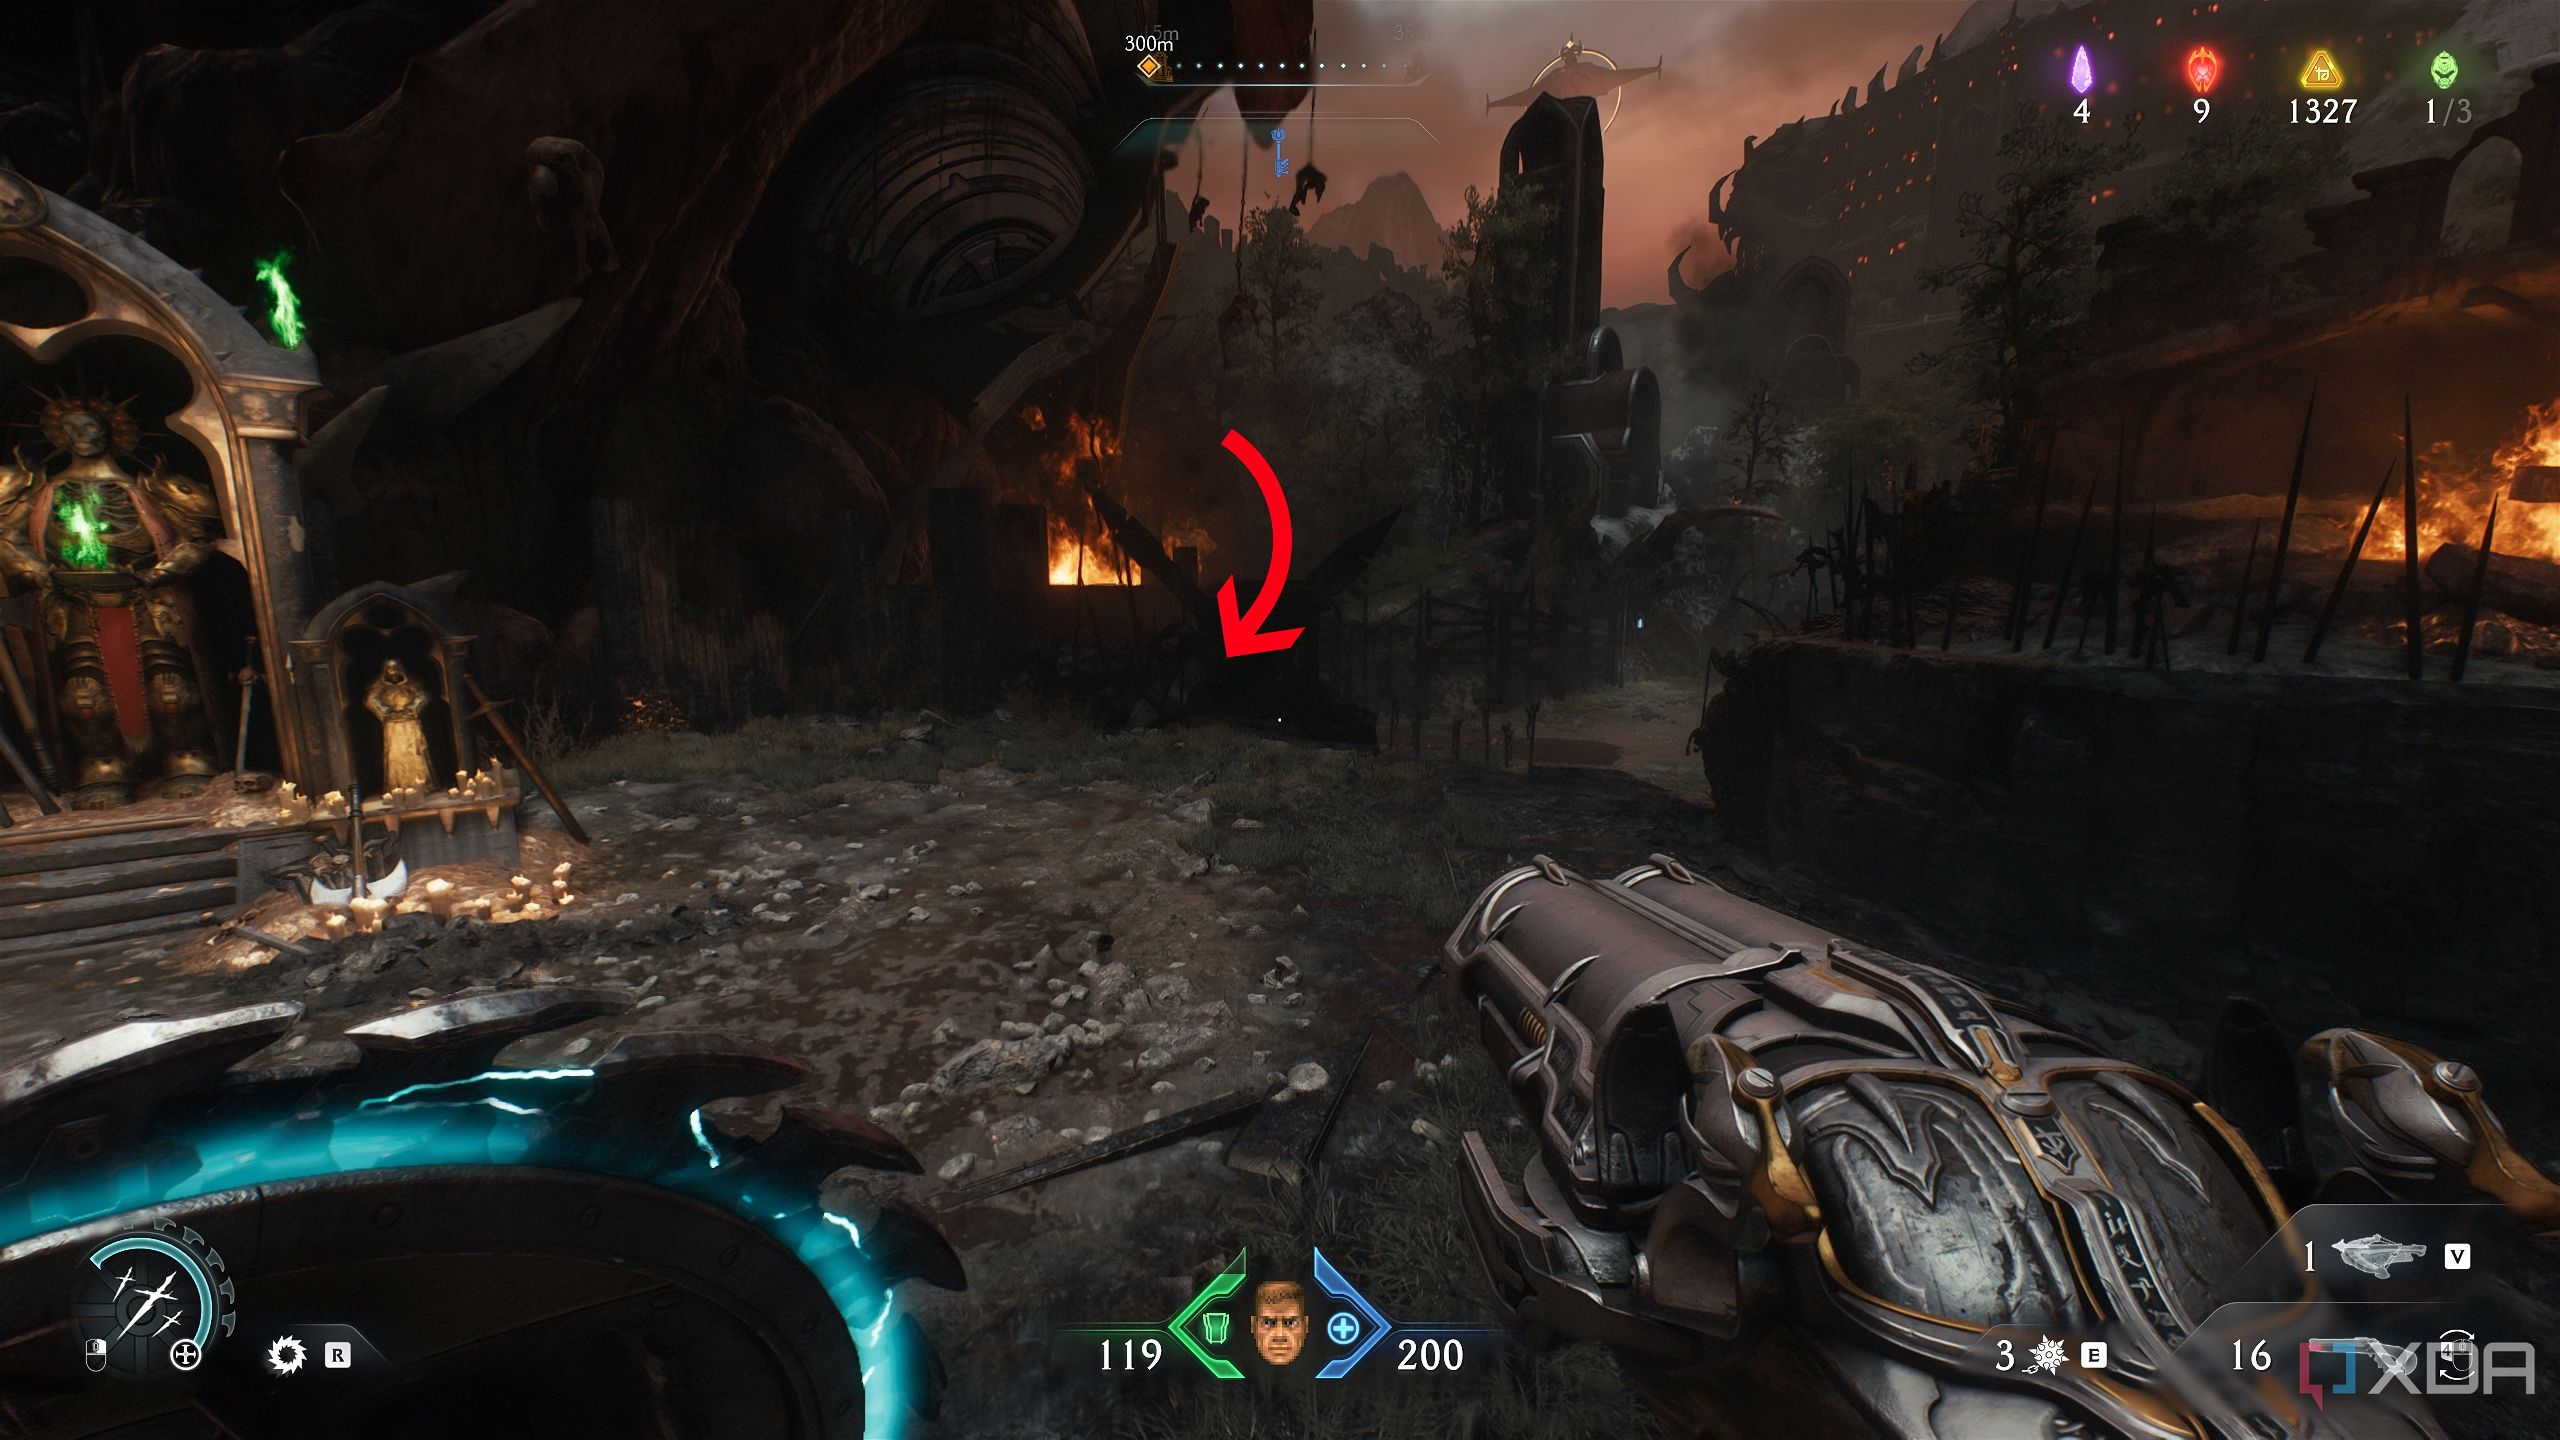
Two gold trails and Demonic Essence
Siege Tower number three comes crashing down
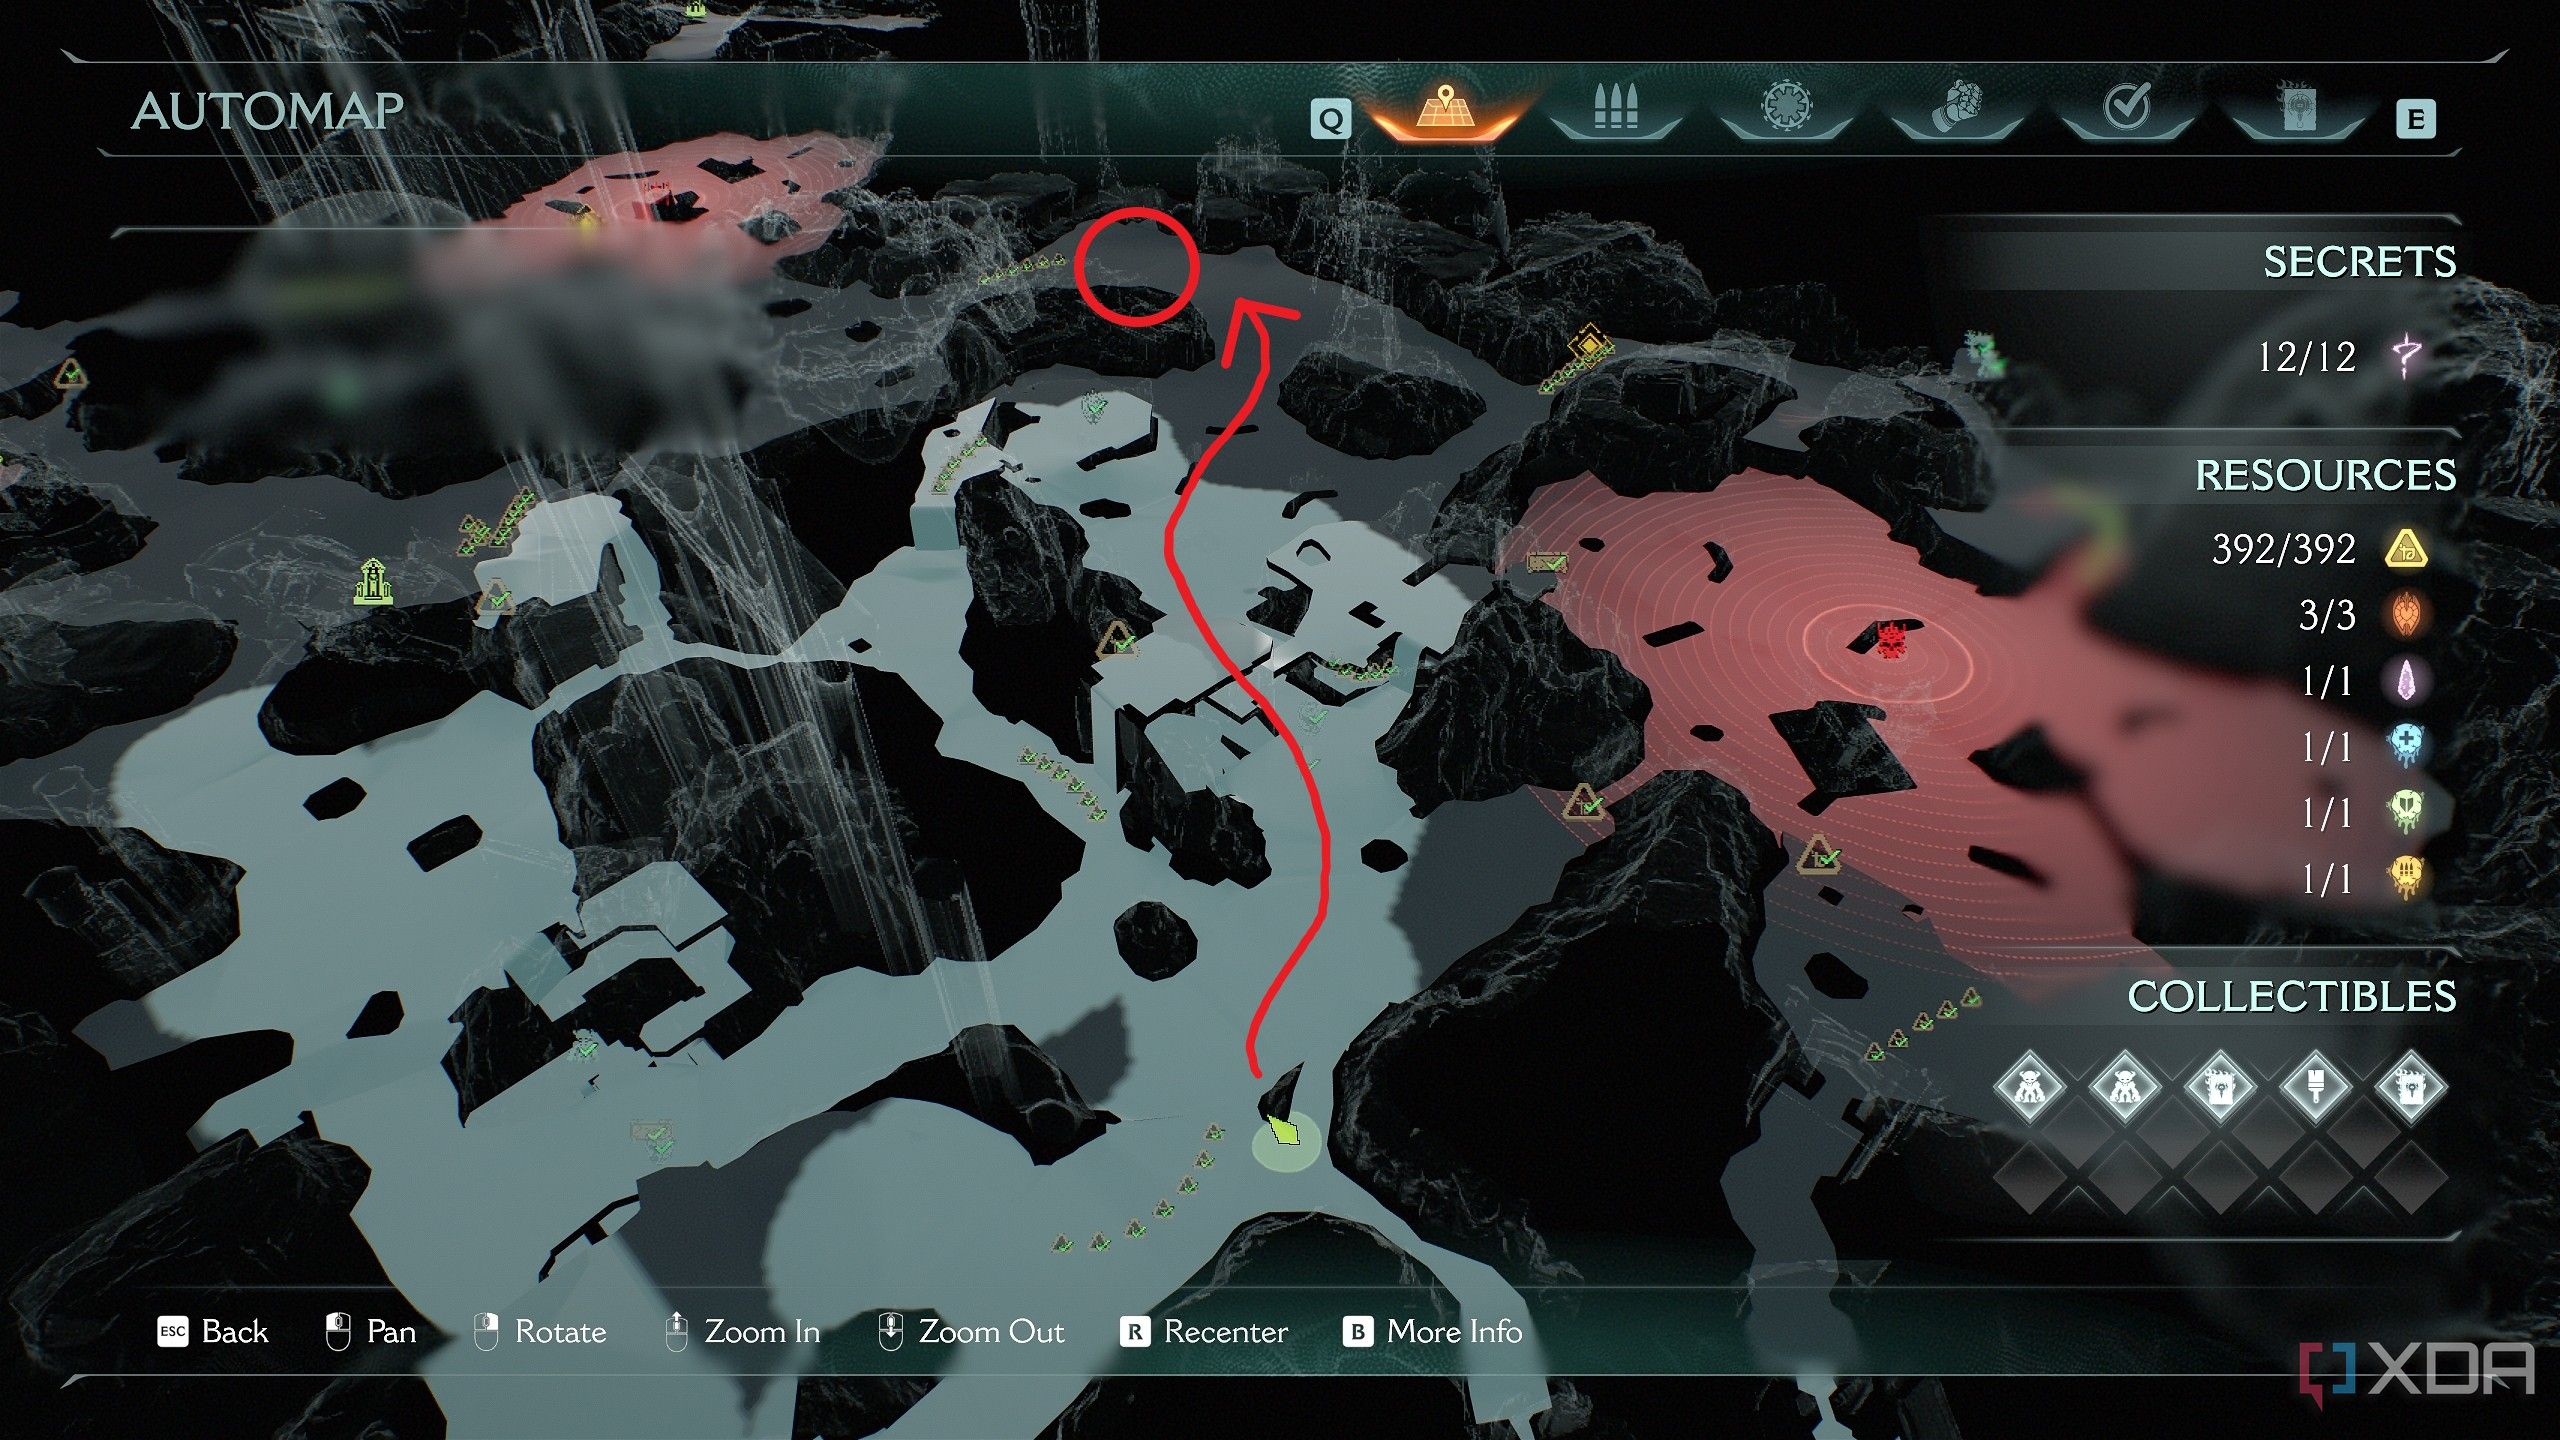
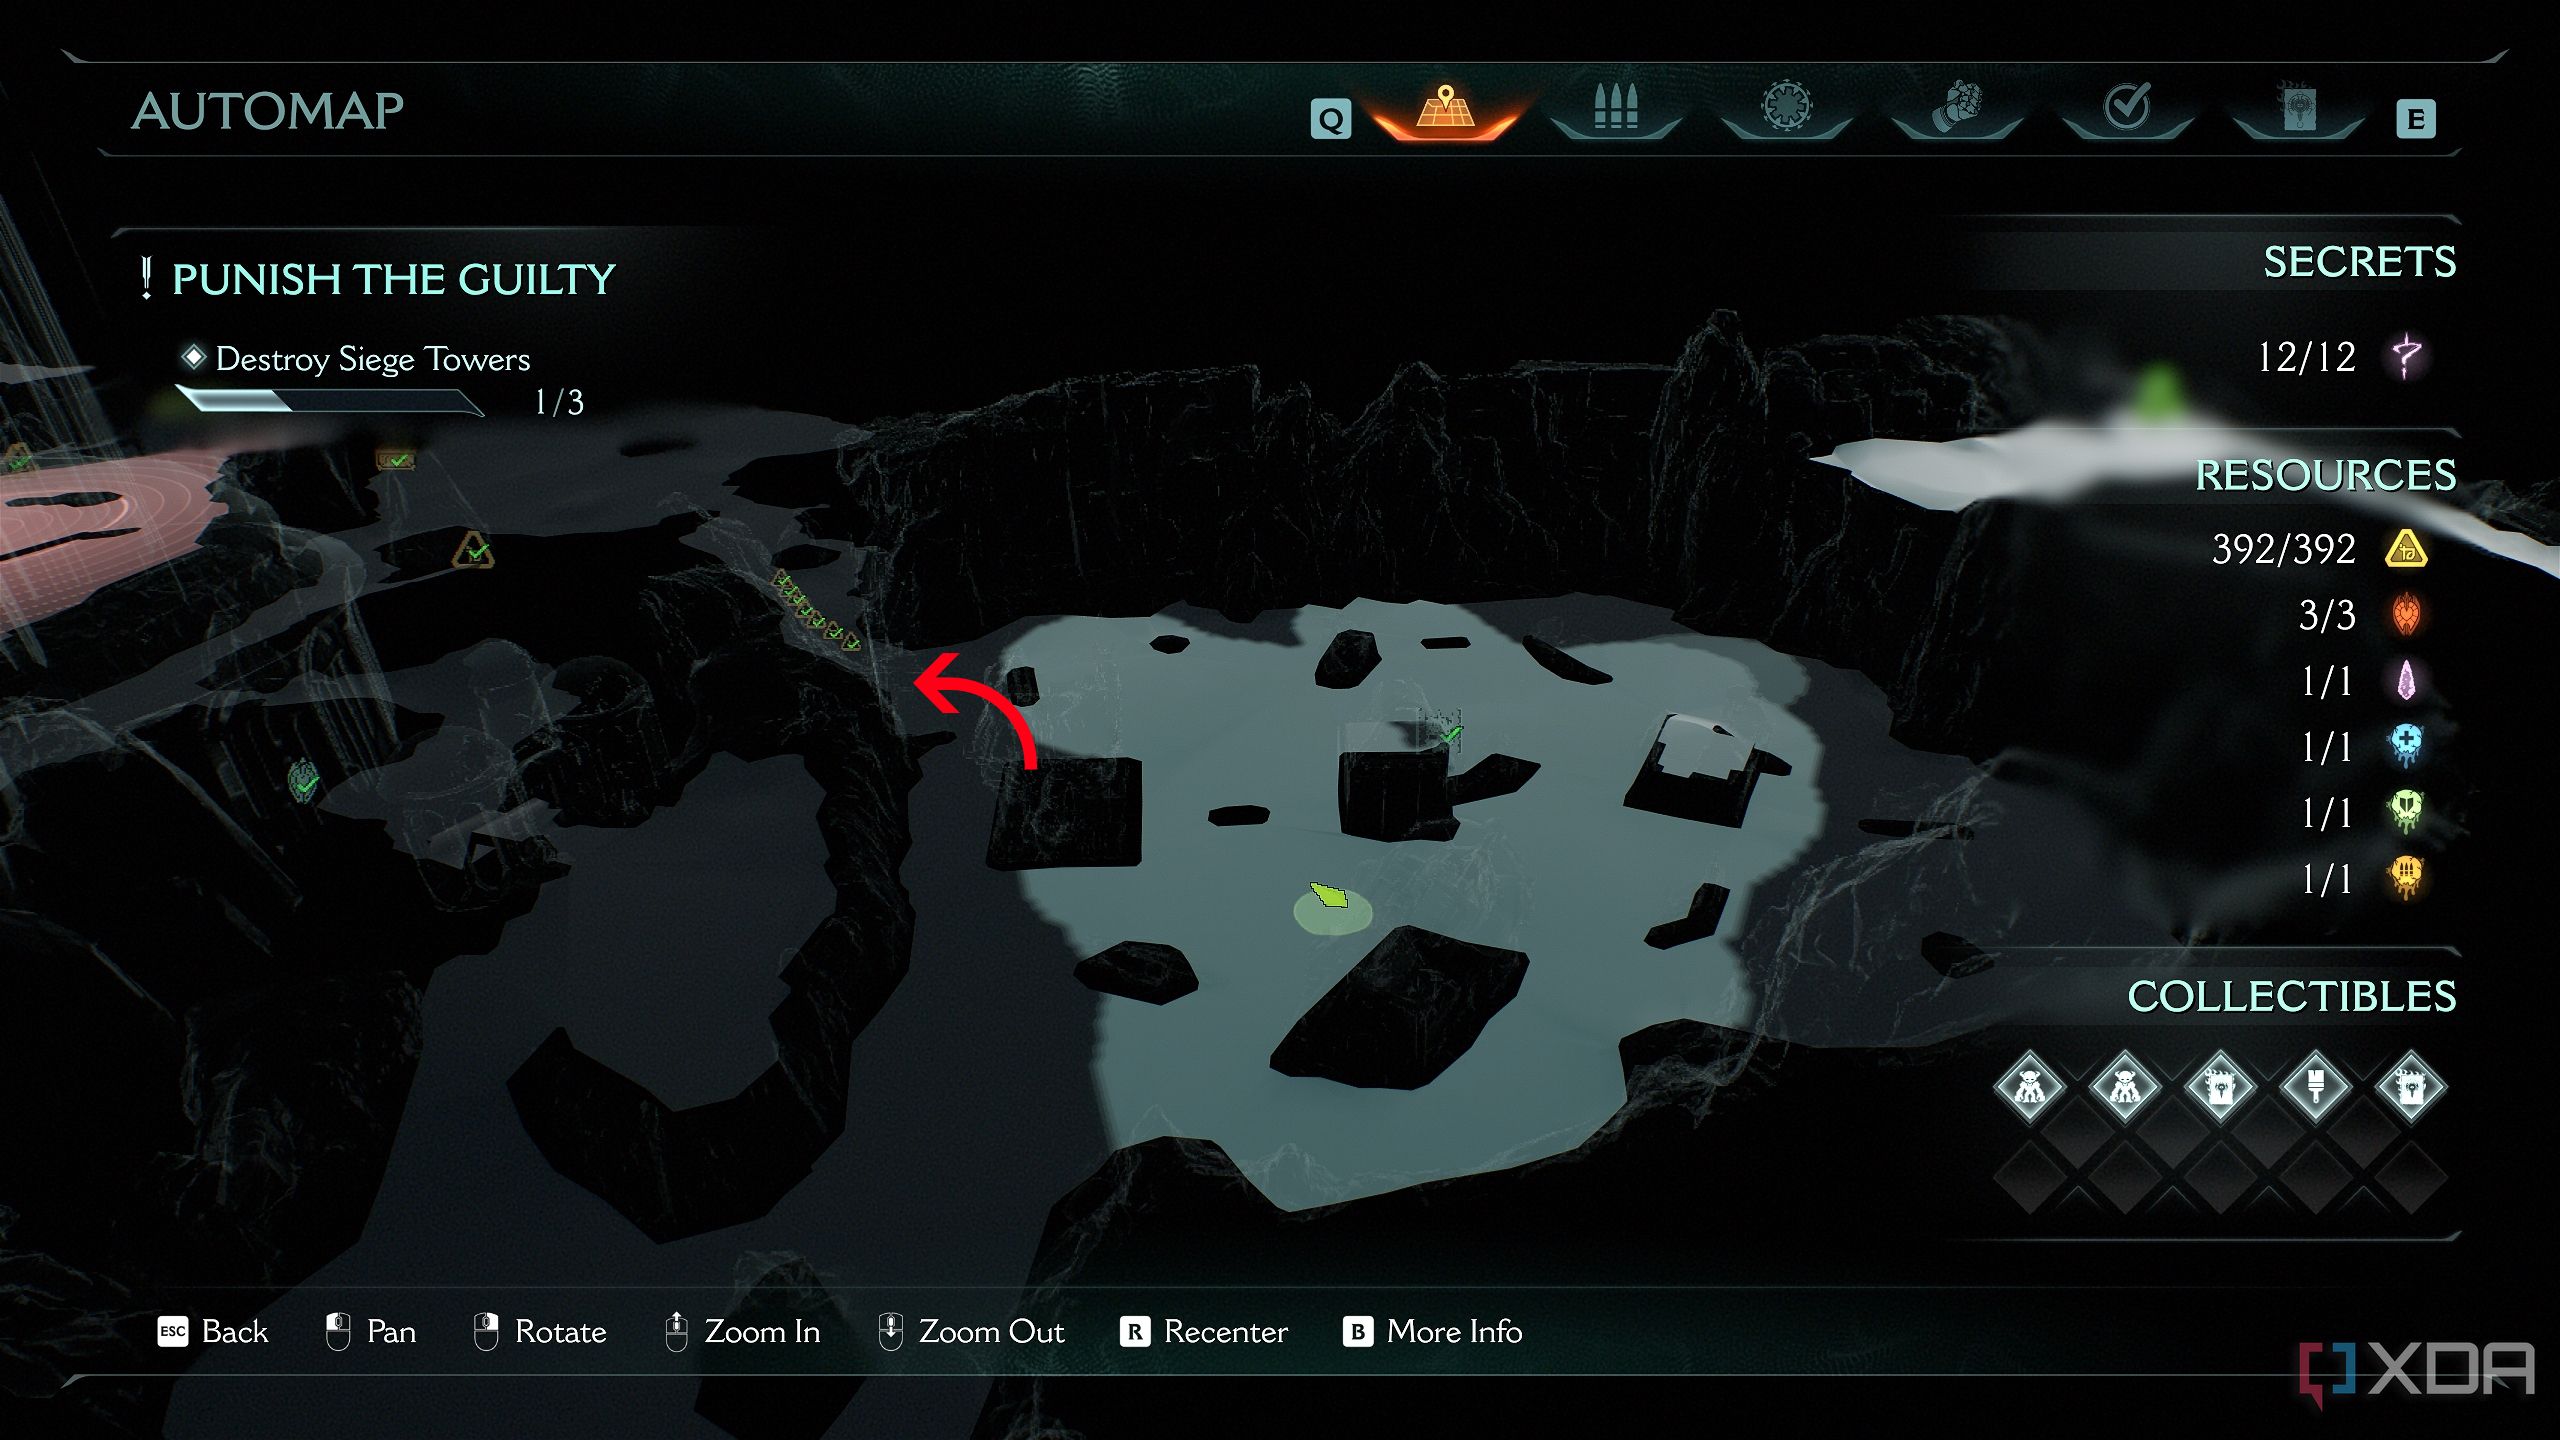
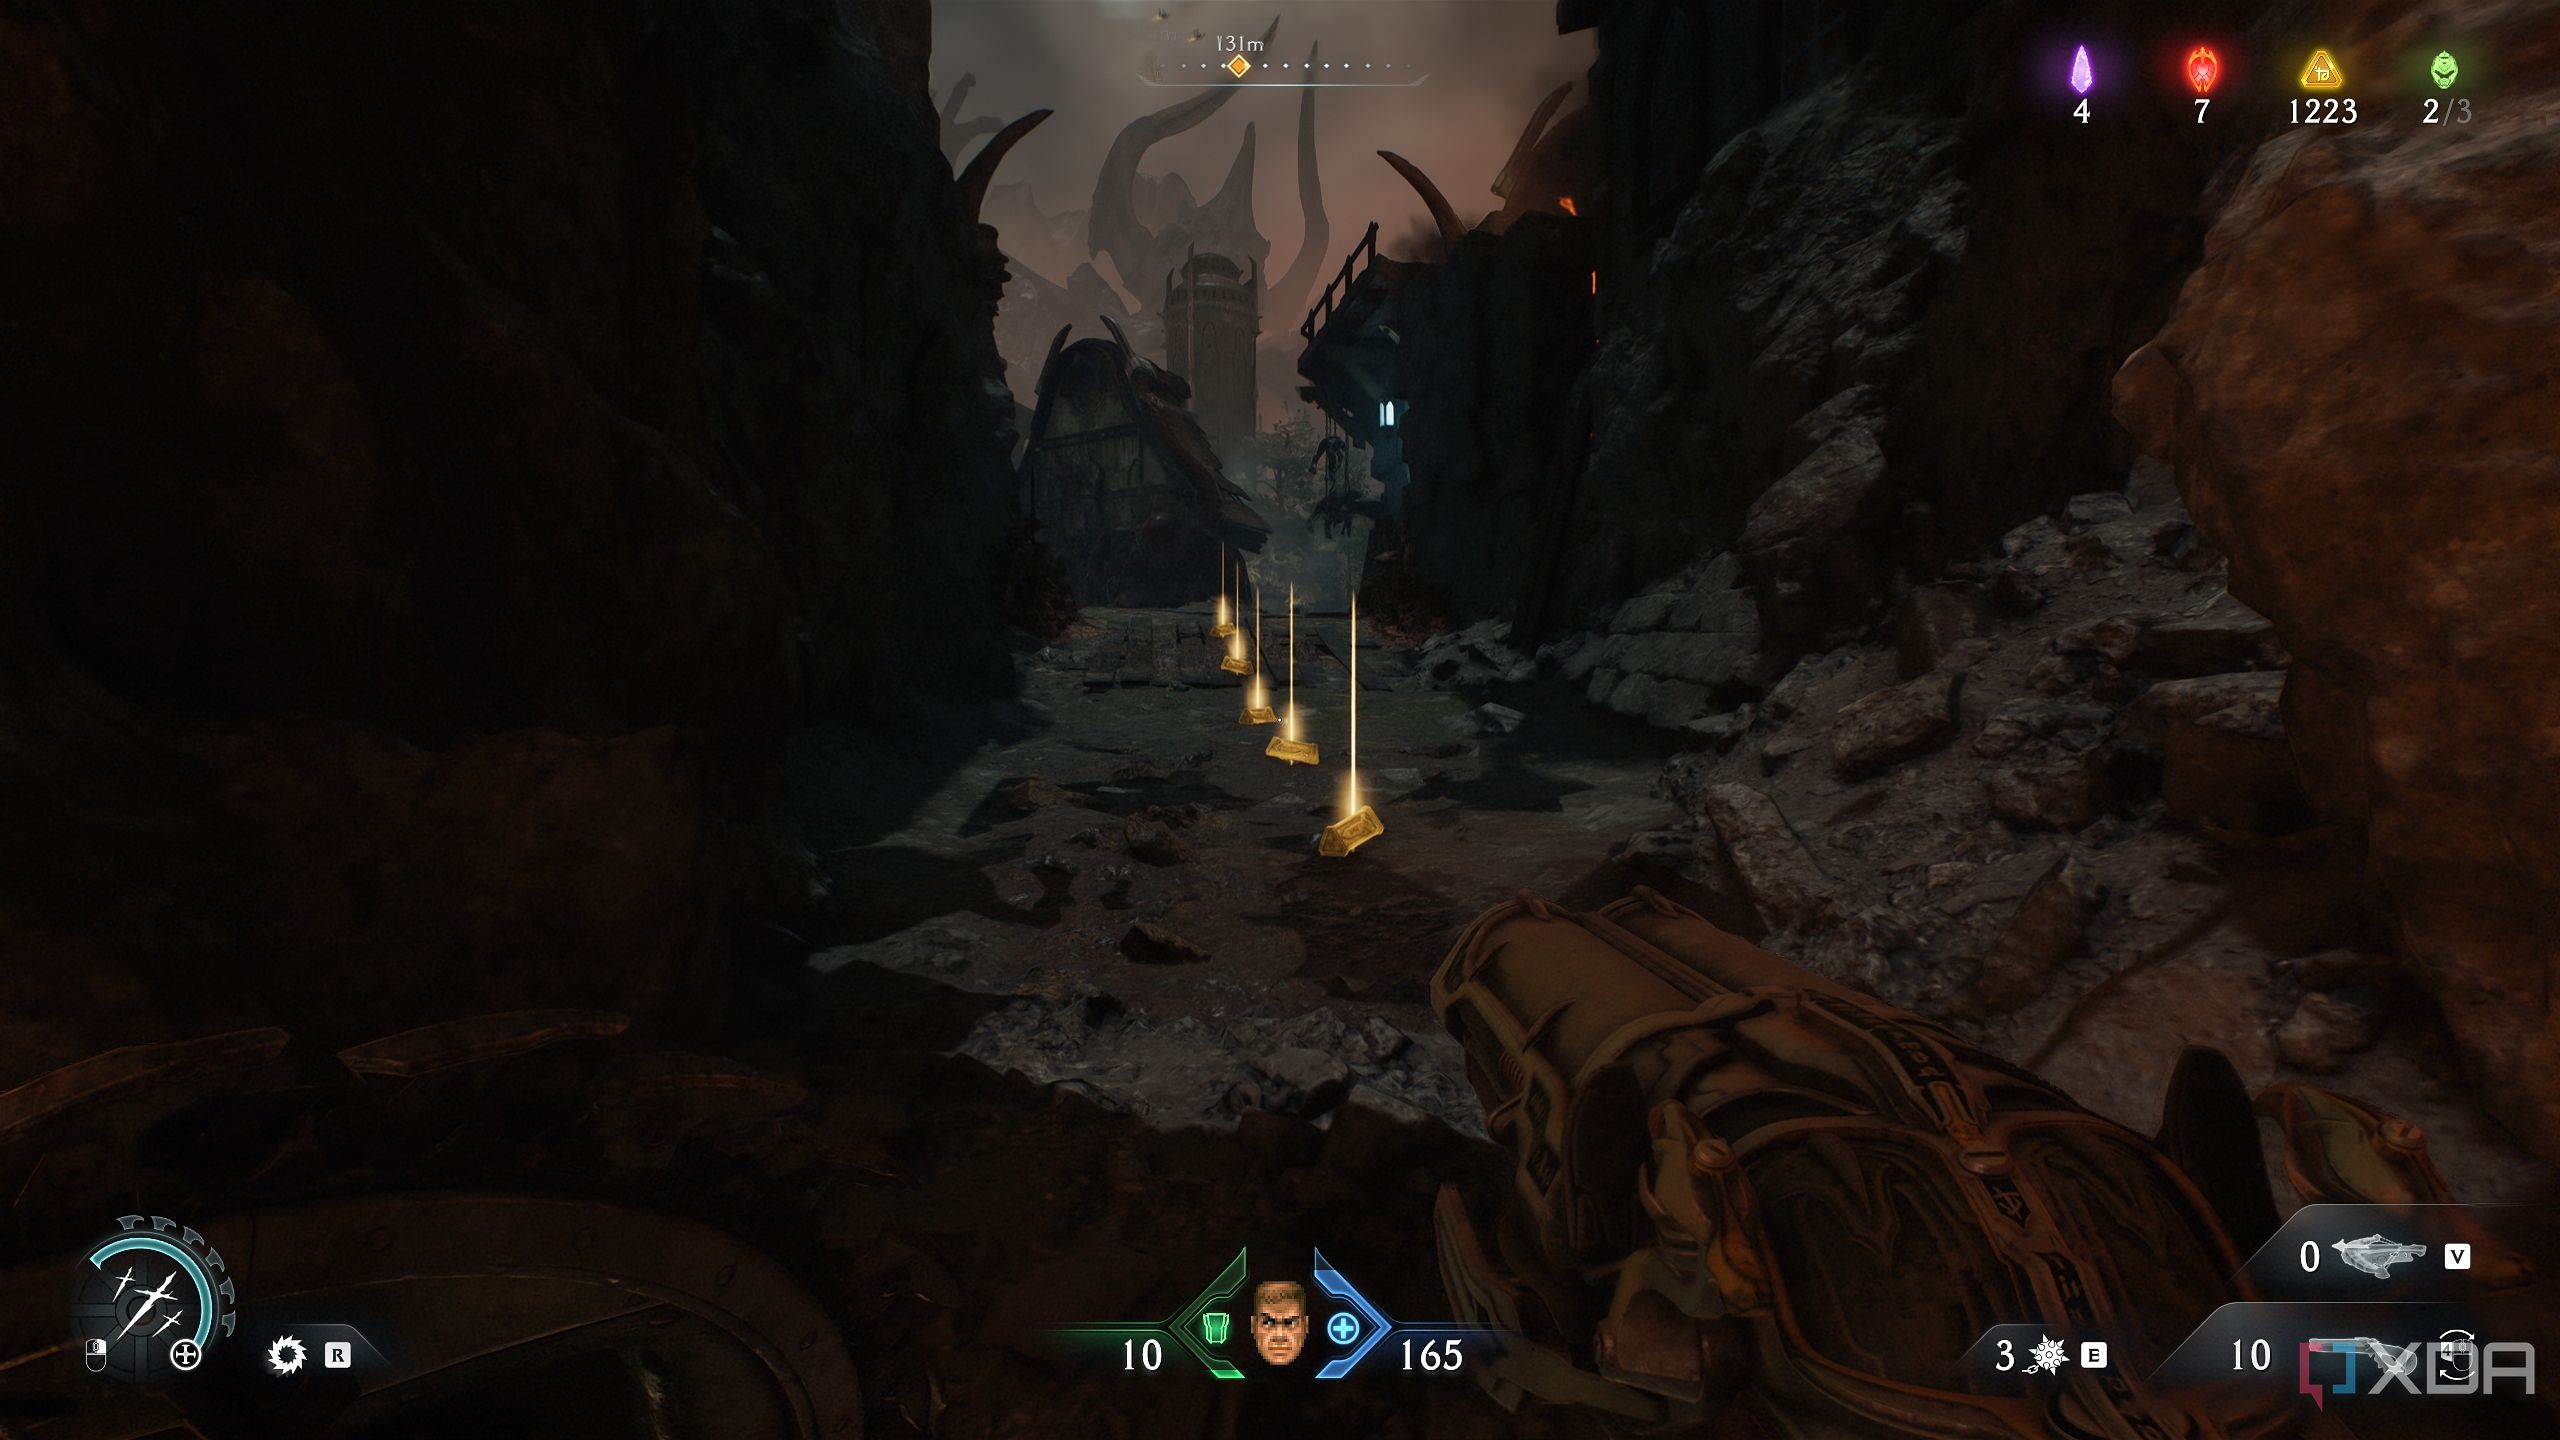
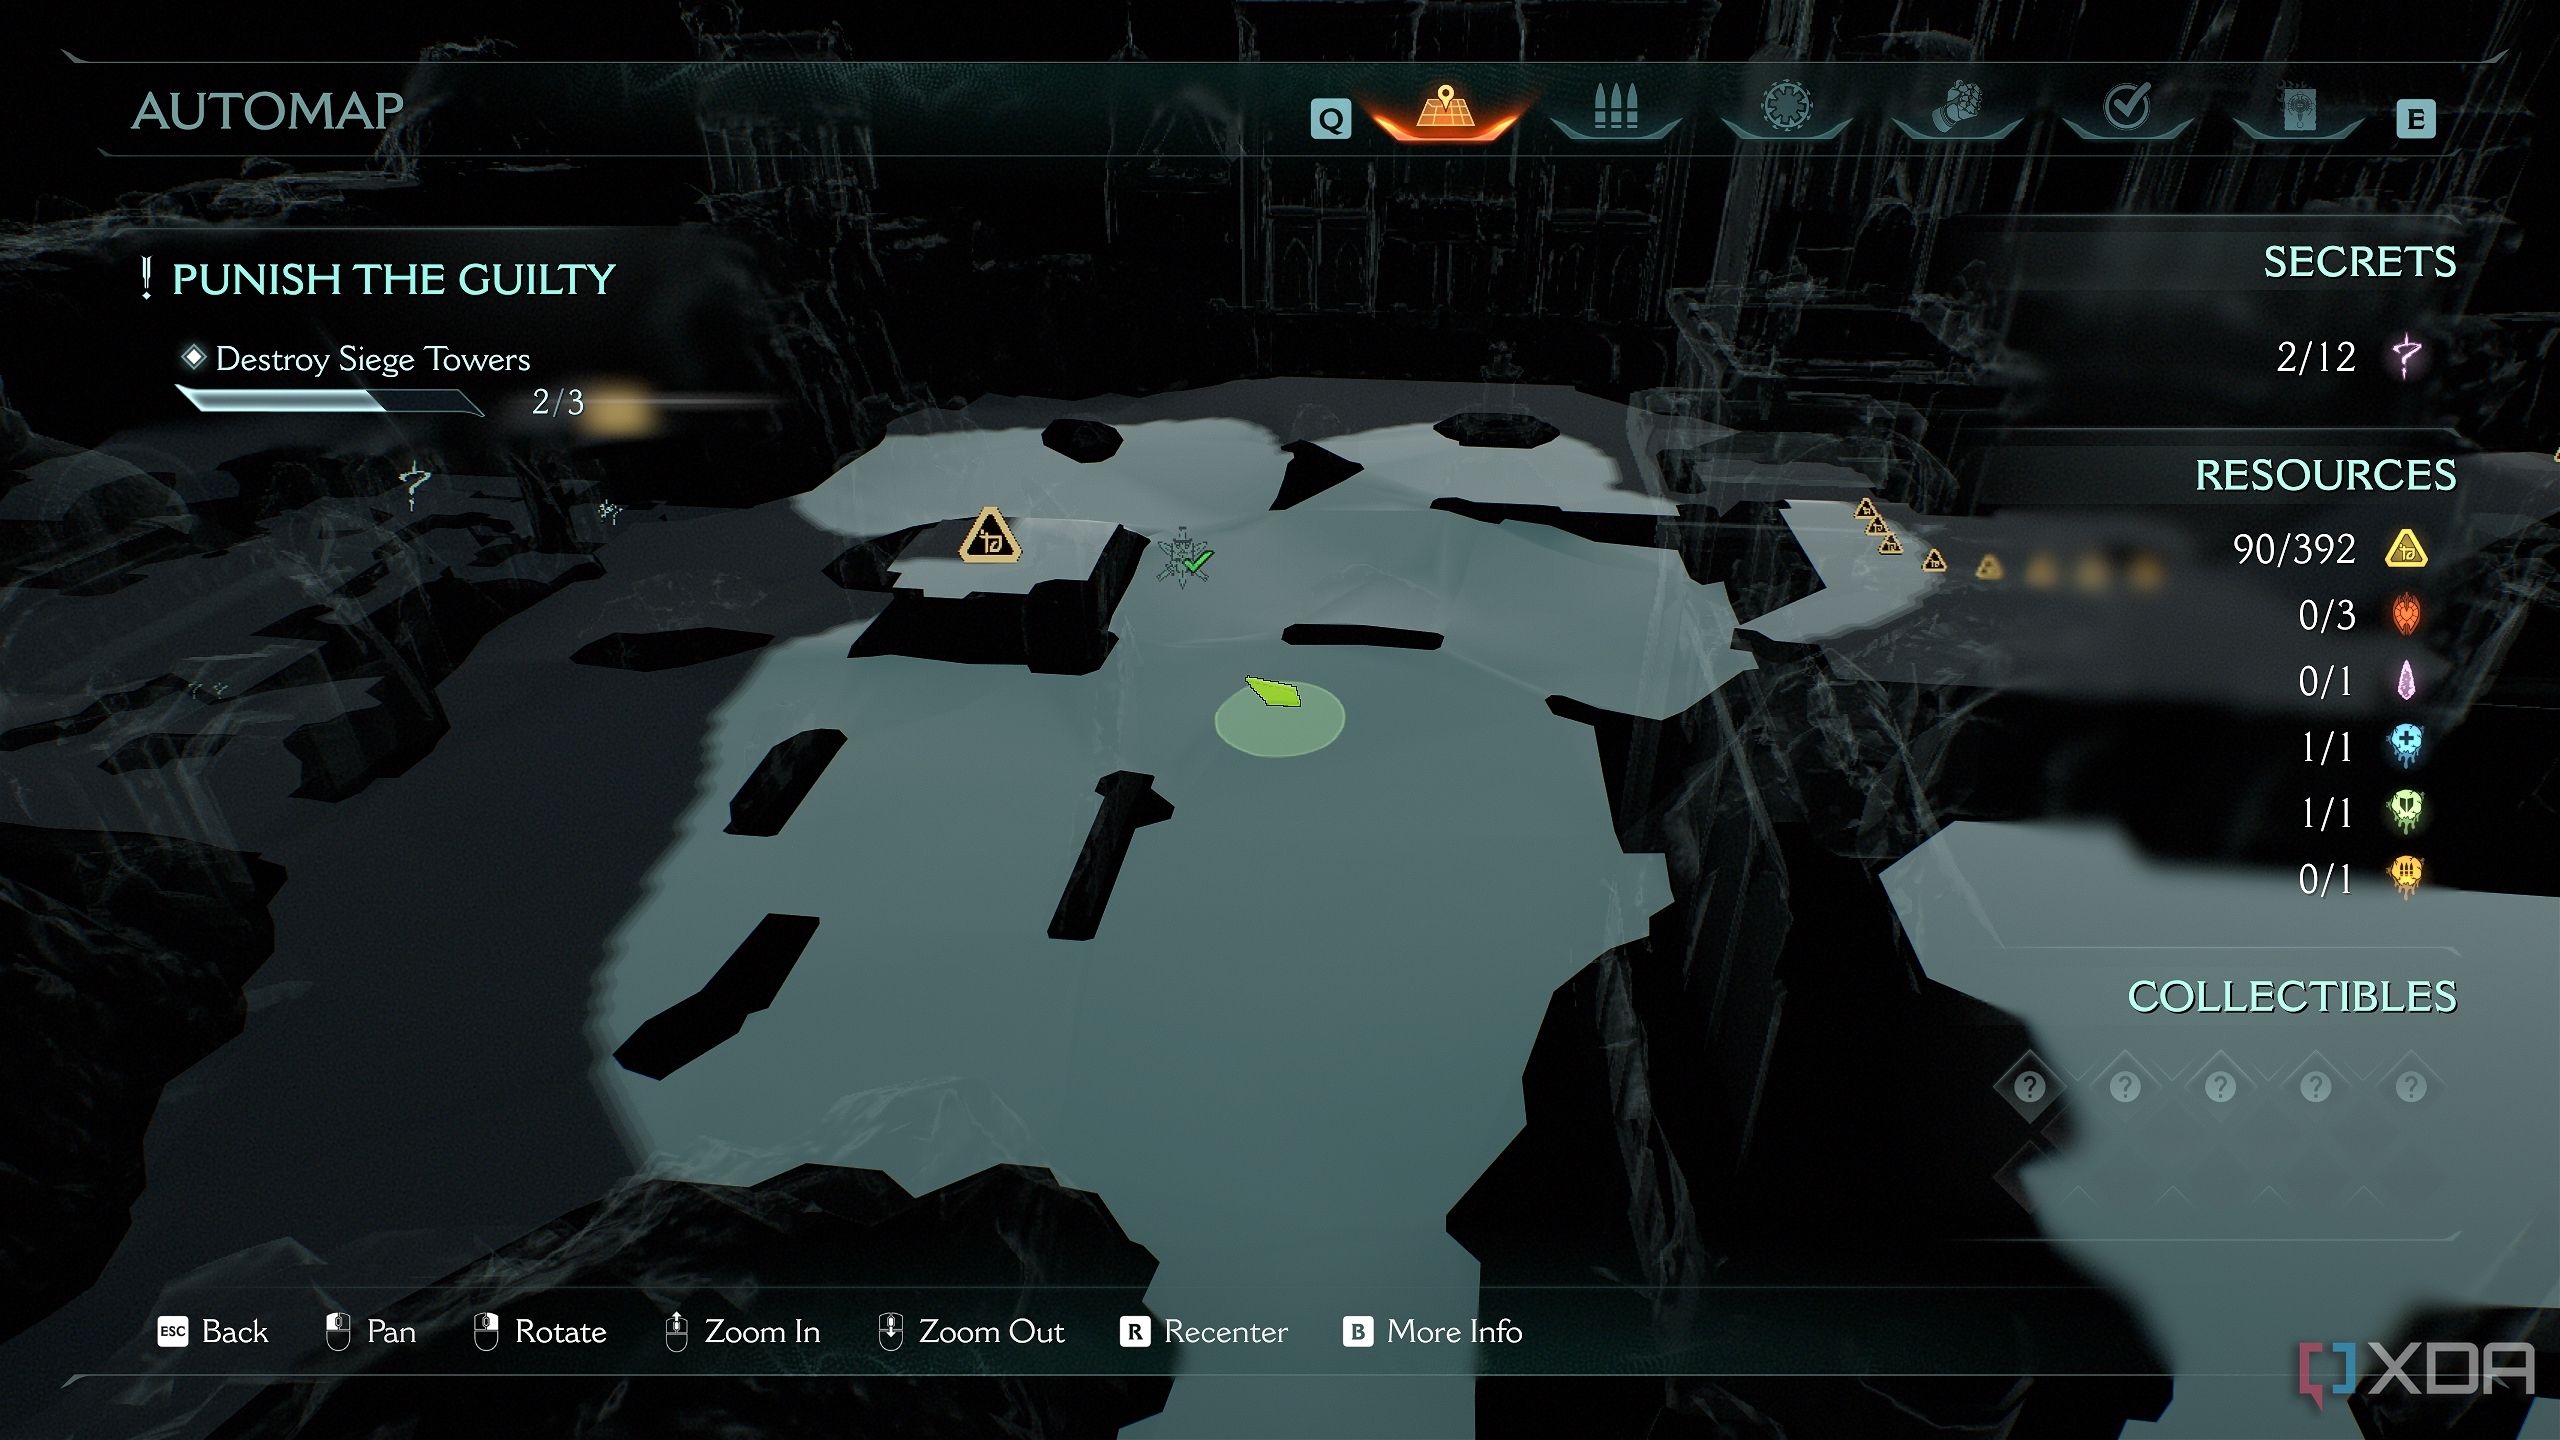
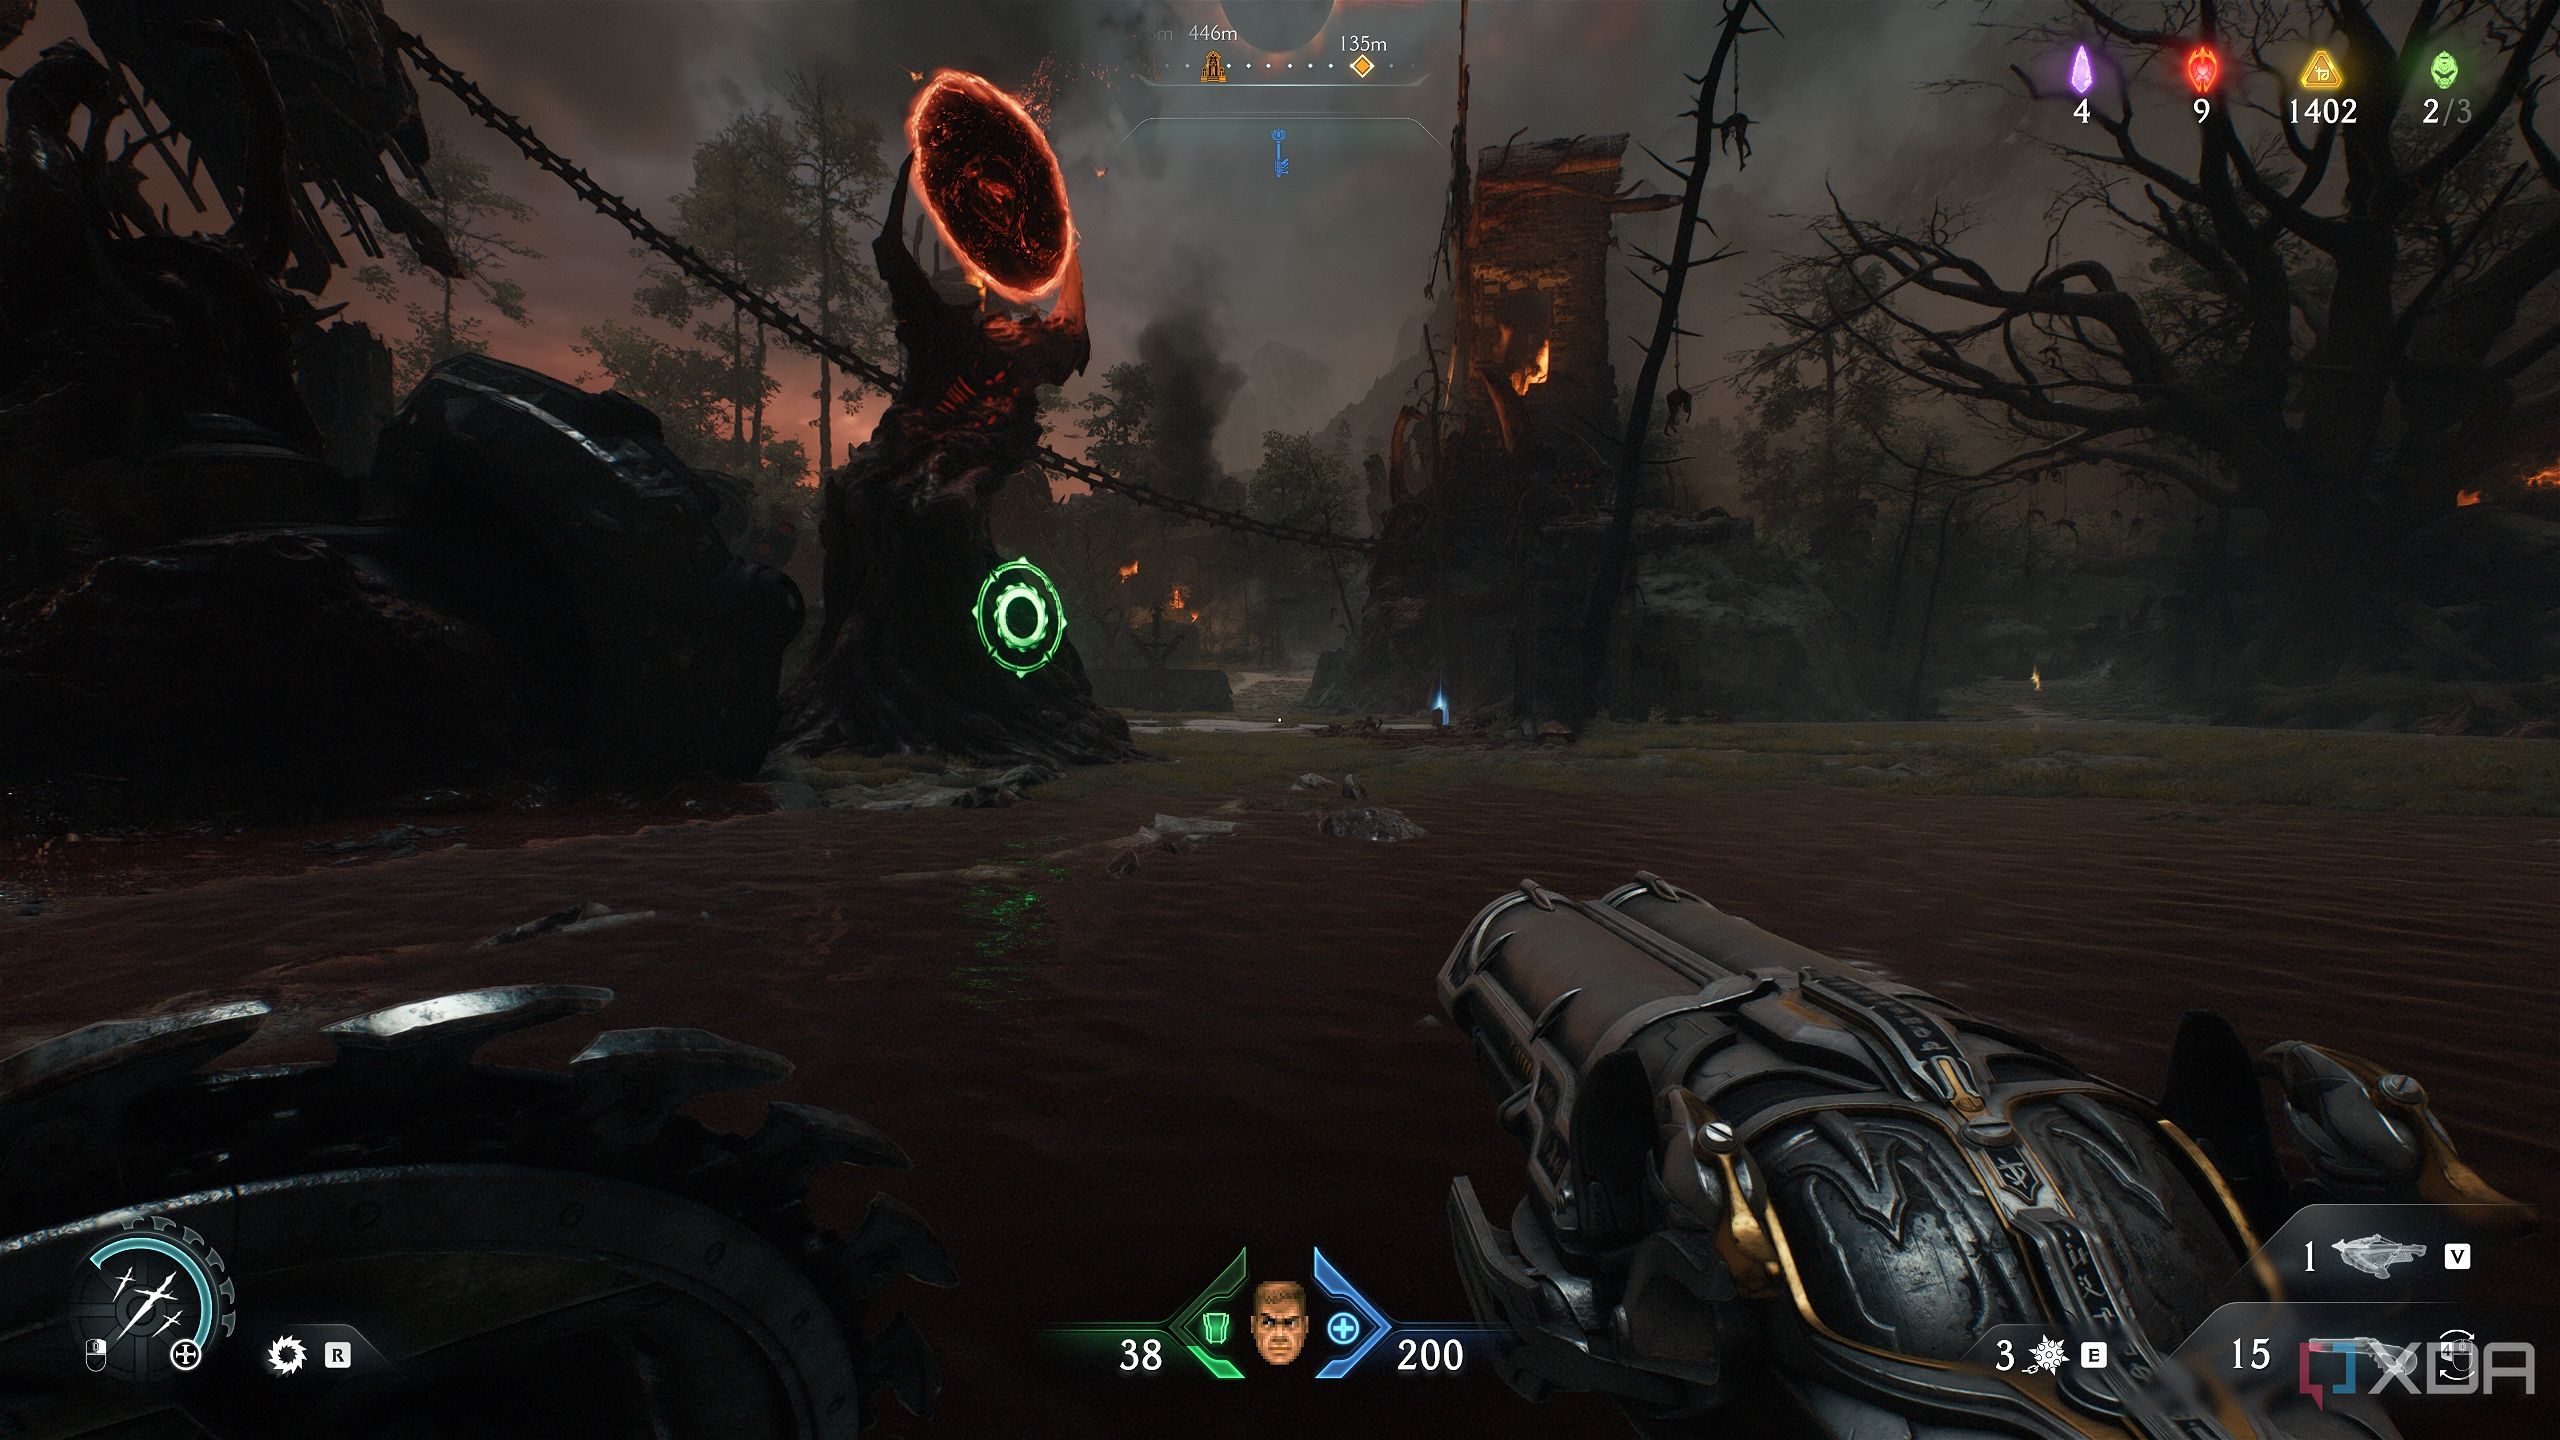
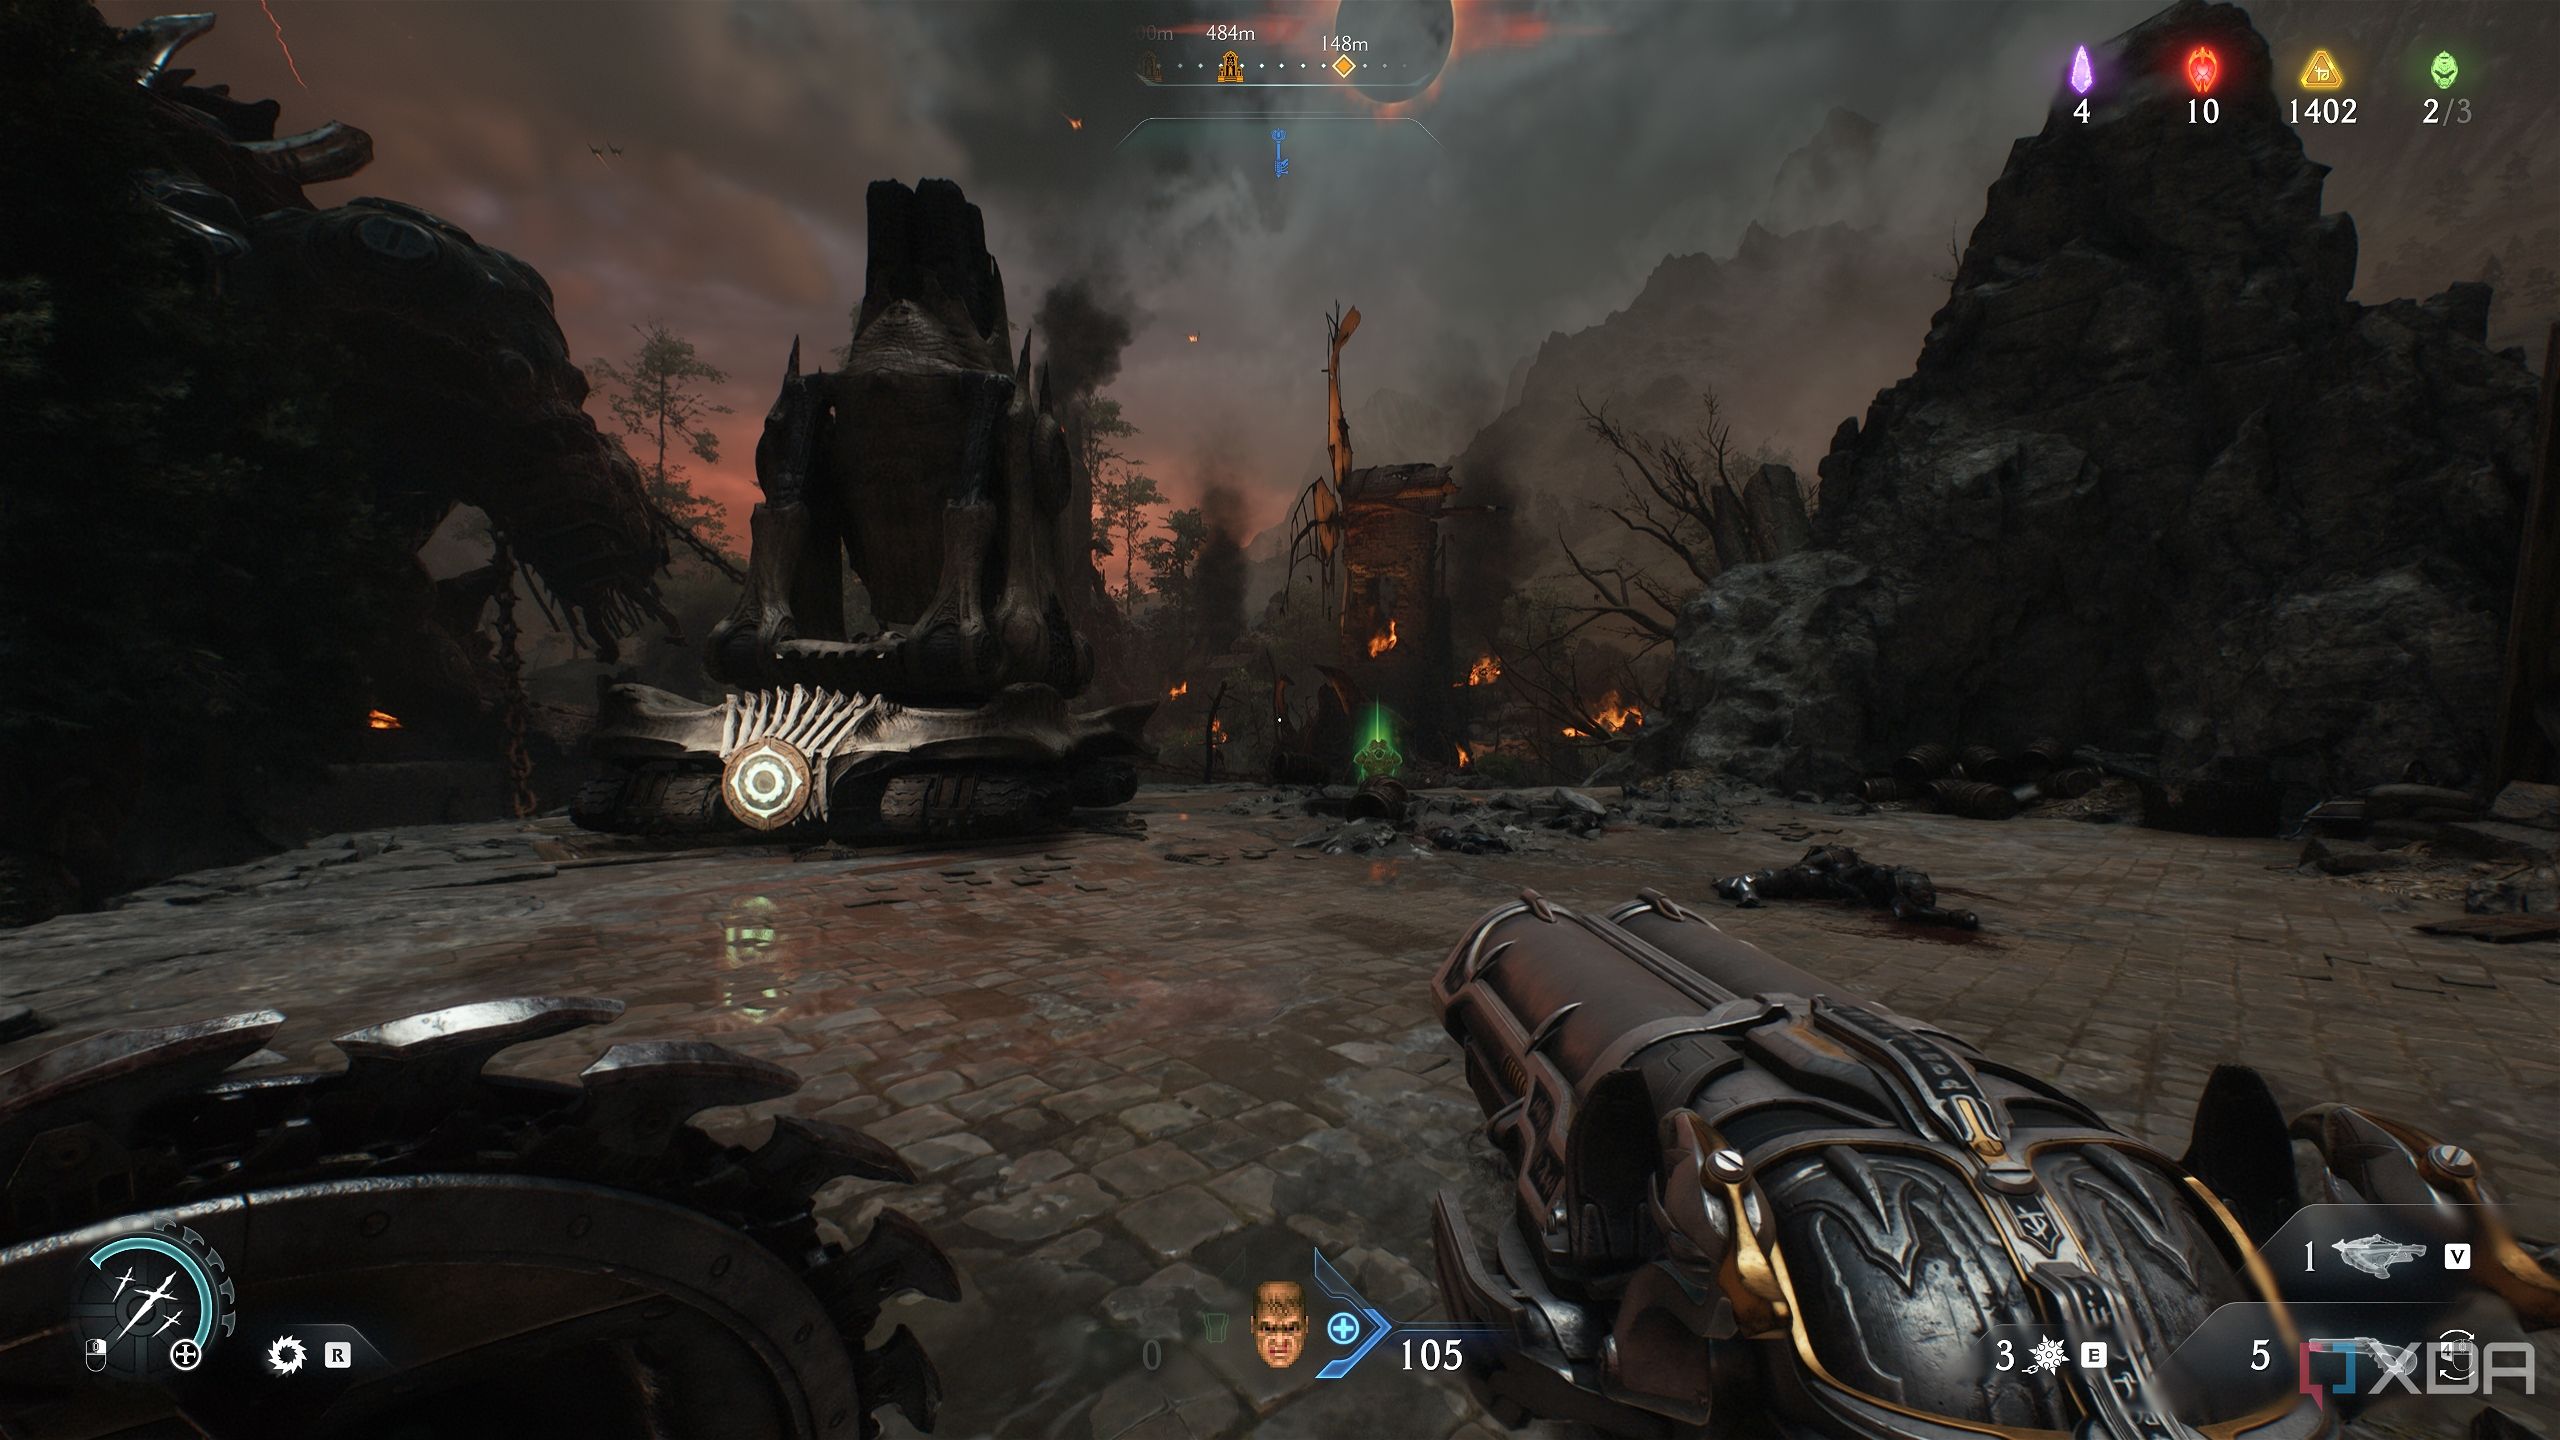
Now, head outside using the stairs that the statue is facing. From here, make a beeline to the north-east, heading towards the area with the second Gore Portal and Red Ruby 3. The location is marked with a circle in the image above.
You’ll run into two Artillery Tanks.
Destroy them and dispatch the demons around, and pick up the long trail of gold bars on the ground.
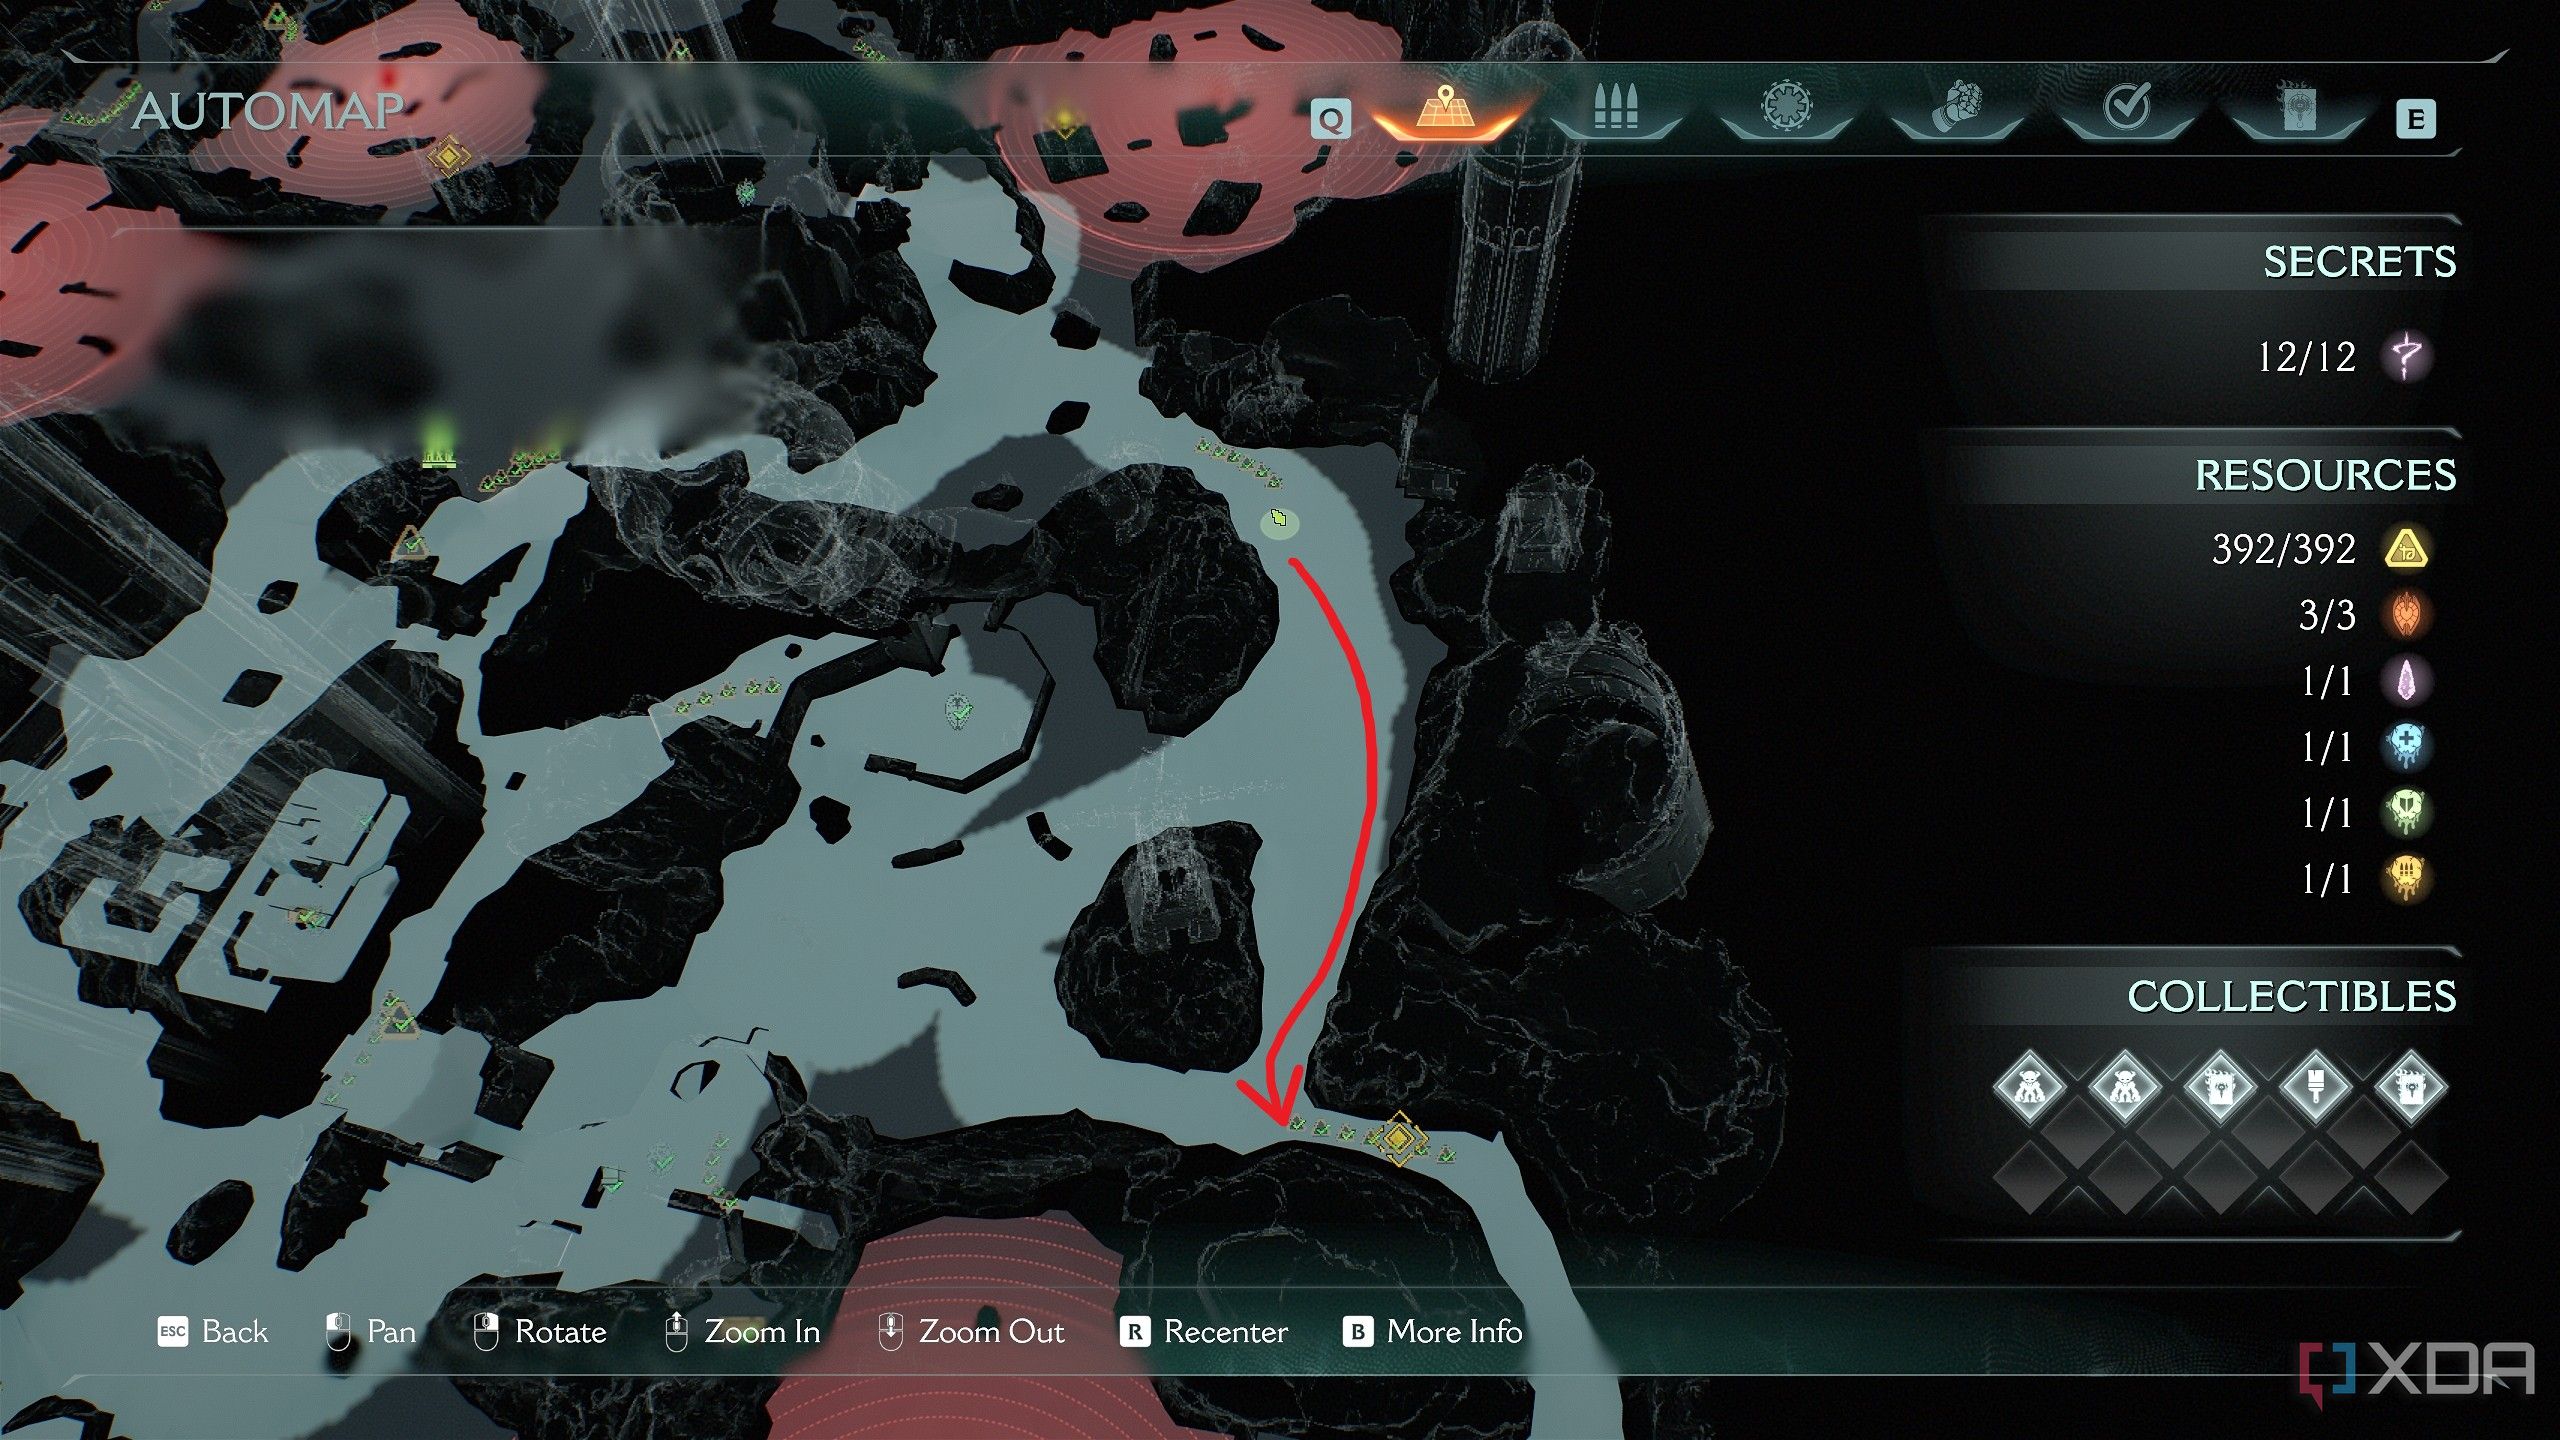
Then, turn around and start heading back, following the path charted in the image above.
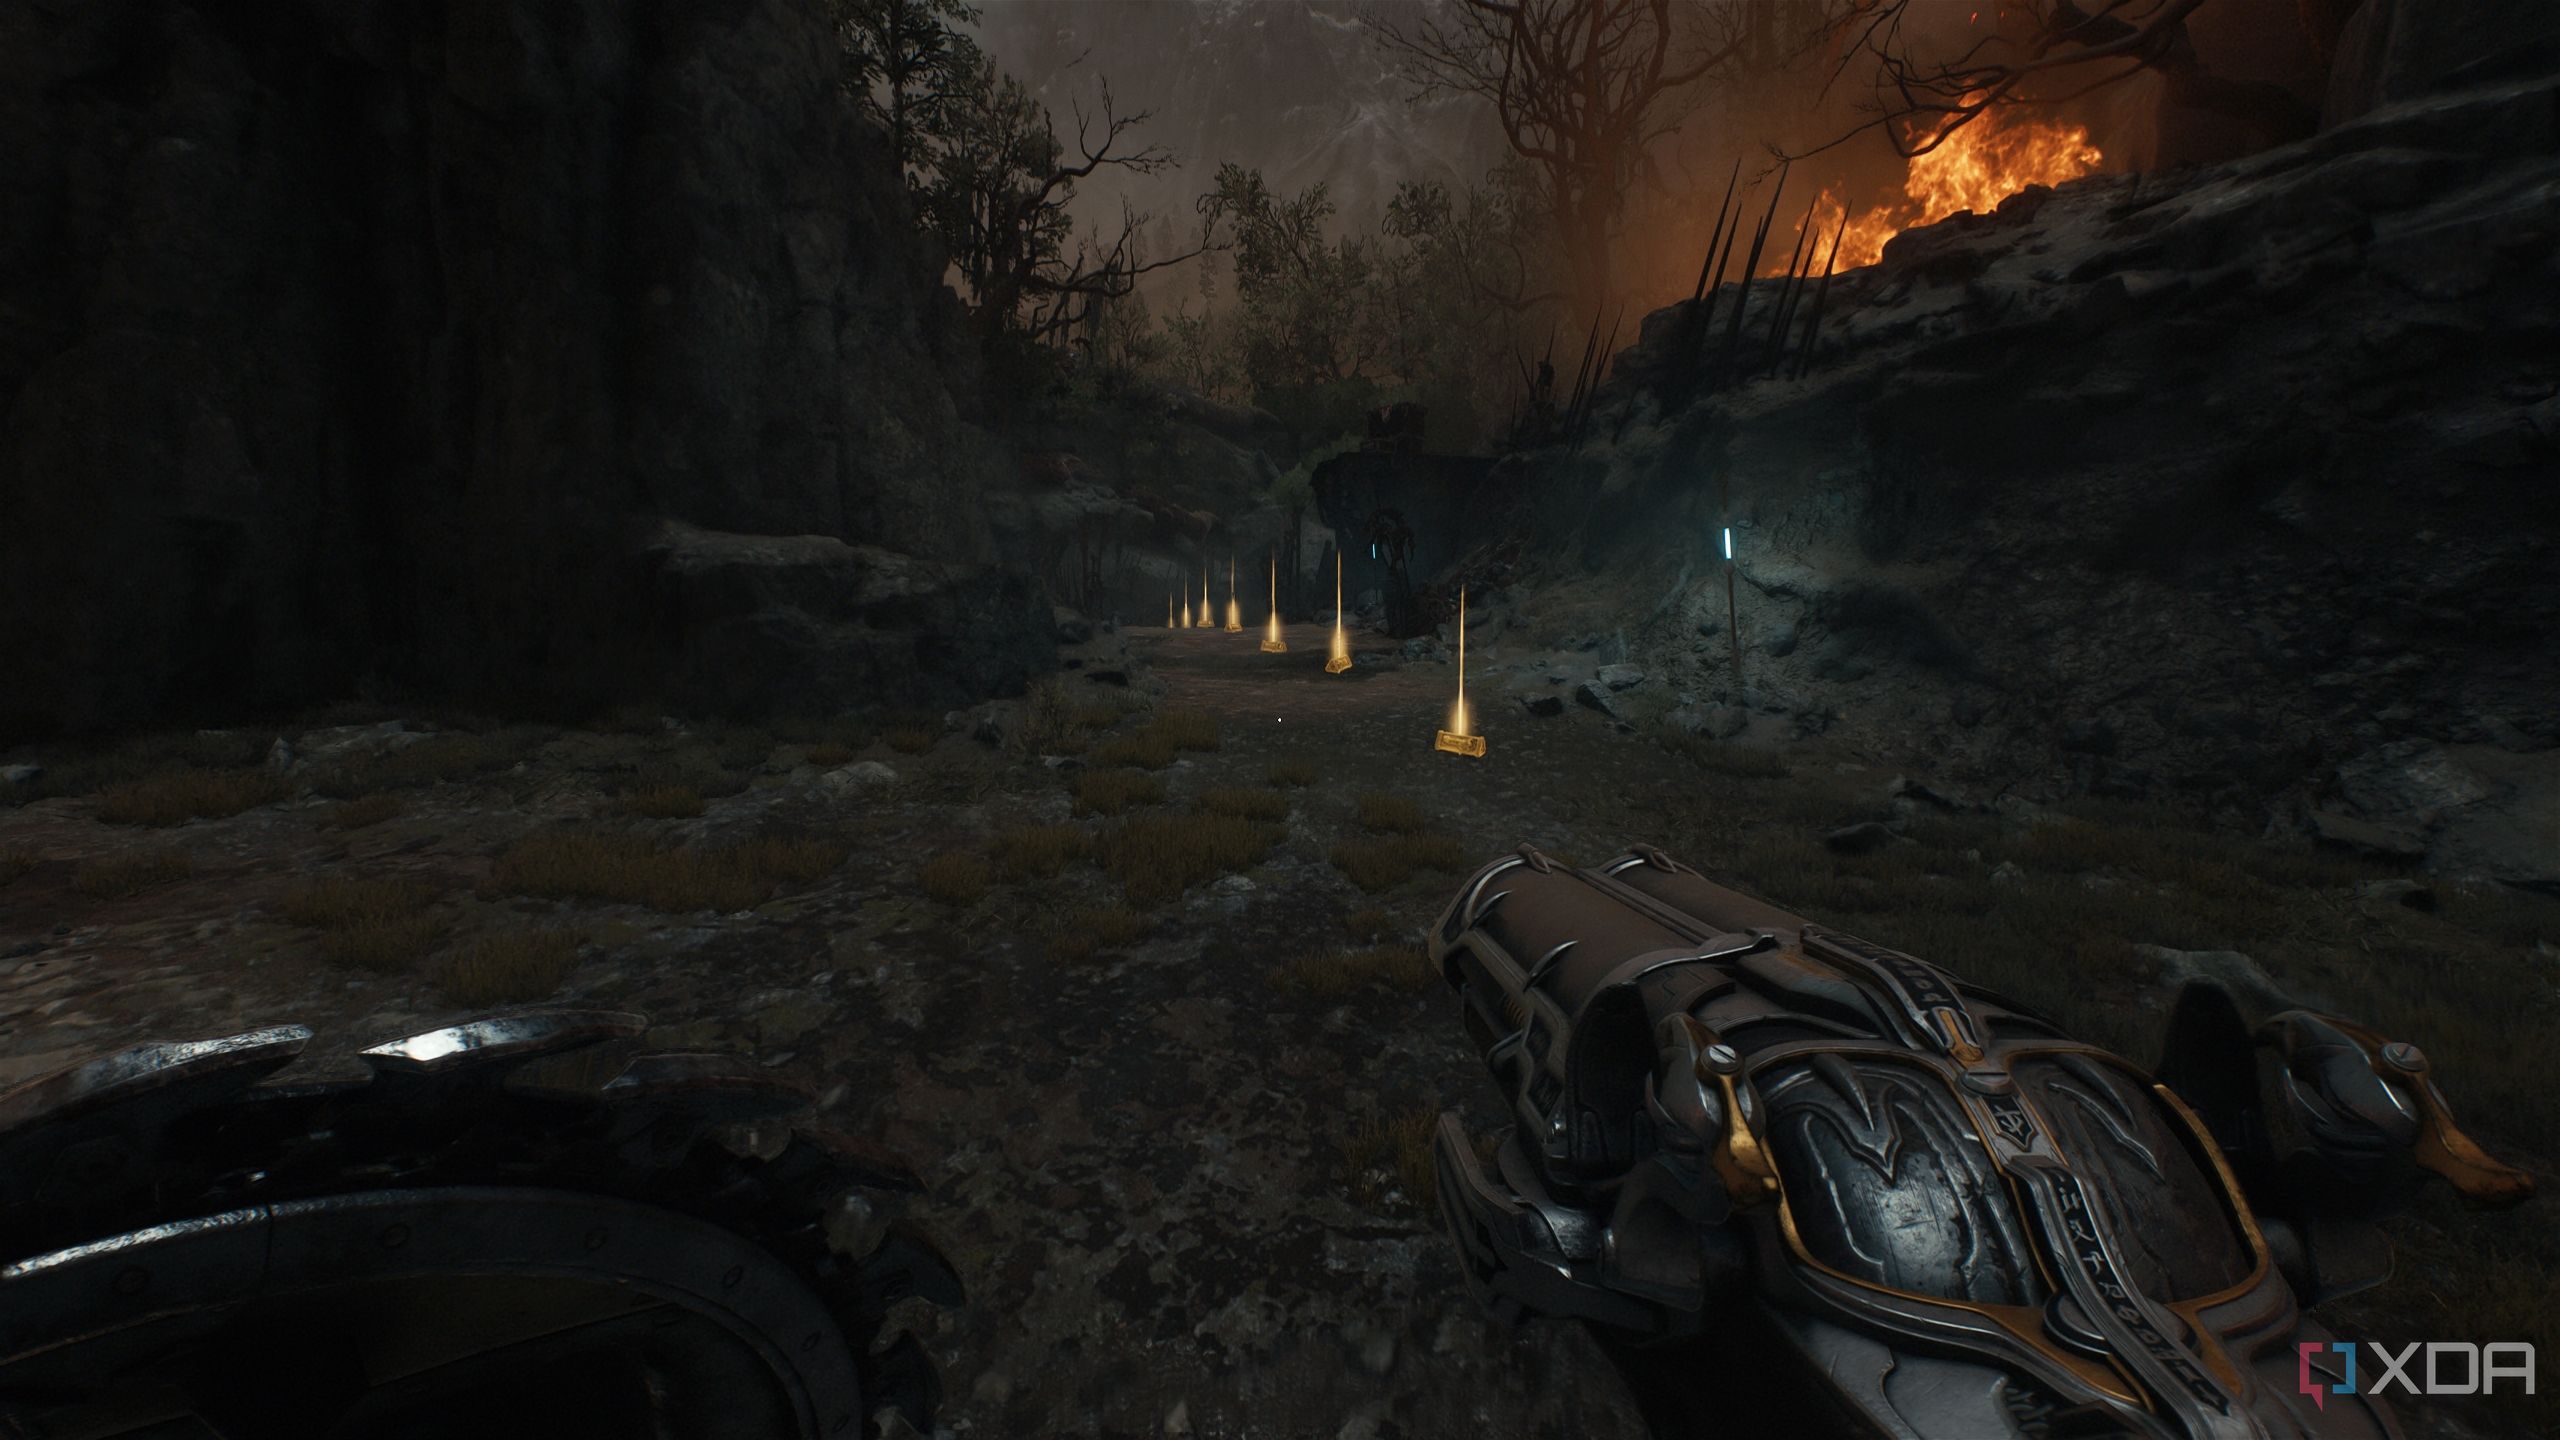
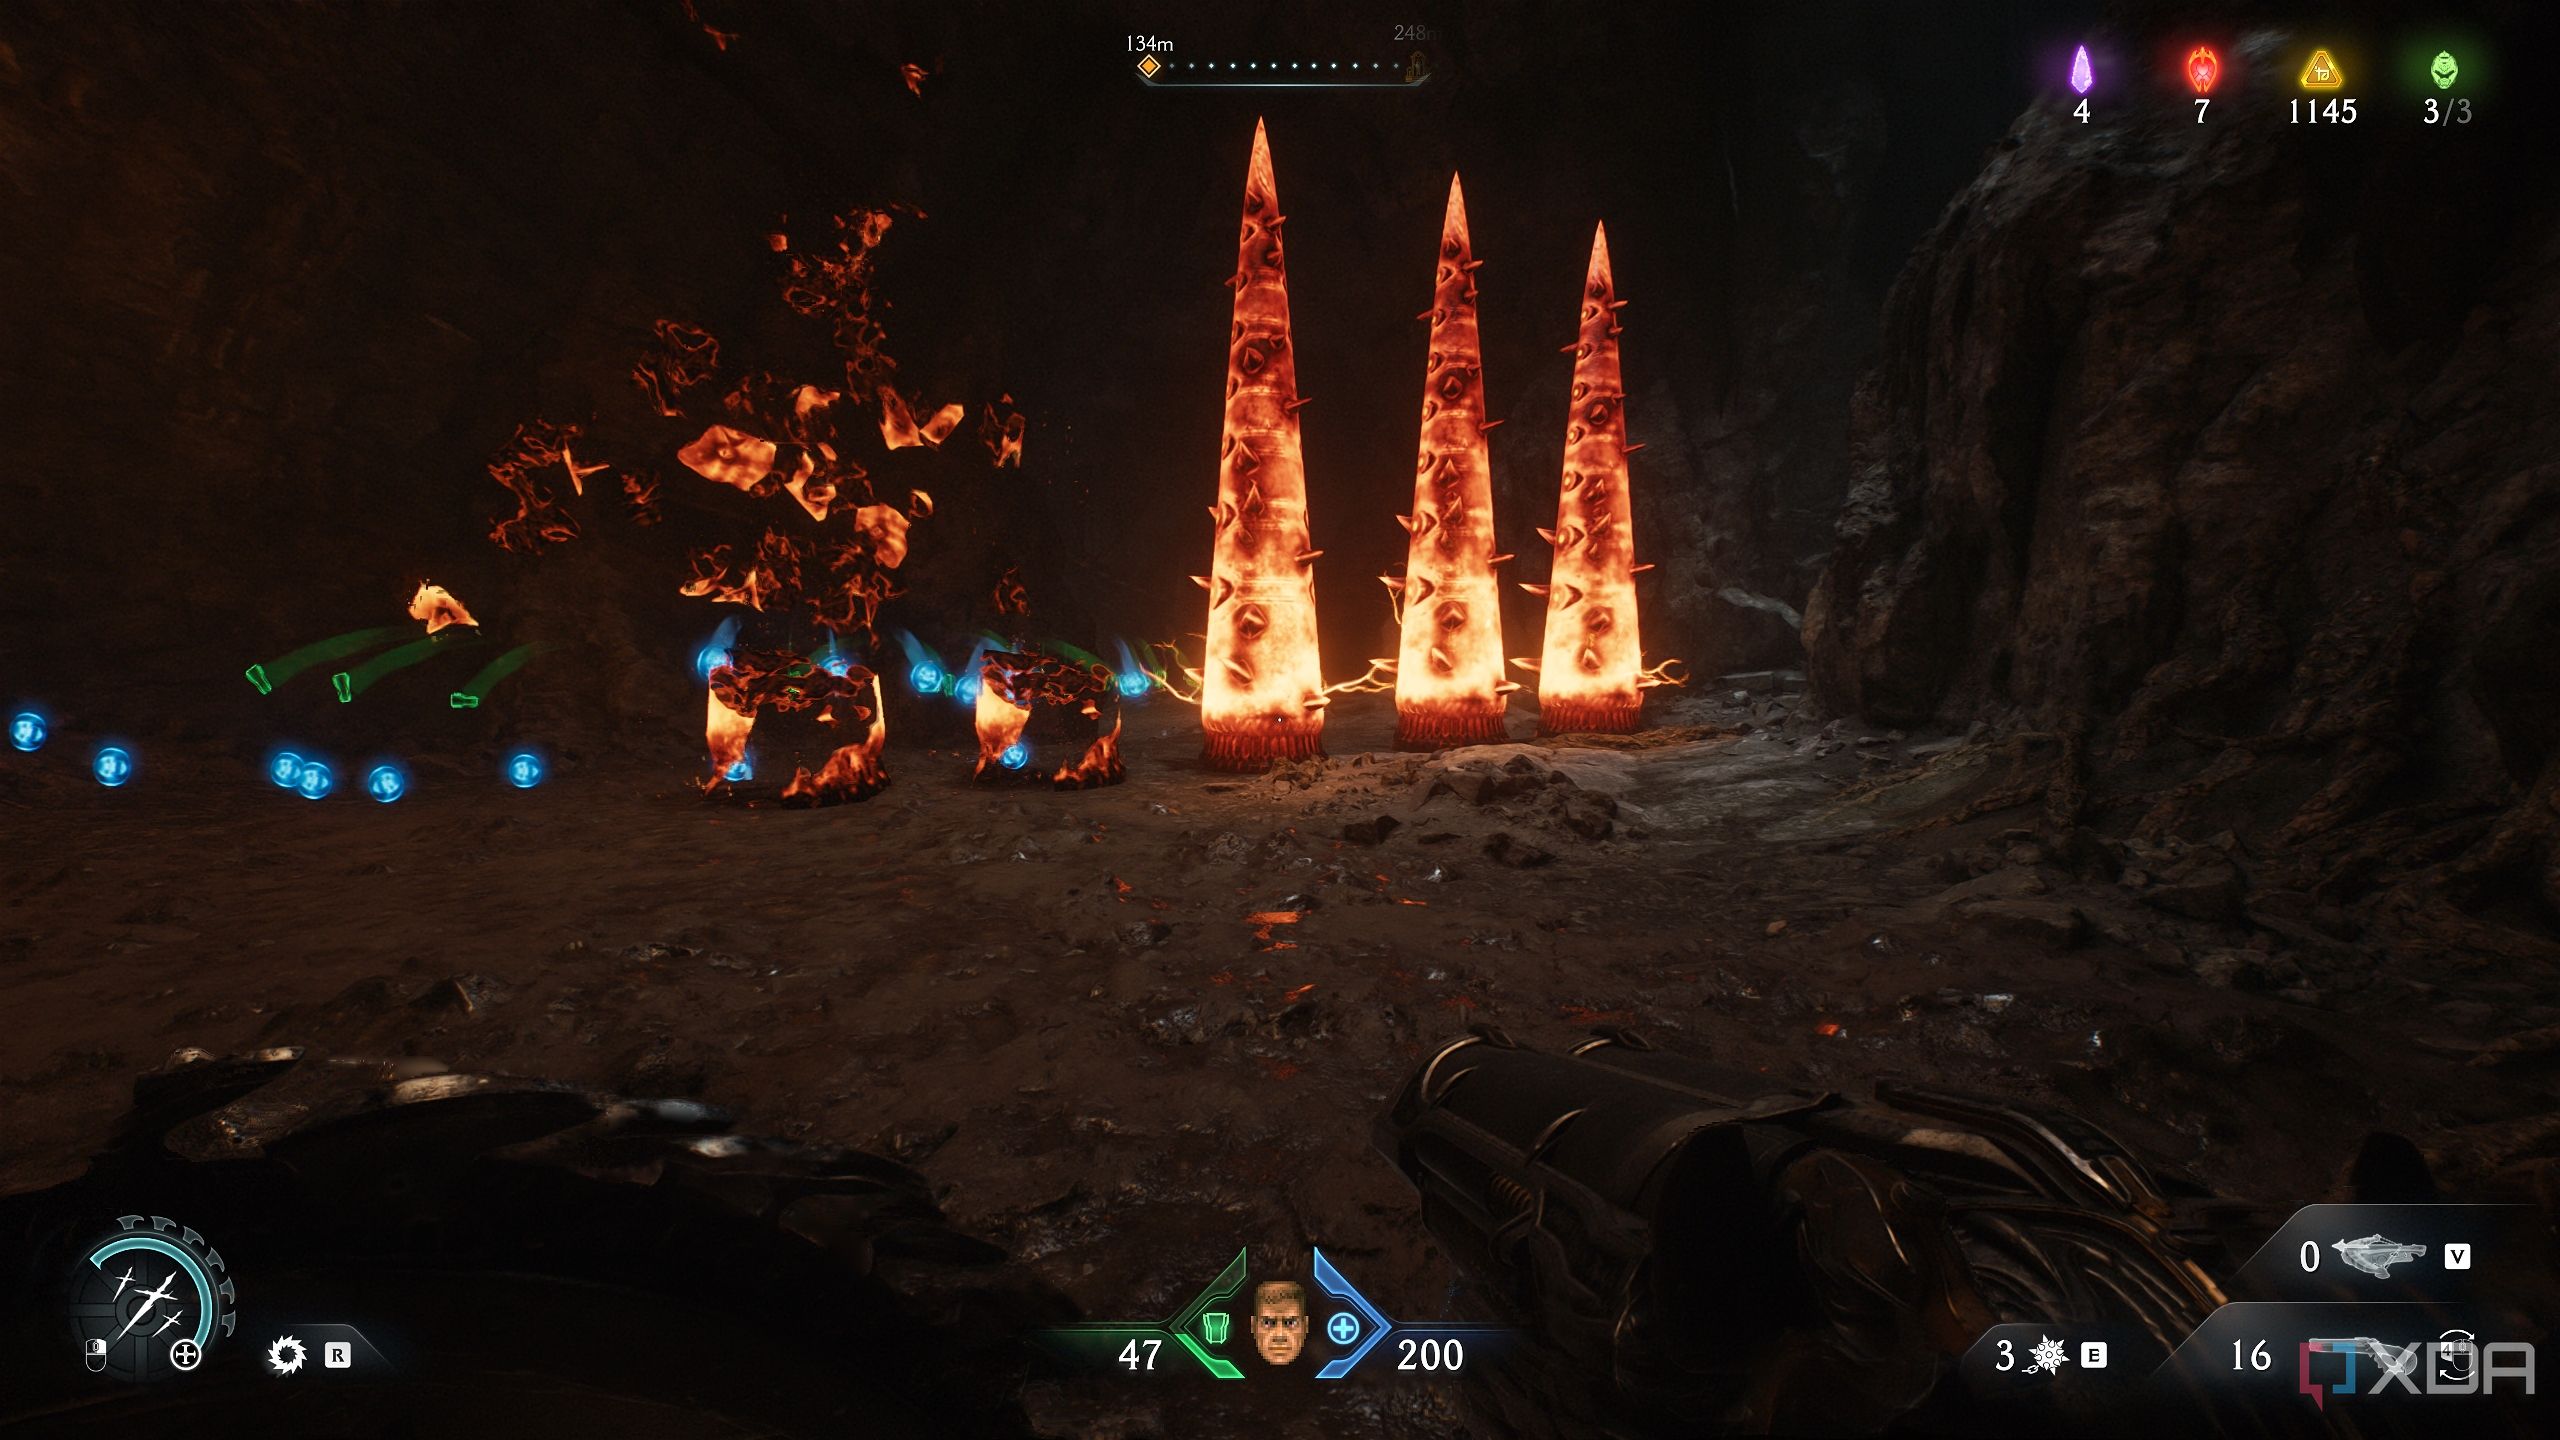
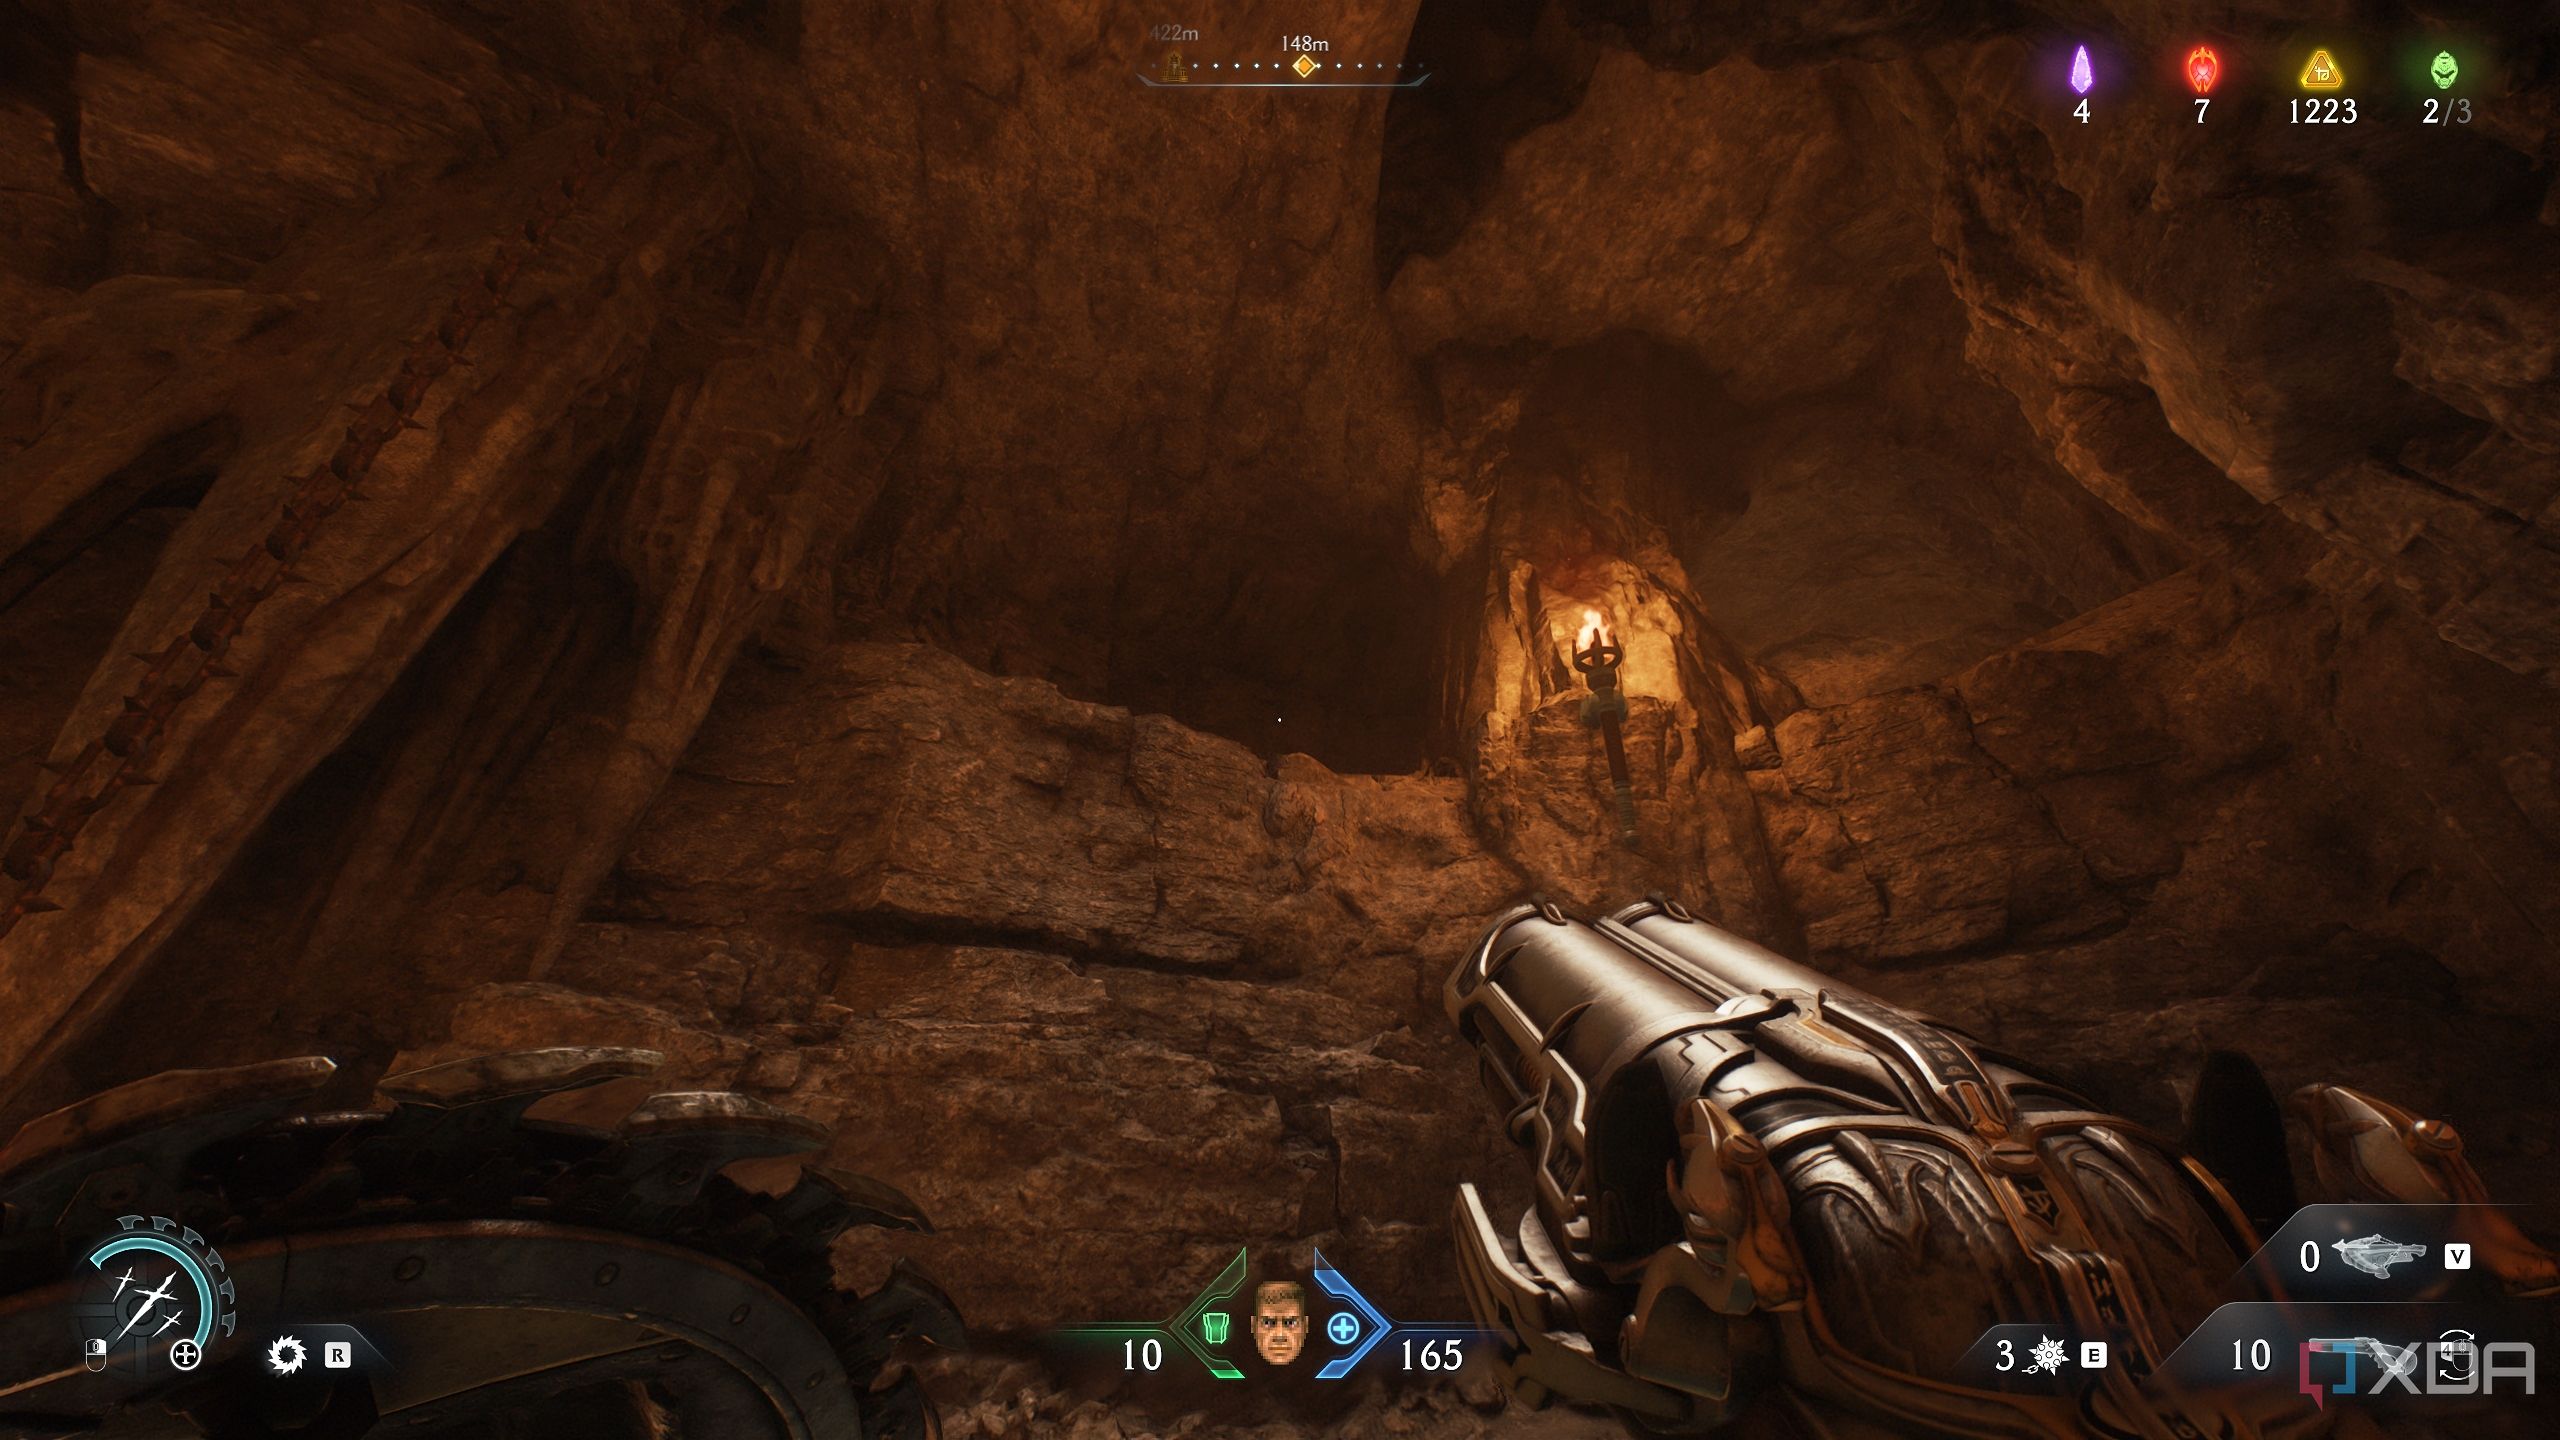
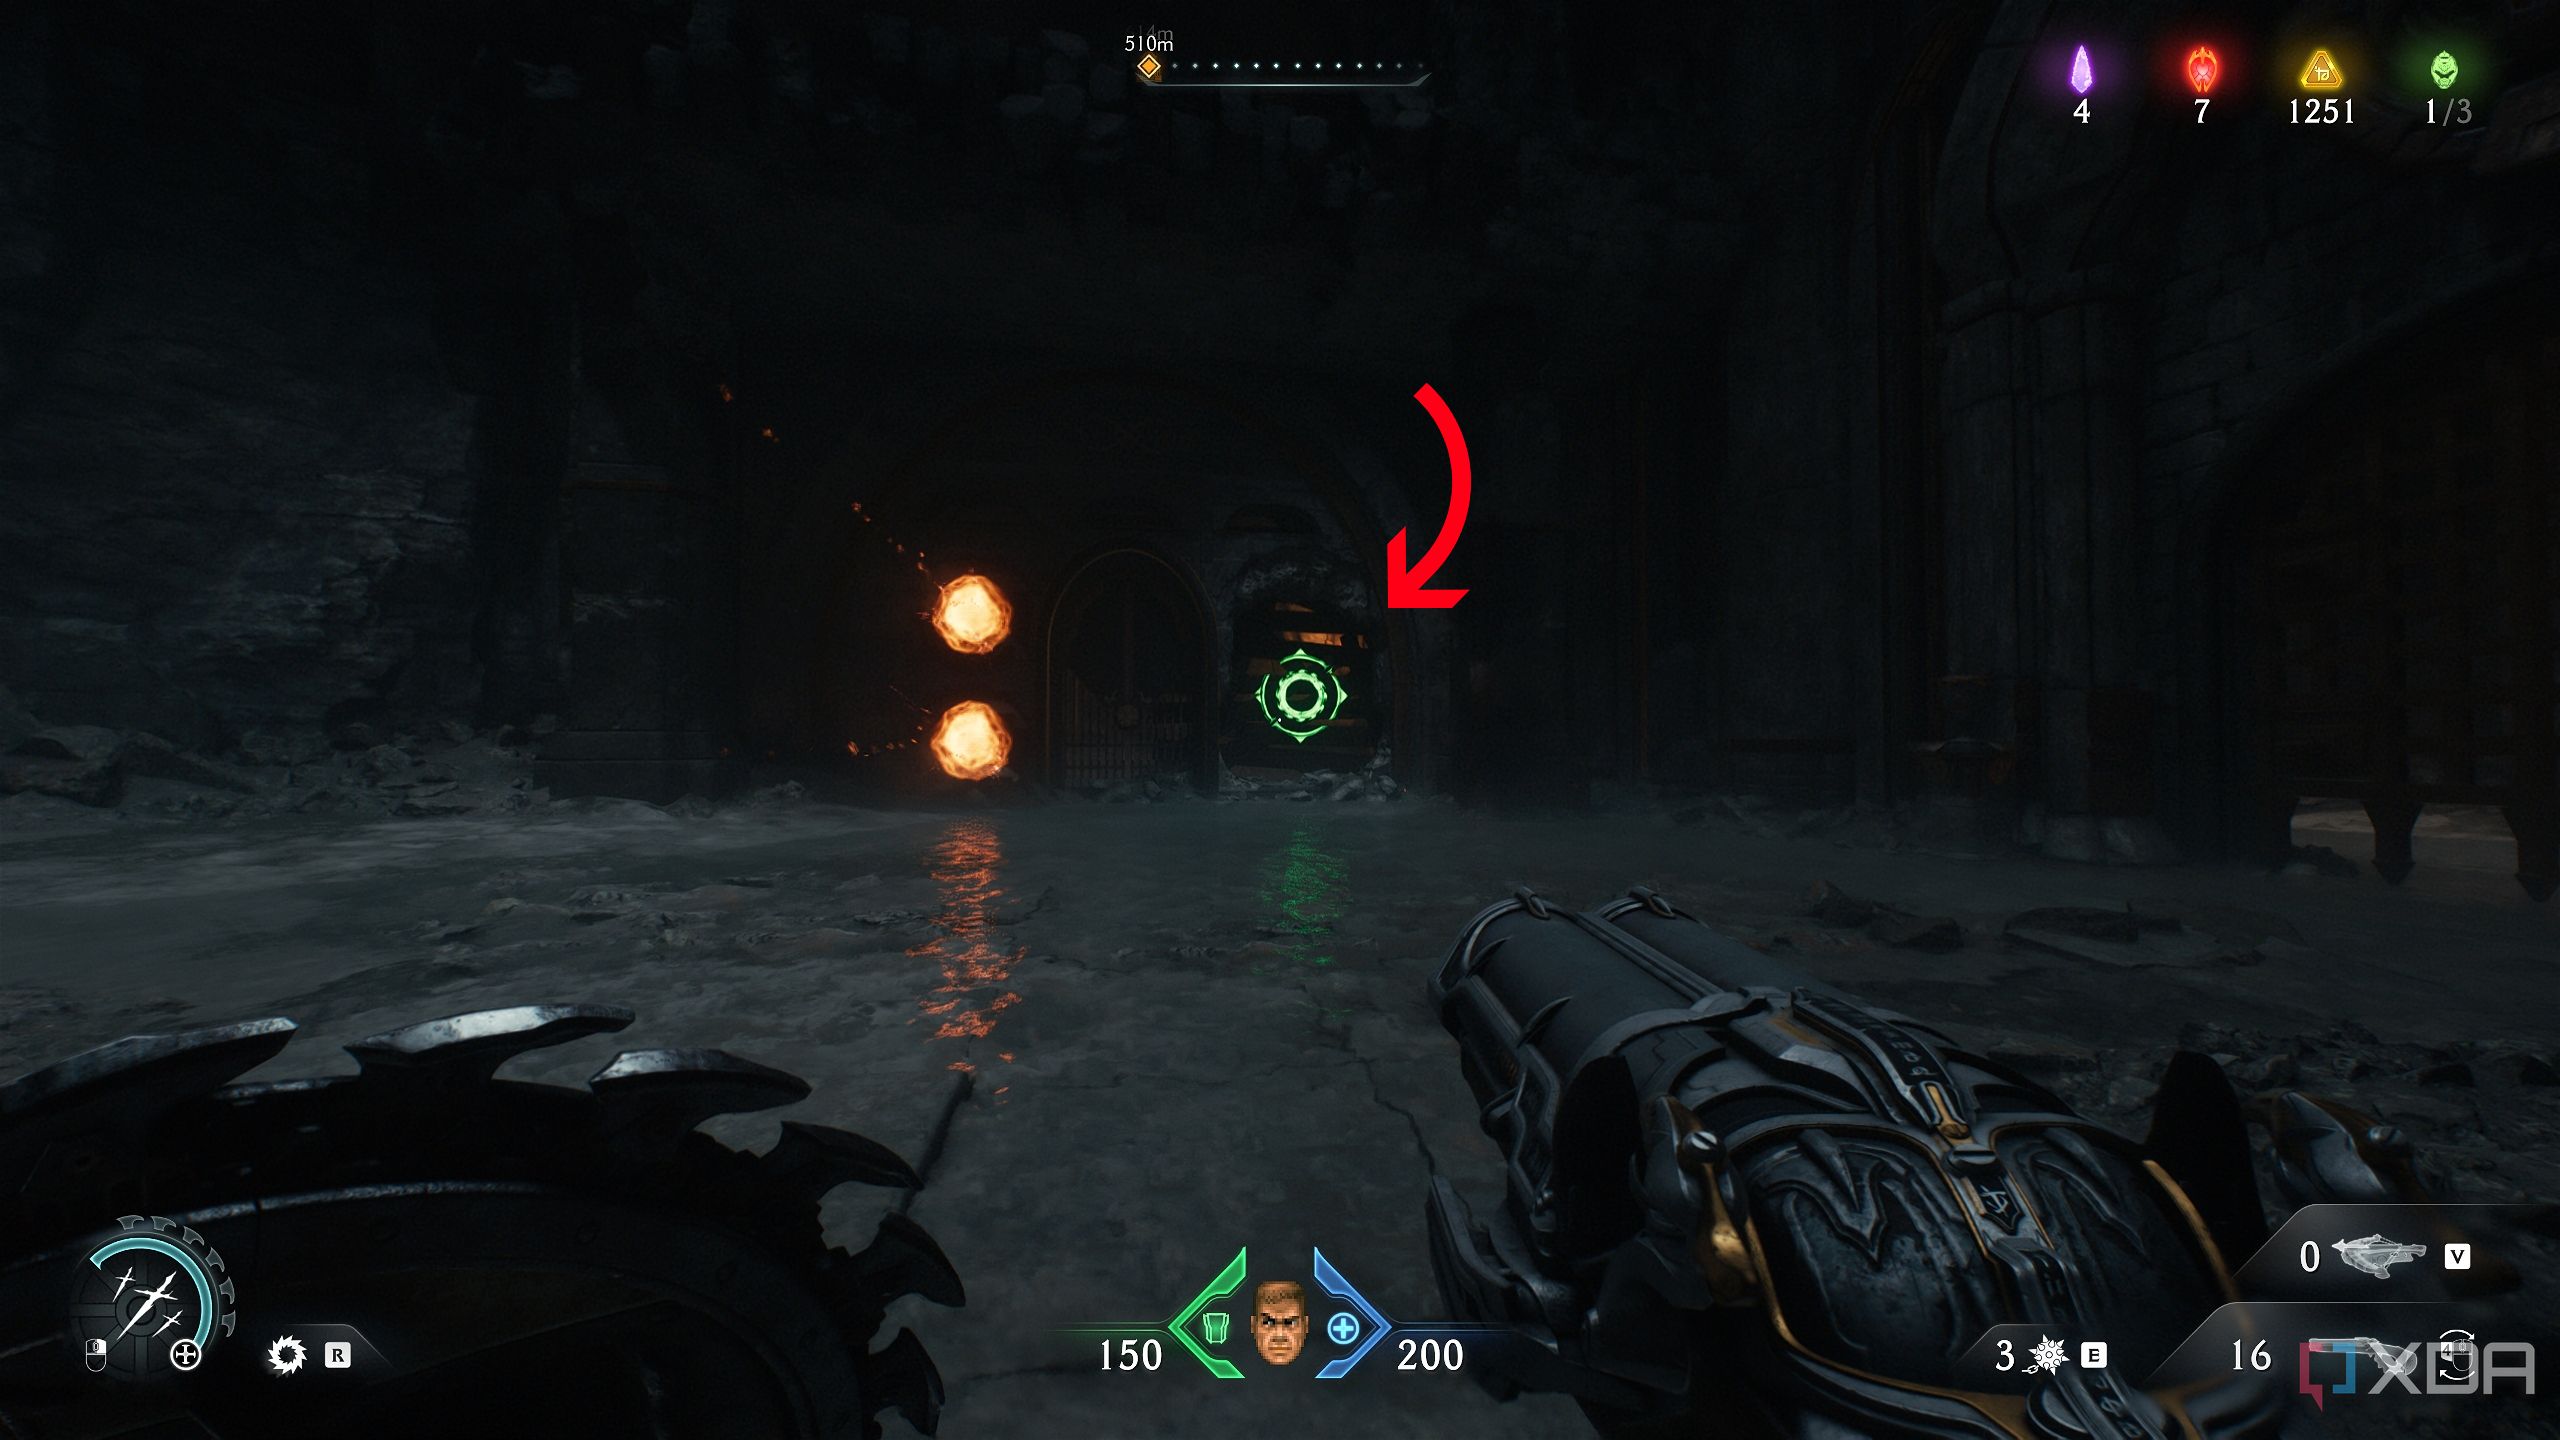
You’ll reach another trail of gold bars. Pick them up, and next, you’ll be met by more heated metal spikes.
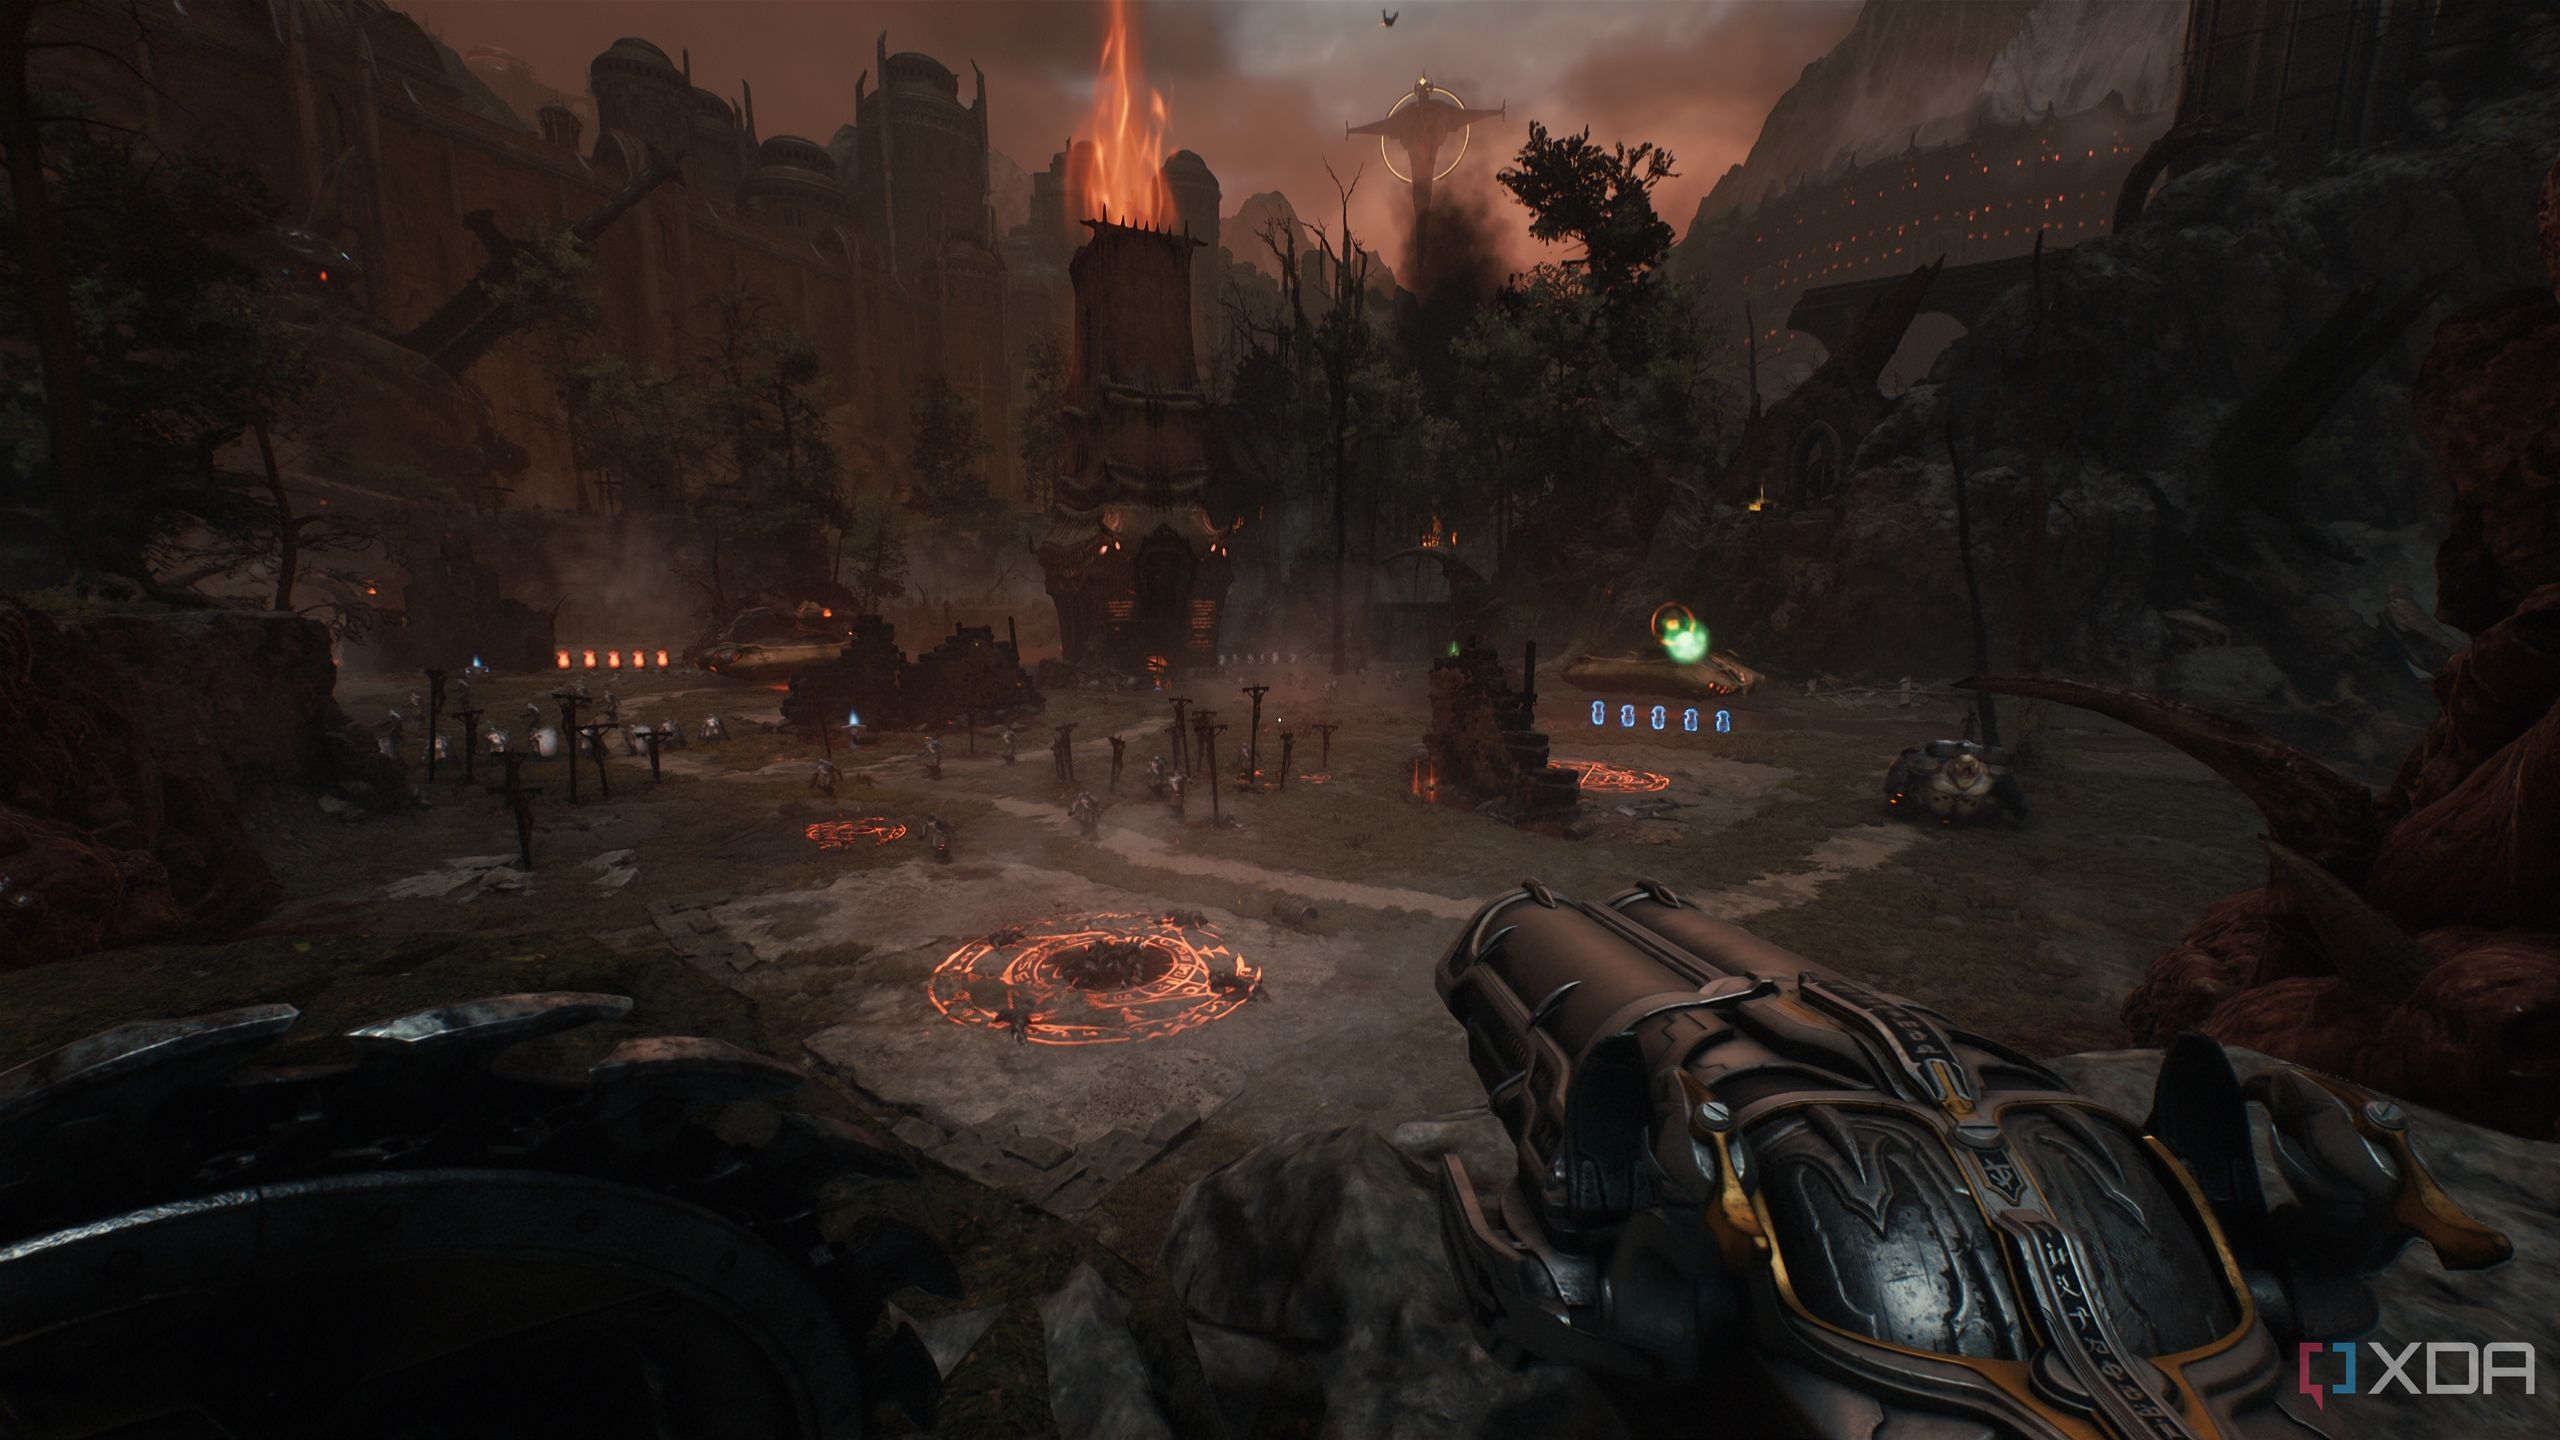
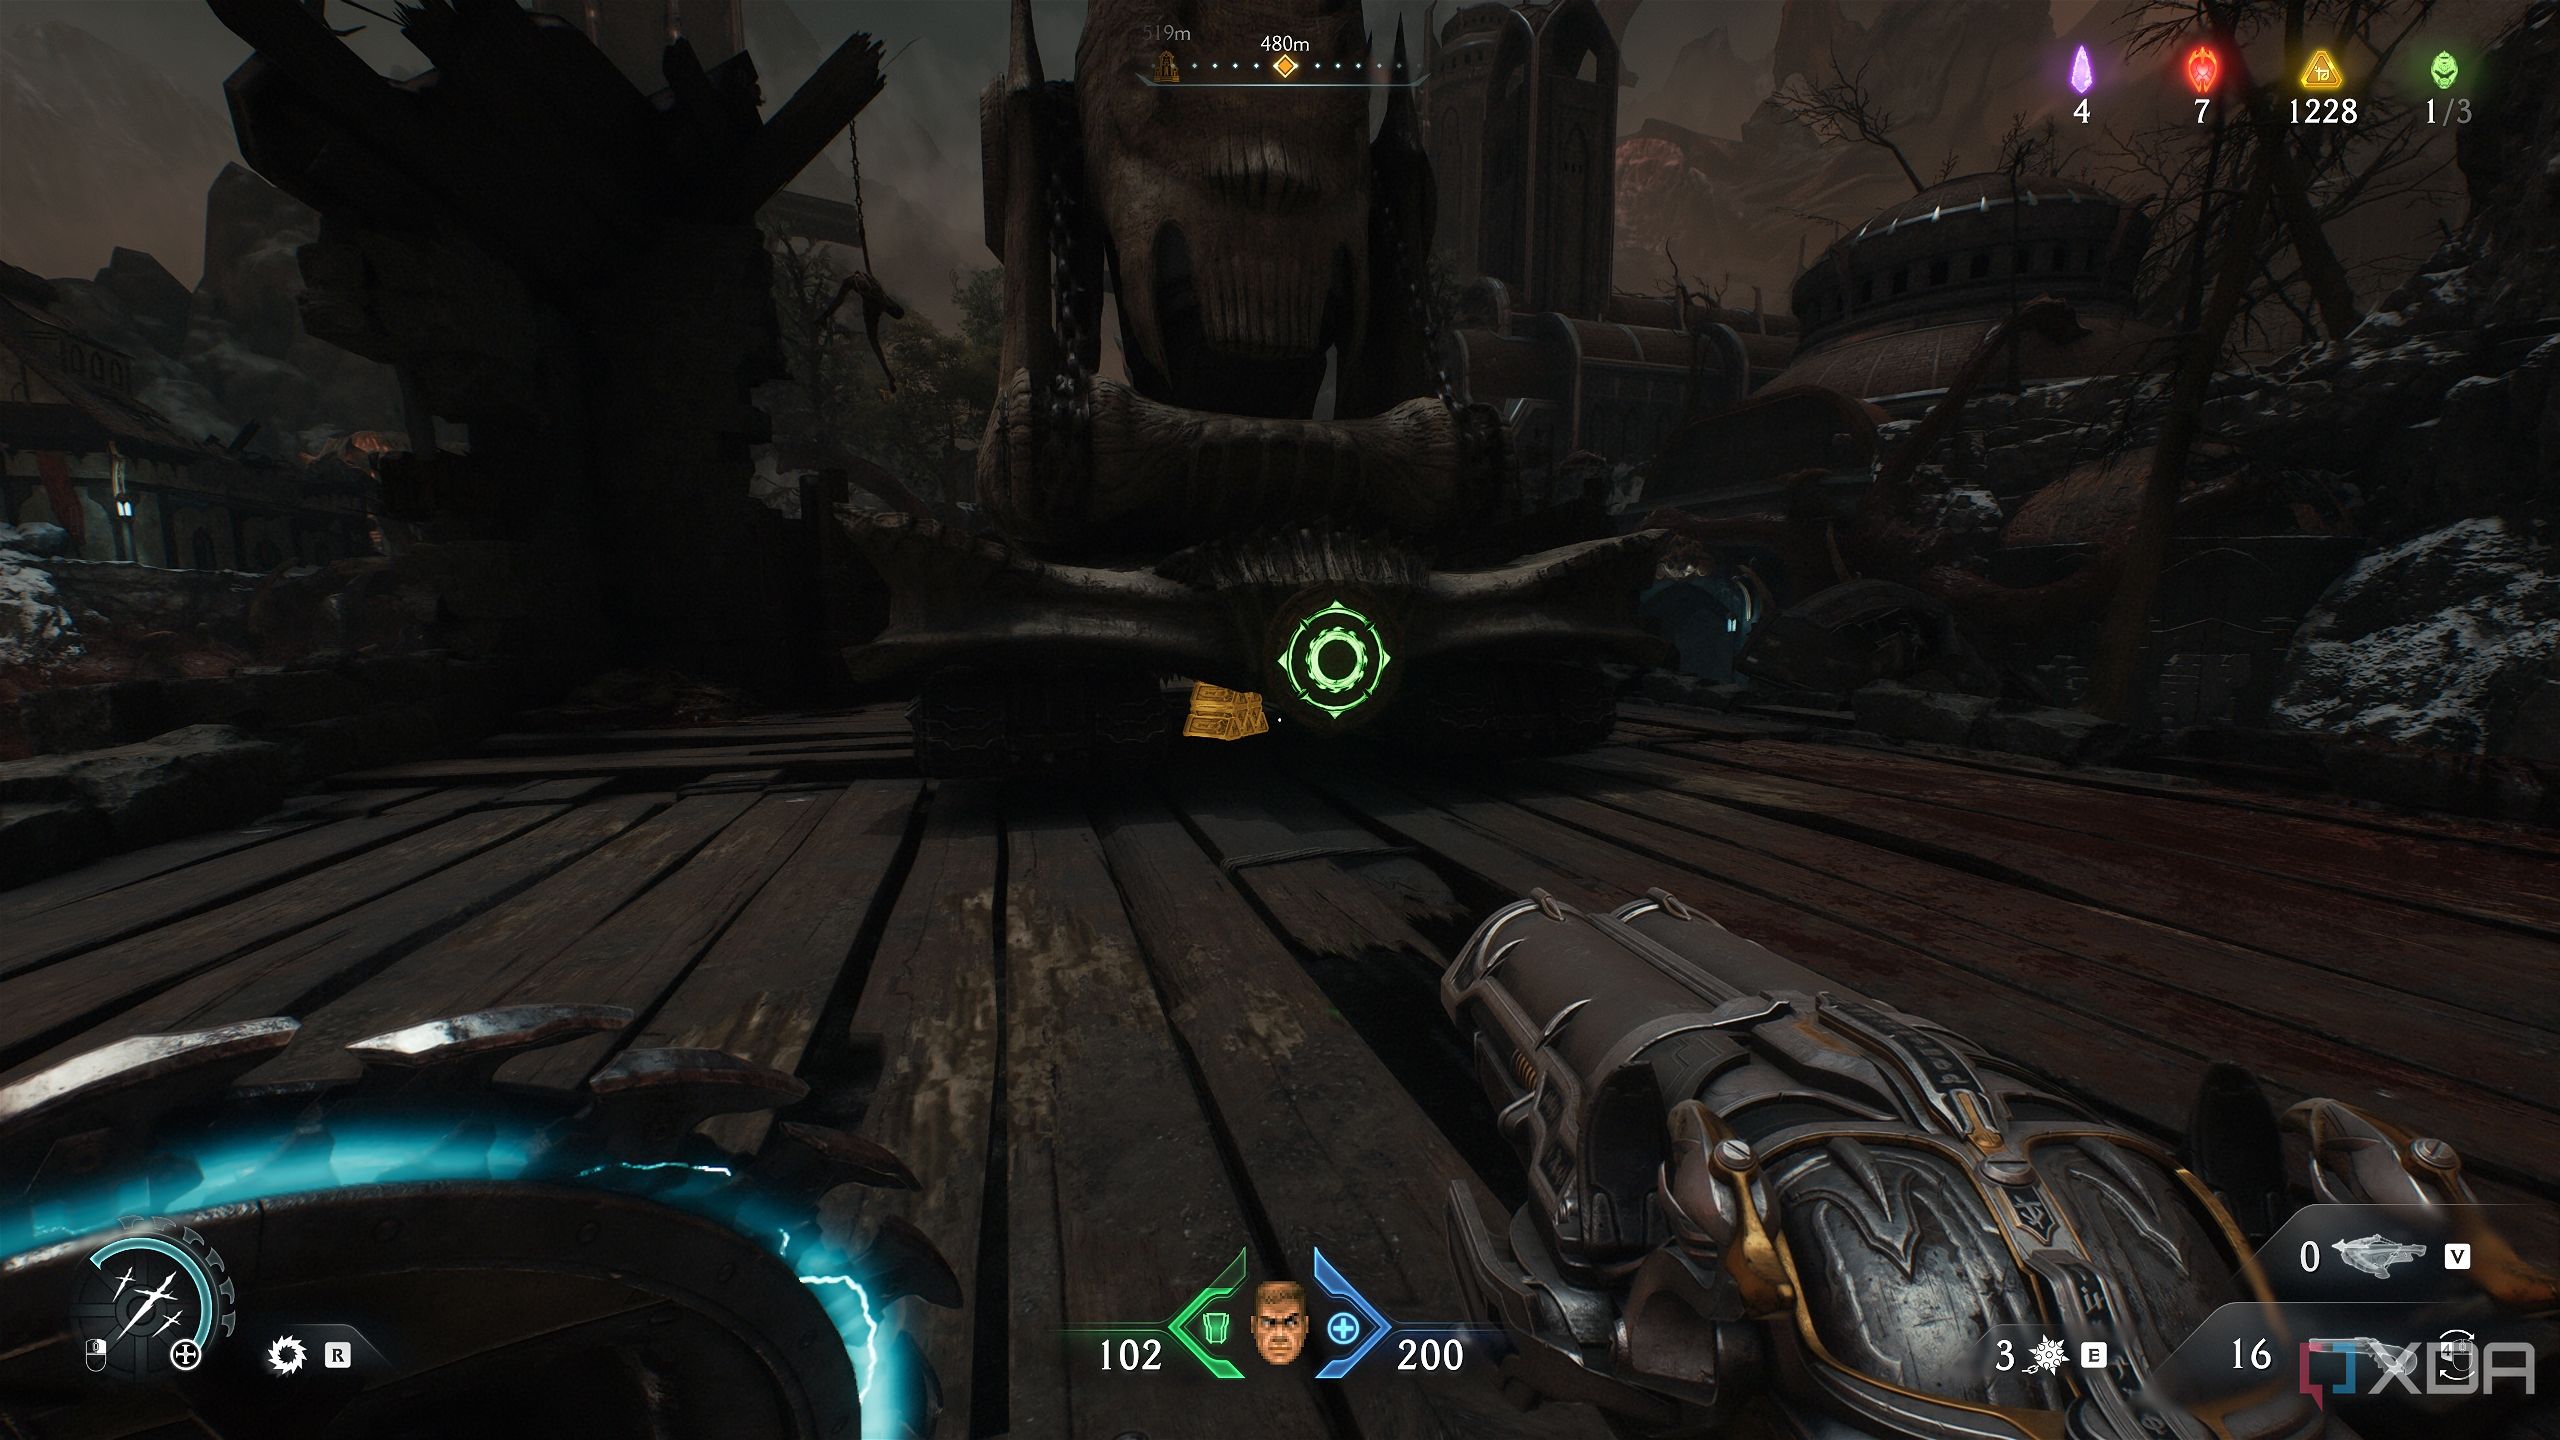
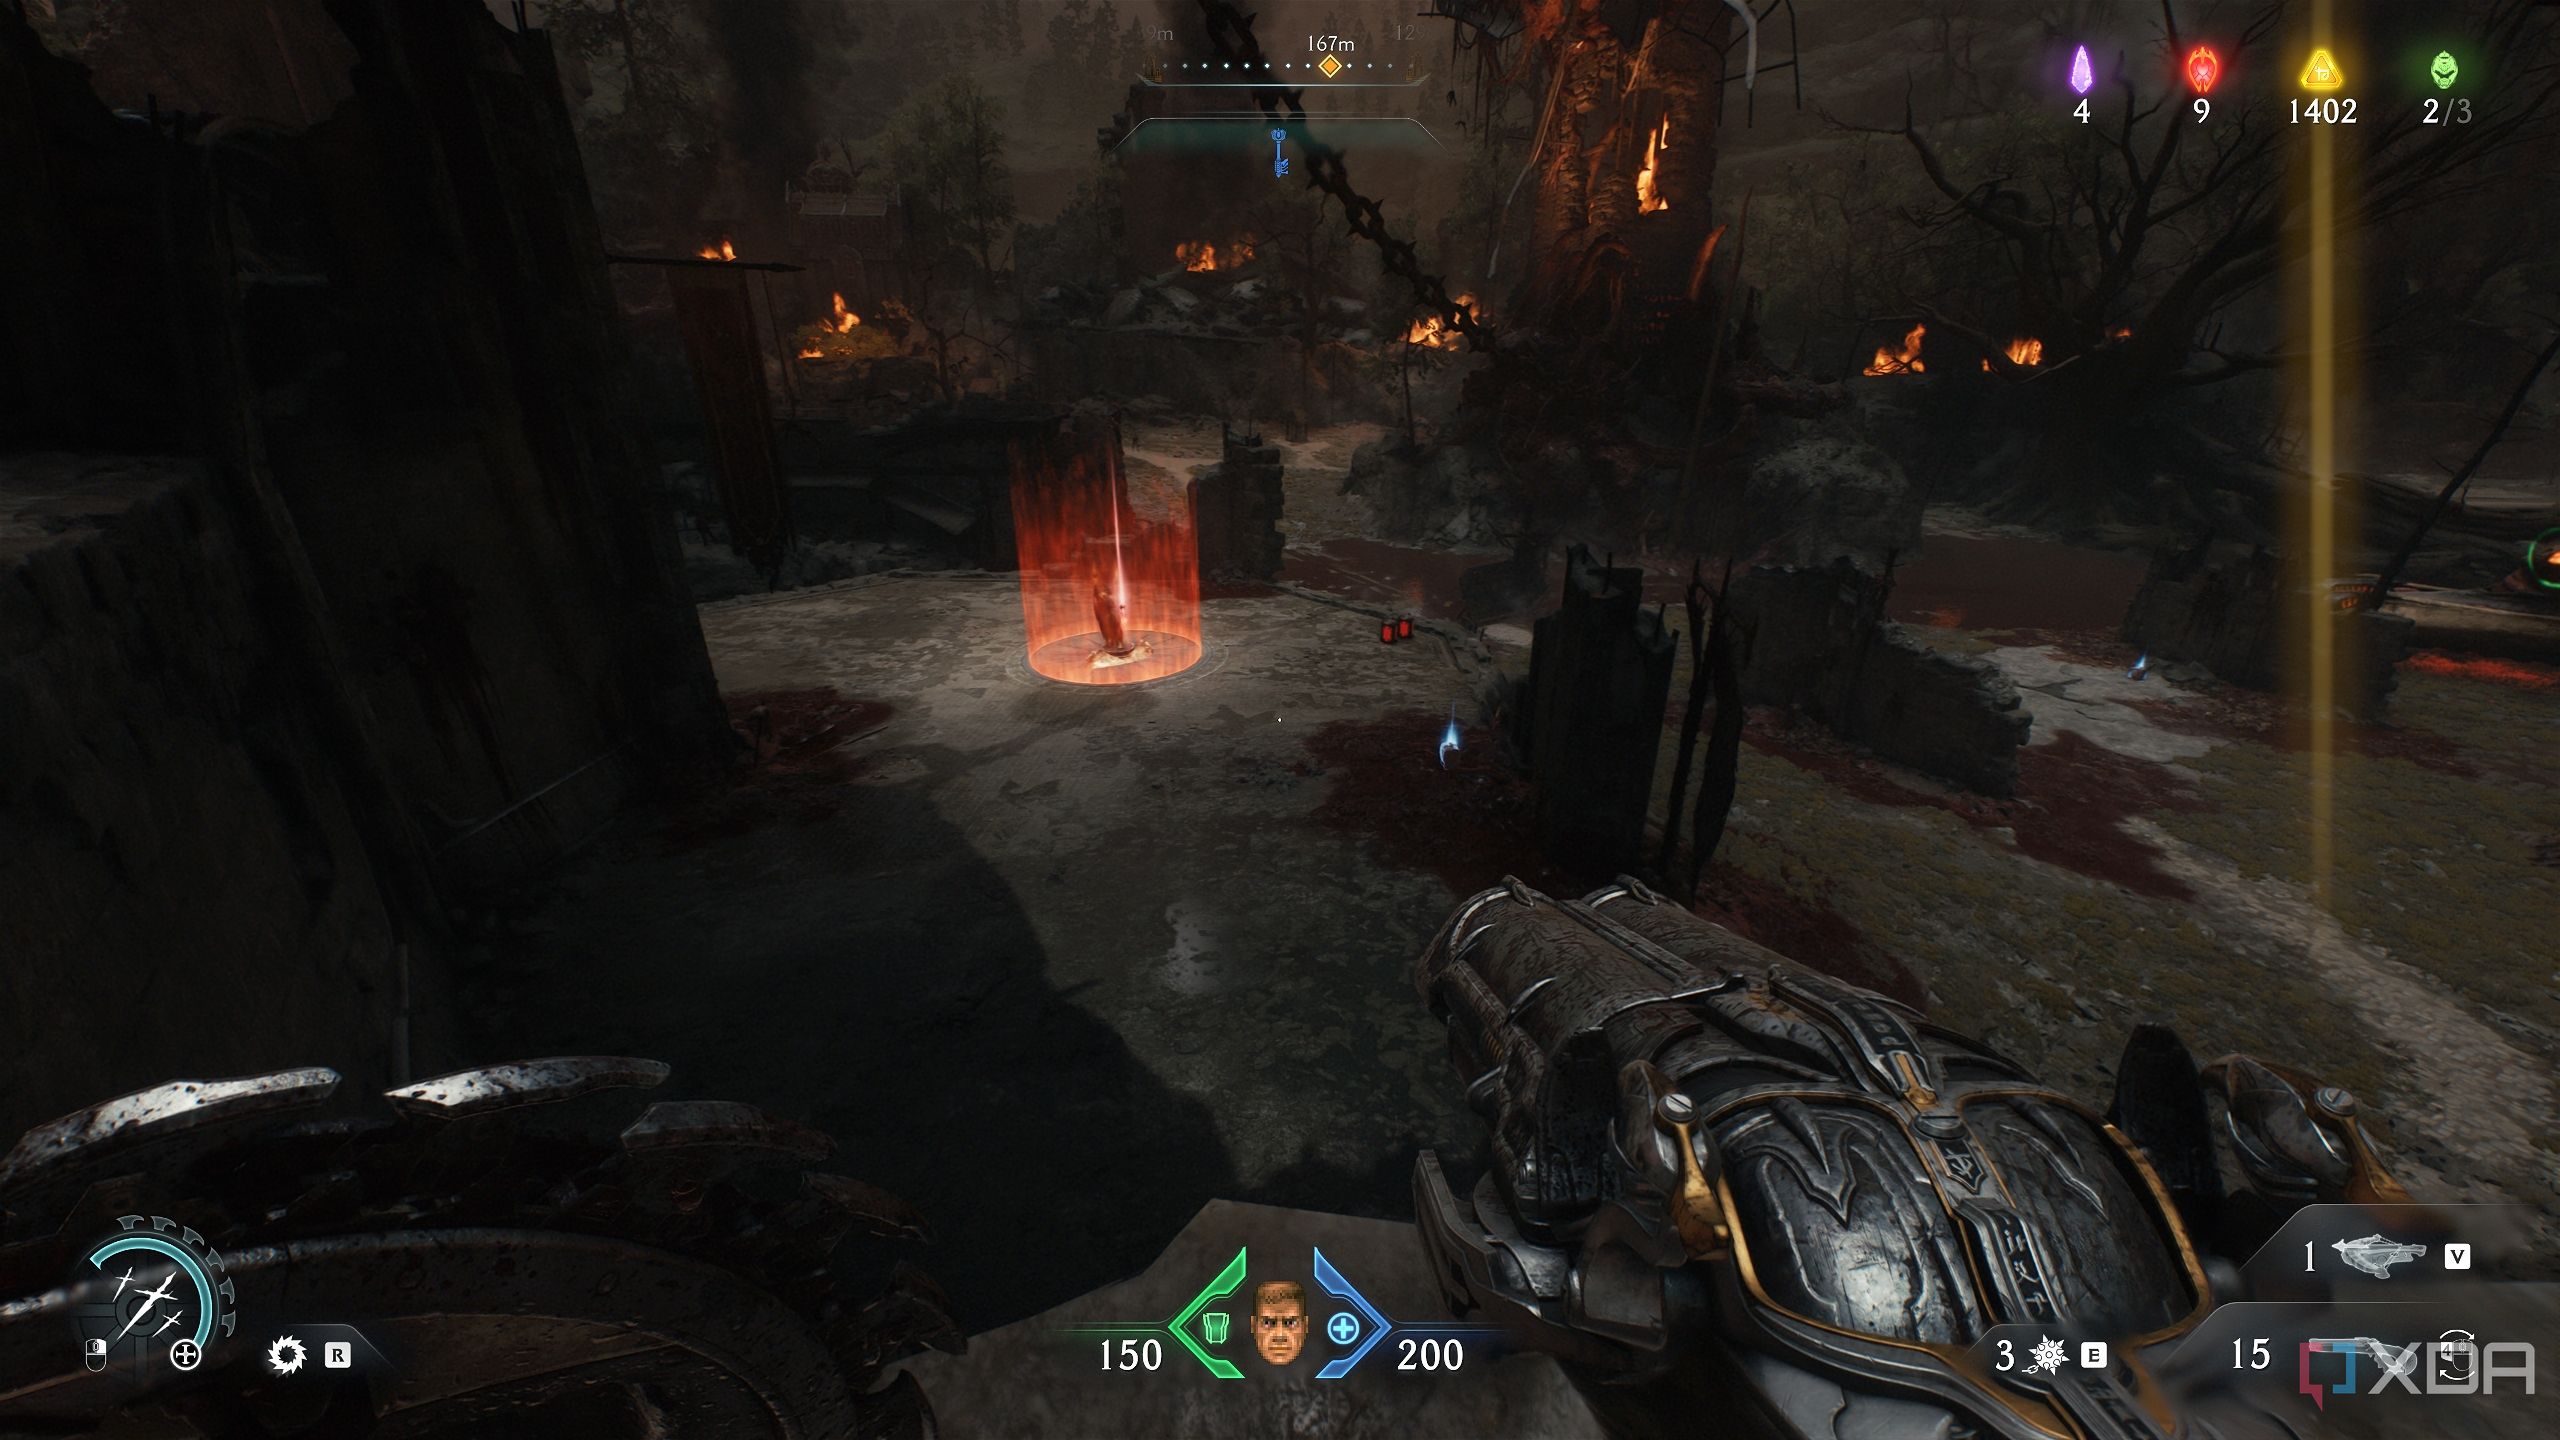
Break through those, and you’ll reach the final Siege Tower.
Deal with all the demons around you, and the encounter will end with a Komodo who drops Demonic Essence for ammo. Your dragon will now land, but there’s more stuff to do before you leave.
Secret area 10, yellow key, Cosmic Baron toy, and a Codex page
Tonnes of collecting to do before mounting the dragon
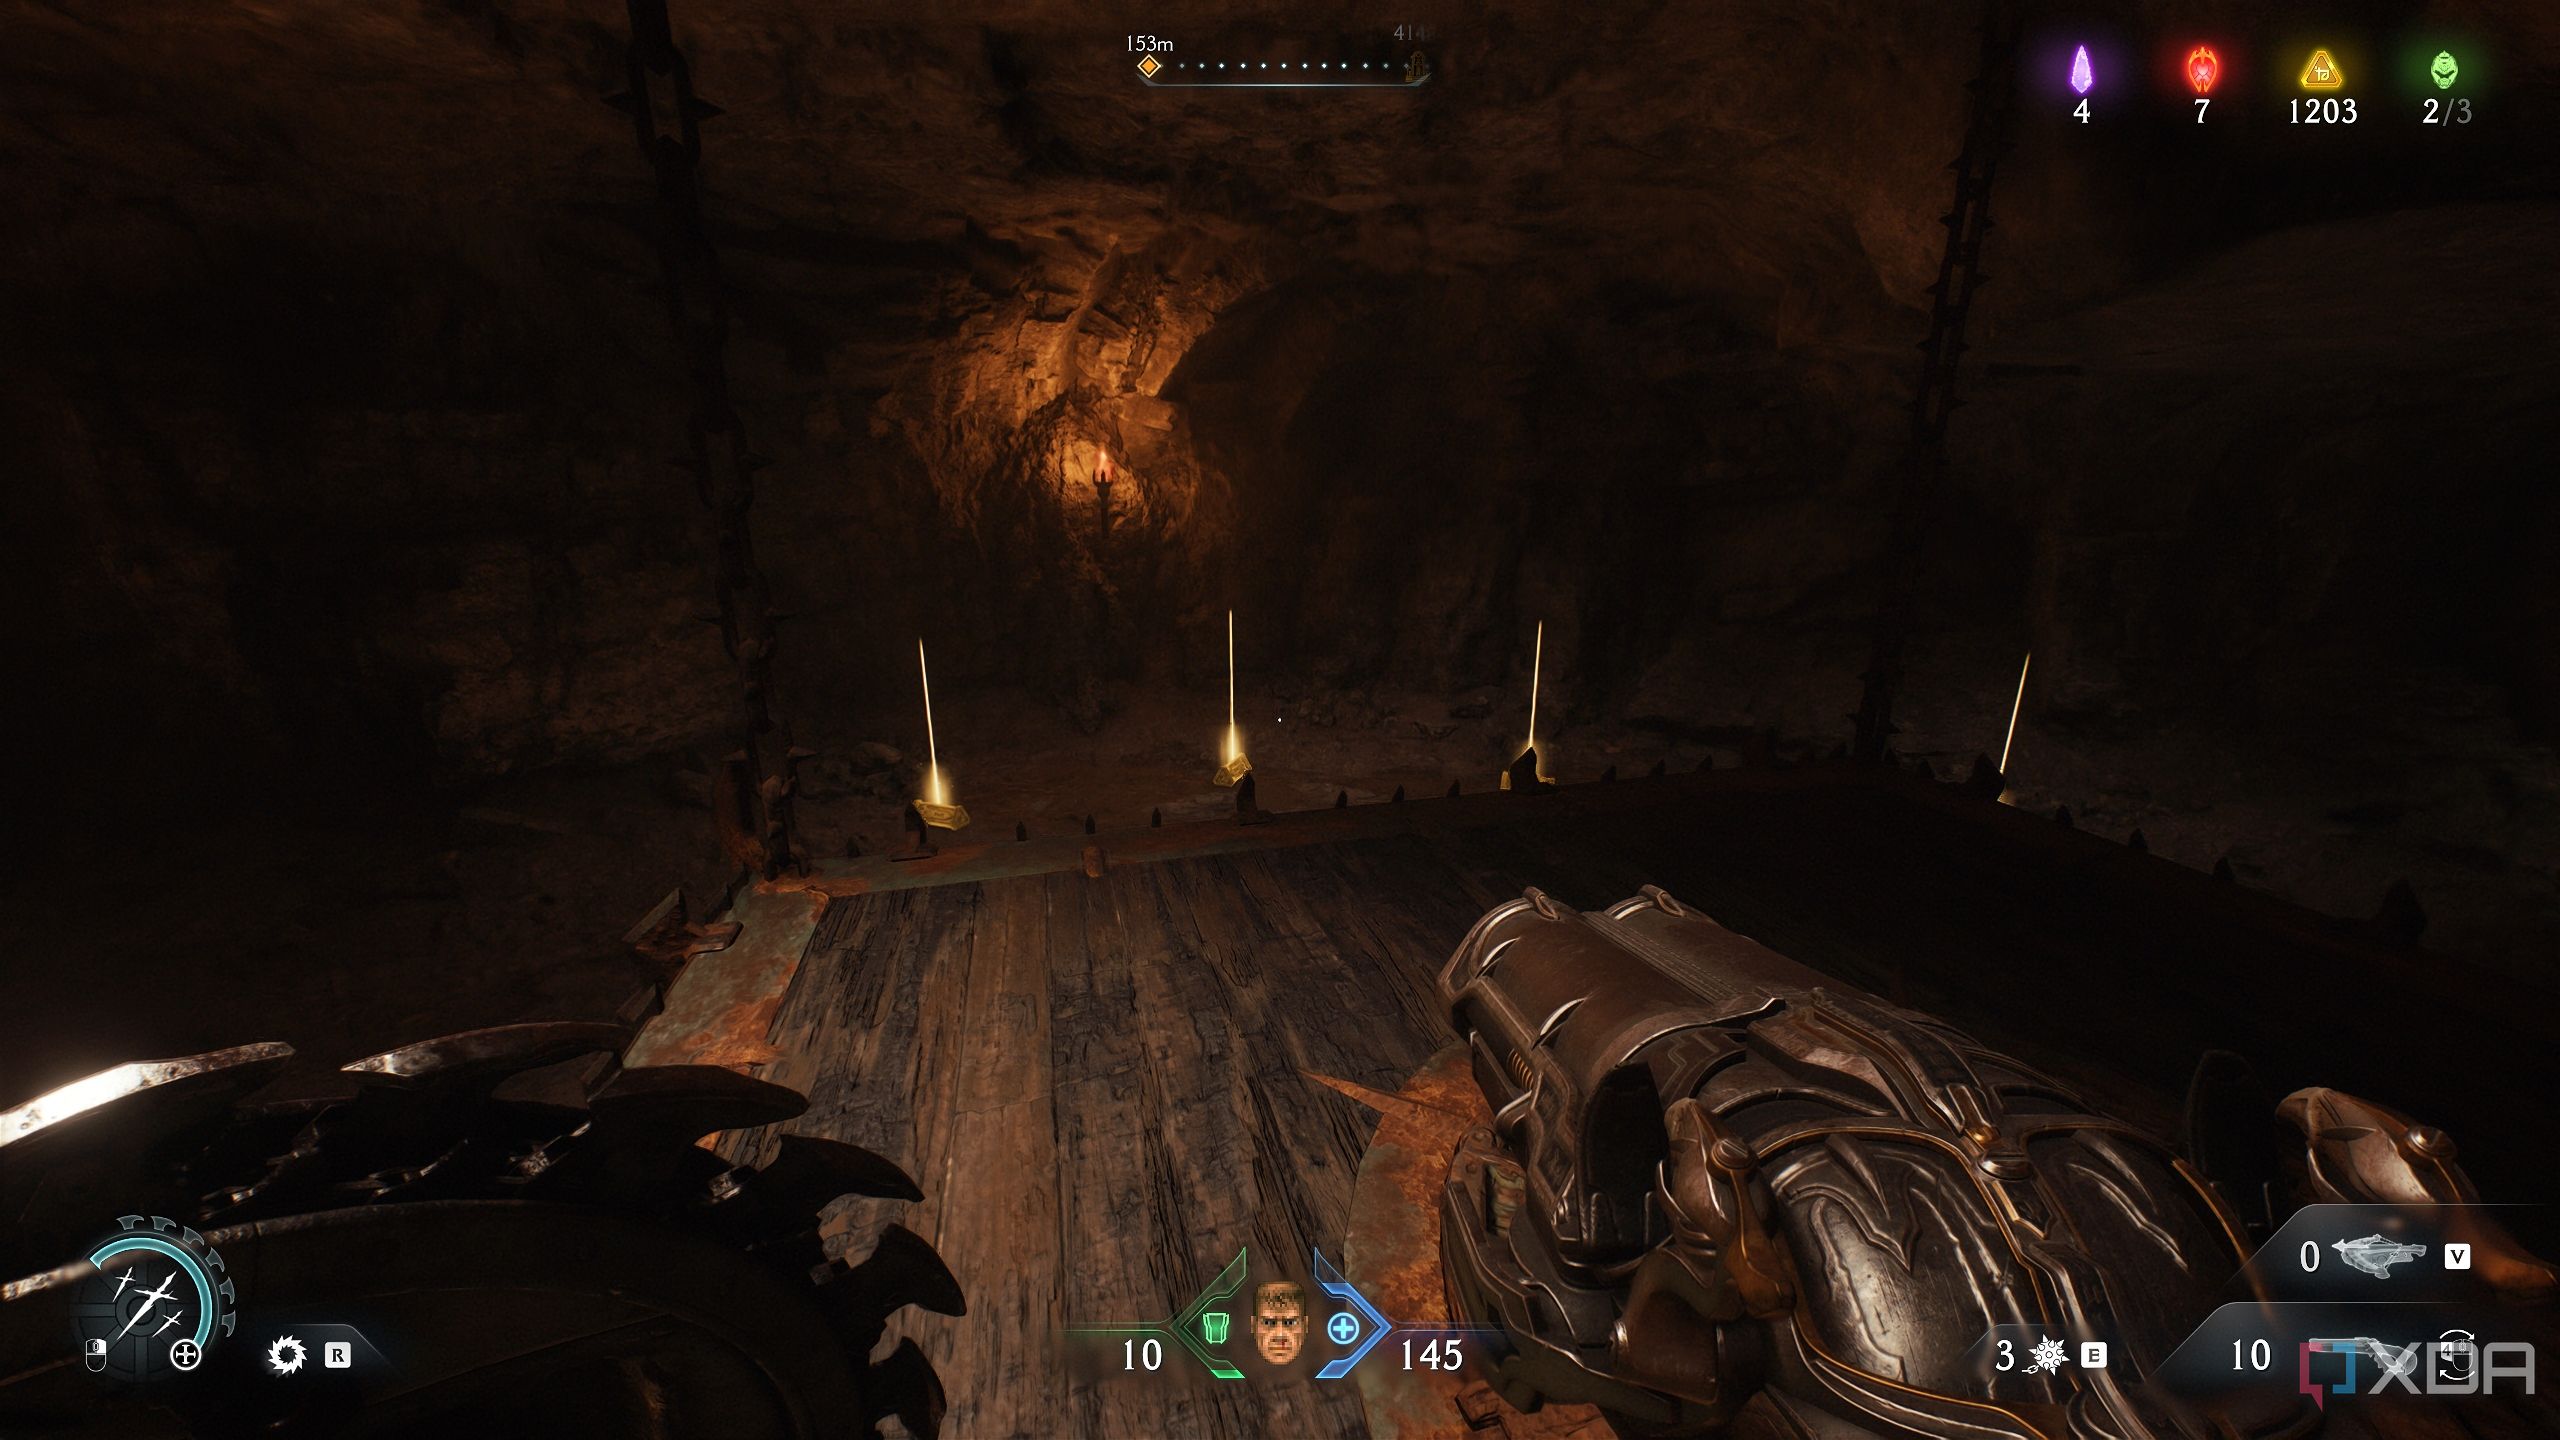
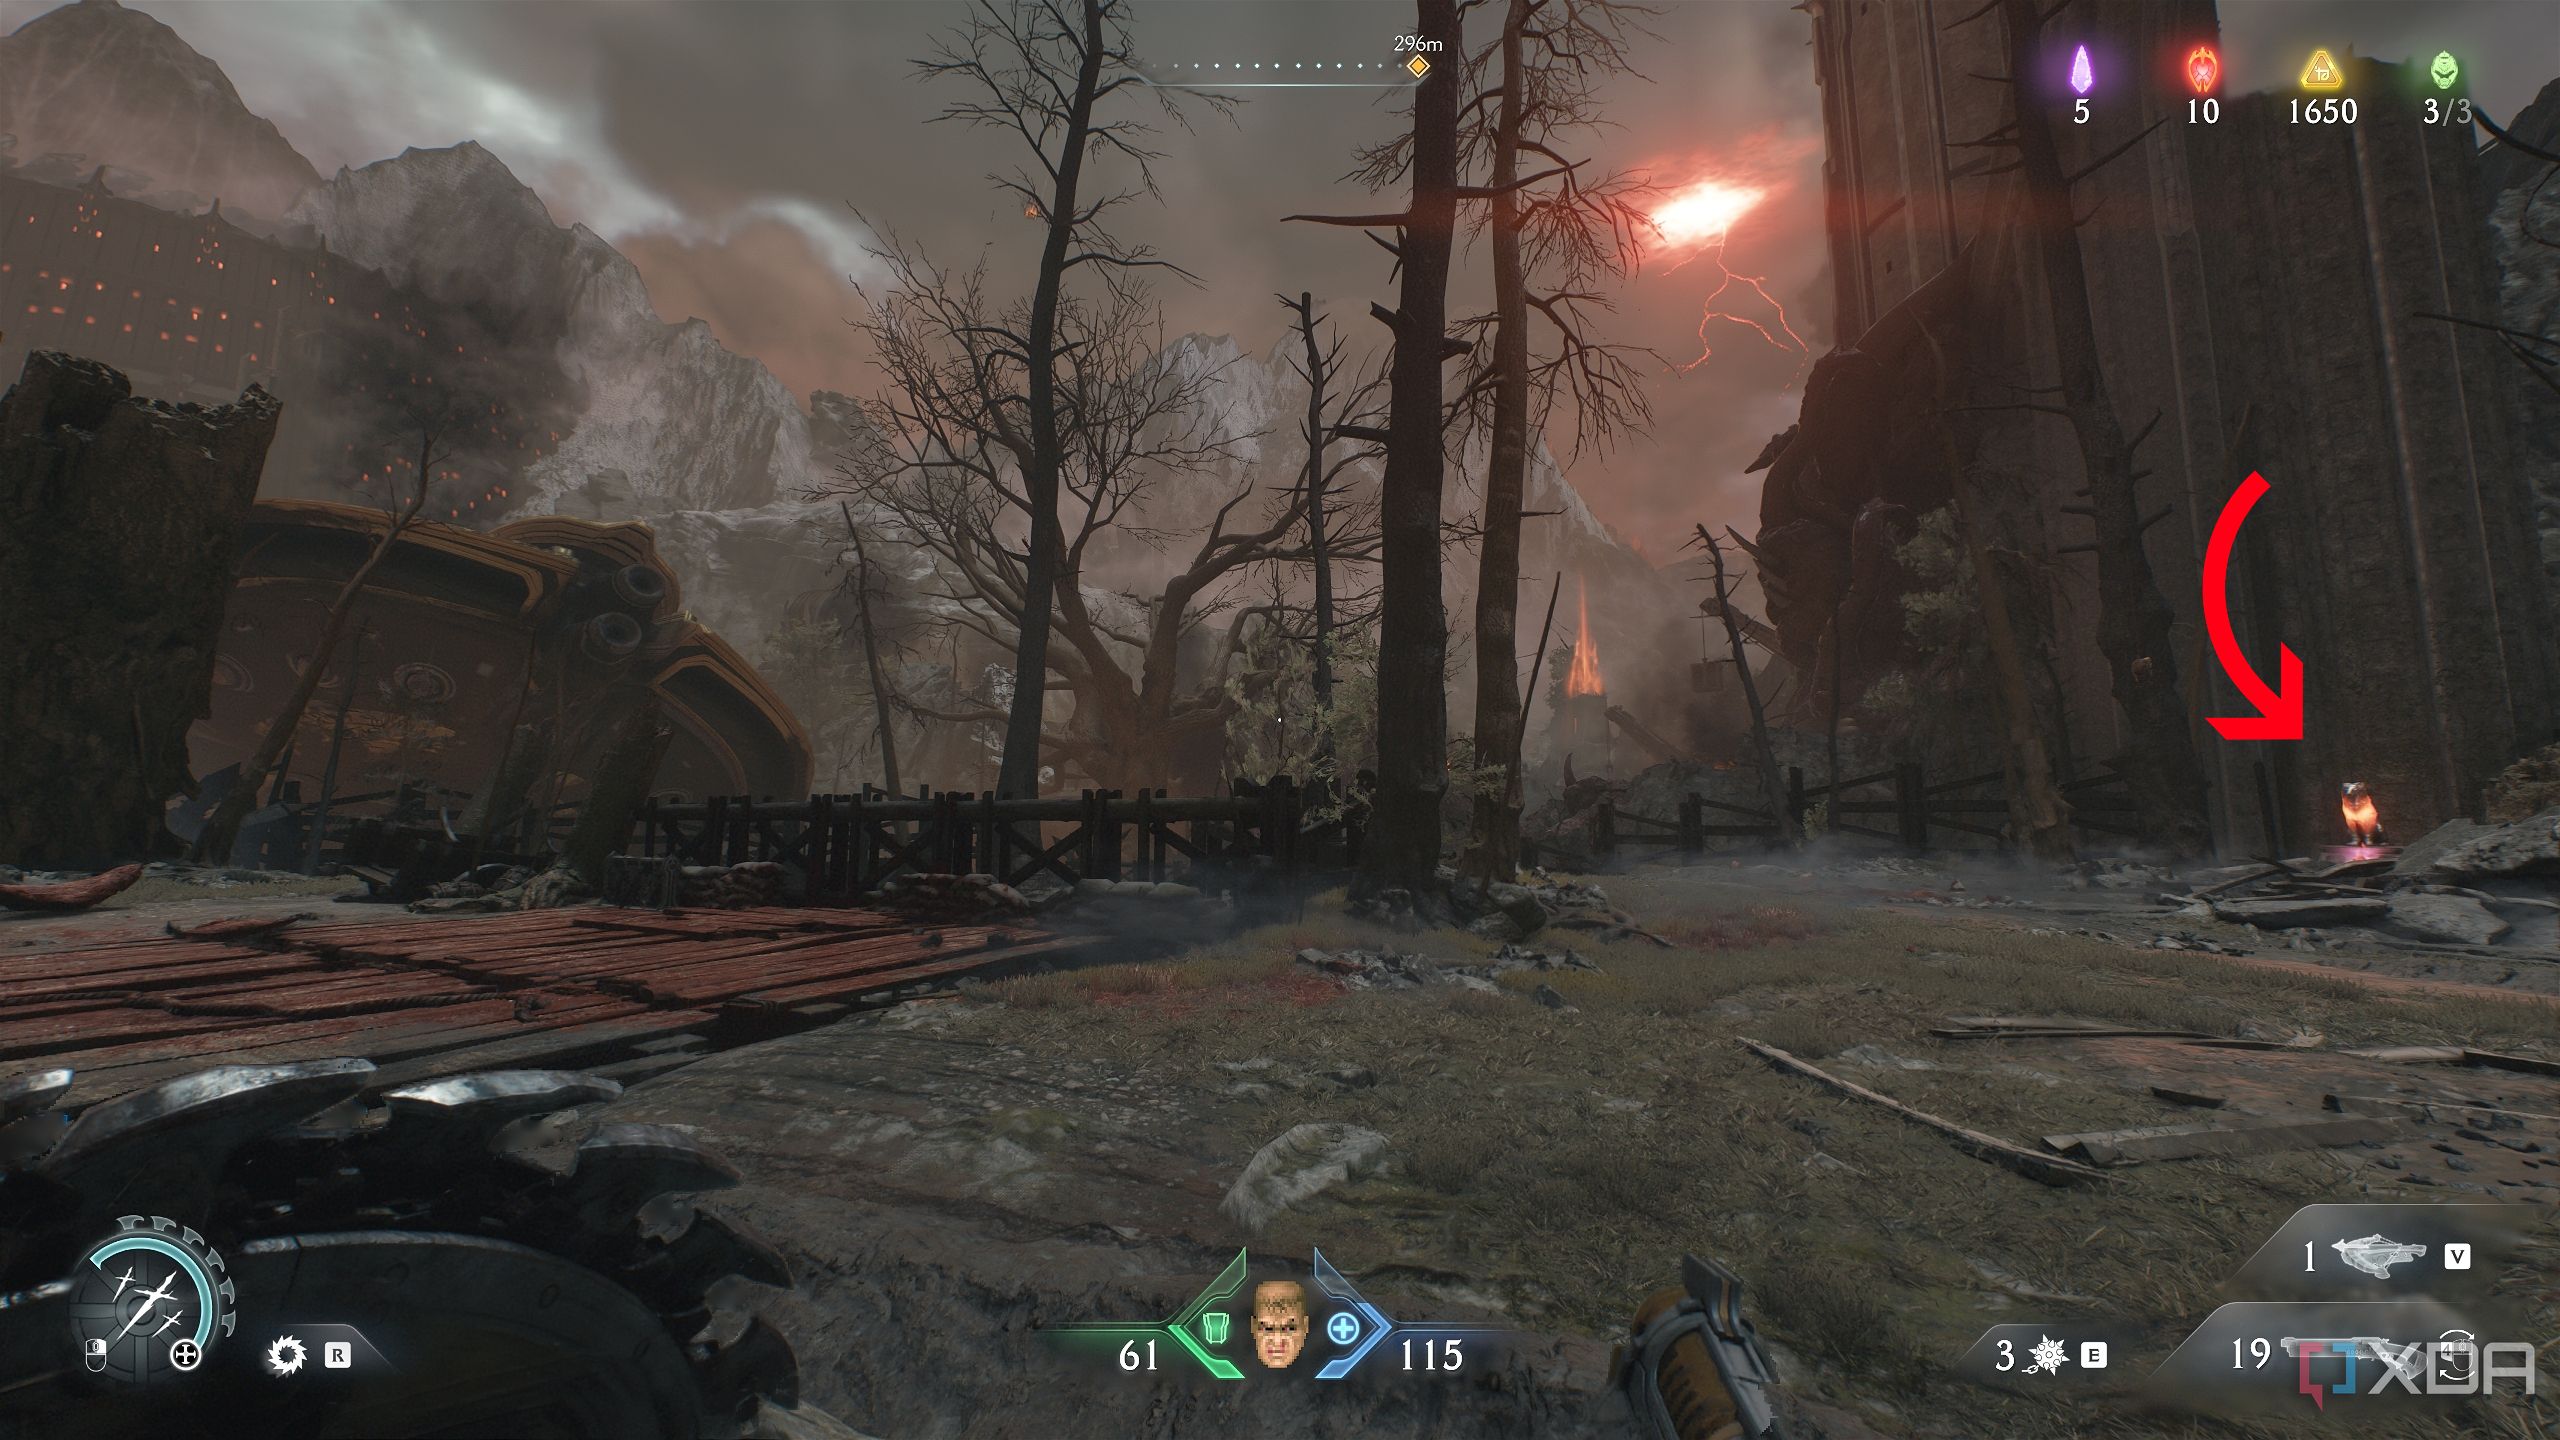
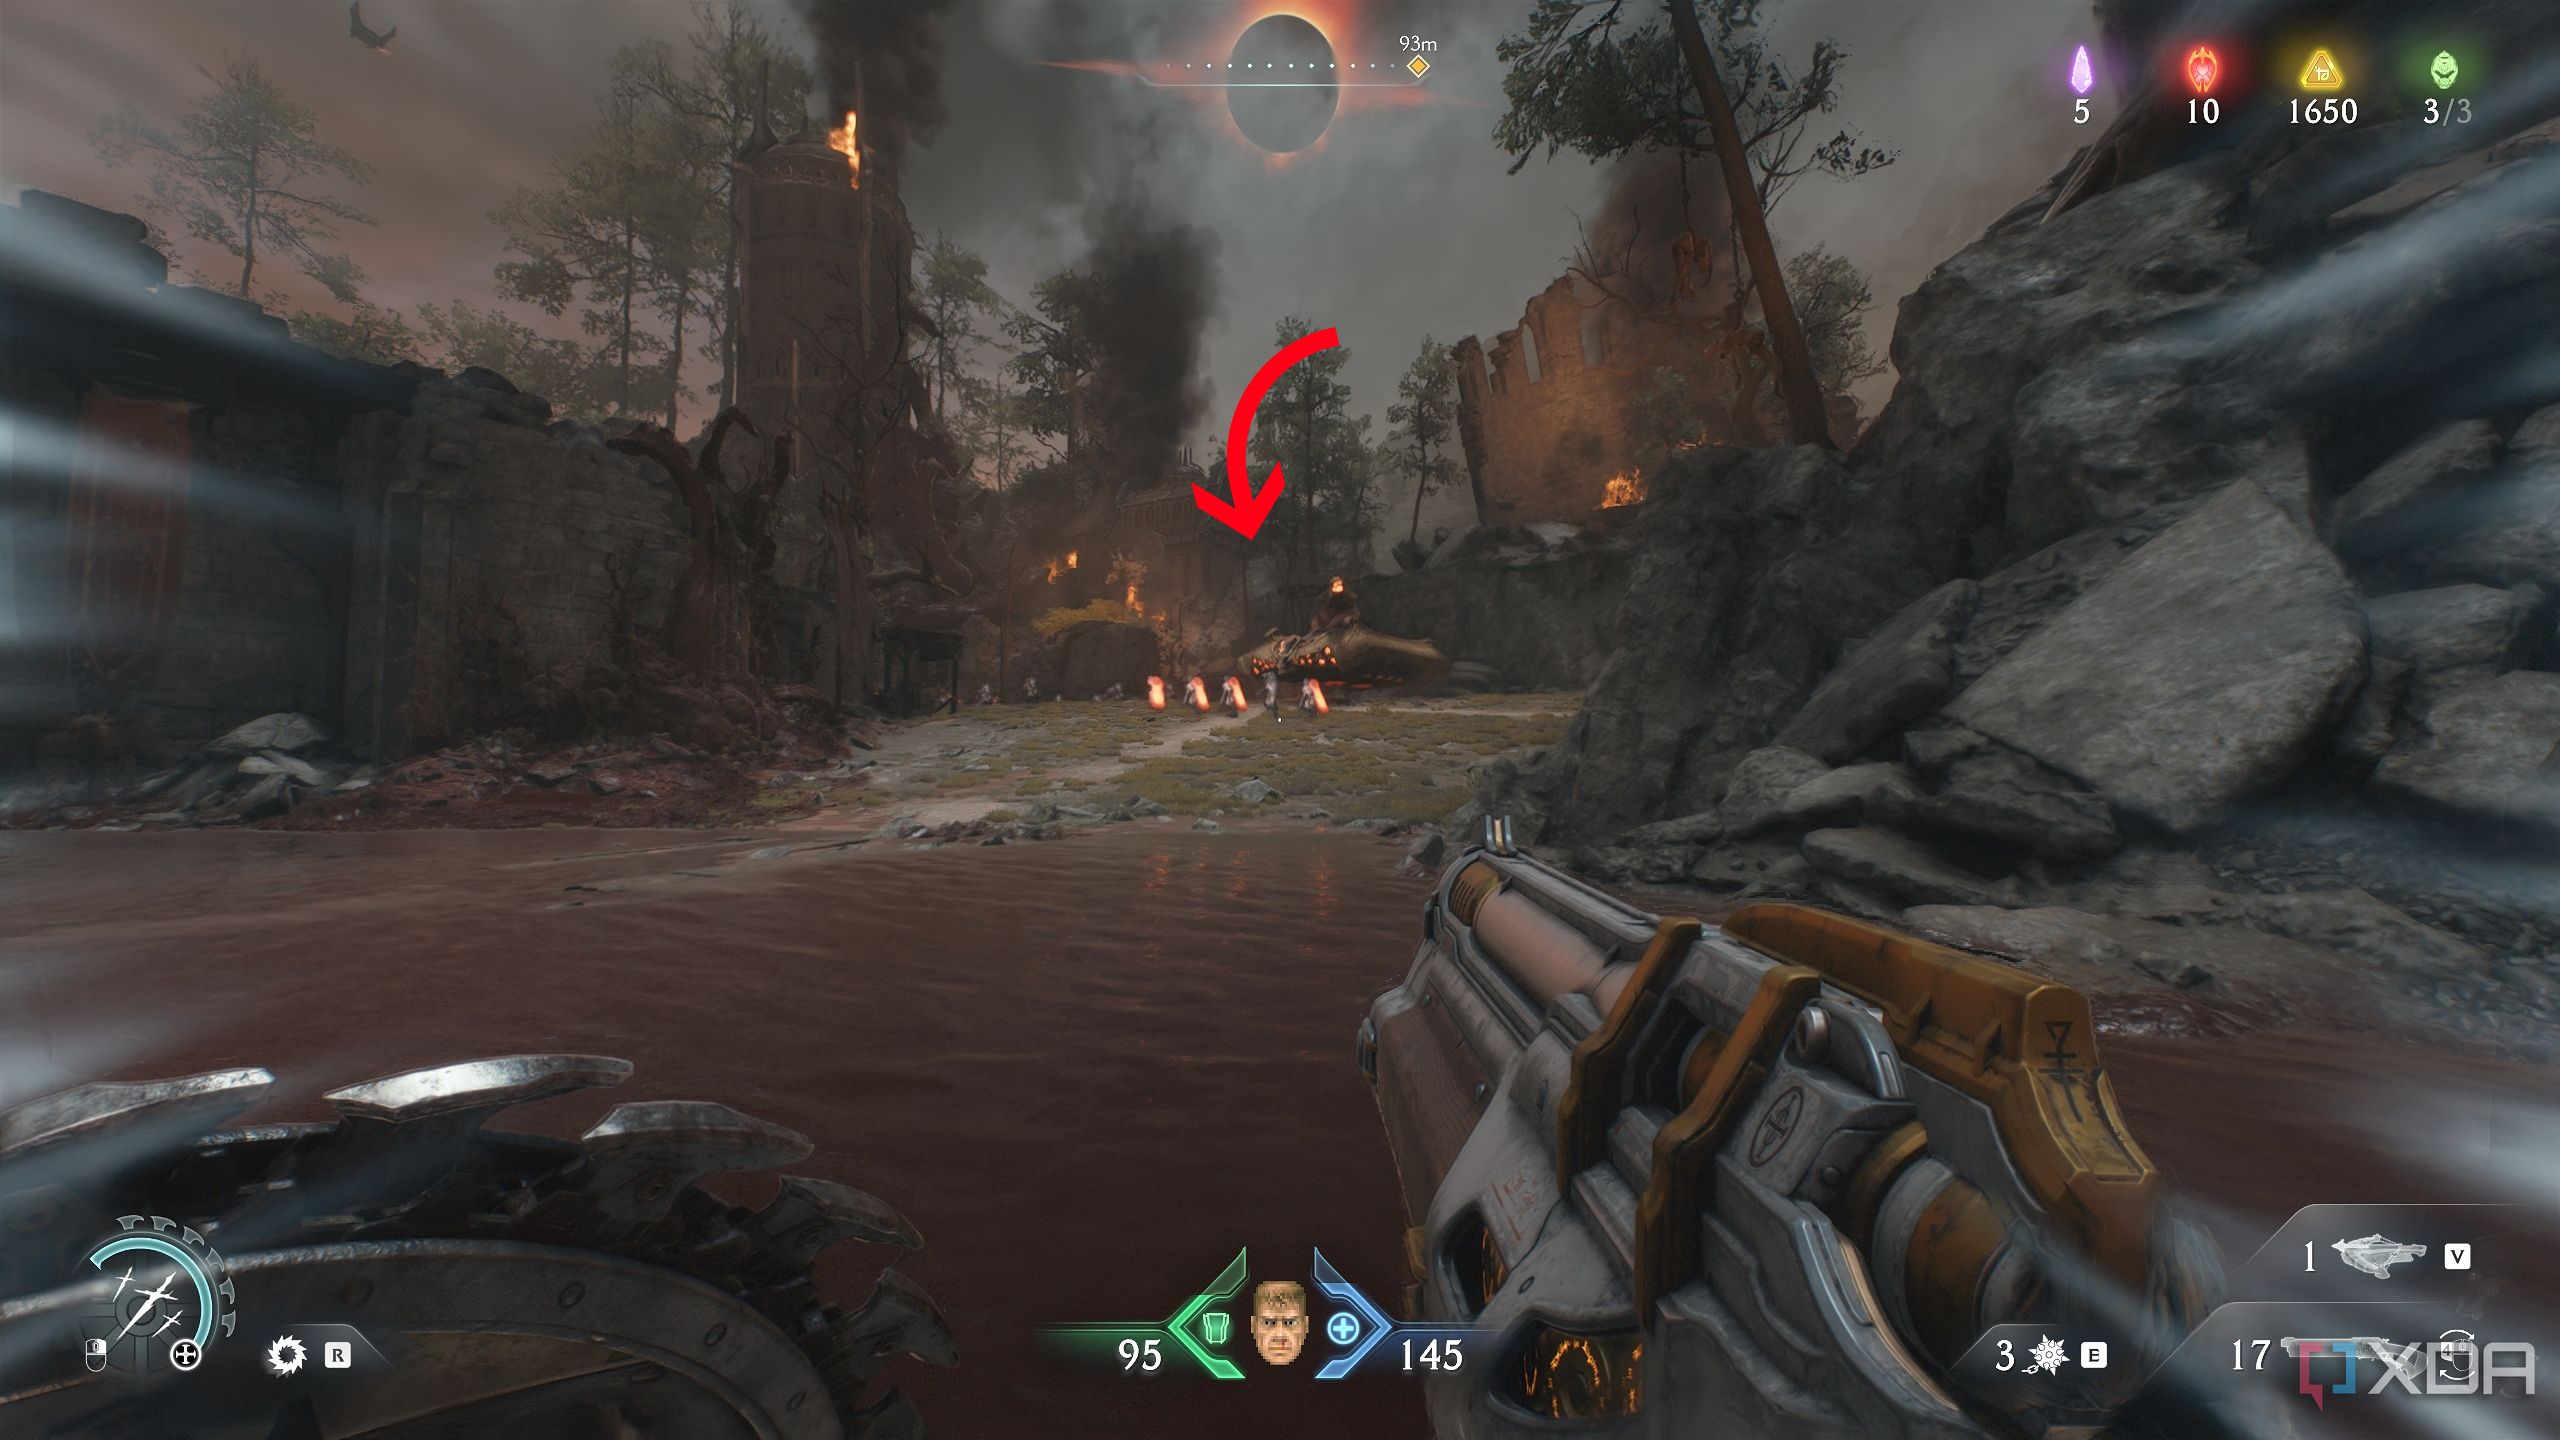
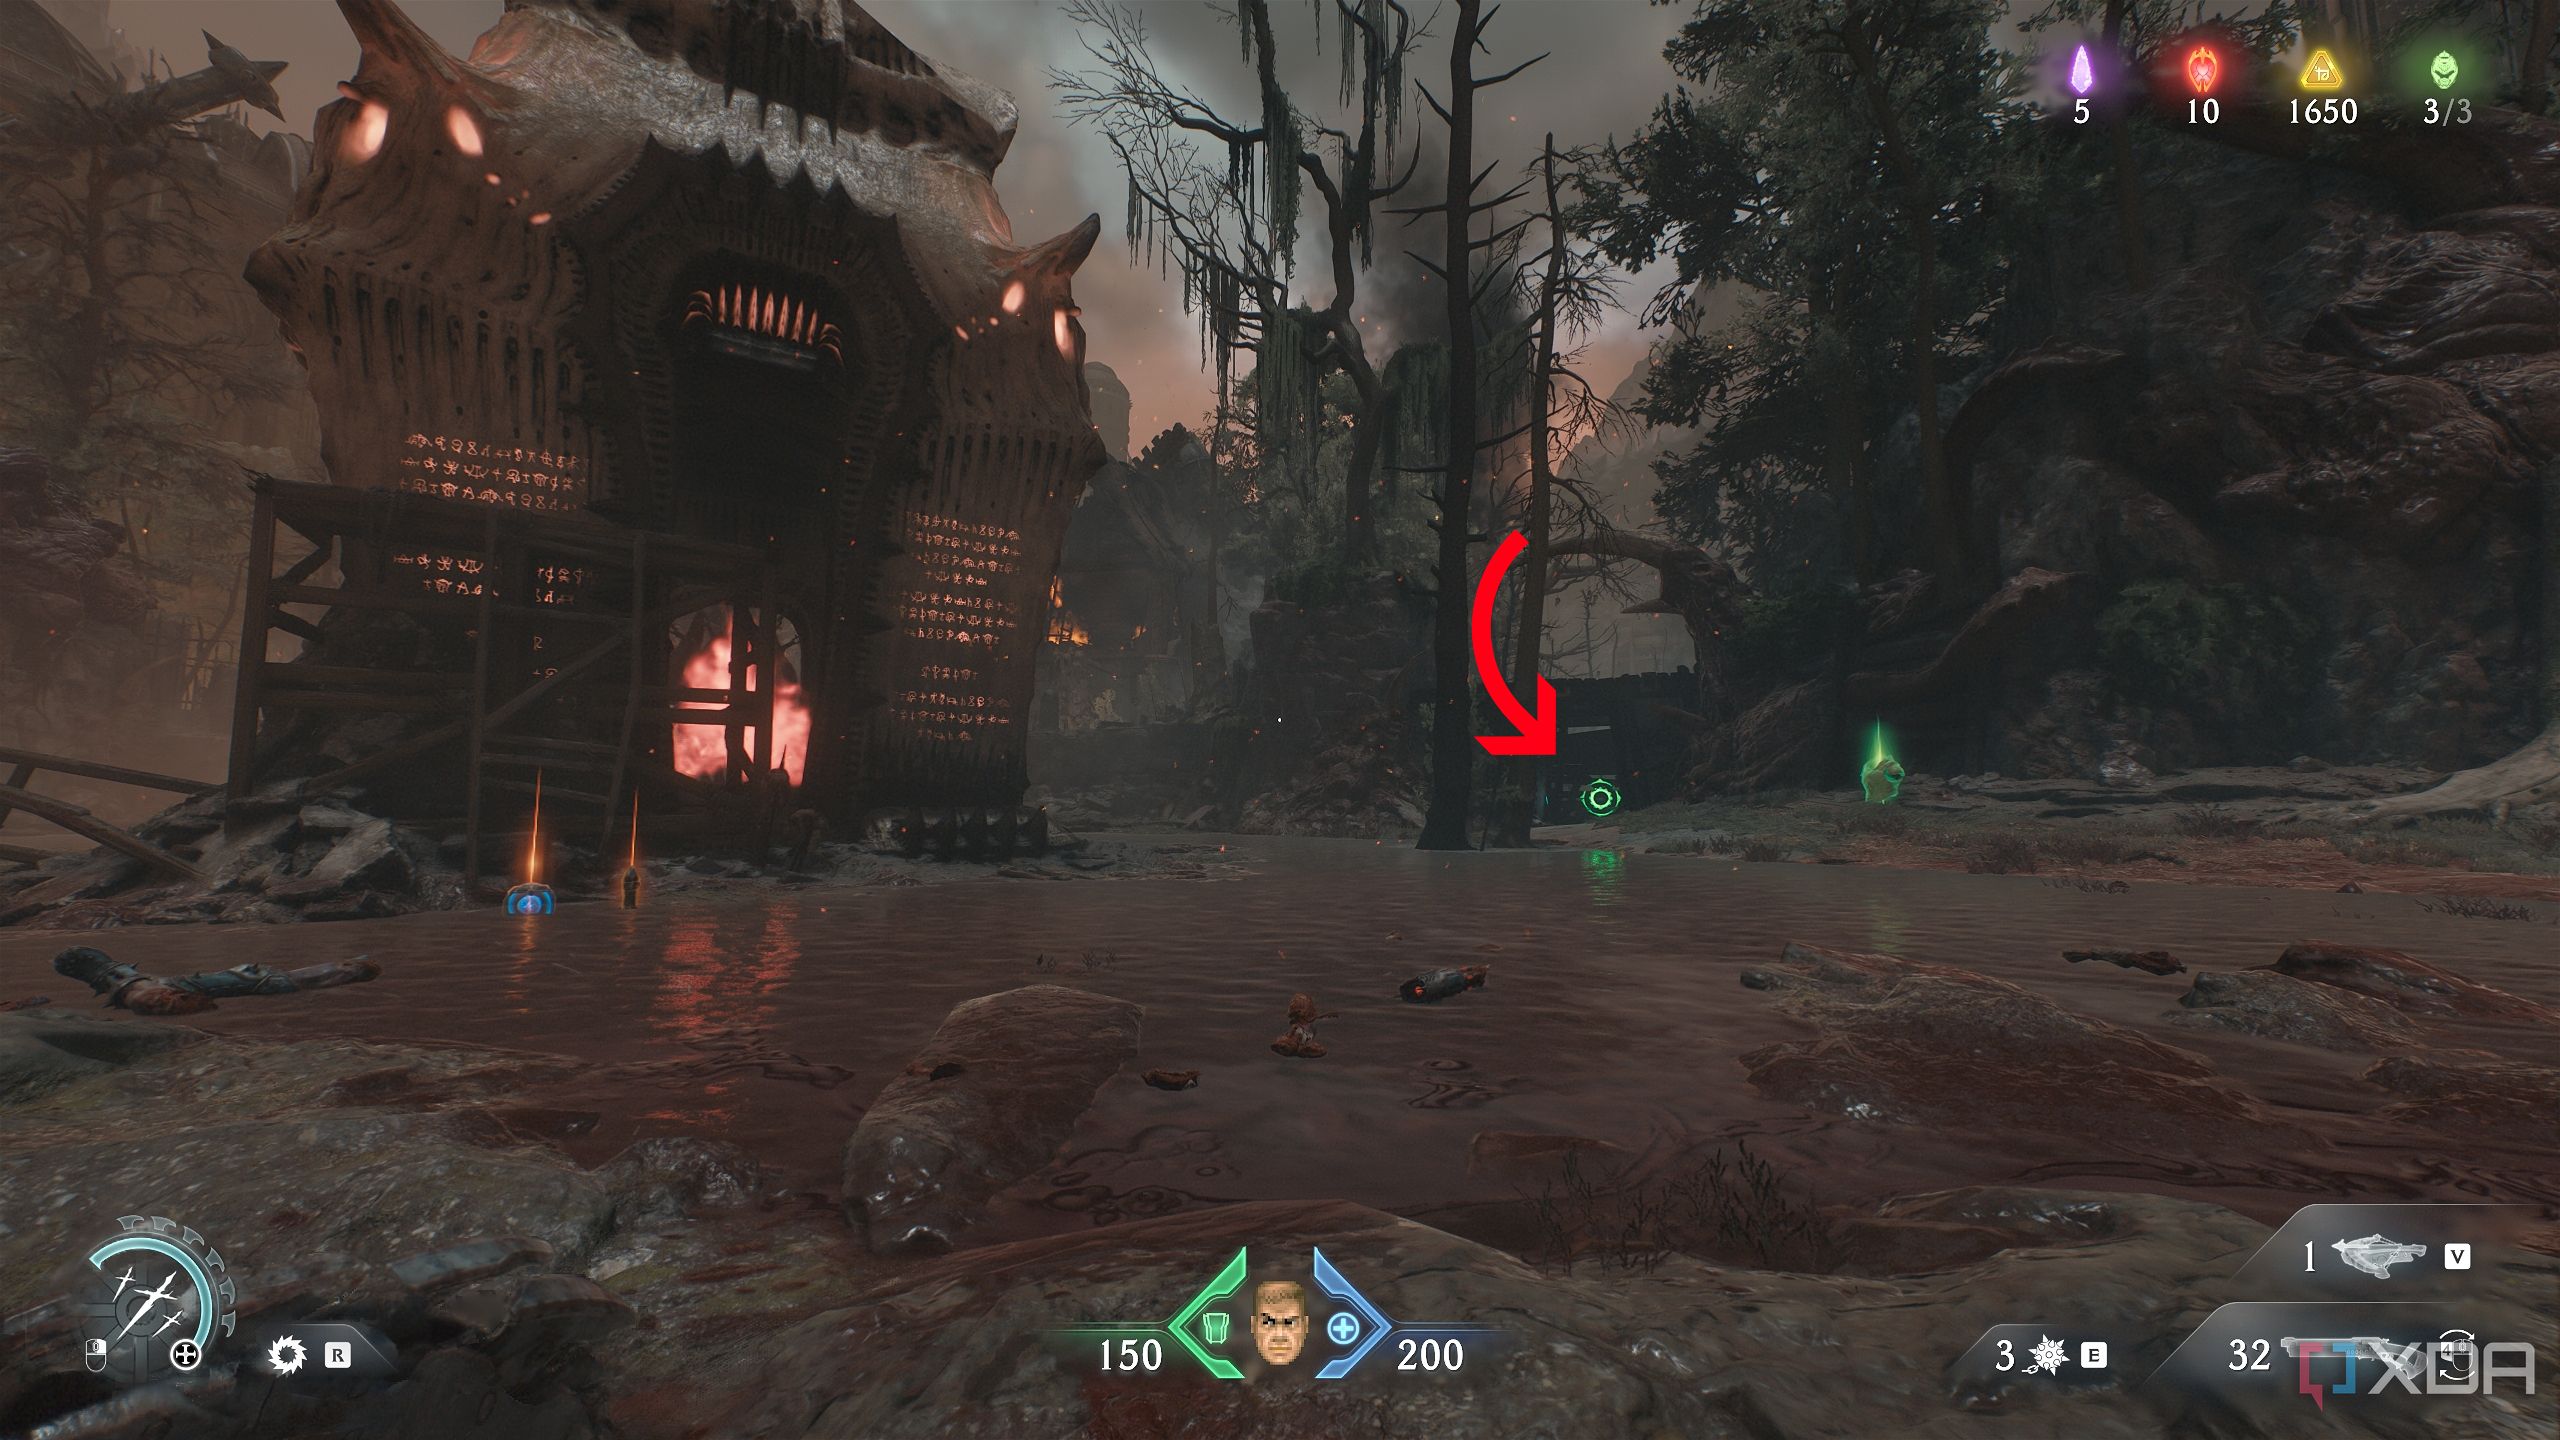
From the arena you’re standing in, you’ll notice a small trail of gold bars leading up a hill. .
This is where you’d be standing in the arena to be able to see the gold trail.
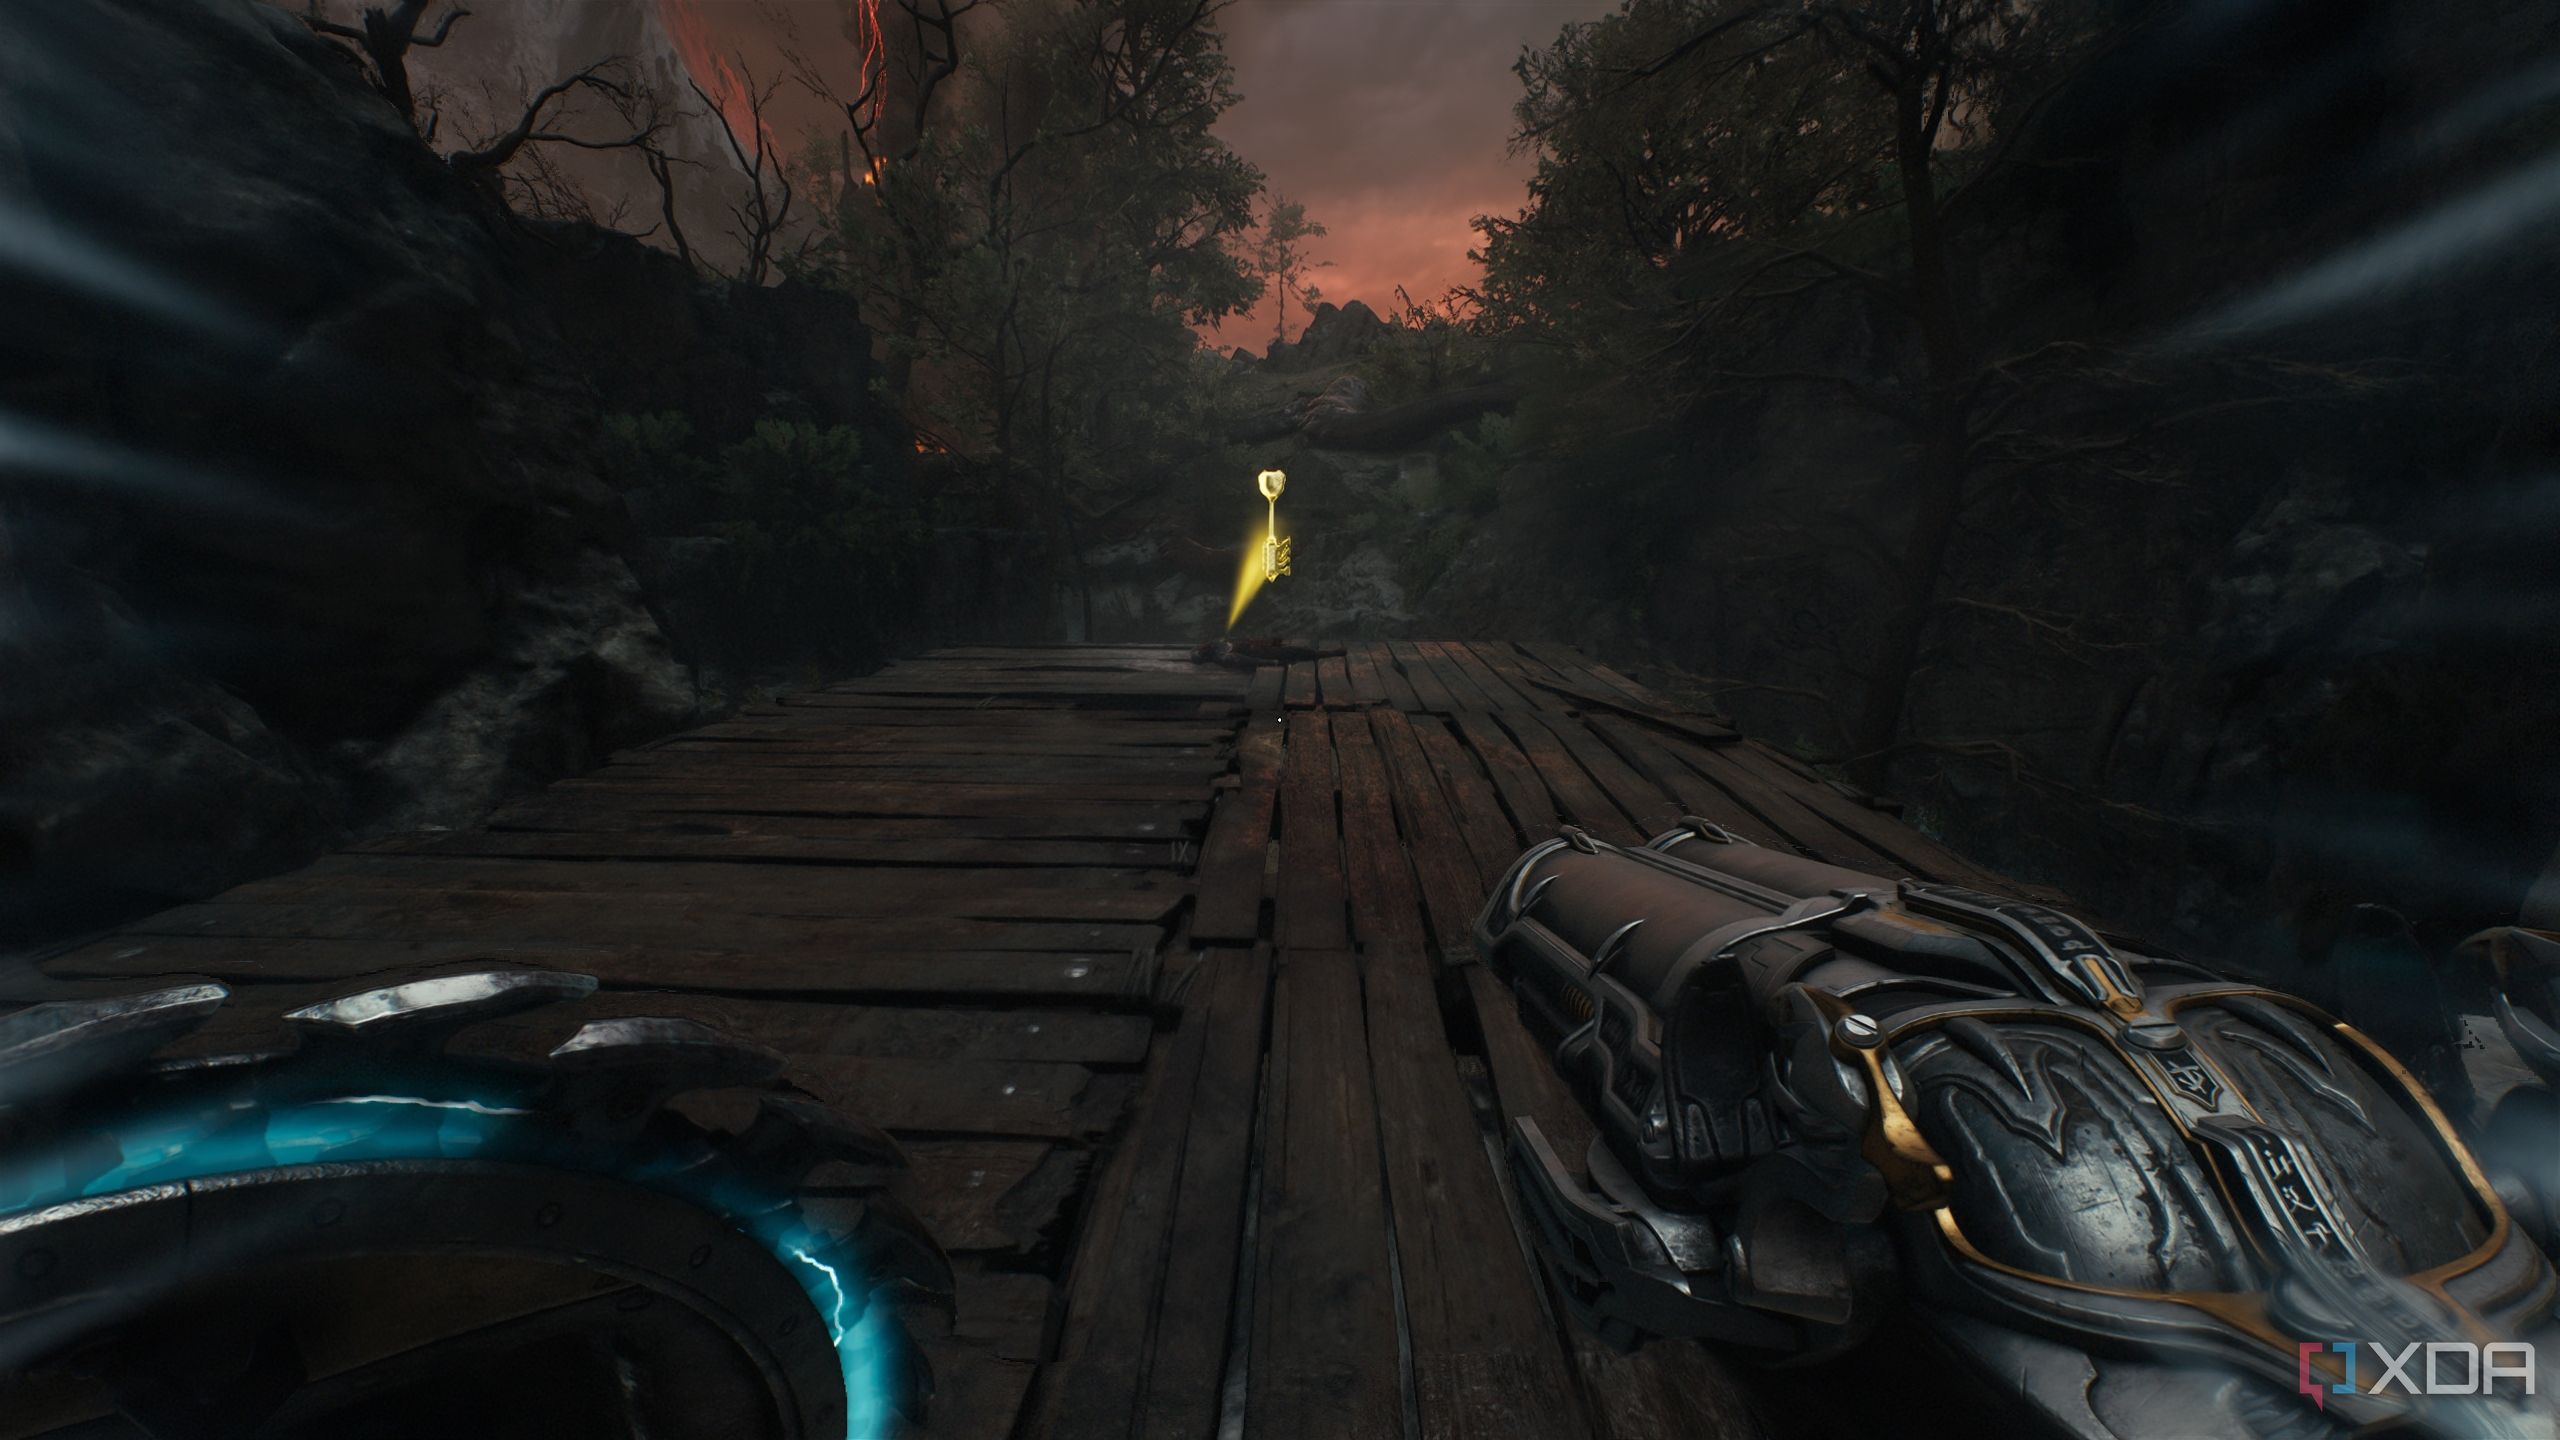
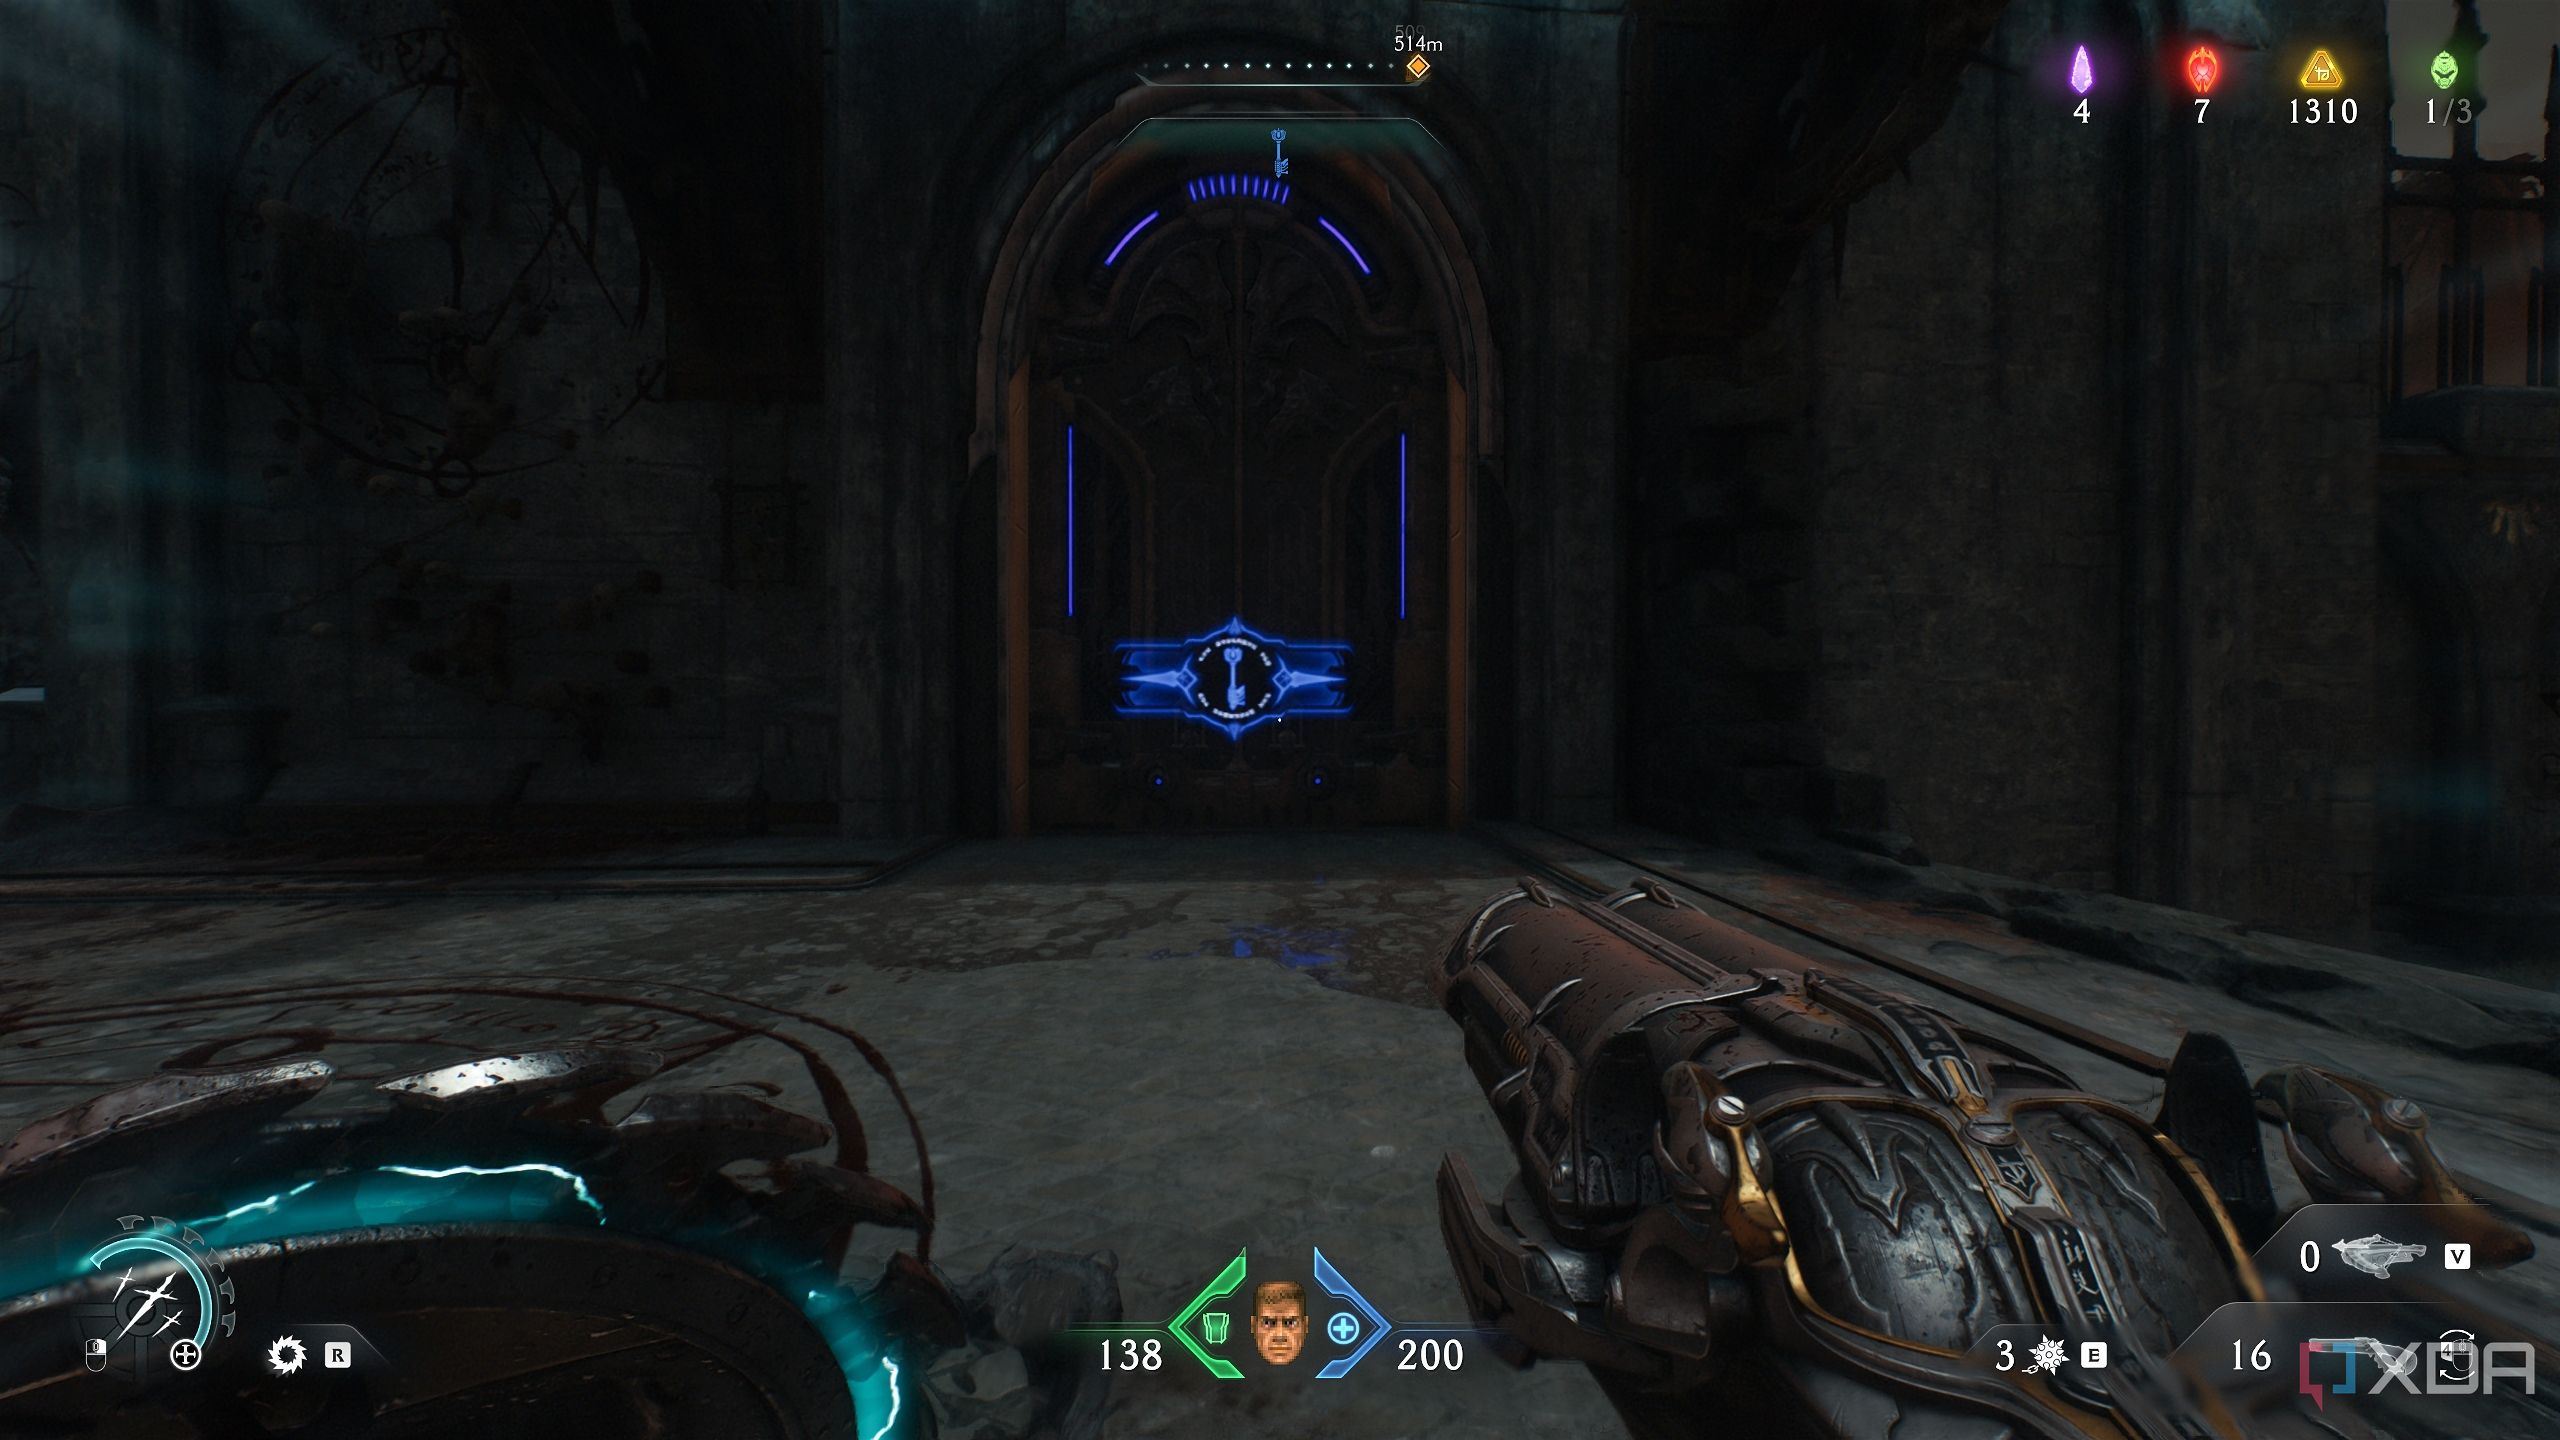
Follow the trail up the hill, and you’ll reach a landing where you pick up the yellow key.
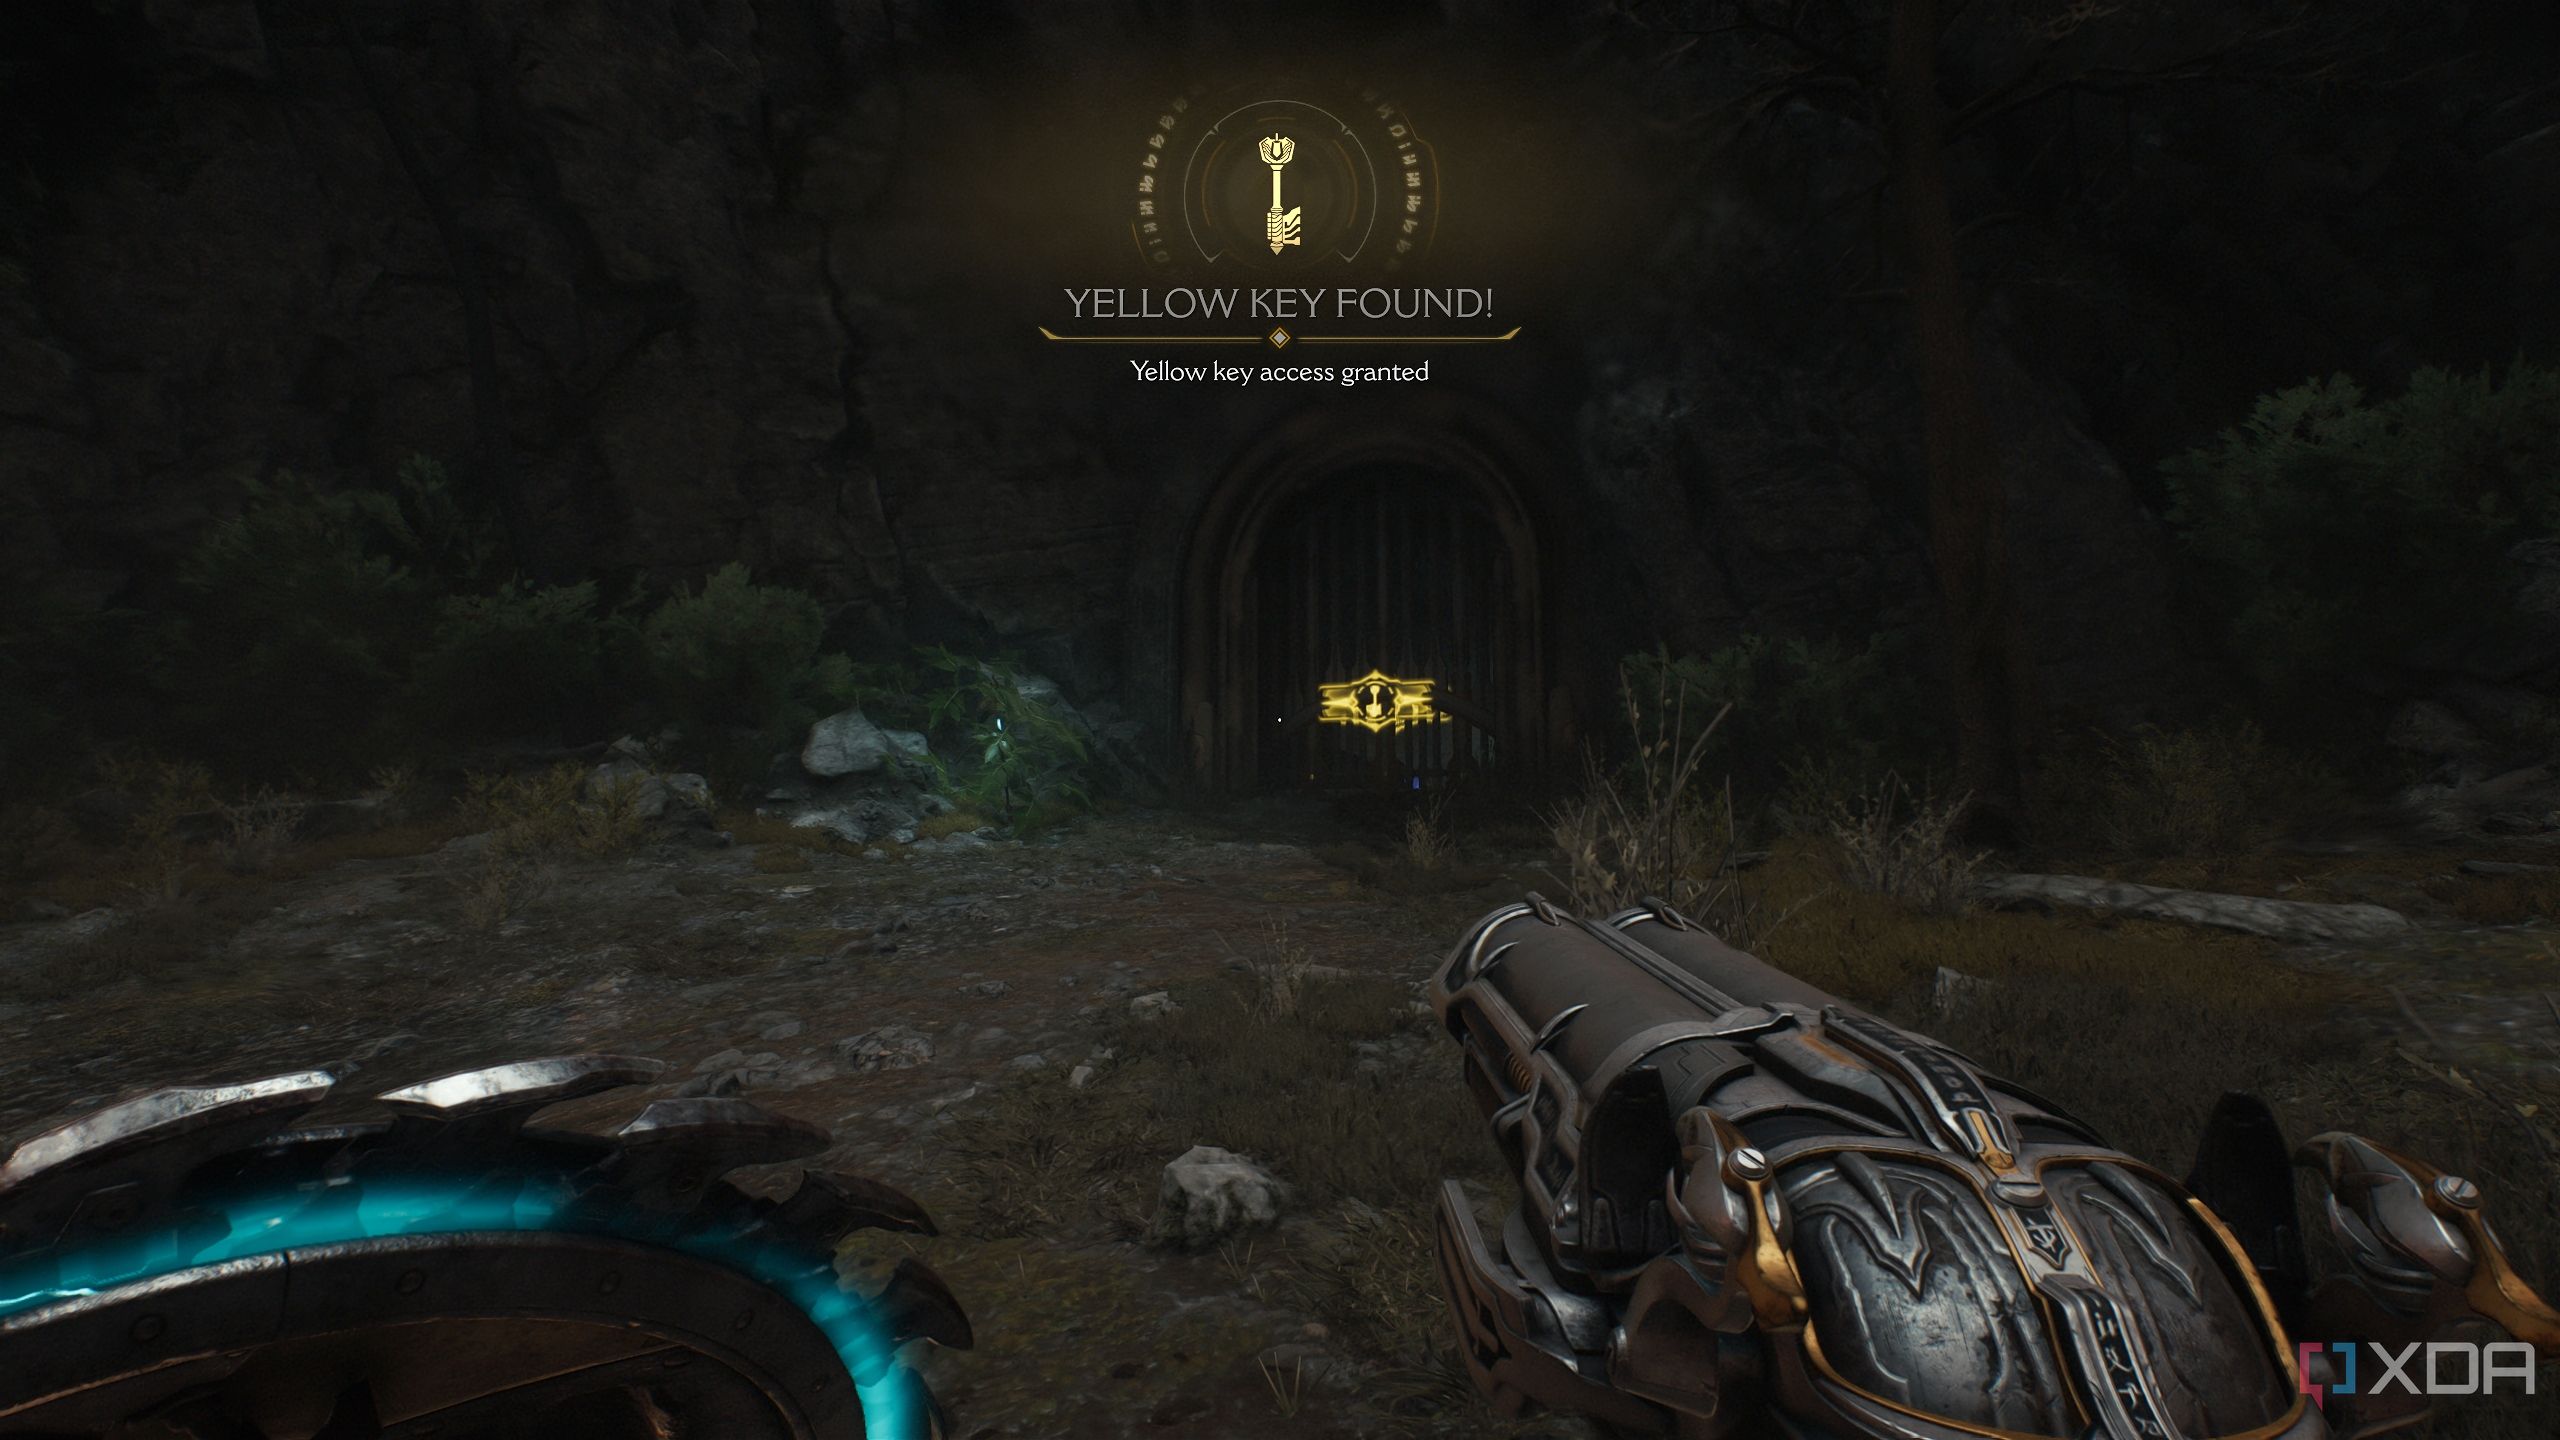
After that, immediately drop down from here, and to your right, there’s a yellow-coded locked gate.
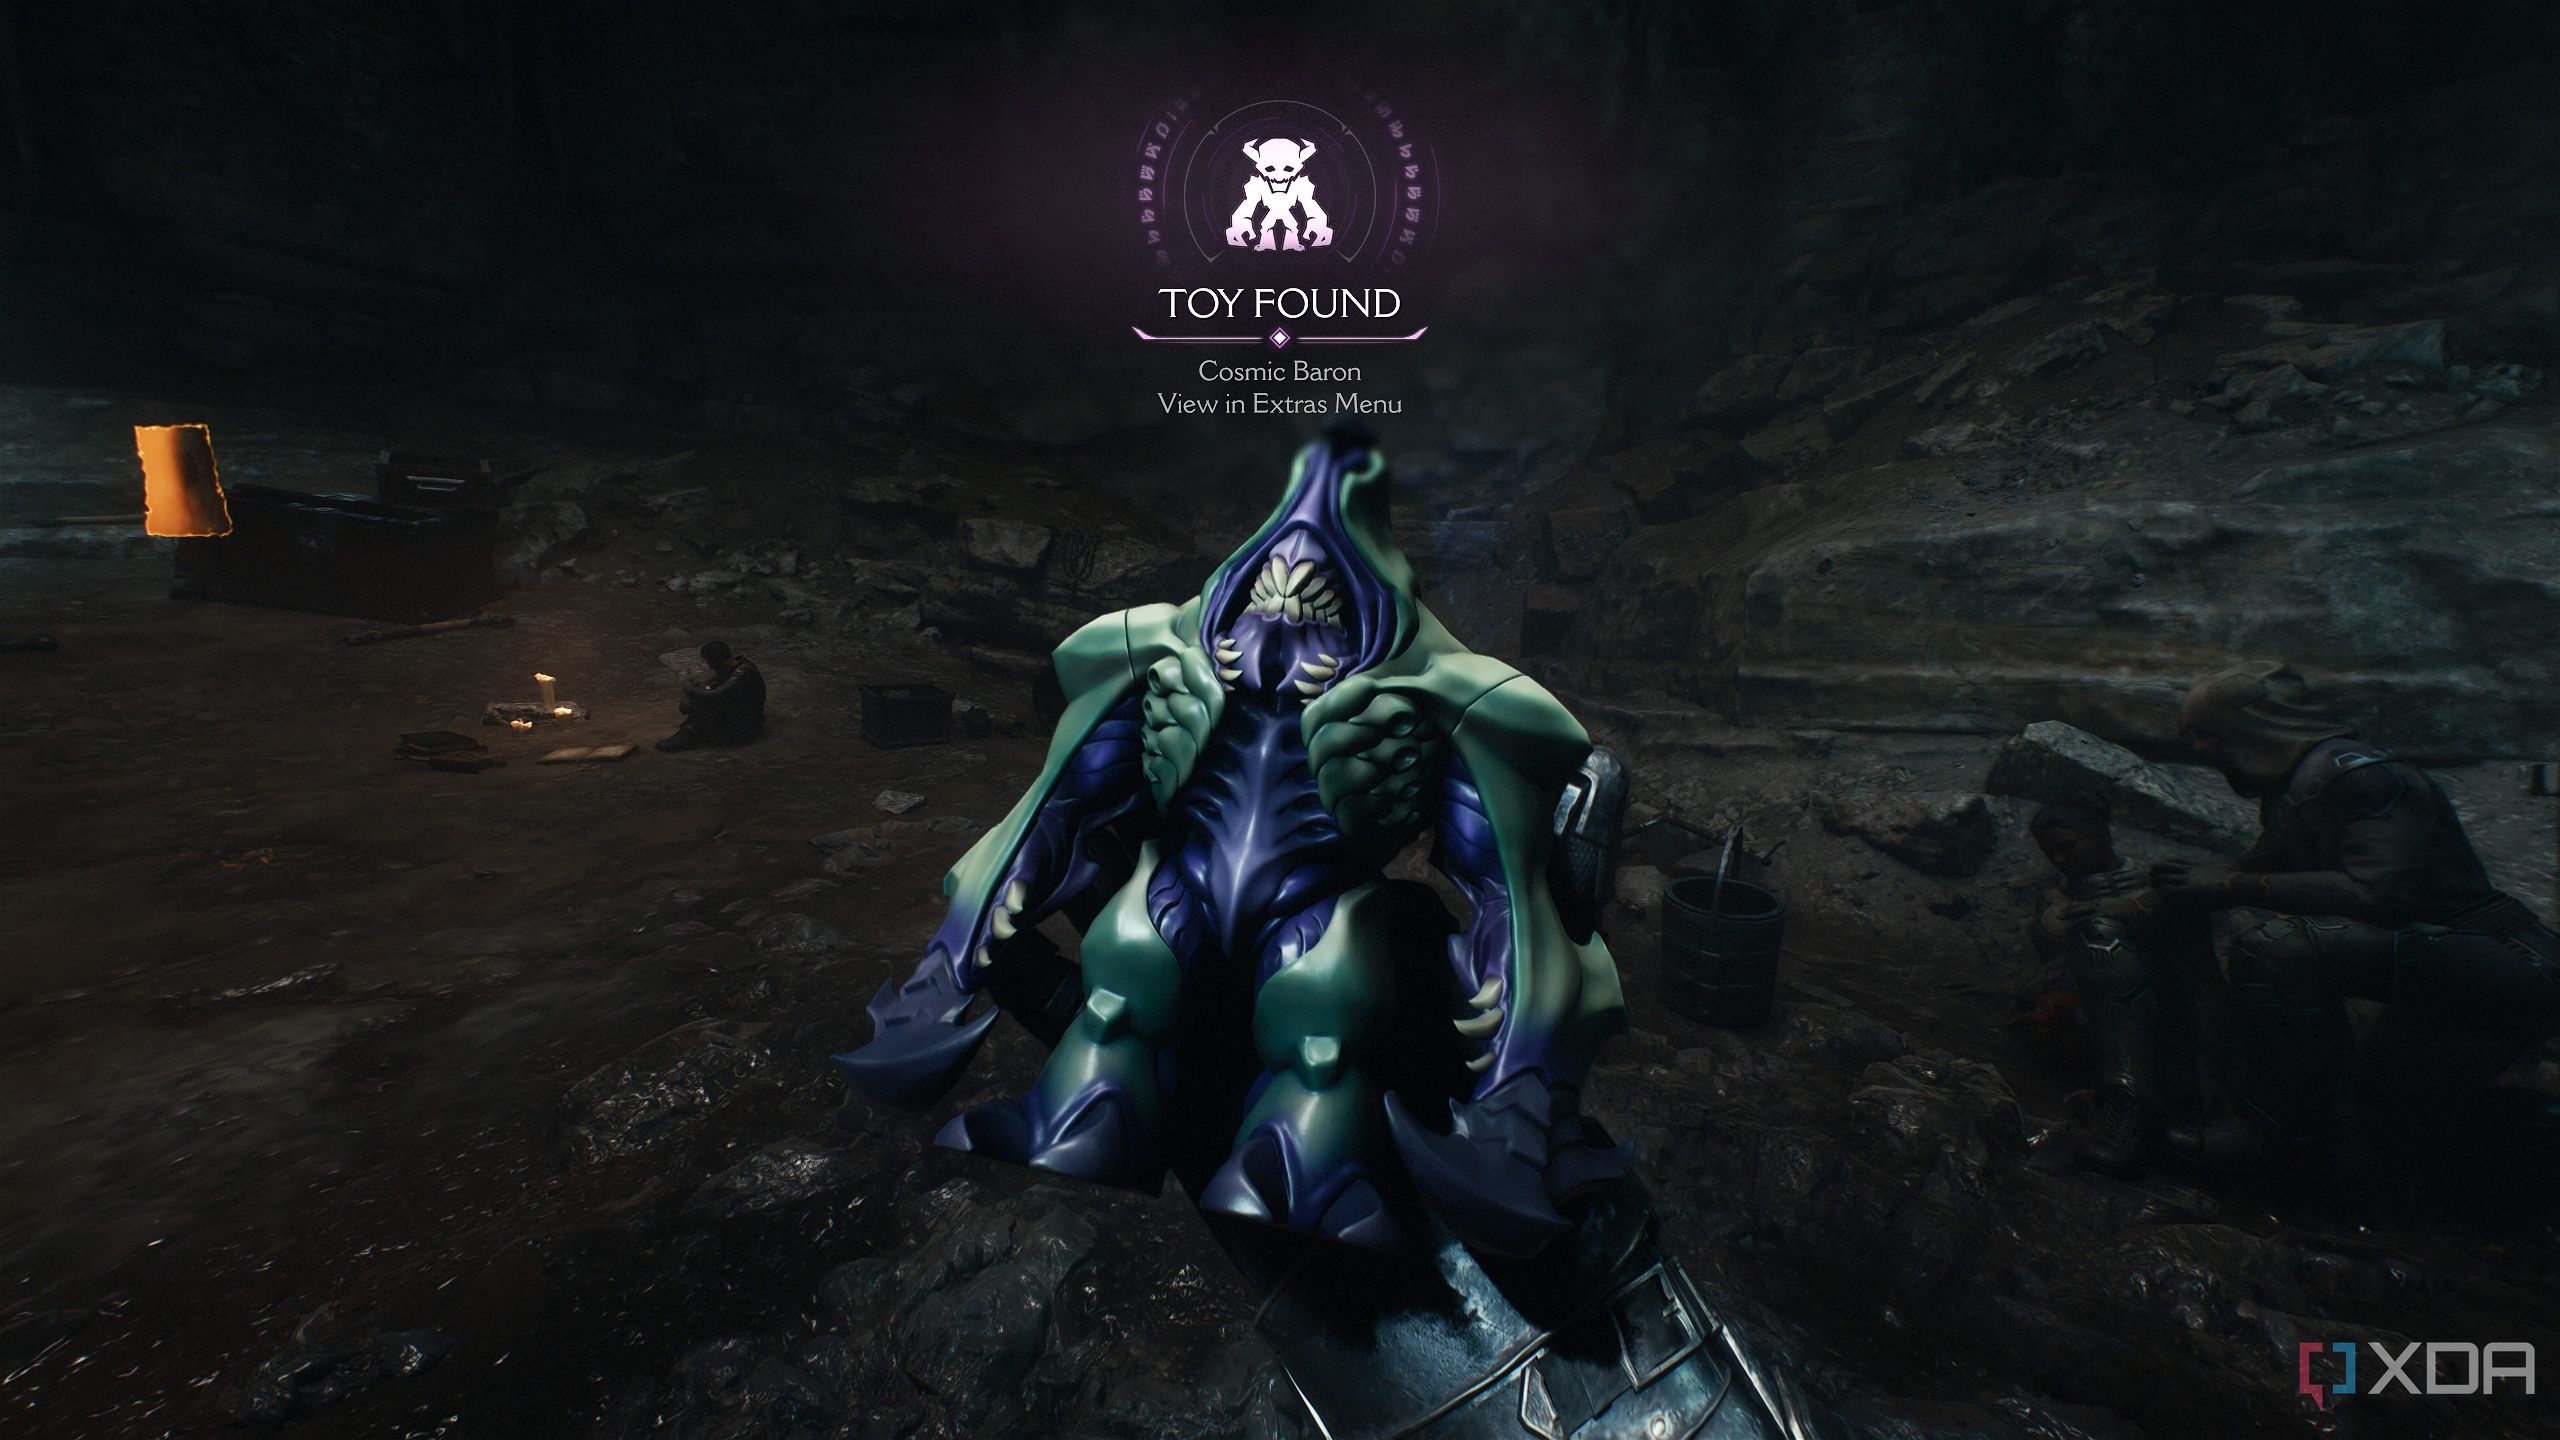
Head into it now, and here, you will unlock secret area 10. There are several civilians hiding here, along with a collectible toy for the Cosmic Baron. Furthermore, there’s even a Codex Page here.
Related
10 best first-person shooters that are free to play on Steam
Enter the genre of fast paced first-person shooters with these 10 free-to-play titles on Steam
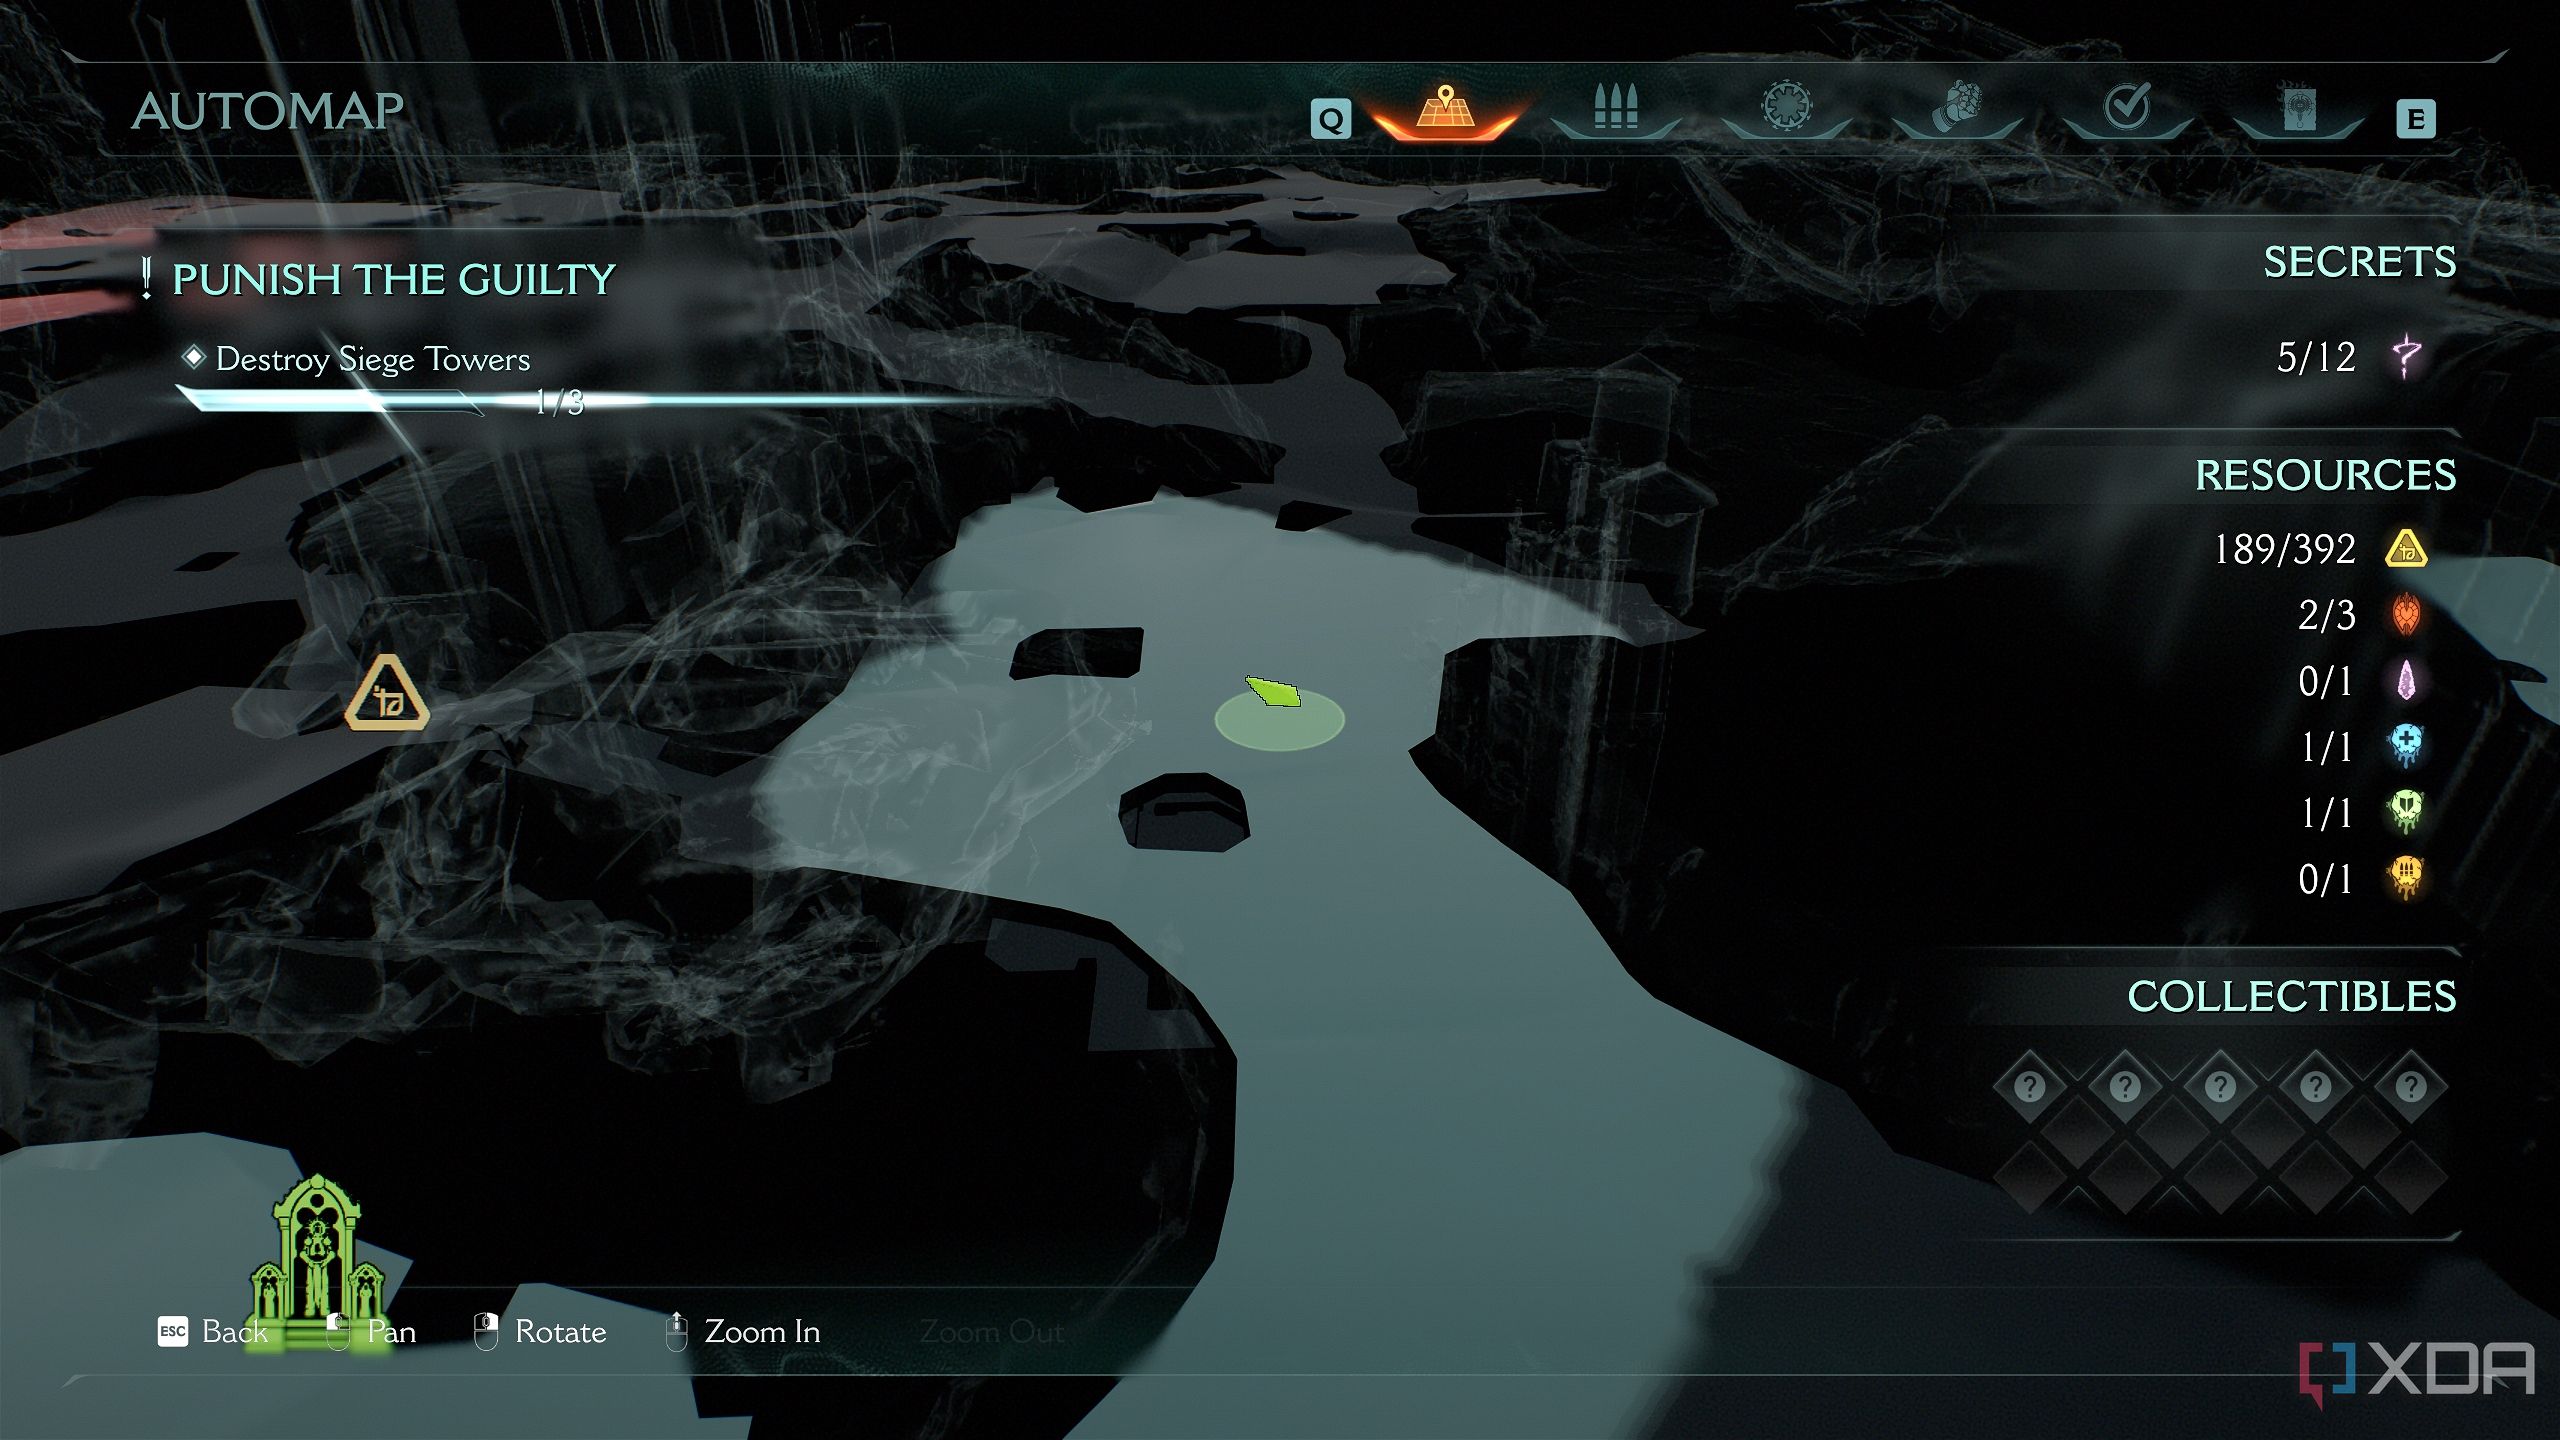
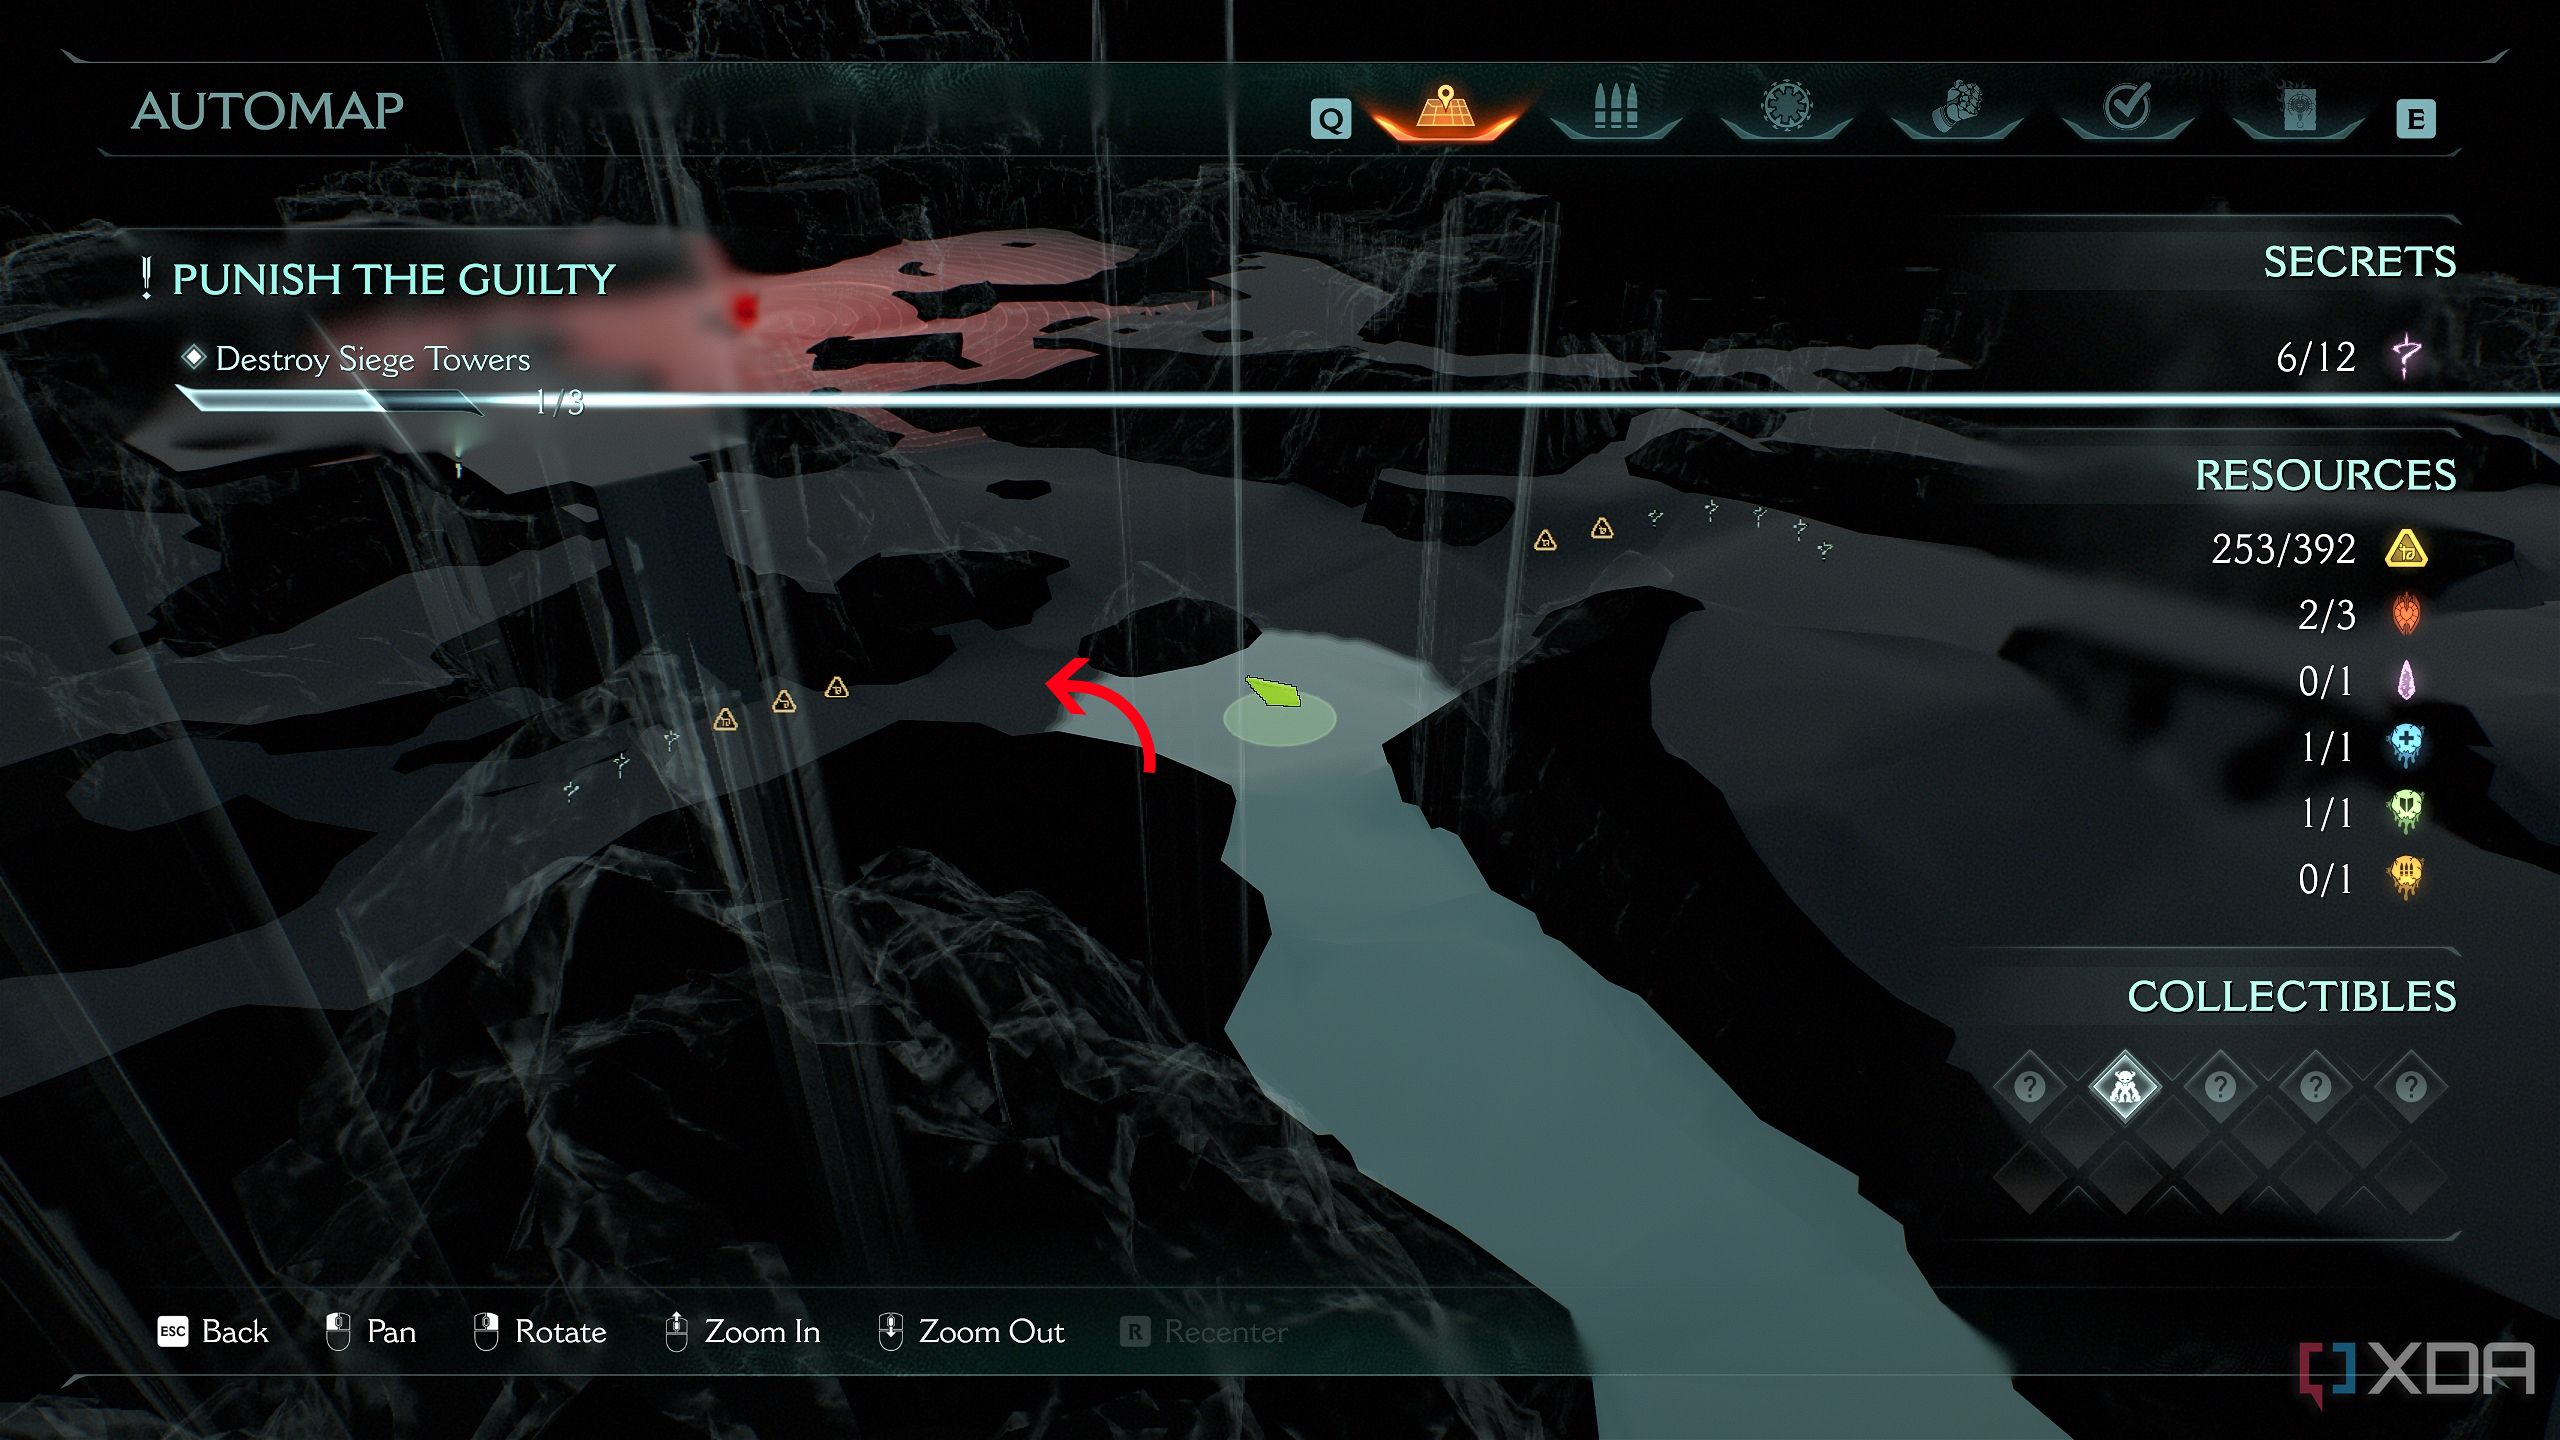
Secret area 11, final gold bars, and a gold chest
One final gold chest before the Slayer and Serrat reunite

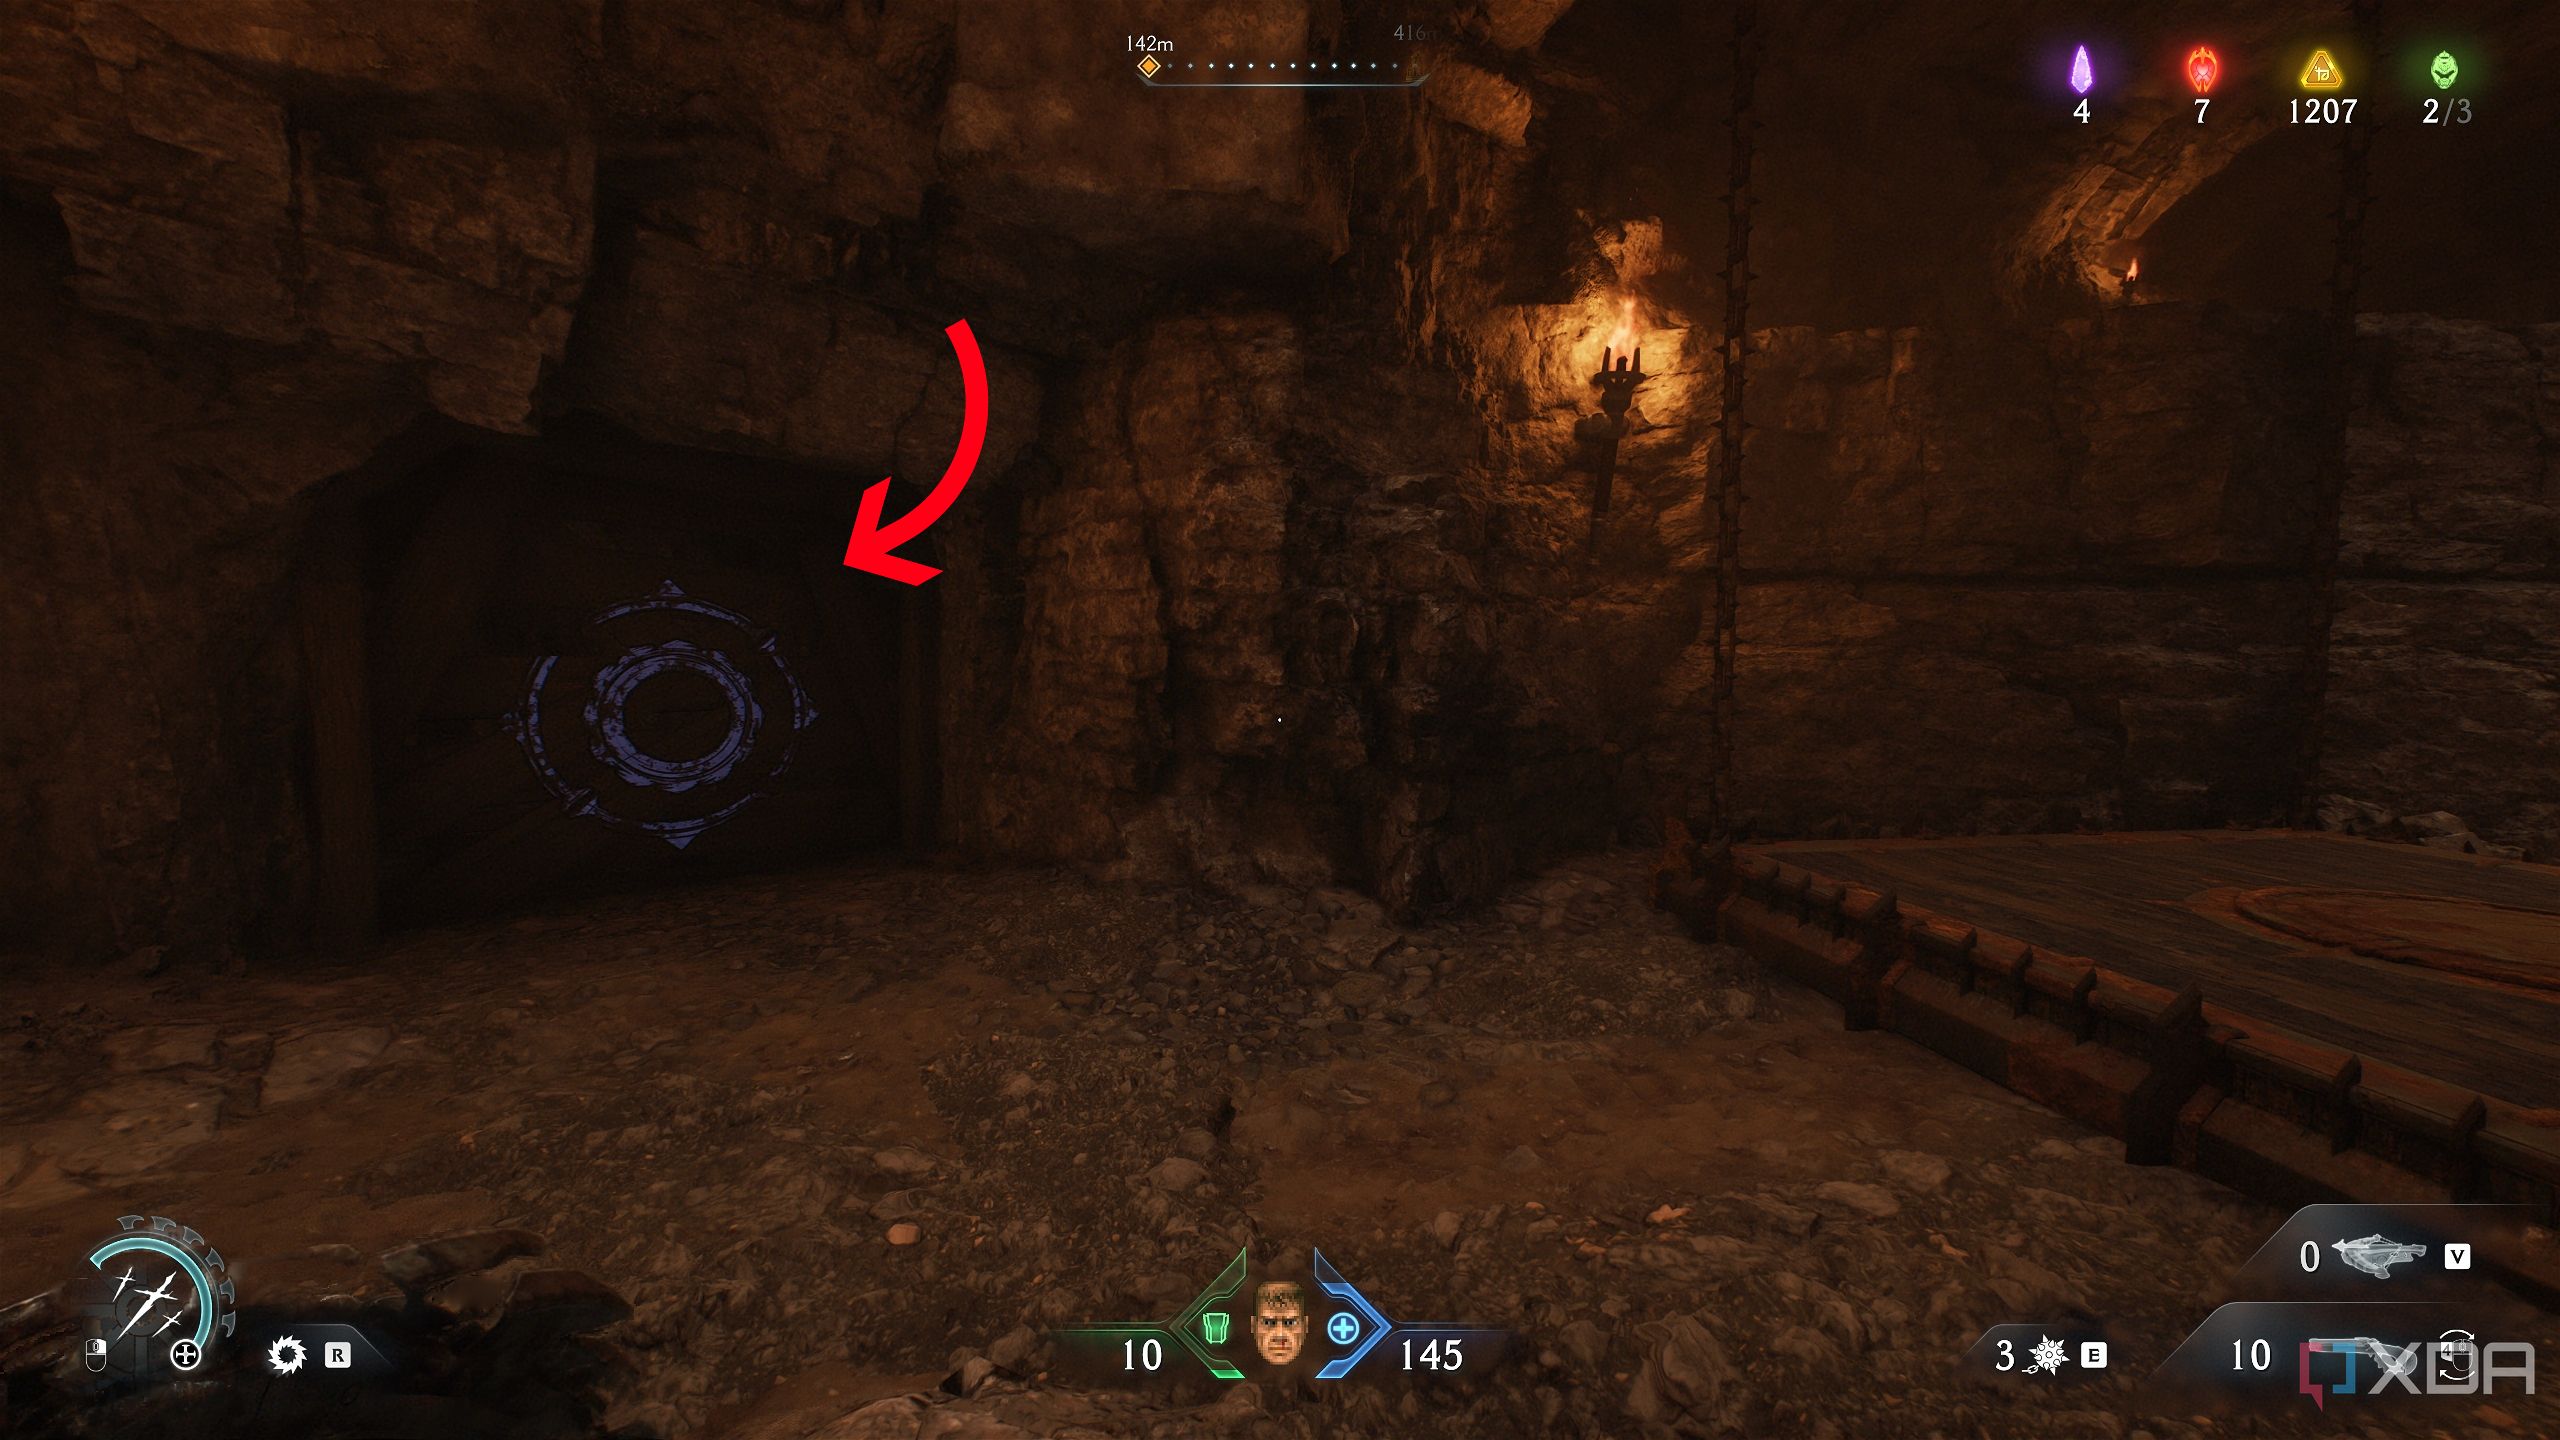
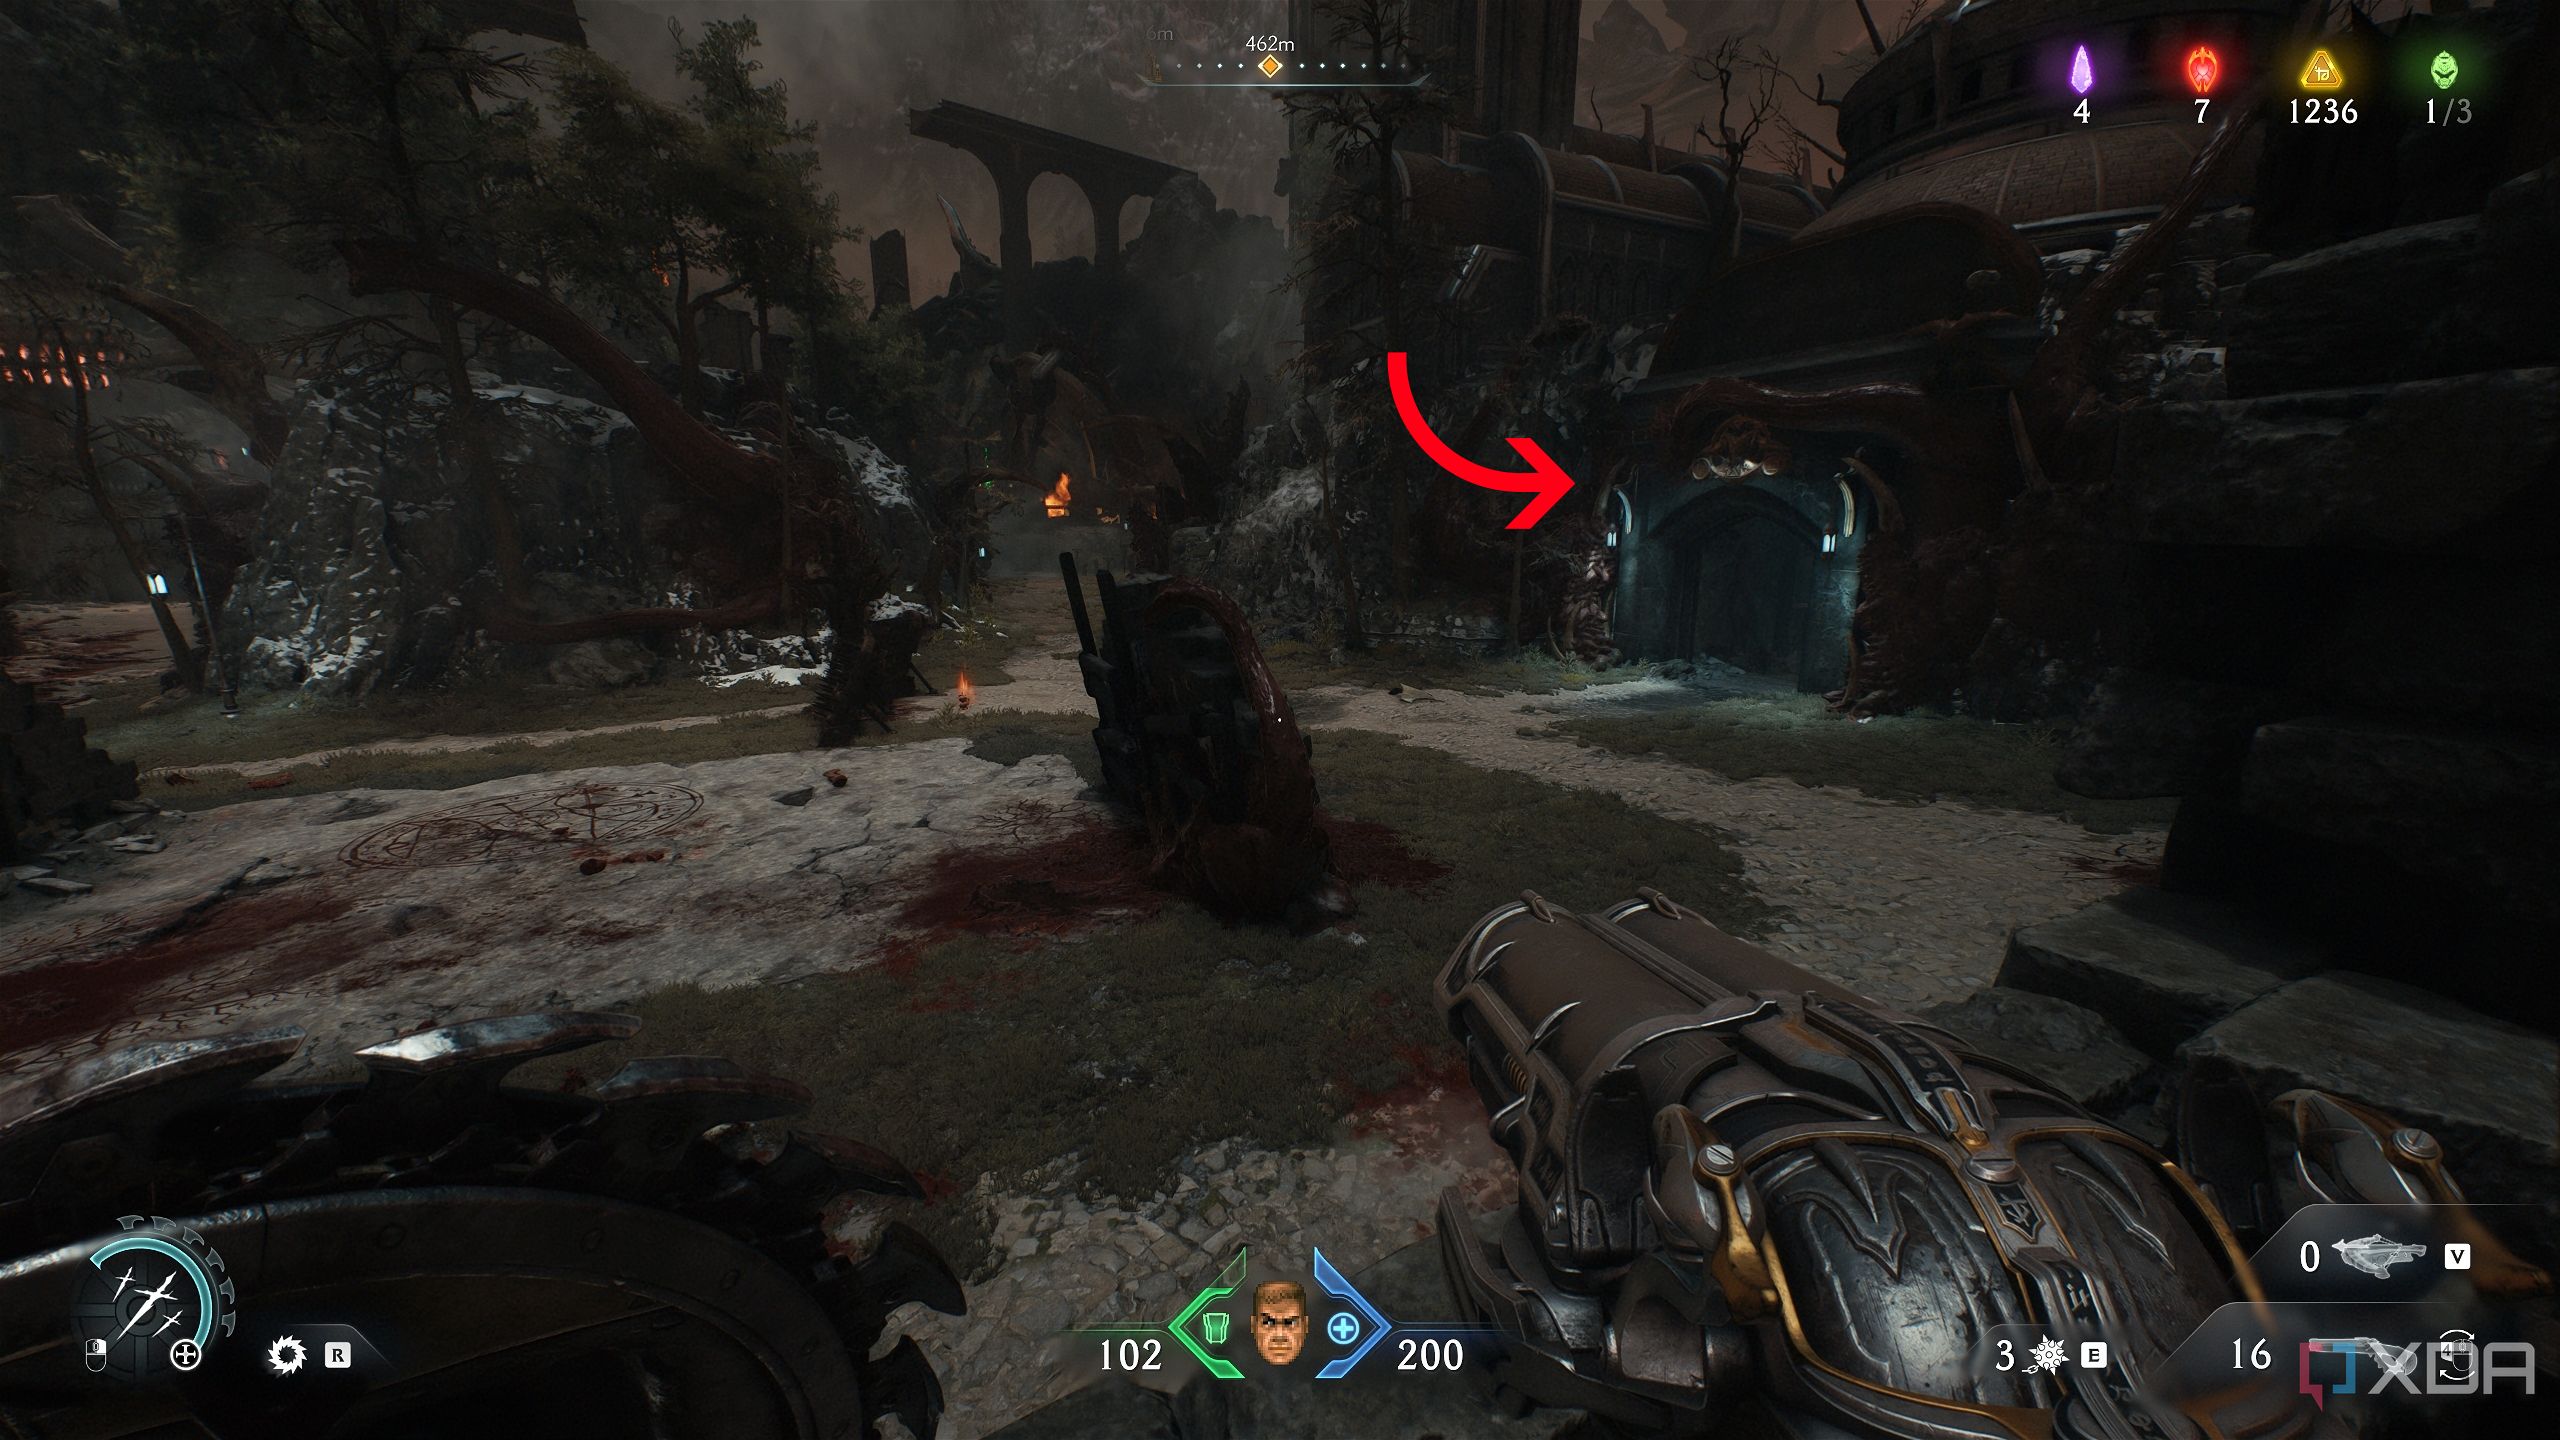
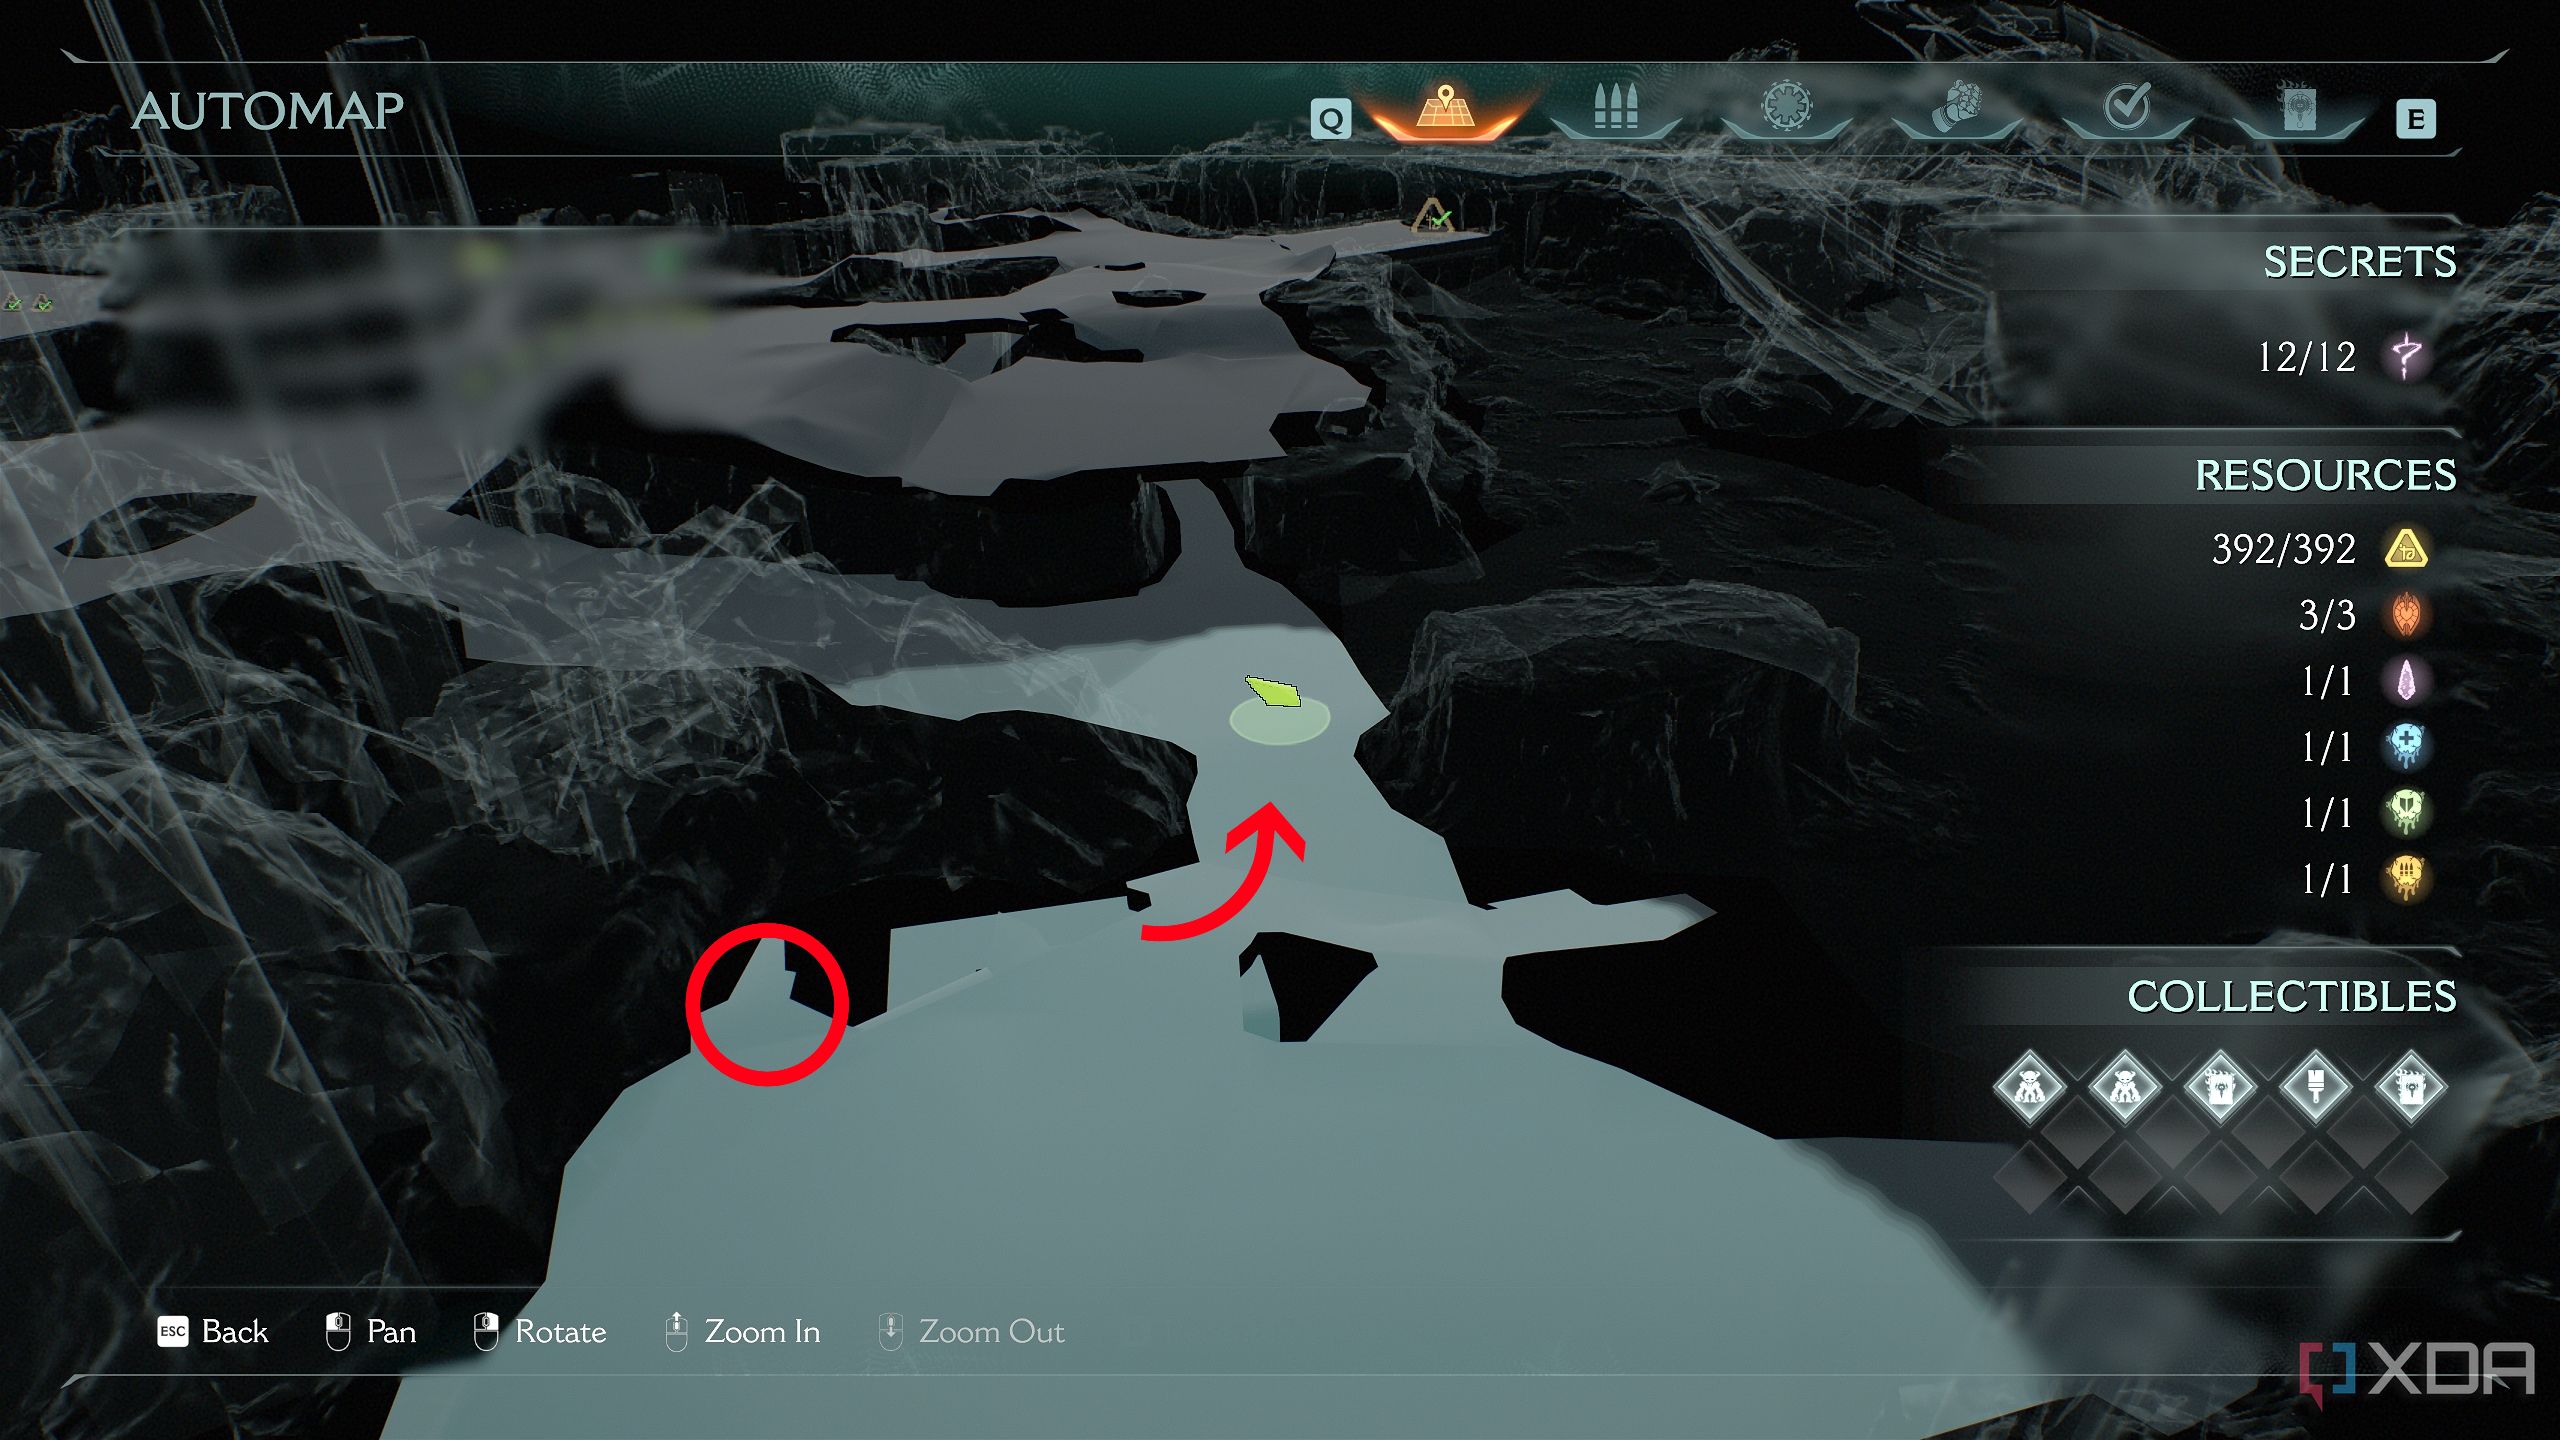
Now, it’s time to wrap up all the stray gold lying all around the map that you still haven’t collected. For that, first head back into the arena you were just in — the one with the third Siege Tower and the Komodo’s ammo Demonic Essence. Stand in the position marked above on the Automap.
Then, you should be able to see a wall behind the Siege Tower with a Shield Symbol on it. Bash through it, and you’ll land on top of a gold stack.
Head back to the arena, and then go to the right side.
Here, you should see a scramble wall. Stand here on the map to be able to see the scramble wall, clear as day.
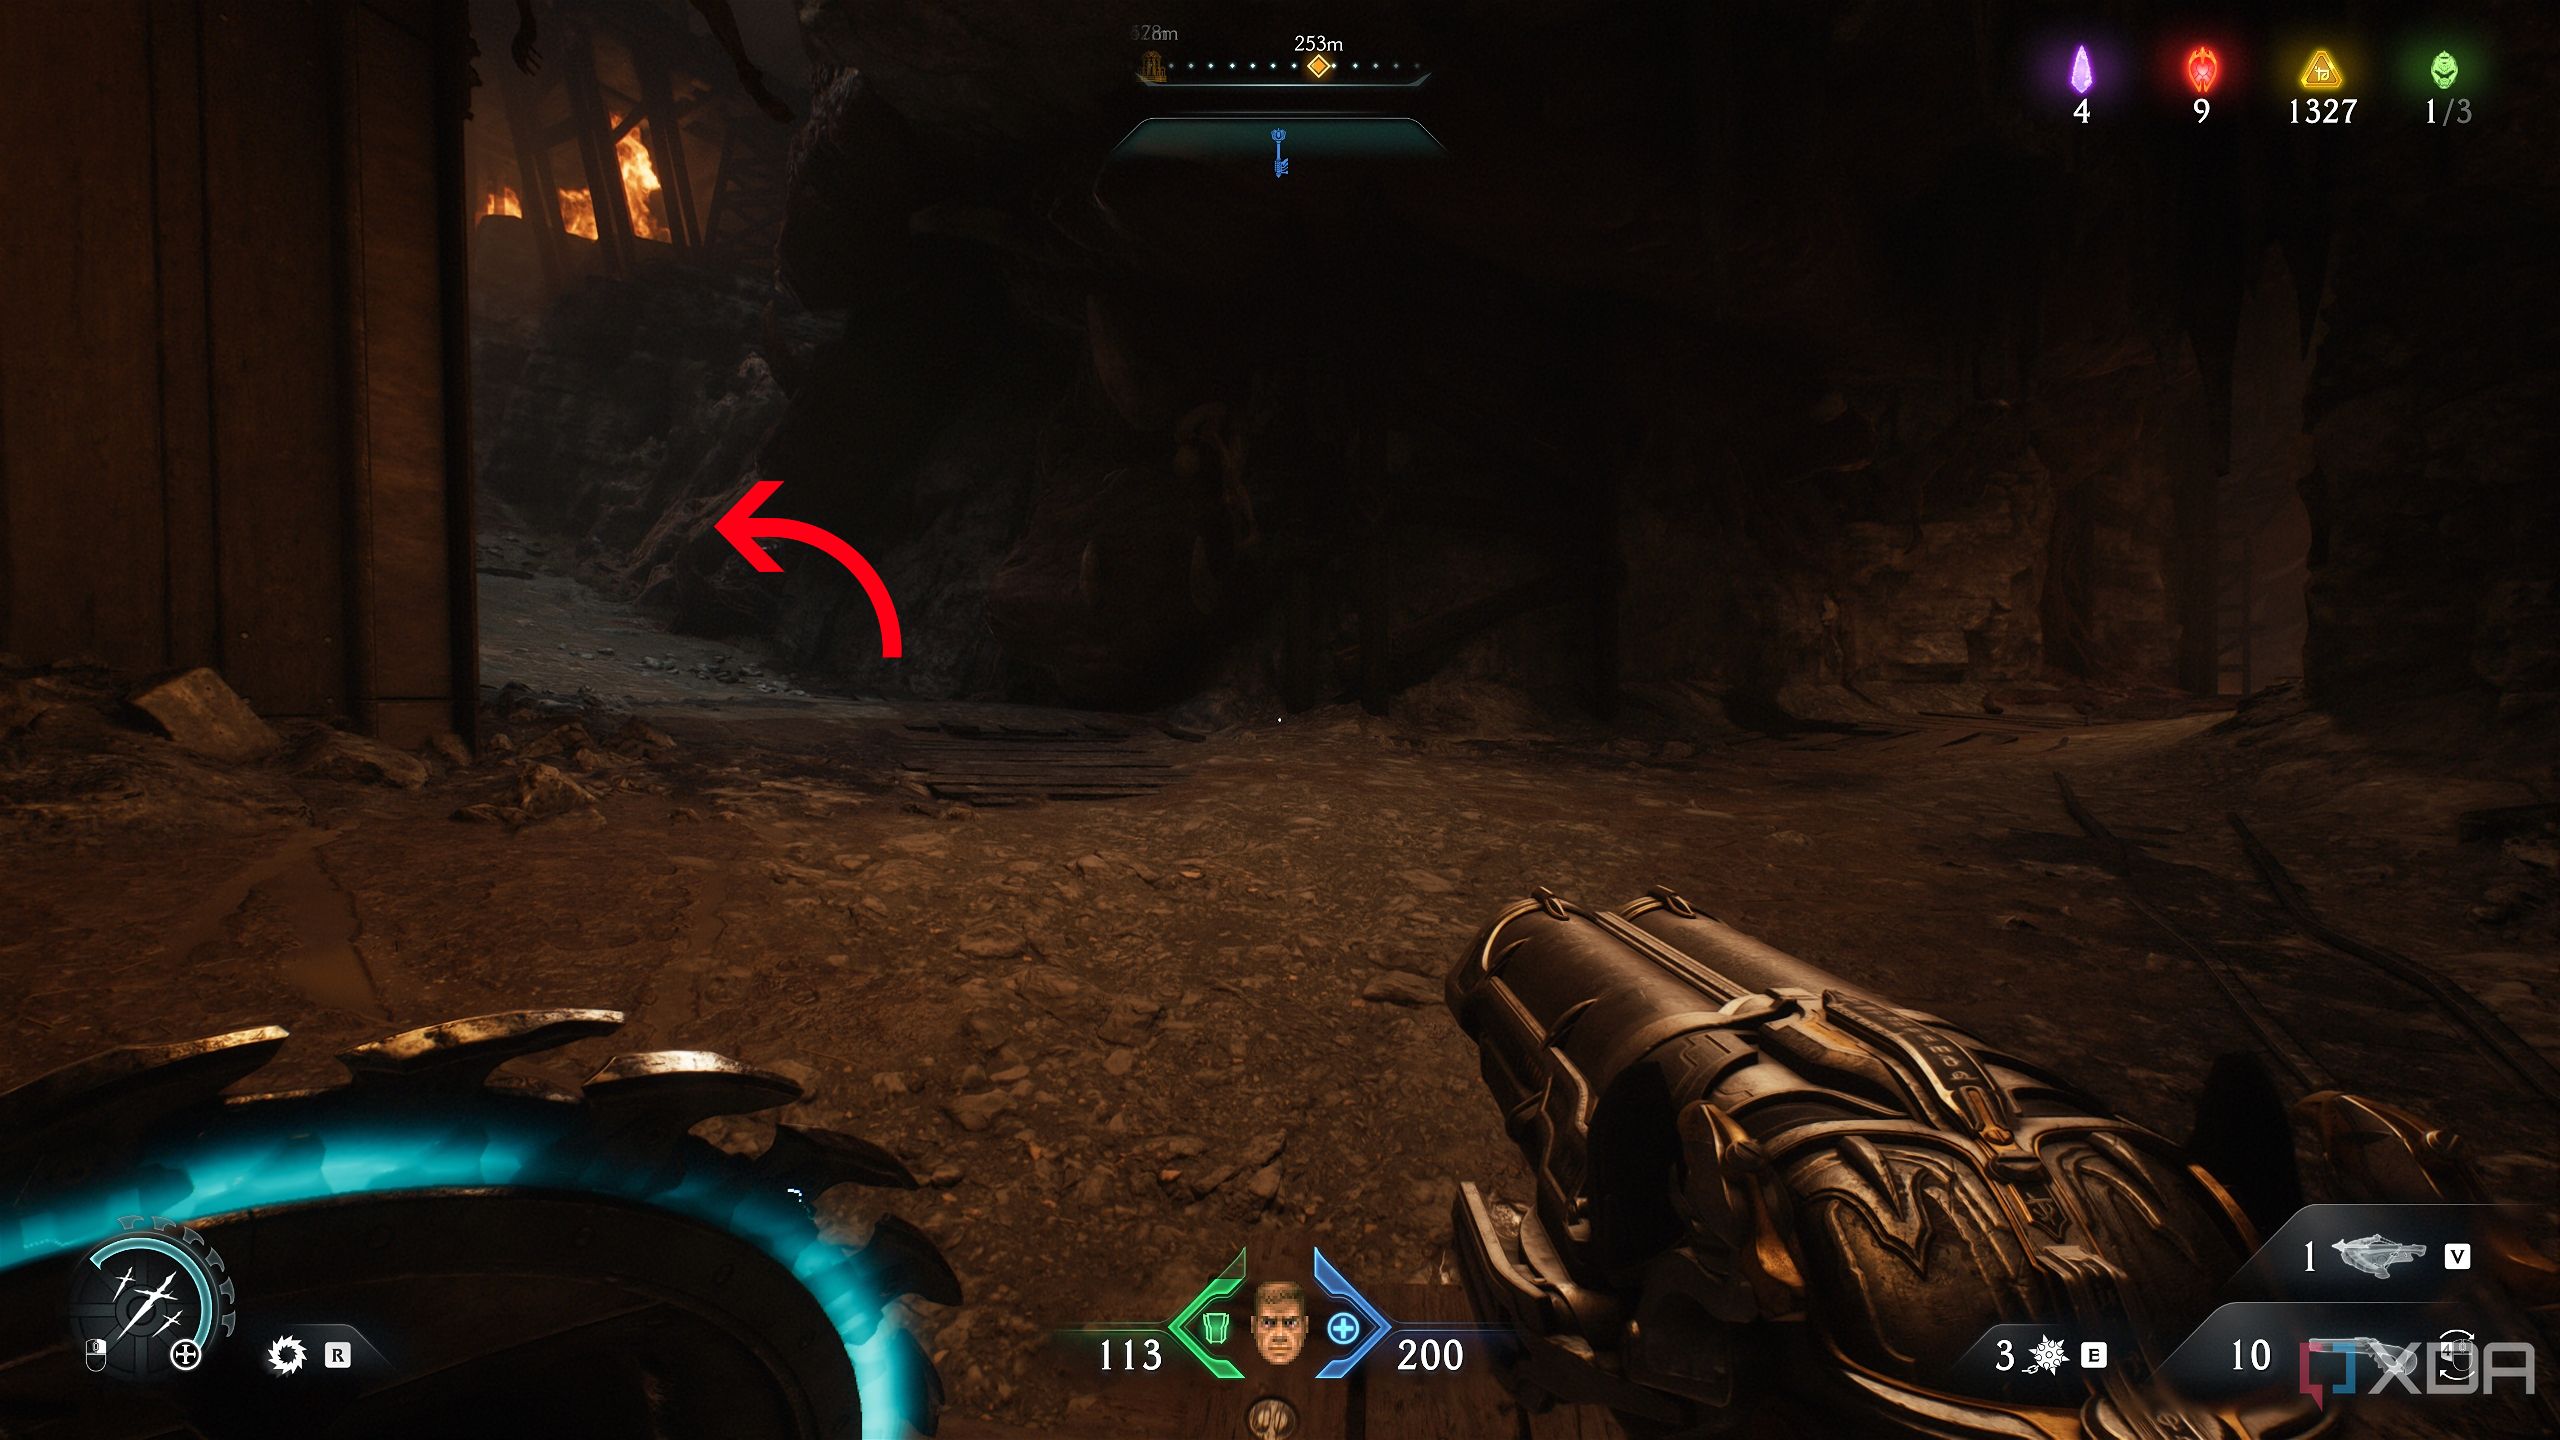
Get up the wall, and walk forward — you’ll see another trail of gold bars to pick up. However, don’t head inside. There’s a gold stack in this area, to your right. It’s just a little hard to notice.
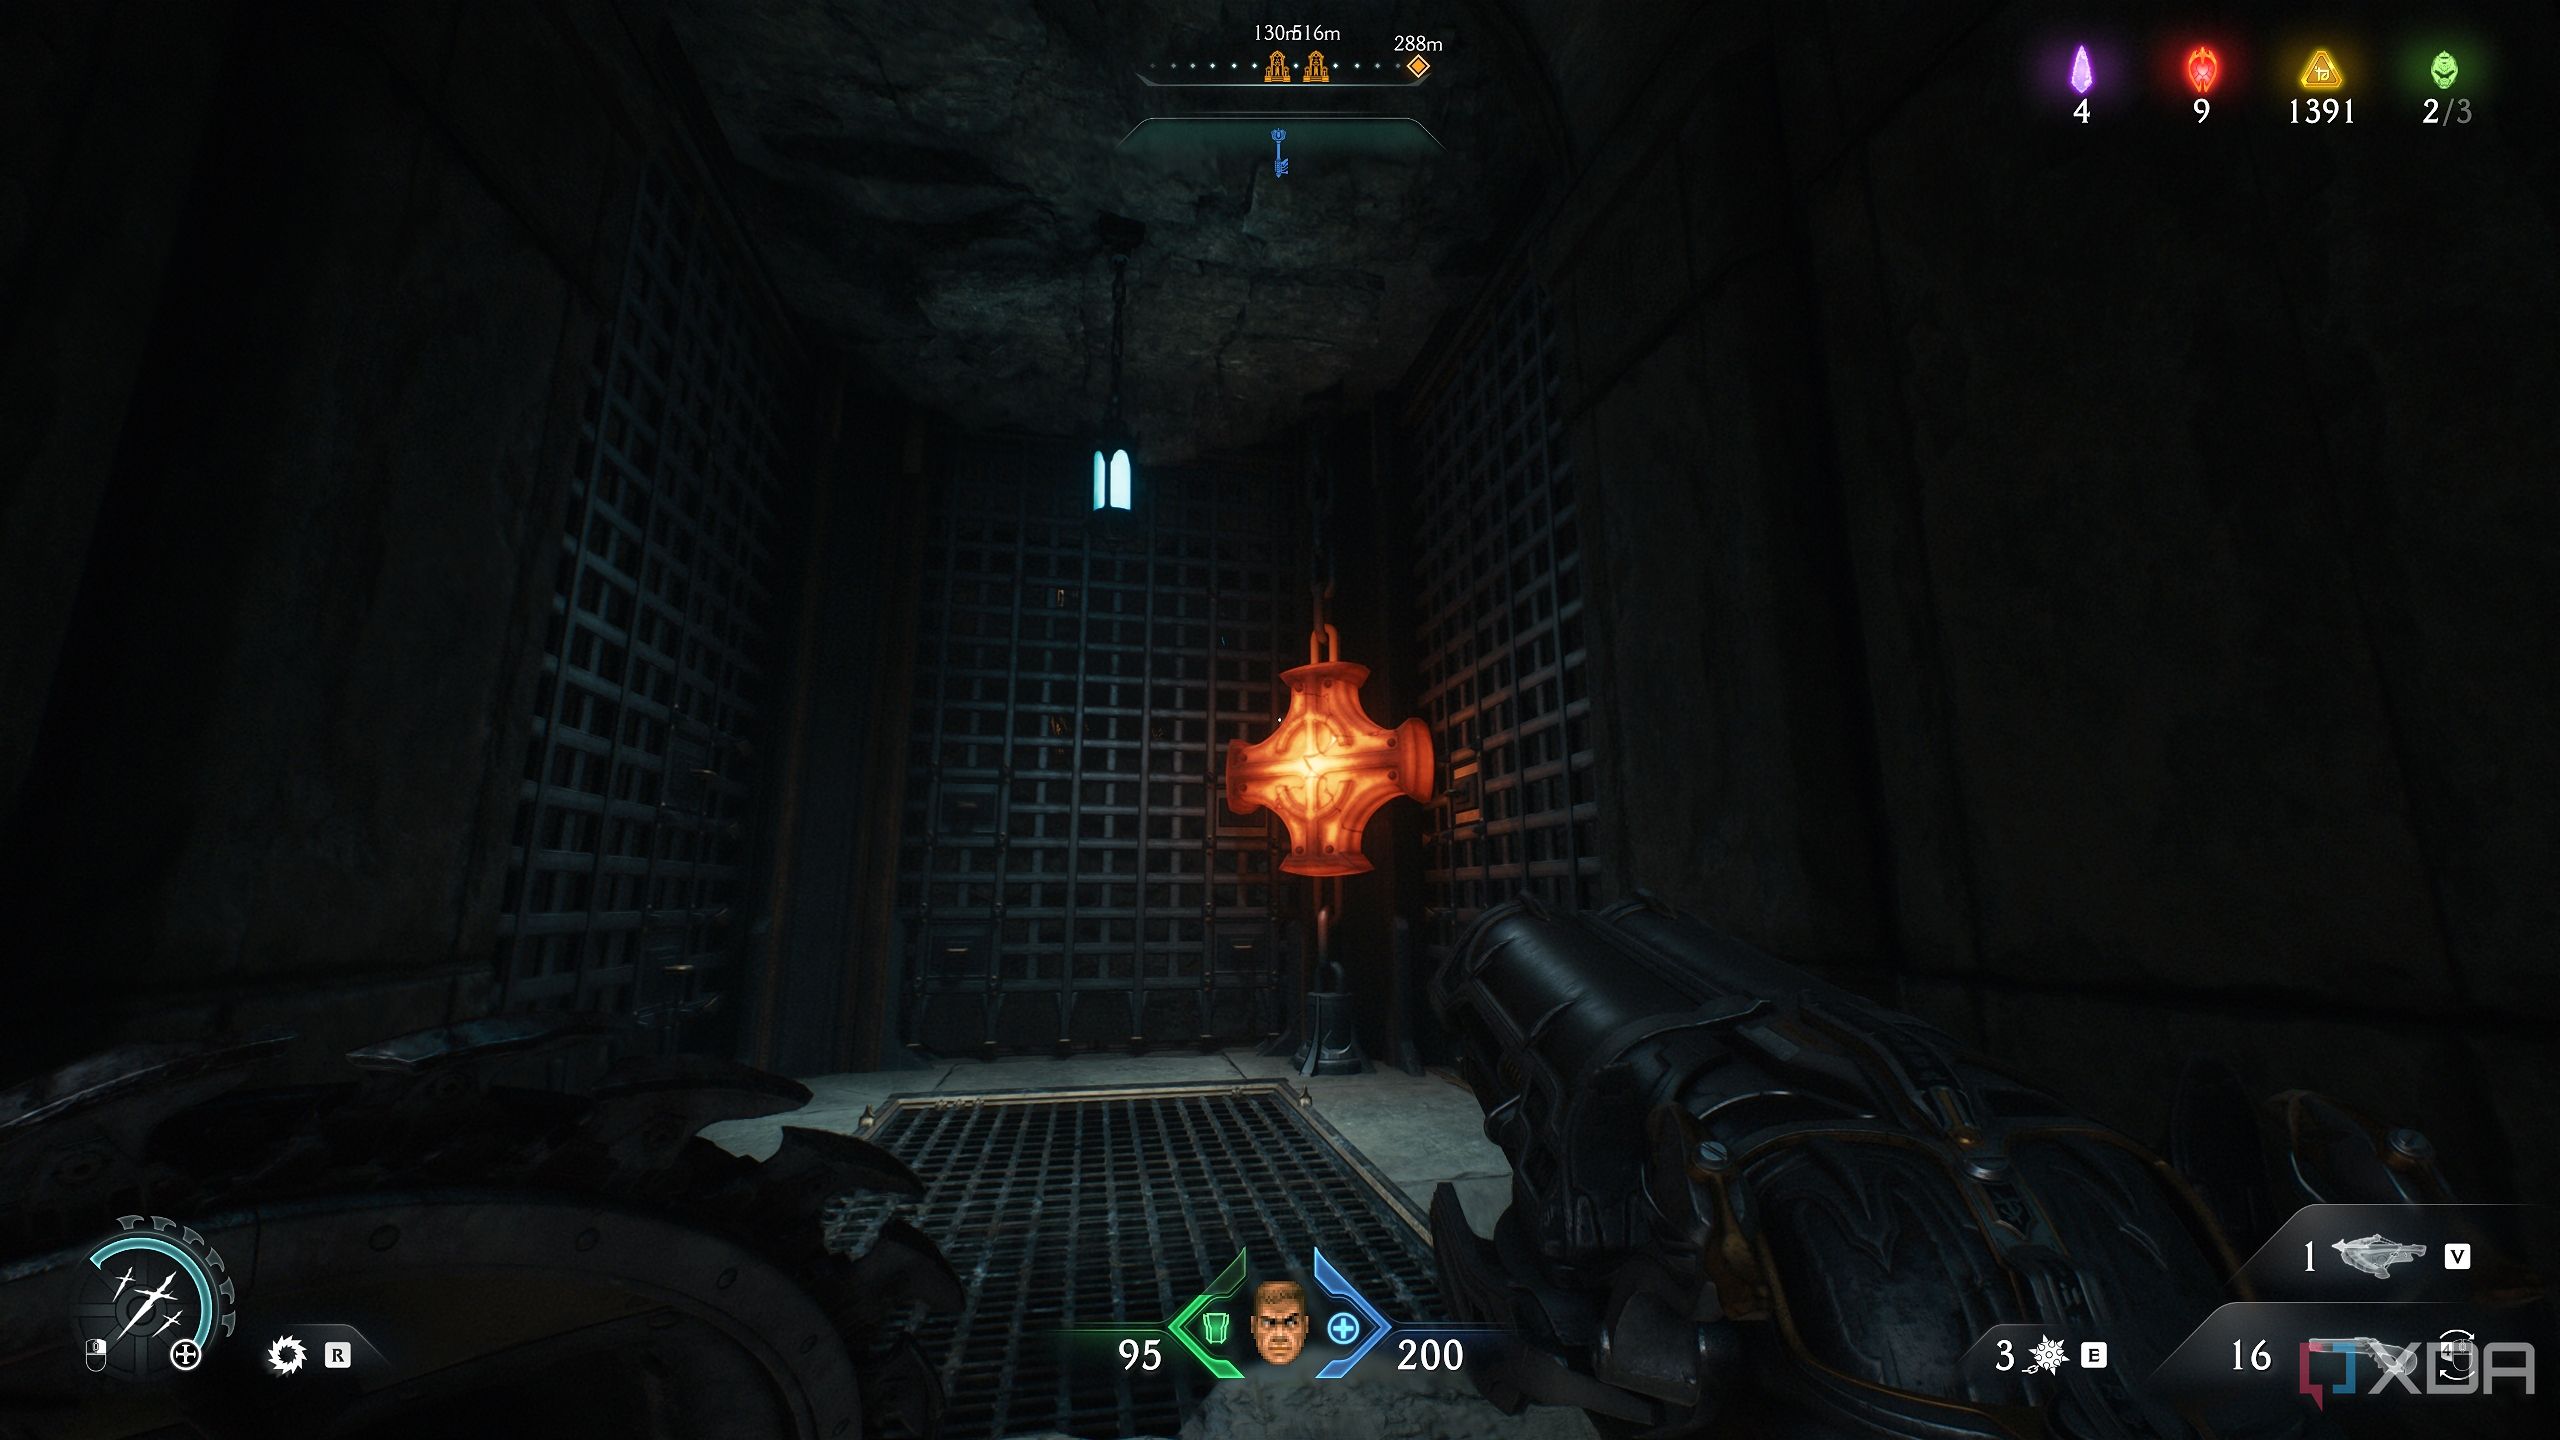
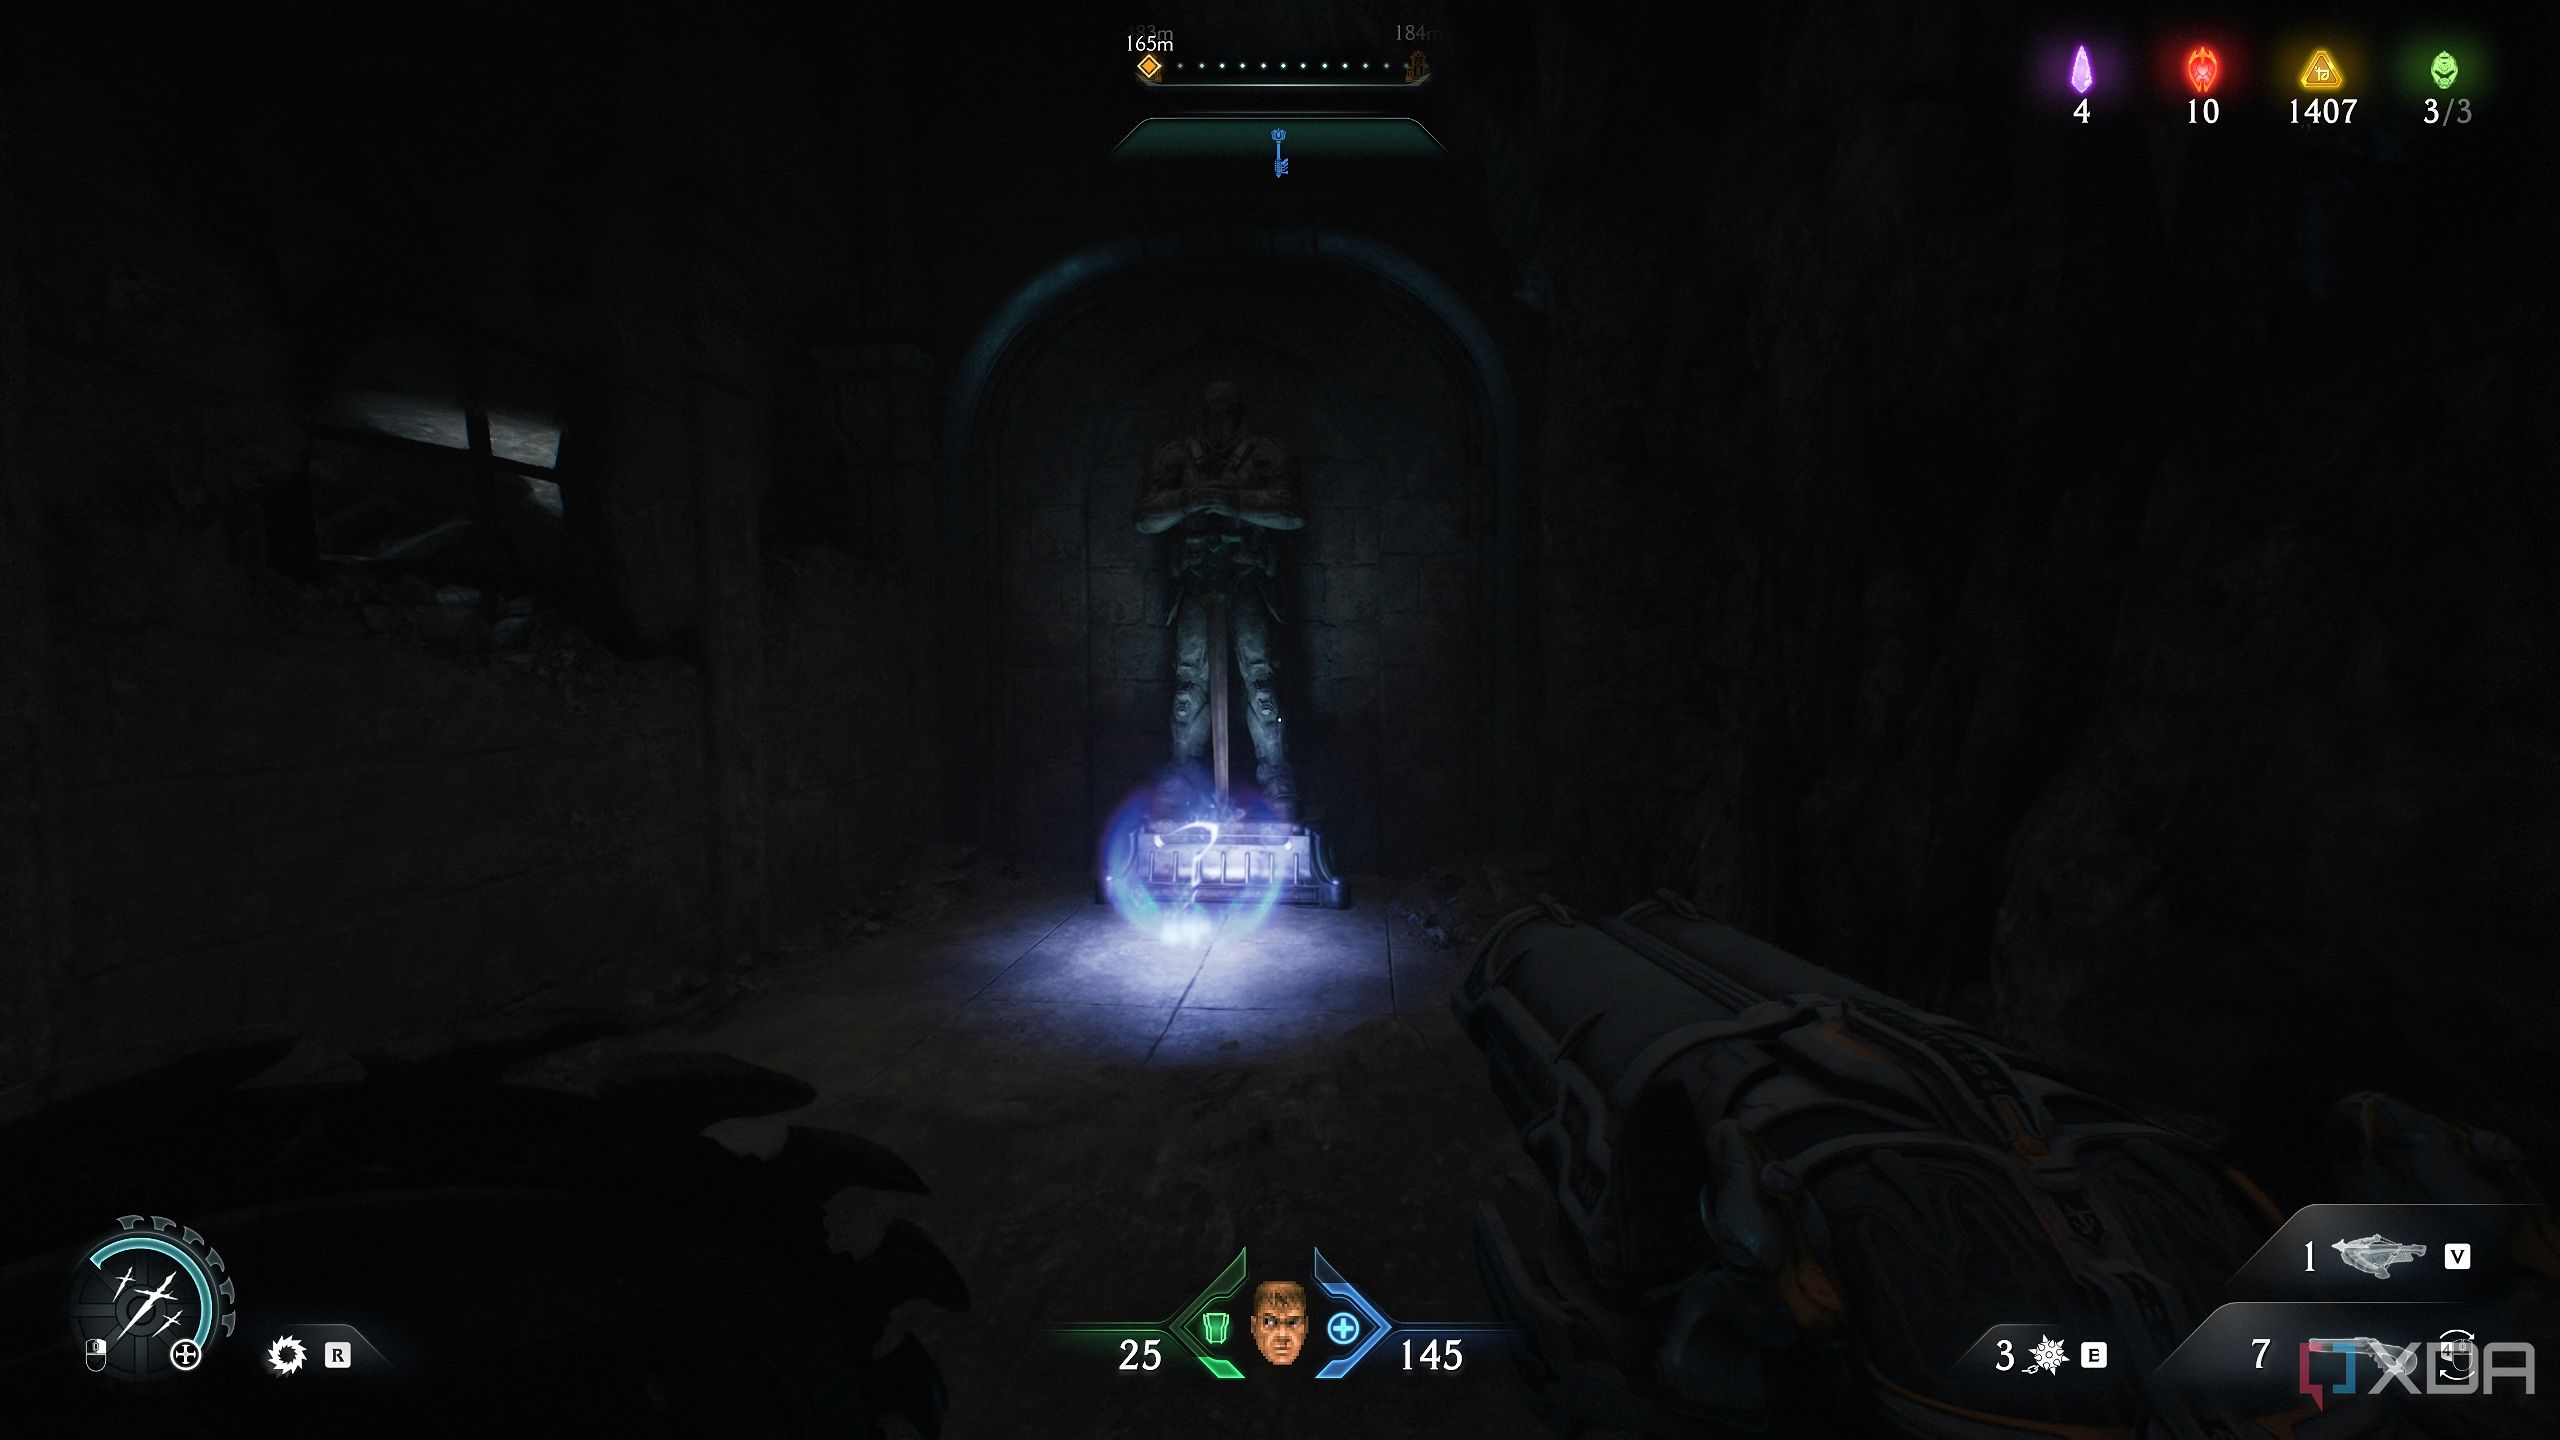
Grab it, and then head inside, where the gold trail was leading you. You’ll reach a heated metal cross — cut it down and you’ll be back in the Wraithstone Statue’s area.
From here, take the staircase directly in front of the Wraithstone statue, and once again, head northwest, towards Artillery Cannon 2.
Here, climb up the scramble wall again, and the moment you do, you’ll see one more yellow-coded locked gate.
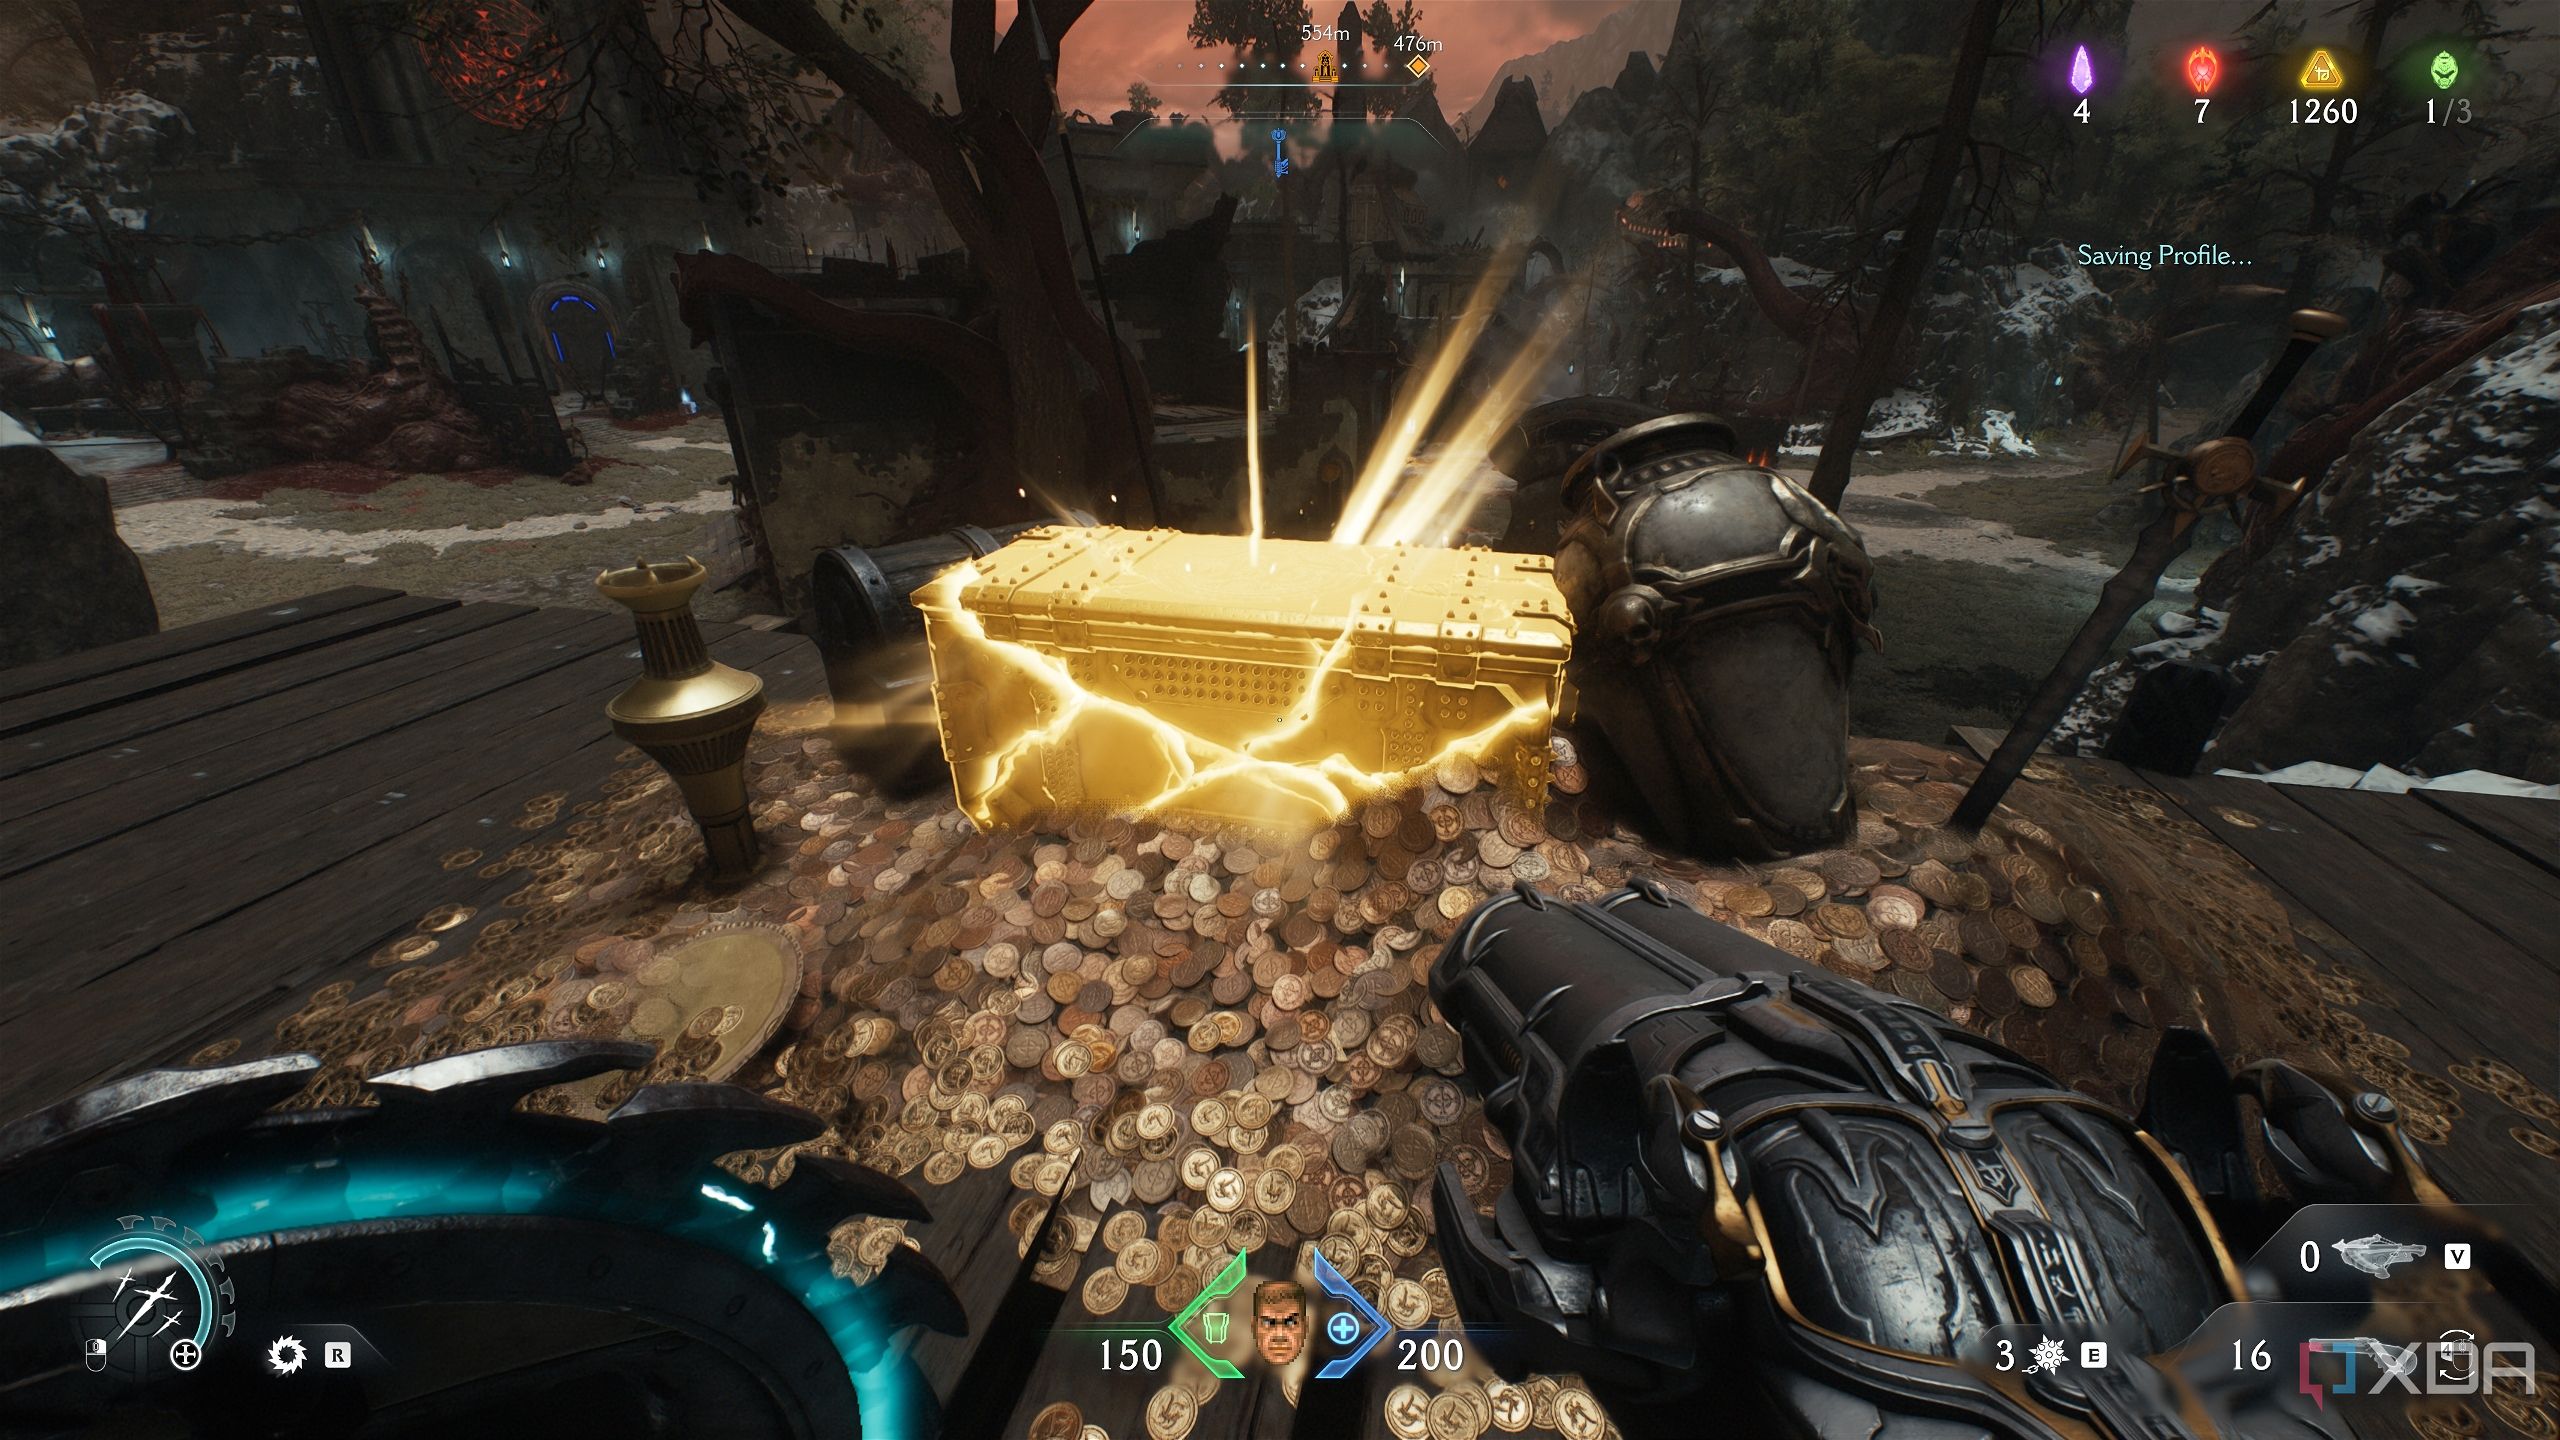
Approach it, get past it, and you’ll reach secret area 10, with a gold chest to bring all the gold collecting to a close.
Secret area 12 and a second Codex Page
Finishing the Master Hunter mission challenge
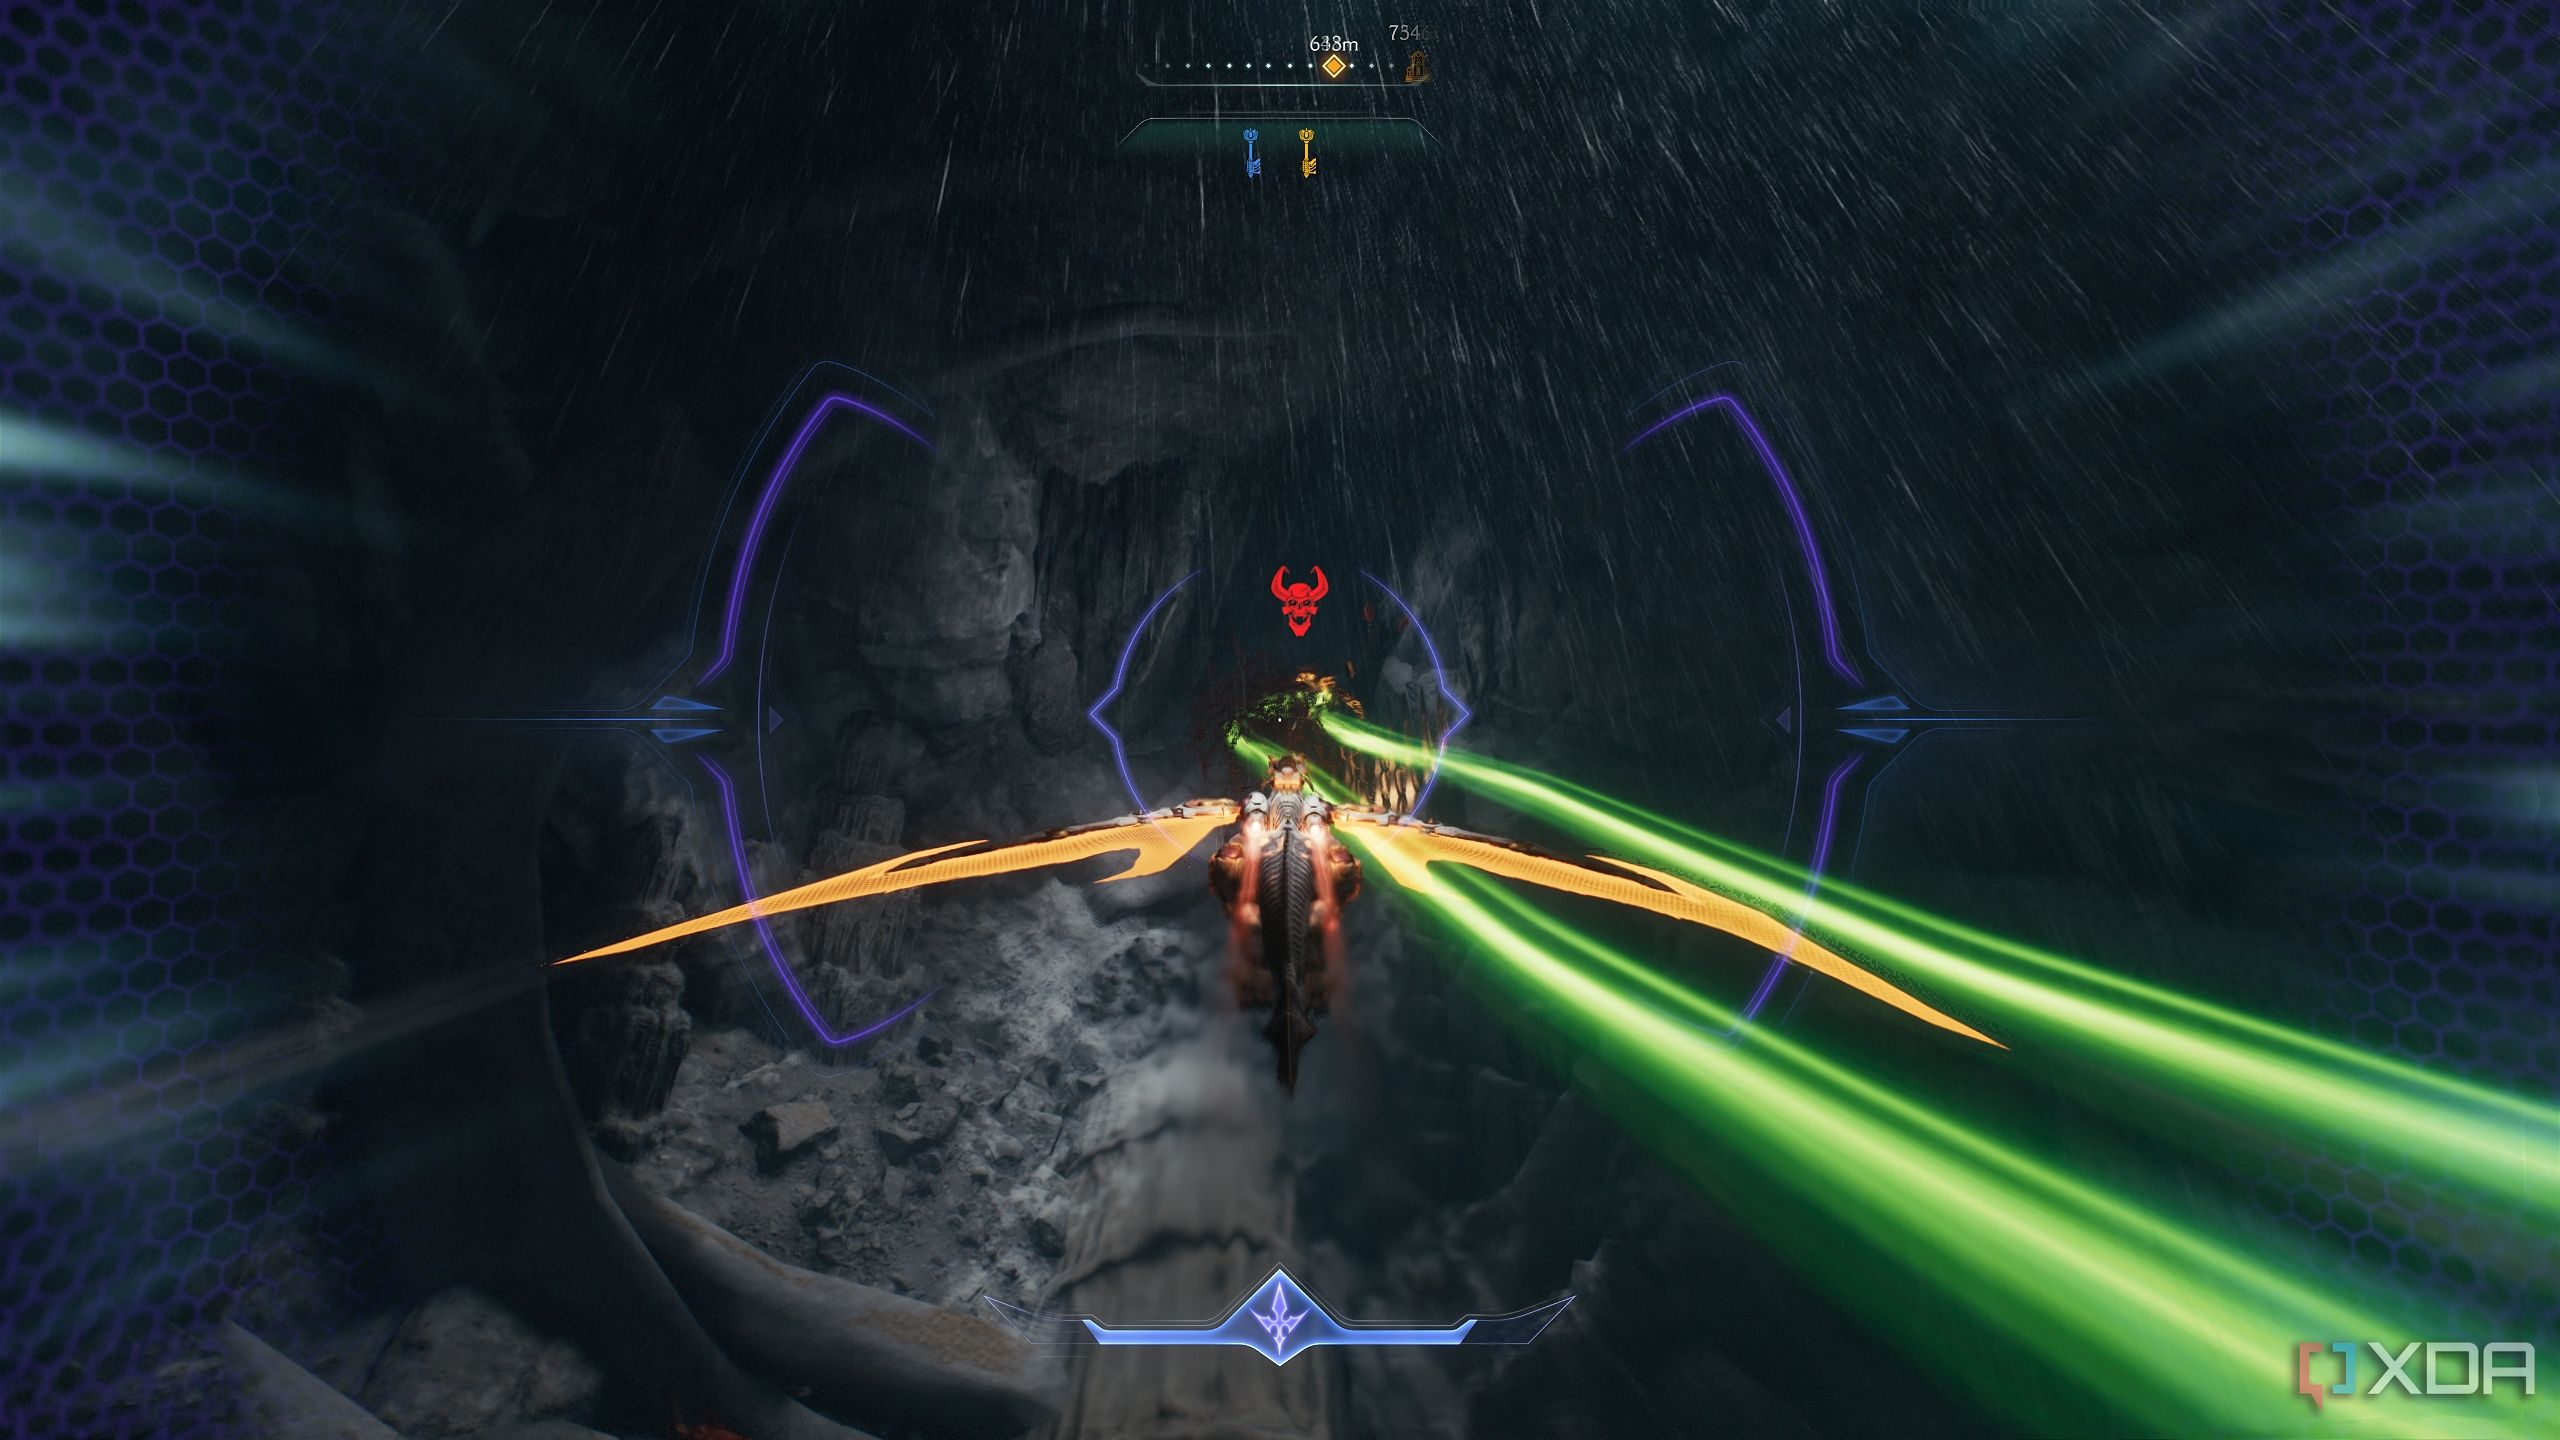
It’s time to mount your dragon and take flight now. Get to Serrat at the start of the arena, and get off the ground. Immediately, a Hell Fighter ship will start flying around you, leading you upwards towards the Maykr ship. Use your dragon-mounted auto-turret to destroy it, and you’ll finish the Master Hunter mission challenge as well.
Next, you’ll reach the Maykr ship in the sky — bring down its defenses, and land. You’ll land on a circular platform with a huge door ahead.
Before heading inside, turn around, and you’ll see another Codex Page gleaming right beside the platform you’re standing on. Approach it to collect the second Codex Page of the level, and unlock secret area 12. Then, you’re free to go inside and finish up the chapter, which leads to a very interesting boss fight — the kind I wish the game had more of.
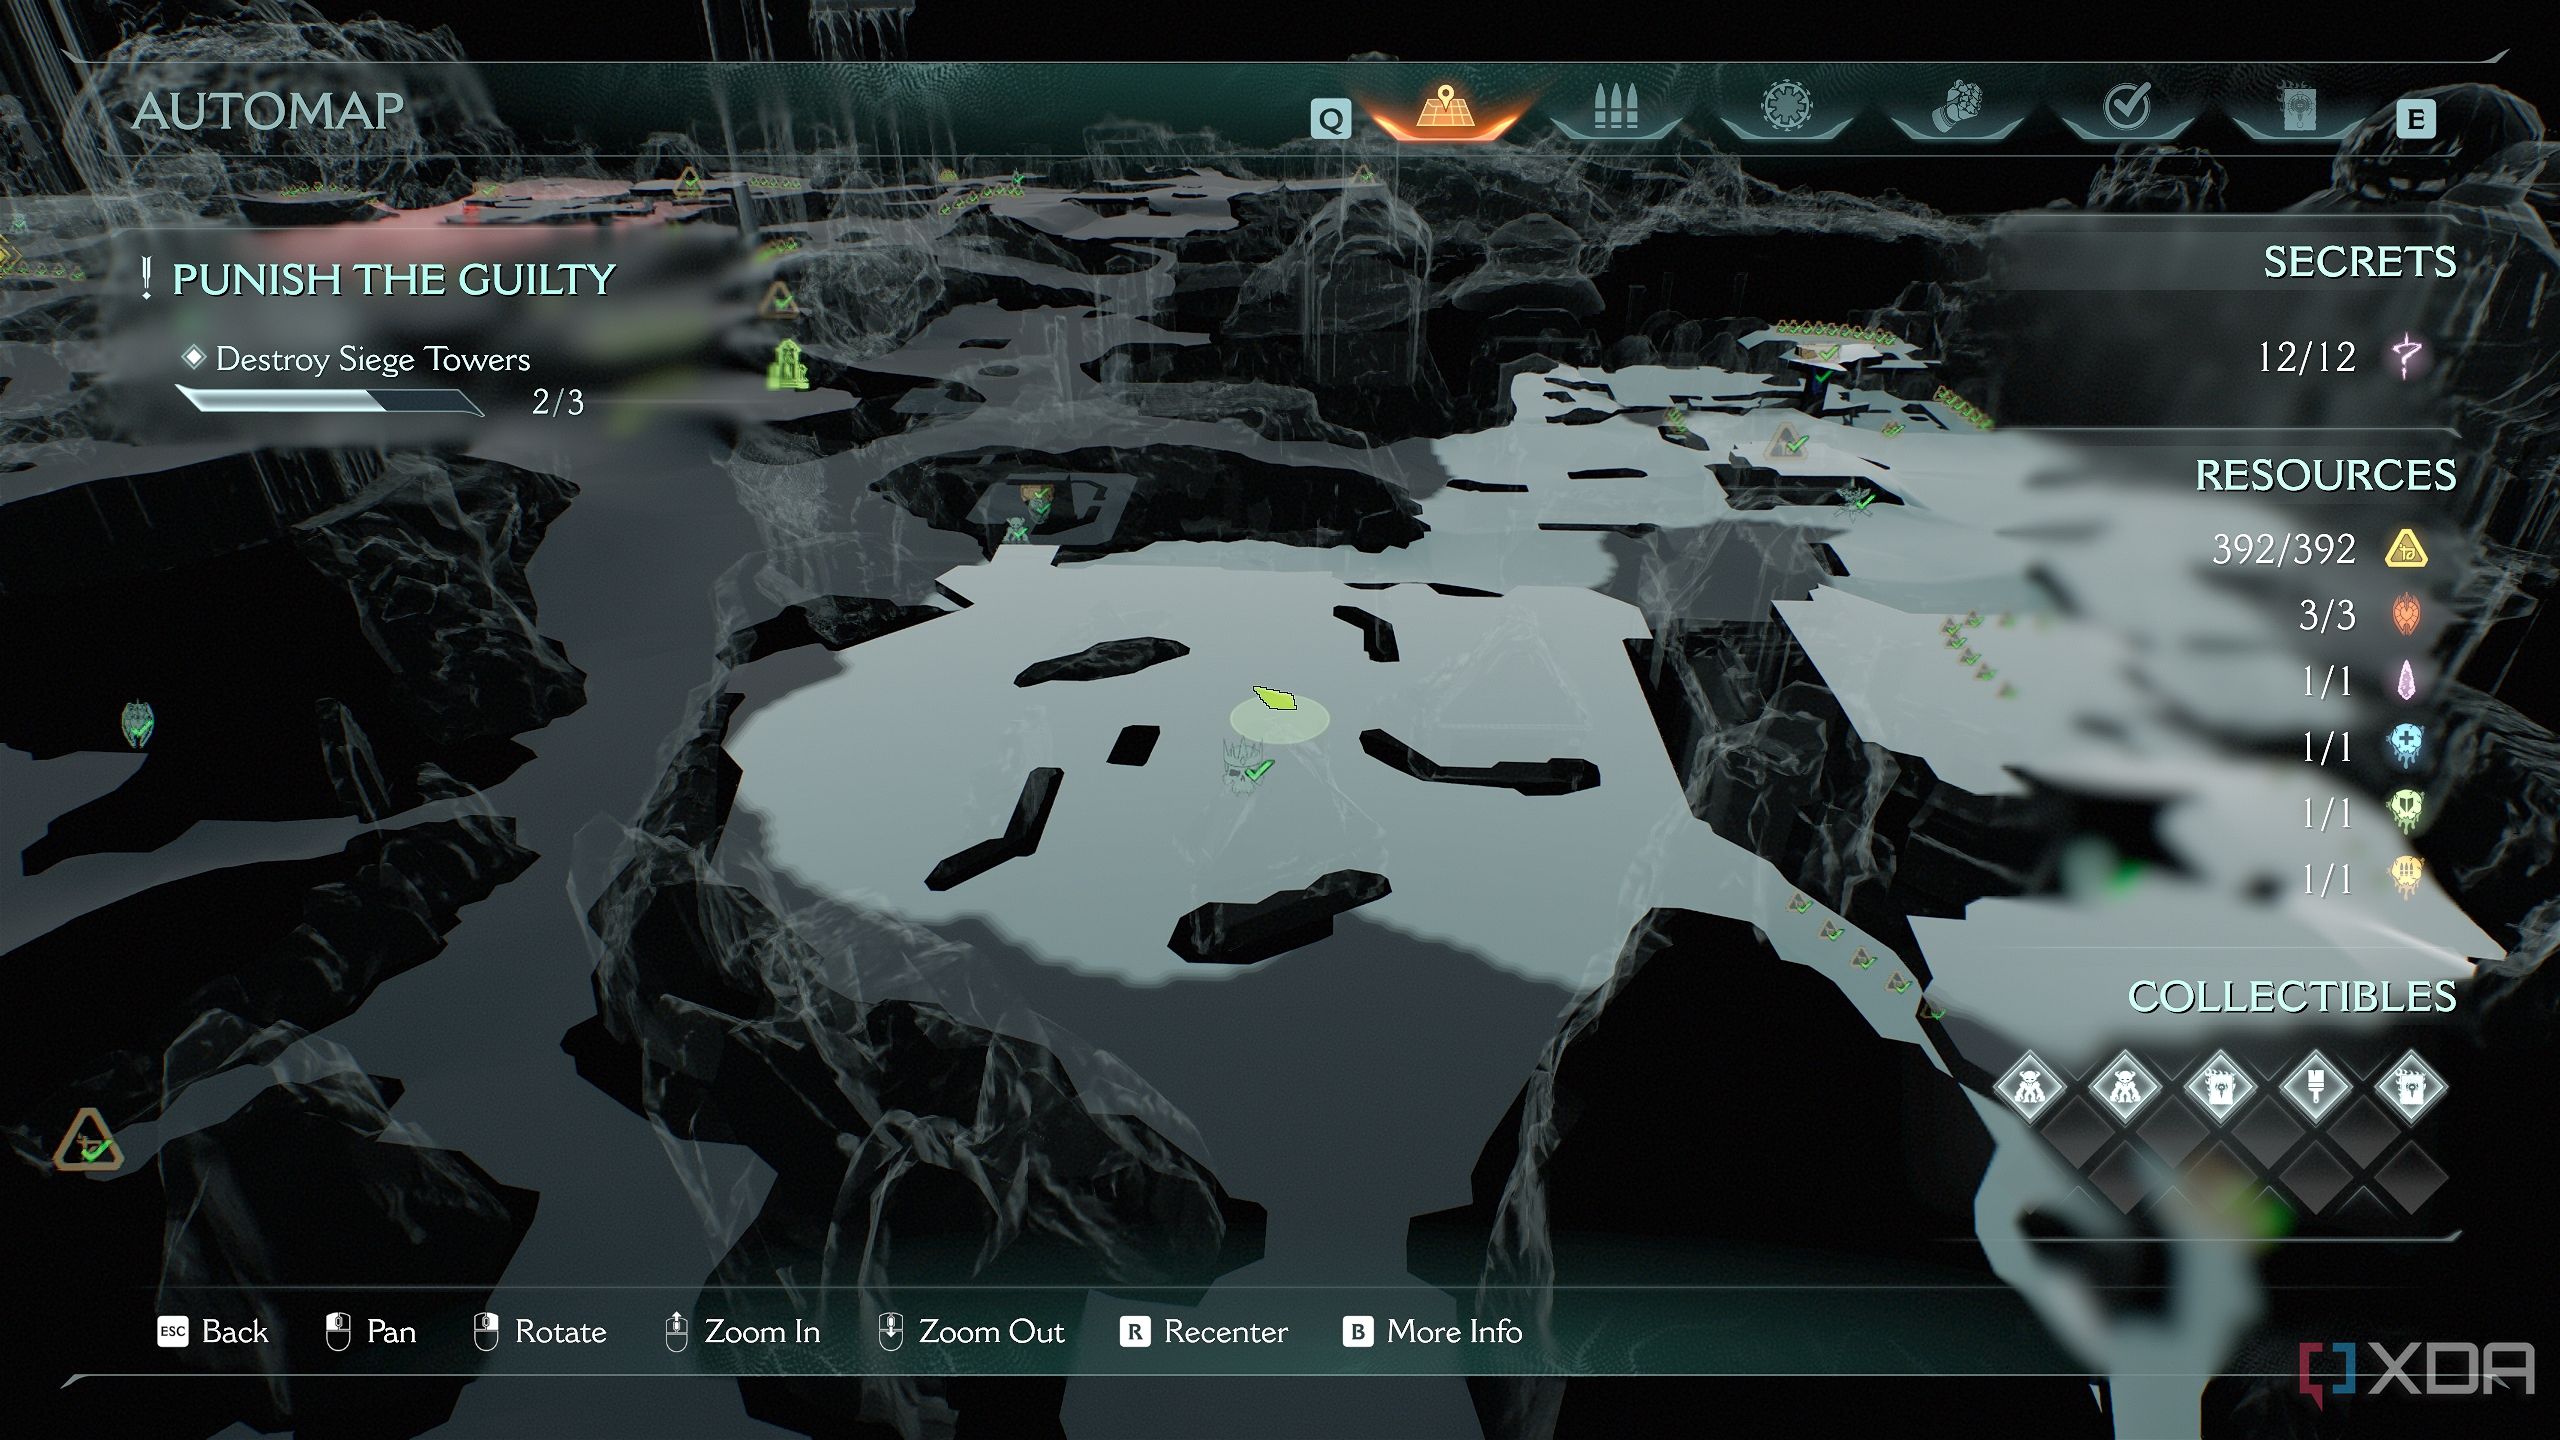
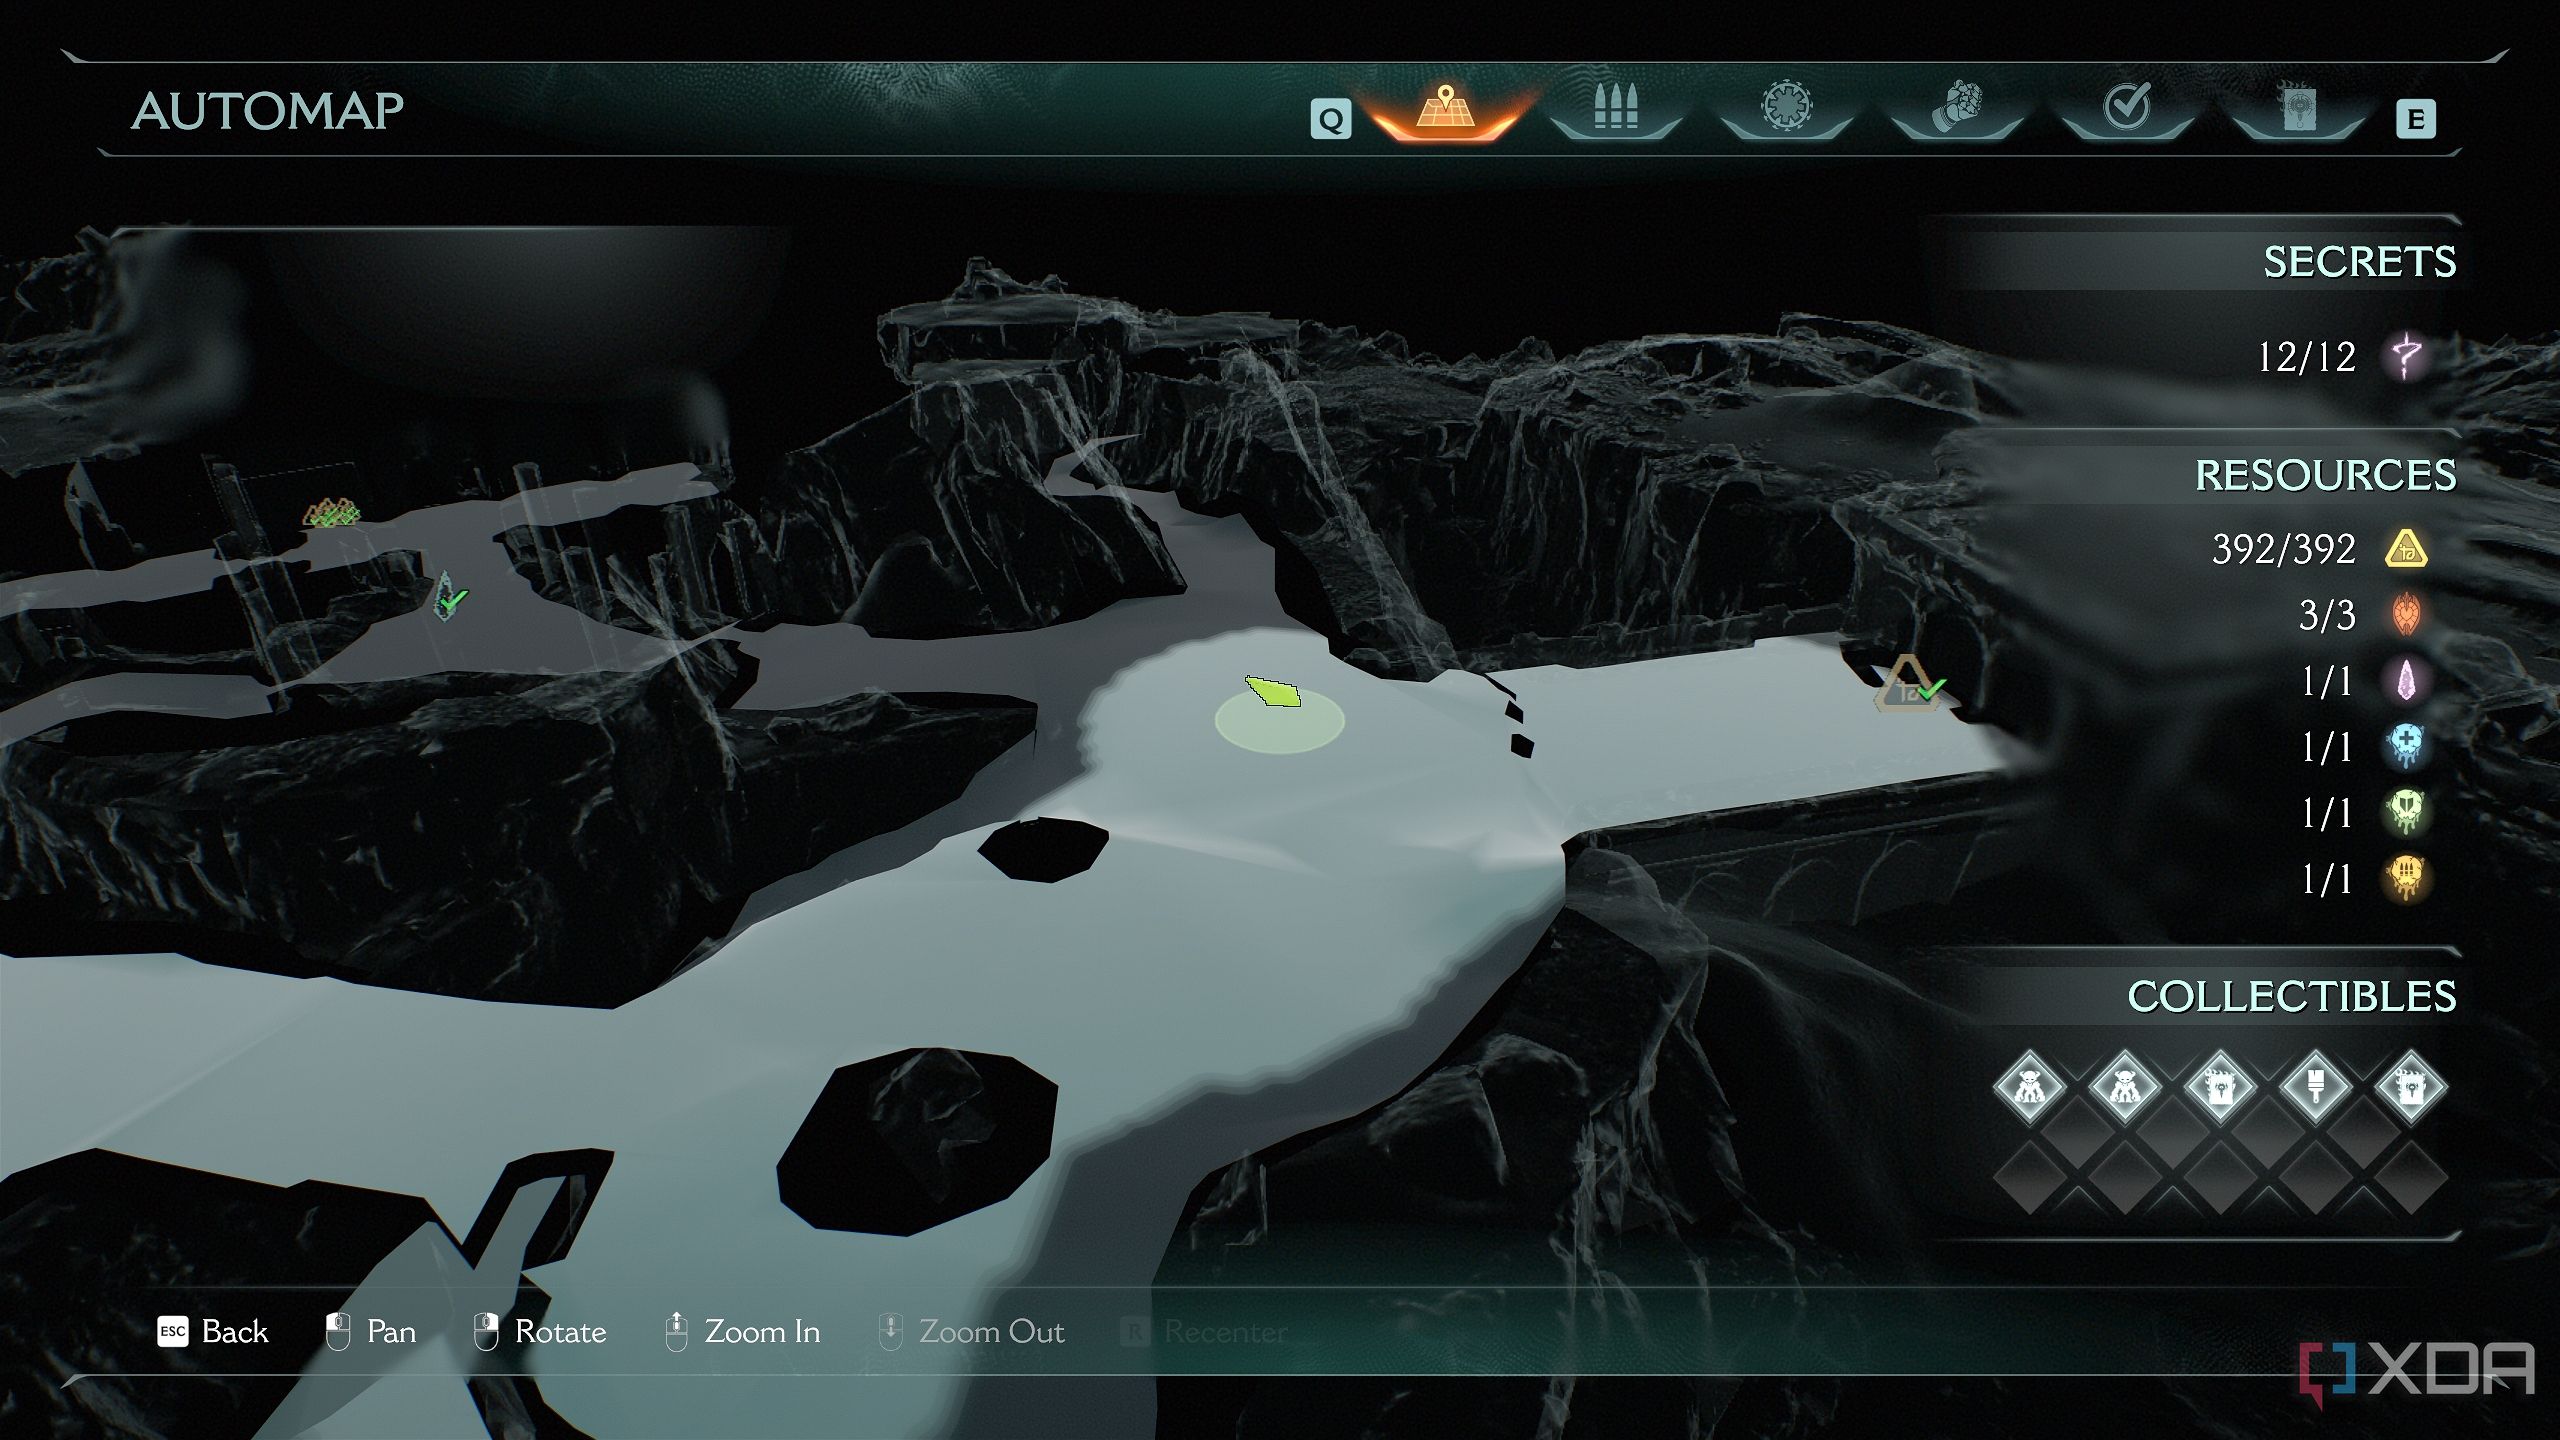
All collectibles in Chapter 20: Resurrection of Souls in Doom: The Dark Ages
I wish we had more boss fight encounters in previous levels.
Once that’s done, Chapter 20 of Doom: The Dark Ages will be complete, and you’ll finally have the 100% completion achievement for this level. I only find myself wishing that we had more encounters like the boss fight at the end of this chapter, especially in previous levels.
|
Achievements in Chapter 20: Resurrection |
|
|
Gold |
392 |
|
Rubies |
3 |
|
Wraithstone |
1 |
|
Demonic Essence |
3 |
|
Secret Areas |
12 |
|
Codex Entries |
2 |
|
Collectible Toys |
2 |
|
Skins |
1 |
DOOM: The Dark Ages
Released May 15, 2025
ESRB m
Developer(s) id Software
Publisher(s) Bethesda Softworks
Engine id Tech
Multiplayer Online Multiplayer
Franchise DOOM


 English (US) ·