.png)
Chapter 21: Final Battle does not have any collectibles or secret areas to find. Players can get 100% completion for the level by simply going through the objectives.
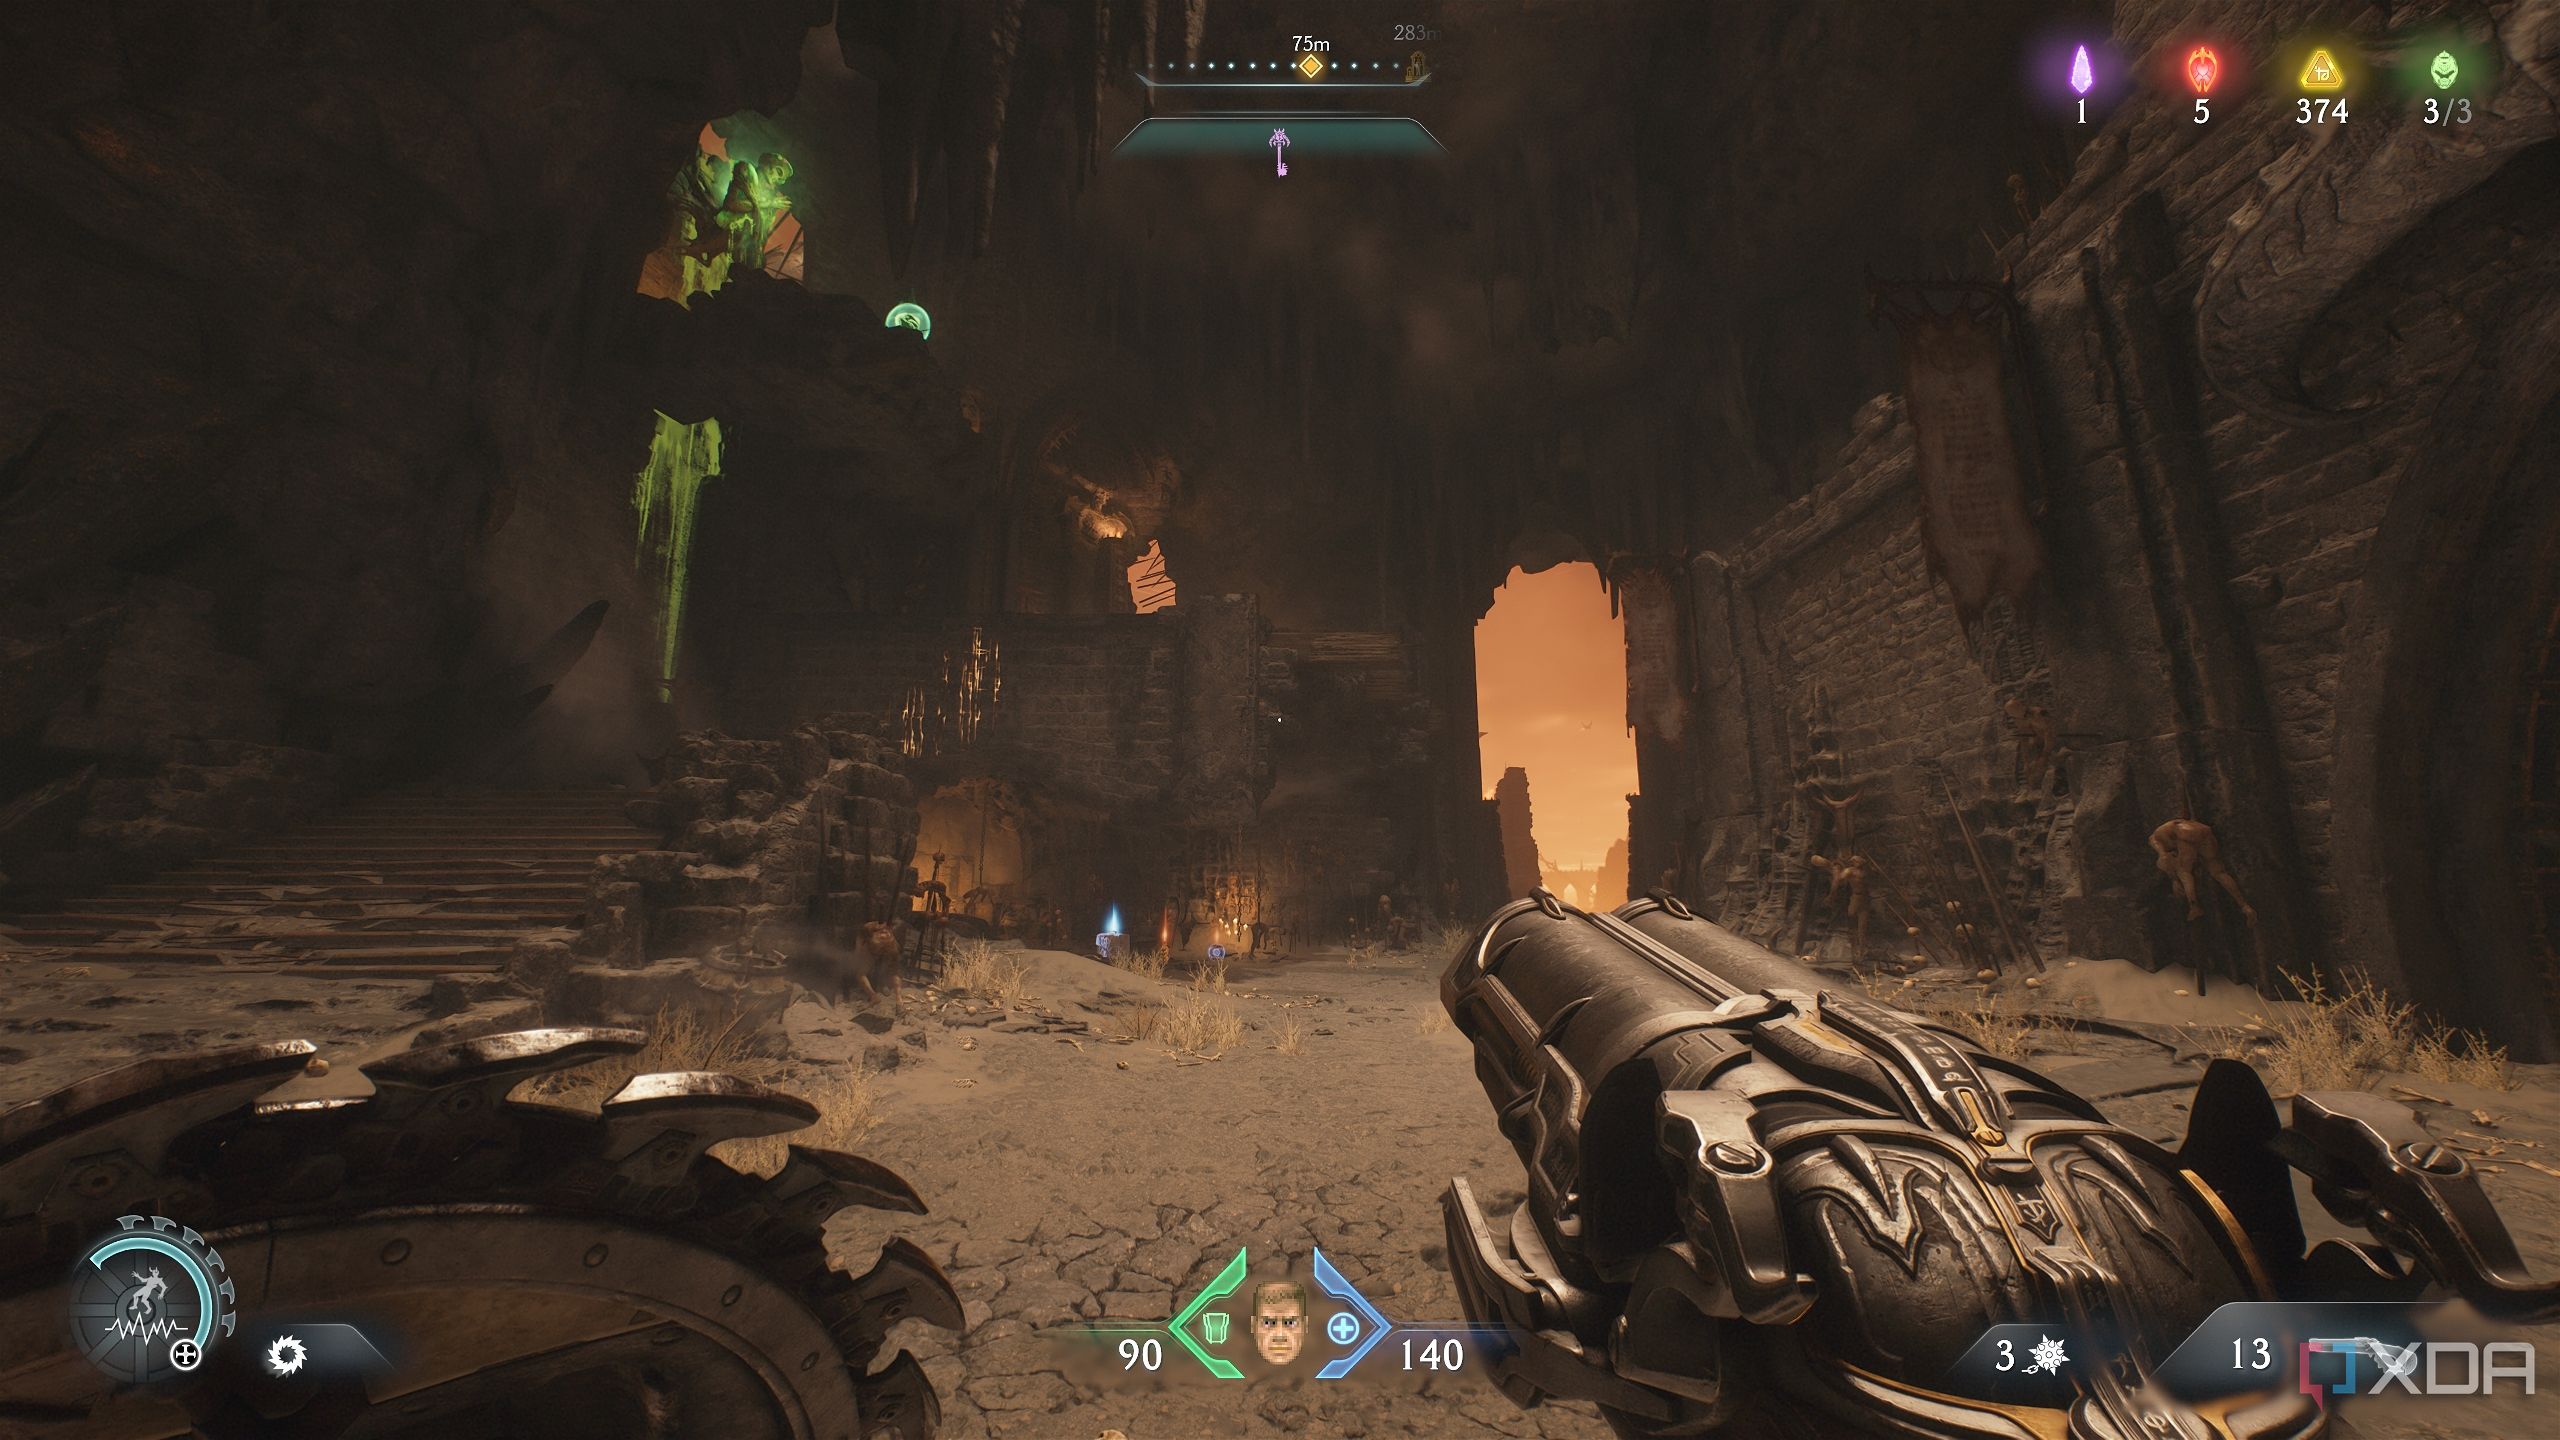
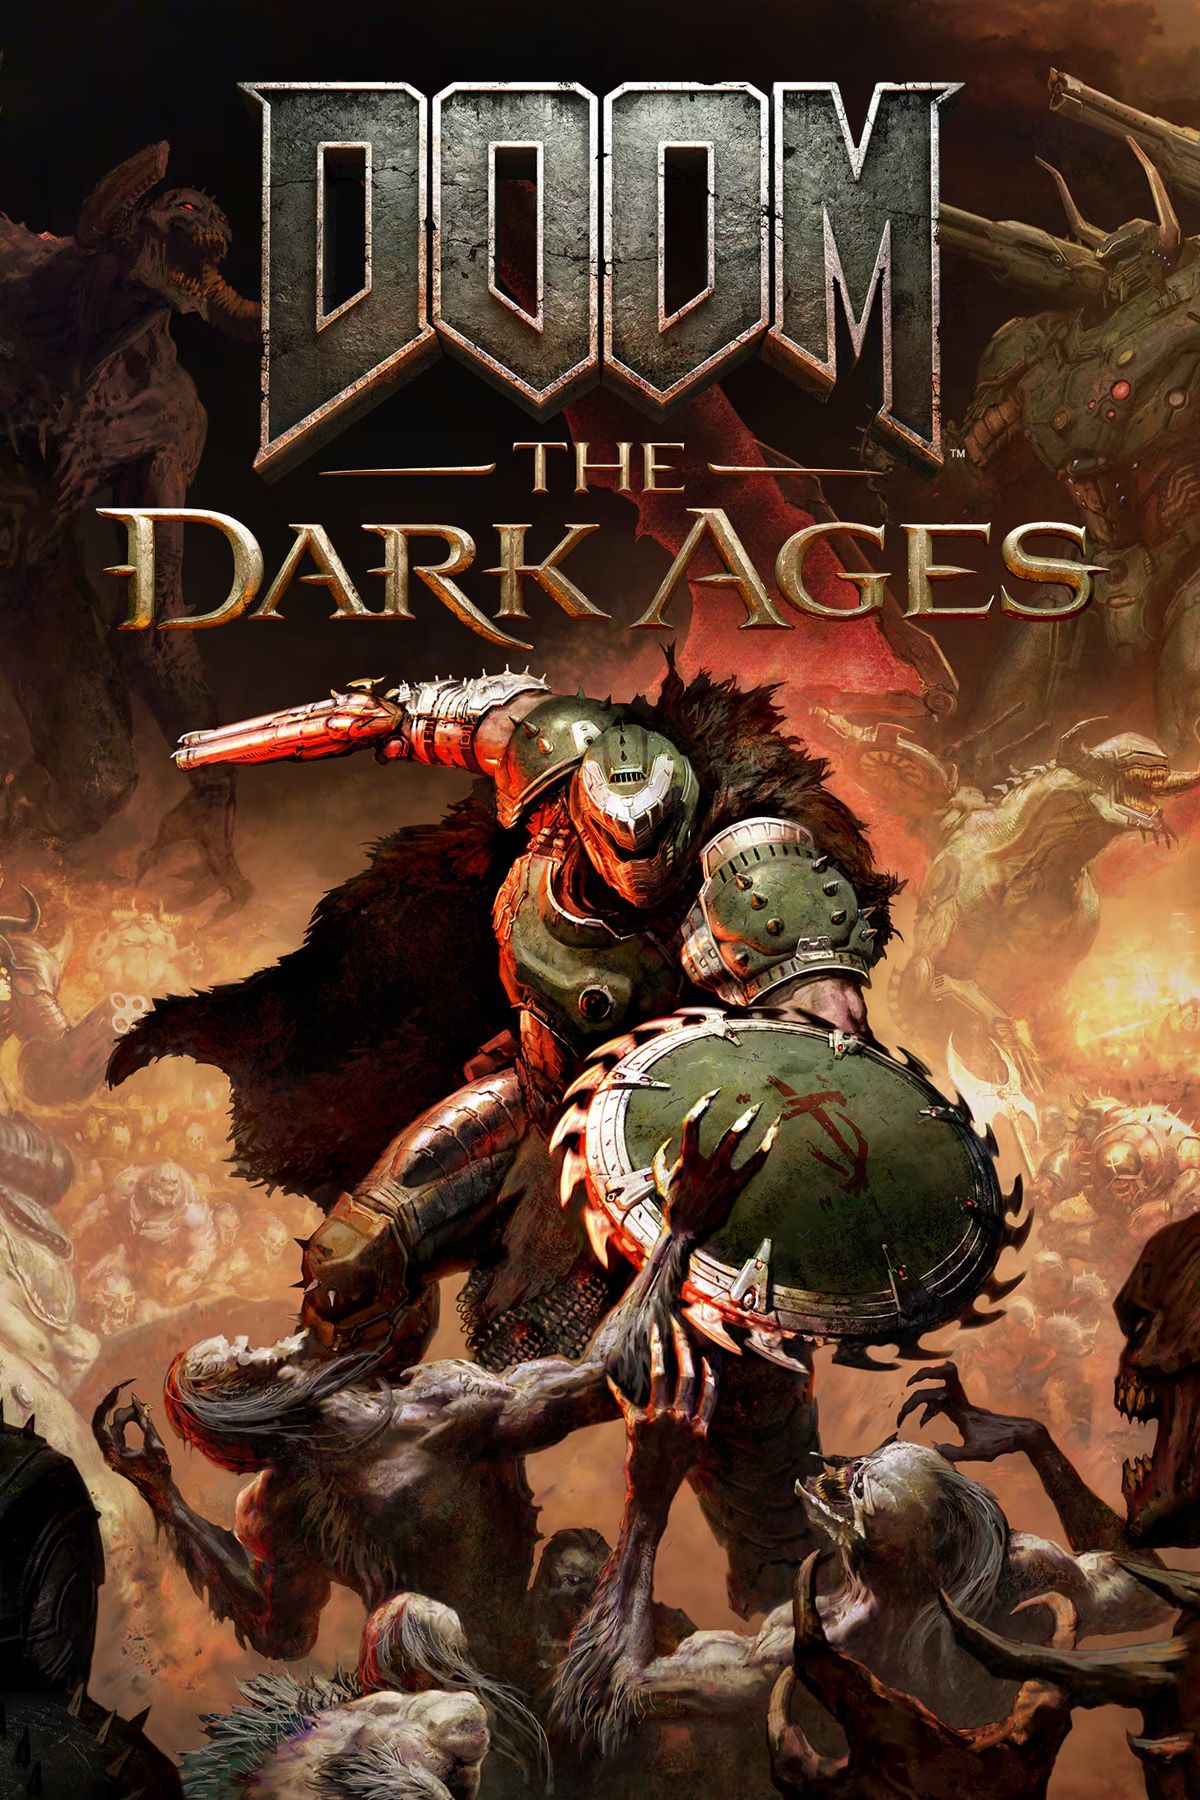
Chapter 22: Reckoning in Doom: The Dark Ages takes place in a familiar realm — Hell. The Slayer marches to Hell alongside the Sentinels to bring an end to Prince Ahzrak’s reign of terror. You can read in our review of the game how impressed it left us.
In order to get 100% completion, make sure you complete the mission challenges for this level.
Chapter 22’s mission challenges are —
- Deathclock — Killing 2 Cosmic Barons within 5 seconds
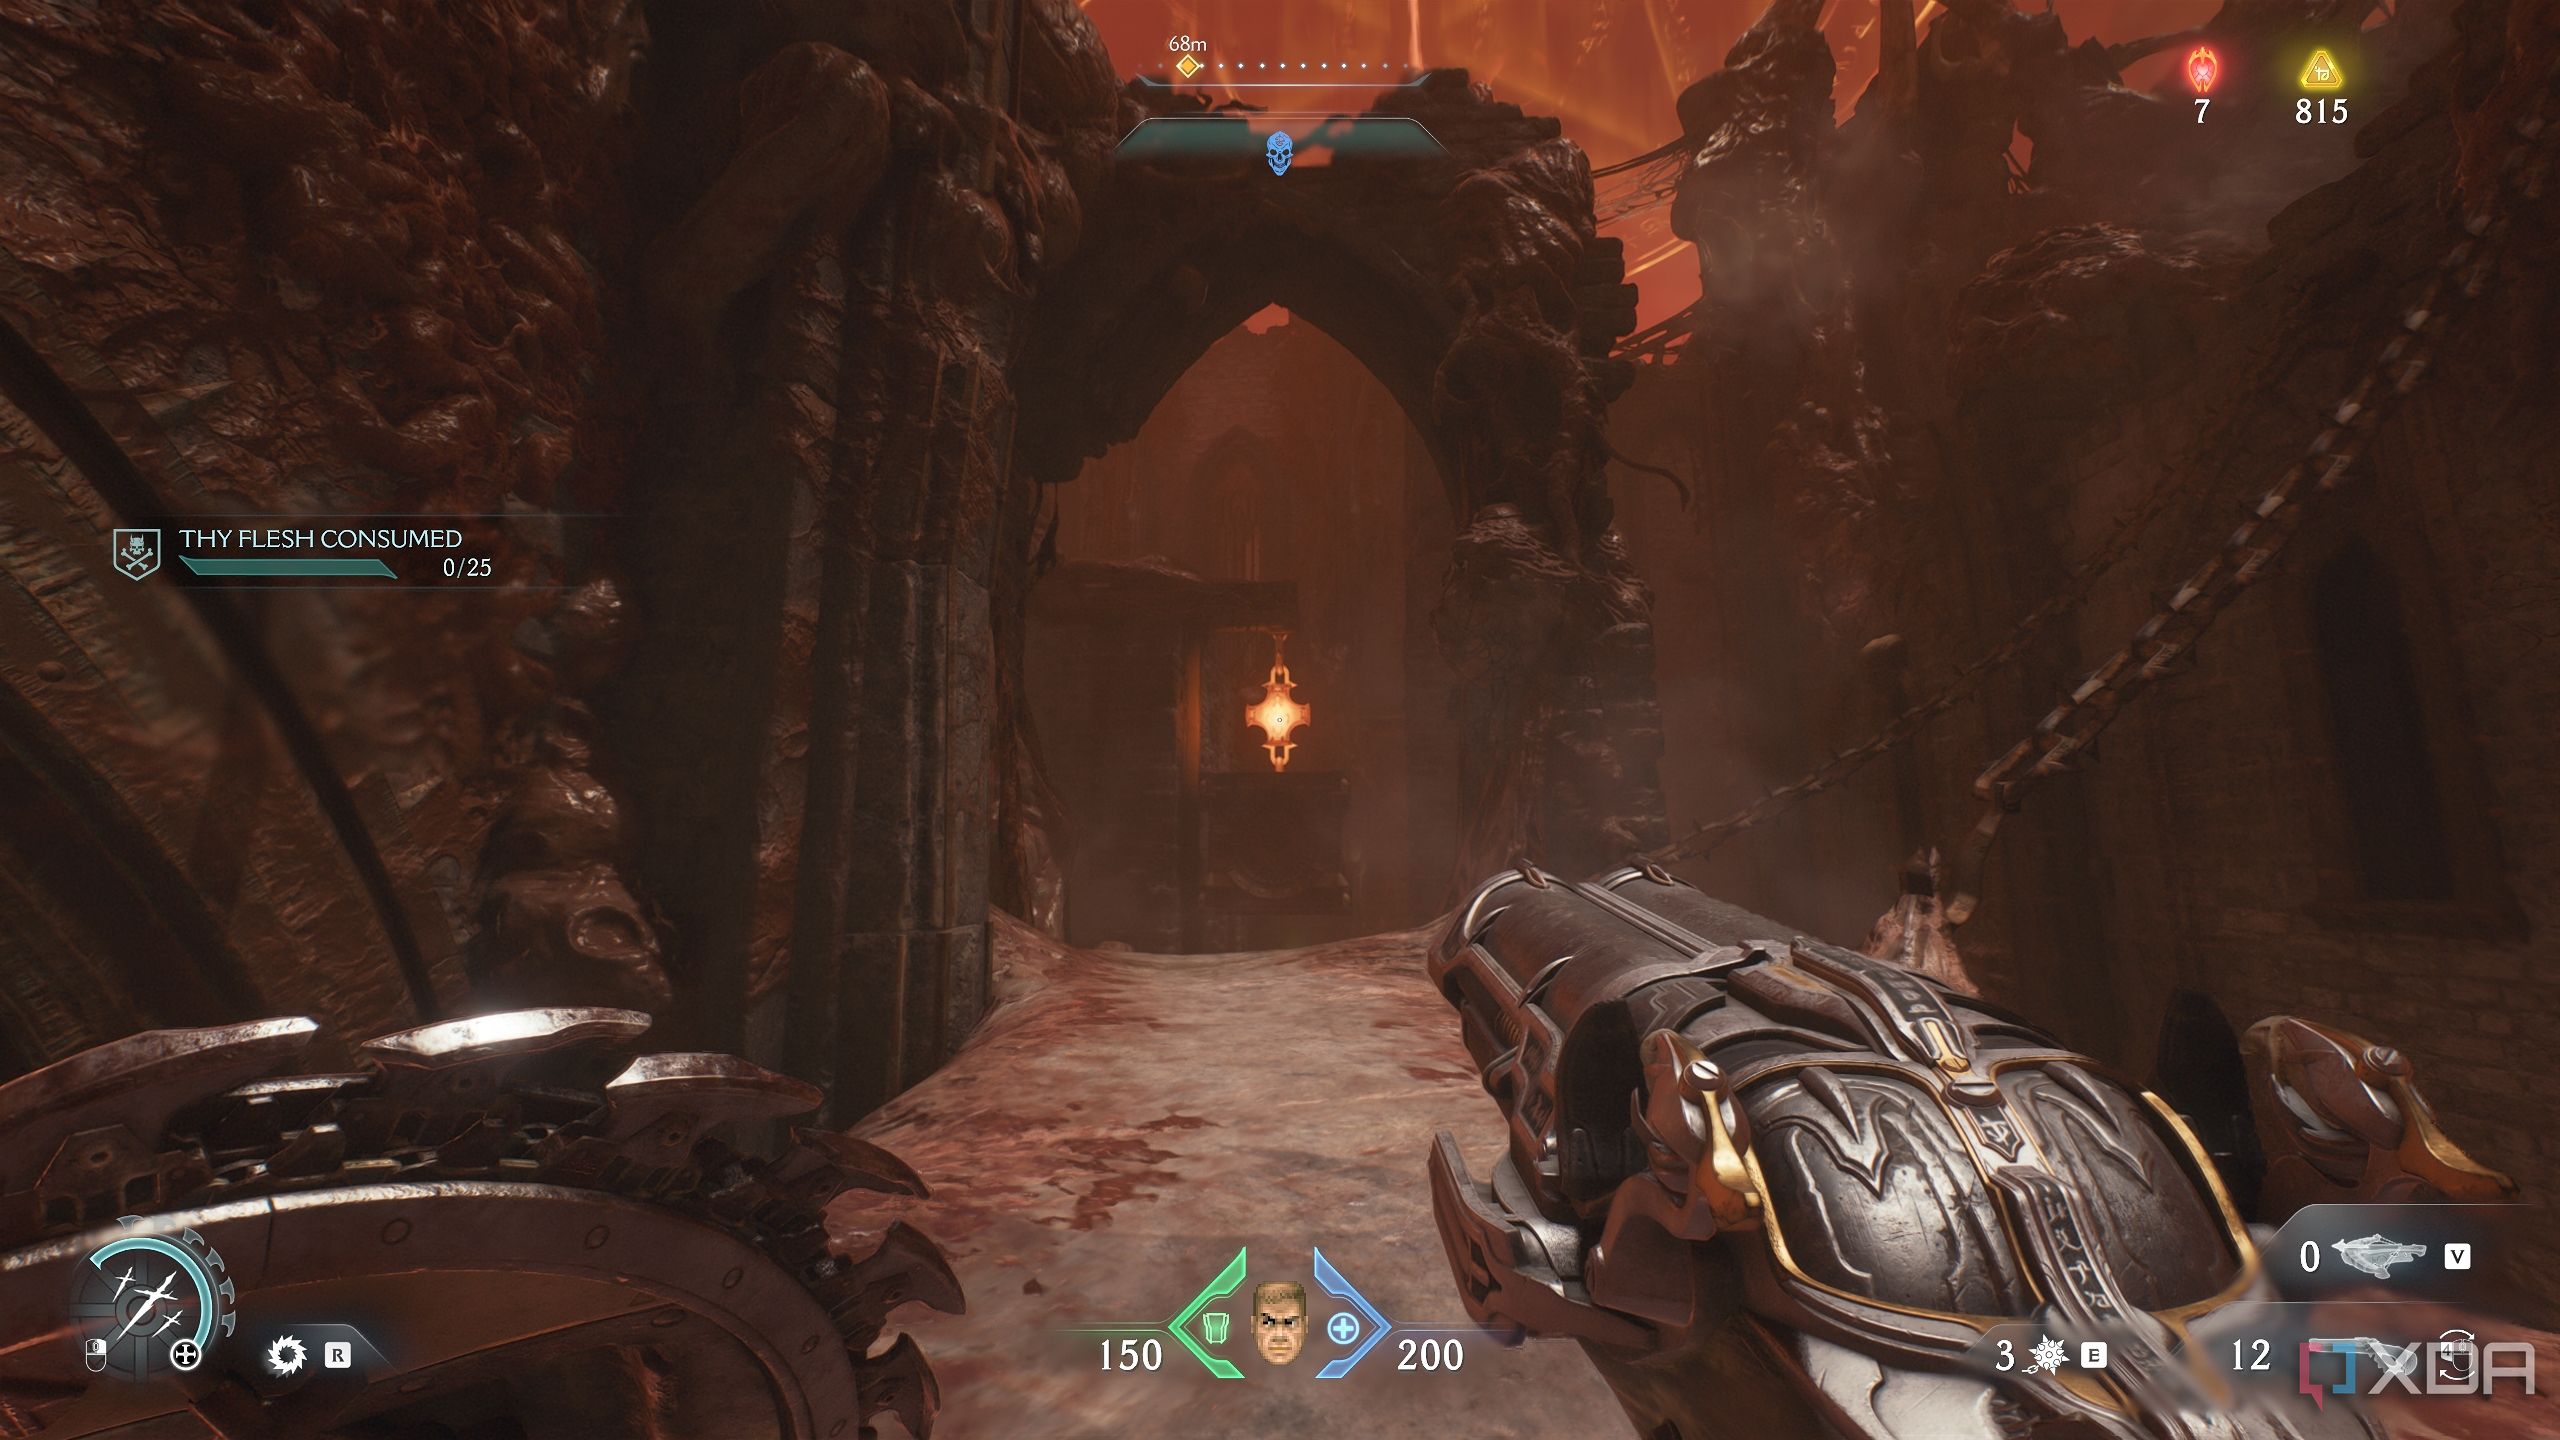
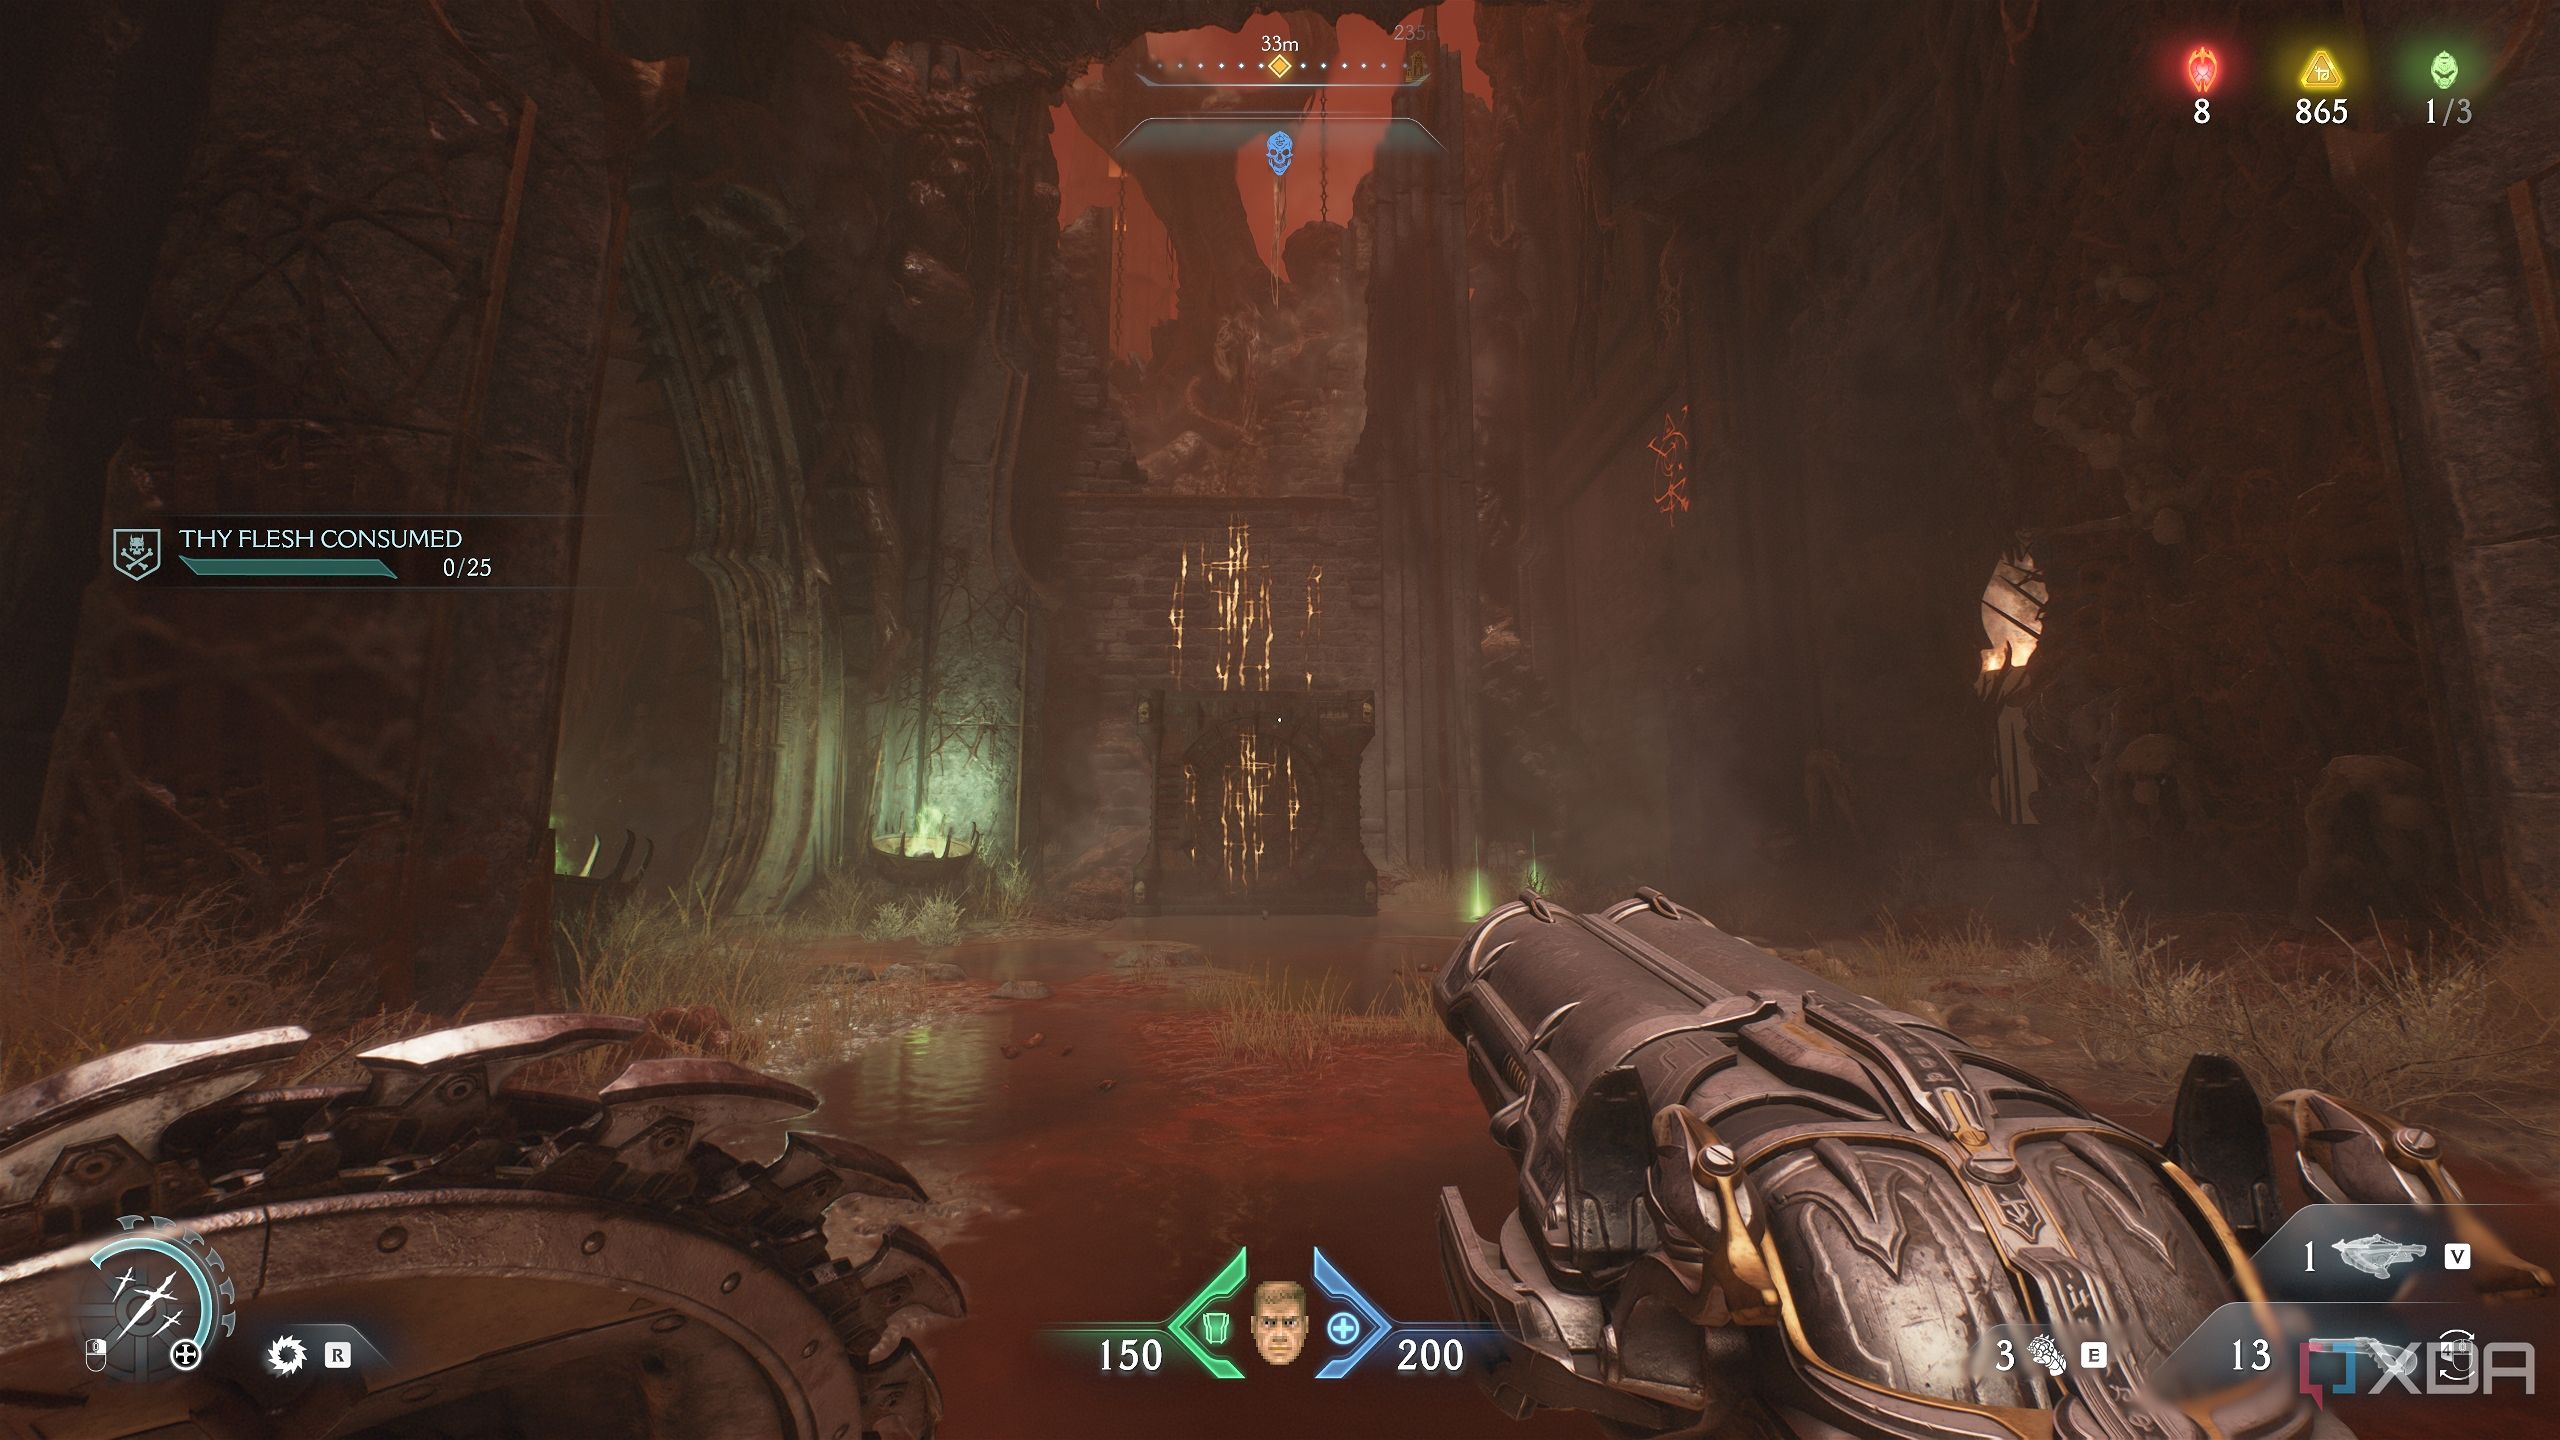
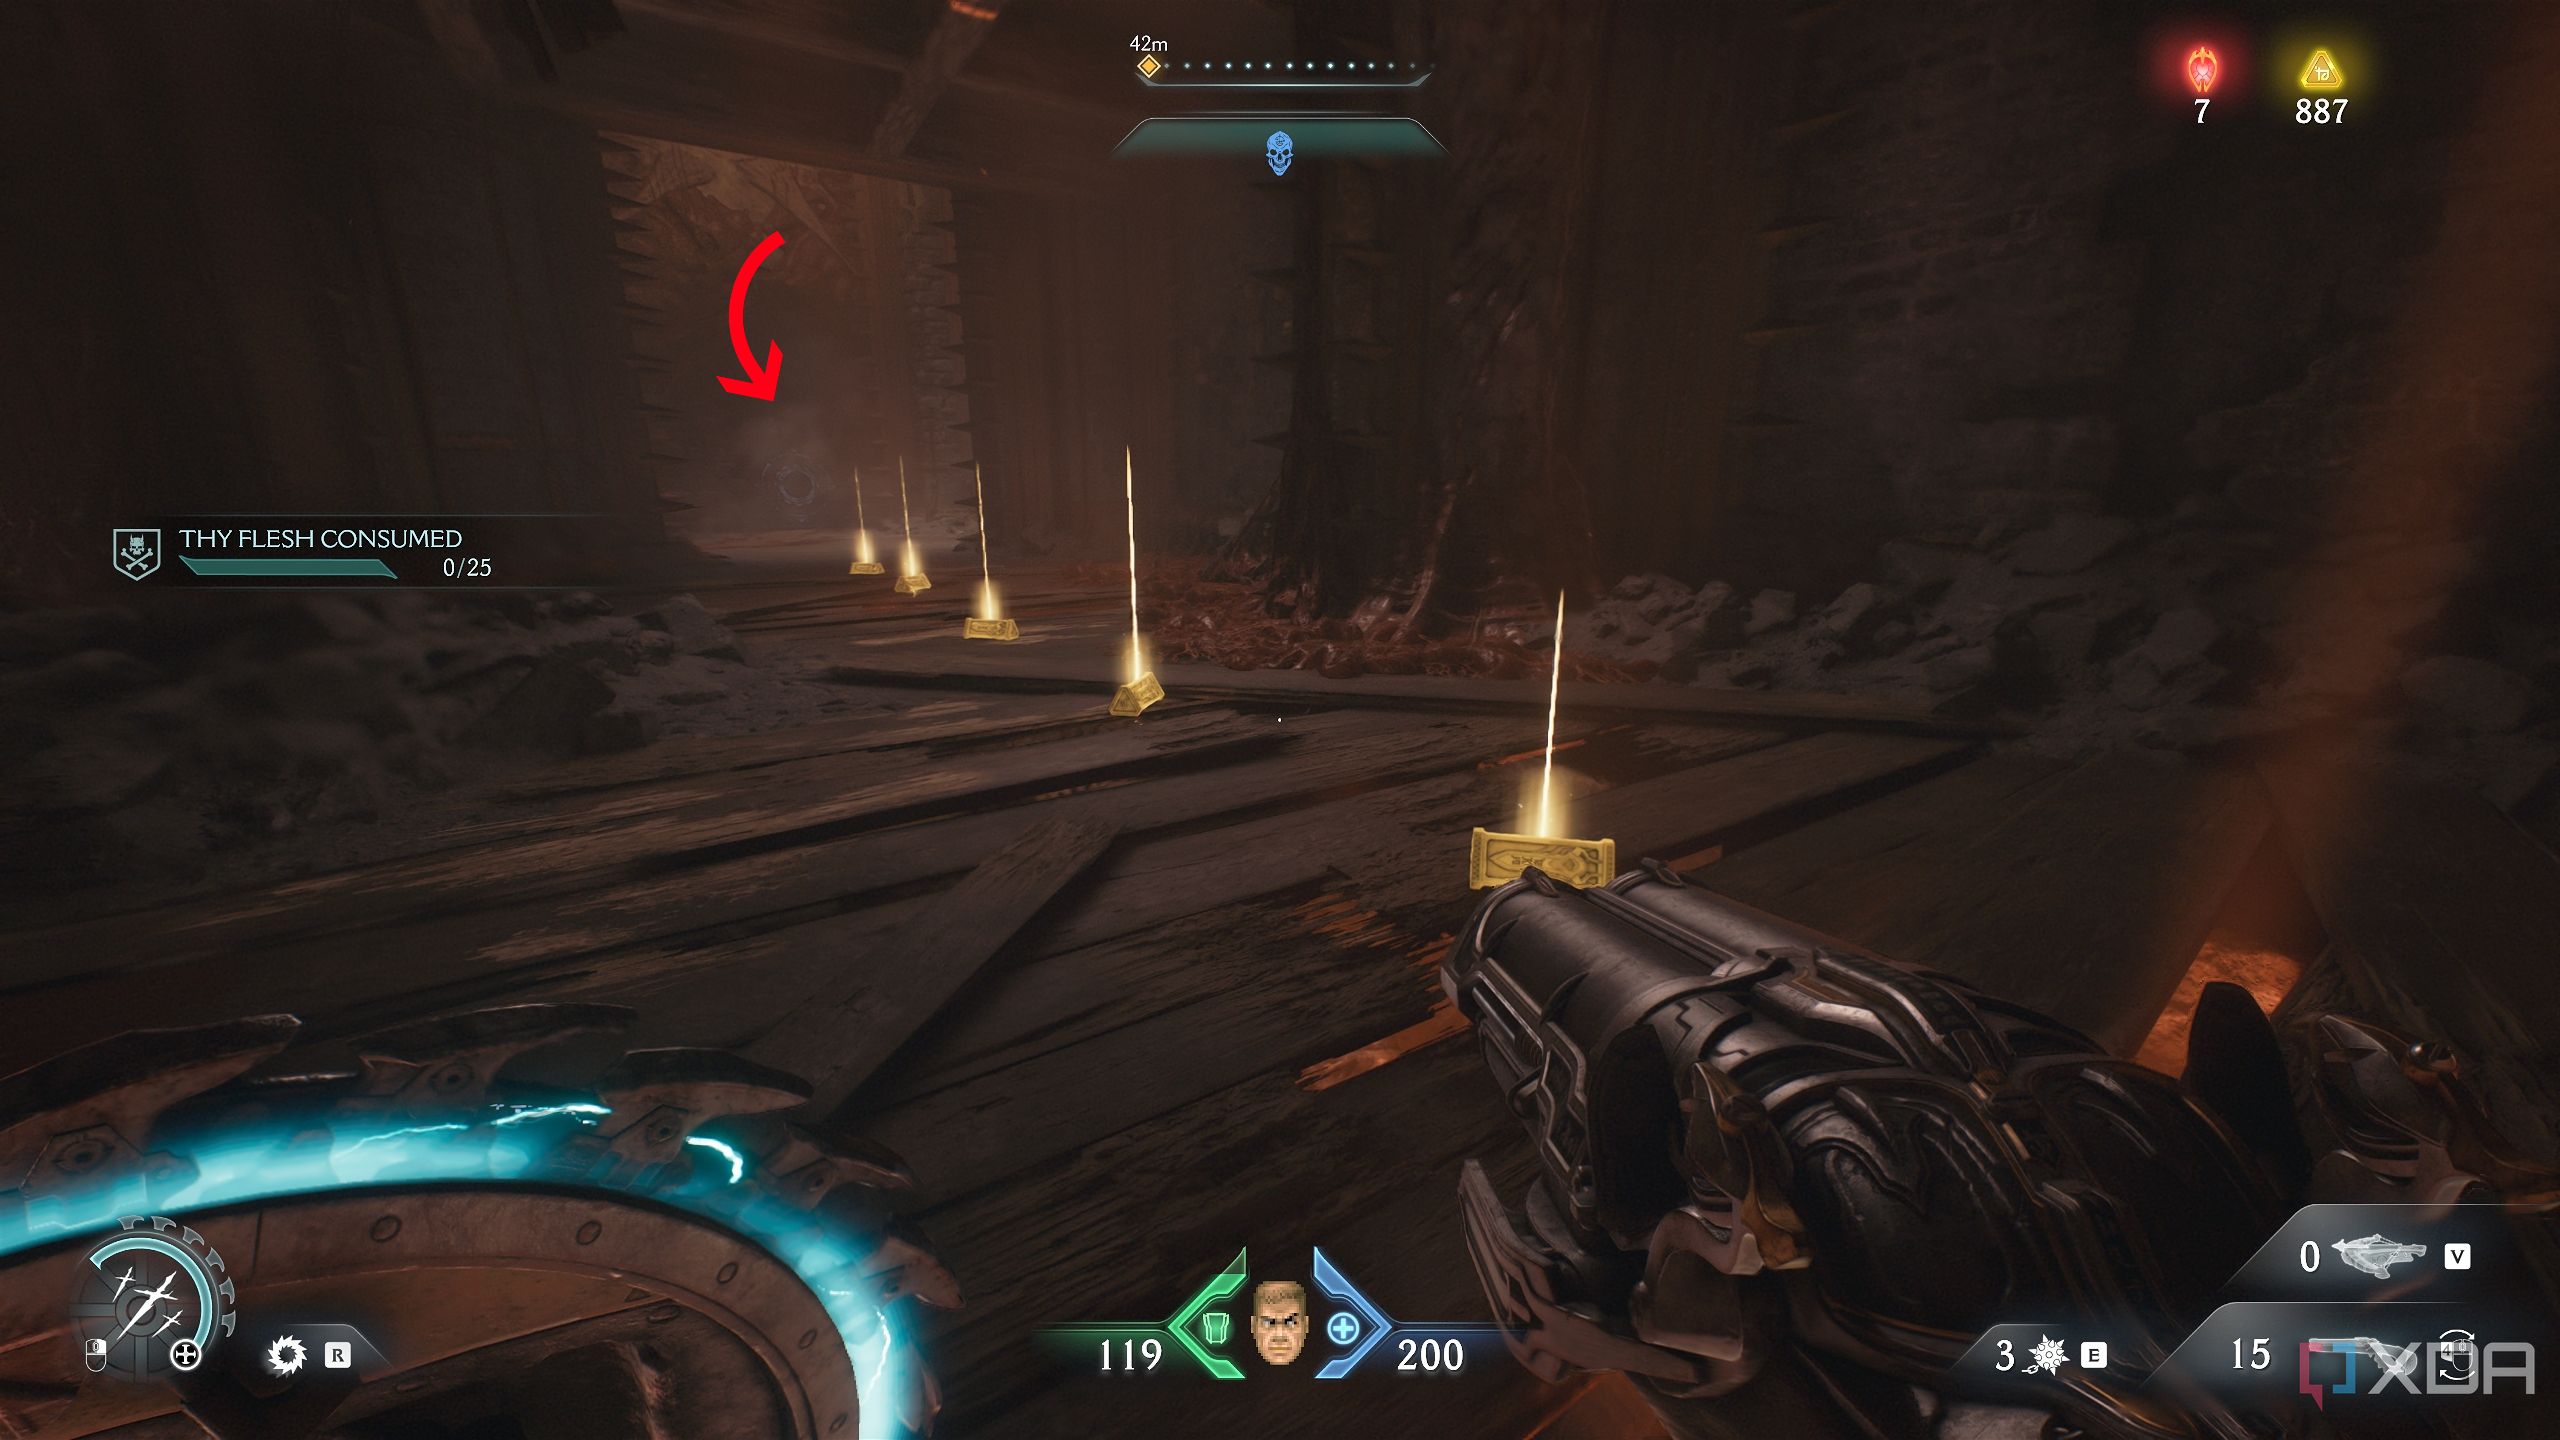
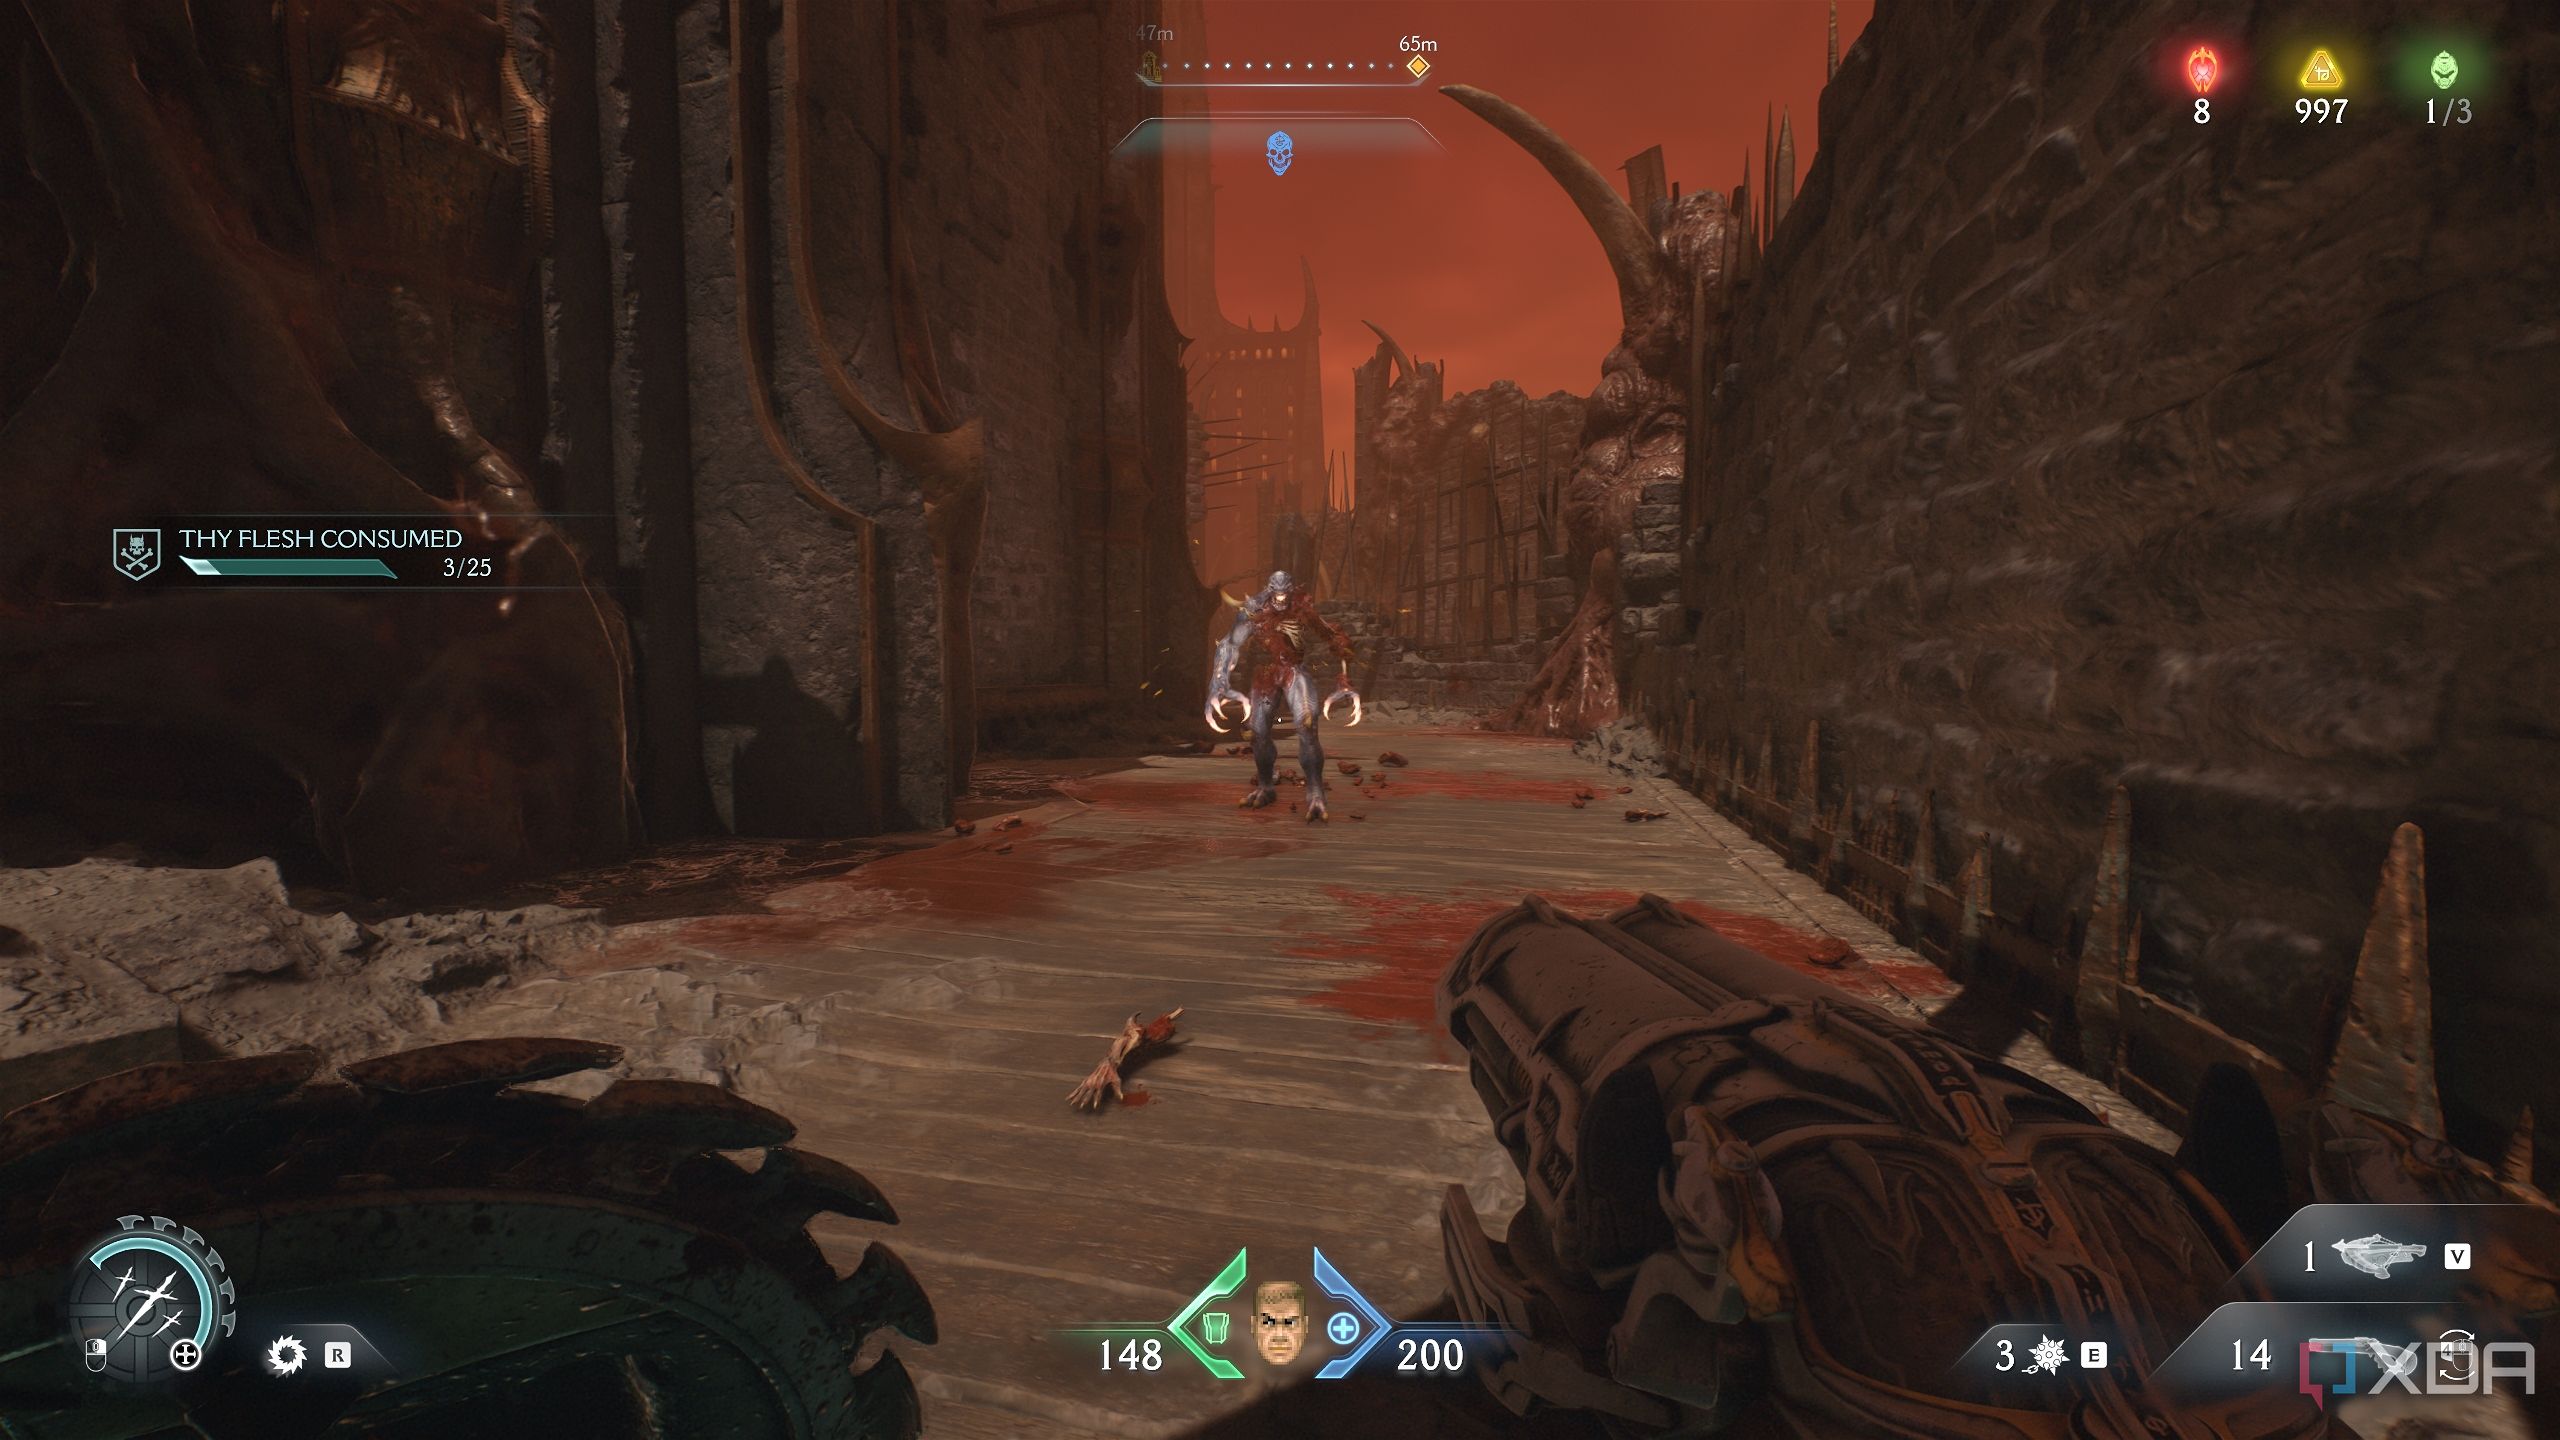
- Consume Thy Flesh — Killing 25 demons within 10 seconds

Related
DOOM: The Dark Ages Chapter 20: Resurrection — 100% completion guide
Chapter 20 in Doom: The Dark Ages sees the Slayer taking down an entire battlefield by himself, thinning out a gigantic army of demons.
Chapter 22 of Doom: The Dark Ages makes it hard to say goodbye… for now
The problem with 100% completion is that there’s nothing to go back to
In chapter 22, the Slayer returns to Hell to hunt down a wounded Prince Ahzrak, determined to bring an end to his rule. Following the objectives in the chapter along with the instructions provided below, it won't be long before you can claim that sweet 100% completion tag for the level.
Path tracing hasn’t arrived in the game yet, but this final look at Hell is a spectacle to behold, thanks to the id Tech engine 8.
This guide covers each collectible required for 100% level completion in chronological order. It is recommended to follow this guide in the order stated.
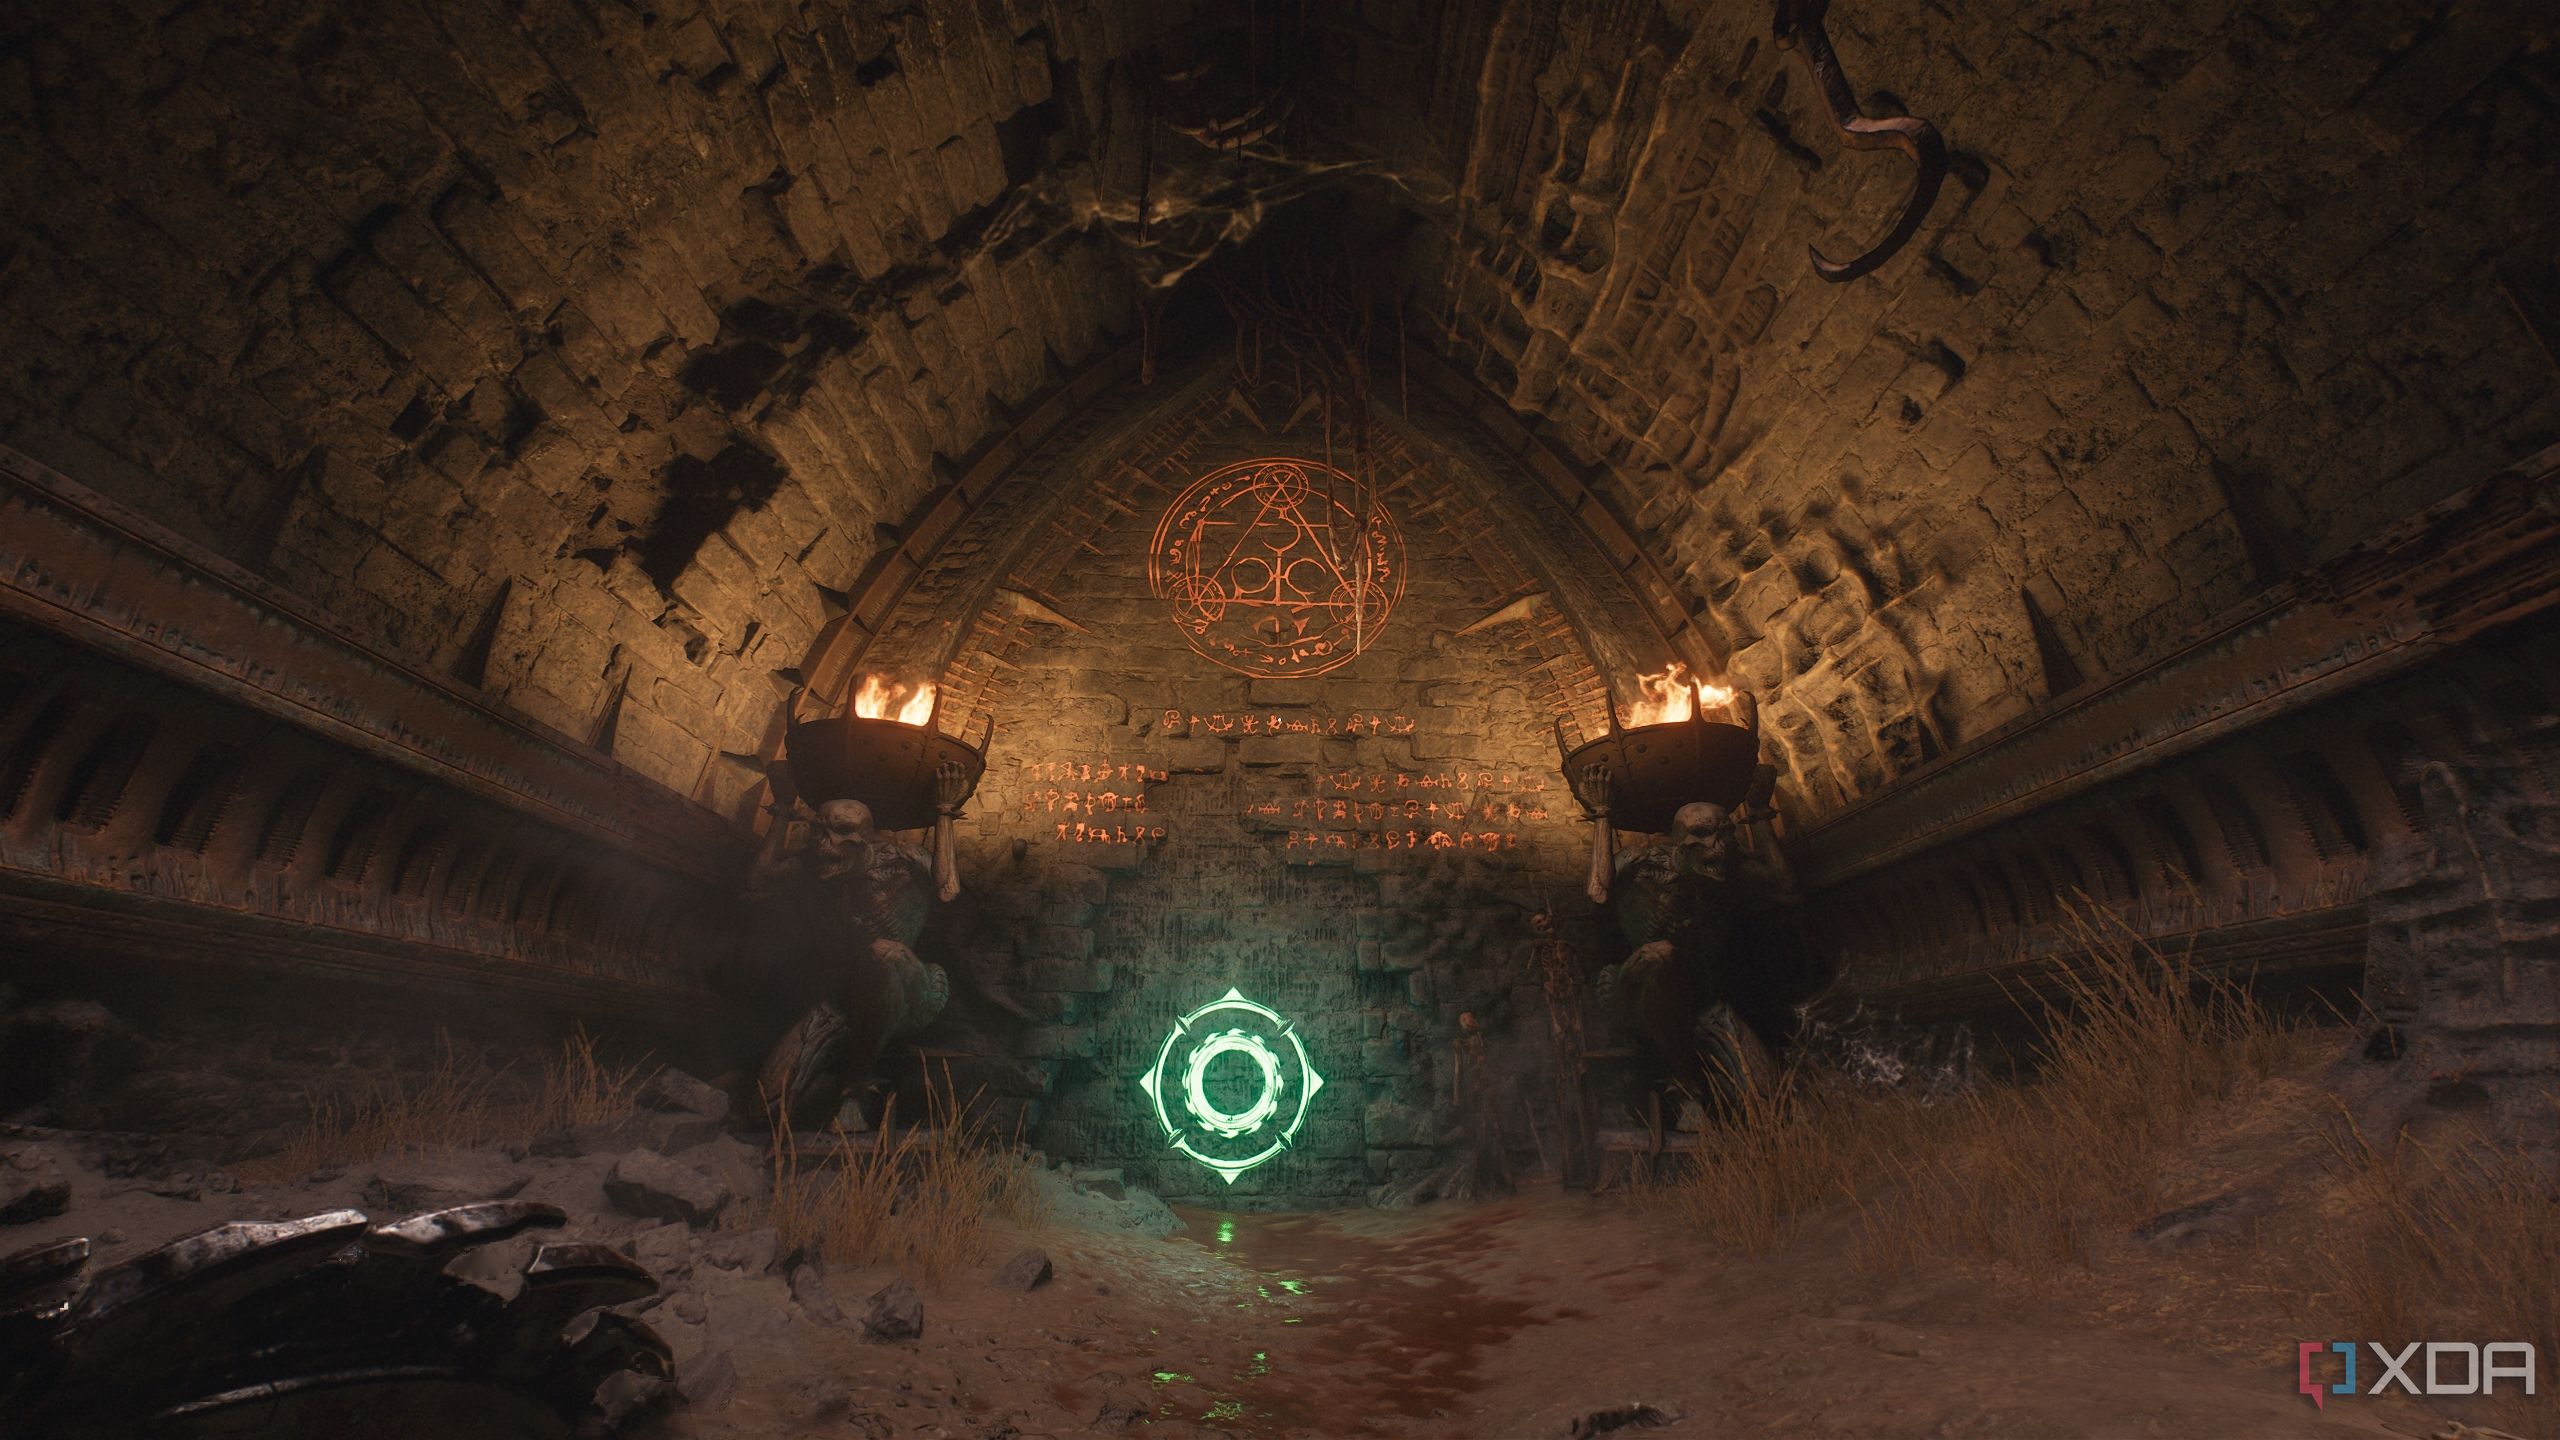
1. Codex Page for Sentinel Marok
Knowing his fate makes it tougher to see him
As soon as the player gets control, you’ll Shield Charge through a wall ahead.
Here, the main path goes left, but just below is an impossible-to-miss Codex Page floating.
Drop down to it and collect it to find out more about Commander Valen’s son, Marok.
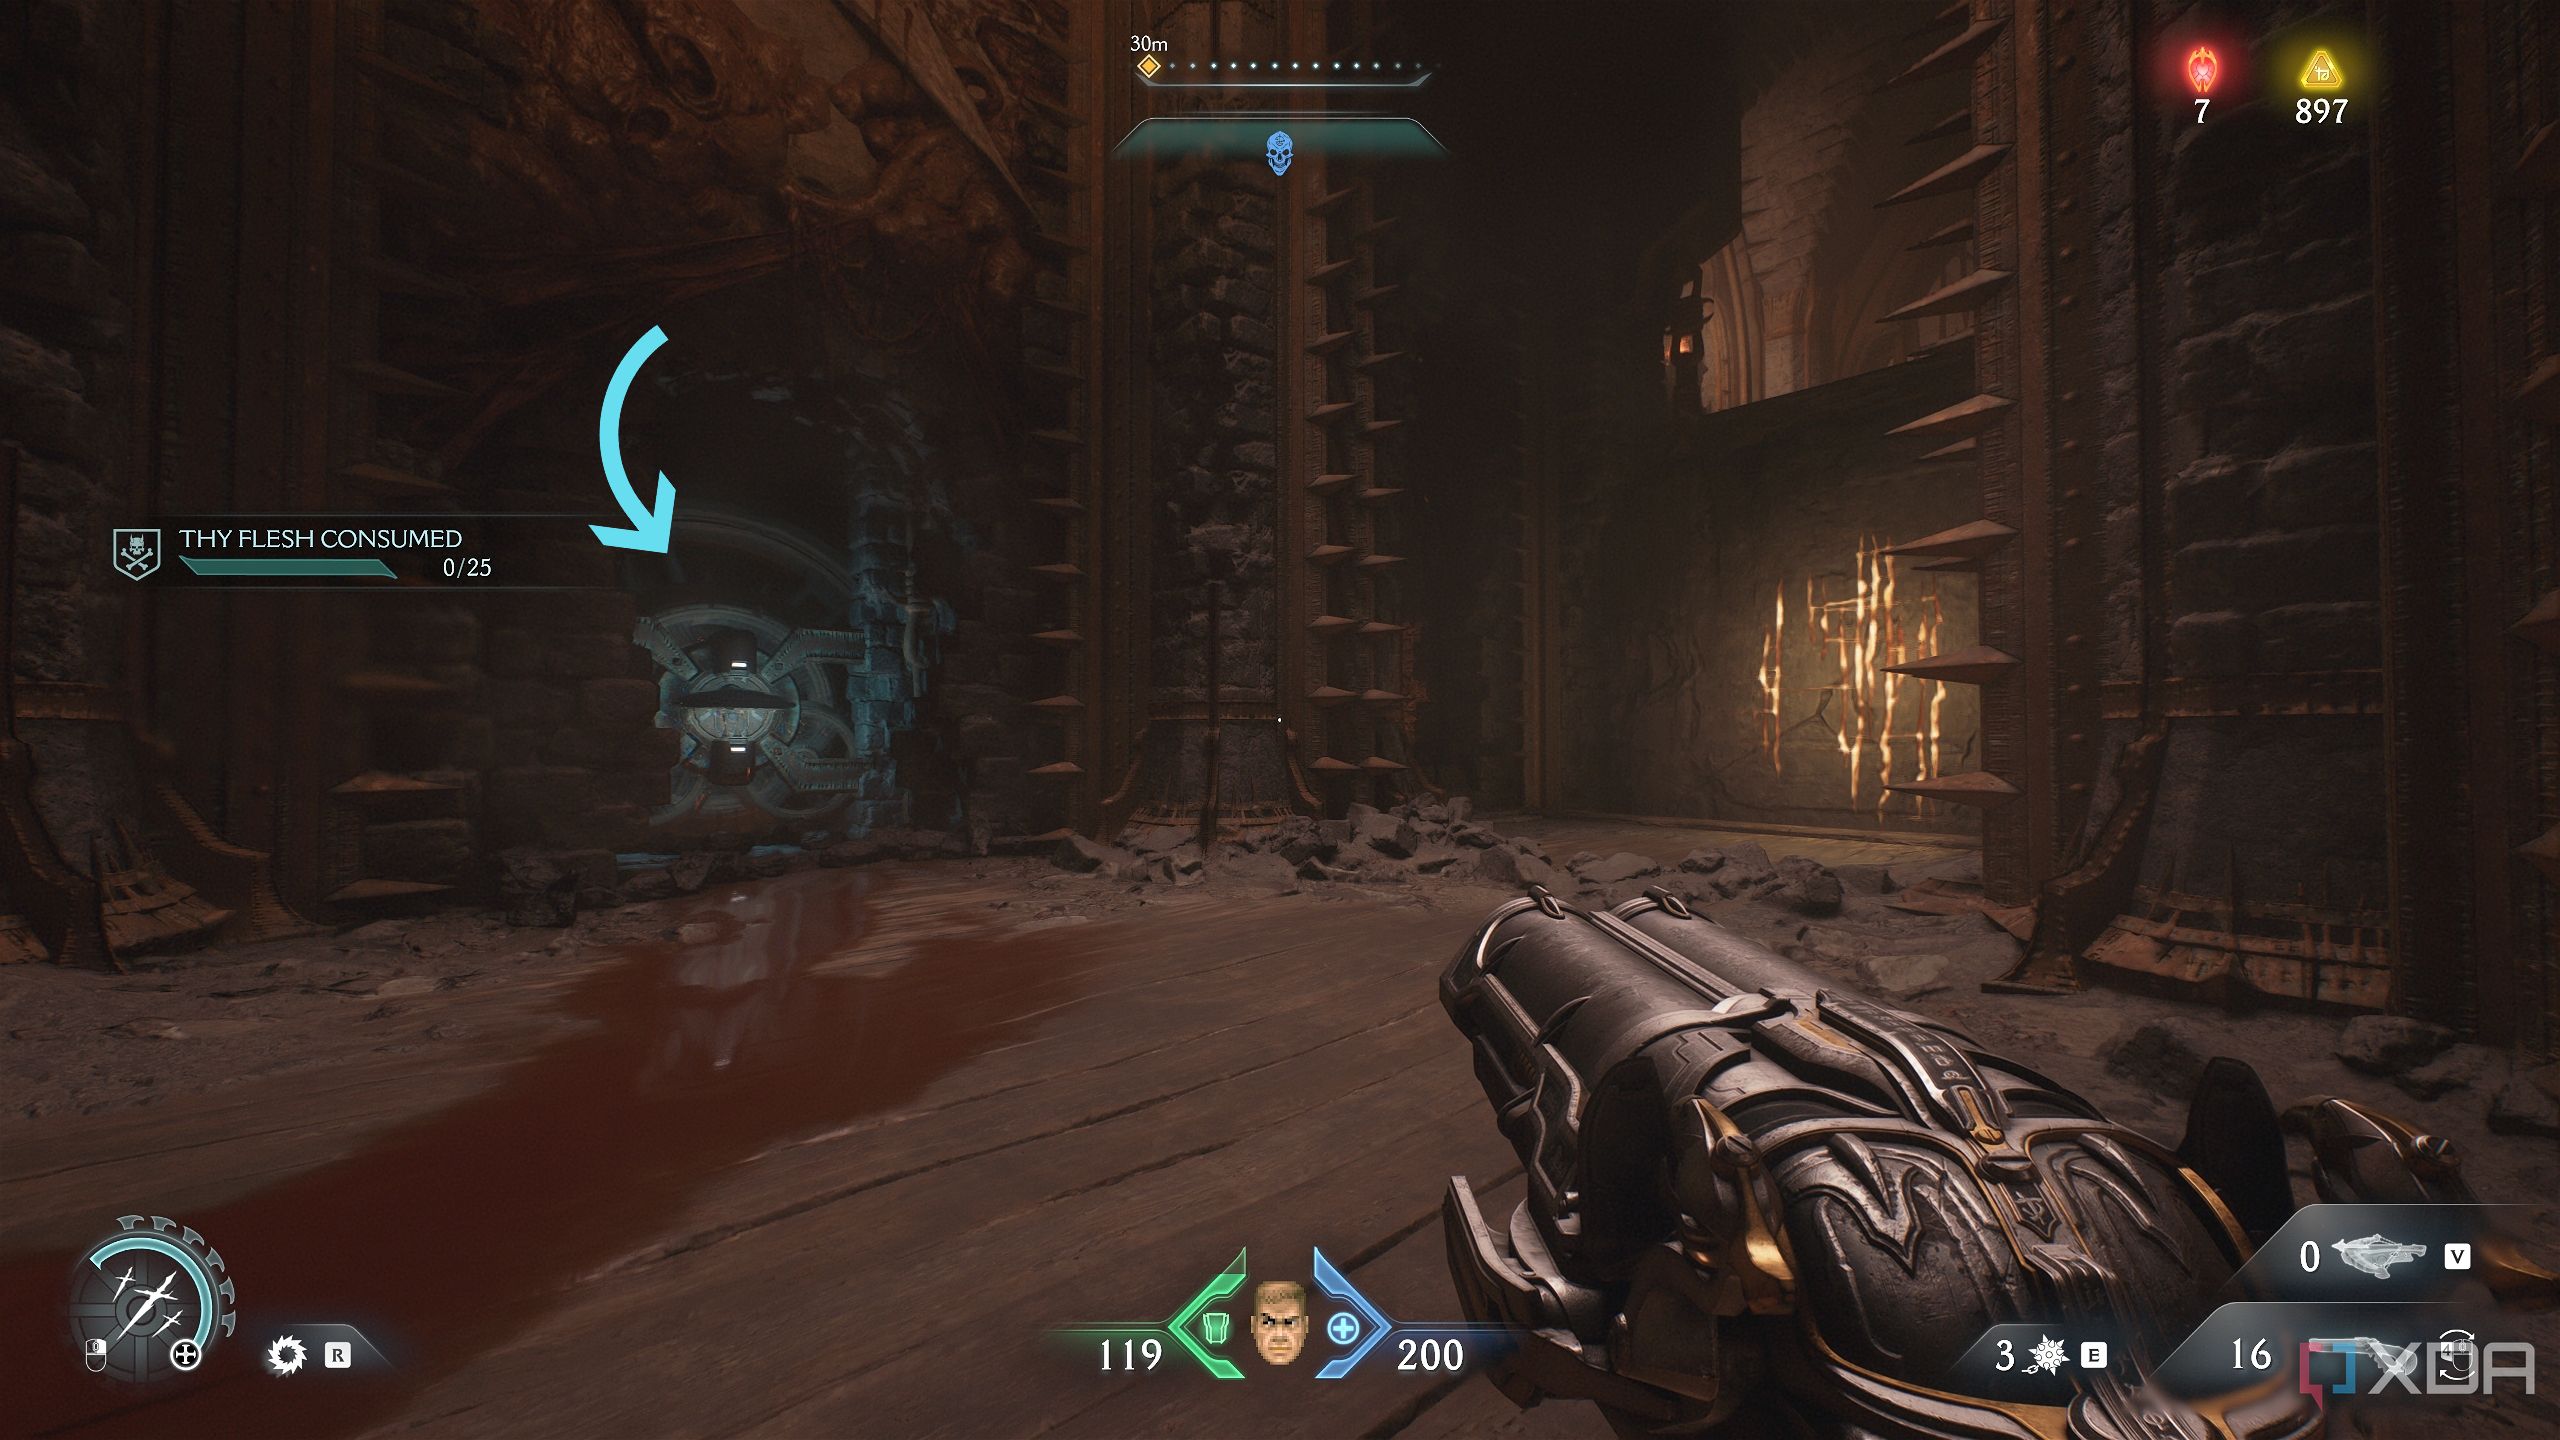
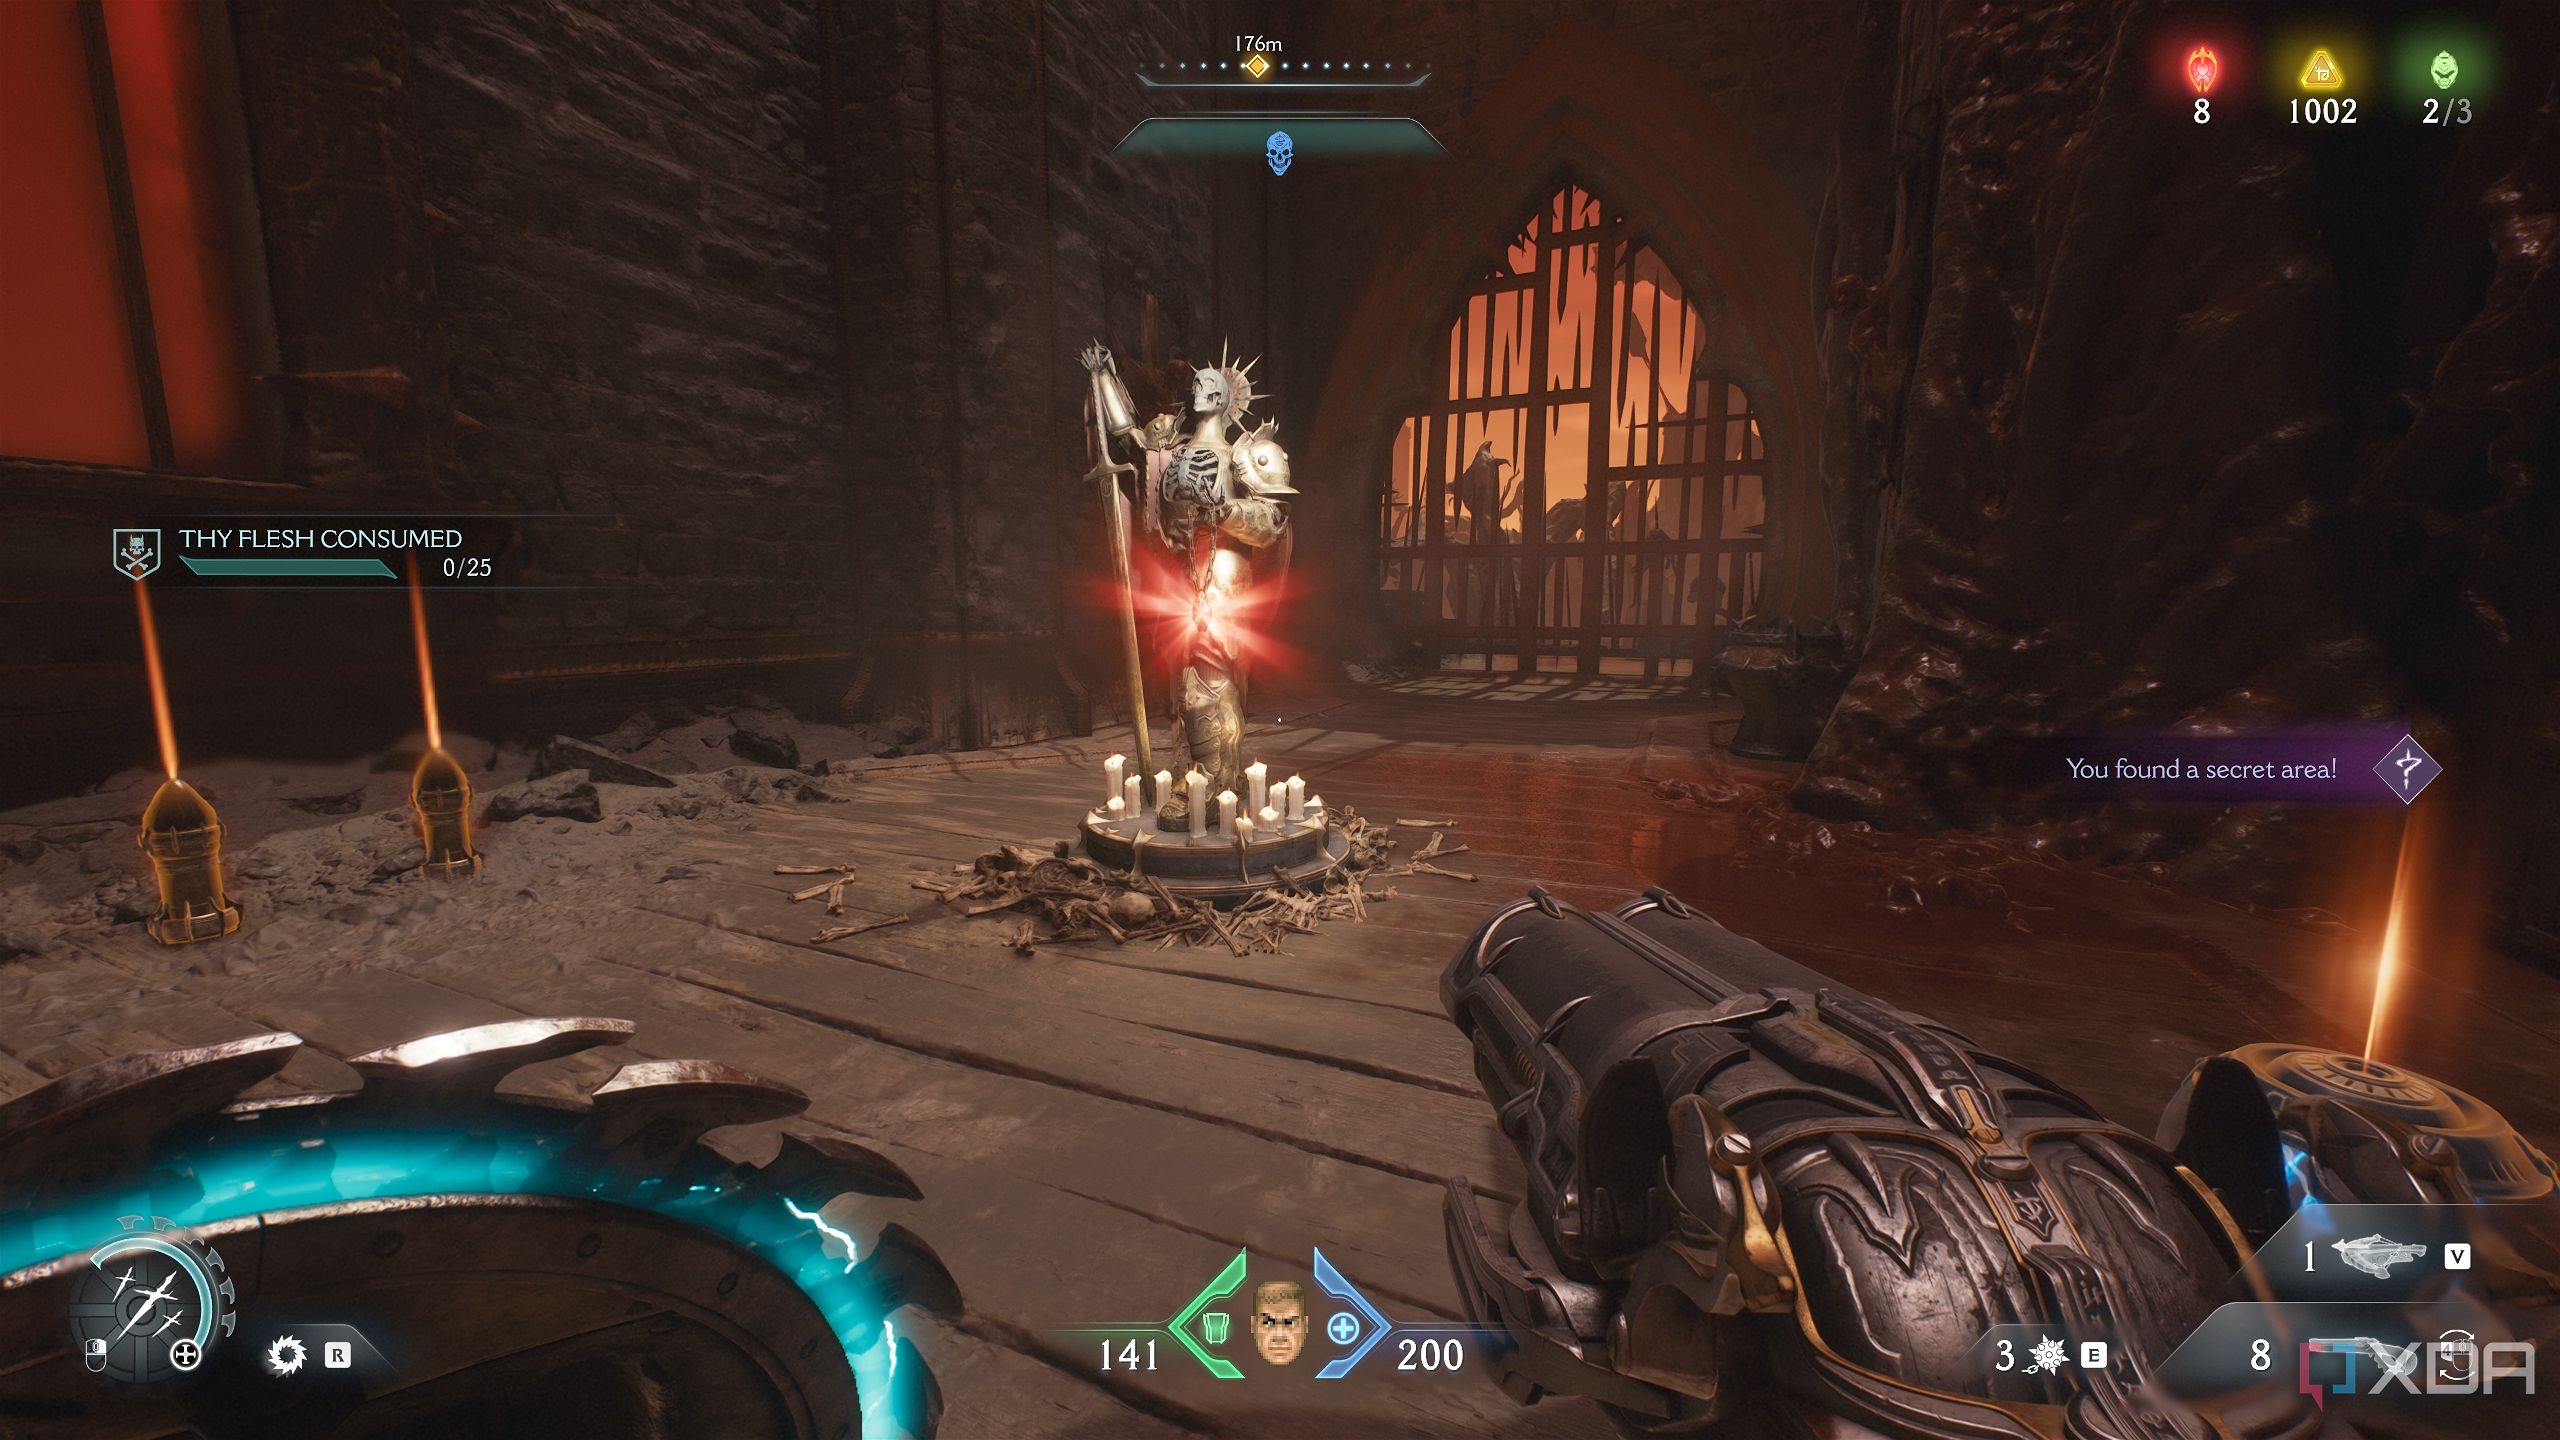
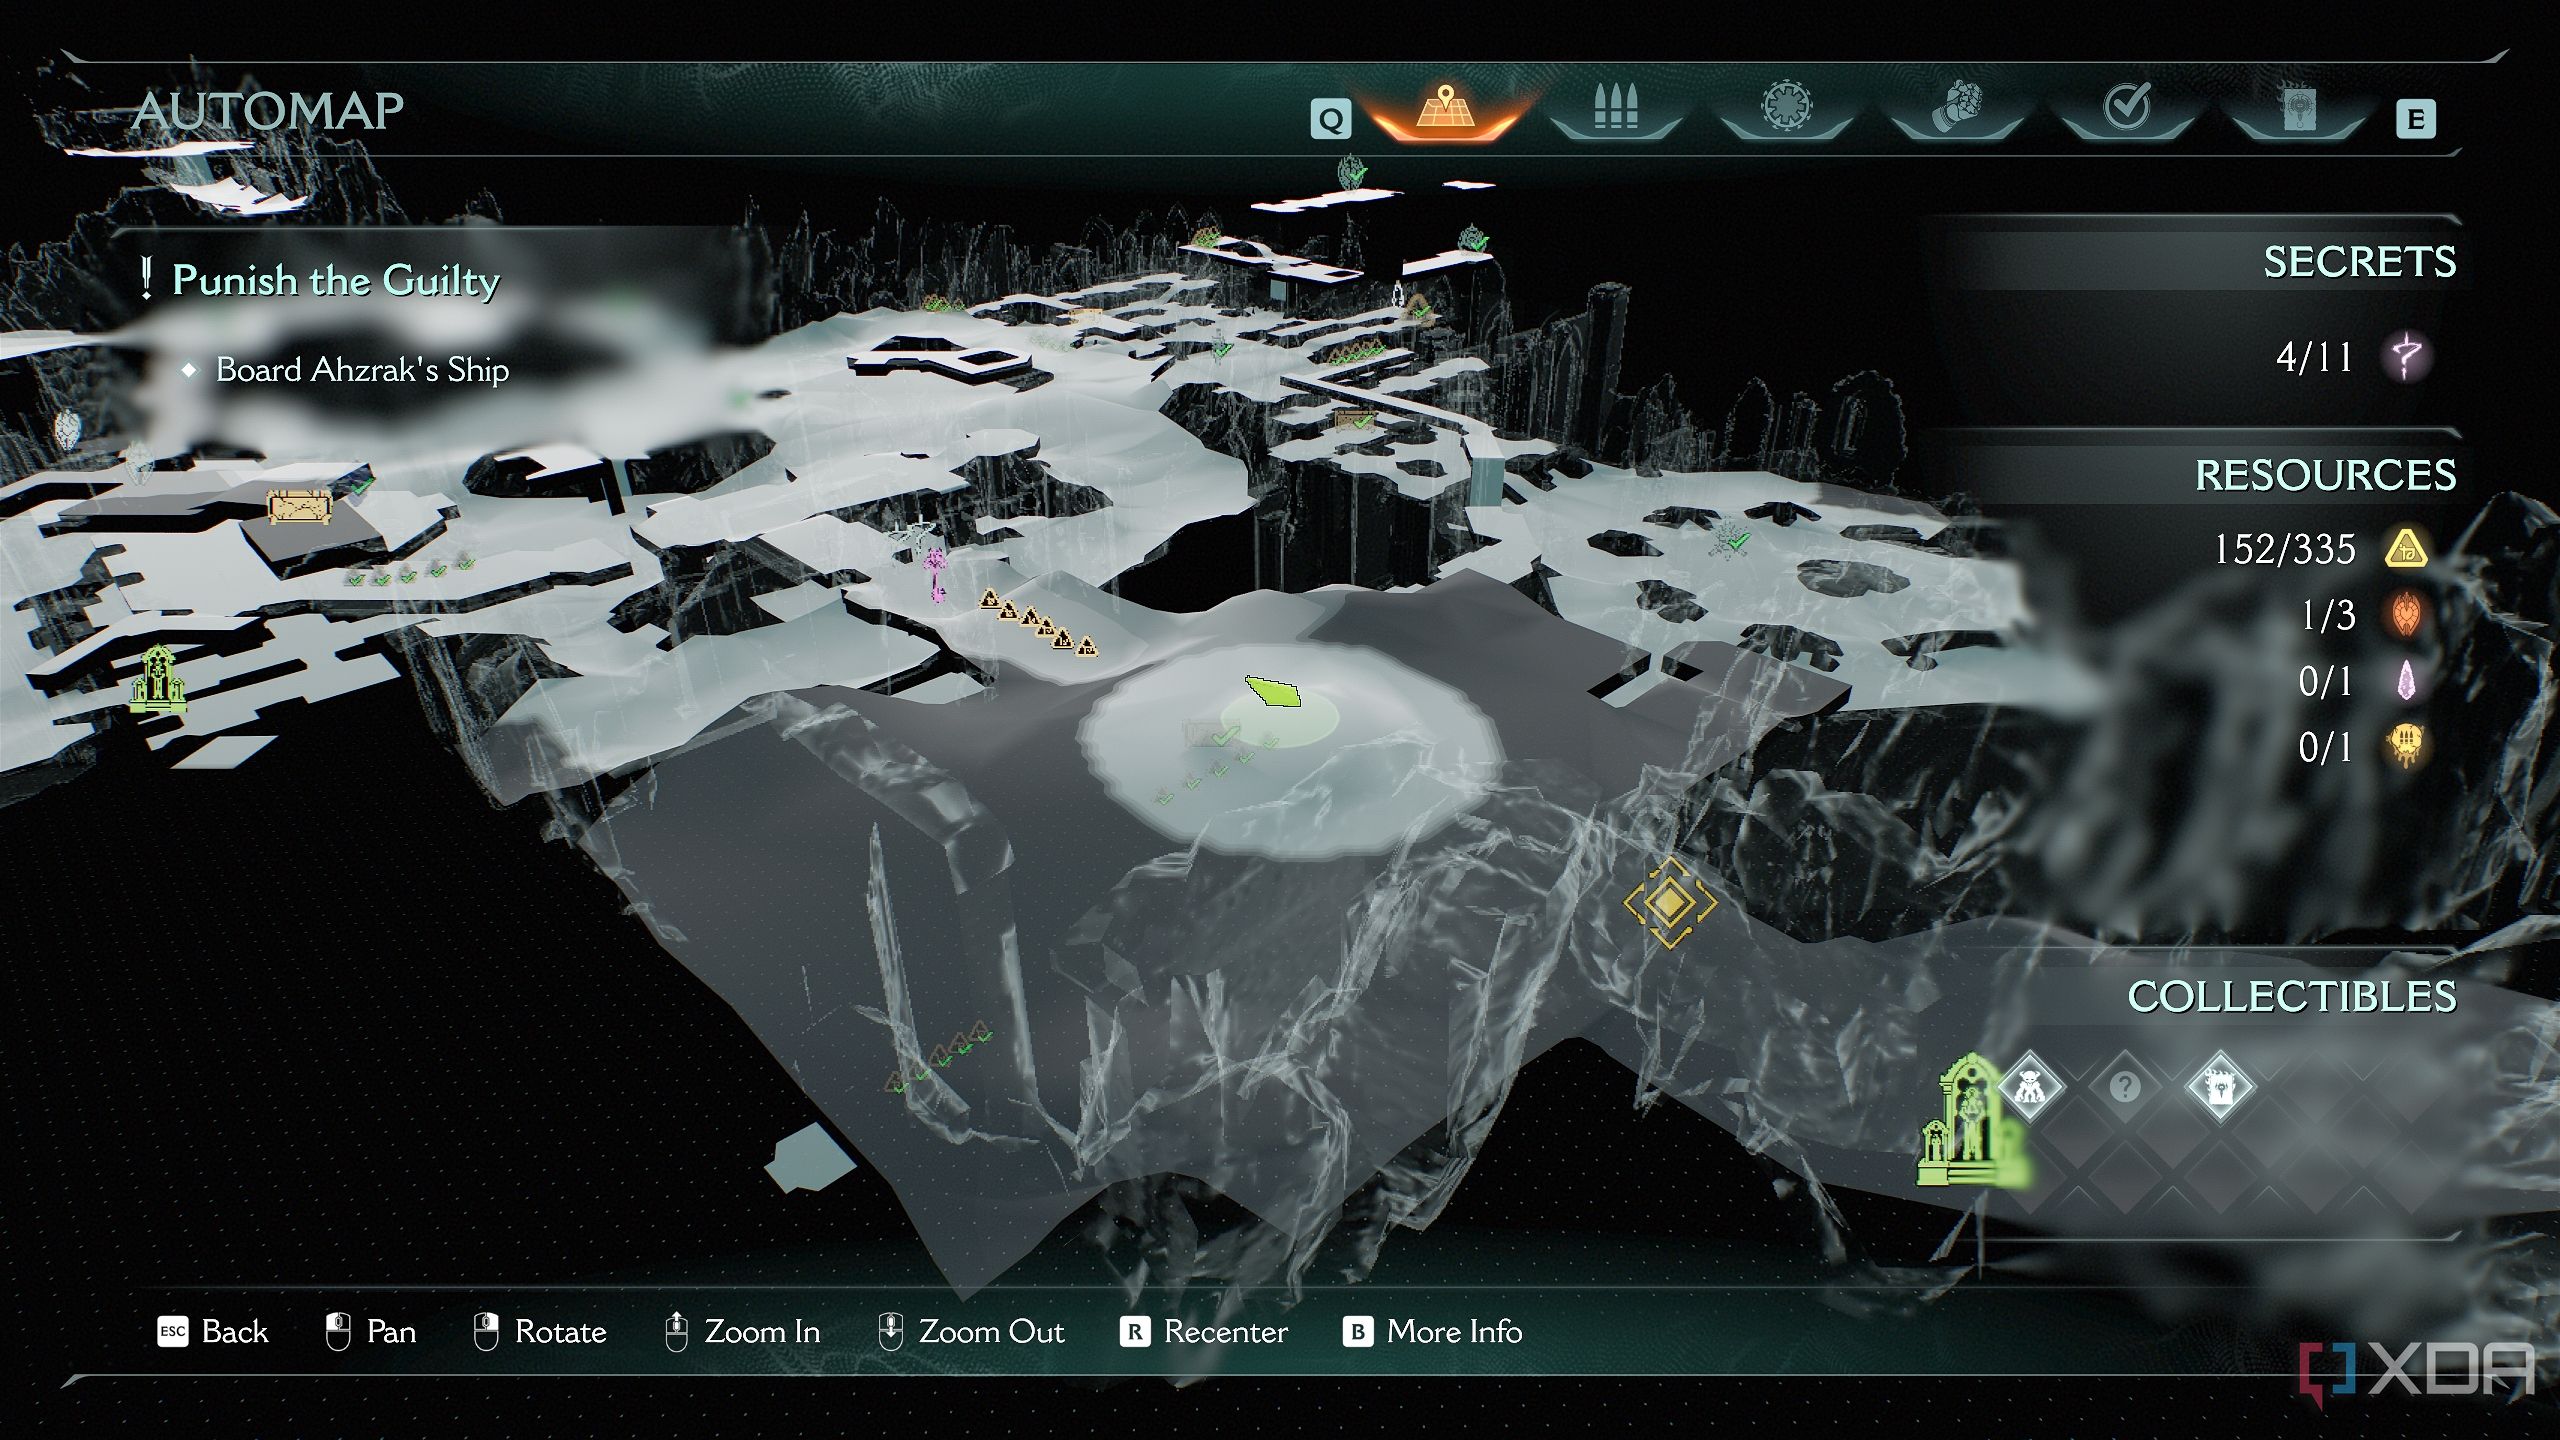
2. Secret area 1 and a Life Sigil
You're going to need plenty of those

Then, you’ll enter the first encounter, which is a long fight against a leader Cyberdemon, a Komodo, a Cacodemon, and multiple other demons. After the fight is over, stand in the center of the bloody arena and look in the direction marked on the map.
Enter this small crevice, and the path will lead a few steps up, getting you to secret area 1 and a Life Sigil. You’re definitely going to need those Life Sigils.

Related
The DOOM series: Every core game ranked
What are the best entries of the DOOM series that you should play? Here's every core game ranked!
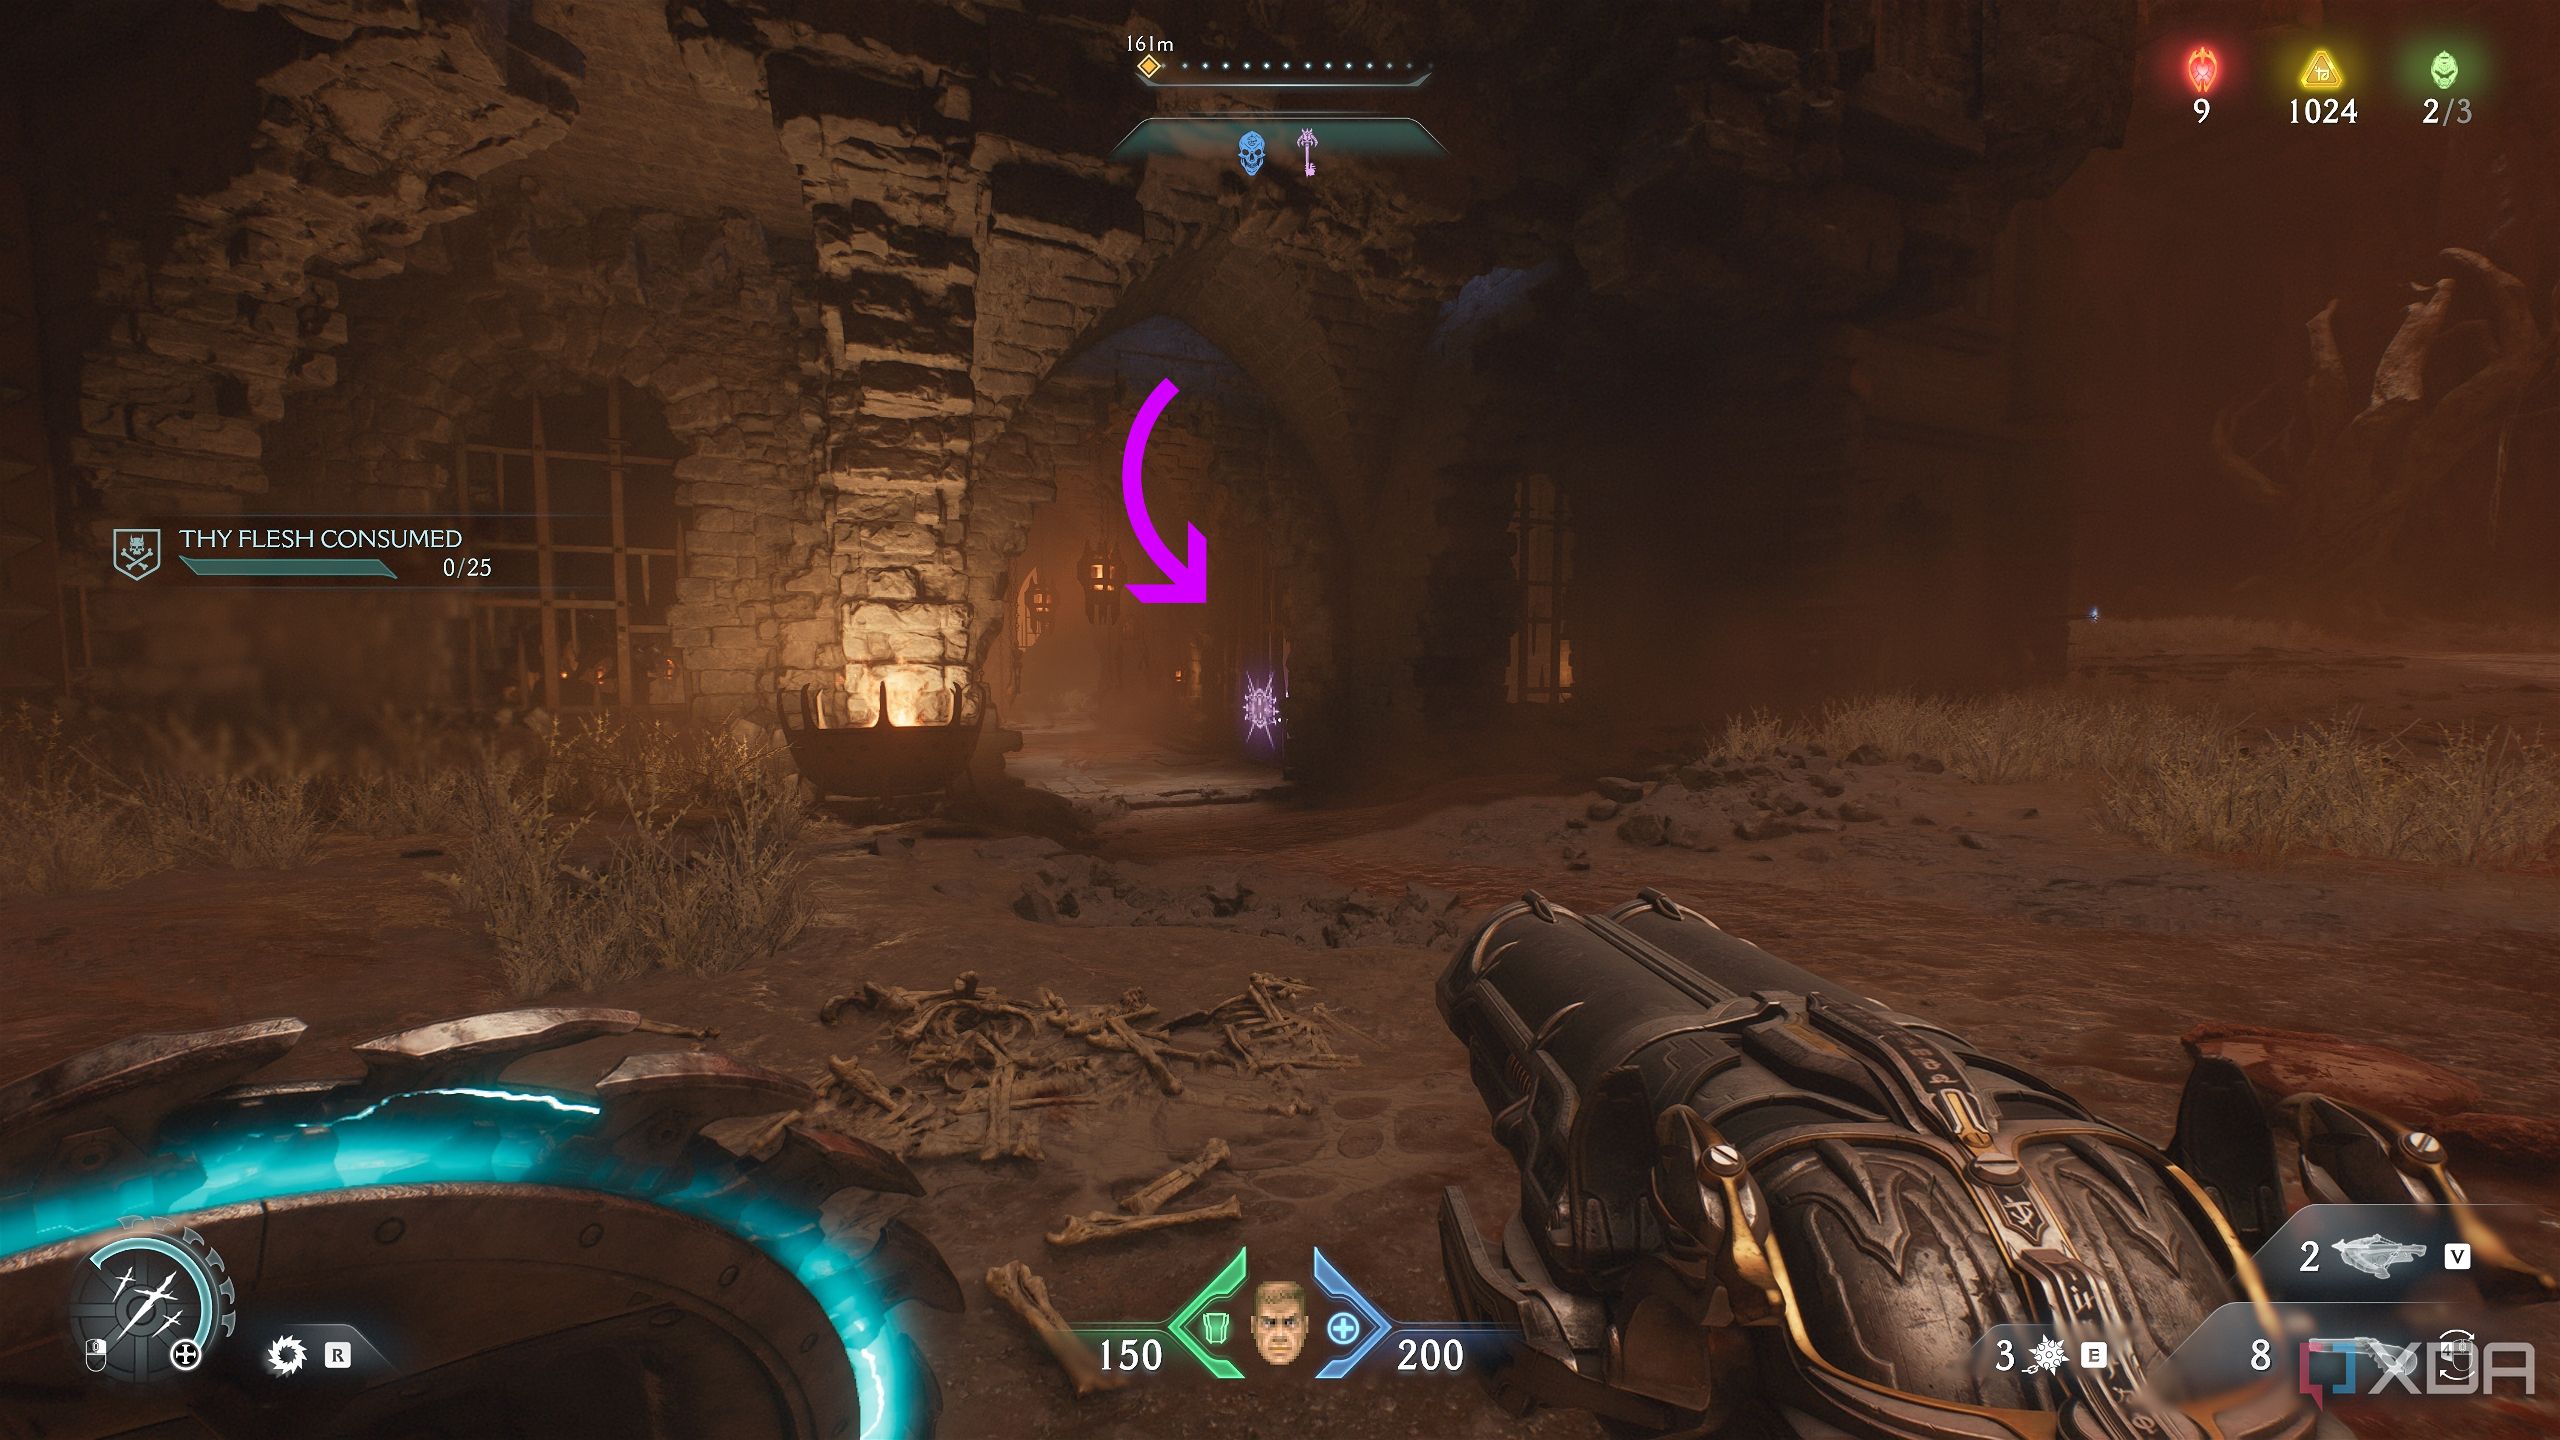
3. Gore portal and collectible toy
A tough fight for a mission challenge
Now, head back outside to the arena, and you’ll see a blue-locked door overhead.

Get here, and walk into the right path underneath the blue door. There’s a Sentinel Shrine here if you need to use one.
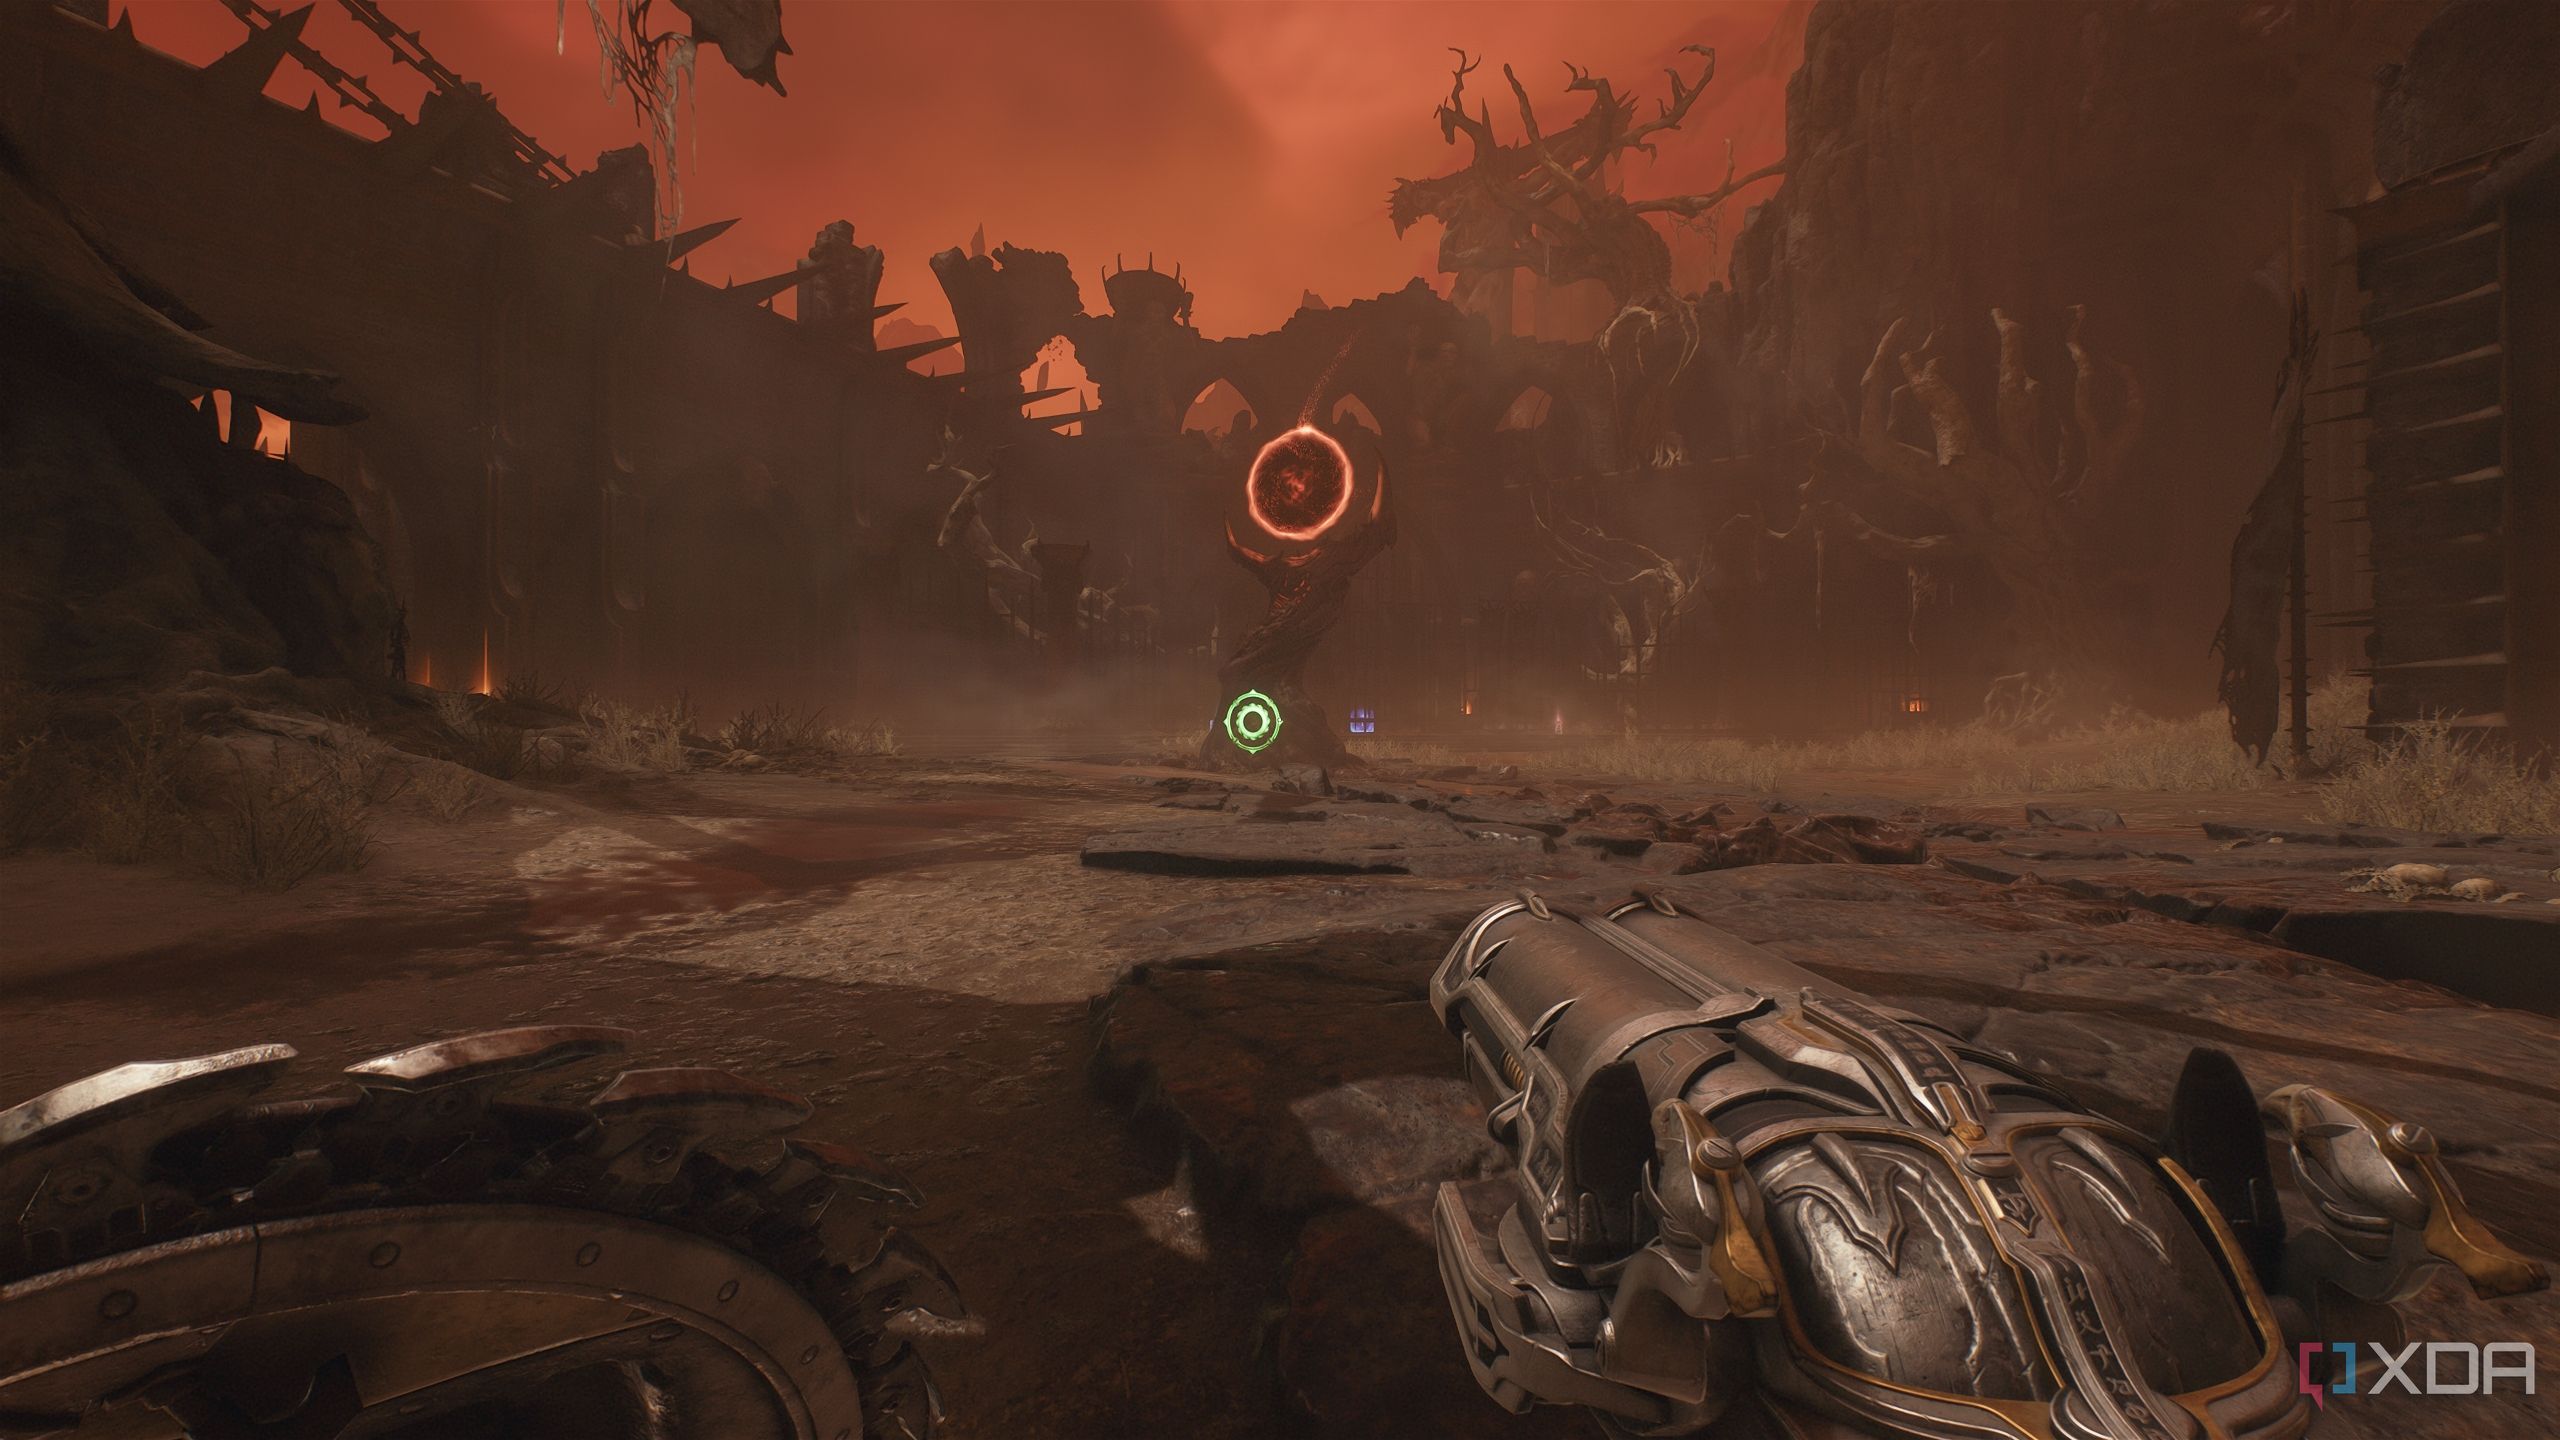
Head forward and you’ll reach a Gore Portal. Destroy it, and get ready to fight a long, tough battle, ending in two Cosmic Barons attacking you simultaneously.
This is the best place to finish the Death Clock mission challenge early on. Just make sure you attack both Barons equally instead of focusing on either one.
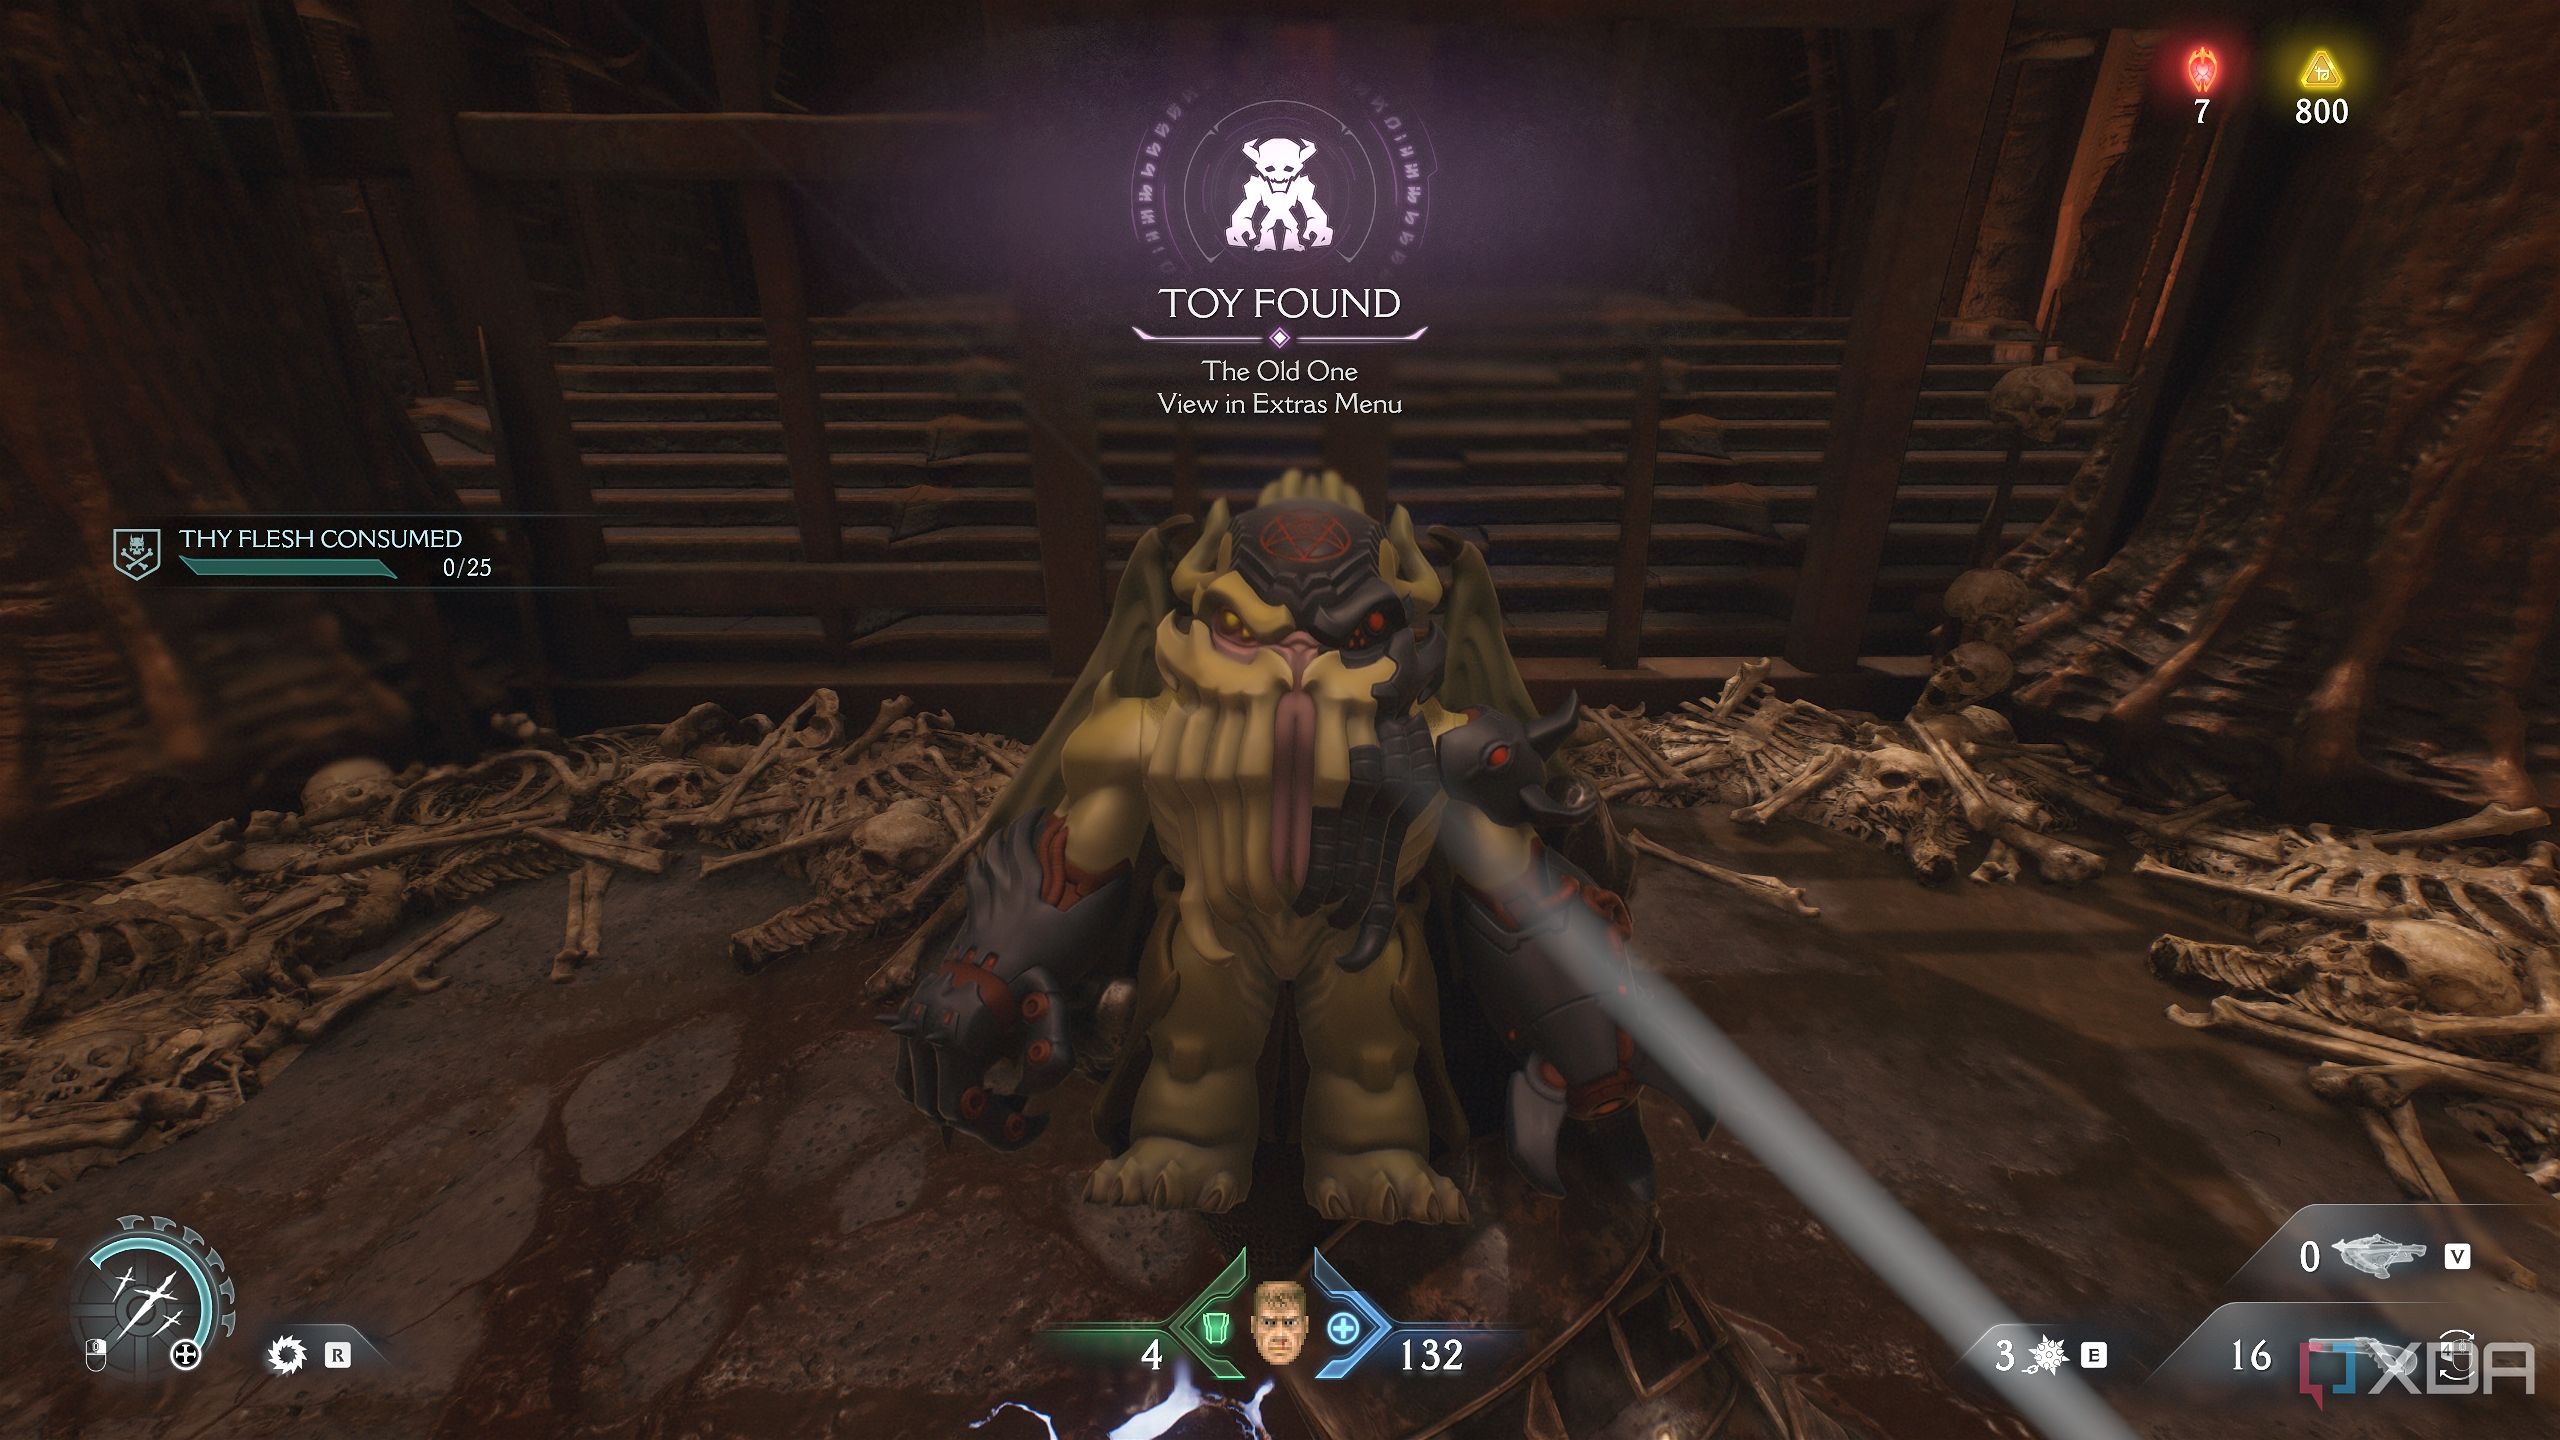
Once the demons are dead, you’ll notice a secret collectible up ahead is now accessible. Approach it and pick up the collectible toy for The Old One.
4. Secret area 2 and gold chest
Puzzle-solving and Whiplash-punching
Now, it’s time to head towards the objective from the central arena. You’ll have a bit of jumping around to do to release a blue energy node and push a Shield Bash box to a scramble wall.
Once you do, you’ll drop down to a path leading inside a chamber. This is where you’ll pick up the first trail of gold bars.
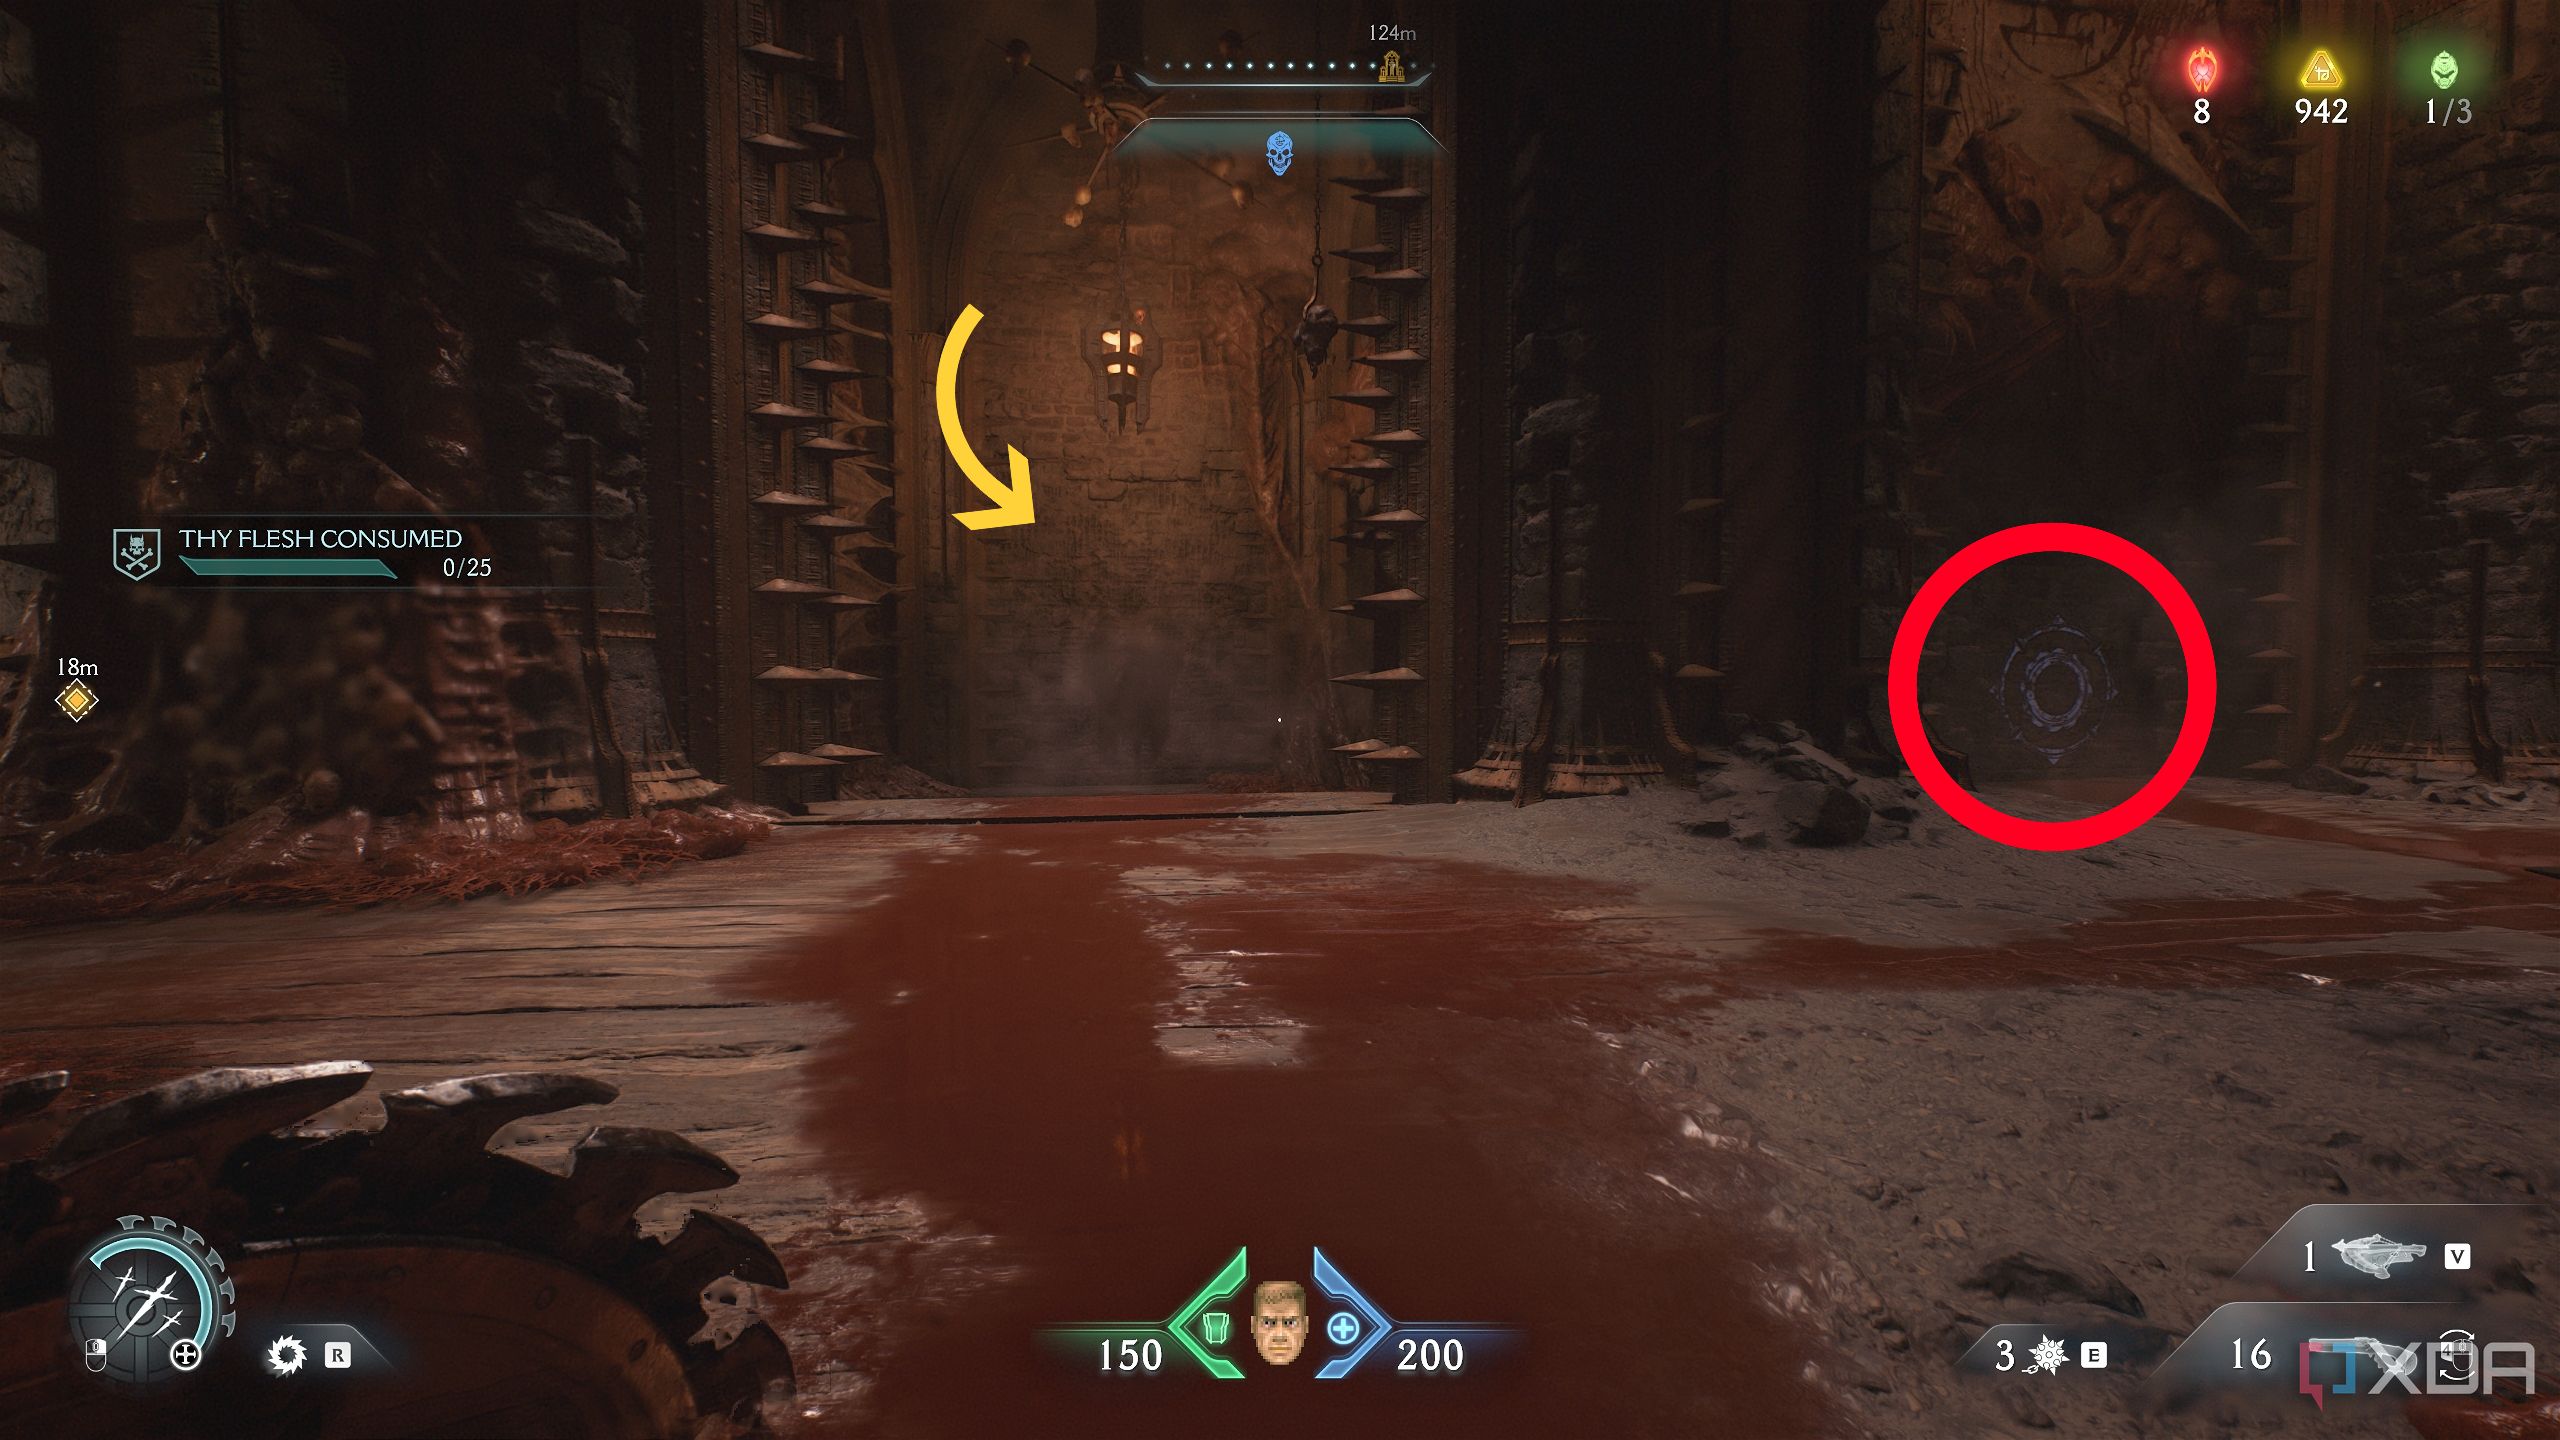
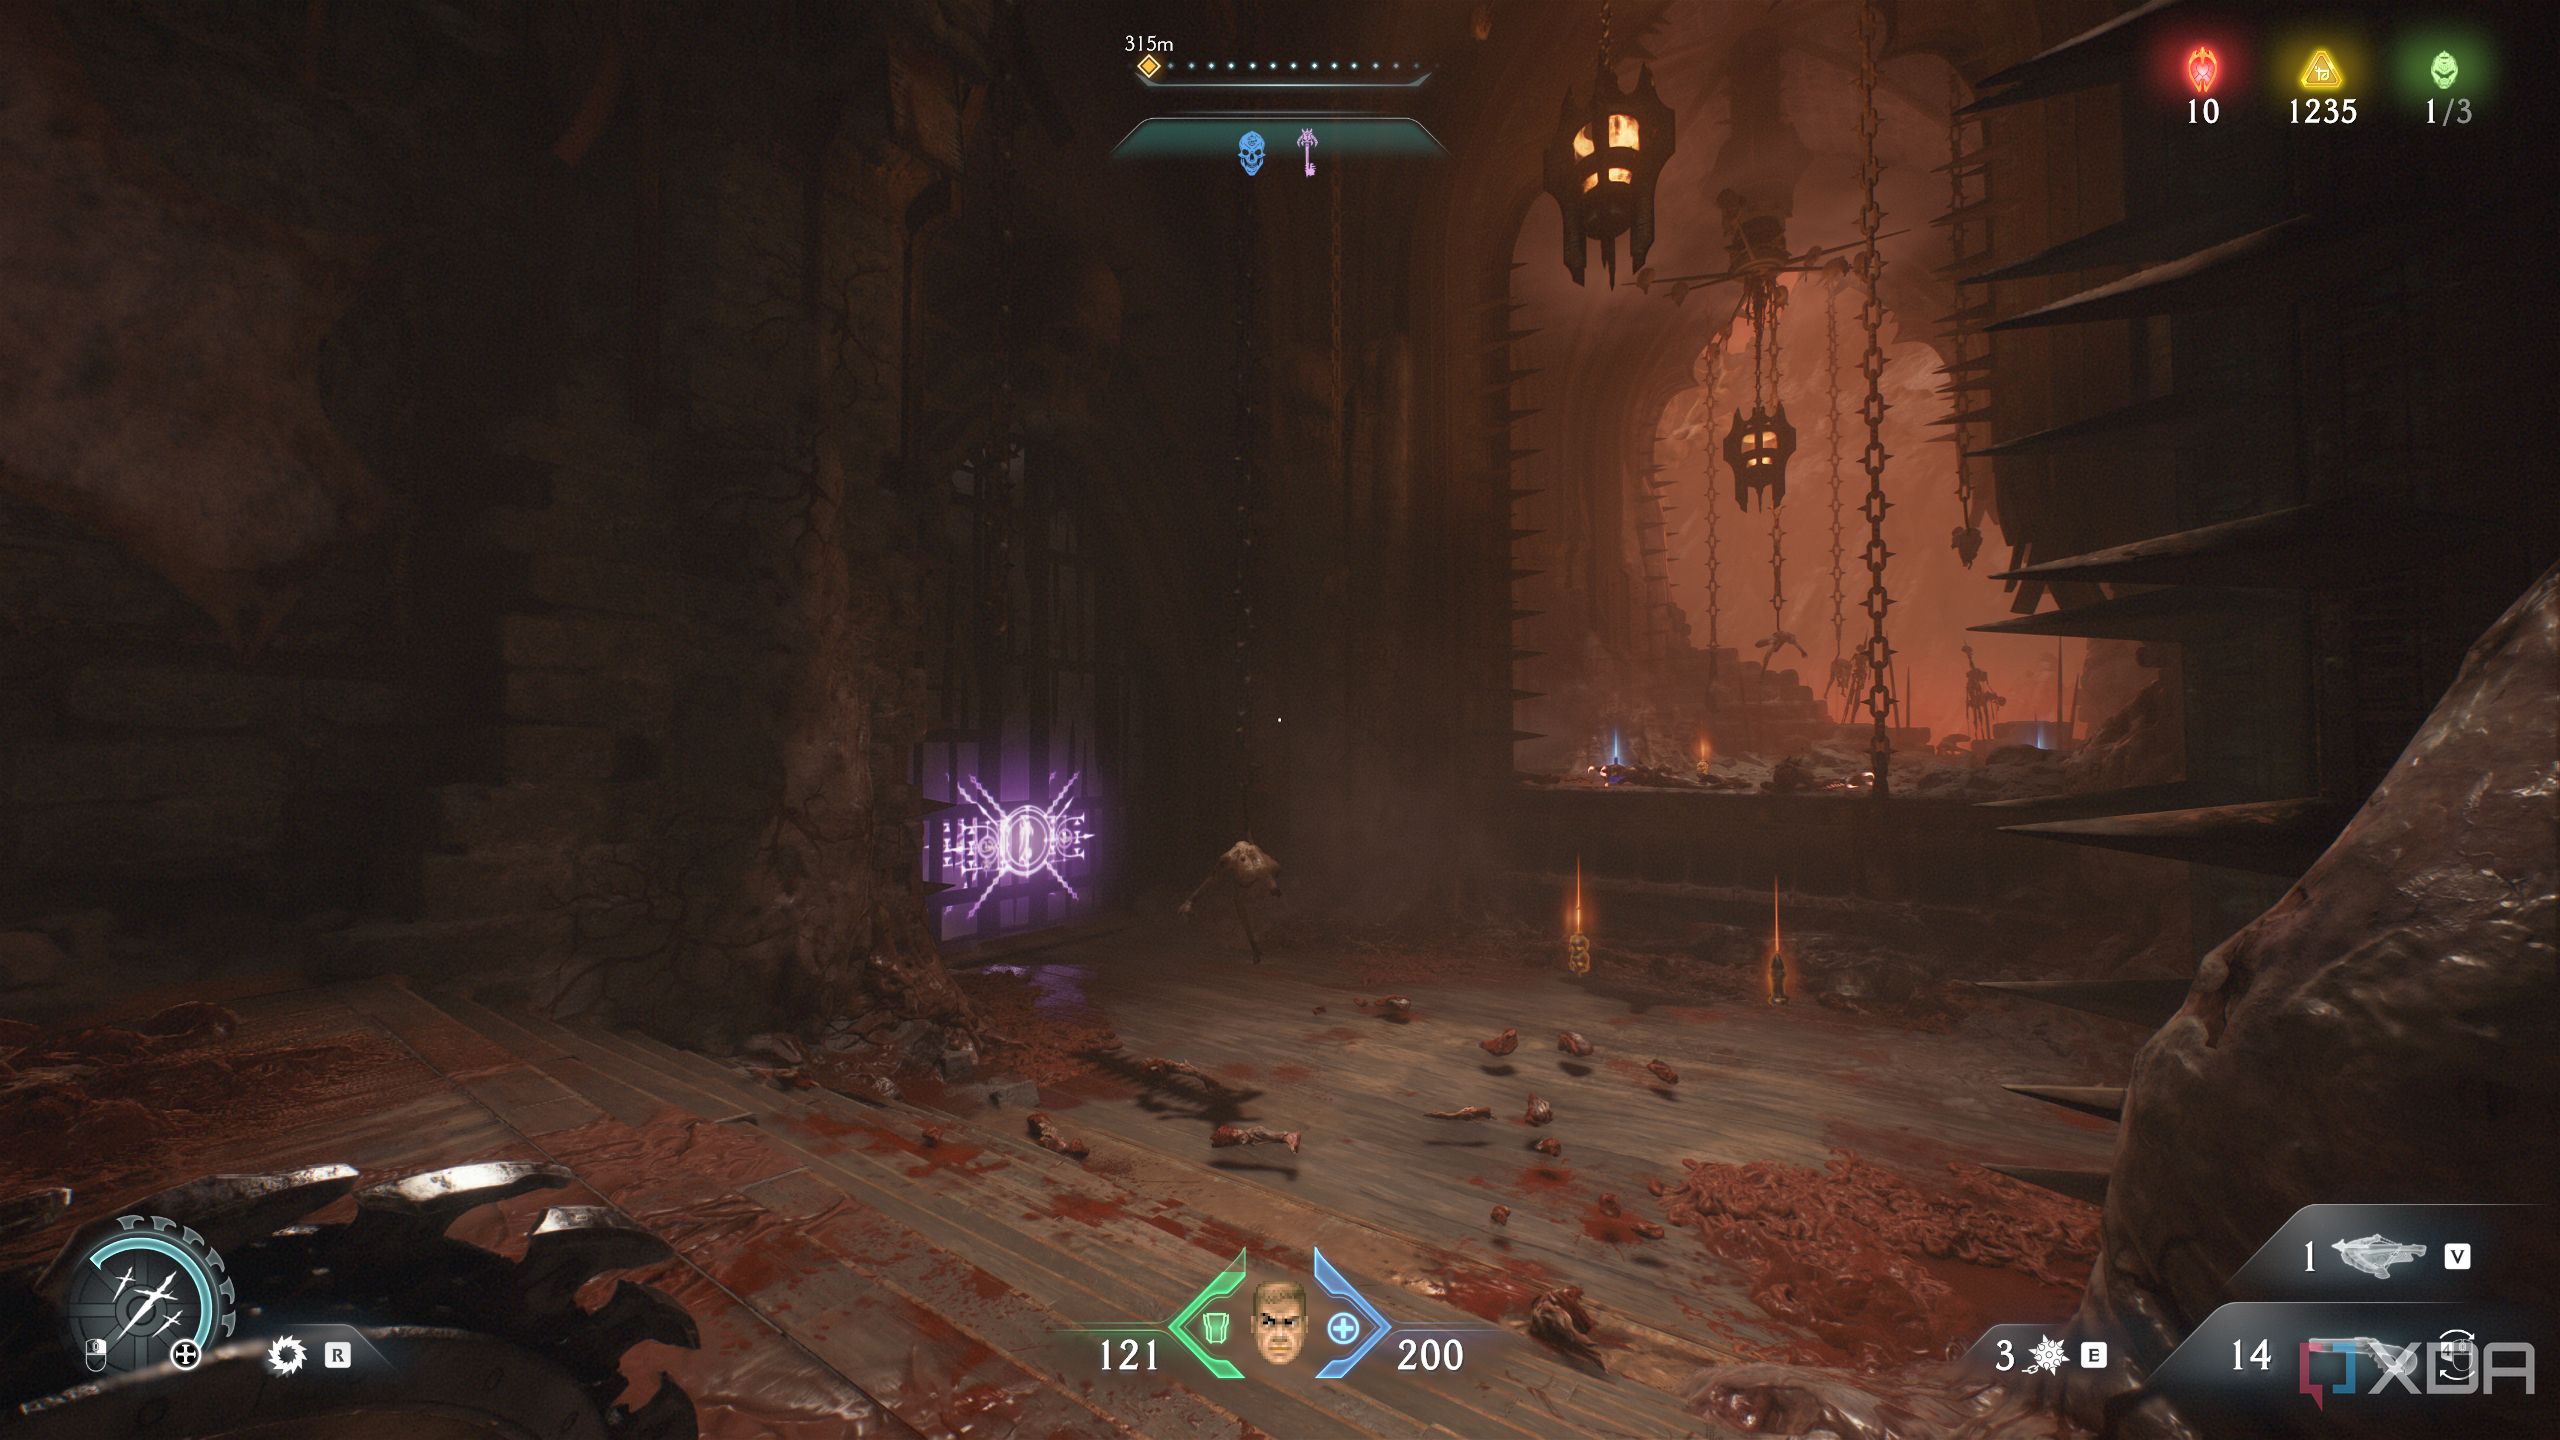
Fight a Whiplash and a Mancubus inside, and you’ll find yourself in the room with the Blue Skull key. Before grabbing the key, look to the side of the room to see a locked Red Ruby statue. Directly opposite to this locked room is a hole in the wall.
Approach it to see a jump pad down below. Drop into it and it will take you up several platforms.
Here, look right, and you’ll see a trail of armor leading to a wall you can Shield Charge through.
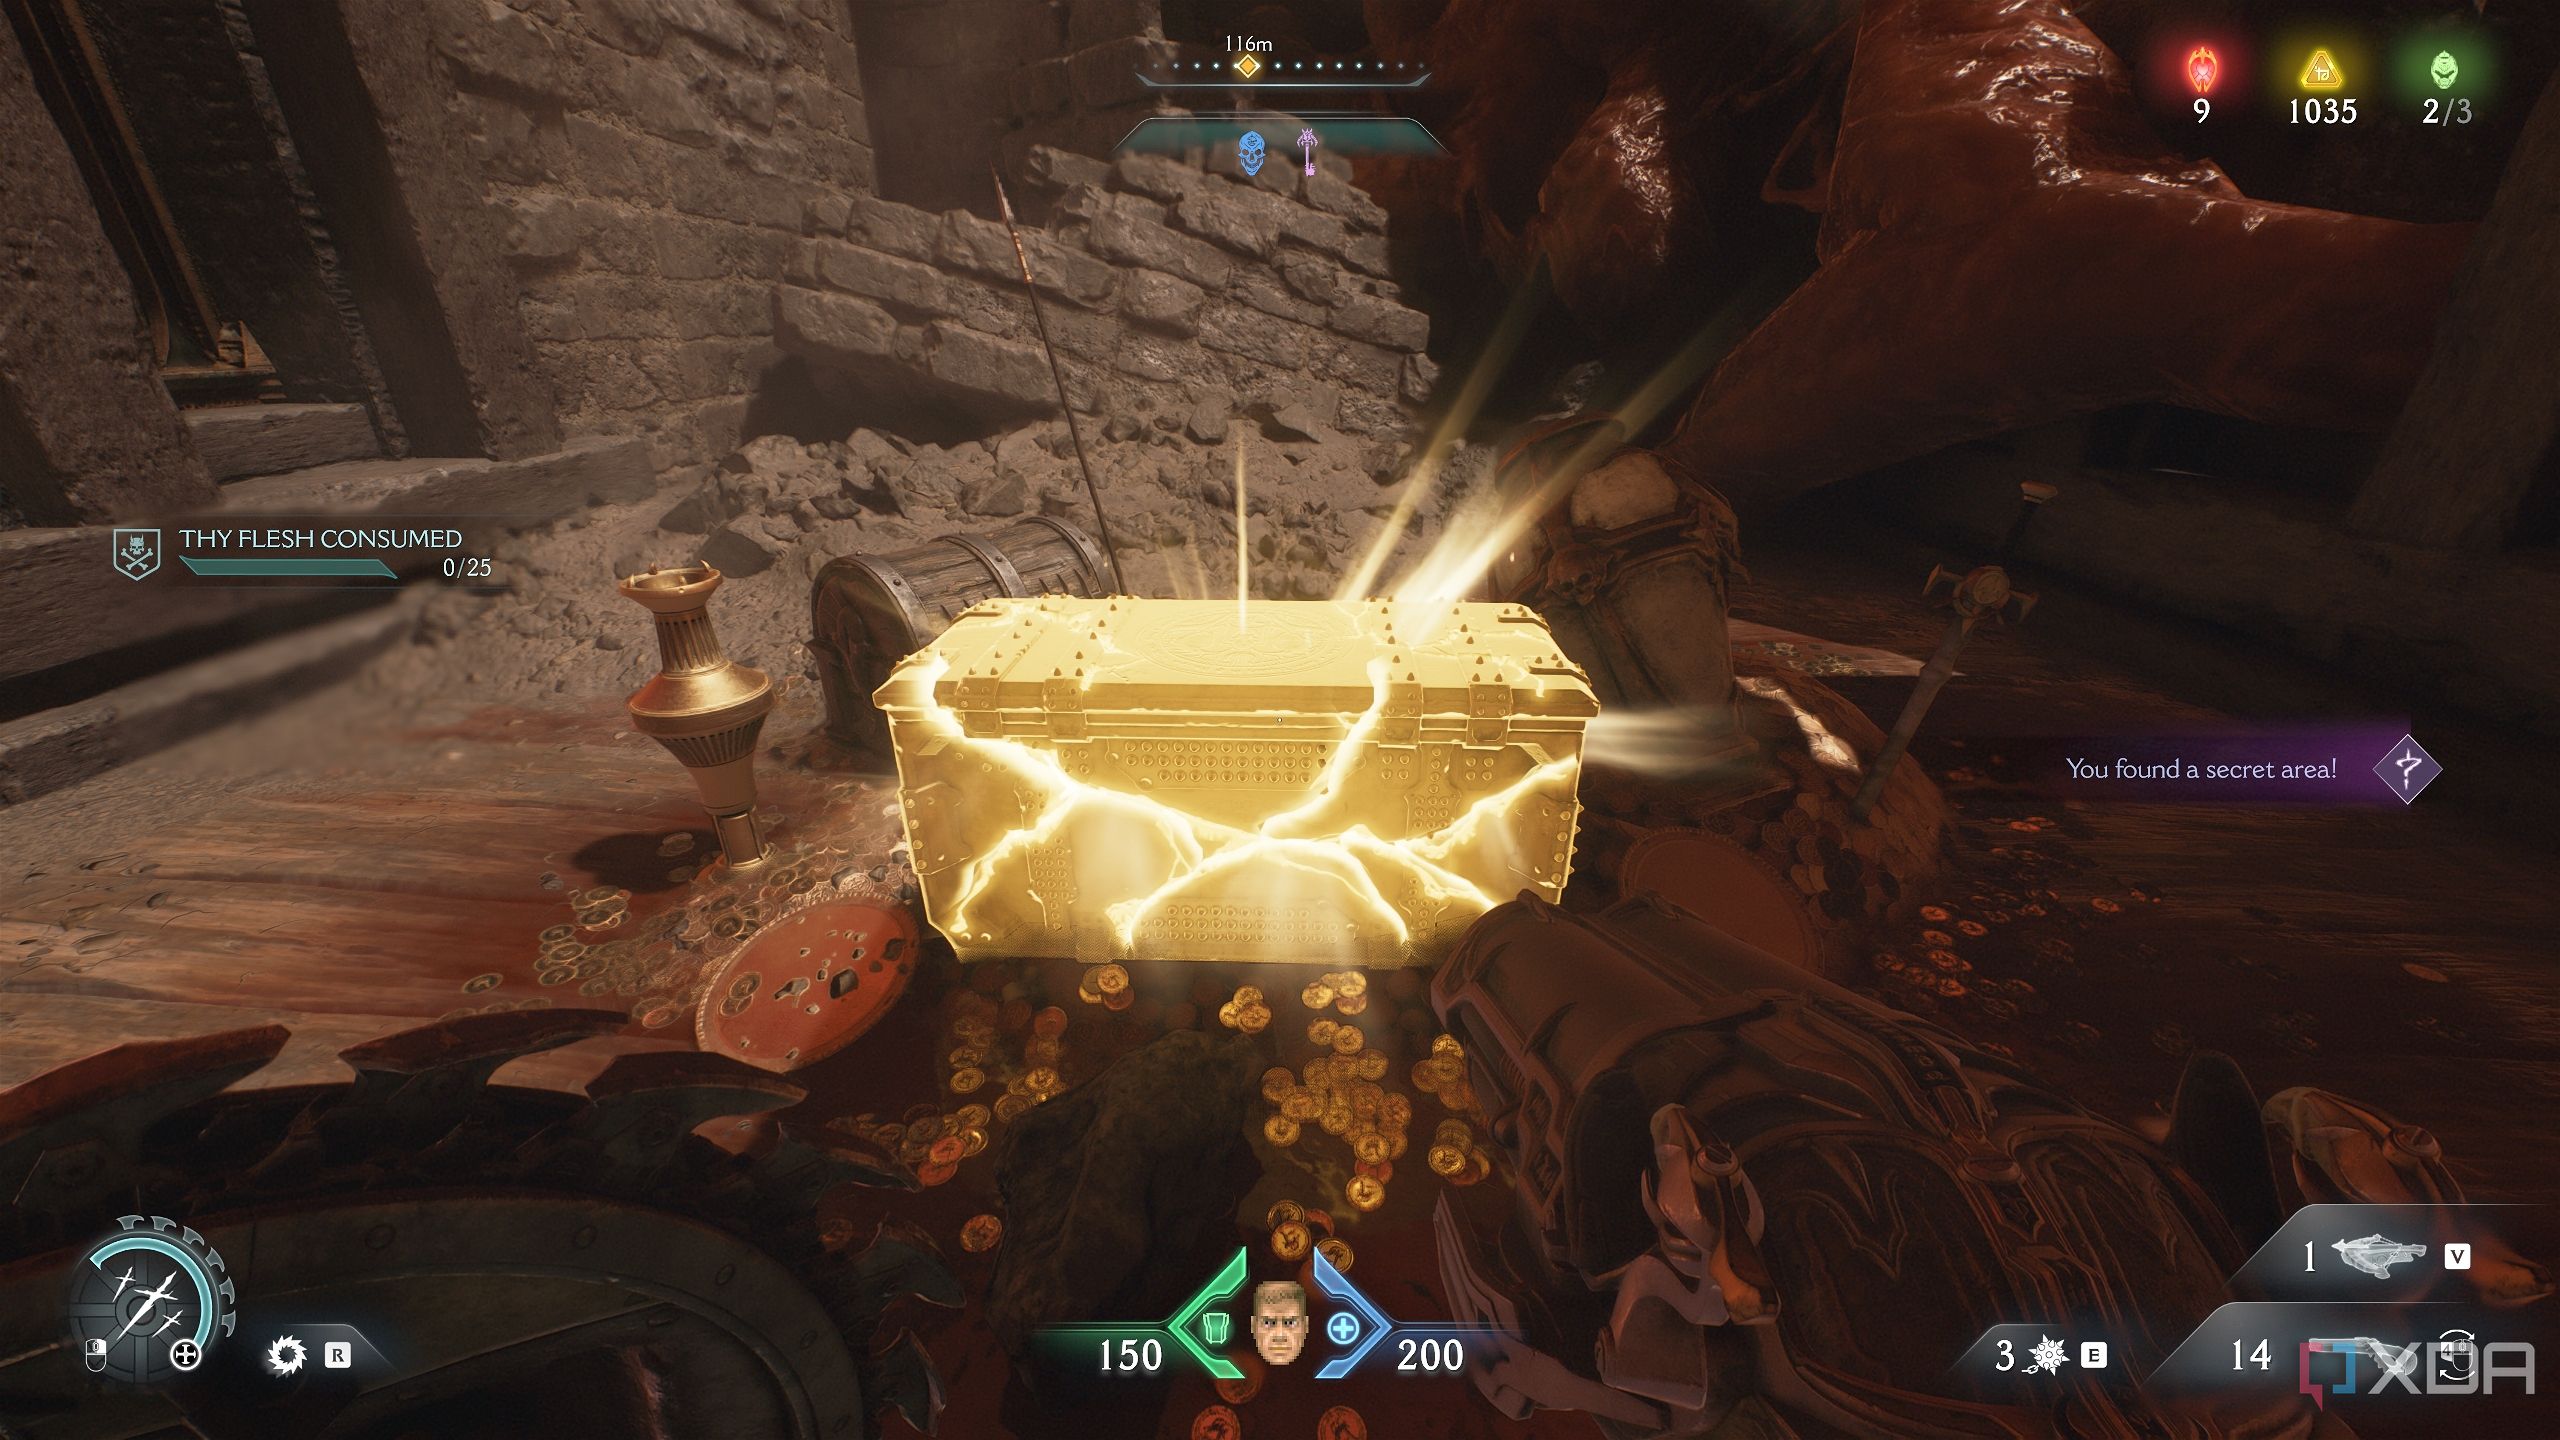
Do that, and you’ll land in secret area 2 and a gold chest. Head back now to the platform the jump pad took you to.
5. Secret area 3 and Red Ruby 1
Loading up the Ballistic Force Crossbow as well
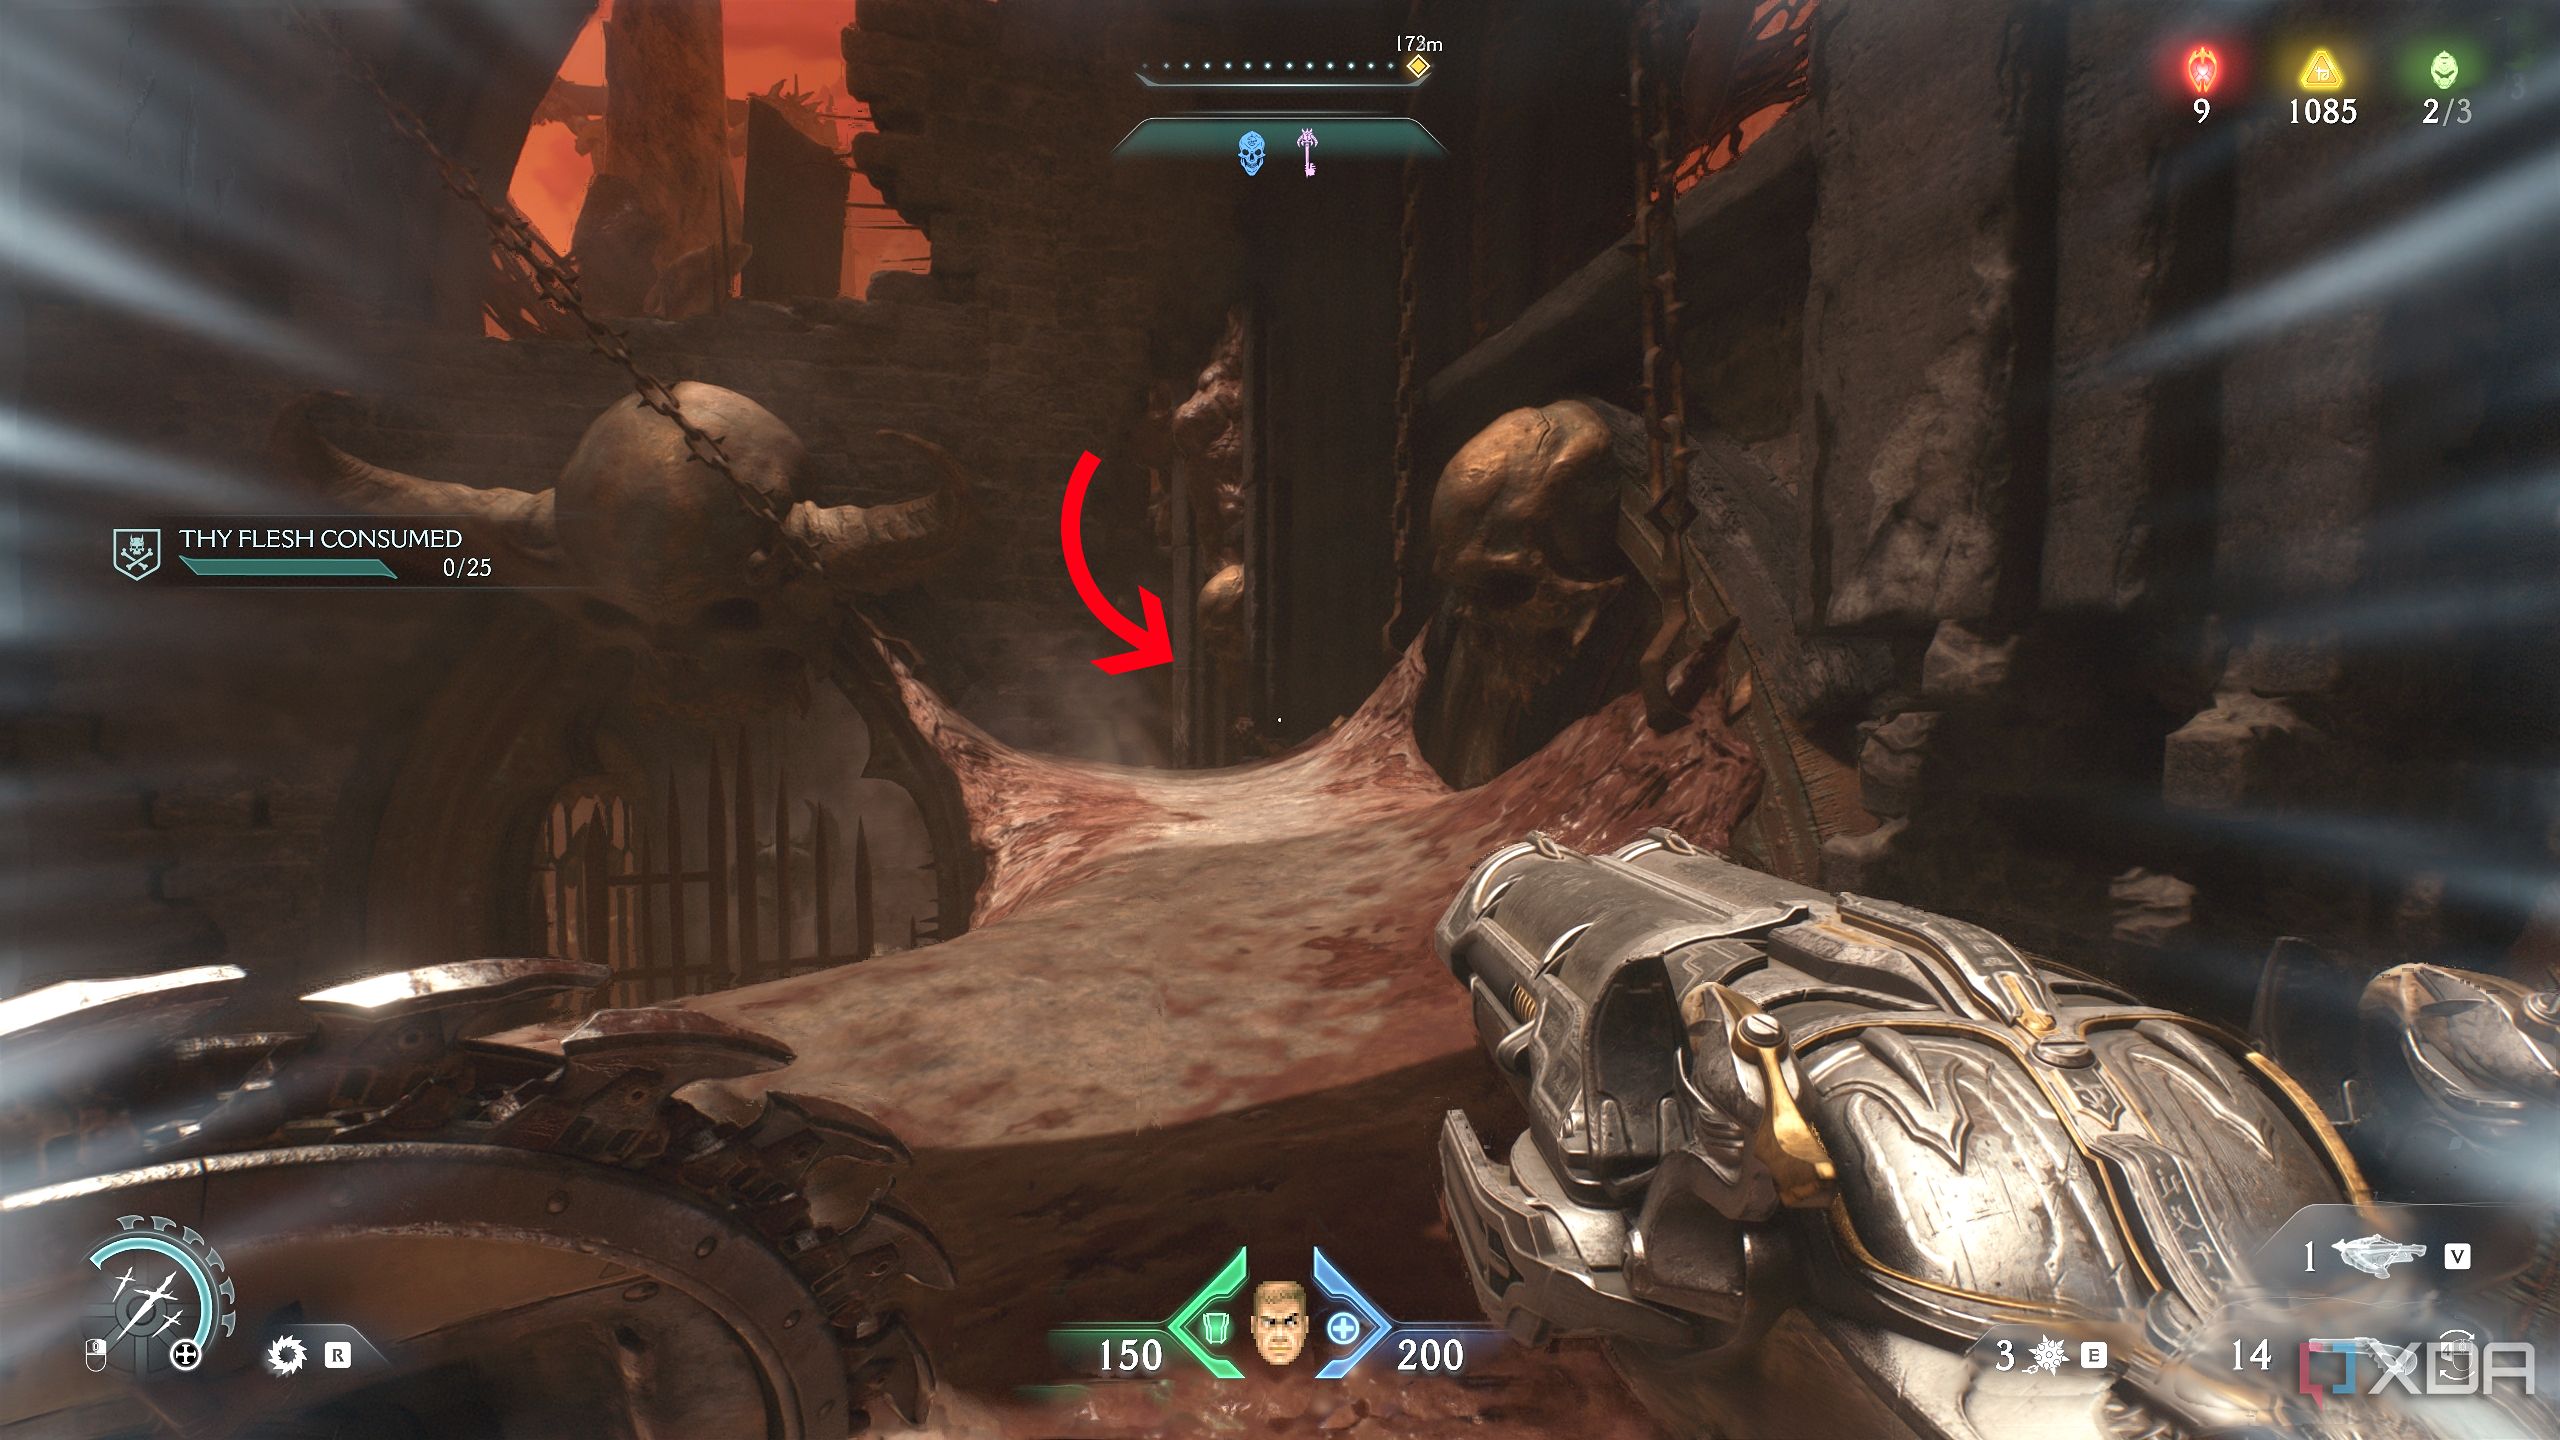
From here, walk on the fleshy walkway that’s suspended in front of you. At its end is a crevice in the wall you can walk through.
Drop down from here to reach secret area 3 and grab the Red Ruby you just saw. There’s also some BFC ammo here. The locked gate will open automatically, and you can then grab the Blue Skull key.
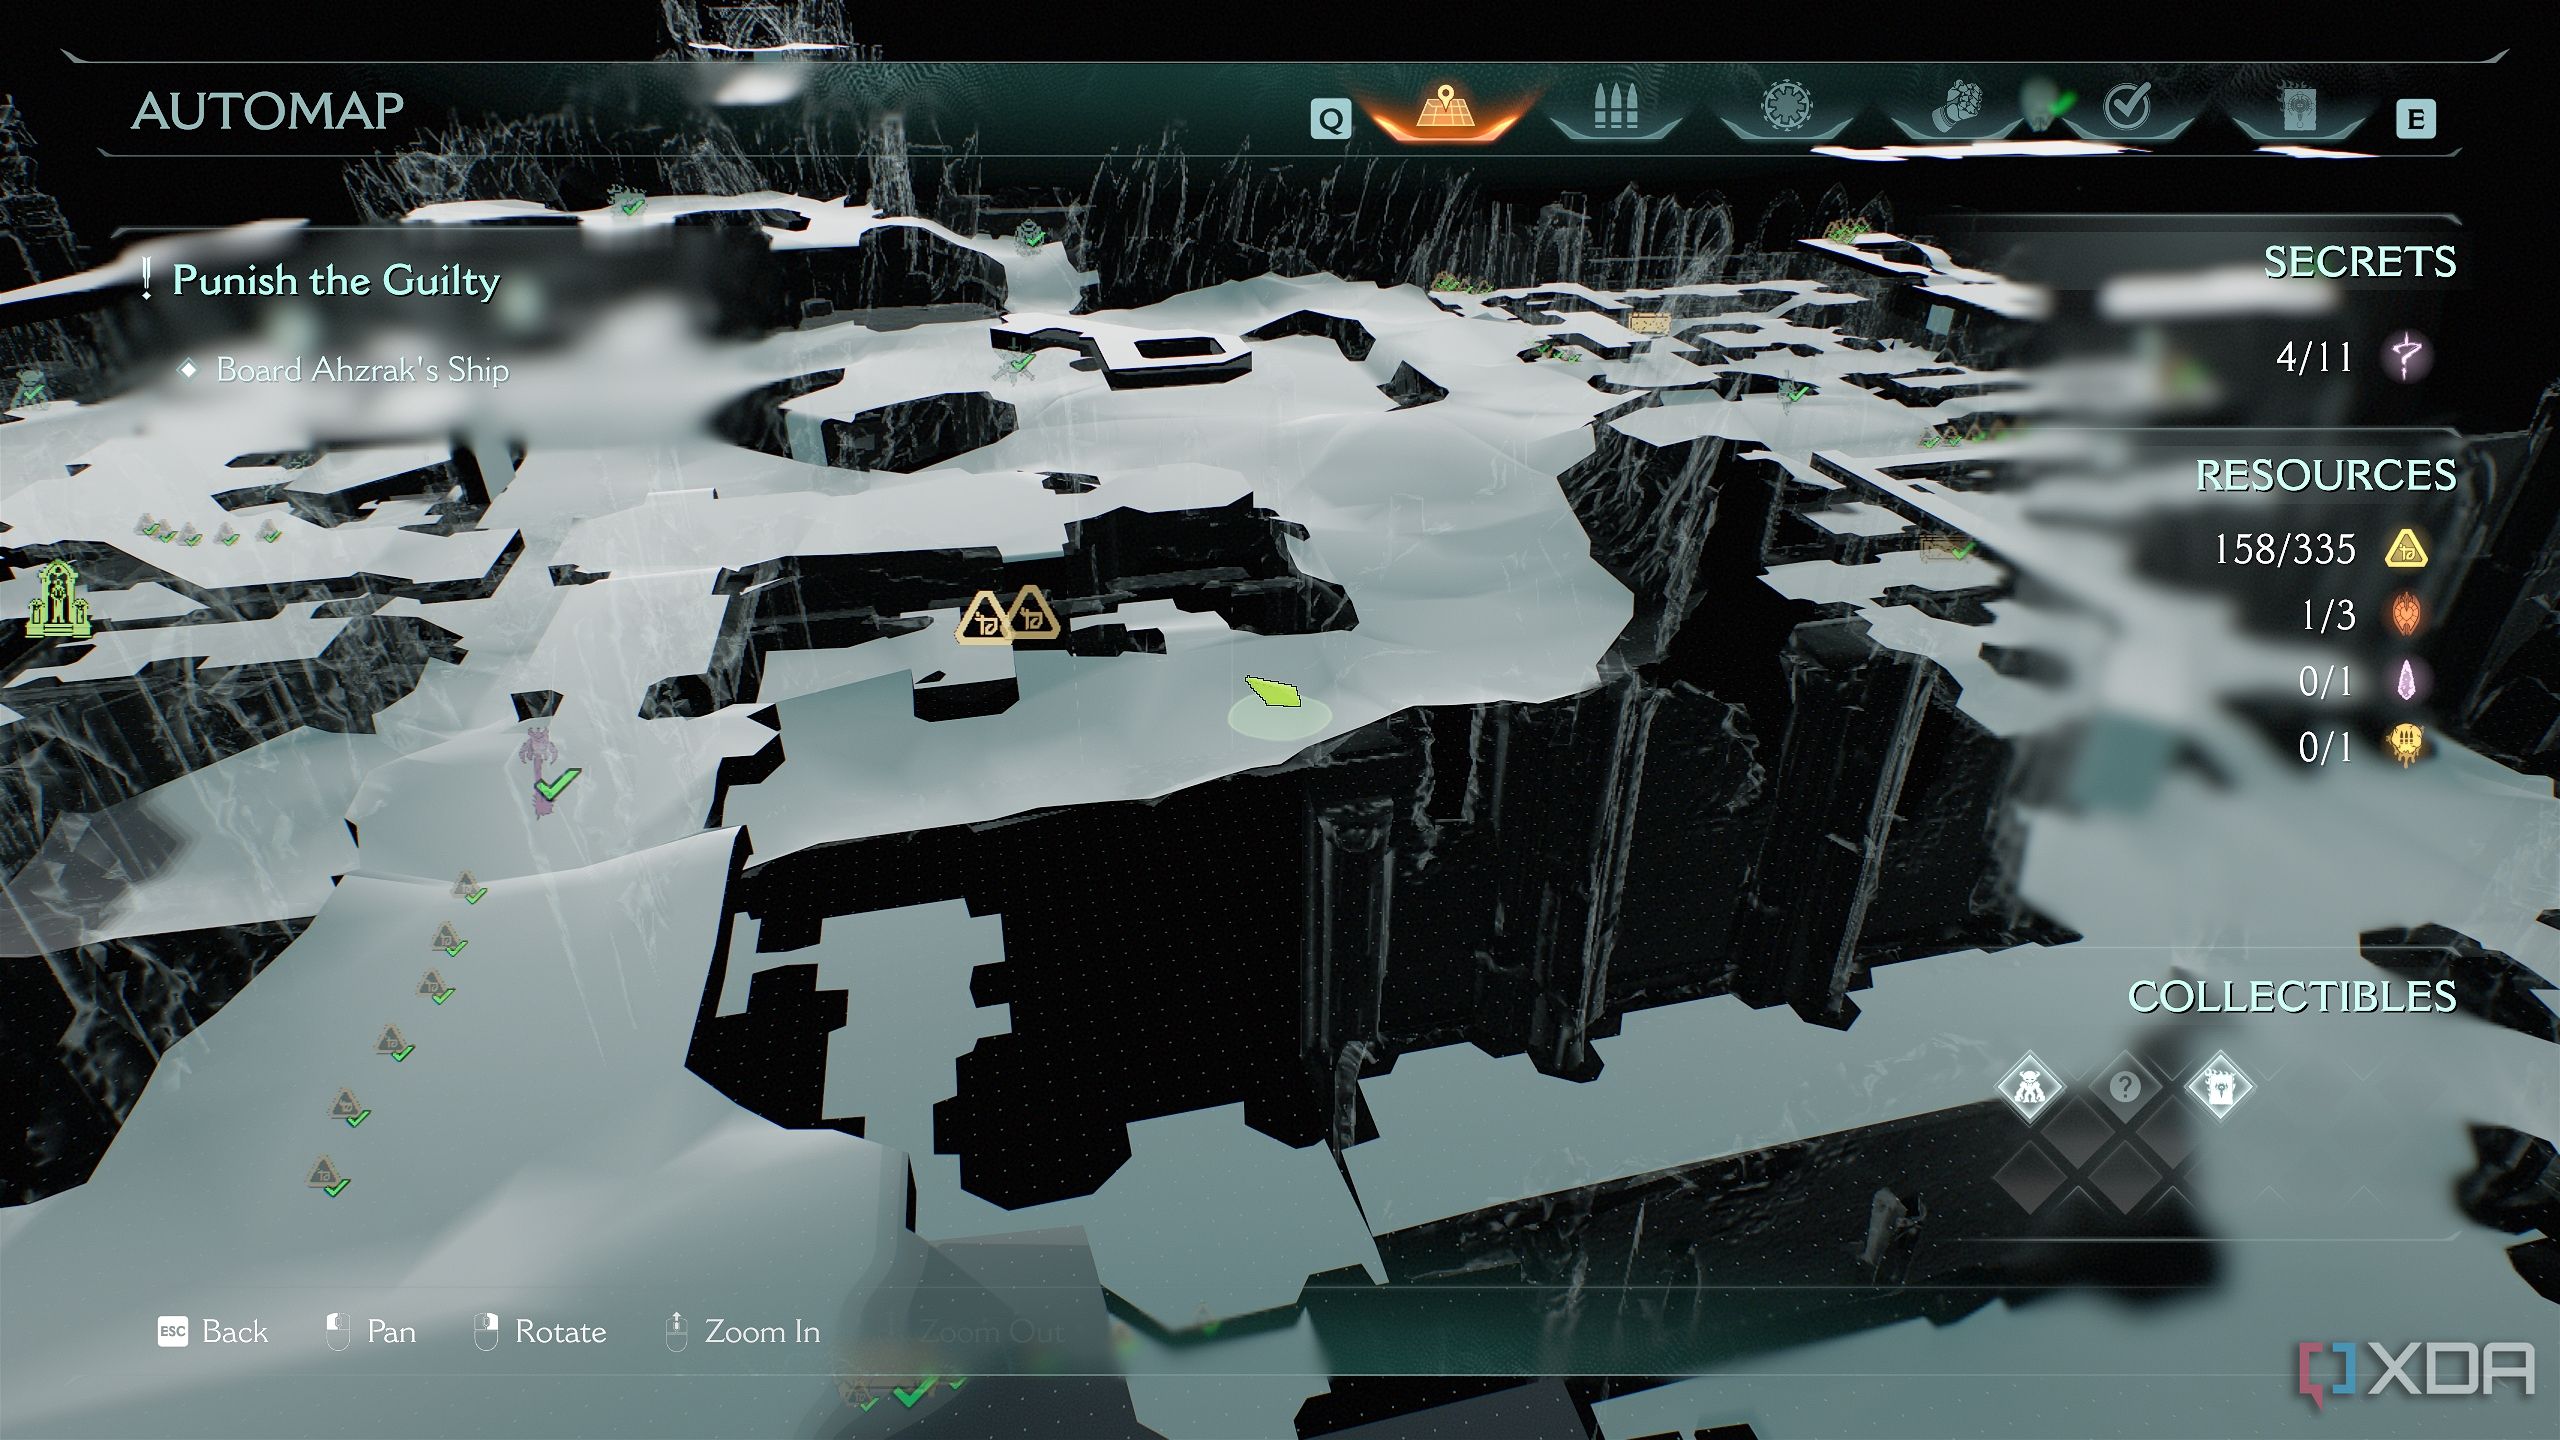
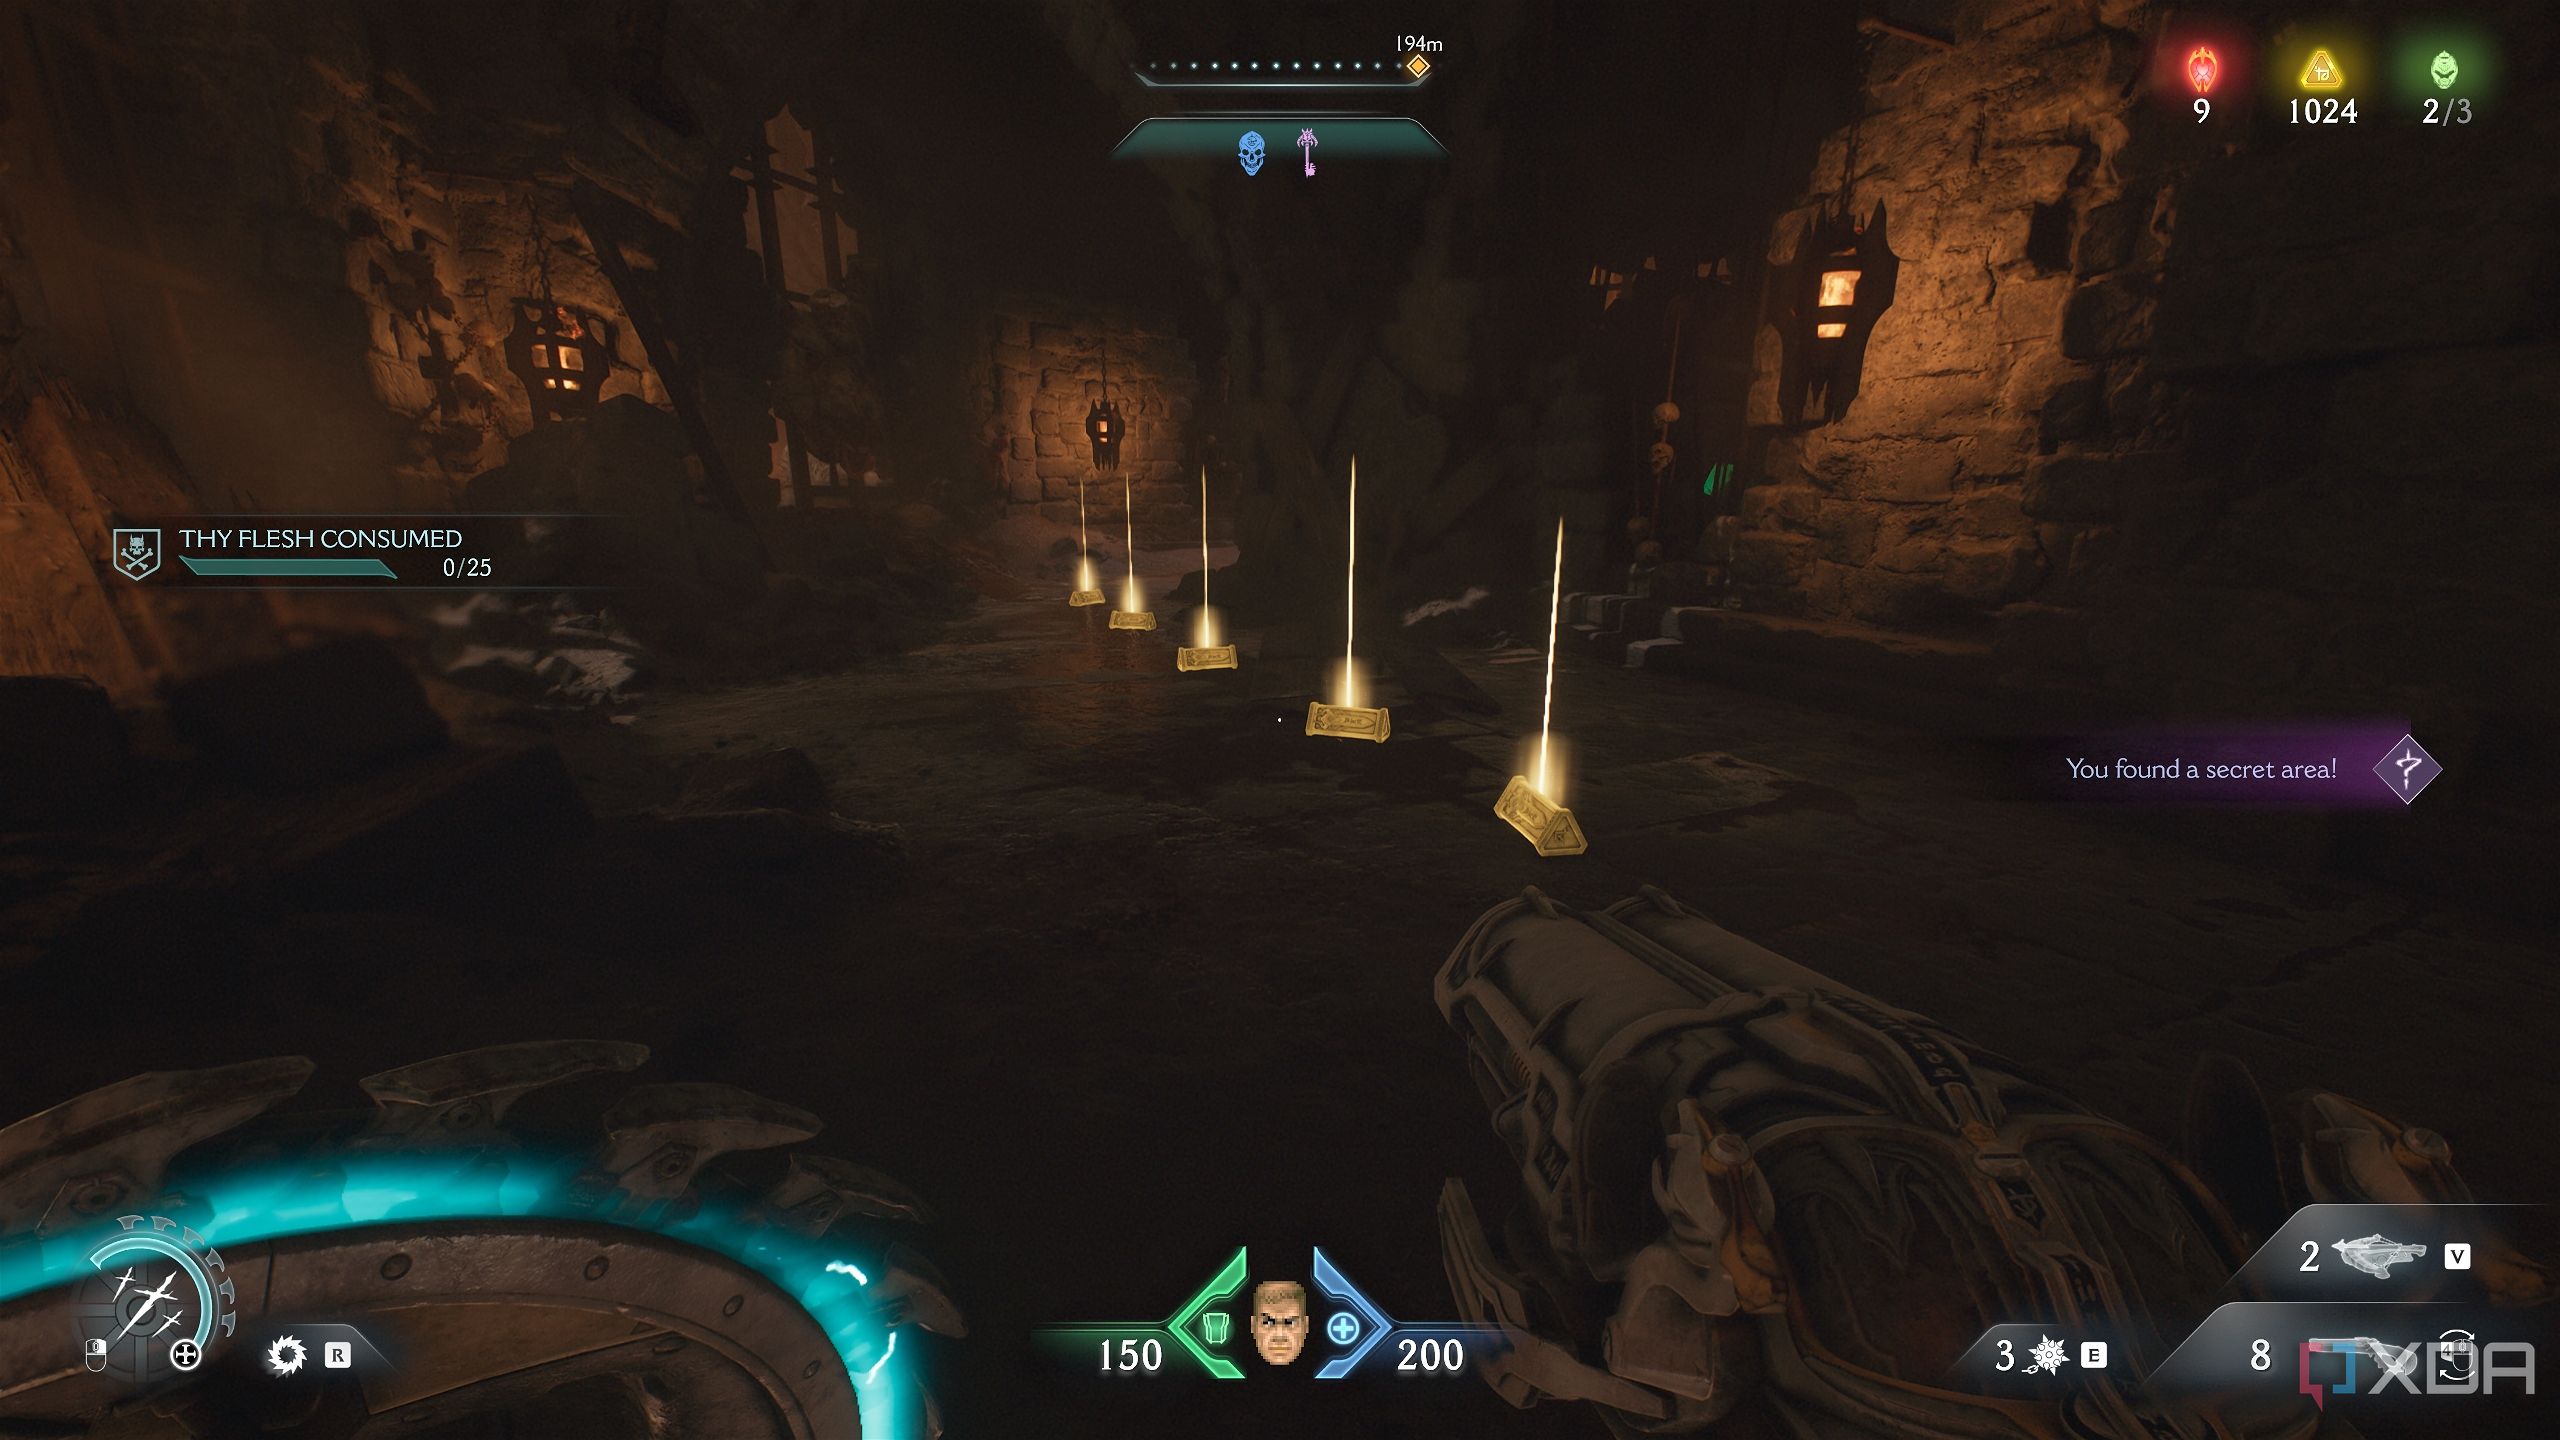
6. Two trails of gold bars after the Blue Key
Rounding up the stray pieces of gold

Pick up the blue Skull Key. The door in front of the Skull Key altar will open, so head through it, cross the first arena again, and reach the second blue door straight in front of you. Head through it.
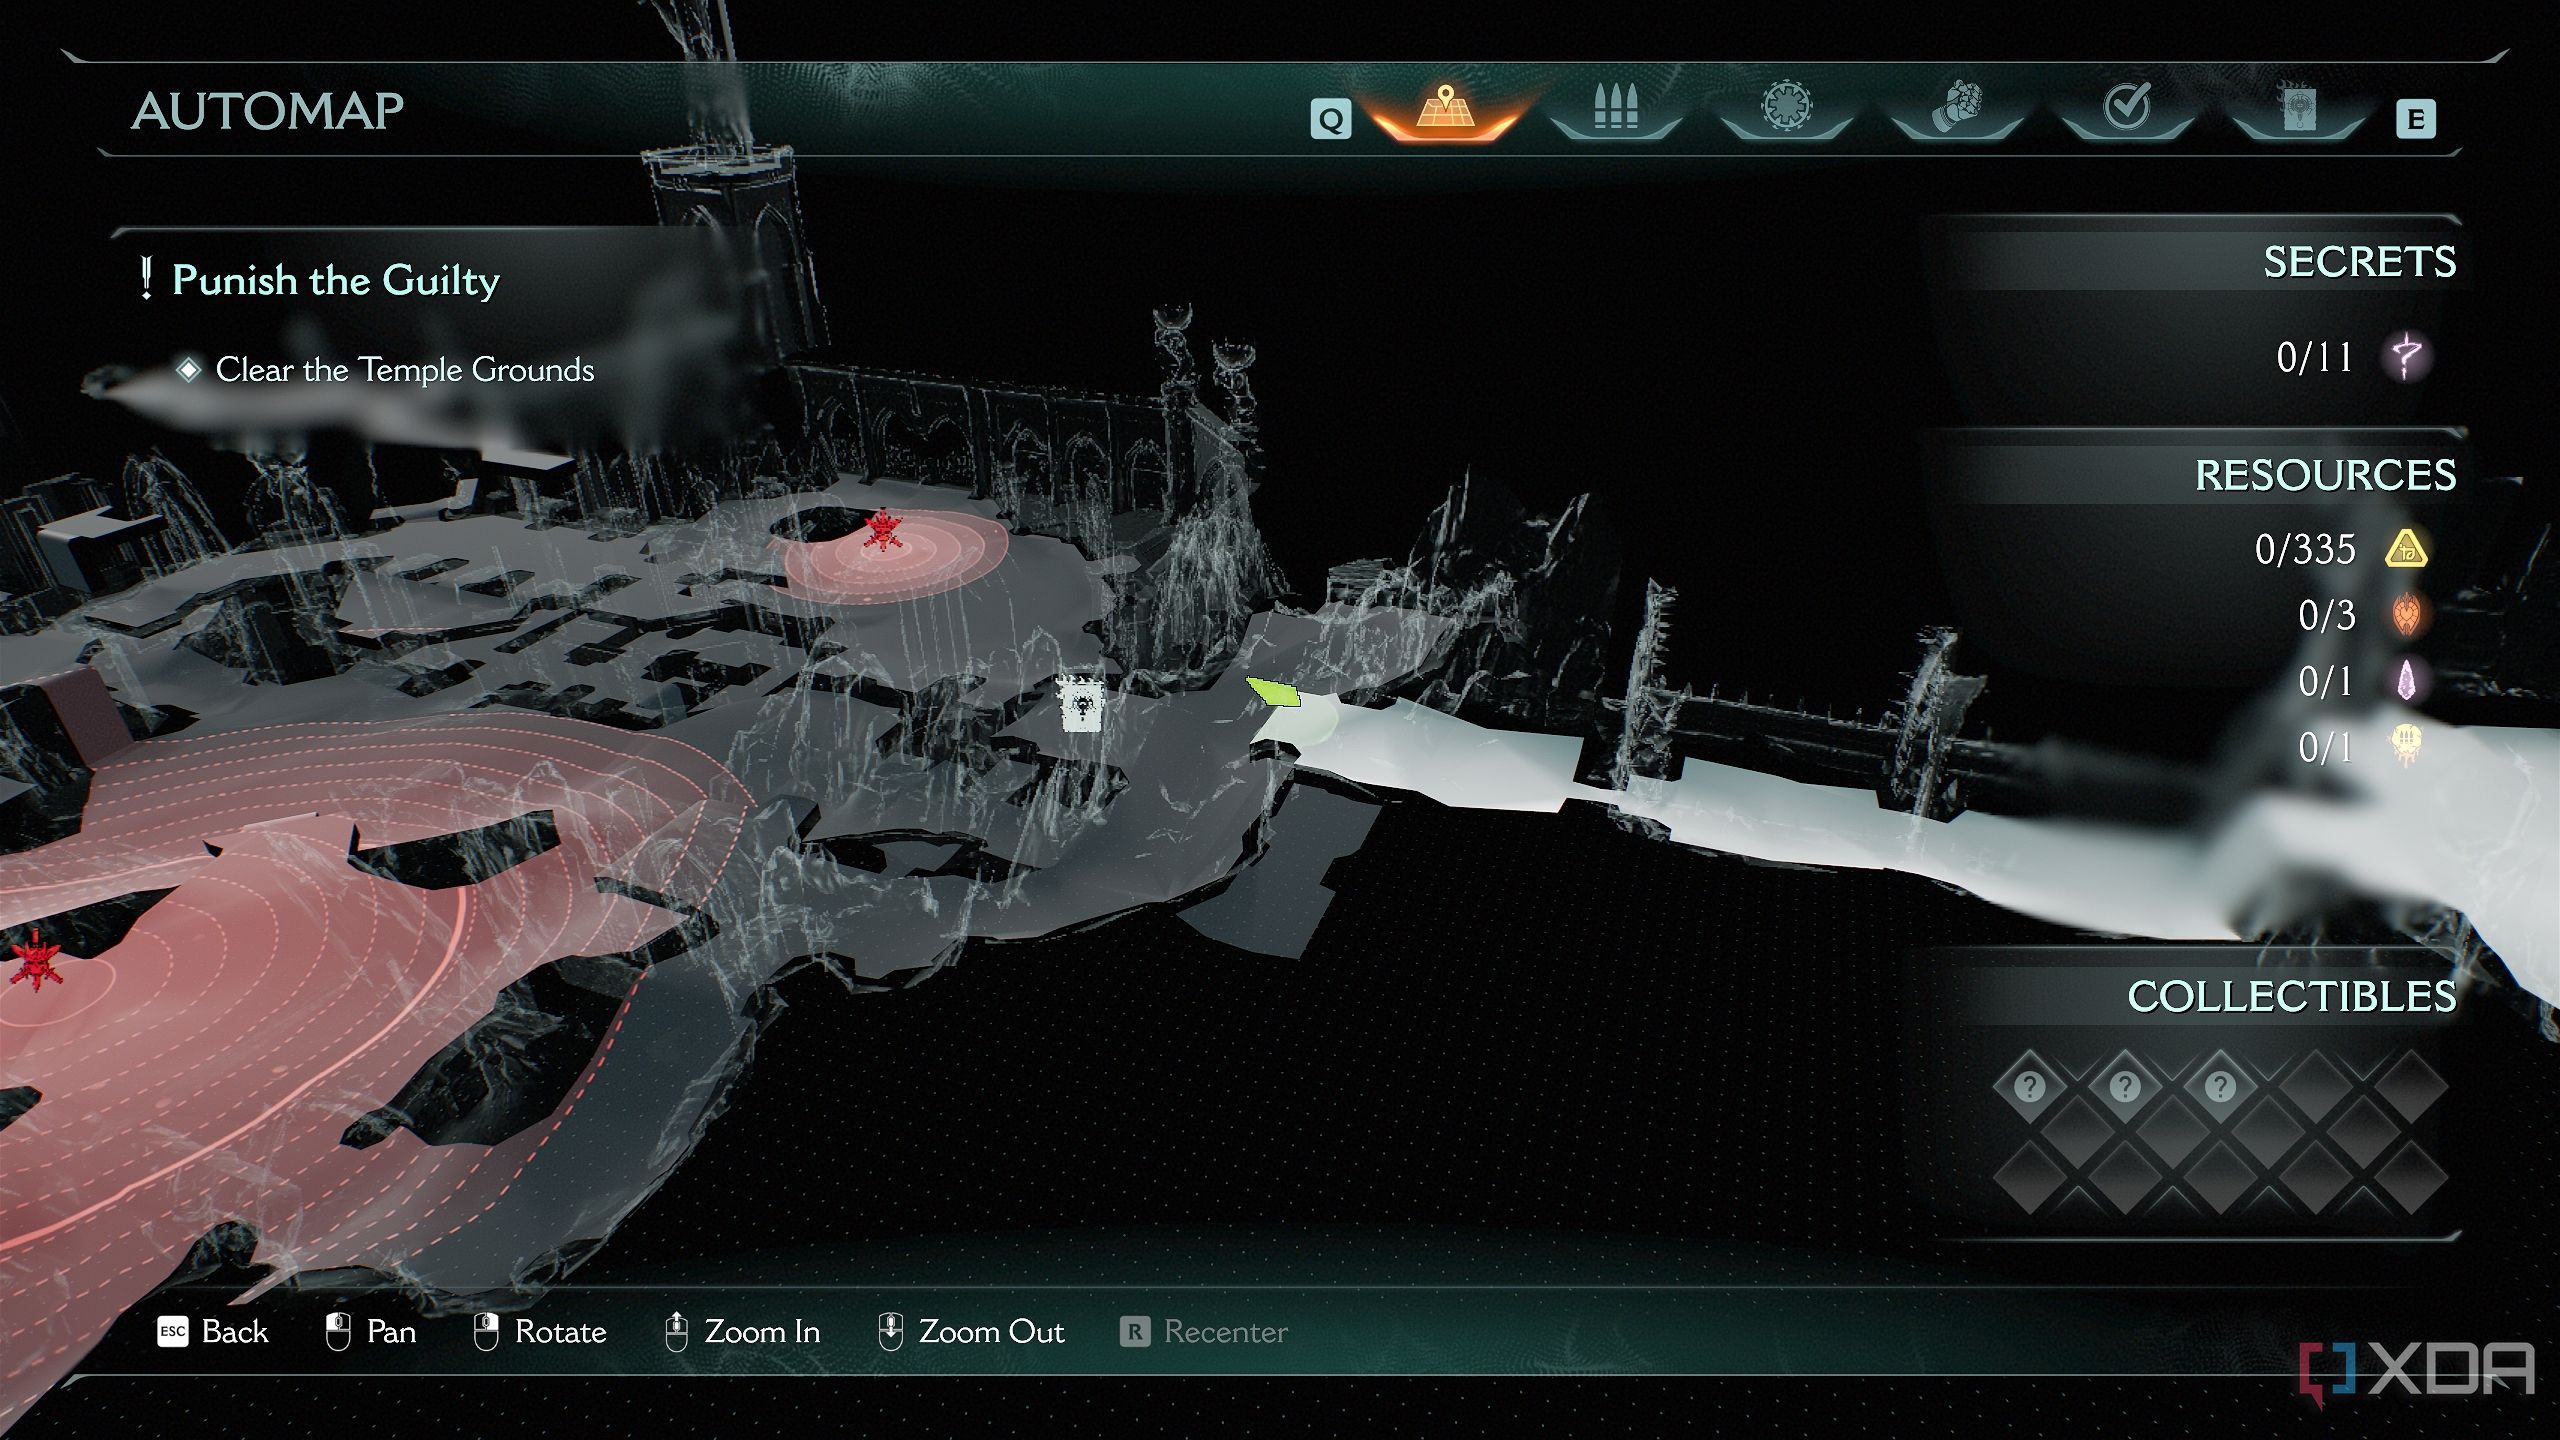
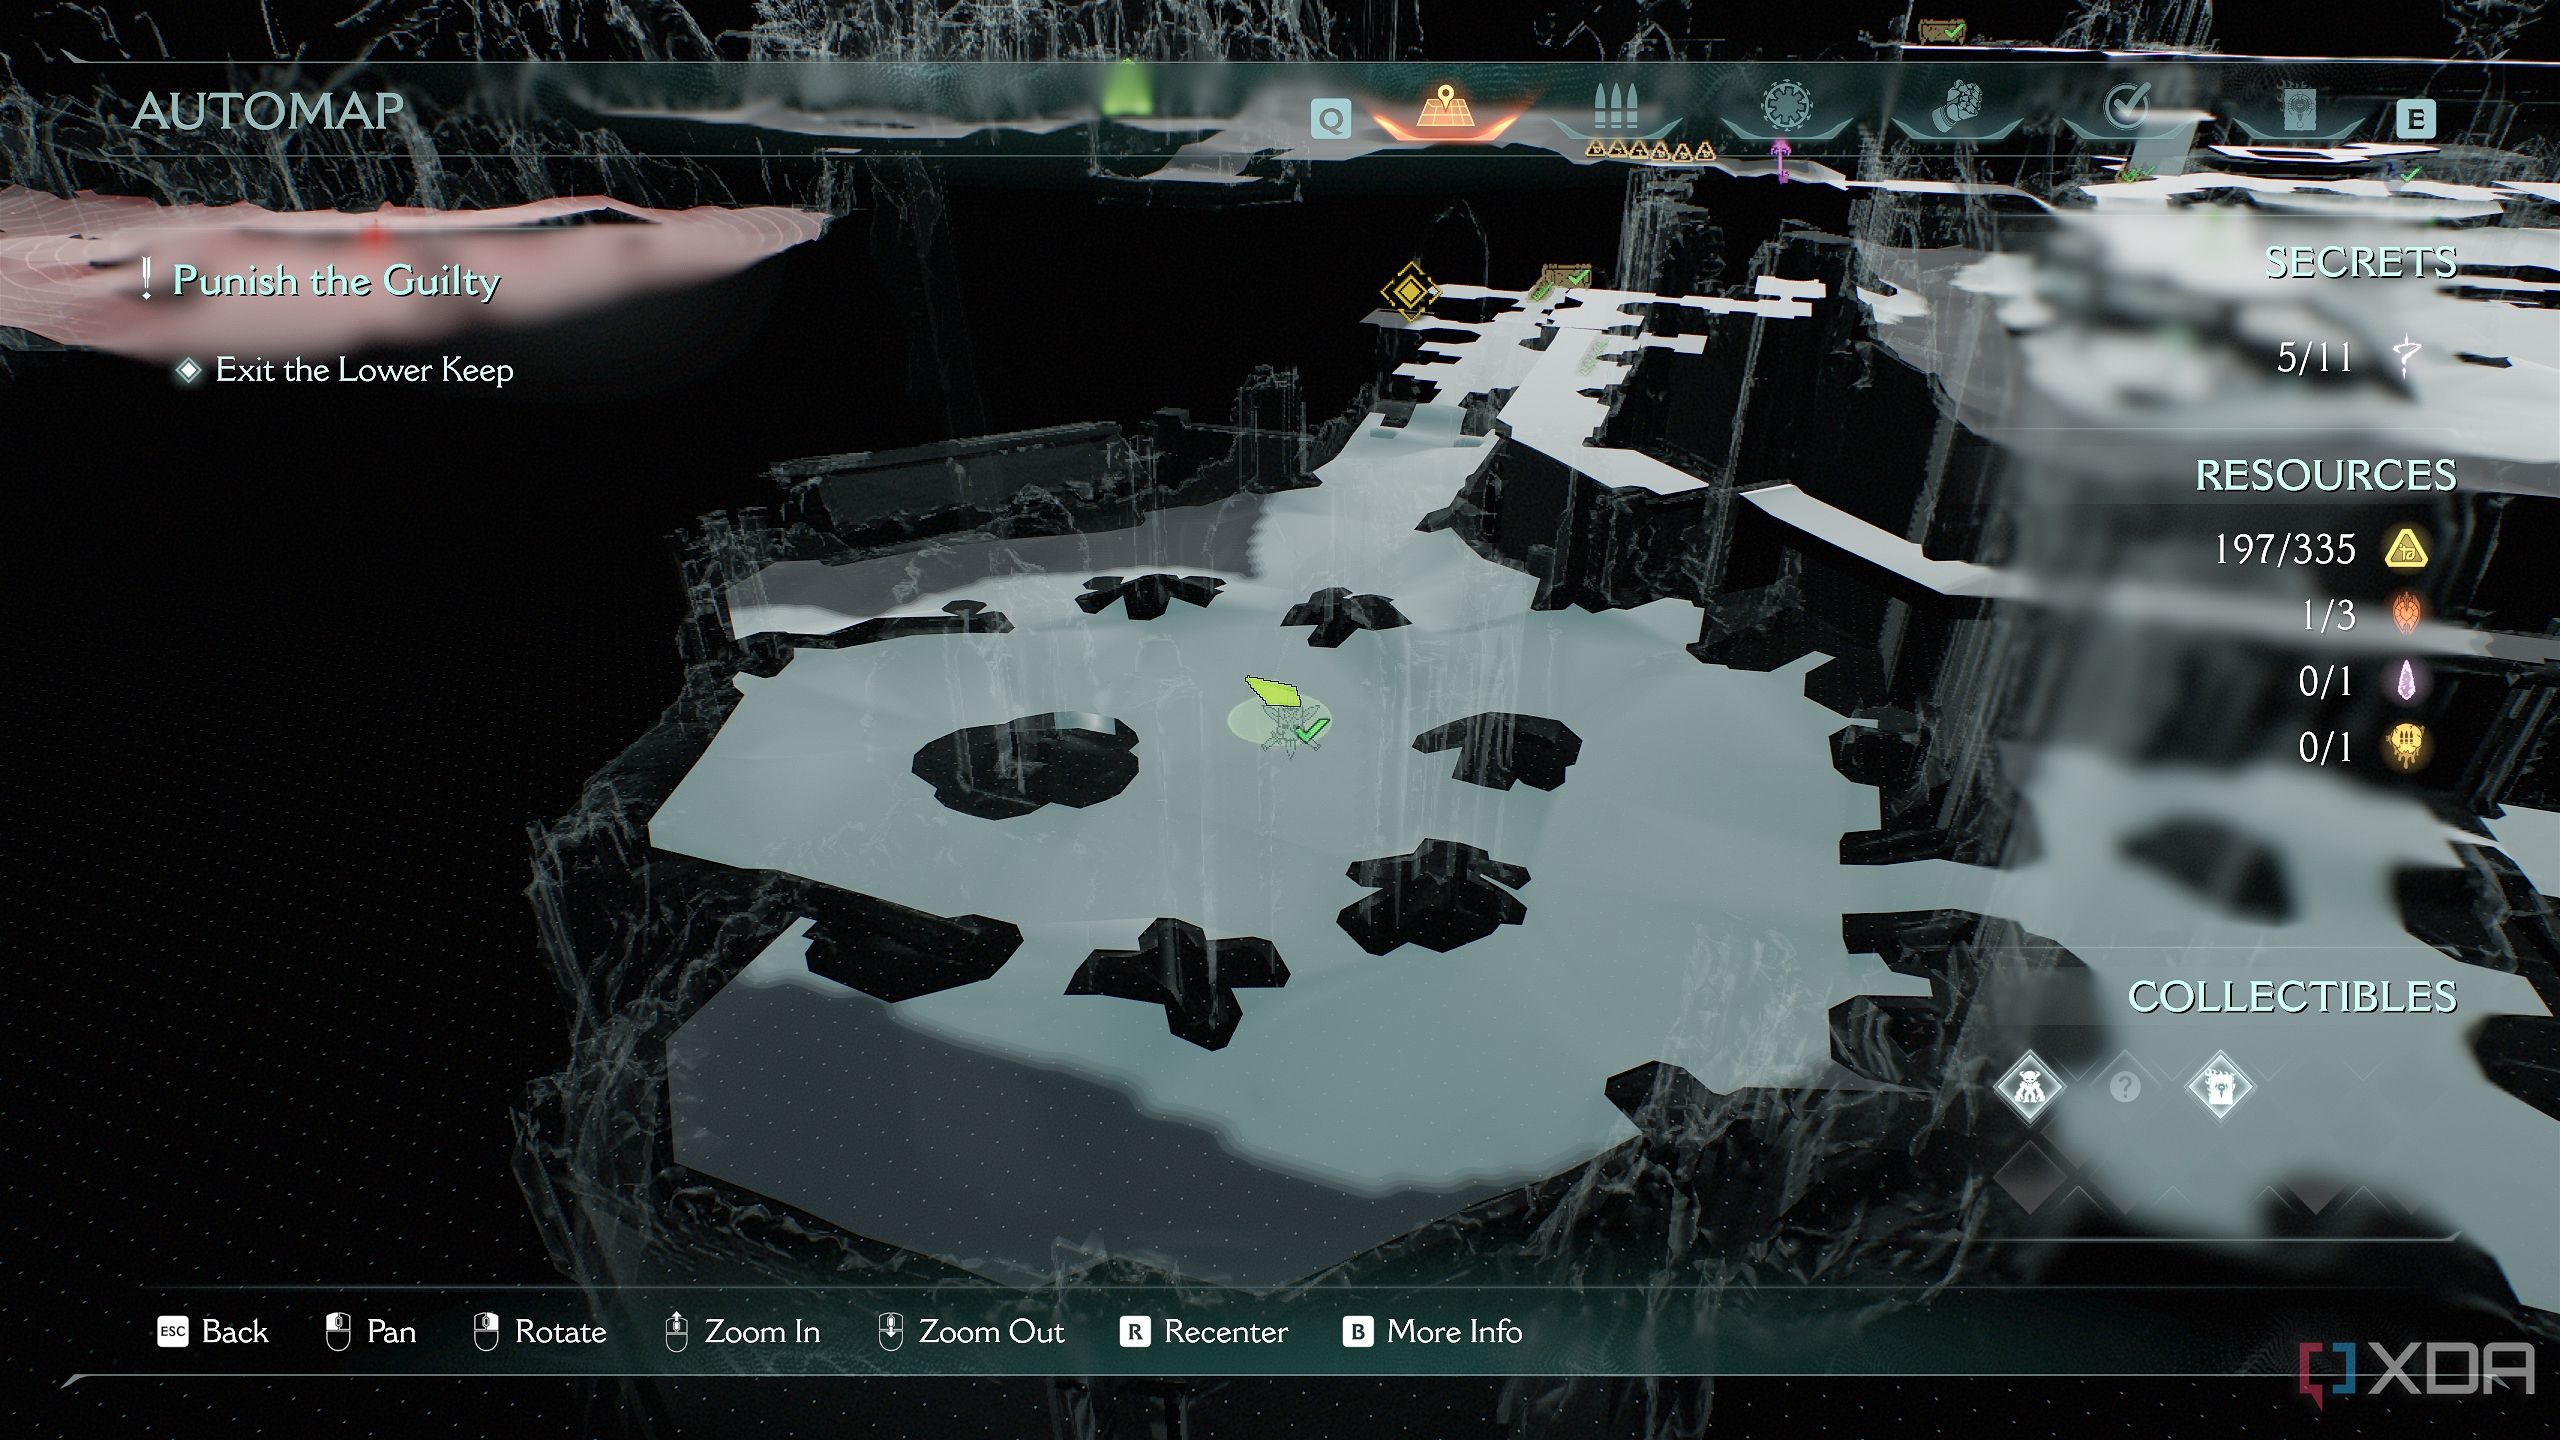
You’ll fight an Agaddon Hunter and a leader Shielded Soldier here. Dispatch them, and follow the trail of armor pickups to a lever behind a broken wall.
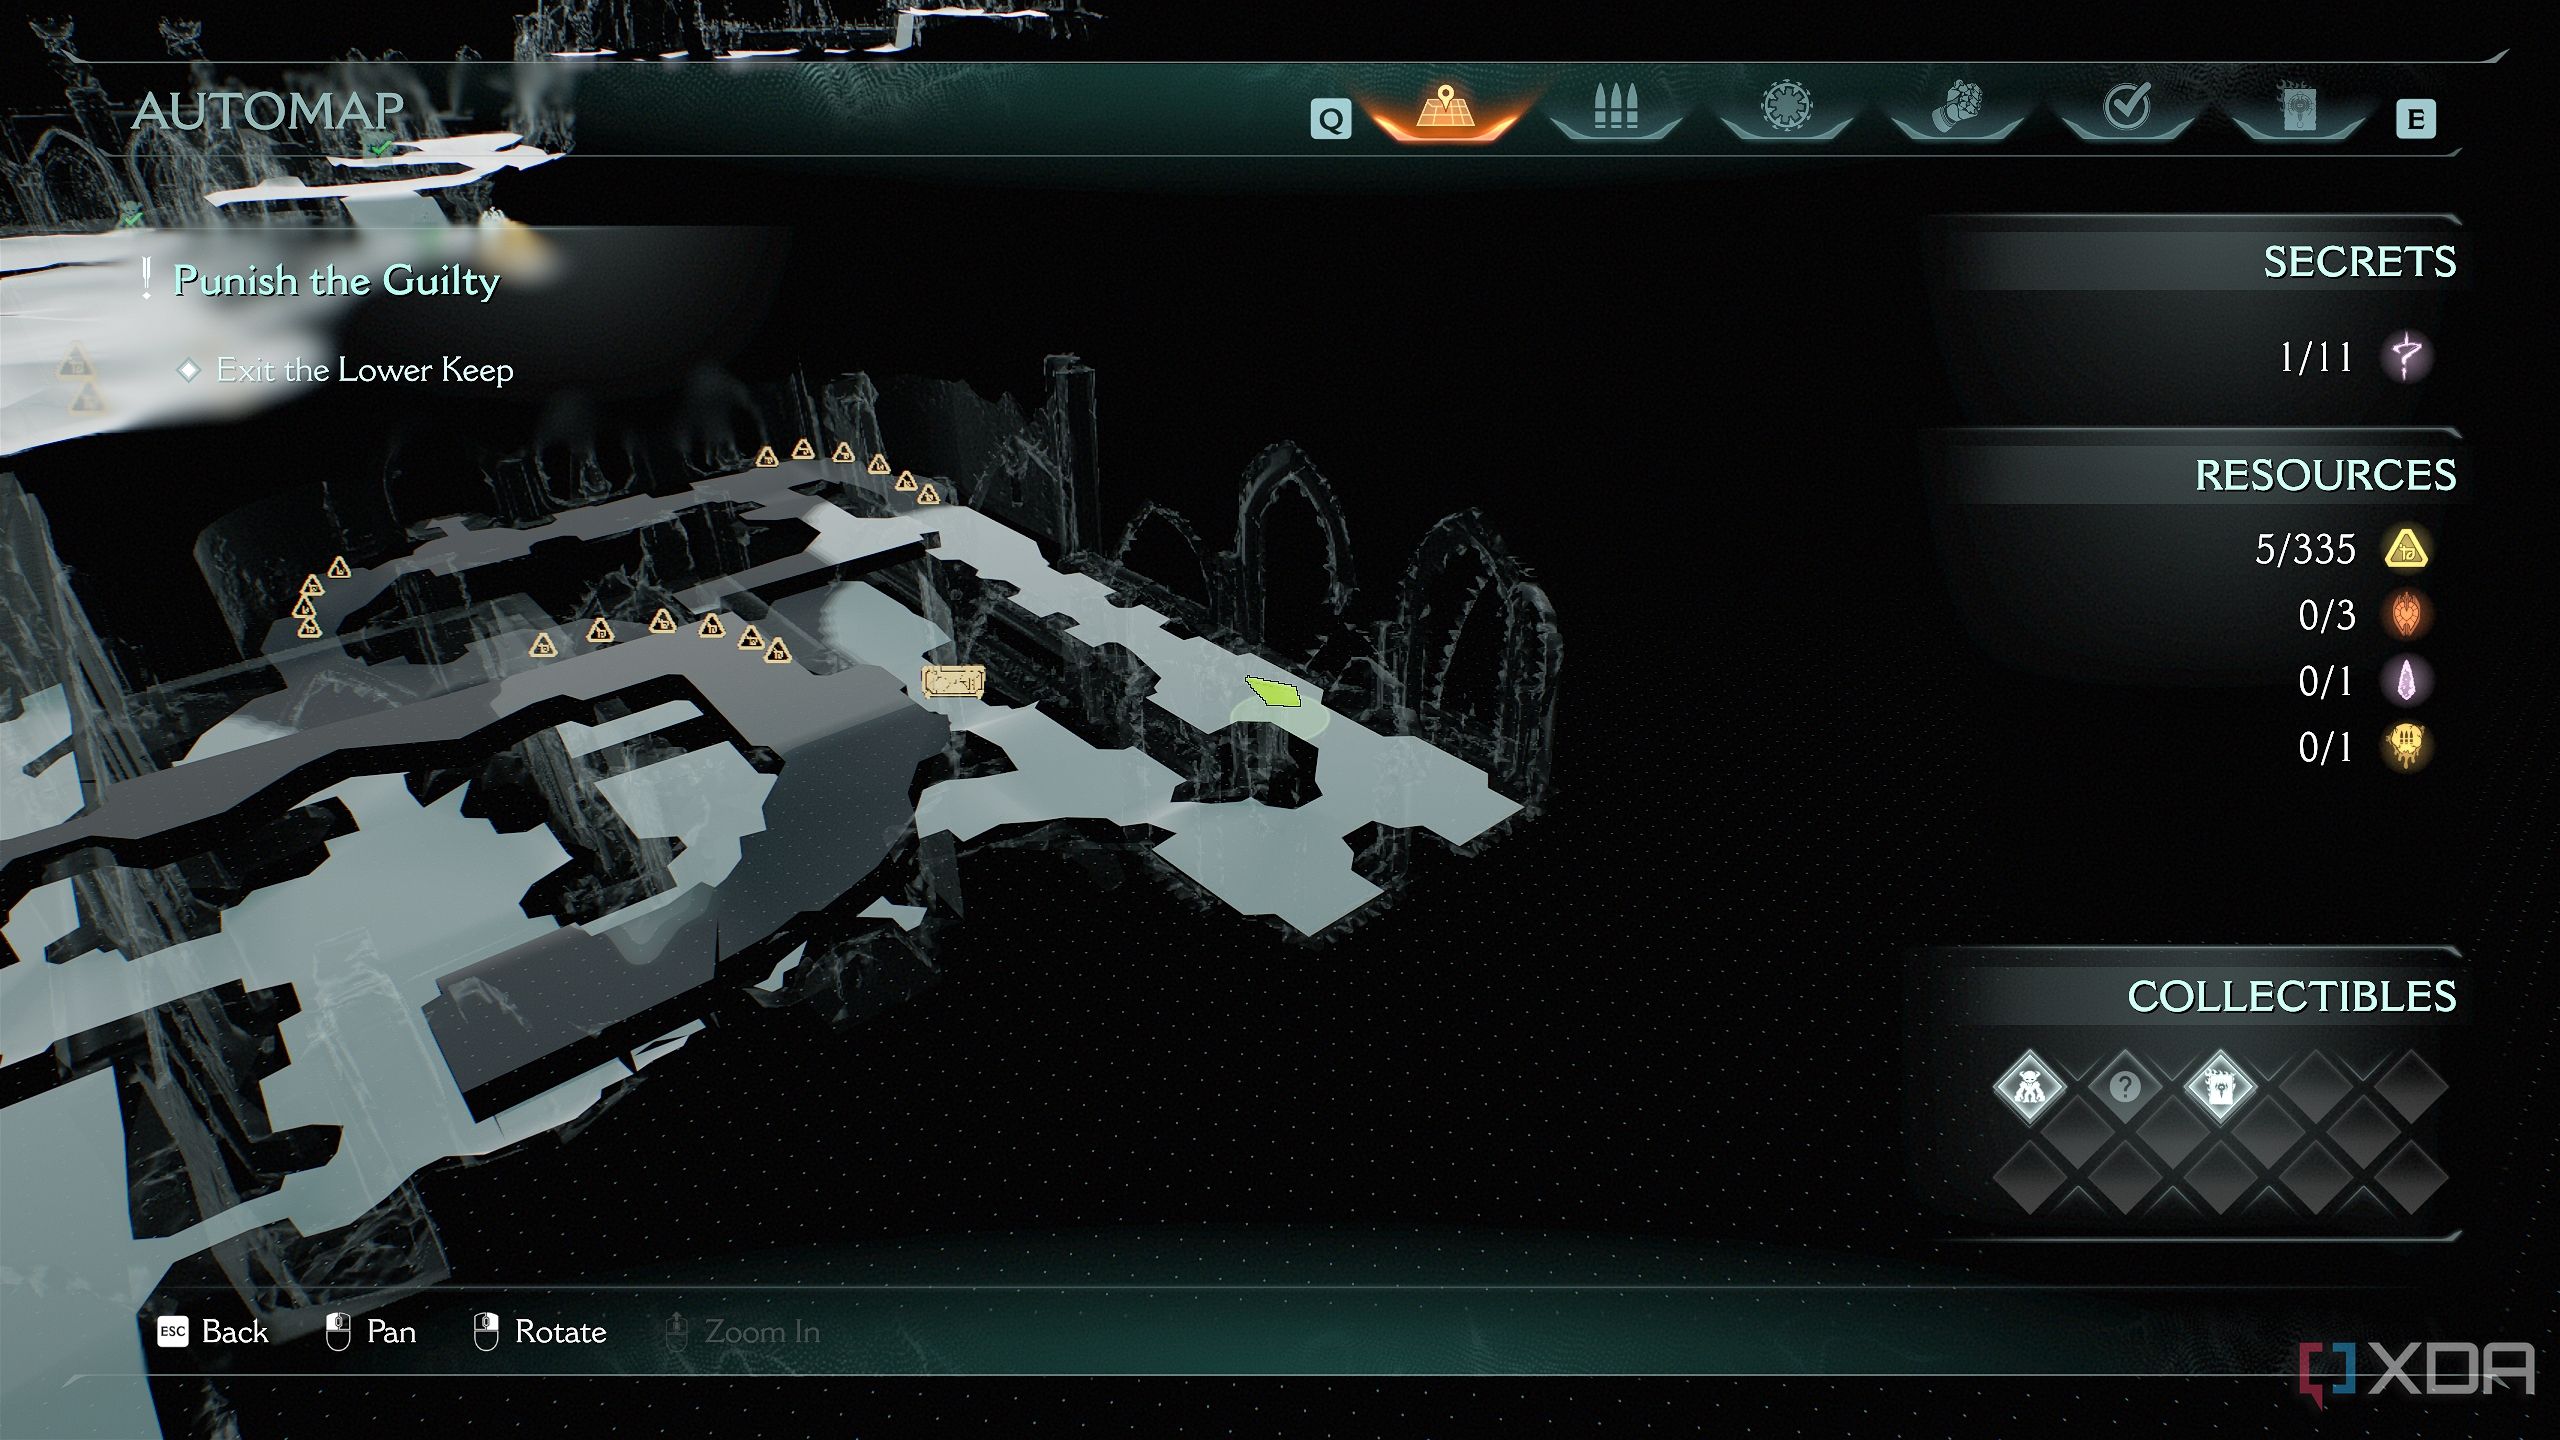
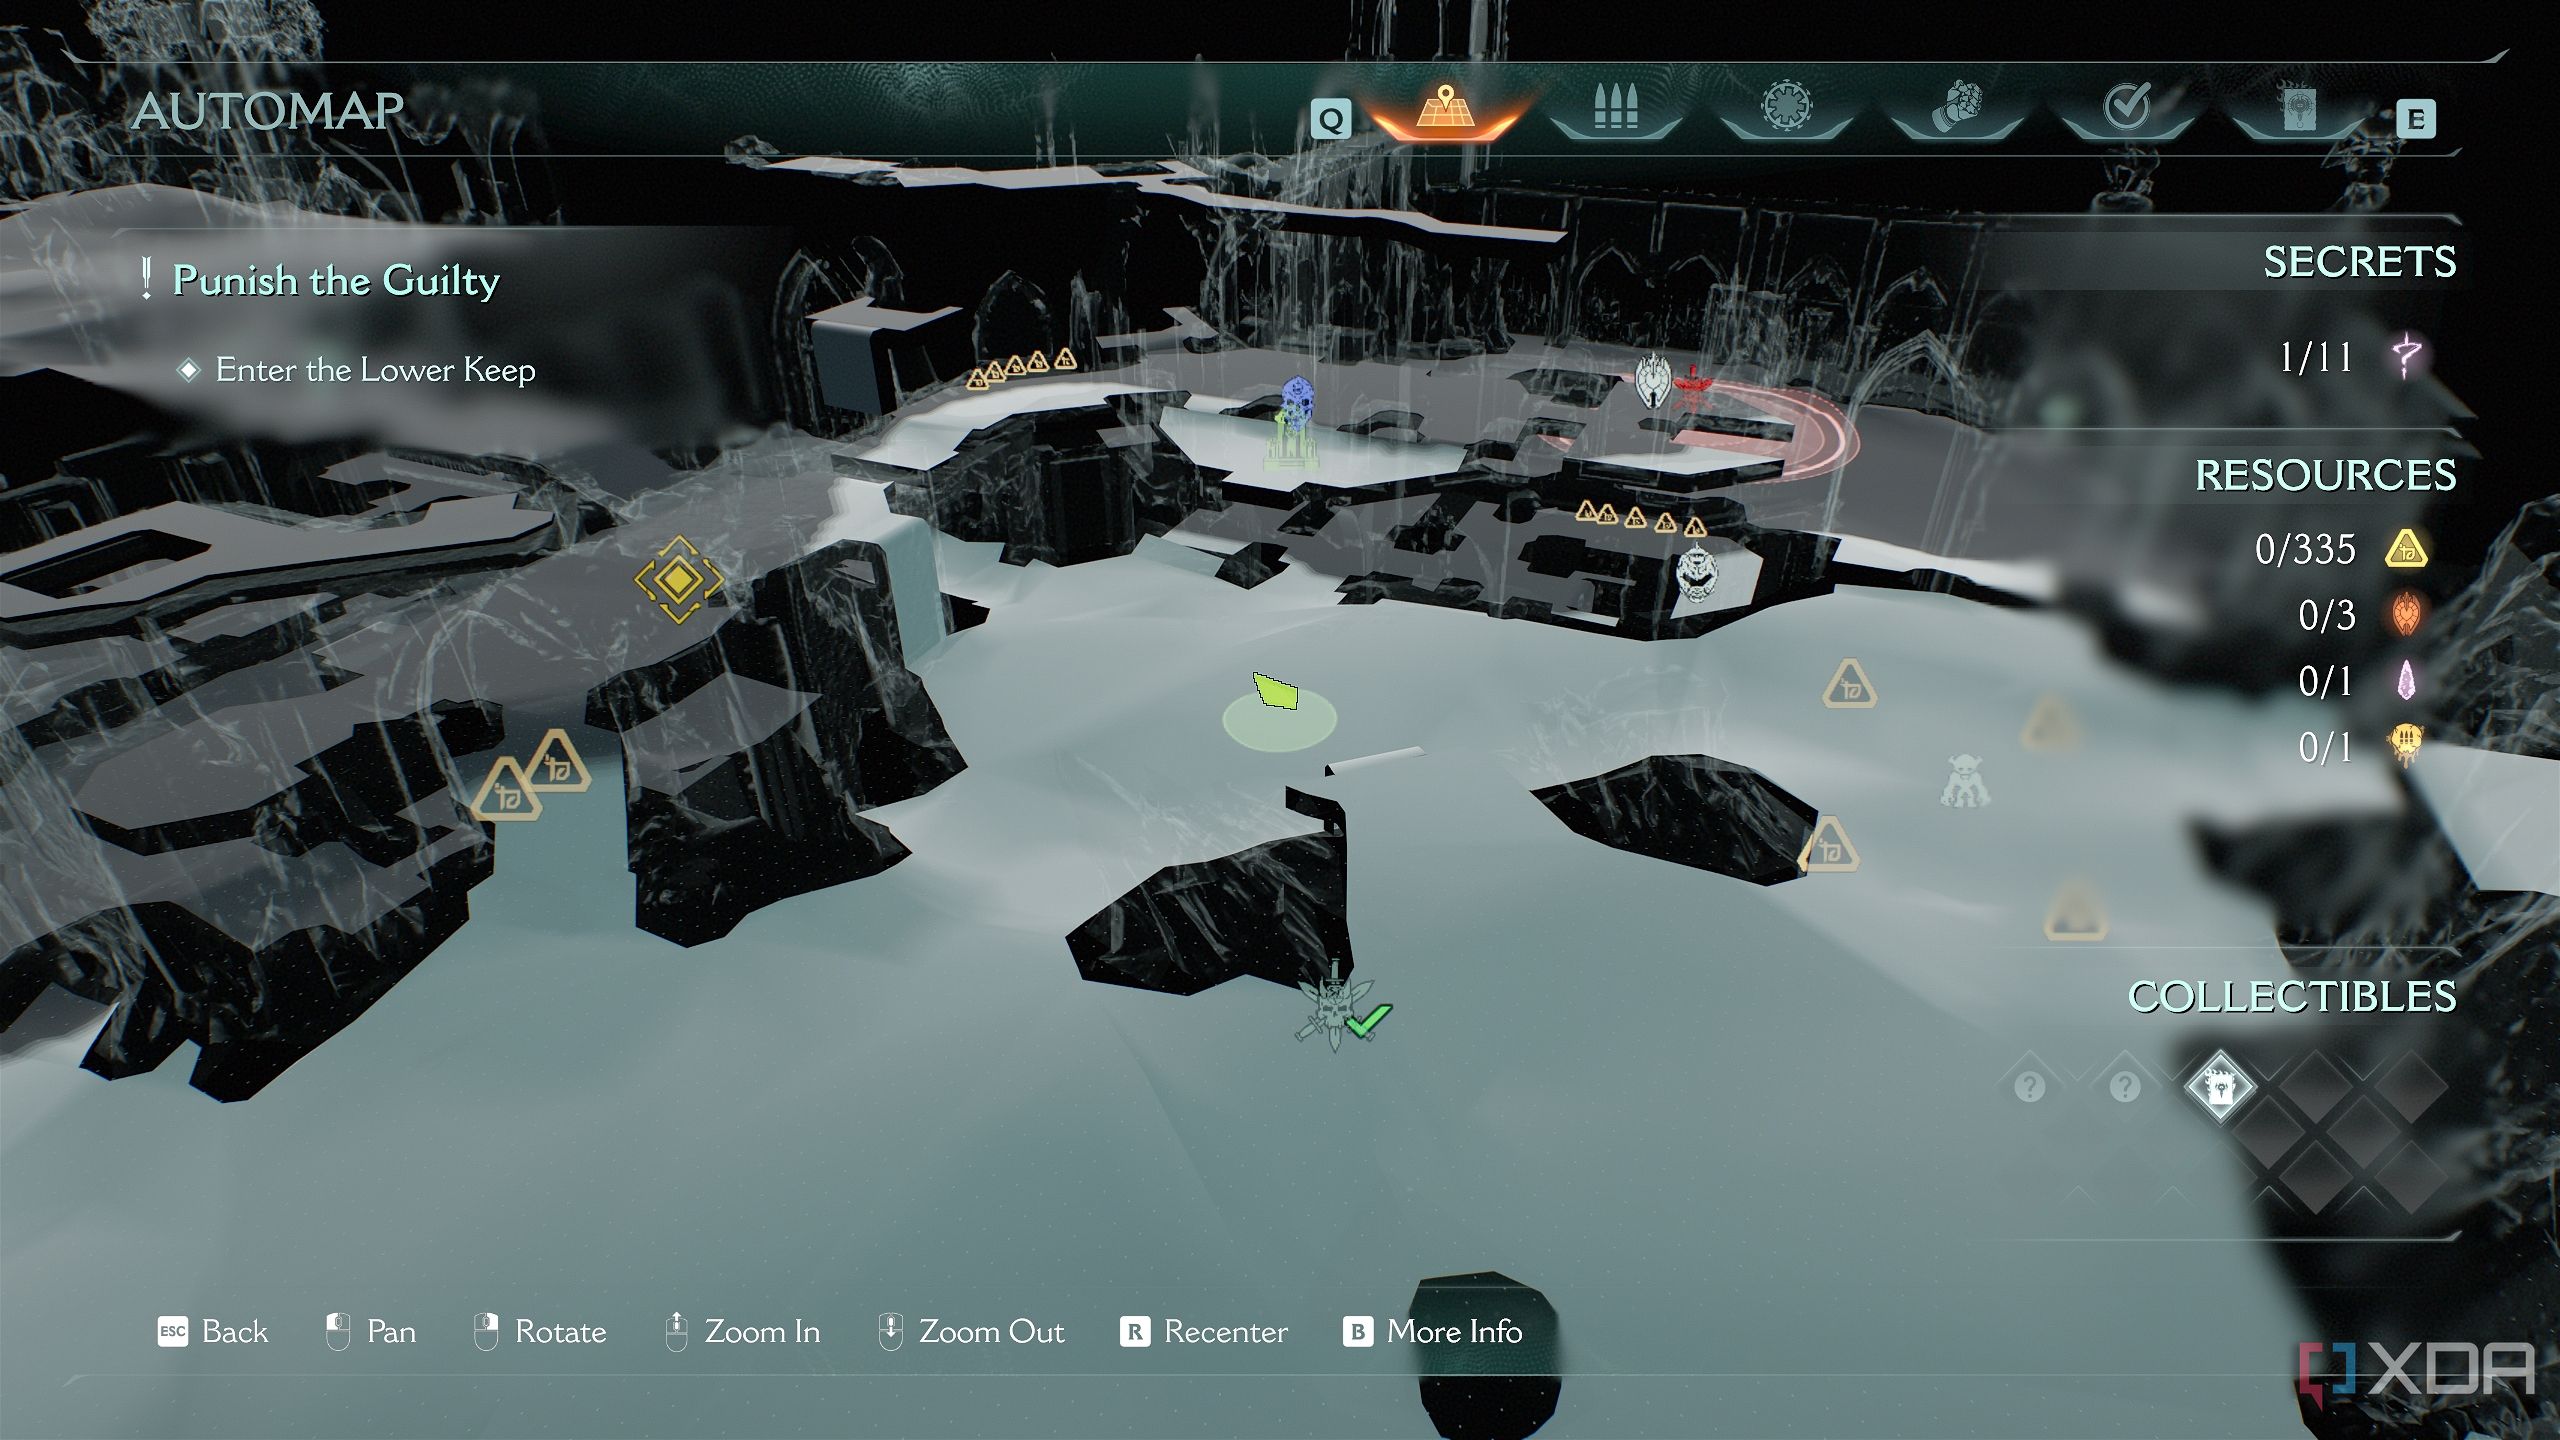
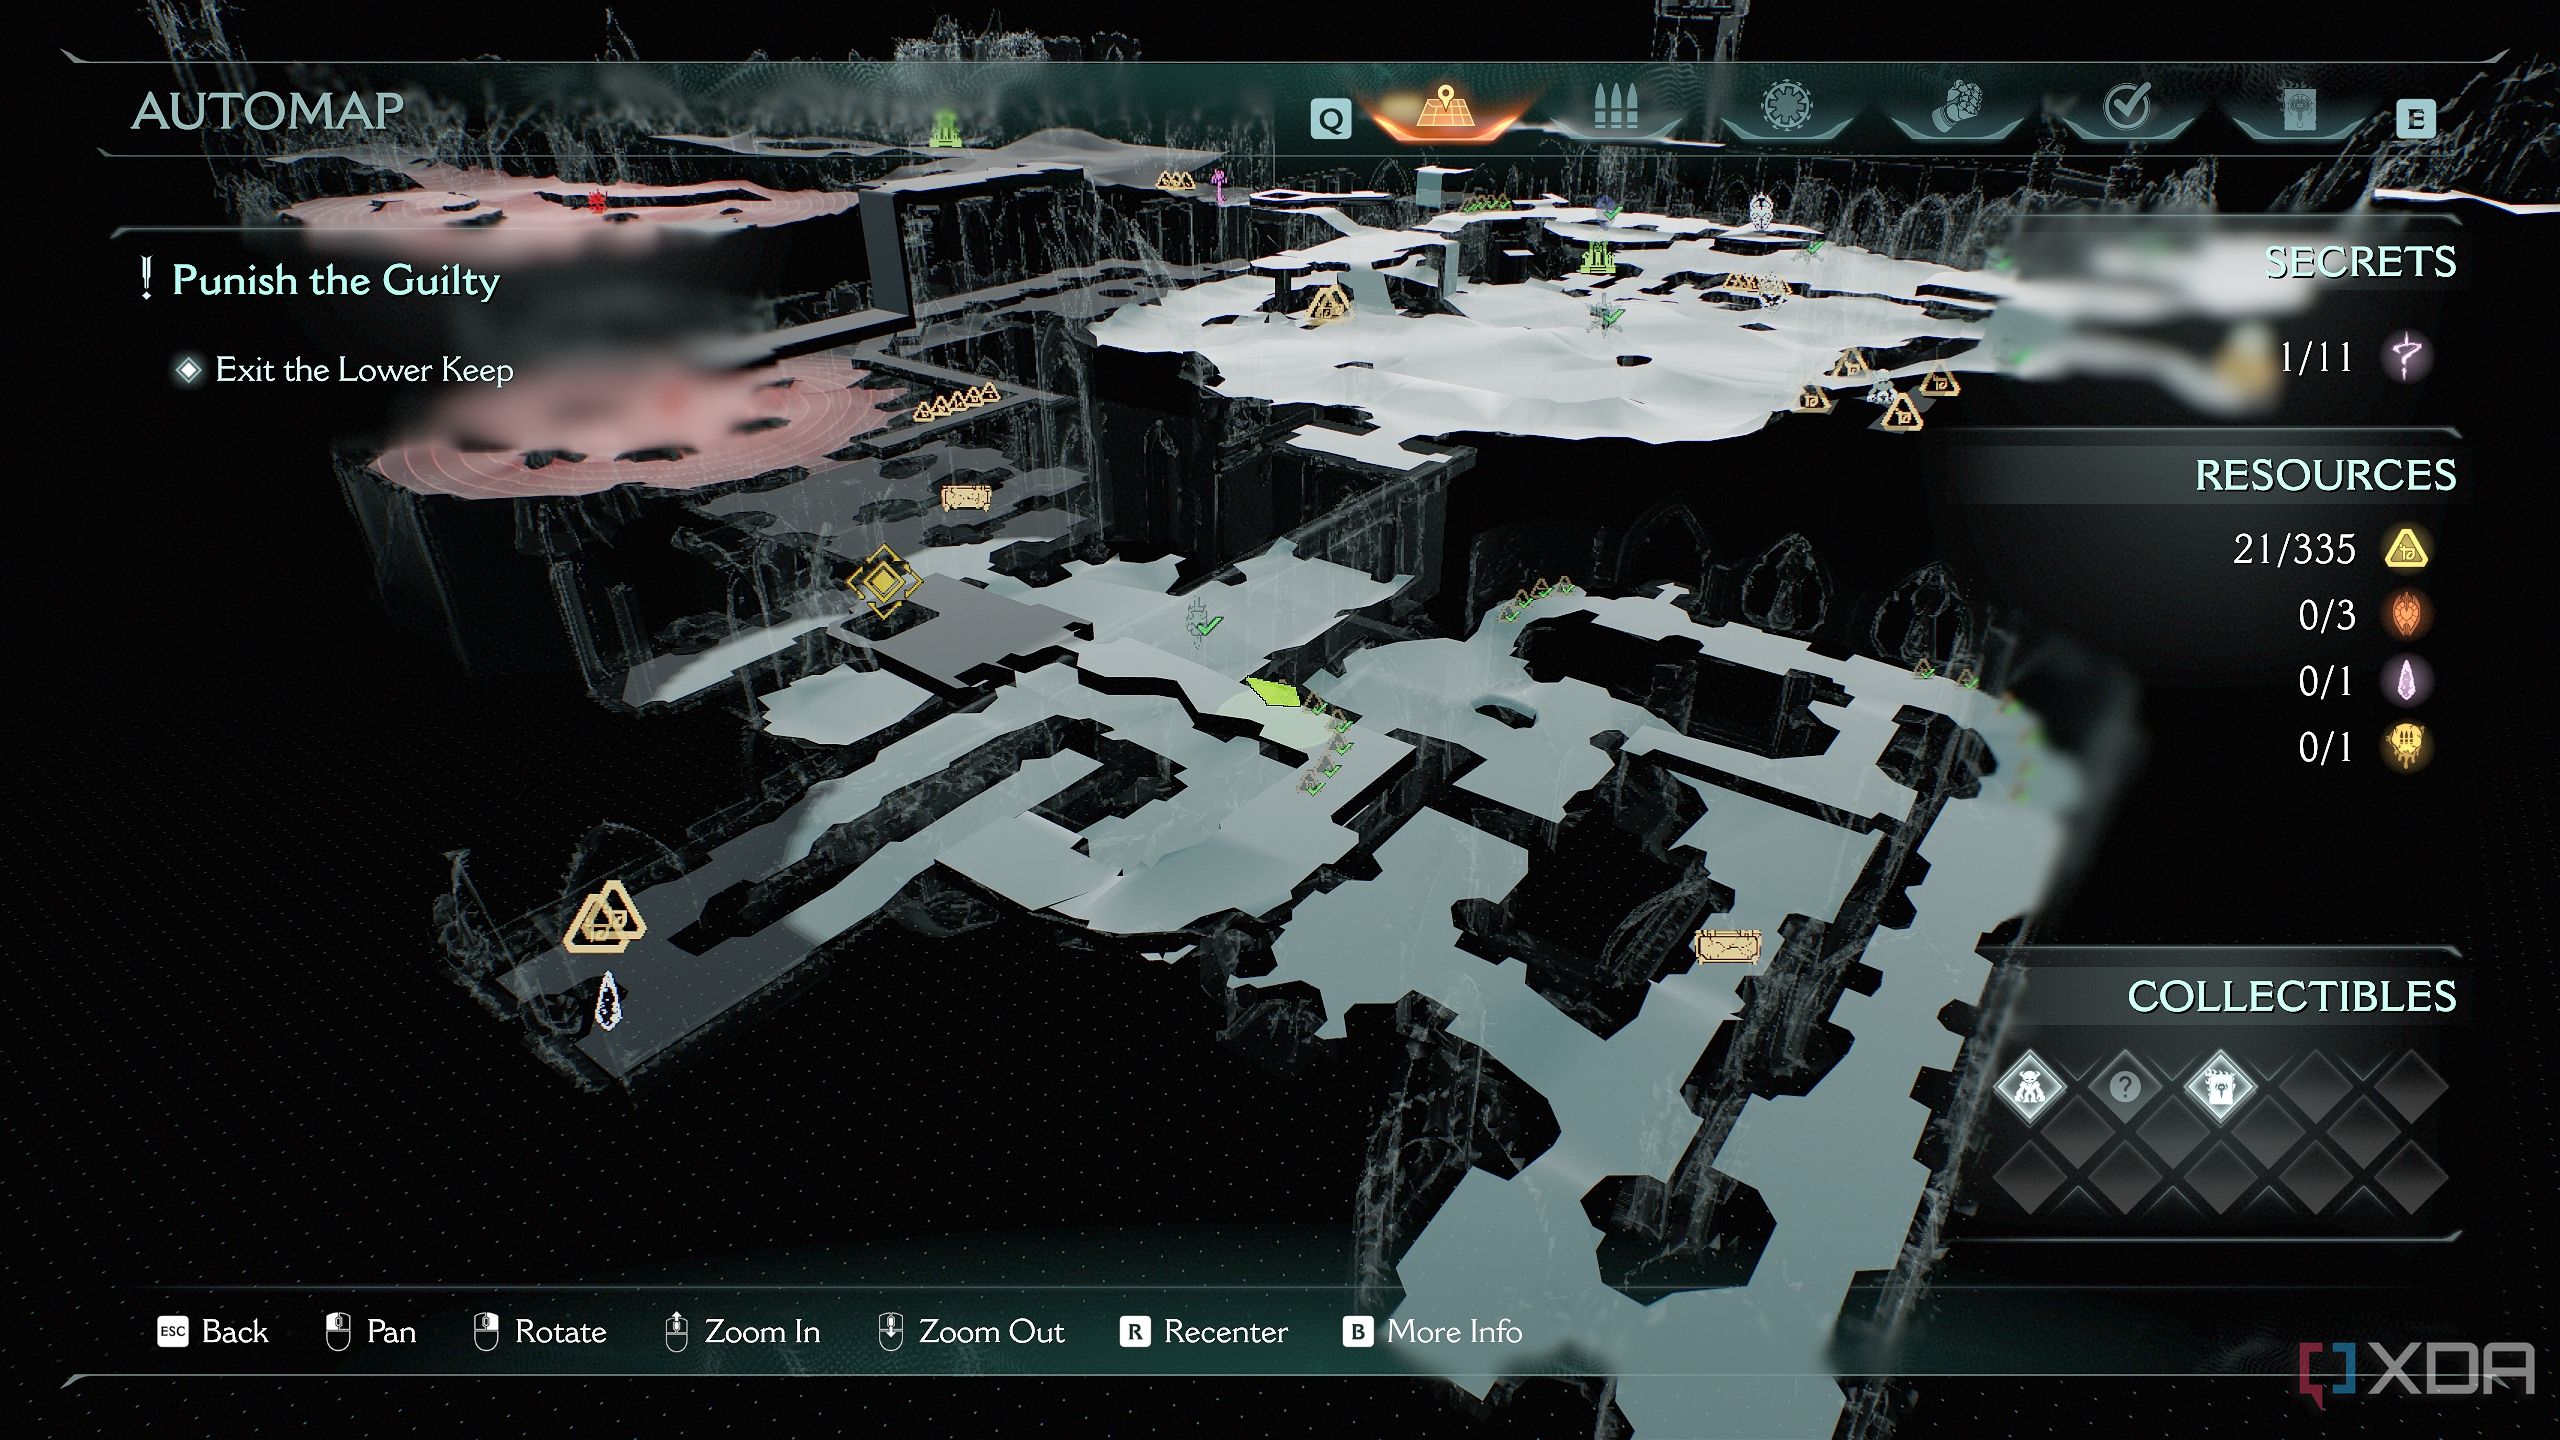
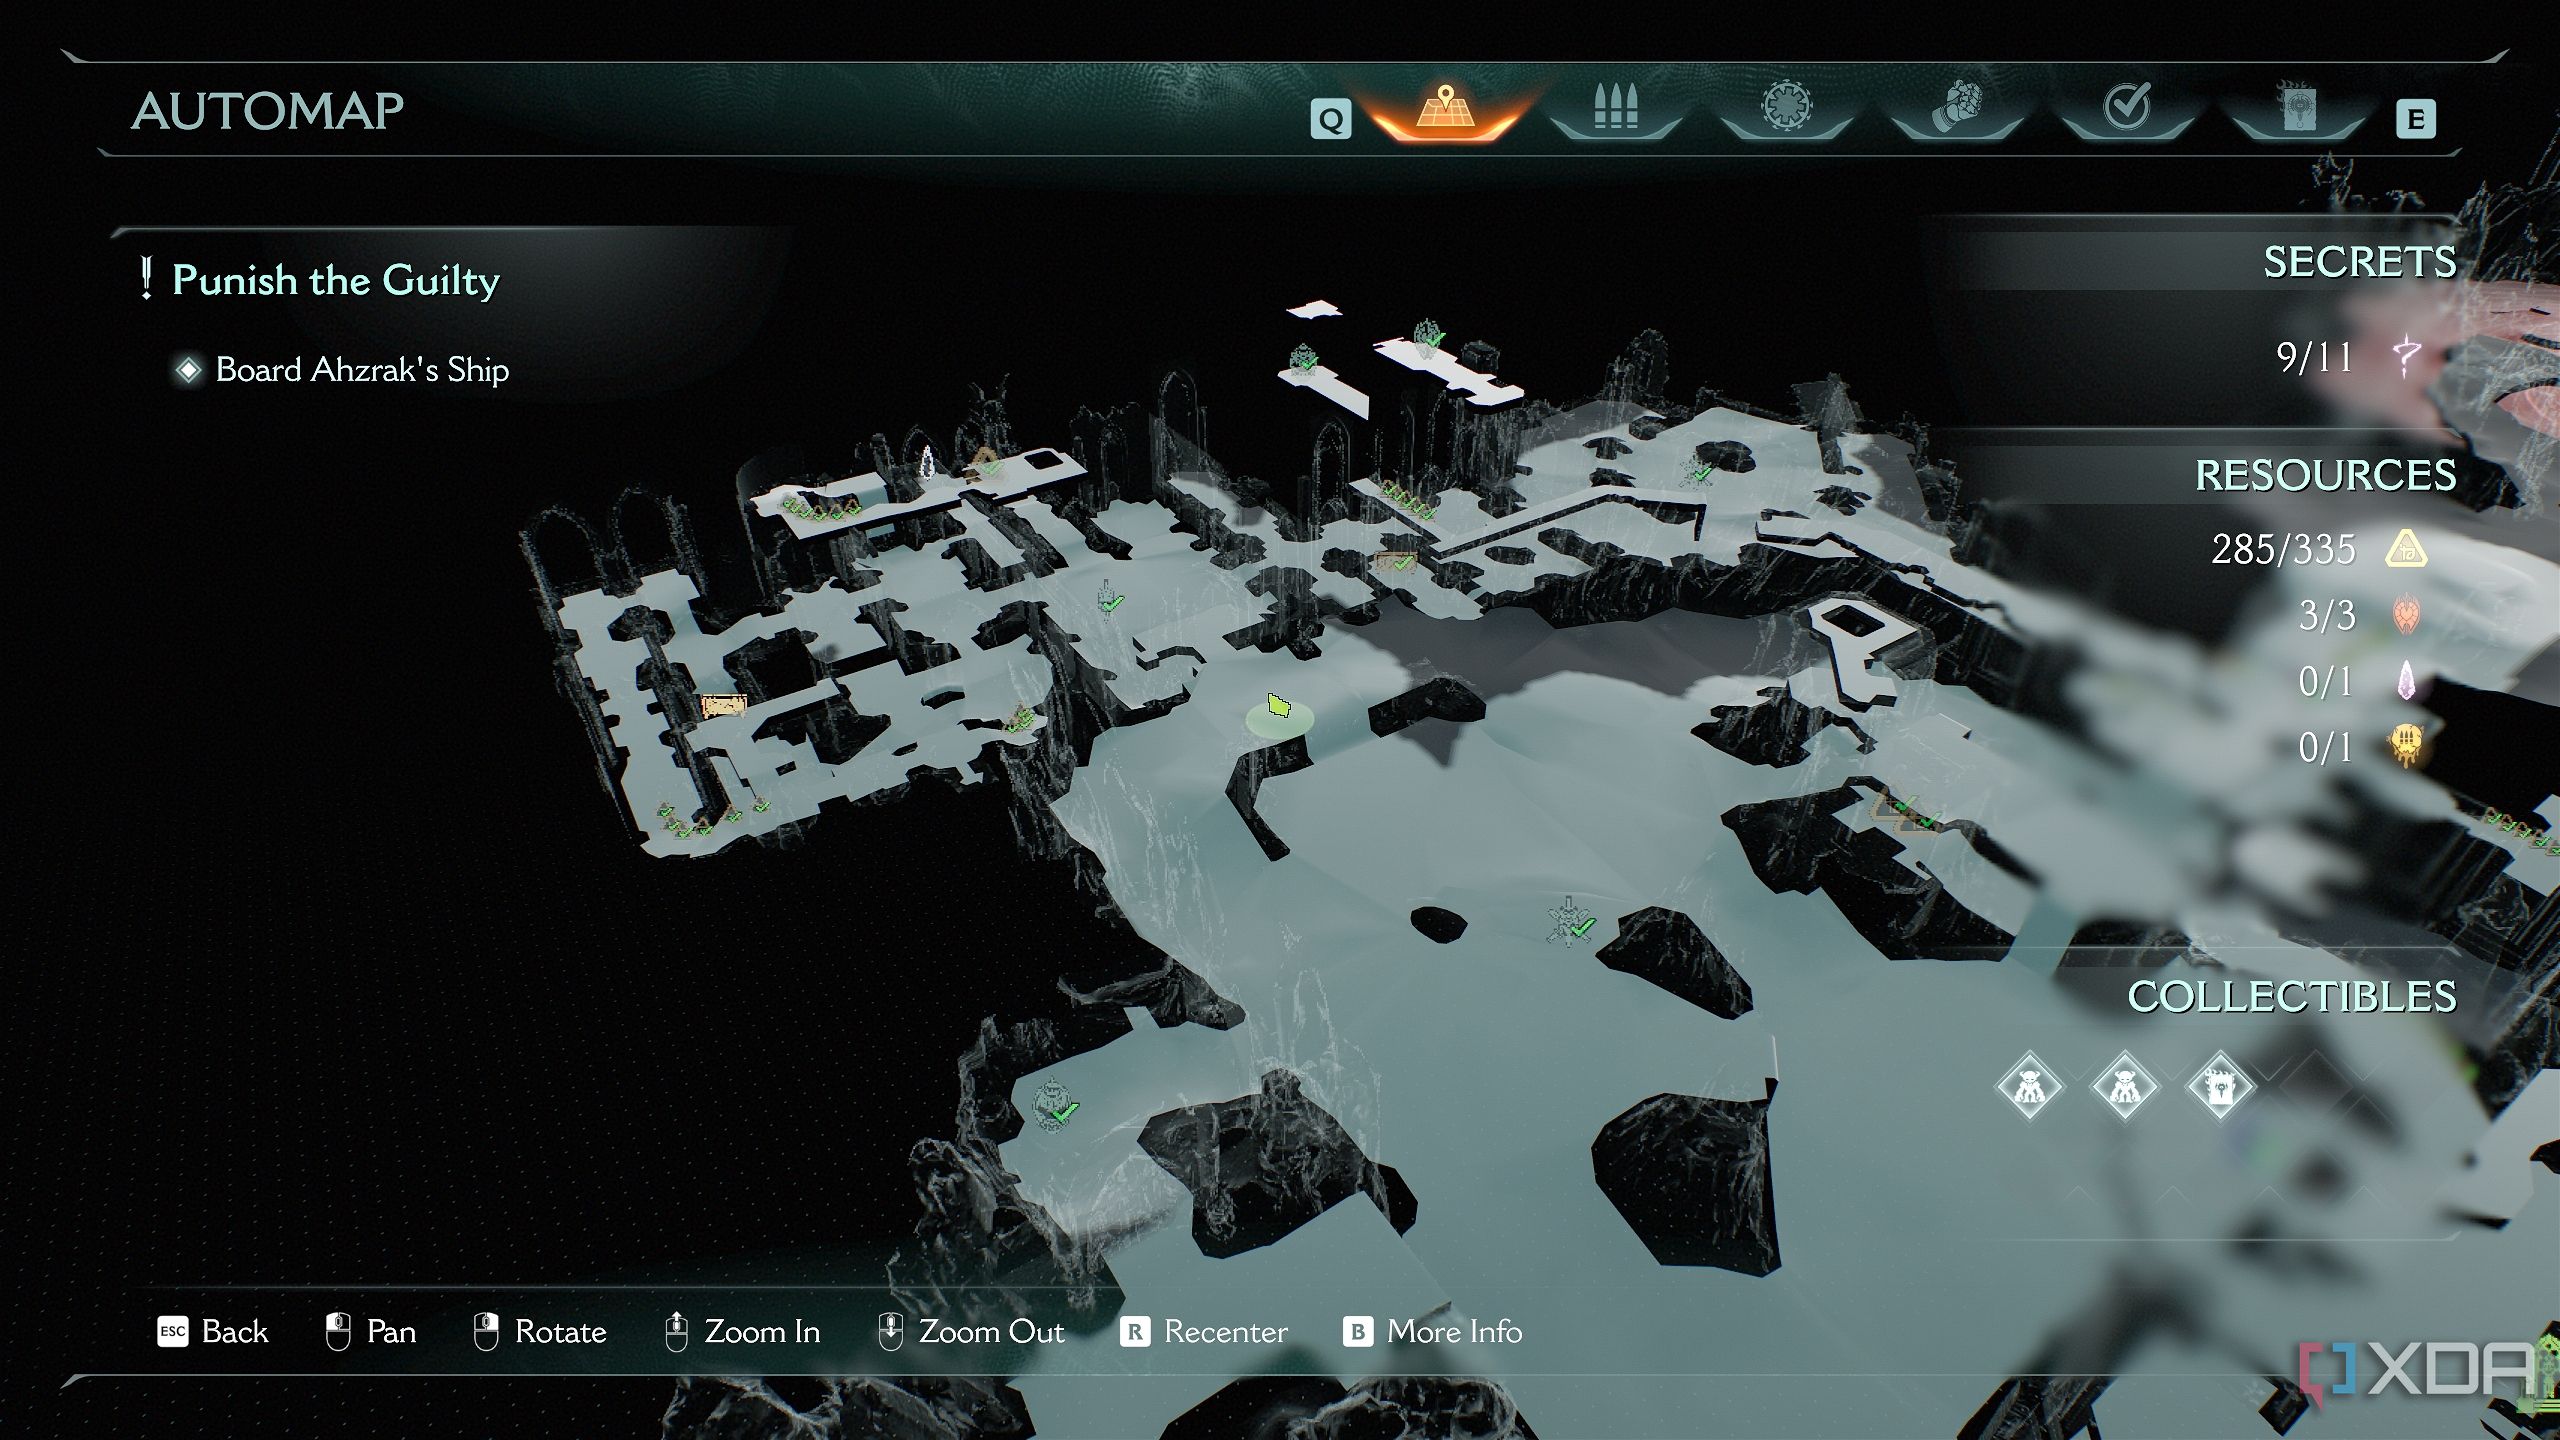
Pull it, and you'll unlock the gate to a long corridor in front of you. This is what it looks like on the 3D Automap.
Fight through the horde of fodder demons and Imps here, and you’ll see another trail of gold bars.
This trail leads to a confrontation with an armored Arachnodemon. Dispatch it, and walk another few steps forward — a Mancubus will burst through the wall.
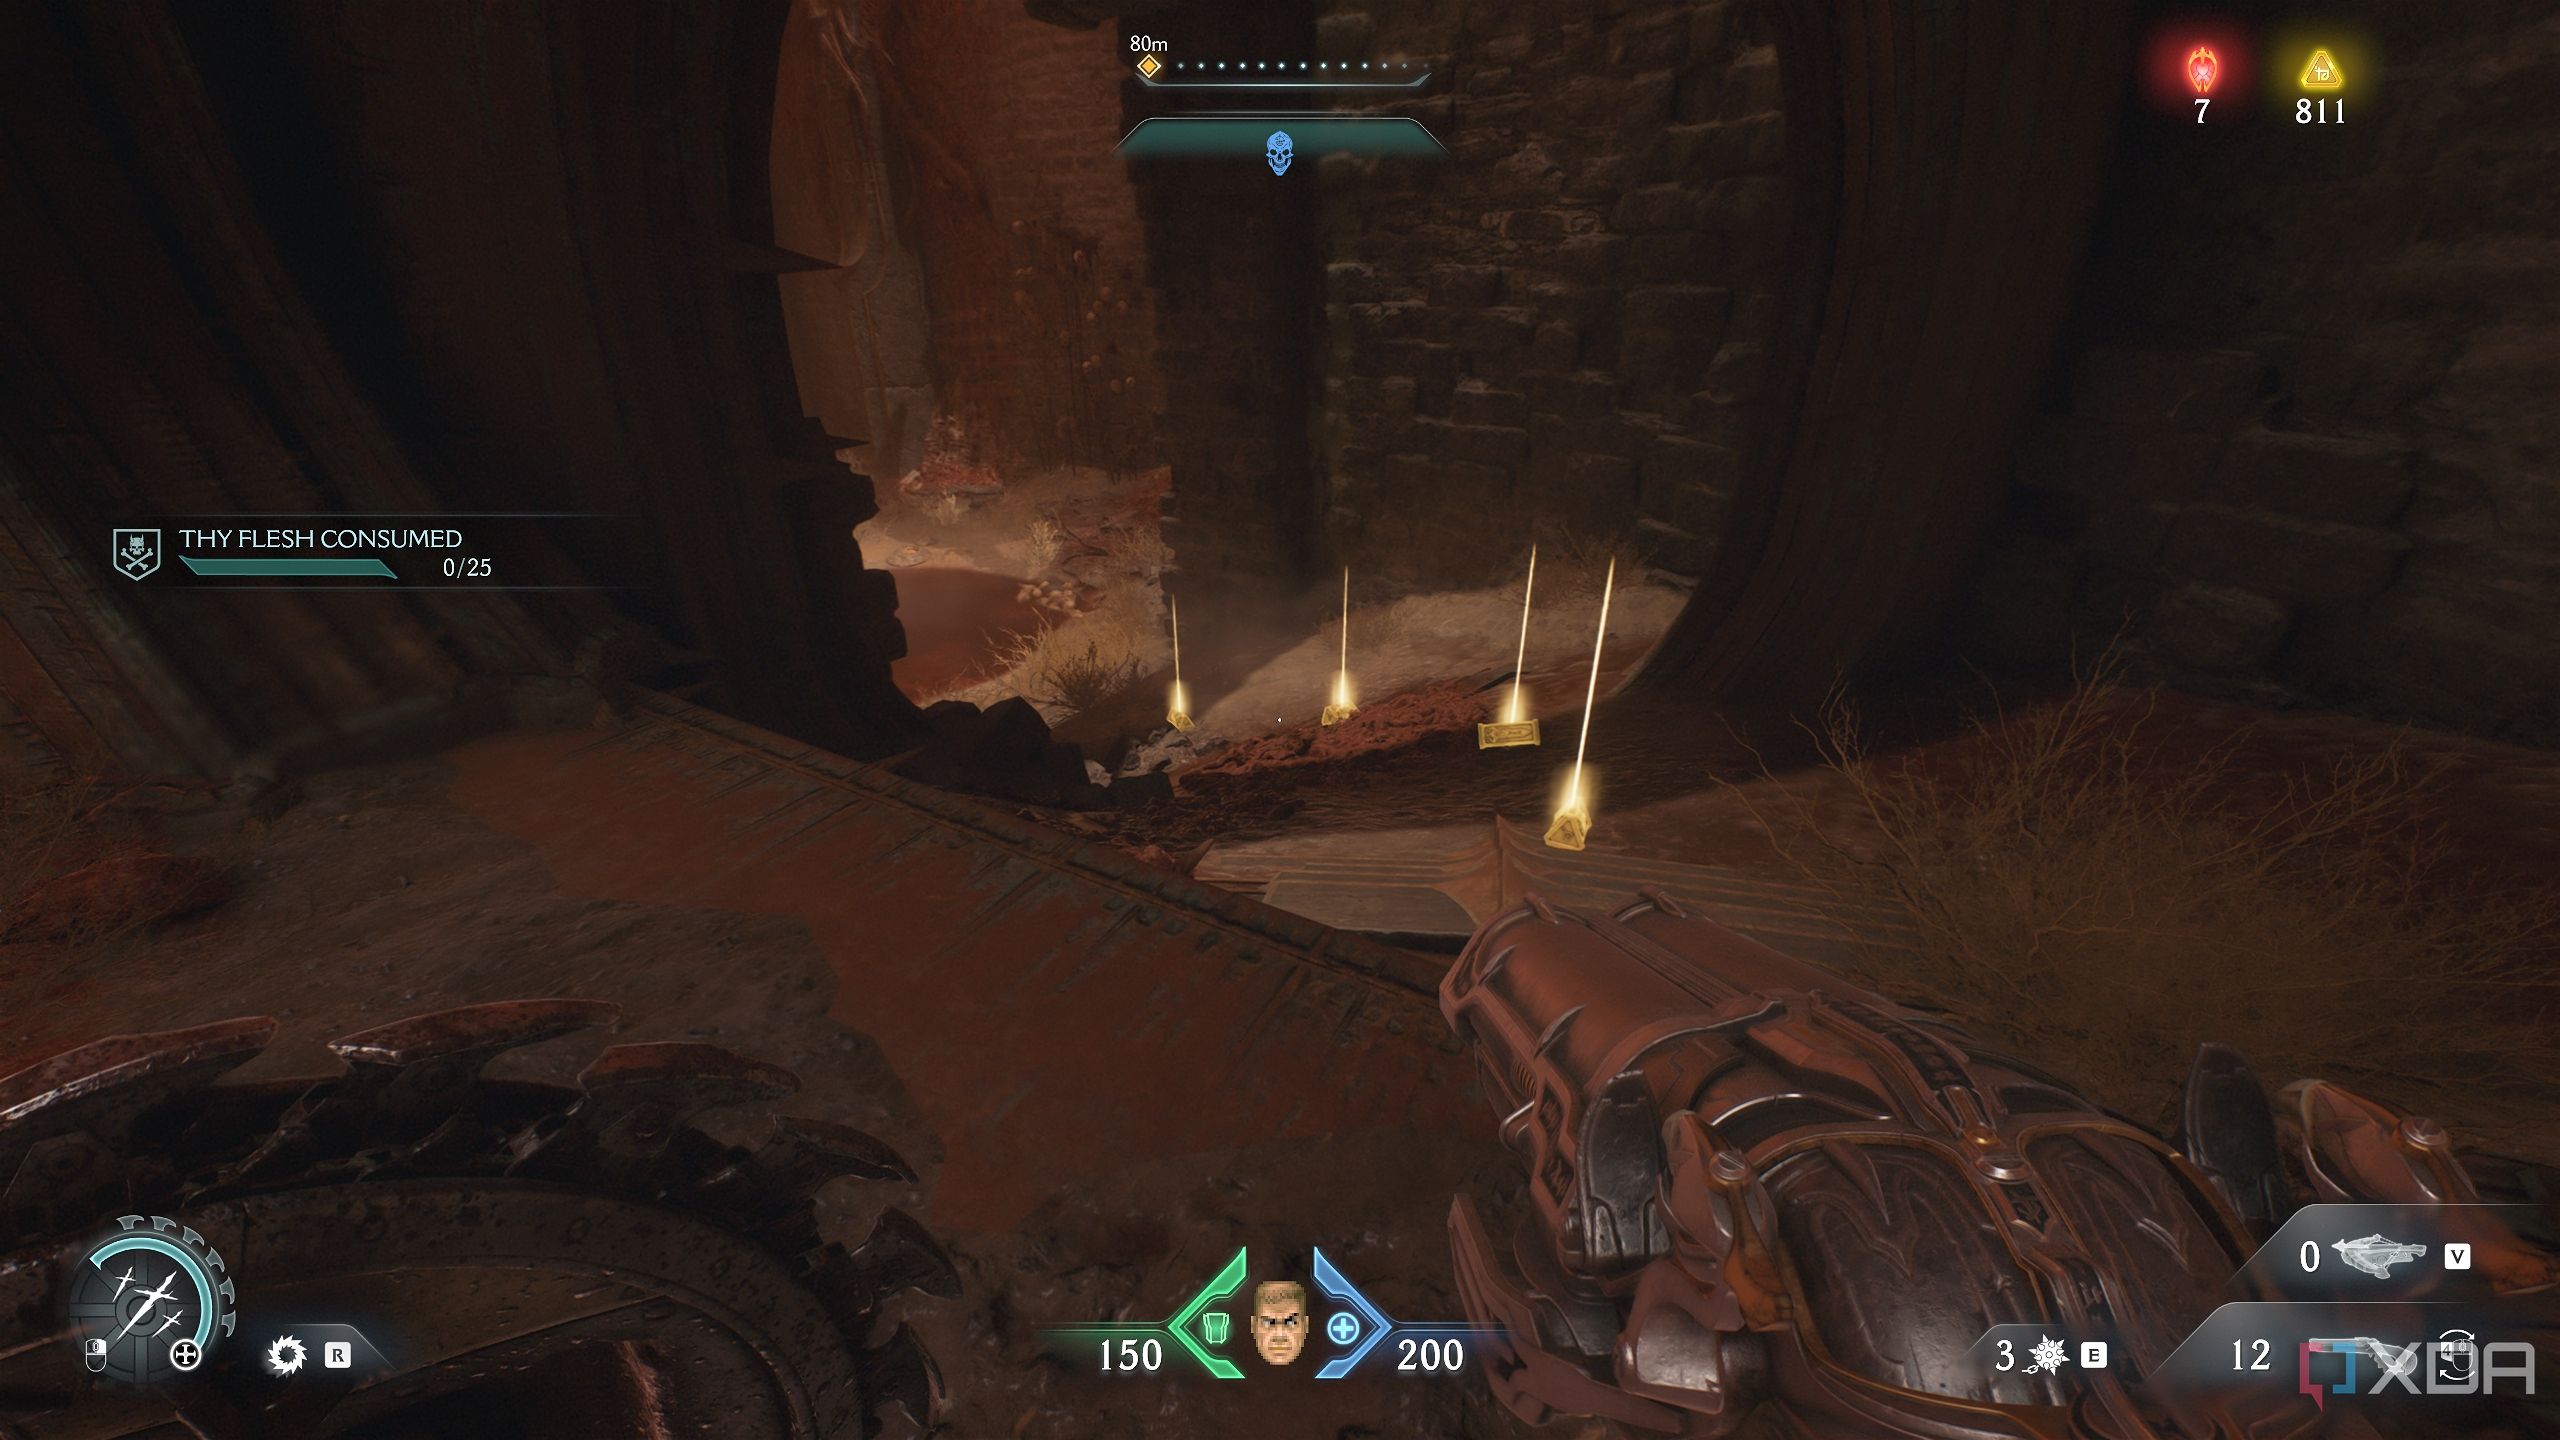
Kill it and pick up another small trail of gold bars behind the Mancubus. Now, get back to where you just killed the Arachnodemon and head outside to the fleshy platform.
Bring down the heated metal cross here, and bash the box it releases to get to the next scramble wall.
Related
The Mech and Dragon levels in Doom: The Dark Ages feel like missed opportunities
Doom: The Dark Ages is another stellar Doom game, but the new mech and dragon levels don't live up to the high standards of the series.
7. Gold bars and 2 gold stacks
I have way more gold than the game allows me to spend
Once you climb up this box and the wall, you’ll reach a fleshy platform.
Pick up the trail of gold bars ahead, and you'll meet a Revenant to fight at its end.
There will be a hole in the floor here — drop down into it to fight.
At the bottom, you will fight a Hellknight, and pick up two gold stacks in this room. The floor switch here reveals a blue energy node to hit and unlock the next area.
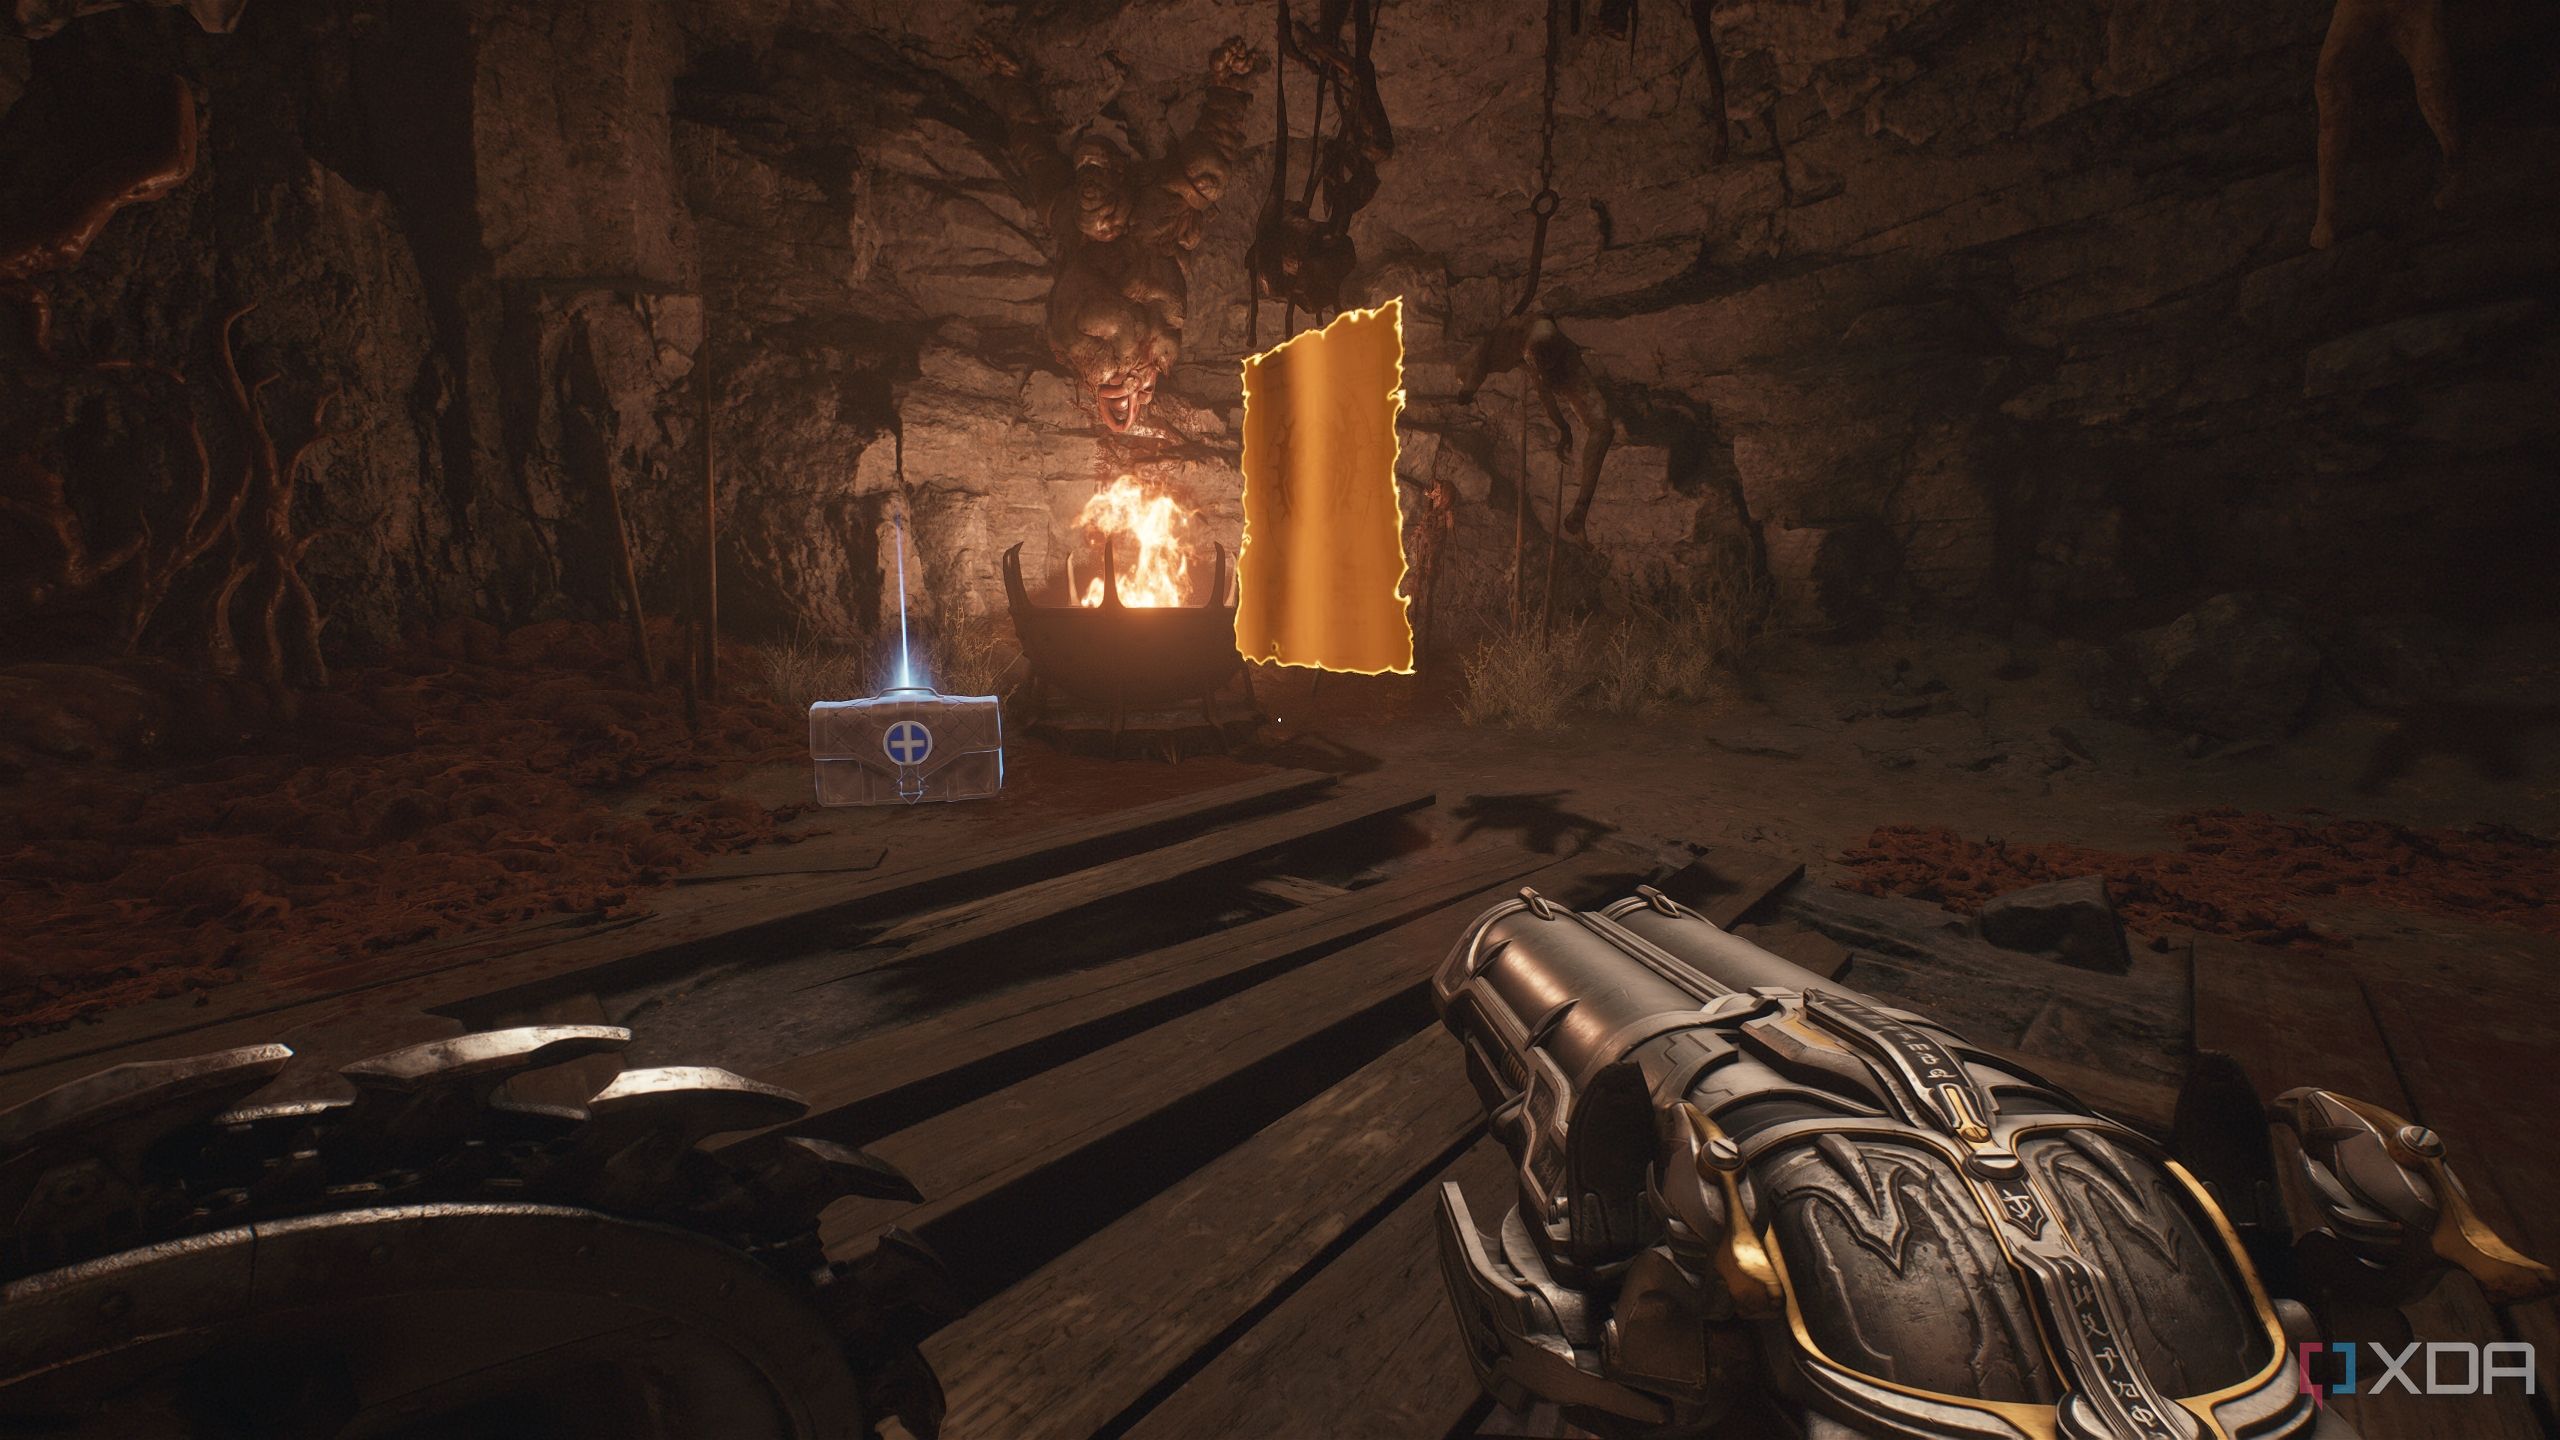
8. Secret area 4 and a gold chest
Easy to miss in your rage to get to Ahzrak

In the next area, walk forward and you’ll immediately meet an Arachnotron.
Kill the Arachnotron, and you’ll be standing in the room. Instead of heading outside, head to the right corner of the room to see a wall you can Shield Charge through.
Do that, and head inside to unlock secret area 4 and a gold chest.
Related
9. Secret area 5 and a gold chest
Two secret areas back-to-back in a single section
After heading outside, you’ll be in an arena where you have to fight a Mancubus, an Acolyte, two Cosmic Barons, a Pinky Rider, and a Cyberdemon.
Take them down and head inside to collect a trail of gold bars to your right. You’ll see a wall ahead with a Shield symbol on it.
Right next to it is a small crevice in the wall. Approach it and a Mancubus will burst through the wall again. Take it down, and collect another four gold bars behind it.
Then, bash through the wall with the Shield Charge symbol, and you’ll see a blue energy node inside. Activate it with your shield, and right next to it, a scramble wall will rise up.
Get up it, follow the path, and you’ll reach secret area 5 and a gold chest.
10. Secret area 6 and Red Ruby 2
Heading through a secret area to reach the next one
From here, continue heading along the path to fight a Shadow Imp Stalker, and you’ll reach a gap to jump across.
Once you do that, you’ll find yourself on a wooden walkway. Walk forward on it and a Battleknight will ambush you. Take it down, and pick up another trail of gold bars.
This will lead to a blue energy node. Activate it with your shield to make a scramble wall appear ahead. Climb it up and you’ll reach a Life Sigil.
Then, turn around, and recall your shield. This will make the floor reappear, and the scramble wall ahead will be unlocked.
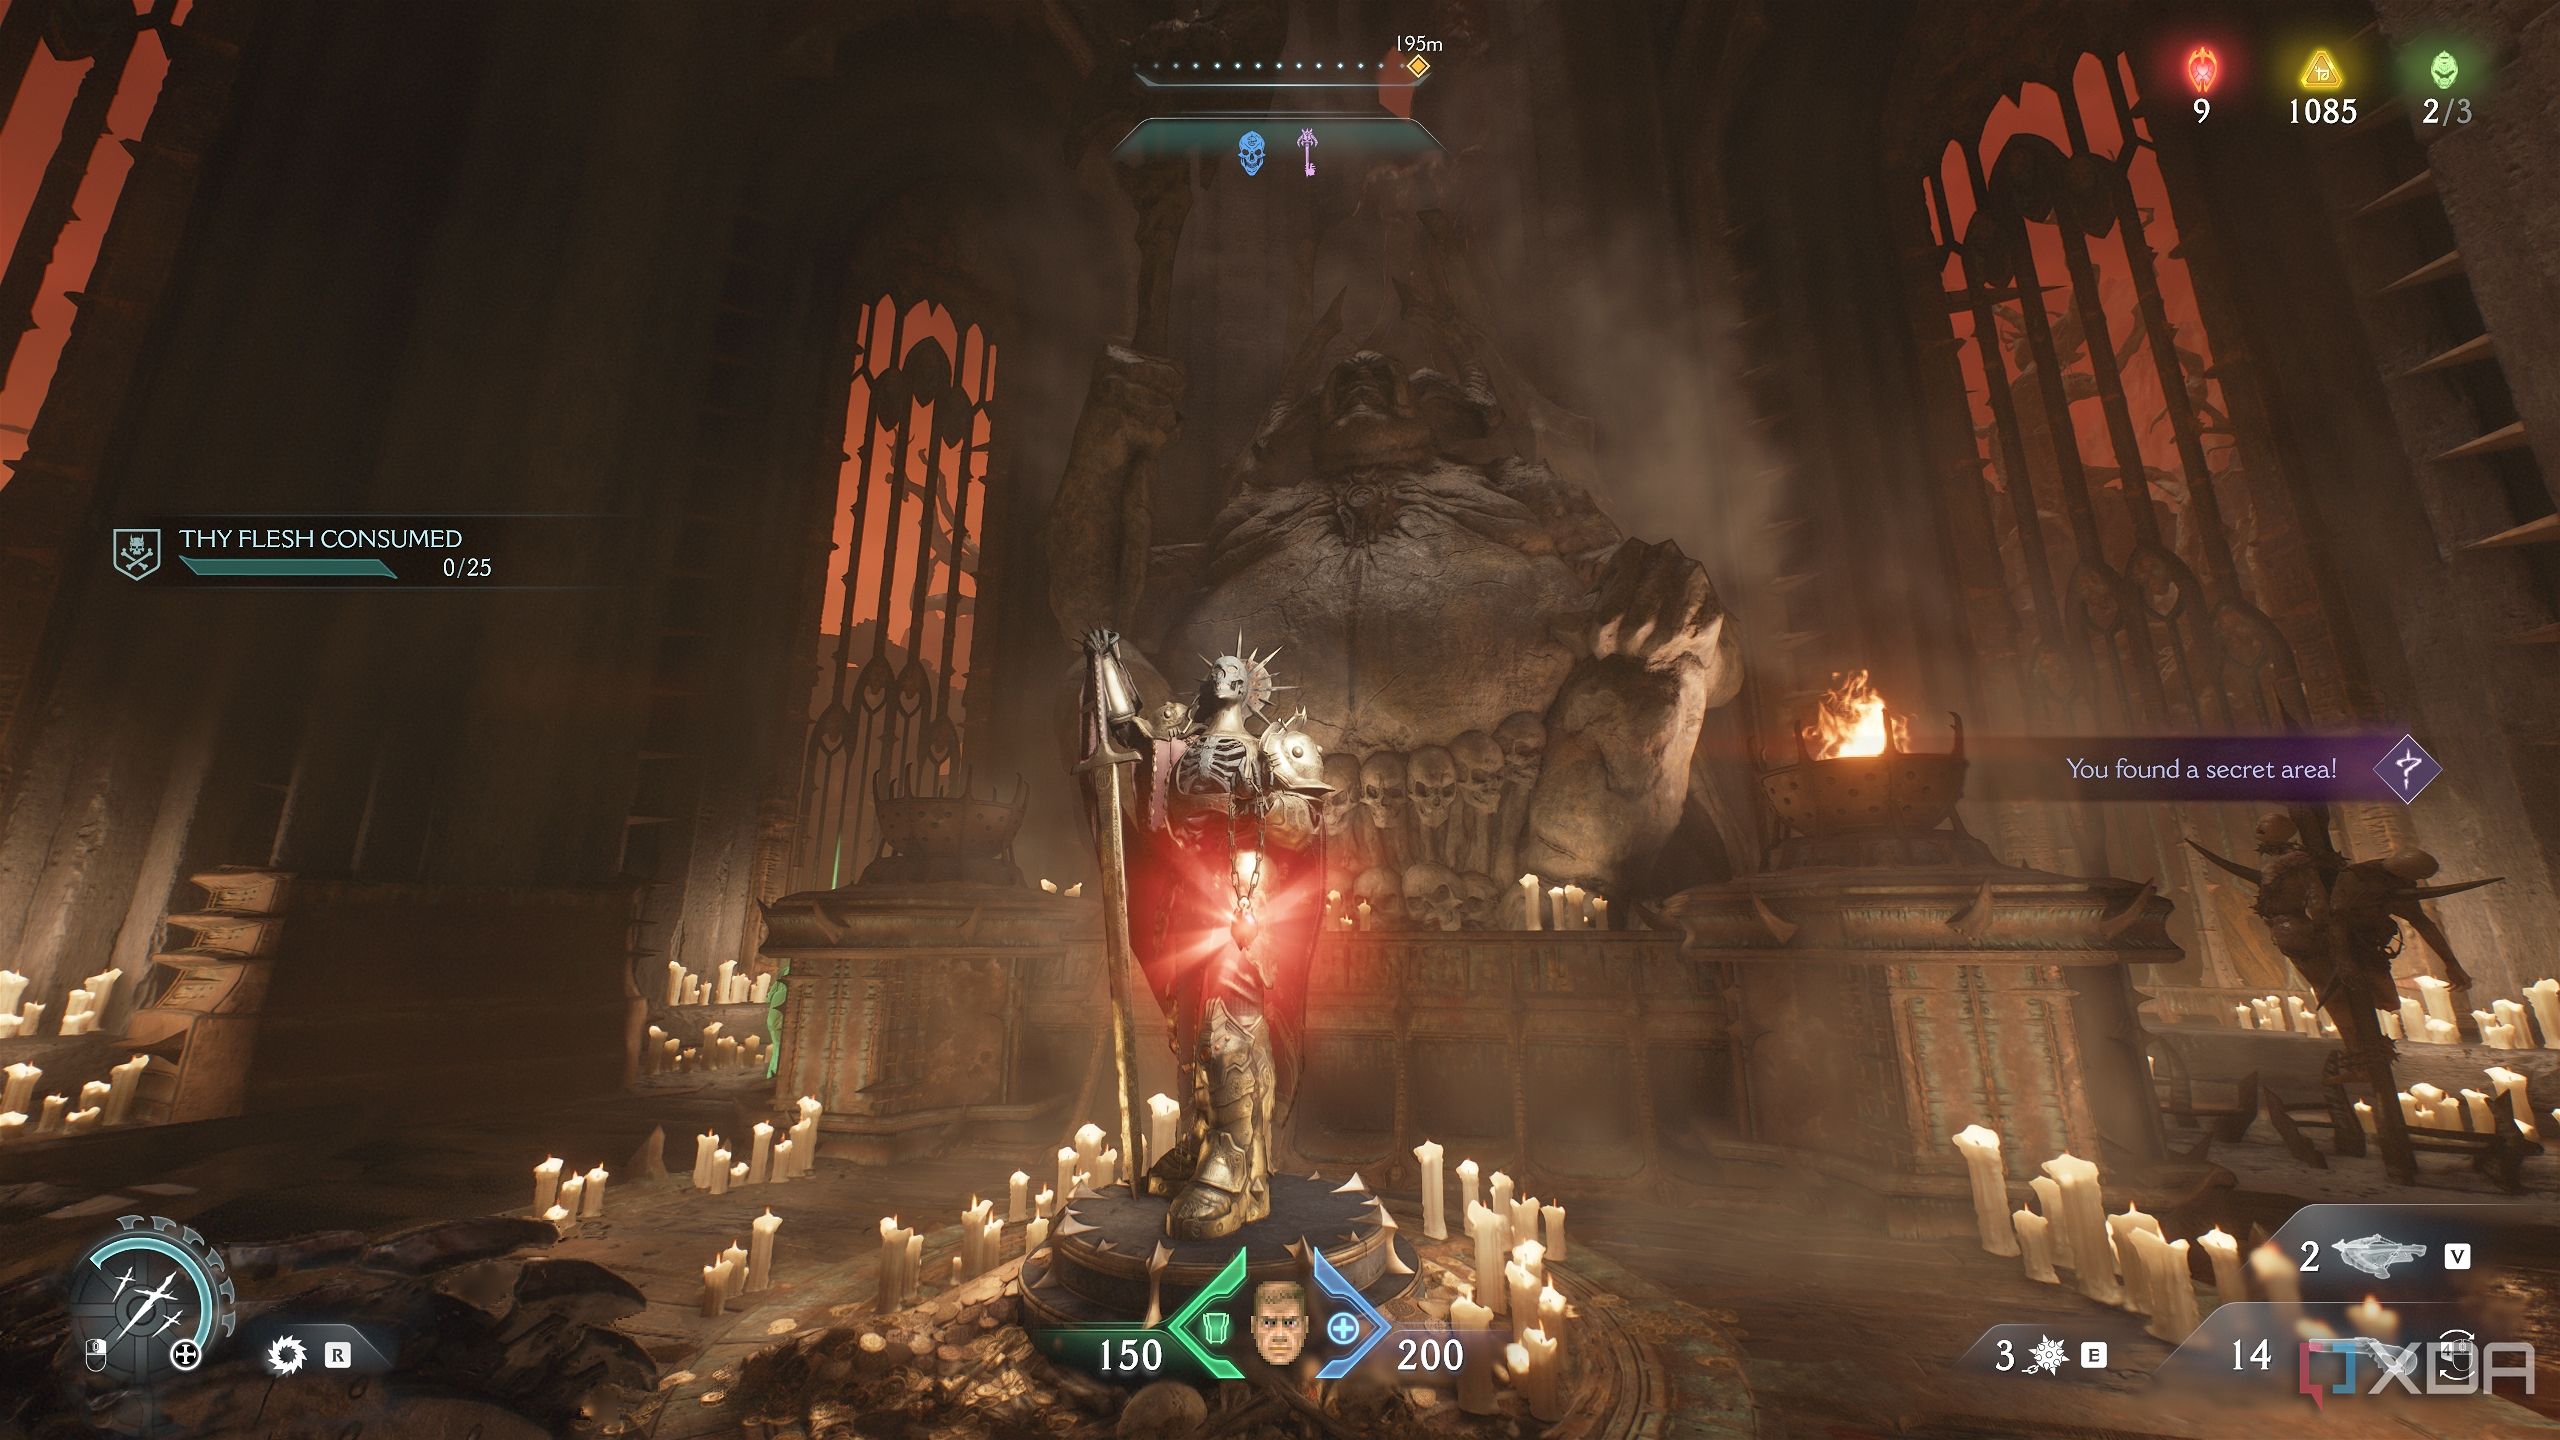
Climb up this one, and you’ll reach secret area 6 and the statue holding the second Red Ruby in the level. There’s also BFC ammo here if you turn around. Head into the red portal that appears behind the statue.
11. Secret area 7 and the purple key
My greed is stronger than my rage
After you head through the red portal, you’ll reappear in the room you started. Head over to the green floor switch you see, and it will take you to the top.
Now, you’ll see a Sentinel Shrine here, and the way forward will be marked by the Objective Market. However, turn around in the opposite direction first.

You will see a trail of gold bars and the secret purple key. This key will open a lot of doors, so grab it, walk forward to unlock the purple gate right in front of you, and you’ll step out onto a small bridge.
Drop towards the right side, and reach this location on the map.
You’ll see another purple door. Head through it and grab the two gold stacks inside. This is secret area 7.
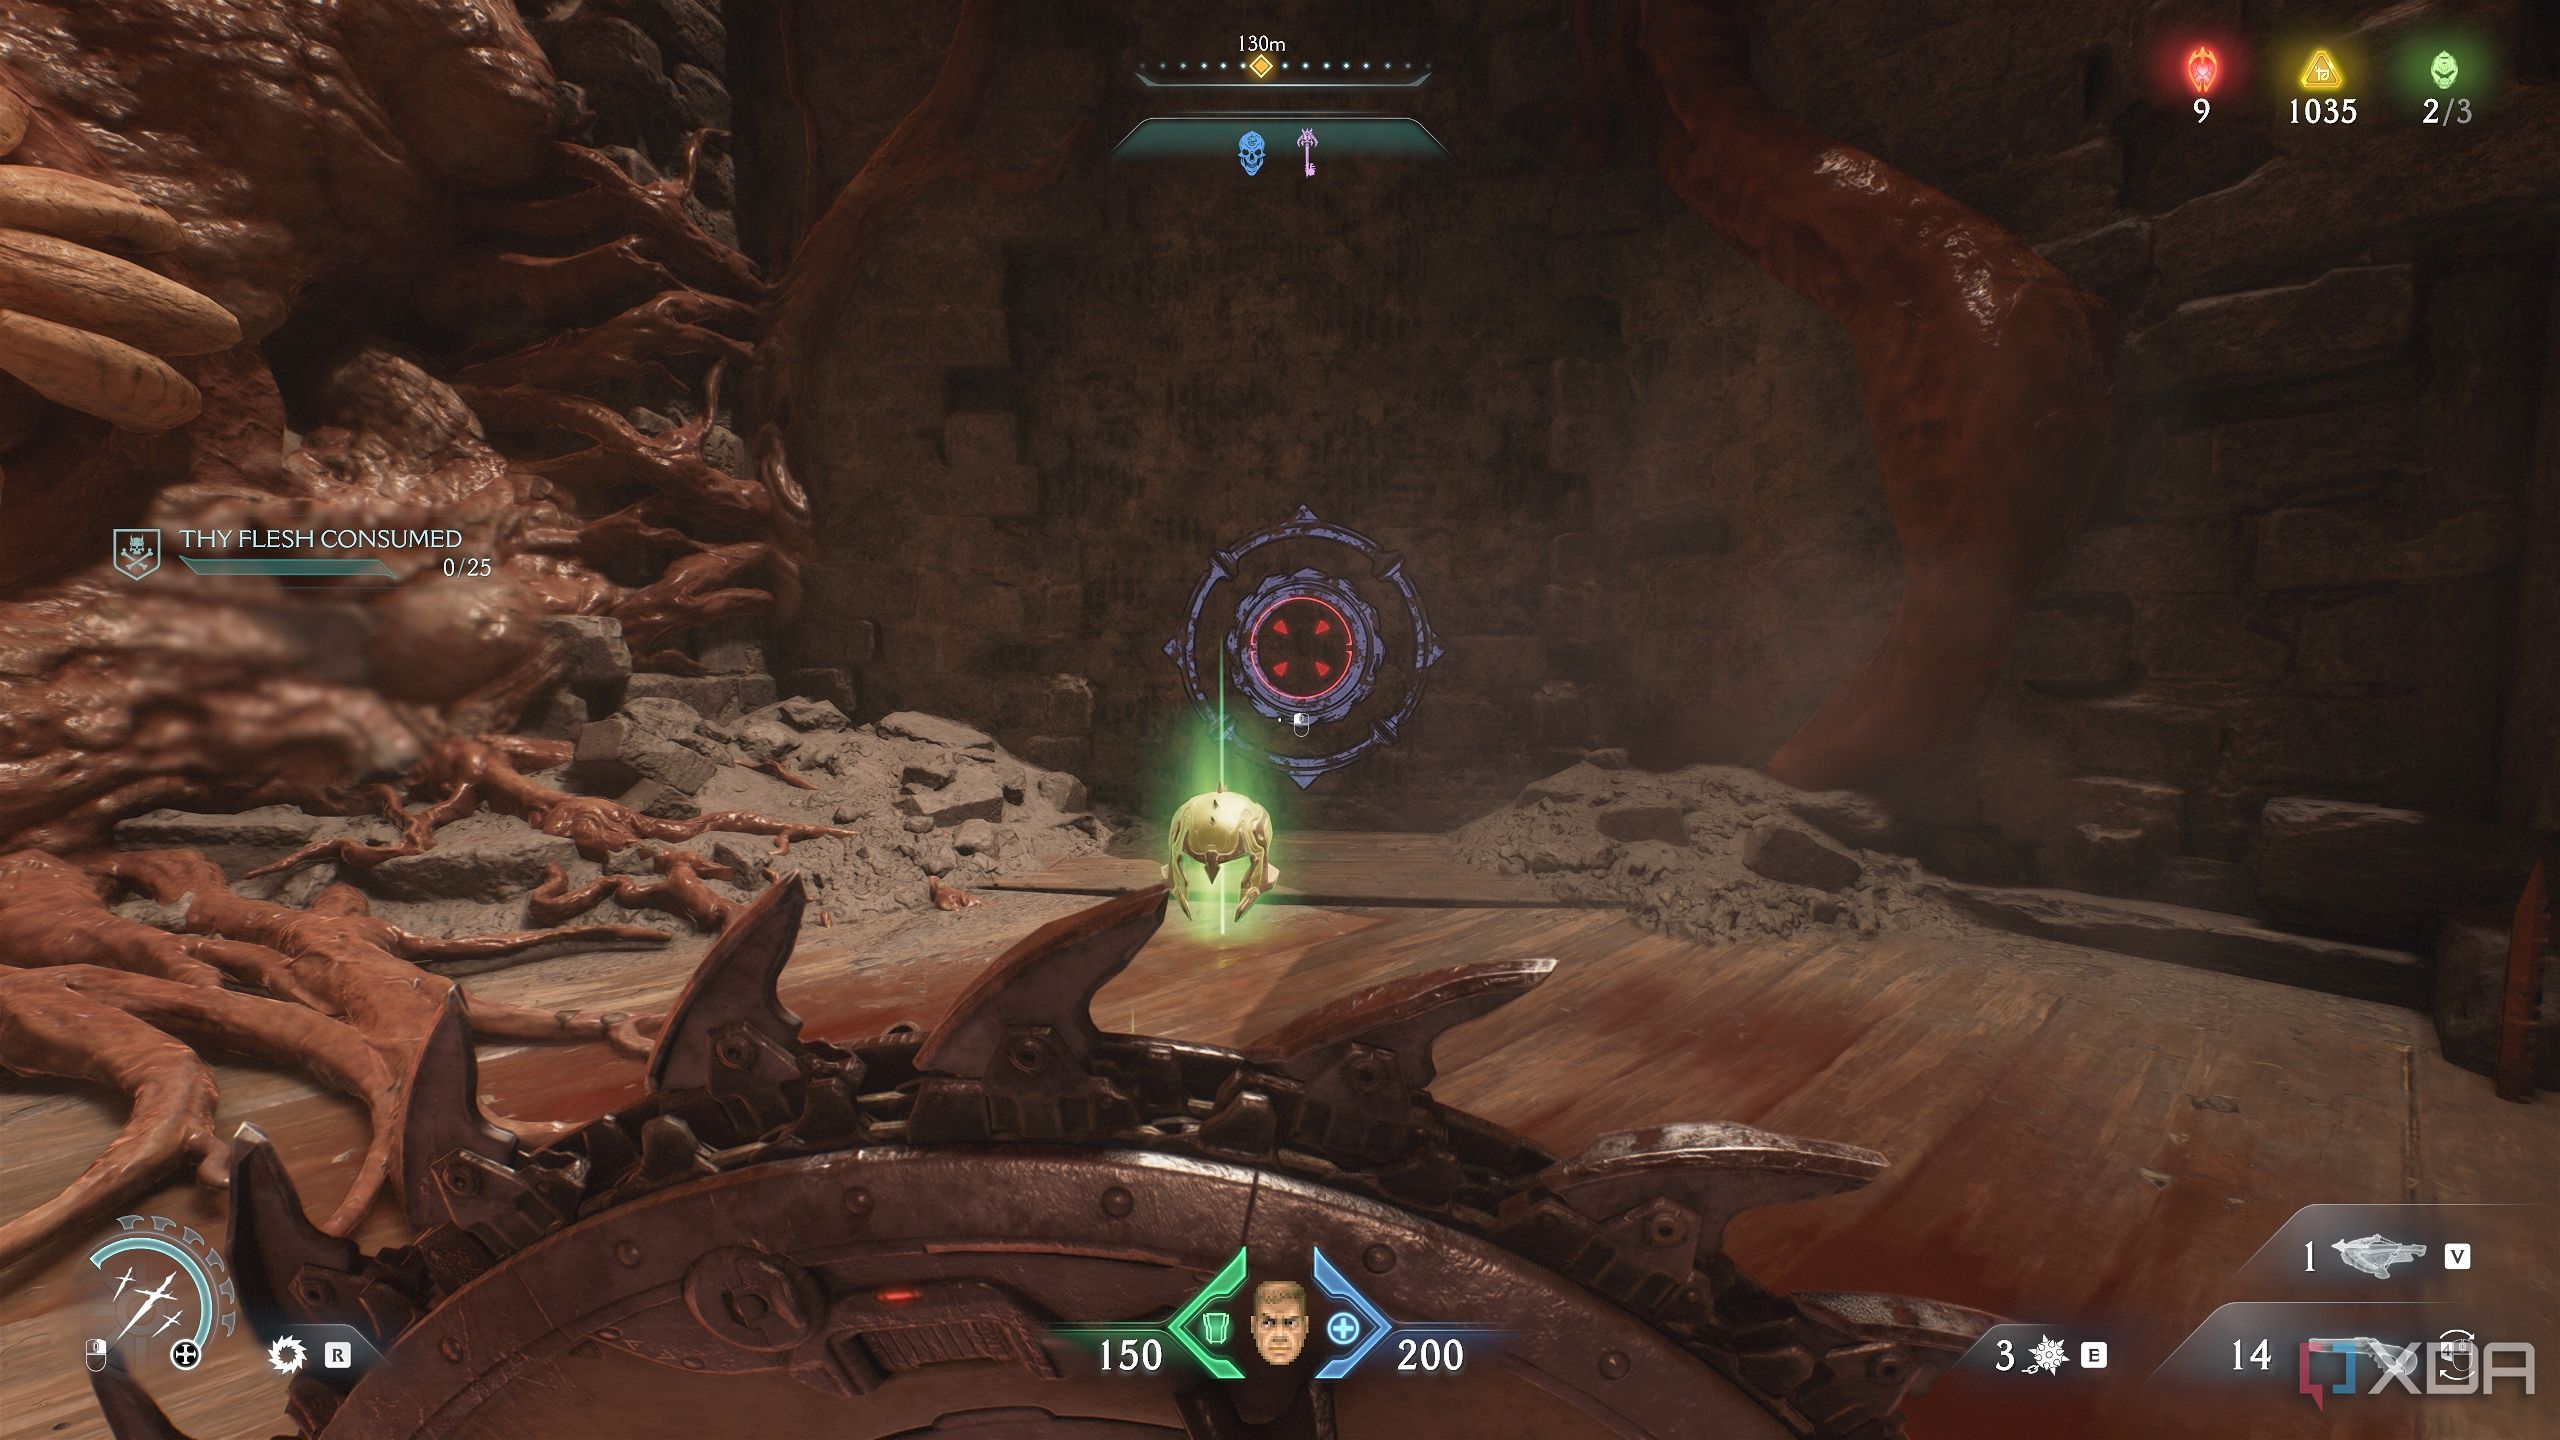
12. Secret area 8 and a Collectible Toy
Walk back to the first arena, and head towards the place where you took down the Gore Portal.
Stand under the altar where you got the Blue Skull key, and you’ll see another purple door.
Head through that, and you’ll enter secret area 8. Enter and first take a left to grab a trail of gold bars and a Life Sigil.
Then, head back to the entrance of this room, and you’ll see a hole in the floor.
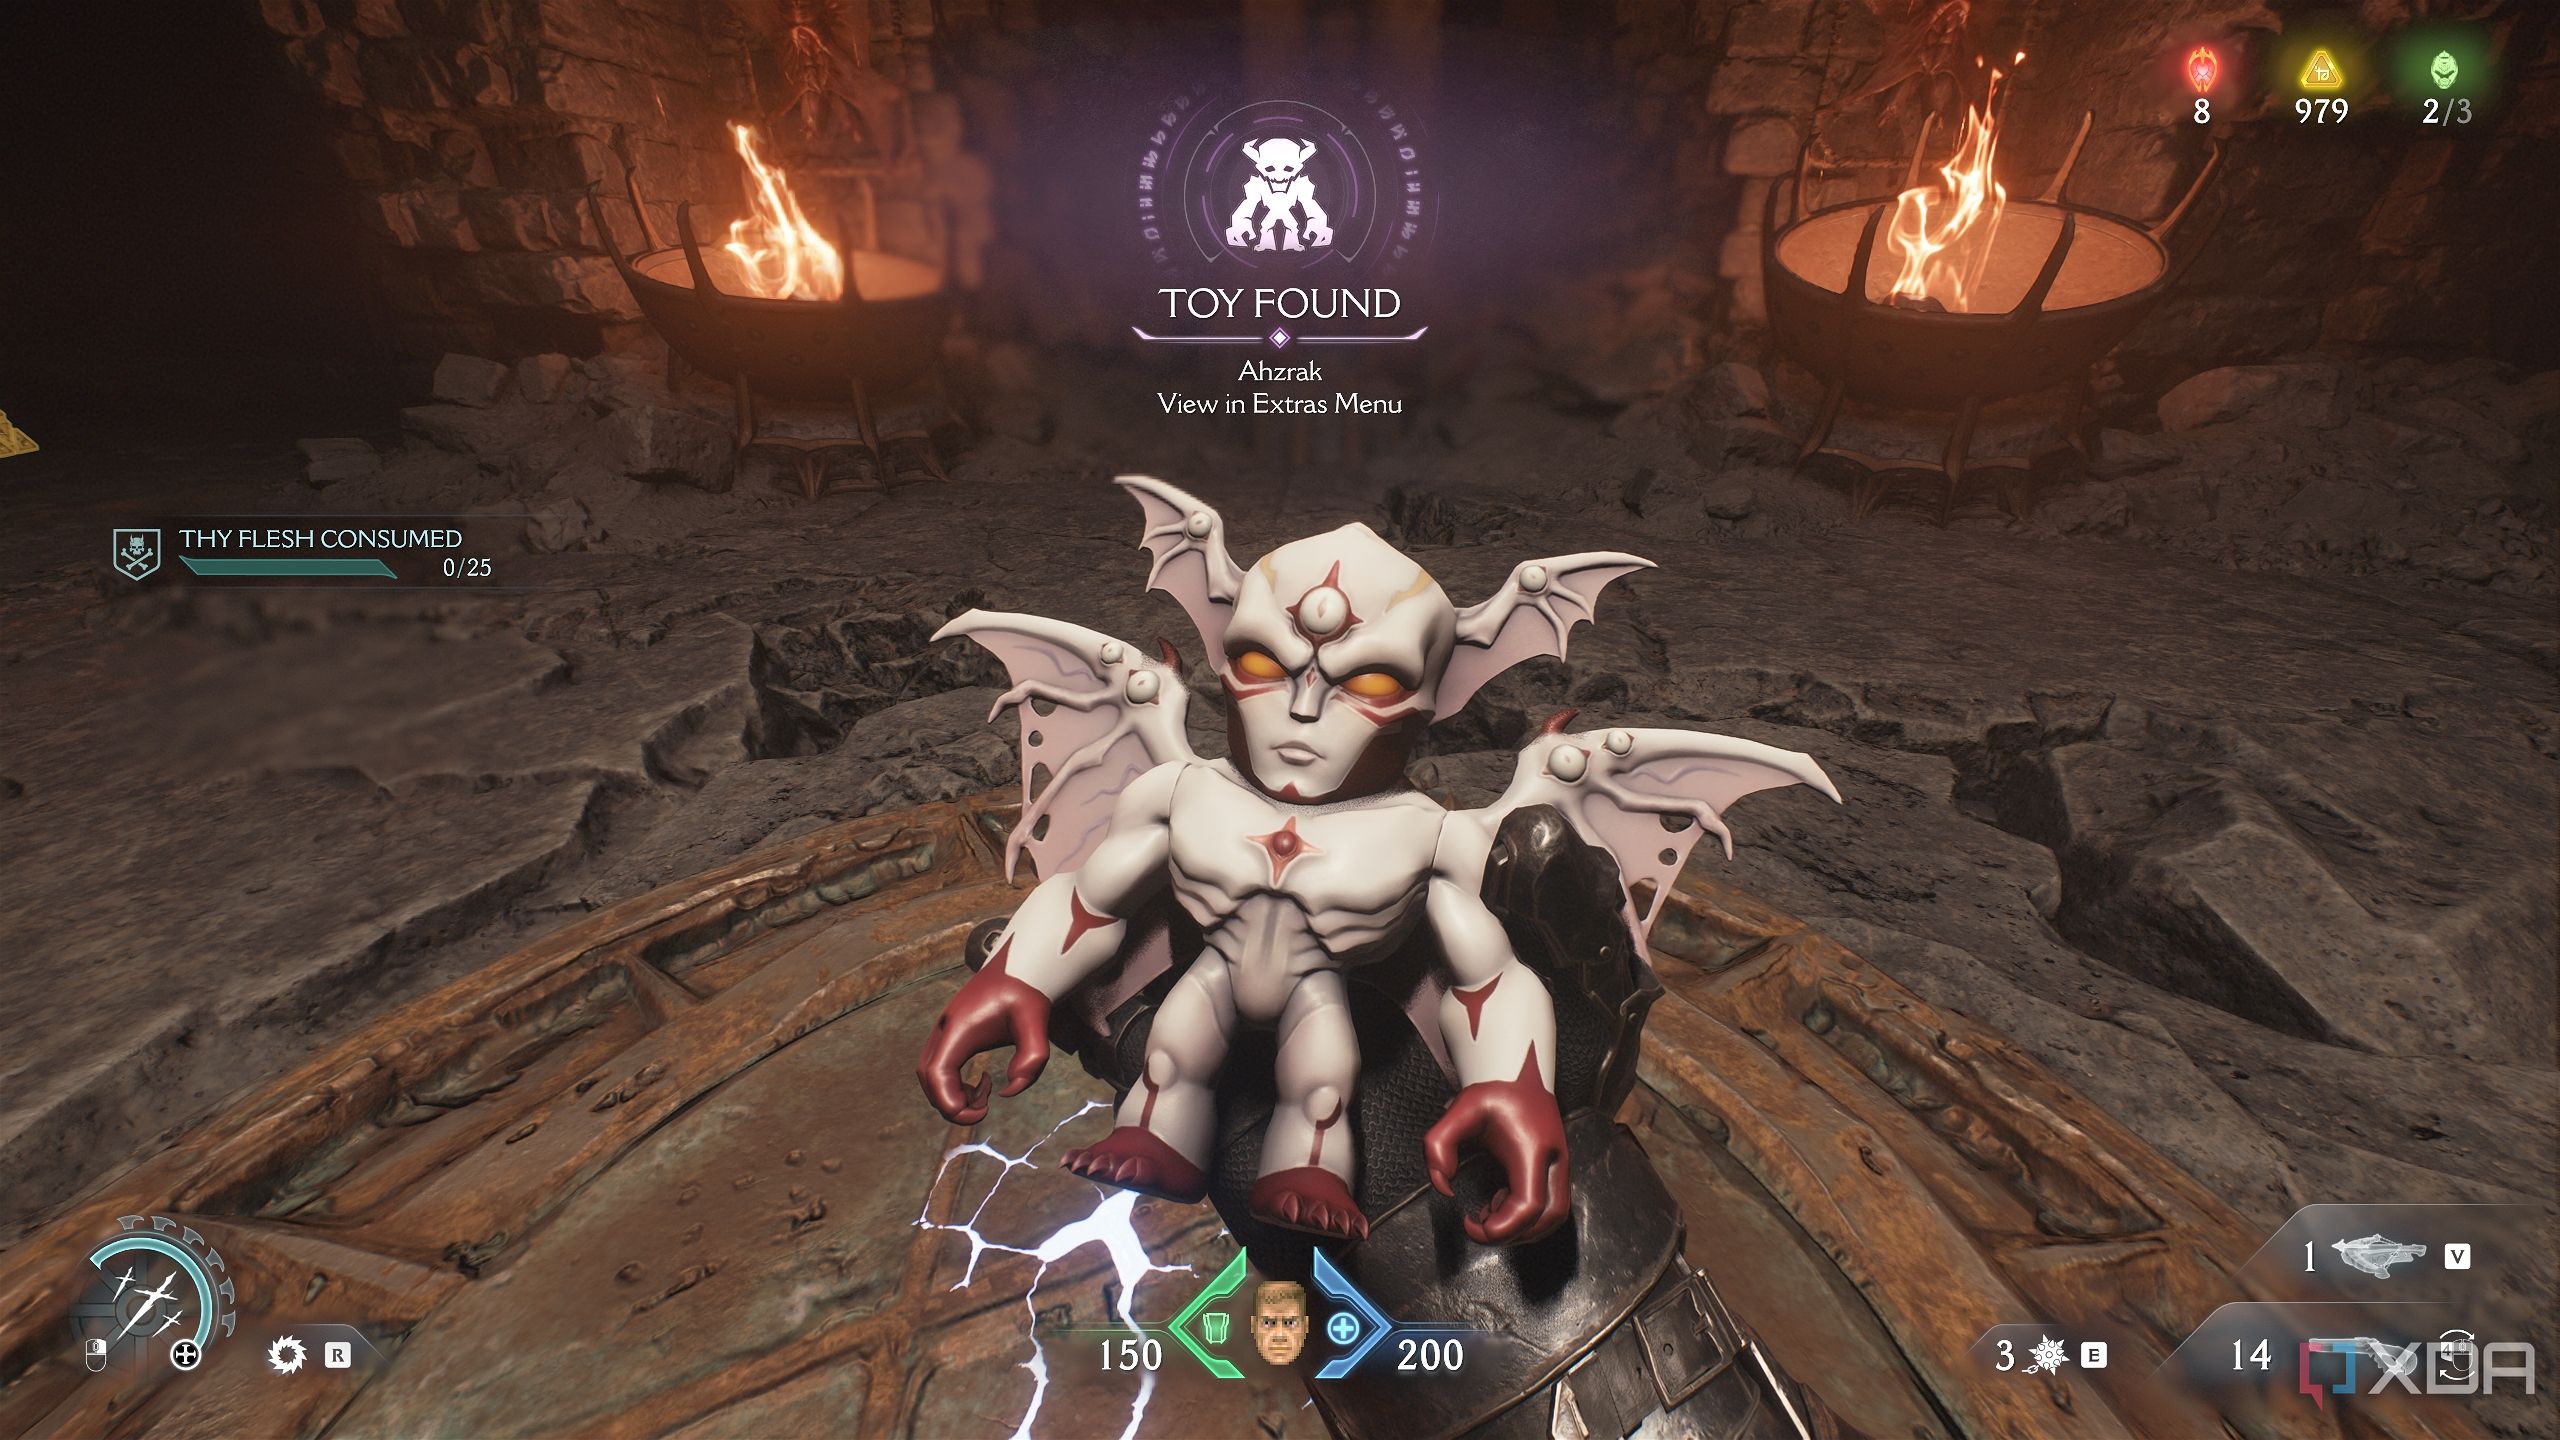
Drop down into the hole, and pick up the collectible toy for Prince Ahzrak ahead. Make sure you pick up the four gold stacks around this toy before heading back into the arena.
13. Secret area 9 and Red Ruby 3
As simple as walking in and picking it up

Head back into the arena, and reach this location shown on the map.
You’ll see another purple door.
Walk through it, and you’ll reach a trail of gold bars that lead to the statue holding the third Red Ruby.
Related
10 best first-person shooters that are free to play on Steam
Enter the genre of fast paced first-person shooters with these 10 free-to-play titles on Steam
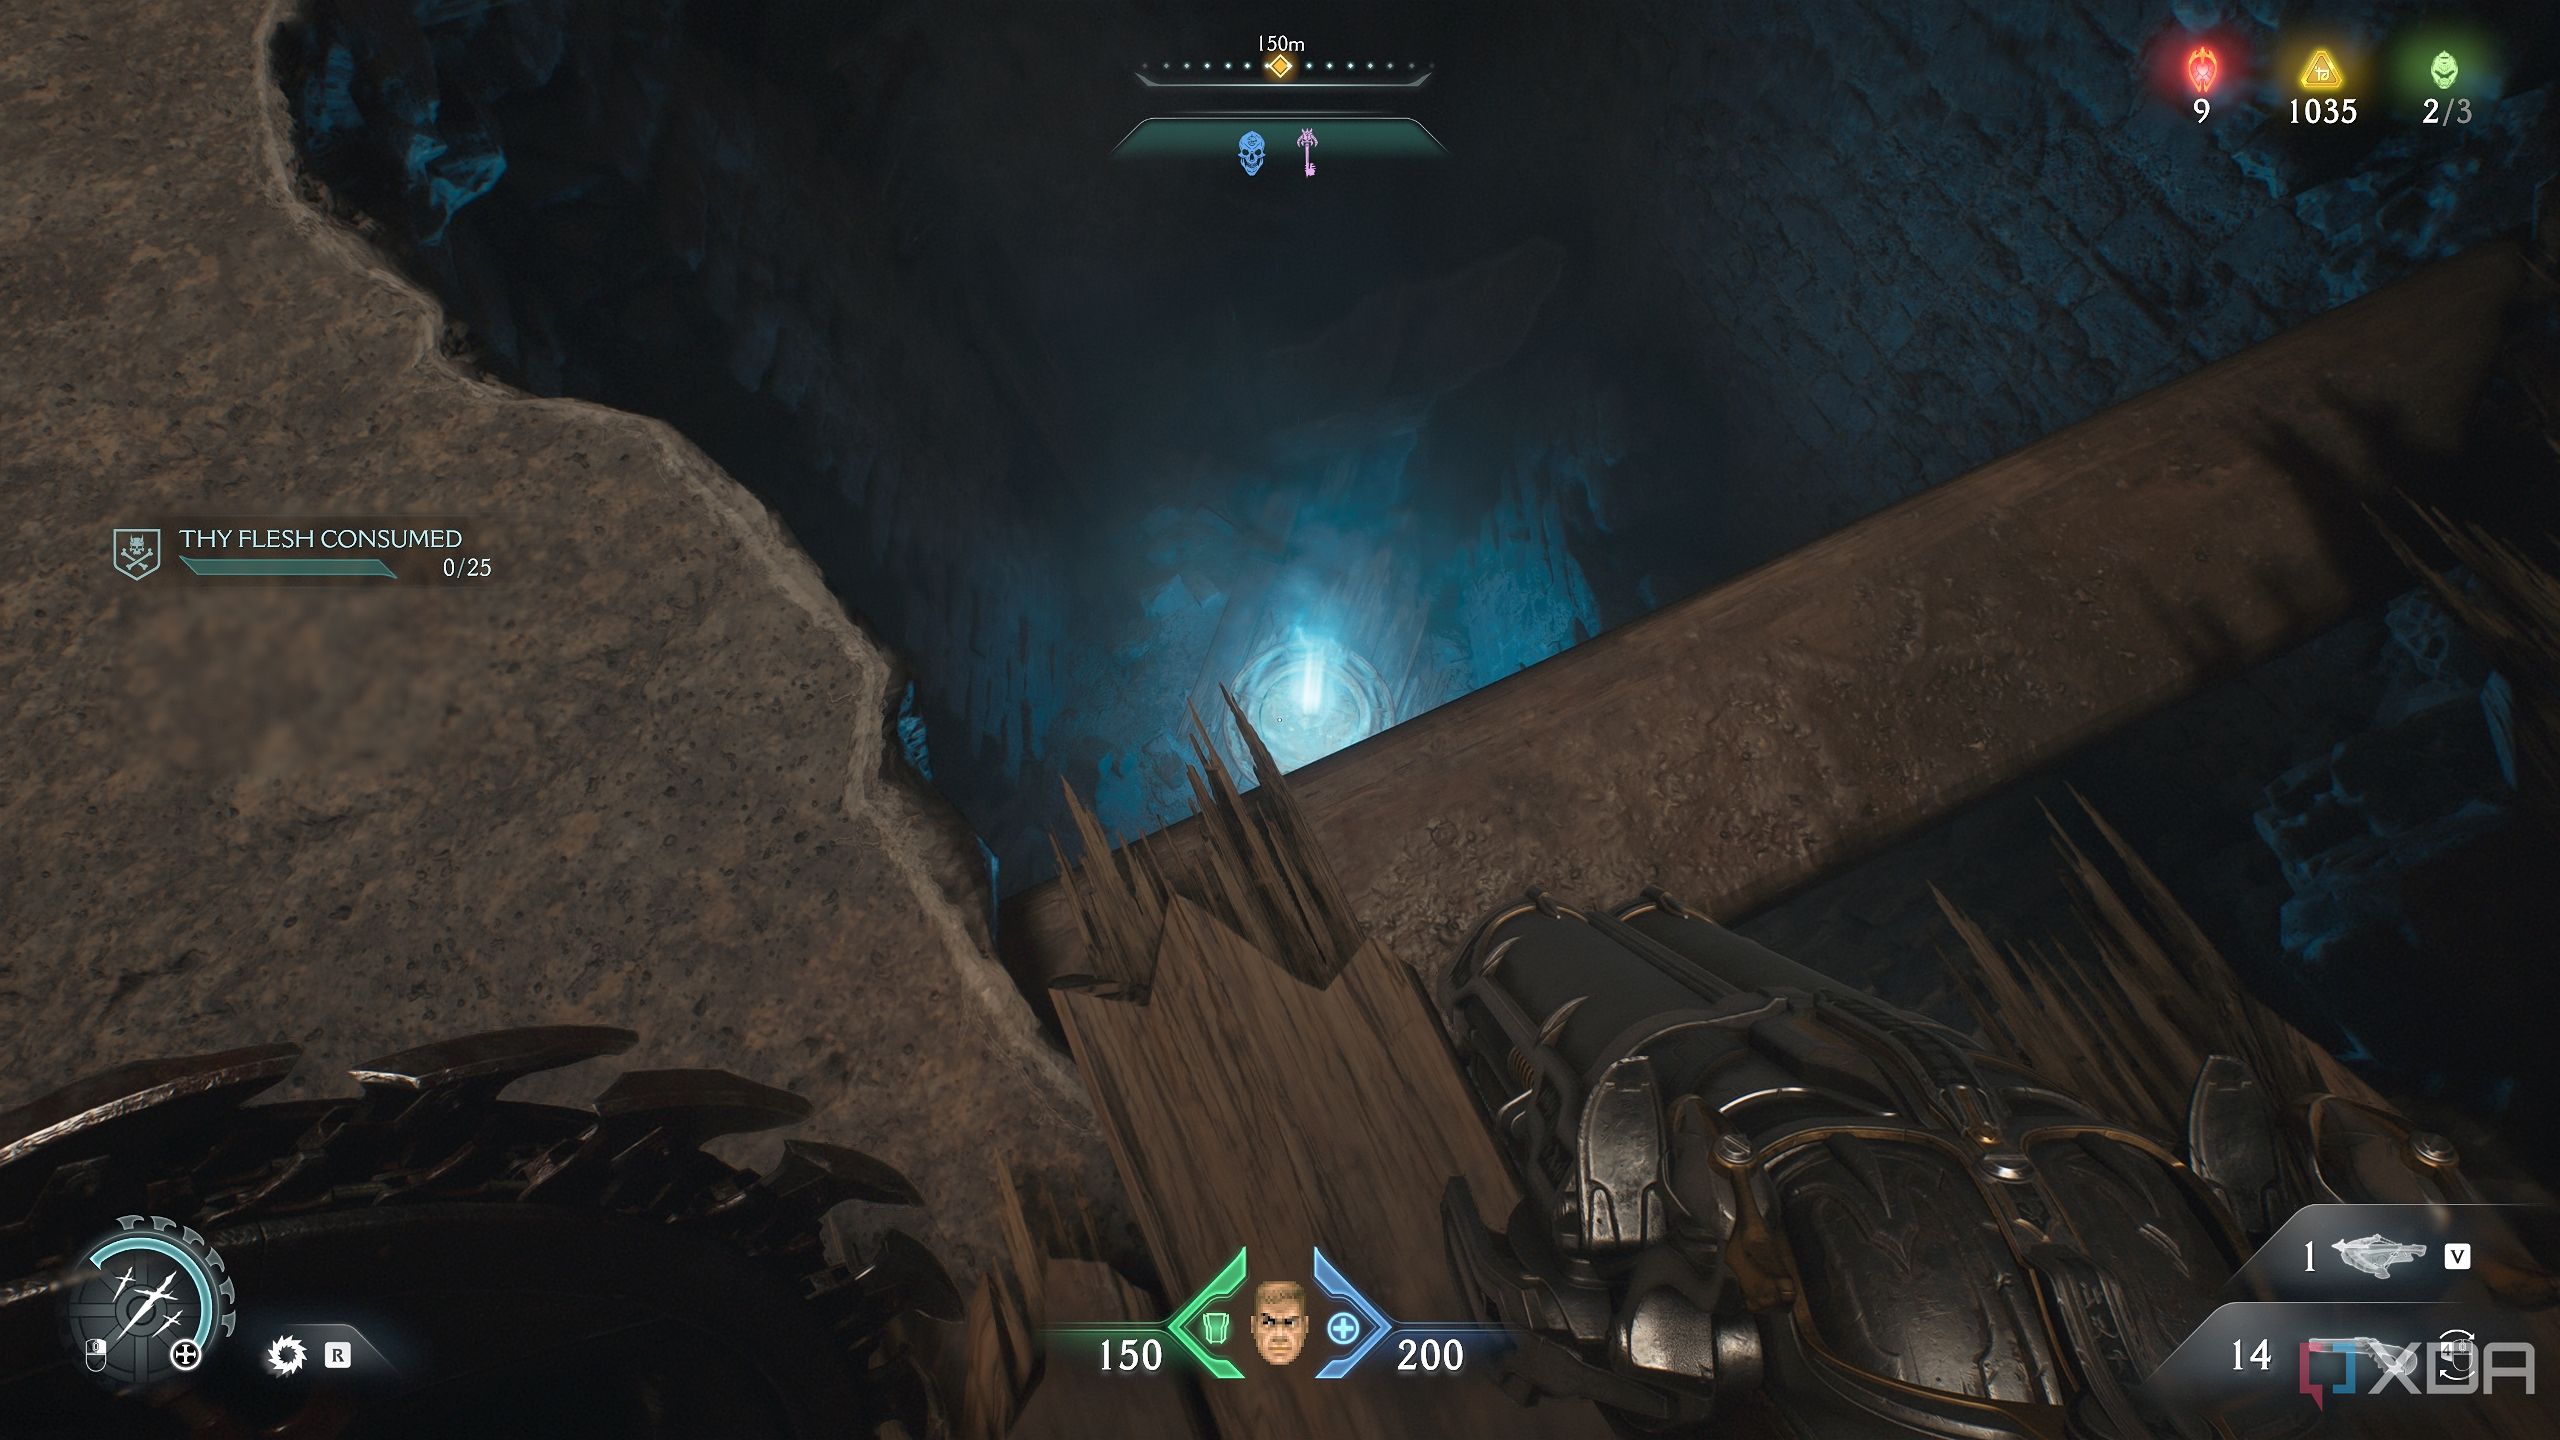
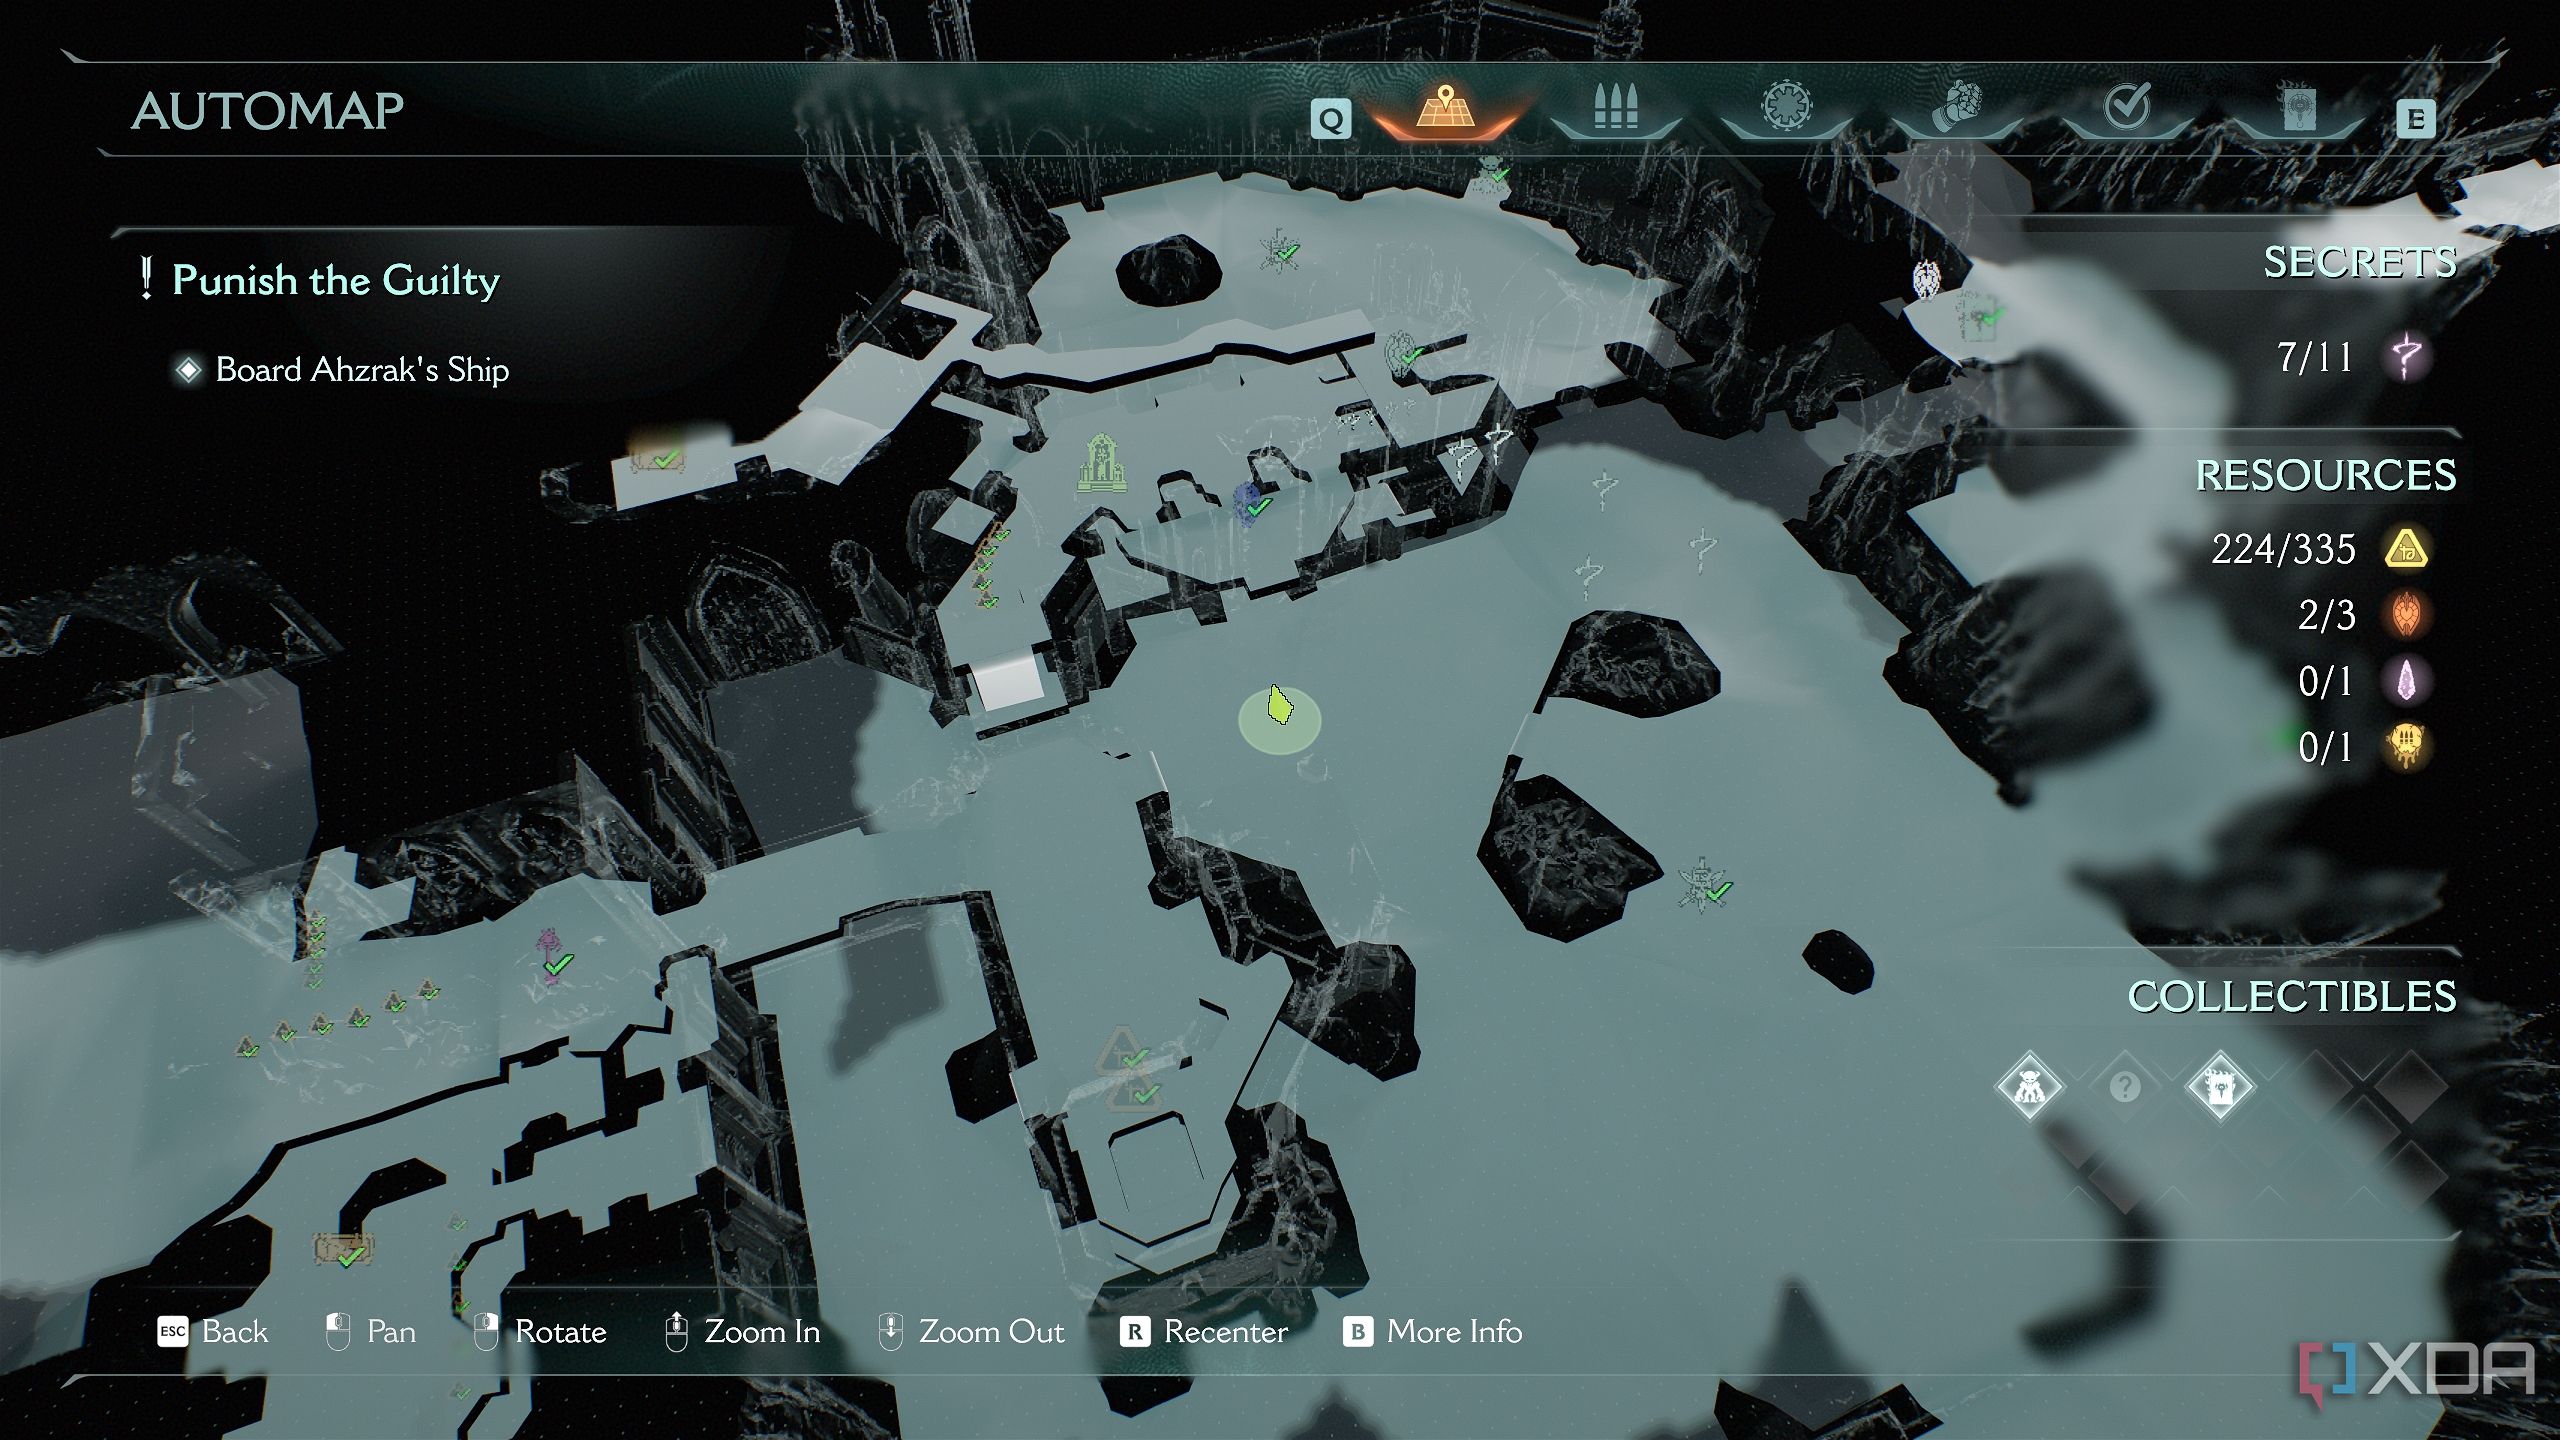
14. Secret area 10 and wraithstone
One final detour before returning receipts to the Prince of Demons
Now, walk across the arena to reach this location on the map.
This was the first blue door you crossed after grabbing the Blue Skull key.
Walk through the gate again and just below is the area where you fought the Agaddon Hunter. Spot the green switch on the floor, and just past it is another purple door.
Head through it, and you’ll see a statue holding a Wraithstone — grab it and head out the other purple door that the statue was facing.
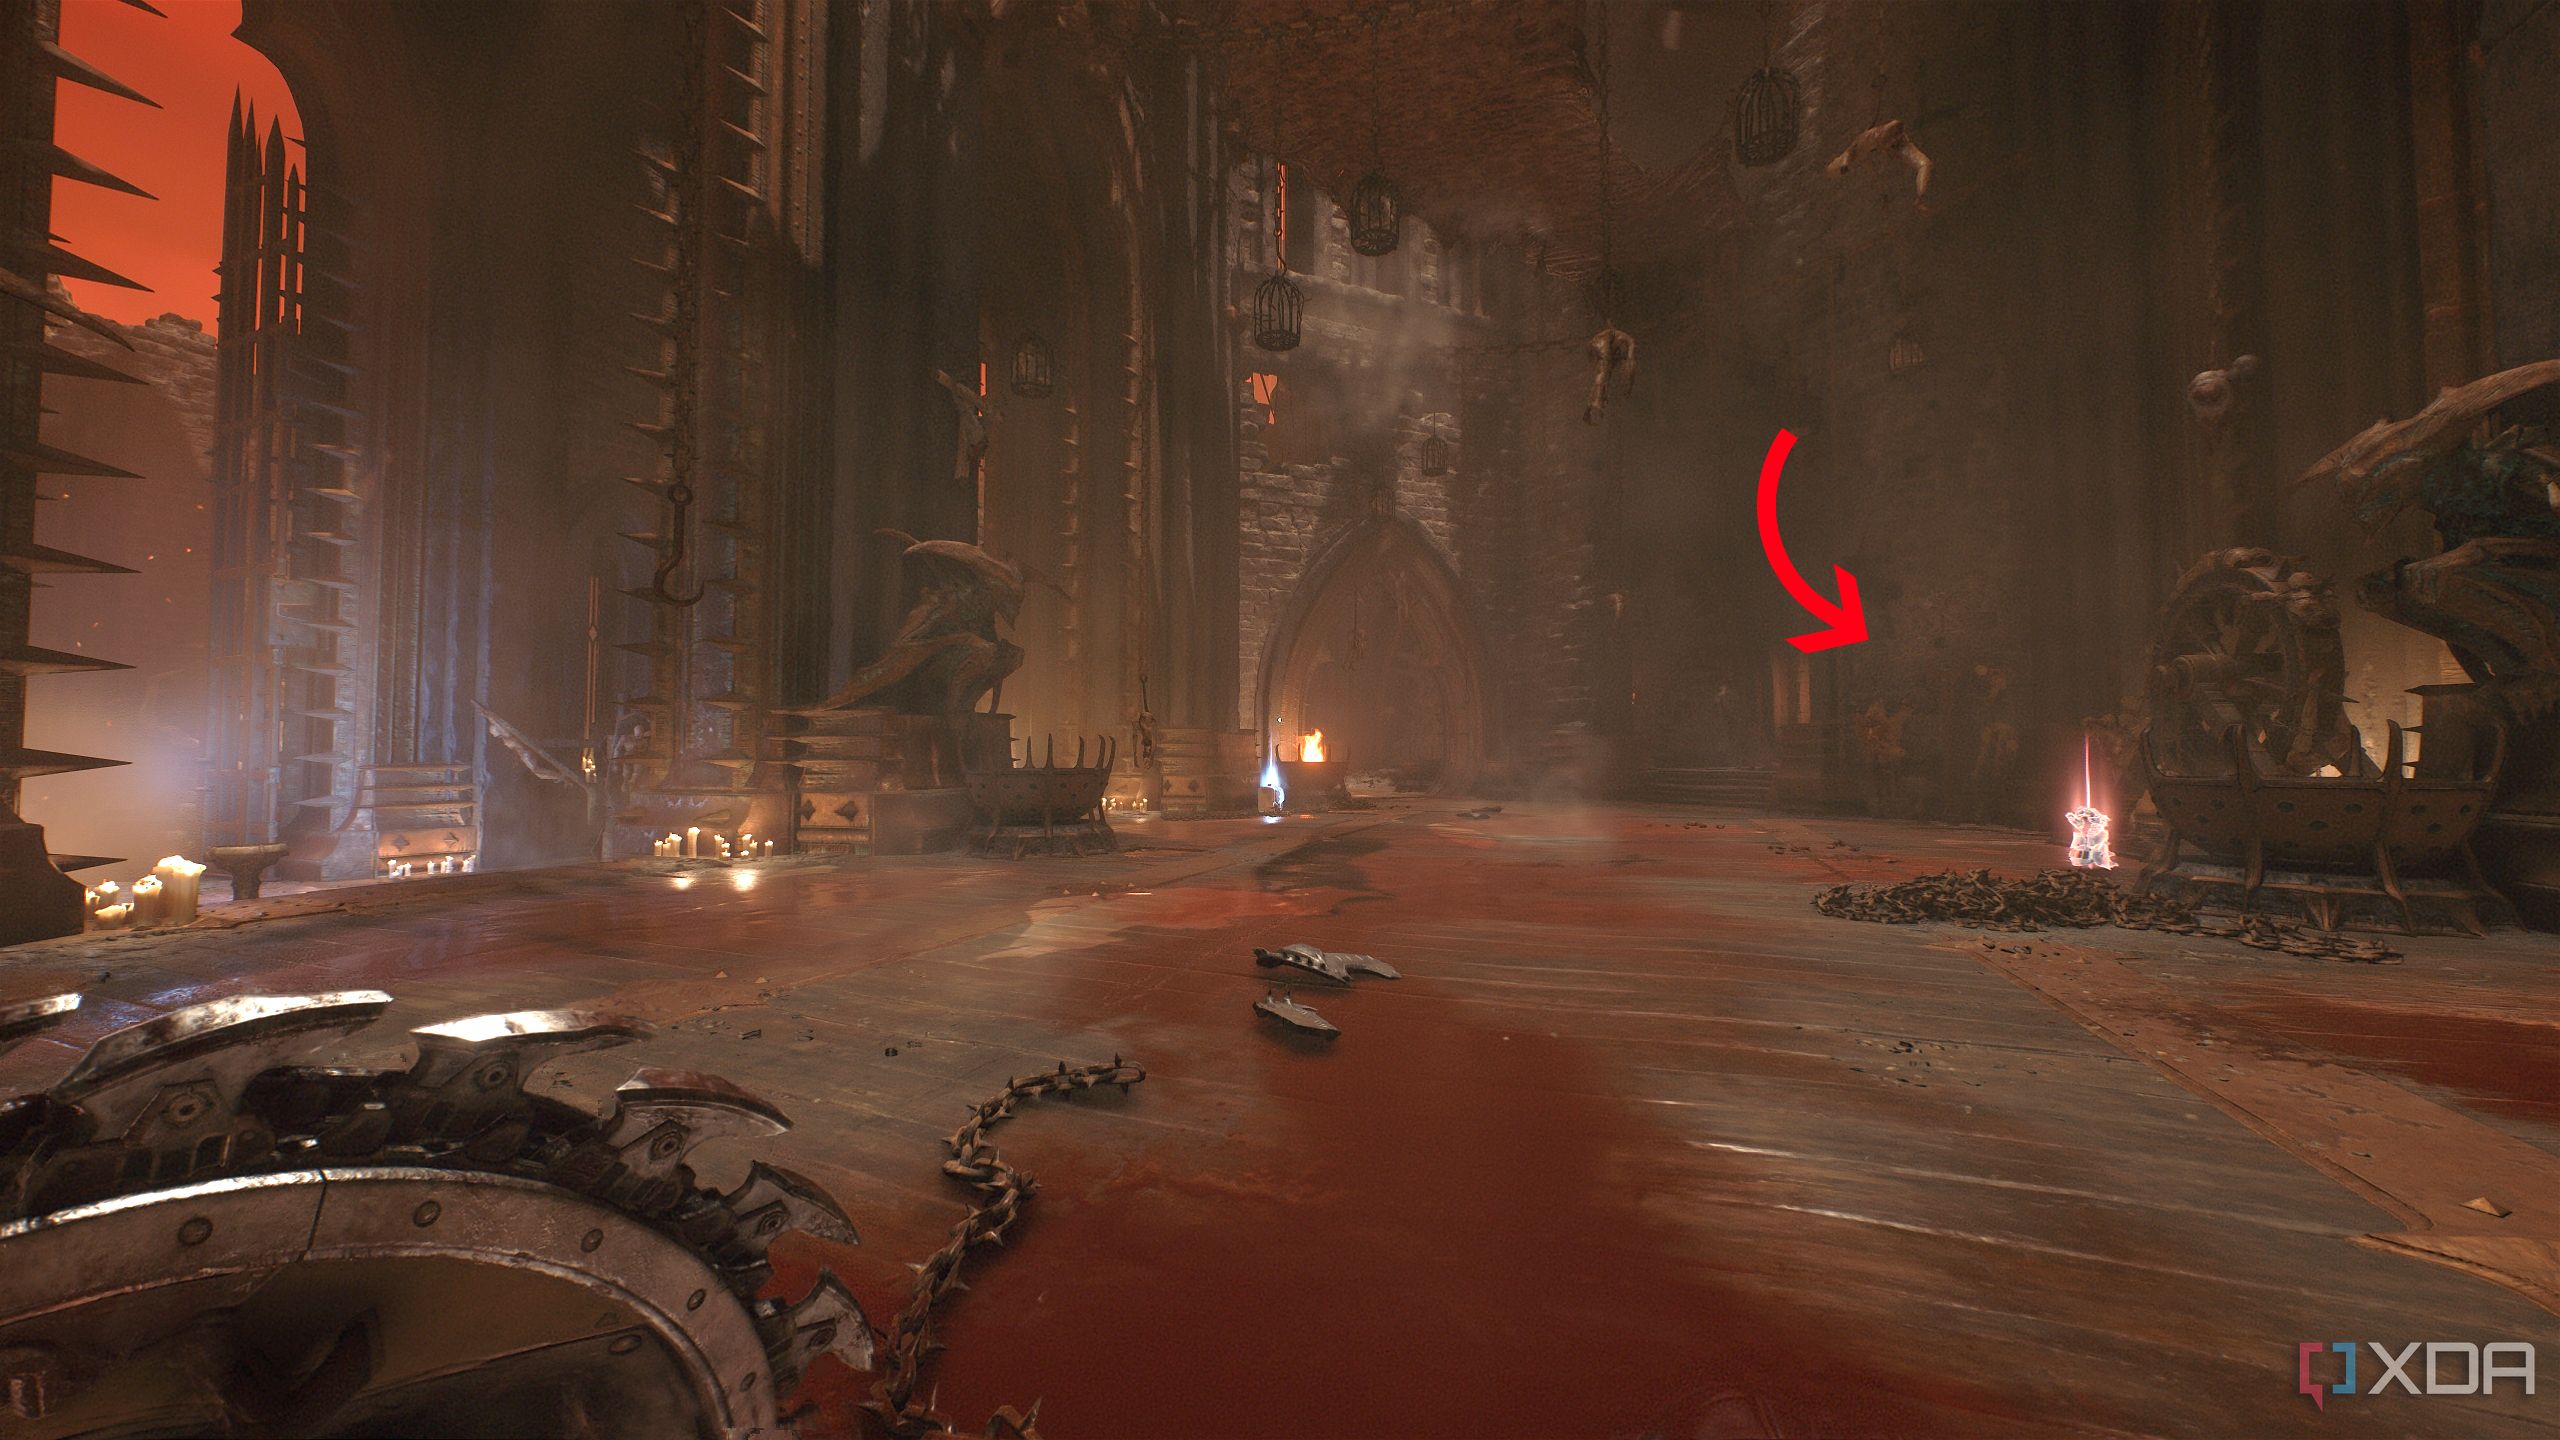
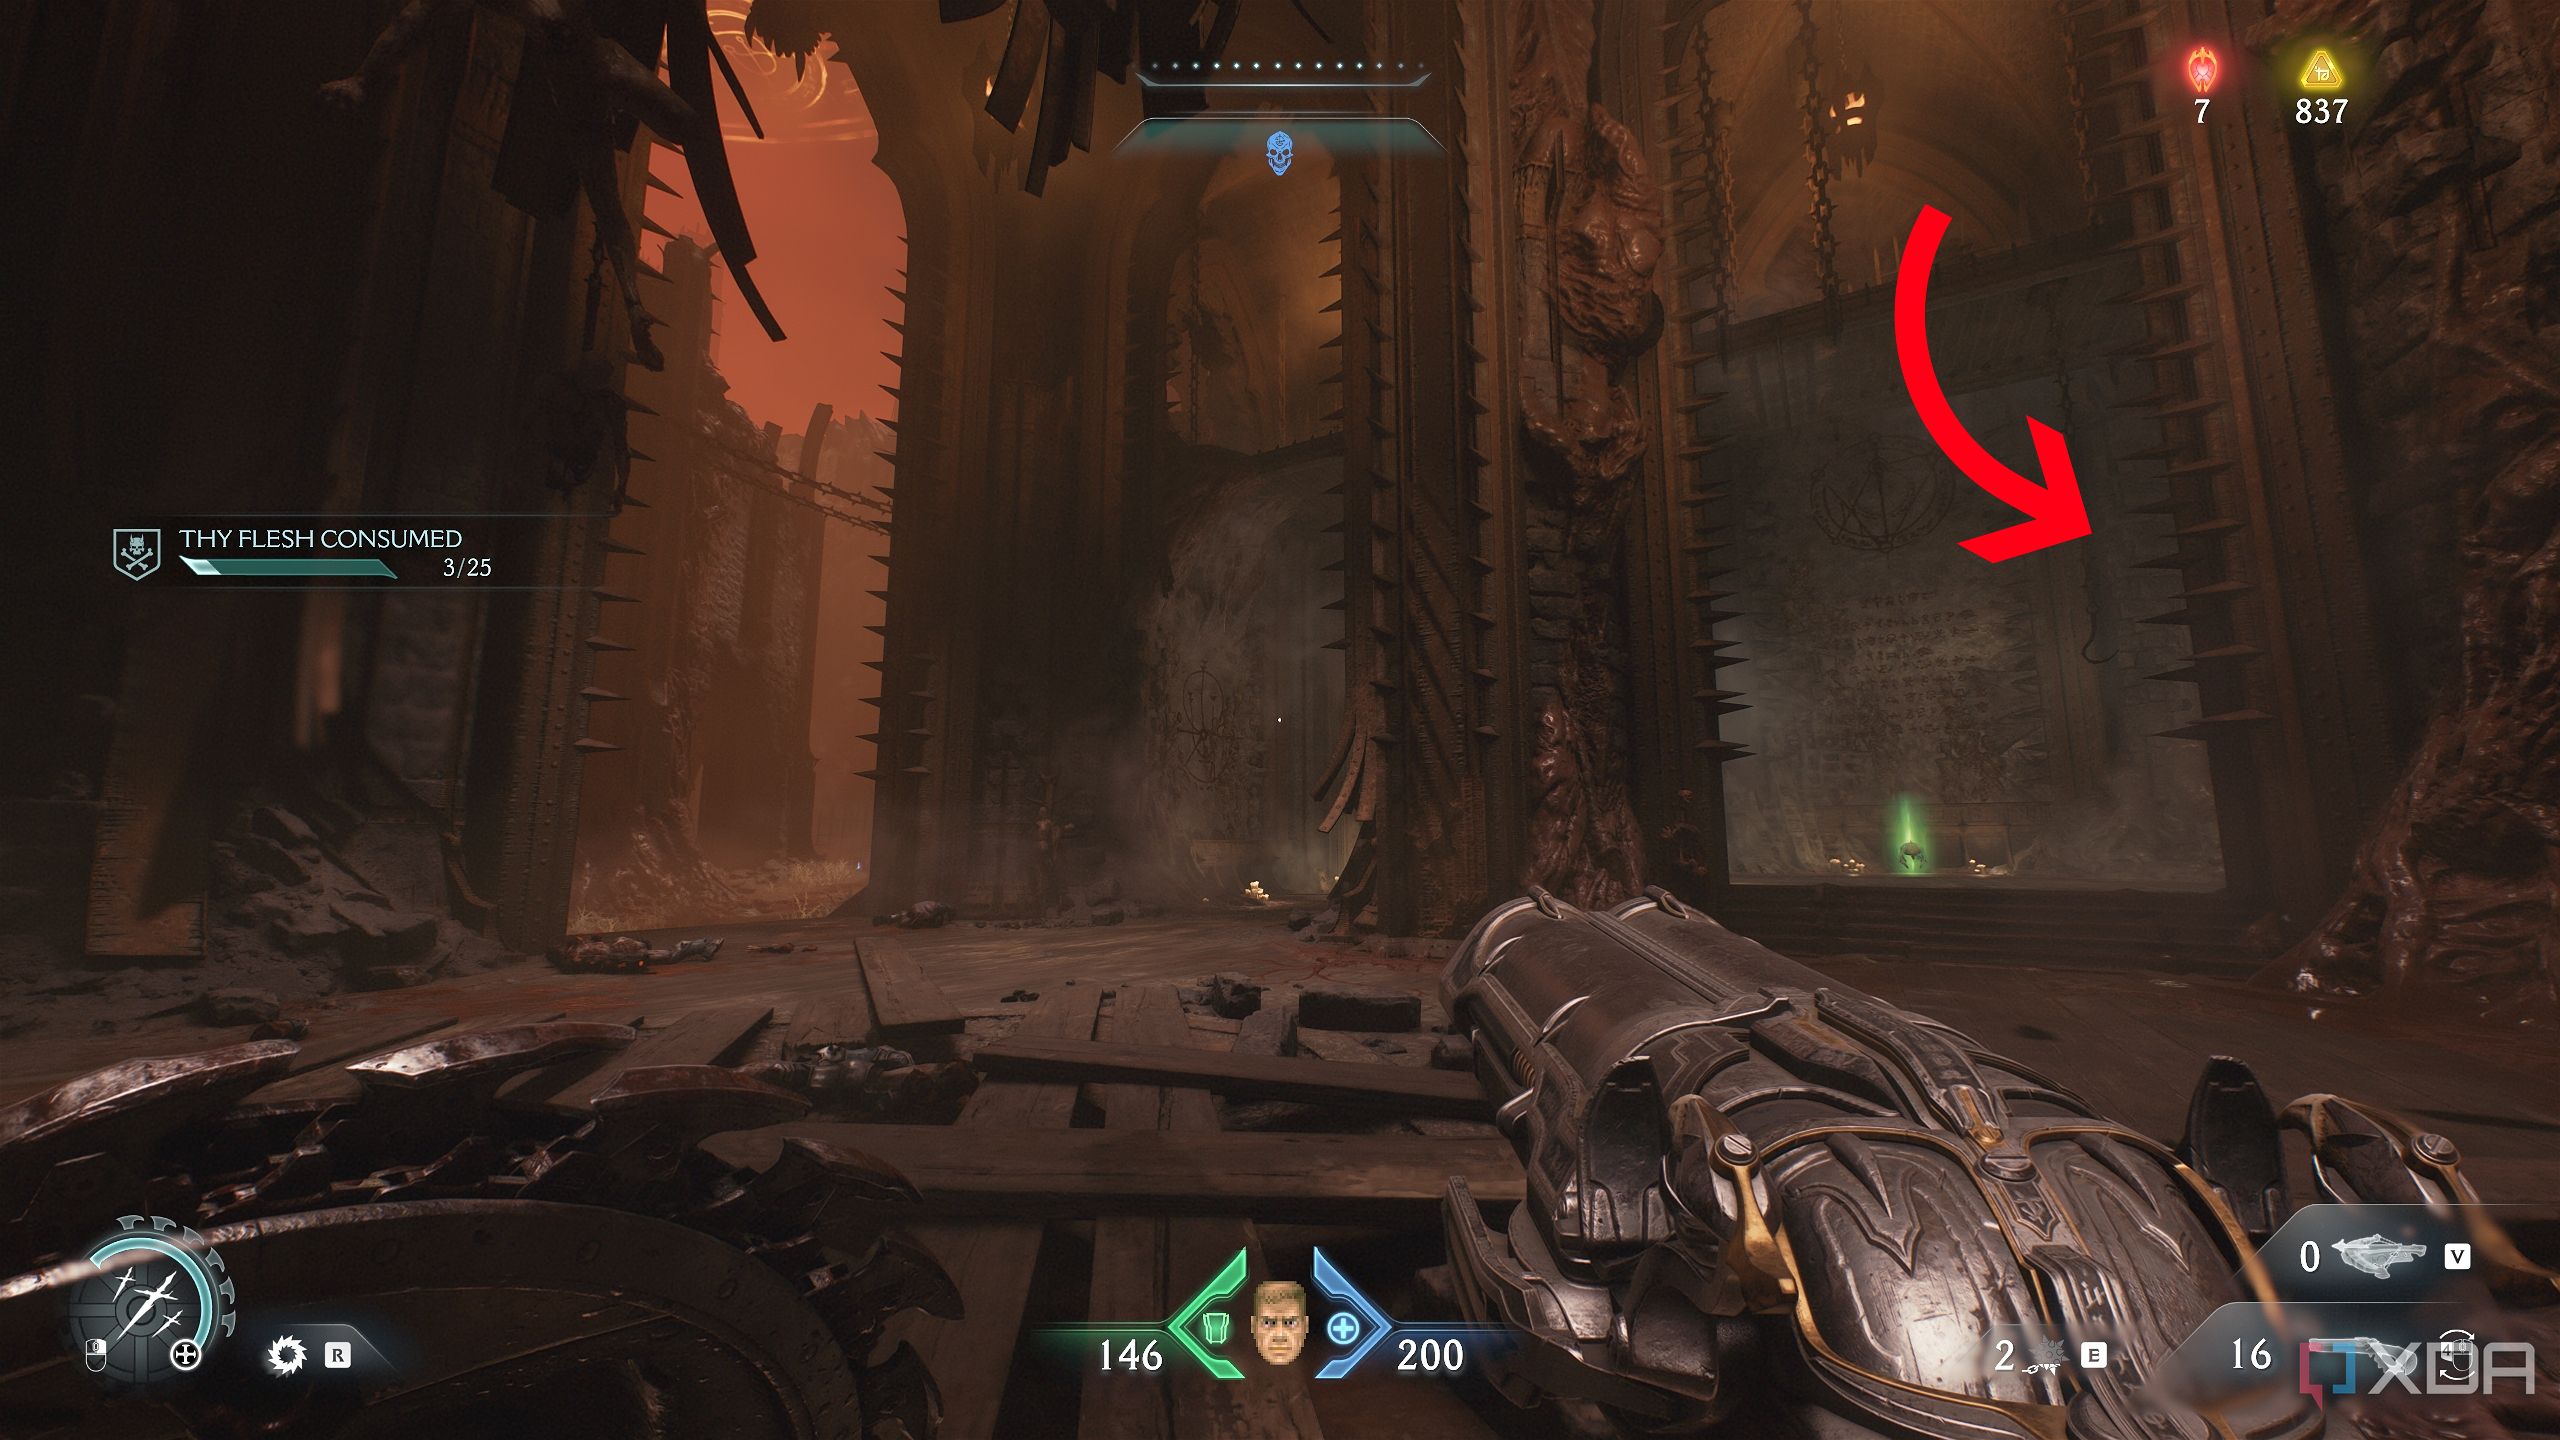
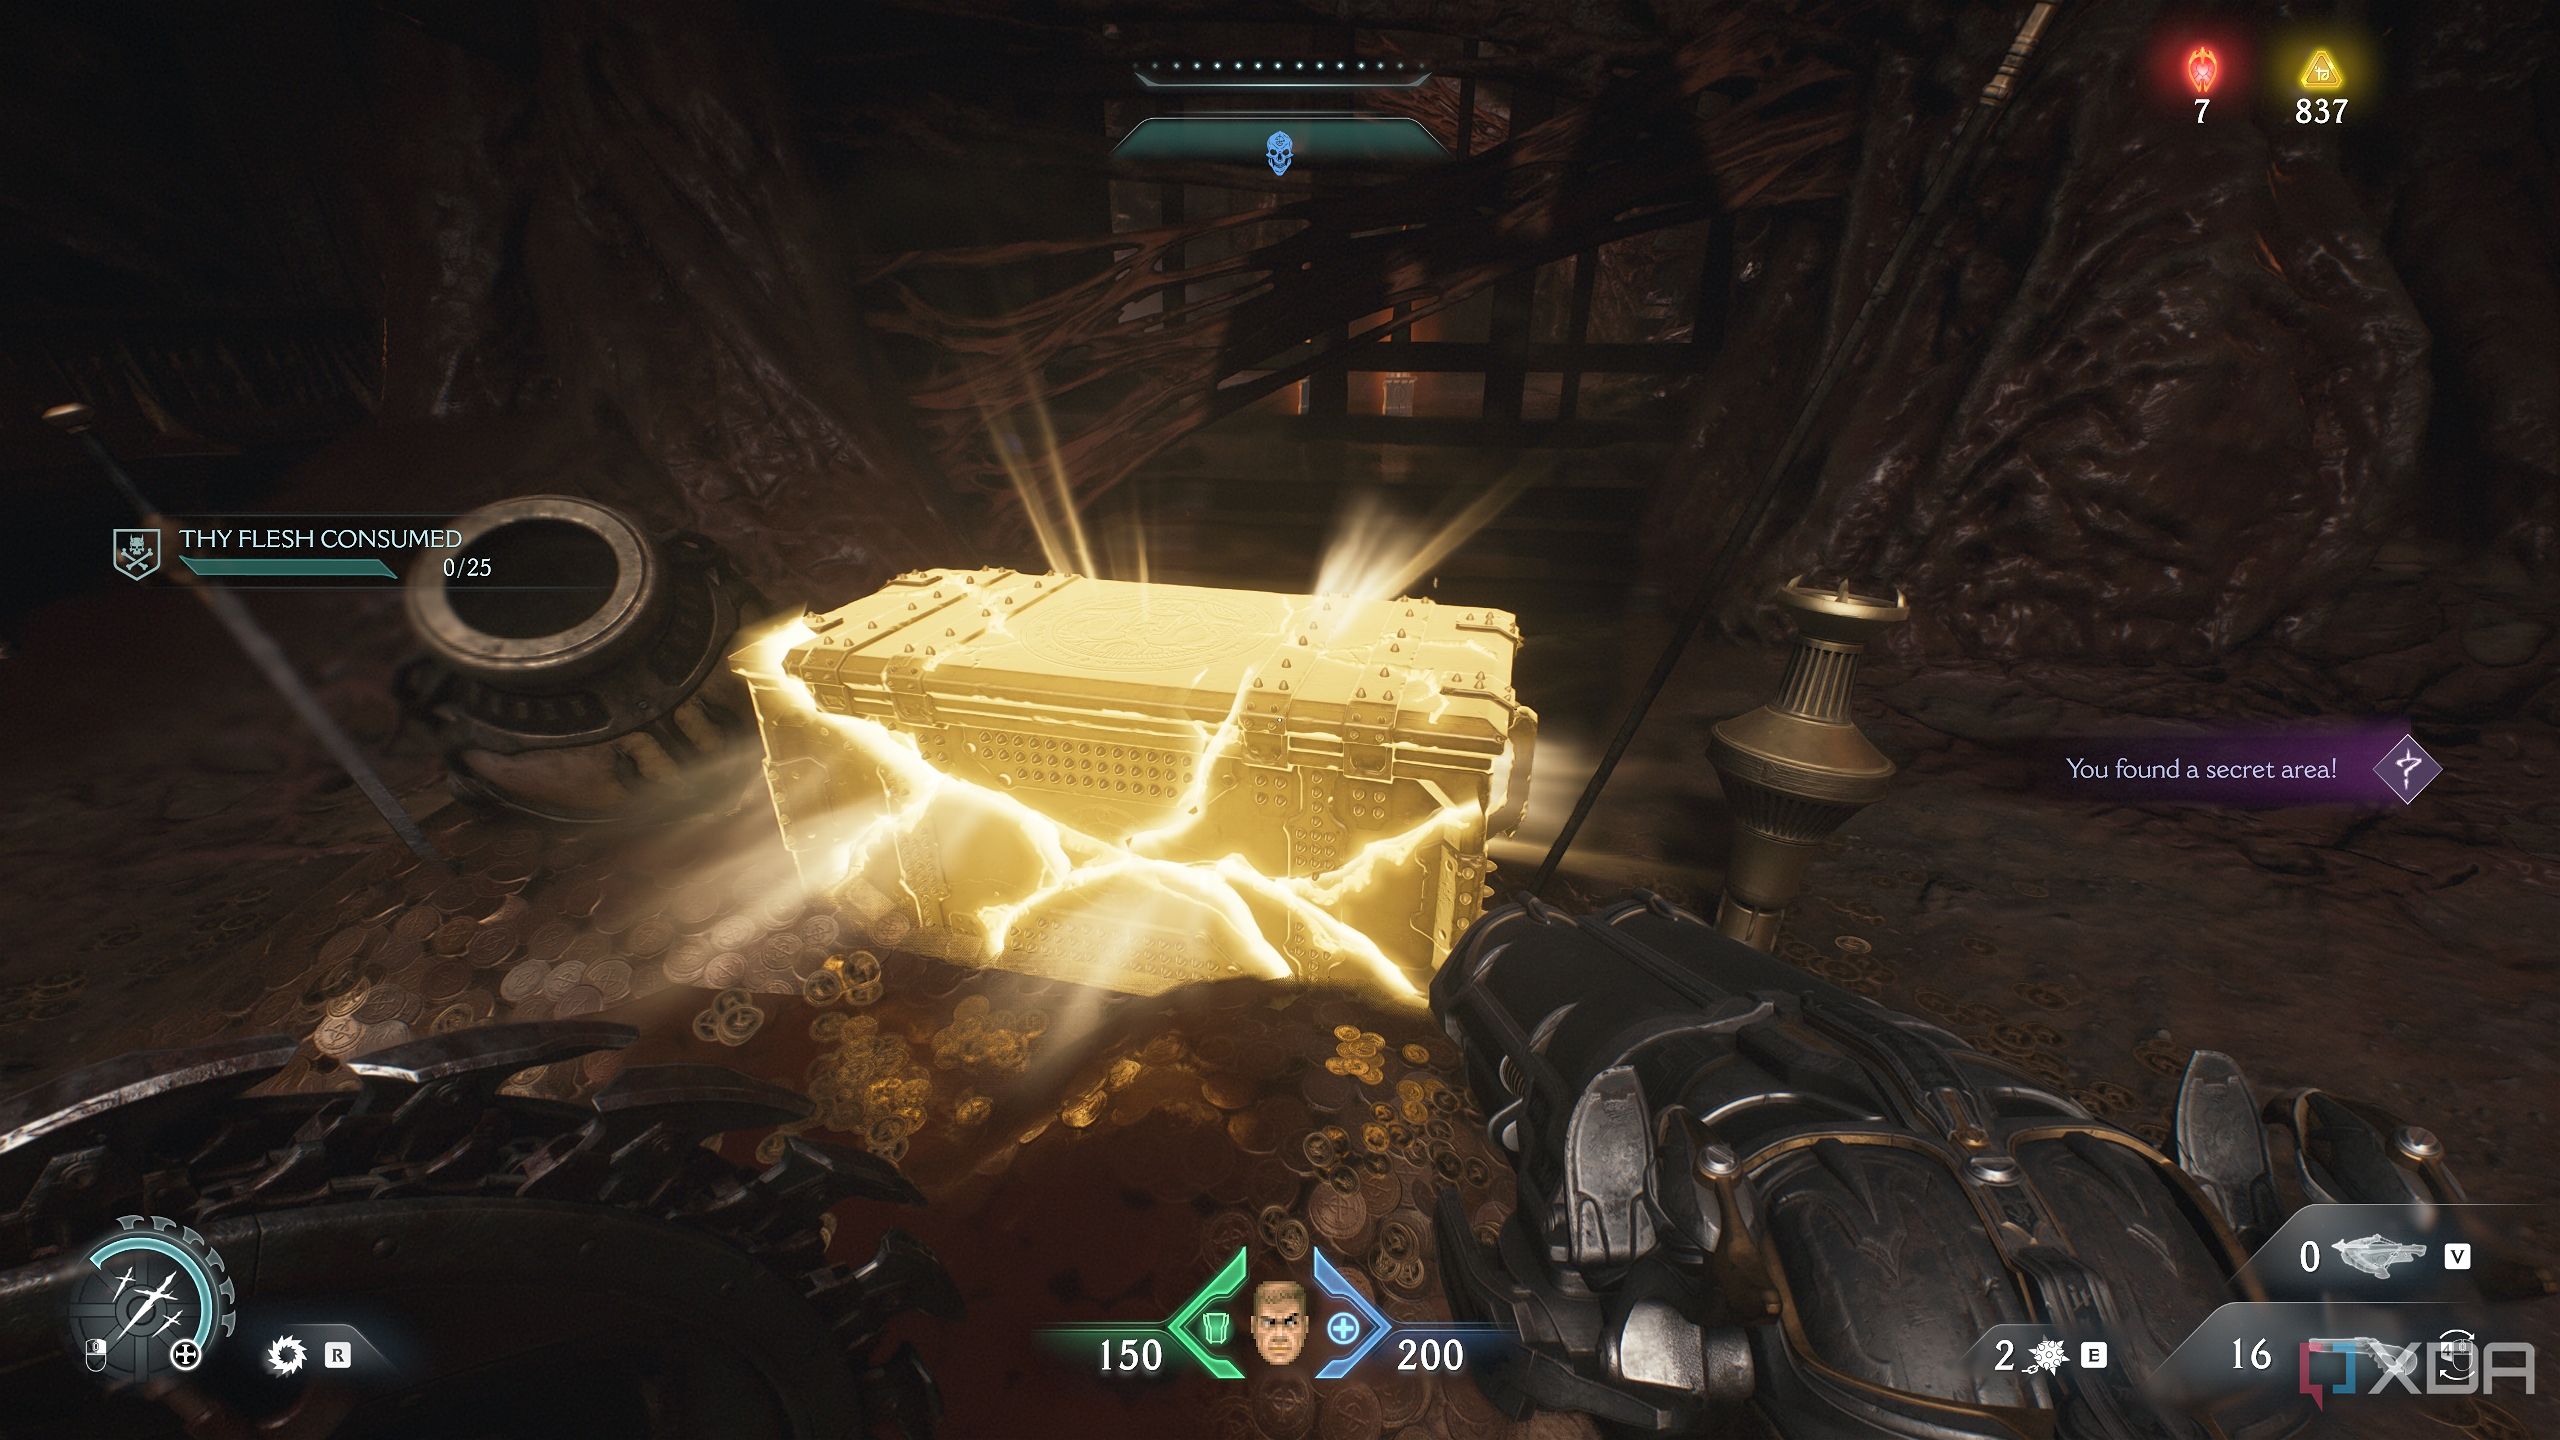
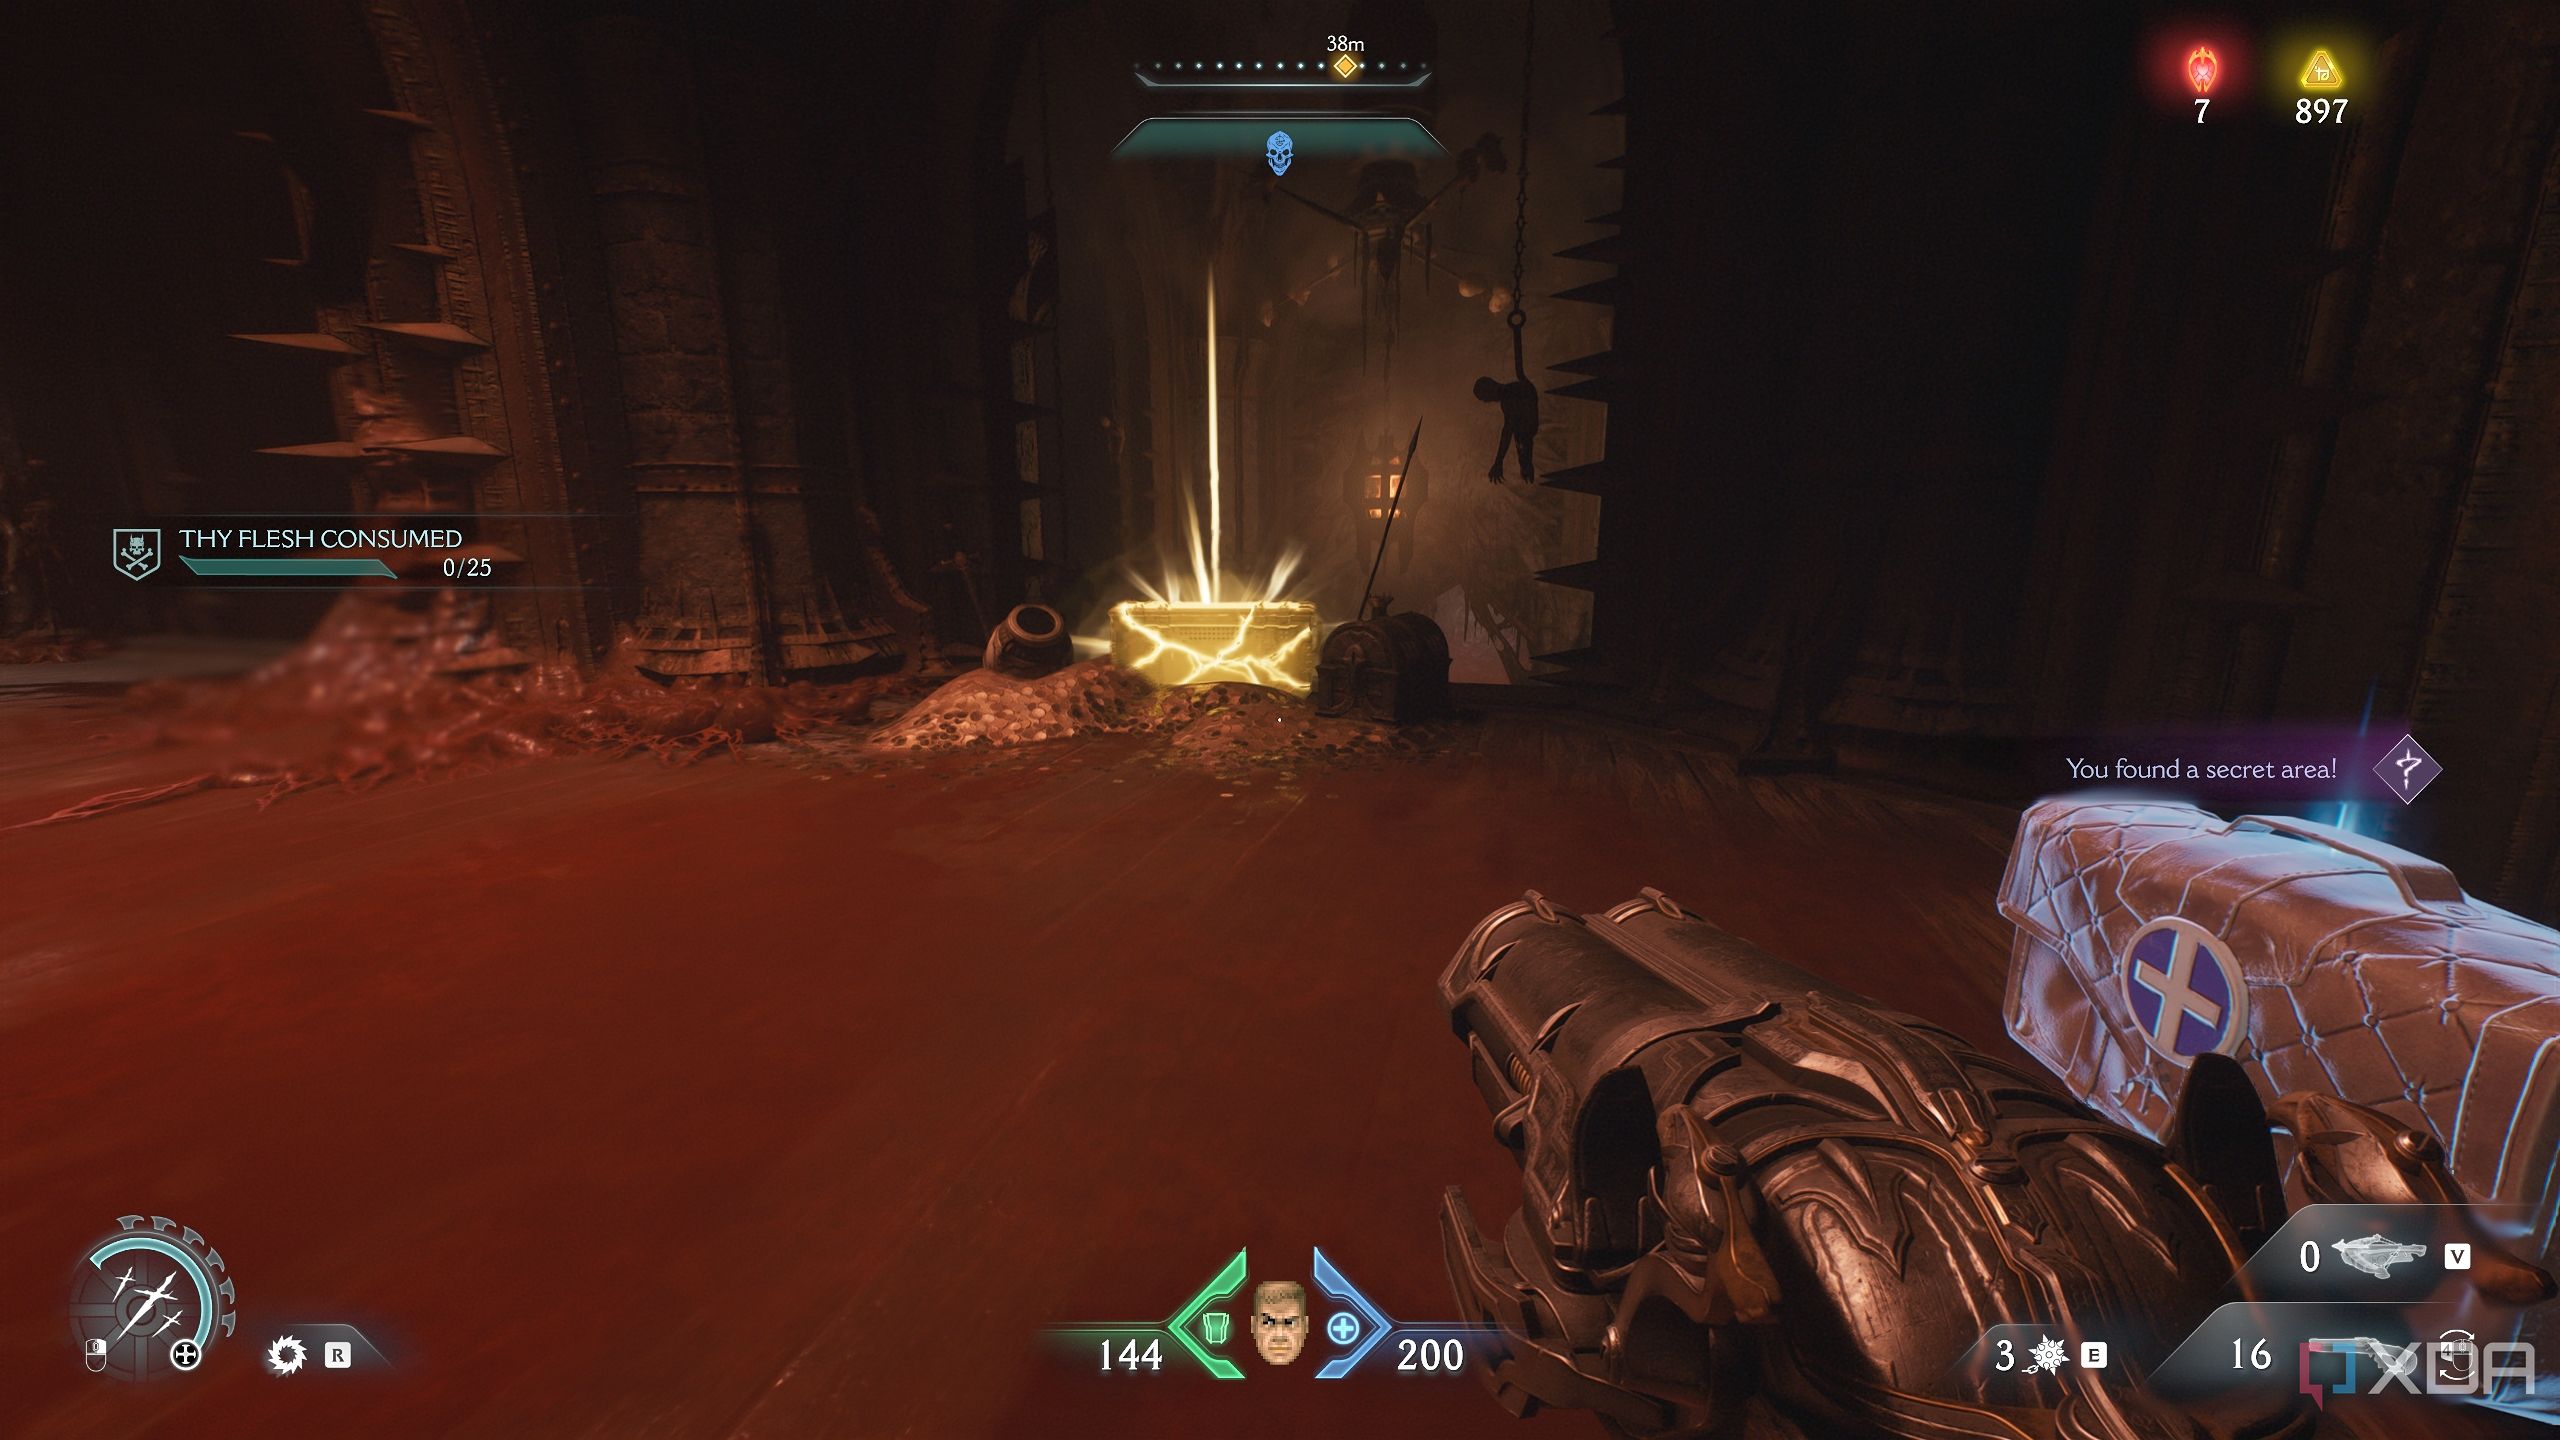
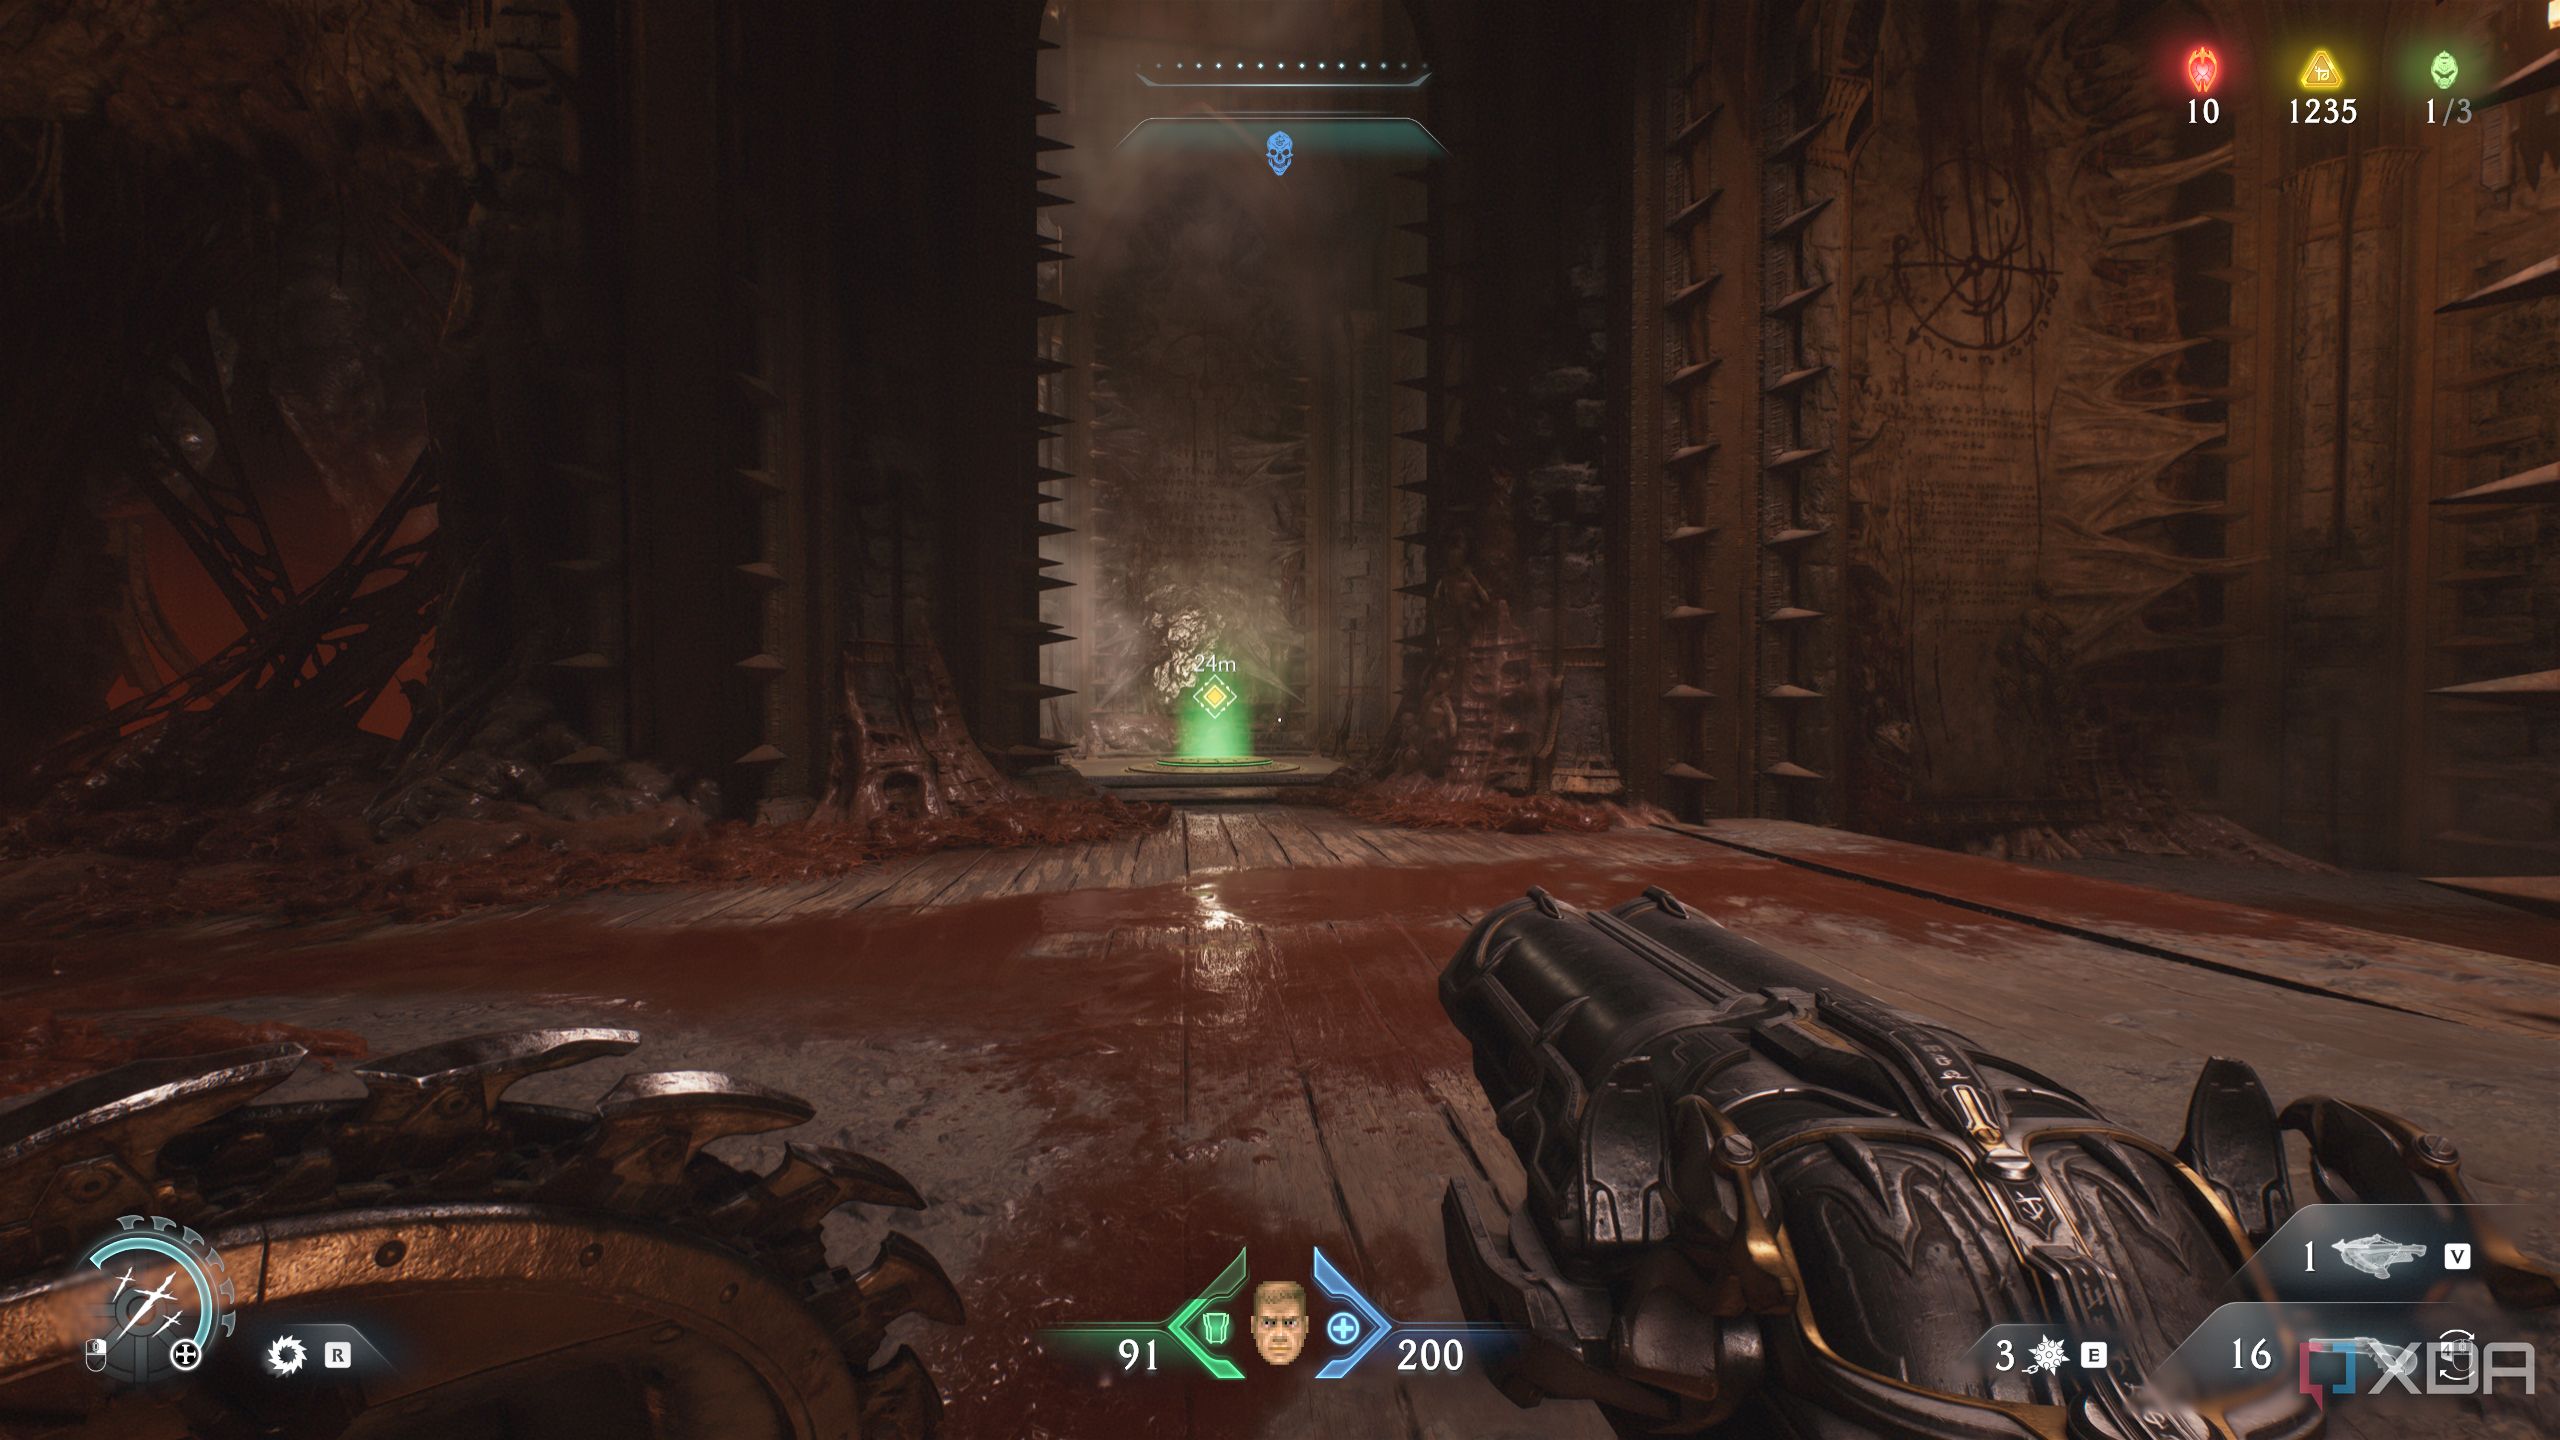
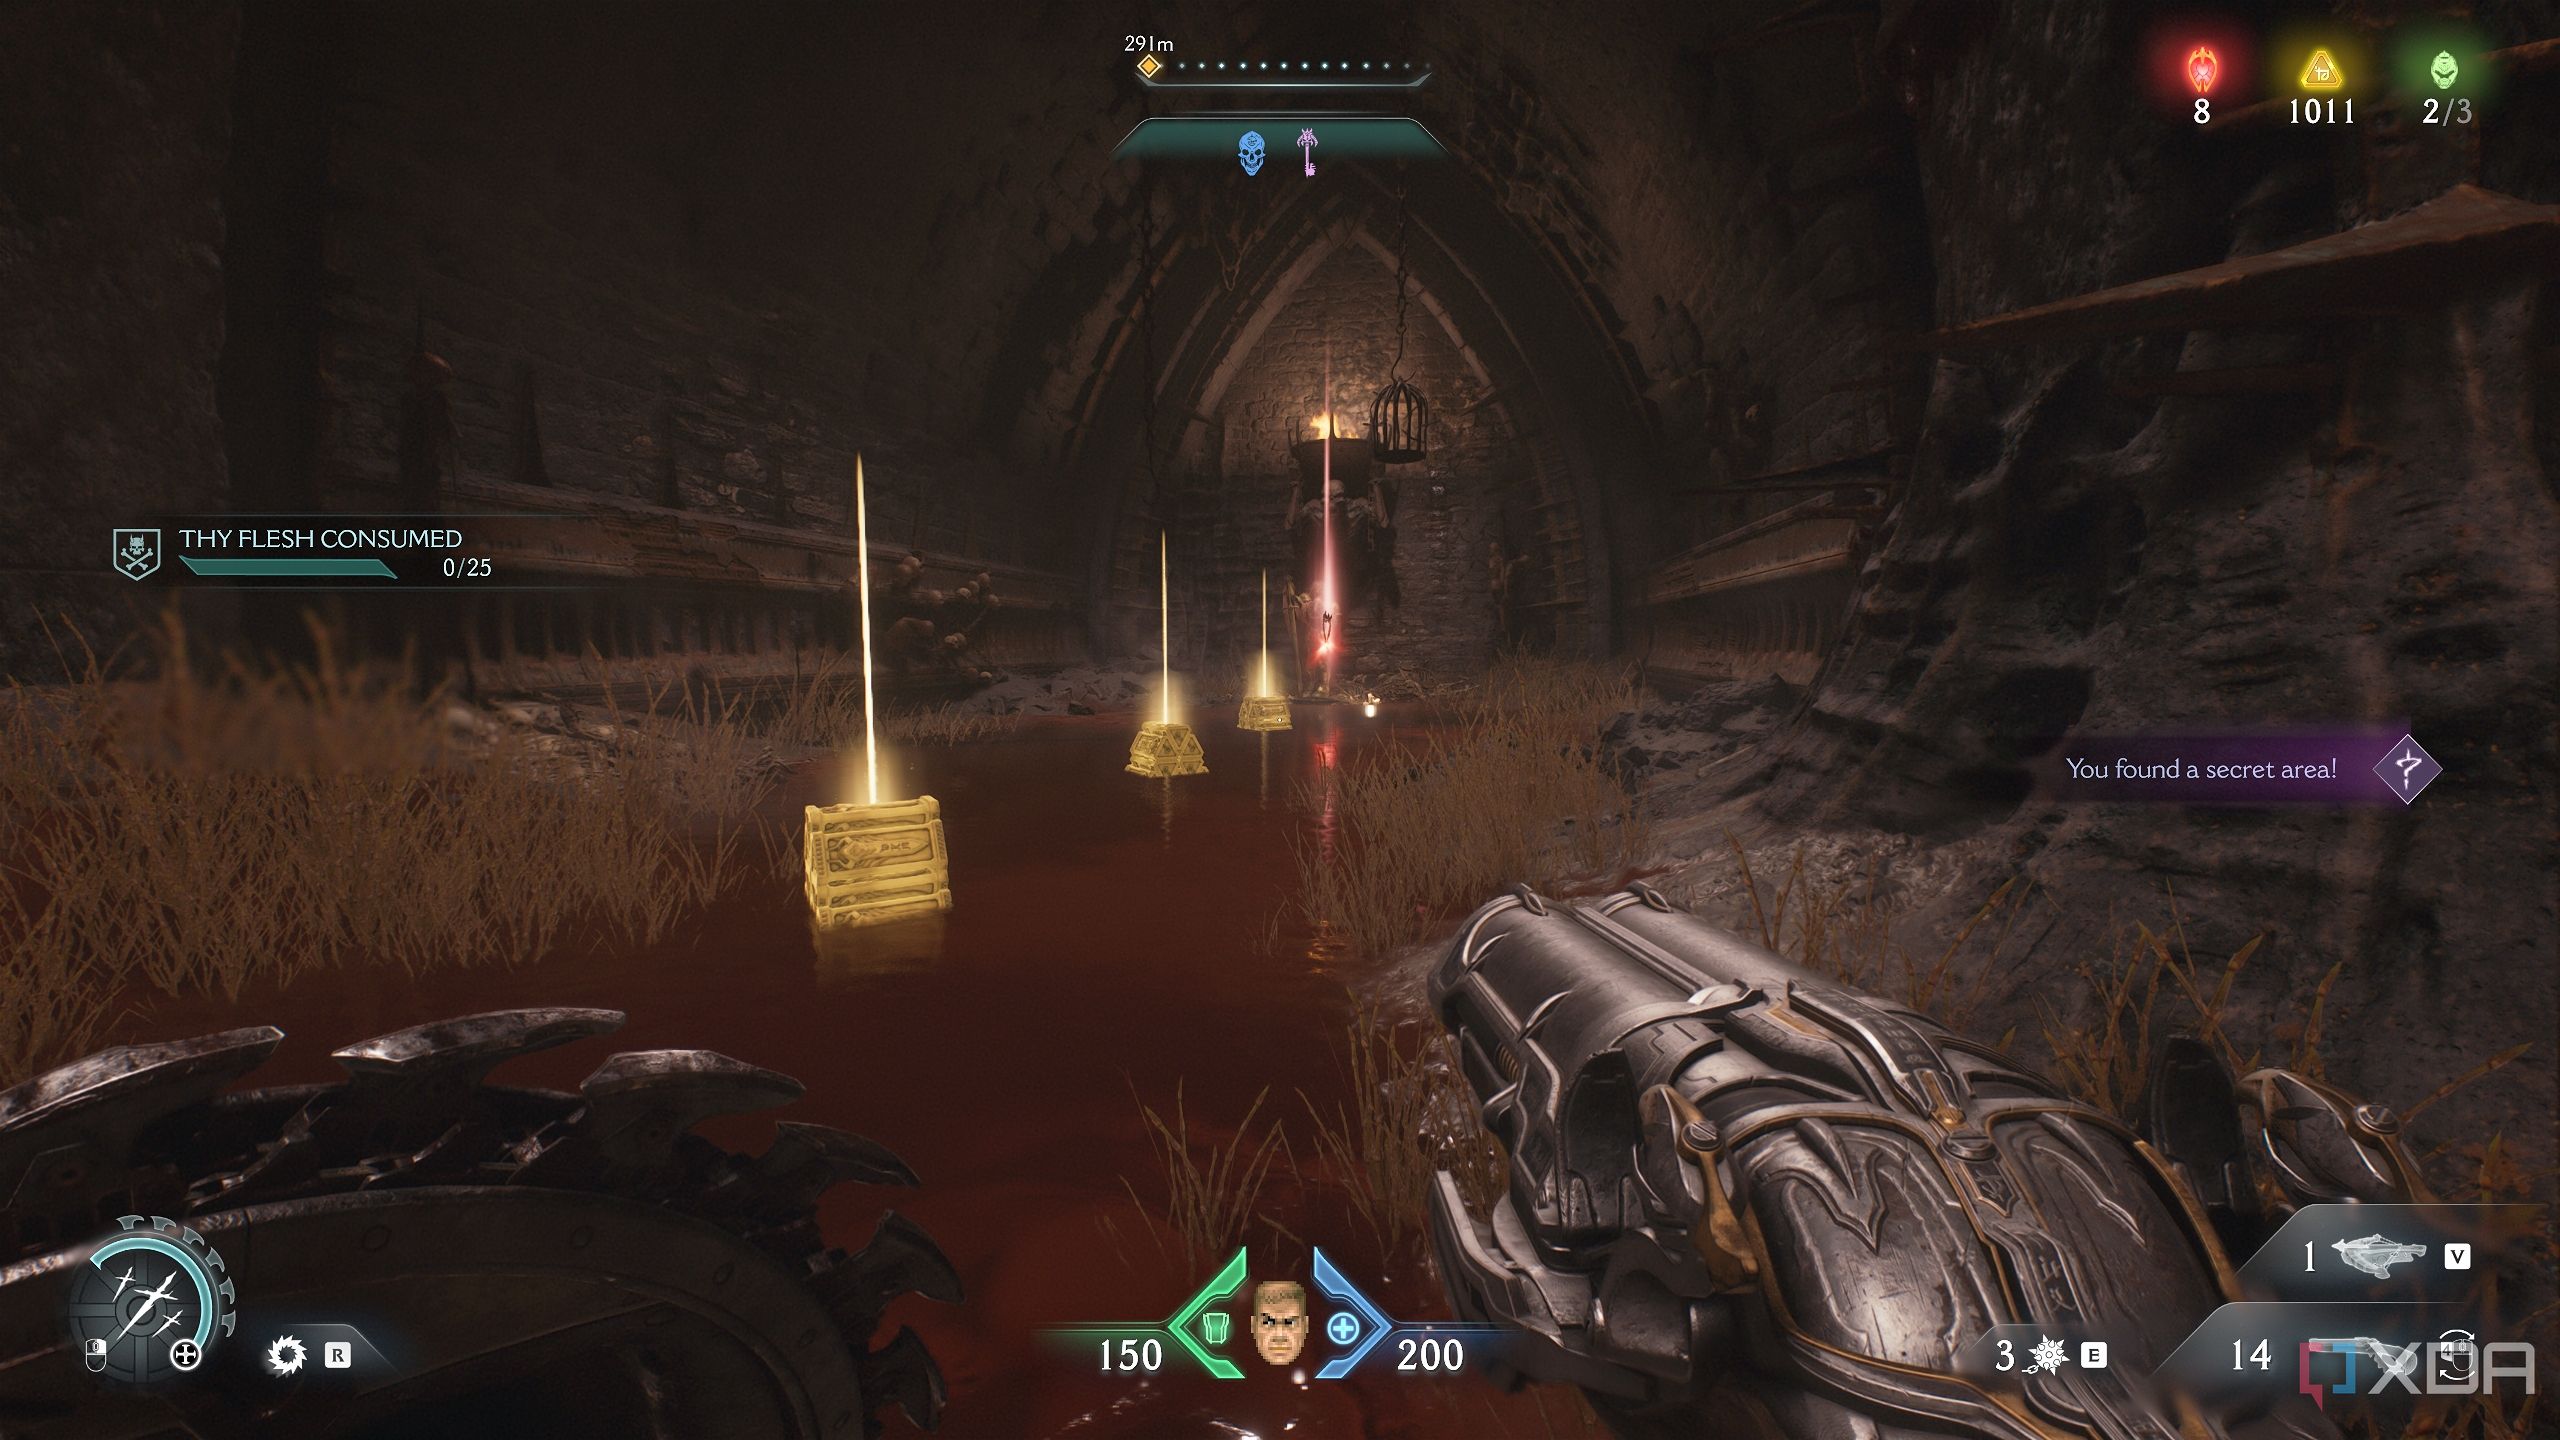
15. Secret area 11 and a gold chest
Final gold chest and secret area... in the entire game
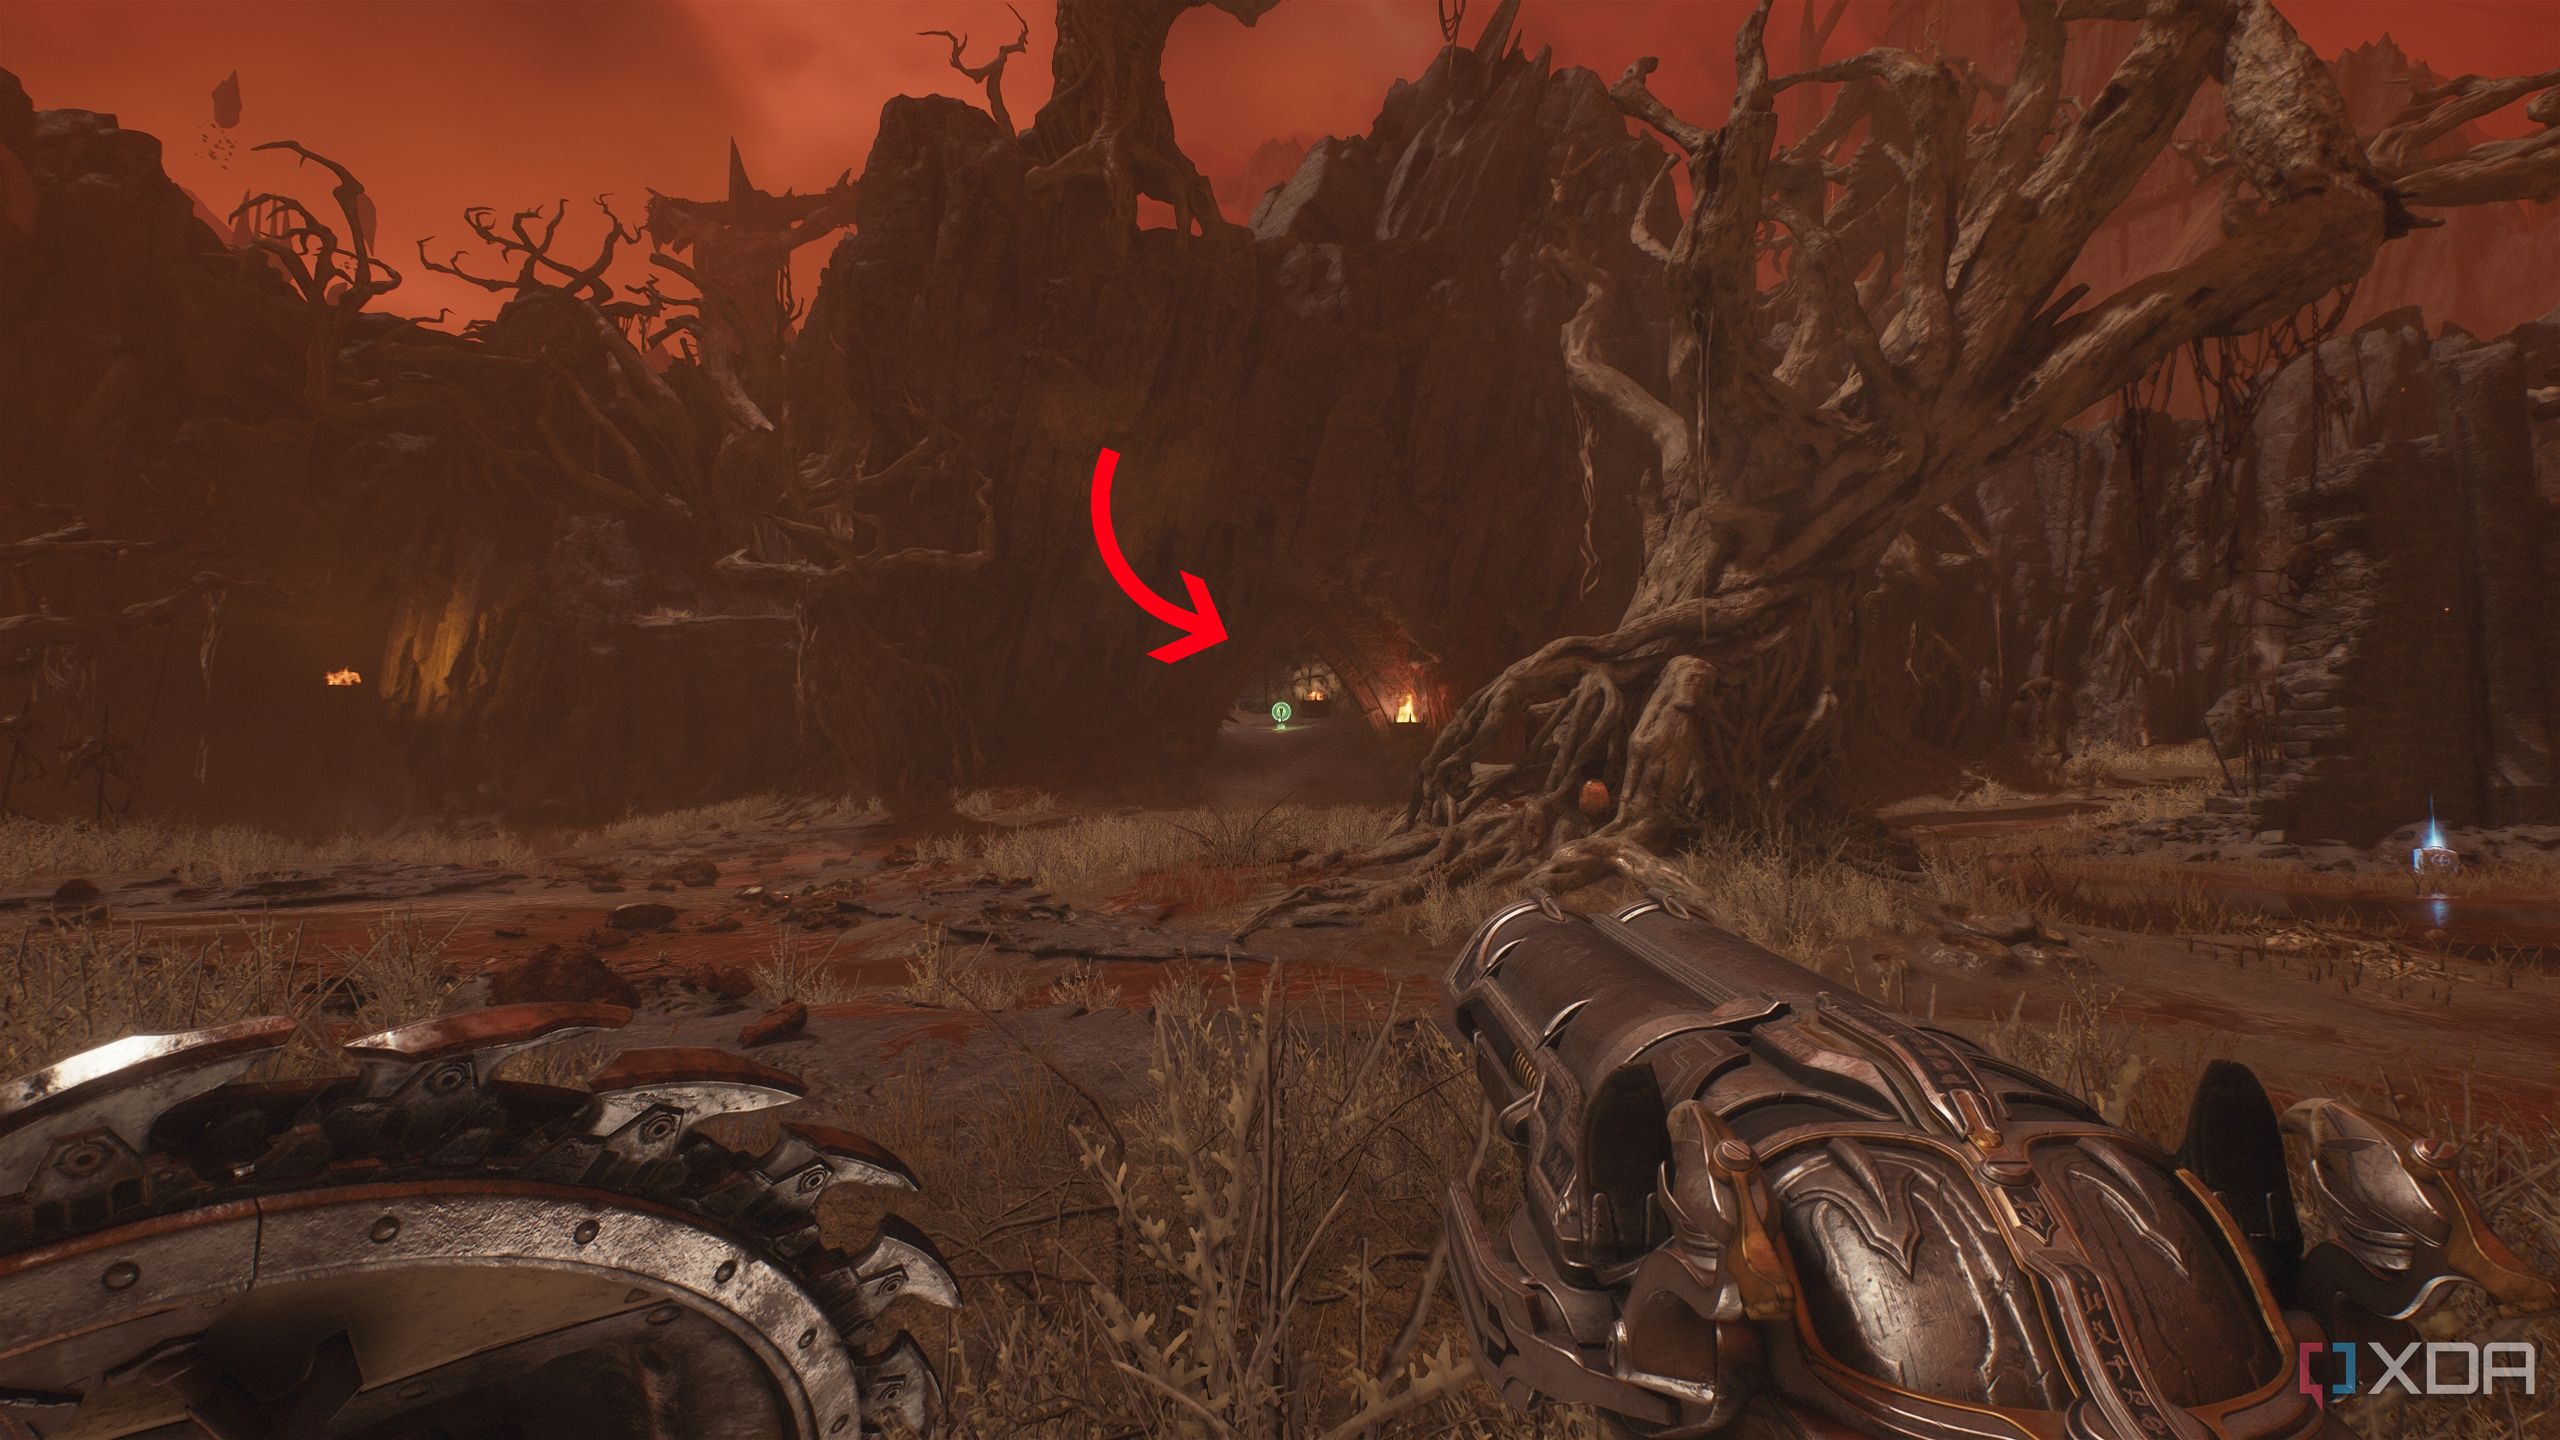
Now, face the way the Wraithstone statue is facing, and walk forward. There’s a gap in the wall on the right side — walk into it, and you’ll be standing next to the big box and a scramble wall above it.
Instead of climbing them up, walk forward into the chamber ahead, and this is where you'll be on the map.
Here, you’ll see another purple door to your left, right in the center of the room. Approach it and enter to unlock secret area 11 and grab the gold chest.
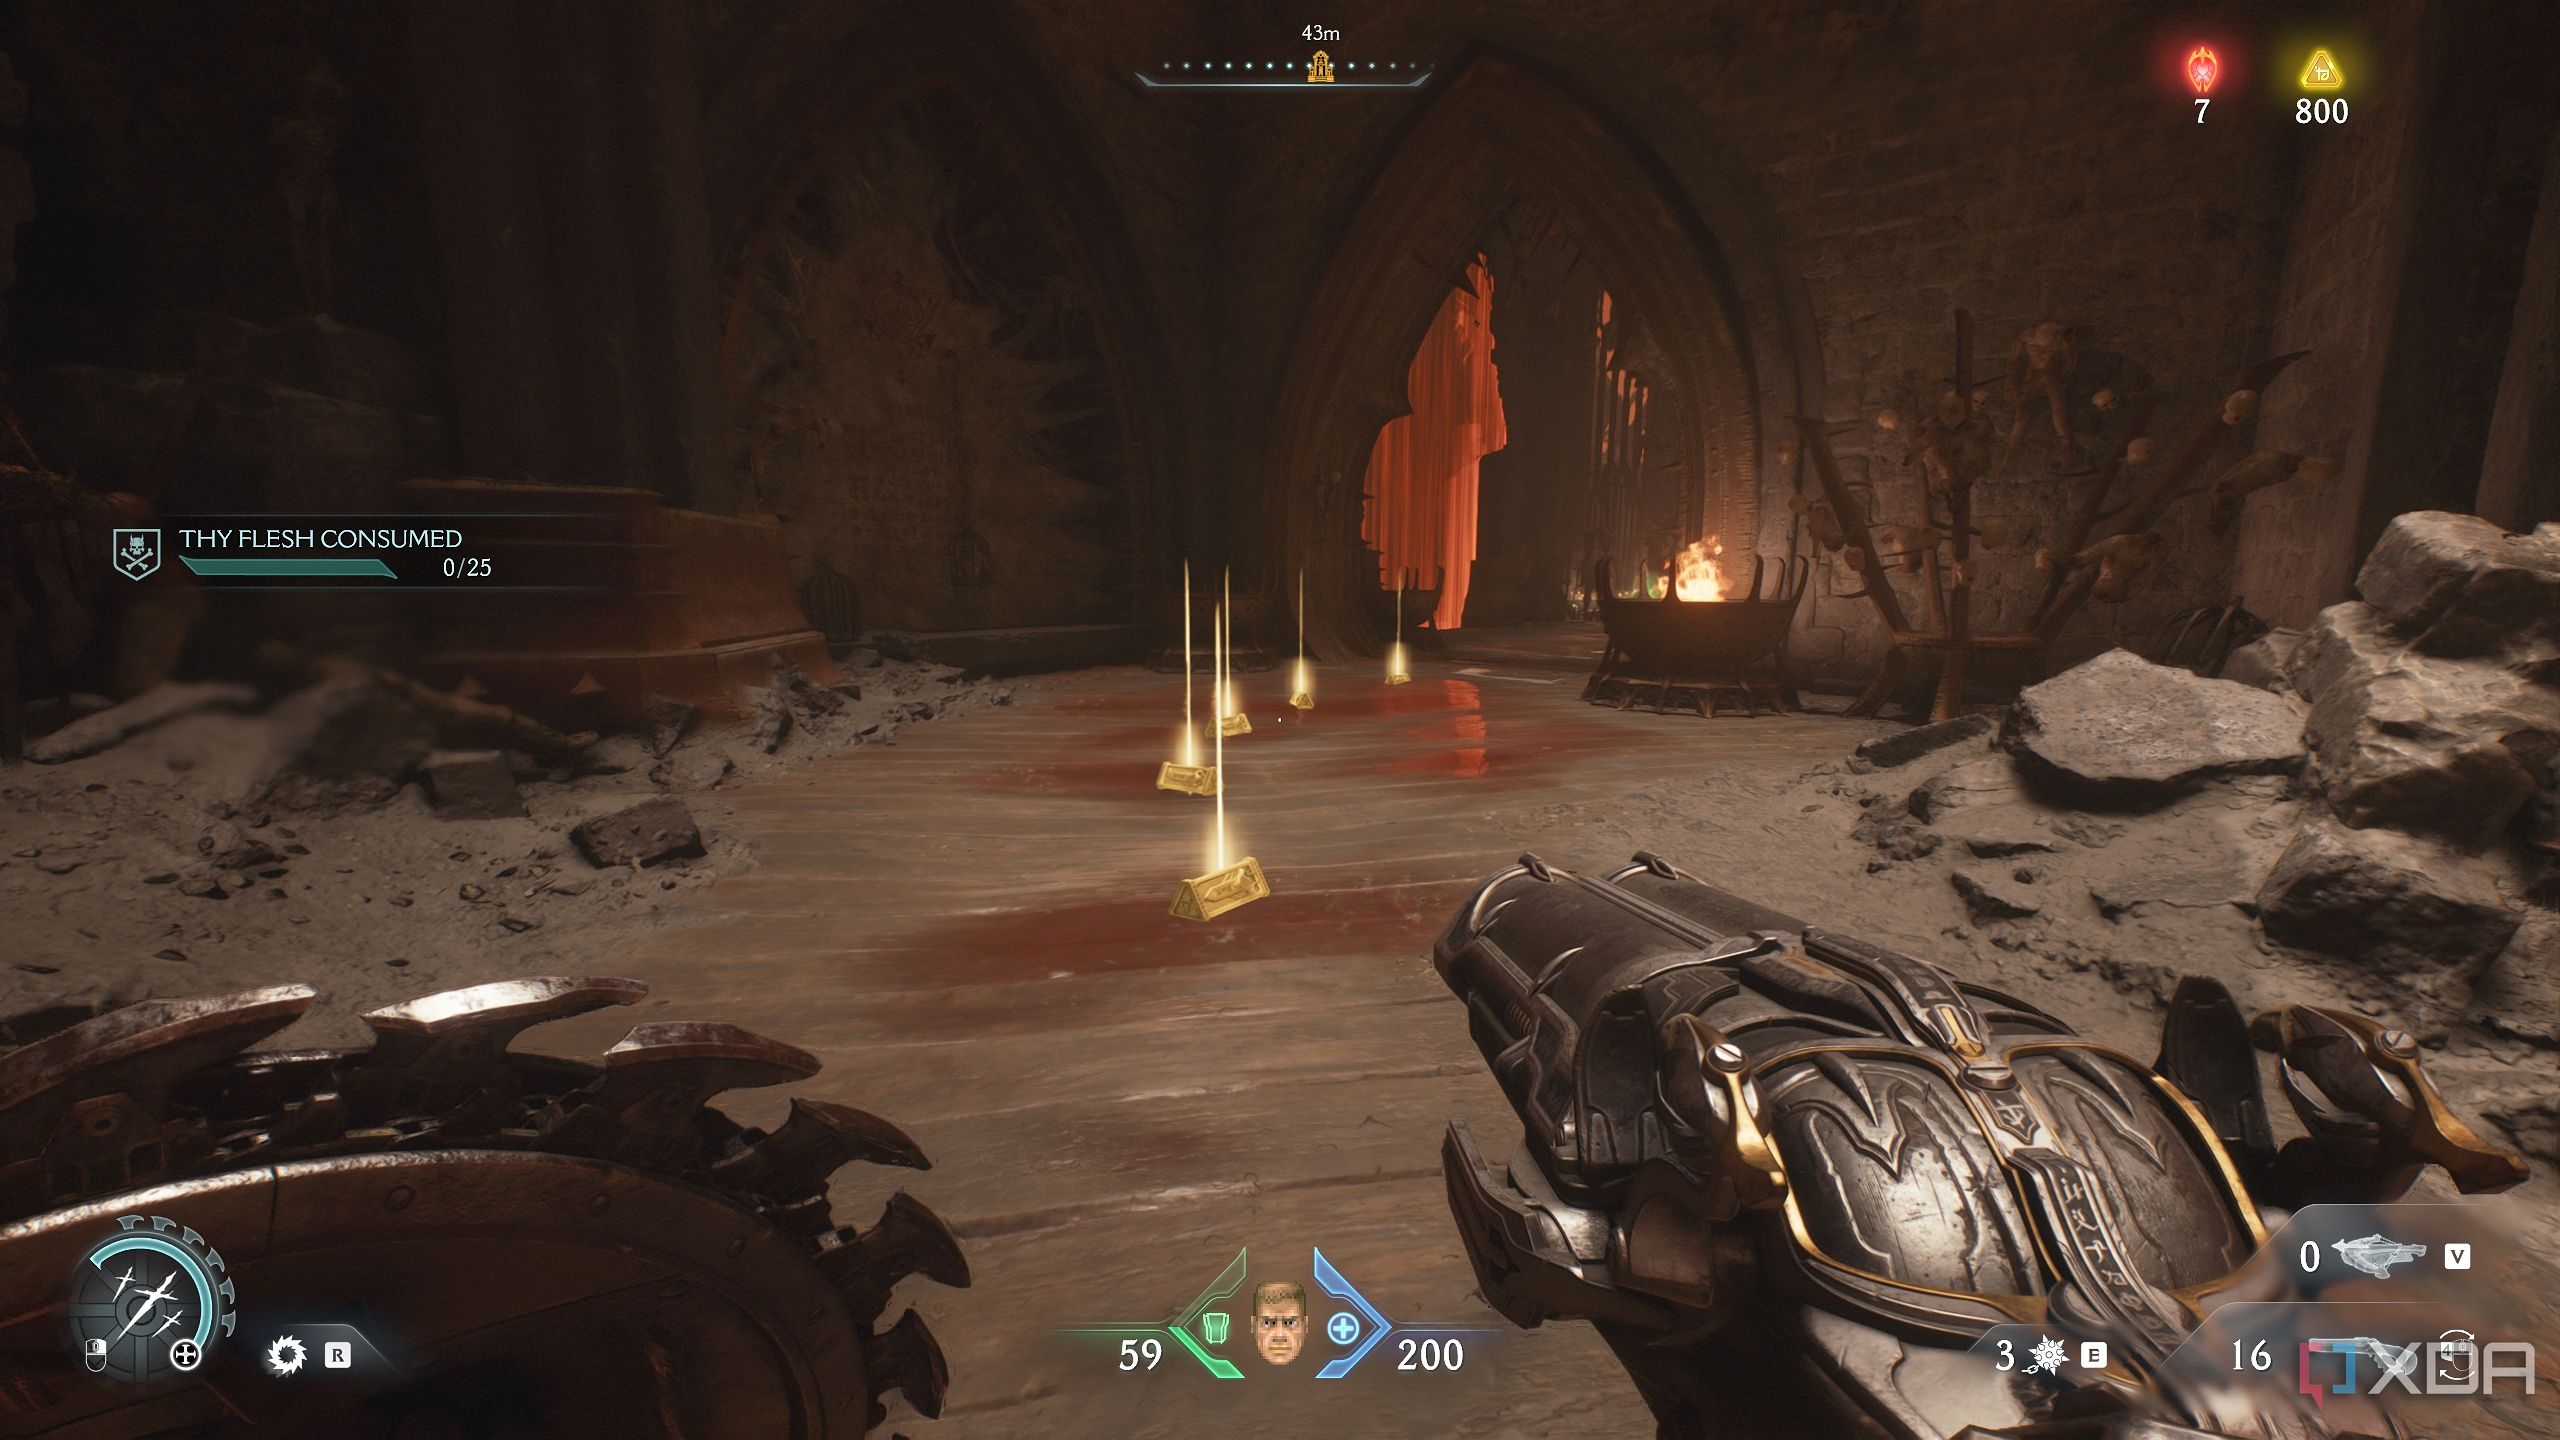
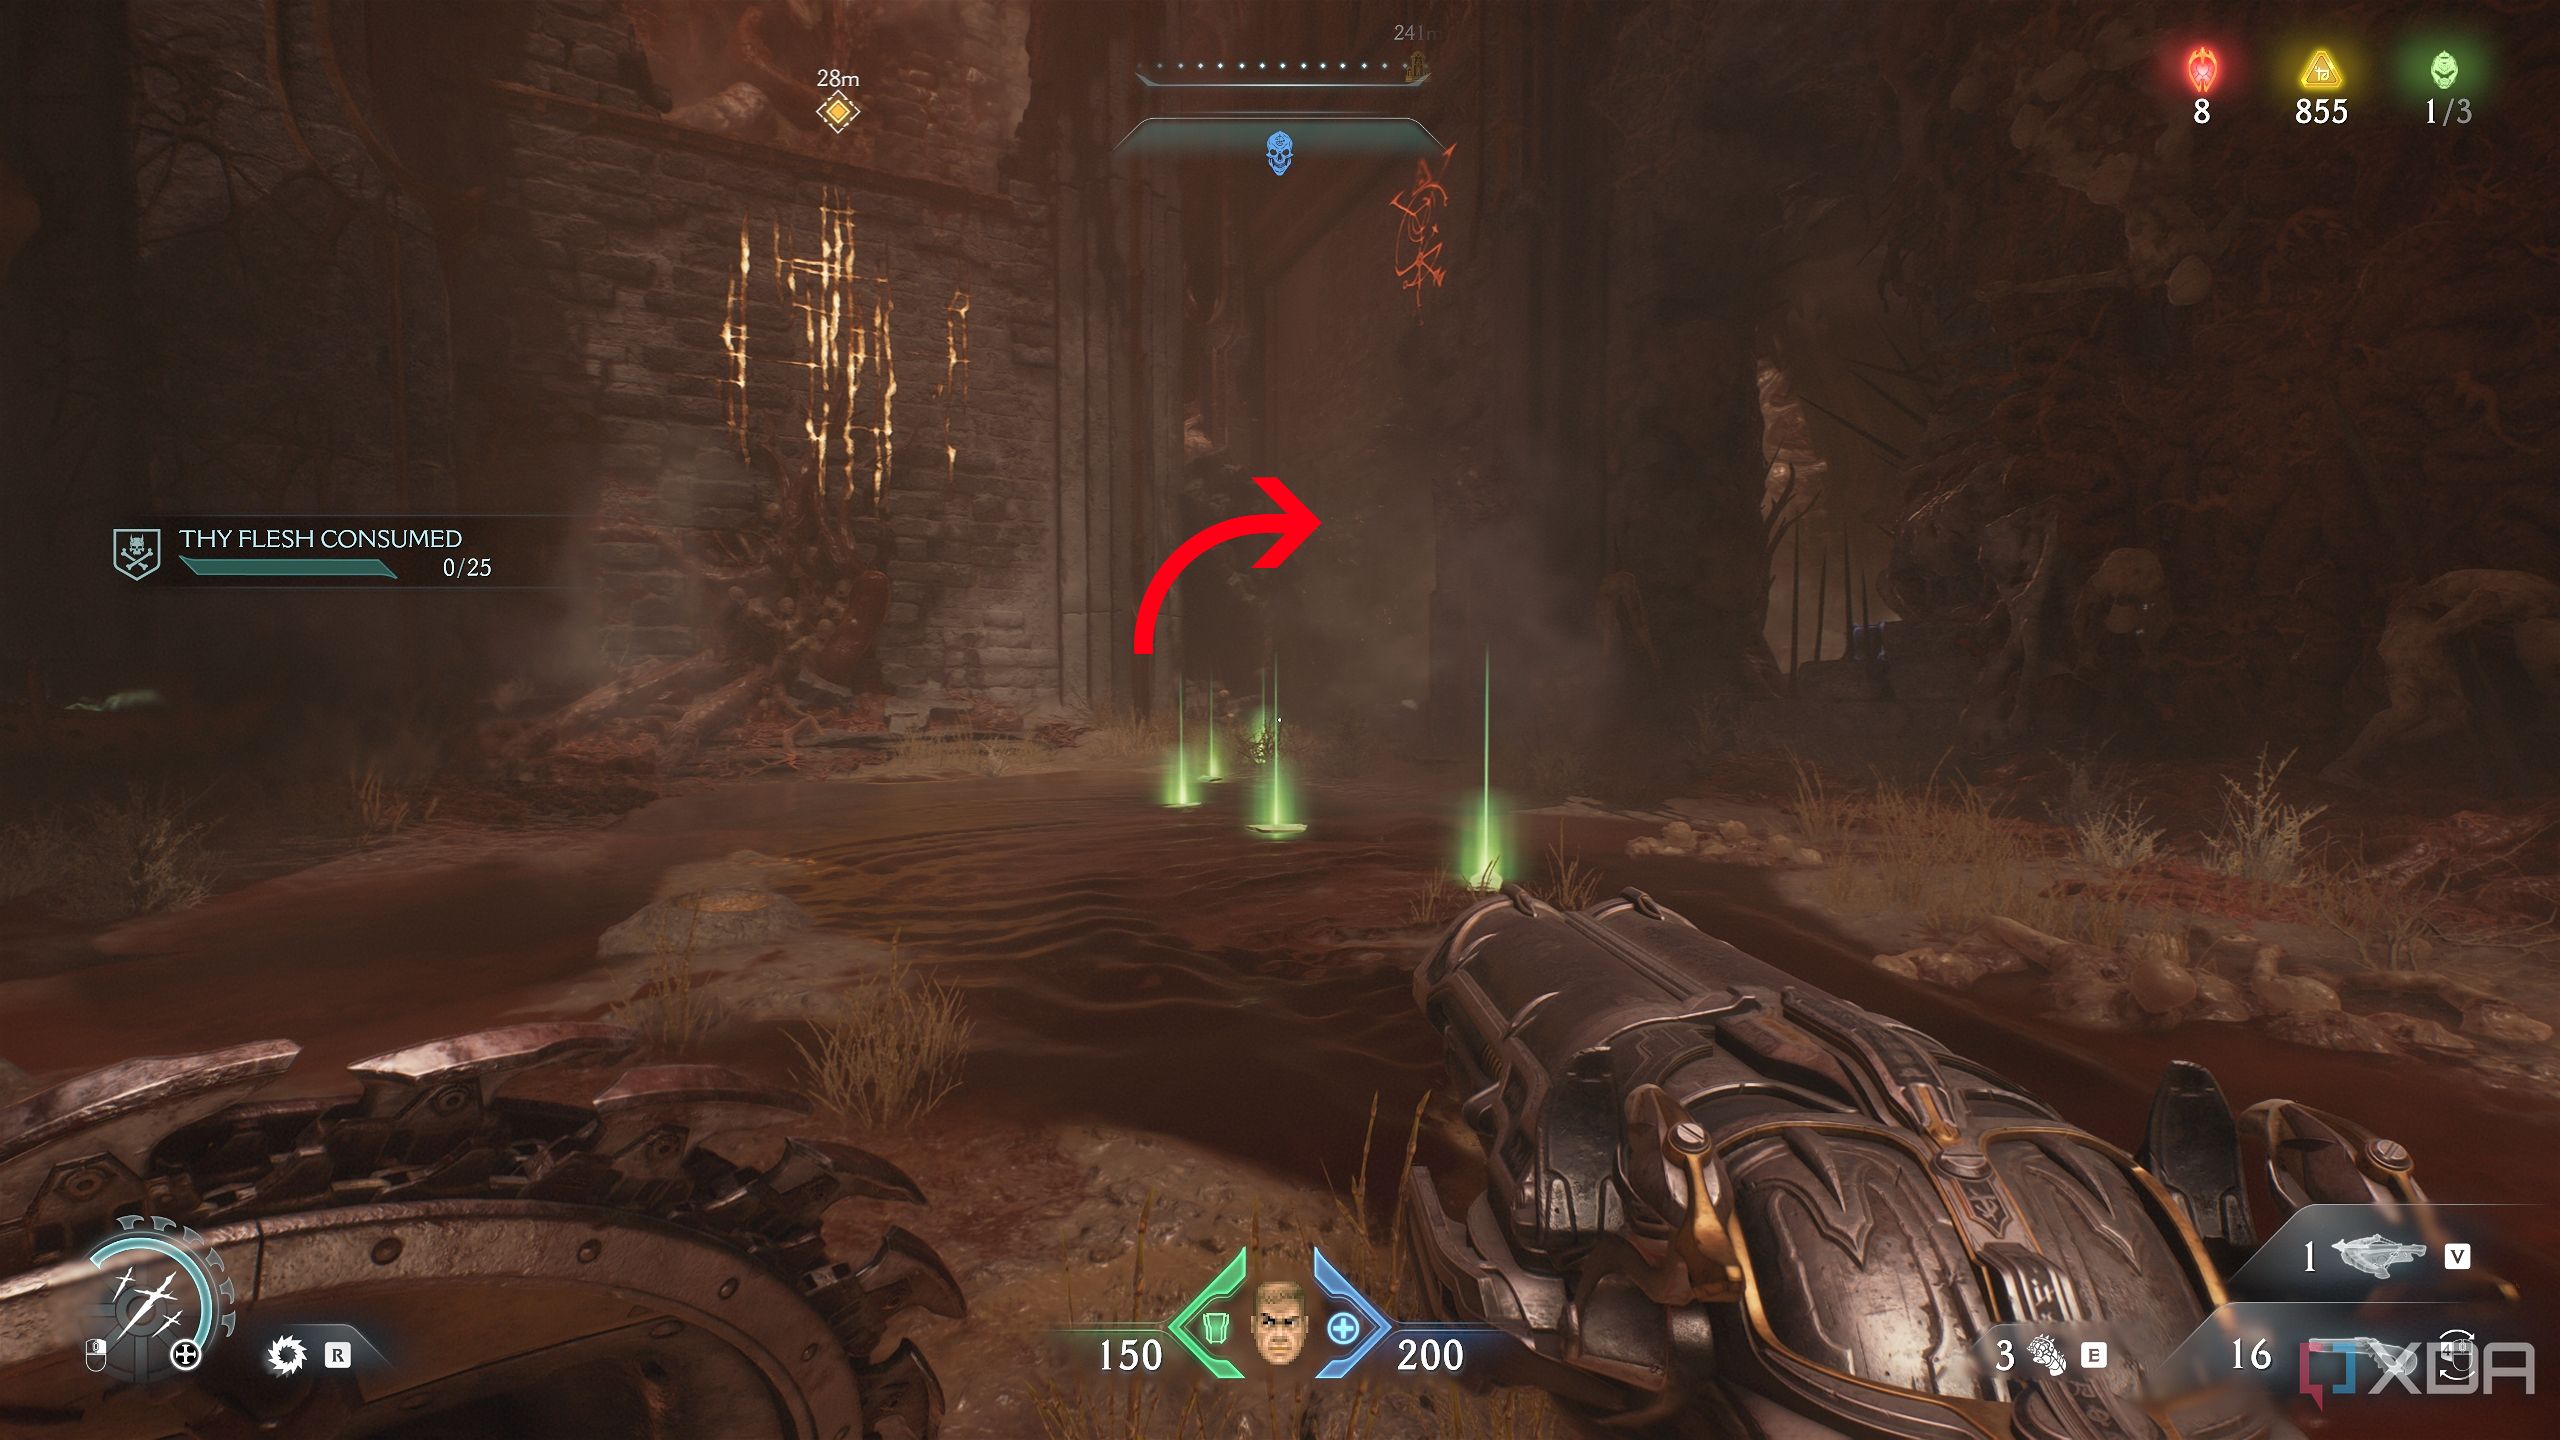
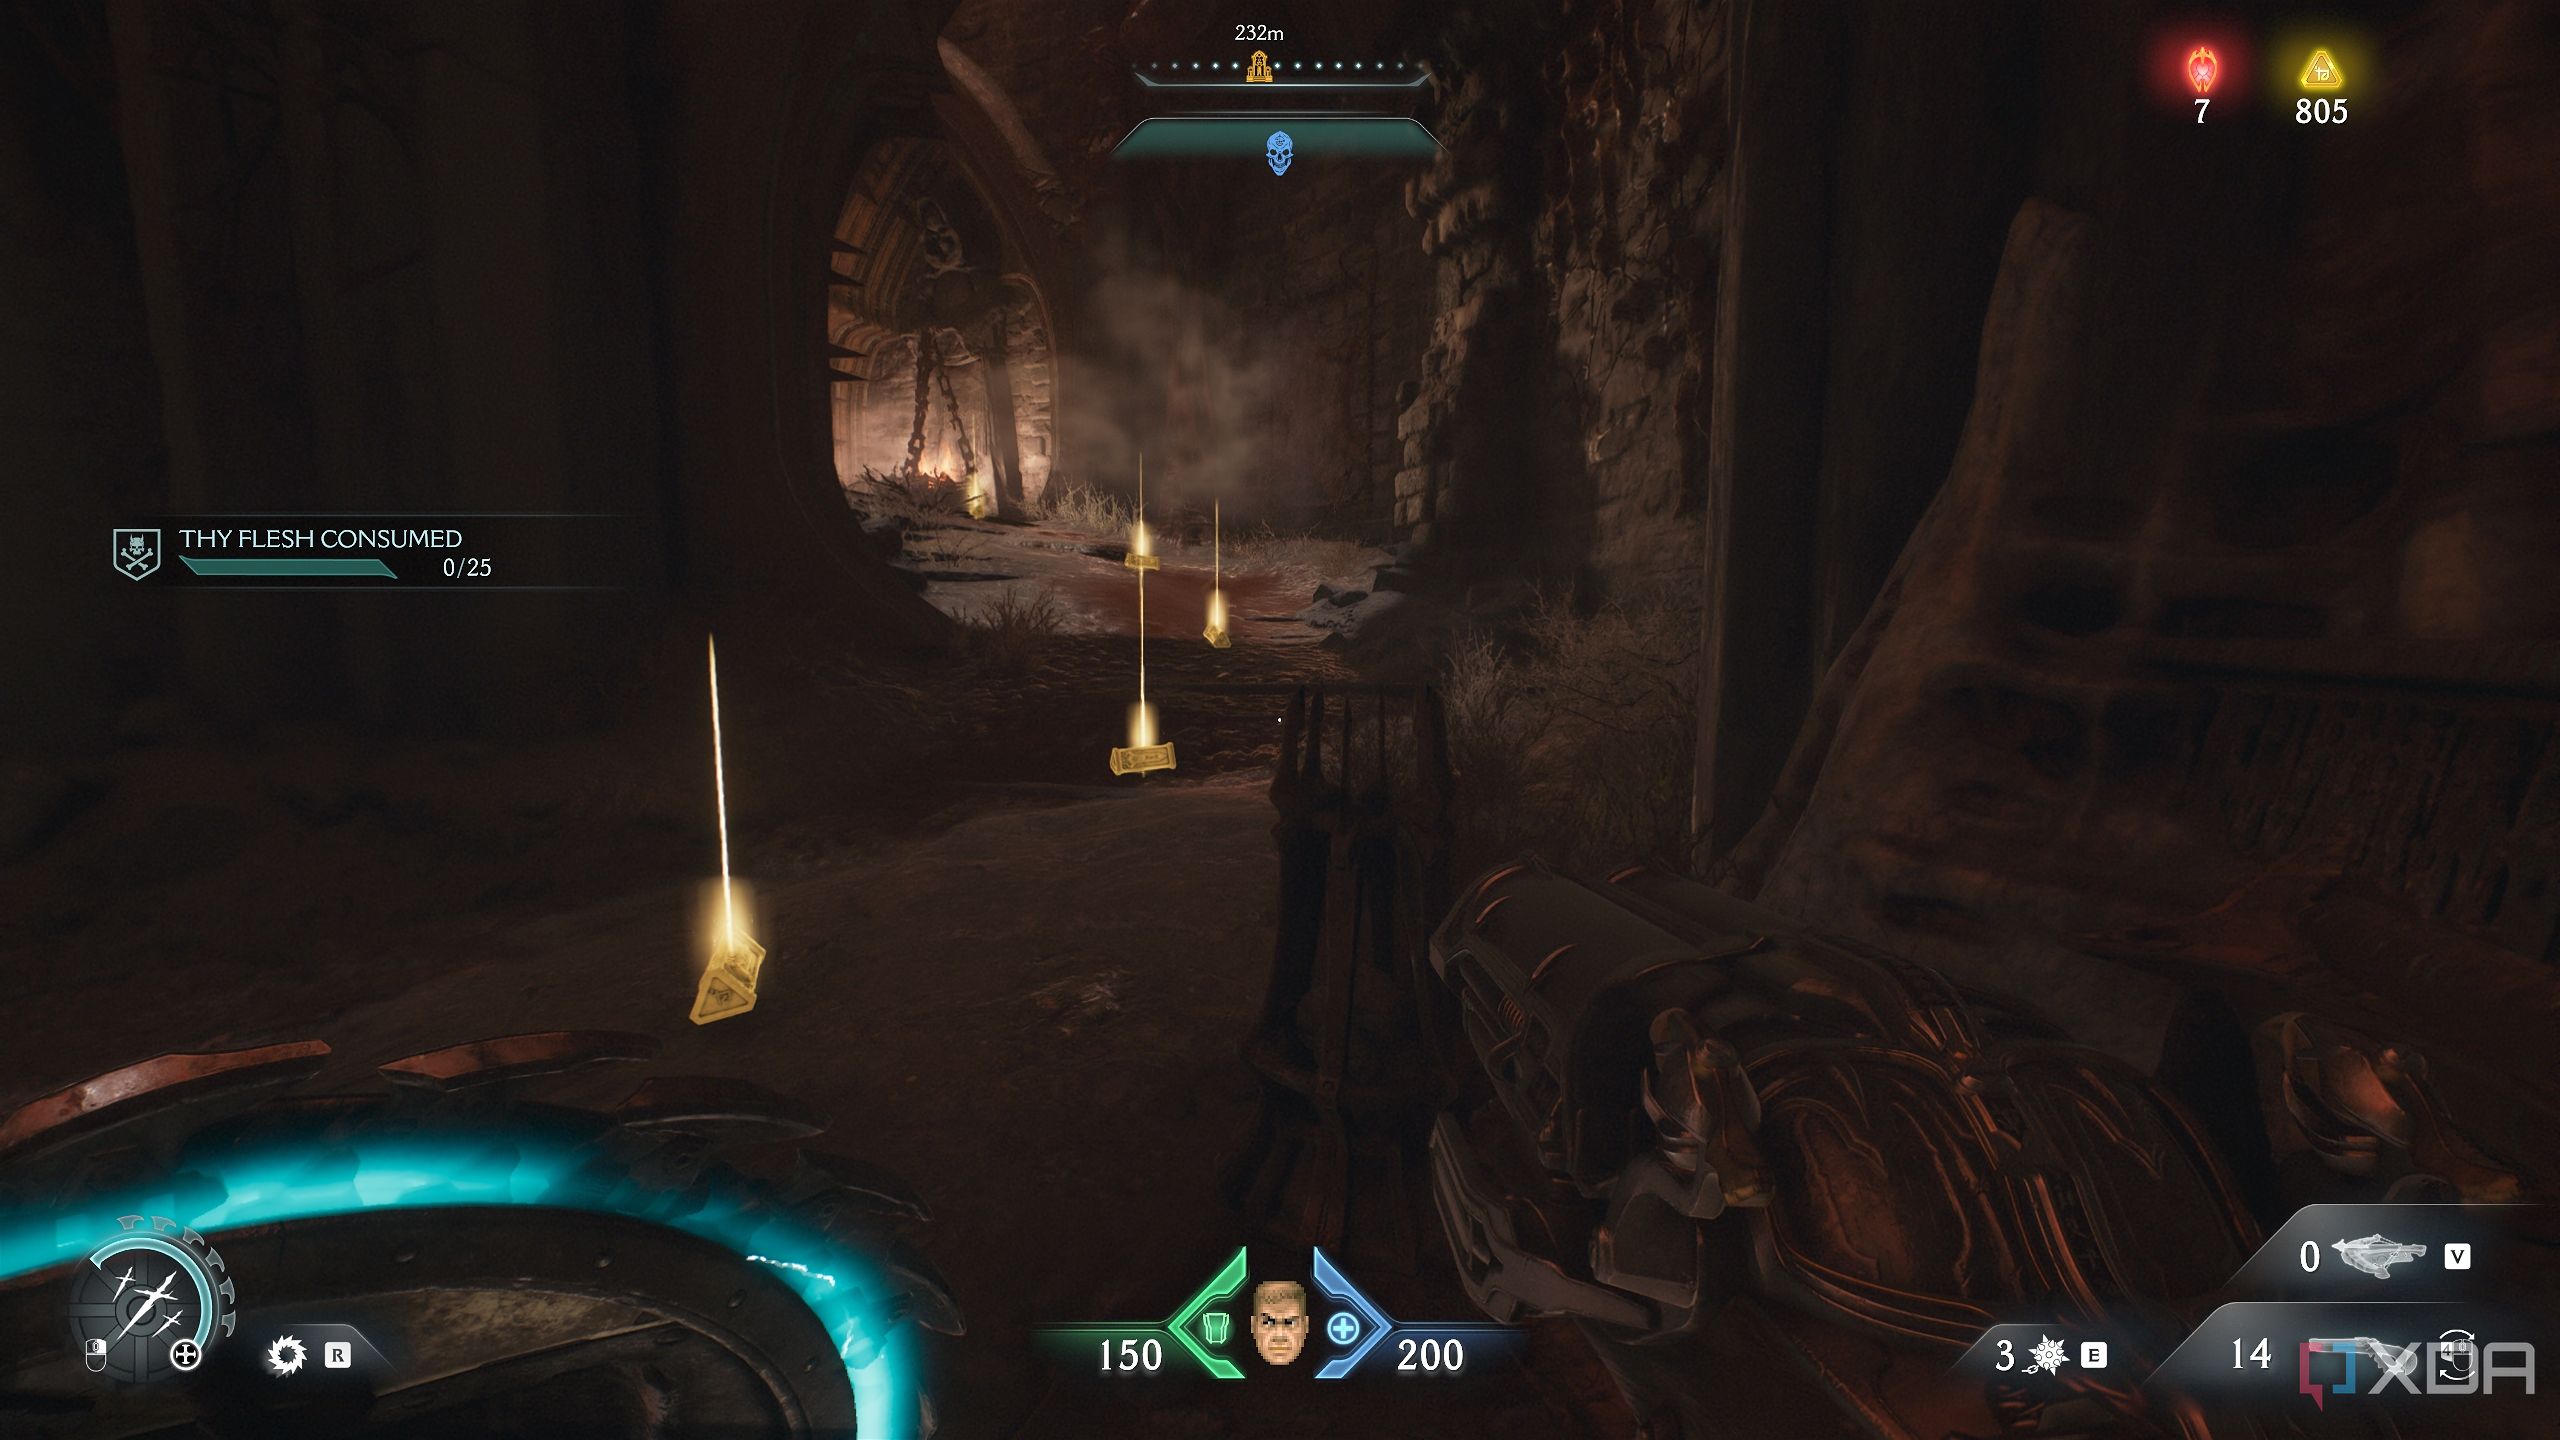
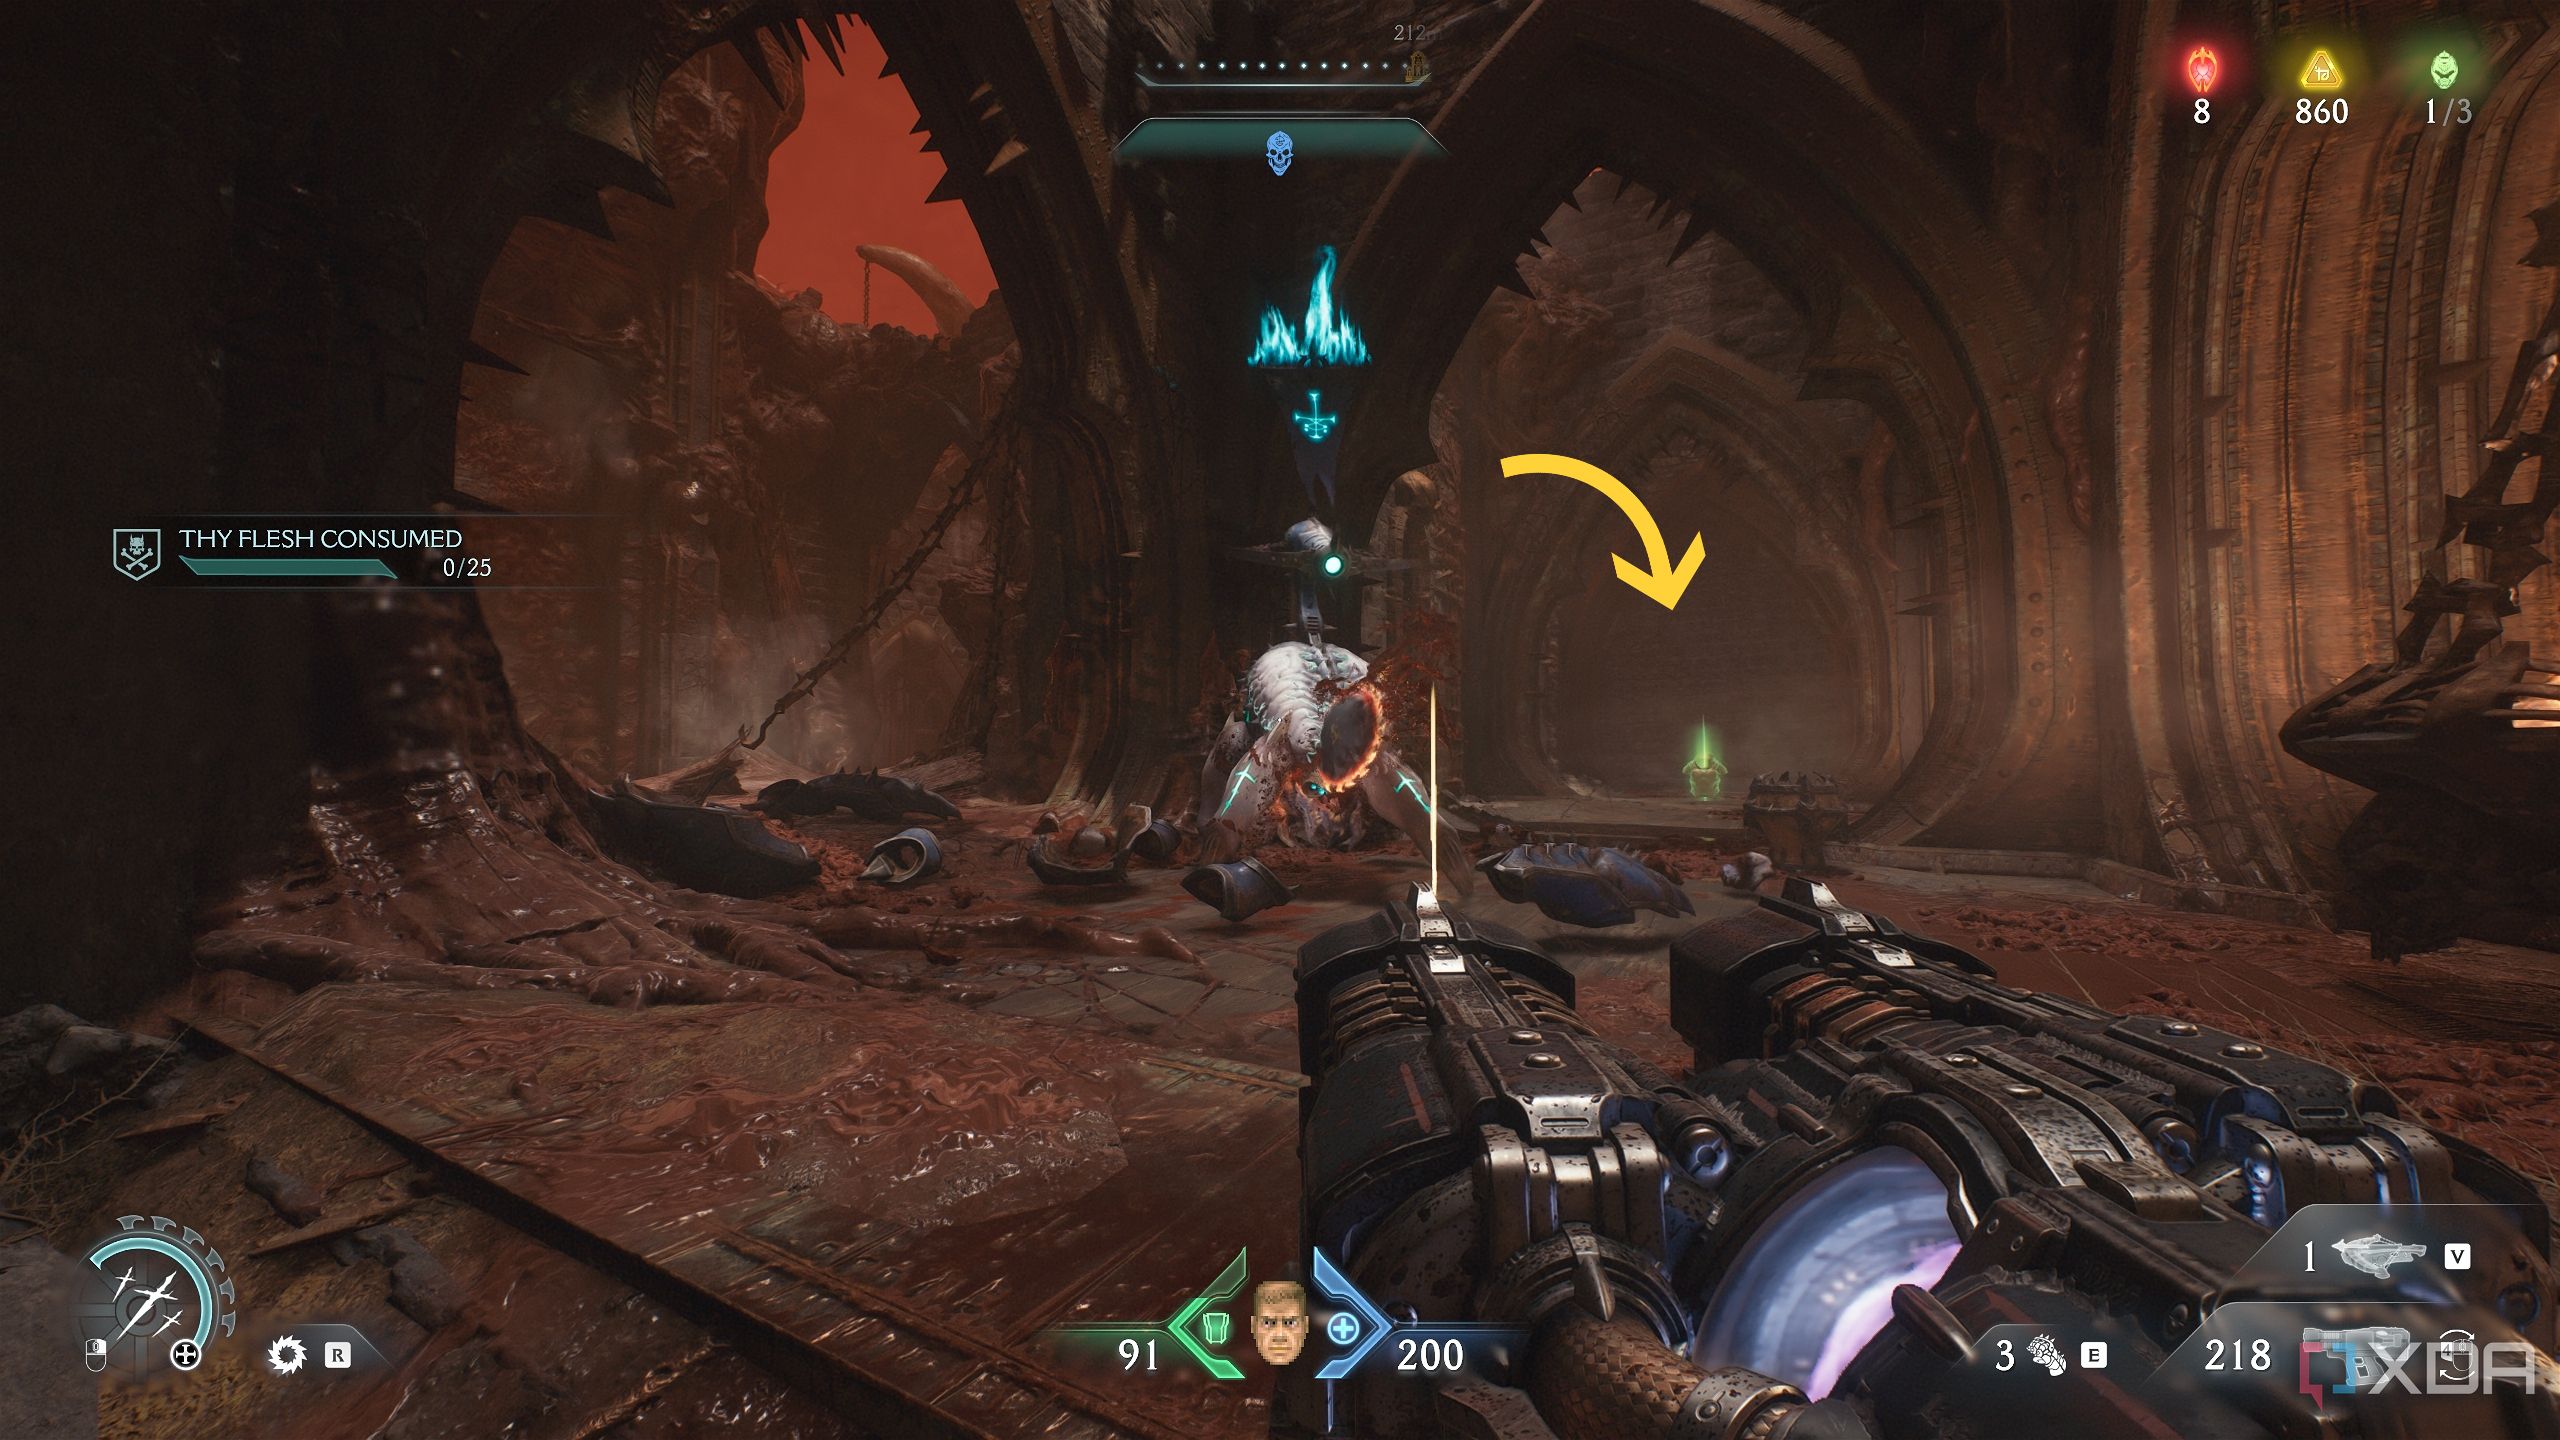
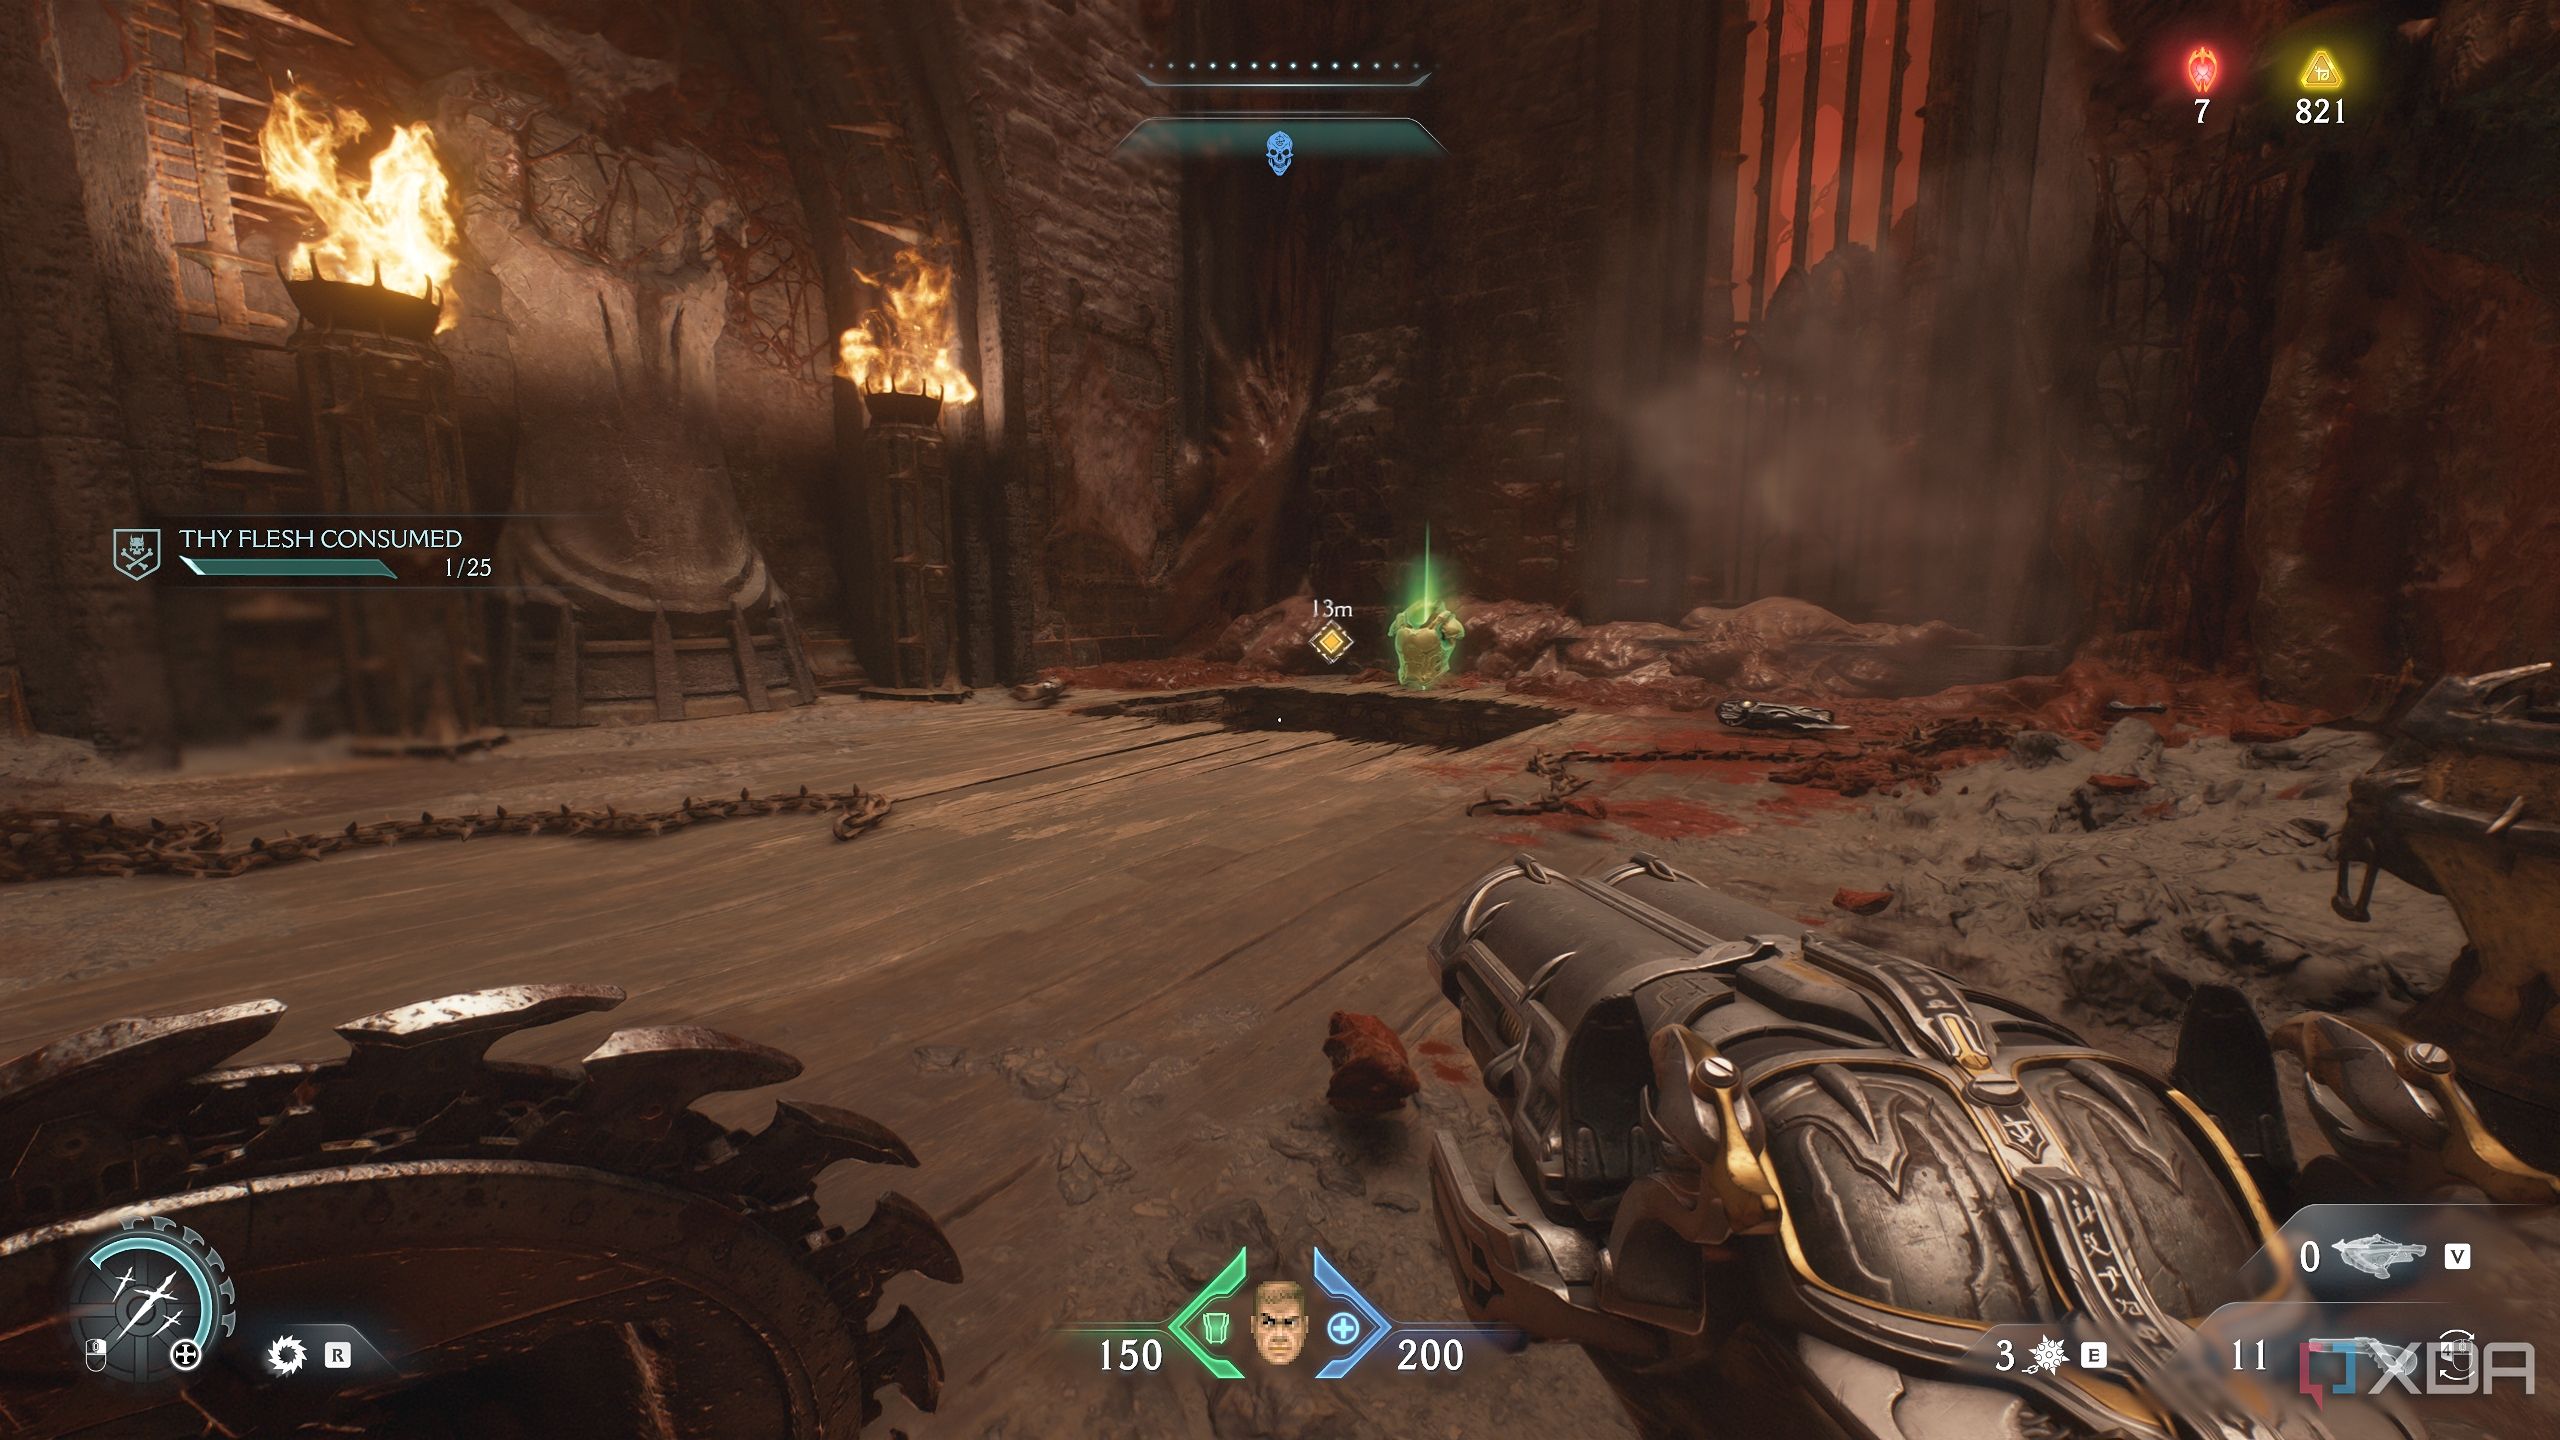
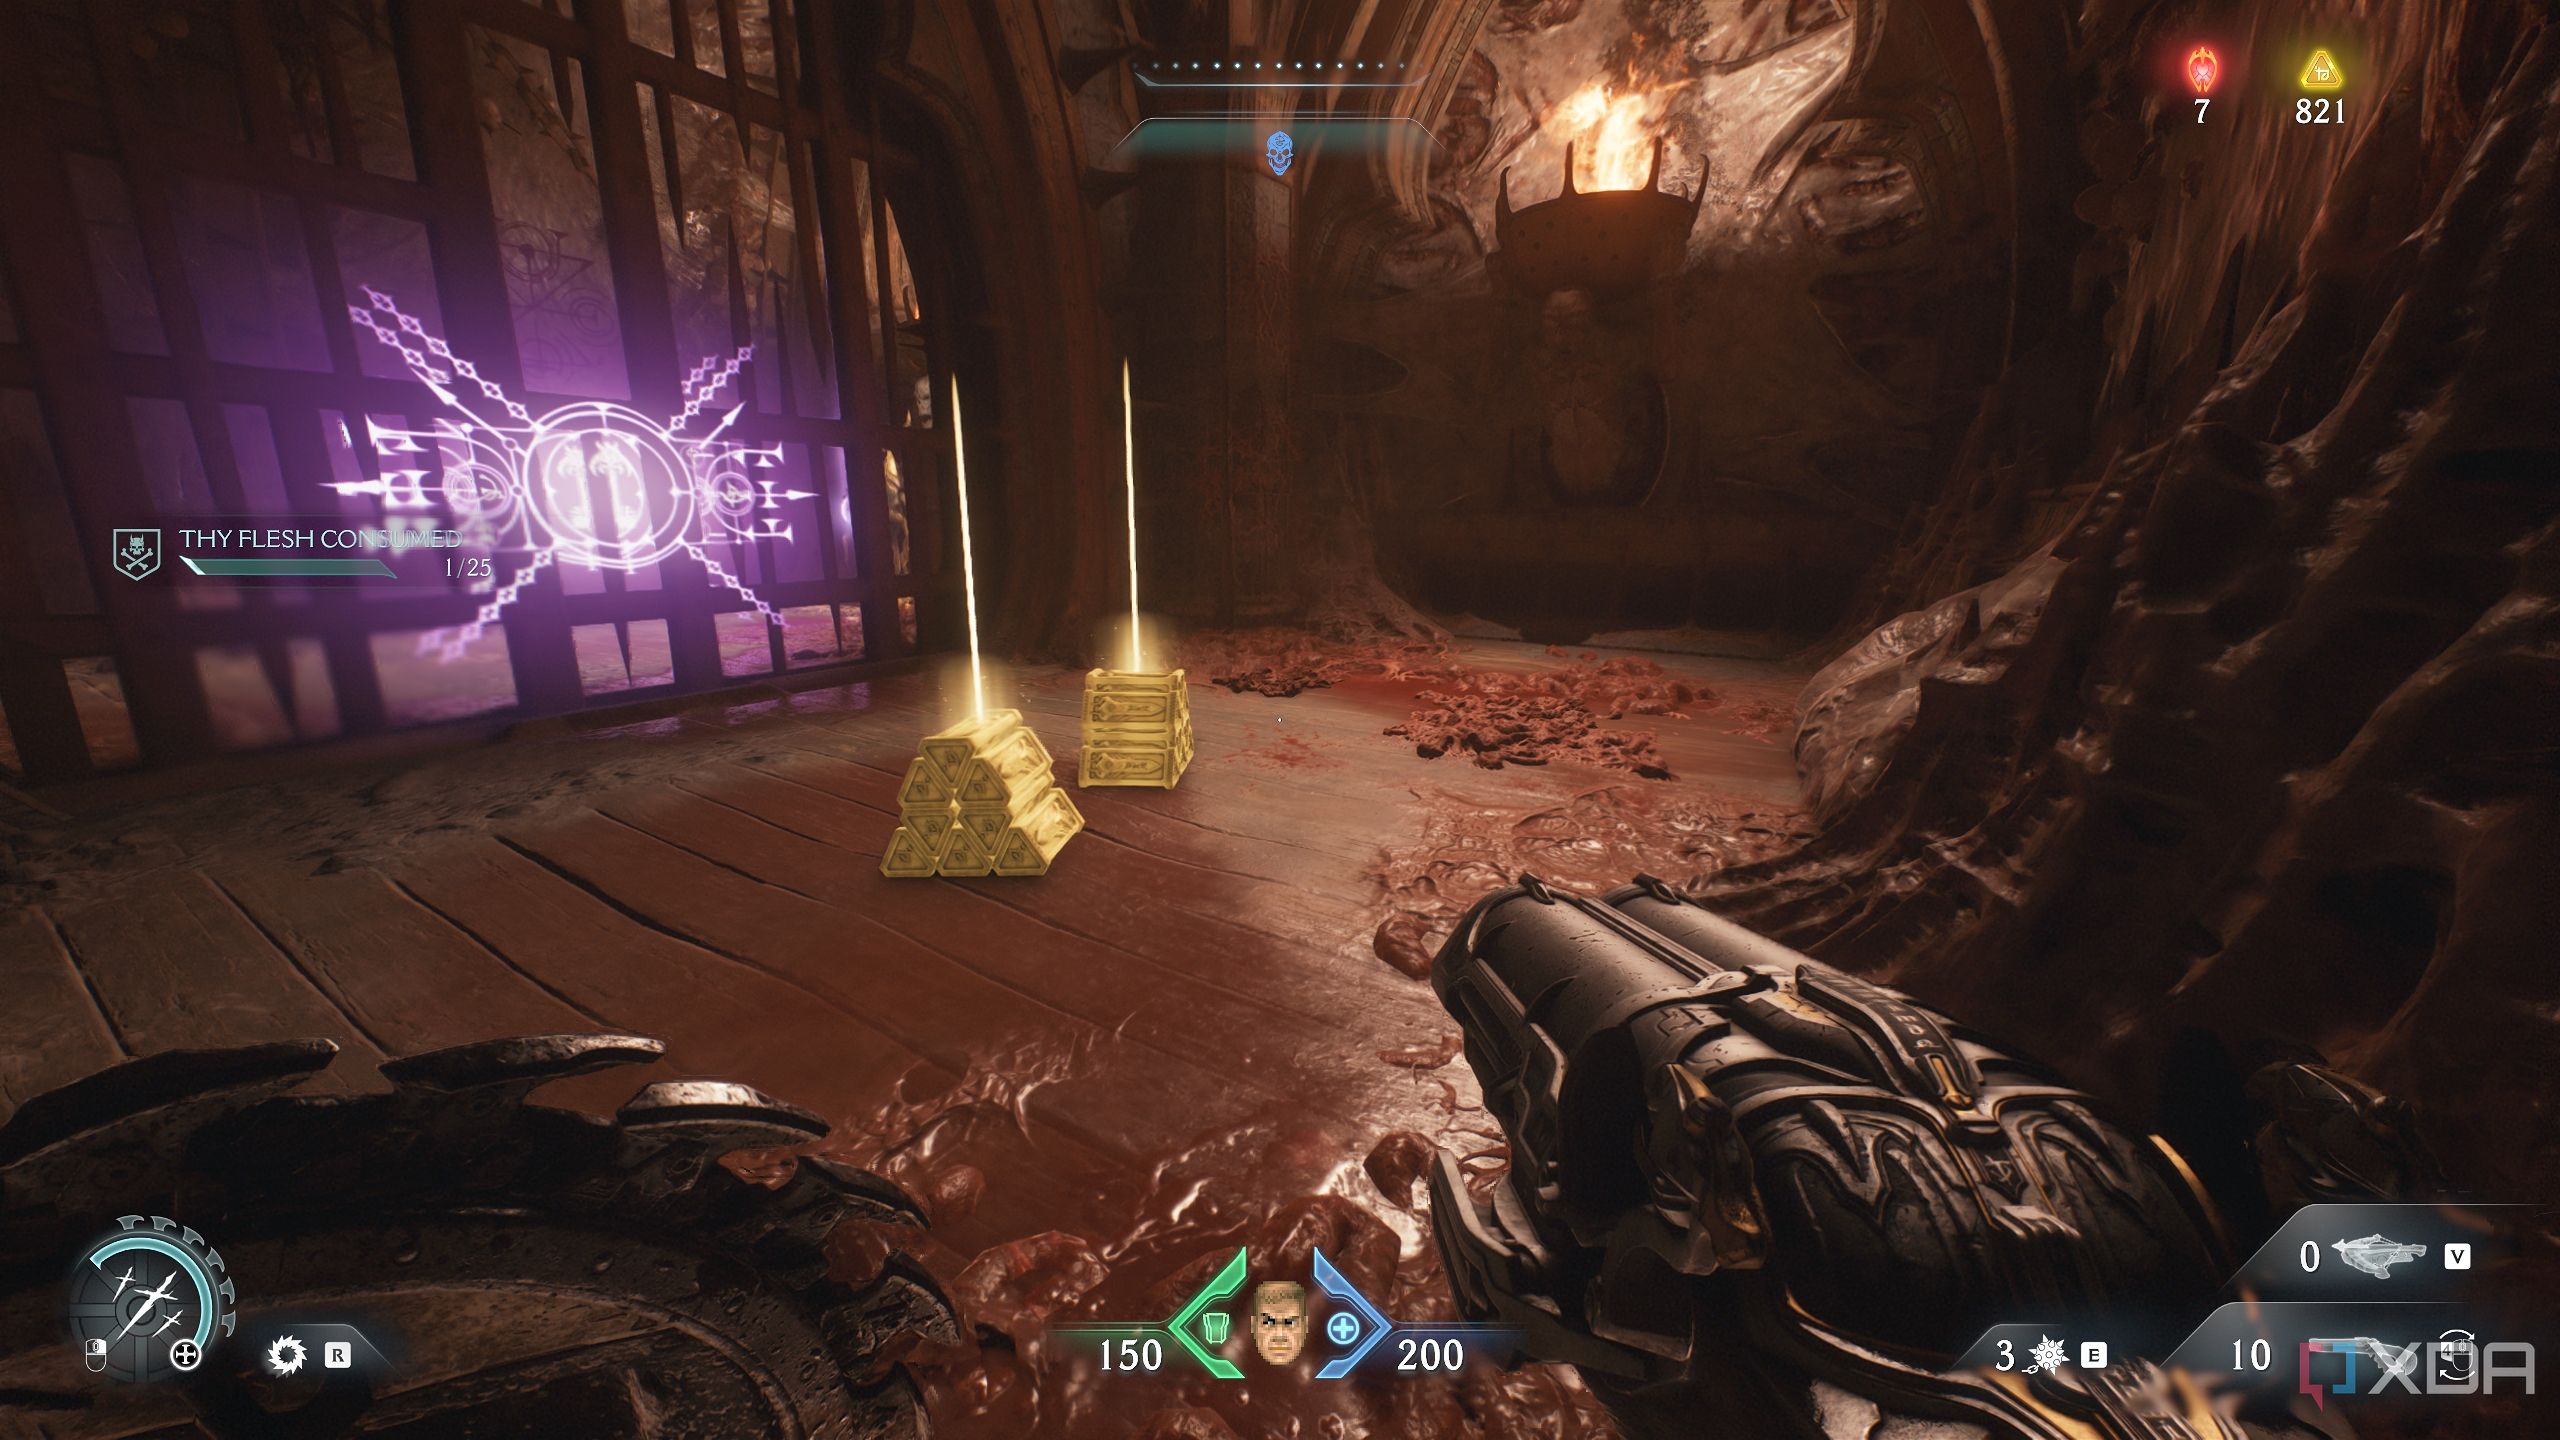
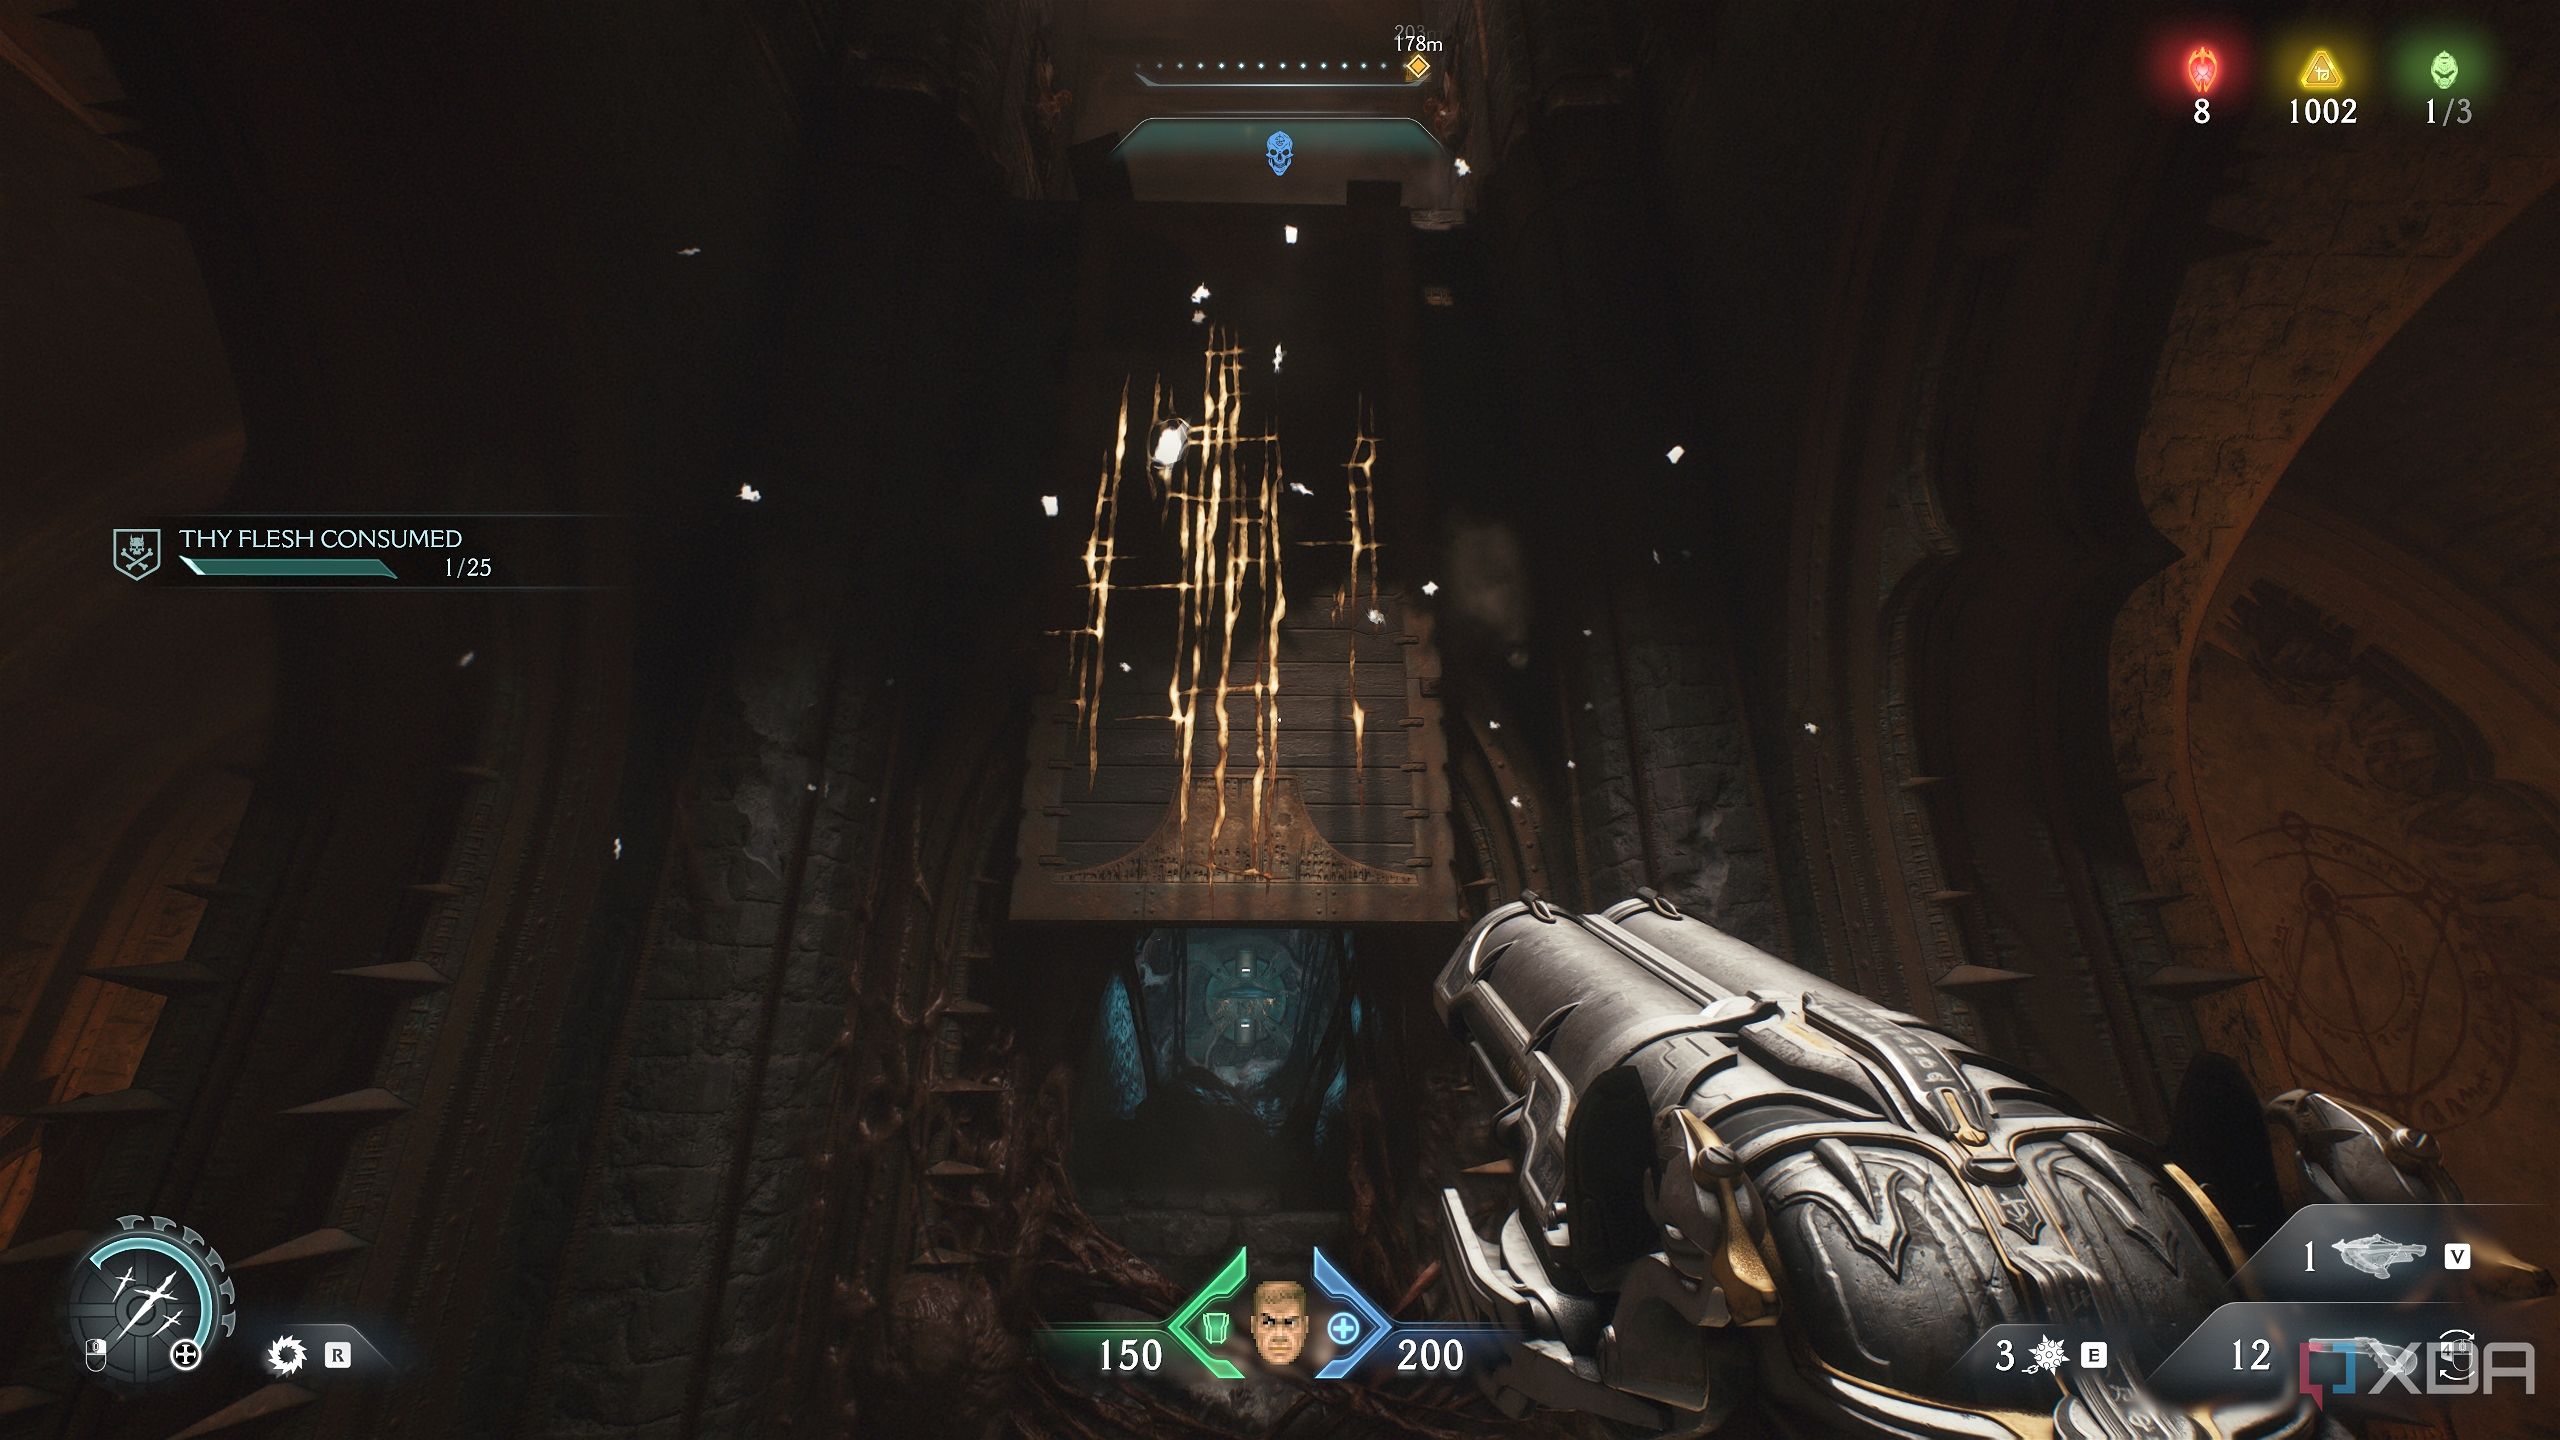
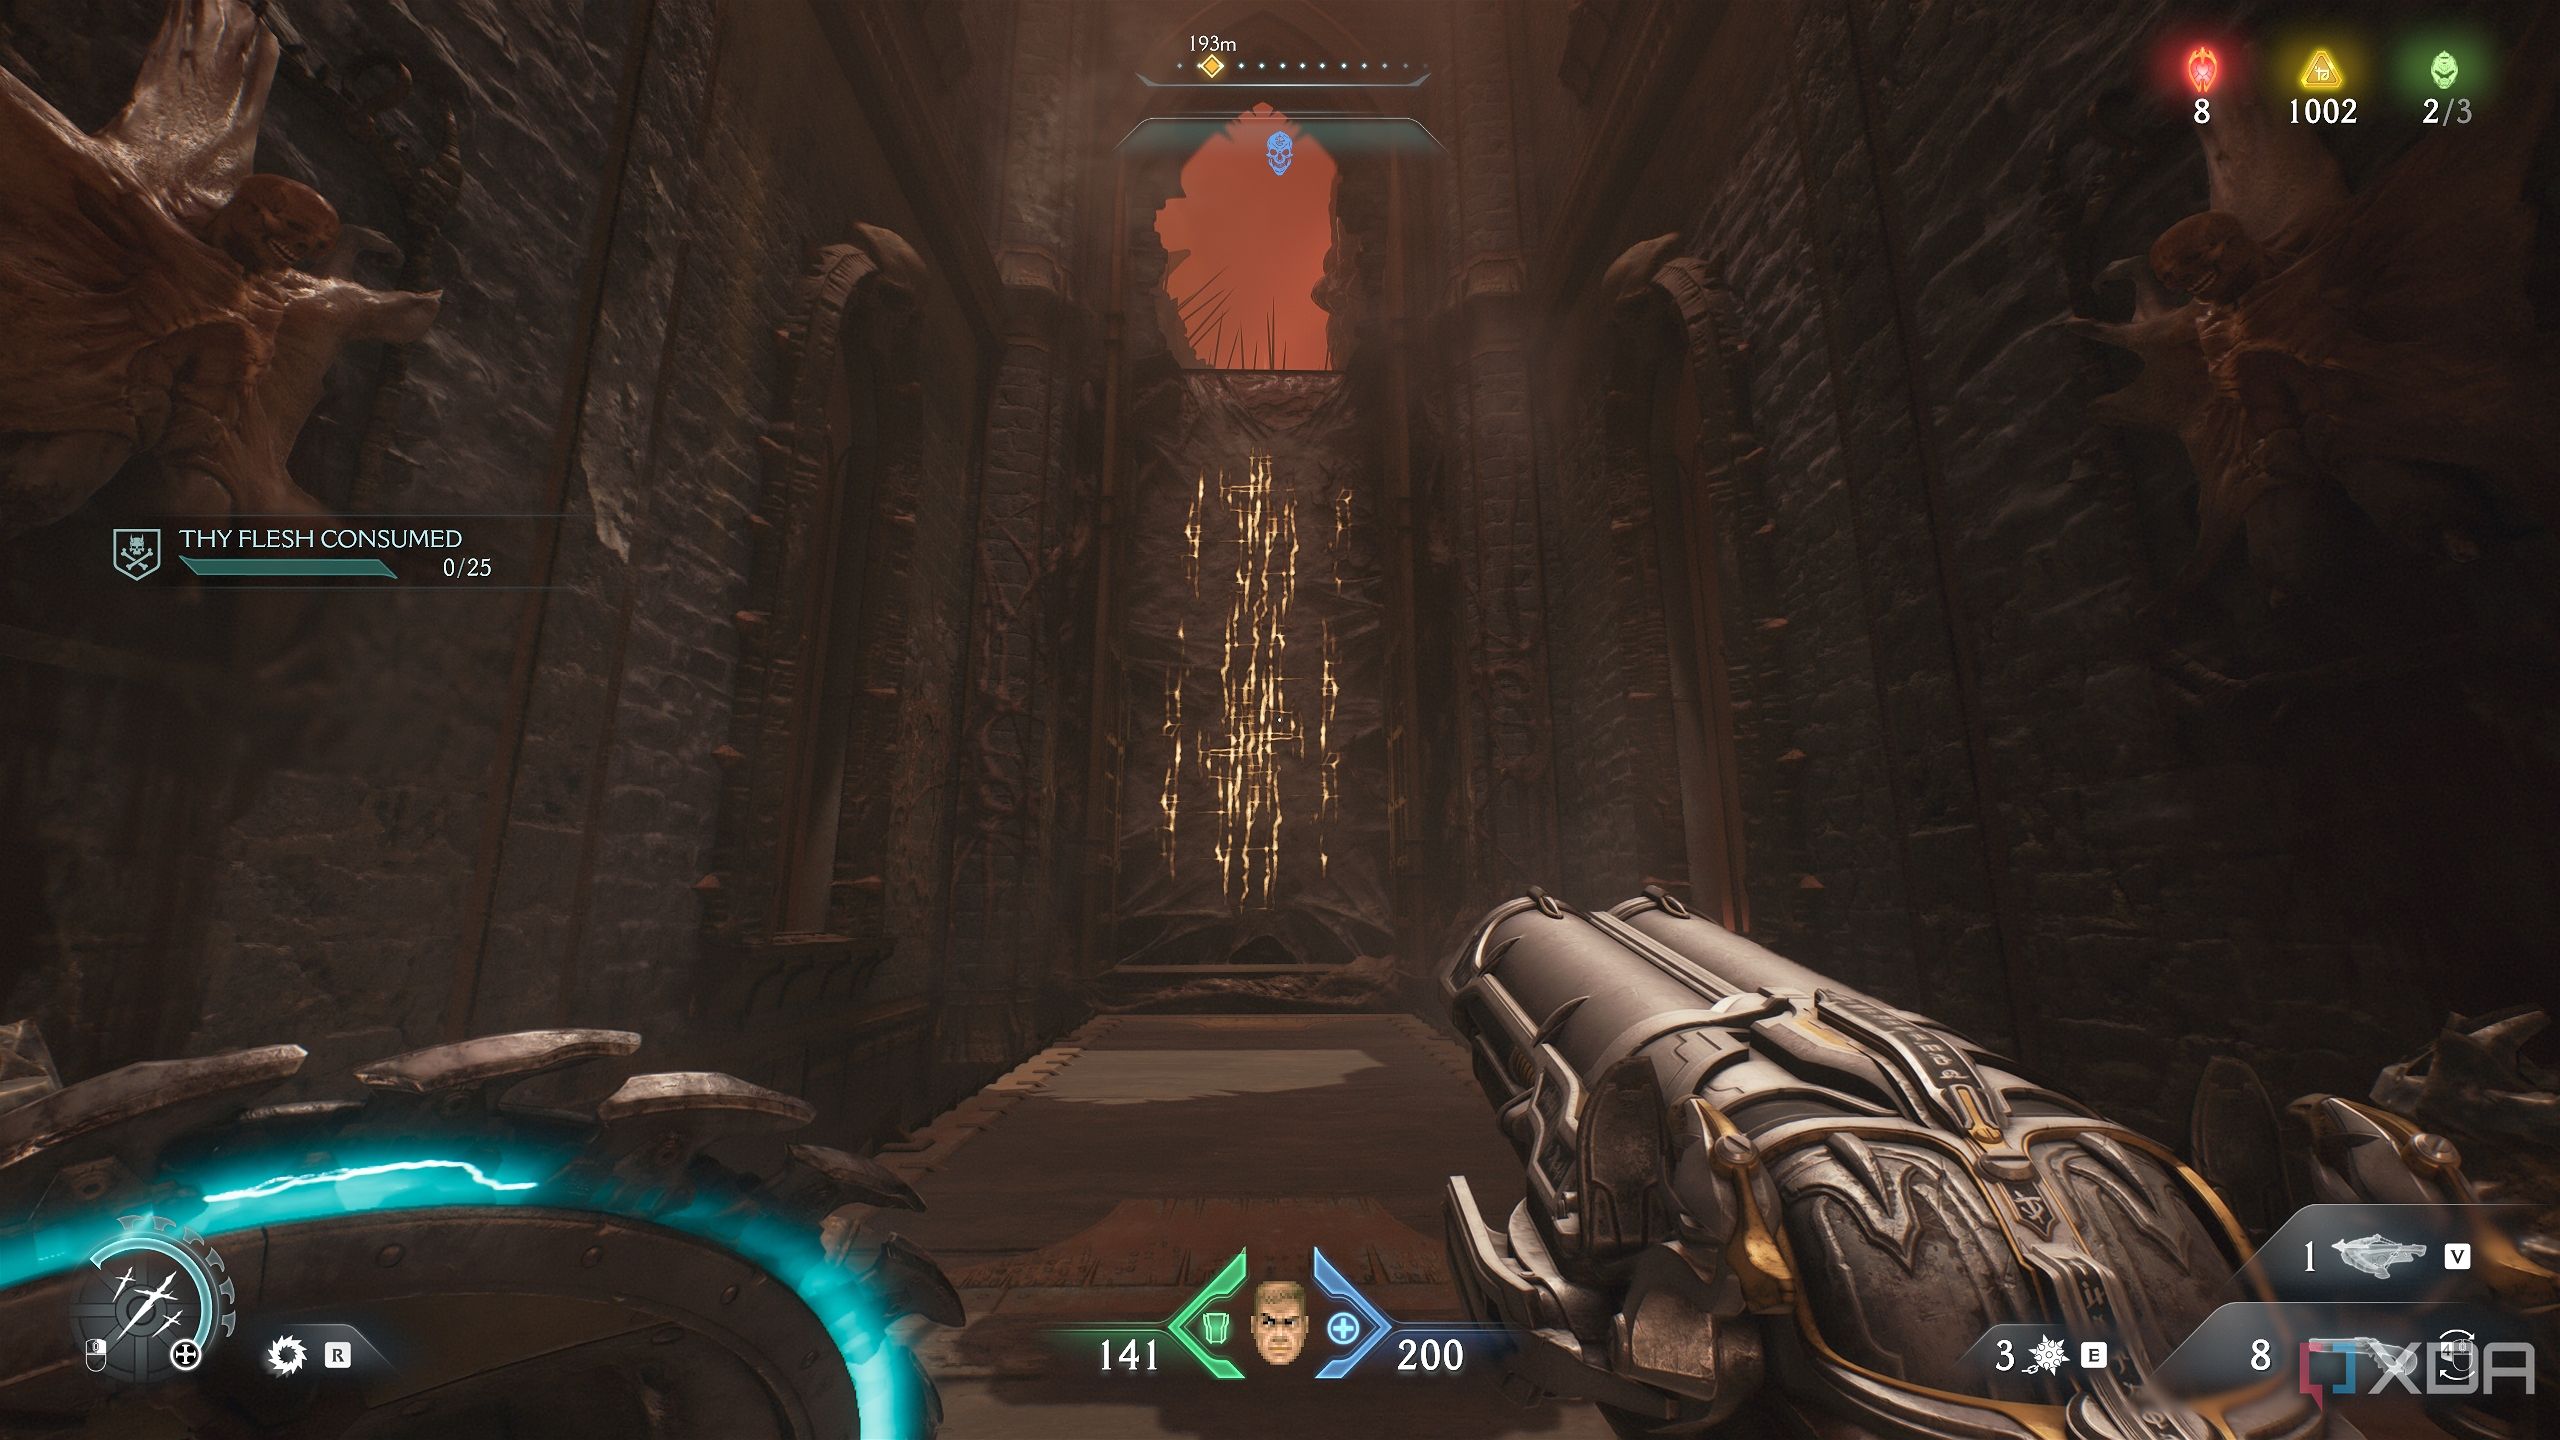
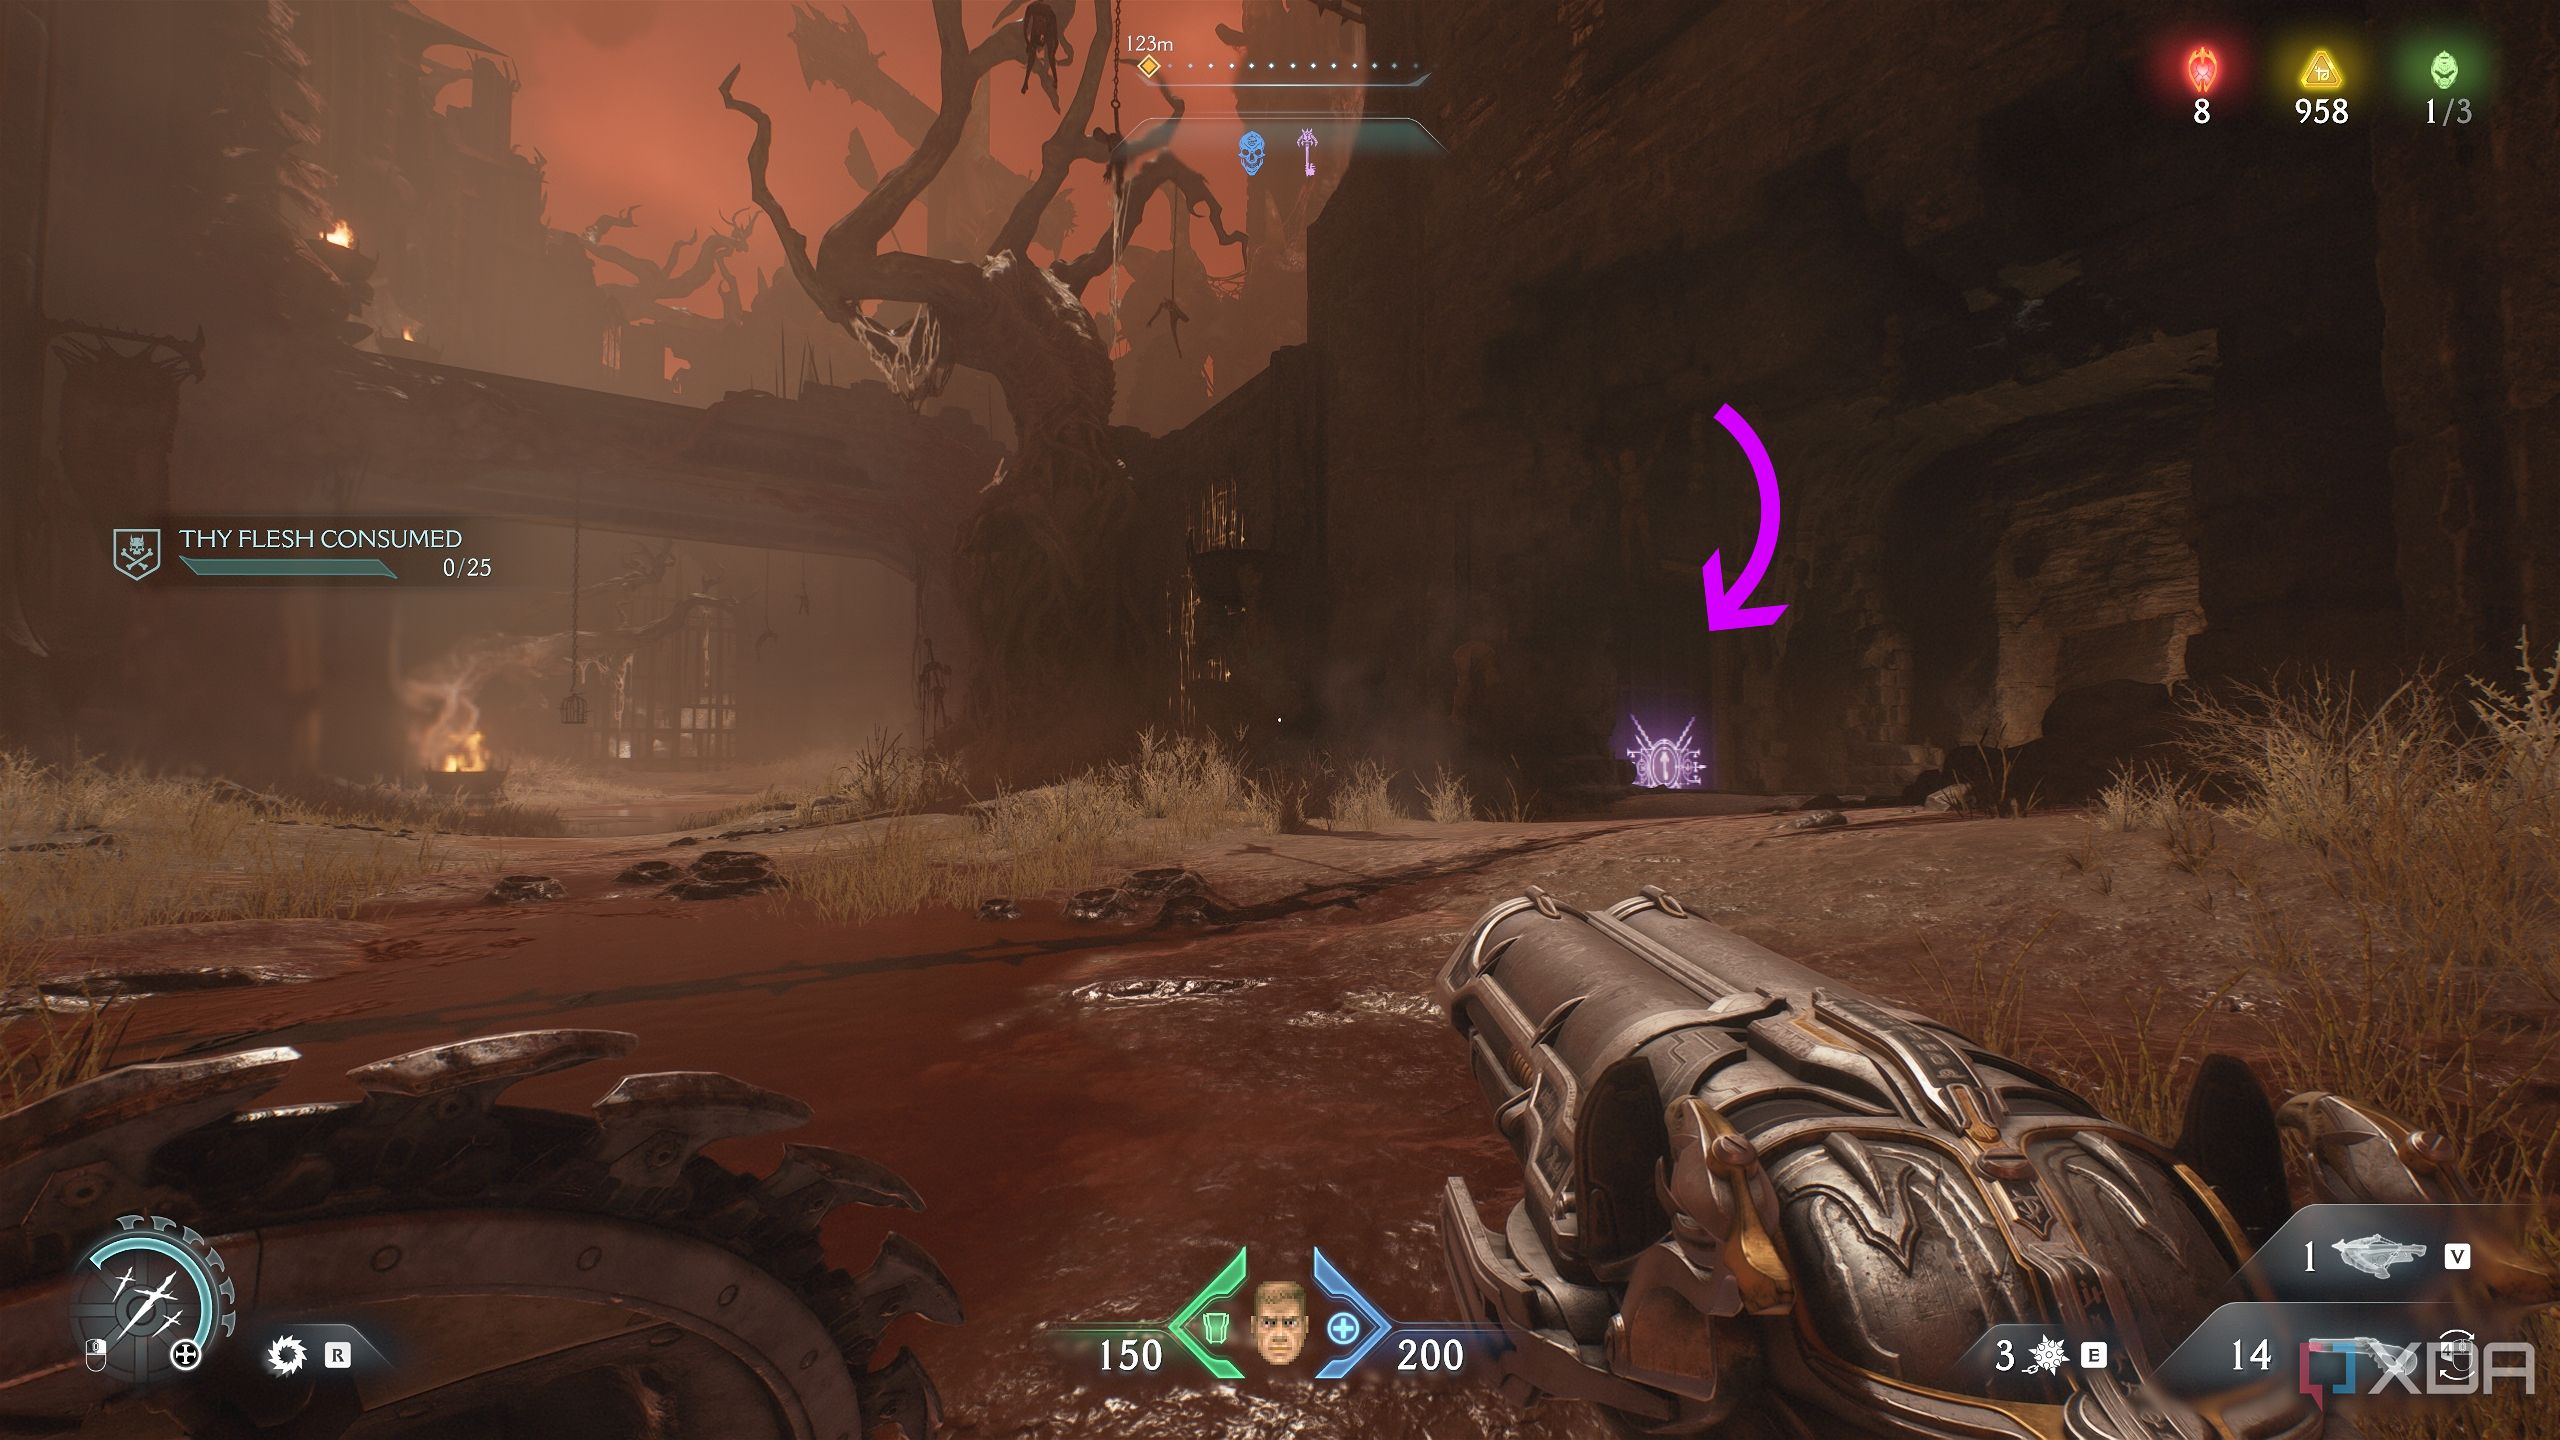
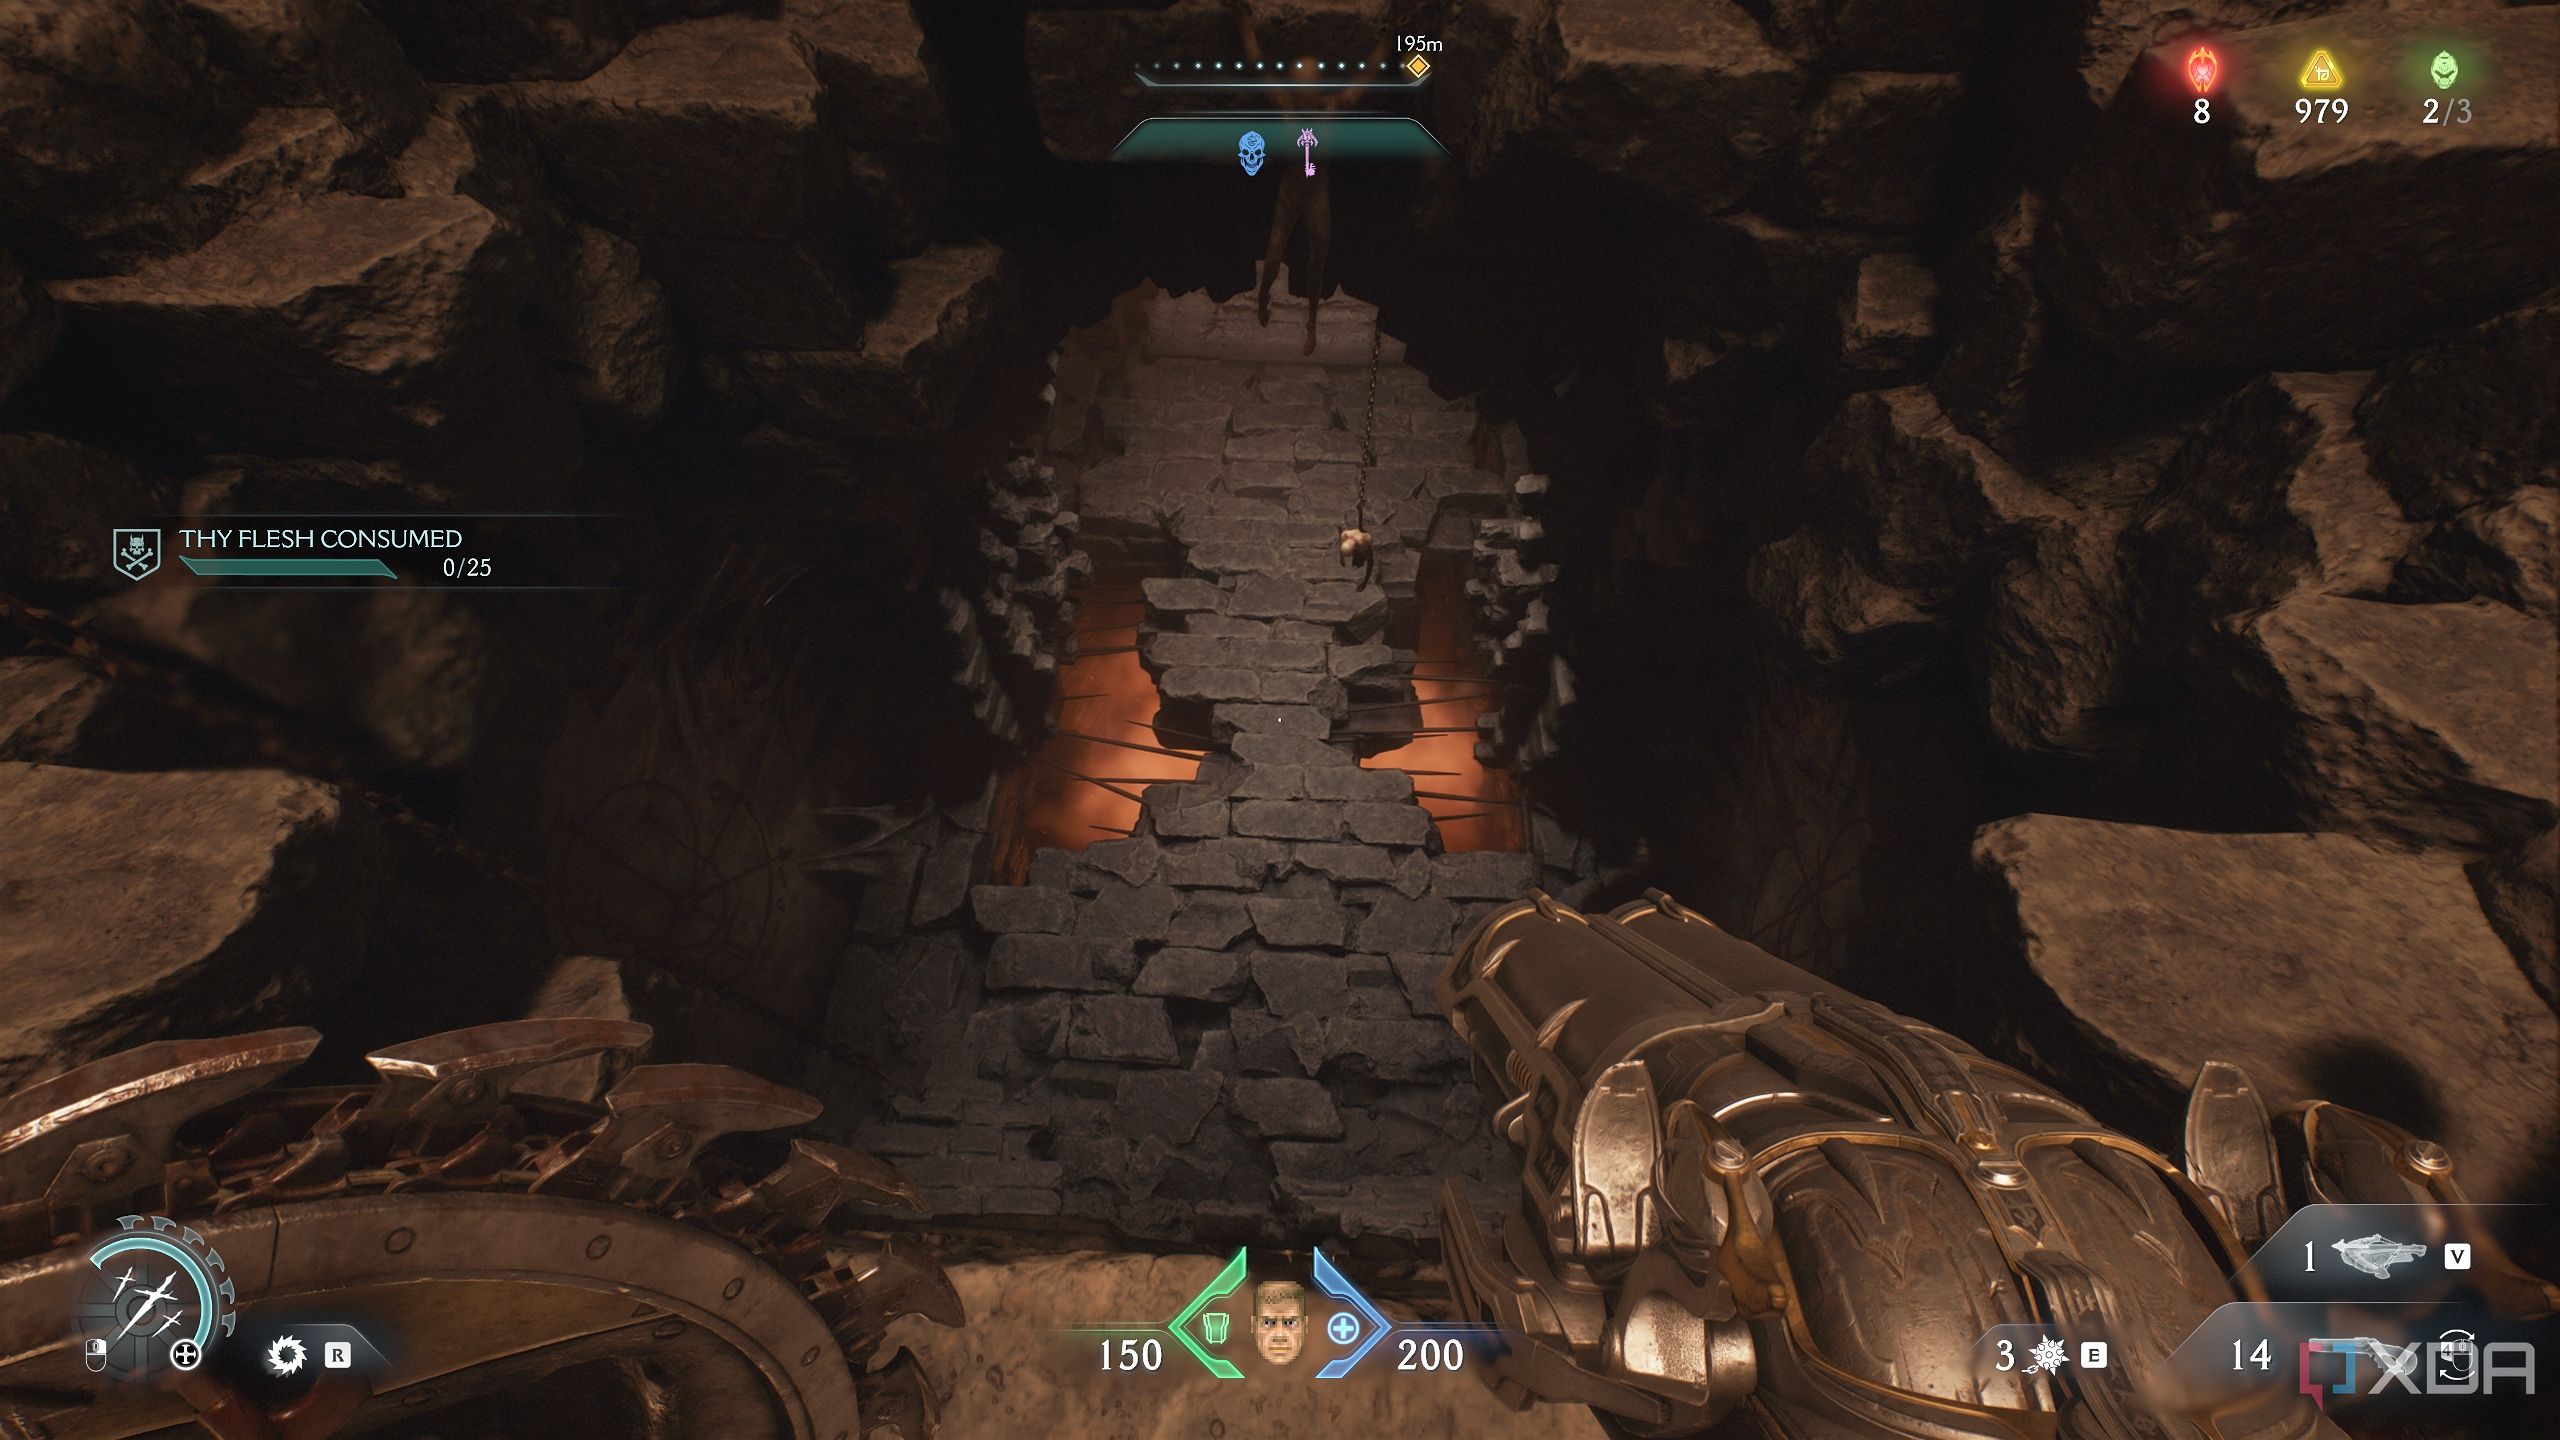
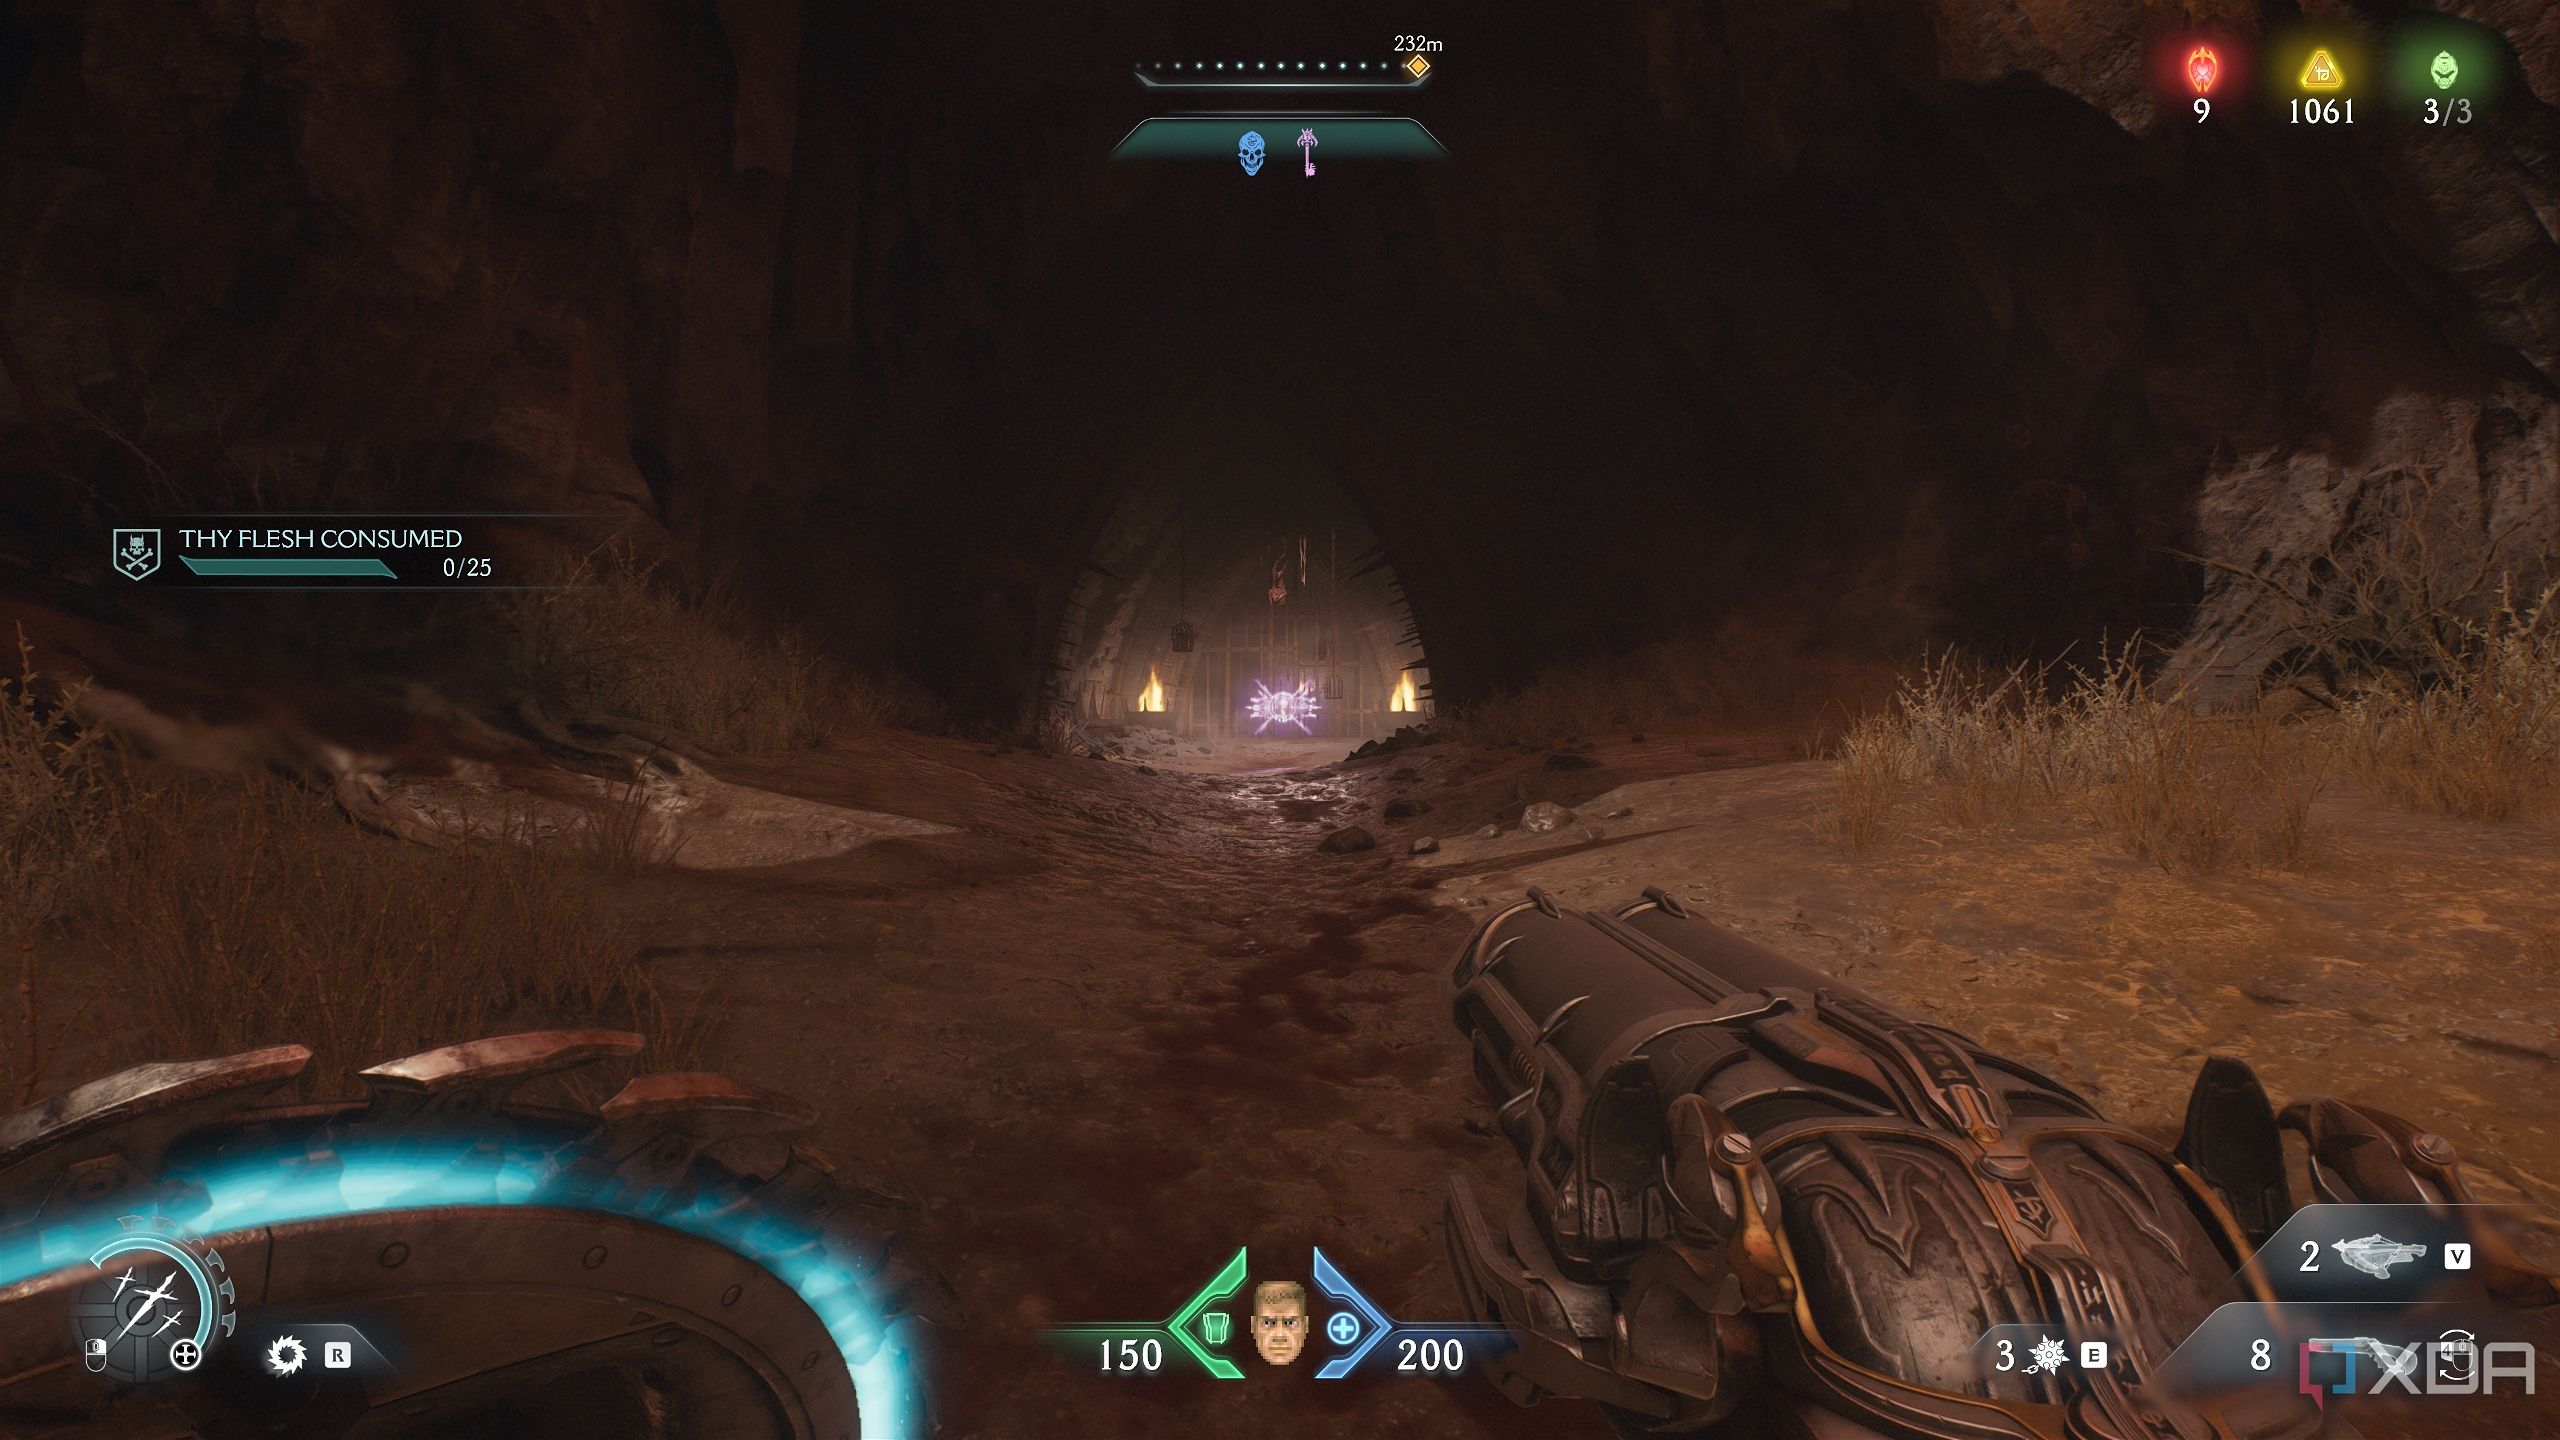
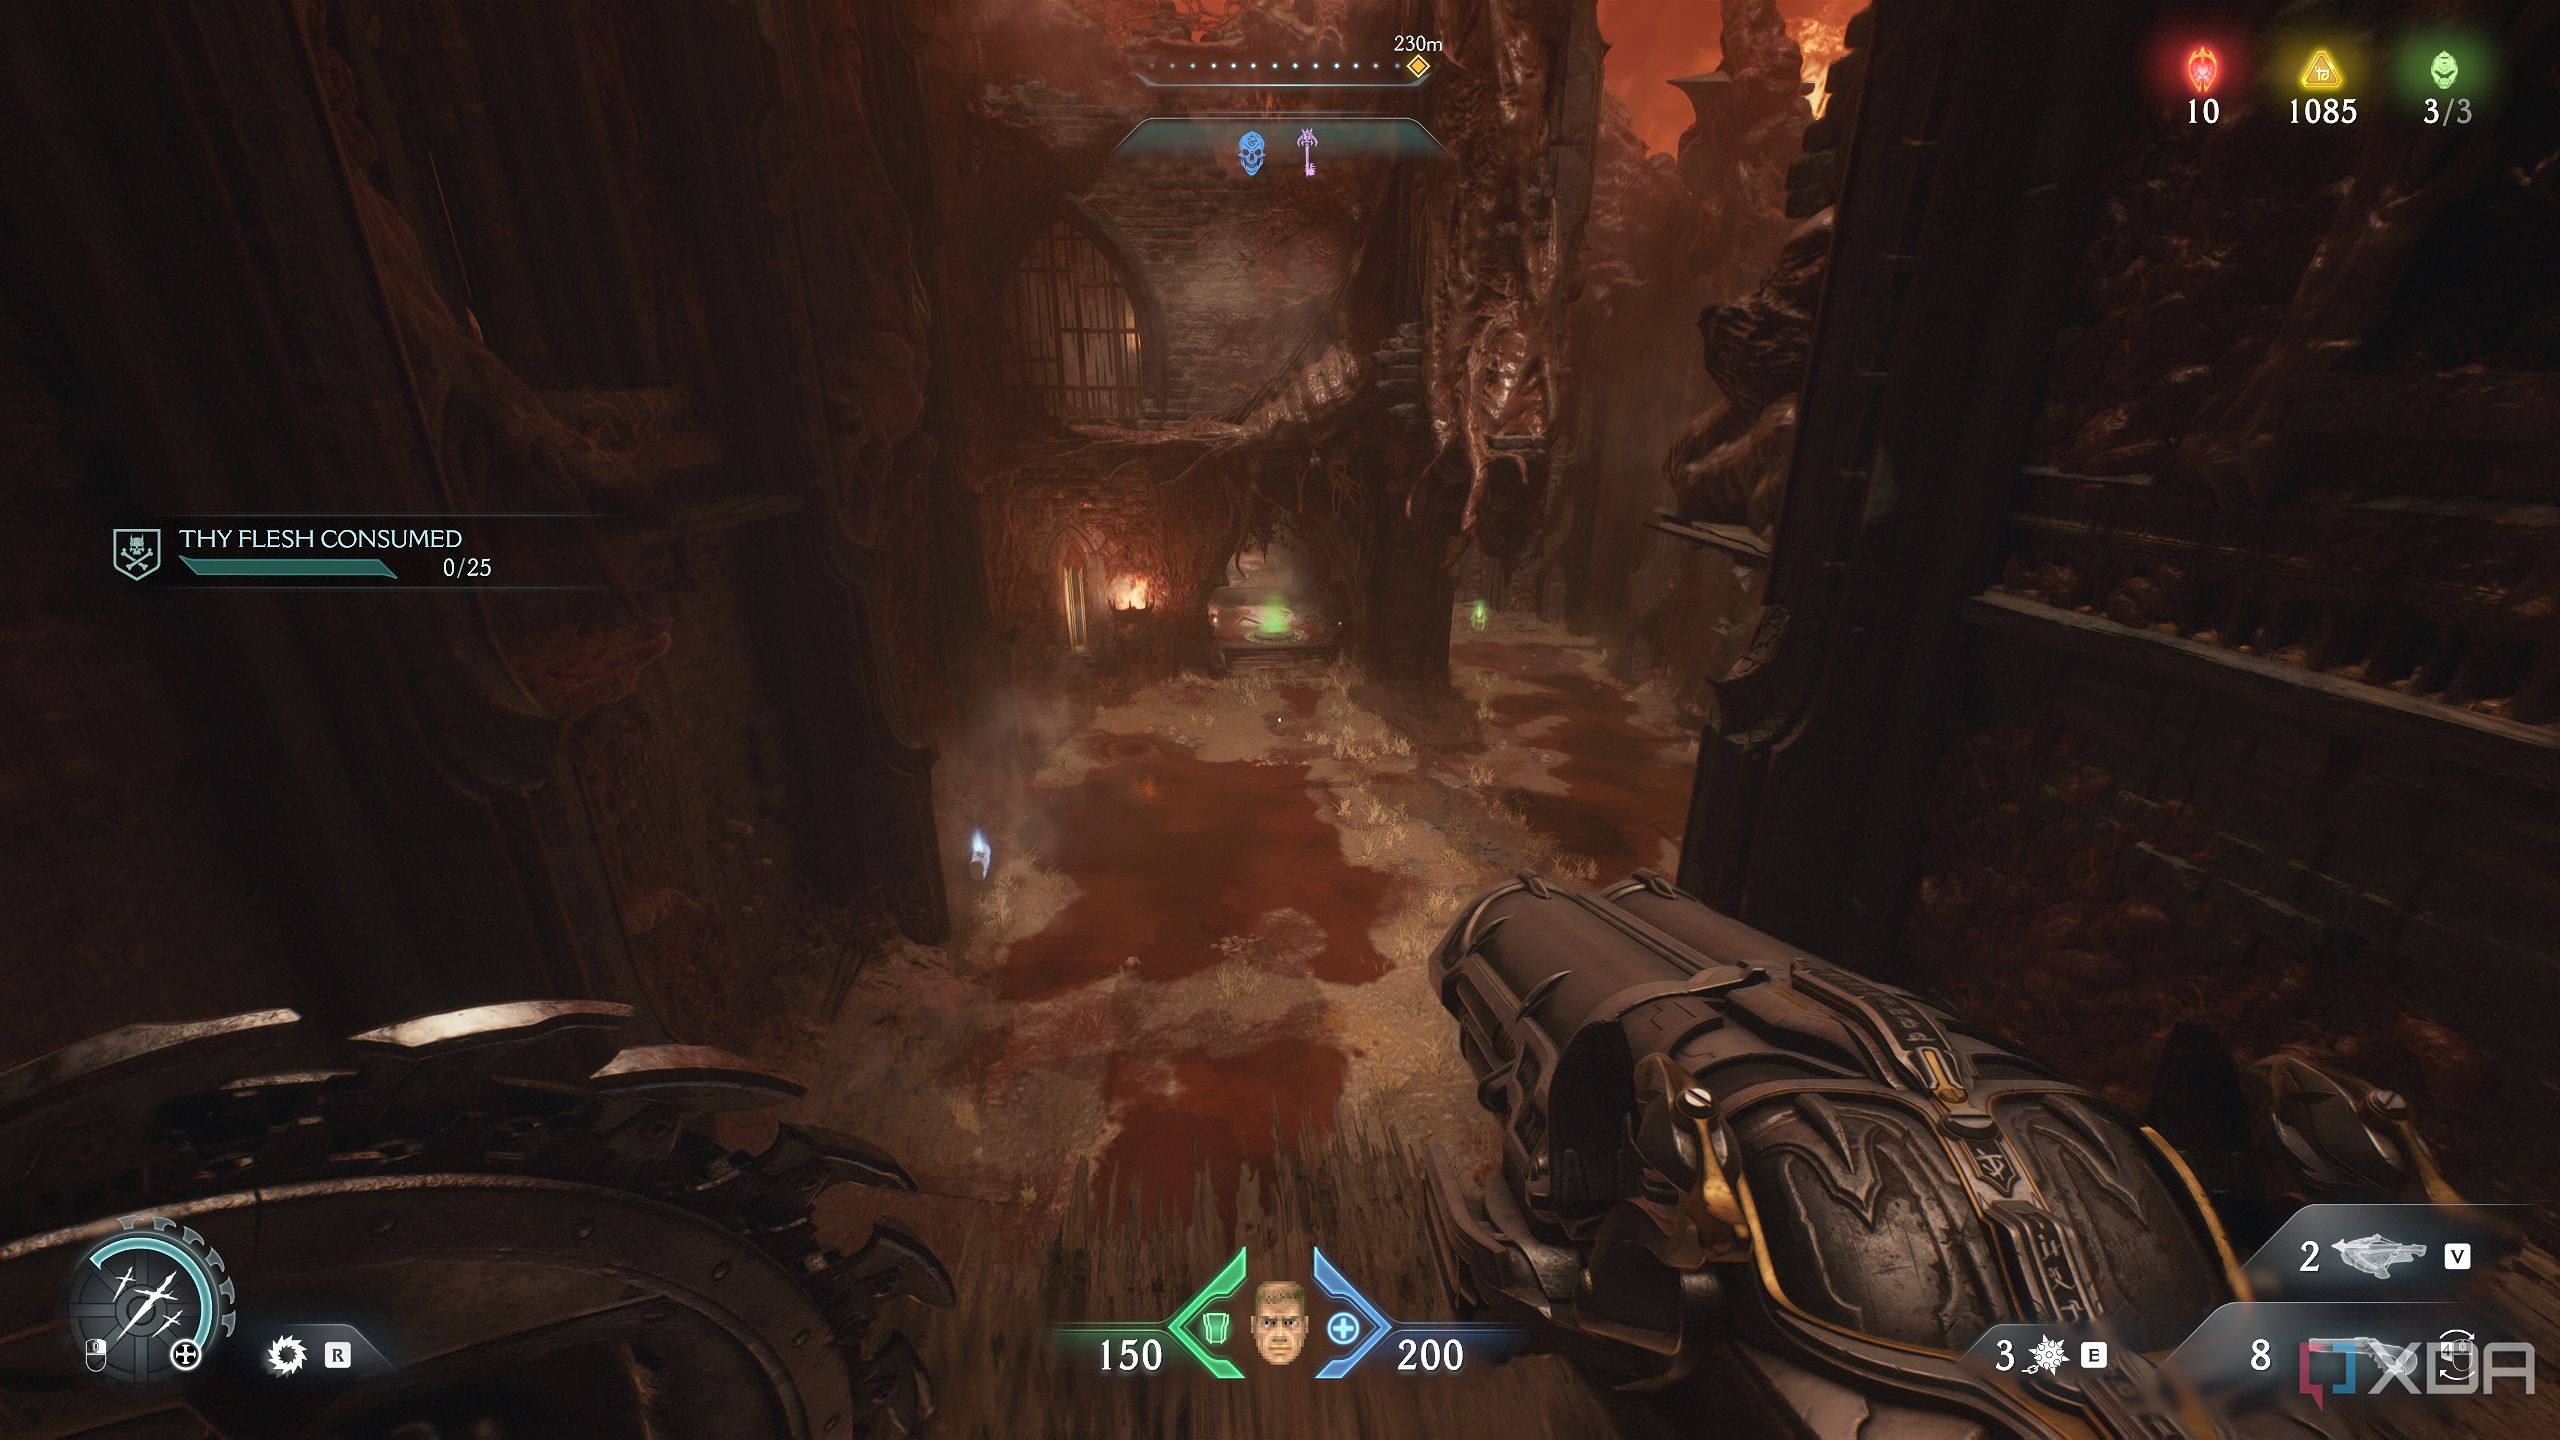
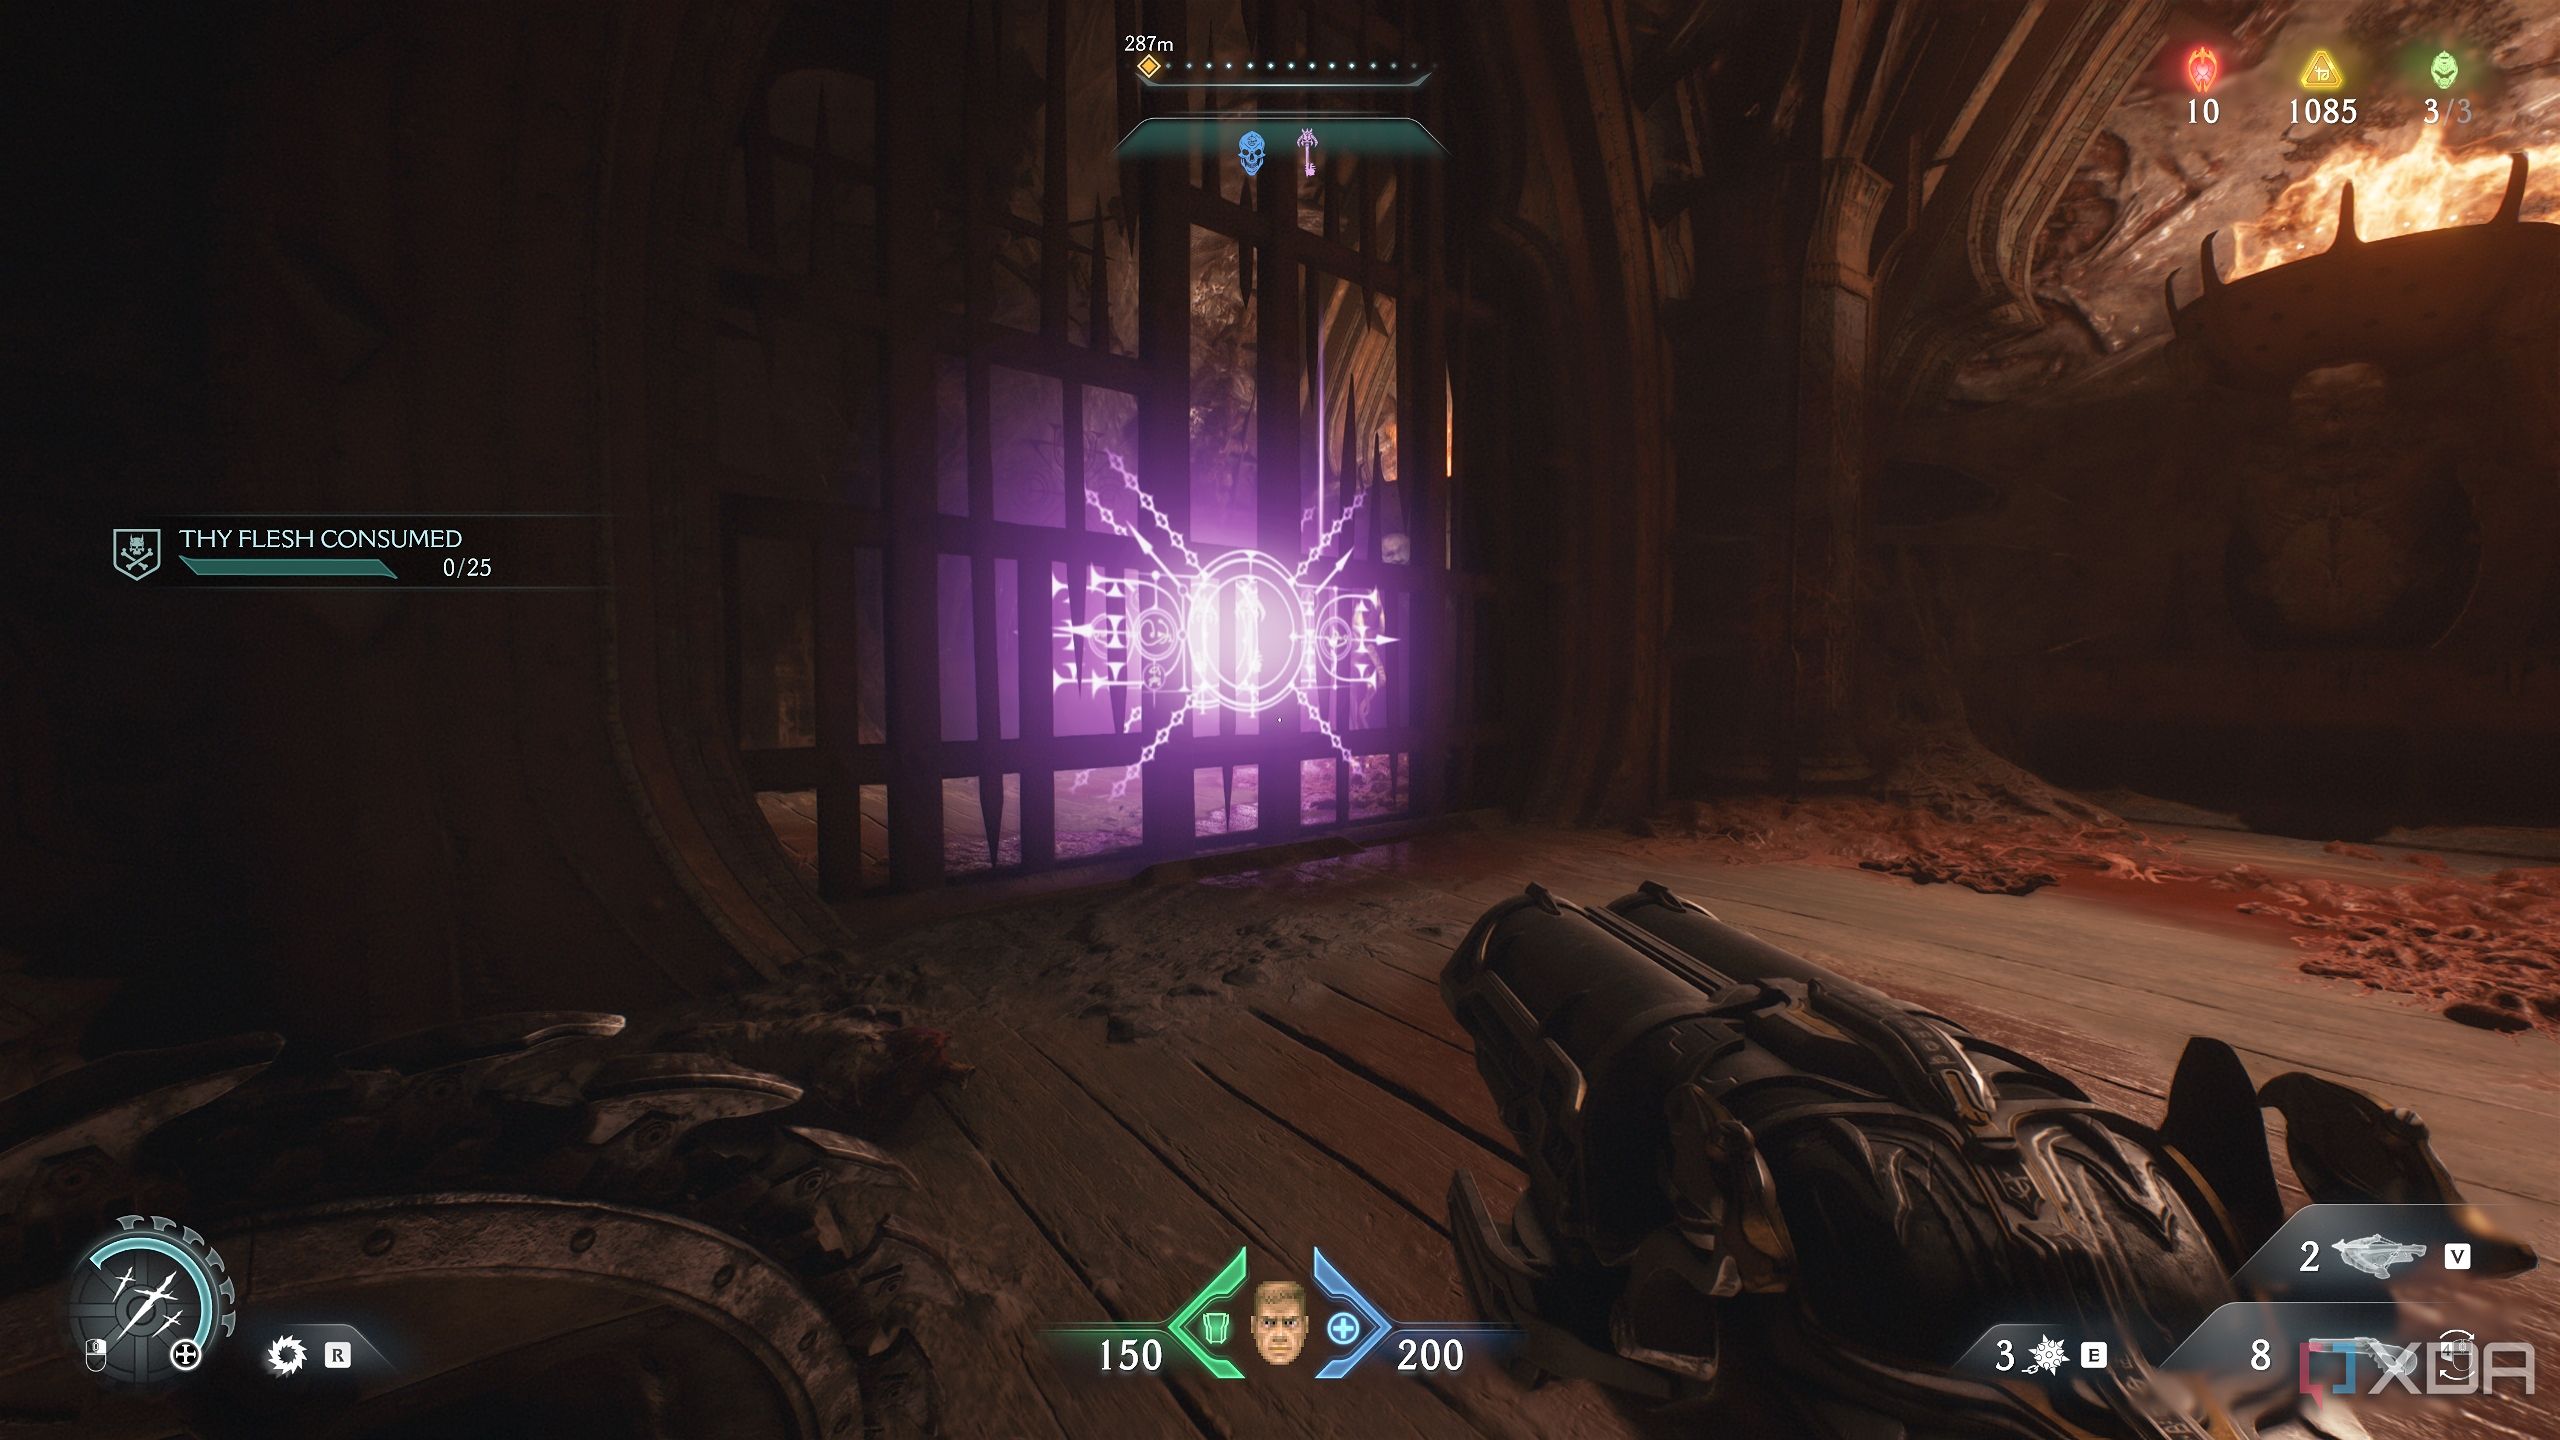
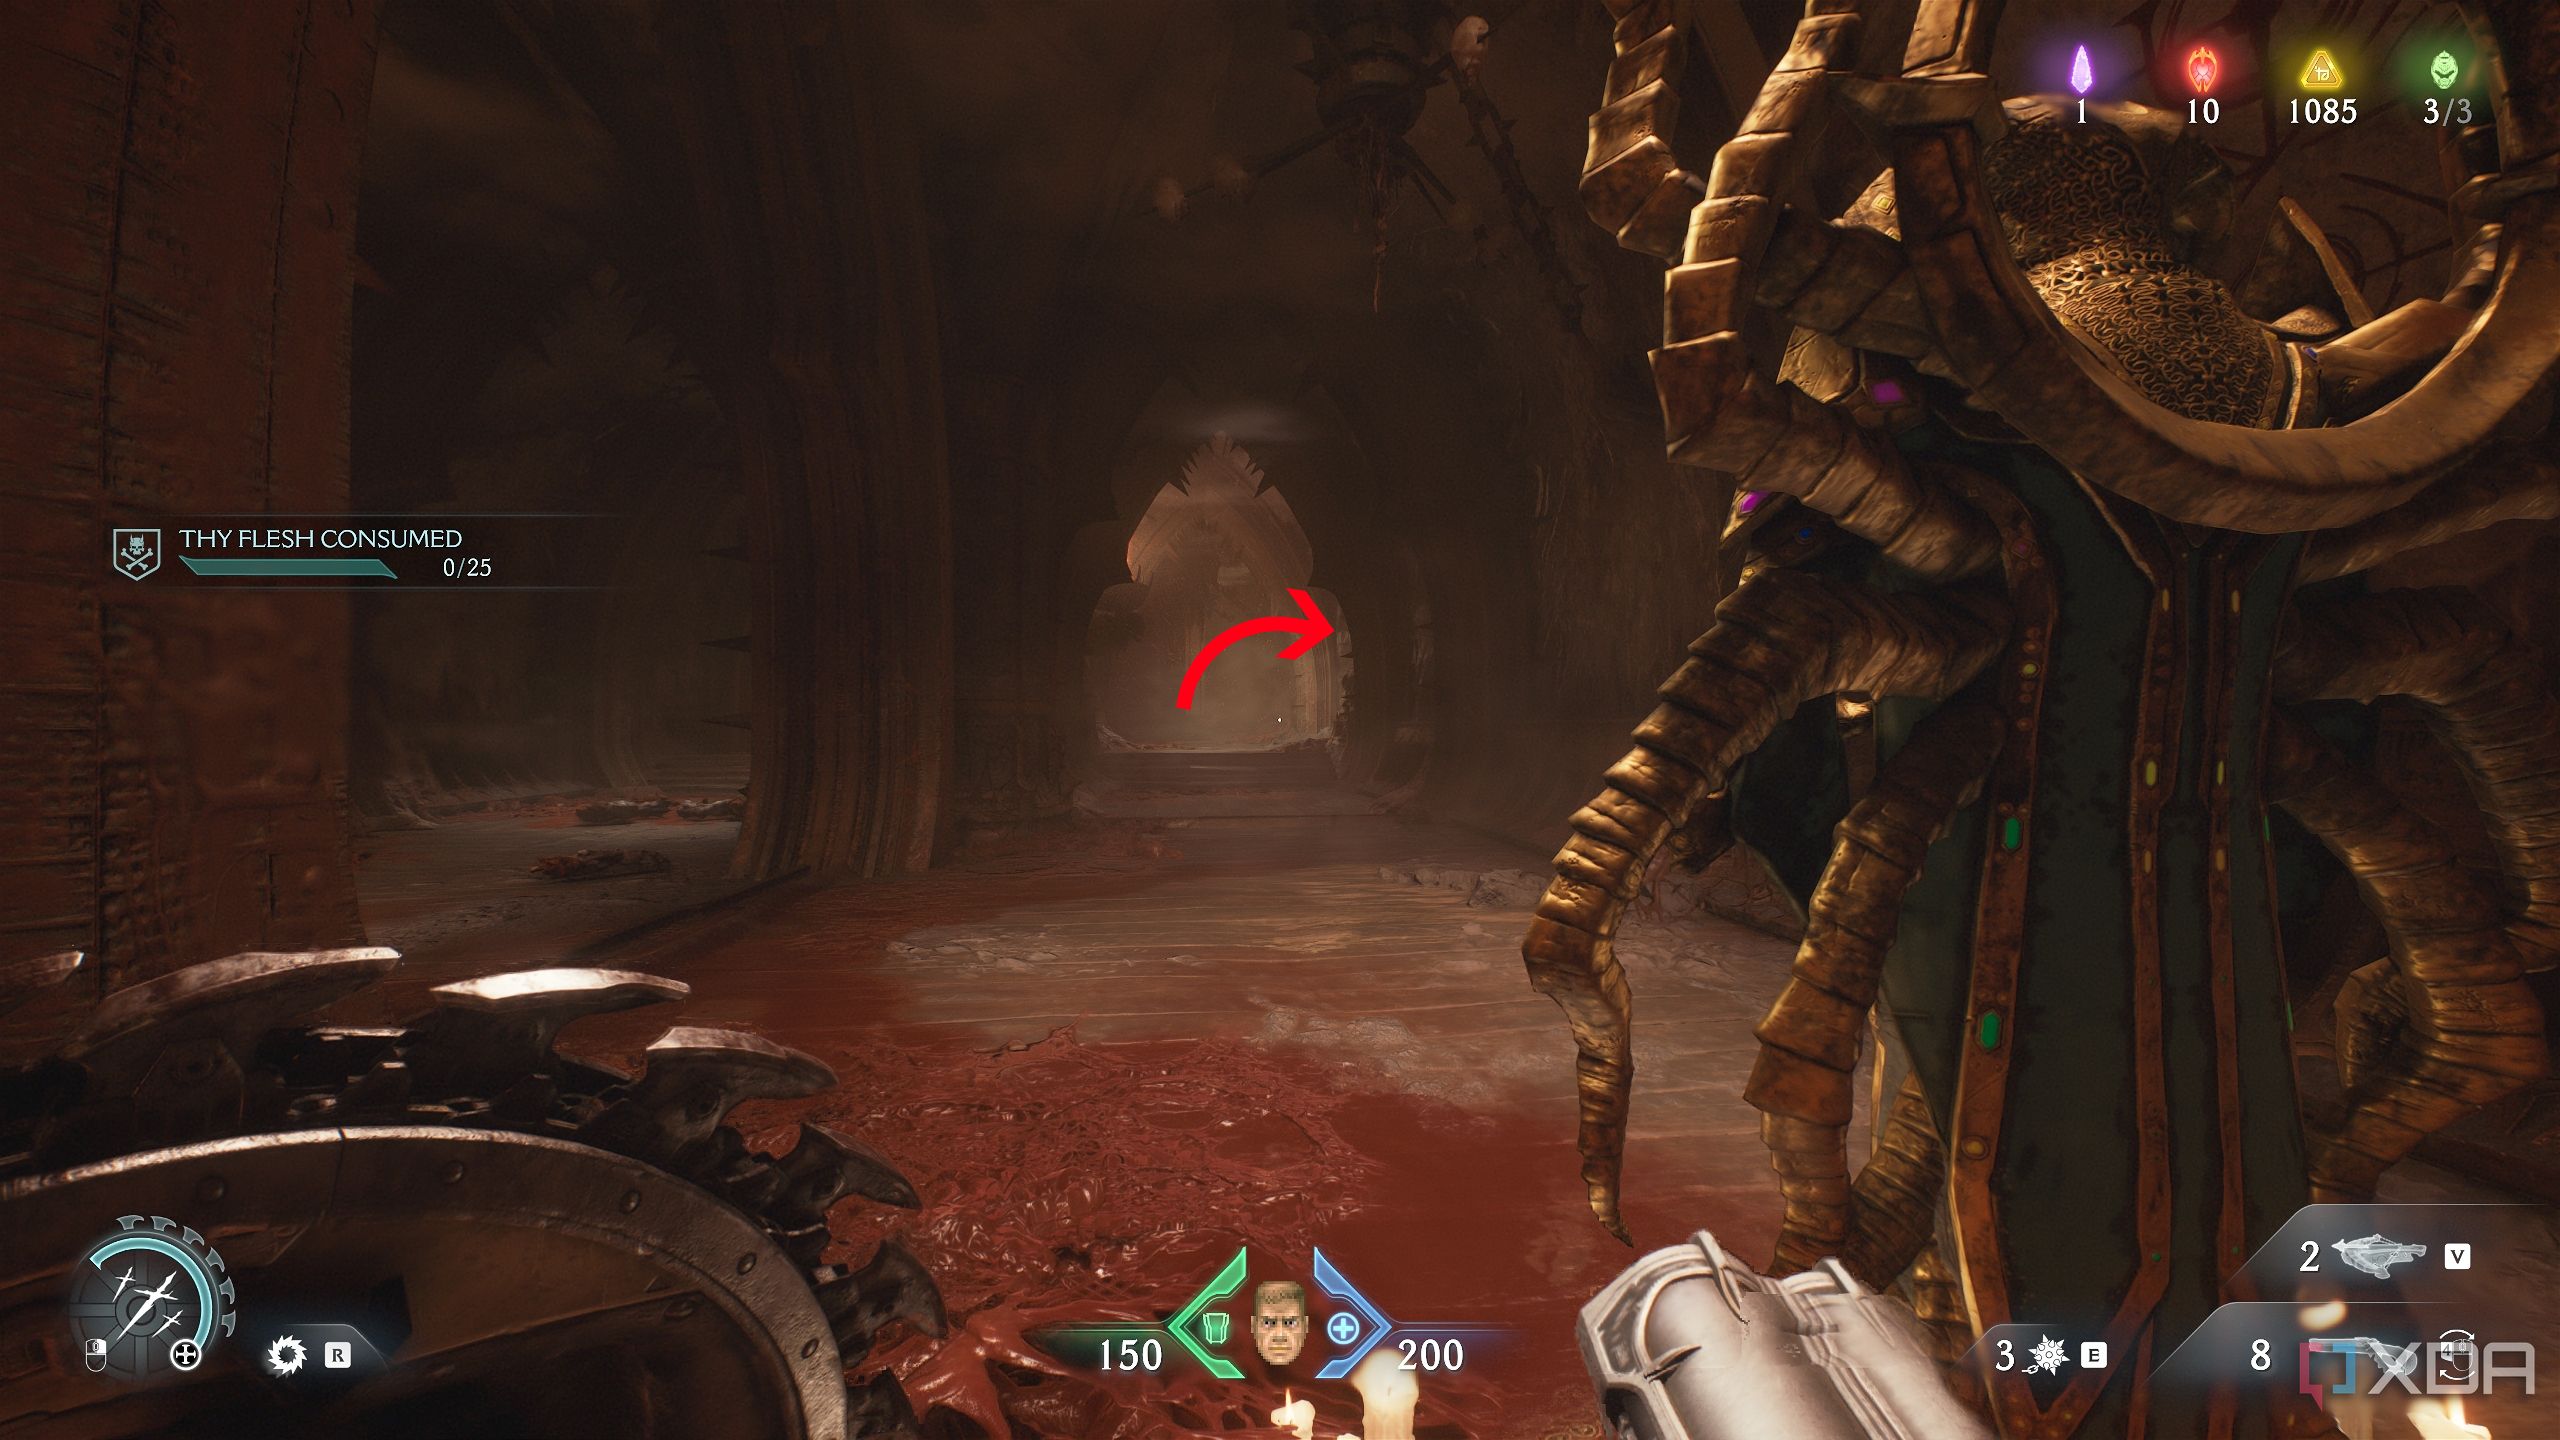
16. Final mission challenge — Thy Flesh Consumed
The best place to finish the last mission challenge
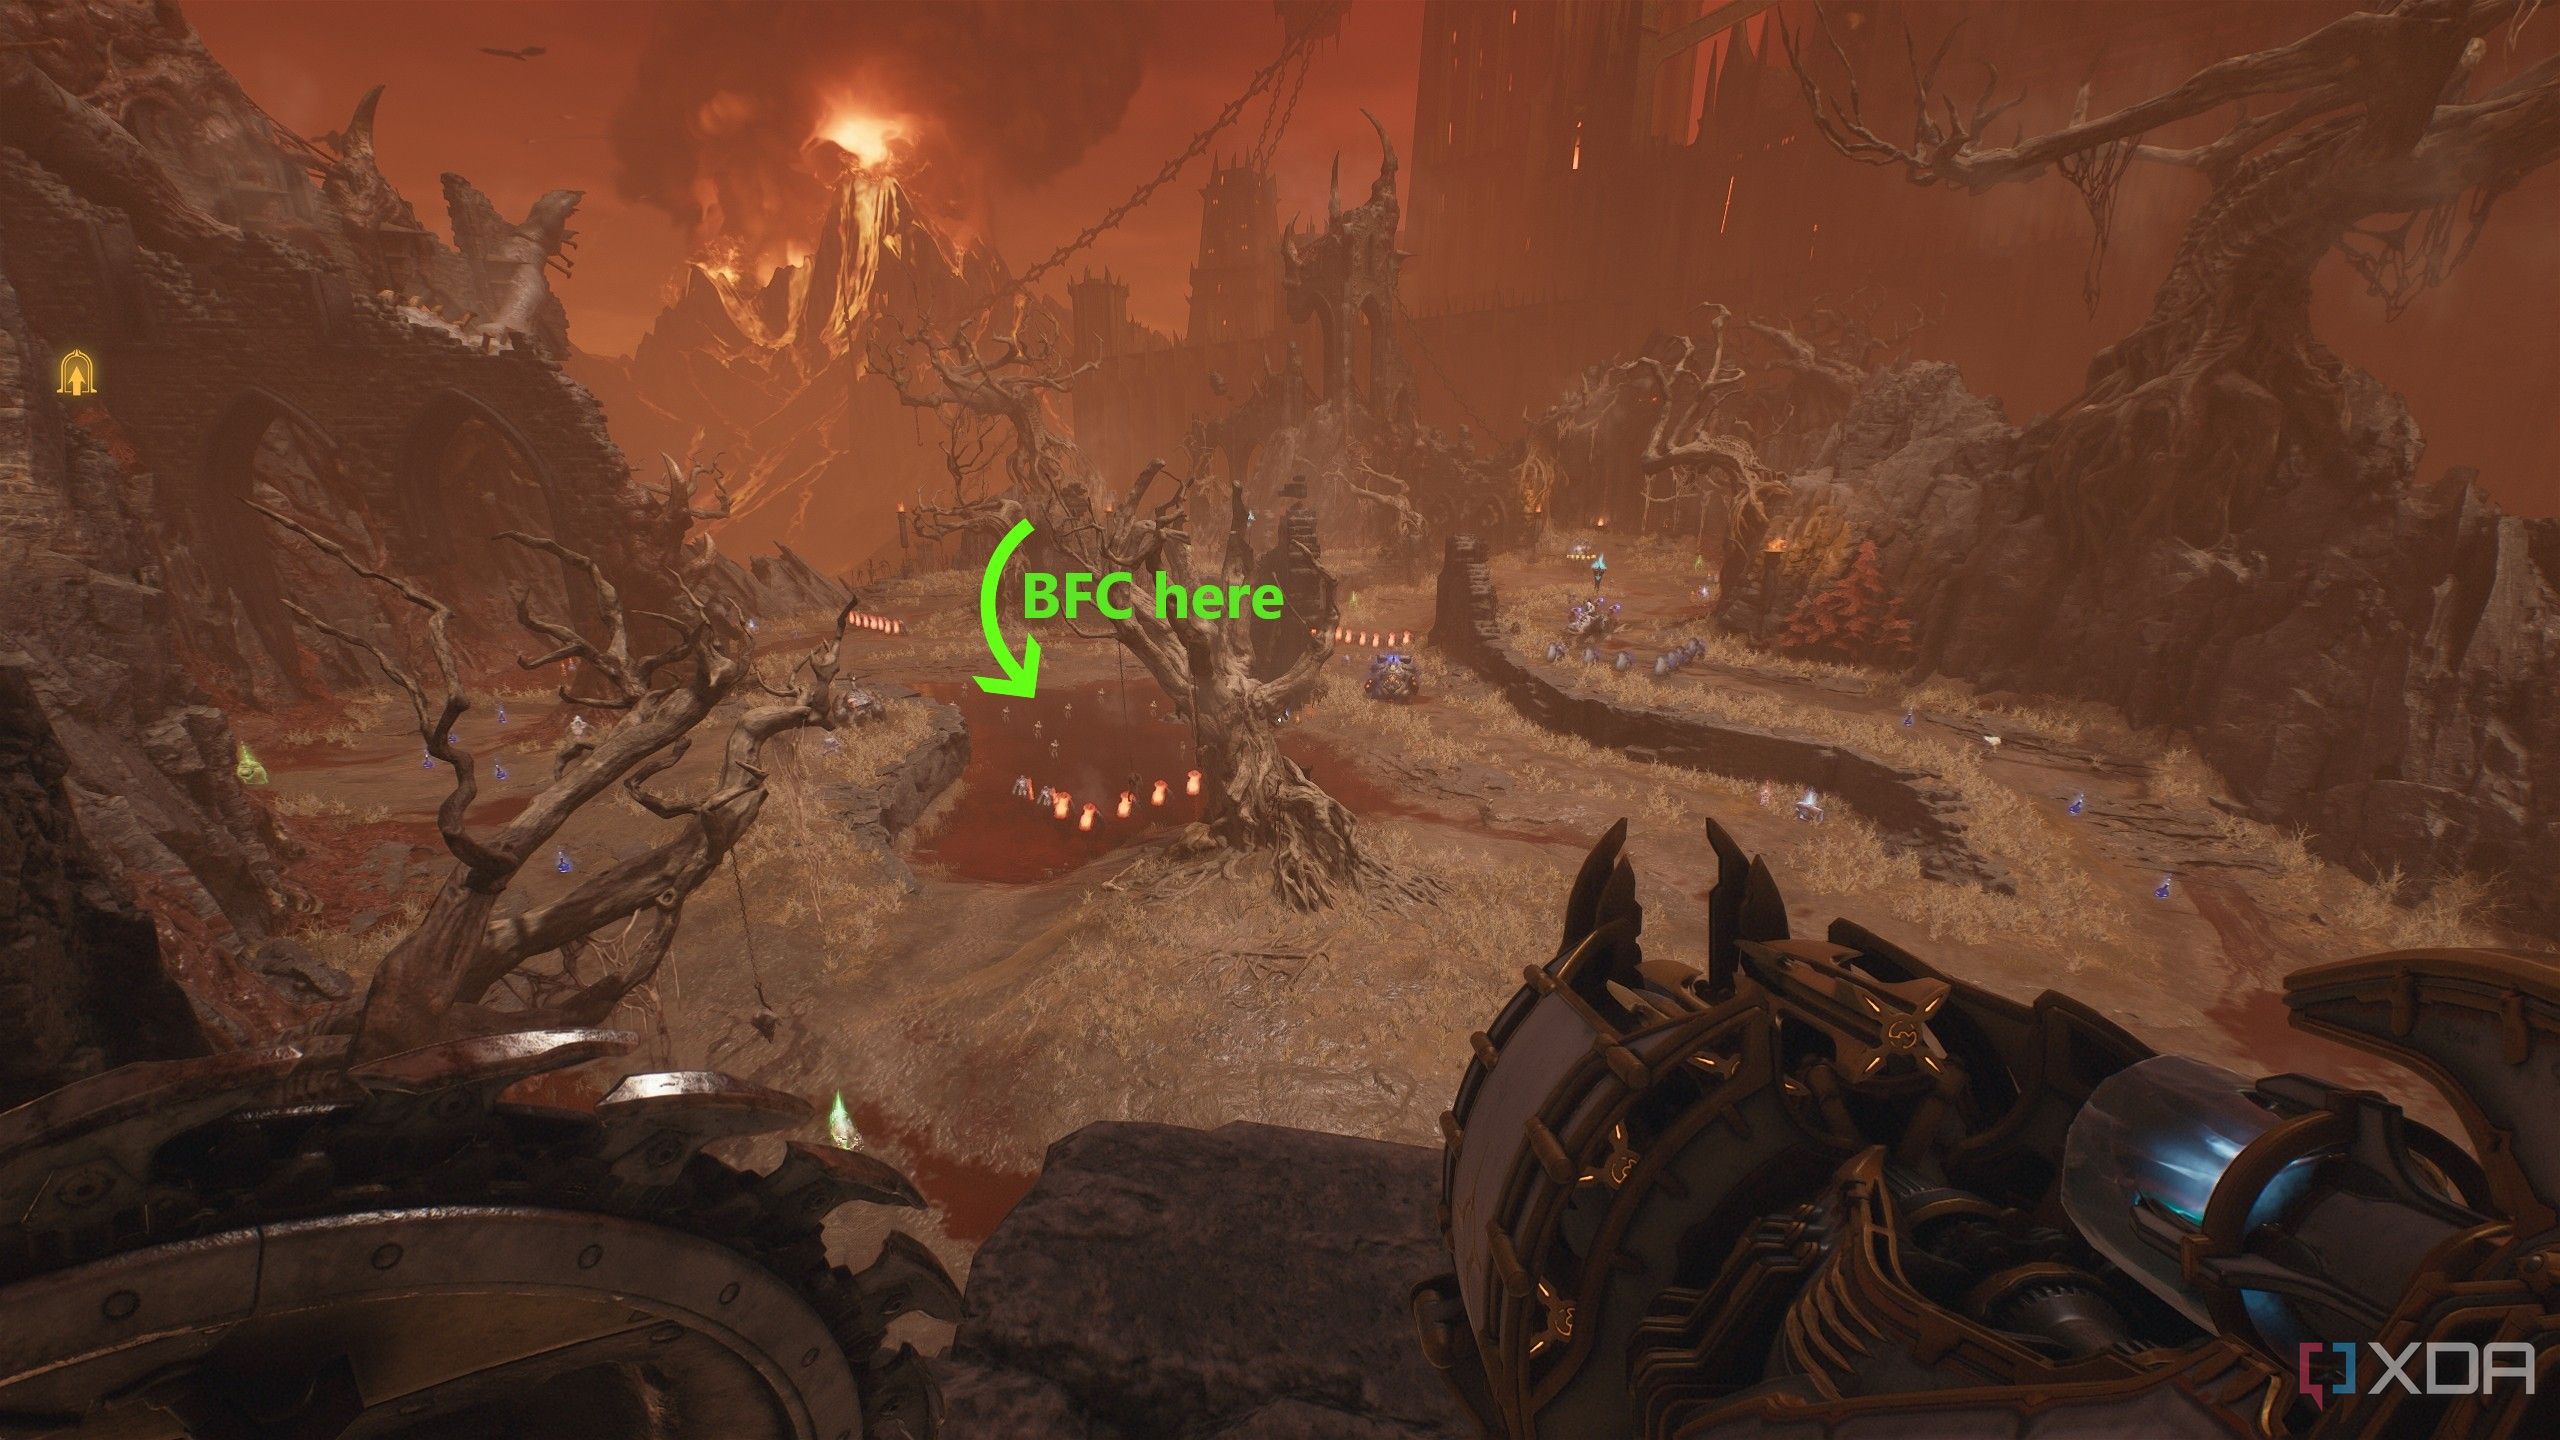
With everything collected, it’s now time to head back towards the objective. Past the Sentinel Shrine, you’ll reach a point of no return. Drop down into the final arena to begin a Morale Encounter, and start ripping and tearing. This is the best place to finish the Thy Flesh Consumed mission challenge. Now that you have at least two BFC ammo, just hit it in the center of the arena, and it should pretty much wrap itself up.
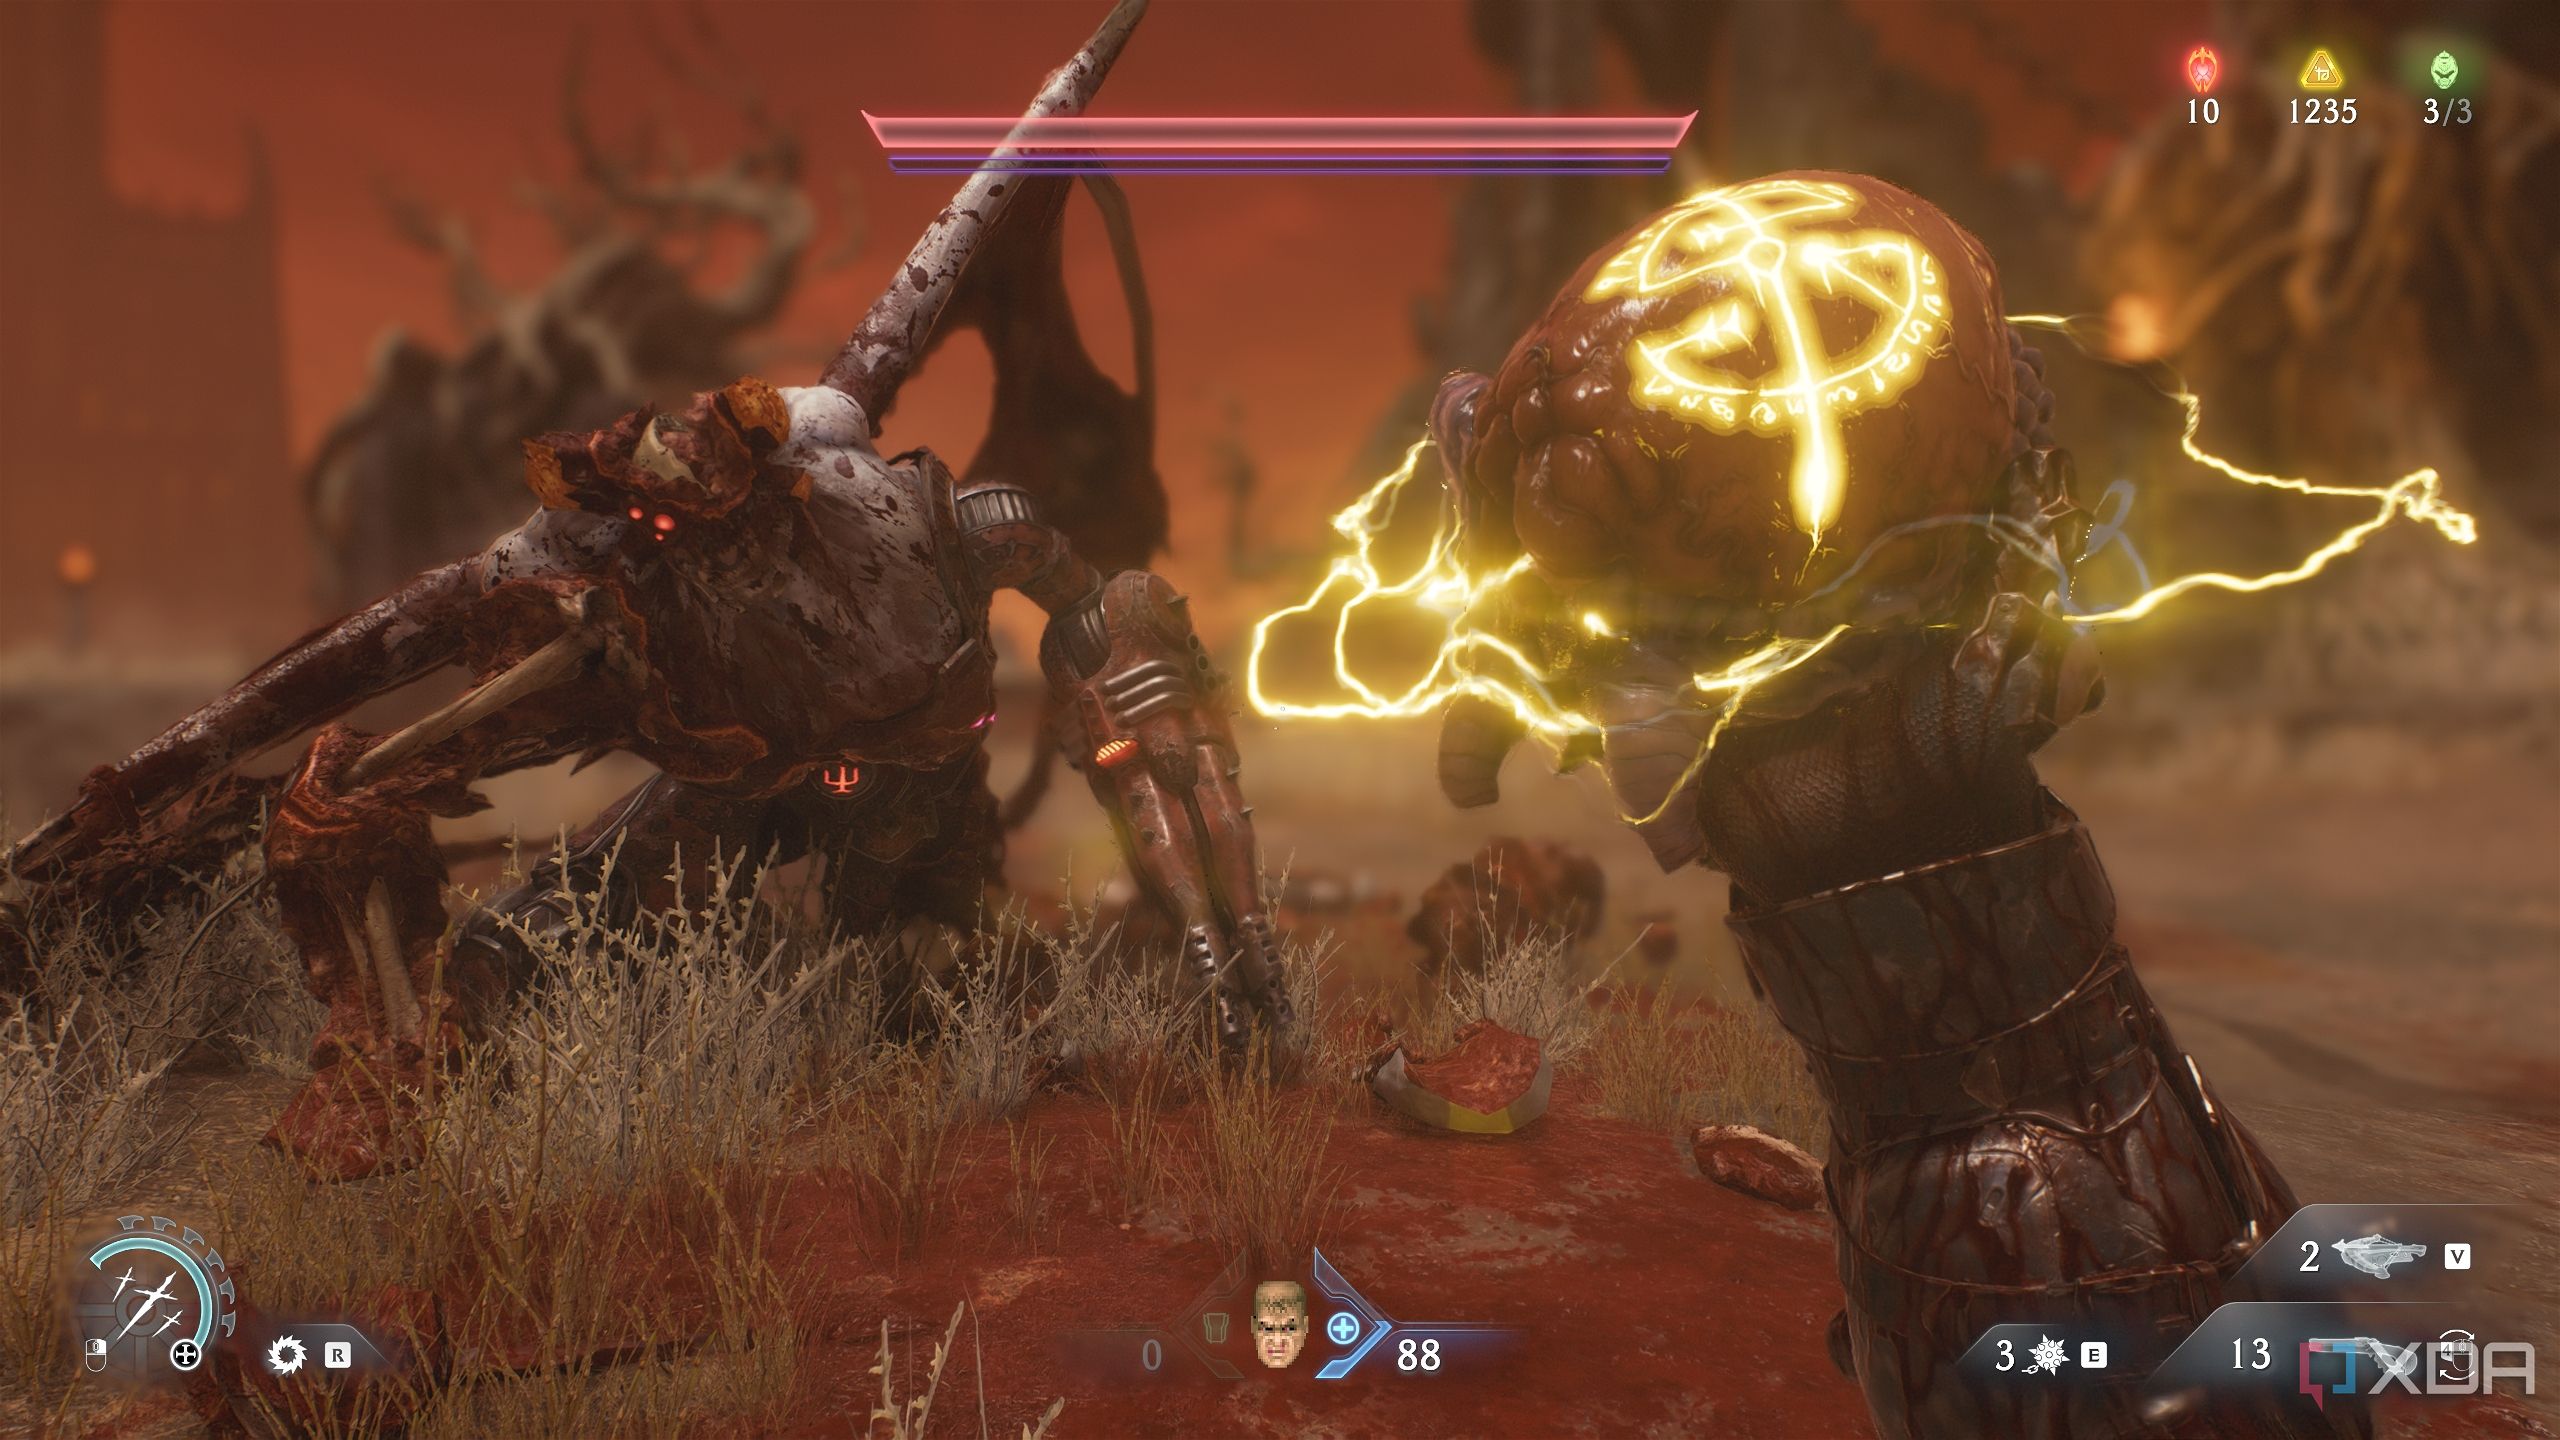
This fight will end in the Slayer ripping the heart out of a Cyberdemon to gain the final Demonic Essence in the game.
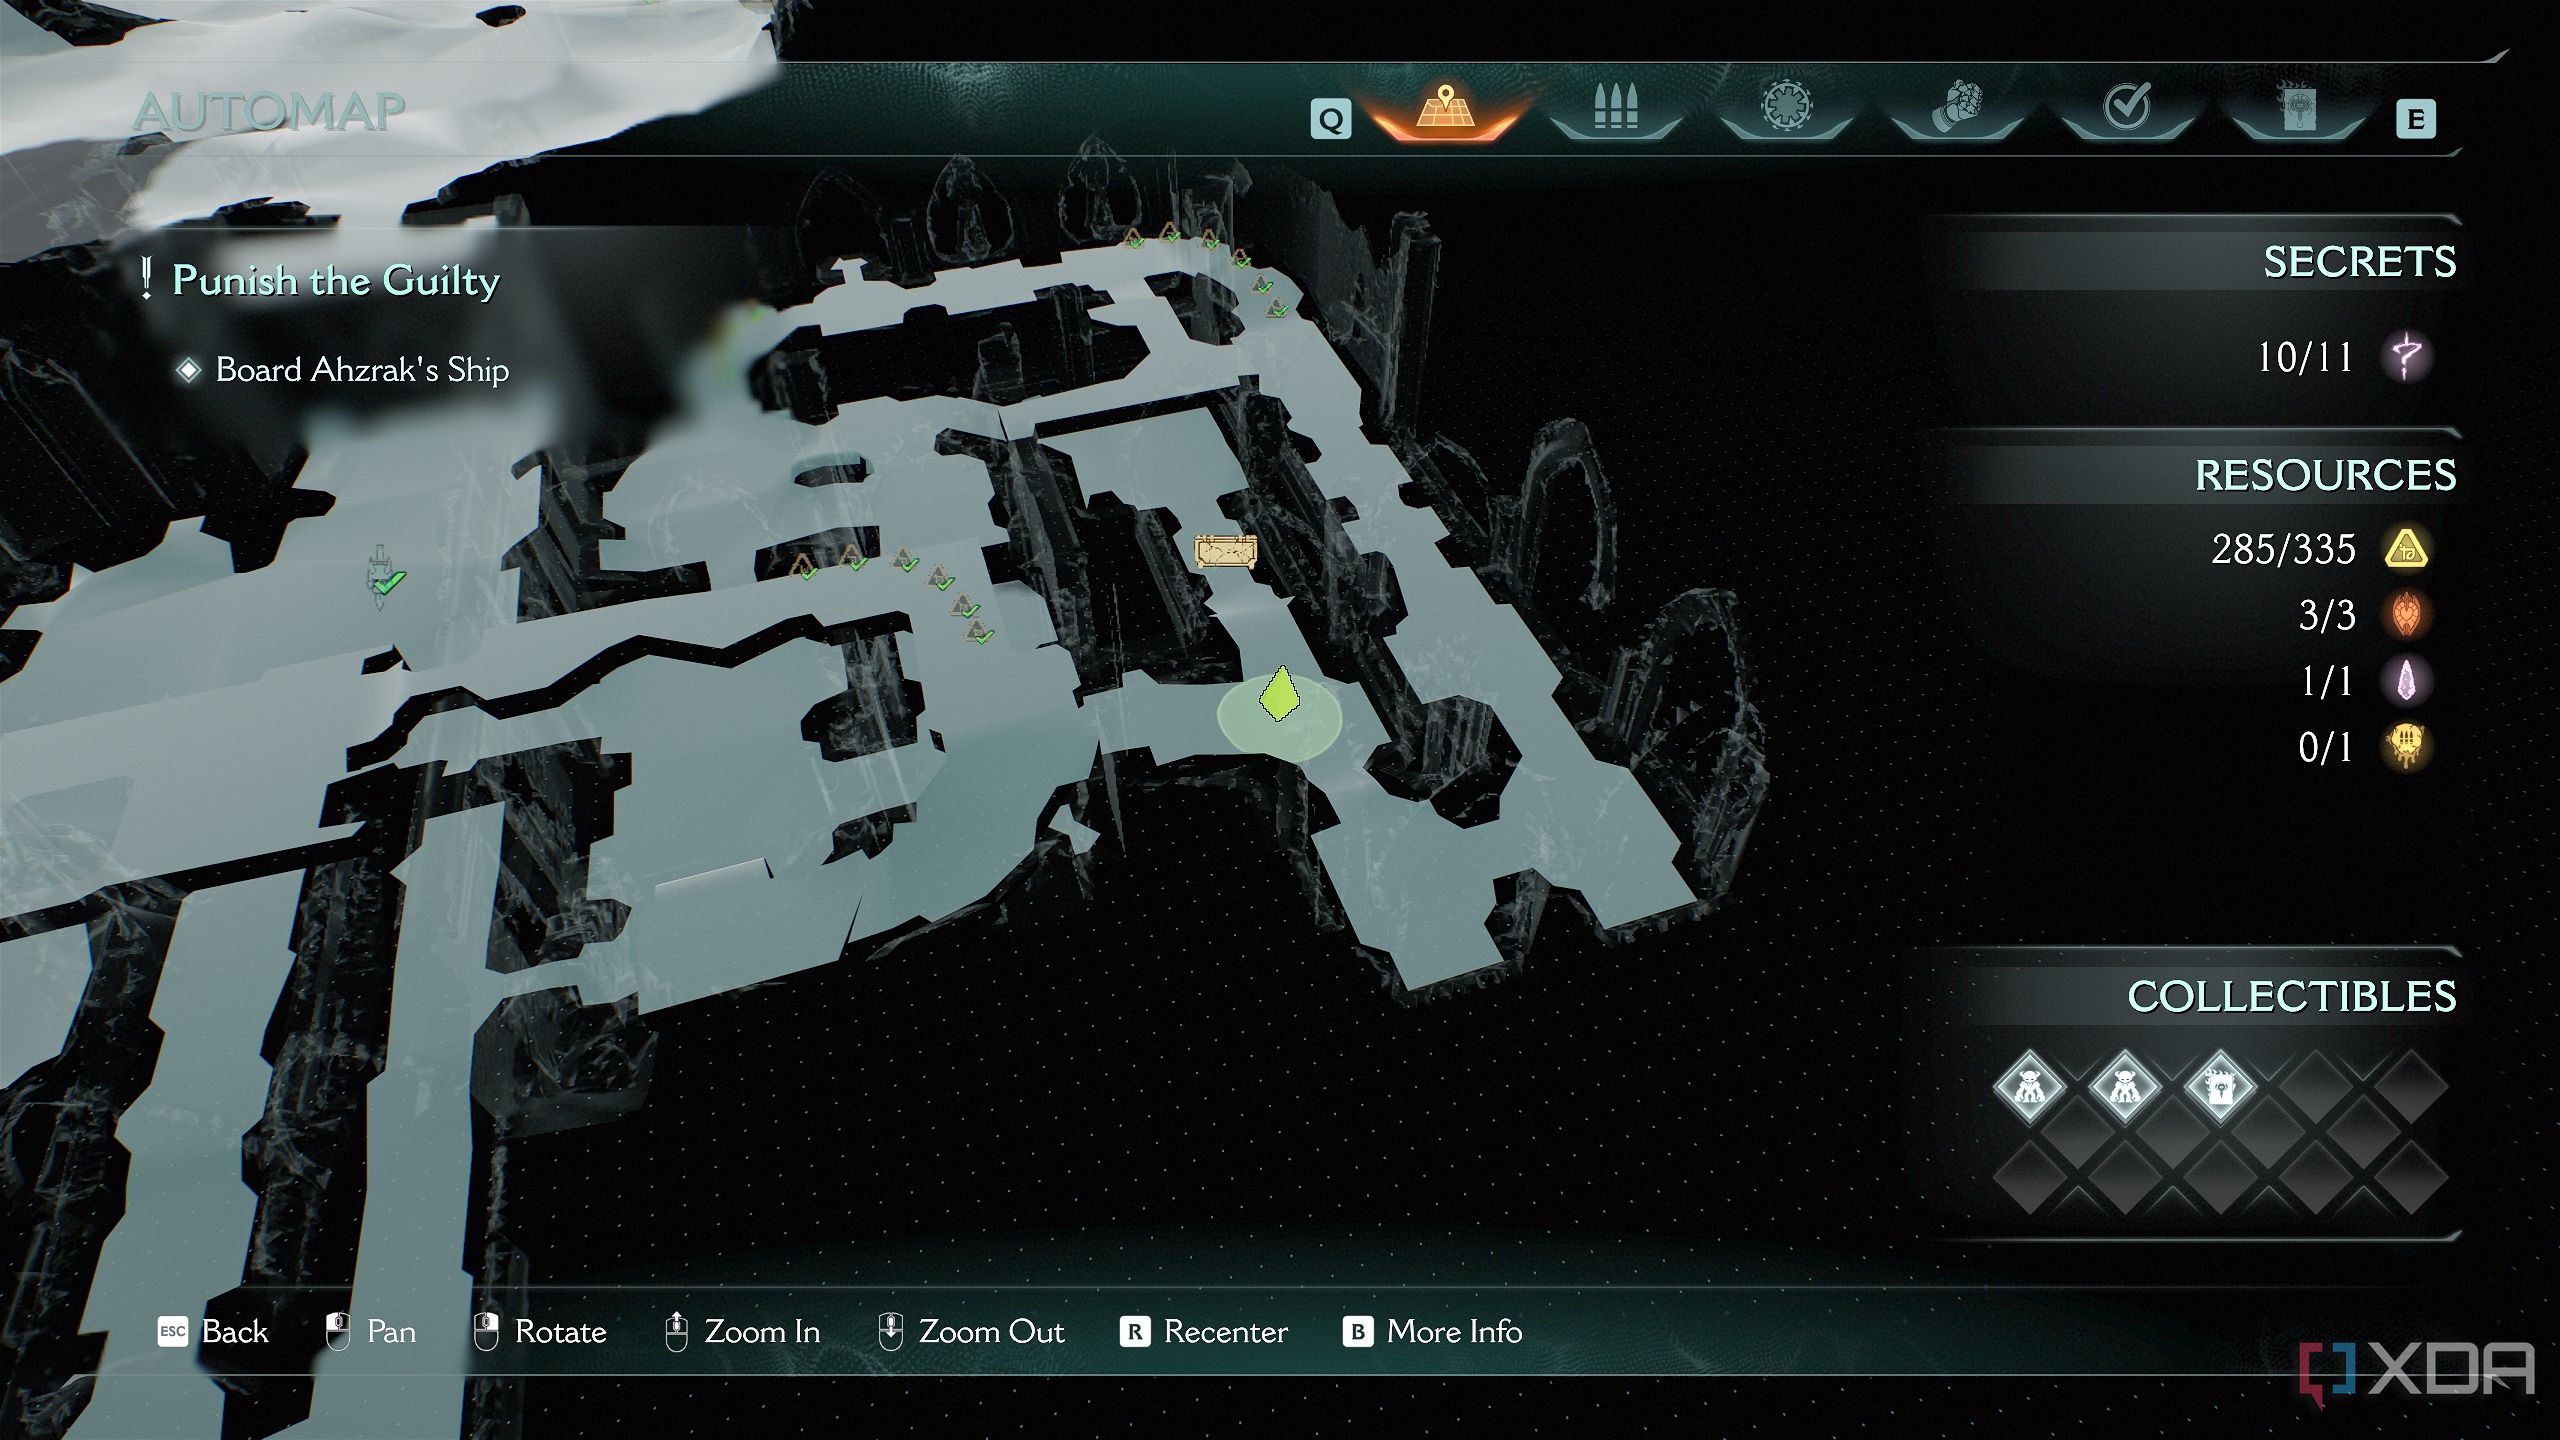
All collectibles in Chapter 22: Reckoning of Souls in Doom: The Dark Ages
Chapter 22 serves as a fantastic ending for the game.
Once that’s done, Chapter 22 of Doom: The Dark Ages will be complete, and you’ll finally have the 100% completion achievement for this level. The chapter might be short, but it does have great, enjoyable arenas. It also serves as a fantastic ending for a game that was a joyride from start to finish.
|
Achievements in Chapter 22: Reckoning |
|
|
Gold |
335 |
|
Rubies |
3 |
|
Wraithstone |
1 |
|
Demonic Essence |
1 |
|
Secret Areas |
11 |
|
Codex Entries |
1 |
|
Collectible Toys |
2 |
DOOM: The Dark Ages
Released May 15, 2025
ESRB m
Developer(s) id Software
Publisher(s) Bethesda Softworks
Engine id Tech
Multiplayer Online Multiplayer
Franchise DOOM


 English (US) ·