.png)
If you’re a GIMP user but came from Photoshop like me, then it probably felt a bit awkward and clunky to you — this is one of the downsides of open-source creative tools. This didn’t deter me, however, as I knew GIMP is highly customizable, so there had to be some tweaks I could make. I ended up finding the right settings and managed to mold GIMP into the perfect image editor for me, from layout to feature functions and settings. Here’s what I changed…
Related
6 The layout
Changing the layout can drastically improve your user experience
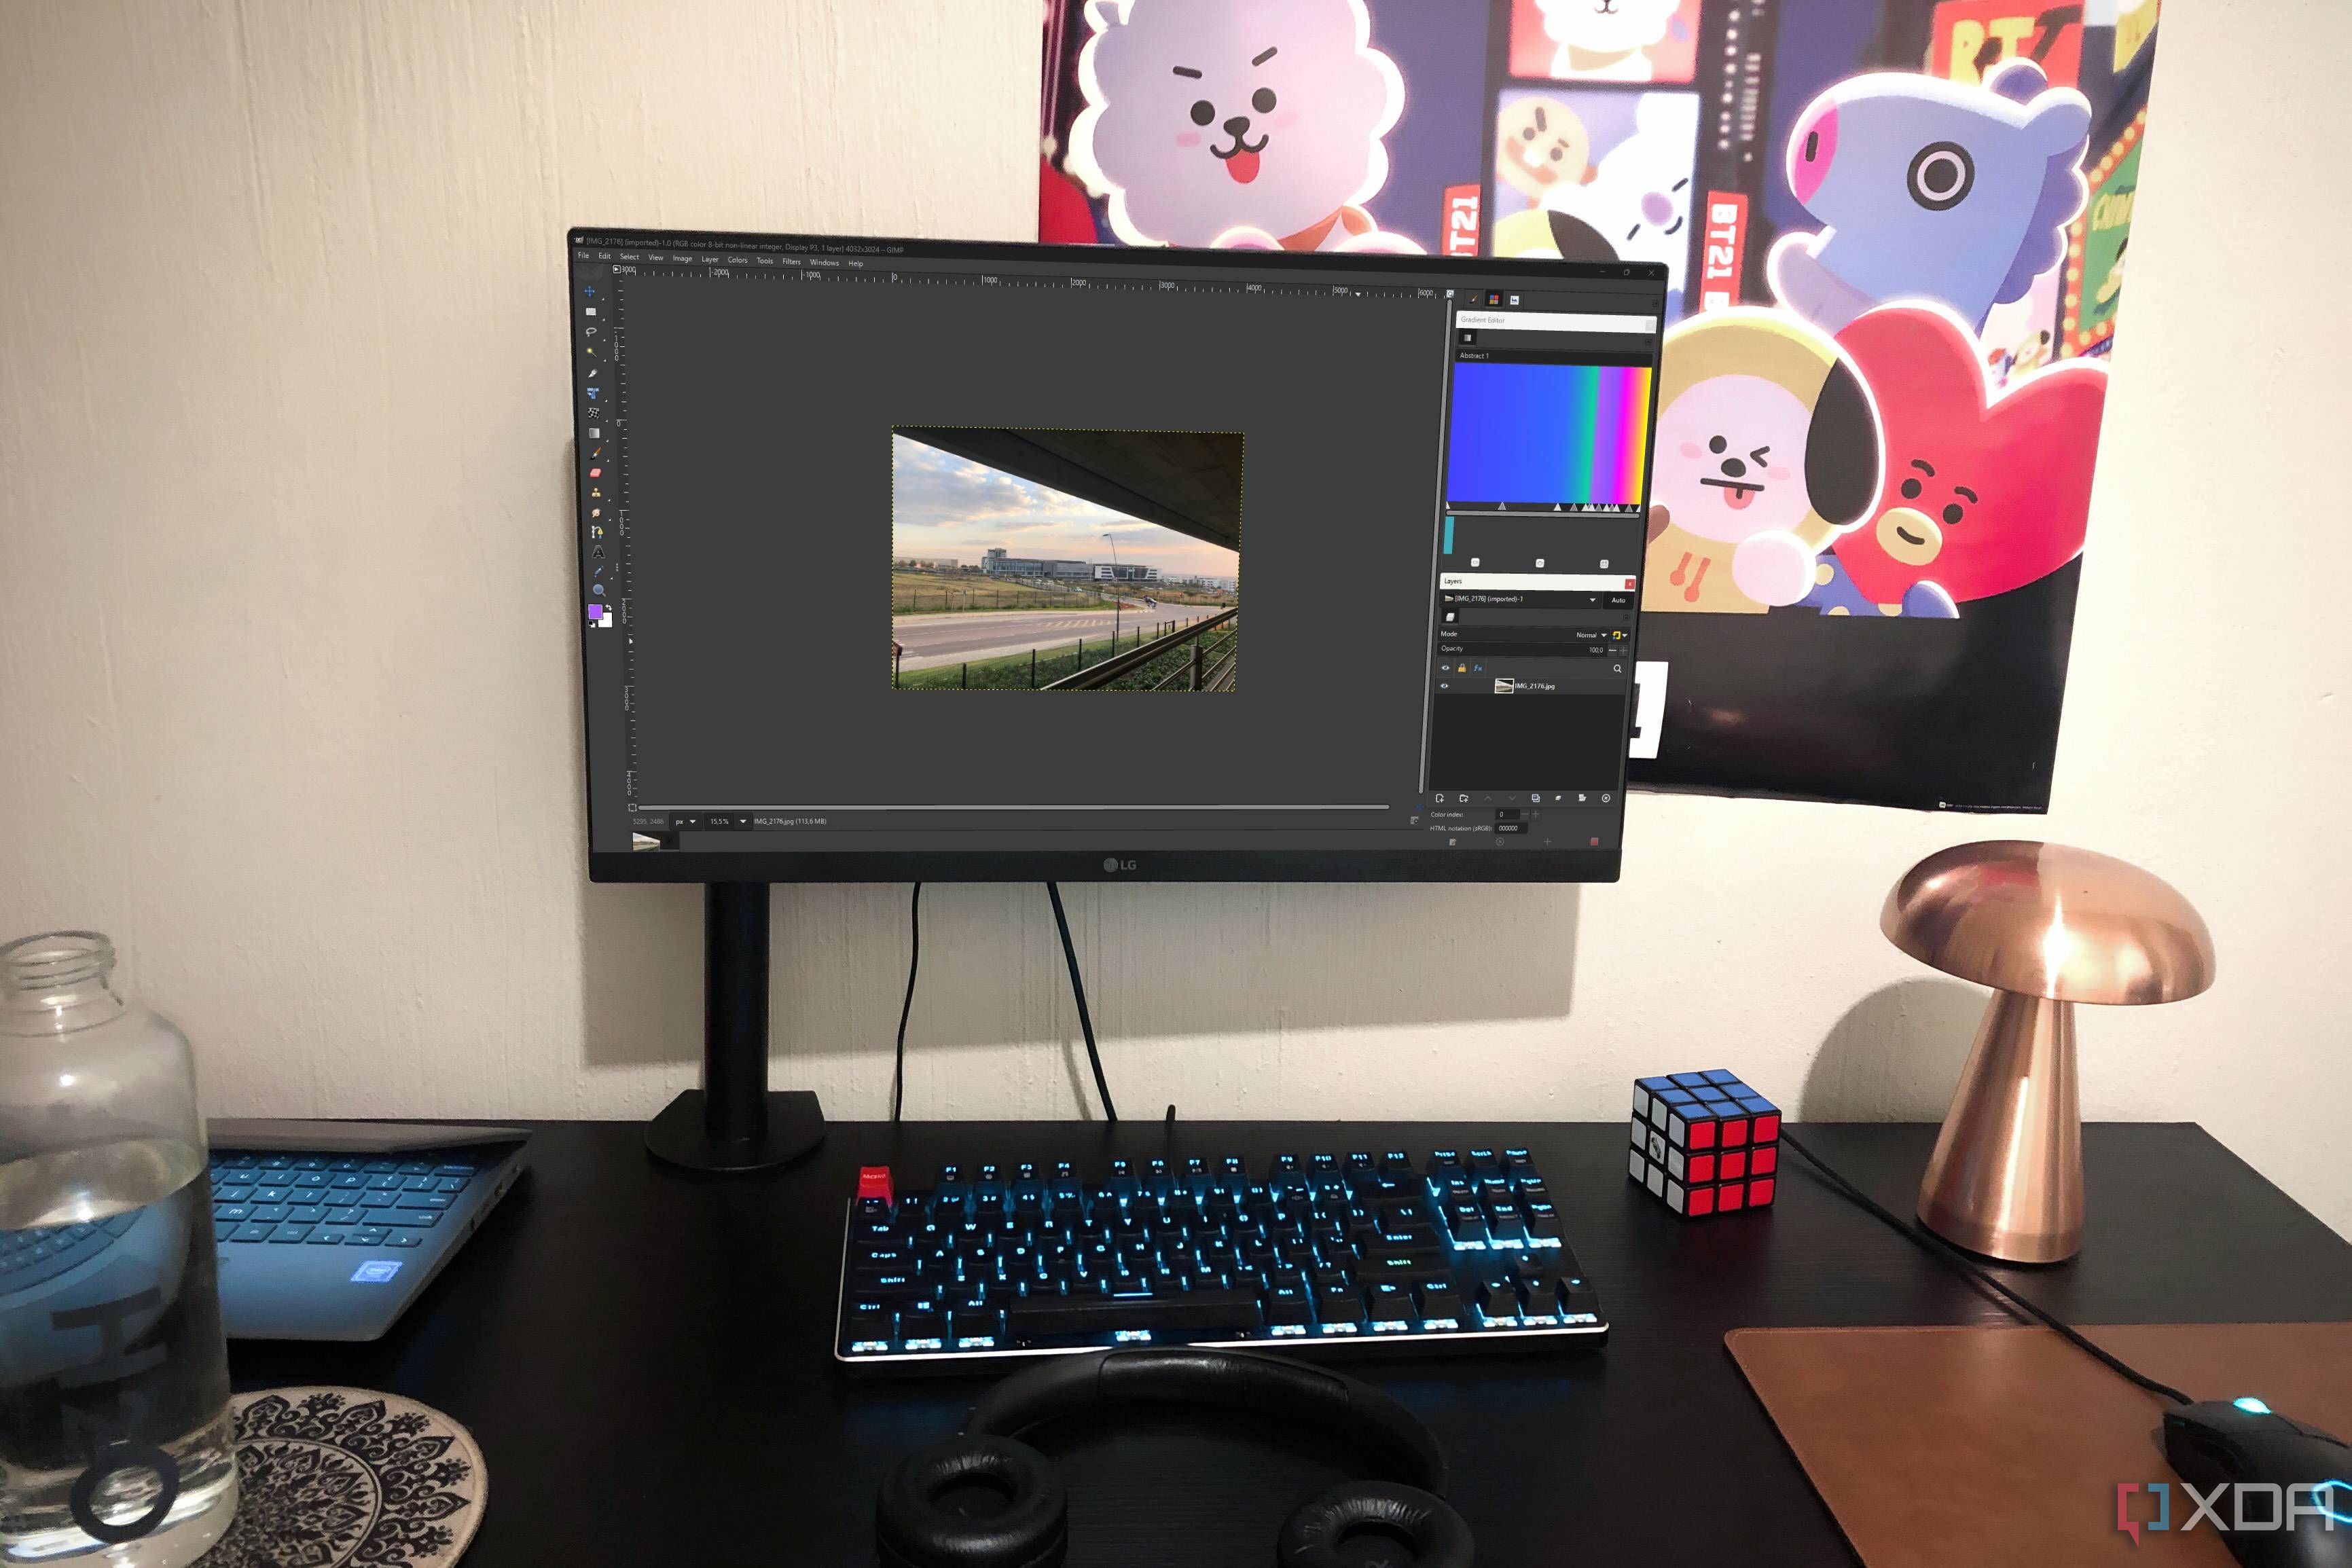
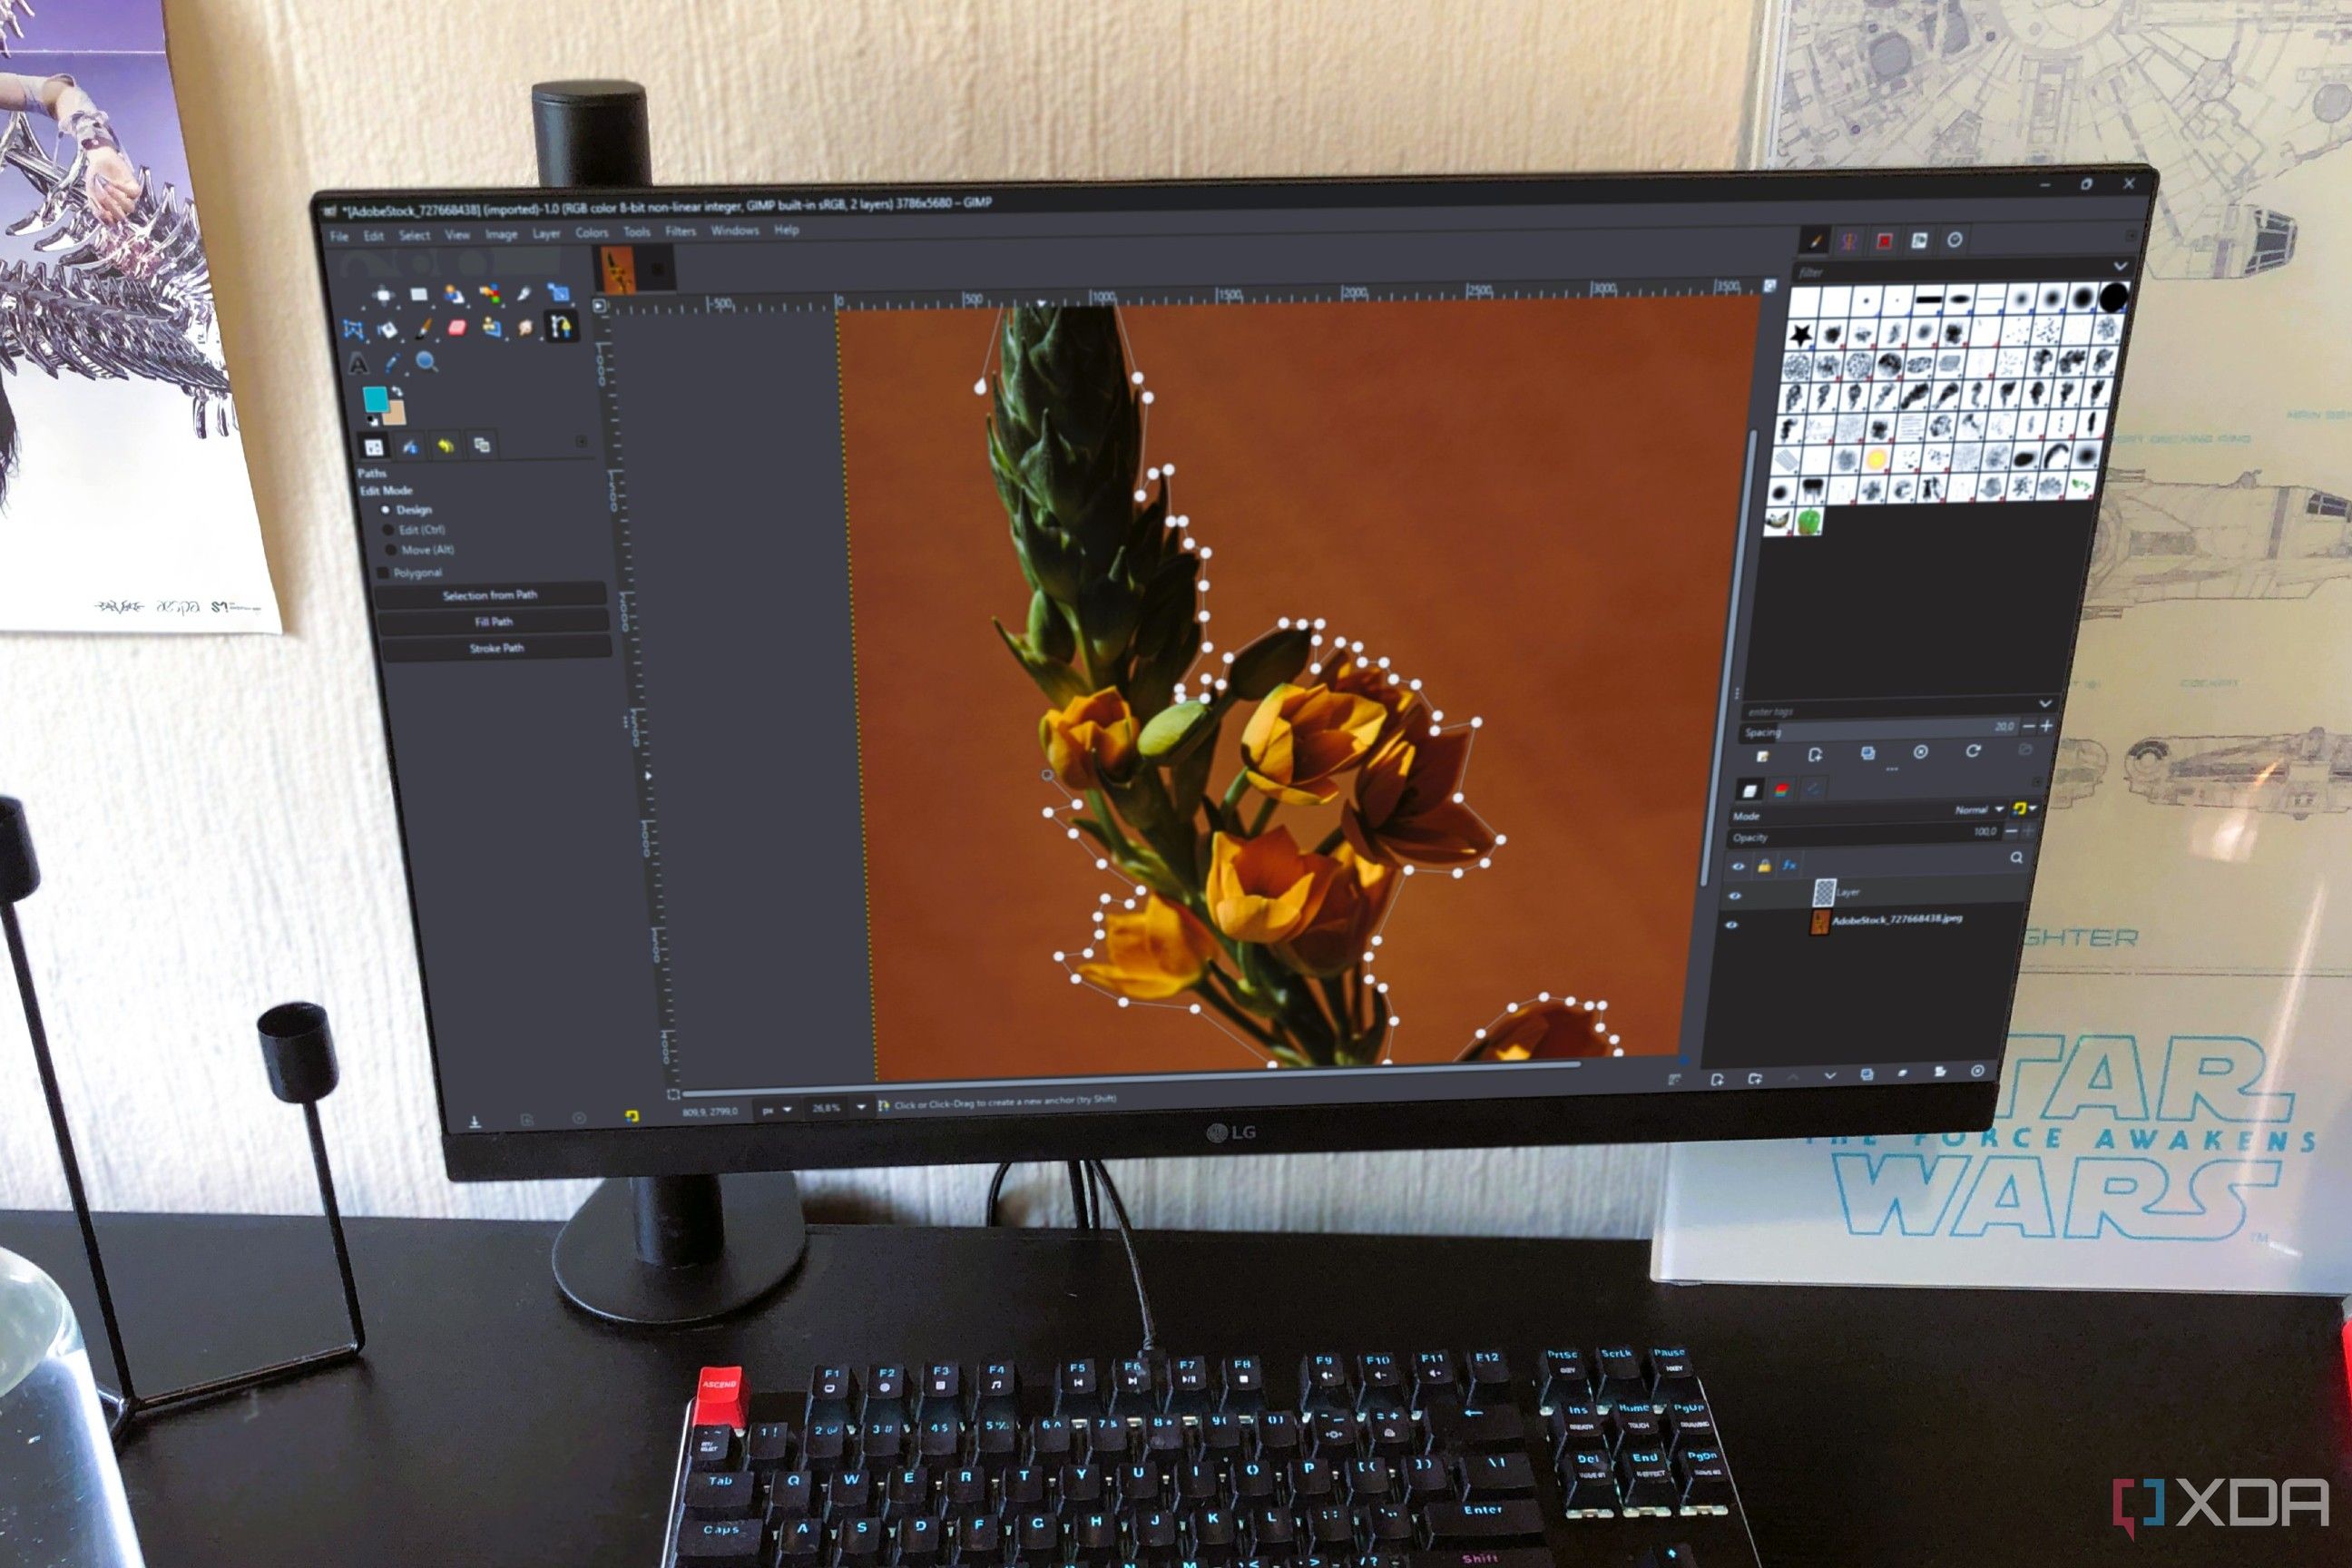
GIMP gives you way more control over your layout than its commercial counterparts. Most of the panels are dockable, so you can display or hide them, and float or dock them into place wherever you need. Another cool thing about the panels is that you can include as many tabs in them as you want. So you can group tabs on different panels based on their function. Furthermore, you can customize the panels themselves, not just through their placement, but also their size.
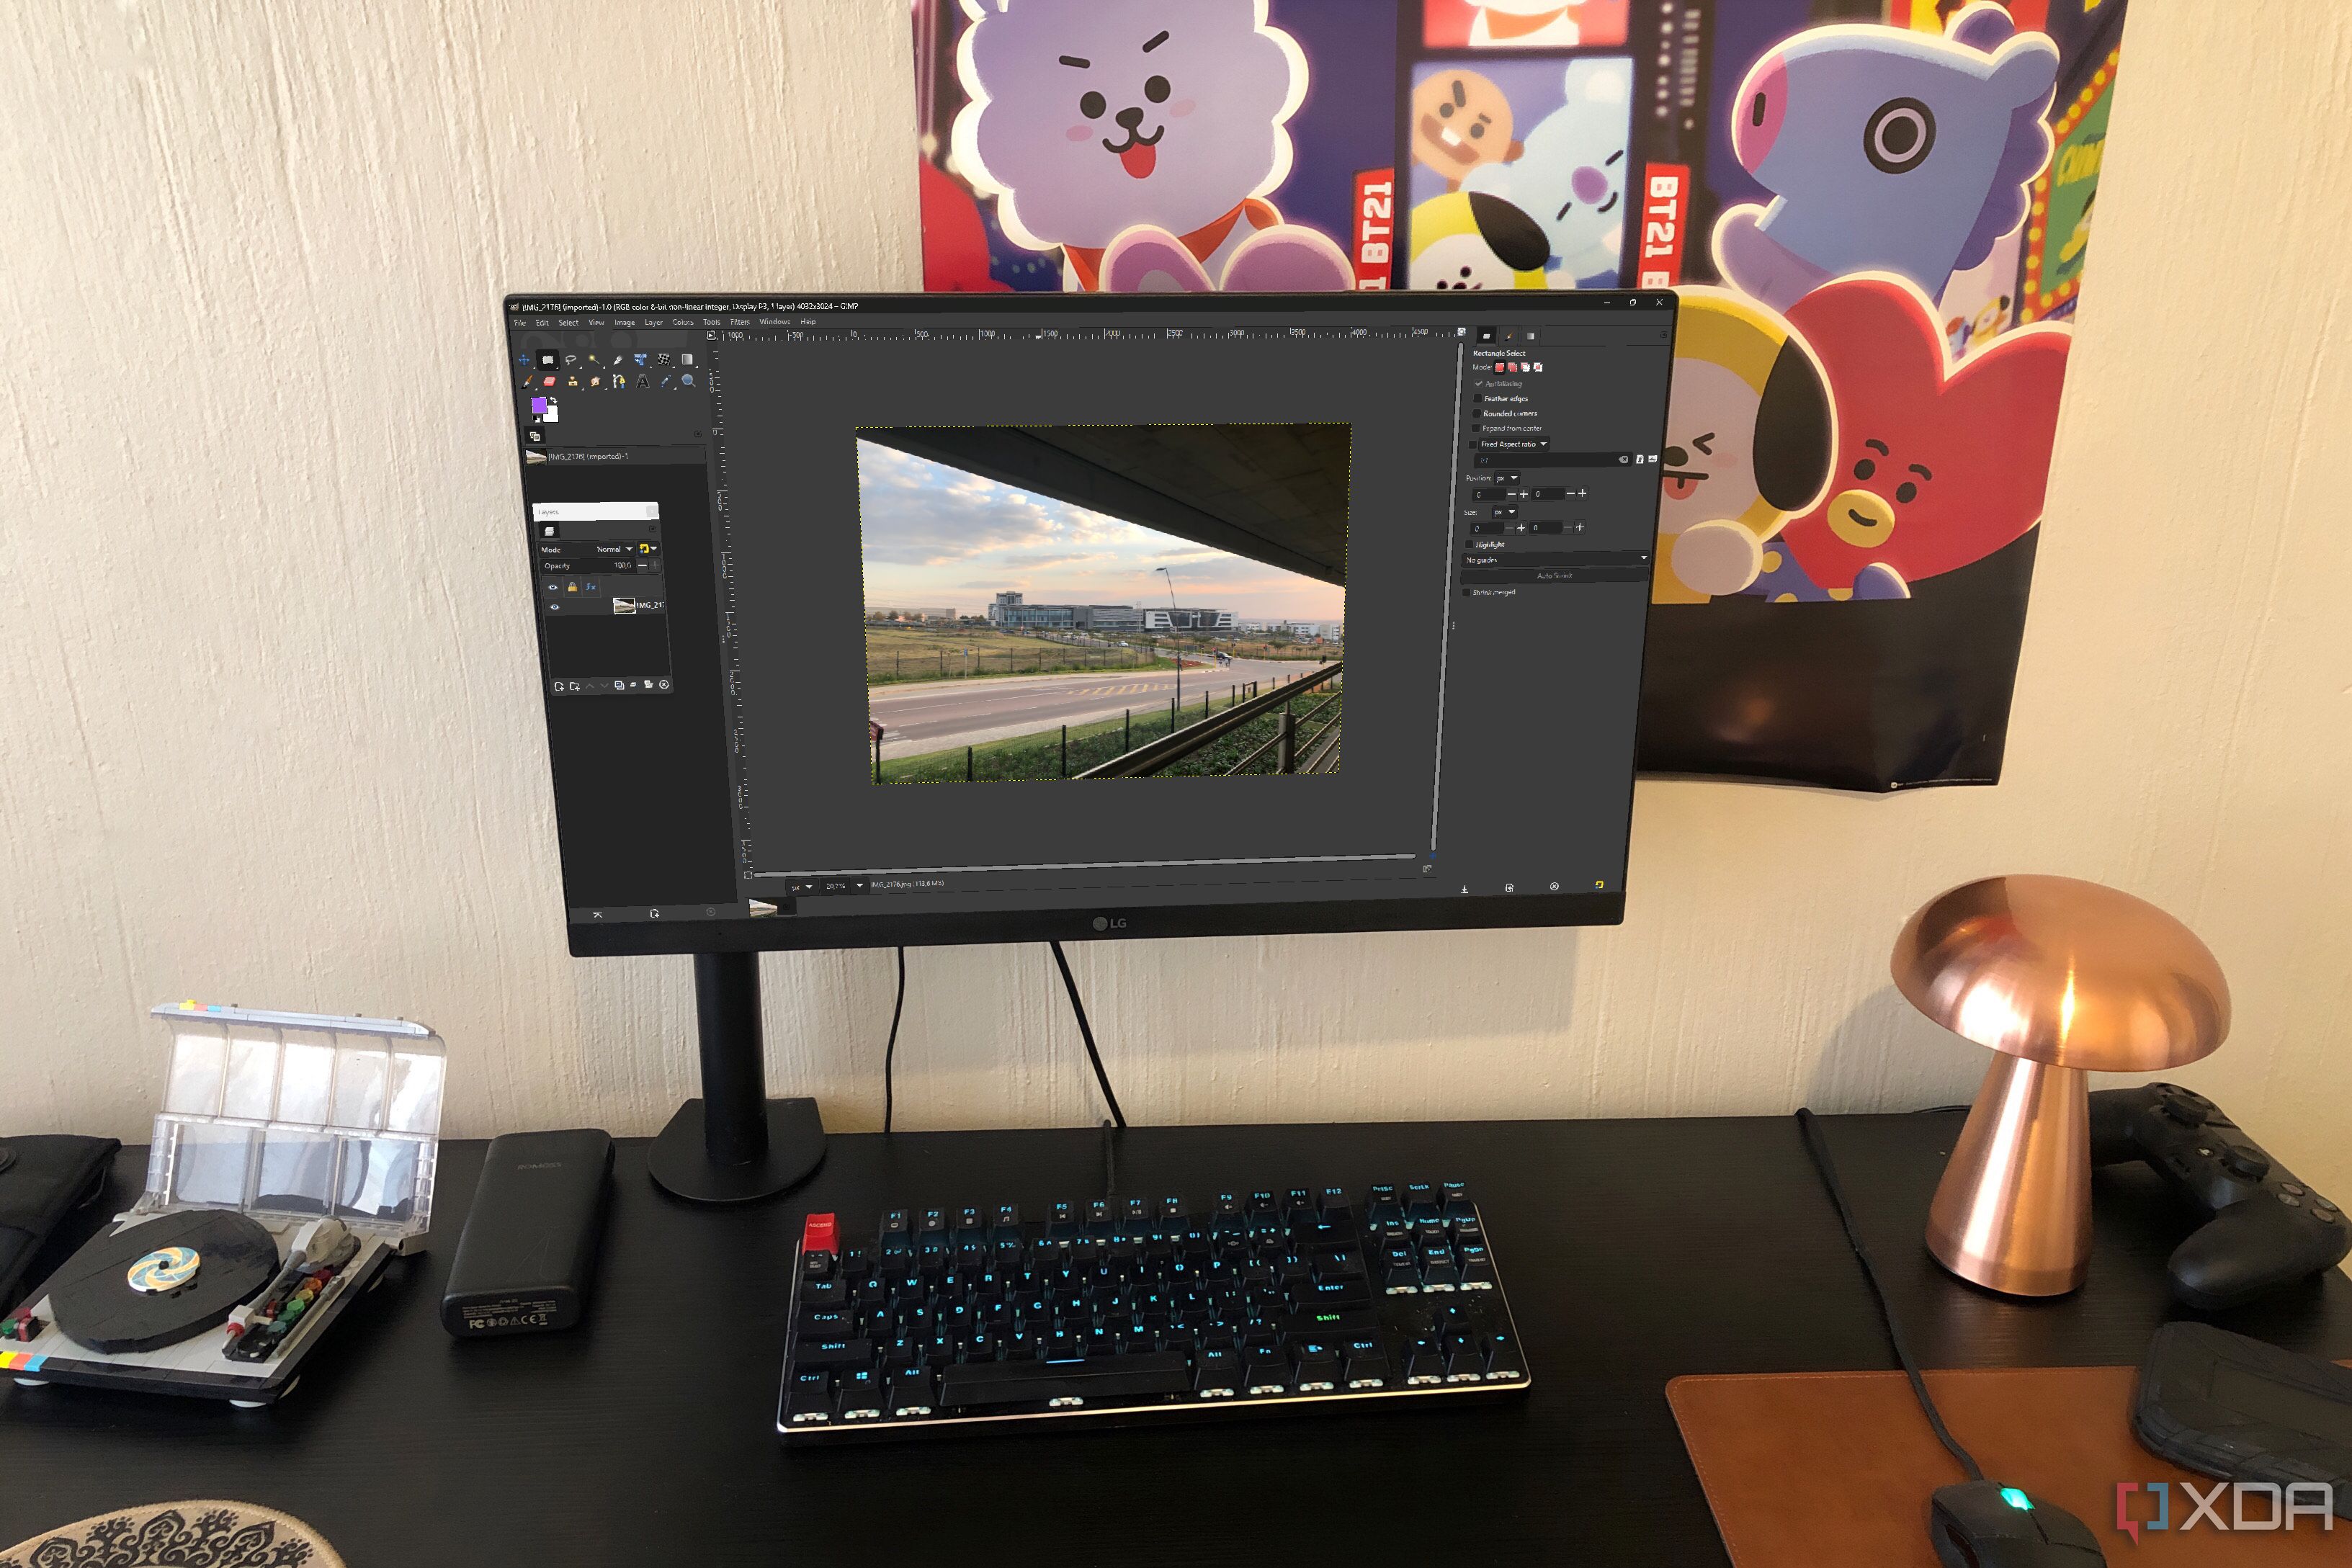
I have a pretty basic layout here. My Tool Options are on the left under the tools themselves, which makes the most sense to me. There’s also a duplicate tab of my Layers in case I want quick access while on the left side of the screen. At the bottom right are my Layers, Channels, and Editing History, or what you could also call the “composition panel” since it contains my editing stack. The top right is for the creative stuff and some assets, such as brushes, fonts, patterns, and so on.
I keep this layout pretty consistent because I prefer the clean workspace this provides. But being able to detach a tab and have it float somewhere is a nice option, should I need to maneuver around the screen.
Related
5 Keeping Single-Window Mode on
It drastically reduces clutter
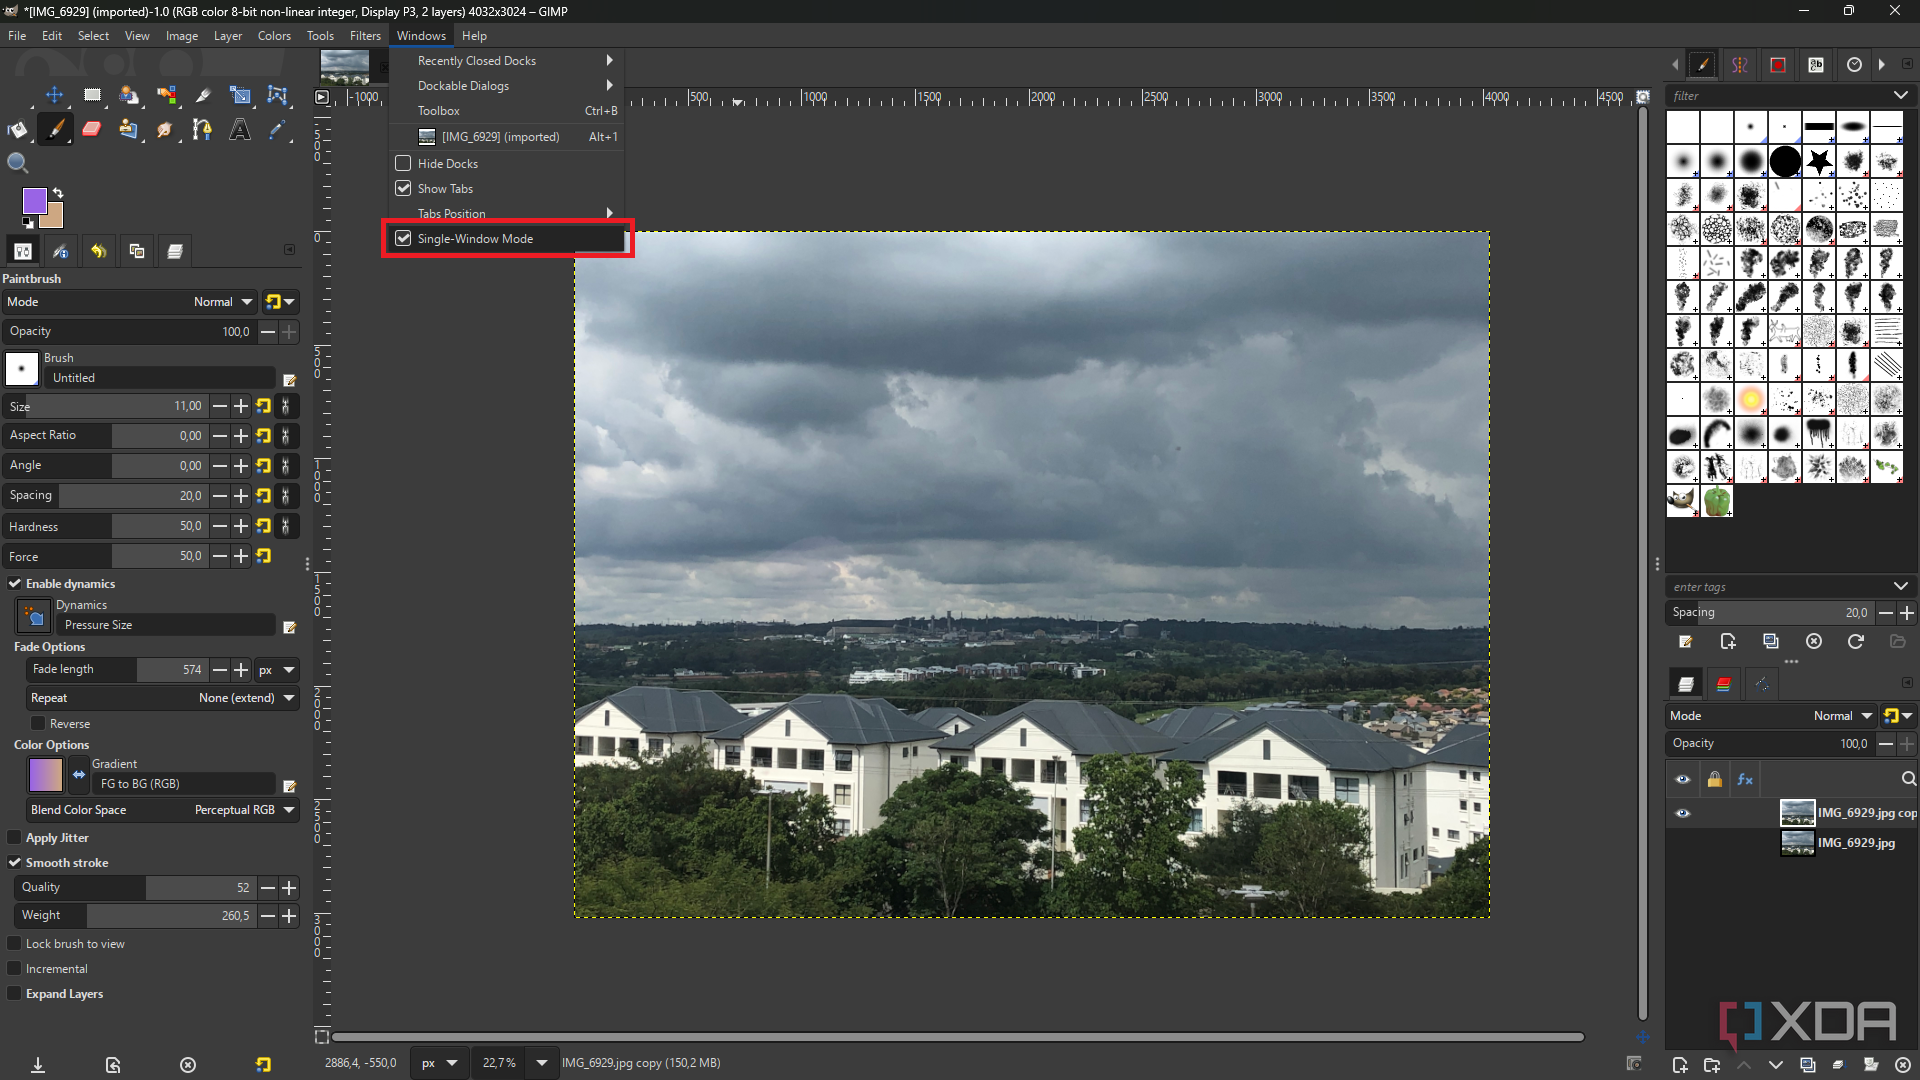
In the same vein as above, floating panels aren’t my preference. But if I do have a couple floating around, a trick I use is disabling and re-enabling Single-Window Mode. This “snaps” those panels back into the main interface. Multi-Window Mode could be very useful if you work across multiple screens, but I never really do, so Single-Window ensures everything stays compact and organized.
Fine-tune your Tool Options for smoother performance
The changes you make in the Tool Options tab will entirely depend on which tools you use and their purpose. I use the Paintbrush tool a lot, so it’s important to configure the brush settings precisely to my needs, otherwise GIMP starts to feel clunky and difficult. I always lower the Spacing, check the Smooth Stroke box, and turn up the Quality and Weight values. This gives me an overall smoother brush experience. I also save my brush options as a preset before toggling any other settings, which ensures I can easily revert to the smoother options.
Again, this is tool-dependent. For example, if you often use Rectangle Select, then turning on Feather Edges will give you a smoother experience. For the Eraser tool, turning off Hard Edge might make it feel less rigid and clunky.
Related
5 reasons GIMP is the best free alternative to Photoshop
Why pay for Photoshop? Discover the top perks of GIMP as the wallet-friendly choice.
3 Optimizing System Resources
This will help reduce lag
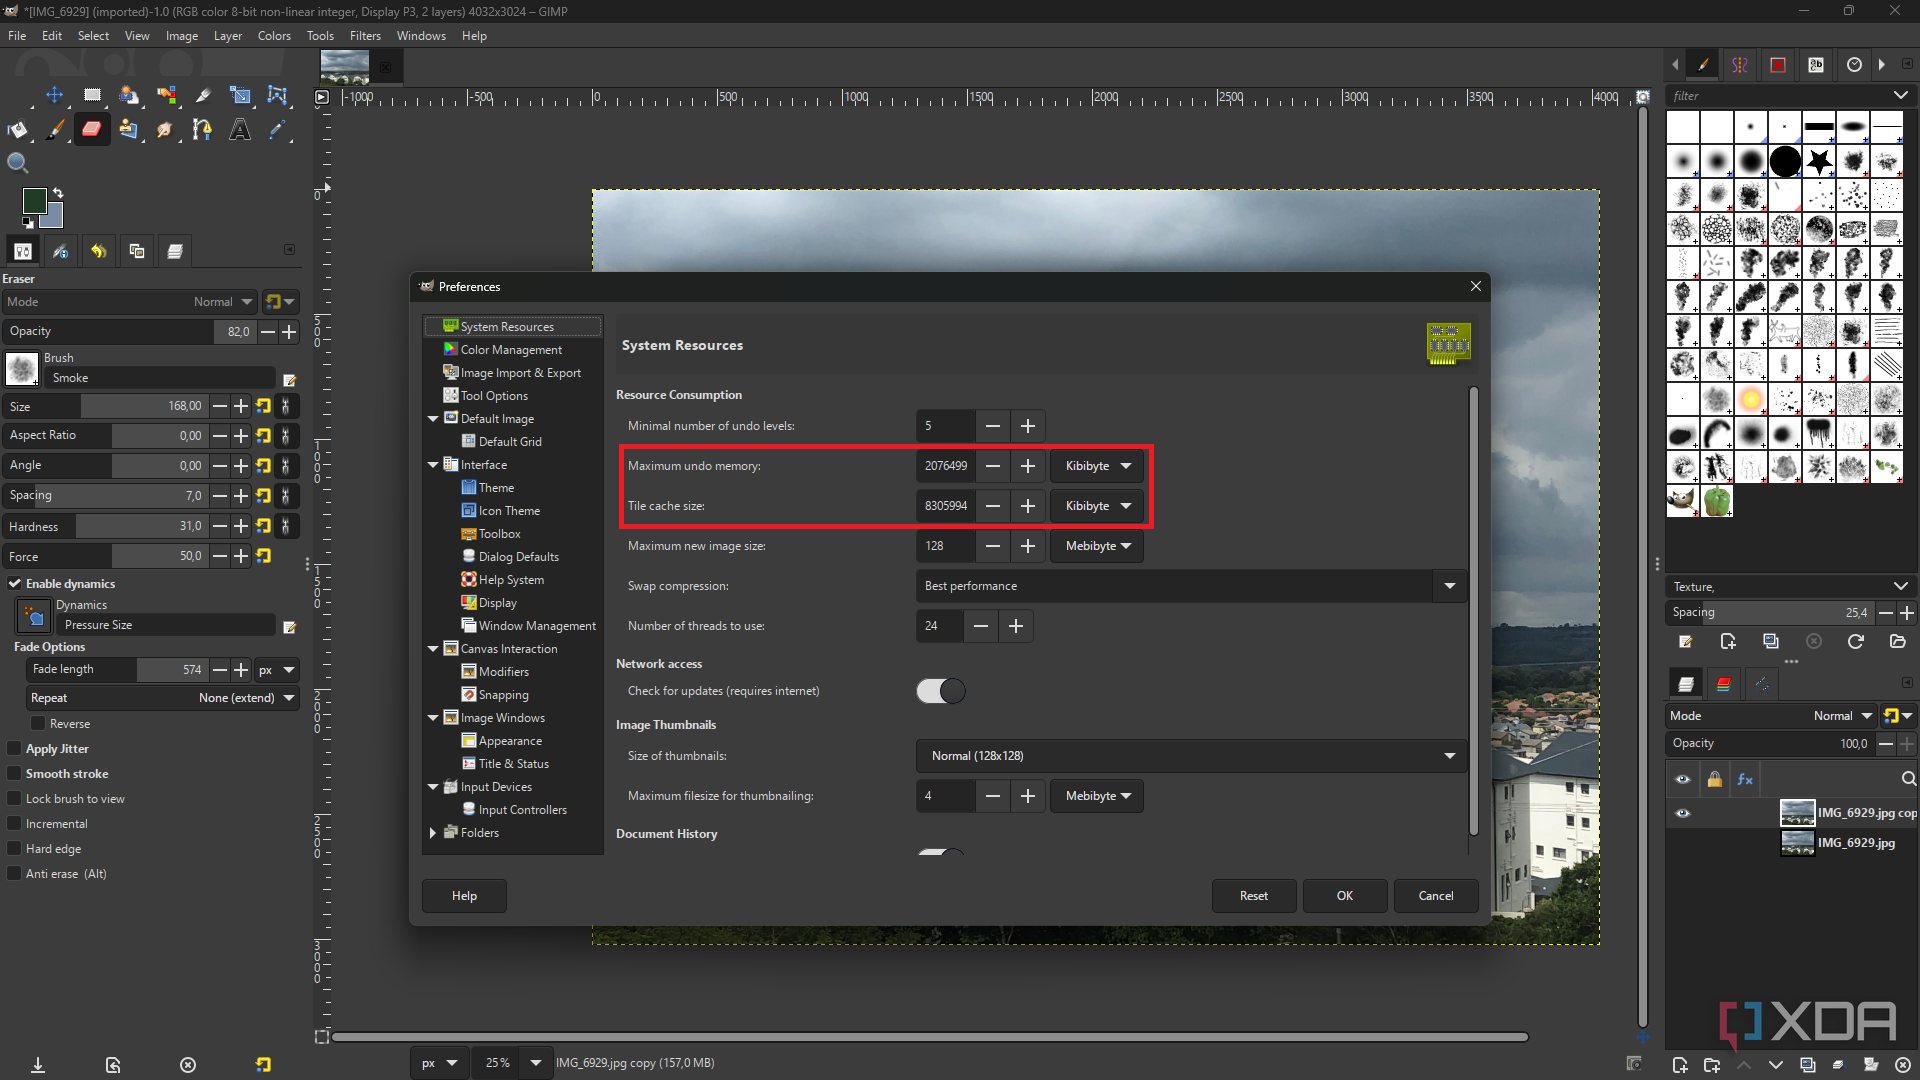
If you have an undo-heavy workflow like me, optimizing System Resources is a good way to prevent lag. Go to Edit > Preferences > System Resources, and increase the Max Undo Memory and Tile Cache Size. I keep my undo history at around 2GB and tile cache at around 8GB. This lets GIMP store more history states in the RAM, which will keep things moving smoothly. This is particularly helpful for bigger projects.
It strikes a balance between smooth and fast
When you Transform an image (scale, rotate, etc), GIMP has to guess the values of the new pixels based on the current ones. Linear Interpolation calculates the color of the new pixels as the average of the four closest ones. This makes it the most balanced interpolation type because it strikes a “compromise” between speed and quality — it’s smoother than None, but faster than the higher-quality interpolation types of Cubic or LoHalo.
Related
4 things GIMP does better than Photoshop
There are some things that Photoshop could learn from GIMP
1 Keeping pop-up dialog boxes at bay
Control clutter and distractions
There isn’t a universal “disable popup dialogs” toggle in GIMP, but there are some ways you can reduce pop-up clutter. The best way to do this is by going through the preferences and toggling everything that may pop up while you’re working. For example, importing a new image prompts GIMP to ask me if I want to keep the image’s color profile. To turn this off, I go to Edit -> Preferences -> Image Import & Export, and under Import Policies, I change the color profile policy from “Ask what to do" to "Keep Embedded Profile".
If you dislike pop-ups as much as I do, I recommend going through all the settings and changing every “ask what to do” option to something concrete. Another thing I turn off is “Use editor window” in the Tool Options for the Text tool. It's my least favorite tool in GIMP because it’s just naturally clunky, but this option gets rid of that extra dialog box.
Related
Photopea vs GIMP: Which is the best Photoshop replacement?
Two great creative tools, but which is better to replace Photoshop?
A couple of tweaks for a whole new GIMP experience
GIMP might feel clunky out of the box, but with a few key tweaks, you can turn it into a much smoother workspace that suits your needs — from customizing the layout and changing your tool settings to optimizing the system resources. GIMP is versatile and flexible enough to transform from laggy and clunky into a fast and efficient powerhouse; all it takes is a few minutes of extra setup.


 English (US) ·