.png)
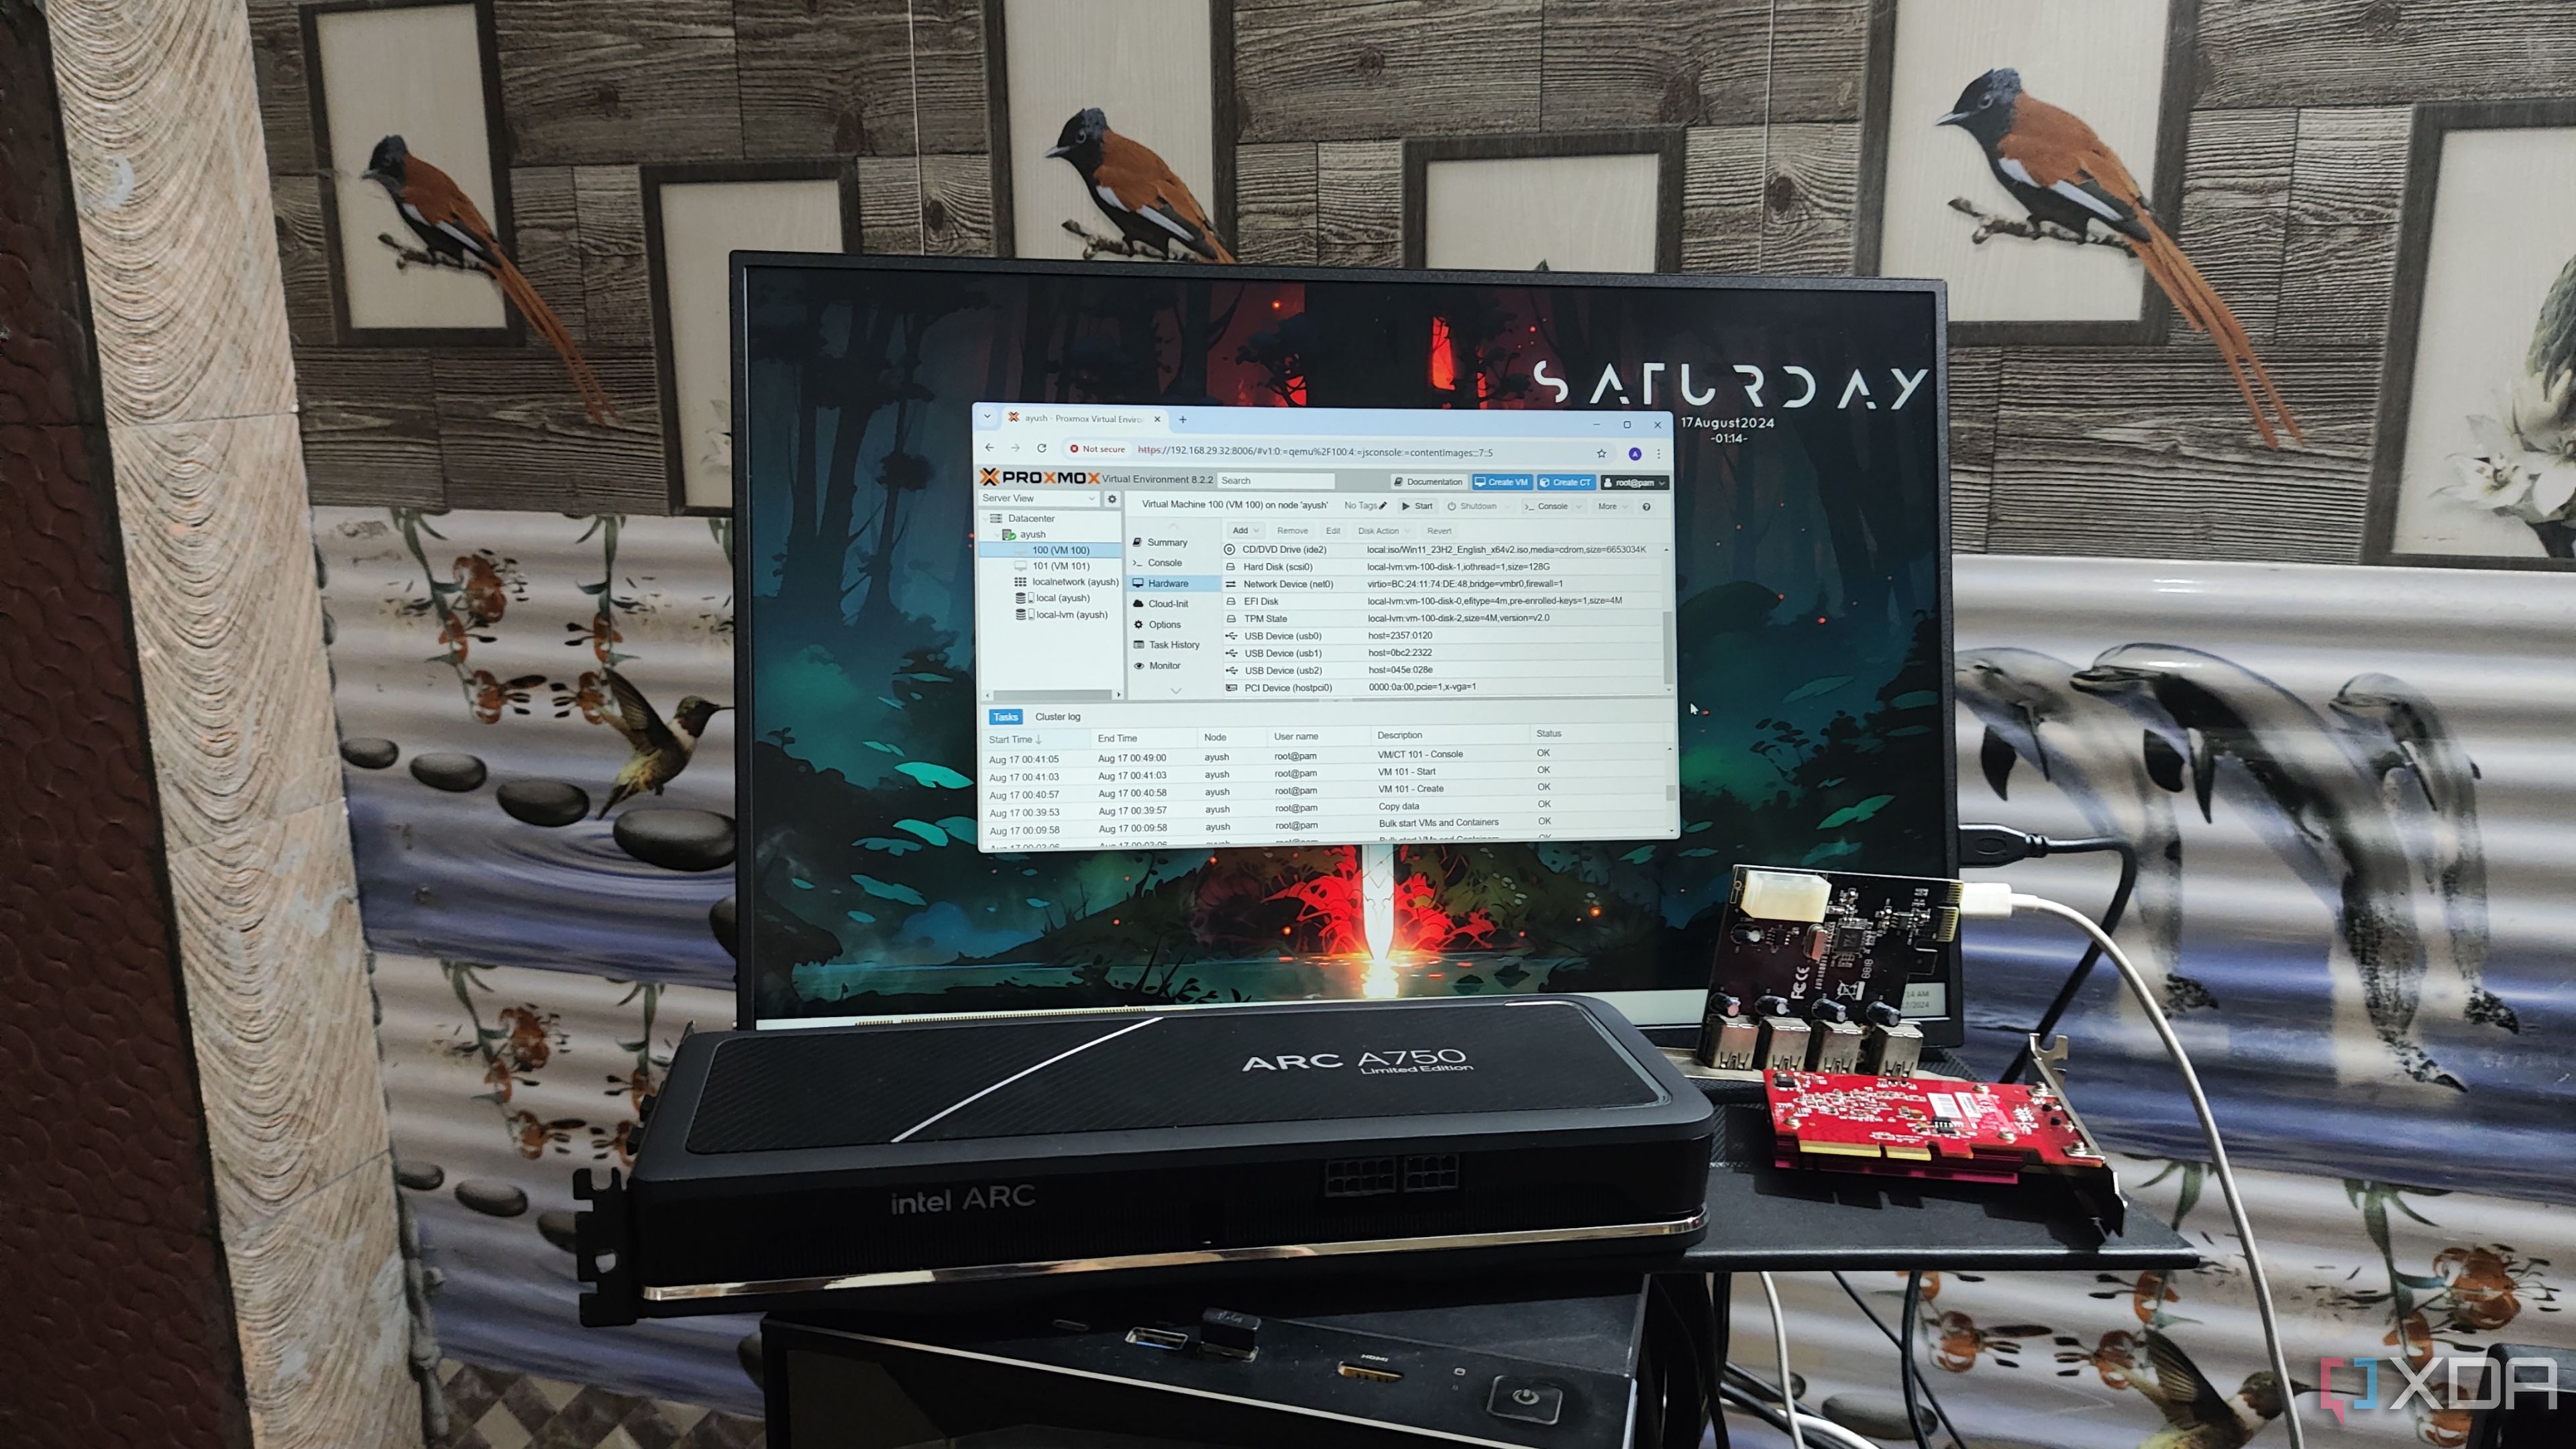
When setting up a Proxmox server, there are some things I always do before setting up a virtual machine or container. These aren't necessarily required to get the most out of Proxmox, but they can help make your journey into virtualization an easier pill to swallow if this happens to be your first time booting up the OS.
6 Keep storage pools separate
NAS and DAS are great
I'm never a fan of running everything on the same system since if it goes down for some reason or you encounter hardware issues, you could lose everything. Having your data stored on external systems, you can quickly swap out the Proxmox box with another, load up a backup, and you're good to go. Better still, have a backup system ready to be deployed and to minimize downtime altogether. That's where network-attached storage (NAS) and direct-attached storage (DAS) can make all the difference.
Related
5 advanced features you should enable in Proxmox
Make the most of your Proxmox server with these useful settings
5 Compile a list of LXC scripts
These are fantastic for quick deployments
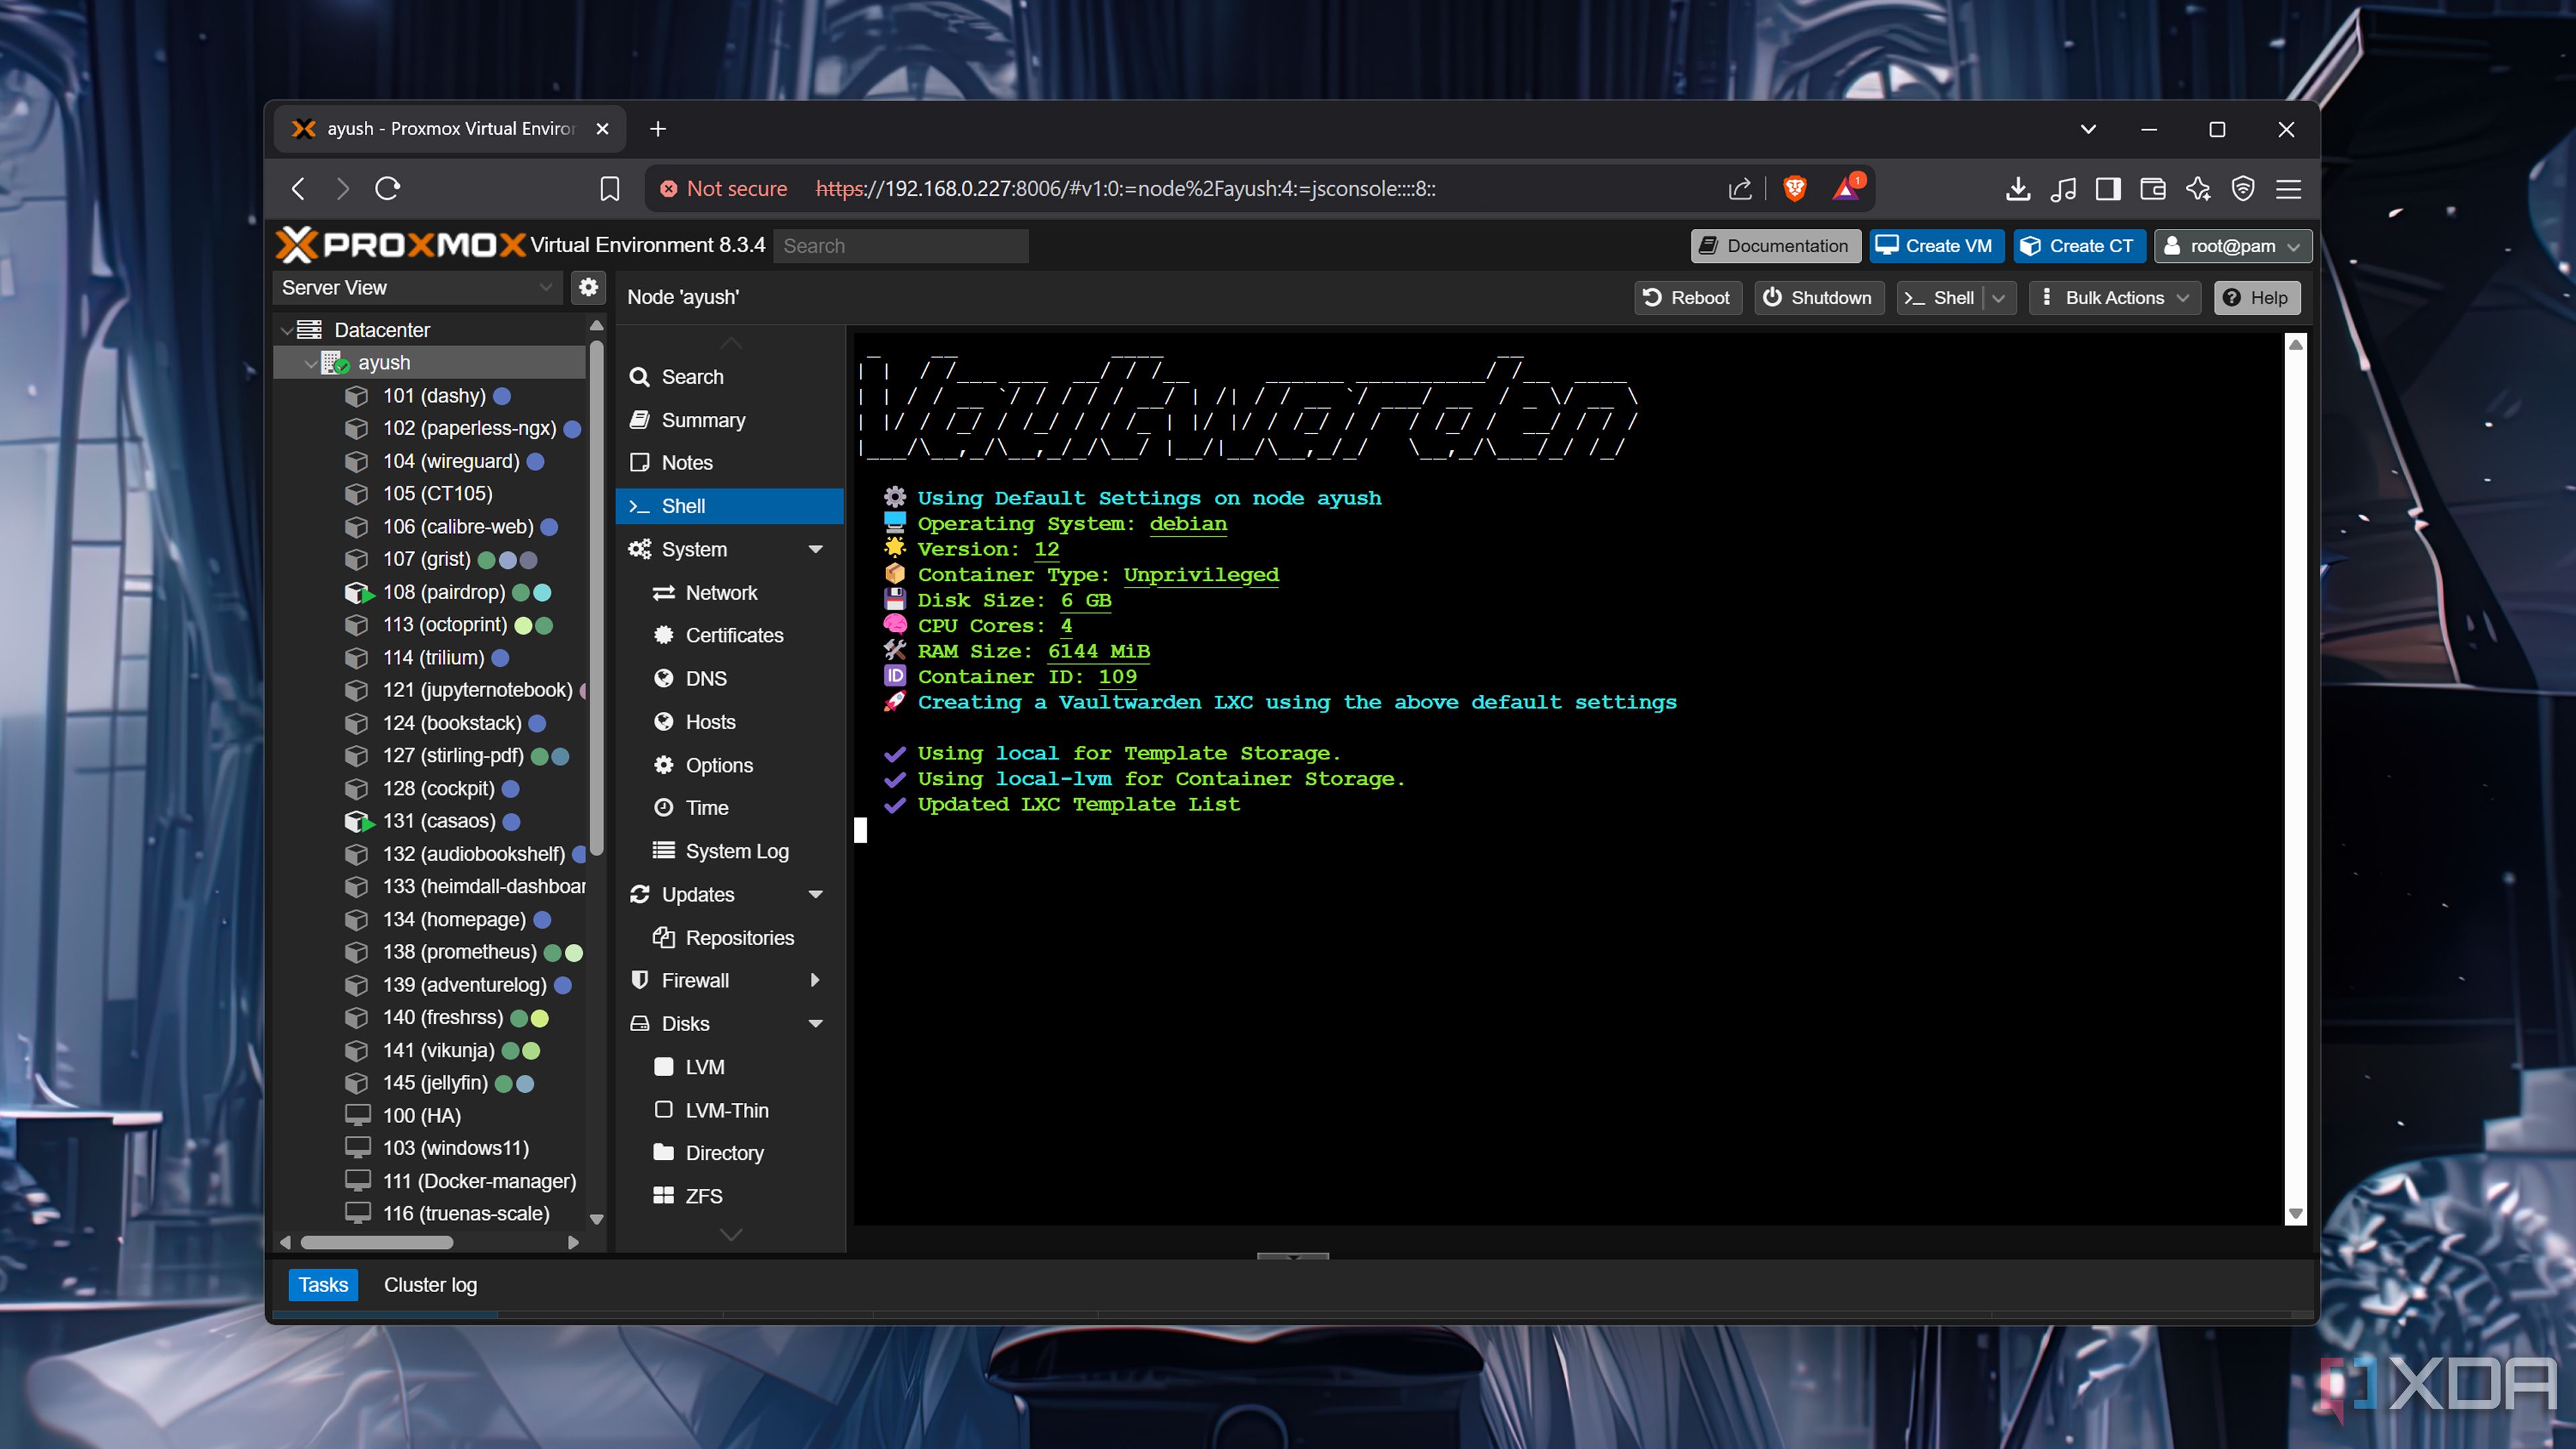
Linux containers (LXC for short) are a little like Docker containers, but instead of running them through a virtual machine with Docker configured, Proxmox allows you to run these apps directly through the web interface using an underlying OS. It's a lightweight approach to running apps and services on Proxmox. While adding a few containers to the same VM may be easier, I prefer to handle multiple LXCs running on Proxmox so they can all be powered individually.

Related
4 Configure a static IP (through DHCP)
Quick access from the LAN
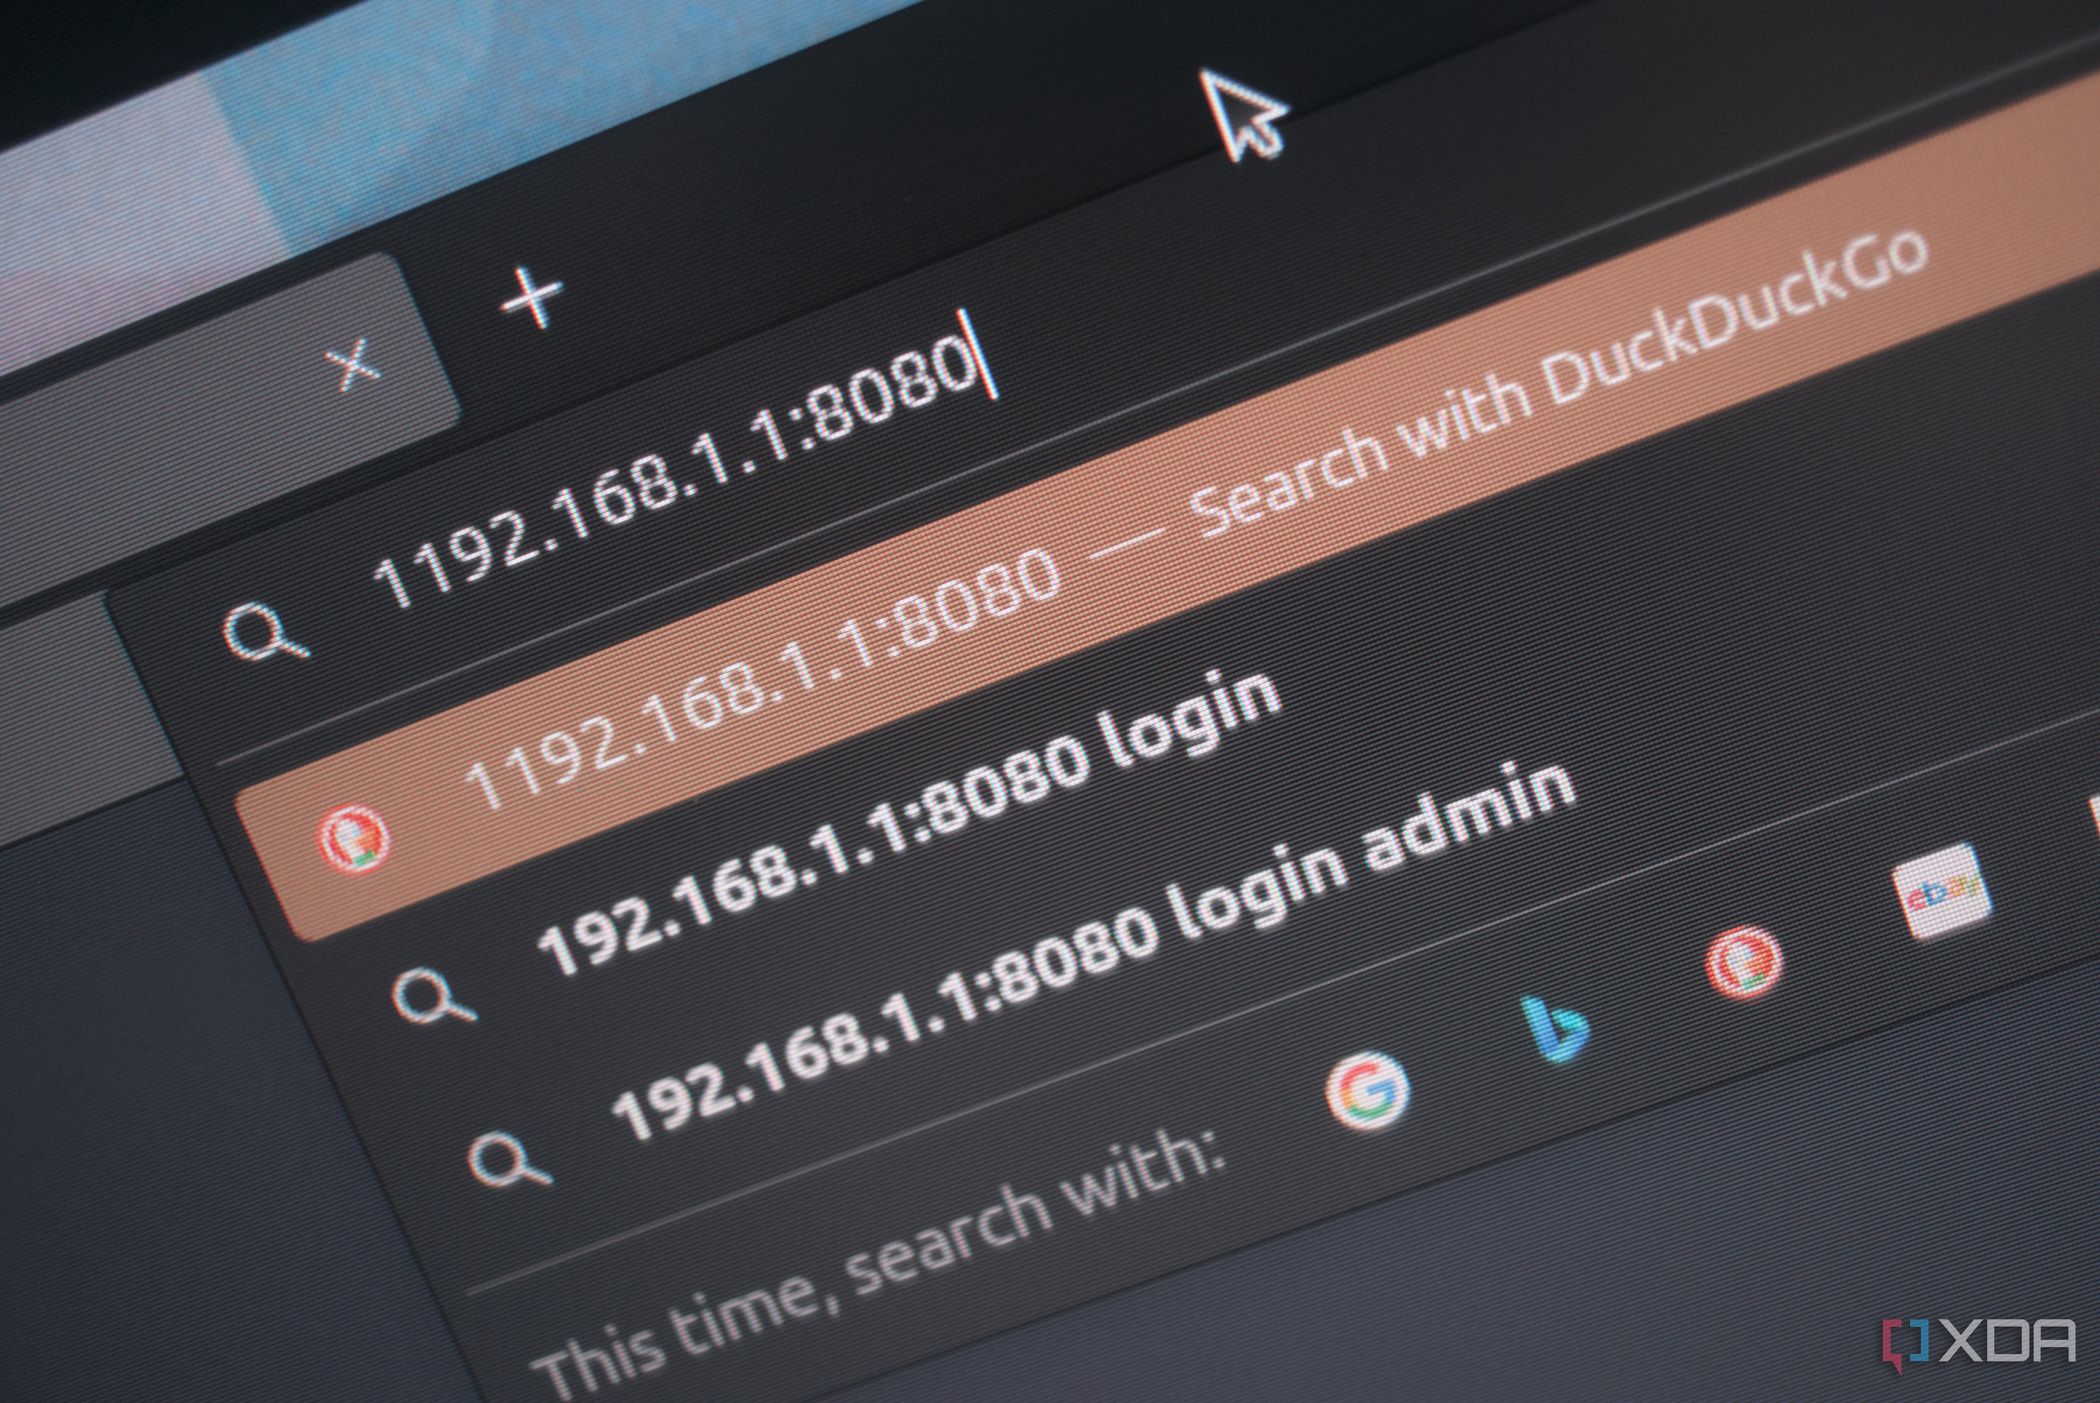
By default, much like any other device connecting to your LAN, Proxmox will ask the DHCP server for an assigned address. This will be selected at random, unless you've configured the DHCP server to reserve a specific address for your server's MAC. I would advise against setting the static IP in Proxmox alone, since this can cause conflicts with any other device asking for that same IP. The best way is to use your router or firewall with the DHCP server running to reserve specific IP addresses.
Doing so would allow Proxmox to run on the same IP even if the network needs to reboot. The same goes for any apps and services you may run on Proxmox. Grab the MACs from within the web admin and throw them into your DHCP server to assign IP addresses to each instance. This is great for running stuff like Jellyfin, Home Assistant, and Frigate to create the ultimate smart home.
Related
3 Plan for resource buffering
Provide each instance more than it needs
Most software will have some form of system requirements, which can quickly take up your total available pool. Your CPU and RAM will have a limit as to how much data can be processed or stored. Although a VM or LXC may not use all of its allocated resources, it's vital to remember just how much is being assigned to each instance since they could all ramp up and cause issues. As well as this, I always like to offer slightly more headroom than what's required by the software, just in case.
This is especially true for storage capacity. As you build out your home lab, you'll likely need more space to store data. Frigate can be quite demanding with a few IP cameras and days' worth of footage to be saved. The same goes for Jellyfin or Plex, which requires you to bring your own media. A NAS or DAS can help here by offering more bays for drives to be installed and replaced with larger models.
Related
Moving my self-hosted empire to Proxmox was a breeze
Proxmox has received much-deserved praise from us here at XDA, and I managed to see it in action by moving everything I self-host to a single Proxmox instance on some server hardware. The process was streamlined, and everything went according to plan, replacing TrueNAS as a foundation for running everything to multiple Docker LXCs and virtual machines running in tandem with TrueNAS storage off to the side.
2 Activate no-script repositories
Get updates (and more)
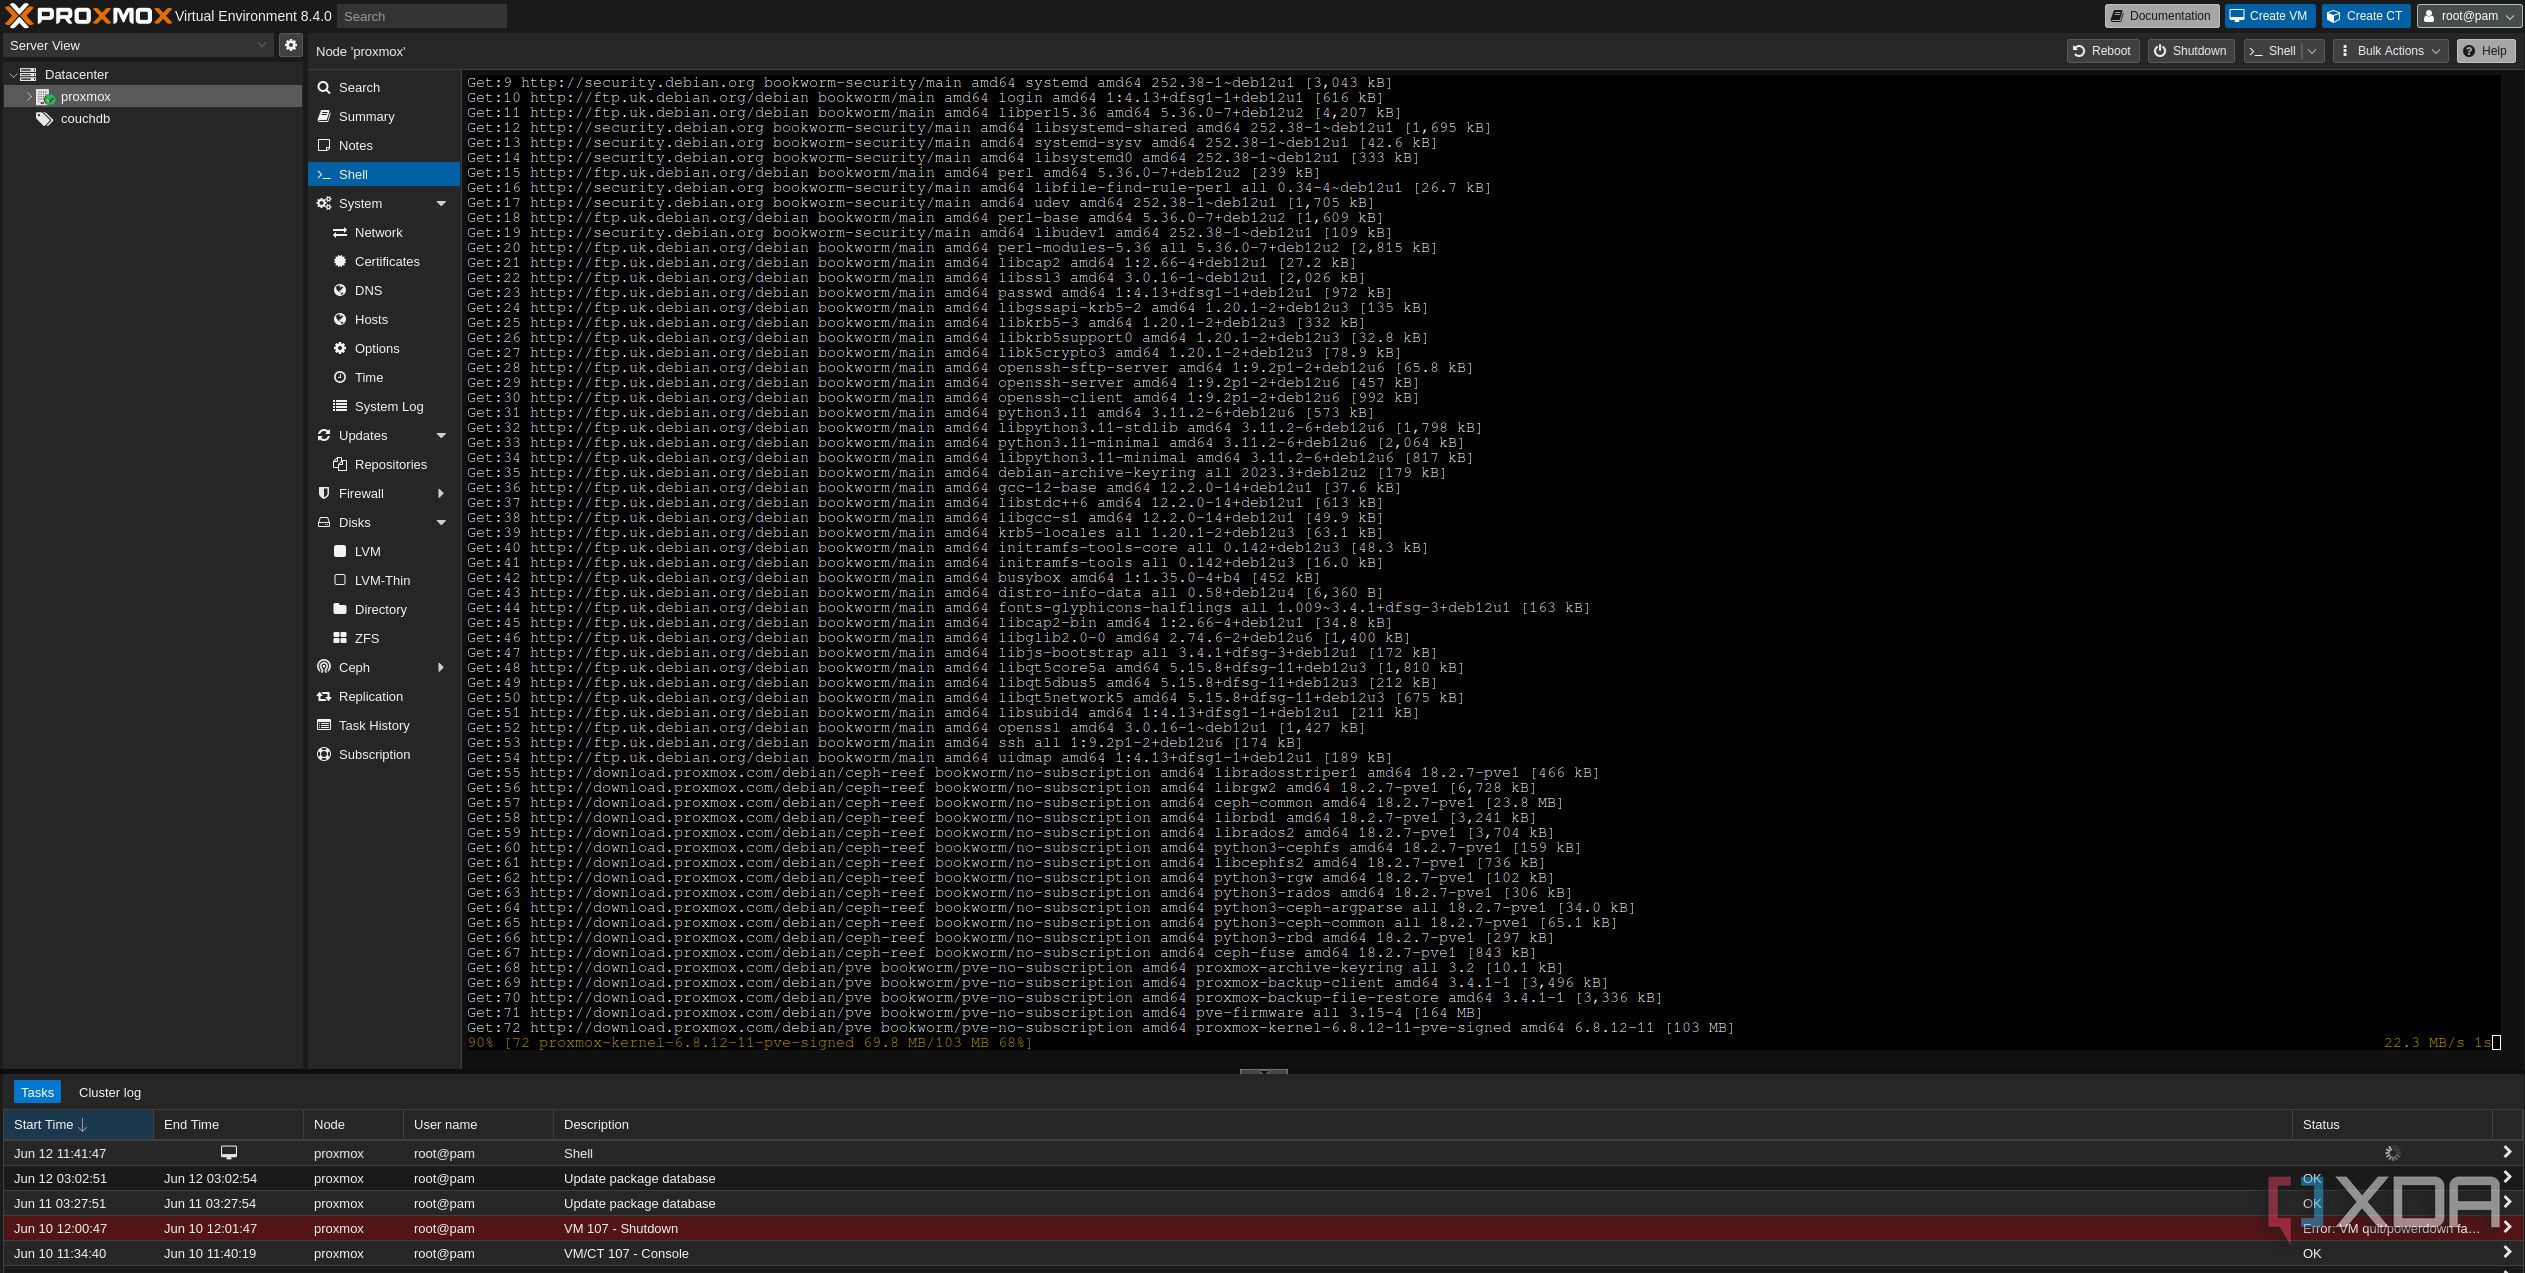
By default, Proxmox will struggle to run through updates without a valid enterprise subscription. With Proxmox 8 and above, we need to disable the enterprise repositories and enable some "no-subscription" replacements so we can ensure our system is always up to date with the latest releases. All you need to do is log into Proxmox and go to Updates > Repositories in the web GUI.

Related
1 Configure automatic backups
Keep copies of everything
Proxmox has a fantastic backup and restore feature that allows you to roll back changes, reinstate a VM or container, and recover from serious errors preventing the original instance from running. The only downside to them is the need to run it manually per instance, but thankfully, Proxmox makes it easy to configure backup jobs that can handle everything for you. I always recommend using external storage for Proxmox to ensure you're not throwing all your eggs into one basket, and the same goes for backups.
Use a NAS or external storage attached to the LAN or Proxmox system to store backup copies and ensure you're able to recover from even the entire Proxmox install going bad. Better yet, add your Proxmox backups into your 3-2-1 backup strategy for ultimate data redundancy.
Related
Proxmox is powerful software
The best part about Proxmox is how powerful the software is. Spend some time navigating the UI and running a virtual machine or two to get started. Making these changes to your fresh Proxmox installation will help you get on the right path without risking the loss of a single bit of data.


 English (US) ·