.png)
I wanted to do something with an old SSD stick from a laptop upgrade that was lying around. A good way to salvage such working, reasonably reliable storage devices is to convert them using cheap, after-market enclosures that give them the life boost they need. With just a small investment, I had a plug-and-play drive from something that was otherwise just collecting dust in a storage bin (pun intended).
It started off as a small purchase I didn’t think much of, but it quickly became one of the most useful tools in my setup. It’s now second nature to reach for the enclosure, which now lives in my desk drawer for easy access, whenever I need to move data between my NAS, desktop, or other machines. It’s become the easiest way to repurpose old drives, run quick diagnostics, and handle storage tasks without opening up any cases.
More than just a box
The benchmark for versatility
The reason I set up a NAS in the first place was to move away from the growing pile of external hard drives I had accumulated over the years. They eventually became too many to manage, and switching to central network storage made the most sense. My NAS has reliably served that role for years, but every now and then, I still need a fast, reliable portable drive for plug-and-play use — especially one I can travel with.
When I first got an enclosure for my spare SSD, I started with small tasks like moving a large photo archive from the NAS to the drive via my PC instead of connecting it directly to the NAS. It was more convenient since my NAS is in a different room from my workstation and placed in a slightly hard-to-reach spot. The transfer was fast and reliable enough that I started keeping the enclosure on my desk full-time.
Related
5 ways I use my external hard drive for more than just archival storage
Old photos and videos are fine, but I use my external hard drive for much more
Since then, I’ve used it for everything from prepping disks for TrueNAS to reverse engineering them for drive shucking. It’s become my default tool when I need to wipe a drive, clone one, test for health issues, or benchmark speeds. I can do all of that without shutting down my main rig or removing drives from the NAS — just drop the drive in, plug the enclosure into a USB-C port, and get to work.
One of the more underrated perks is how well it works with leftover drives. I’ve used old SSDs and HDDs as rotating external storage depending on what I need. It’s especially helpful for saving enterprise-grade NAS-specific HDDs that are no longer reliable for 24/7 use but still have life left in them.
It just fits into my everyday scenarios
How did I ever live without it?
A few weeks ago, a friend needed to recover files from a dead laptop. You can’t get a laptop that no longer works to connect to a NAS, but the enclosure came to the rescue. I dropped the broken laptop’s drive into it, copied everything over, and we could fix the laptop without worrying about data loss. I also use it to test new drives like checking health, clearing partitions, and running benchmarks — all before putting them into the NAS or Proxmox box for tinkering.
Those are the one-off cases. On a more regular basis, I use it to copy critical NAS folders to SSDs that I rotate every few months. It’s a simple, offline storage setup that doesn’t rely on cloud services. And when I’m traveling, the enclosure makes it easy to move large files between machines or offload media from cameras — all without needing to ping the NAS back home, especially when networks are spotty on trains or unavailable mid-flight. Plus, I get to feel all nerdy while traveling with my stack of tightly packed SSDs and one enclosure to rule them all.
Related
Choosing the right enclosure
Not all of them are created equally
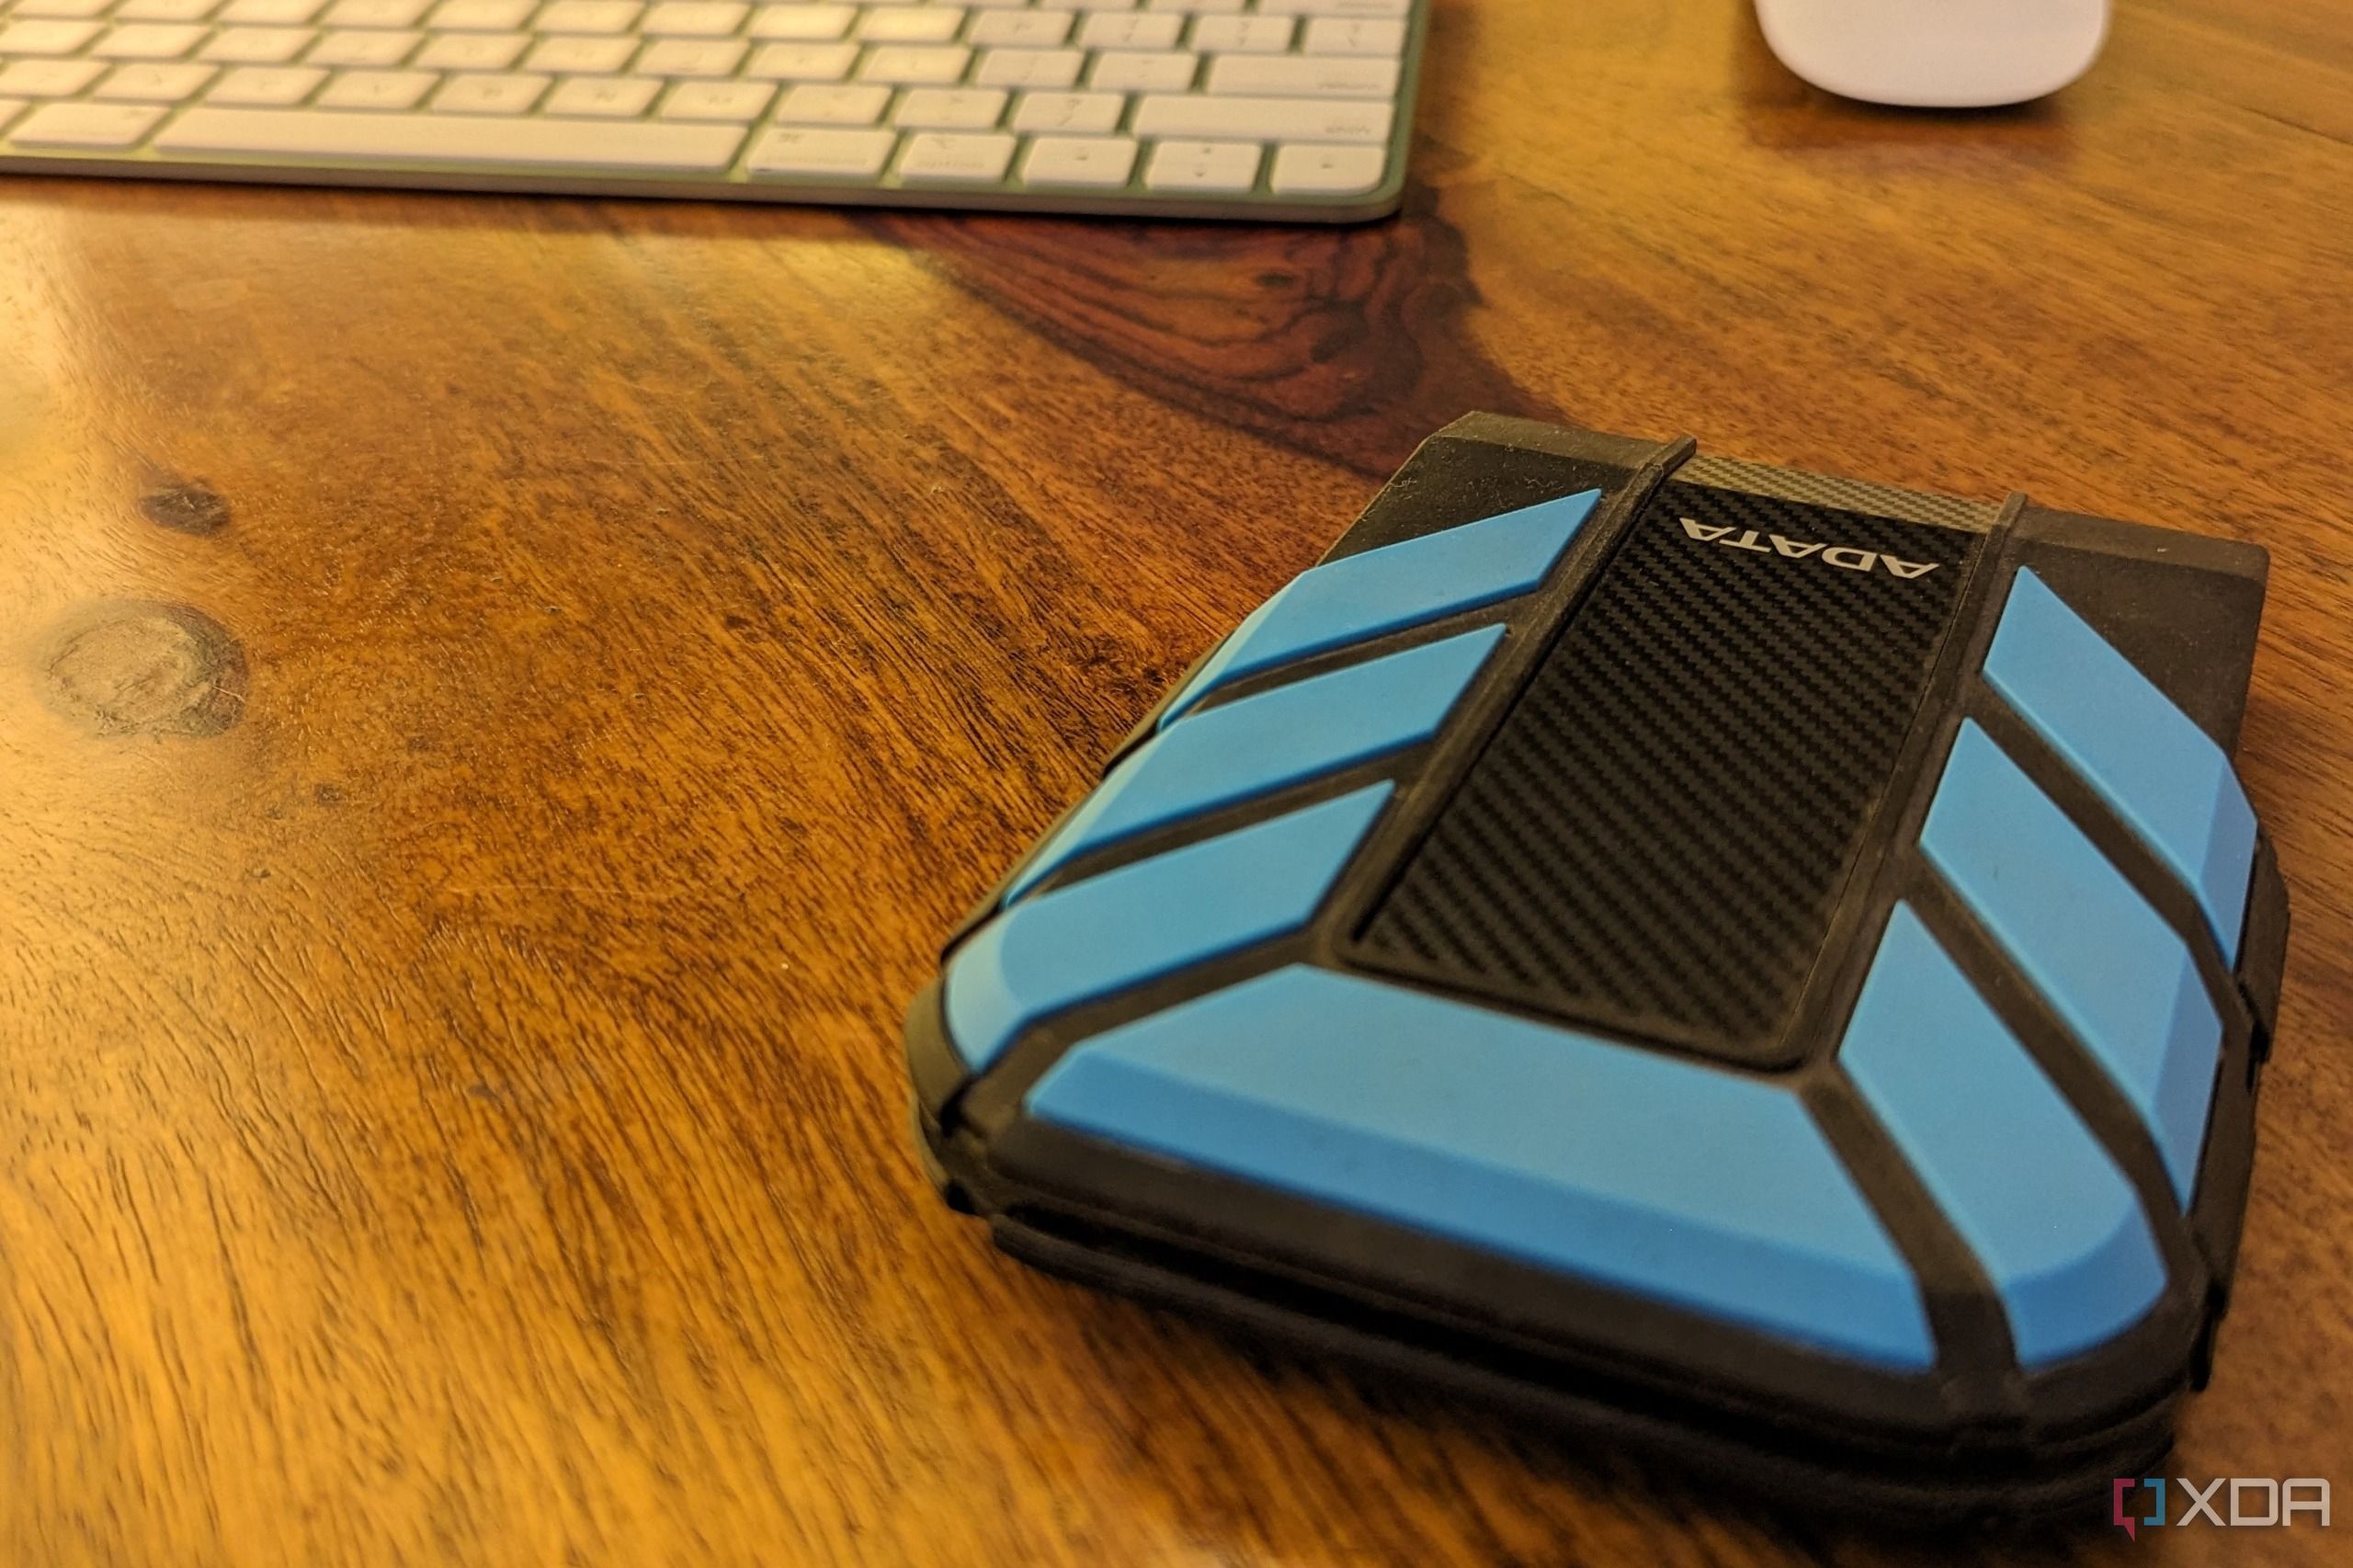
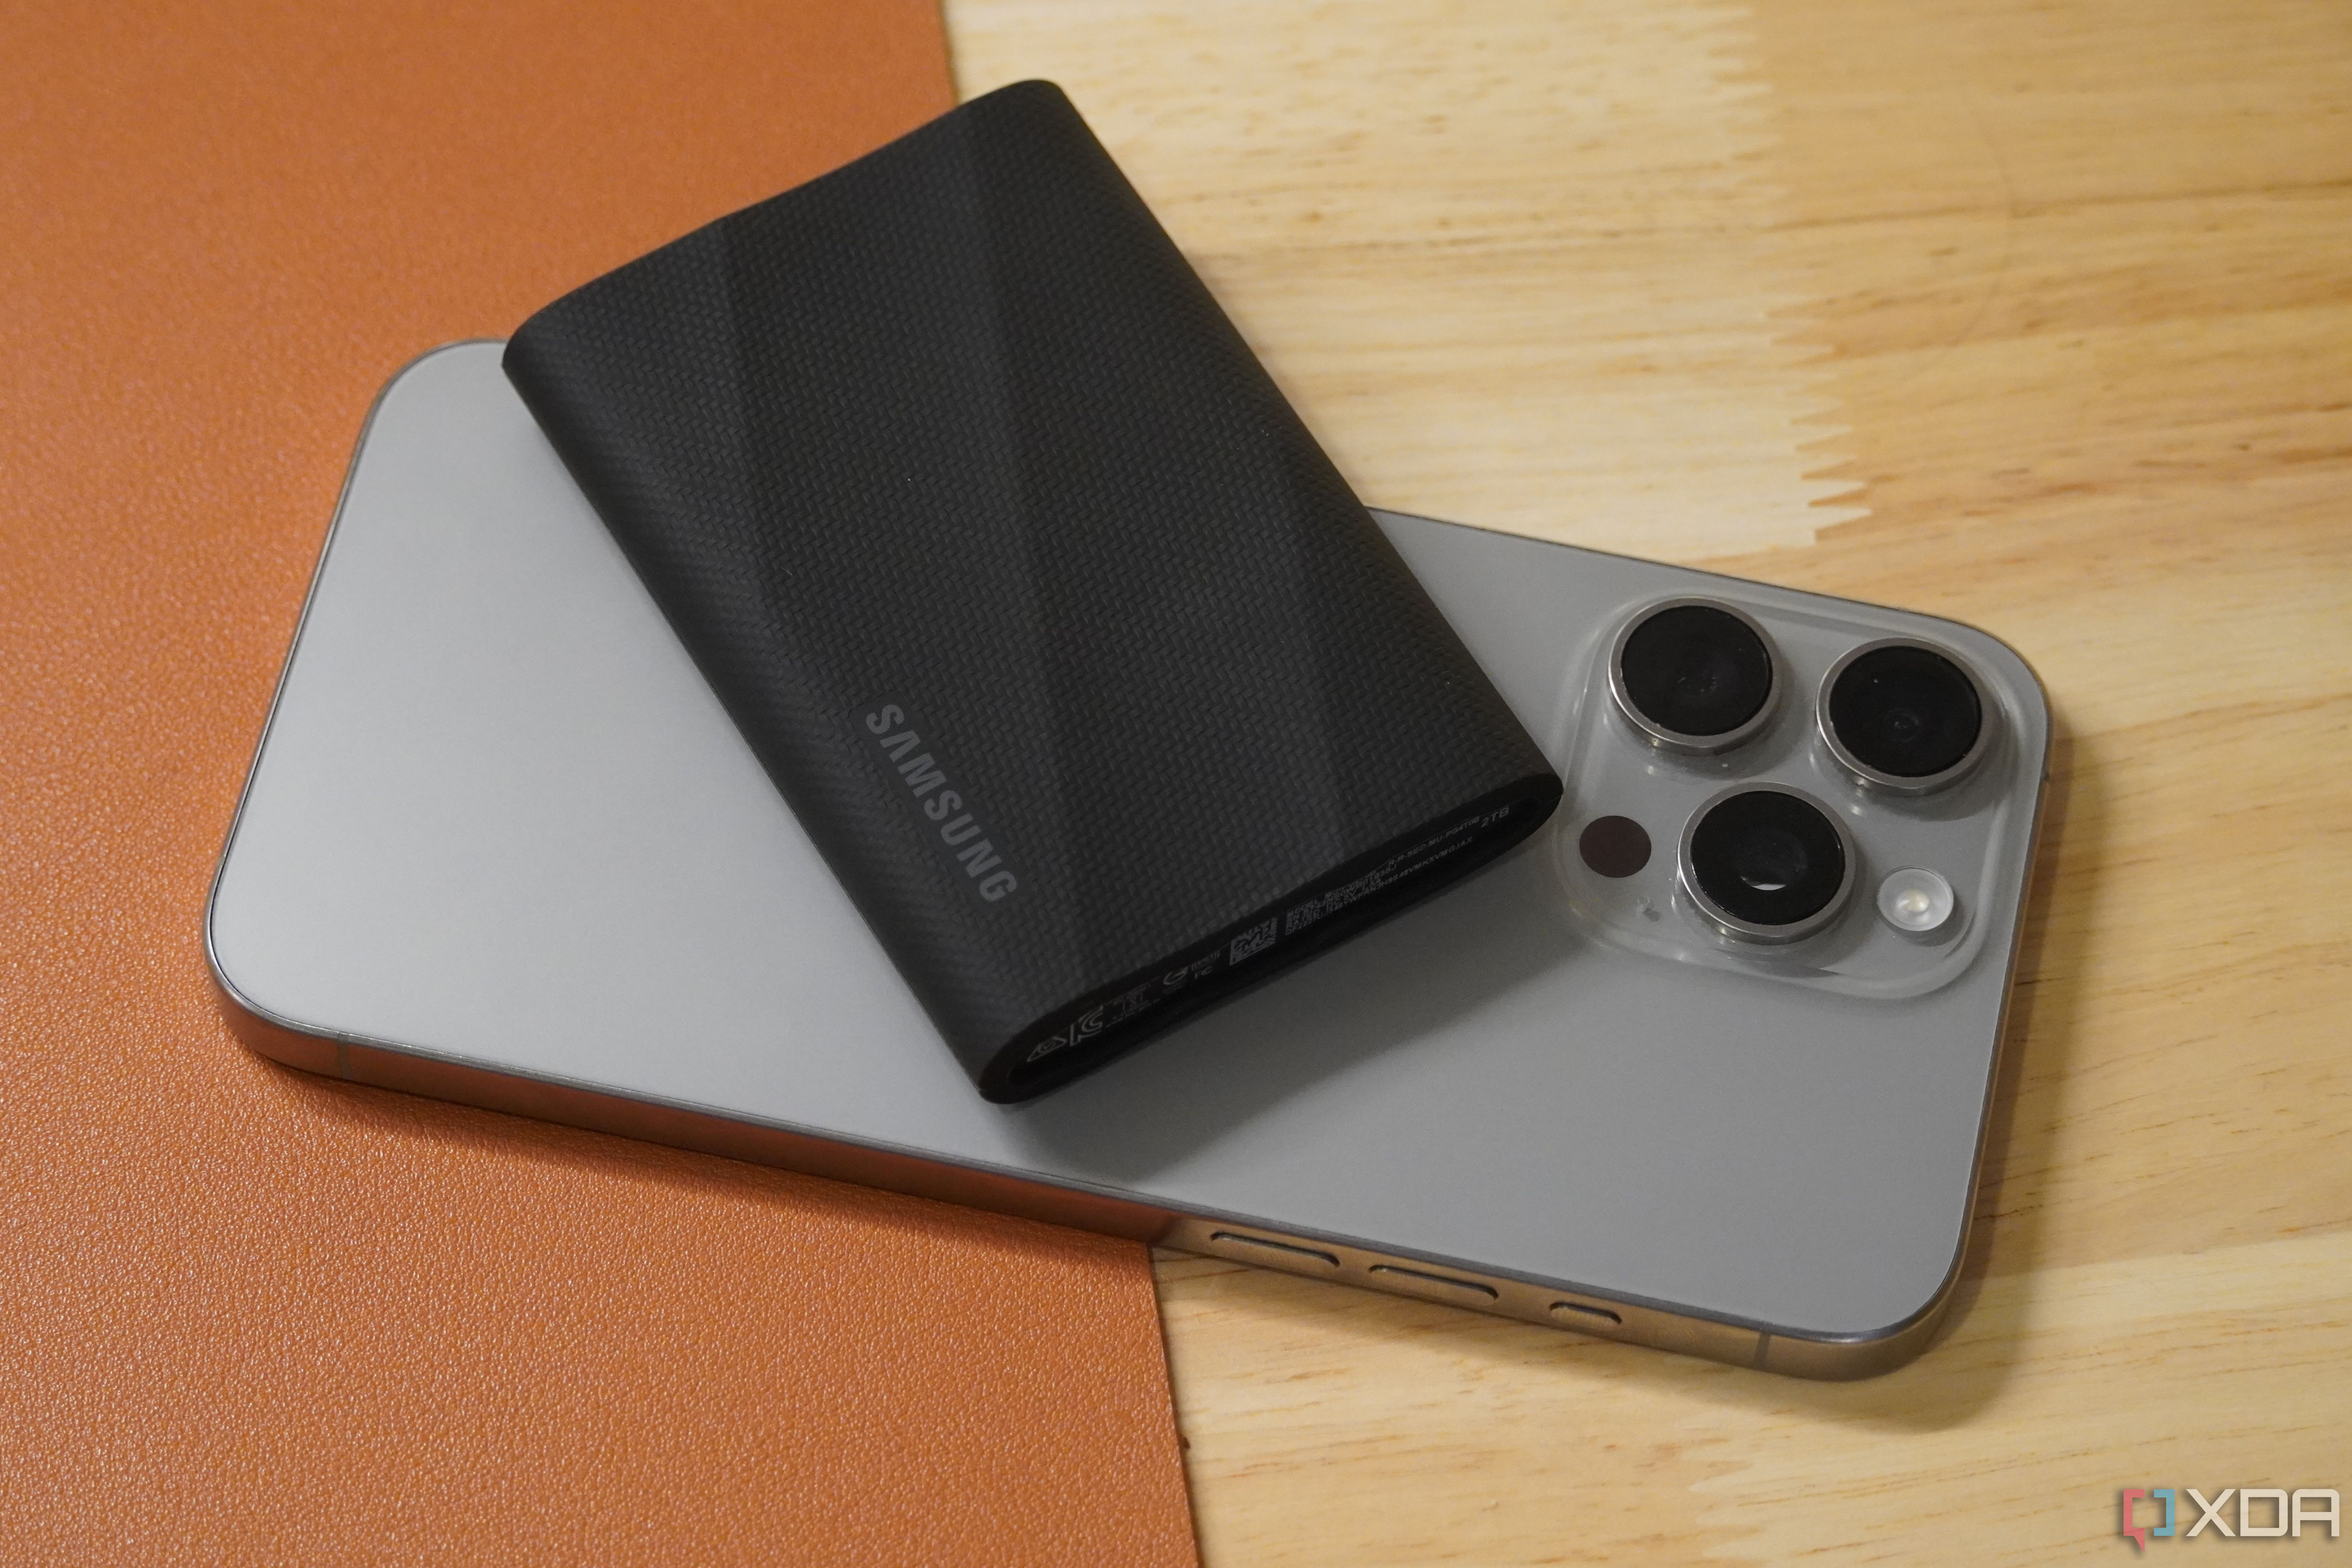
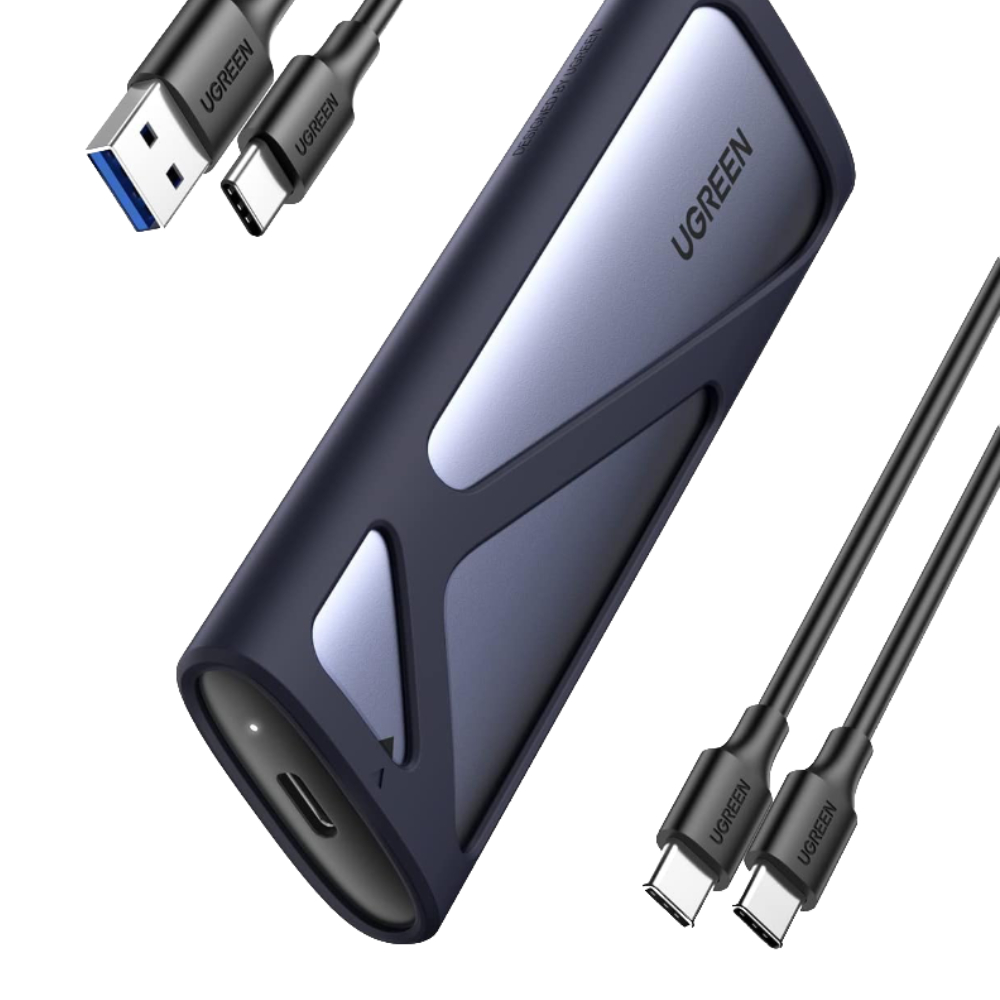
Since I deal with drives of all shapes and sizes, I need a one-size-fits-all kind of solution. I’ve gone through several models over the past year — some tool-free, others needing just a screwdriver; some SATA-only, others supporting both SATA and NVMe — and I’ve now settled on one that does both. It’s a tool-free, USB-C 10Gbps enclosure with a built-in thermal pad.
Thermals matter, especially when using NVMe drives. Some get hot enough during large transfers to throttle, defeating the purpose of high-speed storage. Look for enclosures with decent heat dissipation or built-in heatsinks to help the drive stay cool even under load. A couple of budget ones I tried didn’t hold up well over time.
Also, check the power requirements. While 2.5-inch SSDs and HDDs usually run fine over USB power, 3.5-inch HDDs need an external power supply, something not every enclosure includes. If you plan to use full-size desktop drives, make sure the enclosure supports external power and includes the right adapter. If your needs are simpler, a more minimal setup will do just fine.
Extend the lives of your hard drives
Enclosures are a great way to reuse drives that may no longer be reliable enough for daily use. They give your old storage the second life it deserves, instead of ending up in a landfill with no shot at reuse. You can even go a step further and protect your drives from early failure inside your NAS or PC to maximize their lifespan and get the most value out of your investment.


 English (US) ·