.png)
Summary
- Isolation with VLANs and firewalls for risky smart home gadgets
- Efficient ad and tracker blocking with Pi-hole at the DNS level
- Monitoring DNS and DHCP traffic for network insights and security alerts
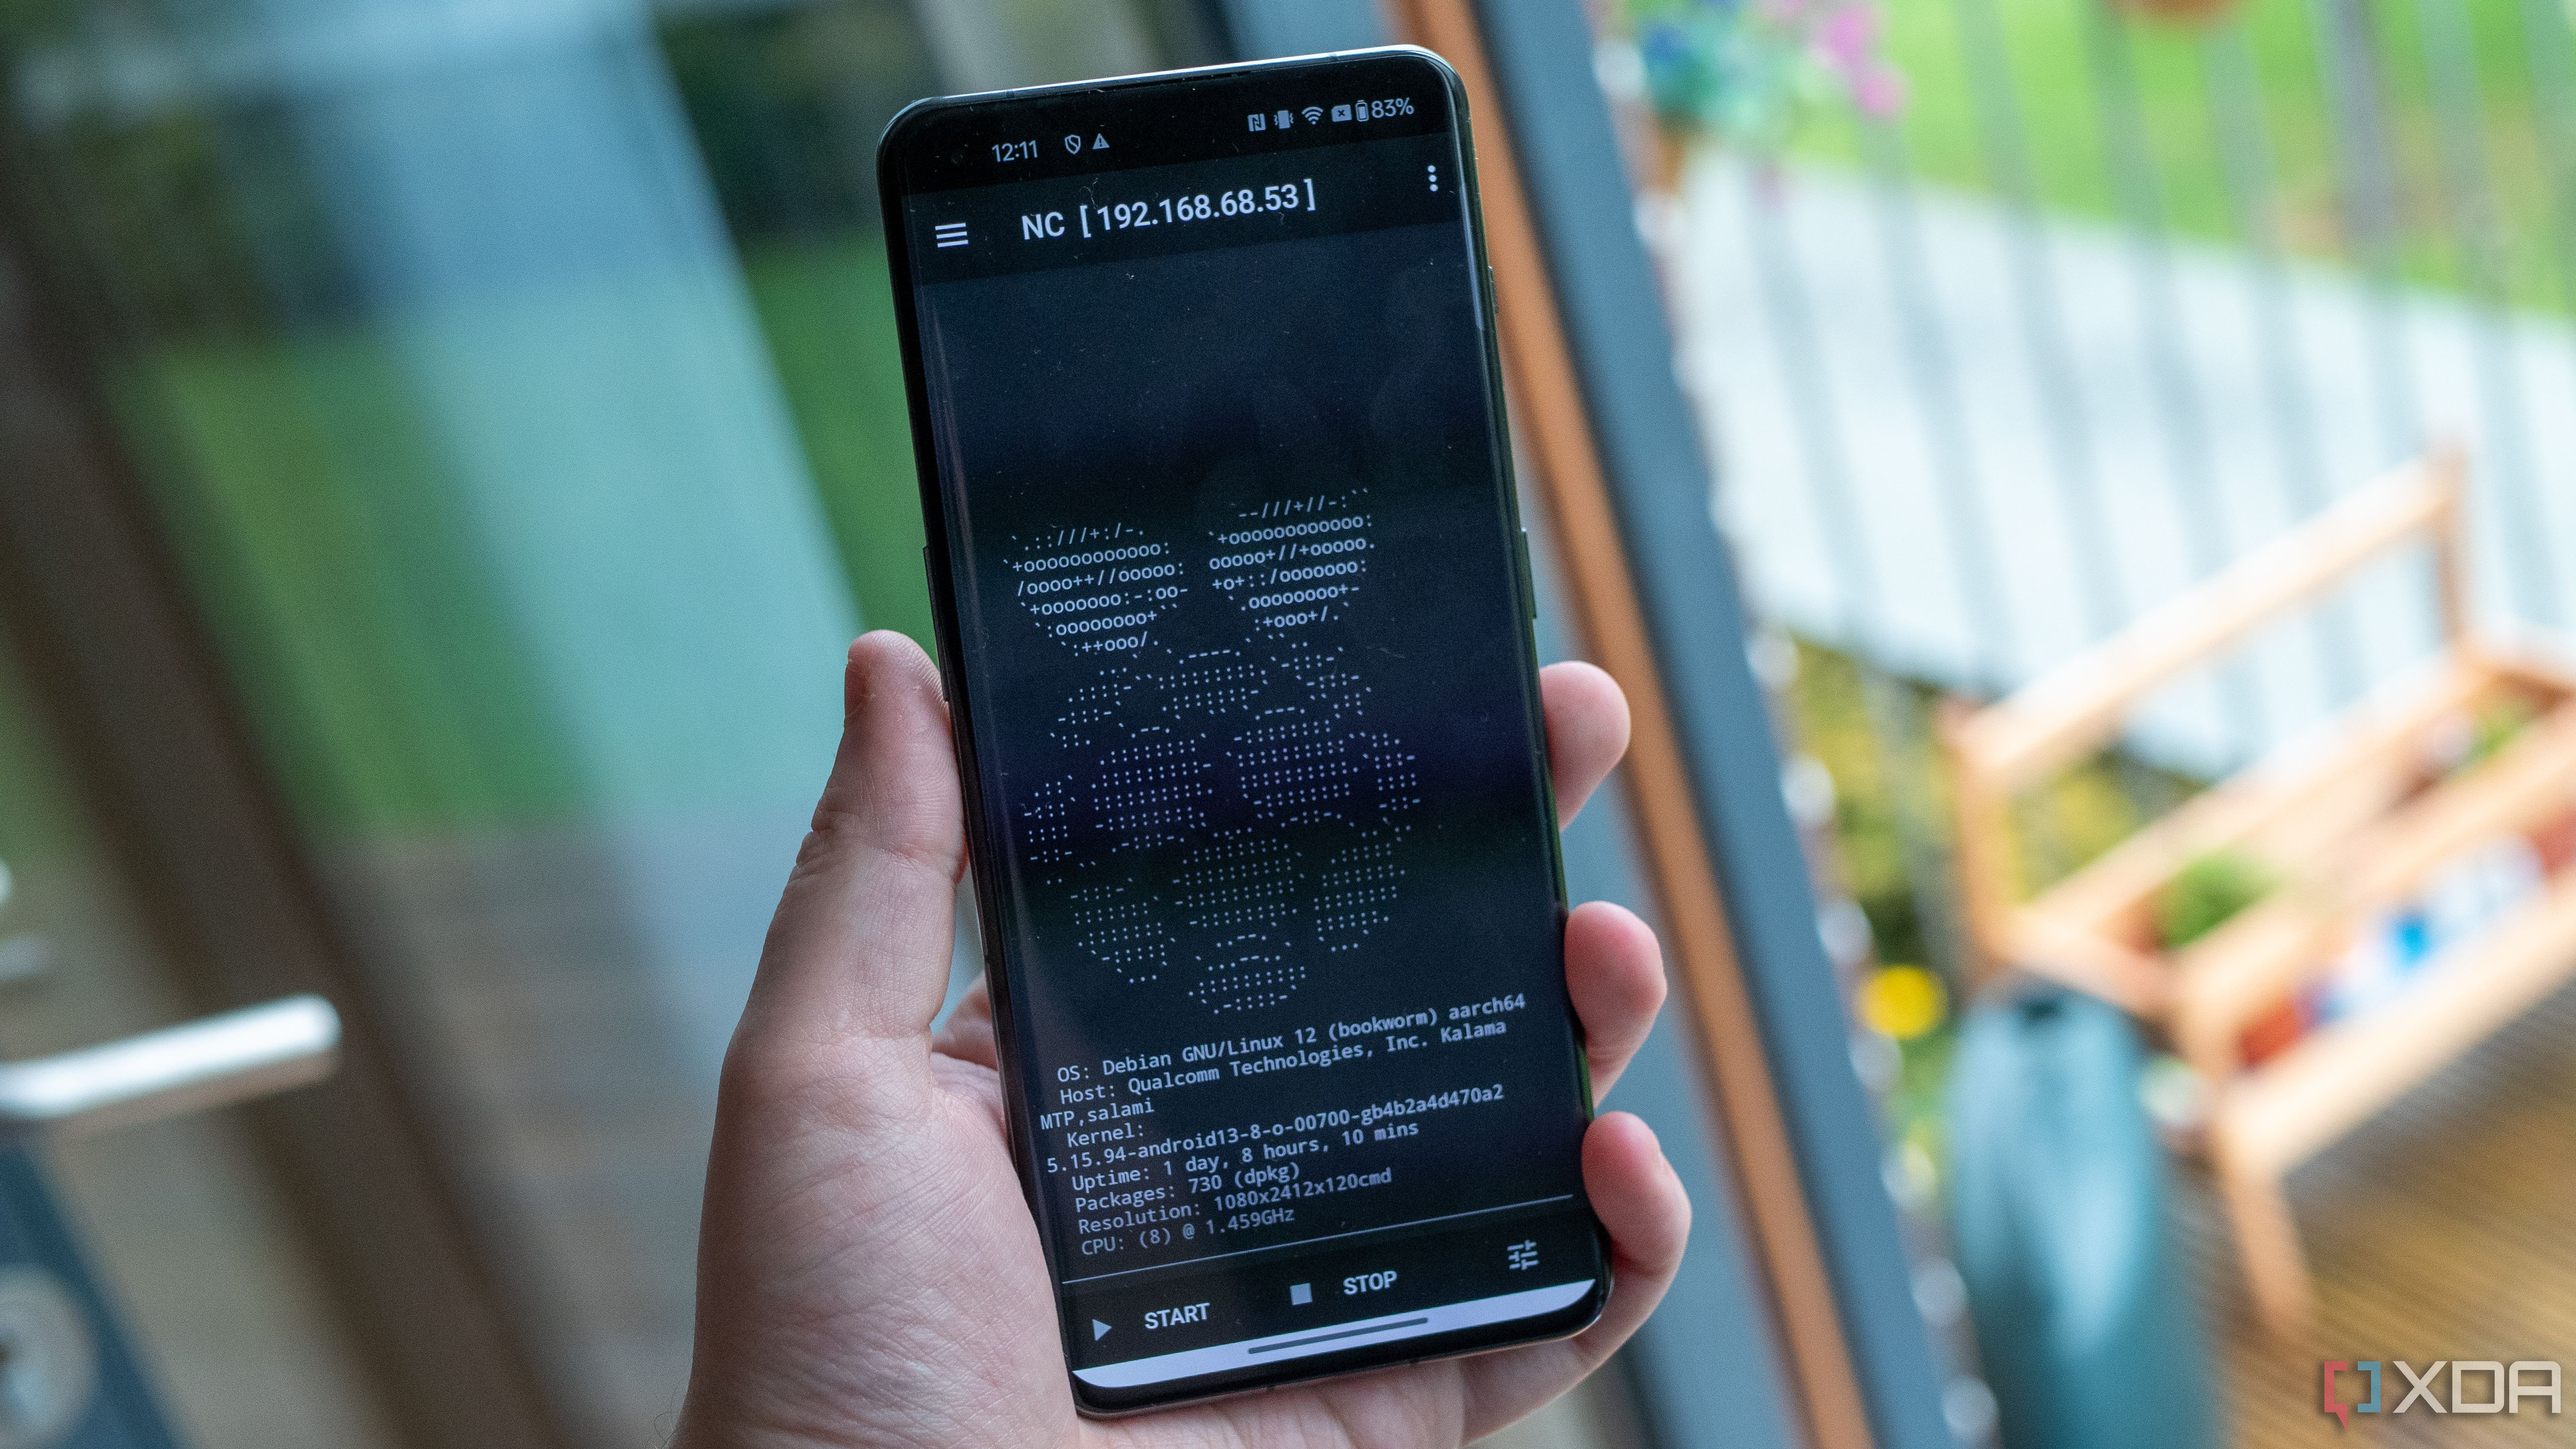
My Raspberry Pi isn’t just for tinkering and fun projects. It’s become one of my favorite tools for securing my home network. Sitting quietly on my desk, it sips power while handling tasks for which I used to rely on heavier hardware. Over time, I’ve added layer after layer of functionality to protect my digital life from clutter, tracking, and unwanted access.
What surprises me most is how much you can do with such a small device when you pair it with the right tools. Here are the critical ways I use a Raspberry Pi to lock down my network. Each task is simple, but together they create a strong security posture. Best of all, they’re inexpensive and have low maintenance once set up.

Related
5 essential Raspberry Pi commands I use
These five commands are helpful in setting up your Pi, updating packages, monitoring resource usage, remotely accessing the Pi, and scheduling tasks
5 Isolating risky smart home gadgets
VLANs and firewalls contain the potential mess
Not every device on my network deserves the same level of trust. That’s especially true for smart home gear, which often comes with sketchy firmware or invasive data collection habits. With some basic VLAN setup and the Raspberry Pi acting as a monitor and control point, I keep my smart gadgets in their own fenced-off area. They can still talk to the internet if needed, but not to my personal machines or file servers.
I don’t route traffic directly through the Pi, but I use it to test VLAN configs, ping devices across boundaries, and quickly verify firewall rules. I even created a tiny dashboard that shows live traffic across VLANs and lets me toggle access when needed. It’s not flashy, but it works.
This approach means even if a smart plug or camera gets compromised, it’s boxed in. There’s no lateral movement allowed across VLANs unless I specifically permit it. That simple isolation tactic adds tremendous value with minimal effort.
4 Blocking ads and trackers at the source
Pi-hole quietly scrubs every DNS request I make
The first thing I installed was Pi-hole, and the effect was immediate. It acts as a local DNS server that filters out requests to known ad and tracking domains, which means ads vanish before they even reach my browser. All my home devices—laptops, phones, even my smart TV—are pointed to it as their DNS server, which gives me full control over what gets resolved and what gets dropped. I like seeing the real-time dashboard showing which domains are blocked and which are allowed.
Related
5 reasons a Pi-hole isn’t enough to protect your home network
The humble Pi-hole is great for ad blocking but it's only part of a well-designed home network protection system.
You start to notice patterns, like how chatty some devices are, even when you're not using them. I added a few custom blocklists to target smart TV telemetry and overly aggressive game launchers. It's satisfying to see those requests get swallowed by the Pi-hole. This has the added benefit of speeding up browsing and reducing bandwidth, especially on mobile. Websites load faster without the extra clutter from ad networks and third-party scripts. For something that takes less than 15 minutes to install, it's had an incredible impact.
3 Monitoring DNS and DHCP traffic
Logs and alerts show me what’s happening
Running Pi-hole and a lightweight DHCP server gives me visibility into everything joining the network. Every time a device requests an IP or a DNS record, it leaves a breadcrumb I can follow. I collect those logs and pipe them into a basic analytics script that flags anything unusual, like repeated failures or strange domain lookups. That’s helped me spot misbehaving apps and even a rogue browser extension.
I keep about 30 days of logs on hand, which is plenty to trace back recent incidents or weird slowdowns. Seeing what happened before it started is incredibly useful when something goes wrong. I’ve caught things like a smart TV trying to reach domains in China every ten seconds. That one got yanked off the network fast.
These tools don’t require constant attention, but I check the logs weekly to stay in the loop. Having a record of who did what and when makes it feel like I’m driving my network instead of just reacting to it.
2 Creating a secure private tunnel
WireGuard VPN lets me access my network remotely
With Pi-hole running smoothly, I added a VPN server using WireGuard. With PiVPN, the setup was refreshingly straightforward, giving me encrypted access to my home network from anywhere. I can be on hotel Wi-Fi or public internet at a coffee shop, but I can still route everything through my home connection. That includes DNS lookups, so I still benefit from my Pi-hole’s filtering no matter where I am.

Related
4 reasons you need to use WireGuard instead of OpenVPN for connecting to your home lab remotely
If you have a home lab and want to connect to it remotely, WireGuard is much better than OpenVPN.
WireGuard is fast and lightweight, which is precisely what a Raspberry Pi needs. Unlike older VPN protocols, it barely touches the CPU and doesn’t drag down connection speeds. I generated client profiles for my laptop, phone, and tablet, each with its own key pair and QR code. Reconnecting is automatic and seamless, so it never feels like a chore. I can still access my NAS, printer, or even the Pi’s dashboard when I’m away. It feels like carrying a piece of my home network with me, no matter where I go. I’ve even set up rules so some services are only accessible when connected to the VPN, adding an extra layer of protection.
1 Watching for suspicious devices
Network scanning alerts me to unexpected changes
I run periodic scans of my local network using tools like arp-scan and Nmap. The Raspberry Pi handles this easily with a small cron job and some scripting. If a new MAC address shows up or something suddenly starts exposing a new port, I get an email alert. That’s been incredibly useful for spotting devices I forgot about, or ones I didn’t authorize.
These scans help build a baseline of what “normal” looks like. Over time, I’ve fine-tuned it to ignore known devices, but anything unfamiliar gets flagged. When I added a friend’s smart speaker to the guest VLAN, it pinged me immediately. That level of awareness isn’t overkill; it’s practical peace of mind.
I also use it to track uptime and see which devices frequently disconnect or reboot. Sometimes it’s nothing, but occasionally it points to a failing adapter or bad cable. Little things like this also help keep the rest of the network healthy.
A tiny Pi with profound security impact
There’s no silver bullet when it comes to network security, but the Raspberry Pi gives me control I didn’t have before. It’s always on, easy to work with, and endlessly customizable. I’ve built a lightweight but powerful defense system by combining a few well-chosen tools. It’s one of the few tech setups I’d call essential in my home.


 English (US) ·