.png)
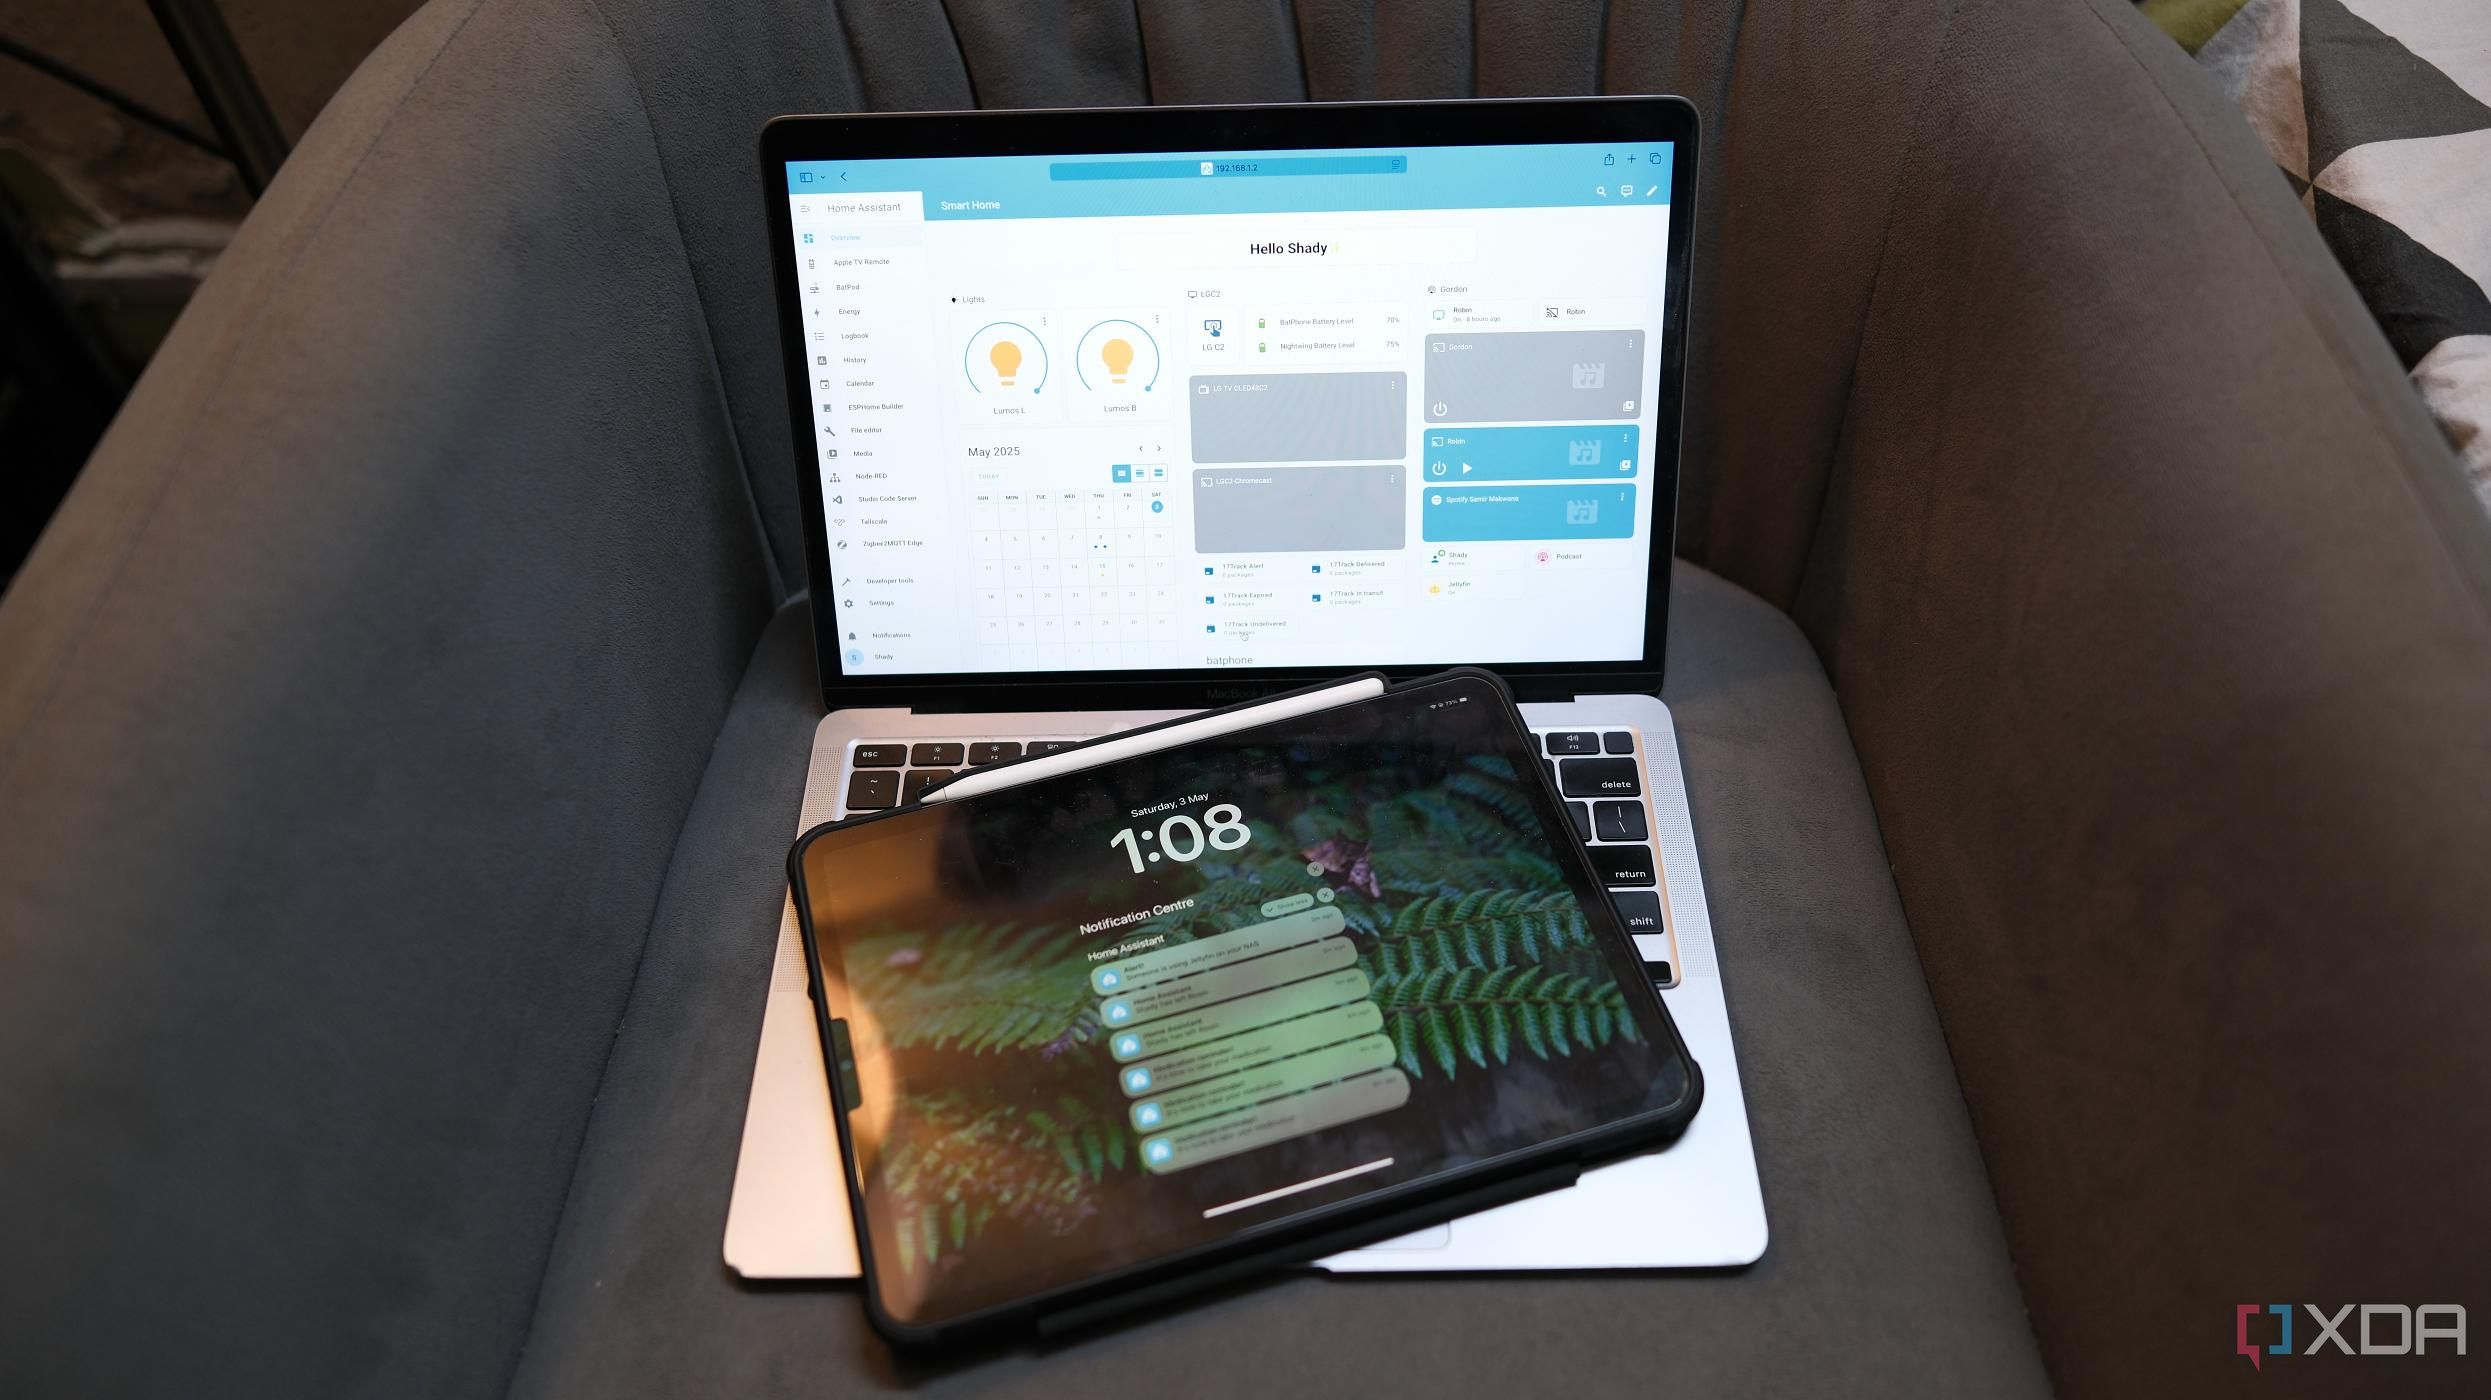
Home Assistant may have a beginner-friendly UI, but you shouldn’t underestimate its capabilities. Thanks to integrations (especially those of the HACS variety), blueprints, and trigger-action workflows, there are tons of cool projects you can build with Home Assistant. Throw in the Node-RED add-on, and you’ve got a powerful automation server that can control every aspect of your smart home.
But when you’ve spent hours designing your dream Home Assistant instance, losing all your progress to an incorrectly configured YAML file becomes a terrifying thought. Luckily, there are plenty of ways to back up your Home Assistant and Node-RED servers, regardless of whether you’re running them inside dedicated bare-metal setups or as standalone containers inside virtual machines.
Related
Home Assistant’s built-in backup utility makes everything a breeze
You don’t even need to create complex YAML files
Going with the easiest method first, Home Assistant OS and Core have a dedicated backup facility to save your HASS configs, SSL certificates, and integrations. Unlike its containerized counterpart, HAOS also lets you upload your add-ons – including a Node-RED instance – so you can jump right into your smart home setup after restoring the backup.
You’ll find the Backups section hidden inside the System window of the Settings tab. For a completely automated setup, you can go with the Automatic backups option. By default, Home Assistant saves everything daily and retains up to three backups before overwriting them. If you’re not tinkering with your smart home setup every day, you can reduce the backup frequency to avoid running out of space in your HASS setup. Alternatively, you can configure Home Assistant to include media files (like surveillance footage from your security cameras) in the backup.
Home Assistant will display an encryption key to safeguard your backup files, and I typically use a password manager like Vaultwarden to save it for later. The rest of the procedure is as simple as clicking on the Backup now button and choosing between Automatic and Manual backup.
You can even sync the backups with your NAS
So far, Home Assistant will dutifully create backups on its own, which may become inaccessible if your HASS node breaks. Sure, you could download the files onto your PC, but we’re aiming for a fully-automated backup procedure.
That’s where the Locations section within Backup settings comes into play. Although Home Assistant lets you save your precious smart home setup on its proprietary (paid) cloud platform, you’ve got other options as well. If you’ve got a NAS running 24/7 like I do, you can use it as the backup server using the Network storage option. Just enter a name for the NAS, choose the Backup option, select the IP address, and enter the Name and Credentials for the SMB share.
Alternatively, you can link Google Drive with your Home Assistant instance. However, you’ll need to generate a Client ID and Secret via Google’s Developer Console before connecting the Drive integration with Google’s cloud platform using an API.
It's also useful if you’re migrating from a container to a VM
A hidden advantage of the built-in backup tool is that you can use it to switch from a containerized Home Assistant Core setup to a VM-based HAOS instance. Besides offering better isolation, Home Assistant OS also lets you install add-ons directly using the HASS UI. While you can connect most of the add-ons by self-hosting them as containers alongside your Home Assistant Core, doing so adds some extra complexity to the equation.
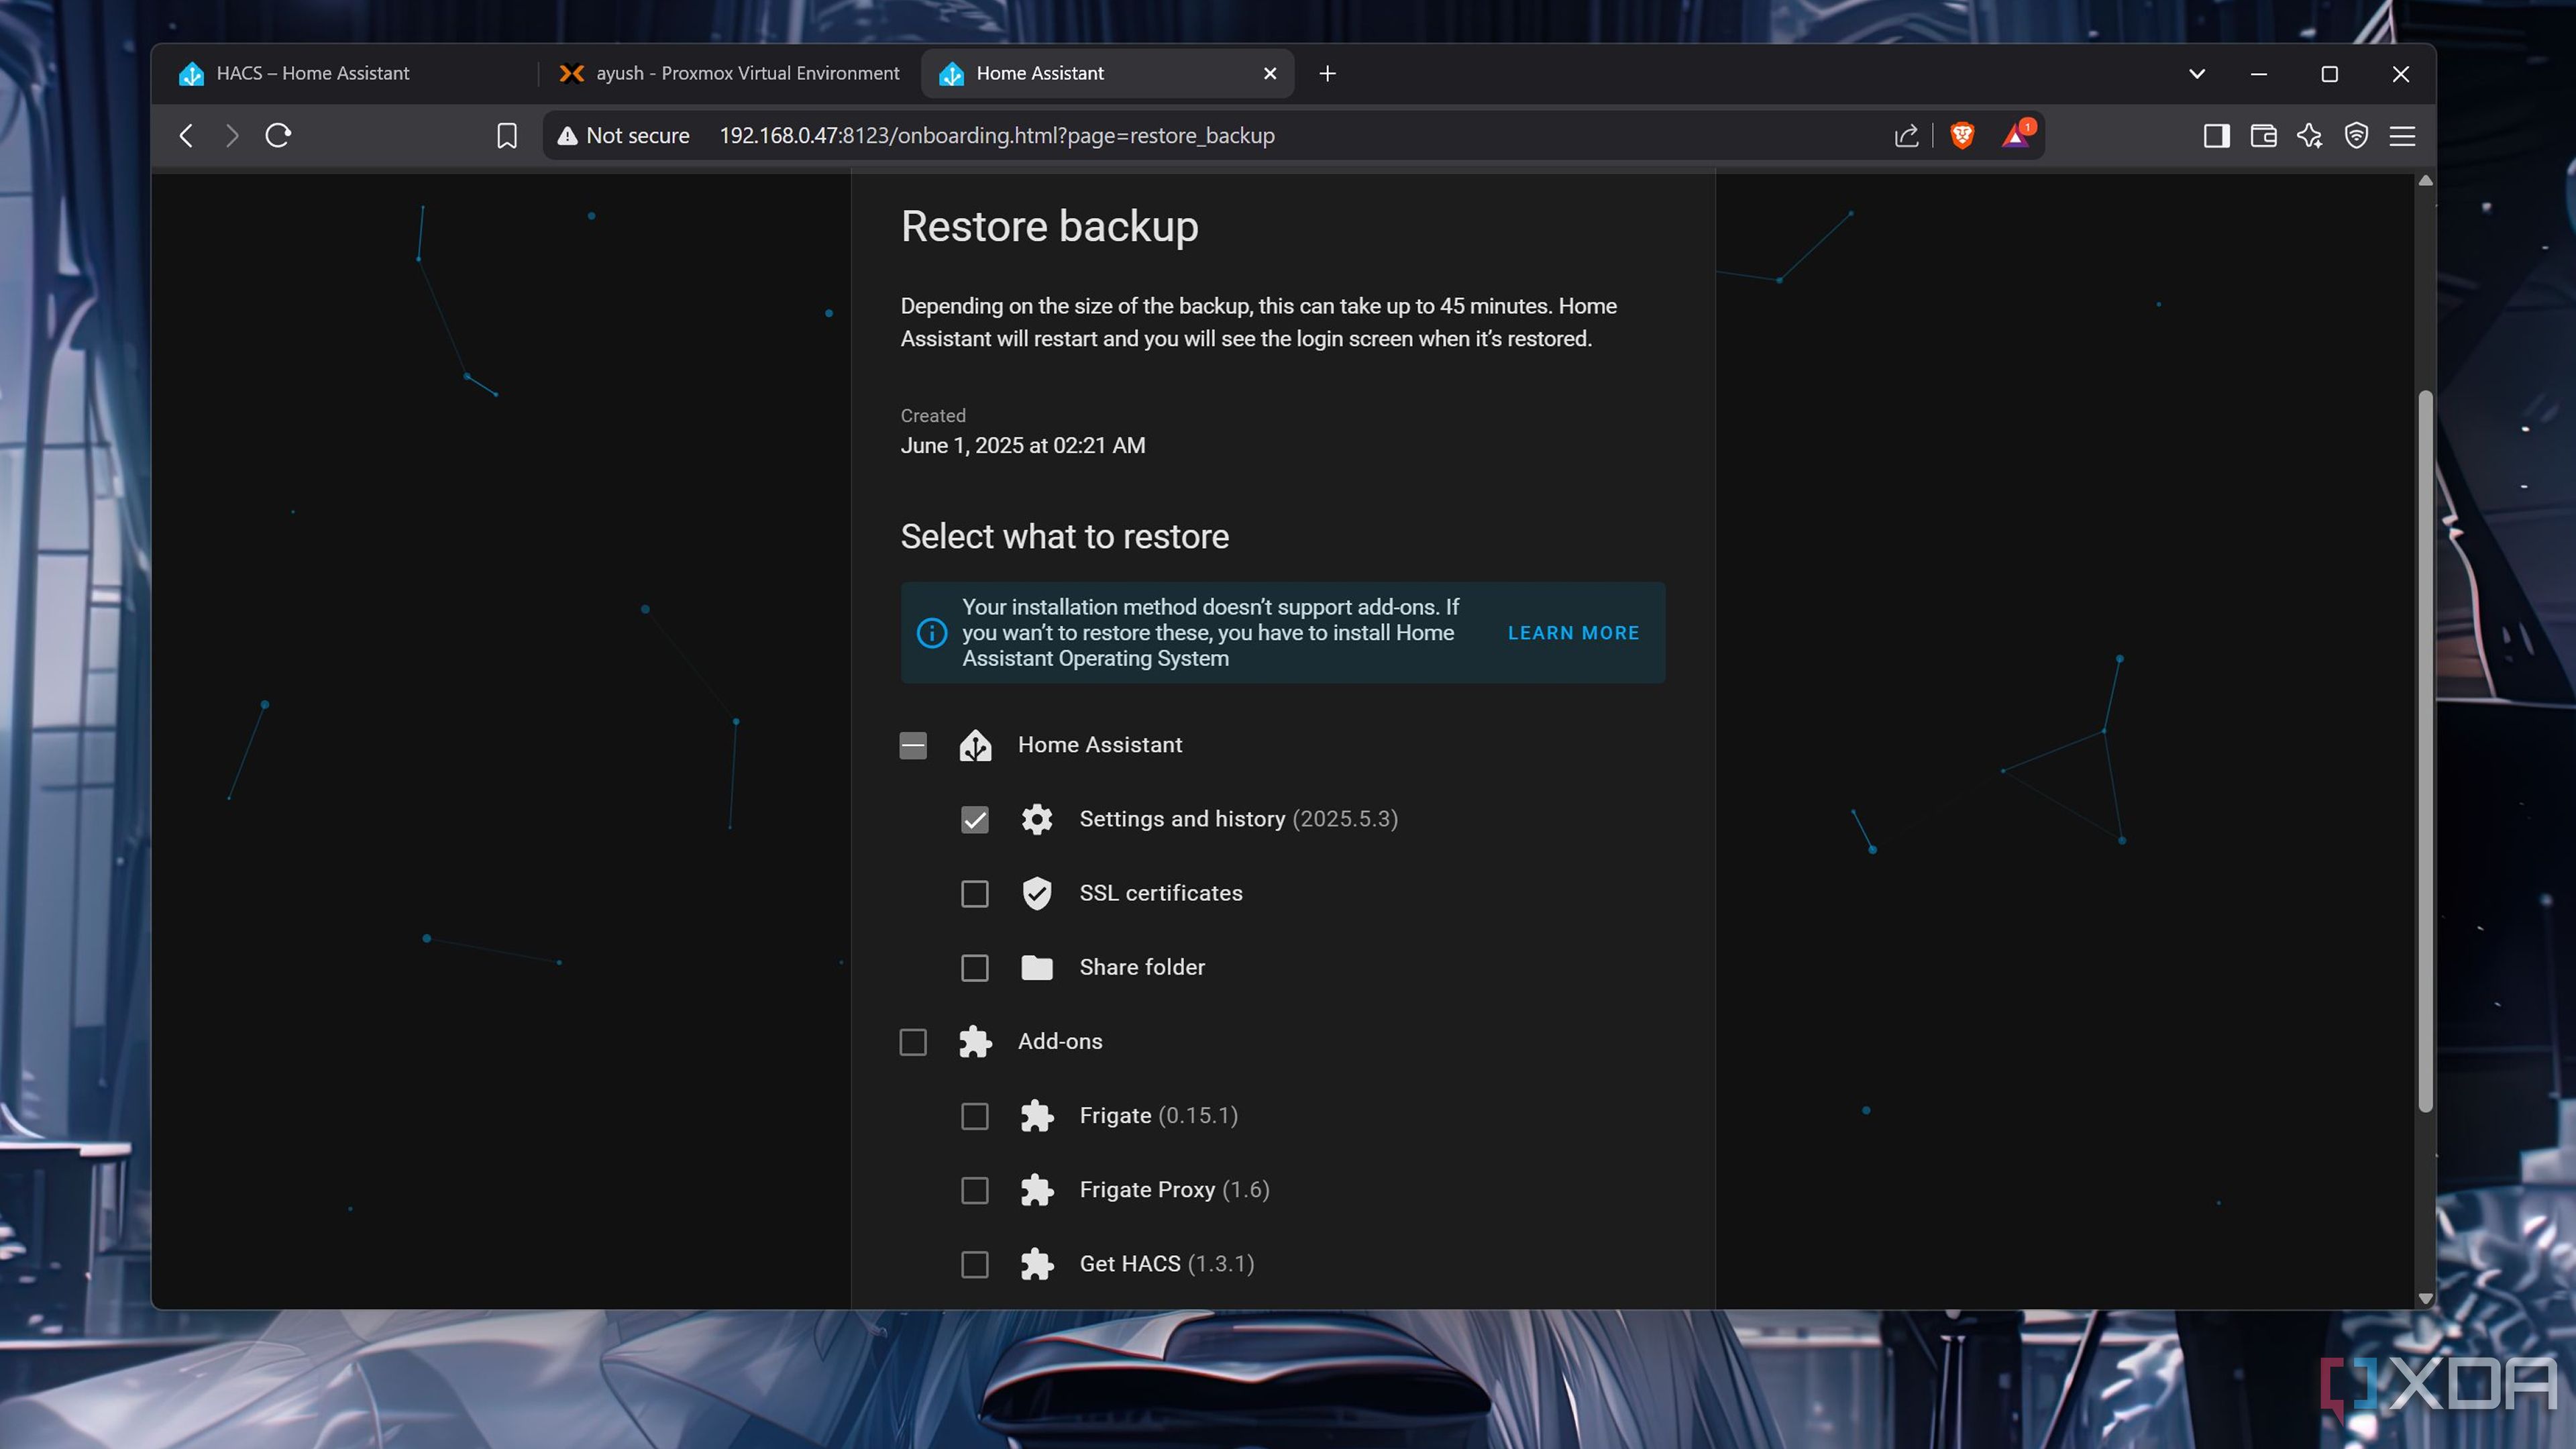
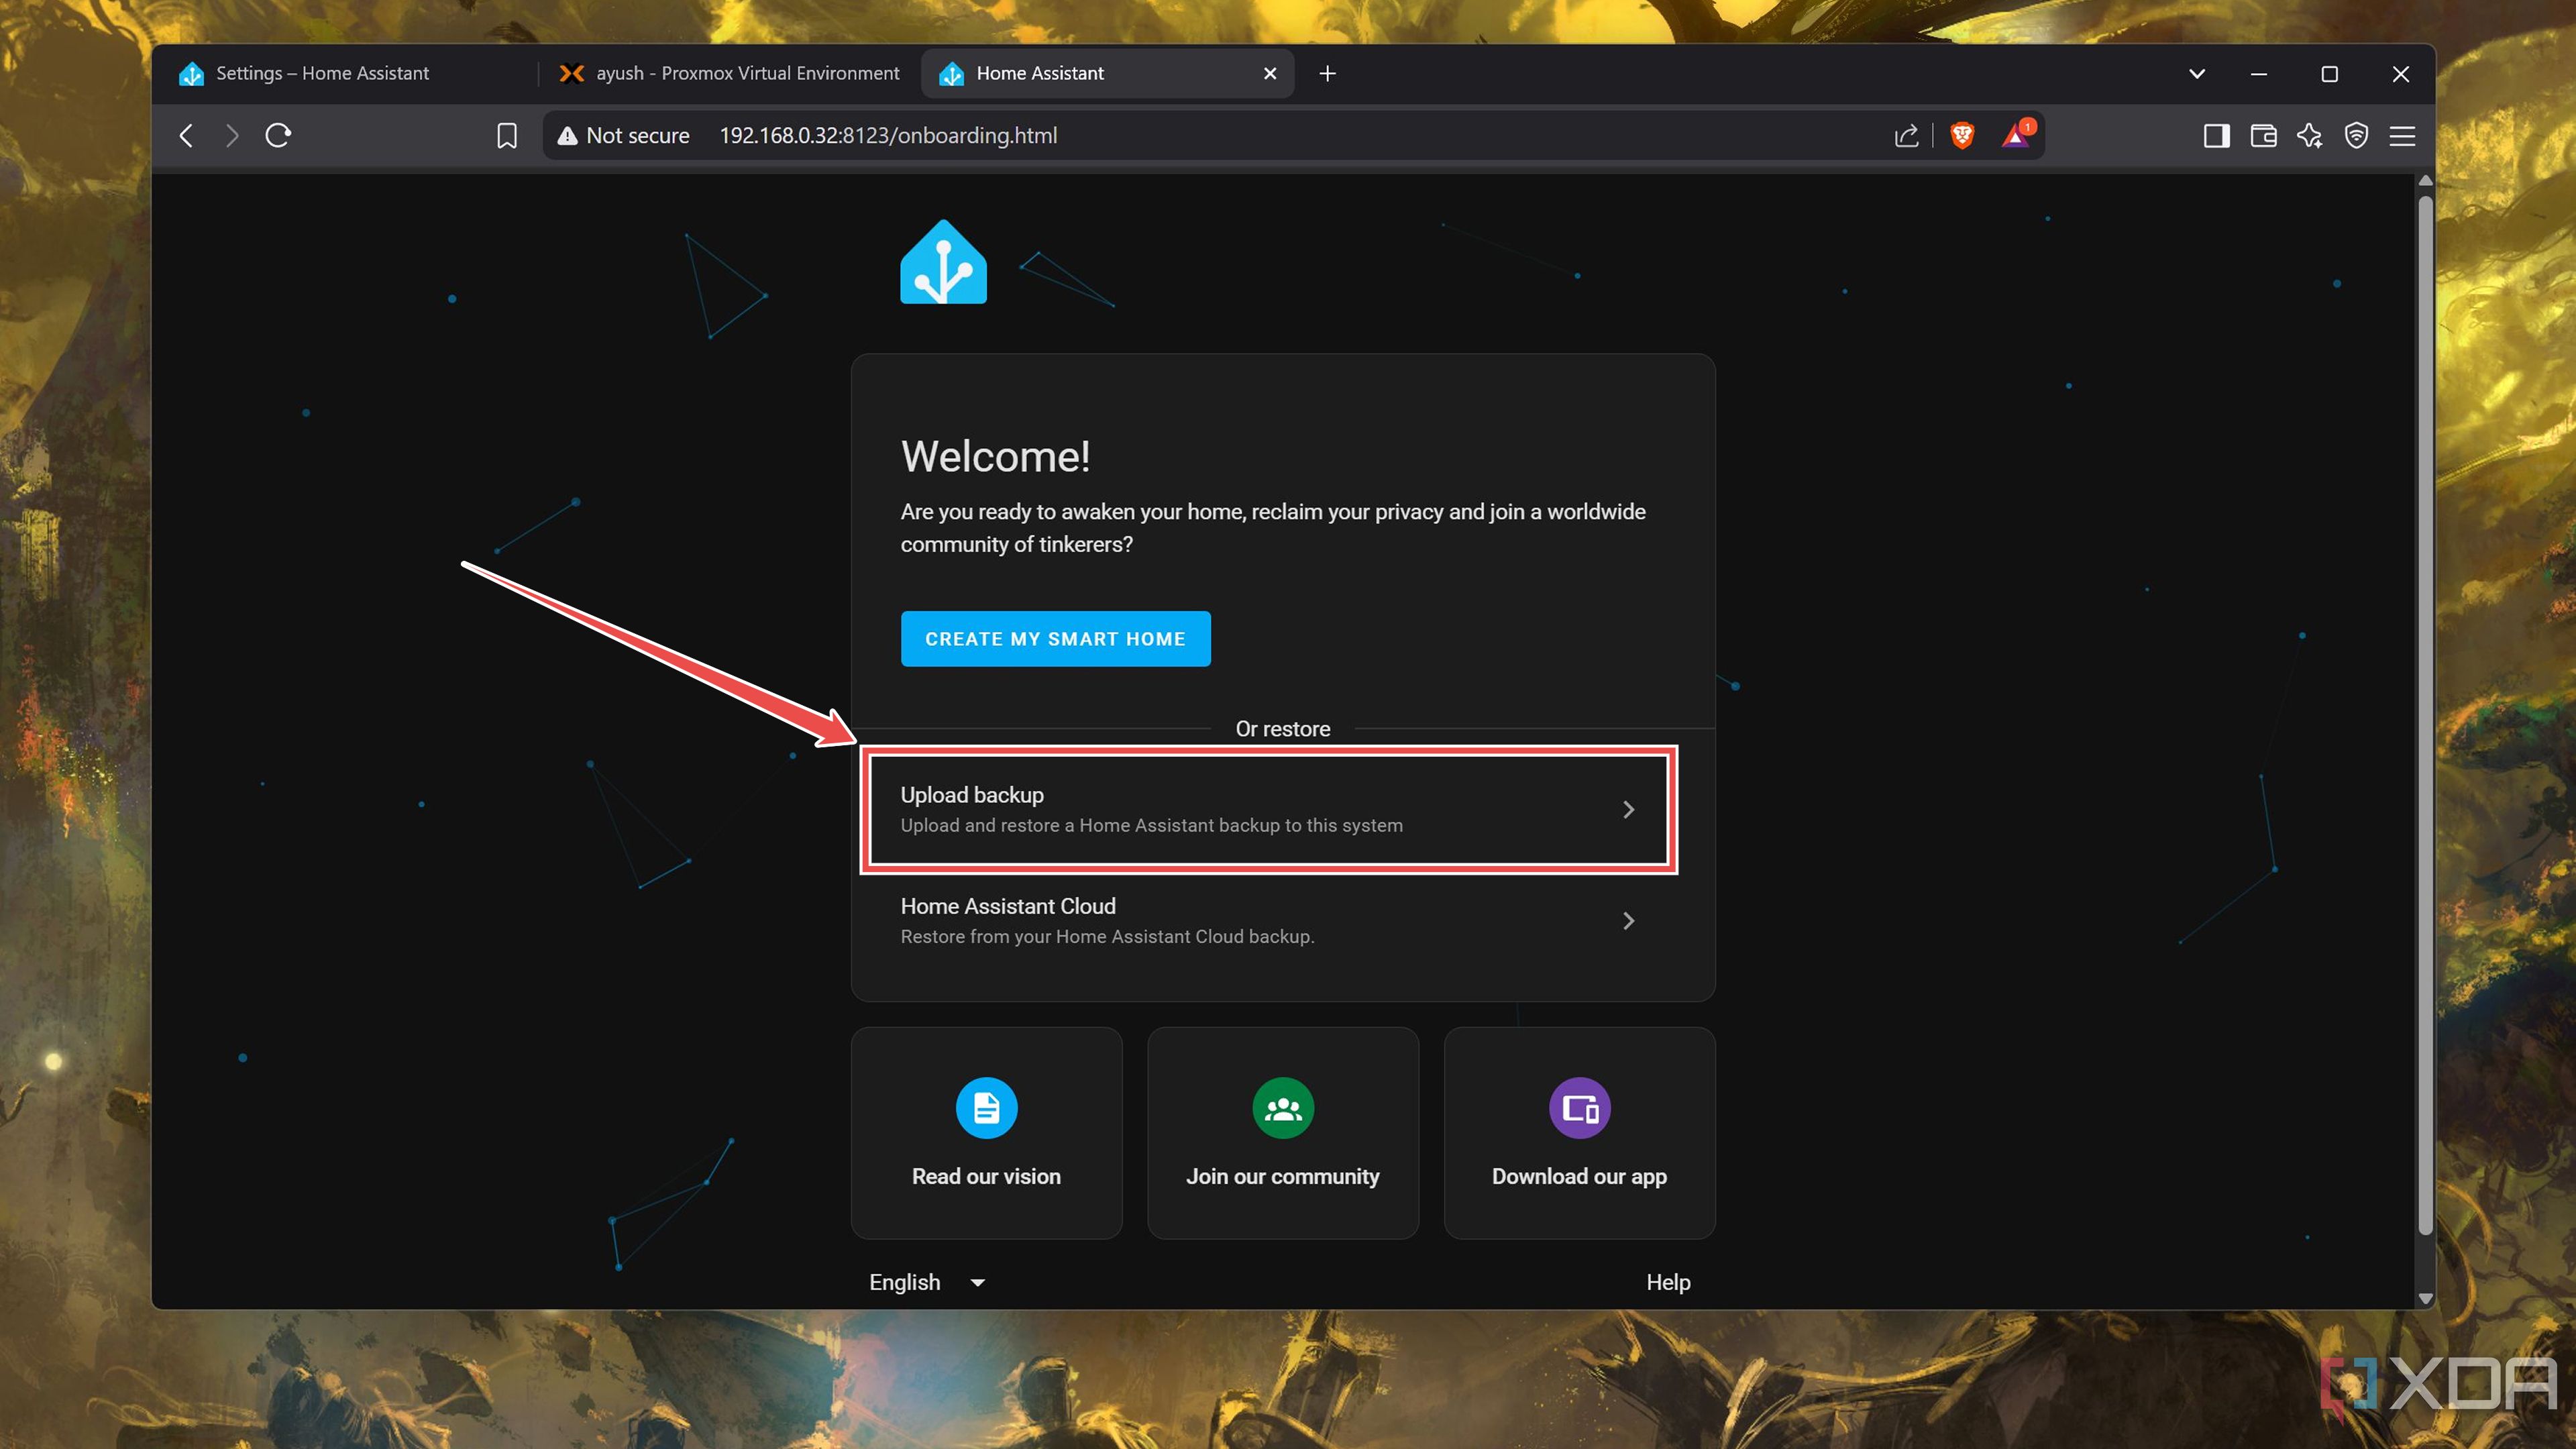
All you have to do is back up the Home Assistant container, install HAOS as a bare-metal instance (or inside a VM, if you’ve got a dedicated home server), and pick the Upload backup option that appears when you first load the HASS web UI. Heck, you can even use it to migrate from a Home Assistant virtual machine to a container in case you wish to downsize your setup. A word of caution: you’ll lose all the add-ons when you do so.
A standalone Node-RED container is just as easy to back up
You can either export individual nodes and workflows…
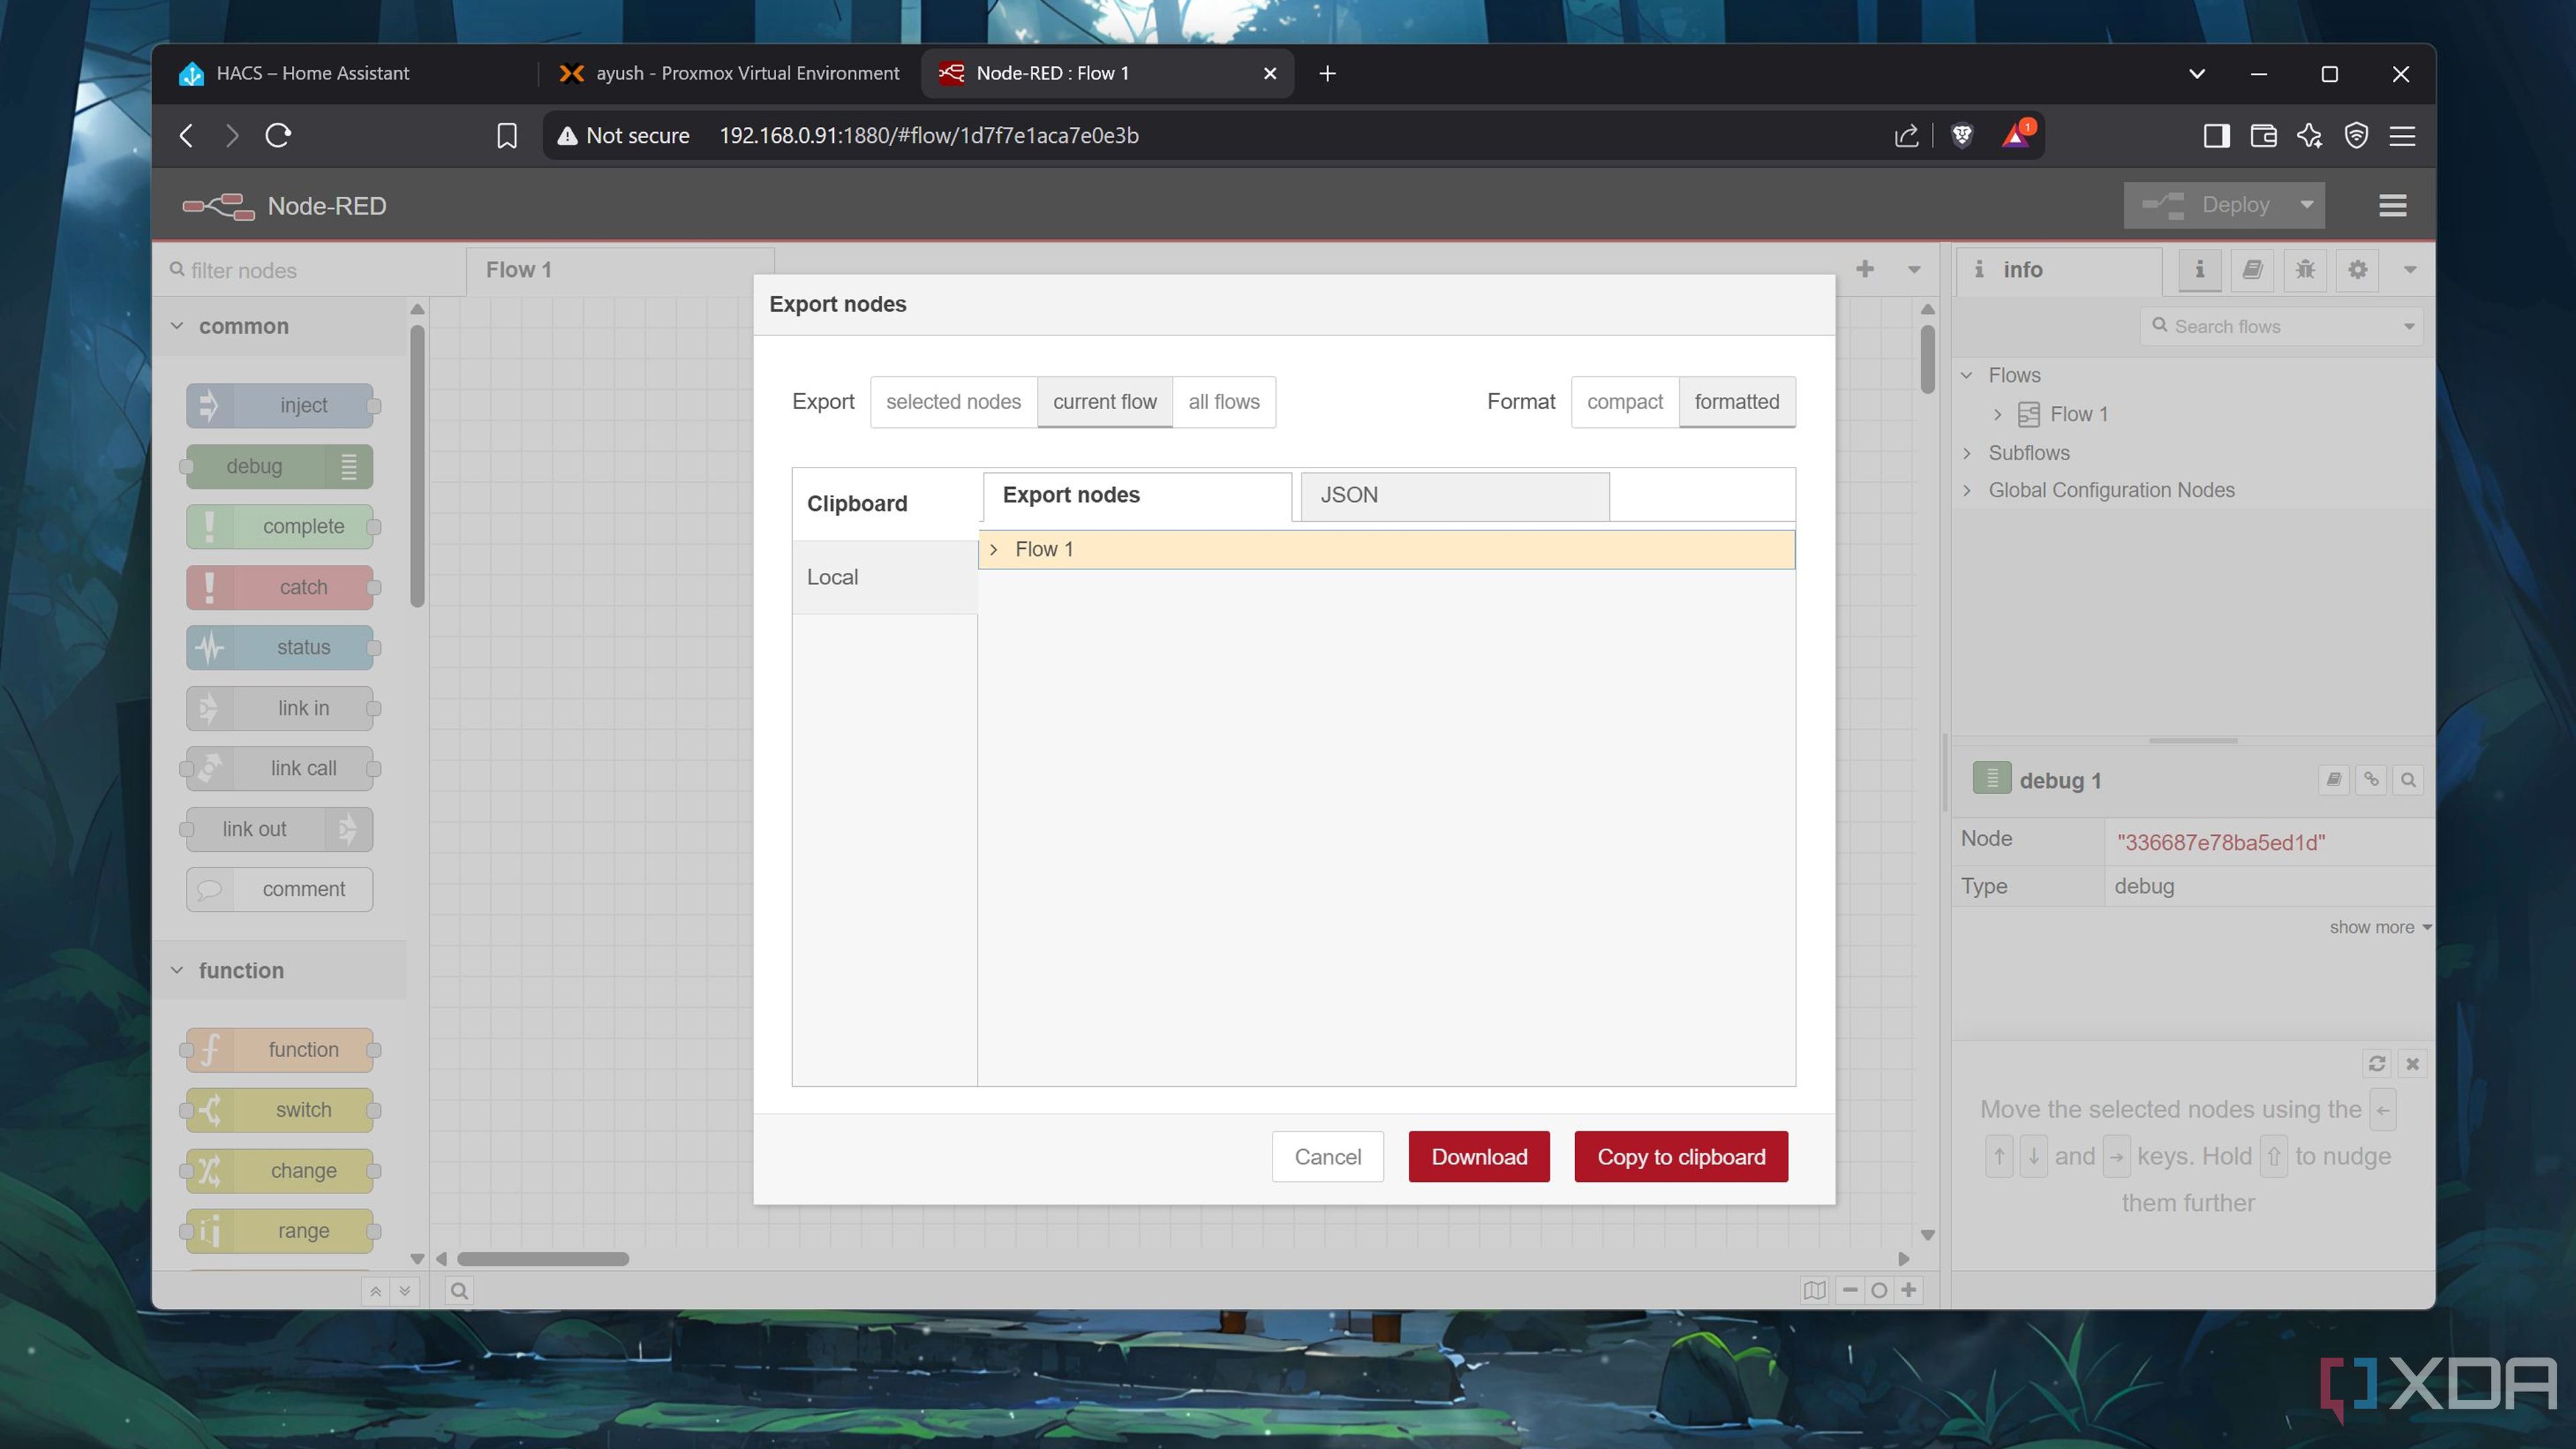
Let’s say you’re a part of the container faction and have Node-RED deployed alongside your containerized Home Assistant Core server. Unfortunately, you’ll have to back up the Node-RED container manually. An easier method involves clicking on the Menu button and choosing the Export option. After that, you can select the flows you wish to save before copying the code or saving it as a JSON file. To restore the workflows, you can simply use the Import option and either paste the JSON code or upload the file containing your cool workflows.
… Or you can set up a backup service to sync the .node-red directory
Manually backing up the Node-RED flows can be annoying and tedious, especially if you love experimenting with different nodes and functions as much as I do. Luckily, there are several tools you can use to sync the . node-red directory with a storage server.
Restoring it is just as simple, as you can just replace broken files with their backed-up copies and redeploy a container that relies on the freshly-overwritten directory. In case you’ve installed Node-RED on your workstation instead of hosting it inside a container, you can simply navigate to the backup folder and run the npm install command inside the terminal to restore your automation server to its former glory.
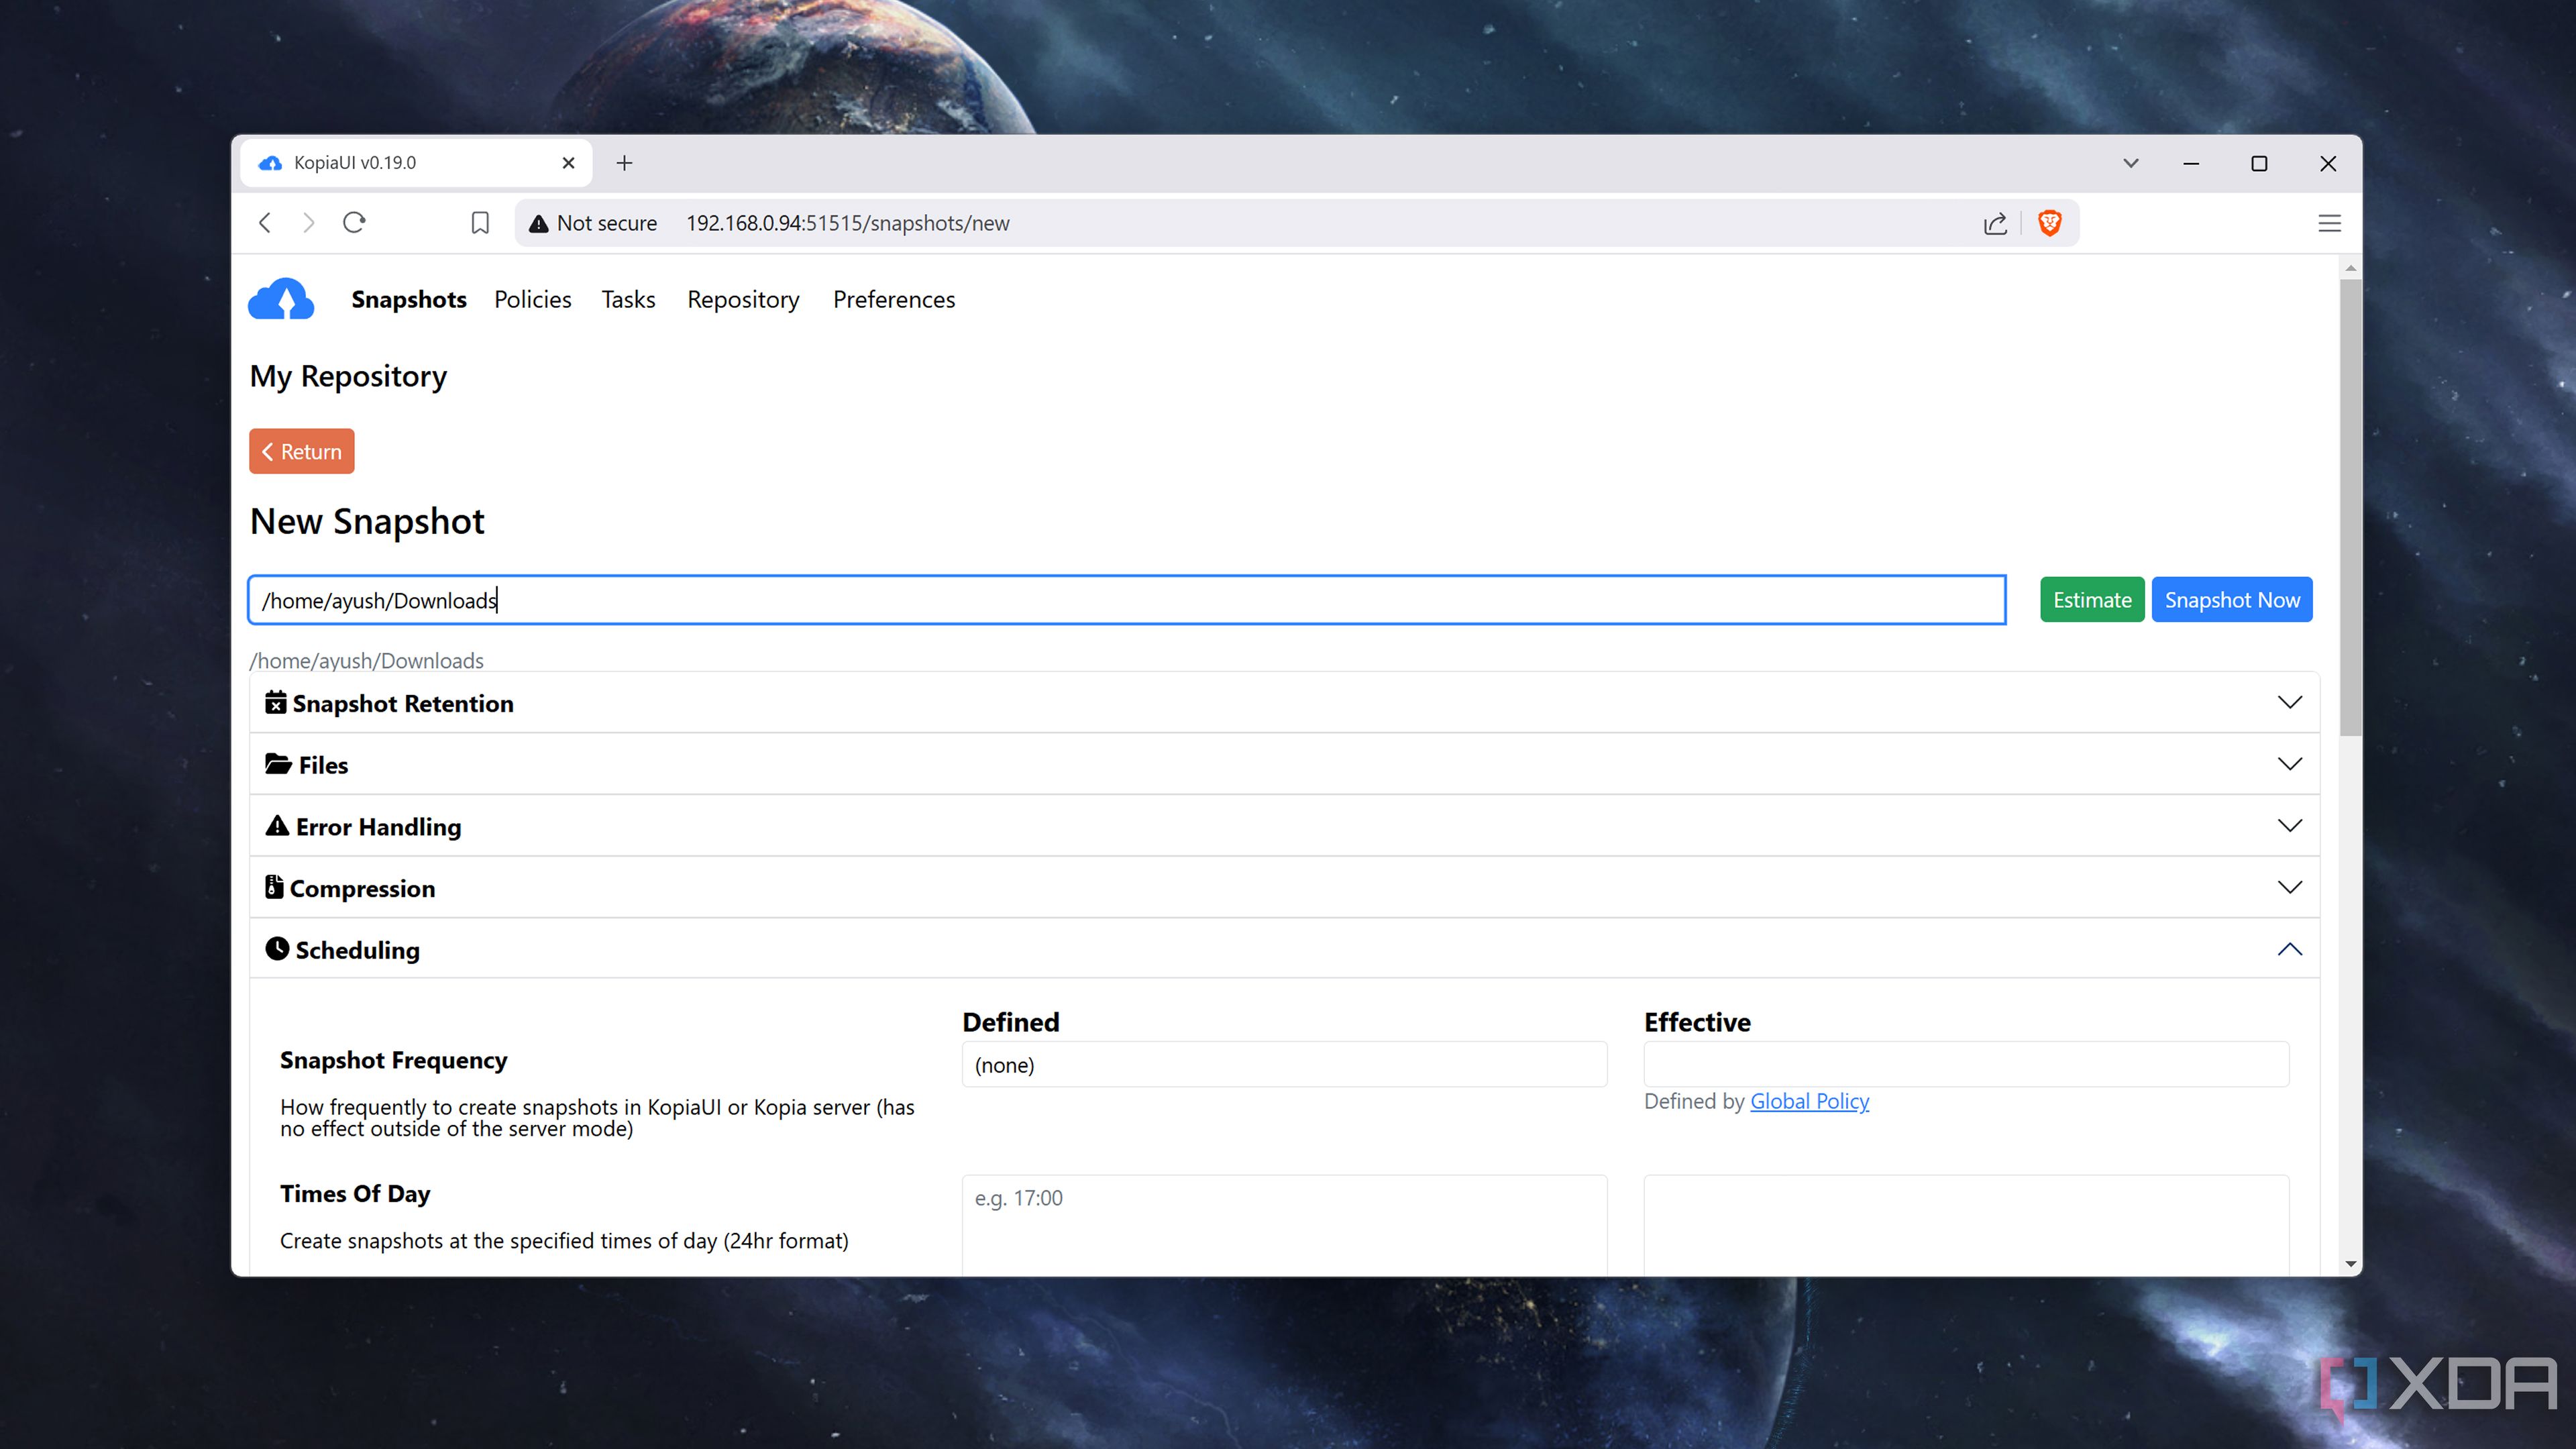
Kopia is my preferred tool for scheduling regular backups of my everyday PC to my NAS, and I’d use it for this purpose if I didn’t use Proxmox for hosting HAOS…
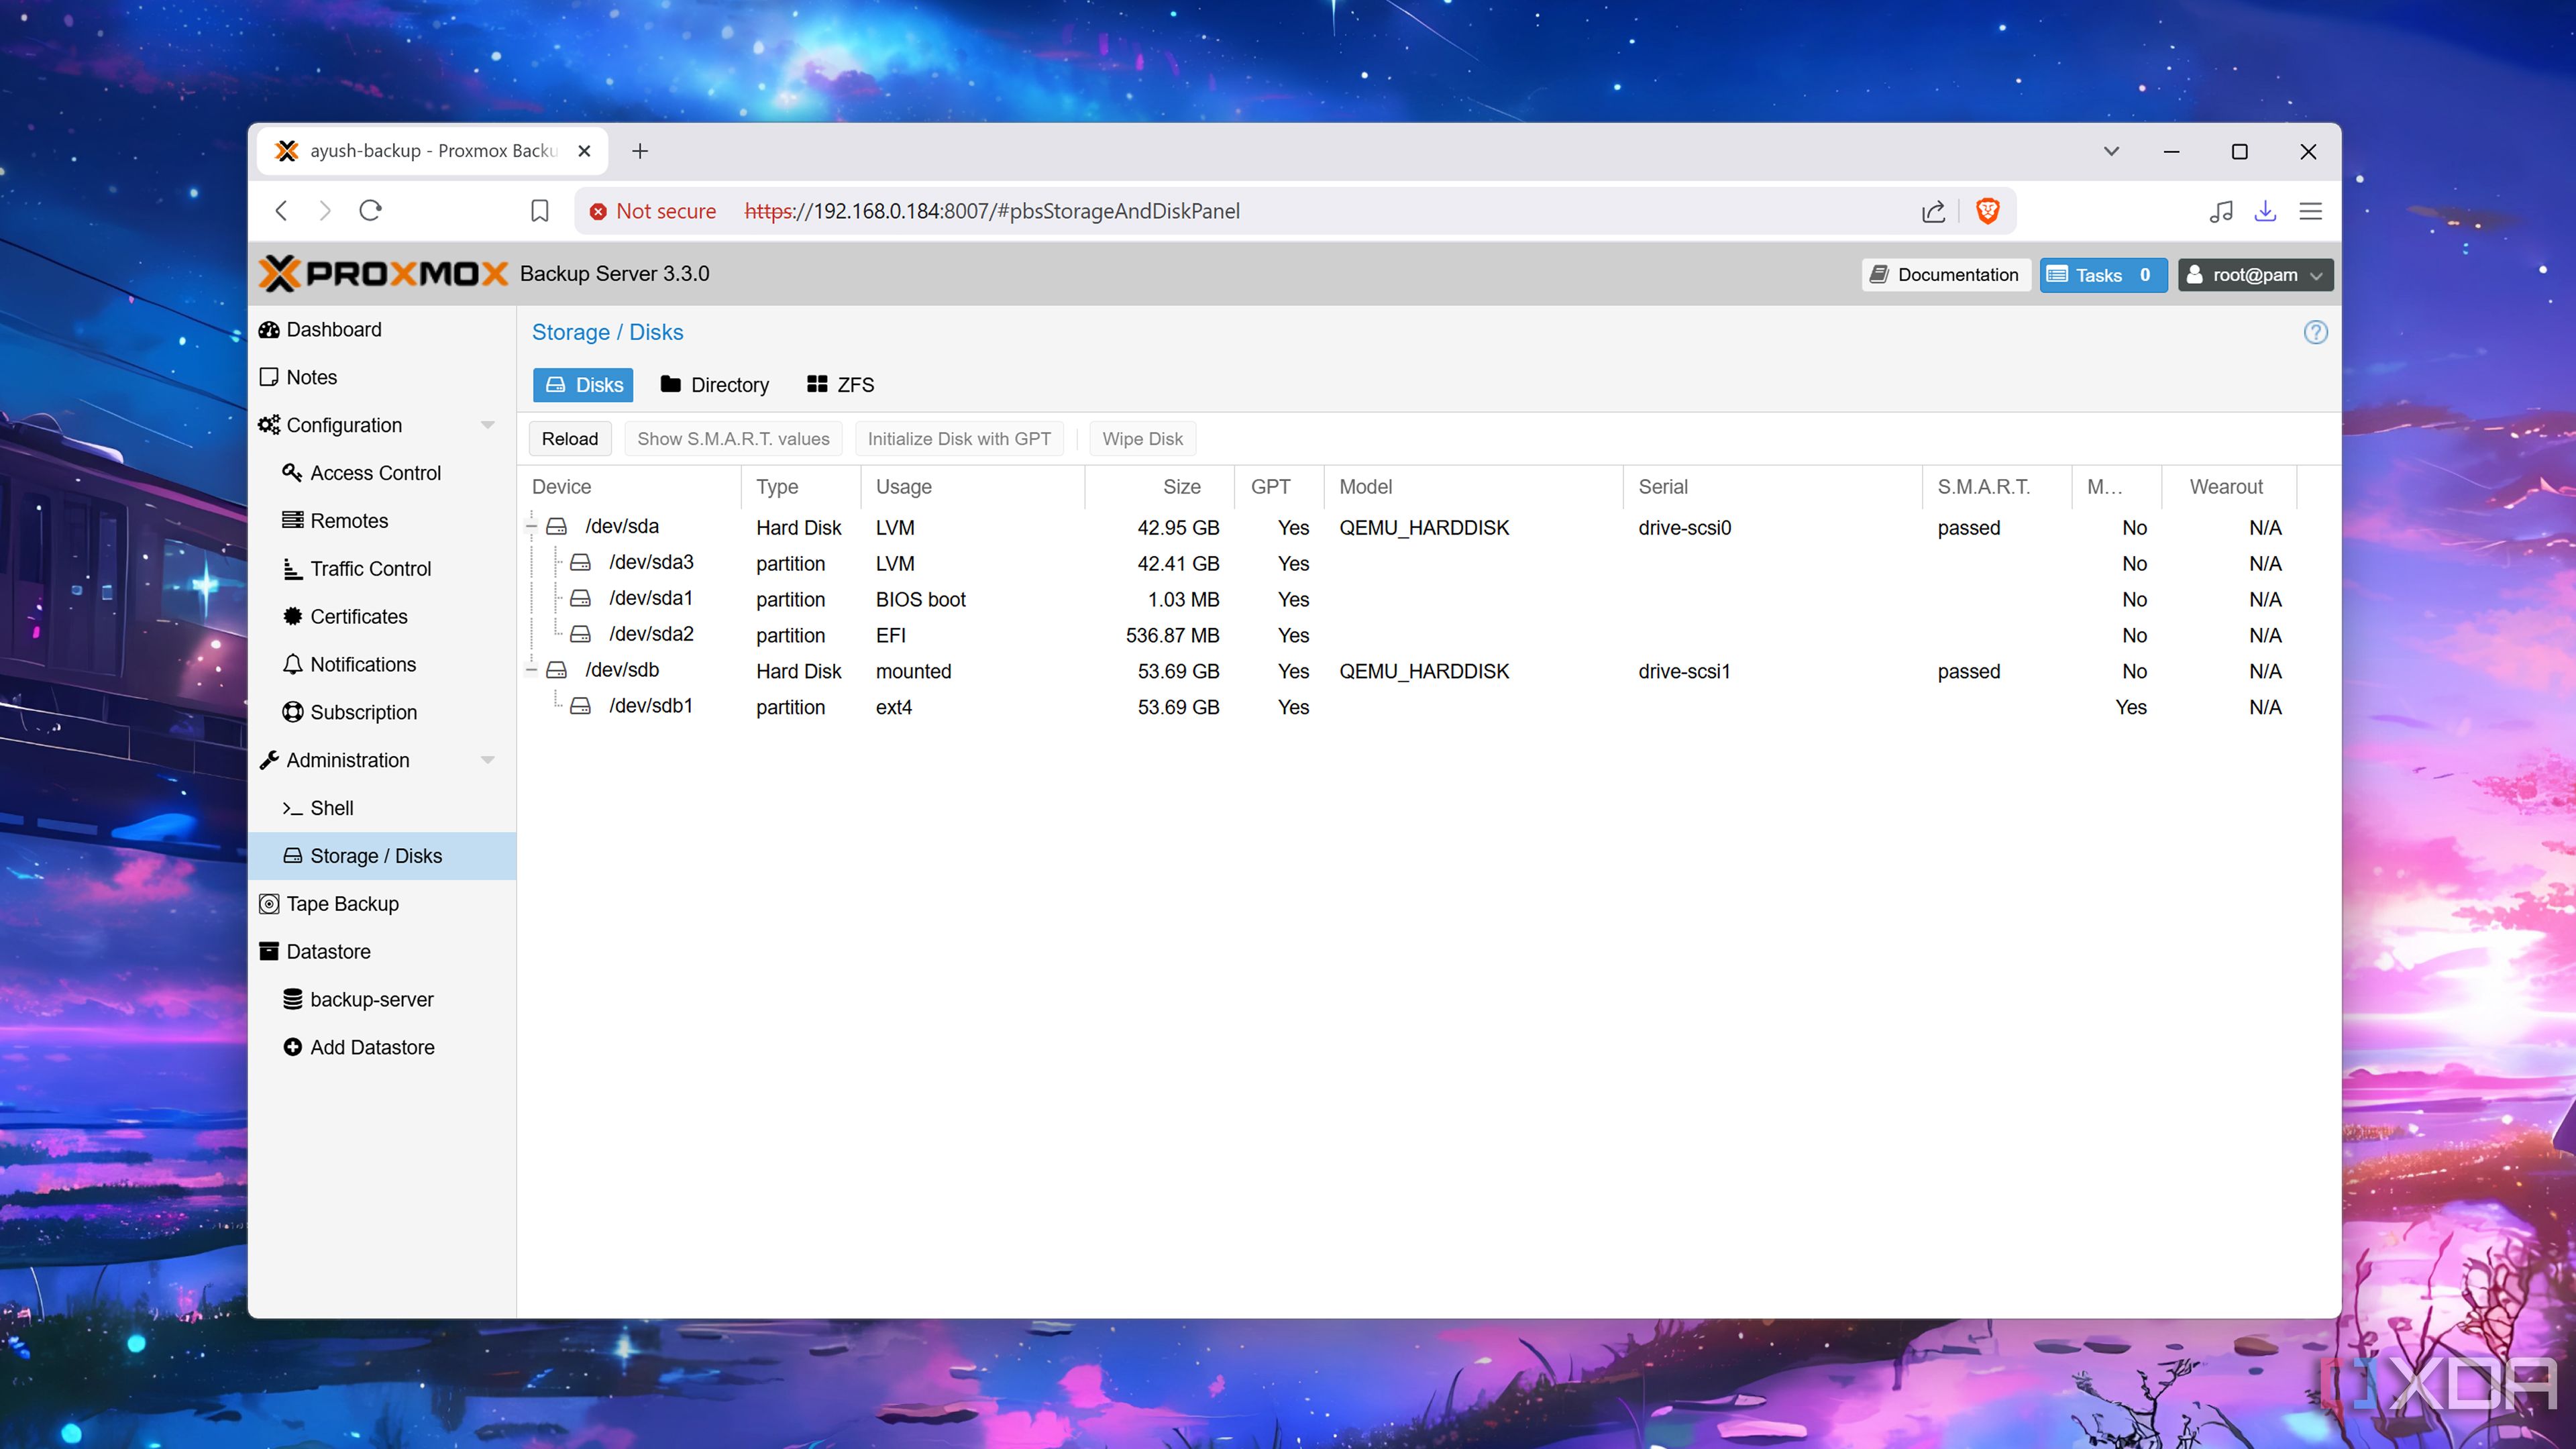
Proxmox Backup Server remains my go-to method
I recommend setting up PBS on a separate machine
I’ve been in love with Proxmox ever since I started using it months ago. It’s also the virtualization platform that powers my self-hosted application suite, including Home Assistant OS. As such, I typically rely on snapshots and backups for my HASS instance. Snapshots are especially useful when I want to quickly revert a change without going through waves of menus inside the Home Assistant UI.
Plus, I’ve already configured my Aiffro K100 as the Proxmox Backup Server host. As the dedicated backup utility for Proxmox, my PBS setup automatically backs up my Home Assistant every day. Doing so is quite easy: all I had to do was create a separate ZFS drive on my Proxmox Backup Server, switch to the Datacenter tab on the Proxmox VE UI, and use the Backup tab to schedule regular snapshots of my HAOS machine.
It’s always a good idea to back up your Home Assistant server
Despite spending a lot of my time on VMs and containers, I often break virtual guests – and even the host virtualization platform on rare occasions. As such, I often create separate backups of all my self-hosted application stack. Considering the complexity of Home Assistant projects, my HASS virtual machine is something I can’t afford to lose. Backing it up lets me rest easy knowing I’ll always be able to restore it, regardless of whether my smart home hub goes down due to the LVM drive ascending to tech heaven or a botched experiment rendering the virtual machine inaccessible.
Related
5 Home Assistant blueprints that make guests think my house is magic
Blueprints offer a convenient way to automate my smart home devices


 English (US) ·