.png)
I’ve been fond of my Radxa X4 ever since I reviewed it last year. Despite bearing a similar price tag as my Raspberry Pi 5, it manages to shove an Intel N100 processor inside the credit card form factor and can even serve as a decent workstation. Since I’ve already used Windows 11 on this beast of an SBC, I wanted to see how far I can push my luck.
One thought led to another, and I came up with the idea of running macOS on the SBC. The problem is that creating a Hackintosh for modern macOS variants involves a Herculean amount of labor – unless you go the Proxmox route, of course. I previously attempted running full-fledged macOS apps on a Hackintosh made from a Ryzen 5 5600X system, and the results were actually pretty impressive. So, I figured I could try replicating that project on my favorite SBC. While I wouldn’t recommend working on something this unhinged when there are dozens of useful DIY ideas, it’s not as bad as I expected.
Related
I virtualized ESXi using Proxmox... and it works better than I expected
A bare-metal installation of ESXi gave me a lot of headache, so I virtualized it using Proxmox
Sequoia and Sonoma are unusable
Guess I won't be able to build a Tahoe-based Apple Container hub
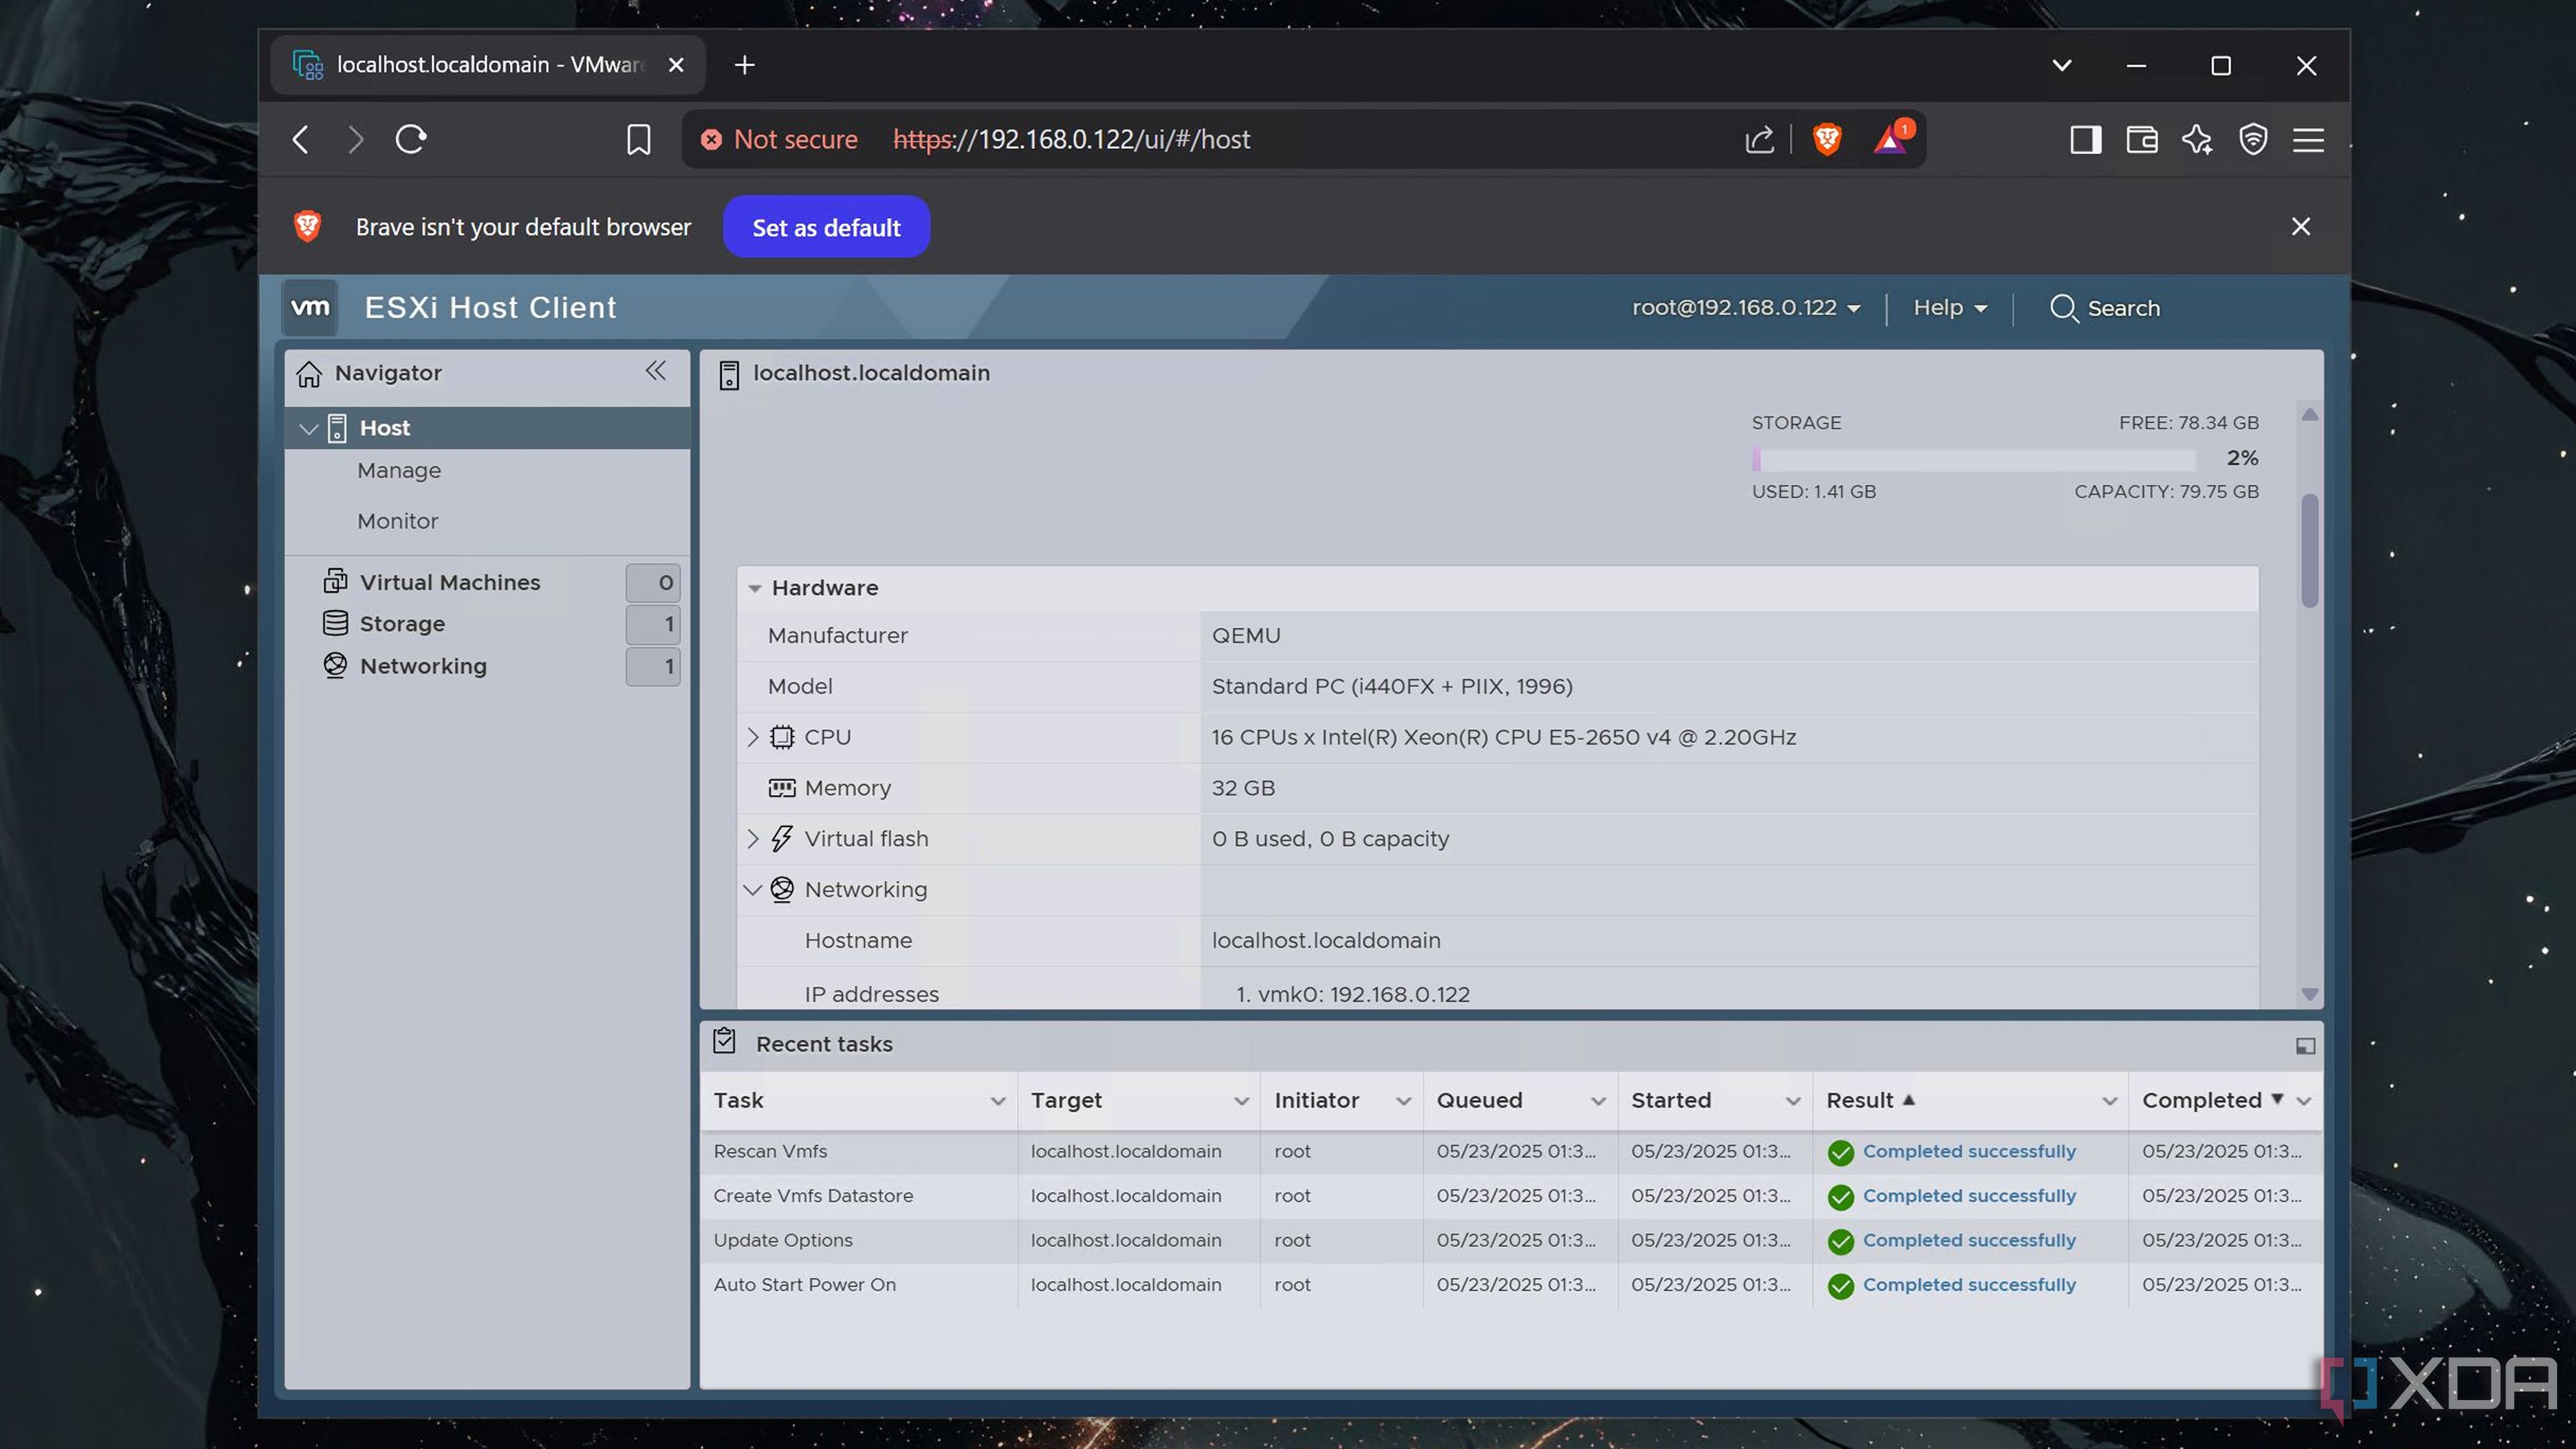
Up until now, I was using my Radxa X4 as a (GUI) Debian-based Docker workstation. While I could install Proxmox on top of the distribution, I wanted to go for a bare-metal setup to minimize the performance impact of the underlying OS. Installing Proxmox didn’t take a long time, probably because this SBC requires an M.2 2330 SSD instead of a slow microSD card (unlike a certain Raspberry Pi-flavored series).
With the Proxmox installation complete, it was time to get this project underway. For reference, I used the OSX-Proxmox script by genius developer luchina-gabriel, as it offers the least painless method for installing modern macOS versions on the all-powerful virtualization platform. It’s as simple as running the /bin/bash -c "$(curl -fsSL https://install.osx-proxmox.com)" command inside the Shell tab of my PVE node, waiting for the script to pull the necessary packages, and then waiting a little longer for my Radxa X4 to finish restarting.
Afterward, I went back to the Shell tab and entered the osx-setup command into the terminal interface. I wanted to kick things off with the latest mainline version of macOS, so I went with Sequoia. Since the Radxa X4 in my possession has a 4-core, 4-thread processor and 8GB memory, I went with the default settings. Over the next couple of minutes, the script downloaded the recovery image for Sequoia and created the Hackintosh virtual machine.
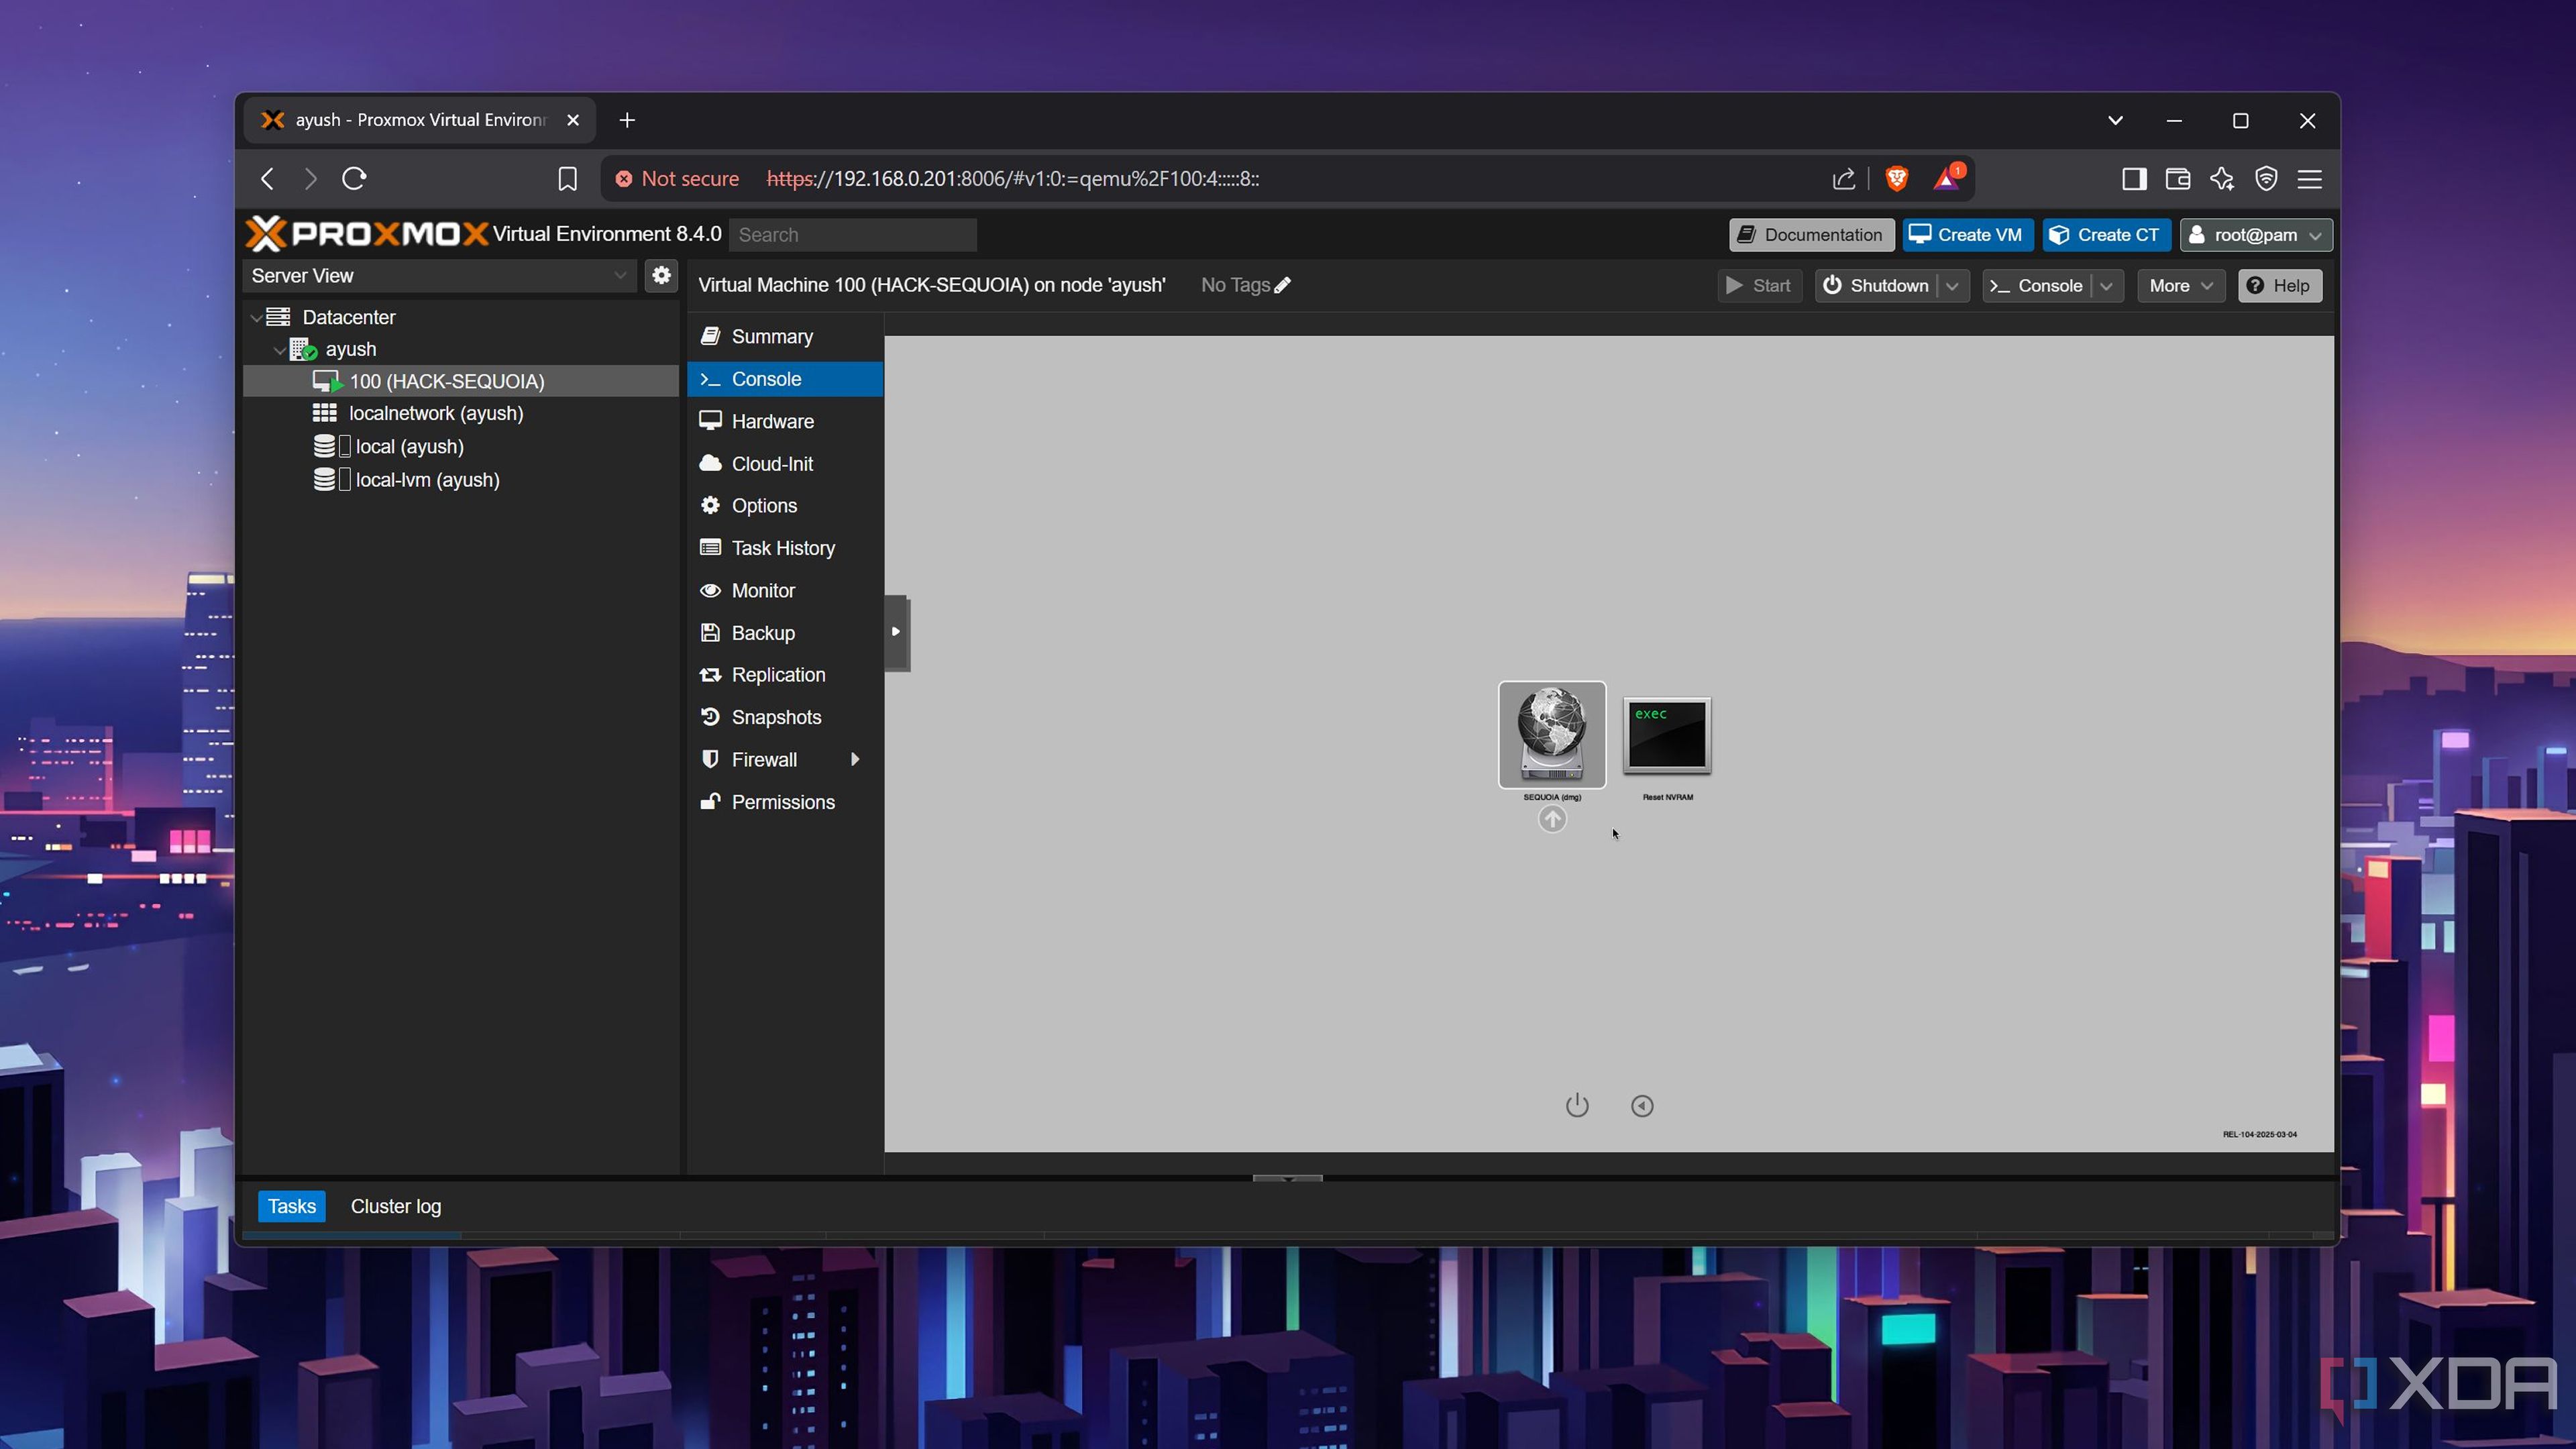
Once Proxmox had finished creating the VM, I used the built-in QEMU Console to access the newly set-up VM and chose the Sequoia (dmg) option at the initial startup screen. Unfortunately, Sequoia was unusable on the SBC, as the VM got stuck in a bootloop and refused to proceed past the initial gray screen despite all my efforts. I went back to the osx-setup menu and switched to Sonoma, though the older version of macOS had the same problem. While I couldn’t get Sonoma working right away when I first attempted this project on my old system last year, I was able to proceed past the initial screen. But that didn’t seem to be the case on my Intel N100 SBC.
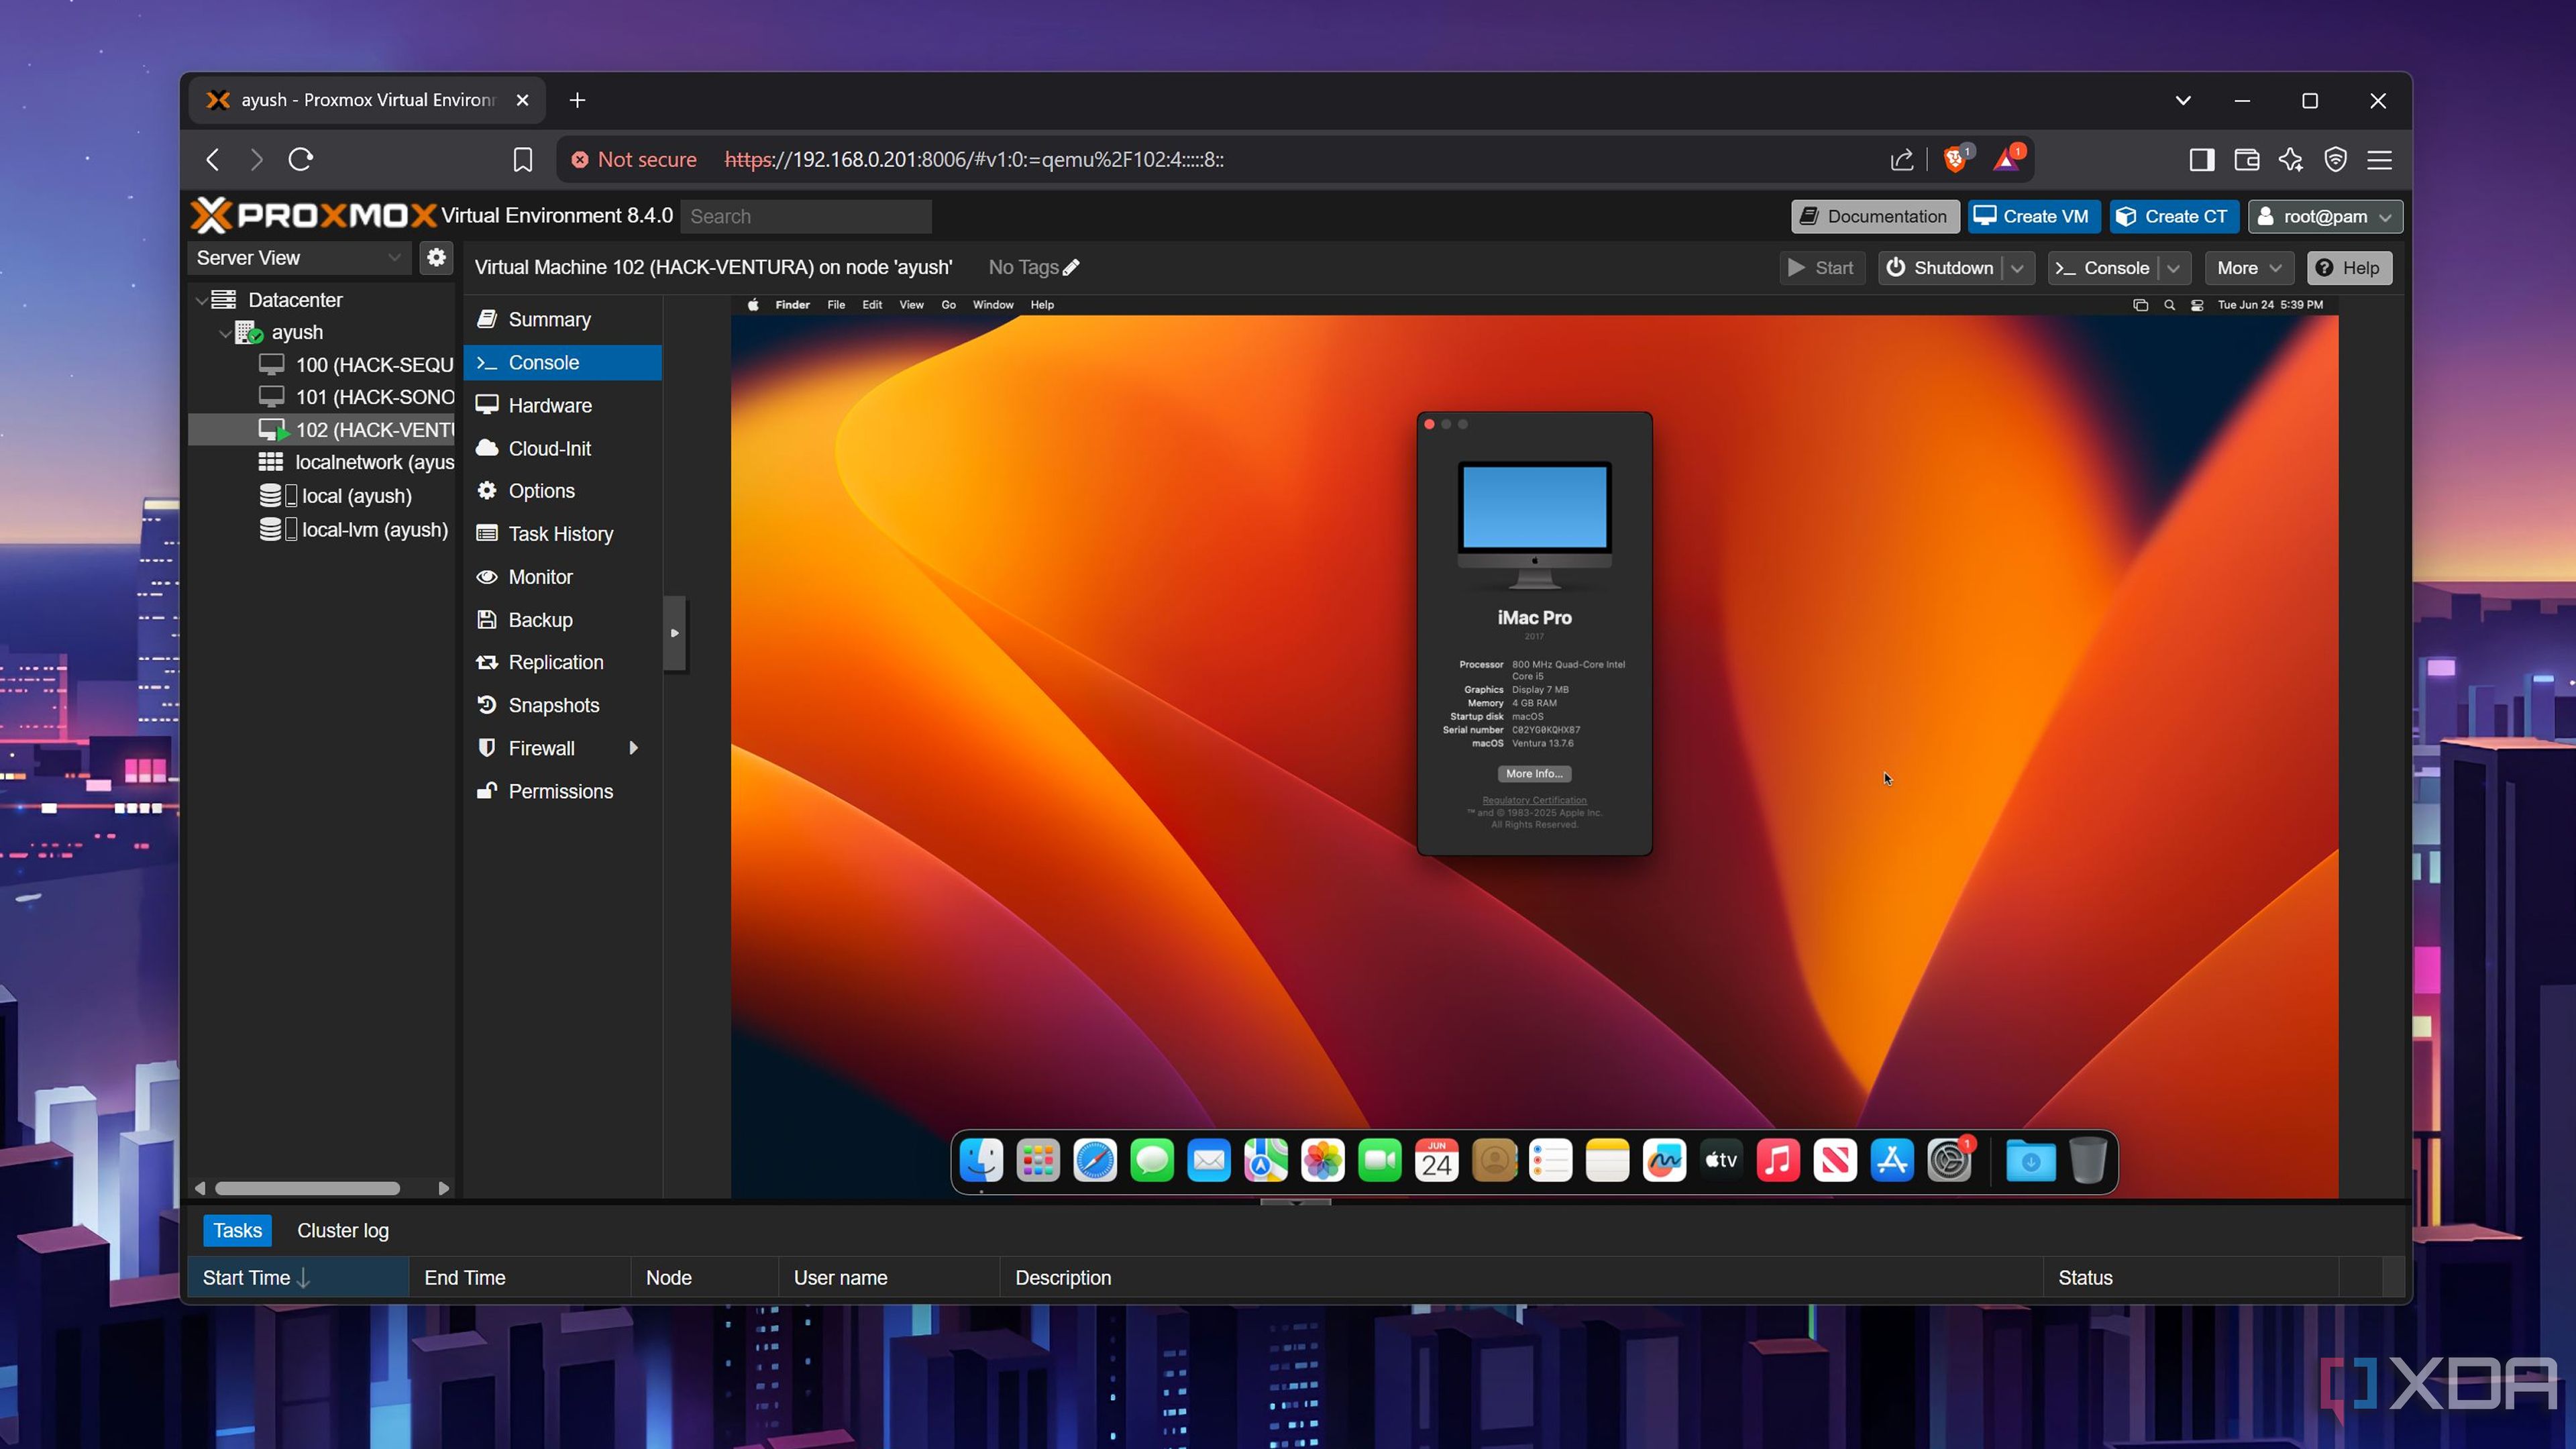
I managed to install Ventura on SBC-powered Proxmox server
It was a battle of patience
With the Sequoia and Sonoma virtual machines failing to work, I picked the ol’ reliable macOS Ventura as the next OS for my Hackintosh VM. Thankfully, the virtual machine proceeded past the Apple logo stage and I soon arrived at the Recovery environment. I navigated to the Disks tab, selected Apple Inc. VirtIO Block Media, and pressed the Erased button before renaming the drive to macOS. When the Disks wizard had finished formatting the disk, I headed back to the Recovery Environment and pressed the Reinstall macOS button.
After that, I spent the next four hours waiting for the VM to finish downloading the necessary files. Interestingly, I didn’t encounter the “recovery server could not be contacted” error message even once, though the download time was noticeably longer this time around. With the files all downloaded, the virtual machine restarted and I chose the macos-installer option.
Doing so led to another 30–45 minutes of sitting around idly and hoping the SBC wouldn’t crash from the extra processing load. Eventually, the VM restarted one final time before displaying the macOS option on the startup screen. Clicking on it made the familiar macOS initial setup wizard appear, and I configured all the accessibility, location, and account settings. This was yet another battle that tested my patience as the wizard was painfully slow – to the point where the UI lagged a second or two after each input.
Lightweight apps can run on this weird setup
Provided I only use one application at a time
Luckily, the actual UI was a lot more responsive than the initial setup wizard. While it wasn’t as buttery smooth as running Debian (or even Windows 11) on the Radxa X4, it was pretty bearable as long as I didn’t perform too many actions at once. Heck, I daresay that the Radxa X4-based Hackintosh was nowhere near as broken as running a bare-metal Windows 11 setup on the Raspberry Pi.
After logging into my Apple account, I opened the App Store and began downloading a couple of applications. Ulysses, WPS Office, and Notability worked a lot better than I expected, and the same holds for Pages and other document-editing tools. That said, image-editing apps lagged quite a bit, while Safari had a glitchy UI where the images and text were invisible on the screen. Other web browsers like Brave fared better, though they were far from responsive.
So, how feasible is this project?
Having spent over a day with the setup, I’d say… not really. This was supposed to be a shower thought that seemed so wack that I had to give it a shot. Even after granting the entire 8GB memory to the VM, the processor was clearly the biggest bottleneck of the setup, as it would hinge around the 97% utilization mark as soon as I tried to run any application. With a beefier processor, this project is a lot more feasible and, dare I say, worth building if you want to get a taste for macOS without dropping a fortune on Apple’s premium hardware.
Related
I tried running Android VMs inside Proxmox
With the right OS, Proxmox is surprisingly good at virtualizing Android


 English (US) ·