.png)
Wireless Android Auto has been an elusive feature for years, unless you want to pay $70 or more to get it. There are less expensive options, but these ones tend to be unpredictable. After trying a couple and dealing with spotty connections, lag, or compatibility issues, I started to look into whether I could build one myself. That’s when I came across a GitHub project that claimed to turn a Raspberry Pi Zero 2 W into a fully functional wireless dongle.
I didn’t want to keep playing adapter roulette just to get a feature that should have worked out of the box.
I had a Pi Zero 2 W on hand and figured I had nothing to lose. The setup process was shockingly straightforward, thanks to a custom image that handled all the heavy lifting. In under an hour, I had a working dongle that performed just as well as the commercial ones I'd tested. In fact, it’s been more reliable and a lot more satisfying to use, because I know exactly how it works.
Related
5 Raspberry Pi projects you can complete in a weekend
If you've got a free weekend, why not use it to complete one of these useful Raspberry Pi projects?
Why I built my own dongle
Commercial options weren’t worth the hassle
Before this project, I tried at least two different wireless Android Auto adapters. Both of them claimed to offer plug-and-play experiences, and both came with problems. One would connect sometimes, but refused to auto-reconnect the next time I started the car. The other introduced lag in media playback and voice commands, making it more frustrating than helpful. I didn’t want to keep playing adapter roulette just to get a feature that should have worked out of the box.
I started looking into alternatives and stumbled onto the WirelessAndroidAutoDongle project on GitHub. The concept was clean: flash a ready-made image onto a Pi Zero 2 W, plug it into your car’s USB port, and enjoy wireless Android Auto. That simplicity appealed to me. No complicated install scripts, no tinkering with systemd or driver modules—just a lean, custom Linux setup built for one job.
It wasn’t just about saving money, though that was a big plus. I liked the idea of having full control over the device. If something broke, I wouldn’t be waiting on a firmware update from a third-party company. I could pop out the SD card, tweak a config file, and be back up and running. That’s the kind of flexibility you get from building your own tools.
How the setup actually works
A Pi Zero 2 W becomes a smart bridge
This isn’t your typical Raspberry Pi project that runs on a complete desktop OS. The GitHub project uses a custom image that creates a minimal embedded Linux system. There’s no desktop interface, no additional software to install after flashing. The image is purpose-built to turn the Pi into a wireless Android Auto bridge, and it does that with impressive efficiency.
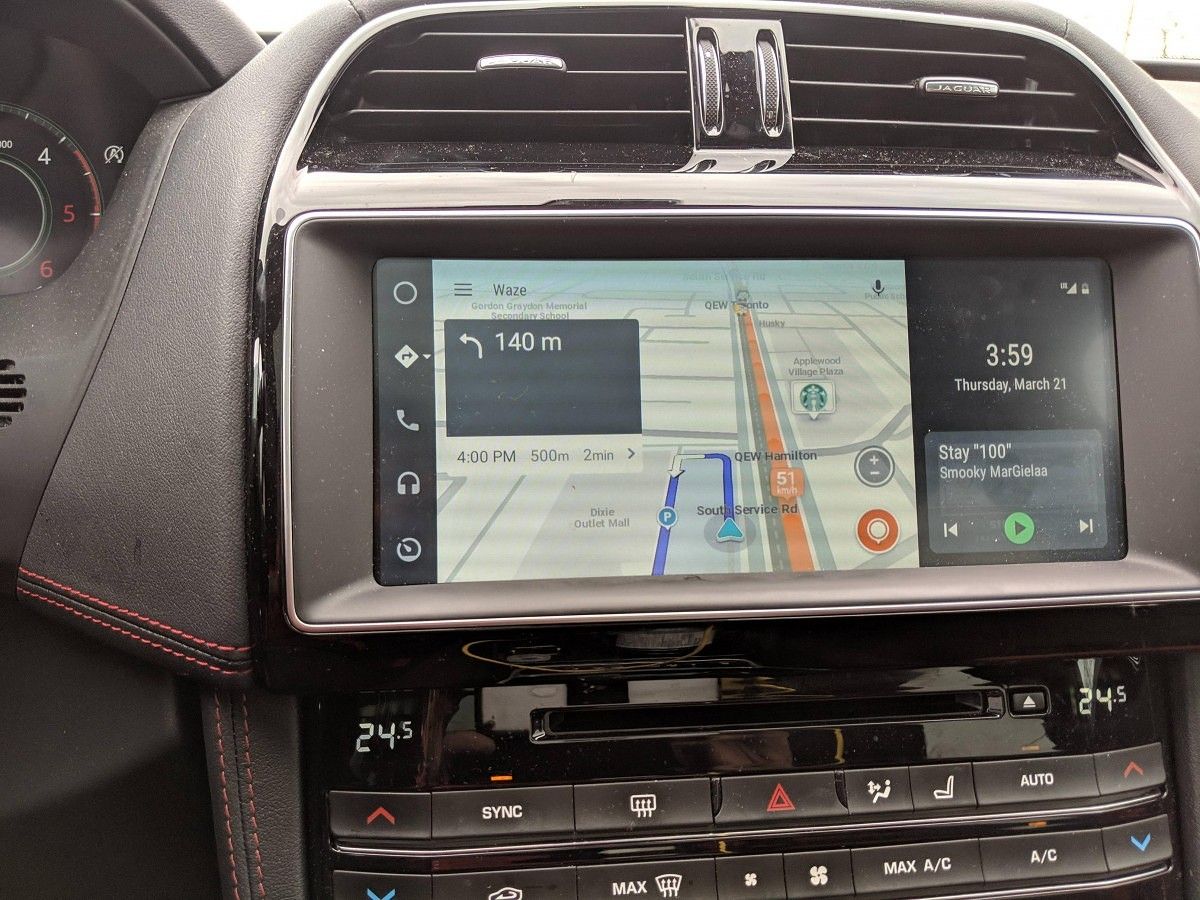
Once powered on, the Pi sets up its Wi-Fi and Bluetooth interfaces. It creates a wireless handshake with your phone, then uses USB gadget mode to emulate a phone connected to your car. This tricks your vehicle’s head unit into thinking a device is physically plugged in, even though the real connection is happening over Bluetooth and Wi-Fi. It’s all handled by the lightweight OS image, which boots up in seconds and starts the required services automatically.
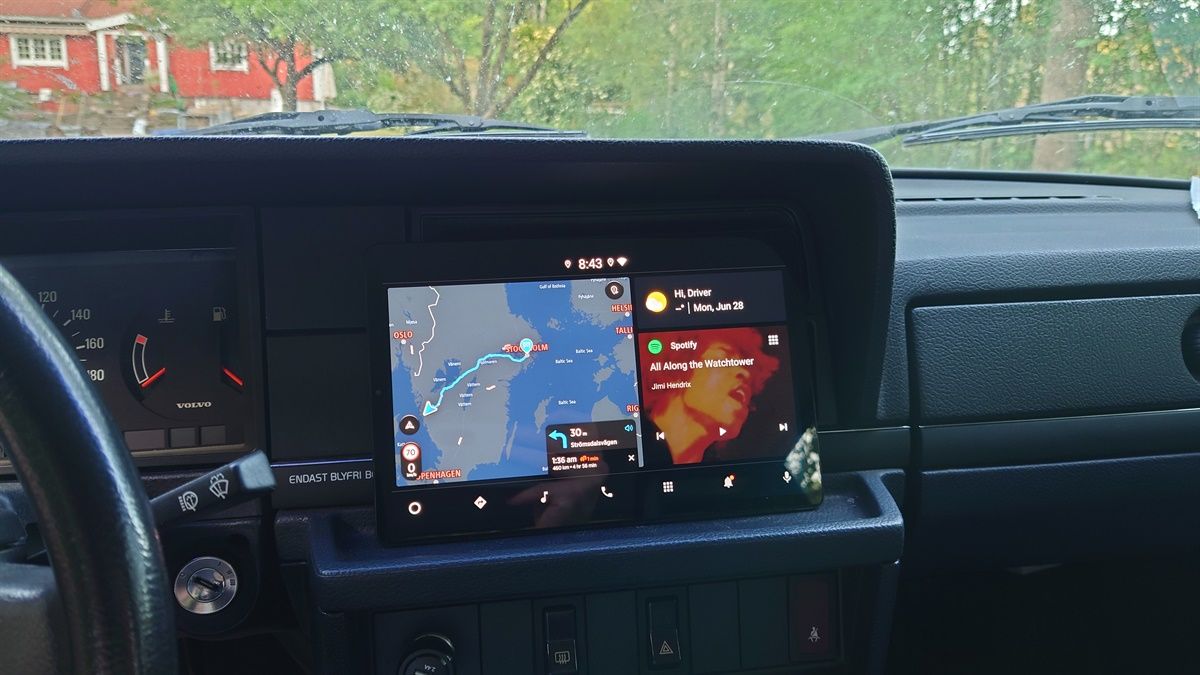
This architecture keeps things lean. With no extra services or desktop overhead, the Pi boots quickly and connects reliably. From the user’s perspective, the experience is seamless. I start the car, and by the time I’m backing out of the driveway, Android Auto is ready to go. I’ve never had to intervene or restart anything manually once it was set up.
What you’ll need to build one
Minimal gear and no code required
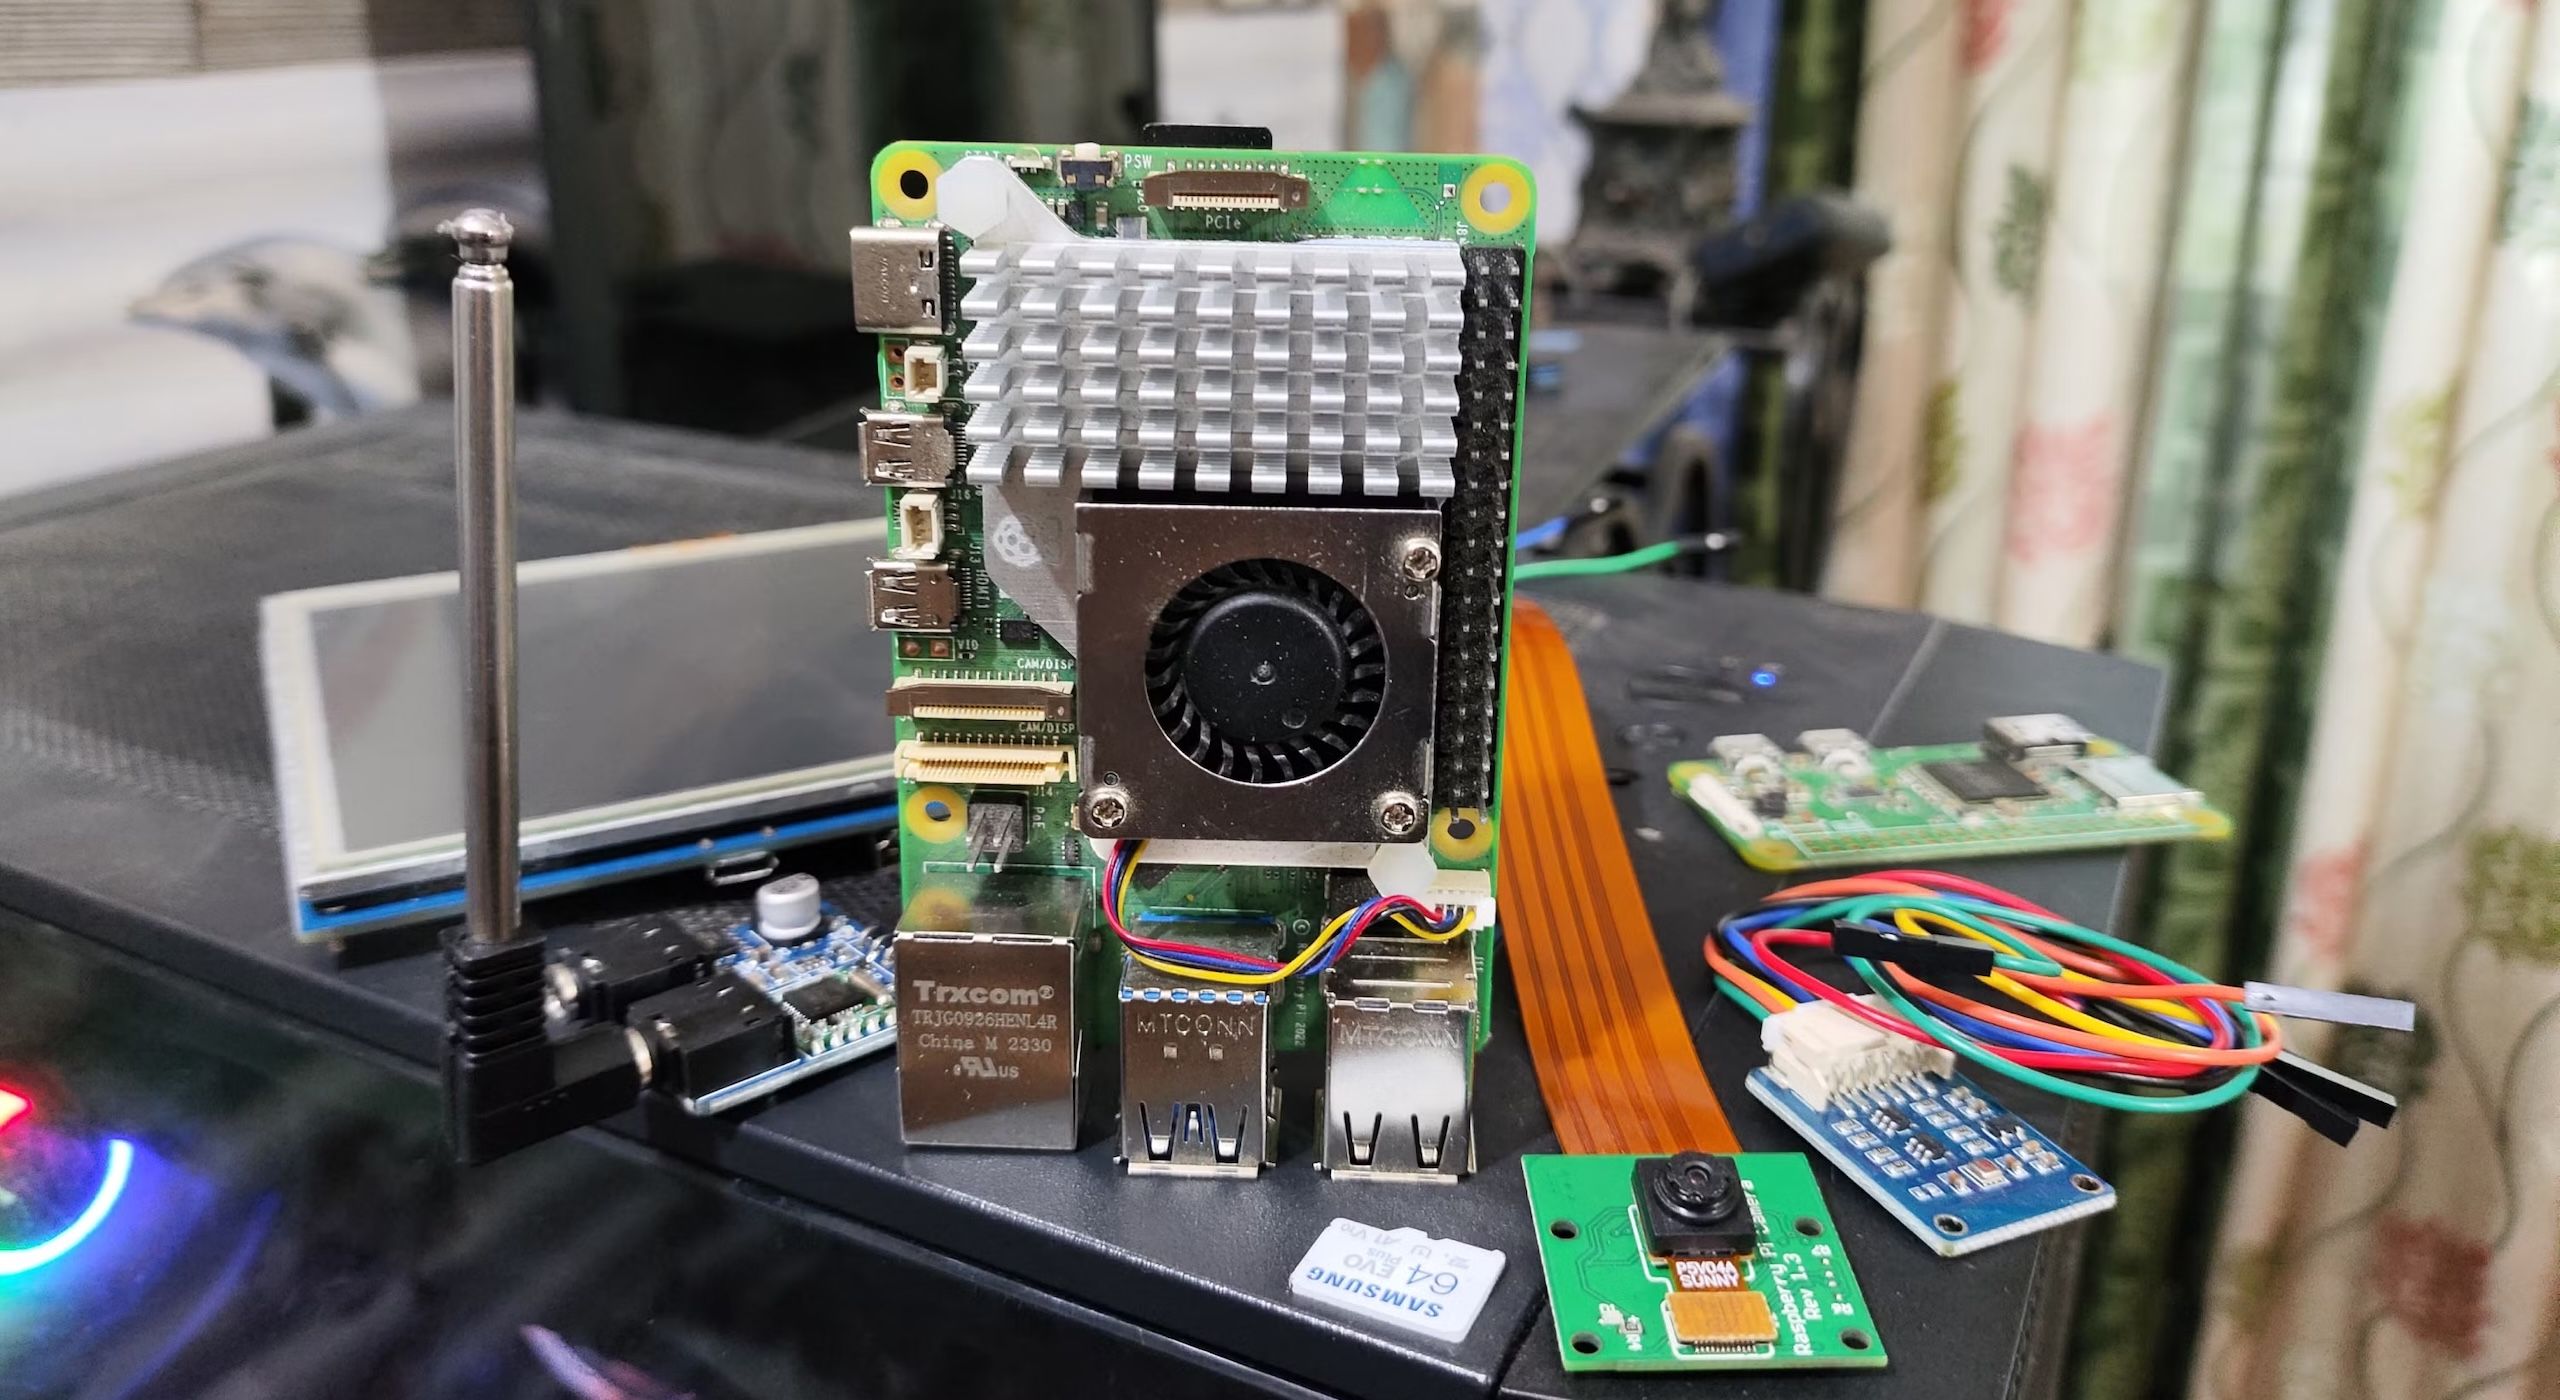
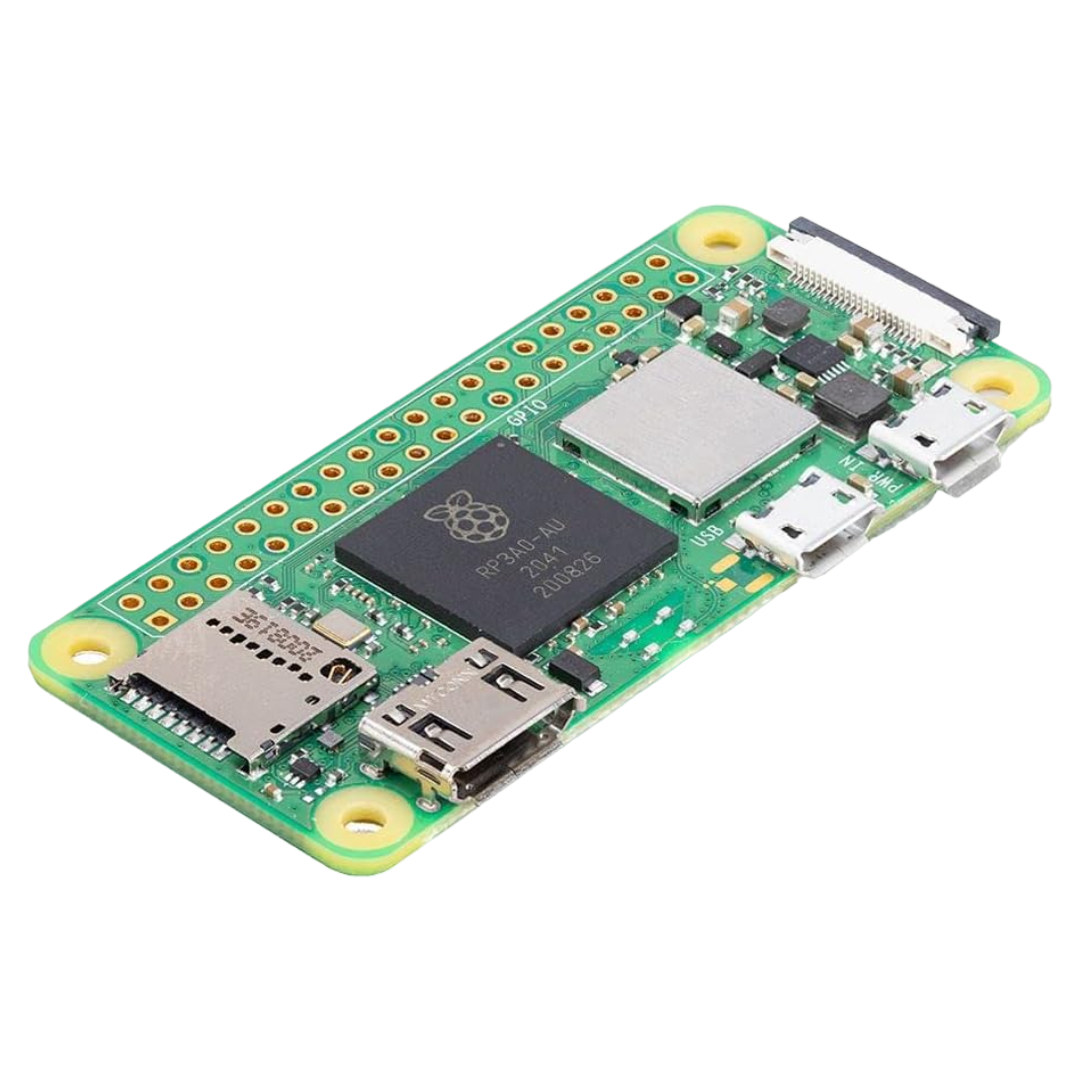
If you’ve ever done anything with a Raspberry Pi before, you probably already have most of what you need. The core of this project is the Raspberry Pi Zero 2 W. Any Raspberry Pi board that supports USB OTG will work. The developer has images available for the following Raspberry Pi SBCs:
- Raspberry Pi Zero W
- Raspberry Pi Zero 2 W
- Raspberry Pi 3 A+
- Raspberry Pi 4
Since it does not have USB OTG enabled, the Raspberry Pi 3 B+ is not supported.
You’ll also need a quality microSD card, a USB-A to micro-USB cable for the data connection, and a steady power source from your car.
The software side is refreshingly simple. You can download the prebuilt image from the GitHub repo’s Releases page and flash it to your SD card using a tool like Balena Etcher or Raspberry Pi Imager. There’s no terminal work, no Linux commands to run, and no packages to install. Just flash, plug in, and go. The image takes care of booting into a pre-configured environment with all the necessary services already enabled.
Here’s what the basic process looks like:
- Download the image from GitHub and flash it to the SD card.
- Insert the SD card into your Pi Zero 2 W.
- Connect the Pi to your car’s USB port using a USB-A to micro-USB data cable.
- Wait for it to boot, connect your Android phone to the device via Bluetooth. It should automatically complete the Wi-Fi connection then launch Android Auto.
- Confirm the connection and enjoy cable-free use every time you start the car.
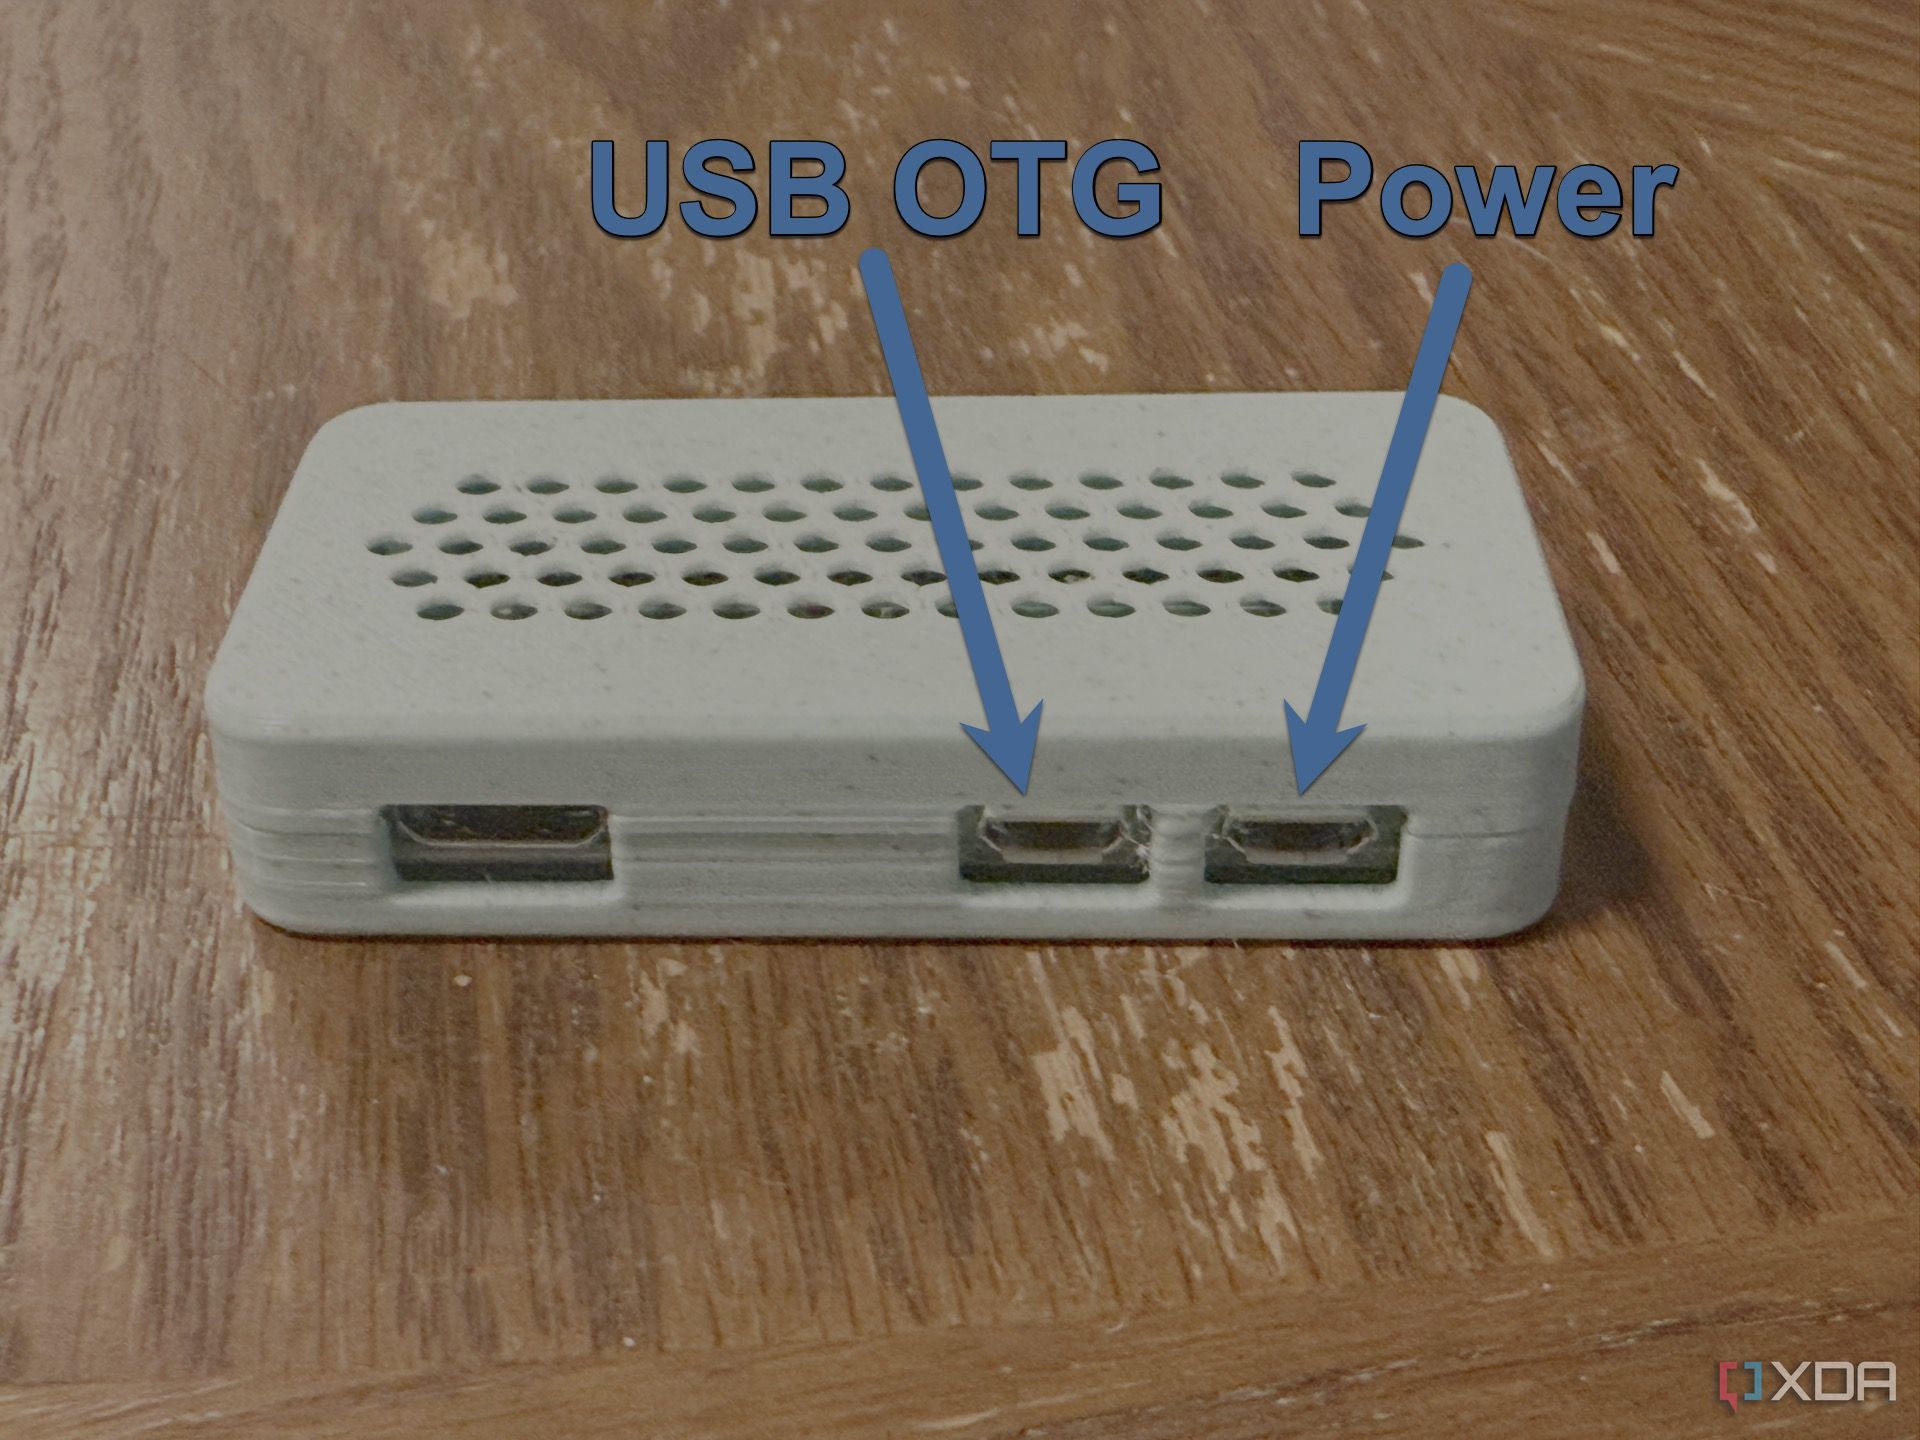
Make sure to connect the USB cable to the USB-OTG port, not the power-only port. On the Raspberry Pi Zero W and Zero 2 W, this is the innermost port
There are no extra apps to install, and no UI to configure. Everything is handled behind the scenes by the Pi’s custom firmware. It’s as close to plug-and-play as a DIY project gets.
What impressed me most
Speed and stability exceeded expectations
When I first powered up the Pi in my car, I expected some hiccups. I figured the initial connection would be slow, or that I’d have to dive into logs to debug something. In fact, the developer offers instructions for enabling SSH if such debugging is required. None of that happened for me, though. The boot process took around 15 seconds, and I was able to make the initial connection in less than a minute. After that first connection, my phone connected to Android Auto without me touching a thing.
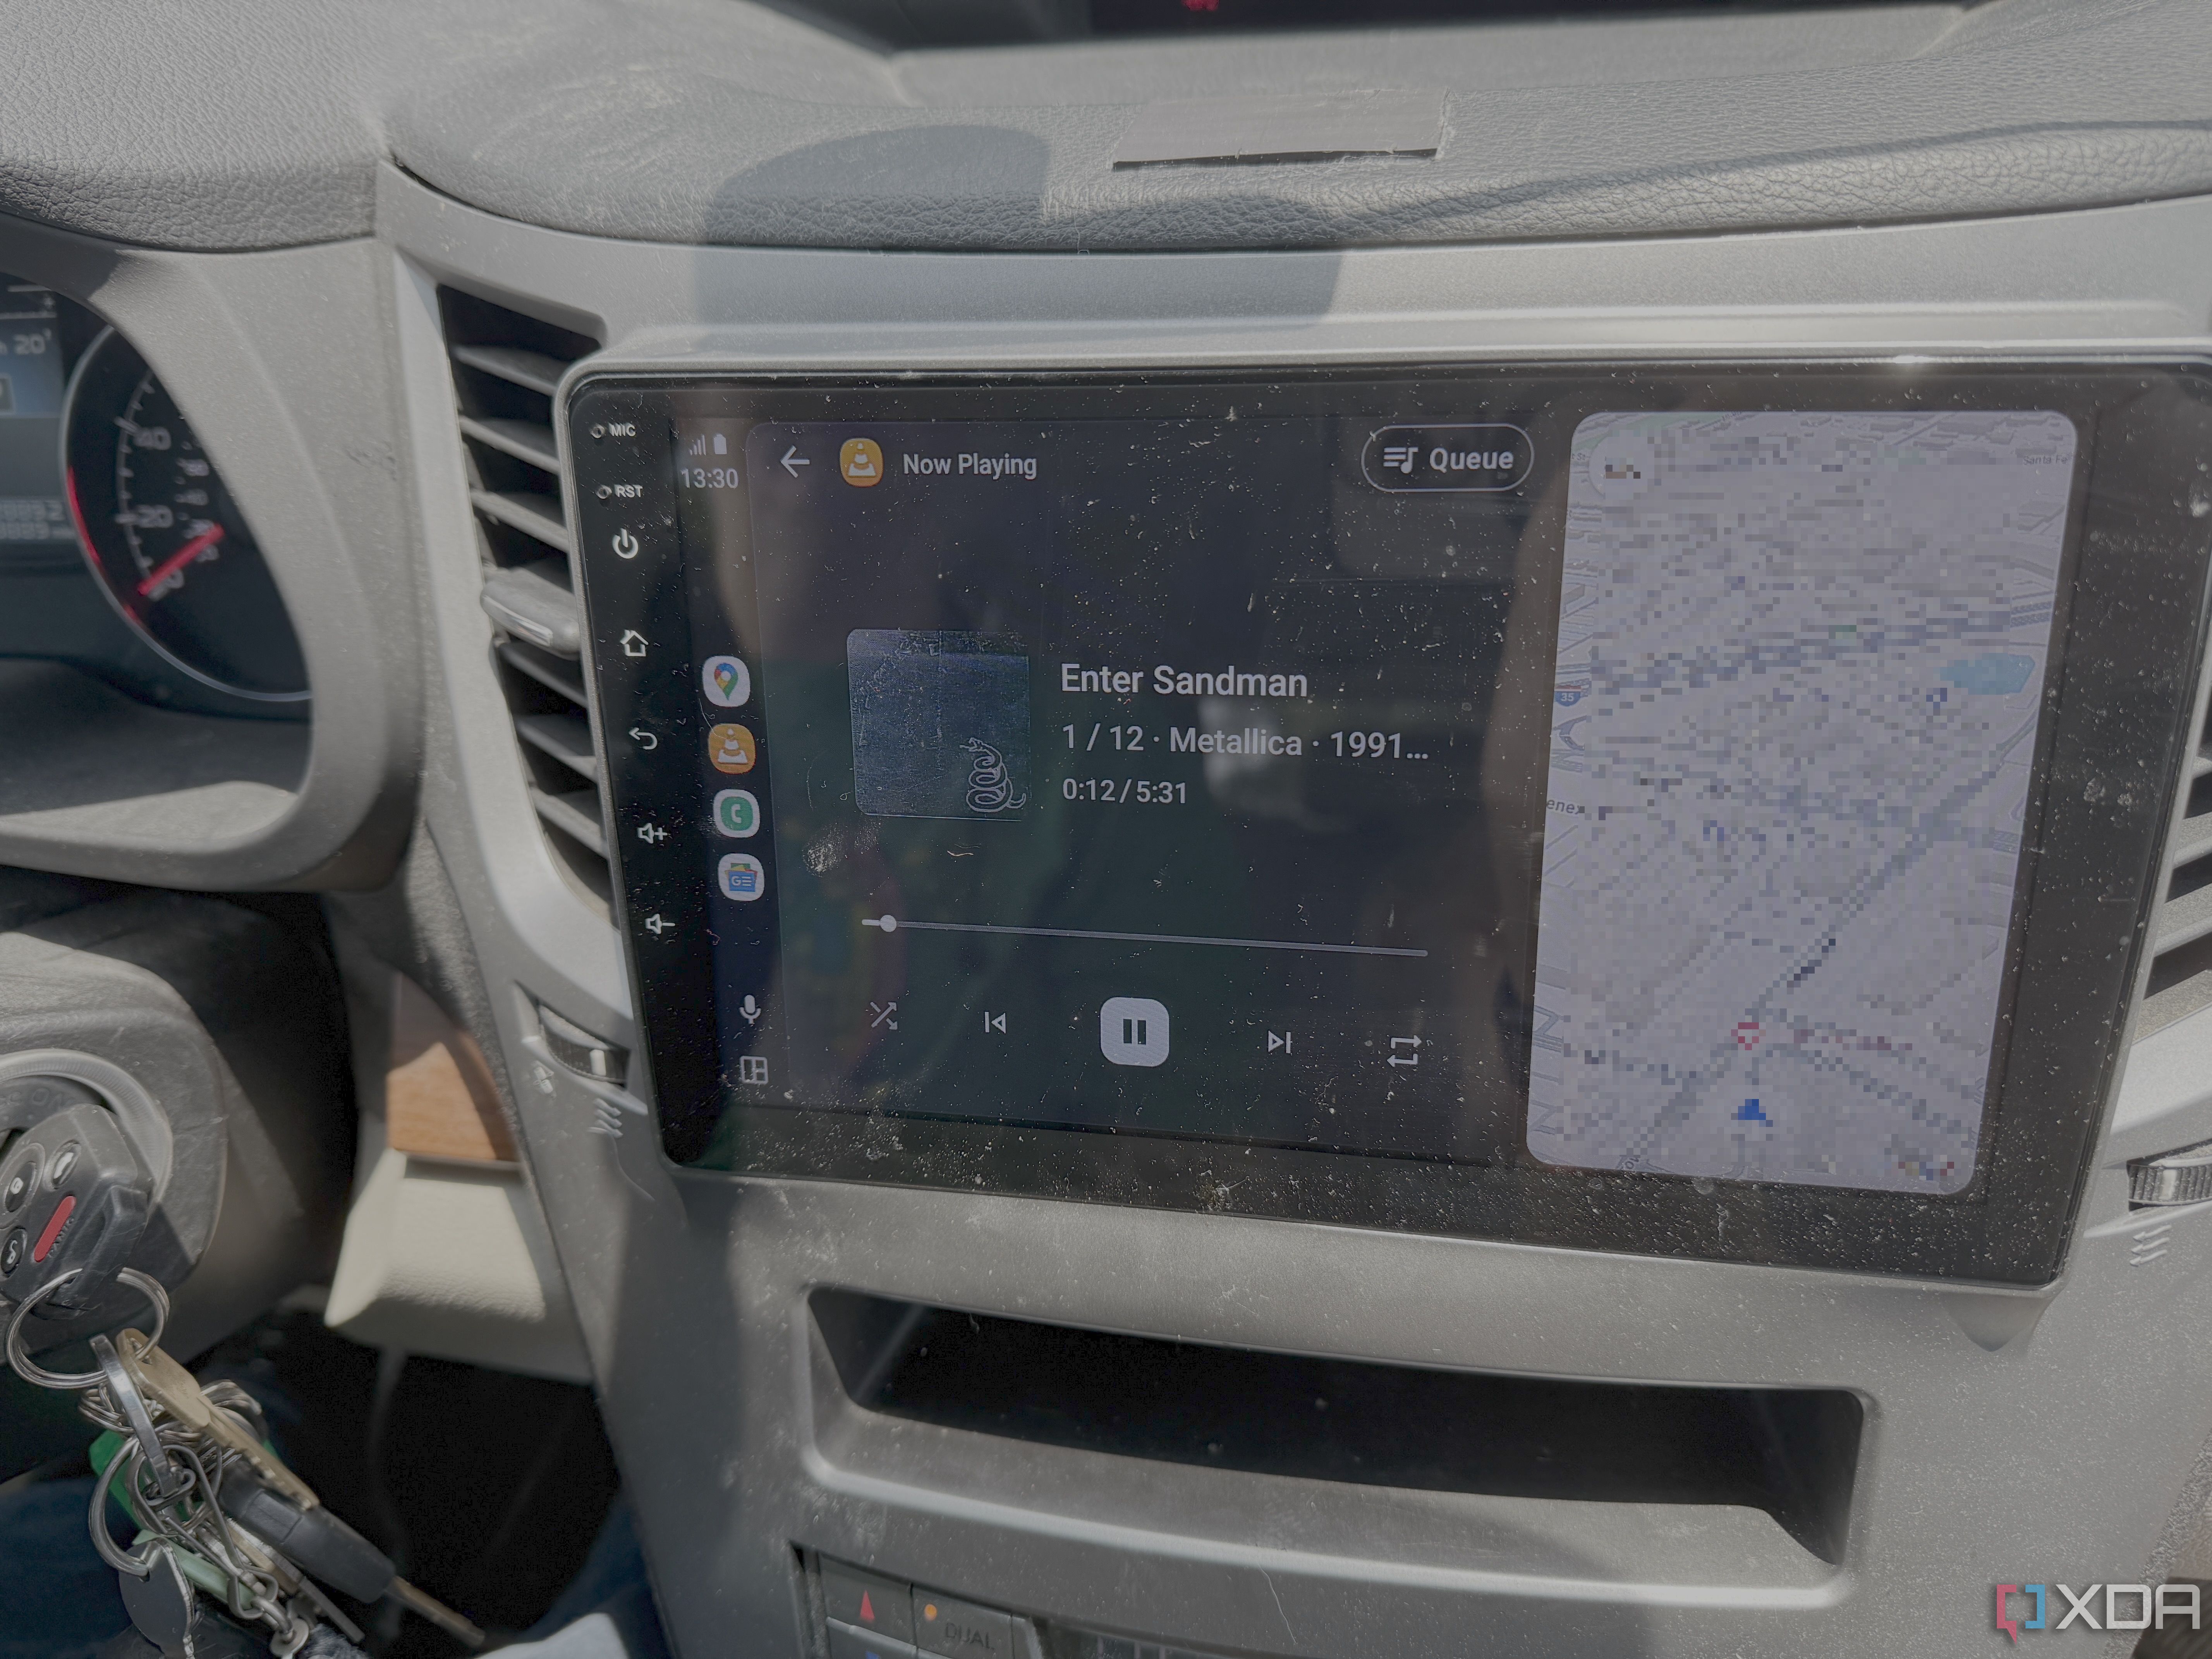
The responsiveness was just as impressive. Music playback didn’t lag, voice commands fired off instantly, and there were no random disconnections during my commute. Even calls and navigation instructions are synced without delay. I had braced myself for compromises, but the Pi Zero 2 W handled it like a champ, thanks in part to the lightweight image and efficient design.
What really sealed it for me was the reliability. I’ve been using this setup for several weeks now, and it’s never failed to connect. Even after parking in the garage for hours, I’ll start the engine and see Android Auto come online before I finish putting on my seatbelt. That kind of consistency isn’t common with budget dongles, and it makes this DIY solution feel surprisingly polished.
Why I’d build it again
It’s customizable, open, and futureproof
After
One of the things I appreciate most about this project is how open-ended it is. Sure, it works great out of the box. But because it's built on a transparent stack, I can tweak it however I want. I could add logs to troubleshoot issues, modify how it handles power states, or even integrate custom scripts to monitor behavior. That level of control just doesn’t exist with commercial solutions.
Another plus is that updates or improvements are entirely in my hands. If the developer behind the GitHub repo releases a new version, I can flash it whenever I want. Or, if I want to dig into the buildroot config and recompile the image with custom tweaks, I can do that too. There’s no vendor lock-in here, just clean, reproducible tools I can adapt to fit my needs.
And perhaps most importantly, this setup respects my hardware. It doesn’t rely on cloud services, doesn’t collect telemetry, and doesn’t need an app to manage it. Once it's up and running, it’s completely invisible, which is precisely how I like this kind of tech to behave. If you care about privacy and performance, that’s another reason to skip the commercial options and build your own.
It just works, and it’s mine to customize as I like
Using a Raspberry Pi Zero 2 W to build my own wireless Android Auto dongle turned out to be one of the most practical DIY tech projects I’ve ever done. It wasn’t complicated, didn’t require any coding, and the result has been flawless. I don’t miss the cable one bit, and I trust this little dongle far more than the off-the-shelf ones I tried. If you're even mildly tech-savvy and tired of unreliable commercial options, this project is worth your weekend.


 English (US) ·