.png)
I've been using OPNsense tonnes lately, mainly as the gateway to my home lab shenanigans. Most of this has been accomplished with various virtual setups, but that has its problems that I find myself fighting more than doing any substantial work. The biggest issue I have is that the virtual network adapters frequently change assignments when I return to the VM after a while, and it has become a dealbreaker.
So, it's time to put my home lab on some dedicated hardware. I want physical Ethernet ports that I can deal with and handle through the network. I'm not going down the route of ex-enterprise servers, though, because the noise alone would deter me from using them, to say nothing of the electricity bills. Instead, I'm starting out with a small but capable mini PC, like many other homelabbers before me. Except, I'll be using those network adapters in Proxmox and installing OPNsense, along with a few other things on top.
About this article: Beelink sent over the Beelink ME mini 6-Slot Home Storage NAS Mini PC used in this article, but had no input in its contents or saw it before publishing.
Related
8 things I always do after installing OPNsense
Here's a checklist of things to do with your fresh OPNsense firewall.
Mini PCs are perfect for this task
Plenty of power, and most have multiple Ethernet ports
For anyone who might have been disappointed that I couldn't get OPNsense running on an old ThinkPad, nobody is more disappointed than me. It's not that I didn't have one with an Ethernet port, but OPNsense really doesn't like wireless adapters, and I couldn't find a USB Ethernet adapter in the house (I did find a TB3 one for my old MacBook Pro, which I might try for a future experiment). That meant the only sane choice was a mini PC with two 2.5GbE Intel-based NICs, and that's what I did.
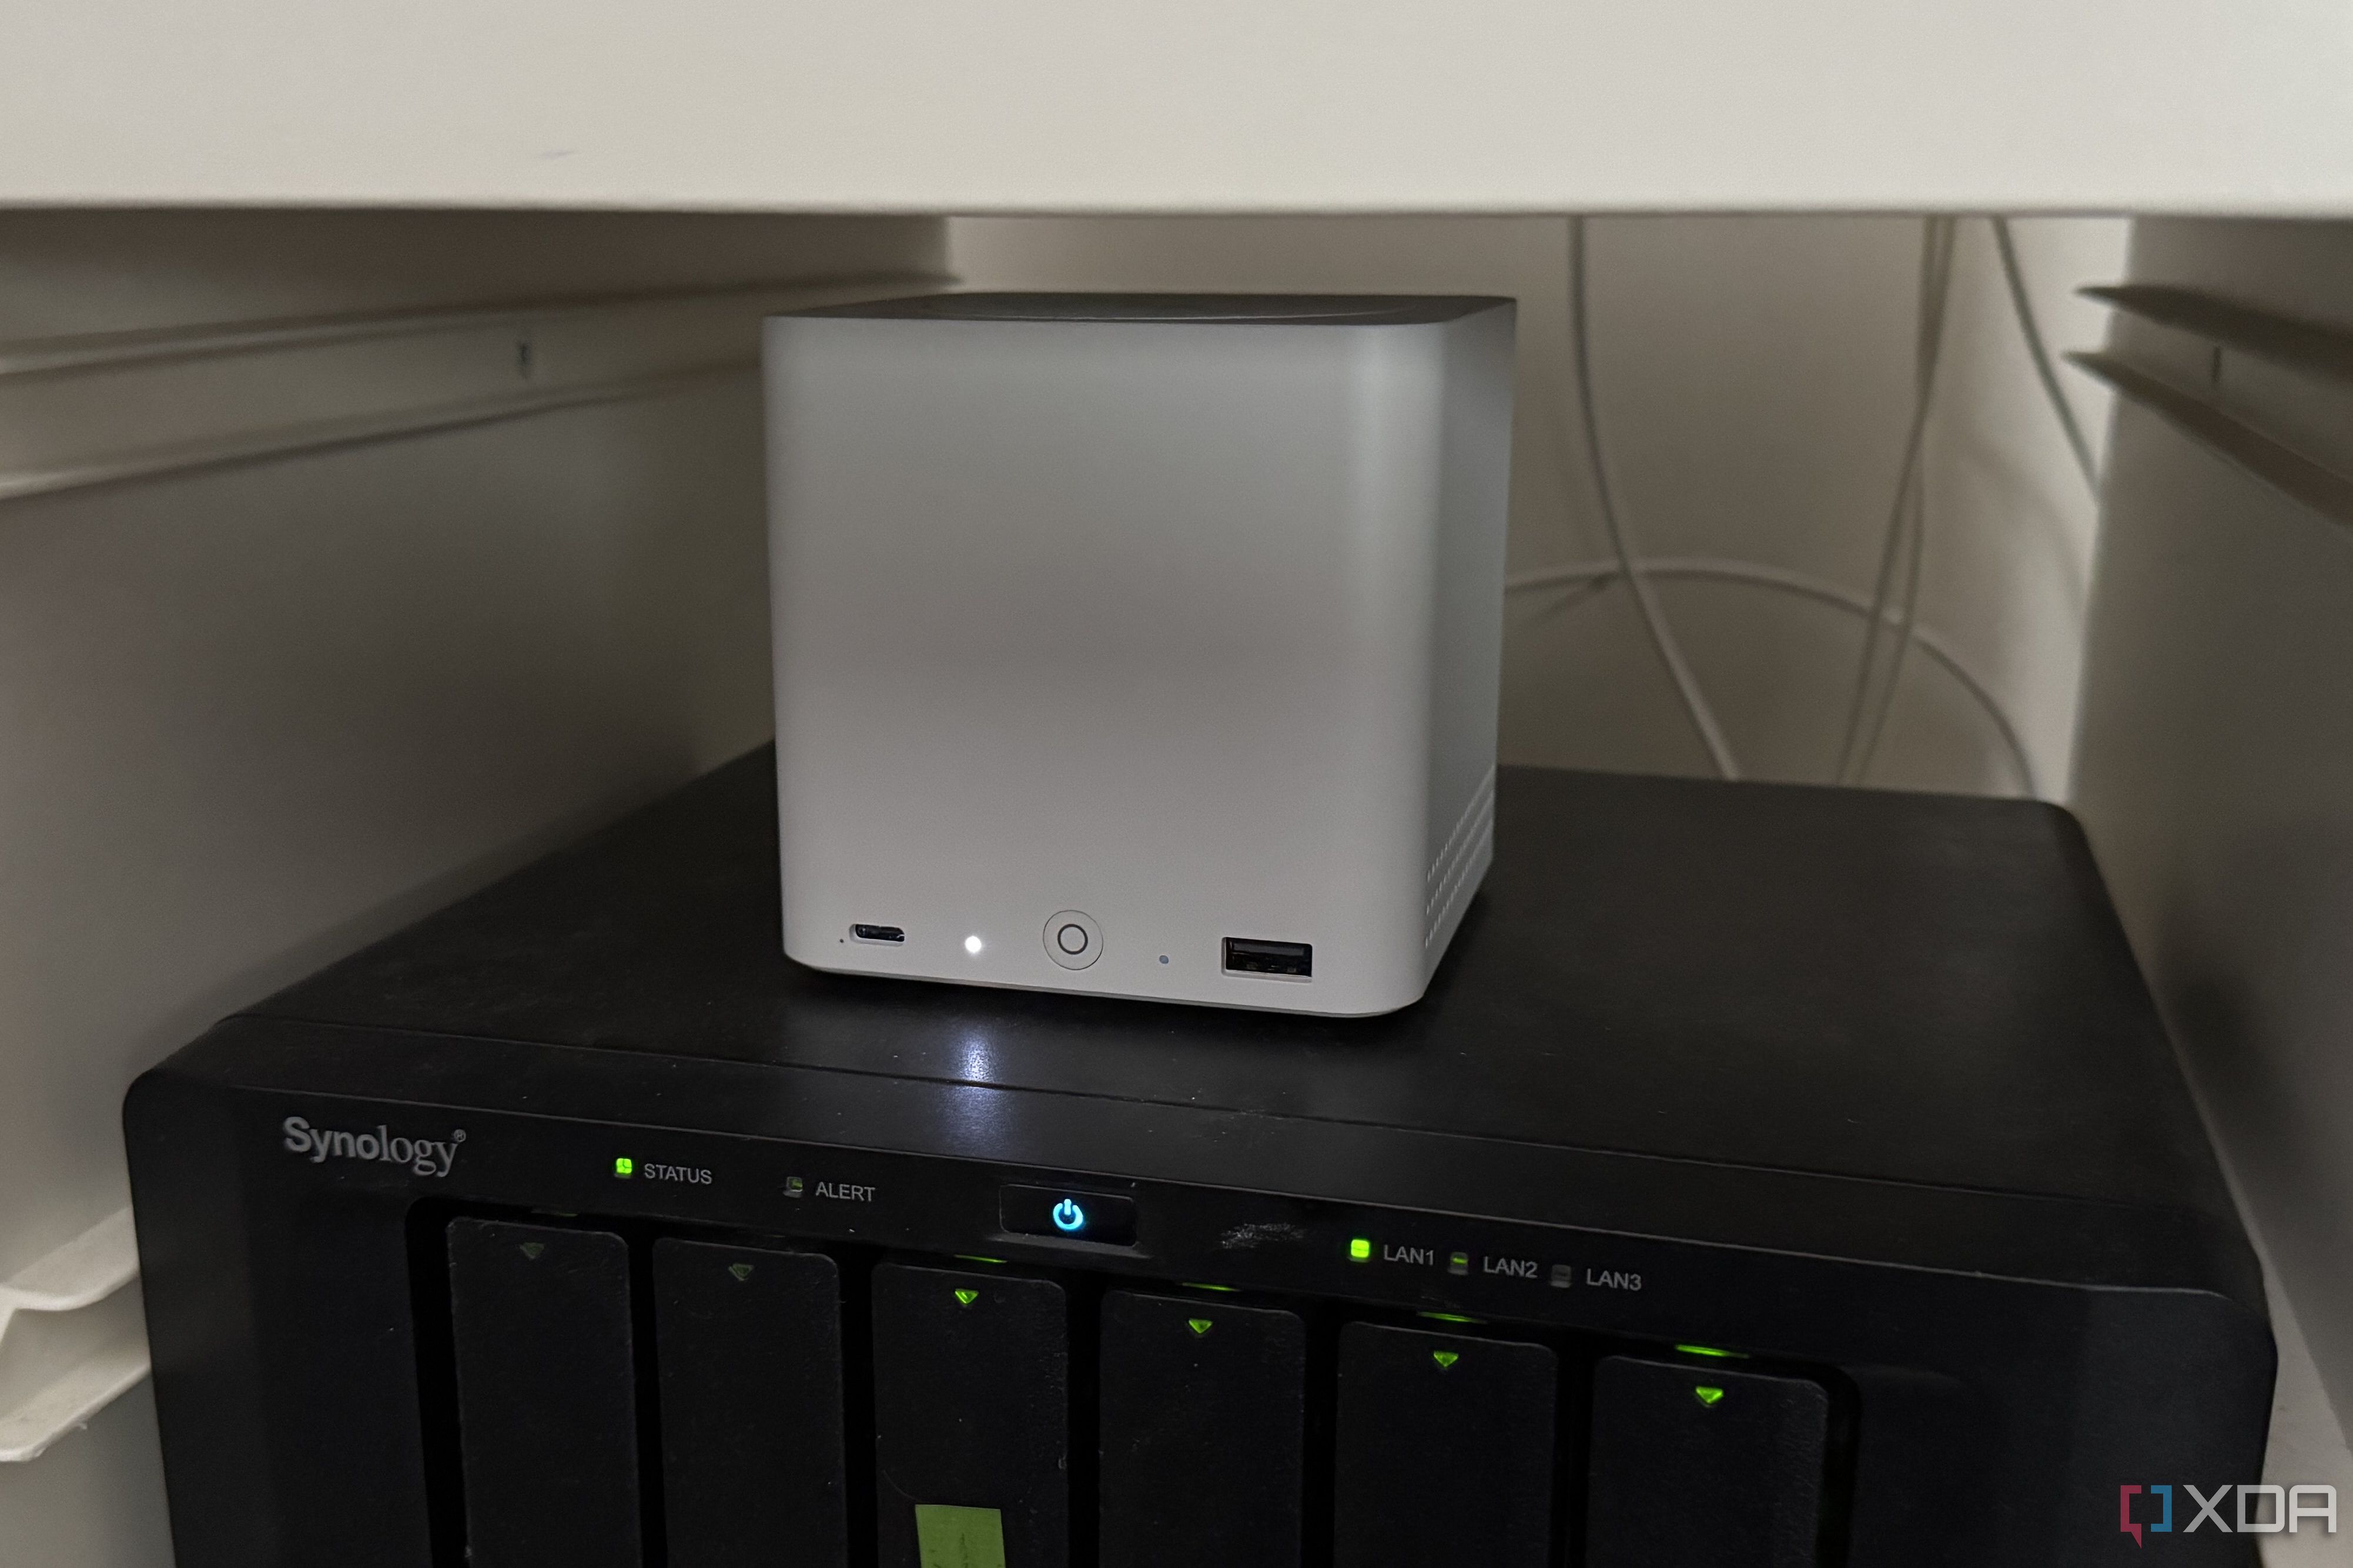
I've still got a larger NAS running that I'll use iSCSI for data I want to keep, but this Beelink mini PC is going to be the start of a new era in my experimentation. It features an Intel N150, 12GB of RAM, and 64GB of eMMC, which should be plenty for a Proxmox installation, given its six M.2 slots for storage expansion. Yes, six. The downside is that five of them run at PCIe 3.0 x1, and the sixth at x2, but that's fine because it's more than enough speed to saturate the 2.5GbE ports, and it'll mainly be used to store VMs.
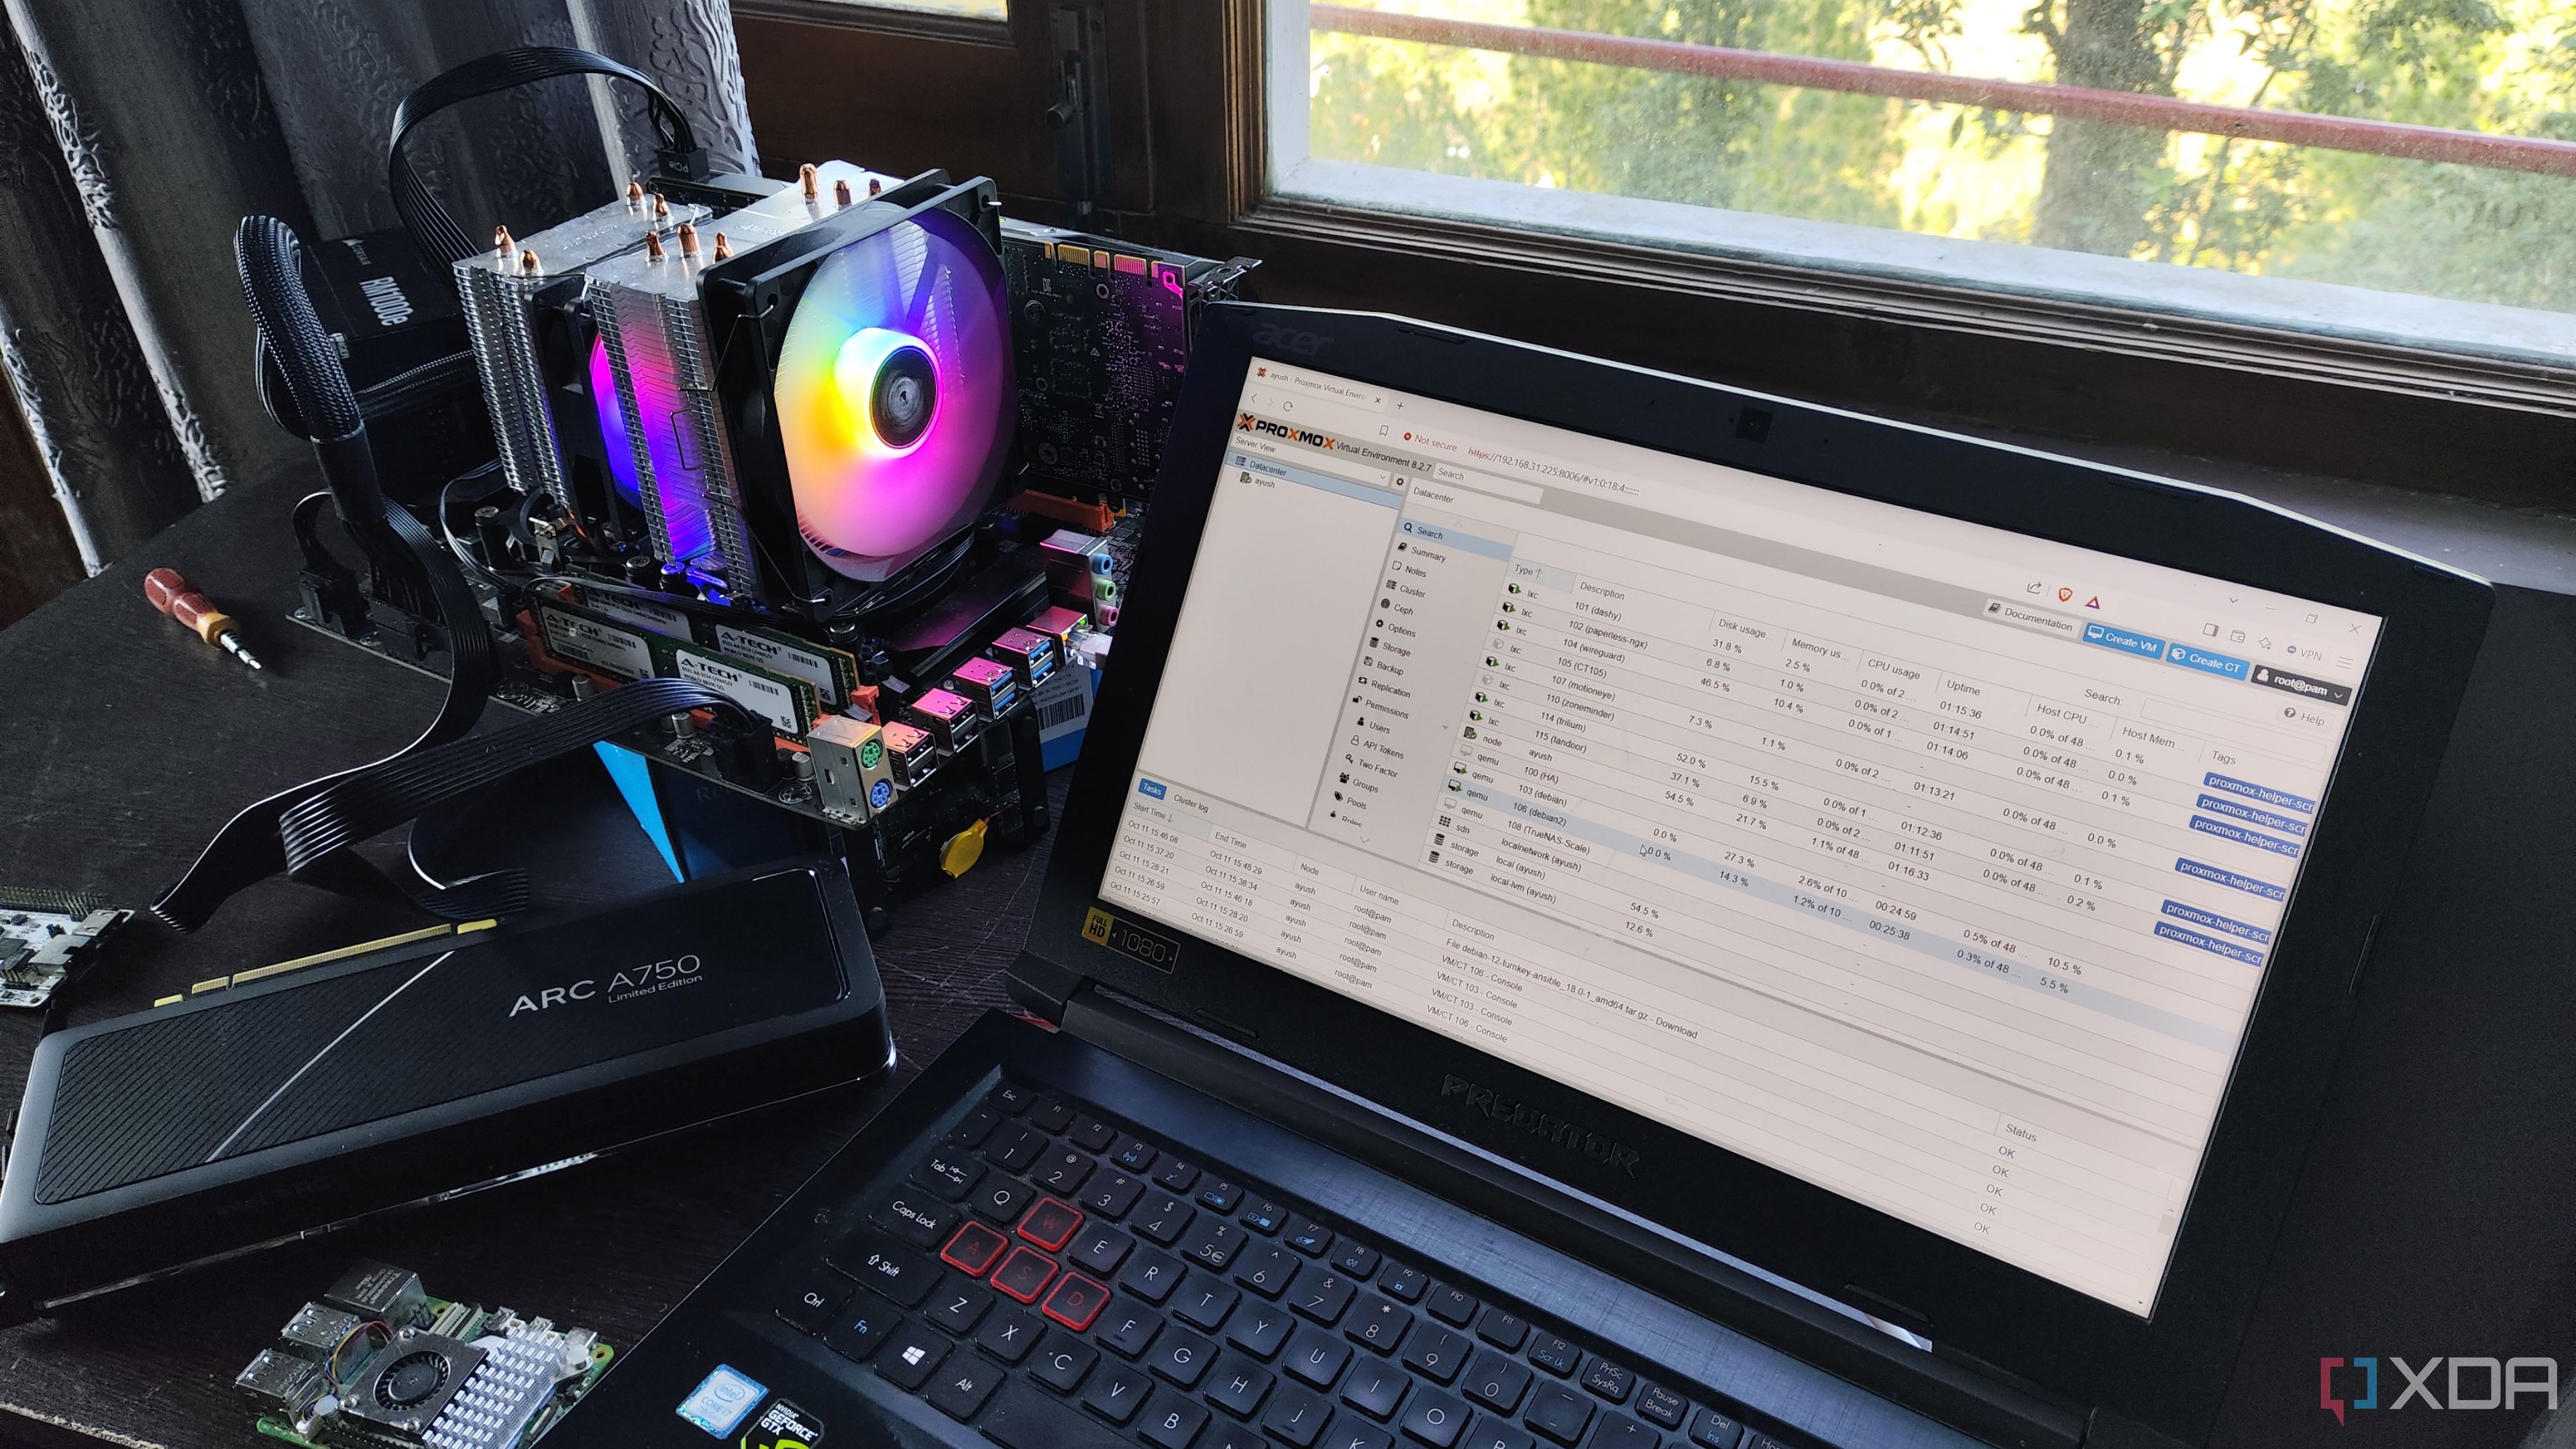
The other benefit to using newer hardware is that I can get more, identical mini PCs to expand the home lab with. Eventually, I want a High Availability Proxmox cluster with at least three, possibly four, of this model, all with the same amount of storage, and all using a storage pool on another device. That will run VMs for OPNsense, Technitium or Pi-hole for DNS blocking, and any other services I want high uptime for.
Could I do this with other hardware? Of course, but I'd have to find three ex-enterprise servers with identical hardware, buy a rack to put them in, and prepare a few excuses for my SO, otherwise that hardware won't come into the house without the garage being cleared out. Building a cluster with hand-sized min PCs is just easier.
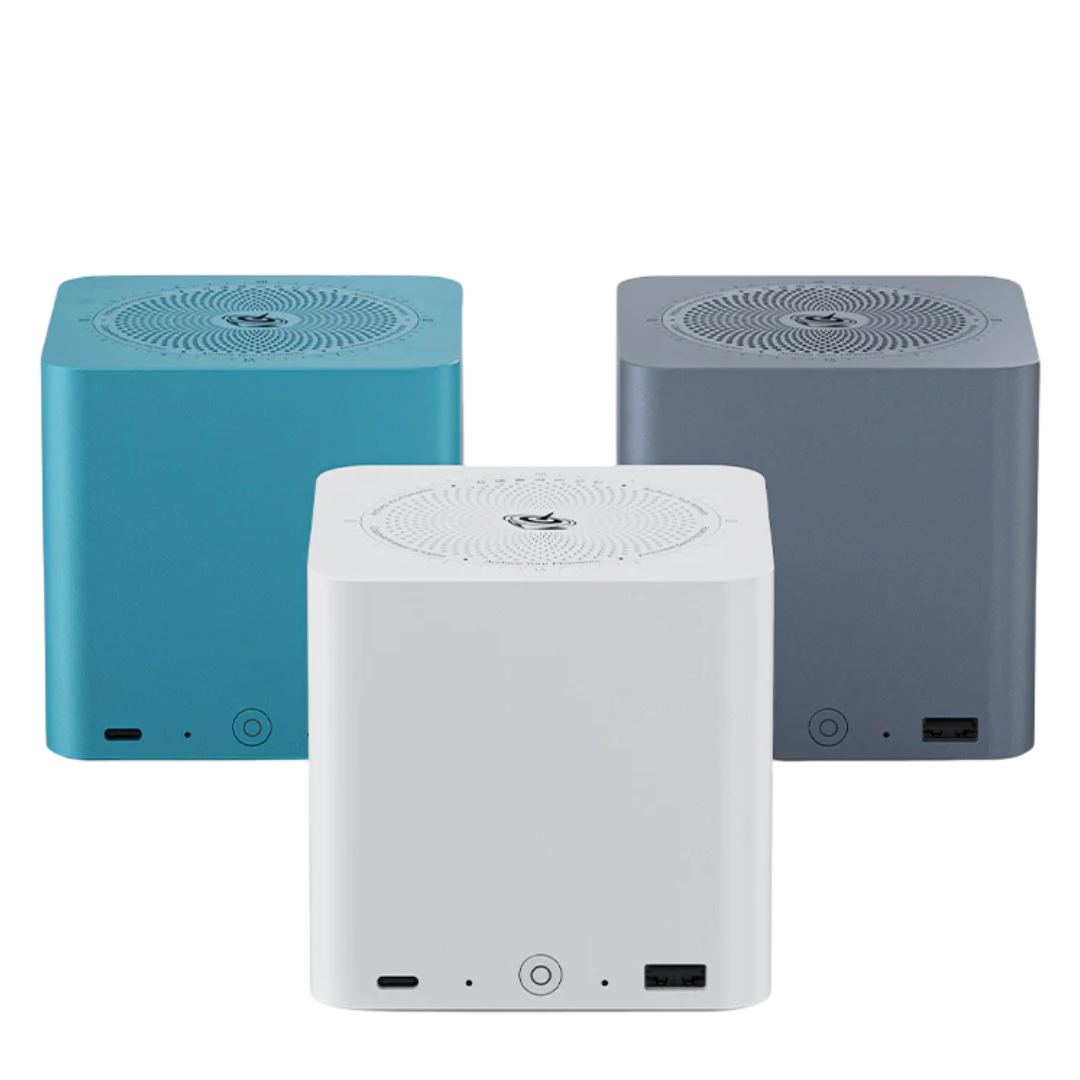
The Beelink ME mini is powered by the new Intel Twin Lake N150 CPU and features a total of six M.2 PCIe 3.0 slots, allowing for speedy centralized storage or serving as a home lab starter kit.
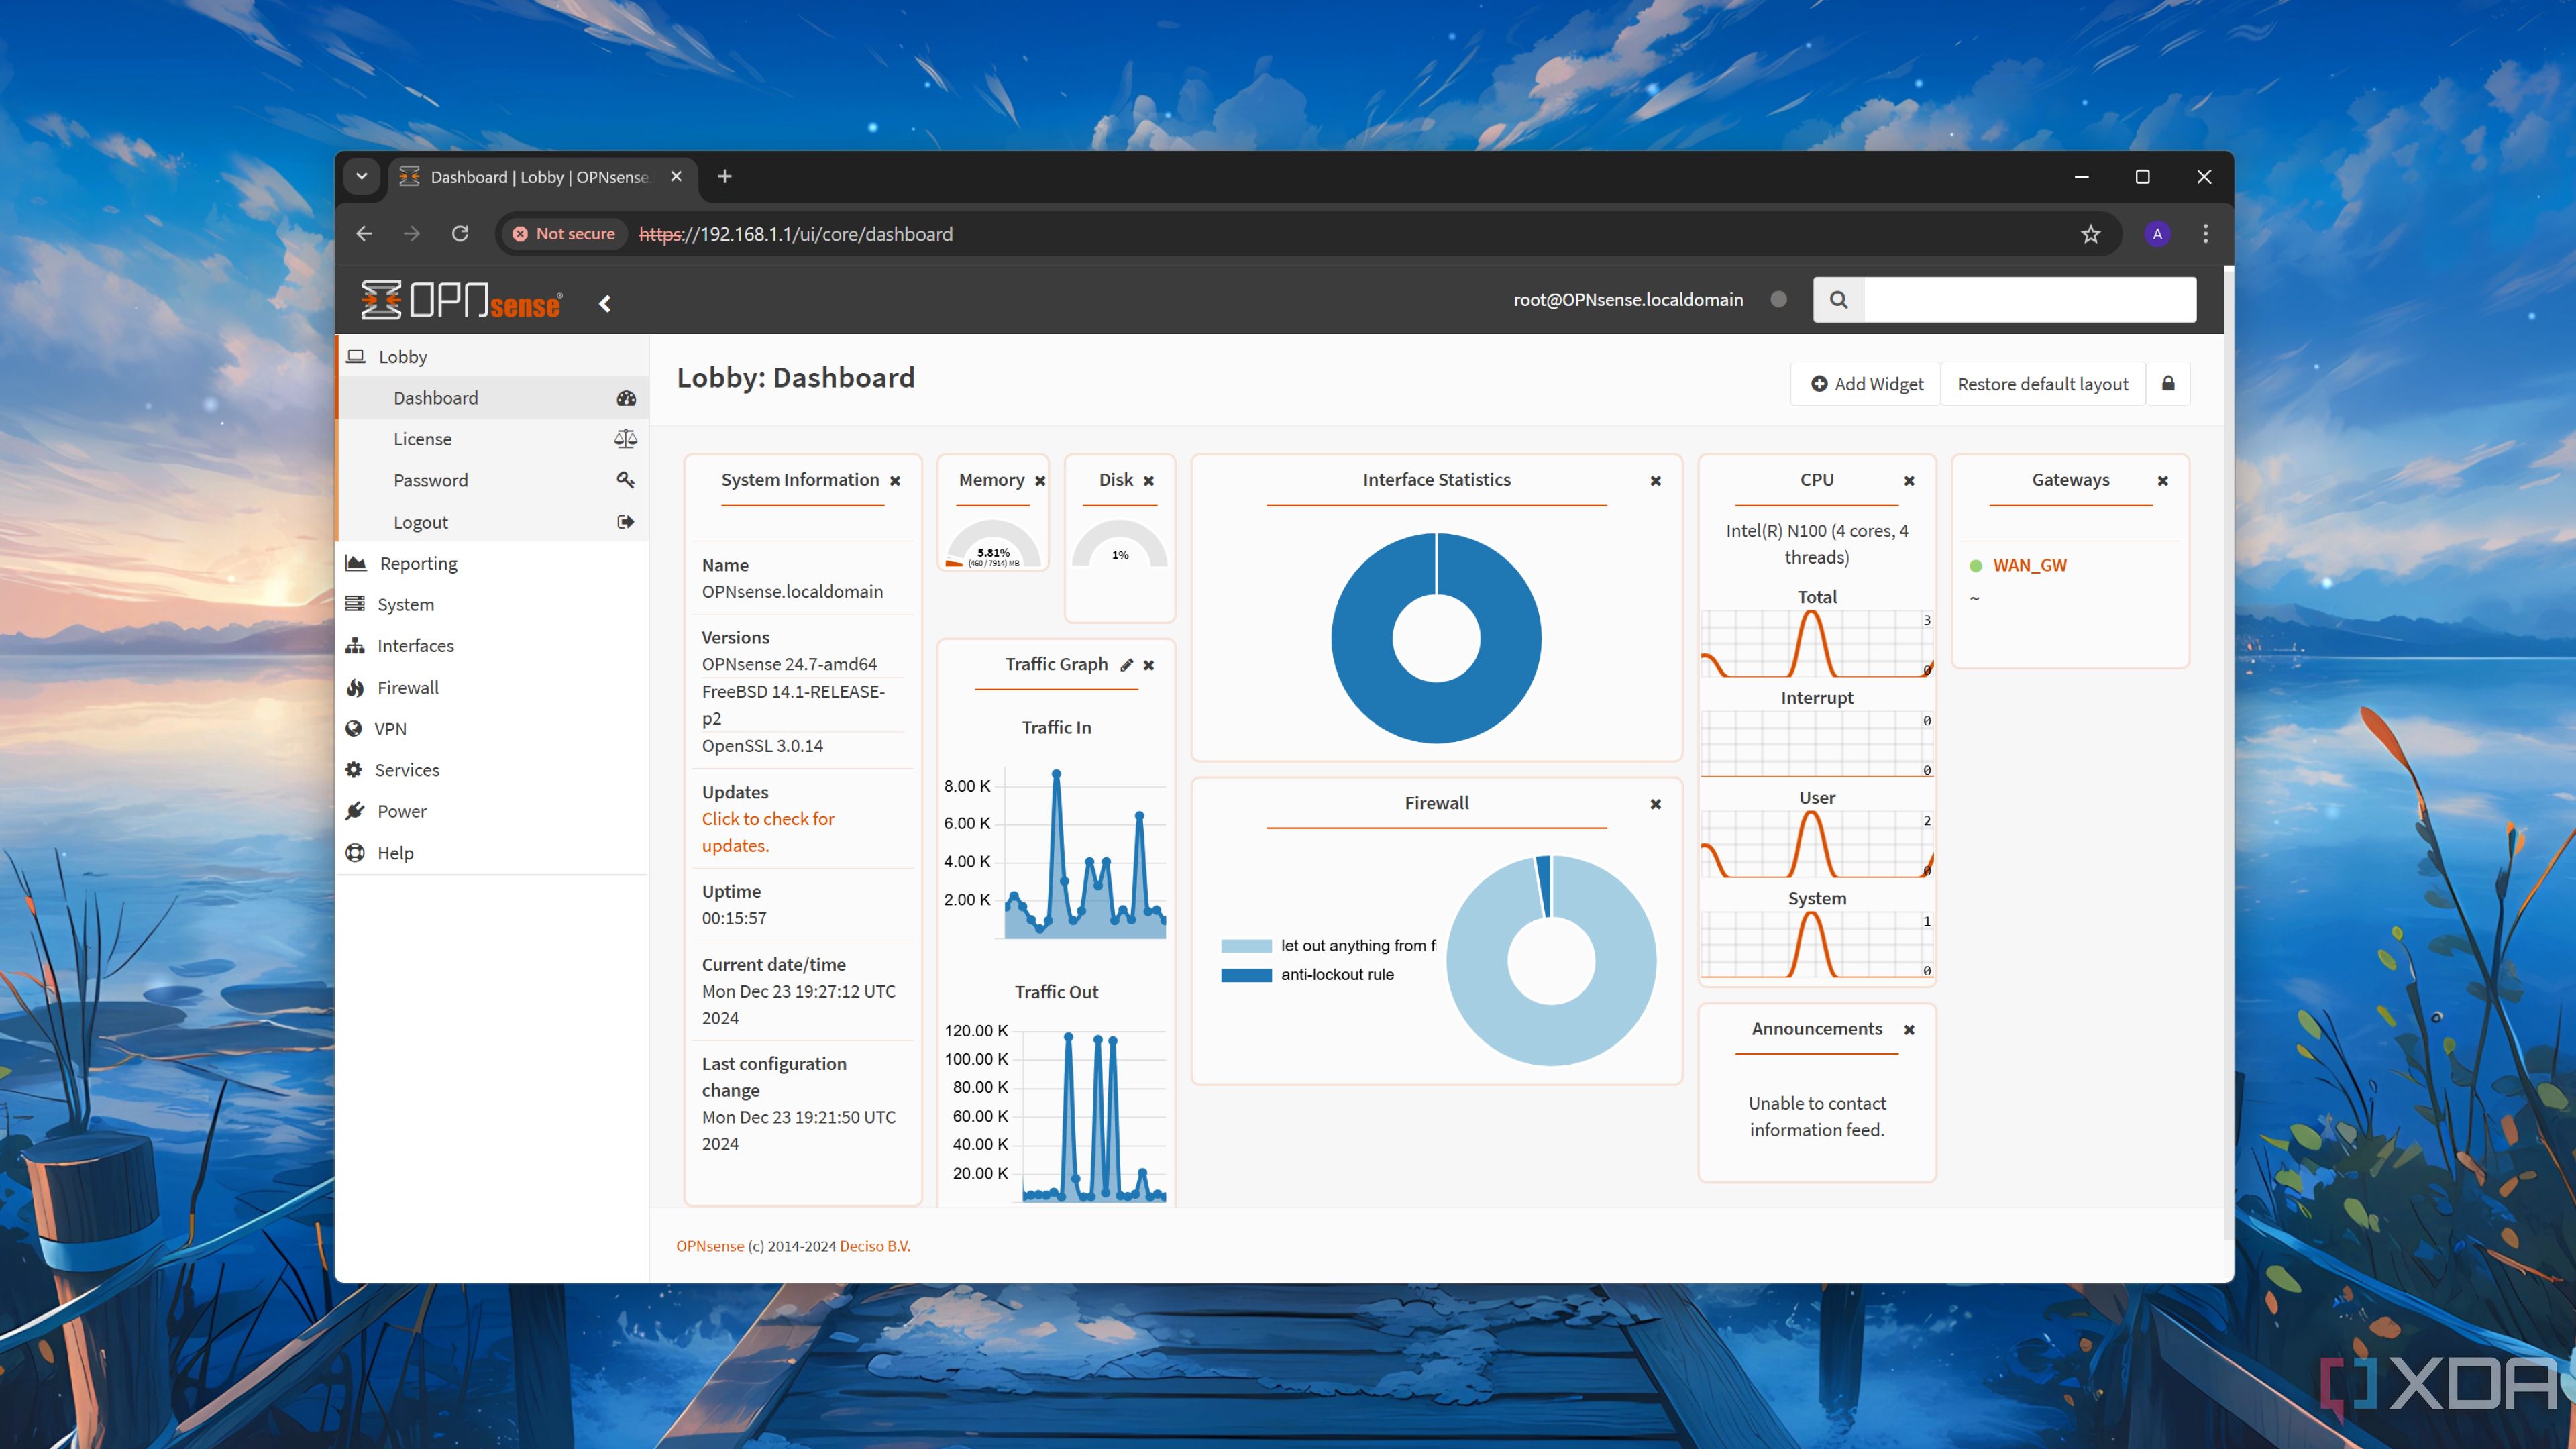
It's an OPNsense mini router (with a twist)
I virtualized it on Proxmox, so that I could use the hardware for other things as well
I could have used this mini PC to do a bare metal install of OPNsense, and I almost did. I might still go back and do that at some point, but I wanted to use Proxmox, because this machine has six M.2 NVMe slots to be used, and that's a bit of a waste just for a firewall. It's perfect for virtual machines, with the 64GB of eMMC for Proxmox, and plenty of ports for VM storage, ZFS pools for NAS use, and to run Home Assistant, Pi-hole, Unbound, and a few other things.
There is one thing that I had to do a little differently on this model, and thankfully, Wendell at Level1Techs had already posted the fix. Proxmox doesn't like installing to eMMC by default, which is a shame because this mini PC has a 64GB partition that's perfect for a Level 1 hypervisor to sit in. And before the angry messages come in, it'll be fine, and I plan to set logging to write to the storage drives anyway.
The fix is to boot the installer, press CTRL+ALT+F1 to drop into a terminal, and then press CTRL+C to stop the installer. Then open vi or nano to edit the following file:
/usr/share/perl5/Proxmox/Sys/Block.pmYou're looking for the "sub get_partition_dev" section, and you'll want to add two lines to the end:
} elsif ($dev =~m|^/dev/mmcblk\d+$|) {return "${dev}p$partnum";
Once that's done, write the file and go back to the terminal, and open gdisk to create the initial partitions on dev/mmcblk0. This sidesteps another Proxmox bug that will crash the installer if no partition exists on the storage devices. Isn't home lab fun?
After that, double-check that mmcblk0p1 is visible by running 'lsblk'. Then, you can run 'proxmox-tui-installer' and proceed with installing your hypervisor. The rest of the setup was relatively straightforward, both for Proxmox, where I ran a few community scripts before adding OPNsense as a virtual machine.
Adding OPNsense was the easiest part of the install
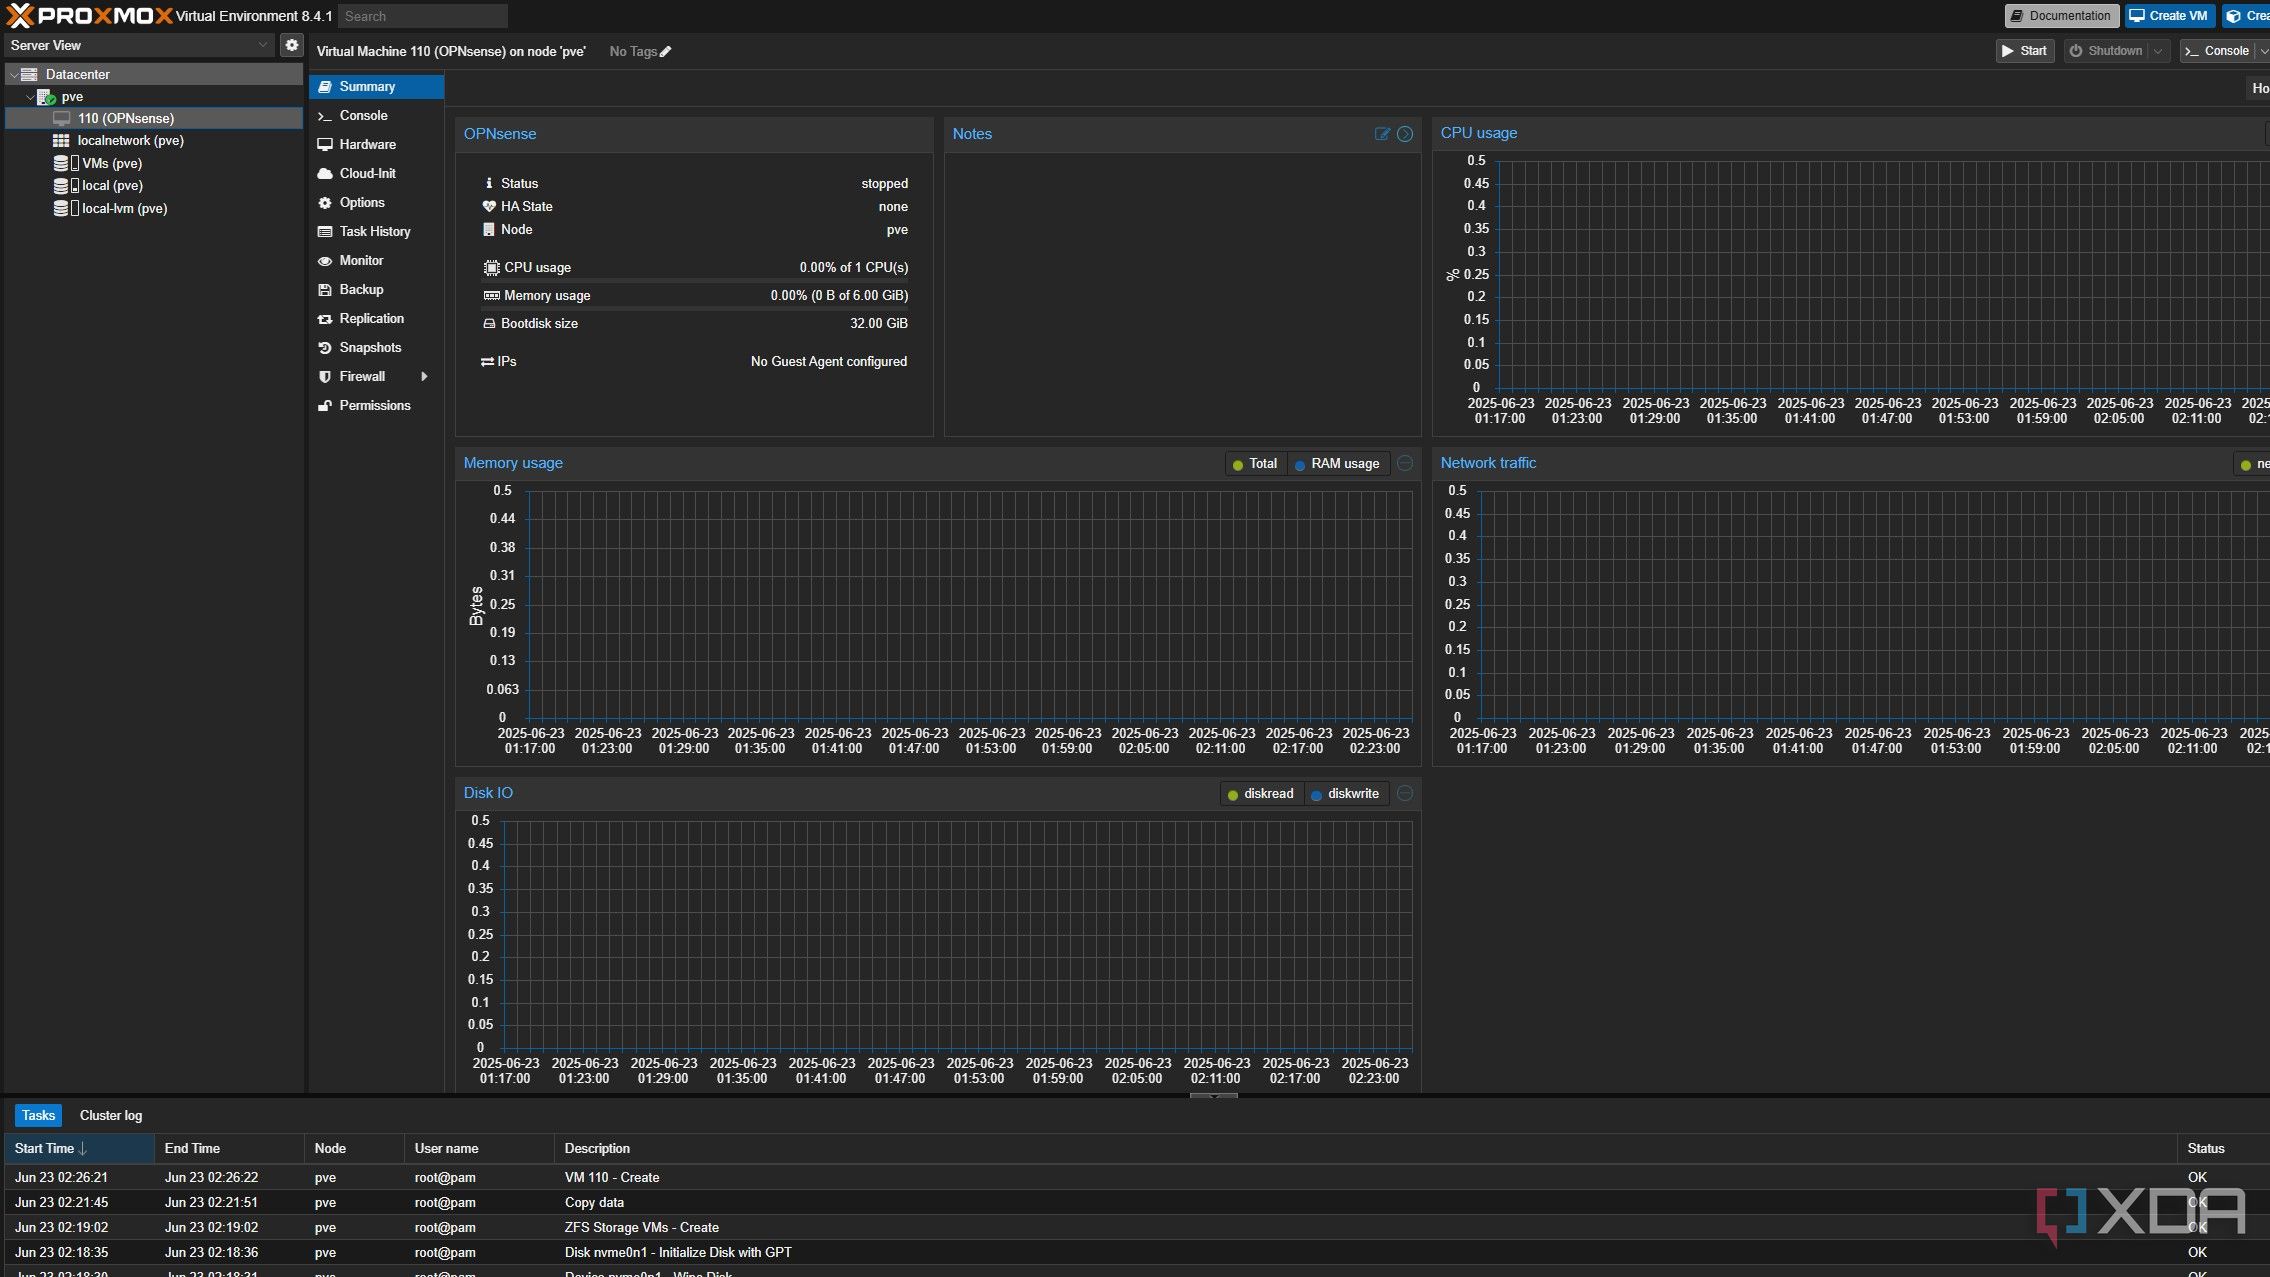
QEMU absolutely flies when installing VMs on Proxmox, and the N150 in this little box is plenty fast enough. It took longer to add Linux Bridges for the two NICs than it did for the OPNsense installer to finish, and I had a login screen in no time at all, ready for all the post-install plugins I wanted.
Related
Should you use Proxmox, Hyper-V, or ESXi in your home lab?
A three-way battle between popular virtualization platforms
Building your own router and firewall has never been as easy
It's never been easier to run a custom firewall at home. I know that always sounds like trite hyperbole, but it's the truth. I've been using, tweaking, customizing, installing, and swearing (when things go wrong) at computers for decades, and the whole process here was incredibly slick. The only issue was that I was trying to use the eMMC partition, because Proxmox's installer still doesn't have the two lines needed to search for eMMC as an installation target. Thanks to Wendell at Level1Techs and his decades of Linux expertise, what could have been a blocker was resolved in just a few minutes. I know I could have installed Proxmox on the NMVe I had installed, but I wanted every GB of storage space for VMs and storage, not for the hypervisor that was going to run it all.


 English (US) ·