.png)
I've never replaced the thermal paste on my graphics card, which is shocking because I've done just about everything else you can do with PC hardware, and broken plenty of components in the process. But I finally decided it was high time to replace the thermal paste on my graphics cards to see what it could do for my performance, and I should've done it sooner.
You don't need to replace the thermal paste on your graphics card, or at least, you don't need to within its normal lifespan. However, replacing the stock paste can lead to better temperatures, as well as unlock a higher thermal ceiling if you want to try your hand at some GPU overclocking. And as much as I steered away from doing it in the past, replacing the thermal paste on your GPU is actually super easy to do.
Related
Setting the stage for a thermal paste upgrade
A few important notes
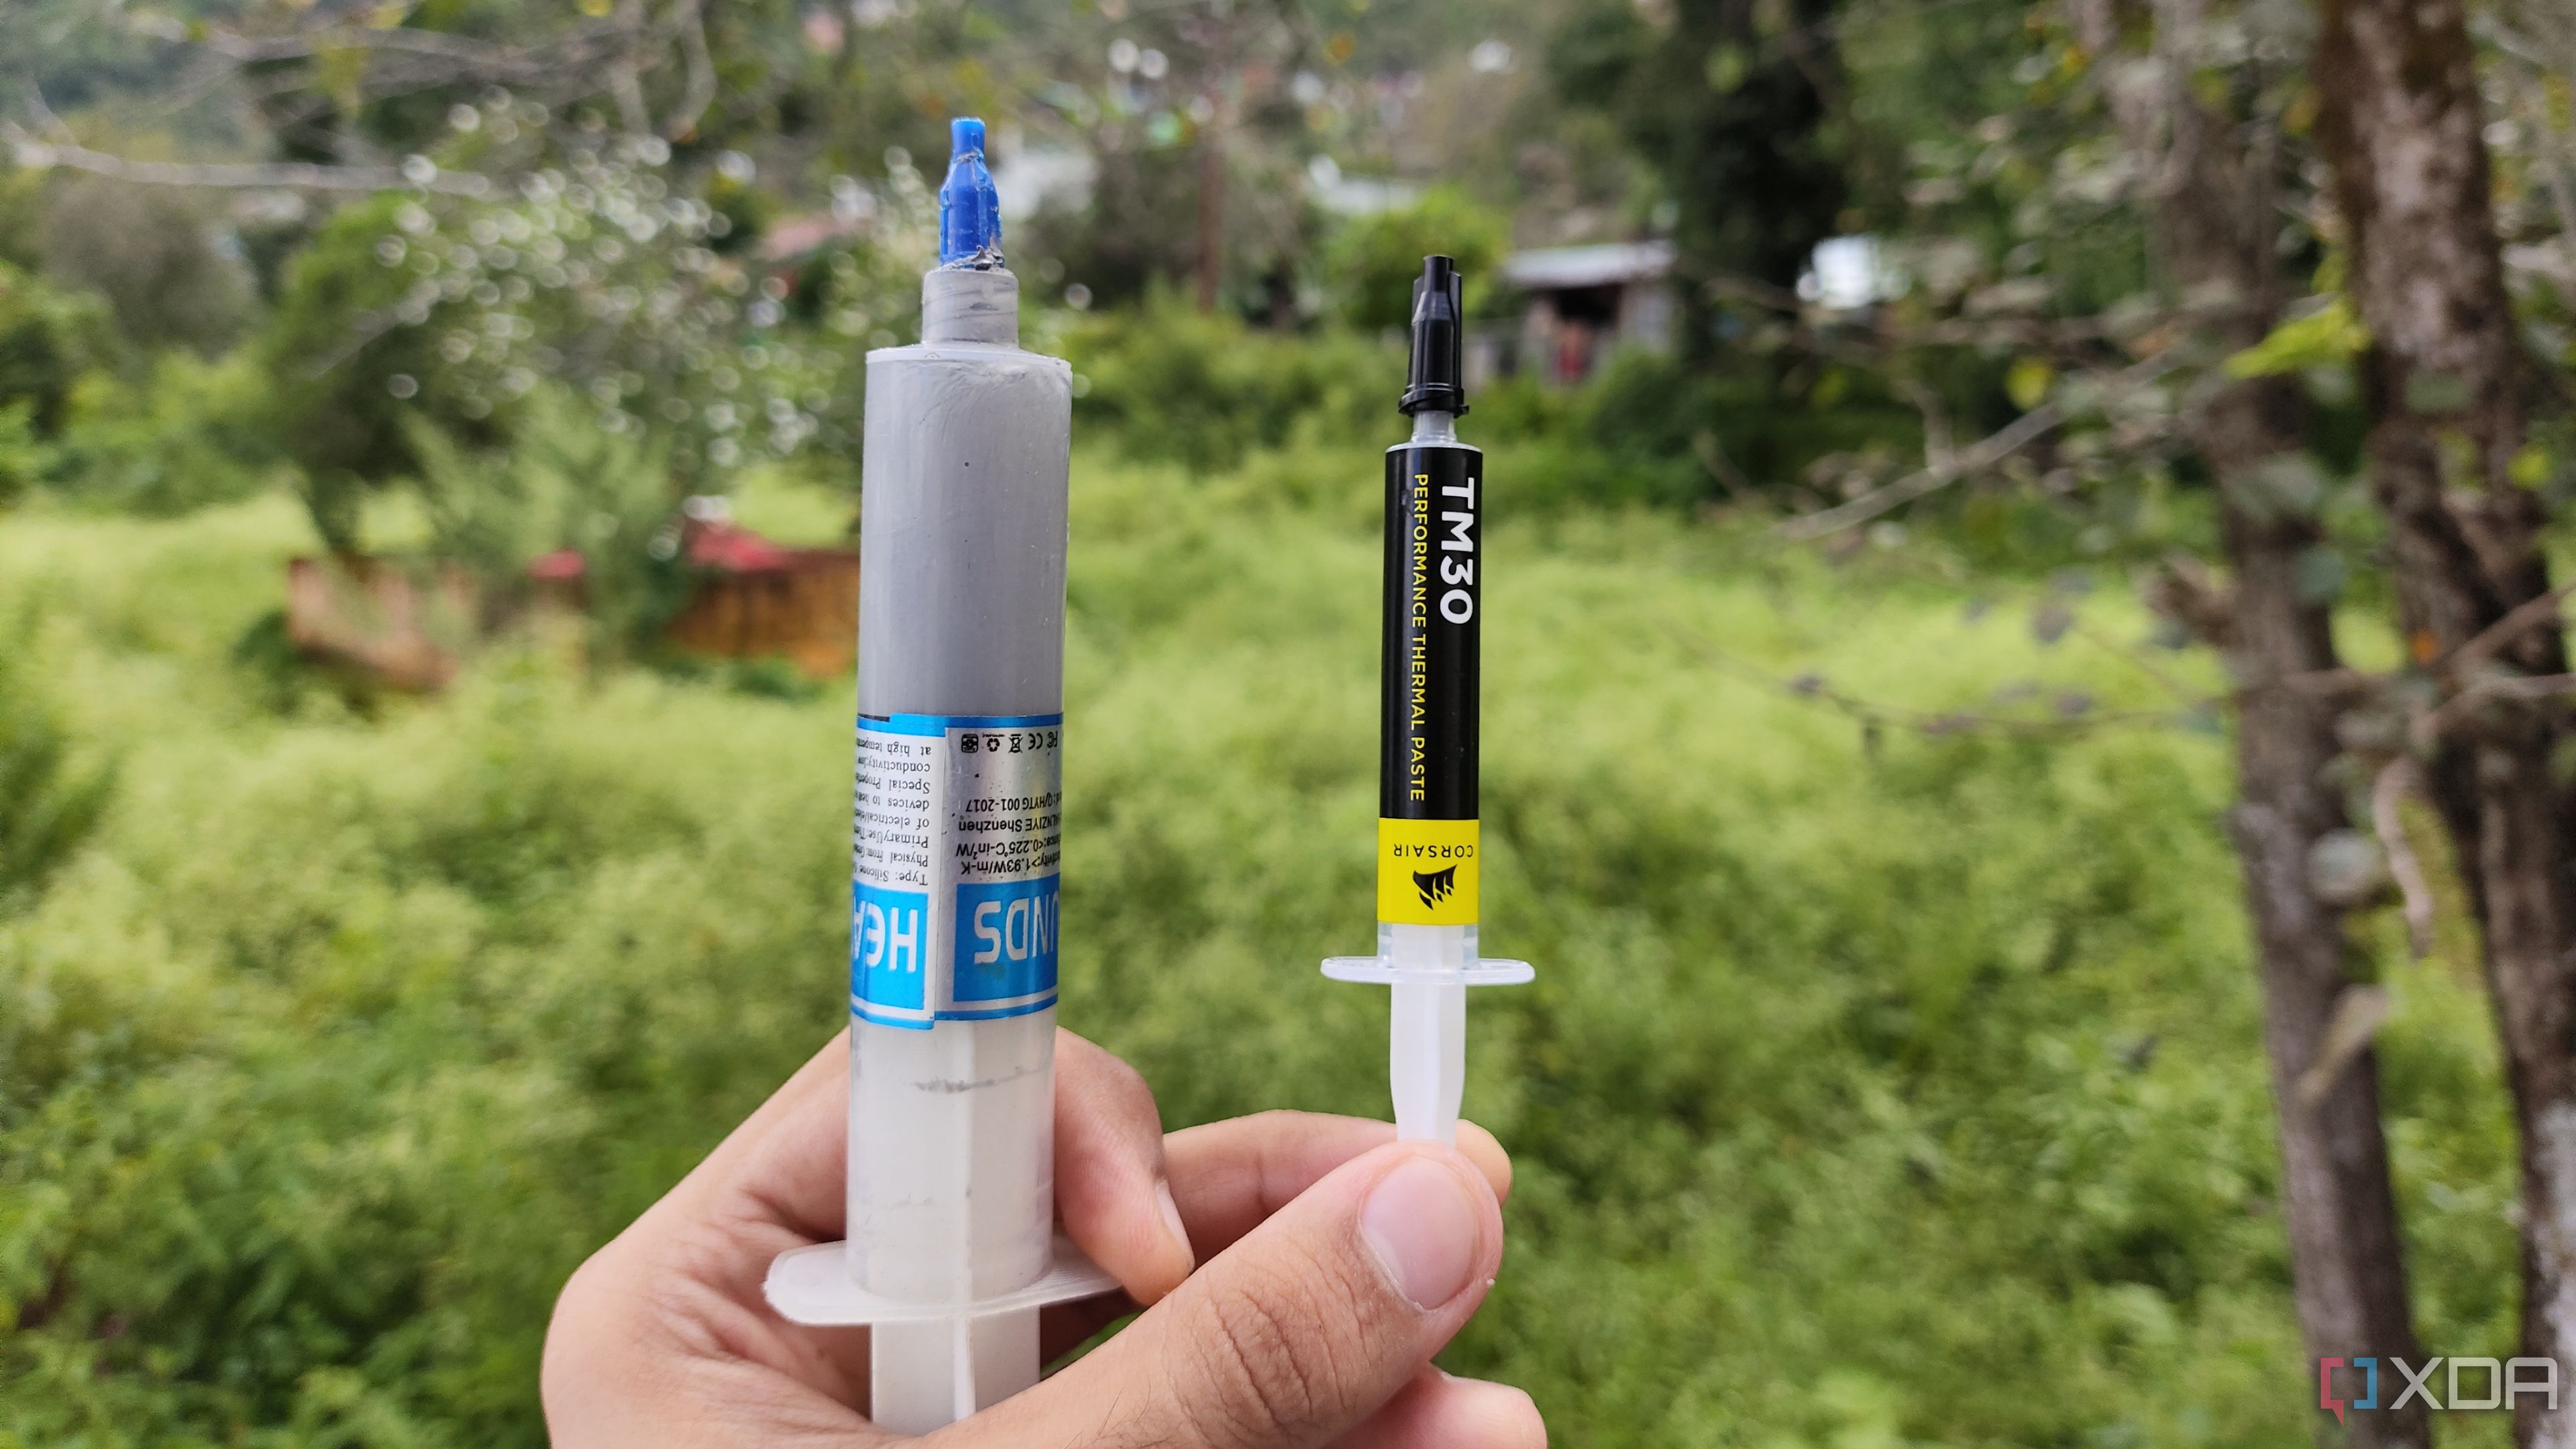
There are a couple of important things you should know before taking apart your graphics card. First, let's do away with the term "paste." In this article, we're talking about Thermal Interface Material, or TIM. It's a material that fills in the microscopic gaps between your cold plate and your IHS, or in the case of a graphics card, the GPU die itself, to provide a clean bond that transfers heat away. You can use a paste as the TIM for your graphics card, but you can also use other materials — most notably, you can use liquid metal for the best performance.
I just used standard paste, but the process is the same with other TIMs; though be careful if you're using liquid metal to not short anything on the GPU's PCB. With a CPU, you have an Integrated Heat Spreader, or IHS, between the CPU die and your cooler. You can think of it as a little heatsink before your main heatsink. GPUs don't have an IHS. You attach the cooler directly to the die. Because of that, you can use TIMs like liquid metal on a GPU more easily than you can on a CPU, where you have to deal with removing and reattaching the IHS.

Second, you don't need to replace the TIM that ships with your graphics card, at least not within its intended shelf life. You're not supposed to open your graphics card, and doing so will void your warranty. And for that reason, factory-applied TIM may not offer the best temperatures, but it's meant to hold up over the course of several years. It's impossible to put an exact number of when the factory-applied TIM will outstay its usefulness, but if you see your temperatures slowly rising over time, it's a good sign that a replacement is in order.
Related
5 myths about thermal paste you should stop believing
Some myths bring way more attention to thermal paste than it deserves
Let's replace some GPU thermal paste
Probably easier than you think
Before doing anything, keep in mind that opening your graphics card will void its warranty, and that you're assuming the risk of potentially breaking your GPU. With that in mind, here's what you need:
- Coffee filters (or alcohol wipes)
- Isopropyl alcohol (91% or higher is ideal)
- A Philips head screwdriver
- Your replacement TIM
- Screw tray (optional)
- Replacement thermal pads (optional)
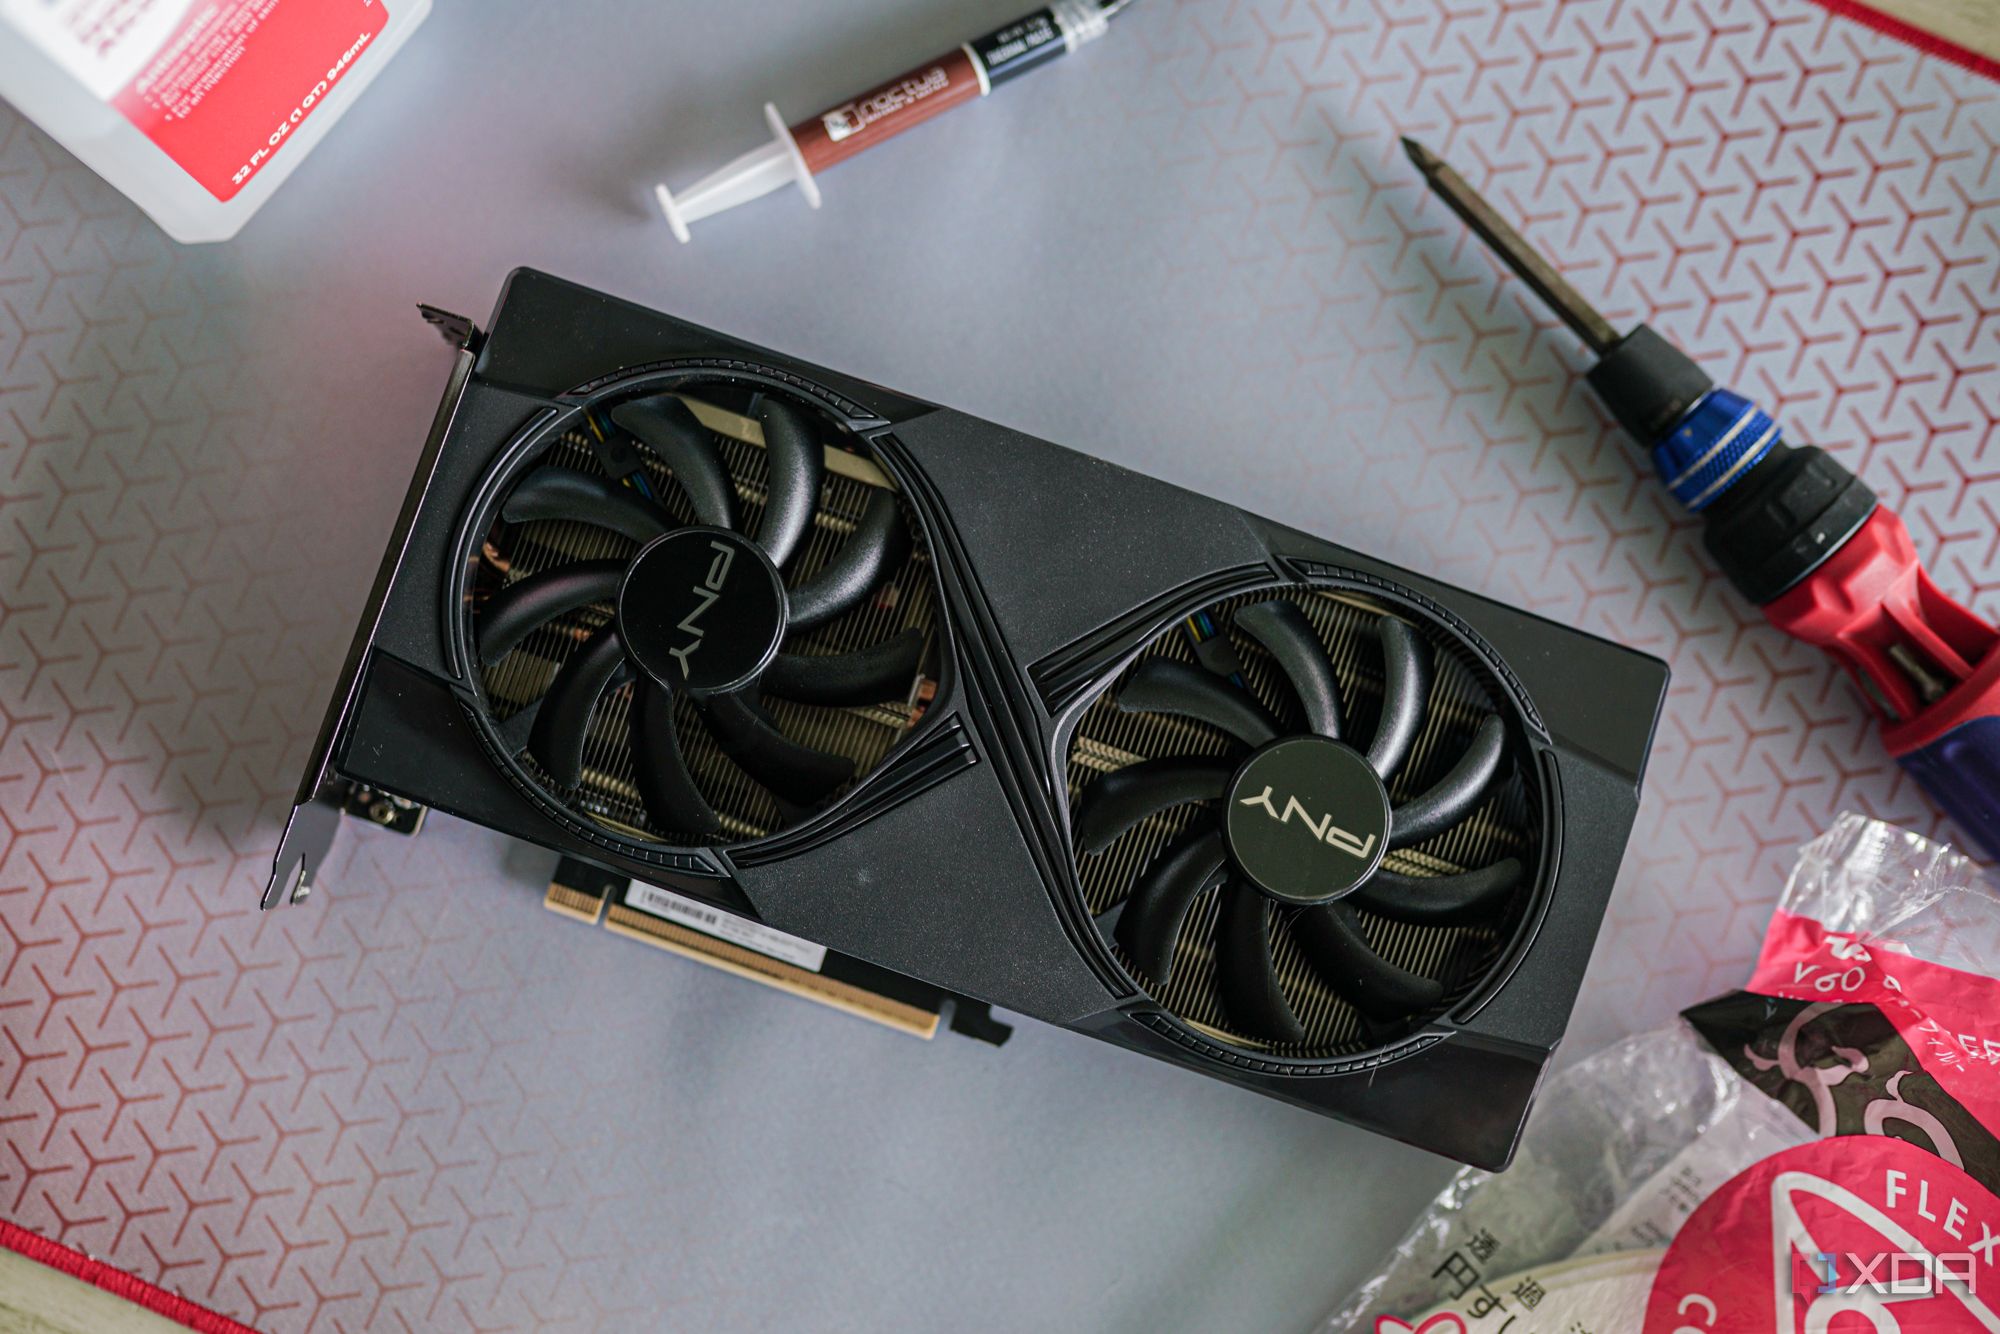
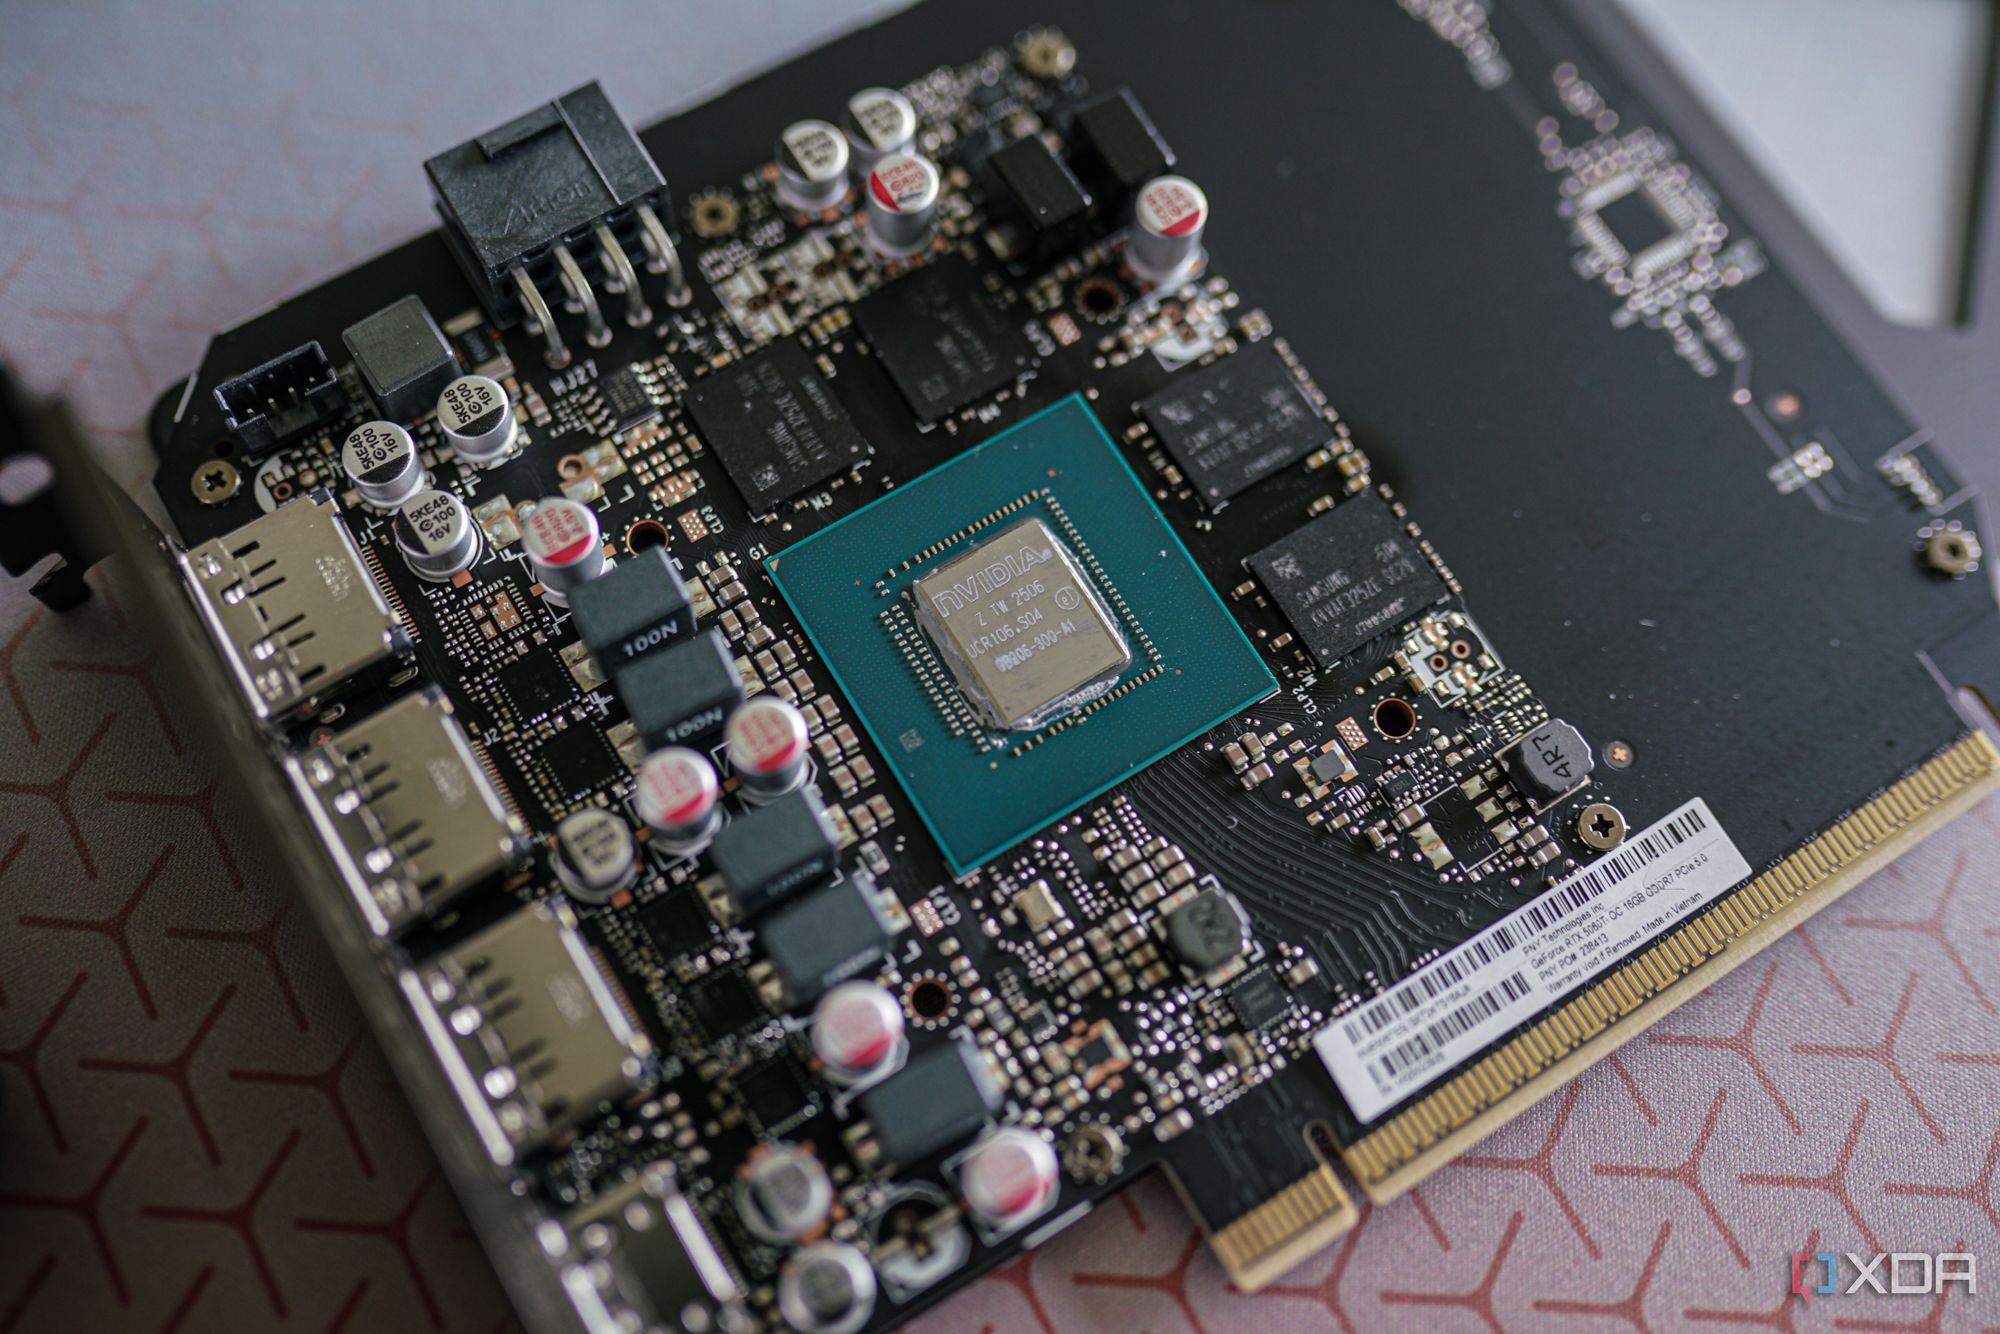
The hard part about repasting your GPU is taking it apart the first time. Every GPU is a little different in how it's designed, so the exact number and placement of screws I have to remove on my graphics card likely won't be the same as your graphics card. For this, I used PNY's RTX 5060 Ti 16GB — that's literally the name — and it involved a total of eight screws. There were two at the back near the ports, two connecting the heatsink to the backplate, and four around the GPU die itself.
Those four screws are the connective tissue you'll find on most GPUs. Although you'll need to take off additional screws to remove the heatsink, those four are the ones that actually secure the heatsink to the GPU die. Start with the additional screws you need to remove and finish with the four situated around the GPU die.

Once all the screws are removed, you need to remove the heatsink from the graphics card PCB. It should come off with a very light pull — anything more, and there's a good chance you missed a screw. It's important to be gentle here, not only to avoid damaging your PCB, but also to keep the card's stock thermal pads intact. Thermal pads run over components like the memory, and you can easily tear them. If you don't plan on replacing the thermal pads, you'll want to keep the stock ones intact.
Gently lift, and you should see a header on the PCB connecting the fans to the rest of the unit. Depending on how long the cable is, you can just set your heatsink to the side, but it's a good idea to detach this cable to prevent potentially breaking it.
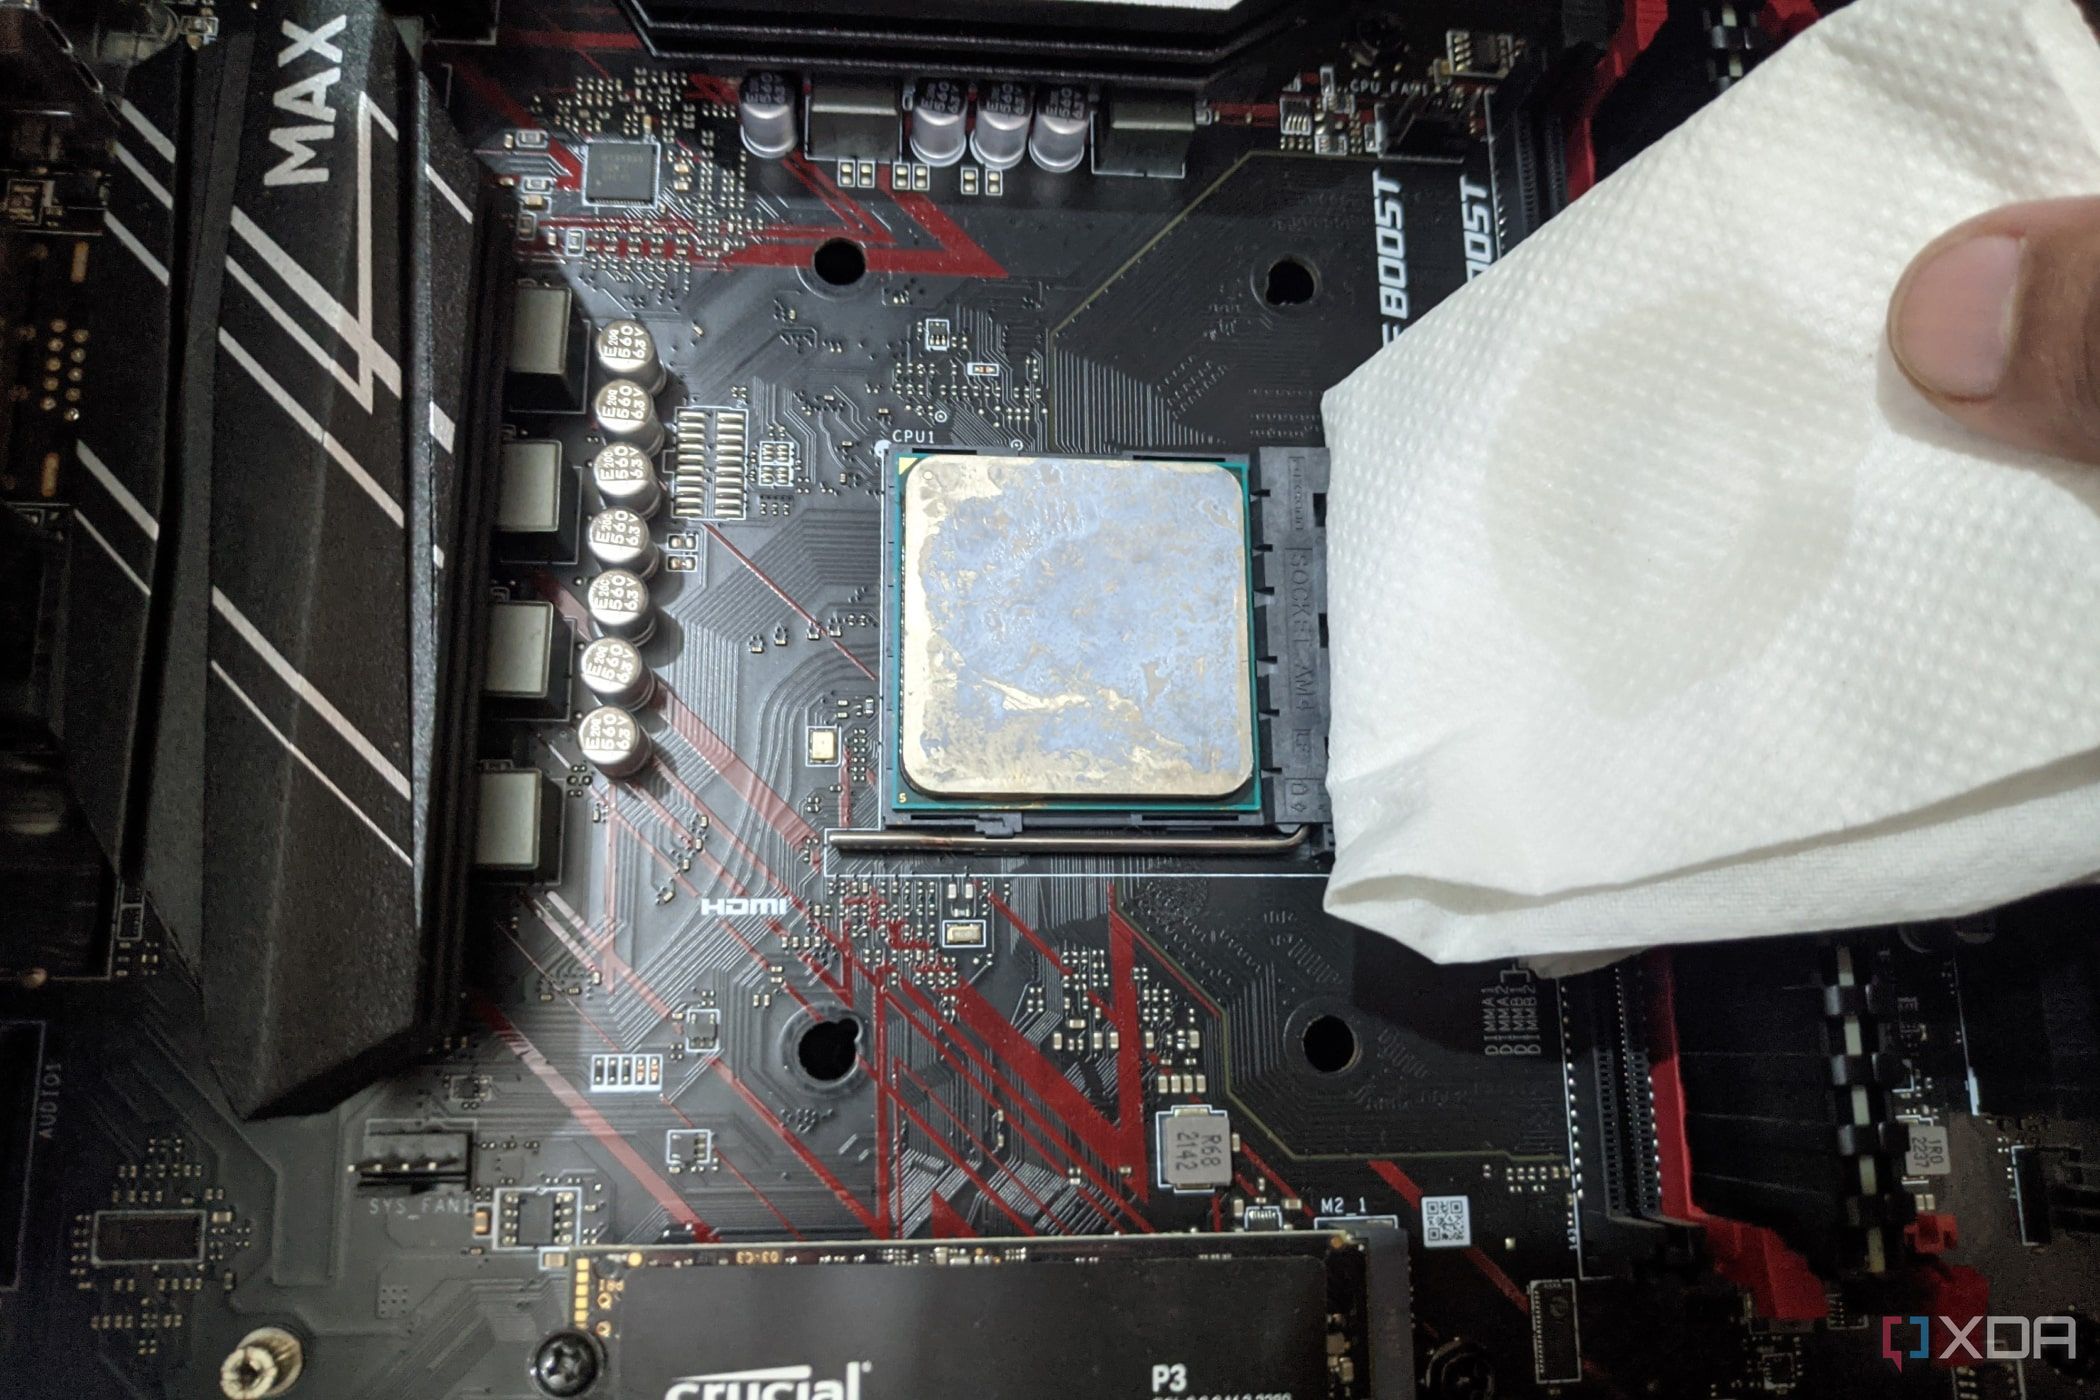
Now, for the easy part. I like to fold a coffee filter over two times — one vertical fold and then a horizontal one — and soak it with isopropyl alcohol. You can be generous with alcohol because it isn't electrically conductive, and a bit extra on your coffee filter makes removing the old TIM easier. Gently rub the filter across the GPU die and the heatsink to remove the old TIM, flipping the different portions of the filter to expose a fresh patch of alcohol as you remove the old material.
Take your new TIM and apply it to the GPU die. The traditional wisdom is that less is more with thermal paste when talking about a CPU, but GPUs are a bit different. Instead of a dot, I ran a small strip down the middle of the die. Regardless of the pattern, you'll want to grab a tool to spread the TIM out from edge-to-edge. Remember, there's no IHS on a GPU, so it's up to you to make sure that the TIM fully covers the die (the silver portion) rather than leave the cooler to spread it out.
And, you're done. Replace your heatsink, ensuring that the thermal pads line up correctly, and step back through the screws you need.
Related
Why you should replace your GPU's thermal paste
If you have a GPU from the past three years, you probably don't need to replace your GPU's TIM. You can, and it's a good idea to get in the habit of it if you want the longest lifespan out of your components, but you won't see an immediate temperature benefit. And, if you don't apply enough TIM or don't spread it out properly across the GPU die, you can actually see worse temperatures. The time to change your GPU thermal paste is when you have something to gain.
That's why it's a good idea to monitor your PC's performance, including your GPU temperature. If you start to see the temperatures rising over time, that's when replacing your TIM can lead to significant thermal benefits. That usually only comes after the five-year mark, but it's impossible to give you an exact timeline. When your temperatures start rising, that's the right time.
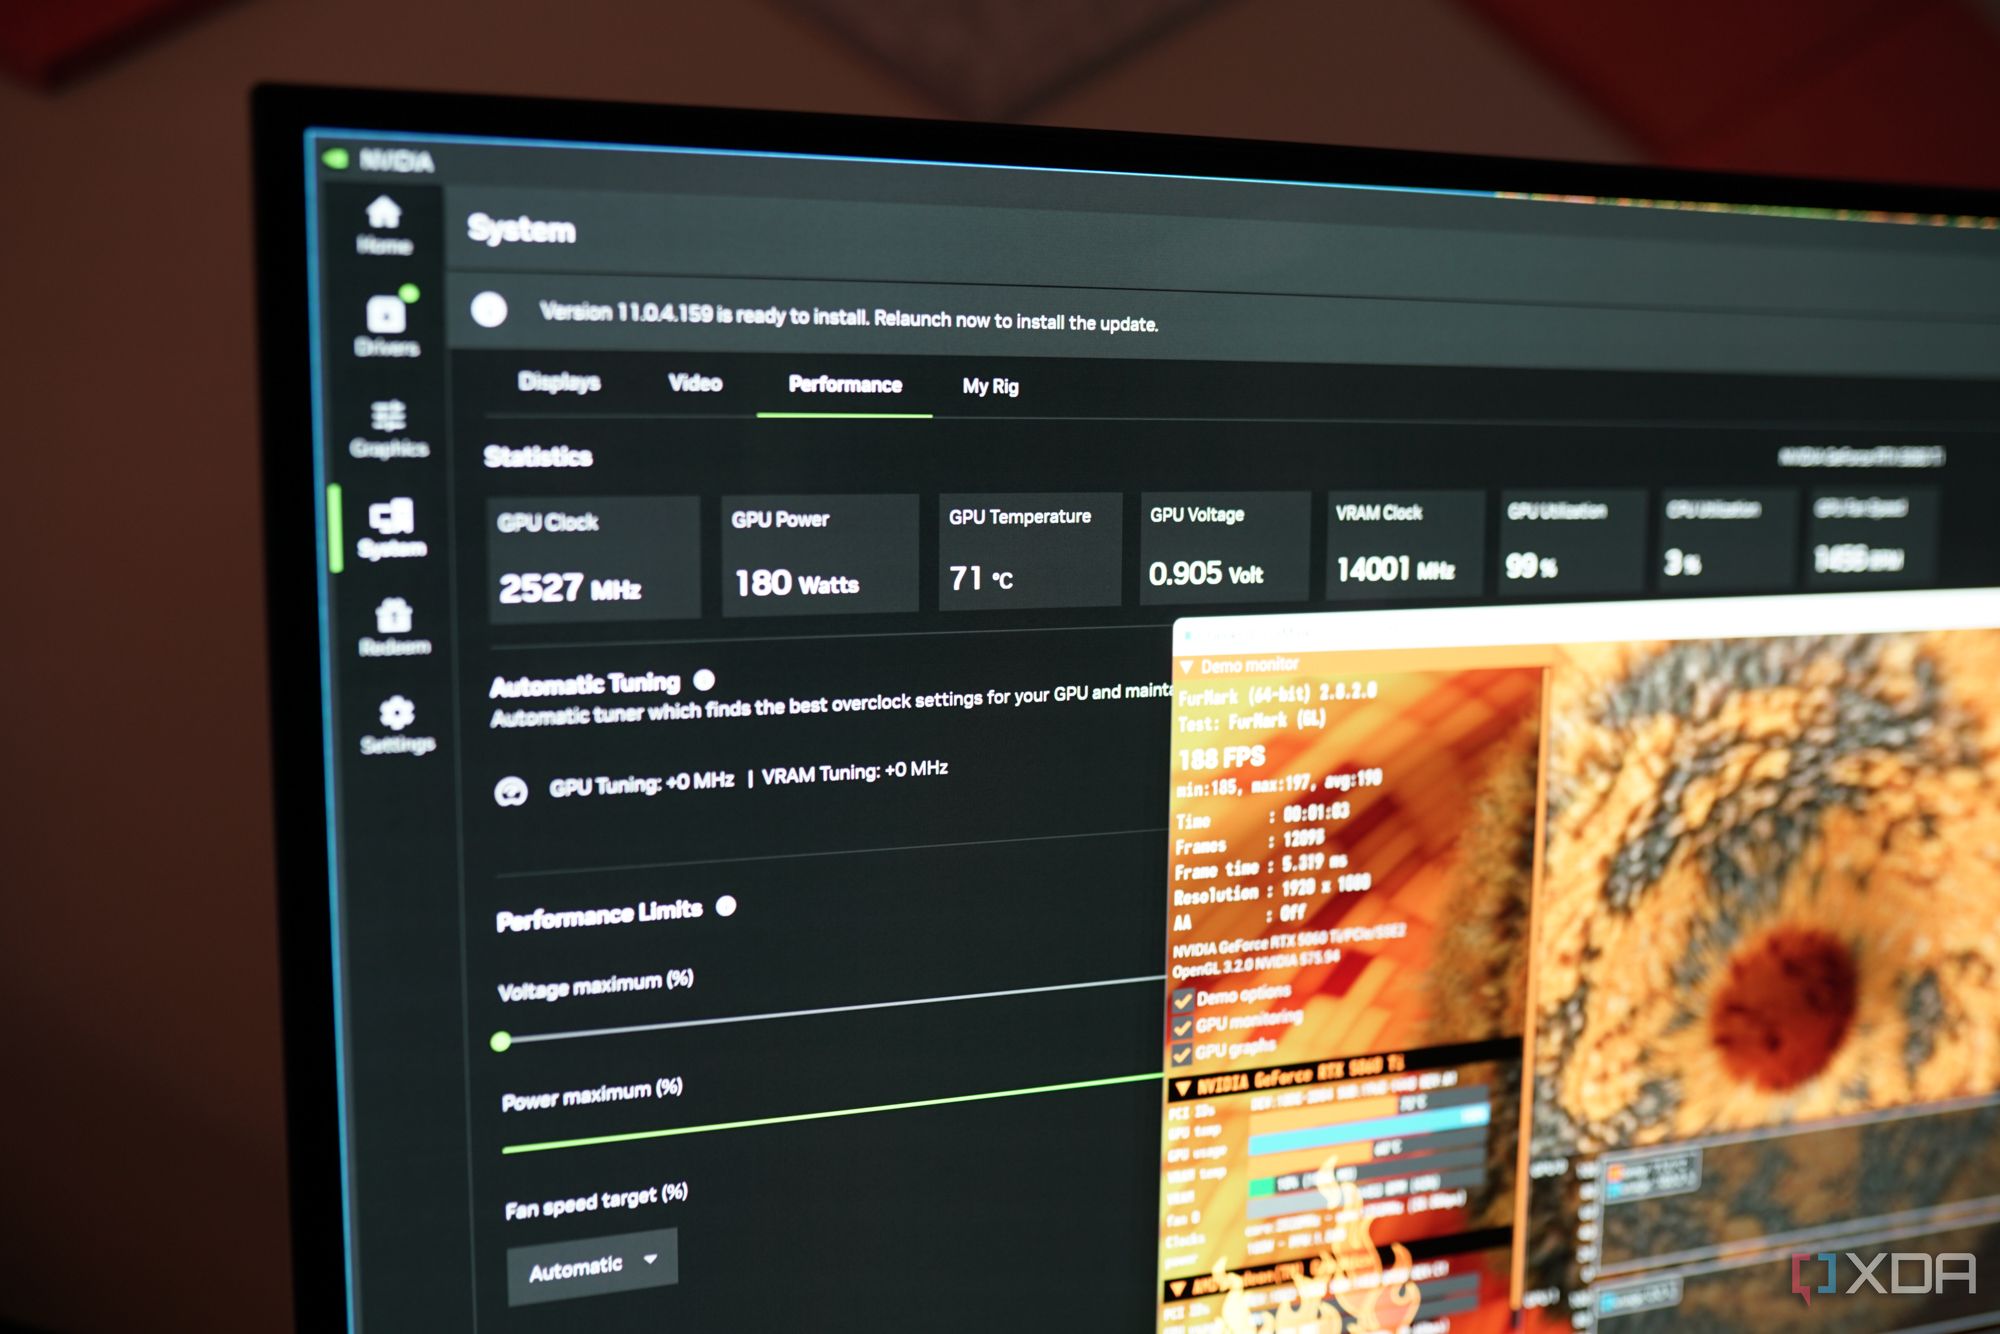
In the case of the RTX 5060 Ti, replacing the TIM actually didn't do much for my peak temperatures. Running Furmark before and after the replacement, the card peaked at around 70 degrees Celsius in both cases. However, idle temperatures were much better. Prior to the replacement, my ideal temperatures were in the high 30s, somewhere around 36 to 38 degrees. After the replacement, my idle temperatures never went above 32 degrees.
Given how expensive GPUs are now, it's a good idea to go through the process of replacing the paste on your GPU at least once. If you can keep temperatures in check, that will prolong the lifespan of your GPU as long as possible. And, once you go through the process the first time, replacing the TIM on your GPU becomes easy work.
Related


 English (US) ·