.png)
I've been meaning to get my backup game together for a while, and after reading about self-hosted storage solutions on XDA, I decided to give it a try. Setting up TrueNAS cloud sync felt like crossing into grown-up backup territory, and it's something I should have done sooner.
I don't run servers for fun and have never touched FreeBSD, so setting this up from scratch was...a journey, to say the least. Let me walk you through how I eventually got TrueNAS cloud sync up and running with zero prior experience, and also touch on the things that tripped me up. In the end, the learning curve was worth it.
Related
4 mistakes I almost made when building my first NAS
Don't make the same mistakes I did with my first DIY NAS.
My hardware
You don't need much to get started
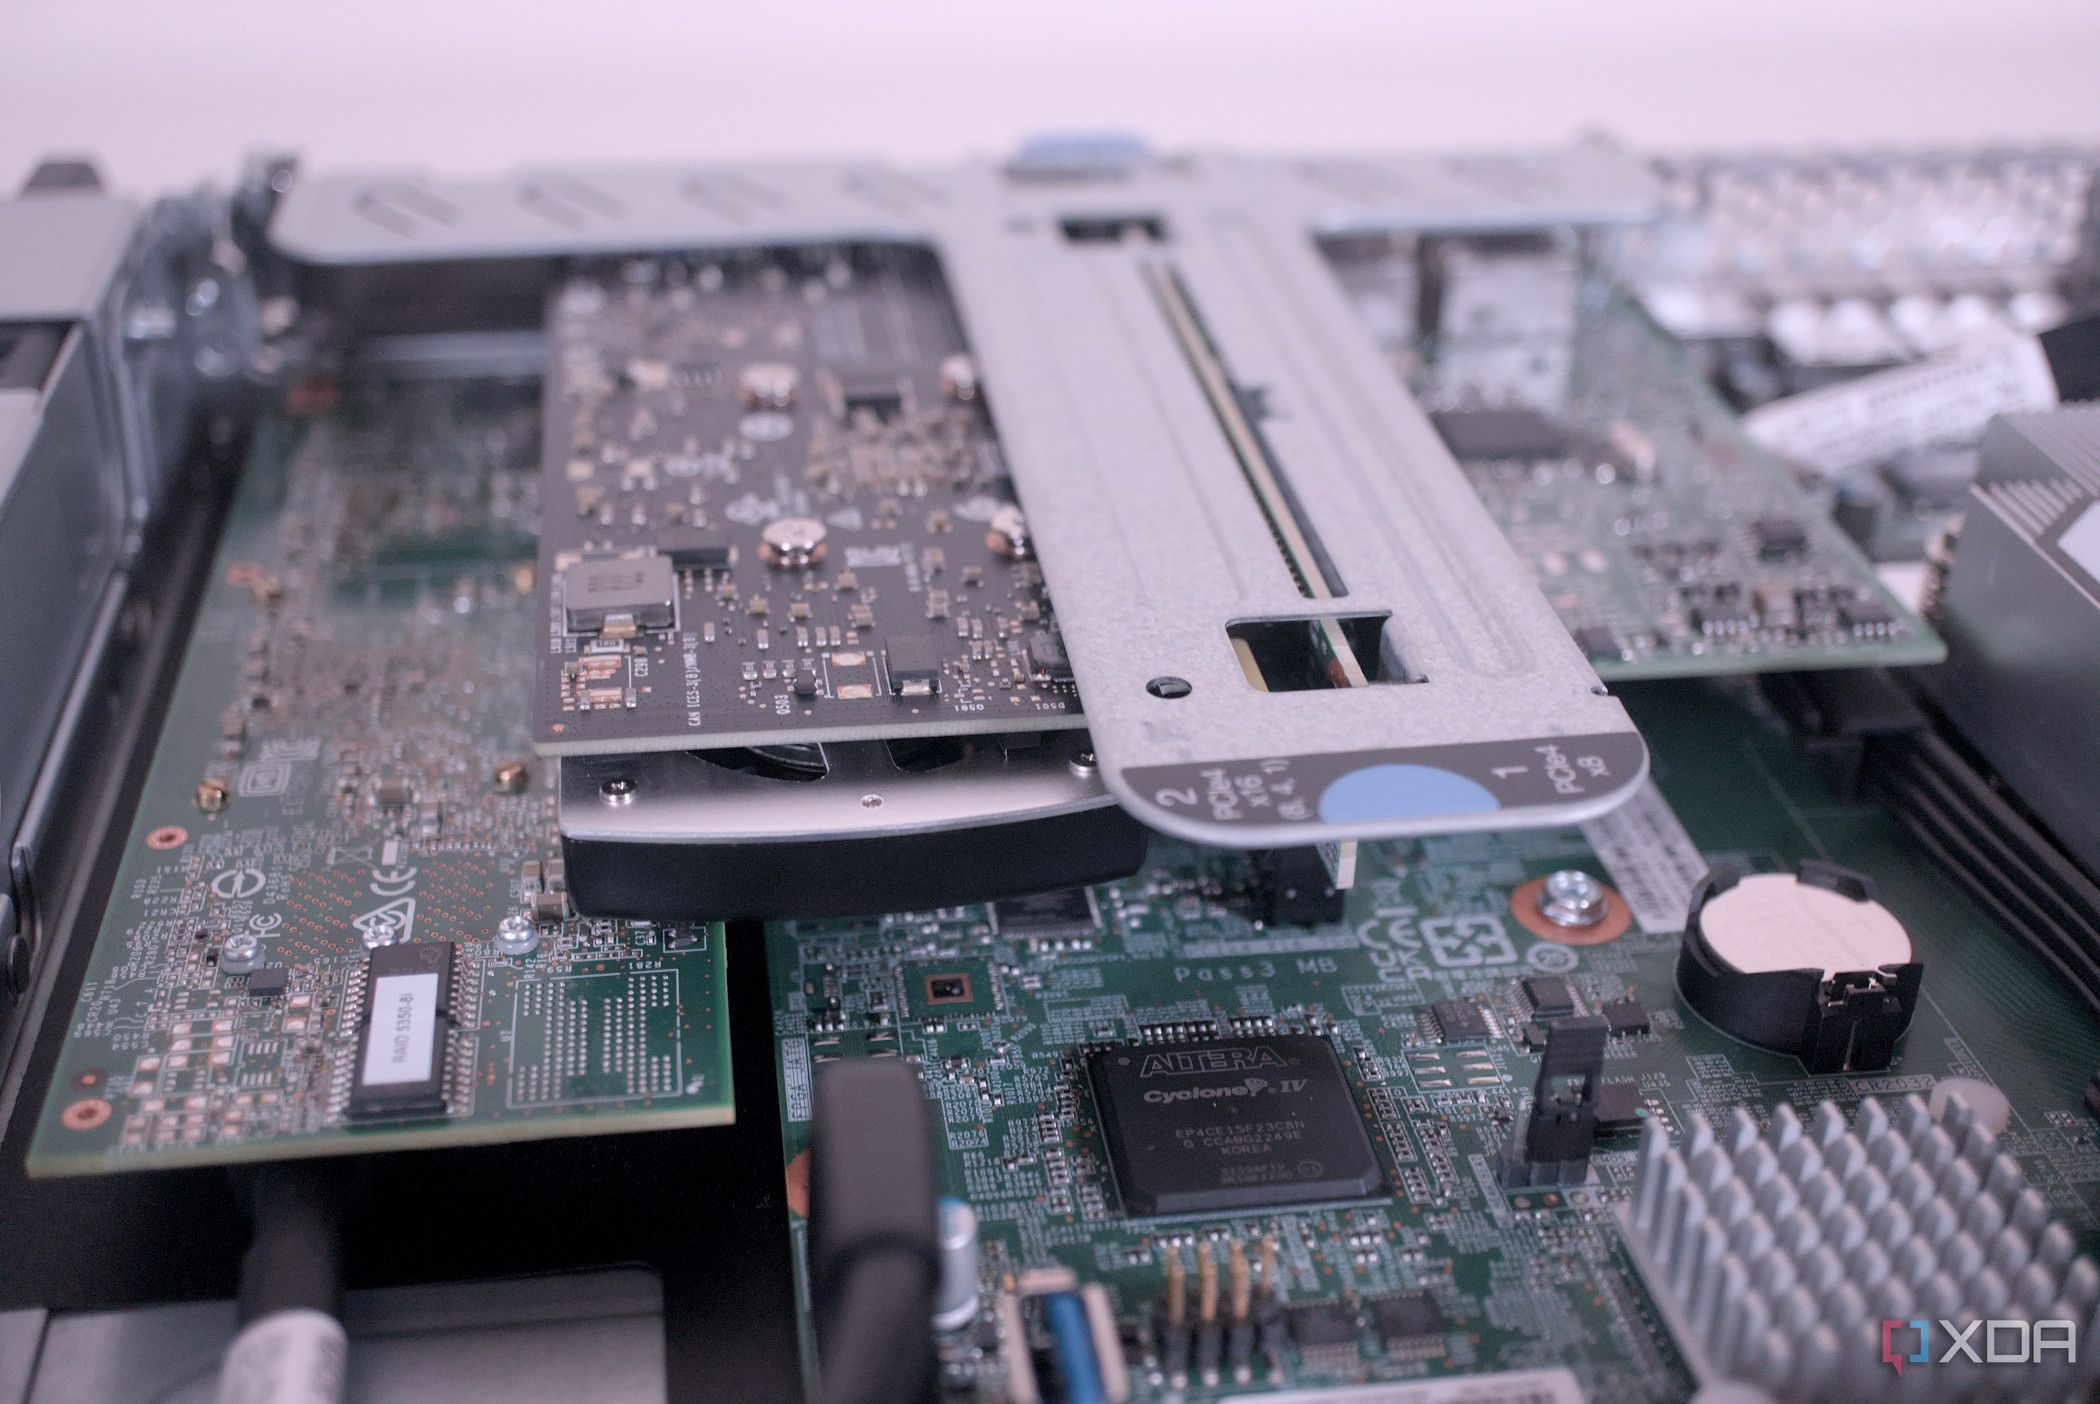
I didn't go out and buy fancy new gear for this project. I just used my current PC to prepare the installation; it has an Intel Core i7-13700 CPU, 16GB RAM, and a couple of 1TB drives. I also repurposed my old PC and some hardware I had lying around for the TrueNAS storage. One of the great things about TrueNAS Core is that it doesn't need top-of-the-line hardware to work well, especially for basic home use. If it can boot, hold a few drives, and stay on, it's probably good enough.
For the NAS host, I used my old PC that has an Intel Core i3-6100 CPU, 8GB RAM, and a 500GB HDD, and added two more HDDs (500GB and 1TB). I also used an 8GB flash drive to boot TrueNAS from. You can look at this documentation for a proper breakdown of the recommended hardware.
Installing TrueNAS
It wasn't smooth sailing, but I eventually got it running
I started by downloading the TrueNAS CORE ISO and using Rufus to flash it onto my USB stick. Since my current PC had one of the hard drives I planned to install TrueNAS on, I just plugged in the USB and booted from there. The installation process wasn't smooth — first, I booted from UEFI, and it didn't work, so I tried again via BIOS, and it worked.
Then I had issues with my network — the setup screen said the web interface could not be accessed, so I edited the boot file using the instructions from this YouTube video. Once TrueNAS was on the drive, I relocated it to my old PC along with another hard drive for more storage, and connected the LAN cable. Everything finally booted smoothly.
Configuring storage and user accounts
Do this to prepare for cloud sync
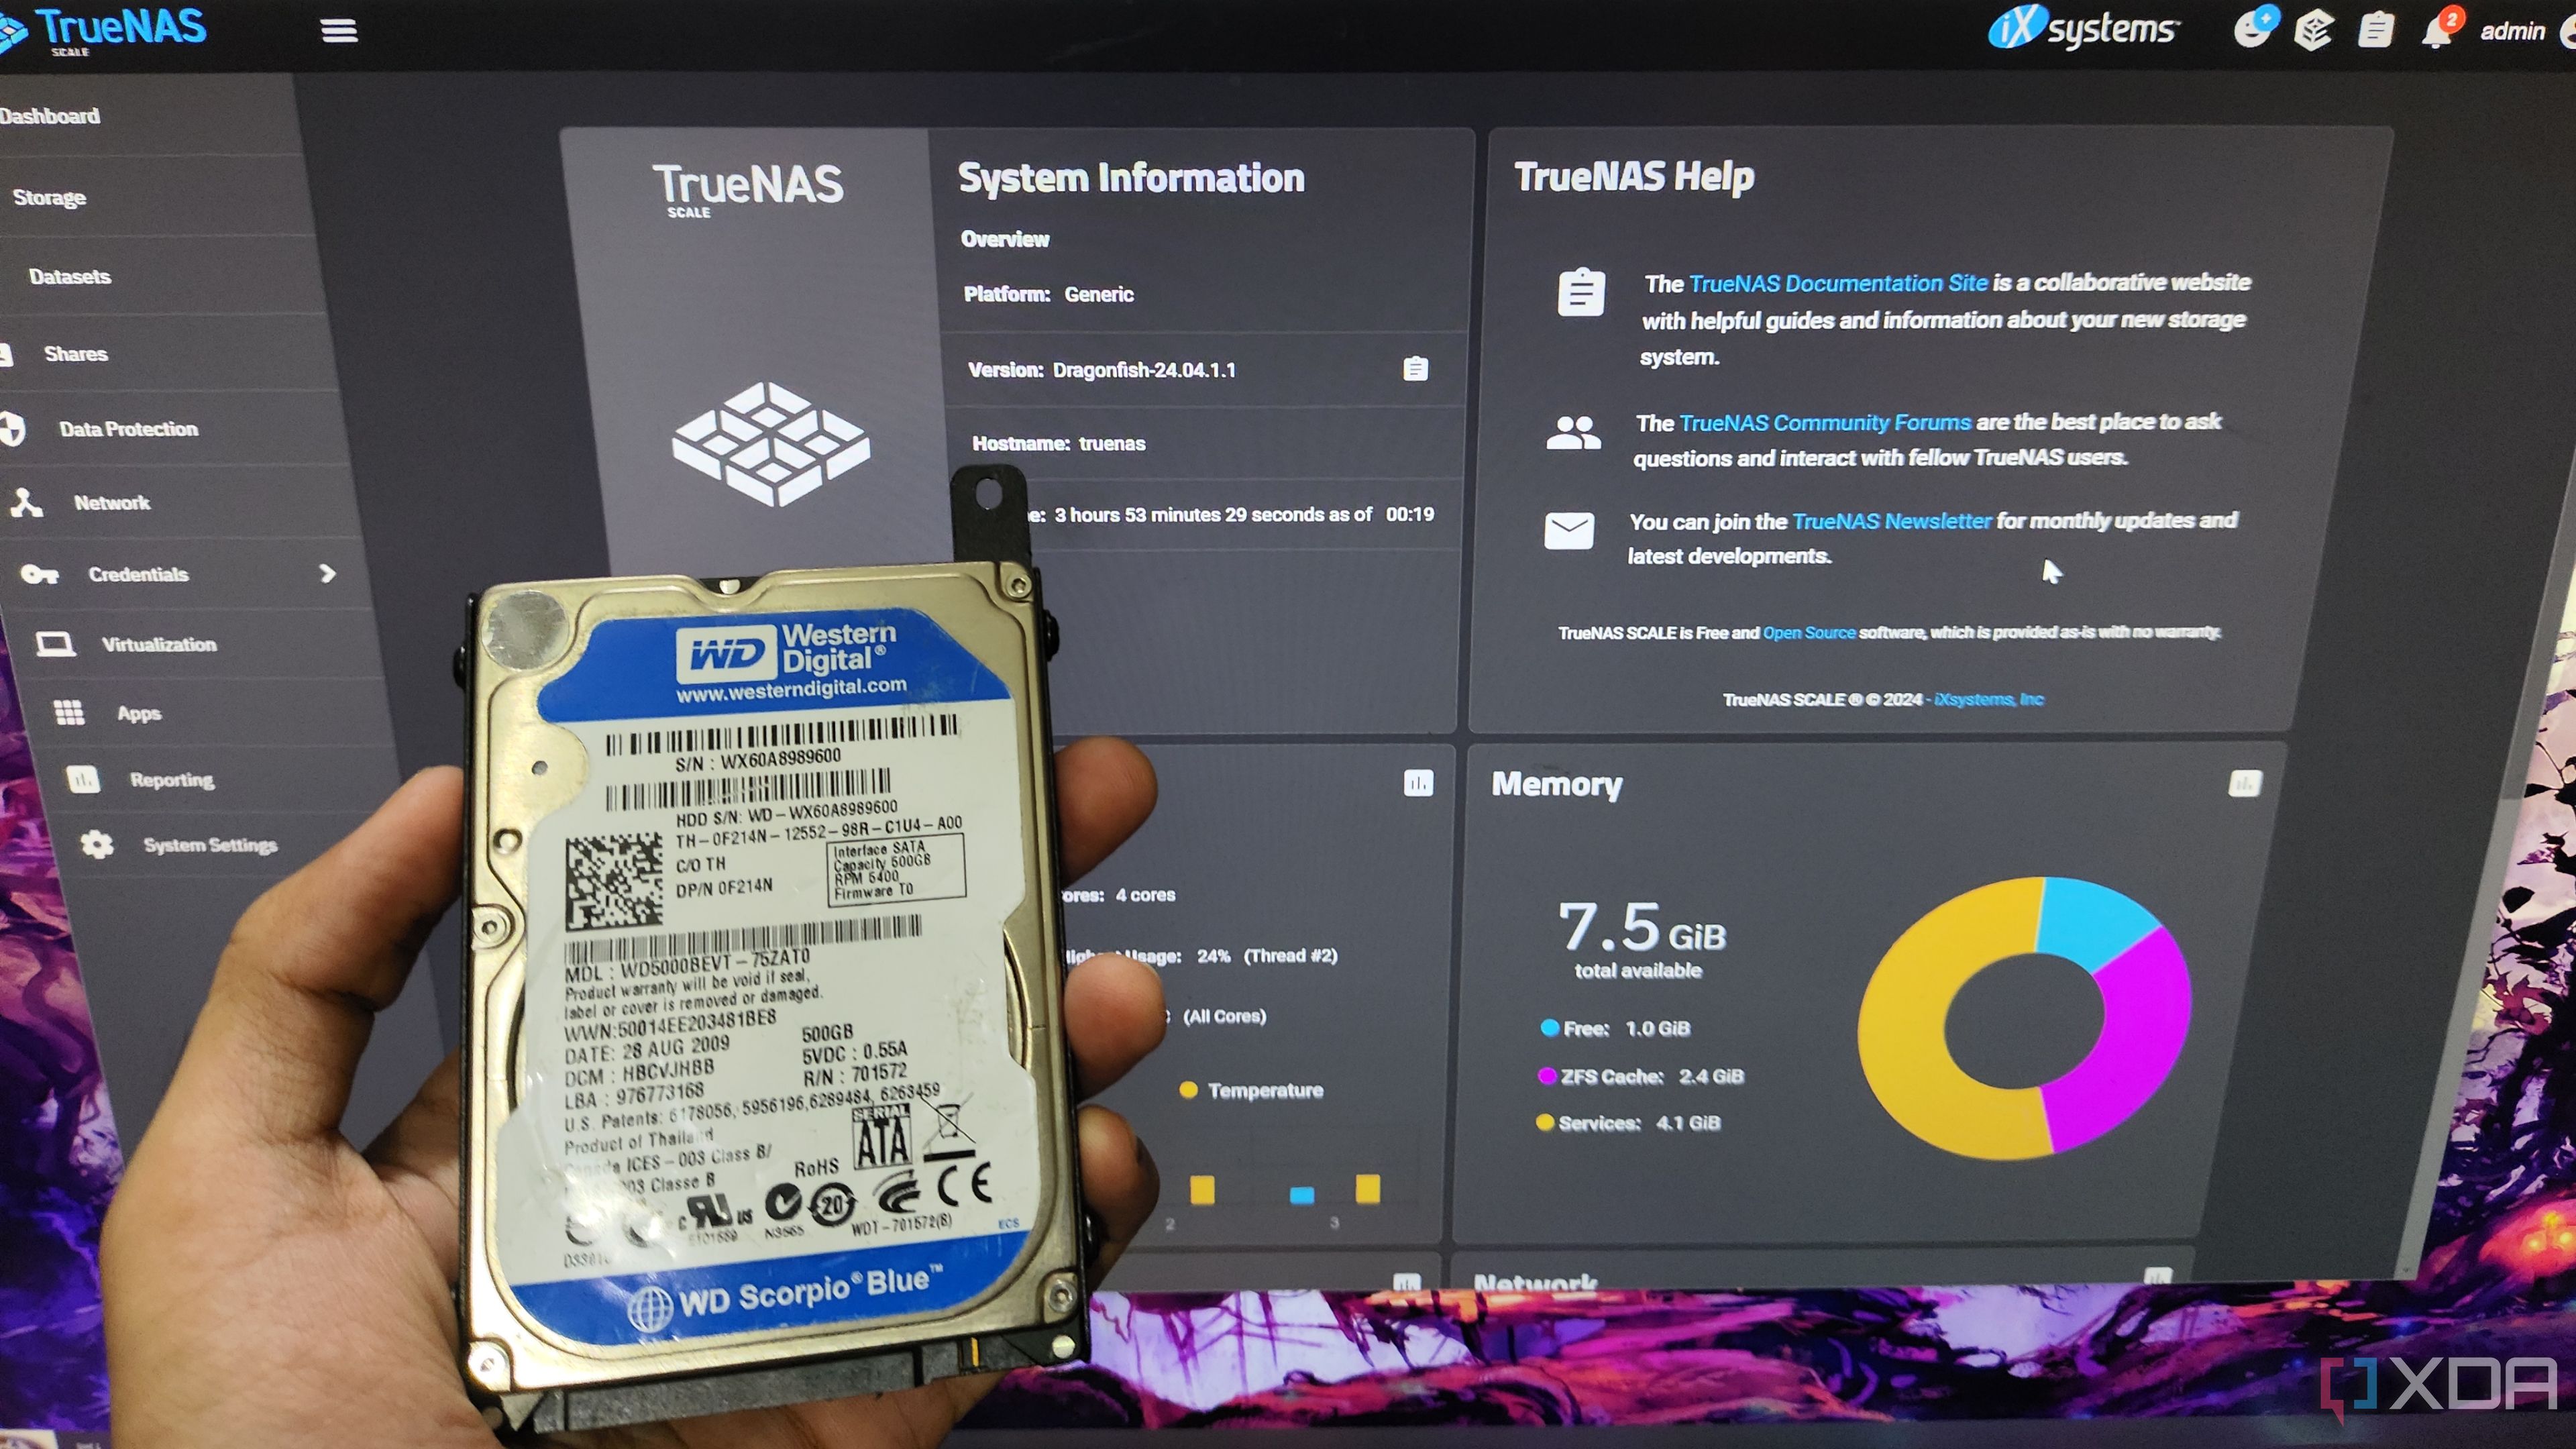
I got the TrueNAS IP address from the console menu and typed it into my browser to access the web interface. The first thing I did was create a new ZFS pool with my two remaining HDDs (Storage -> Pools -> Add). They aren't the same size, which isn't recommended for data pools, but luckily, there's a Force option that lets you use different-sized disks.
The default "root" user account is meant for admin system access, so I created a new user for accessing shared files (Accounts -> Users -> Add) and set up a Windows SMB share while at it (Sharing -> Windows Shares -> Add). Although the latter isn't necessary for using the cloud sync feature, I just like how easily it lets me drag and drop files from my Windows desktop into the NAS like a regular folder system.
Before getting started with cloud sync, you only need to create a dataset and a new user. This is also where you'll set your permissions if needed. Since this was my first time using a NAS, I kept most of the permissions and advanced options at their default settings for the time being.
Related
10 tips and tricks every TrueNAS user should know
iXsystem's TrueNAS lineup pairs well with self-assembled NAS devices, and here are ten tips to help you make the most of these operating systems
Adding a cloud credential
Add and verify your cloud provider
After all the issues I ran into while getting TueNAS set up, I was hoping that cloud sync was going to be a breeze. But, of course, there was one more obstacle. Before adding a cloud credential, I recommend double-checking your network. TrueNAS couldn't verify my cloud credentials until I enabled DHCP, so it might be worth checking if you're having the same issue. Go to Network -> Interfaces, select your interface (mine was named re0), click Edit, enable DHCP, and hit Apply.
Then go to System -> Cloud Credential -> Add to start adding your cloud services. The process might vary slightly depending on the provider you pick from the dropdown. For Backblaze, I had to retrieve a Key ID and Application Key from the Application Keys option in my Backblaze account settings. For Google Drive, I was able to log in directly with my Google account, which filled out the keys automatically. Once you have everything, click Verify Credential and then Submit, and your cloud credential should appear in the list.
It's worth noting that you can add multiple credentials and run multiple sync tasks for each one (the configuration to sync your data between your NAS and cloud). This is super handy if you work with different file clusters using different cloud providers. Here's how I did it.
Related
Setting up a cloud sync task
Configure and schedule your cloud sync
Go to Tasks -> Cloud Sync Tasks -> Add, give it a name, and select one of the credentials you just added. Again, the options may vary depending on which one you picked; for example, Backblaze gave me the option to select one of my buckets, whereas Google Drive doesn't have that feature.
The Direction dropdown gives you two options: Push and Pull. Push sends your data from your TrueNAS storage to your cloud service, whereas Pull brings your data from your cloud to your TrueNAS. The Transfer Mode dropdown has three options; each one handles your data differently. Sync matches the data on the source and destination, and anything else that doesn't match will be deleted. Copy copies files from the source to the destination. Move also copies files from the source to the destination, but they're deleted from the source.
In the Directory Files section, select where you want your data to be copied to or from, depending on your above setup. Lastly, set a sync schedule under the Control Schedule section. If you have a ton of data, I recommend picking a time when you don't need to access it, like overnight or over a weekend. I left the rest of the settings as is. Hit submit once you're happy with your setup. If you want to test it, select the cloud sync task you just created and hit Run Now. I could see my files getting "pushed" to my Google Drive in real-time after setting it up to do that.
Related
The effort was worth it
Setting up TrueNAS cloud sync from scratch isn't plug-and-play if you're new to self-hosting. Between figuring out BIOS vs. UEFI and dealing with network issues, I hit more than a few walls. But each roadblock taught me something useful and got me closer to my self-hosted backup system, which is reliable, cost-free, and entirely under my control. This integration of my NAS with the cloud will keep my data safe from local disasters and vice versa.


 English (US) ·