.png)
Sharing self-hosted apps and services that run on a Raspberry Pi with my family is great, but troubleshooting issues when I'm away is tough. It's preposterous to expect my mom to run shell commands whenever Jellyfin, Navidrome, or Audiobookshelf stops working. While running batch files and scripts was out of the question, I tried a couple of options and found an open-source solution that ticks all the boxes: OliveTin.
The idea was to enable running basic commands without using a terminal on any device. OliveTin provides a simple web interface to achieve that without requiring a Terminal app. The software provided me with a web interface featuring a dashboard with buttons for the commands. Here's how I made my family run shell commands from a web interface and perform basic troubleshooting.
Related
5 reasons the Raspberry Pi is still the best SBC for most people
There are dozens of choices in the SBC market, but there are several reasons the Raspberry Pi is still the best option for most people.
Why I picked OliveTin to run shell commands
Helping the less tech-savvy folks

My family is less technically inclined, and that's how I end up troubleshooting almost everything. Luckily, they're comfortable using a Home Assistant dashboard to manage the smart devices. That's how I decided on OliveTin, allowing them to use a dashboard-like interface to run specific shell commands without any overwhelming complexities. I feel it's unfair to expect them to use Terminal to execute commands. Even if I guide them over the phone, which I've tried, it's challenging for everyone.
Besides its interface, I like OliveTin for a few other reasons - I can self-host it, it can work with different operating systems, and it has no subscription fees. Most importantly, it eliminates the need for a terminal or command-line interface. That's why options like Script-Server and RunDesk didn't appease my requirements. For convenience, I asked my family to bookmark OliveTin's URL on their preferred device, and that's how they troubleshoot or restart most things with a few taps.
Choosing direct installation over Docker
Trying to keep things simple
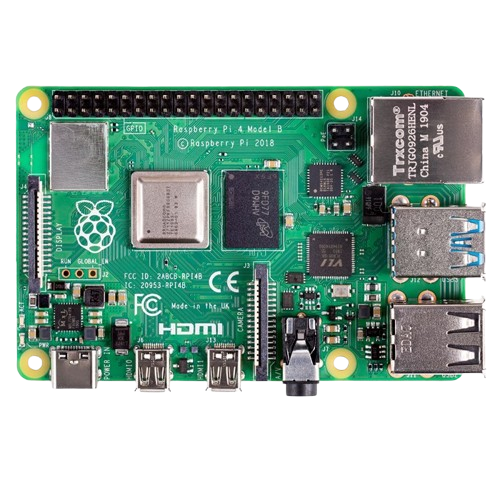
OliveTin is available for installation on Linux, Windows, macOS, and FreeBSD. While Docker is the in-thing, it containerizes many apps to work flawlessly. If you're new to Docker, you'll likely encounter issues with the system, such as resolving permission errors and locating specific configuration folders. That's why I chose to install a Linux package of OliveTin on my Raspberry Pi 4B, which runs Pi OS Lite (64-bit).
For that, I downloaded the .deb file for the arm64 architecture of Pi using the following command:
wget https://github.com/OliveTin/OliveTin/releases/latest/download/OliveTin_linux_arm64.debThen I installed the downloaded .deb file using dpkg:
dpkg -i OliveTin_linux_arm64.debYou can visit its GitHub Releases page to download the files specific to your Linux distribution.
After installing the OliveTin .deb package, I opened the http://hostname:1337 in a browser. You may have guessed that 1337 is the port number on which the OliveTin service runs.
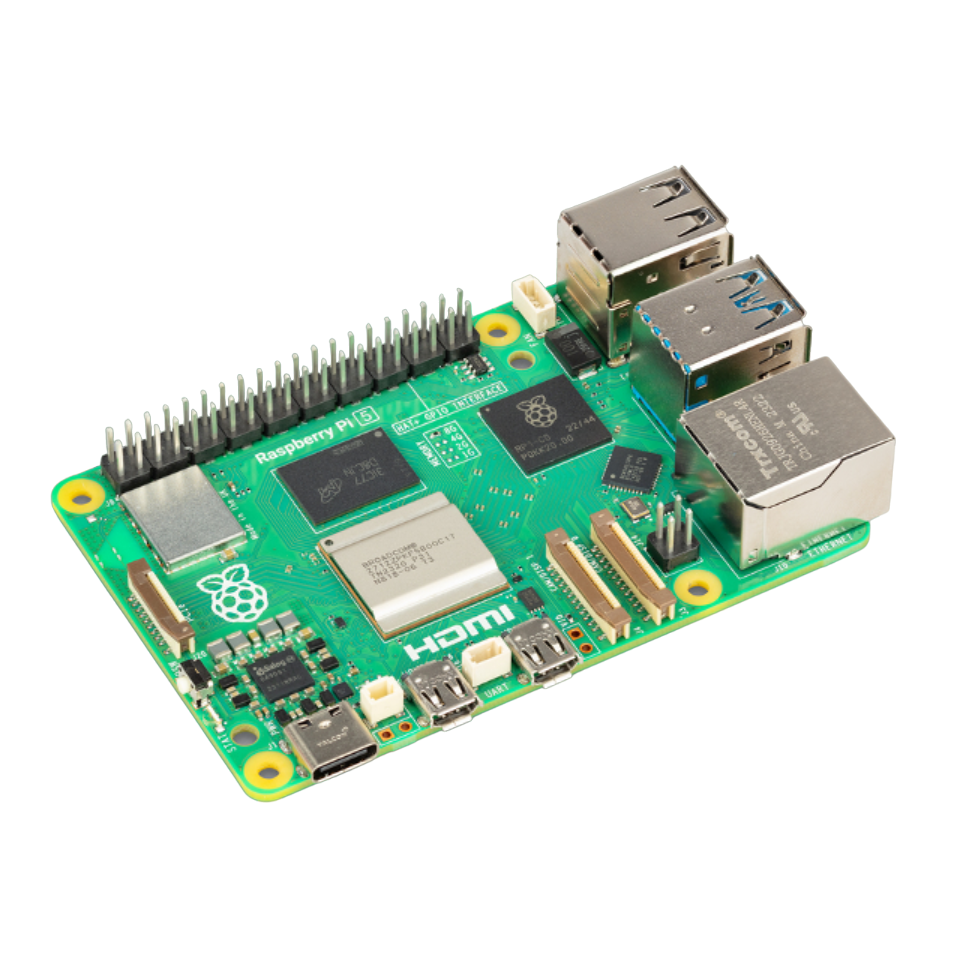
CPU Arm Cortex-A76 (quad-core, 2.4GHz)
Memory Up to 8GB LPDDR4X SDRAM
Storage MicroSD card slot
CPU Arm Cortex-a72 (quad-core, 1.8GHz)
Adding buttons with shell commands to the dashboard
Tinkering with a YAML file
OliveTin's developer provides sufficient examples of simple syntax to add actions for shell commands. Luckily, its default interface loads with a couple of buttons. The YAML config file had a bunch of stock buttons with shell commands to help me get started and add some commands to test them. I found the actions at the top of the config YAML and learned that they're the commands OliveTin executes and appear as buttons on the web UI. I intended to create buttons to start, stop, or restart specific media apps, so I mostly replicated the stock examples.
You'll need to use root privileges to edit the config.yaml file so you can either use sudo to open it in a text editor or change the permissions of the /etc/OliveTin folder.
The default options were helpful enough to retain some valuable features, such as pinging a host, checking the internet connection, checking storage space, taking a backup, or verifying that the system's date and time are in sync. Tinkering with the YAML file was quite rewarding, as the app's web UI applied the changes instantly. To avoid complicating things, I intentionally excluded shell commands that involve SSH or require root-level permissions.
Avoiding over-customization and complicated commands
Try to keep it simple
One of the first things that drew me towards OliveTin is its light, clean, and highly customizable interface. Despite using it inside my home, I've teamed it up with a reverse proxy and enabled HTTPS for it. While the default theme was great, the text wasn't legible. Hence, I switched to the Olive theme, and the capitalized text was much easier to read. If you don't like the themes, you can craft one from scratch to suit your needs. The only thing I missed was an option to add text or a table with brief instructions about the buttons on the web UI.
My idea was to keep the OliveTin dashboard neat and not clutter it with too much information. Since my family members mostly access OliveTin from their mobiles or a common tablet, the web UI needed to be lightweight and straightforward. For their sanity and mine, I skipped adding complicated commands or text.
Related
5 of the best tools for monitoring your home lab
Keep a weather eye on your home server with these incredible services
Your family can run shell commands without opening the Terminal
I managed to install and set up OliveTin in under an hour. That stemmed from the experience of fumbling with YAML configuration files. I overcame the most challenging part - seeking my family's approval and getting them to use it. Fortunately, my family resorts to tapping buttons in OliveTin's interface, which runs on an iPad only when necessary.
Finally, I empowered my not-so-tech-savvy family to run shell commands without scaring them with a command-line interface, and they love the interactive, visual options. Meanwhile, I continue to use Cockpit to manage and monitor my Raspberry Pi's system health.


 English (US) ·