.png)
Having built numerous projects on Proxmox, it’s easily the most versatile virtualization platform out there. Between the sheer number of community scripts and home lab-oriented settings, there’s nothing you can’t accomplish with Proxmox and a little bit of patience. And I say that as someone who has put together everything from virtualized dev environments and daily-driver VMs to full-on Hackintosh setups on my Proxmox nodes.
However, I’ve usually avoided running a NAS on top of my PVE rigs, and tend to separate my home server-oriented Proxmox workstations from my storage servers. But after many discussions with our technical wizard, Adam Conway, I figured I might as well give a virtualized NAS a shot. Heck, we even found a neat way to connect network shares from this VM-based storage server with unprivileged LXCs – a feat that typically involves a lot of headache from running terminal commands.
What’s the point of this project?
Useful when you've only got unprivileged LXCs
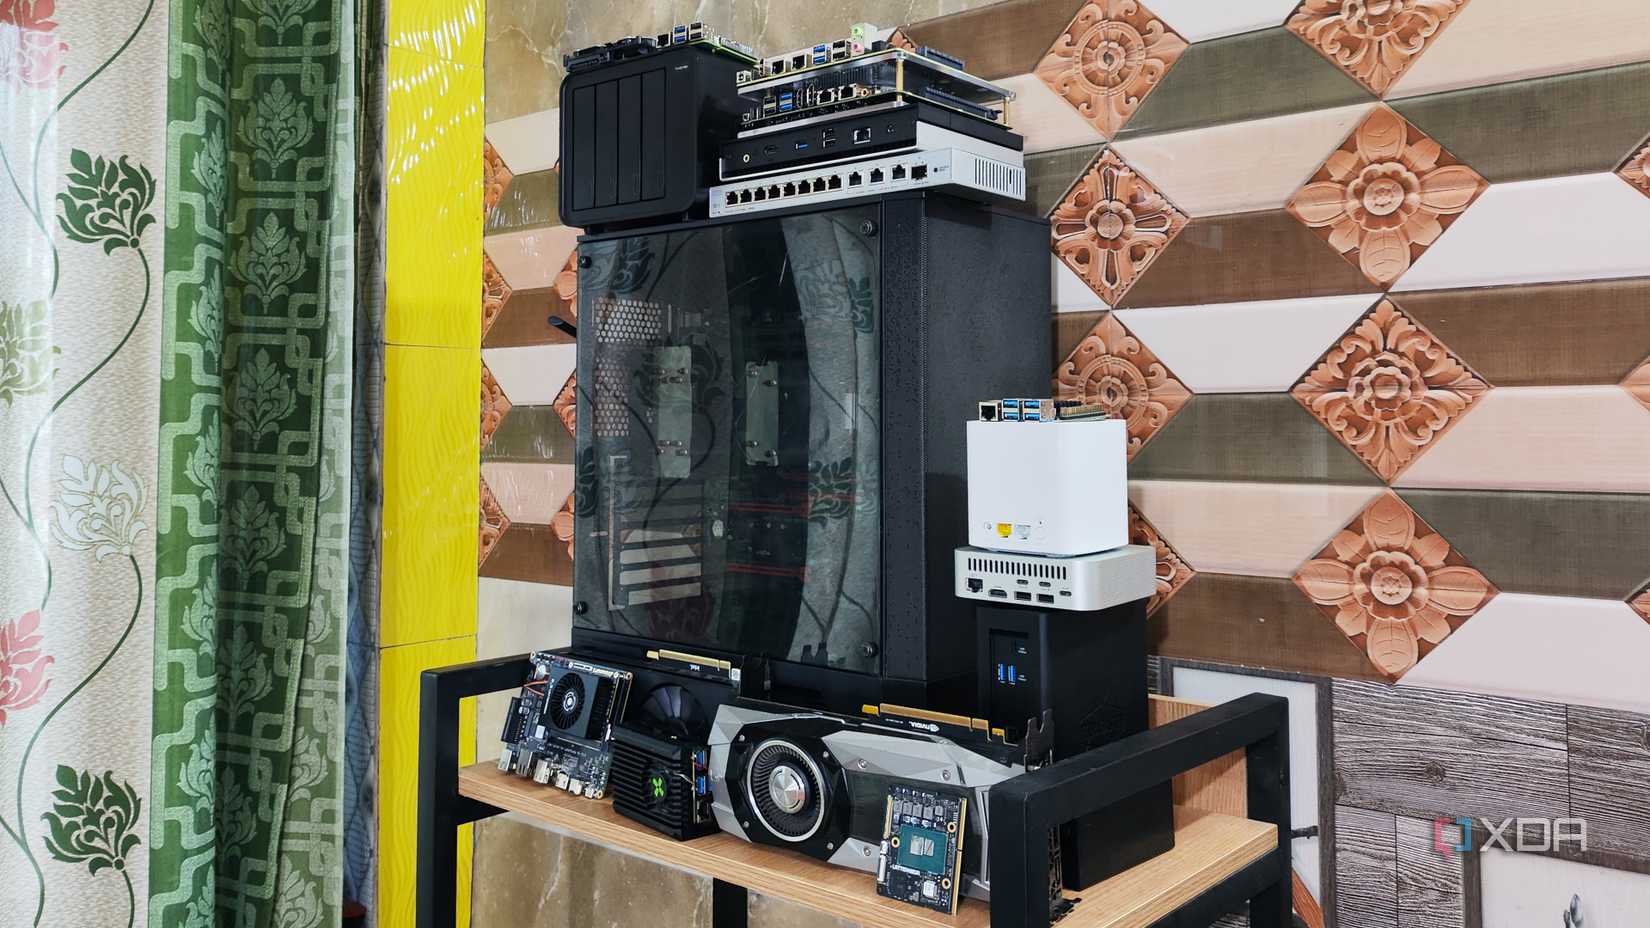
Between my crippling addiction to buying as many server parts as possible and my role as a tech reviewer, I’ve got a few spare rigs lying around. As such, it’s no surprise that I can run a primary and secondary NAS, with the latter being relegated to my storage experiments. However, that’s not the case for most home labbers, and if there’s anything I’ve realized after hours of tinkering with old PCs, it’s that you don’t need to shell out a ton of money for a home server. Although I always recommend going for separate machines for NAS and Proxmox nodes, I’ve heard that you can build a reliable storage server inside a virtual machine and wanted to test this notion out myself.
As for the network share portion of the article, here’s a general overview of my setup: I’ve got an SMB share running on my (virtualized) TrueNAS server, which I first mounted to my PVE host. After that, I ran a couple of terminal commands to set up a mount point to the LXC, which causes the share to appear as a local drive for the container. If you’re wondering why I’d go for this workaround, it’s because of the permission issues with unprivileged containers. In exchange for providing better security, unprivileged LXCs tend to cause a lot of problems when mounting a network share – which is the reason I’ve been running my Jellyfin LXC in privileged mode. Luckily, this workaround circumvents that issue and lets me connect my secure, unprivileged containers with SMB shares without dealing with UID/GID mappings.
Deploying my NAS on Proxmox
The first step was creating a NAS inside a VM. Having cycled between numerous NAS-centric distributions in the past, I always find myself coming back to TrueNAS, and it’s the one I wanted to use for this project. So, I uploaded an ISO file of the distro to the ISO Images section within the local storage pool on my Proxmox host before using the Create VM wizard to assign some CPU, memory, and storage resources to my virtual machine-based NAS.
But before I could boot into TrueNAS, I passed the HBA card of my Proxmox host to the NAS virtual machine. TrueNAS recommends passing through the SATA controller or HBA card to a virtualized setup, as doing so provides close to bare-metal performance to the physical drives. Since I’d already configured PCI passthrough beforehand, I quickly added the HBA card to my TrueNAS VM using the PCI Device option inside the Hardware tab.
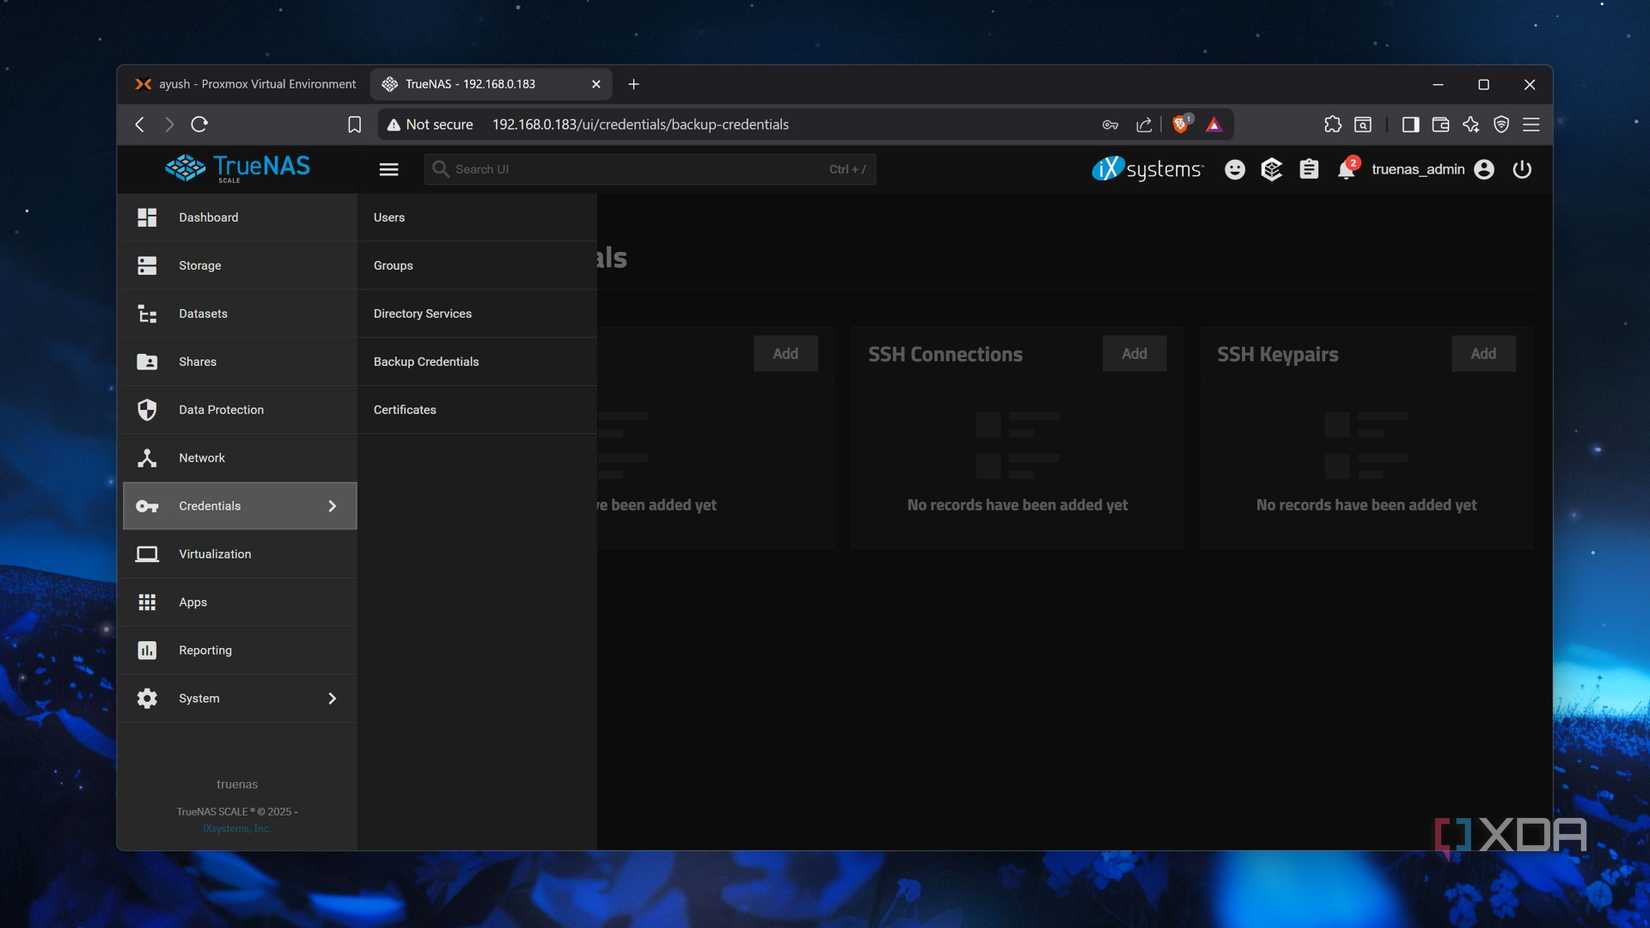
After running the TrueNAS installation wizard, I logged into the distro’s web UI. I quickly configured two drives using the Storage section, before navigating to the User page within the Credentials tab to create a new account for my SMB shares. With the setup nearly complete, I navigated to the Network section, clicked the Add button next to the Windows (SMB) Shares section, and created a new Dataset within the drive pool for the share. Finally, I edited the ACL permissions to grant my newly created user full access to the SMB folder.
I had to run a couple of commands
Now that I was done with configuring TrueNAS, I turned my attention to my Proxmox host. Before deploying an LXC for this setup, I headed to the Datastore on Proxmox’s web UI, selected the Storage tab, and tapped on the CIFS/SMB option under the Add button. Then, I added a name (which can be any random string) as the ID, the IP Address of my TrueNAS VM as the Server, and entered the Username and Password of the account associated with the SMB share. Soon, the name of the Share popped up within the field with the same name, and I hit the Add button.
Next, I had to create a directory that would serve as the mount point on my LXC. I went with a new Jellyfin container and made sure to set the container mode to unprivileged. But rather than configuring Jellyfin’s web UI, I headed to the Console tab within the LXC’s page on Proxmox’s interface, and ran the mkdir /mnt/folder-name command to create a new directory.
I then moved to the Shell tab of my Proxmox node, ran the cd /etc/pve/lxc command to switch to the folder containing the config files of my virtual guests. After executing the ls command to see the contents of the directory, I used the nano editor to open the configuration file with the same numerals as the container ID. I added the following line inside this file:
mp0: /mnt/pve/share-name,mp=/mnt/folder-name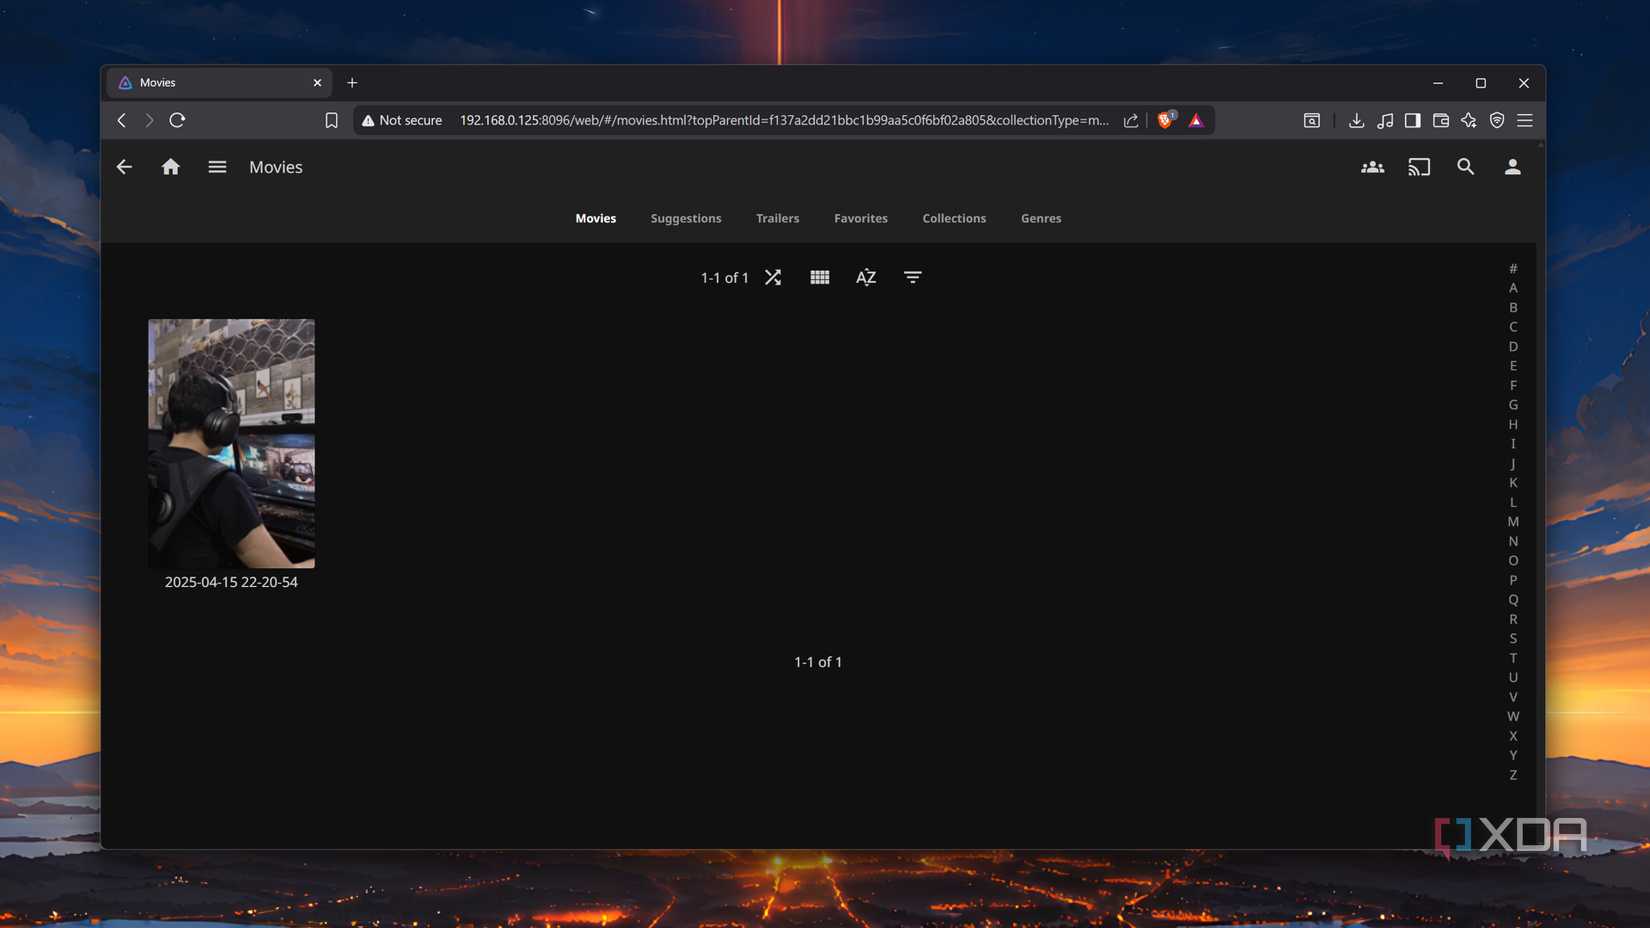
Here, the same-name variable points to the ID I’d given to my SMB share. I restarted the container and began the initial configuration wizard. Lo and behold, the folder appeared inside the Add Media Library tab. Just to double-check everything, I transferred a video from my PC to the network share and rescanned the Library. Sure enough, the clip appeared inside Jellyfin’s UI!
Nevertheless, a virtualized NAS setup has its drawbacks
While this setup works pretty well for an all-in-one Proxmox node, I’m still apprehensive about replacing my NAS with a virtualized instance. While it’s possible to recover my storage server unless I try something truly wacky with my PVE node, I just prefer a bare-metal NAS workstation. That way, my backup and data archival rig would remain operational 24/7, and I’d be able to work on wacky computing projects without worrying about accidentally bringing my NAS down.


 English (US) ·