.png)
Despite offering less functionality than IDEs, code editors are great when you want to quickly edit your config files, scripts, and programs. They’re fairly lightweight, and often ship with a solid debugger, with certain code editors like VS Code offering quite a few features you’d otherwise find in full-fledged development environments. VS Code, in particular, is compatible with most desktop operating systems (including FreeBSD, of all things) and can be turned into a coding beast with the right set of extensions.
Related
But what if you don’t want to clutter your daily driver with your coding projects and extra VS Code files? Well, you could build a full-fledged development environment inside a virtual machine or a remote server, but doing so requires a decently specc’d PC for decent performance – and you could end up with latency issues over an RDP session. Installing VS Code on your client device and using the Remote - SSH extension also works, but there’s an easier and more accessible method to pull this off: deploying Code-Server inside a workstation.
What’s Code-Server, anyway?
It’s more than just VS Code running on a server
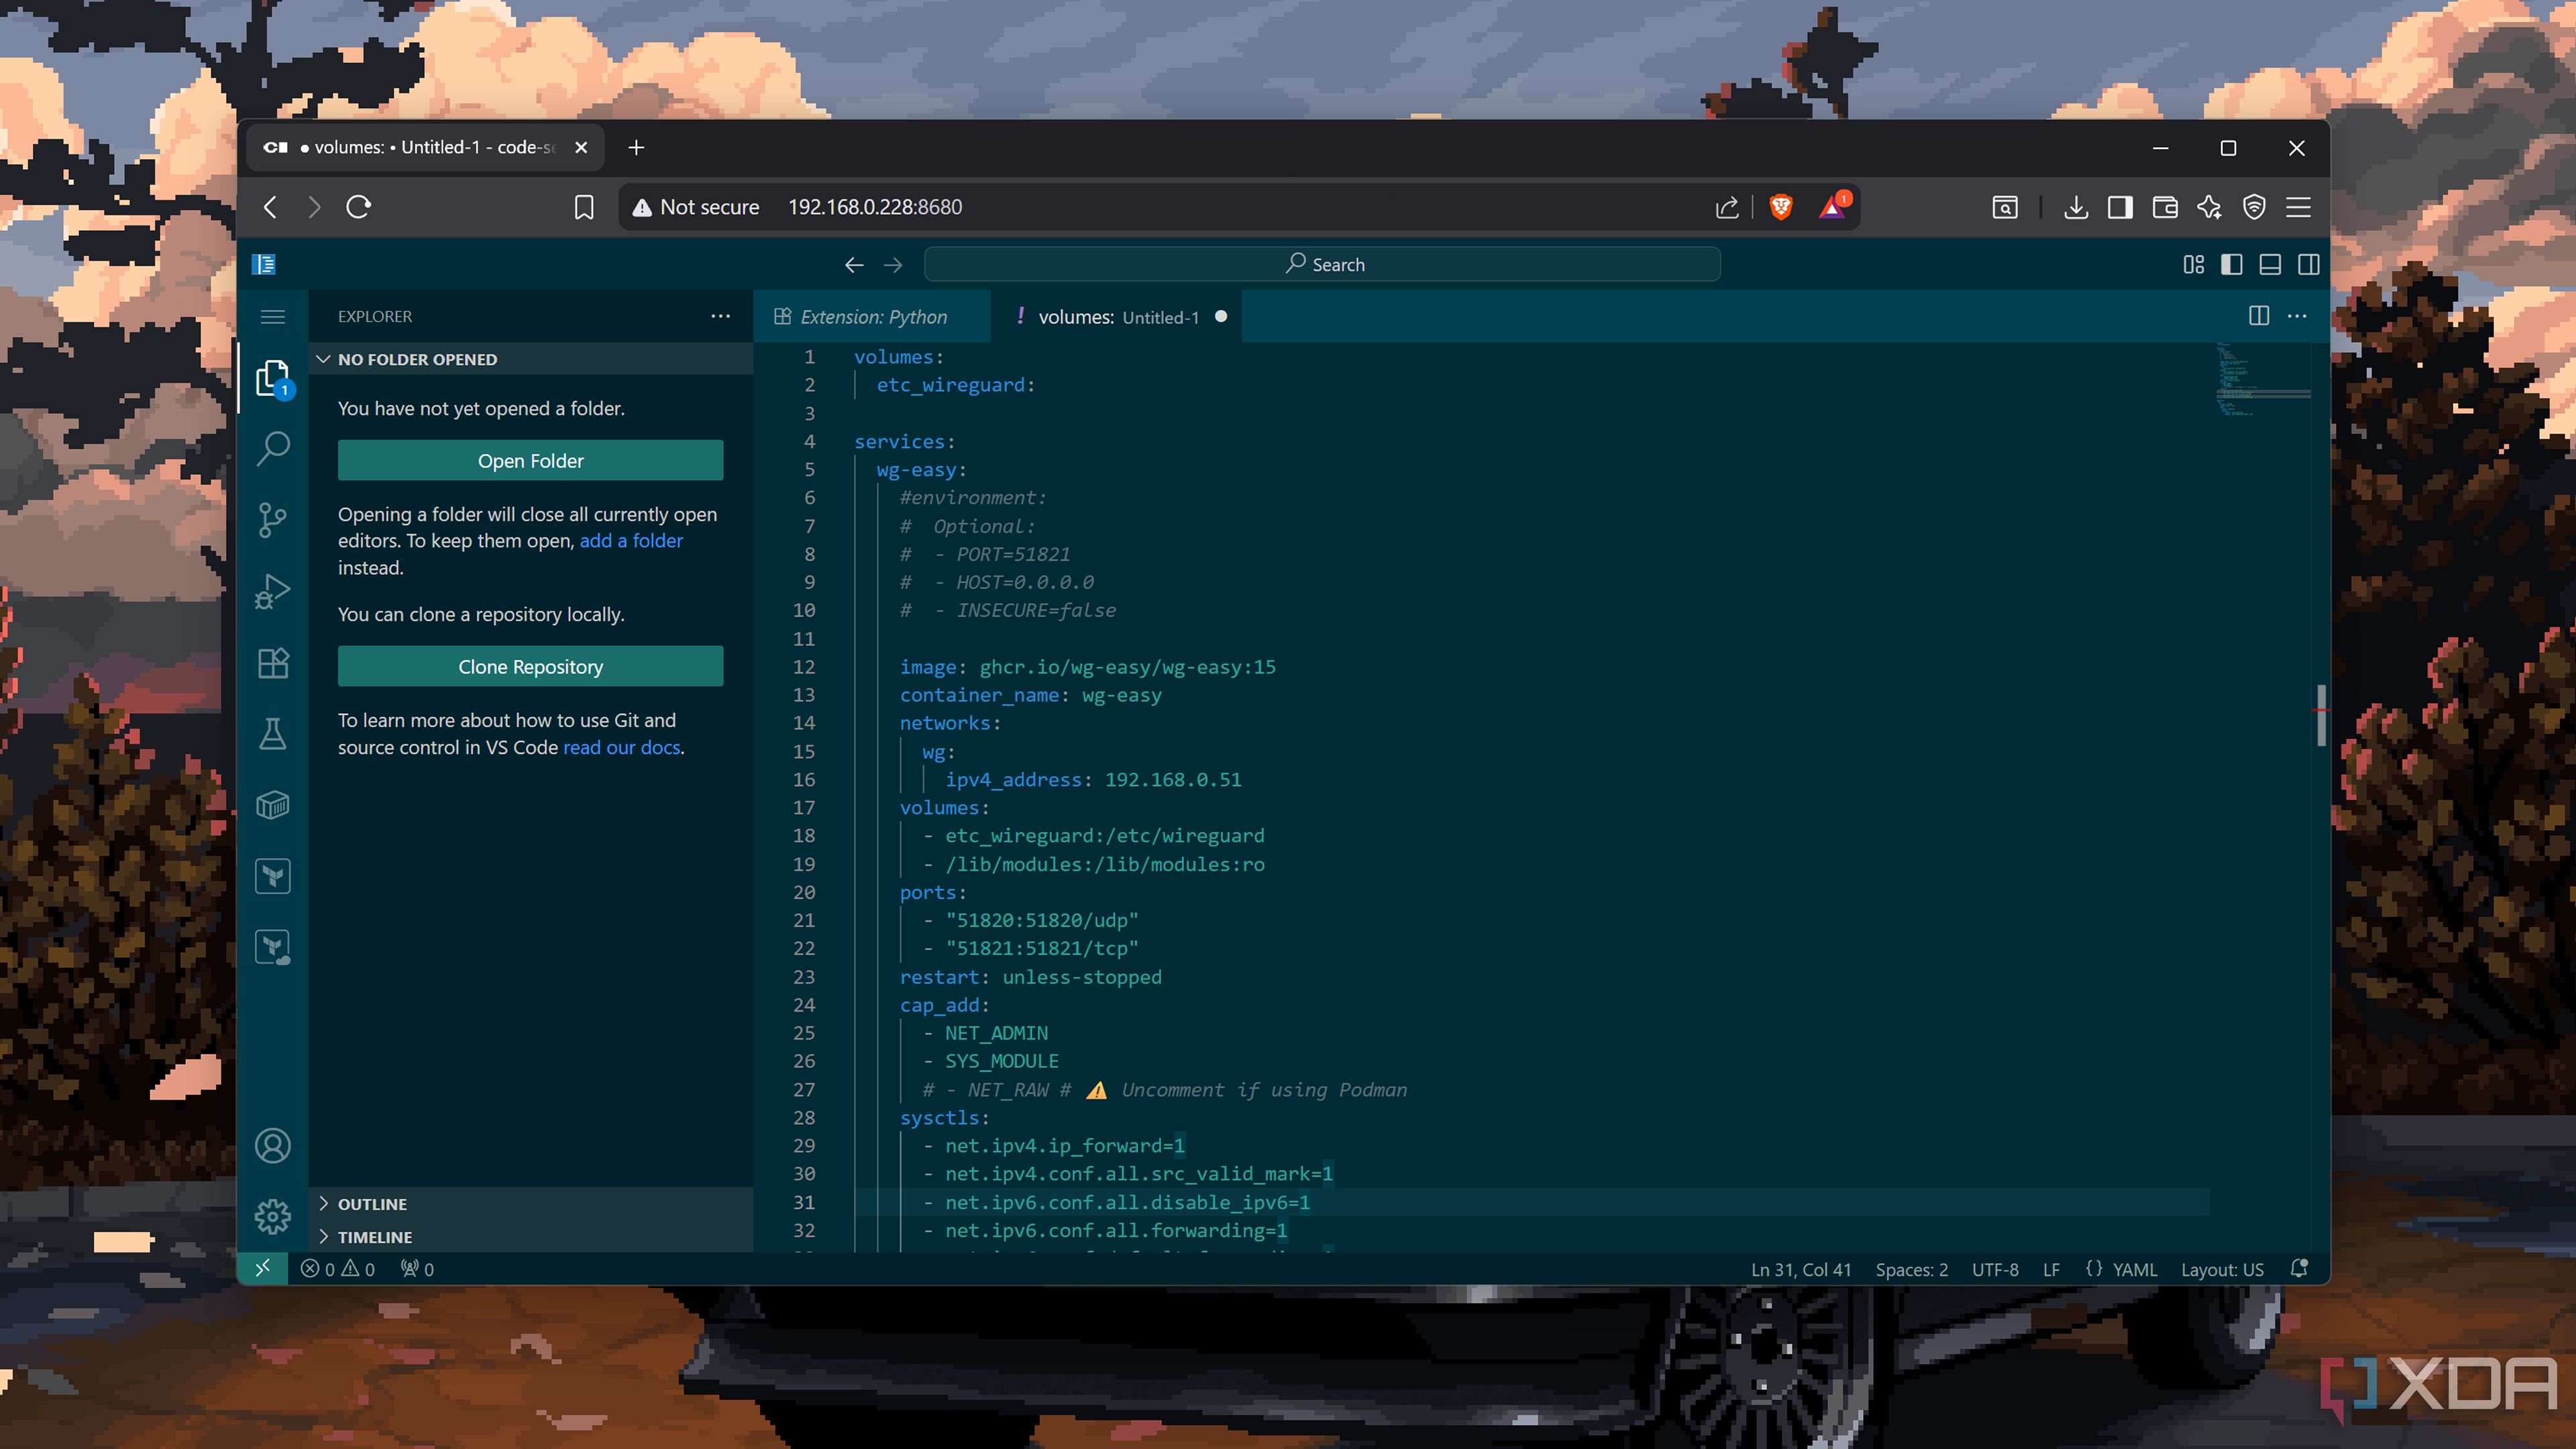
Essentially, Code-Server is a patched fork of the good ol’ VS Code that runs on a centralized system and can be accessed from other devices in your computing setup. However, rather than requiring you to install the code editor on both client and server hosts before pairing them using an extension, Code-Server can be deployed on your workstation and remains accessible from web browsers. That way, you can edit your coding projects from practically any device, including smartphones and tablets.
Plus, it’s a lot easier to expose Code-Server to external networks. I prefer Tailscale over other options, and have experienced minimal latency when accessing my Code-Server instance from a different network than my host machine. But you can also tinker with reverse proxy services when exposing this code editor to the Internet, though I recommend setting up a proper authentication utility like OAuth2 Proxy when doing so.
It has a major flaw, though
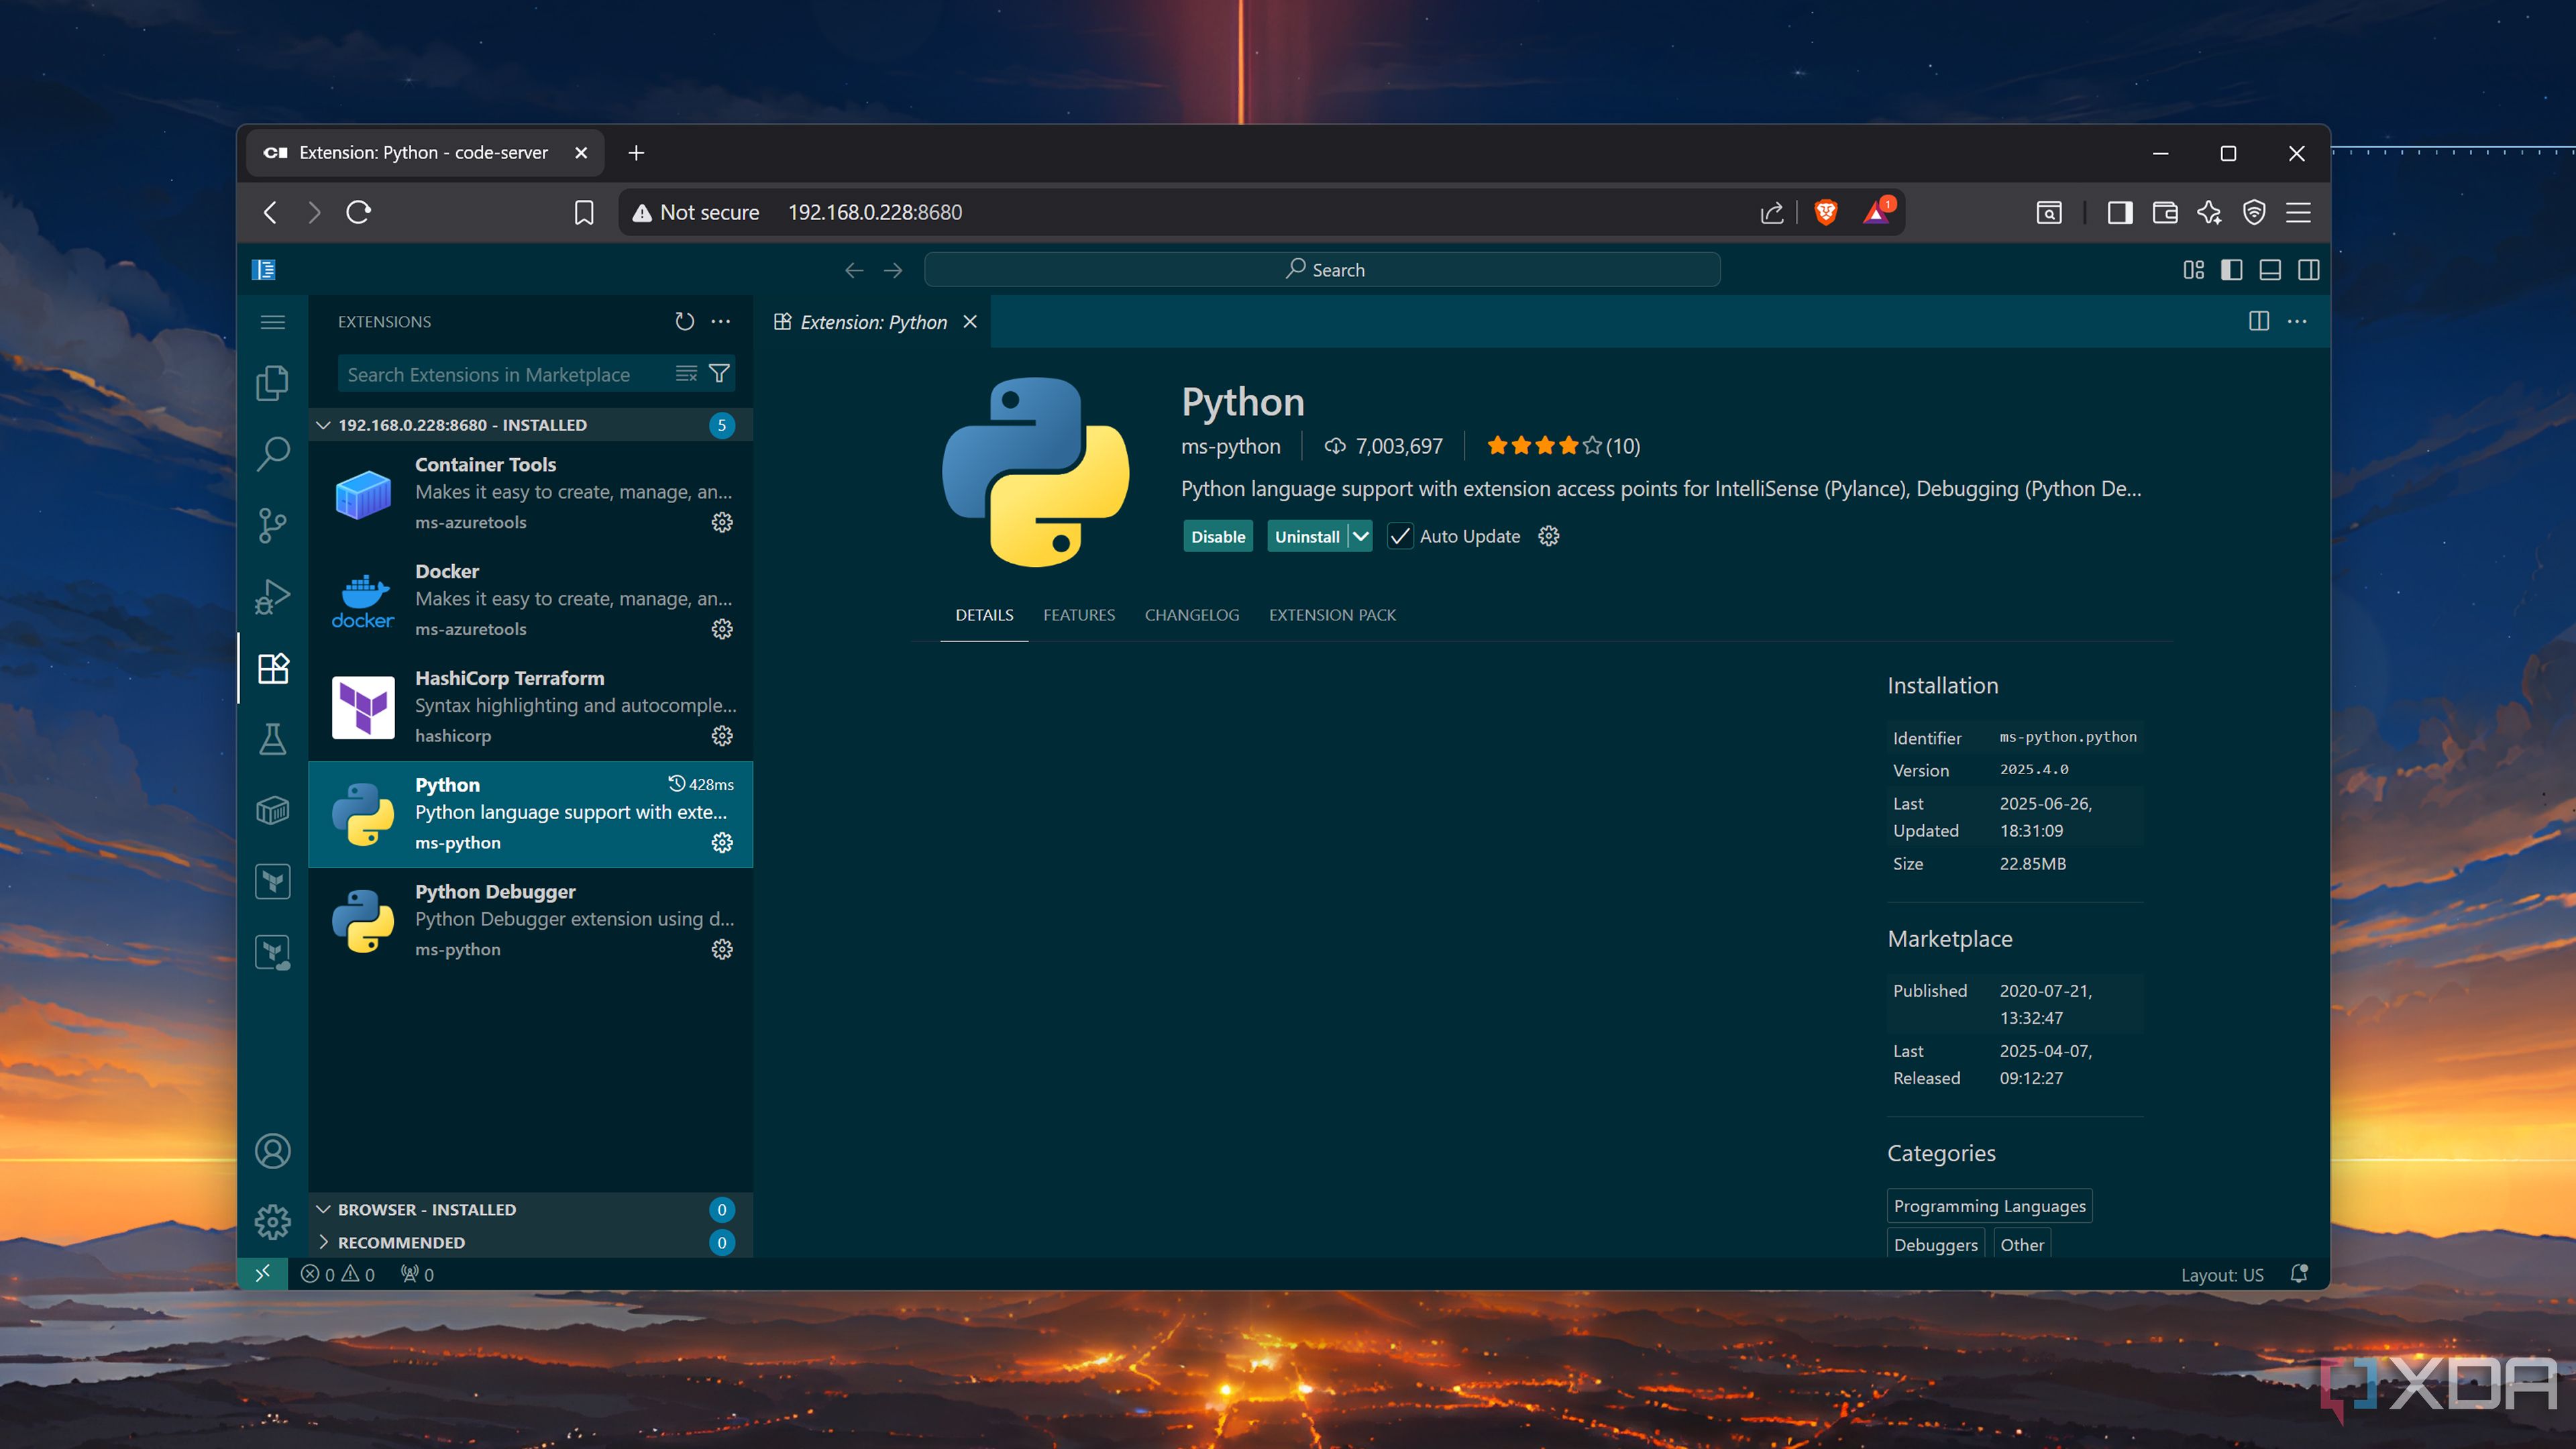
Although the Code-Server’s optimized nature makes it better for editing codes on mobile devices (and even normal systems) over a network, it has a major Achilles Heel: the app isn’t compatible with the full set of extensions available in VS Code. Unlike the majority of the core services available in VS Code, the extension marketplace – including certain plugins released by Microsoft – isn’t open-source. In fact, the Redmond tech giant forbids third-party services from leveraging the VS Code marketplace.
As such, Code-Server relies on the open-source Open VSX Registry for its extensions. Luckily, most of my favorite extensions work out of the box on Code-Server, including the all-powerful Dendron, Prettier, and Git Graph. Technically, you could also use some workarounds to sync your VS Code extensions with Code-Server, but certain plugins like the Remote Development set, Live Share, and GitHub Copilot won’t be accessible on the latter – which can be a deal-breaker if you’re reliant on them for your coding workloads.
Deploying Code-Server
The official curl method has the easiest setup process
With the theory section out of the way, it’s time to jump into the nitty-gritty of creating a Code-Server instance. Like other applications in the self-hosted domain, there are plenty of ways to get Code-Server up and running on your workstation, though the official curl method is the simplest of them all.
So long as you’re on a Linux machine, you can pull up the terminal and initialize a Code-Server instance by running the curl -fsSL https://code-server.dev/install.sh | sh command inside the terminal. Once the installation process is complete, you can run the sudo systemctl enable --now code-server@$USER command and enter 127.0.0.1:8080 into a web browser to open the Code-Server UI. To make it accessible to all the devices in your local network, you'll want to run the code-server --bind-addr 0.0.0.0:8080 command.
On a Windows rig, you can install Code-Server via a WSL distribution. Alternatively, if you’re not willing to configure WSL, you could install VirtualBox and deploy Code-Server, though you’ll need a somewhat decent rig to run the Type-2 hypervisor.
Or, you could go for a containerized Code-Server
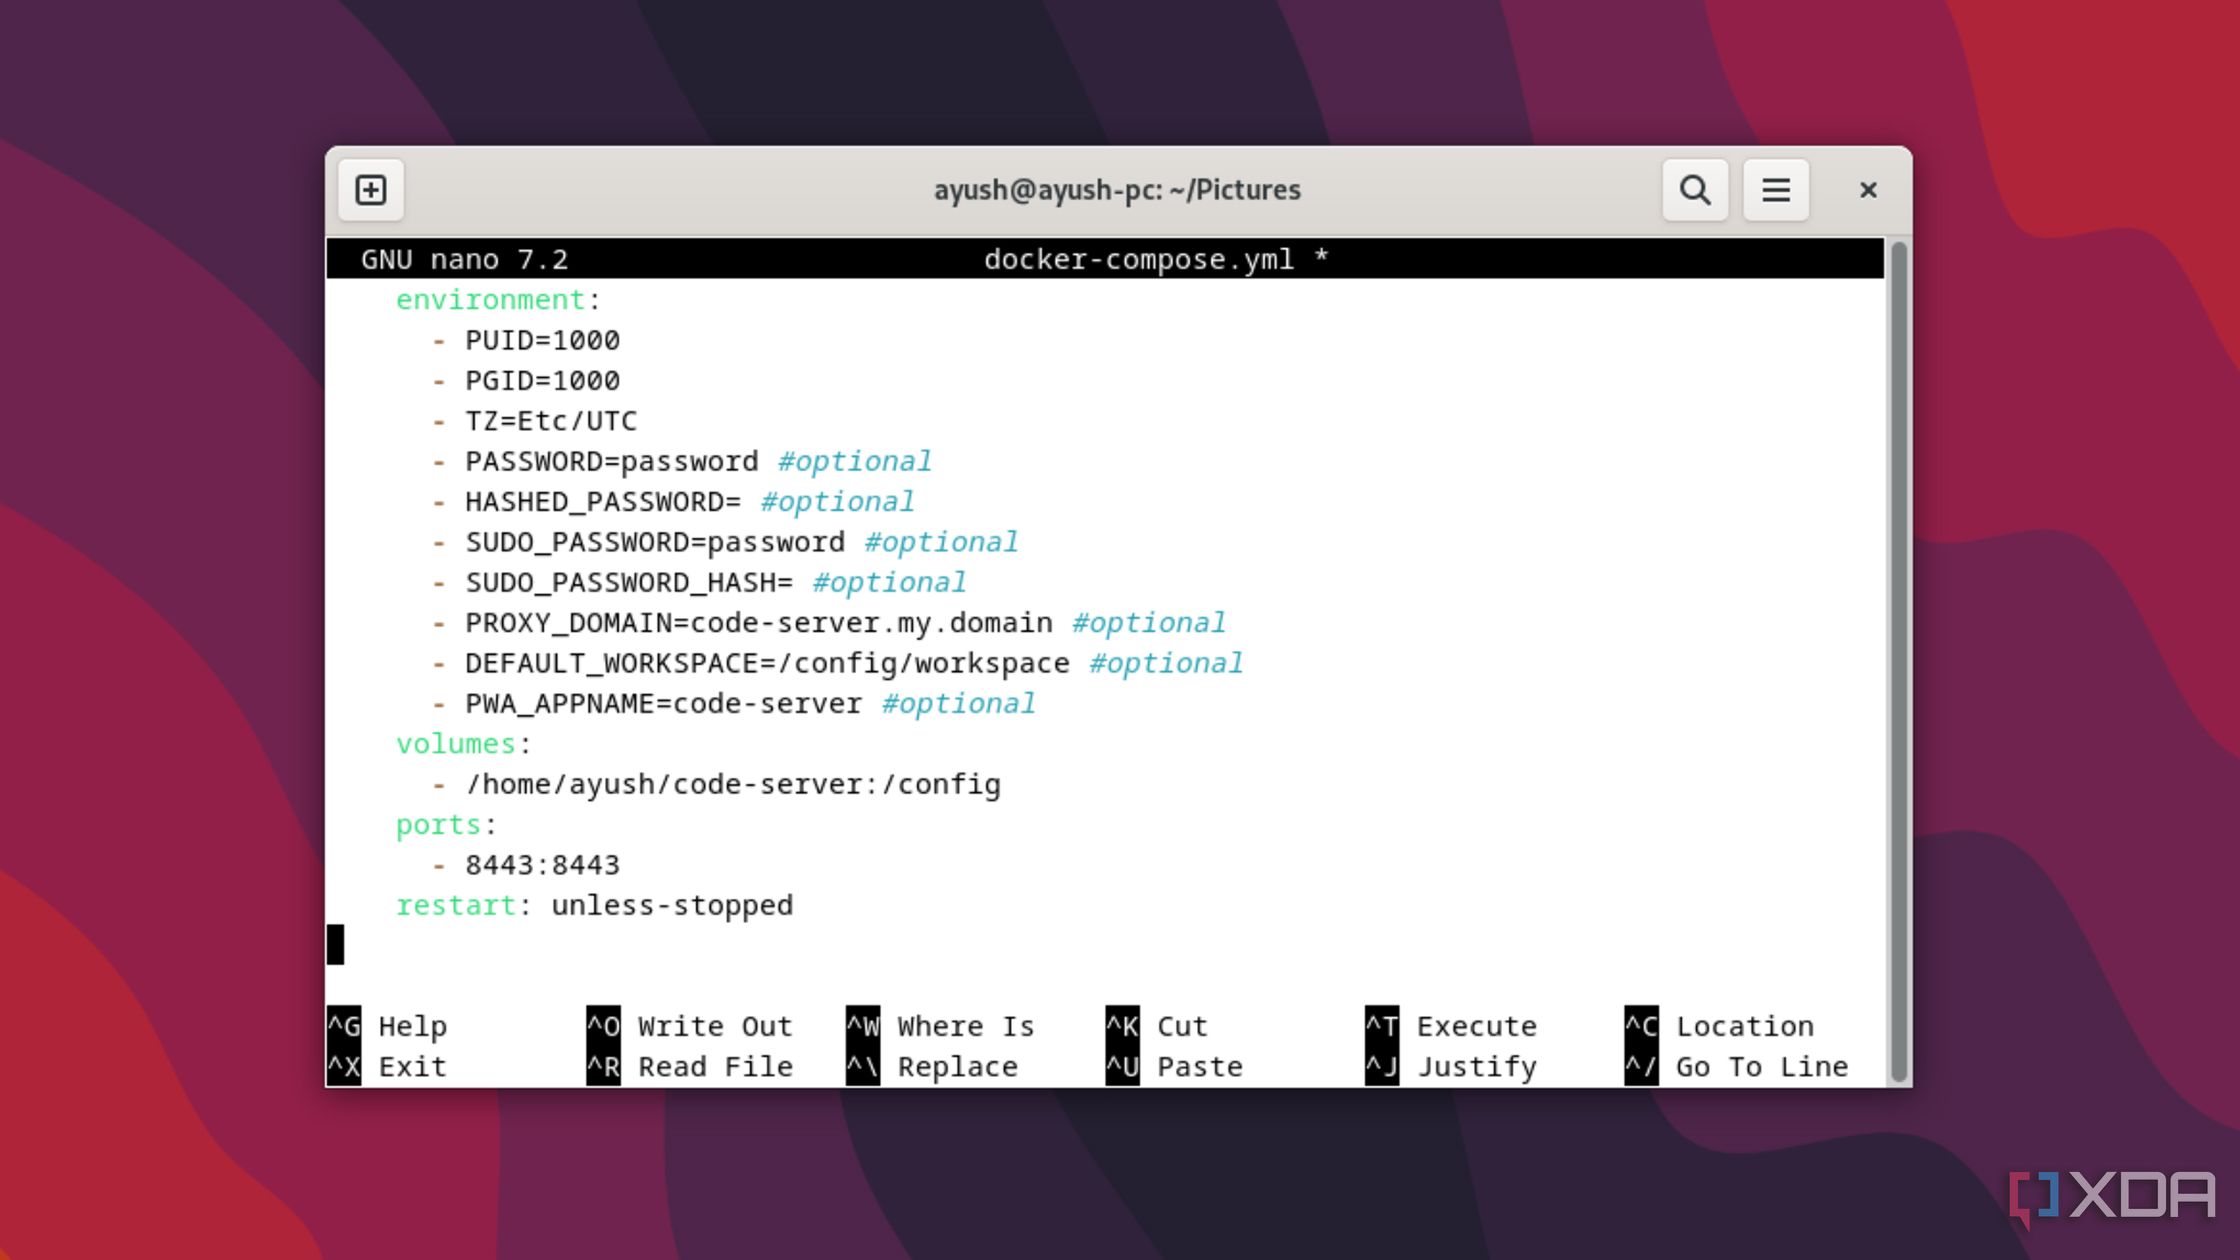
If you’re a part of the containerization faction, you can try running Code-Server using the good ol’ Docker runtime. The LinuxServer repository provides the most reliable method for running Code-Server as a container. Once you’ve created the compose file by executing the sudo nano docker-compose.yml command in the terminal, you’ll have to copy the necessary code from the official Docker Hub page into the file. Just be sure to edit the /path/to/code-server/config parameter using the actual directory where you wish to store the Code-Server files. Afterward, you can whip up the container by executing the sudo docker compose up -d command.
Alternatively, plenty of containerization platforms, including CasaOS, UmbrelOS, Cosmos, and Runtipi, let you deploy a Code-Server container as an app – and it’s my most recommended method for folks who leverage these easy-to-use environments for their container projects.
Unlike perhaps every self-hosted service I’ve deployed as an LXC in Proxmox, folks with a PVE server have to take the long route to run Code-Server. That’s because the Proxmox VE Helper-Scripts command for Code-Server acts as an add-on for an existing LXC, instead of automatically creating a fresh container.
As such, you’ll have to deploy the base container yourself. Doing so isn’t all that difficult, as you can pull the TurnKey template for a Debian LXC inside the CT Templates tab of your local (lvm) drive. After that, you can deploy a new LXC using the template. I recommend granting it at least 2GB memory, 4 CPU cores, 15GB memory (or more, if you work on complex projects), and a DHCP-based IPv4 address. Once the LXC is up and running, you’ll want to run the following commands to deploy the Code-Server instance:
- apt update && apt upgrade -y
- apt install curl -y
- bash -c "$(curl -fsSL https://raw.githubusercontent.com/community-scripts/ProxmoxVE/main/tools/addon/coder-code-server.sh)"
Building a centralized dev environment for your coding needs

As someone who cycles between a couple of devices every day, storing all my programming files, scripts, and projects inside a server makes it easy to resume my work from all my systems. The biggest advantage of Code-Server in this setup is that I can use it on my iPad and Android tablets, though I’m still salty I can’t use the Remote Development extension. But otherwise, it’s a terrific addition to my coding workstation.
Related
I built my perfect Windows dev environment inside a virtual machine
My Windows 11 virtual machine has everything I could ever want in an all-in-one development workstation


 English (US) ·