.png)
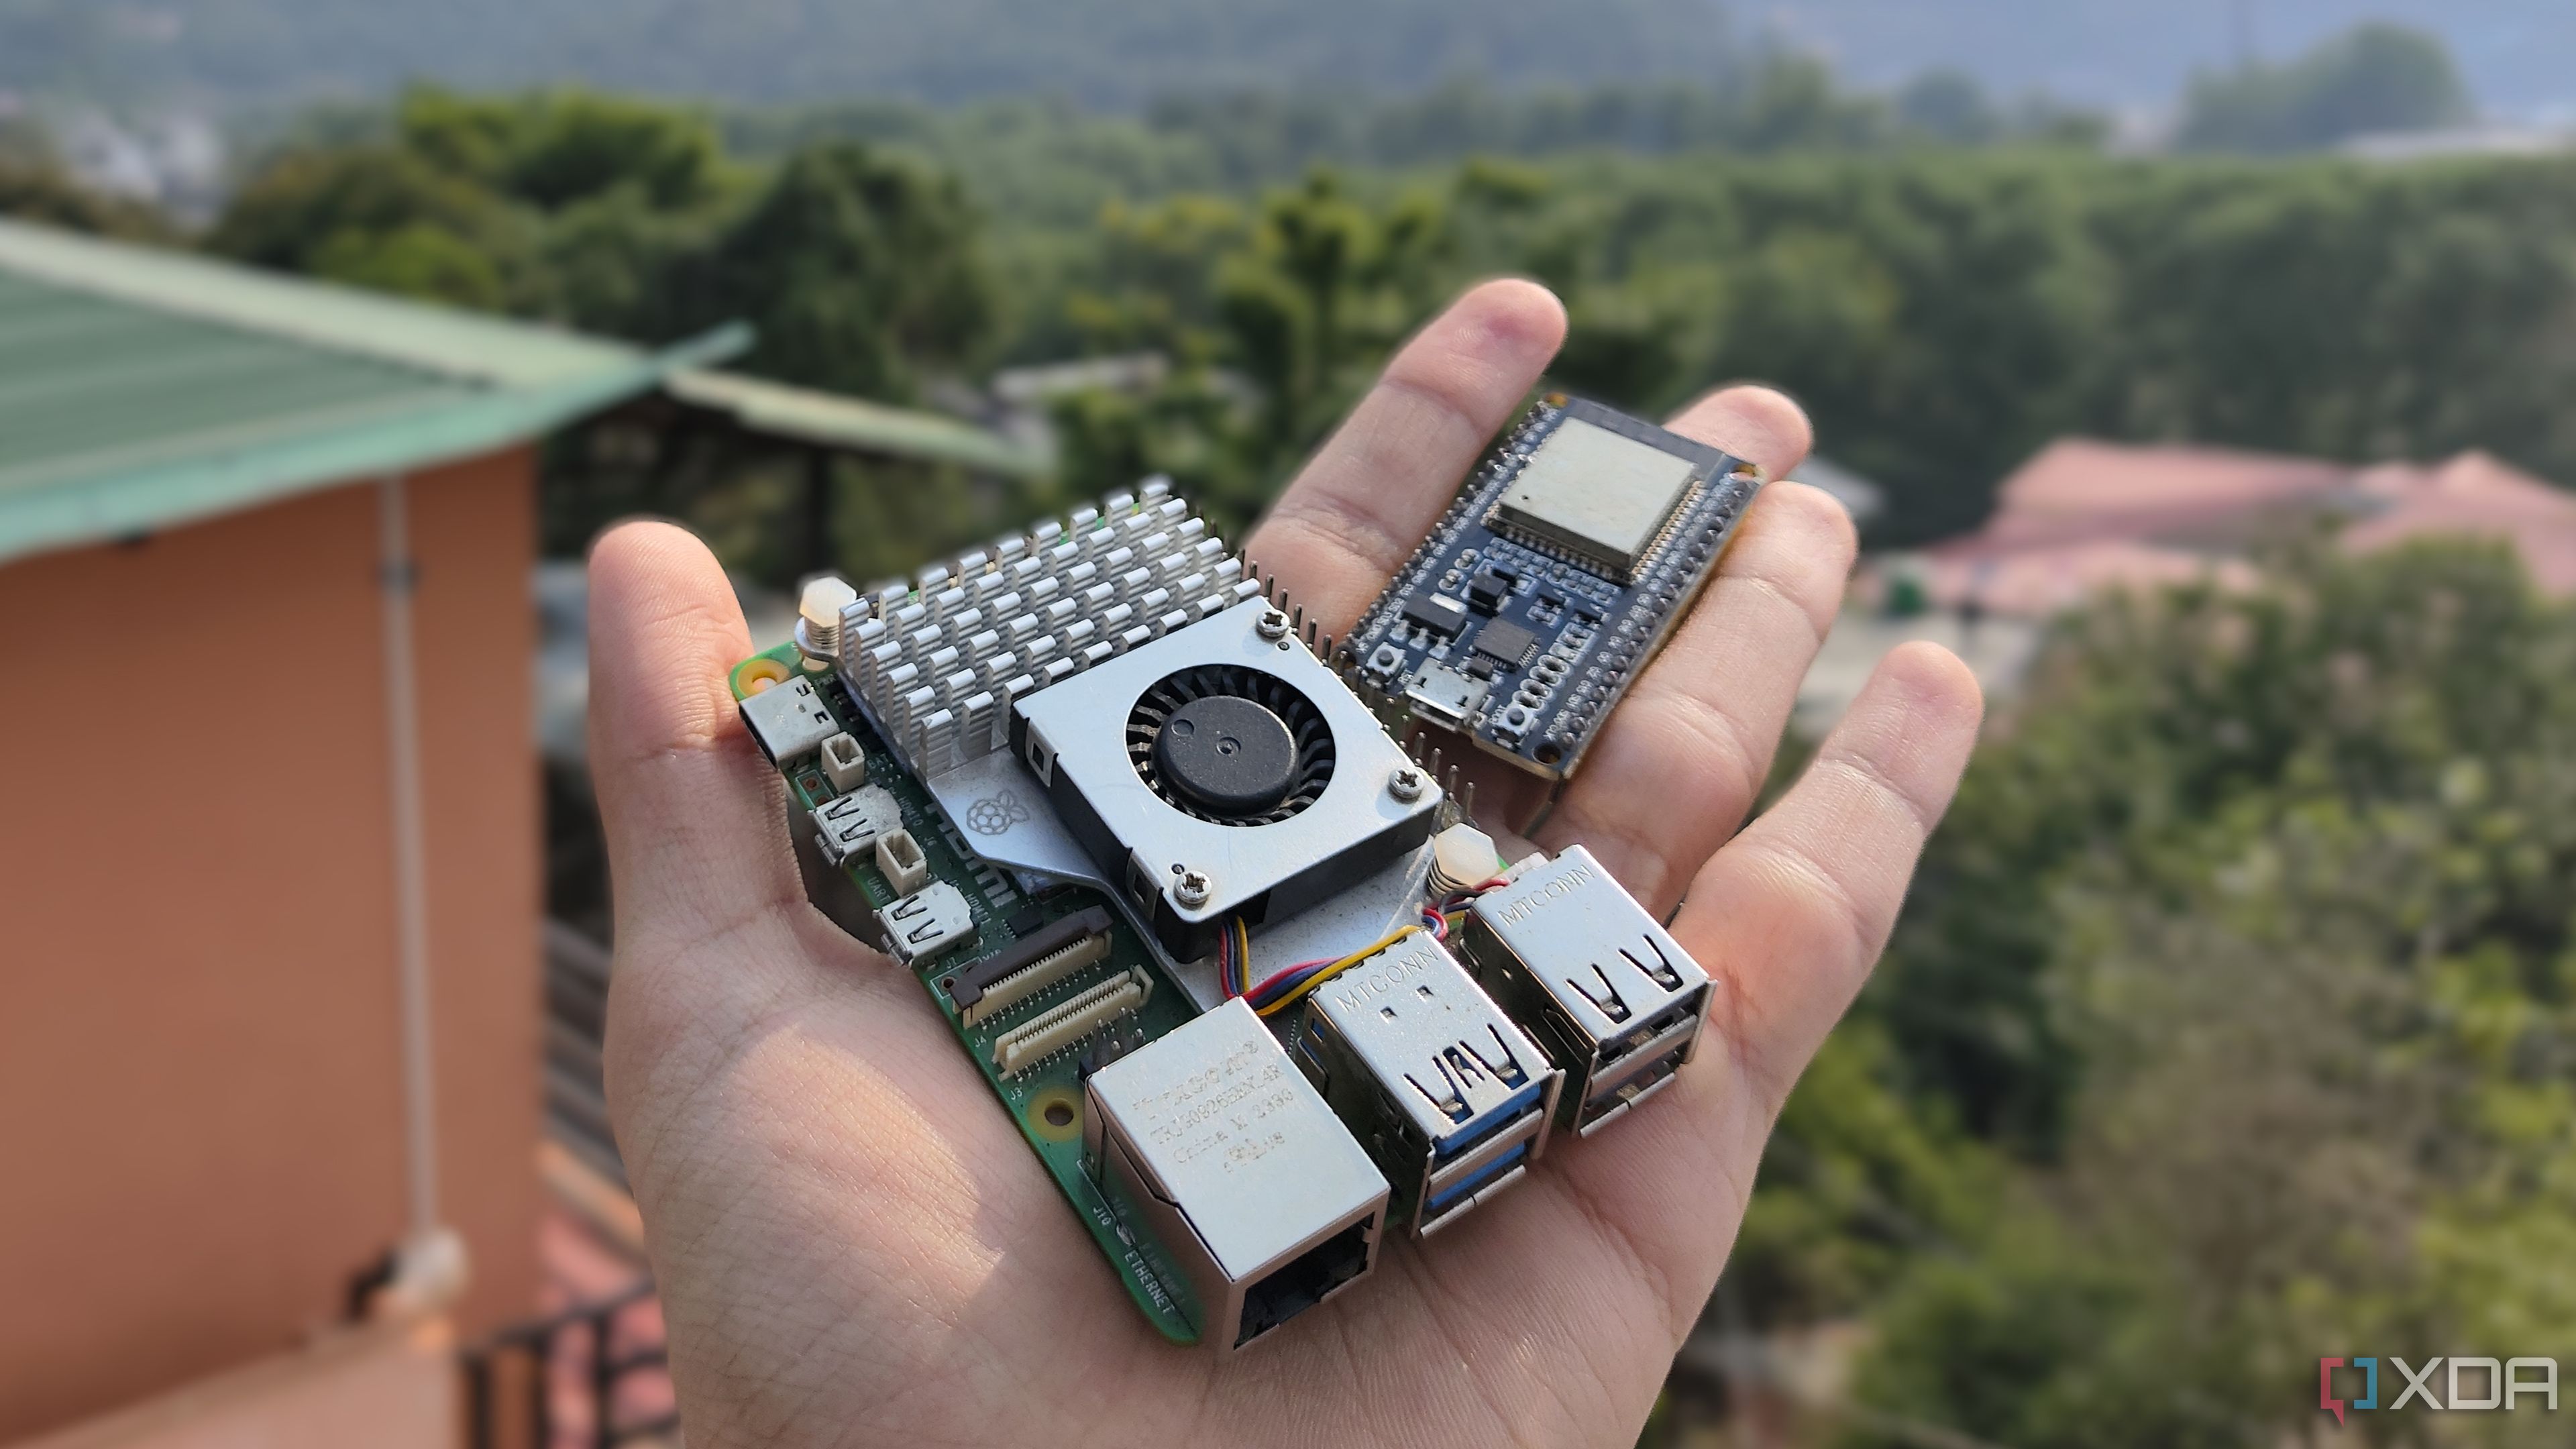
Despite its small form factor, the Raspberry Pi is a highly capable system you can grab for well under $100. Depending on your interests, it can double as anything between an emulation system, stream deck alternative, customizable firewall, rudimentary NAS, and even a container-hosting platform. Arm it with Home Assistant, and you’ve got a reliable control hub for your smart gadgets and IoT paraphernalia.
But what if you have an old Raspberry Pi that’s not powerful enough to bear the full brunt of smart home devices? Well, you could turn it into an MQTT broker capable of coordinating message-based communication in your smart home!

Related
What's MQTT, anyway?
Hint: It can make your IoT devices even smarter
MQTT, or Message Queuing Telemetry Transport, is one of the most common messaging protocols you’d find in the smart home domain. As you may have guessed by the name, it’s typically used by the smart devices and IoT products in your living space to communicate with each other over a network (your LAN, in this case). This includes everything from smart sensors and doorbells to complex ESPHome devices, with an MQTT broker acting as the intermediary for the entire setup.
While it may sound like too much technical jargon (and honestly, it kind of is), the real fun begins once you start using MQTT to exchange custom messages with your devices. That’s where a self-hosted MQTT broker comes into the picture. Not only can you publish custom messages to your smart gadgets, you can also use it to create a communication line between them.
Let’s say you want your thermostat to modify the temperature on the fly depending on the room temps. With a Raspberry Pi MQTT broker, you can “publish” the readings from your sensor devices to the SBC, have the thermostat “subscribe” to the messages from your sensors, and adjust the room temperature accordingly.
Since MQTT is supported by the majority of home server devices, you can use it to automate practically every device in your arsenal. Not to mention, MQTT is a very lightweight protocol, so you can create hundreds of these automations without taxing your Raspberry Pi.
Setting up an MQTT broker on the Raspberry Pi
It's pretty simple
Although an automation-heavy tool of this caliber may seem overly complex to set up, the Mosquitto service makes deploying an MQTT server on your Raspberry Pi a breeze. I used a Raspberry Pi 5 for this project, but you’re free to go with practically any SBC from the uber-popular lineup.
Installing Mosquitto is as simple as installing the packages associated with it with the sudo apt install mosquitto mosquitto-clients -y command and enabling the broker via sudo systemctl enable mosquitto.service.
However, this setup won’t allow remote devices to connect to the Raspberry Pi server, which is why I suggest adding the listener 1883 and allow_anonymous true lines inside the mosquitto config file. On the official Raspberry Pi OS, the configuration file is present inside the /etc/mosquitto directory, and you can use the sudo nano /etc/mosquitto/mosquitto.conf command to open it. Just remember to restart the server using the sudo systemctl restart mosquitto command.
It pairs exceedingly well with Home Assistant
But I can also use it as a standalone setup
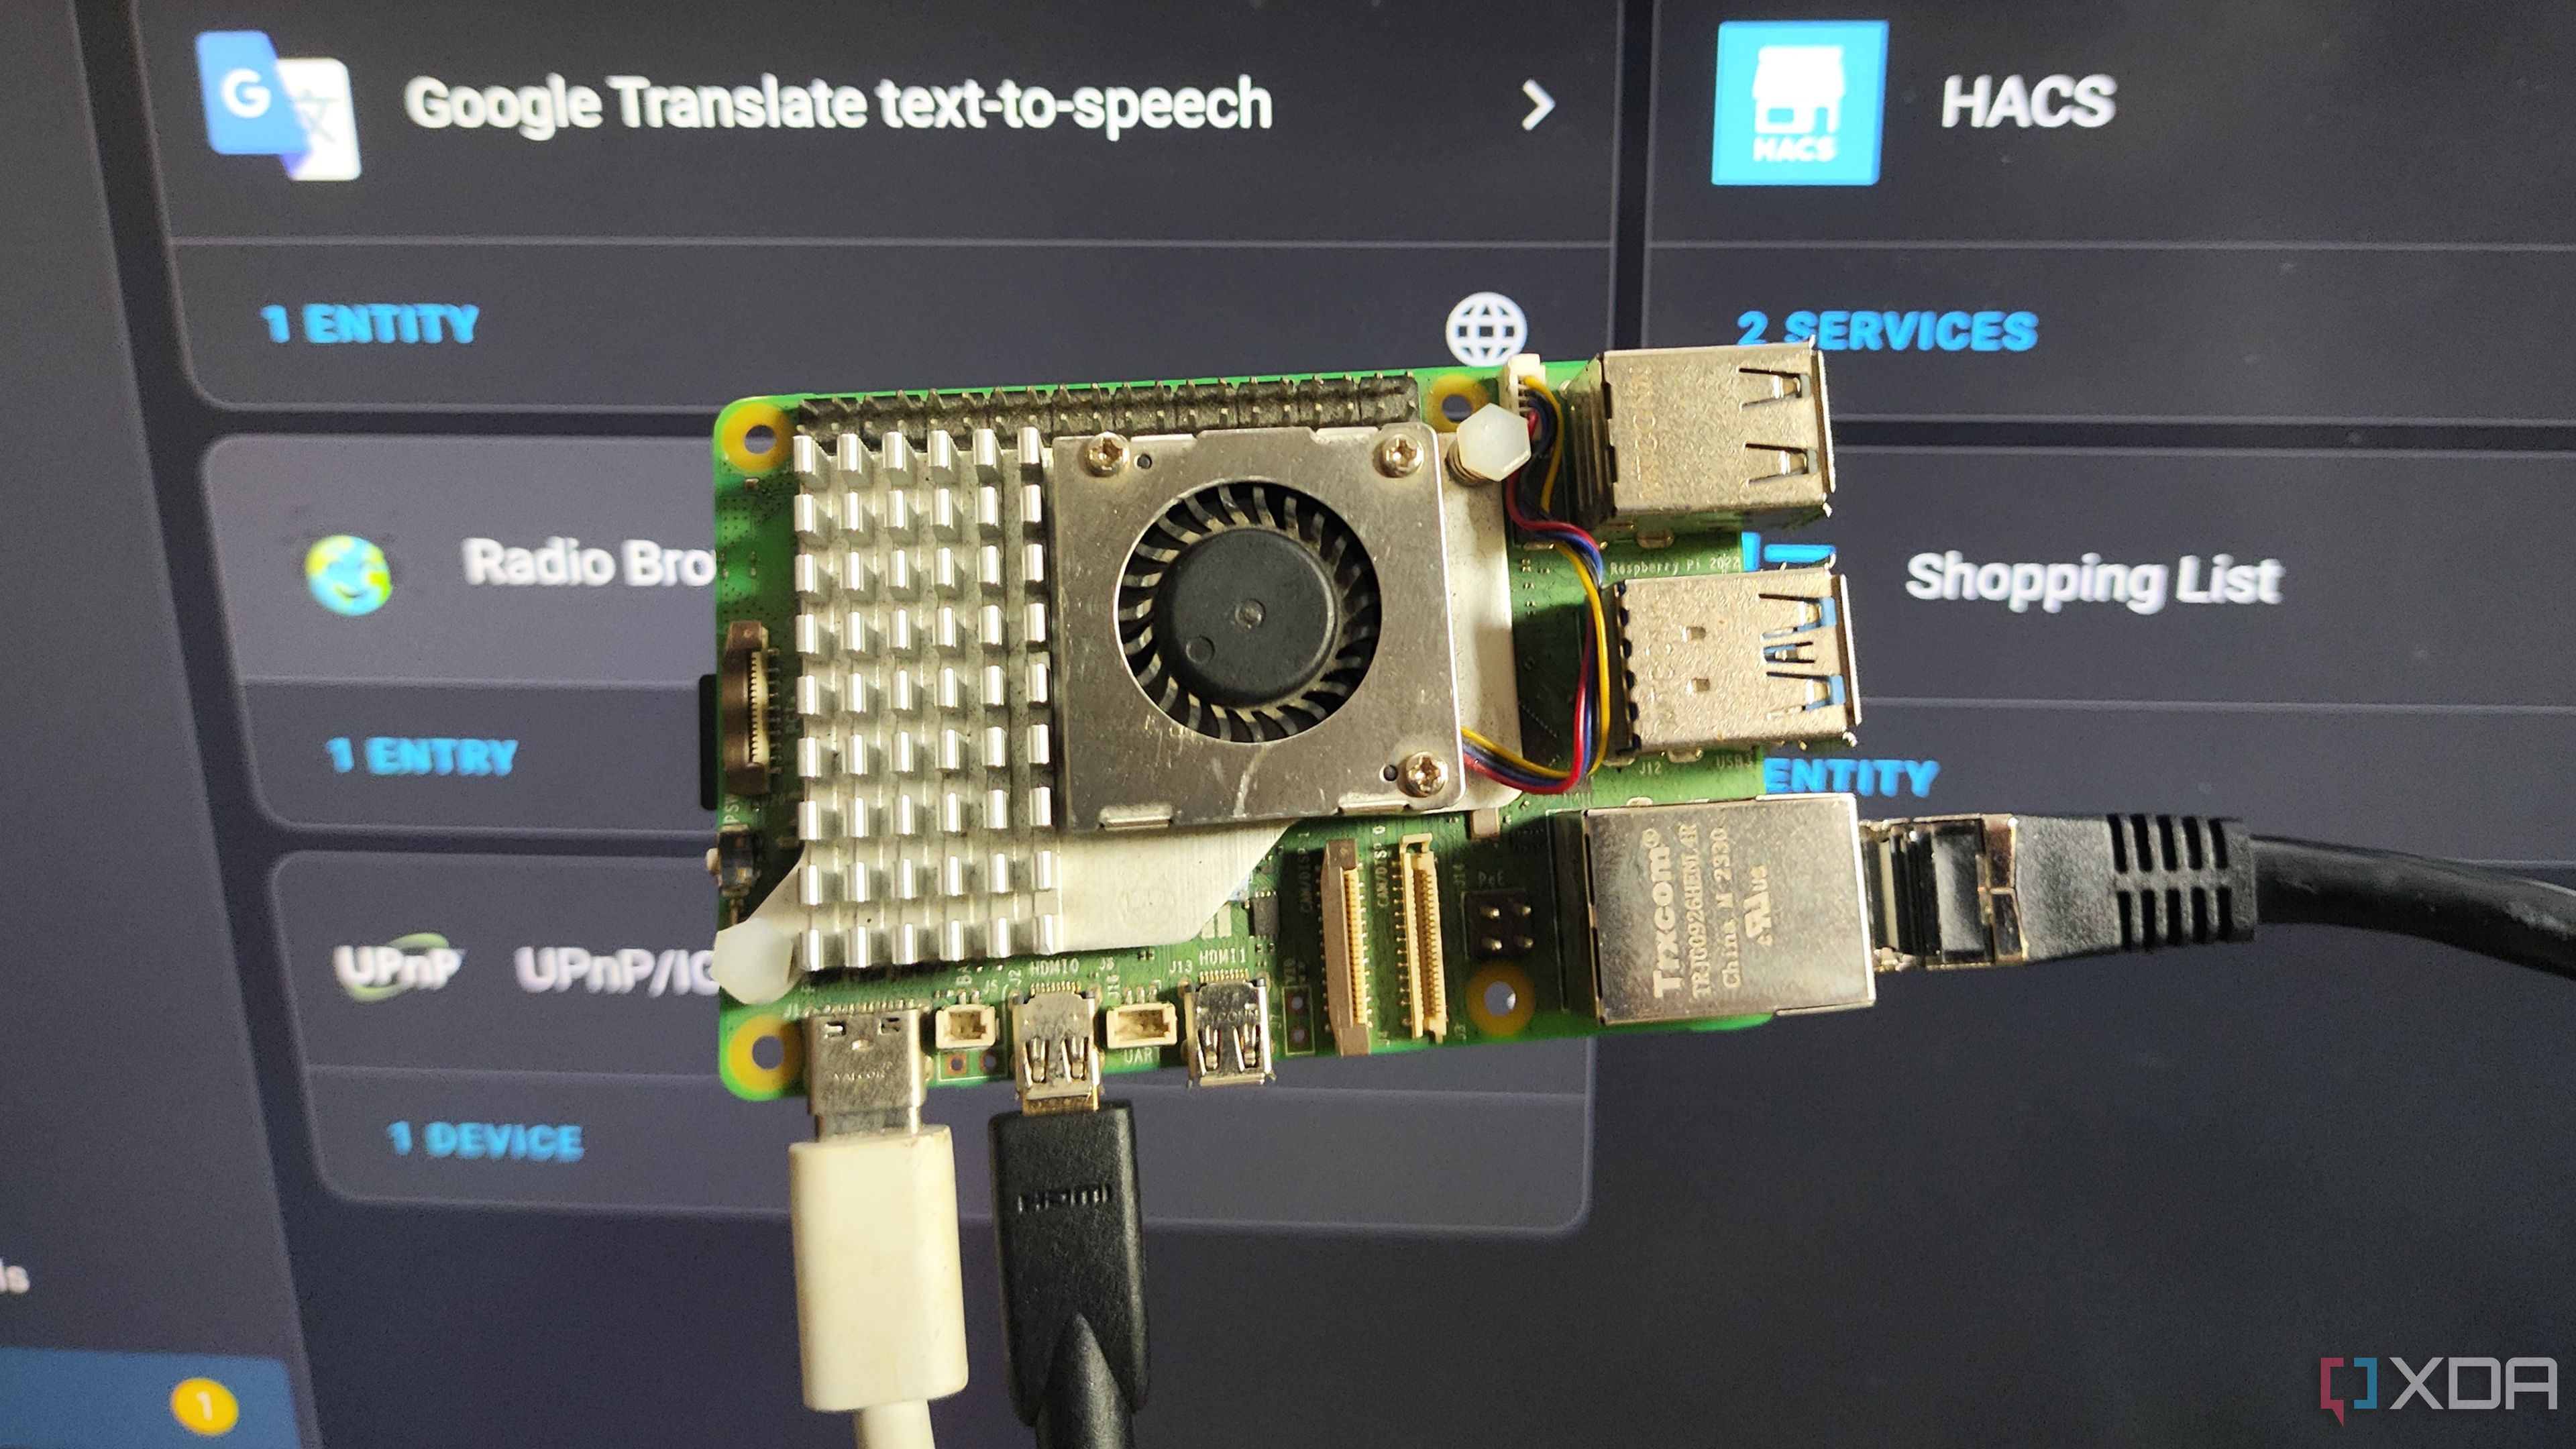
Since Home Assistant is my be-all-and-end-all service for managing my smart gadgets, I’ve paired my Raspberry Pi MQTT broker with the HASS instance to simplify automating my IoT paraphernalia. Unlike Proxmox and Frigate, which require separate integrations from the Home Assistant Community store, HASS natively supports MQTT. As such, adding the broker was as simple as searching for MQTT in the Integrations tab, choosing the Manually enter the connection details option, and entering the IP Address (under the Broker field), Username, and Password of my Raspberry Pi.
By now, you may be wondering why I didn’t just create a broker on top of HASS instead of going the whole hog of creating a Raspberry Pi-based MQTT server. By separating the Home Assistant instance from the MQTT broker, I could use the latter as a standalone server. If my home lab weree to go down because of a failed experiment, my MQTT server will continue to function as usual, and I won’t have any trouble grabbing statistics or publishing packets via my Raspberry Pi-powered broker.
There’s a lot more you can do with an MQTT server
So far, I haven't created too many automations using the MQTT server and have only stuck to workflows involving a roomba, some blinds, and a couple of LED lights. However, the all-powerful Node-RED supports MQTT brokers, and it’s several magnitudes more powerful than HASS for home automation. I plan to spend this weekend configuring some cool MQTT-based workflows using my Node-RED container. But given its complexity, I feel like it will be a while before I can come up with a truly impressive setup.
Related
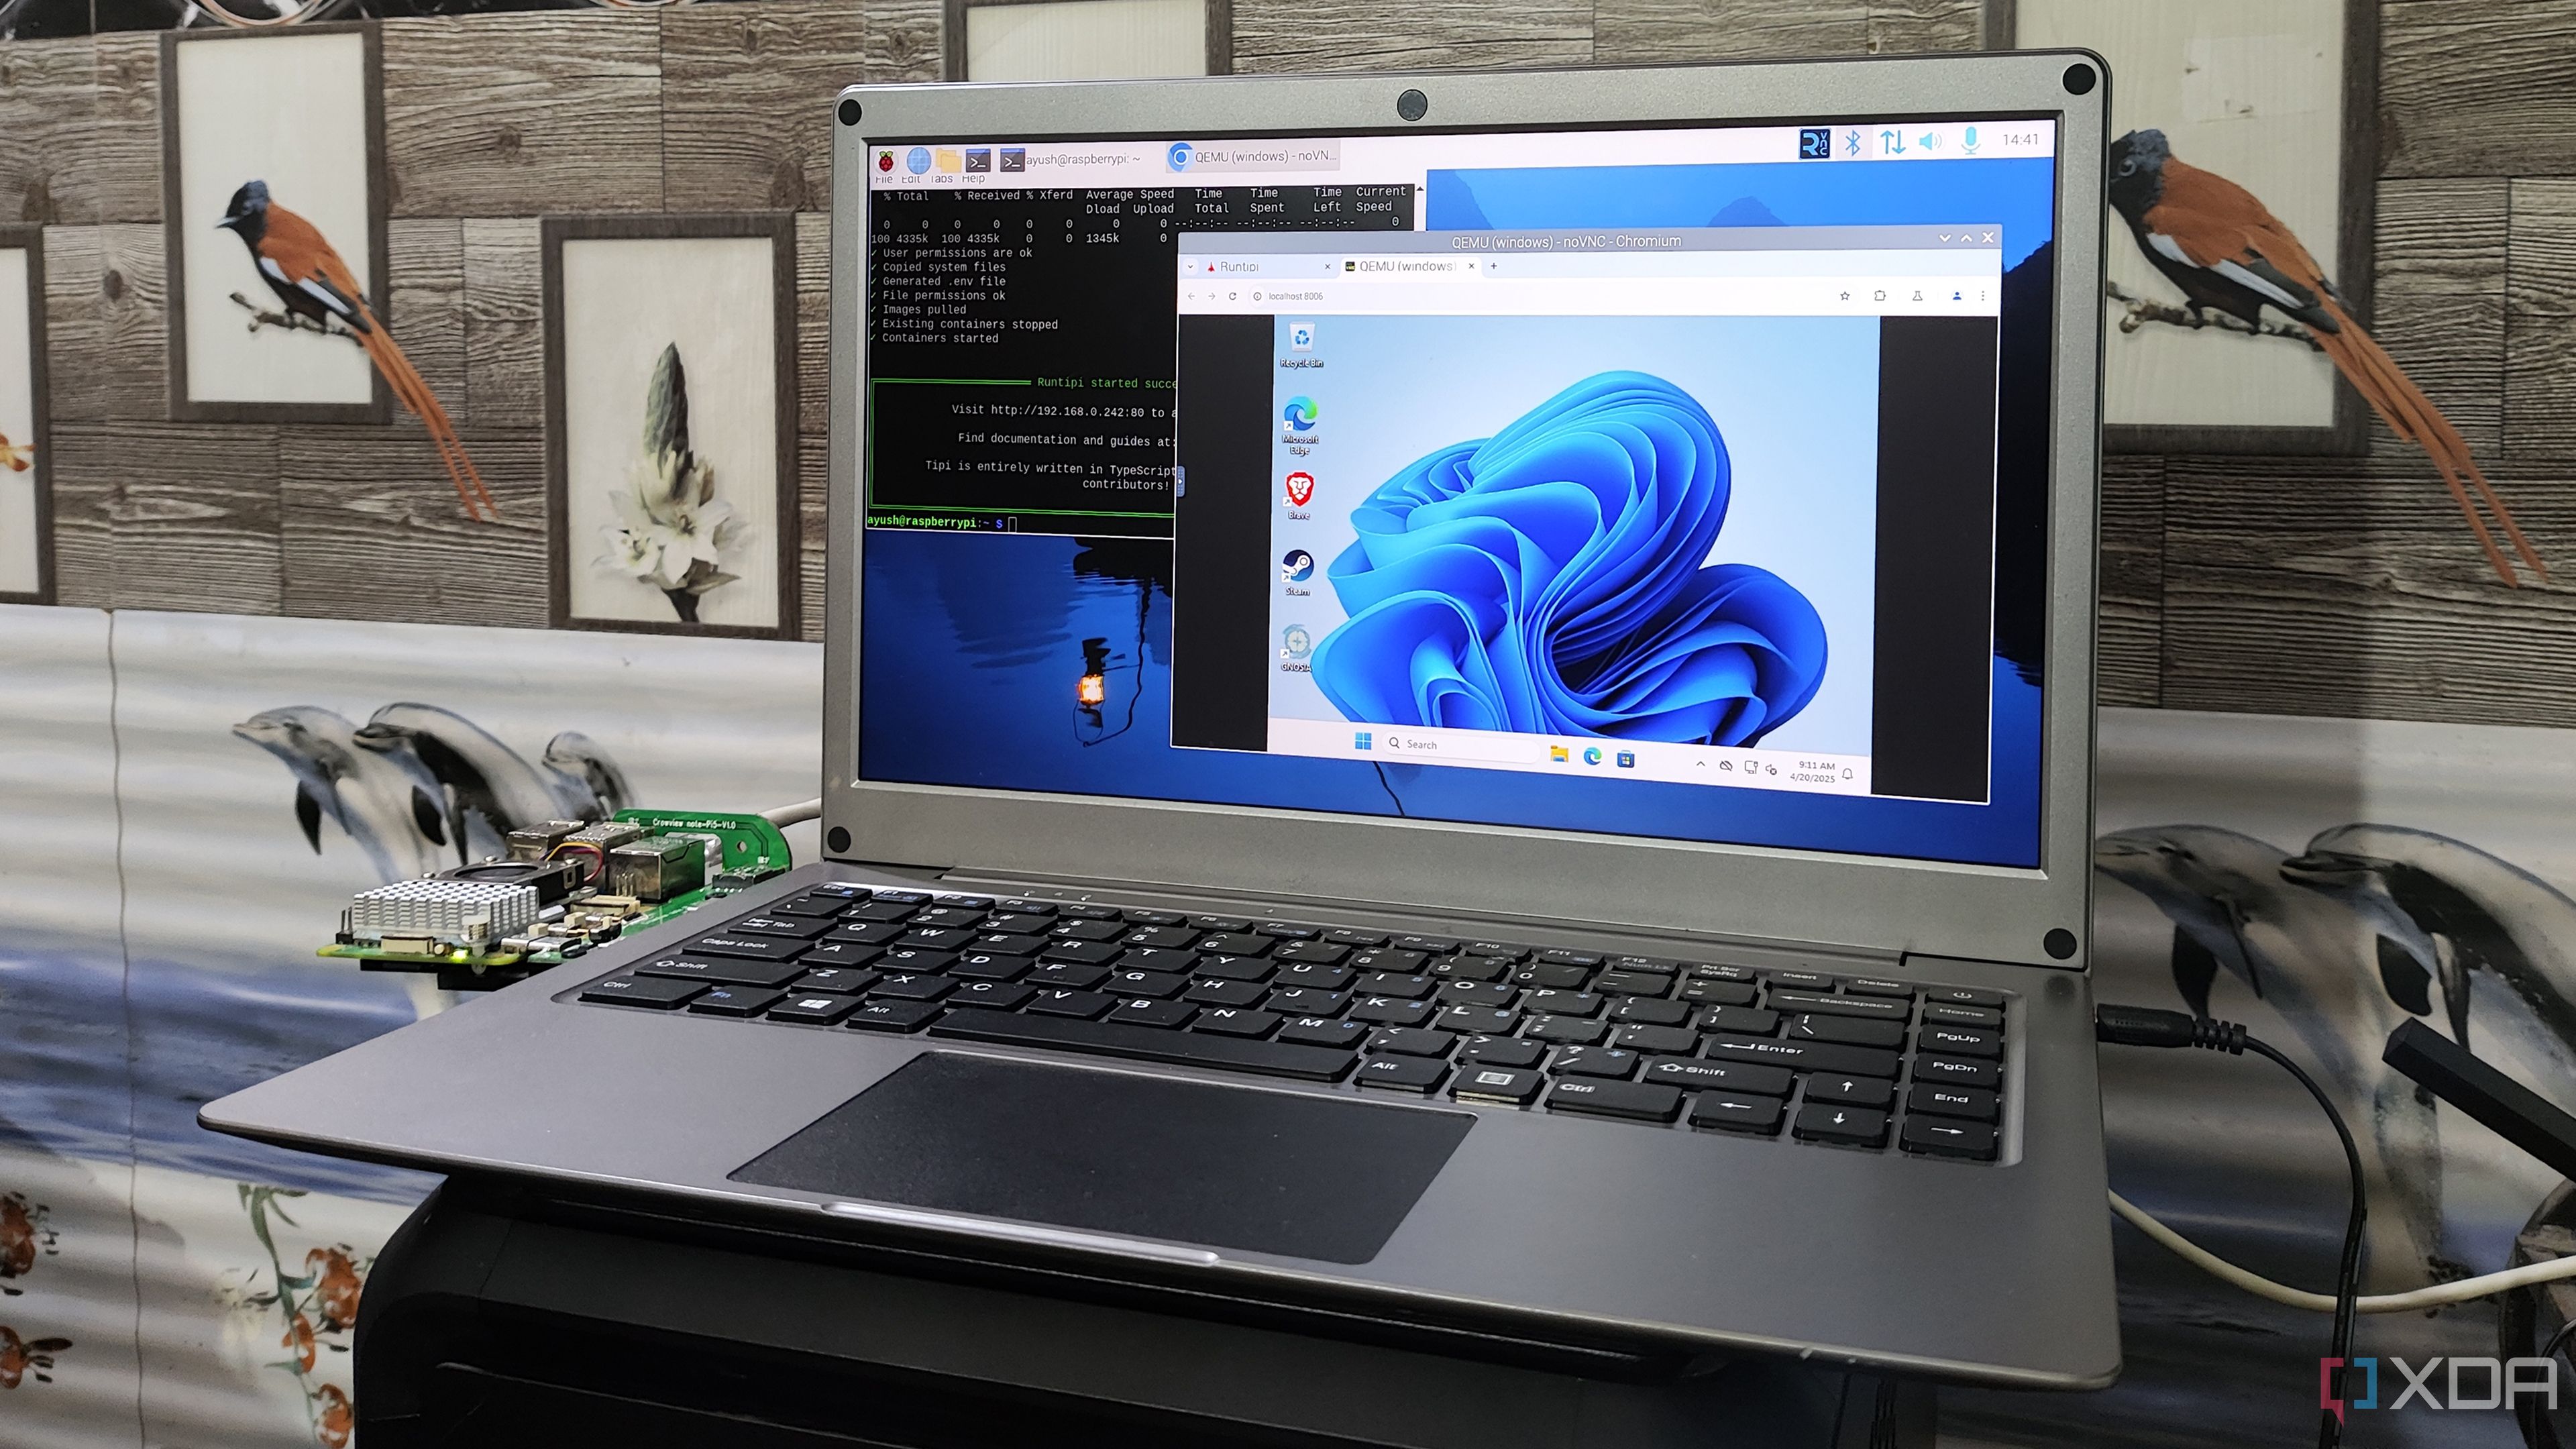
I ran Windows 11 inside a Docker container… on my Raspberry Pi
This PC definitely doesn't meet the minimum system requirements for Windows 11


 English (US) ·