.png)
Building a smart home with HomeKit-compatible devices does bring uniformity. But that leaves several smart IoT devices out in the cold. So I picked Homebridge to add non-HomeKit devices like a Roomba vacuum cleaner and an Arlo doorbell to my smart home's repertoire. As a bridge for non-HomeKit devices, Homebridge is open-source software that emulates the HomeKit API. So it lets me use plugins to integrate different smart home devices into the Home app and control them with Siri.
I revived a few old IoT devices with Home Assistant and it was quite some work. Despite all the bells and whistles, I found it complex and sometimes overwhelming. To keep things easy and simple for myself (and my family), I installed Homebridge on my Raspberry Pi 4B. While my experience was pretty amazing, I believe it is yet another option to control and automate HomeKit-compatible smart devices locally, even without the internet. Here's what I went through when I tried Homebridge in my smart home to replace Home Assistant.
Related
5 things I wish I had known before using Home Assistant
Despite the steep learning curve, there are features to help you catch up quickly and rich community support to help with solutions.
Extensive deployment support for different platforms
Installs on most devices easily
Homebridge's dashboard is primarily available through a browser and controllable through the command line if you're comfortable. Ideally, you'd want to install it on a machine that is always on. While you can install it on macOS, you might not want to keep a Mac always on. Deploy it on an old computer or mini PC that runs Windows or Linux. Alternatively, you can run it on a Raspberry Pi if power consumption concerns you. That's what I did.
Homebridge recommends a Raspberry Pi 2 or higher with Pi OS, Ubuntu, or a Debian-based Linux distribution. Besides installing Homebridge on Raspberry Pi, I also installed Node.js and NPM to help manage things from the command line. After the first boot, the Homebridge dashboard wastes no time and shows HomeKit bridges, graphs for resource utilization, system information with essential folder paths, and logs right in the middle.
There are plugins aplenty for popular devices
Configuring will make you sweat
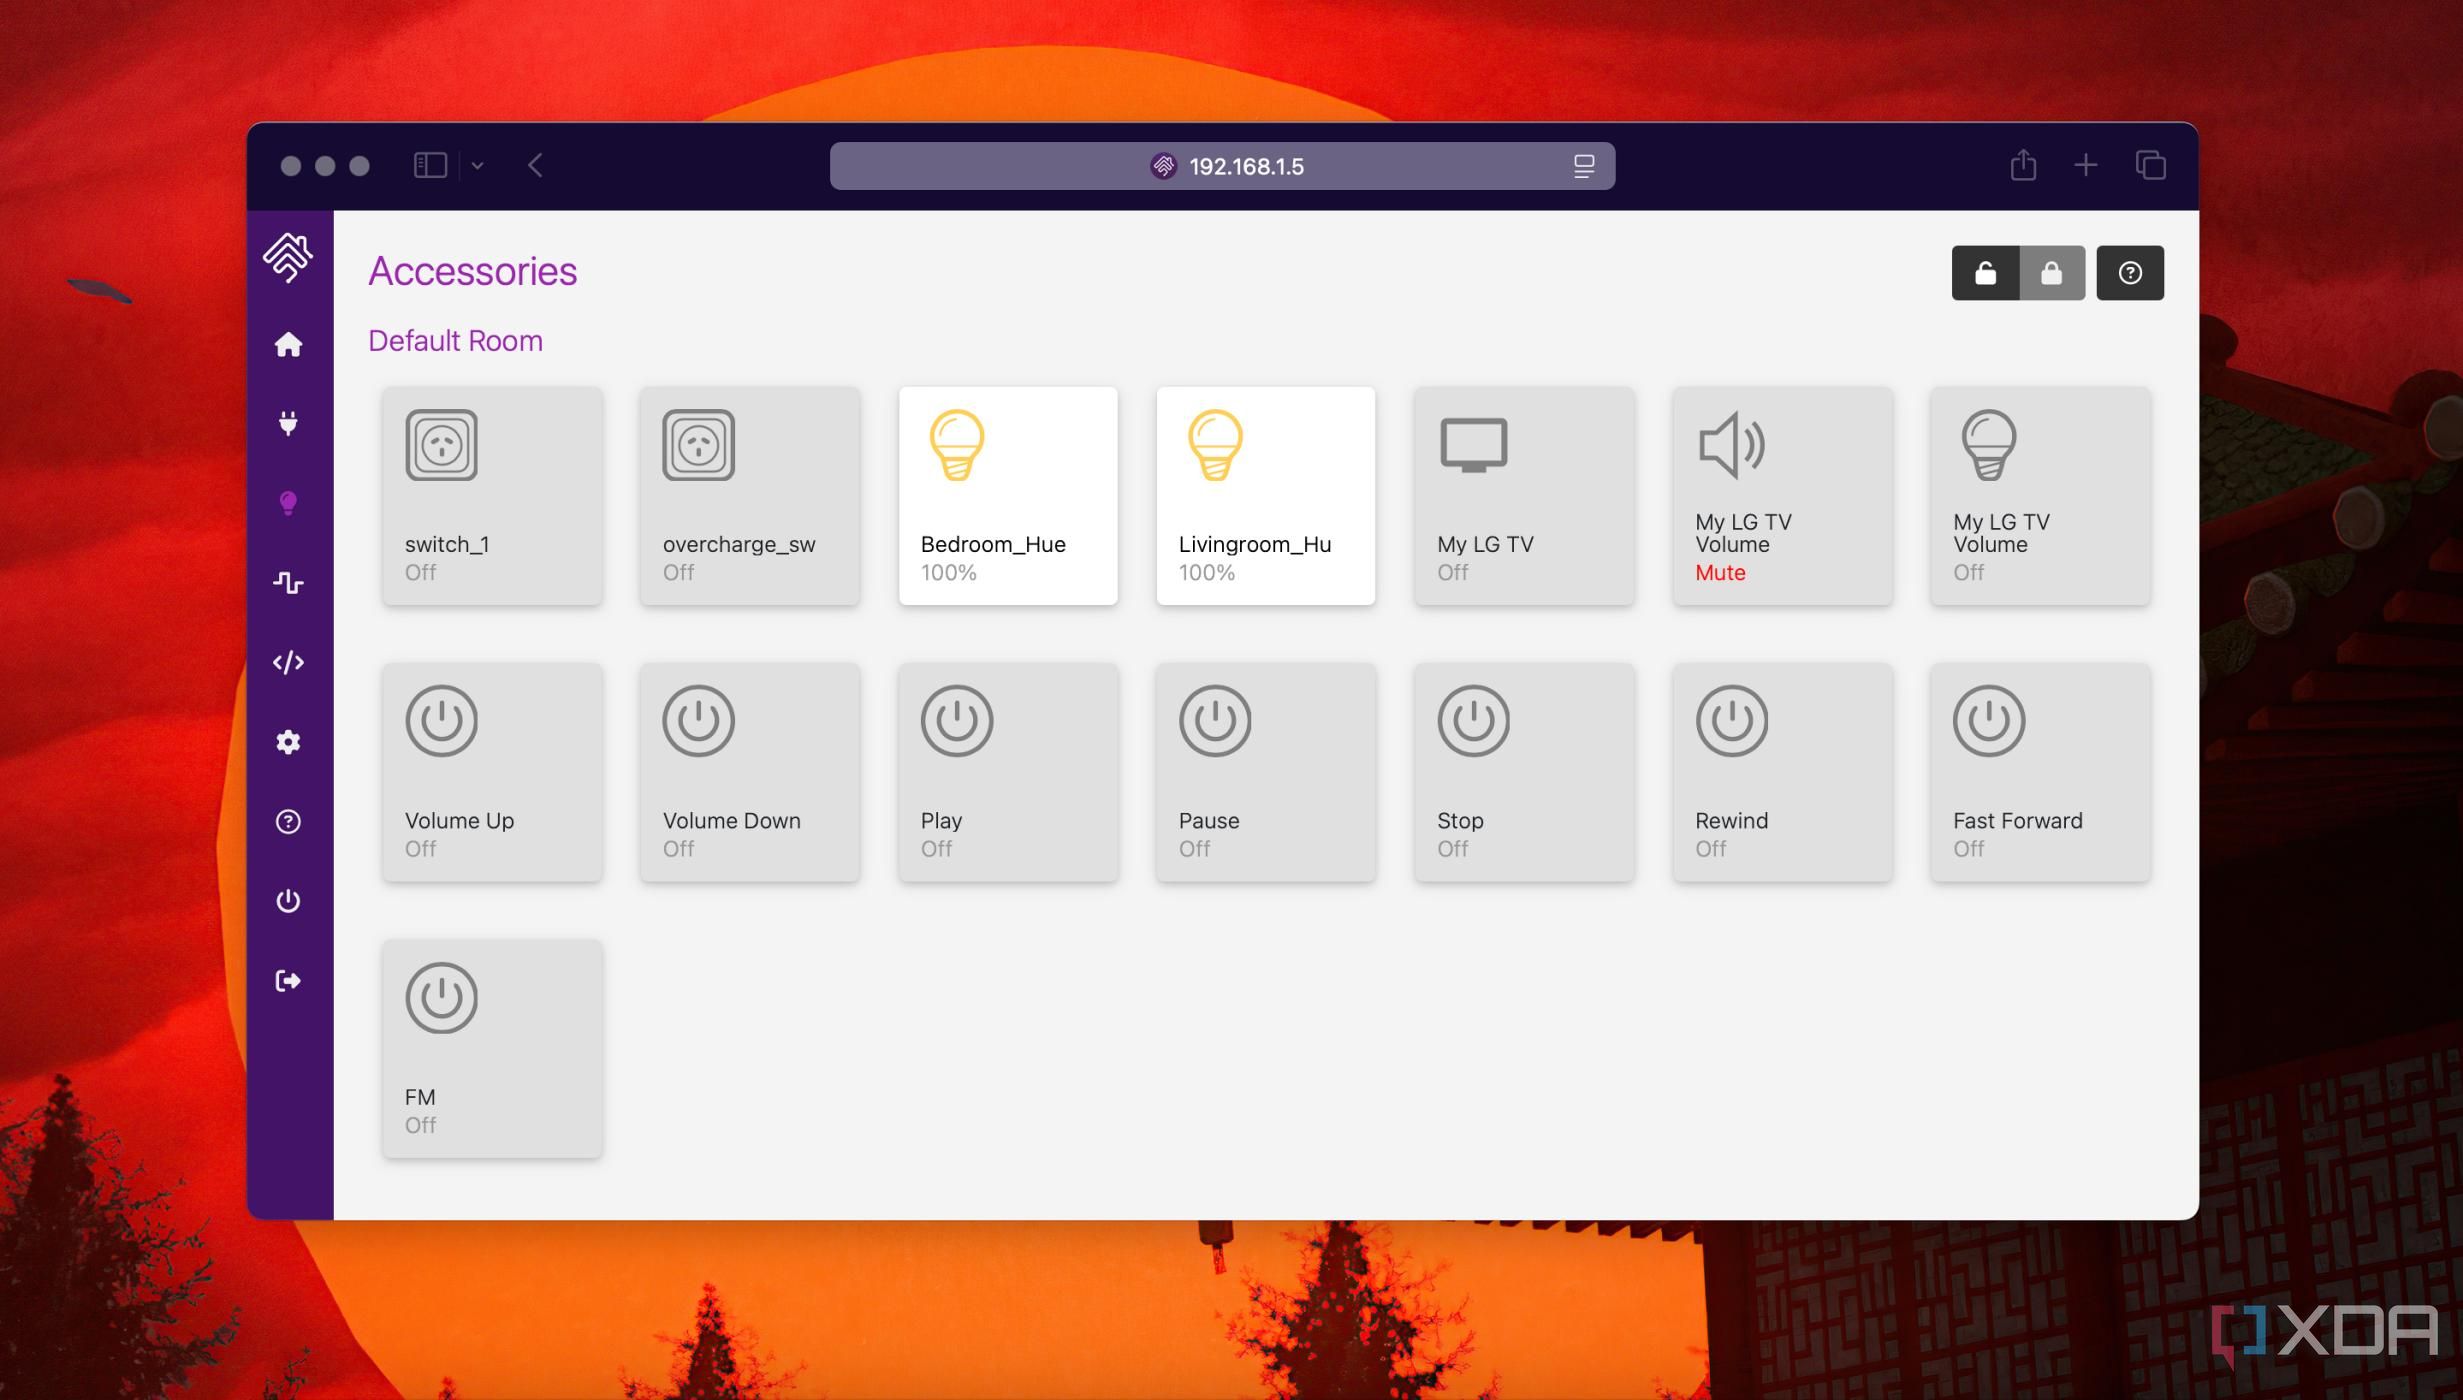
The biggest challenge of using Homebridge is to find a plugin for the IoT device you want to integrate. I looked forward to checking over 2,000 plugins; I could only check them through the Homebridge interface. A simple search for Tuya coughed up several options, which are initially confusing. The trick is to look for the green shield icons since the Homebridge team verifies them. Some of them also have an icon. But that can still be misleading. For example, I used a Tuya plugin with its official icon, but later learned that it's no longer actively developed.
Typically, you can visit the developer's page with several plugin options to learn more about the configuration steps. Then, you can know if it is being developed actively or in limbo. Installing a plugin means you'll need to configure it first before saving it to your Homebridge setup. Take the time to read the configuration options so that the plugin works as intended. If it crashes, you can check the logs on the home dashboard to troubleshoot the error. Usually, a simple reinstall works unless there's a permission error. Otherwise, simply reboot Homebridge and try again.
Adding a device to Homebridge is some work
It won't be easy
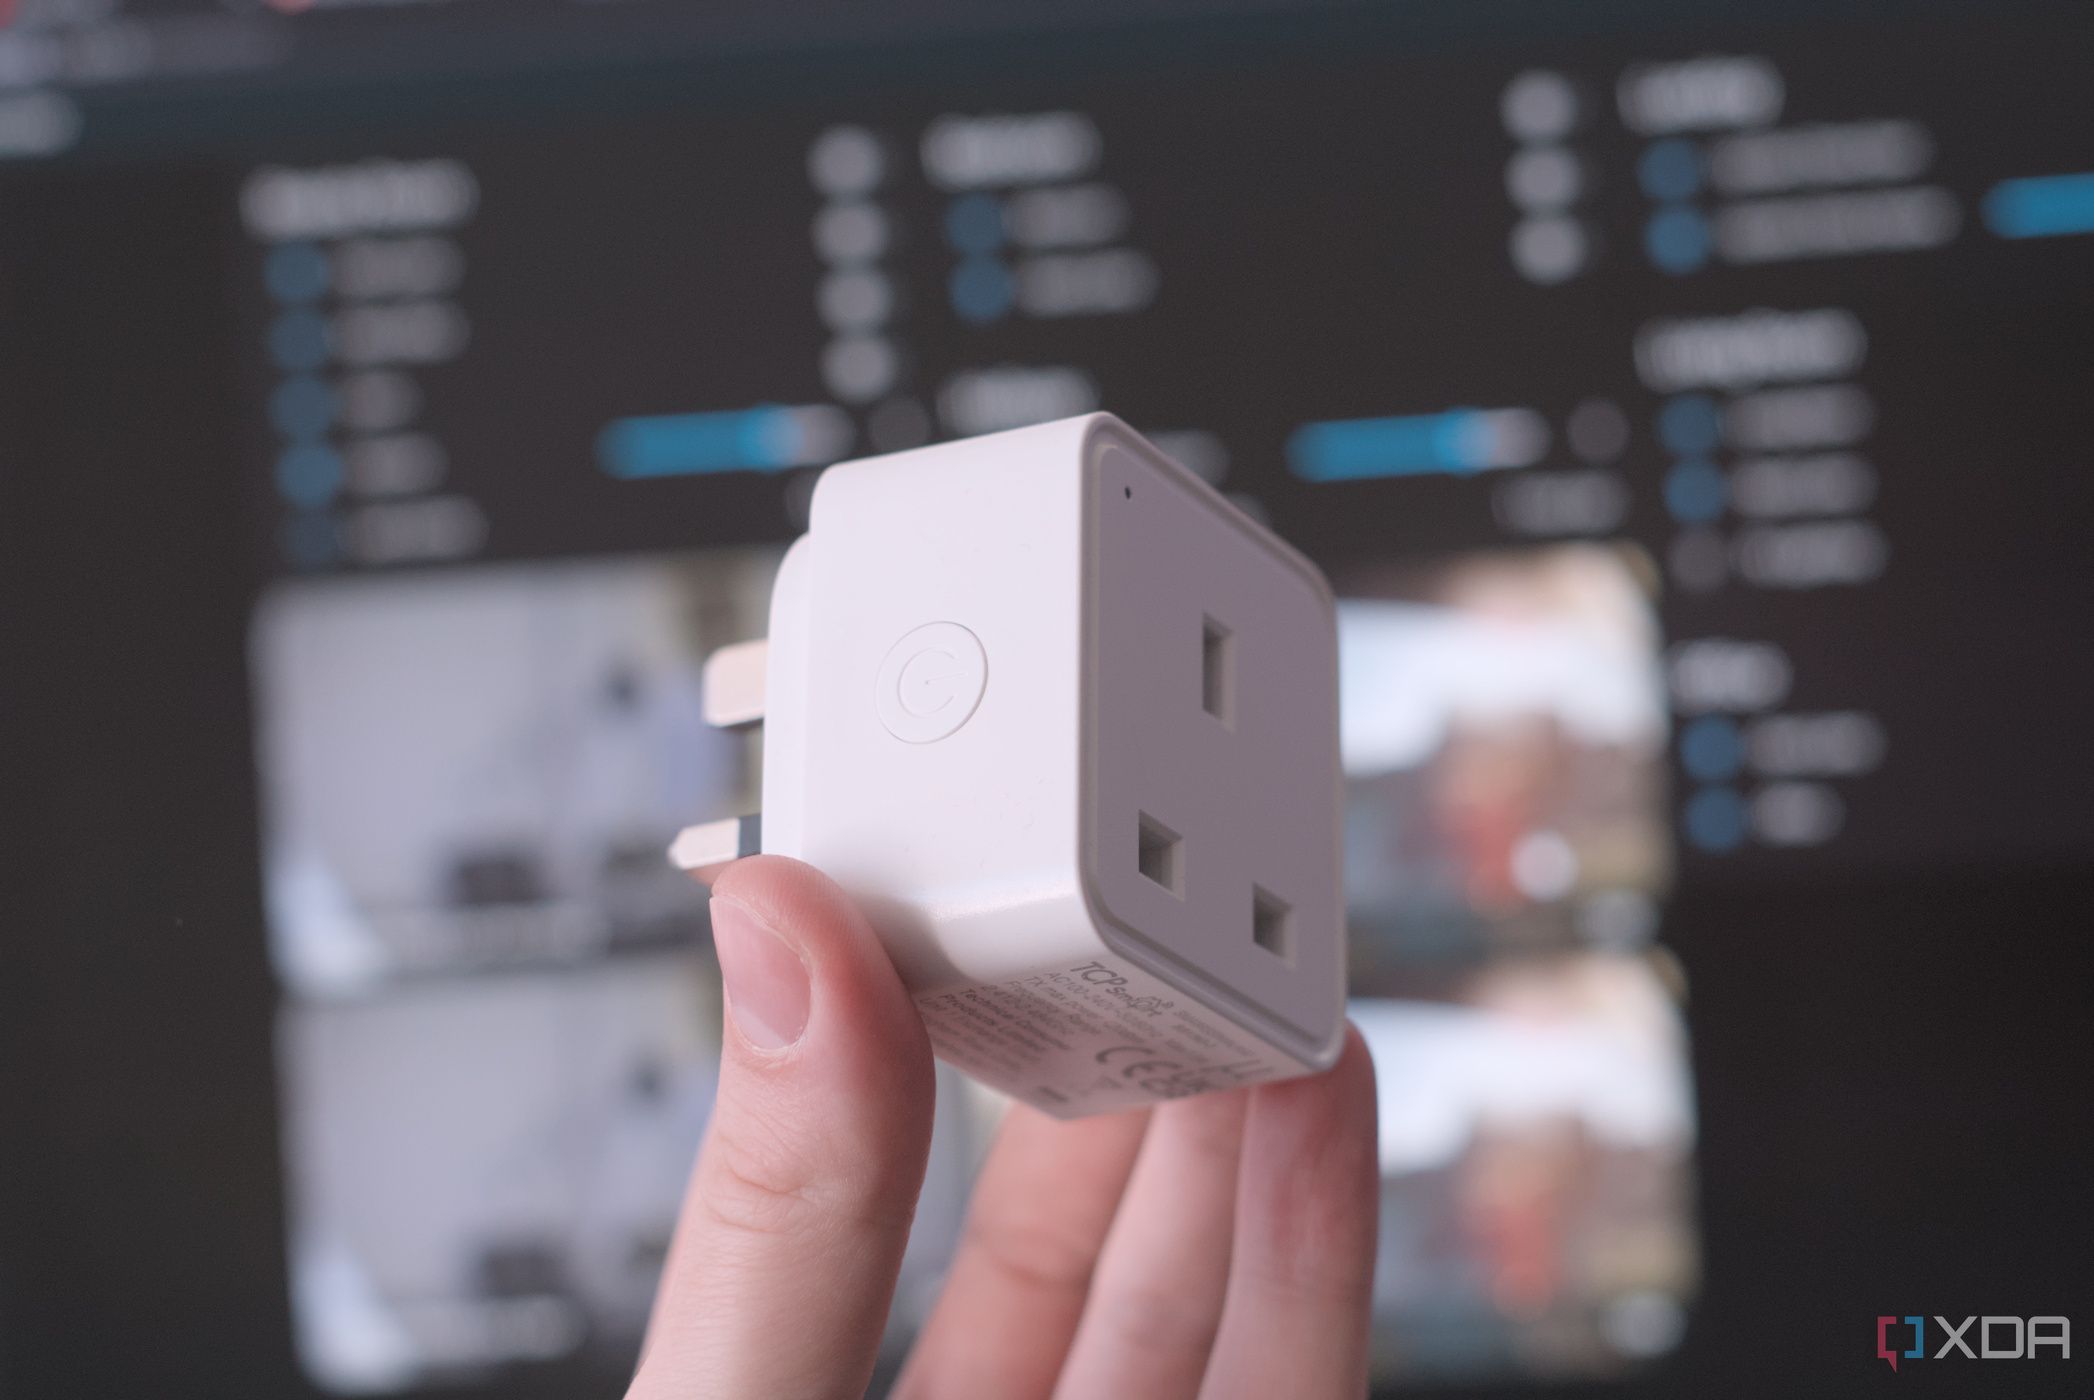
My biggest gripe with Homebridge is that you must manually configure the devices using a plugin. Most plugins will ask for the login details of the accounts connected to the accessory, like the Ring doorbell. I had set up Zigbee devices with a Raspberry Pi using a Sonoff Dongle, and the Homebridge Z2M plugin helped me integrate the Zigbee devices easily. For other inexpensive IoT devices, you might have to wrestle with multiple configuration options and spend time figuring out technical details before installing them.
For instance, to add a smart plug, I had to create an account and add a project in Tuya Cloud to connect to an app that lists the devices. After every install or uninstall, you'll need to restart Homebridge — it reminded me of Windows. That made me realize that Home Assistant's default behavior of automatically detecting an IoT device seems quite convenient.
So, how should you run automation
Well, you can't
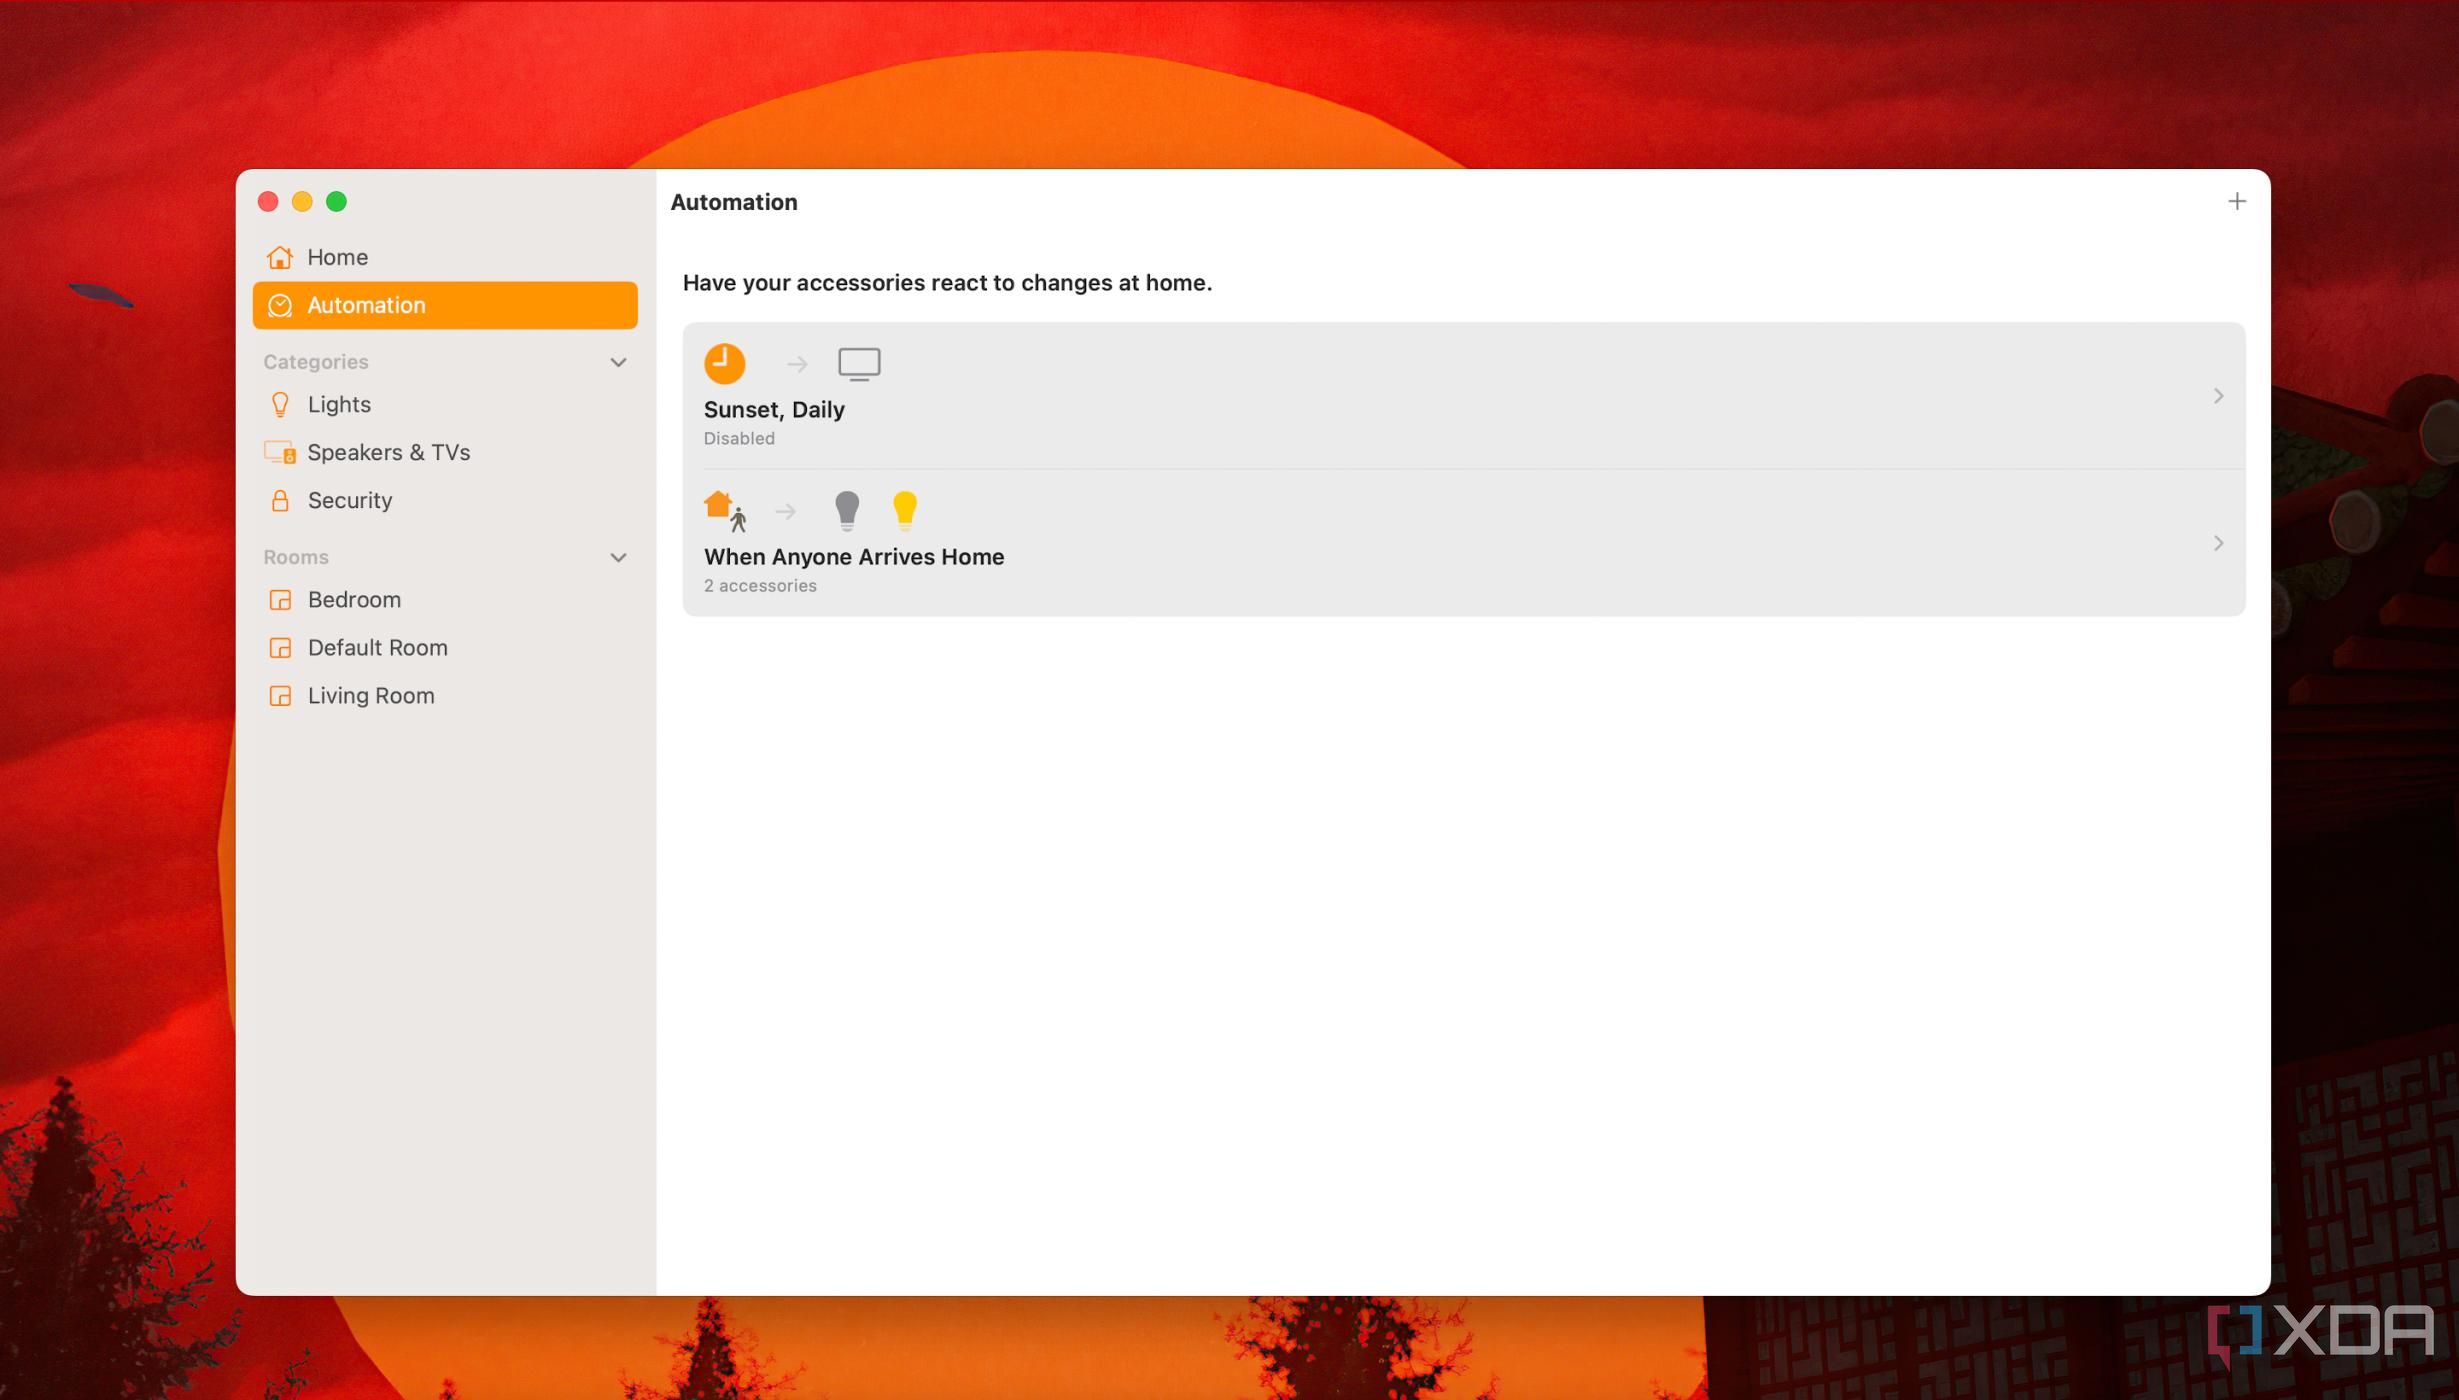
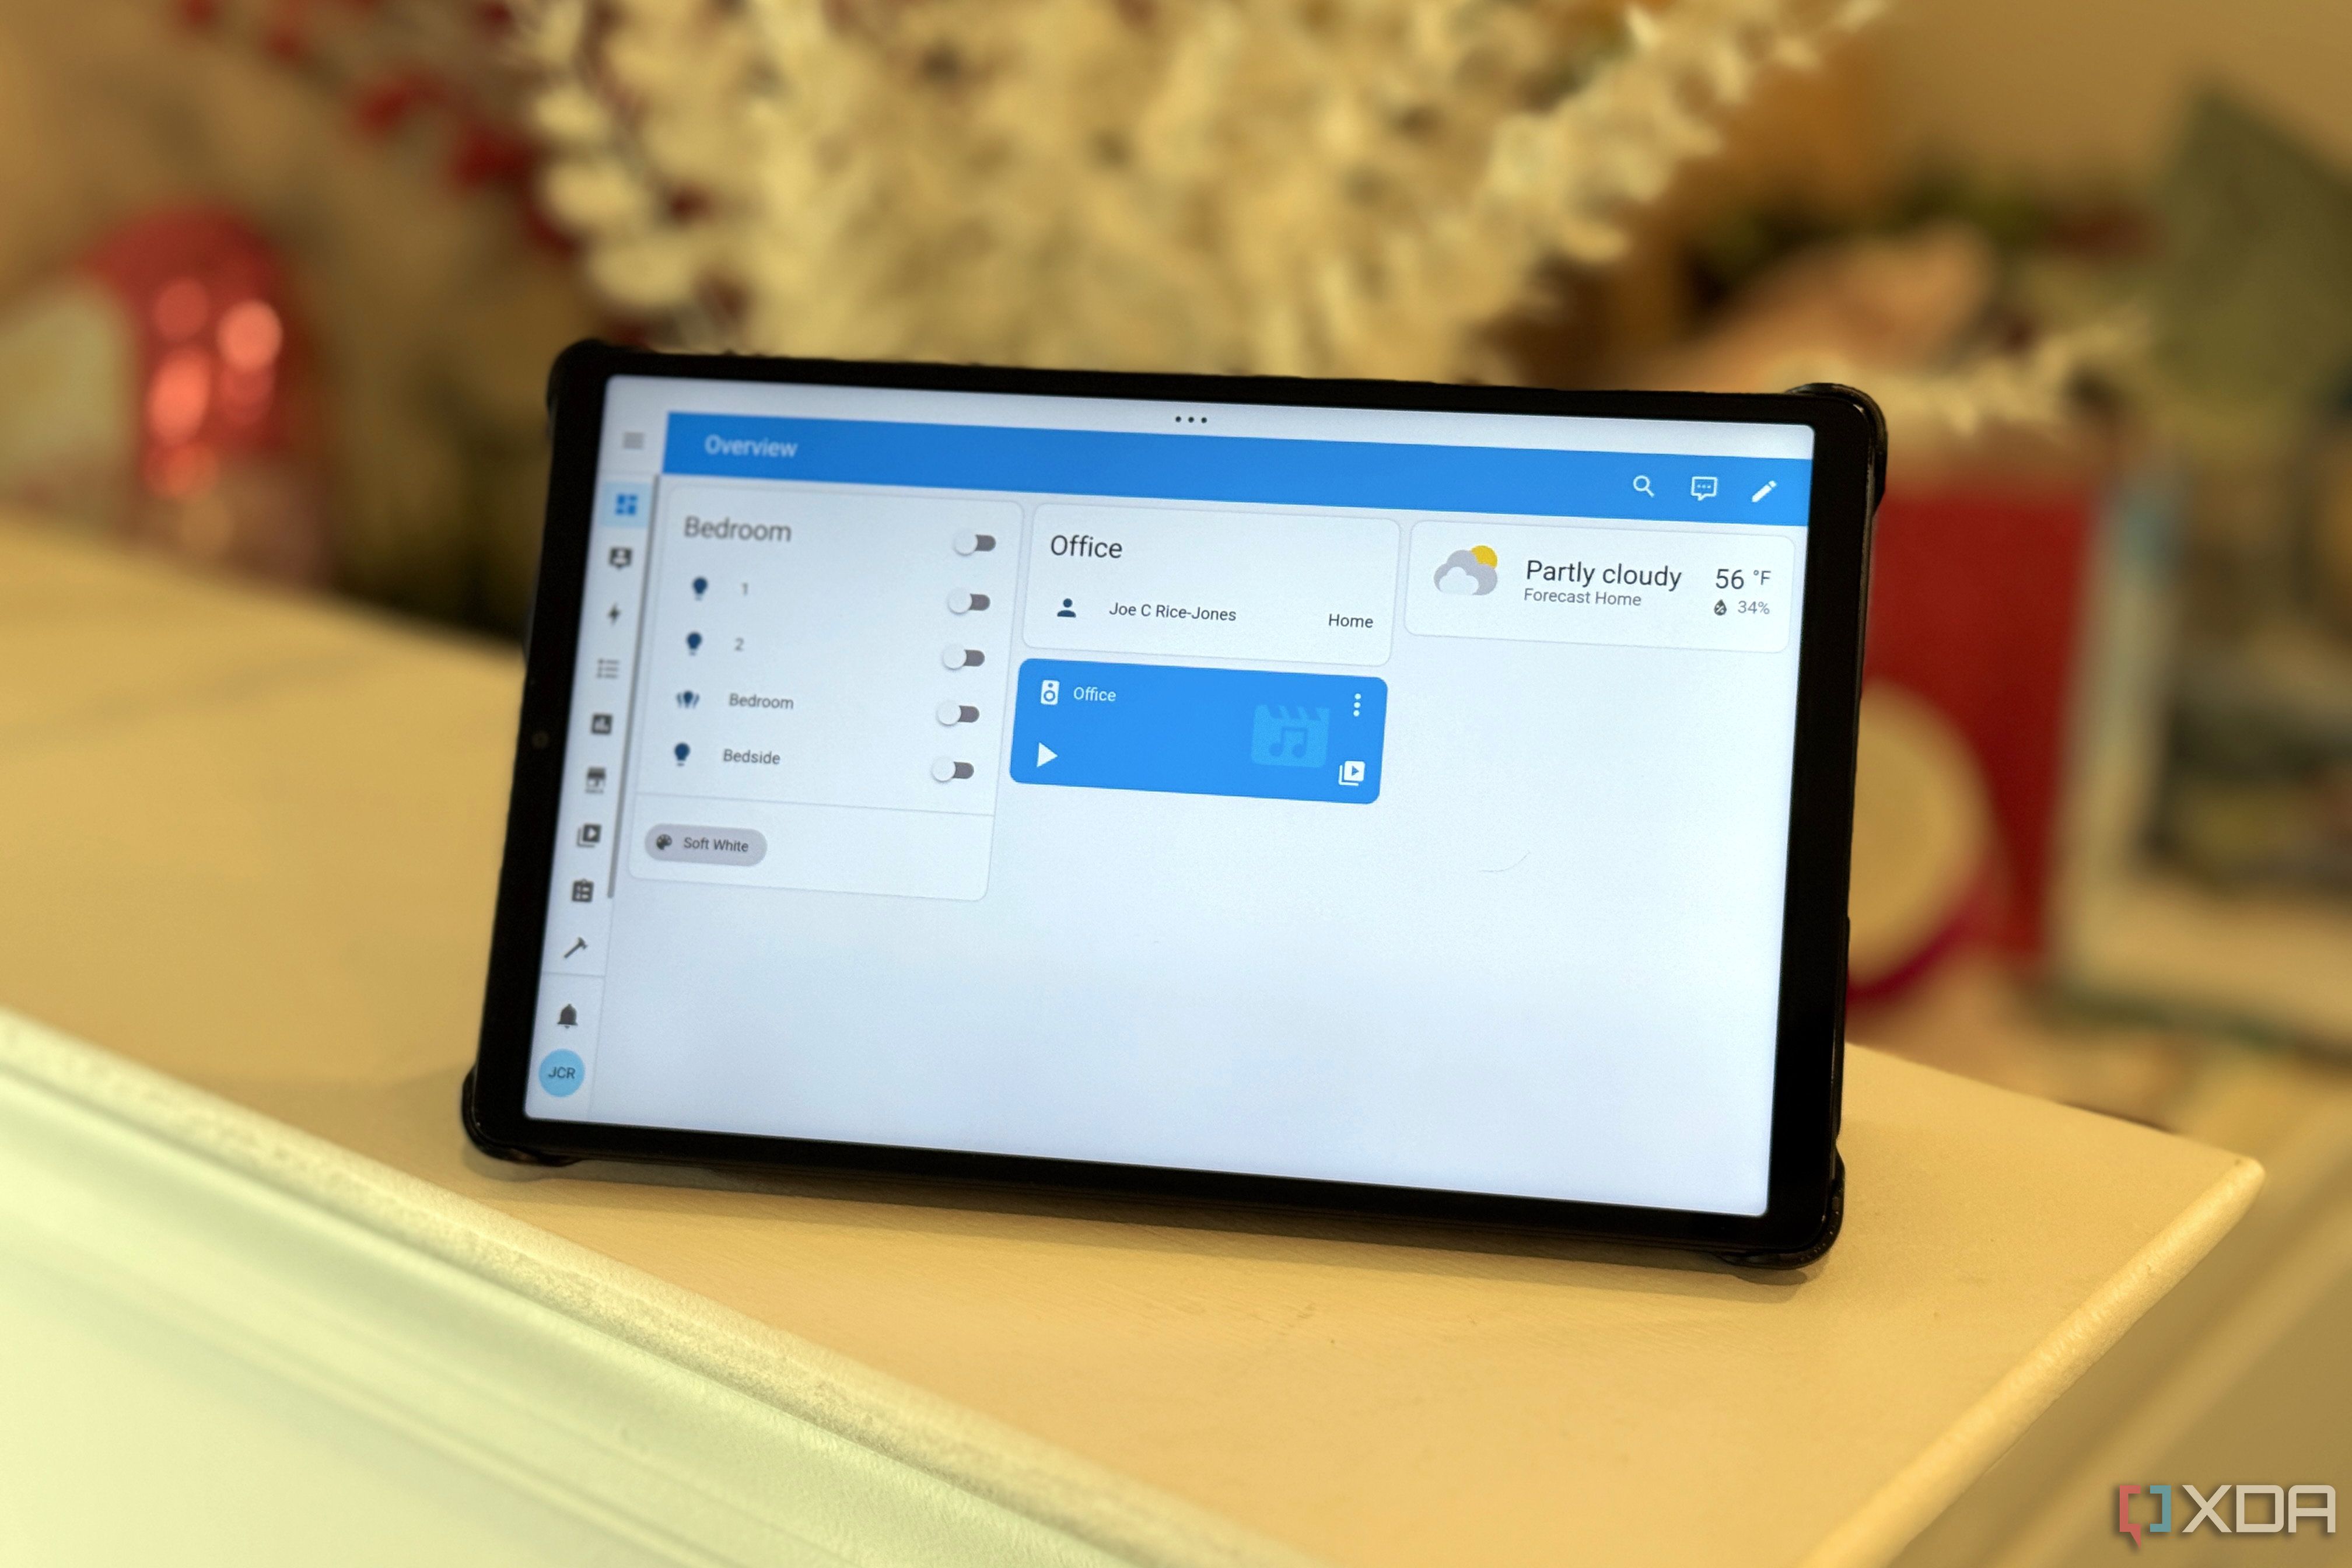
Things hit hard when working on automations with HomeKit. I was limited to the Home app for crafting most of them since Homebridge cannot create automations like Home Assistant. Also, Apple's HomeKit contains oddities like a hard limit of 100 scenes and a 'turn off device' limit of only up to 4 hours. Once you hit that, you'll need to get creative to repurpose some.
Unfortunately, Homebridge doesn't let you create or handle any automation. You're limited to the Home app for creating automation using the default options. Adding automation directly from the accessory card in the Home app is Homebridge's saving grace. However, it made me miss the elaborate options that Home Assistant offers to create automations.
Related
4 inexpensive IoT devices that I've found are actually useful in your smart home
Among the almost infinite selection of IoT devices for your smart home, these are the most useful that are also inexpensive.
Embrace harmony amidst chaos
Homebridge works best if you wish to stay in Apple's HomeKit ecosystem and sprinkle a few unsupported devices with it. Its neat interface and variety of plugins for non-HomeKit devices is a rabbit hole. However, configuring devices with plugins can get highly technical. My family is quite happy with the Home app's updated dashboard with non-HomeKit devices and isn't taking the blue pill — Home Assistant. However, I'll continue using Homebridge alongside Home Assistant, even though it isn't a replacement for me. It'll be a challenge not to go overboard with smart home automation.


 English (US) ·