.png)
Considering the versatile nature of Proxmox, there’s no shortage of cool projects you can build with the virtualization platform. Besides using it to tinker with cool distros, I’ve run Hackintosh setups, nested hypervisors, and automation hubs on my Proxmox nodes – and that’s just the last couple of weeks. But leaving these niche projects aside for a moment, a virtualized Windows 11 development environment is my most-used home lab utility, second only to my arsenal of self-hosted services.
Related
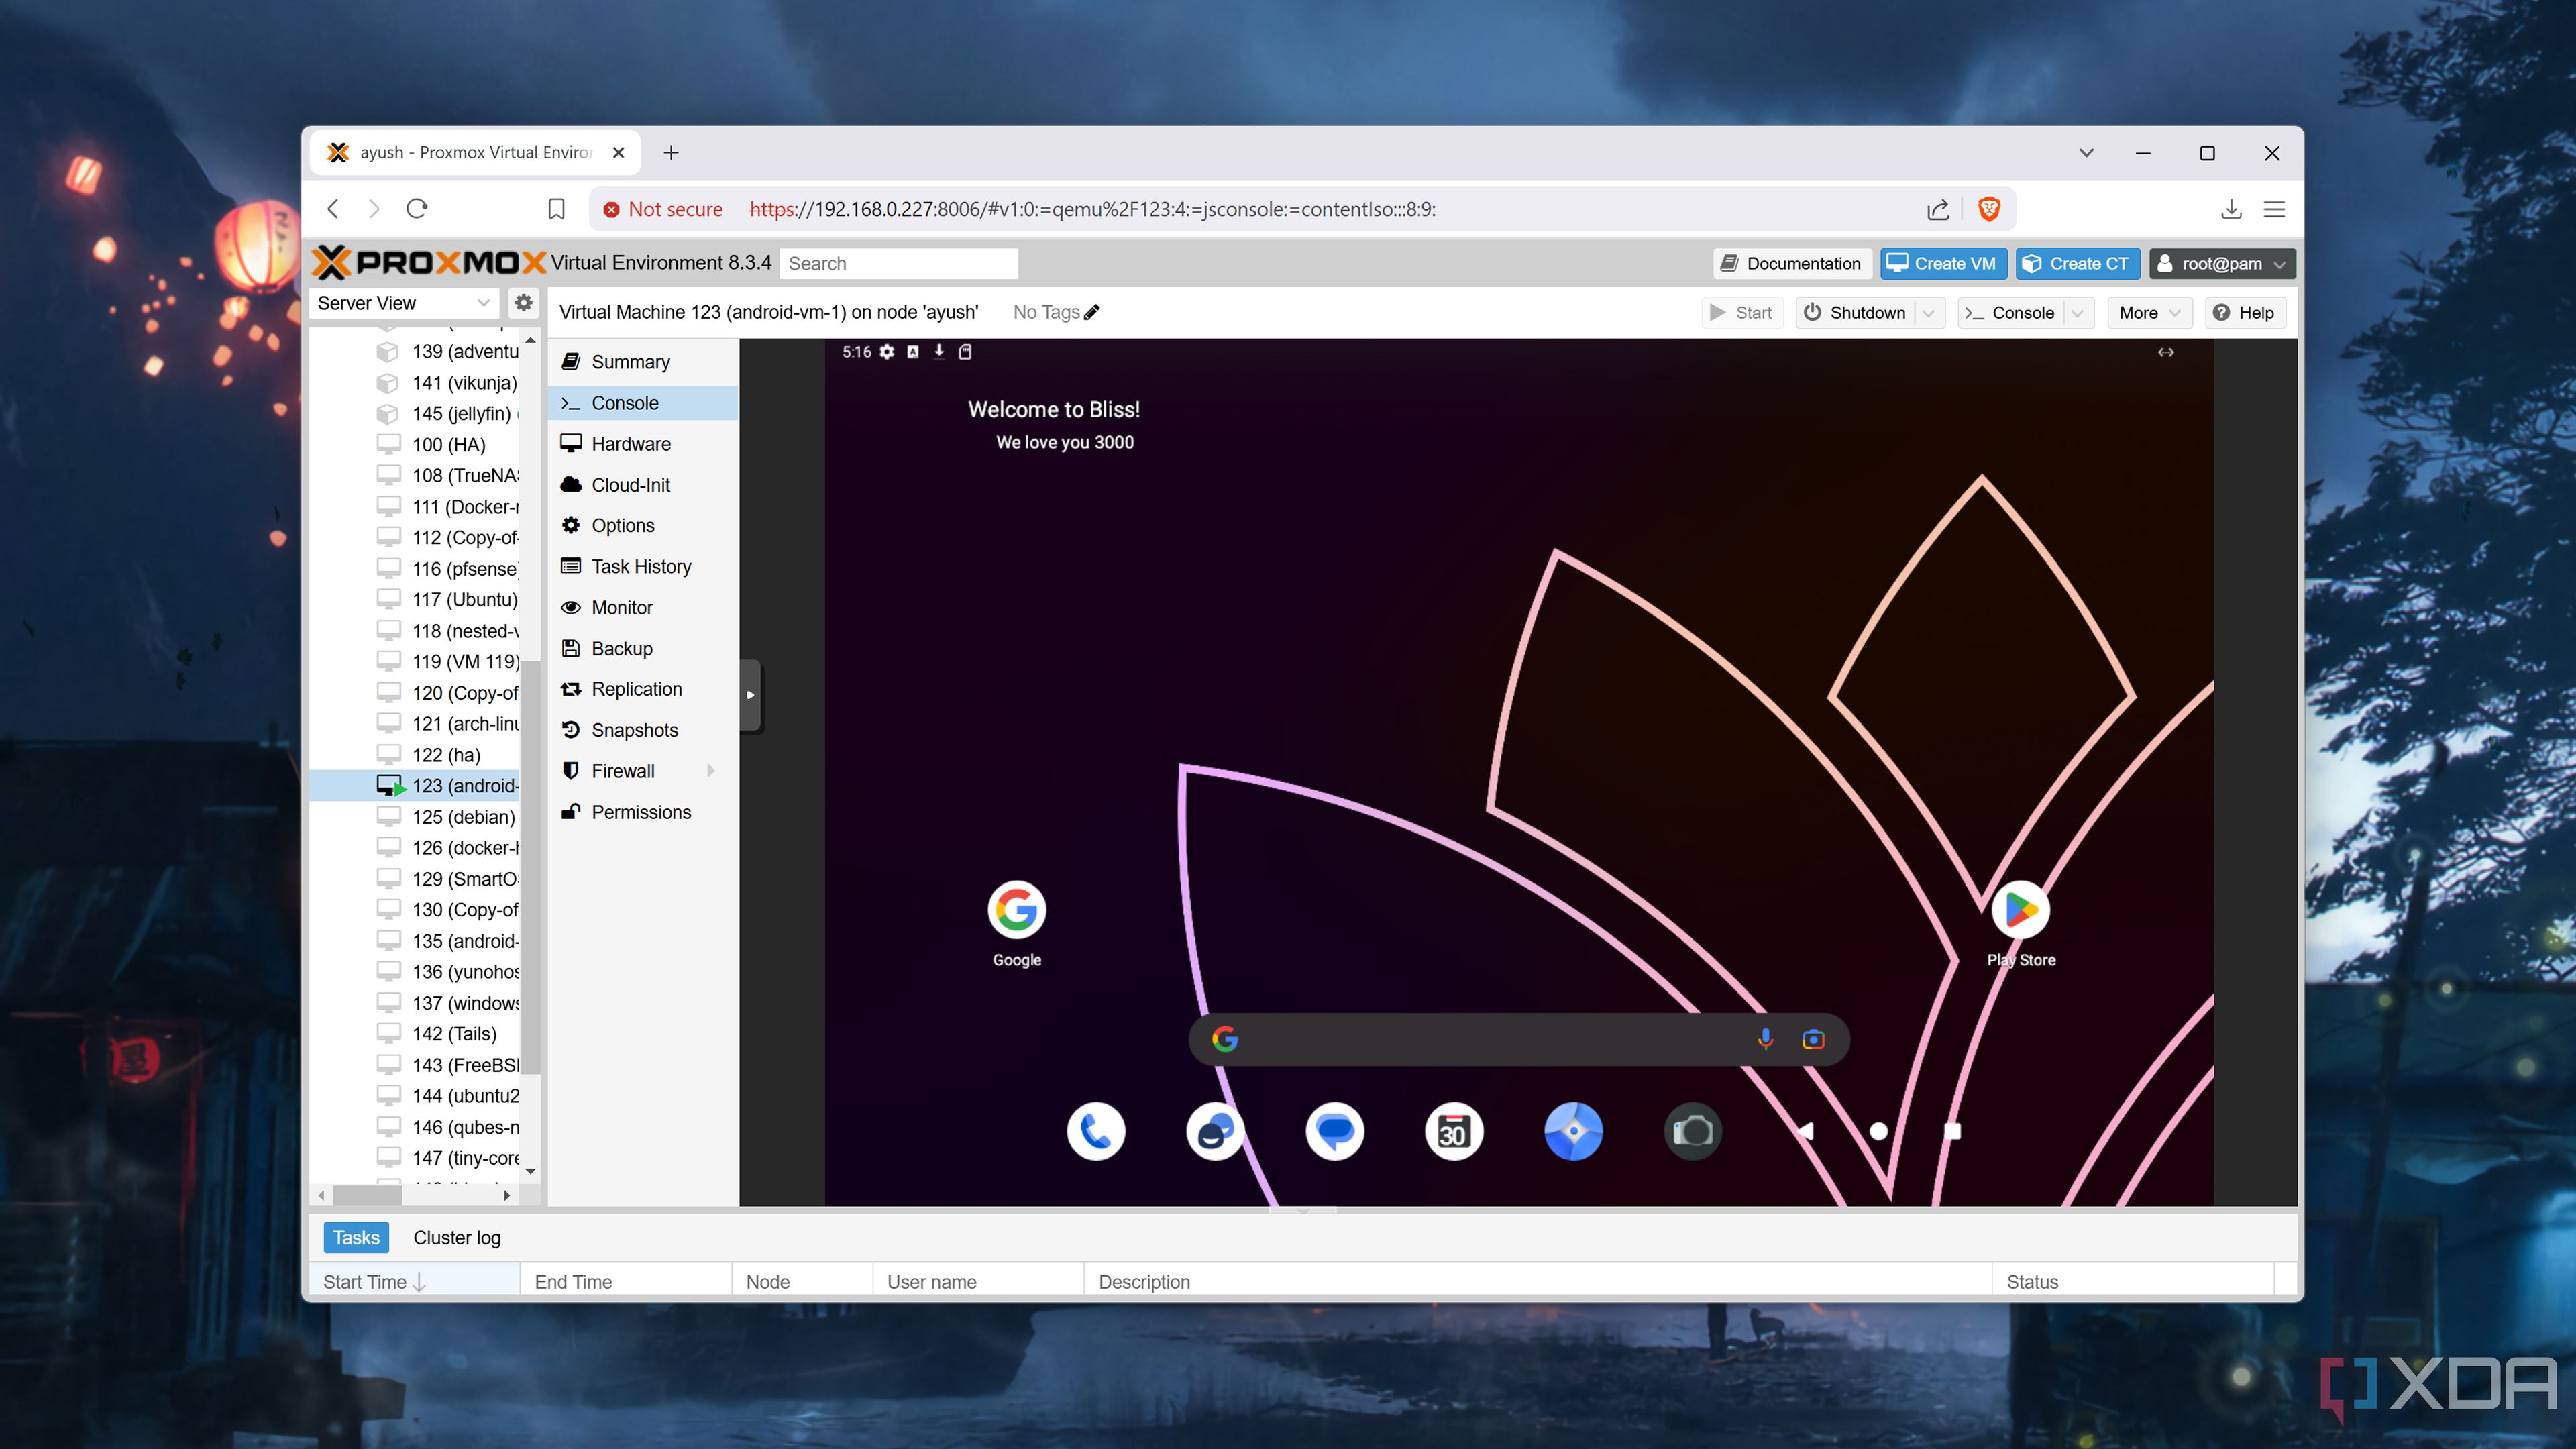
I tried running Android VMs inside Proxmox
With the right OS, Proxmox is surprisingly good at virtualizing Android
Seeing how I already use a dedicated virtual machine for my coding tasks, I wanted to take the next logical (or illogical, if you’re not a fan of wacky home server projects) step in this chain of thought and see if a Proxmox-based virtual machine can replace my main PC. The short answer is a resounding yes, though it requires several config file tweaks and an ungodly amount of patience. For folks who want the long answer, here’s a log of how I tried to build a Windows 11 virtual machine on Proxmox that can handle my everyday tasks.
Laying the groundwork for the project
Choosing the rig and installing Proxmox
Since I’ve got a couple of rigs in my home lab, I had a bit of an internal debate about picking the right machine for the job. I use my daily driver for everything from editing articles and annotating screenshots to learning Blender and running games, so my budget-friendly NAS and mini-PCs were out of the equation. I could try running this setup on my dual-Xeon server PC, but its low single-core performance made it a weird choice for the project. However, the real deal-breaker was the wacky IOMMU compatibility of the X99 motherboard, without which I wouldn't be able to pass a GPU to my virtual machine.
So, I ended up with my ol’ reliable AM4 system, which includes a Ryzen 5 1600 CPU, 16GB DDR4 memory, and an Intel Arc A750 GPU. It’s far from a good PC in 2025, but it can still hold its own against modern games (at 1080p), Blender tasks, video-editing tools, and other moderate workloads. Plus, I plan to run a single VM on the machine anyway, so it’s not like I need dozens of CPU cores for the project. And well, I wanted to see how terribly a cursed setup involving a first-gen Ryzen CPU and a first-gen Intel GPU would perform.
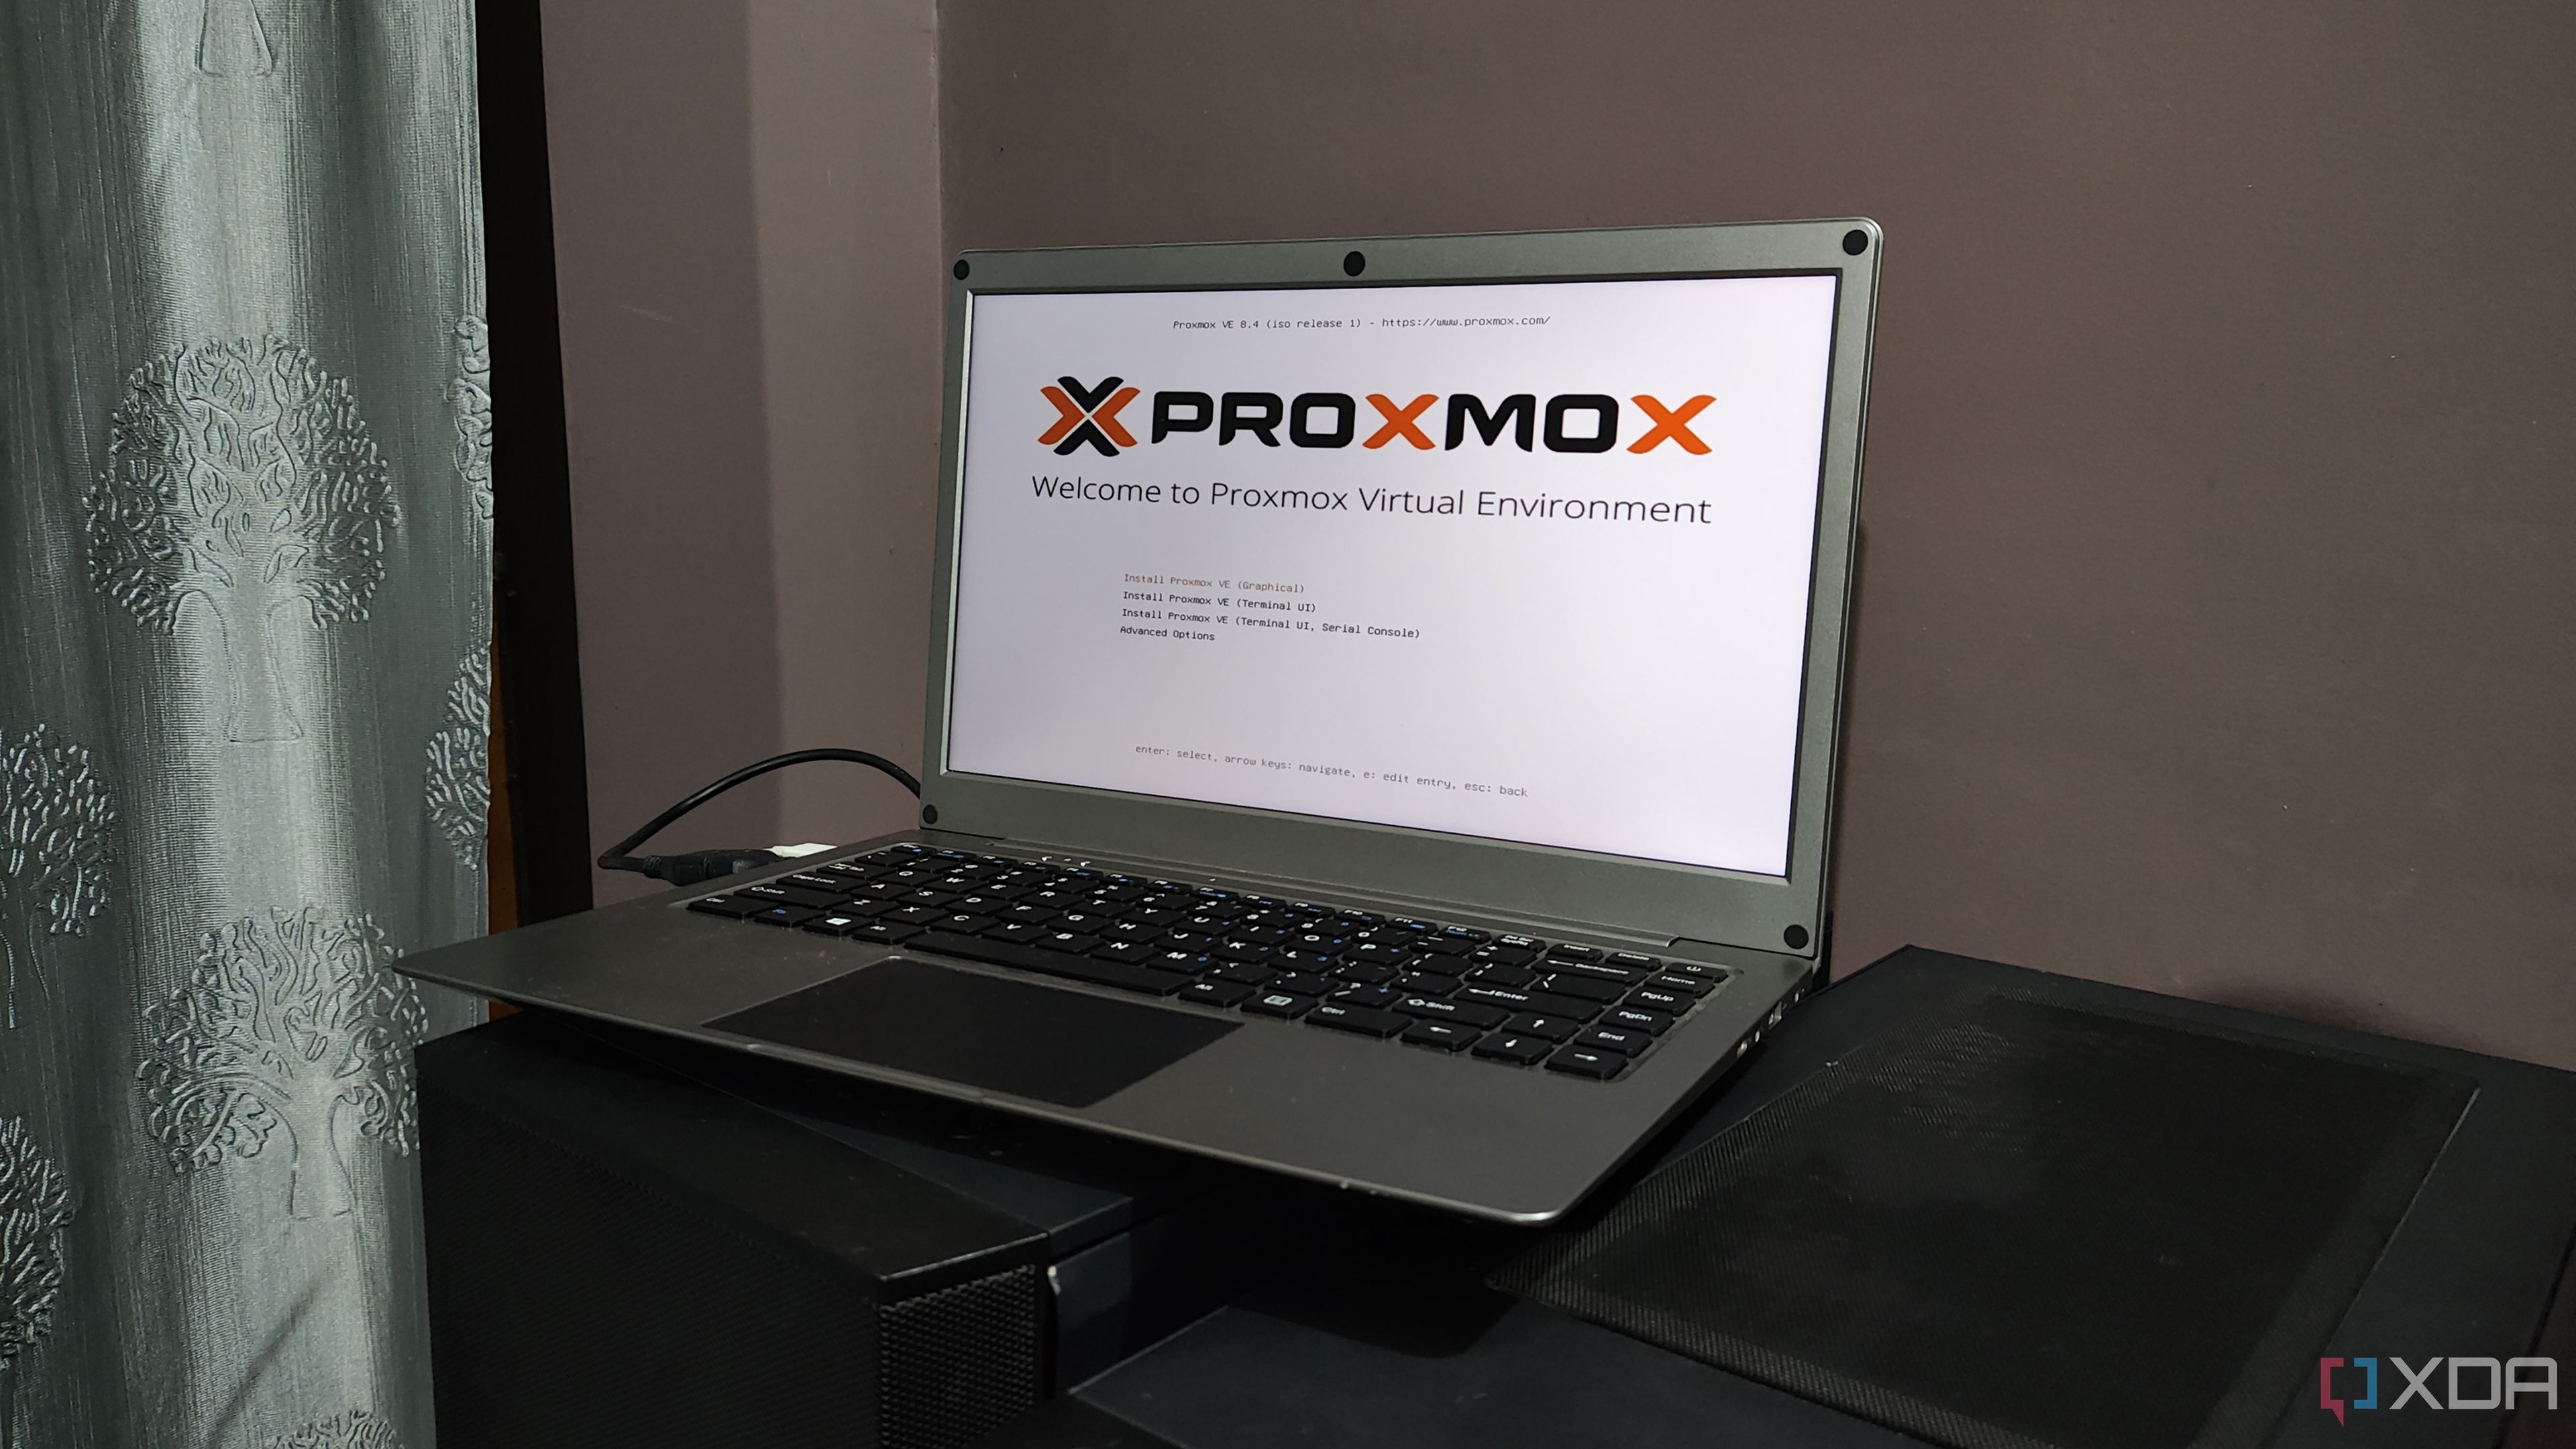
With the guinea pig ready, I added the latest Proxmox ISO to my PXE boot server and added IPv4 PXE Support as the primary Boot device in my AM4 mobo’s BIOS. Soon, the Proxmox Installation Wizard appeared on the screen, and after going through the familiar configuration options, my PVE node was open for business.
After my PC finished installing Proxmox, I switched to another system to access the PVE web UI. Unlike other virtual machines, Proxmox requires two ISO files for a Windows 11 virtual machine: one for the OS itself and another for the VirtIO drivers. With the files inside the PVE server, I used the Create VM button to deploy the virtualized Windows 11 instance.
Once I'd selected the Windows 11 ISO, I chose Windows as the Guest OS before adding the VirtIO ISO file as an additional drive. Thereafter, I enabled the EFI Disk and TPM functionality and assigned the lvm-local volume as their storage resource. To get maximum processing juice, I allocated all 12 CPU cores and 16GB of memory, though the latter would prove quite troublesome later down the line. For the Ethernet drivers, I chose Intel E1000E instead of Paravirtualized, as Windows 11 doesn’t work with the default option.
Inside the Windows 11 installation wizard, I chose the Pro version of the OS, as I planned to configure it over RDP (at least, in the beginning). Since the wizard failed to detect the virtual drive, I used the Browse button to navigate to the VirtIO drivers folder and installed the Red Hat SCSI passthrough driver. Soon, the virtual drive appeared inside the wizard, and I proceeded with the rest of the installation. Luckily, the process went without a hitch, and after waiting an eternity for Windows 11 to finish installation, I arrived at the most difficult section of this project.
Passing a GPU to the VM
It works pretty well, even on Intel GPUs
When I tried running modern games inside a Proxmox VM last year, GPU passthrough gave me the most trouble, and I ended up using two graphics cards – one for the VM and another for the display connected to my PVE node for troubleshooting. Now that I had enough experience with Proxmox, I threw caution to the wind and went with a single GPU this time.
I’d previously enabled the IOMMU setting inside my mobo’s BIOS, though I had to enable it inside the GRUB bootloader as well. To accomplish this, I opened the /etc/default/grub file inside the Proxmox Shell and added "iommu=pt" as the value for the GRUB_CMDLINE_LINUX_DEFAULT argument before saving the file and updating the bootloader by running the update-grub command. After that, I headed to the /etc/modules configuration file, added the following variables, and rebooted the system.
- vfio
- vfio_iommu_type1
- vfio_pci
- vfio_virqfd
When the PVE node rebooted, I opened the /etc/modprobe.d/blacklist.conf file and added the blacklist i915 argument. After saving and exiting the file, I ran lspci -v and executed the lspci -n -s device_ID command, where device_ID is the hexadecimal identifier of each component associated with the Intel Arc A750. Finally, I added these identifiers inside the /etc/modprobe.d/vfio.conf file under the options vfio-pci ids=device_ID1,device_ID2,device_ID3,device_ID4 disable_vga=1 argument.
But I encountered a rather annoying issue
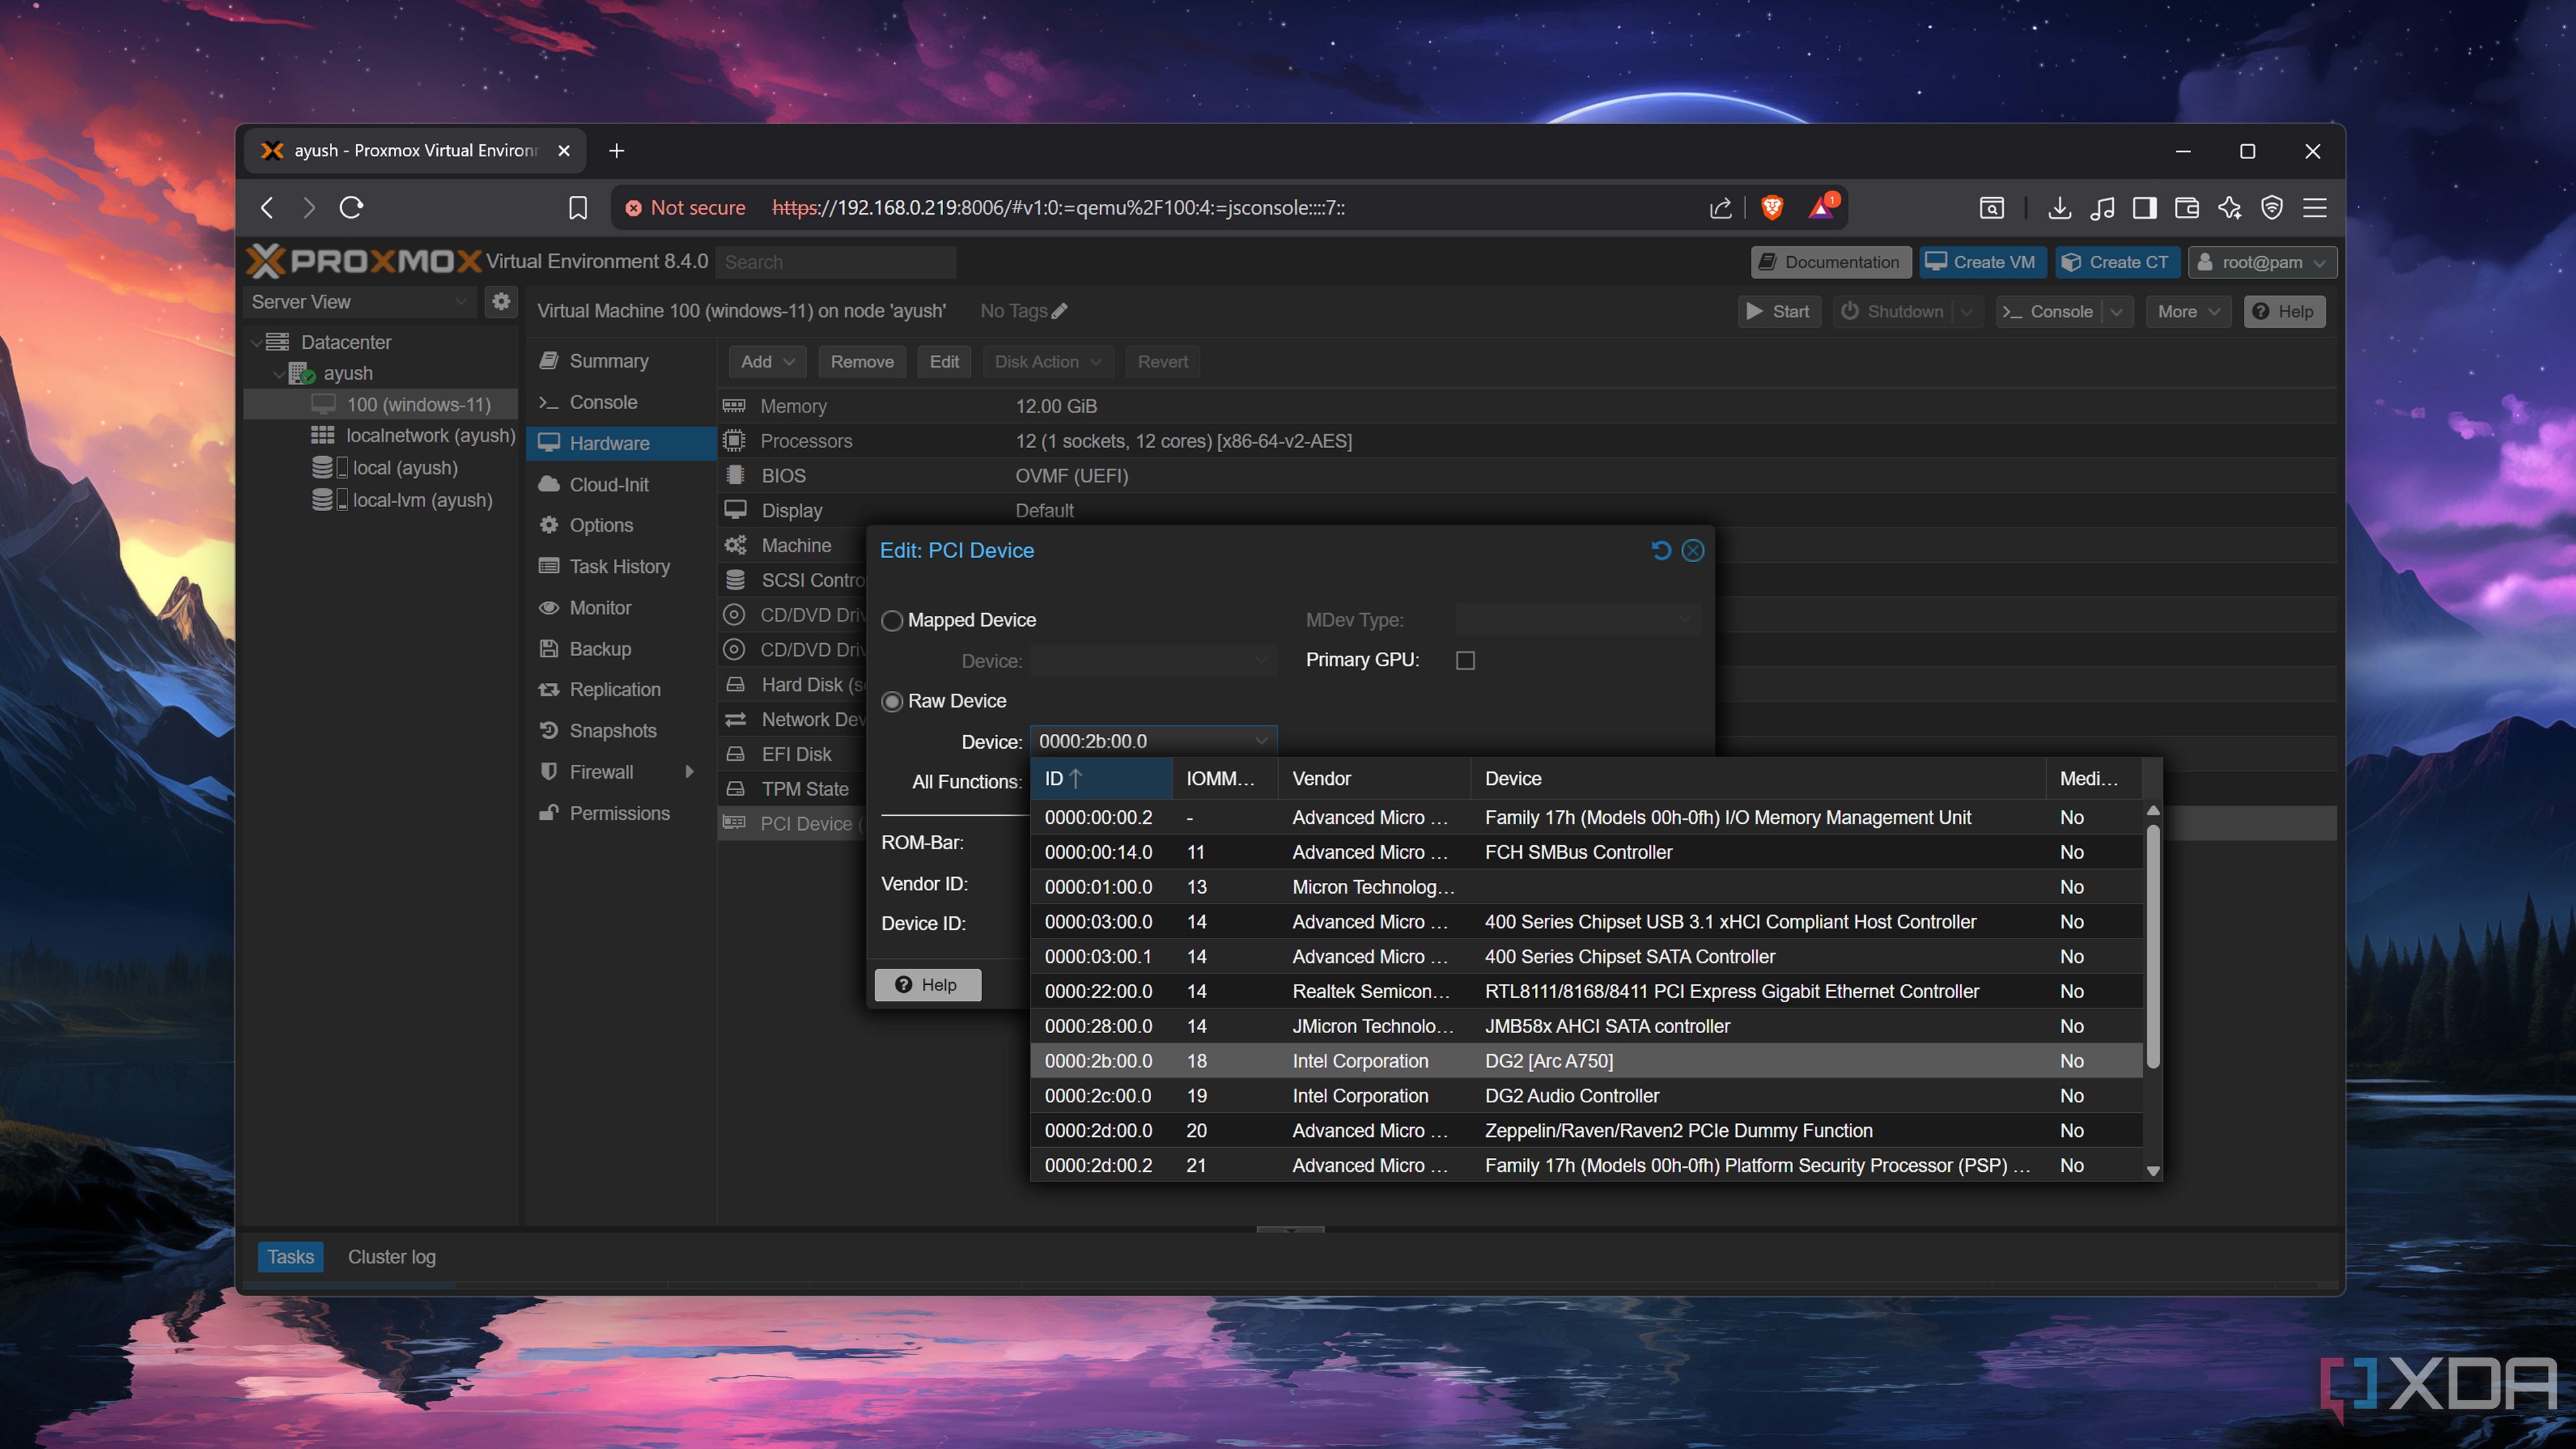
With the config tweaks complete, I headed to the Hardware tab of my Windows 11 virtual machine, chose the PCI Device option, and added the Intel Arc A750 GPU as a Raw Device. I left the Primary GPU option disabled, as QEMU doesn’t work with it. Unfortunately, the virtual machine refused to start, and even after modifying the rest of the settings, I couldn’t get rid of the error.
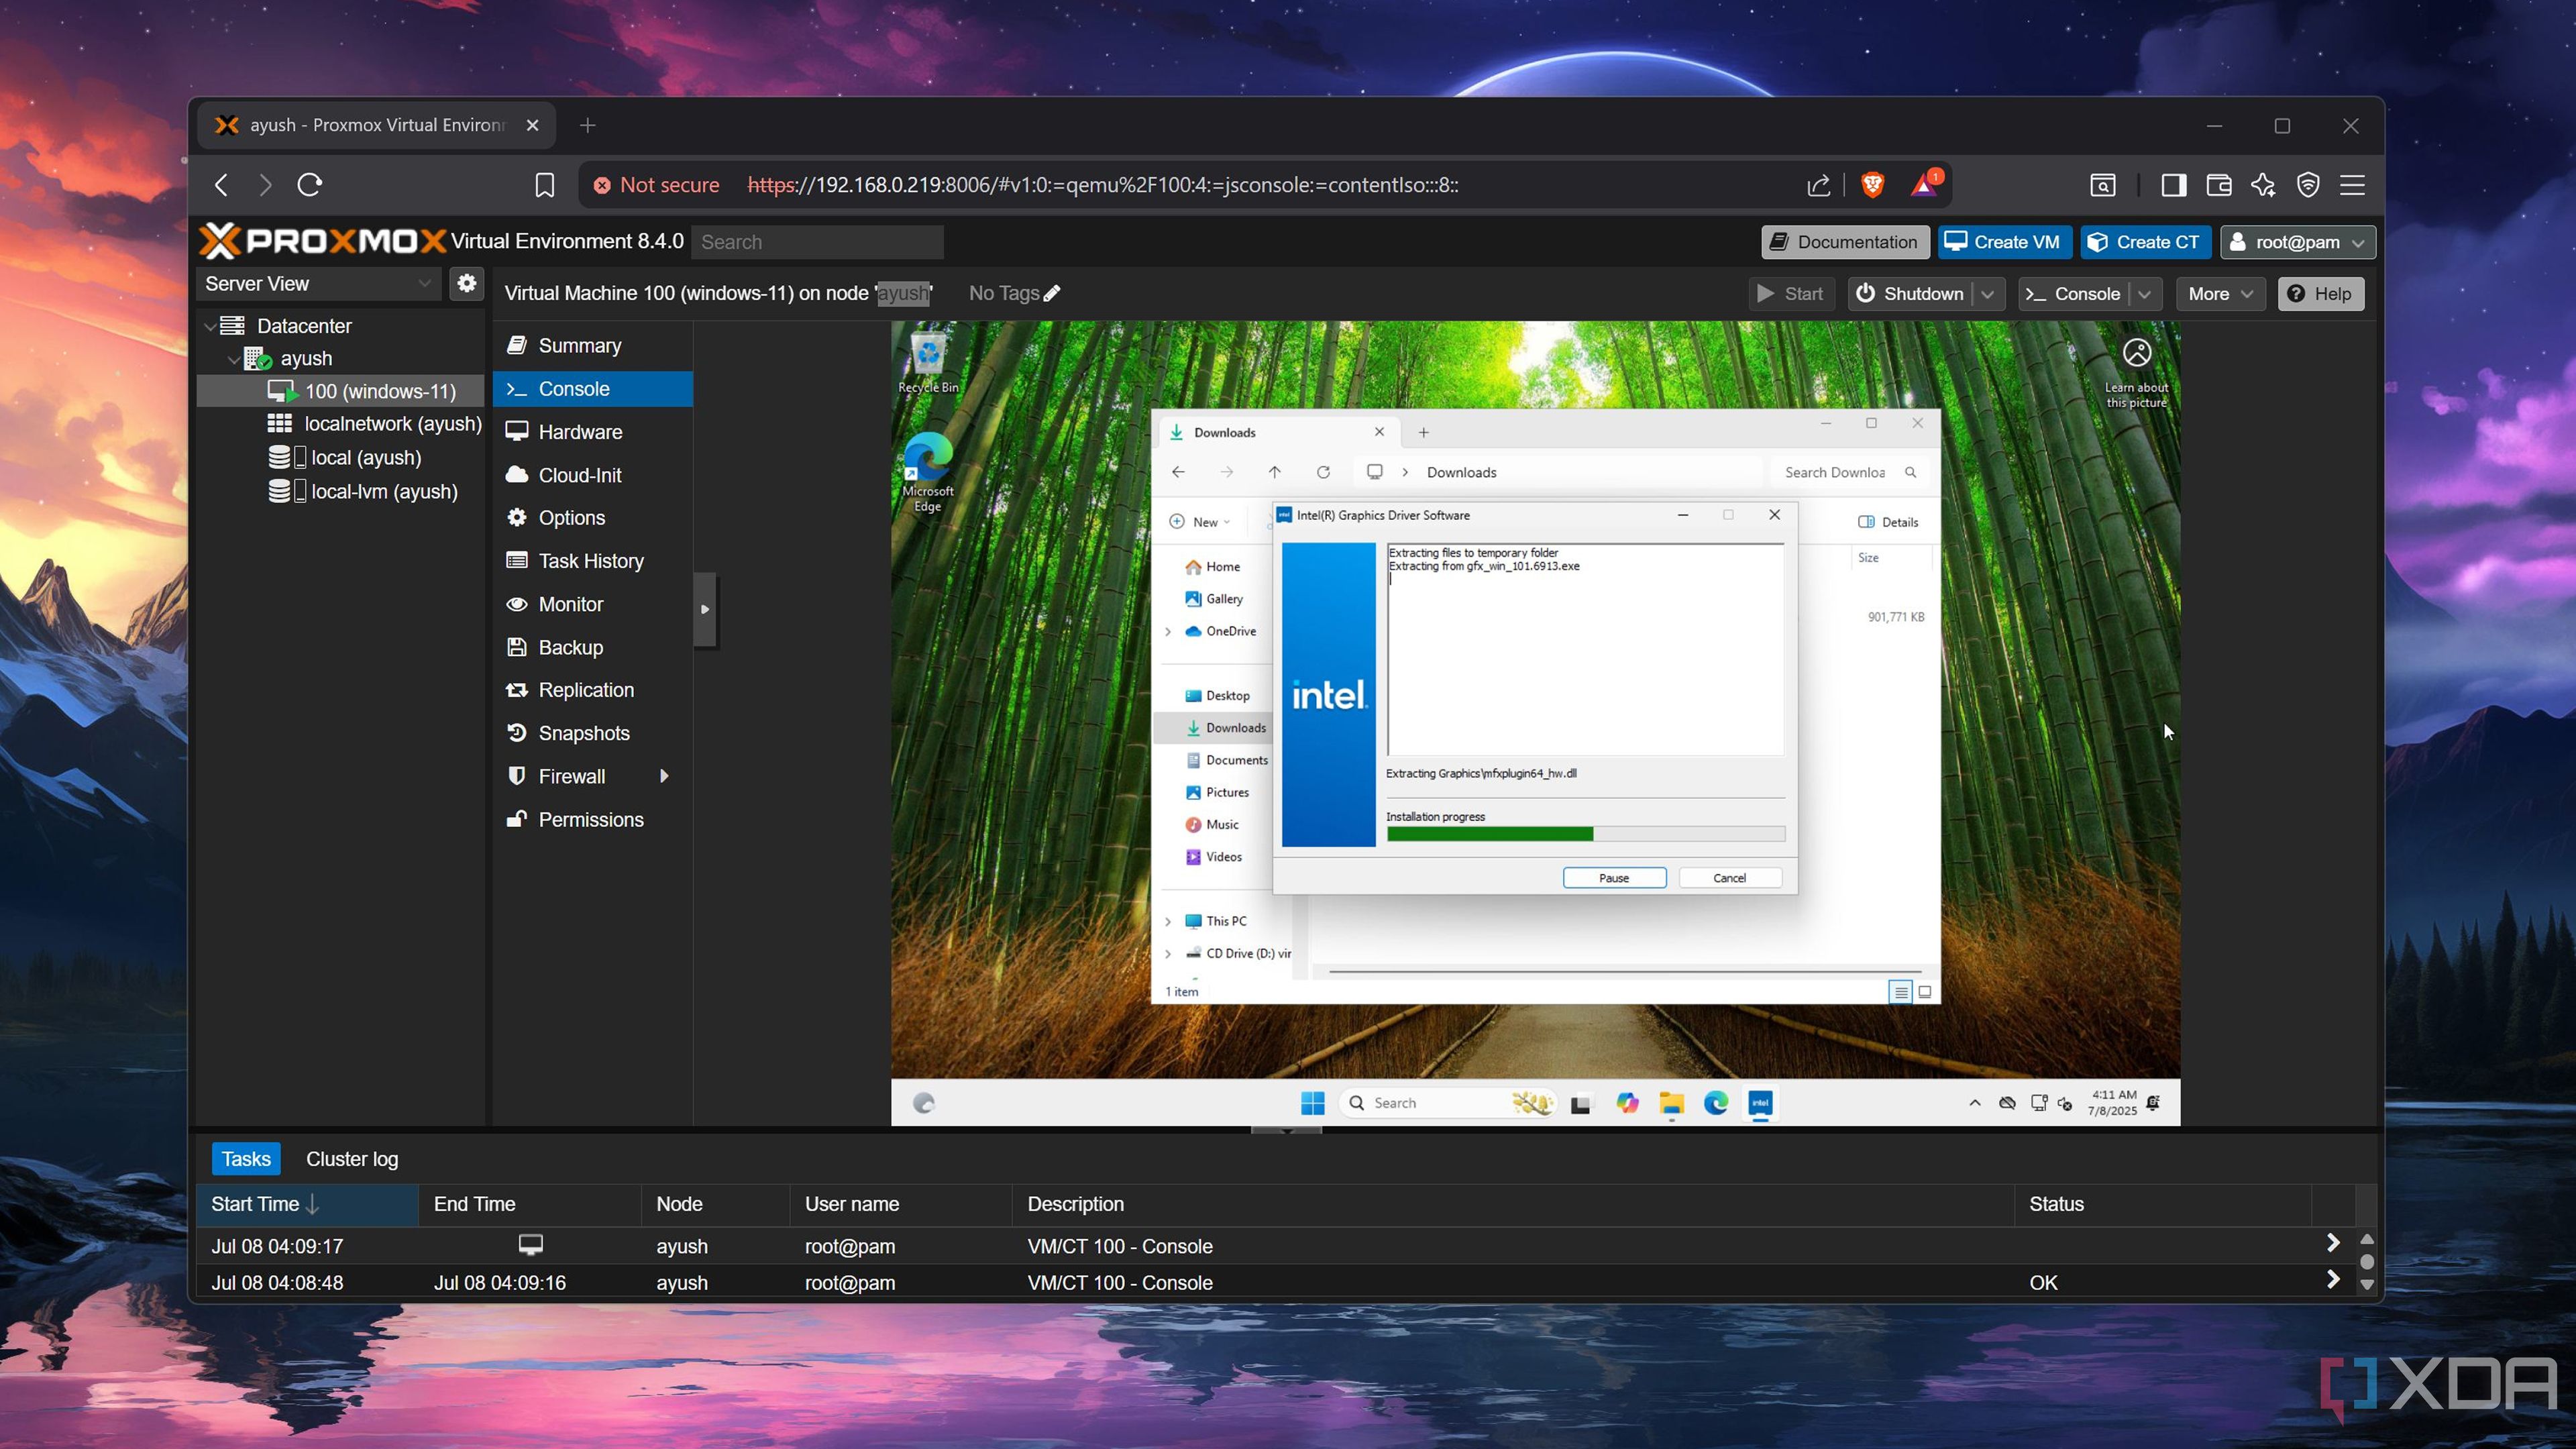
Turns out, the Proxmox environment could only use 15.3-ish GB of memory, meaning I ended up overcommitting the RAM. Reducing it to 12GB did the trick, and I was able to boot into the Windows 11 desktop, where I promptly installed the latest drivers for the Arc A750 and enabled Remote Desktop Protocol.
Choosing the right utility to access the VM
In the end, I settled on Parsec
So far, I’d used QEMU to operate my Windows 11 virtual machine, and although it works well for other projects, I’m not a fan of the latency it adds to the mix. It doesn’t pair well with GPU passthrough either, making it terrible for anything beyond the initial setup. RDP is a significantly better alternative for a daily driver… up until I want to run a few games. While I wouldn’t really call it unusable, my prior experiment with using it to play games proves that RDP should only be used for normal remote desktop tasks.

Apollo was my first choice, as the Sunshine fork is not only great for gaming, but is also fairly useful for normal everyday workloads. It also supports a virtual driver and meshes well with the Moonlight PC client, making it the ideal app for this setup. Unfortunately, I was unable to get it working on this setup, even though I spent nearly an hour installing the necessary drivers and configuring the settings. I’m certain that there’s a way to use it in my setup, but by this point, I’d exhausted my patience.
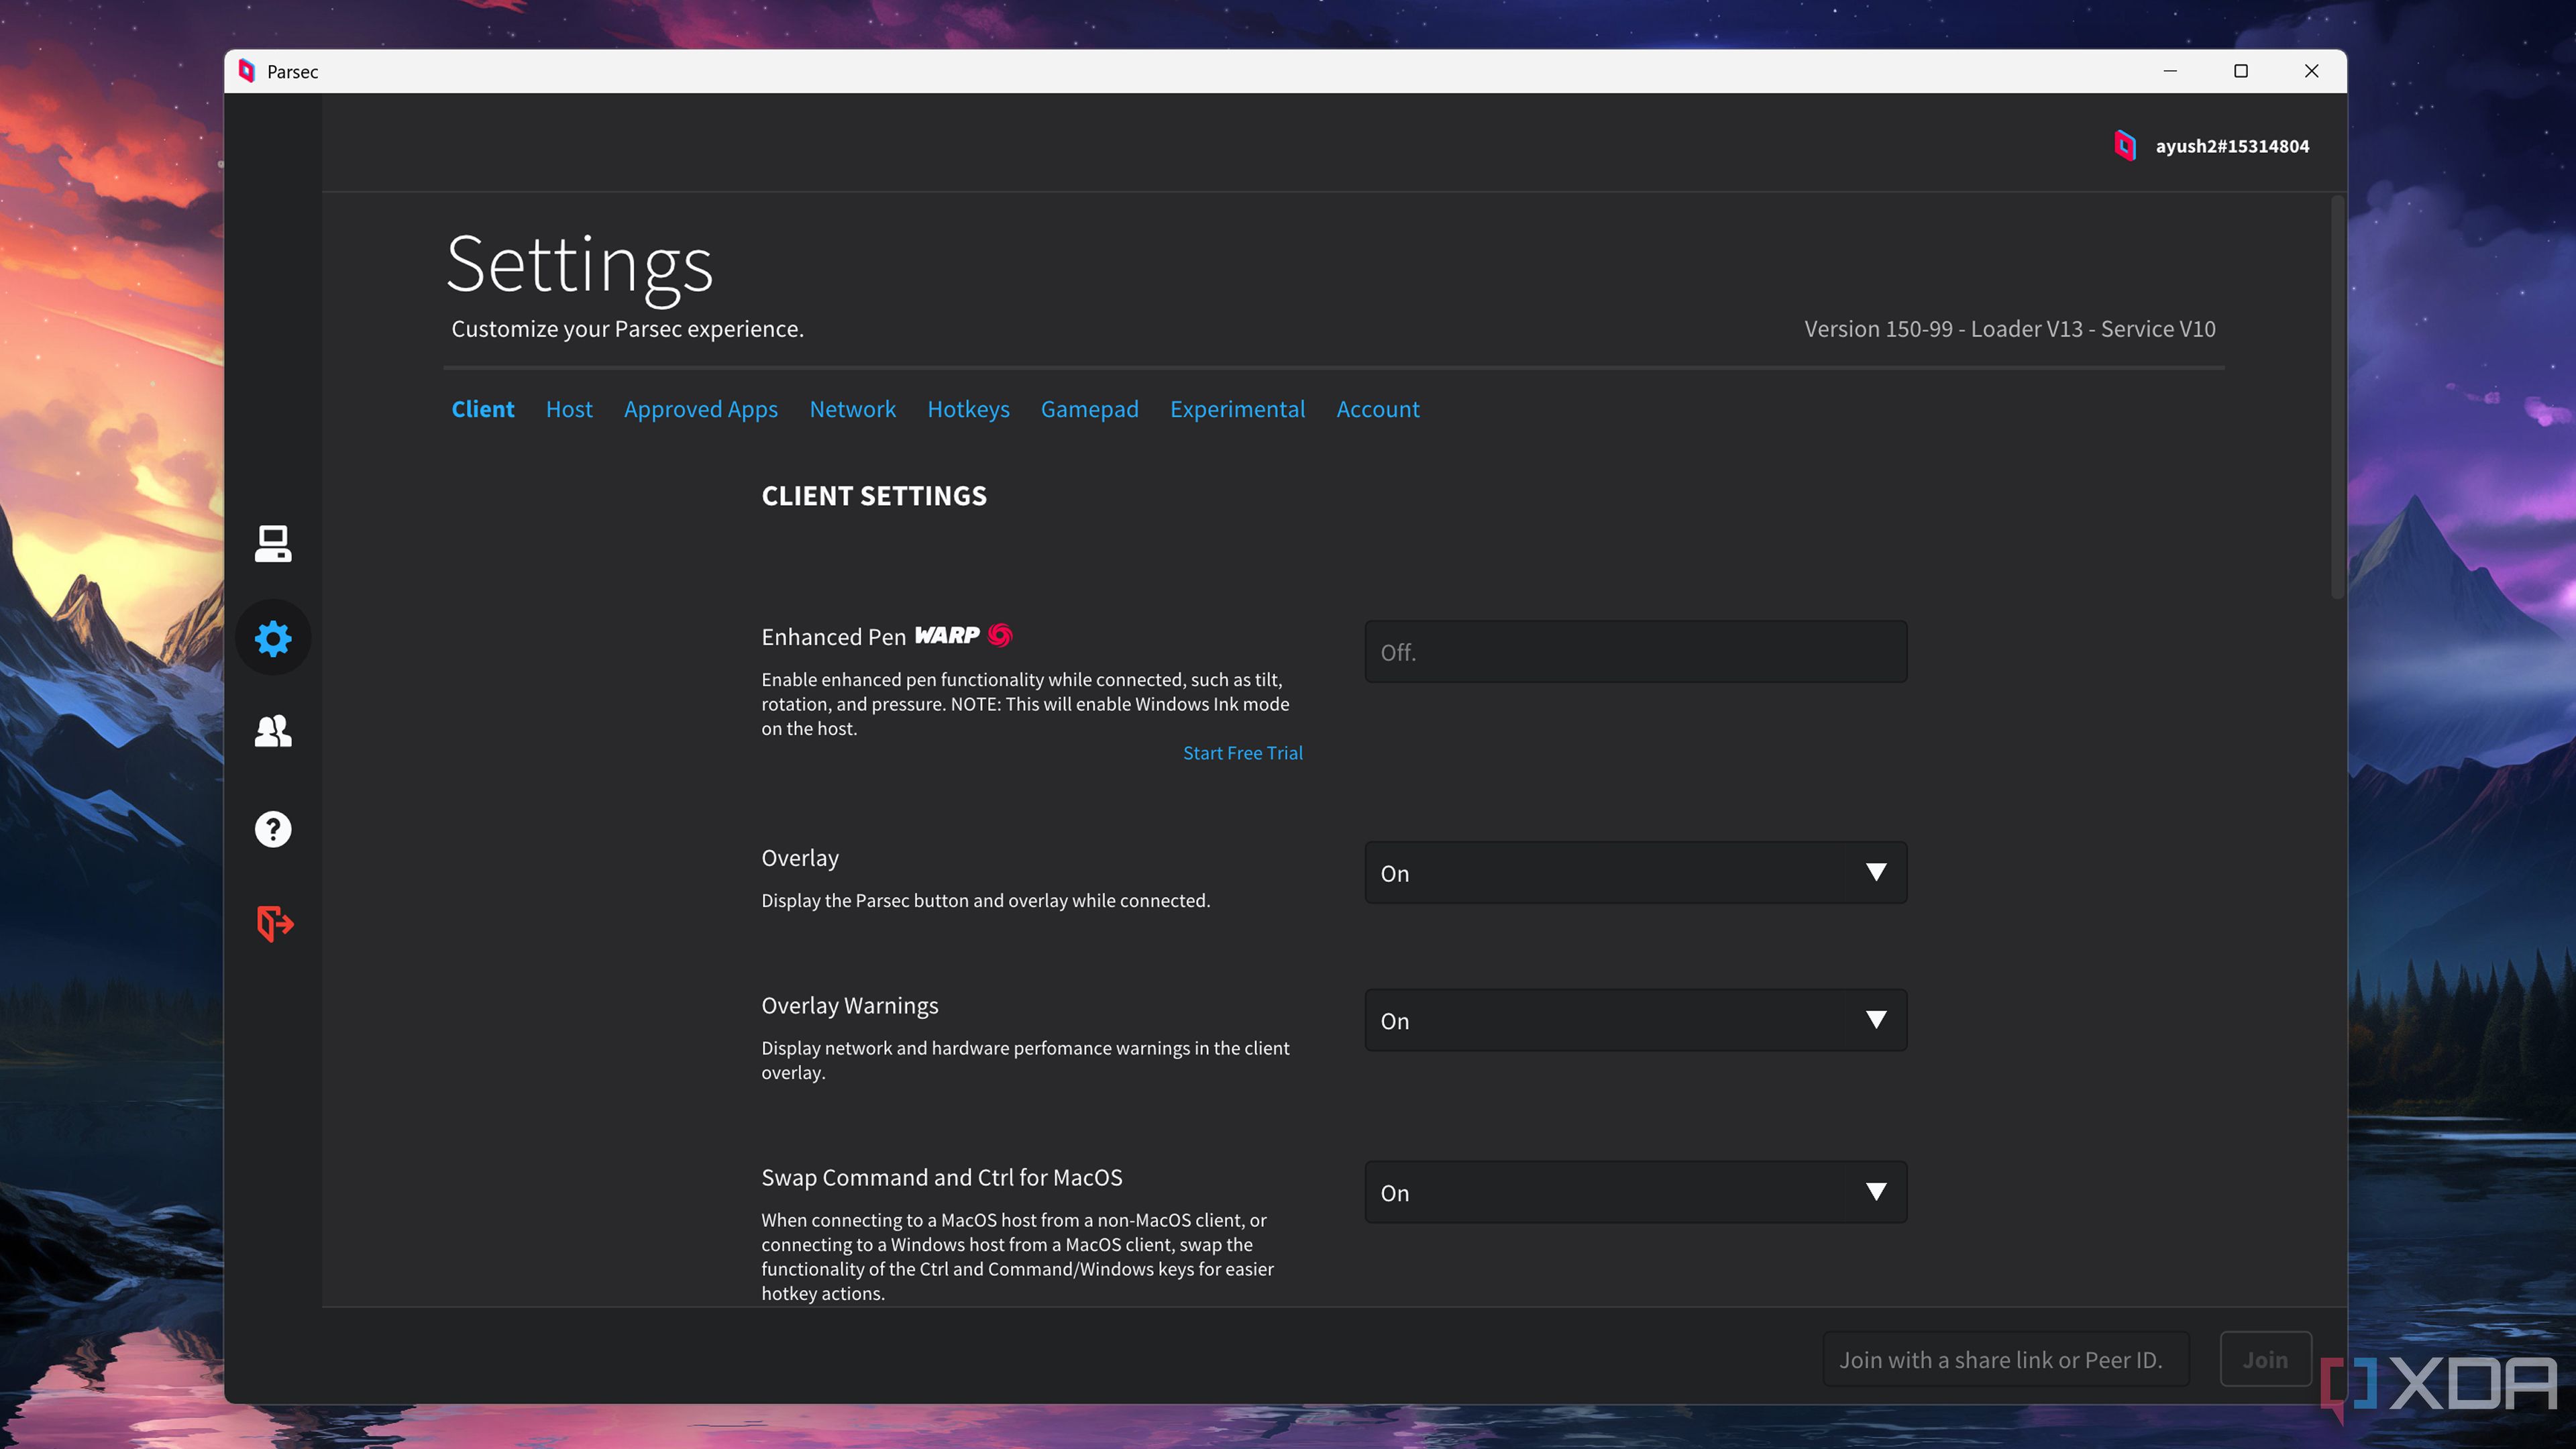
So, I eventually downloaded Parsec. Don’t get me wrong, it’s an amazing utility for remotely streaming PC games. But it requires me to rely on Parsec’s servers for authentication and streaming, and since I’m a fan of self-hosting my own services, its centralized nature doesn’t jive with me. Nevertheless, Parsec worked right away once I enabled the Fallback to Virtual Display option and exited RDP.
The performance is actually impressive
Most games run well on the VM
Despite the ridiculous premise, the Proxmox-based Windows 11 virtual machine works surprisingly well. While it’s true that the underlying OS and hypervisor services will cause the virtual machine to run slower than a bare-metal setup, Proxmox is one of the most lightweight virtualization platforms out there. Plus, it relies on KVM for virtualization, which is already a powerful hypervisor.
Combine that with a fast Parsec connection, and you’ve got a highly responsive Windows 11 VM. Heck, I wrote this very article and processed all the screenshots and images on the Windows 11 virtual machine. Had I not known it was a Proxmox-based virtual machine, I probably wouldn’t have batted an eye if you’d told me it was a bare-metal Windows 11 setup.
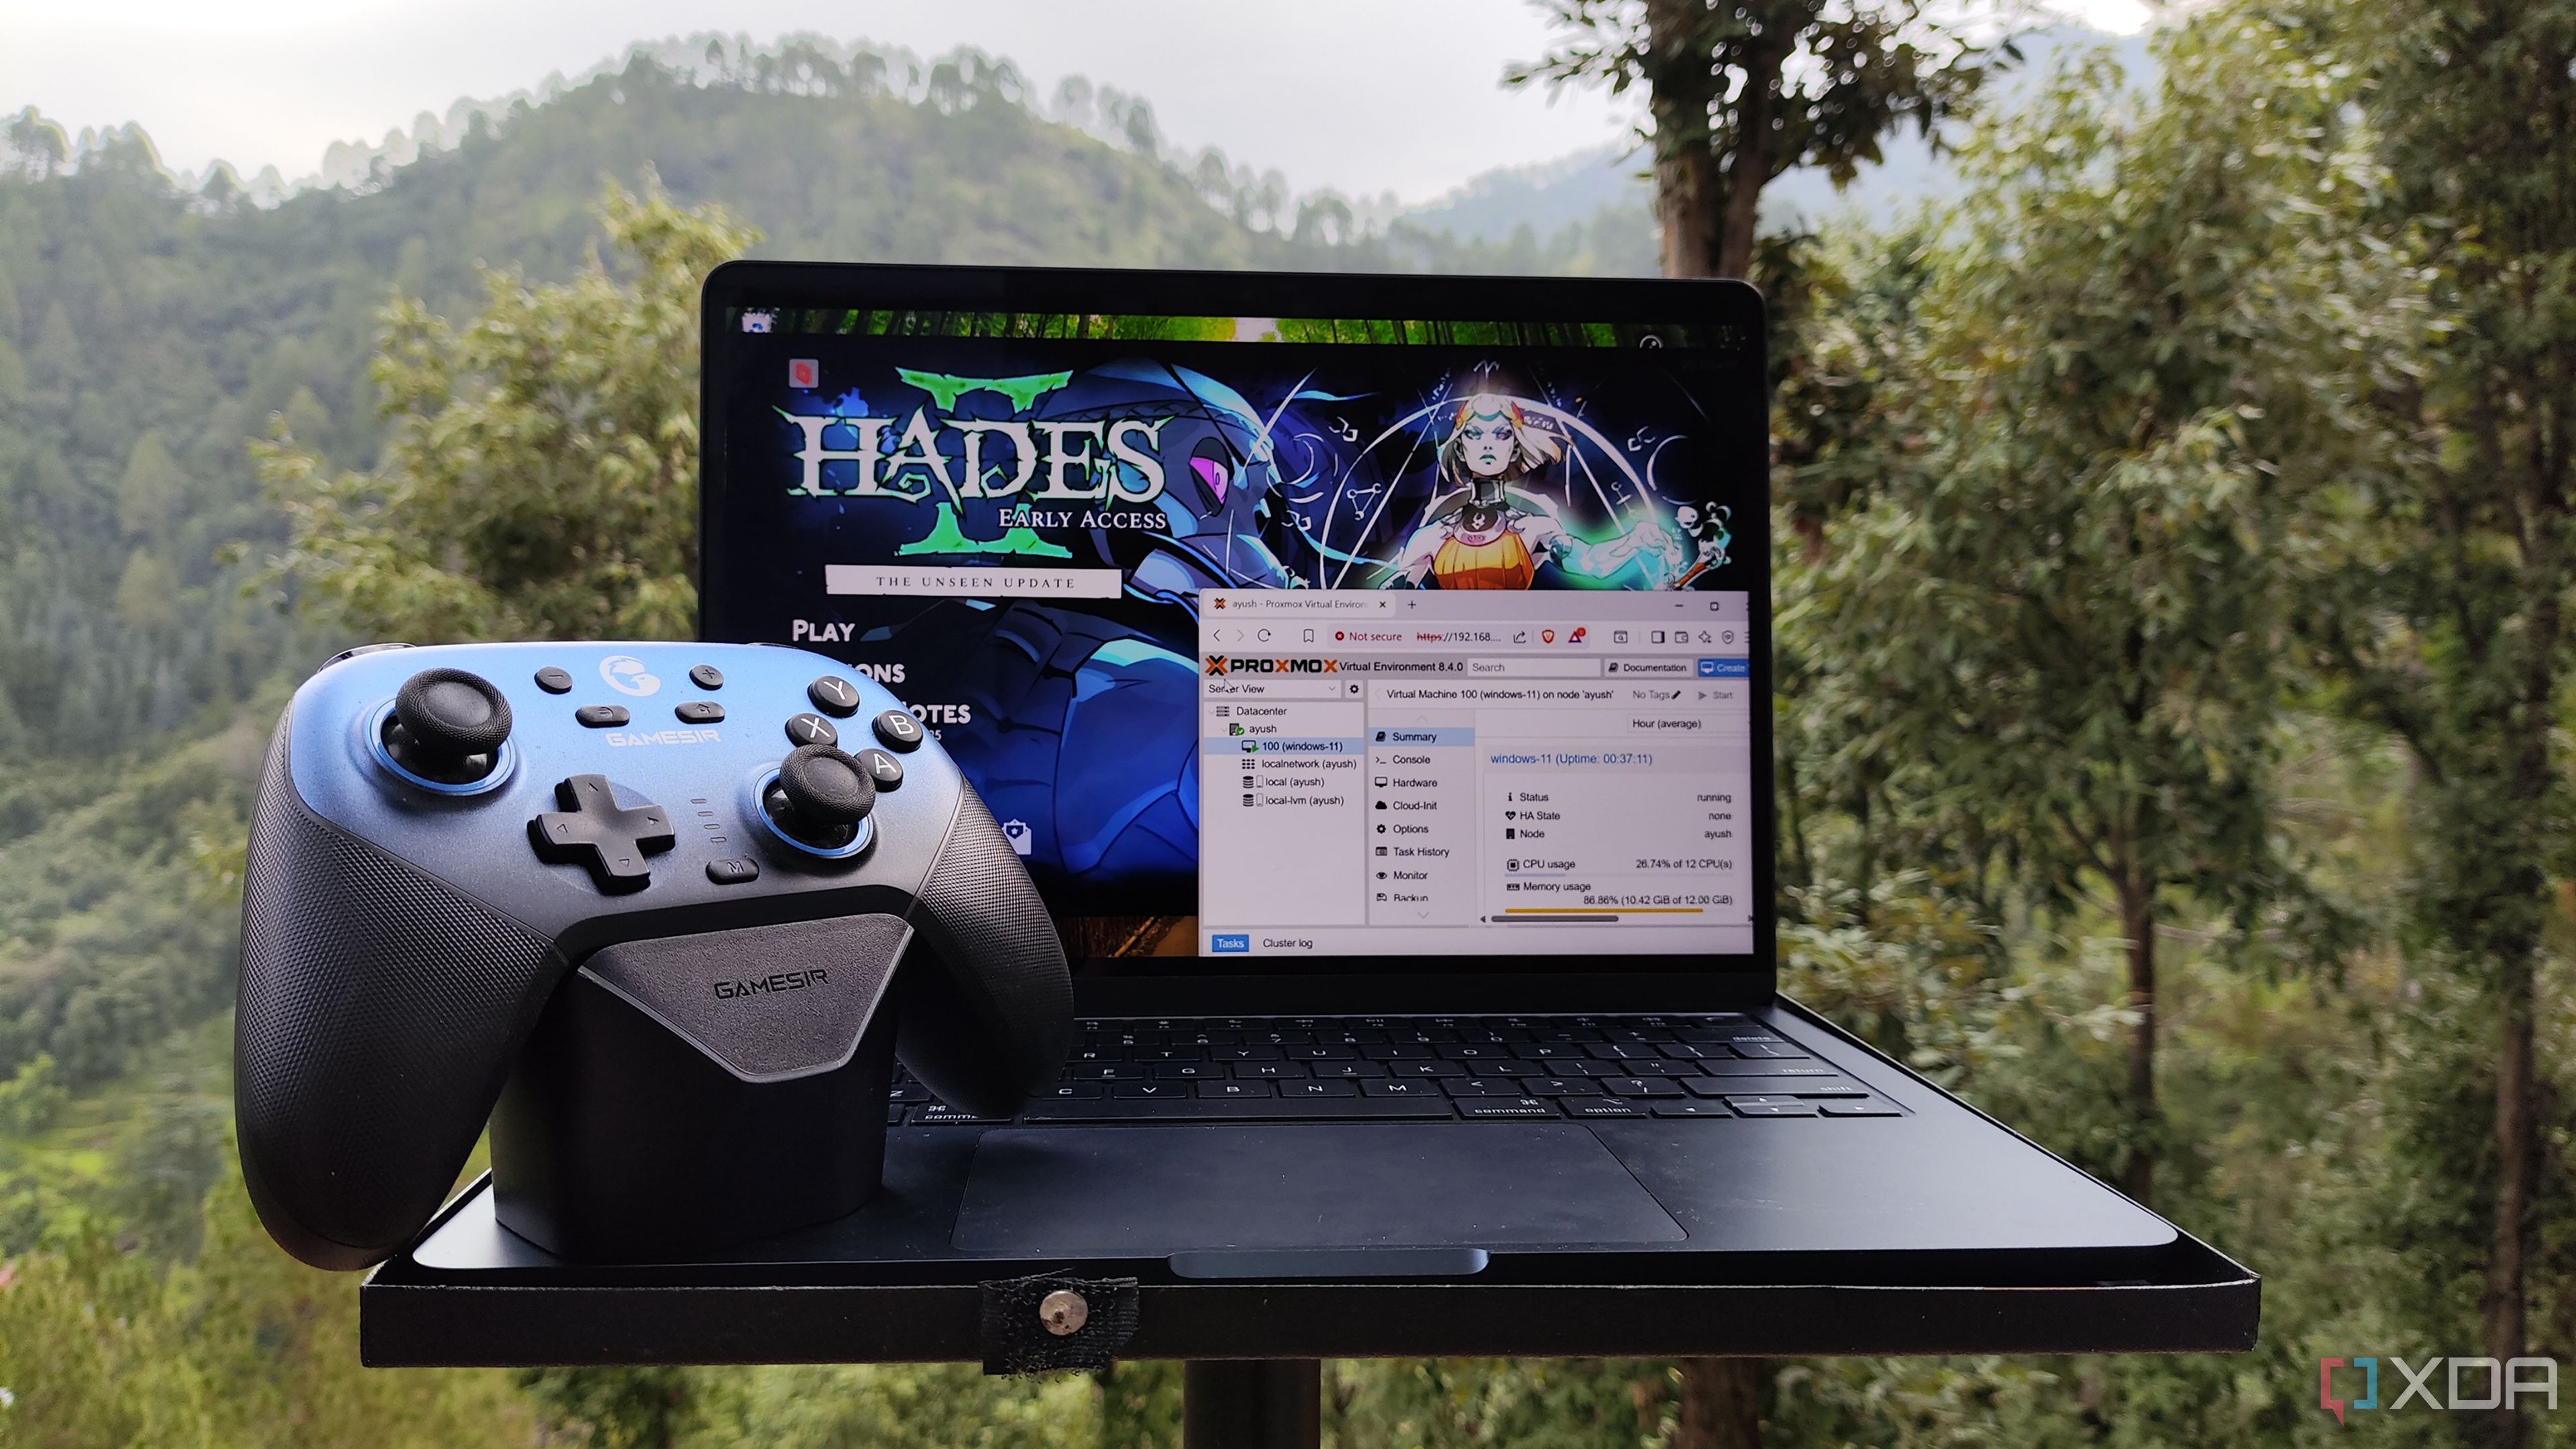
That sentiment also extends to gaming. Since I used outdated parts with a budget GPU, gaming at 4K 60 FPS was out of the question. But for 1080p gaming, the Arc A750 + Ryzen 5 1600 combo works better than I thought it would. I ran Hades 2, Scarlet Nexus, Devil May Cry 5, and a couple of other games just to test things out, and they ran really well. Likewise, the virtual machine was more than enough to run Blender and video-editing tasks.
So, how feasible is this project?

Assuming you’re using Proxmox on the host machine, have configured GPU passthrough and allocated sufficient resources to the virtual machine, I’d say a virtualized Windows setup can work as a surprisingly decent daily driver. Sure, setting up GPU passthrough is no walk in the park, and you’ll want to avoid running tons of other services on the PVE host. But it’s one of those rare projects that, despite sounding completely bonkers, works incredibly well in action.


 English (US) ·