.png)
Considering the experimental nature of home labs, I always take a couple of precautions to safeguard my virtual guests from my projects. For example, I’ve documented my network architecture in a NetBox instance and stored detailed notes about my home lab projects inside a TriliumNext Notes container, with both services running on a separate machine to mitigate the risks of losing my documentation due to a failed experiment.
But aside from the documentation containers and uptime trackers, I’ve created regular backups for my Proxmox home server. Thanks to the Proxmox Backup Server utility, I can schedule frequent backups for my arsenal of virtual machines and containers. But since I run a TrueNAS Scale server 24/7, I wanted to send the backup files from my PBS instance to my NAS. While it wasn’t an easy undertaking by any means, it works fairly well for my setup, and here’s a general outline of the overall process.
Related
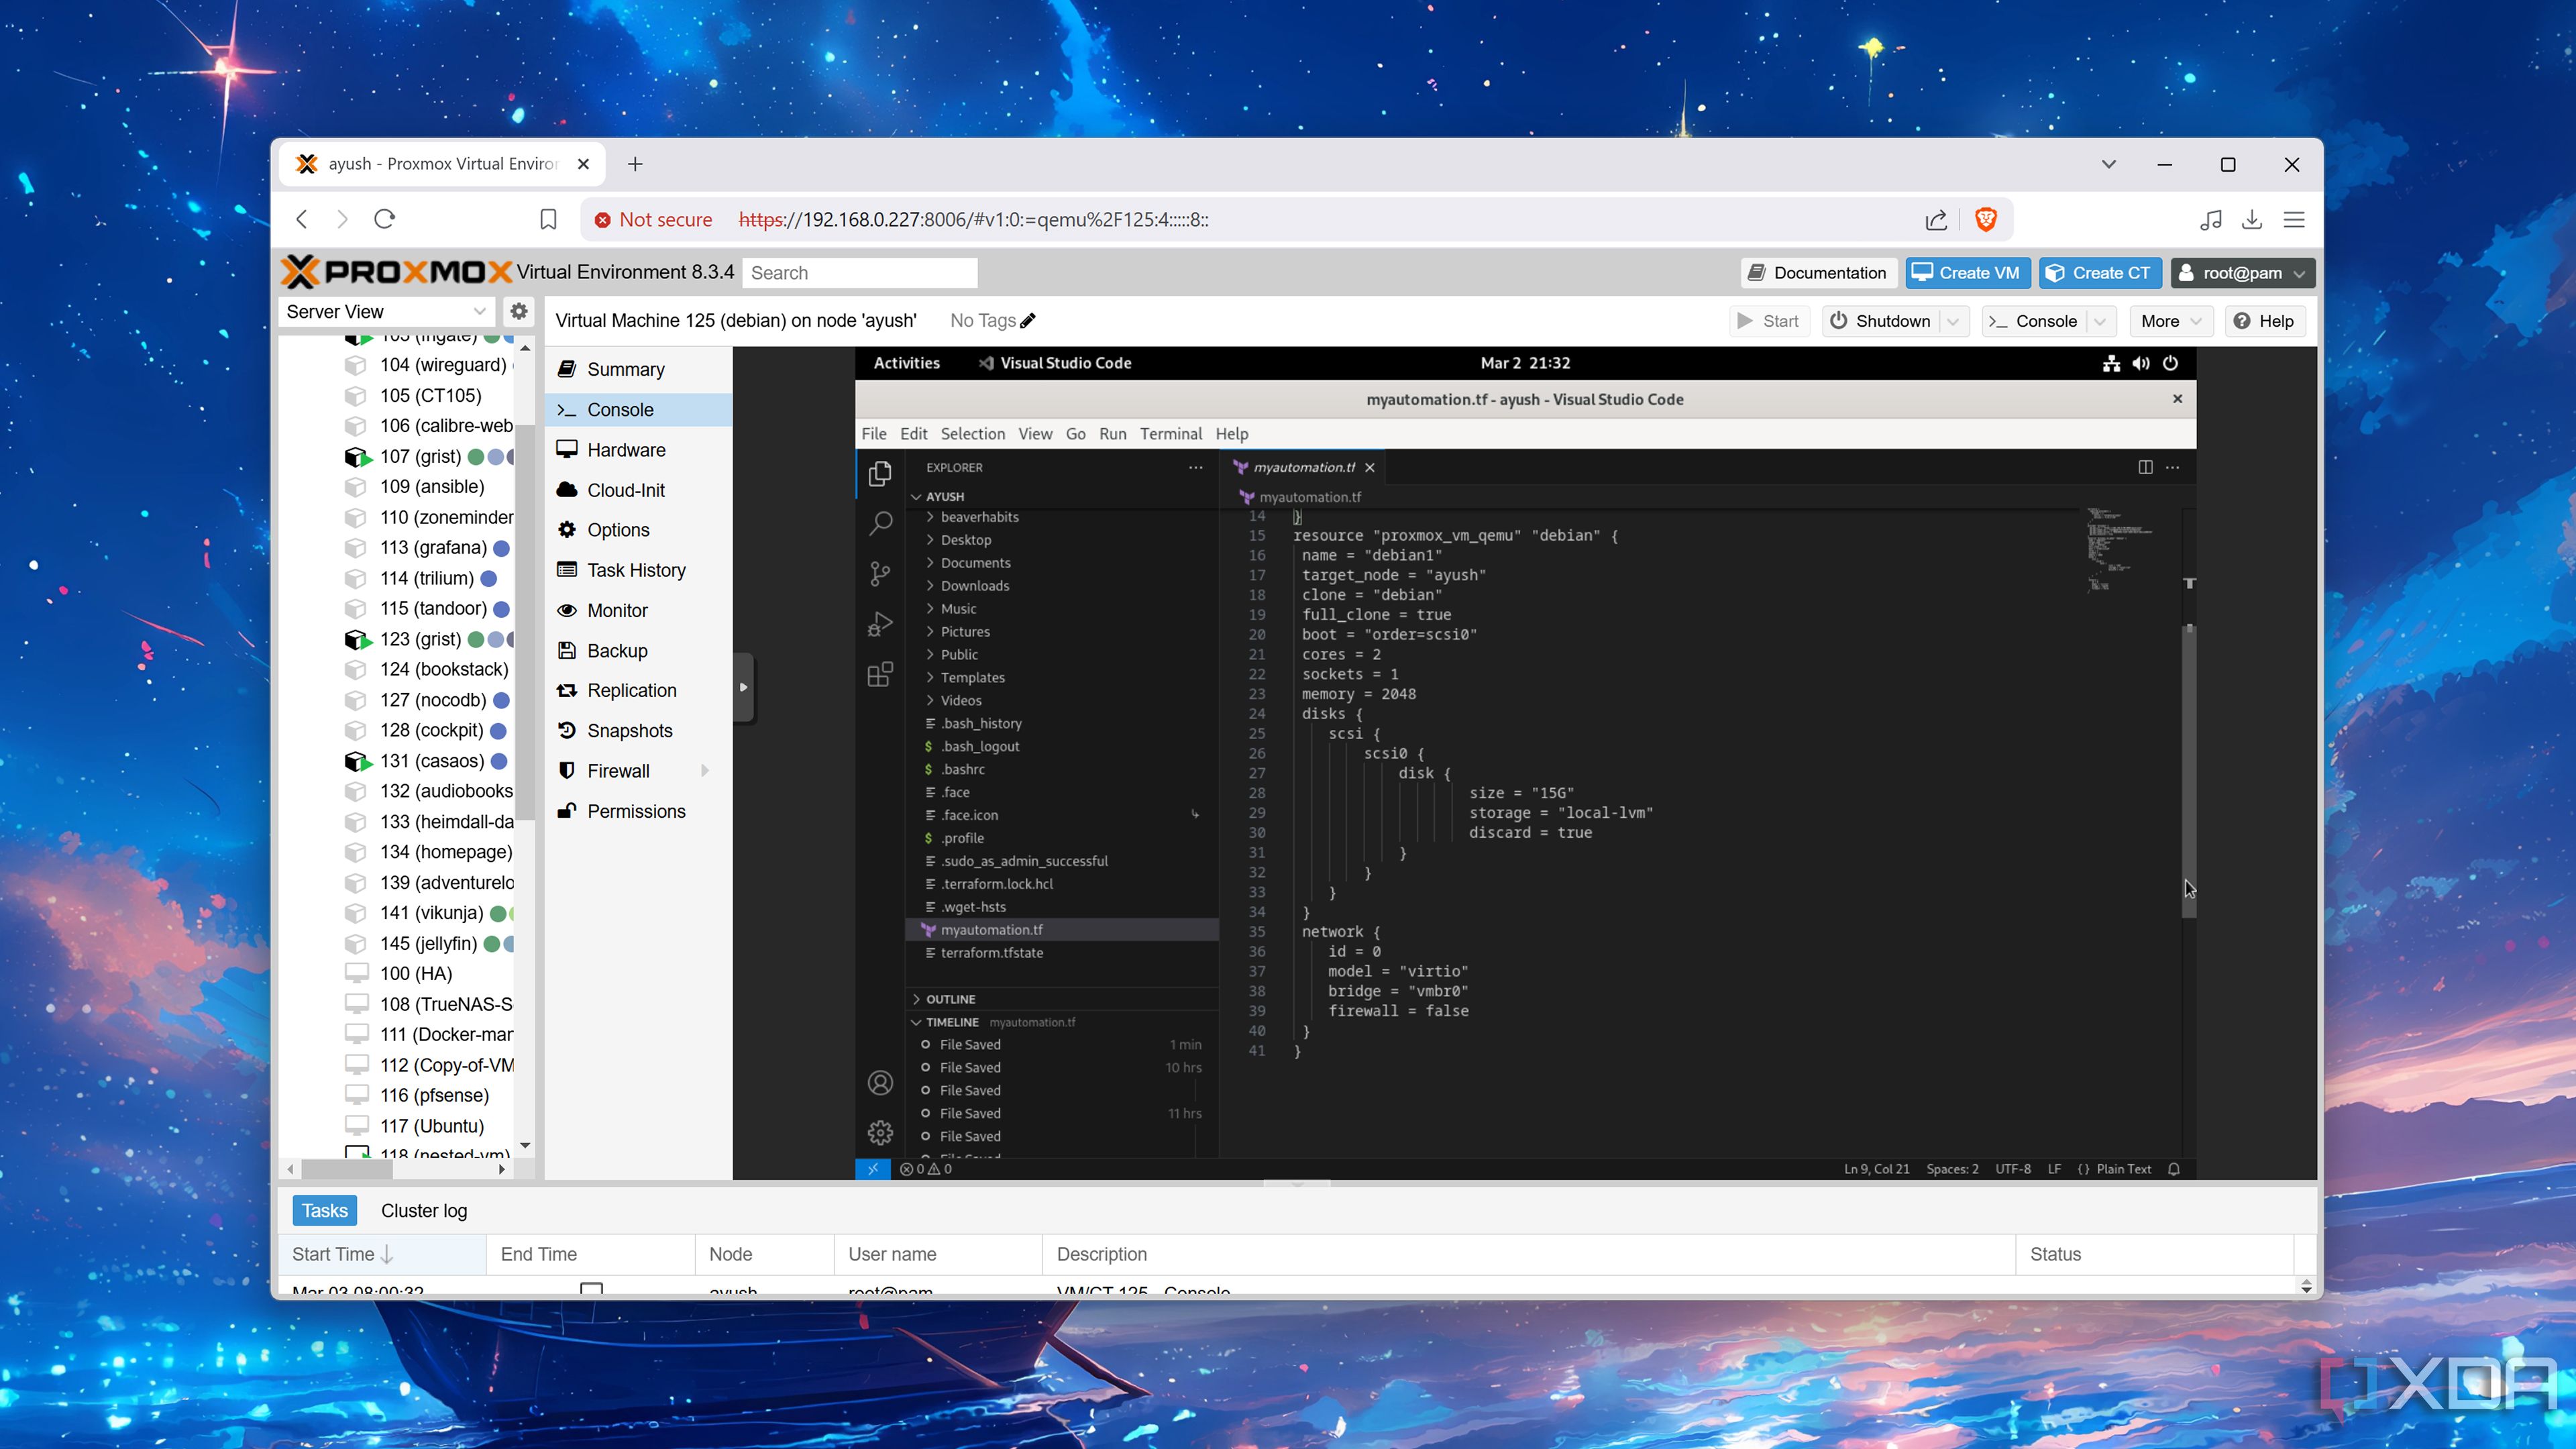
I use Terraform to automatically provision VMs on Proxmox - here's how
While it may seem rather daunting, Terraform is an amazing automation tool for provisioning virtual machines on your home lab
Choosing the right setup to back up my Proxmox node
In the end, I resorted to hosting PBS on Proxmox
As with every home lab project, there are several ways to go about creating the backup configuration for Proxmox. But after spending an entire day running terminal commands and scrambling from one forum post to another, I decided to ditch my initial plans of linking my bare-metal Proxmox Backup Server instance with my dedicated TrueNAS Scale system.
At first glance, installing PBS directly on a rig makes the most sense, as virtualizing it on my Proxmox workstation could result in my VM and LXC backups becoming unrecoverable in case my experiments render my PVE node offline. Not to mention, I already had my Aiffro K100 NAS running as a Proxmox Backup Server for the last couple of months, so a virtual PBS instance would just occupy unnecessary space on my Proxmox node.
But since I’m planning to store all my files on an NFS share that runs on a bare-metal TrueNAS Scale rig, I don’t have to worry about losing my backups and snapshots. The procedure I followed involves installing PBS as a package on Proxmox, rather than running it as a VM that occupies some extra gigs of my local-lvm disk. Better yet, if I somehow manage to make my Proxmox node completely unrecoverable, I could just install PVE on my server again, follow this guide to install PBS, and link it with my TrueNAS Scale NFS share to access the latest backups.
Another reason for resorting to this setup is that NFS share permissions are a nightmare to configure. To put that into perspective, I’d spent half a day managing to link my bare-metal Proxmox Backup Server and TrueNAS Scale instances, only to end up with a complete trainwreck of privilege issues when grabbing the screenshots for this article.
And connecting it to my Proxmox host
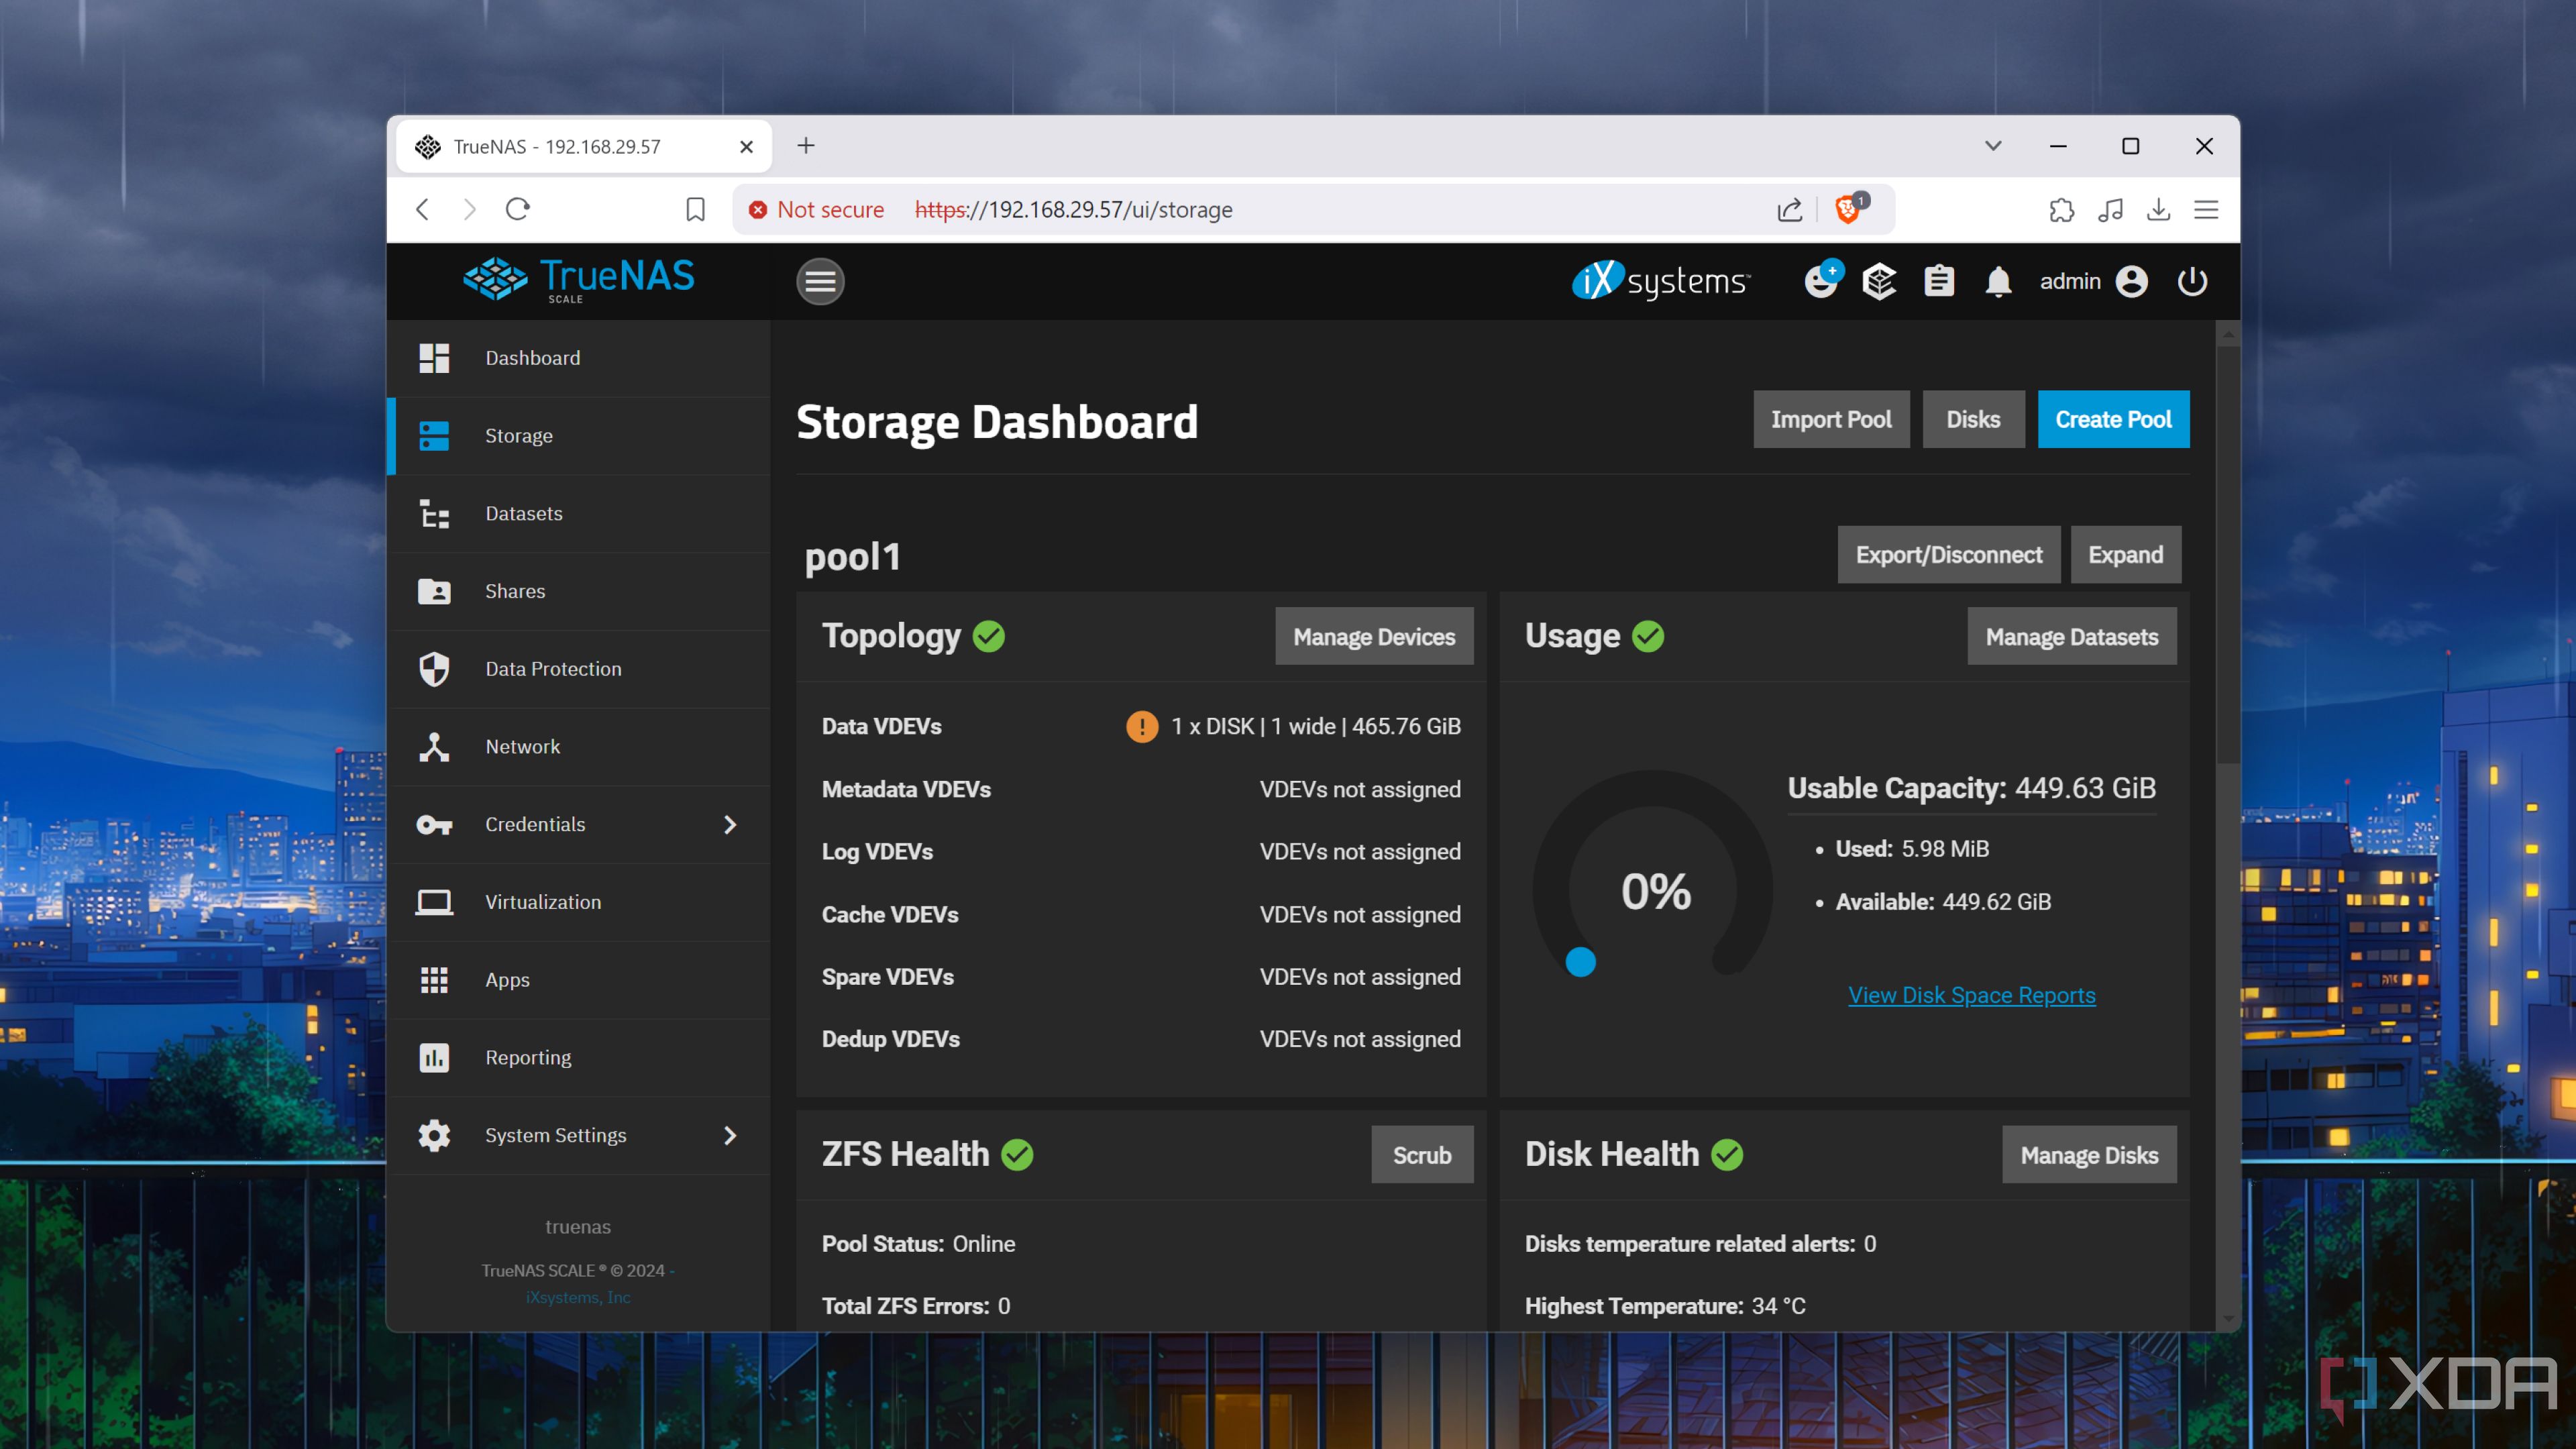
Now that I’ve gone over the whole theory section, it’s time to go over the practical aspect of this project. To avoid mixing up my PBS files with the rest of the media stored on my NAS, I created a new Dataset for the NFS share. Once that was done, I switched to the Shares tab and chose this Dataset’s path inside the NFS creation wizard.
Since NFS permissions can be a royal pain to troubleshoot, I assigned root permissions to the Maproot User and granted the Maproot Group the same access rights as the wheel group. But since I wanted my Proxmox machine to be the only system capable of accessing the NFS share, I added its IPv4 address under the Authorized devices field.
After enabling the NAS share, I switched my attention to the Proxmox host. Inside the Datacenter view, I opened the Storage tab, pressed the Add button, and chose the NFS option. I assigned a random name as the ID, entered the IPv4 address of the TrueNAS Scale machine, and pasted the mount path of the share inside the Export field to connect to the Dataset I’d created earlier.
Installing Proxmox Backup Server on the PVE server
Be ready to tinker with multiple config files
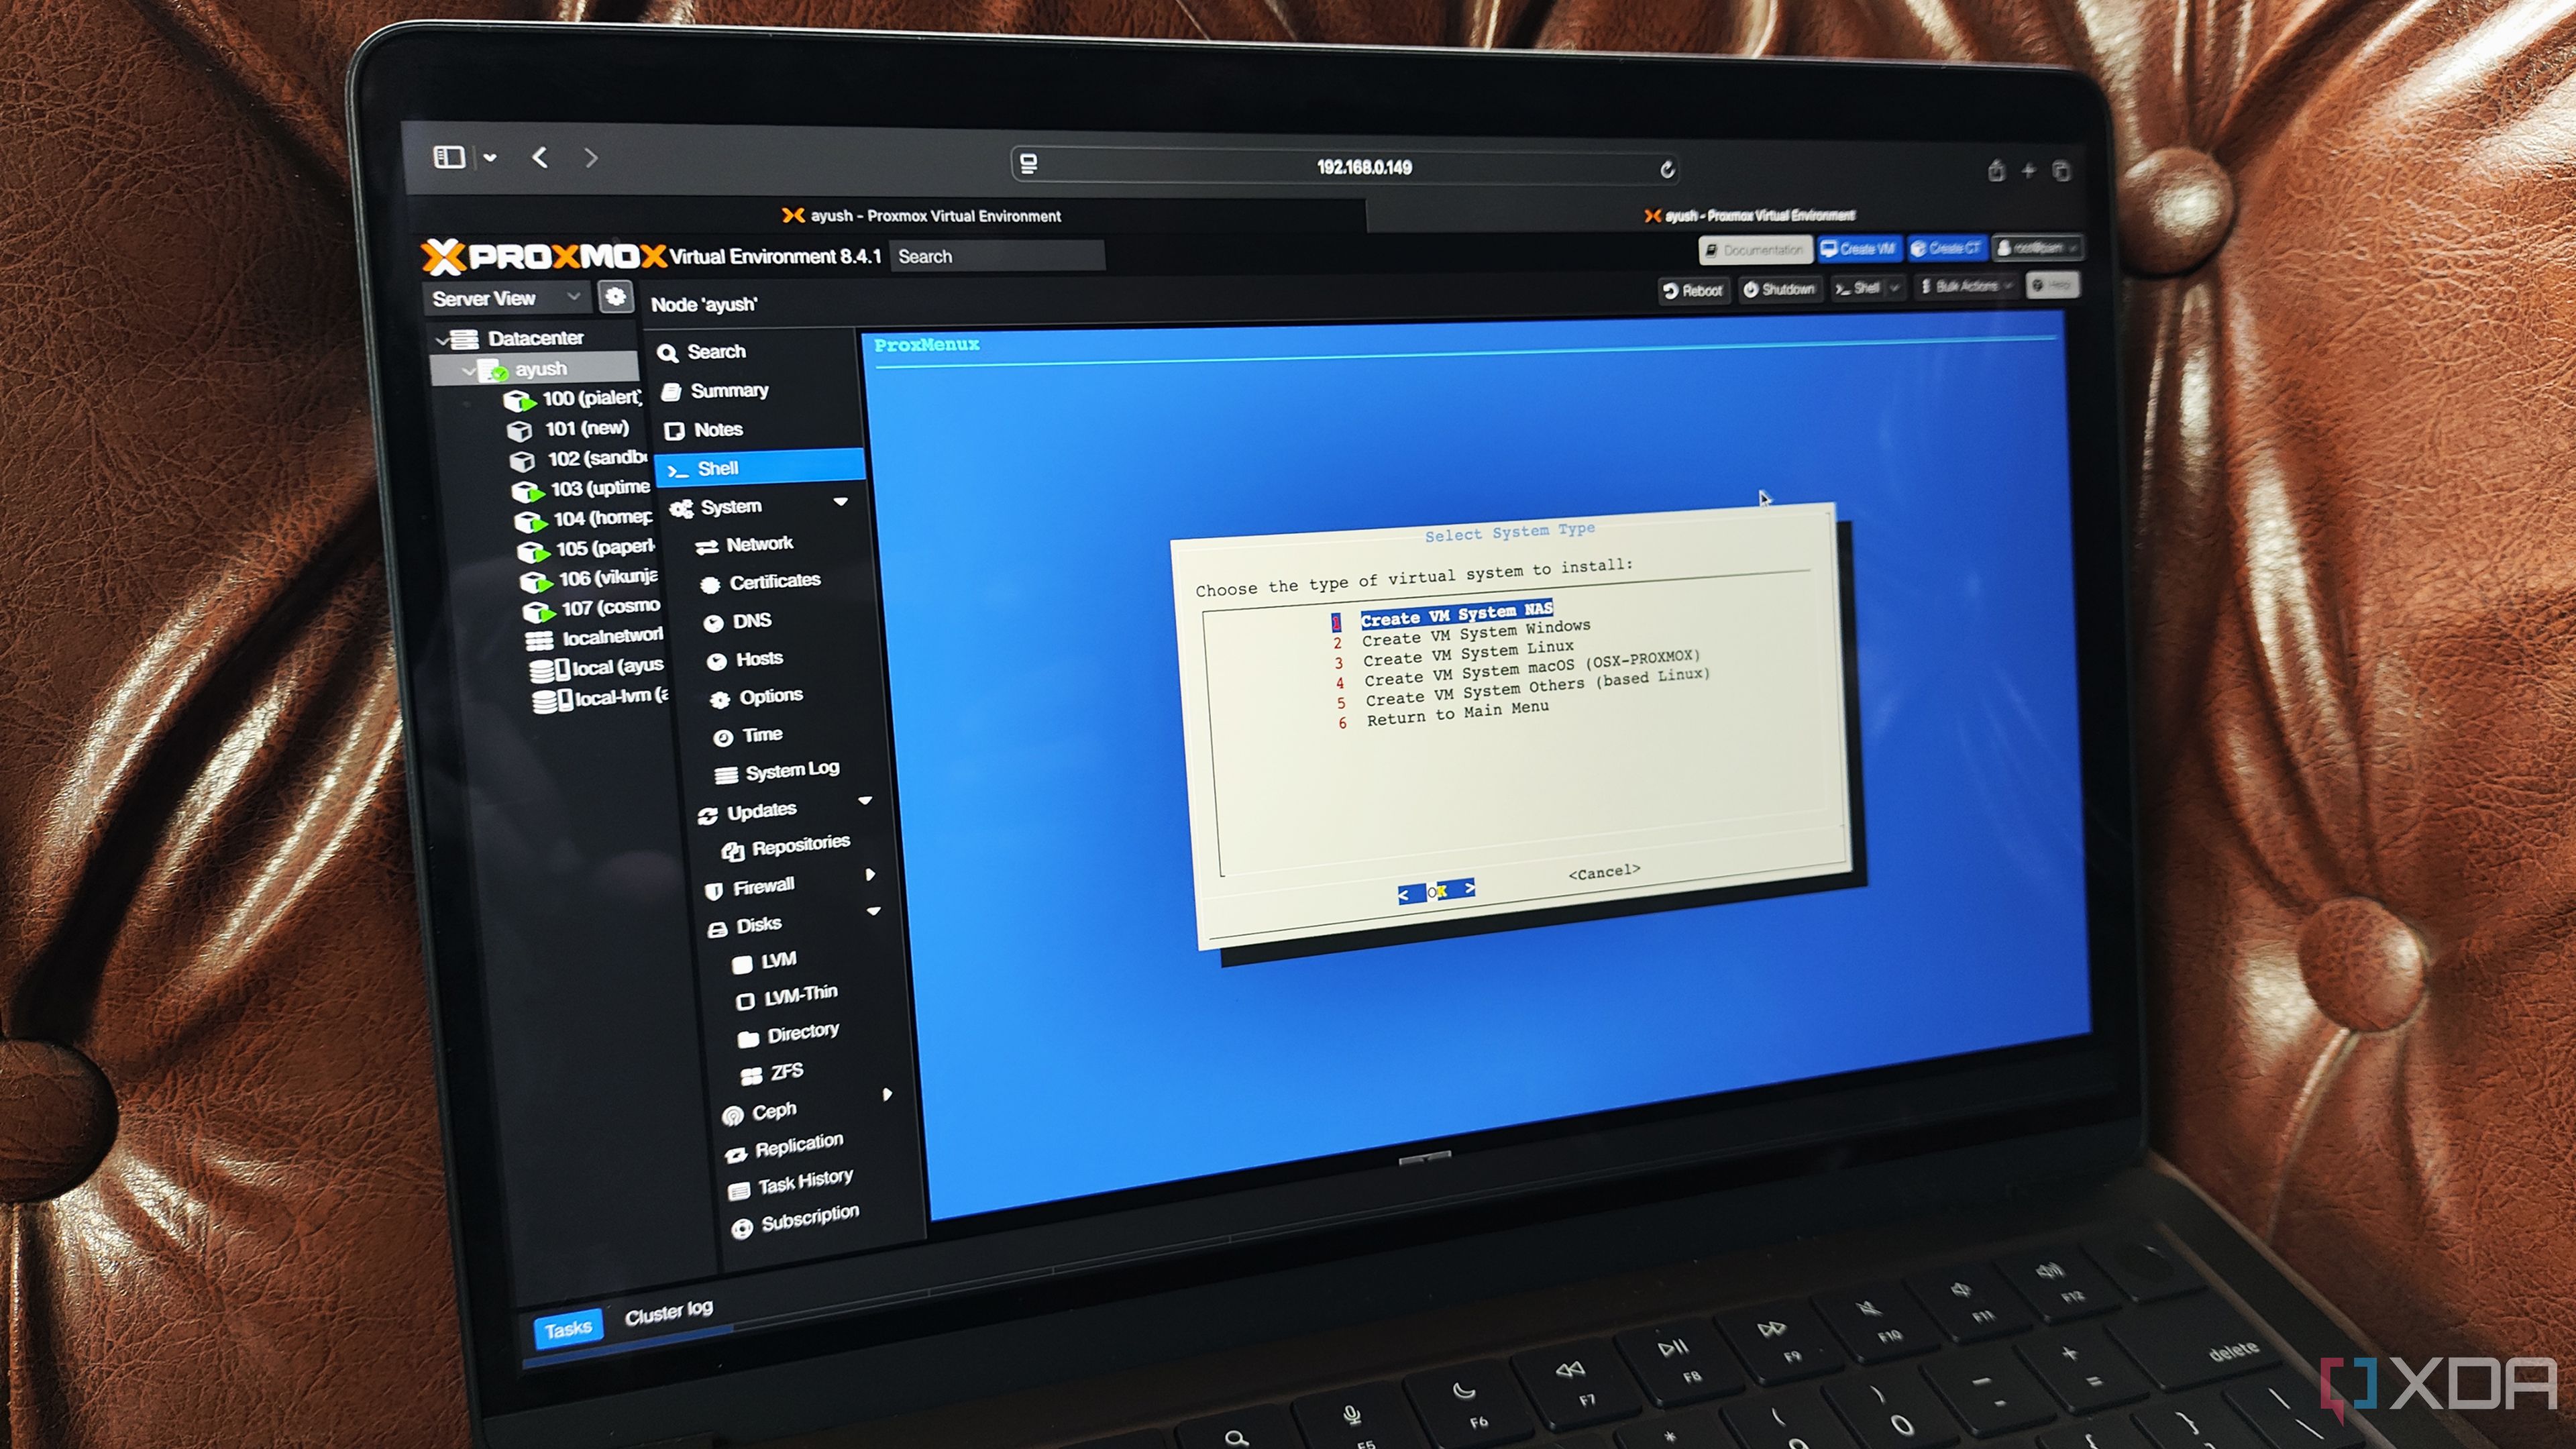
Now that the Proxmox host was paired with the NFS share, I headed to the Shell tab of my primary node. But before I could install the PBS packages, I quickly used the nano /etc/pve/storage.cfg to open the storage.cfg file and appended the options vers=3,soft line under the nfs header.
Since Proxmox doesn’t include the PBS repository by default, I used the nano /etc/apt/sources.list command to add the deb http://download.proxmox.com/debian/pbs bookworm pbs-no-subscription repo to my Proxmox host. With all the tweaks complete, it was time to run the apt update and apt install proxmox-backup-server commands. Thankfully, the installation process didn’t take a fraction of the time as a bare-metal or VM setup, and before long, I was free to tinker with the PBS instance by typing the IP address of my Proxmox host, except I had to replace its port number with 8007.
Configuring the Proxmox Backup Server instance
Remember to choose the right Prune options for your setup
After logging into the PBS instance with the same Username and Password as my Proxmox server, I whipped up a Datastore with the mount path of the NFS share I’d created at the beginning of the article as the Backing path. Since I wanted a maximum of five backups to save storage space, I modified the Prune settings to reflect this choice.
Finally, I switched to the Proxmox node one last time and beelined for the Backups section inside the Datacenter. This time, I chose the Proxmox Backup Server option after pressing the add button. I also carefully entered the ID, Server details (interestingly, the same IPv4 address as the PVE node), root@pam as the Username, same Password as the Proxmox machine, and the name of the PBS Datastore to establish the three-way connection between my PVE server, PBS utility, and the NFS share on my TrueNAS Scale NAS.
Making the NFS-based backup setup even more robust

Since I’d already encountered permission issues on my initial run of this article on the bare-metal PBS setup, I immediately tested the virtualized configuration by running a couple of Backup tasks. Luckily, those worked without a hitch, though I had one last thing to take care of.
So far, the VM and LXC data get sent to my storage server, but being a follower of the 3-2-1 backup faction, I also wanted to create another redundant copy on remote locations. Personally, a Syncthing container running on a remote NAS sounds like the ideal setup, though I’m also contemplating whether I should go the VPS route instead.
Related


 English (US) ·