.png)
When you accidentally delete a file or folder while using Windows, it can be devastating, especially if it’s a vital memo or TPS report that your boss is waiting for. Or maybe you can’t find an essential PowerPoint presentation for a big quarterly meeting. Even if you lose important photos of friends and family, it can be a heartbreaking experience. Of course, when data goes missing, the first place you want to look at is the Recycle Bin. If you haven’t emptied it, your file(s) may still be there.
There are also several free and open-source tools you can use to recover deleted data. Success depends on how many times your deleted files have been overwritten, so the results vary. If one tool doesn’t work, you can try another. One tool you may not be aware of is the free Windows File Recovery app from Microsoft that can help recover lost data.

Related
These 5 free and open-source tools are all I need to recover my accidentally deleted files
When I accidentally delete important files it can be devastating, but I use these tools to recover them.
A lightweight CLI-based tool
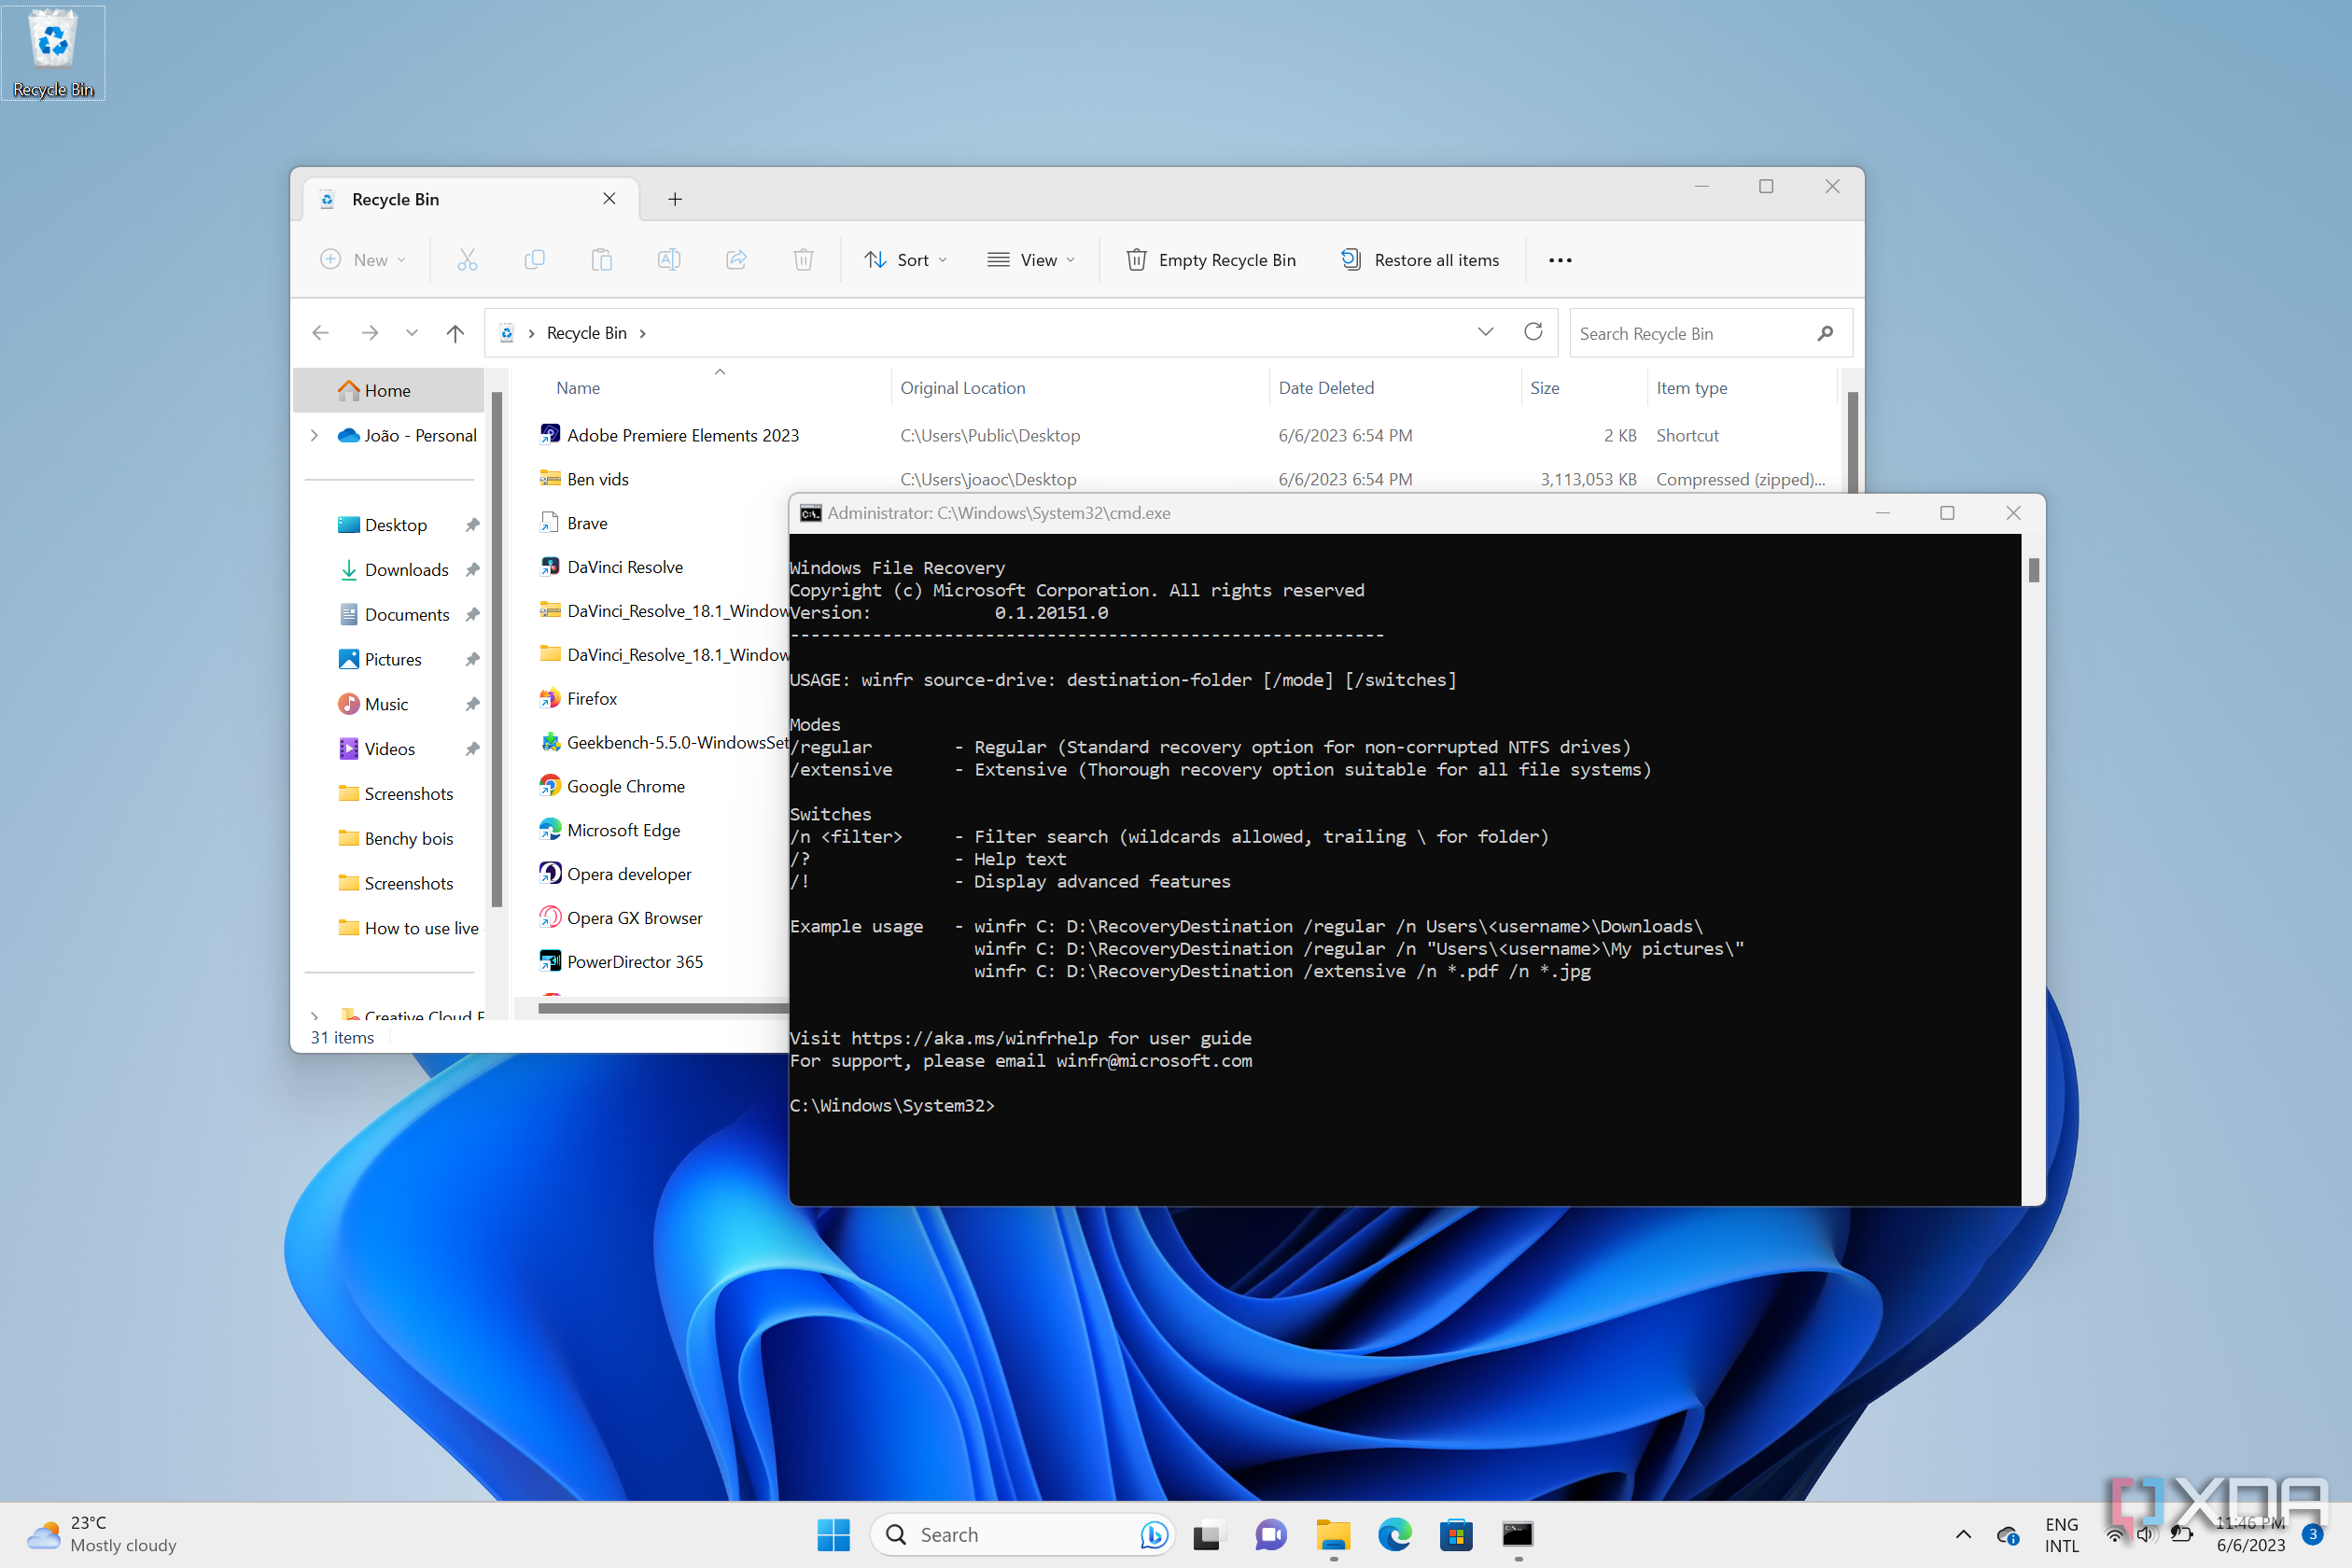
Usually, when you use a Microsoft utility, you think of a GUI-based experience. However, this free tool from Microsoft is a lightweight command-line interface (CLI)-based tool that may help you find data you accidentally deleted. You might think that a CLI tool is complicated and aimed at power users; however, that isn’t the case. Beginners or casual users can use it. Whether you deleted a file from your PC’s local drive, a USB-connected flash drive, or an external drive, the app may help you recover lost files.
To get started, download Windows File Recovery from the Microsoft Store. When you run it, a command prompt window with admin access will open. This is where you can run the commands to recover deleted files. It’s essential to note that when using this tool, you must select the source drive from which your data was deleted and recover (or save) it to a different drive.
For instance, if a file is lost on your local C: drive, you can recover it to a USB drive. To do that, run the winfr command and choose the destination drive to save the recovered file to. So, let’s say I am looking for a JPG photo, and I’m not sure what I named it. I would use the following command to search using the default mode with a wildcard.
winfr C: D: /n *.JPGThe tool will scan your drive for files that meet the specified search criteria. It also creates a new recovery folder named Recovery_[Current_Date] on the destination drive for recovered files. It will prompt you to press Y to open the recovery folder in File Explorer. It also creates a recovery log, which you can refer to later if needed. You can also simply change the wildcard with an actual file name (if you know it) or change C: to a specific path, like C:\Documents, E:\Presentations, or whatever specific directory a file was located in.
Related
How to recover deleted files in Windows 11
Accidentally deleted a file from your PC? Here's how you can recover files you've deleted on Windows 11 and 10.
Windows File Recovery modes
More search modes for additional data recovery potential
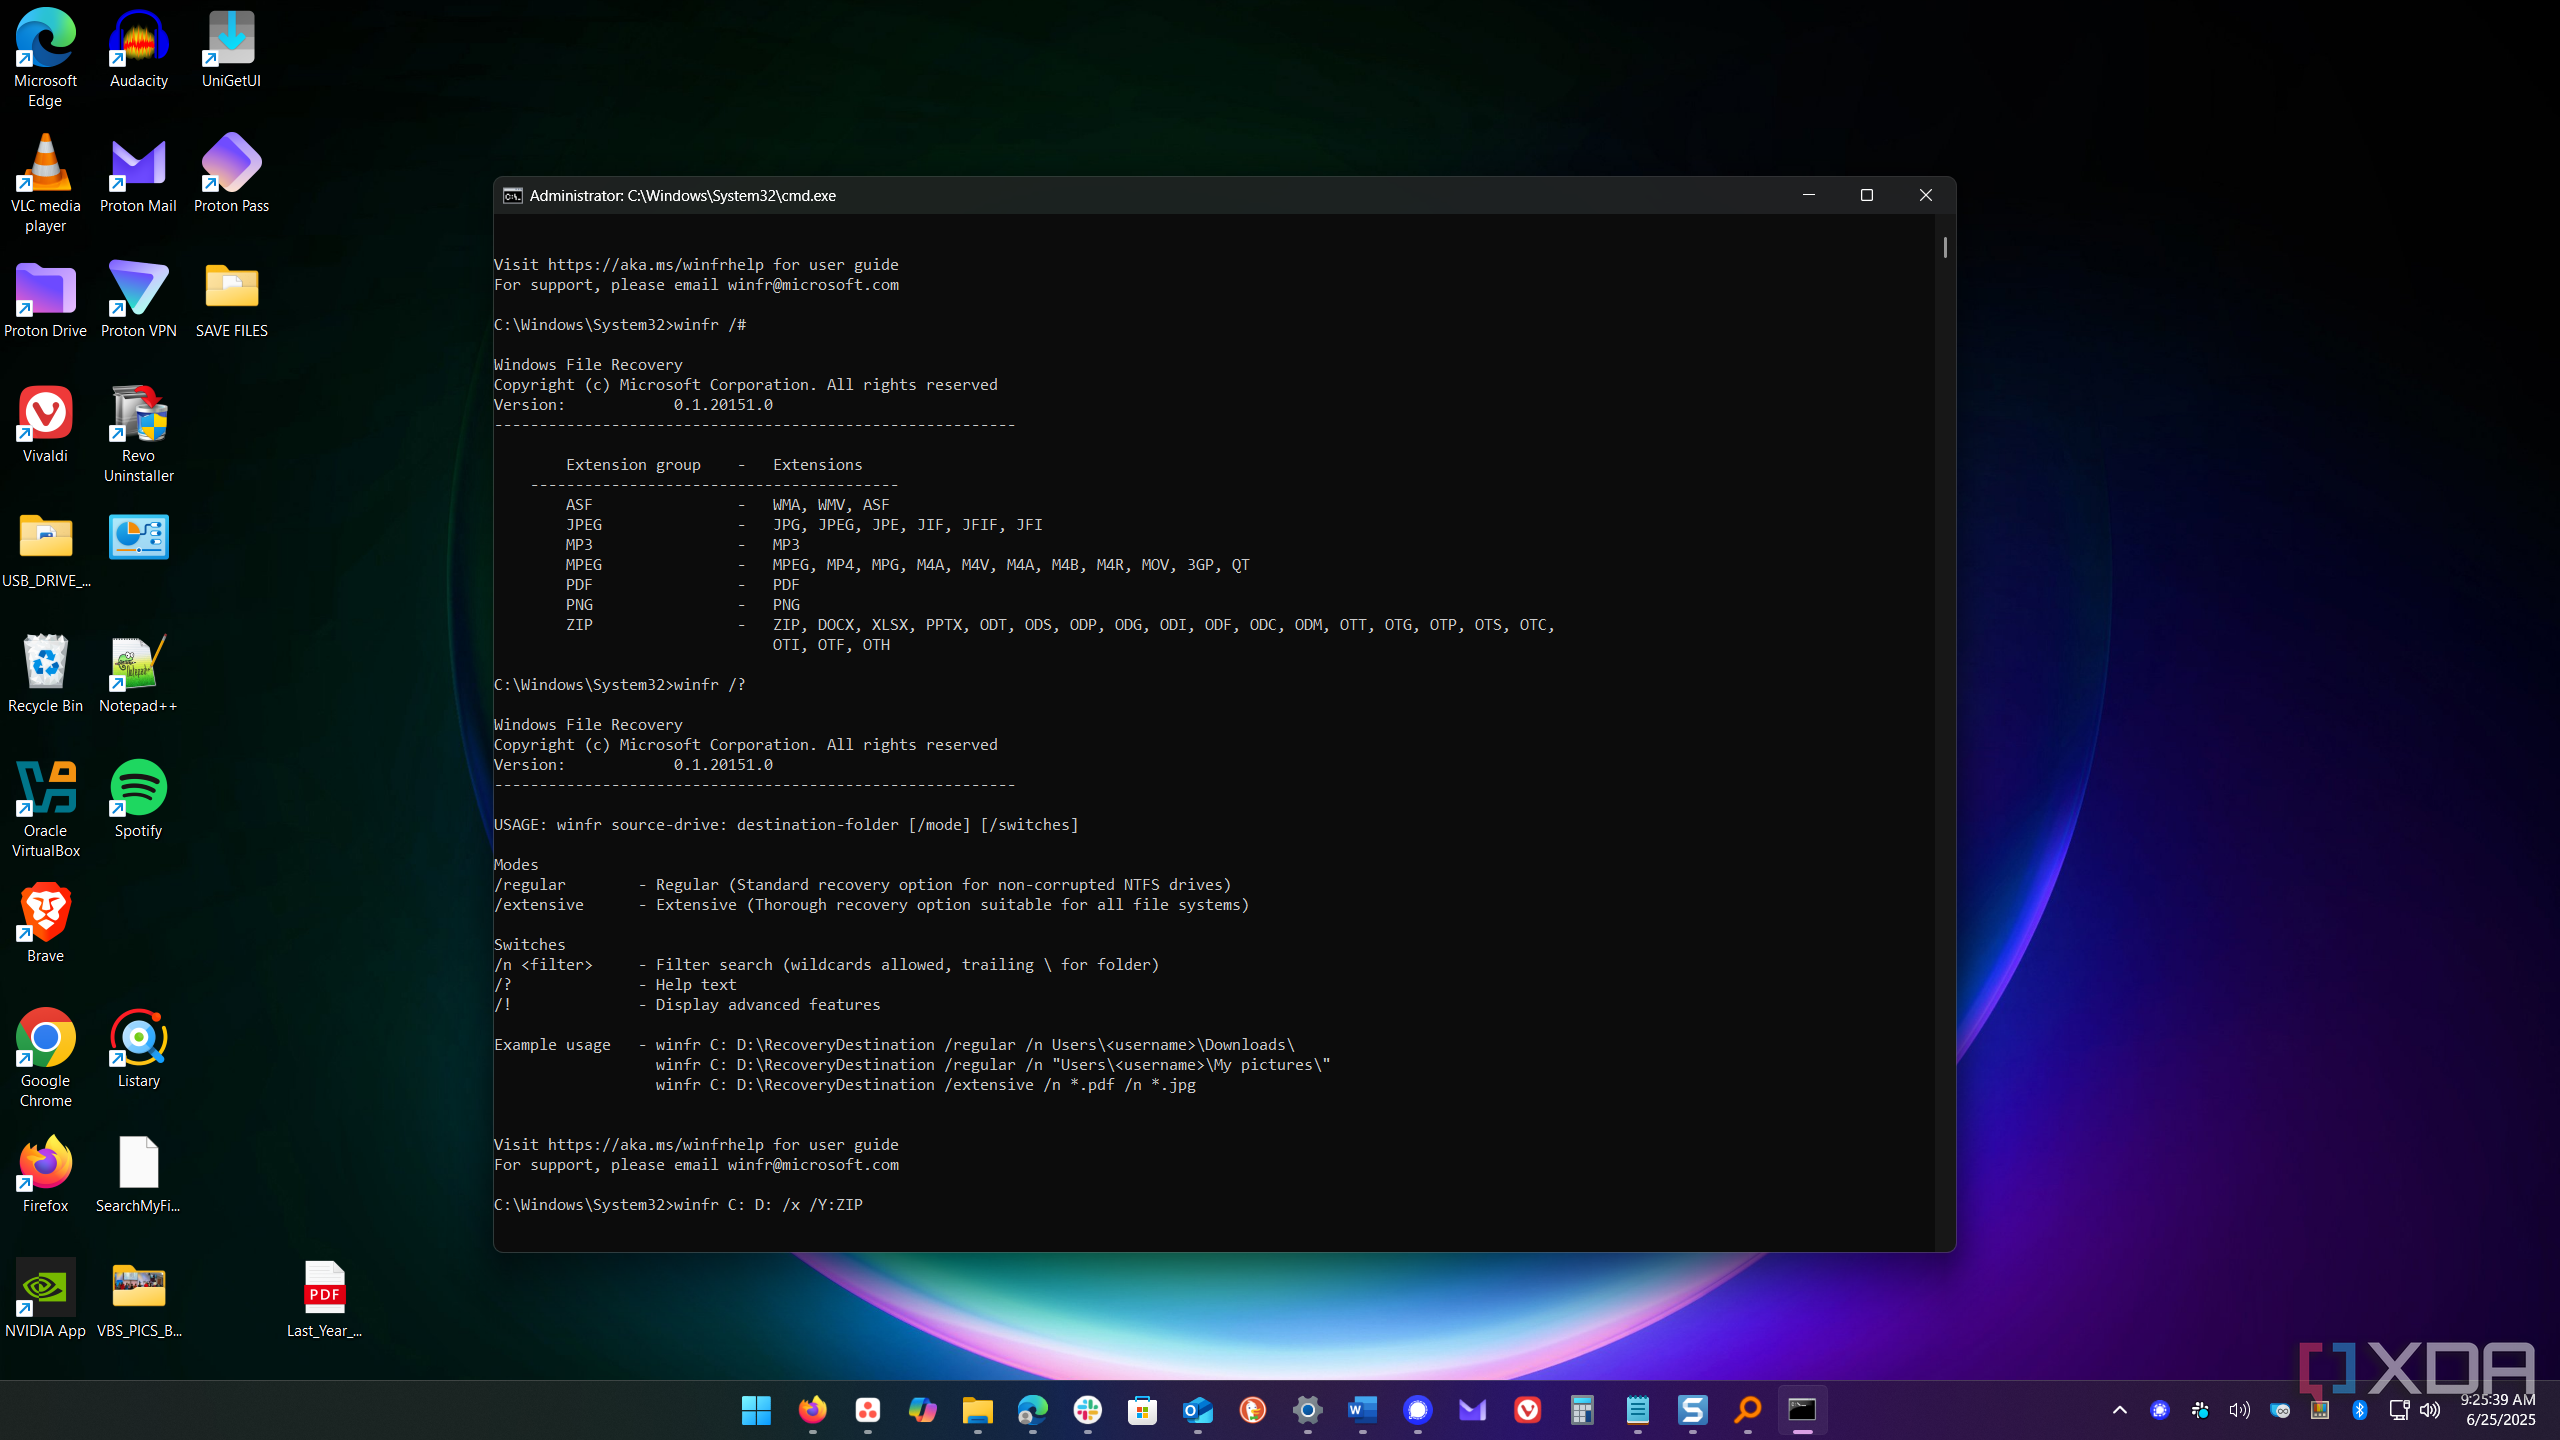
The tool also includes other modes that can help recover lost data. There is Segment mode, which finds file segments. So, if the default mode doesn’t work, you can add /r in addition to /n to your search string and try again. That can help you at least find parts of deleted files. You can also use Extensive mode, which can find files that were deleted after formatting a drive, from a corrupt disk, or any situation with FAT and exFAT formatted drives. To use it, add /extensive to your command string.
It also features Signature mode, which allows you to find specific deleted file types using the /x and /y: to the string. This will enable you to find supported file types, such as WMA or MP3 media files, Microsoft Office or OpenDocument files (usually created with open-source office suites like LibreOffice), PDFs, zip files, and more.
For a complete list of file types, run winfr /# to bring up the list of file extension types. It’s also possible to specify file groups with a comma if you want to find multiple types. For example, I can run the following to recover media and office files from my local drive to a flash drive.
winfr C: E: /x /y:ASF, ZIPI intentionally deleted a few files, and the tool was able to recover them. However, it’s important to note that some files can be trickier to recover on SSDs compared to legacy hard drives. Still, you can use advanced modes like Segment and Extensive to get parts of files, which can be helpful, especially with documents. I also found using a wildcard for files like winfr C: D: *.PDF, and then using my favorite search tool, Everything to find the specific file you need in the recovery folder. Also, the amount of time it takes to find and restore your files can be a while if you have a lot of data on a large drive.

Related
Microsoft’s free CLI-based tool can help you recover data quickly
When you accidentally delete a file or an entire folder, you can use the Windows File Recovery tool to find and recover it. Although it isn’t GUI-based and runs from the command line, once you get started, it turns out to be a straightforward utility. The tool is powerful, offering numerous options and modes to help recover lost data. You can recover files by name, path, type, and extension from hard drives, SSDs, flash drives, SD cards, and other external storage devices.
If you need help or reminders, the winfr /# and winfr/? Commands are helpful if you get stuck. Additionally, if you require further assistance with the tool, Microsoft offers a comprehensive support page with a tutorial on its use. Overall, it is a high-quality tool that can help you recover your data, and with the flexibility of the CLI, it offers more control than some GUI-based data recovery apps.


 English (US) ·