.png)
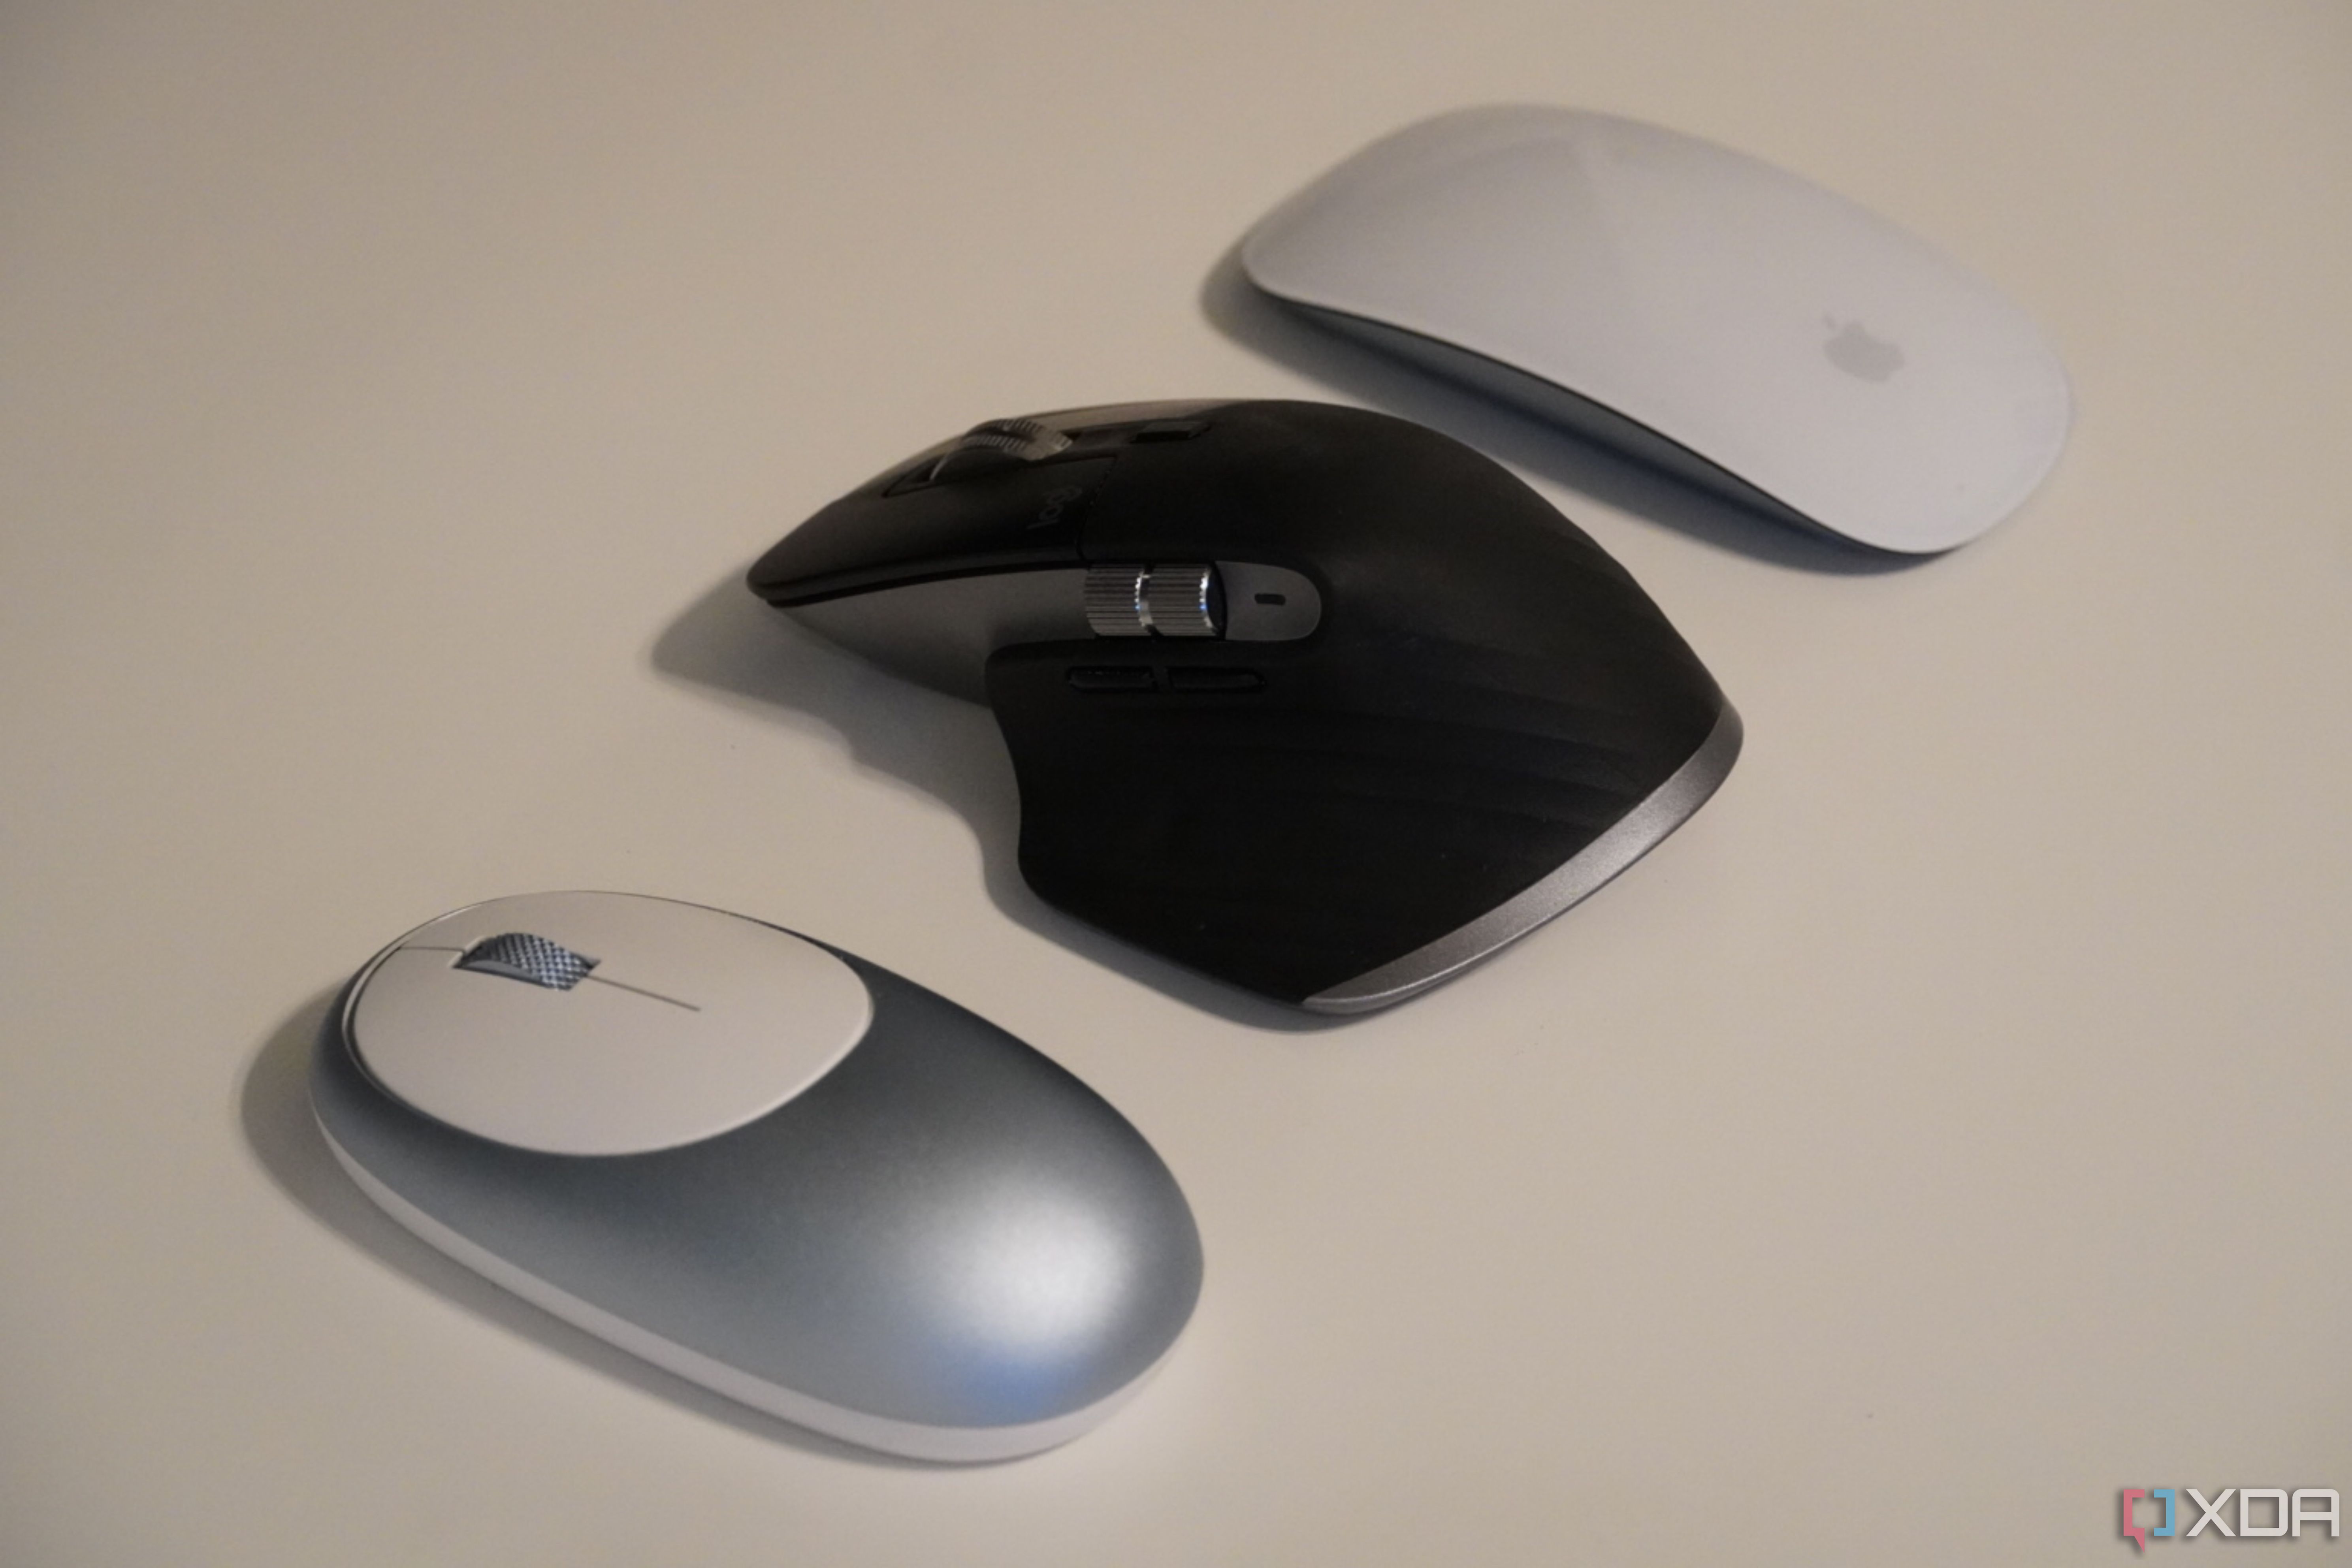
Anyone who edits photos or videos on their computer would tell you that the Logitech MX Master is one of the best mice out there. In fact, it's also ideal for folks focused on productivity when working on their computers. The primary reason for this is the multiple buttons on the mouse that are not only placed in convenient positions, but are also customizable. You can reassign keys to cut a video clip, add an effect, copy text, move back and forward in a browser, etc. While it's an excellent mouse in most respects, the biggest issue for some consumers is that it's designed specifically for right-handed individuals. So, if you predominantly use your left hand, the mouse isn't suitable.
This is a big bummer since most of the best mice are ambidextrous, meaning both right and left-handed users can use them comfortably. But those mice don't have the same level of functionality as the MX Master. So, what's the solution? Well, it seems like someone has figured out an excellent hack to convert a Logitech MX Master 3 into a left-handed mouse. It's a 3D-printed mod that provides a customized chassis. You have to dismantle the mouse and assemble the components inside the new 3D-printed body to convert it. Here's how it works, and why I feel it's a no-brainer for left-handed individuals.
Related
Printing the external chassis for left-handed use
It's almost like the original body
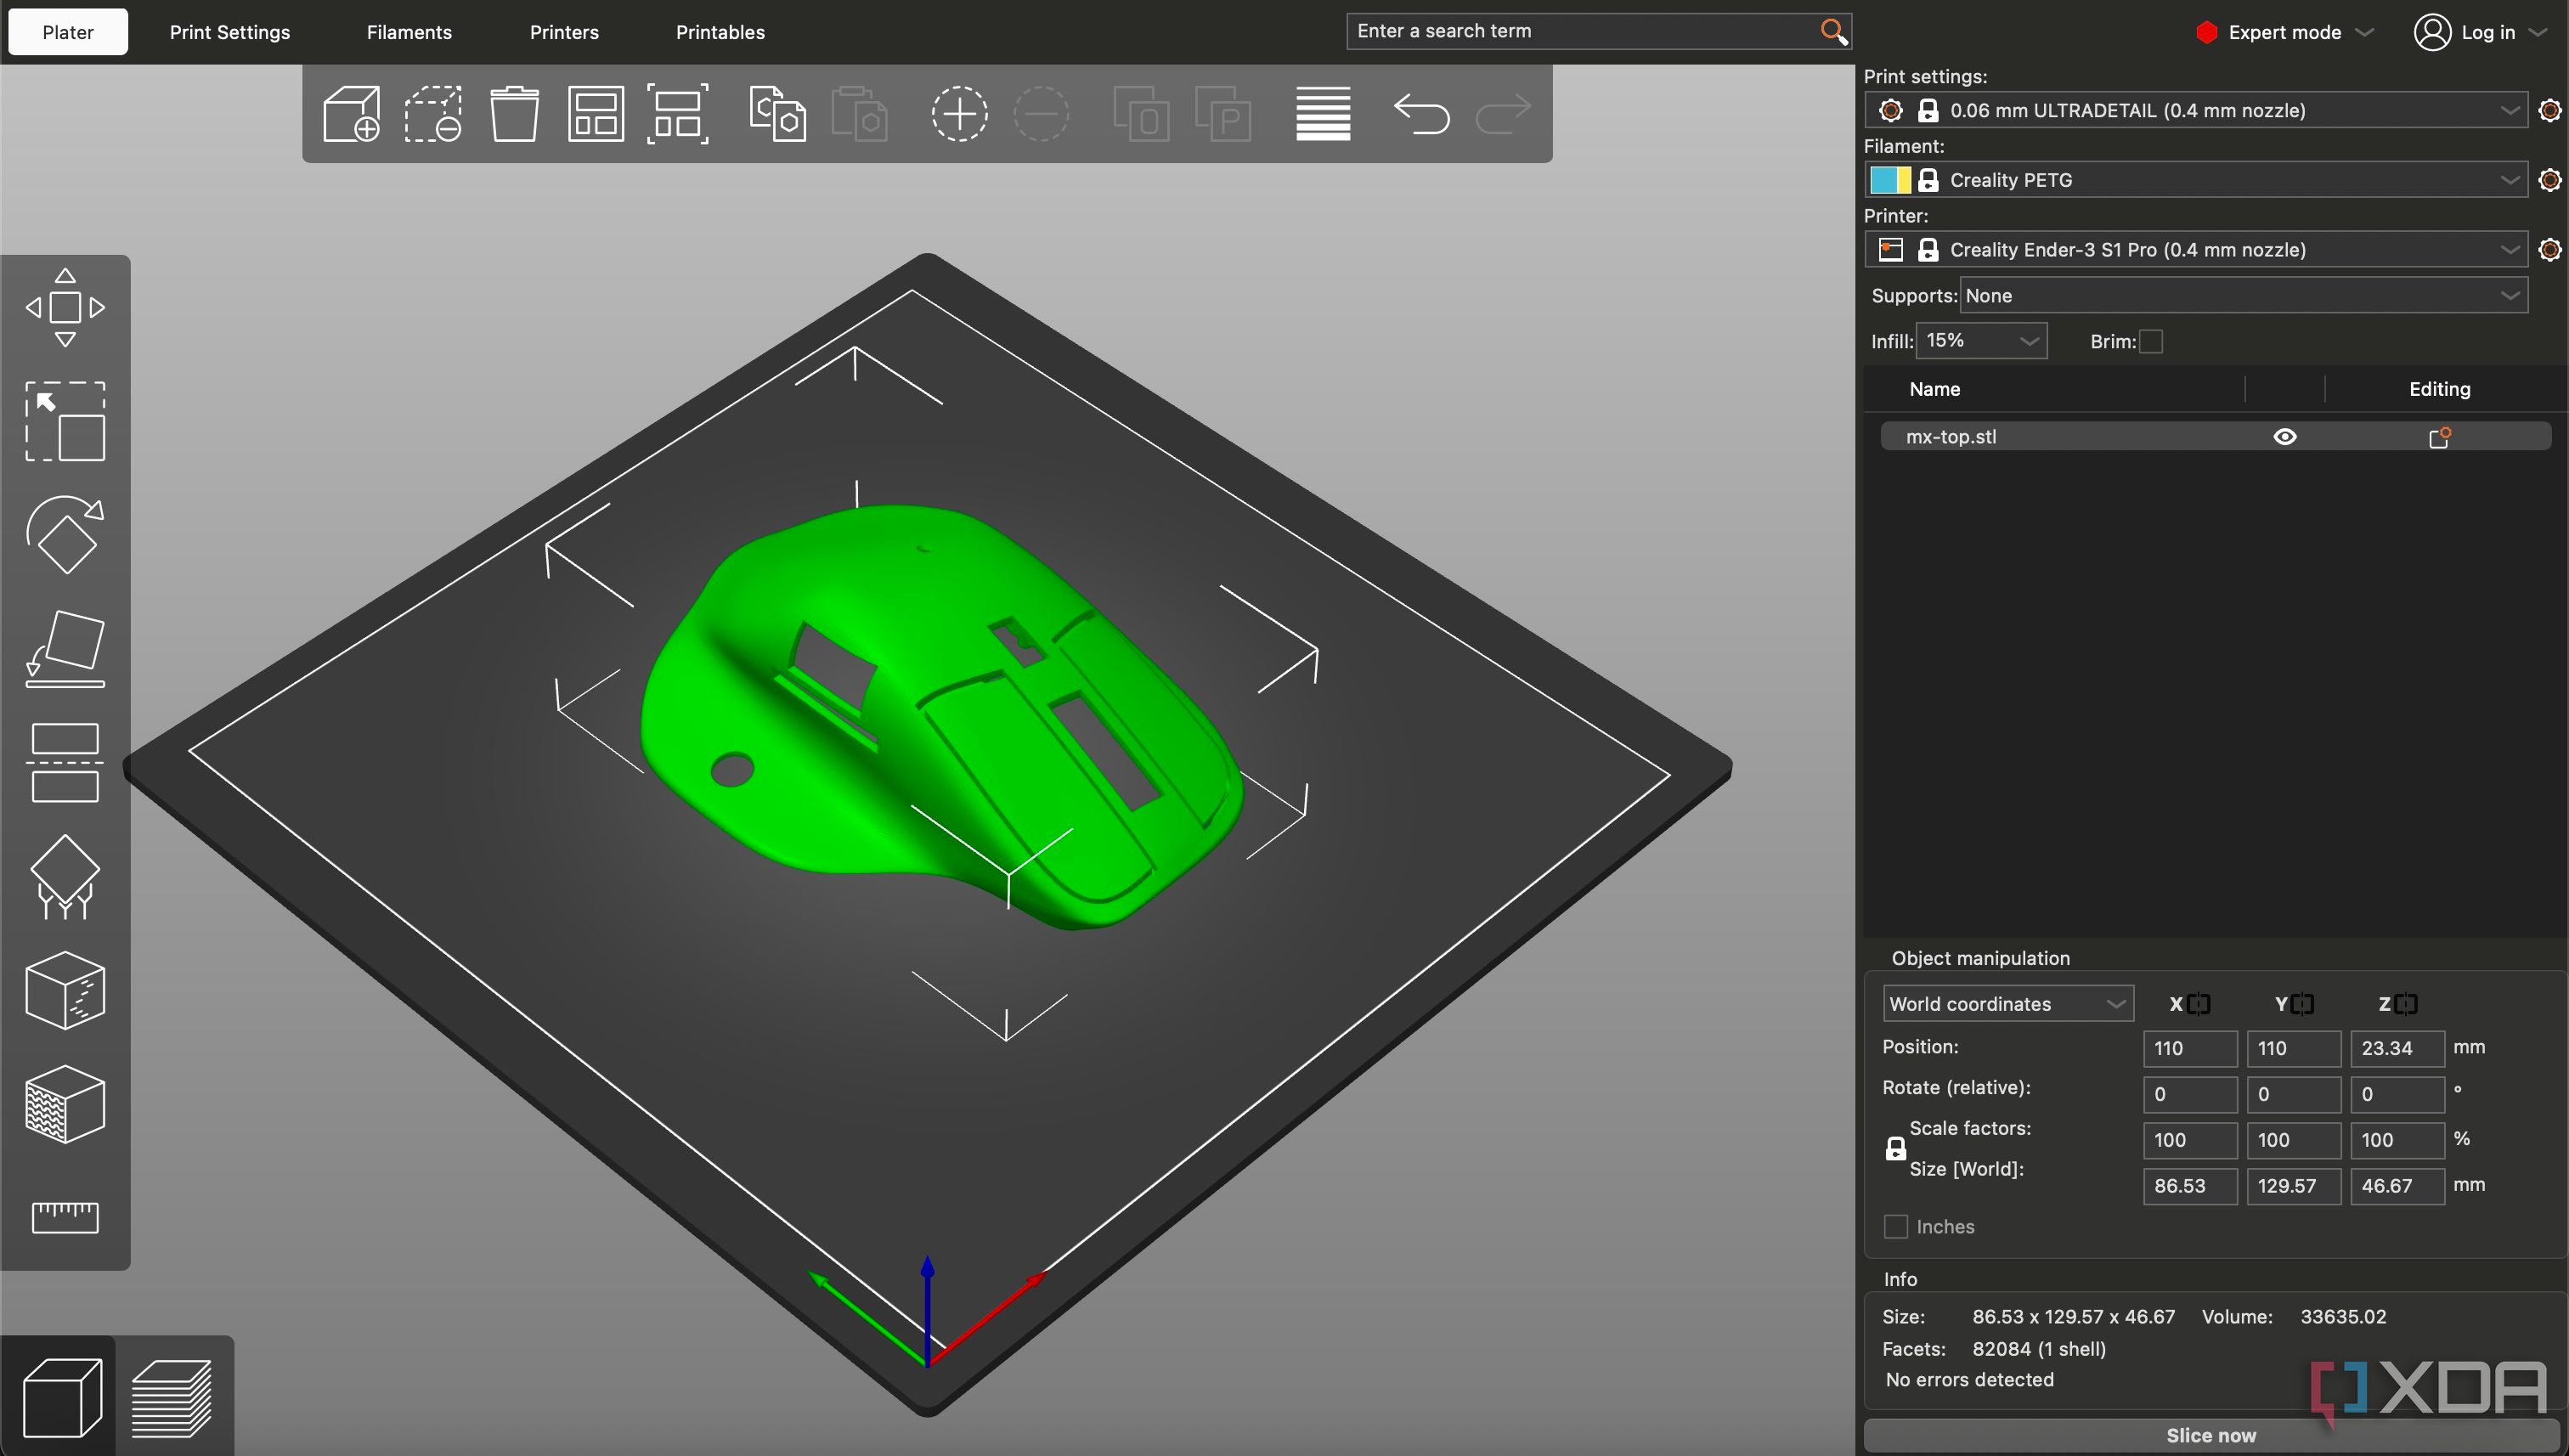
Thanks to the impressive work of matthiasdeblaiser on Maker World, you can download the left-handed version of the Logitech MX Master 3 chassis to 3D print. The preferred slicer settings are 0.12mm layer height, five walls/perimeters, and 25% infill. Ensure you enable supports, since the body prints in the vertical orientation. If you want to be fancy, you can print different parts of the mouse using different filament colors.
Needless to say, you can't replicate the actual materials used in the construction of the mouse when printing the body at home. So, the end result is going to be a mouse that has a slightly rough surface on the top. I would say use PETG or ABS for better longevity, since they are both much harder than PLA. This would ensure the mouse lasts for a long time, and you can also carry it in your backpack while traveling.
Reassembling the internal components
It's a little bit of work
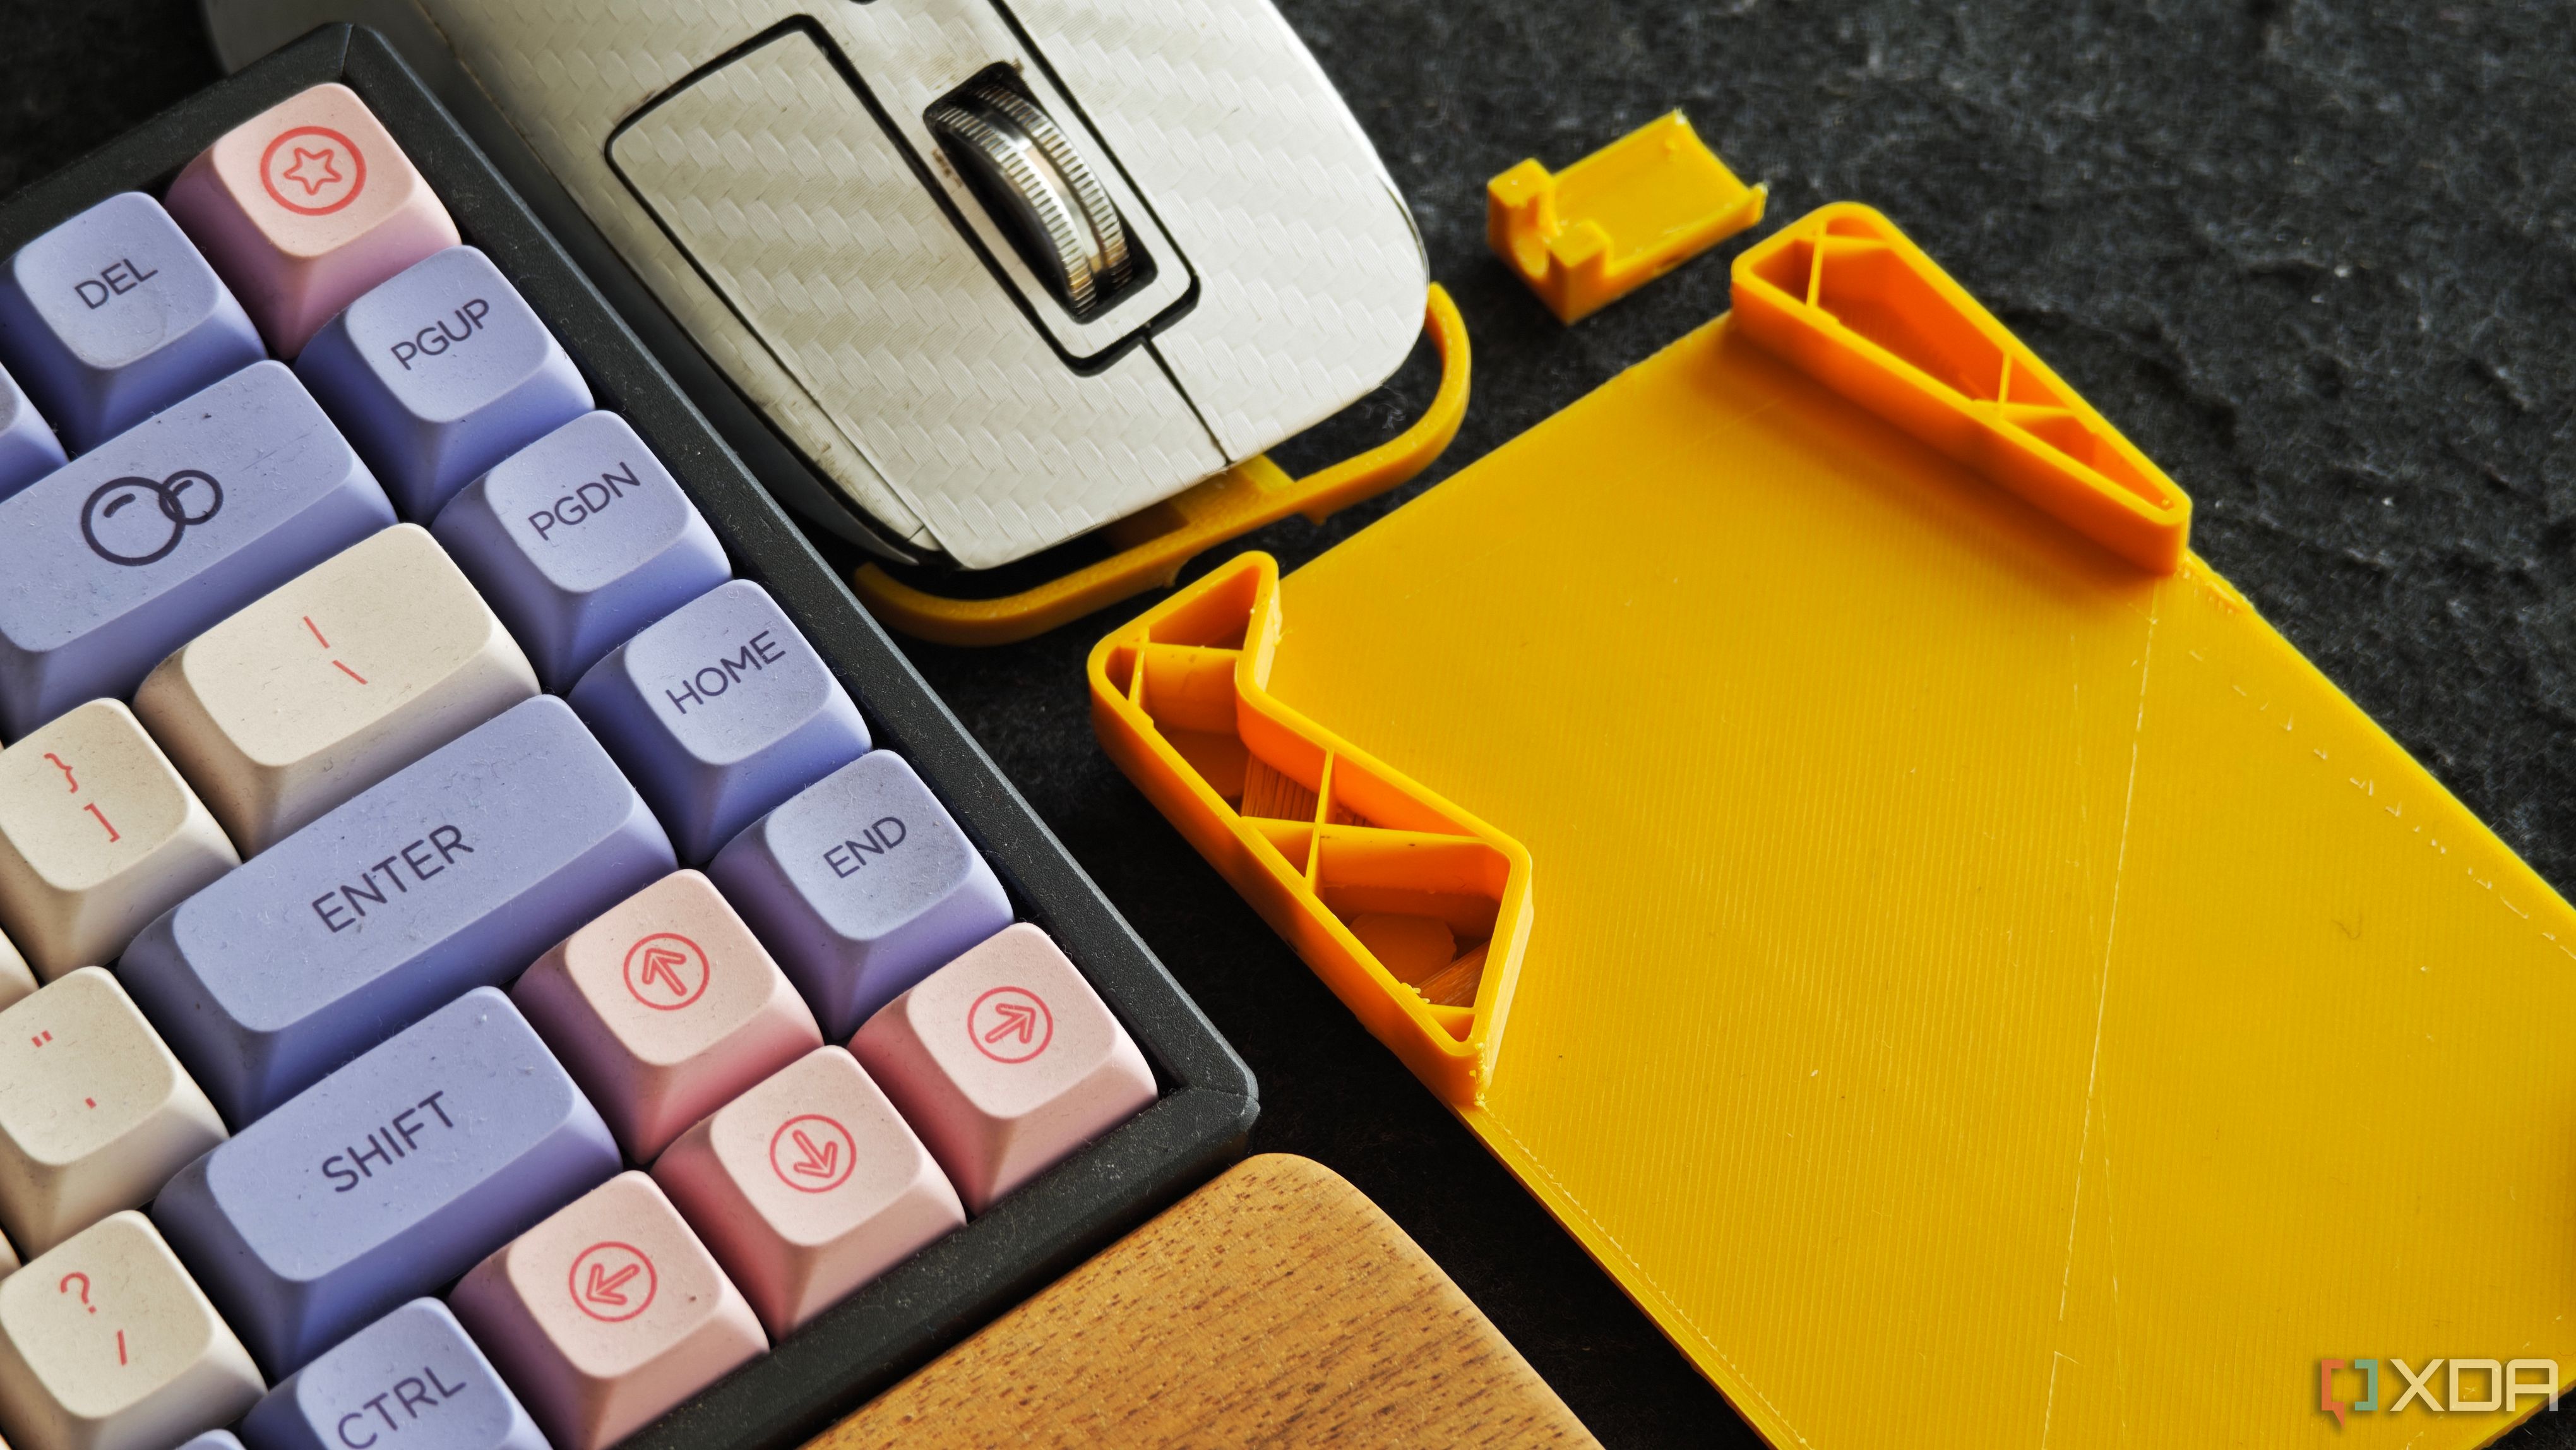
Once you have the print ready, you will have to detach the supports and sand the exterior to make it smoother. Then, it's time for the difficult part. Cautiously disassemble your MX Master 3 mouse and keep all the components safe. Remember to organize the screws correctly since we will be using the same ones to put the components back inside. When you have all the components ready, carefully follow the instructions mentioned on the design page. Notably, you will need small drilling bits, cutting pliers, and a metal file to cut and pry away a few parts.
The instructions are amply clear, with arrows indicating the different sections of the components that need to be modified. You will not only need to cut some portions of the printed body, but also some sections of the motherboard and internal components of the mouse. Ensure you do this carefully, since you don't want to cut off some cables, solder joints, or any other sections of the PCB that are vital to the functioning of the mouse. After putting all the components in place, you need to connect the flex cables together to get everything to work. Then, snap the top and bottom portions together and secure them with a screw. You now have a fully functional MX Master 3 for left-handed users!
This particular model is strictly for the MX Master 3 and hasn't been tested with other models. However, the MX Master 3S also has similar dimensions, so it may also work with that model.
Now, anyone can use the world's best mouse!
I wish Logitech were more inclusive when designing the MX Master series of mice, since that would mean that anybody could use them without compromises. However, I also understand that creating a left-handed version would incur more expenses, and the sales wouldn't be that high, since it's an expensive mouse, and the number of left-handed consumers willing to spend that sort of money on a mouse would be rather low. So, considering these parameters, 3D-printing the external chassis and reassembling the internals inside seems like the most practical option for all the southpaws out there. It requires some extra effort, but it's well worth it for the functionality offered by the mouse. There's no going back to a standard mouse once you use an MX Master!
Related


 English (US) ·