.png)
It can be frustrating to prepare your 3D model, start 3D printing, only to realize that the first few layers of the print are sagging or just plain messy. Sagging of the first layers of the print is one of the common 3D printing problems that hobbyists face during the 3D printing process. Sagging occurs when the filament droops while spanning unsupported areas, especially due to gravity and inadequate cooling that slows down solidification. It’s mainly caused by issues with the first layer. However, just like any other 3D printing issue, this problem is fixable. In this article, we will describe the causes and the steps you need to take to resolve it.

Related
Sometimes I run out of ideas; here are 7 ways I find new 3D printing projects
We all hit creative blocks sometimes, but there are plenty of places to look for inspiration for your next 3D printing project
5 Inadequate cooling
It allows gravity to distort its shape
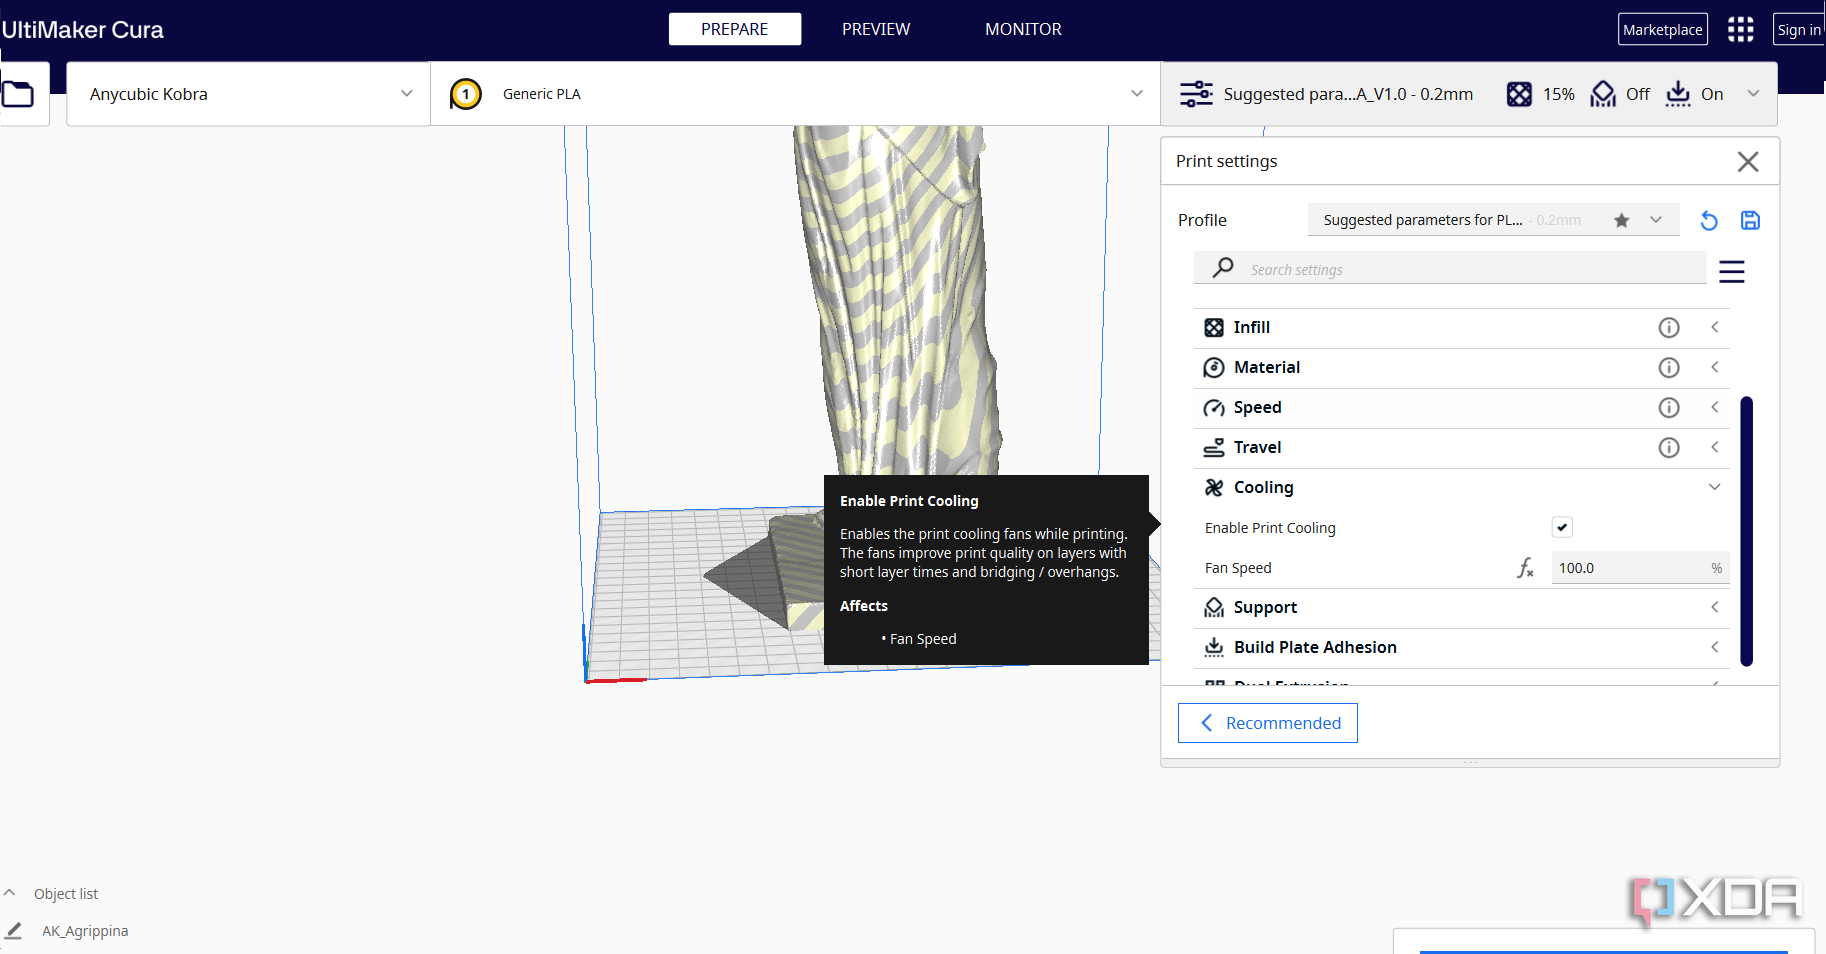
Cooling is crucial in determining the quality of your first layers, especially if your design includes any bridges or slightly overhanging parts. The filament needs to solidify quickly to maintain its shape, especially in the first layers. If it stays hot for too long, it can be too soft, especially for bridges or unsupported spans where there’s nothing underneath to hold the material in place.
Without sufficient cooling, gravity causes these sections to droop before they harden, resulting in sagging. Even on flat surfaces, inadequate cooling can cause filaments to deform, distorting the design's structure. To fix this, ensure the cooling fan is actually running; sometimes it may be turned off by default in your slicer for the first few layers. Additionally, for PLA, the fan should run at full speed (100%) immediately after the first layer finishes. Other materials like PETG or ABS mostly require a slower cooling, though. You’ll need to experiment to find the best value.
4 High 3D printing speed
The filament may not have enough time to cool and solidify
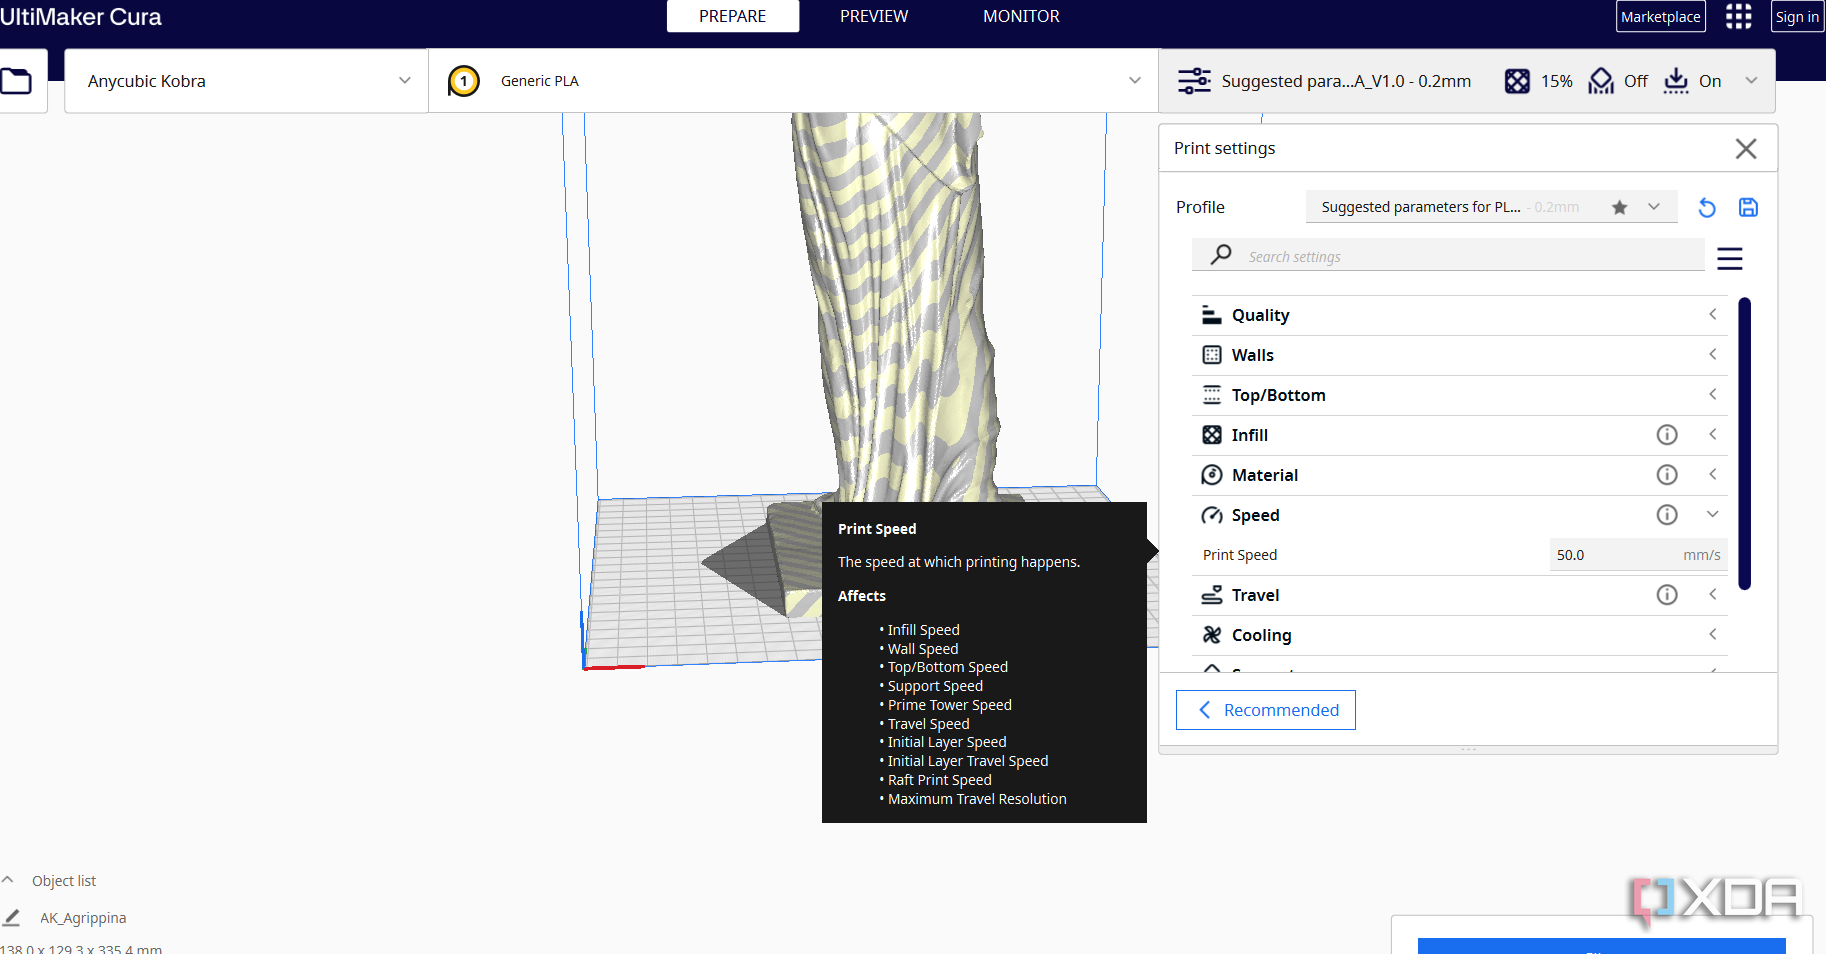
While faster speeds can reduce print time, they often compromise layer adhesion, leading to sagging issues. Slowing down your print speed can help fix sagging in 3D prints. This is because the filament gets enough time to melt properly and bond more effectively with the previous layer. A slower speed also helps layers cool more evenly, reducing the chances of warping and delamination.
You can start with the default speed and adjust gradually until you strike the right spot. If layer separation persists despite these adjustments, consider switching to a nozzle with a larger diameter. A wider nozzle lays down thicker lines, creating more surface area for the next layer to adhere to, significantly improving overall layer bonding.
Related
The truth about high-temperature 3D printing: What no one tells you
Ultra high-temperature 3D printing might sound like a good expansion of your repertoire, but there are a few reasons it may not be the right move
3 High 3D printing temperature
High temperatures make the filament liquid, which can ooze
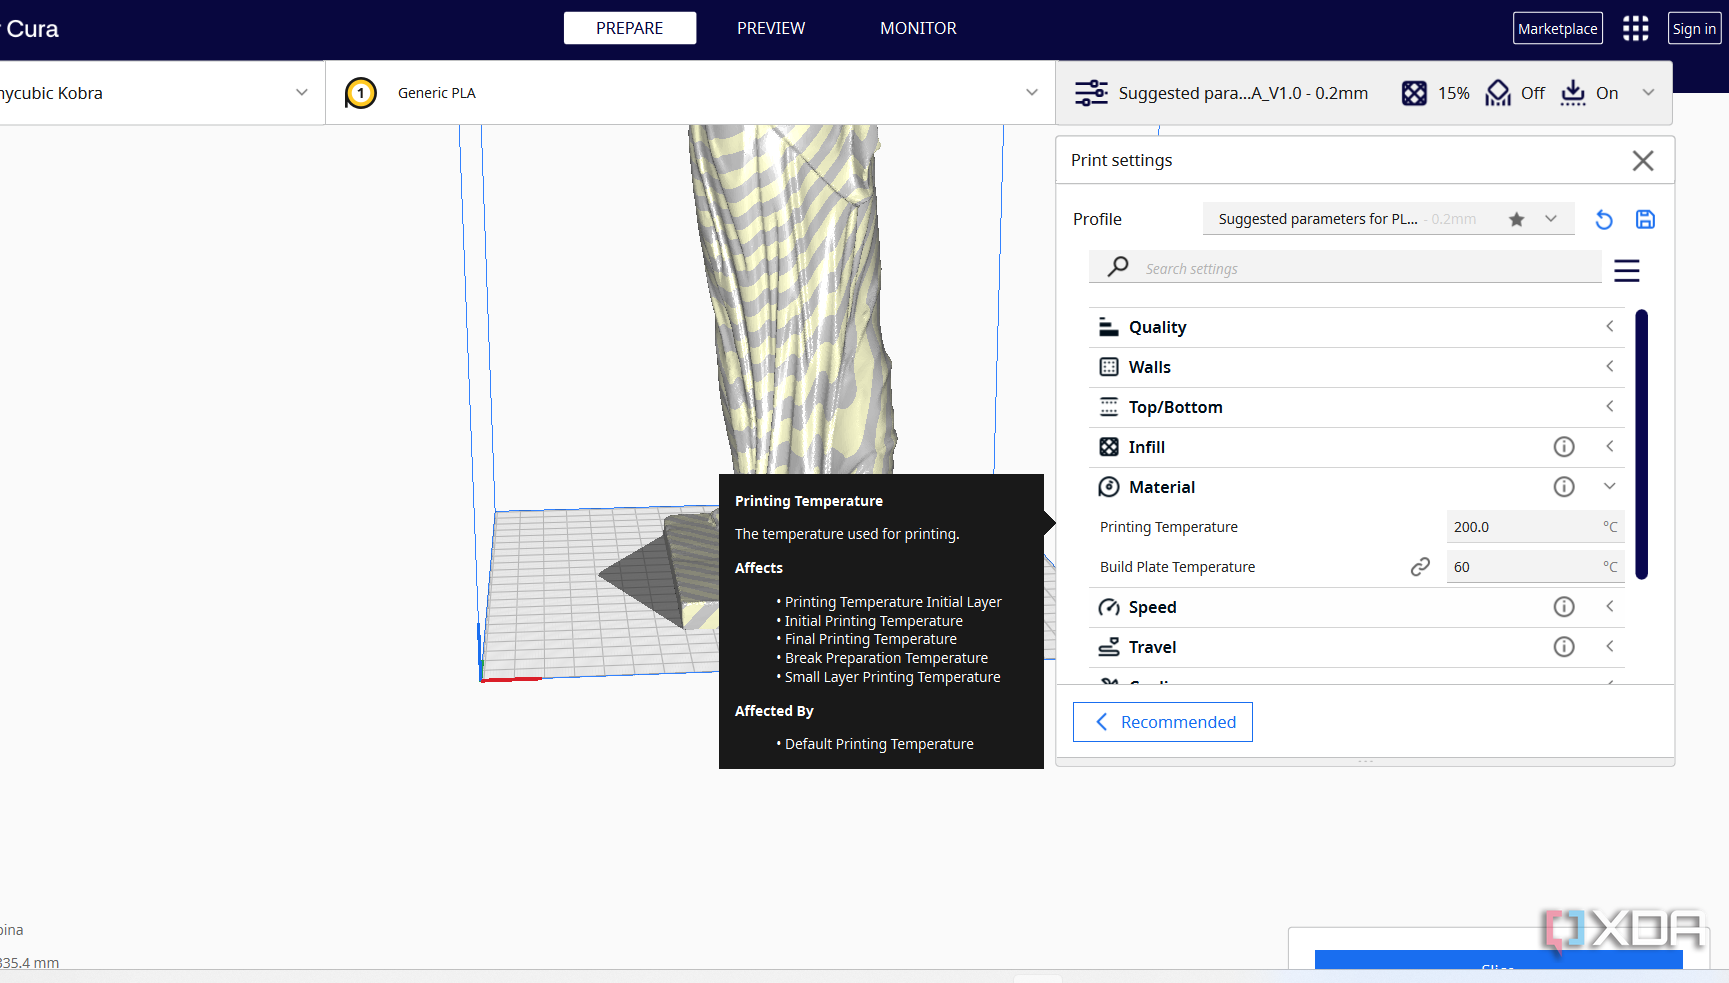
High 3D printing temperatures can cause the filament to remain molten for too long, making it difficult to hold its shape, especially over gaps or unsupported sections. When the material remains soft for an extended period, gravity pulls it down before solidifying, causing it to sag. Additionally, high temperatures cause the filament to melt, making it flow and ooze into unwanted areas.
To resolve this issue, begin by adjusting the nozzle temperature within the recommended range for your filament. Most materials have an optimal temperature window, and staying on the lower end can help prevent sagging.
2 High layer height
High layer height is prone to sagging, especially in overhangs and bridges
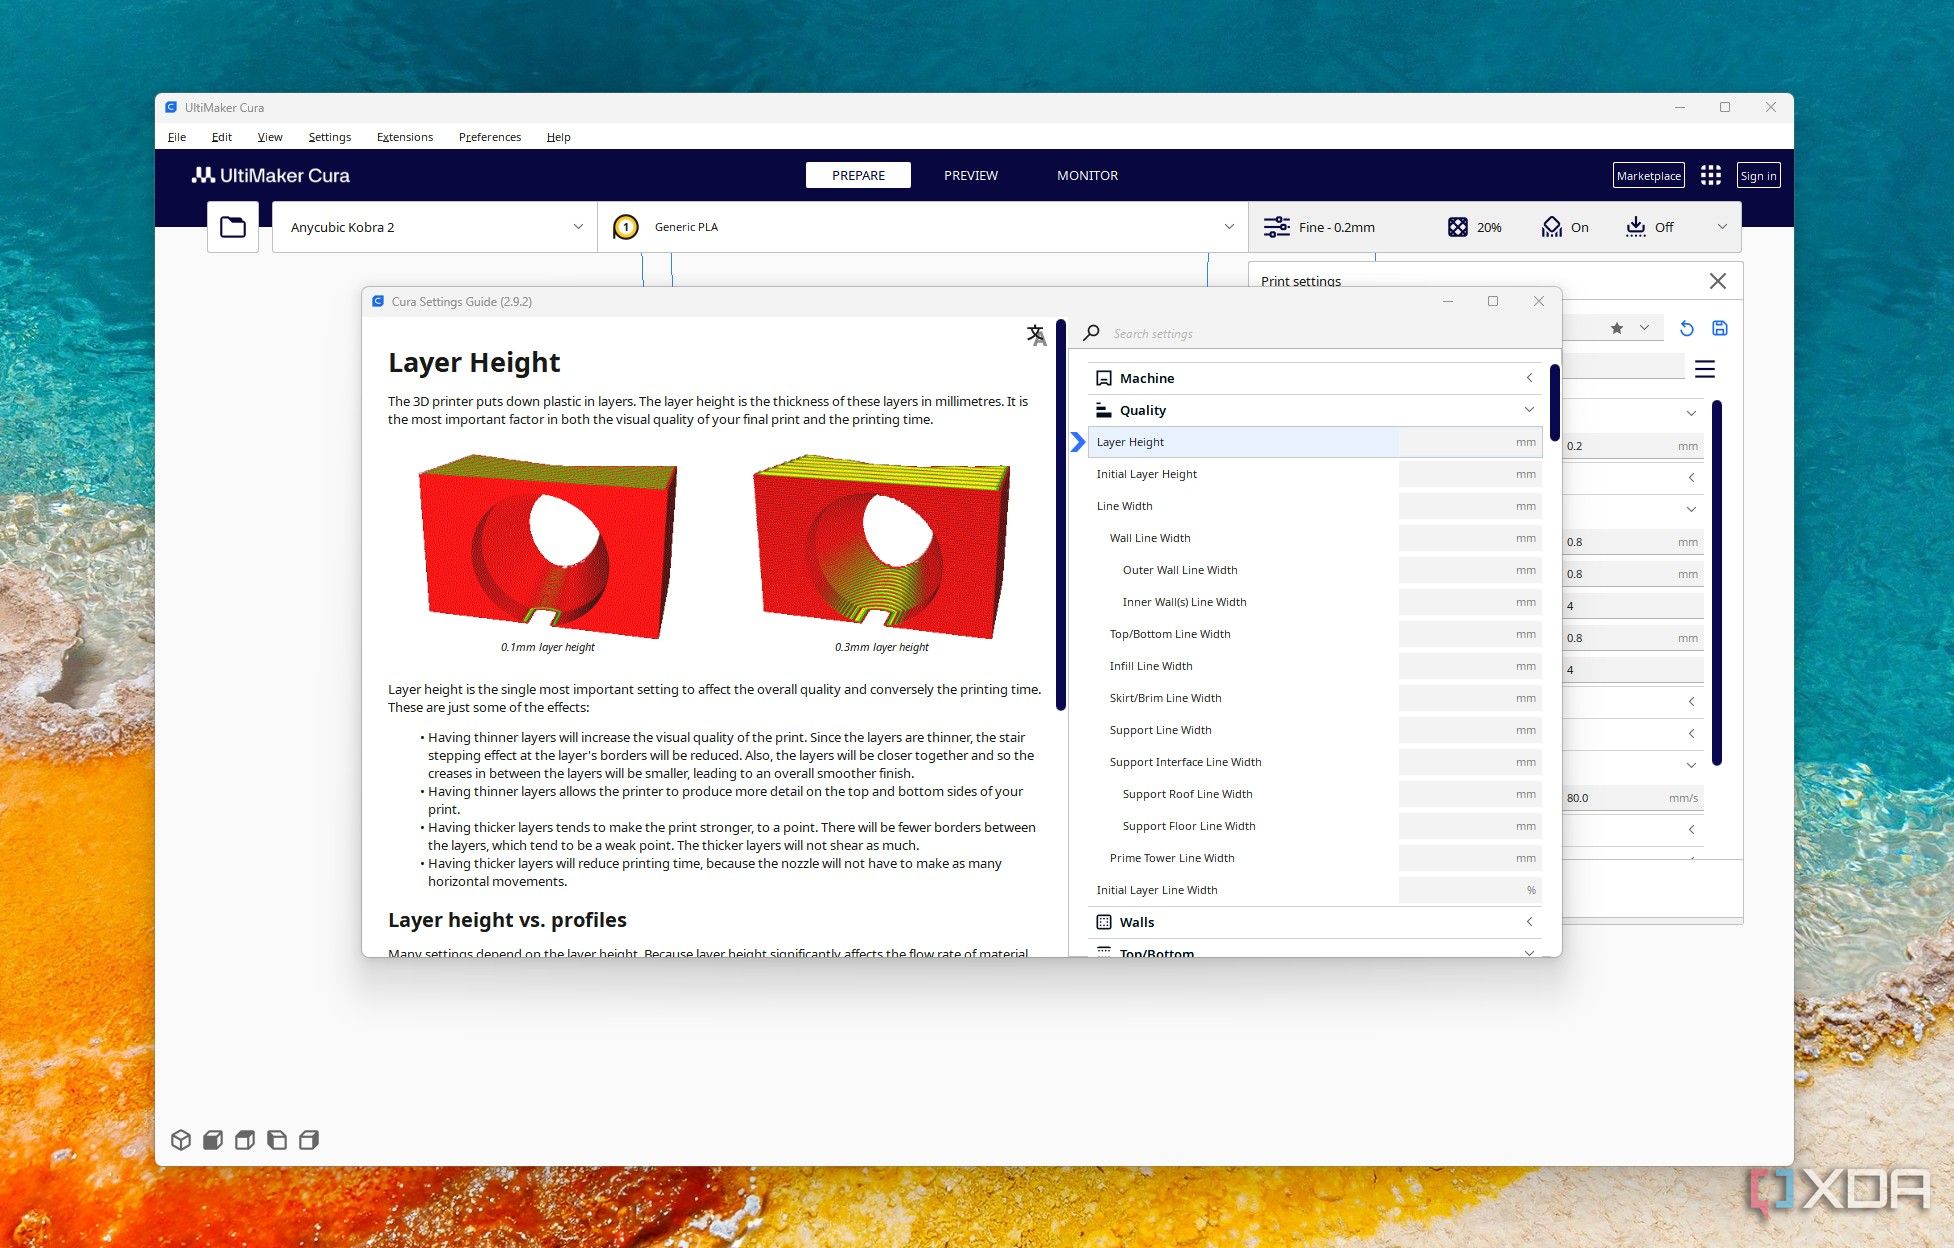
Using a high layer height can also contribute to sagging, especially when printing bridges or overhangs. This is because thicker layers take longer to cool and solidify, making them more prone to drooping under their own weight. Additionally, since each layer has more volume, the filament may not receive sufficient structural support from the previous layer, leading to sagging and poor surface quality in unsupported areas.
To prevent this, you should reduce the layer height to allow each layer to cool and set more quickly. Thinner layers are also lighter and adhere better to the one beneath. For bridges and fine details, a lower layer height will result in much cleaner results with minimal sag. A lower layer height of between 0.12 and 0.2 mm is suitable, depending on your nozzle size.
Related
5 things to consider before getting started in 3D printing
Get familiar with these five key things before starting 3D printing to build a strong foundation and ensure a smoother learning process.
1 Unlevelled 3D printer bed
A tilted bed causes the filament to squish too much or not stick
An unlevelled bed is a culprit for most 3D printing issues, and sagging in the first layers of the print is no exception. If you have not leveled the bed properly or it is slightly warped, the nozzle will be too close in some areas and too far in others. If the nozzle is too close, the filament gets squished too much, leading to an overly flattened layer that might drag. On the other hand, if it’s too far away, the filament won’t adhere properly, resulting in poor adhesion and sagging lines that fail to maintain their shape.
To solve this, ensure your bed is properly leveled, especially for machines requiring manual bed leveling. The 3D printers that utilize automatic bed leveling don’t suffer from this issue as much.
Fix sagging issues in 3D prints
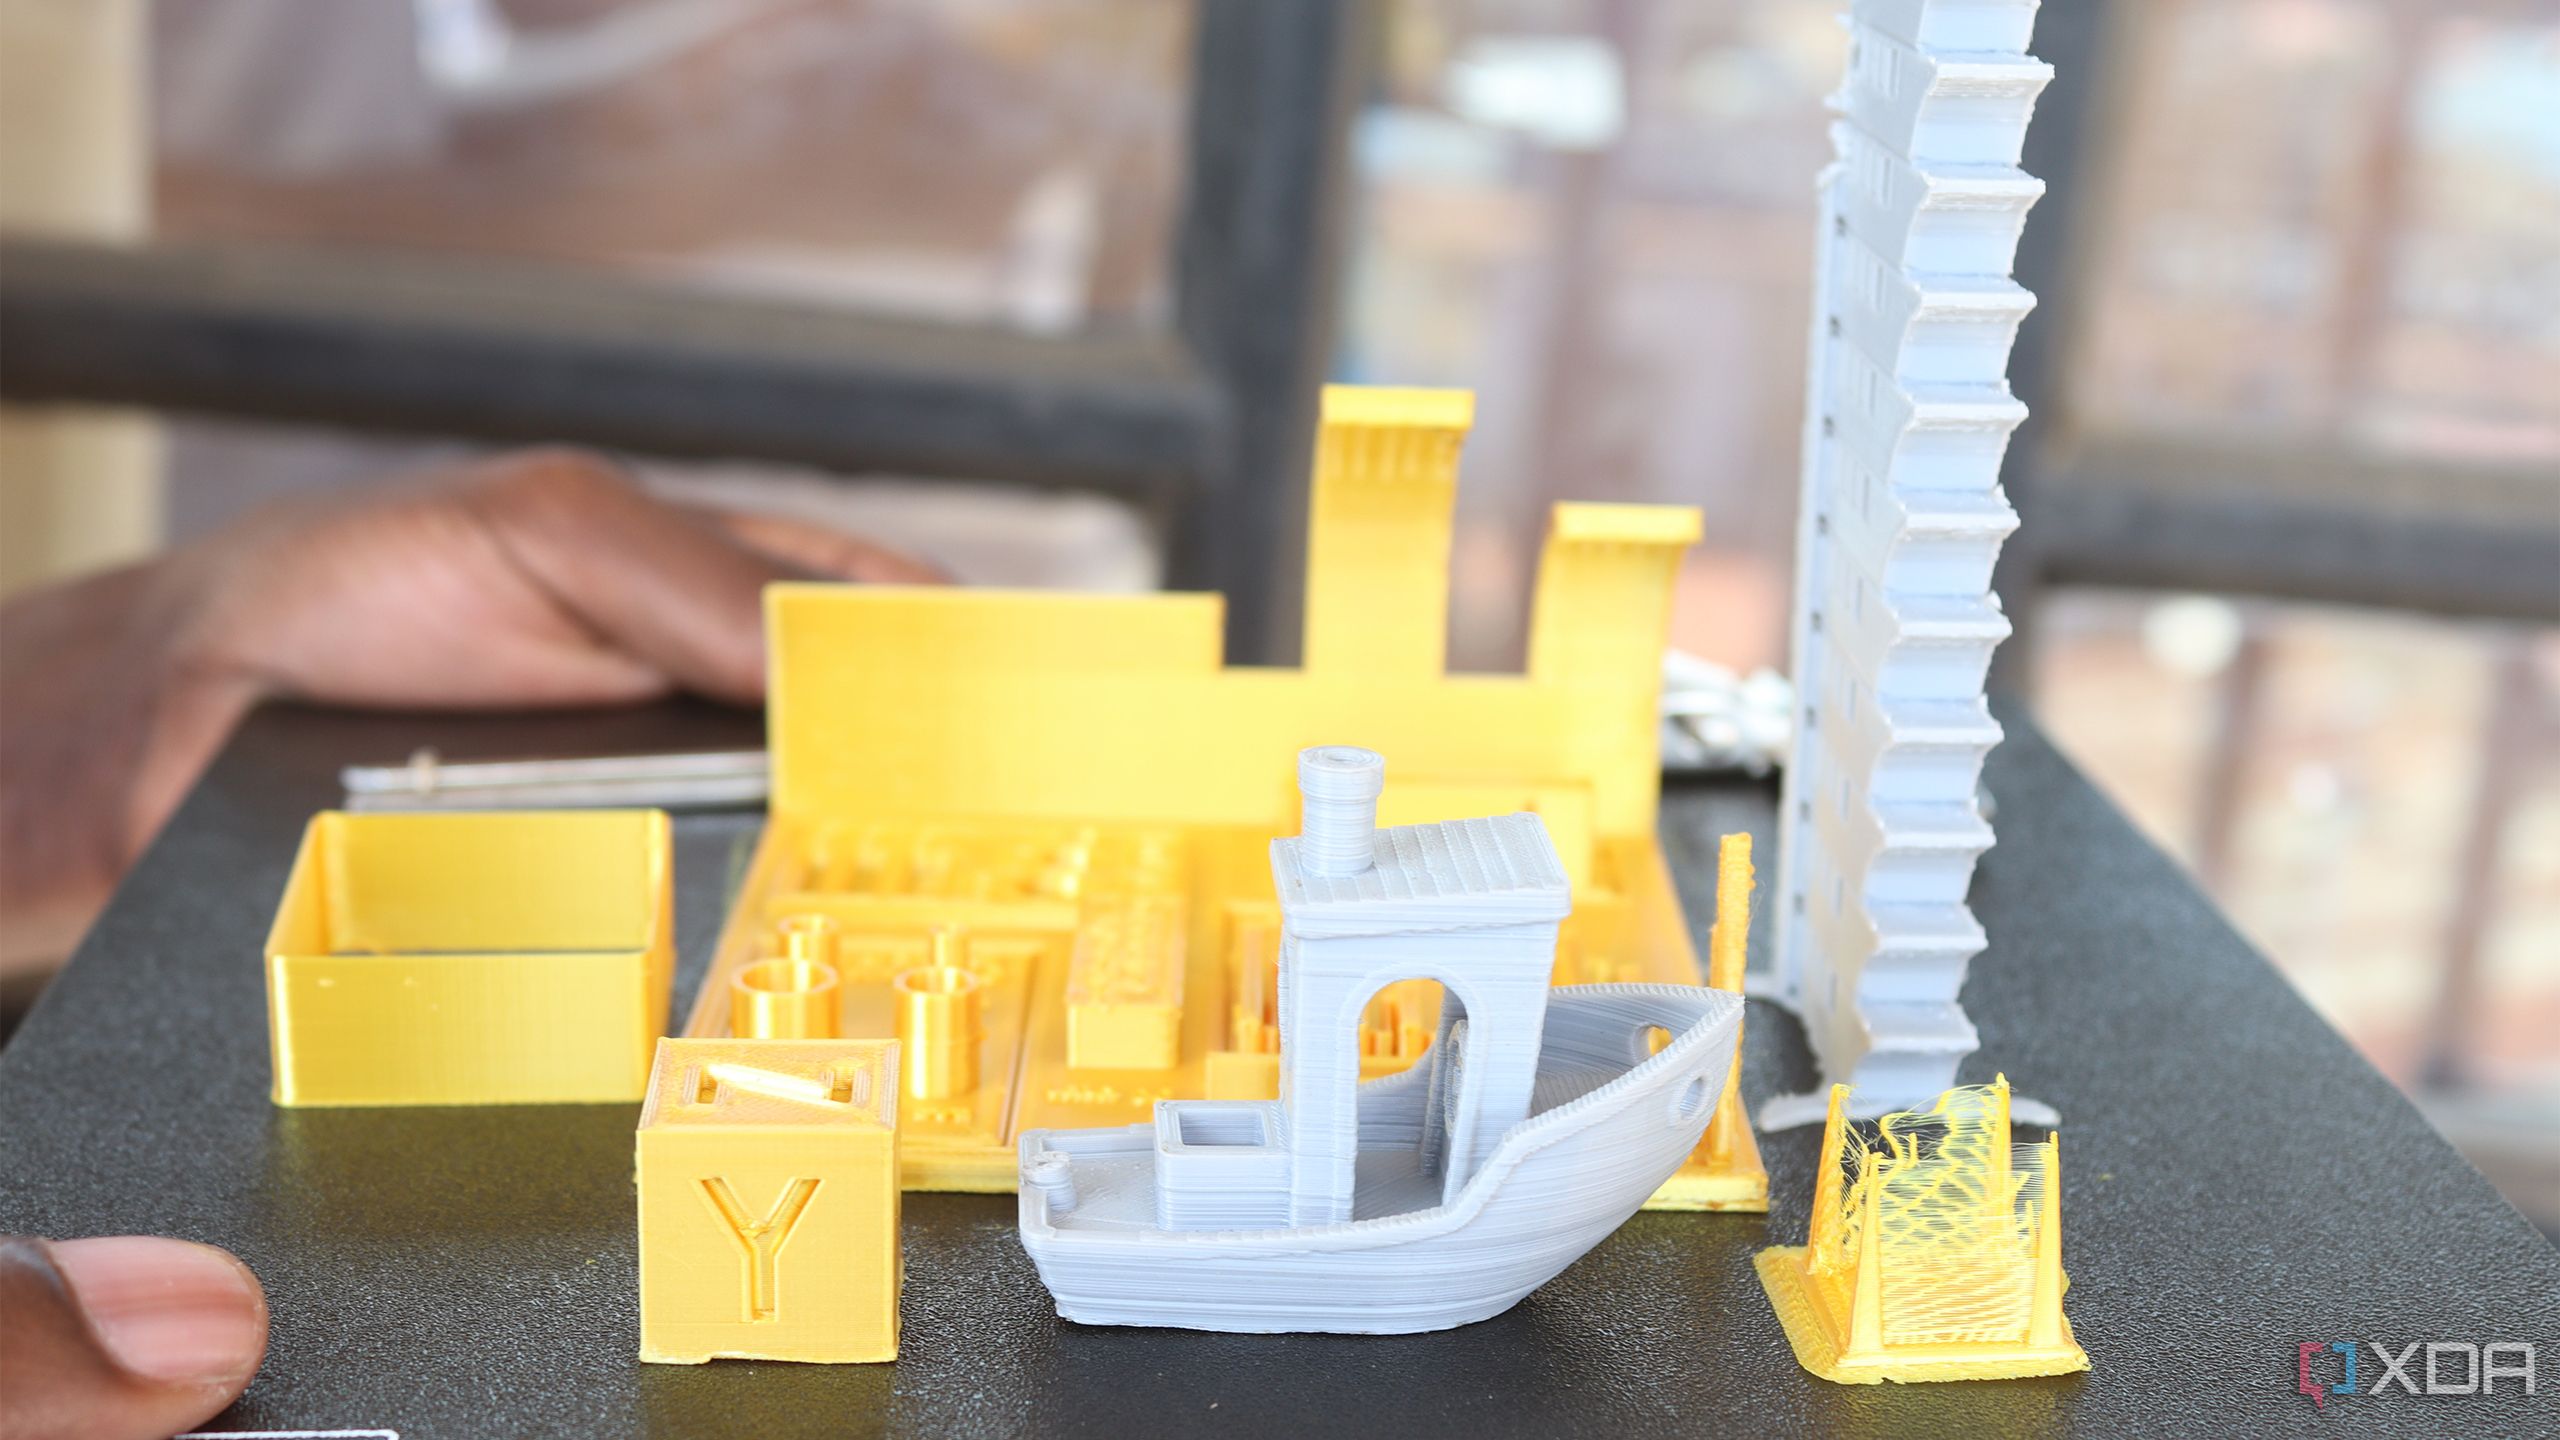
You will know when your print has sagged when the filament droops or forms curves in areas that should remain straight, particularly during bridging, where the filament is supposed to span between two points without support. Instead of a tight, clean line, the material sags in the middle, creating a downward arc. Overhangs and sharp edges may also lose their structure, and you will notice that they appear rounded or melted. Though sagging is a serious 3D printing problem, the good news is that, just like any other 3D printing issue, it's solvable. You can implement the solutions highlighted above, and you will be able to fix the issue.


 English (US) ·