.png)
If you own one of the budget-friendly 3D printers, you may have realized they are great for the price, but they are not perfect out of the box. They can produce decent prints, but you’ll likely run into inconsistent bed leveling, prints that won’t stick properly to the bed, or come off easily after 3D printing. You can also experience the plastic extruder getting worn out quickly, and prints not cooling evenly. The good news is that most of these limitations aren’t permanent. With affordable upgrades, you can transform it into a high-quality machine. Below, we describe some of the most essential upgrades you can purchase that will make a difference in your 3D printing experience.
5 BLTouch
Introduce an auto-bed leveling feature in your 3D printer
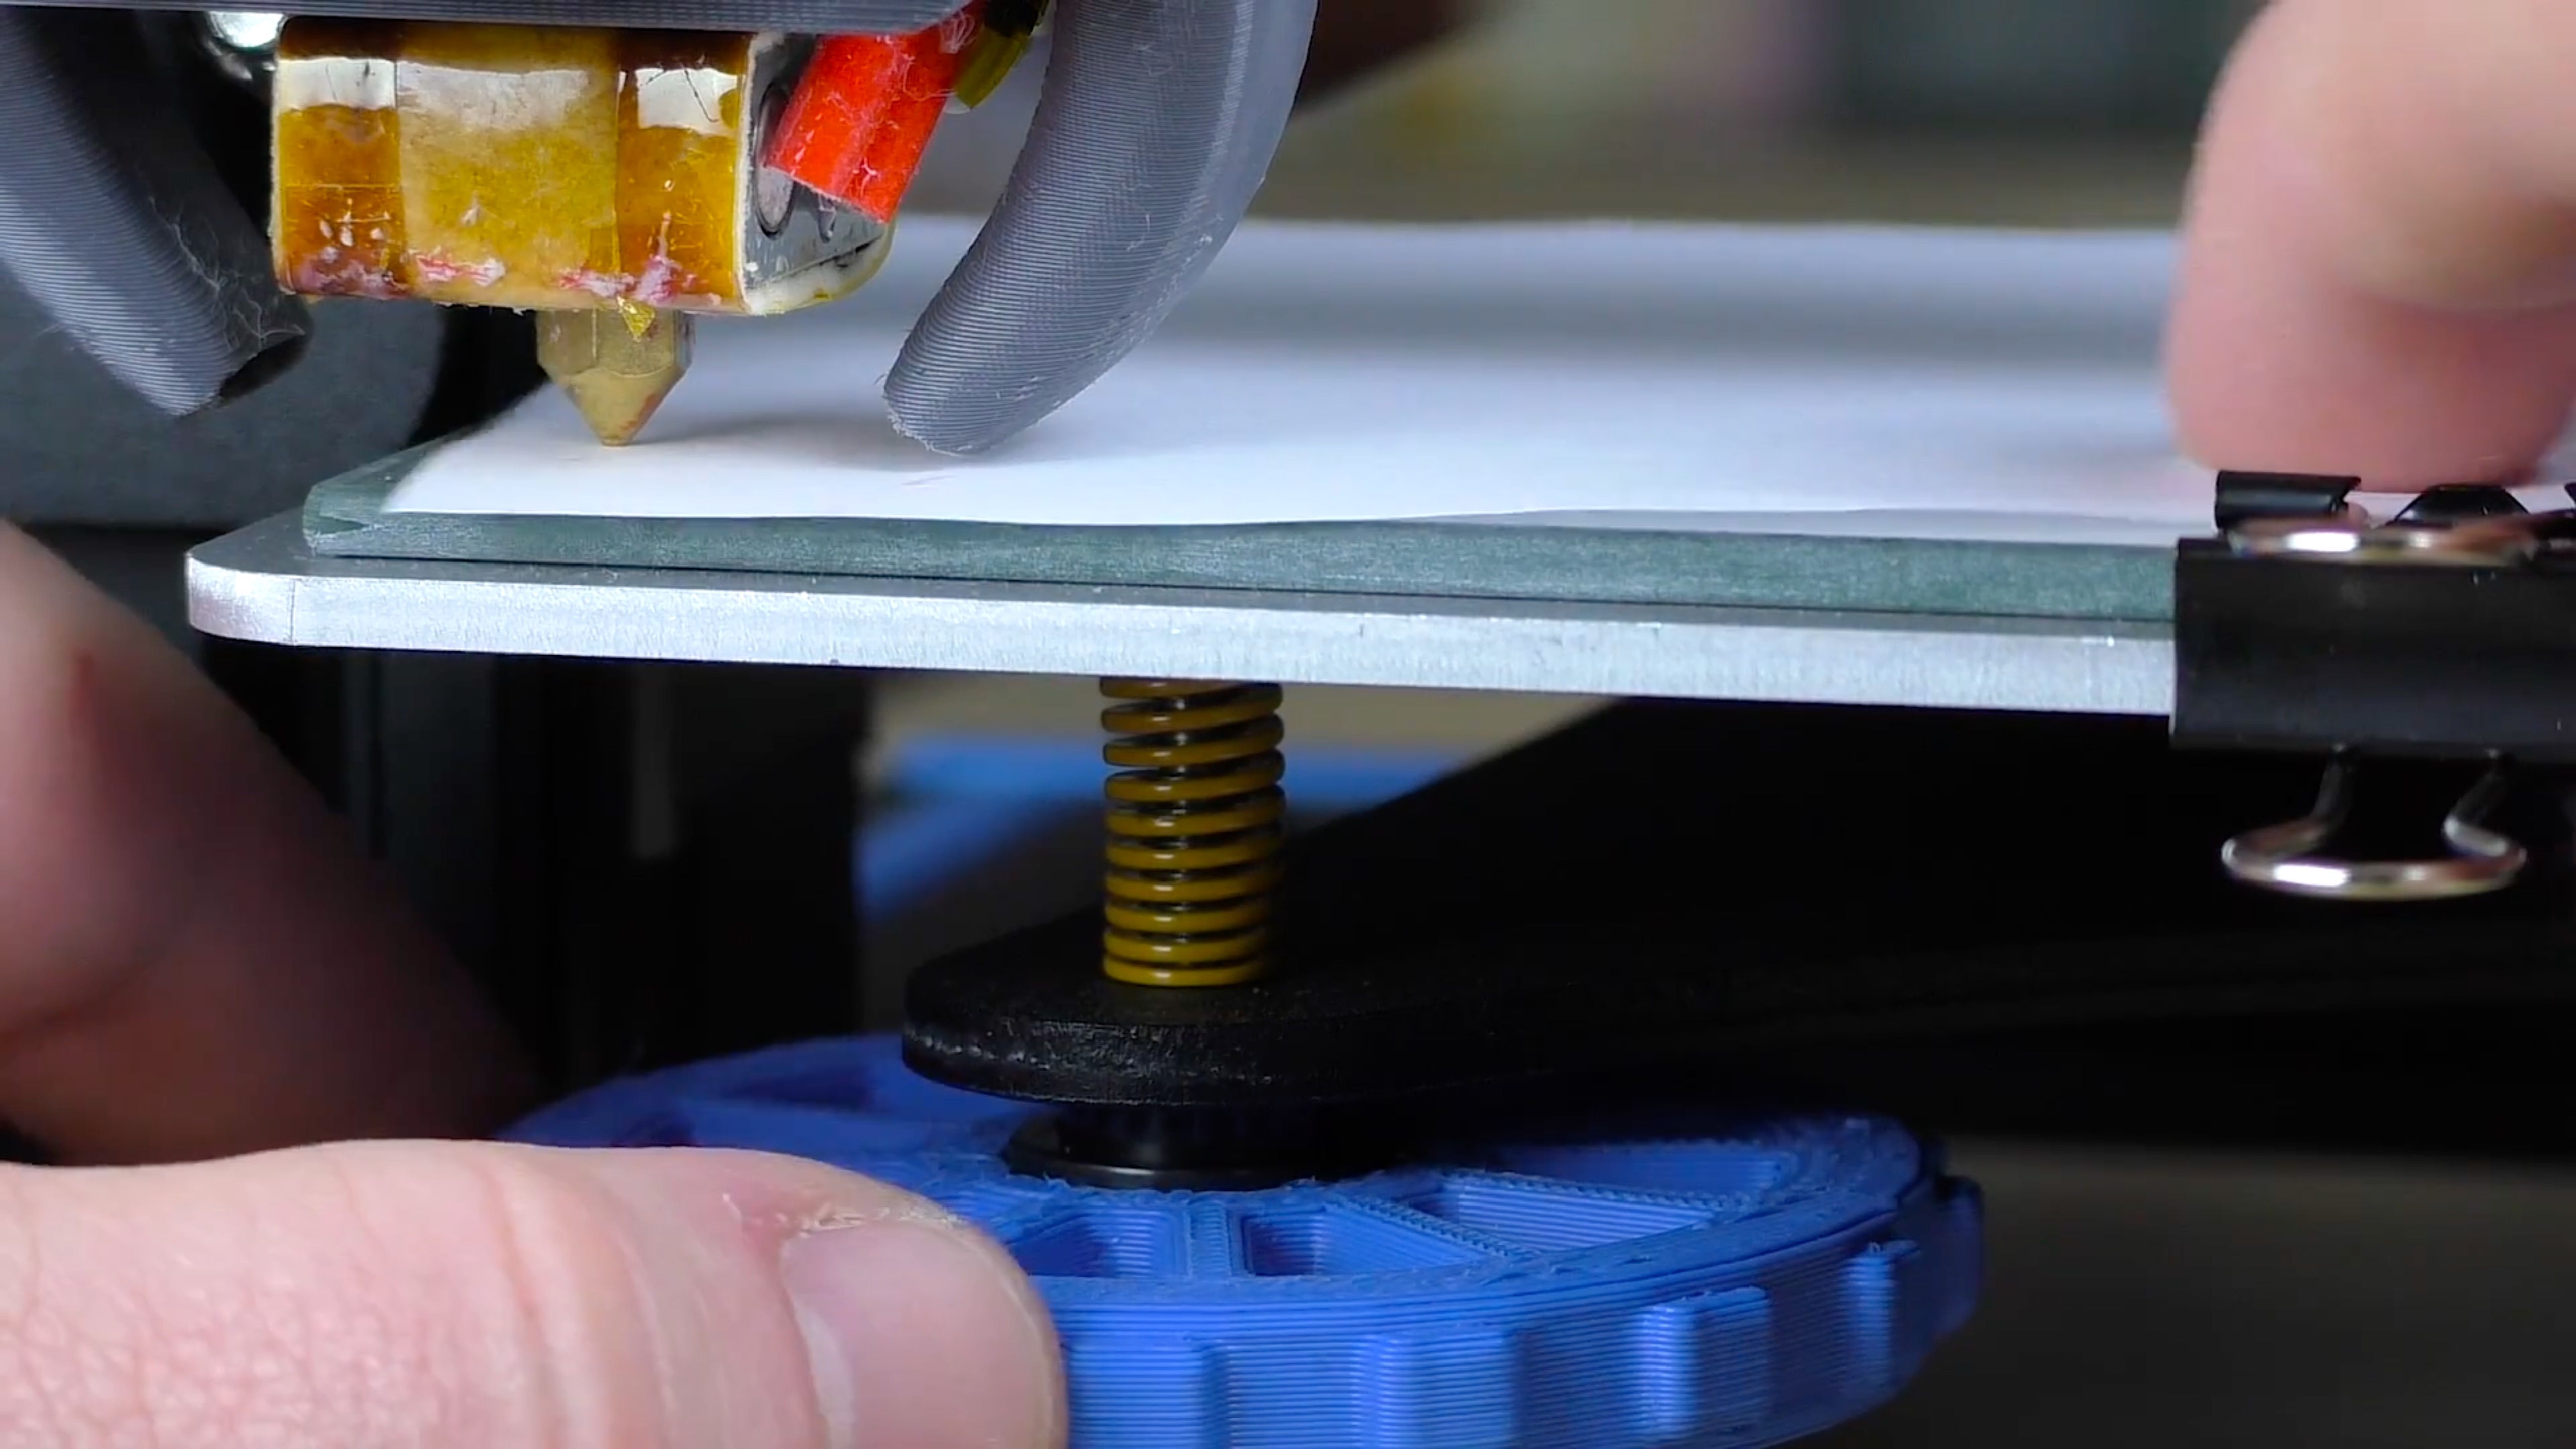
Source: Hobby Hoarder/YouTube Trying to level your 3D printer's bed by how much the nozzle drags across a sheet of paper is a headache I was quick to eliminate
If your 3D printer doesn’t have automatic bed leveling, upgrading with a BLTouch sensor should be your priority. Manual bed leveling can be frustrating and time-consuming, especially with warped beds or slight frame imperfections. The BLTouch handles this by probing the build surface before each print and automatically adjusting the nozzle height in real-time. This leads to more reliable first layers and a less frequent need for manual leveling. It’s beneficial on larger beds where even minor inconsistencies can ruin a print. A BLTouch sensor typically costs less than $50 with all its accessories, and it’s compatible with most popular 3D printer boards once you properly wire and configure it in your firmware.
BLTouch
Auto bed leveling sensor for a 3D Printer. It also comes with a 1M extension cable set
4 Silicone spacers
Replace traditional metal springs
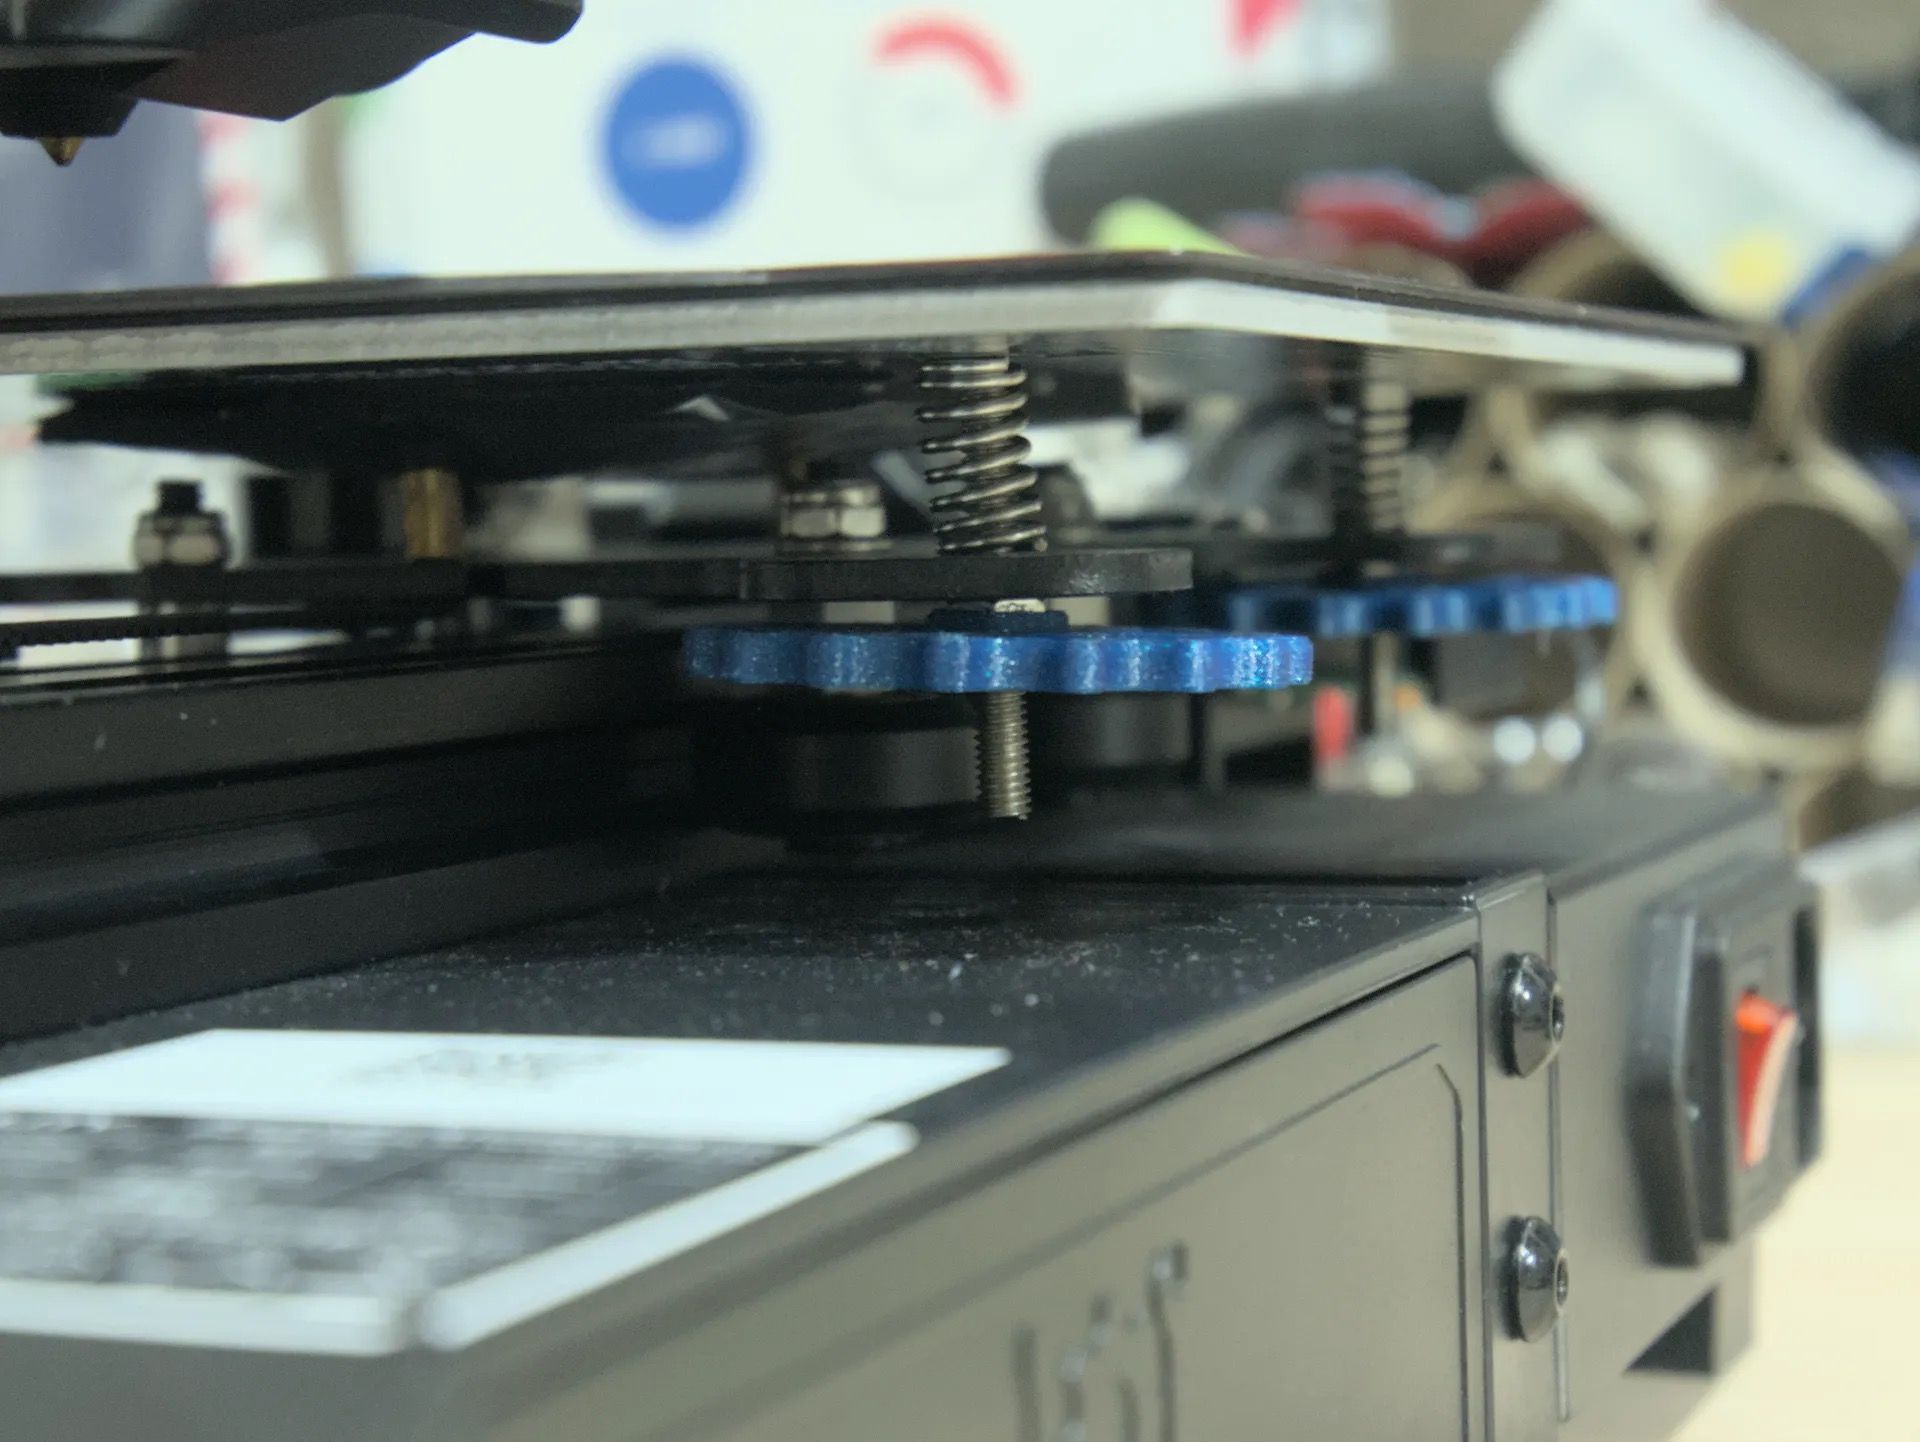
Source: jpdesign/MakerWorld
Unlike traditional metal springs, silicone spacers provide a much more stable and consistent bed height, providing fewer leveling issues over time. Once you install them properly, you will make more prints without having to touch your bed-leveling knobs. The silicone's solid yet slightly flexible nature keeps the bed from drifting during printing, eliminating one of the leading causes of print failures.
To get the best results from silicone spaces, you need to compress them enough during leveling, so there's proper tension holding the bed steady. If they’re too loose, the bed may shift slightly during prints, and vibrations can cause inconsistent first layers or layer shifts. You’ll need to re-level more often, which defeats the point of using them in the first place.
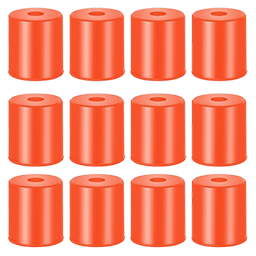
Silicone bed leveling mounts
Silicone mounts designed to to replace your springs under the heated bed.
Change the plastic extruder
Replacing the plastic extruder with a metal one is an essential early upgrade you can do for any budget 3D printer. The plastic extruders wear out quickly, especially when printing tougher filaments like PETG or running the printer frequently. When they fail, which at one point they will, it’s almost always mid-print. A metal extruder, particularly a dual-gear version, offers a better grip on the filament, resulting in smoother feeding, more accurate retractions, and fewer extrusion issues. It is also durable, reducing the need for frequent replacements. It’s cheaper too, and replacing it doesn’t take much time.
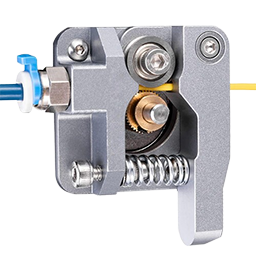
Ender 3 Extruder
A metal extruder that serves as a replacement part for most 3D printer versions, except those using a direct drive setup.
2 PEI sheet
Get the prints to stick properly, and easily remove them
Budget-friendly 3D printers often come with a basic glass bed or a textured surface that needs to be perfectly clean to work well. Sometimes, the prints don’t stick properly to the bed, and one needs to use glue sticks. Also, removing 3D prints from the bed is a challenge sometimes, and you have to wrestle with a scraper, and there is a chance of your part breaking in the process.
The PEI sheet provides a consistent surface that grips the first layer nicely. You don’t need glue sticks or painters' tape to get your prints to stick correctly. Also, once your print finishes, you can apply a little force and remove it. Alternatively, you can simply remove the flexible plate and slightly bend it, and the print pops off effortlessly with no stress or damage to the print or the bed.
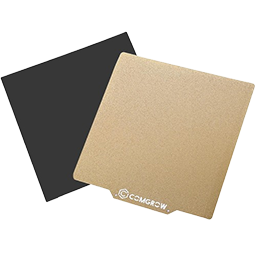
PEI Sheet
A magnetic PEI sheet heated bed with a dimension of 235x235mm.
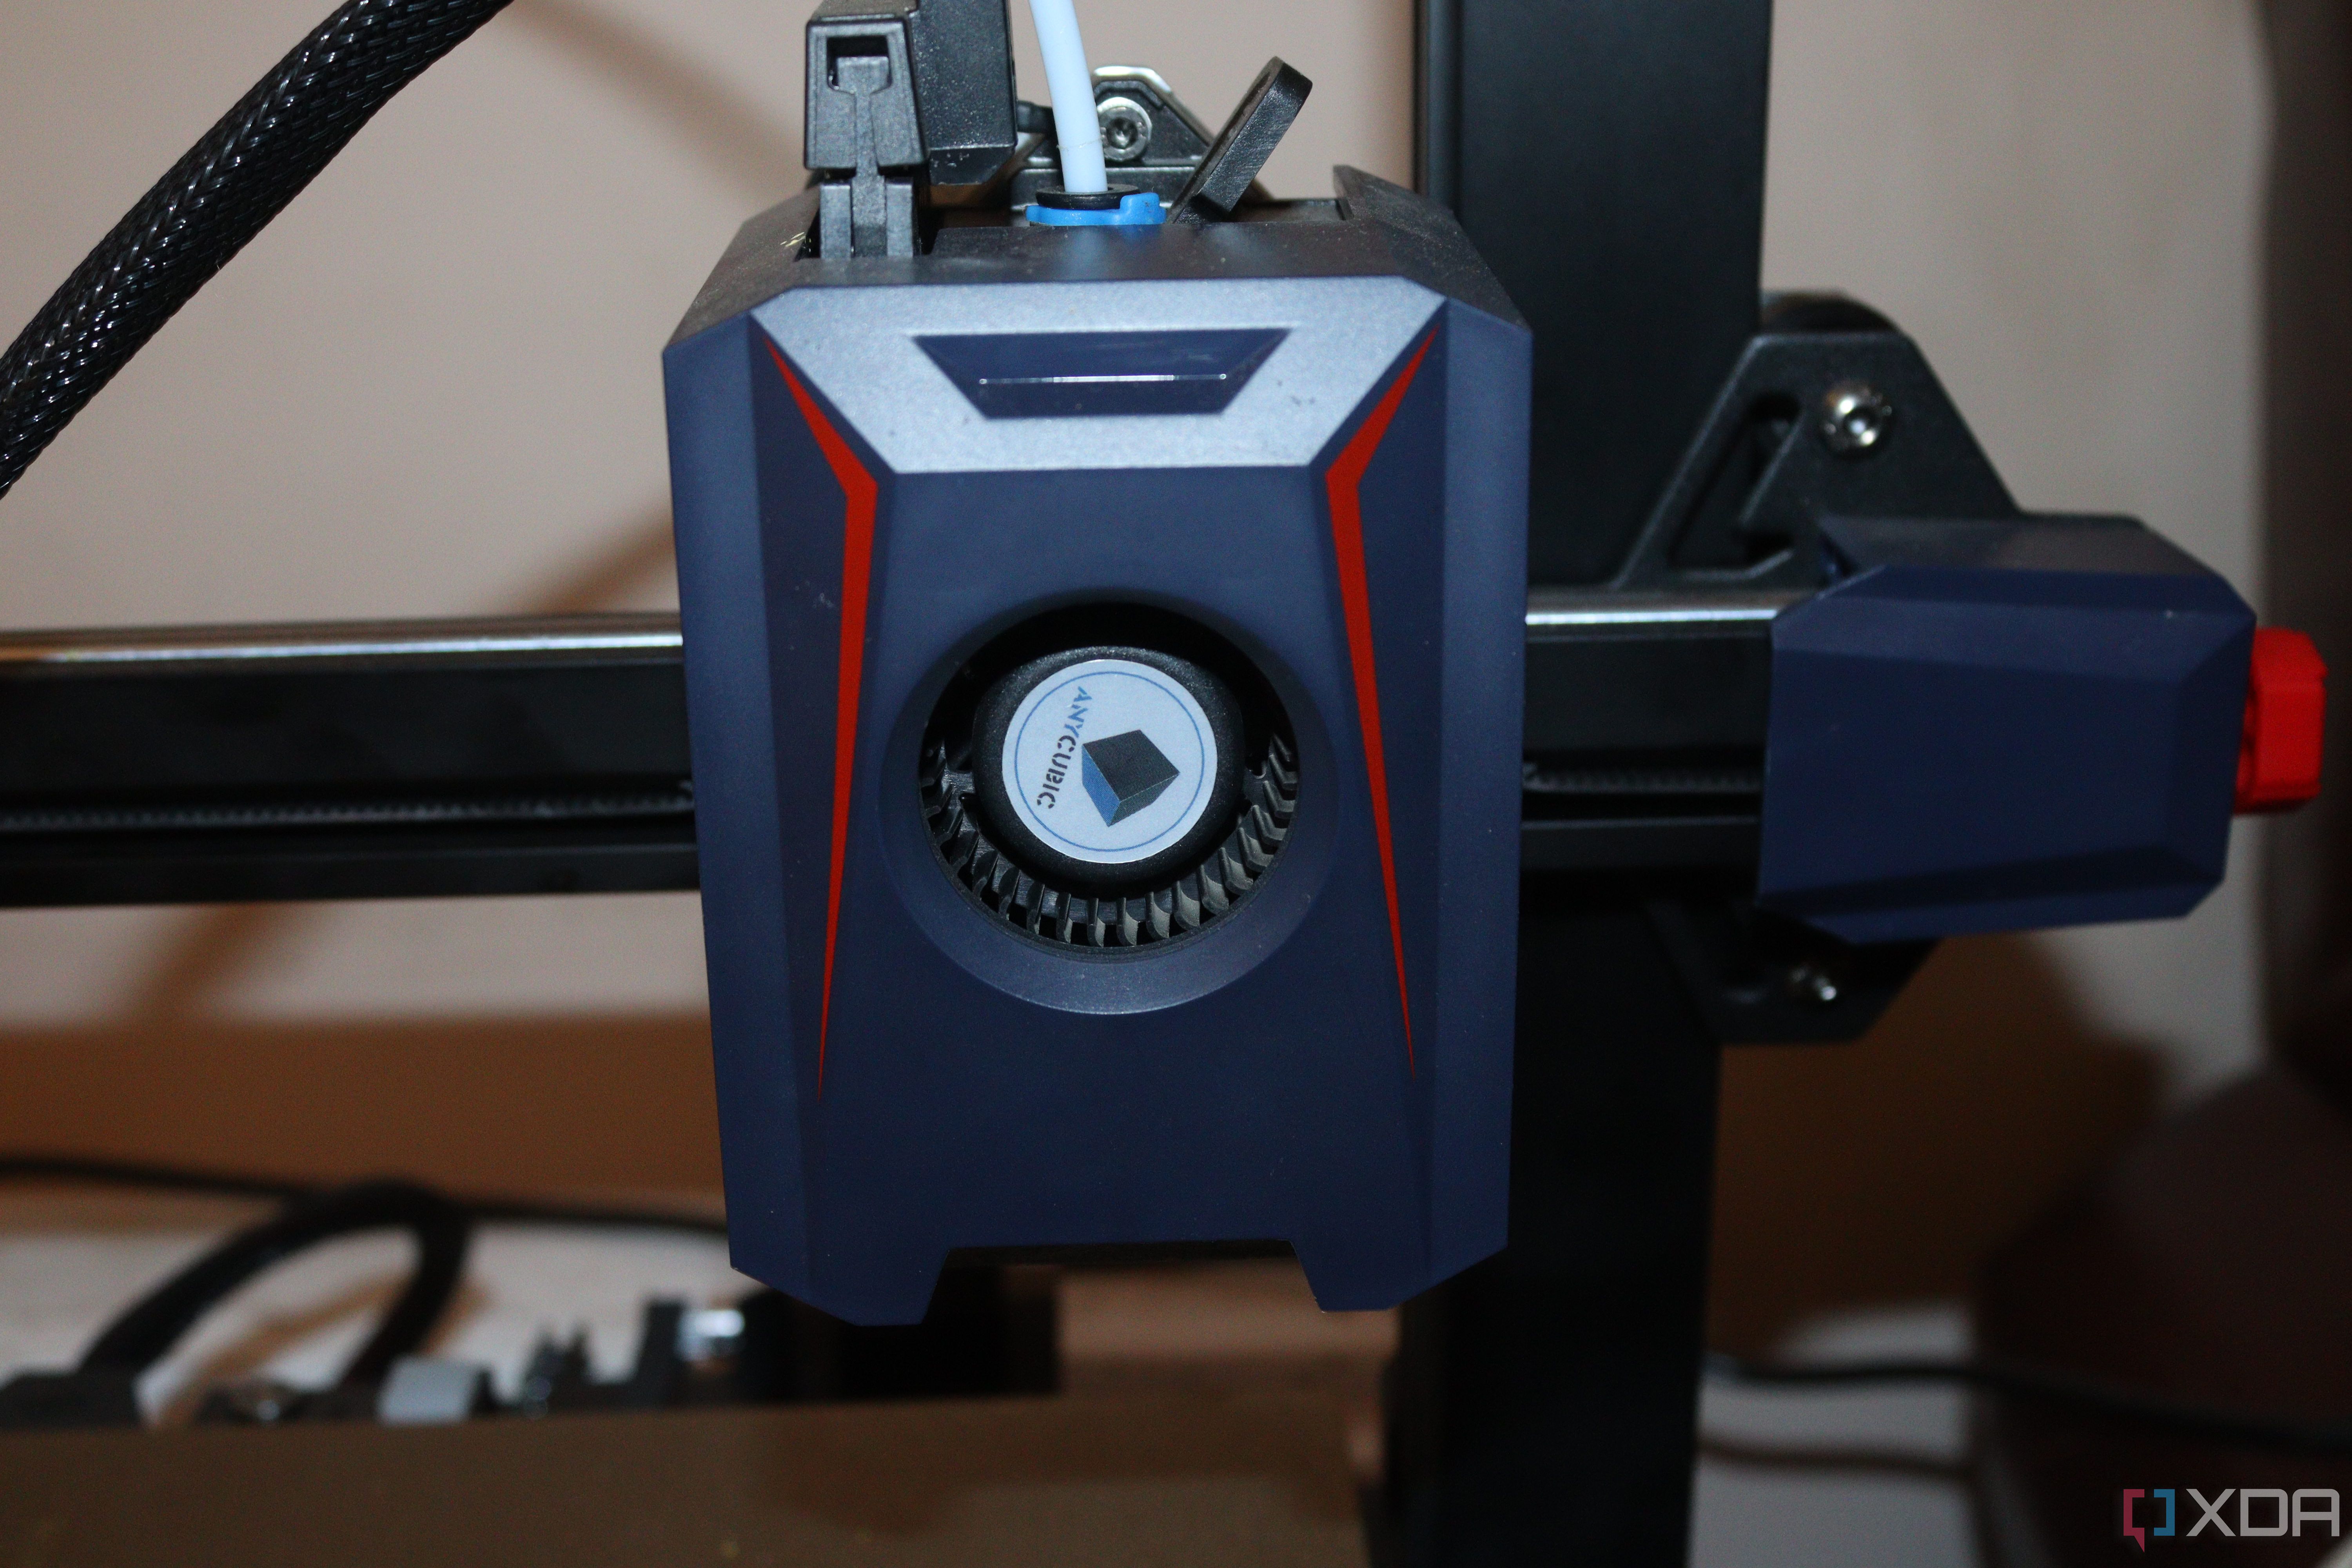
1 Cooling fan duct
Improve the first layer adhesion
When 3D printing with cheap 3D printers, you might encounter issues like warping and prints not sticking properly to the bed because of the basic duct that comes with them, which only blows the air in one direction. They usually work fine on basic prints, but when 3D printing sharp overhangs, bridges, or smooth surfaces, uneven cooling can hold you back.
Upgrading to a better fan duct is helpful, as it will focus the airflow exactly where it’s needed, right from the nozzle, and helps layers solidify more evenly and quickly. The good thing is that you don’t need to spend much money there. There are many STL files of fan duct designs on various 3D printing websites, which you can download and 3D print yourself.
Cooling fan duct
3D printer cooling fan duct designed for BambuLab 3D printers,
Improve your 3D printer with upgrades
These upgrades will make a big difference to your 3D printer, and even the best part is that they are all affordable. However, before buying the upgrades, take the time to understand your 3D printer well. You need to get familiar with its components, how they work together, and how to properly maintain and calibrate everything so that it’s easier to know what you need to upgrade and how to do it. If you assembled the printer from the ground up, it’s essential to ensure you follow all the assembly instructions carefully. A poorly assembled machine can cause problems that no upgrade will fix.


 English (US) ·