.png)
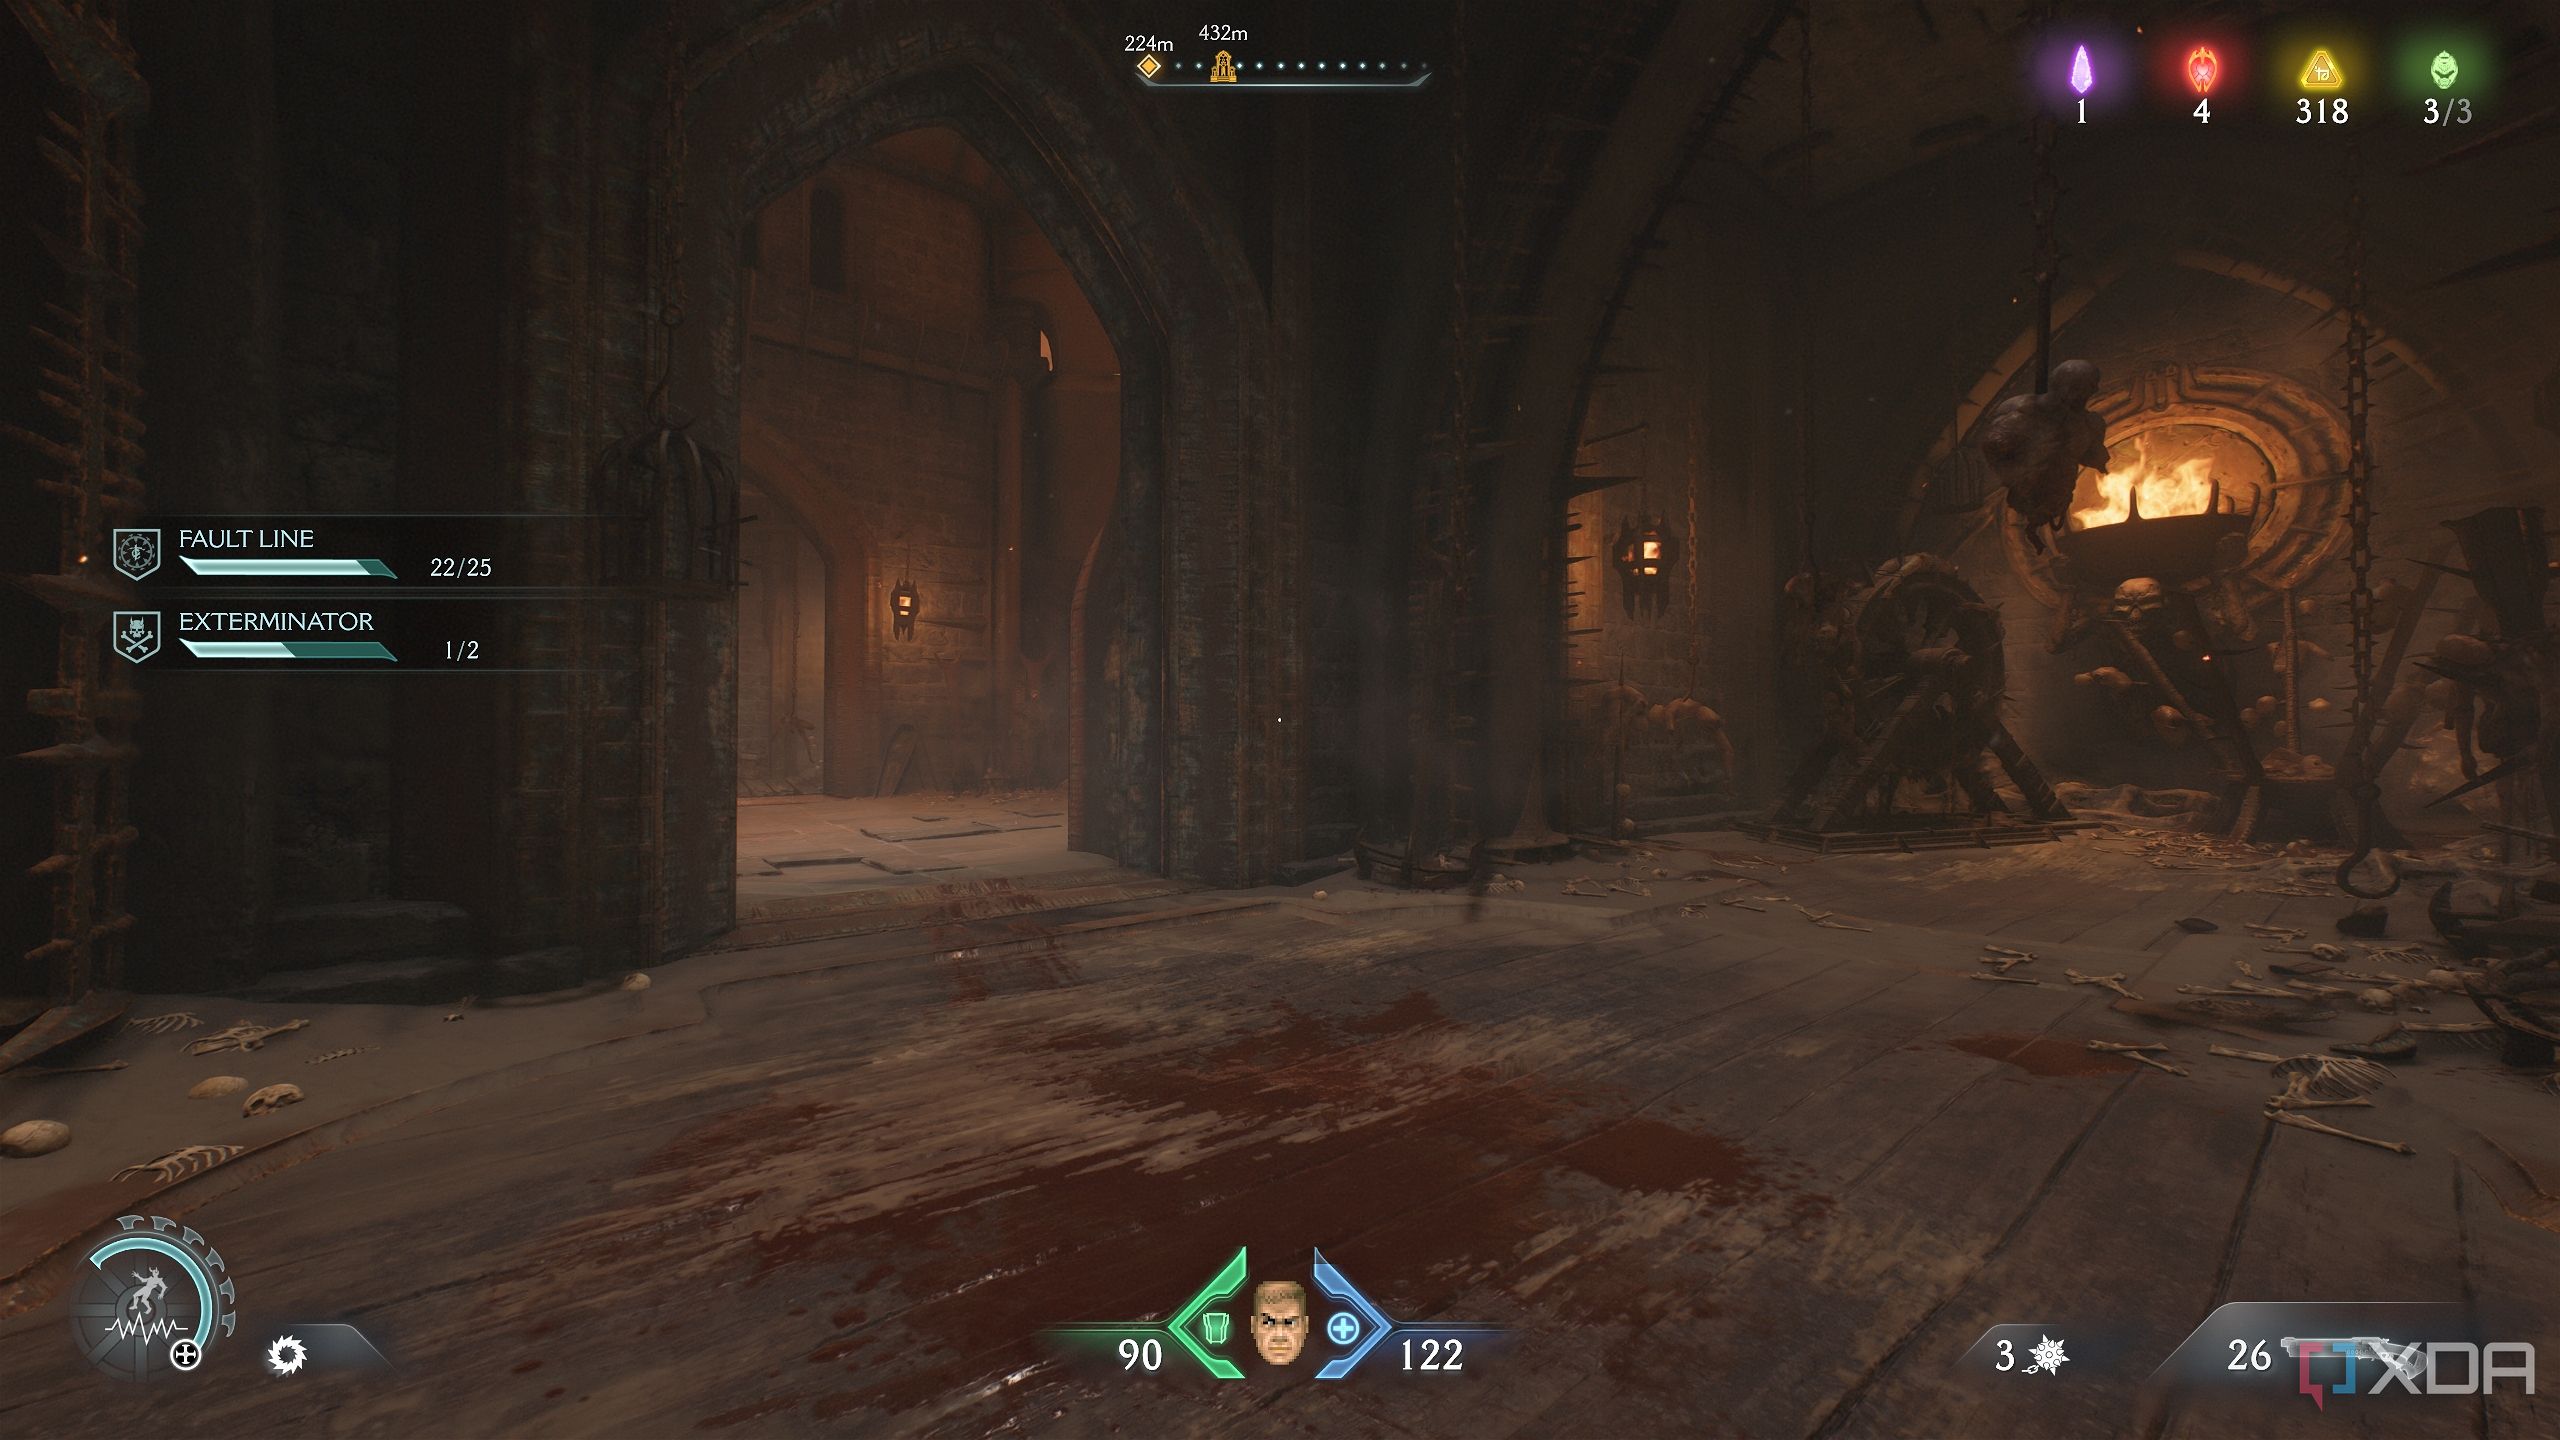
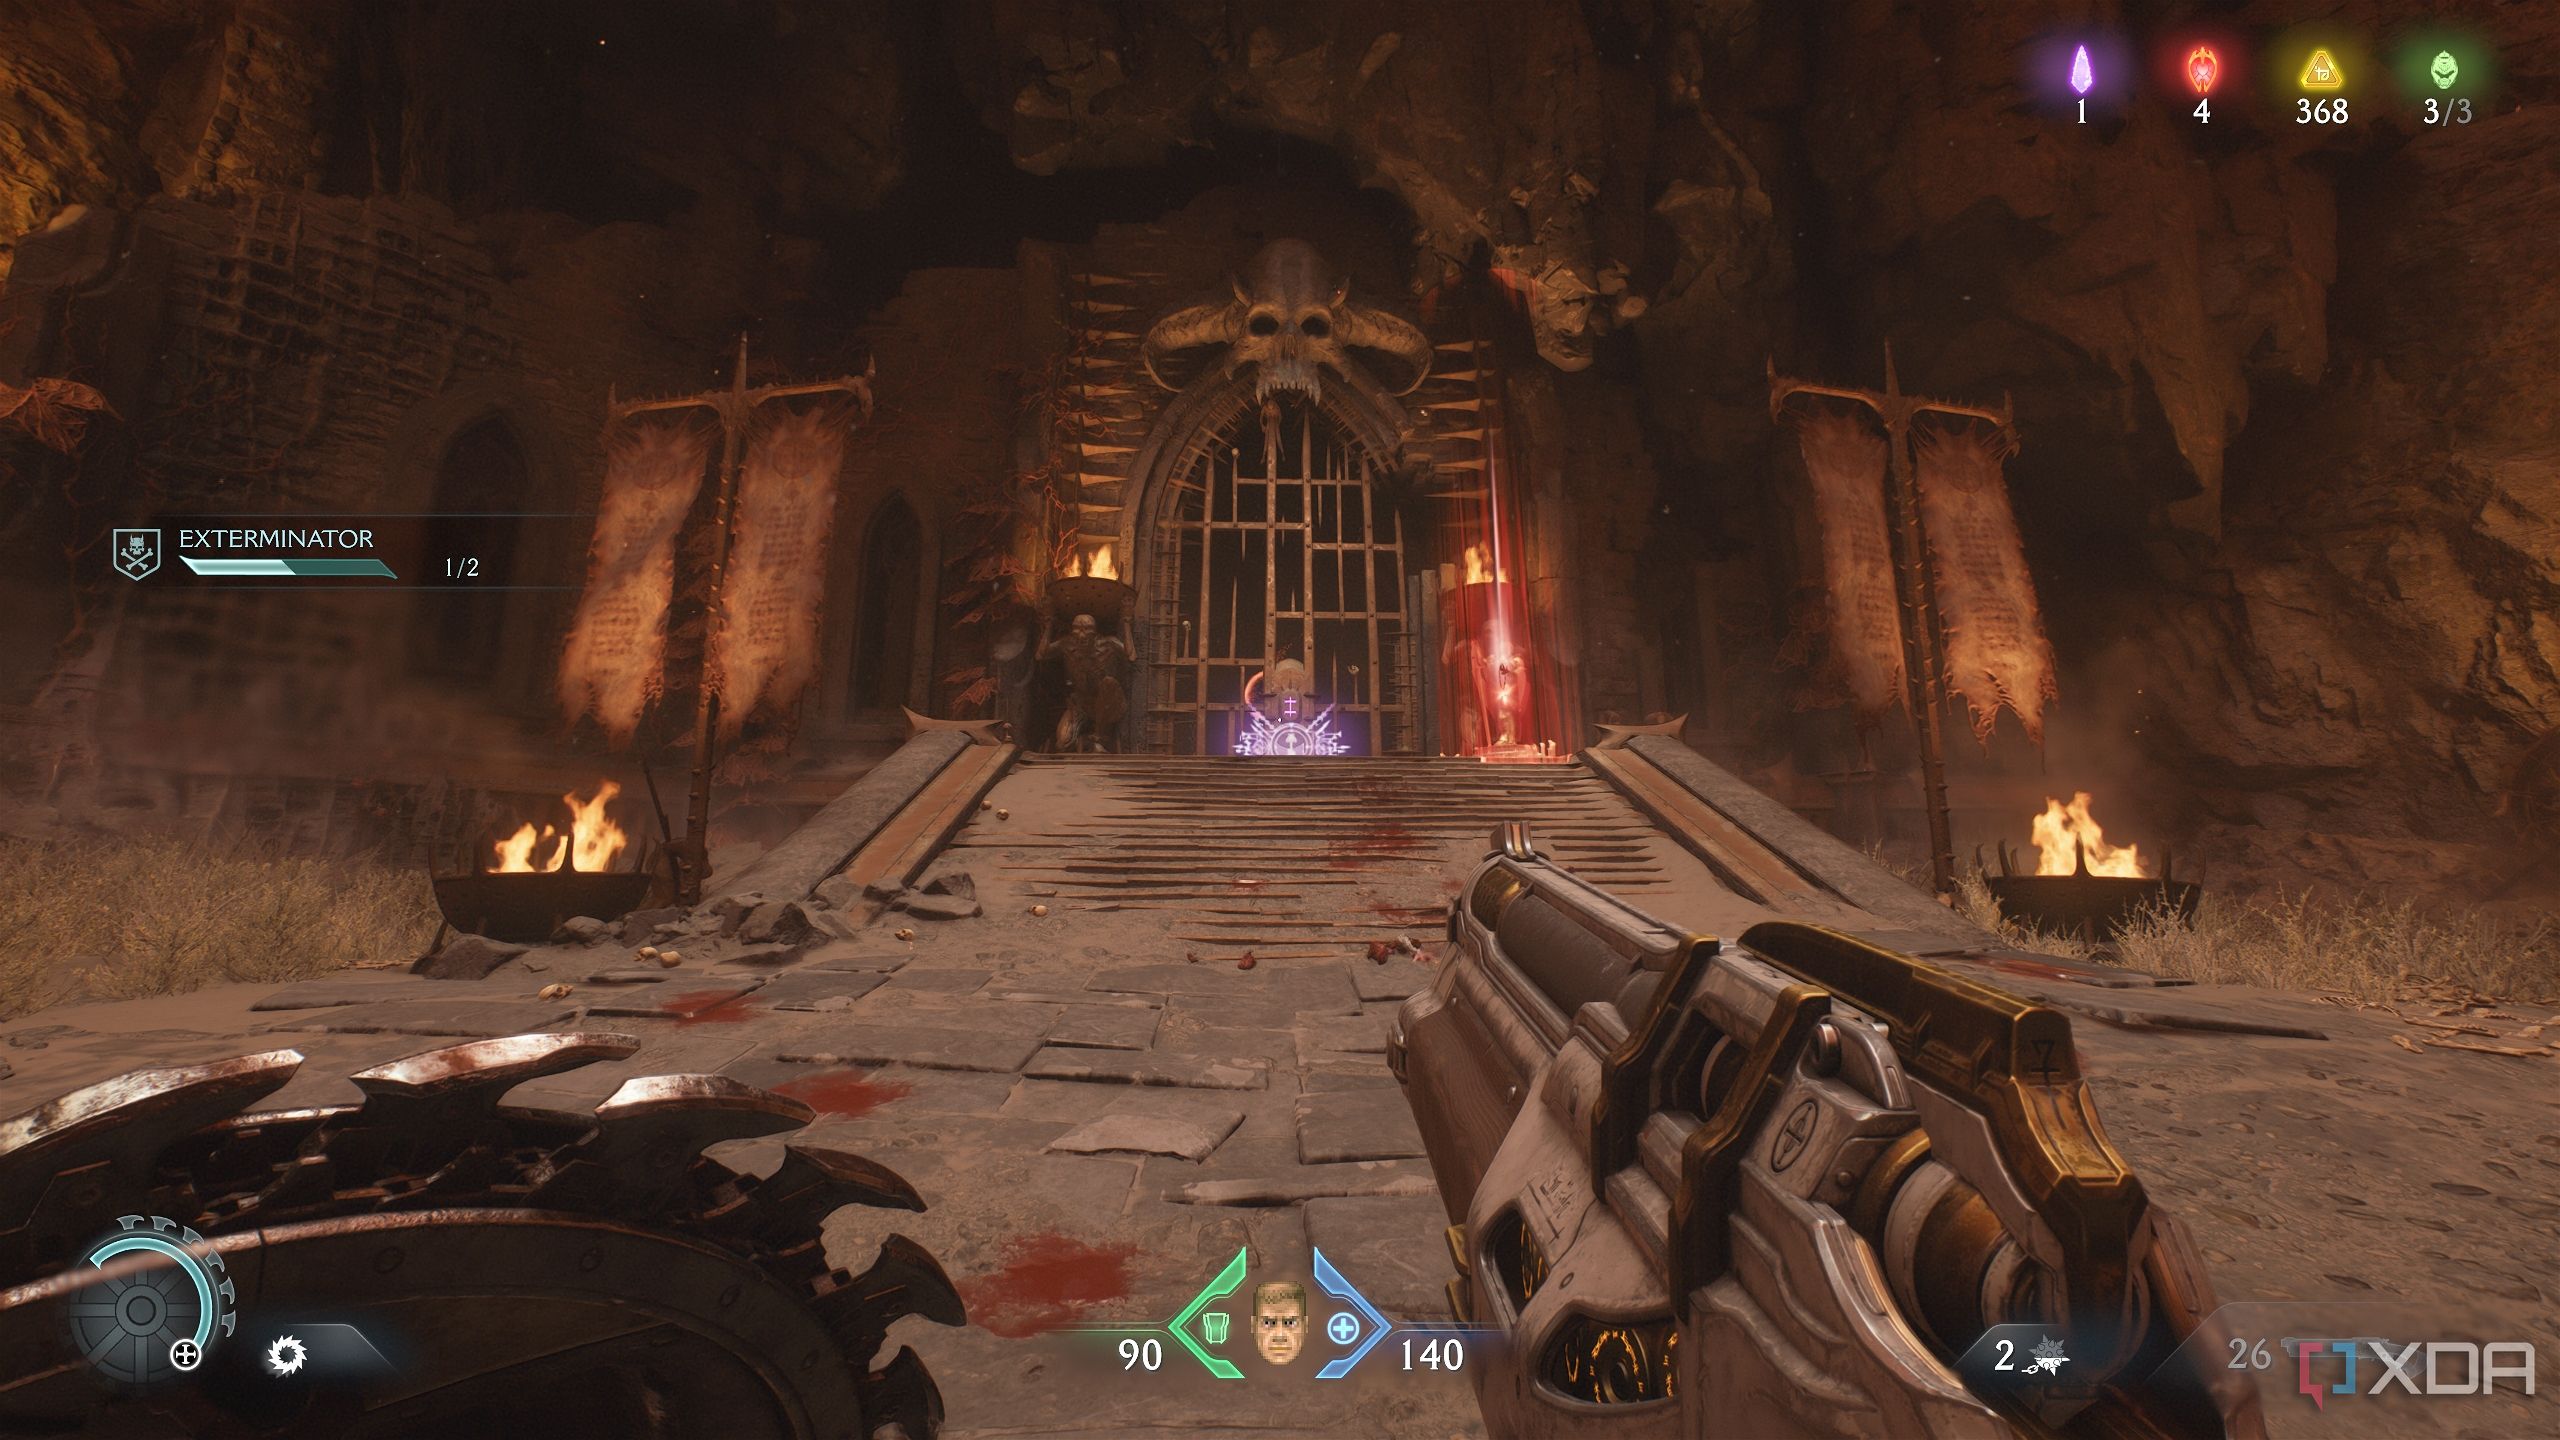
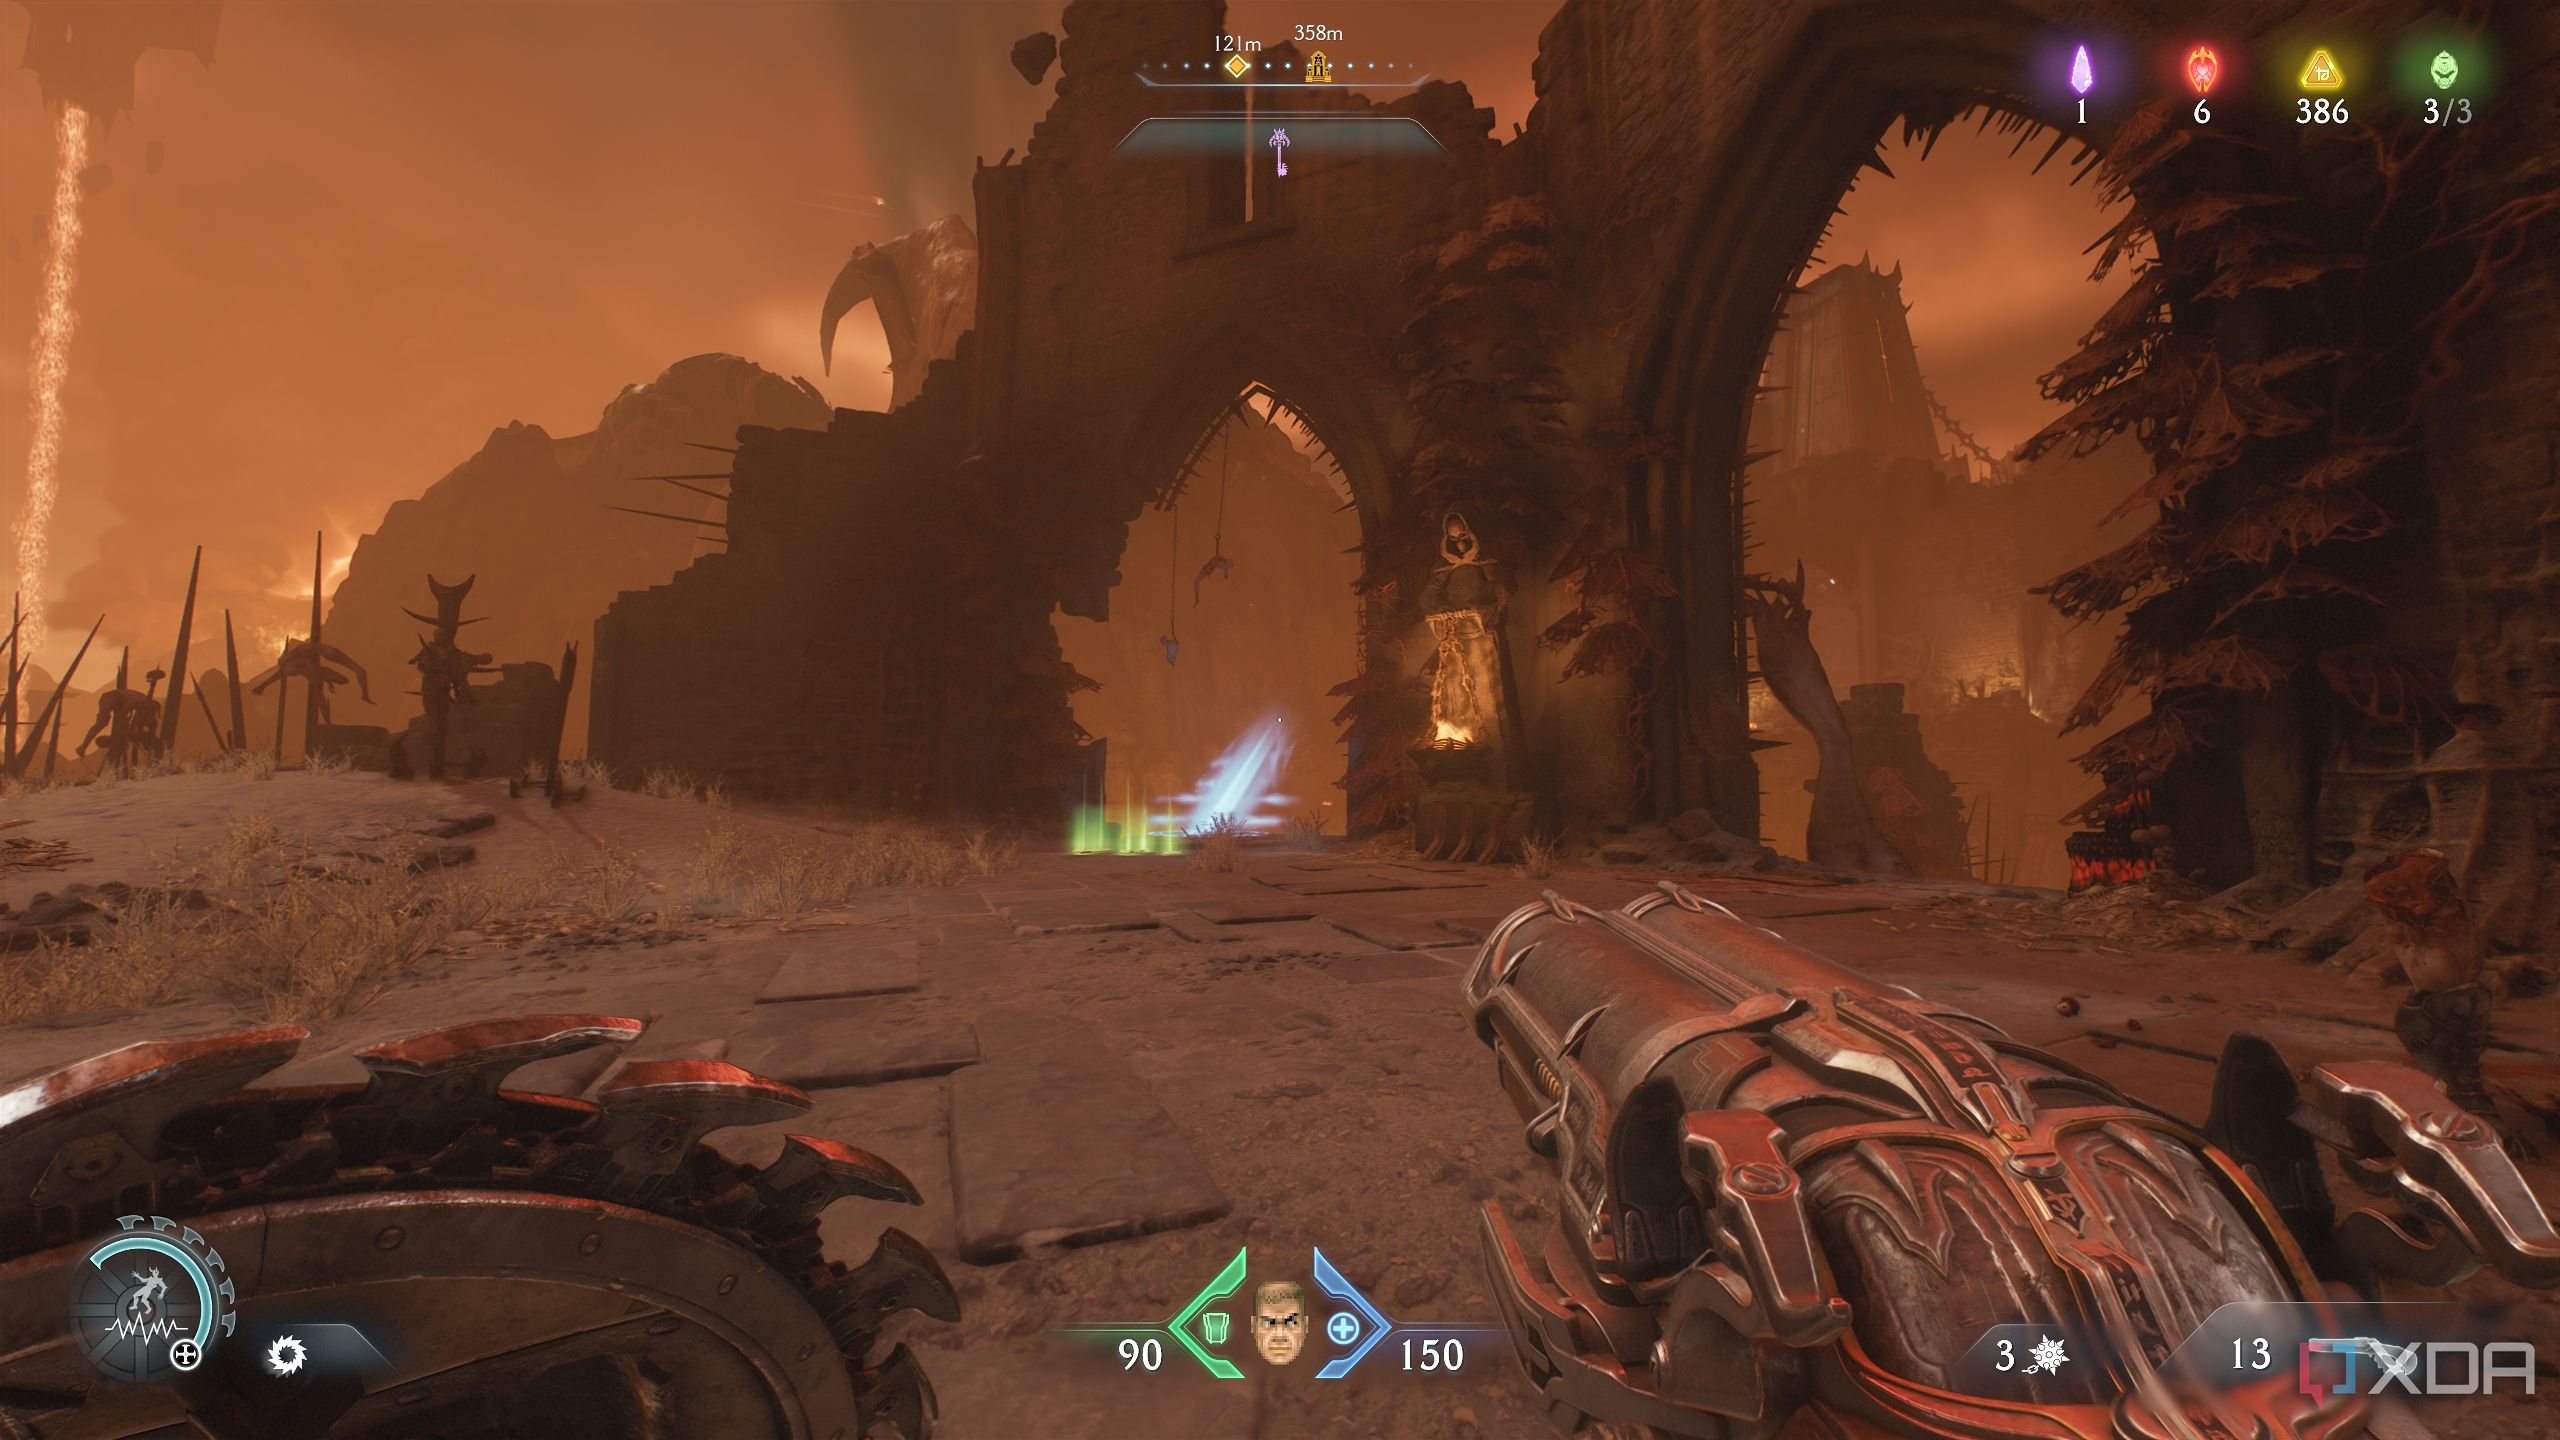
Chapter 10: The Forsaken Plains in Doom: The Dark Ages takes the Slayer to an all-too-familiar location — Hell itself. A forsaken realm that has done nothing but infuriate the Slayer more every time he’s been here, Hell has never looked so good in a Doom game, thanks to the brilliance of the id Tech engine 8.
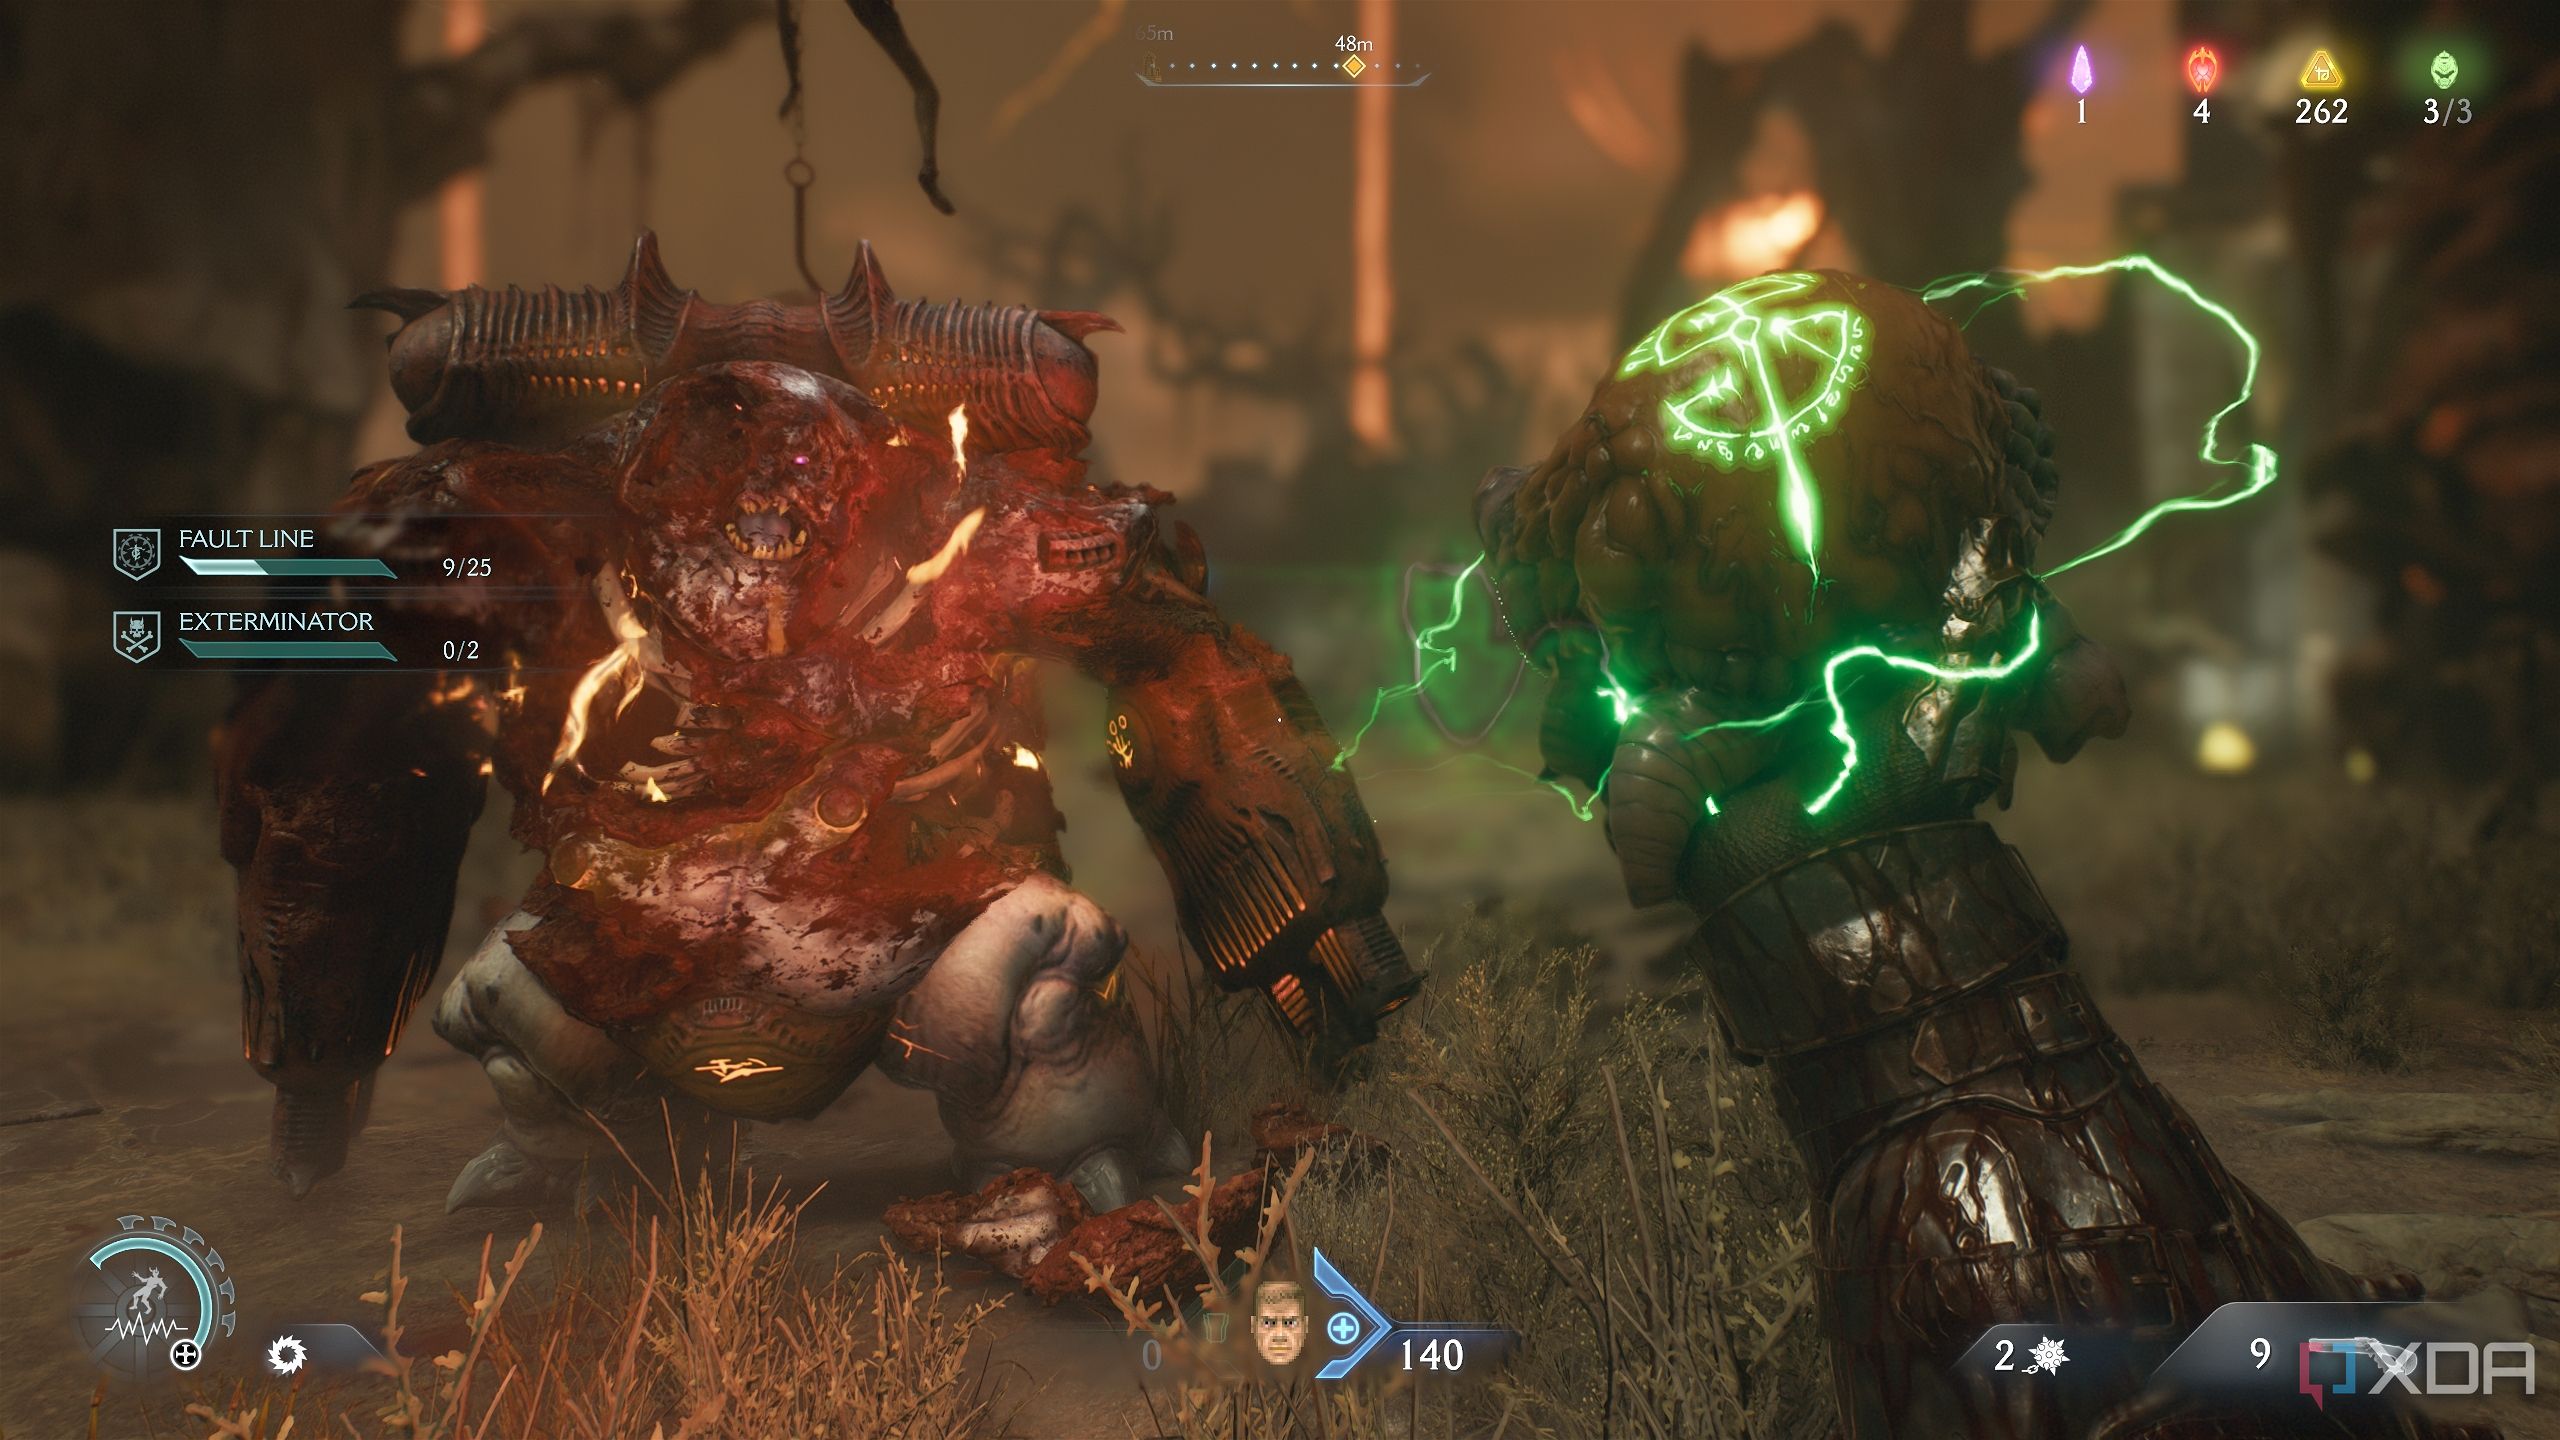
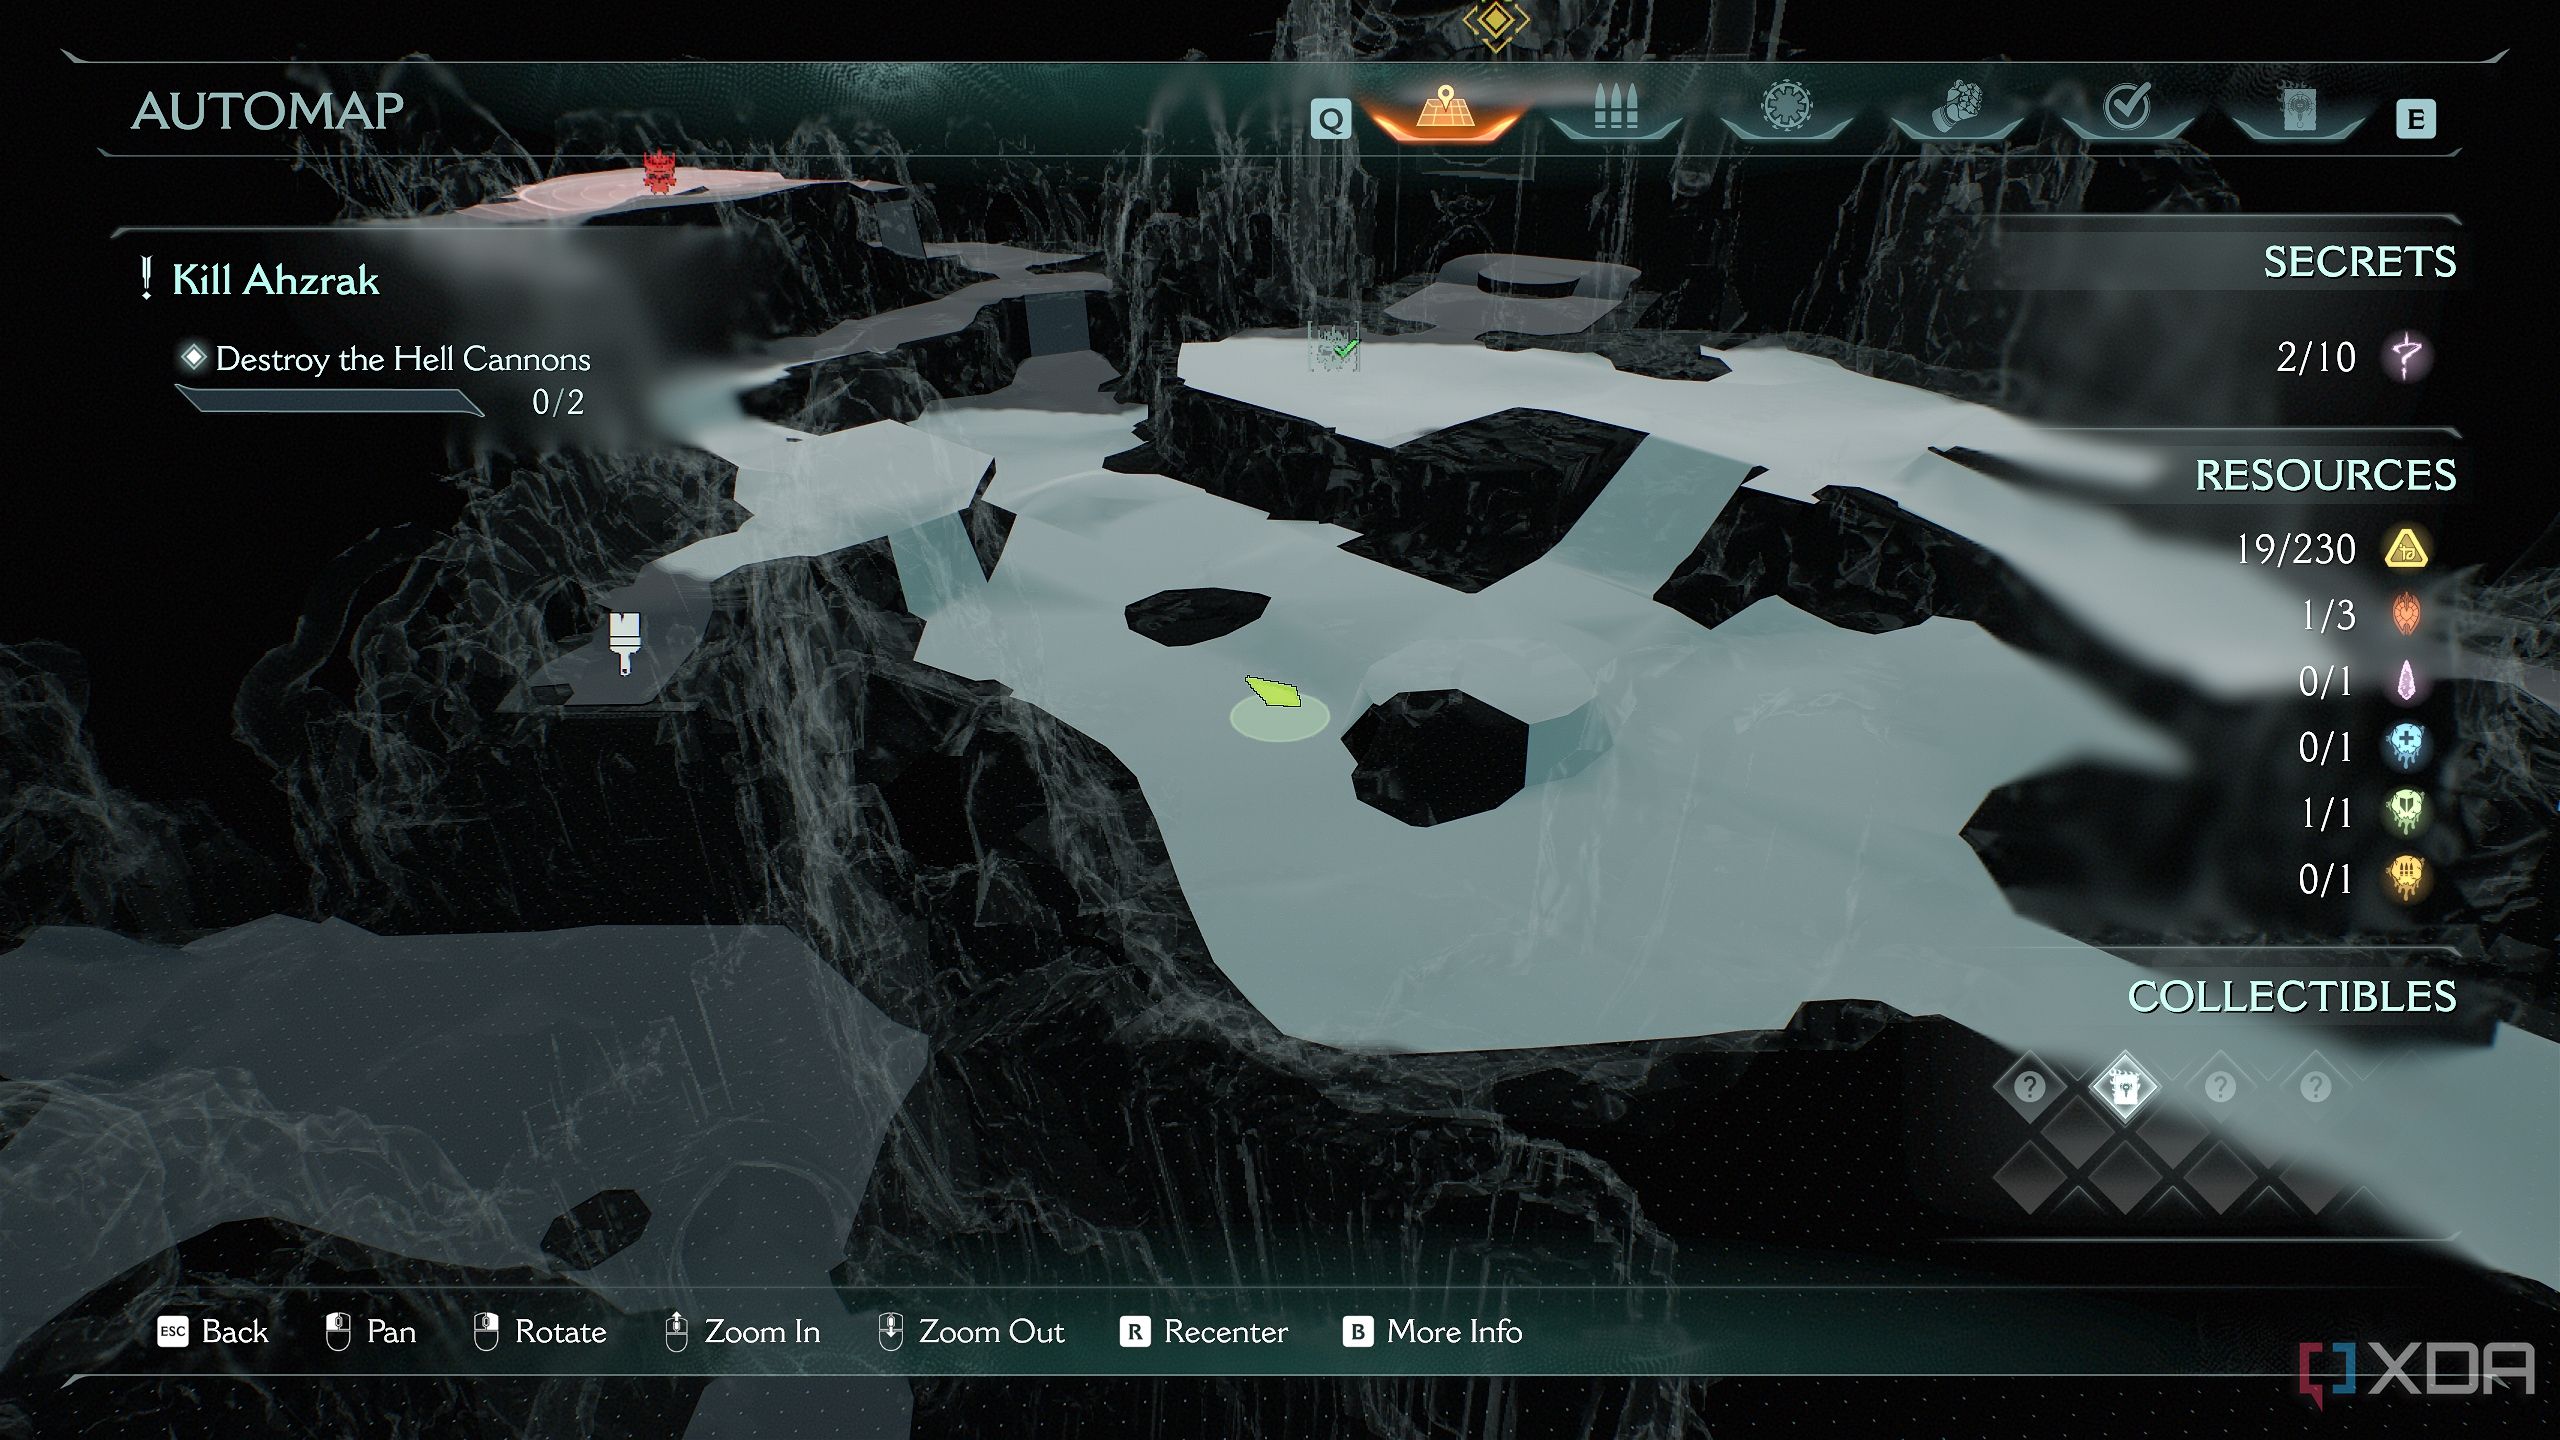
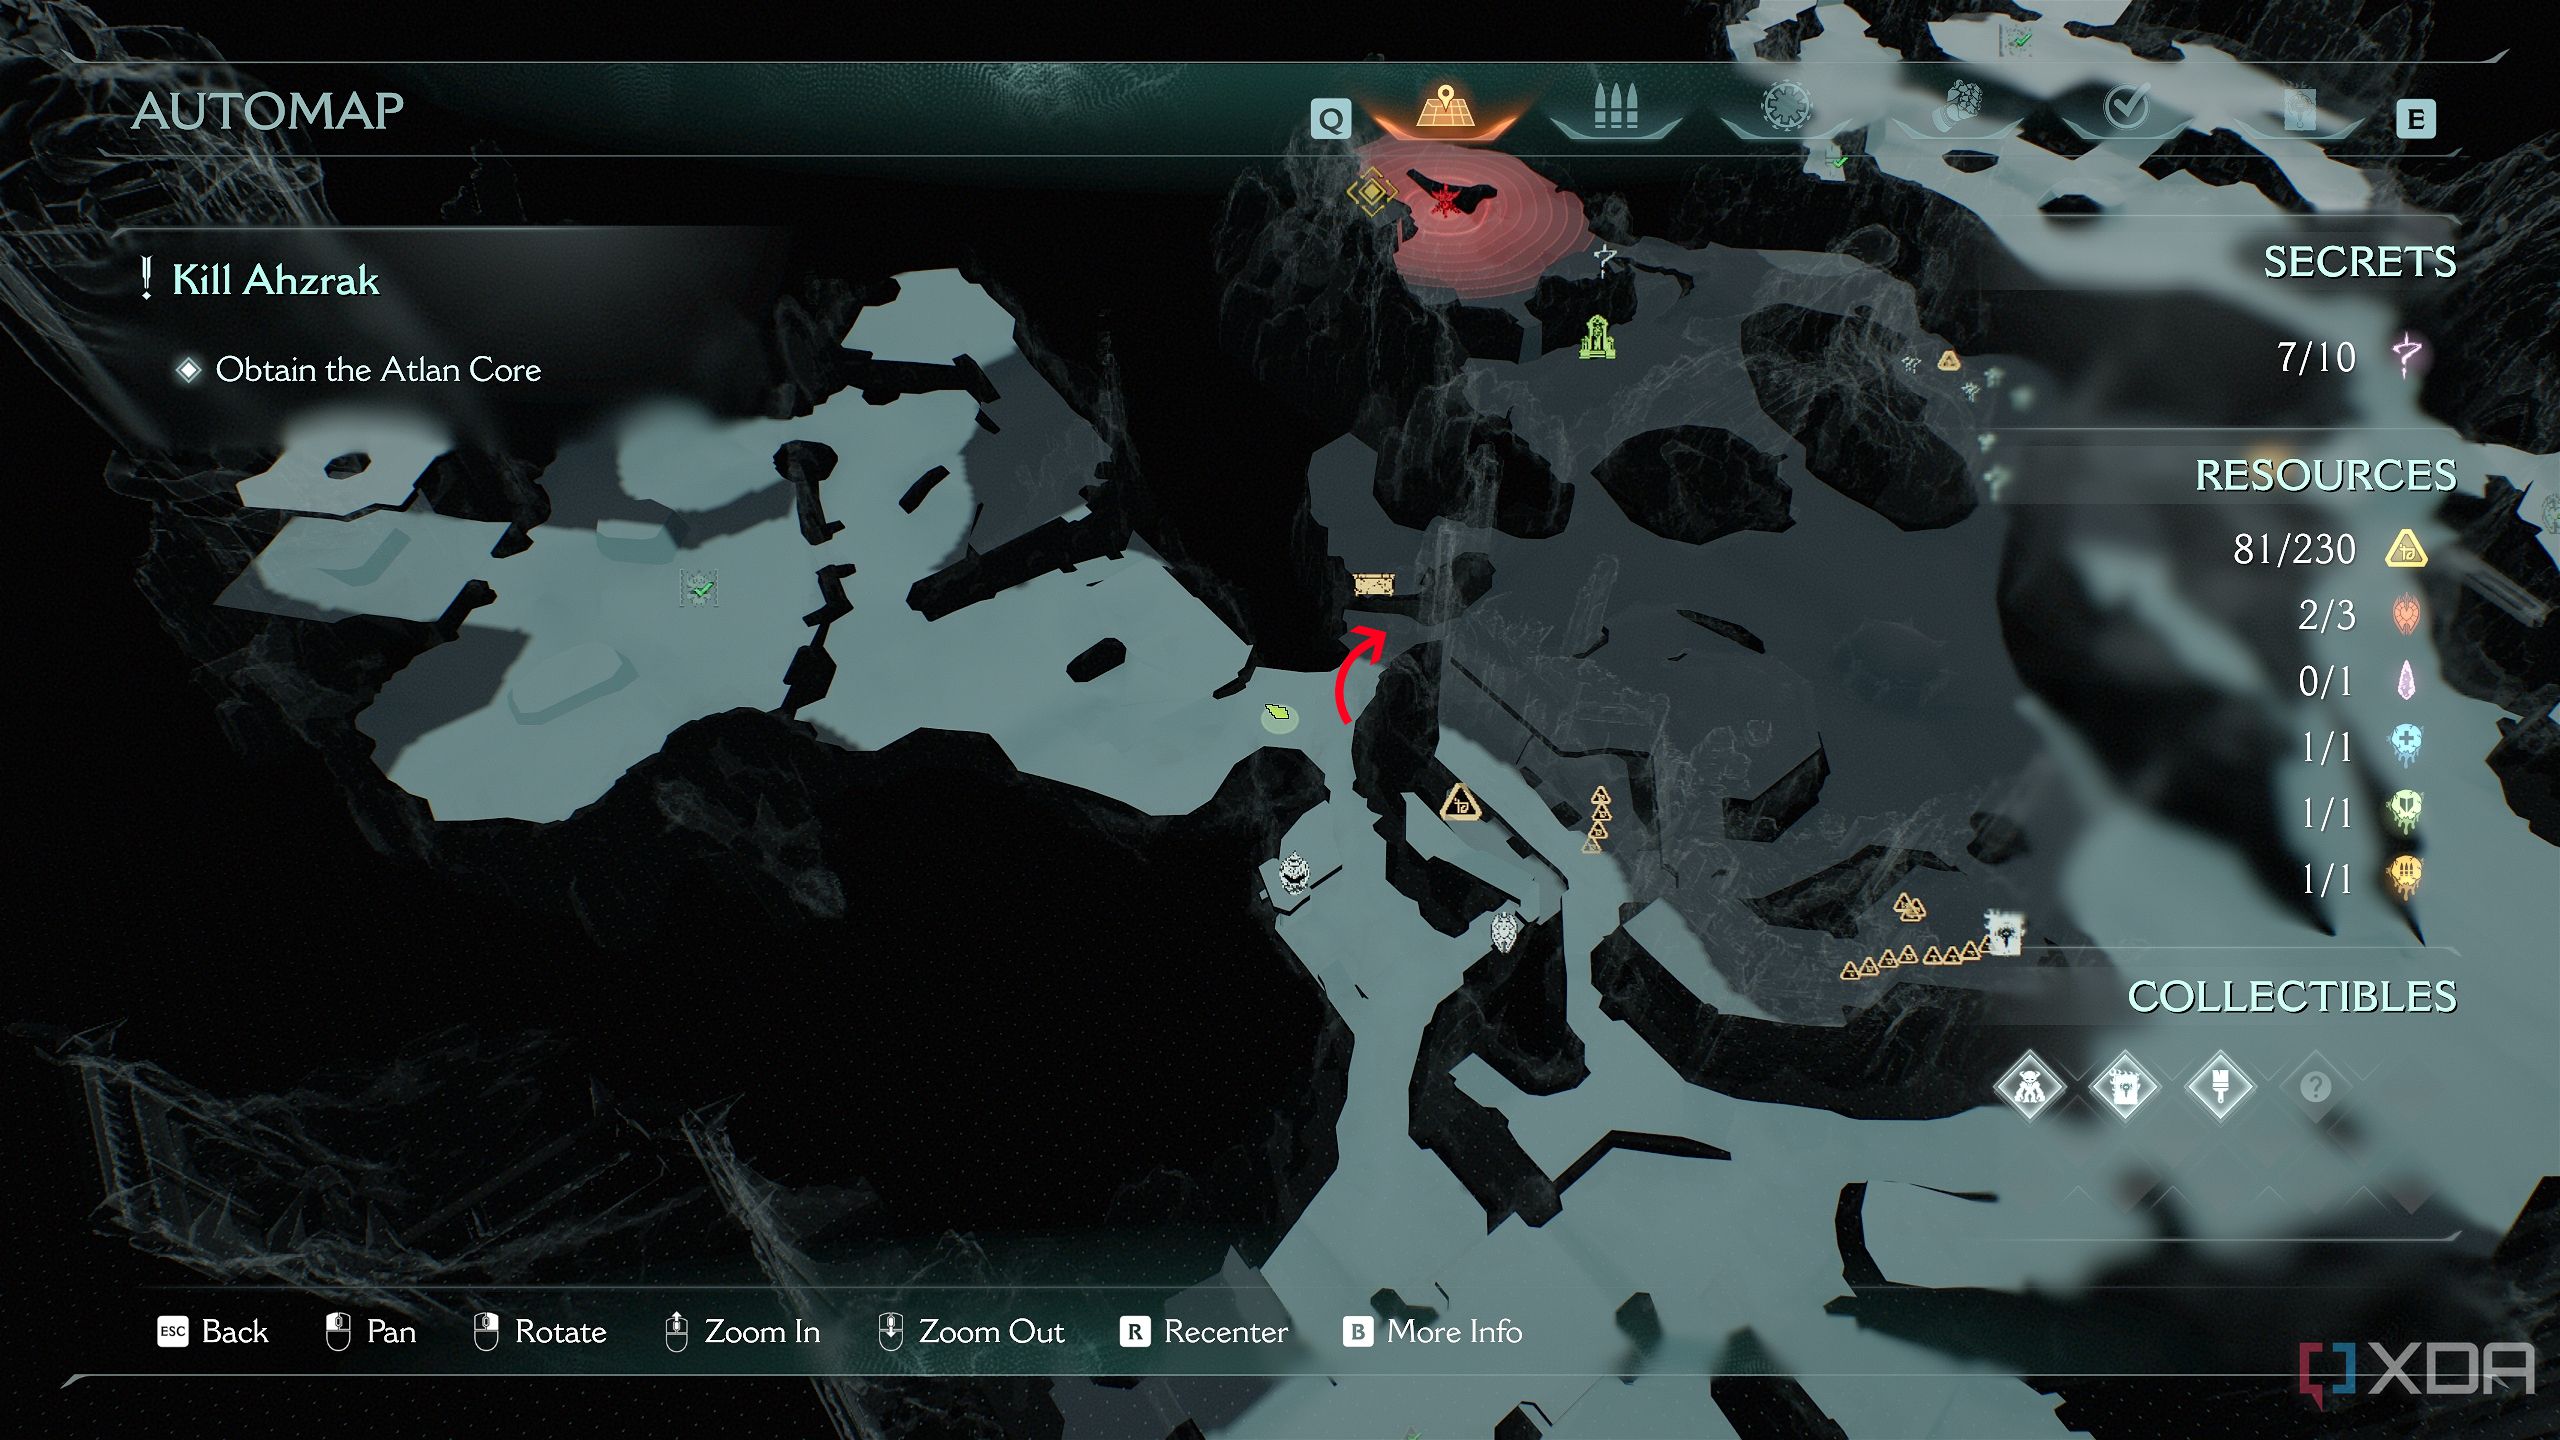
As the Slayer takes on demonic hordes in the realm of hell itself and prepares to confront Prince Ahzrak, he may also take a few steps out of the way for some choice collectibles and secrets.
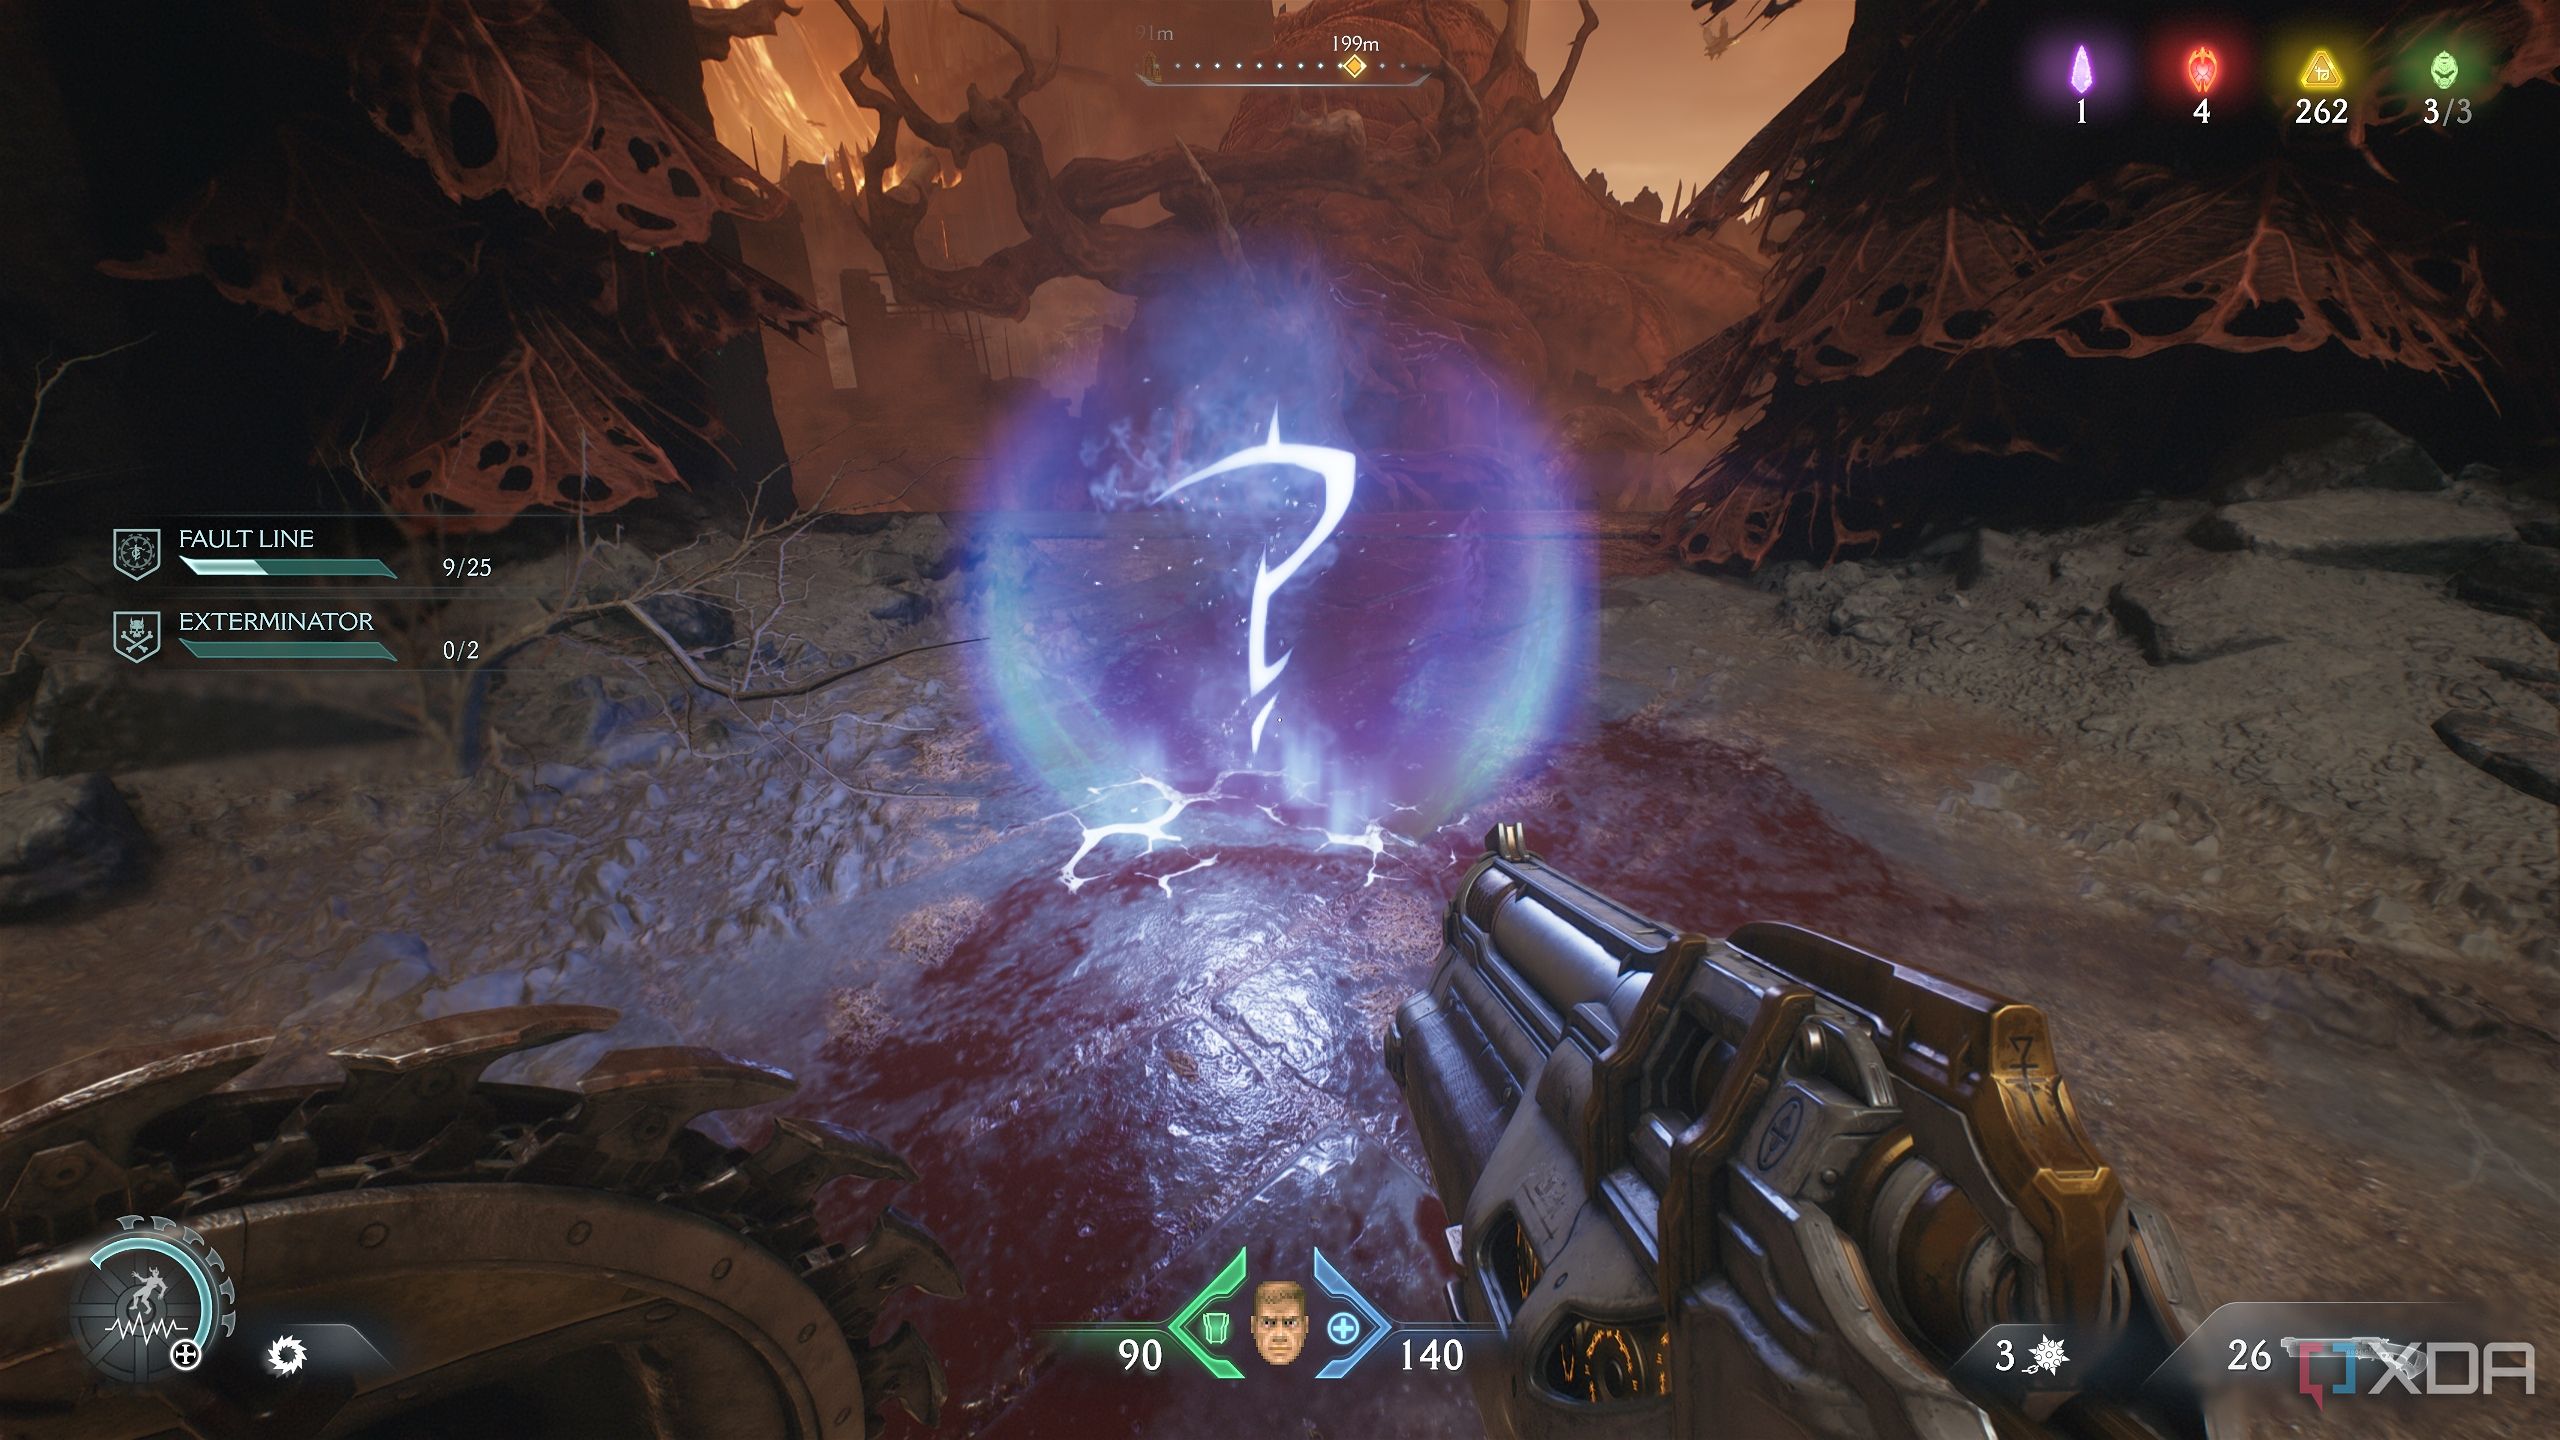
In order to get 100% completion of each level, make sure you complete the mission challenges for this level.
Chapter 10’s mission challenges are-
- Destroy 2 Gore Nests
- Affect 25 demons with the Shield’s Ground Fissure rune
- Damage 5+ demons with a single Rocket Launcher shot, five times
Related
DOOM: The Dark Ages — 100% completion guide, Chapter 9: Ancestral Forge
Chapter 9 in Doom: The Dark Ages lets the Slayer inside an ancient Ancestral's body.
Chapter 10 of Doom: The Dark Ages takes the Slayer back to Hell
Who would’ve known Hell was so full of toys and collectibles?
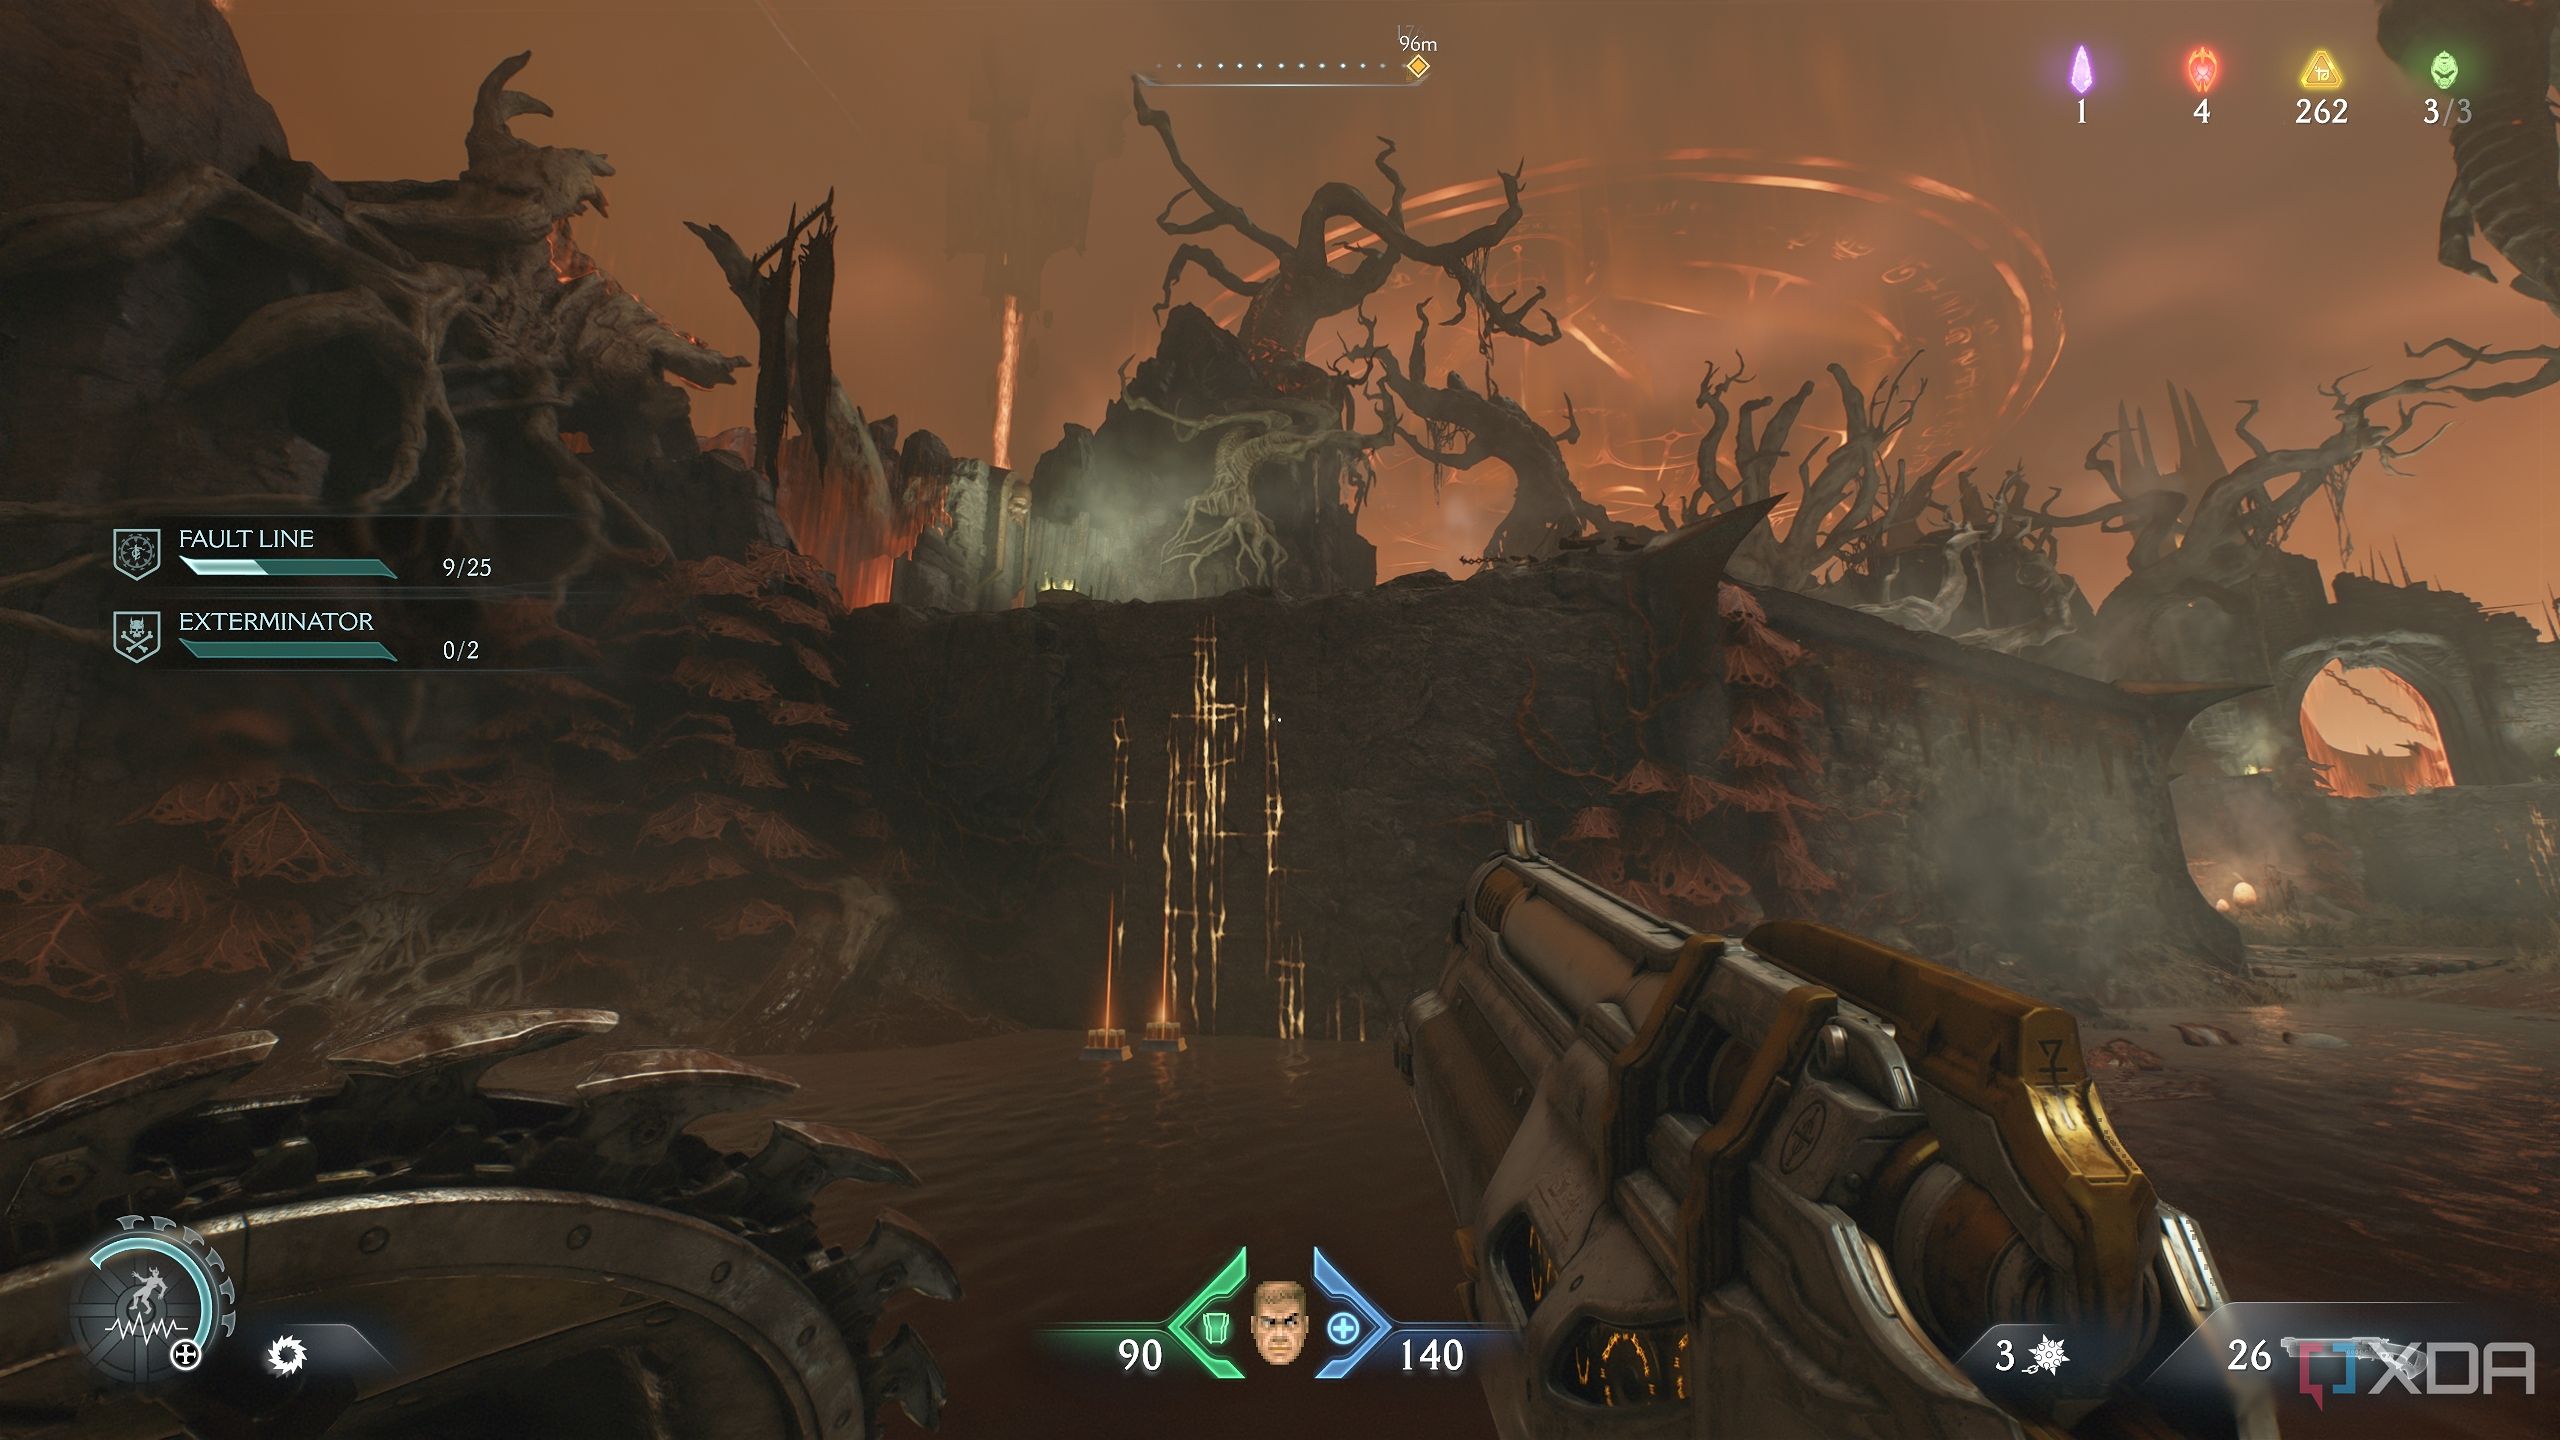
Chapter 10 takes the Slayer to Hell — a realm he is all too familiar with. After all, this is still the same Marine who started his journey on a Mars base where he went into hell to stop a demonic invasion, coming full circle. What good is a Doom game without a visit to Hell?
Following the objectives in the chapter along with the instructions provided below, it won't be long before you can claim that sweet 100% completion tag for the eighth level in Doom: The Dark Ages.
This guide covers each collectible required for 100% level completion in chronological order. It is recommended to follow this guide in the order stated.
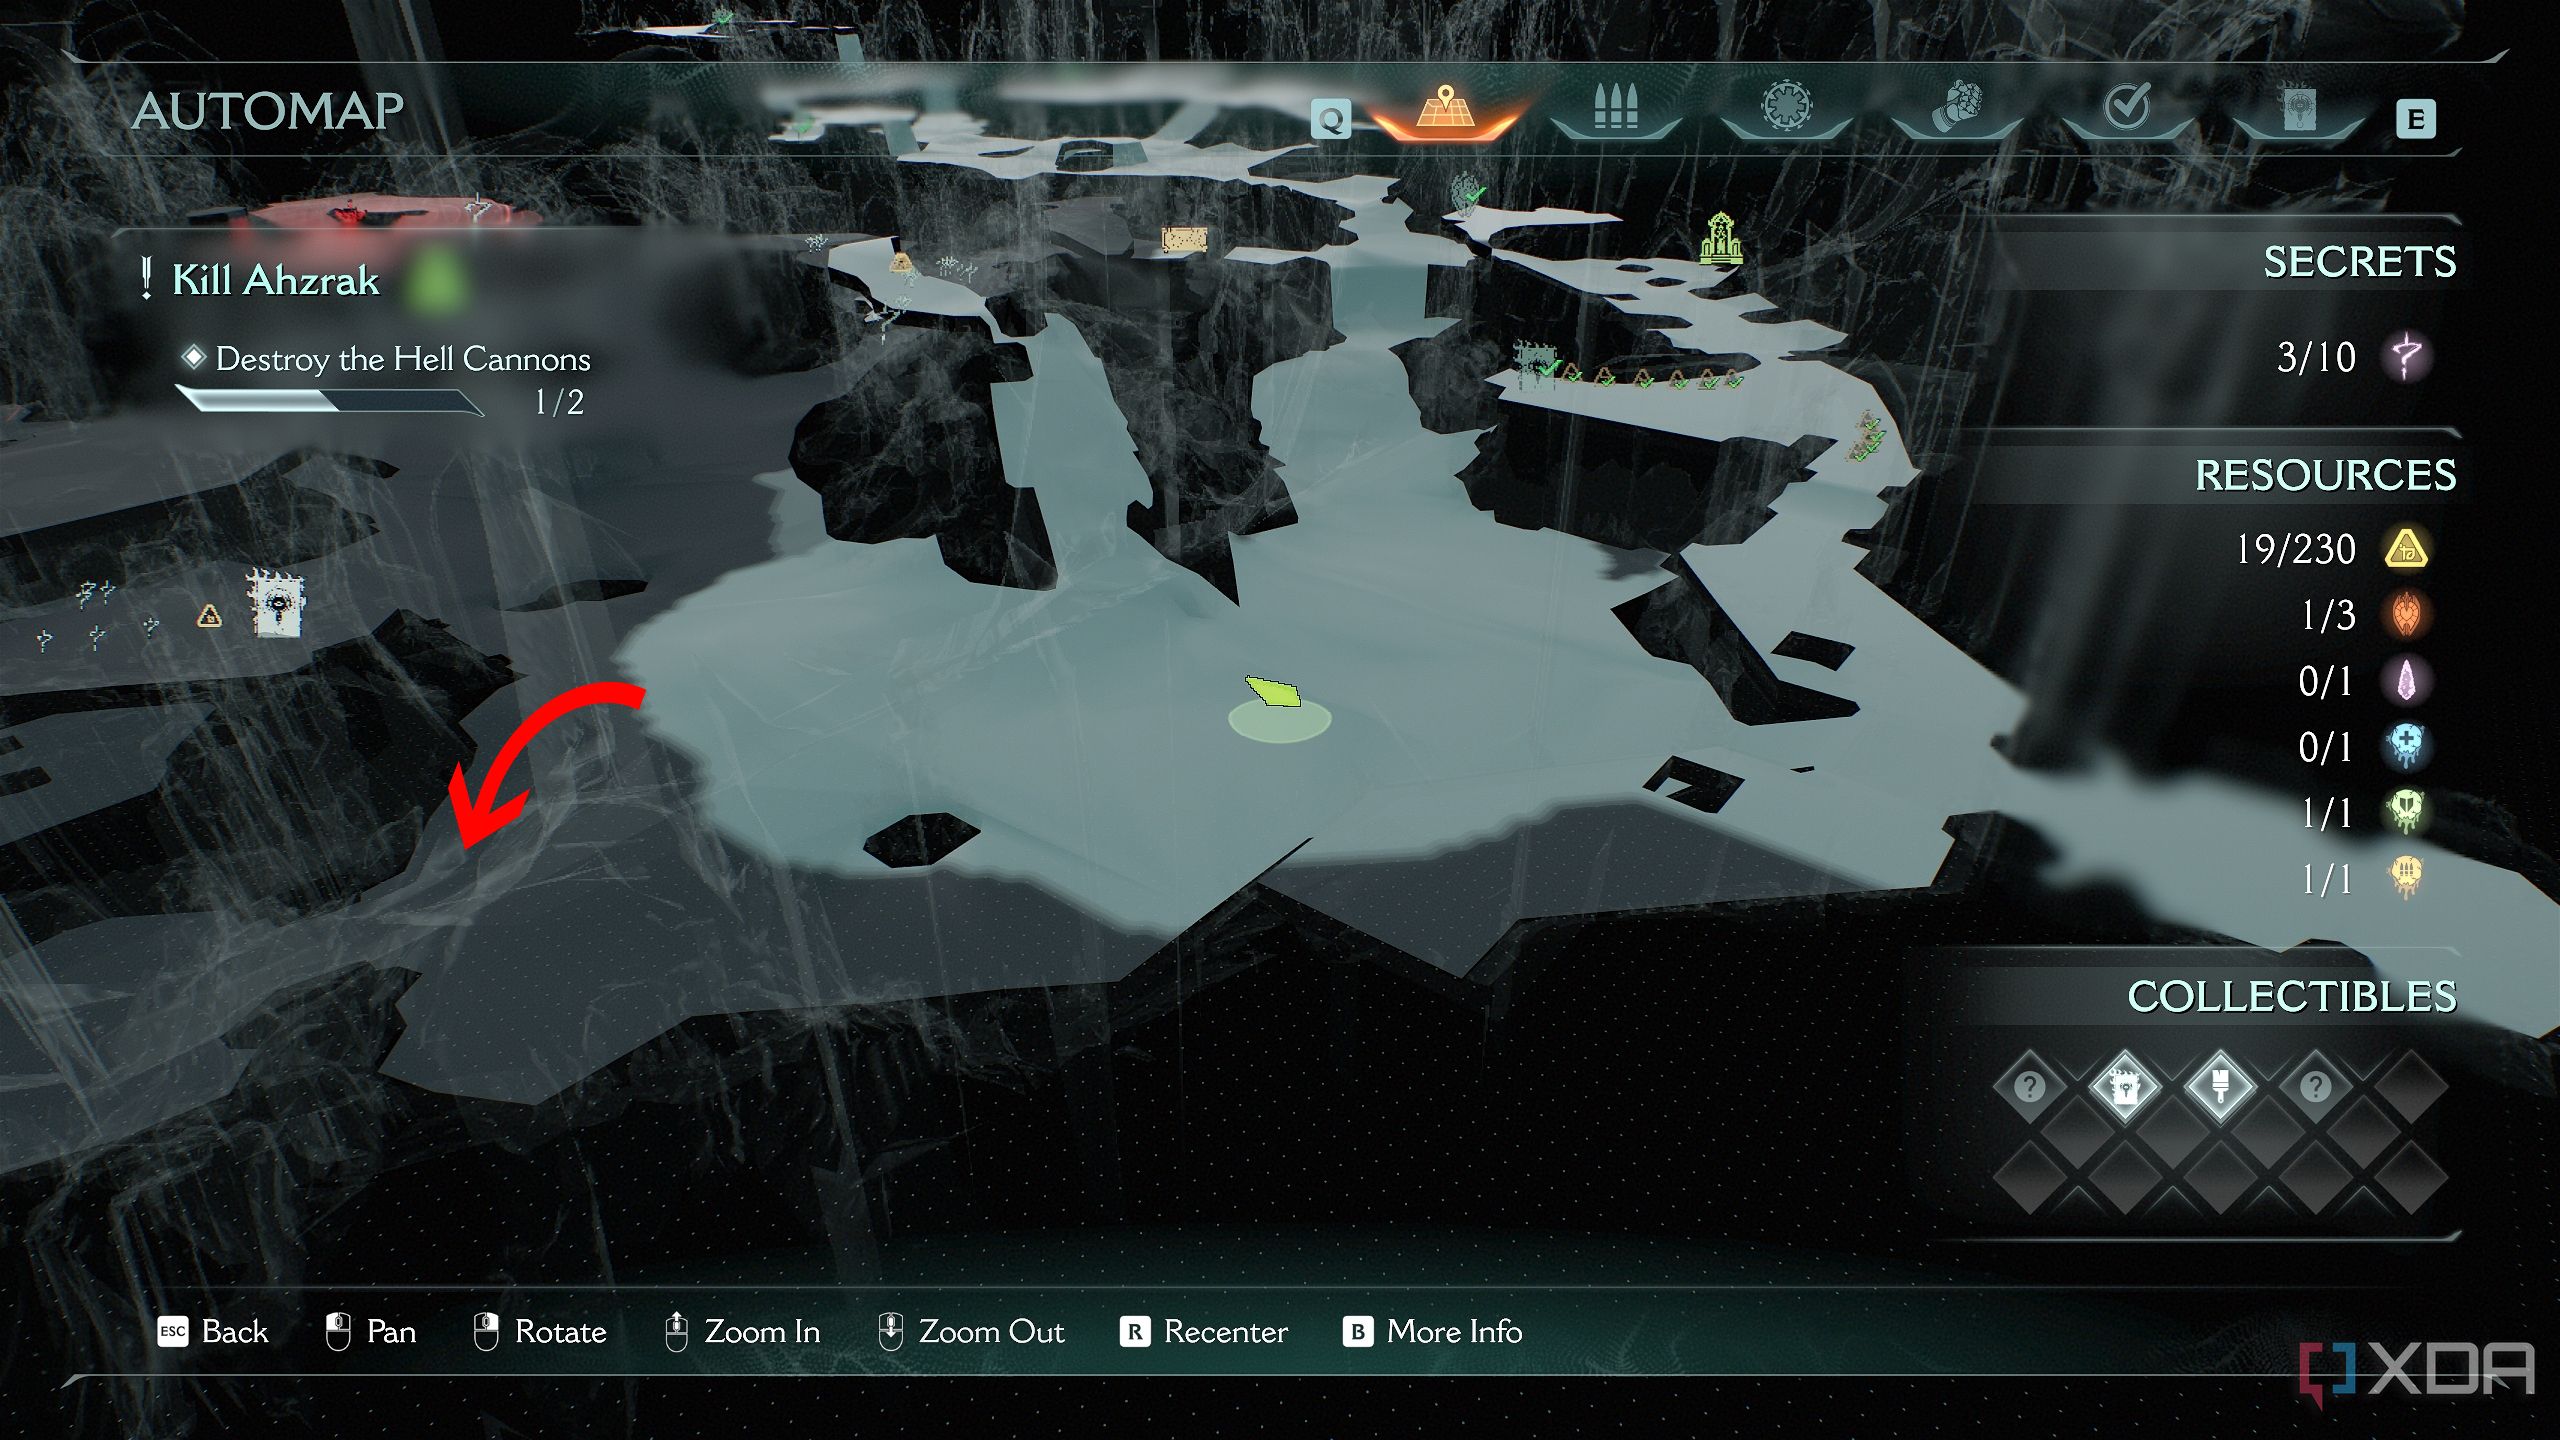
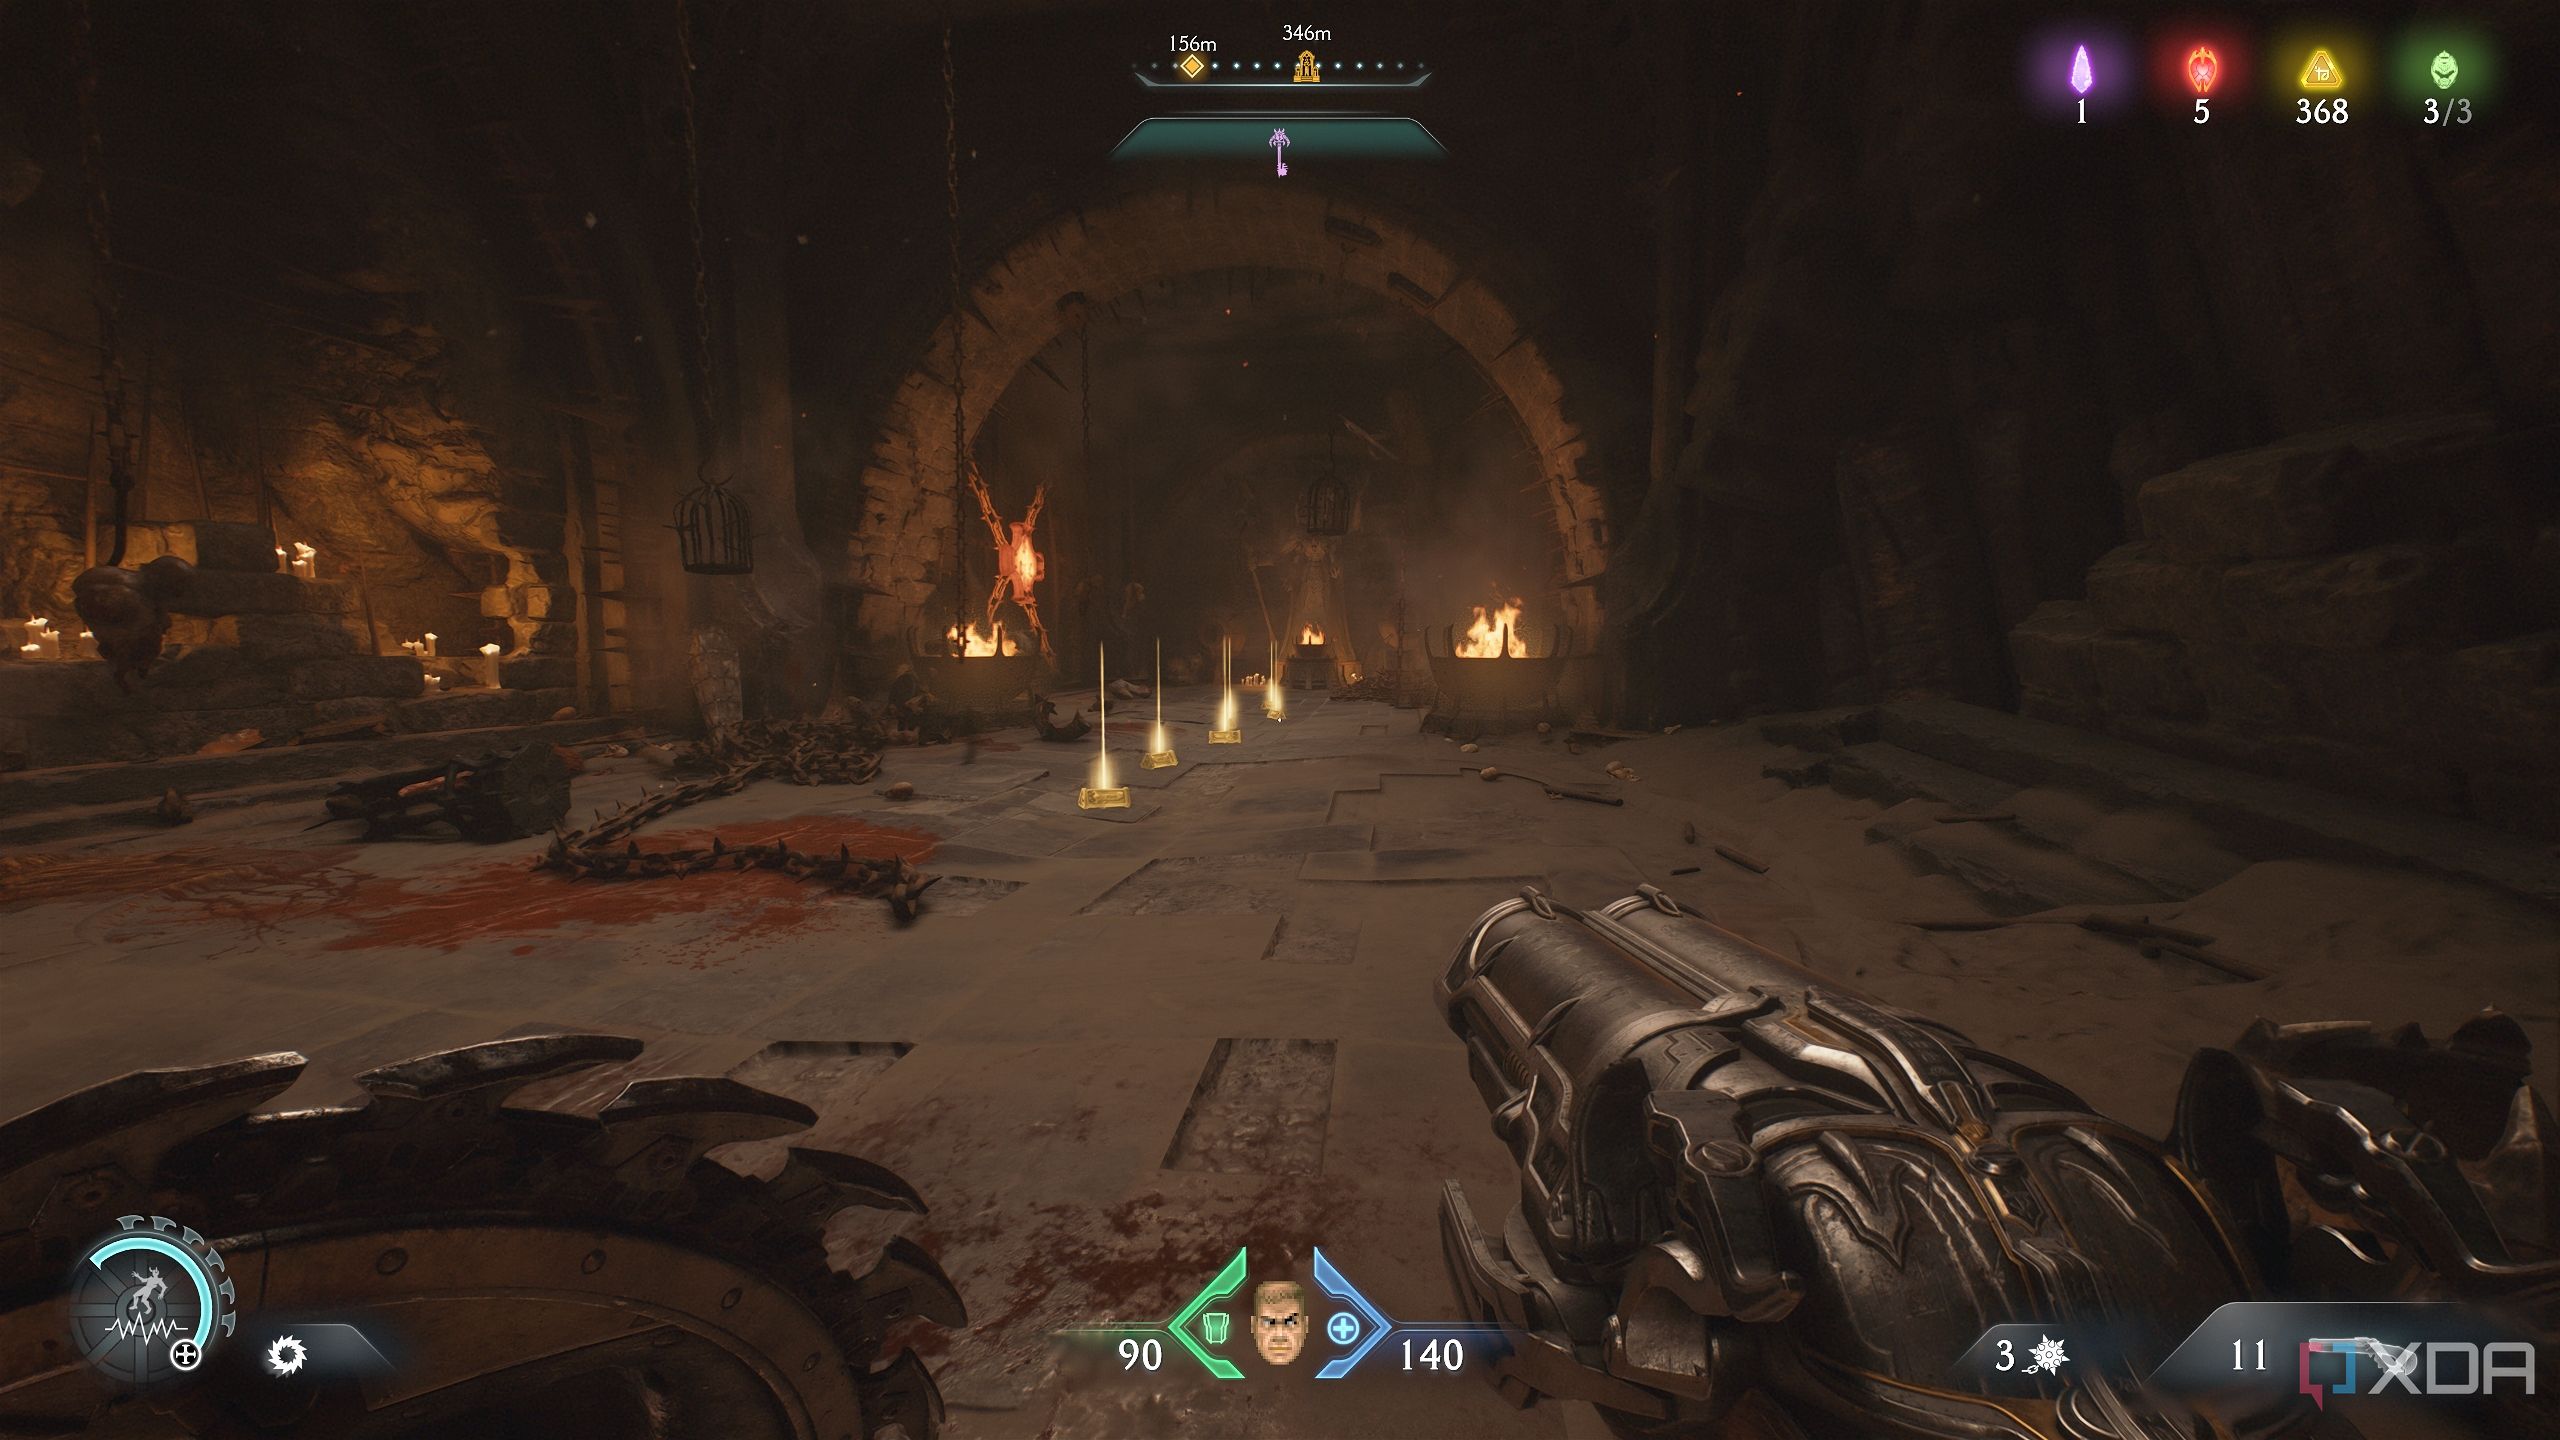
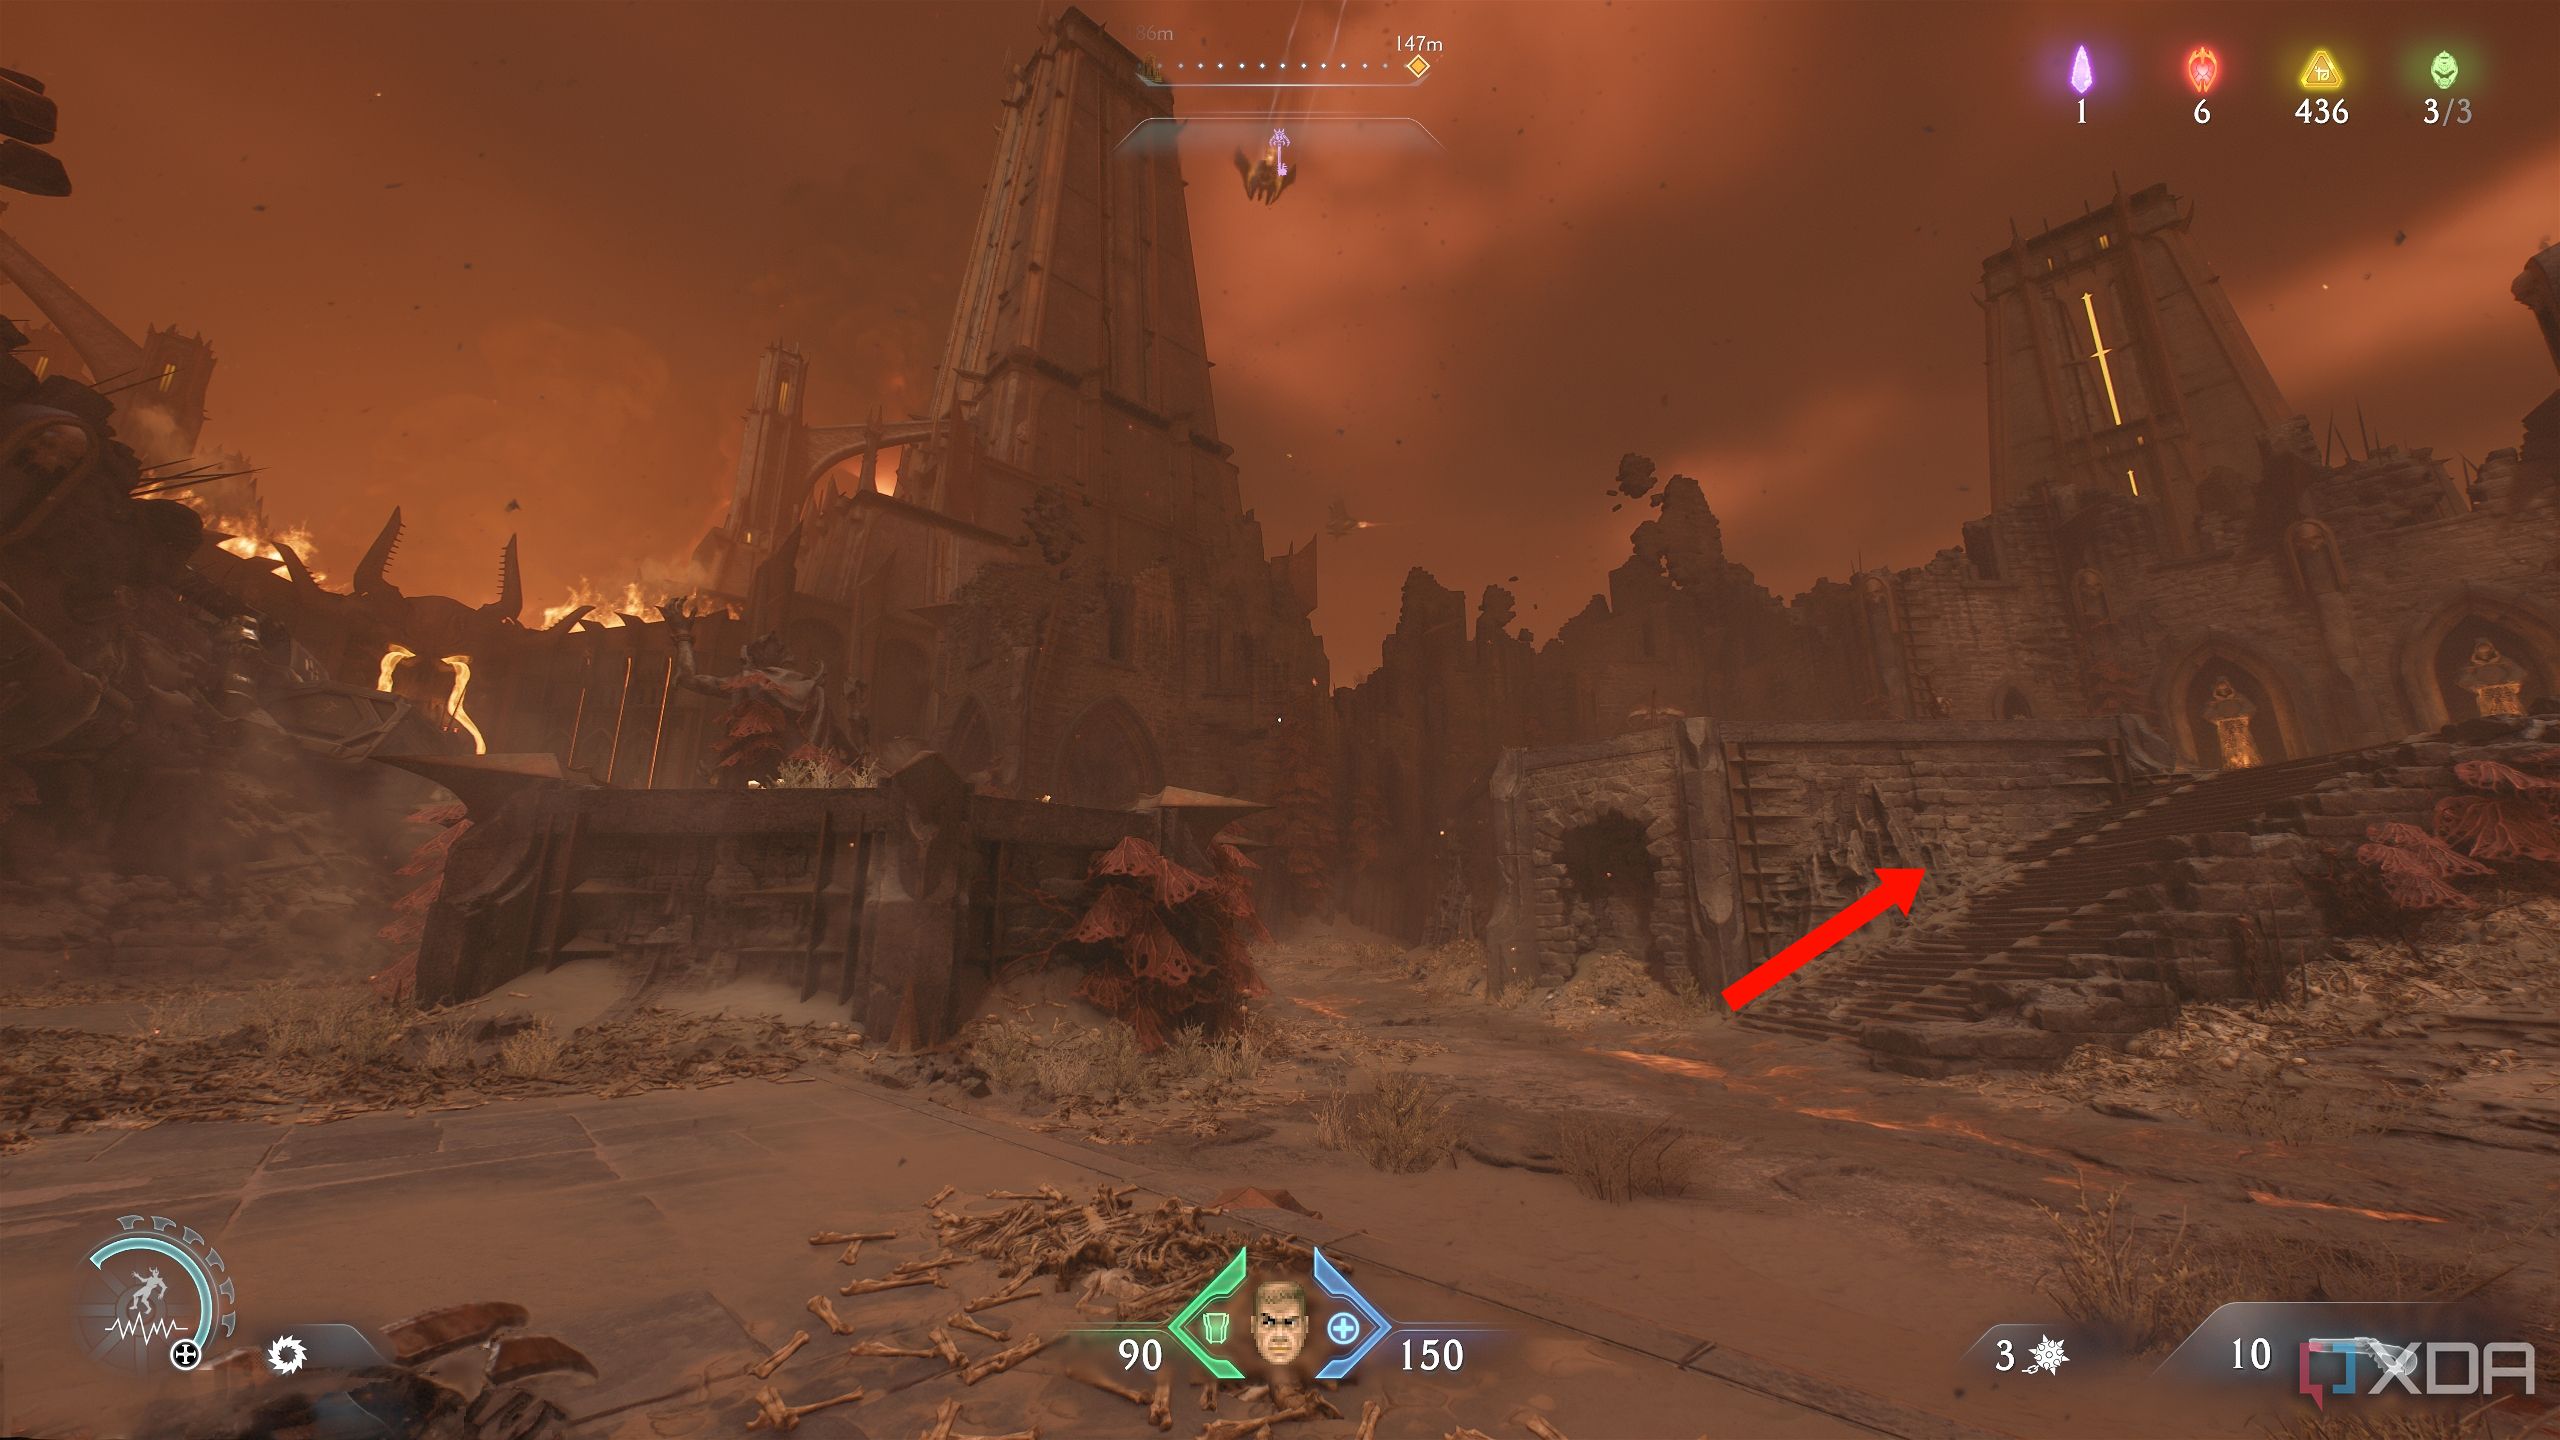
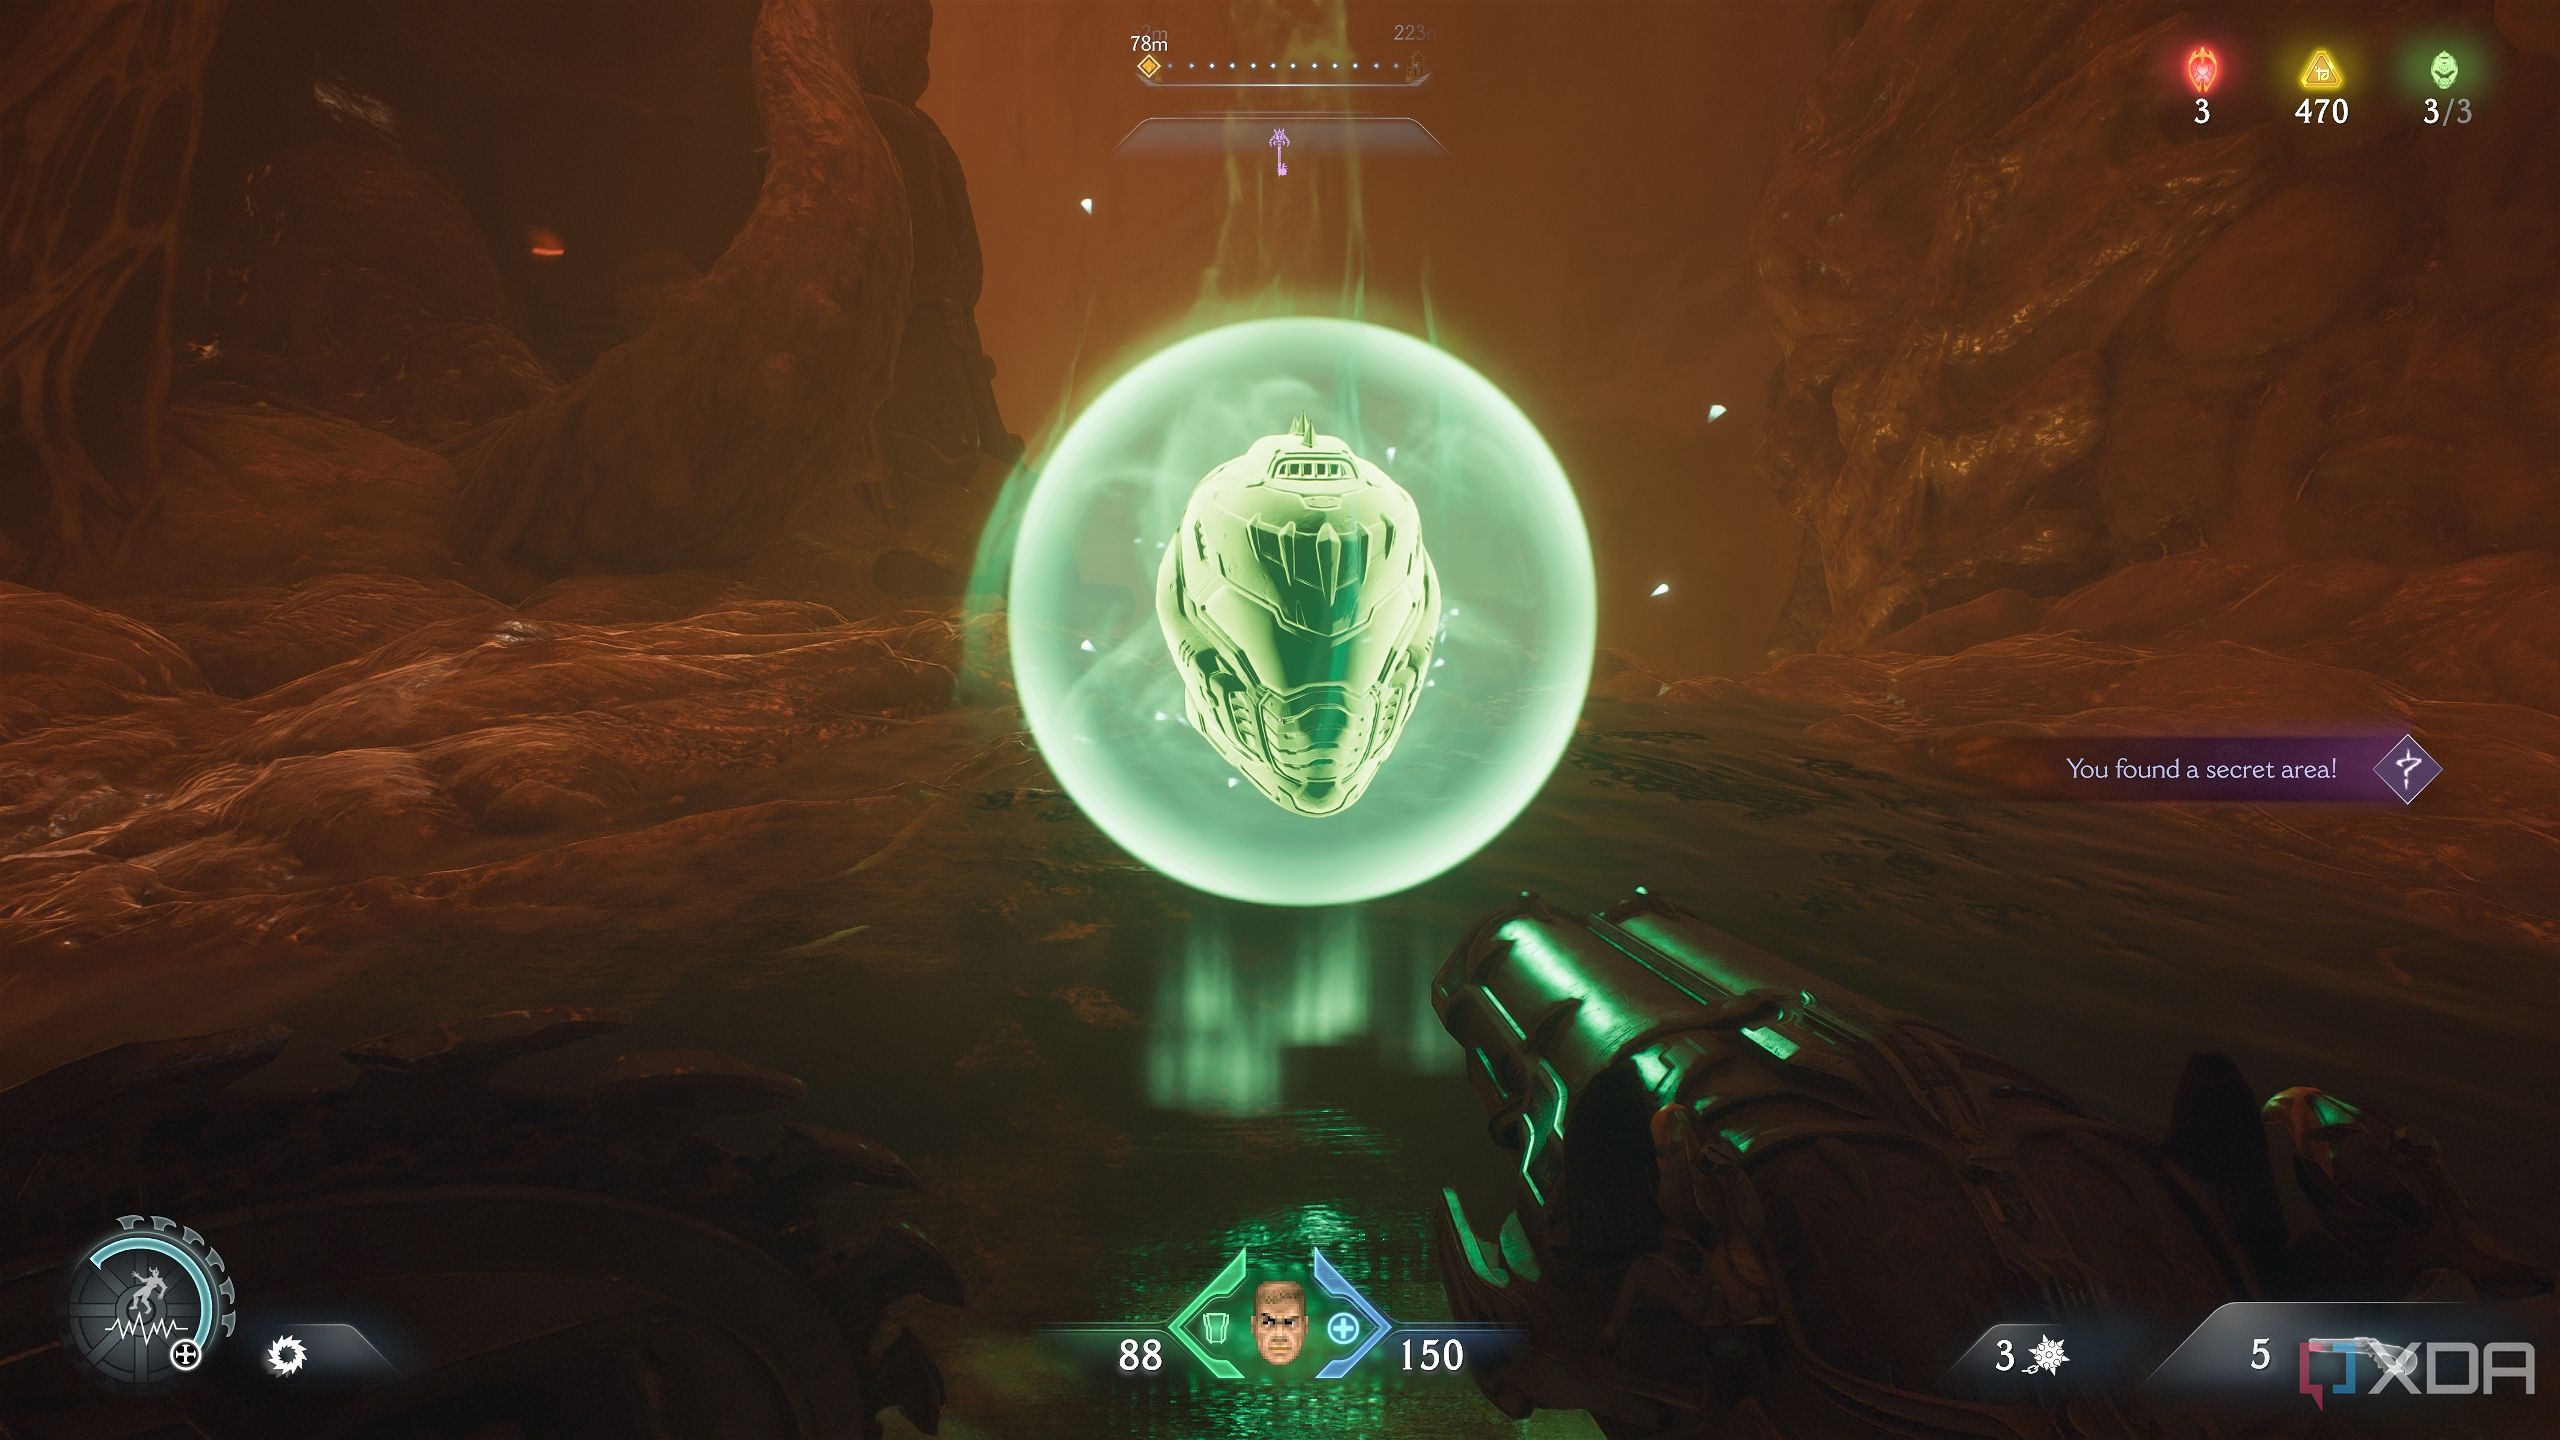
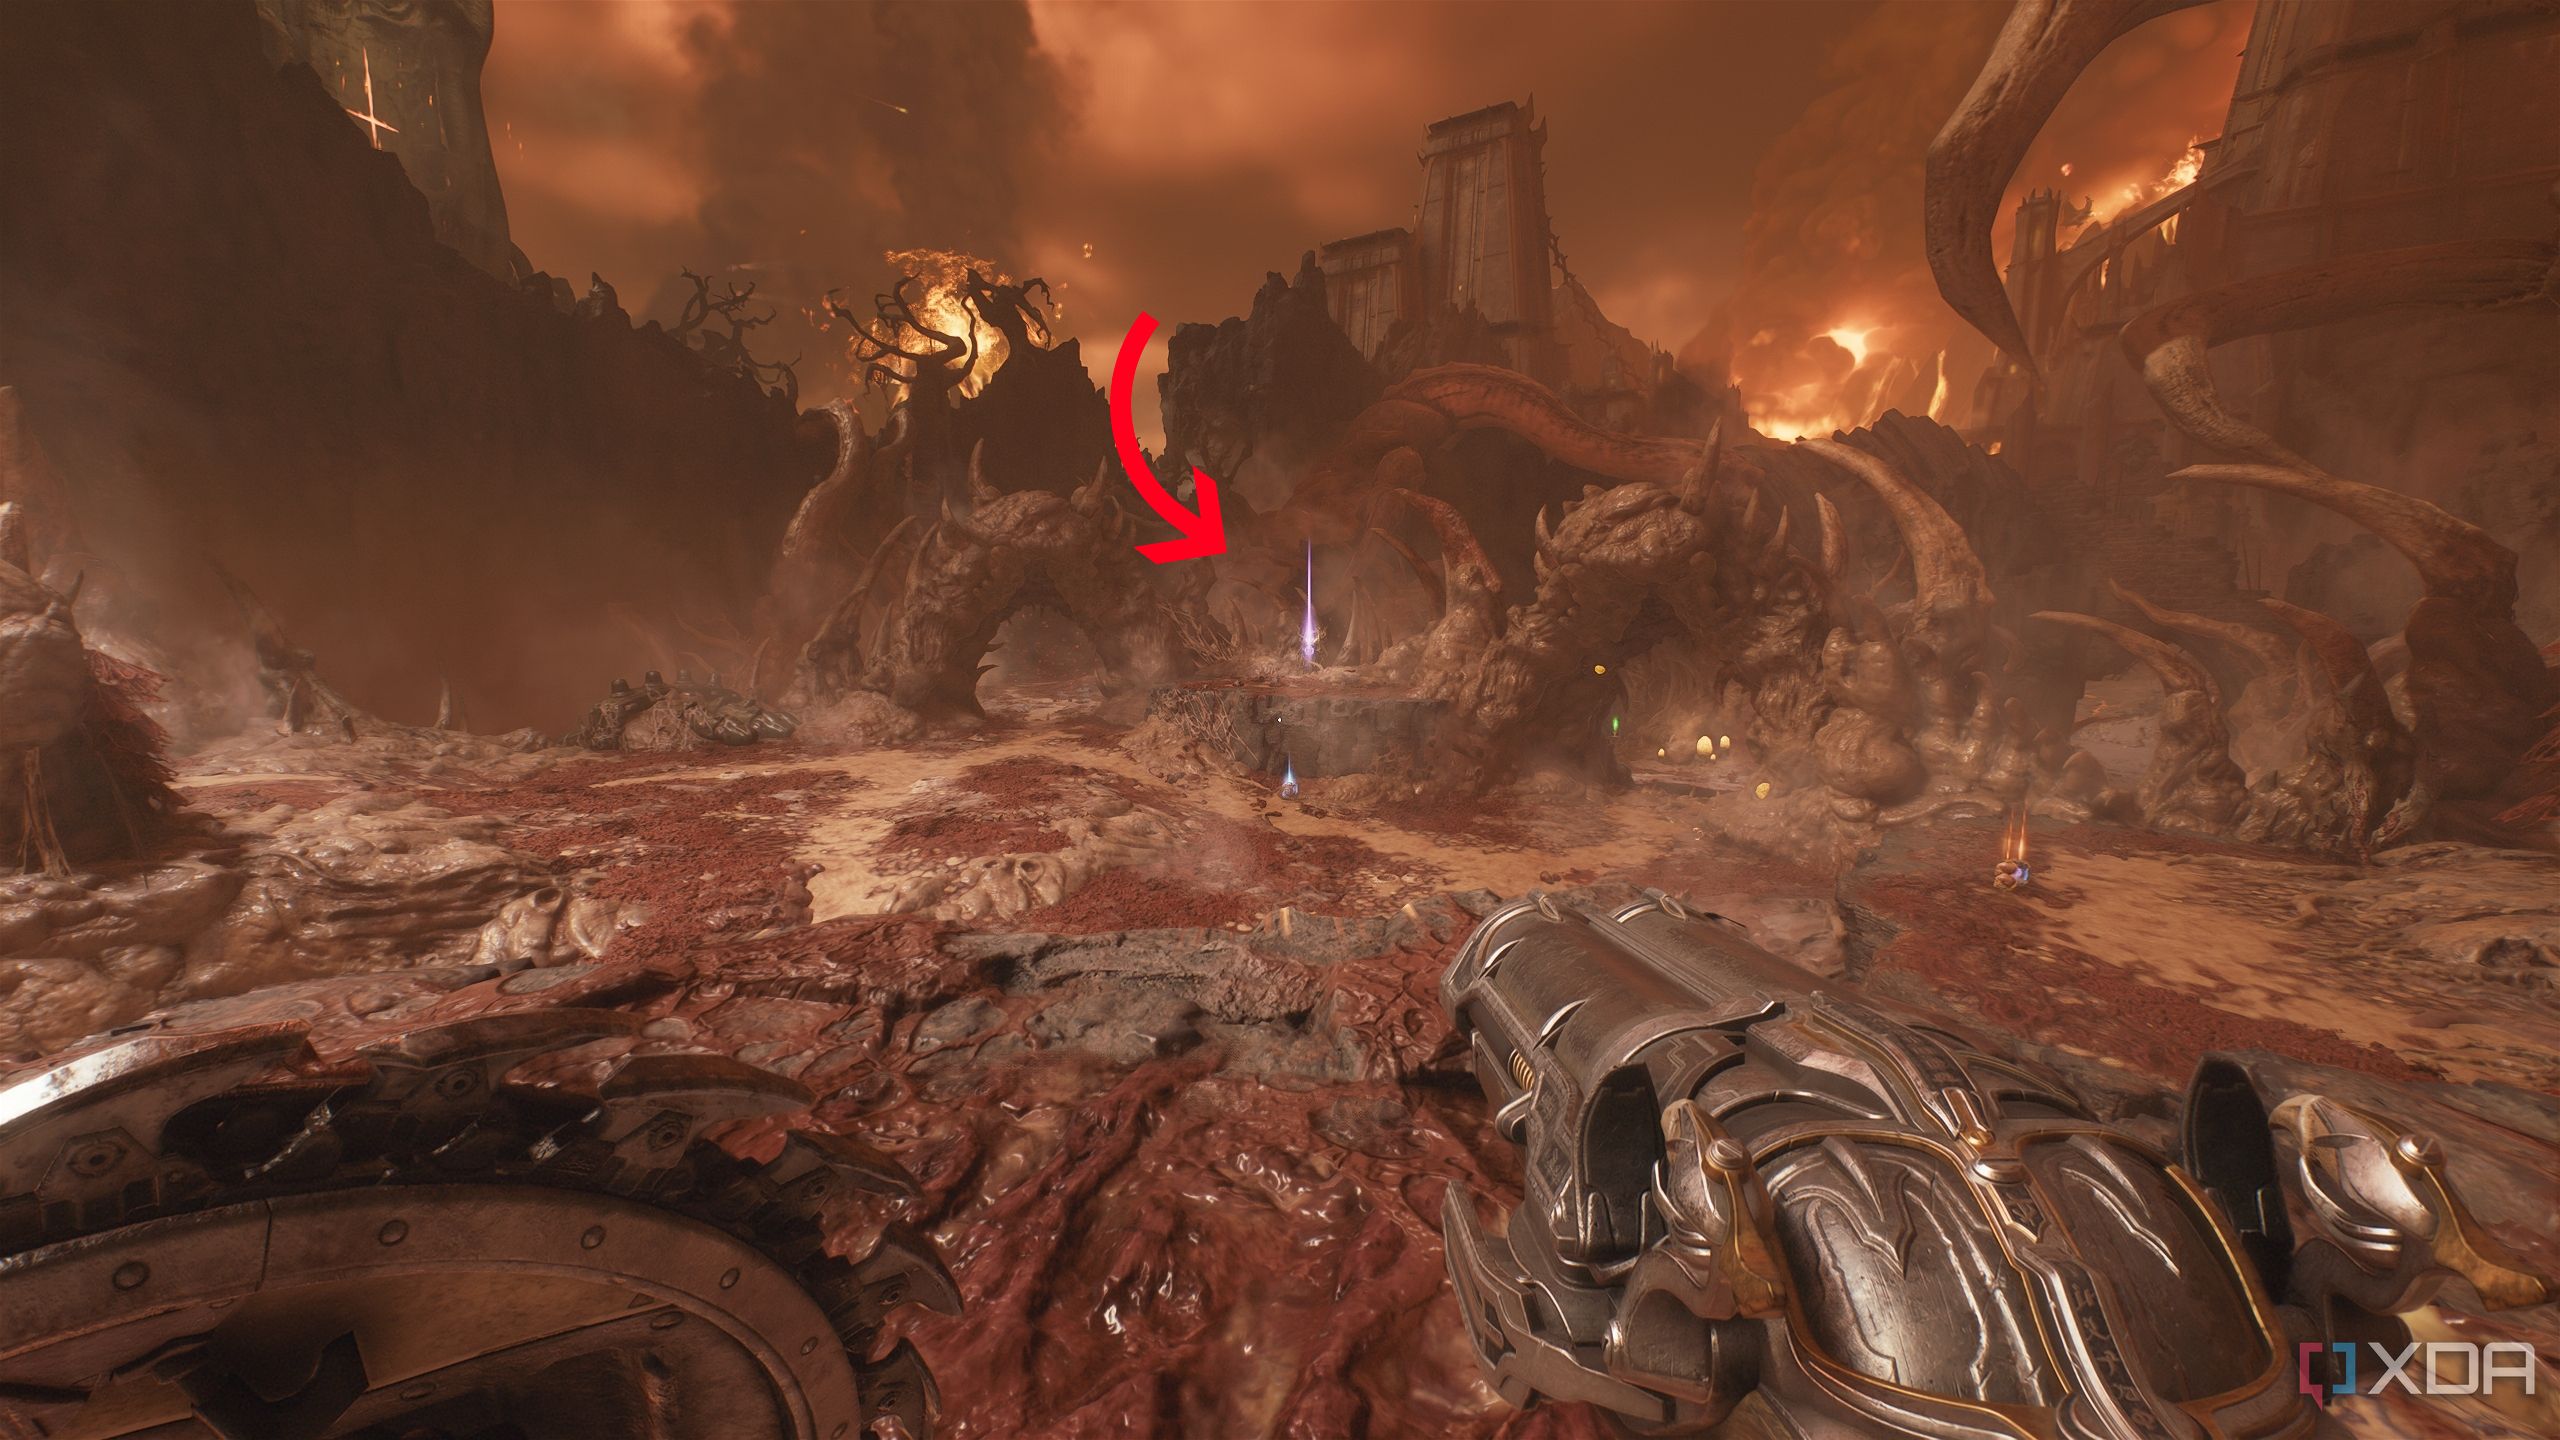
Secret area 1 and a Life Sigil
Rocketing through to the first secret area
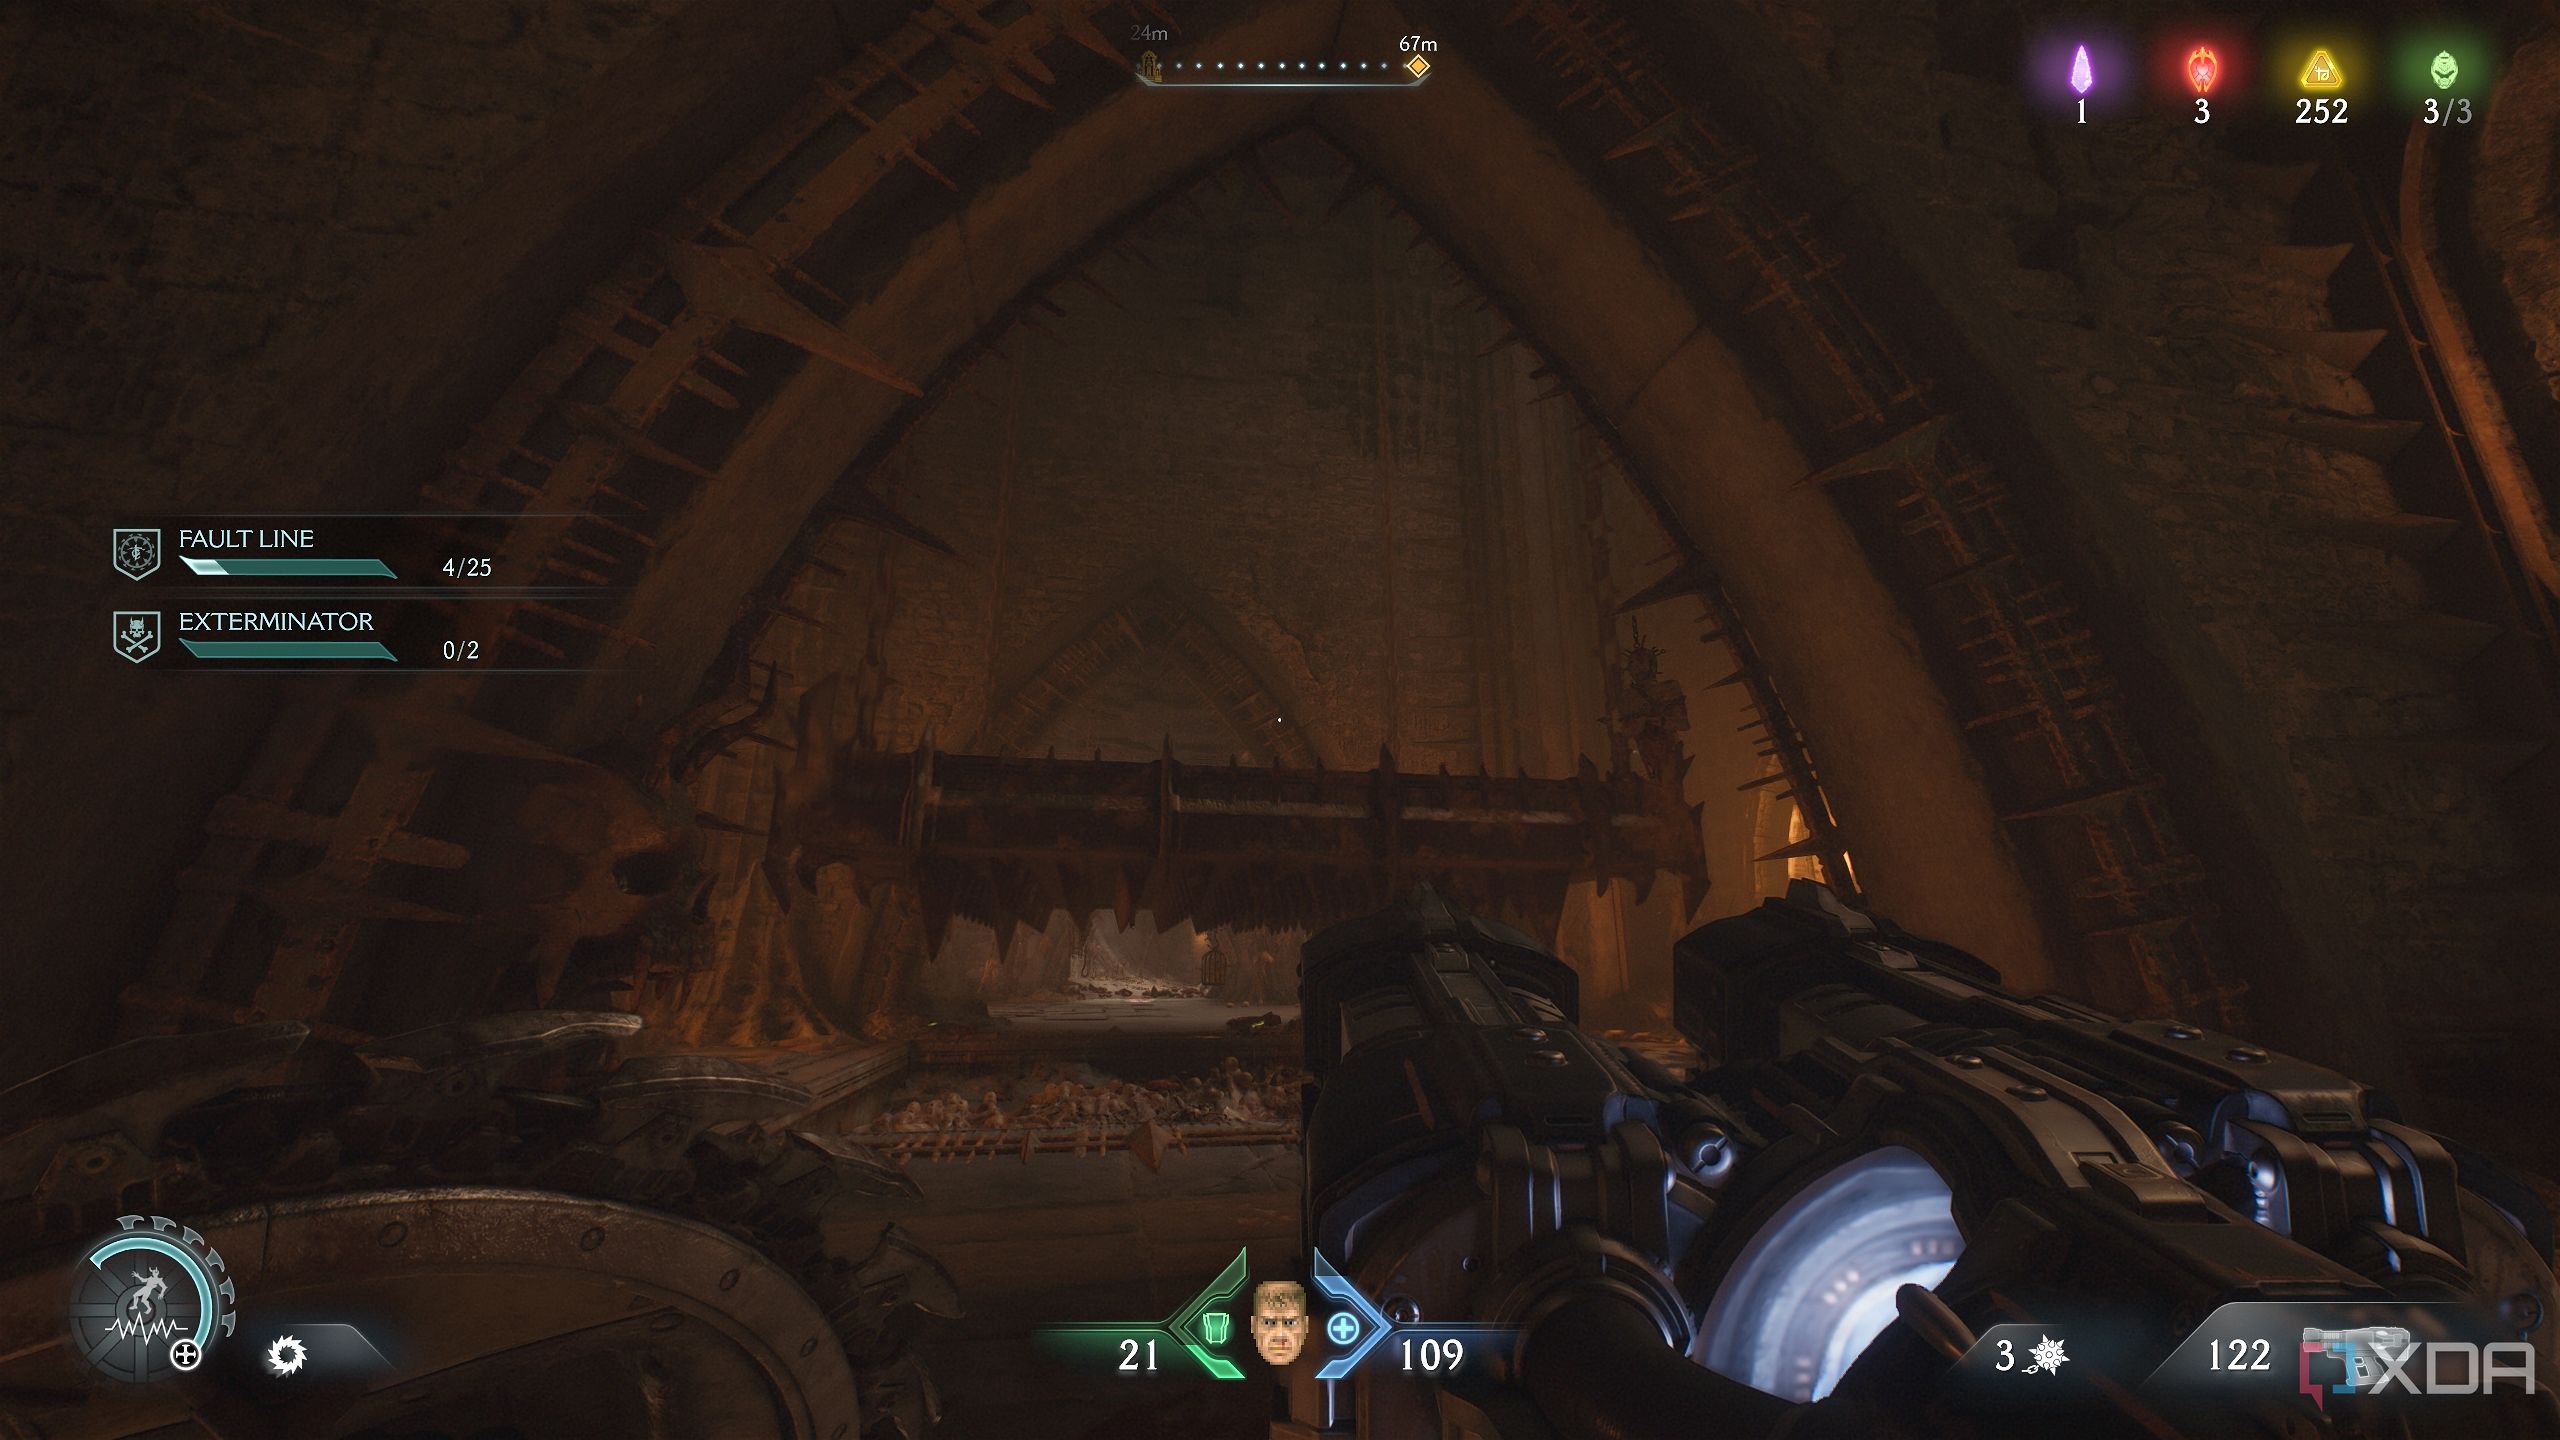
The beginning of the level is rather straightforward, until you reach the field where the Slayer gets the Rocket Launcher weapon.
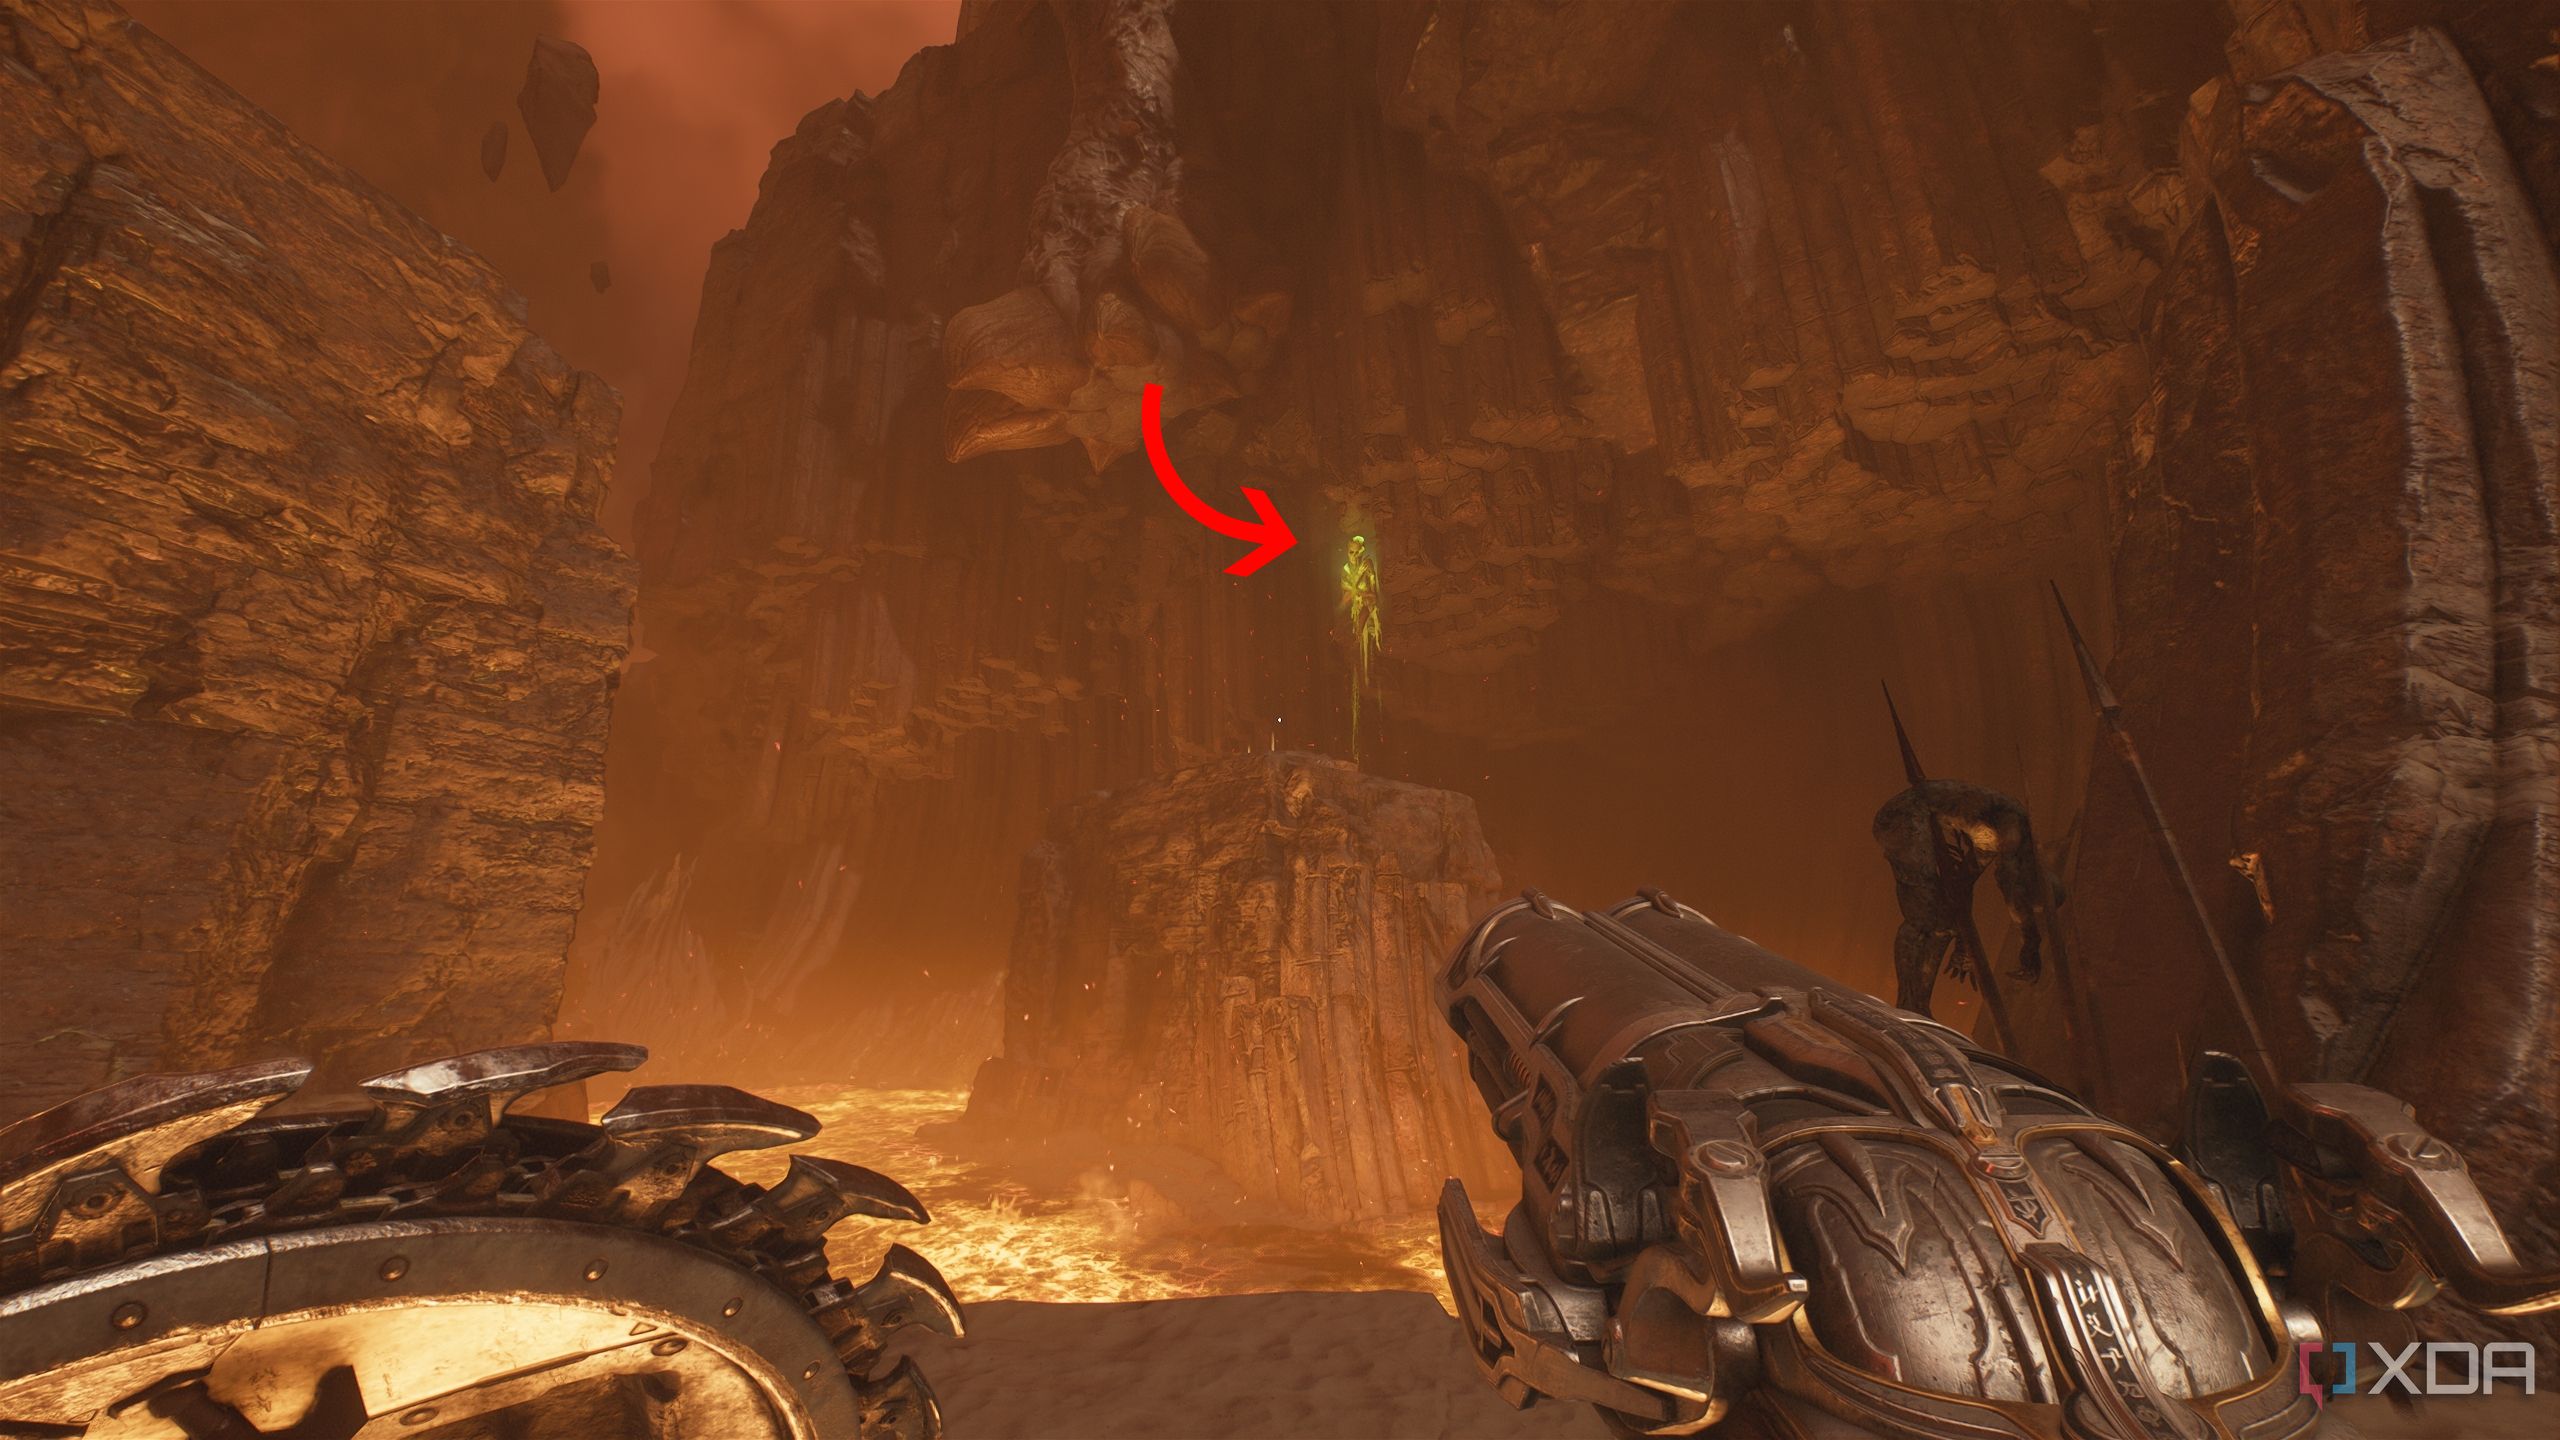
Before proceeding ahead past the weapon pod, move to the western side of the arena, and you’ll spot a green flesh node in the distance above.
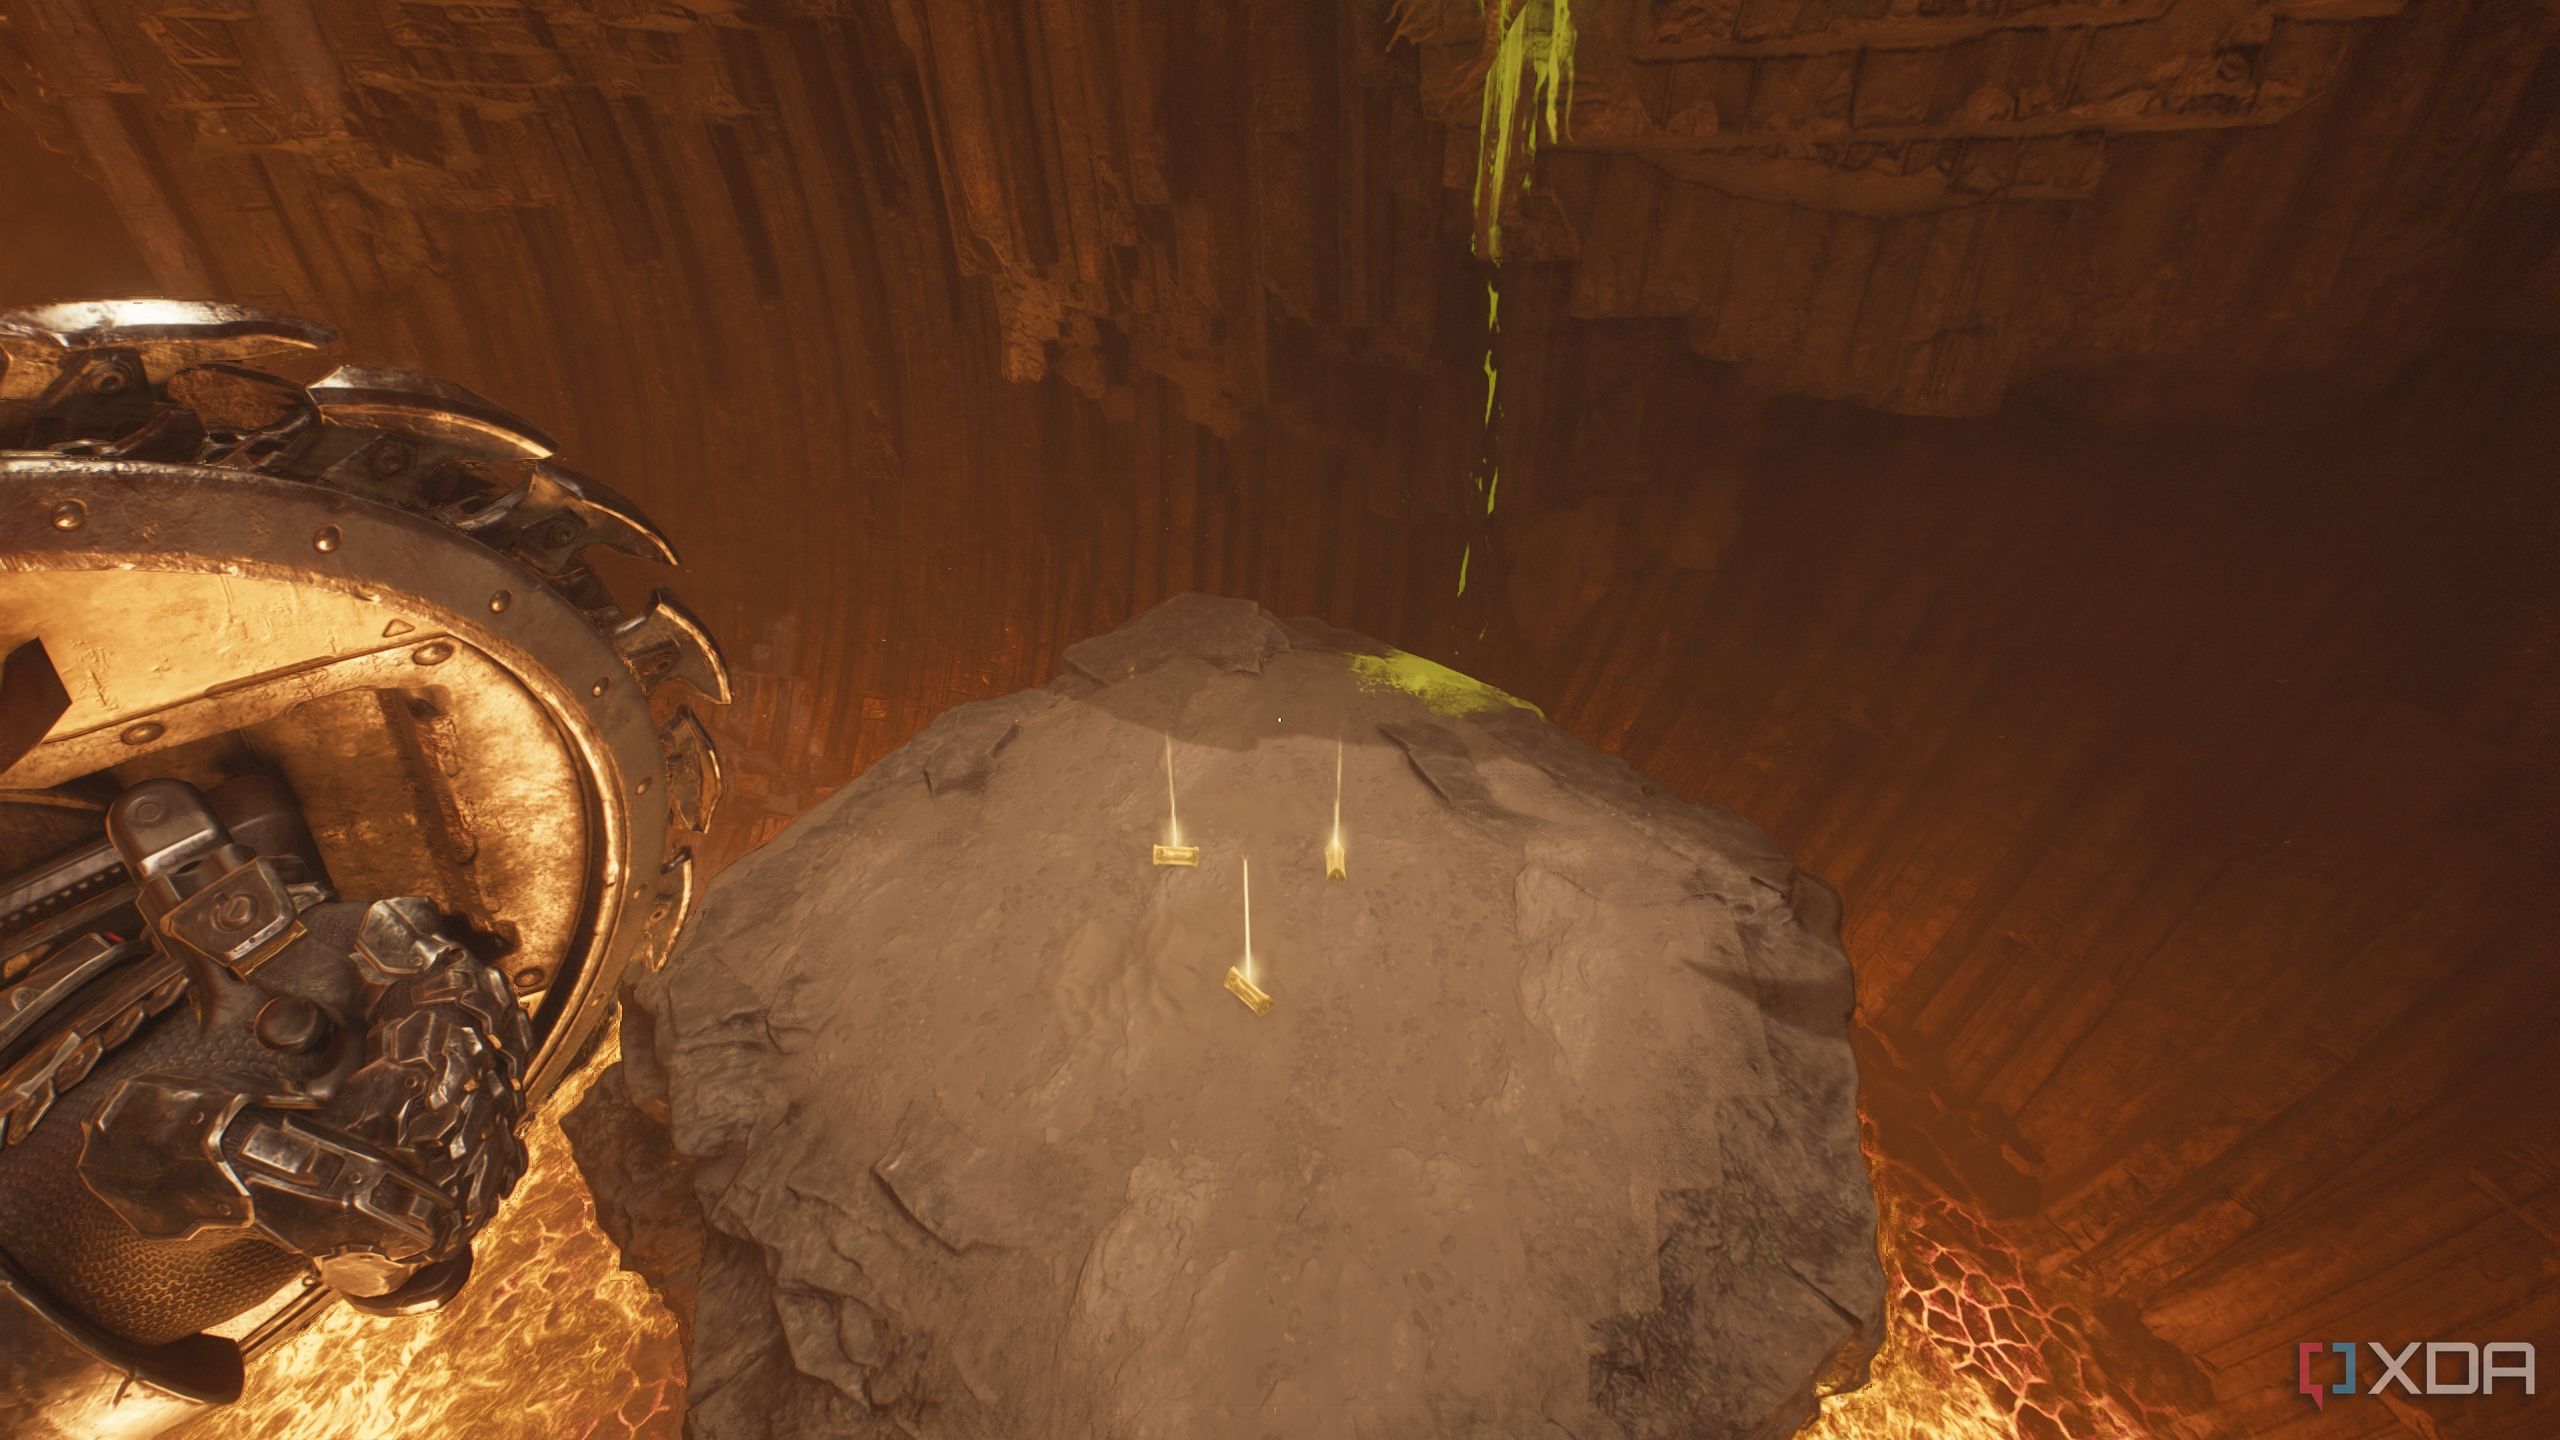
Use it to climb on a surface with three gold bars.
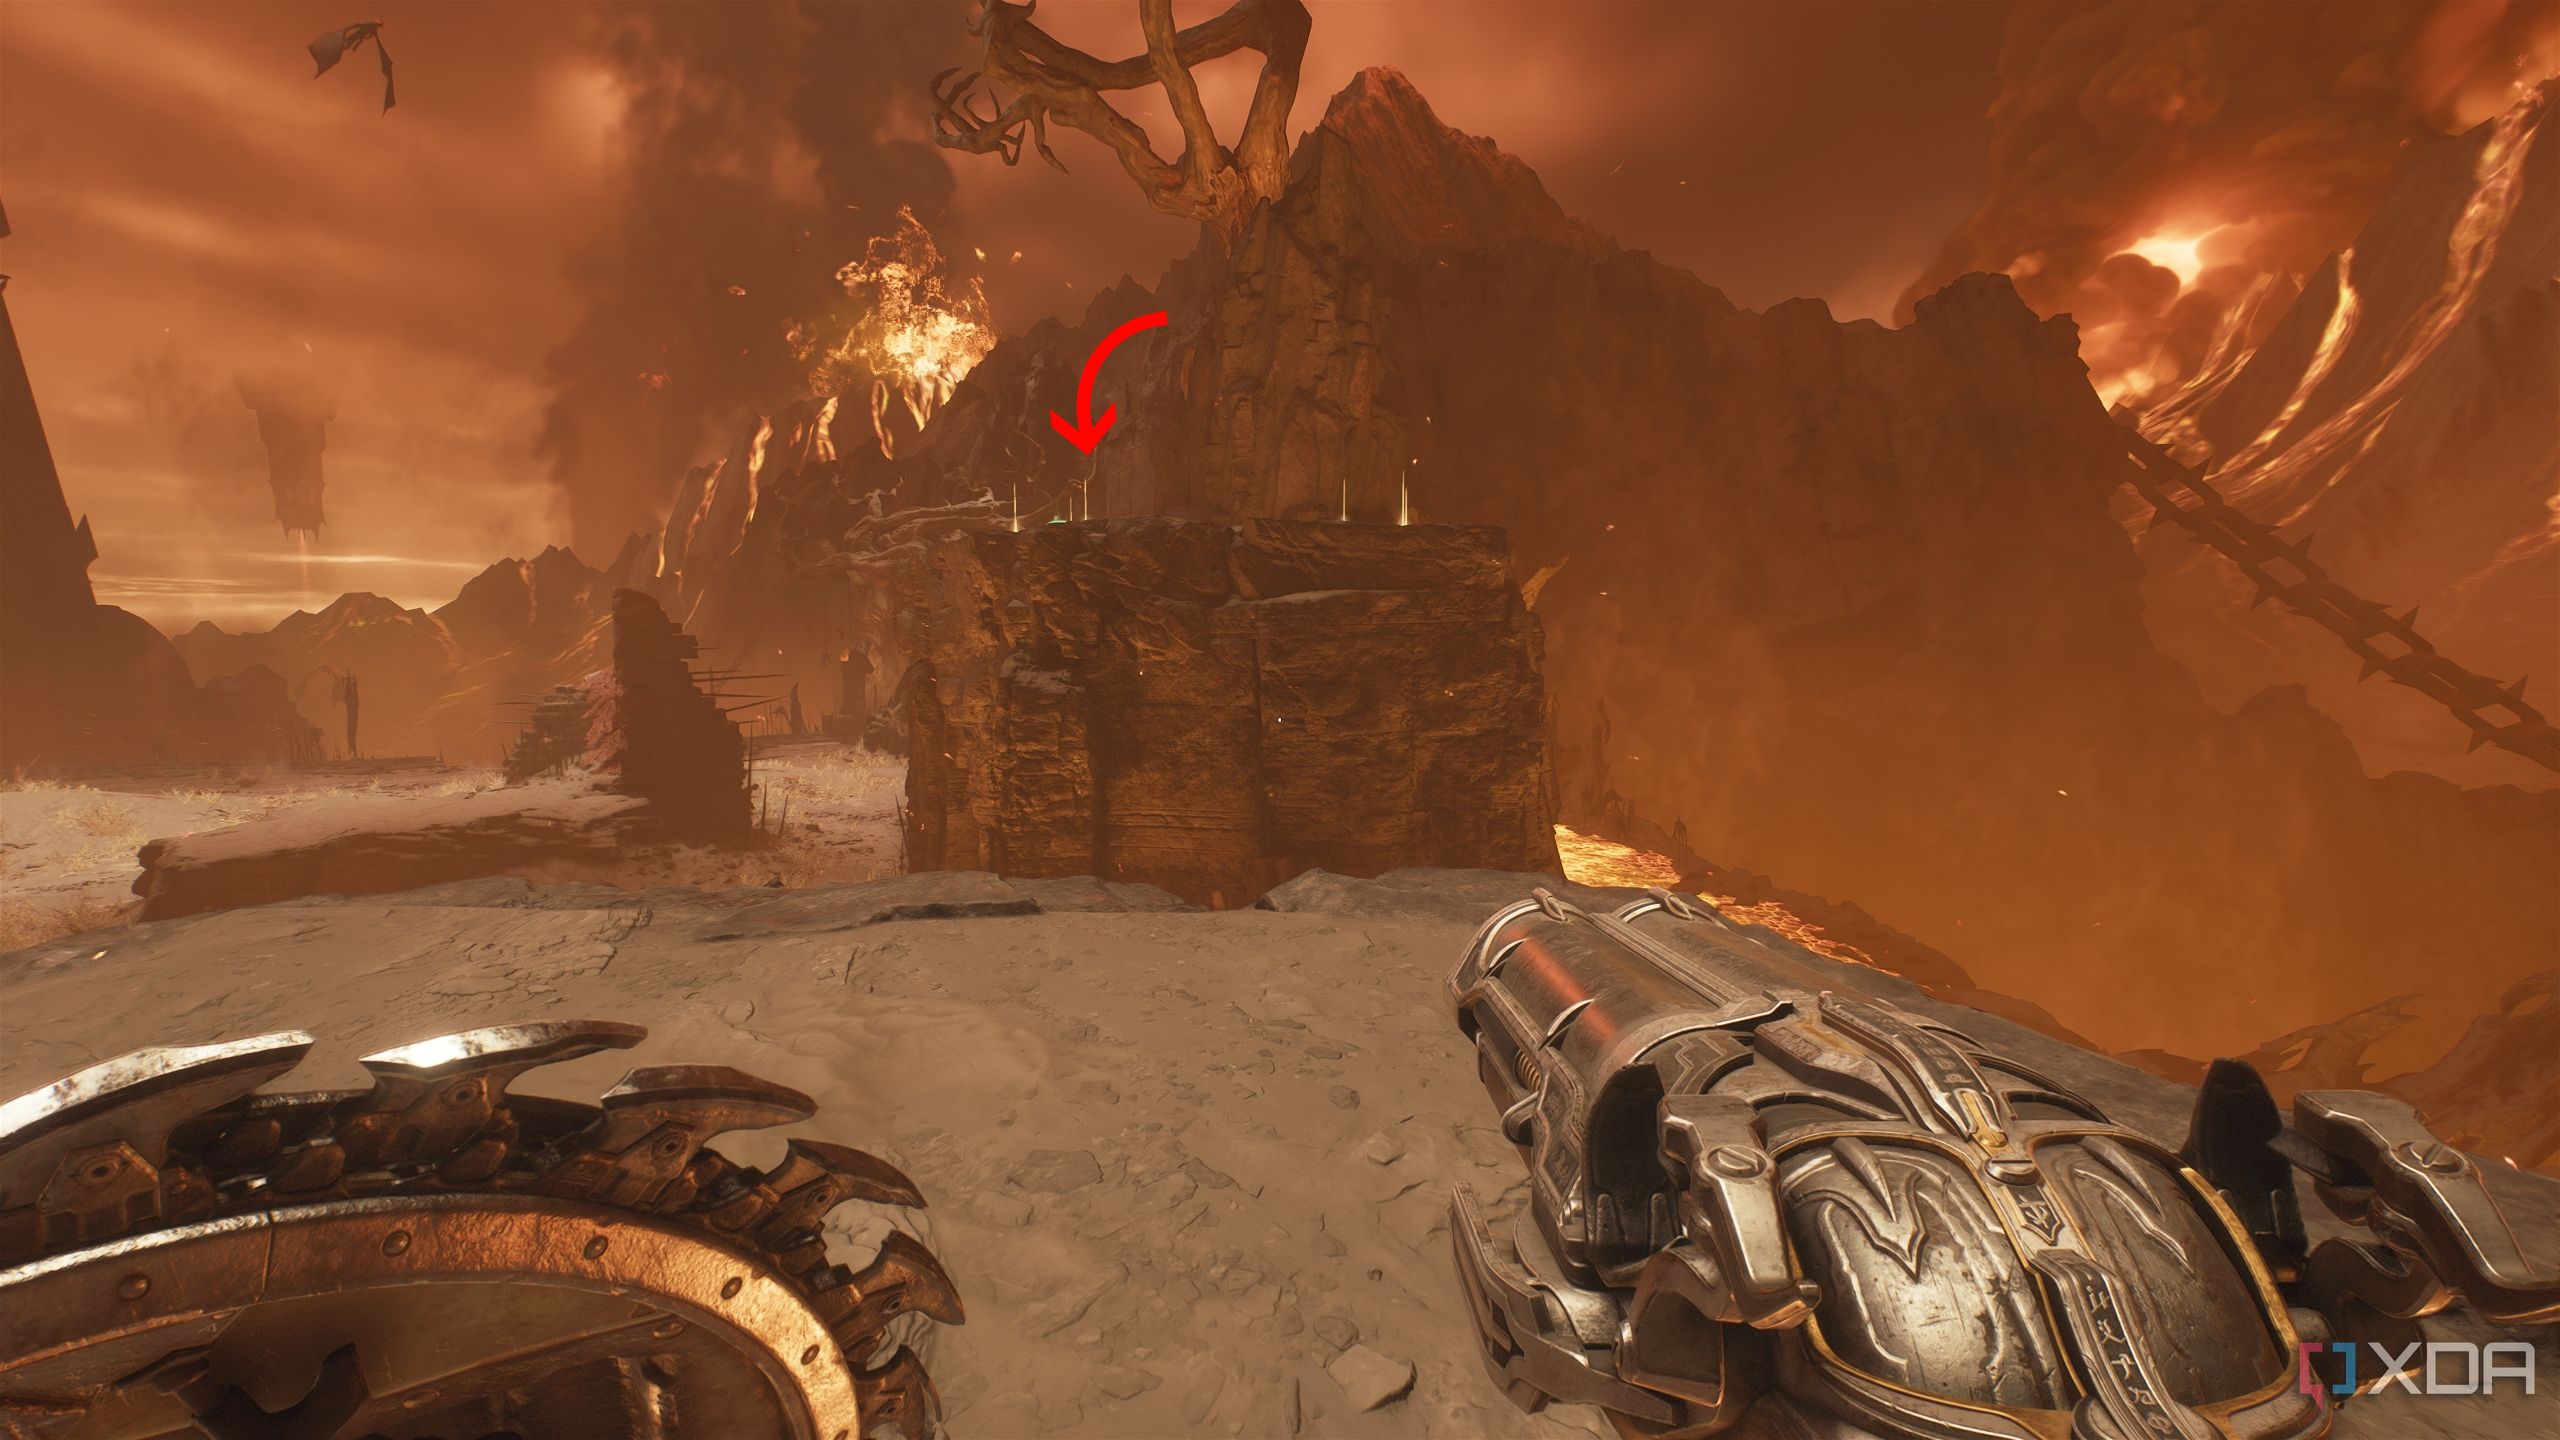
From there, turn around, and you’ll spot another platform ahead with more gold bars.
Sprint and jump onto it, and you’ll unlock secret area 1 and a Life Sigil.

Related
The DOOM series: Every core game ranked
What are the best entries of the DOOM series that you should play? Here's every core game ranked!
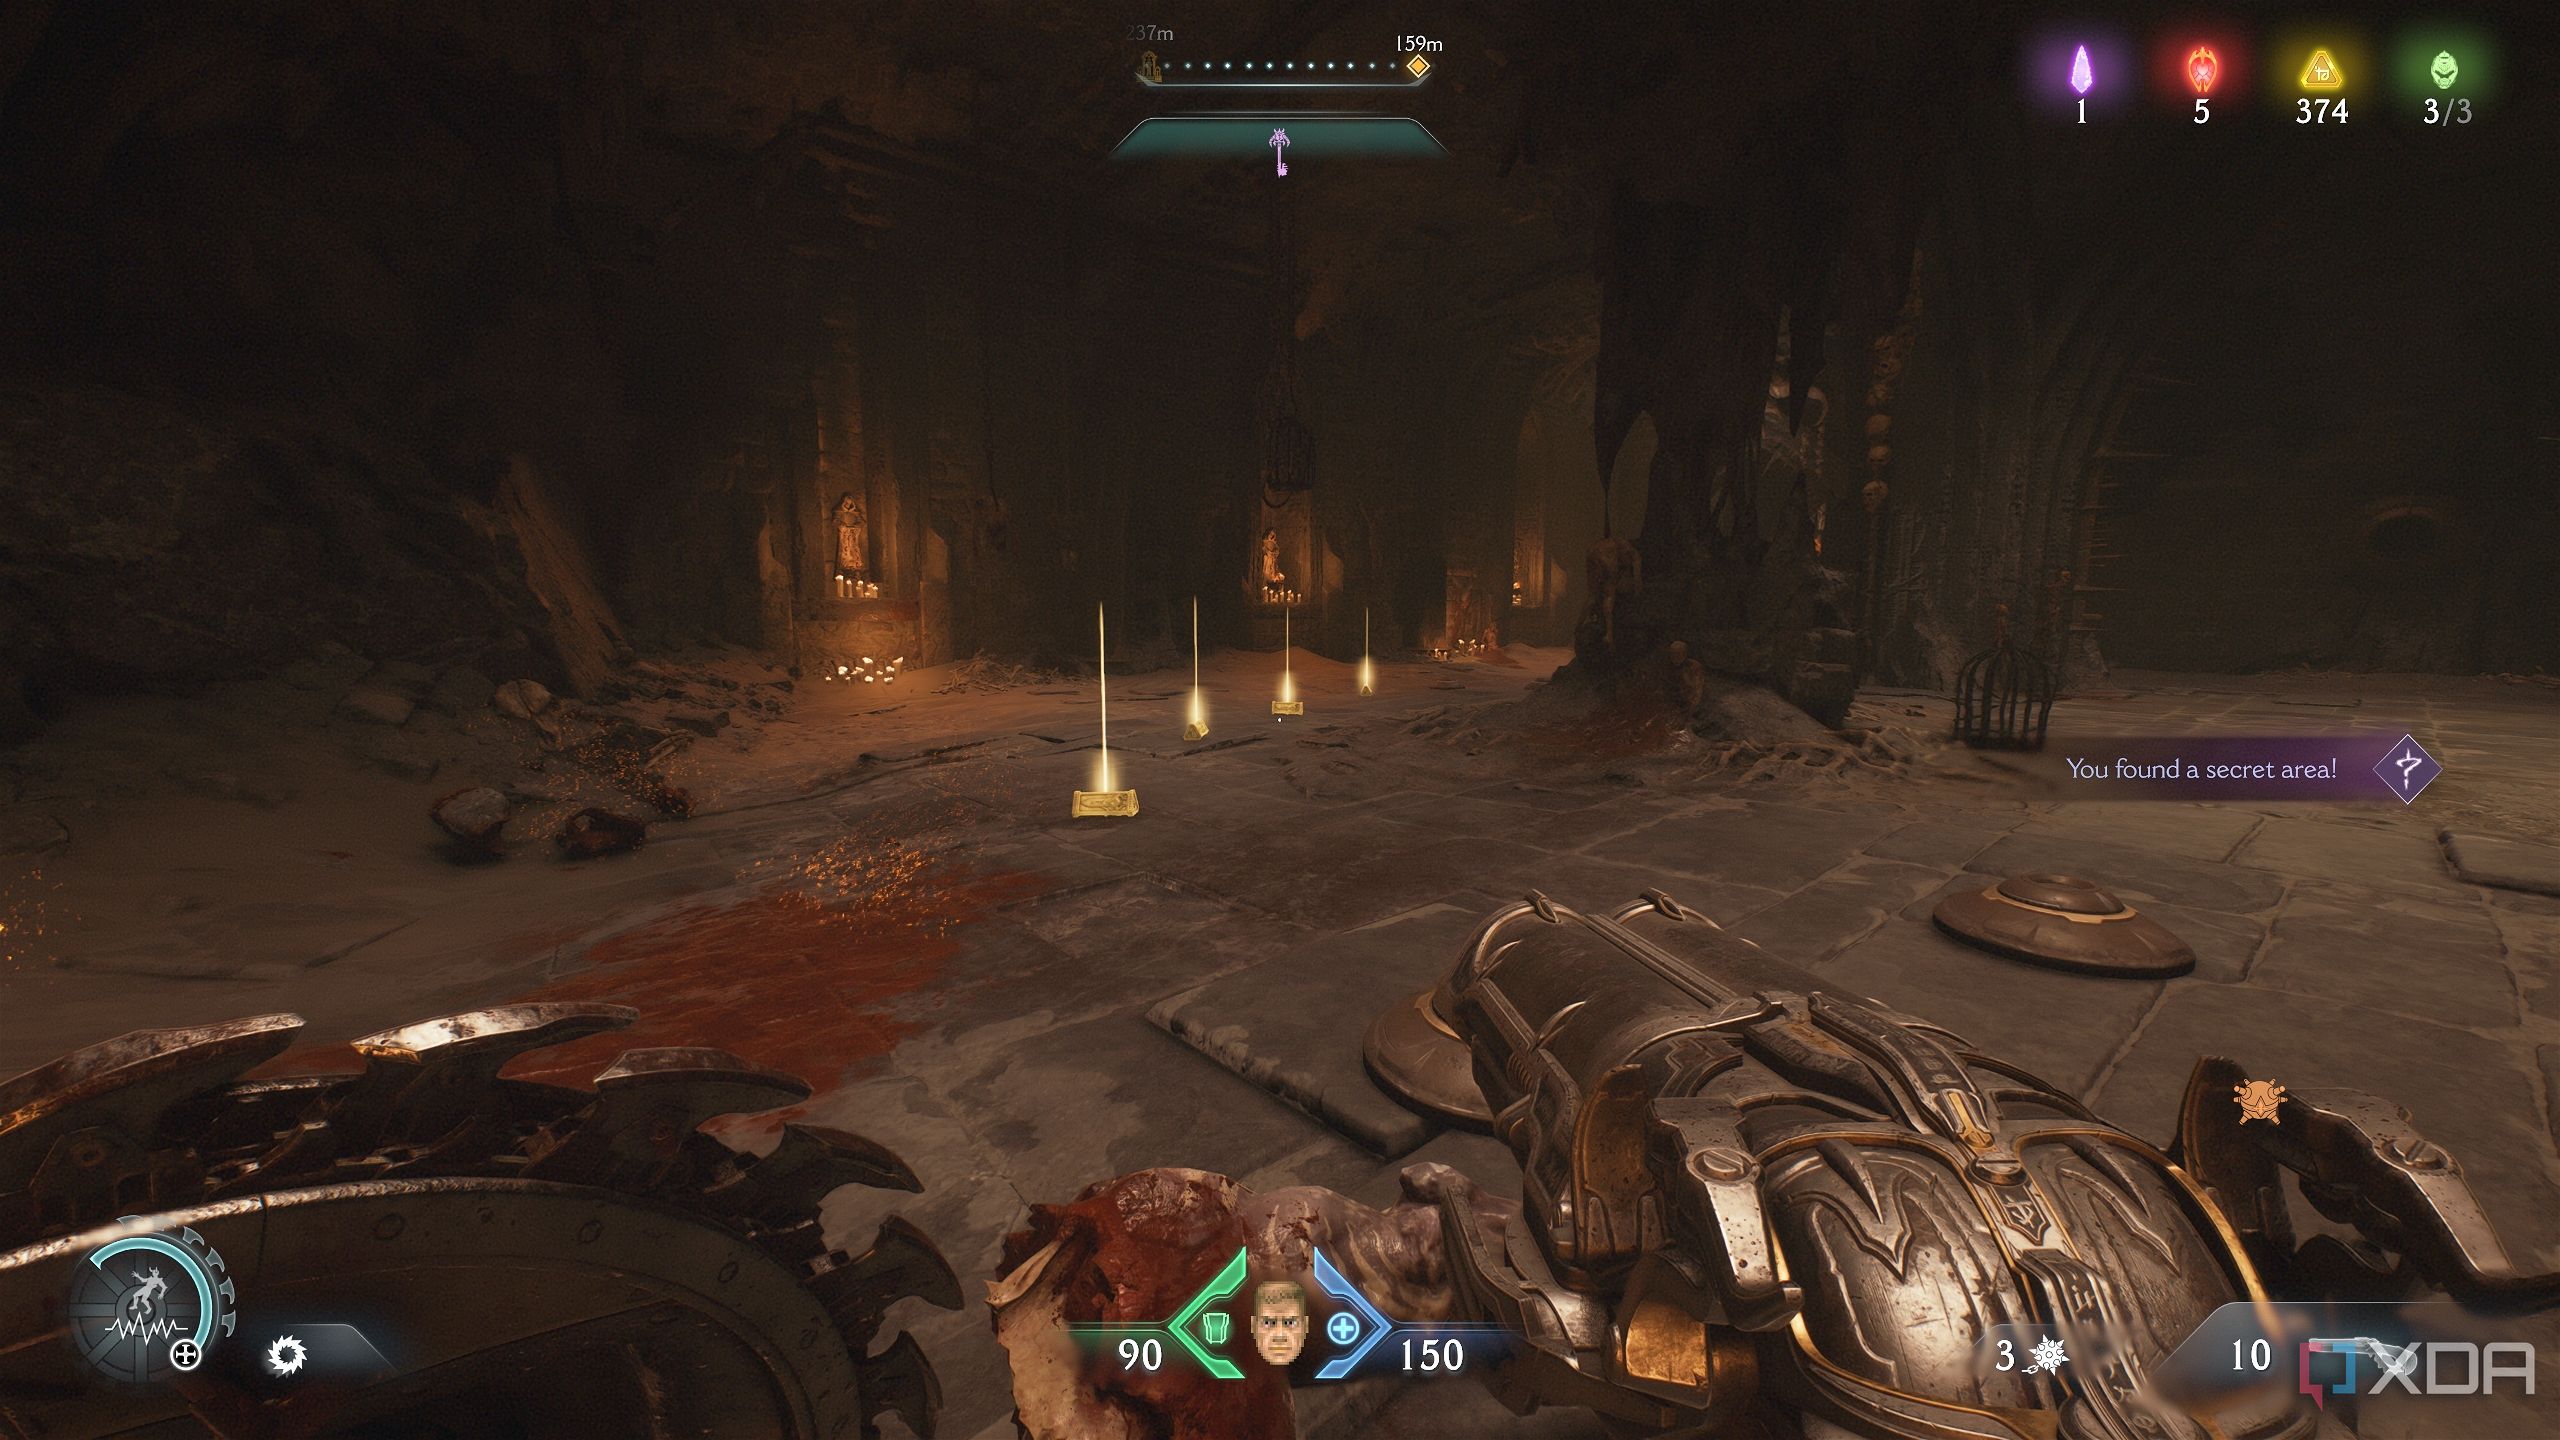
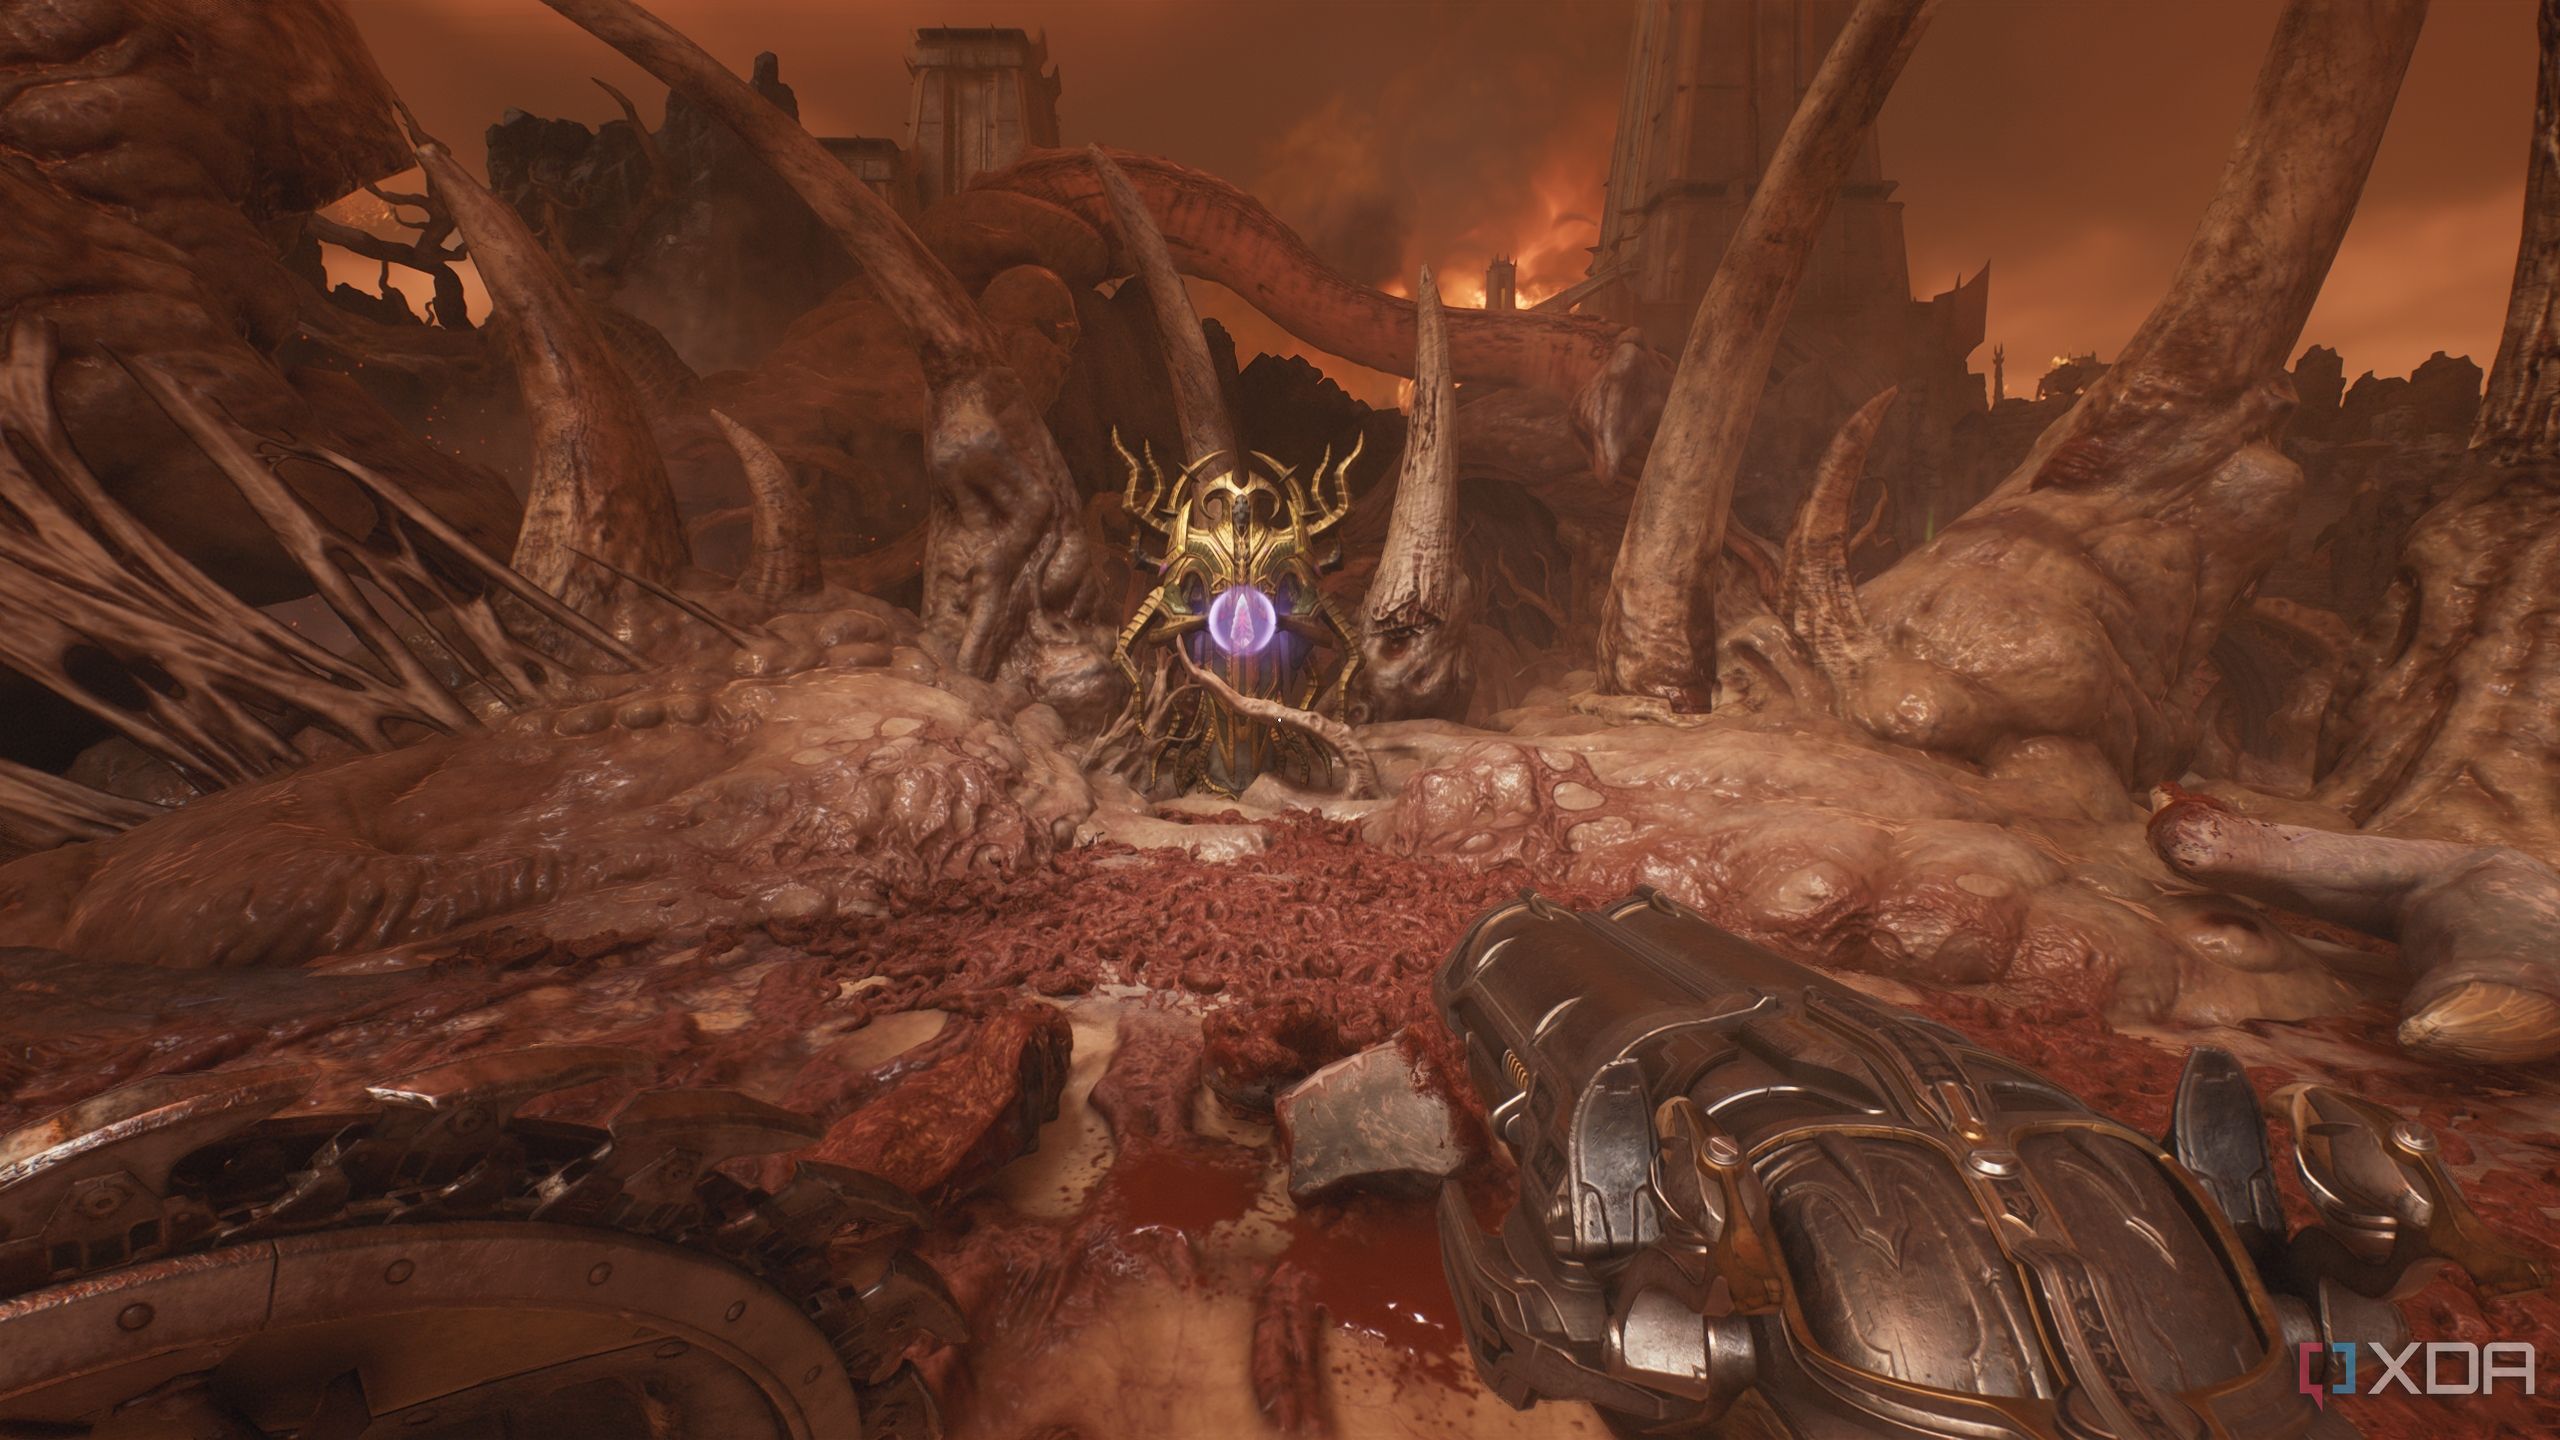
Secret area 2 and a Red Ruby
Tomb Raider-esque booby traps
Once you get past the first point of no return, head left from the field where you just fought three Mancubii.
Walk ahead, under the fallen Atlan Mech’s left arm, and you’ll reach a scramble wall.

Climb it up, and immediately to the right, you’ll see a Sentinel Shrine.
Immediately in the room next to the Sentinel Shrine, you’ll see fire traps, and a huge spiked platform falling to the ground repeatedly.
Be careful, and jump on top of the platform when it lands. When it ascends, you’ll spot a statue with a Red Ruby close by.
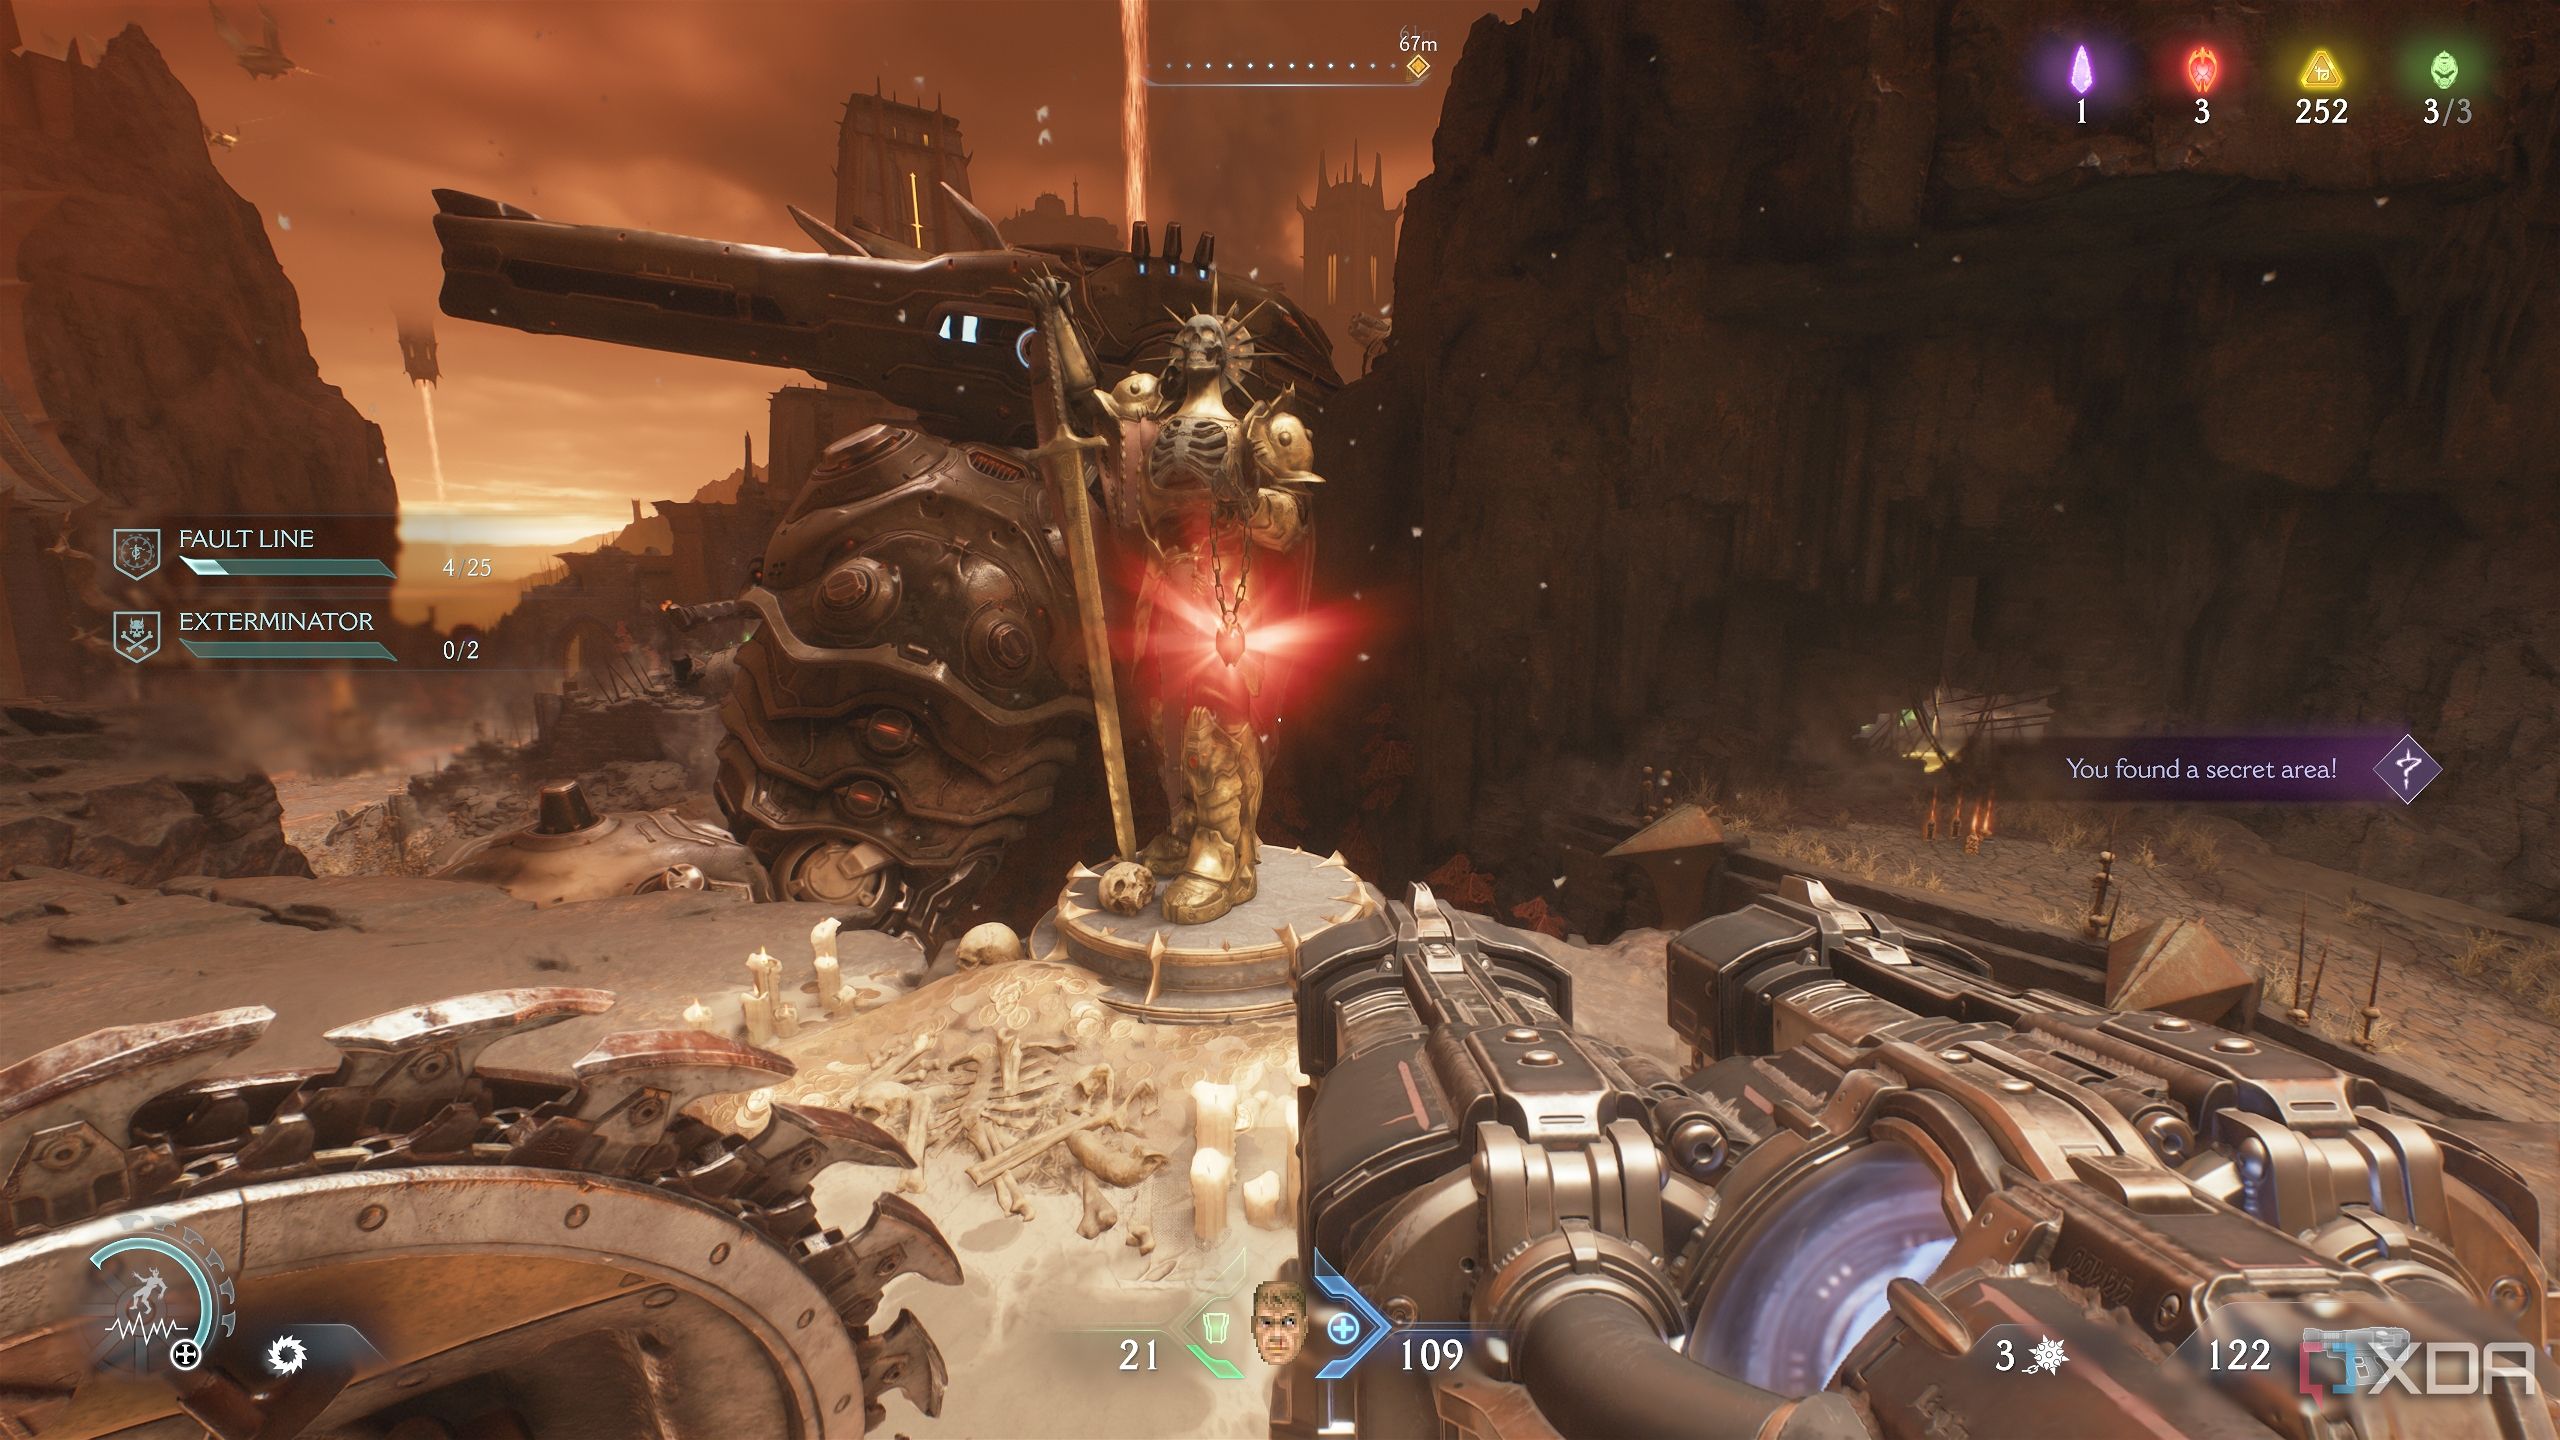
Hop on towards the statue, and you’ll unlock secret area 2 and the first Red Ruby in the level.
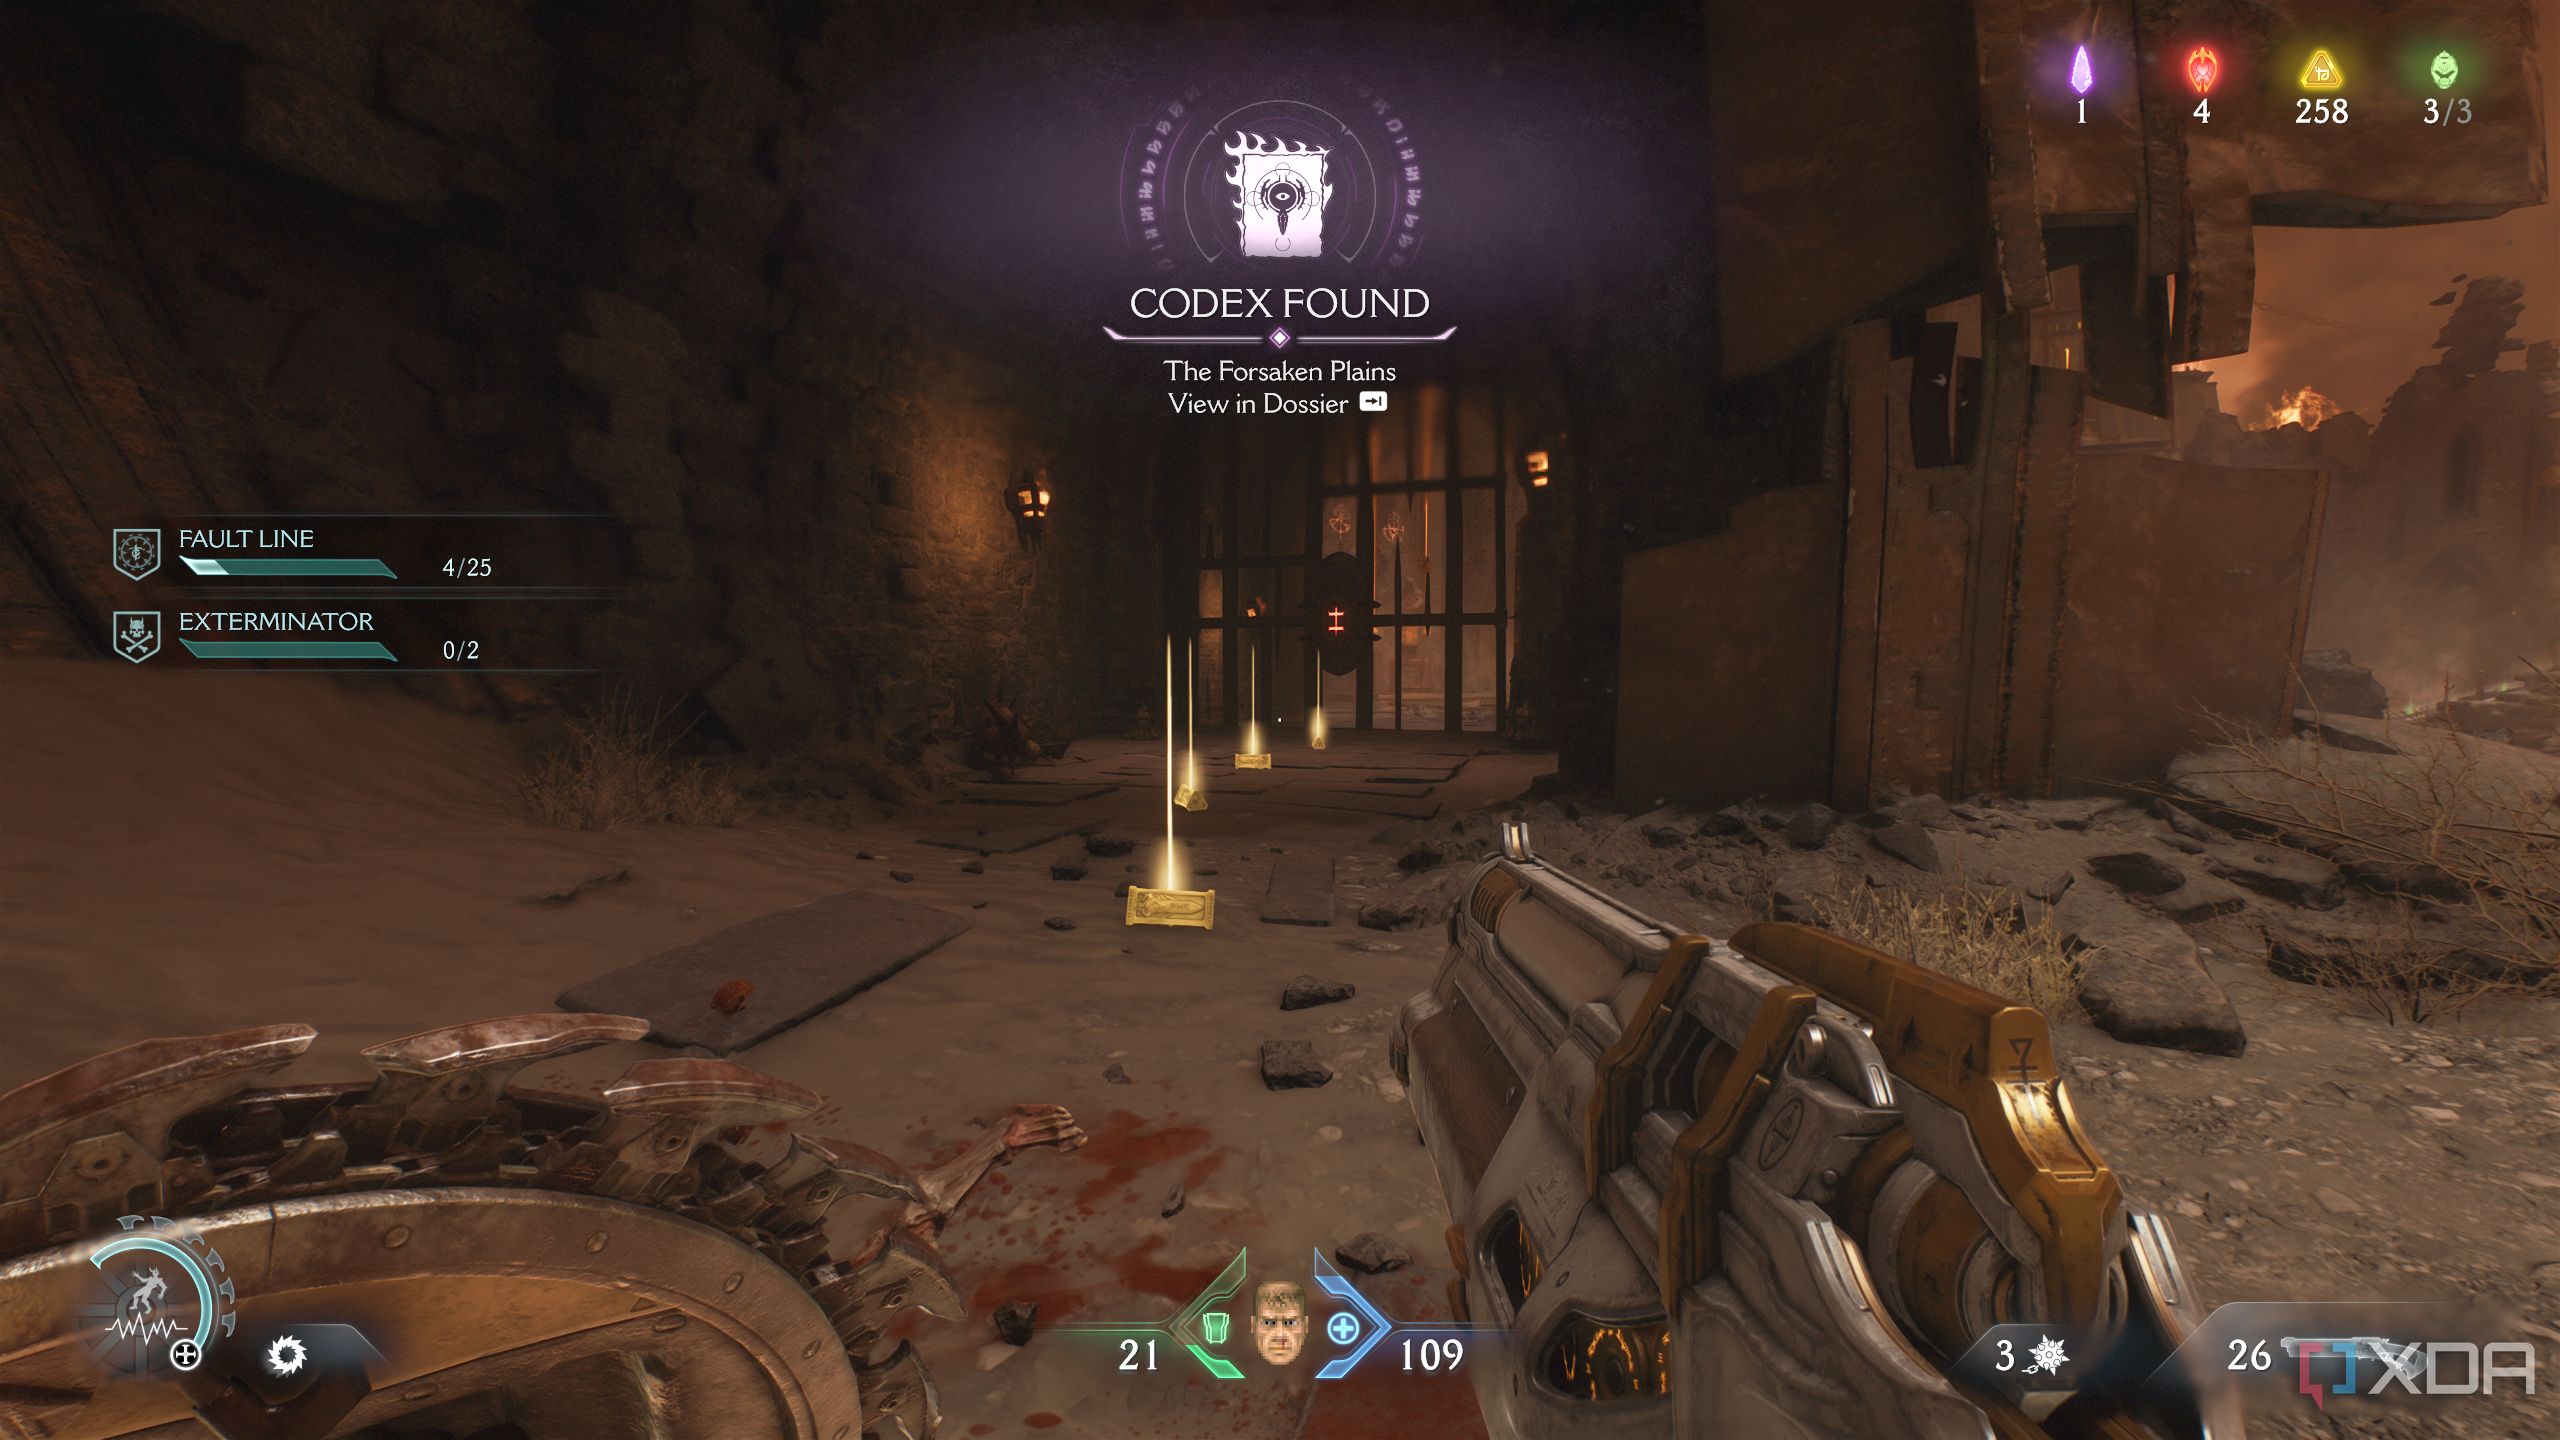
Codex Page — Forsaken Plains
Is there anything the Slayer might not already know about this place?
Head back to the Shrine, and walk past the spiked roof trap to enter another area where demons will attack. Once they’re dealt with, look to the right to spot and pick up a trail of gold bars leading to a Codex Page, right beside the fallen Mech’s arm.
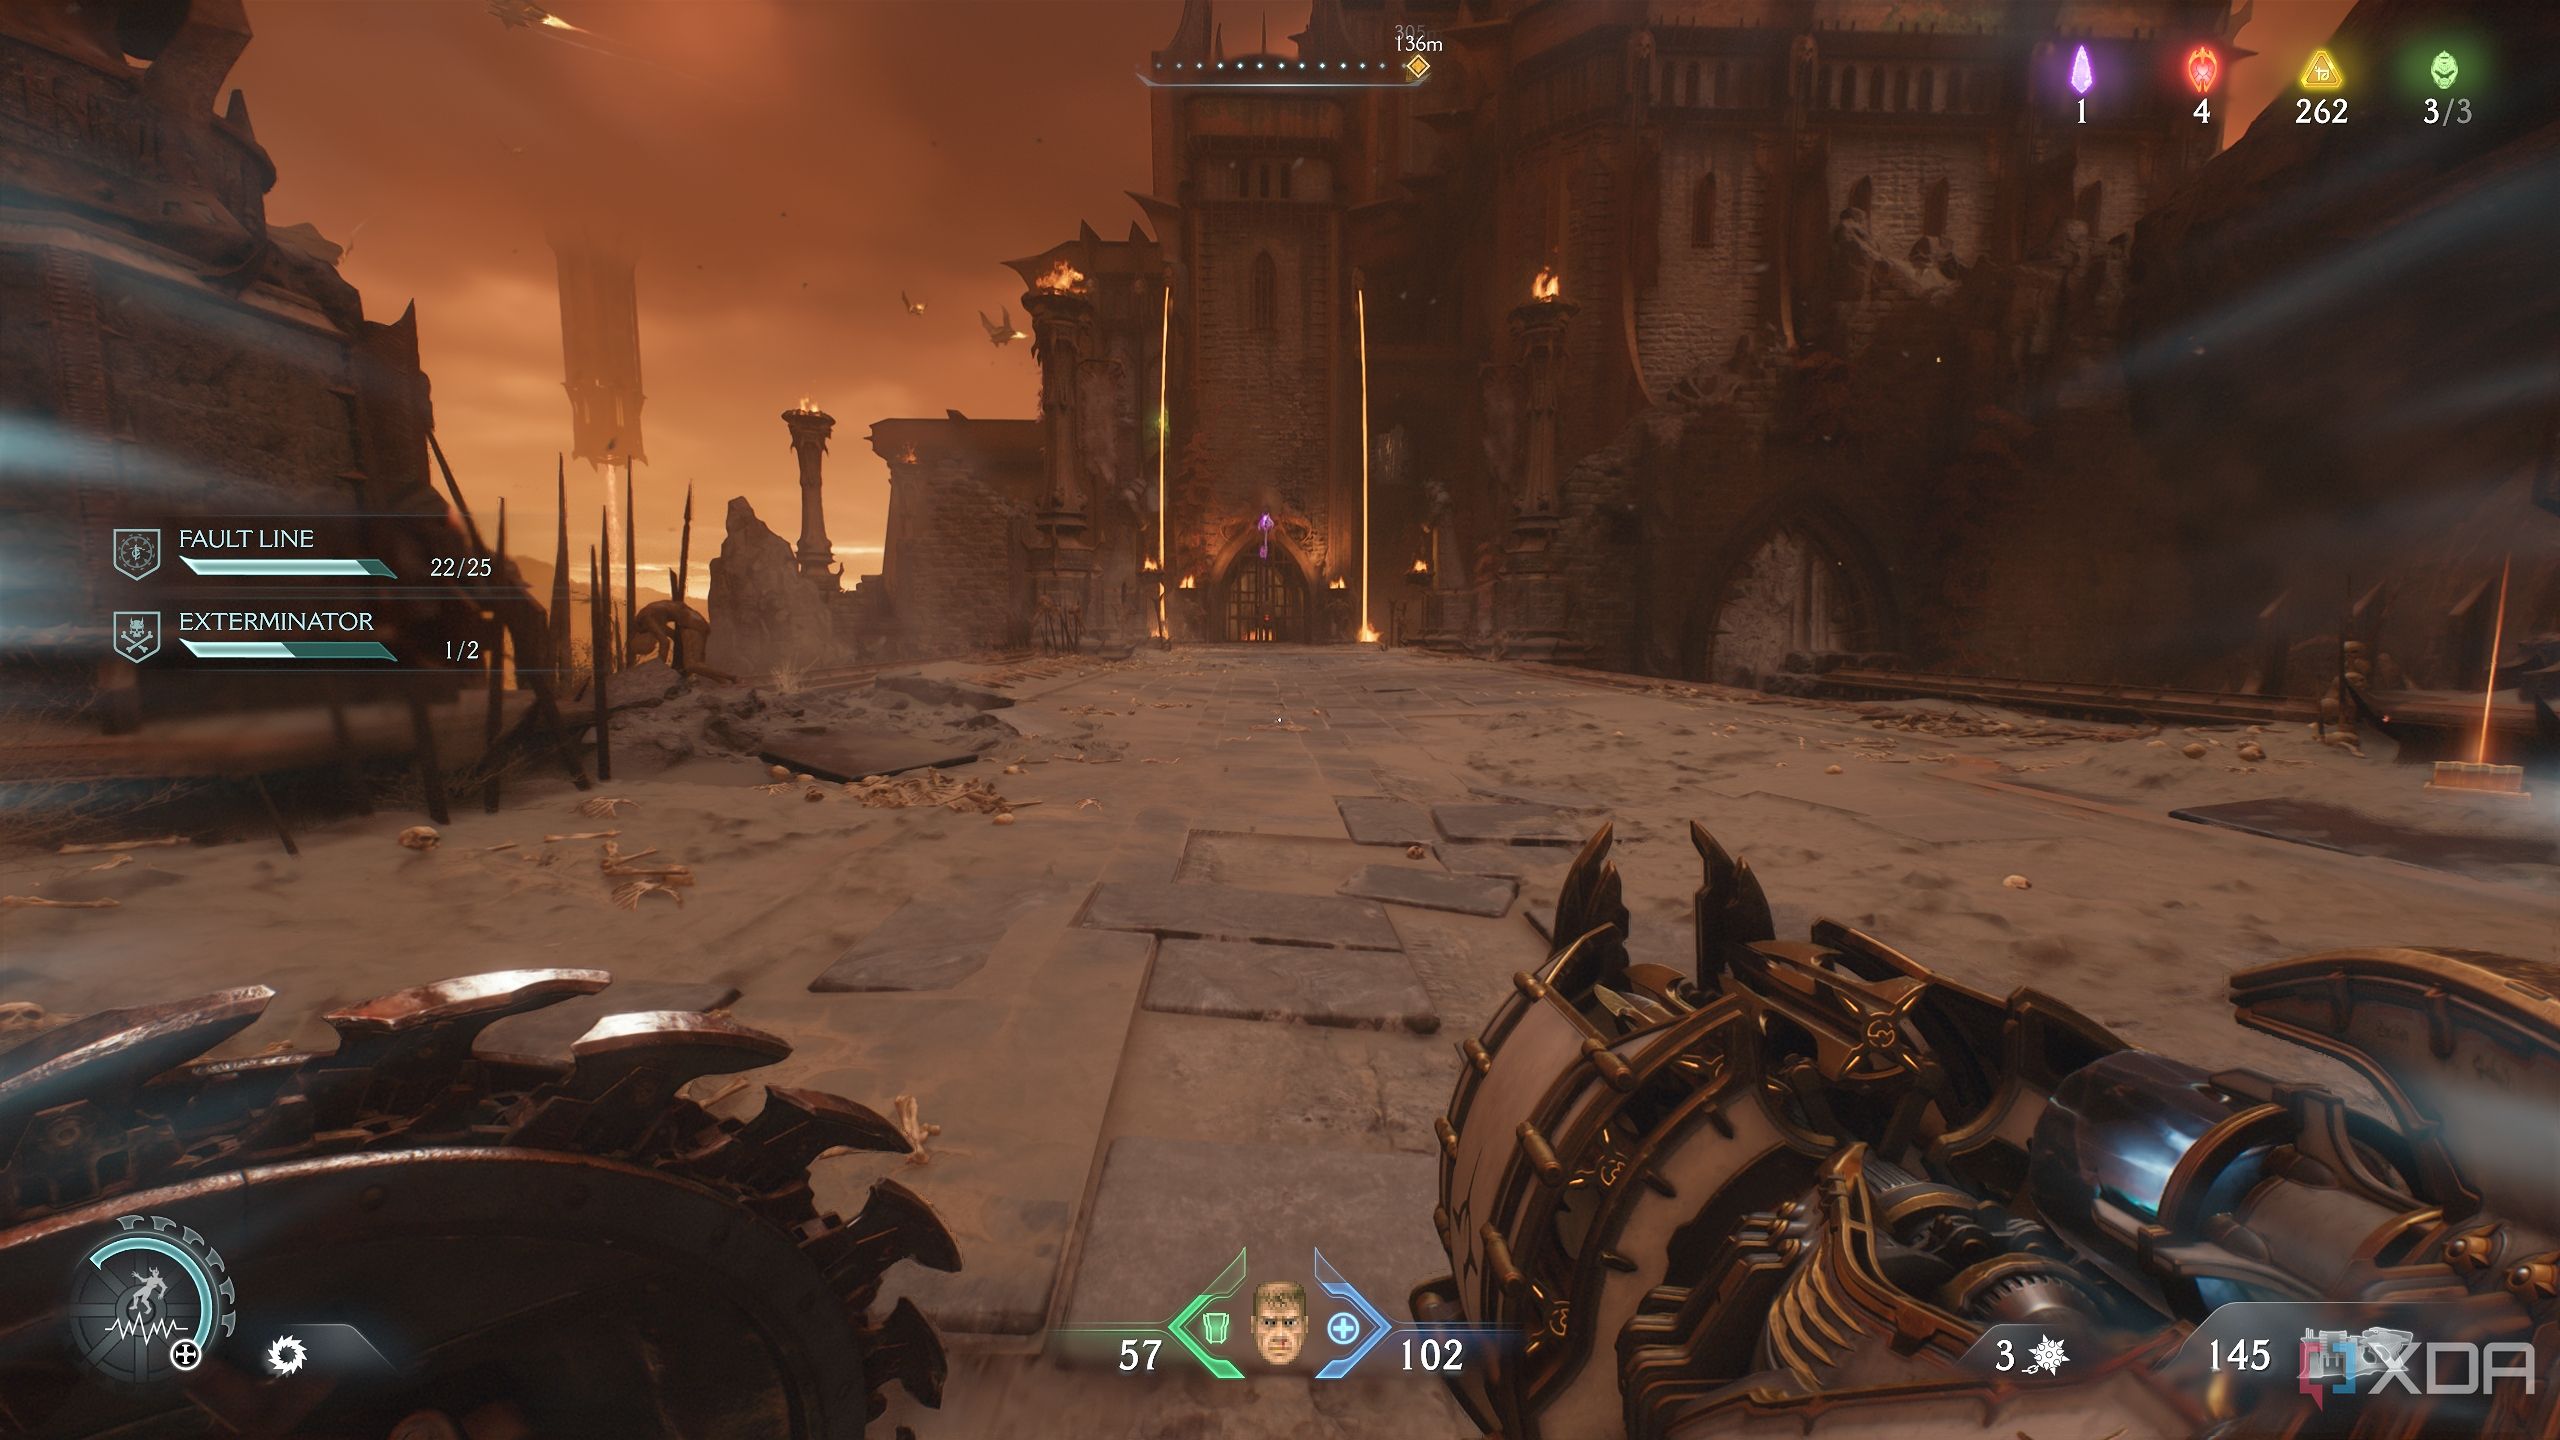
Then, turn back to pick up another trail of gold bars on the right. Head back to the Sentinel Shrine and then proceed eastward towards the first Hell Cannon in the map.
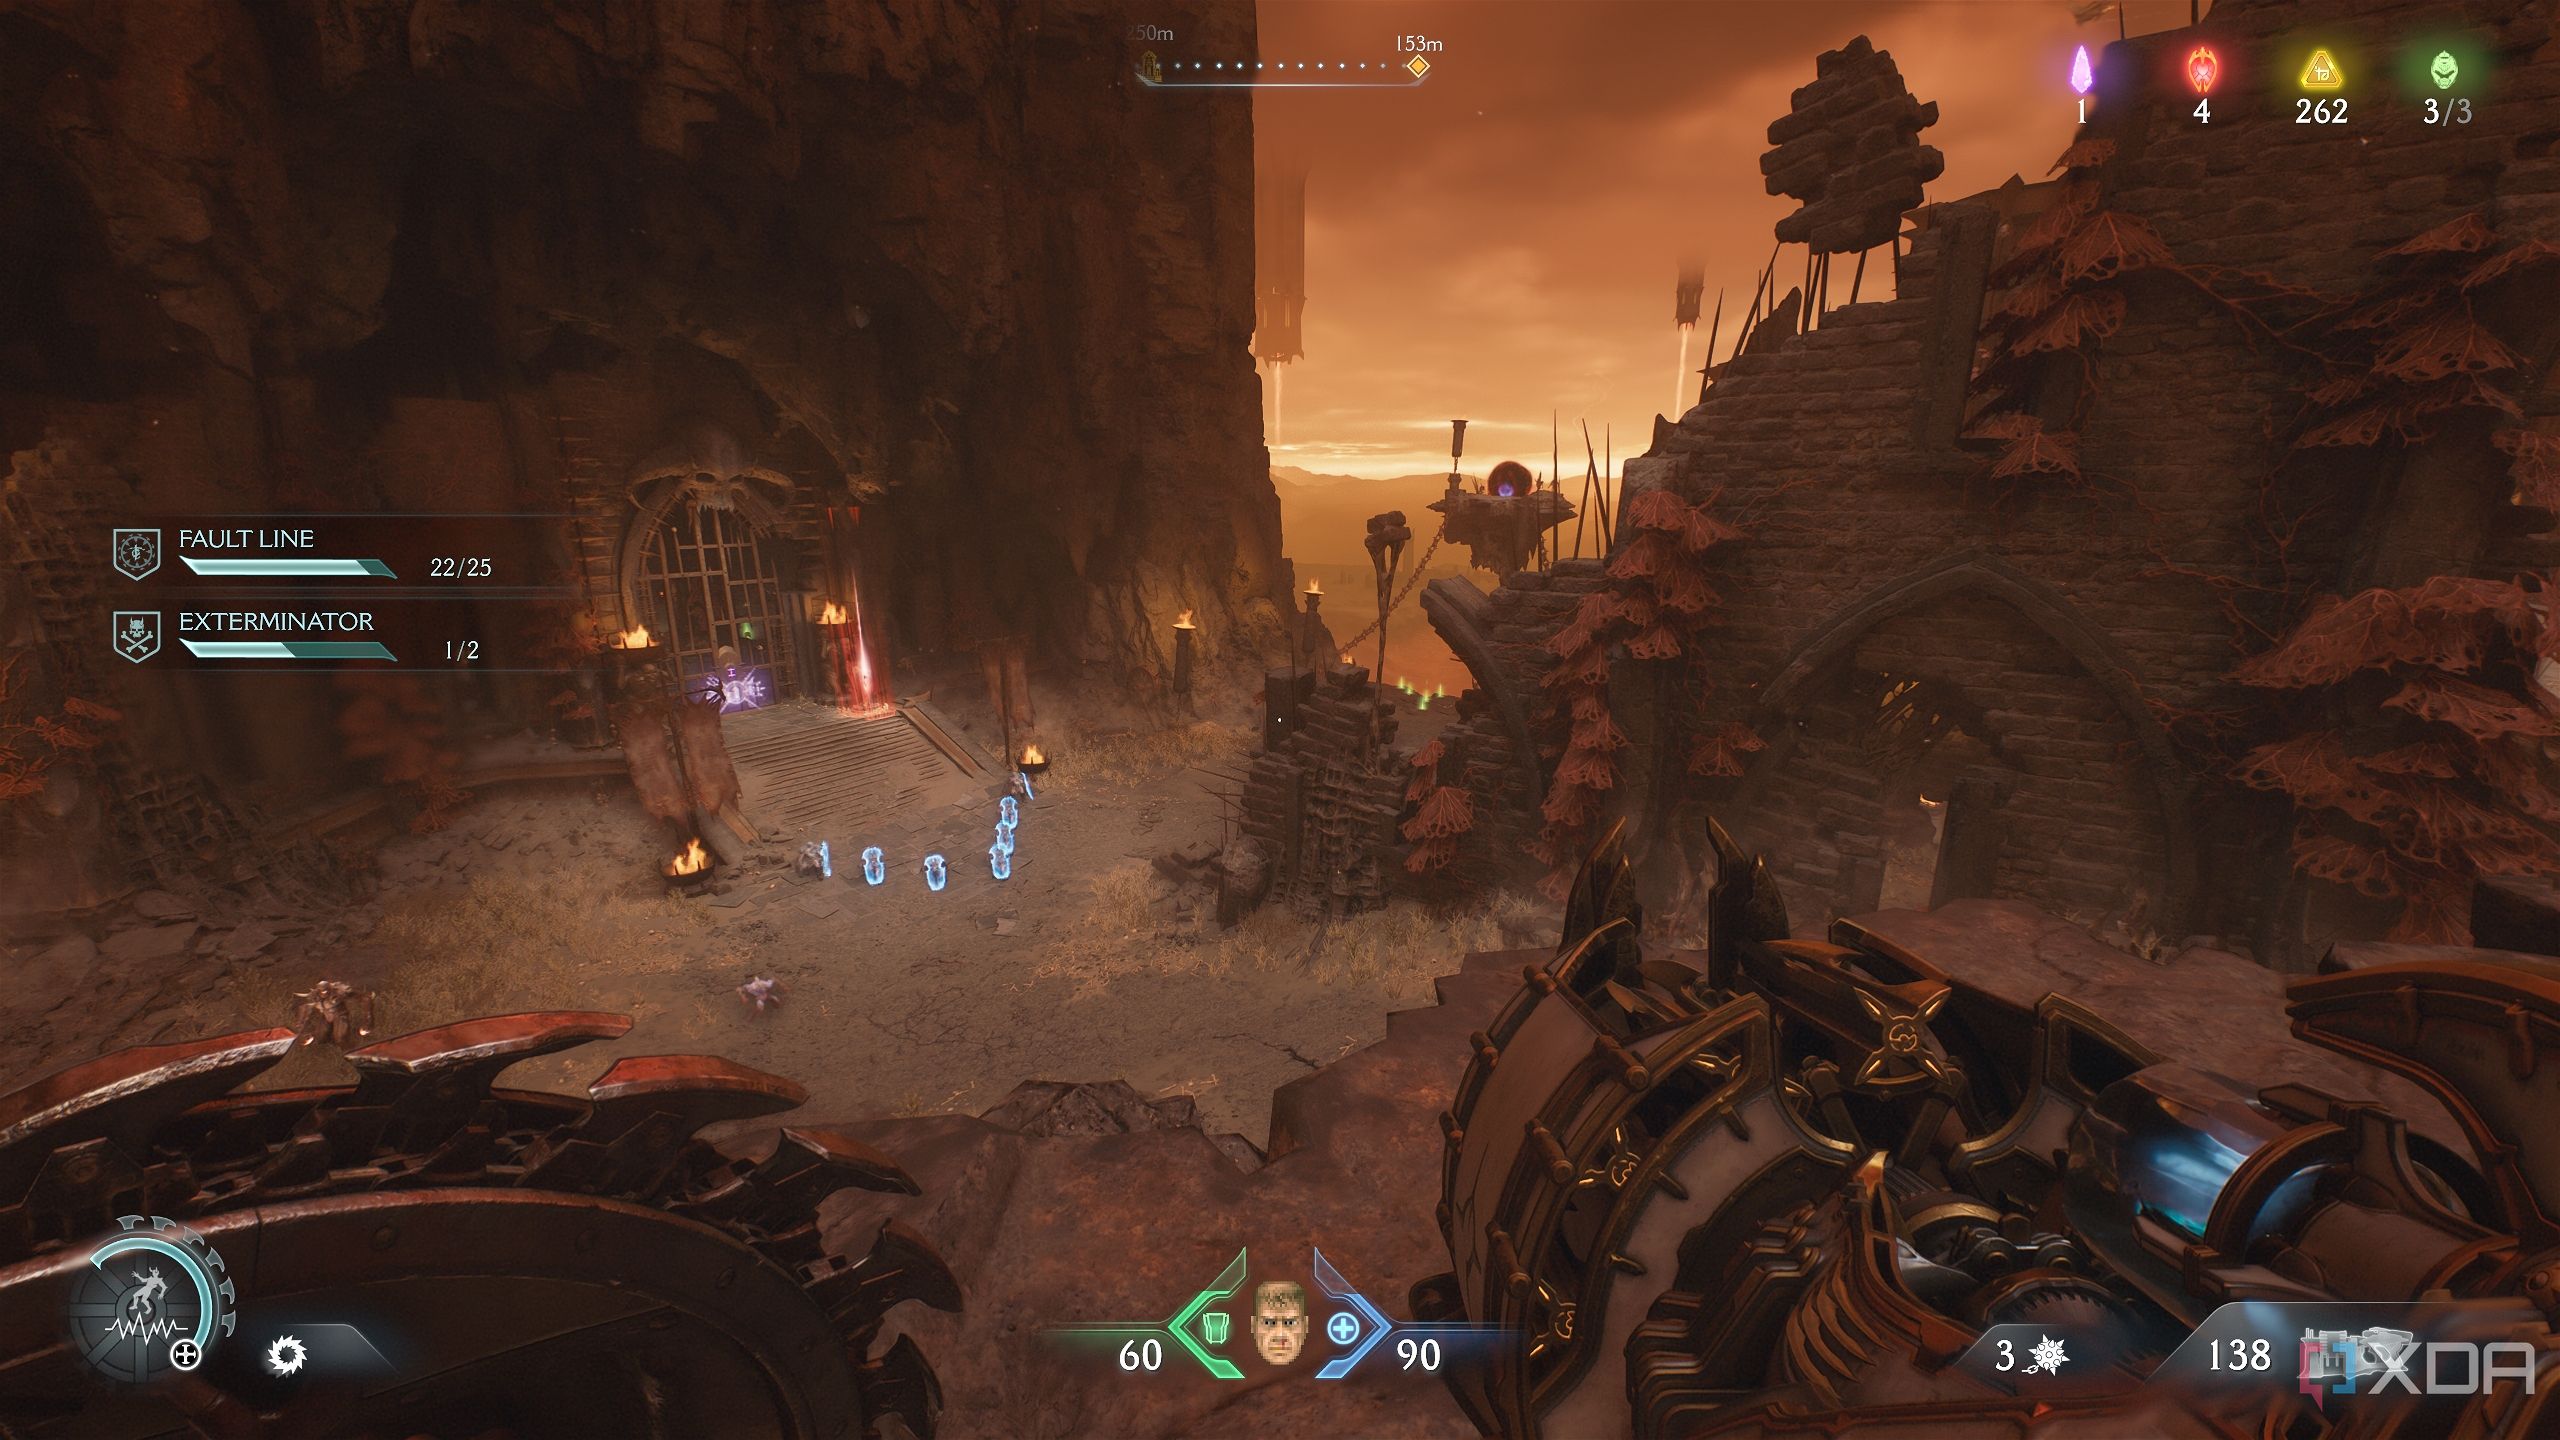
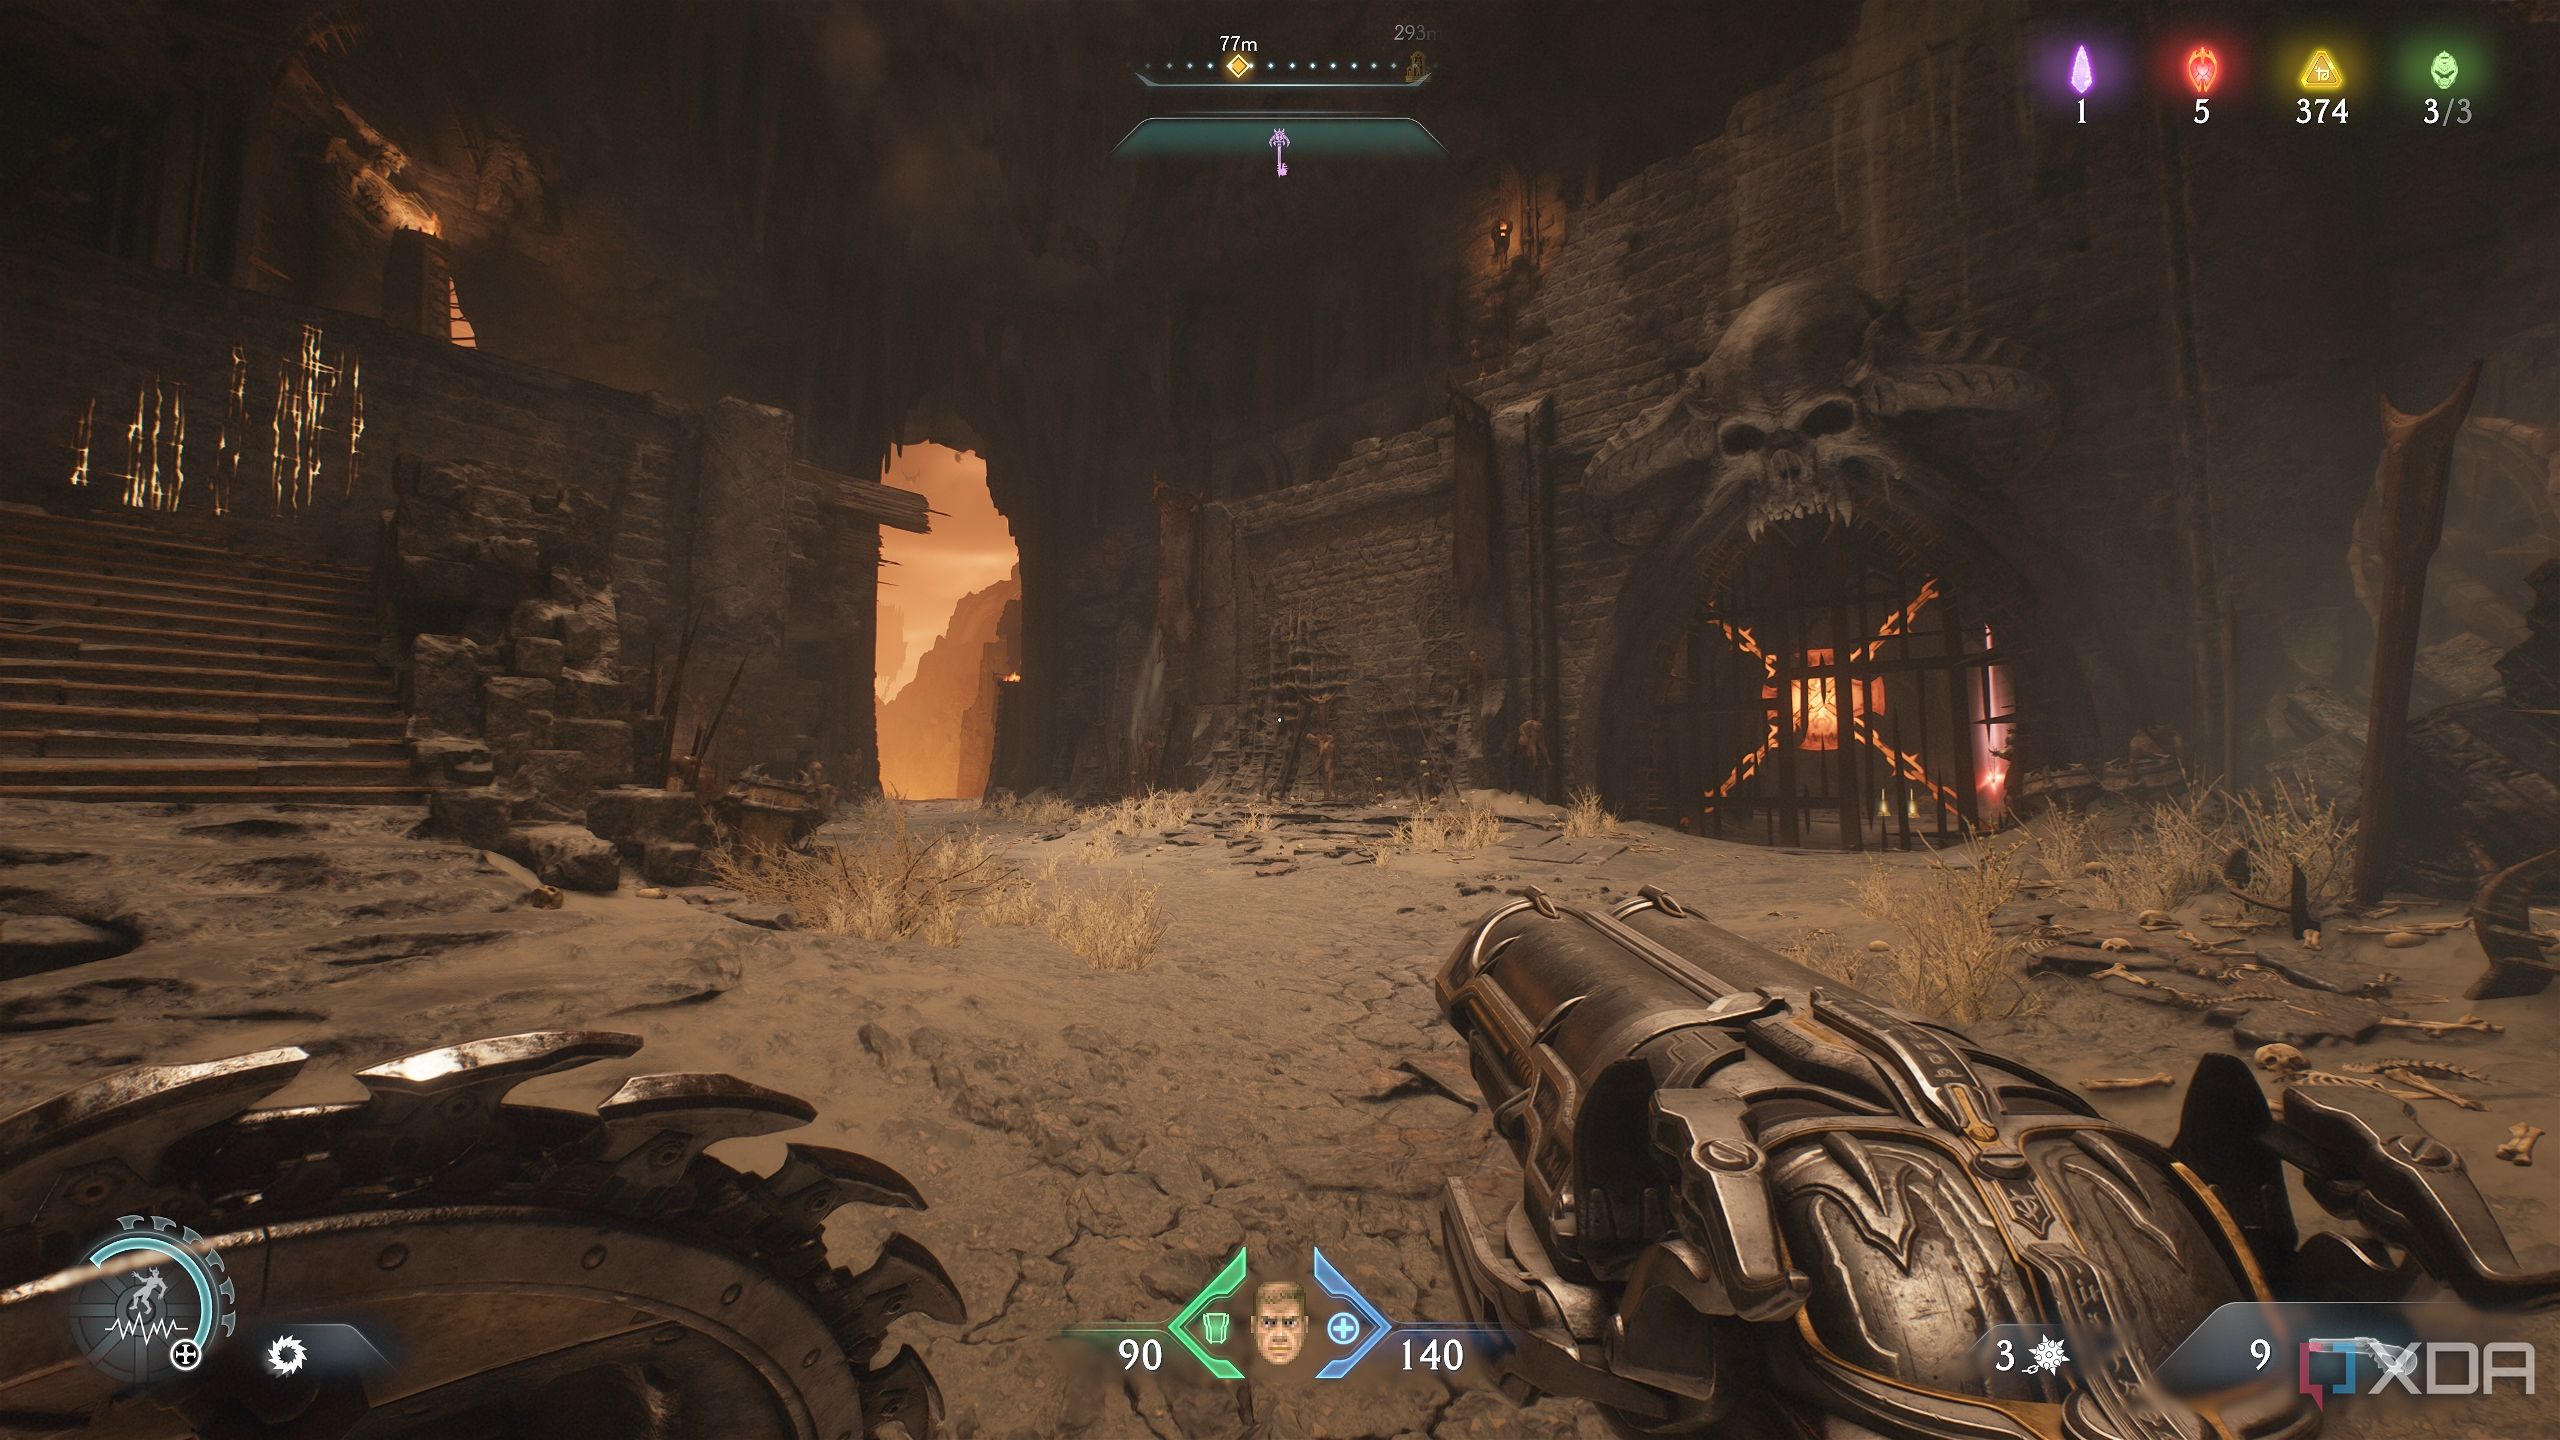
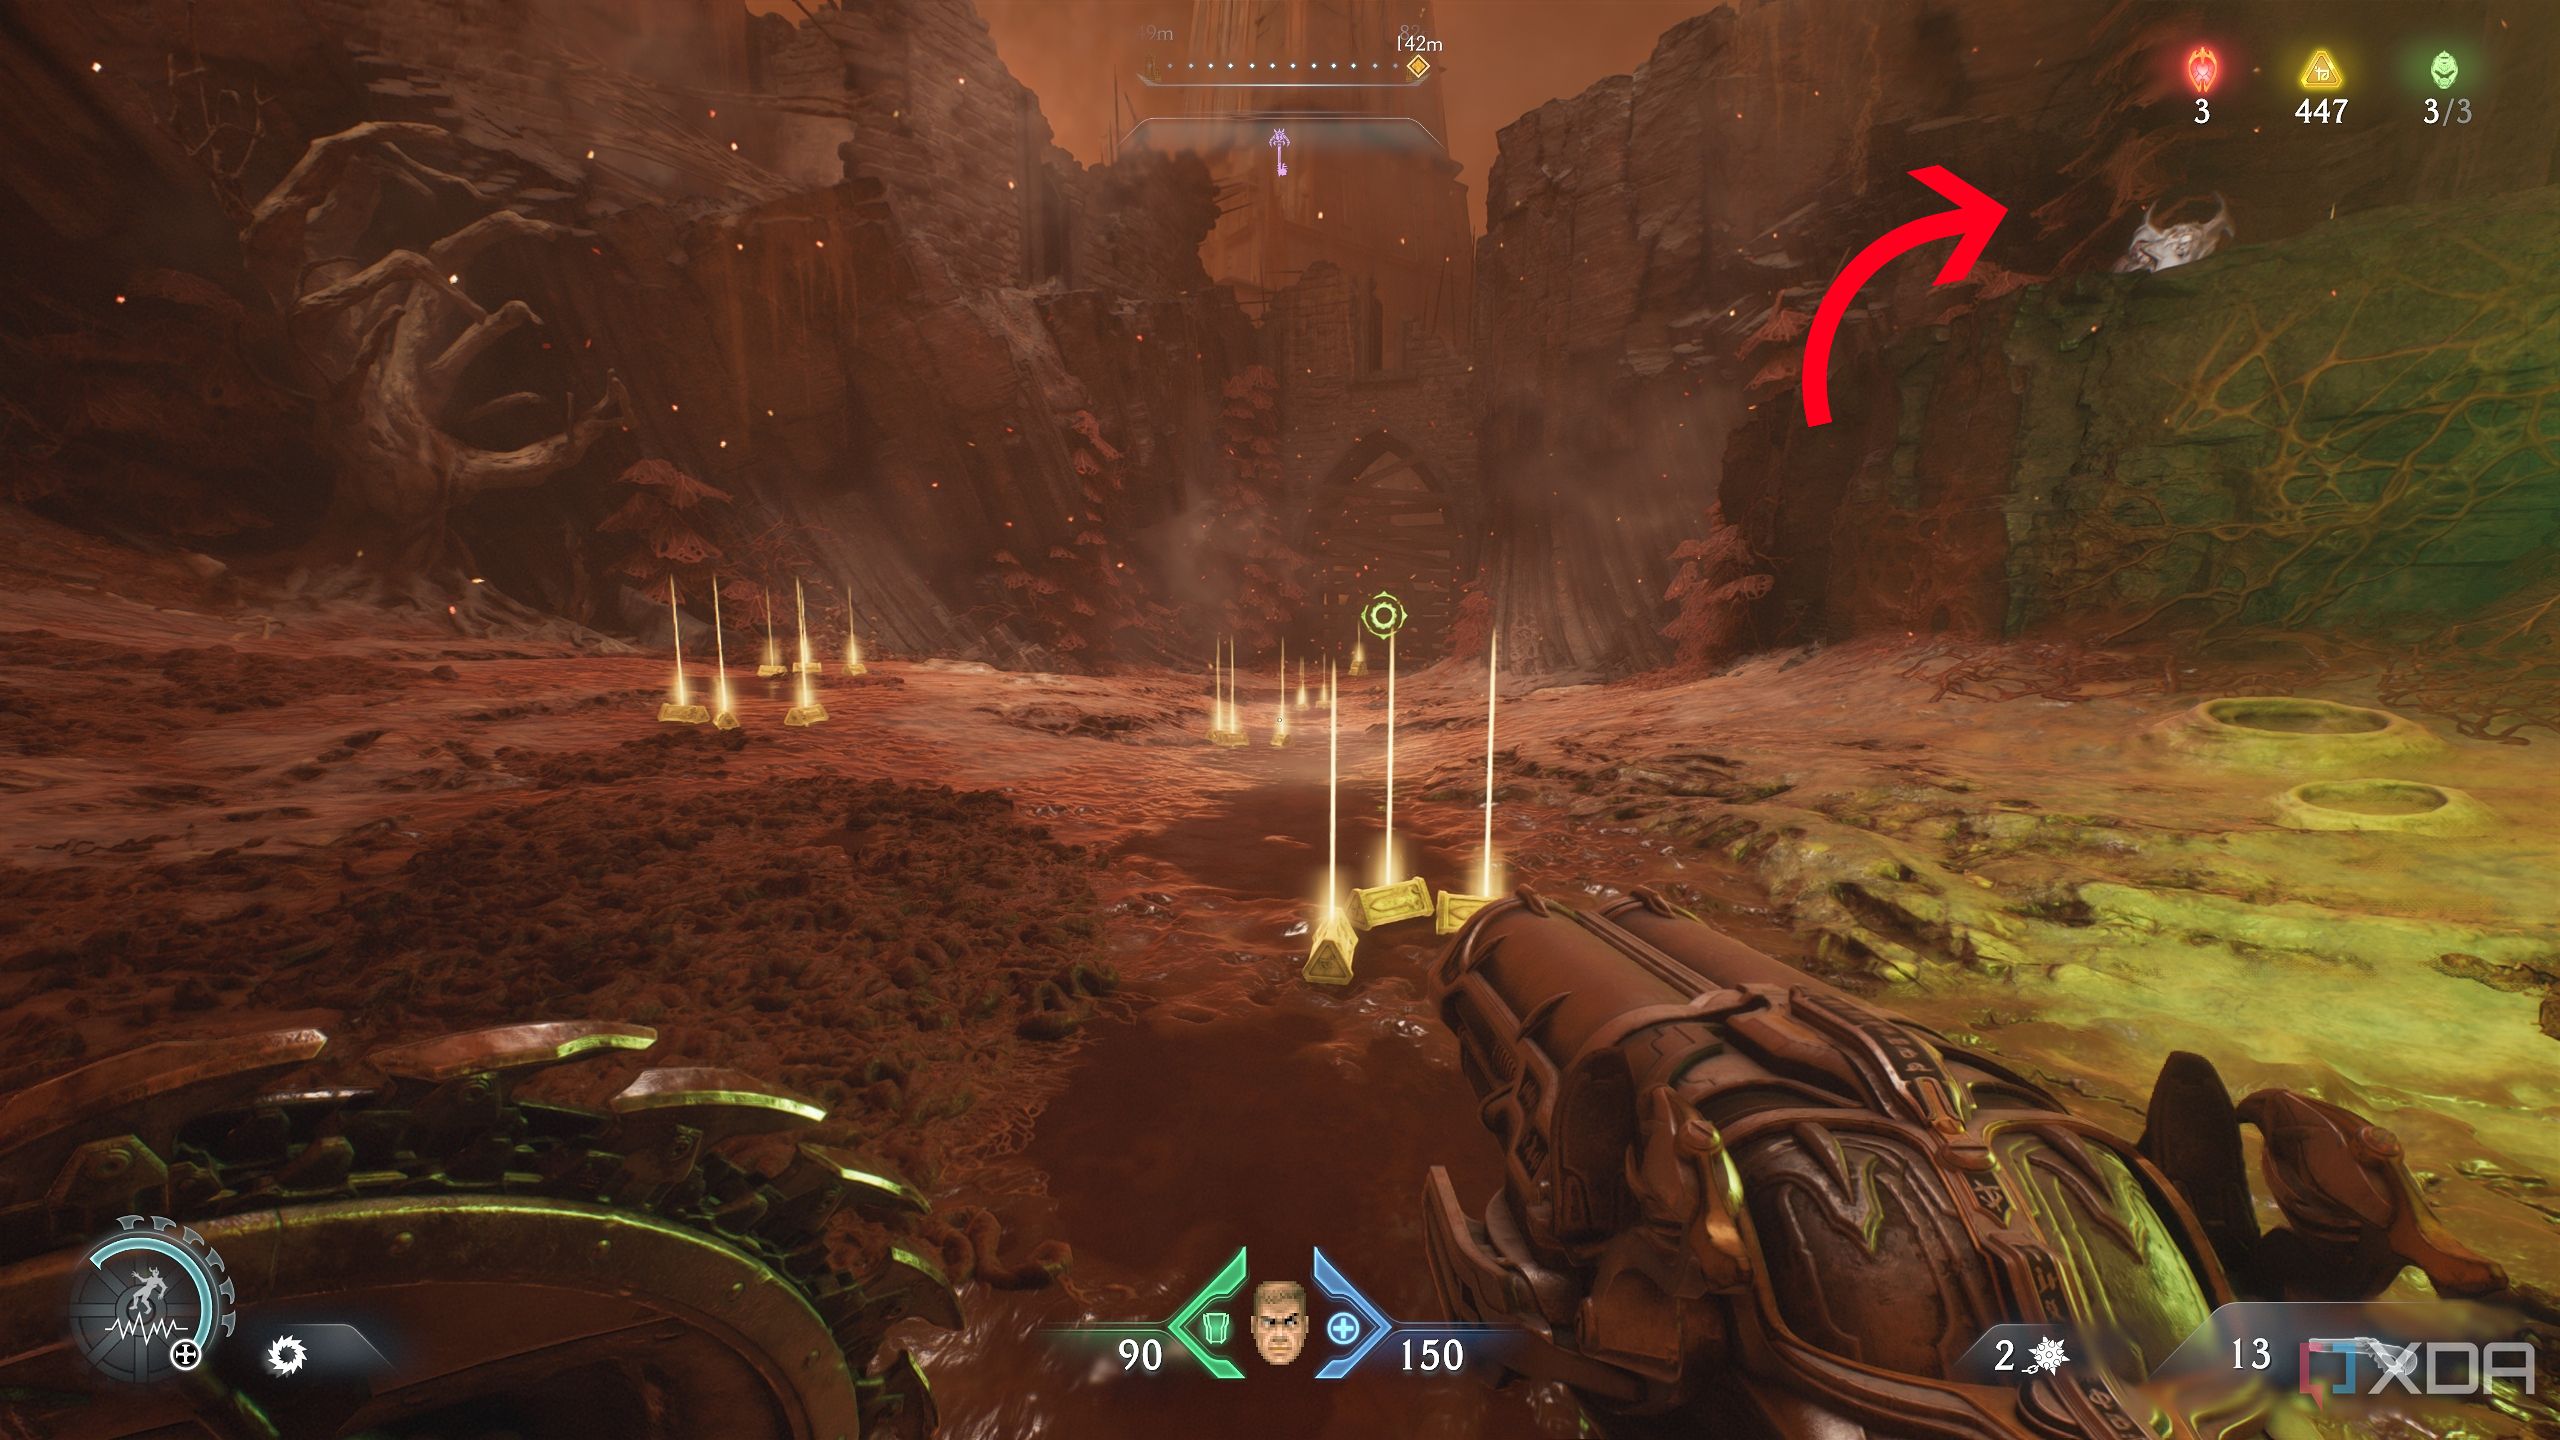
Secret area 3 and a Weapon Skin
Right after you destroy the first Hell Cannon
Once the first Hell Cannon (the one in the east) is taken care of, get back to the field where you just fought a Mancubus for an armor Demonic Essence.
From here, head to the north-west corner of this arena.
Head up the scramble wall here.
Follow the path left to a secret collectible — a Weapon Skin.
Now, head back into the arena, and continue to the northern top of the arena.
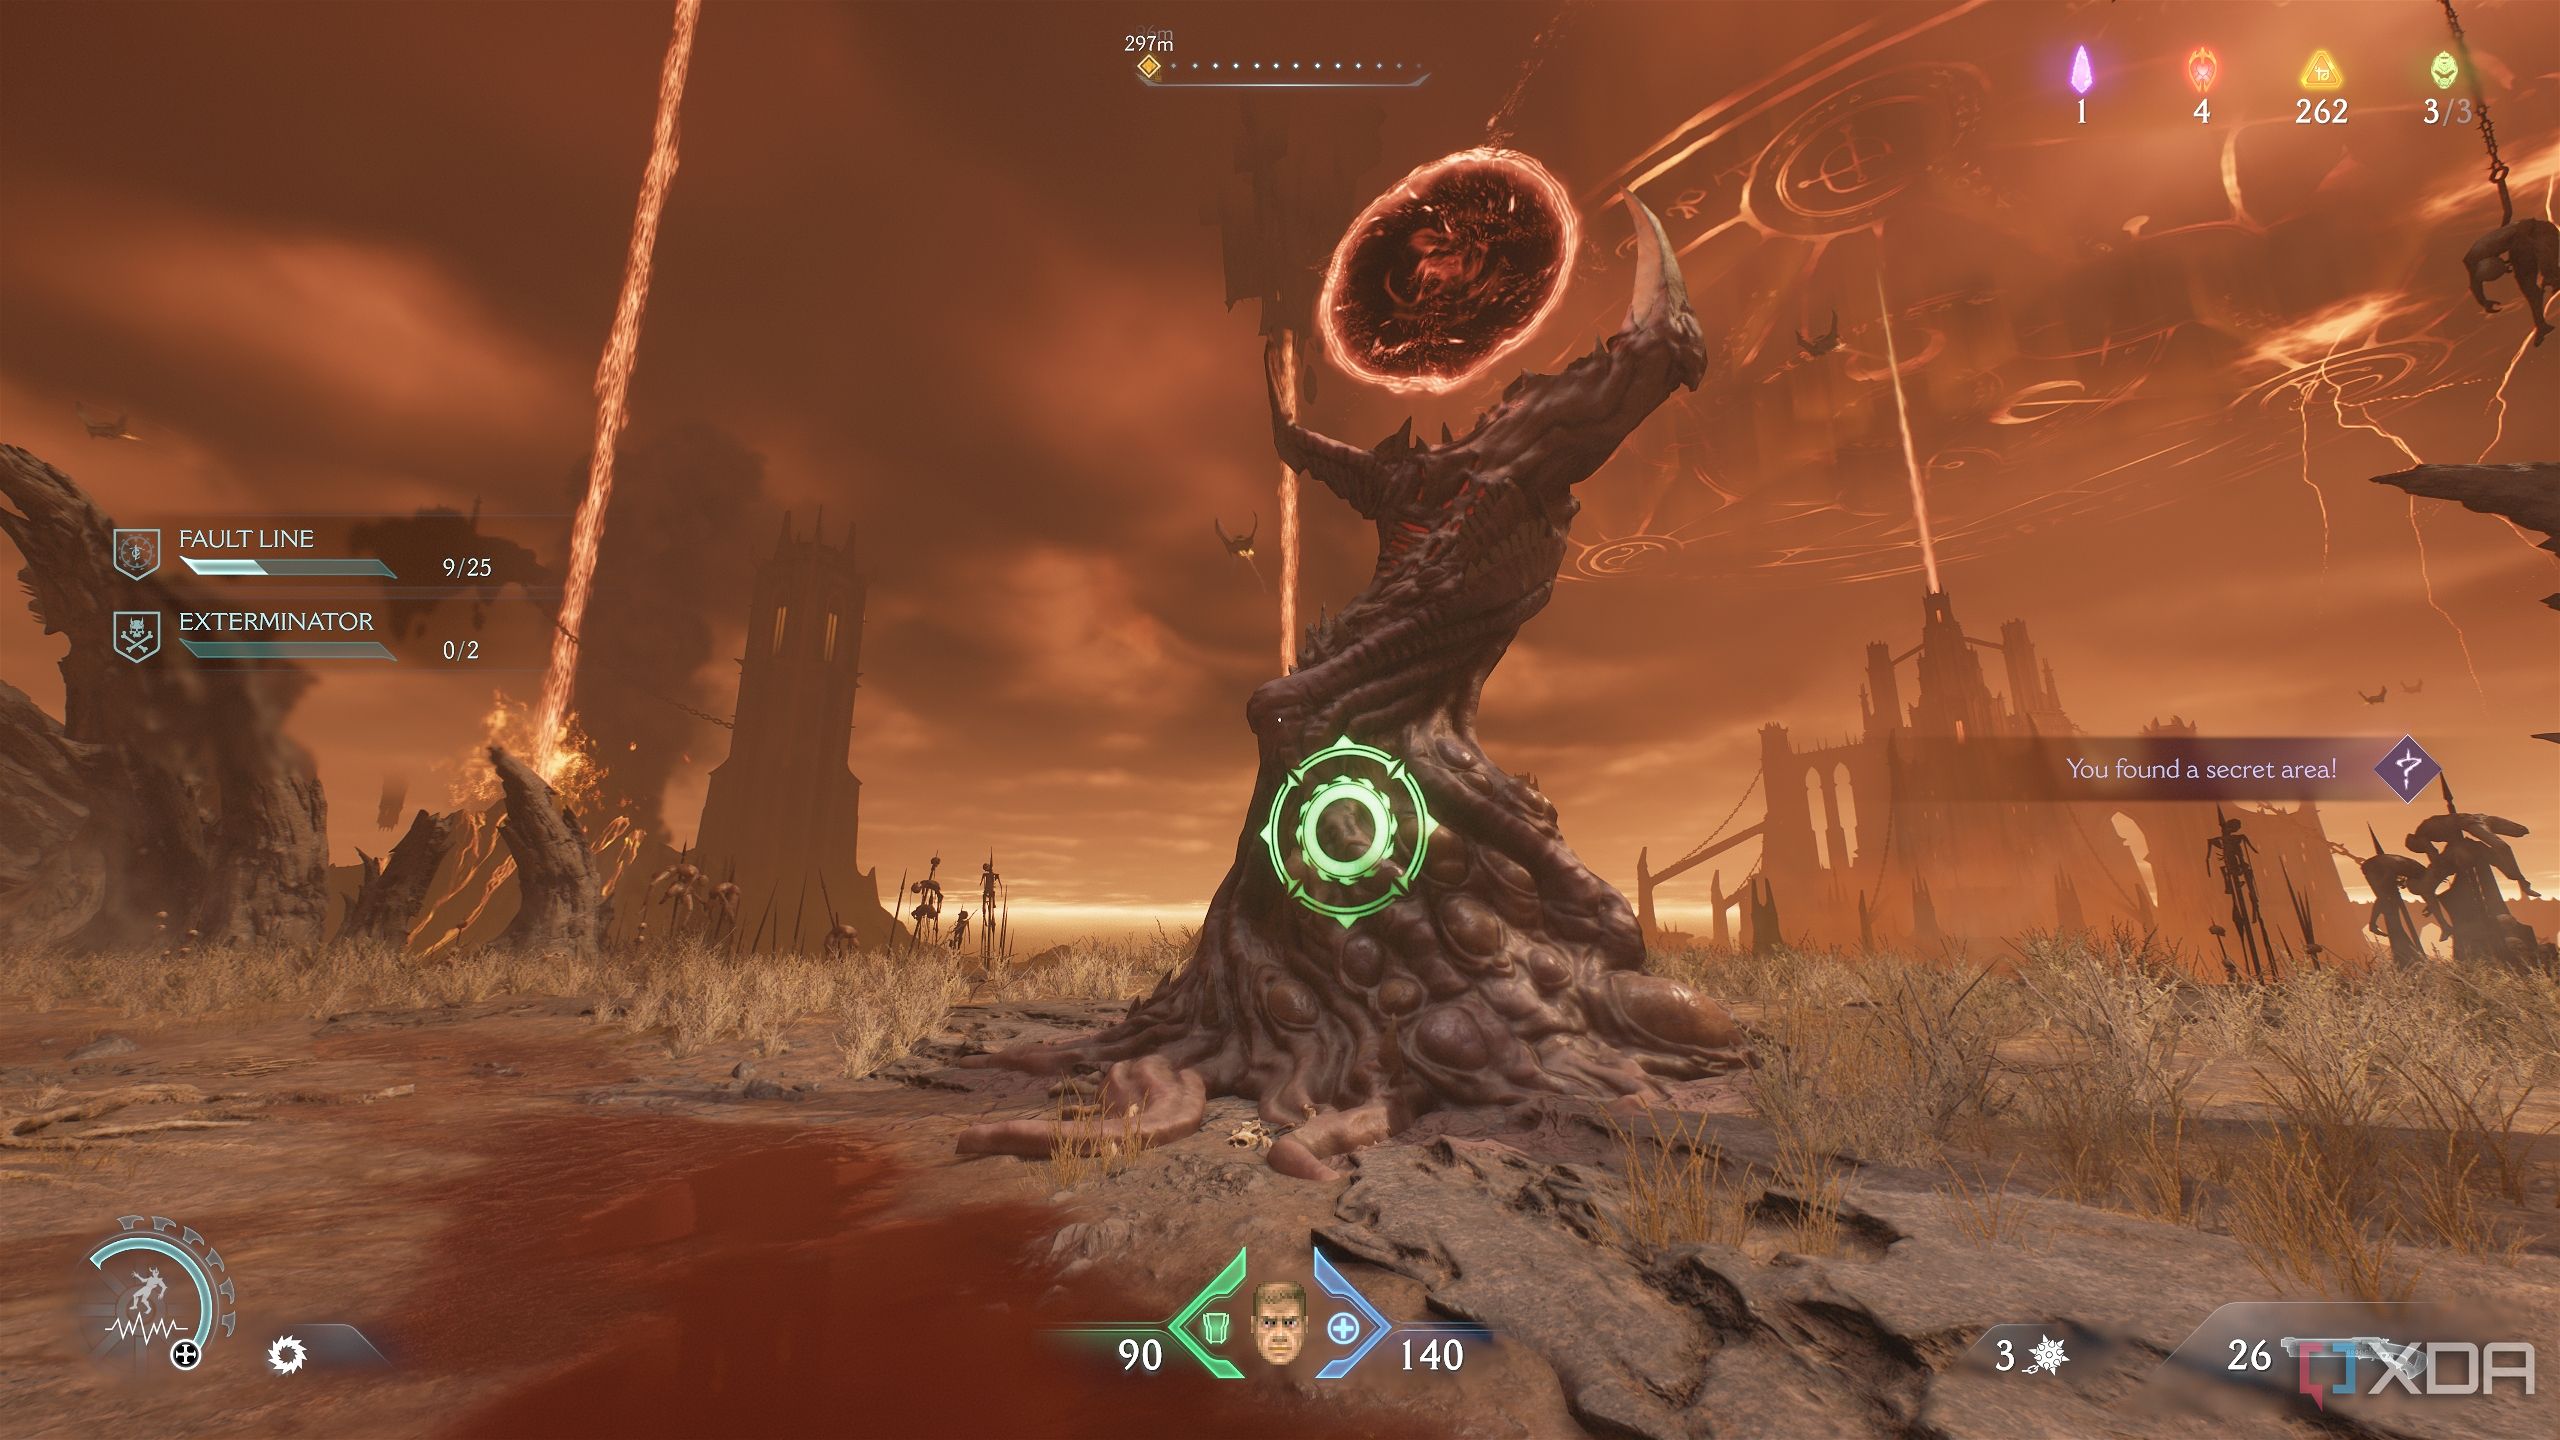
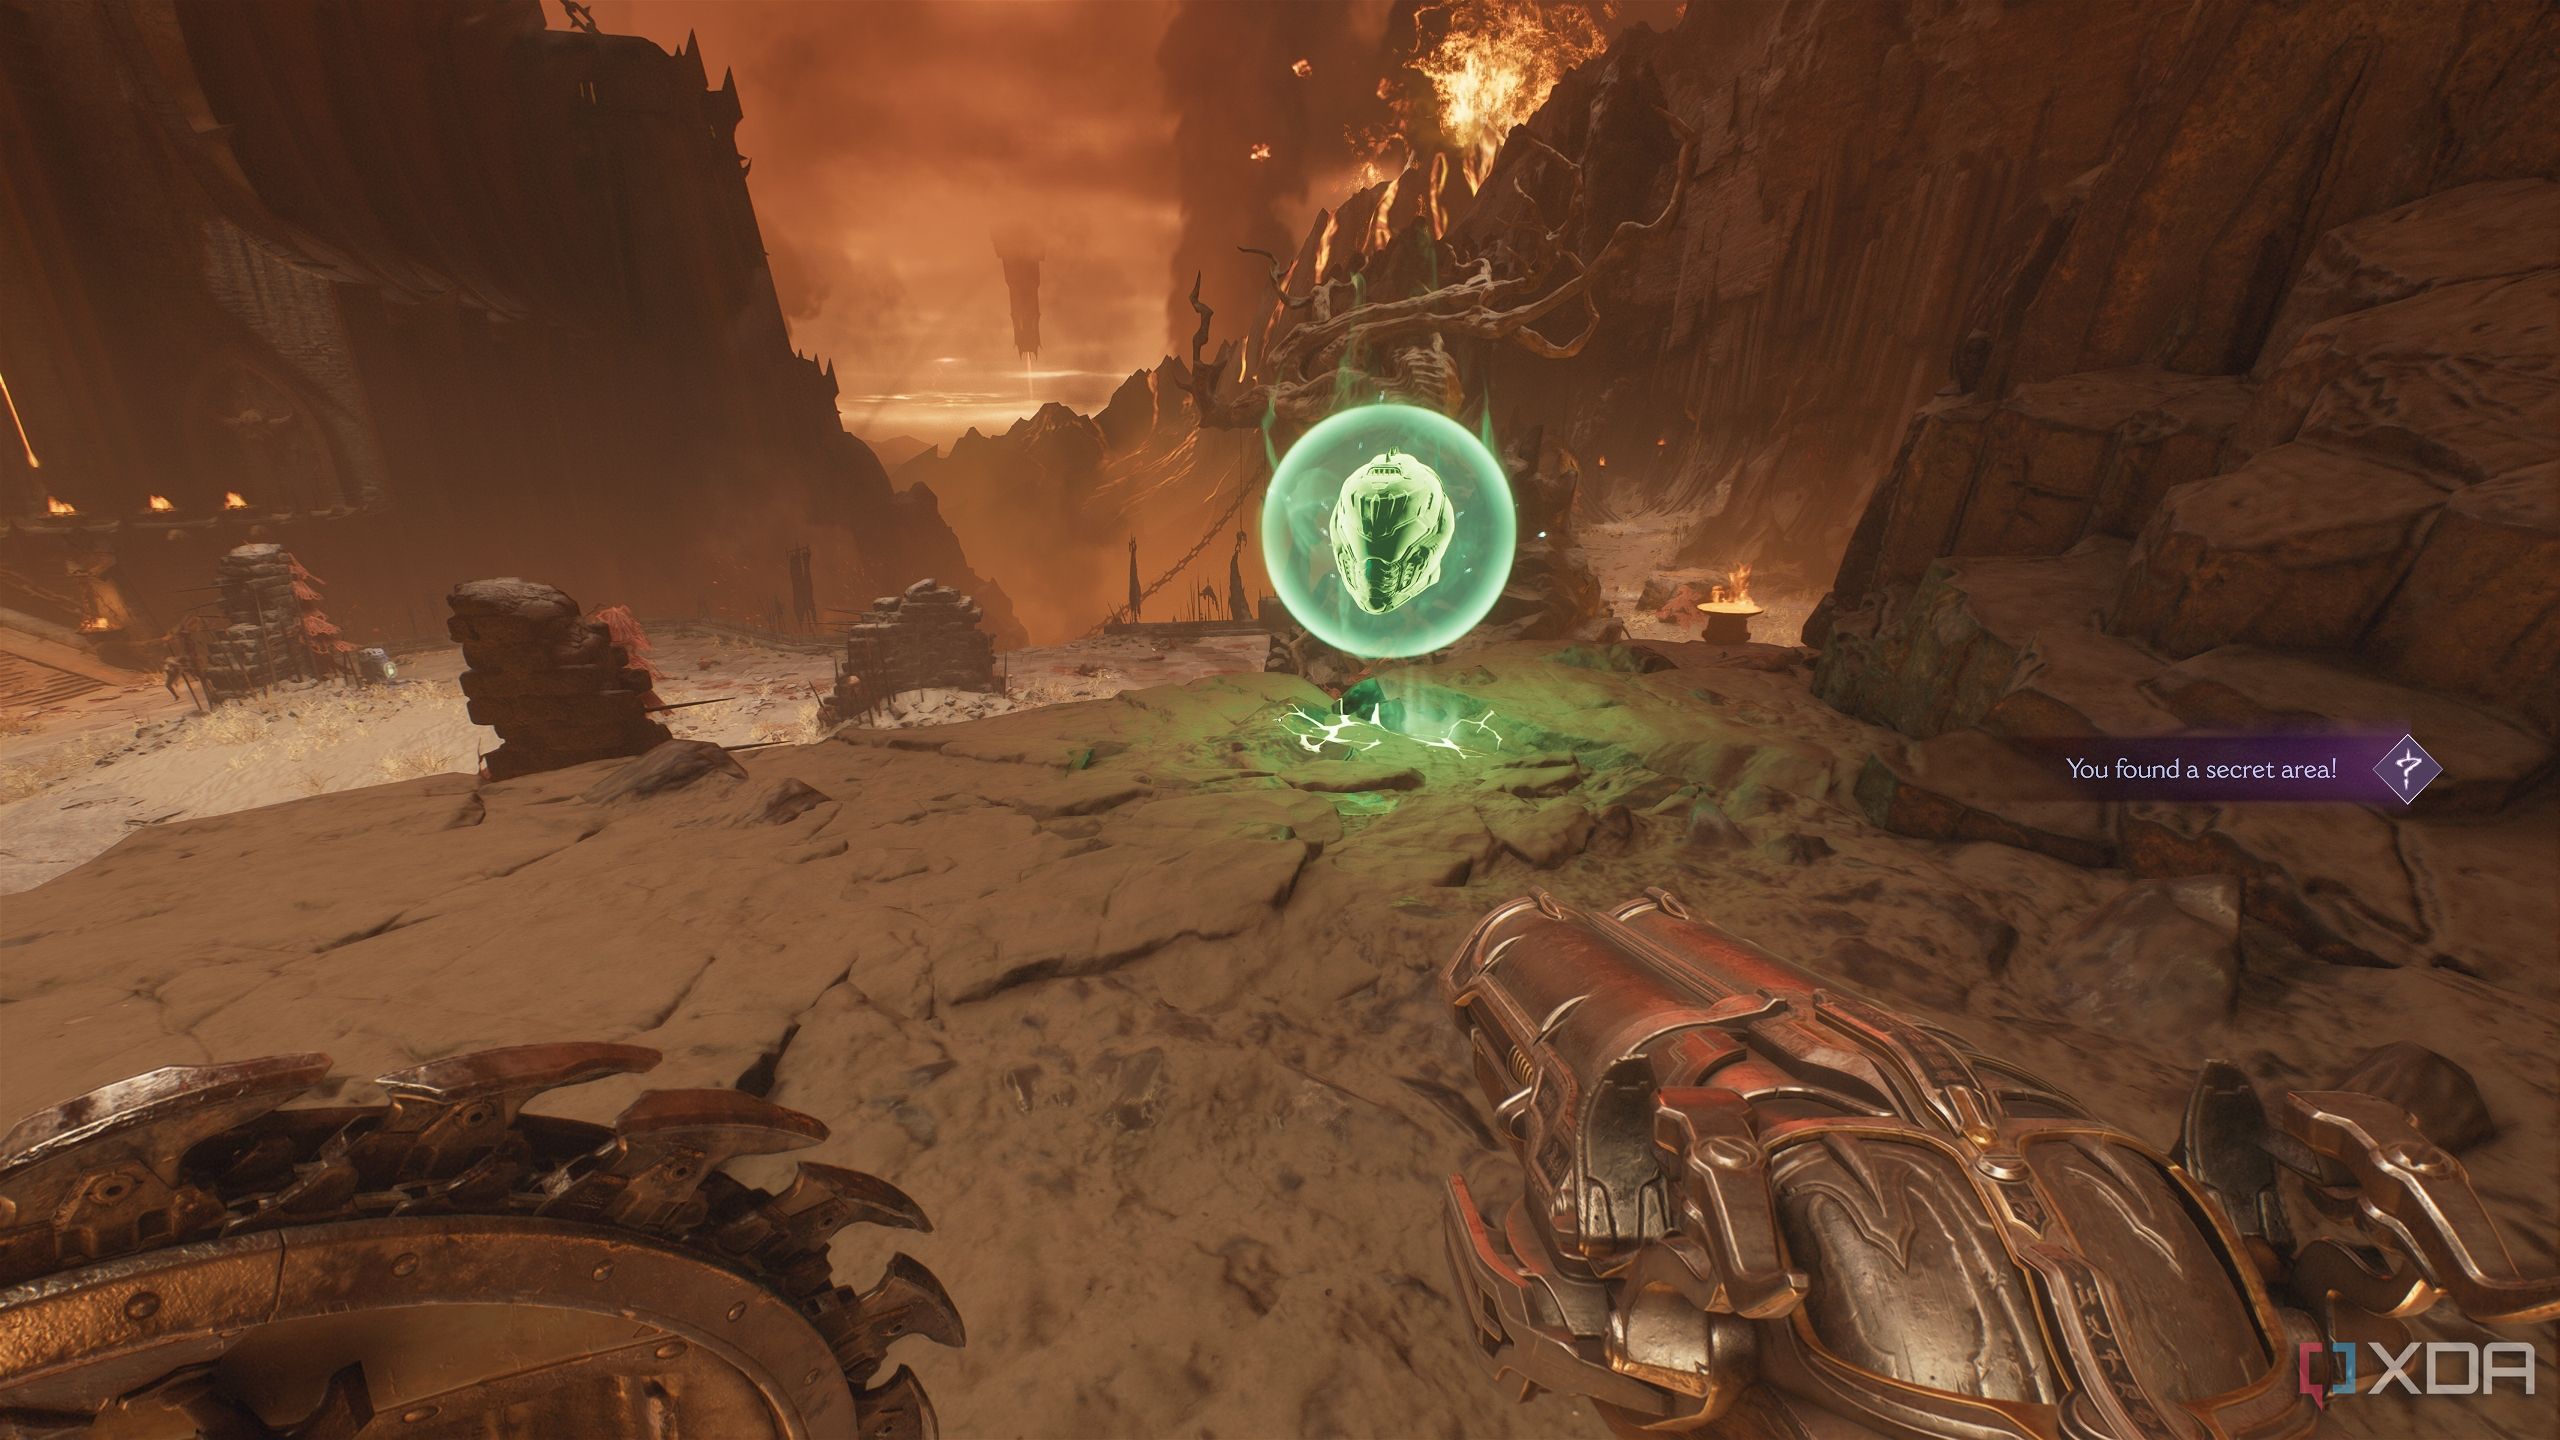
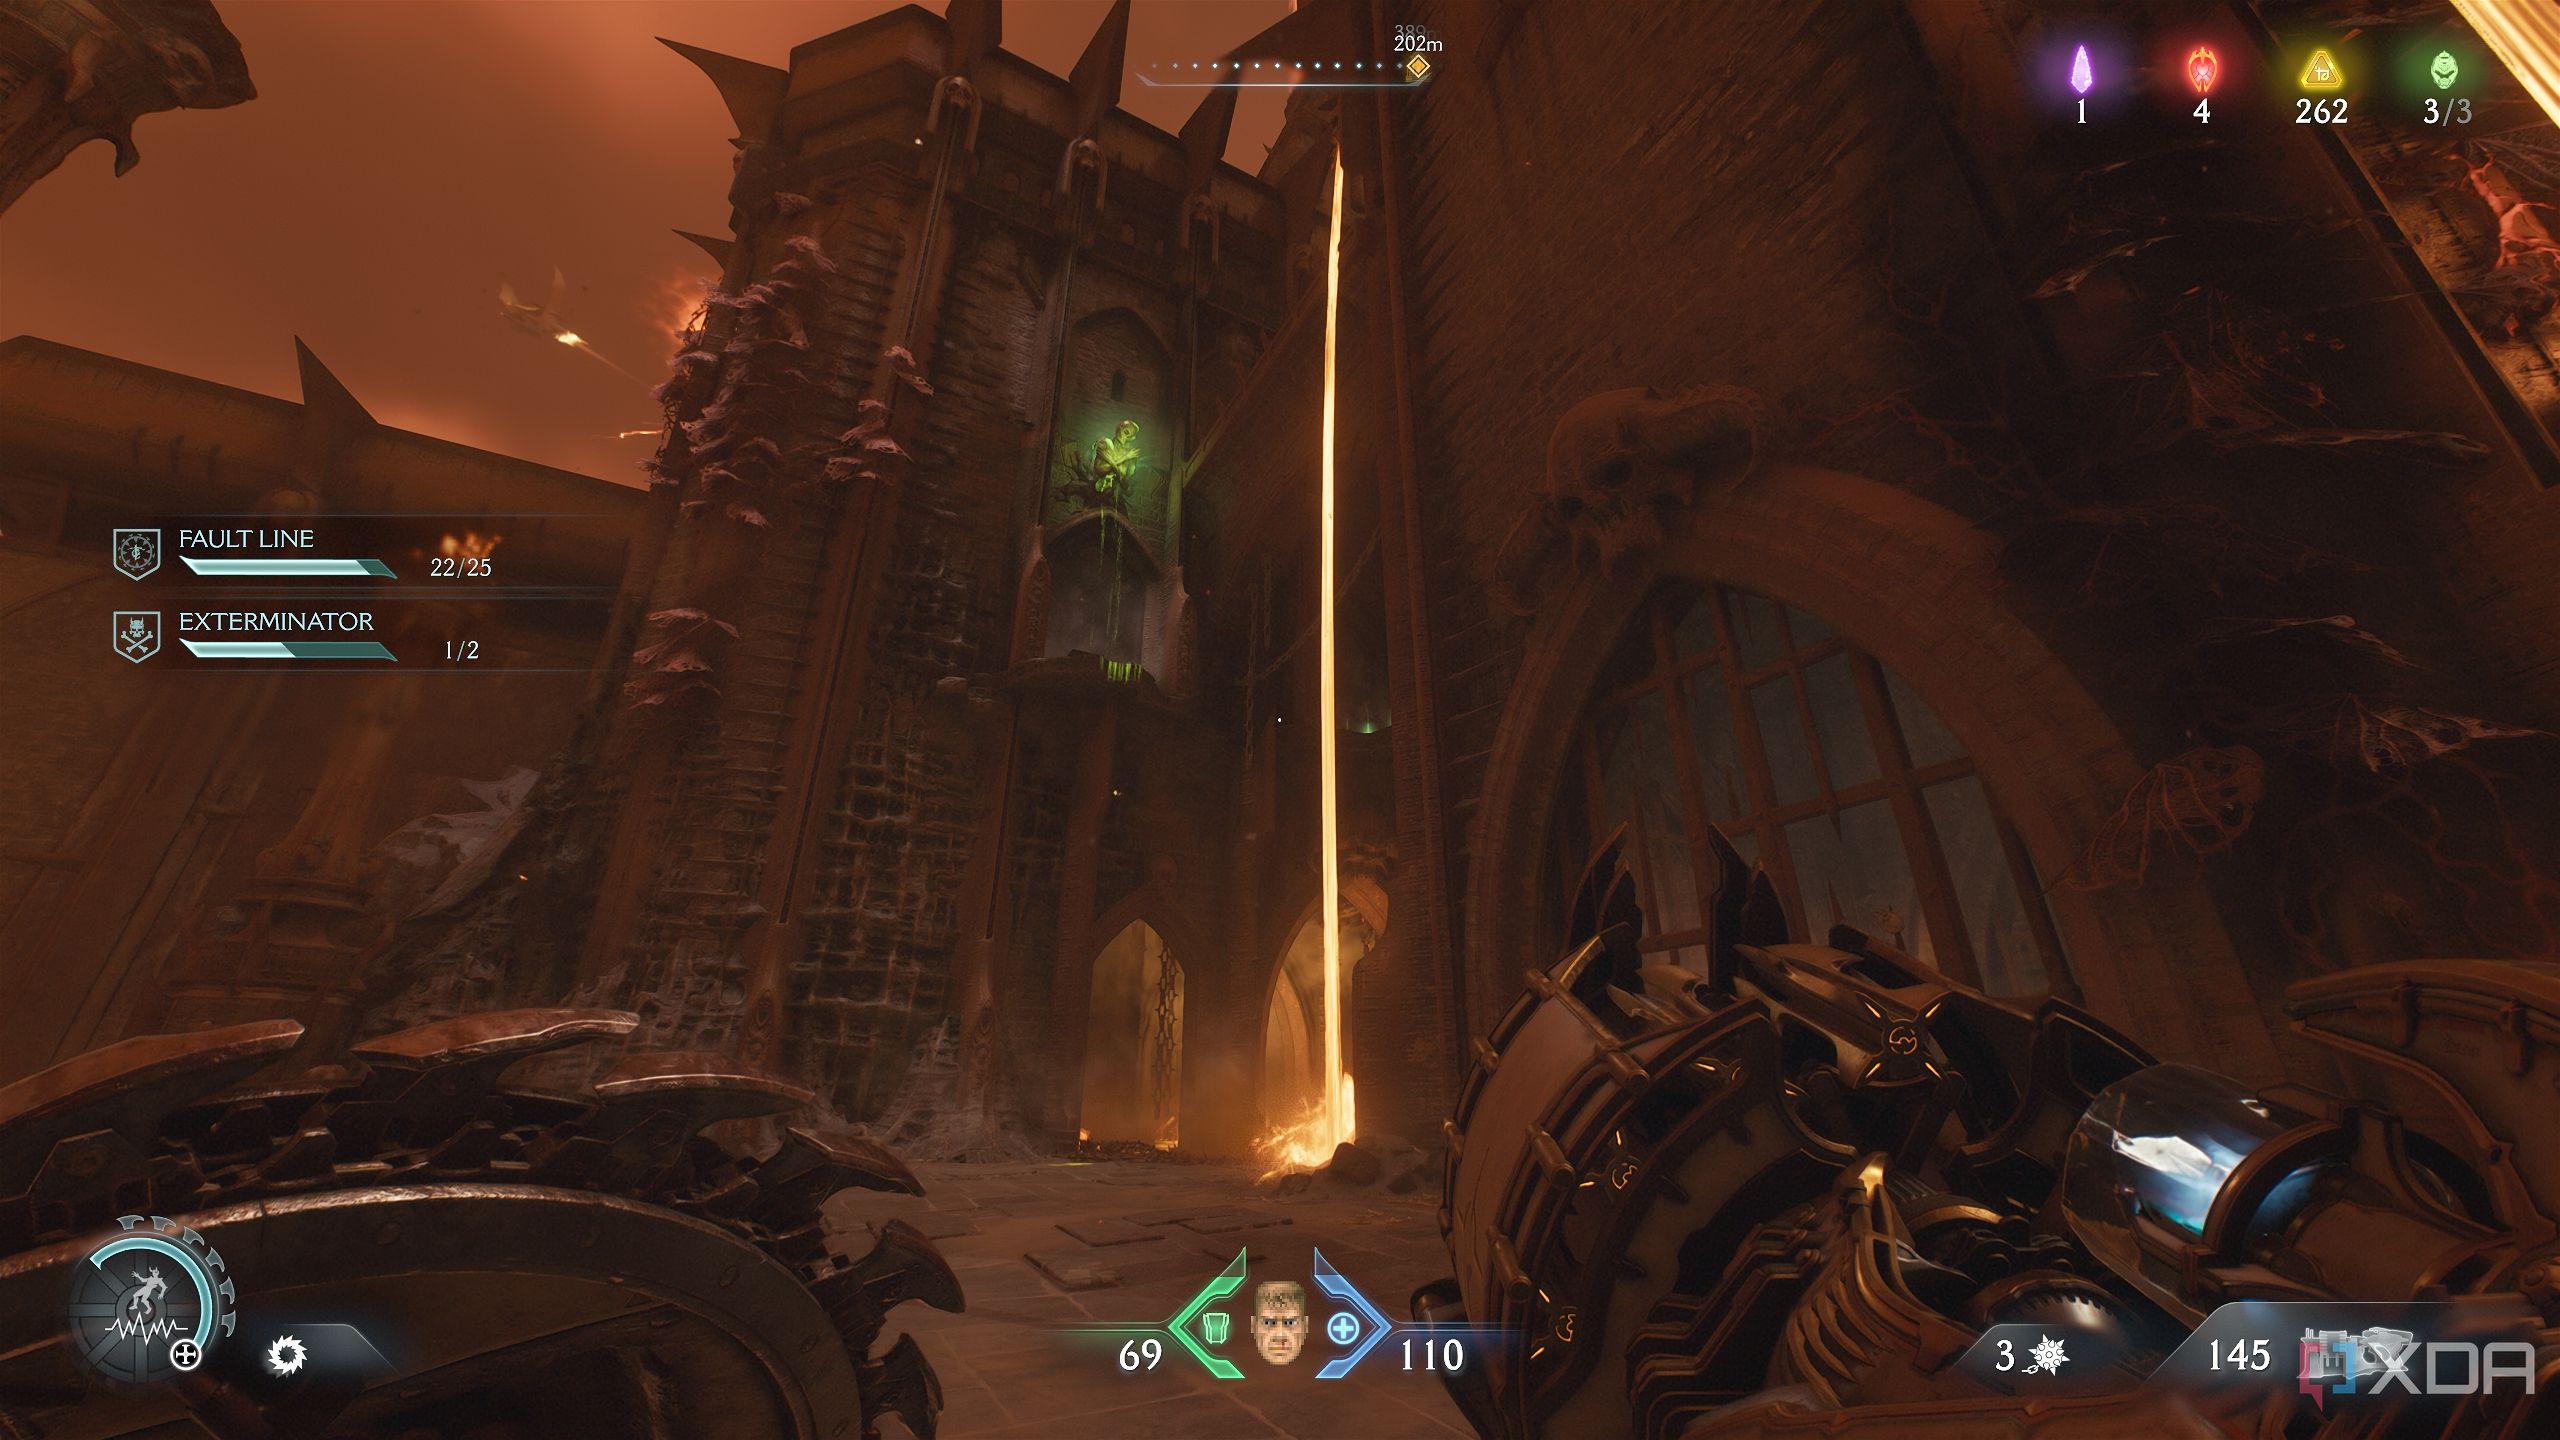
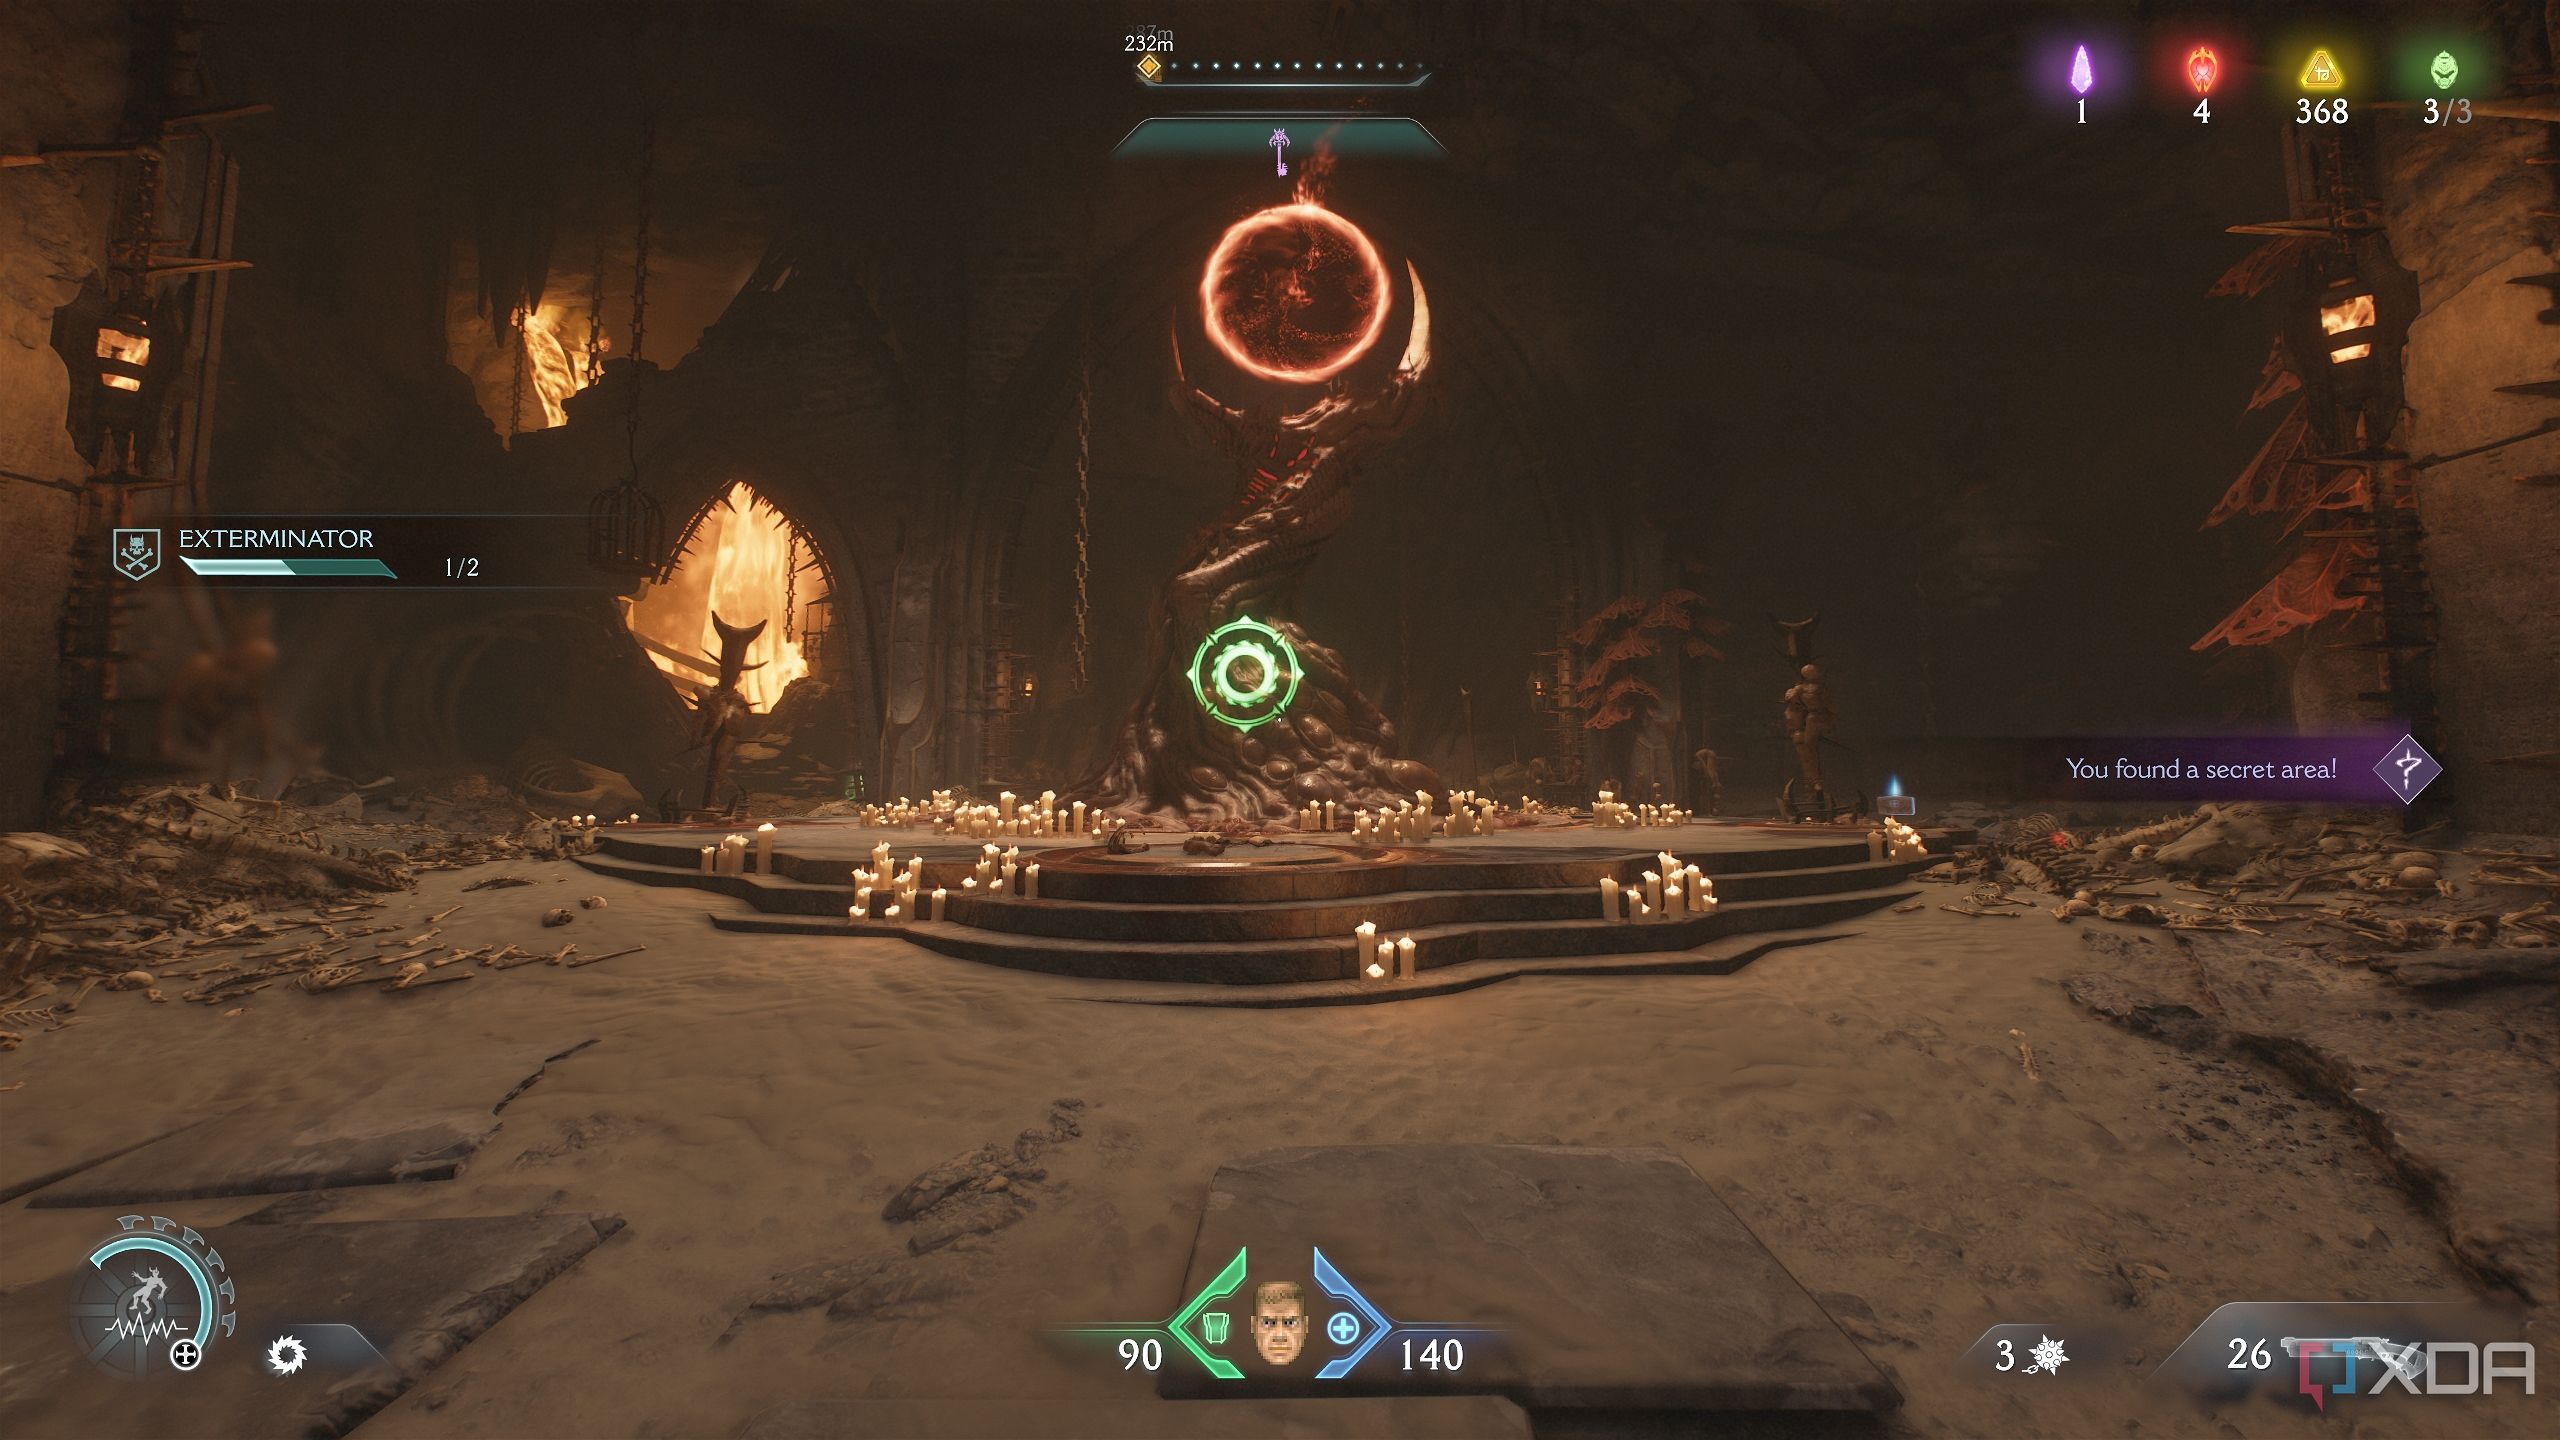
Go into the next area to unlock secret area 3 and the first Gore Portal in the map, which will help you progress in the Exterminator mission challenge.
Once you destroy the portal with a Shield Charge, you’ll be ambushed by multiple demons, ending with a Revenant who drops a maximum ammo Demonic Essence.
These portals are great places to progress and finish up the Rocket Man and Fault Line mission challenges.
Secret area 4 and Cyberdemon toy
The toy is considerably cuter
Now, come all the way back to the beginning of the level, in the field with the fallen Atlan Mech. This time, head to the left-most lane on the map.
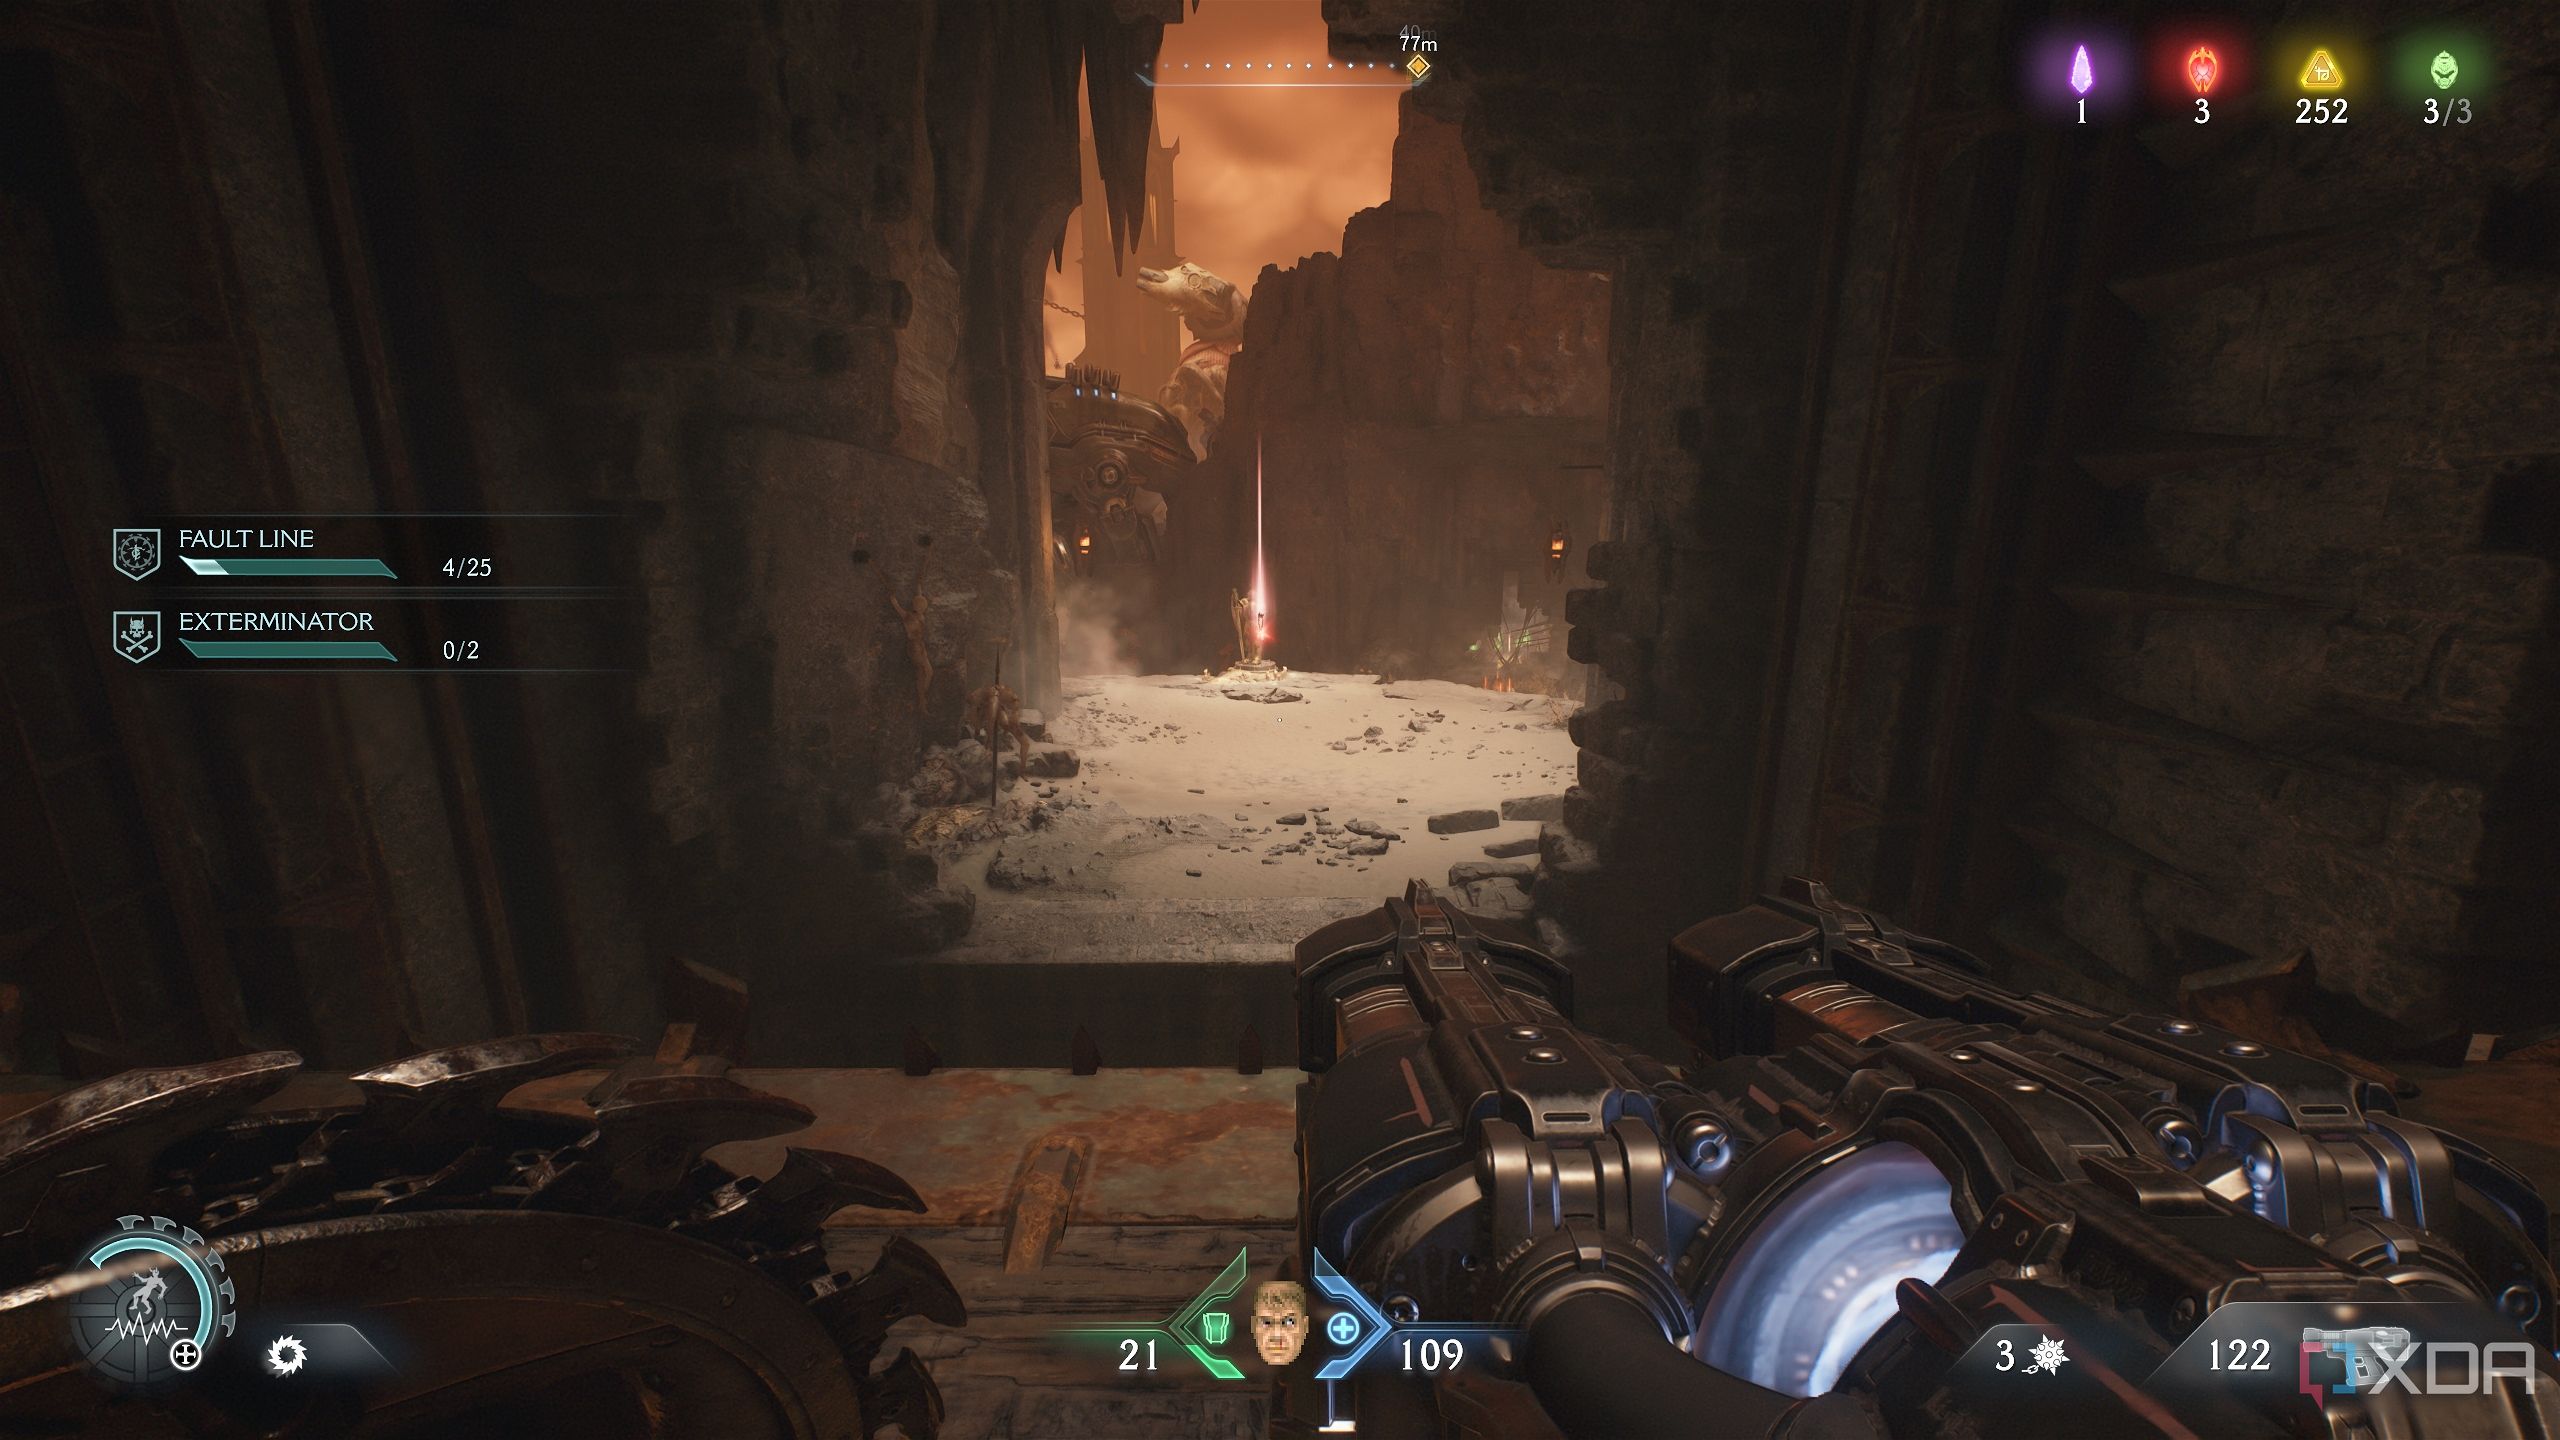
You’ll reach a high platform from where you can see a purple-locked gate and a blocked Red Ruby statue.
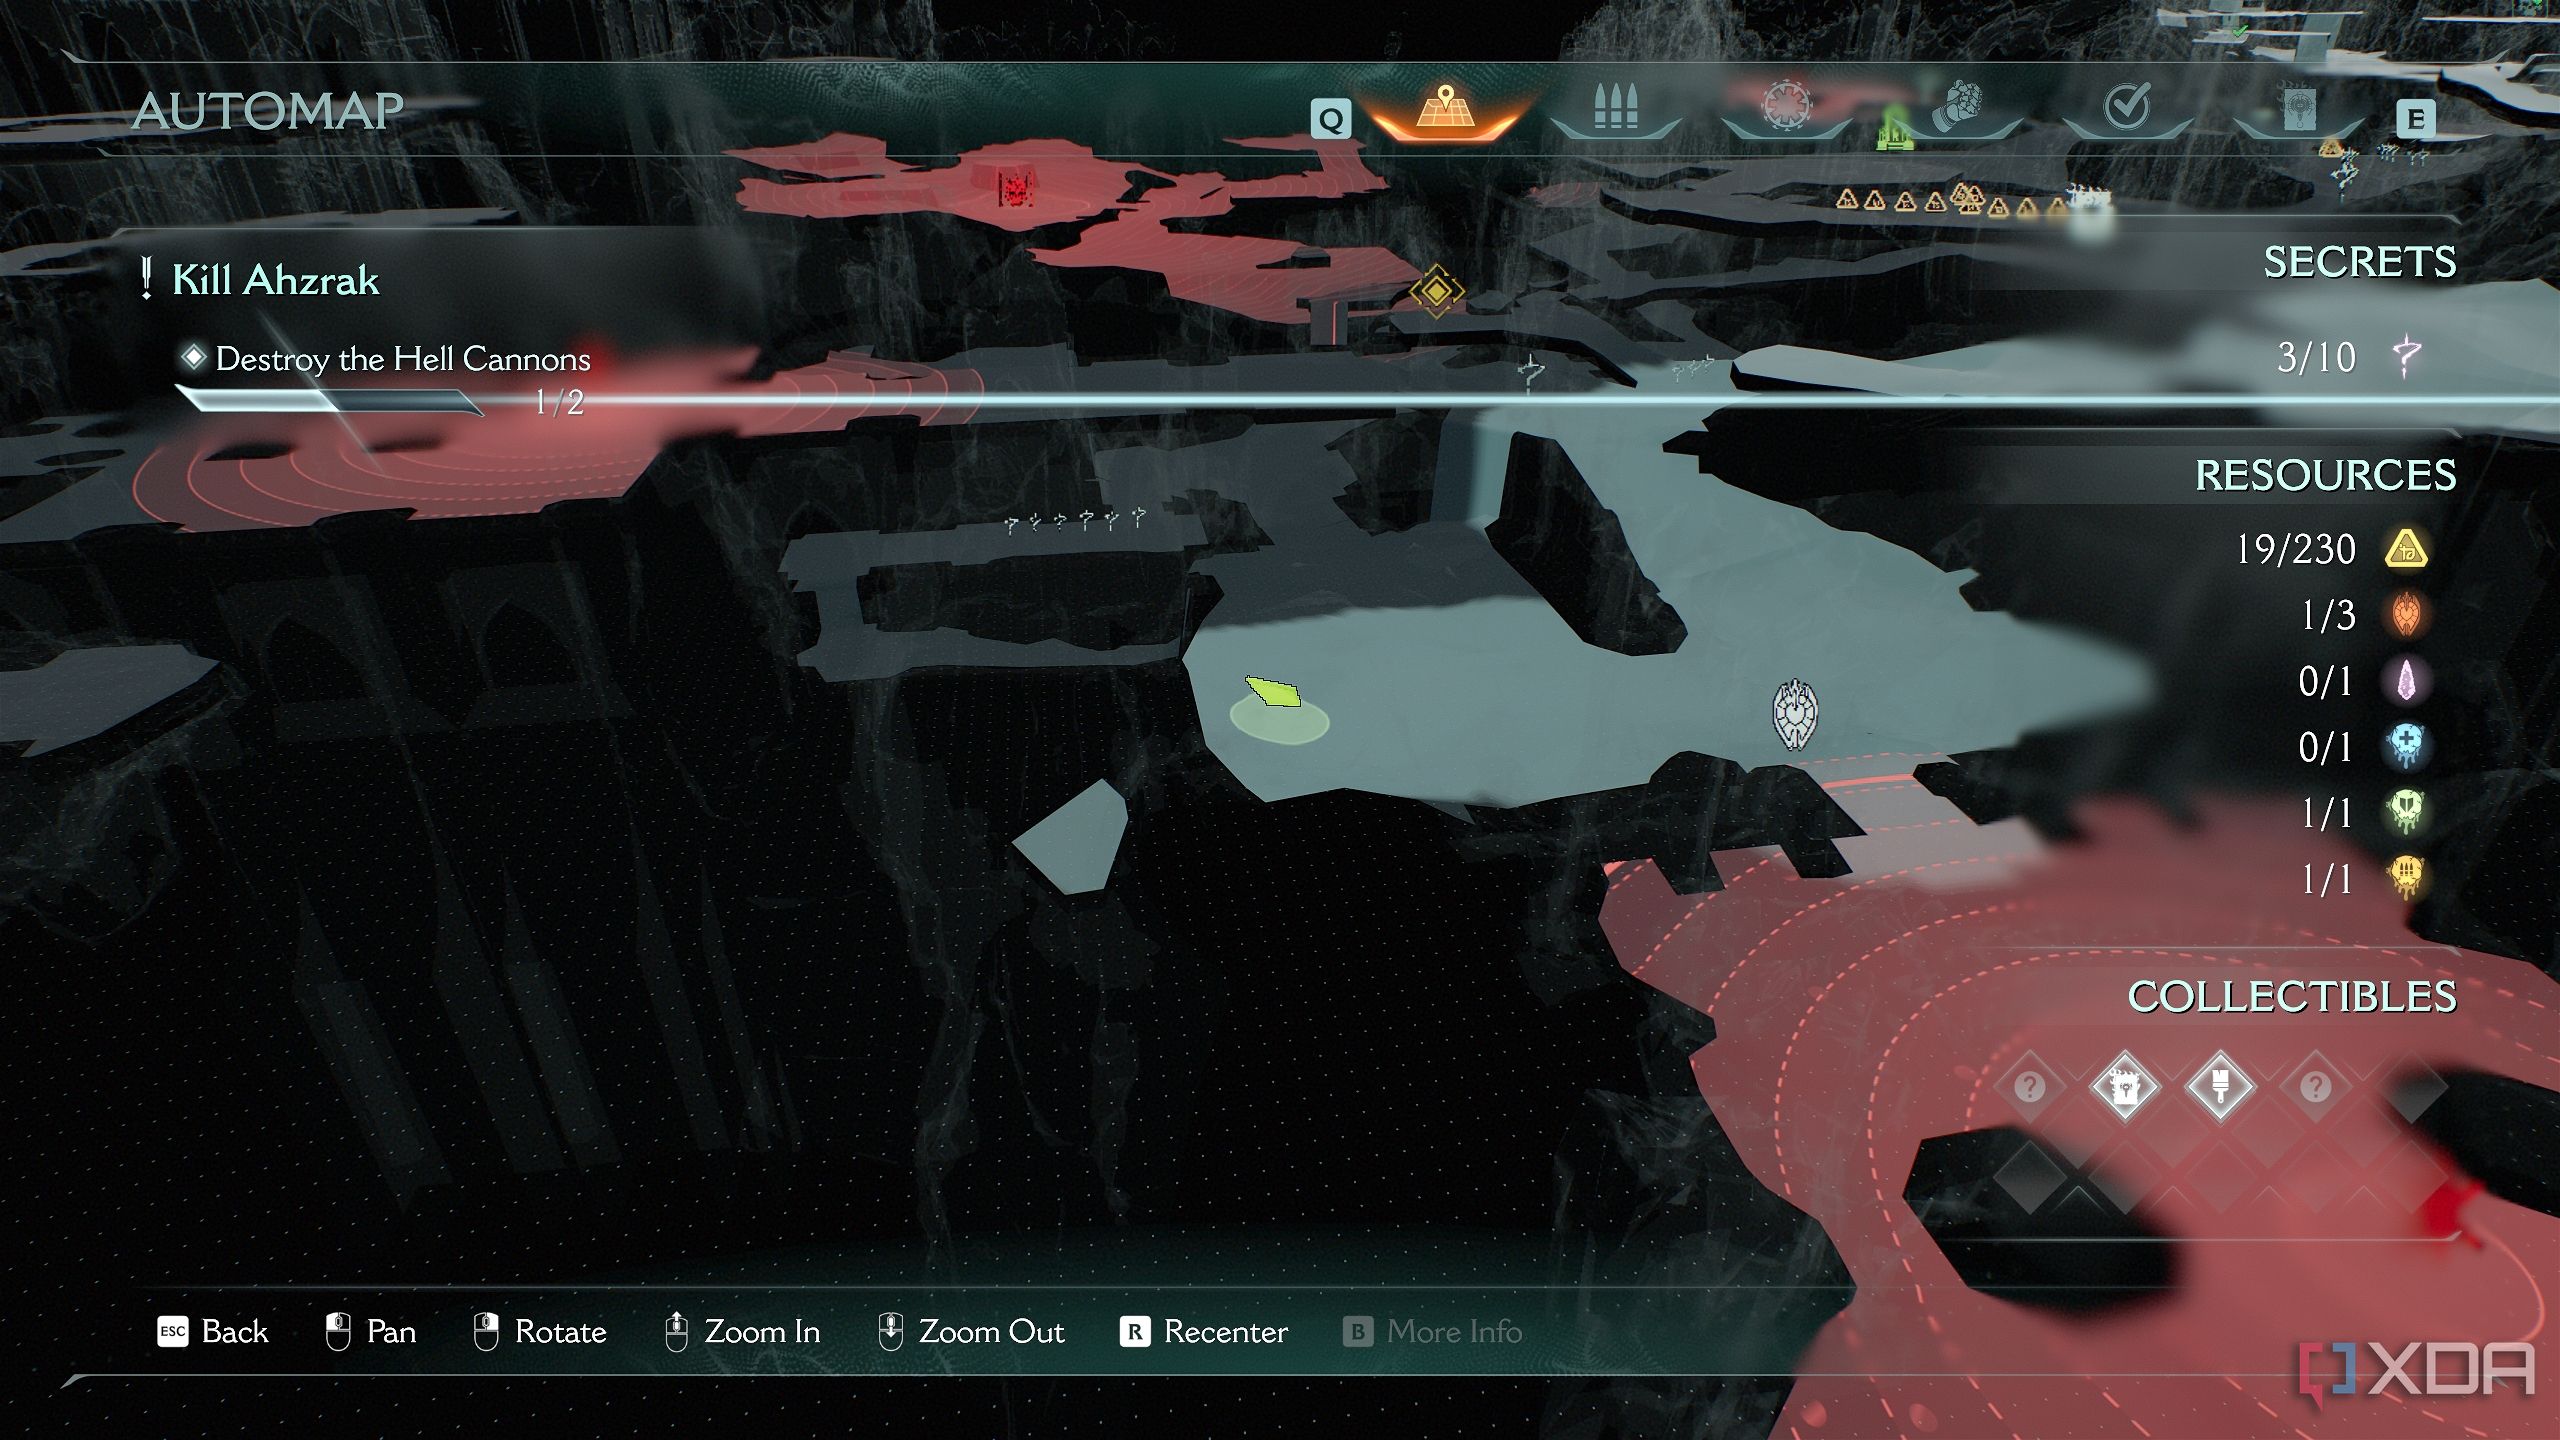
Approach the gate, and then head right to the edge of the cliff.

Look down and you’ll see a jump pad.
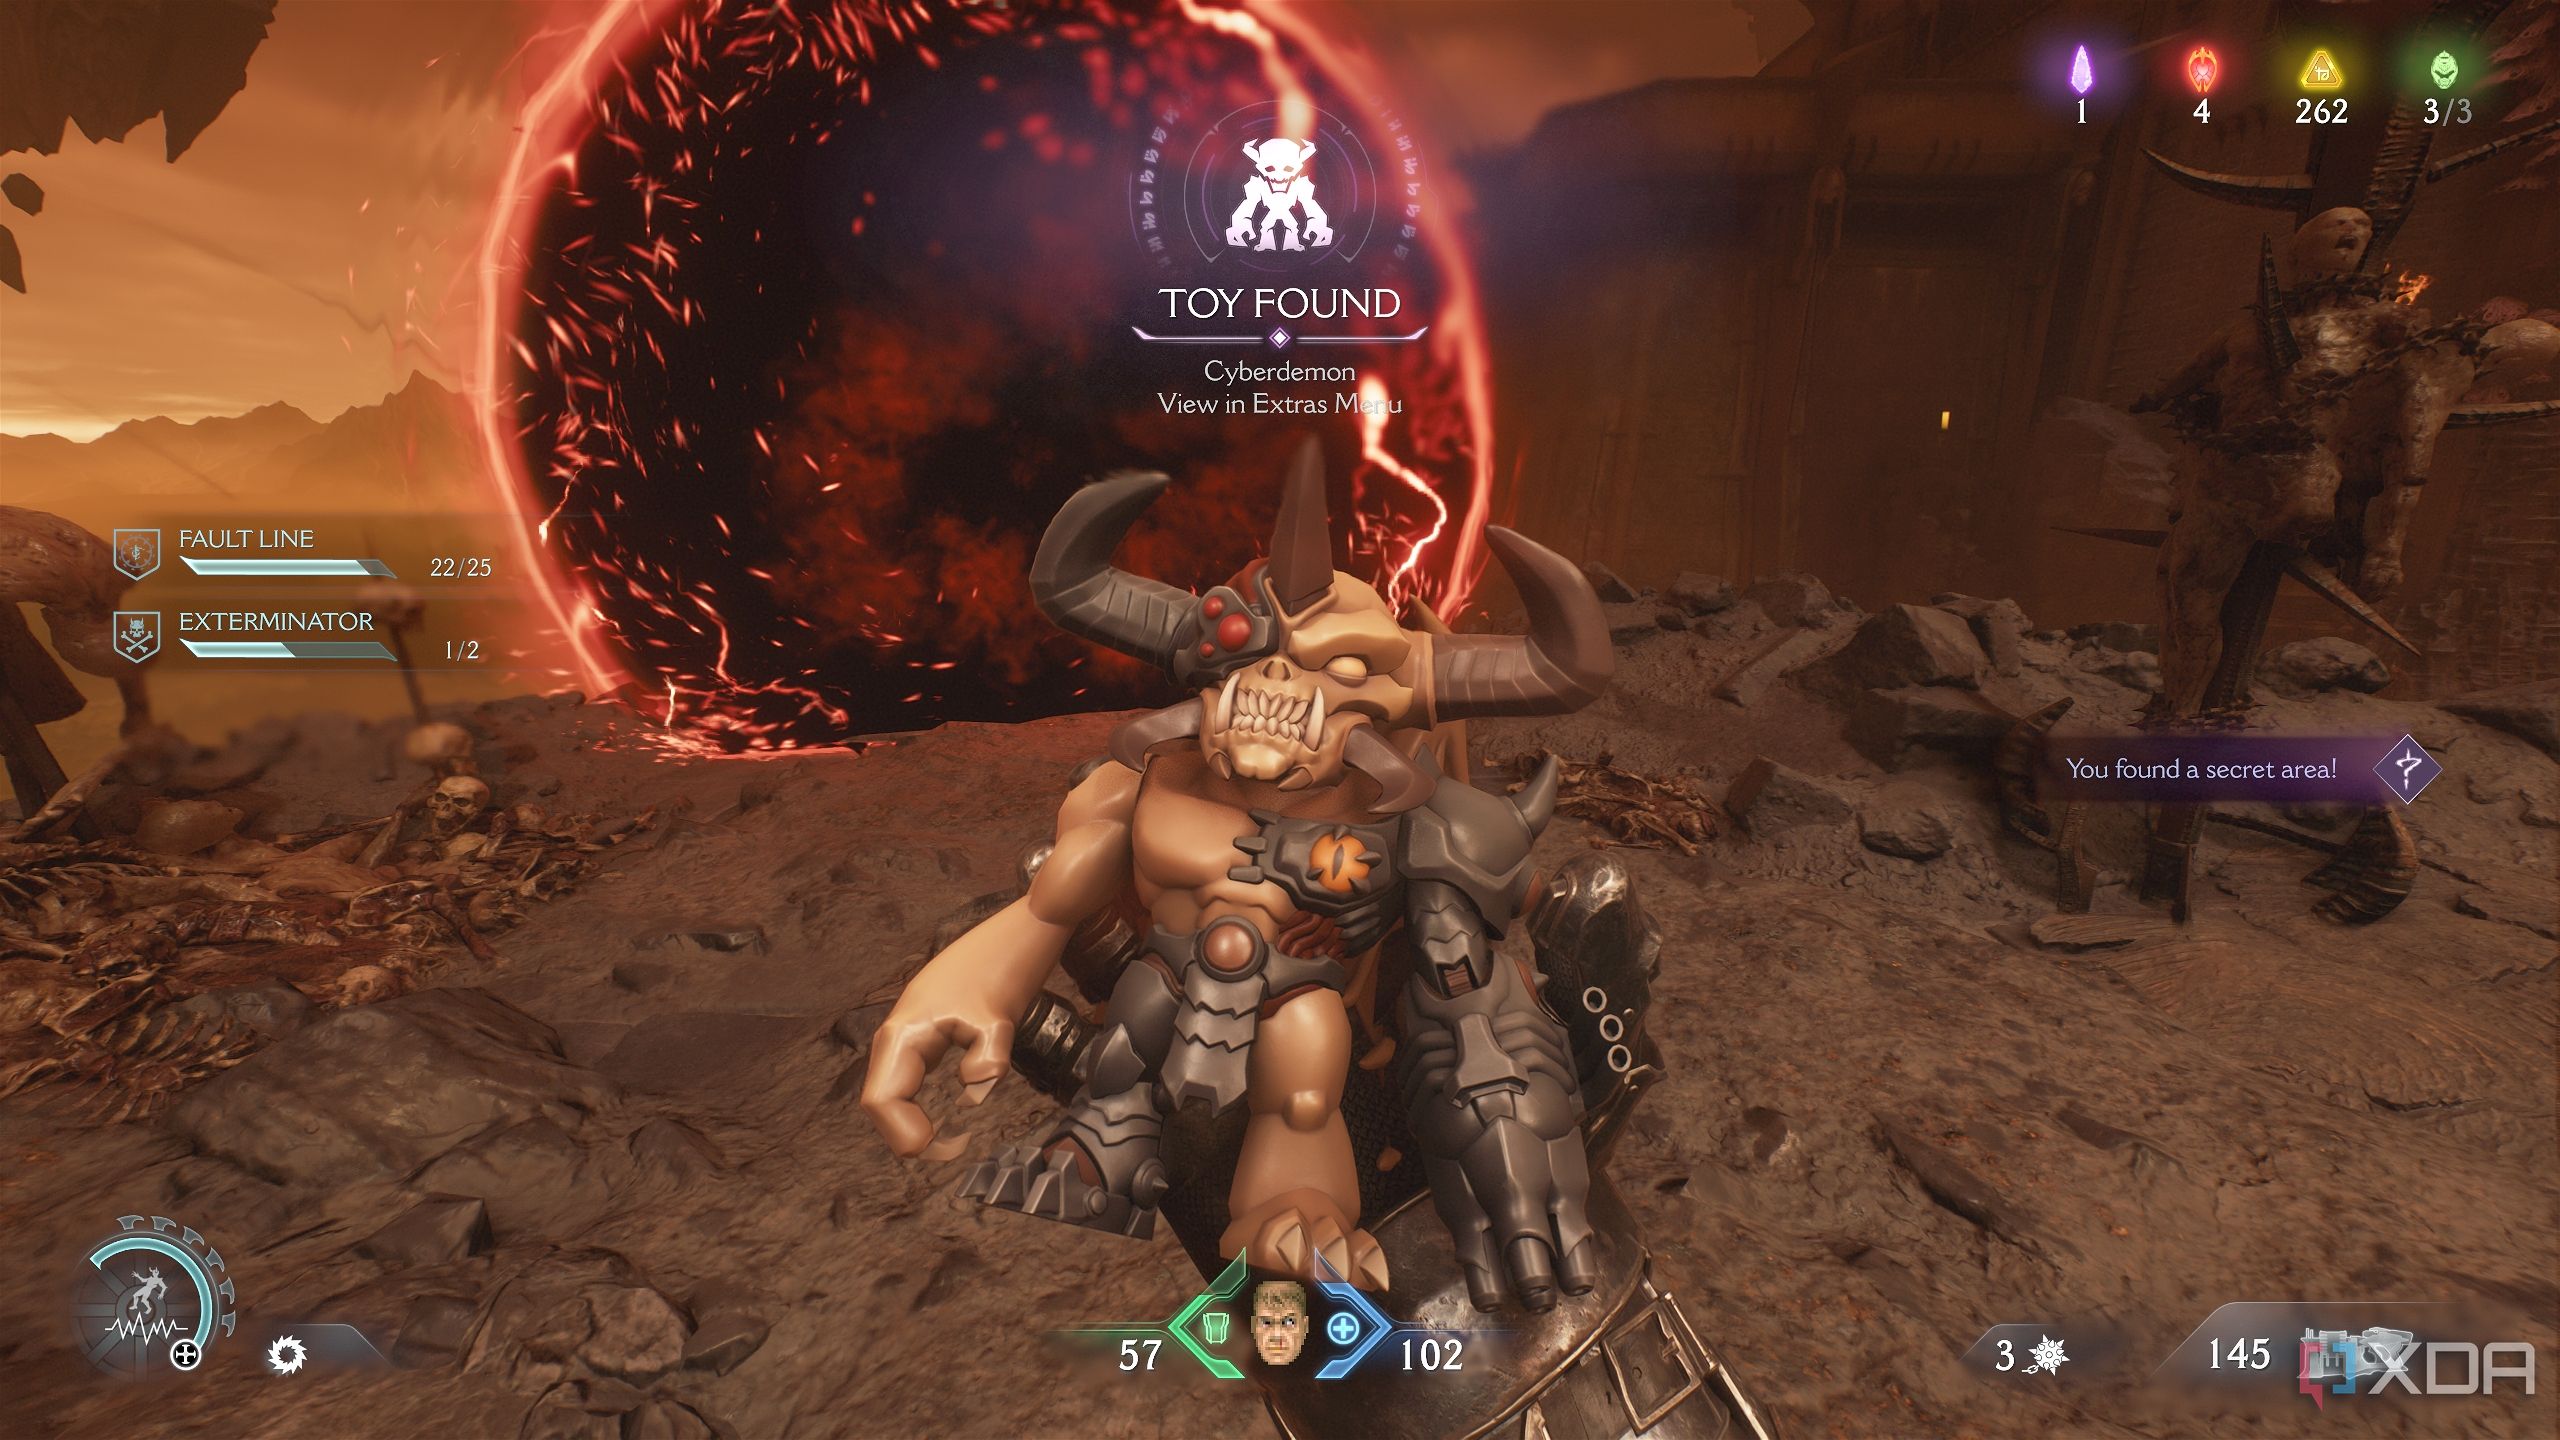
Hop on it, and it will lead you straight to secret area 4 and a Cyberdemon toy collectible. Step into the red portal ahead to get back to the purple-locked gate.
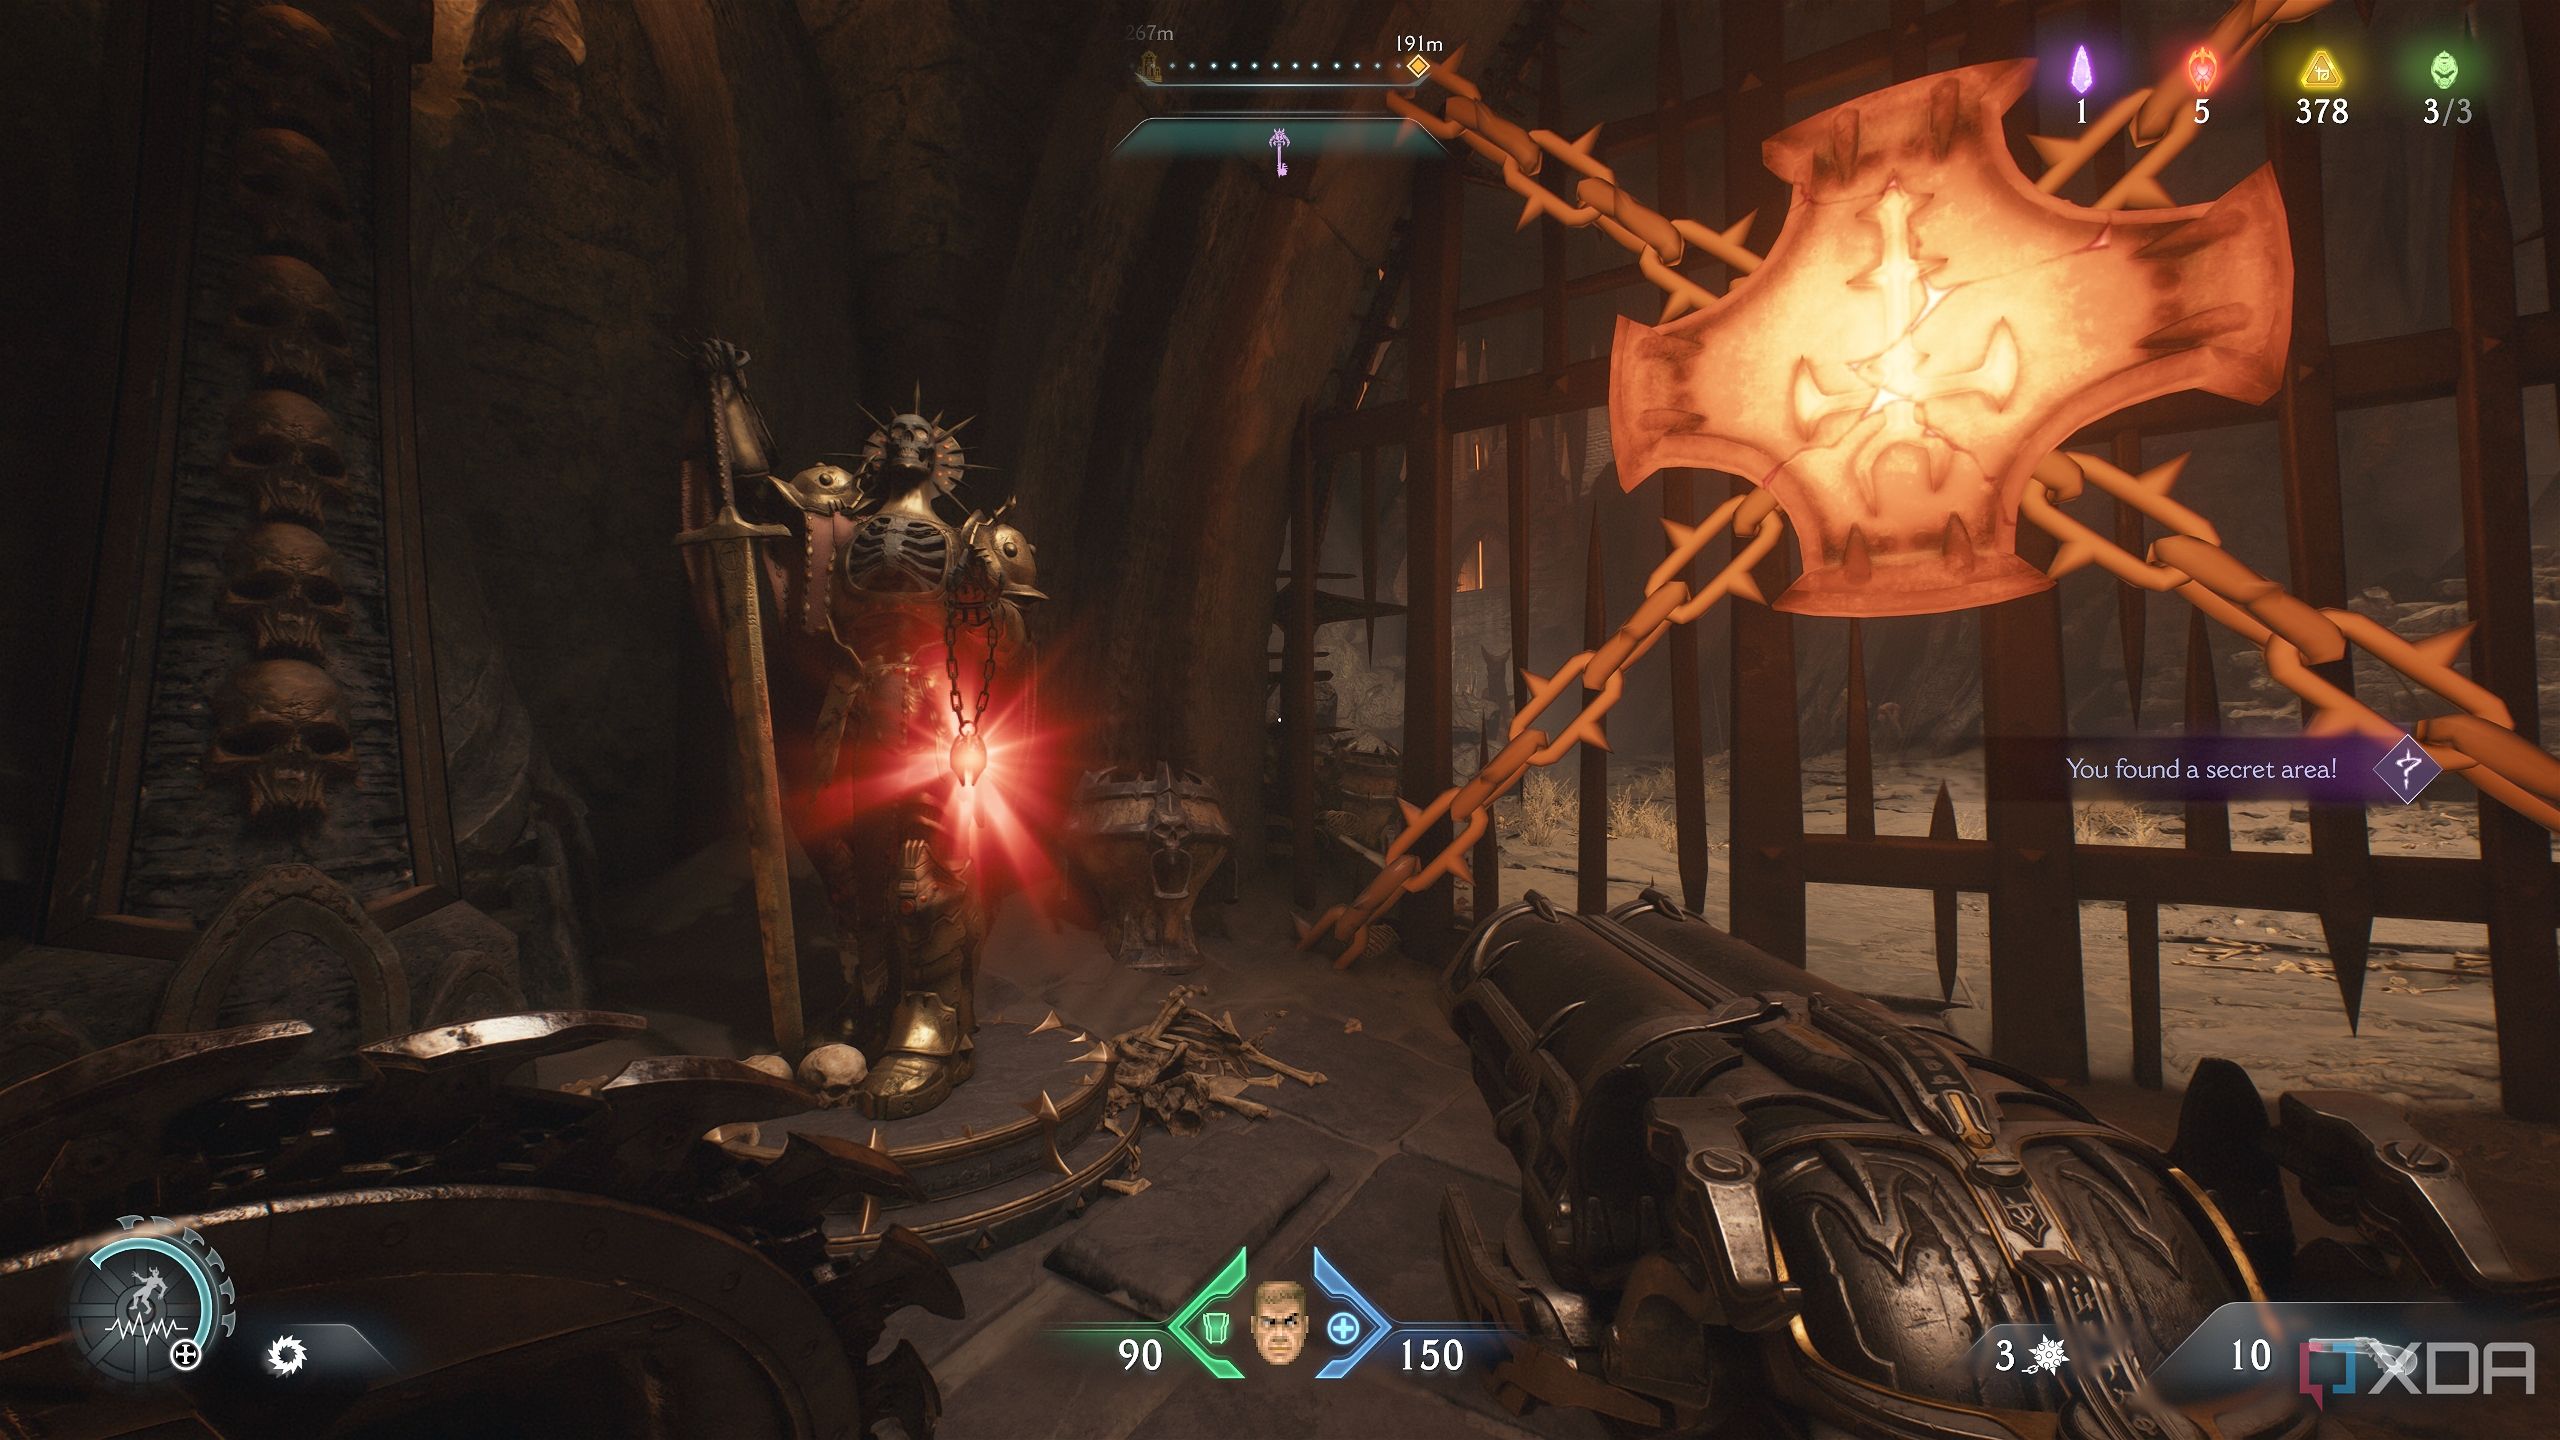
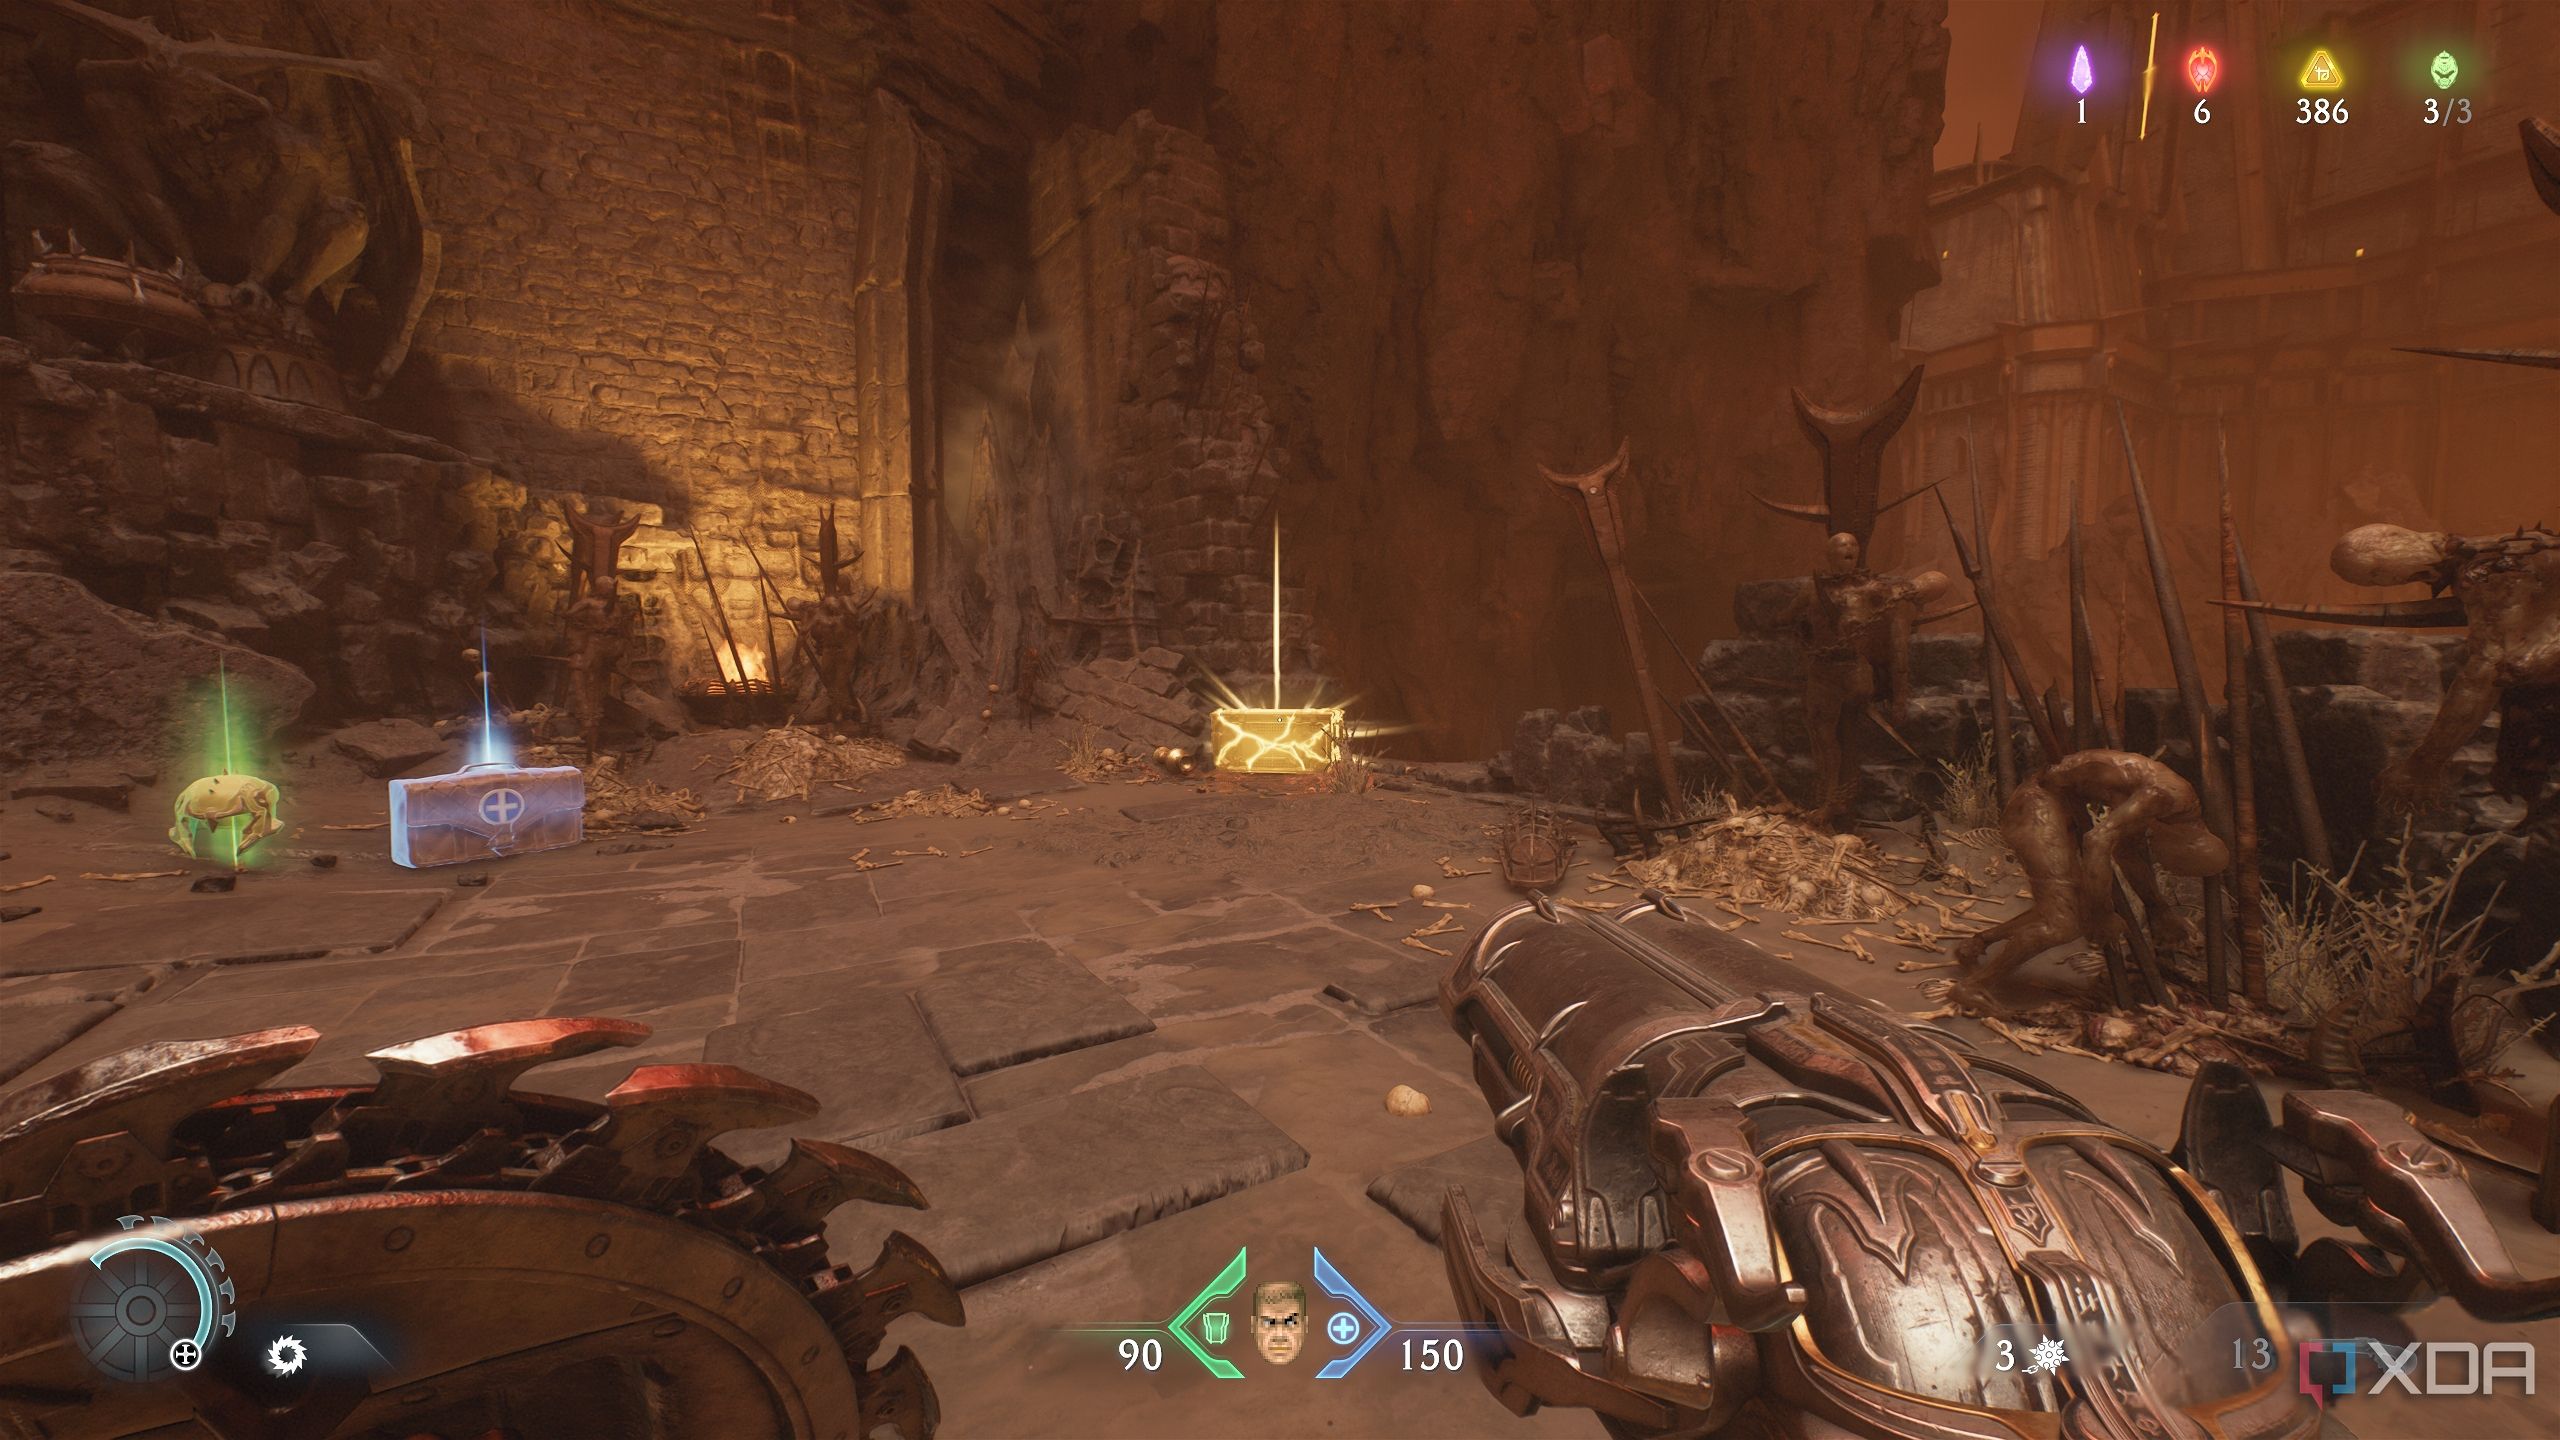
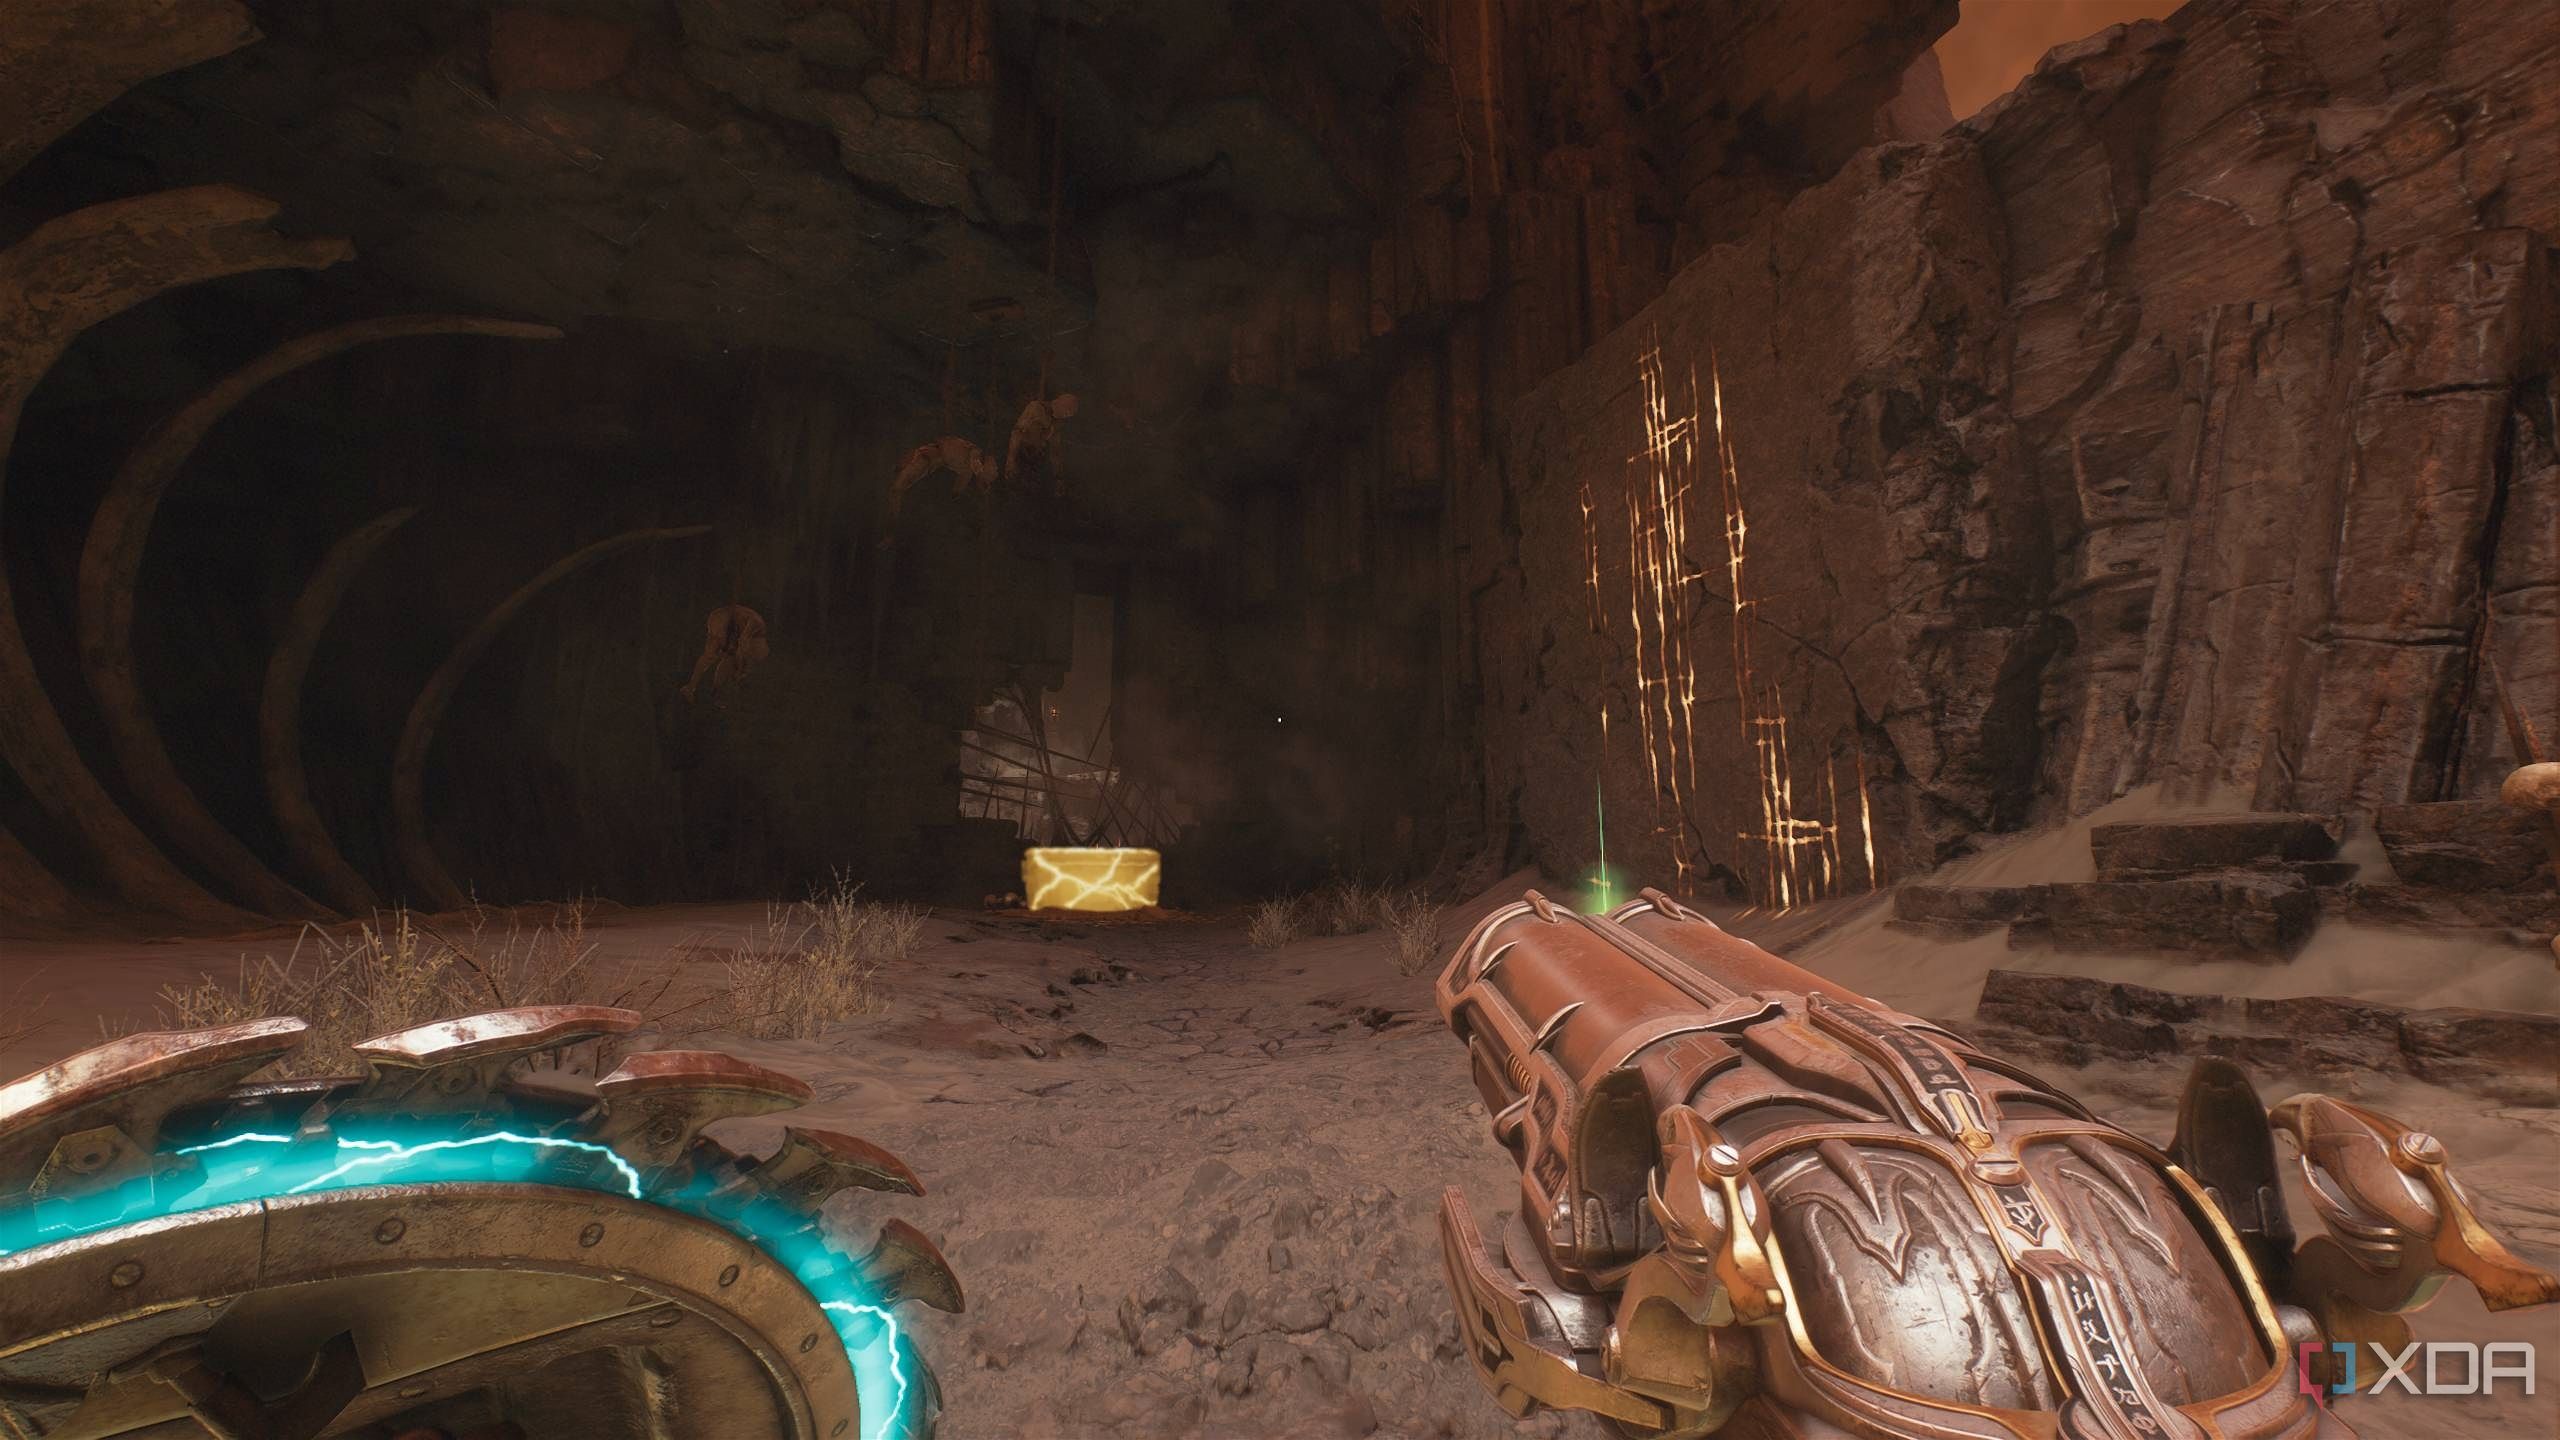
Secret area 5 and gold chest
Climbing up a broken tower for gold
Now, instead of heading down, head up to reach the location above.
You'll see a long bridge with a building at its end. The gates are locked, and you can see a purple keycard inside.
Simply walk to the left side of the structure, and spot a green flesh node overhead.
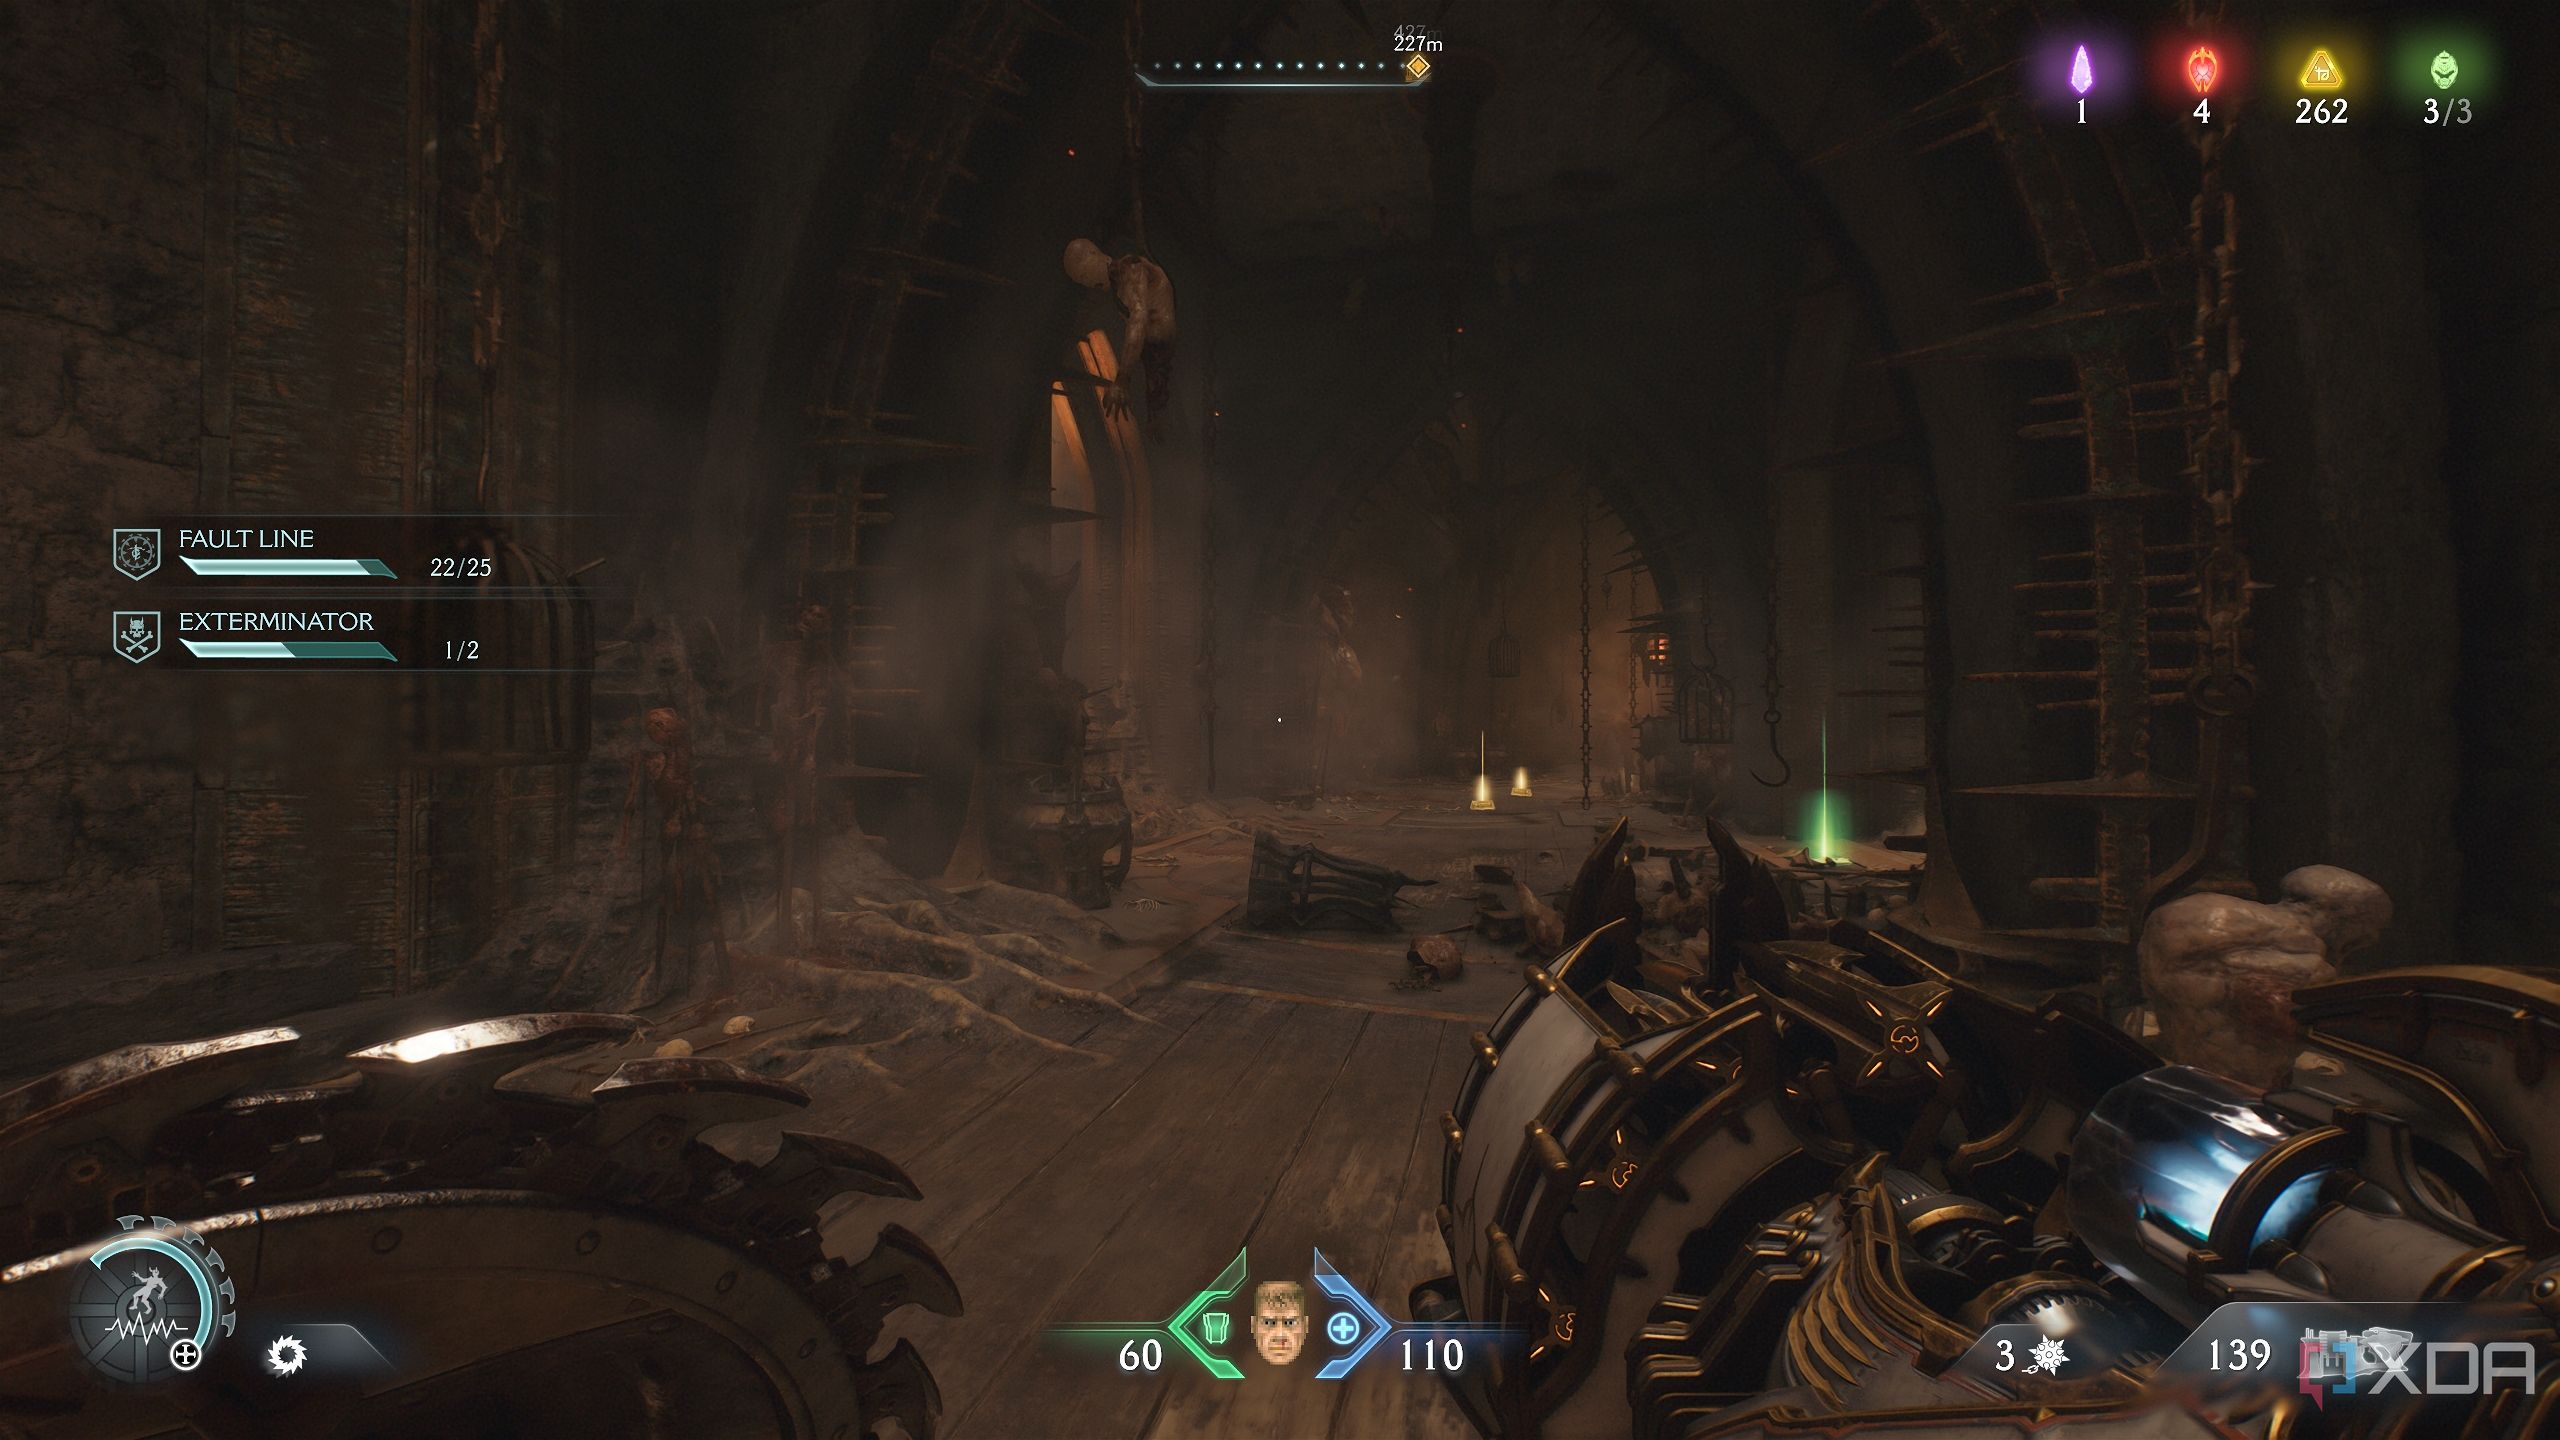
Use it to climb up, and you’ll enter a corridor lined with skeletons.
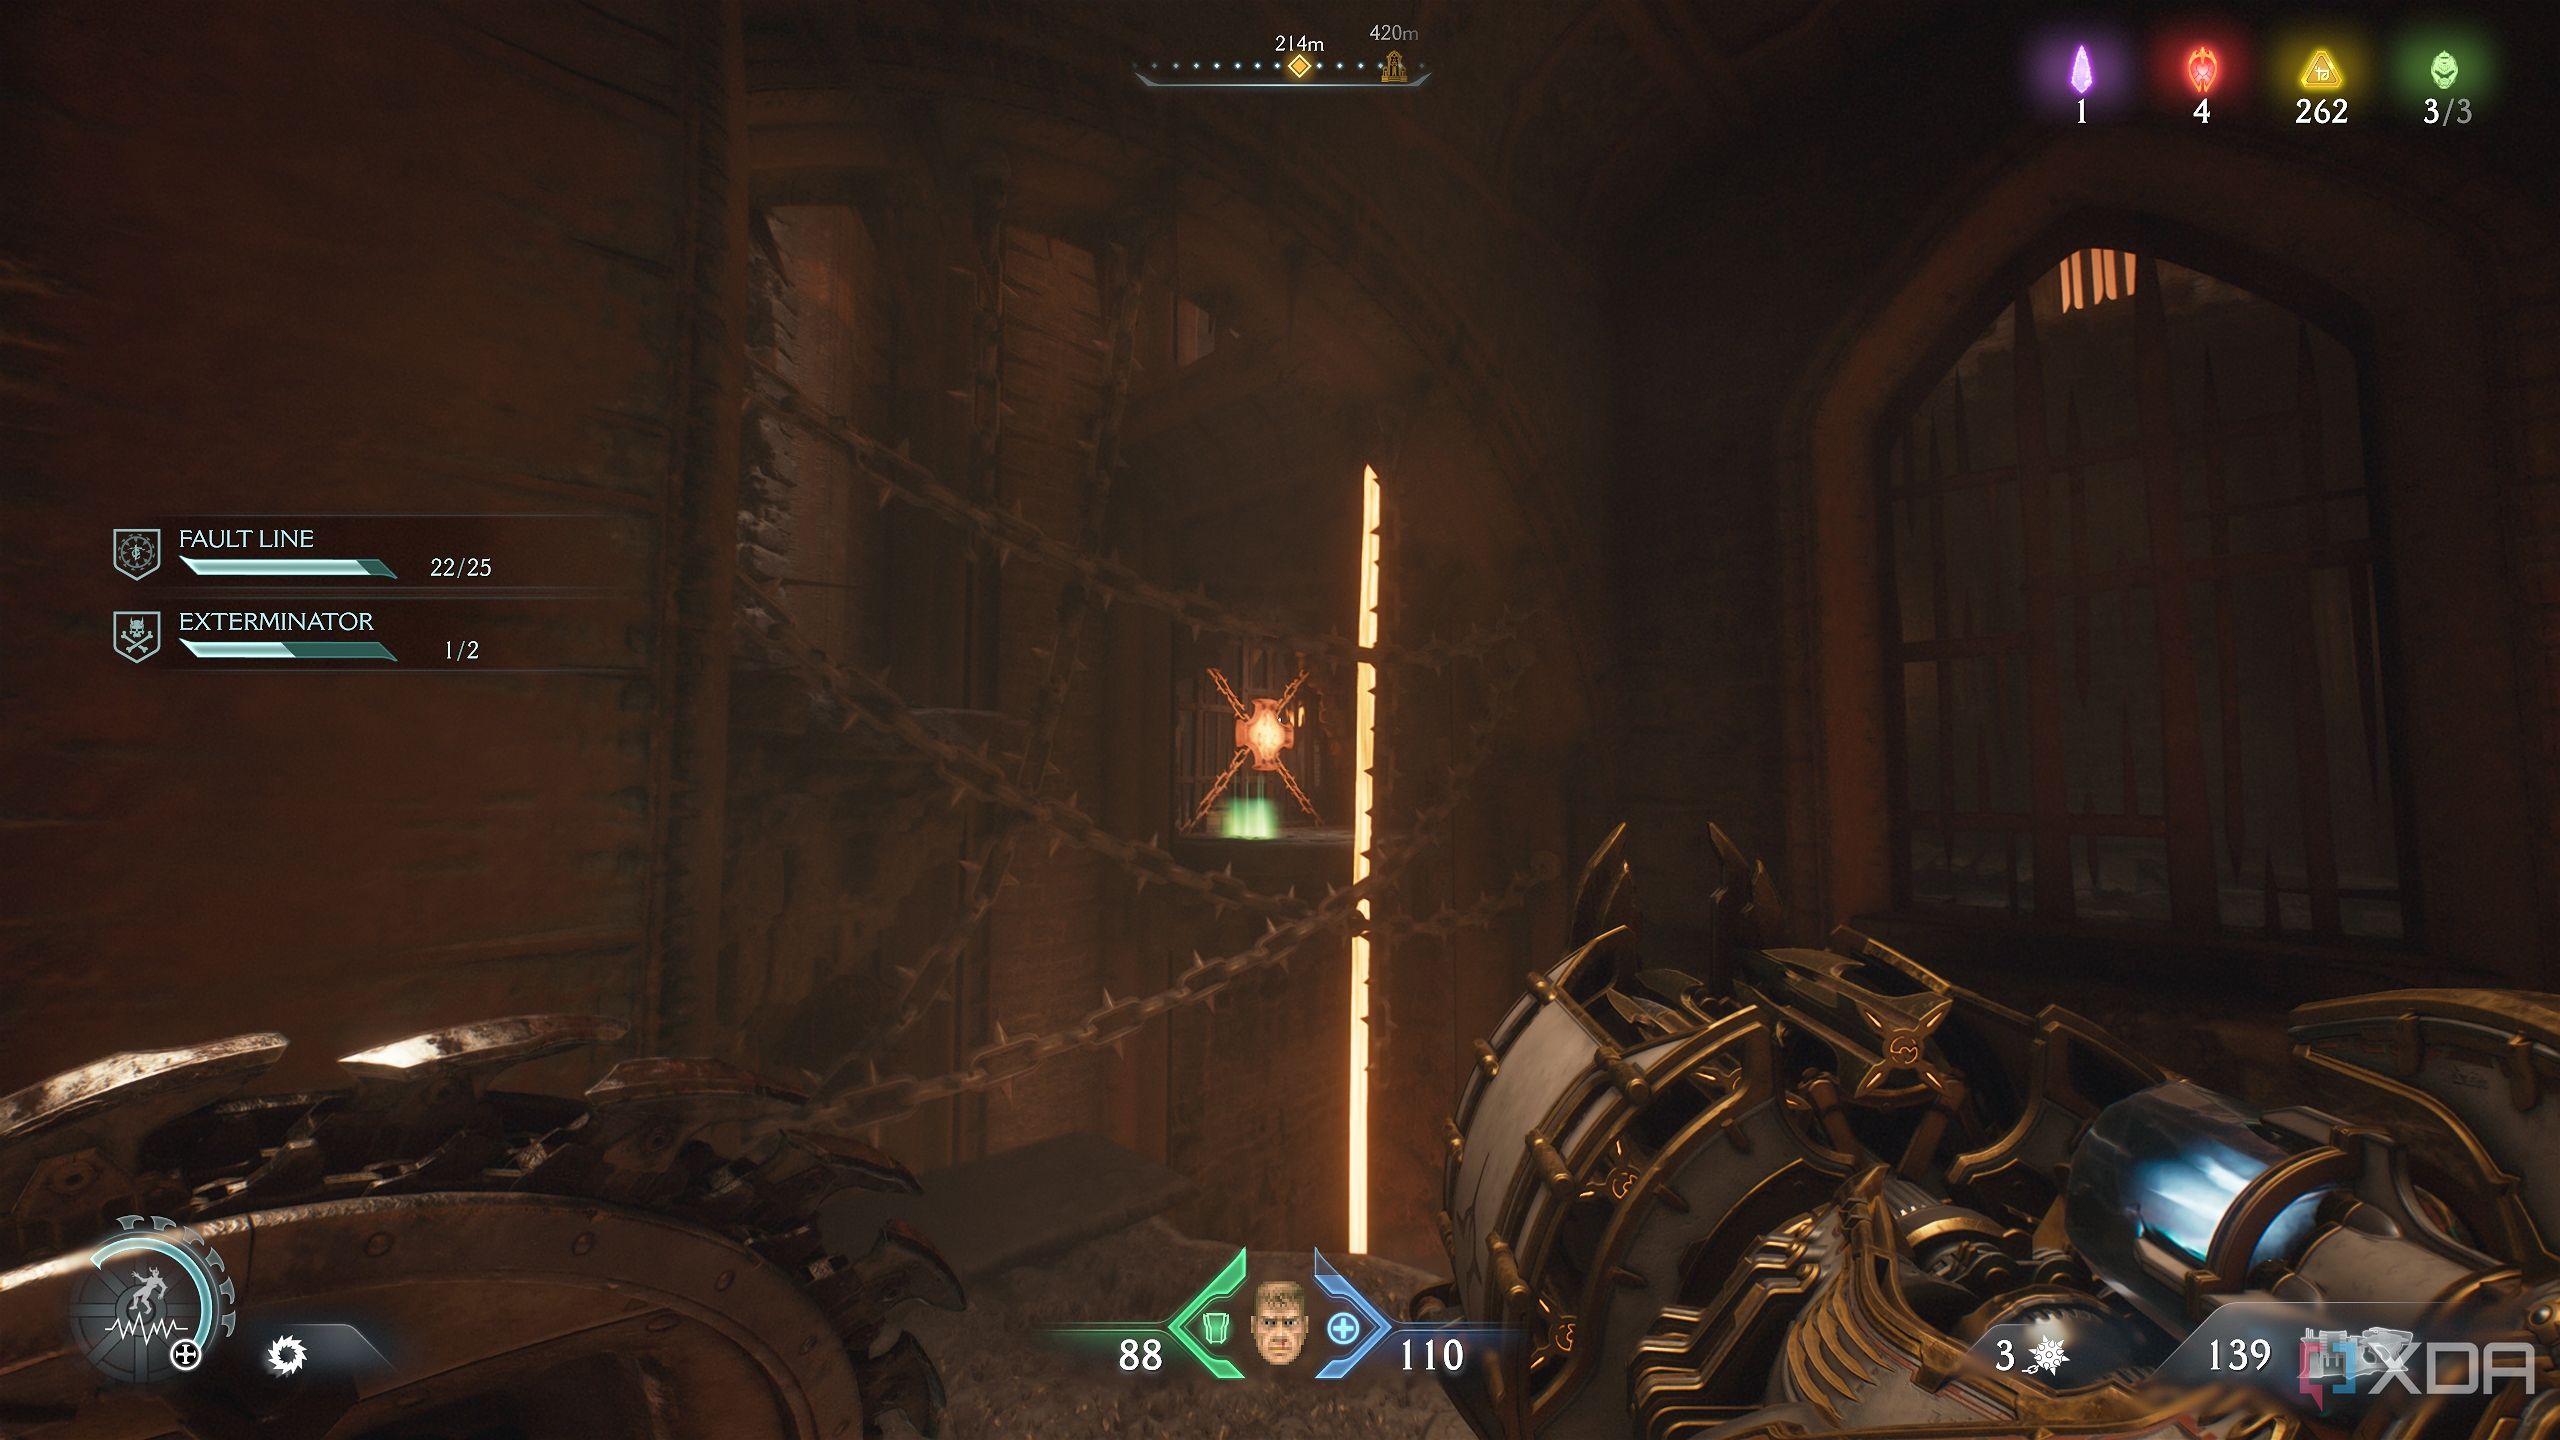
Start walking right, and immediately to your right, you’ll reach a small balcony ledge with armor pickups. Look in the distance to see a heated metal cross to your left. Break it with your Shield Throw.
Head back inside and proceed forward, picking up gold bars on the way, avoiding fire traps, and fighting an armored Hellknight.

Once you reach the gate where you cut the metal cross from, look to your right to see a scramble wall above you.
Jump to it and climb it, and immediately head right to unlock secret area 5 and a gold chest.
Related
How Doom: The Dark Ages will take Doom to new heights
Doom: The Dark Ages is the next evolution of the Doom series, and it could end up being the best one yet.
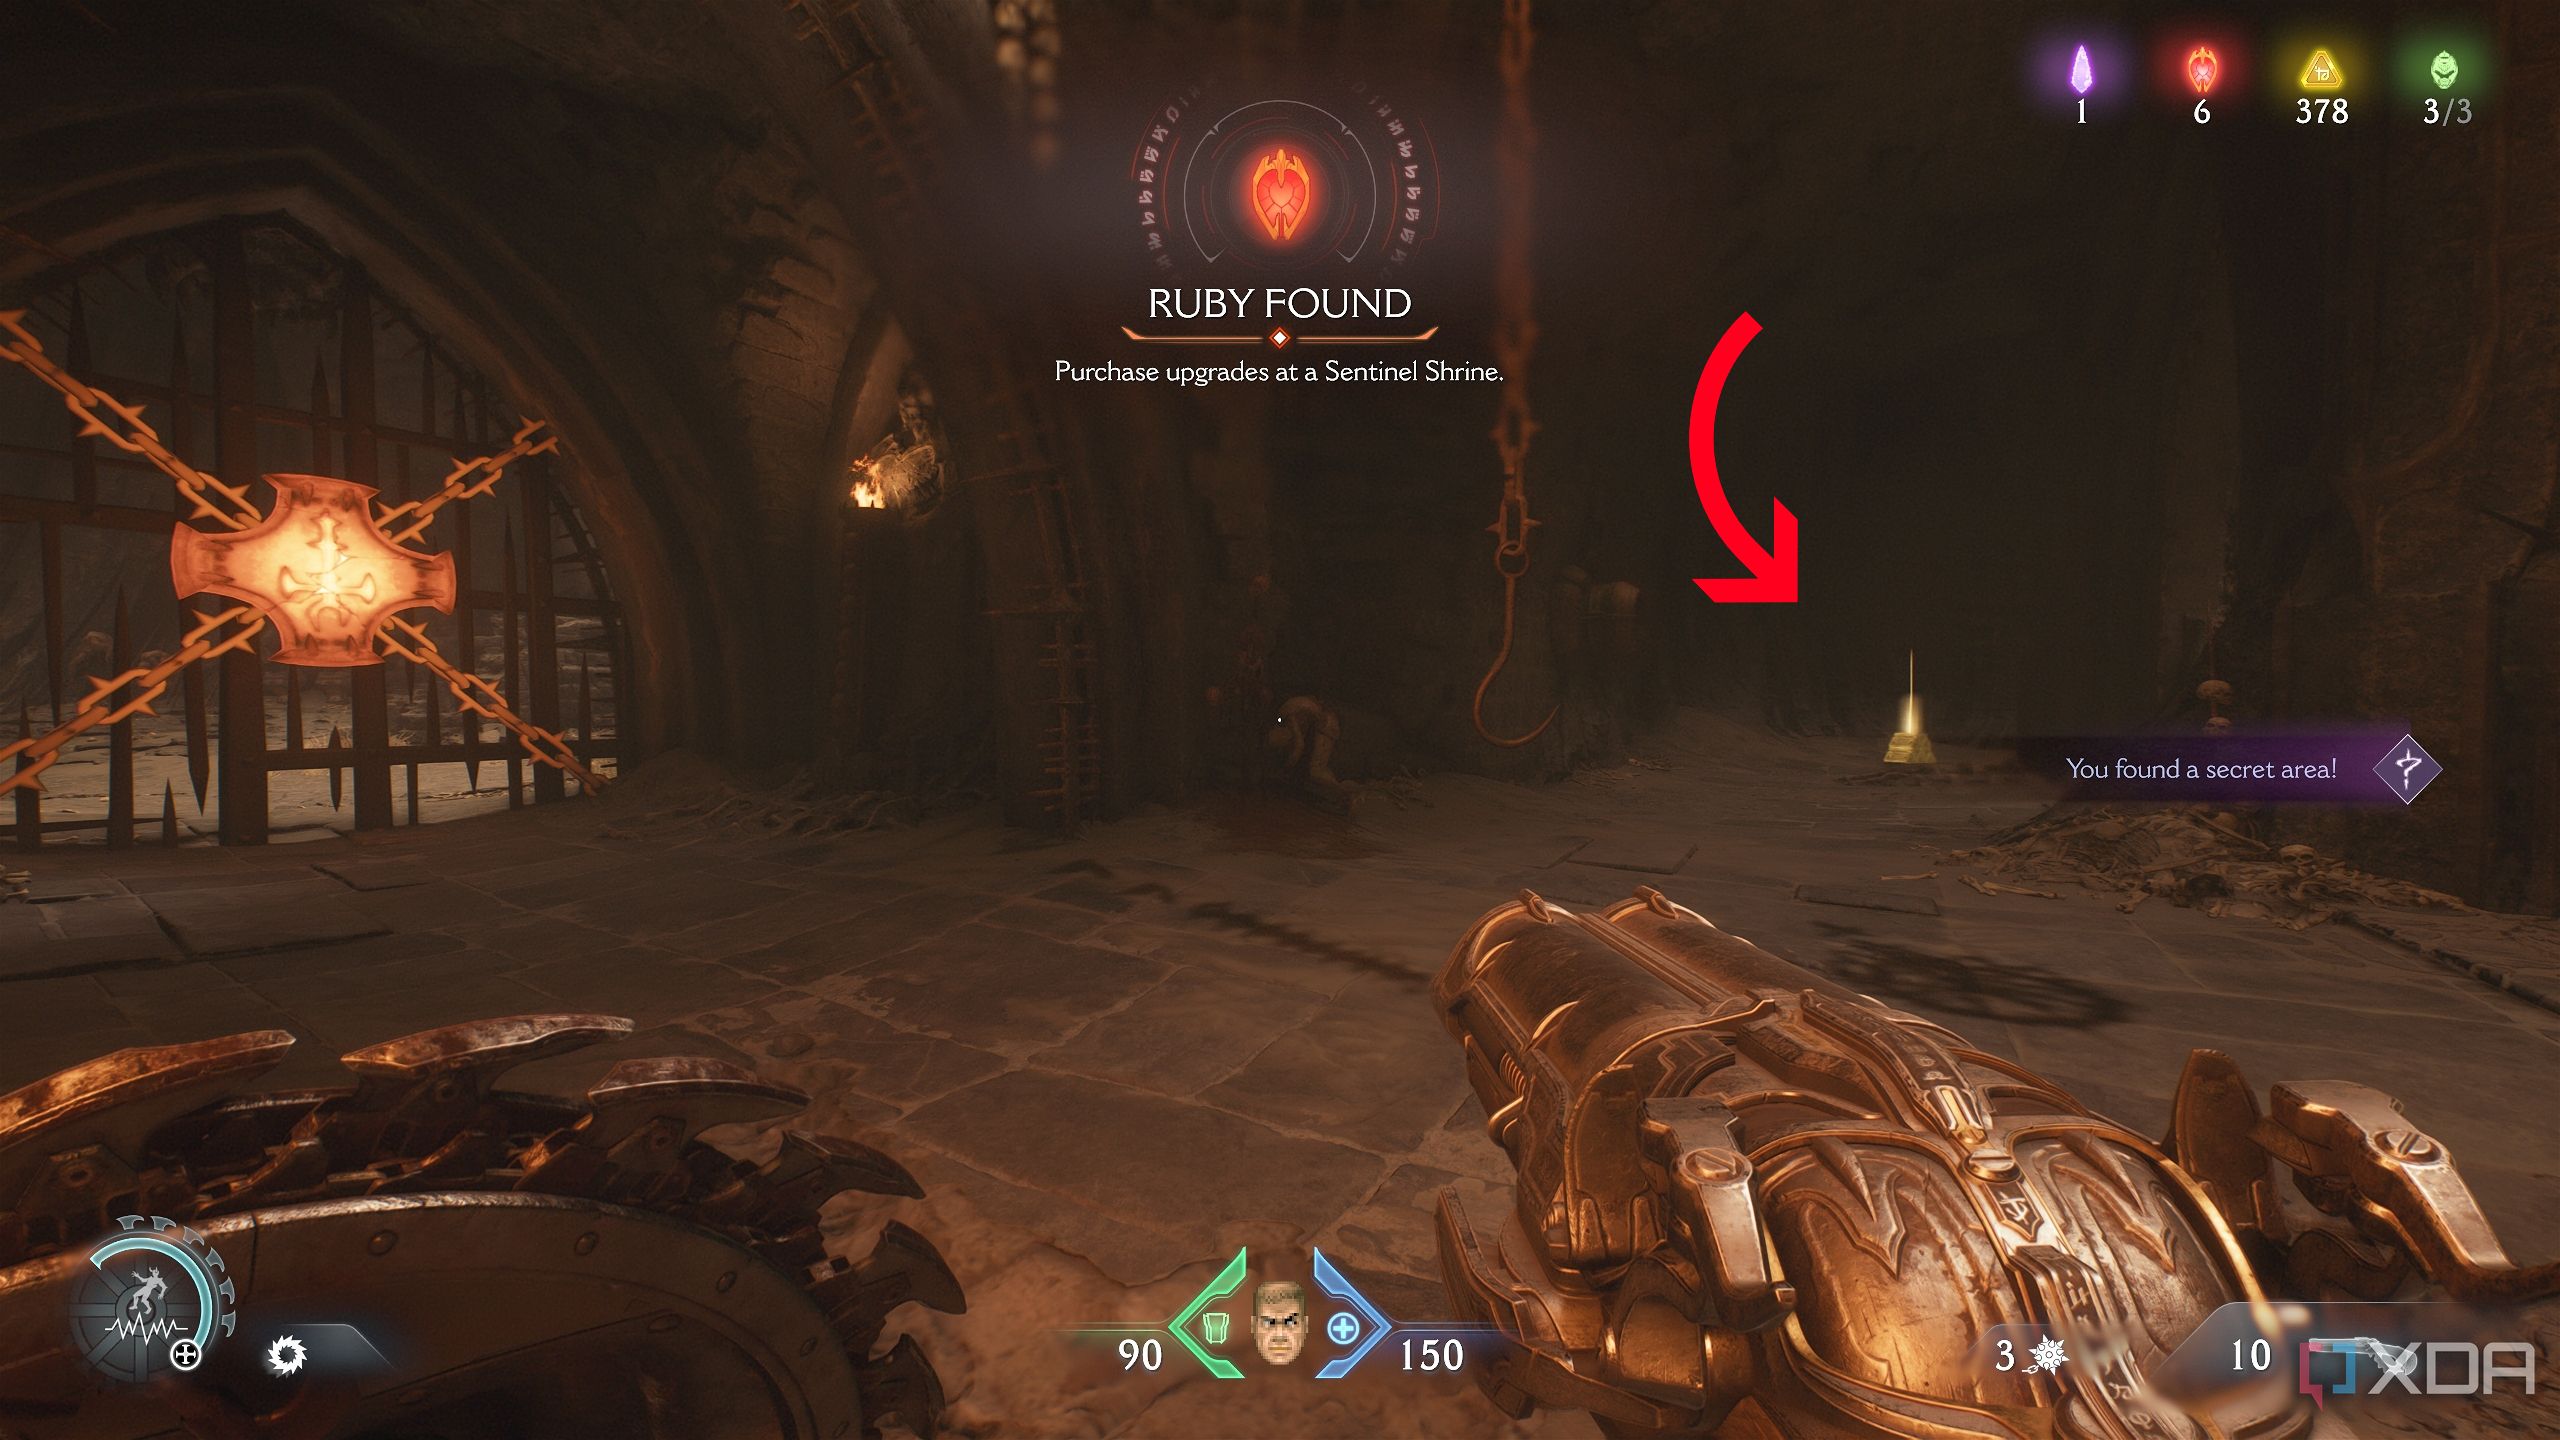
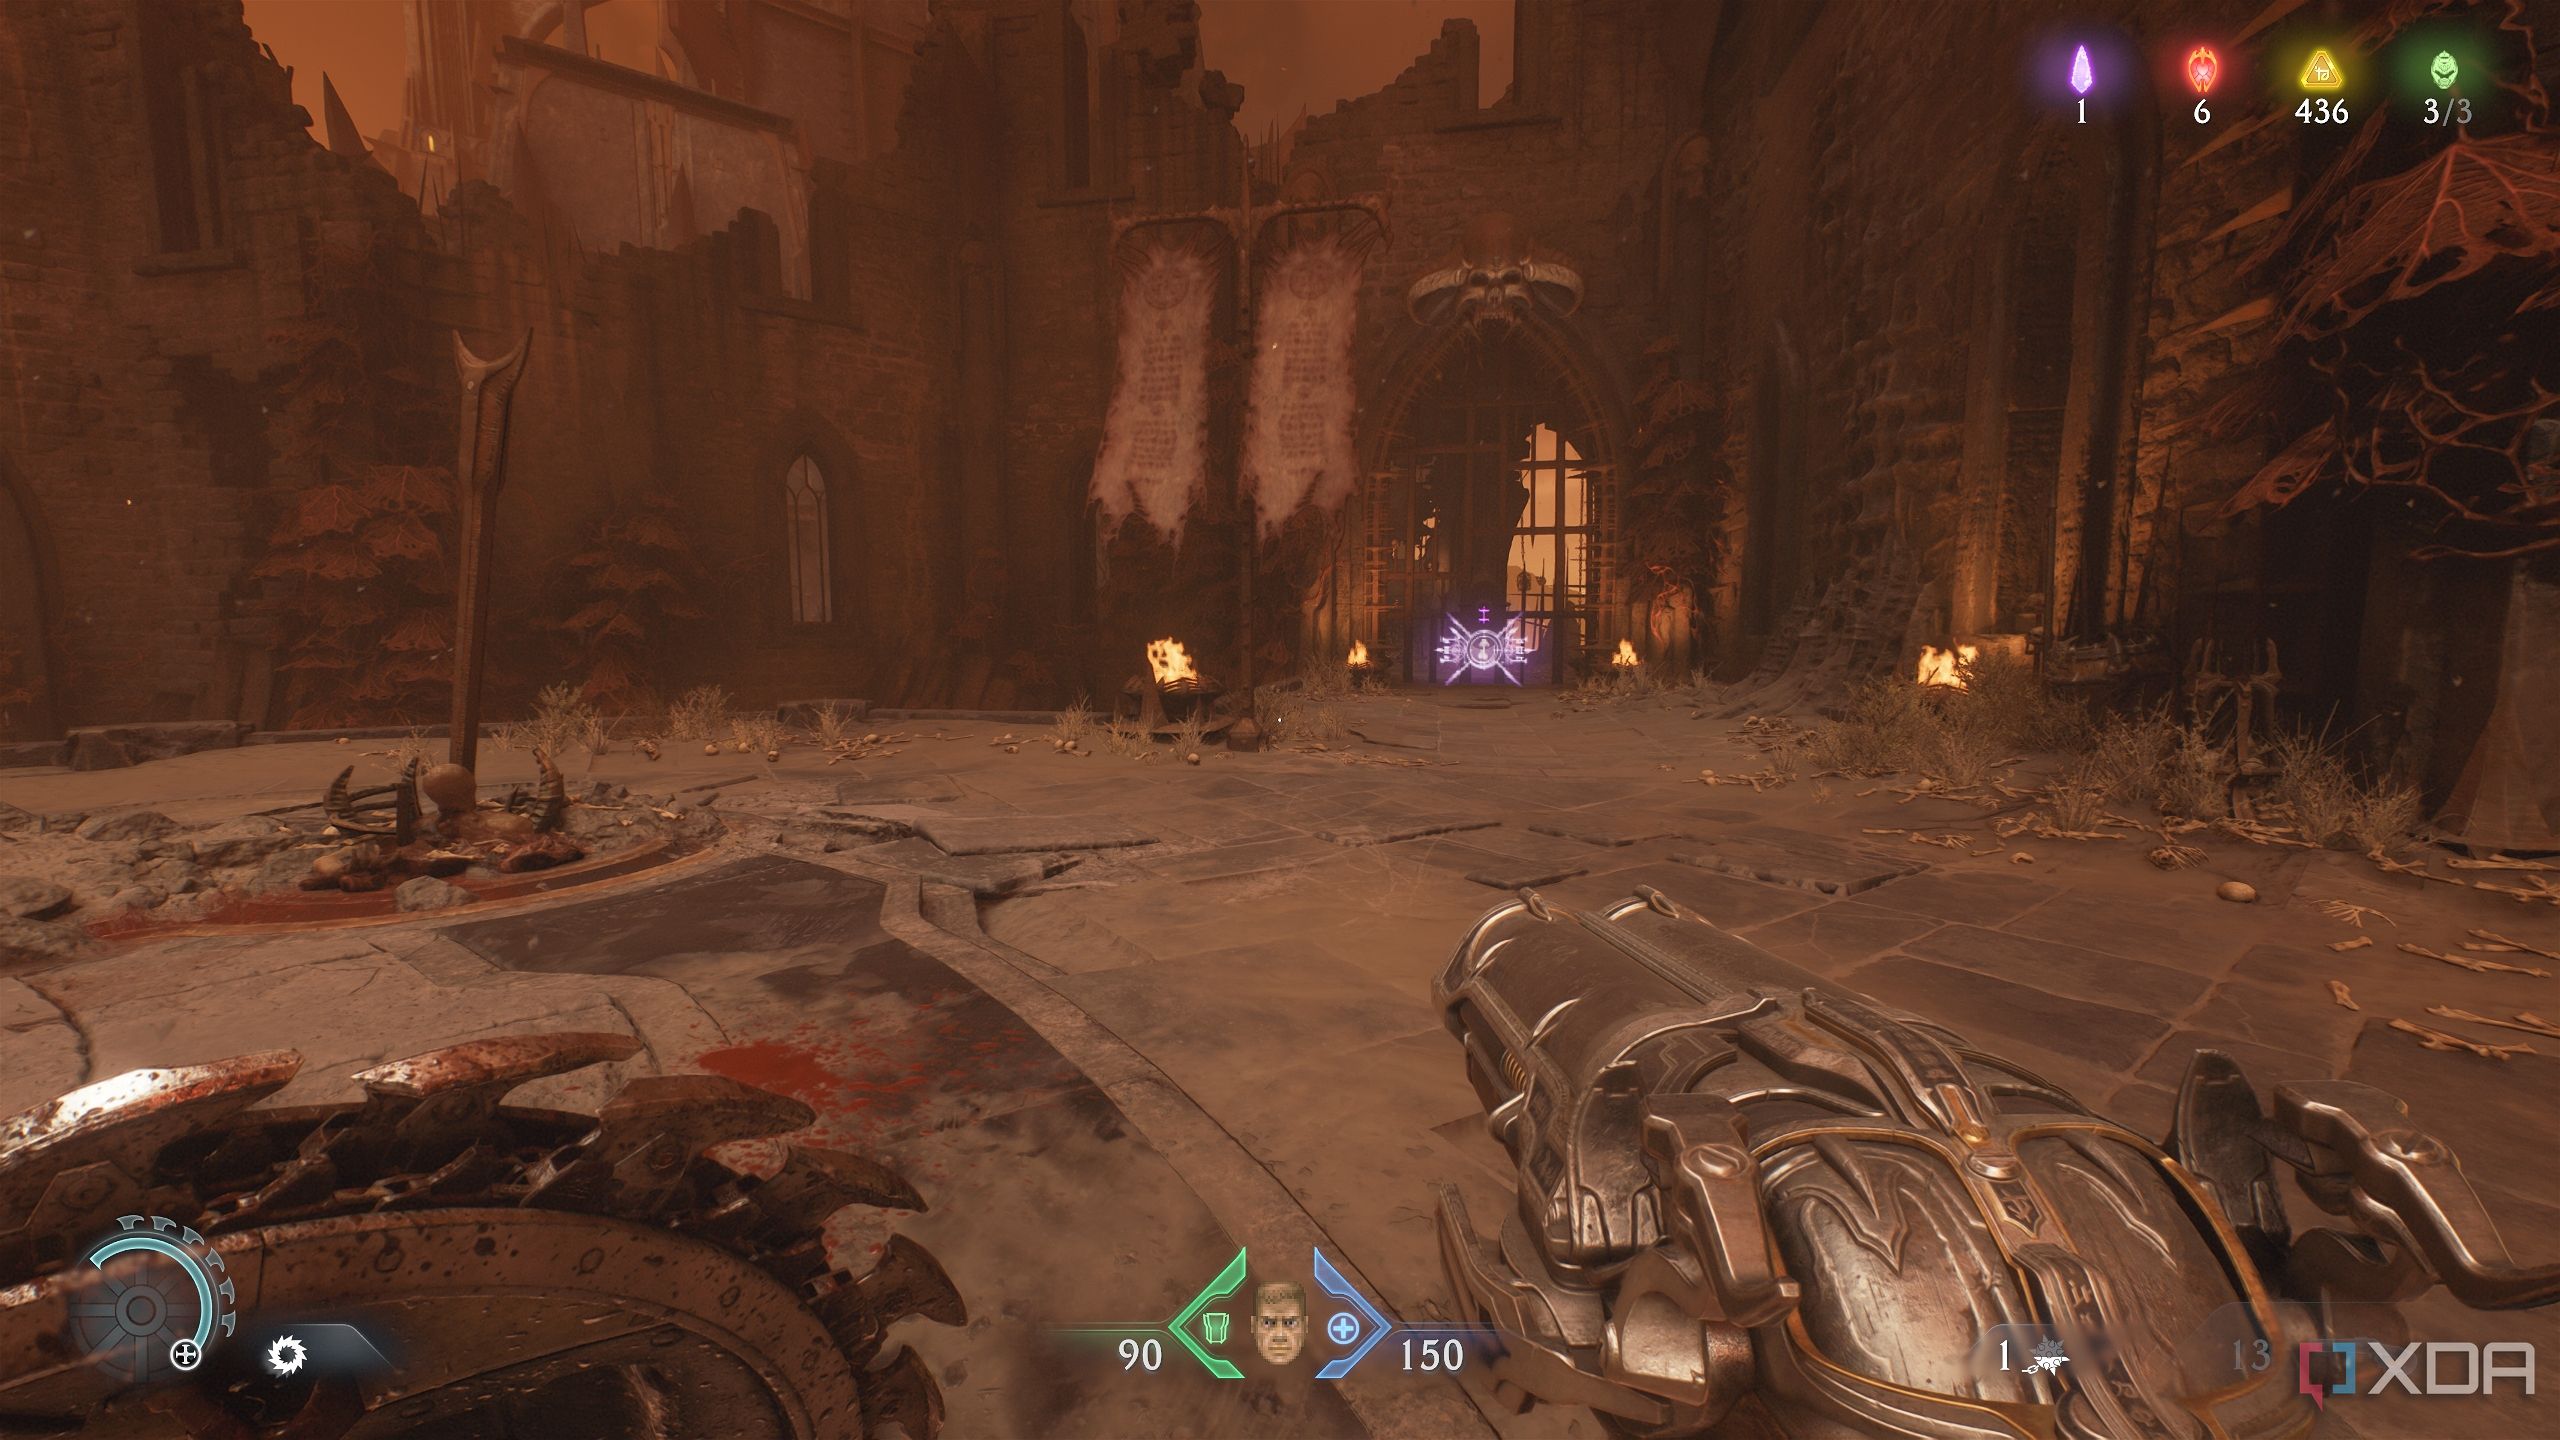
Secret area 6, purple key, and Red Ruby 2
A pretty big fight for another Red Ruby
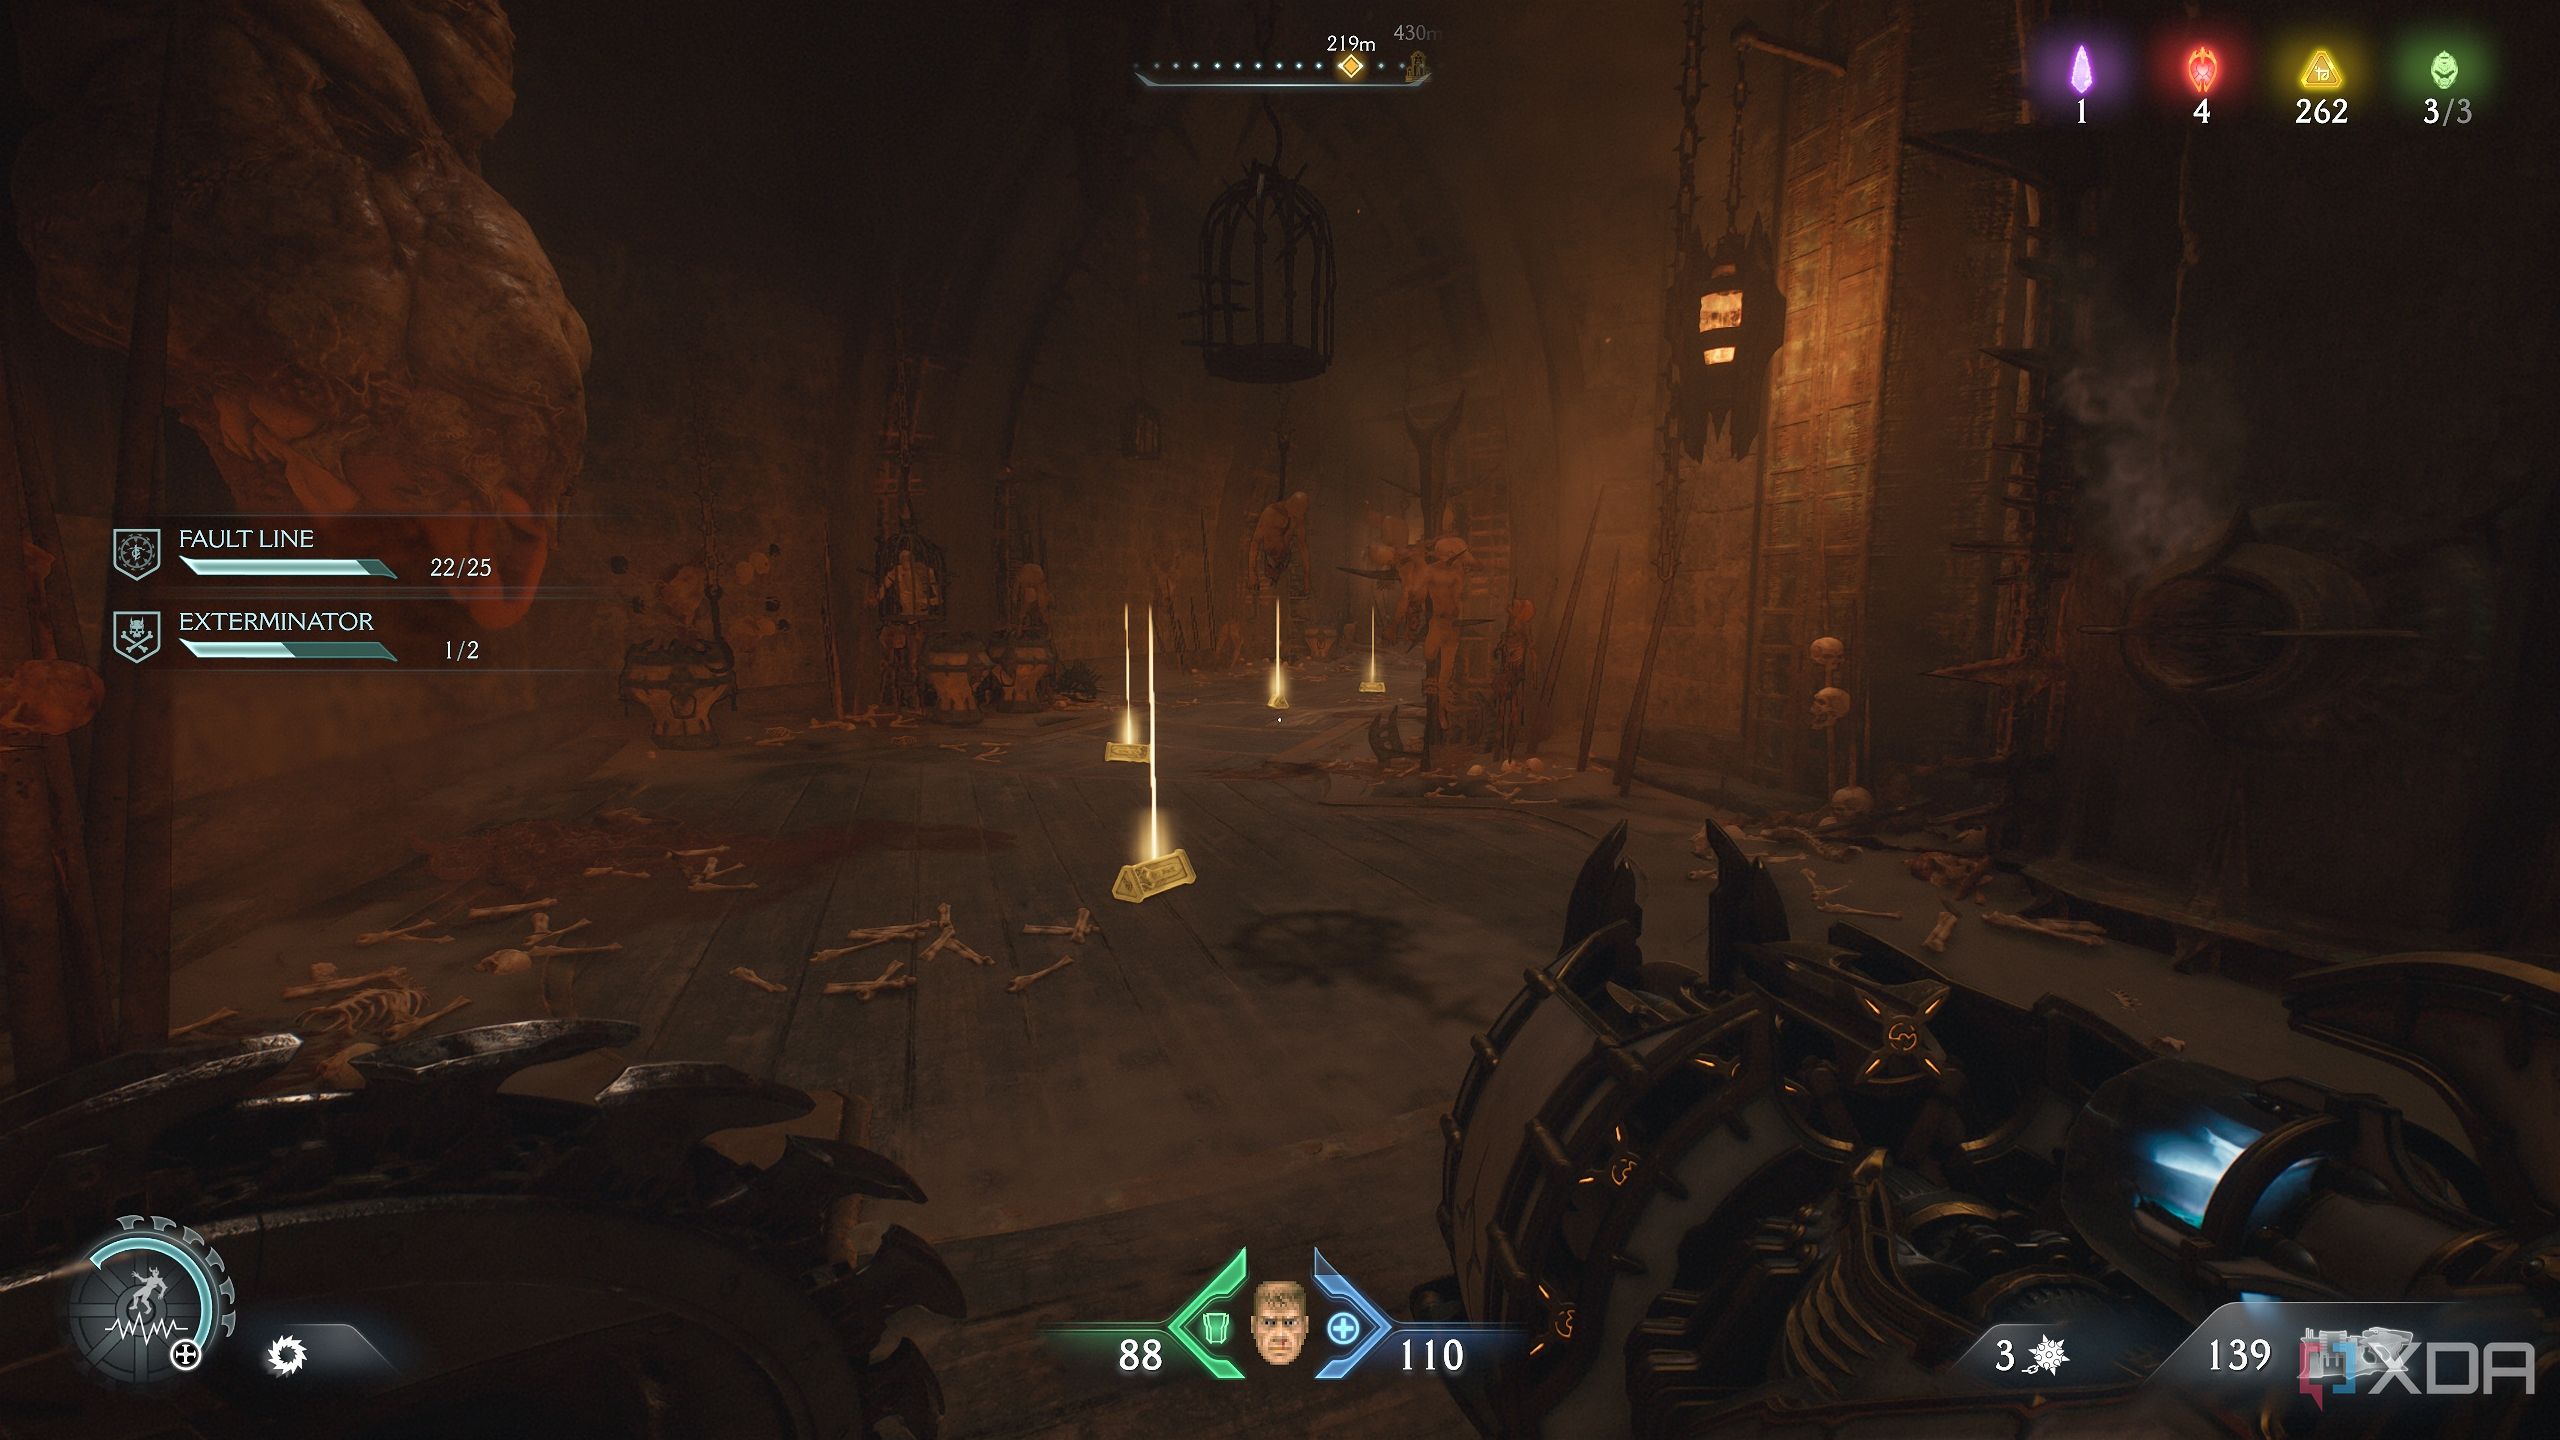
From the gold chest, turn around and walk all the way to the other end of the winding corridor, and to your left, you’ll see a path leading to the center of the structure.
There’s a hole in the wooden floor here, so drop into it.
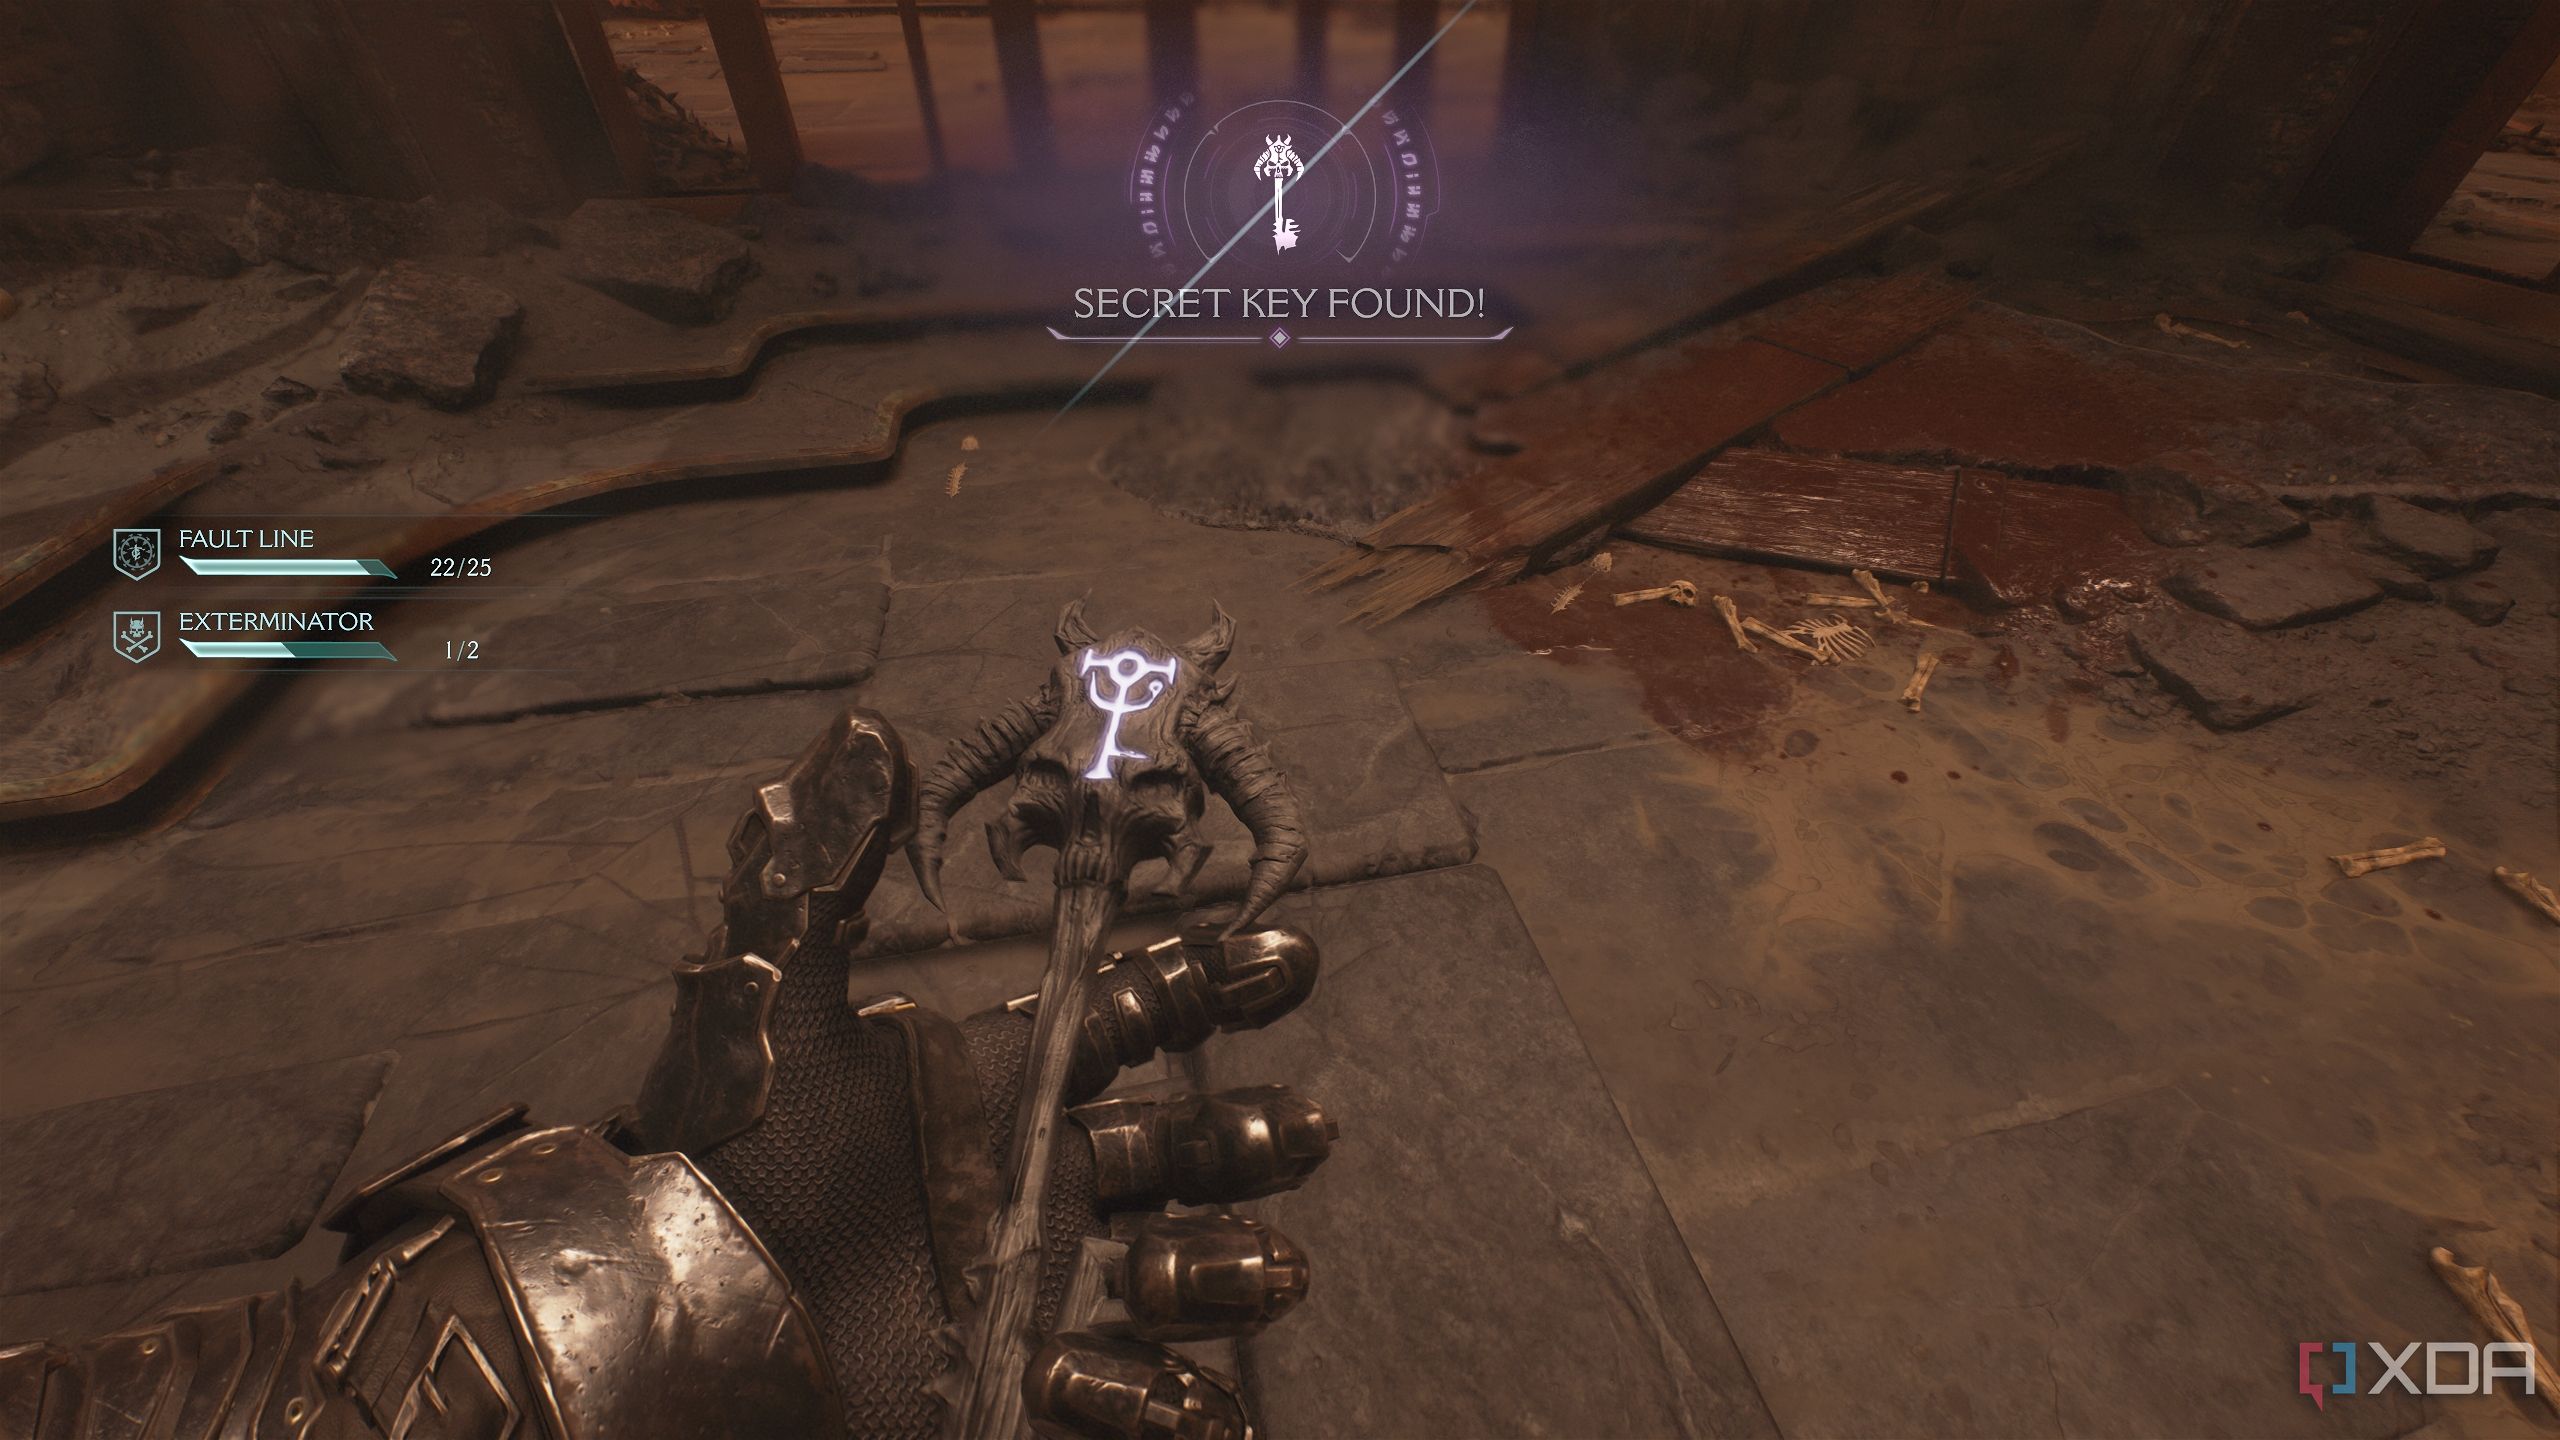
You’ll land right on top of the purple key.
Deal with the enemies outside, and walk back to the location above.
Walk up to the purple-locked gate you just saw a few minutes ago.
Enter the gate to unlock secret area 6 and the second Gore Portal you need for the Exterminator mission challenge.
Prepare for a fight and destroy the Gore Portal. Once the dust settles, the statue right outside will unlock, and you can collect the second Red Ruby in the level.
Secret area 7 and a Life Sigil
A cramped corridor and some arachnophobia

Once you collect the Red Ruby, head downwards to the left, and you should see two huge archways immediately. Choose the one on the left, and drop down.
Follow the path to reach an opening to the right, and climb in.
A Spiderdemon will attack — dispatch it and collect the trail of gold bars off the ground. Once you break the heated metal cross, step outside from the exit.
Immediately afterwards, you’ll see a locked gate with a huge skull mounted outside.
Look to the top of this room, and you’ll see a green flesh node on the left roof.
Use it to climb up to the first platform, and then again to climb towards it further. Once you do, you’ll unlock secret area 7 and a Life Sigil.
Related
Secret area 8, Red Ruby 3, and a gold chest
You're going to have to bring down a Hell Cannon first
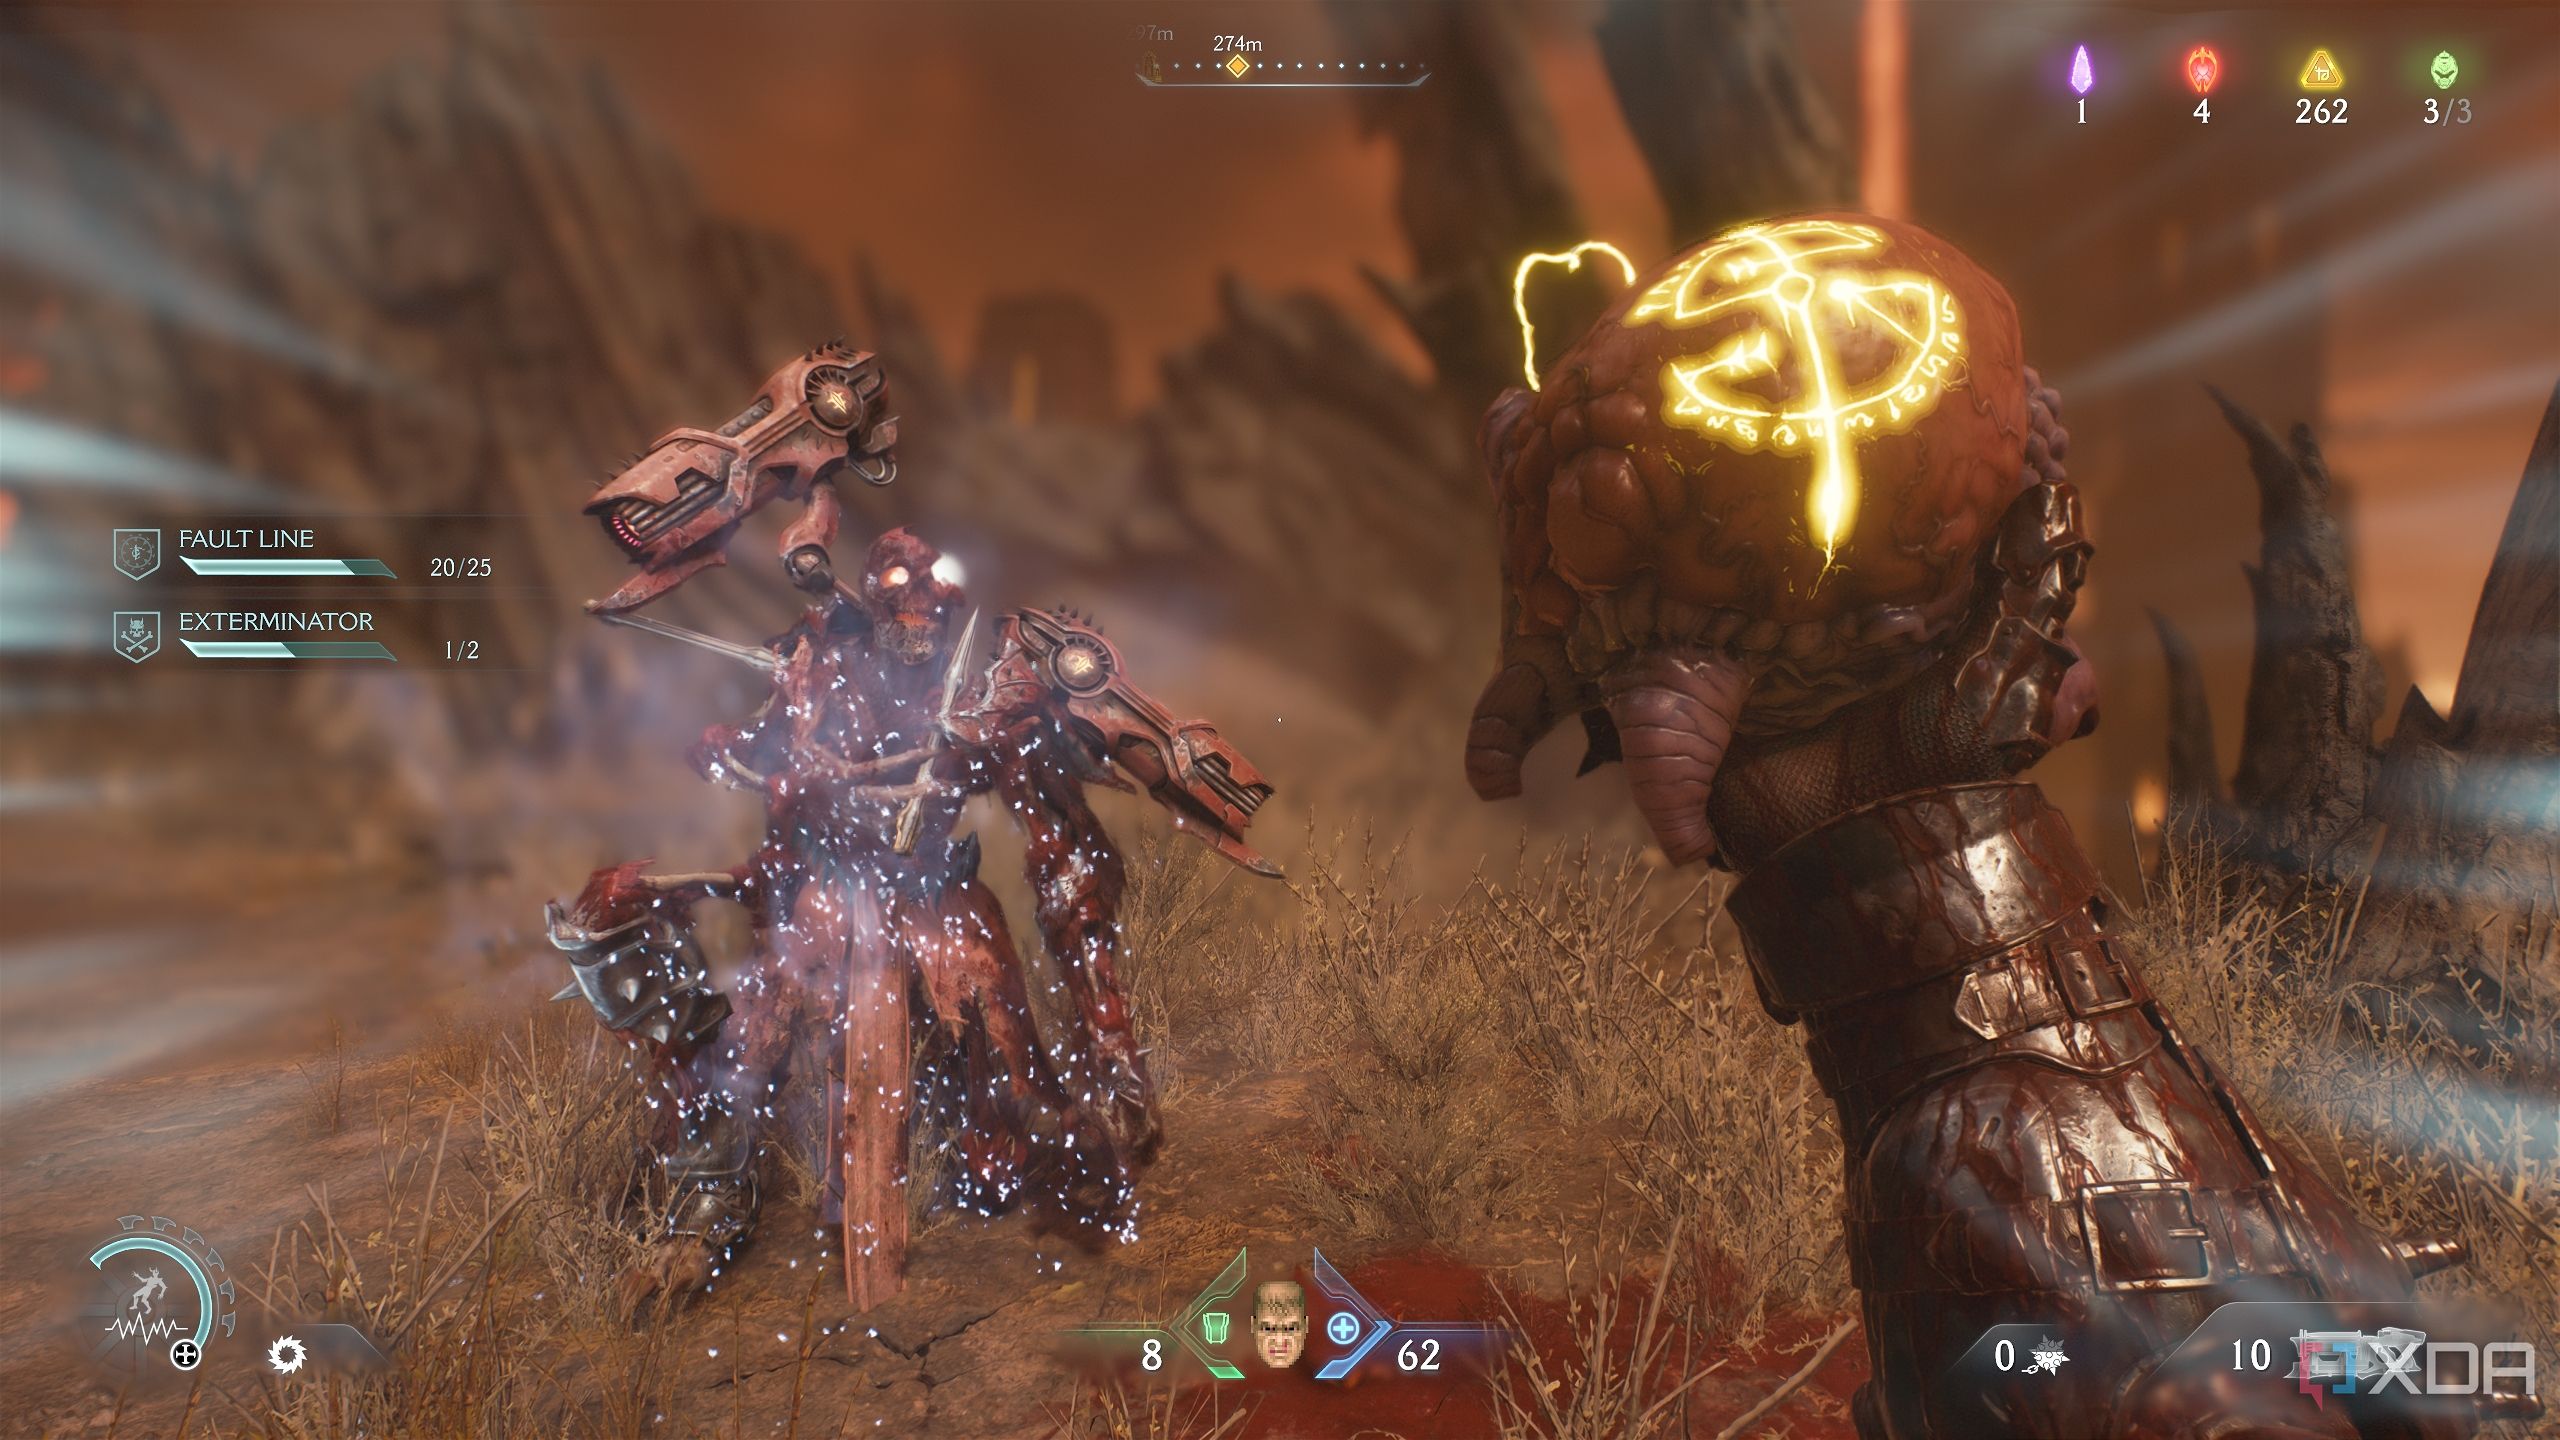
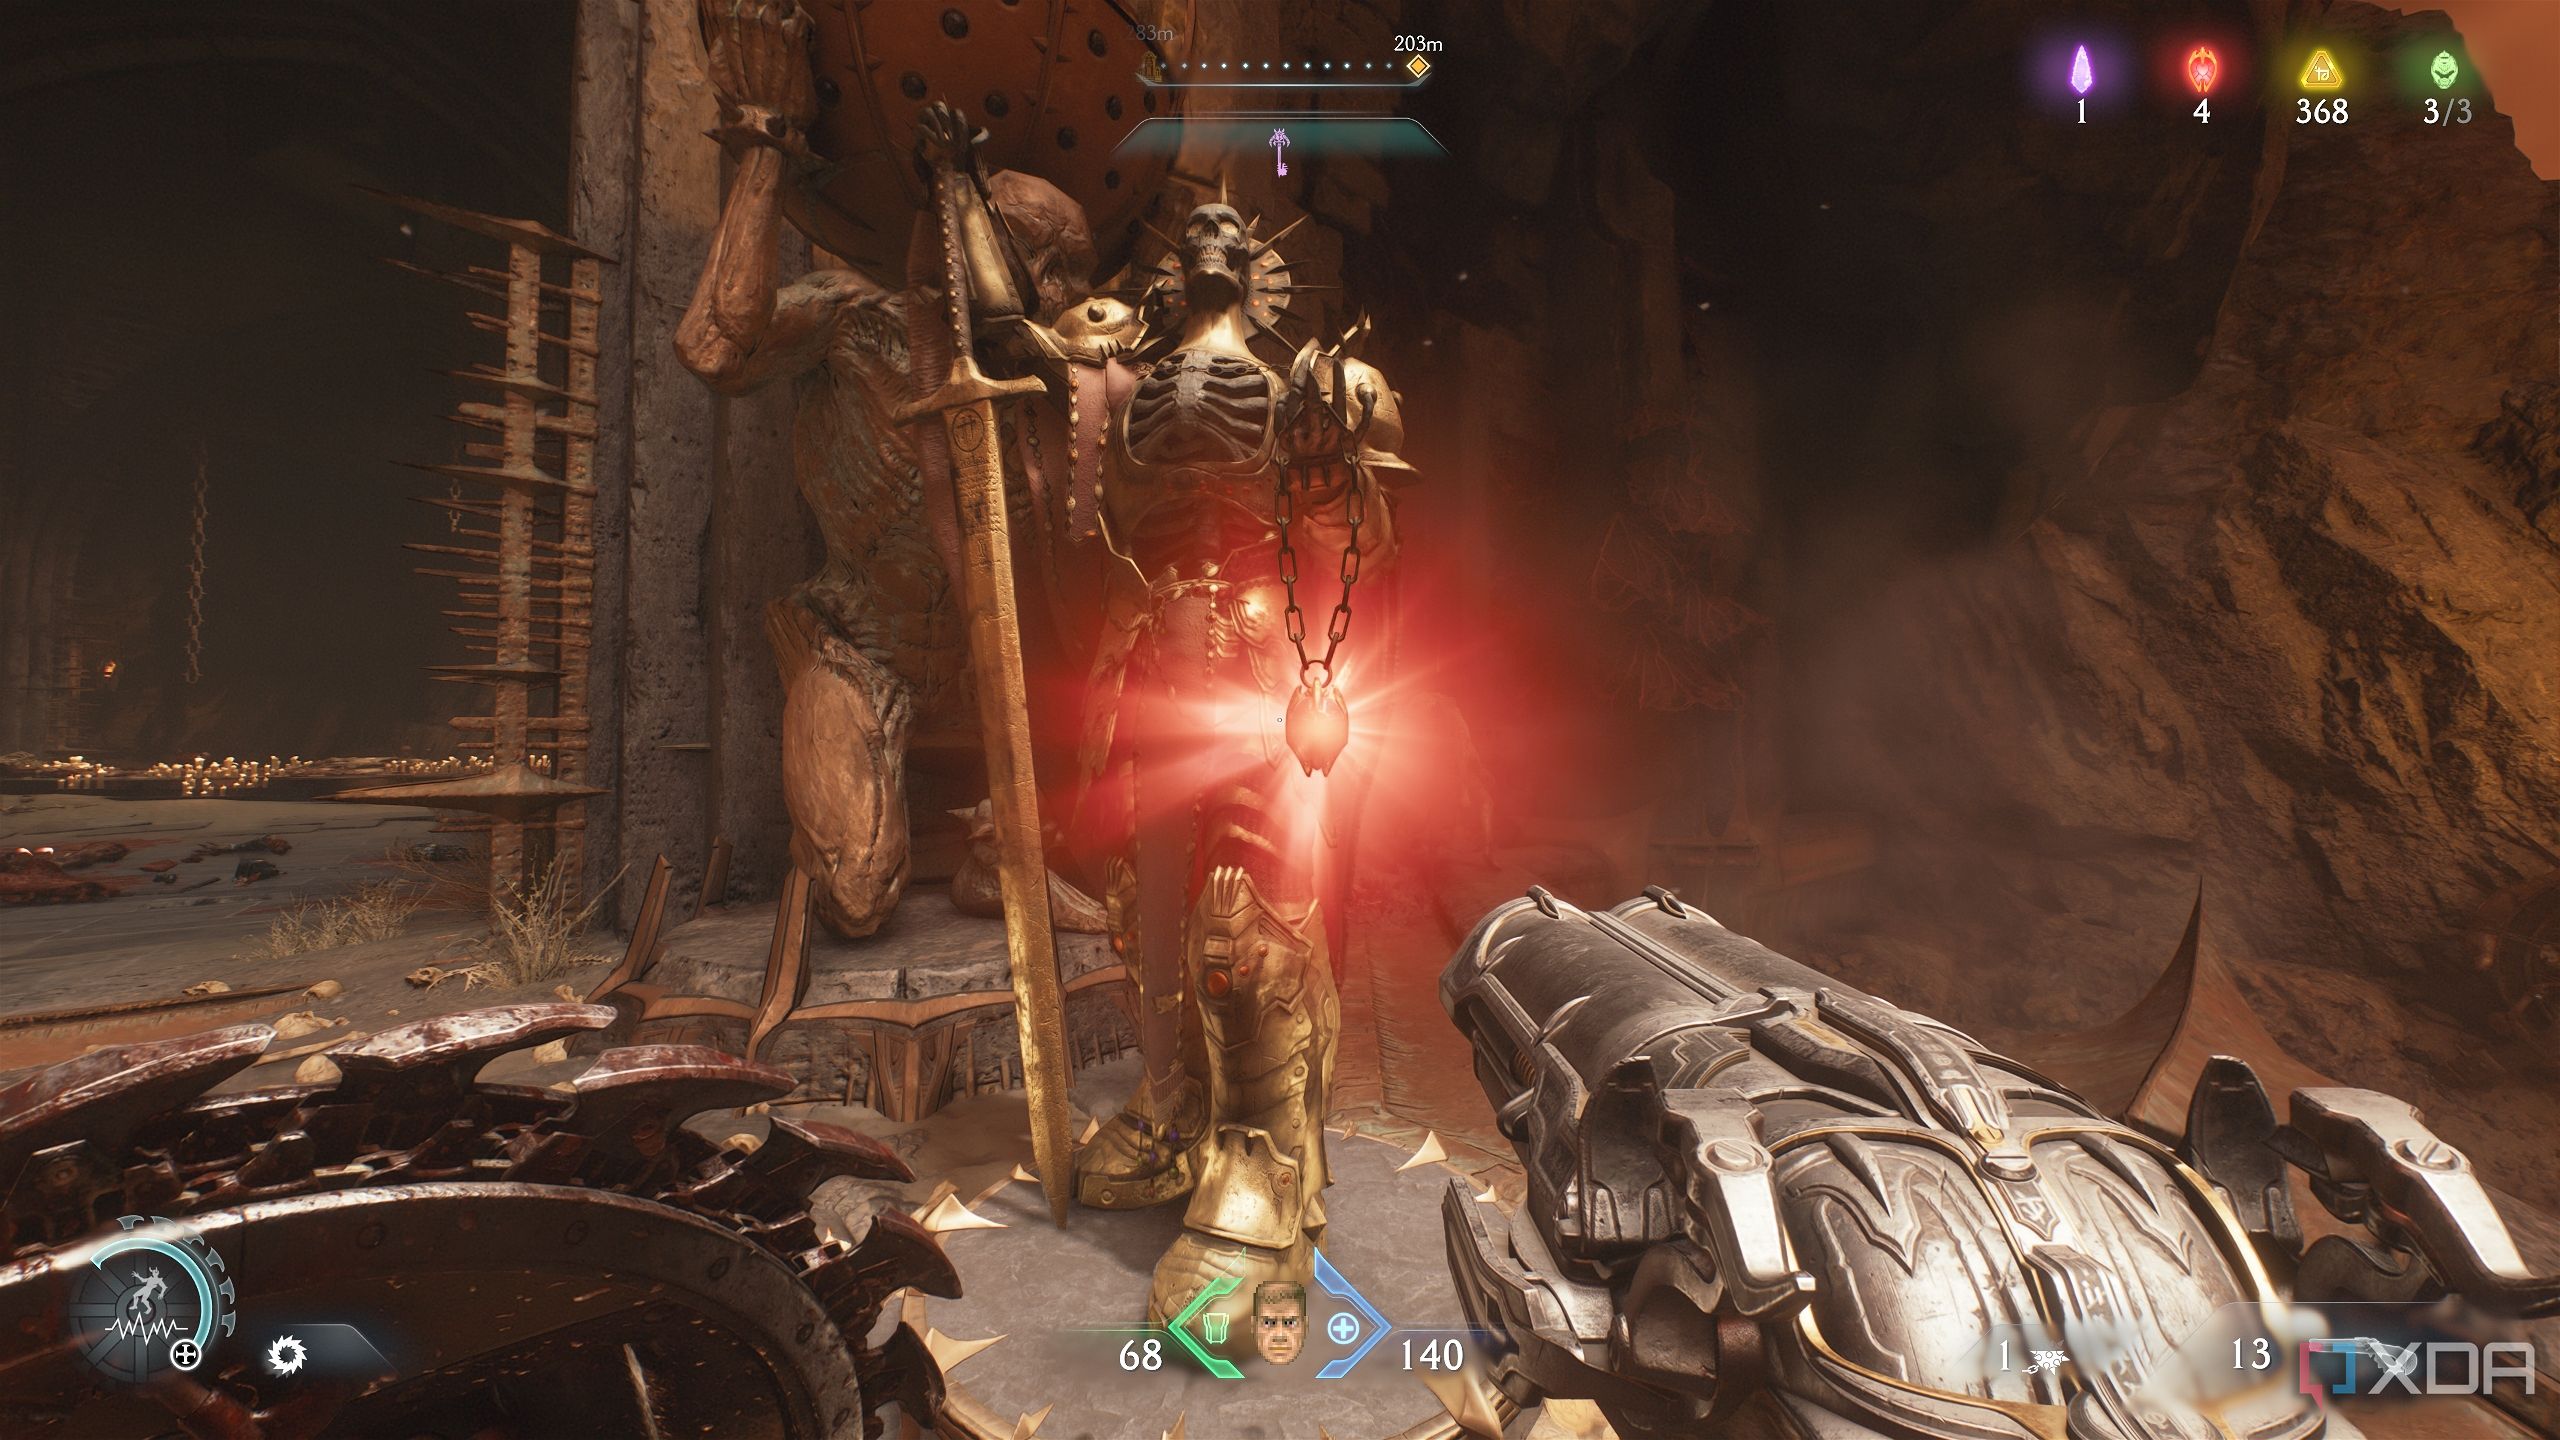
Right outside the room where you unlock secret area 7, you’ll find yourself in a pretty big encounter with a Leader Cyberdemon for a max health Demonic Essence.
Once you’ve defeated them and taken down the second Hell Cannon, go back to the start of this field, where you exited the room with secret area 7.
Now, turn and walk right, and you’ll see a purple-locked gate.
Open it up, and you’ll unlock secret area 8. A Spiderdemon and Hellknight will attack here, and there are plenty of fire traps as well.
At the end of the room, you’ll see Red Ruby 3.
Before you exit, look carefully, because another gold stack is hiding in this room. Make sure you collect it.
Head back to the field you just came from, and reach this location on the map.
You’ll see a blue jump pad. Hop on it.
The jump pad will bring you to a rocky ledge holding armor, health, and a gold chest.
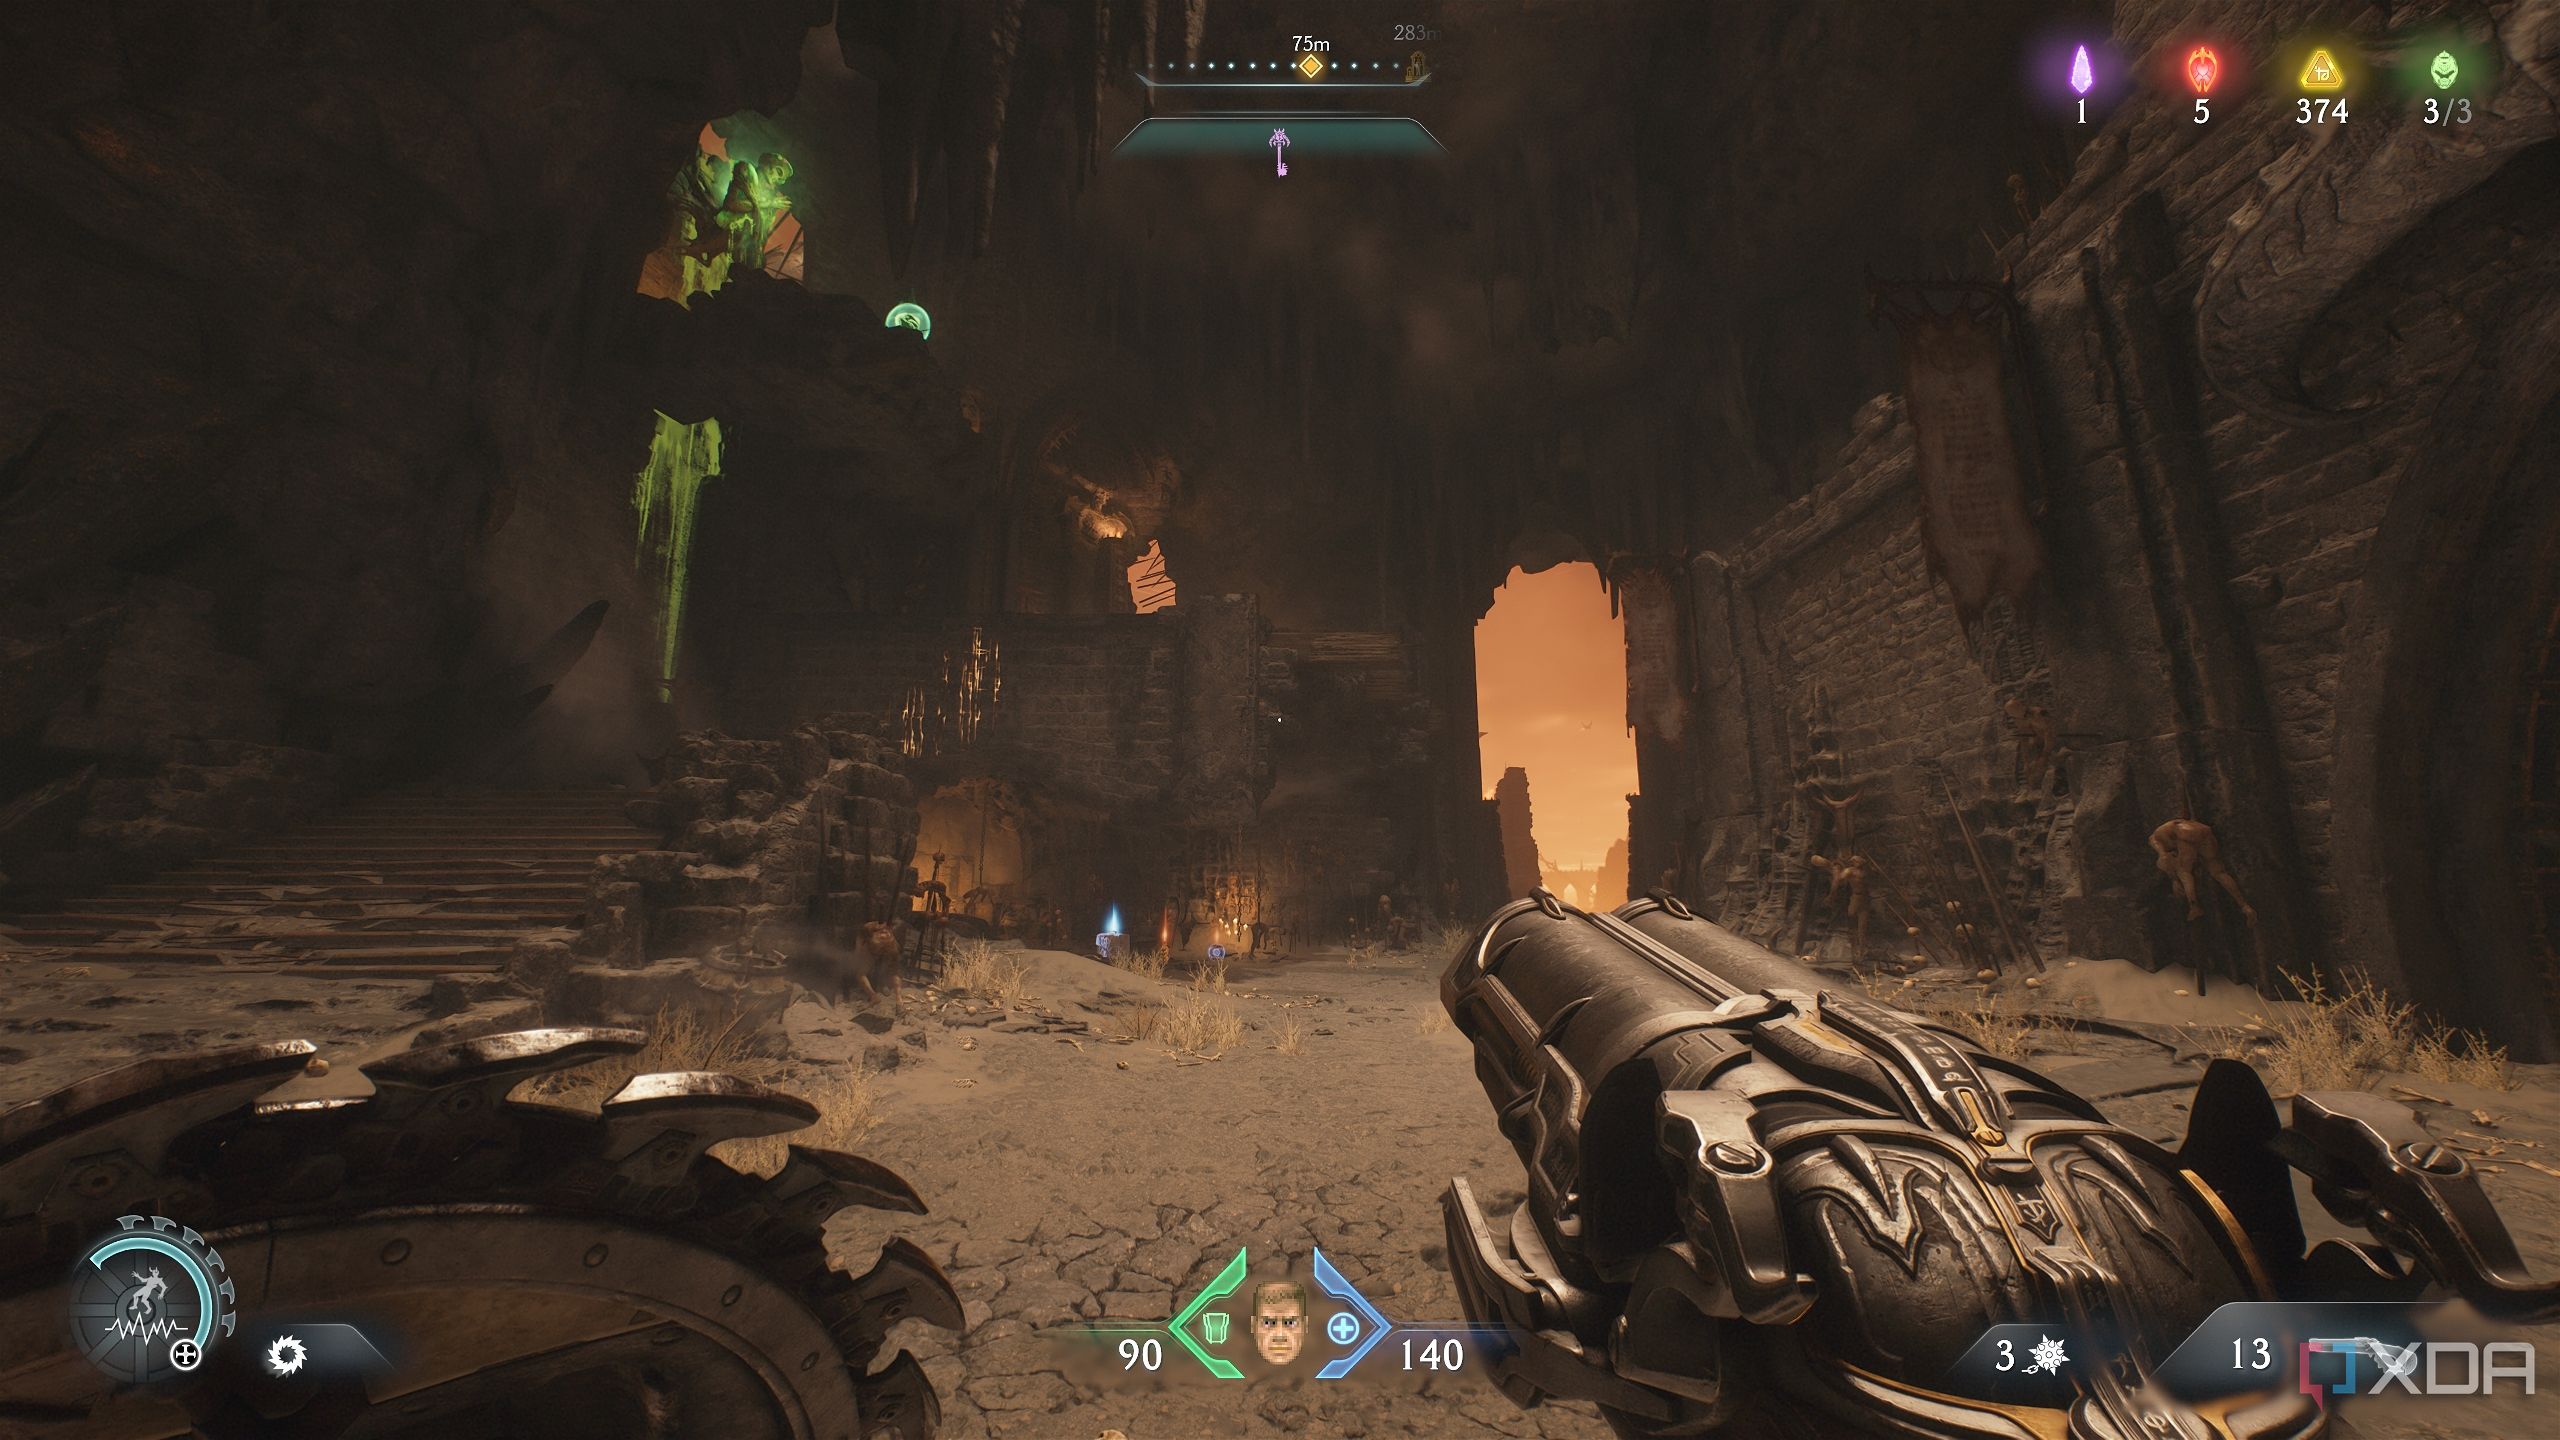
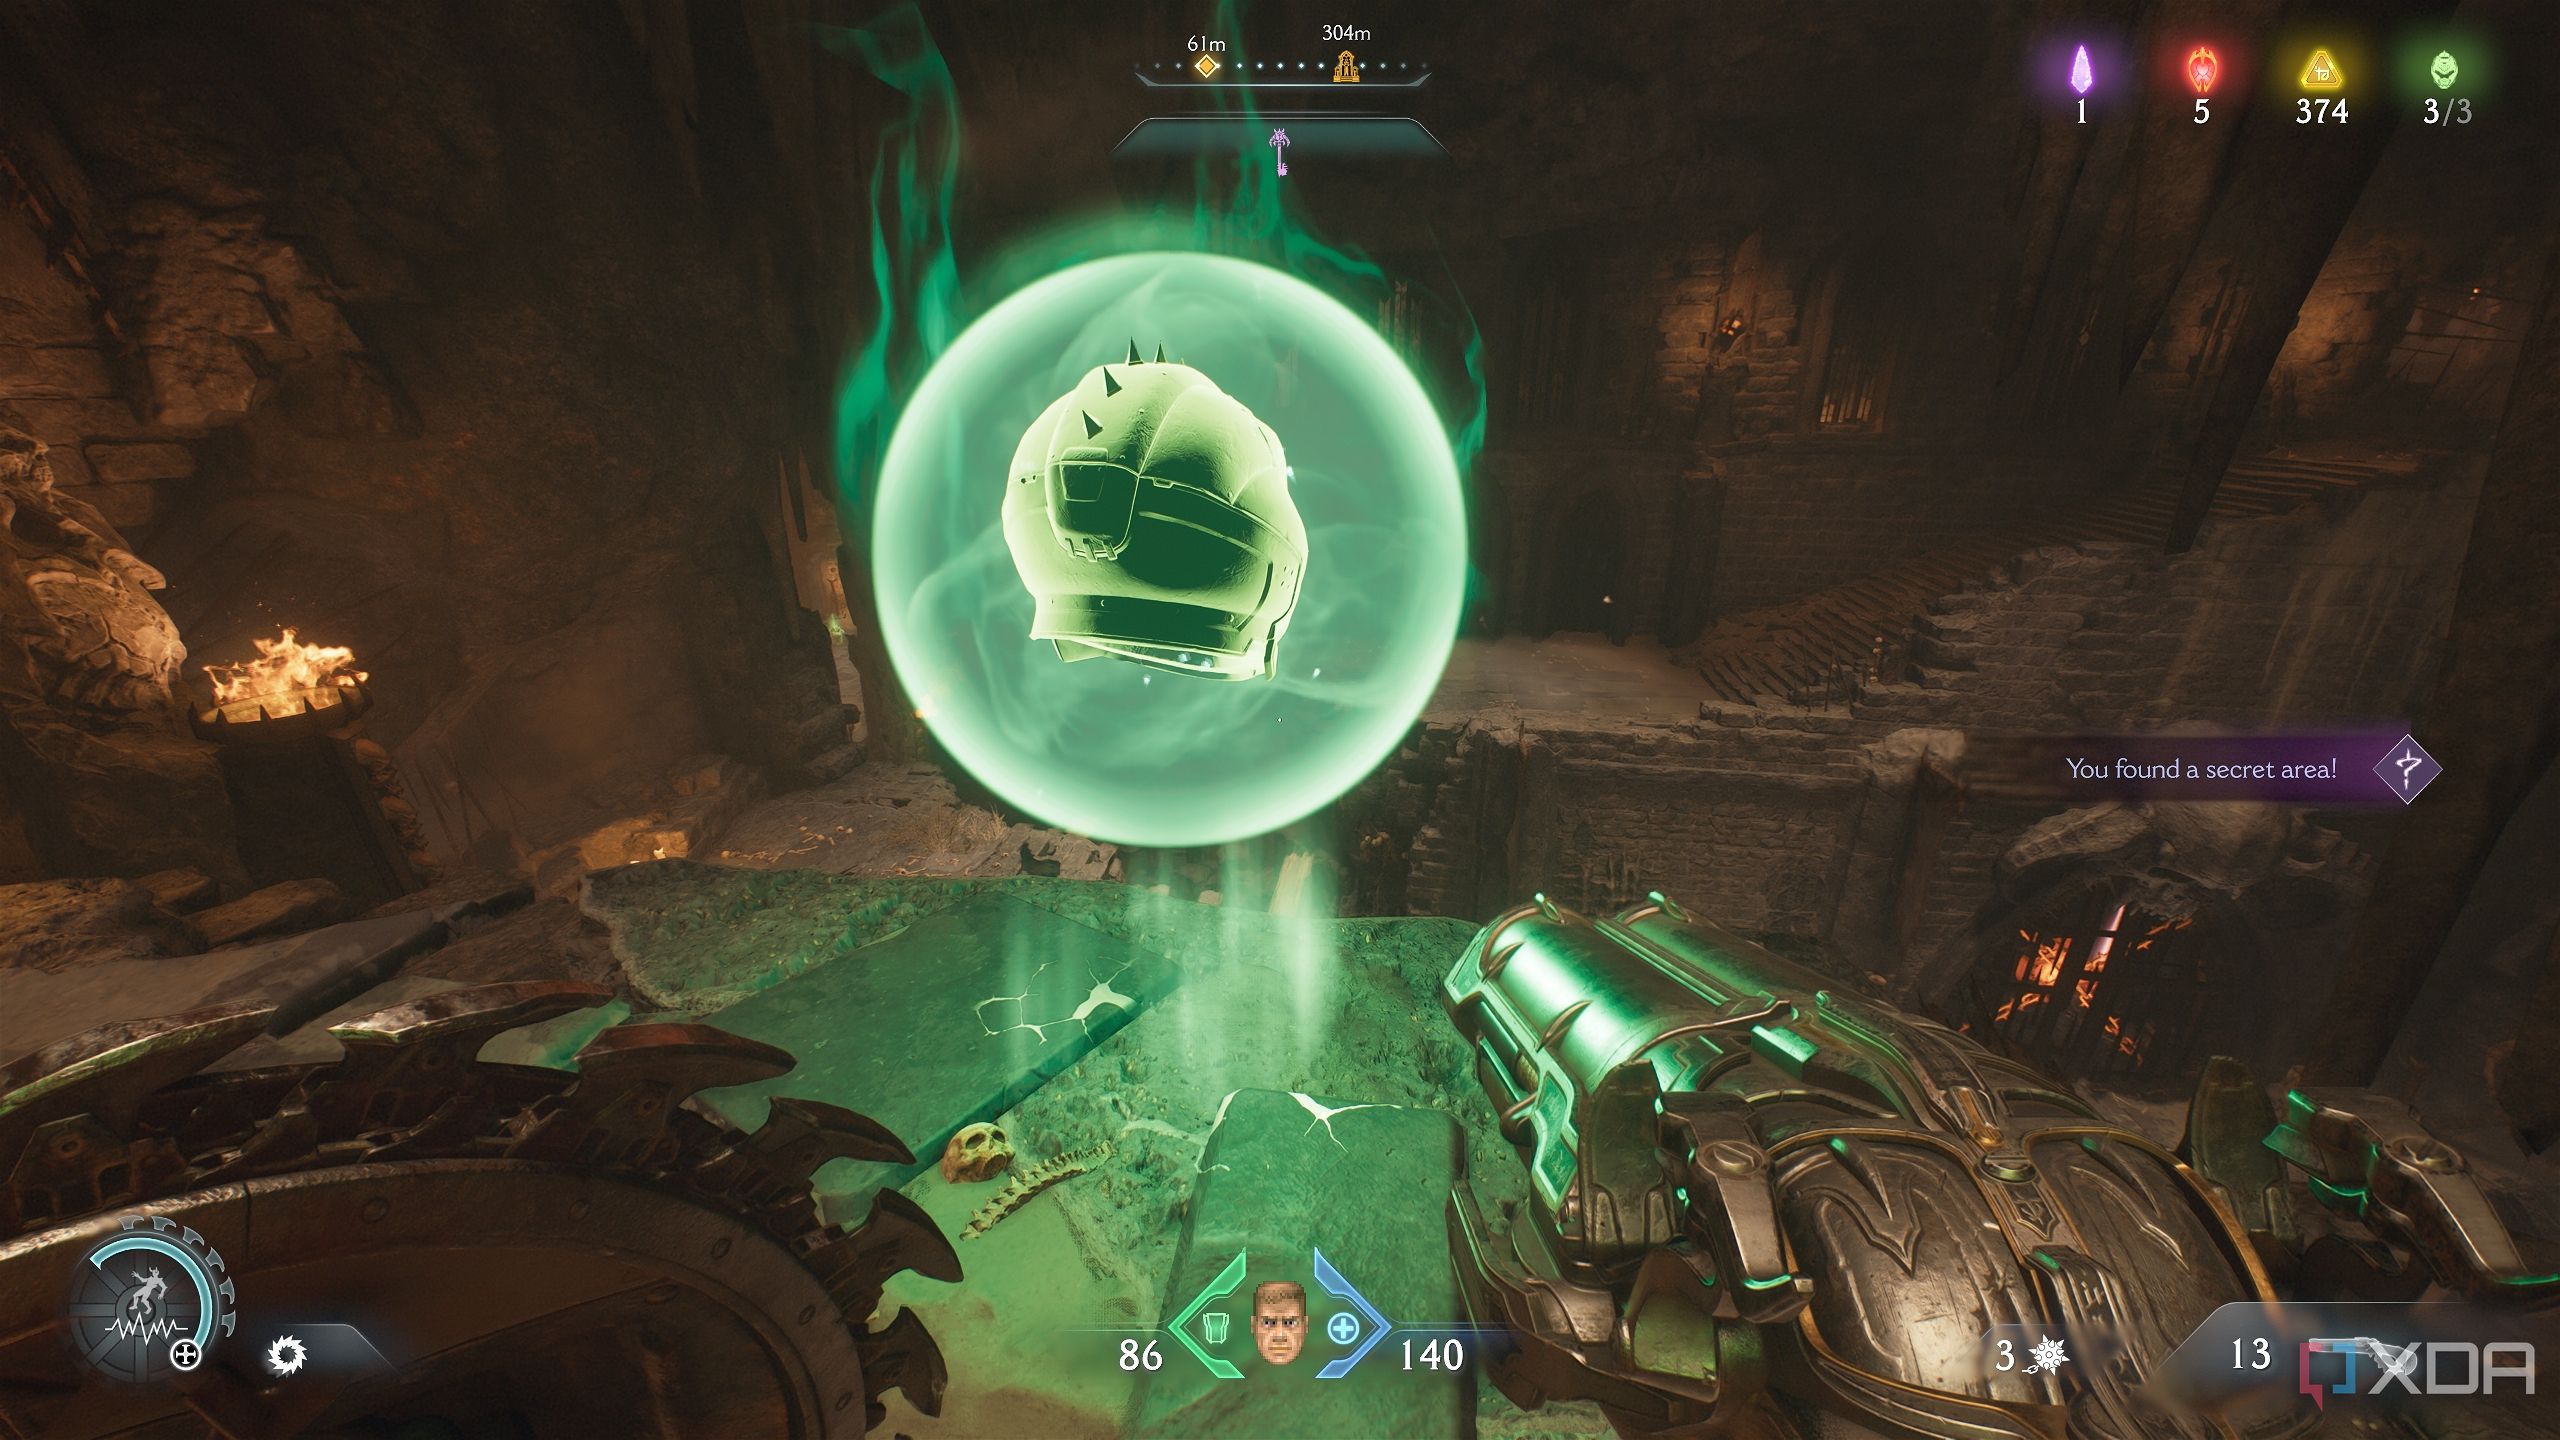
Secret area 9 and a Codex Page
Information about the enemy
Climb up the scramble wall from the previous gold chest, and you’ll see two Imp Stalkers in the distance.
Dispatch these enemies, and stand in the center — refer to the location above.
Turn around to look at the huge demonic fortress. From here, a flight of stairs should be visible in the center of the field.
Get up these stairs, take care of the fodder demons around you, and you’ll see a purple-locked gate.
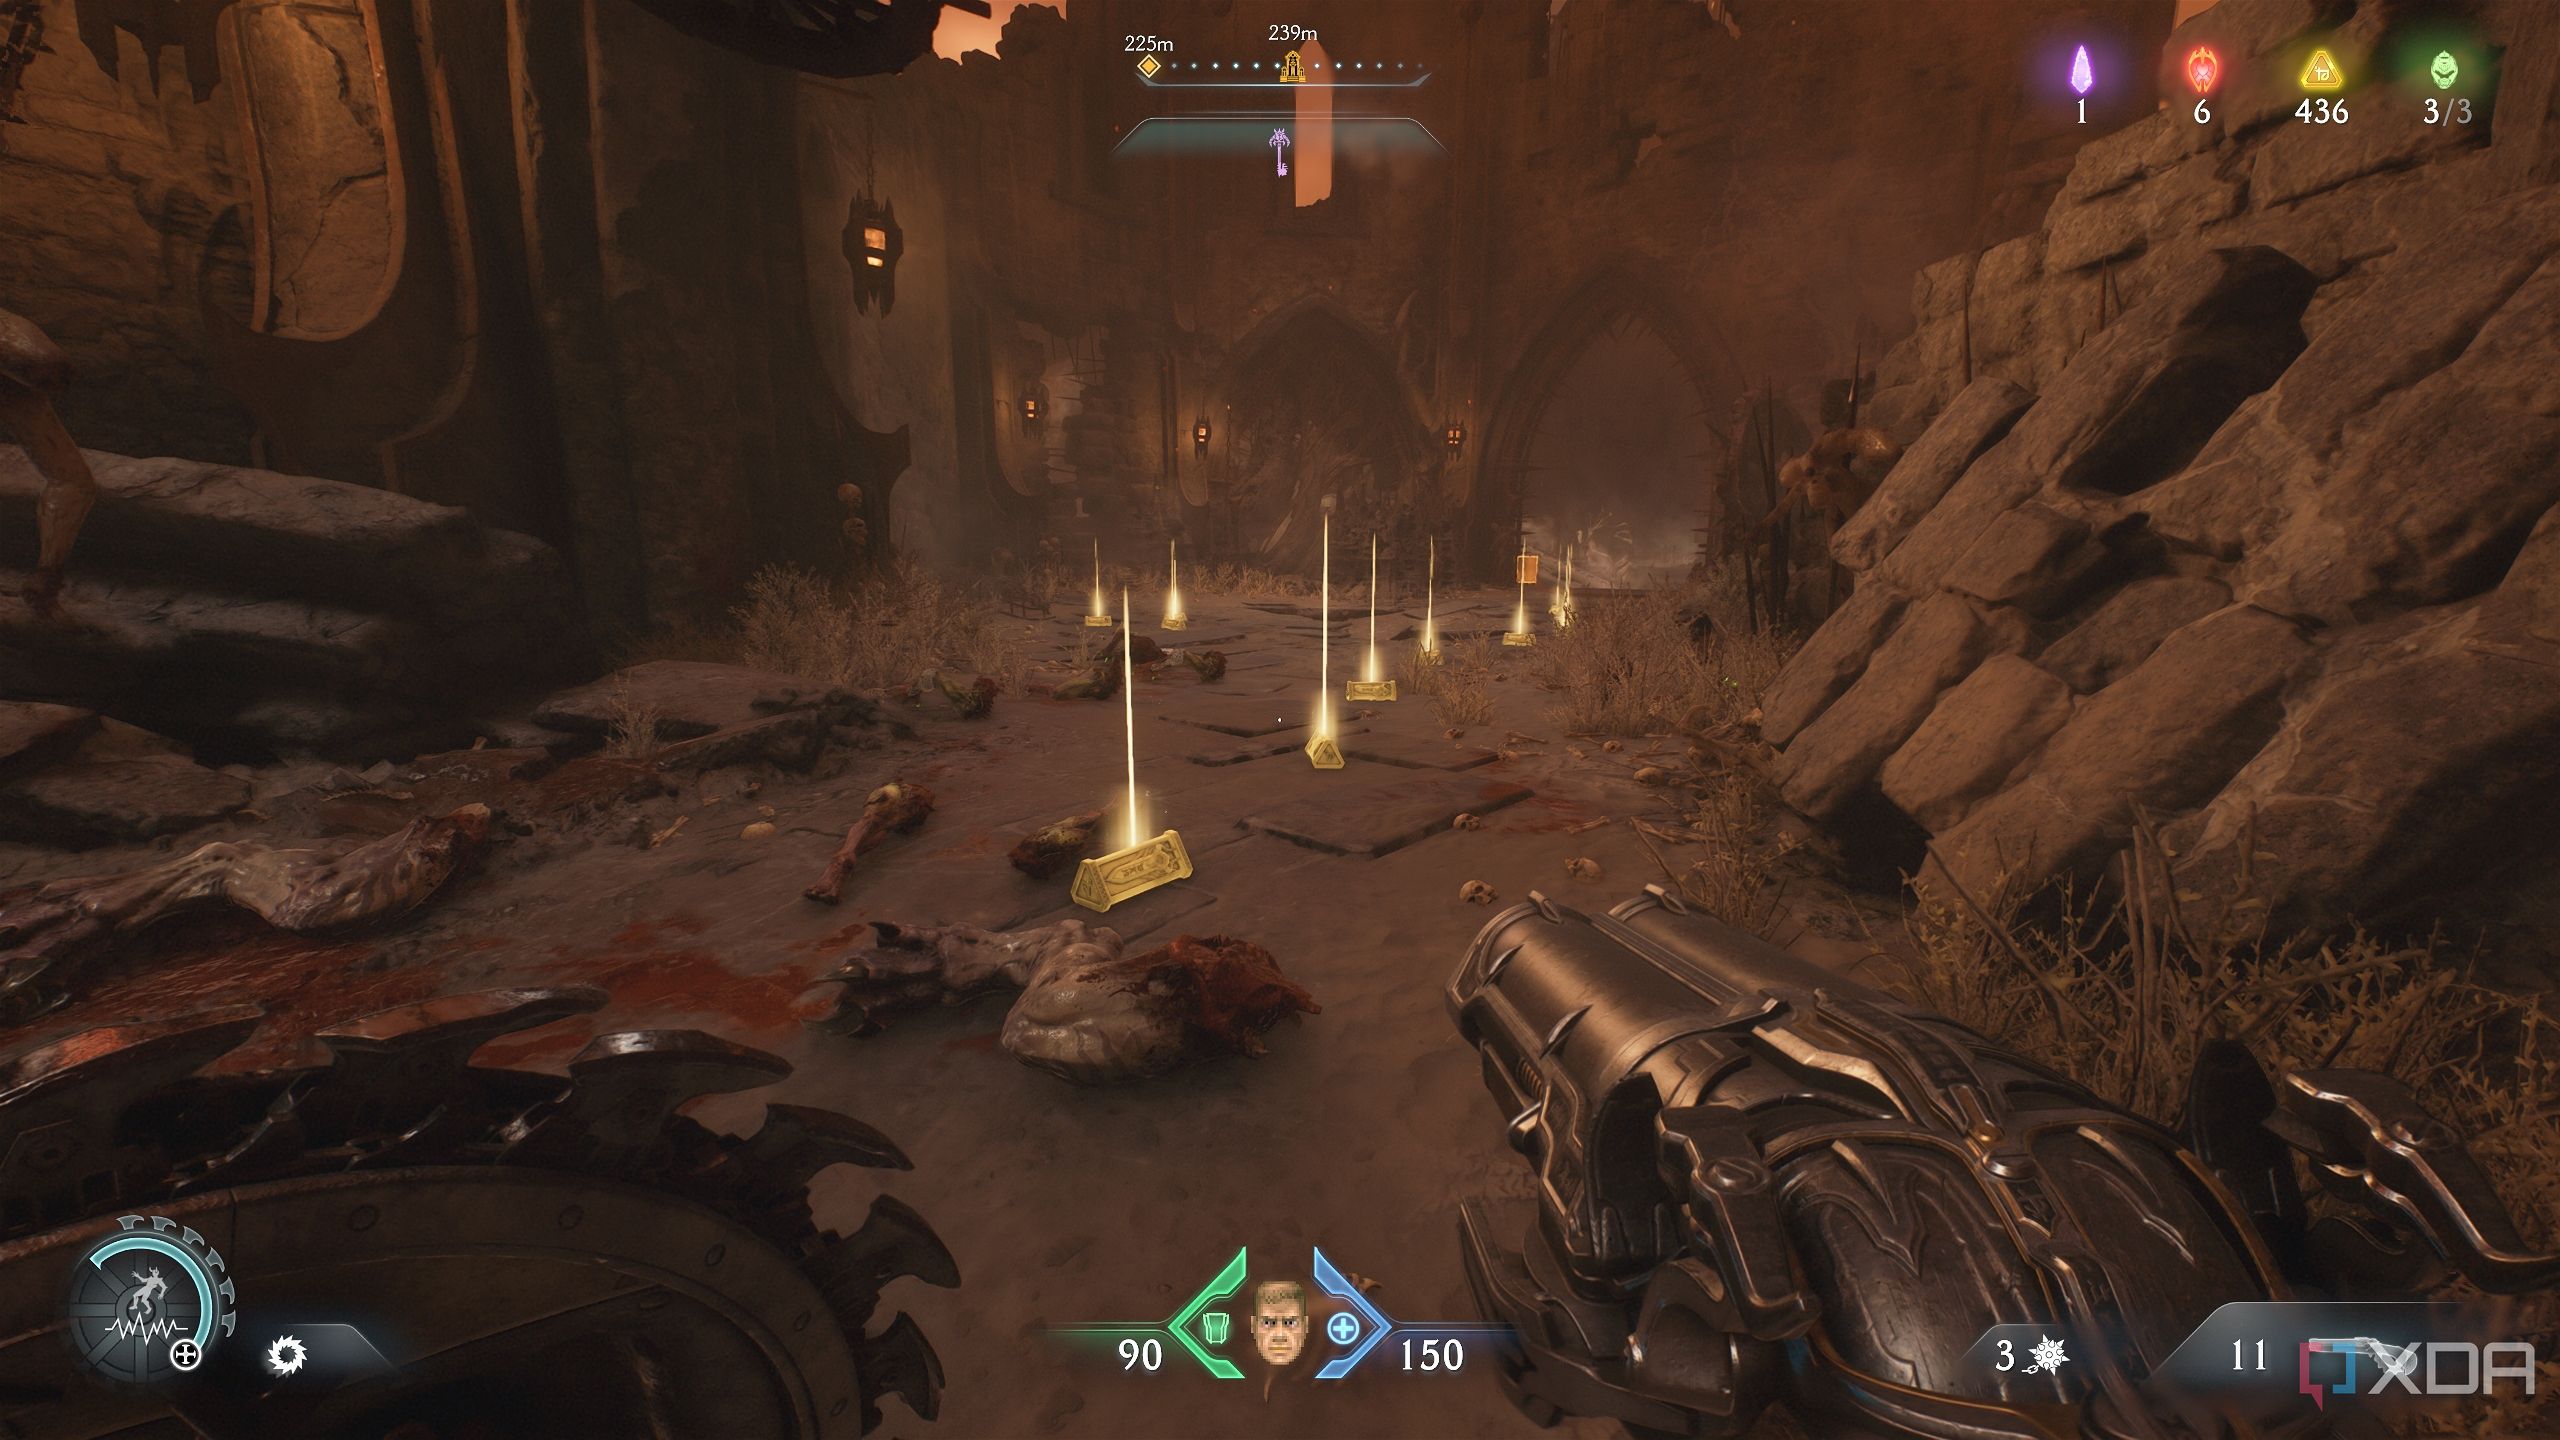
Enter through the gate, and you’ll unlock secret area 9, along with a long trail of gold bars ending in a Codex Page.
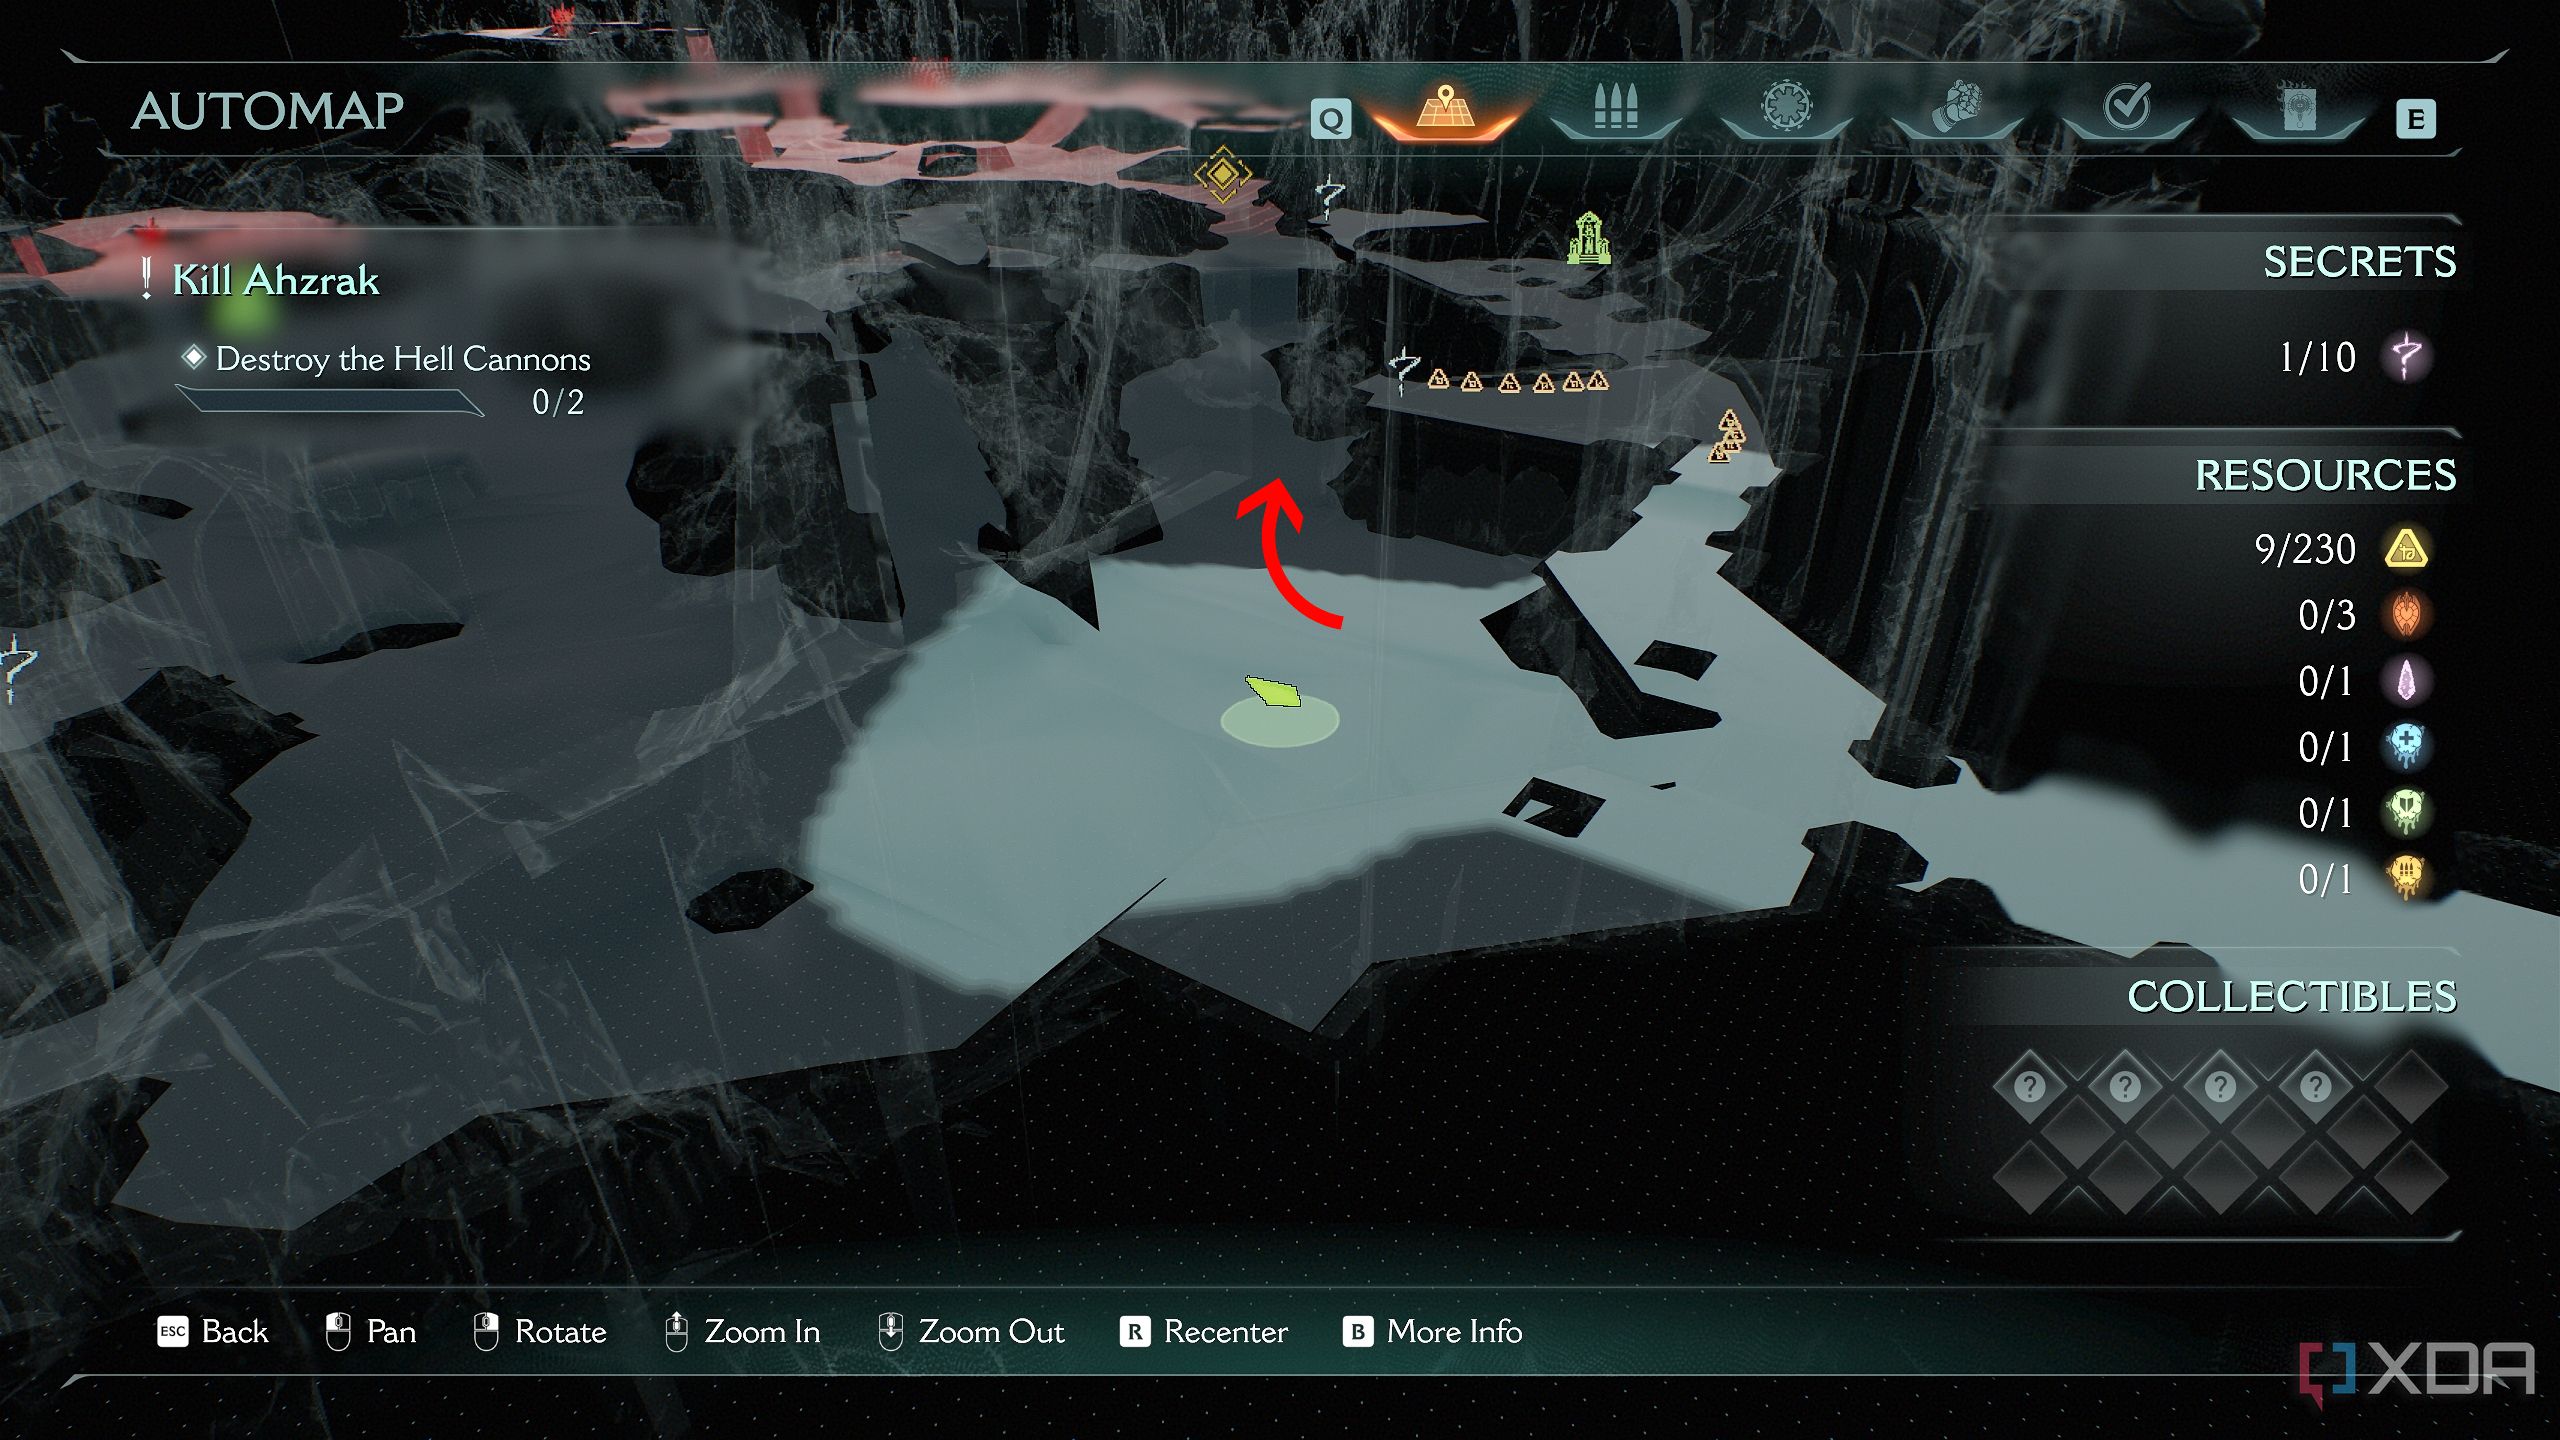
Secret area 10 and a Life Sigil
Hiding behind a Sentinel Shrine
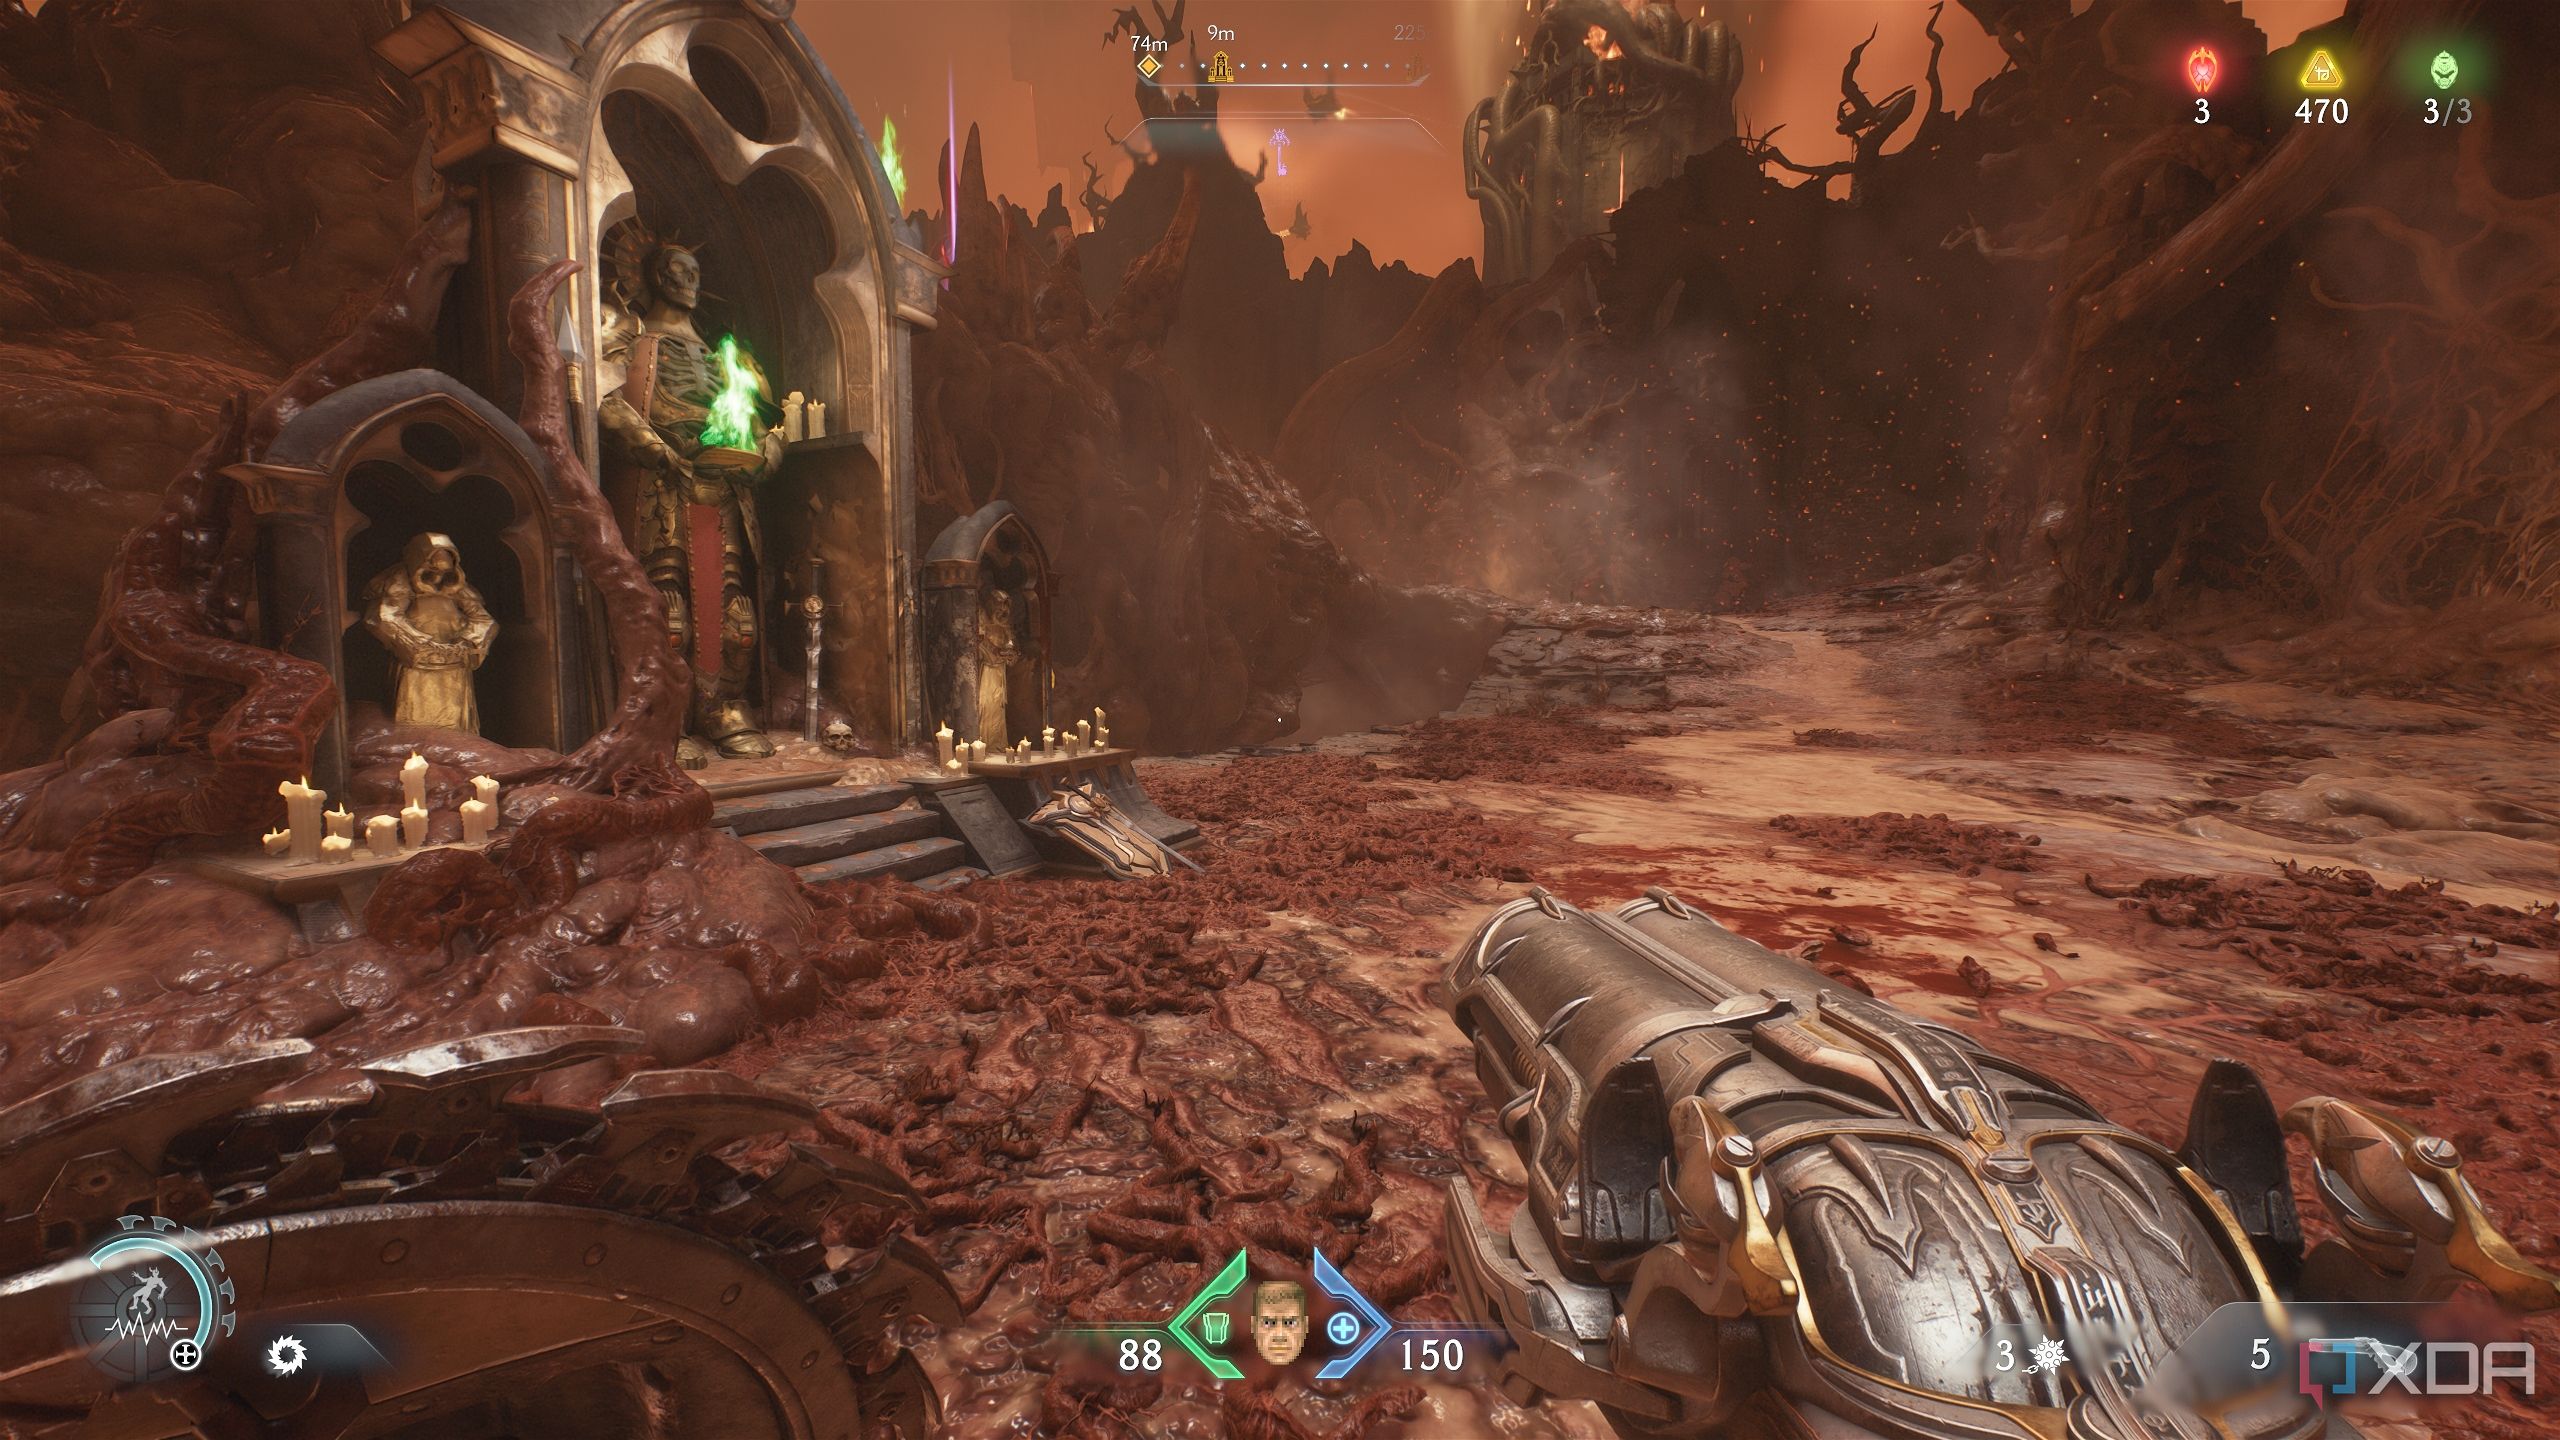
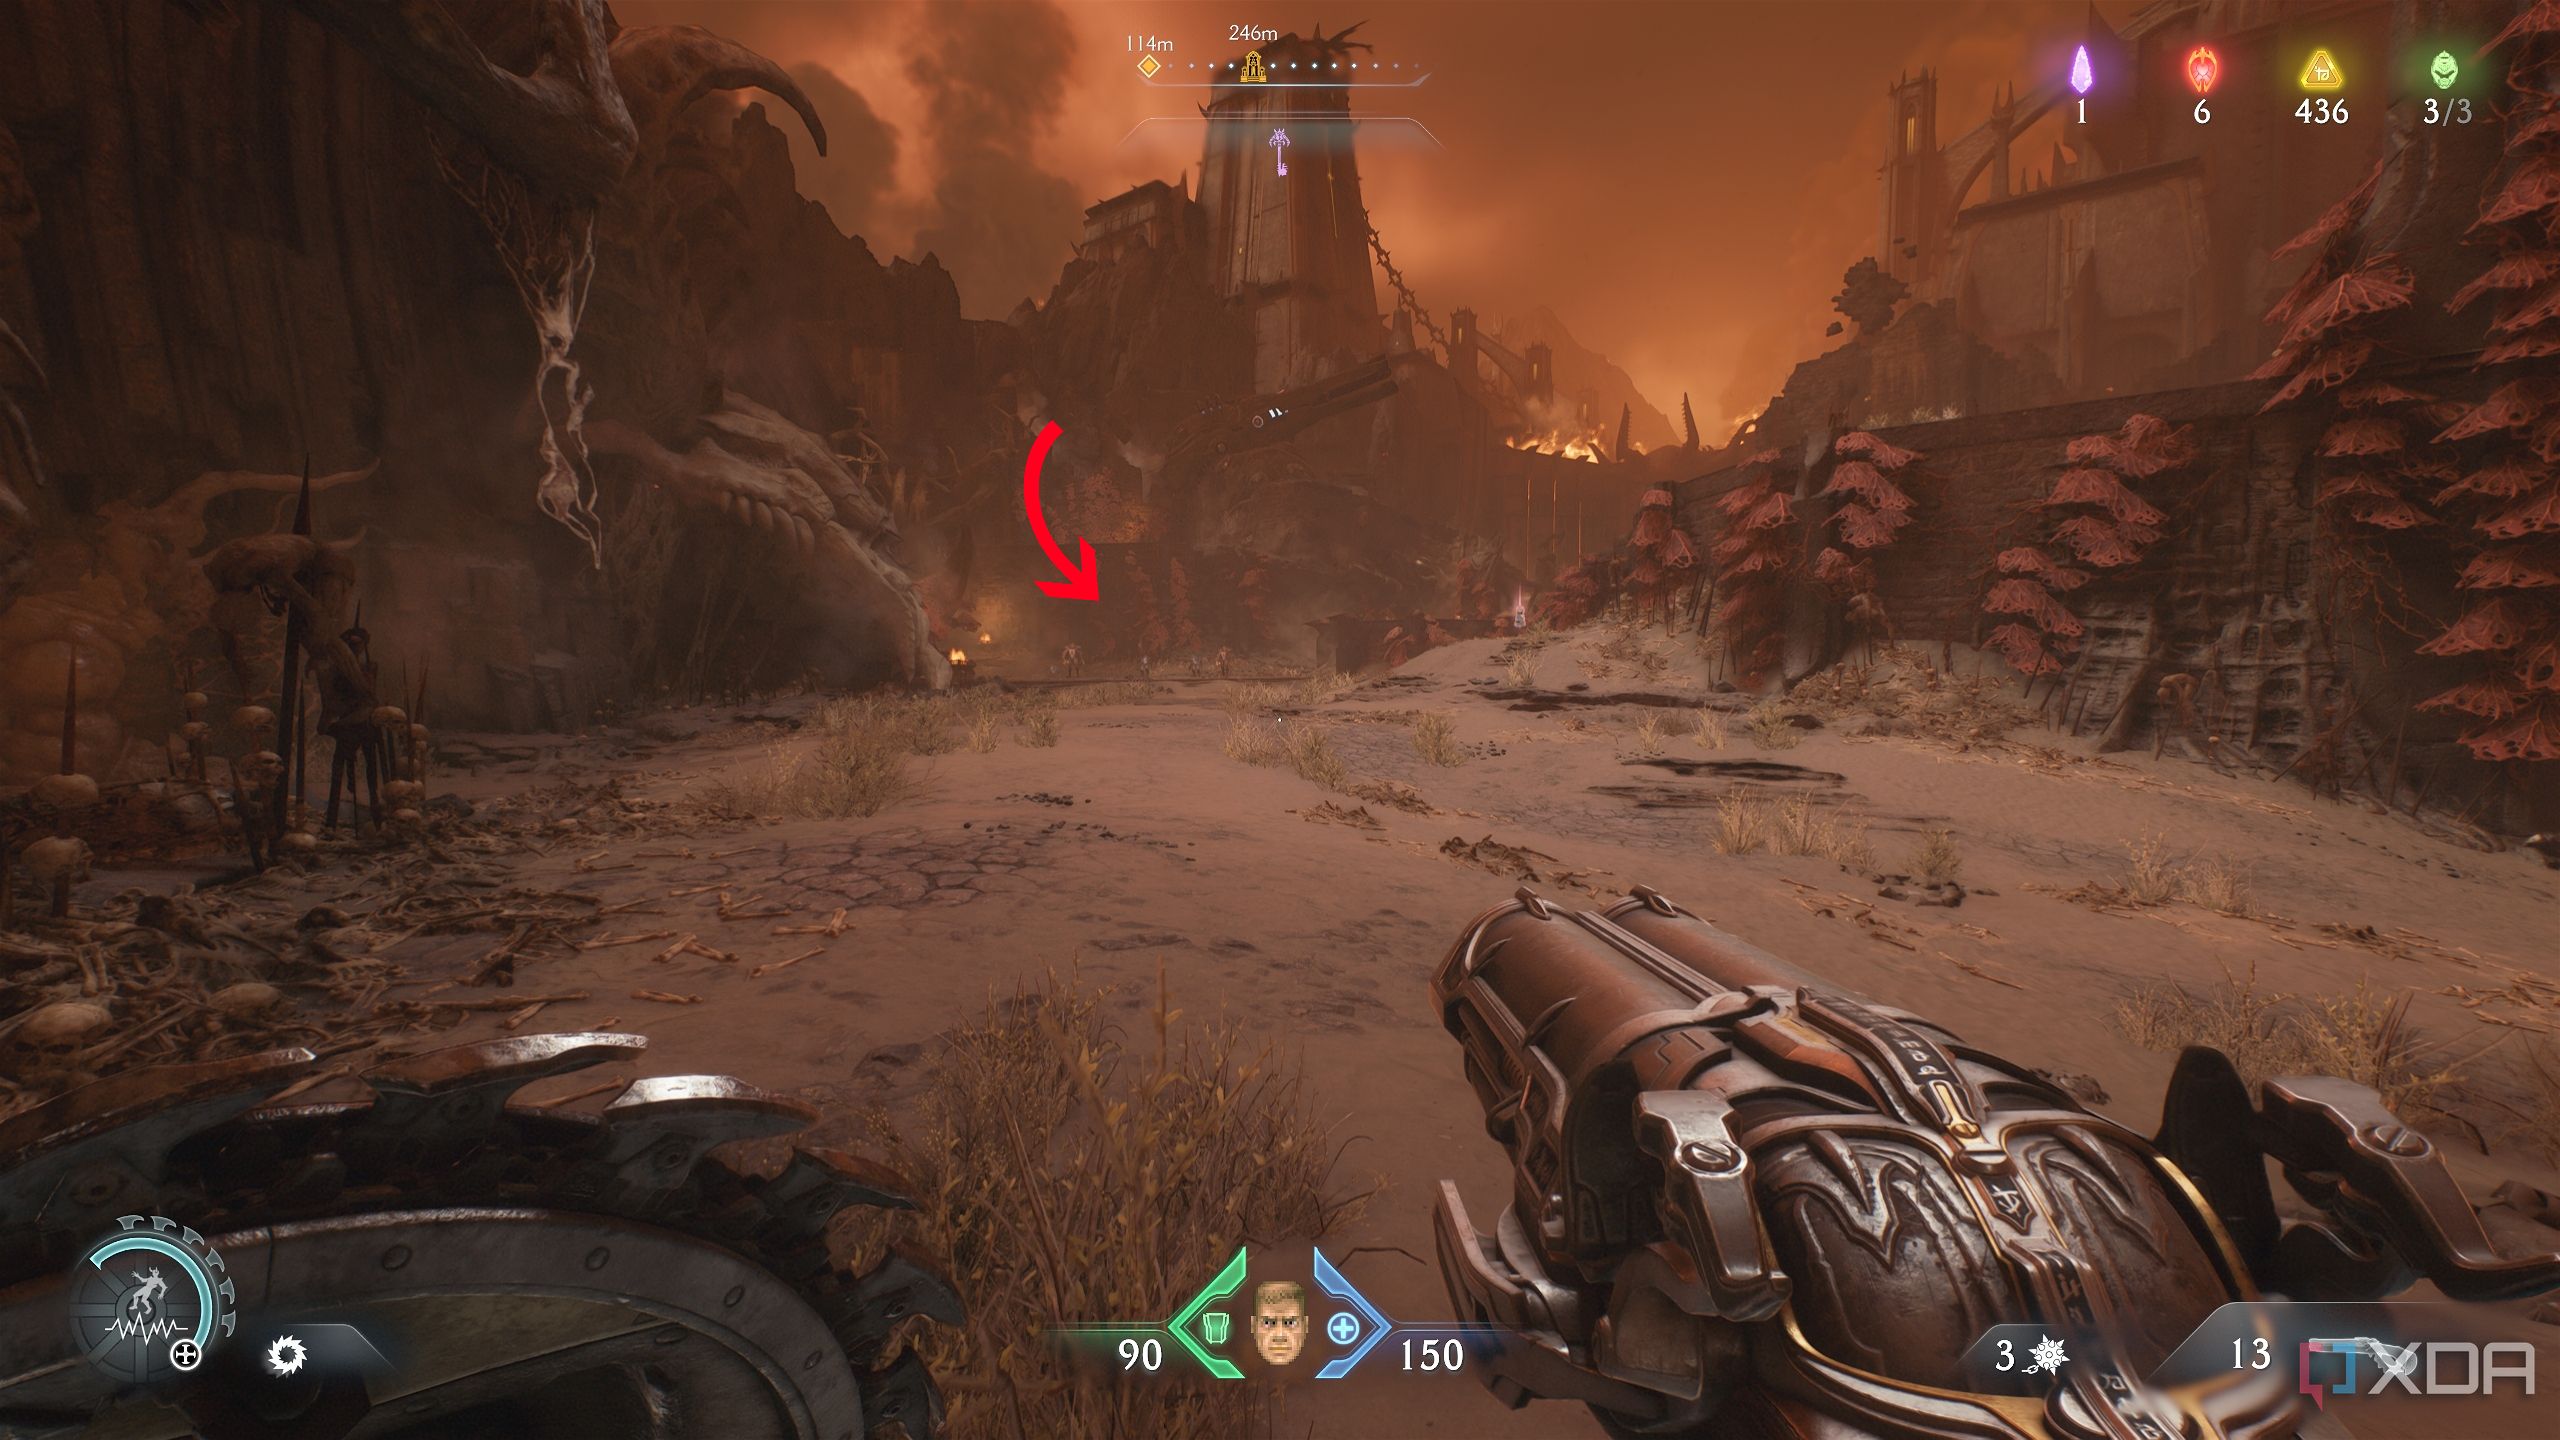
Head towards the objective of obtaining the Atlan Core, and before you reach the encounter arena, you’ll reach a Sentinel Shrine instead.
Drop down in the trench right behind the shrine, and start moving right. You’ll reach secret area 10 along with a Life Sigil. Head back to the shrine.
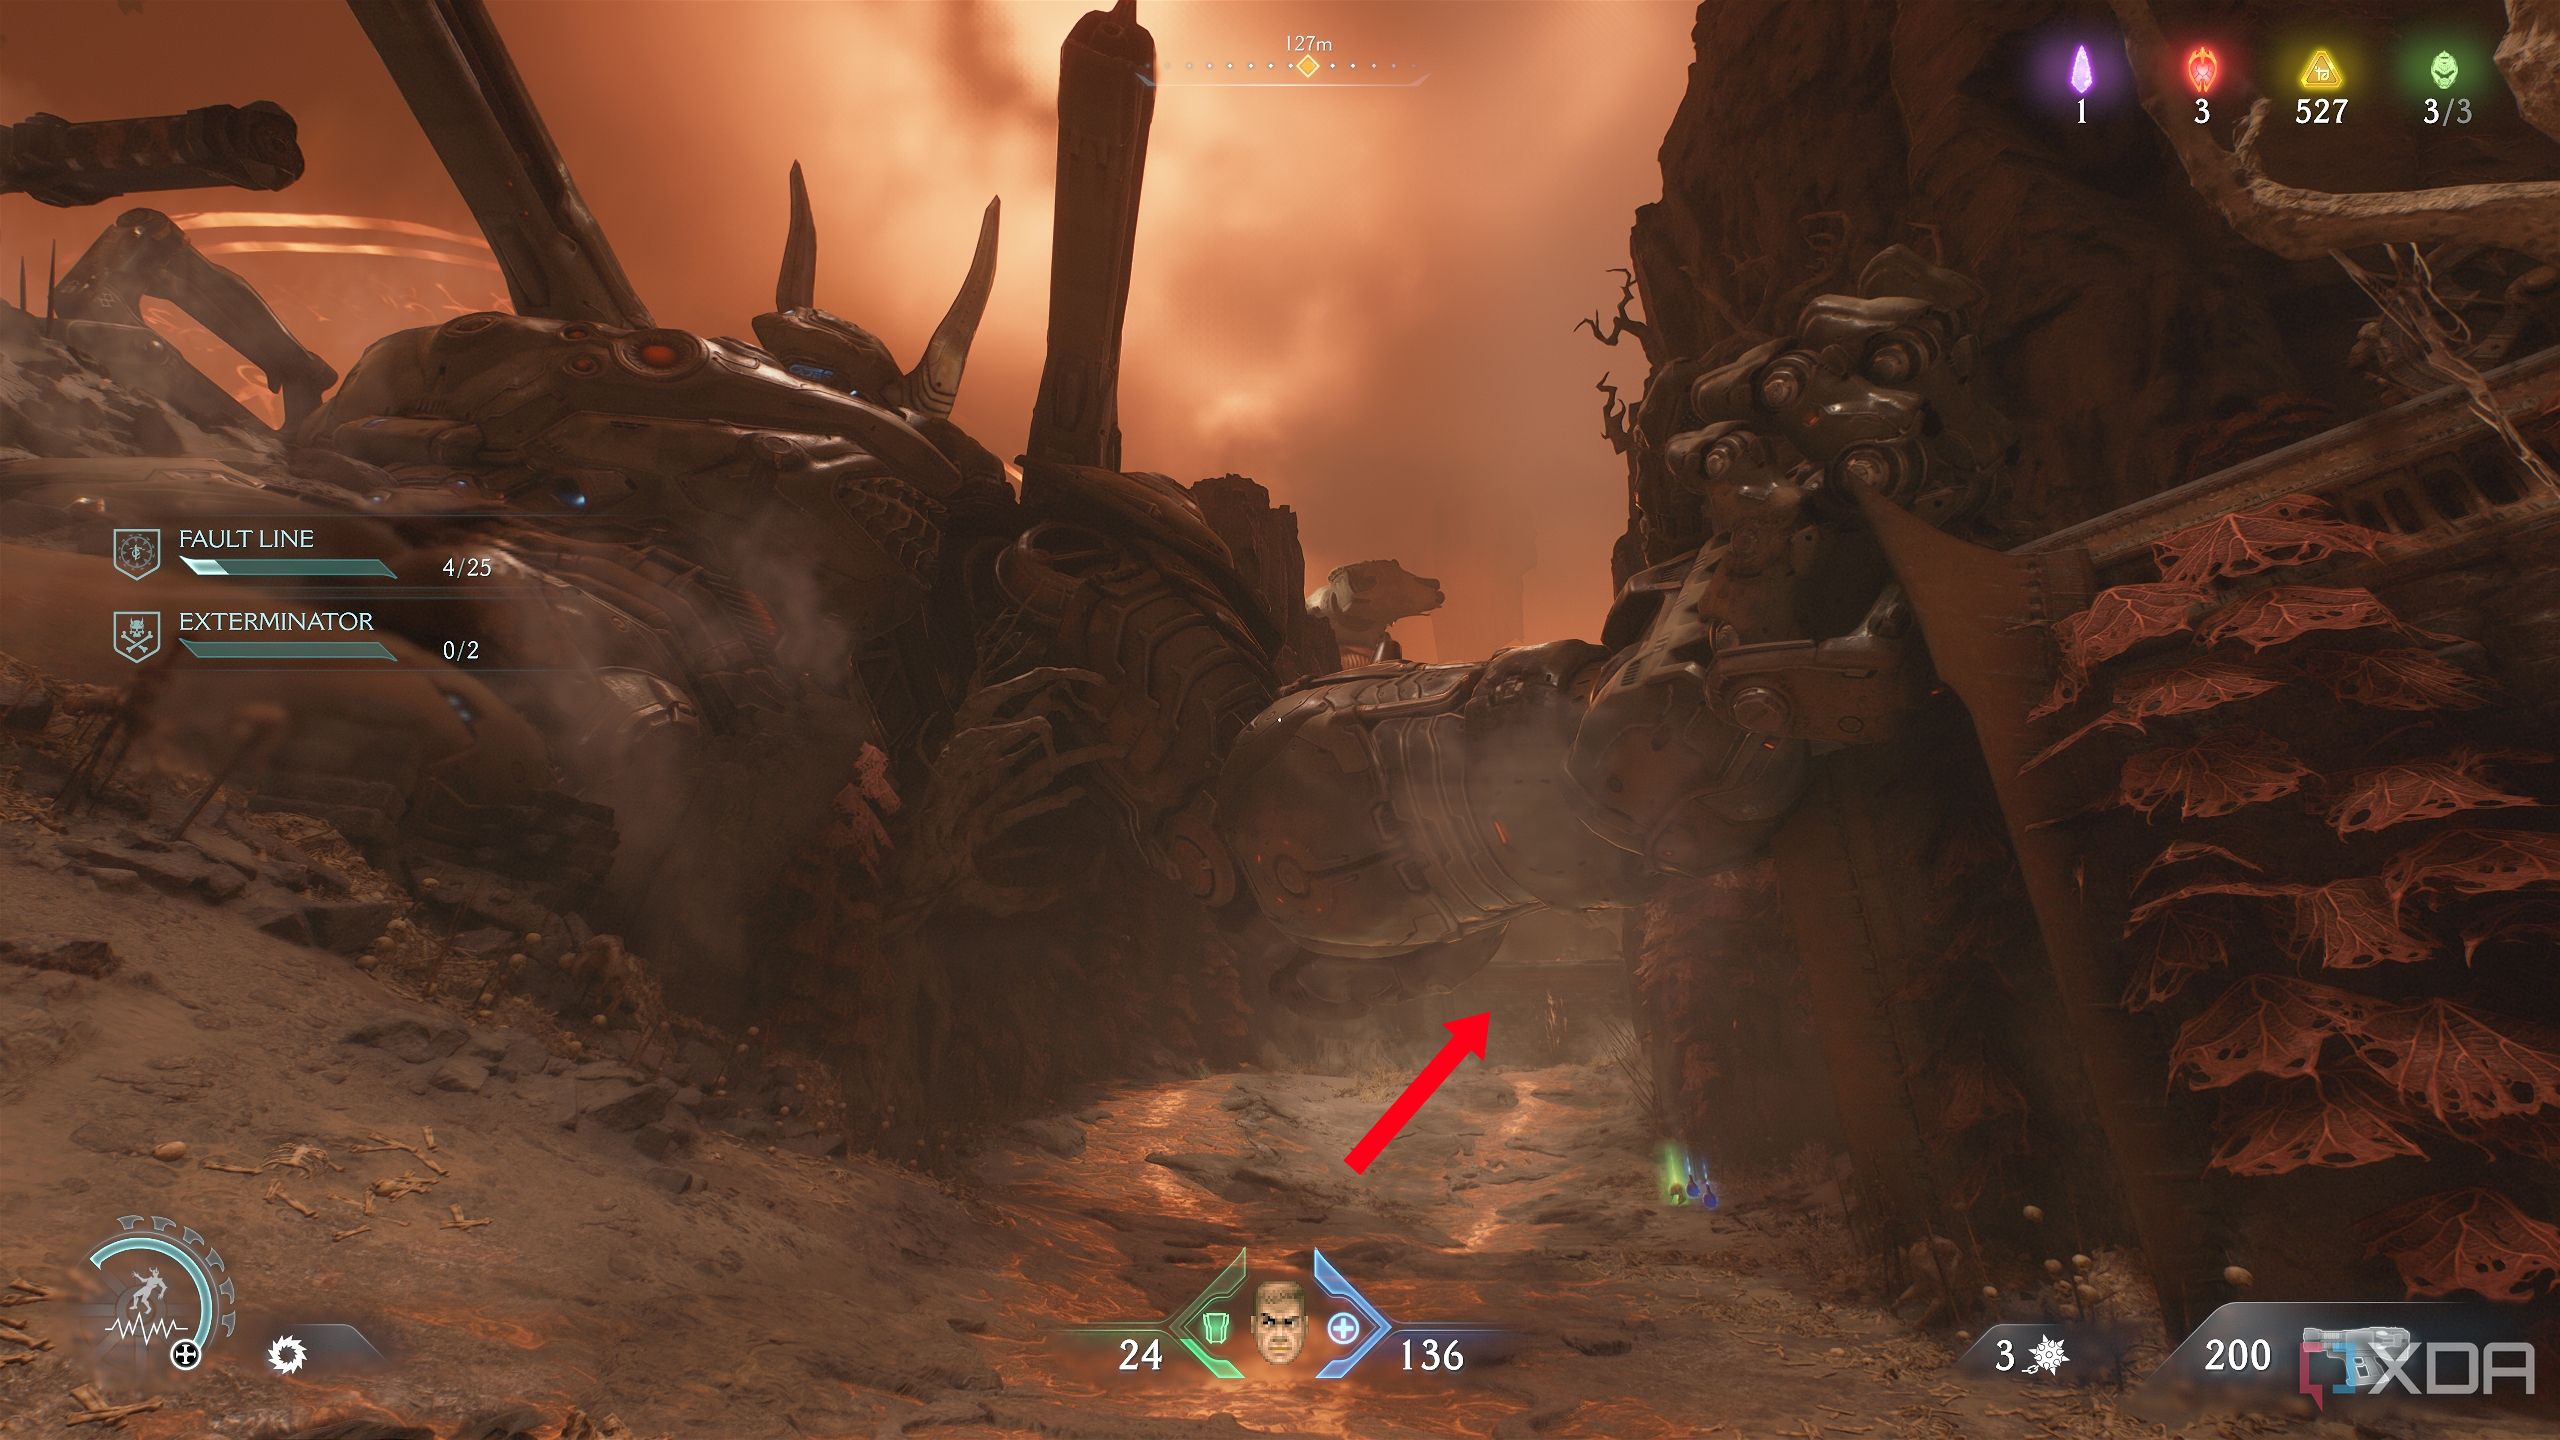
More gold bars and a gold stack
Right before the penultimate arena in the level
From the shrine, move right, and turn right again, away from the objective.

You’ll find plenty of gold bars on the ground, and a gold stack at the end in front of a Shield Charge wooden wall. Careful, though — there are tentacles in the ground waiting to ambush you at every step.
Before Shield Charging through the wooden wall at the end, make sure you climb up one platform above near the tentacles.
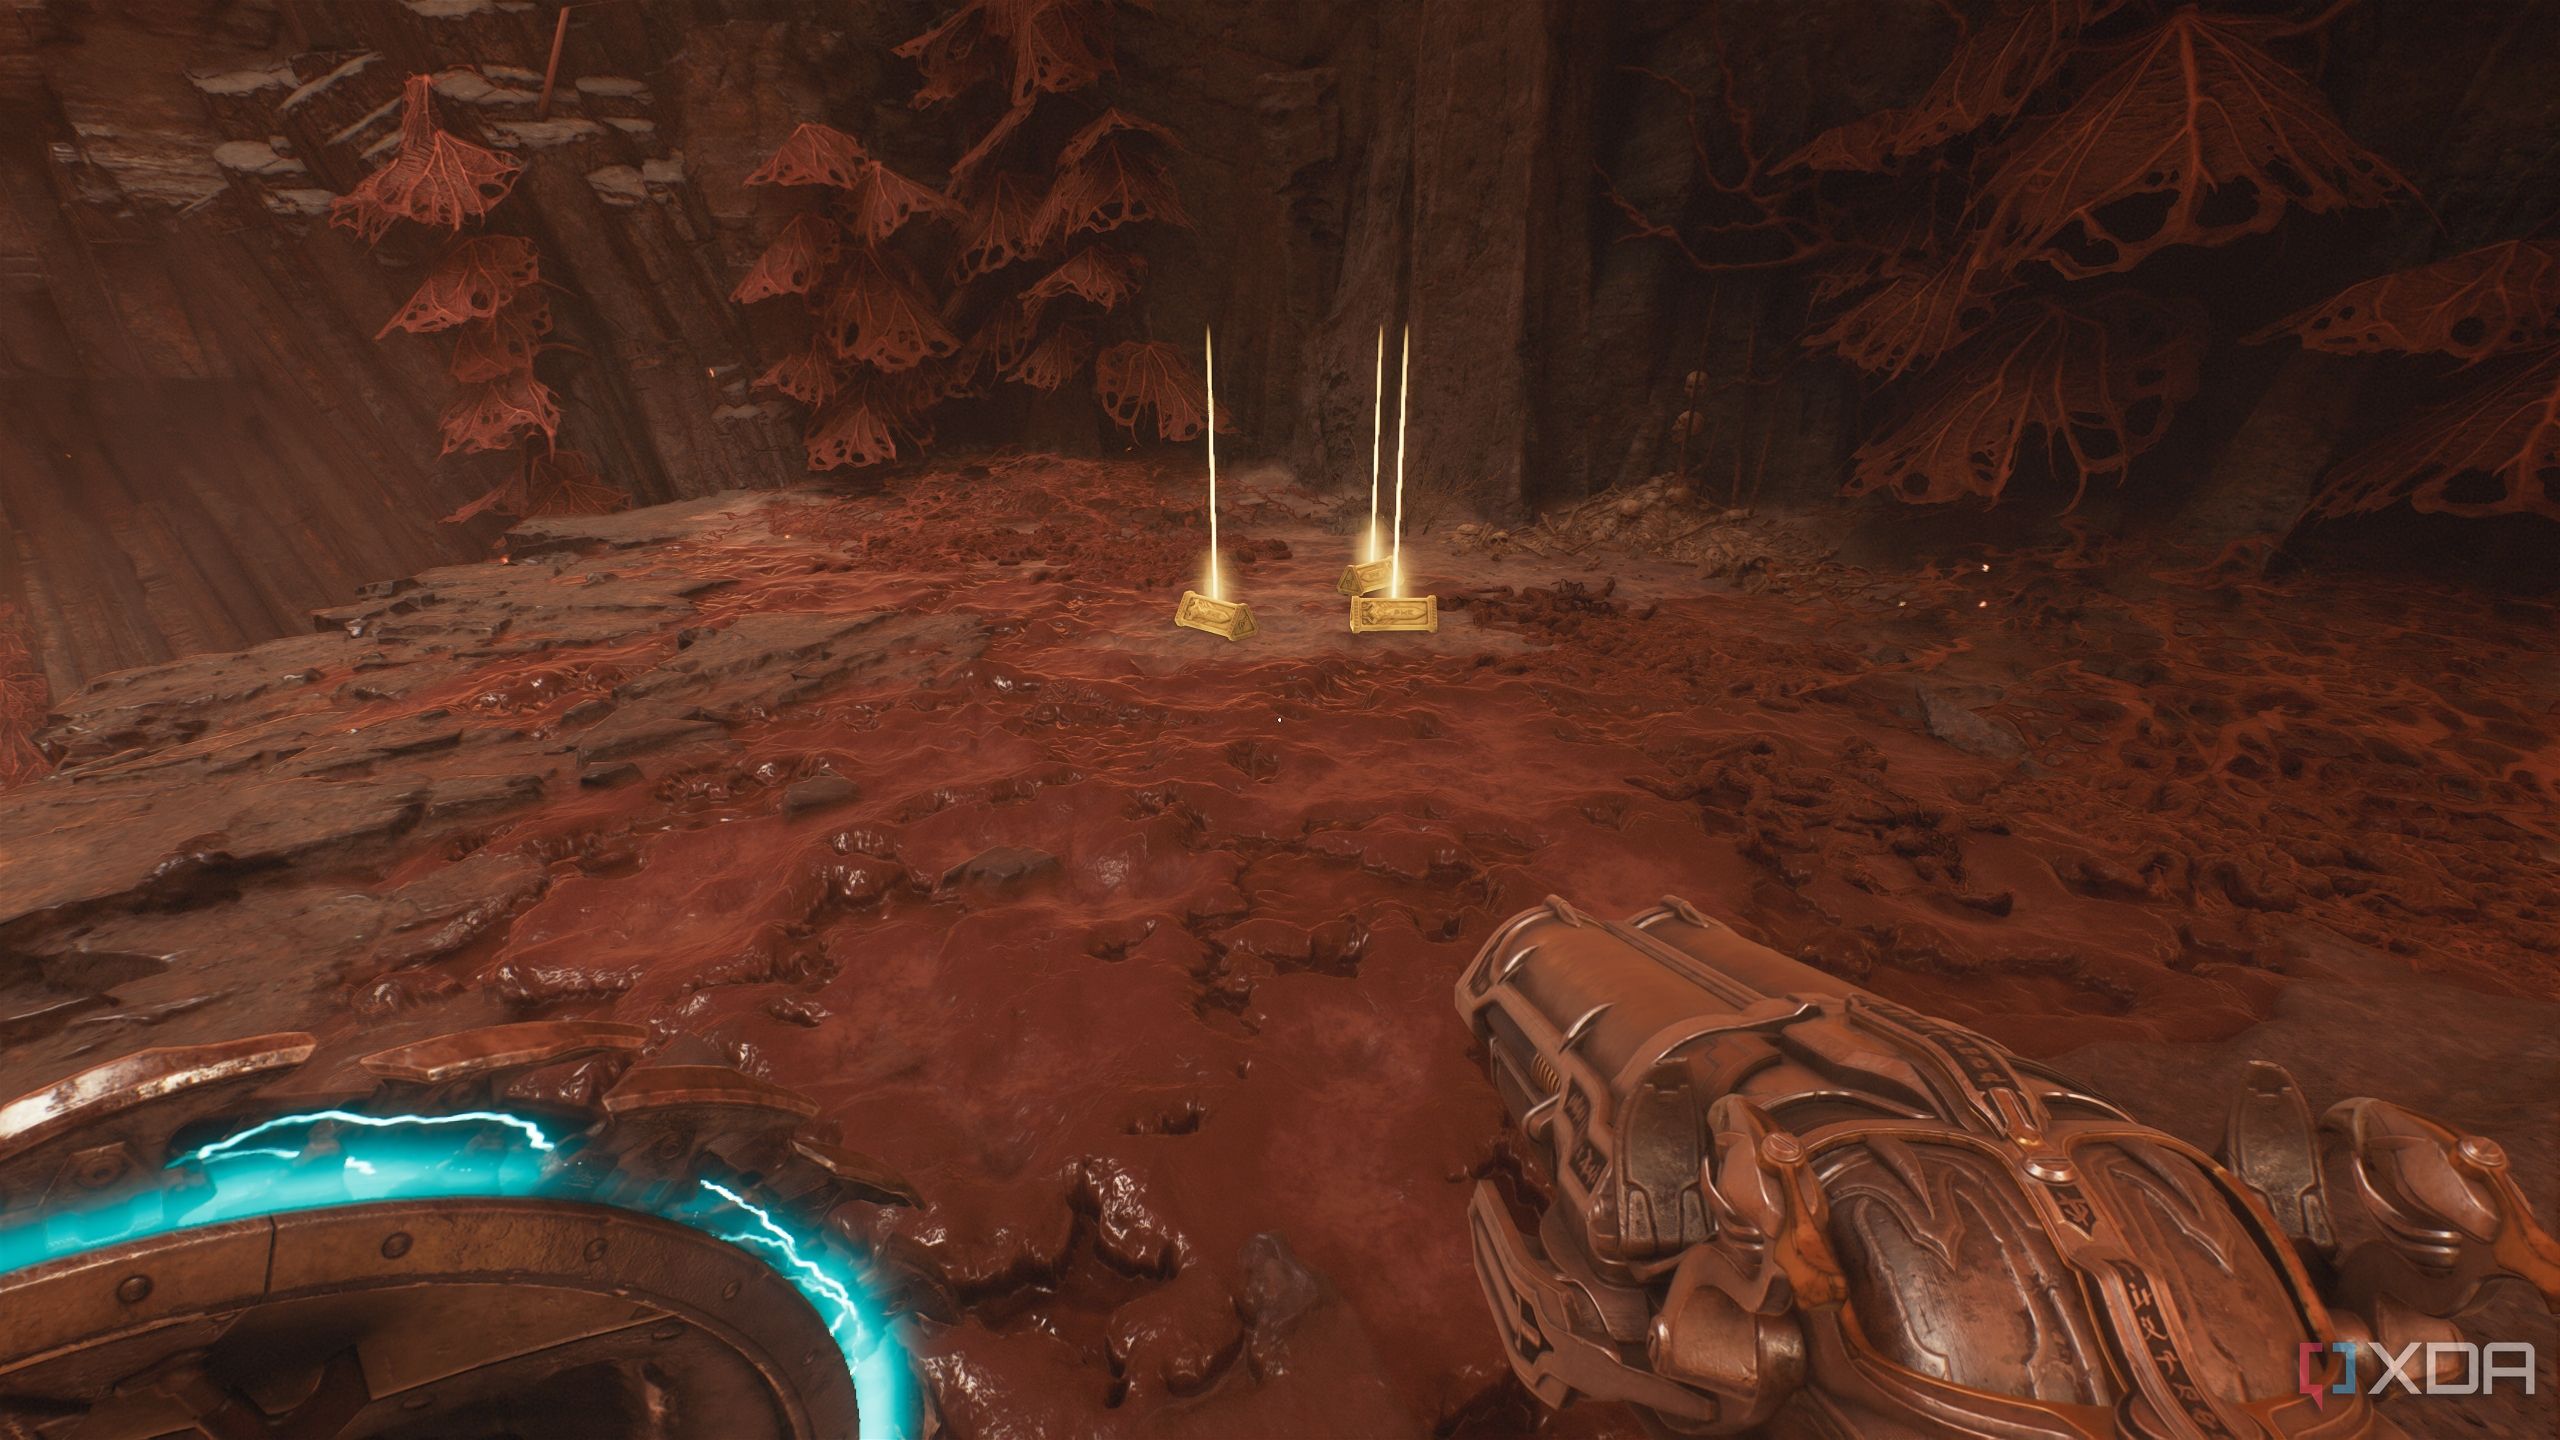
Climb it and pick up three gold bars on a platform one level high in this tentacle-ridden area.

Related
10 best first-person shooters that are free to play on Steam
Enter the genre of fast paced first-person shooters with these 10 free-to-play titles on Steam
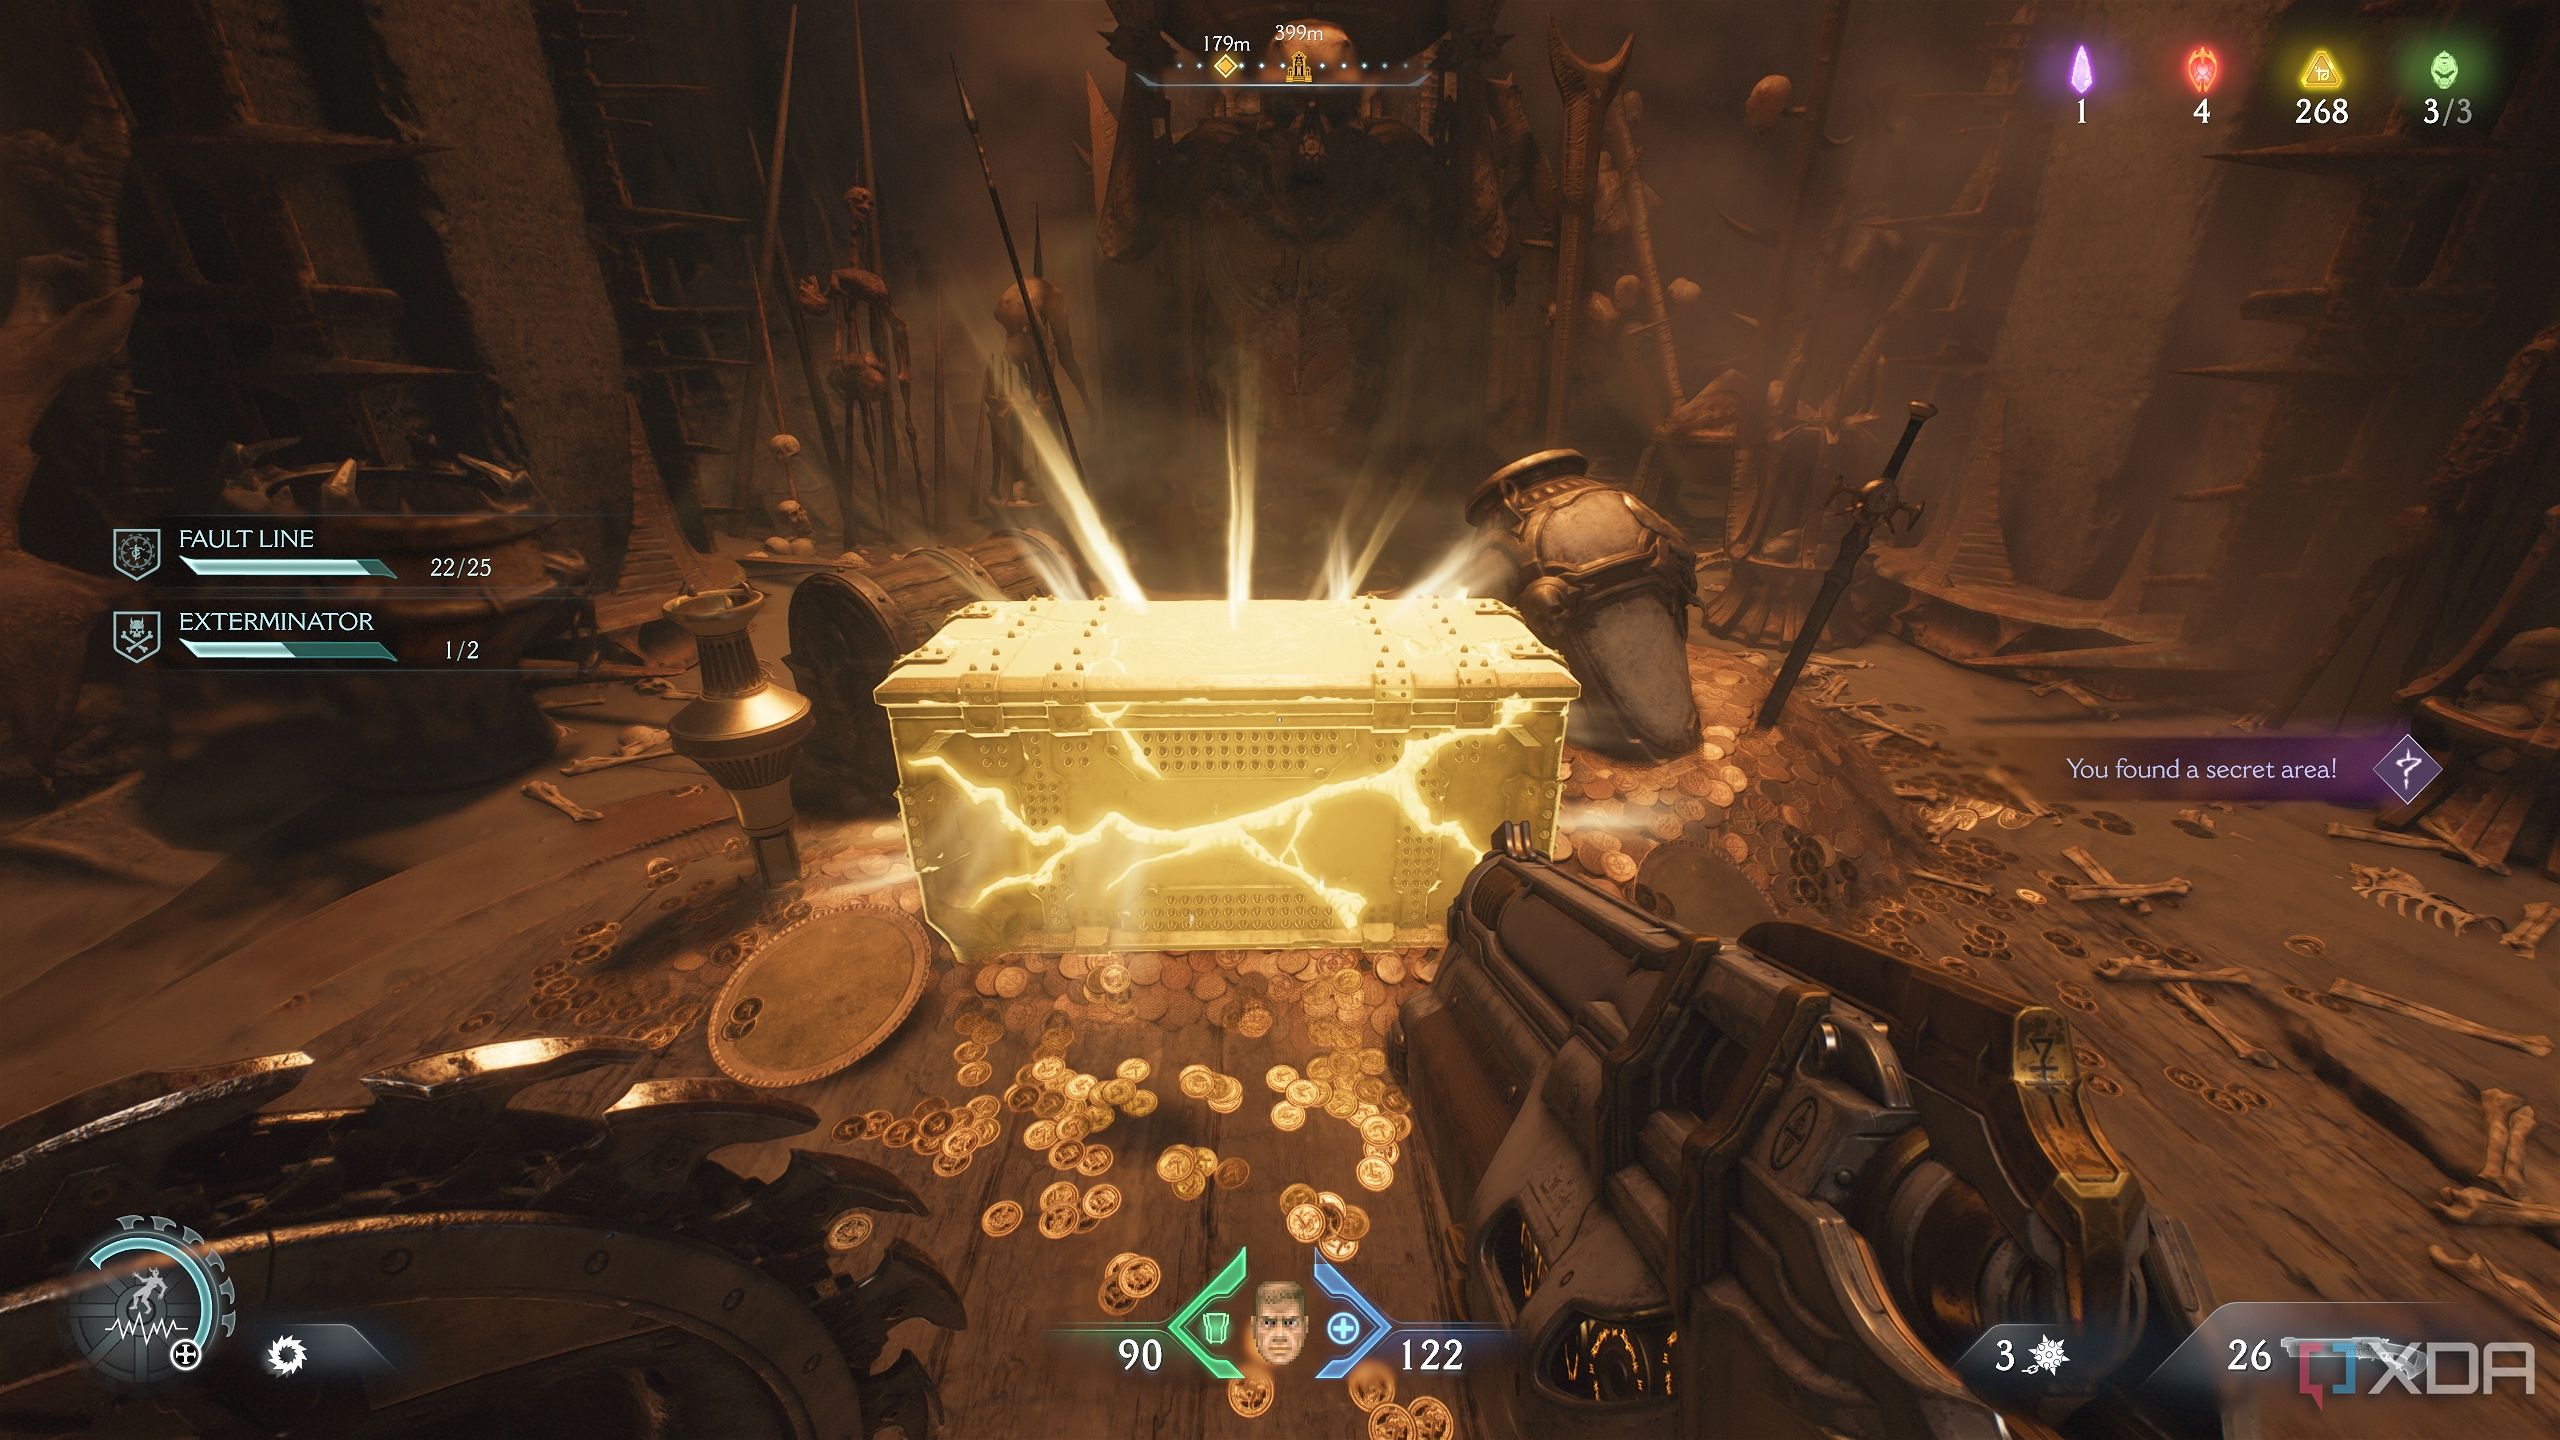
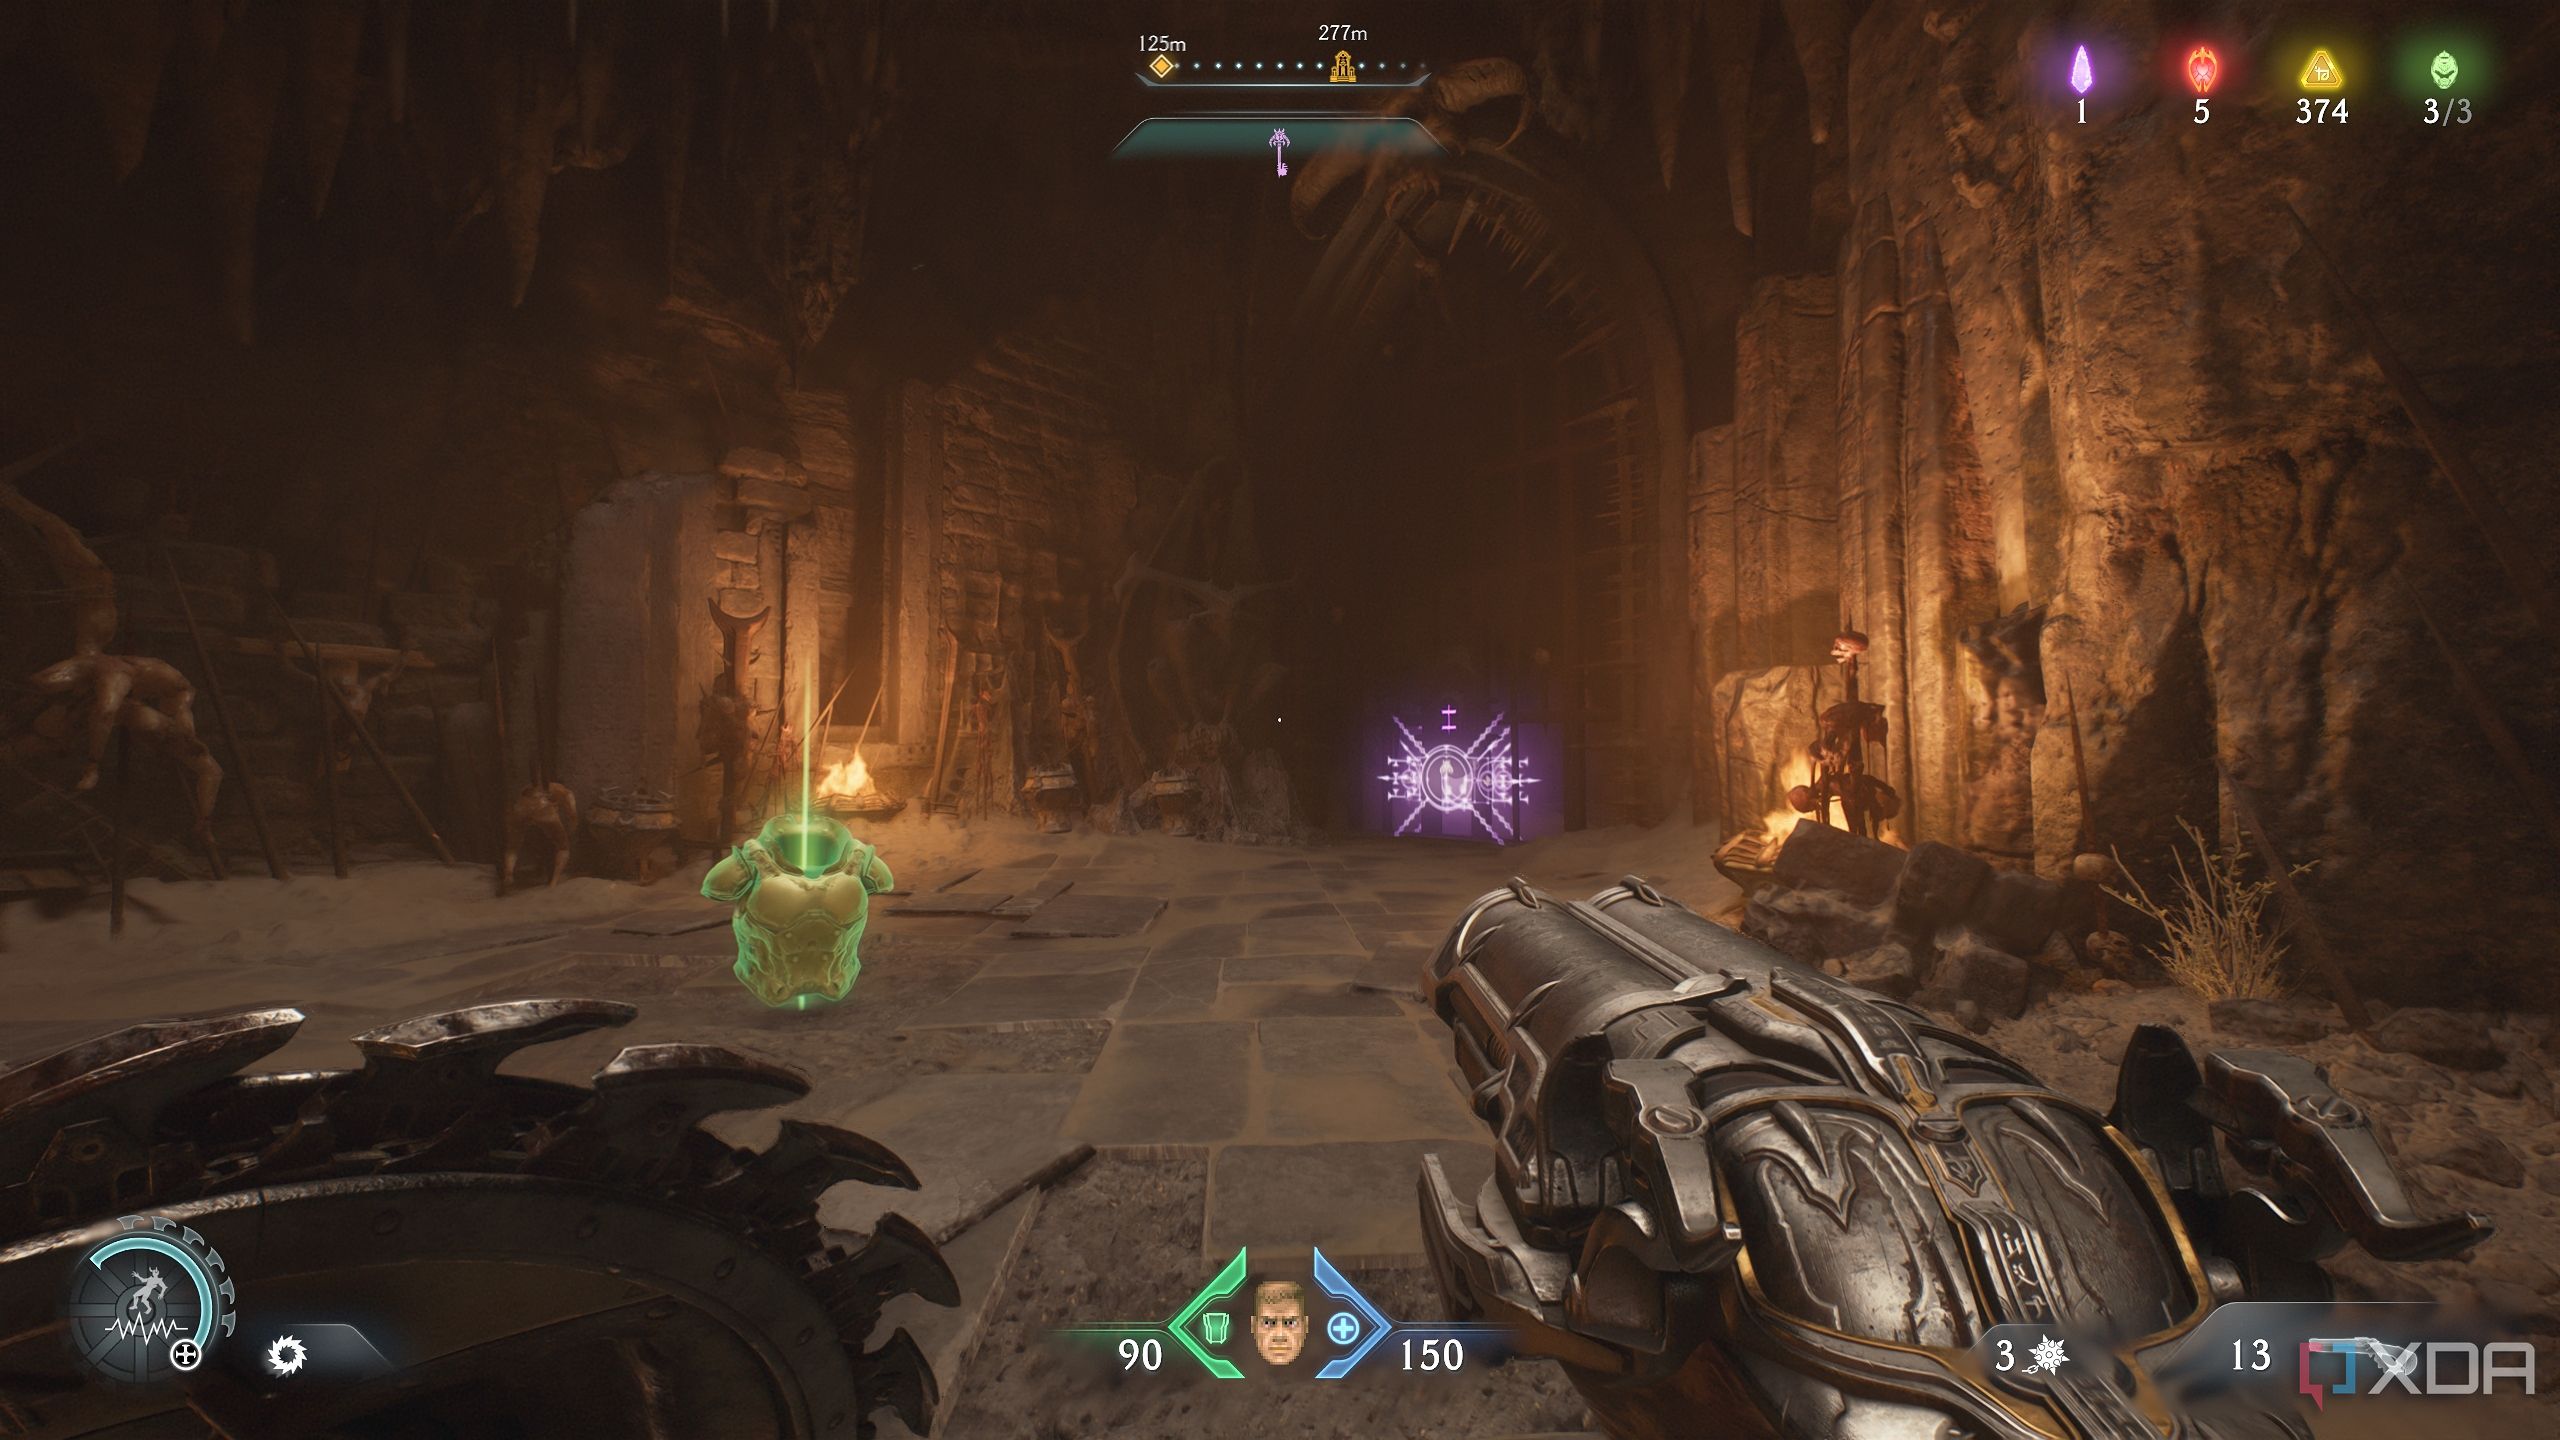
Wraithstone and gold chest
Those weapons won't upgrade themselves
Once you have the Atlan Core, turn around to see a statue holding a Wraithstone.
This was locked before, but is now accessible, so you can collect the Wraithstone now.
Then, all that’s left is to reach the first Atlan Mech in the level. Get to it, fighting through the multiple hordes of demons Hell will throw at you. Before climbing up the final scramble wall, make sure you collect the gold chest right beside it.
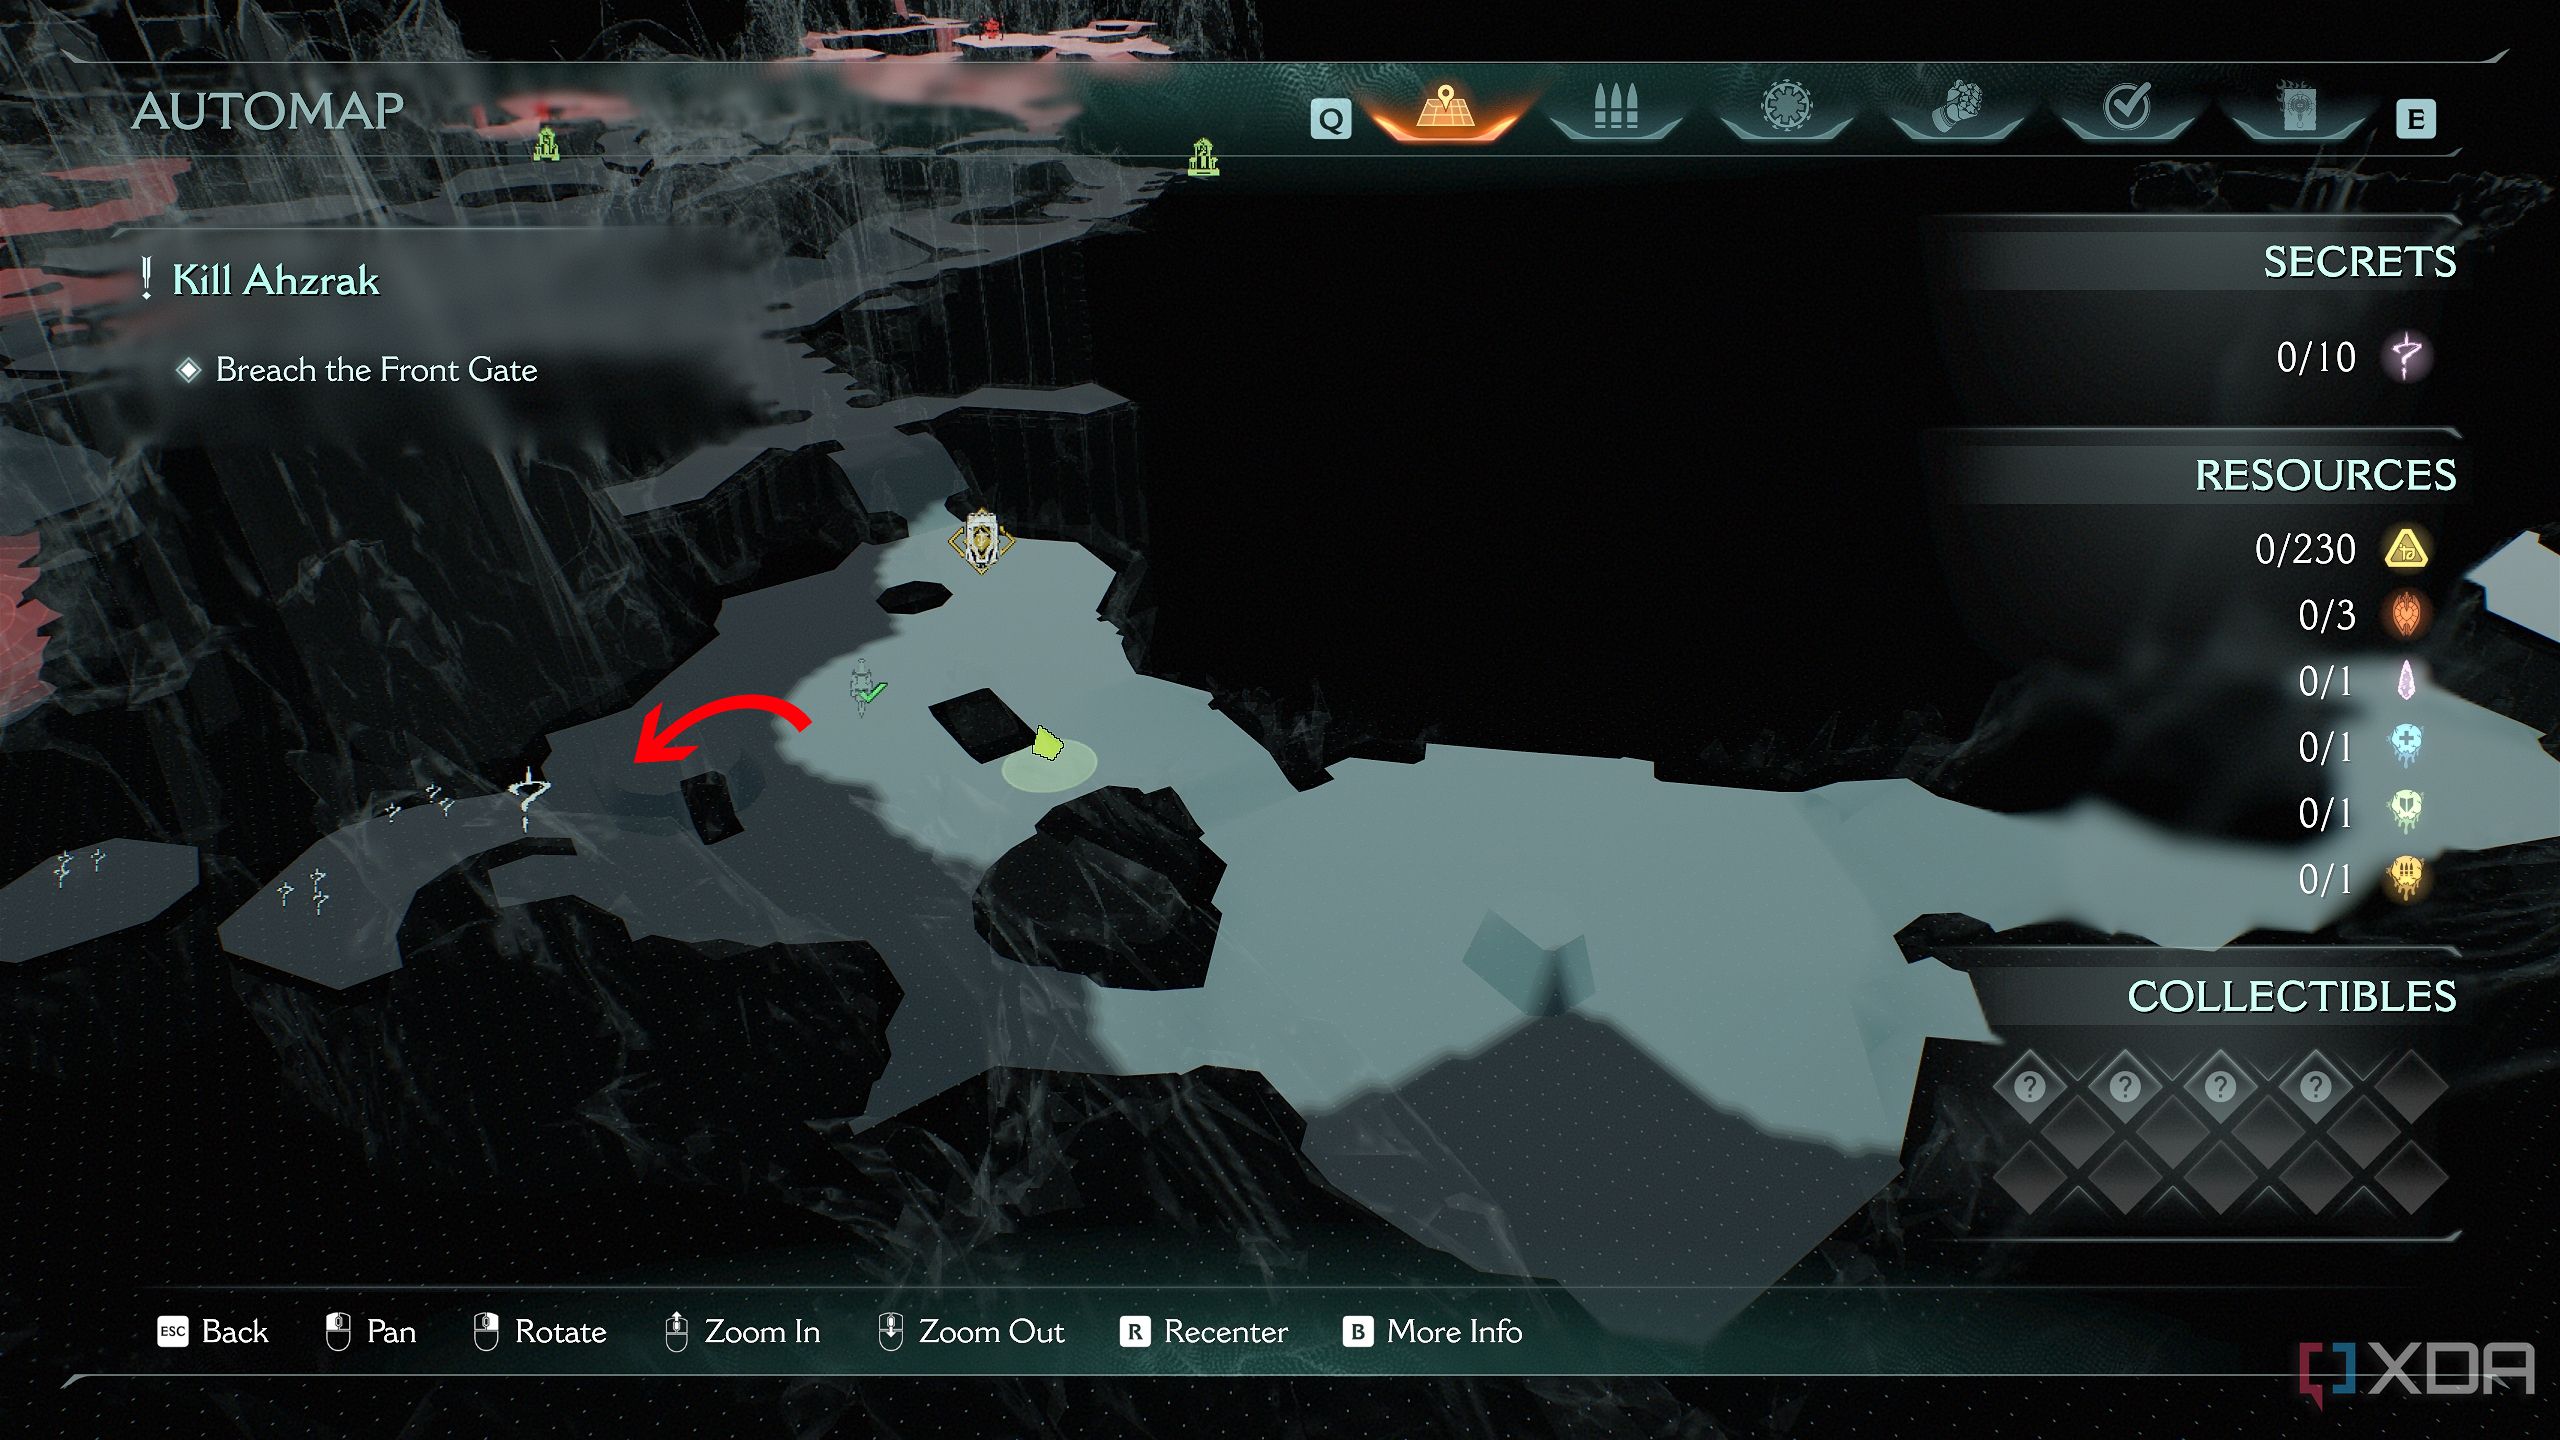
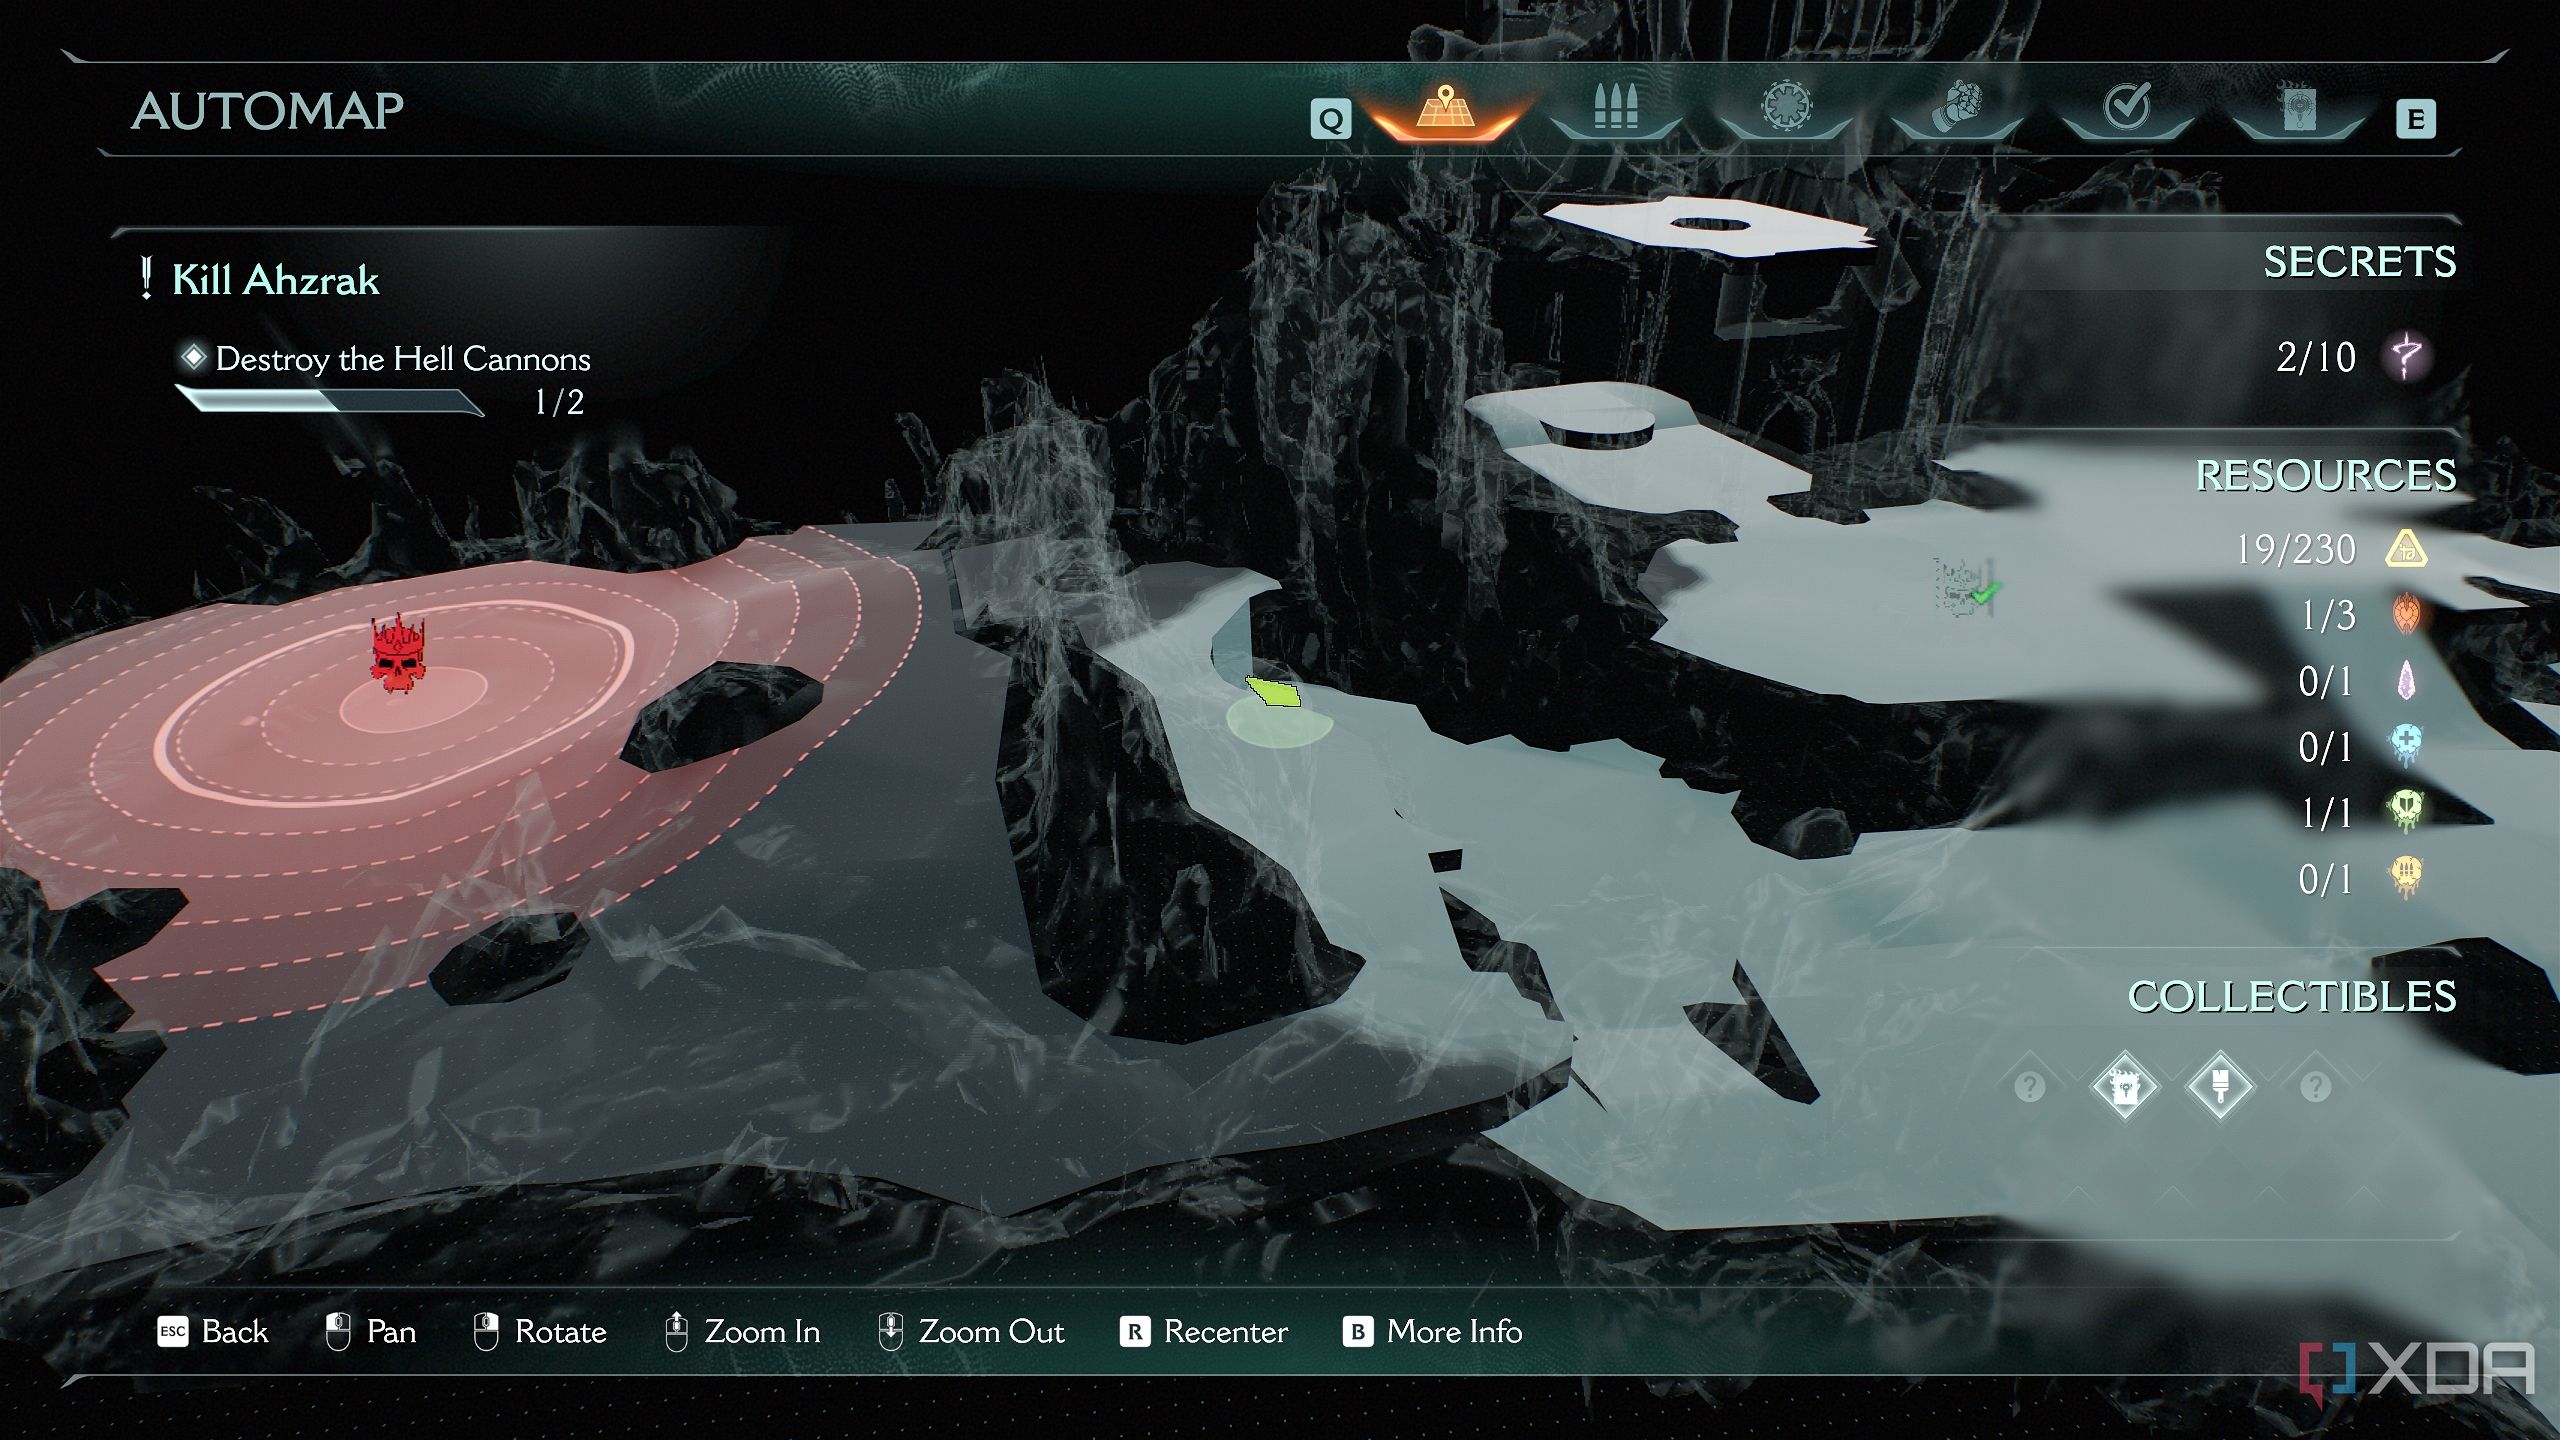
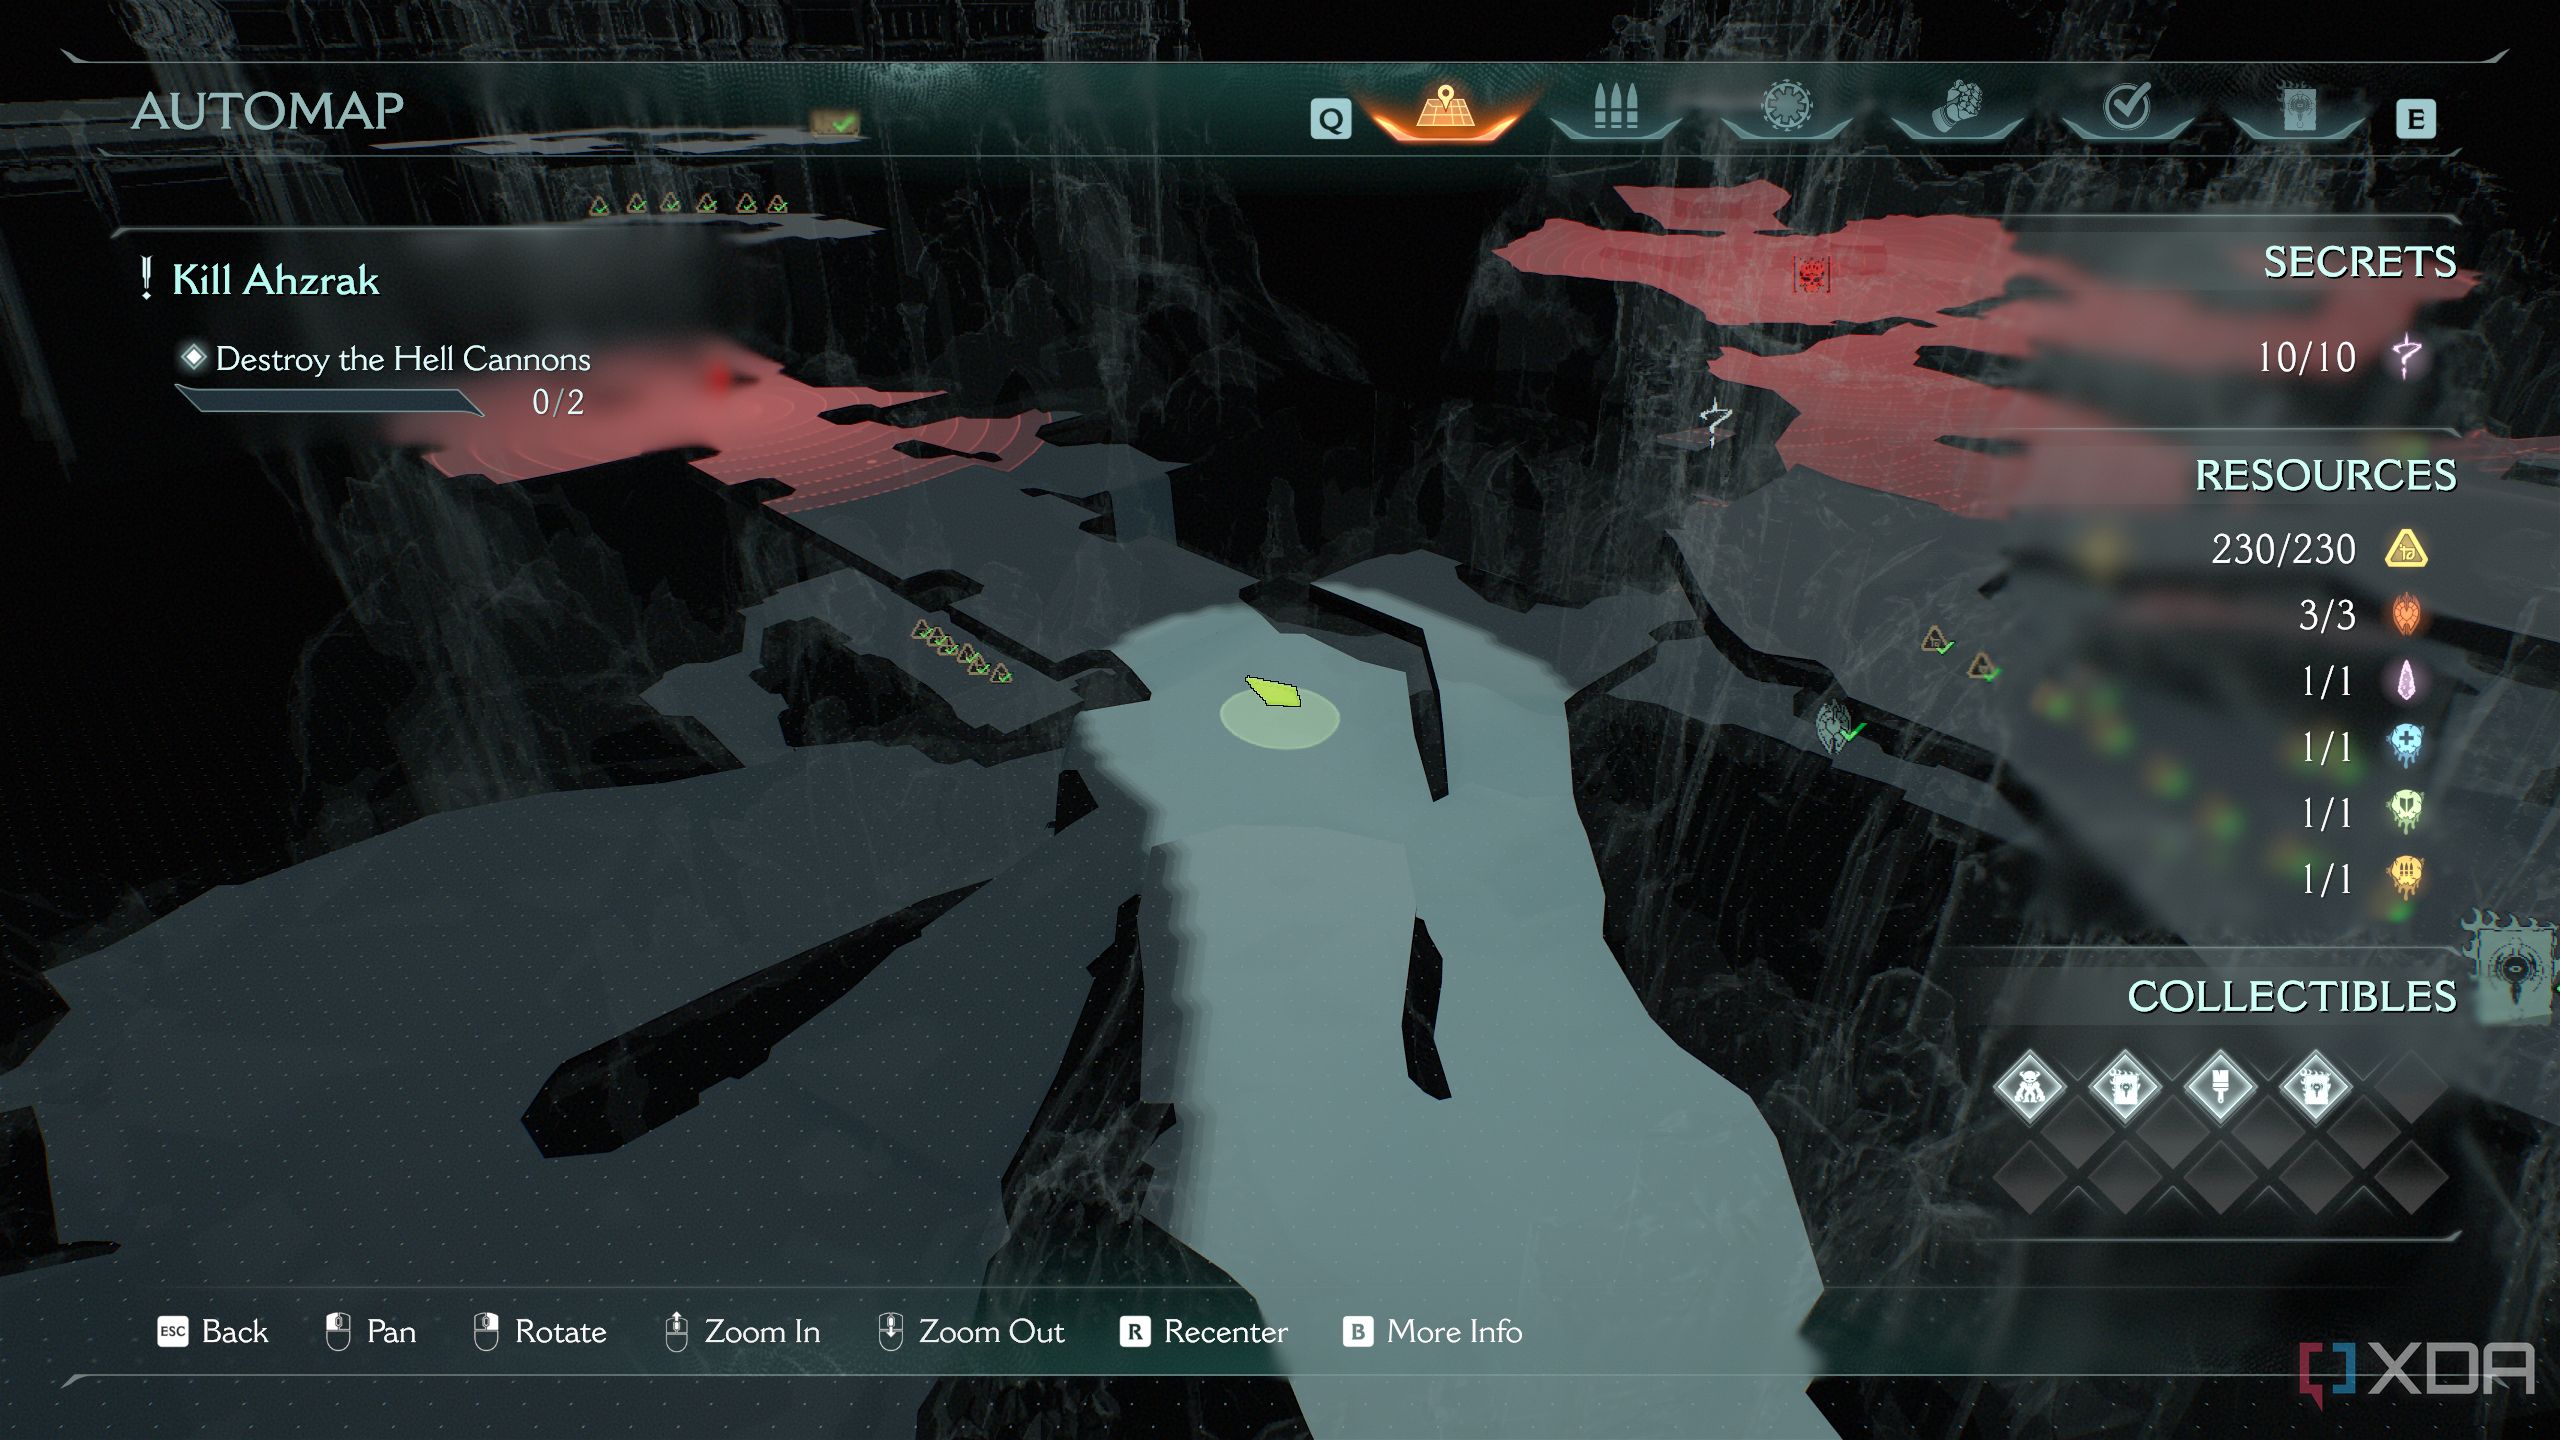
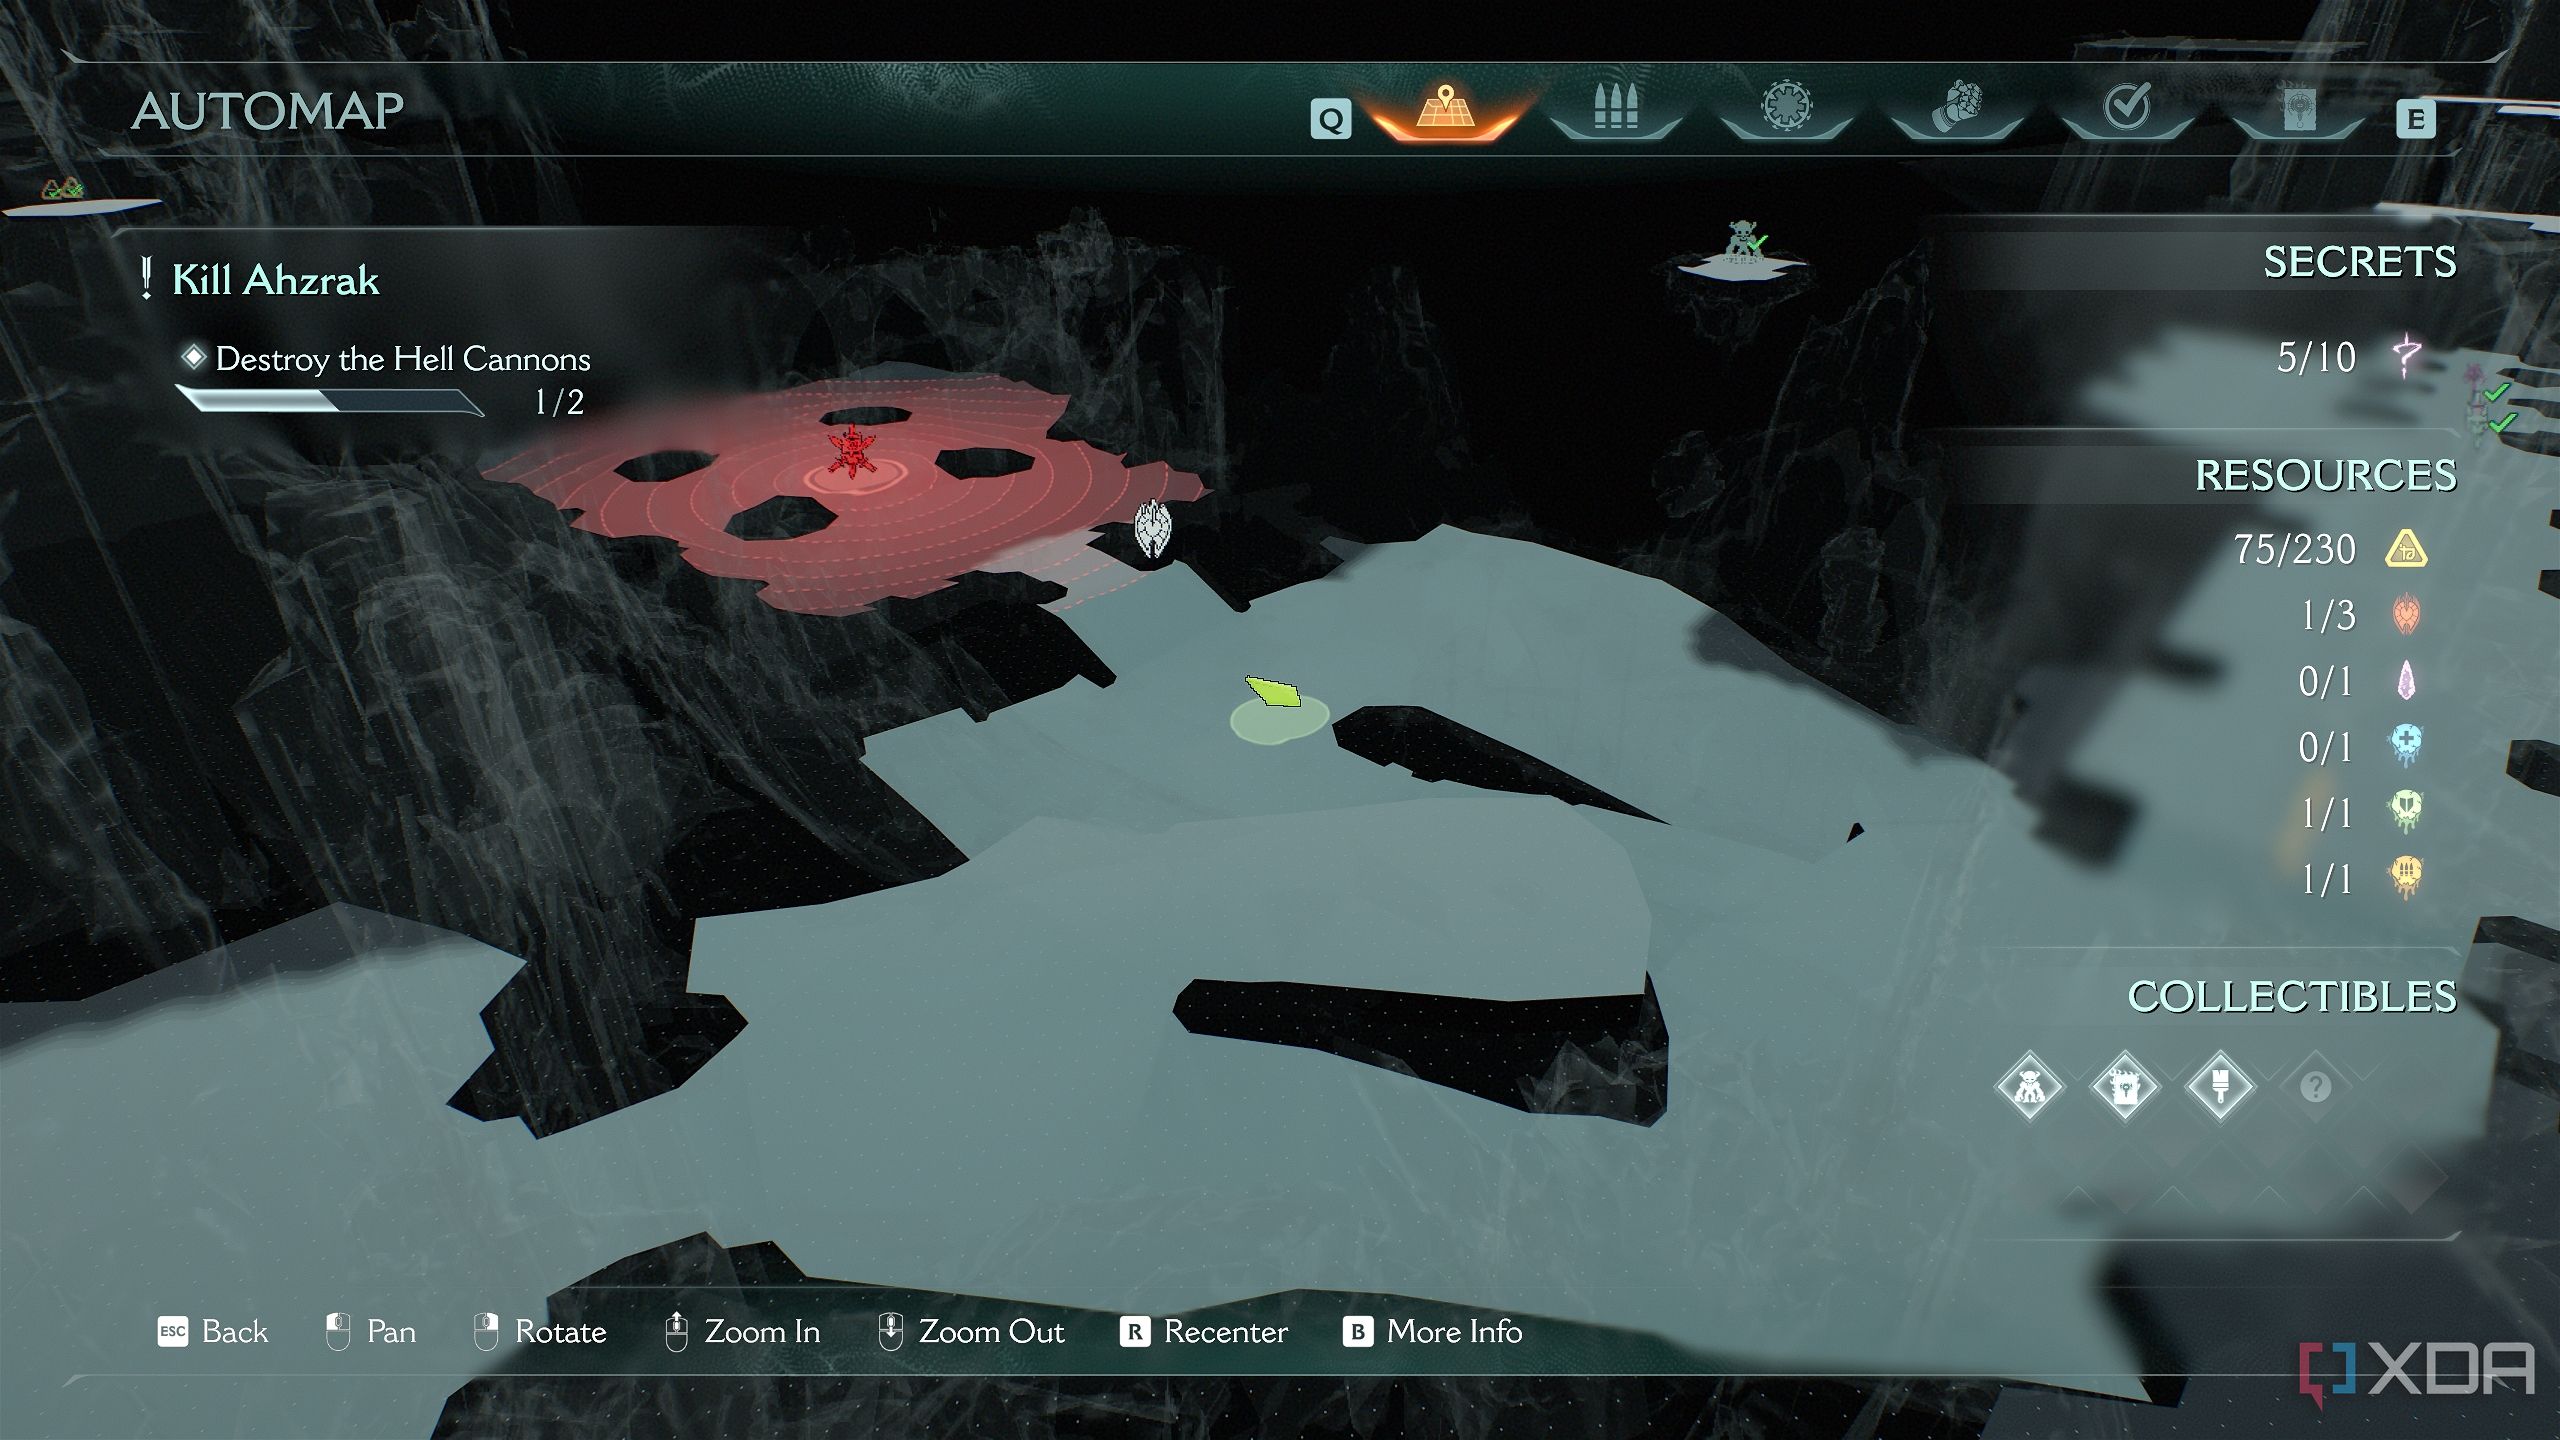
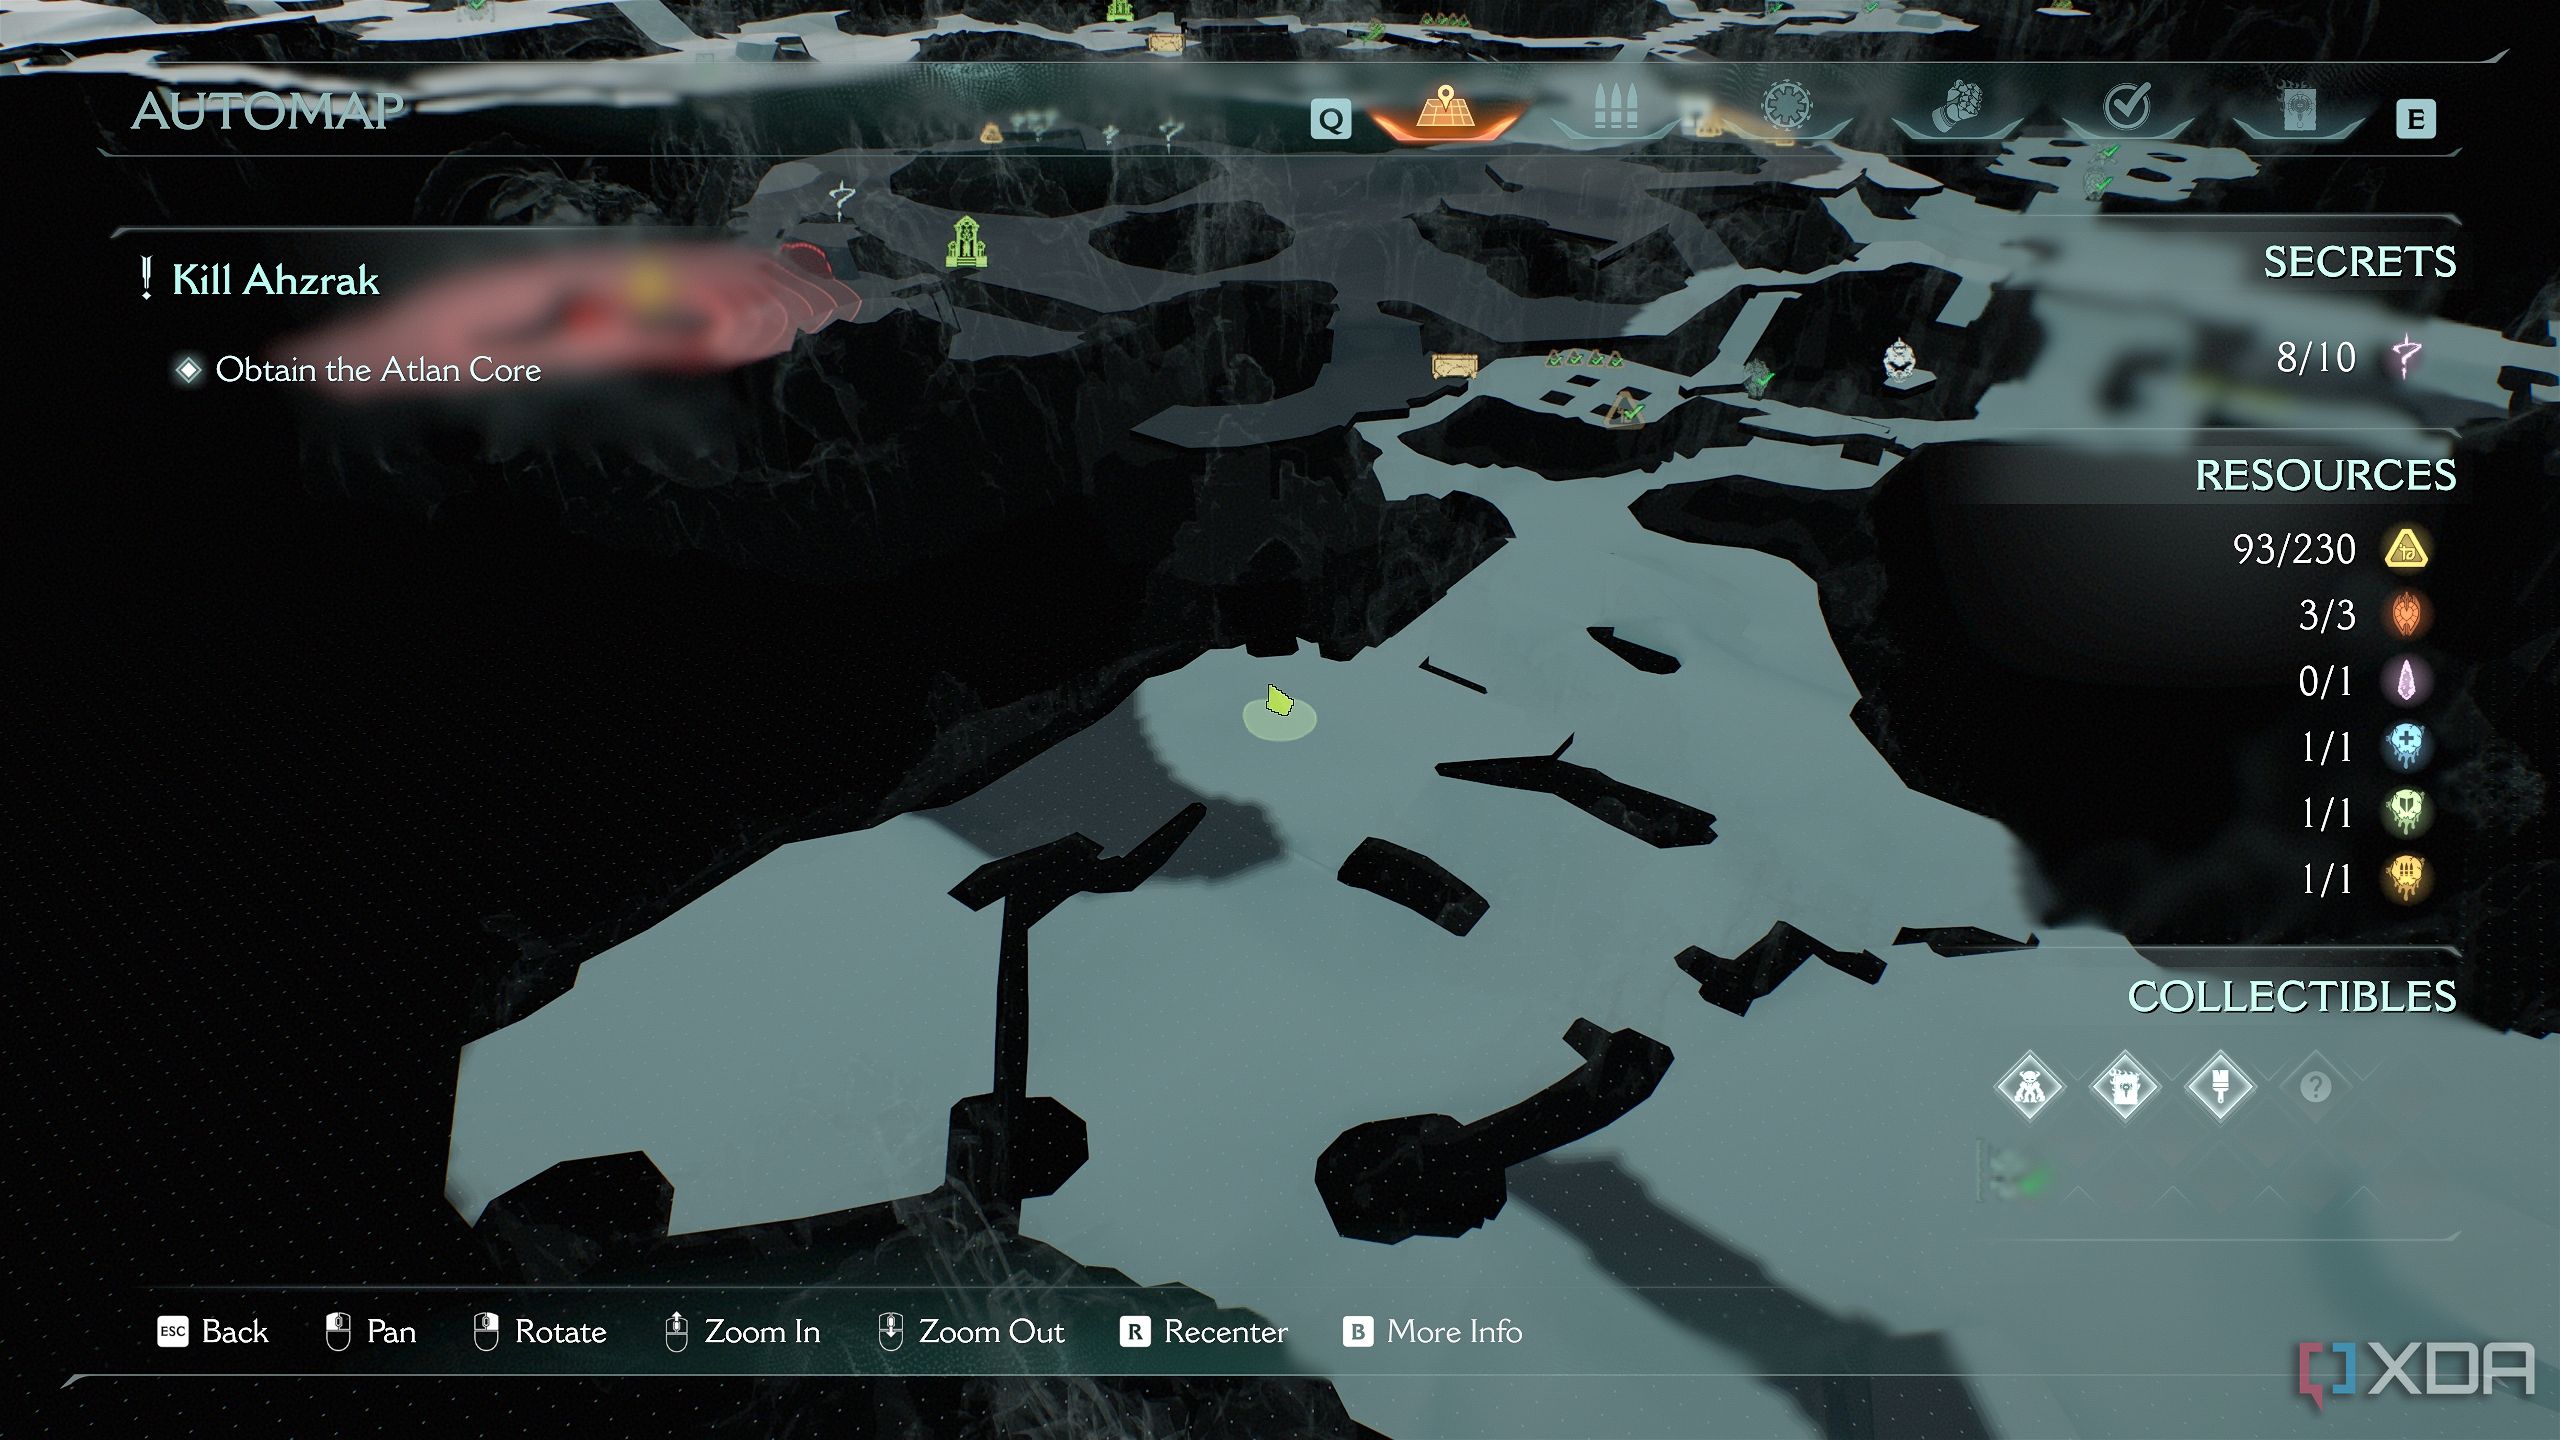
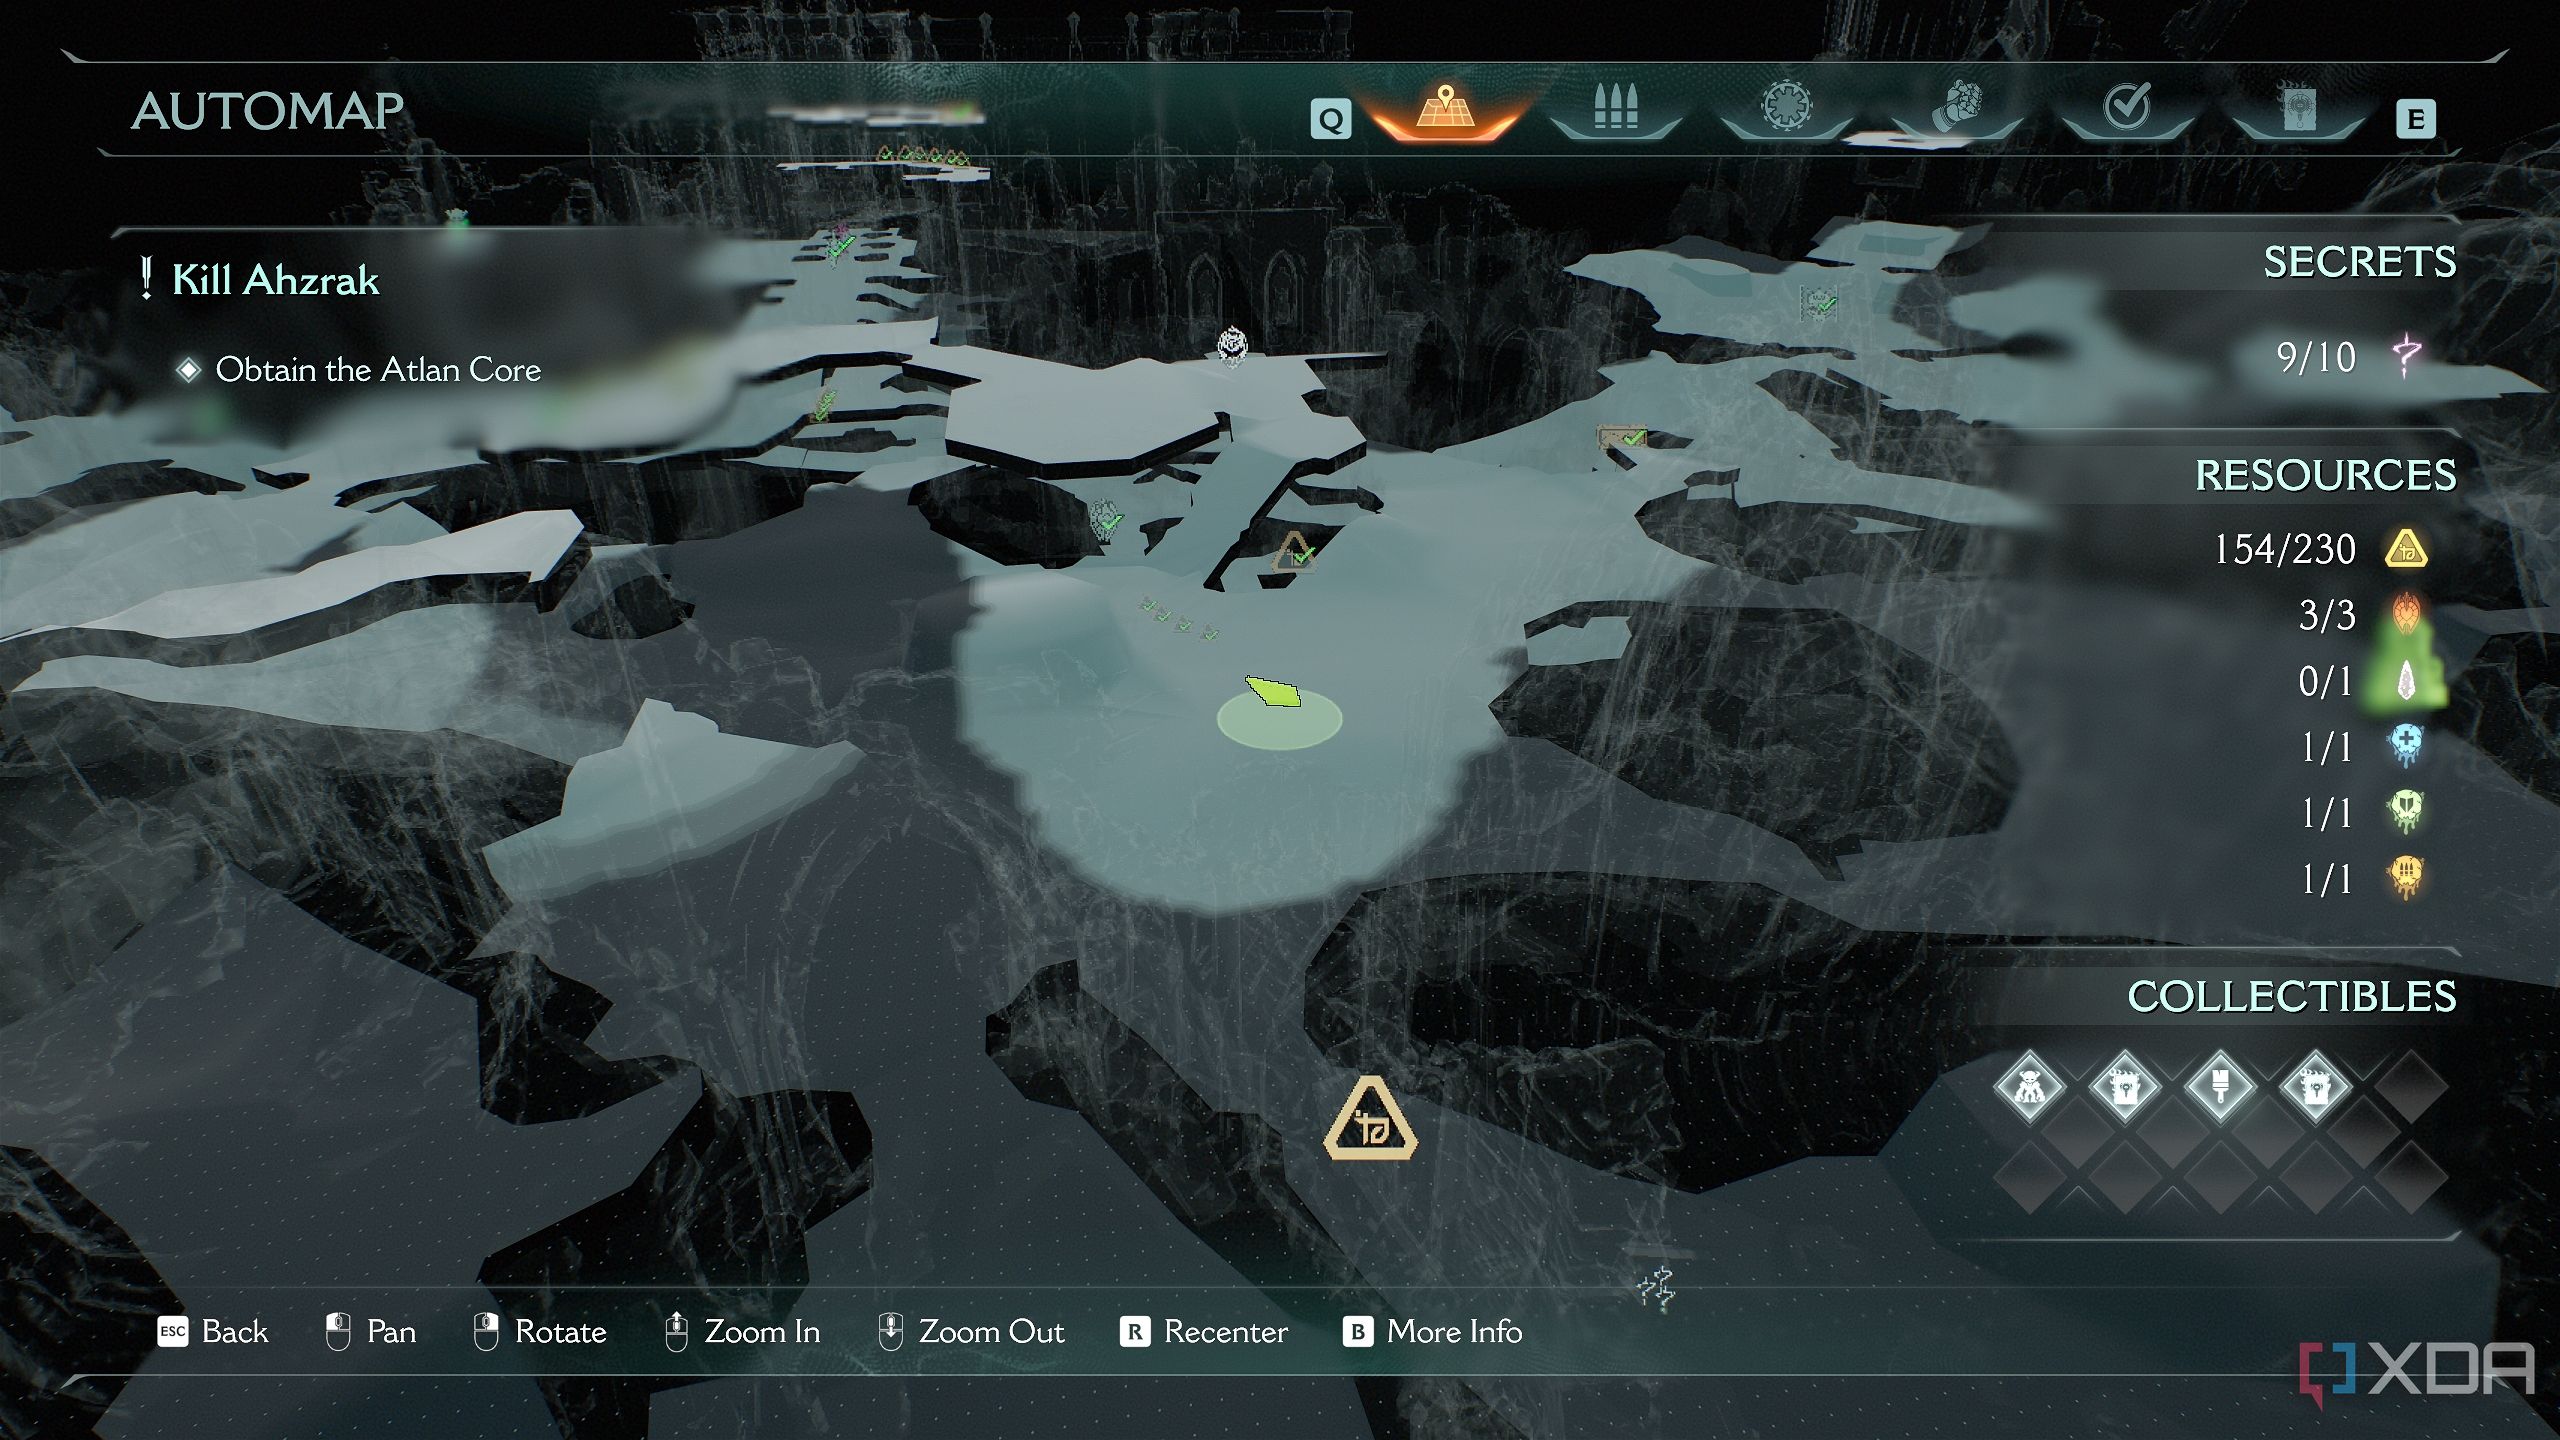
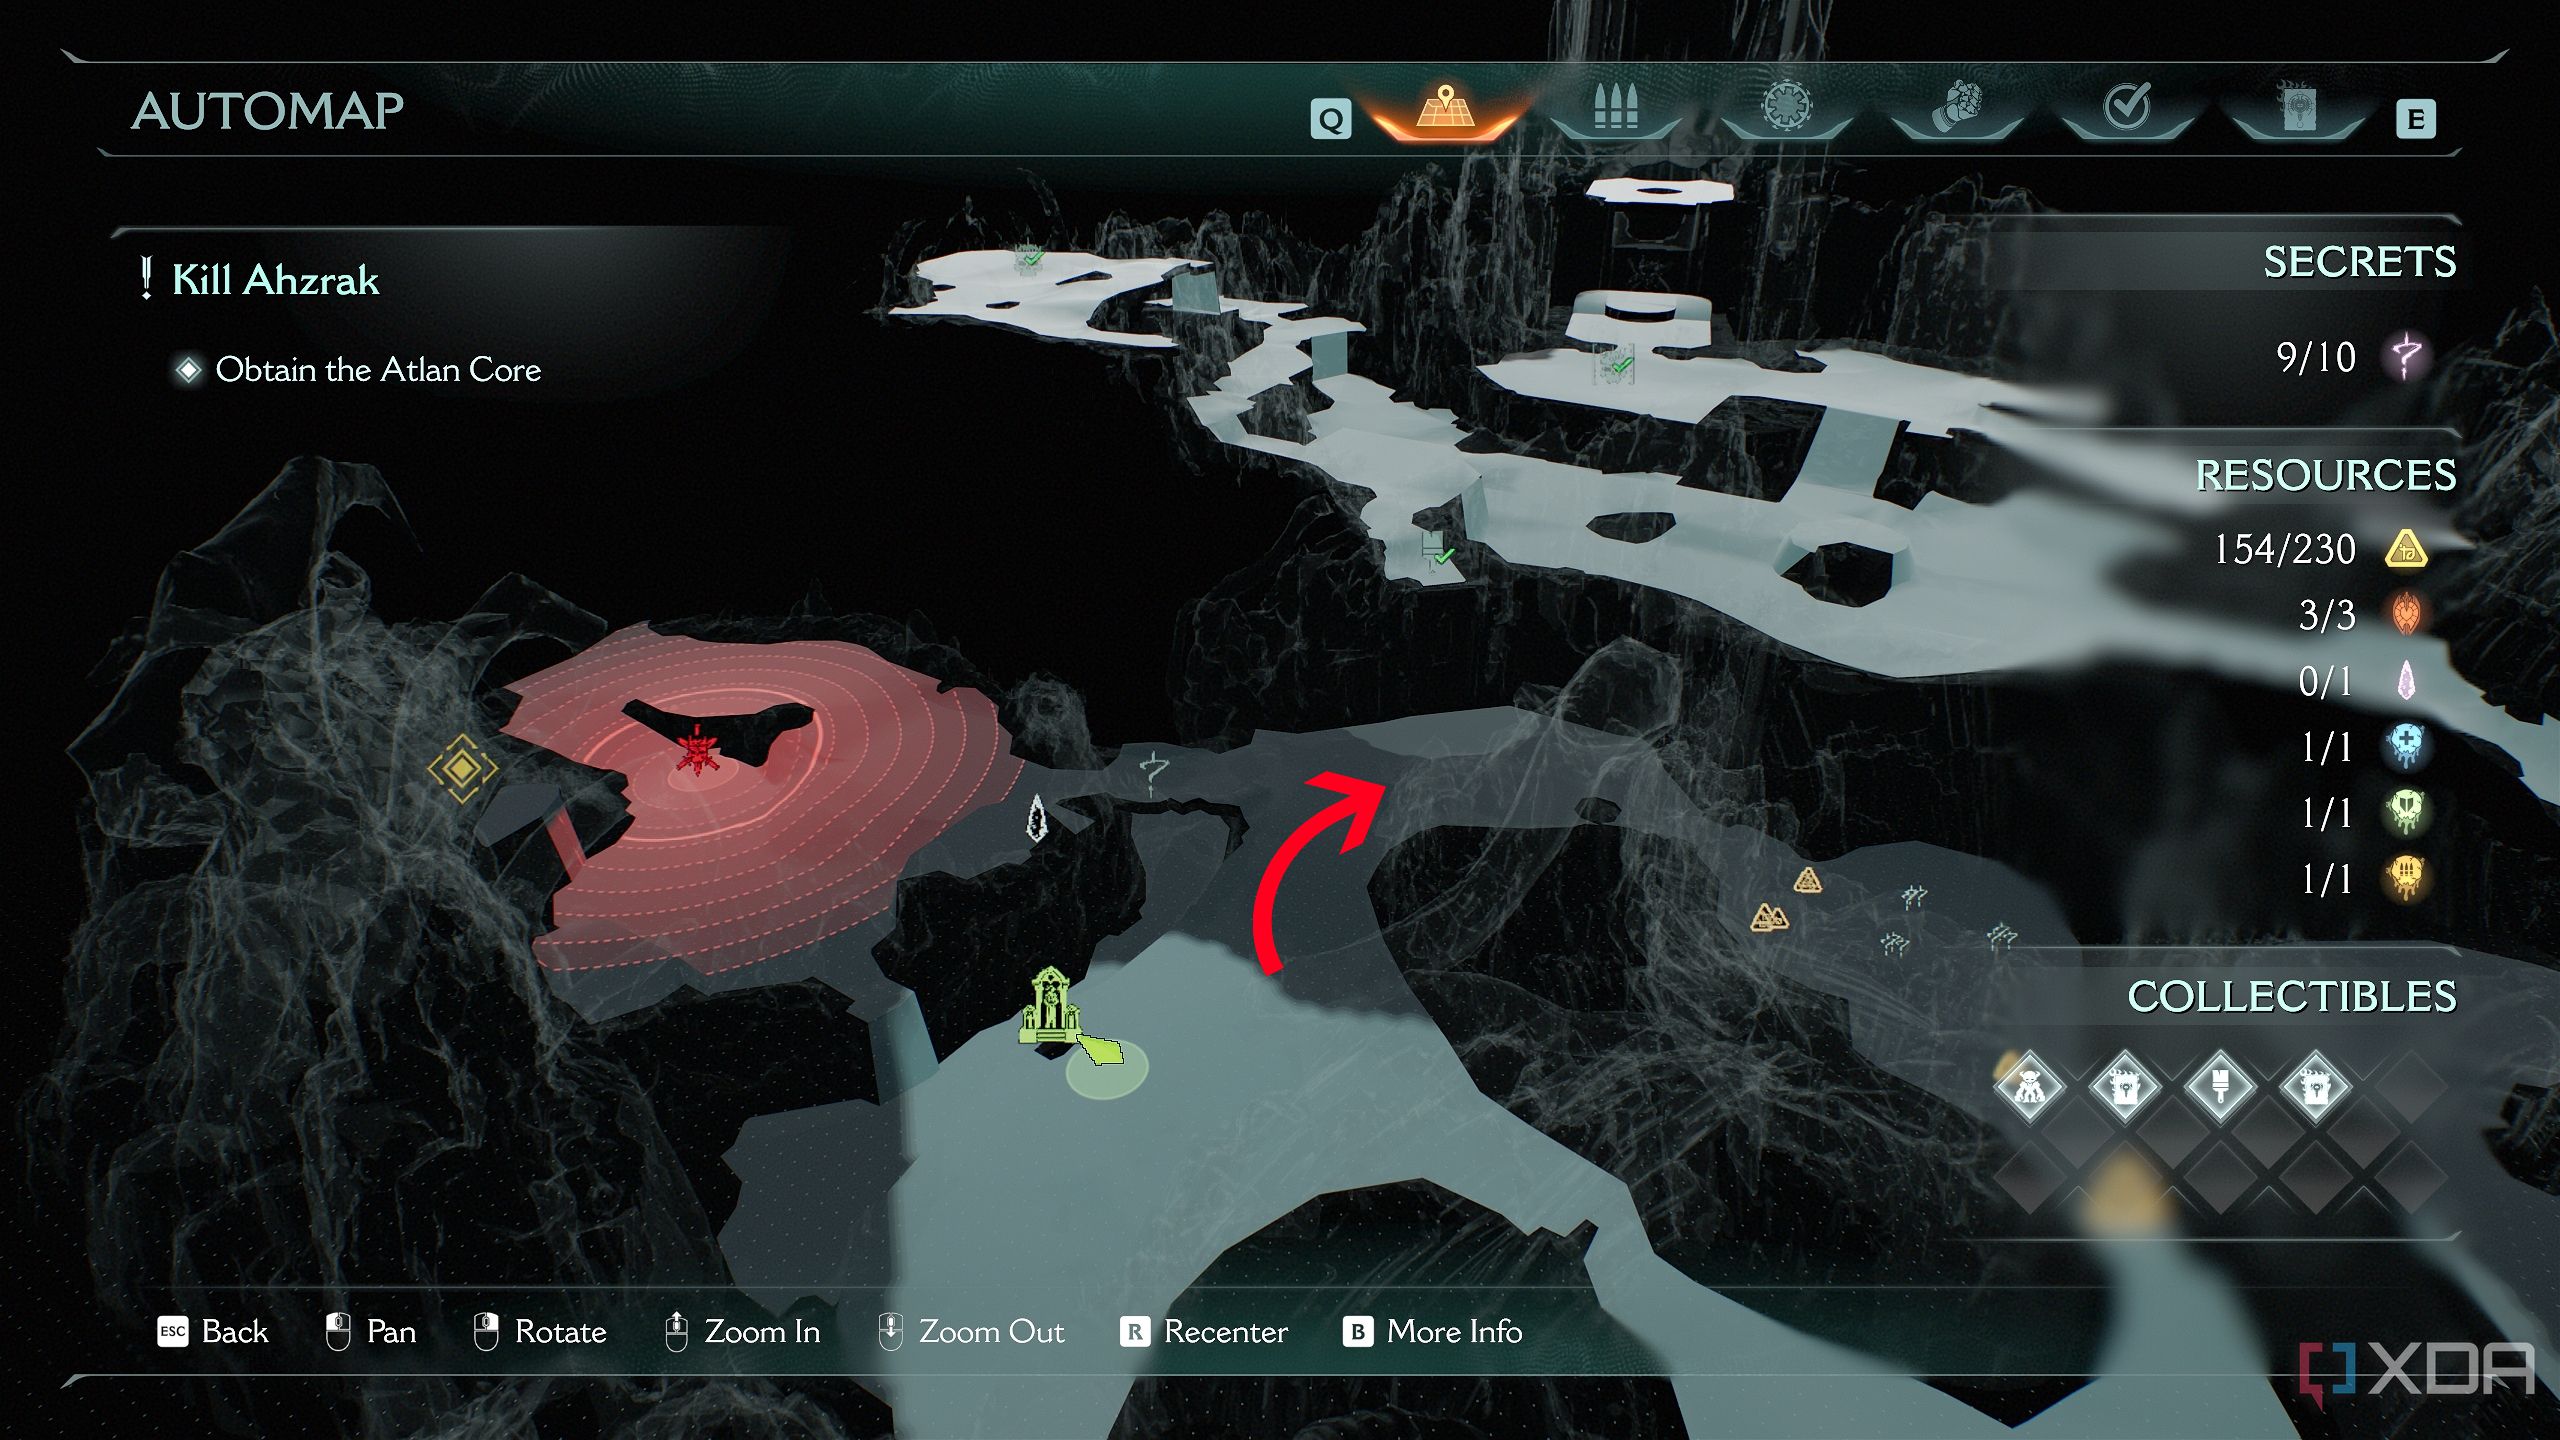
All collectibles in Chapter 10: Forsaken Plains in Doom: The Dark Ages
Once that’s complete, Chapter 10 of Doom: The Dark Ages will be complete, and you’ll finally have the 100% completion achievement for this level. I'd been super-excited for the latest Doom game, and as the heavy metal music sprung to action when I faced the demonic hordes right on their home turf, I couldn't keep the smile off my face.
|
Achievements in Chapter 10: Forsaken Plains |
|
|
Gold |
230 |
|
Rubies |
3 |
|
Wraithstone |
1 |
|
Demonic Essence |
3 |
|
Secret Areas |
10 |
|
Codex Entries |
2 |
|
Collectible Toys |
1 |
|
Skins |
1 |

DOOM: The Dark Ages
Released May 15, 2025
ESRB m
Developer(s) id Software
Publisher(s) Bethesda Softworks
Engine id Tech
Multiplayer Online Multiplayer
Franchise DOOM


 English (US) ·