.png)
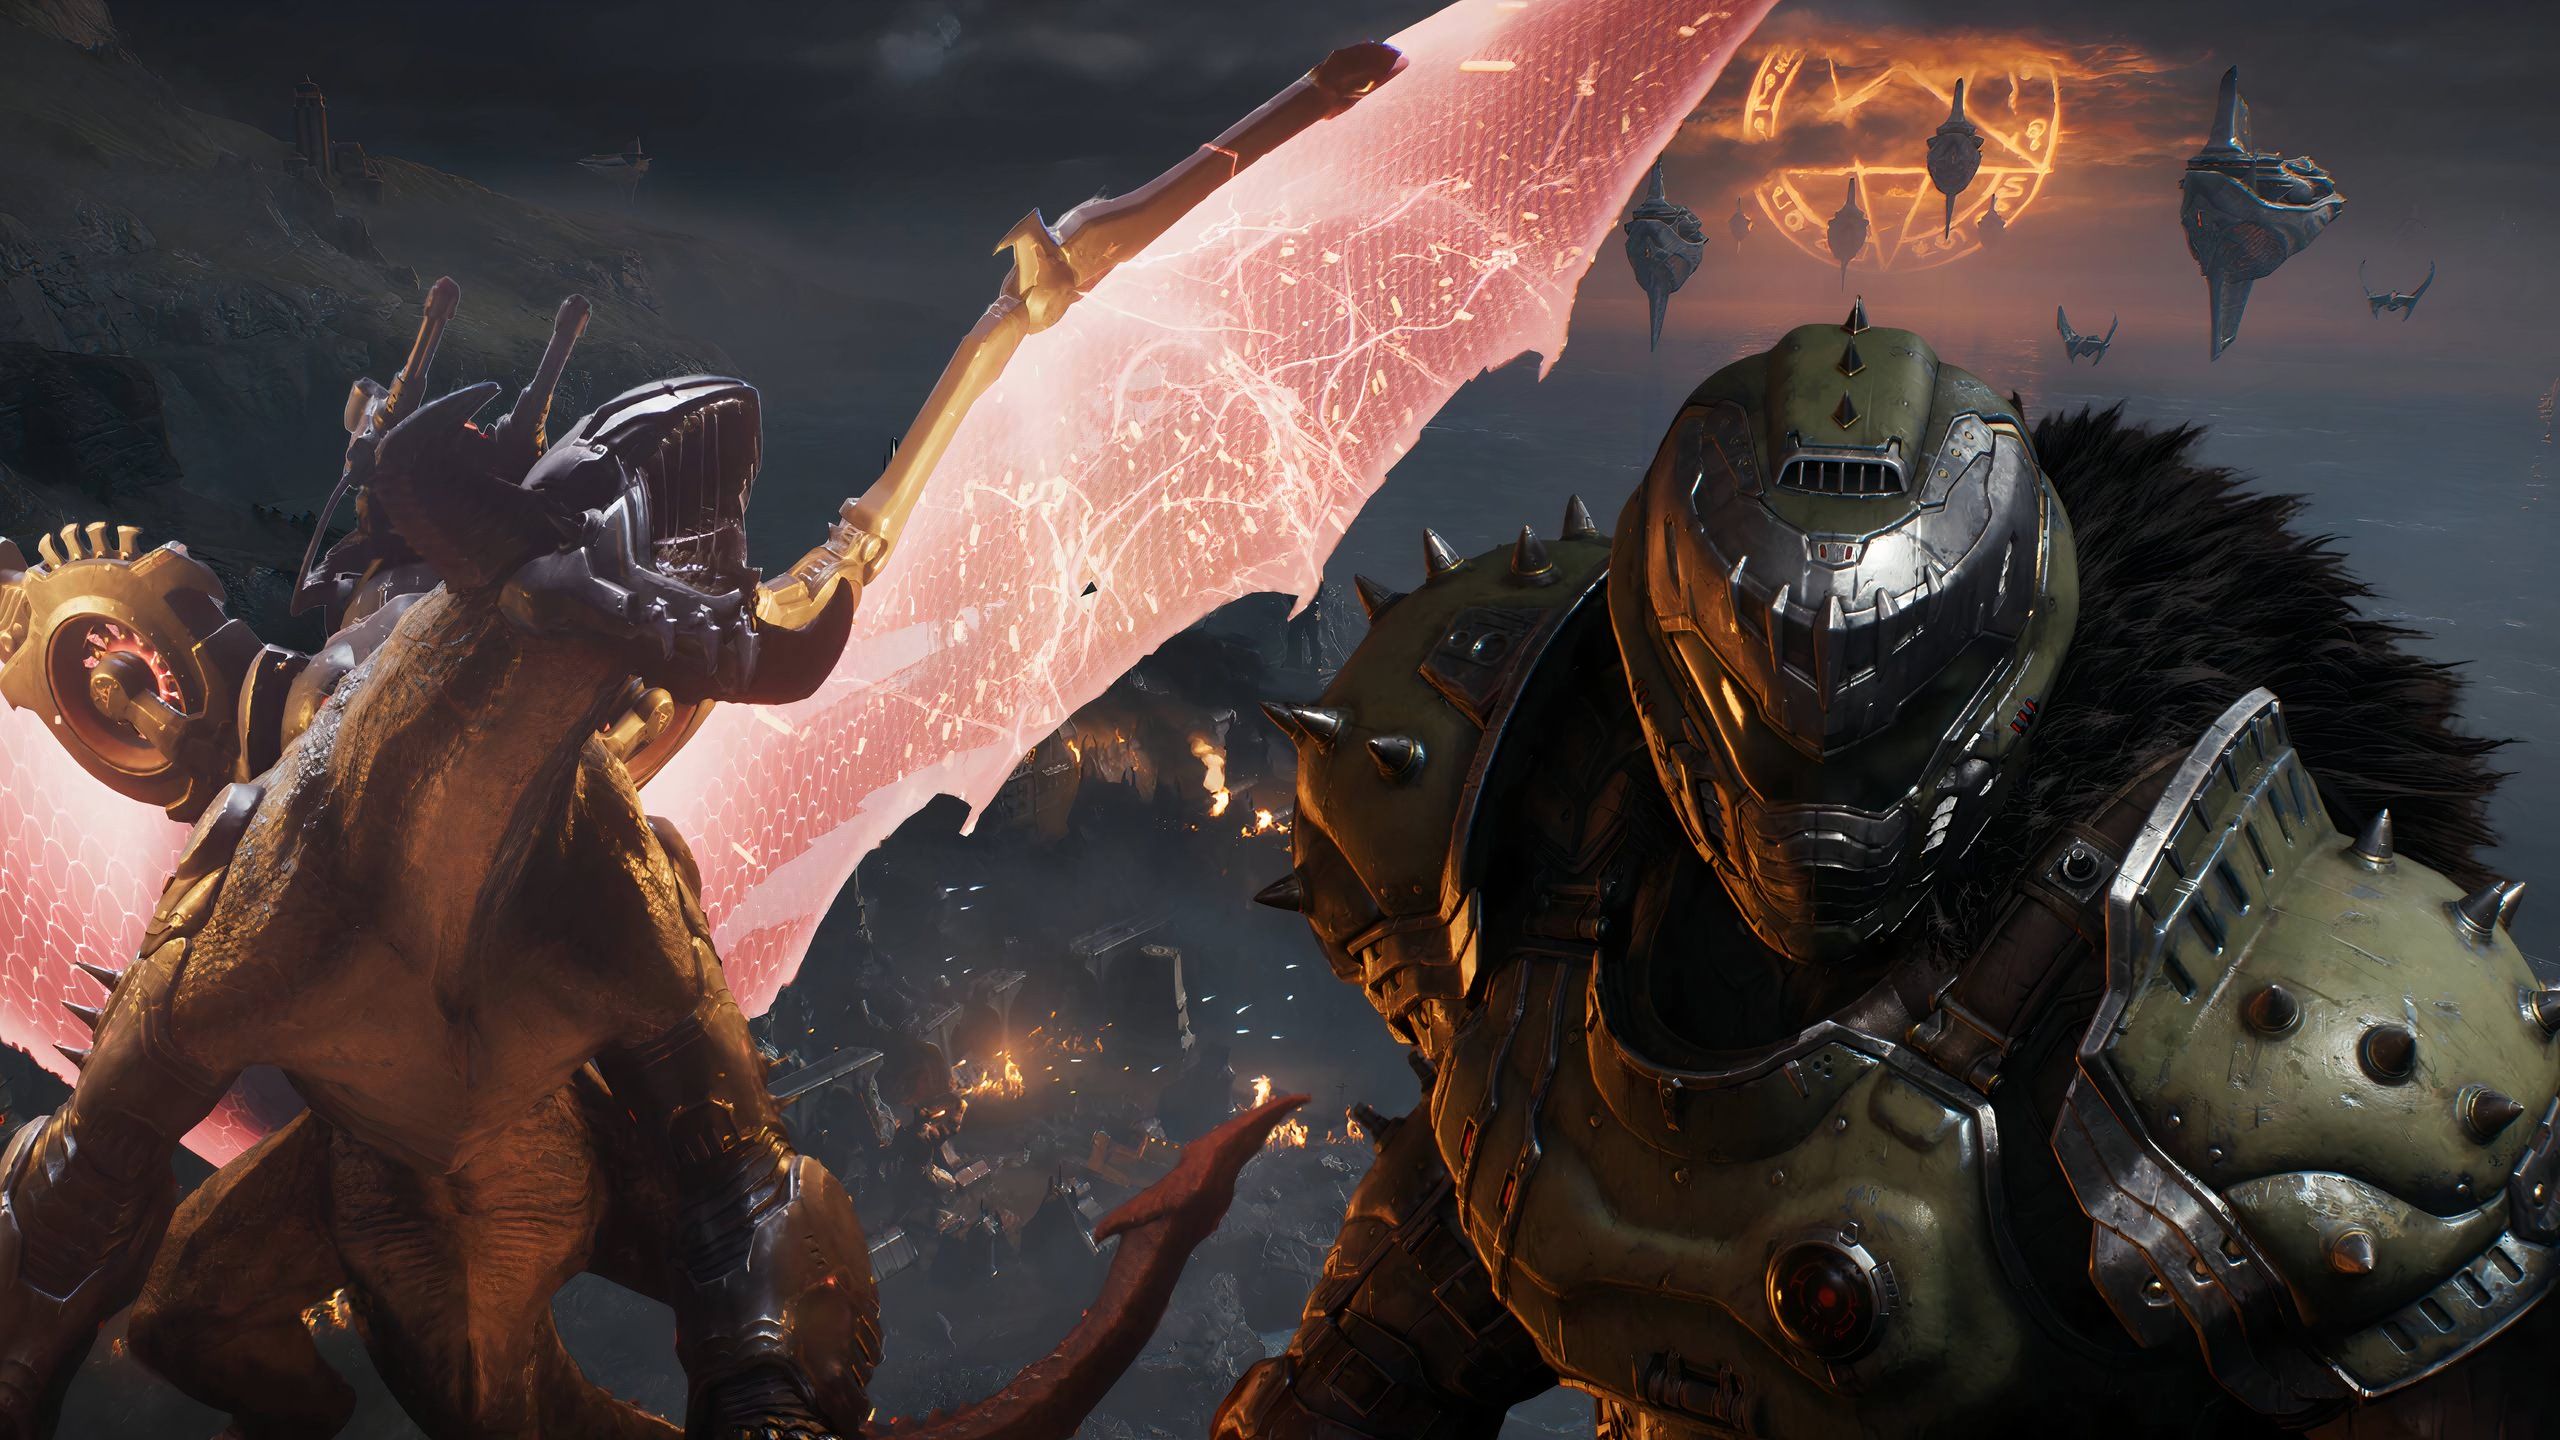
Chapter 8: Abyssal Forest in Doom: The Dark Ages pits the Slayer in the darkest map yet, with moonlight piercing through trees and fog, showcasing the new id Tech engine 8’s capabilities. Going through an entire battlefield in the city outskirts, the Doom Slayer has plenty of hidden collectibles and secret areas to unlock in order to get 100% completion of this huge, sprawling level.
In order to get 100% completion of each level, make sure you complete the mission challenges for this level.
Chapter 6’s mission challenges are-
- Parry 3 Revenant projectiles
- Execute 5 dazed demons with a Shield Charge
- Collect 100 ammo loot drops from melee-striking demons
Related
DOOM: The Dark Ages — 100% completion guide, Chapter 7: Siege - Part 2
Chapter 7 in Doom: The Dark Ages is very reminiscent of Doom Eternal, as the Slayer rushes through tight corridors and arenas in a quick level.
Chapter 8 of Doom: The Dark Ages takes the Slayer in an ancient forest
The Abyssal Forest is chock-full of secrets and collectibles
Much like chapter 7, this level is also pretty quick. However, it also offers players vast arenas to explore and take plenty of detours. Set in a dark, foggy ancient forest taken over by demonic hordes, the Abyssal Forest adds to the lore of Argent D’Nur. Following the objectives in the chapter along with the instructions provided below, it won't be long before you can claim that sweet 100% completion tag for the eighth level in Doom: The Dark Ages.
This guide covers each collectible required for 100% level completion in chronological order. It is recommended to follow this guide in the order stated.
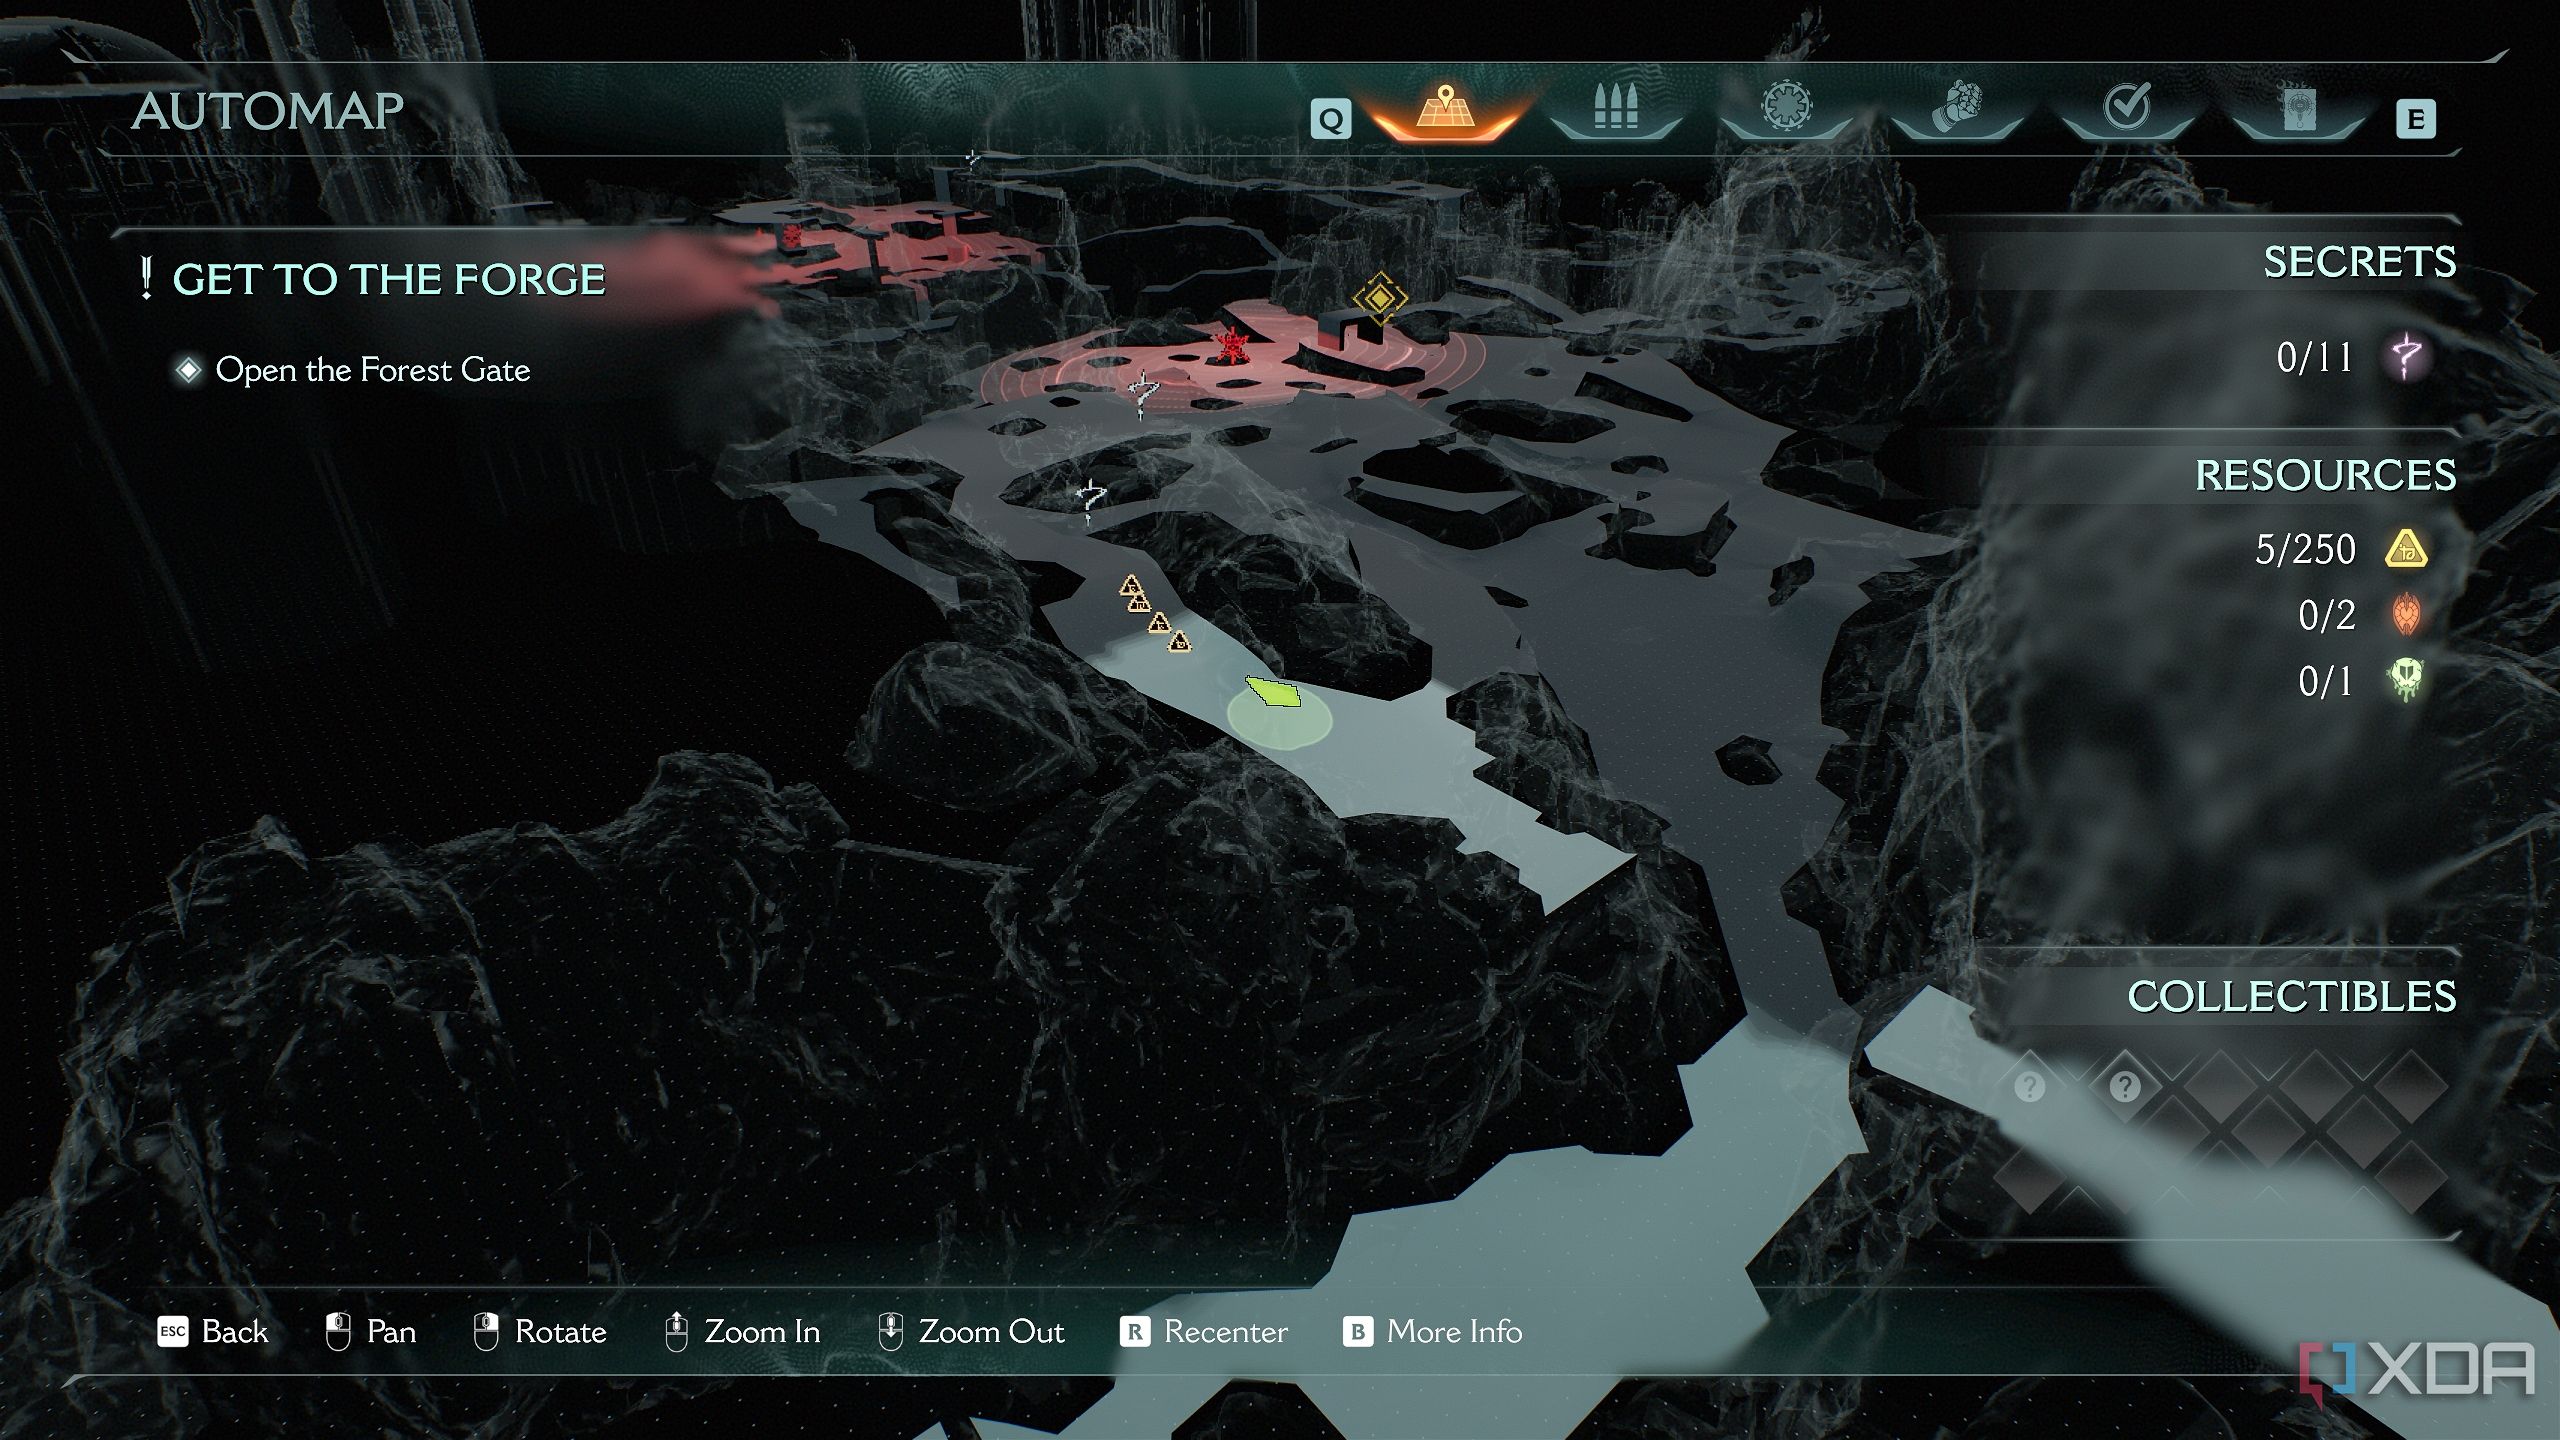
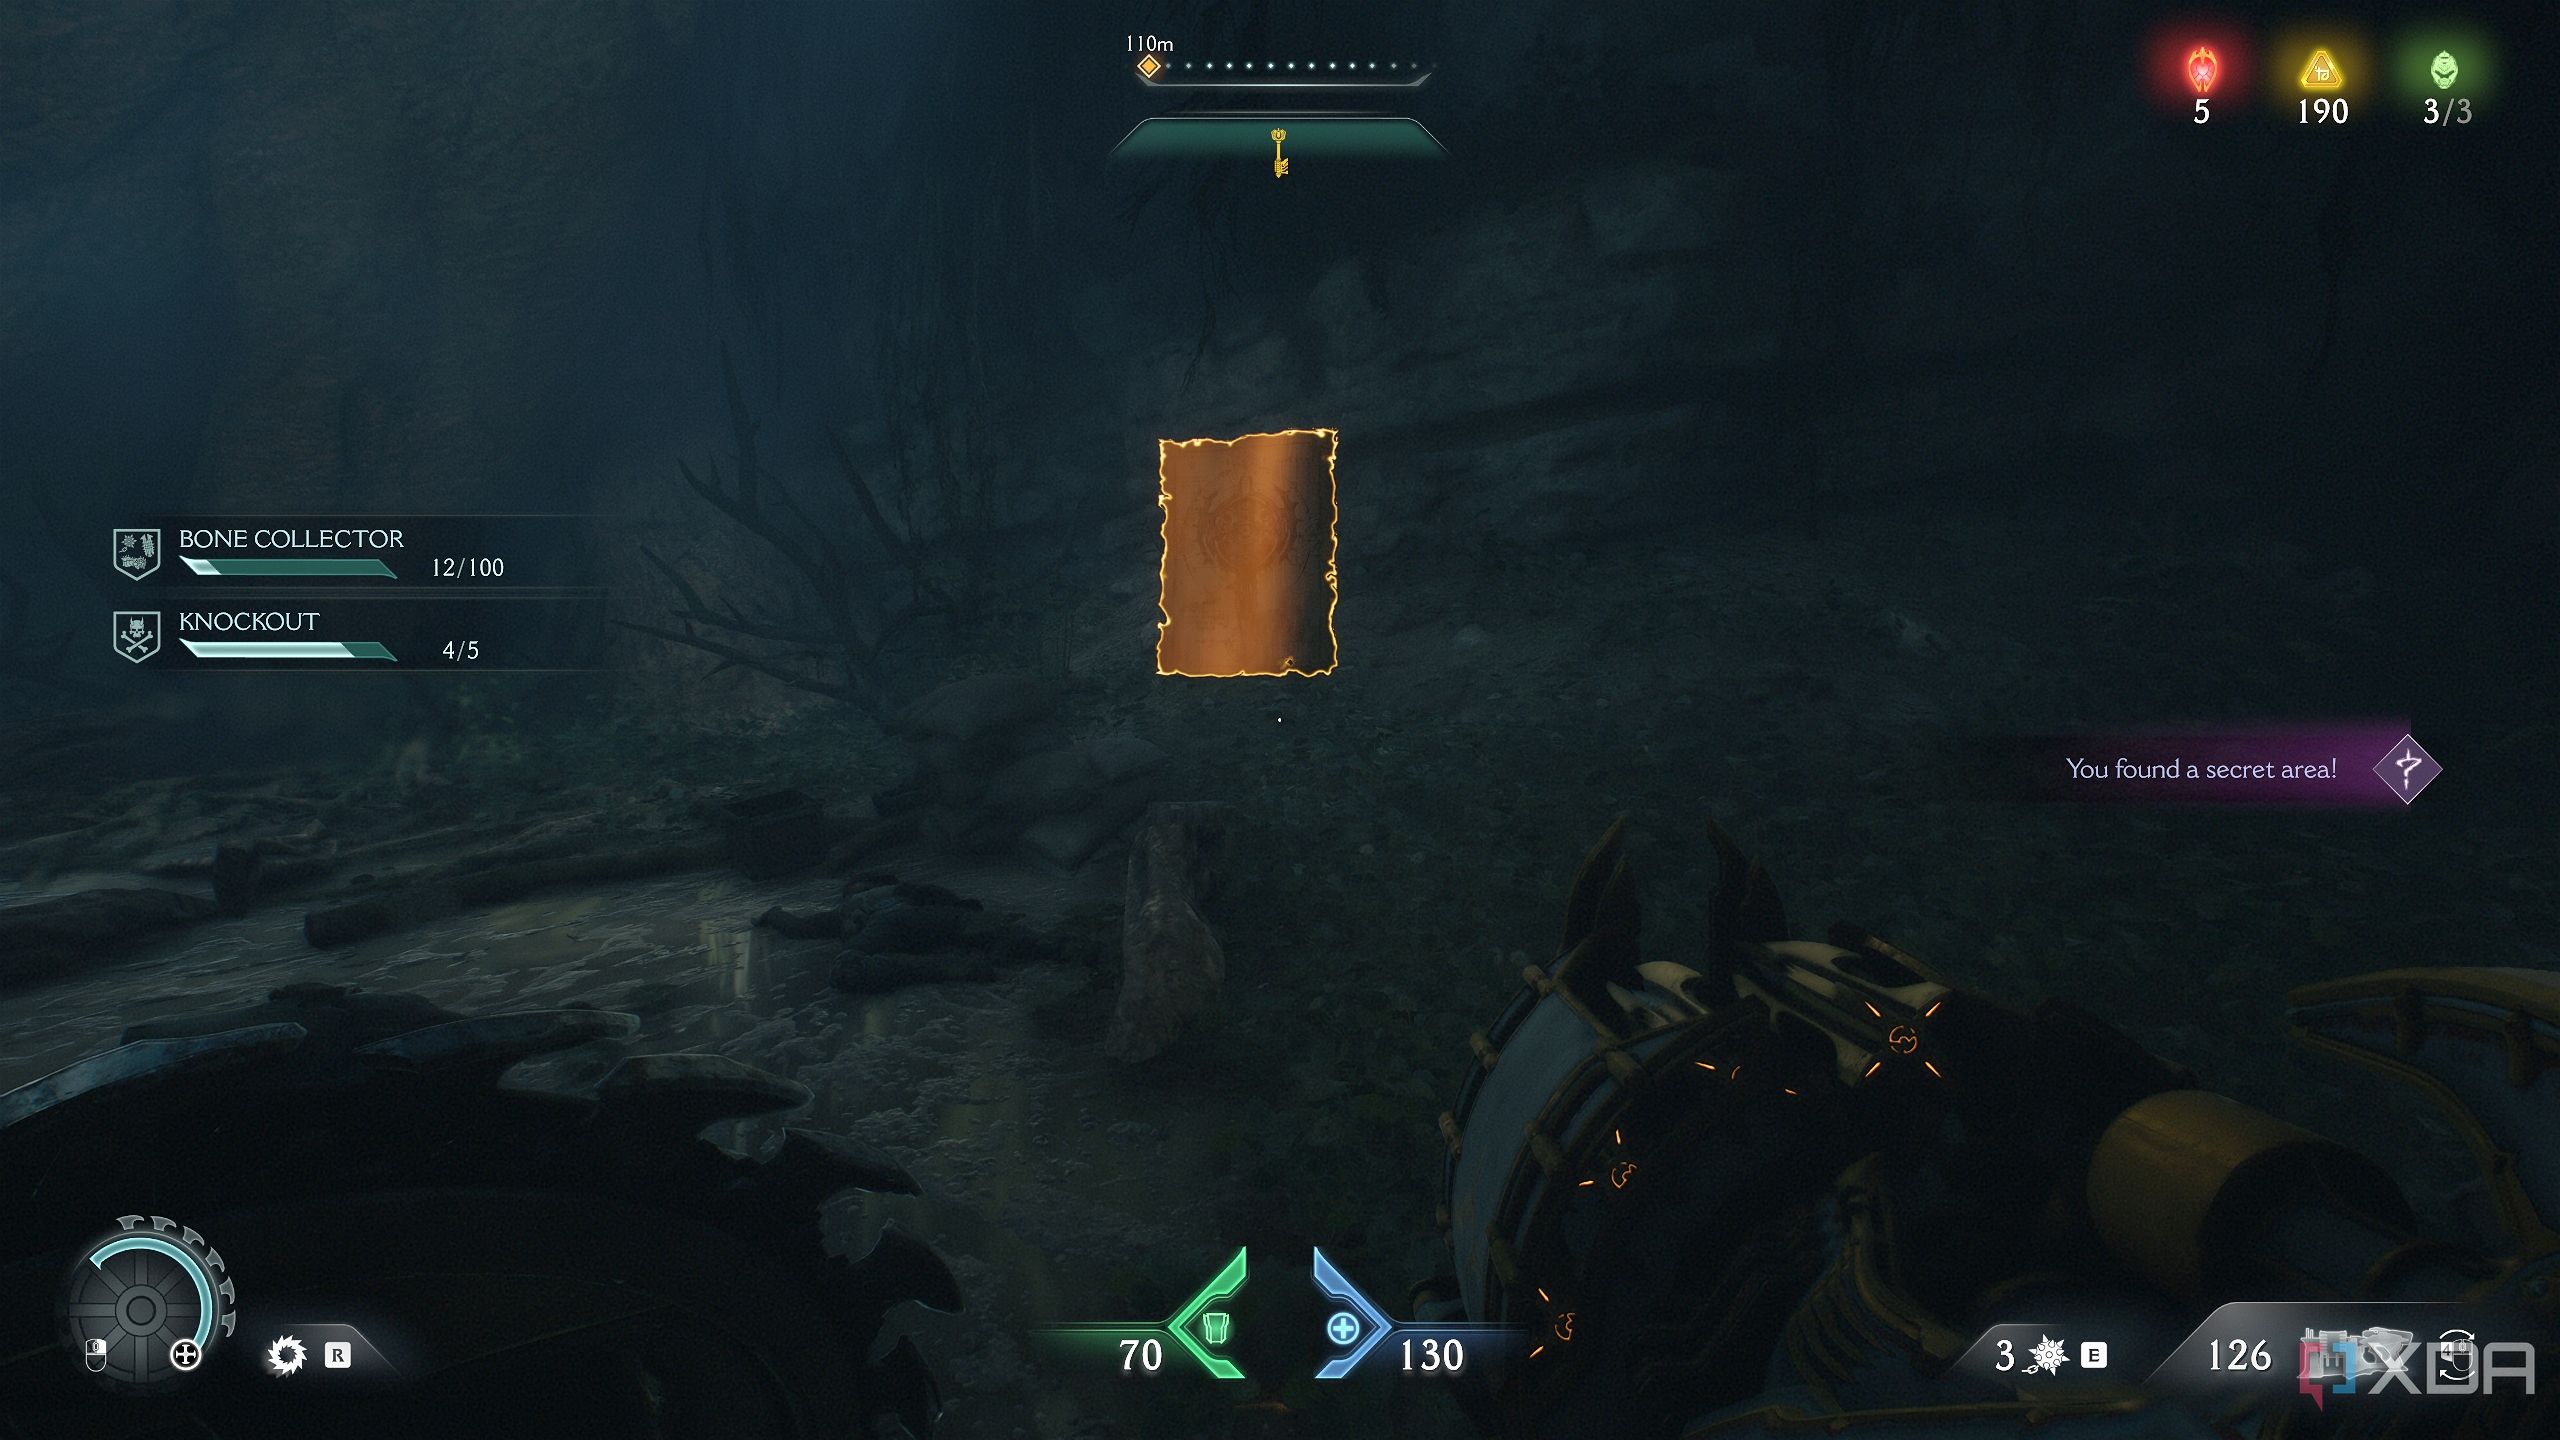
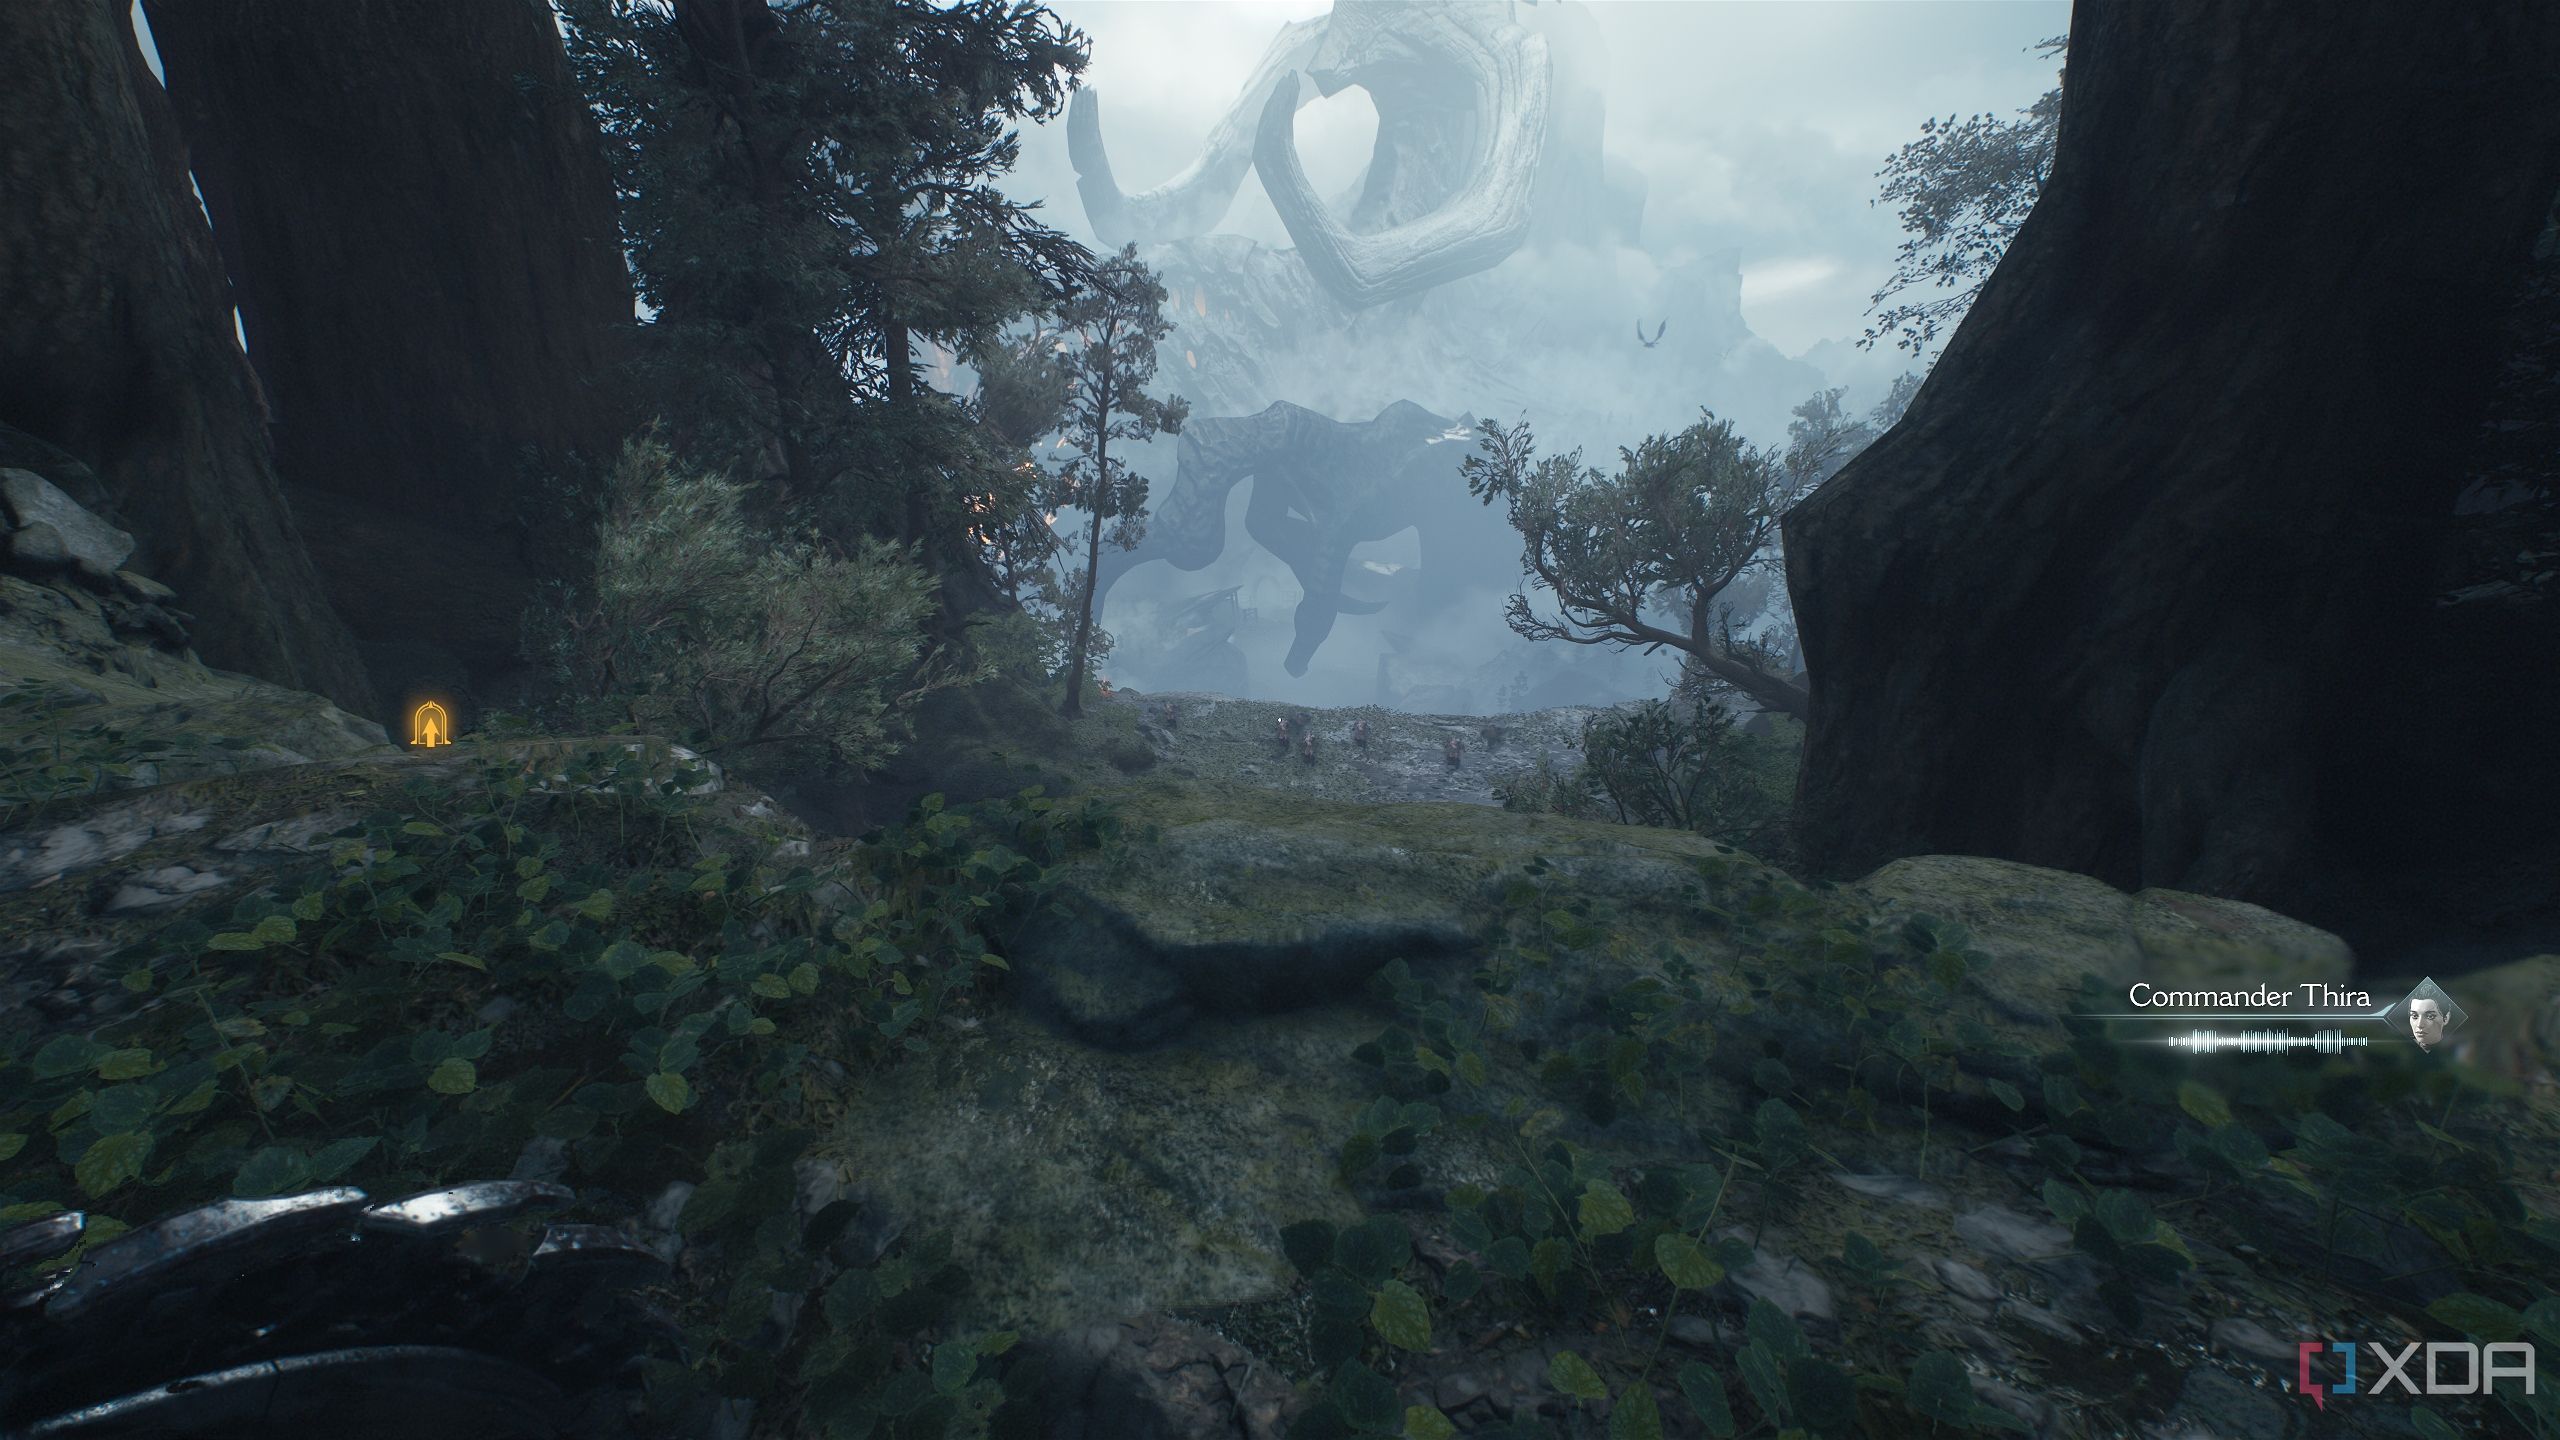
Secret area 1, Life Sigil, and yellow keycard
The keycard is part of the main objective
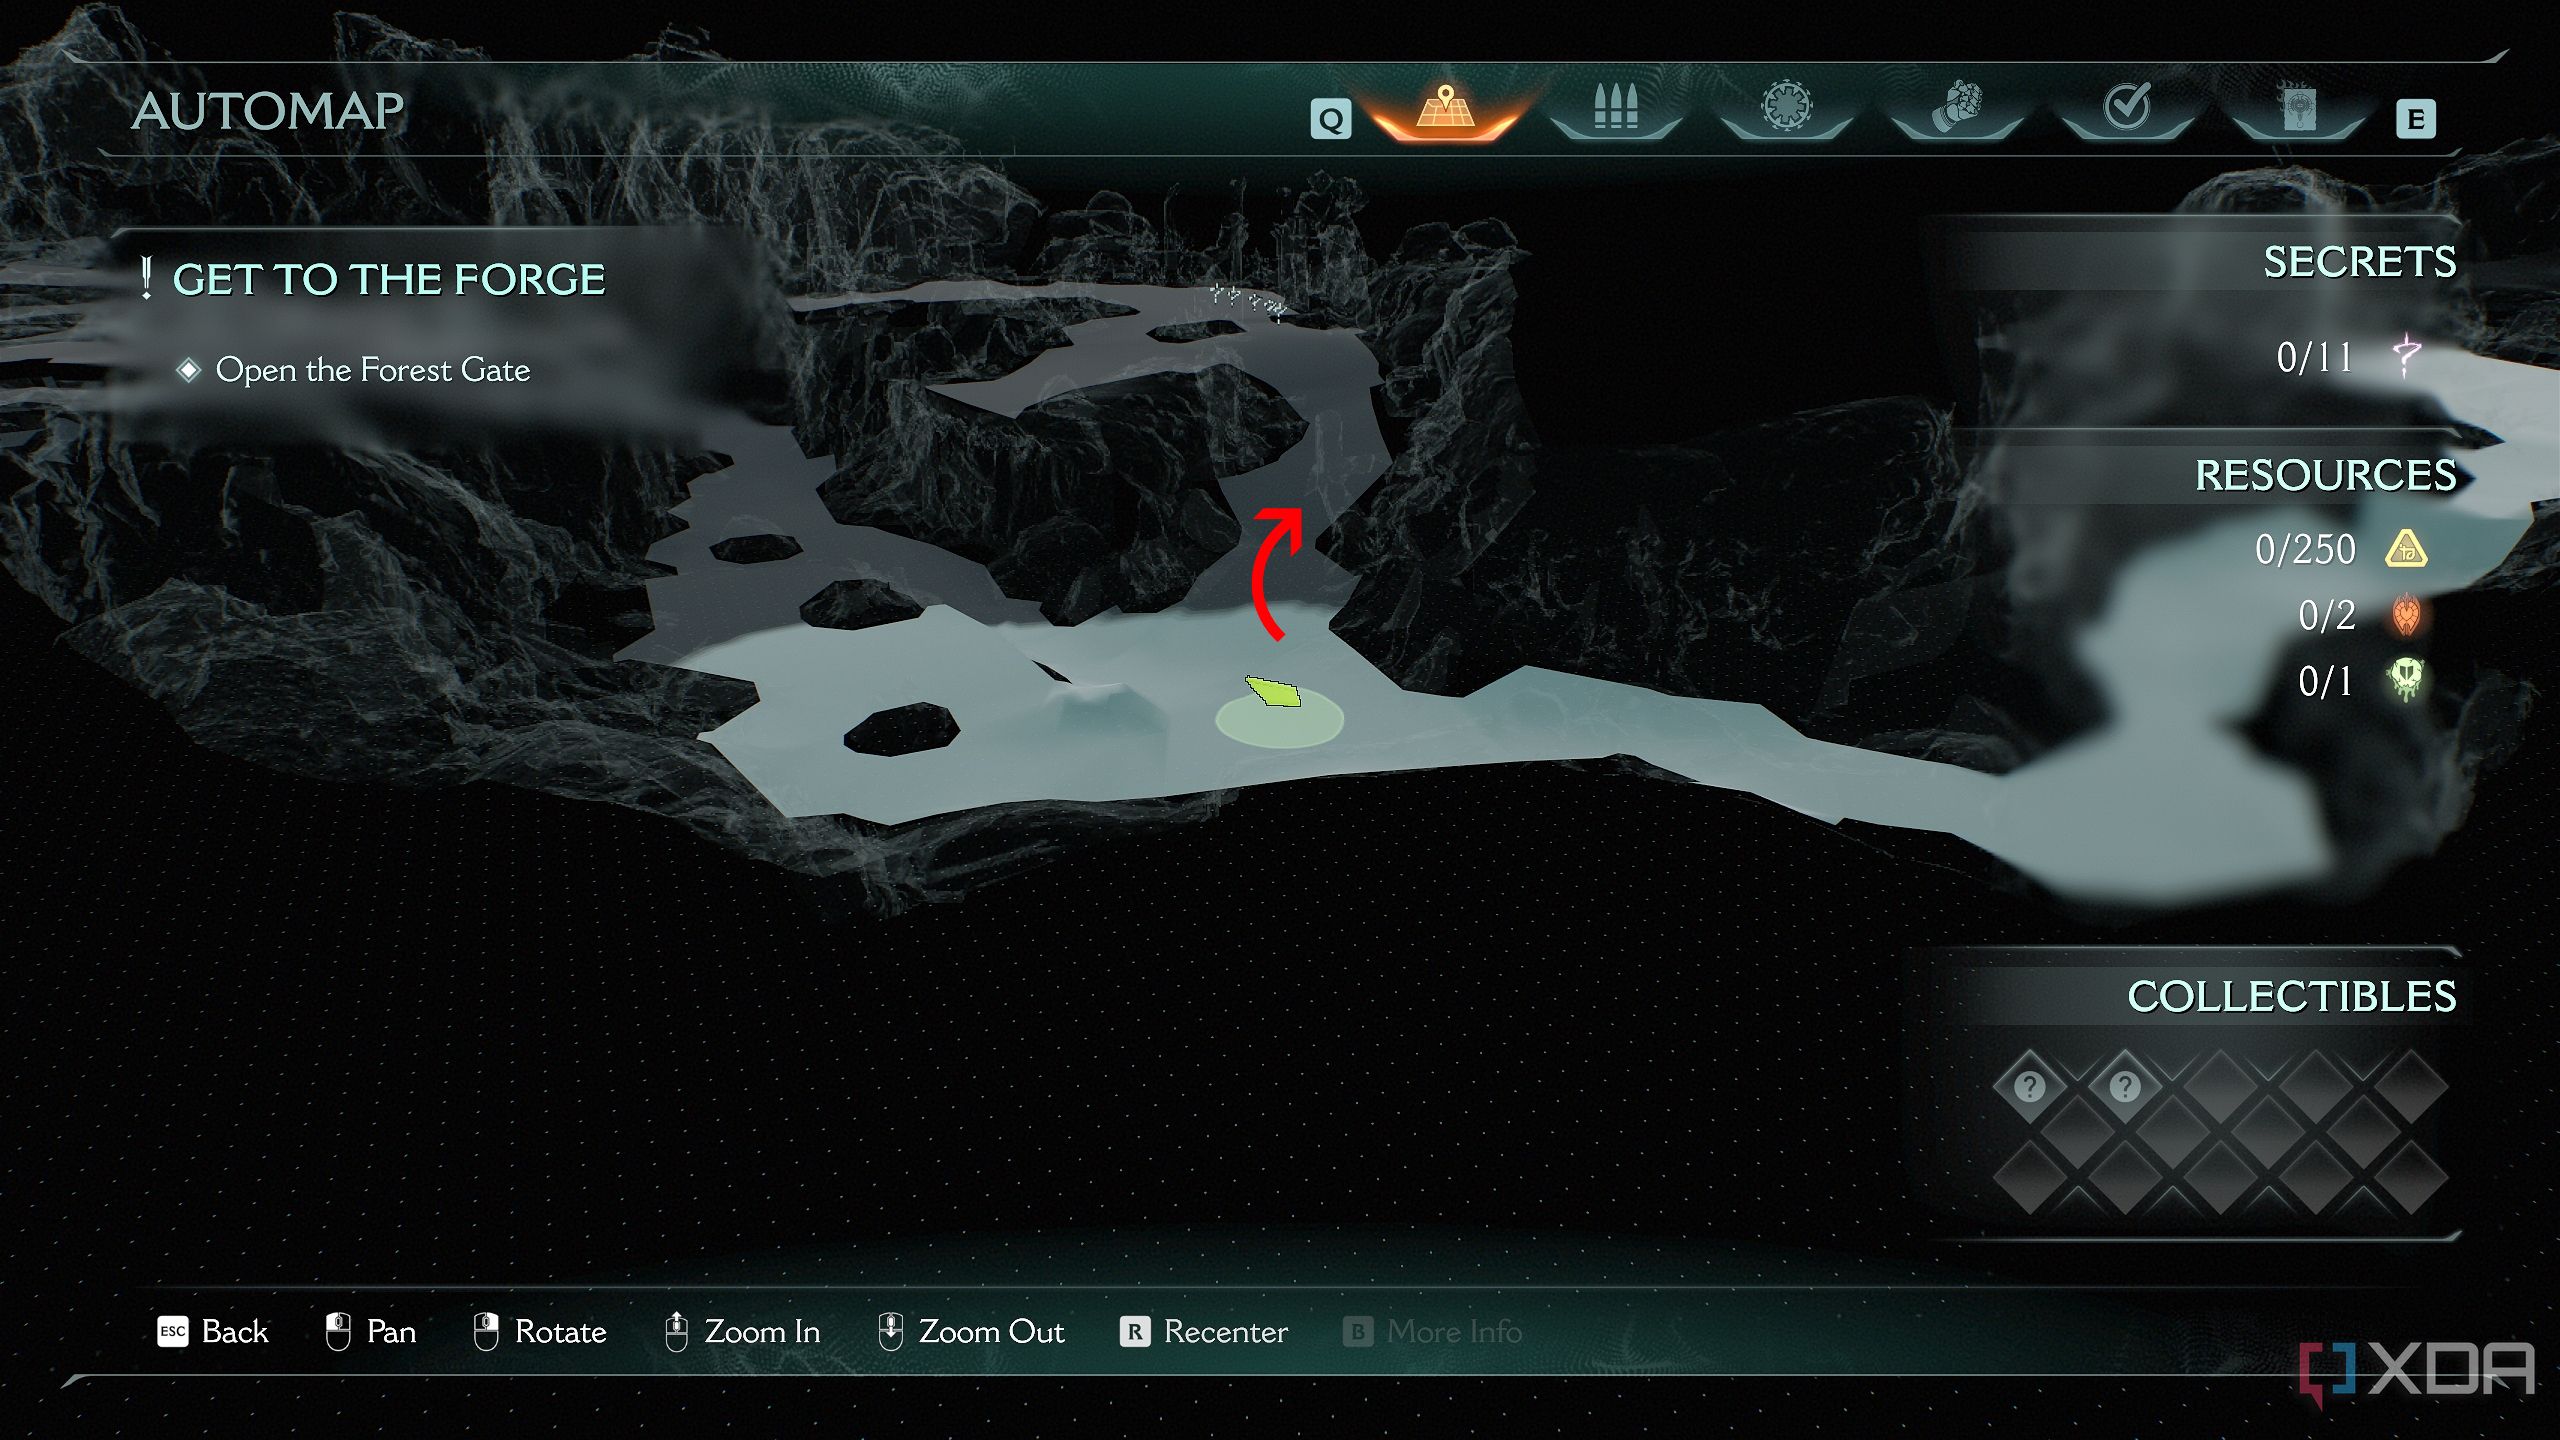
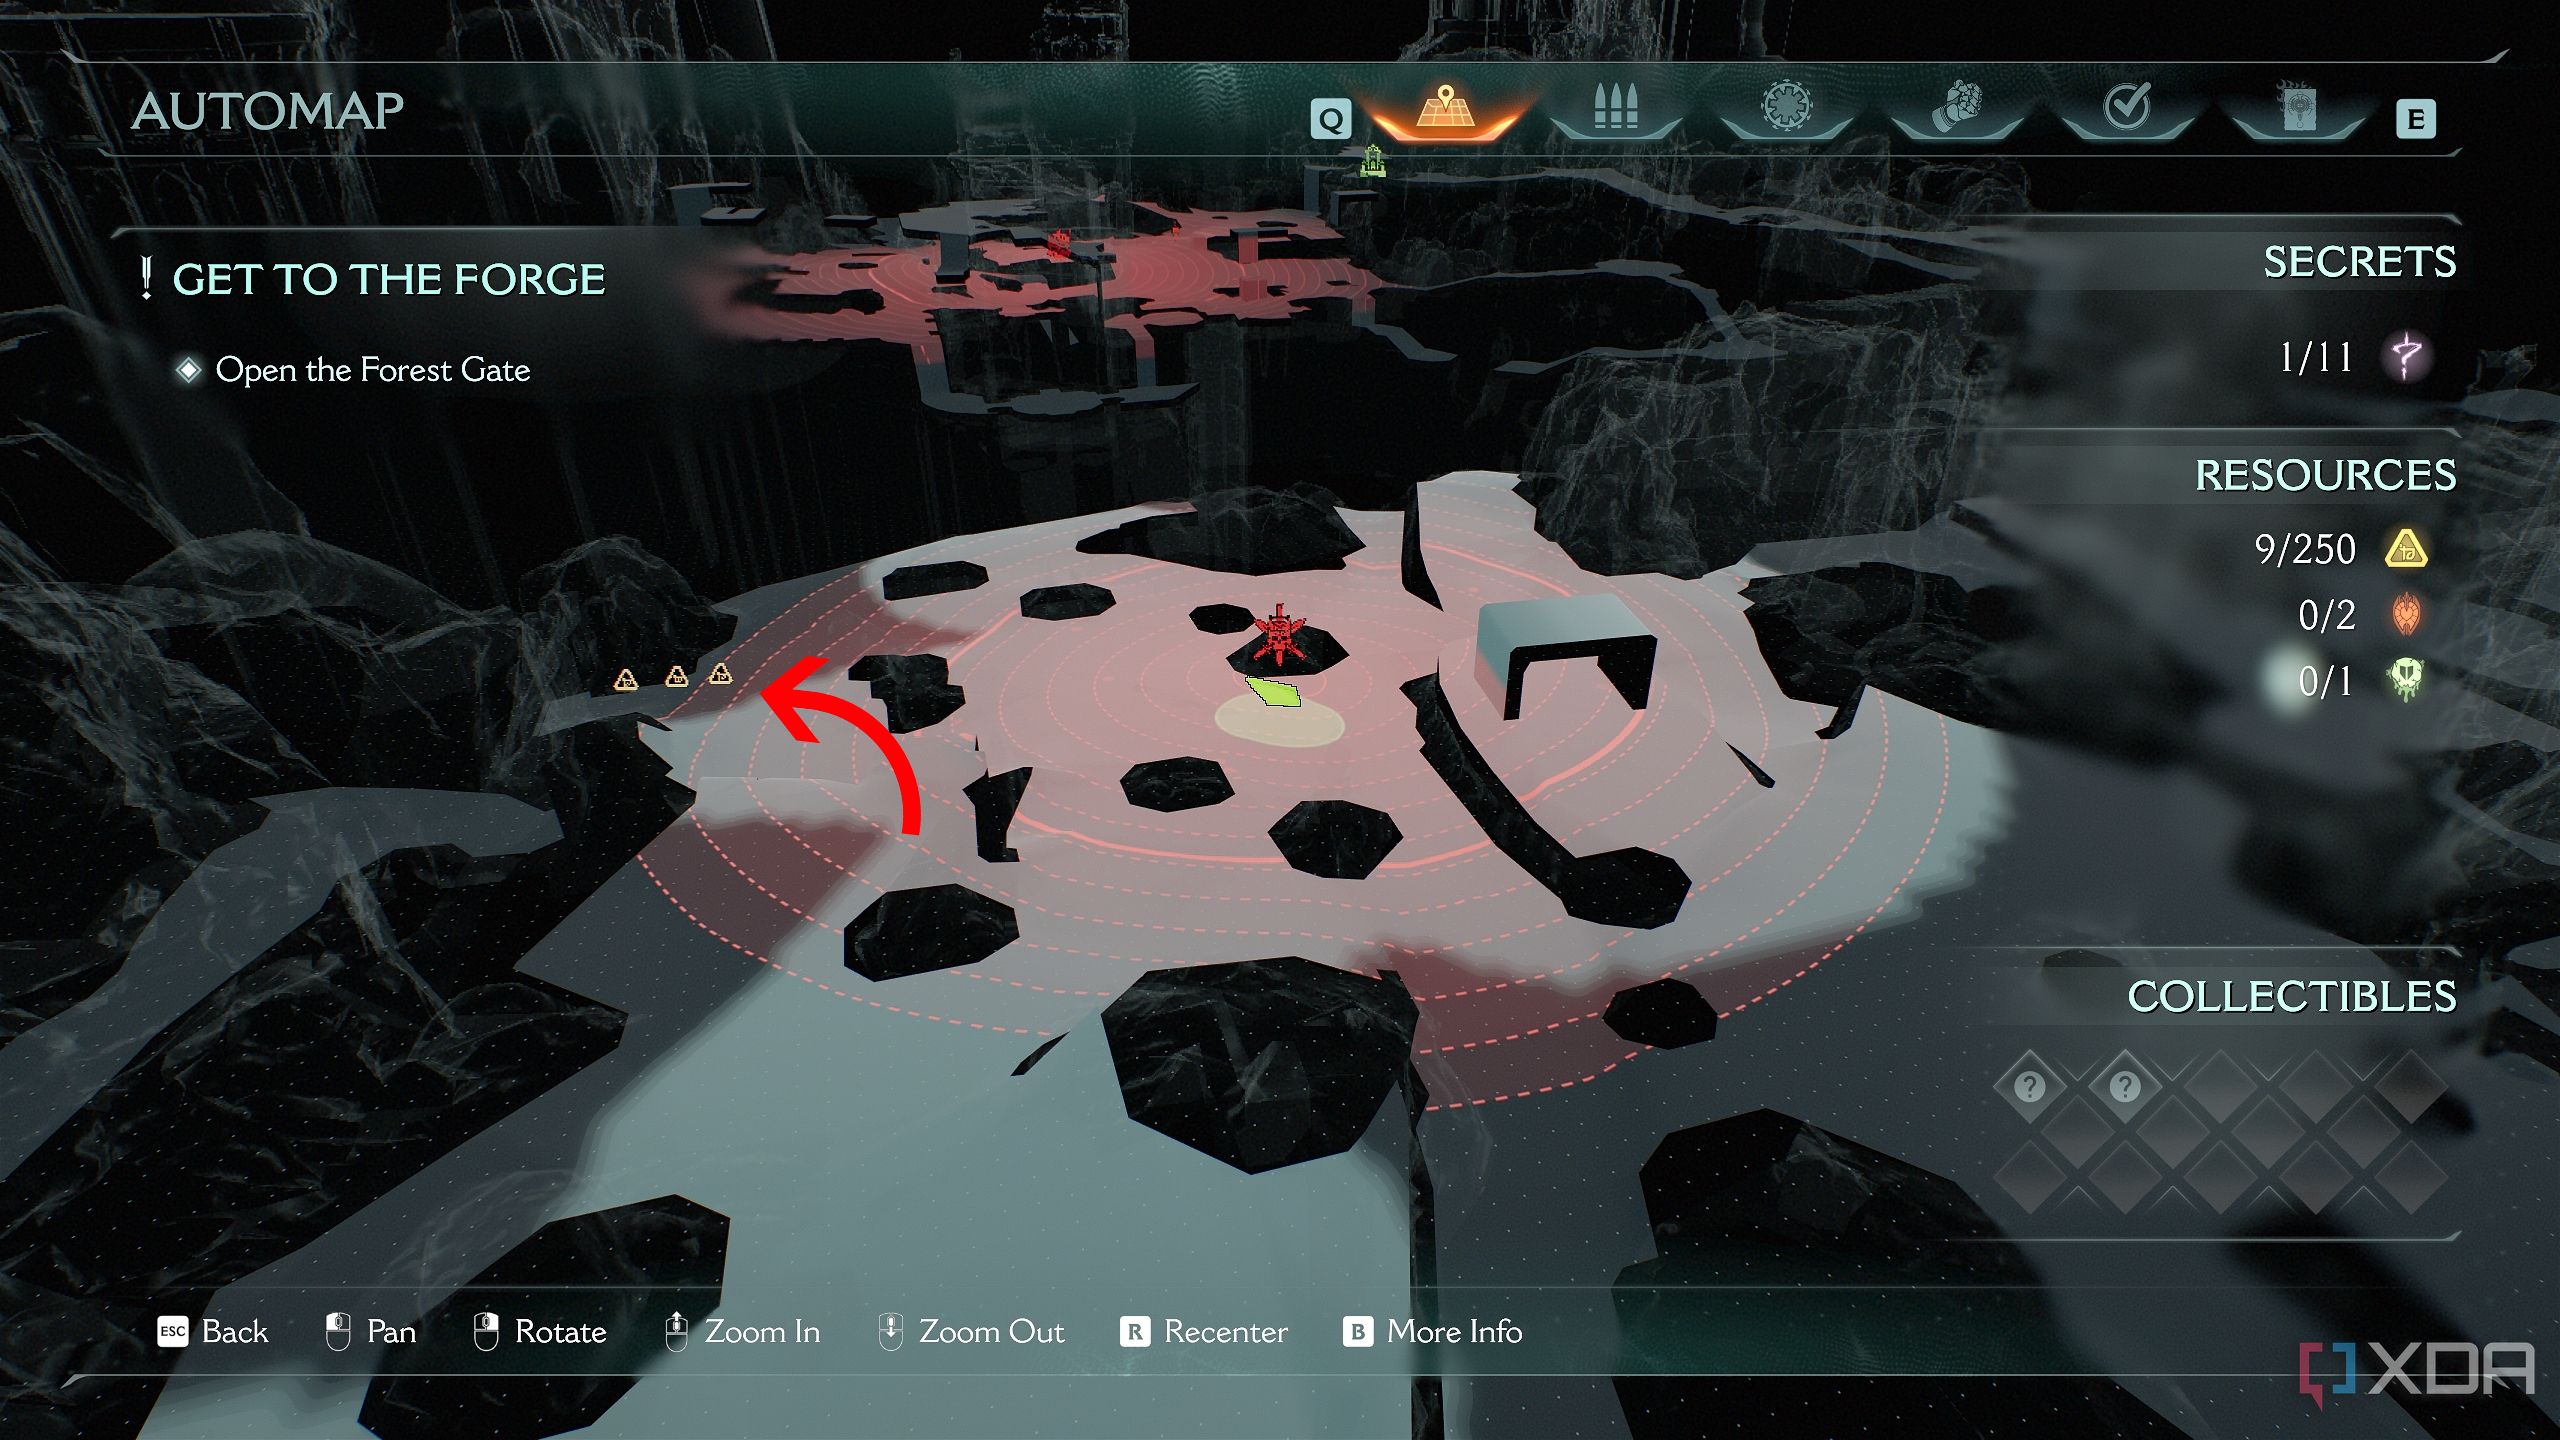
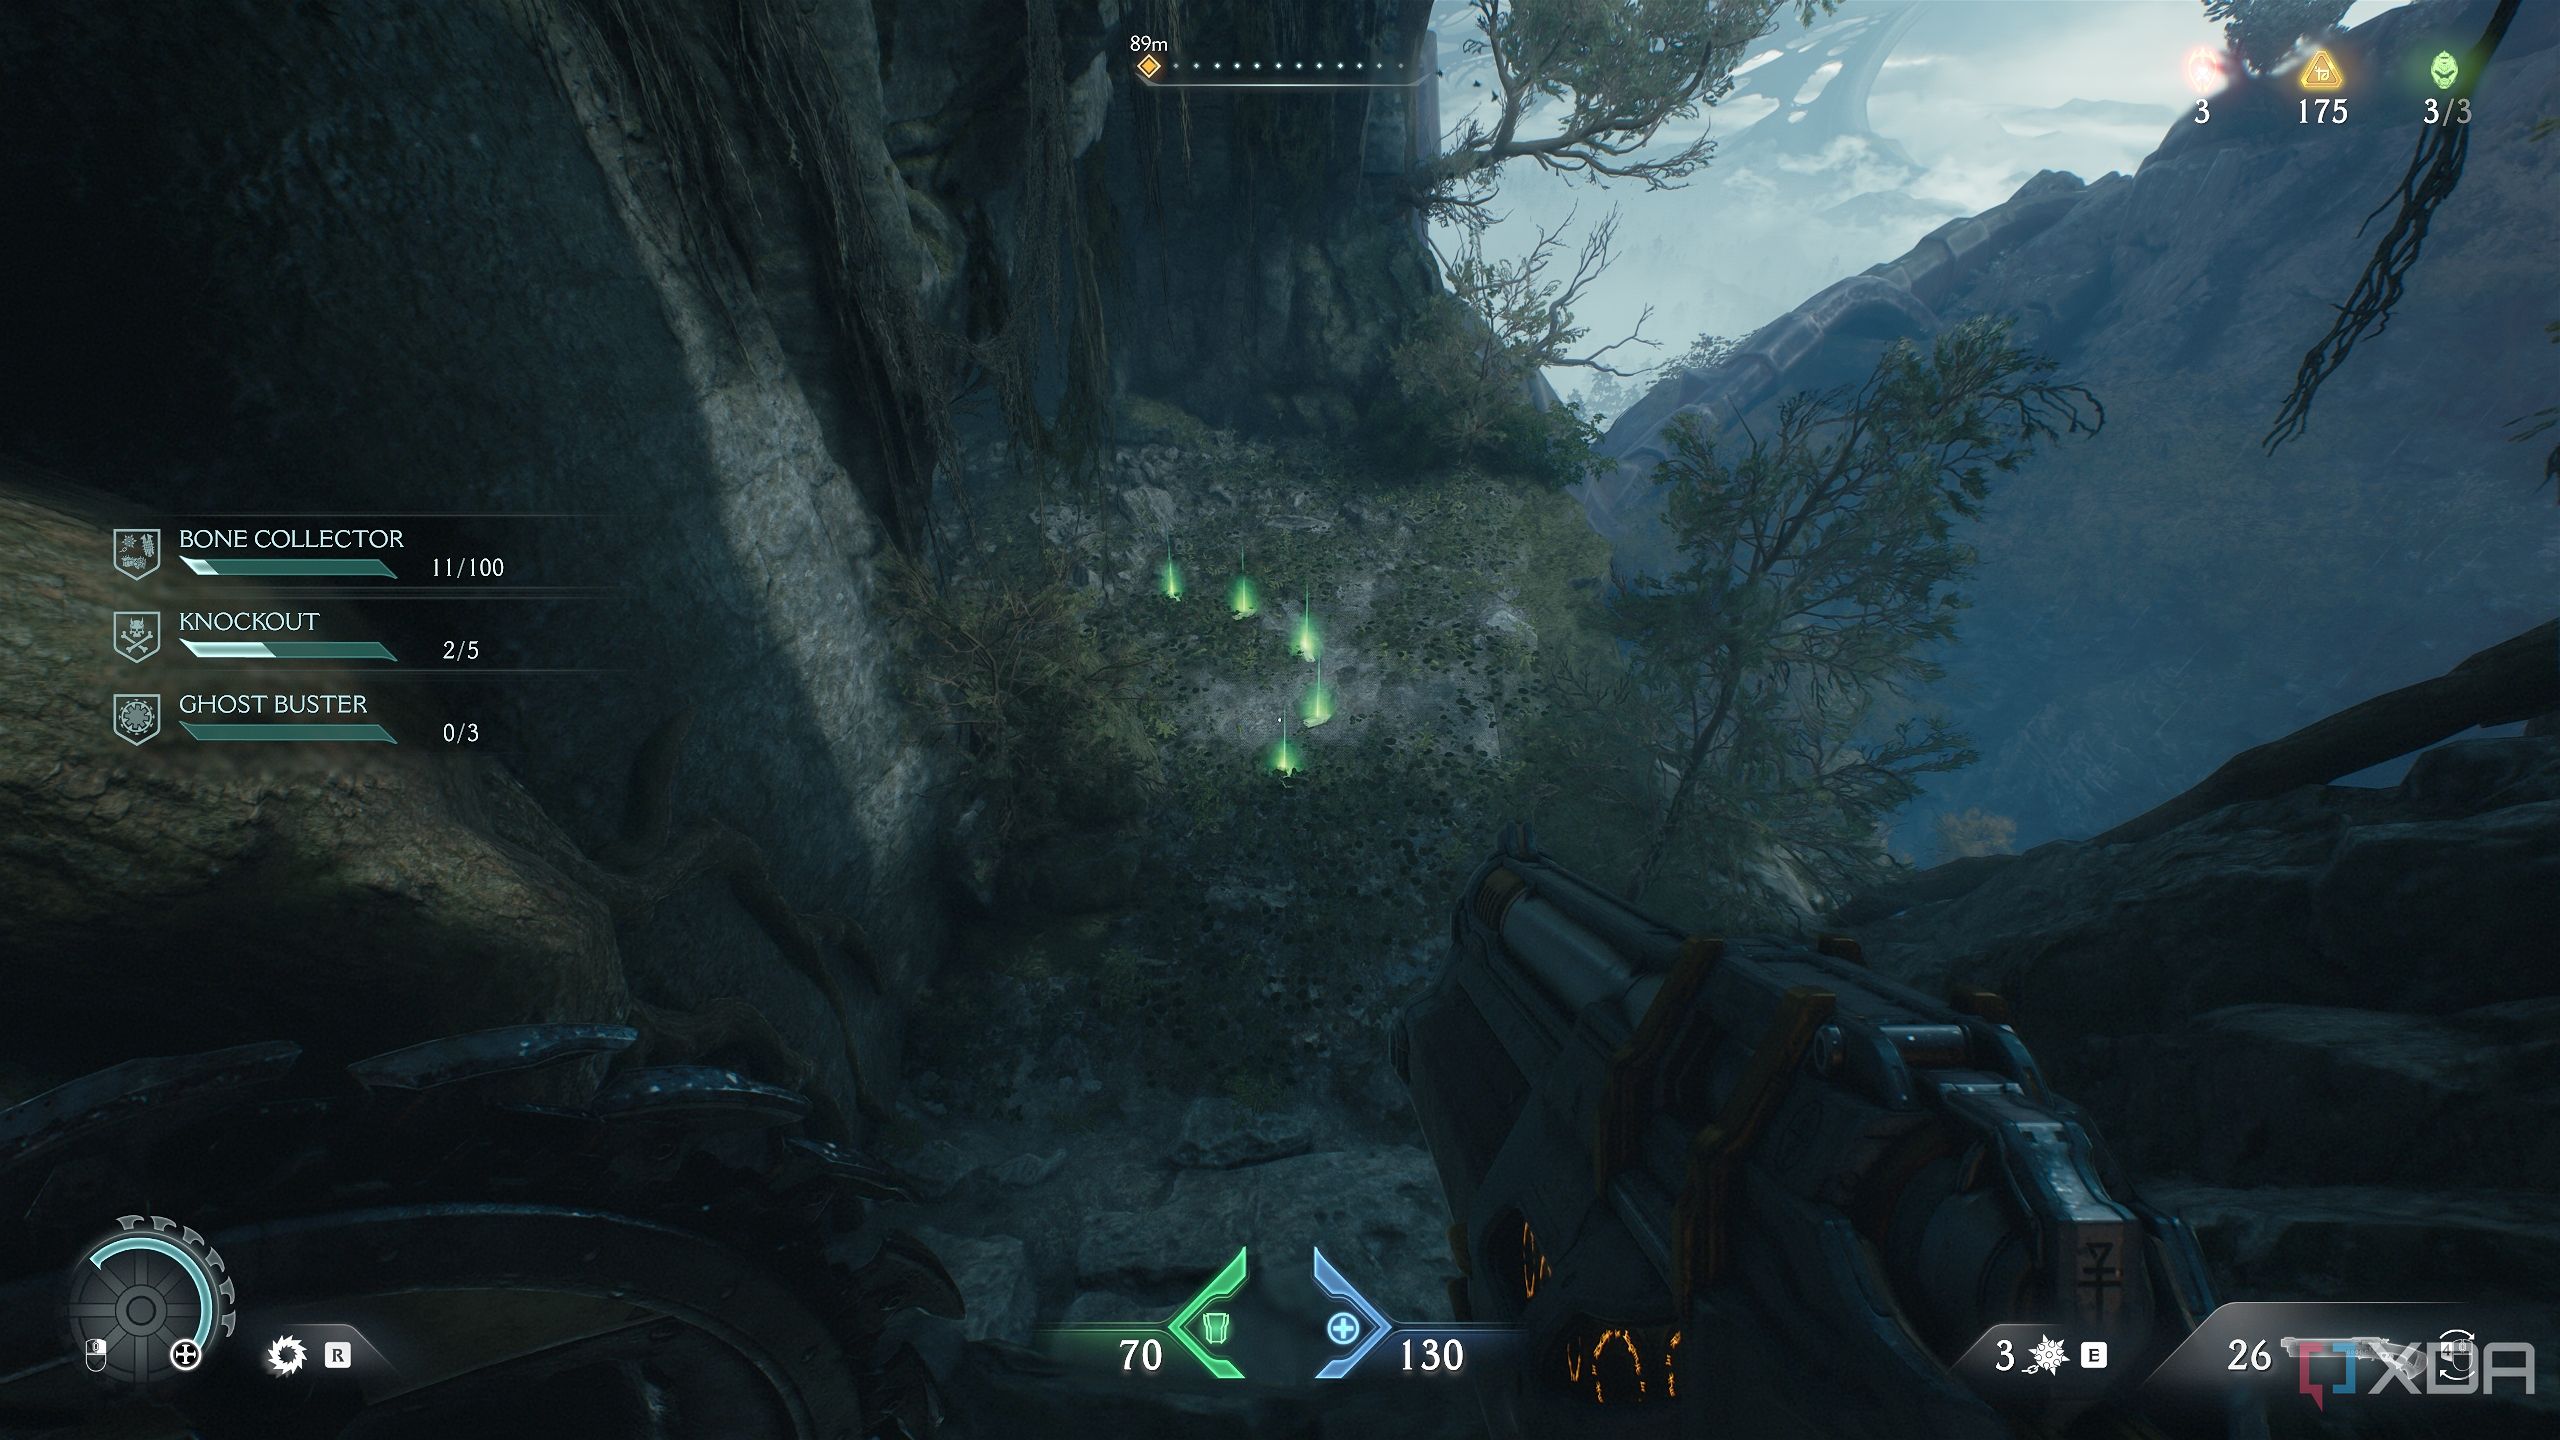
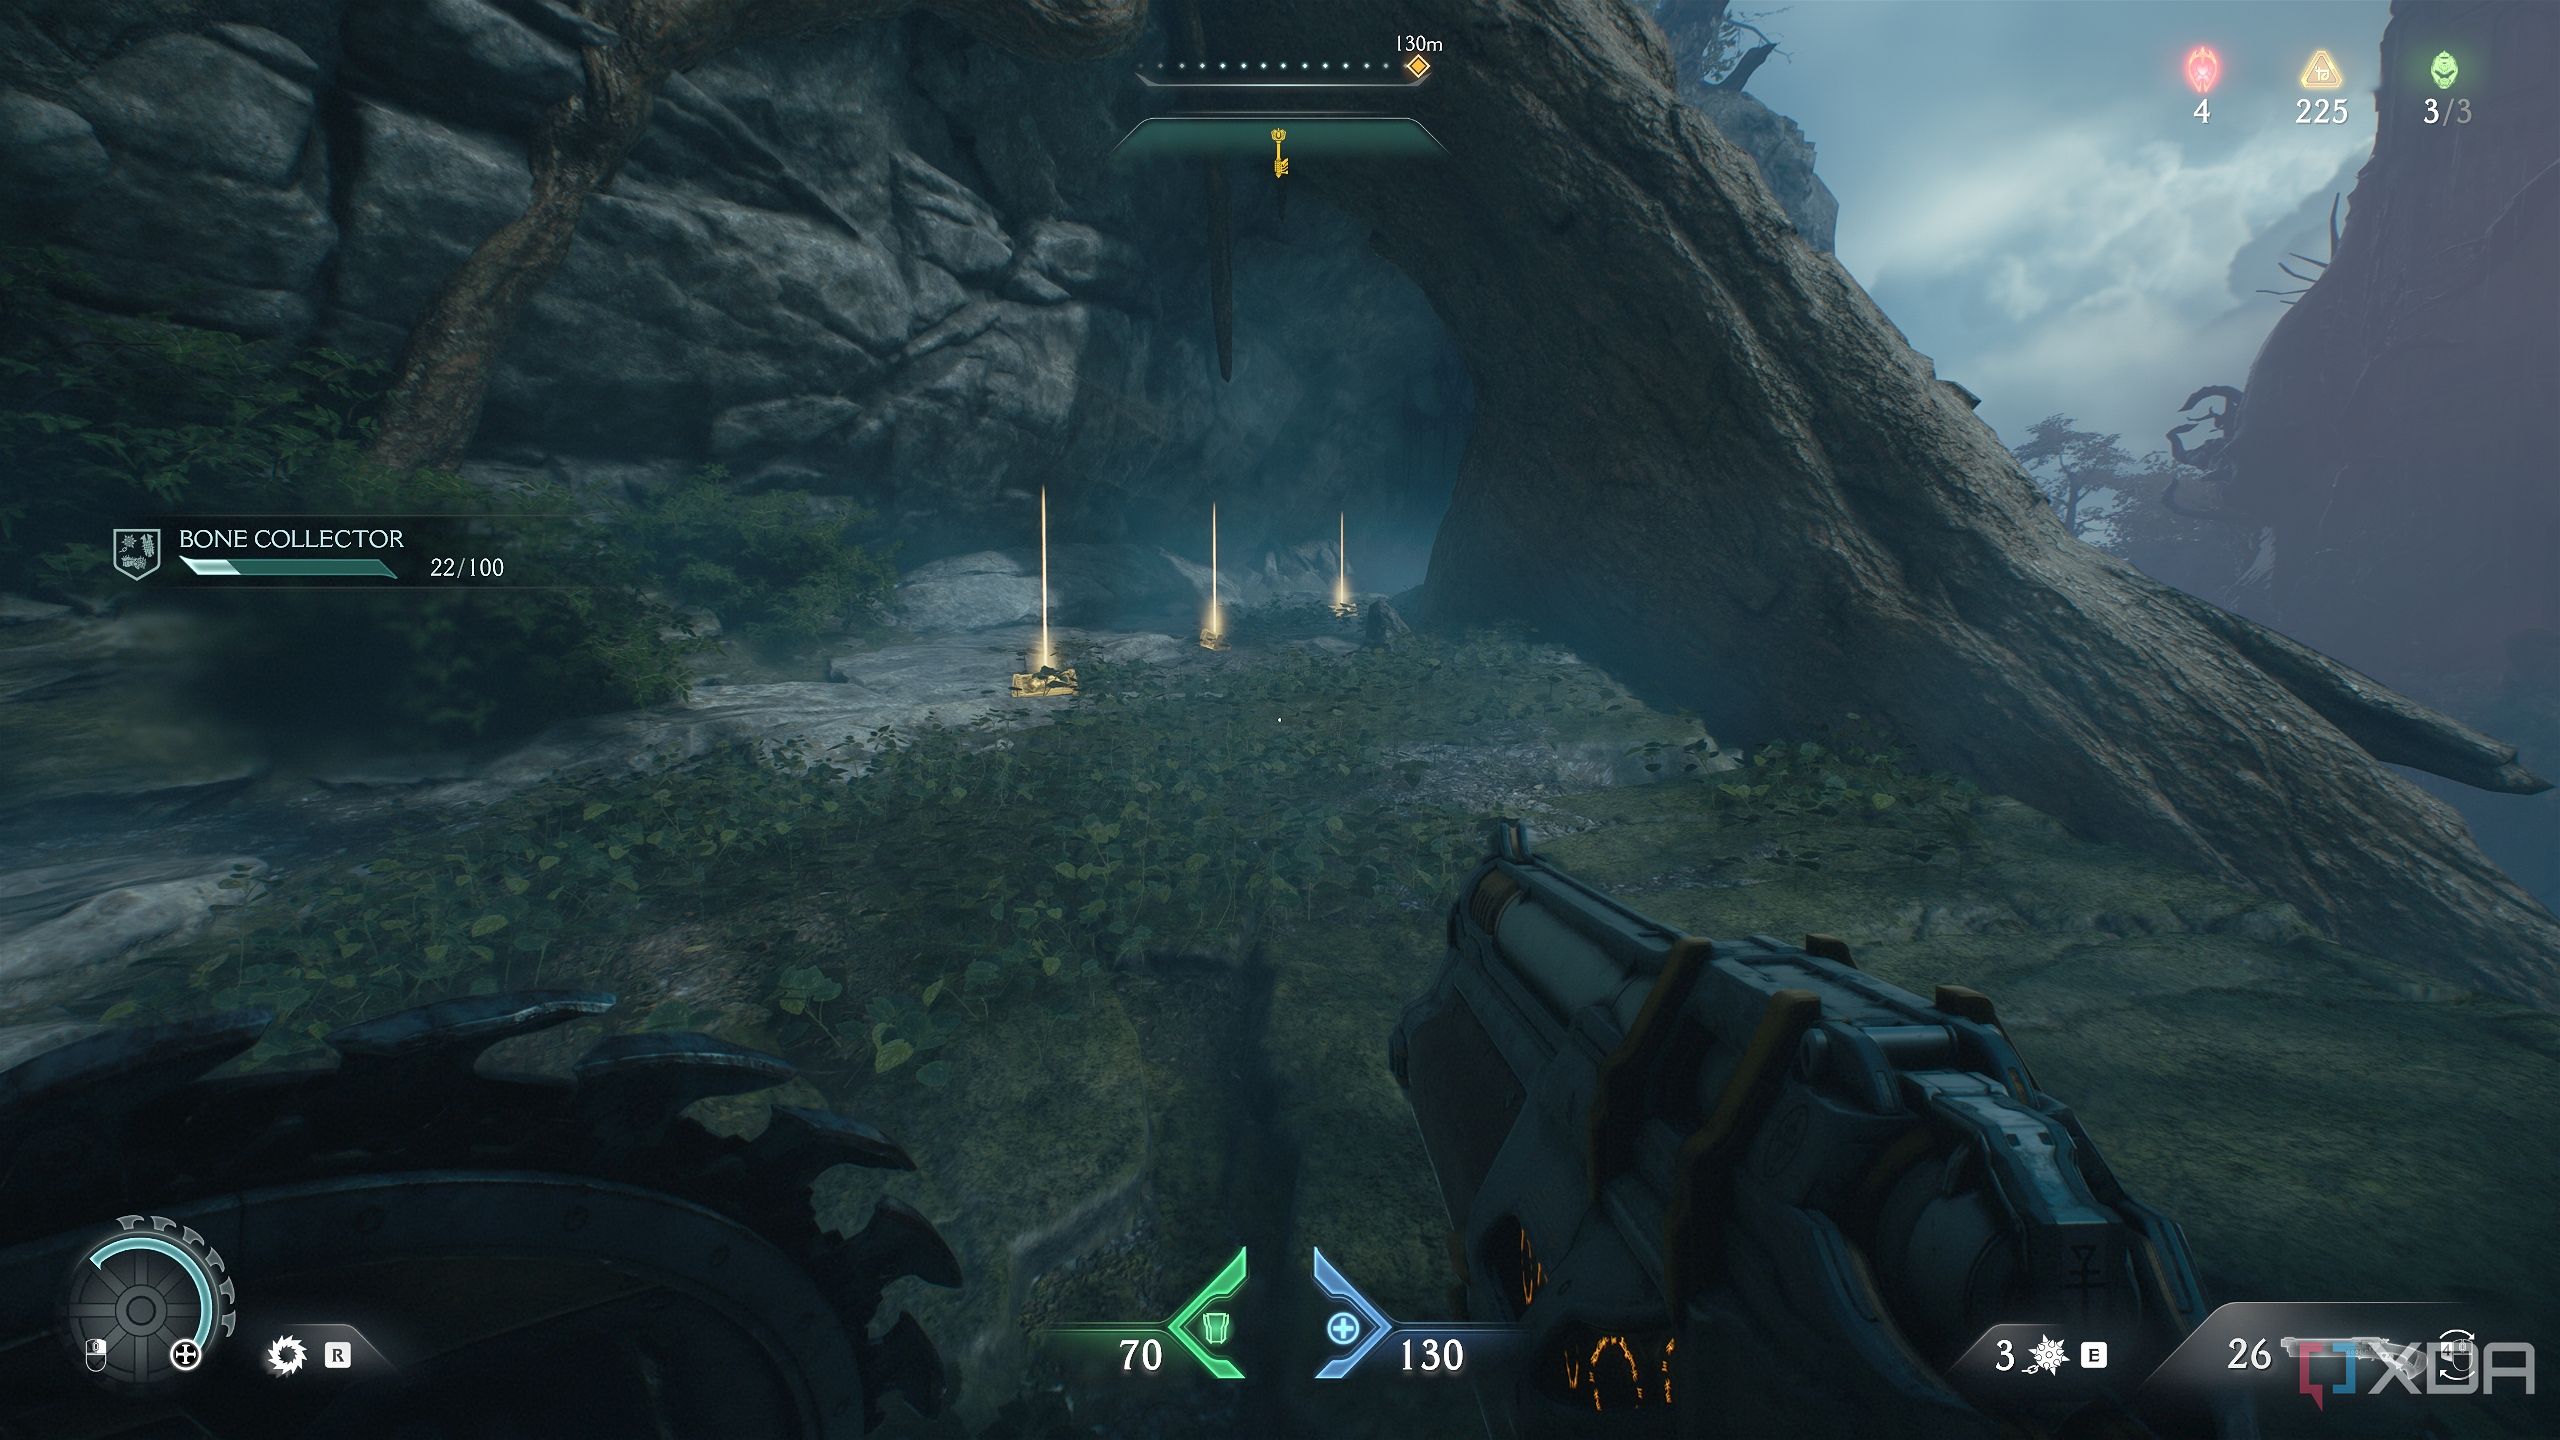
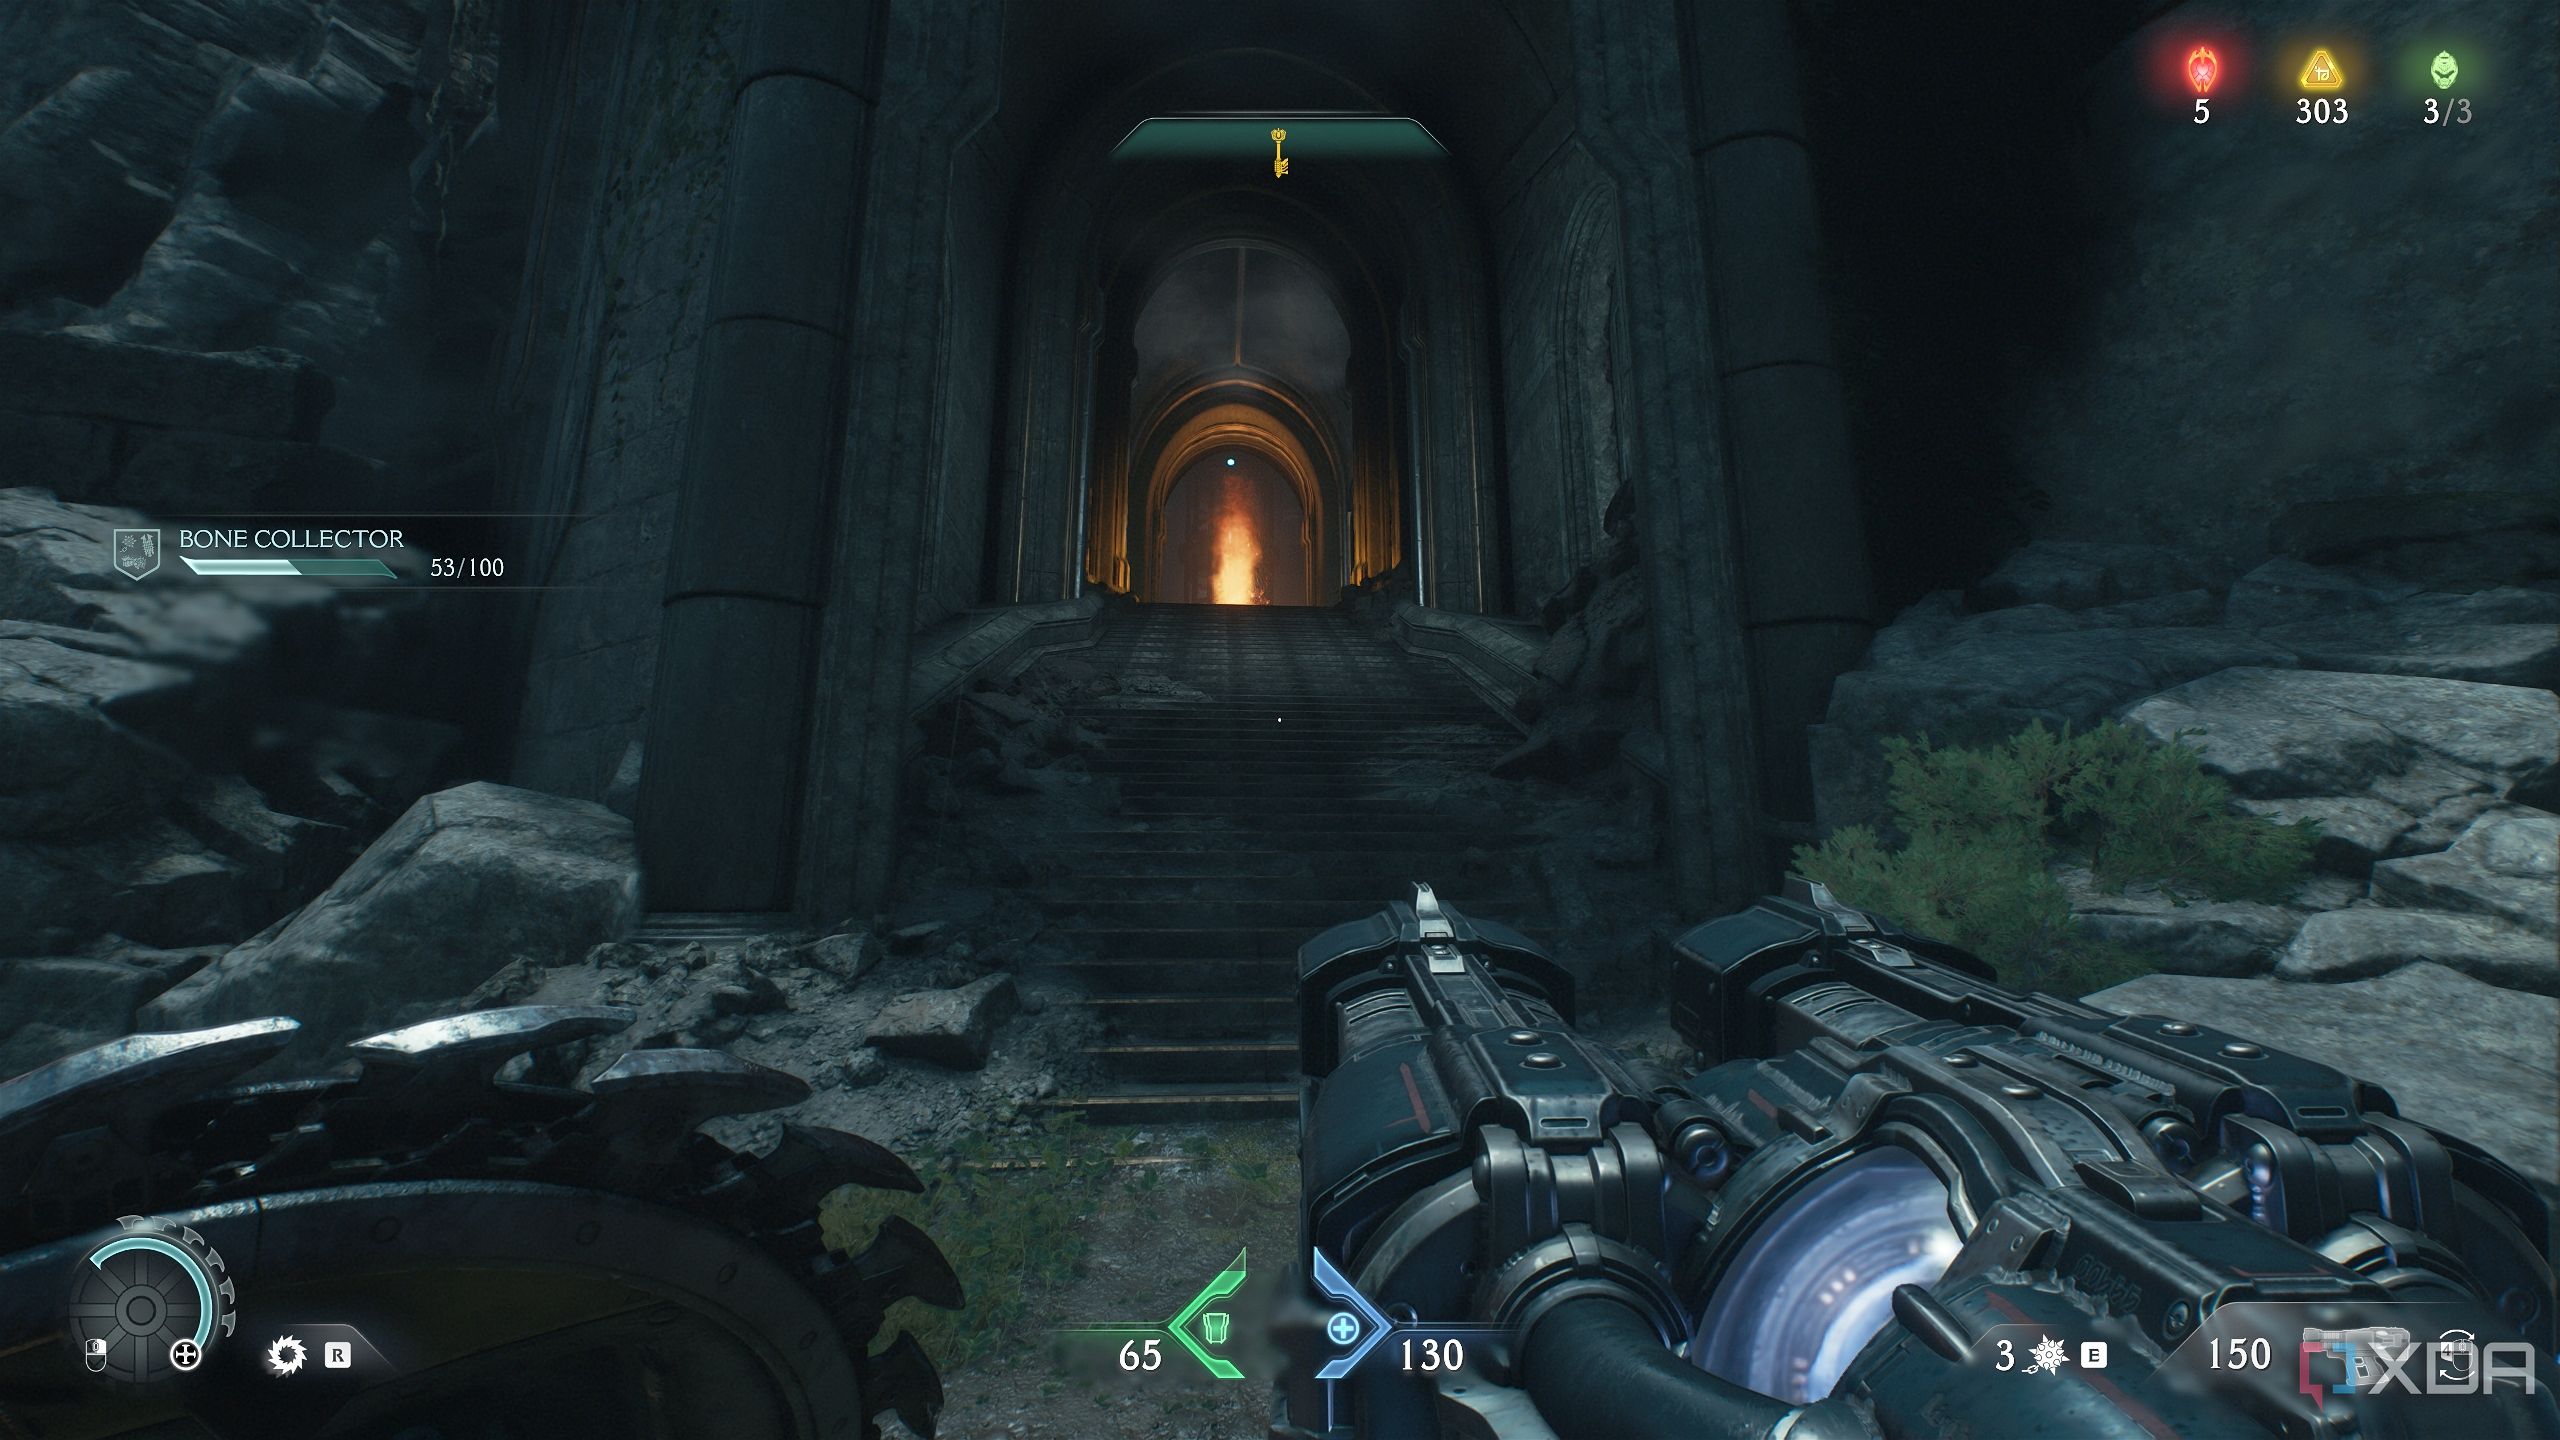
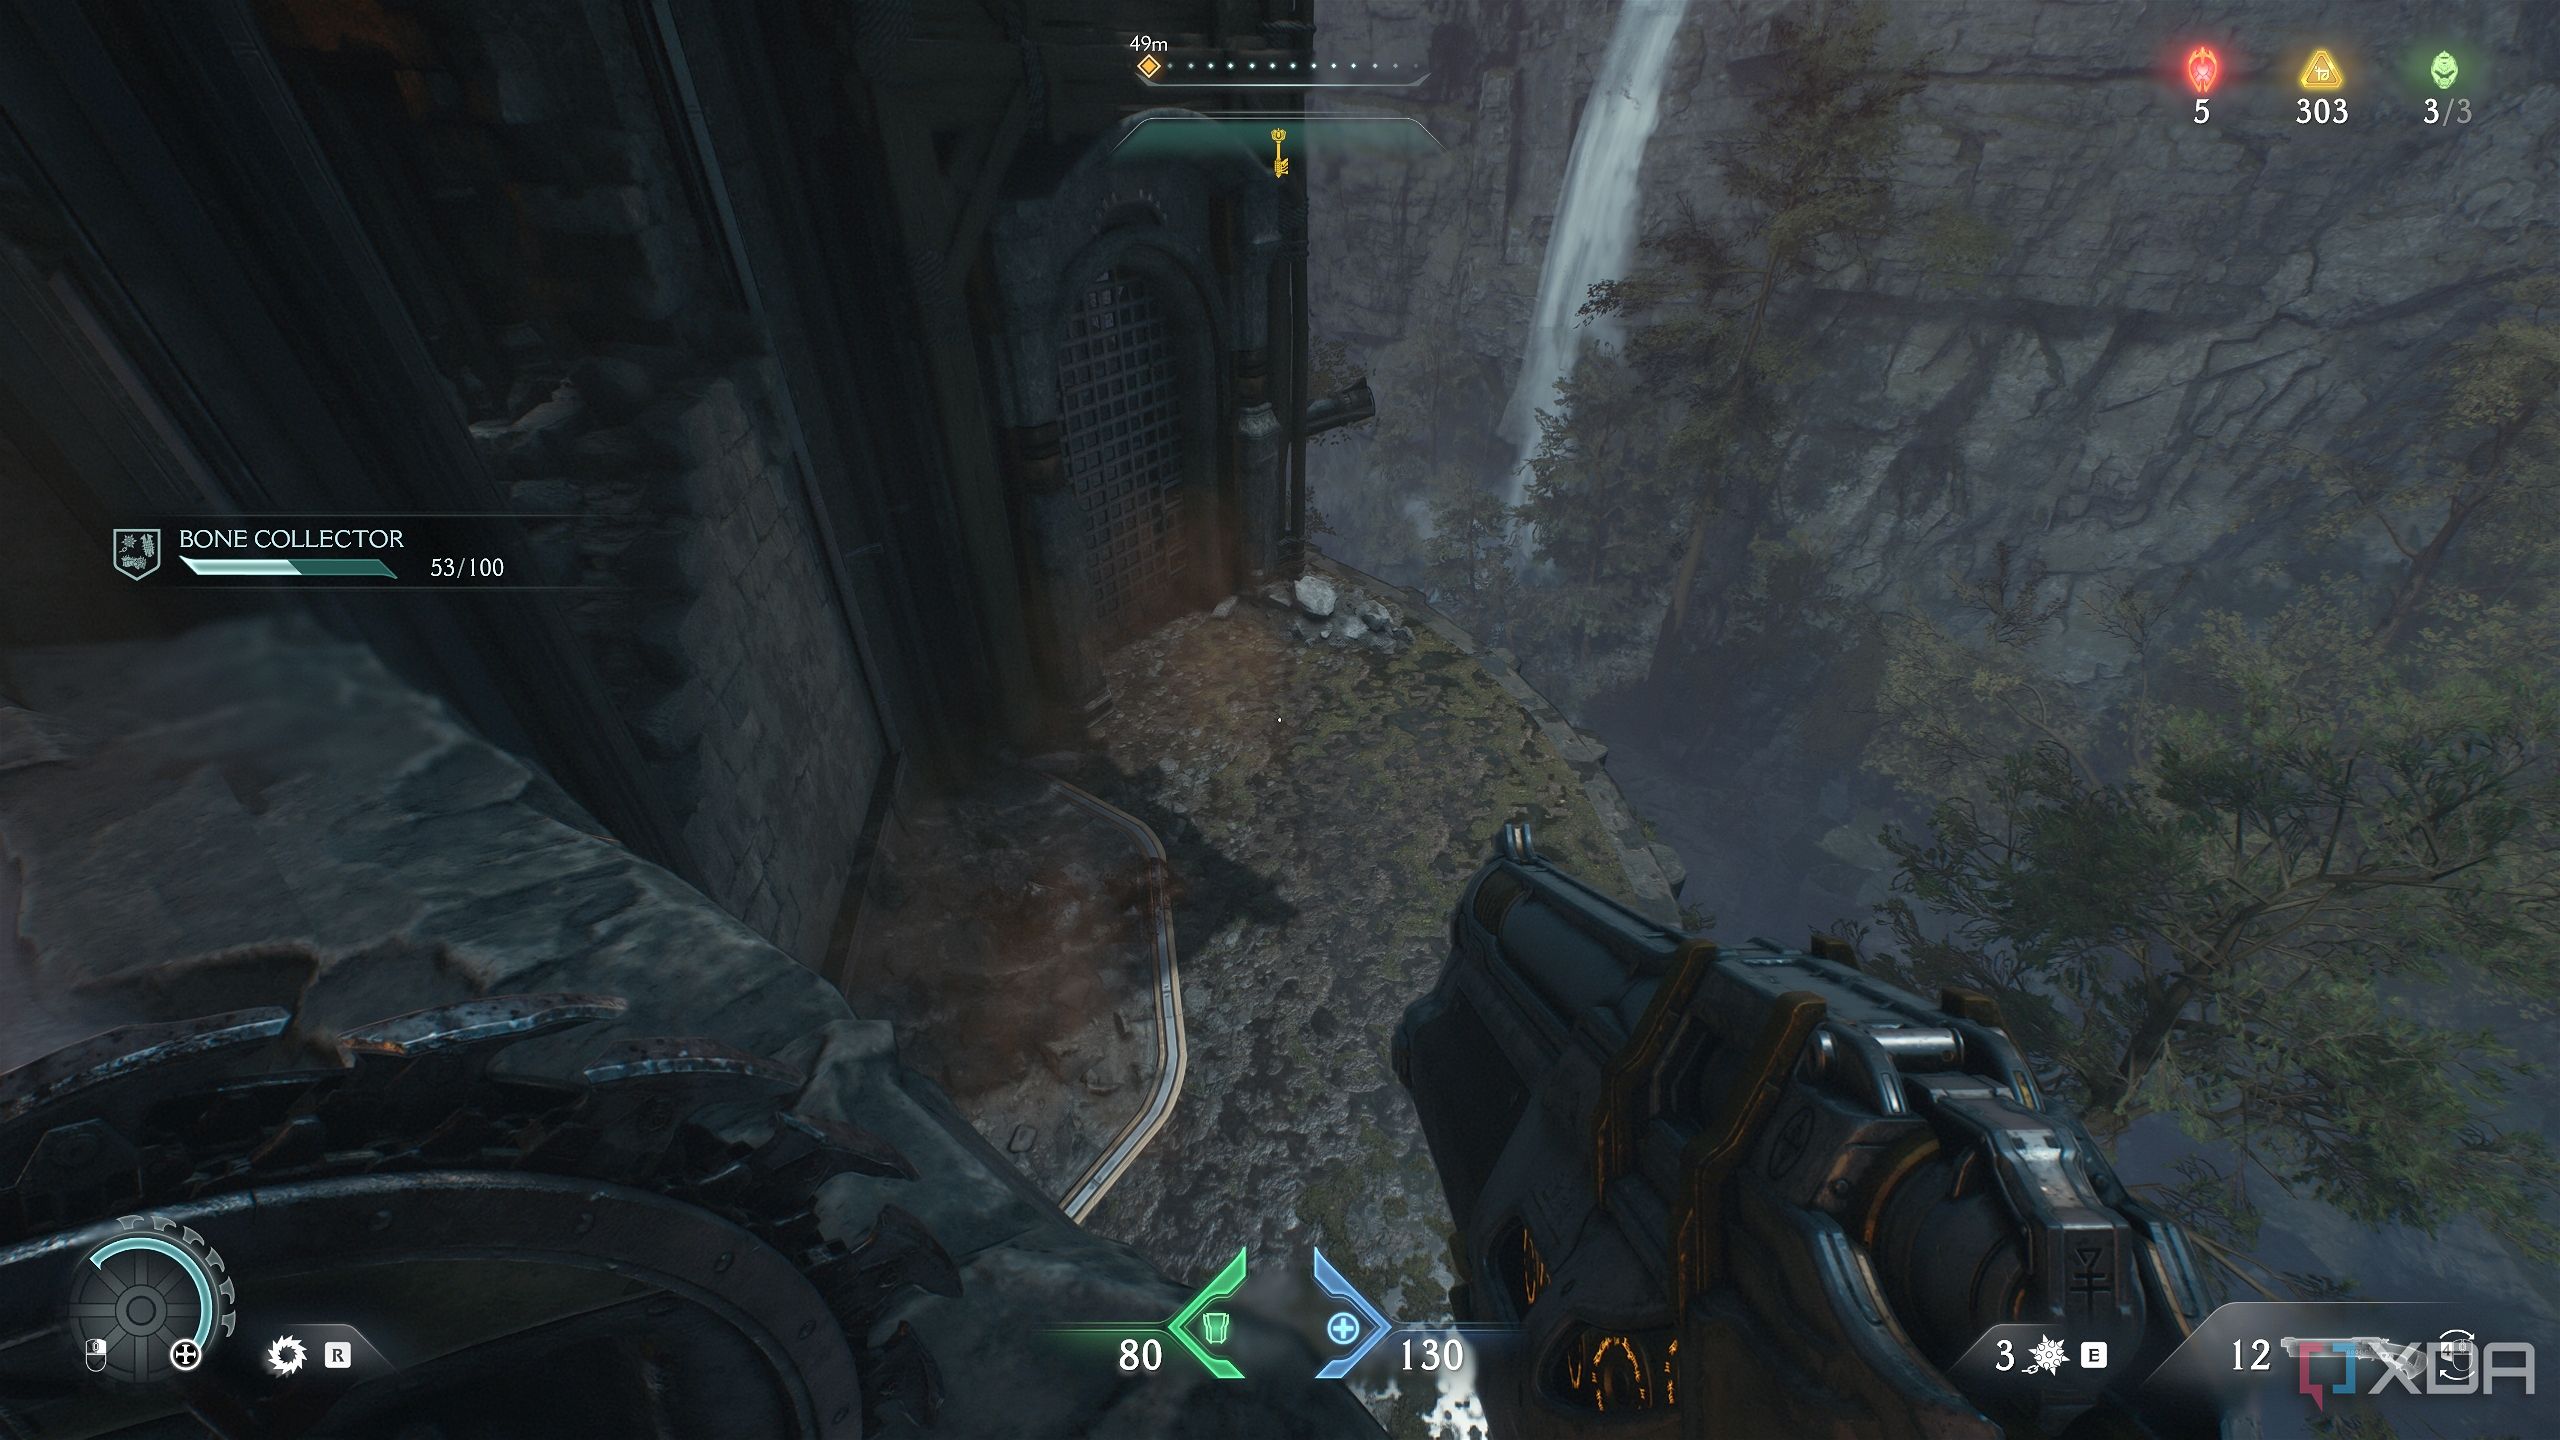
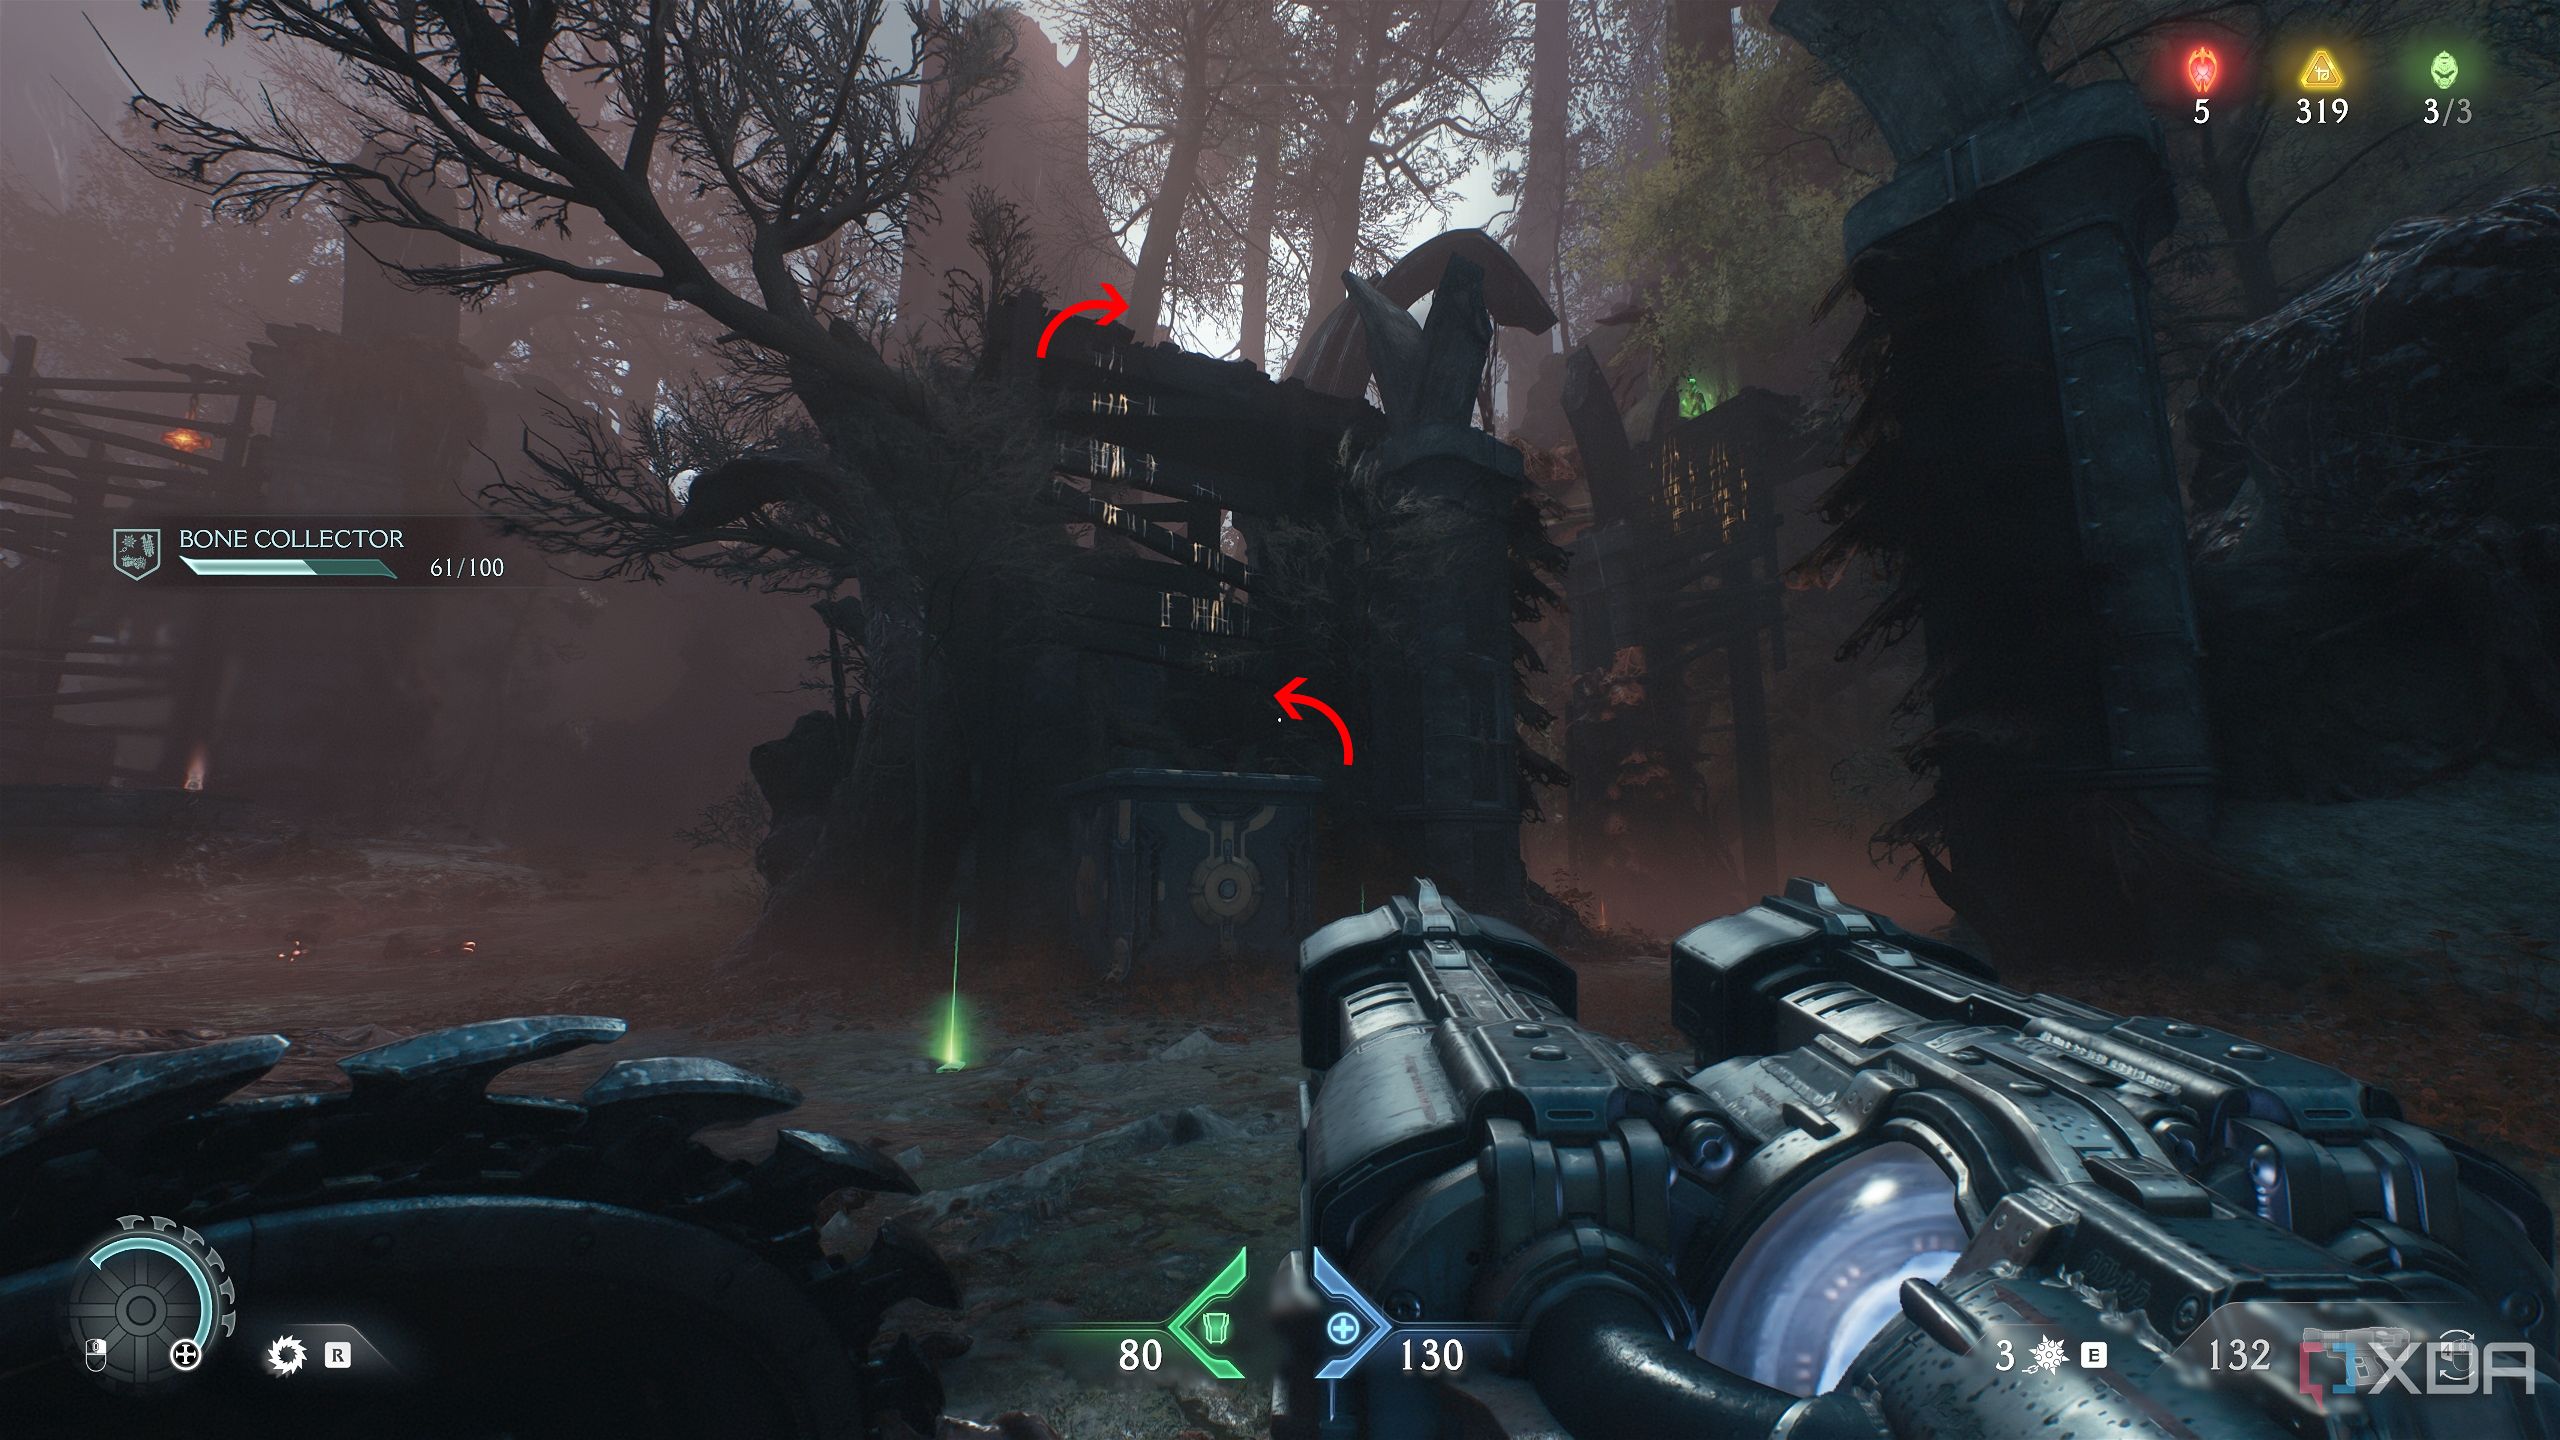
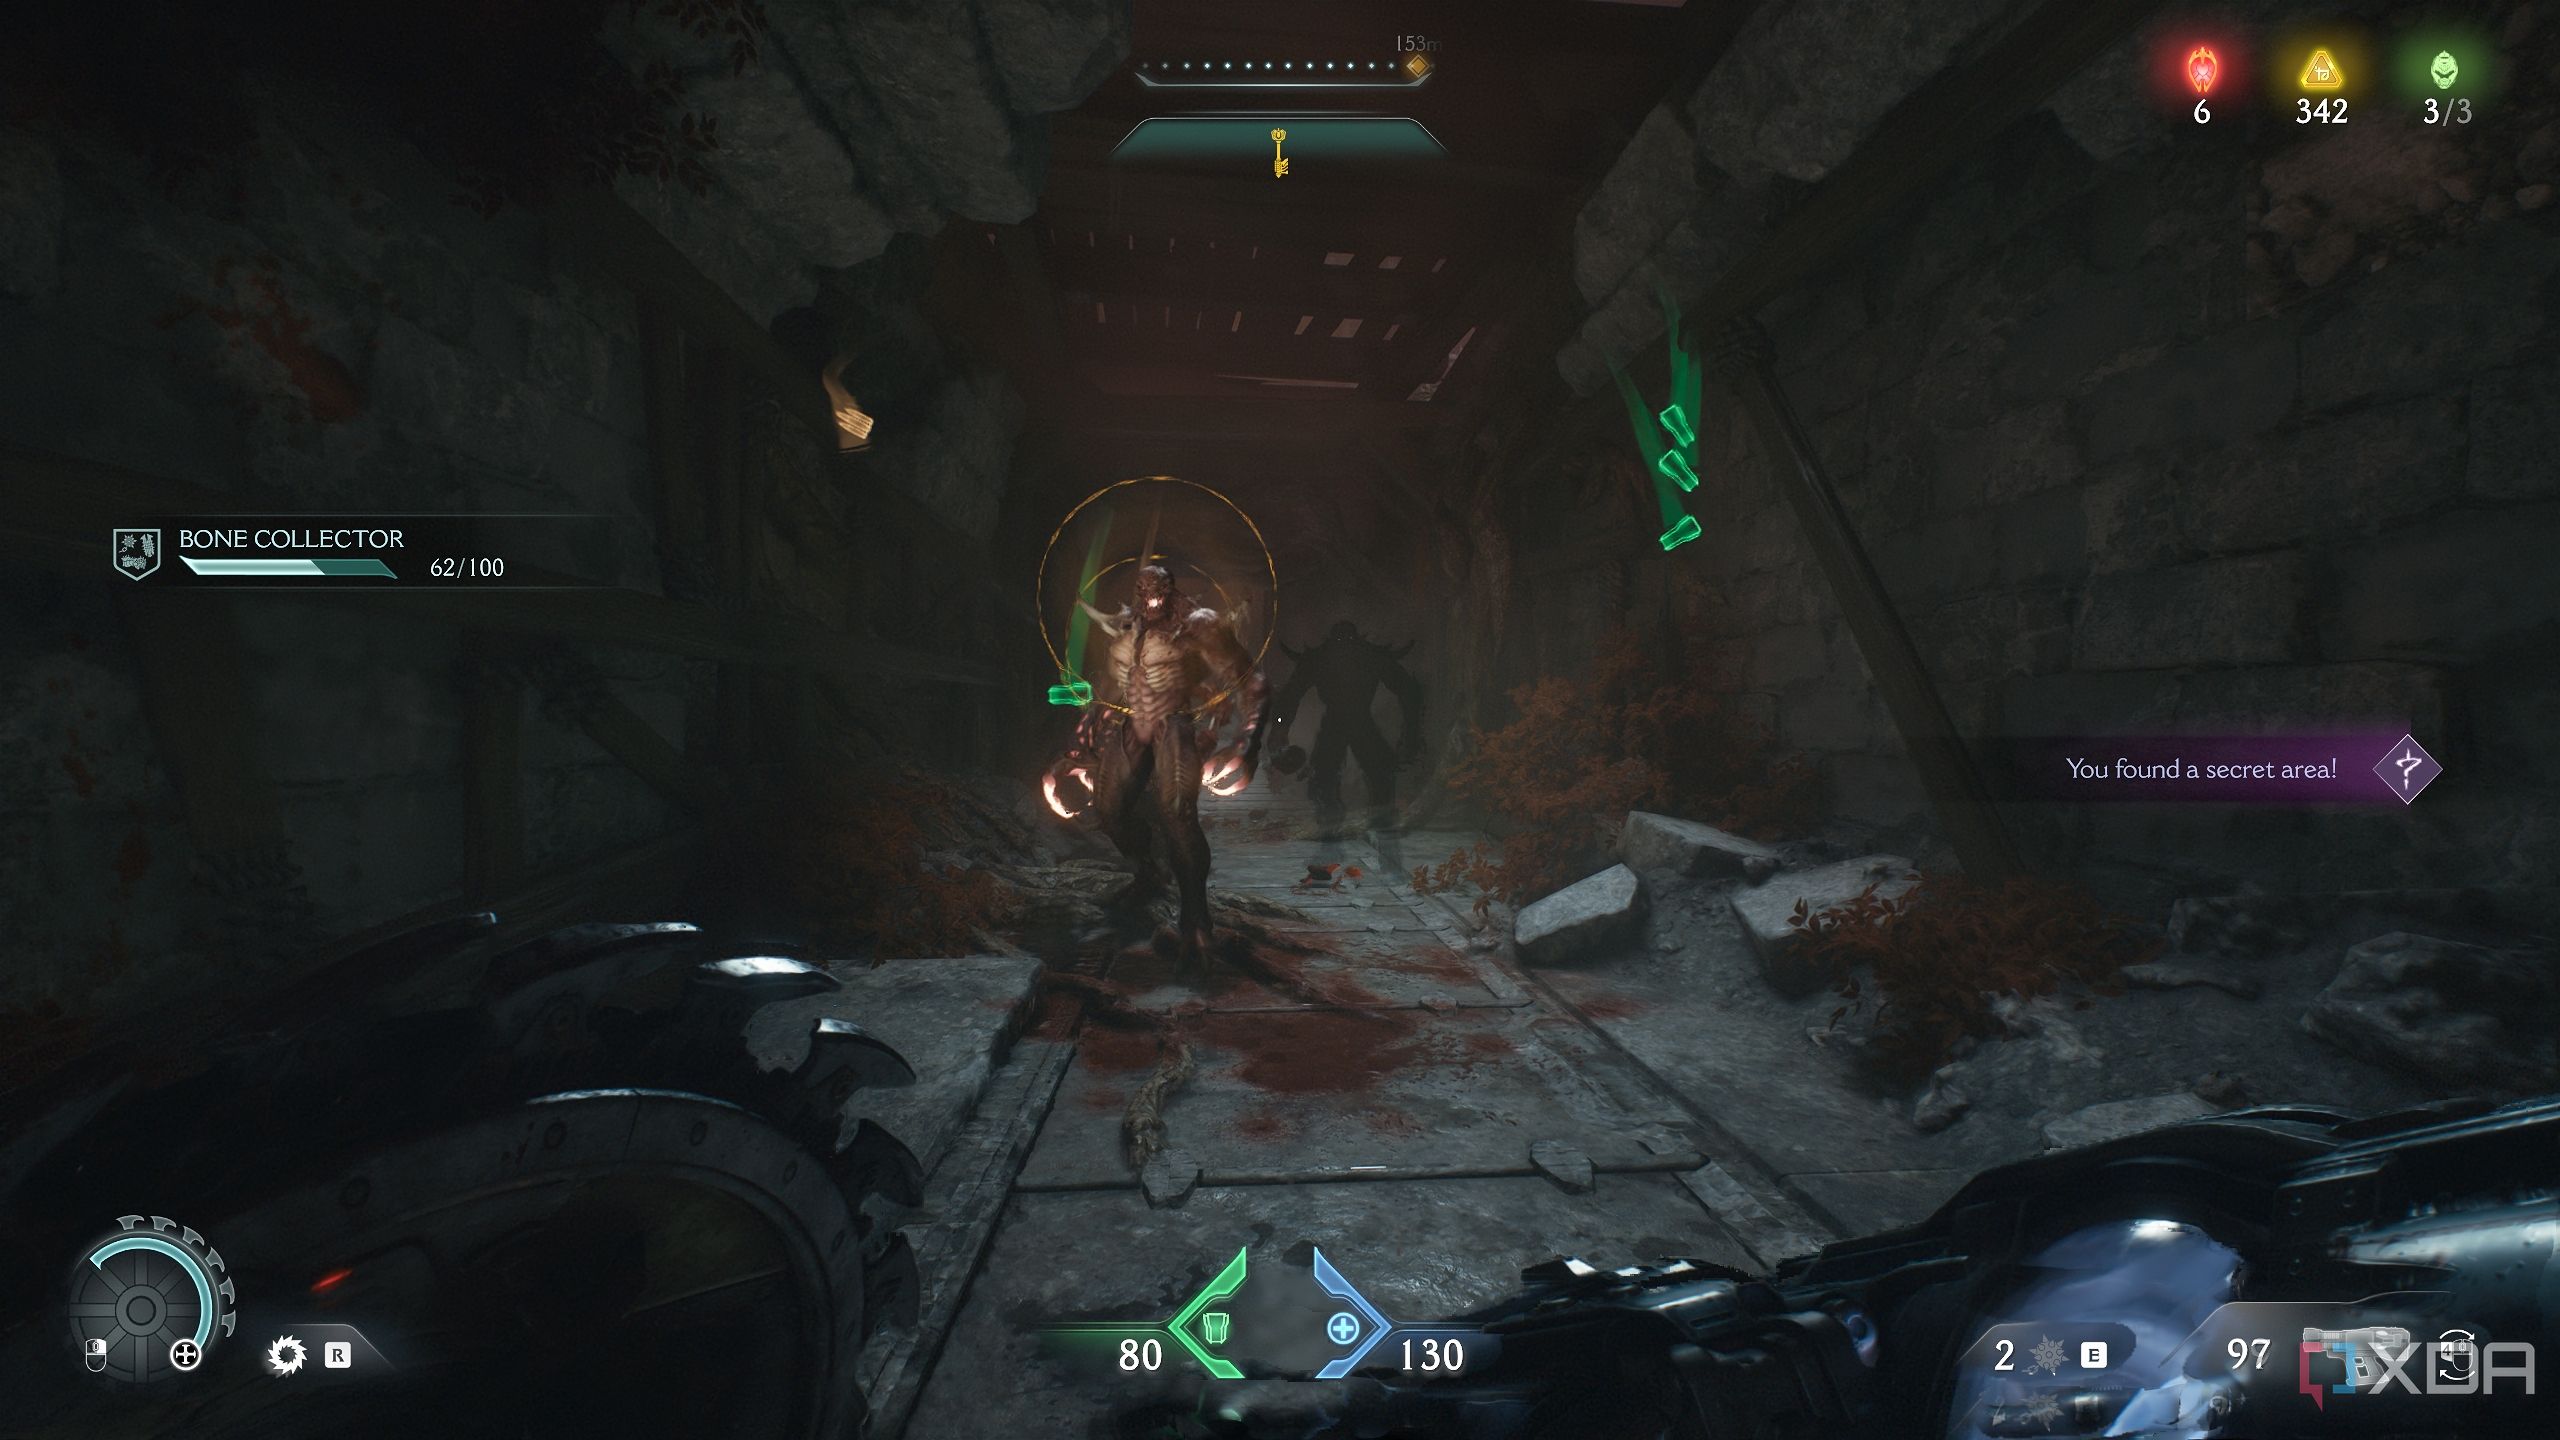
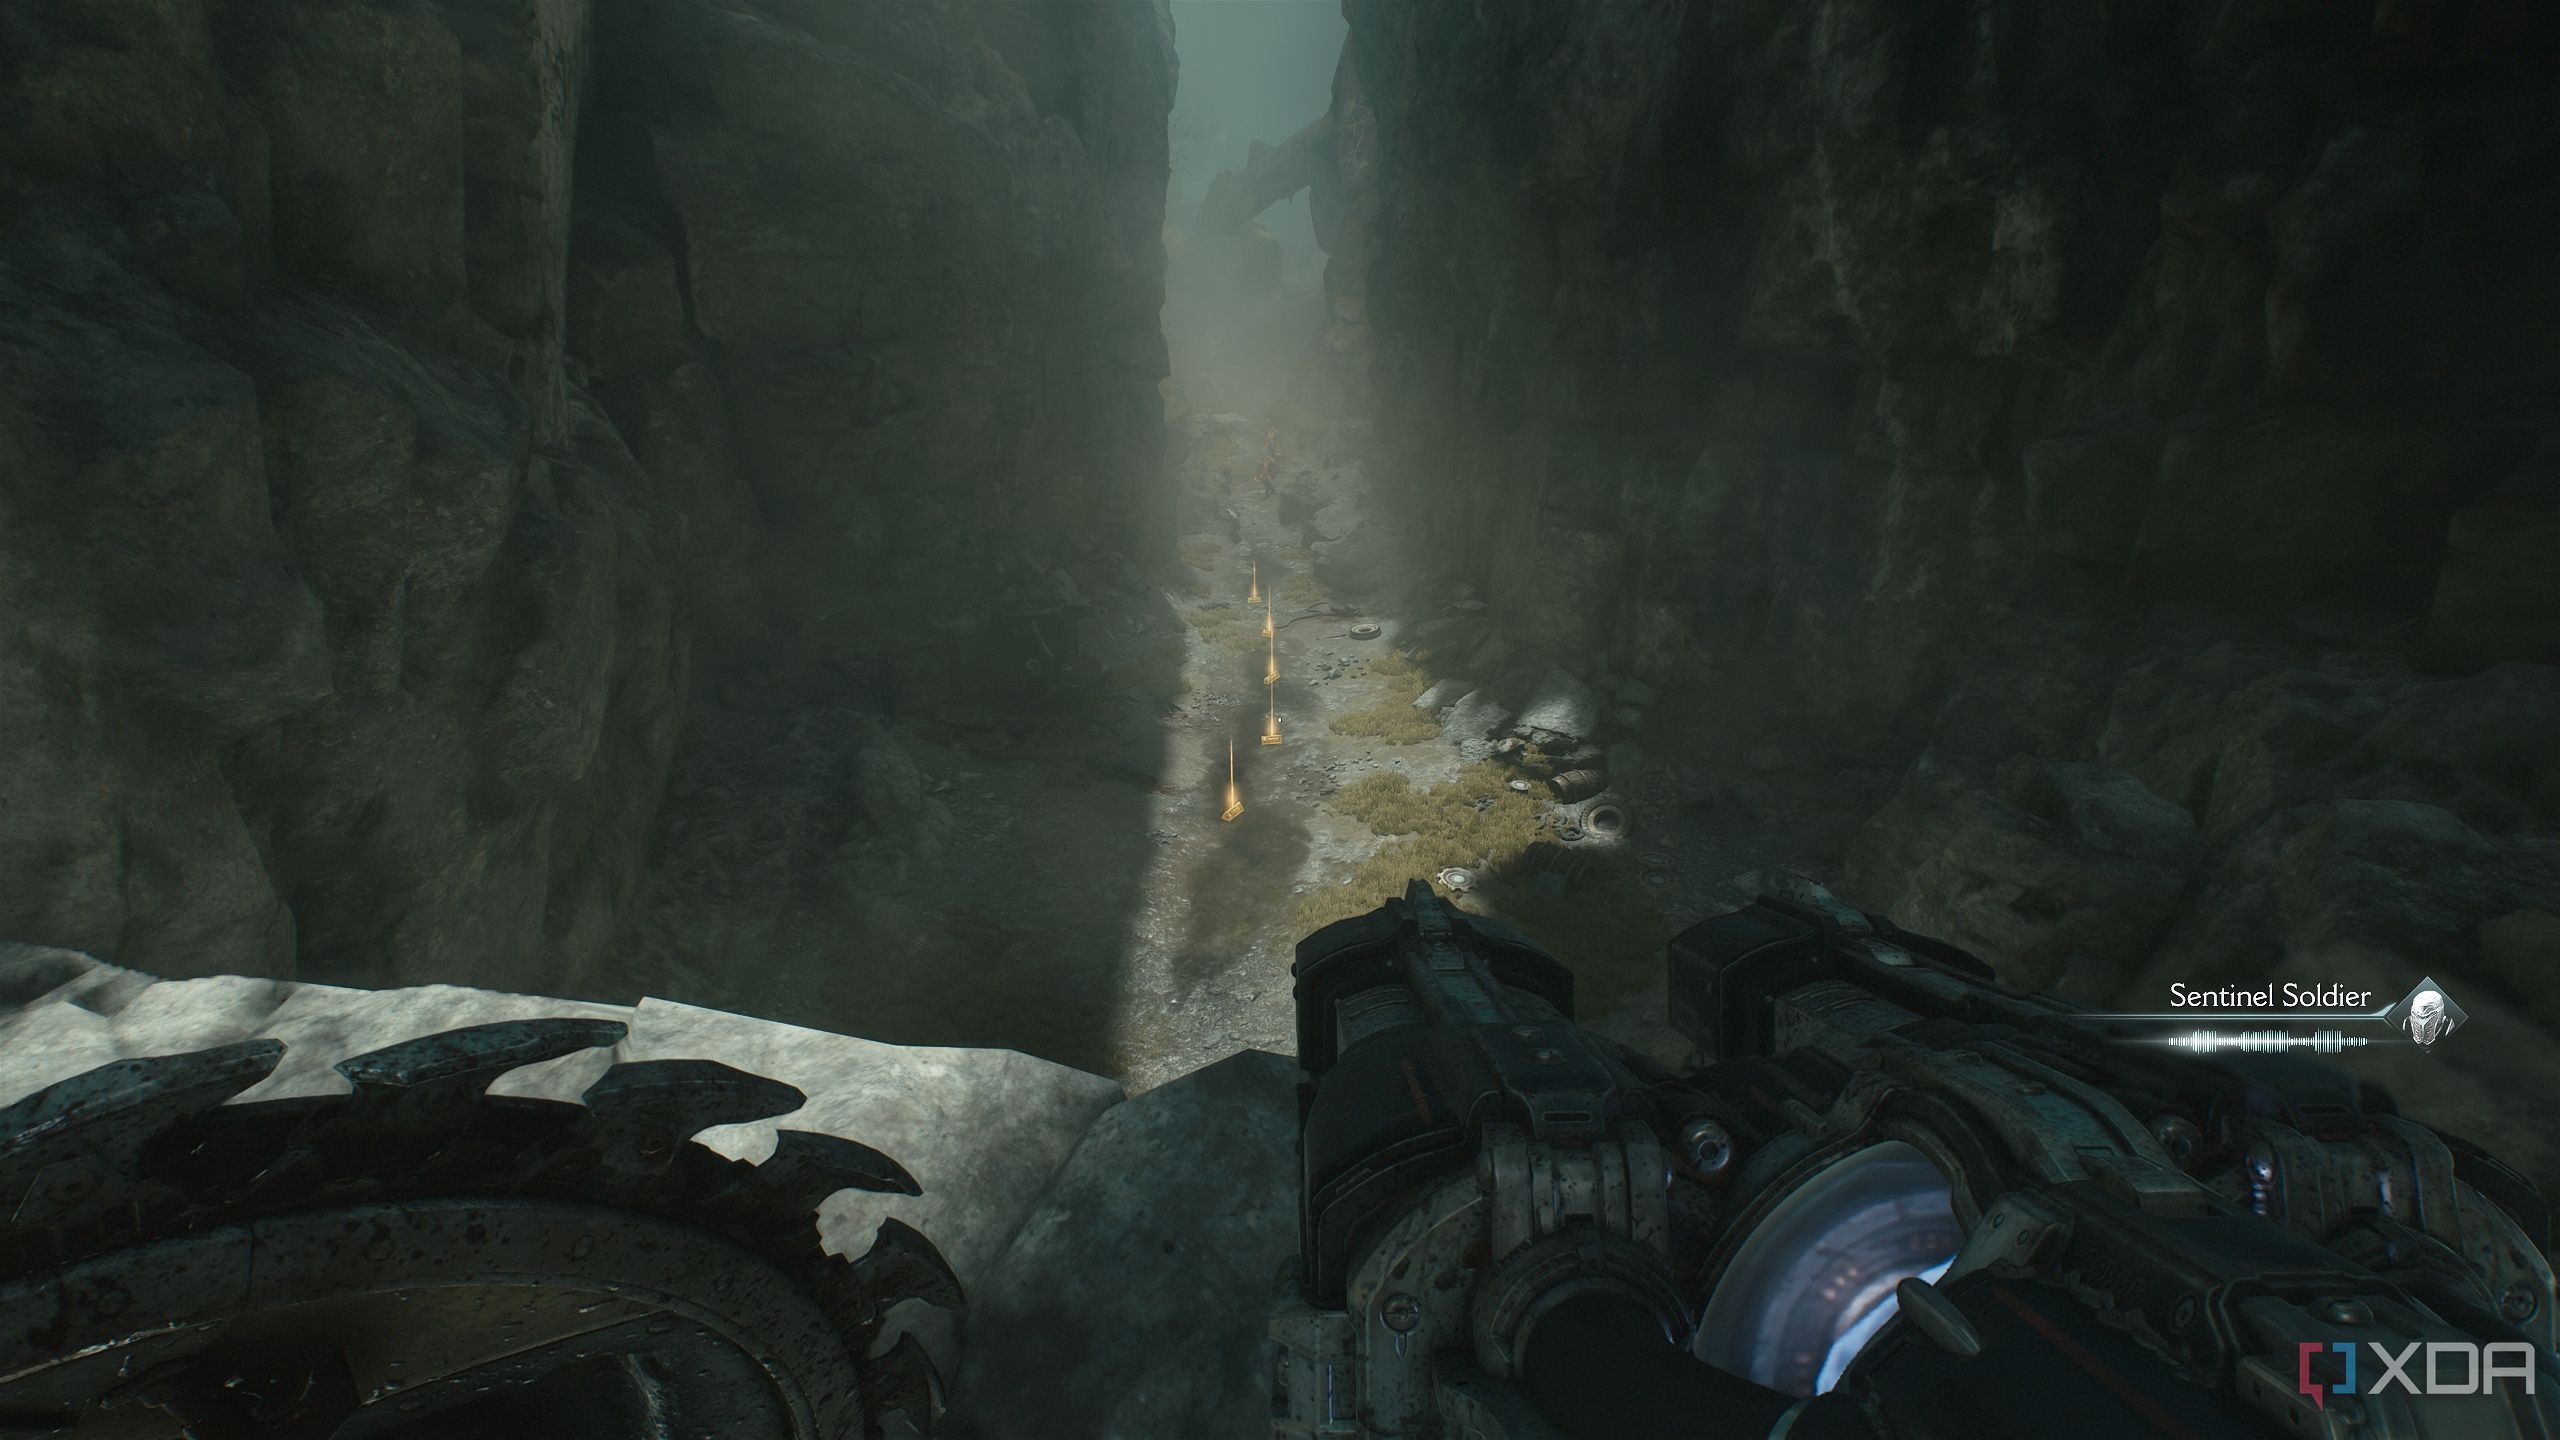
You’ll meet the first demons in the level at a crossroads in the forest.

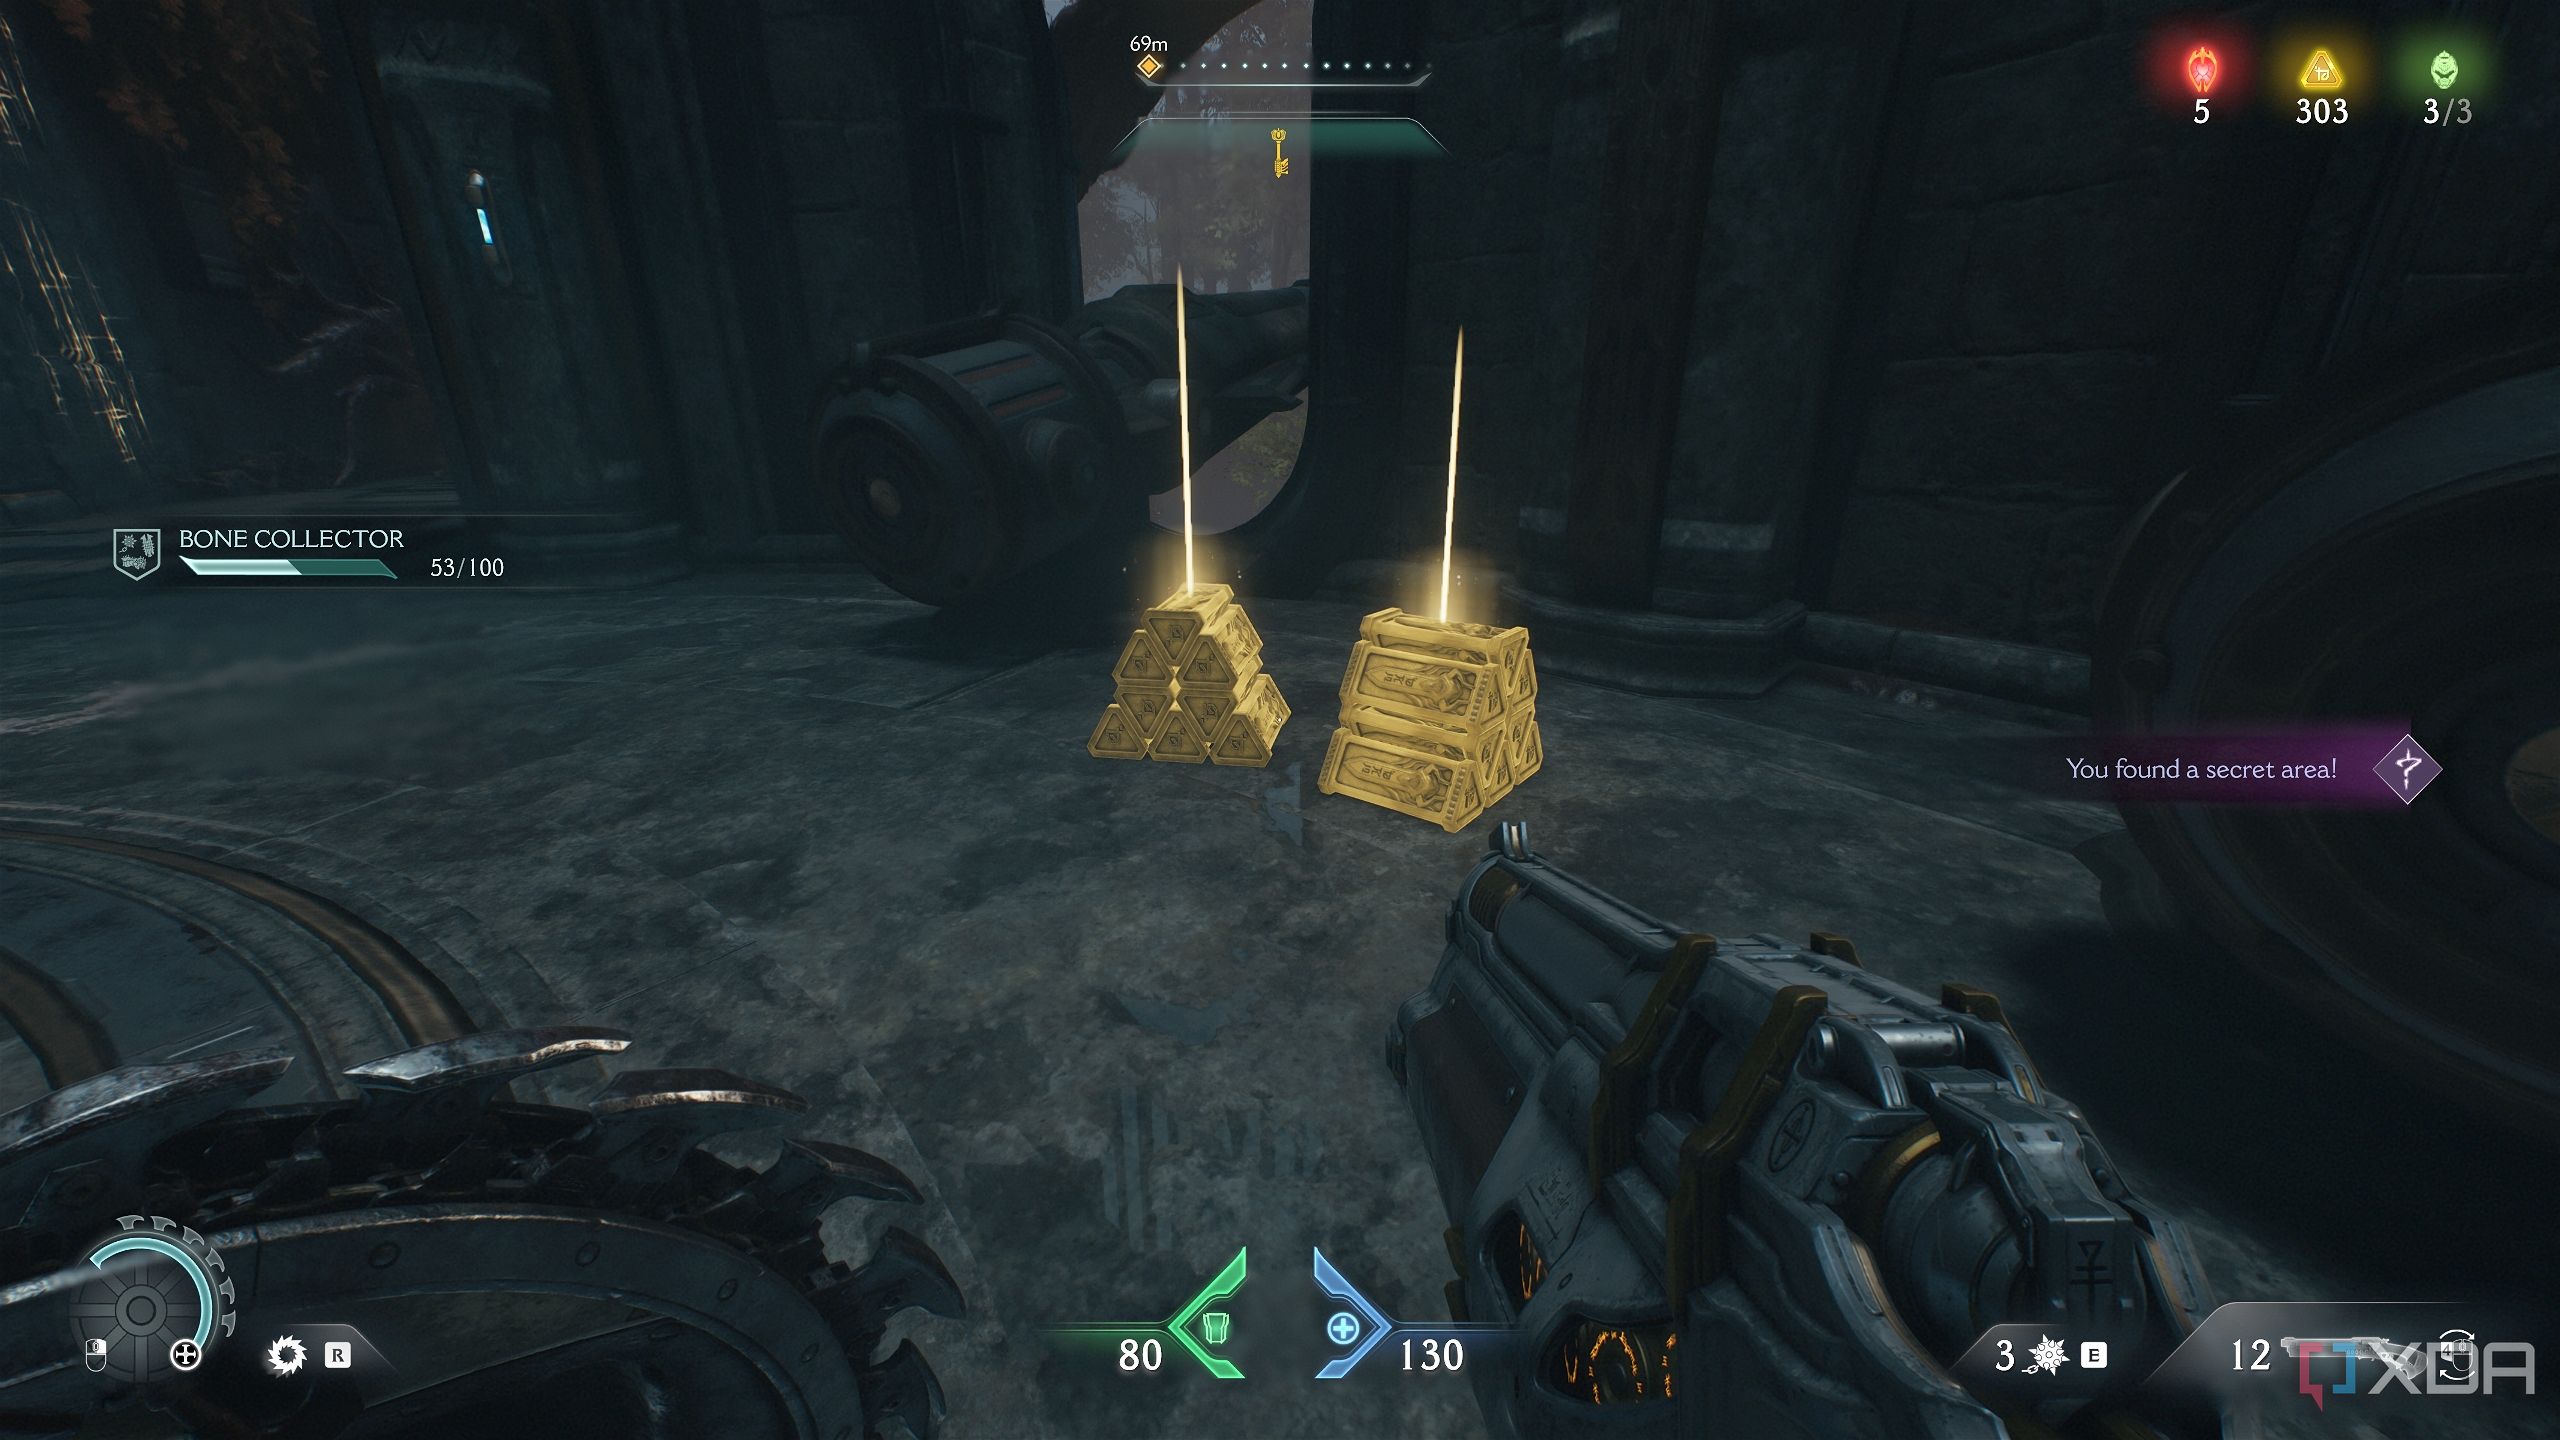
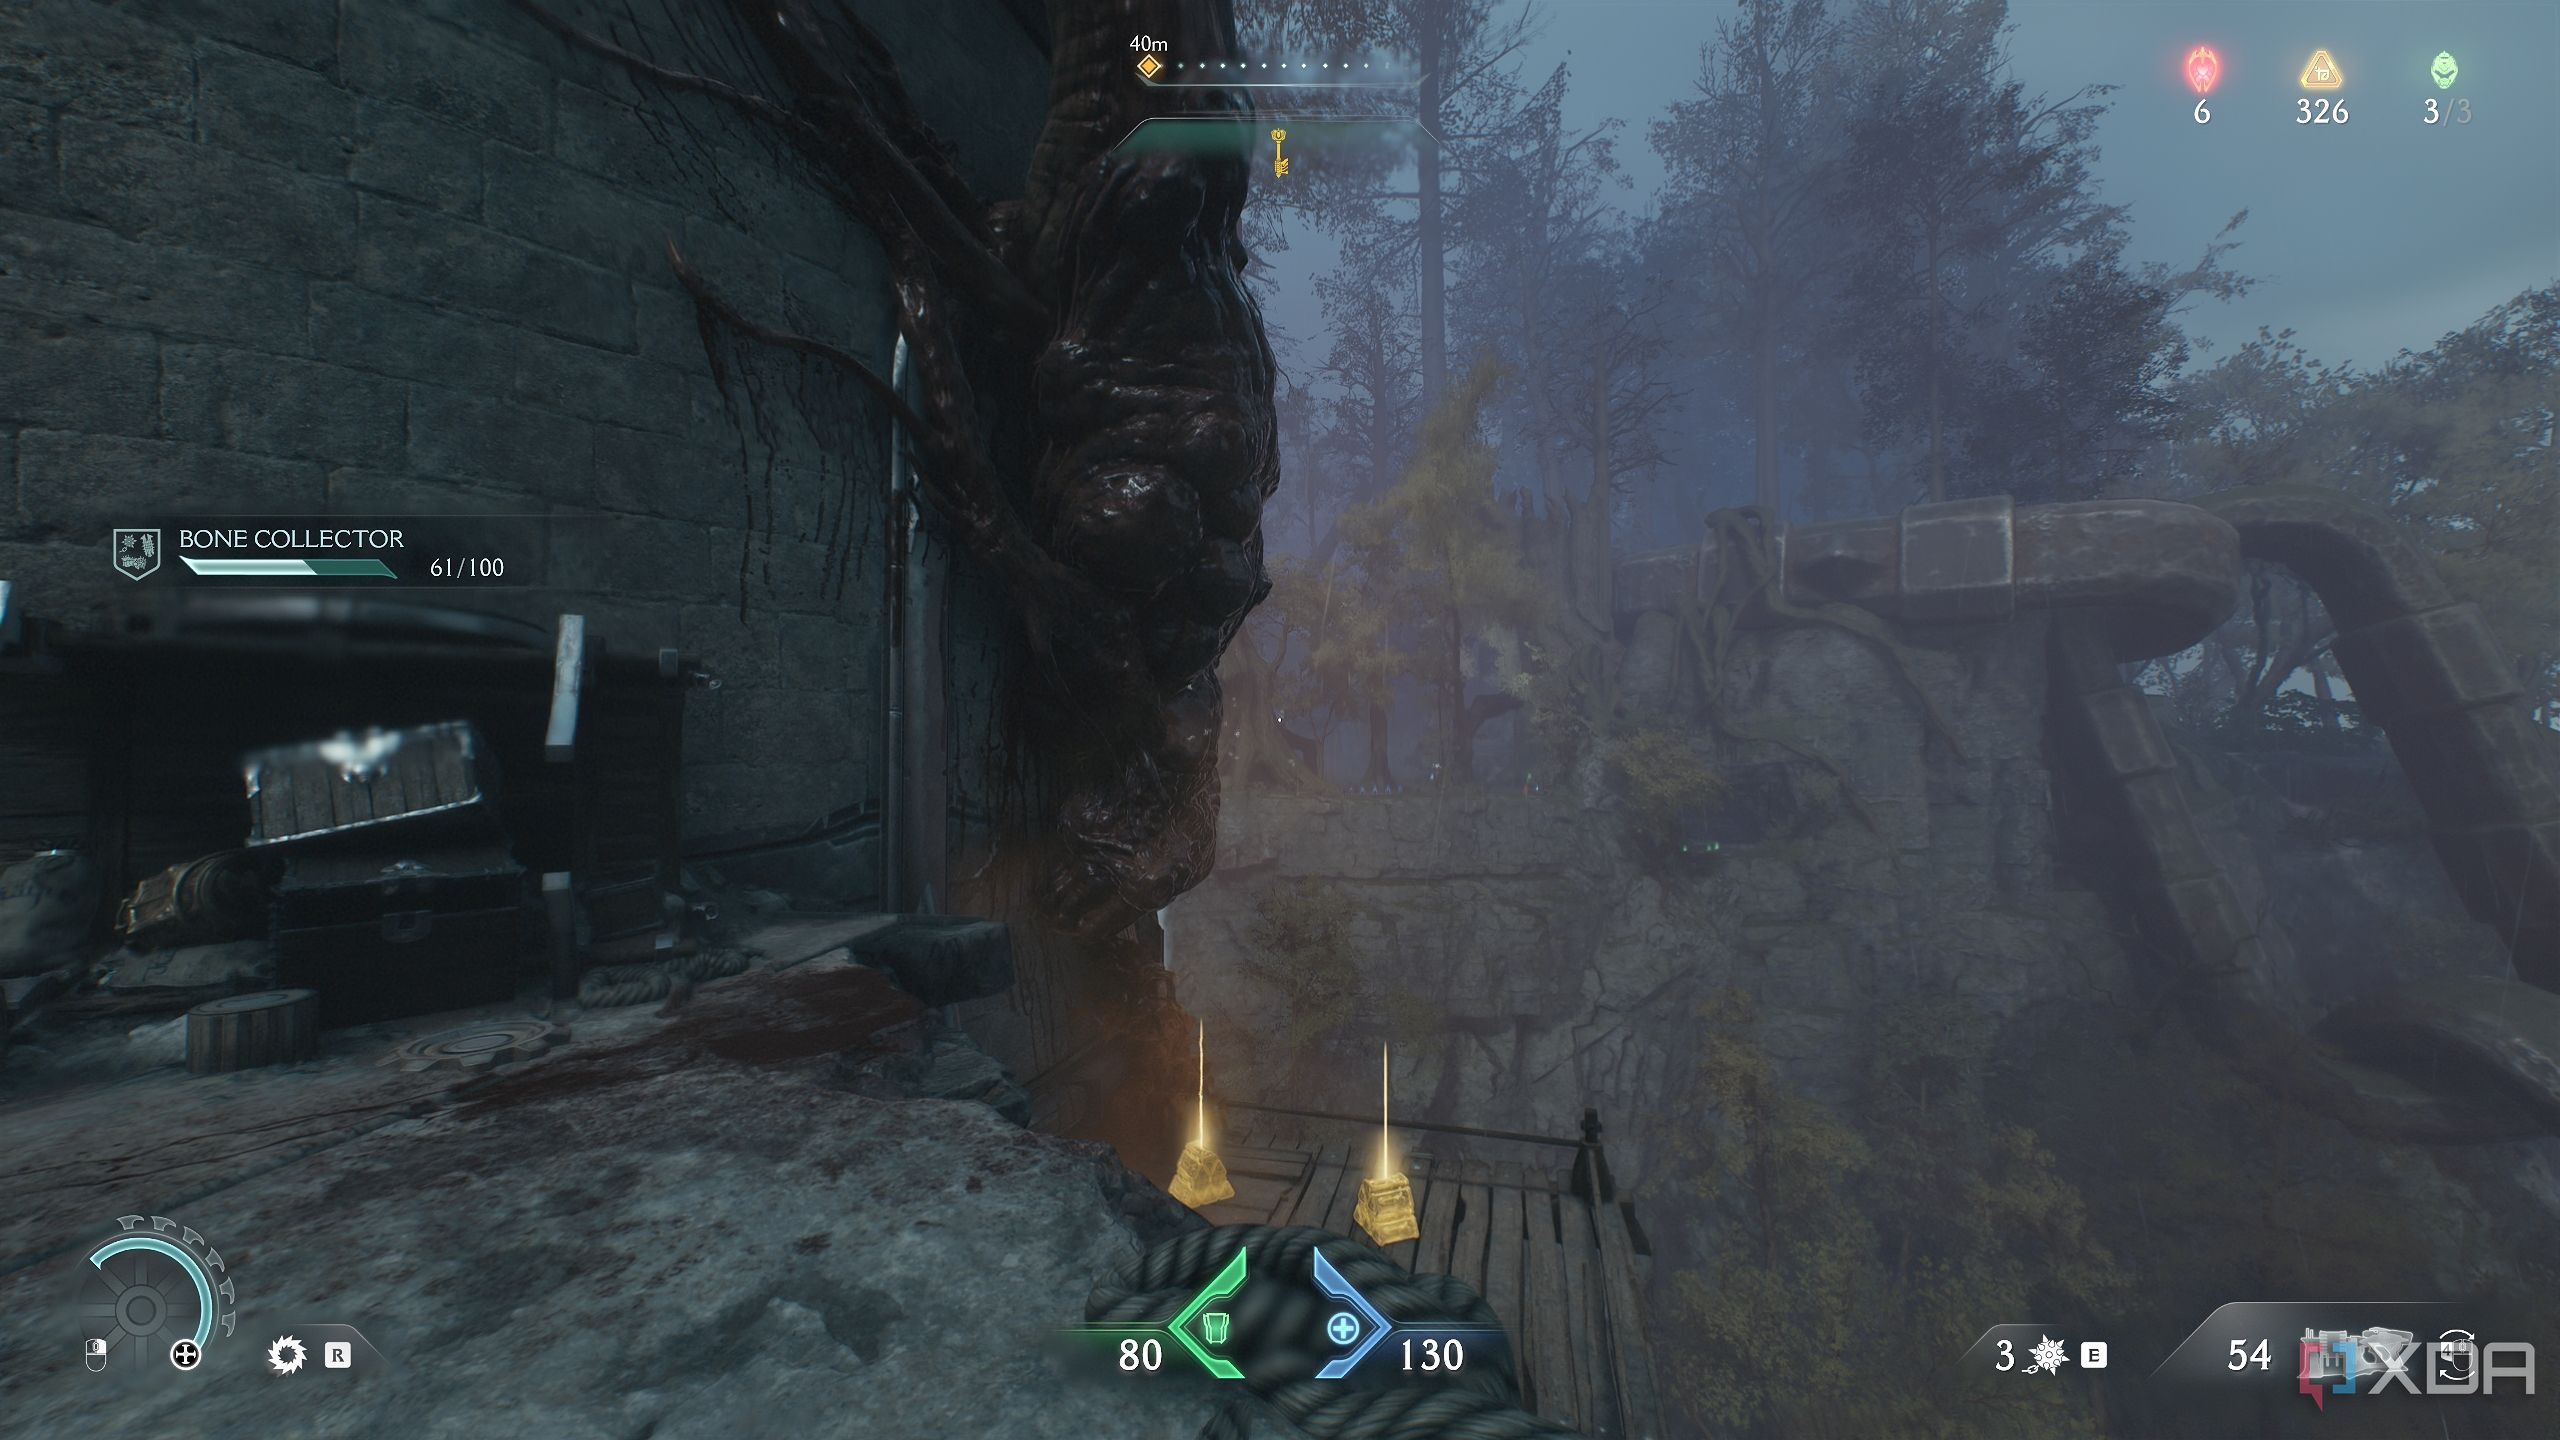
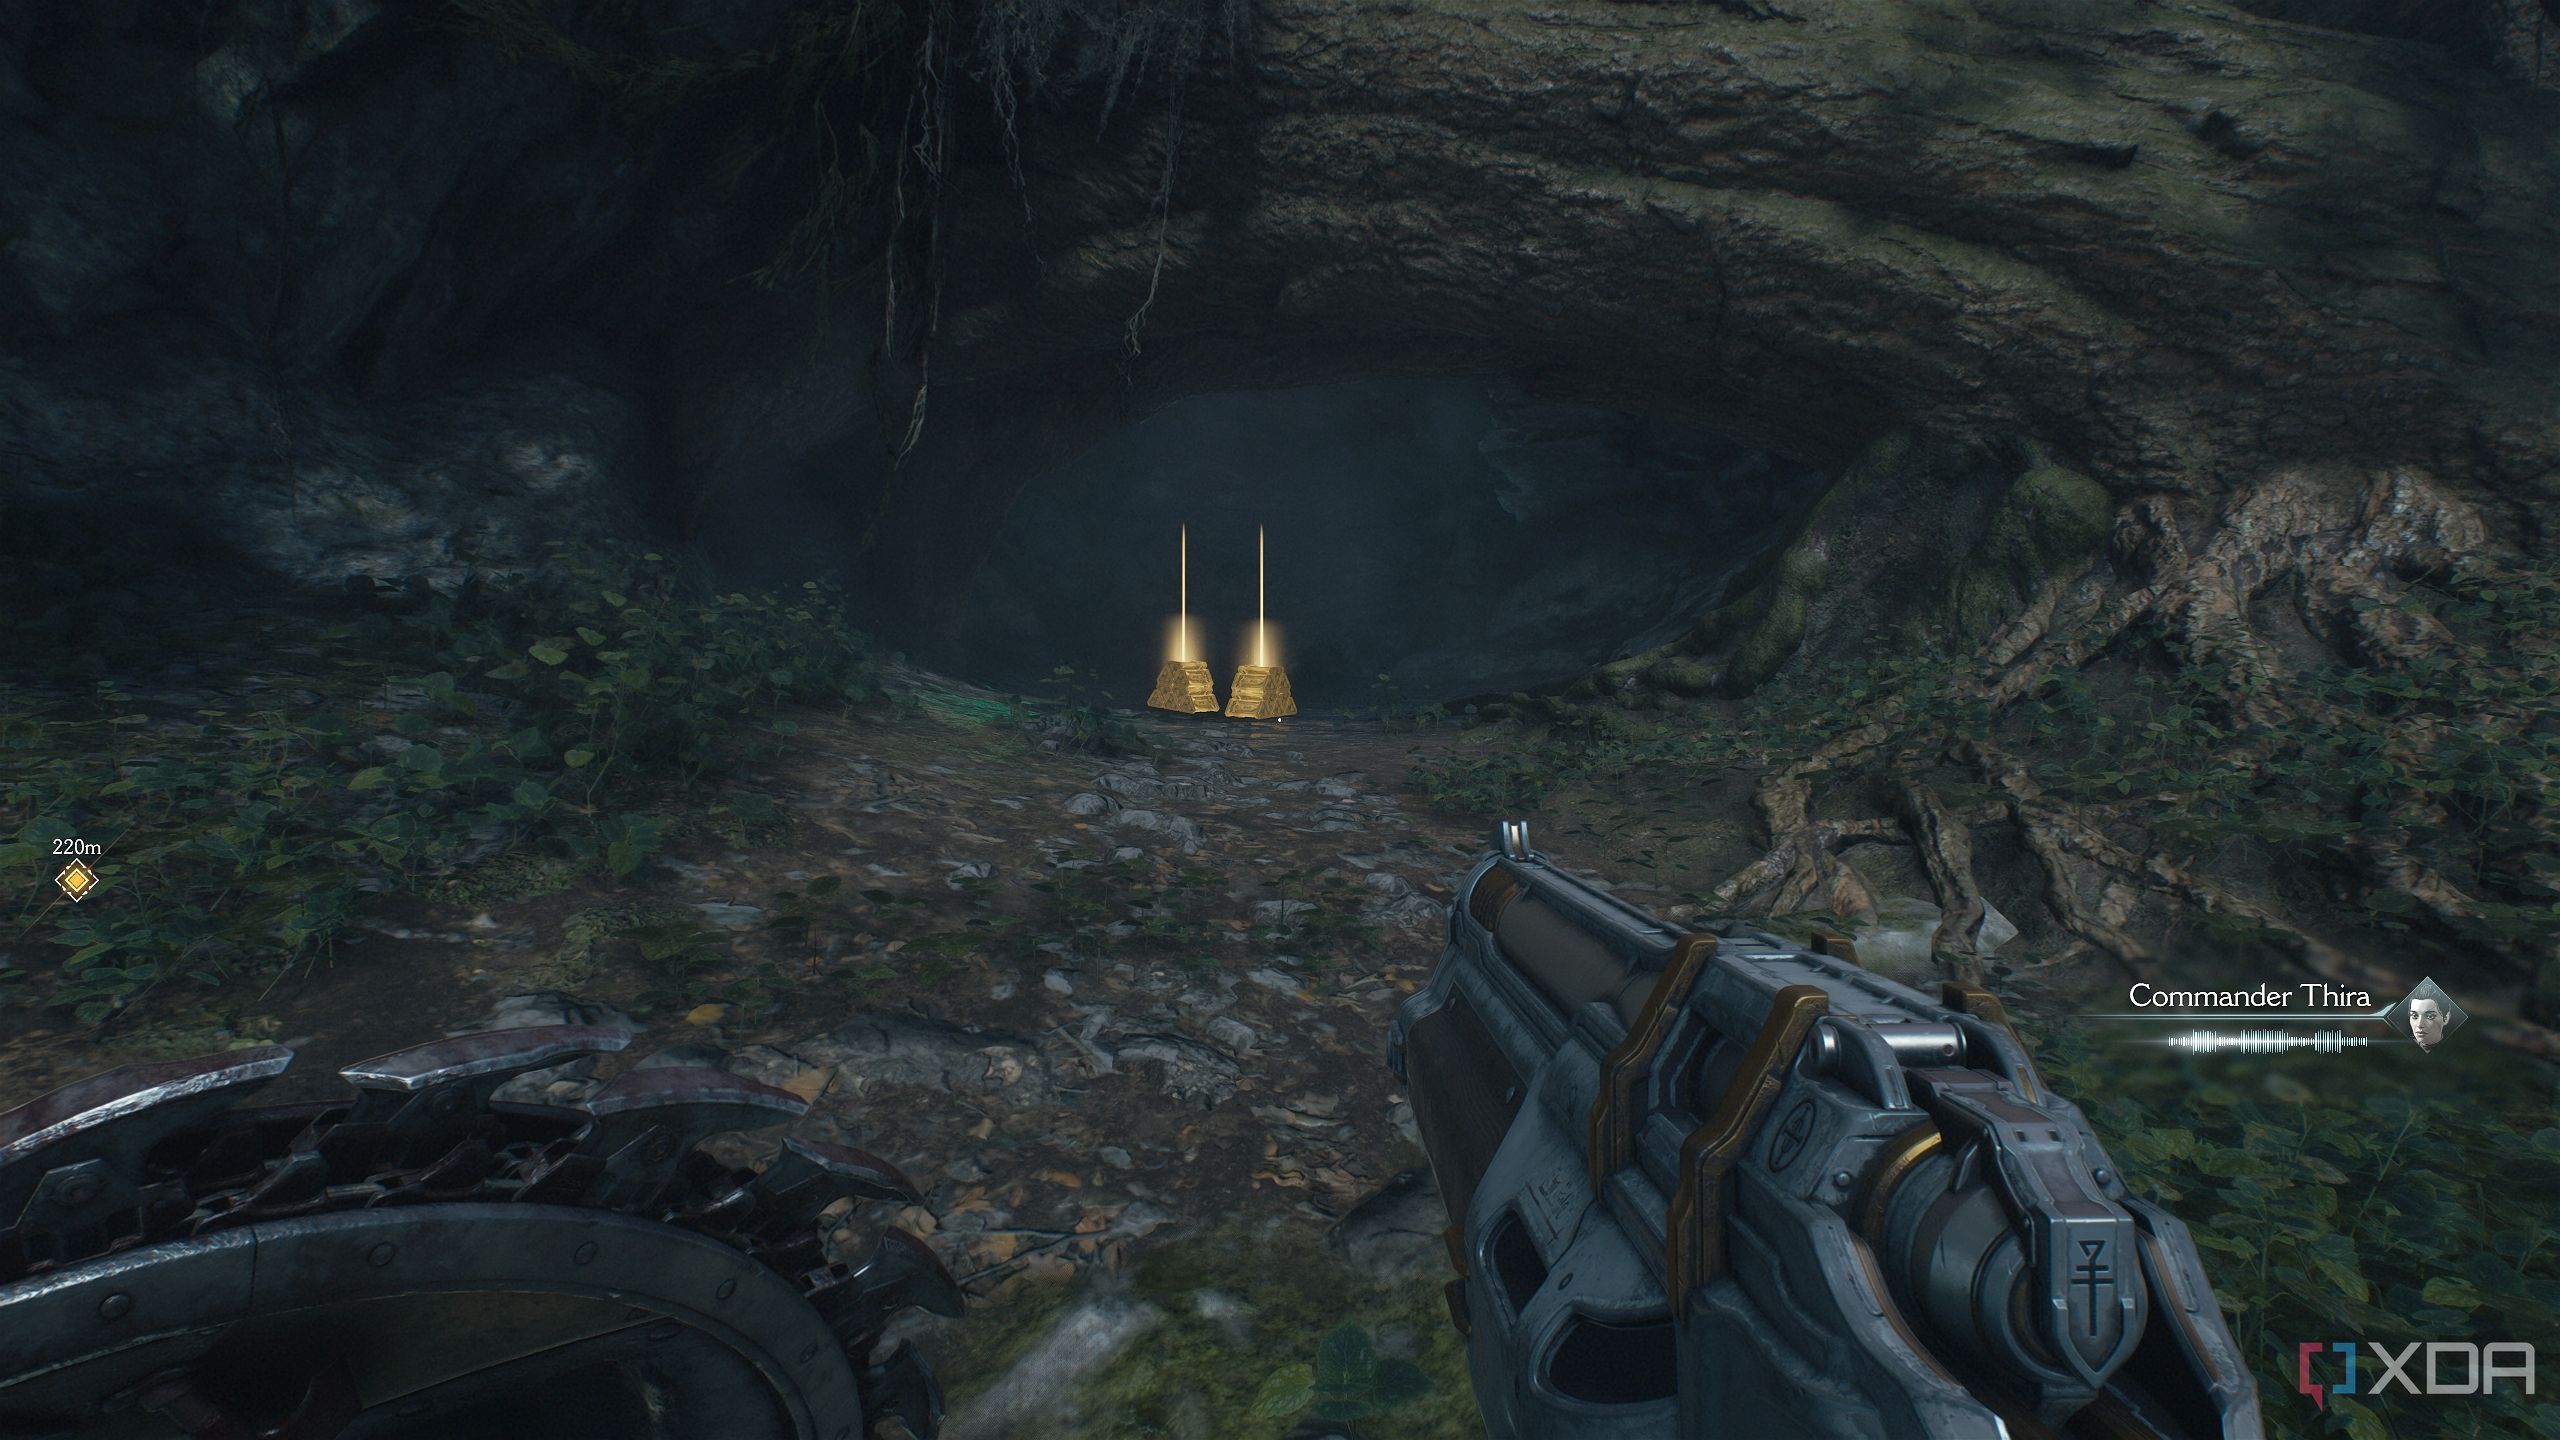
Head right and upwards to collect gold bars lined up on the forest floor.
Then, move forward to jump over the gap and land in front of more gold bars lined up.
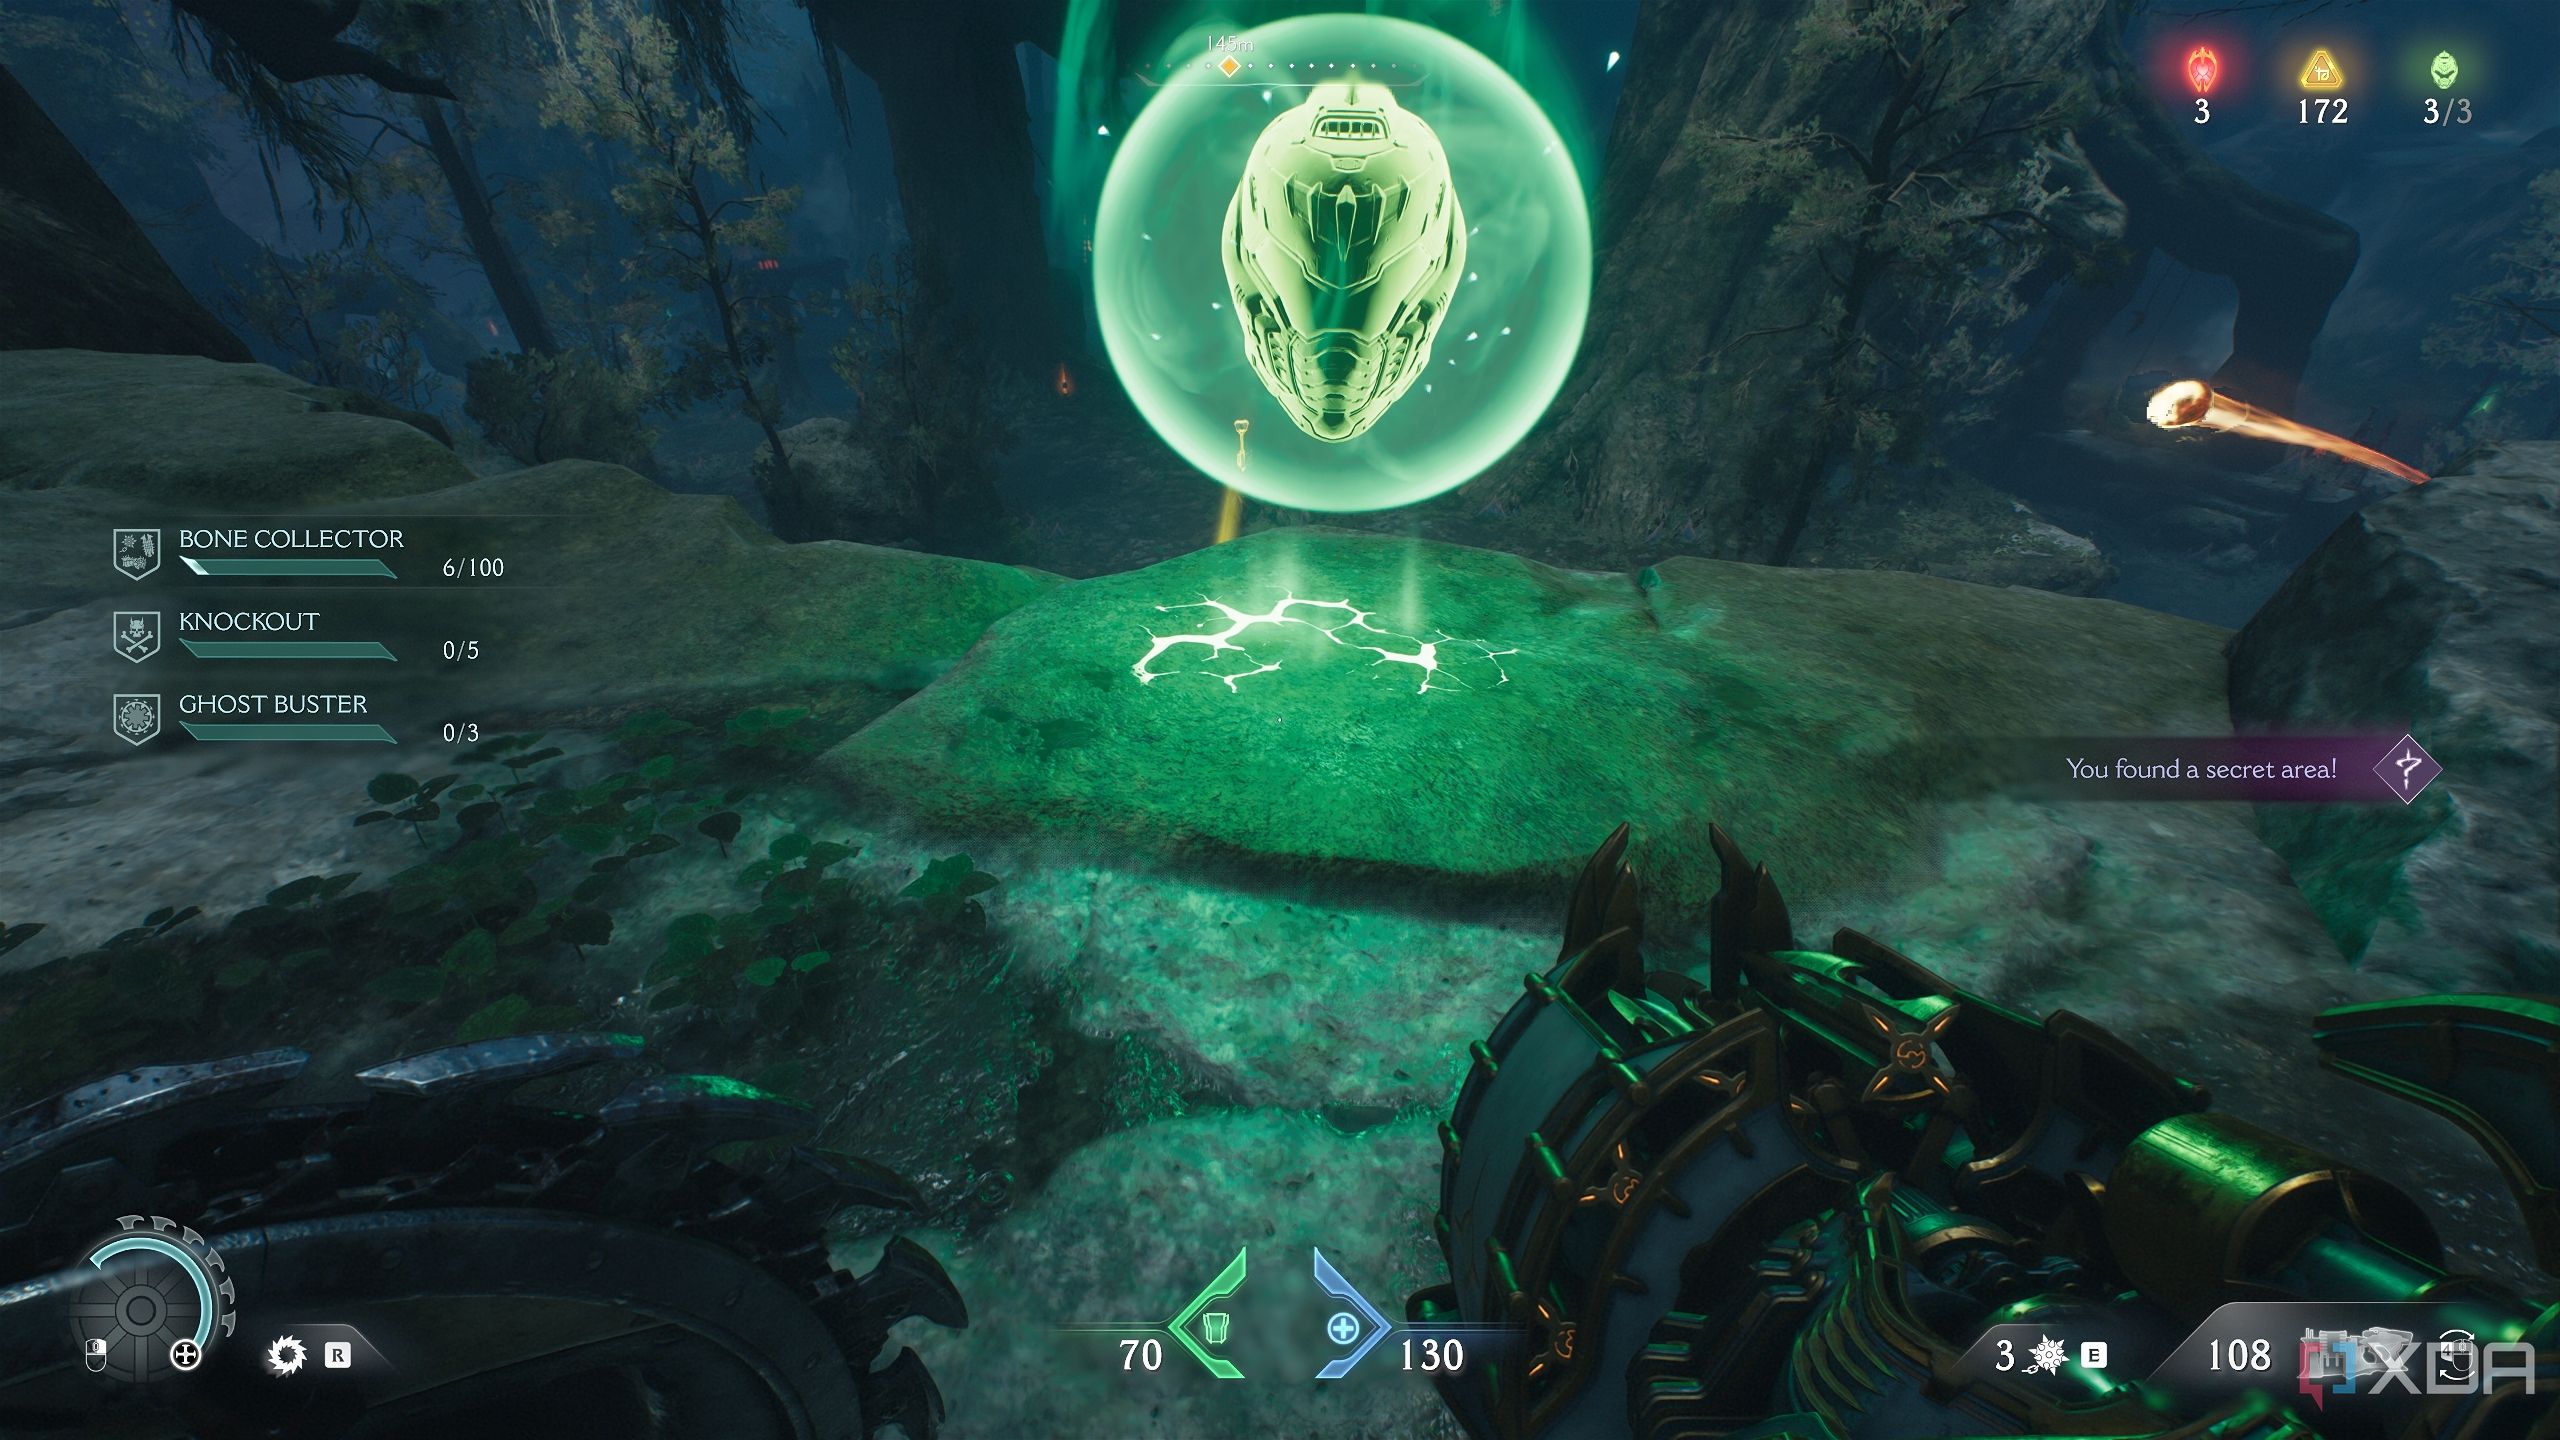
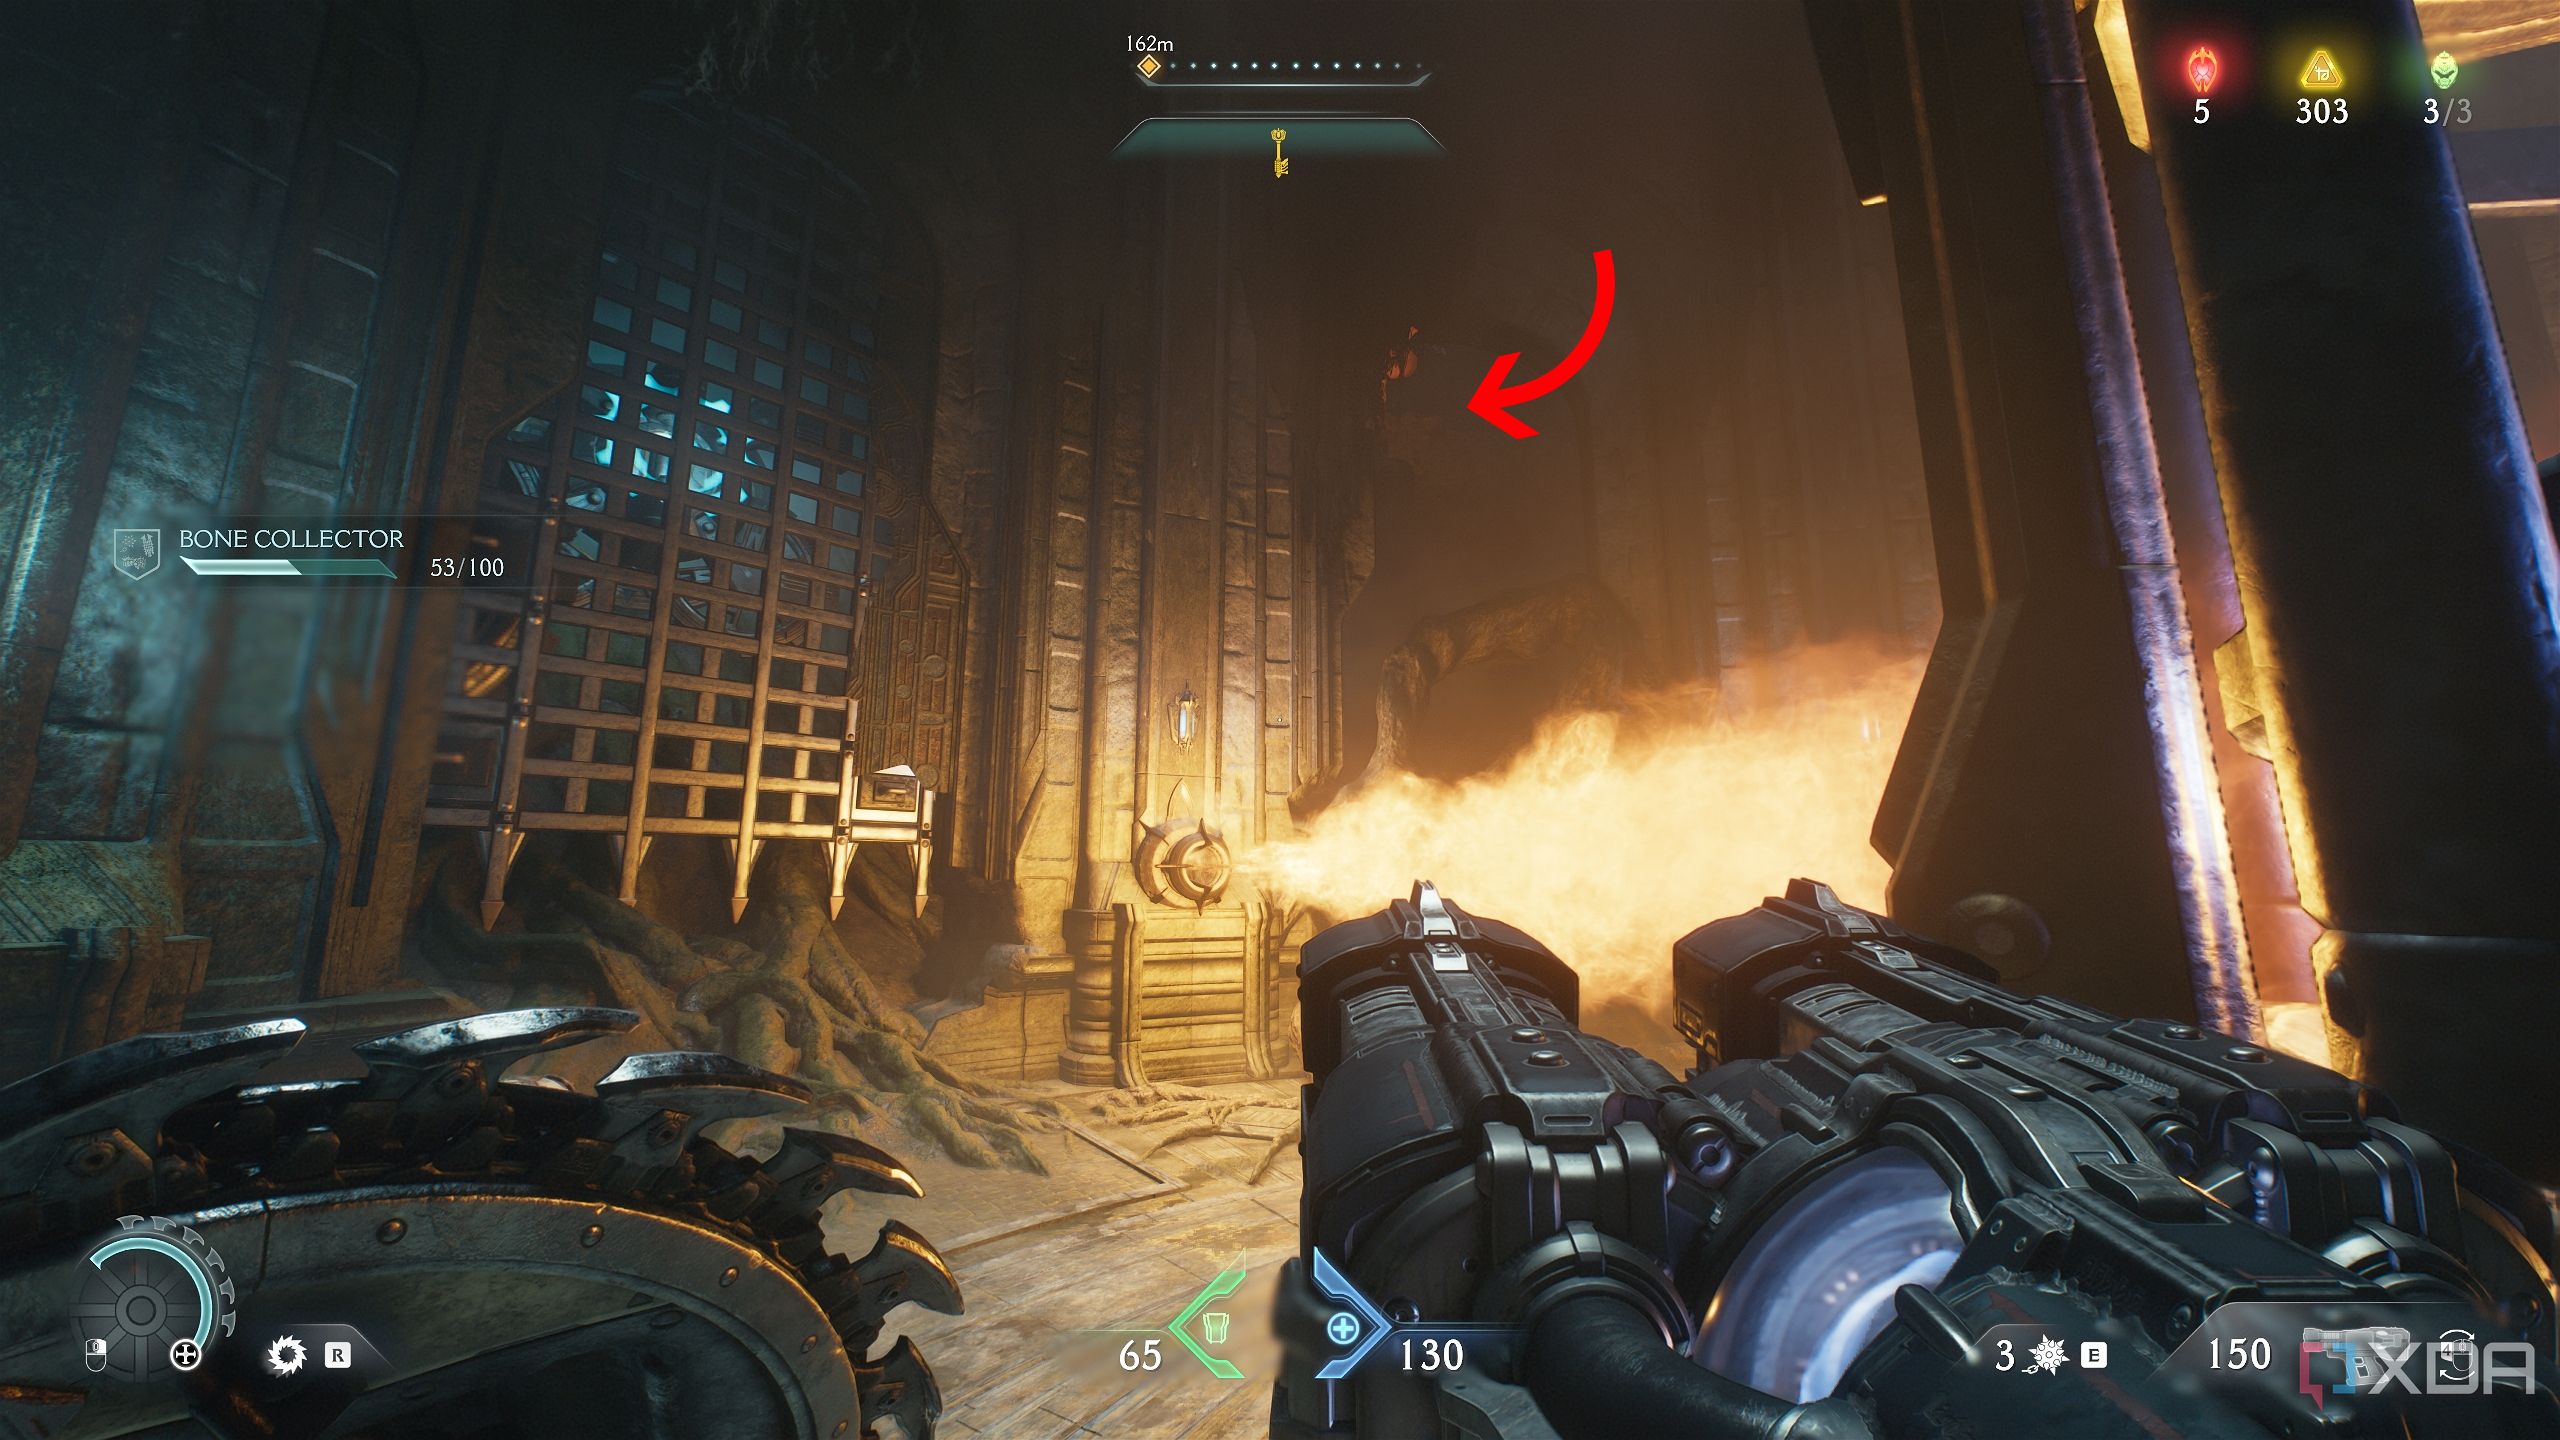
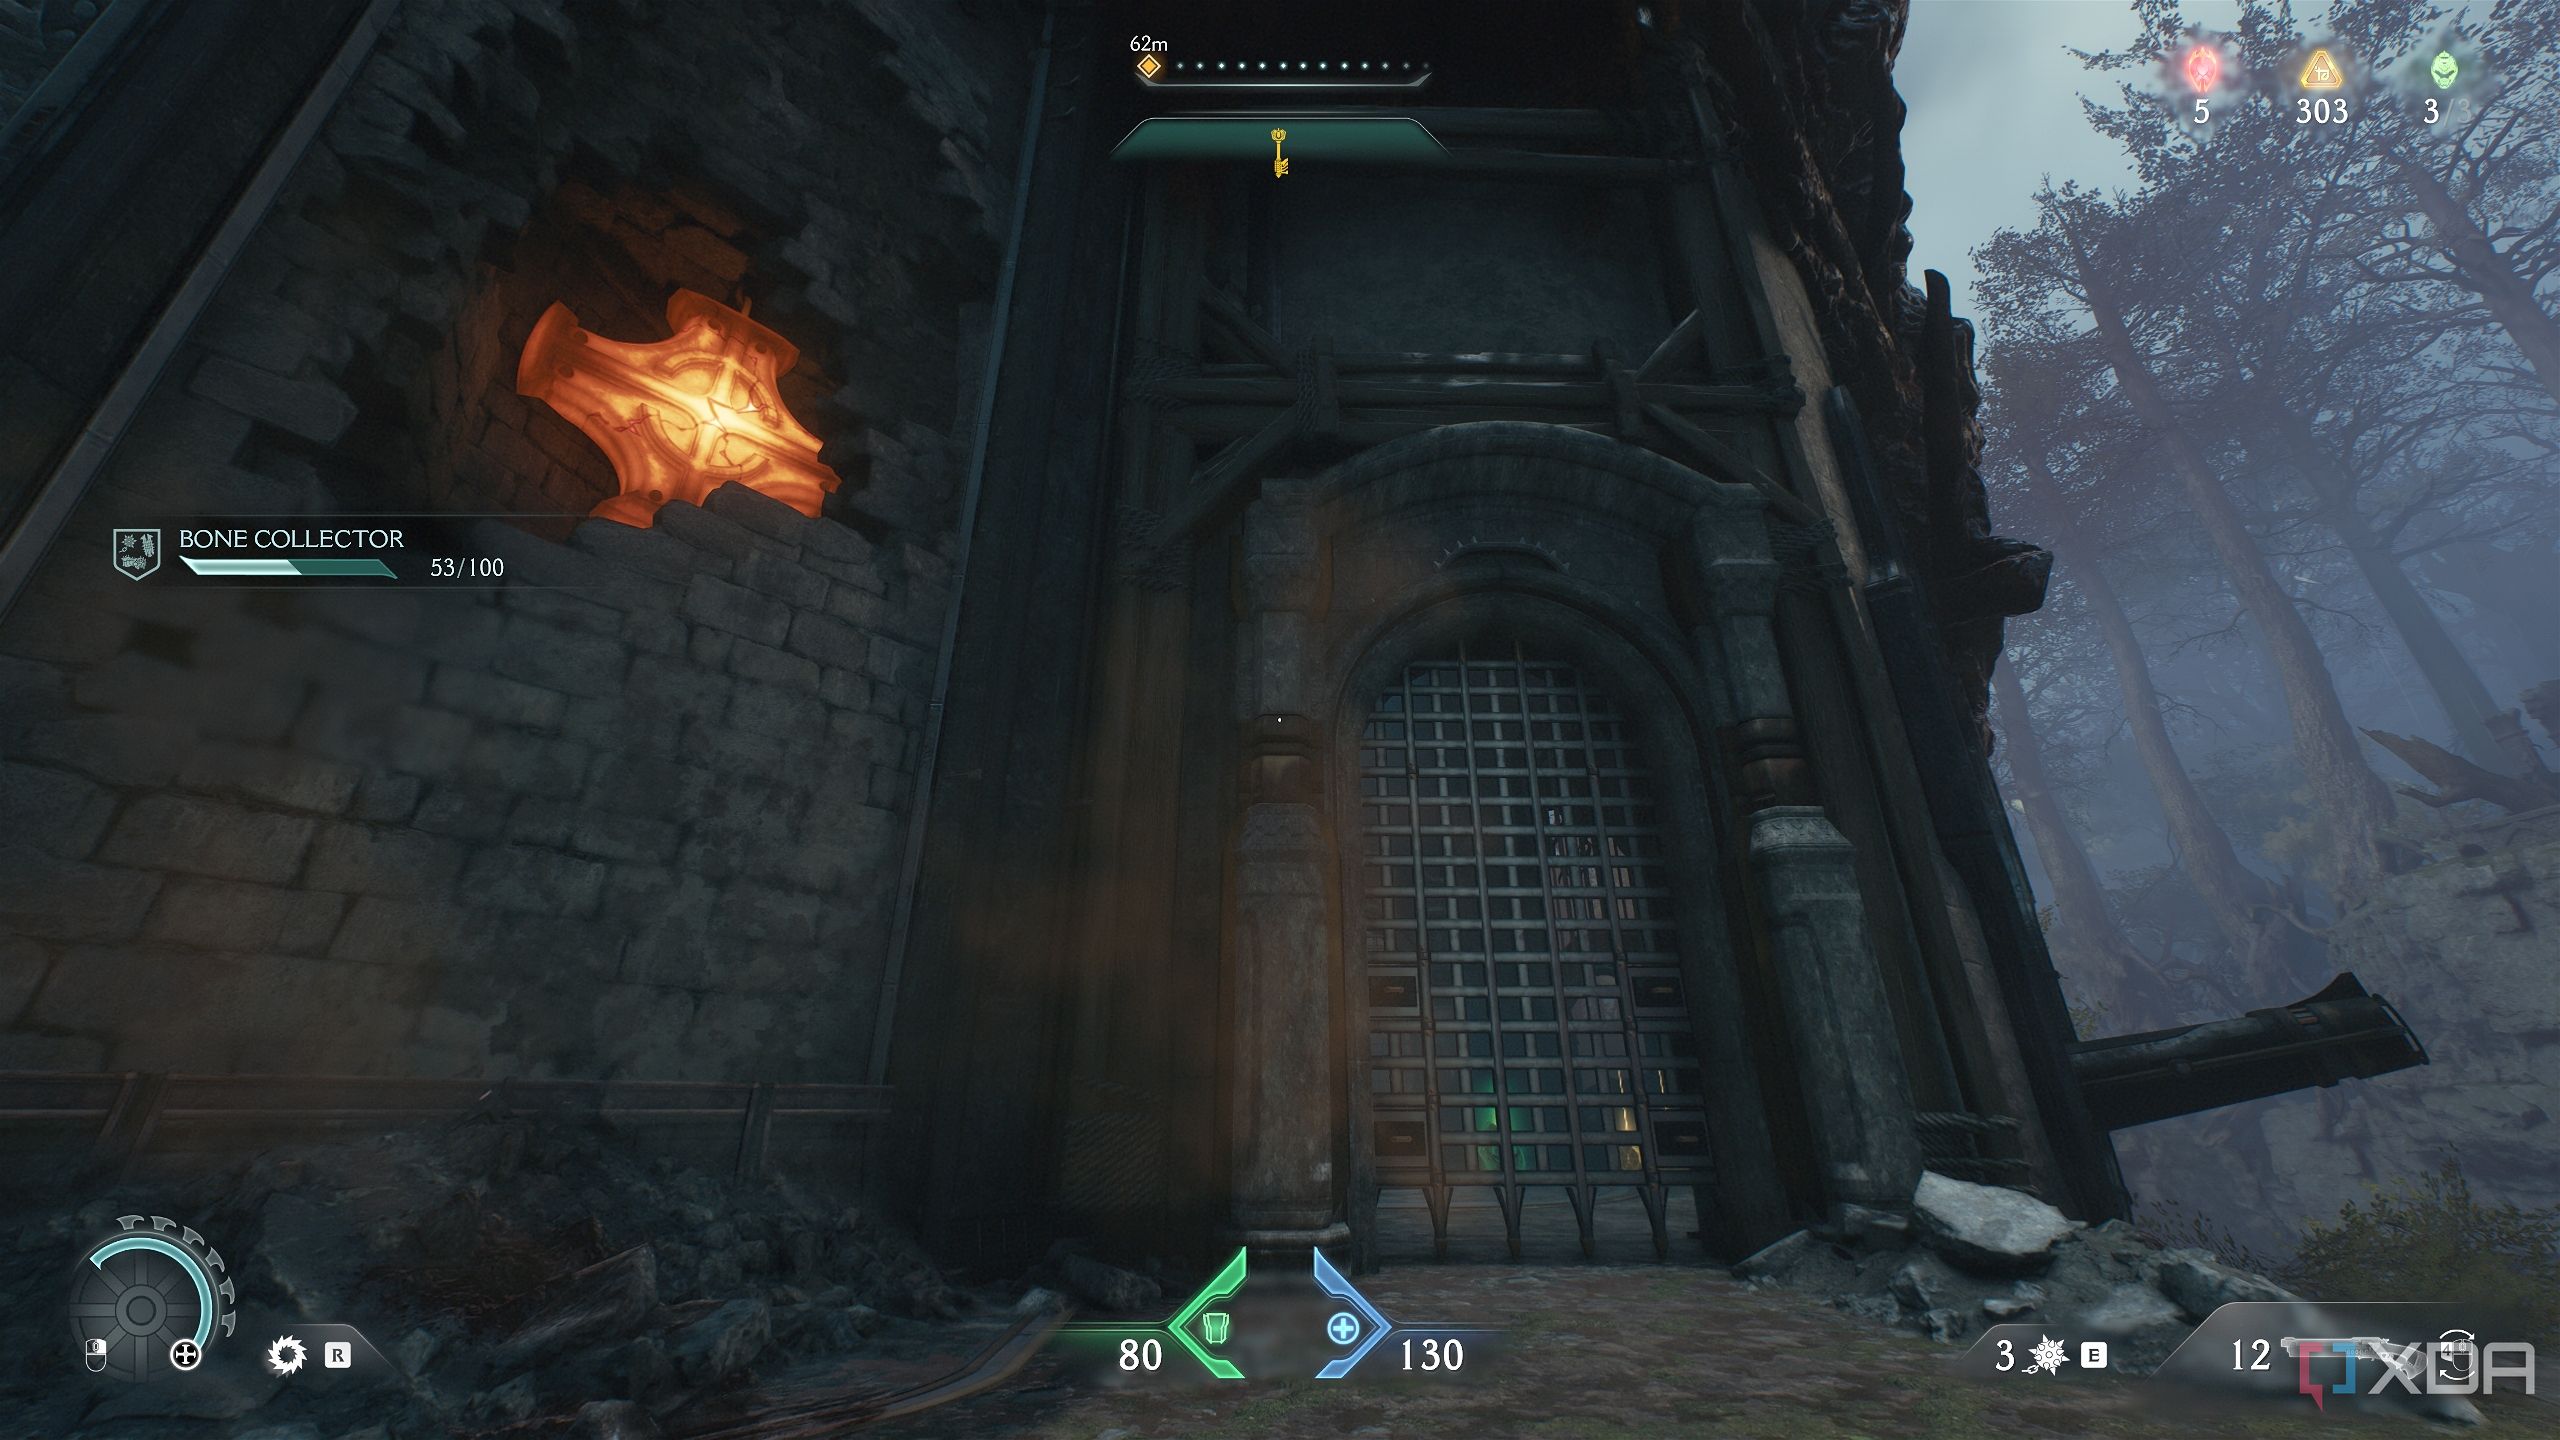
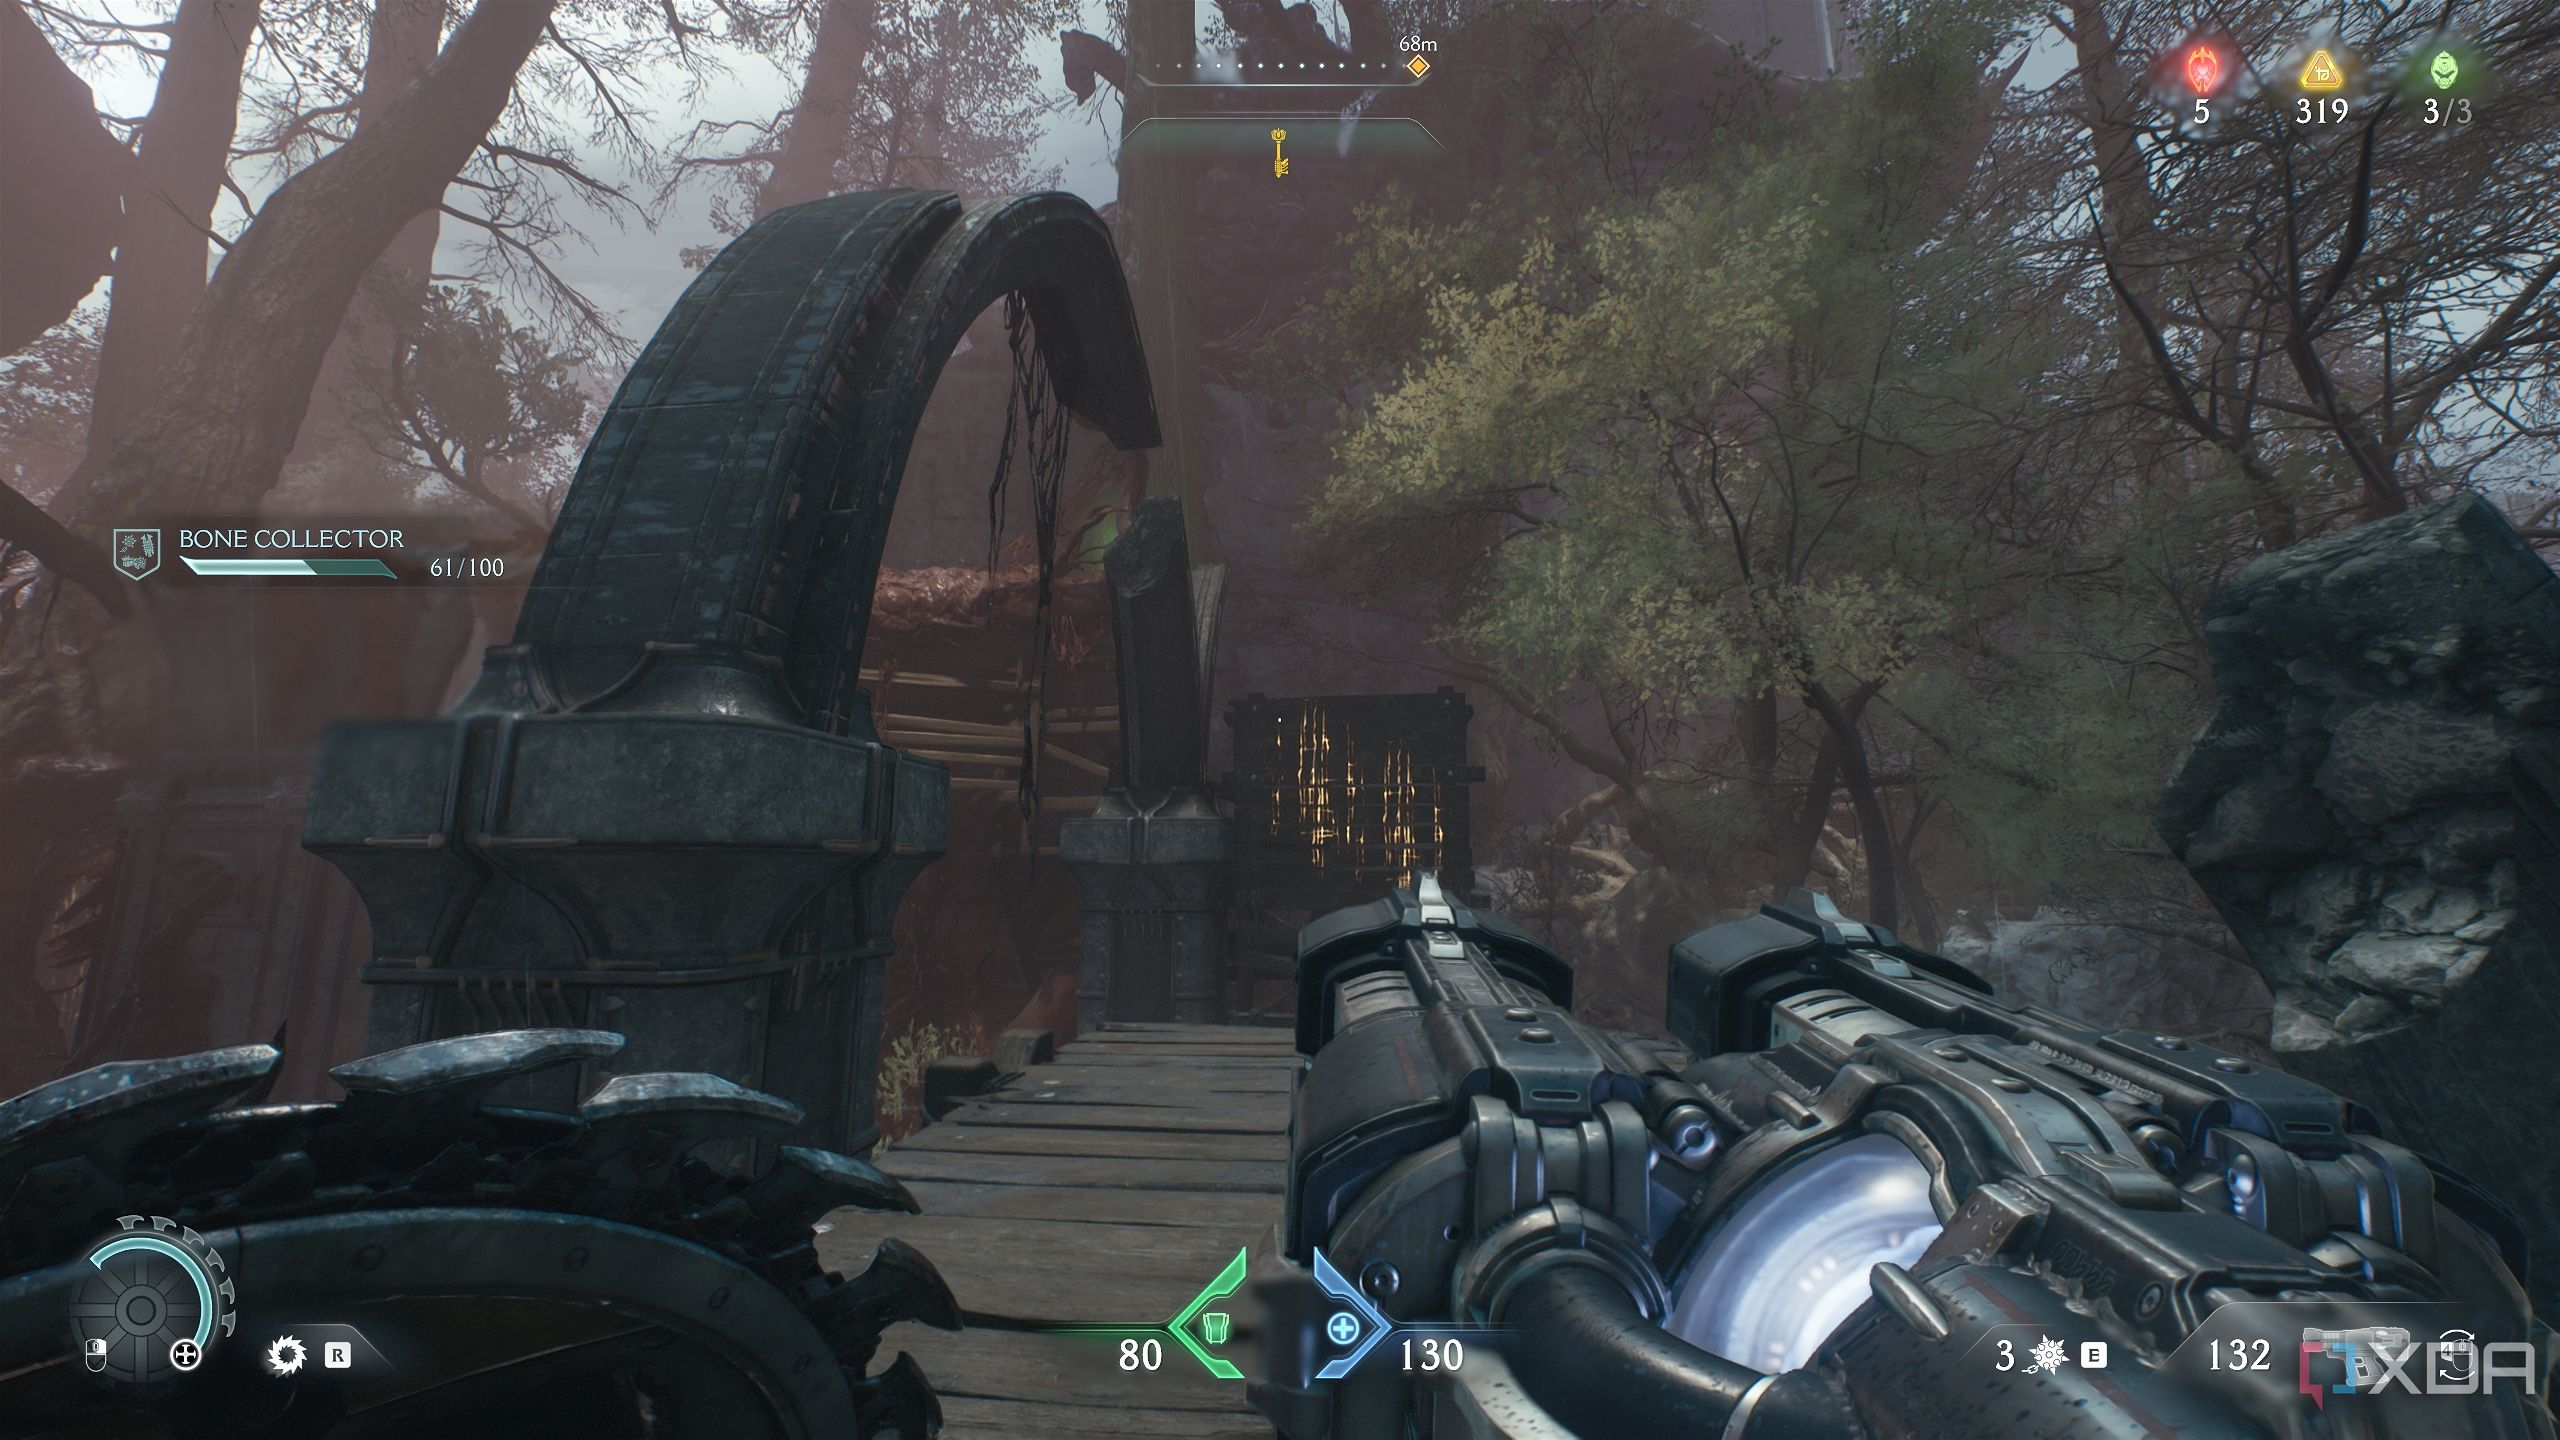
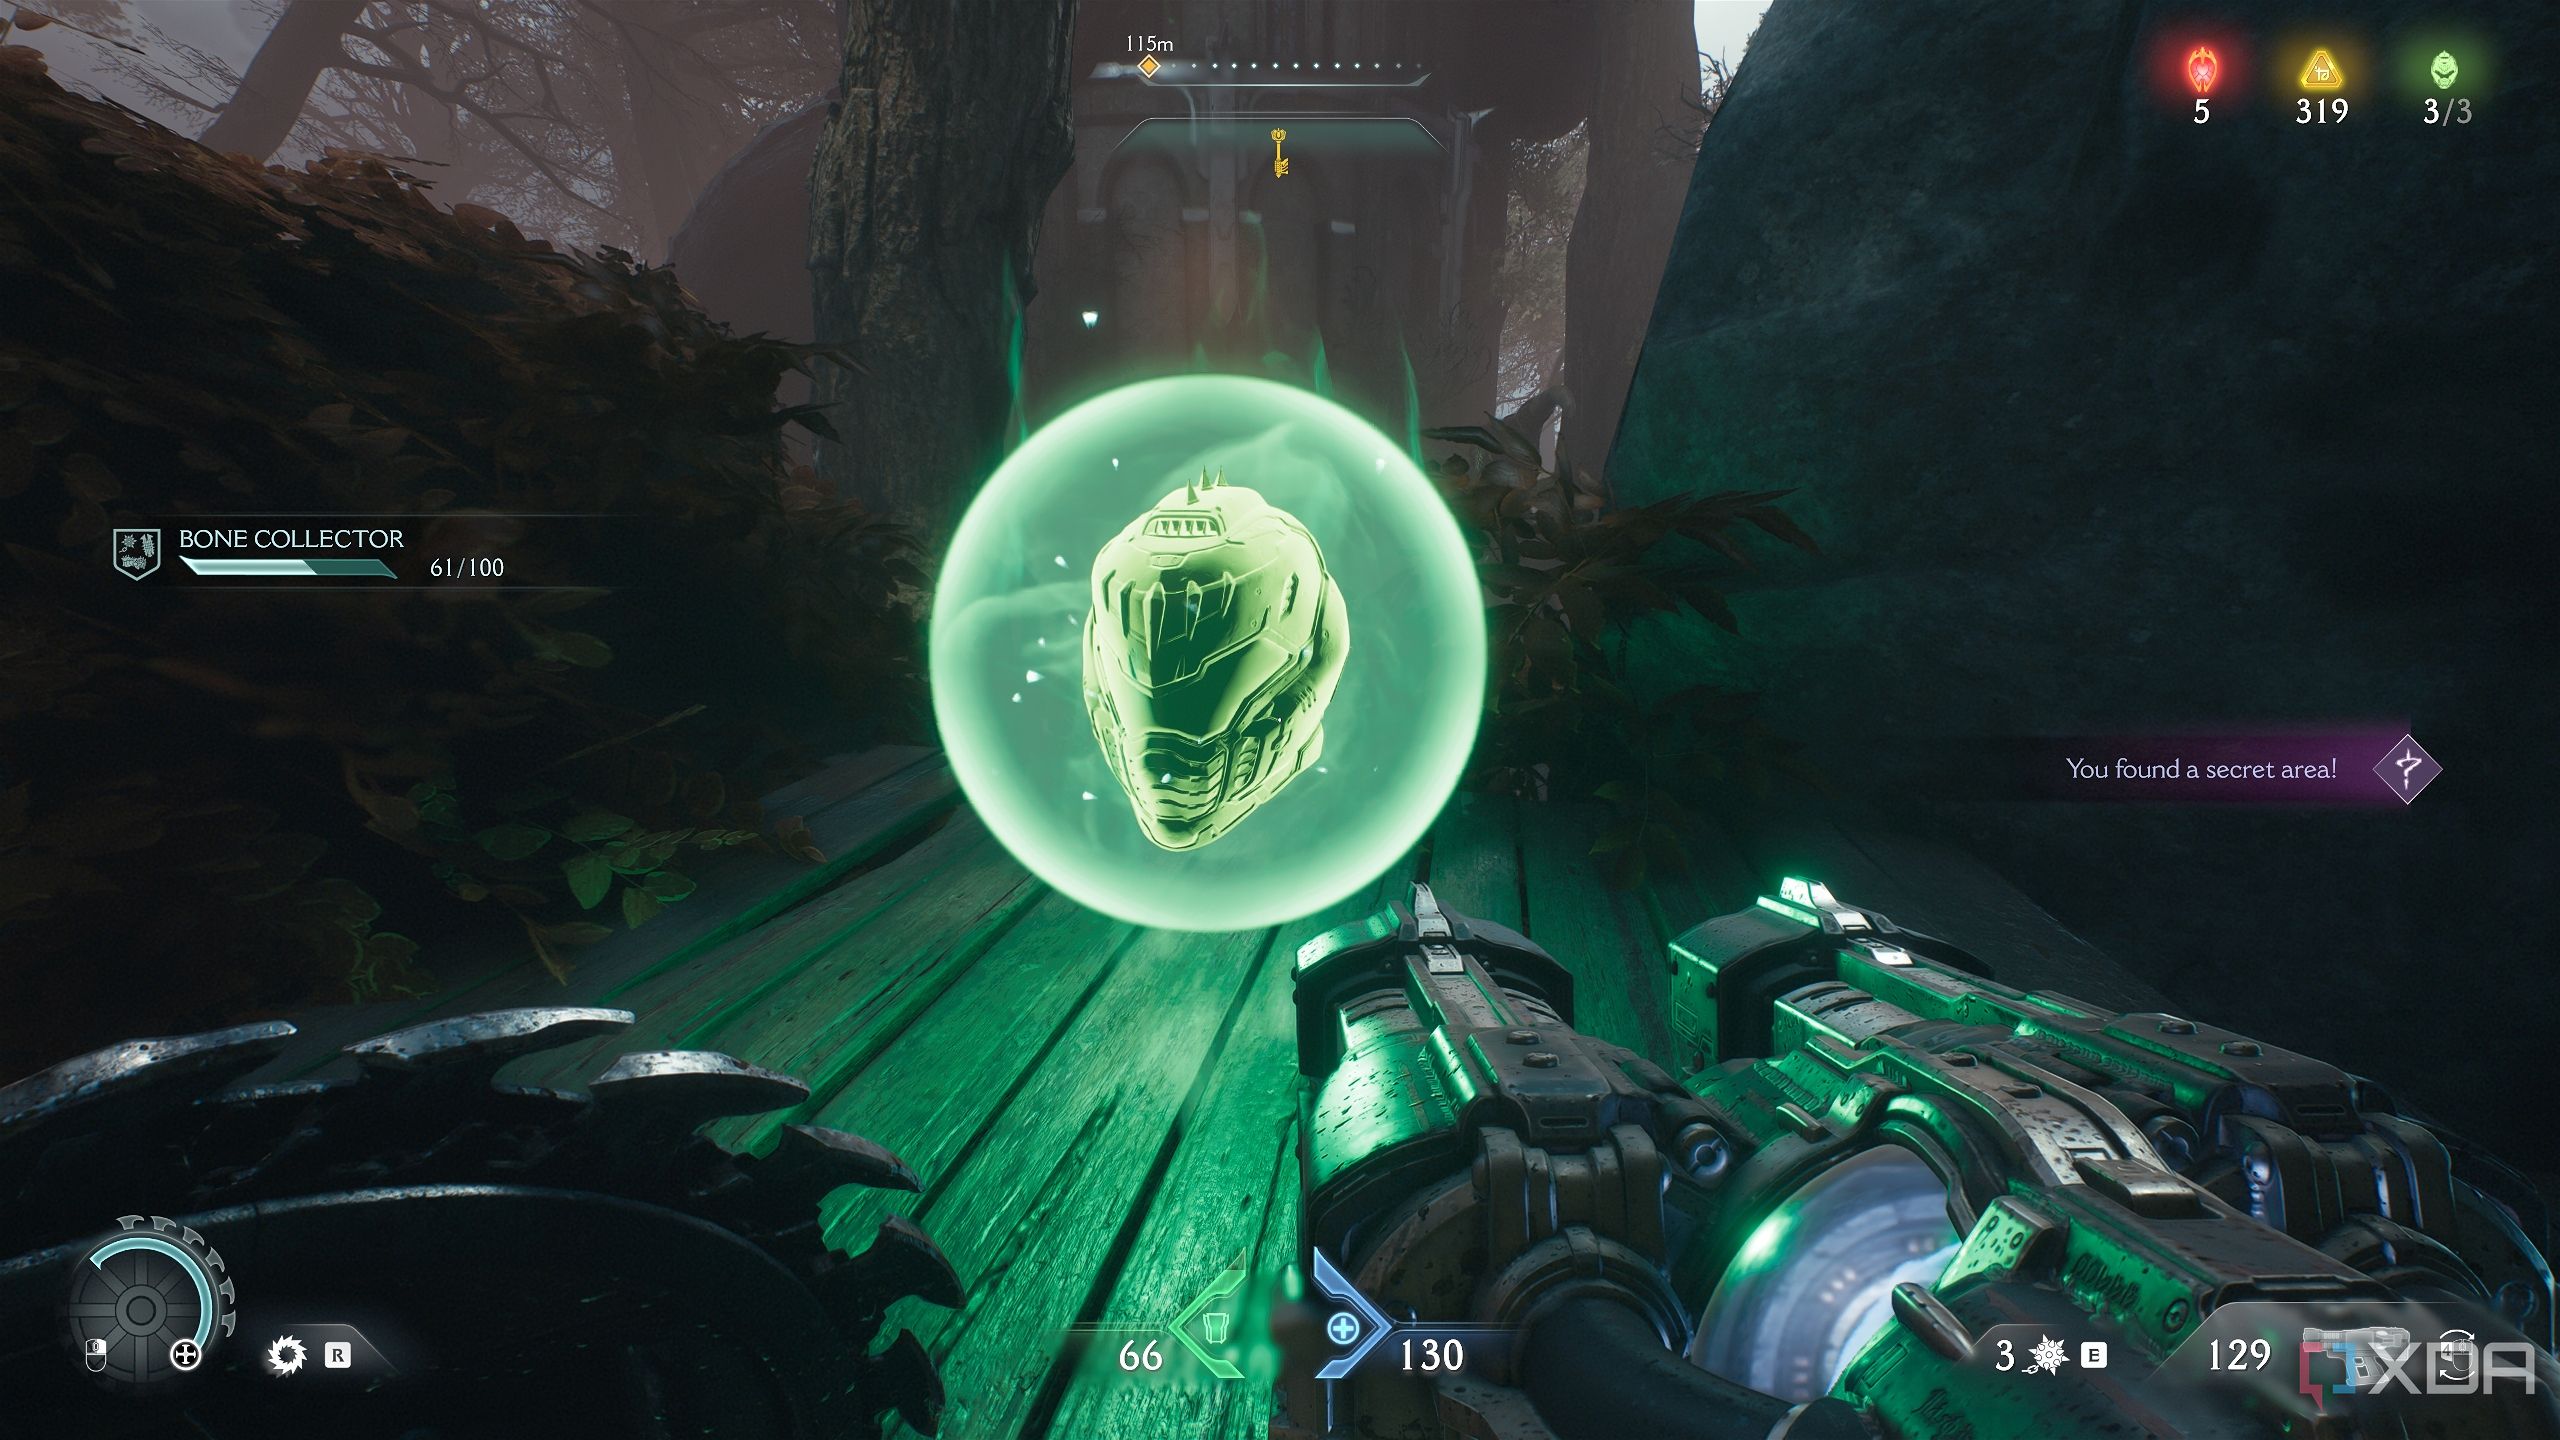
Deal with the demons here and approach the Life Sigil on the right to unlock secret area 1. Drop down and turn around immediately to see a yellow keycard locked behind a metal gate.
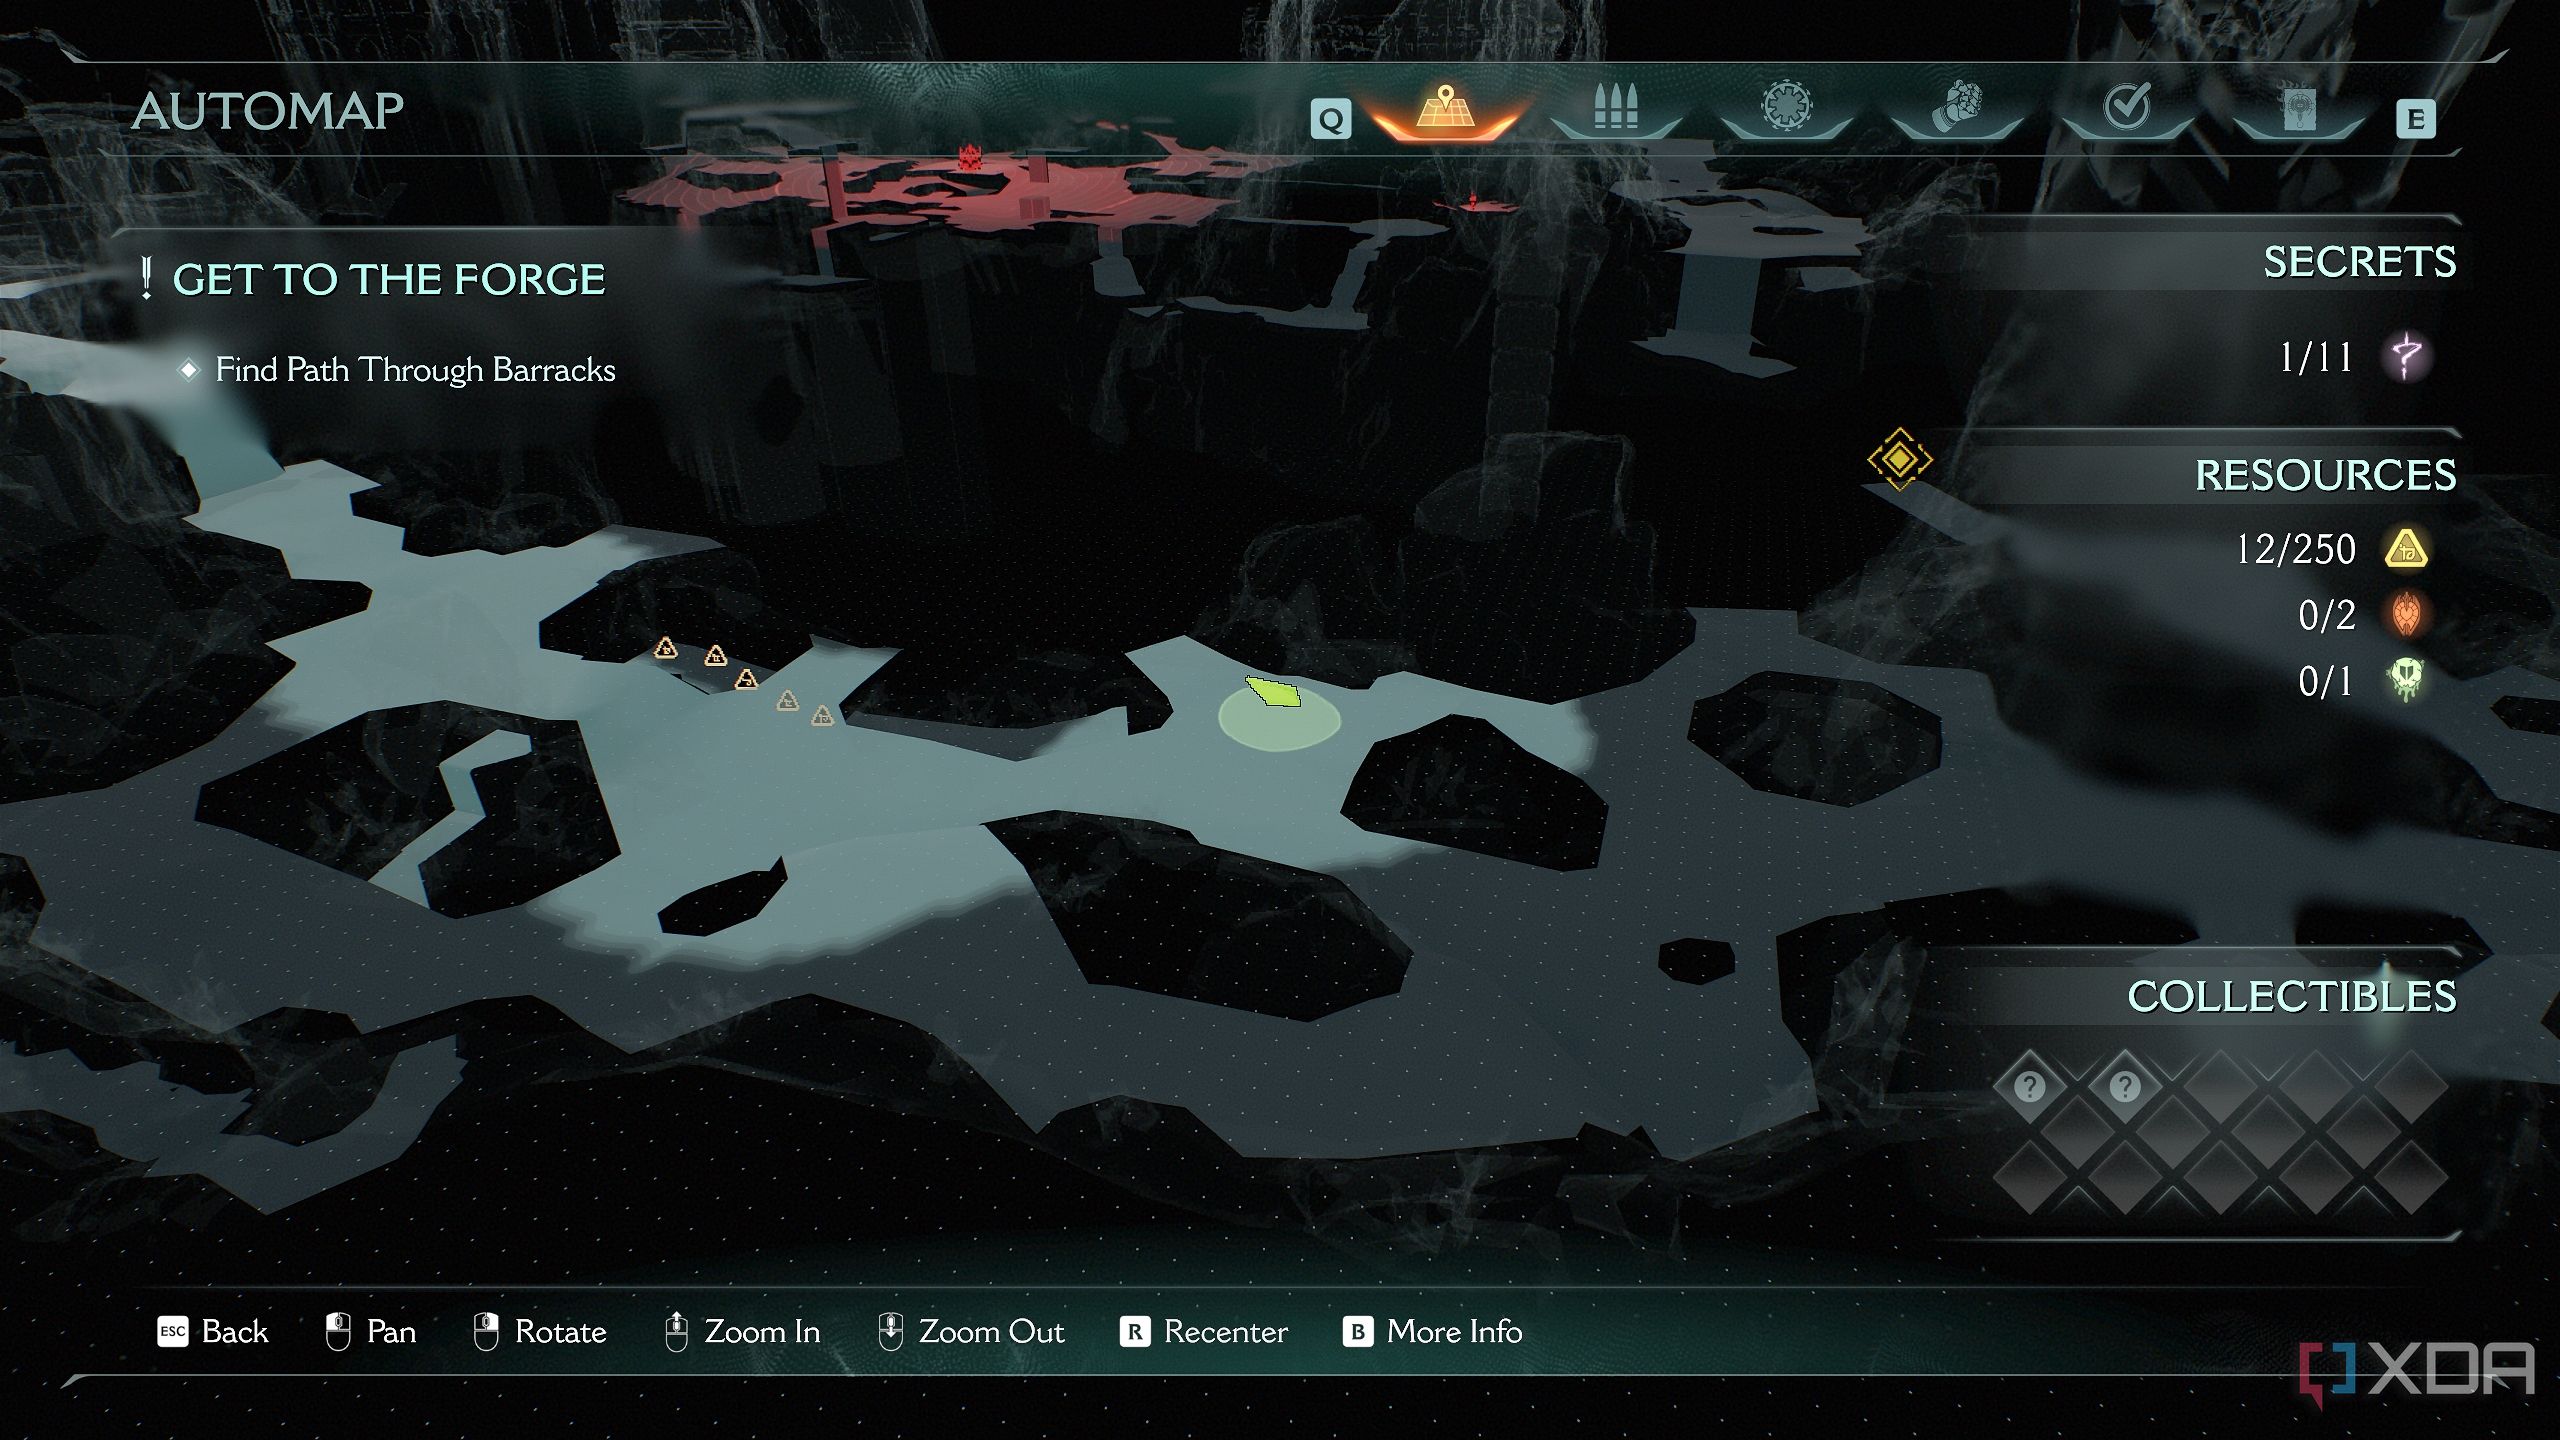
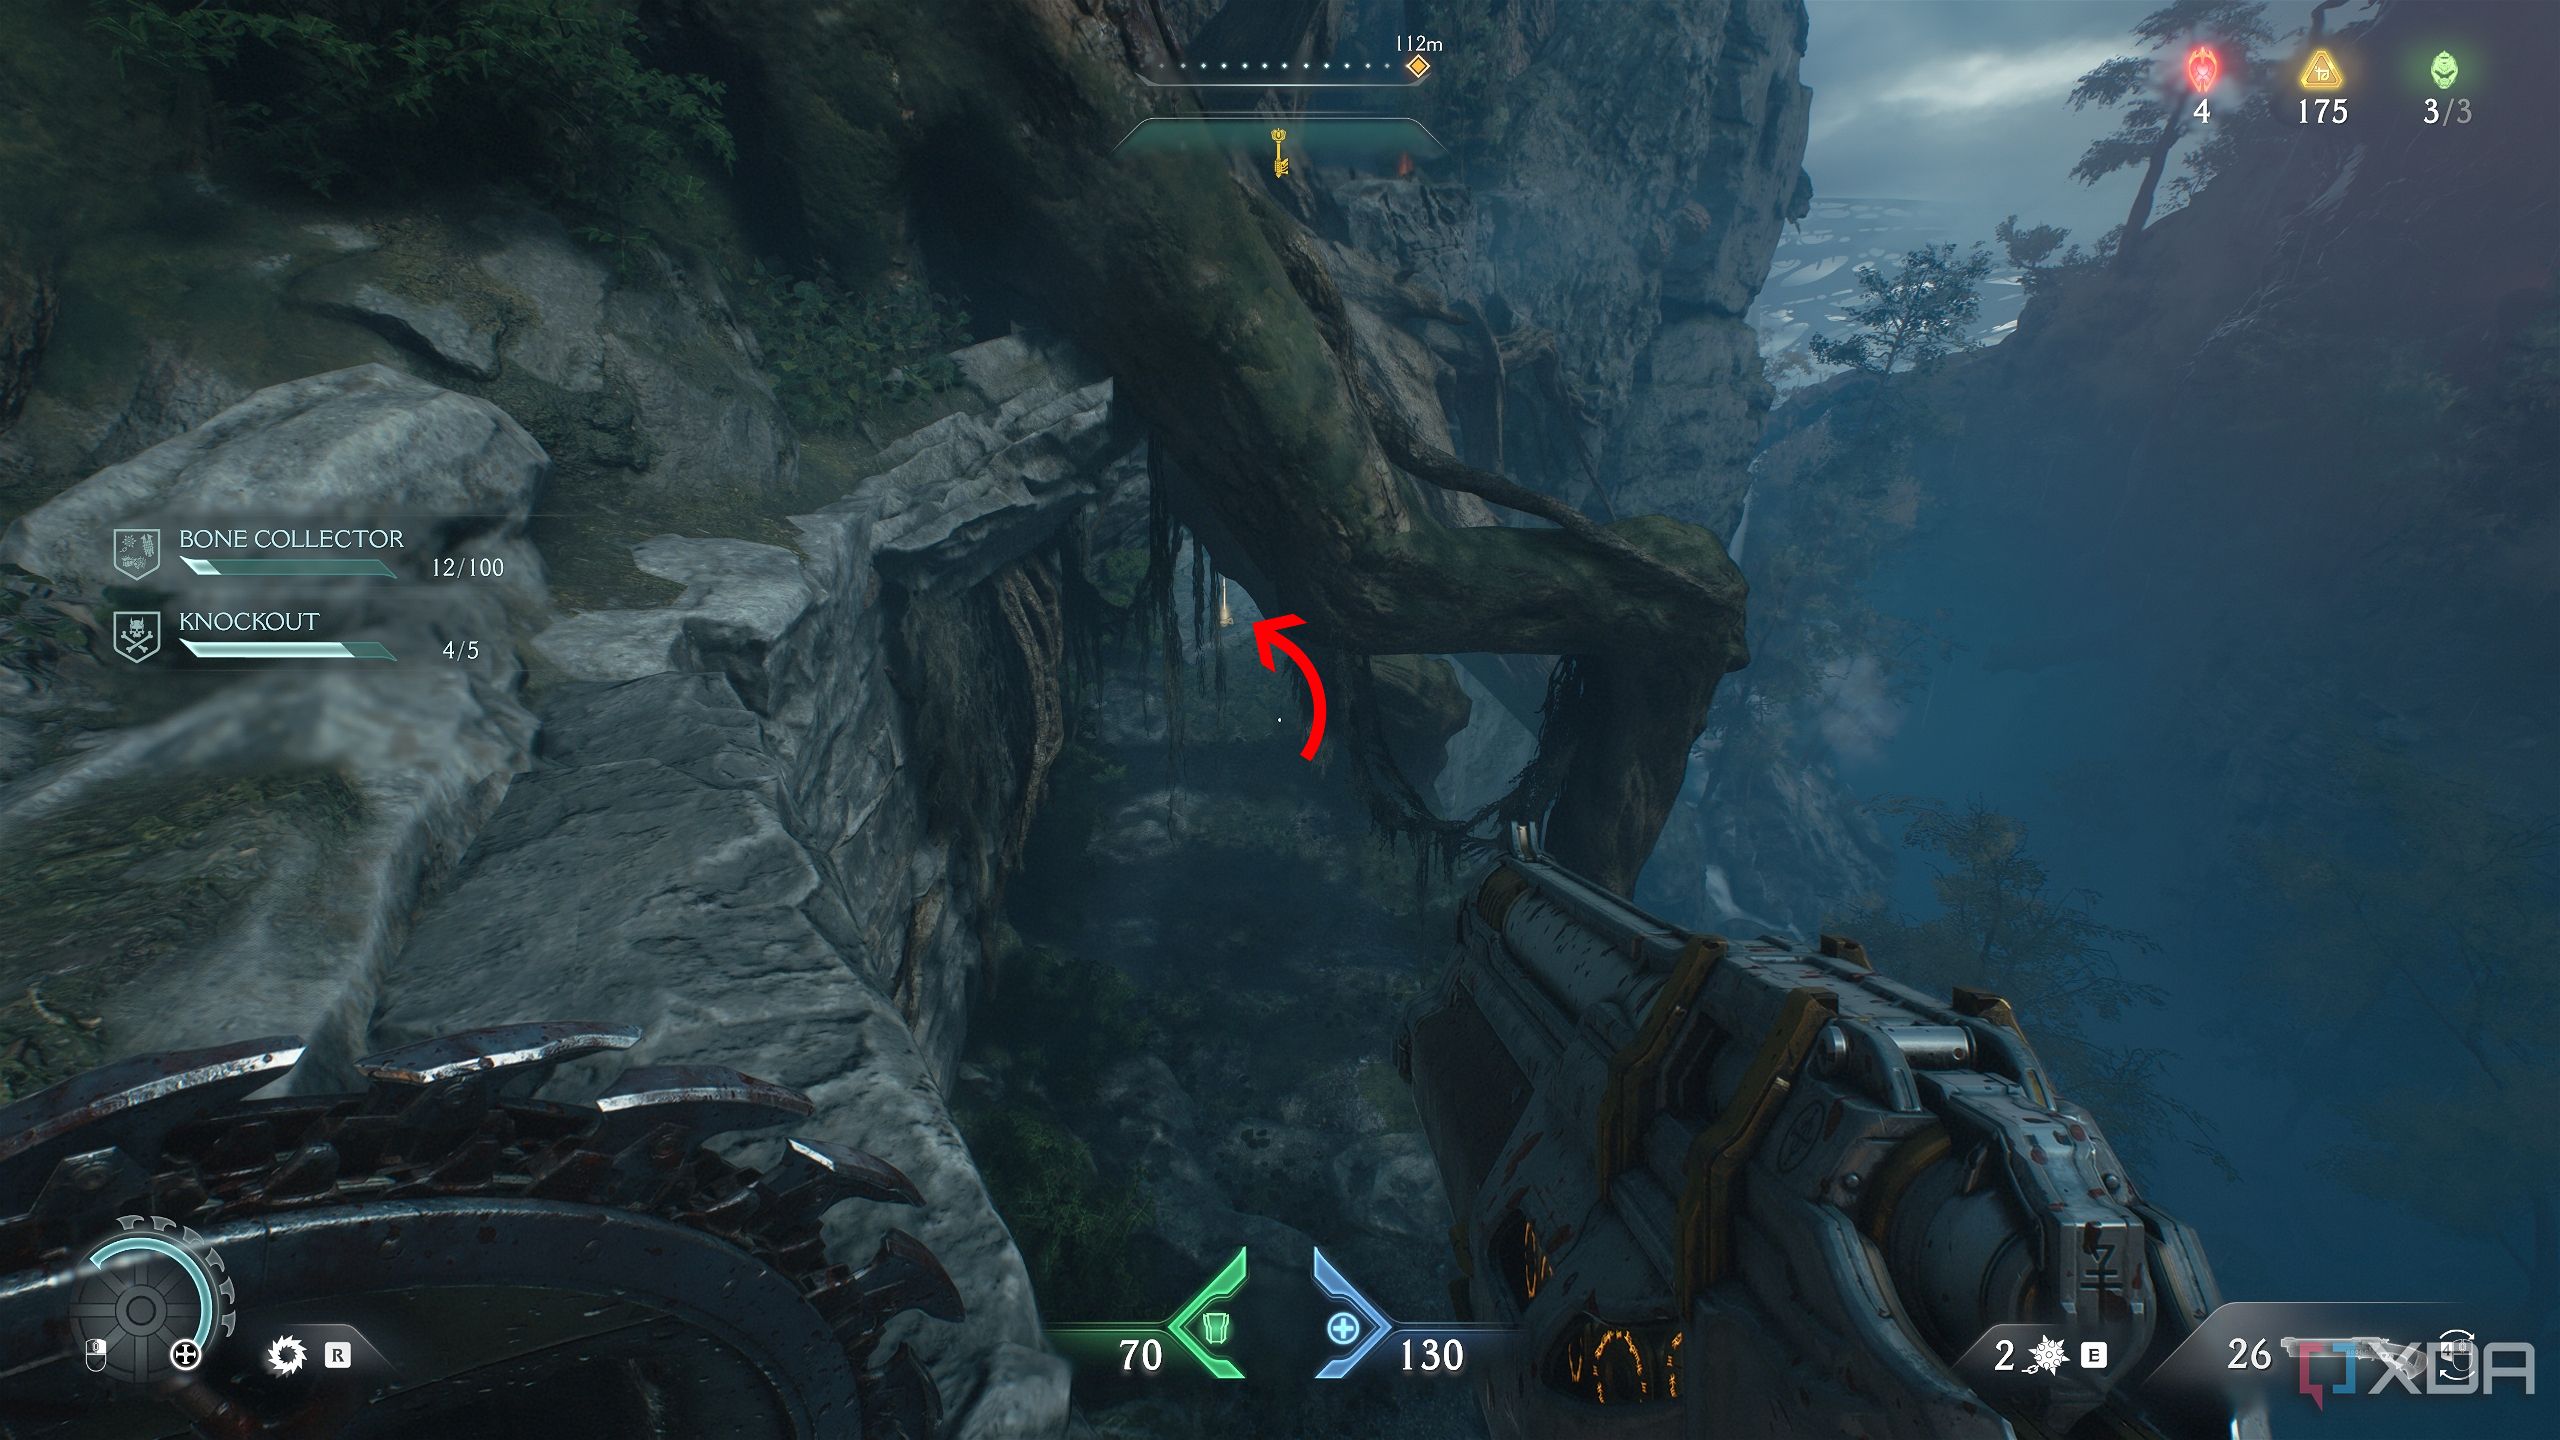
Proceed left to reach the encounter field where you’ll meet the Whiplash demon for the first time. Once they’re dealt with, go east of this field, and pick up the gold bars on the ground.
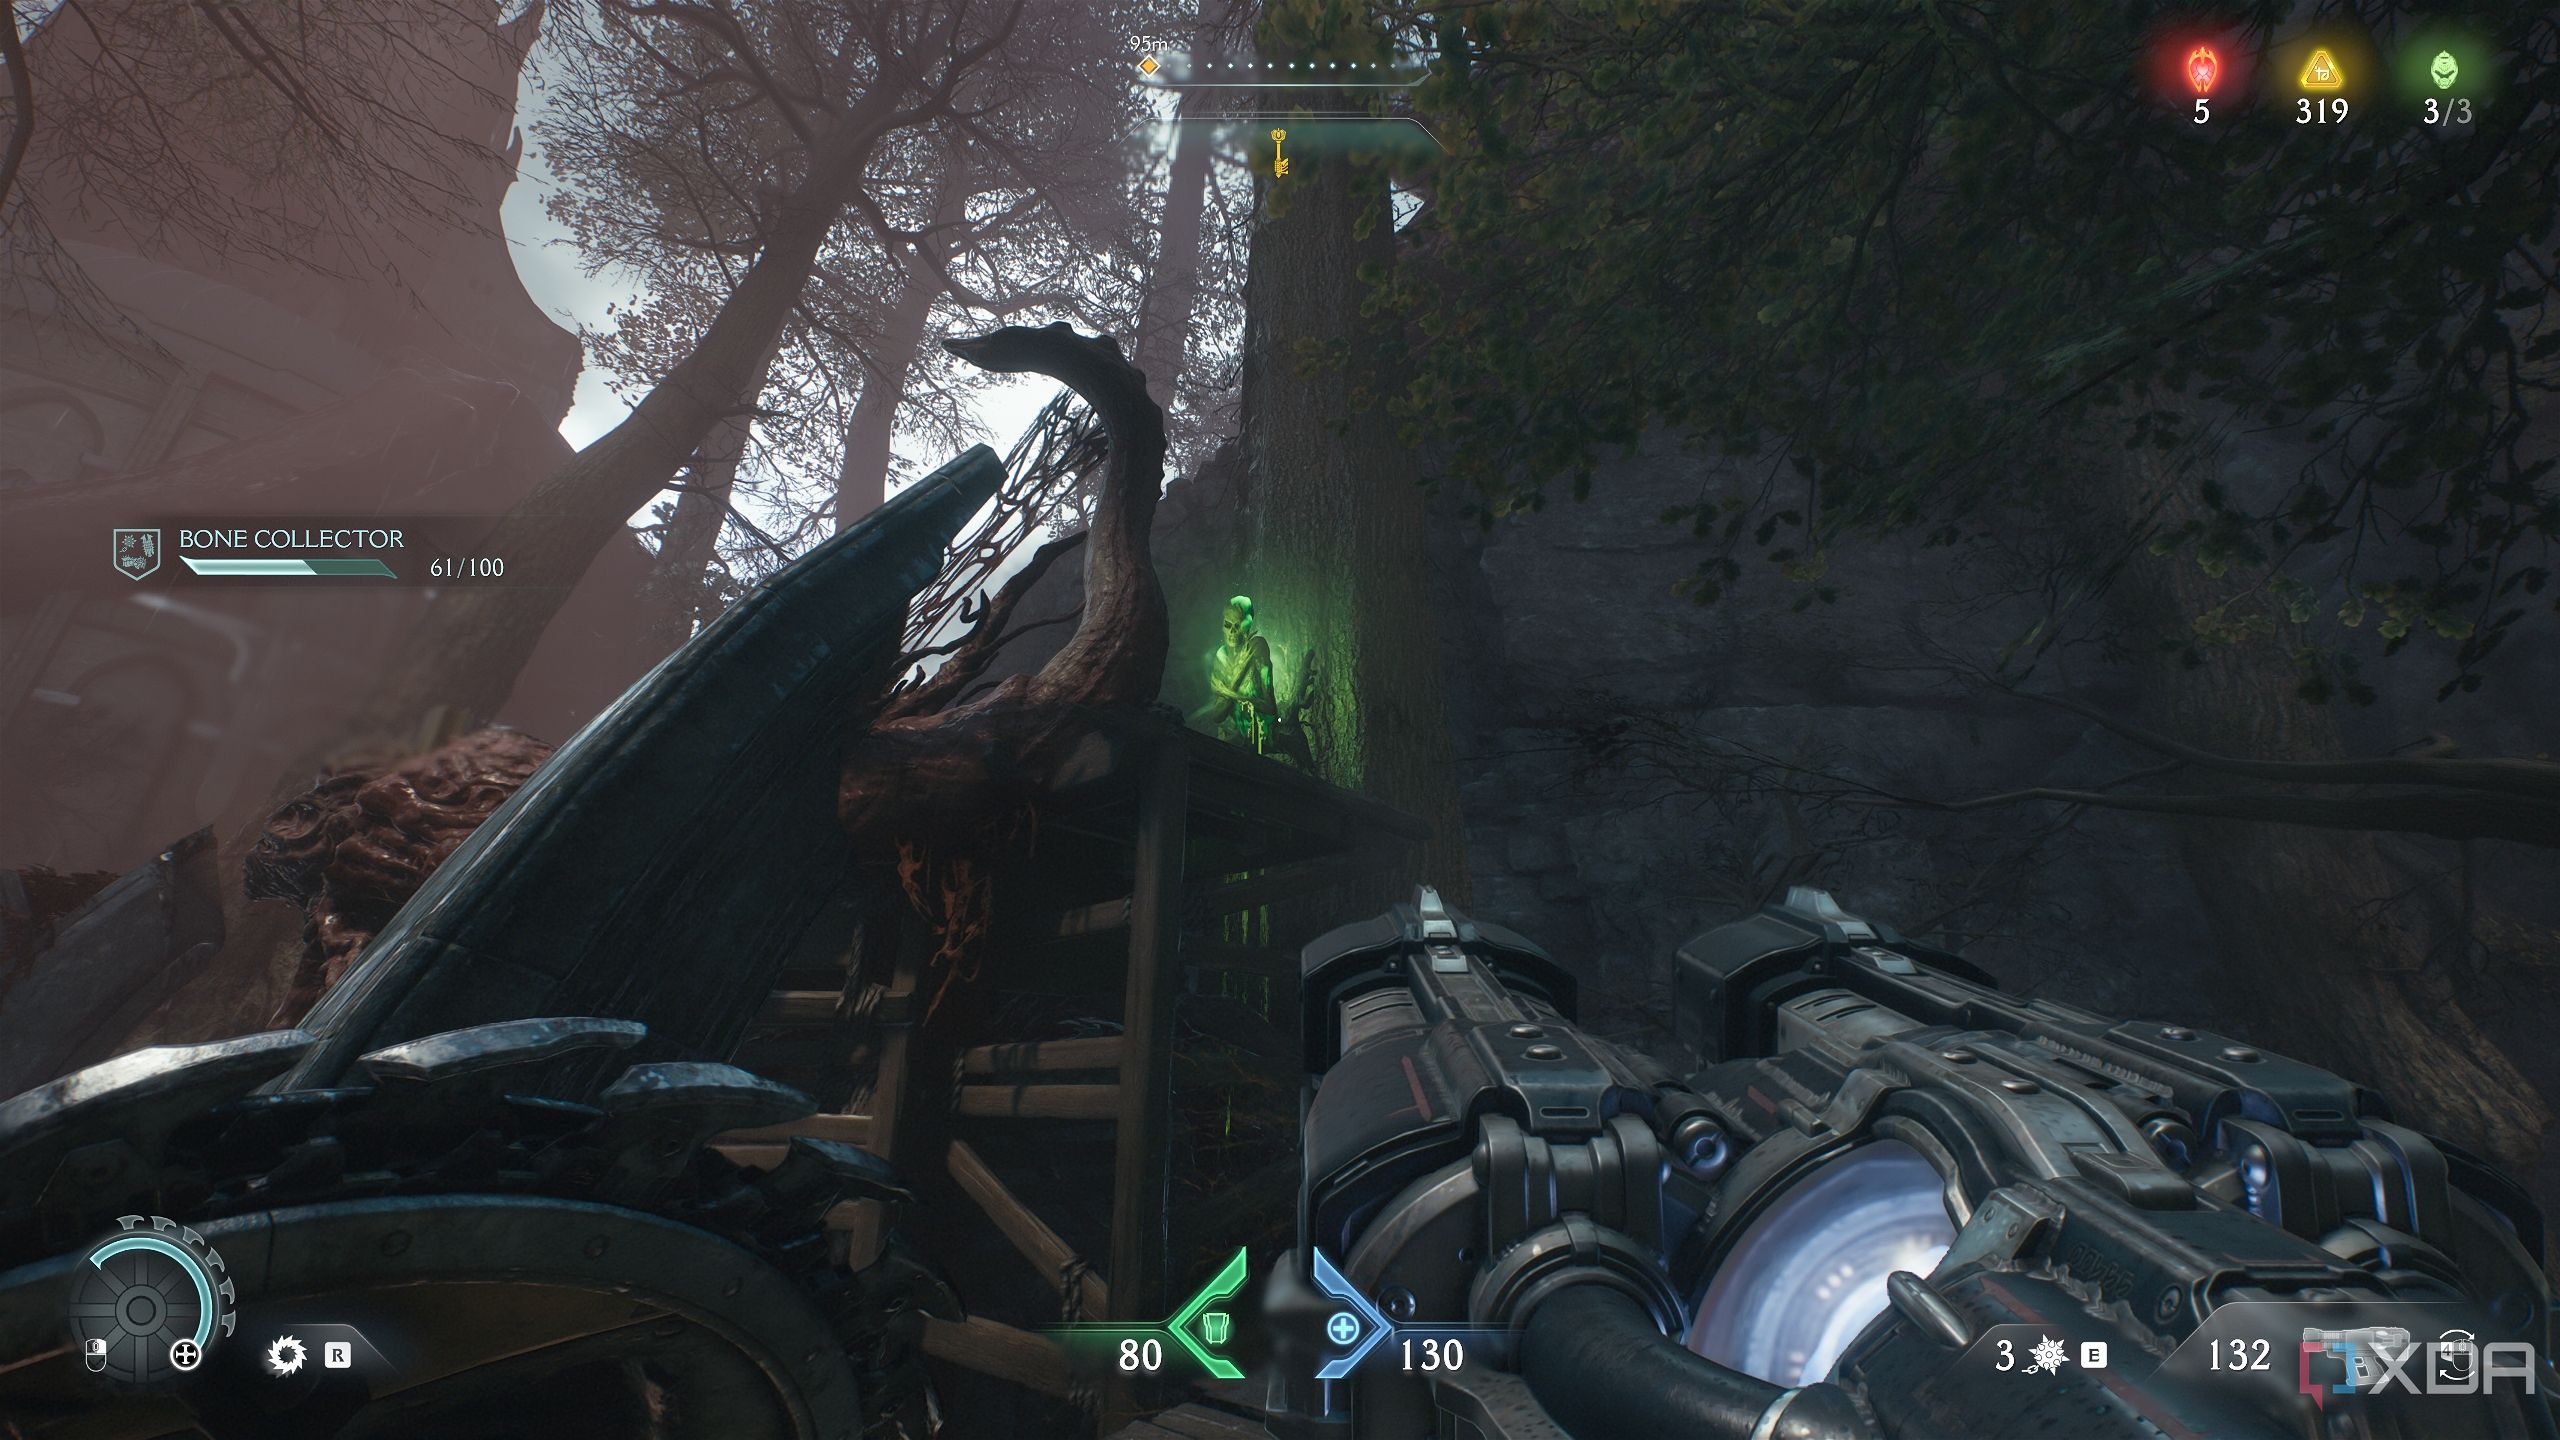
Then, drop down to the area below to pick up armor bits, and you’ll fight shielded soldiers and a Spiderdemon before scrambling up the wall to pick up the yellow keycard. Exit through the gate ahead and you’ll meet a Revenant. This is the best place to parry its ghost attacks and finish the Ghost Buster mission challenge immediately.
Try to constantly shoot in the air or on the ground to run out your ammo to help progress the Bone Collector mission challenge when you melee-strike demons.
Secret area 2, a Red Ruby, and a lot of gold
The Slayer goes swimming for rubies
Once you’re past the first yellow gate, go ahead and clear the area ahead, where you’ll fight Hellknights and a Cyberdemon.
Once they’re taken care of, stand in the middle of the arena and head left. You’ll see an area to drop down to, lined with gold bars.
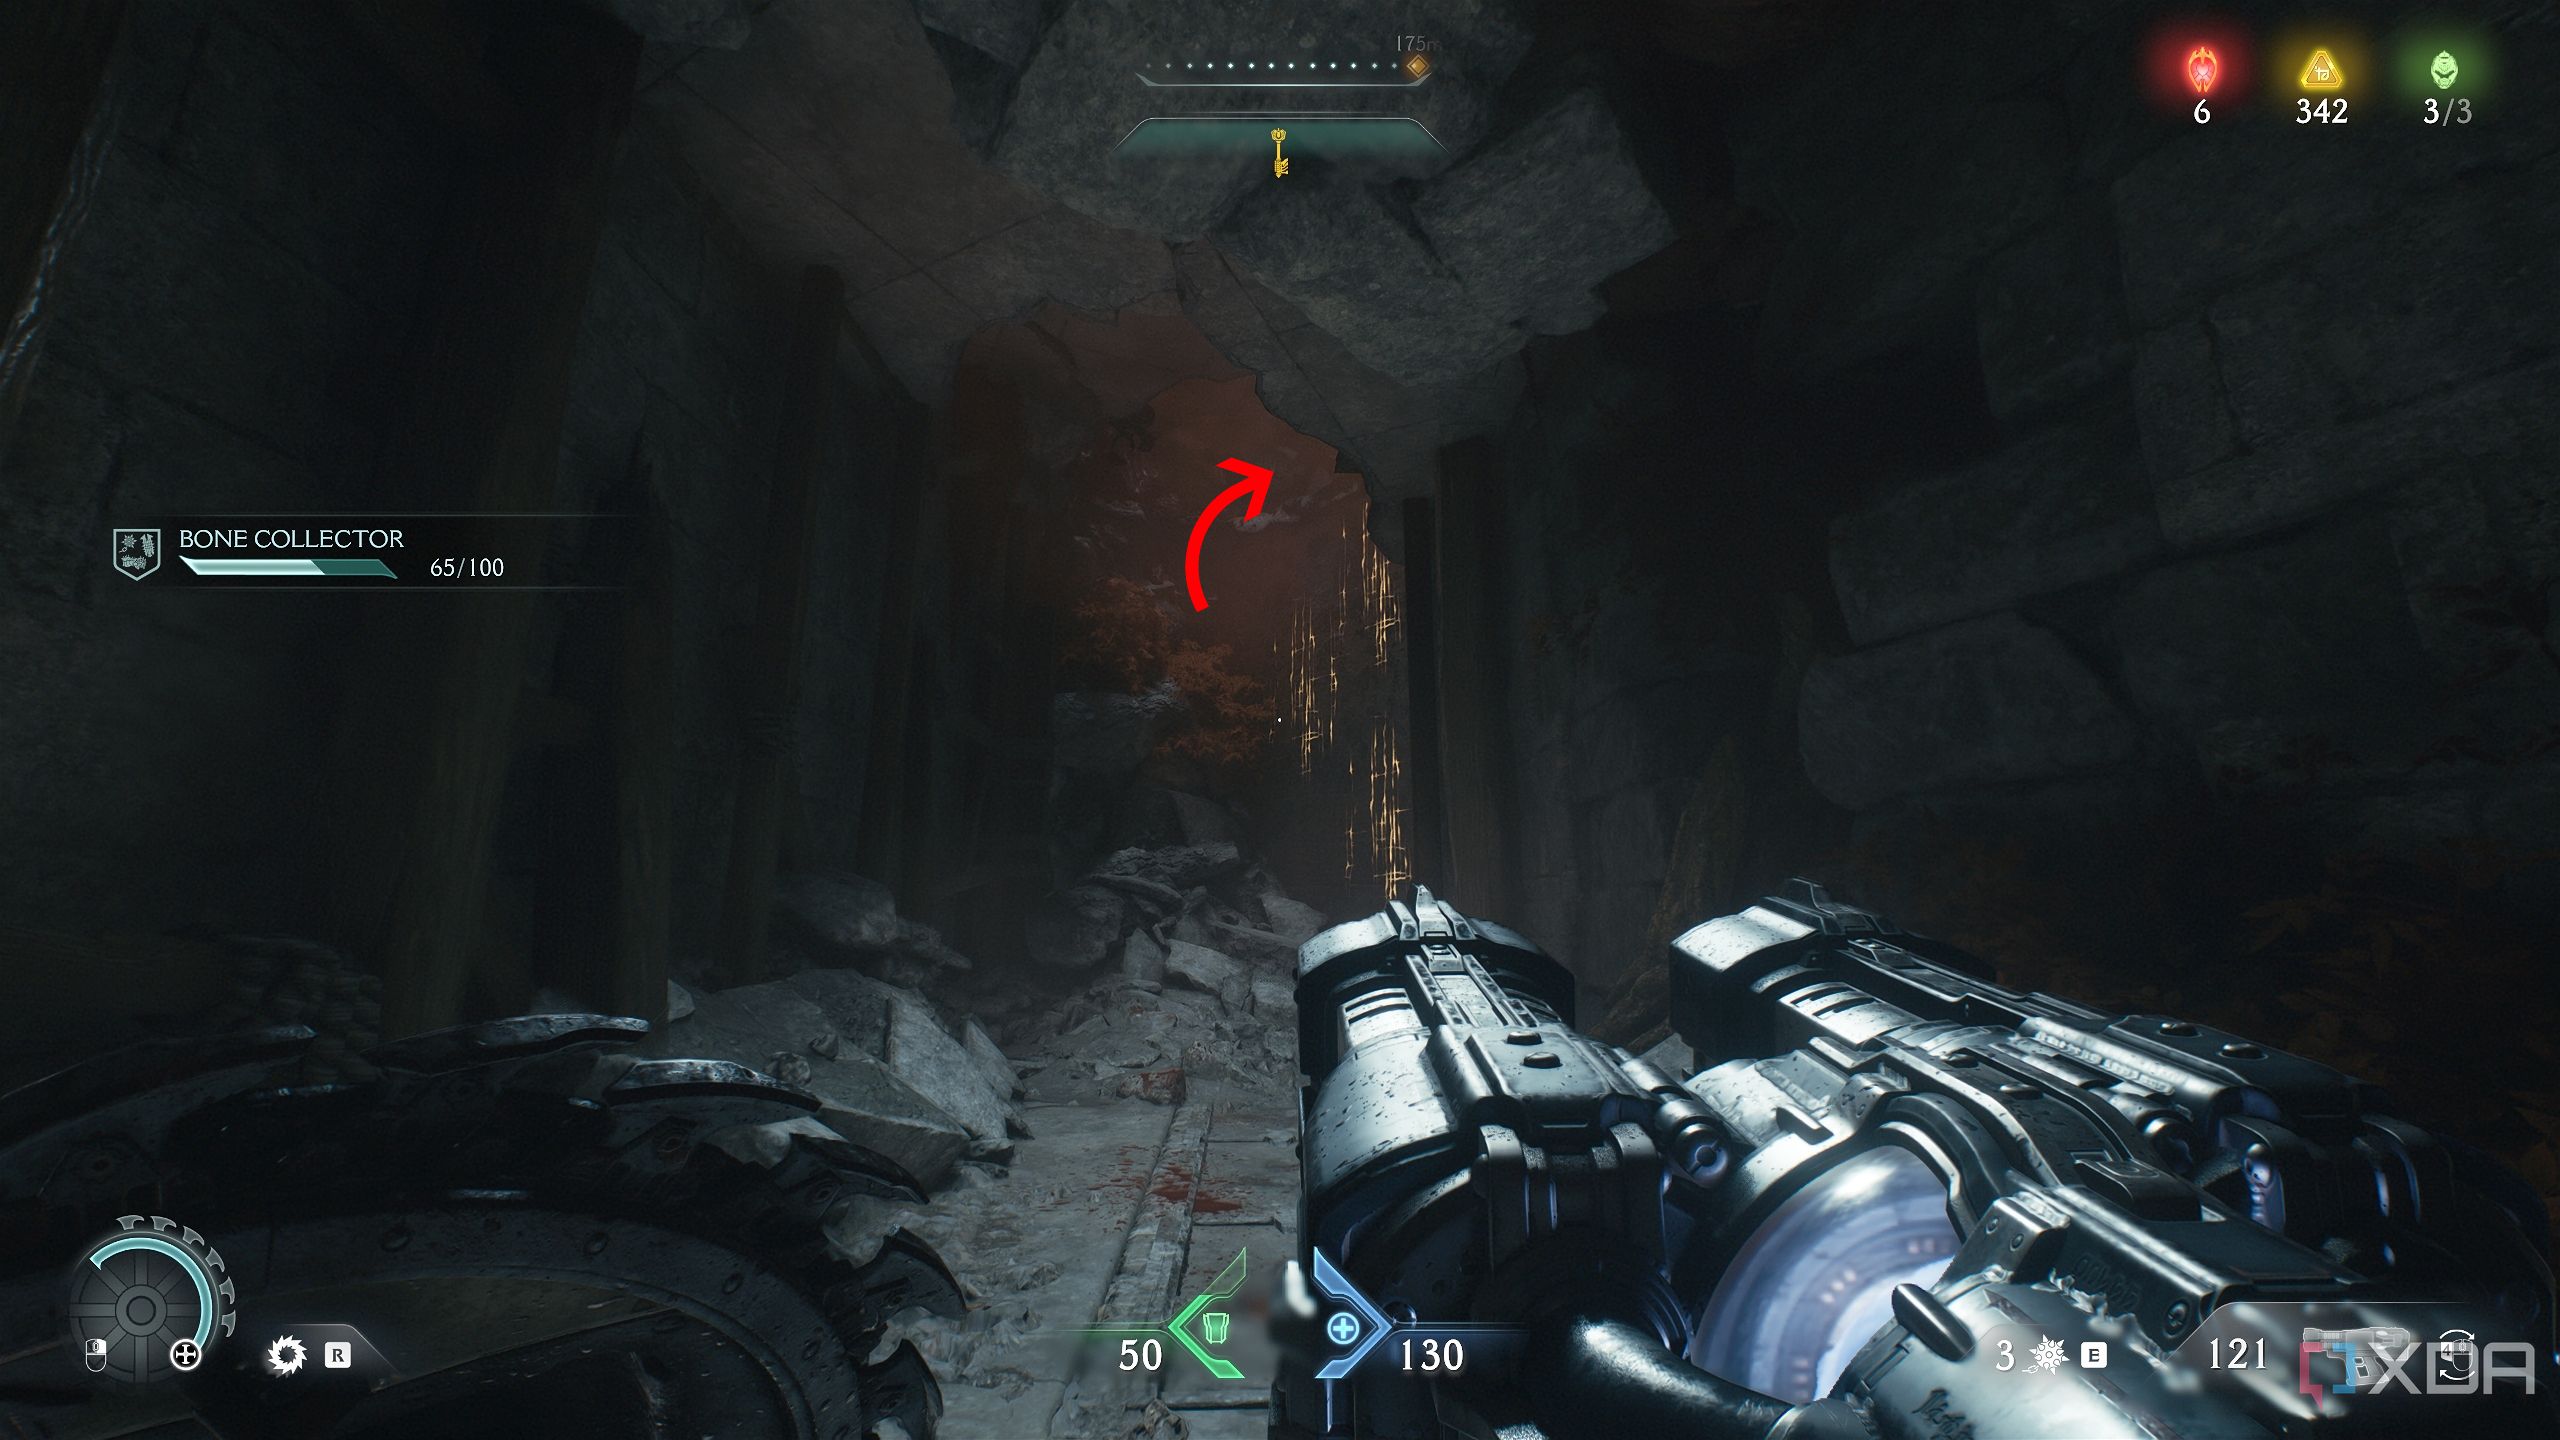
Pick these up and follow the gold bars into a cave, taking down some fodder demons along the way.
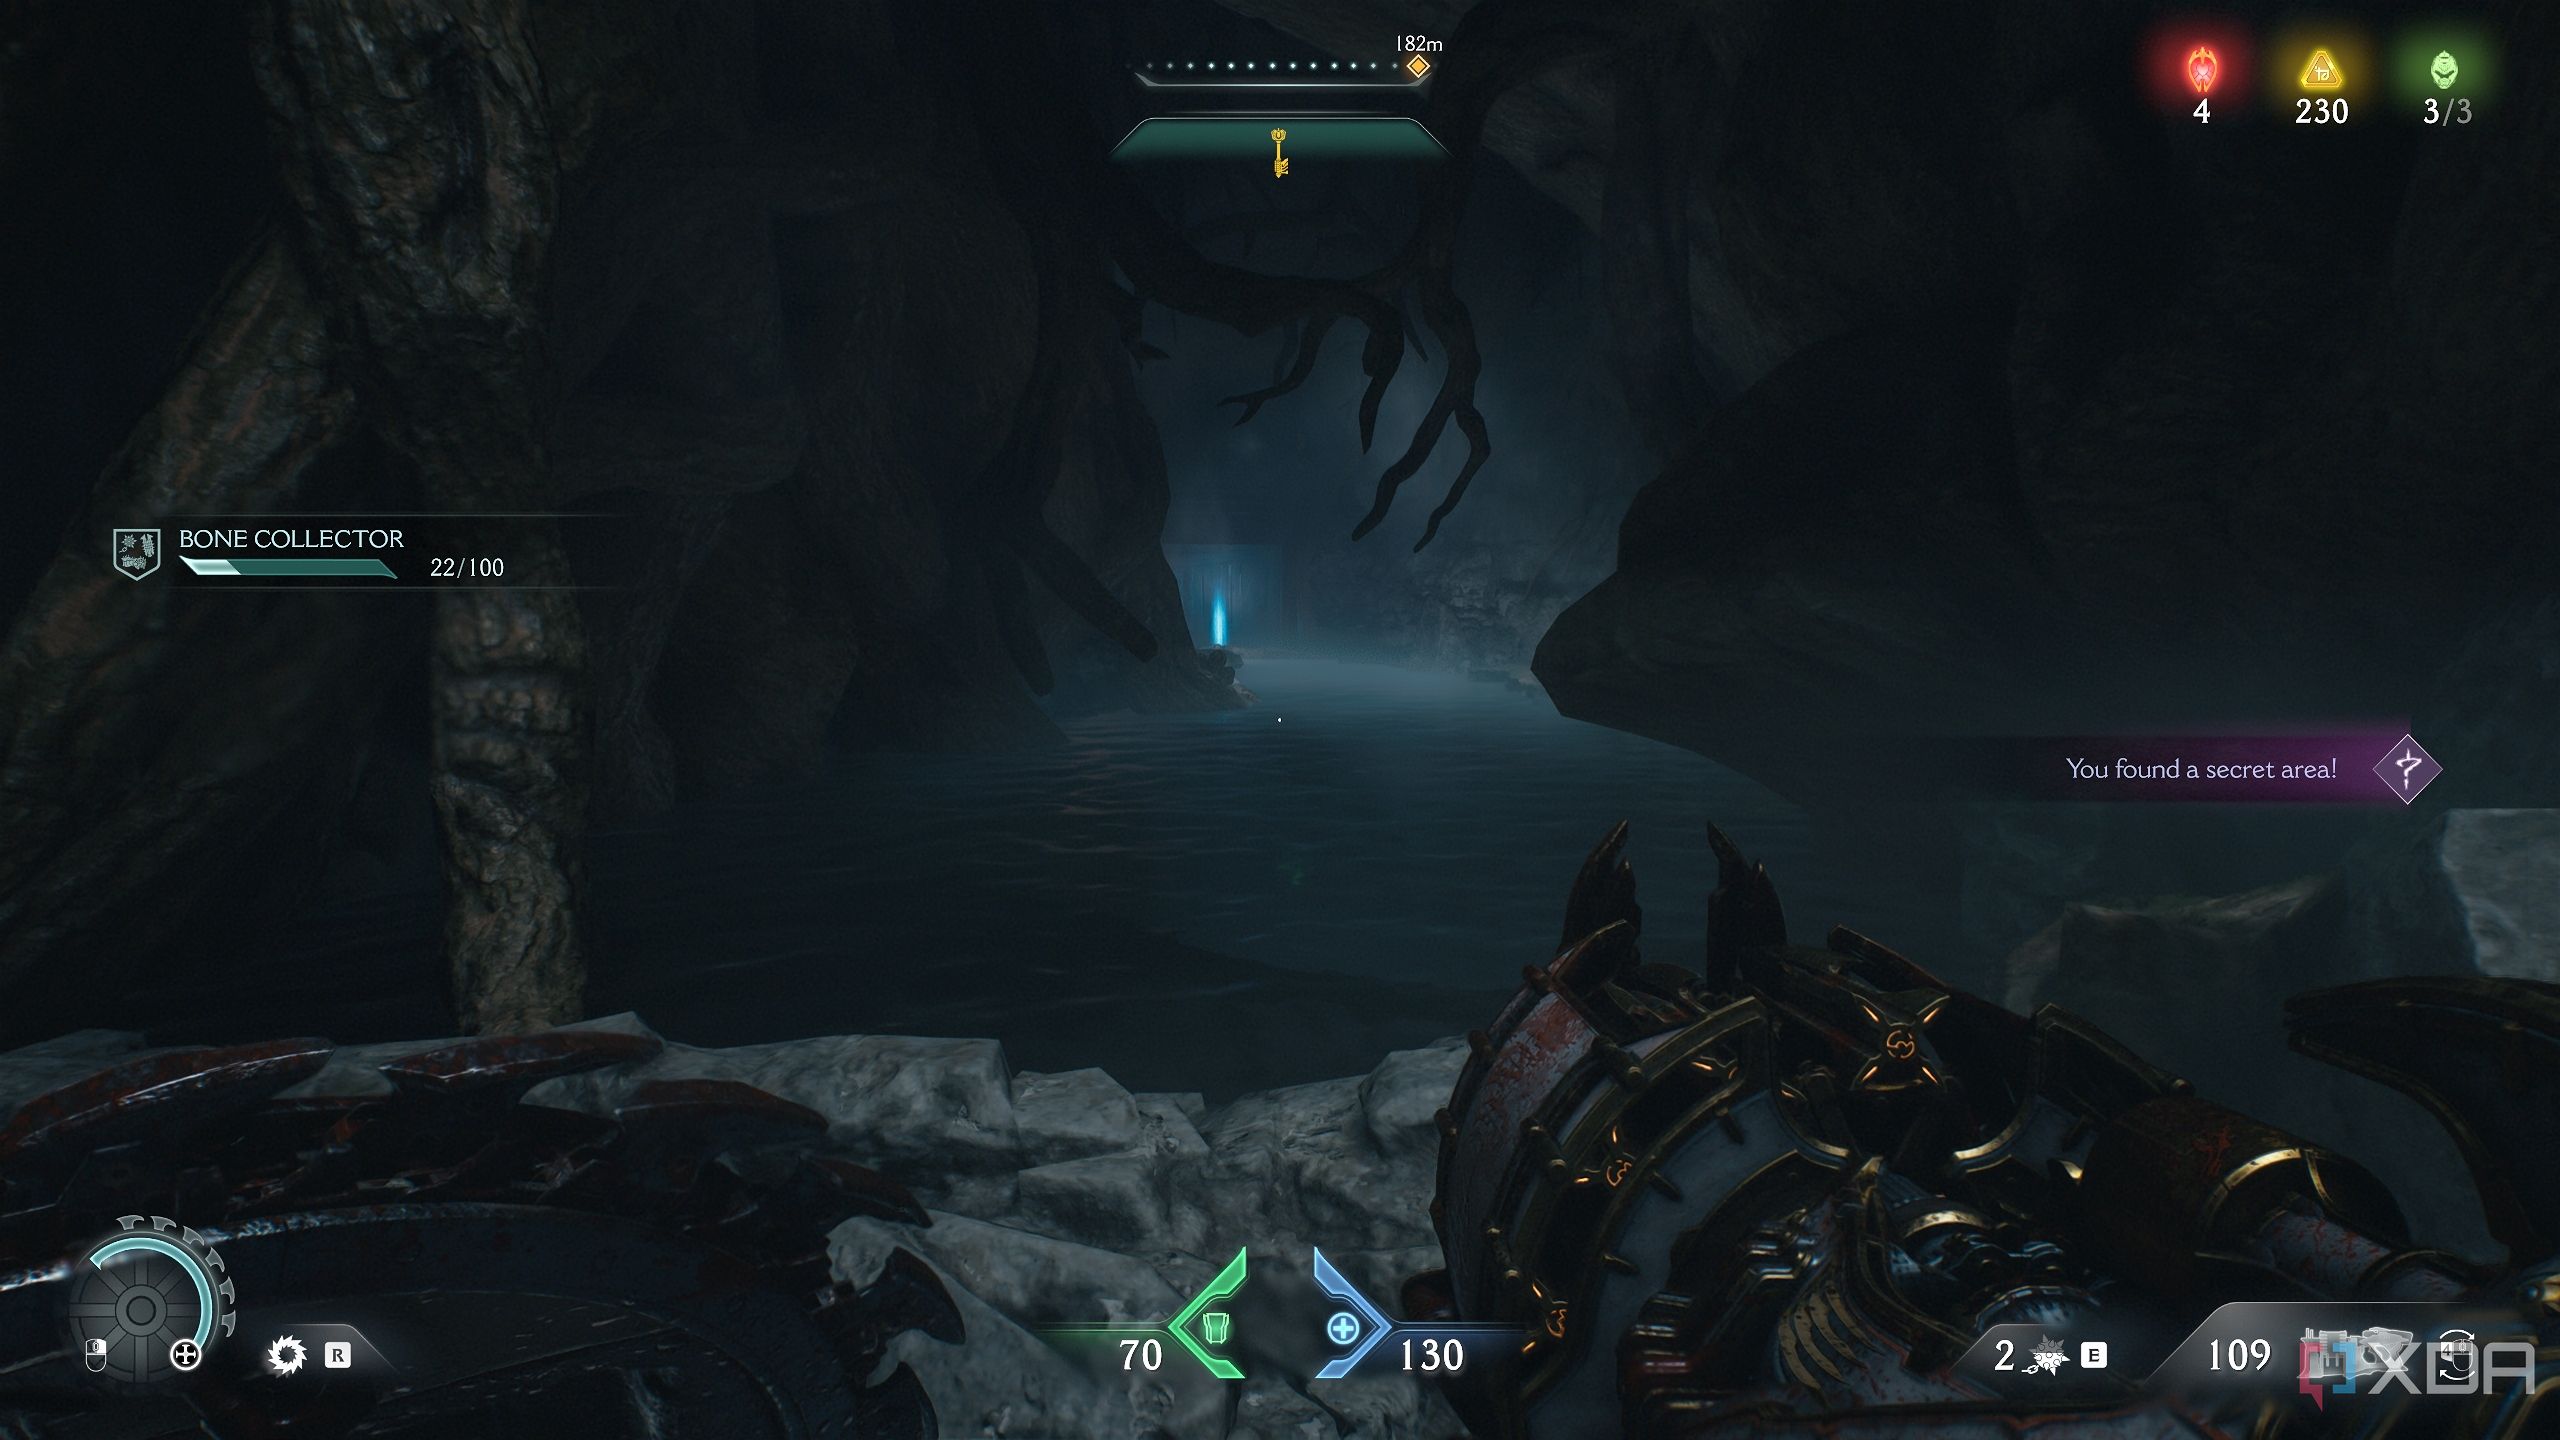
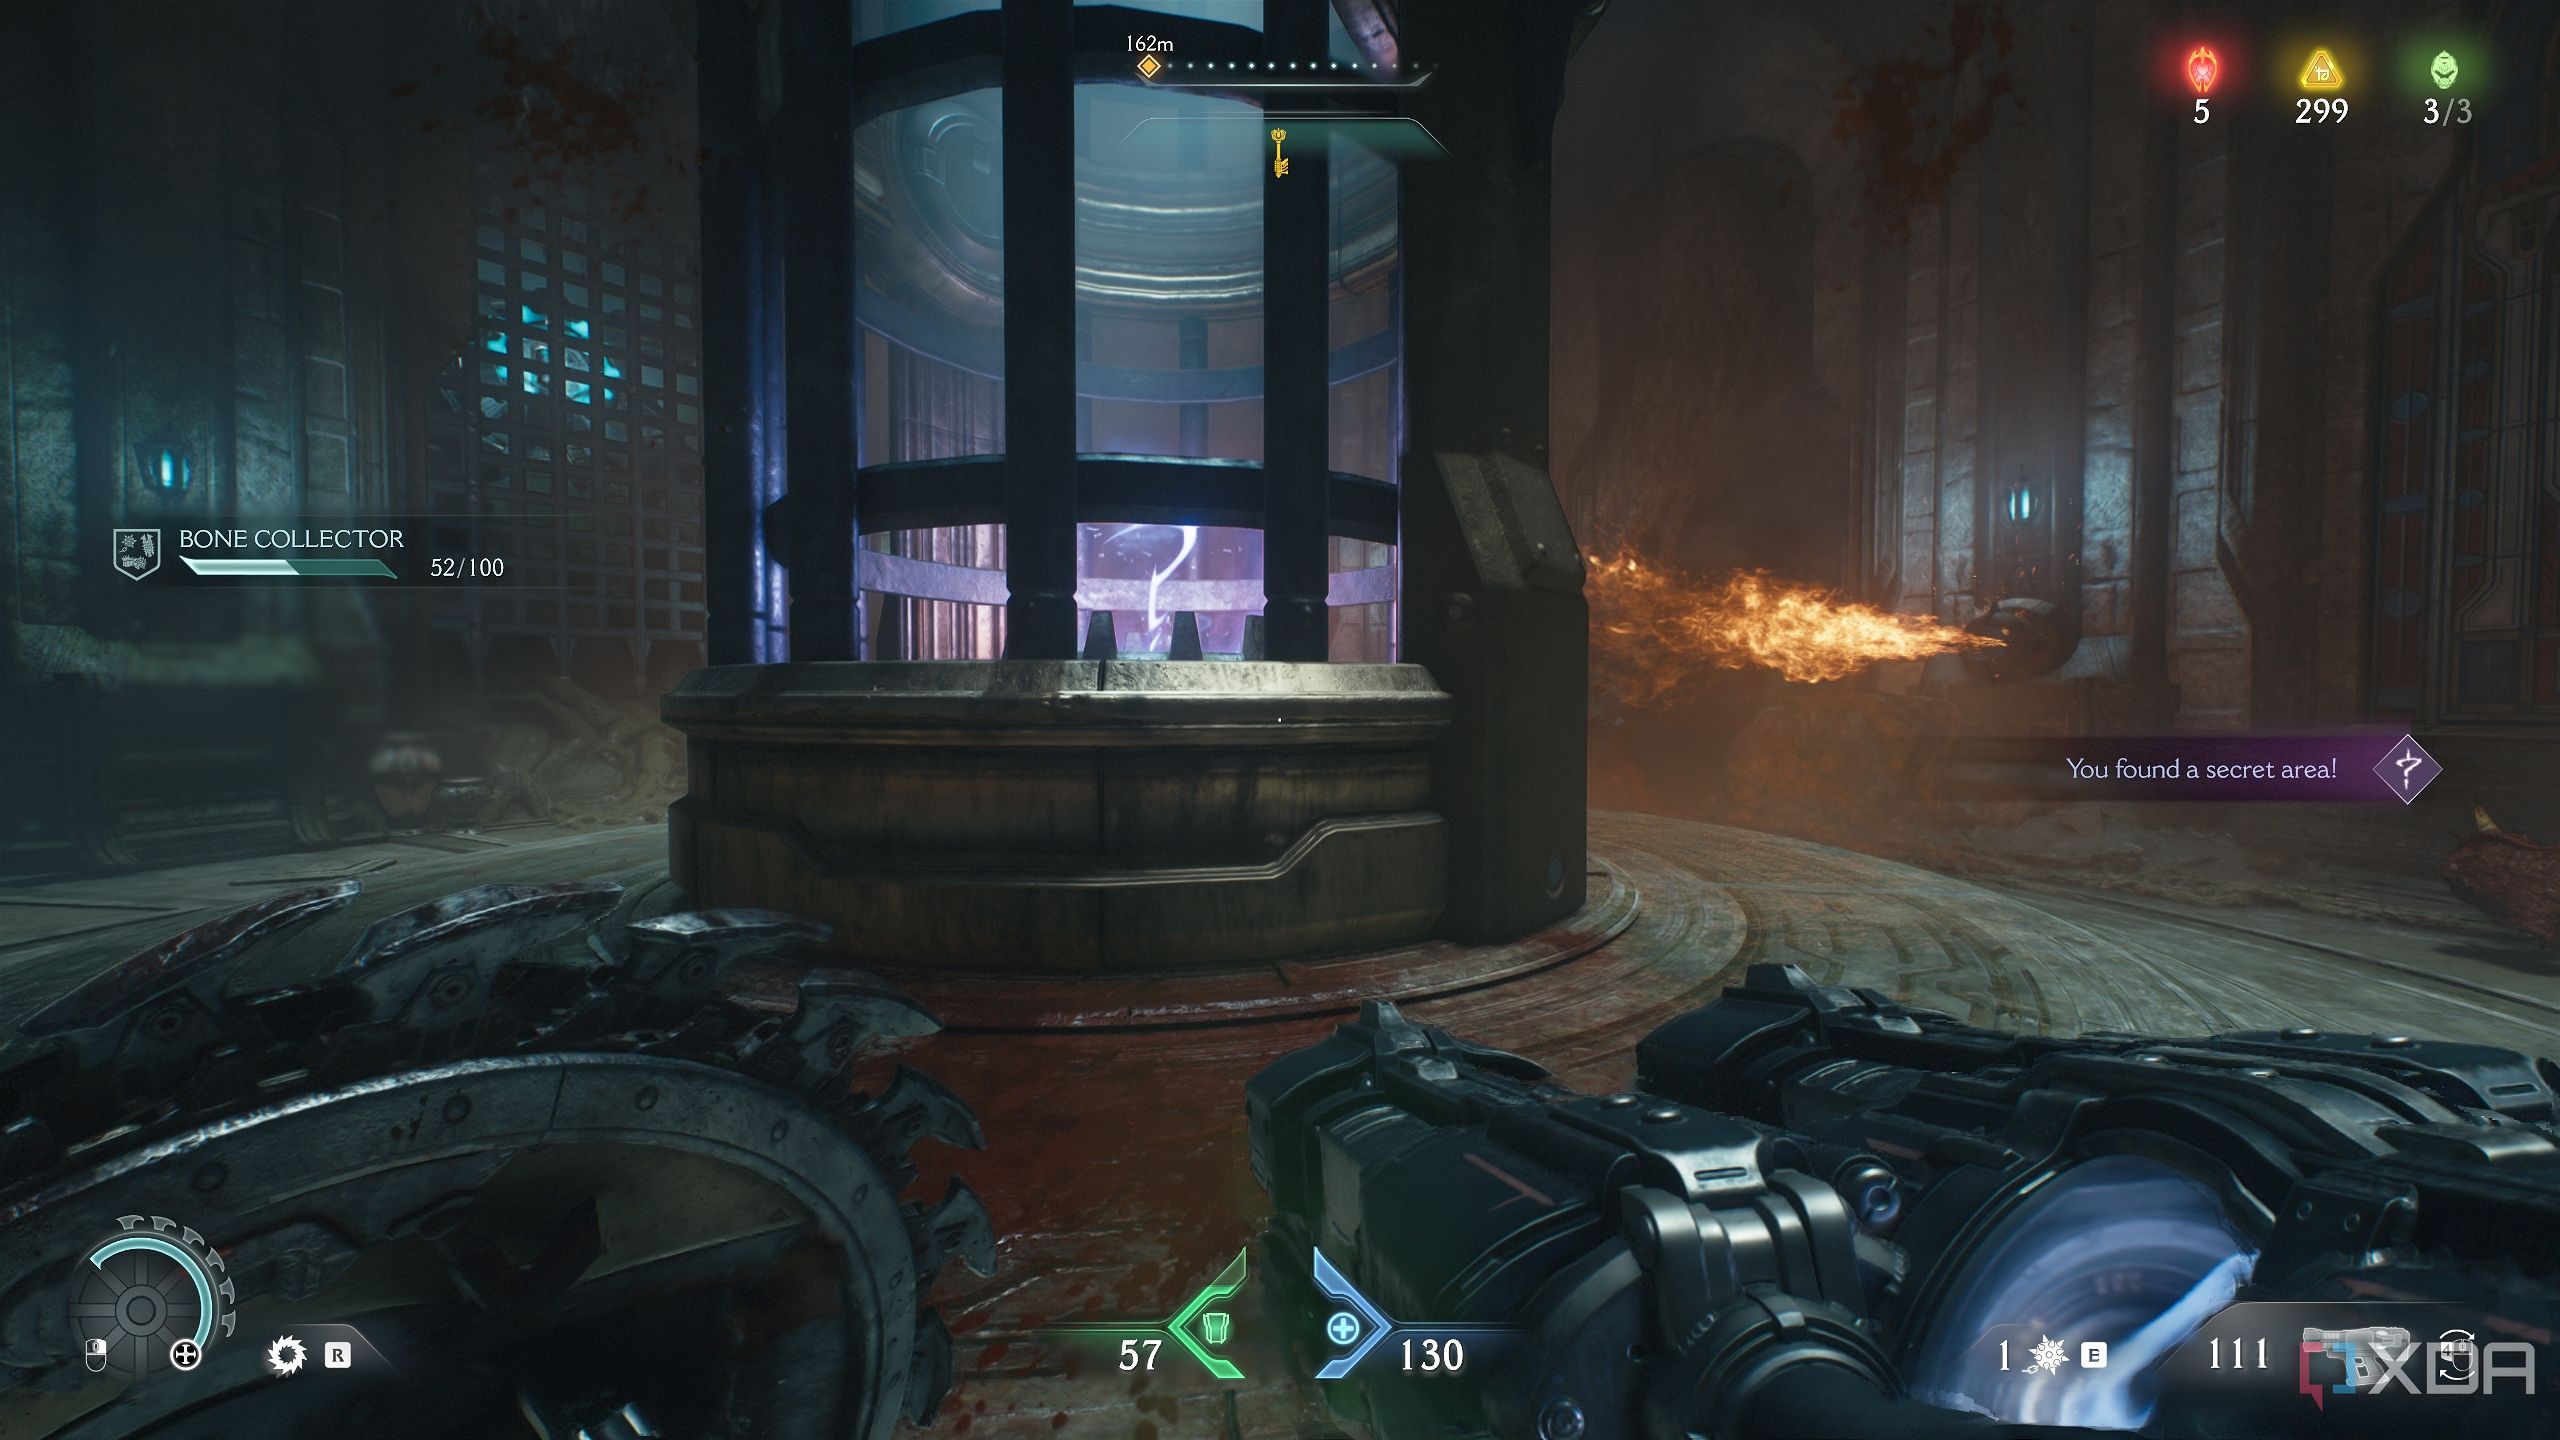
You will reach secret area 2, and you’ll have to swim through it to reach a jump pad.
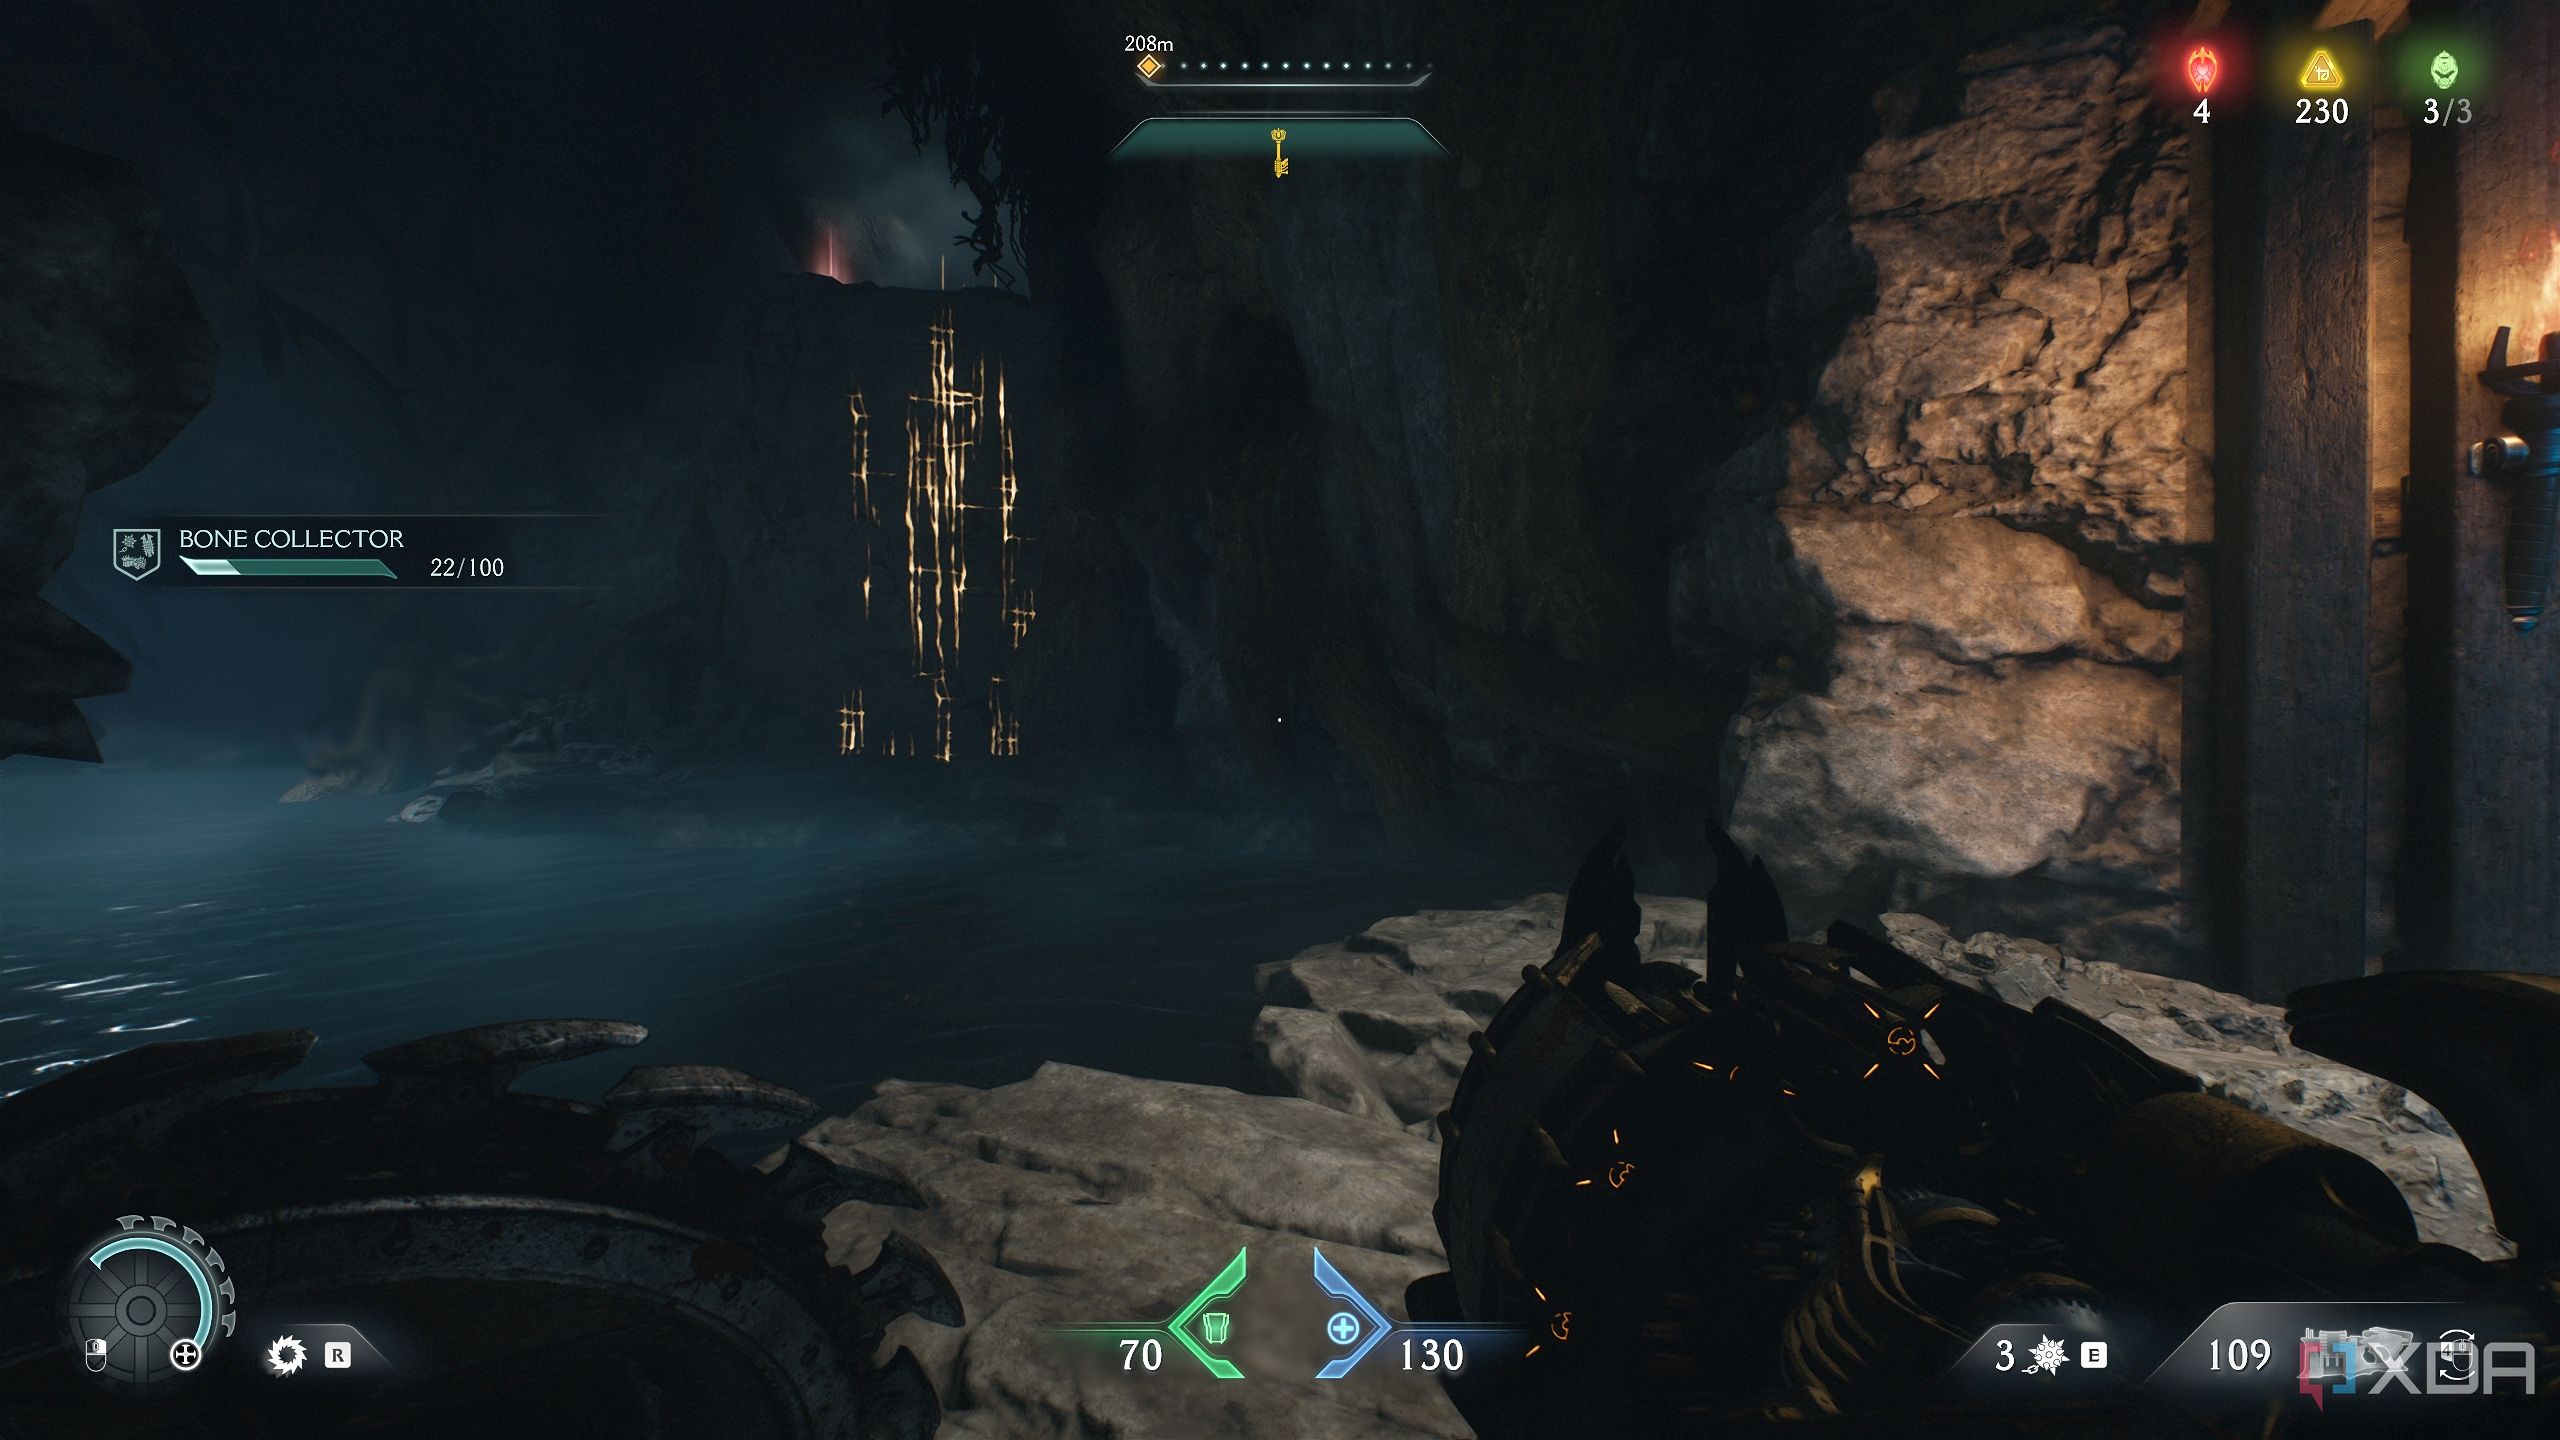
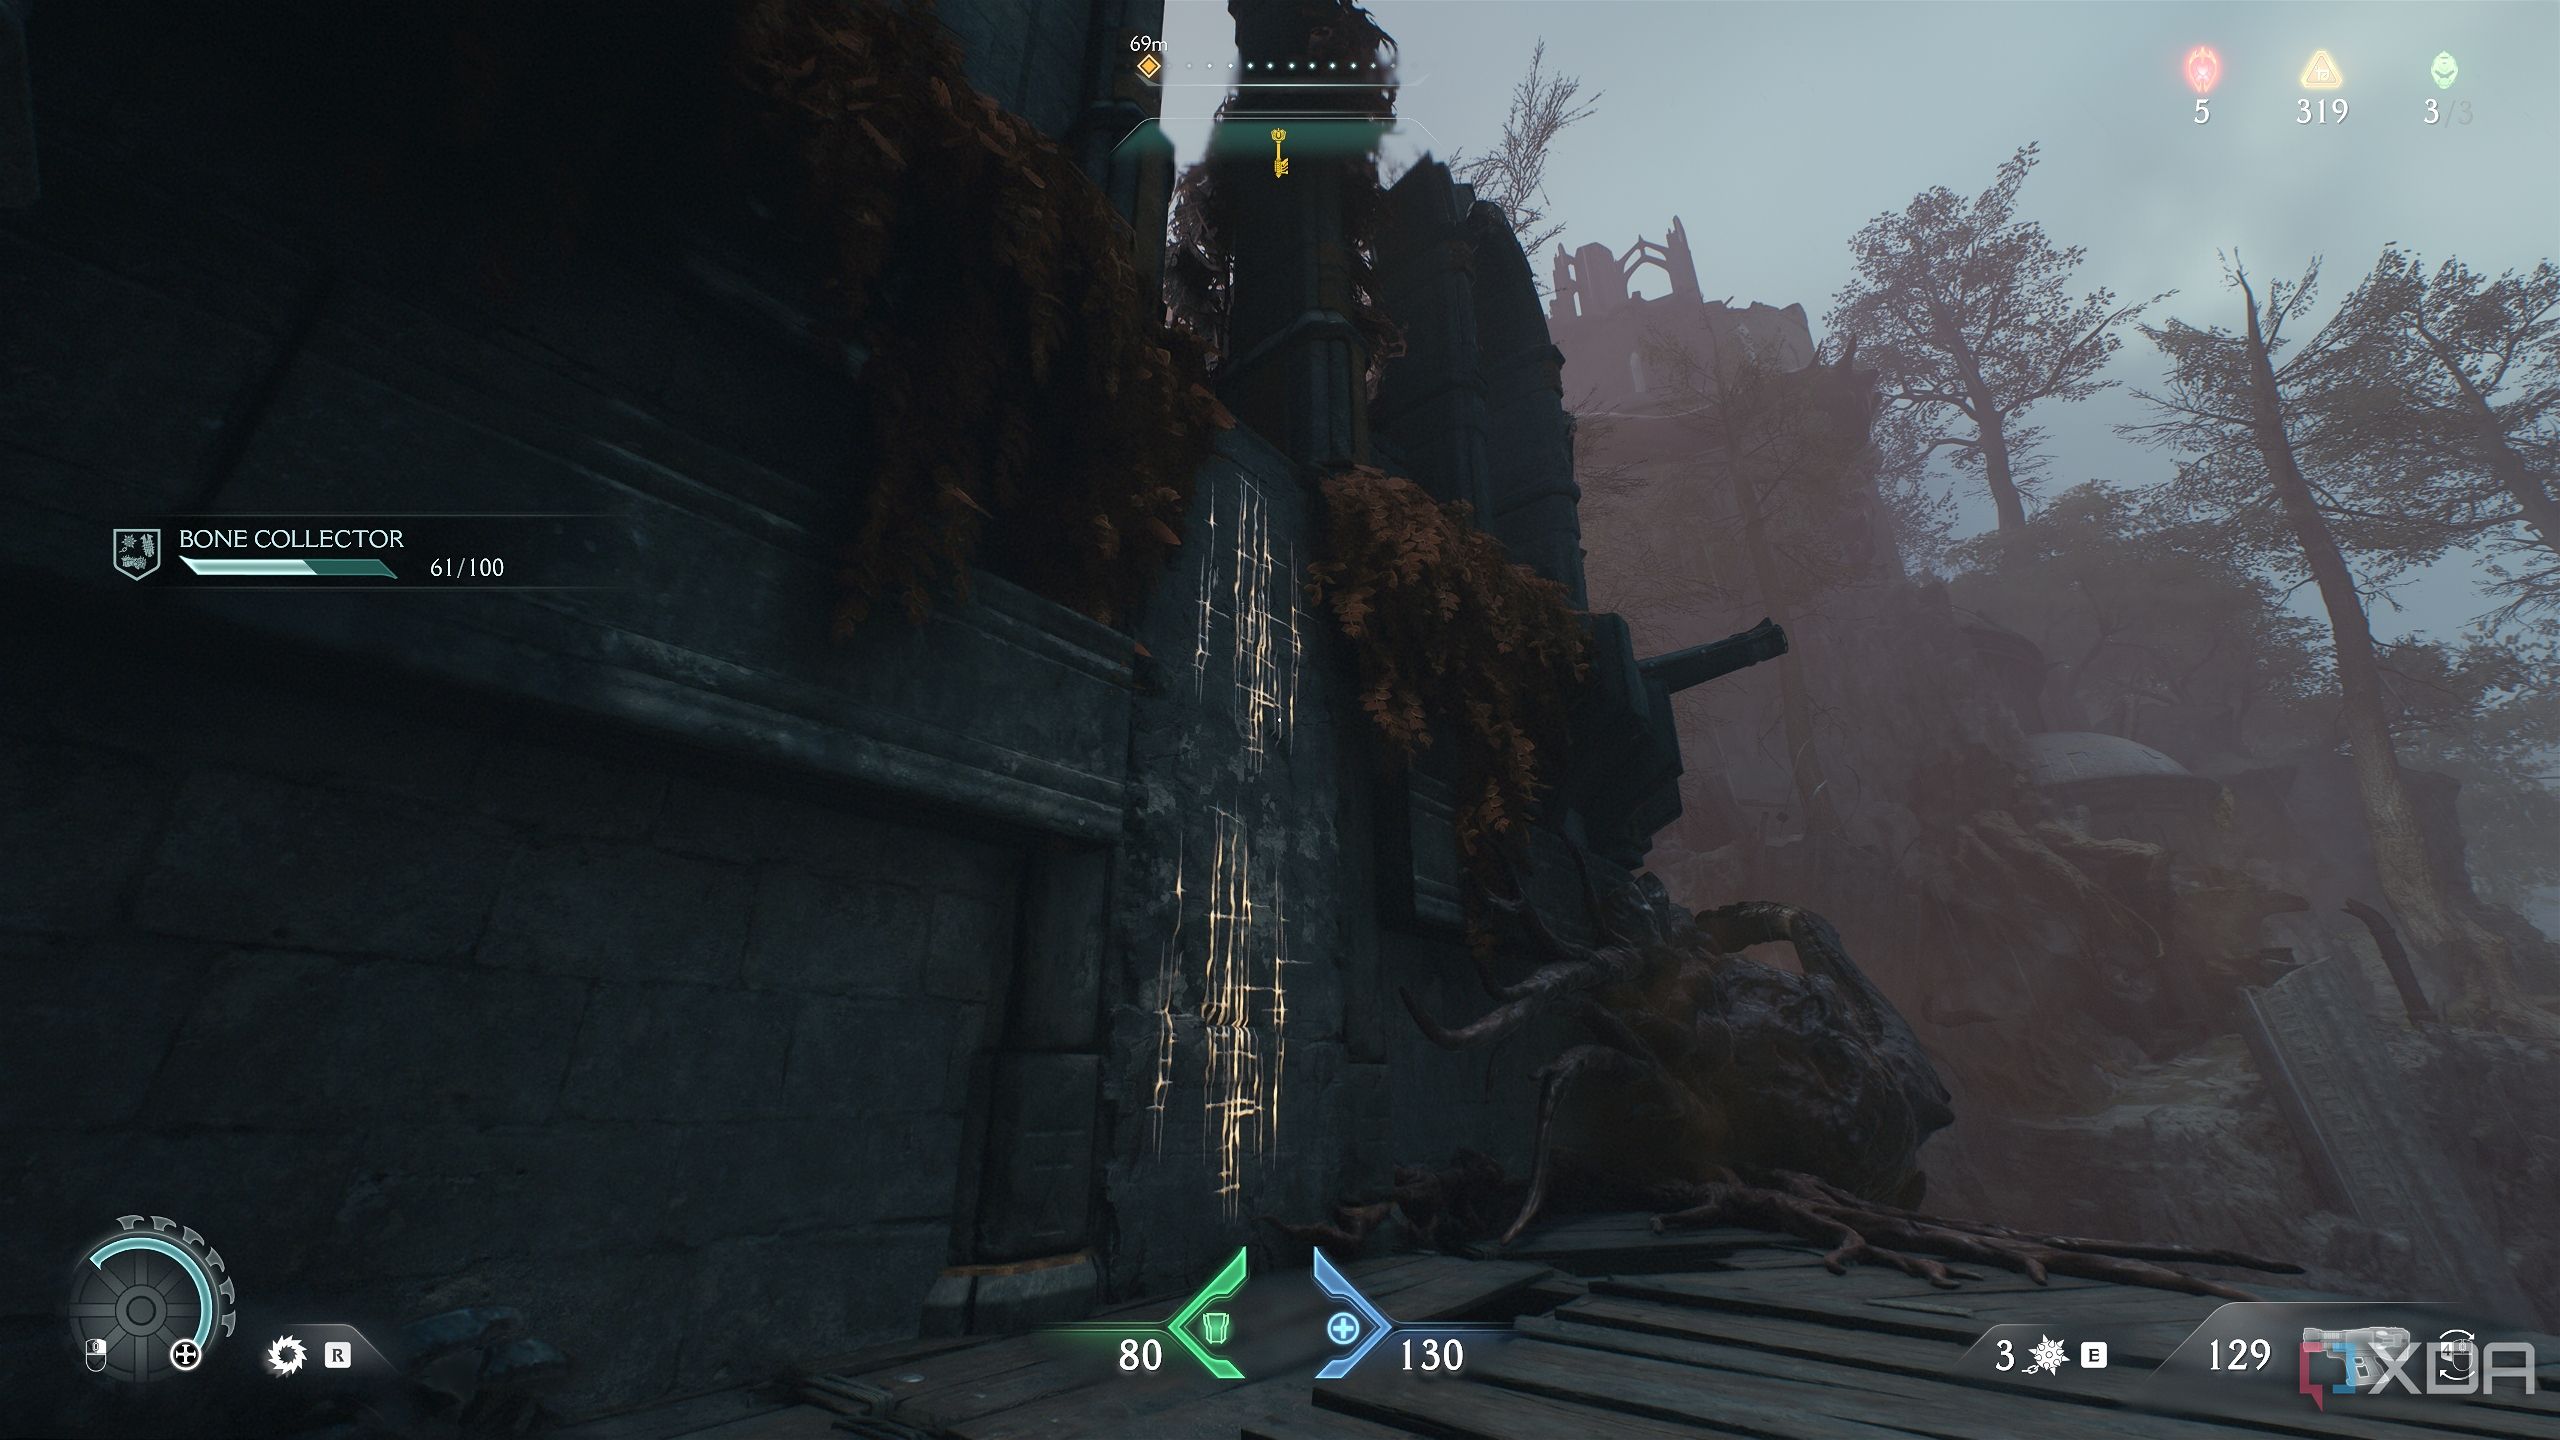
Before jumping on the pad, turn around to see a scramble wall.
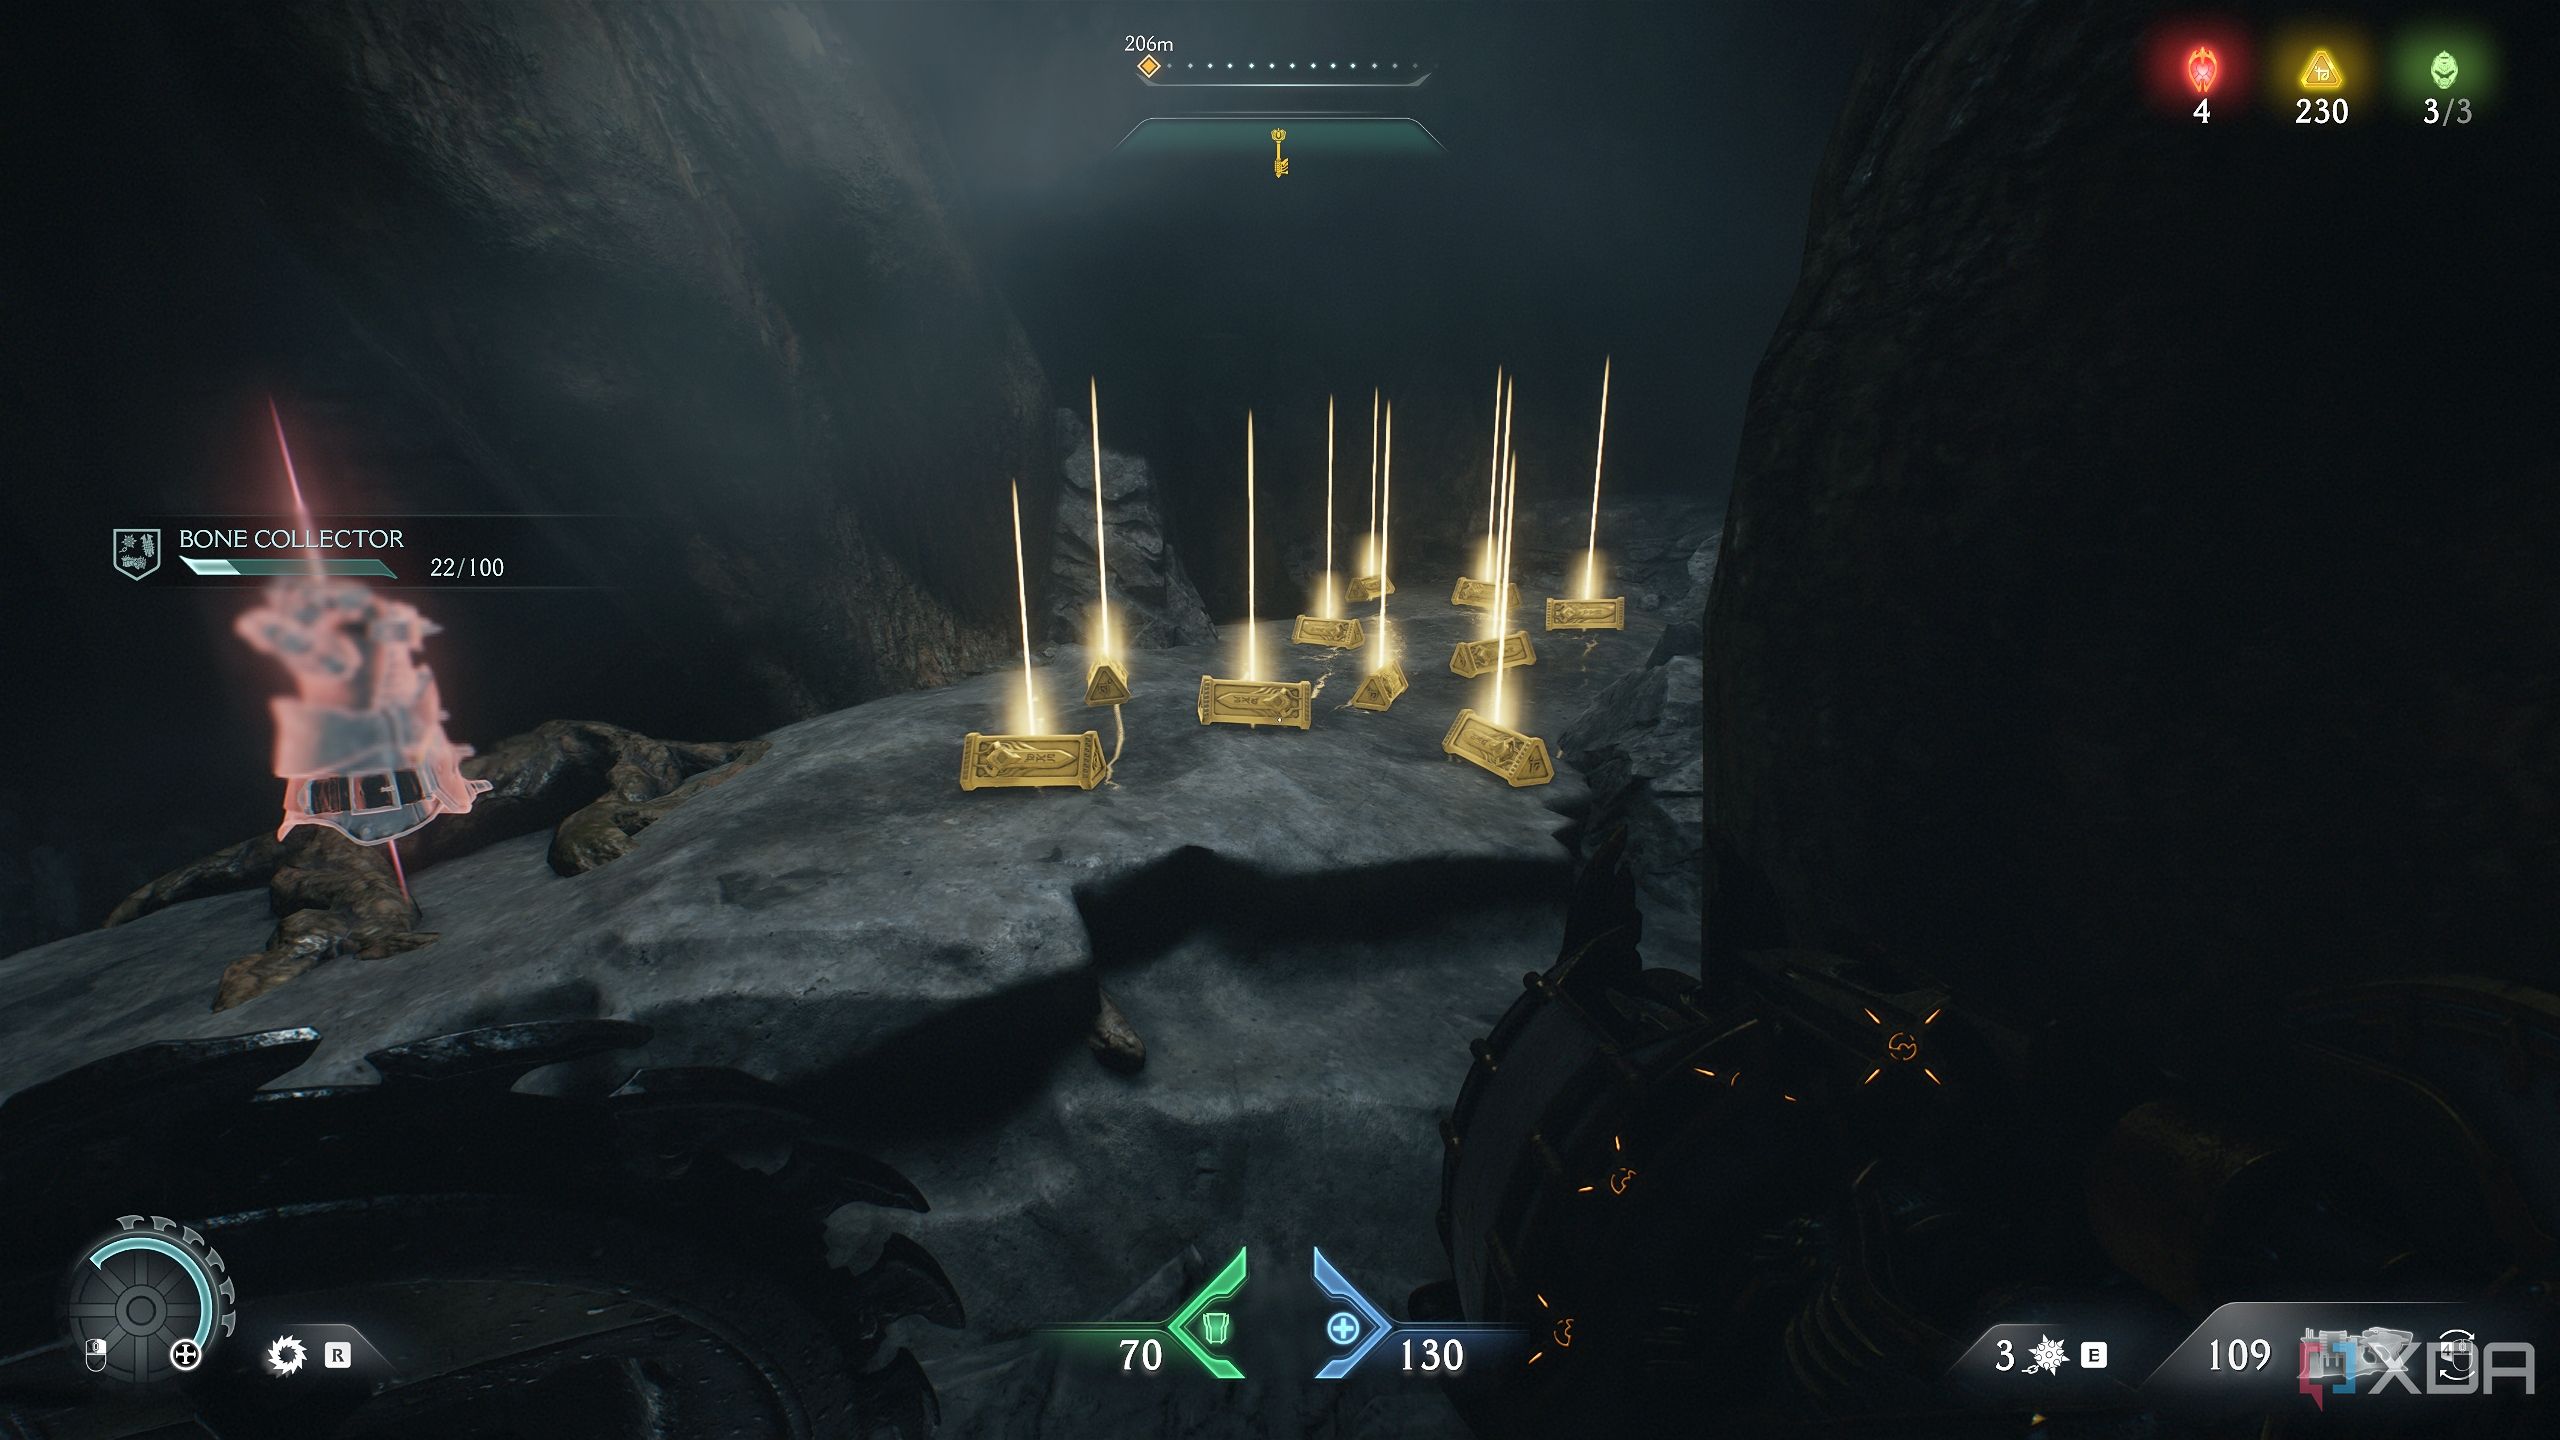
Climb up on it to reach a horde of gold bars to collect.
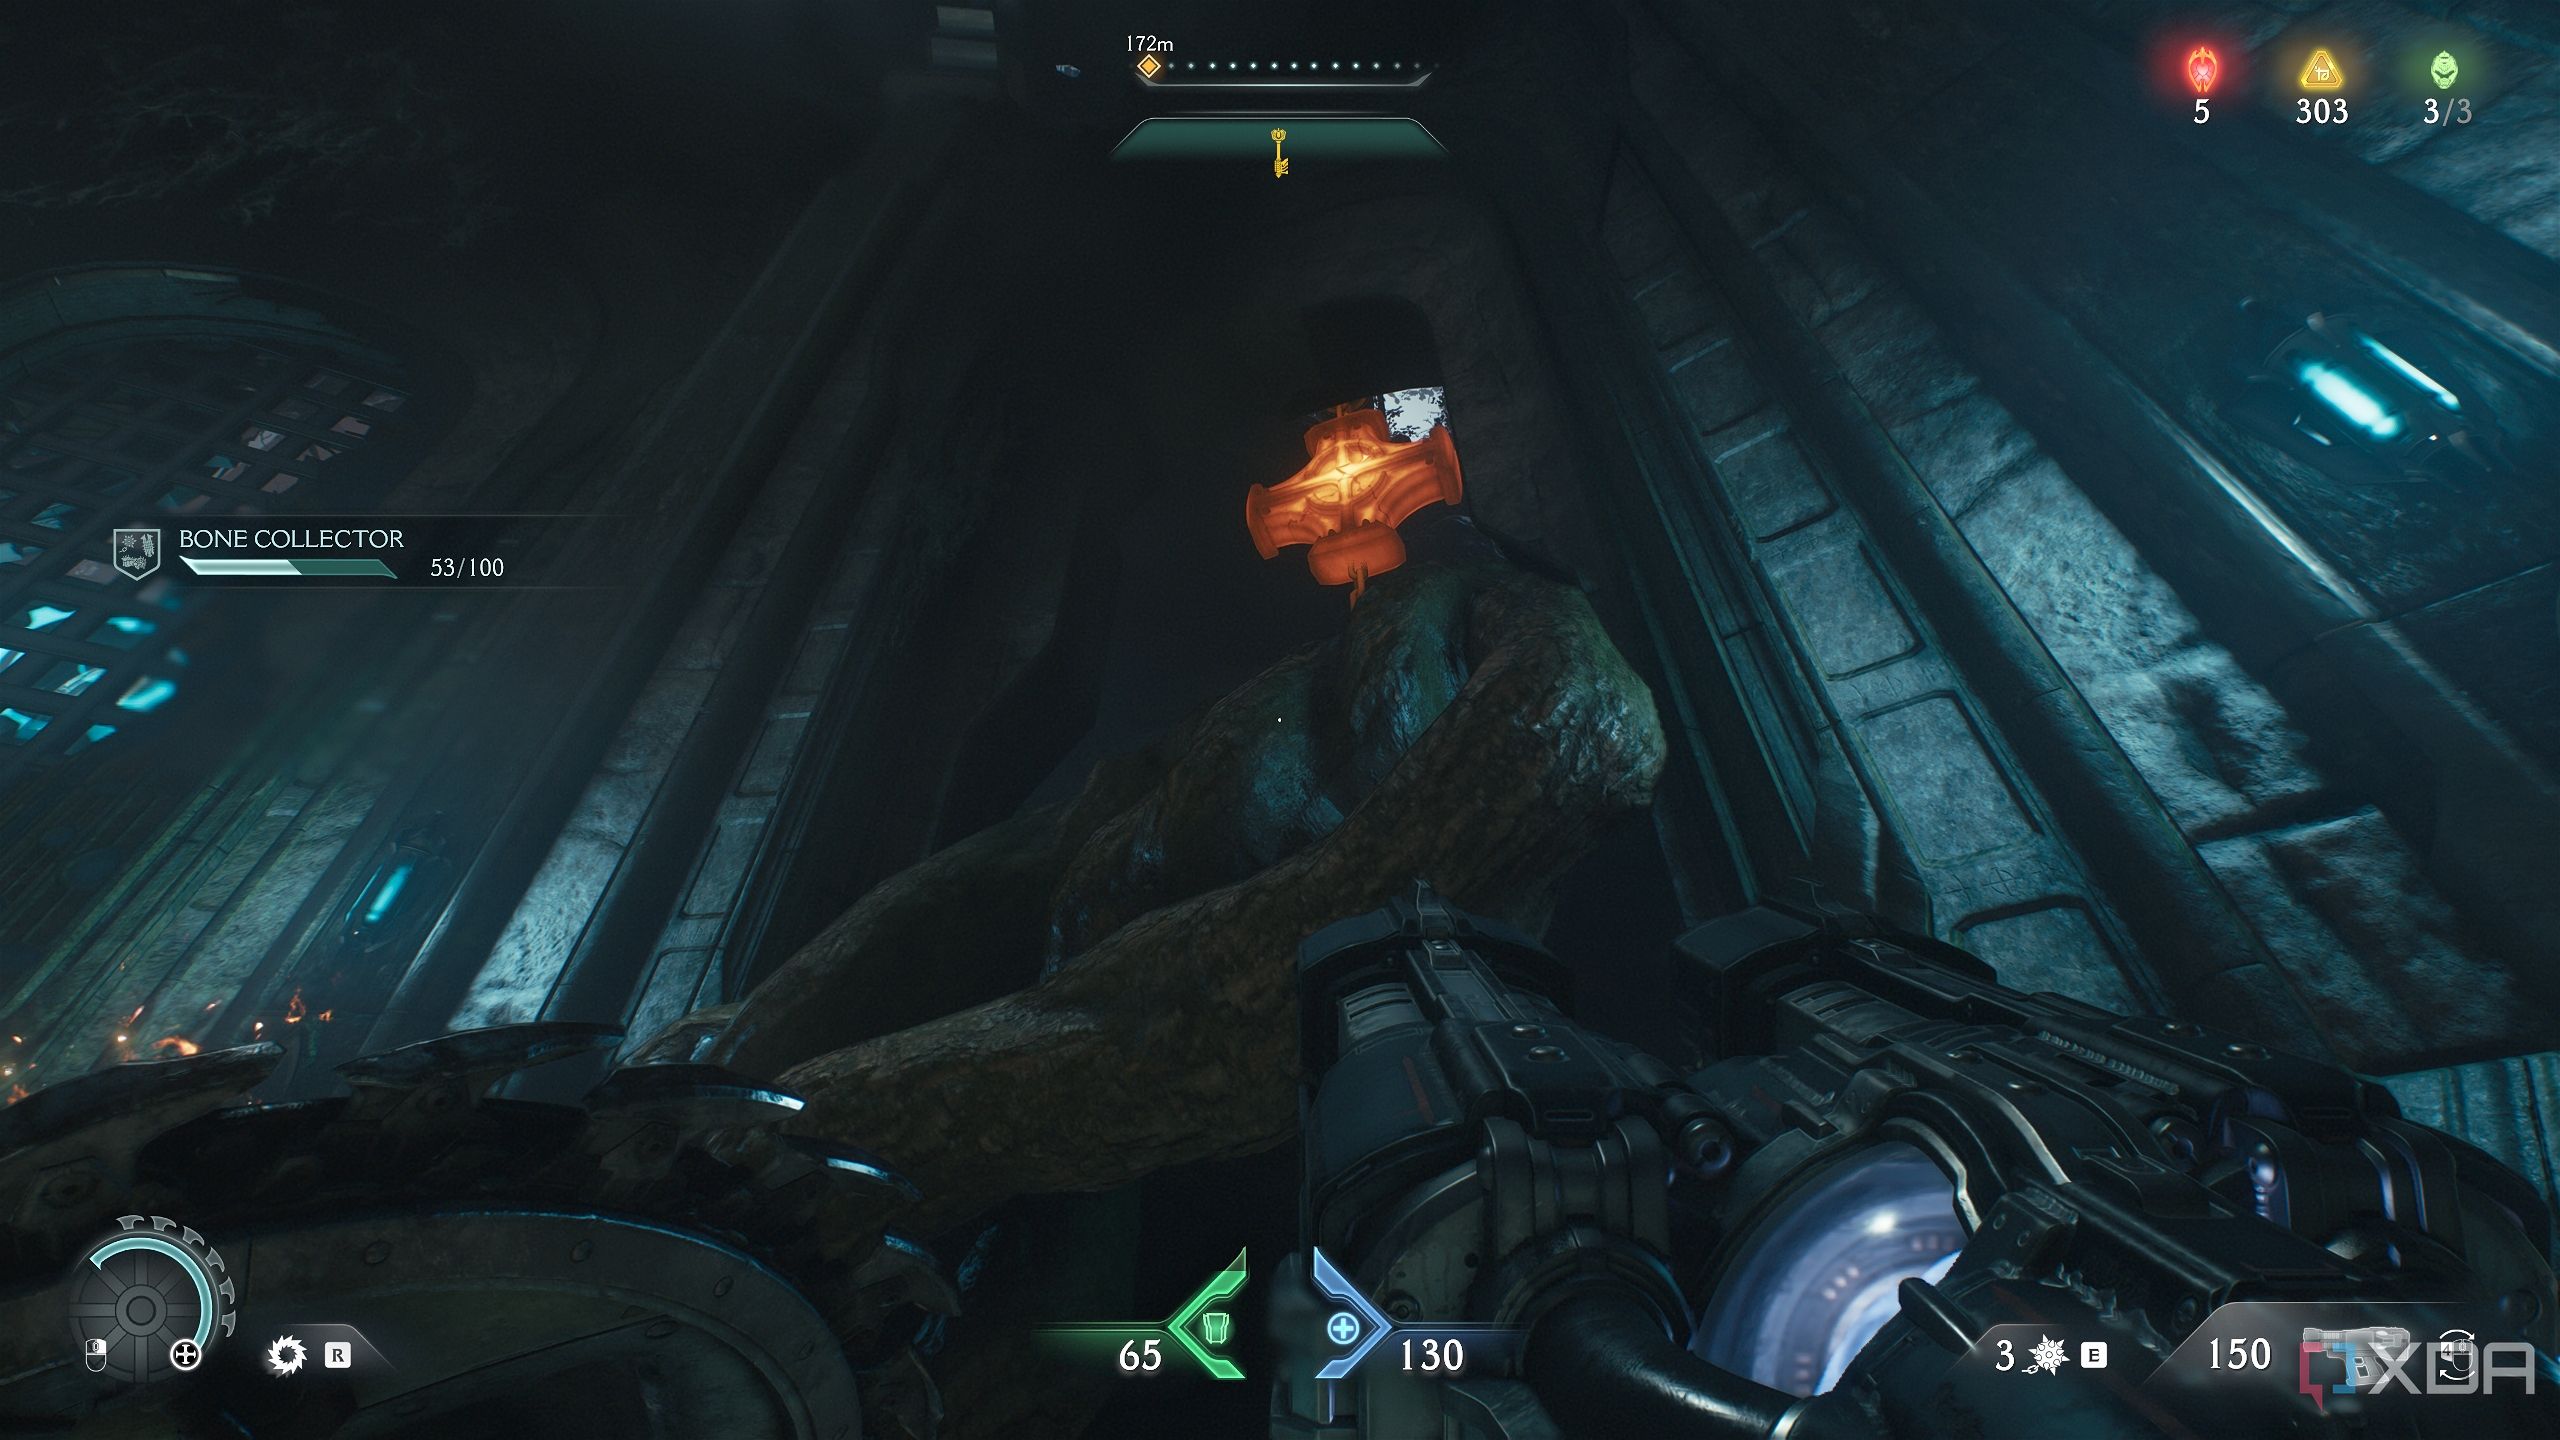
Once done, use the jump pad to reach an area above, where a Hellknight will attack.
You’ll see the red ruby statue ahead. Collect it and head right to break the heated metal cross and get back to the field you just fought a Cyberdemon in.

Related
DOOM: The Dark Ages — 100% completion guide, Chapter 6: Siege - Part 1
Chapter 6 in Doom: The Dark Ages presents the game's biggest map yet, offering a large battlefield to explore and take on at your own pace.
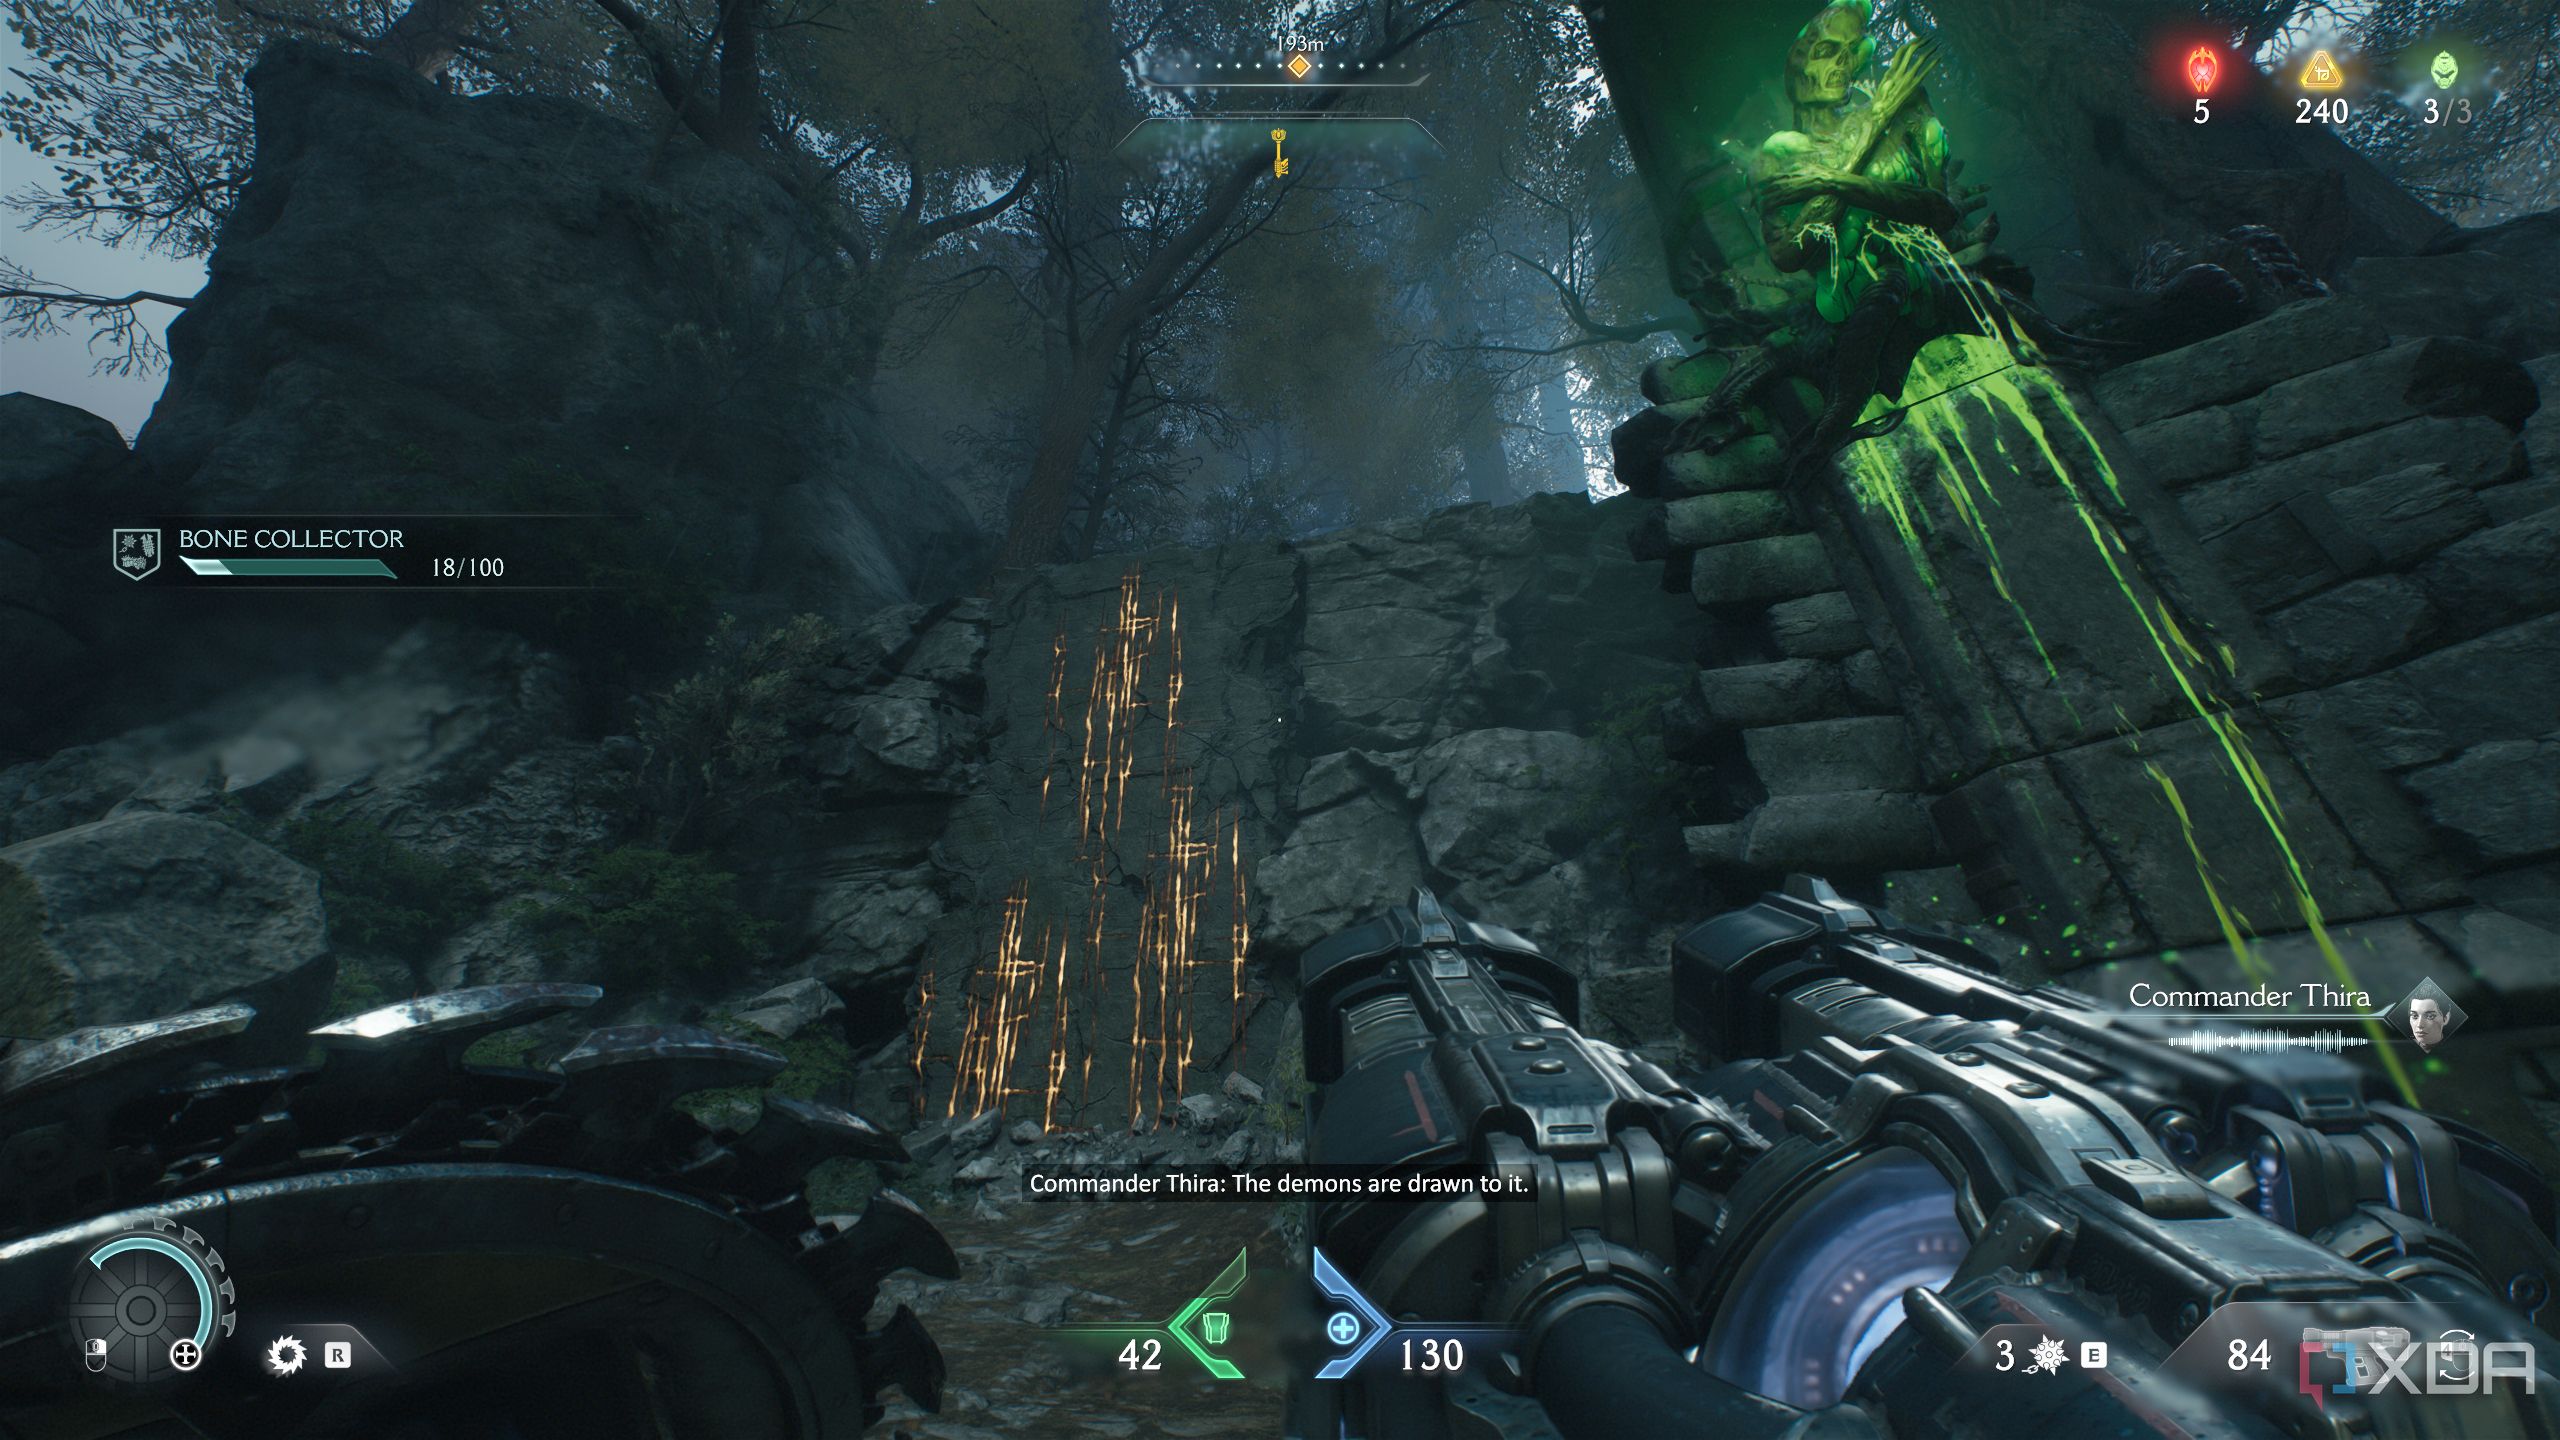
Secret area 3 and a Codex Page
Geography lessons for the Slayer
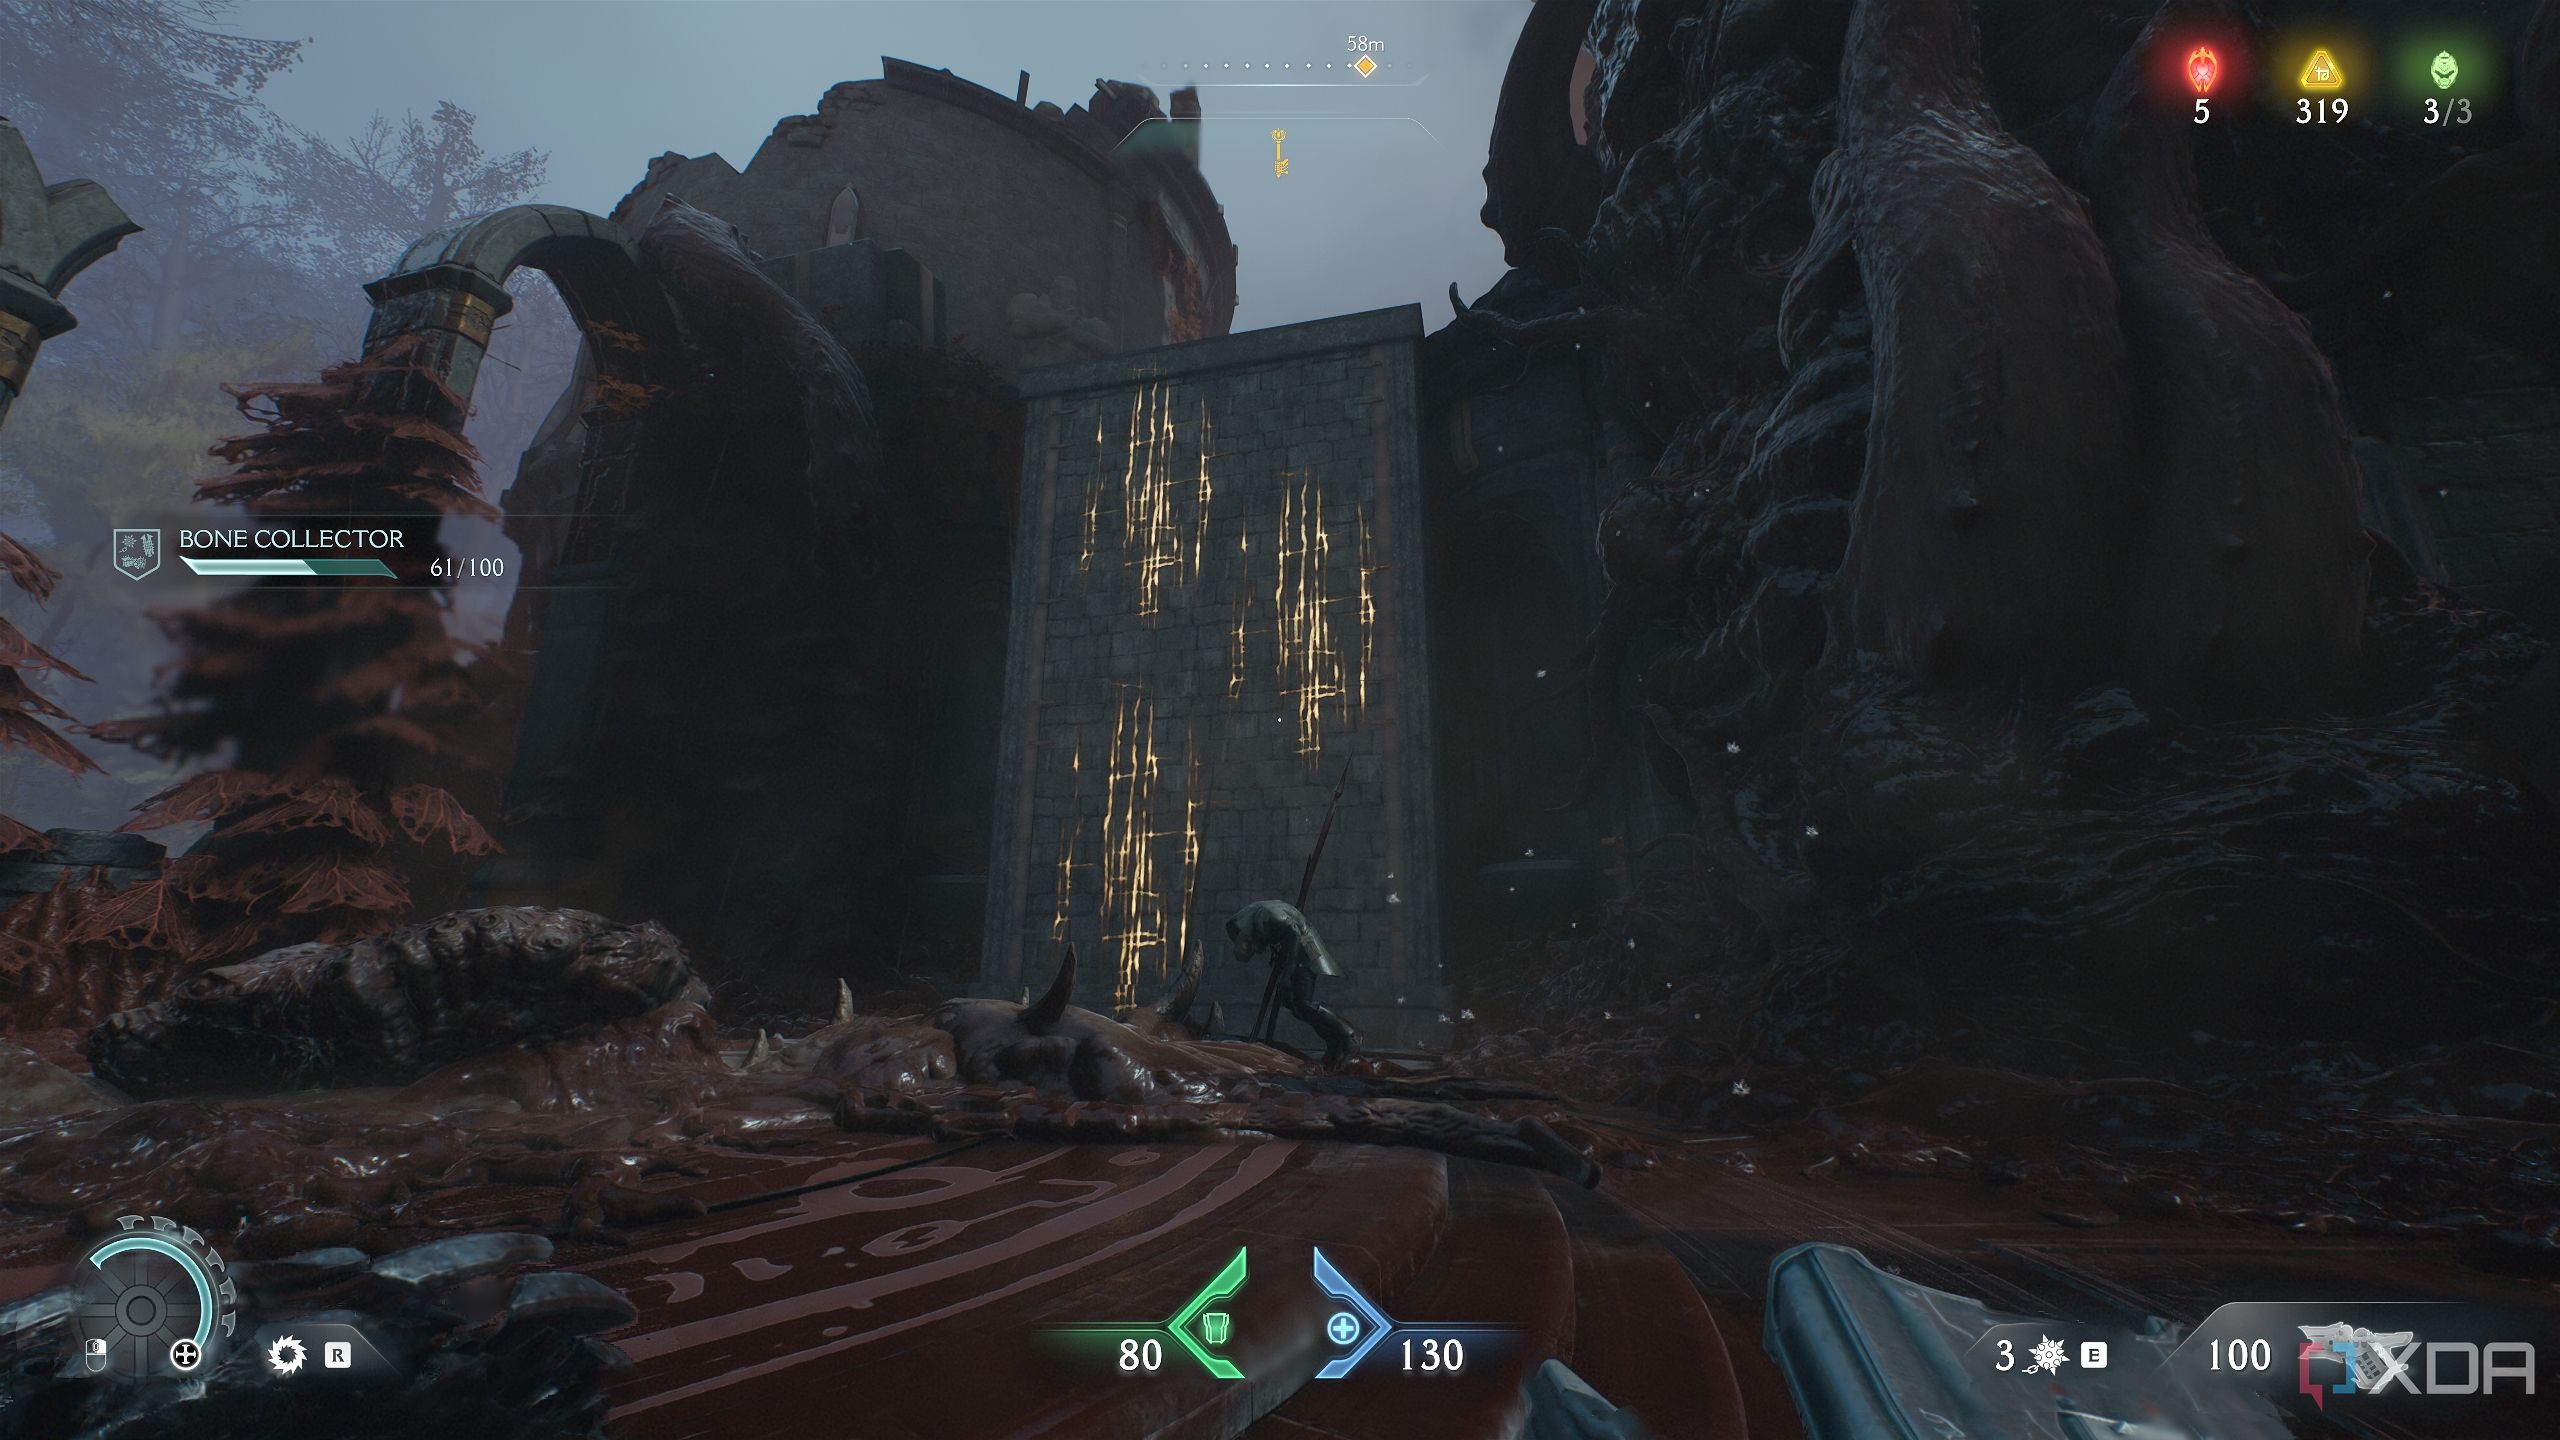
Proceeding ahead, you’ll meet some Shielded Soldiers to take care of. Once done, stand here in this location.
Look to the right to see some dried-up vines with a Shield Charge symbol.
Bash through them to unlock secret area 3 and the Codex Page for the Abyssal Forest.
Secret area 4 and a gold chest
The trees hide some valuable secrets
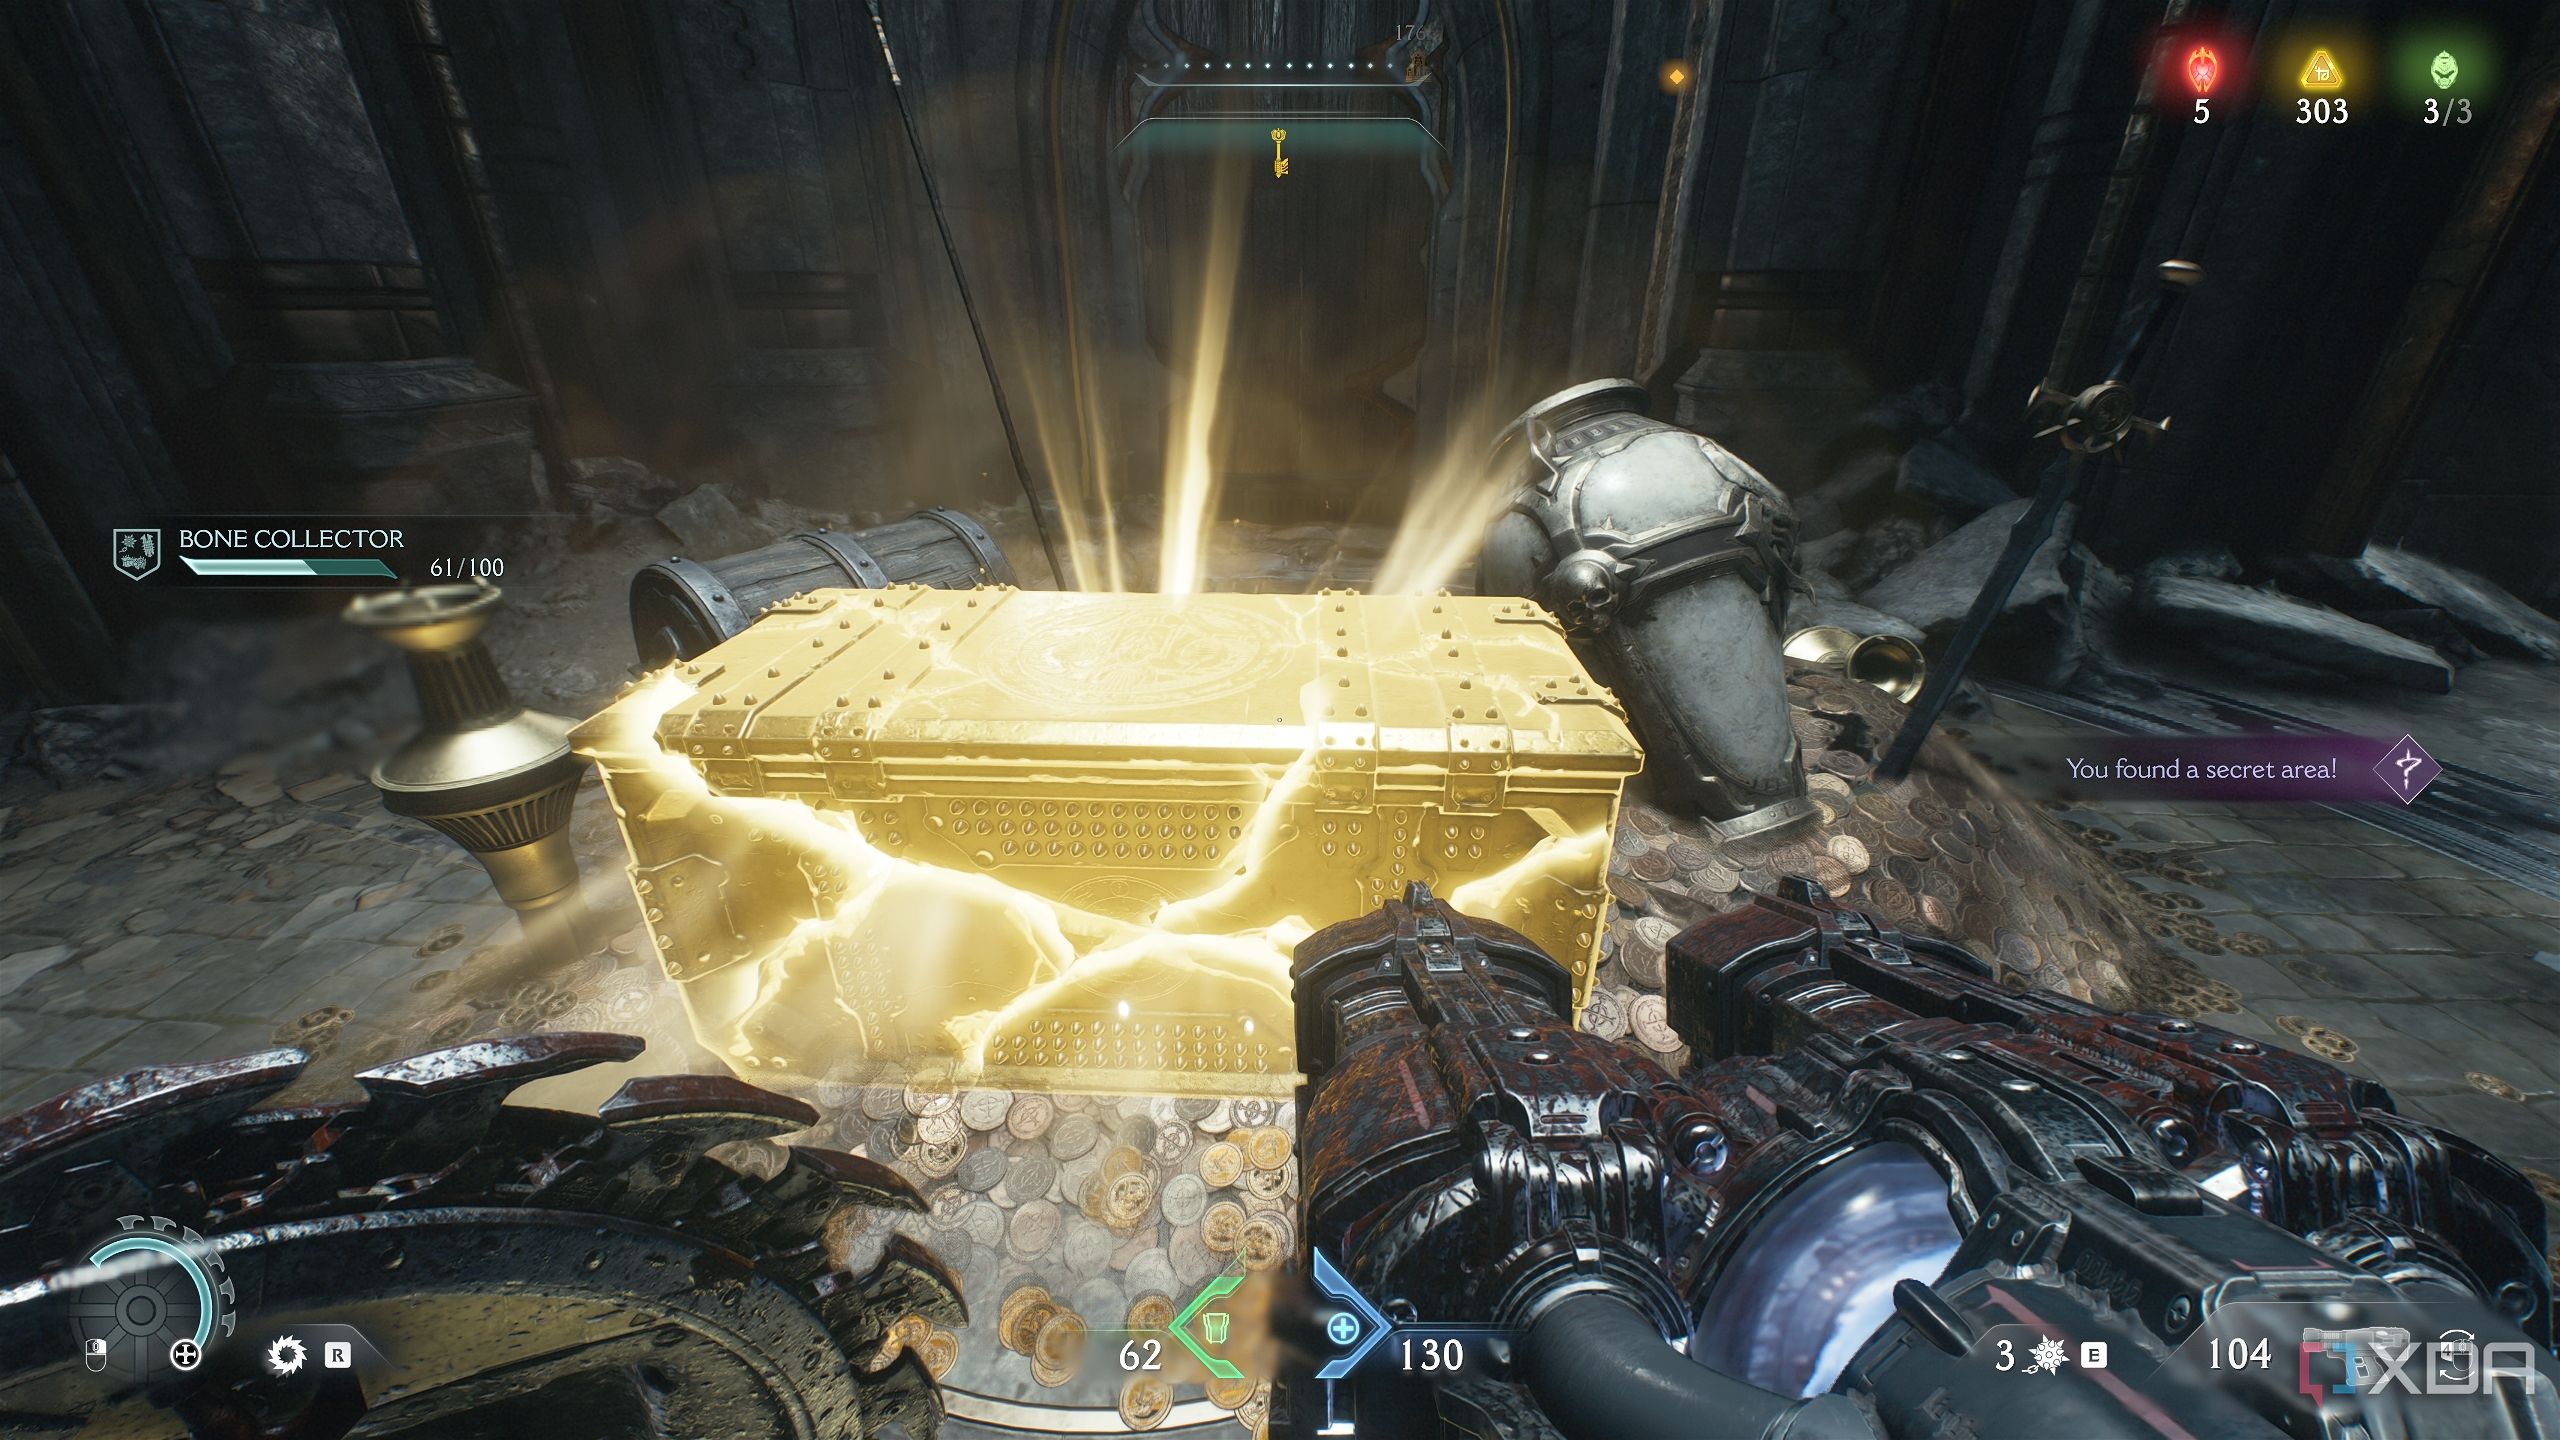
Once you cross the chasm using a green flesh node, scramble up the wall and take care of the demons above.
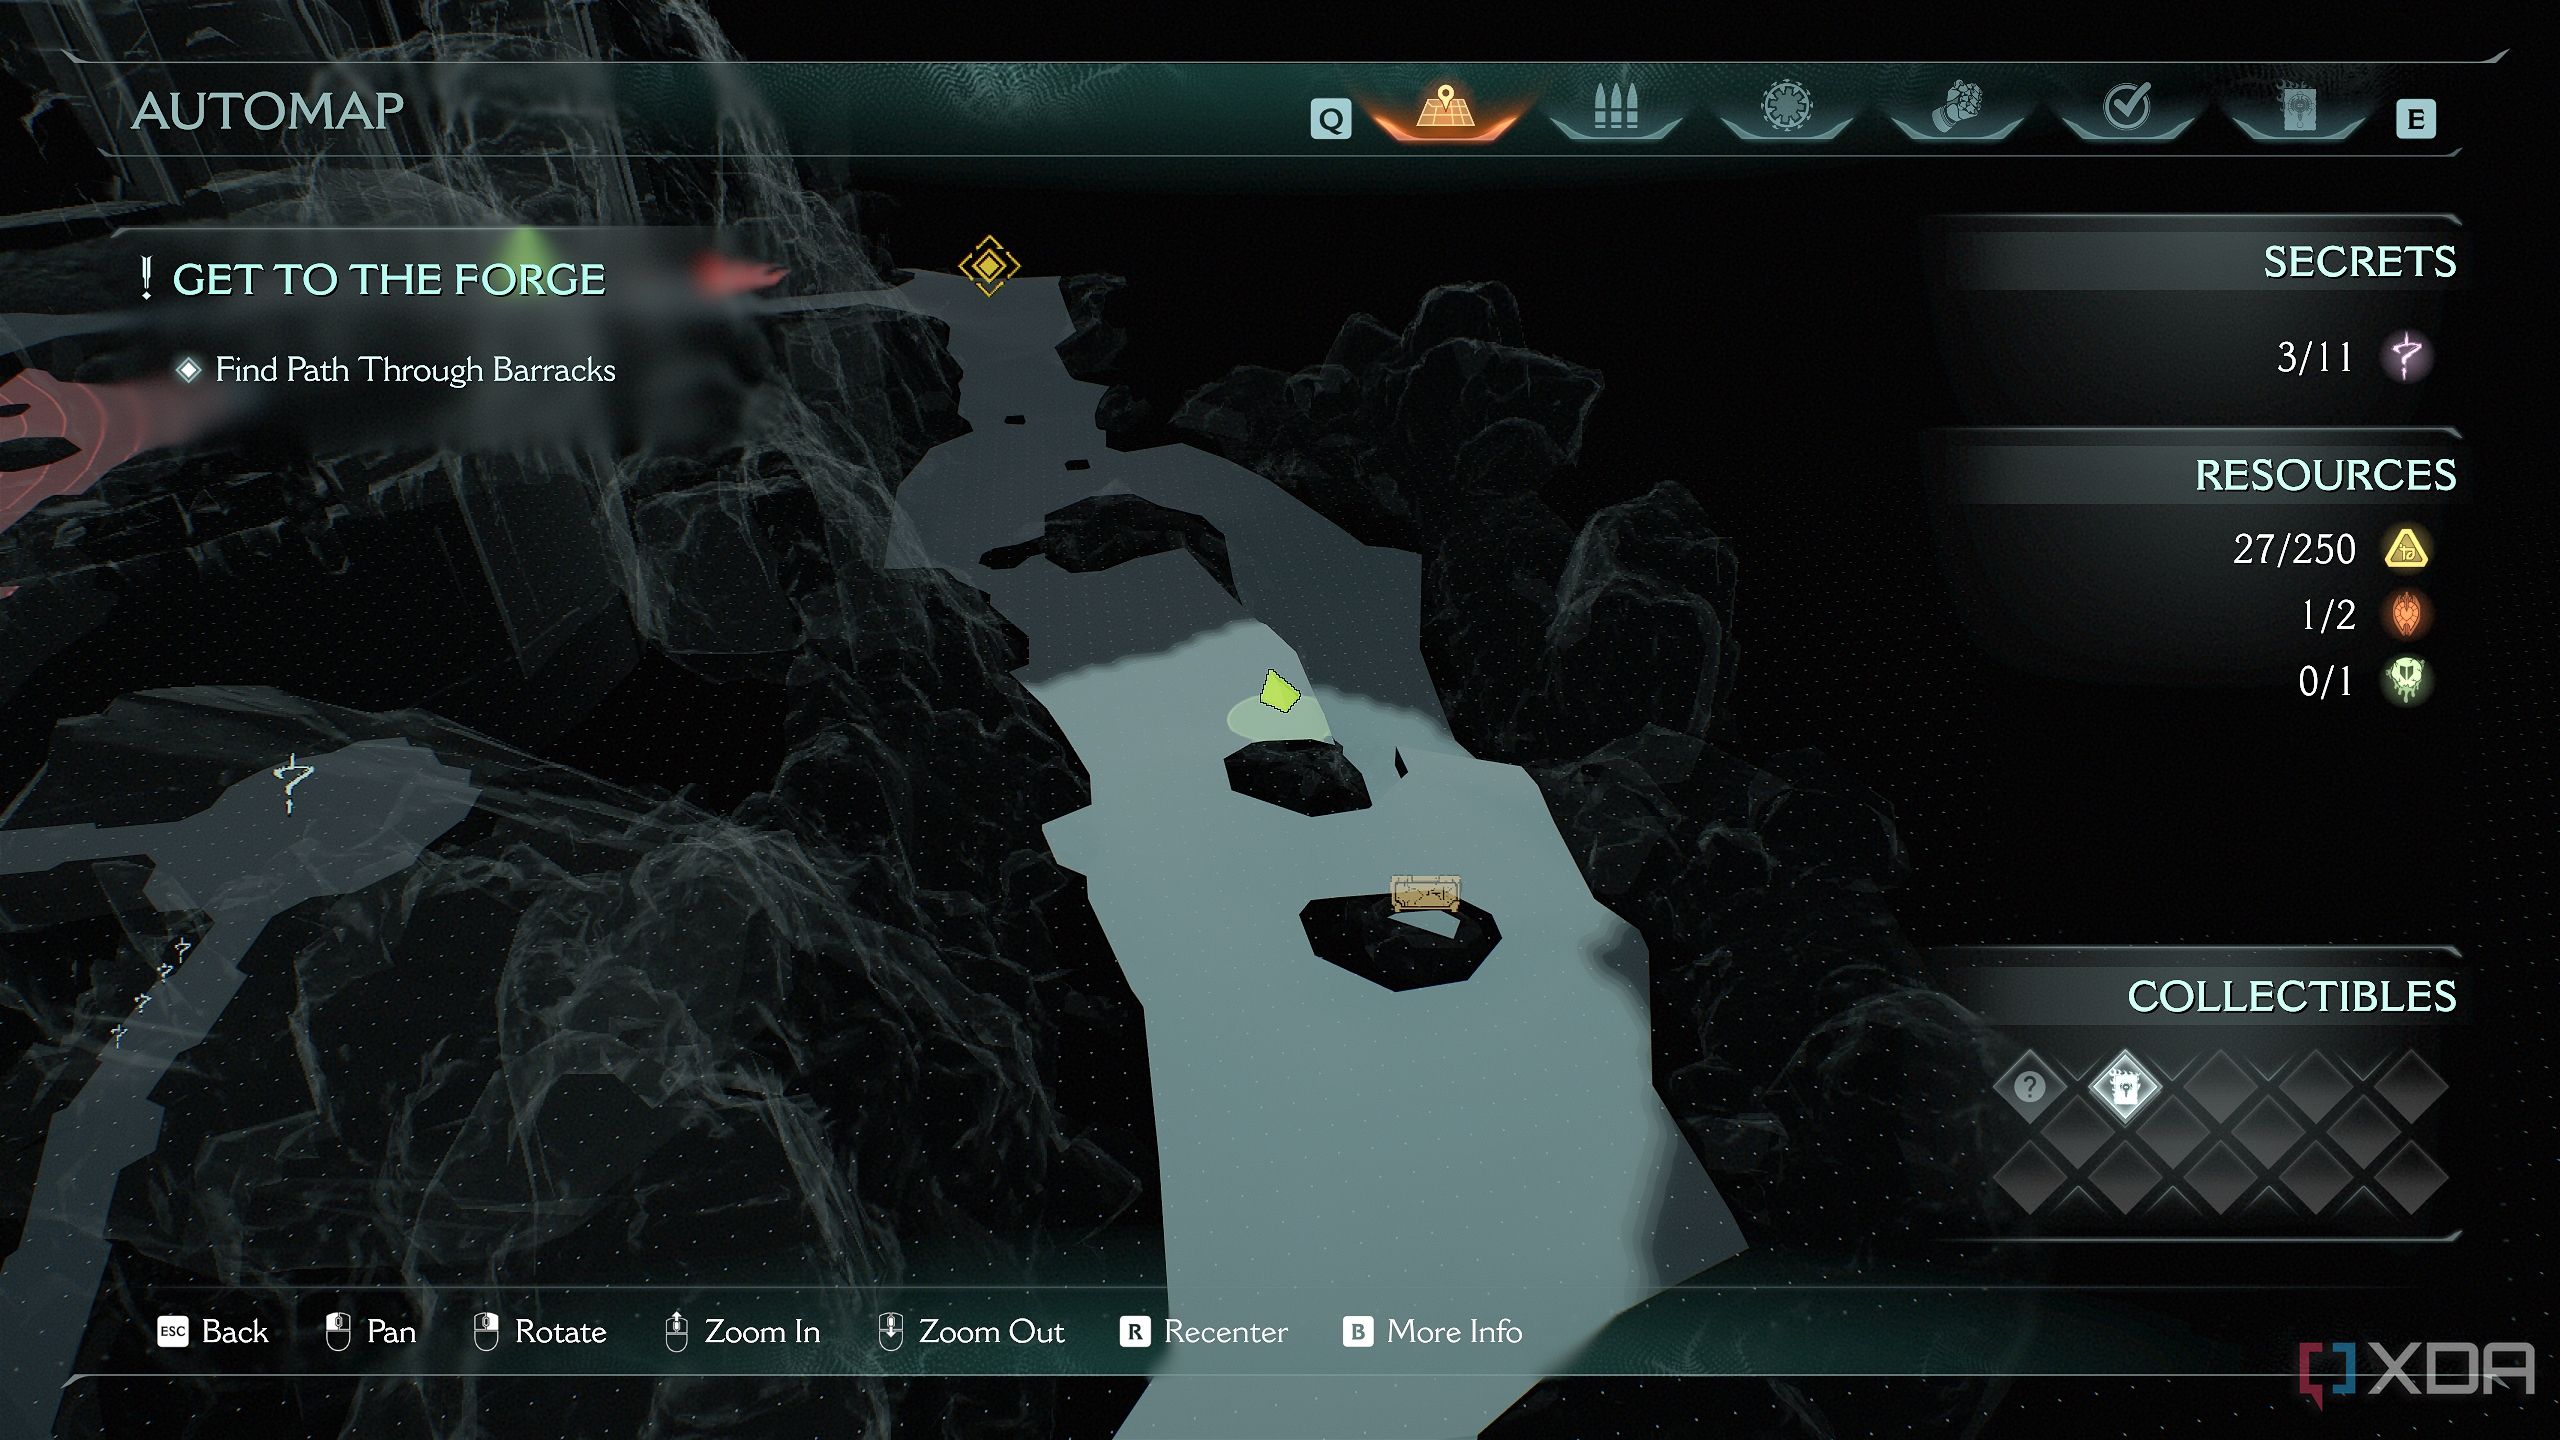
Then, move along to the right edge of the arena.
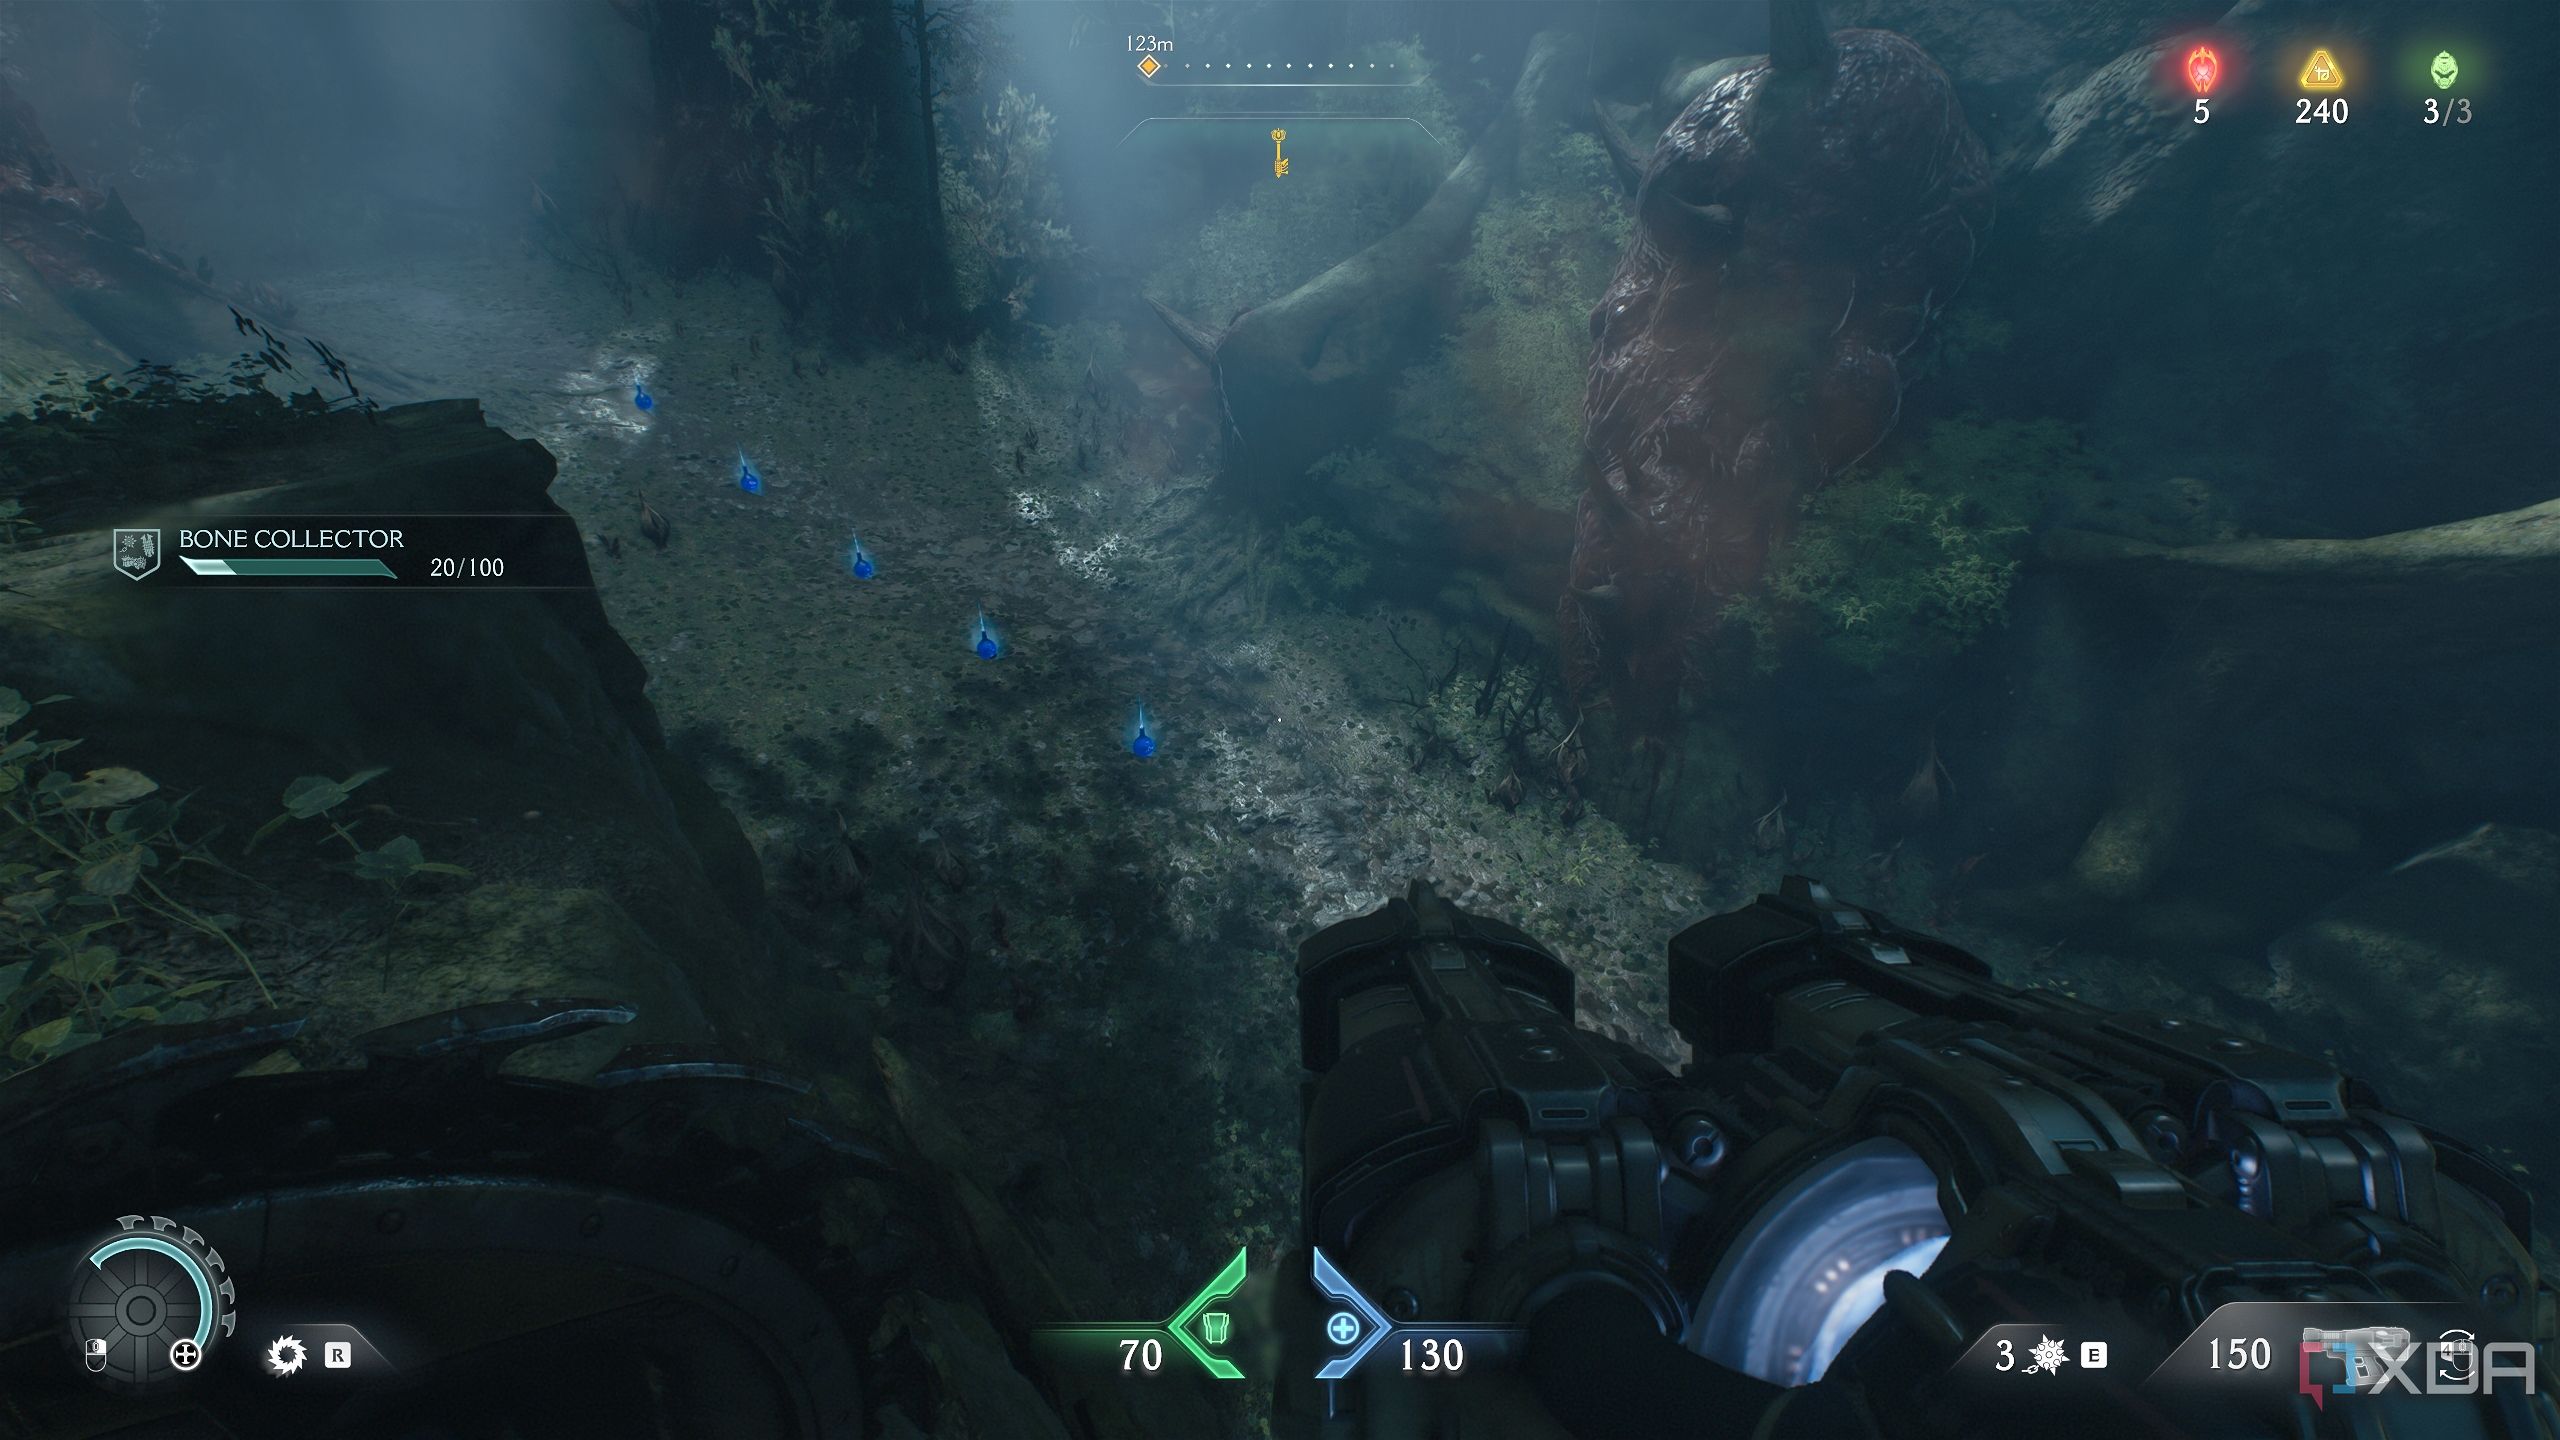
Down below, you'll see some health vials on the ground.

Turn around and at the end of the path, you’ll see dried vines with a Shield Charge symbol.
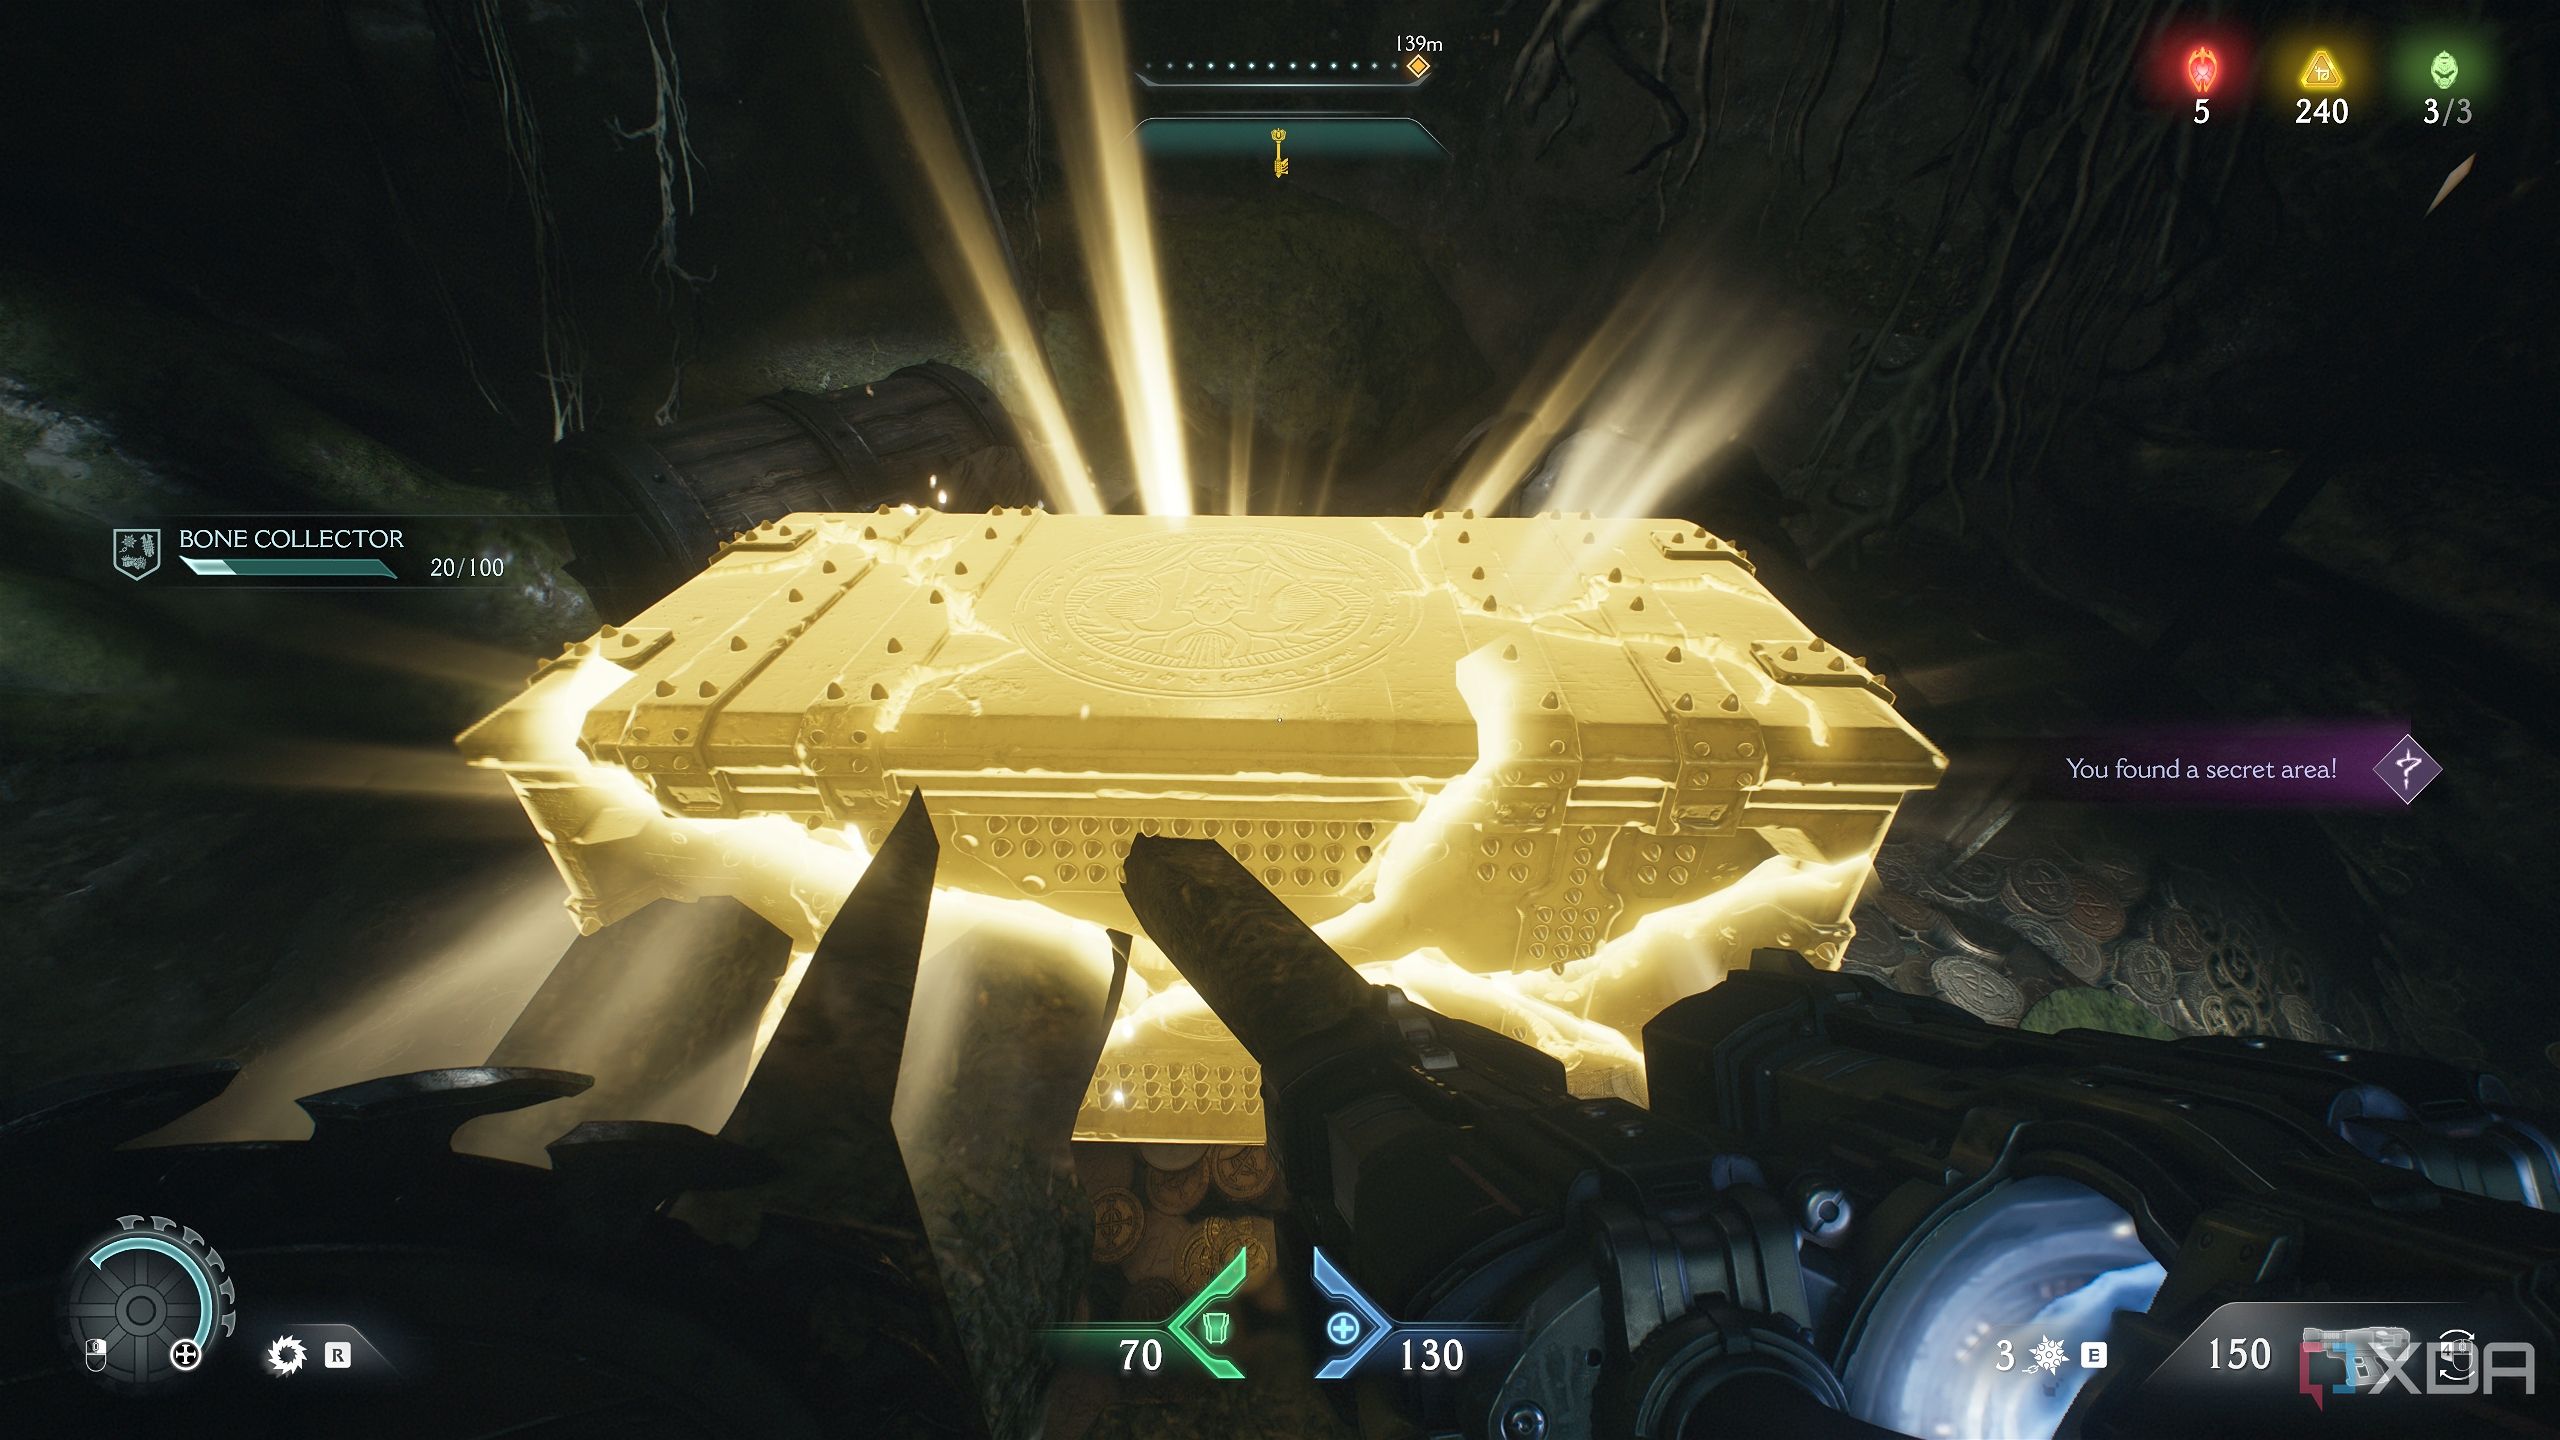
Bash through them to unlock secret area 4 and a gold chest.
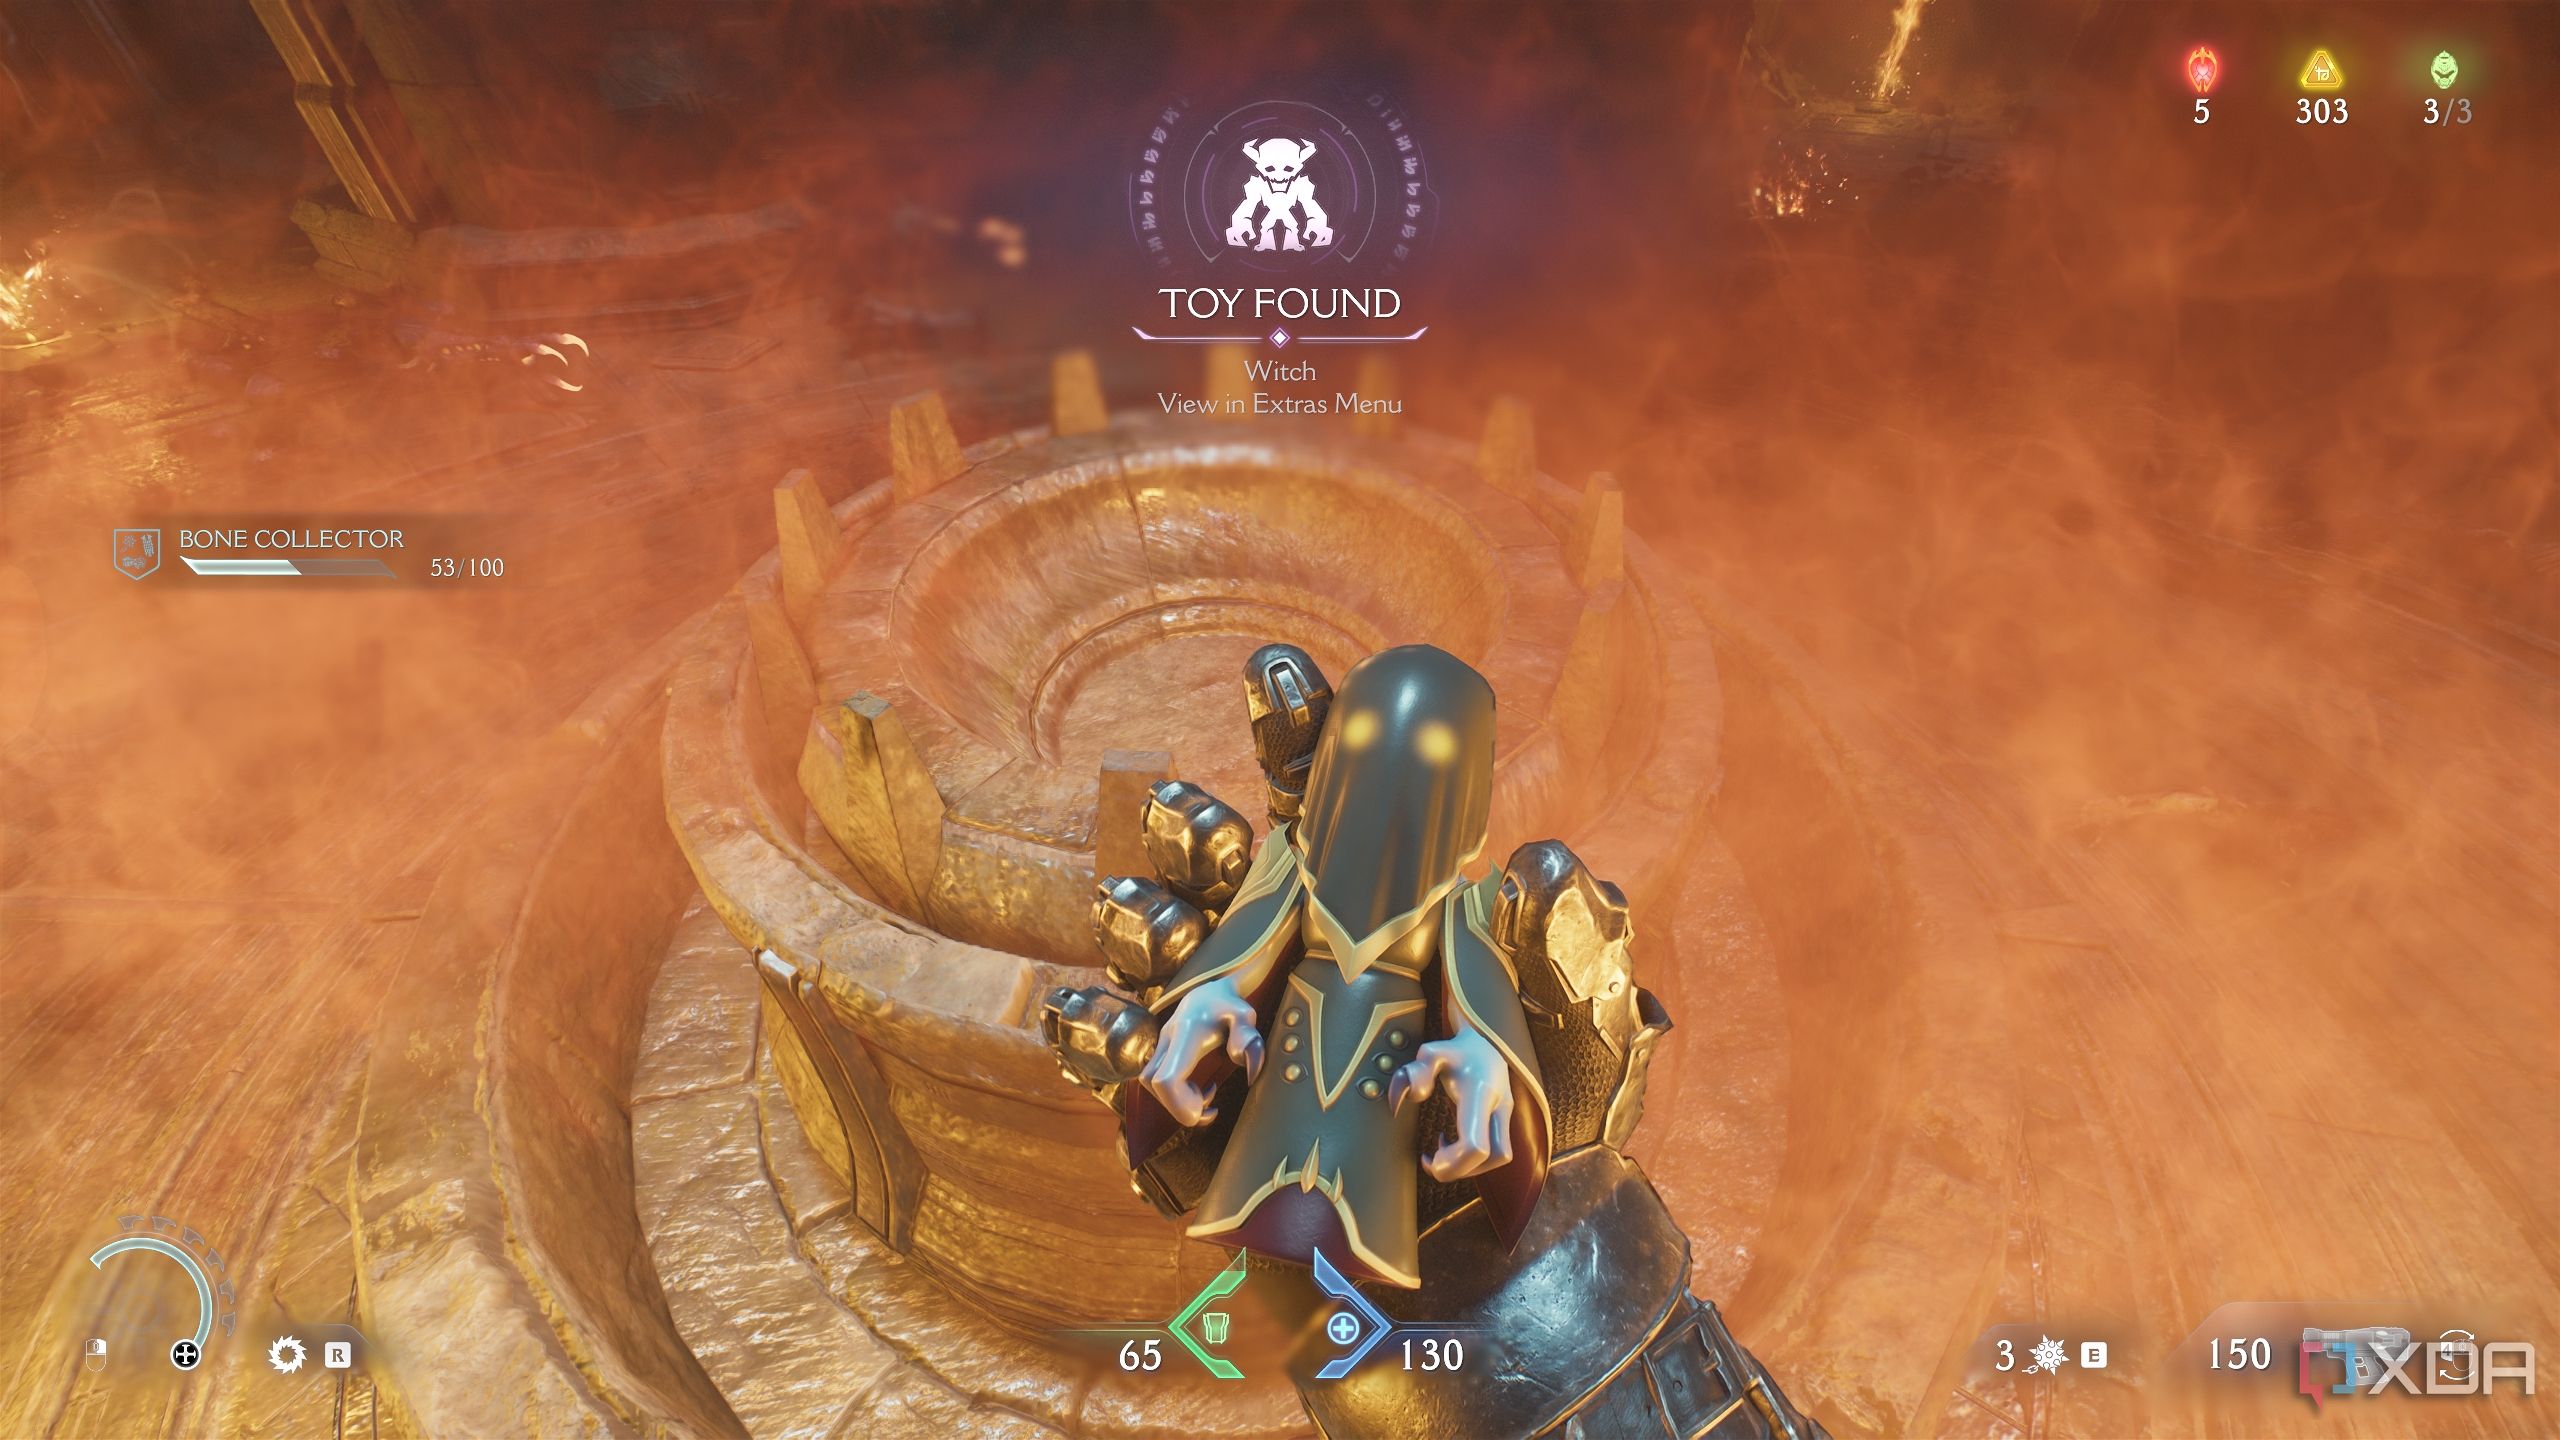
Secret area 5, and a toy collectible
Can we do Voodoo on this?
Once you reach the next combat encounter, it’ll be a while before all the demons are dealt with. You’ll also get a Demonic Essence for armor here. Make sure you use as much ammo as possible while varying between guns, so that every melee strike on fodder demons gives you ammo.
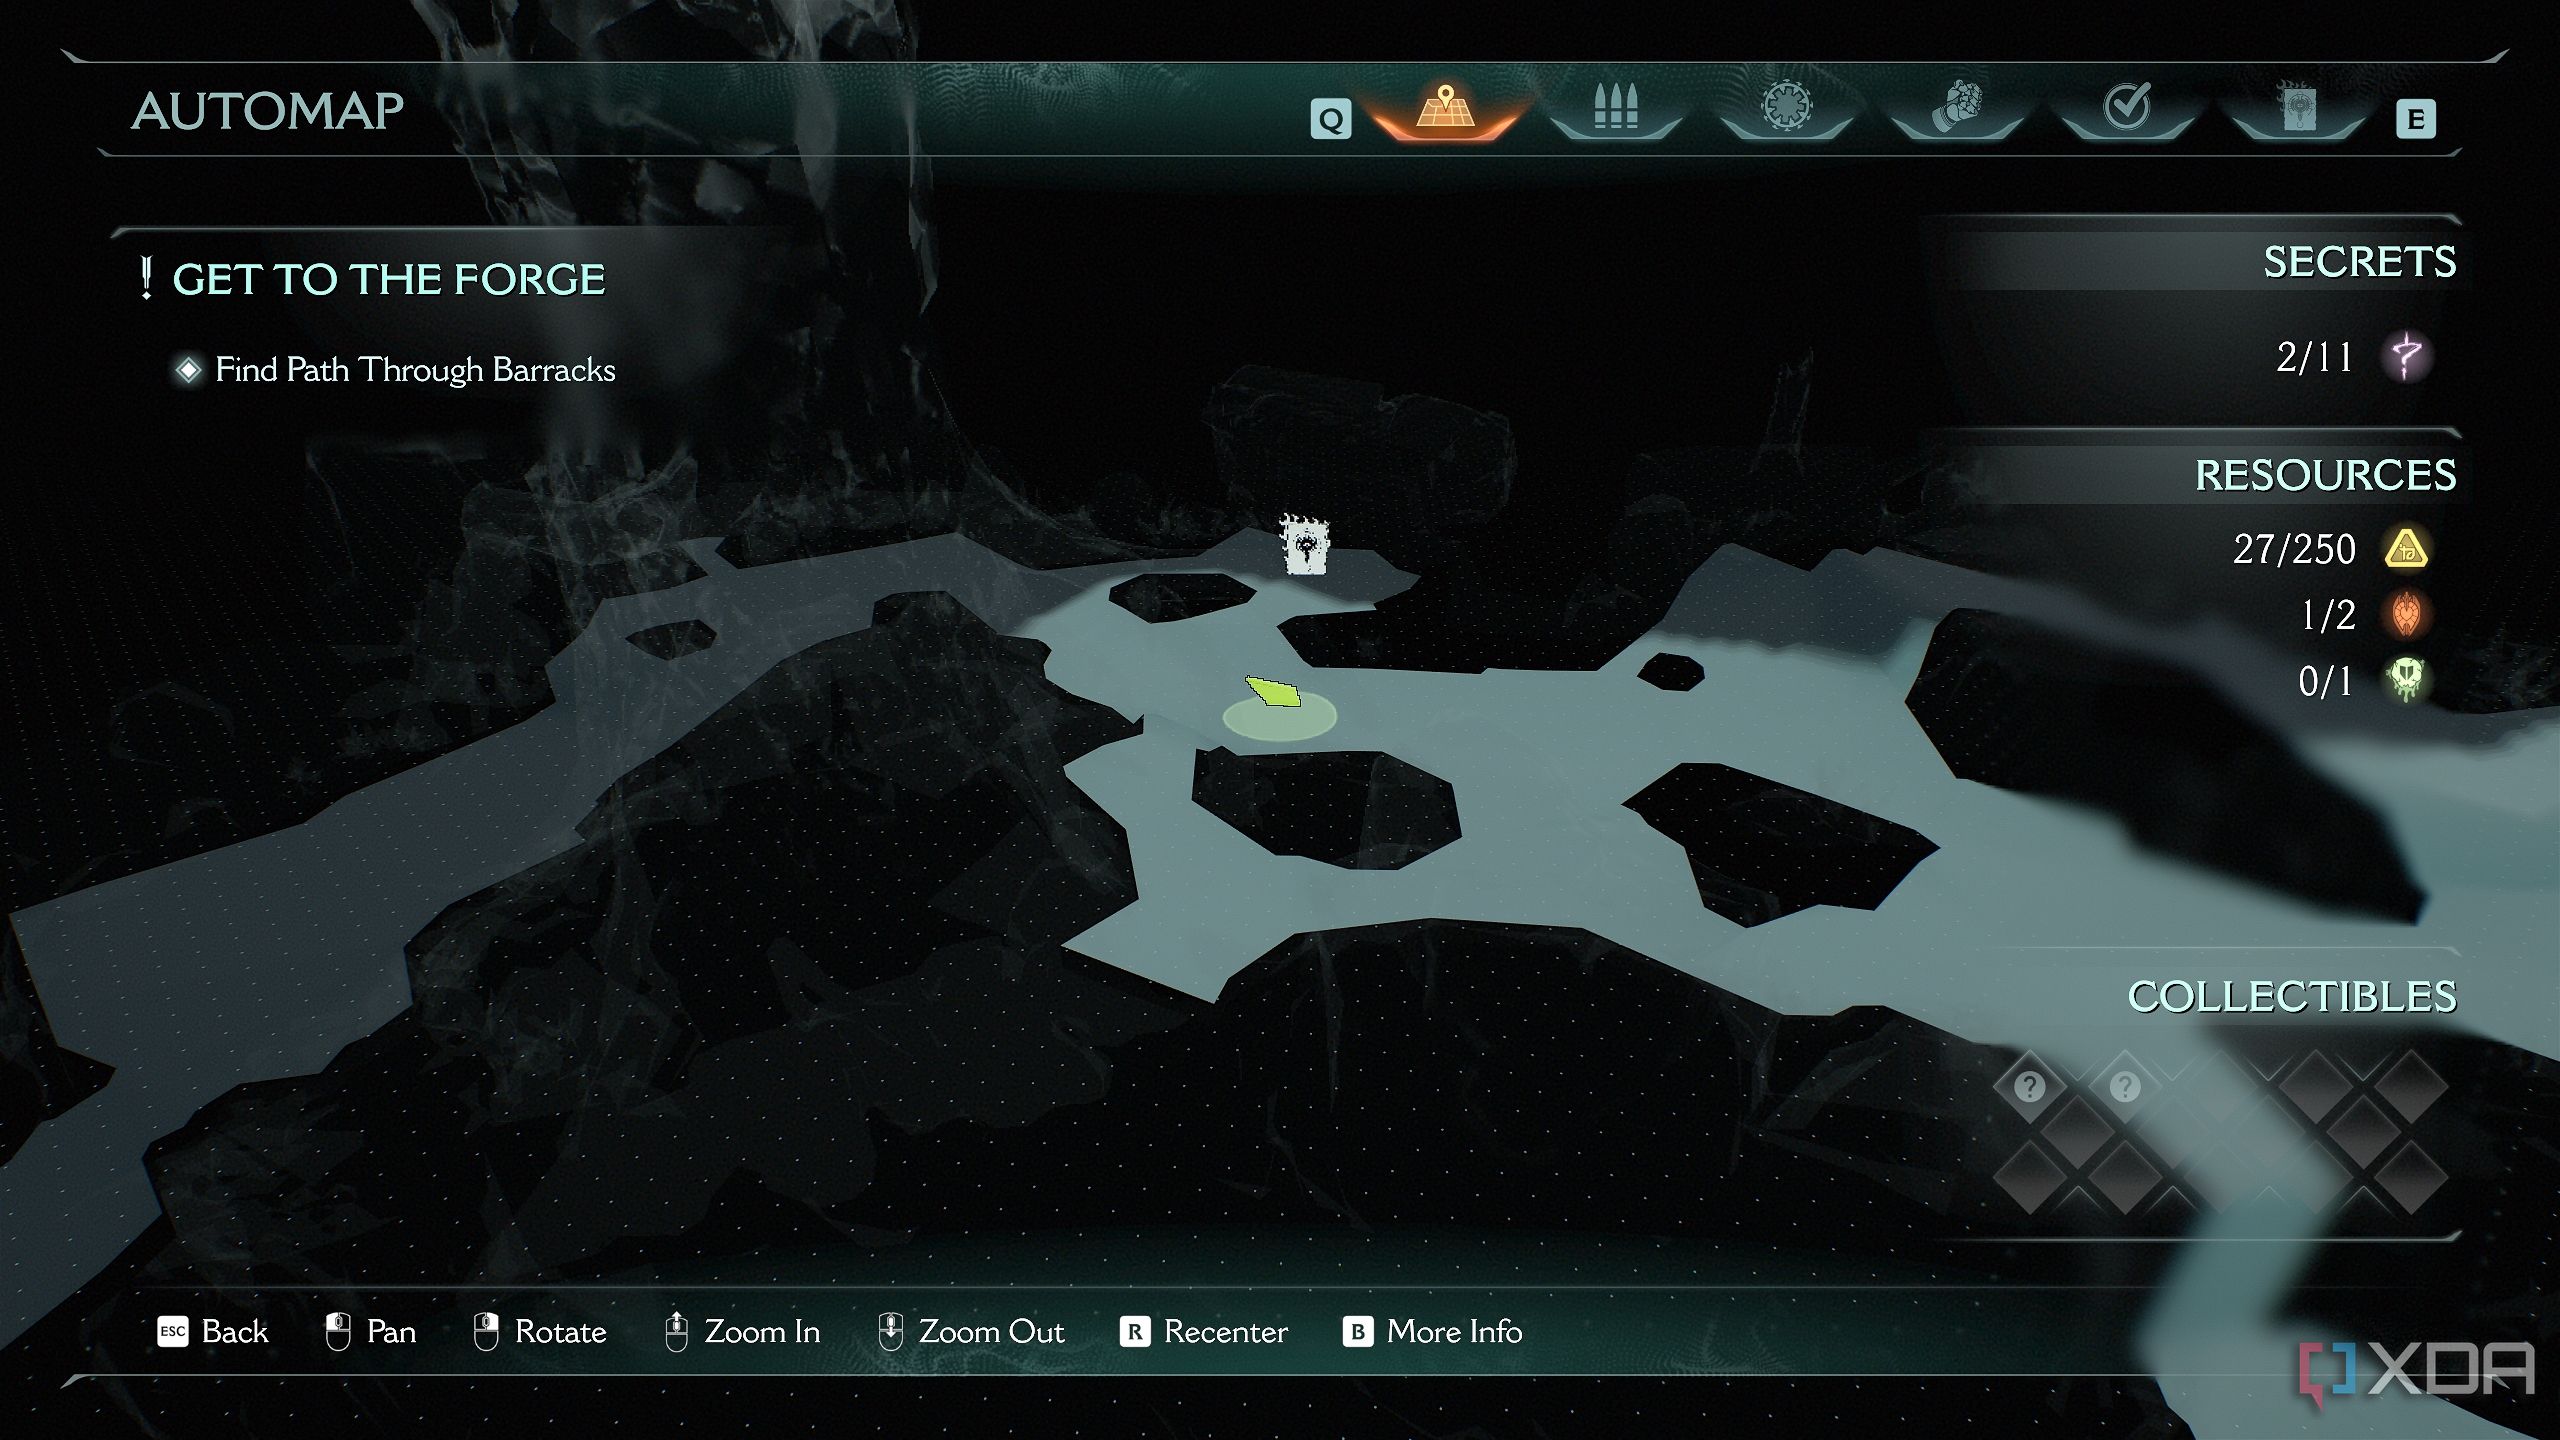
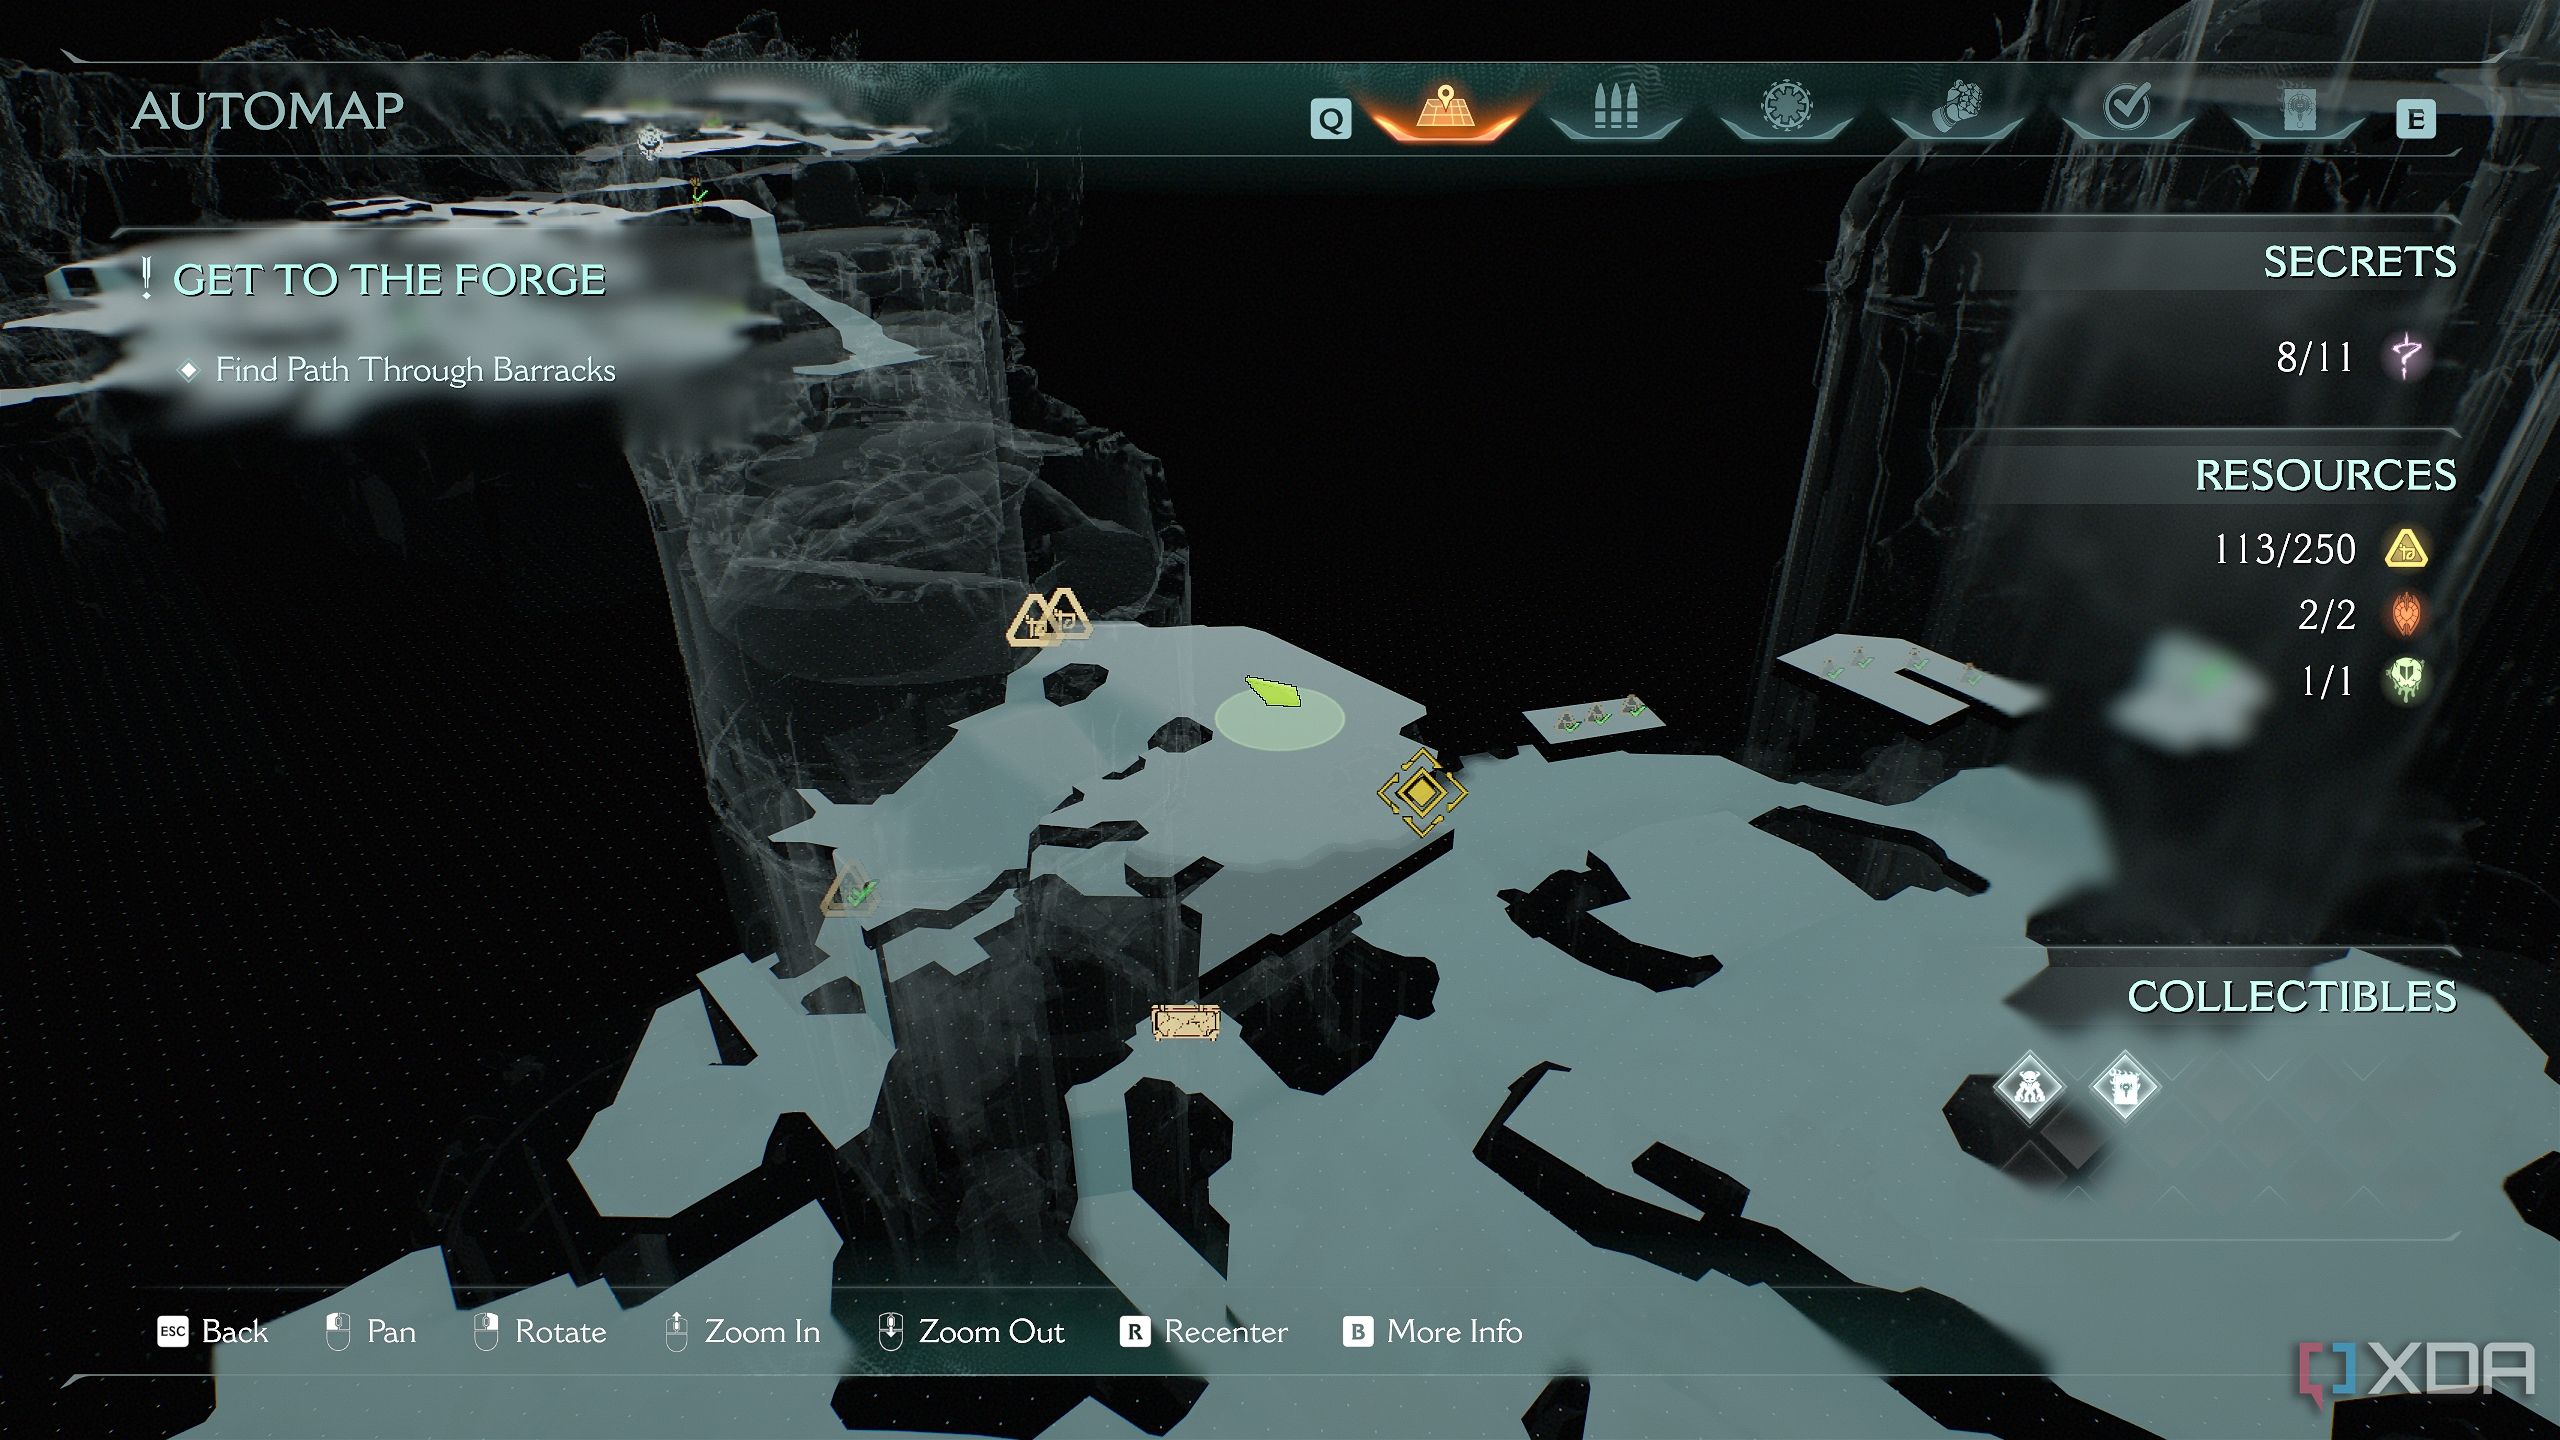
Once that’s done, proceed to this location on the map.
Jump down and run across the gap in the path to collect a trail of gold bars.
You'll then reach some stairs with fiery obstacles. Deal with the Shadow Imp Stalkers here, and pick up all the gold bars on the ground.
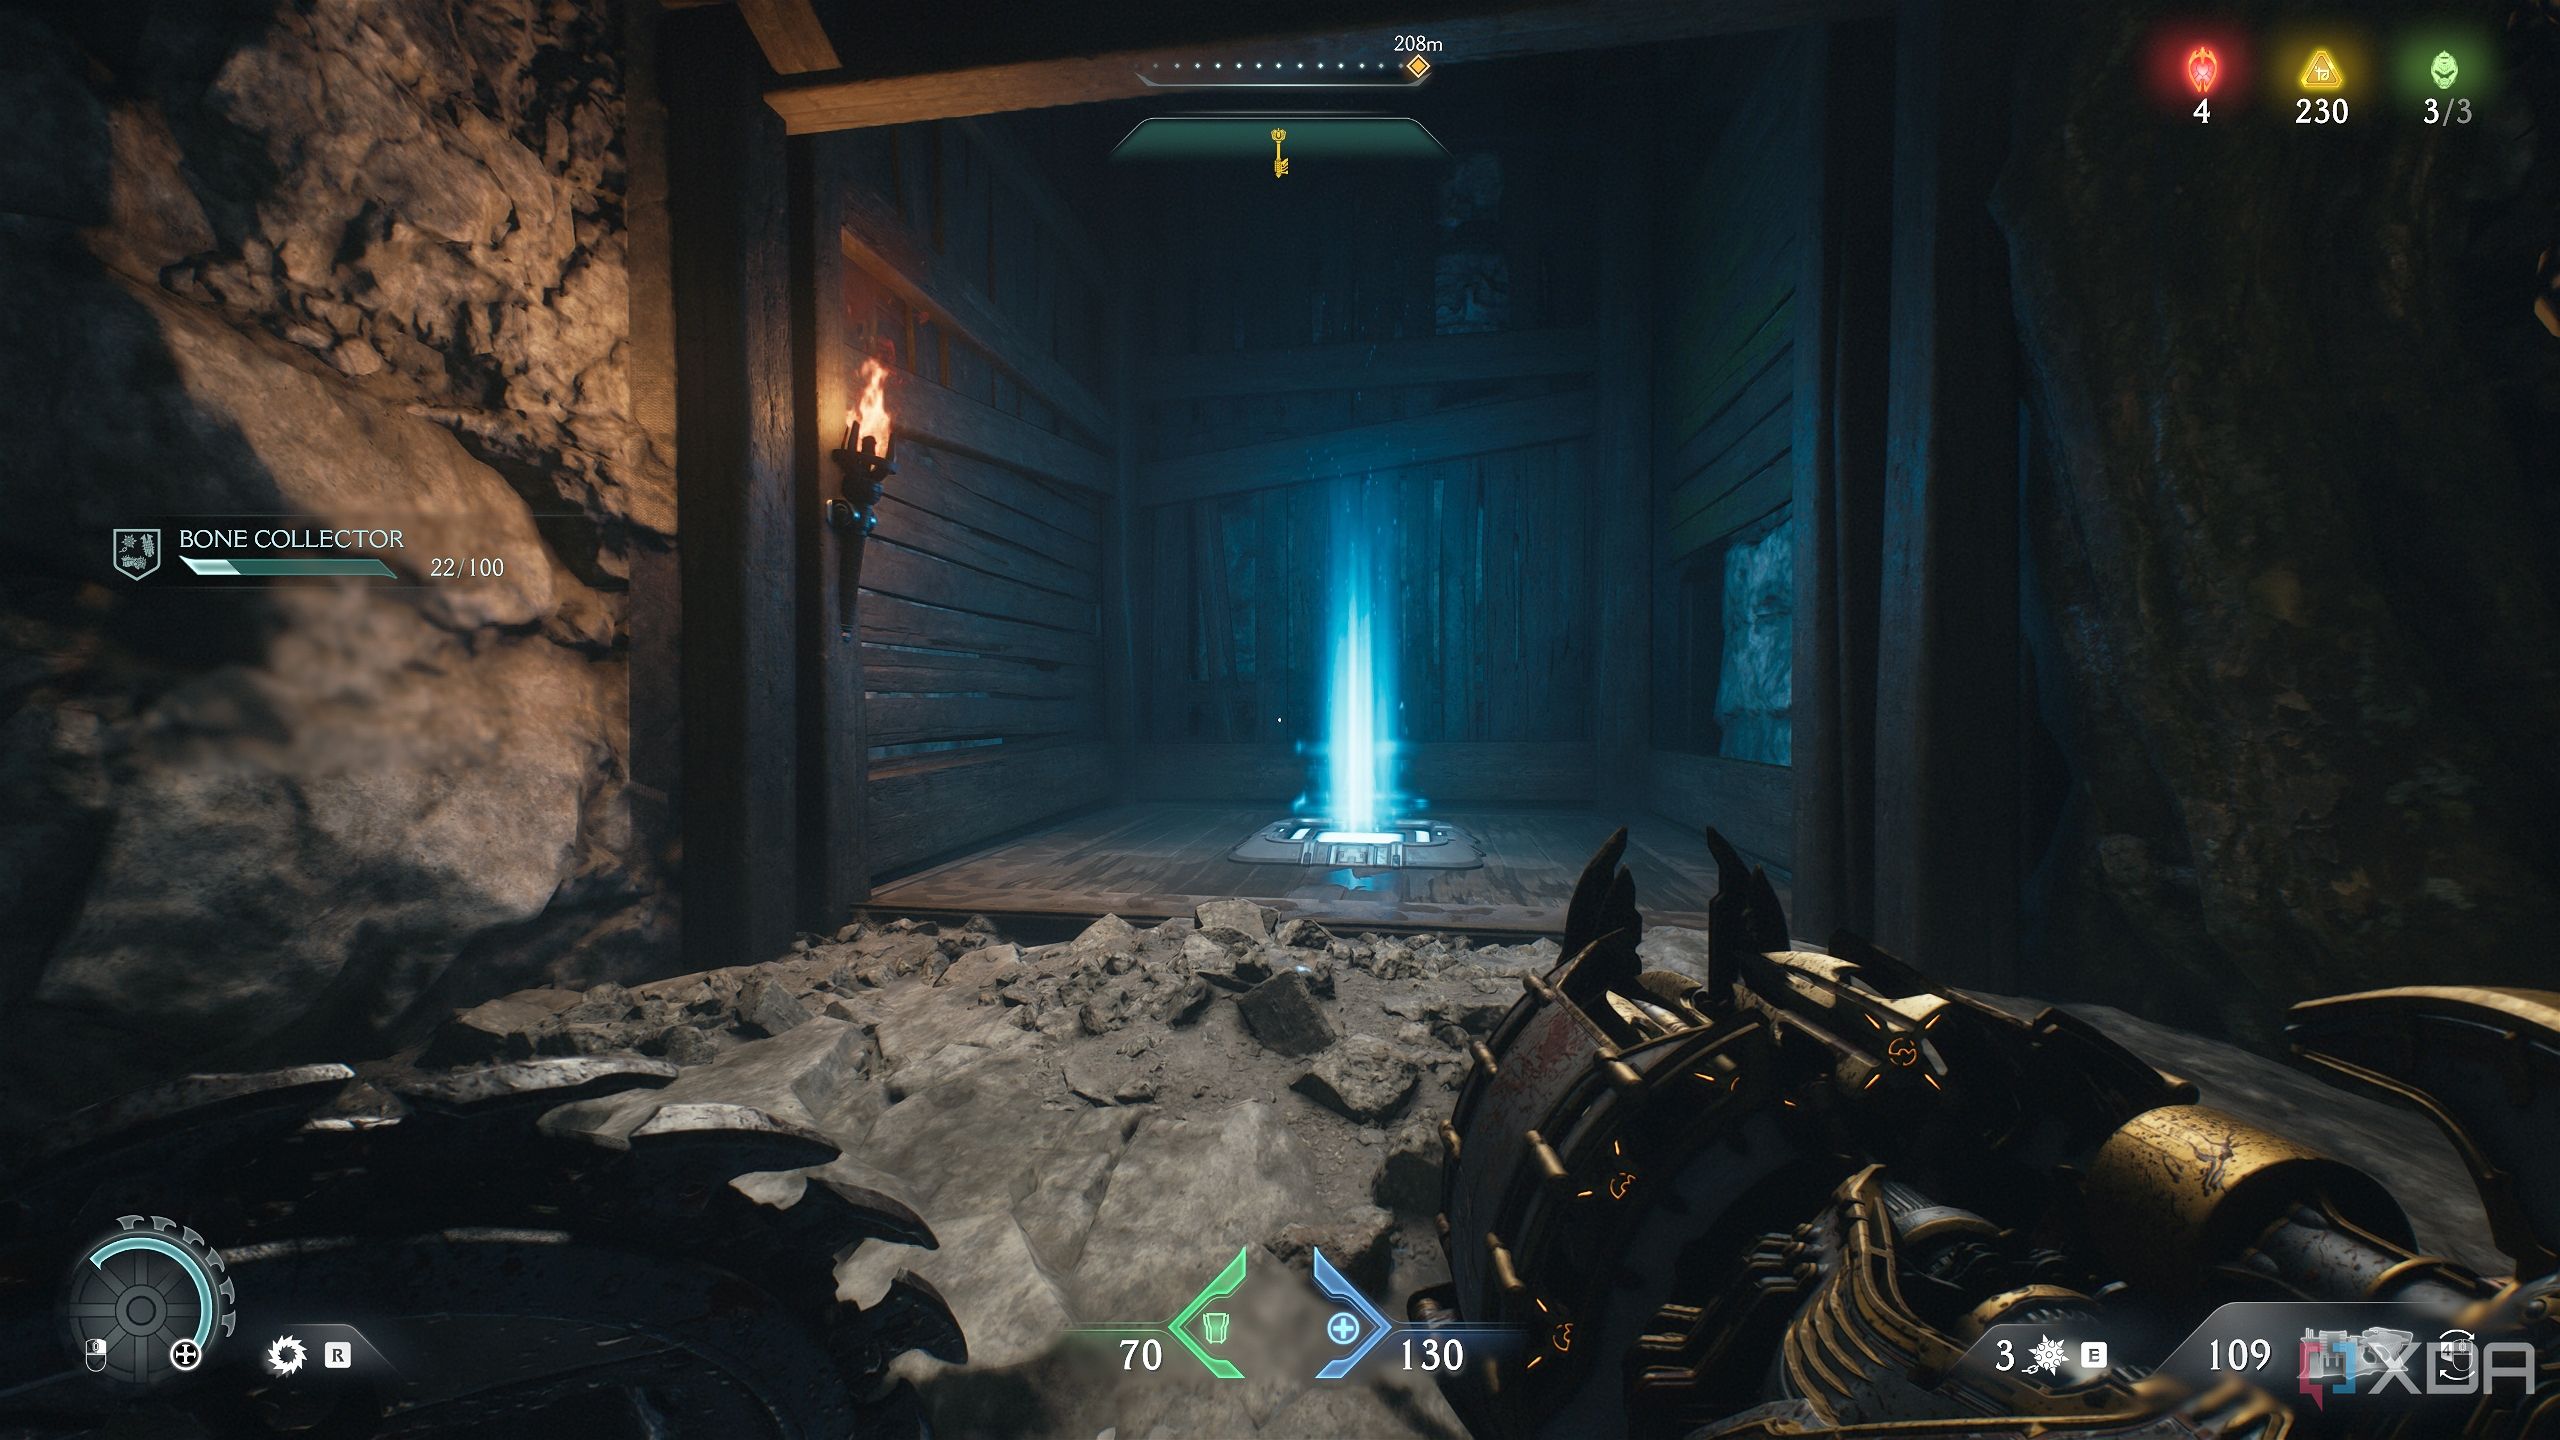
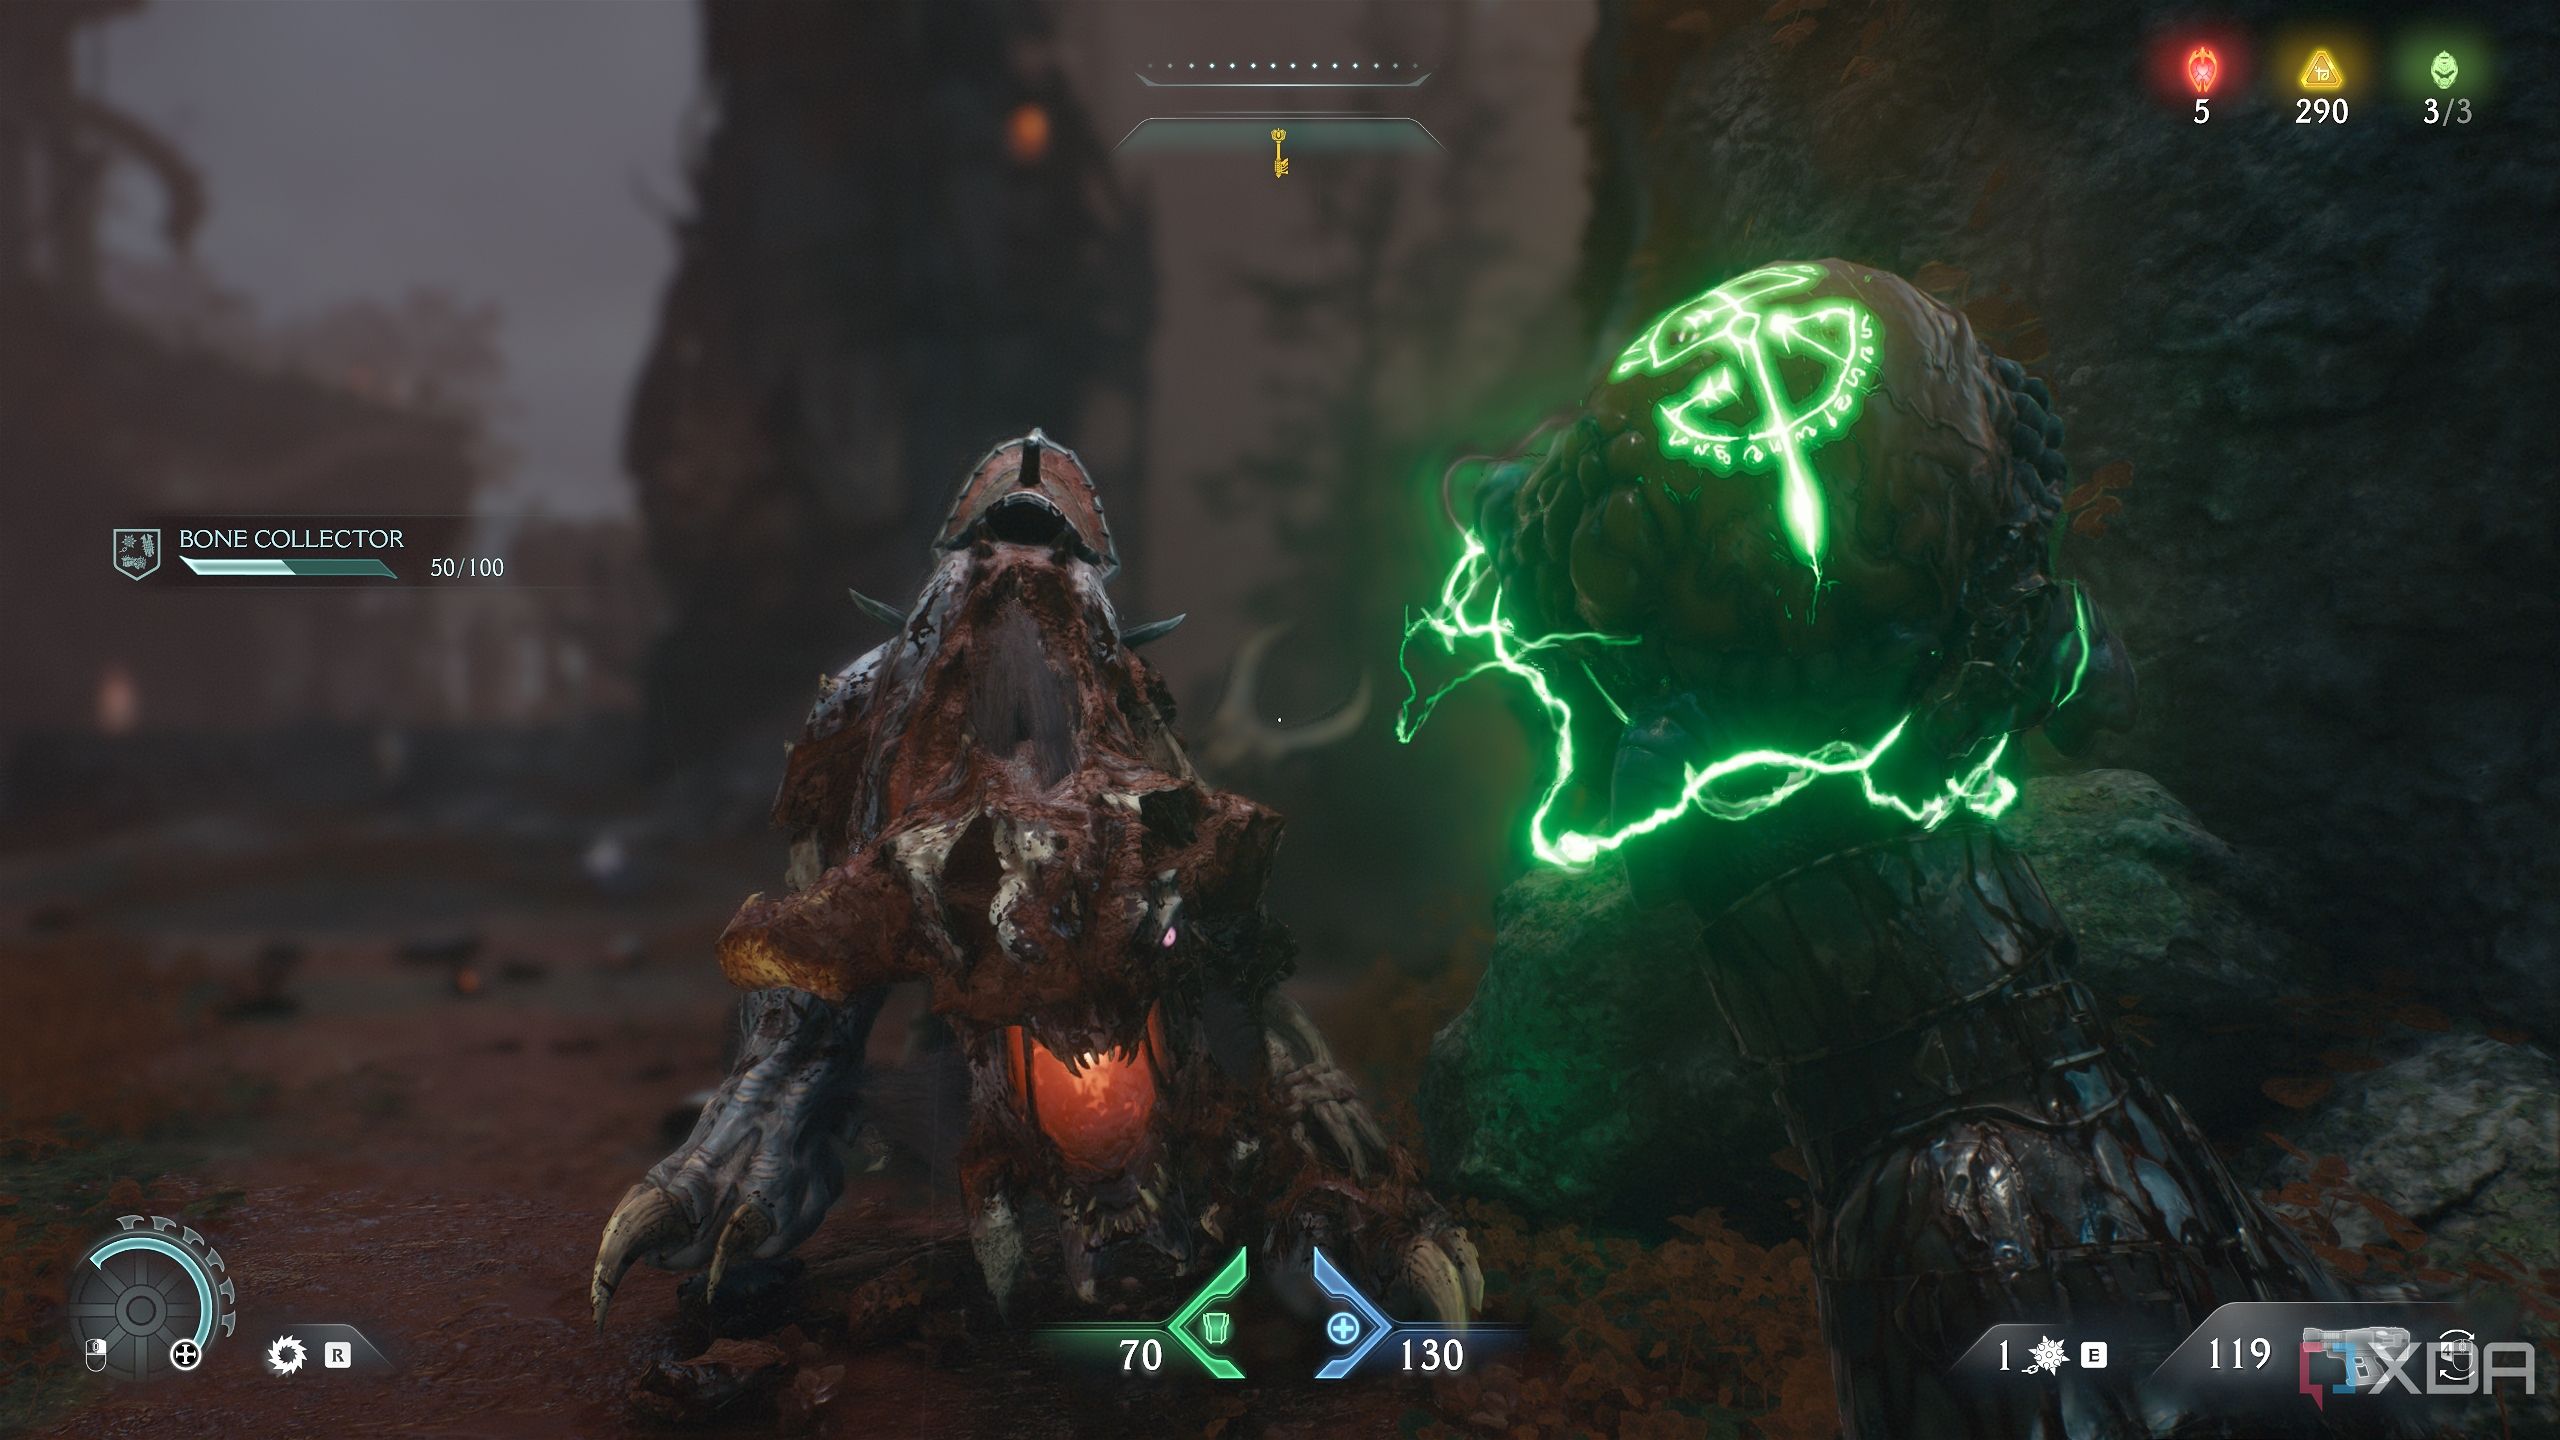
You’ll see a secret collectible locked in the center of the room, with a blue energy node behind it blocked by a metal barrier.
Walk up to the tree outgrowth next to it, and look up to see a heated metal cross.
Cut it down to free the energy node, and use it to unlock the Witch toy collectible.
Walk to the exit ahead and Shield Charge through the wooden wall to get back to the arena.
Related
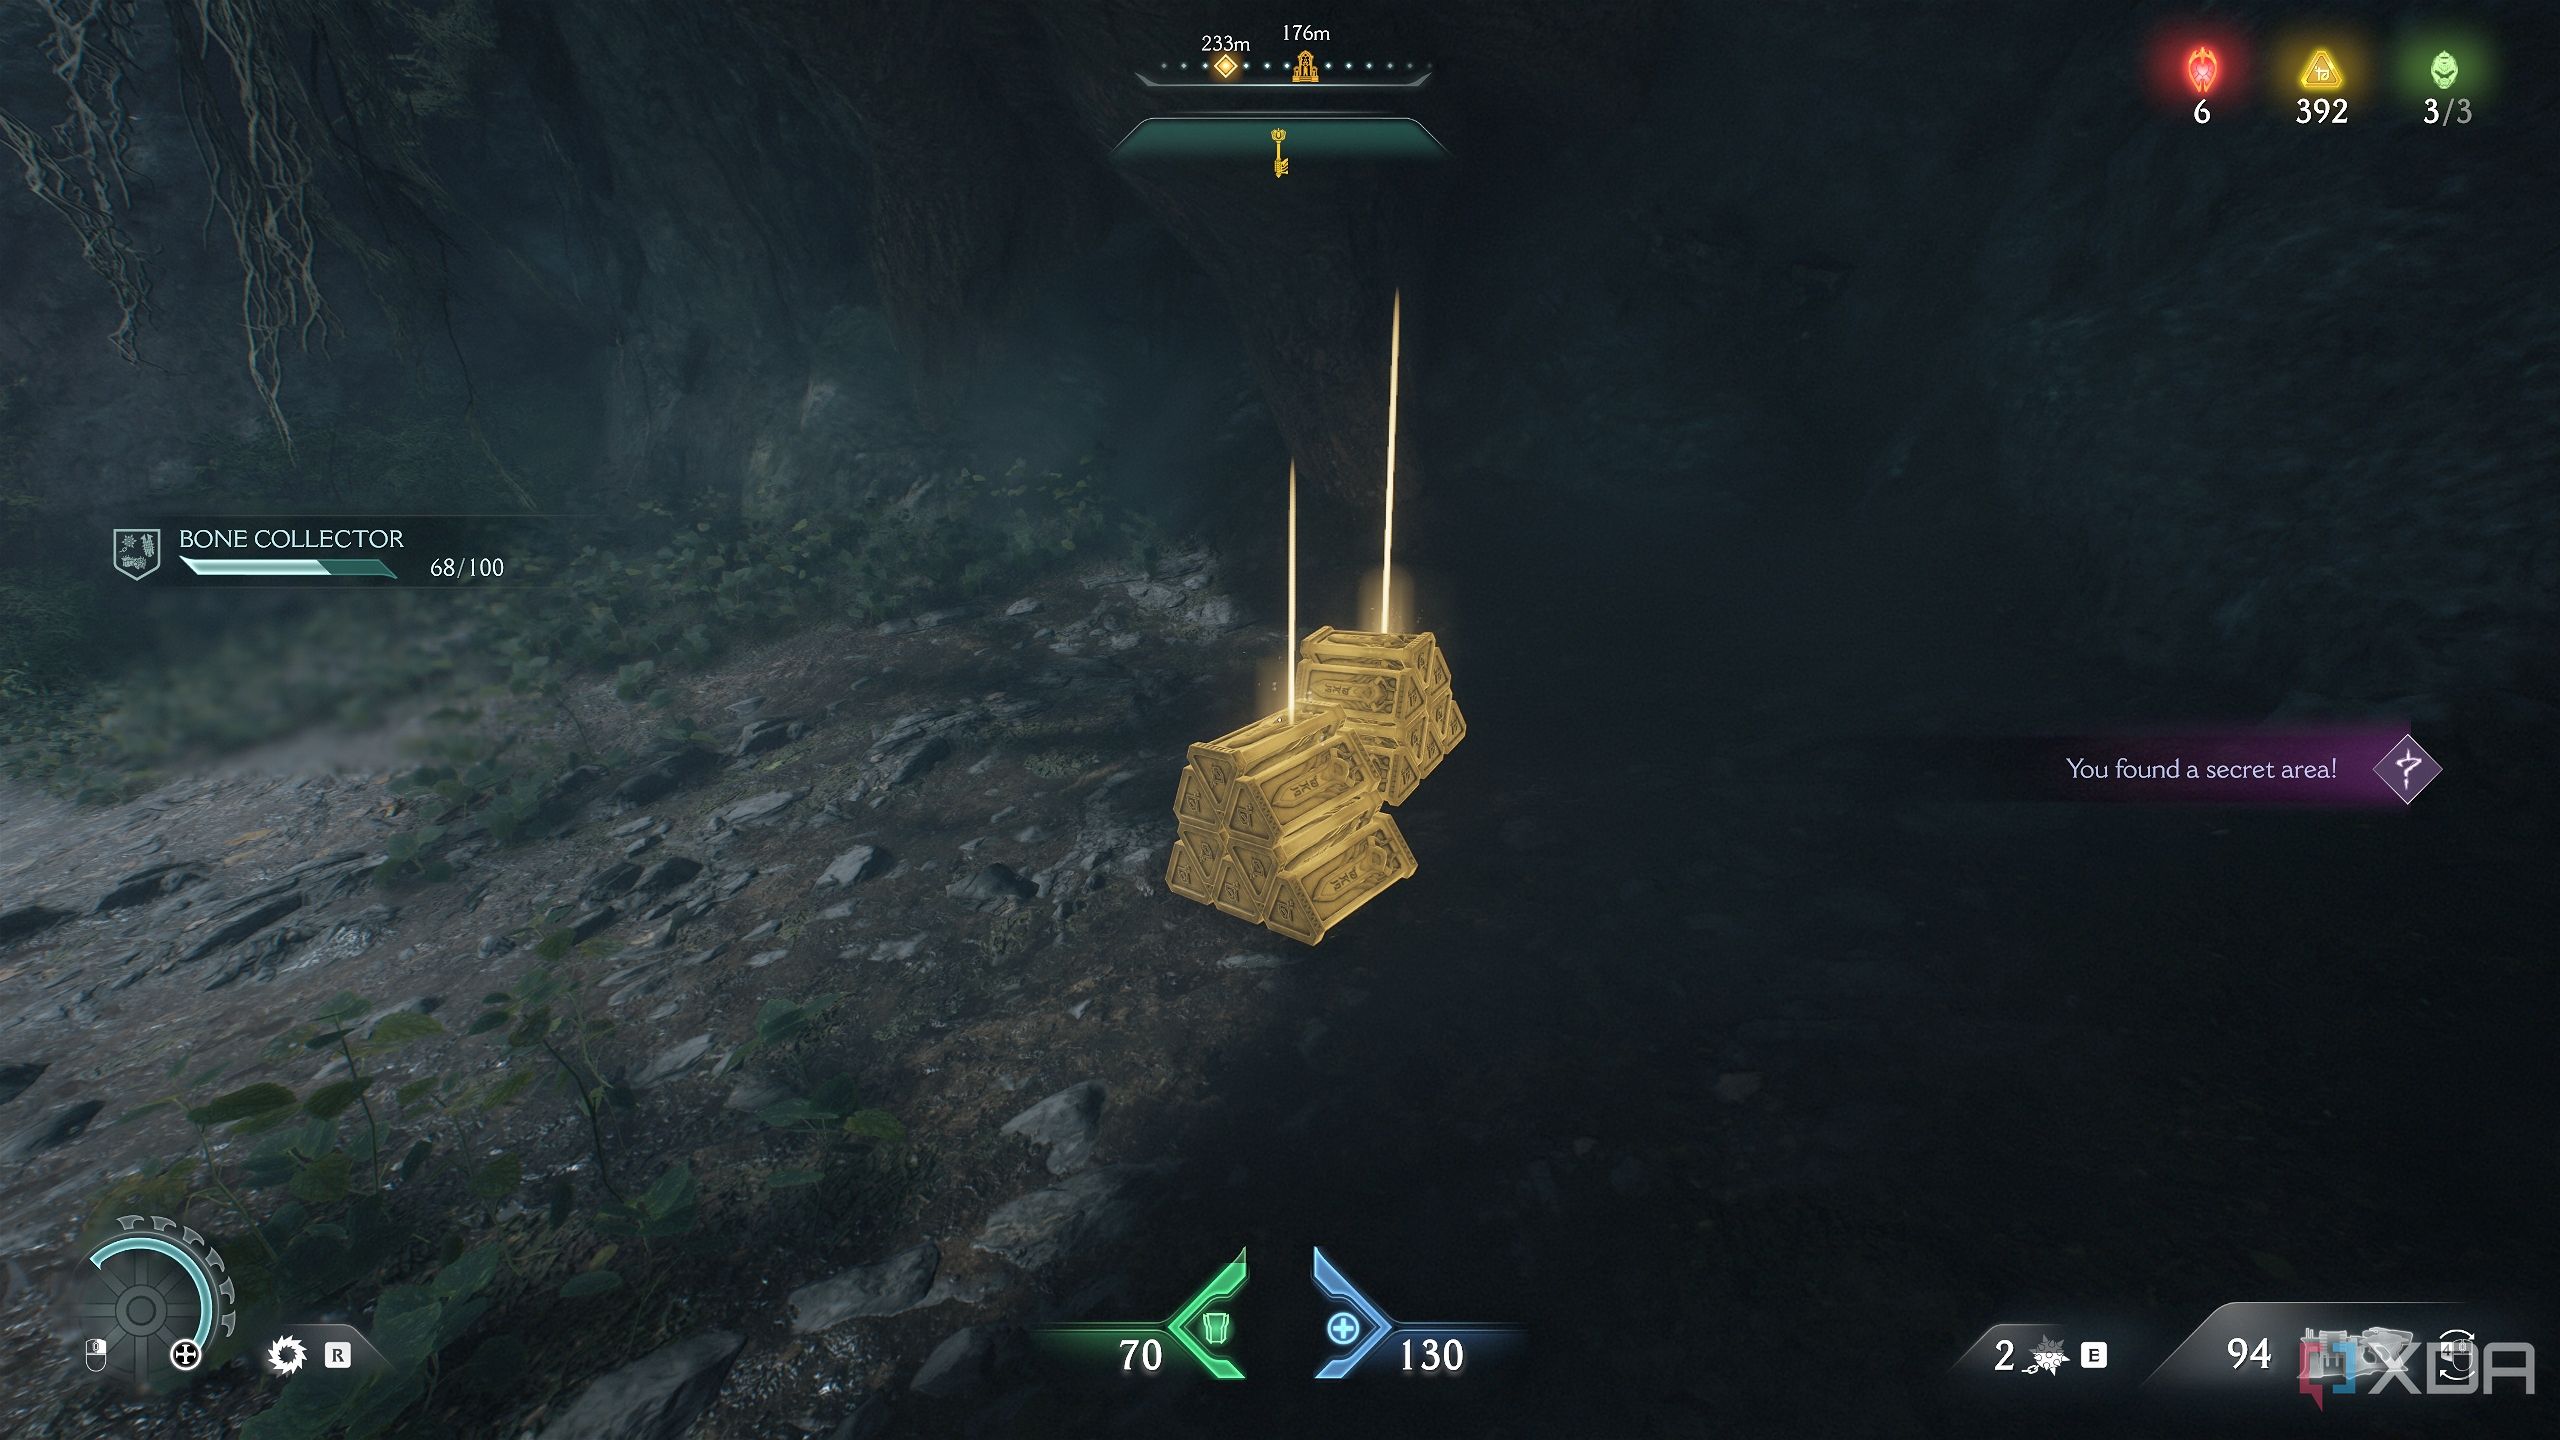
Secret area 6 and gold stacks
Gold stacks and an ambush
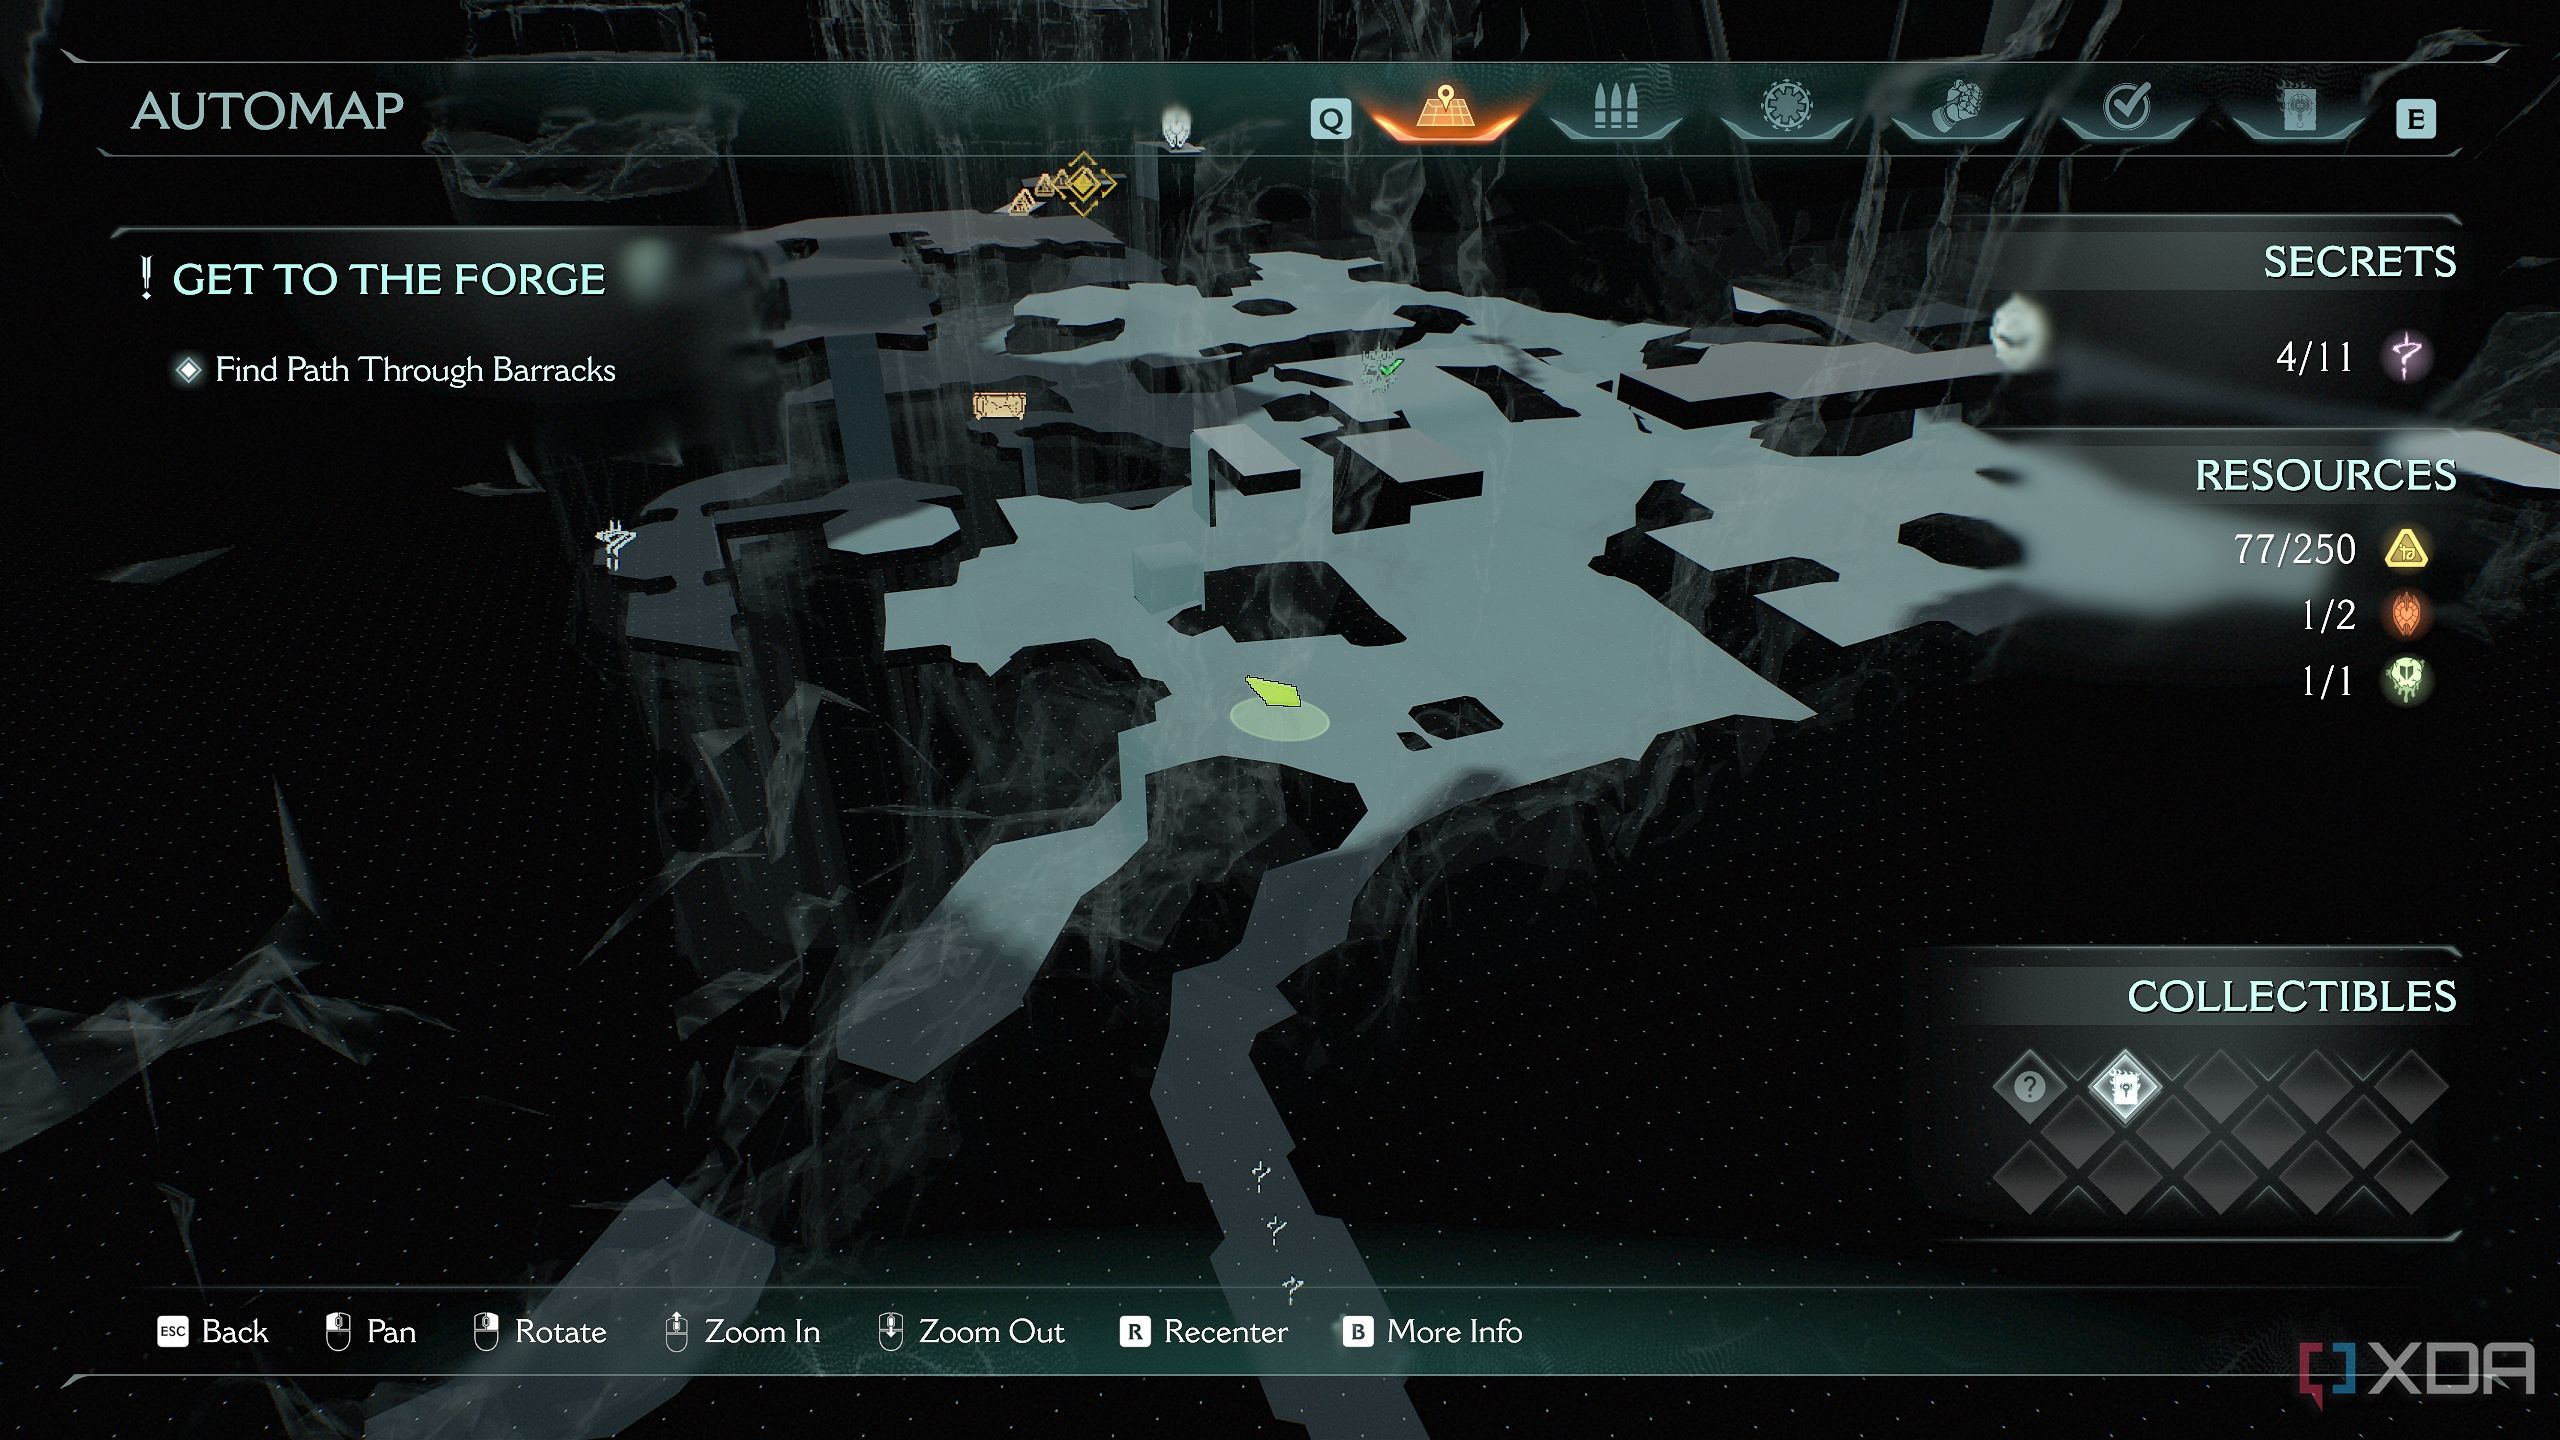
Before you proceed with the objective, there are plenty of secrets in the field here.
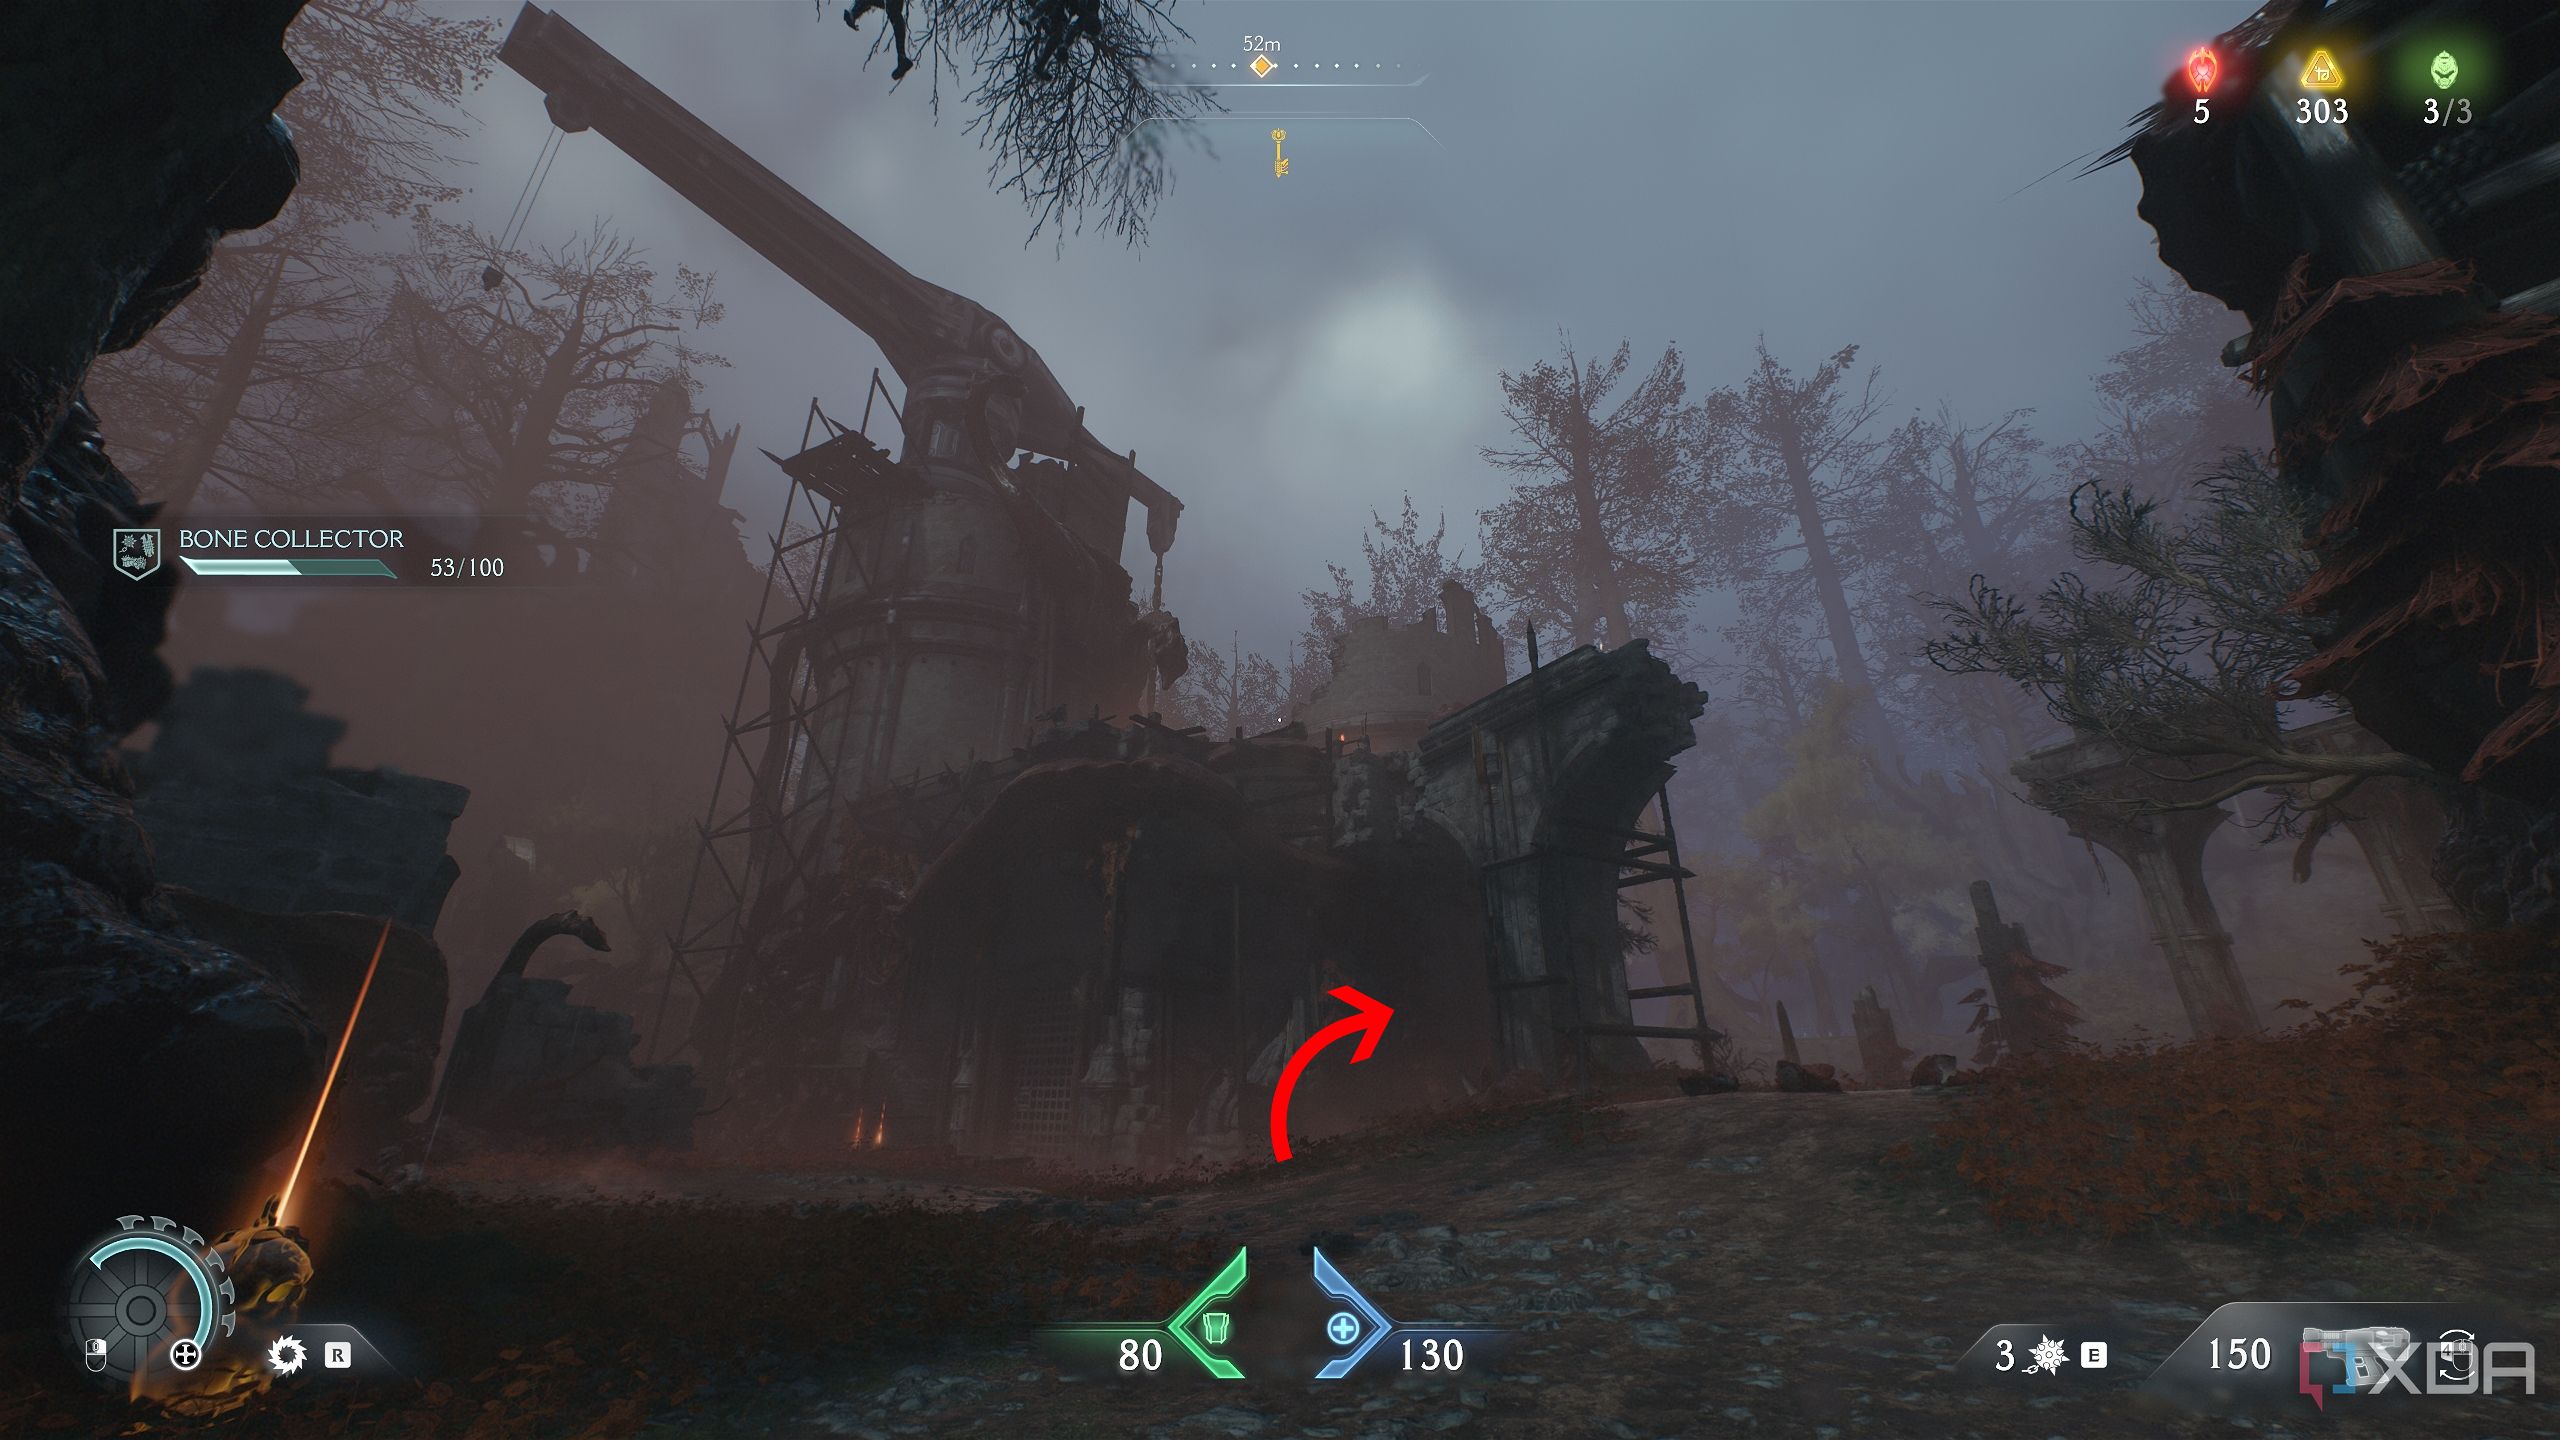
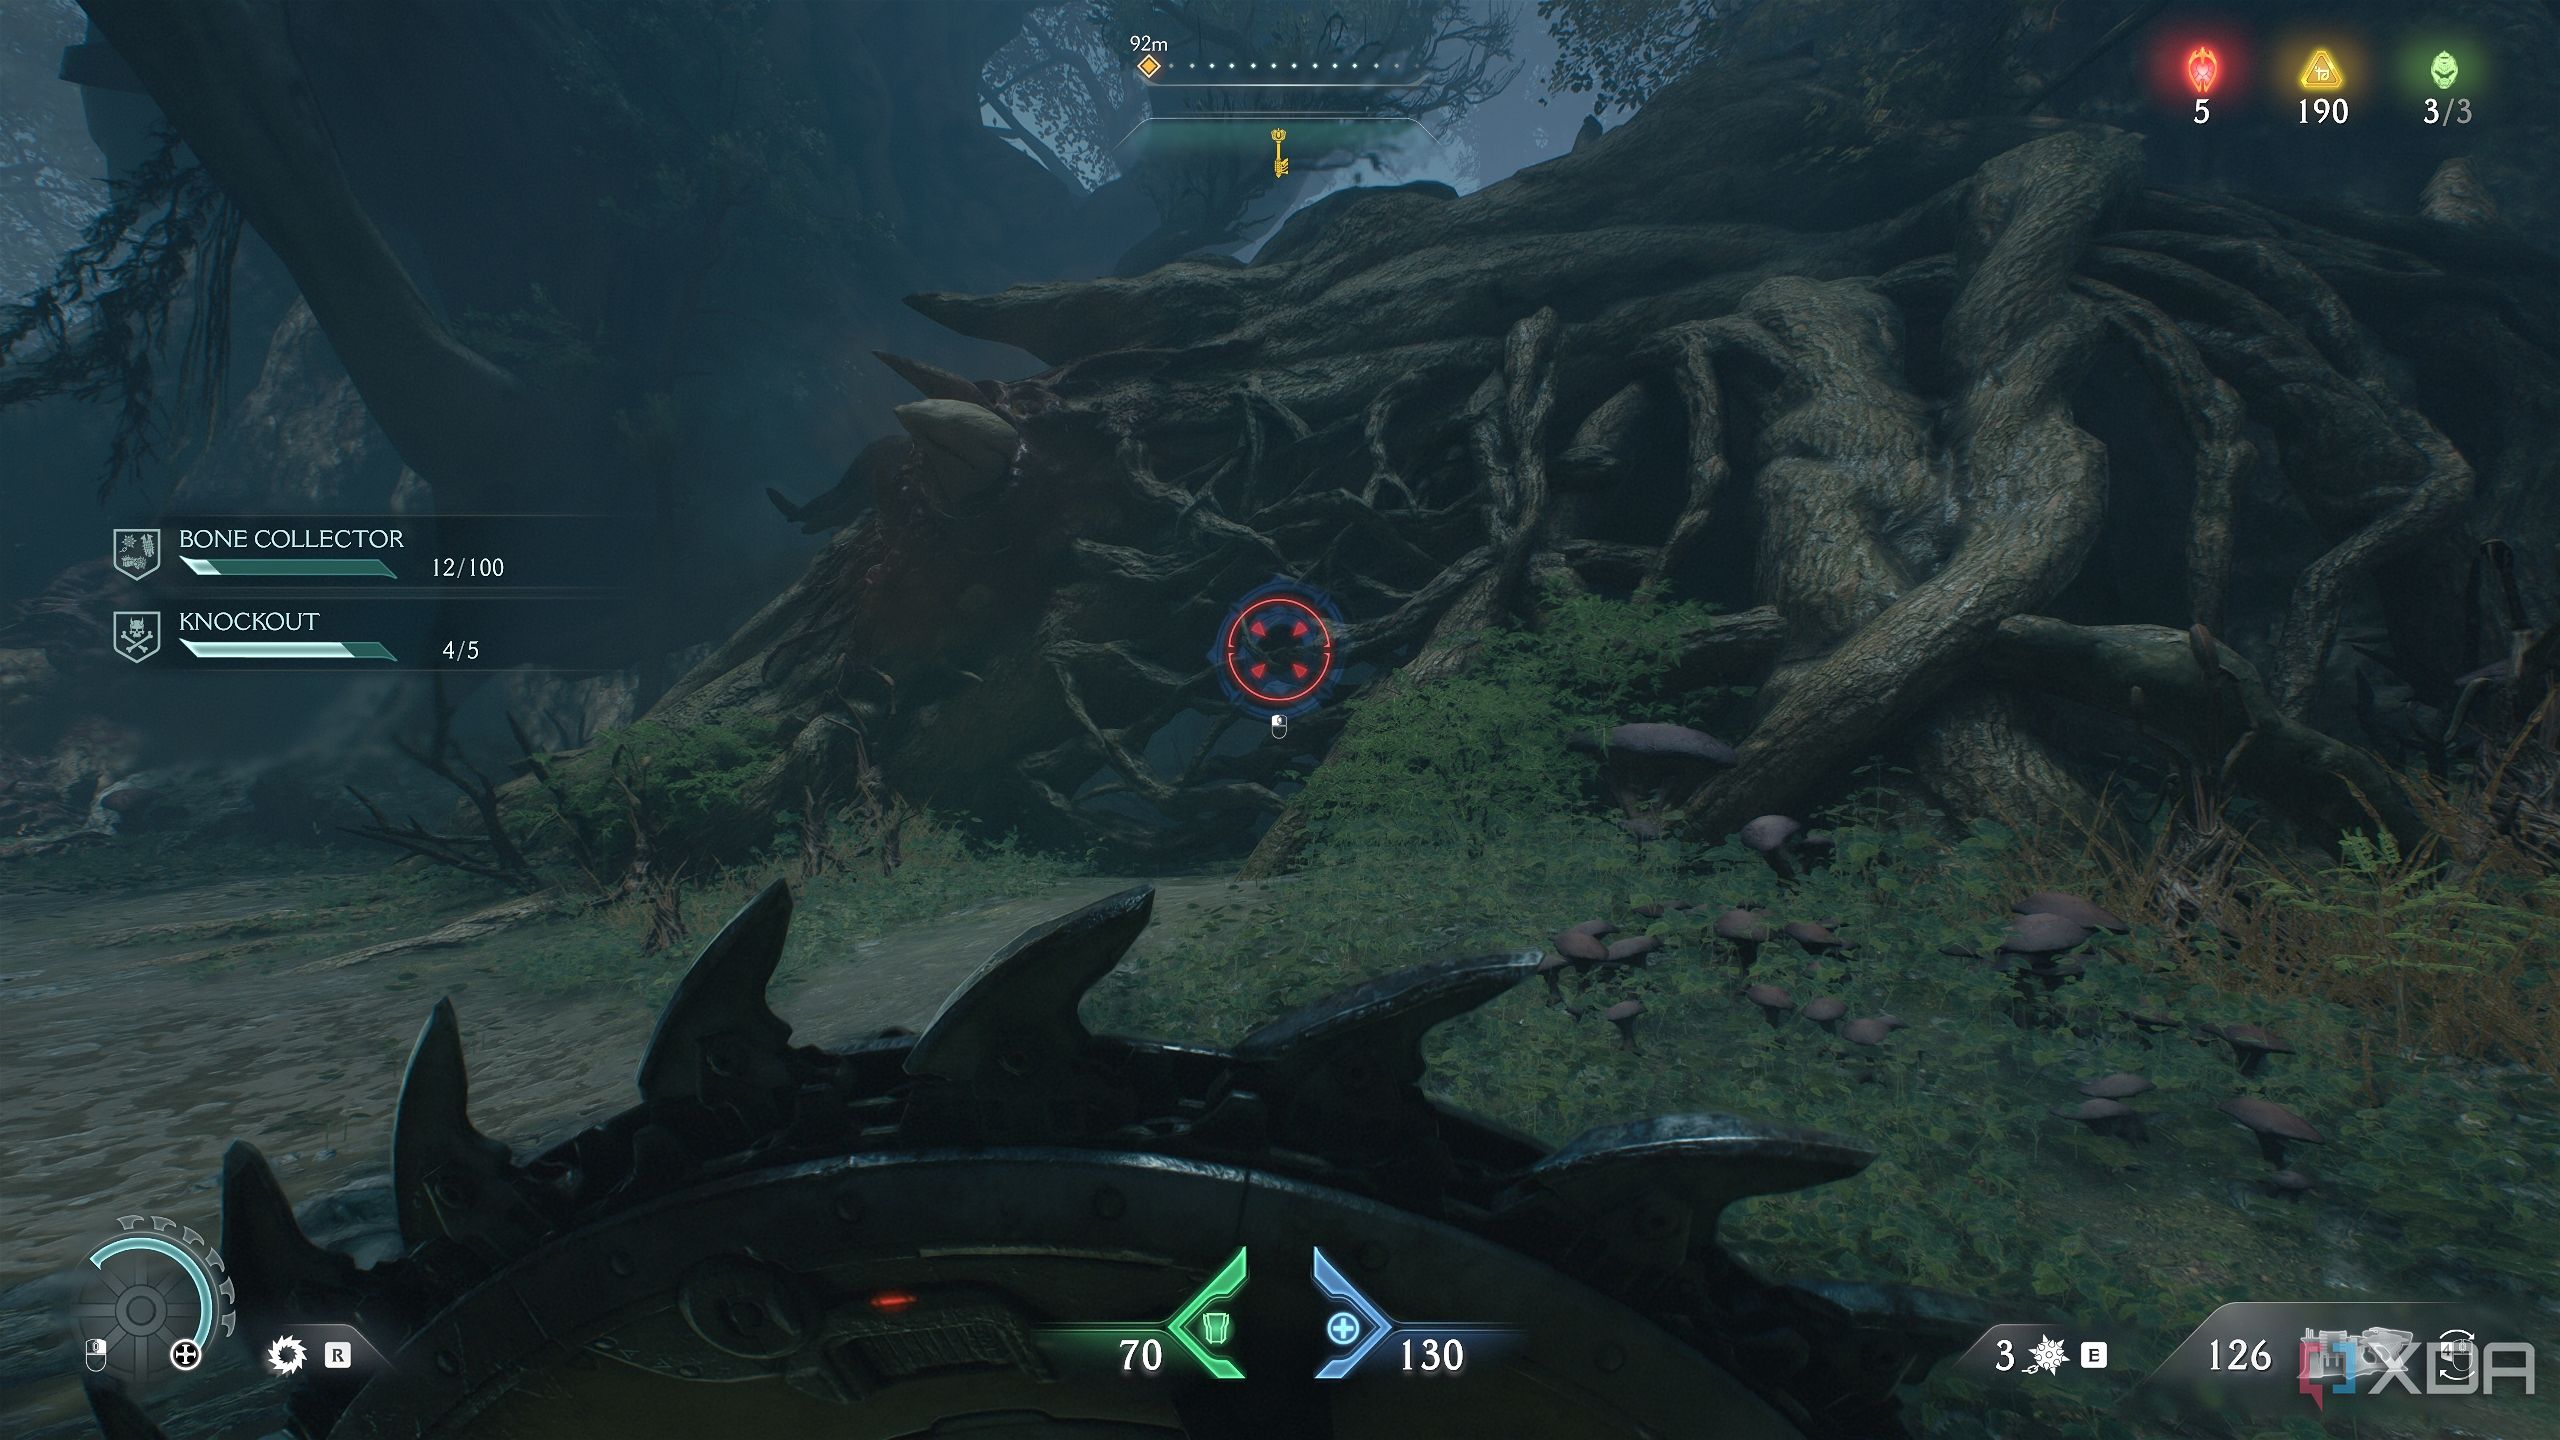
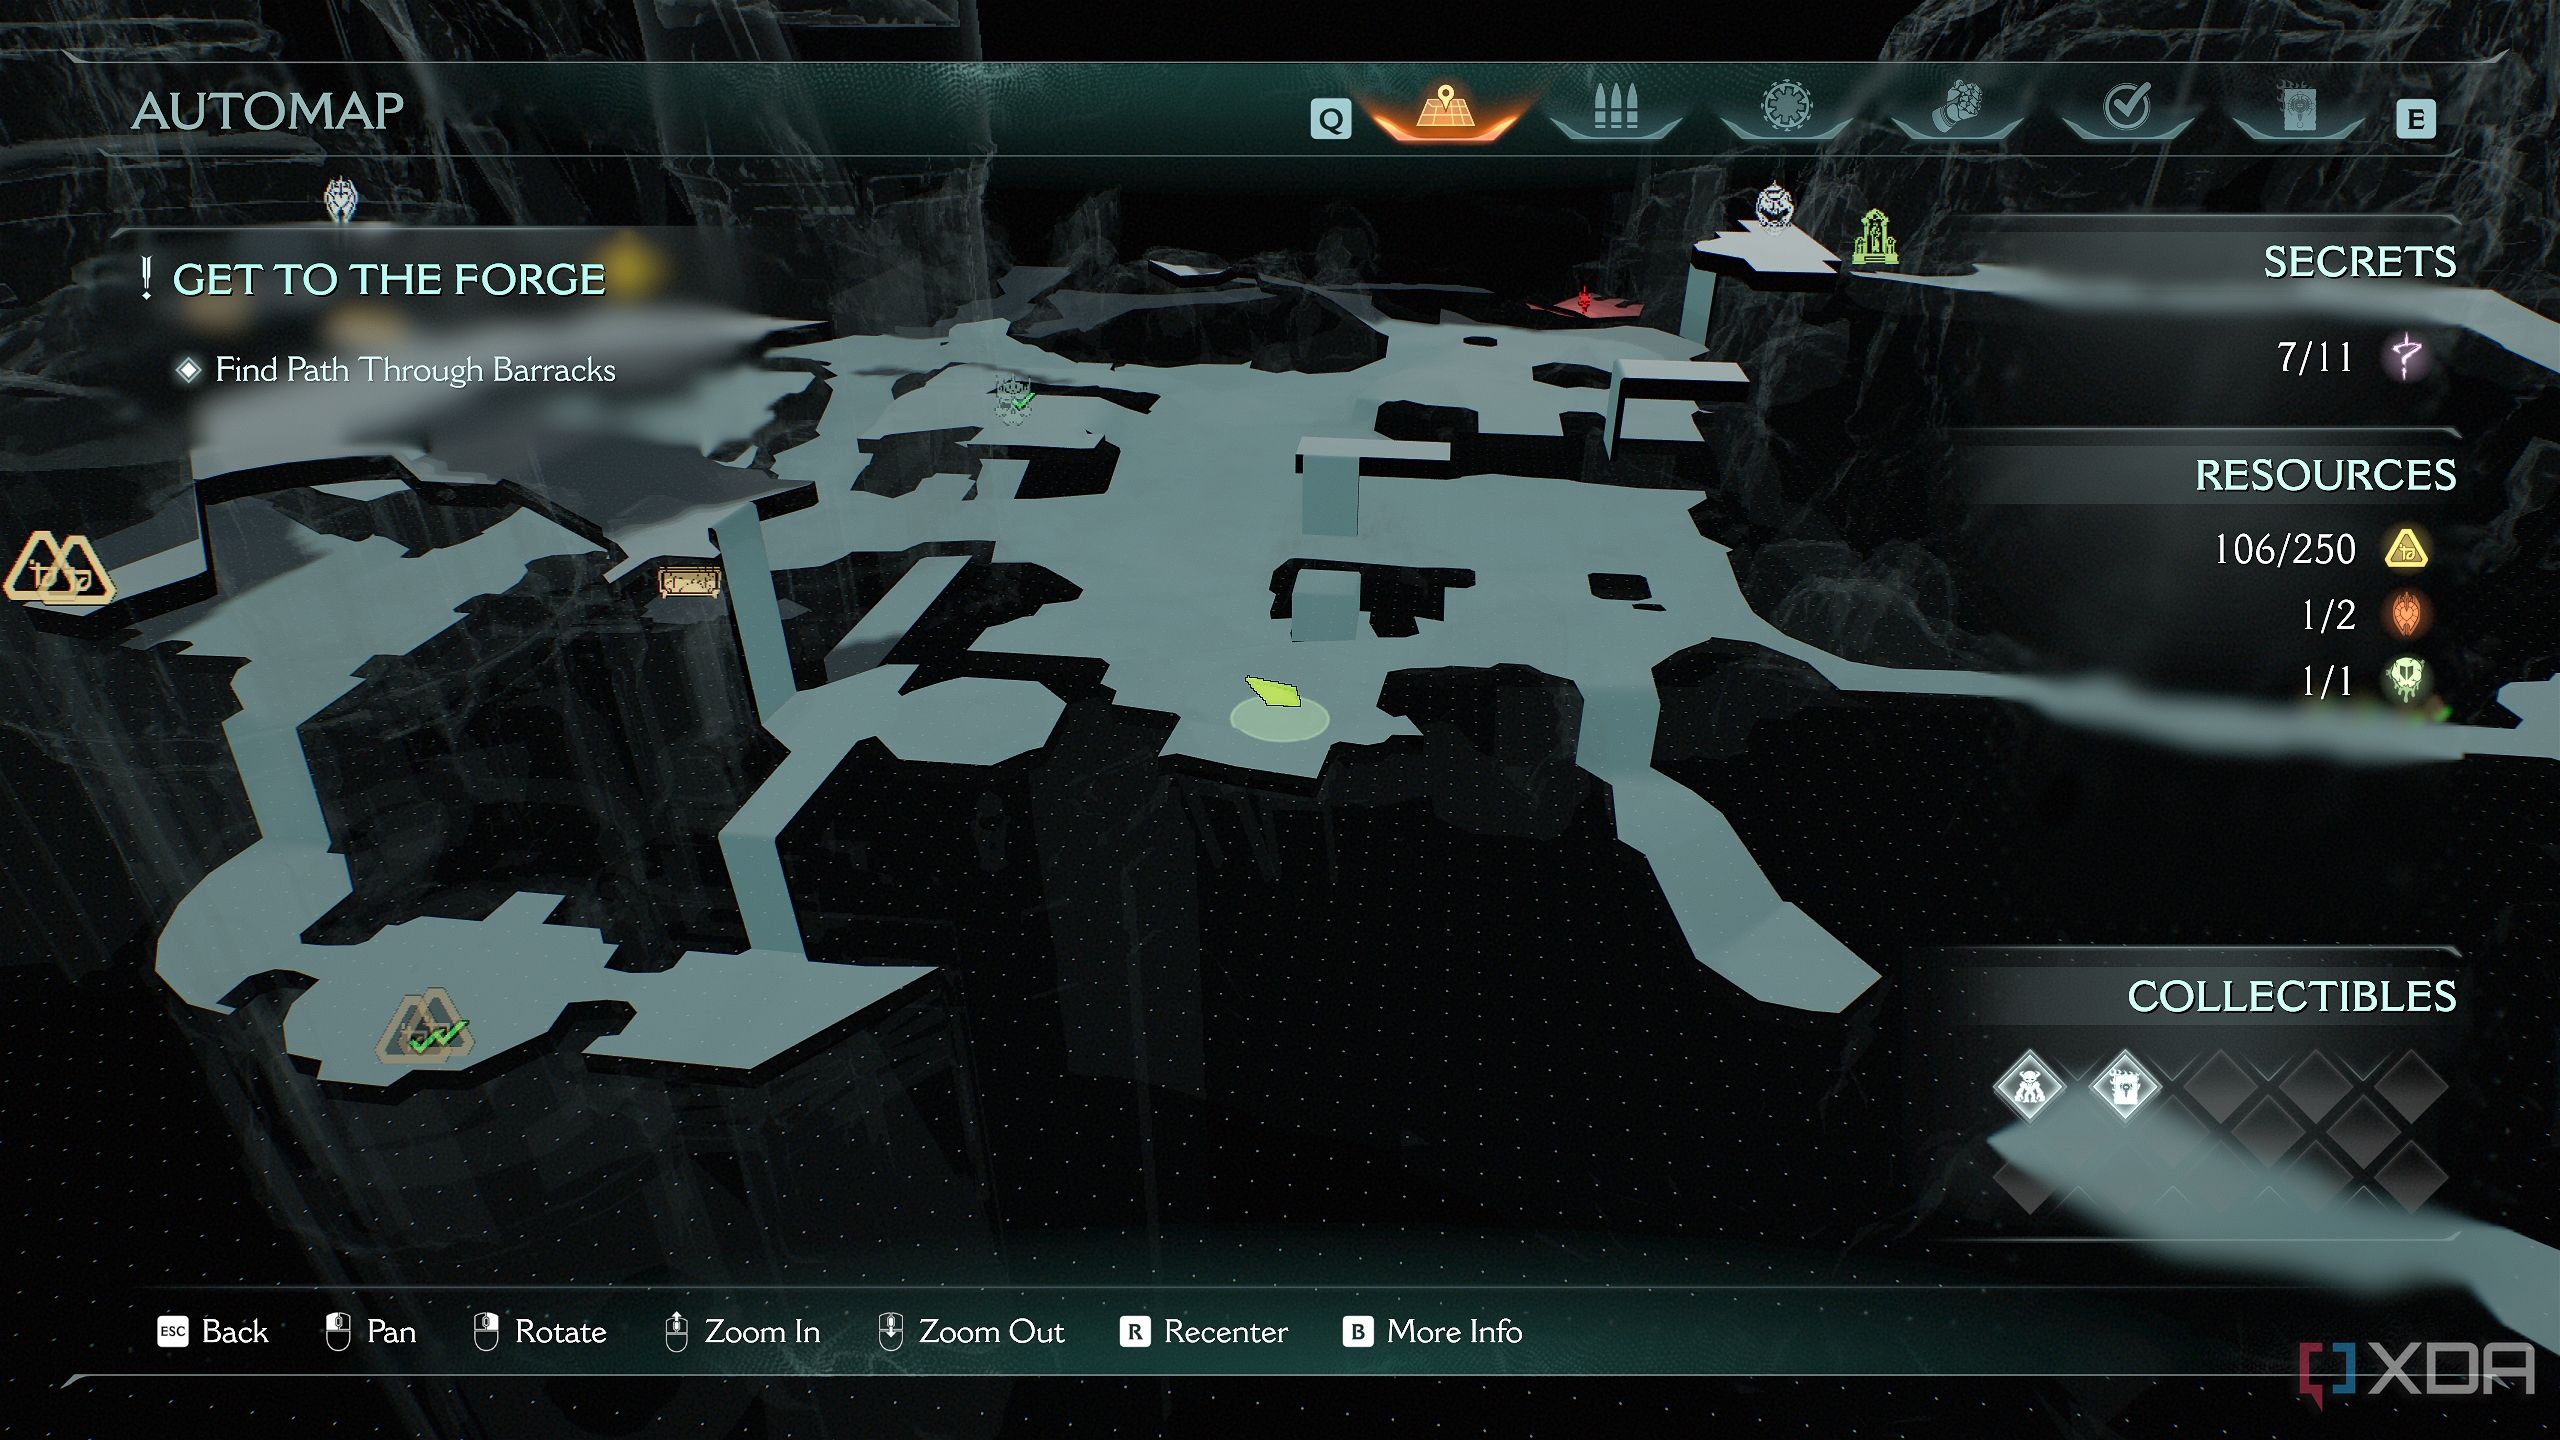
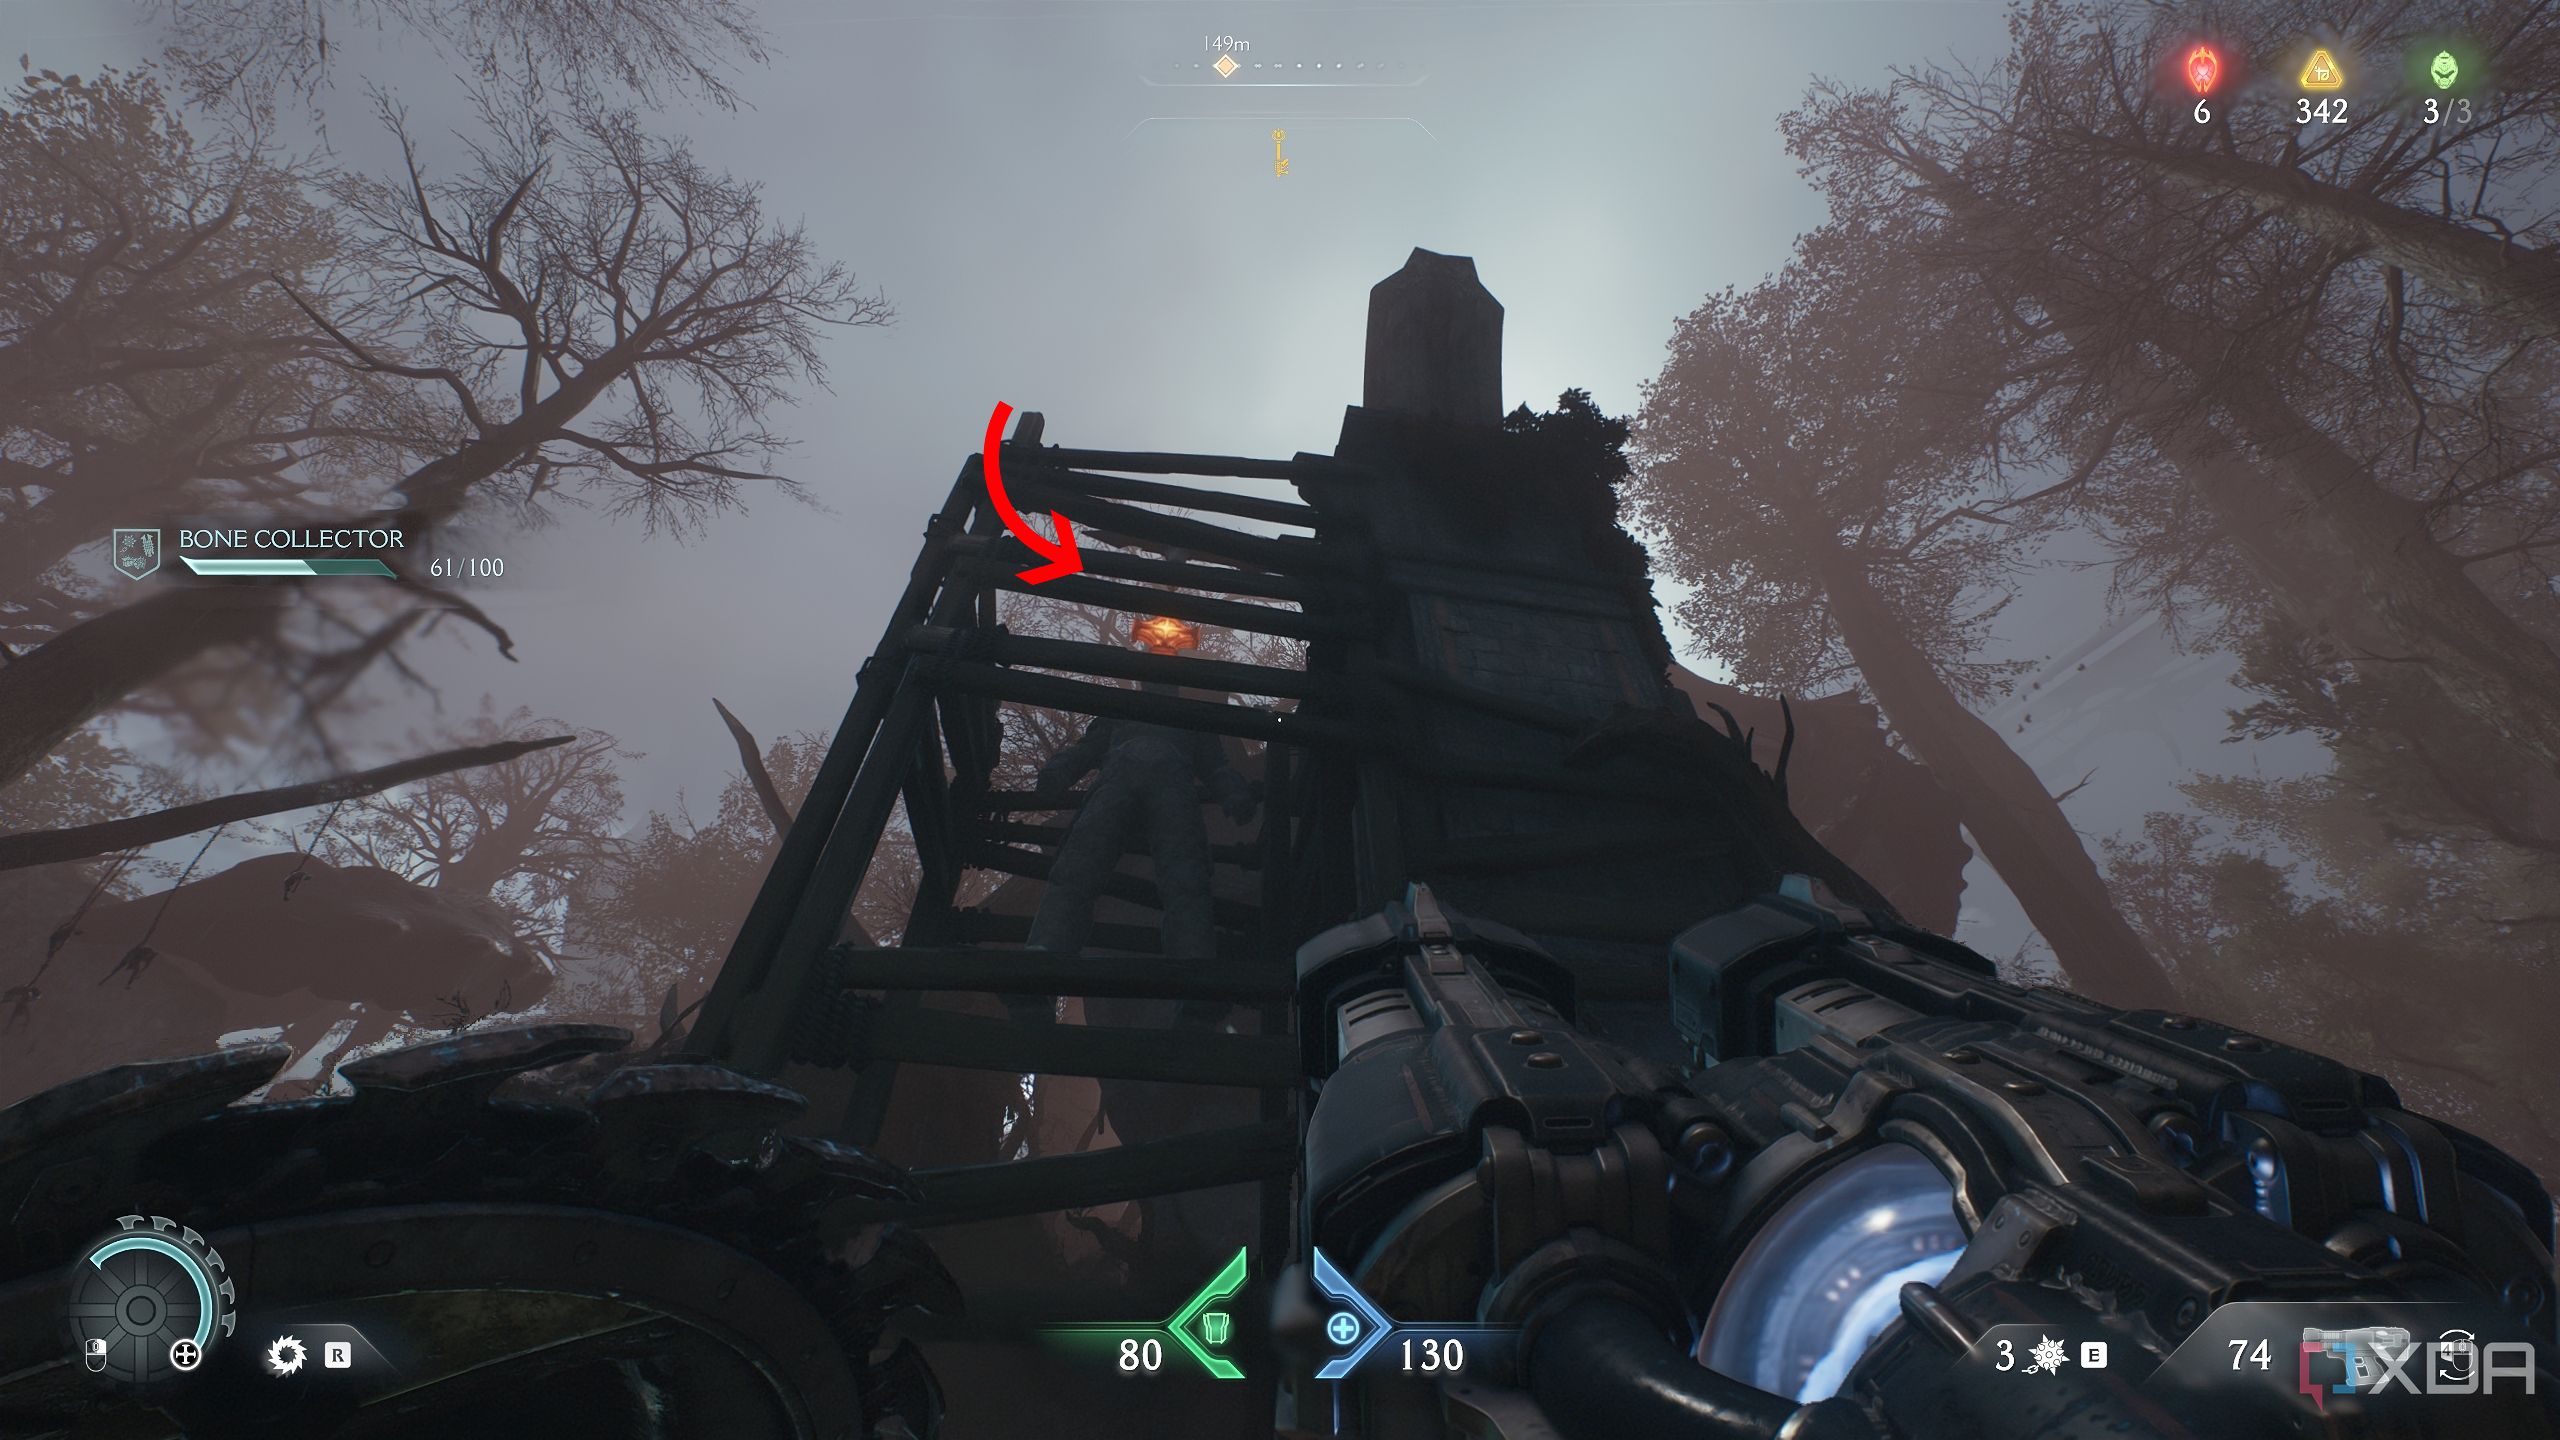
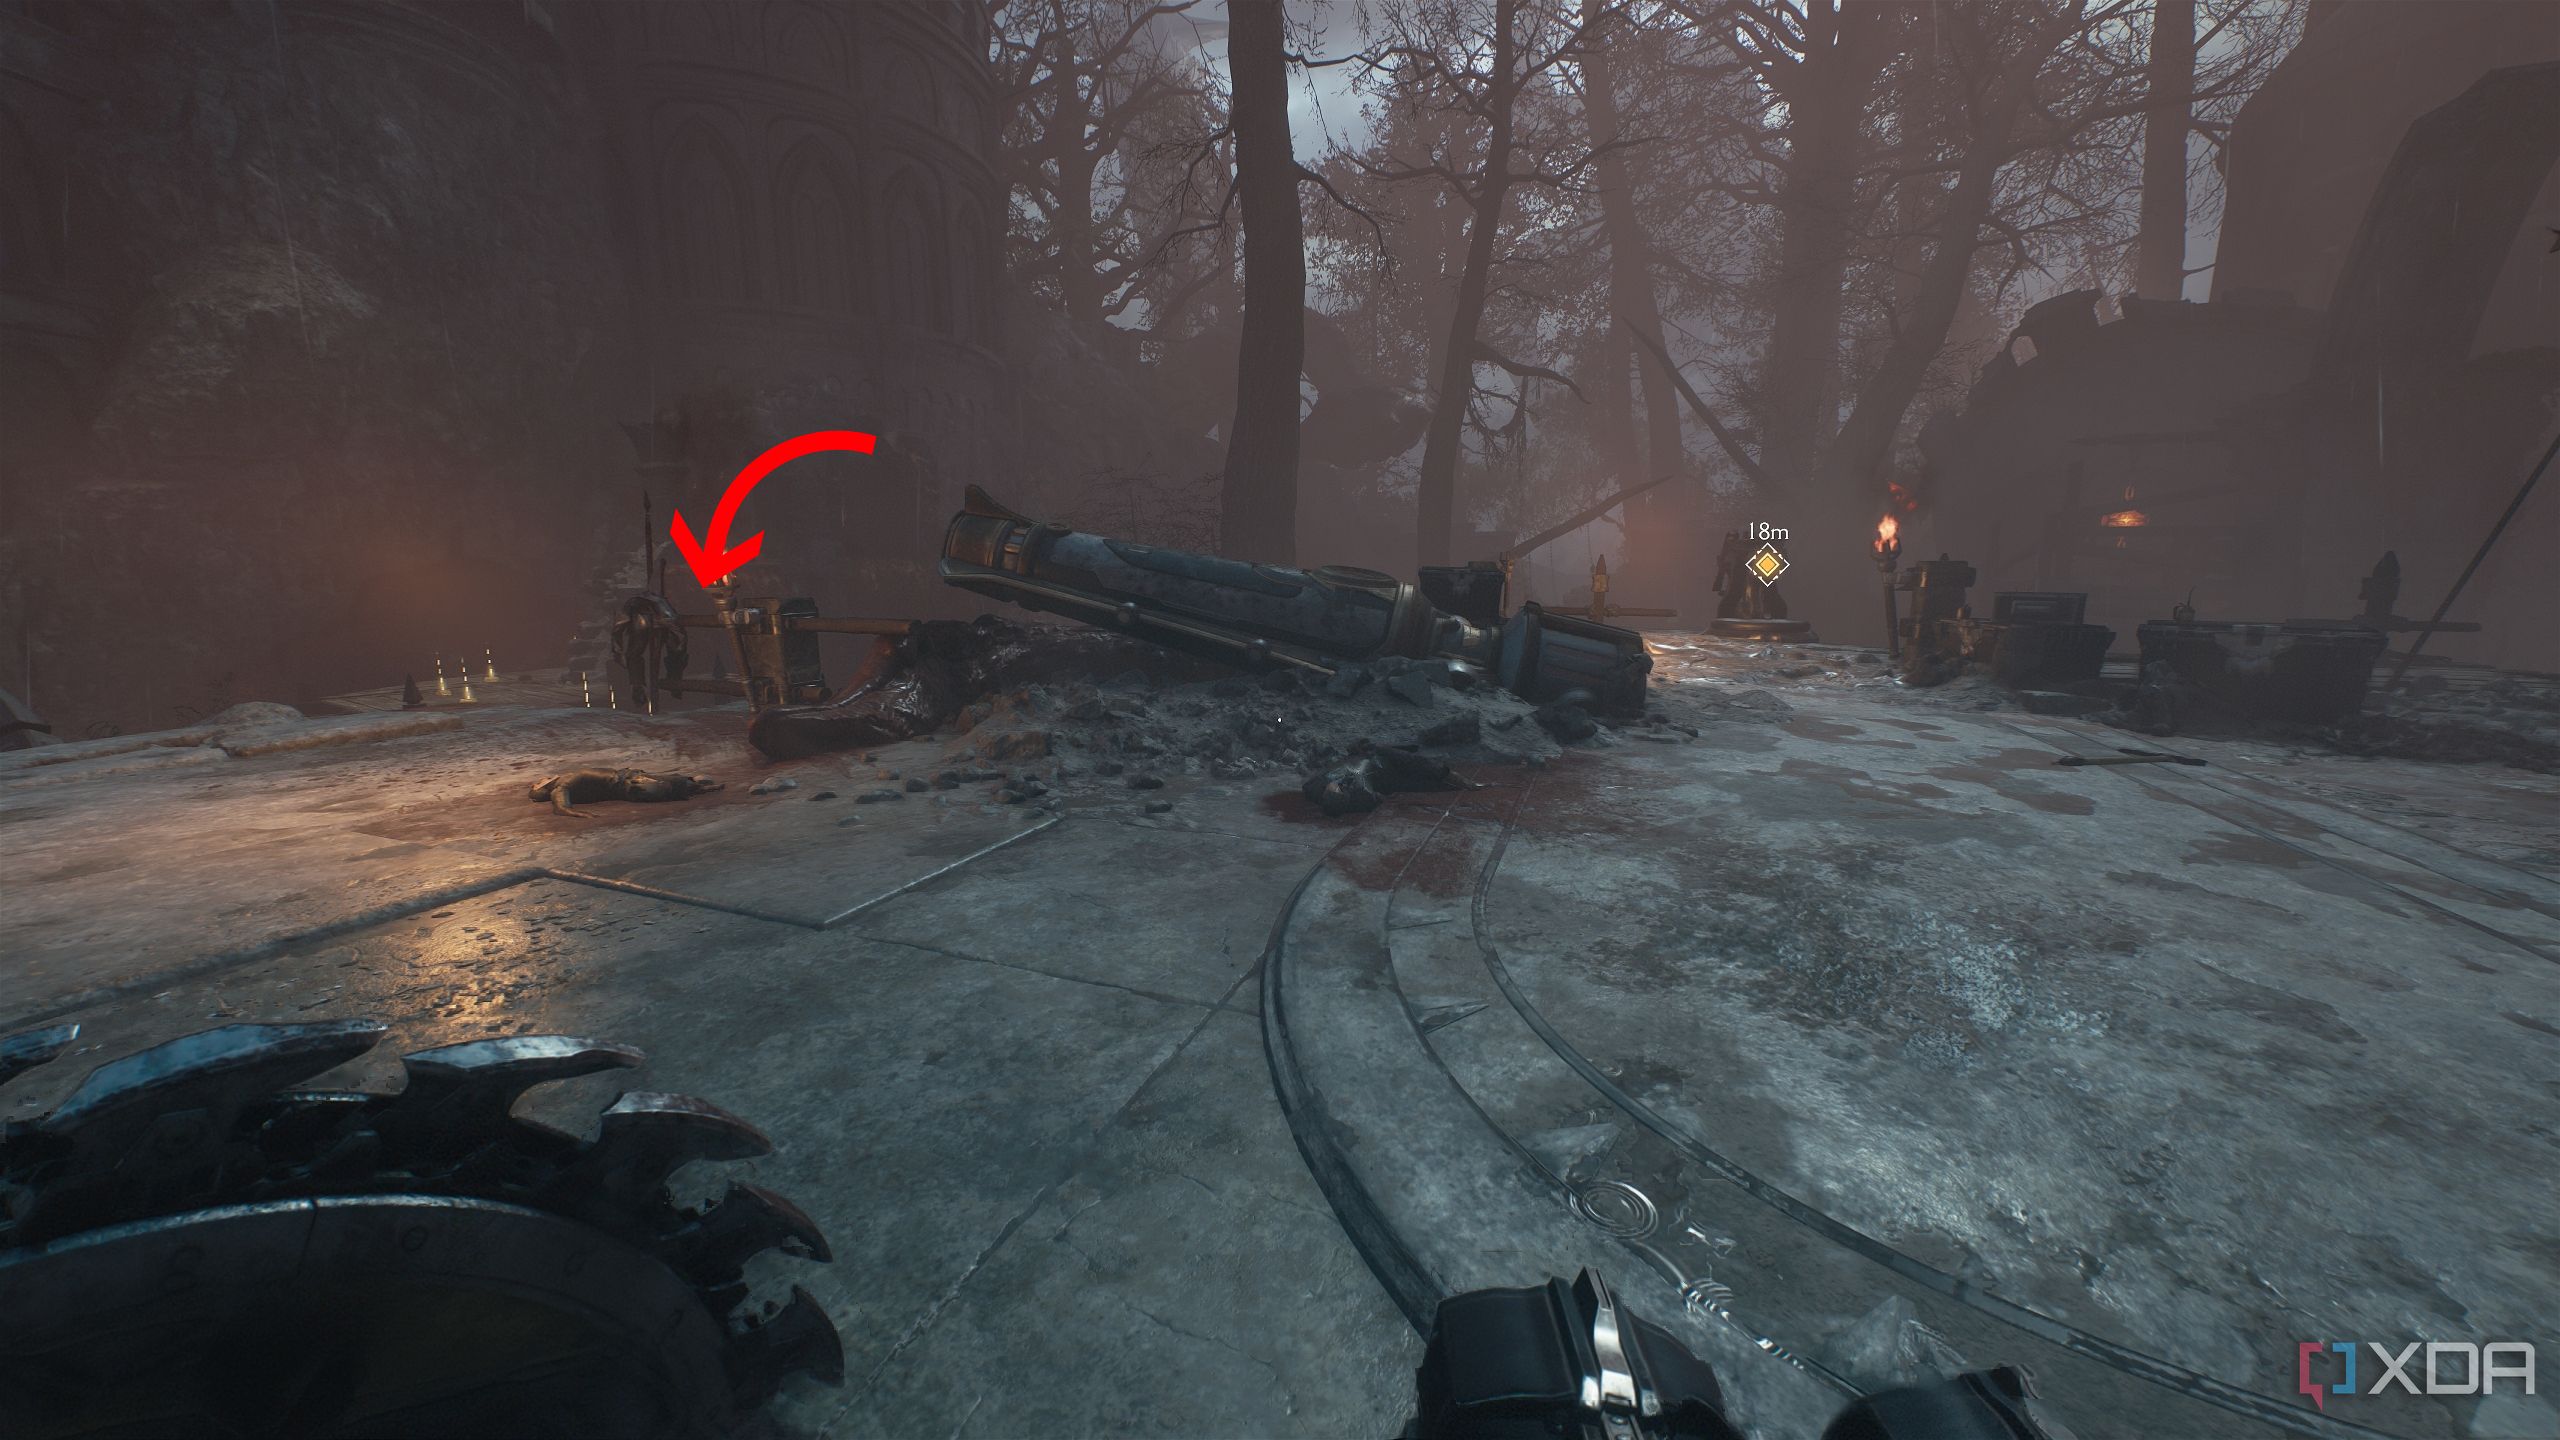
Here, get to the center, where a huge crane is parked atop a tower — refer to the location above.
Next, move to the right, and you’ll see an area to drop down below.
Jump and land there, and a Life Sigil will be visible behind a locked gate. Simply look to the left of the gate, and you’ll see a heated metal cross to break and open the gate.
Go inside, and you’ll unlock secret area 6 and a couple of gold stacks on the ground.
Exit ahead and climb up the scramble wall to reach the objective area.
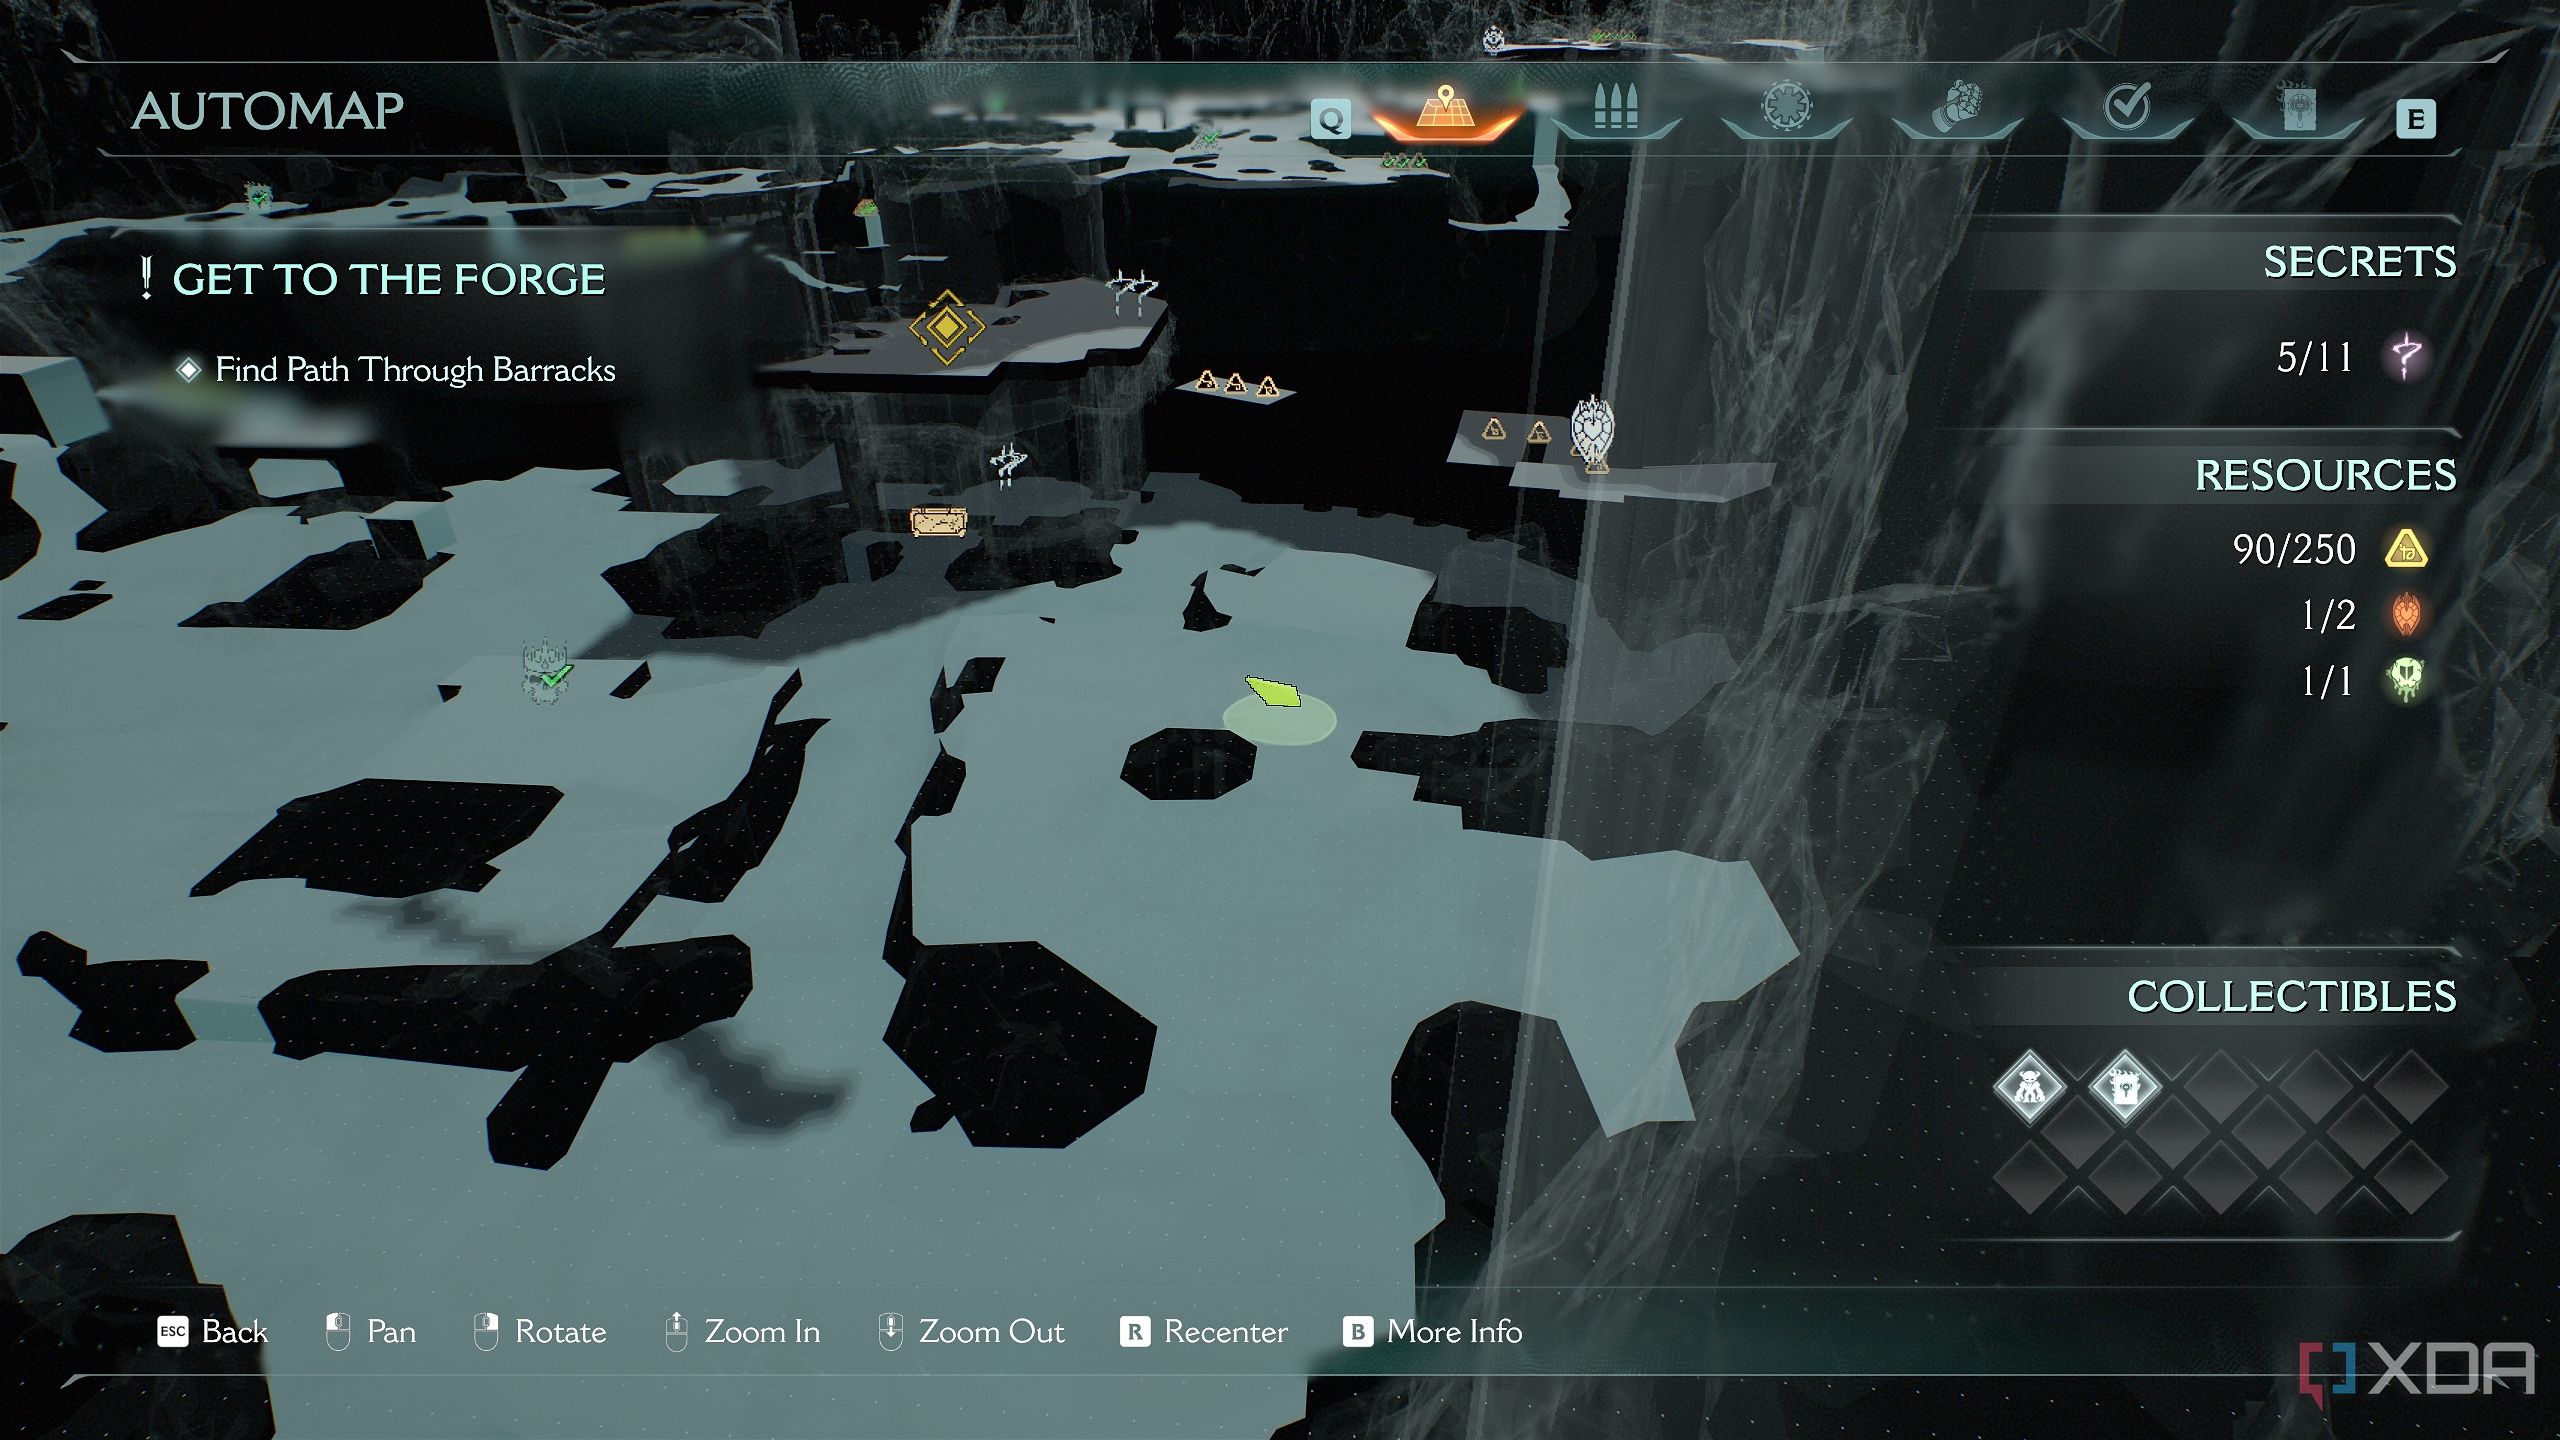
Secret area 7 and a Life Sigil
Platforming for a 1UP — the Doom Plumber?
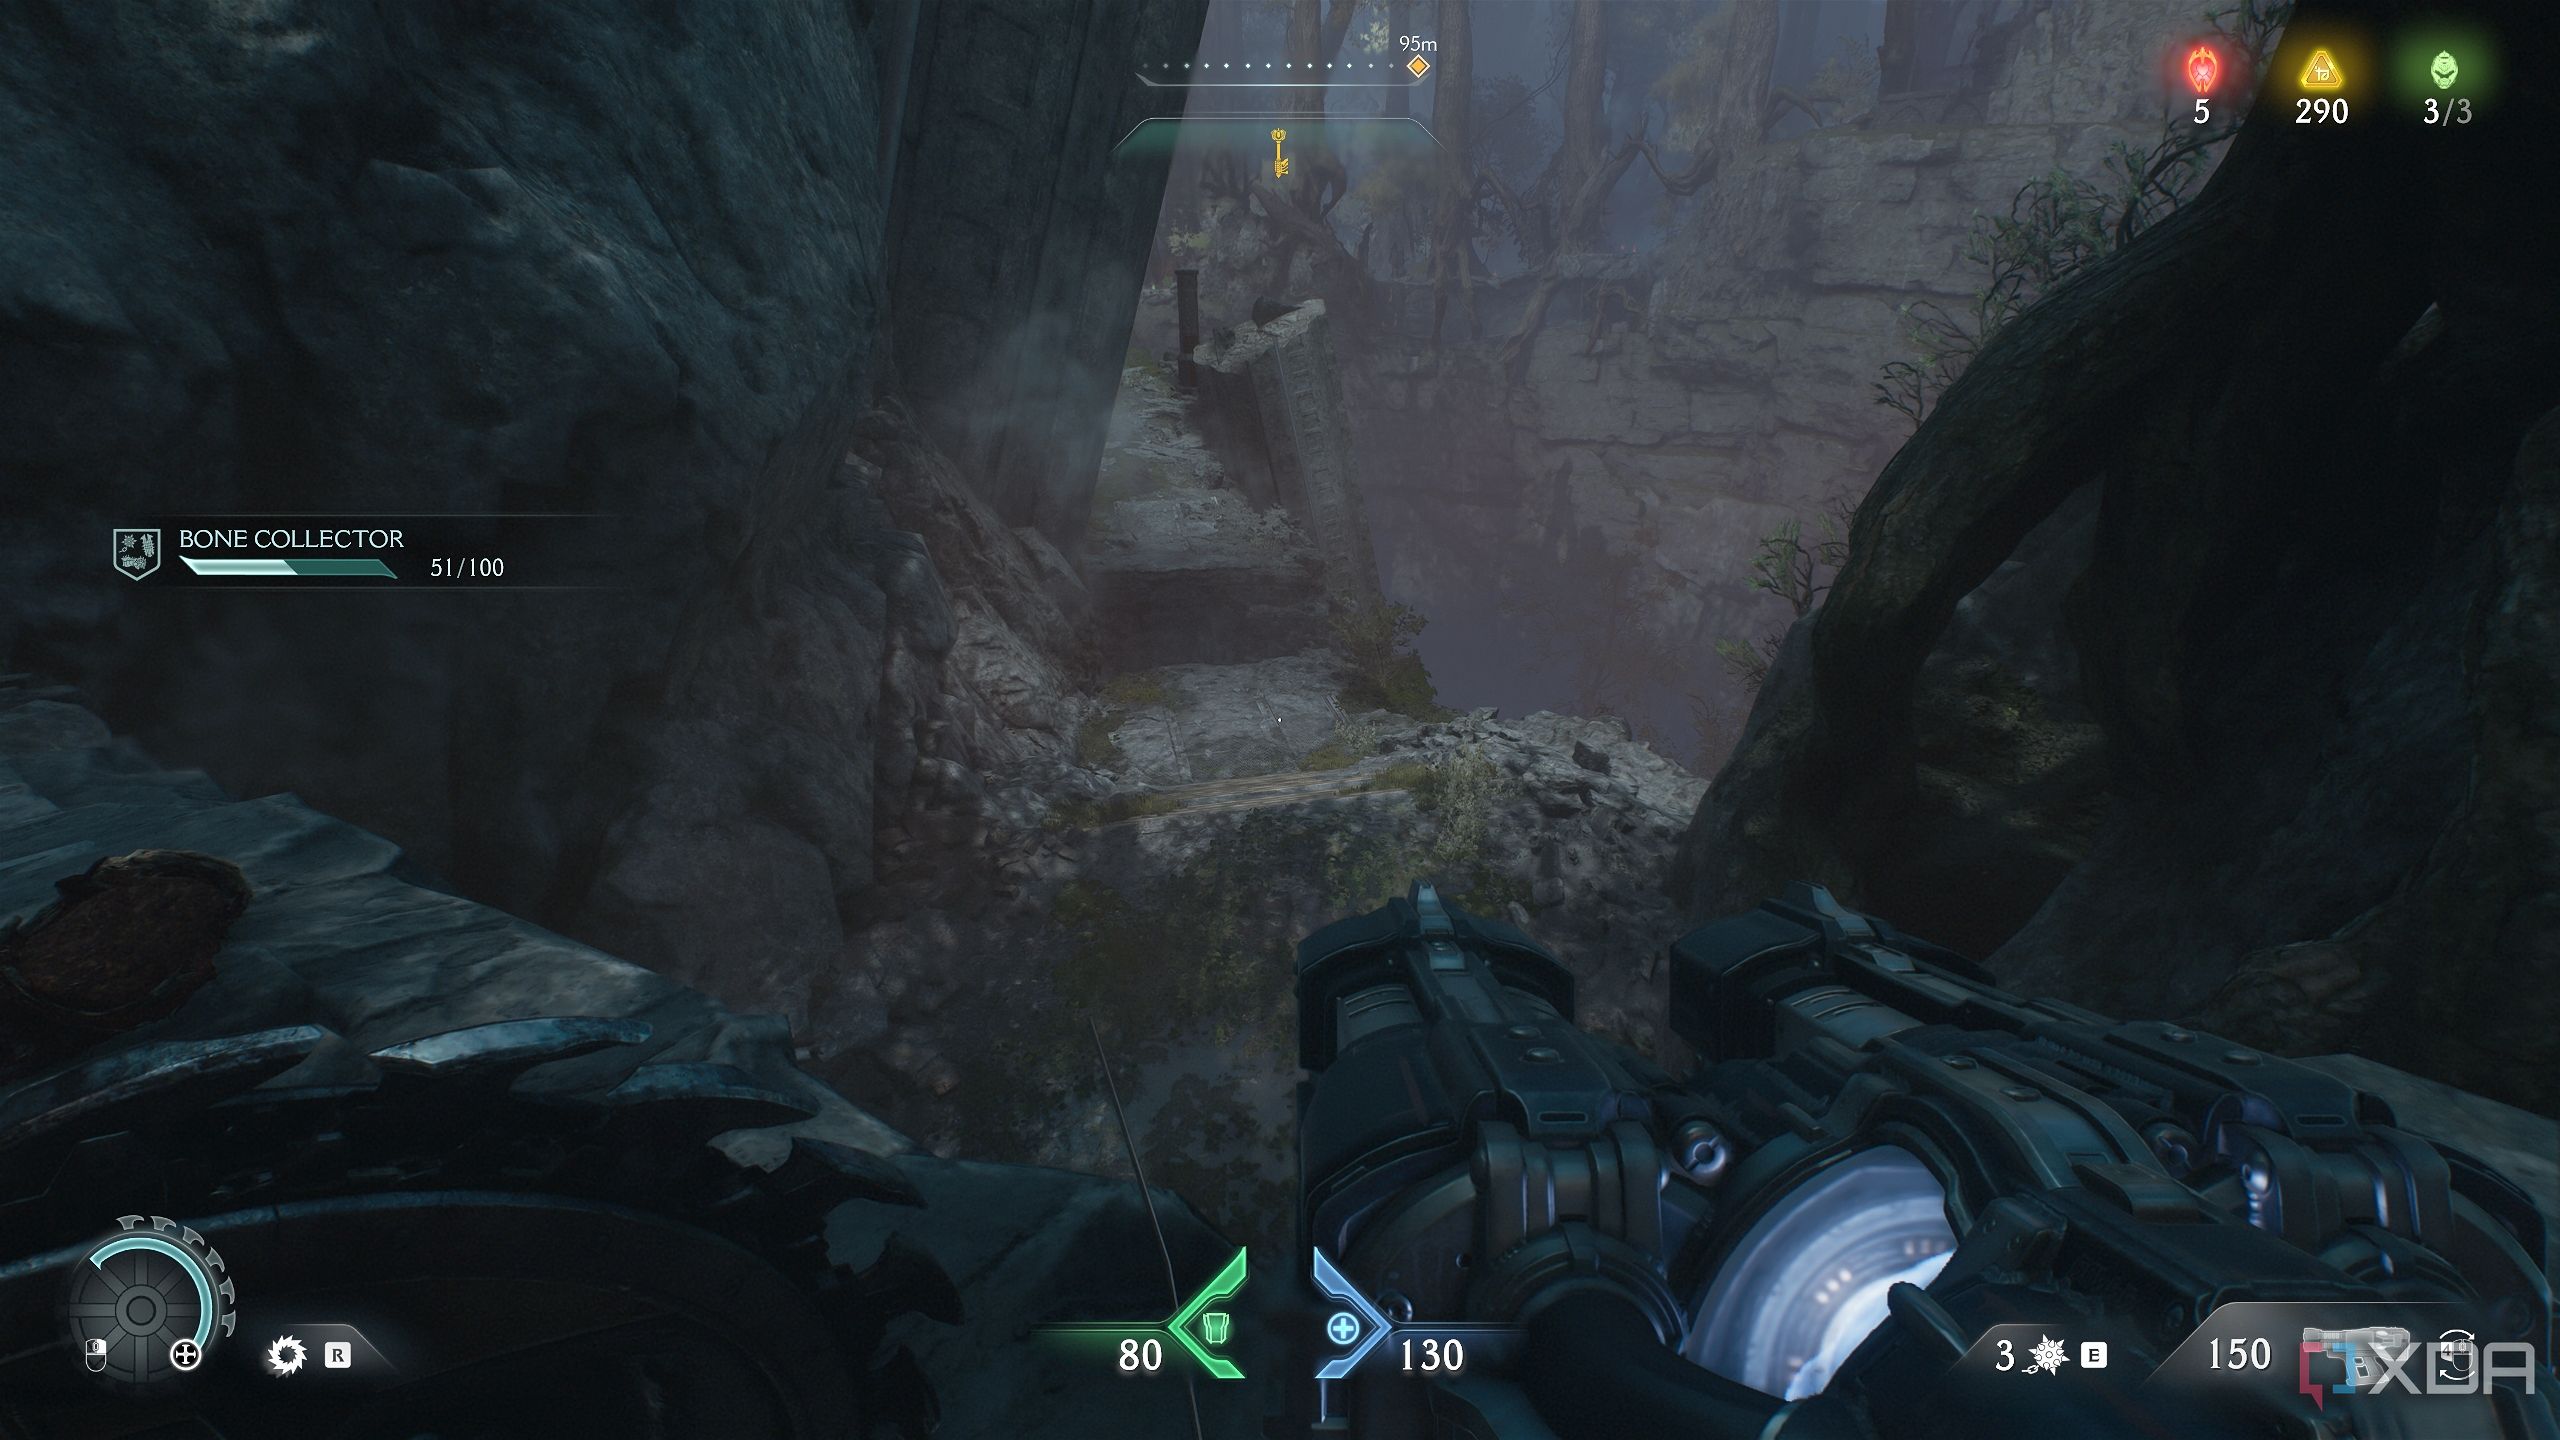
Again, before you proceed with your objective, reach this location on the map.
Here, you’ll see a big box to climb on and a scramble wall right above it.
Get up there and jump on to the next scramble wall you see ahead.
From there, spot a green flesh node up above, and use it to reach a wooden platform.
You’ll immediately be attacked by two Stone Imps, but you’ll also unlock secret area 7 and a Life Sigil.

Related
The DOOM series: Every core game ranked
What are the best entries of the DOOM series that you should play? Here's every core game ranked!
Secret area 8 and a gold chest
A statue-sized hole in the ground
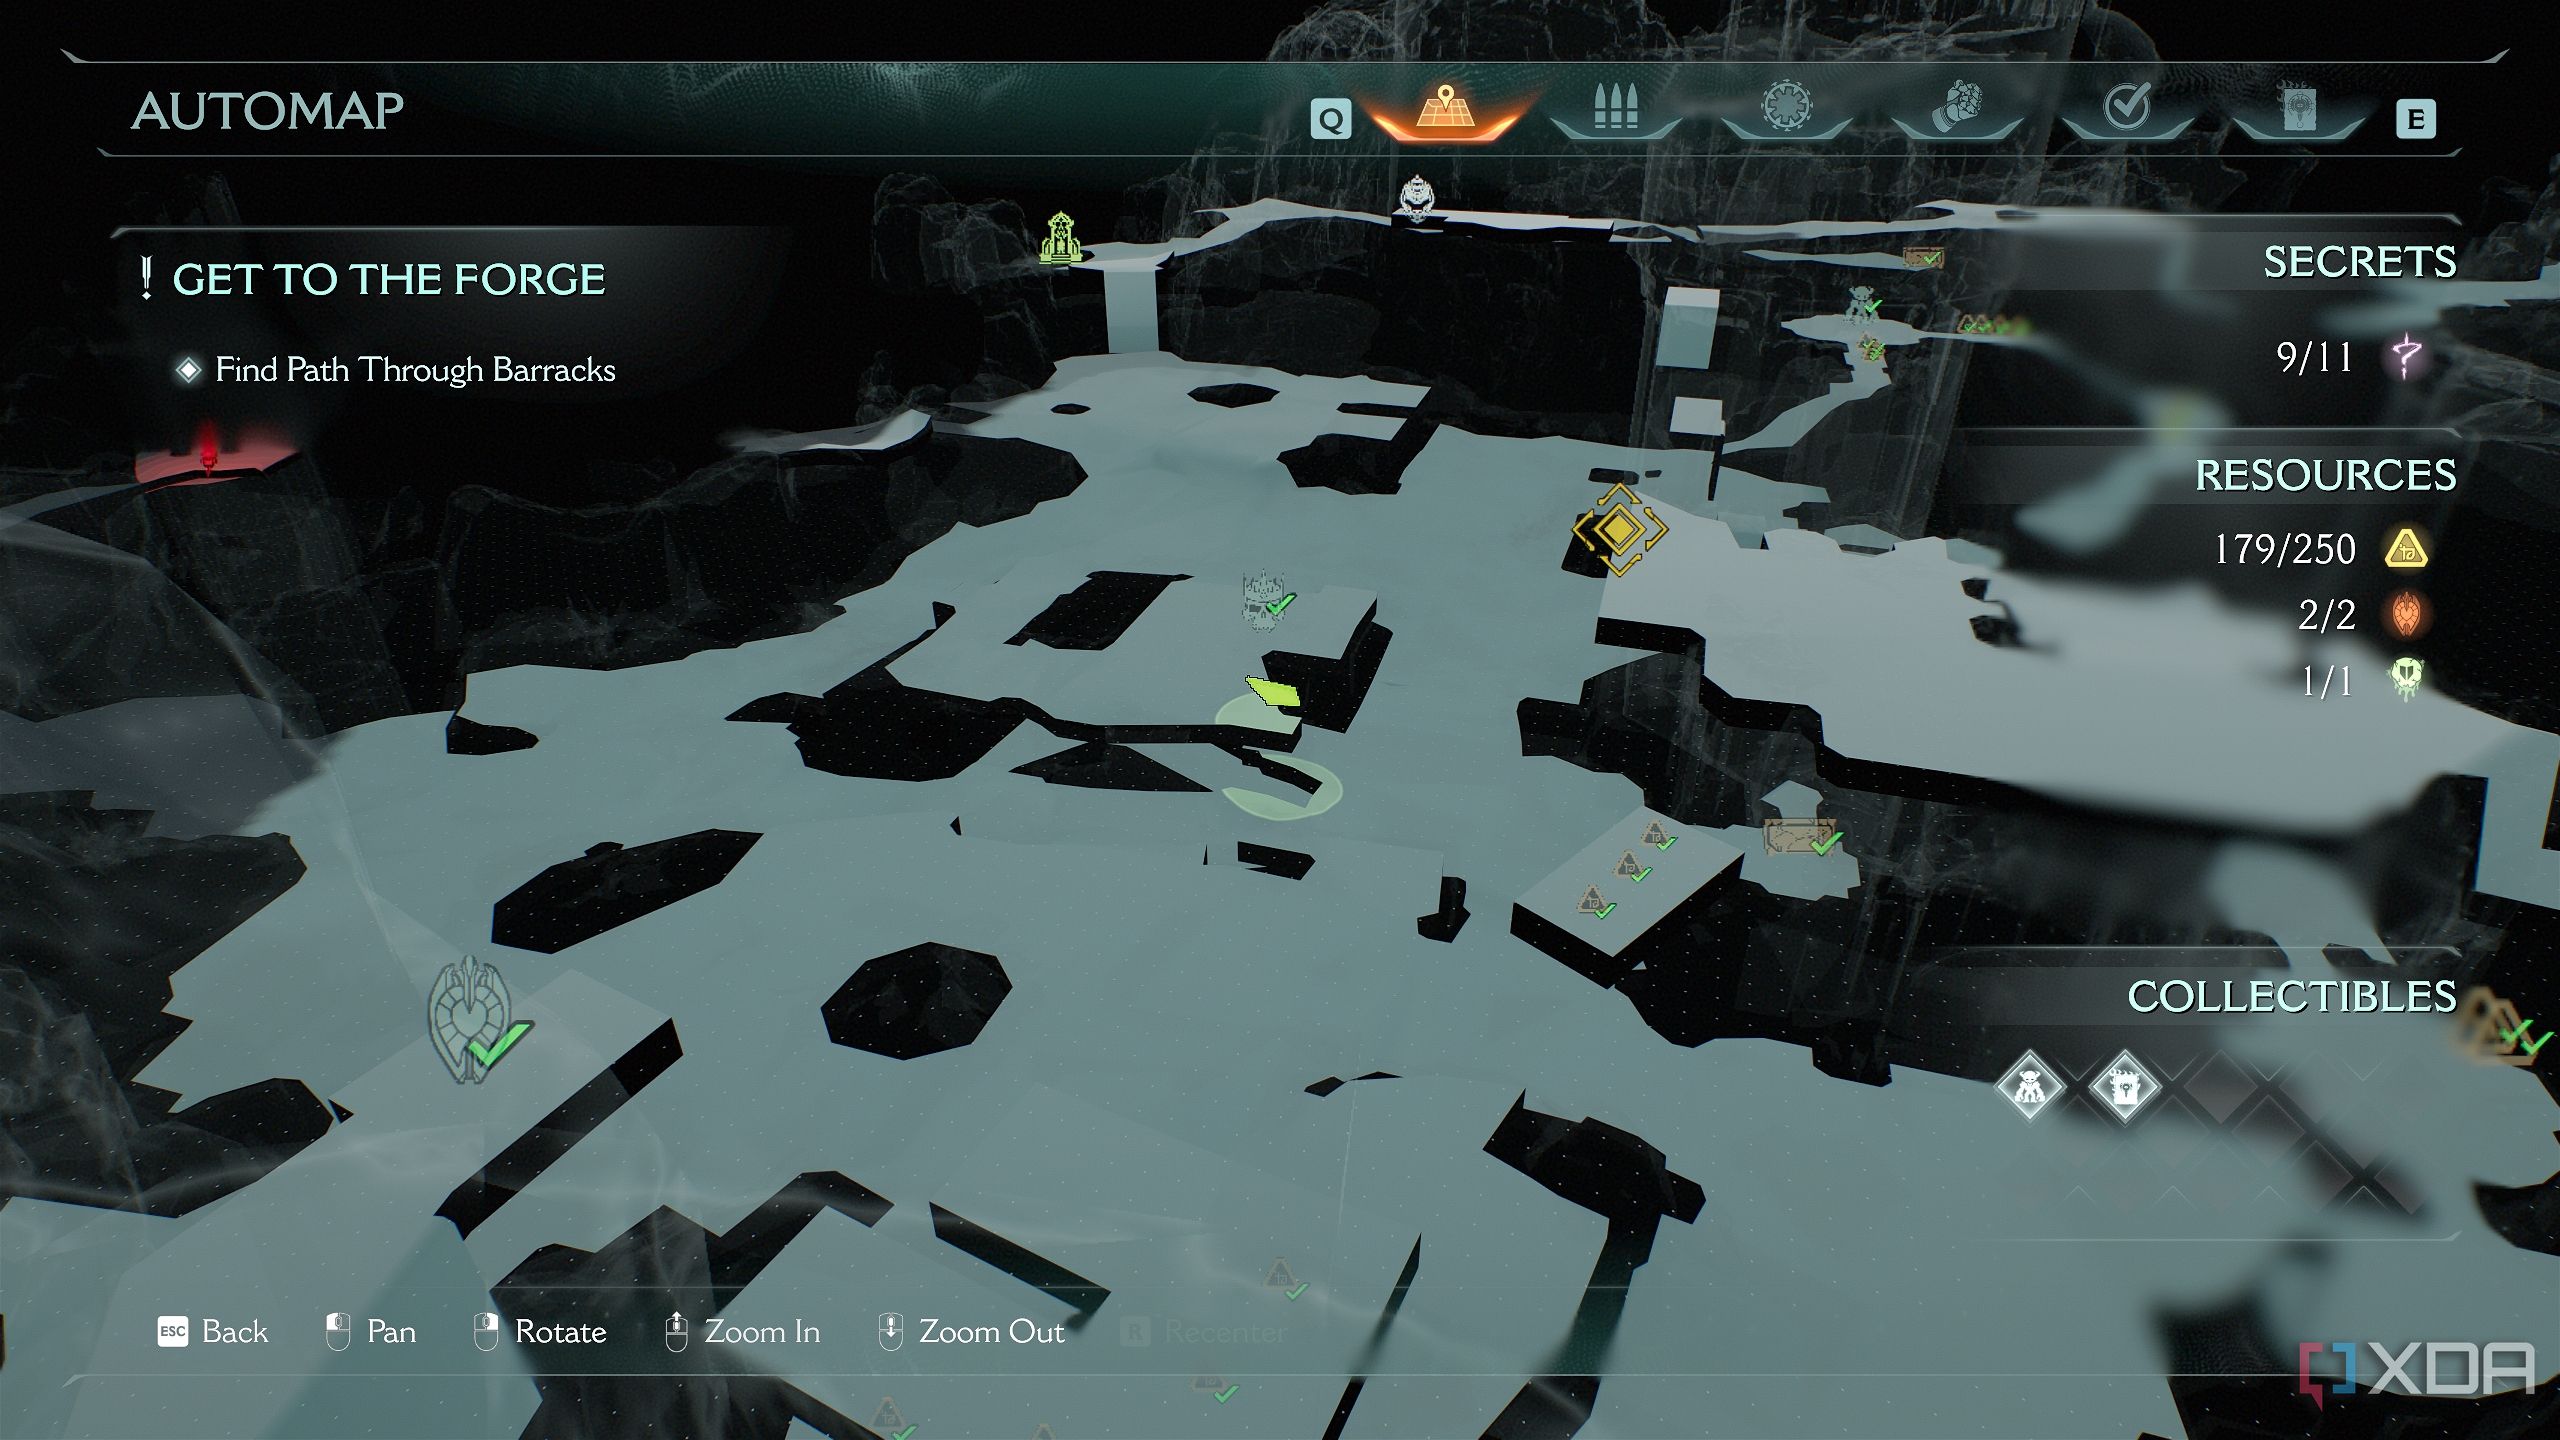
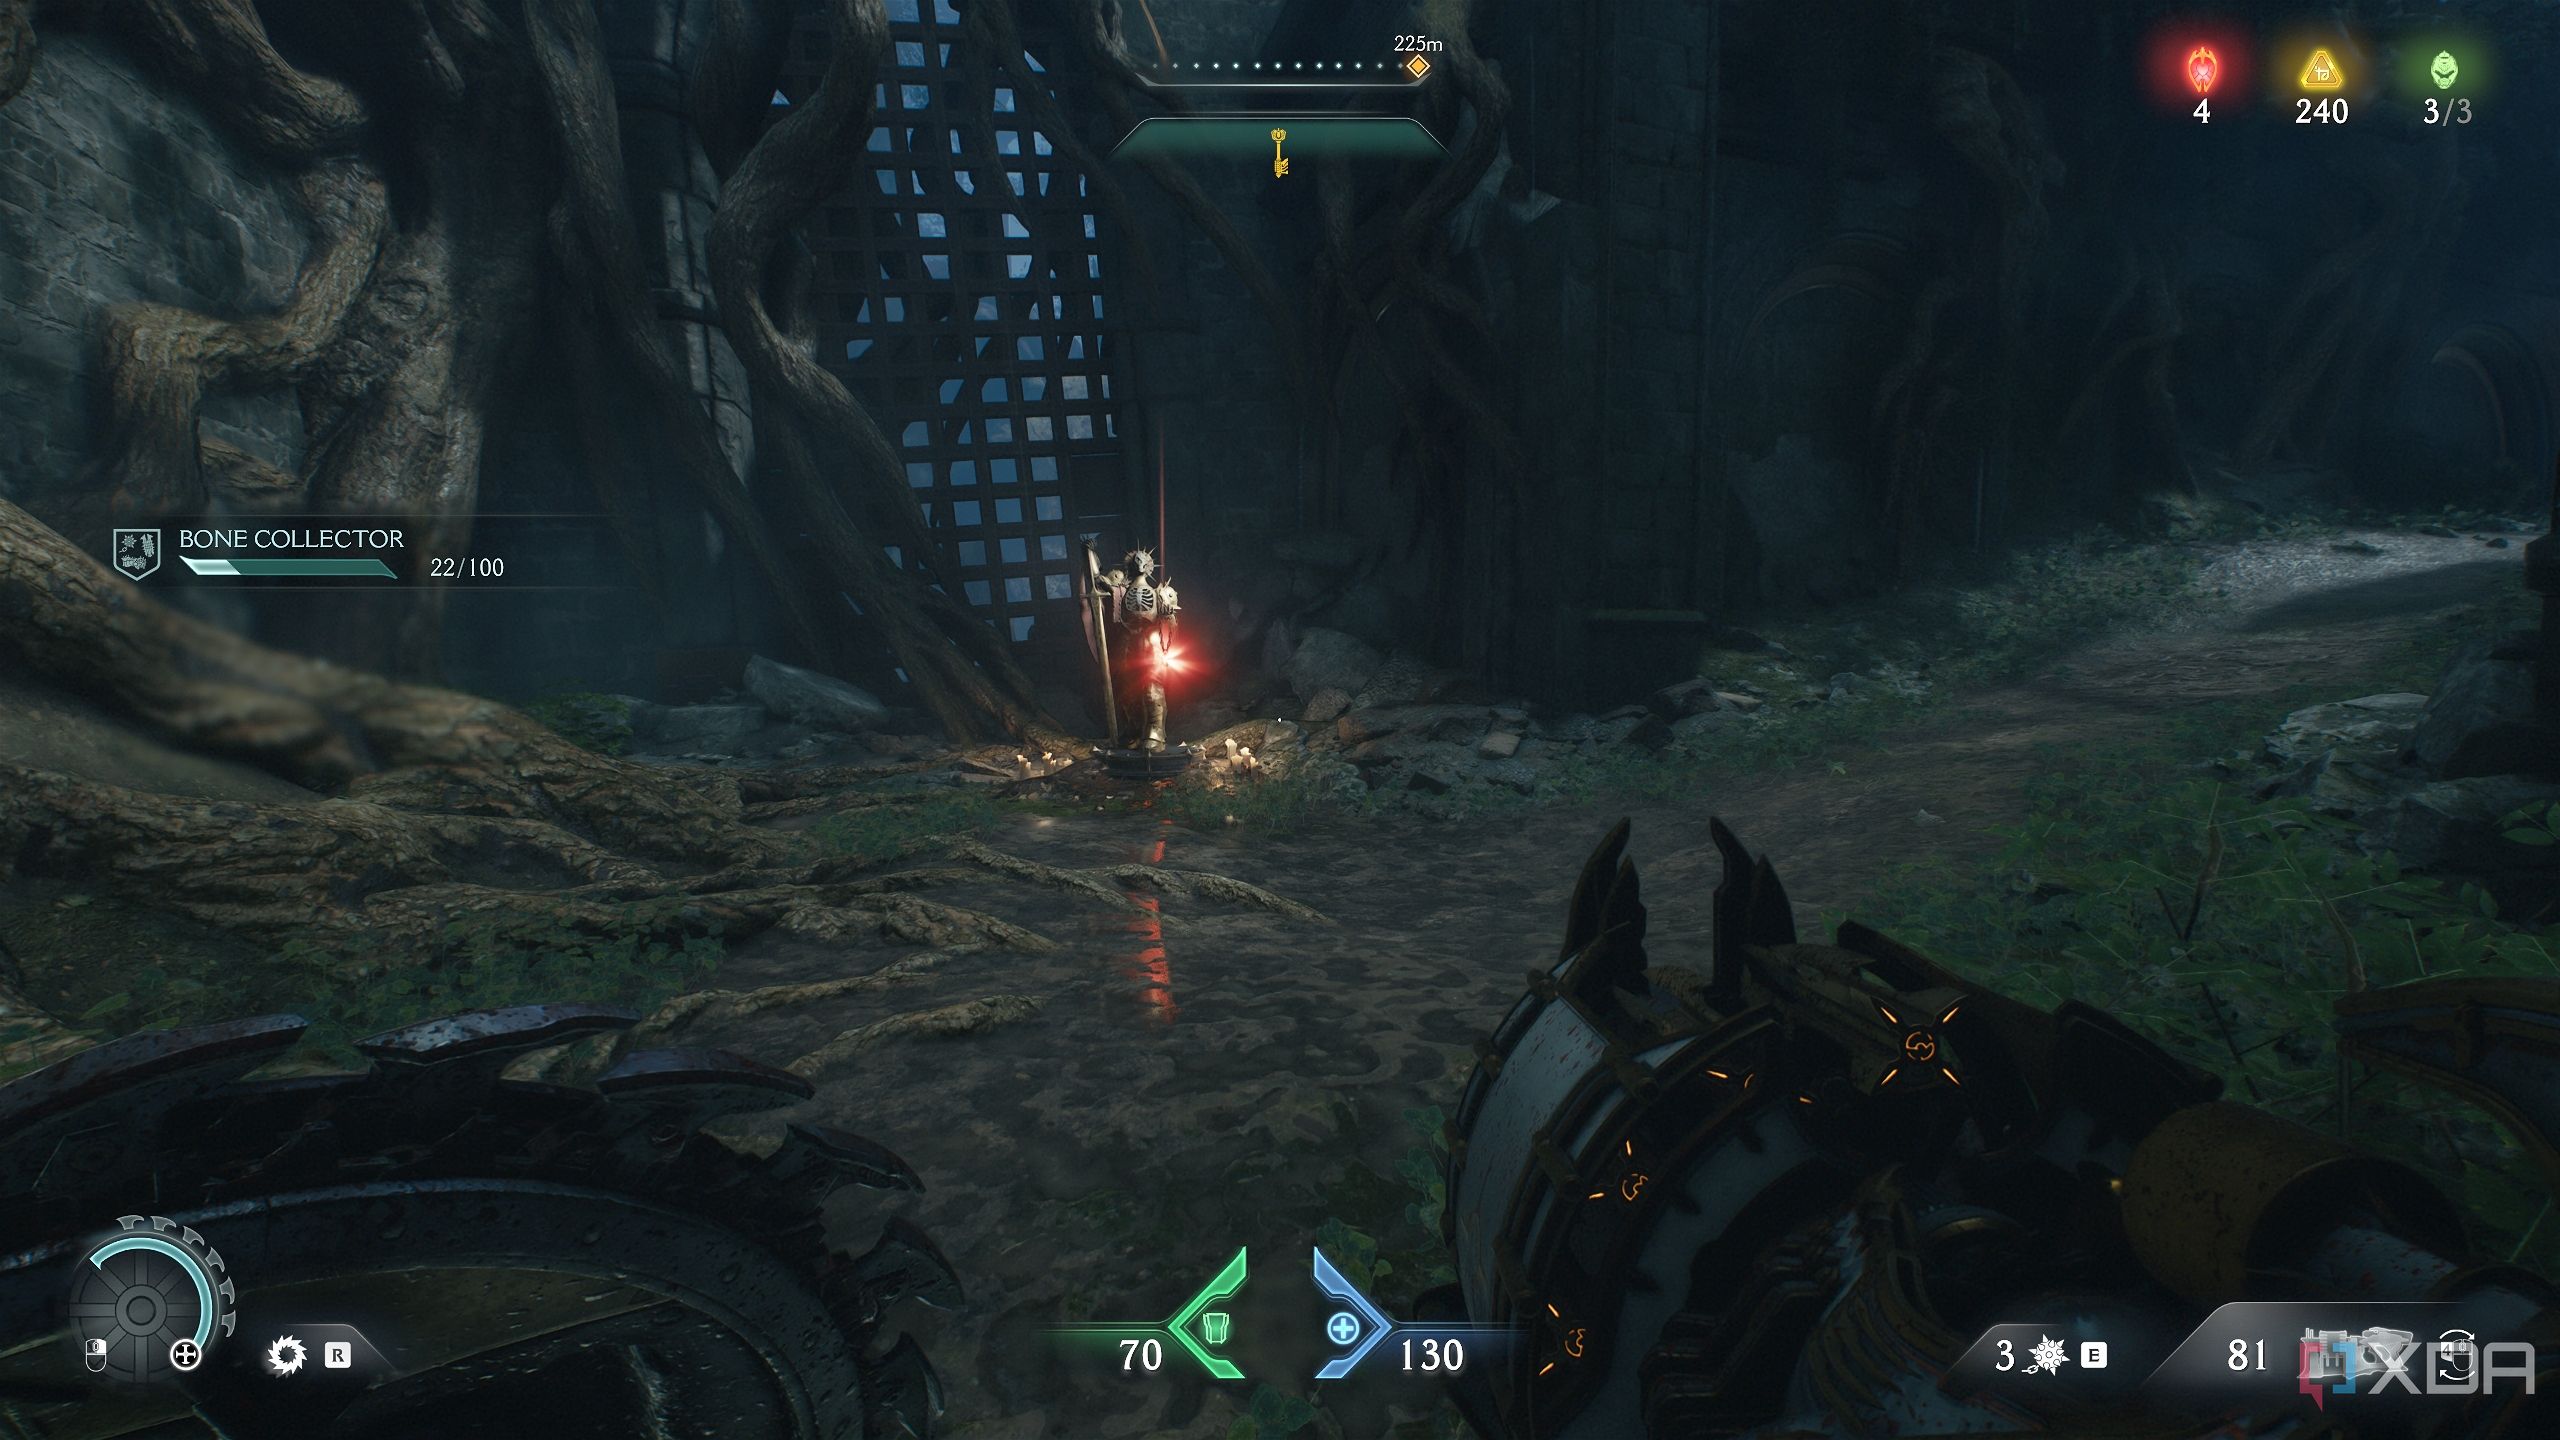
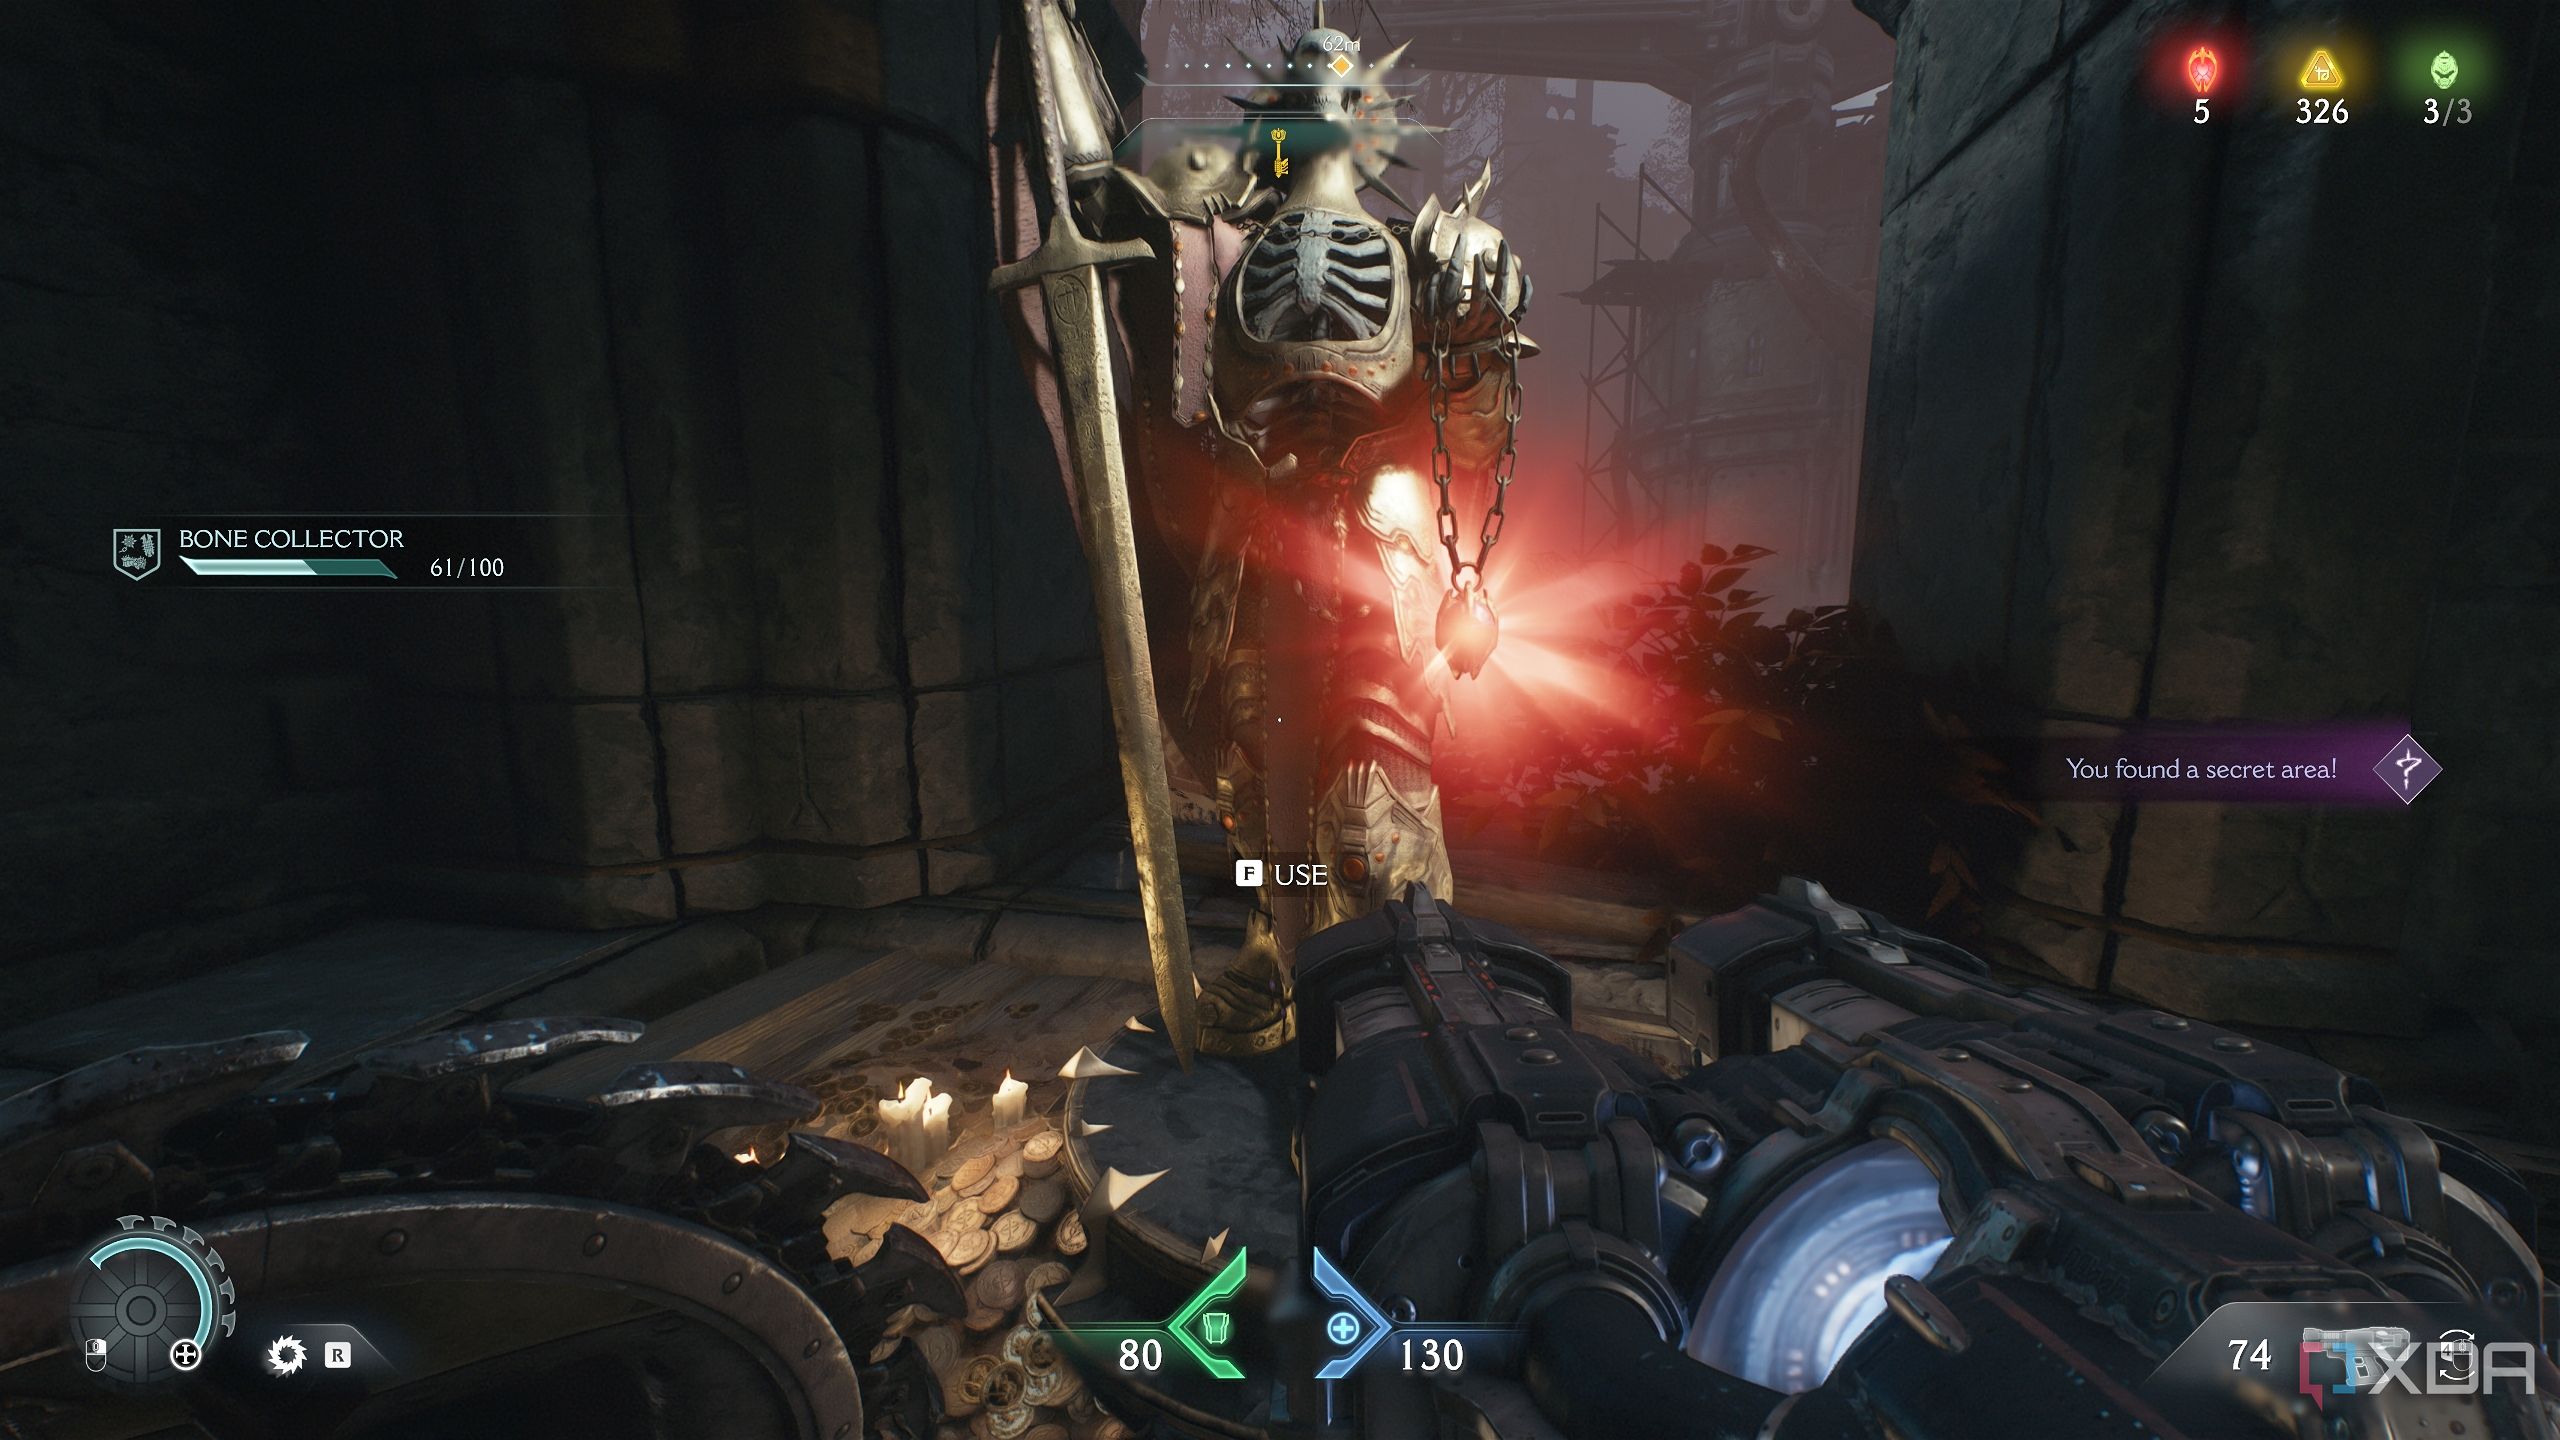
There’s another secret area to unlock before moving forth with the objective. Get to this location where you’ll stand on a raised platform.
Then, look up to see a huge statue hung up by a heated metal cross.
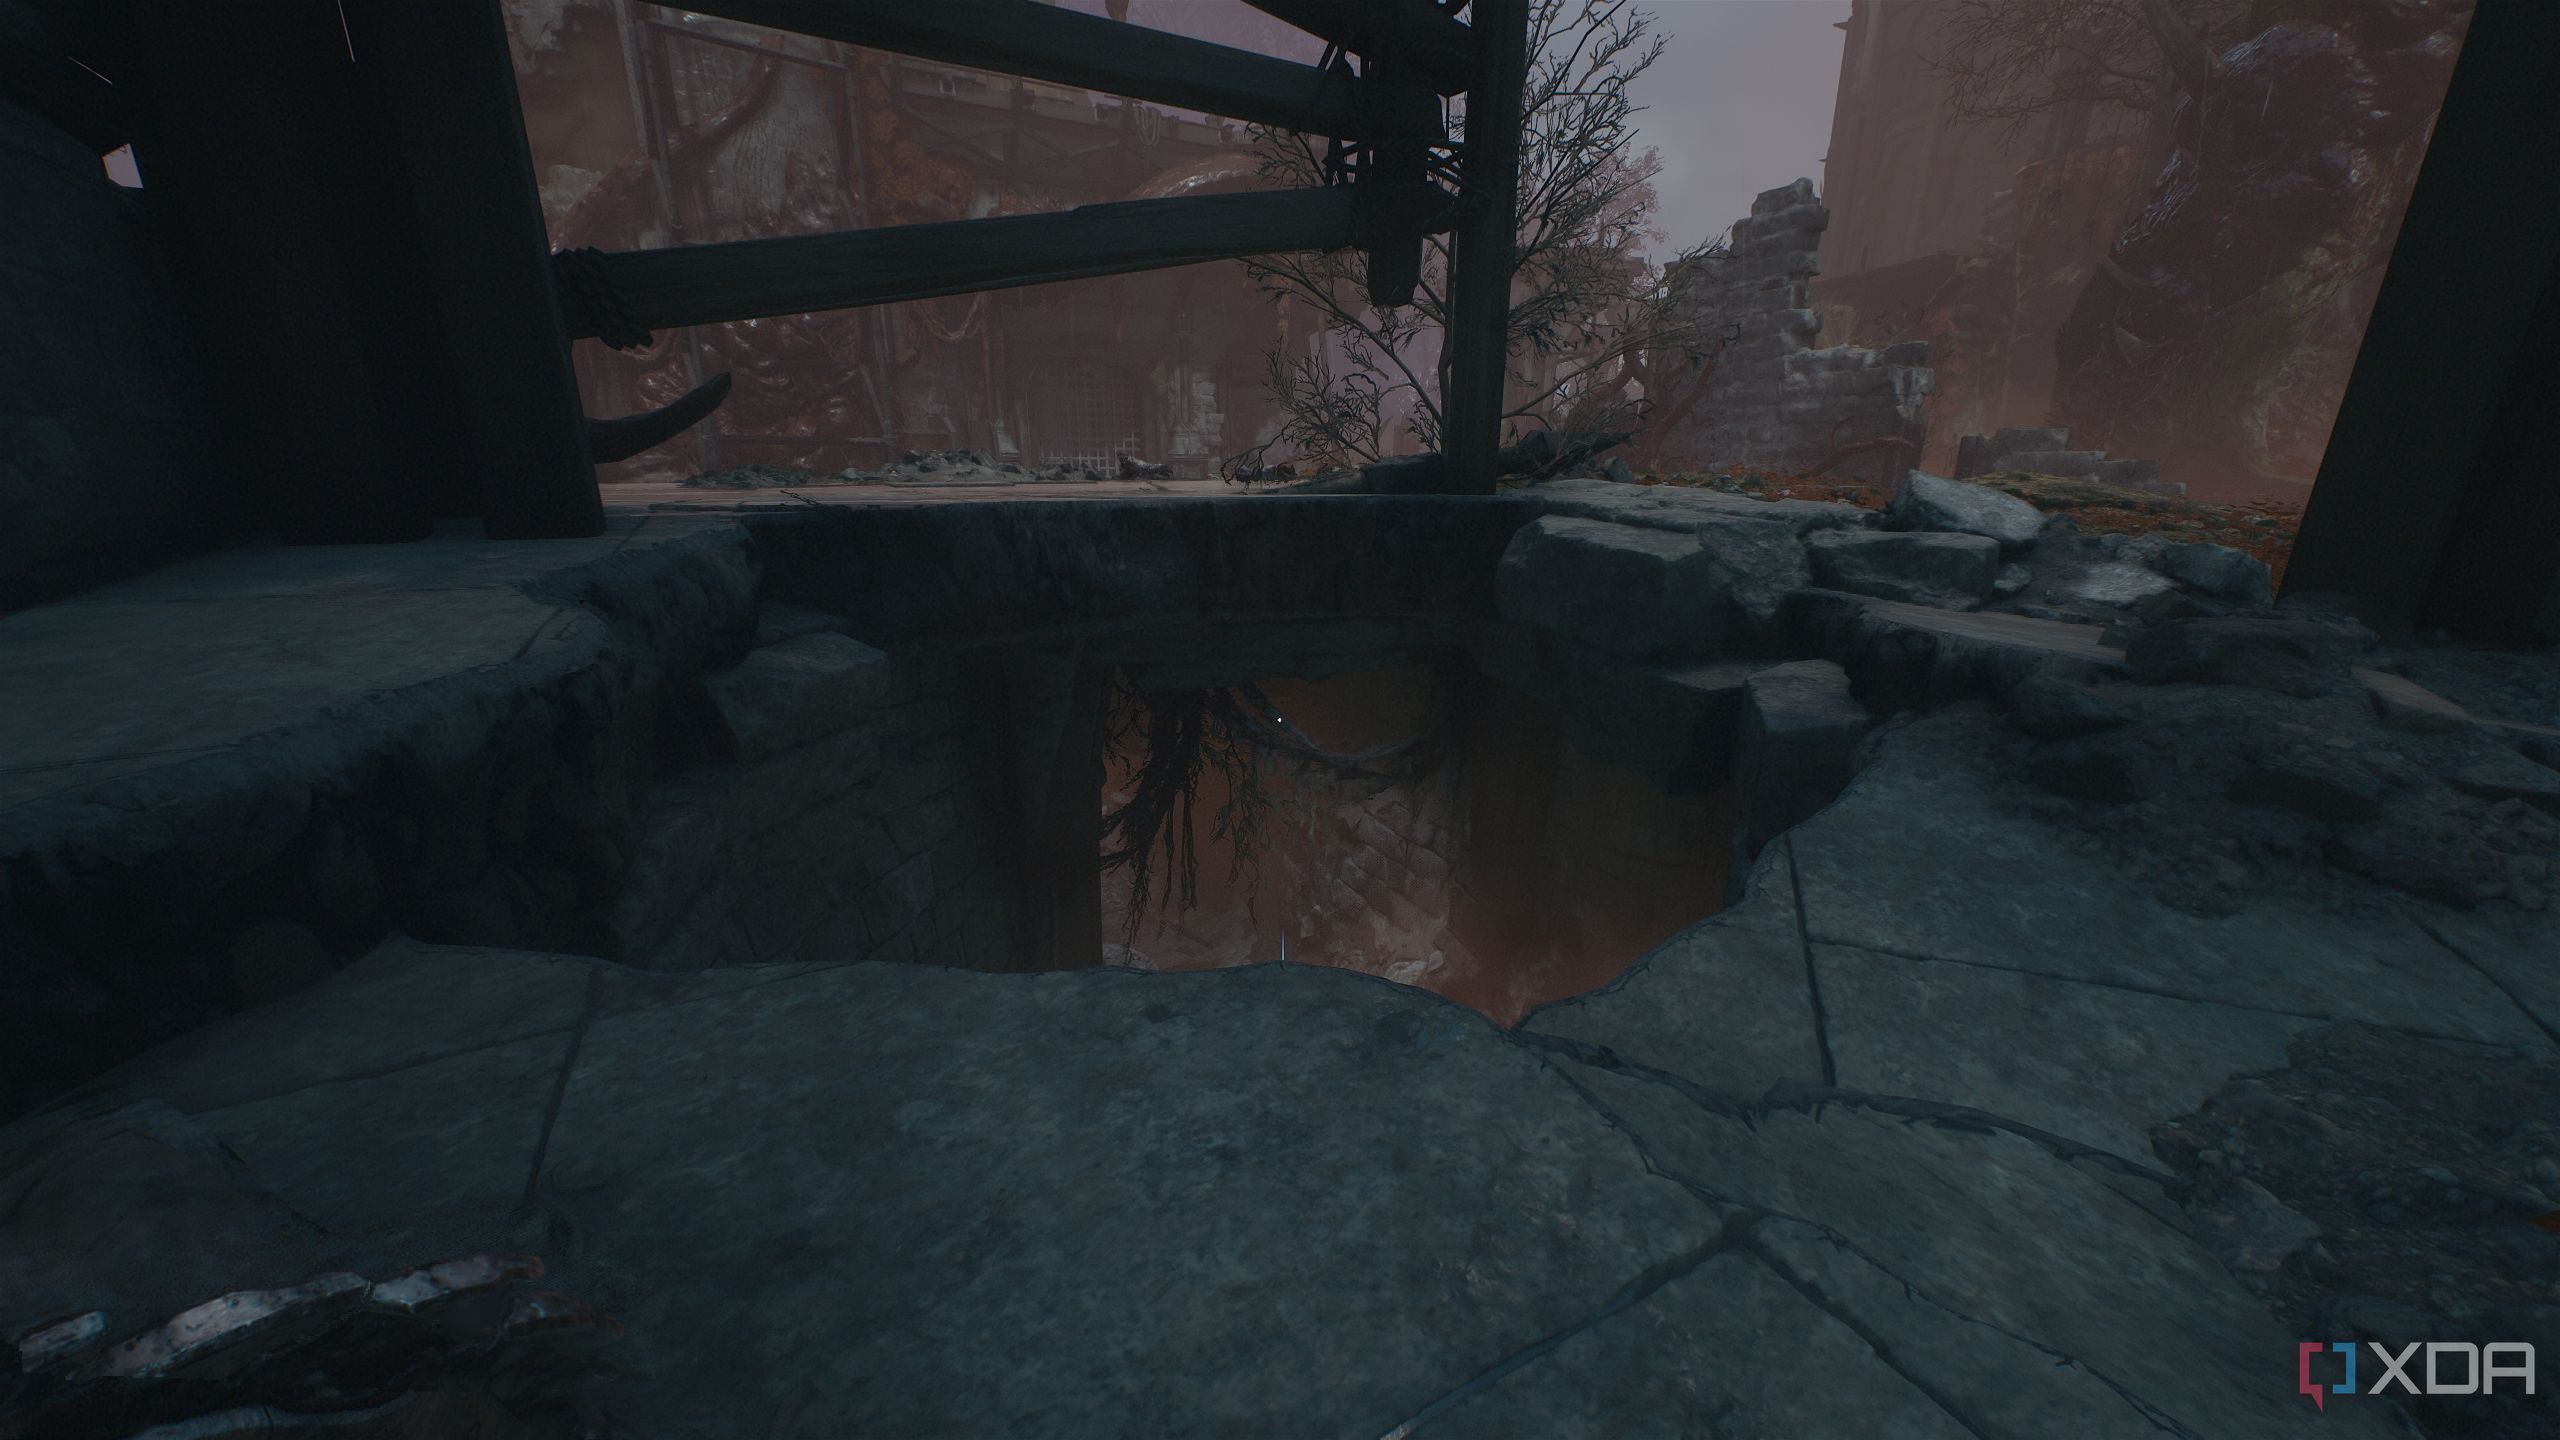
Hit the cross with your shield, and the statue will drop down to the ground, creating a huge hole.
Jump into the hole to unlock secret area 8.
You’ll fight three Imp Stalkers here, and move past the Imp Stalkers to reach a scramble wall.
Climb up the scramble wall to reach a gold chest. Exit back into the arena.
Secret area 9 and Red Ruby 2
A quick tour away from the main objective
Now, break the heated metal cross through the moving fan to proceed towards the objective area, and climb up the scramble wall.
Before you interact with the switch ahead, look to the left.

You’ll see multiple broken platforms with trails of gold bars lying on them. Jump on to these platforms to grab the gold.

You’ll reach a gap to jump across on to another small scramble wall.
Climb it, and you’ll reach secret area 8 where a statue with a second Red Ruby awaits.
Head back the same way you came, and this time, before interacting with the objective marker, look the opposite way.
Just down below on a lower platform, you'll see two gold stacks below.
Related
6 reasons I'm excited for DOOM: The Dark Ages
Six bloody good reasons DOOM: The Dark Ages could be the most fun FPS of the generation.
Secret area 10 and gold stacks
A point of no return in the level
Following the objective, after you destroy the huge wall with an energy bolt blast from the turret, you’ll reach a point of no return in the level, where the Slayer jumps off from above to a bunch of demon Soldiers down below.
As soon as you drop down, turn around immediately to see a small crevice in a tree trunk holding two gold stacks.
Approach it to unlock secret area 10 and two gold stacks. Head to the next point of no return after fighting a Spiderdemon at the end of this path.
Secret area 11 and a gold chest
The final gold chest and secret in the map
Once you collect the Grenade Launcher weapon, mow down the demon horde waiting for you ahead.

Then, look up to see a green flesh node overhead.
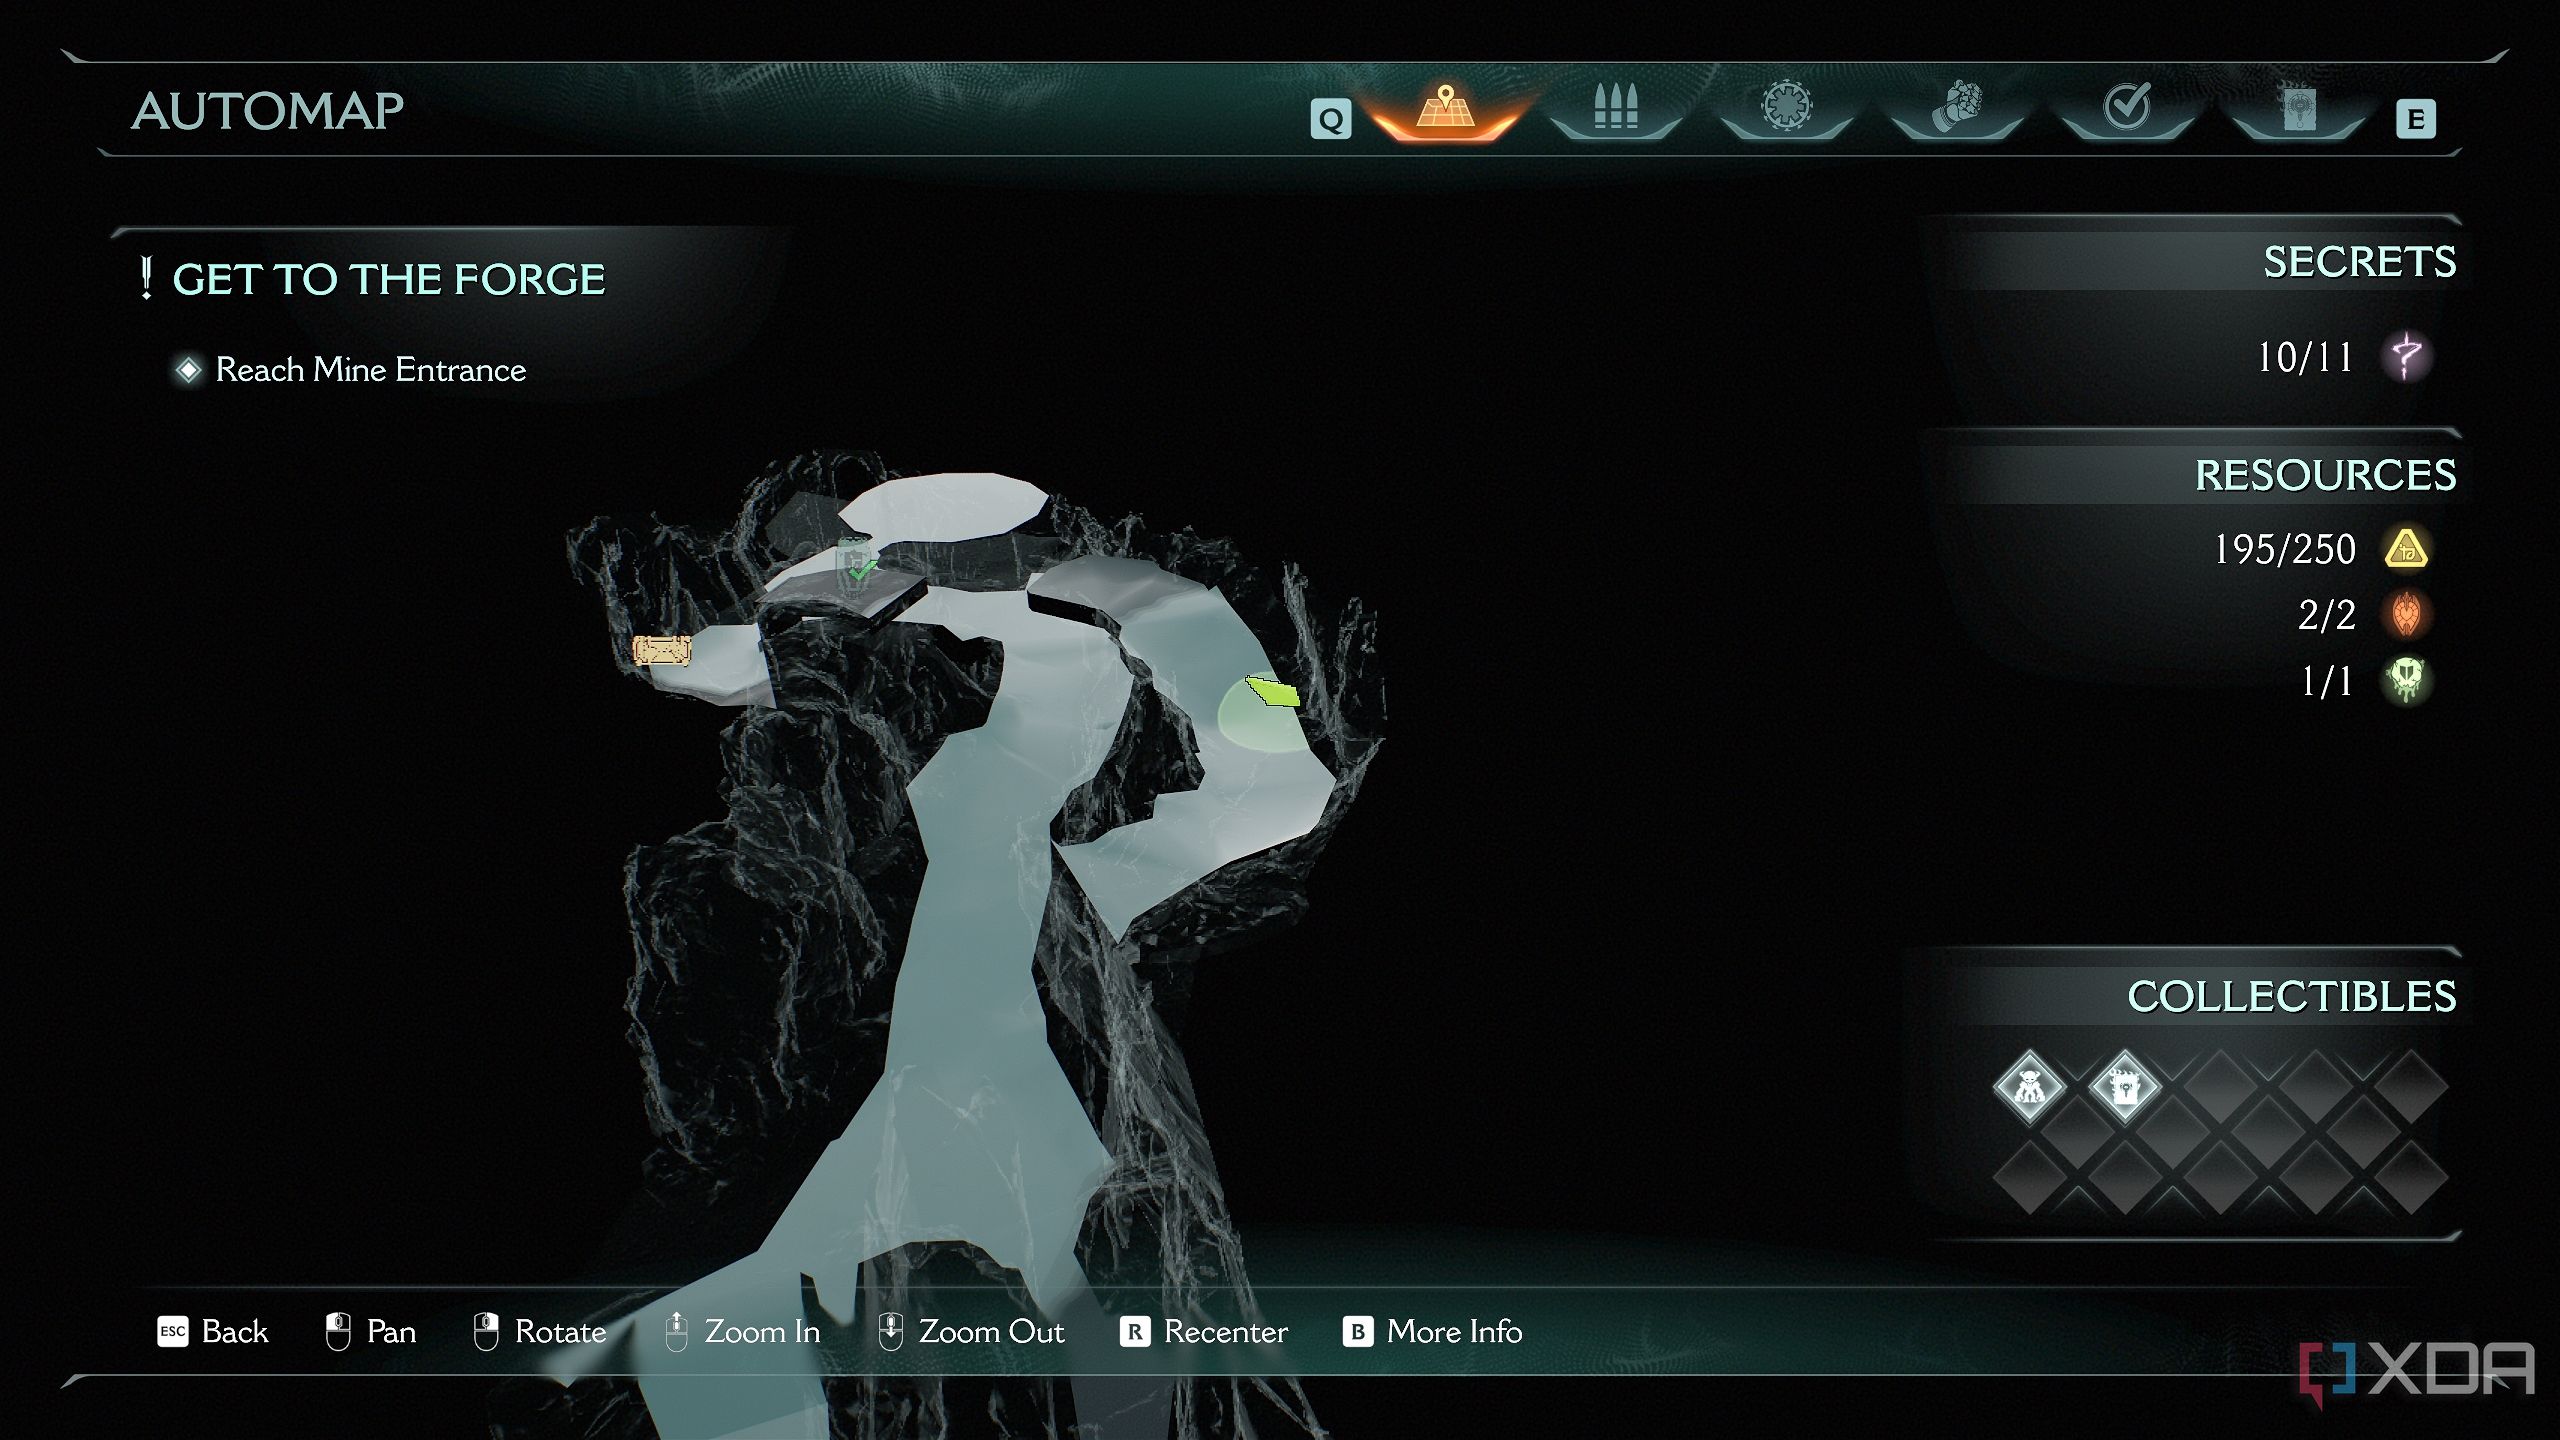
Use your shield to get to it, and head into the dark cave. Move slowly, as you’ll have to jump across a gap here.
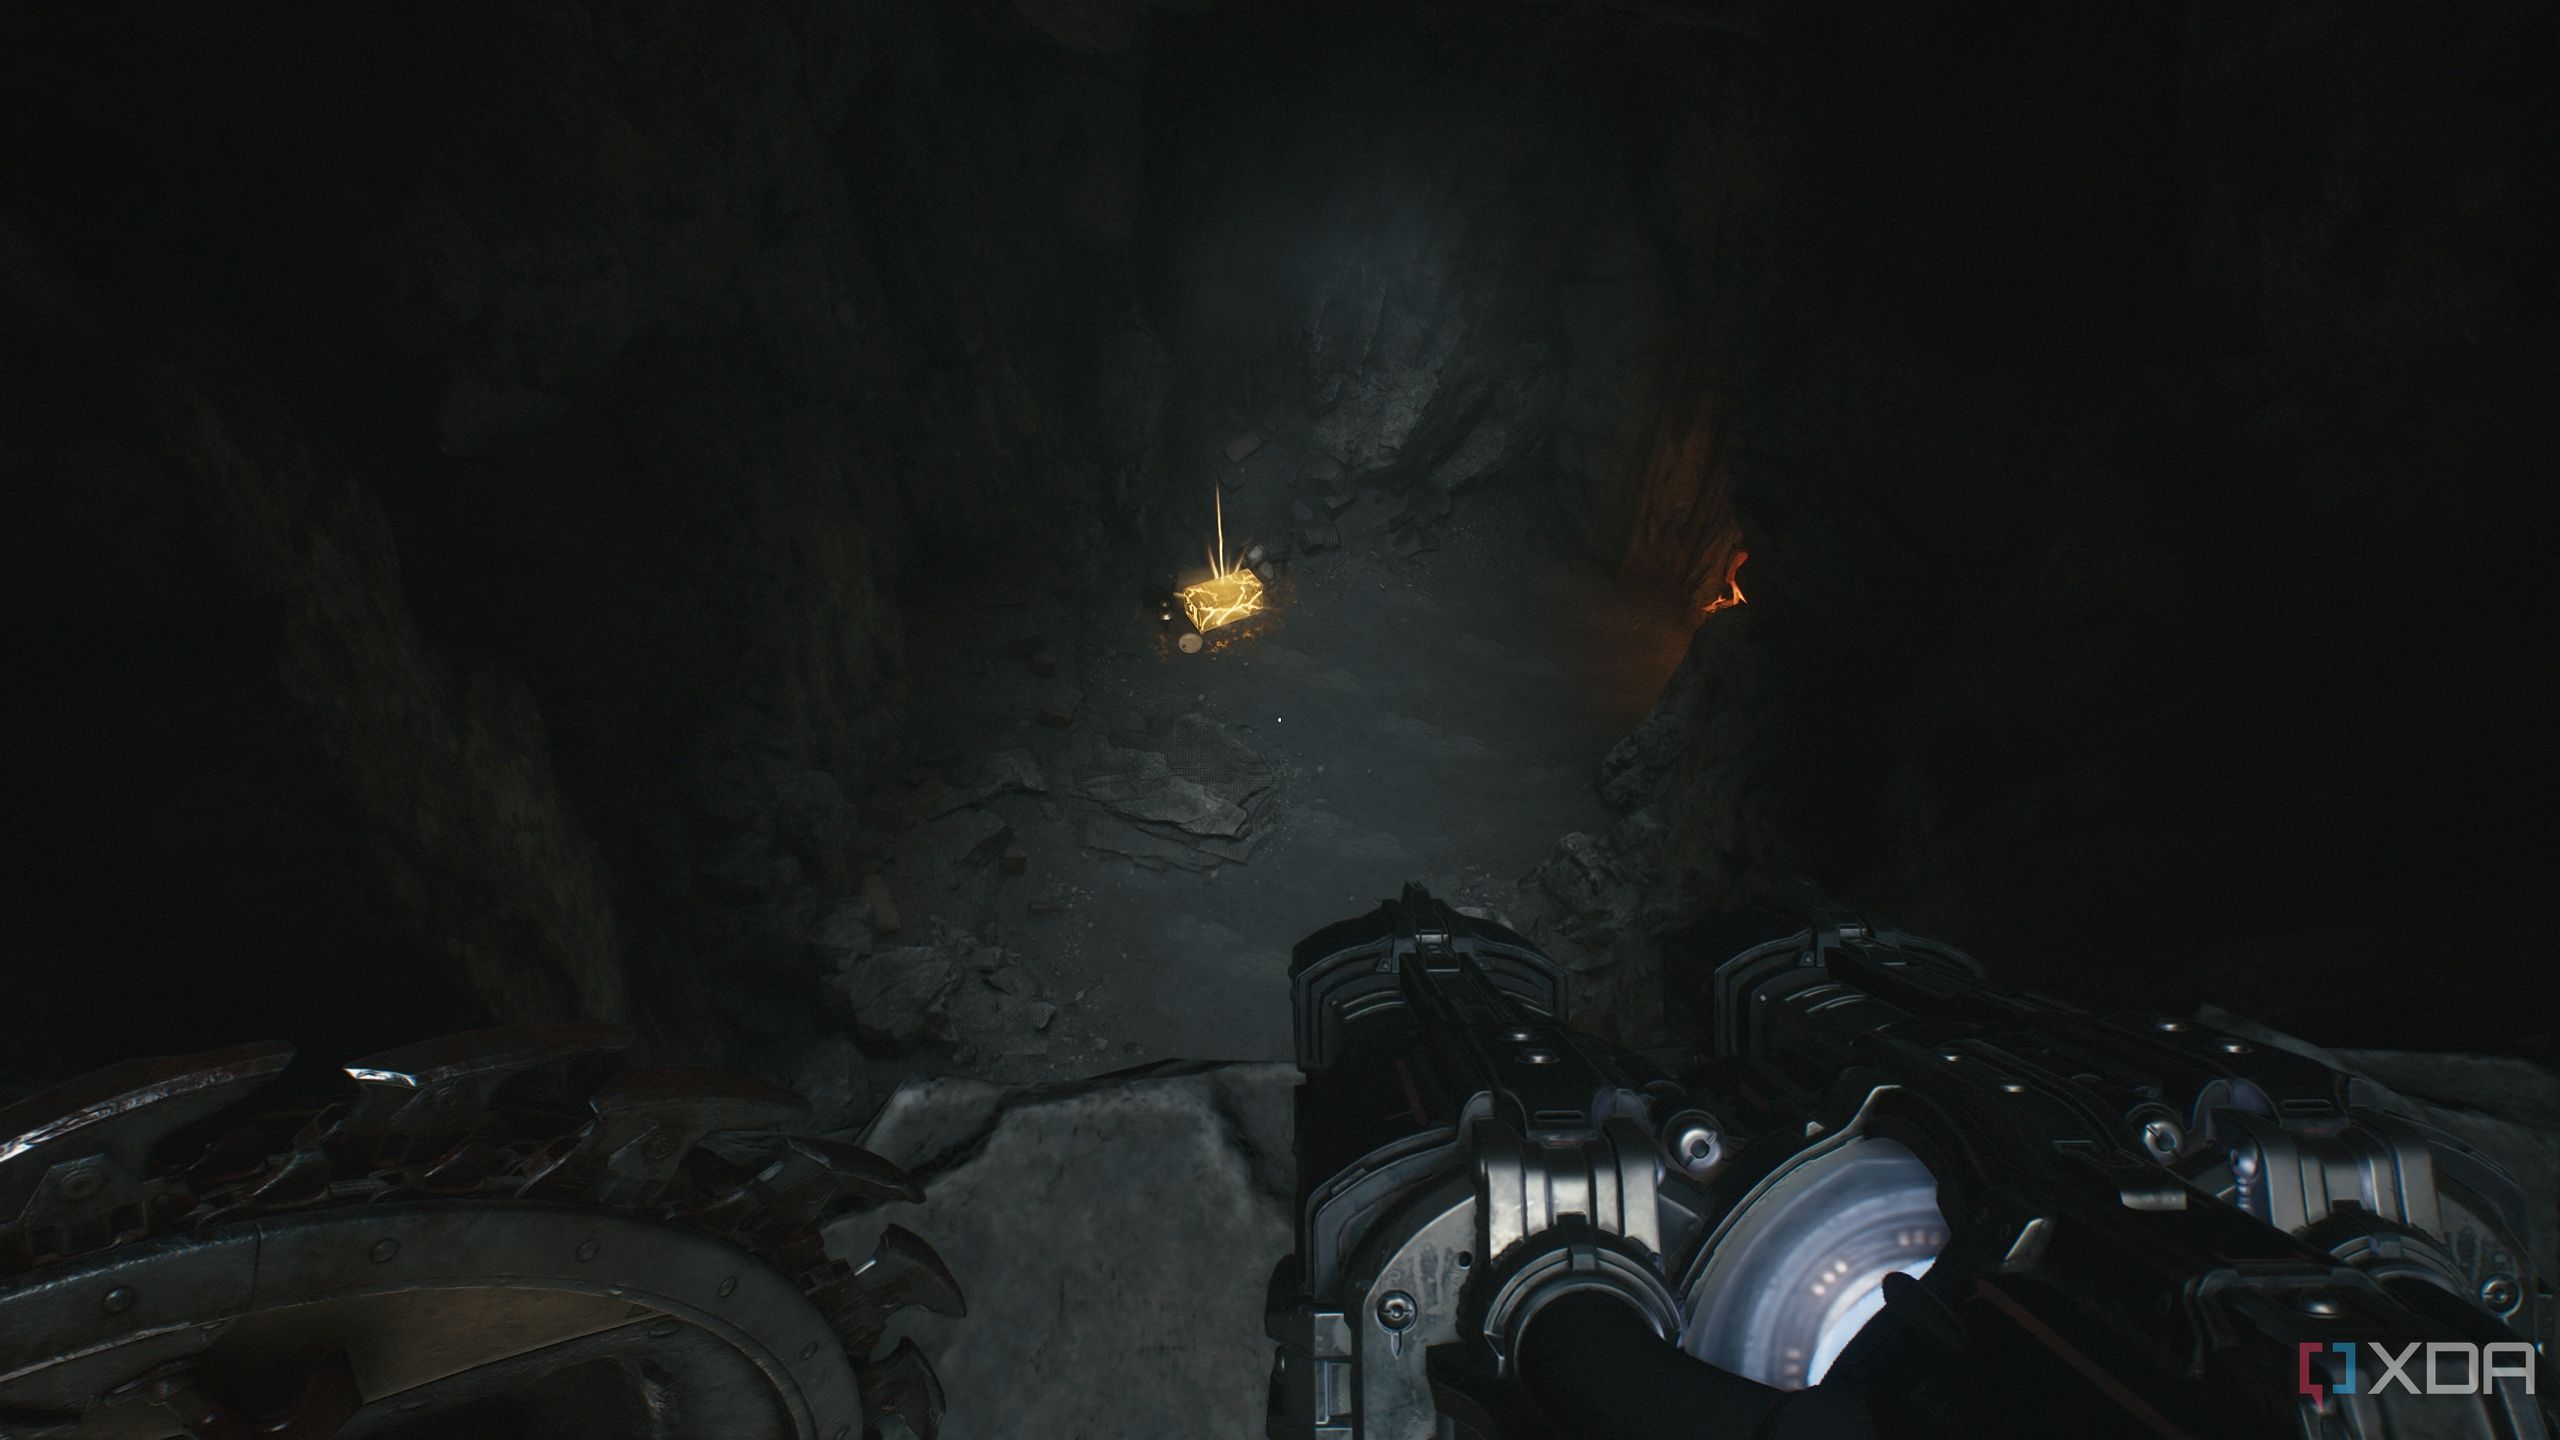
After making the jump, move ahead to see a gold chest waiting for you down below.
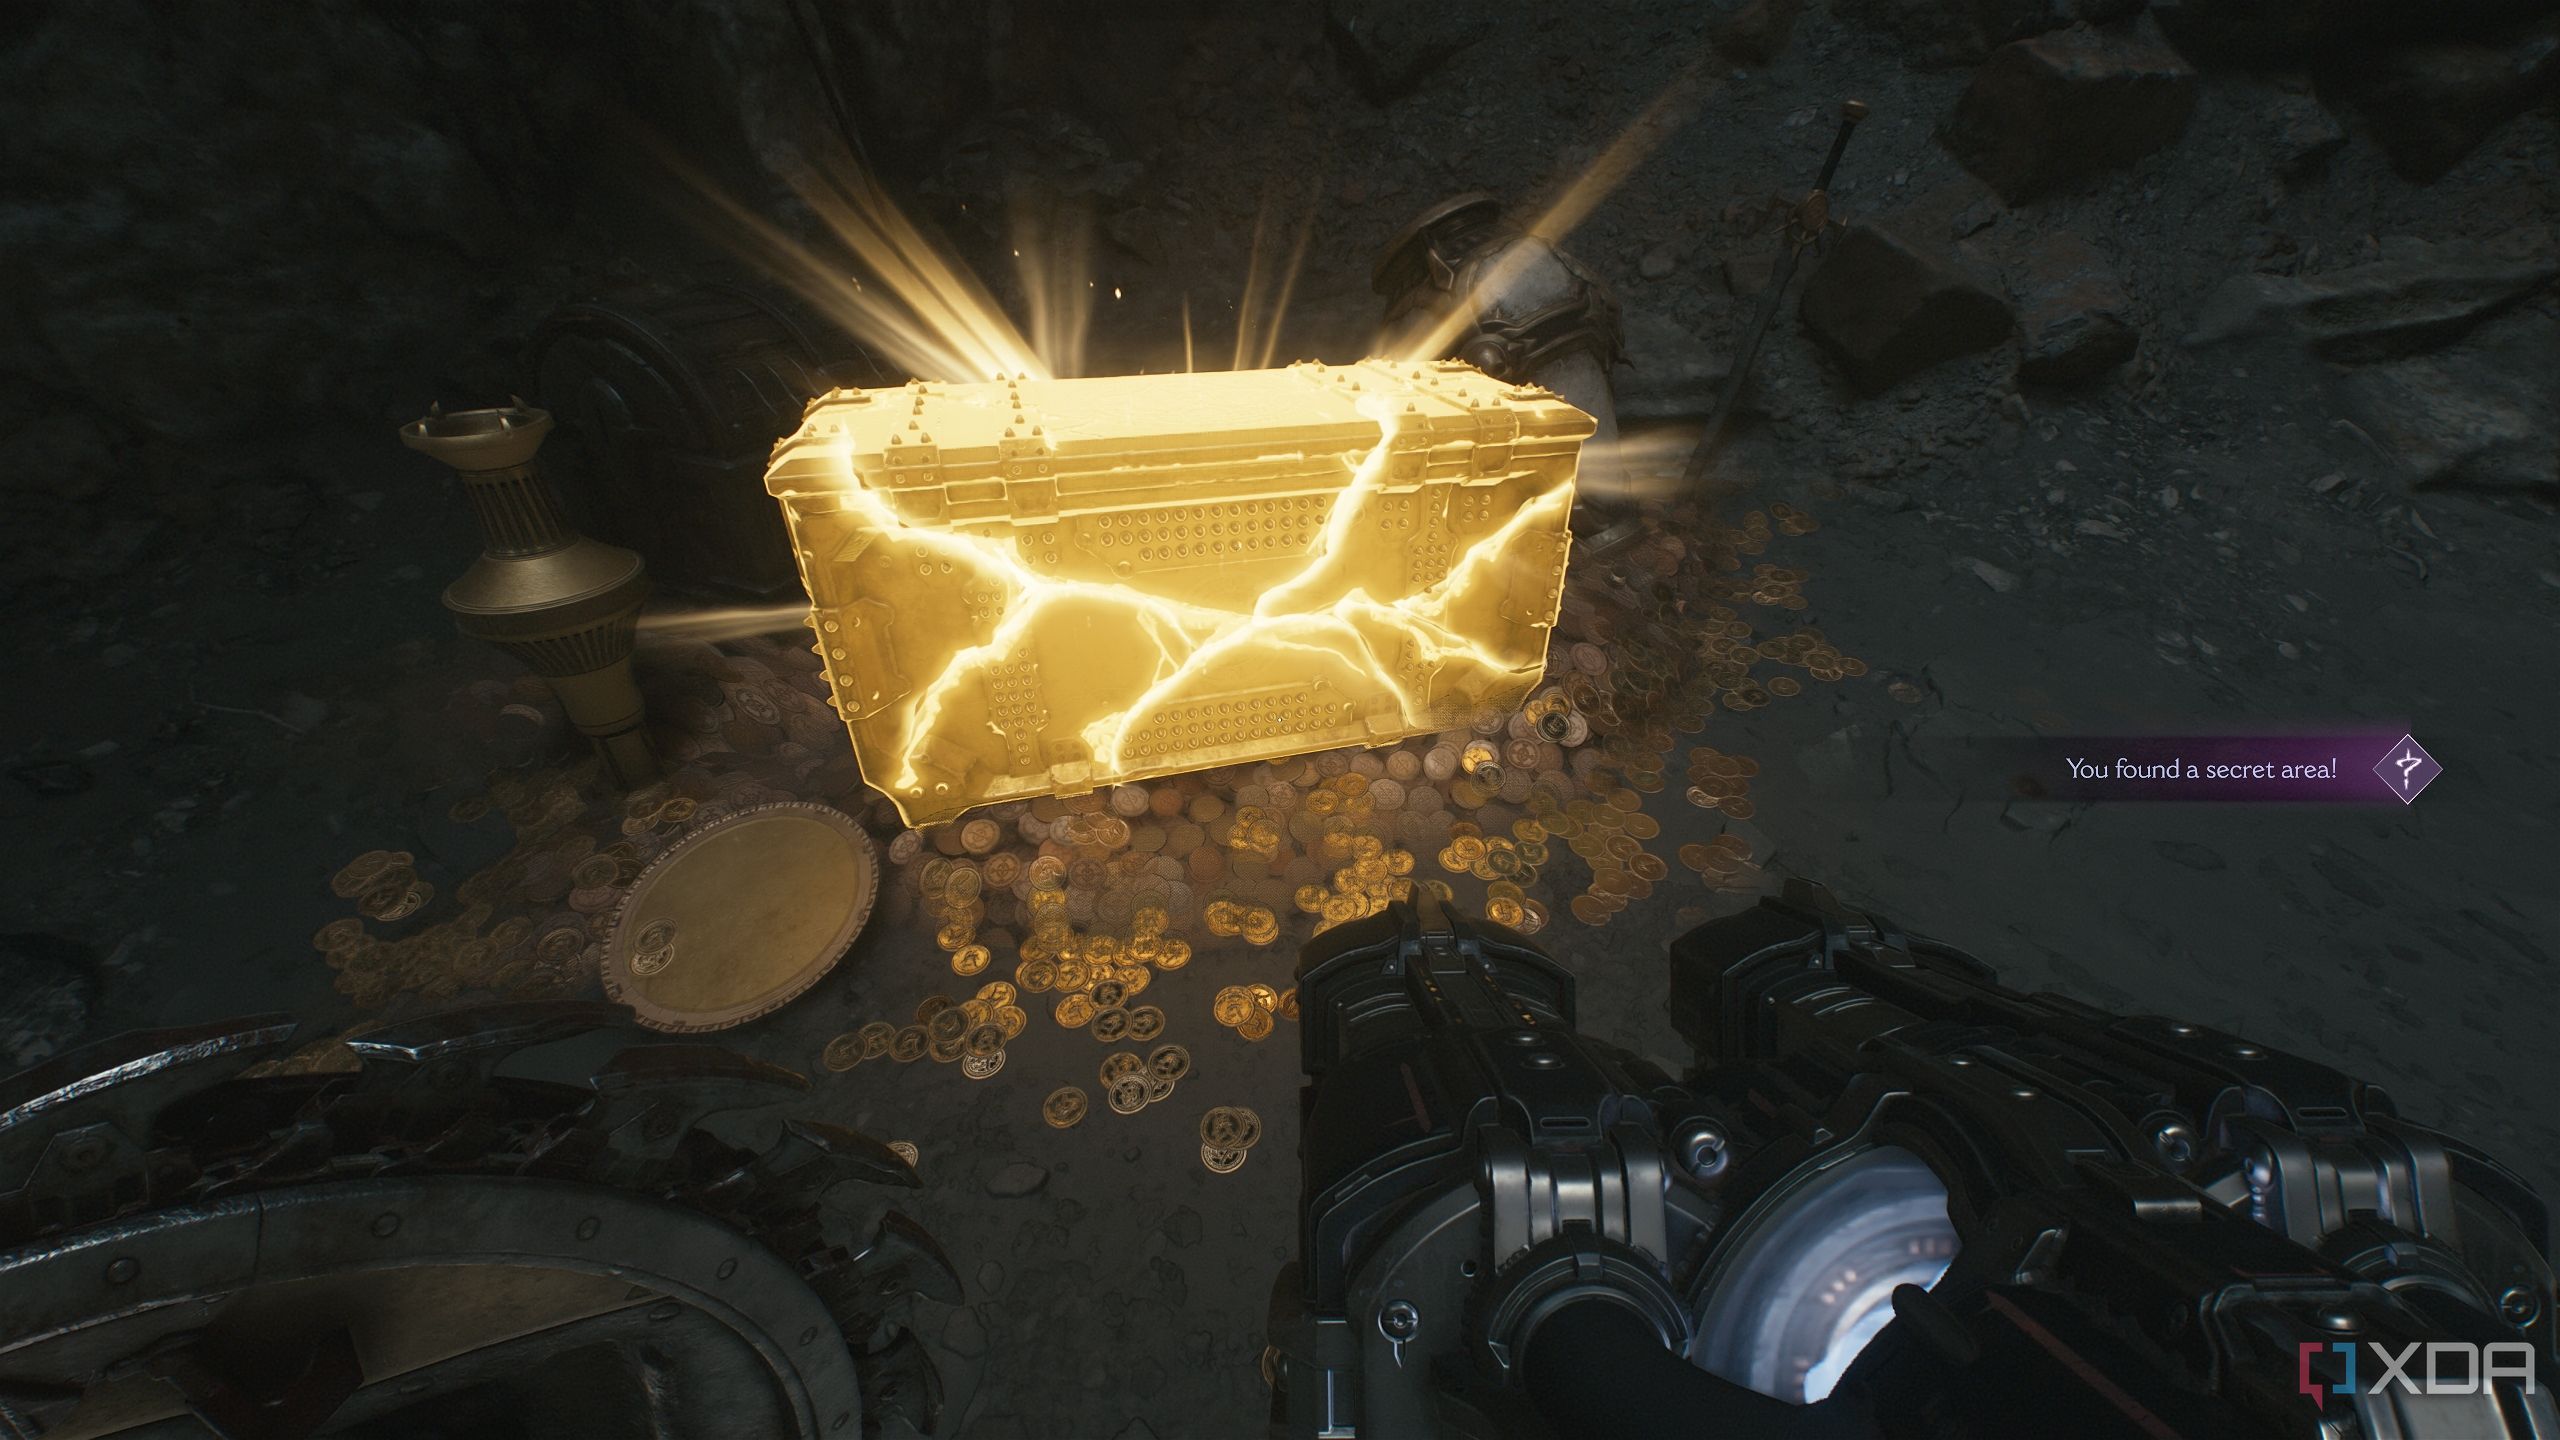
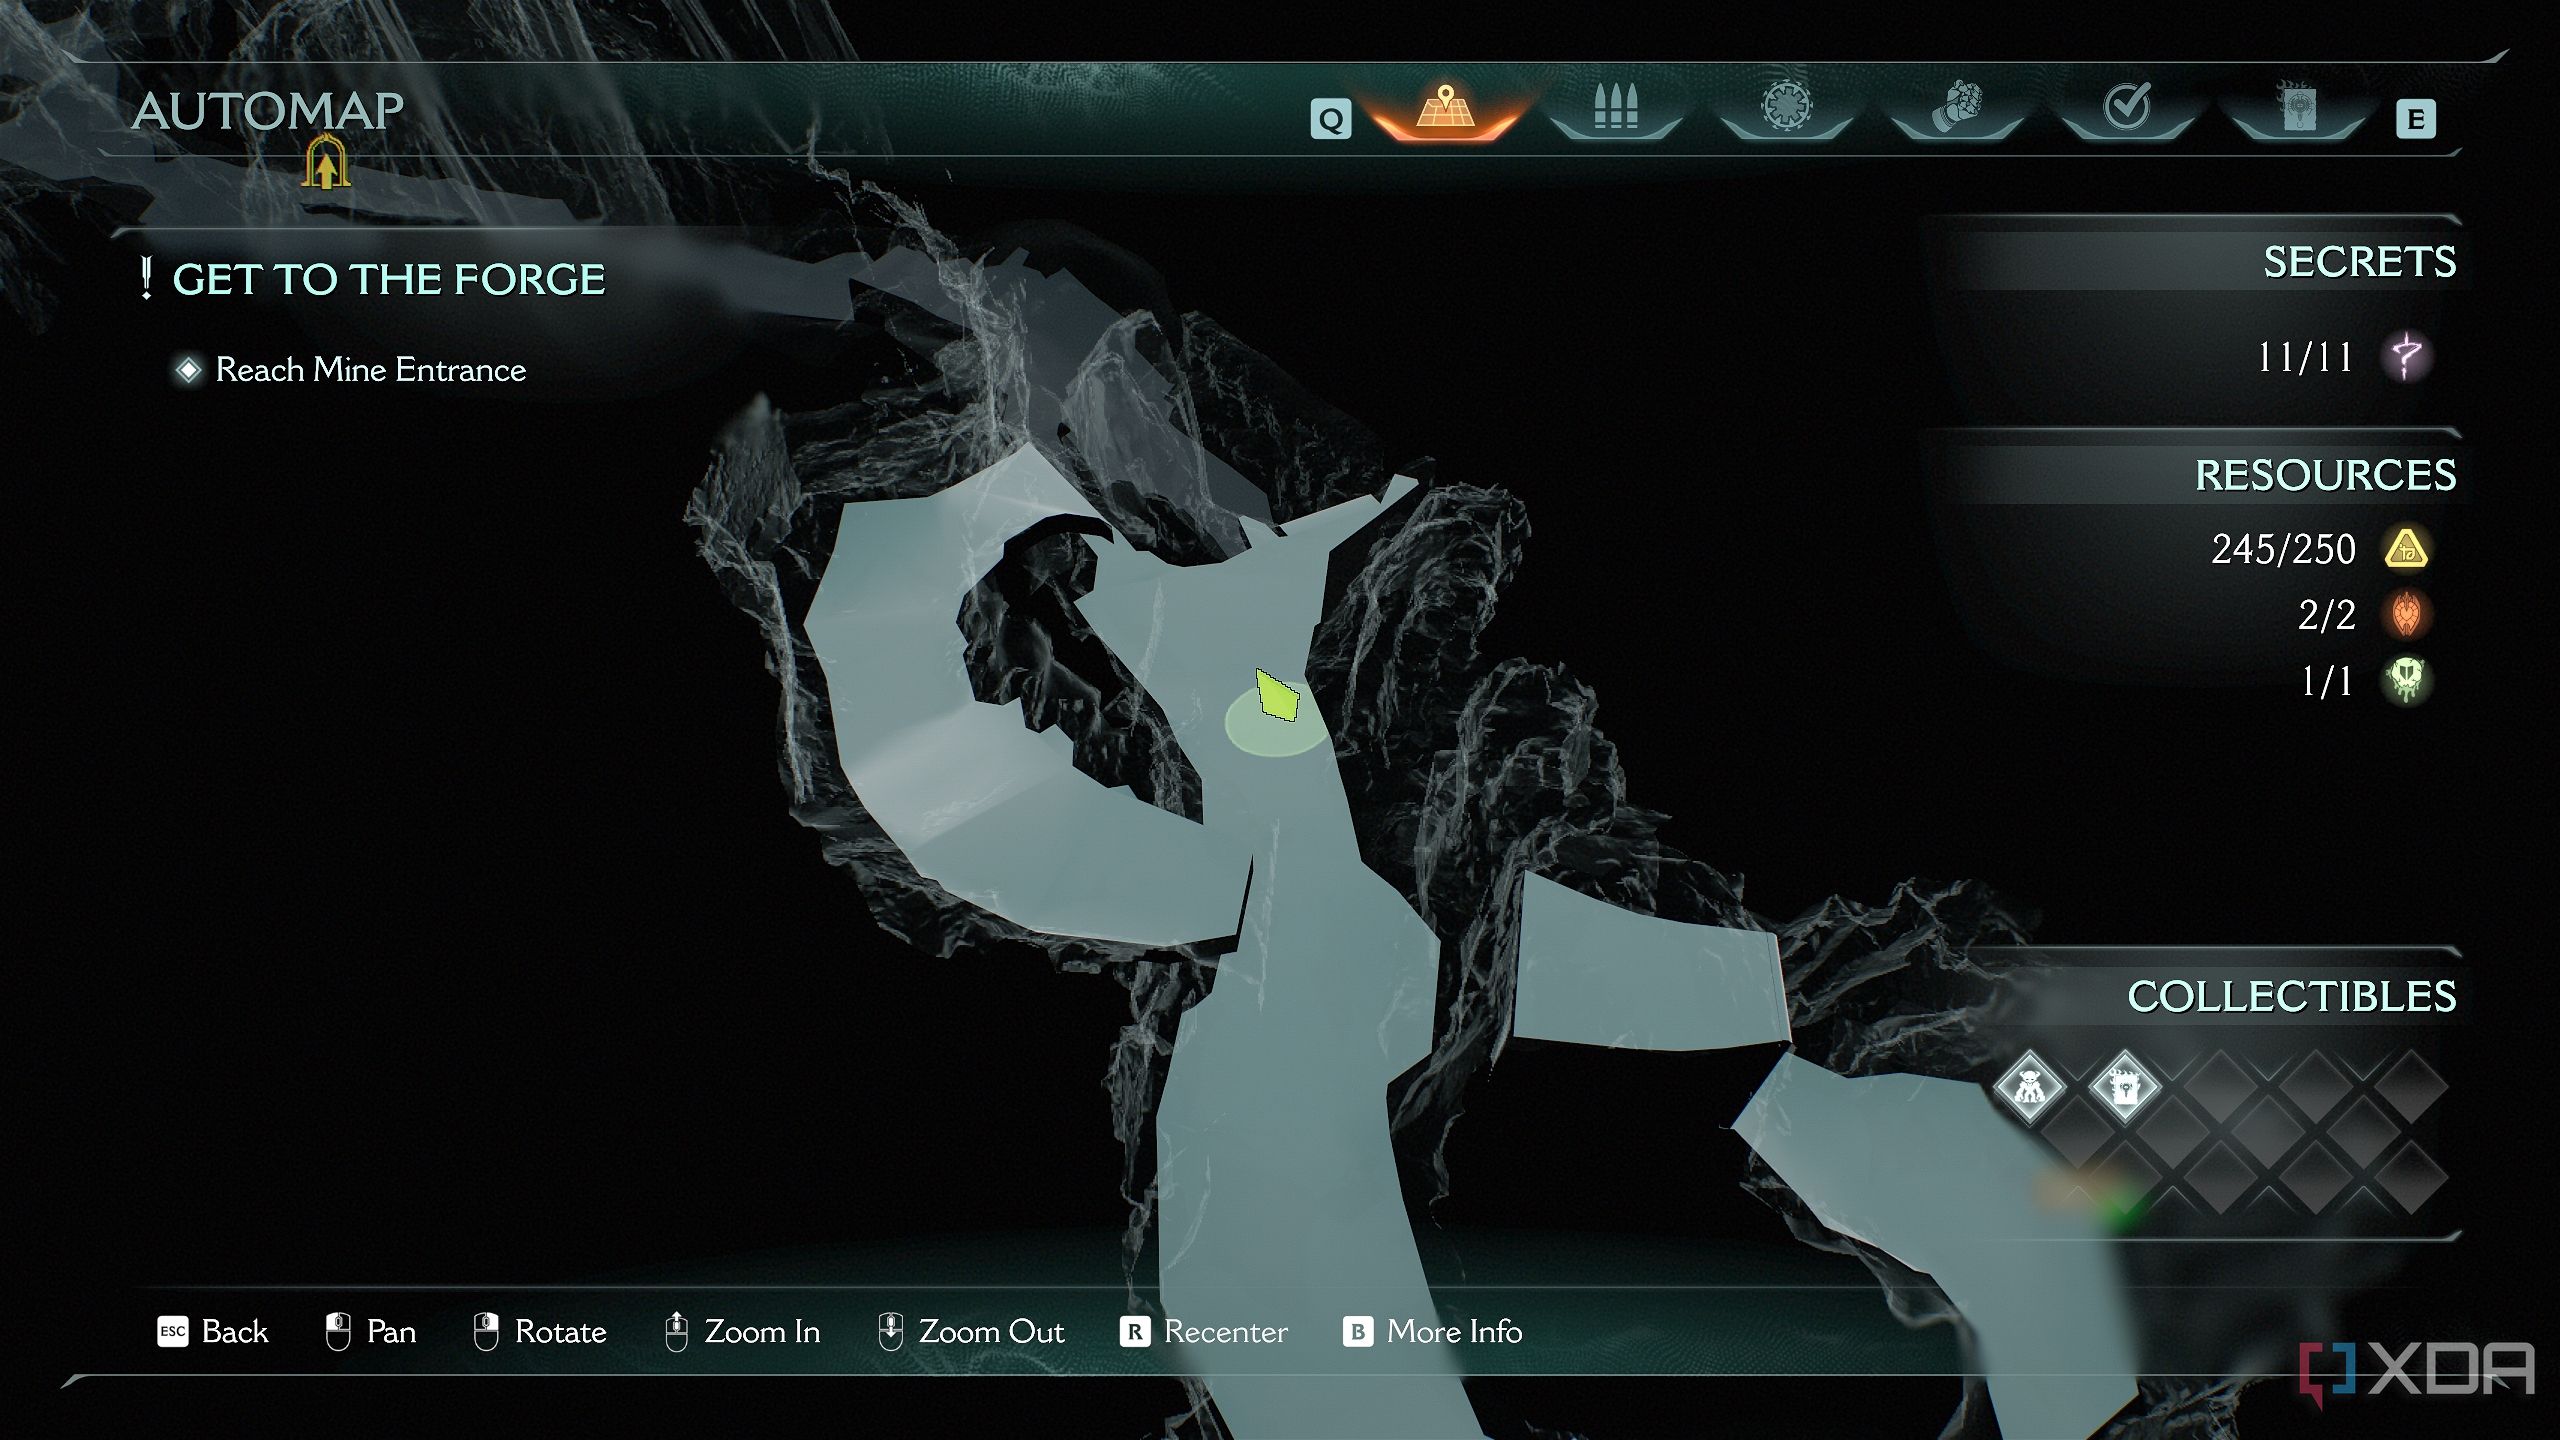
Get to it to unlock secret area 11 and the final gold chest.
Move towards the end of the level, and you’ll reach a final trail of gold bars to complete all objectives.
All collectibles in Chapter 8: Abyssal Forest in Doom: The Dark Ages
Once that’s complete, Chapter 8 of Doom: The Dark Ages will be complete, and you’ll finally have the 100% completion achievement for this level.
|
Achievements in Chapter 8: Abyssal Forest |
|
|
Gold |
250 |
|
Rubies |
2 |
|
Demonic Essence |
1 |
|
Secret Areas |
11 |
|
Codex Entries |
1 |
|
Collectible Toys |
1 |

DOOM: The Dark Ages
Released May 15, 2025
ESRB m
Developer(s) id Software
Publisher(s) Bethesda Softworks
Engine id Tech
Multiplayer Online Multiplayer
Franchise DOOM


 English (US) ·