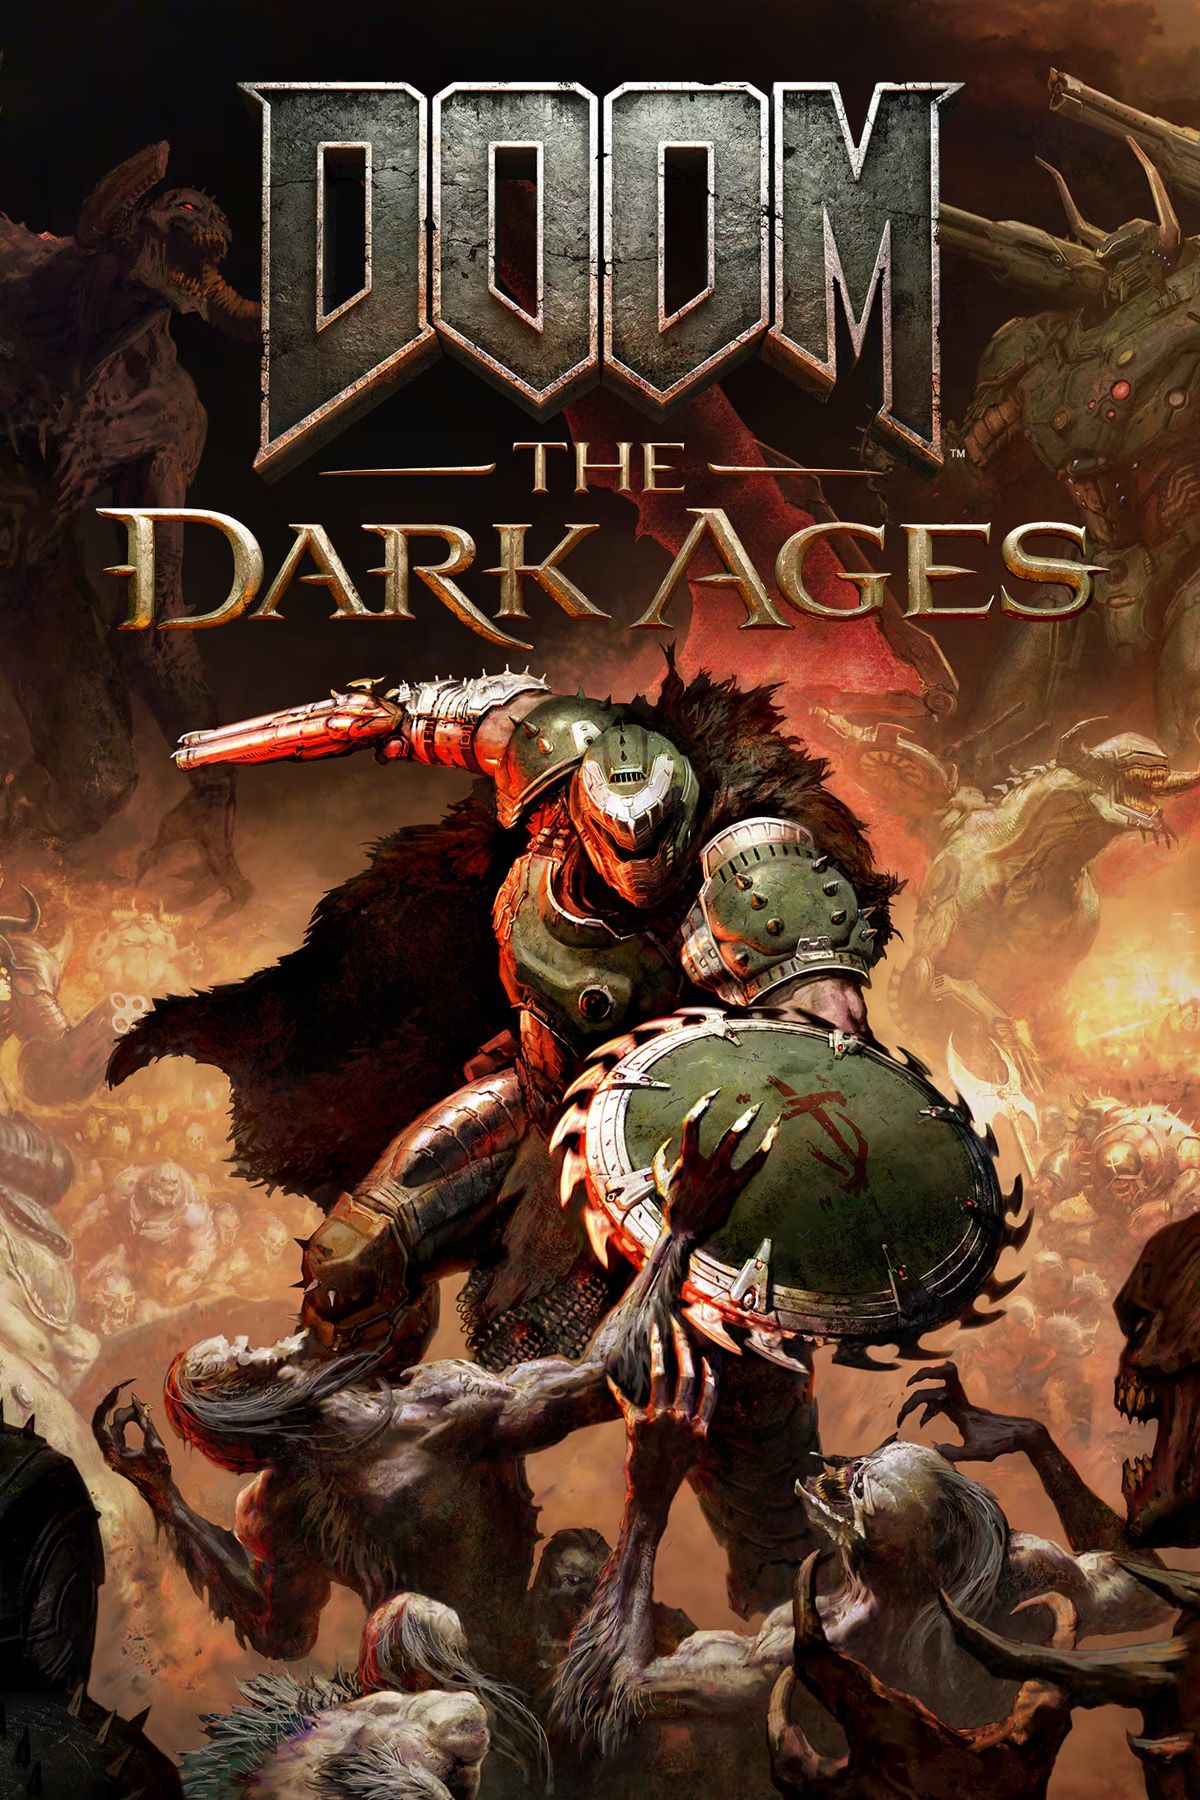
.png)
Chapter 6: Siege - Part 1 in Doom: The Dark Ages introduces the biggest map in the game yet. Going through an entire battlefield in the city outskirts, the Doom Slayer has plenty of hidden collectibles and secret areas to unlock in order to get 100% completion of this huge, sprawling level.
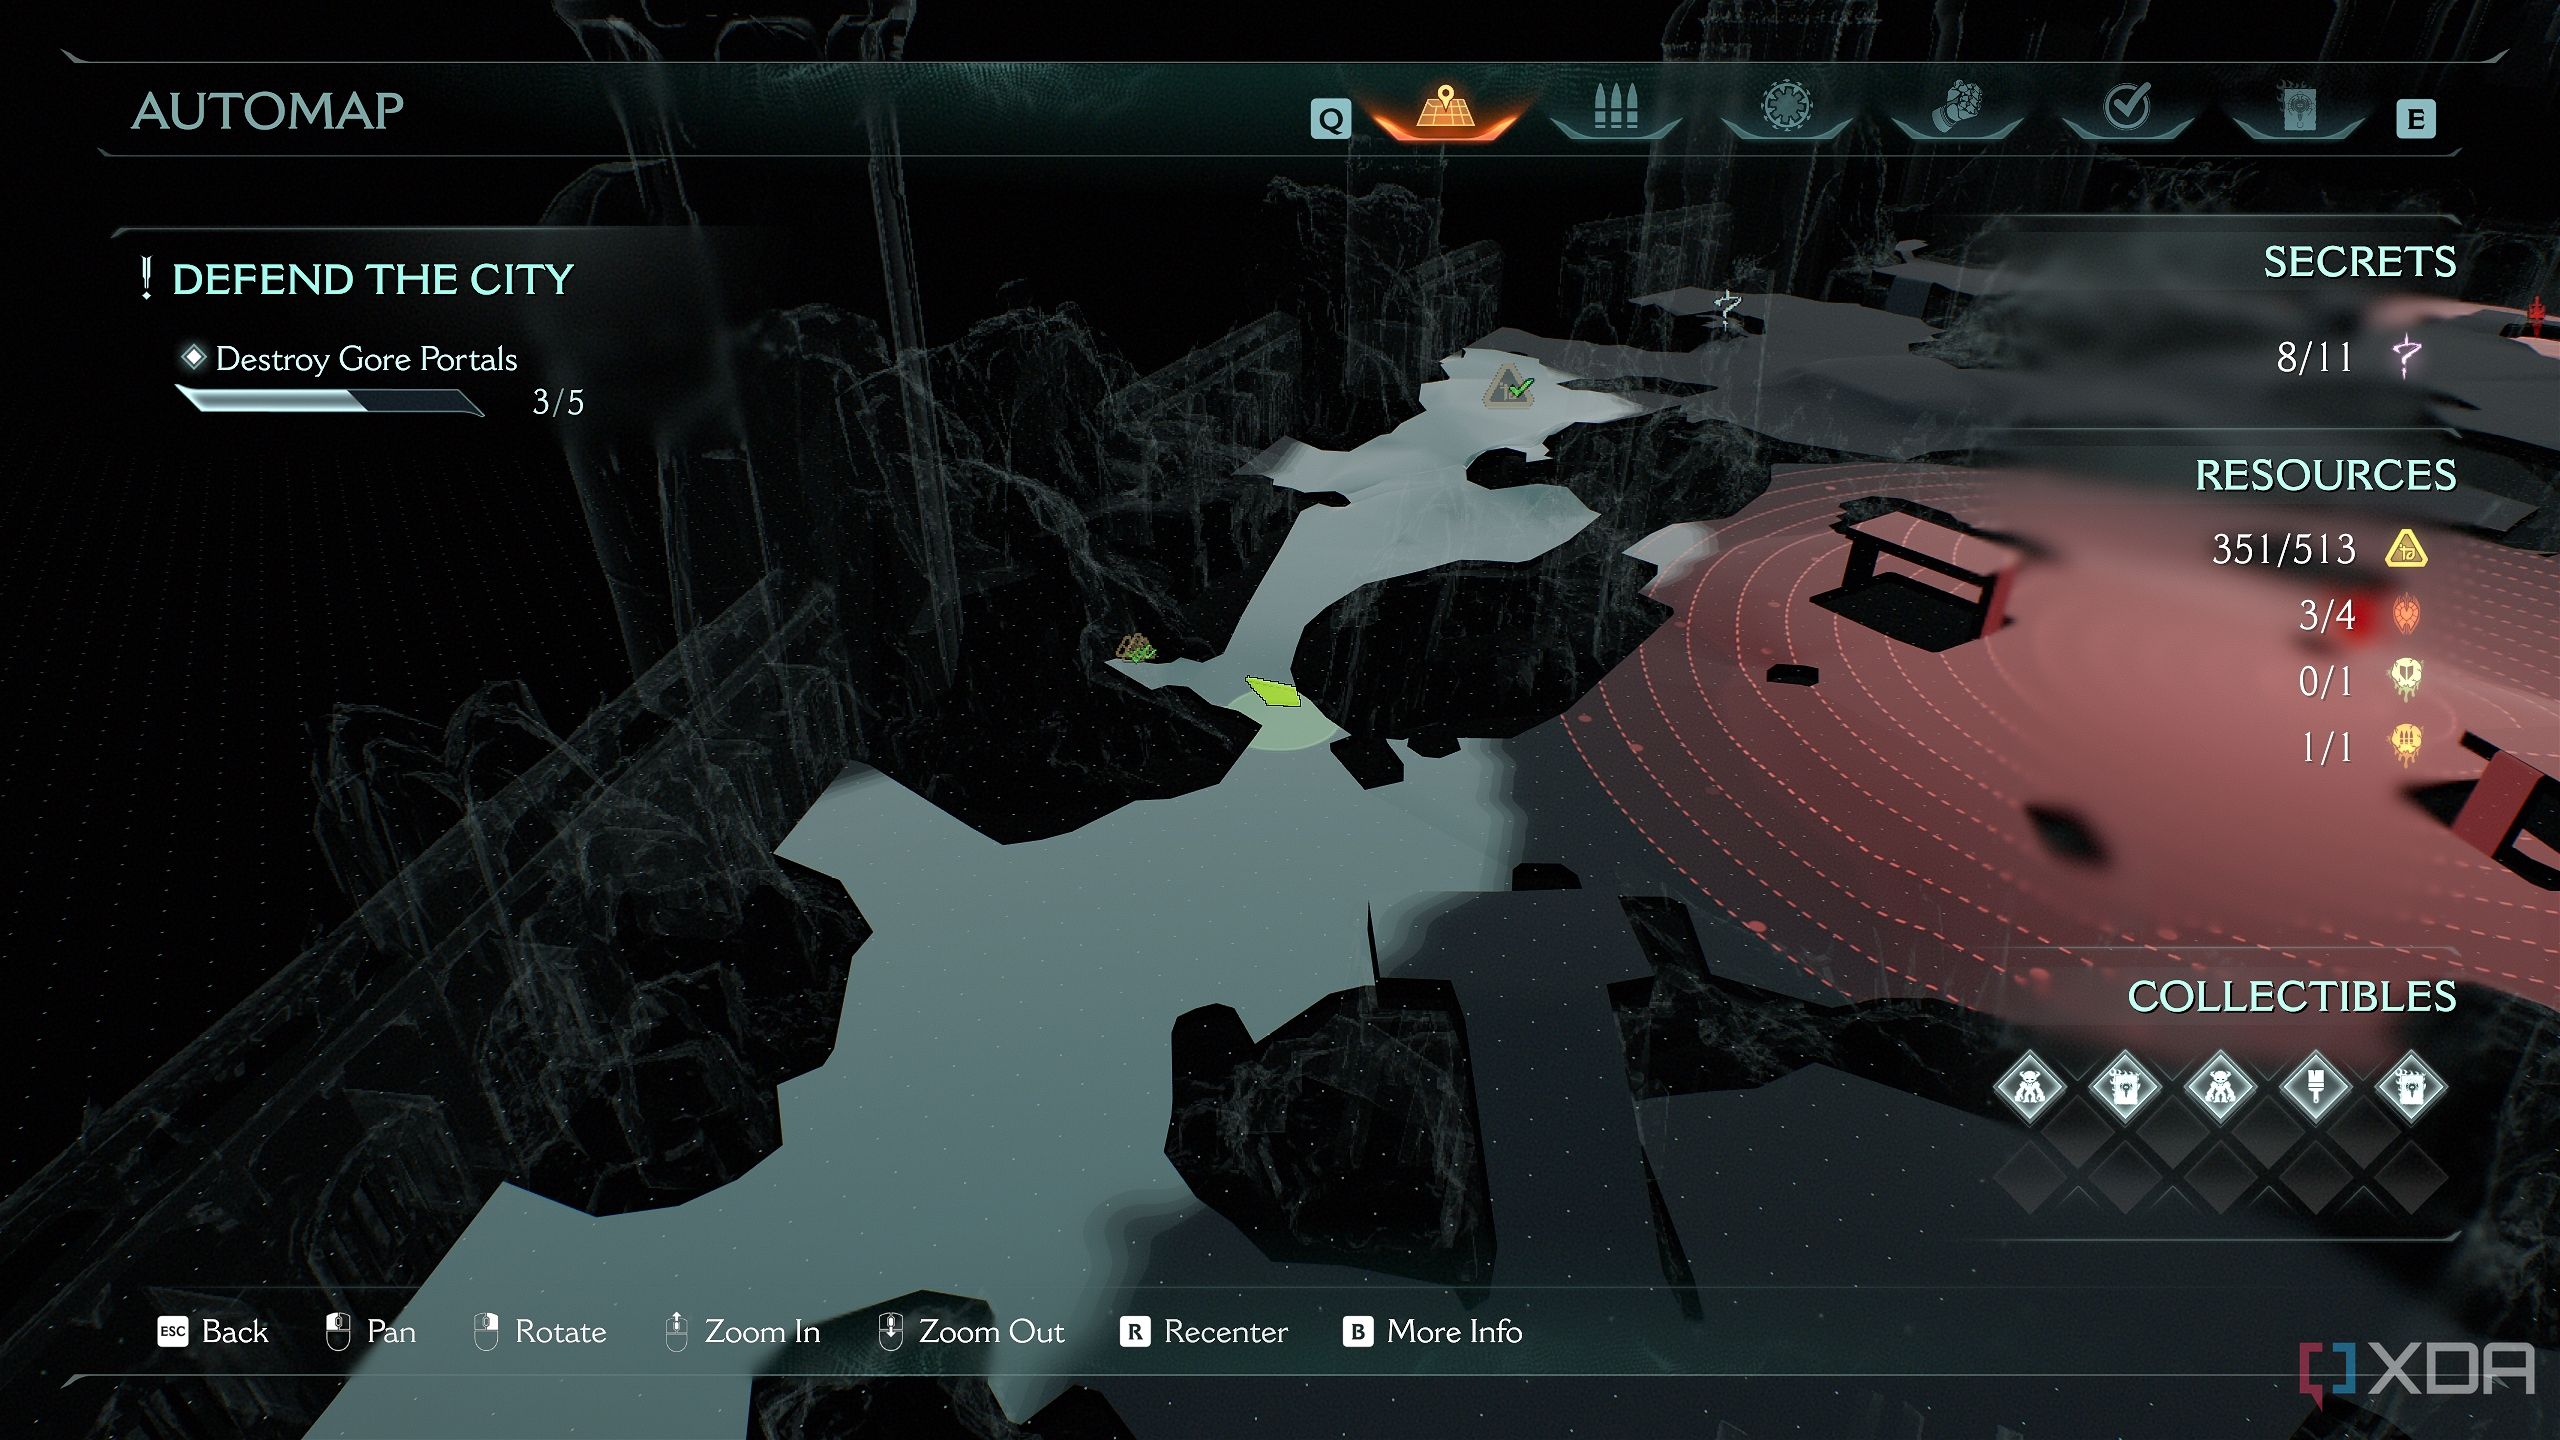
In order to get 100% completion of each level, make sure you complete the mission challenges for this level.
Chapter 6’s mission challenges are parrying 10 Hellknight attacks, using 25 flail strikes, and destroying 4 artillery cannons.

Related
DOOM: The Dark Ages — 100% completion guide, Chapter 5: The Holy City of Aratum
Chapter 5 of Doom: The Dark Ages finallly lets players ride the dragon as the Doom Slayer through a sacred, flying city.
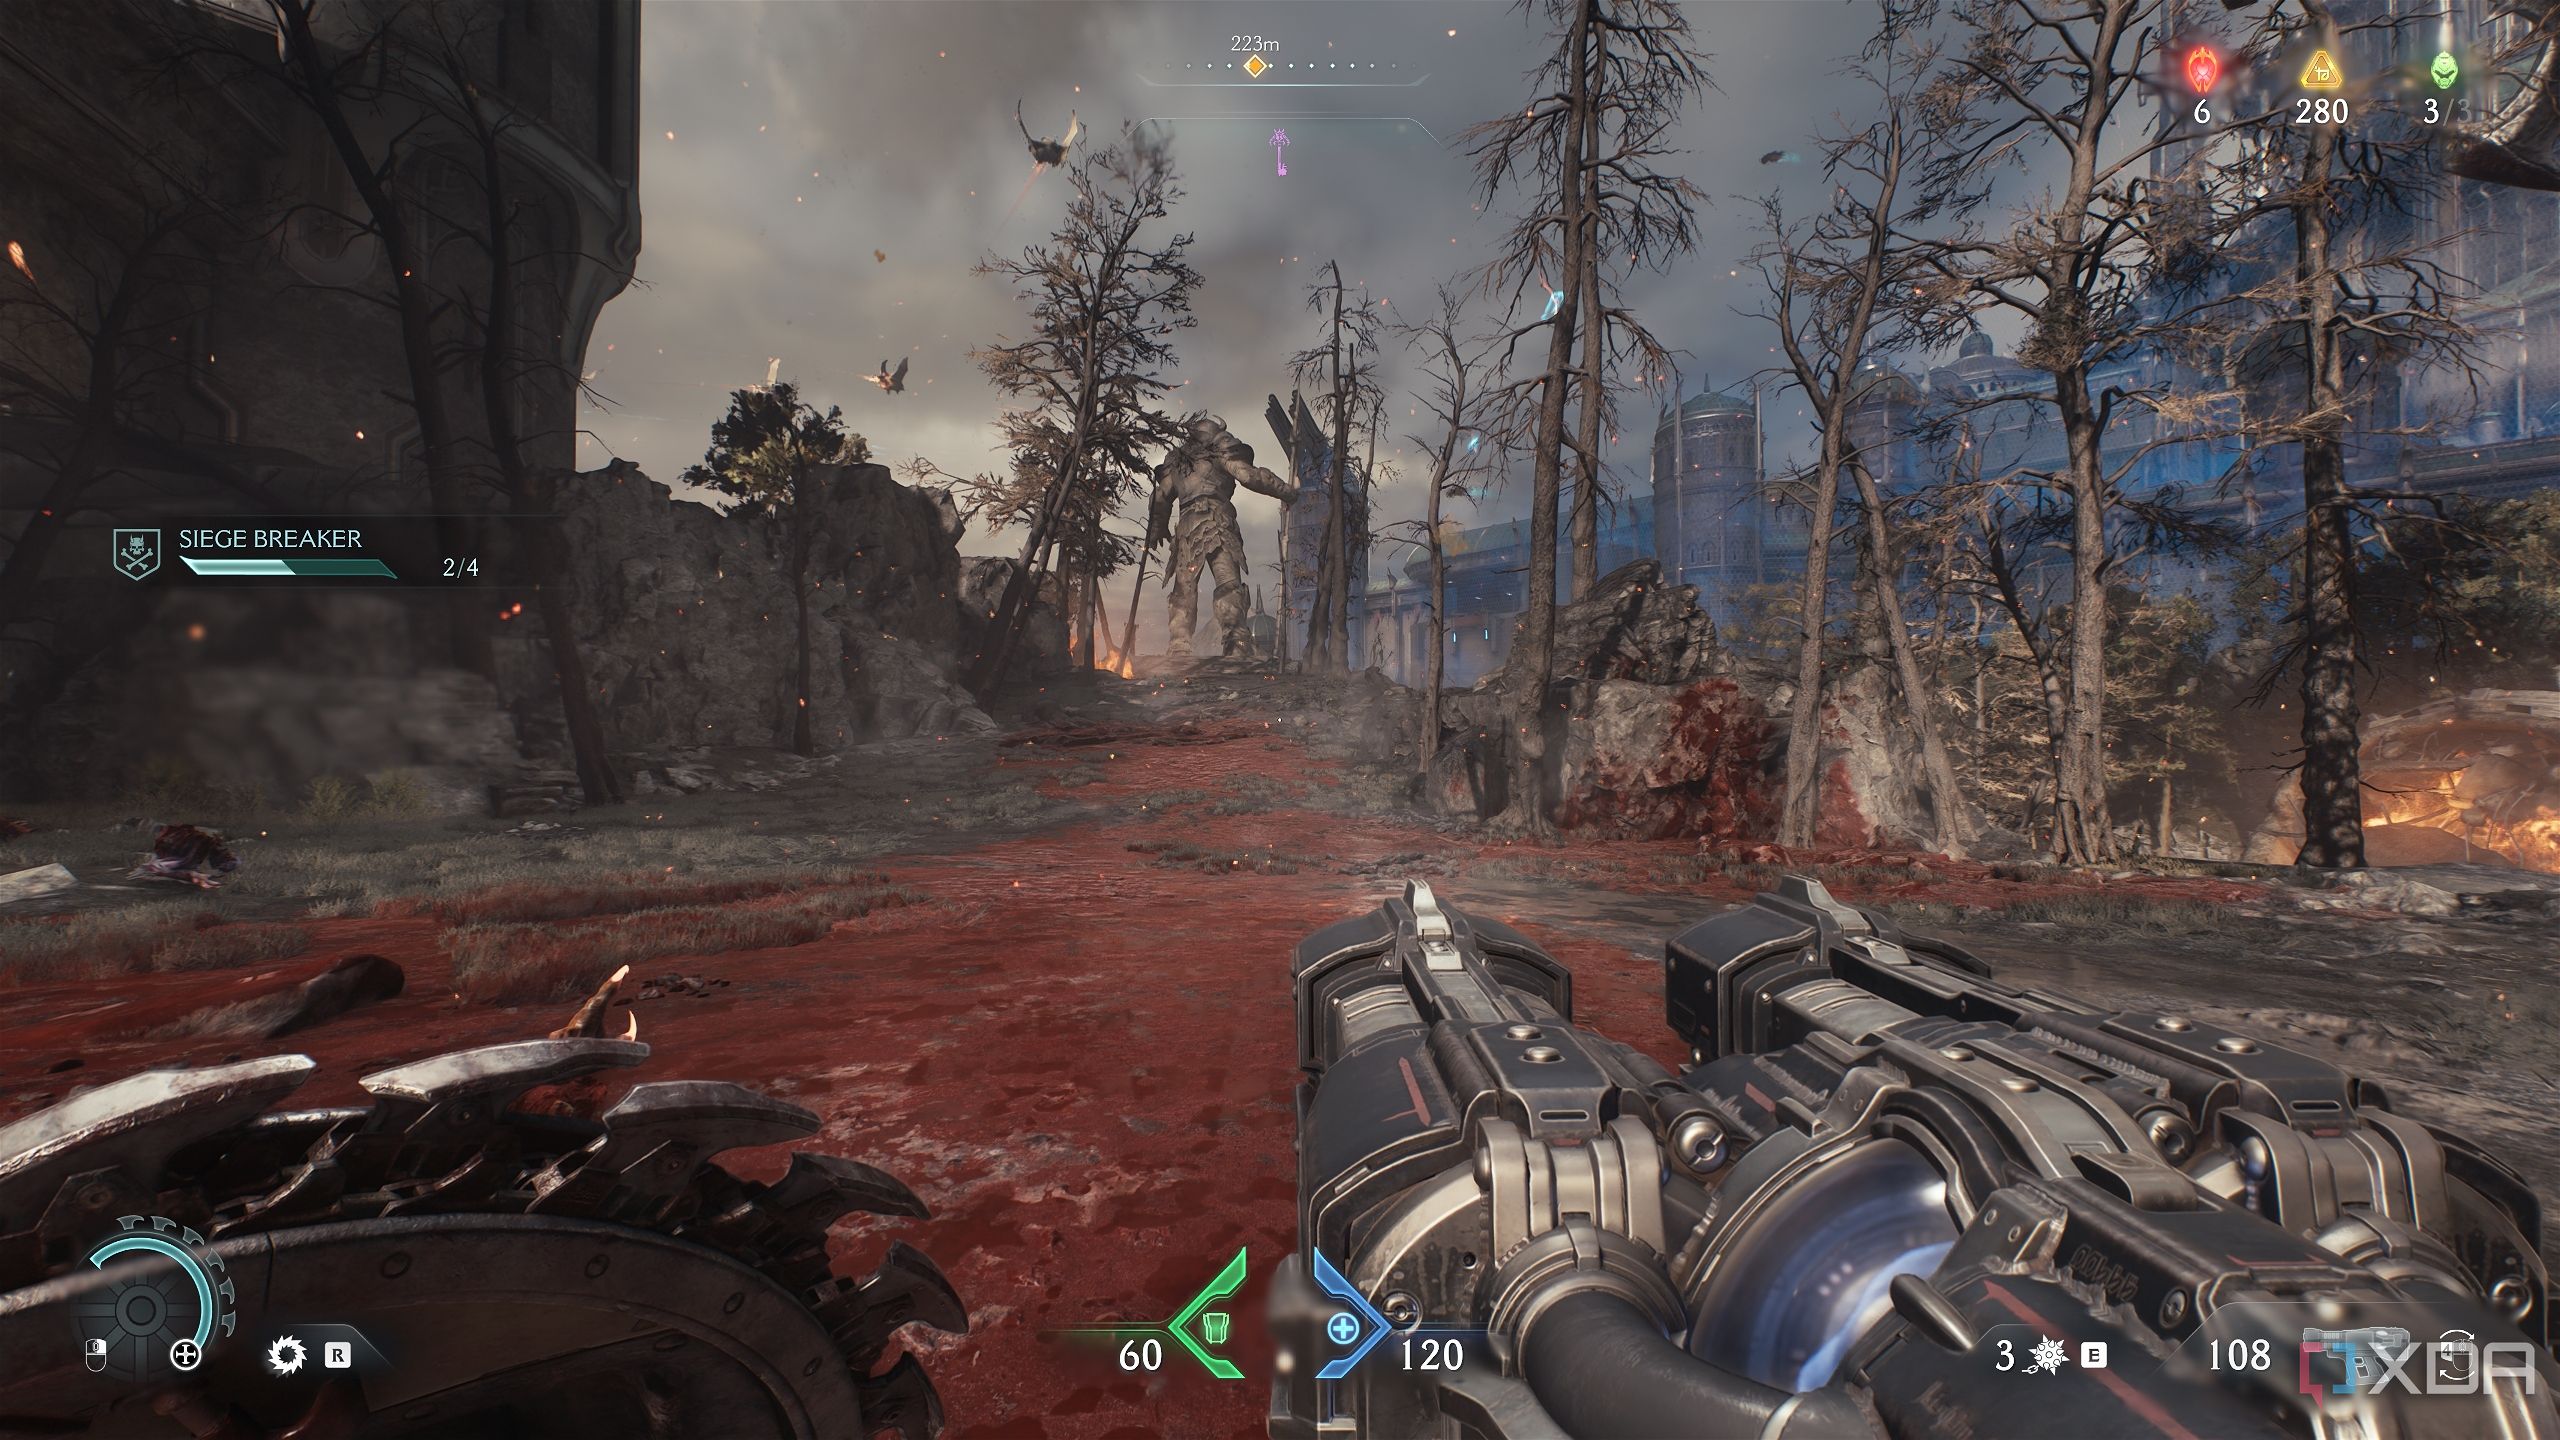
Chapter 6 of Doom: The Dark Ages is the biggest Doom map so far
Siege - Part 1 sets the Slayer free in a huge battlefield with several arenas and secret areas
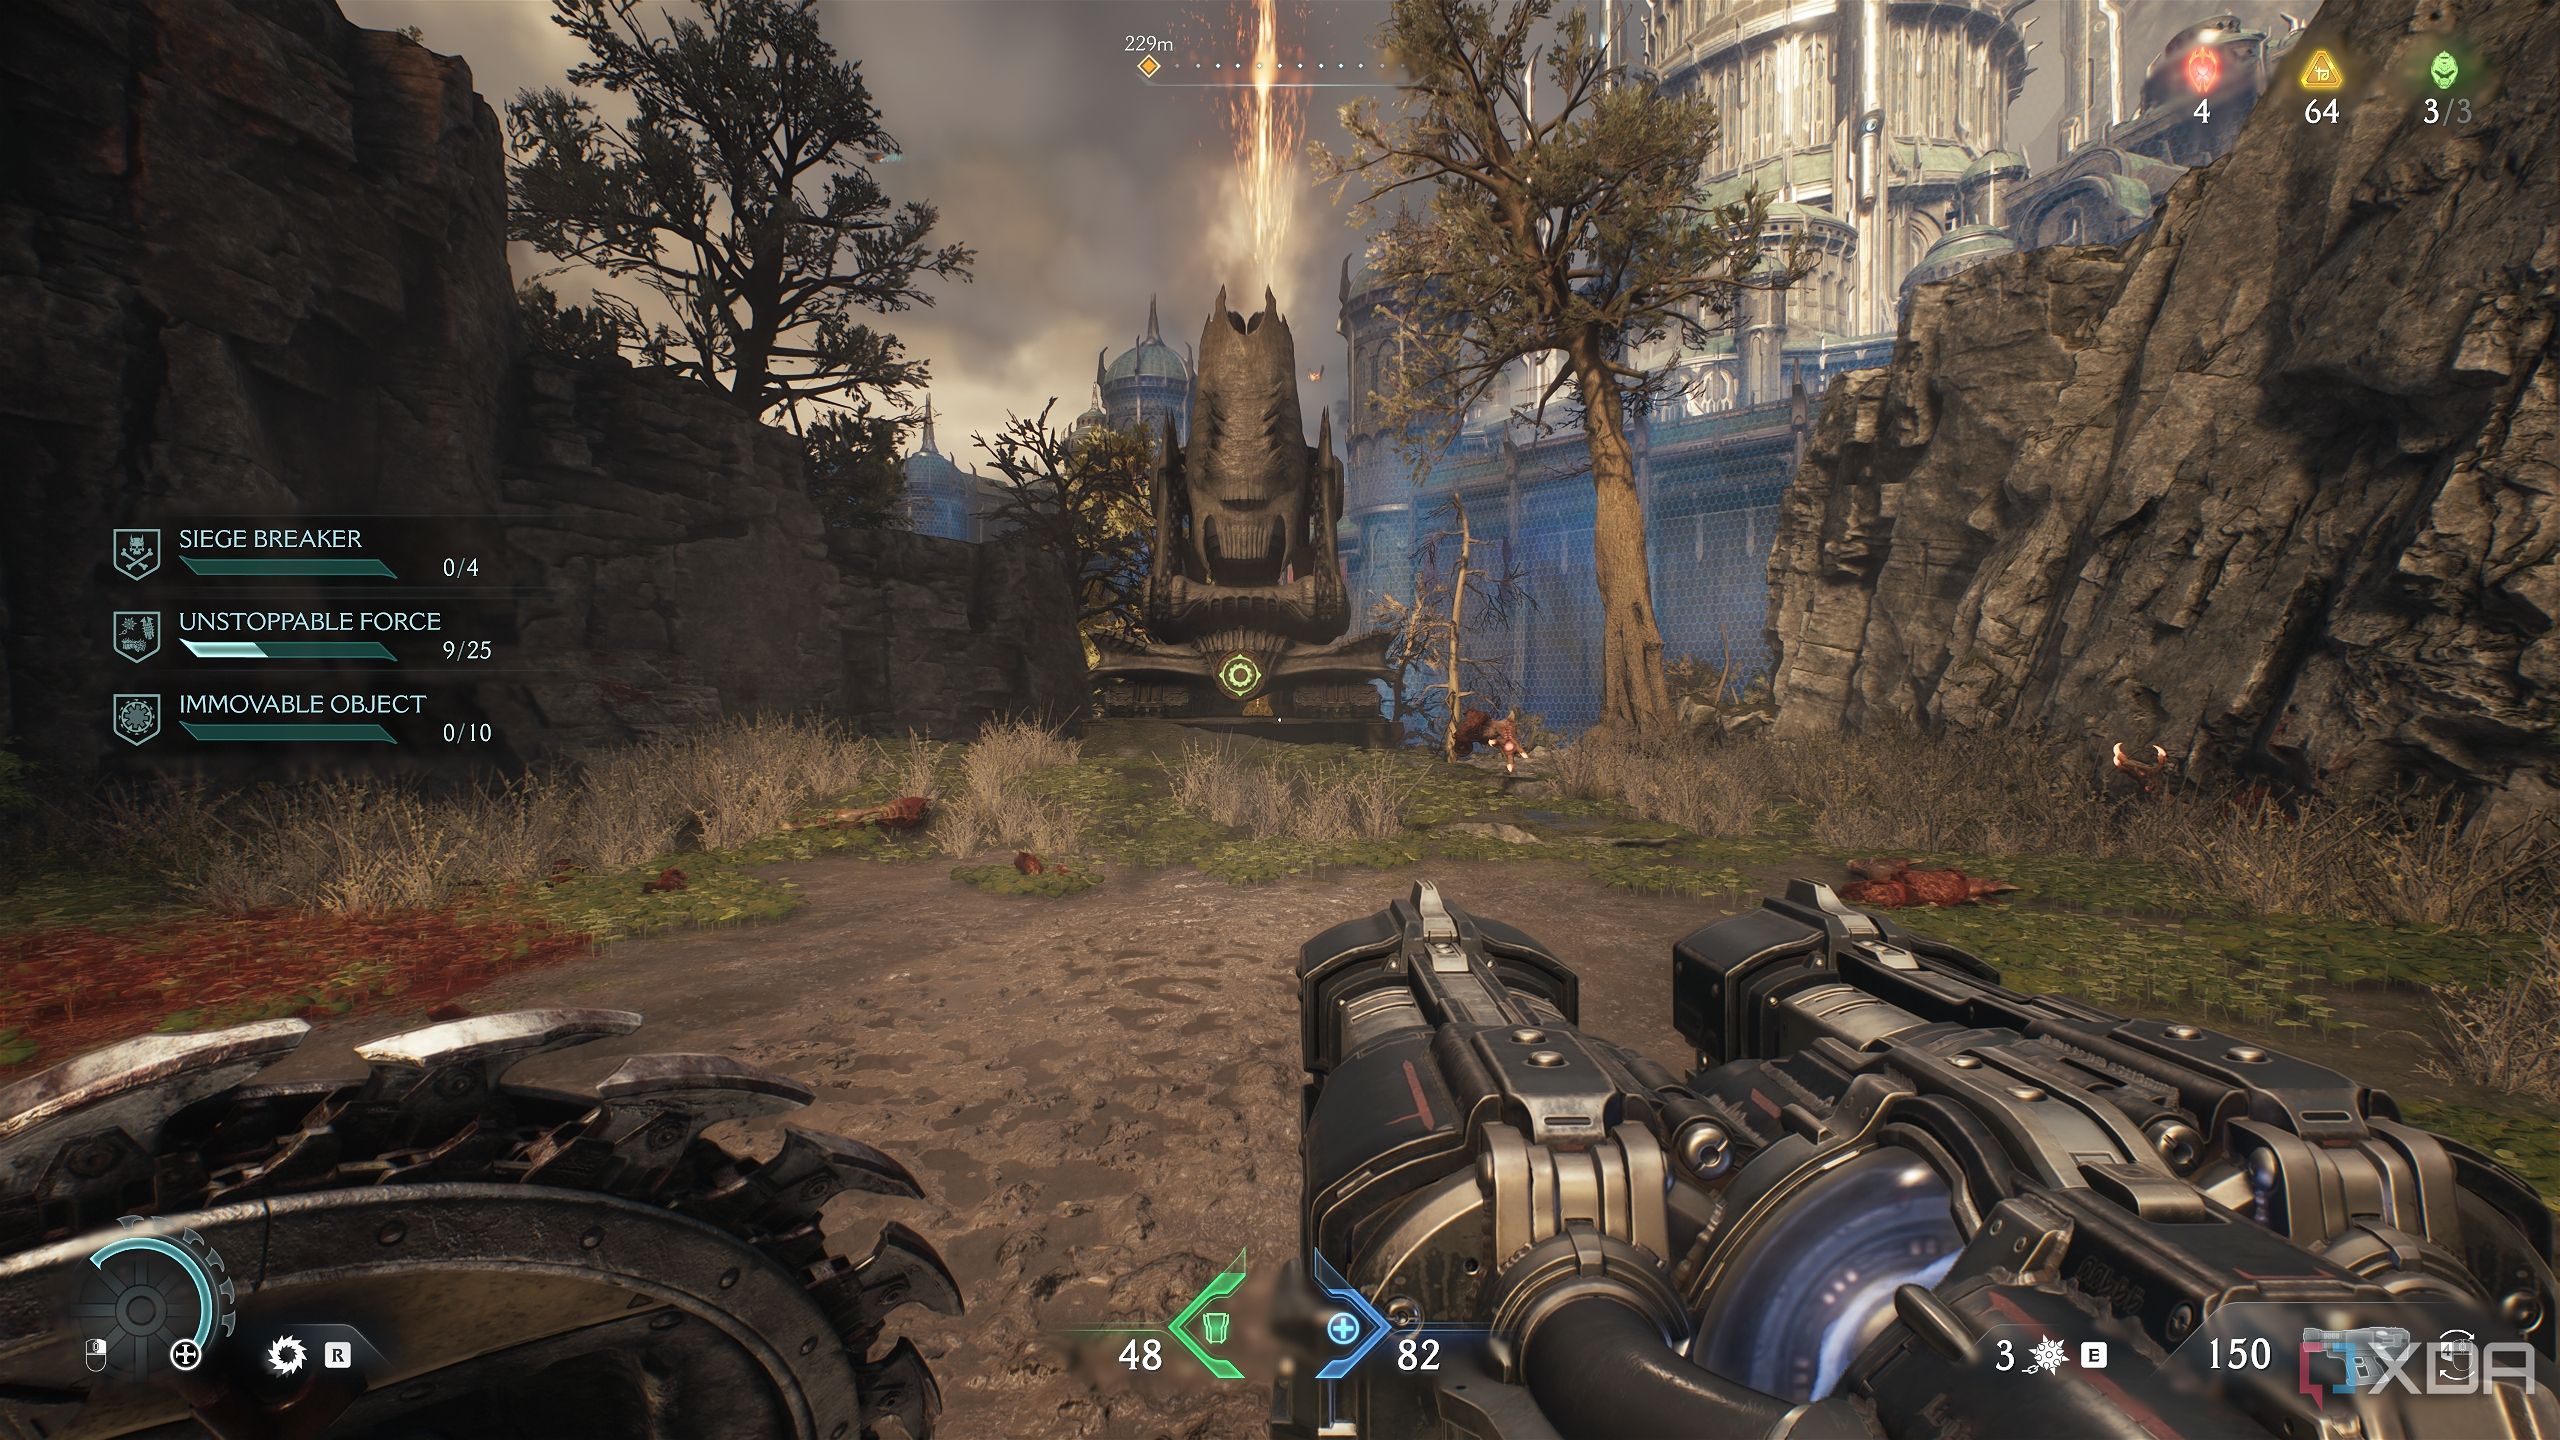
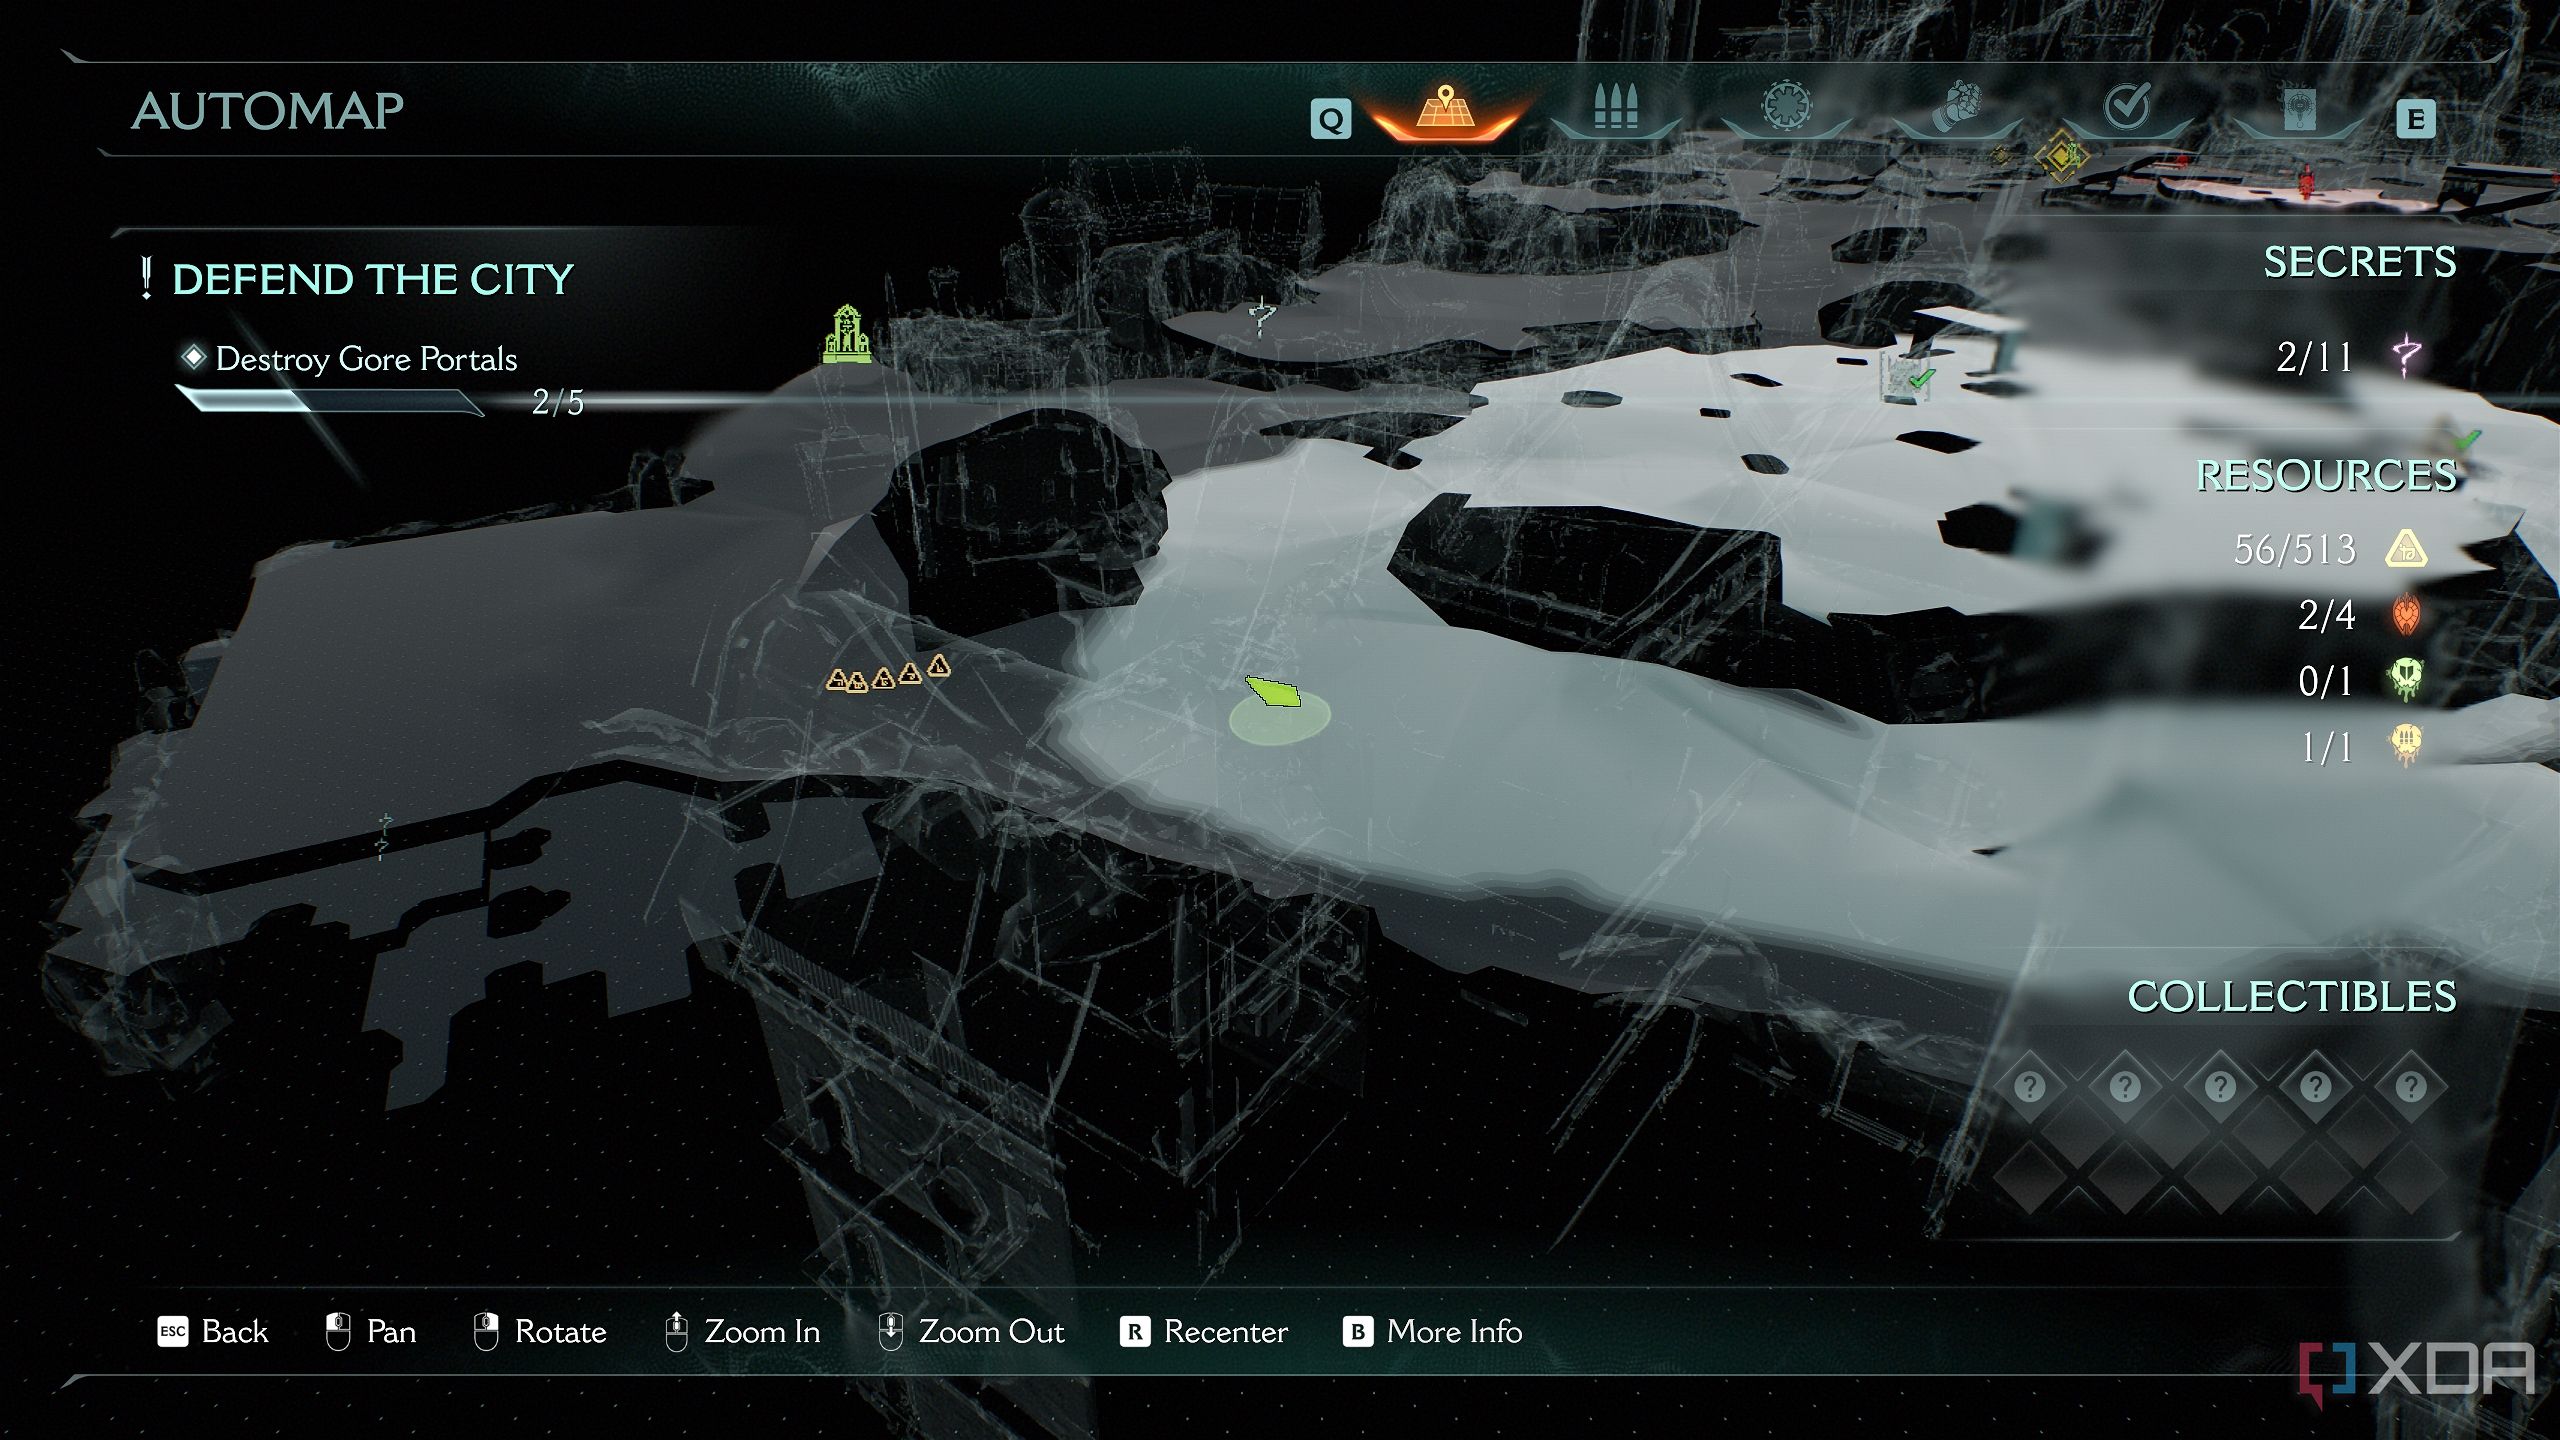
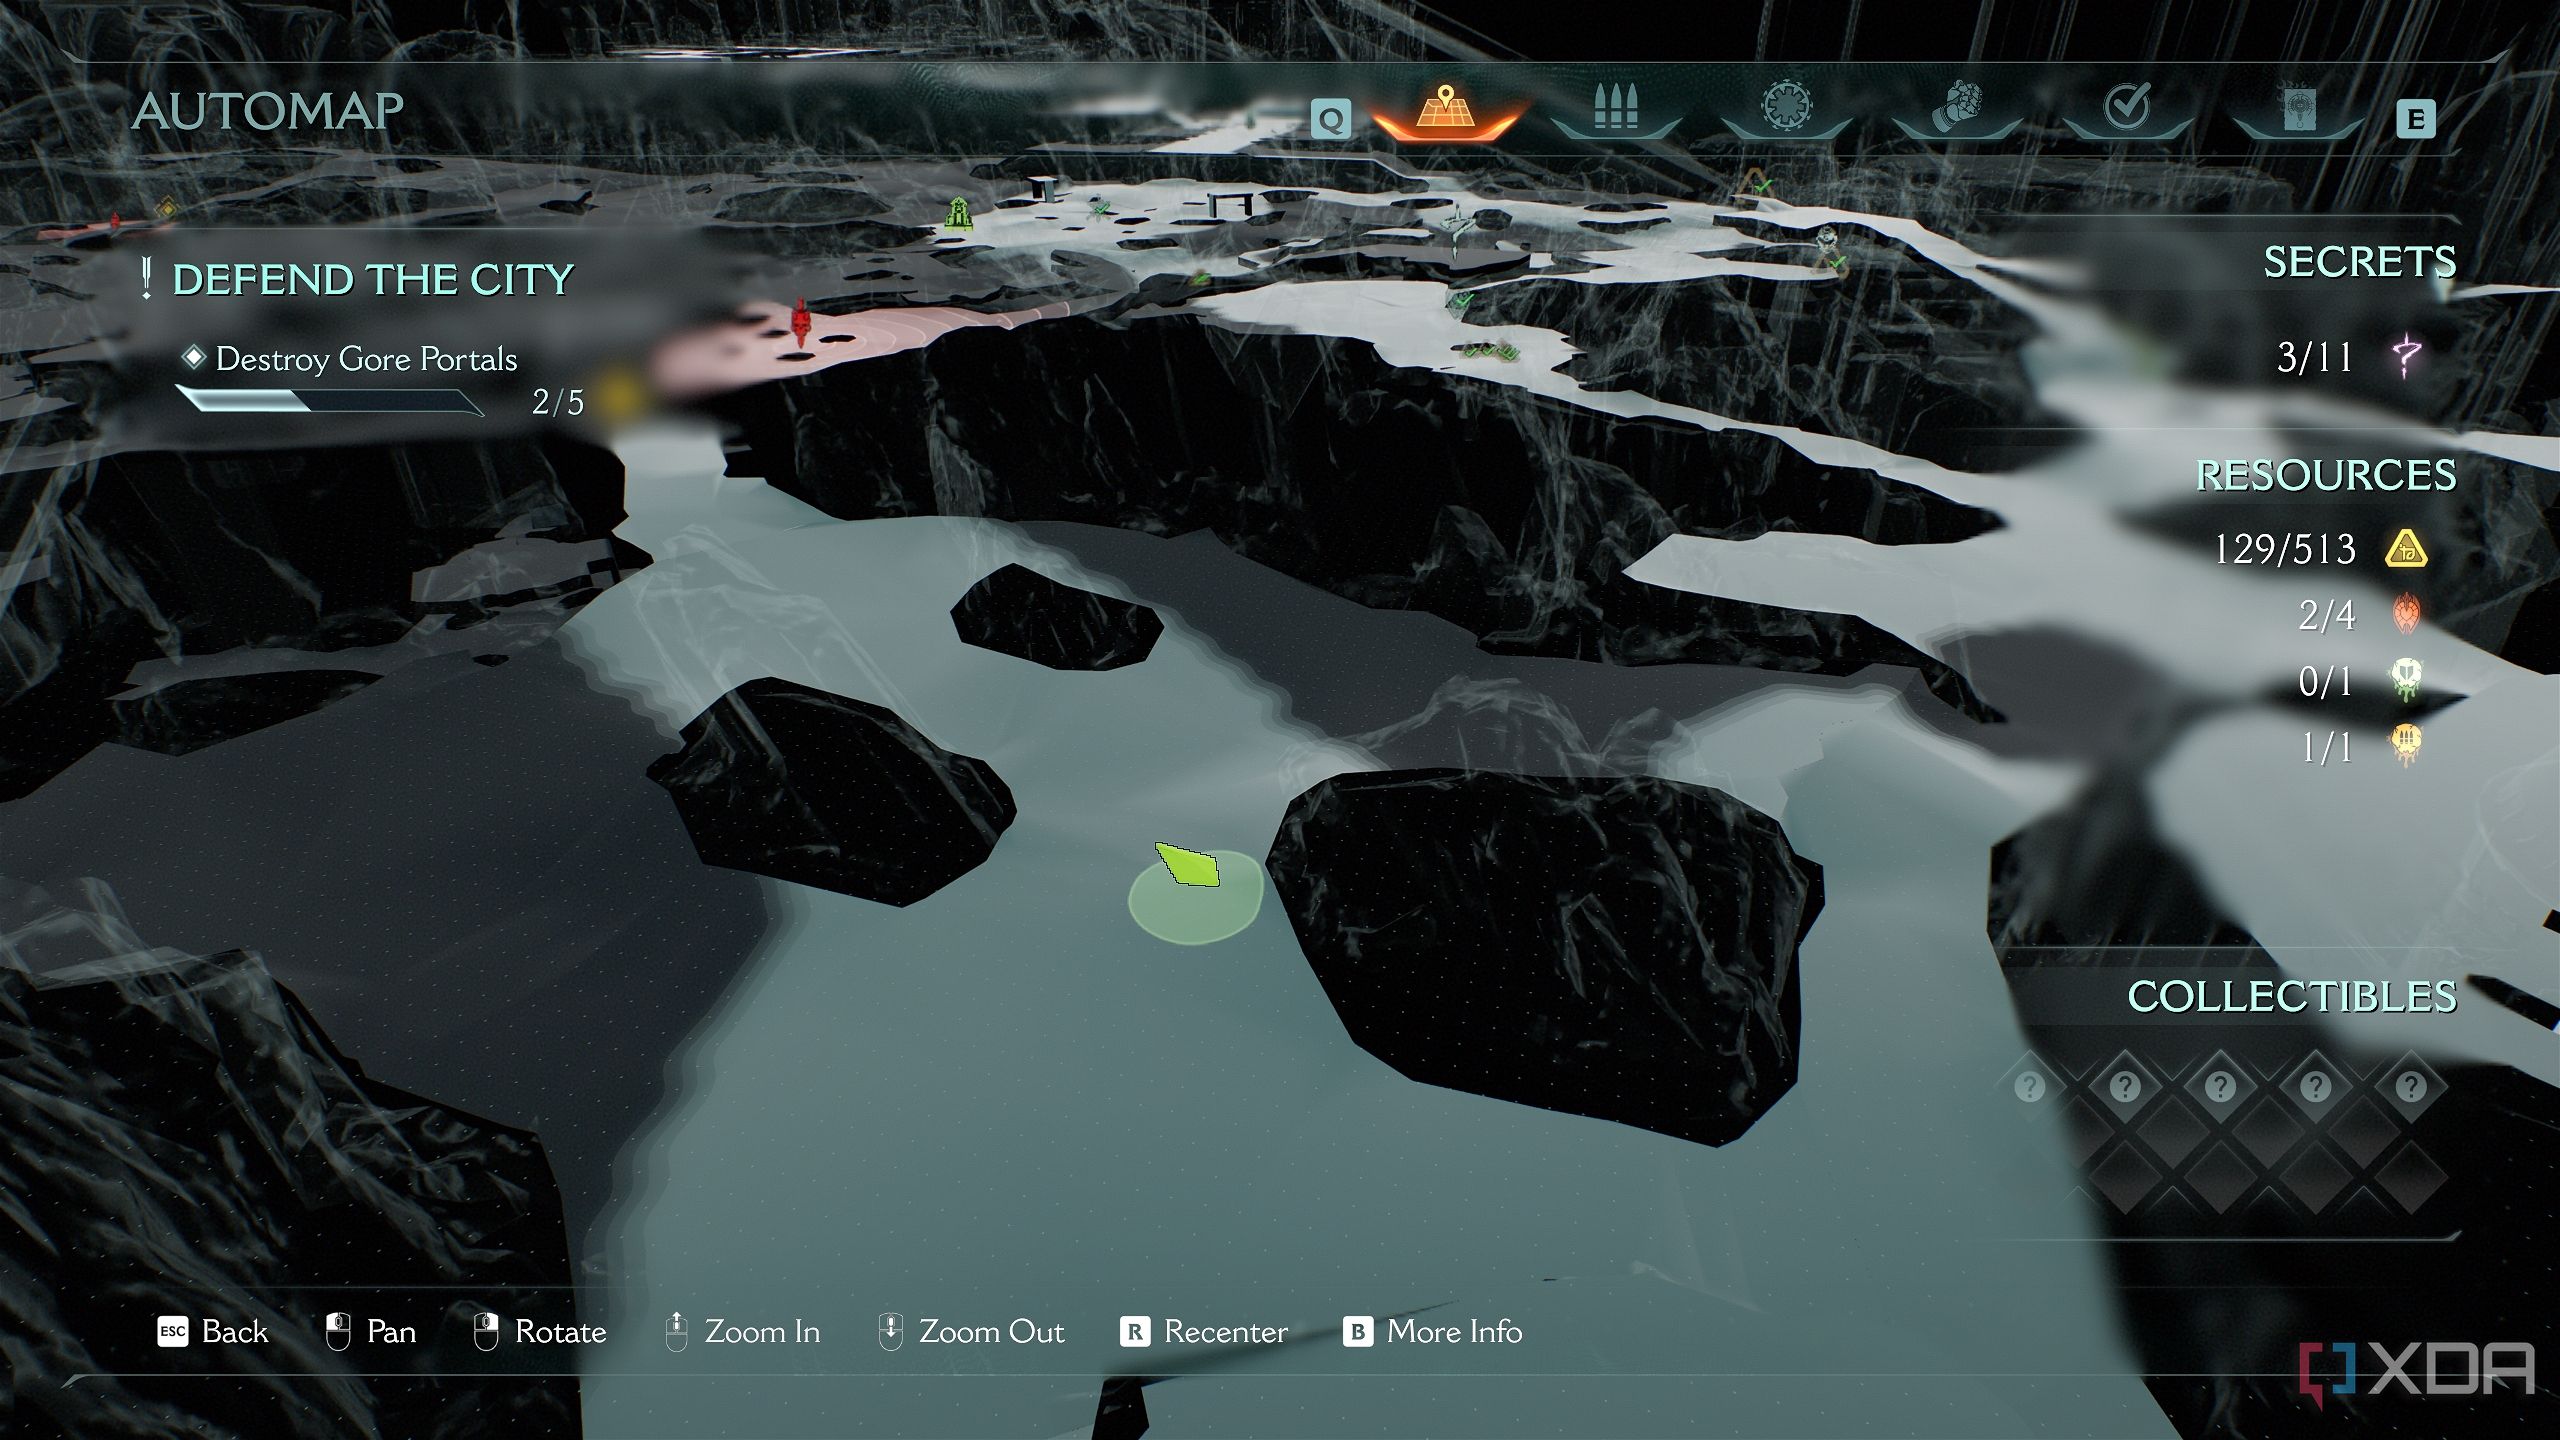
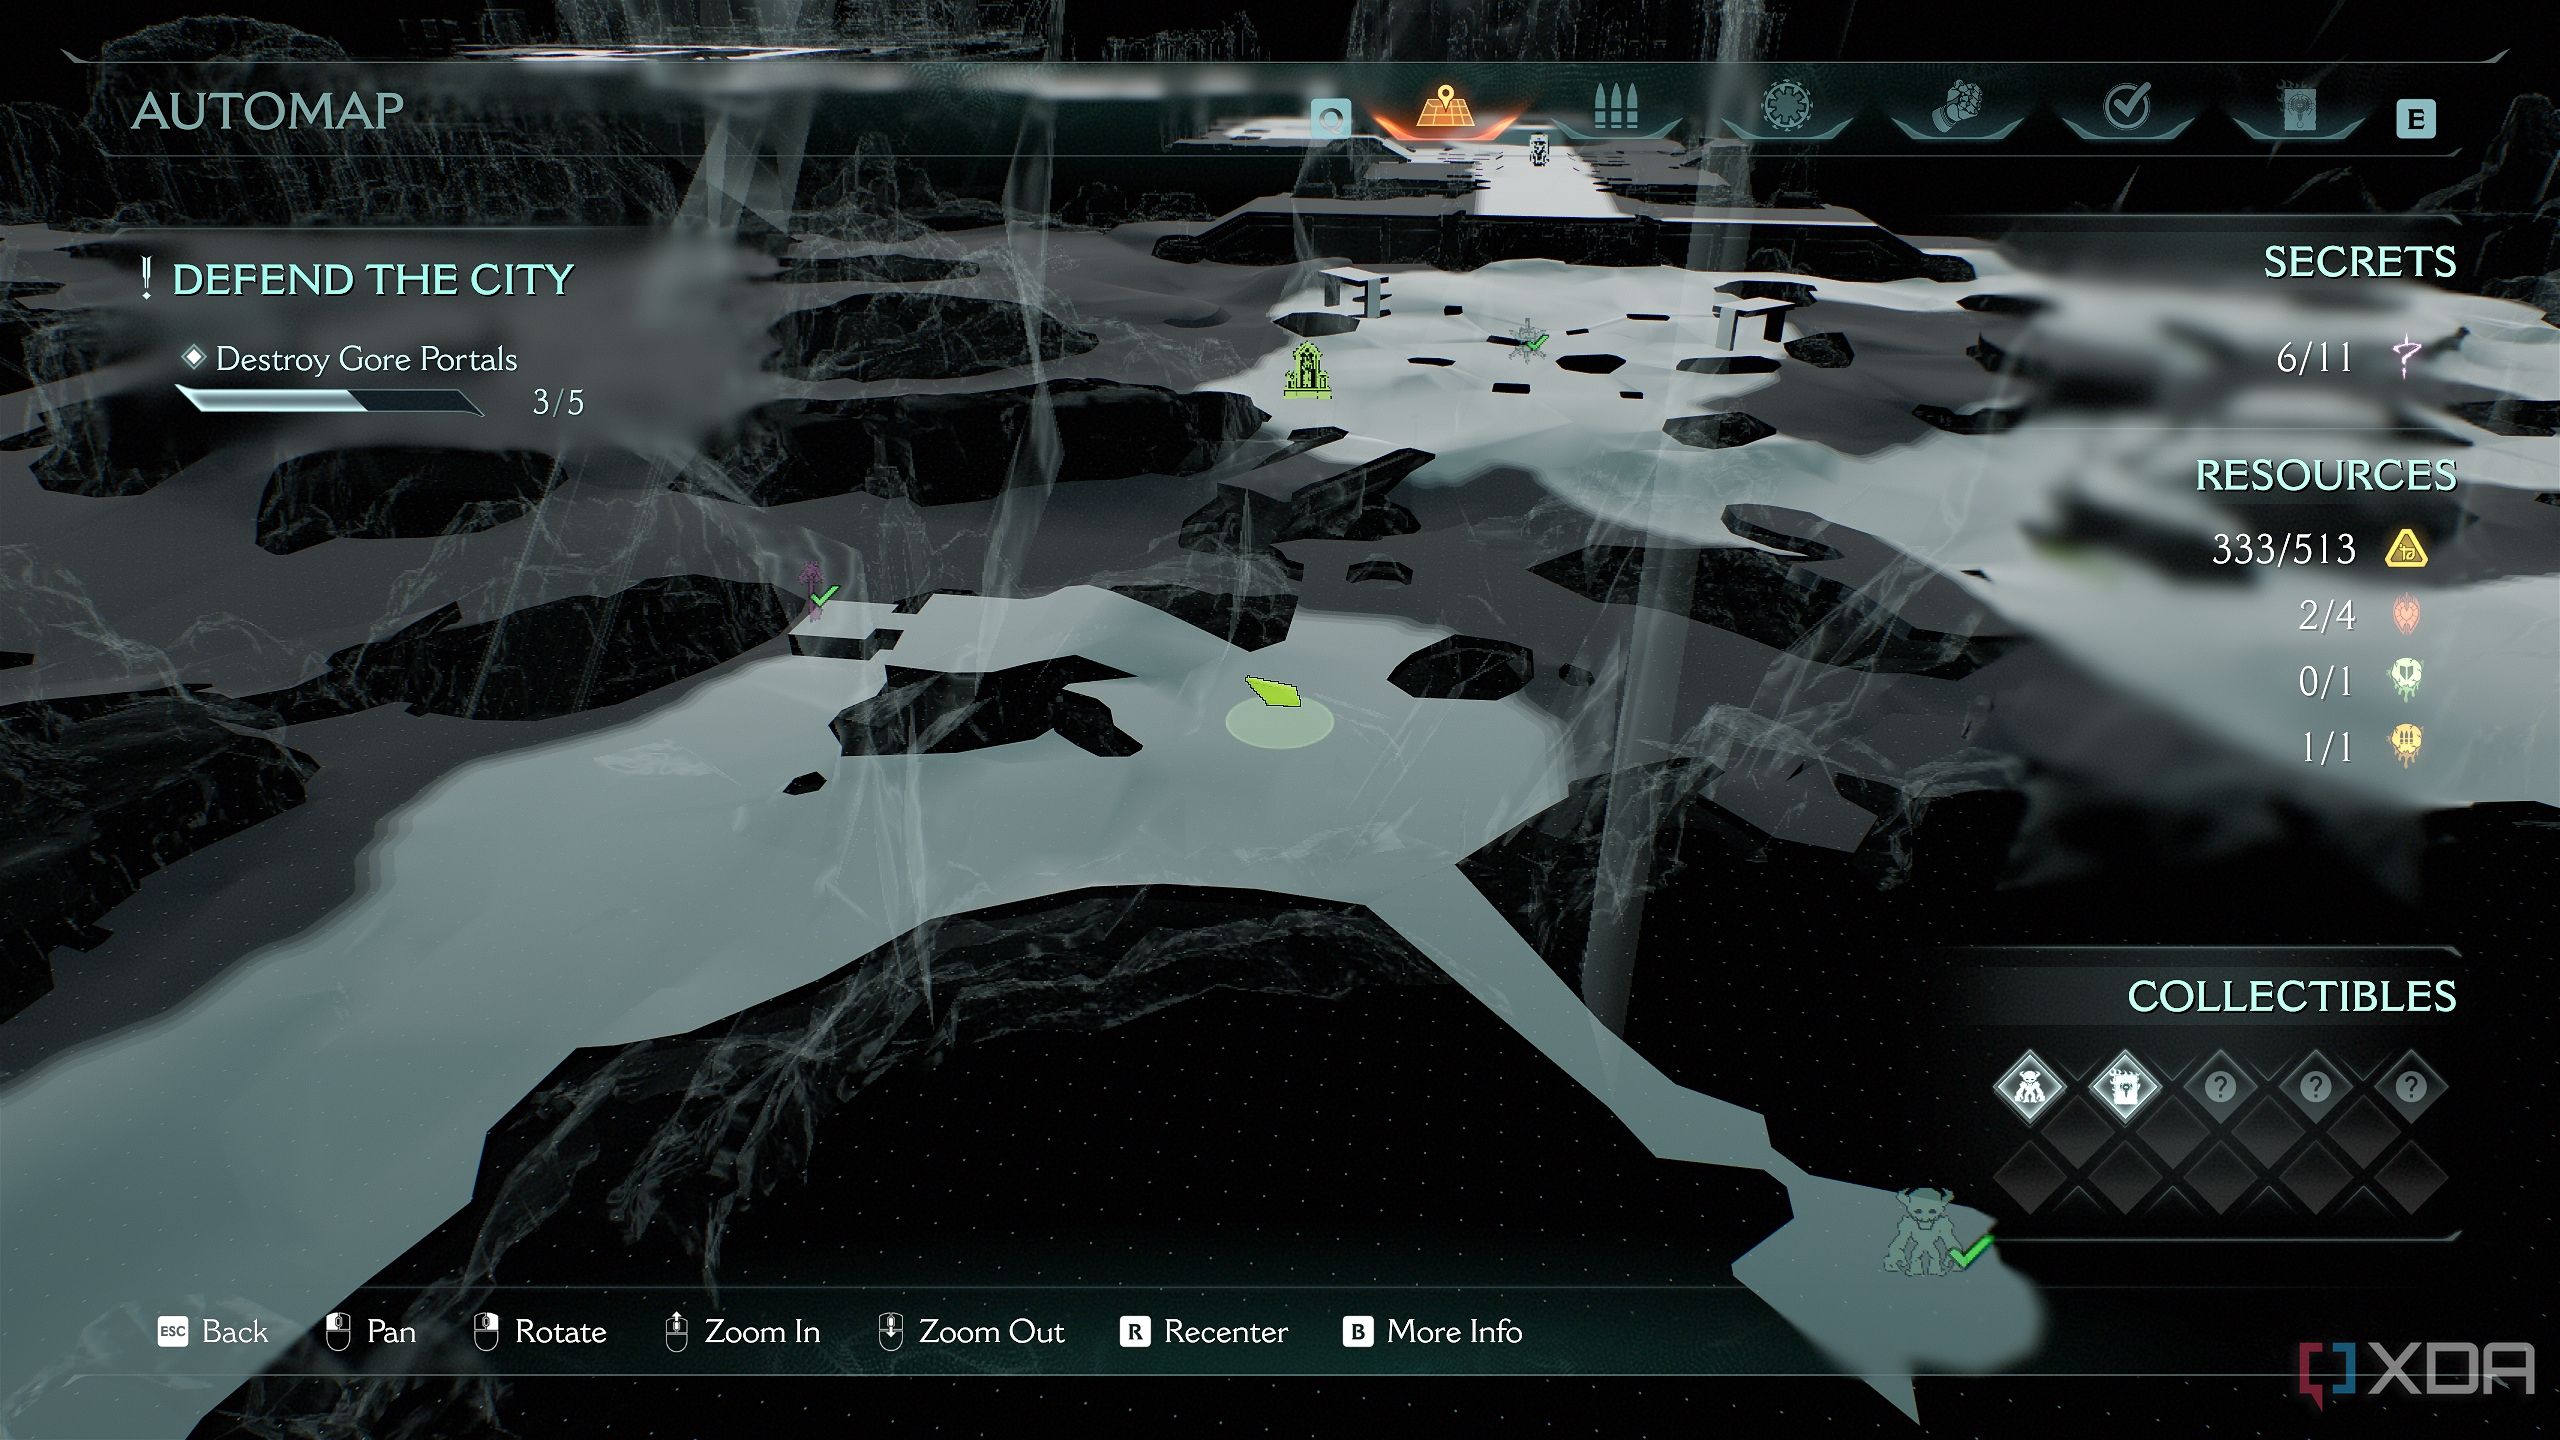
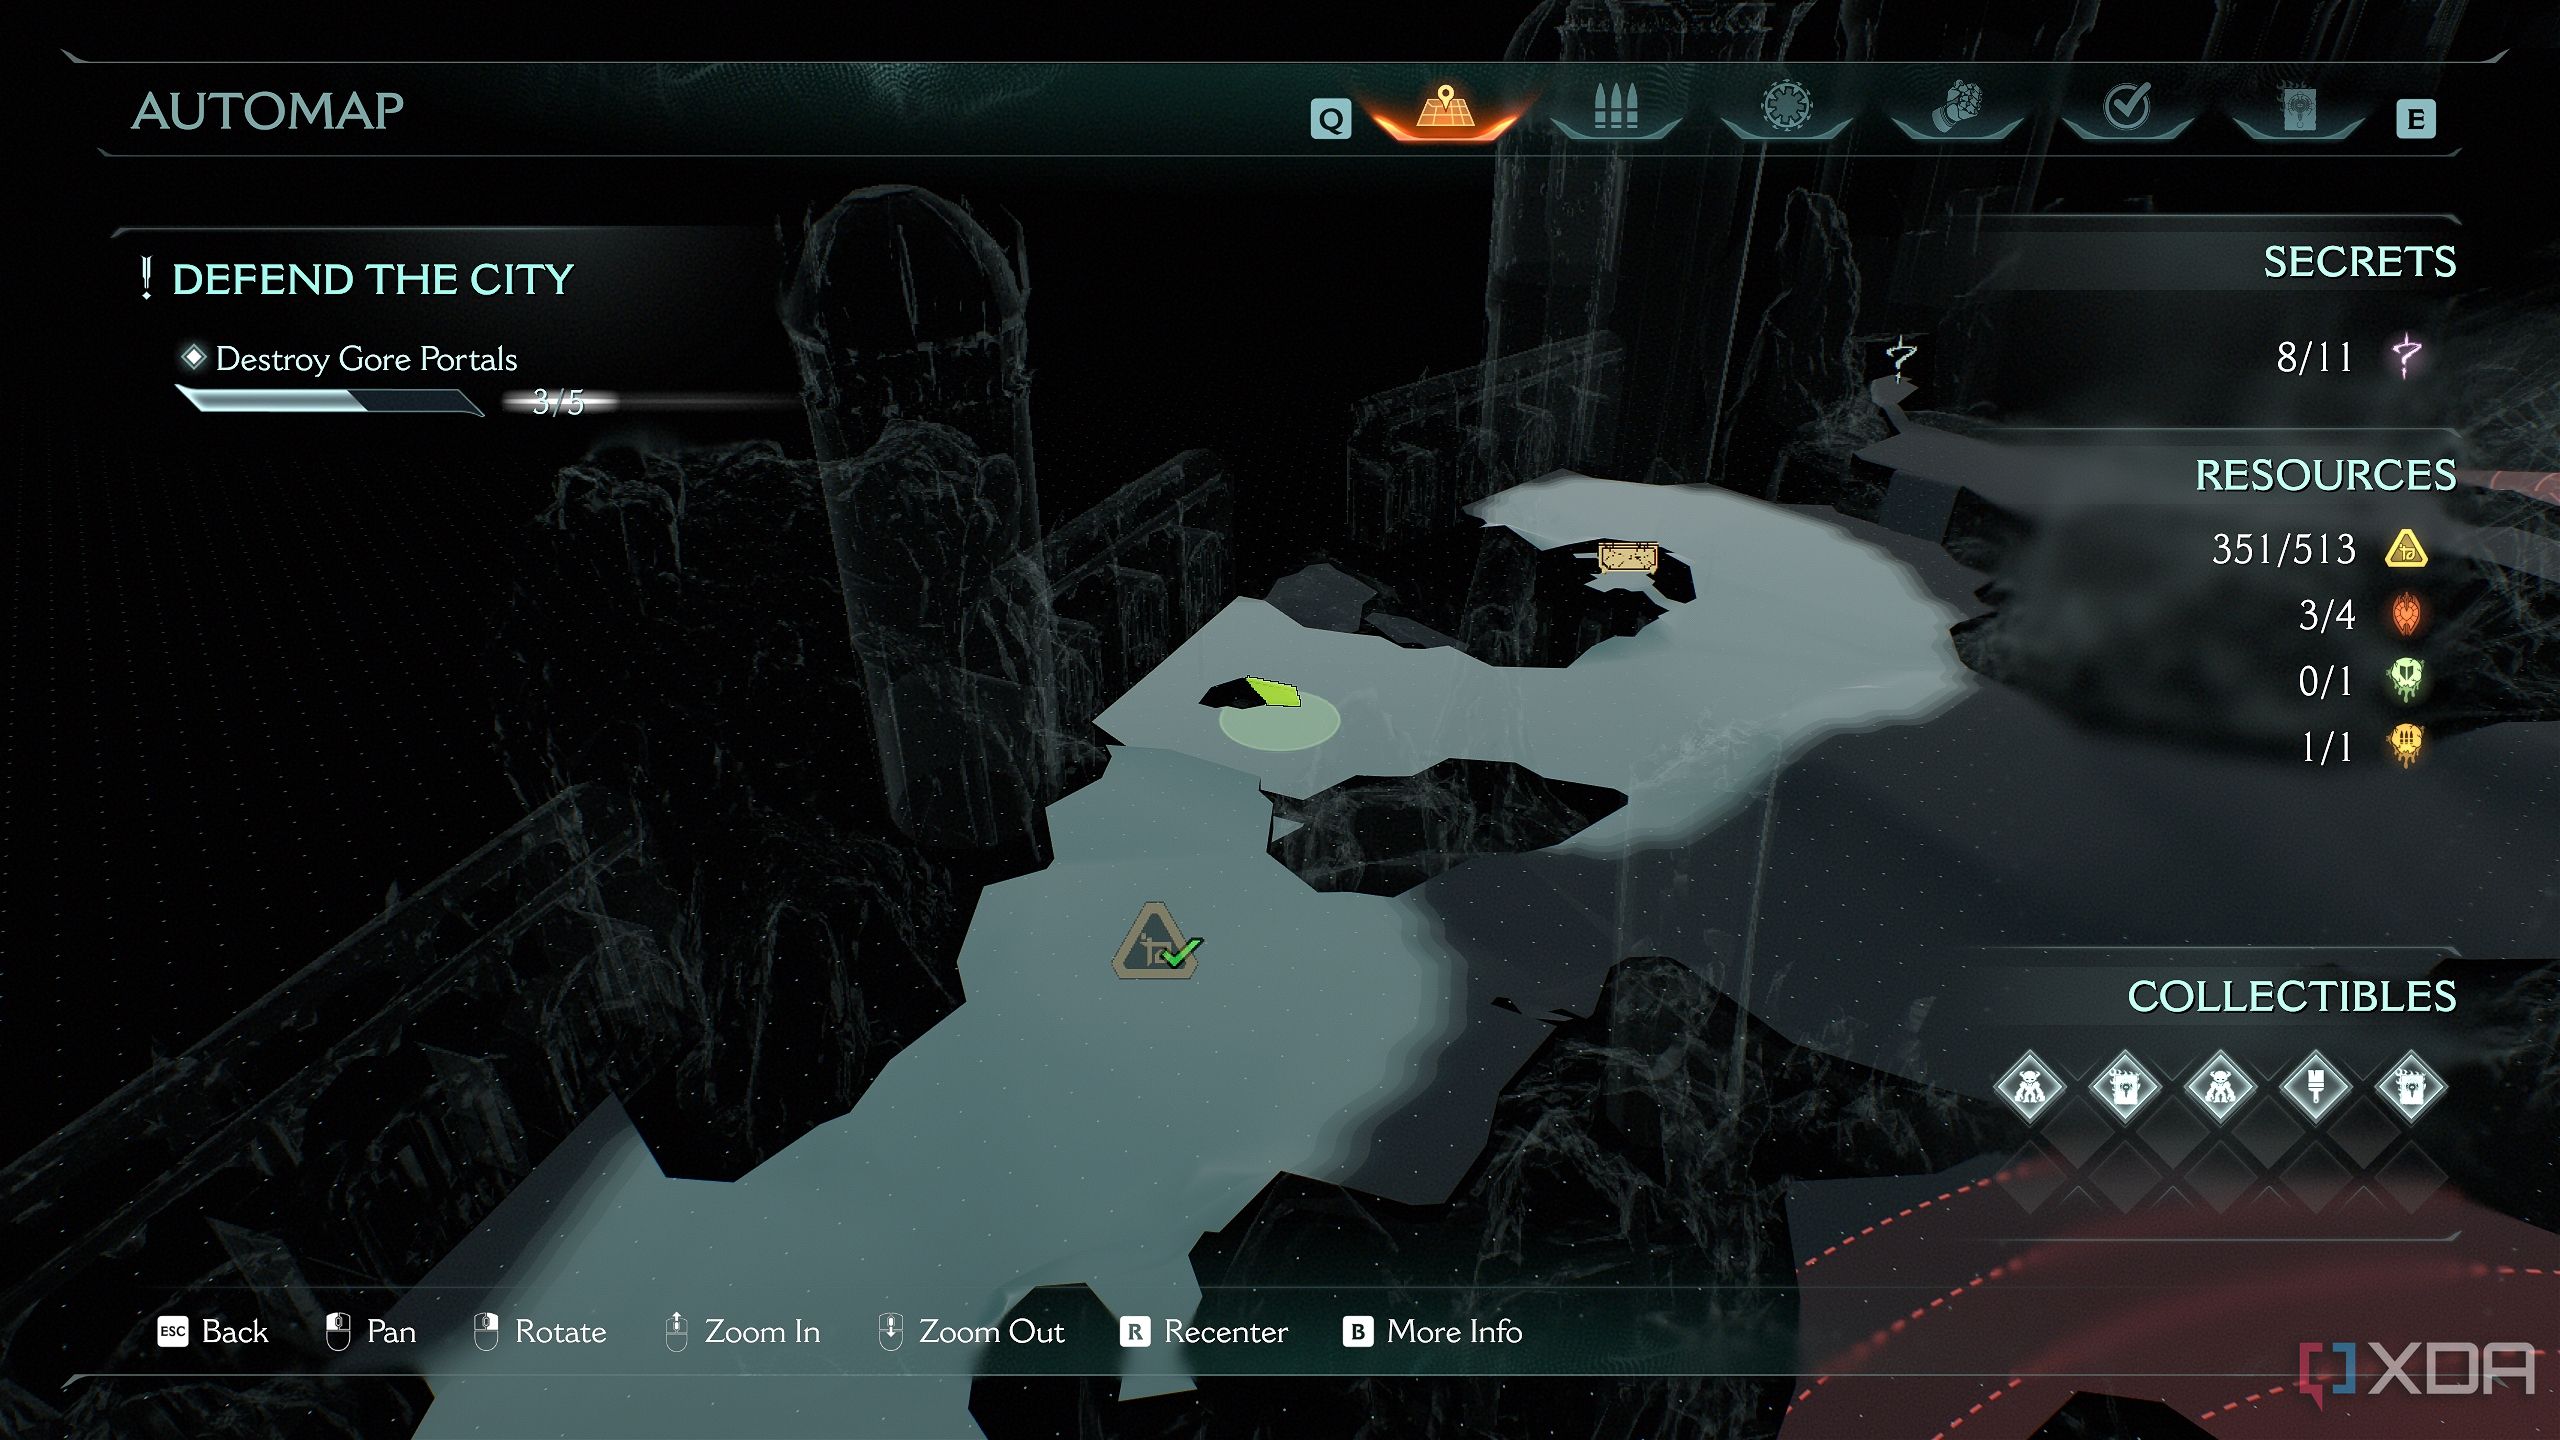
Chapter 6: Siege - Part 1 is the first half of a huge sequence in the game where the Slayer defends a city against an extremely powerful demonic siege. With a huge battlefield teeming with all sorts of demon kind, the slayer is an unstoppable force on the battleground, taking down everything in his way. Following the objectives in the chapter along with the instructions provided below, it won't be long before you can claim that sweet 100% completion tag for the sixth level in Doom: The Dark Ages.
This guide covers each collectible required for 100% level completion in chronological order. It is recommended to follow this guide in the order stated.
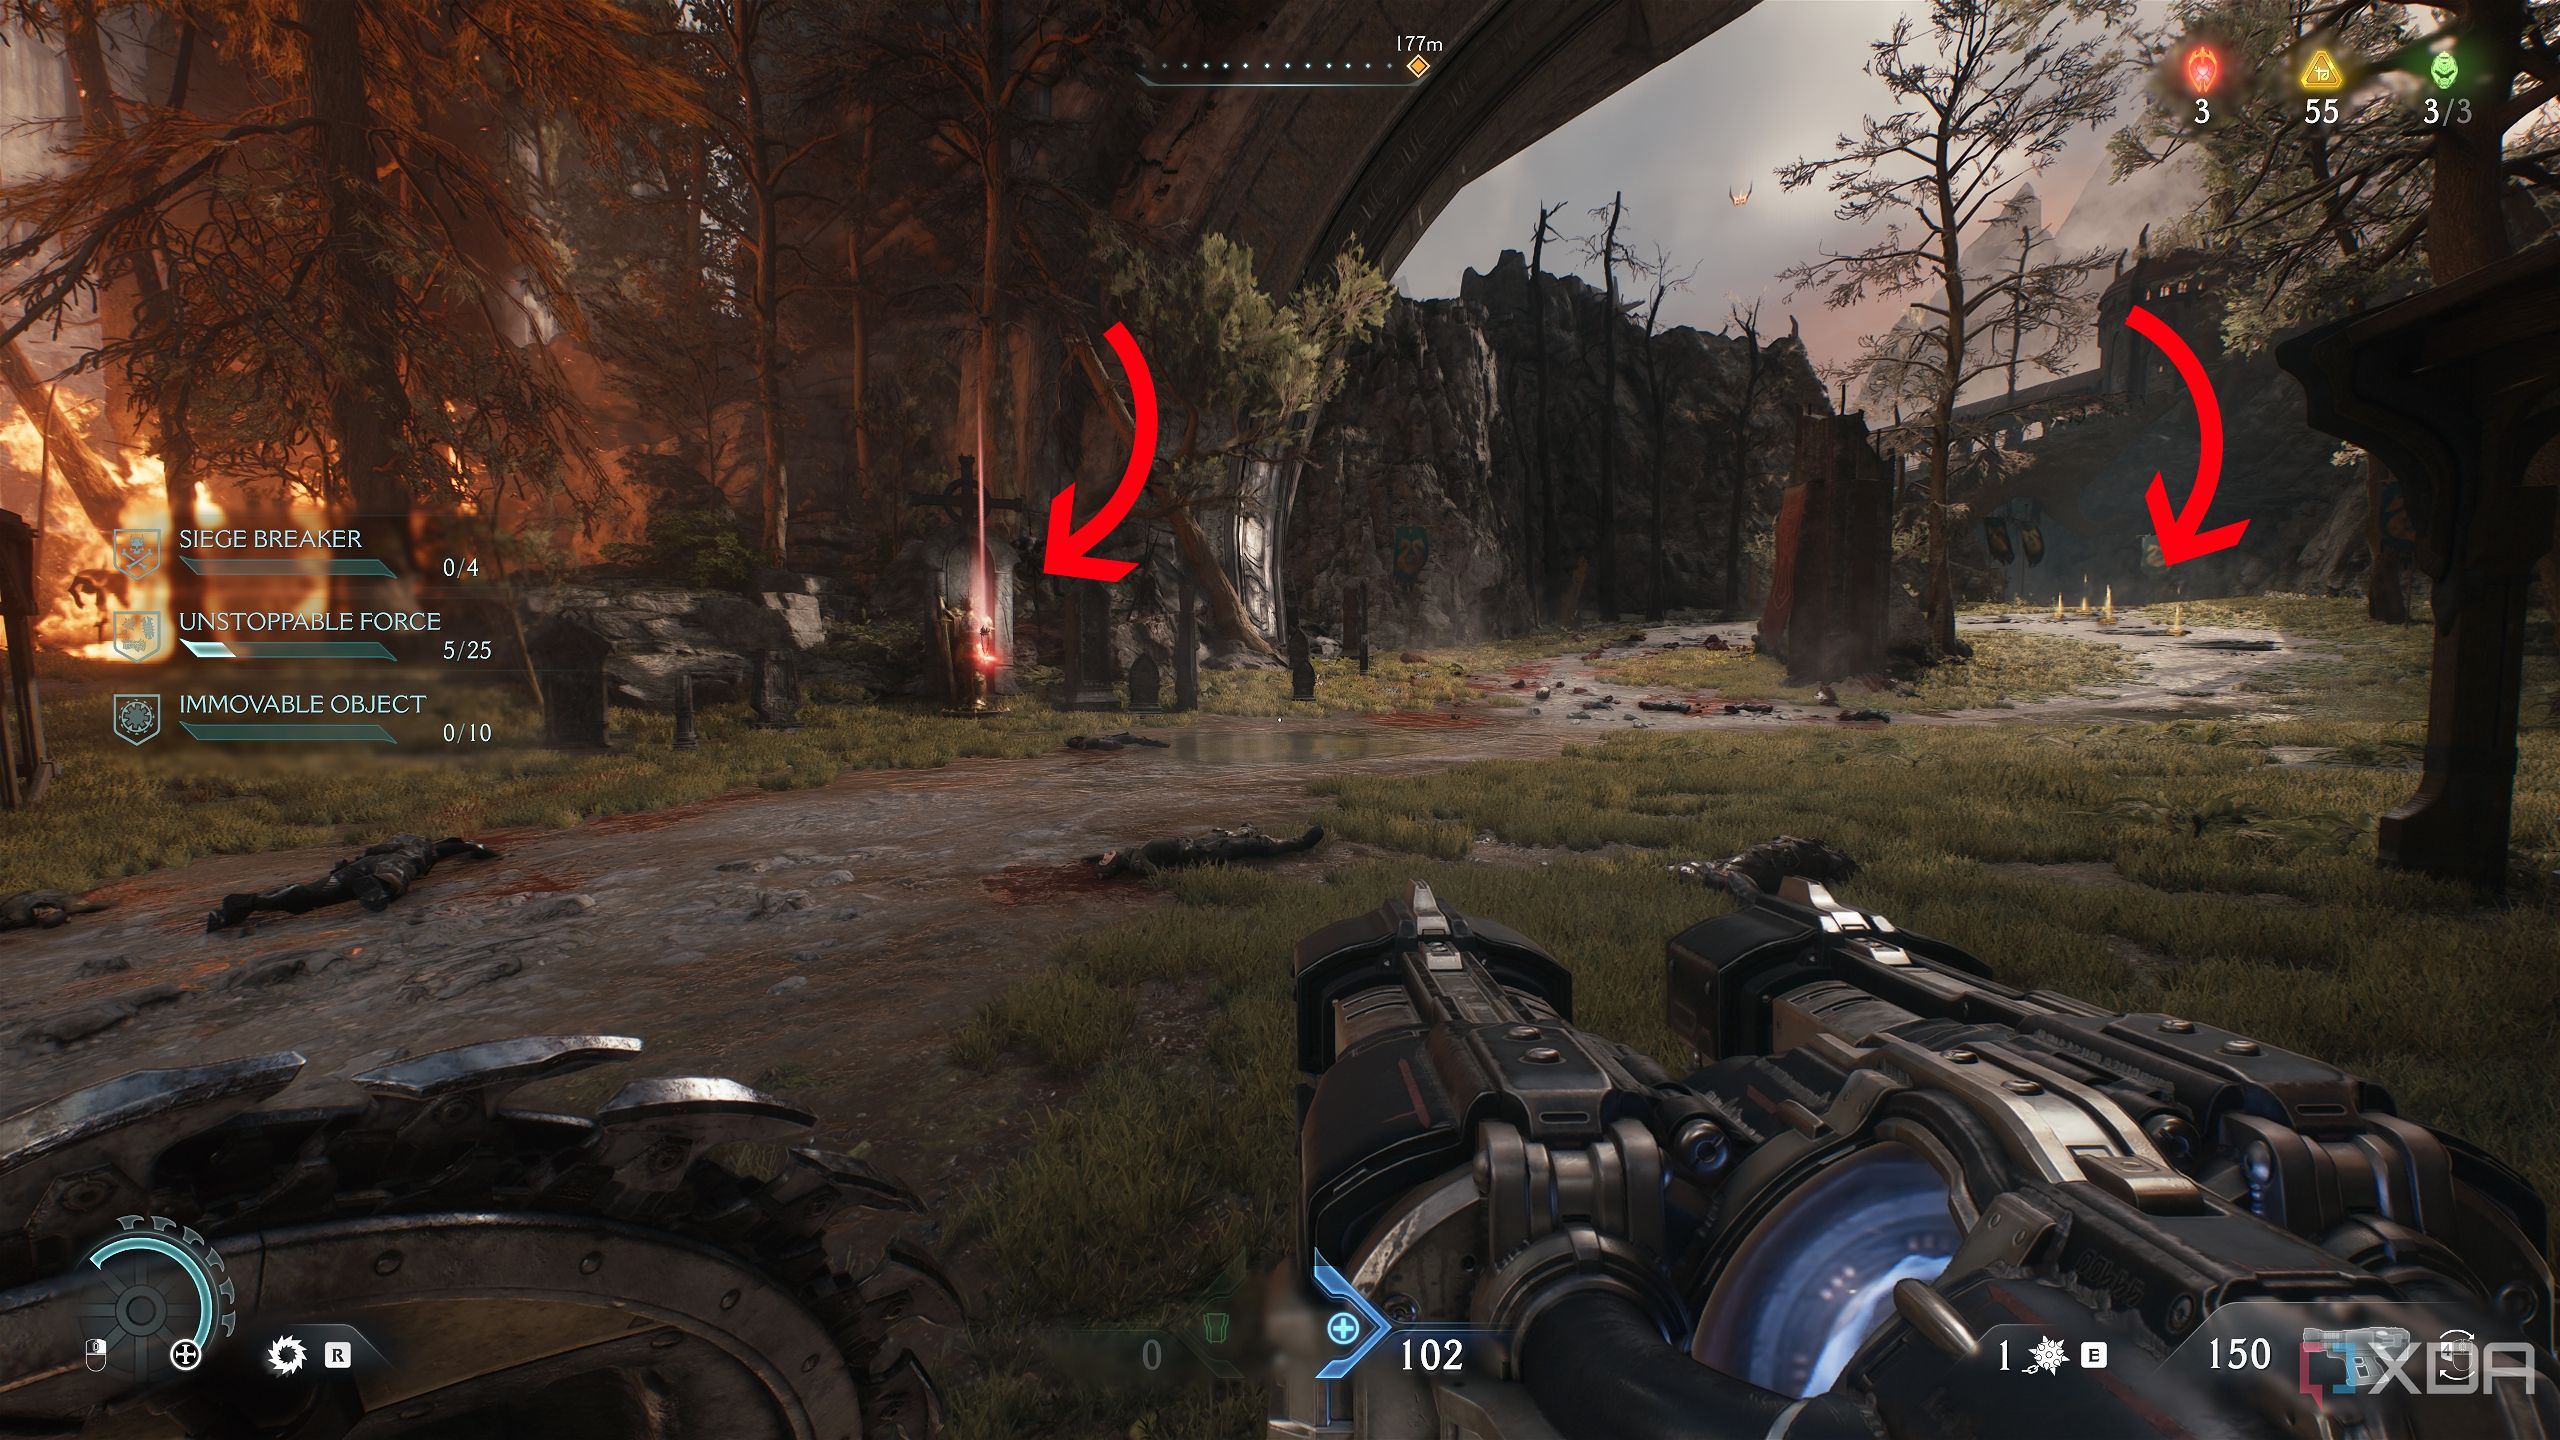
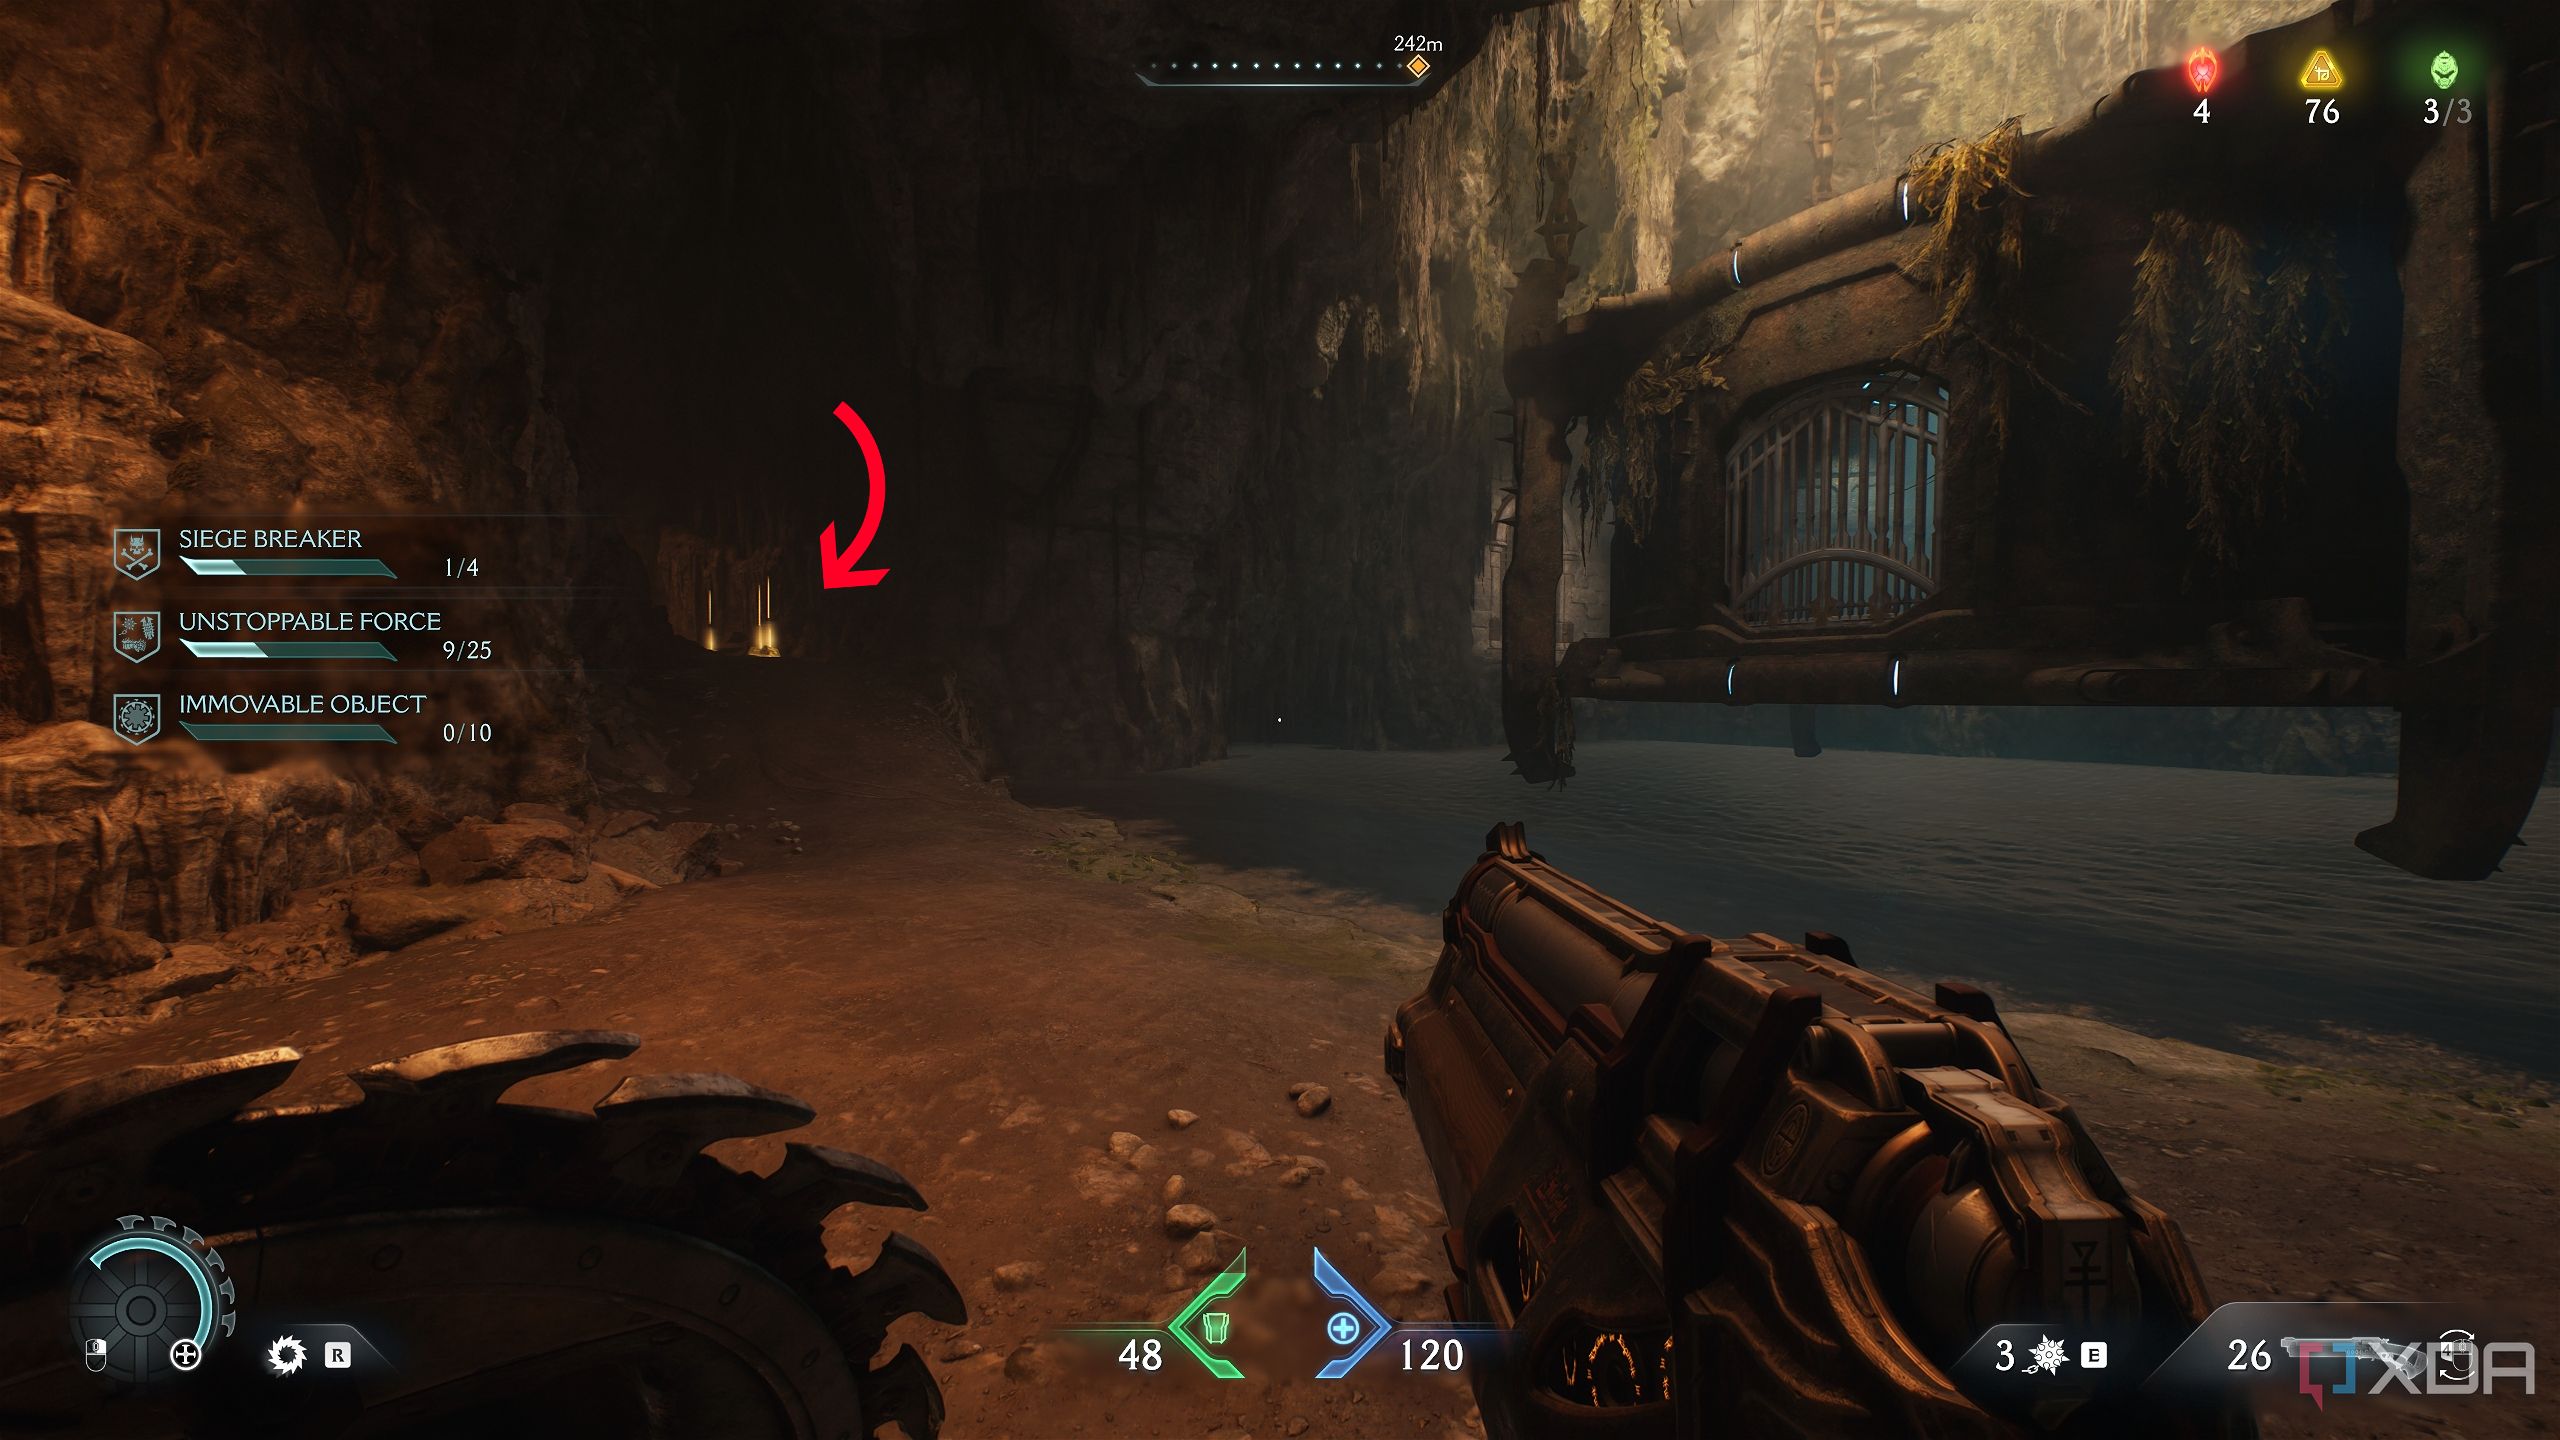
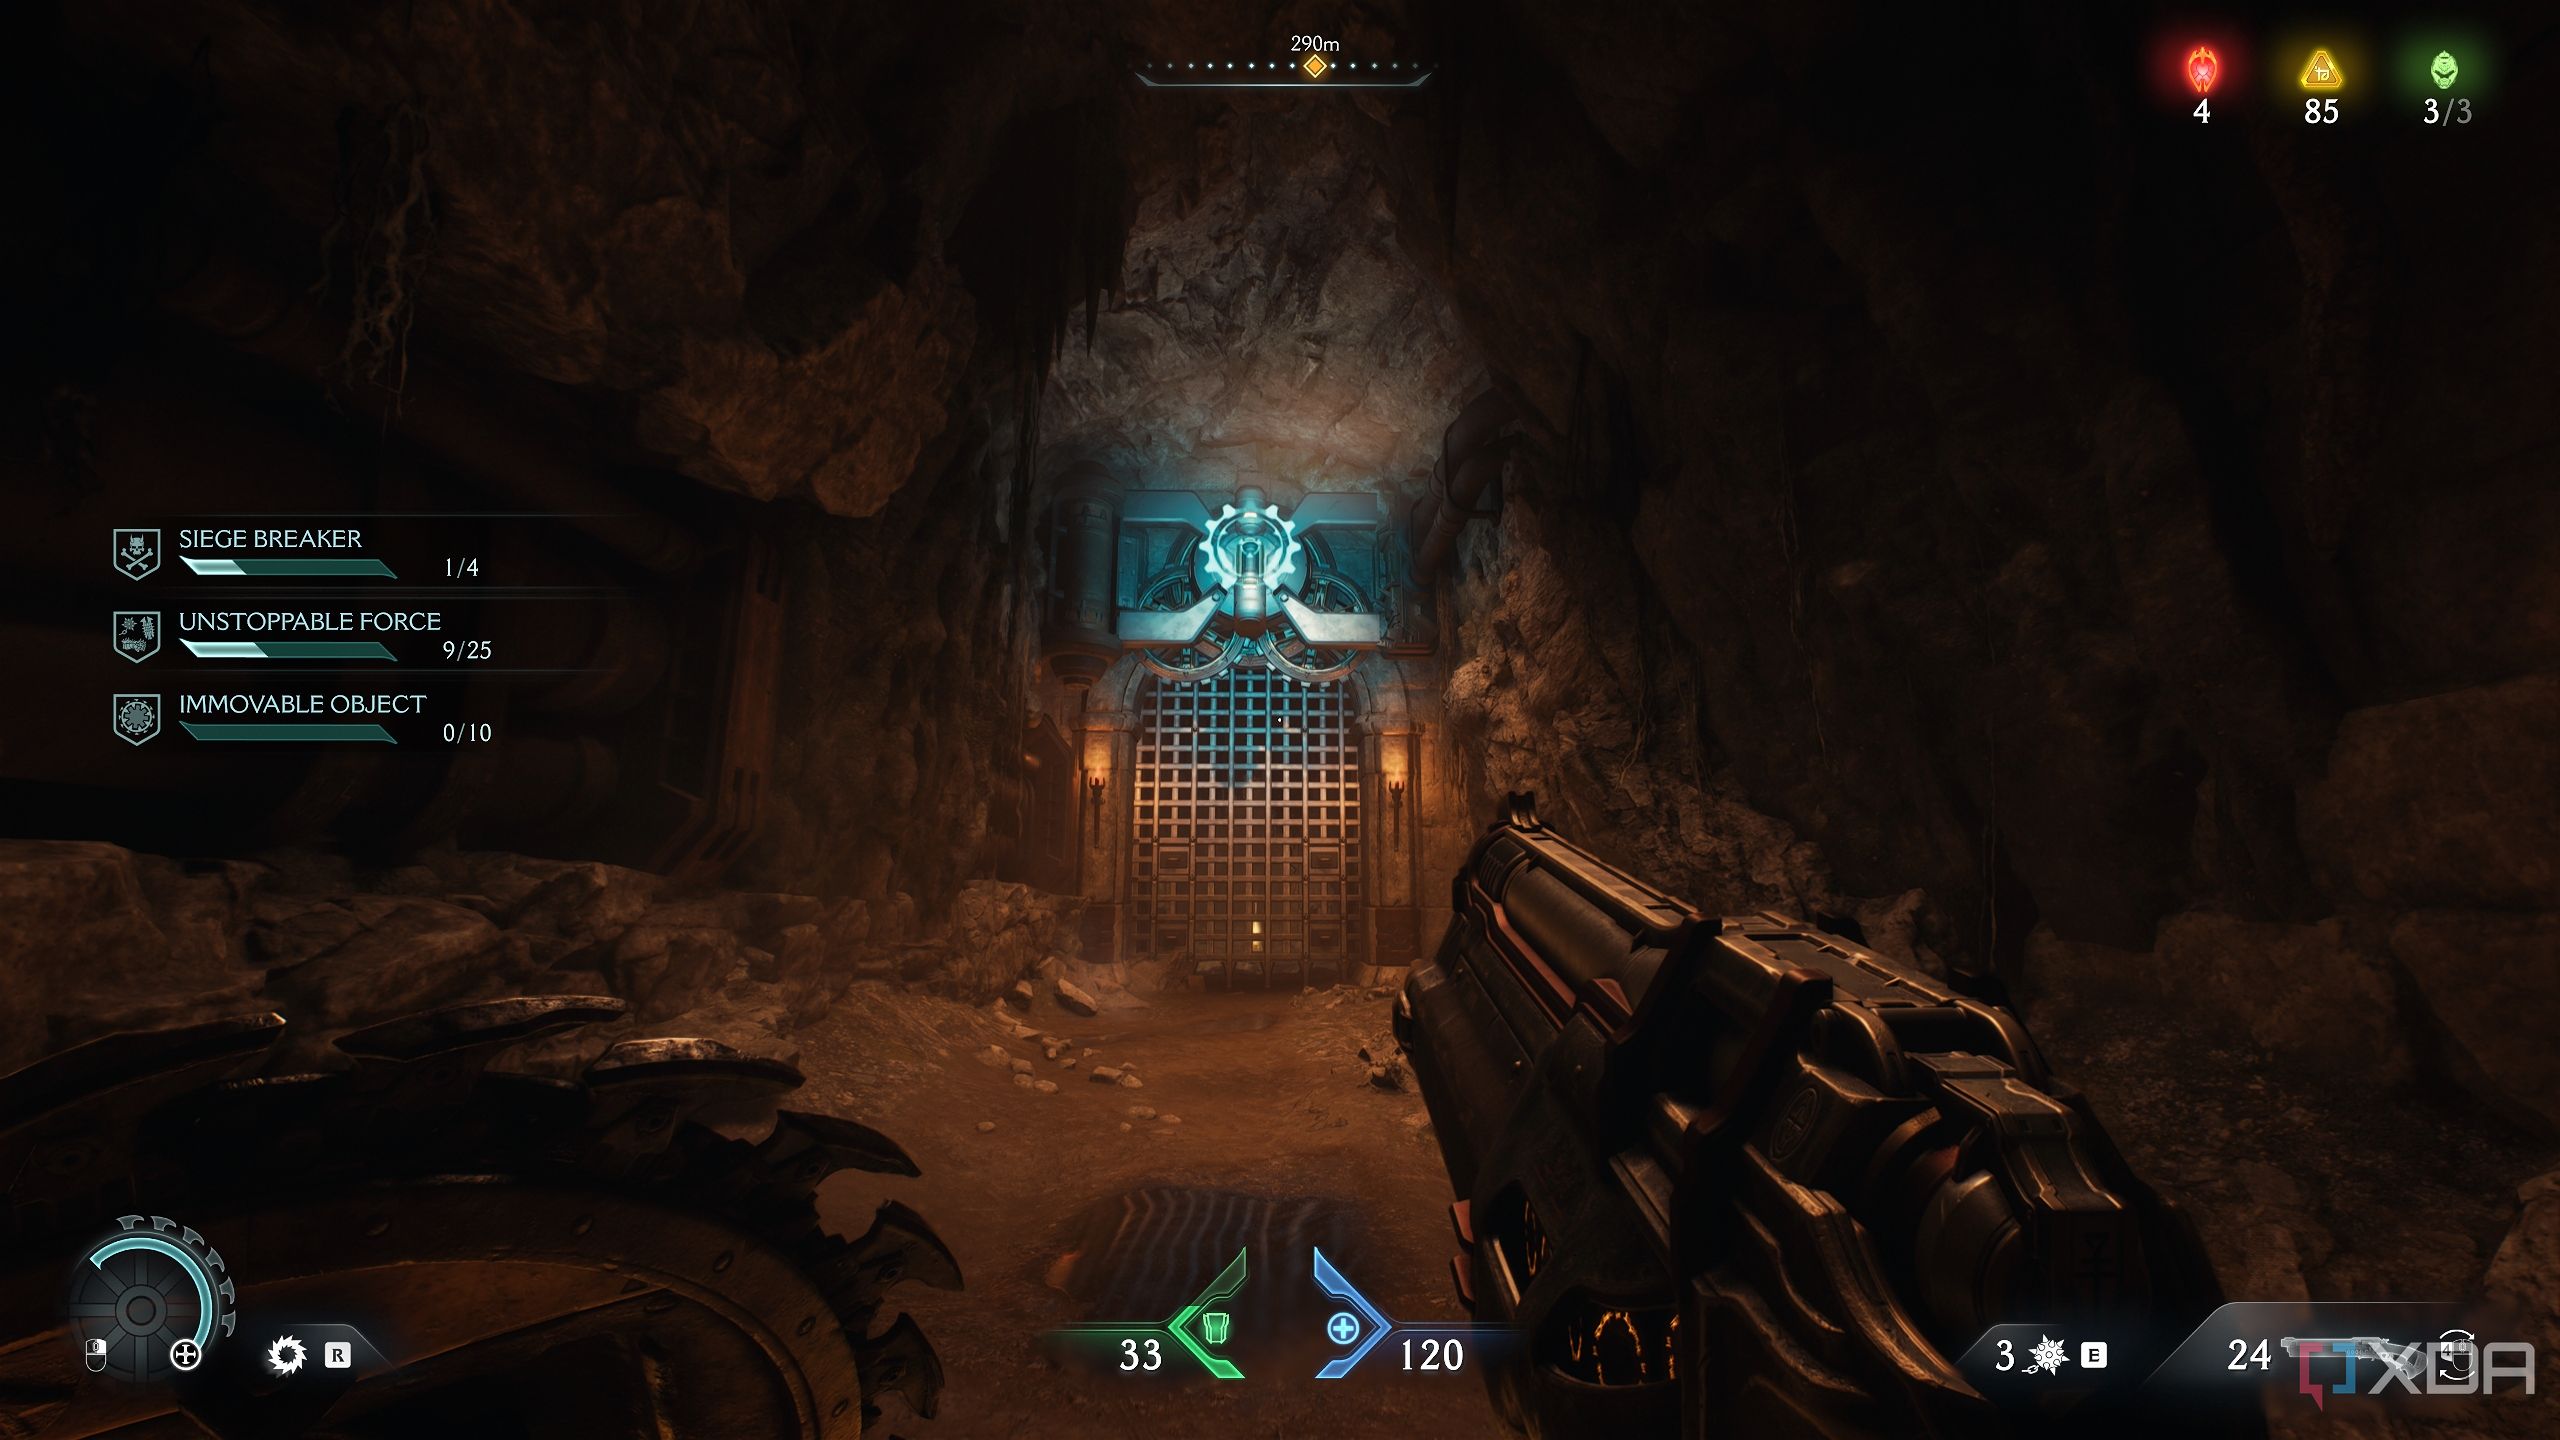
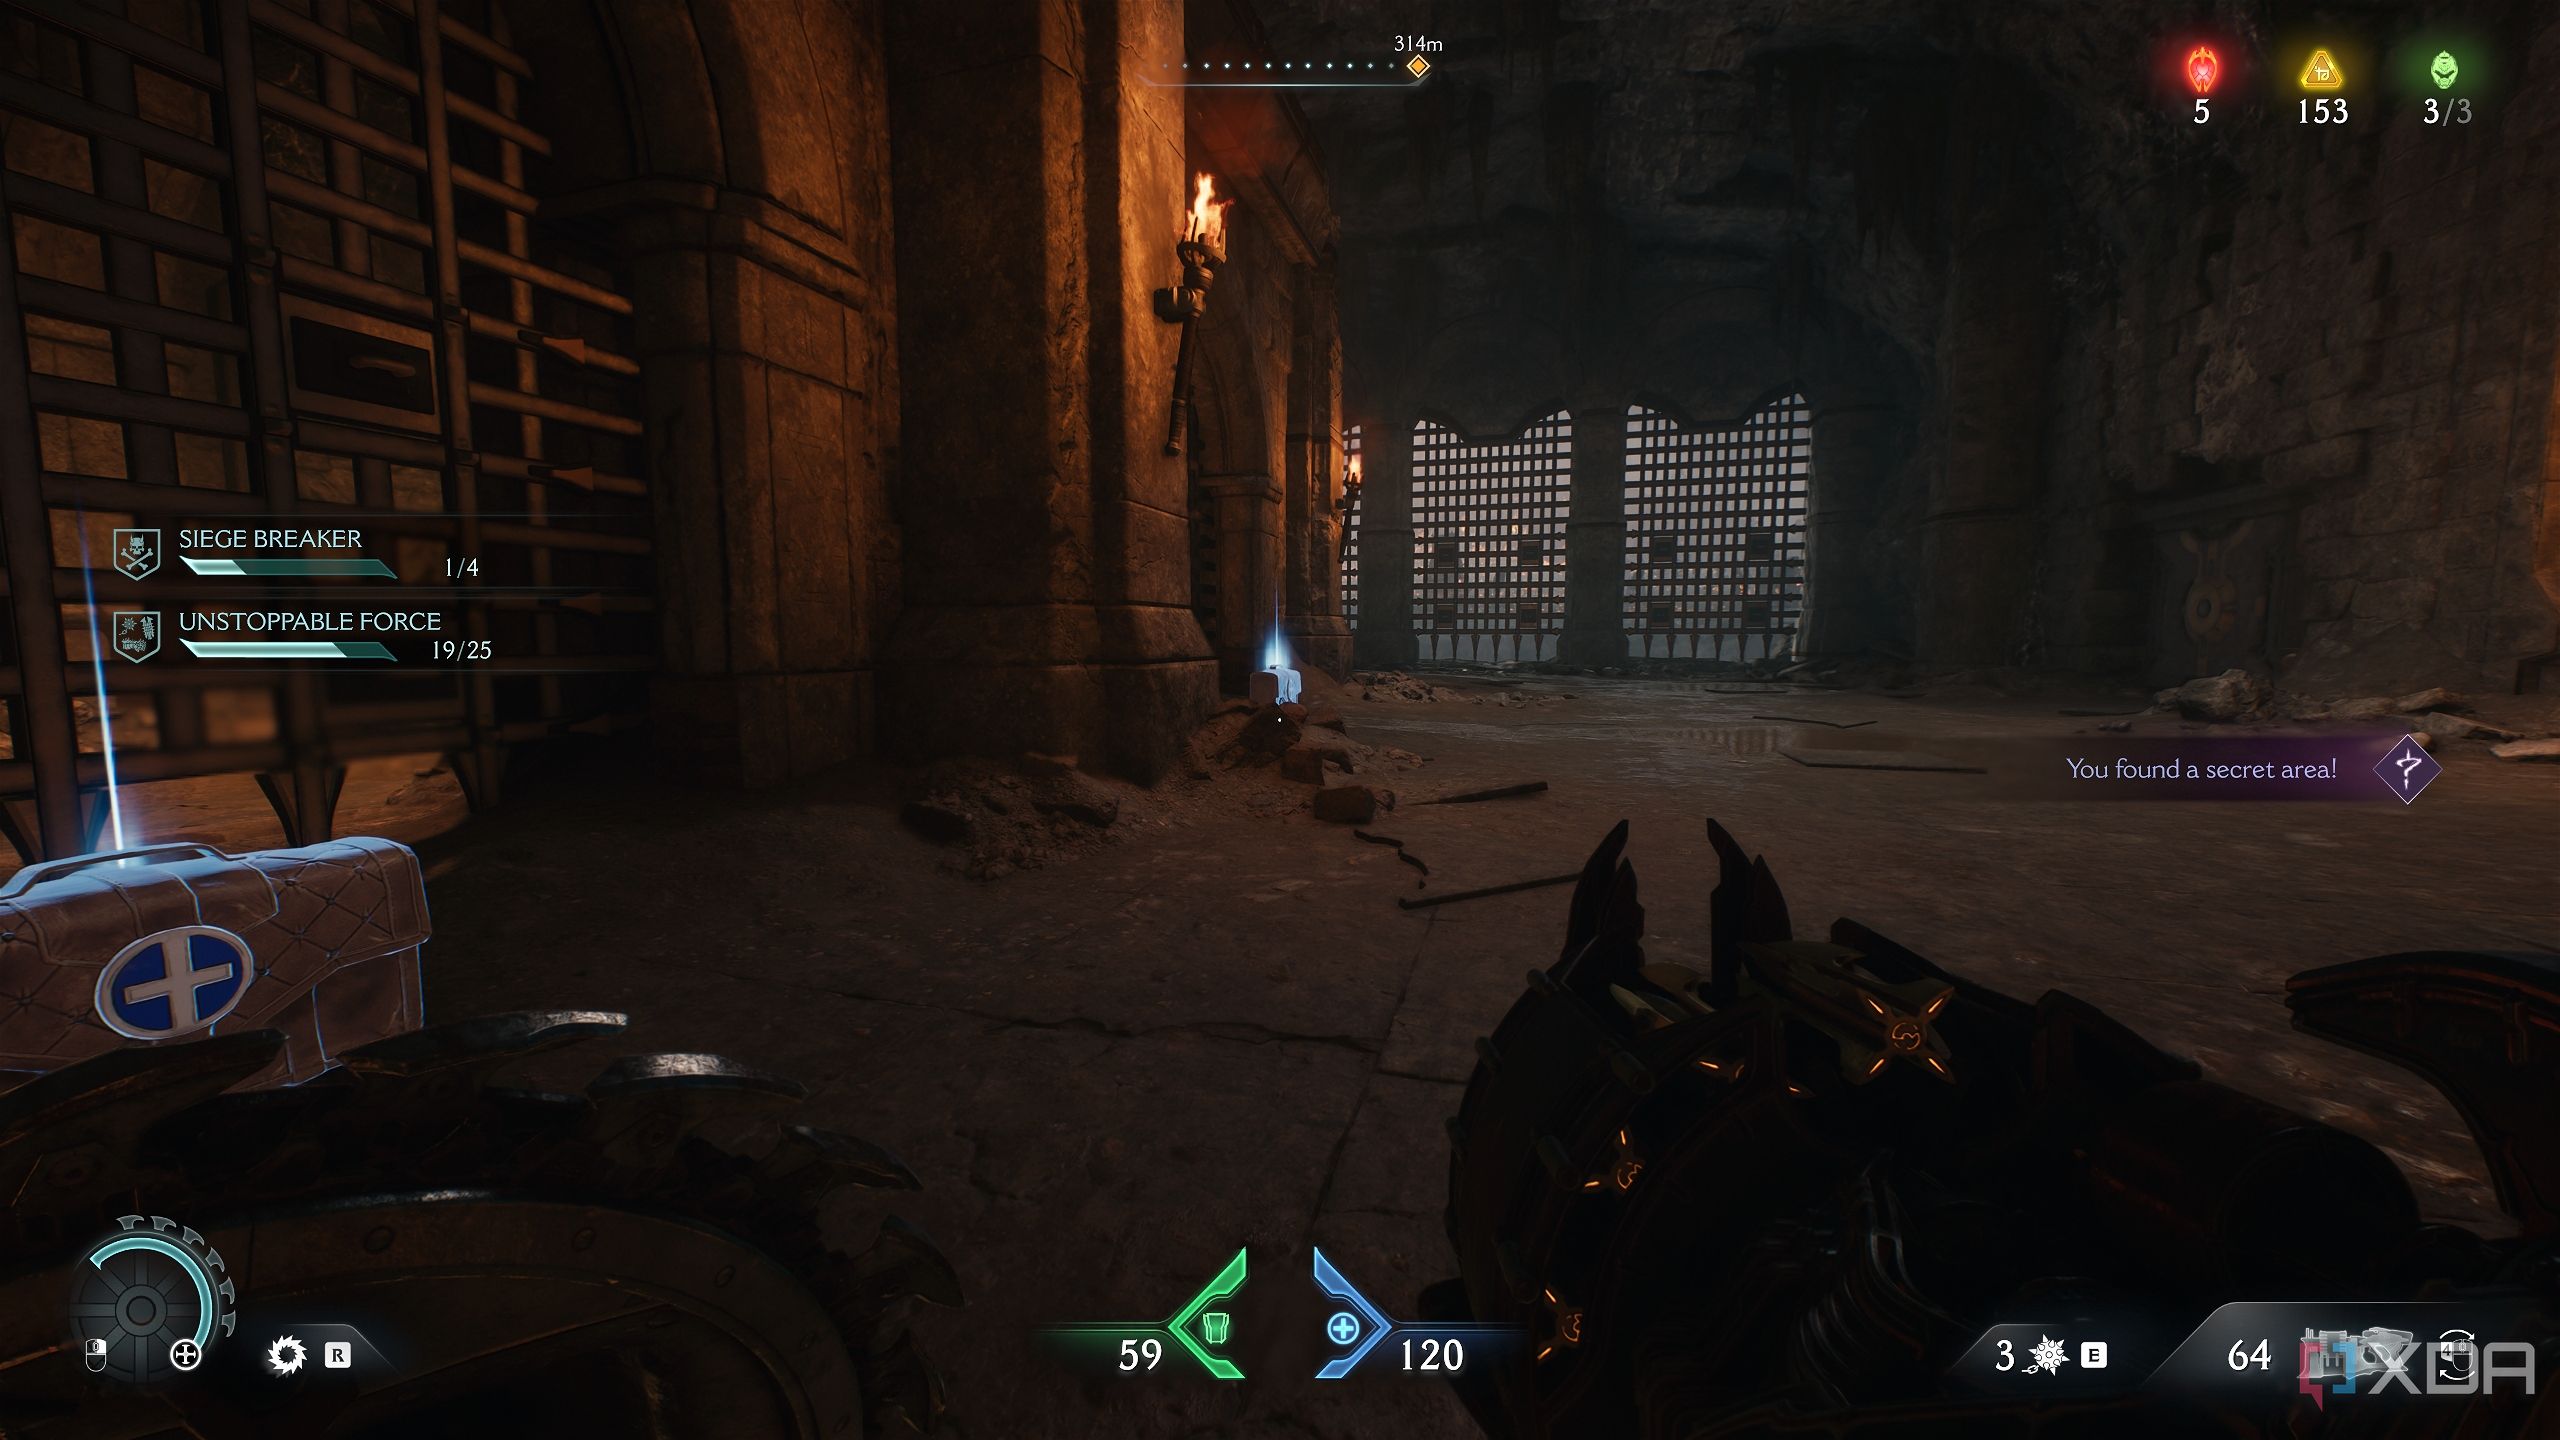
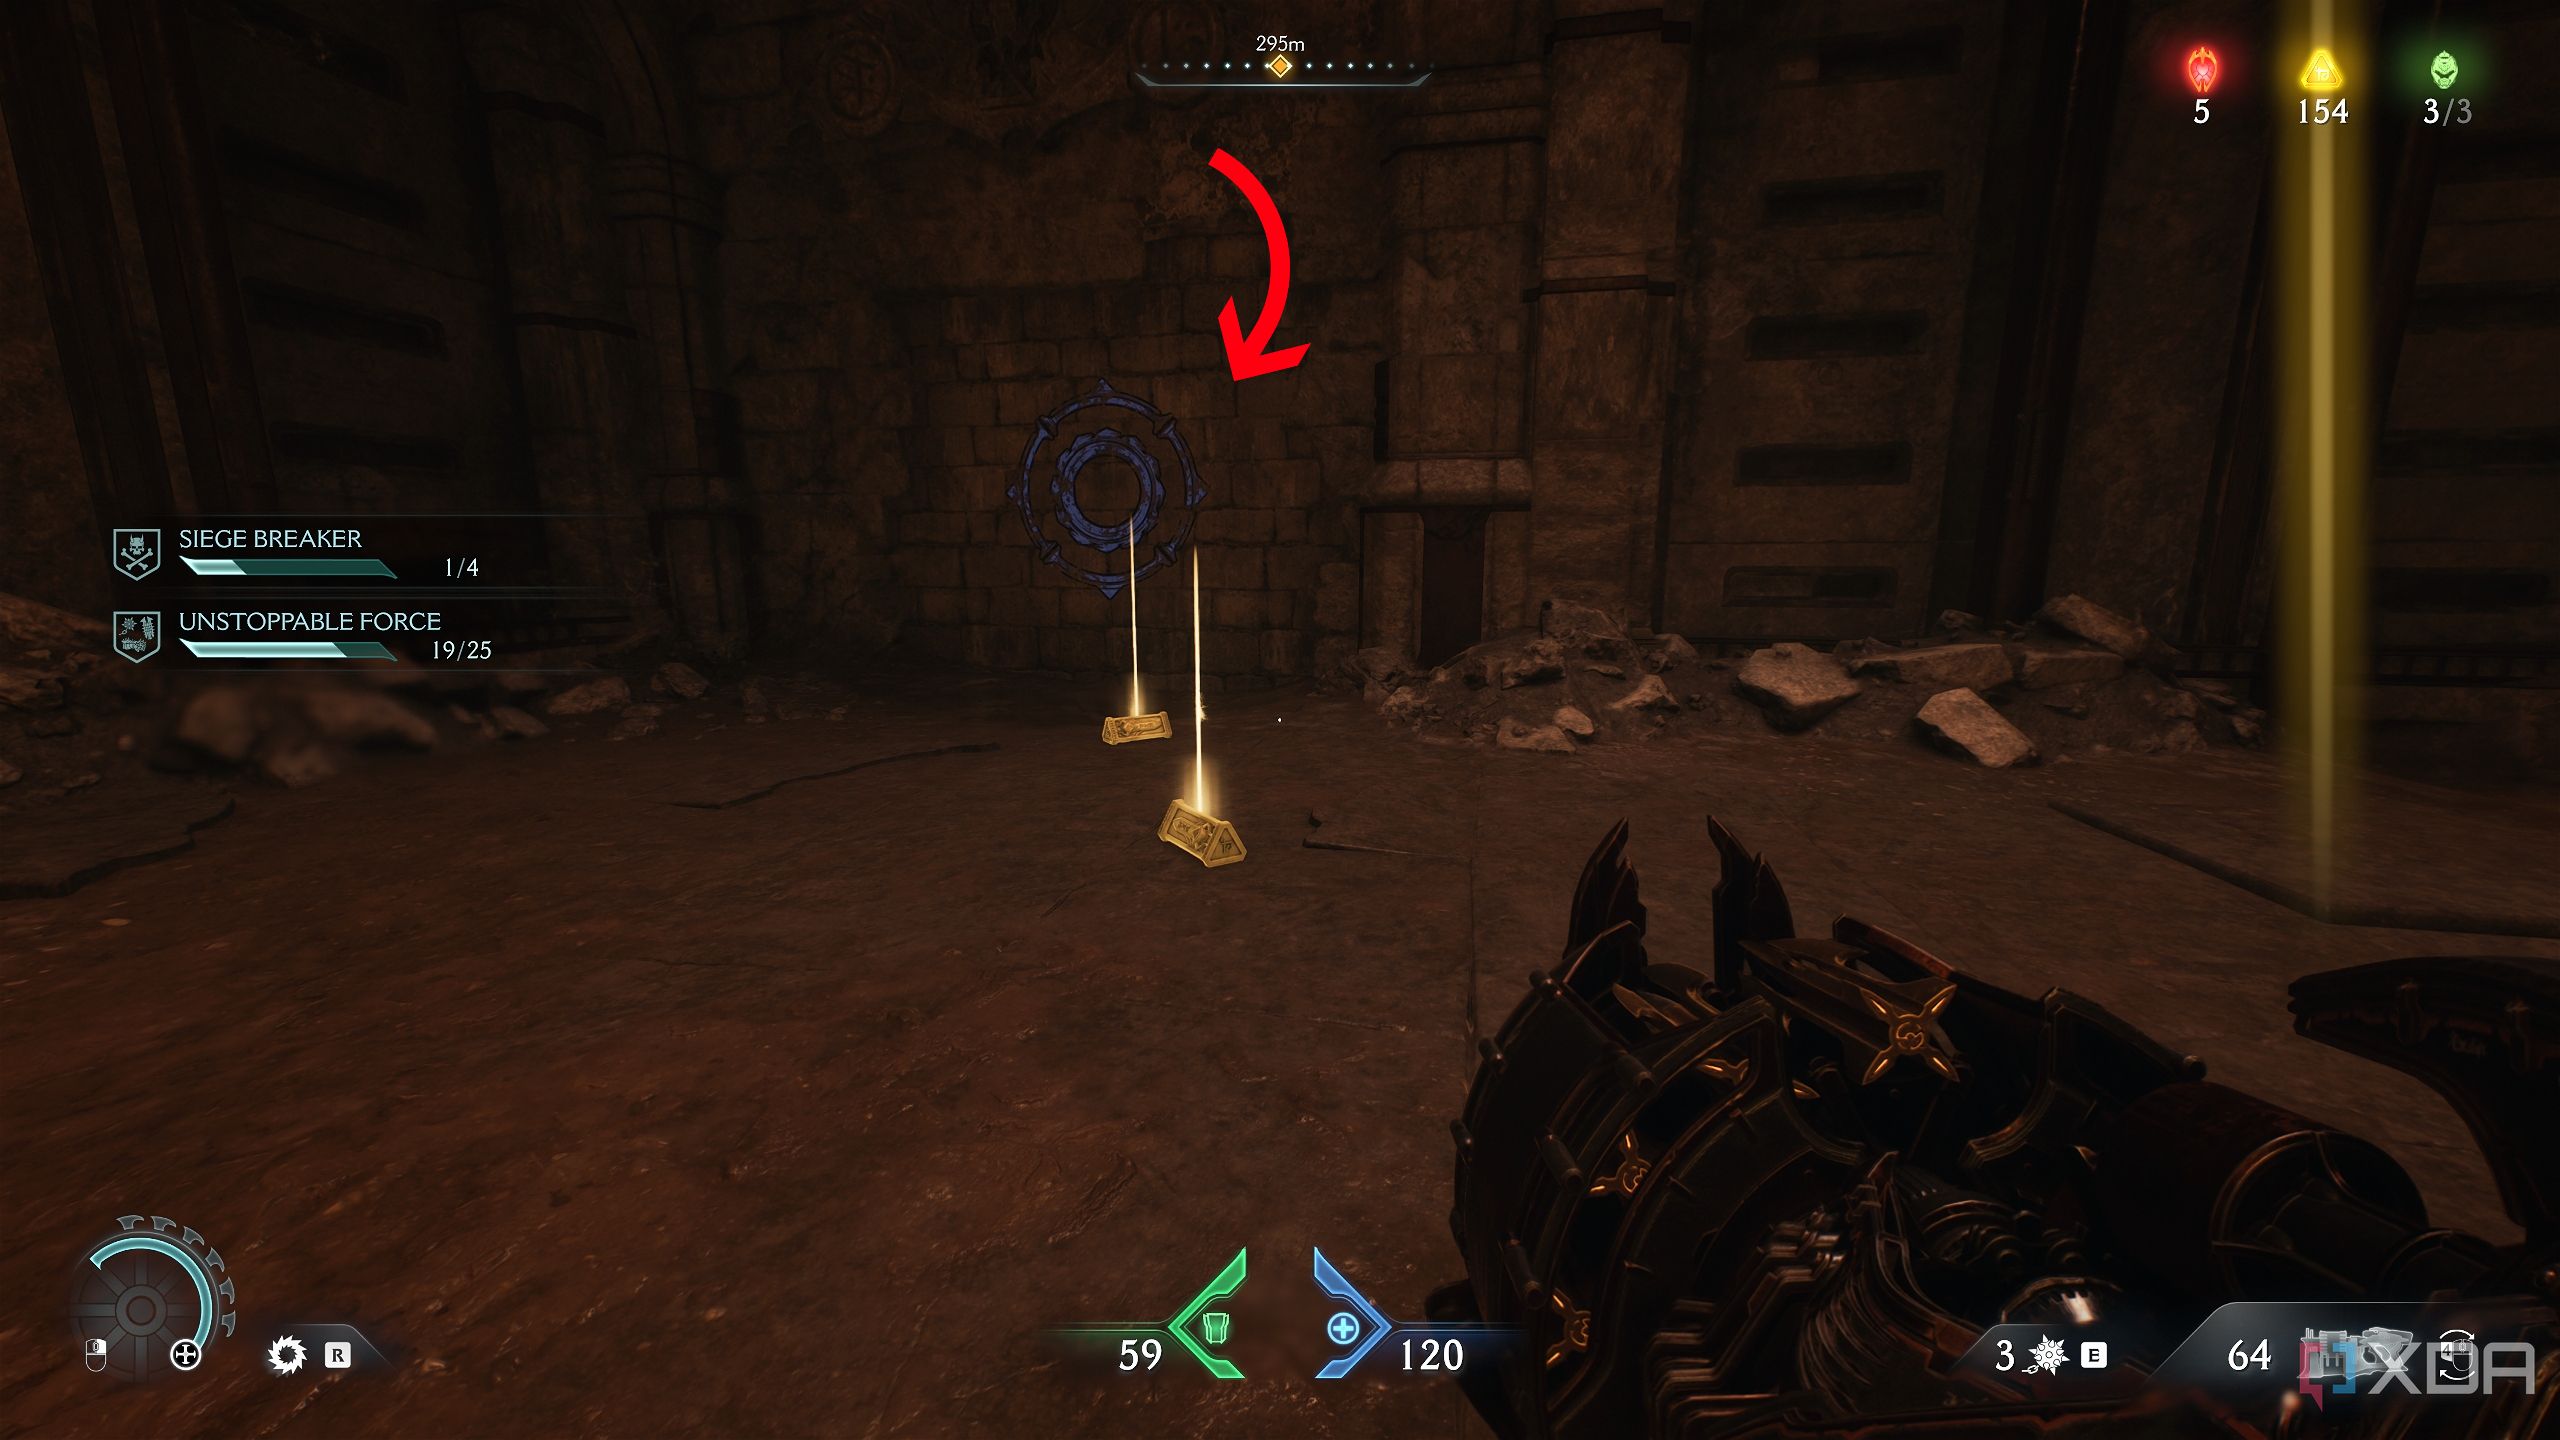
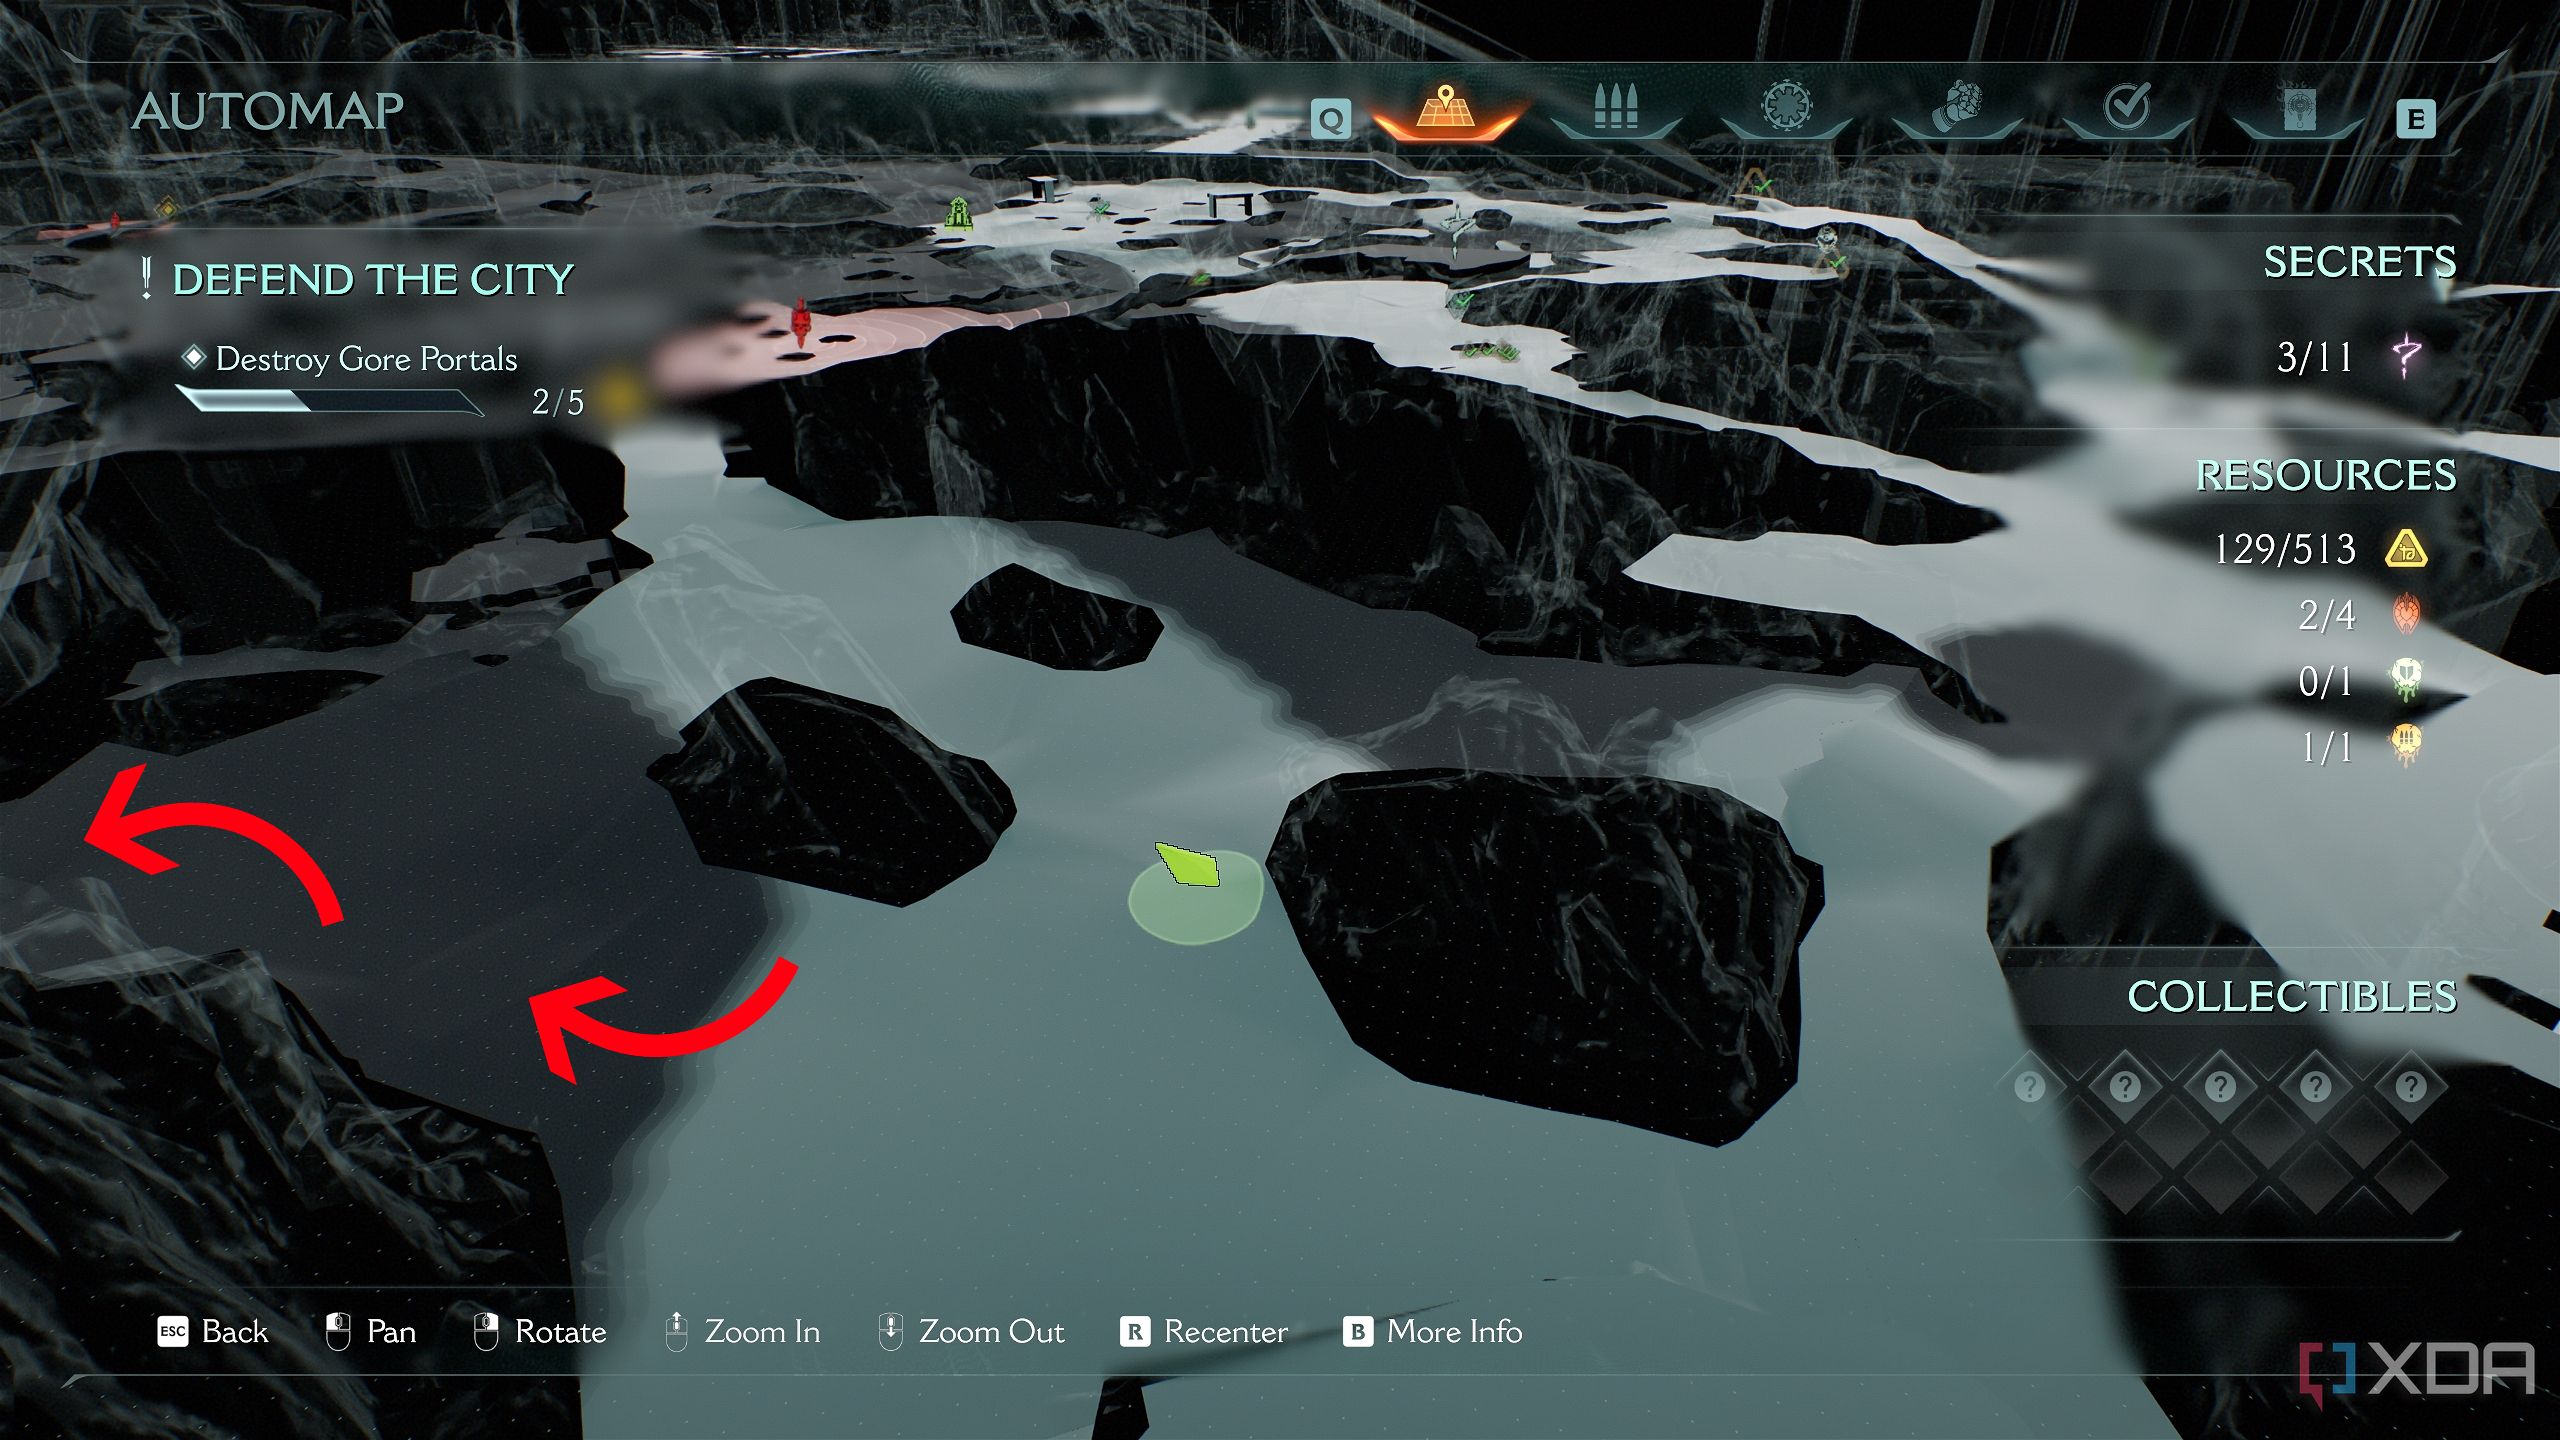
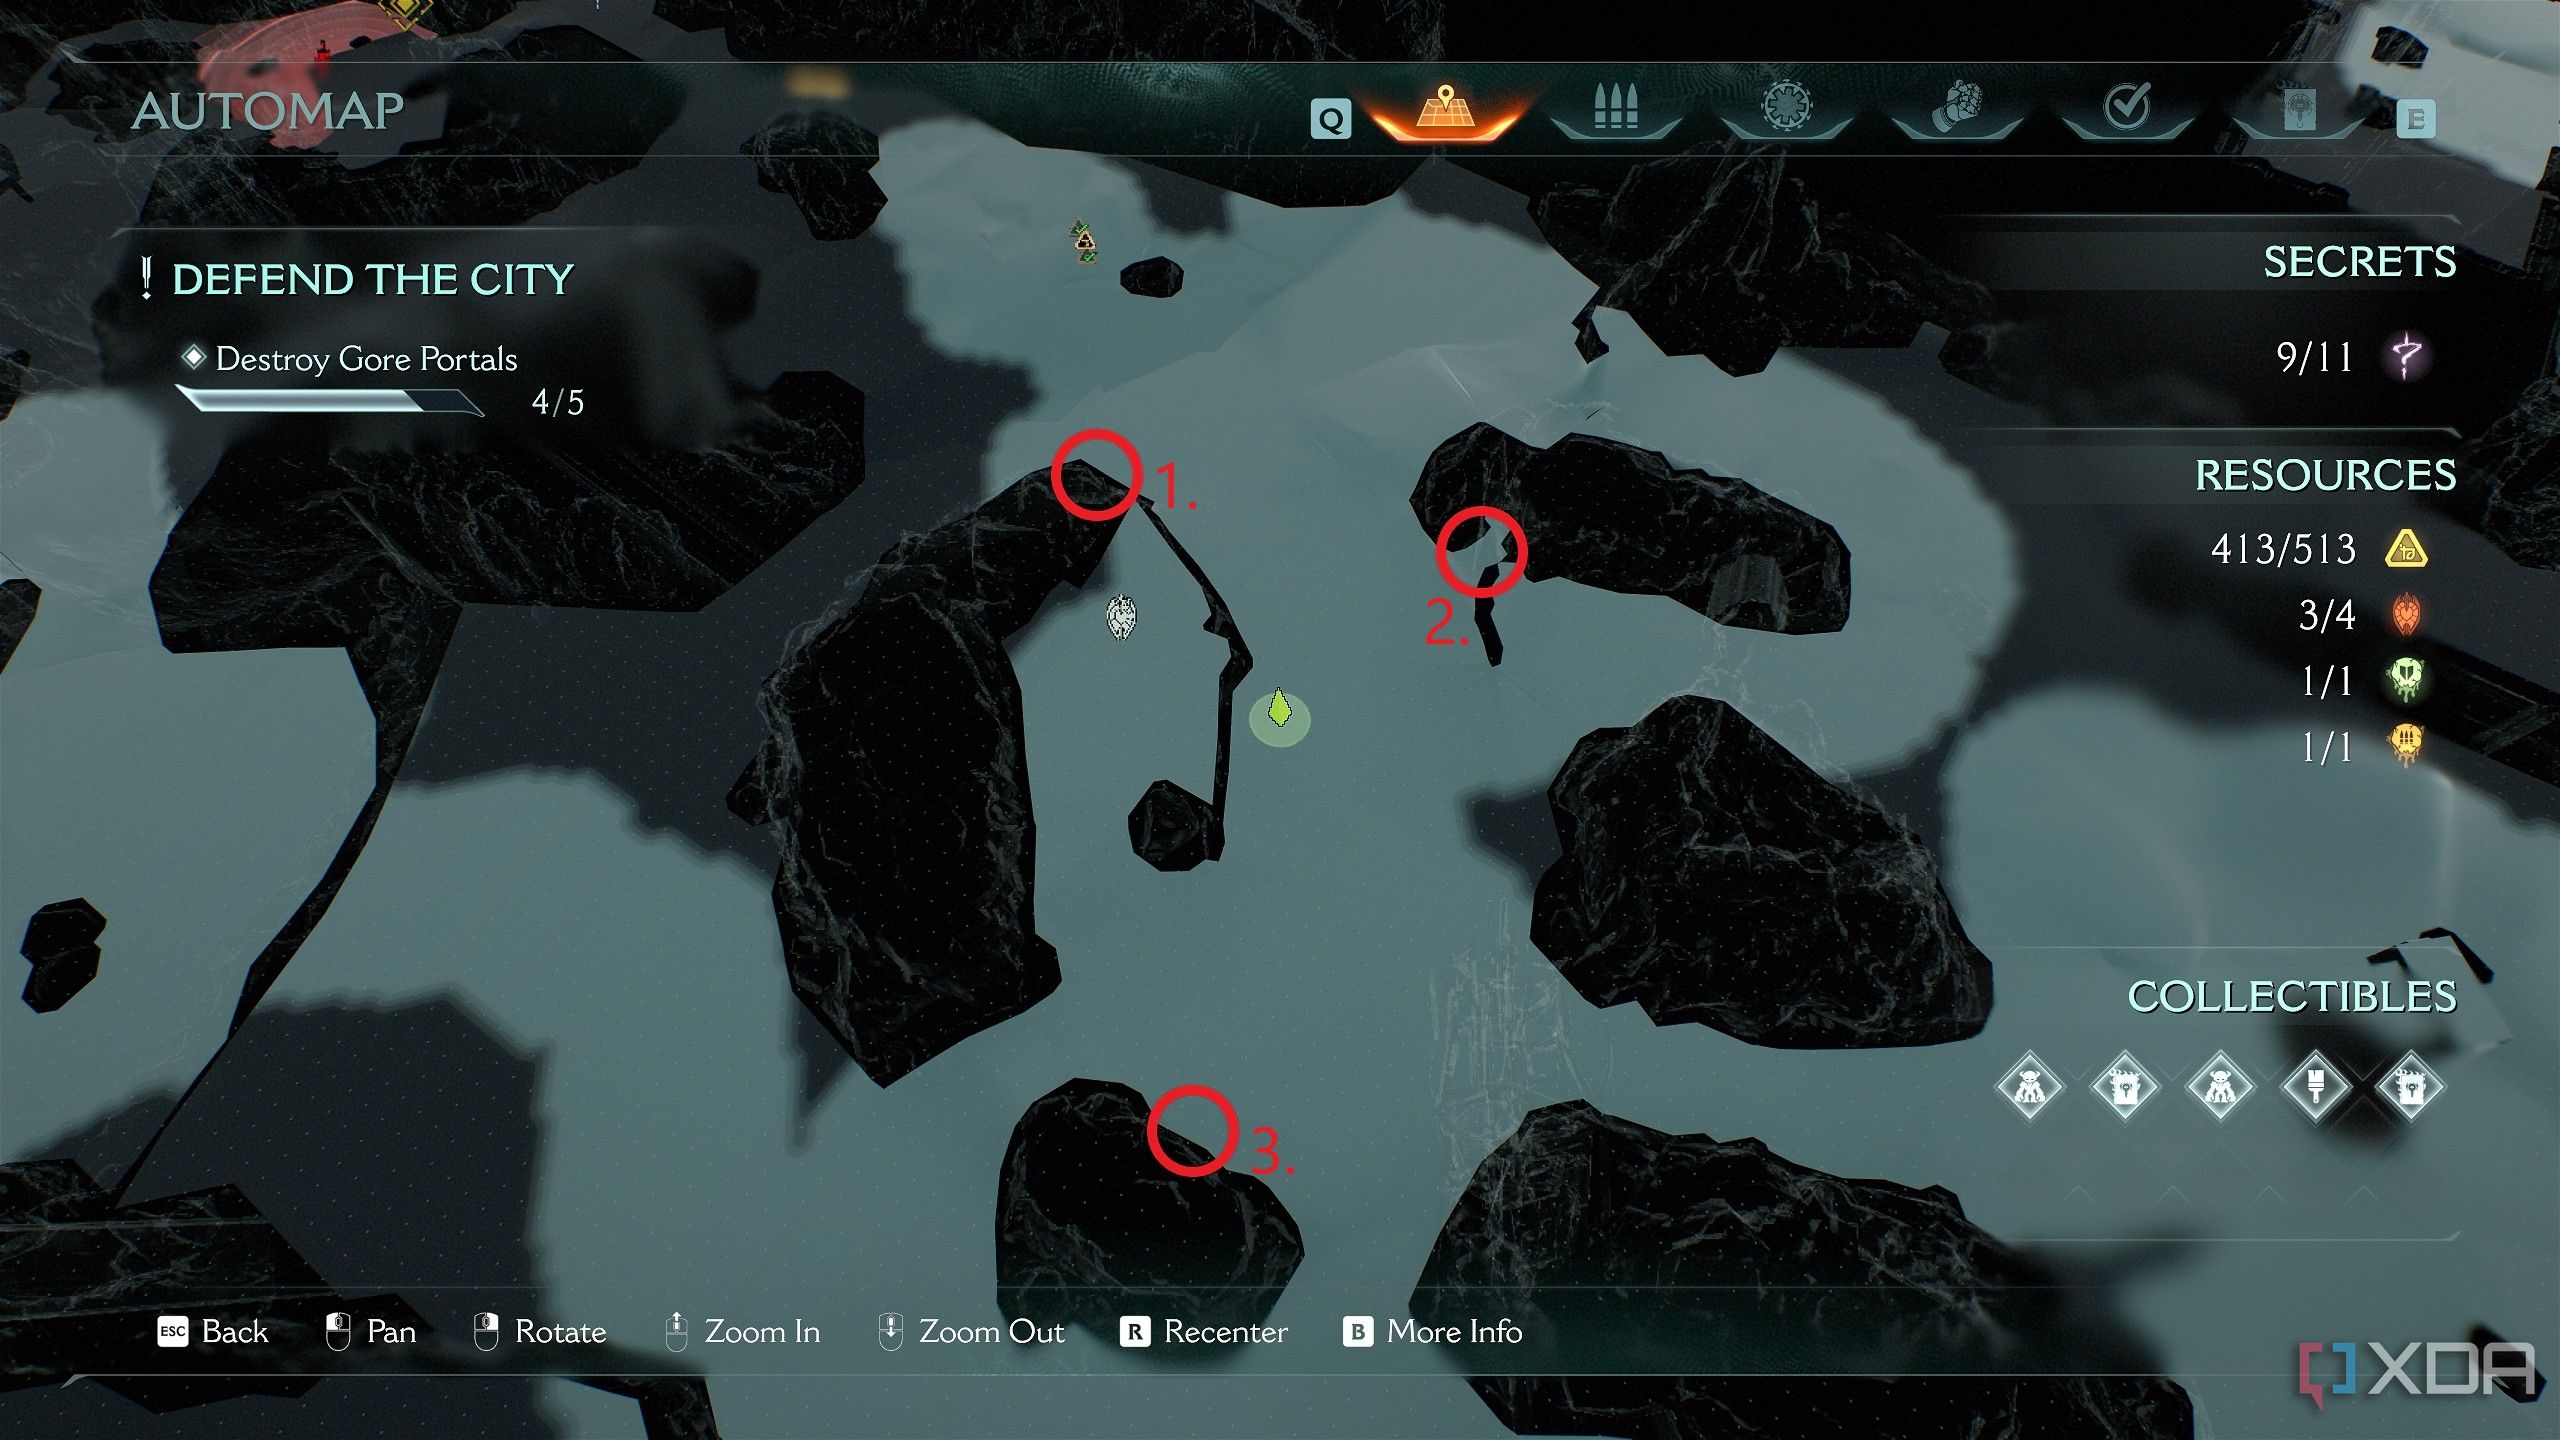
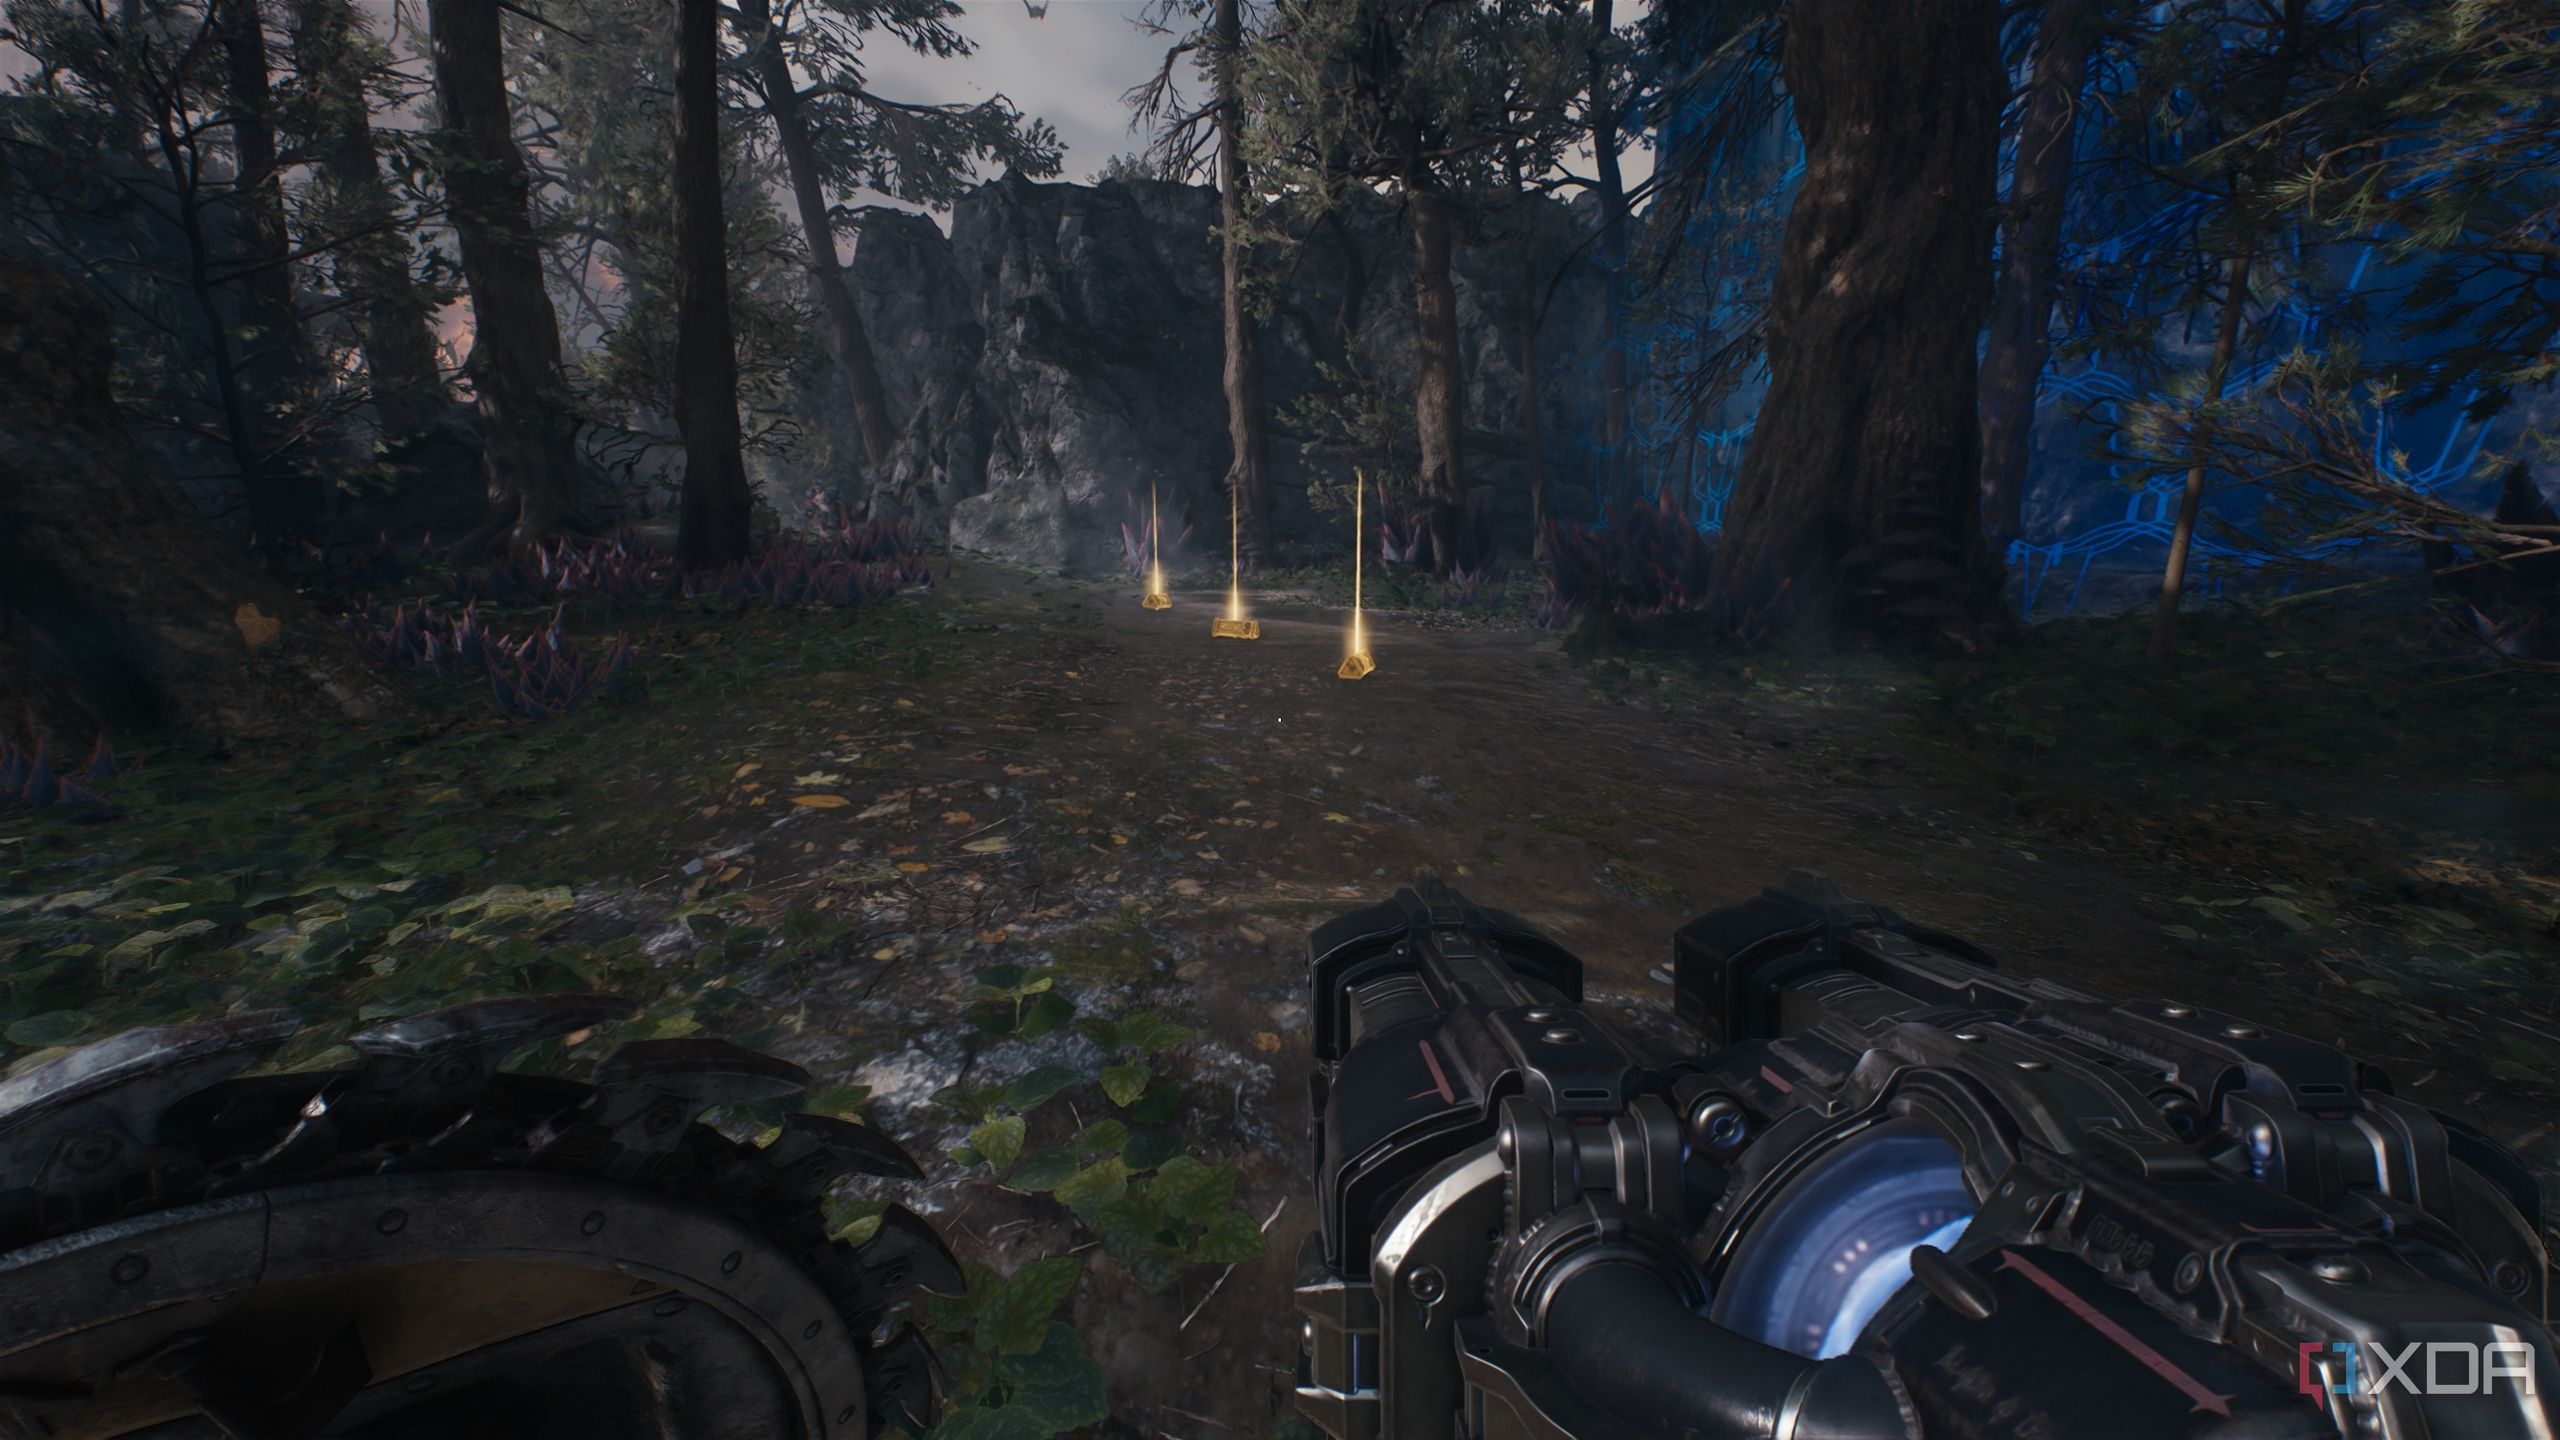
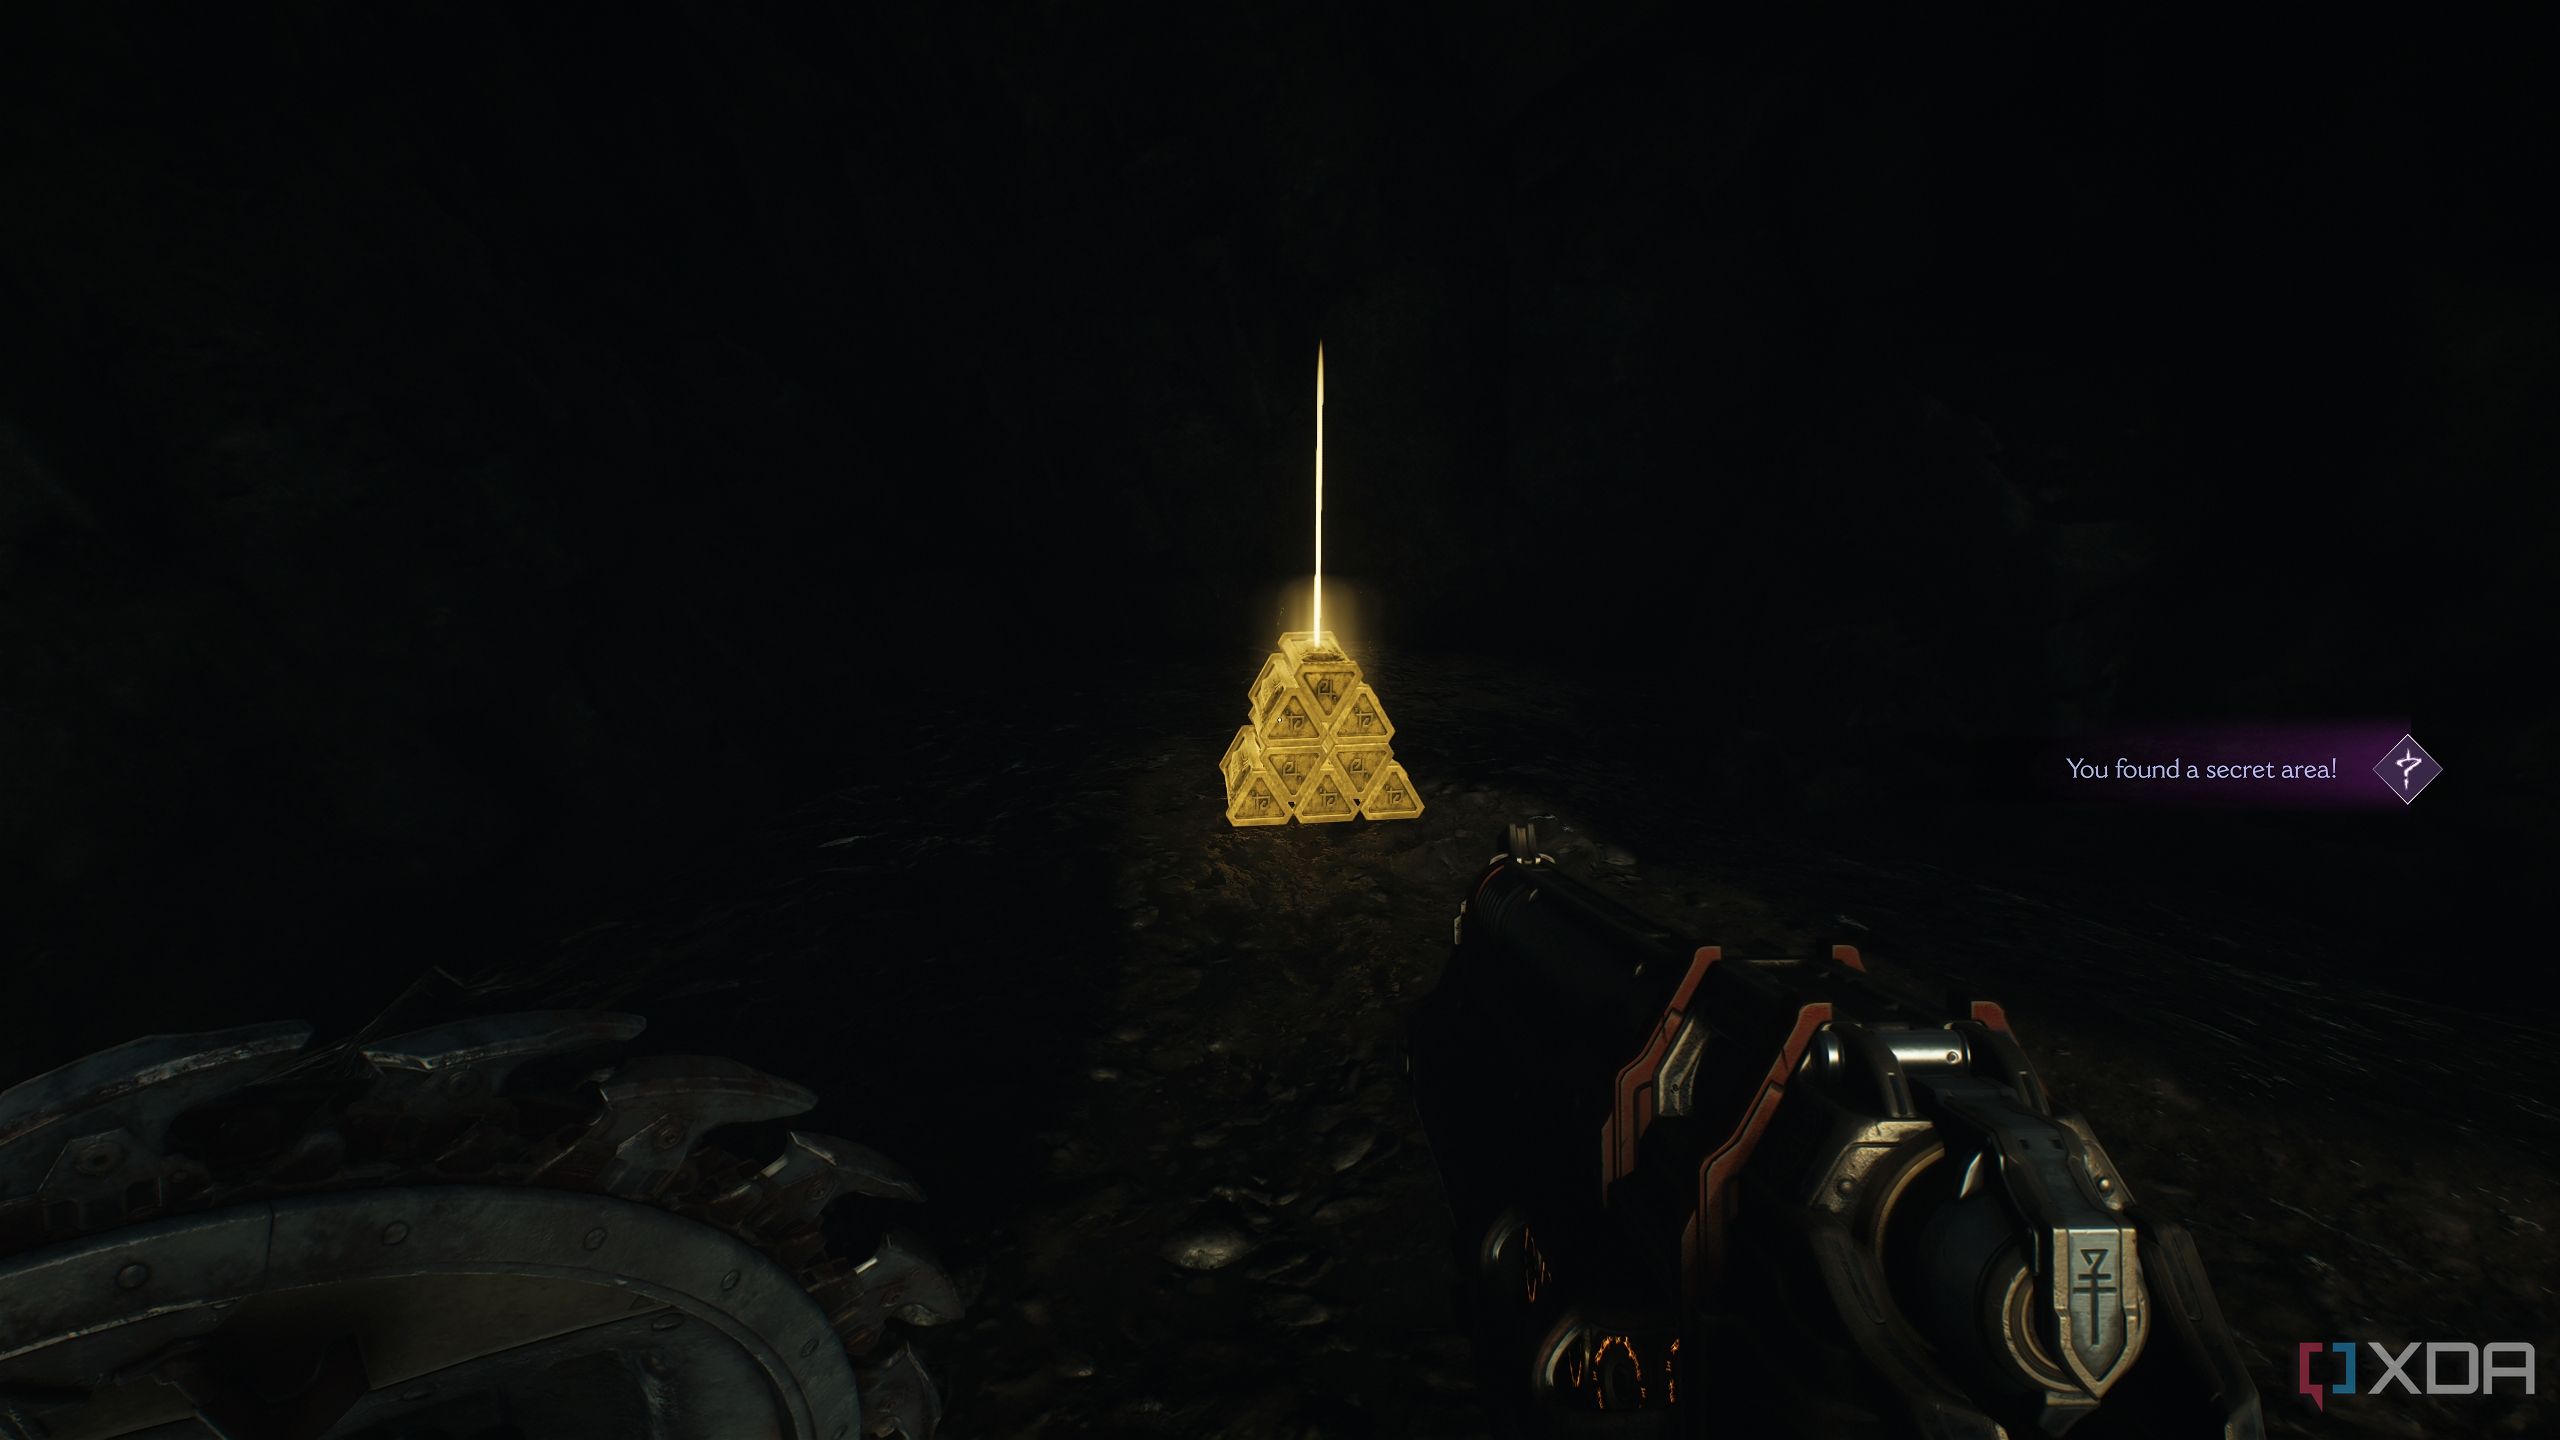
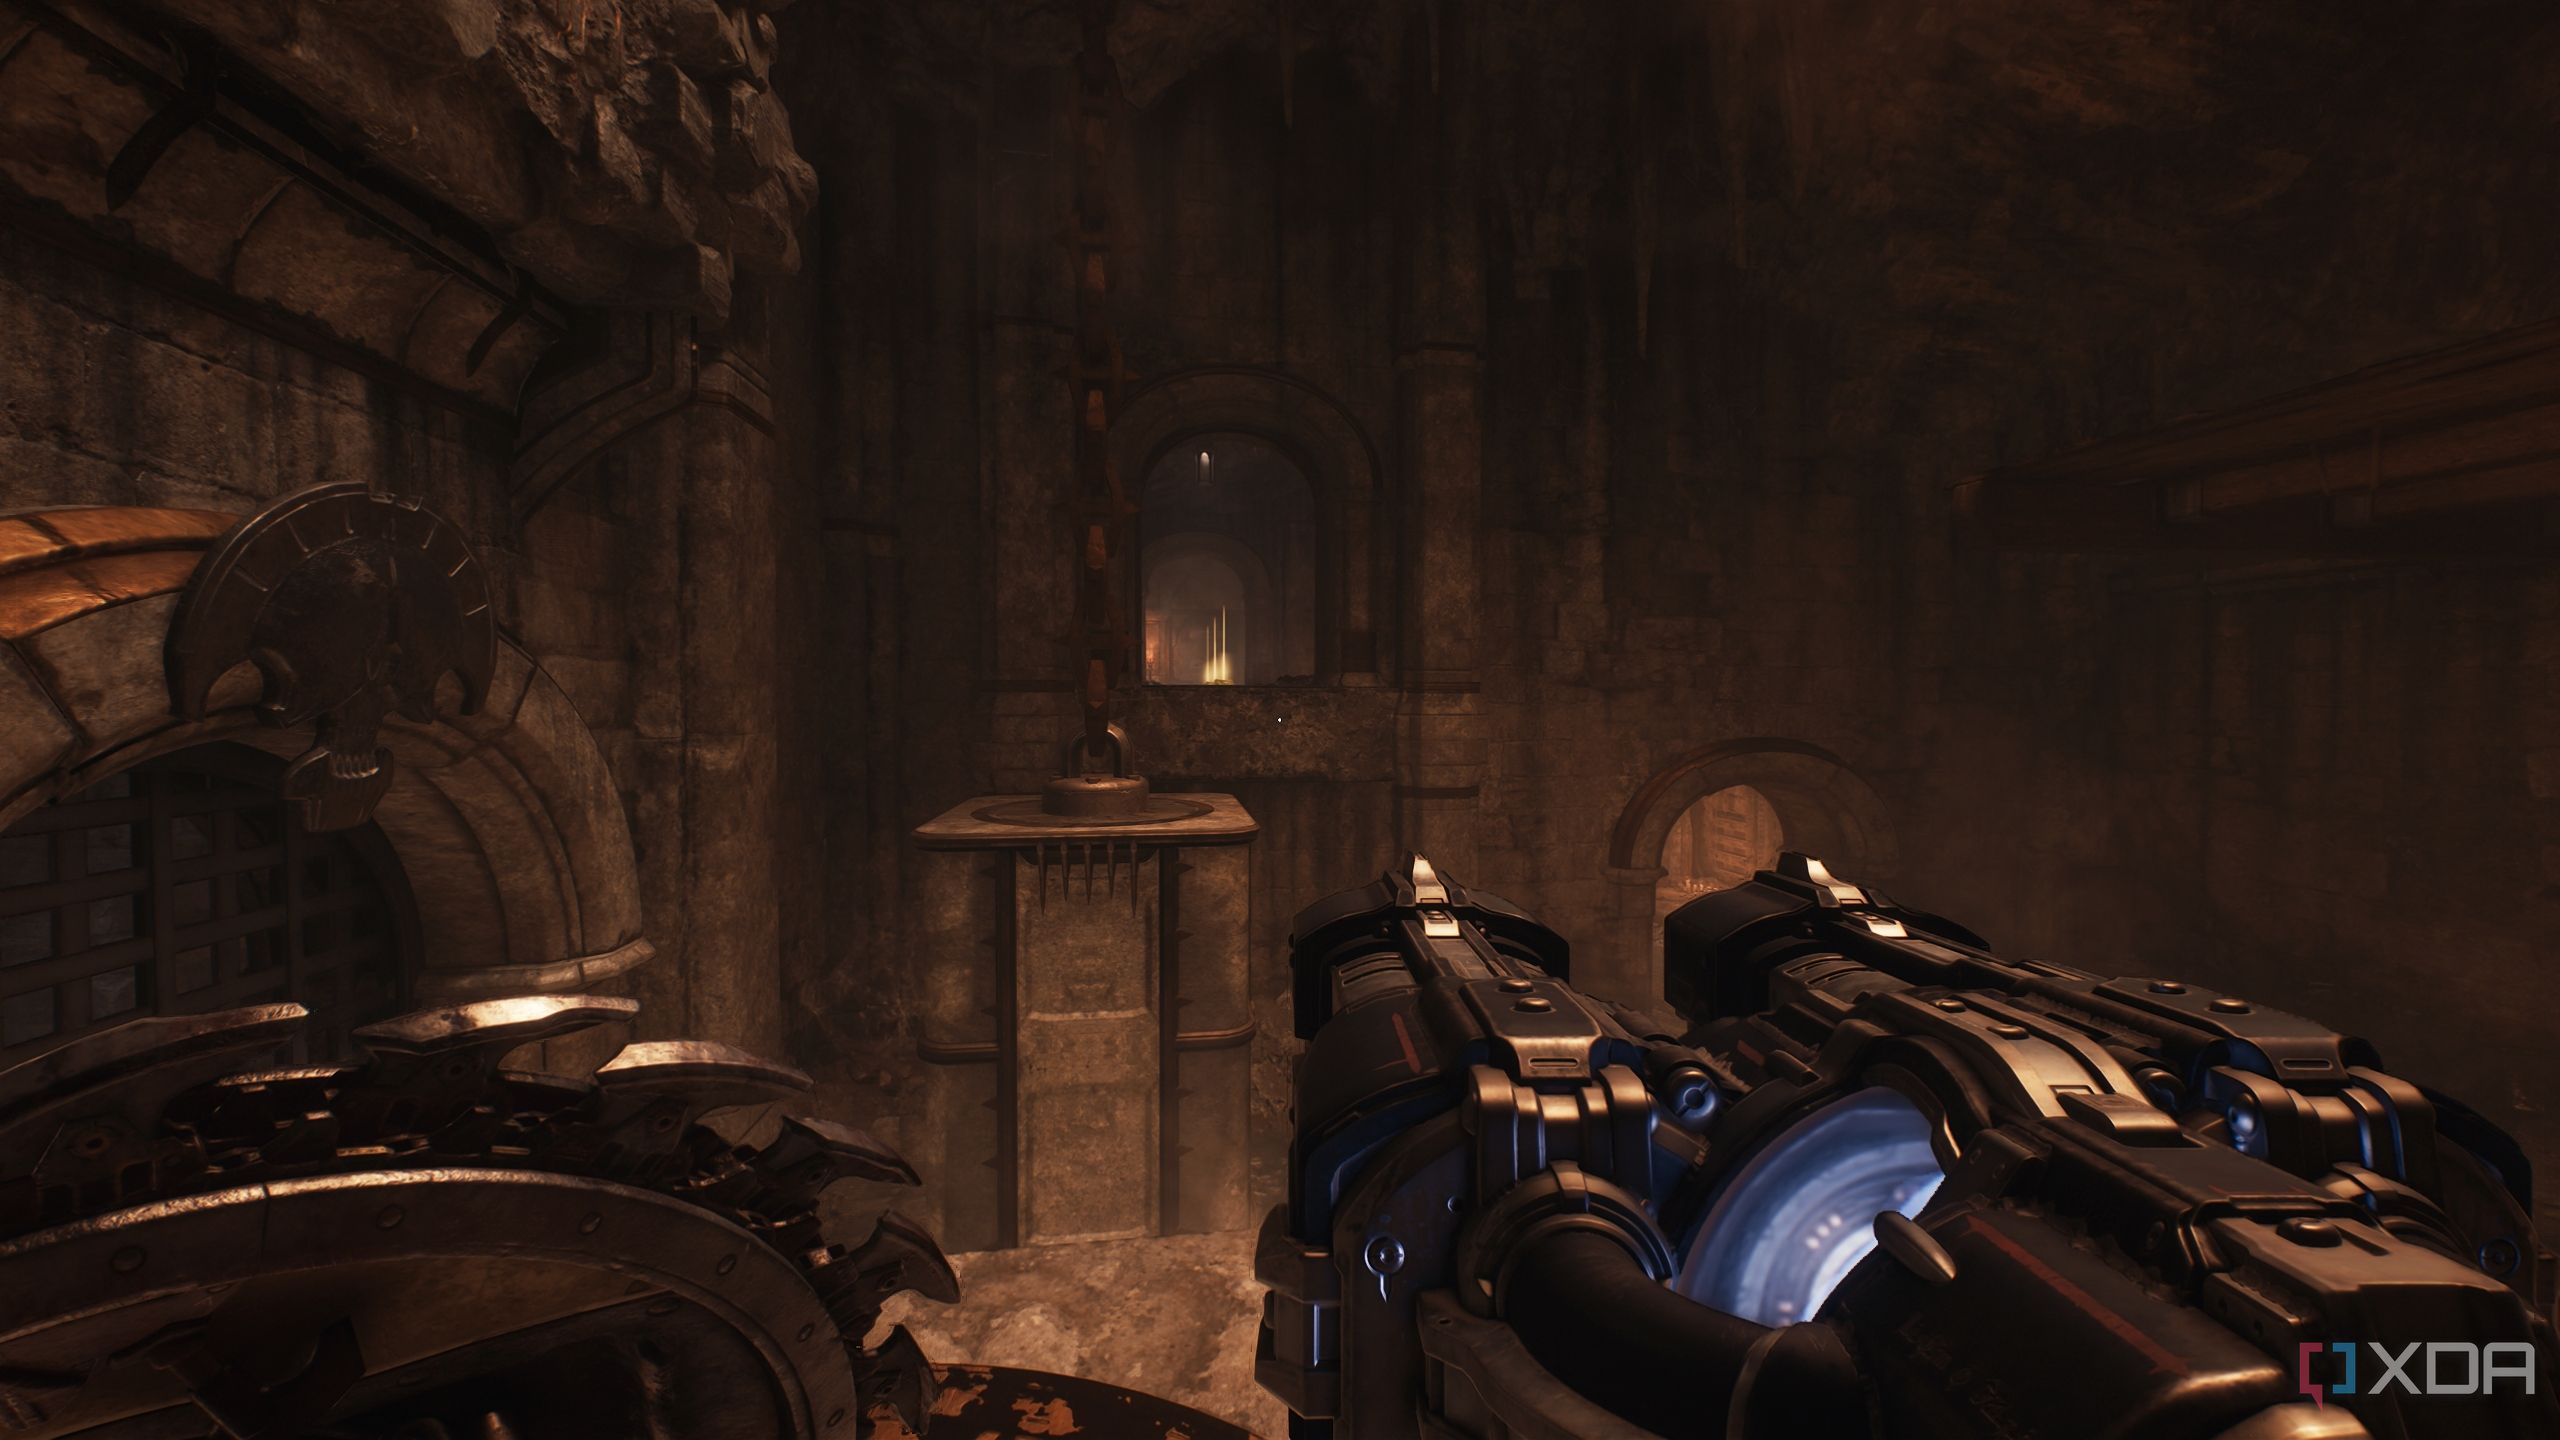
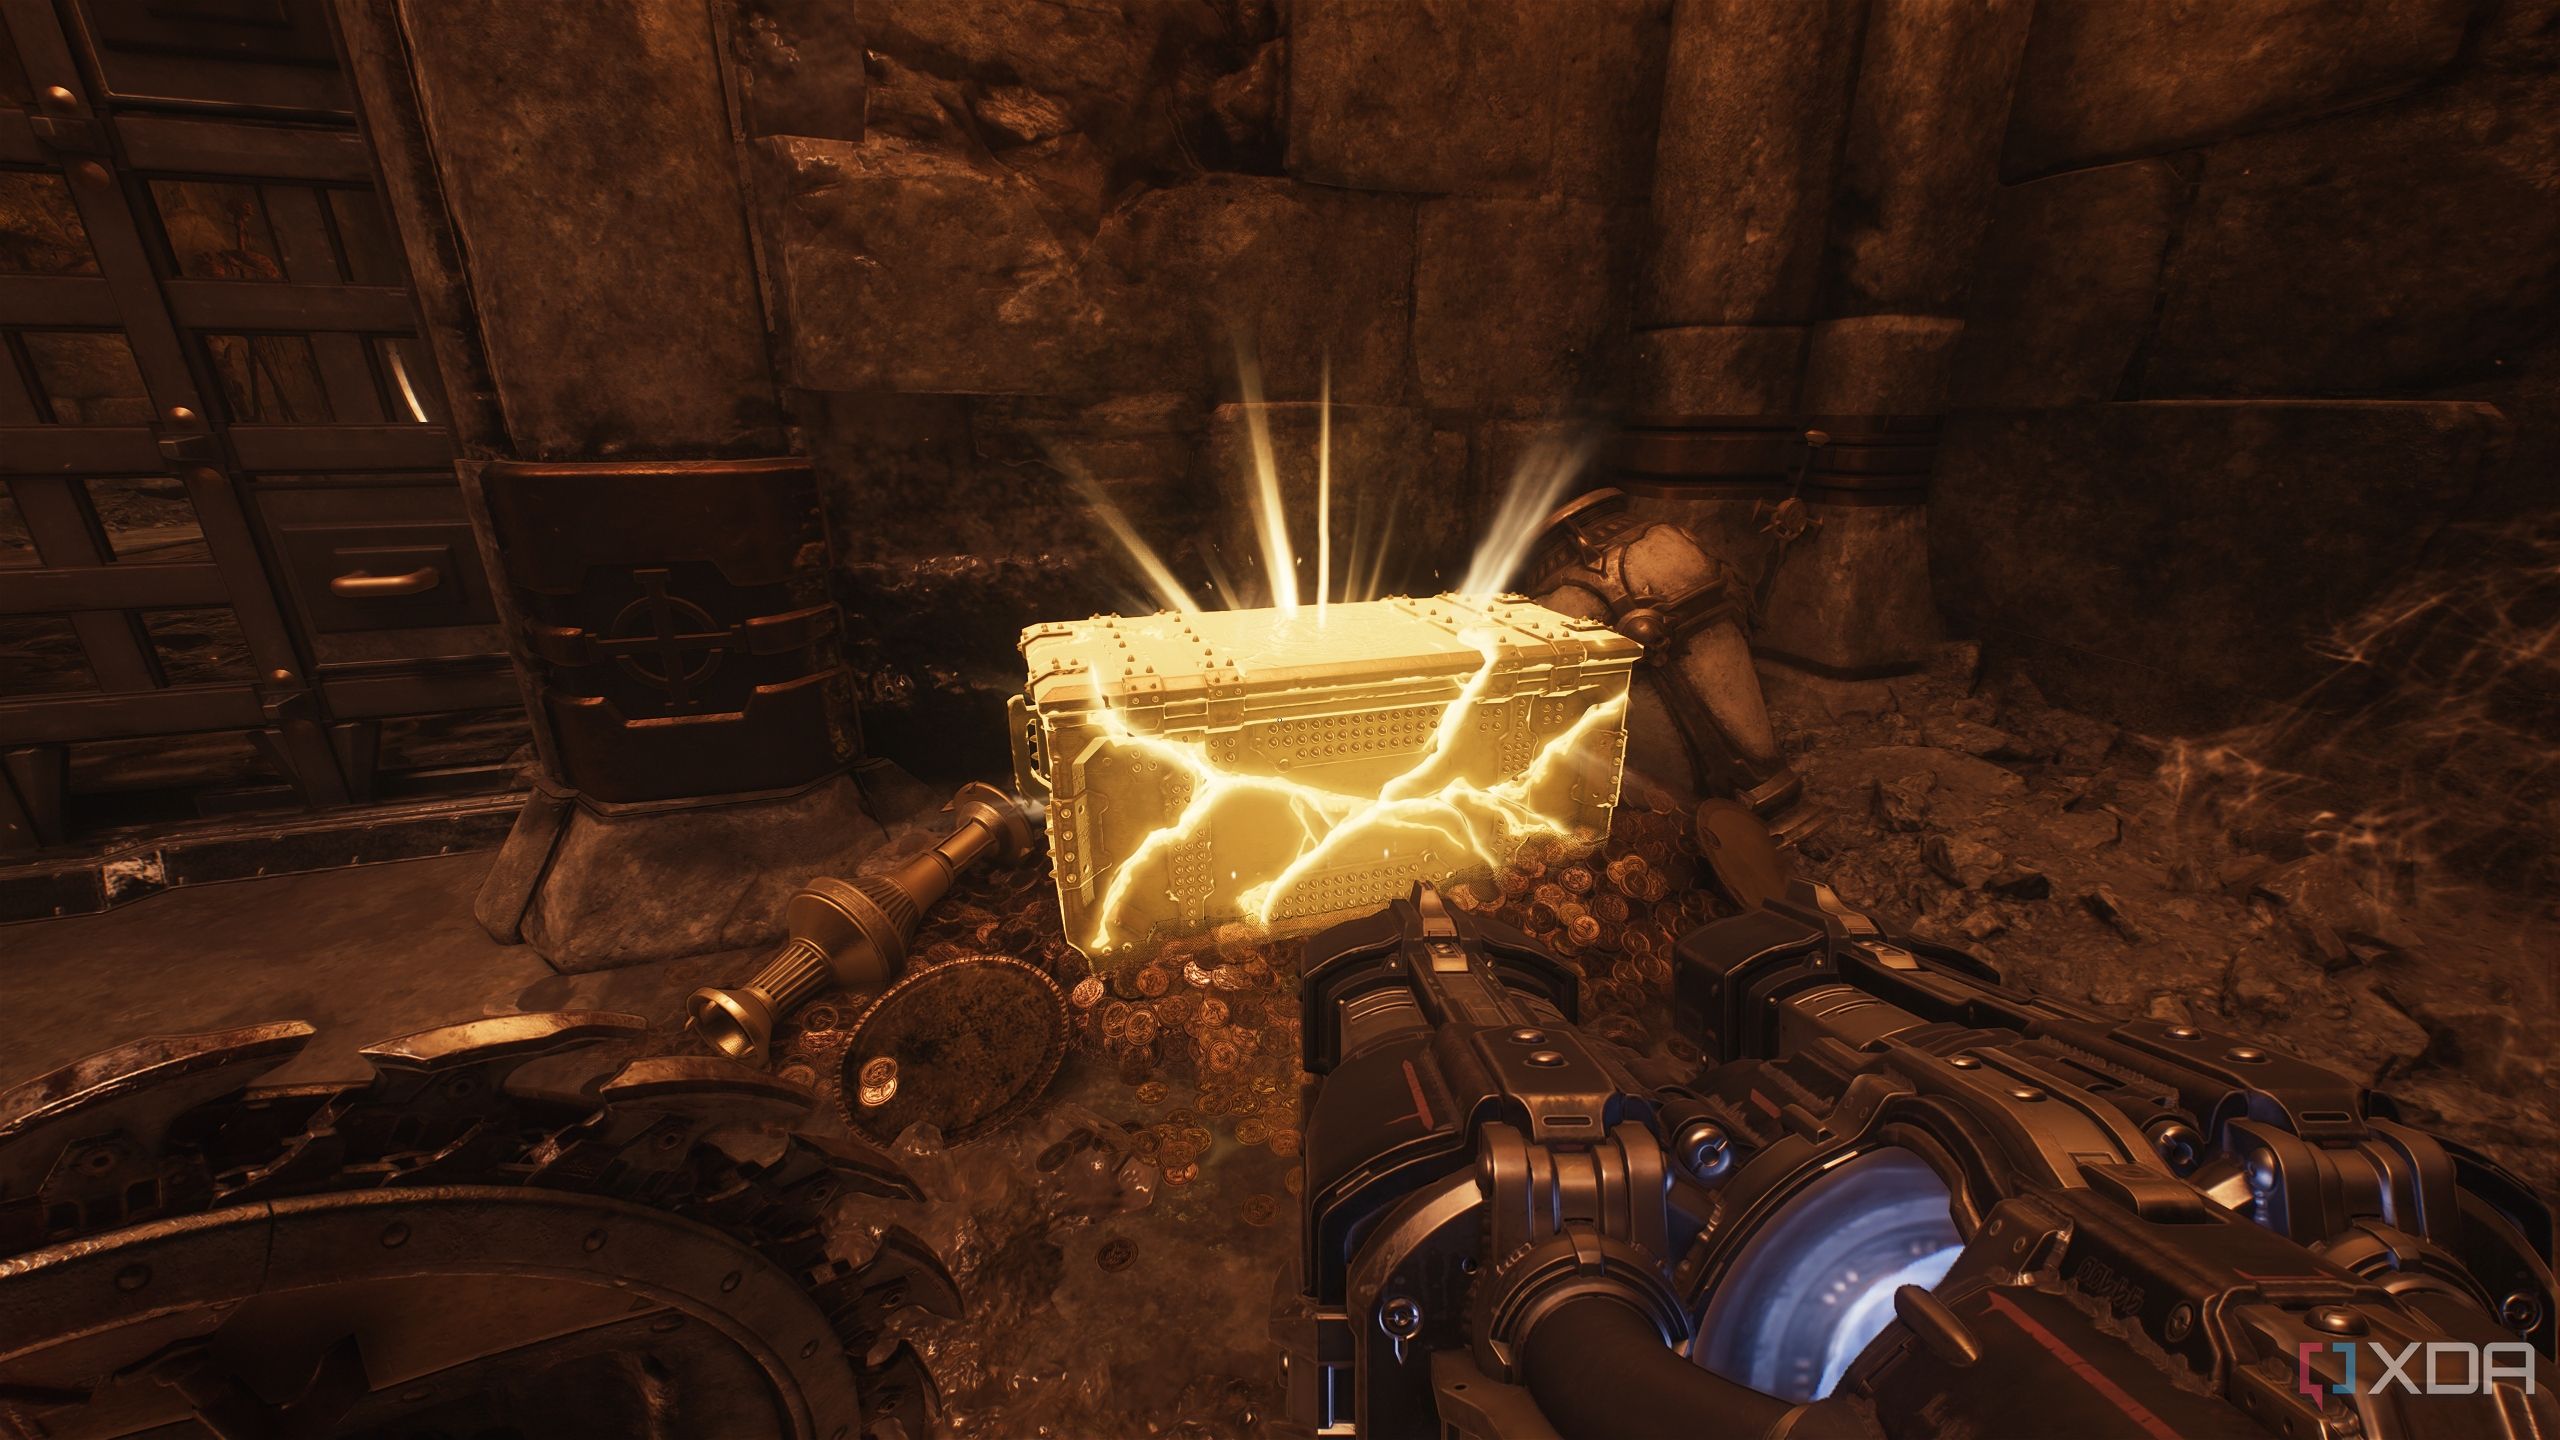
Secret area 1 and a Life Sigil
Can’t have enough lives, can we?
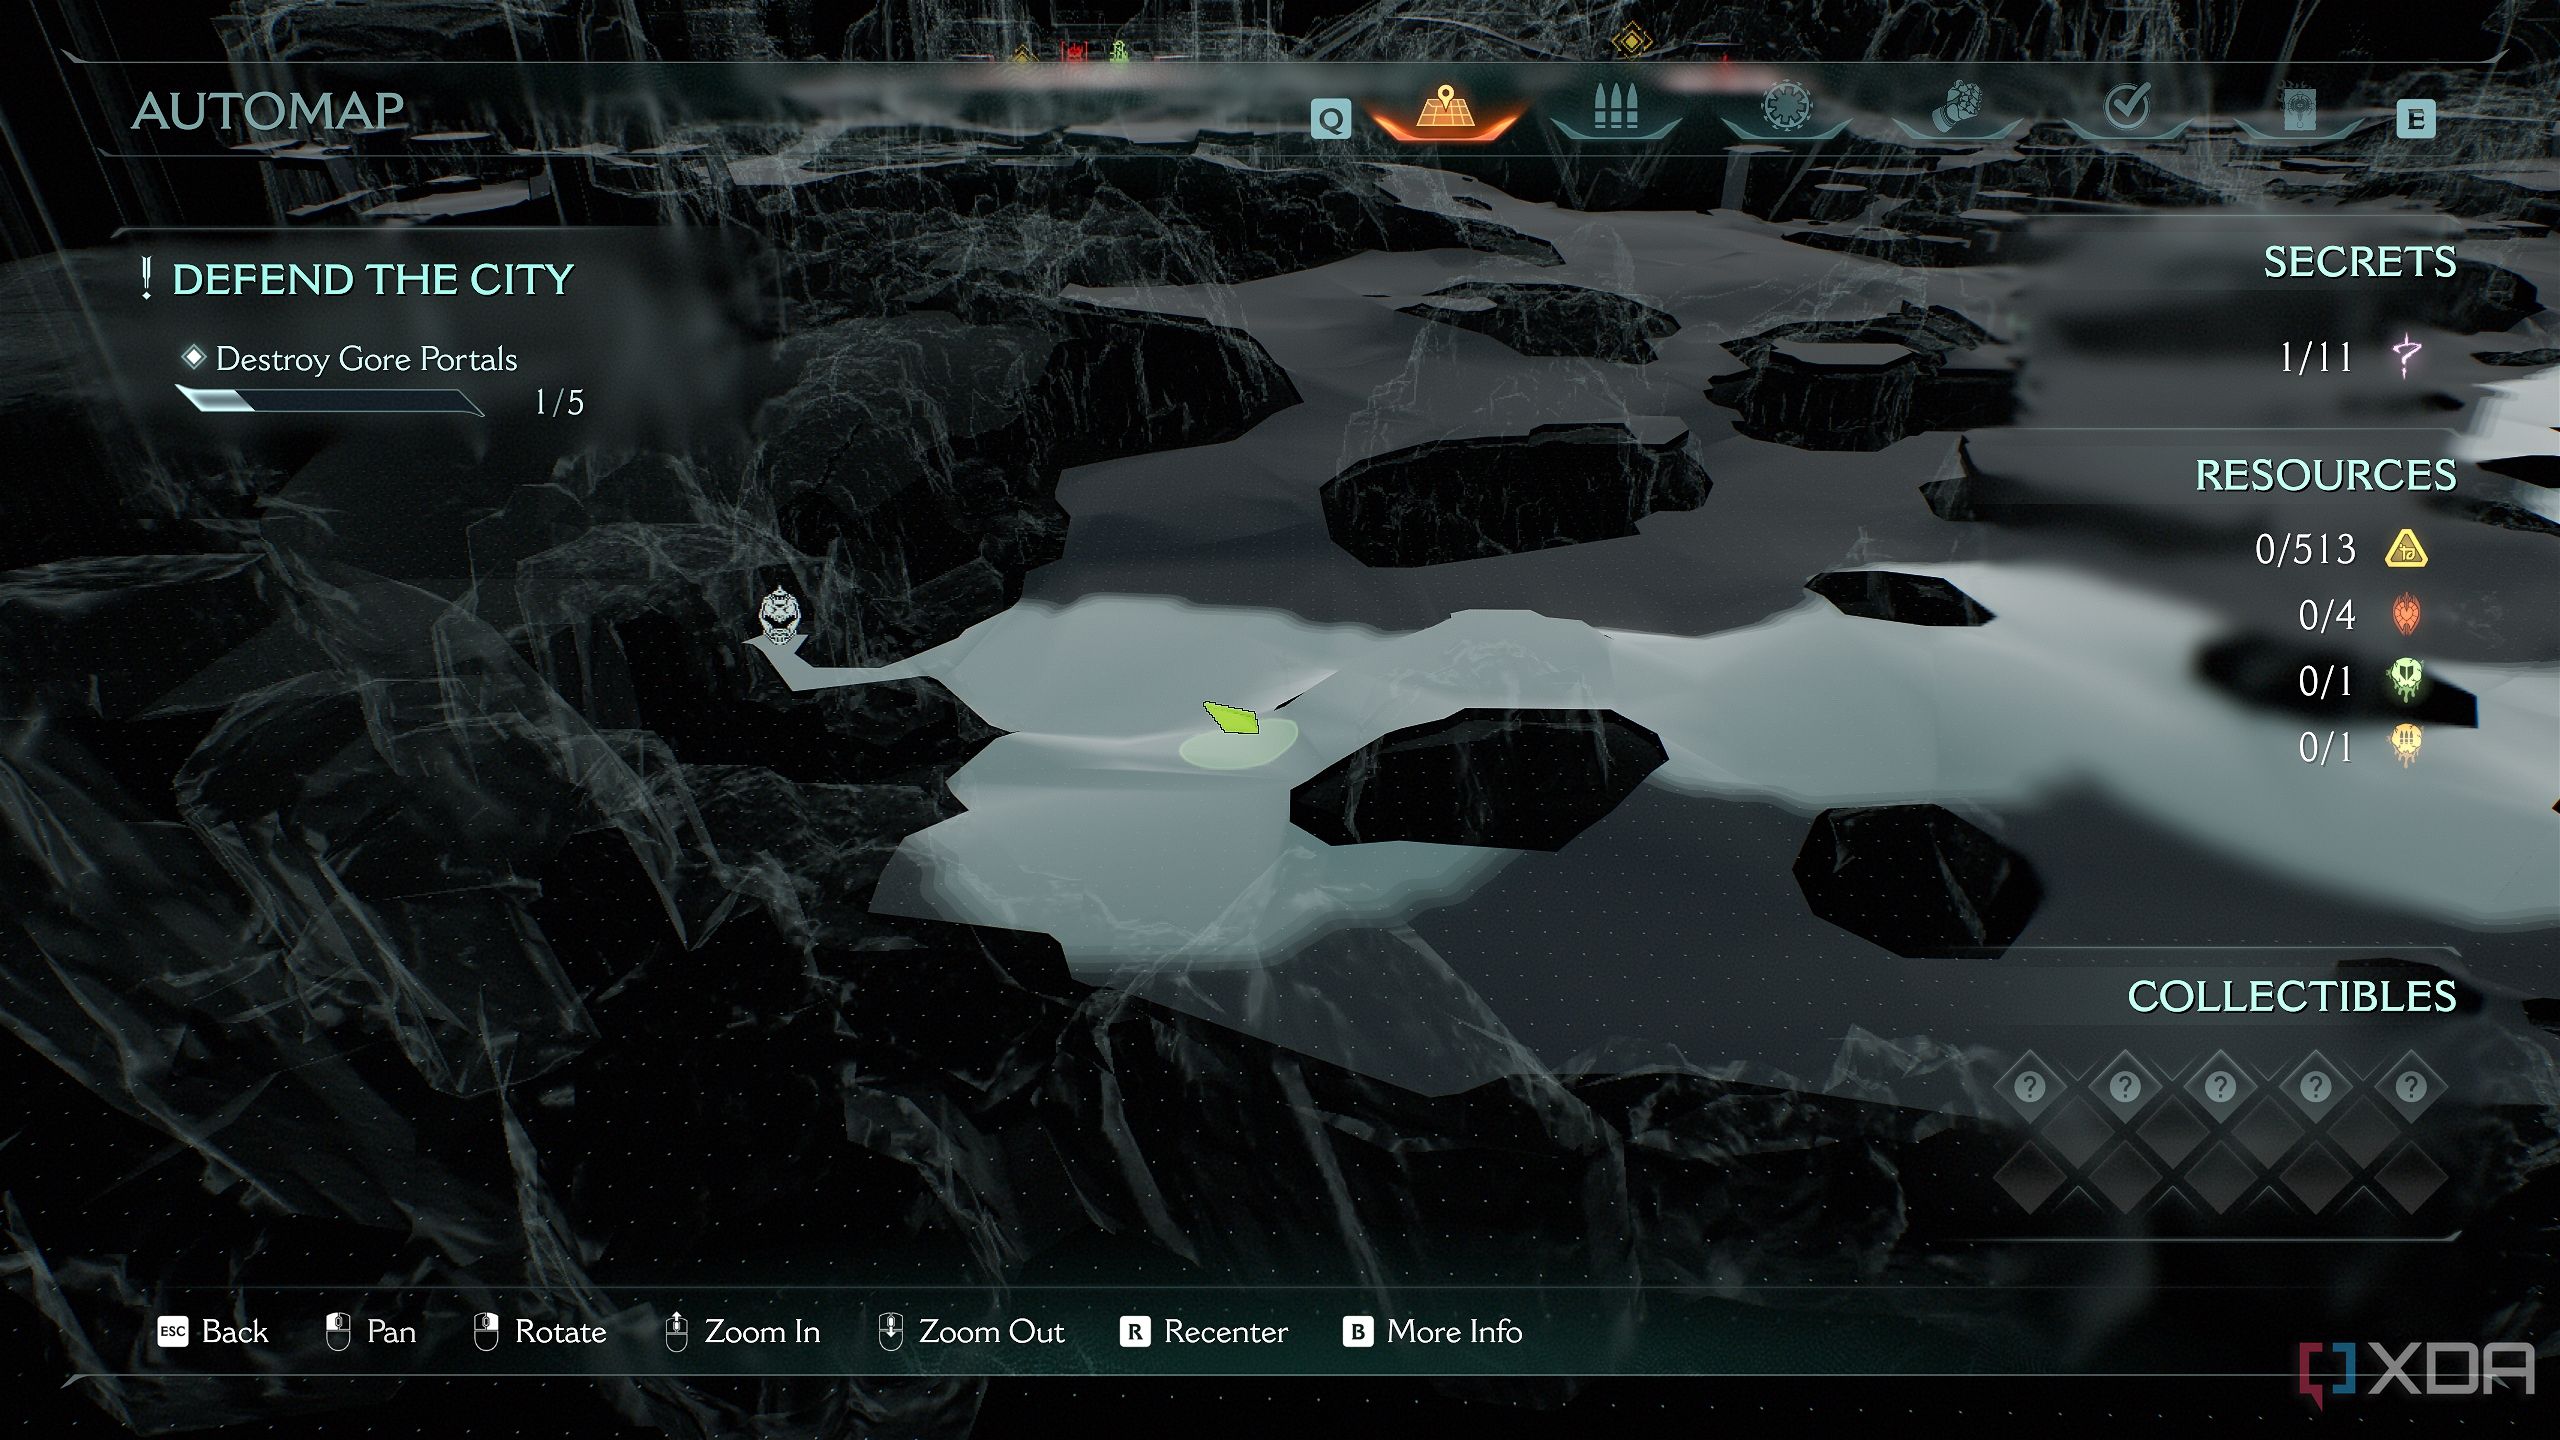
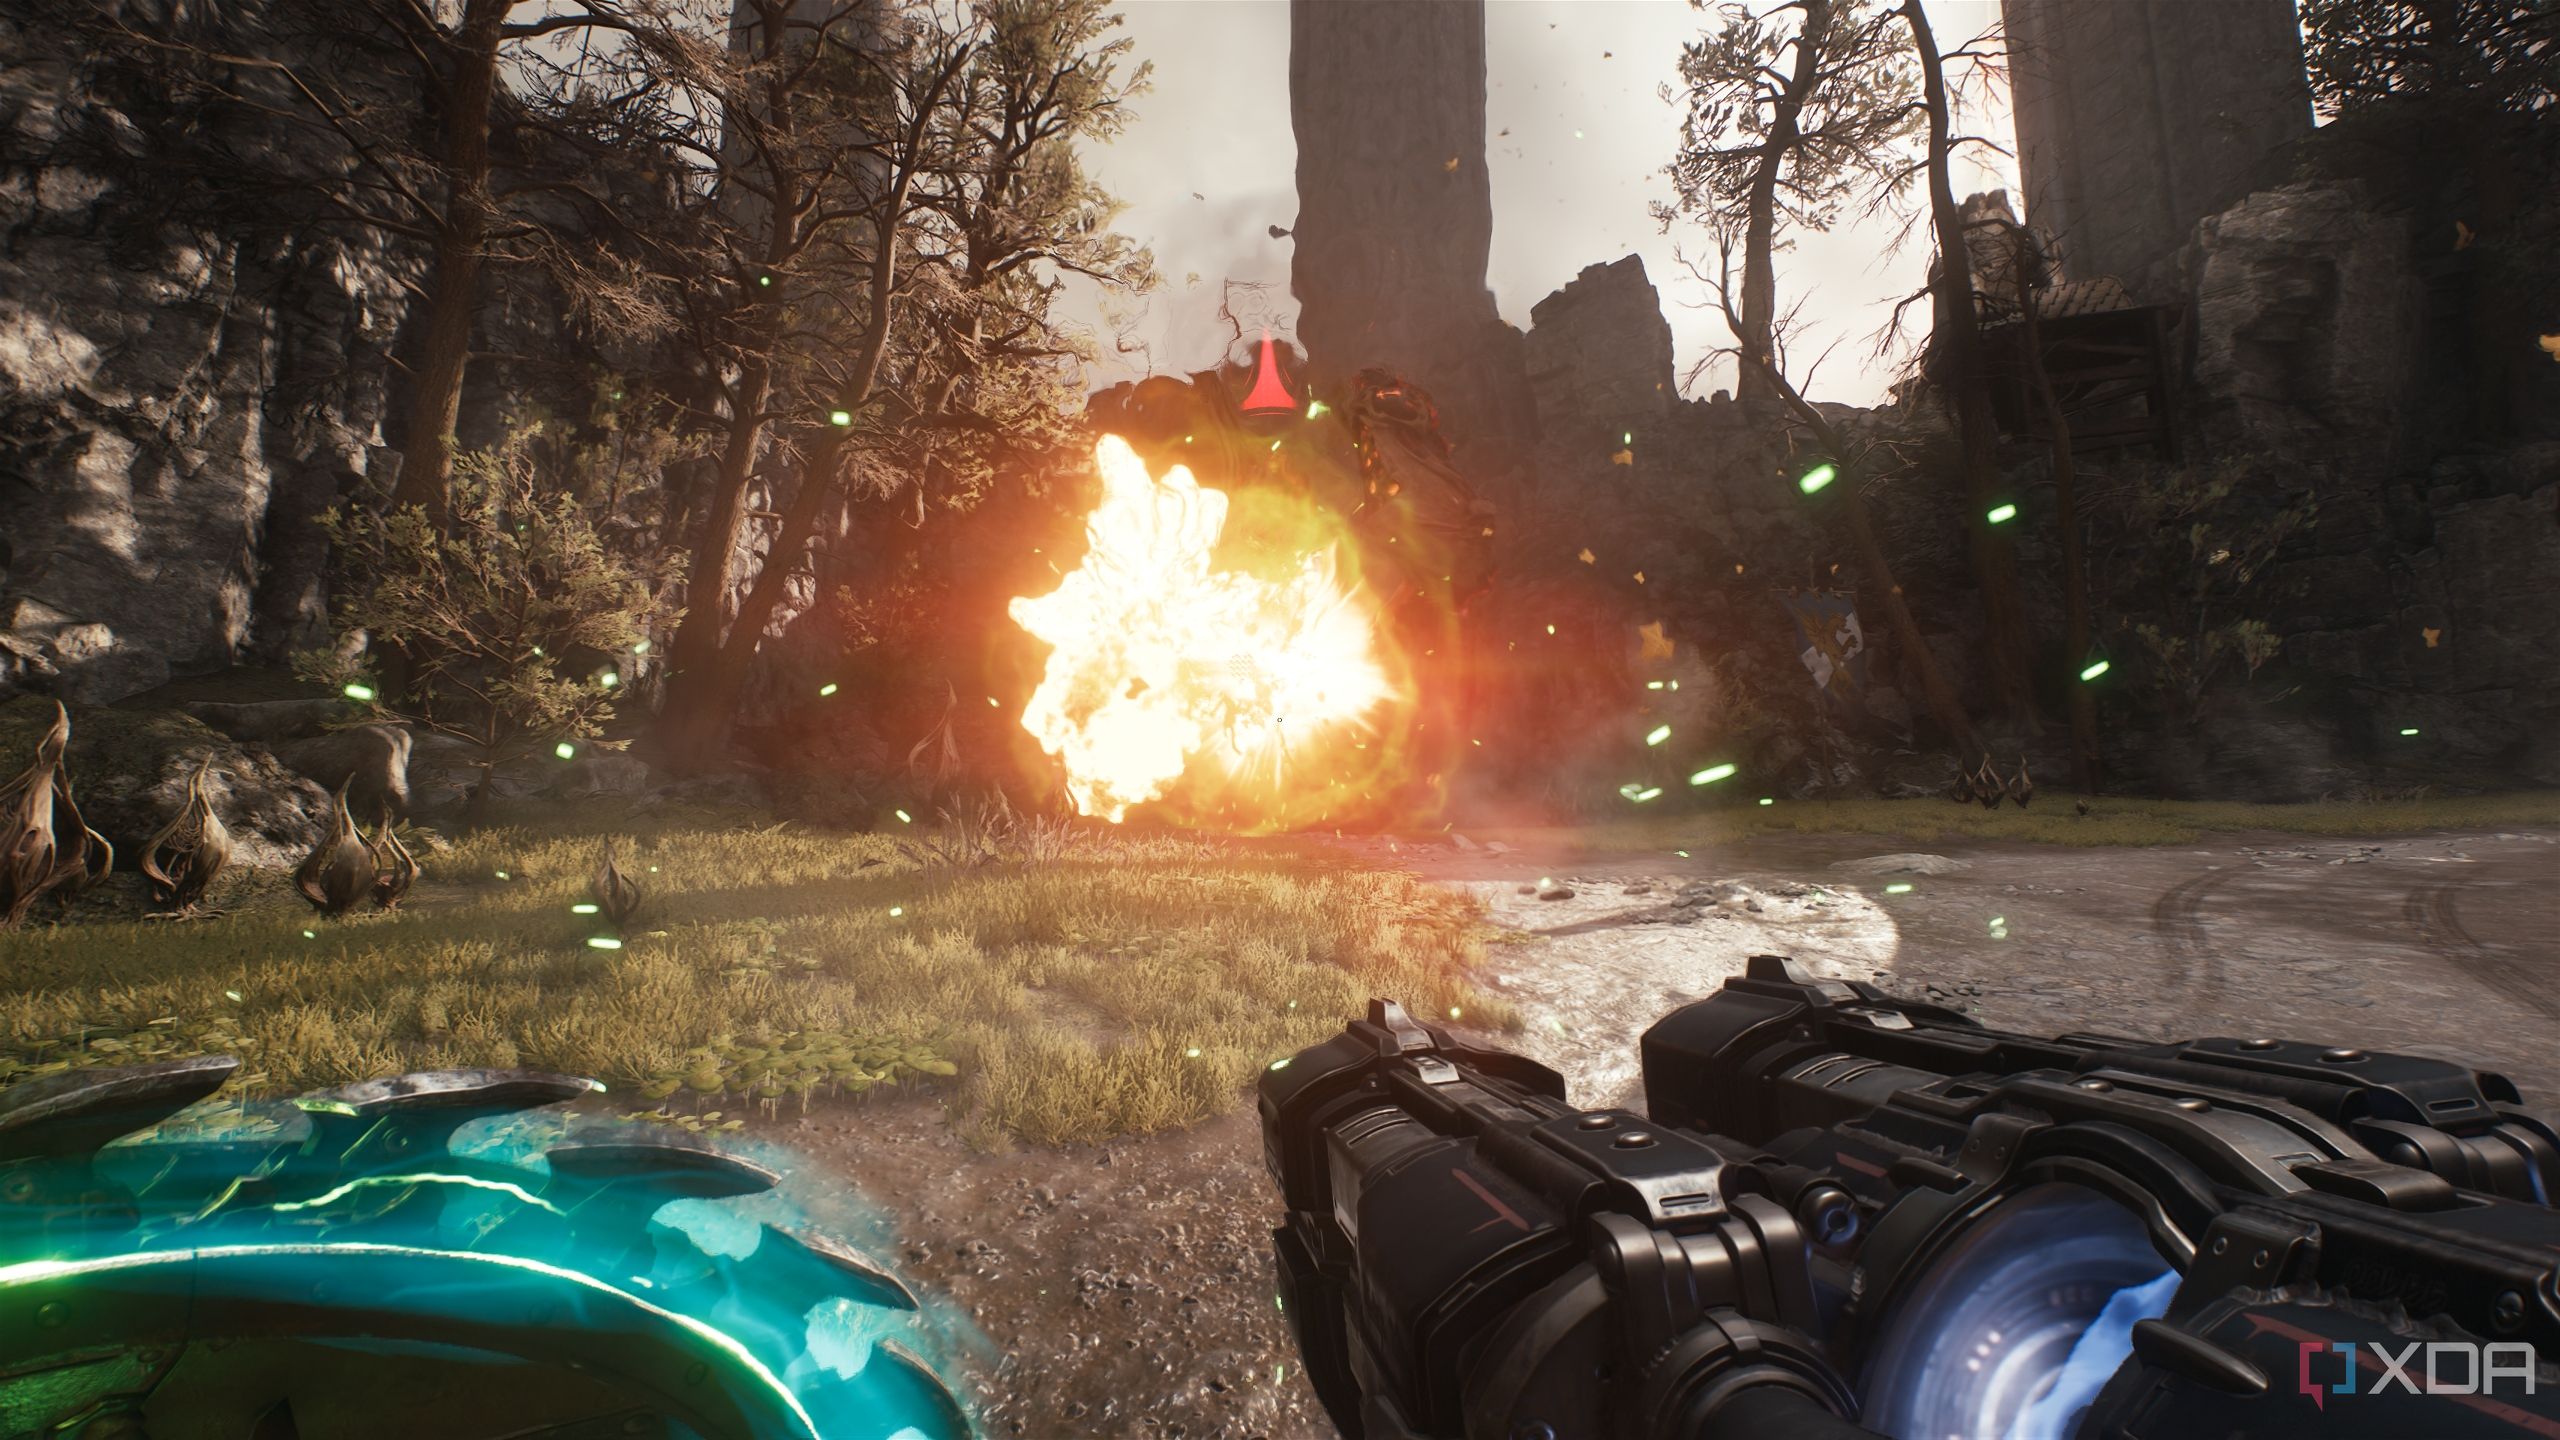
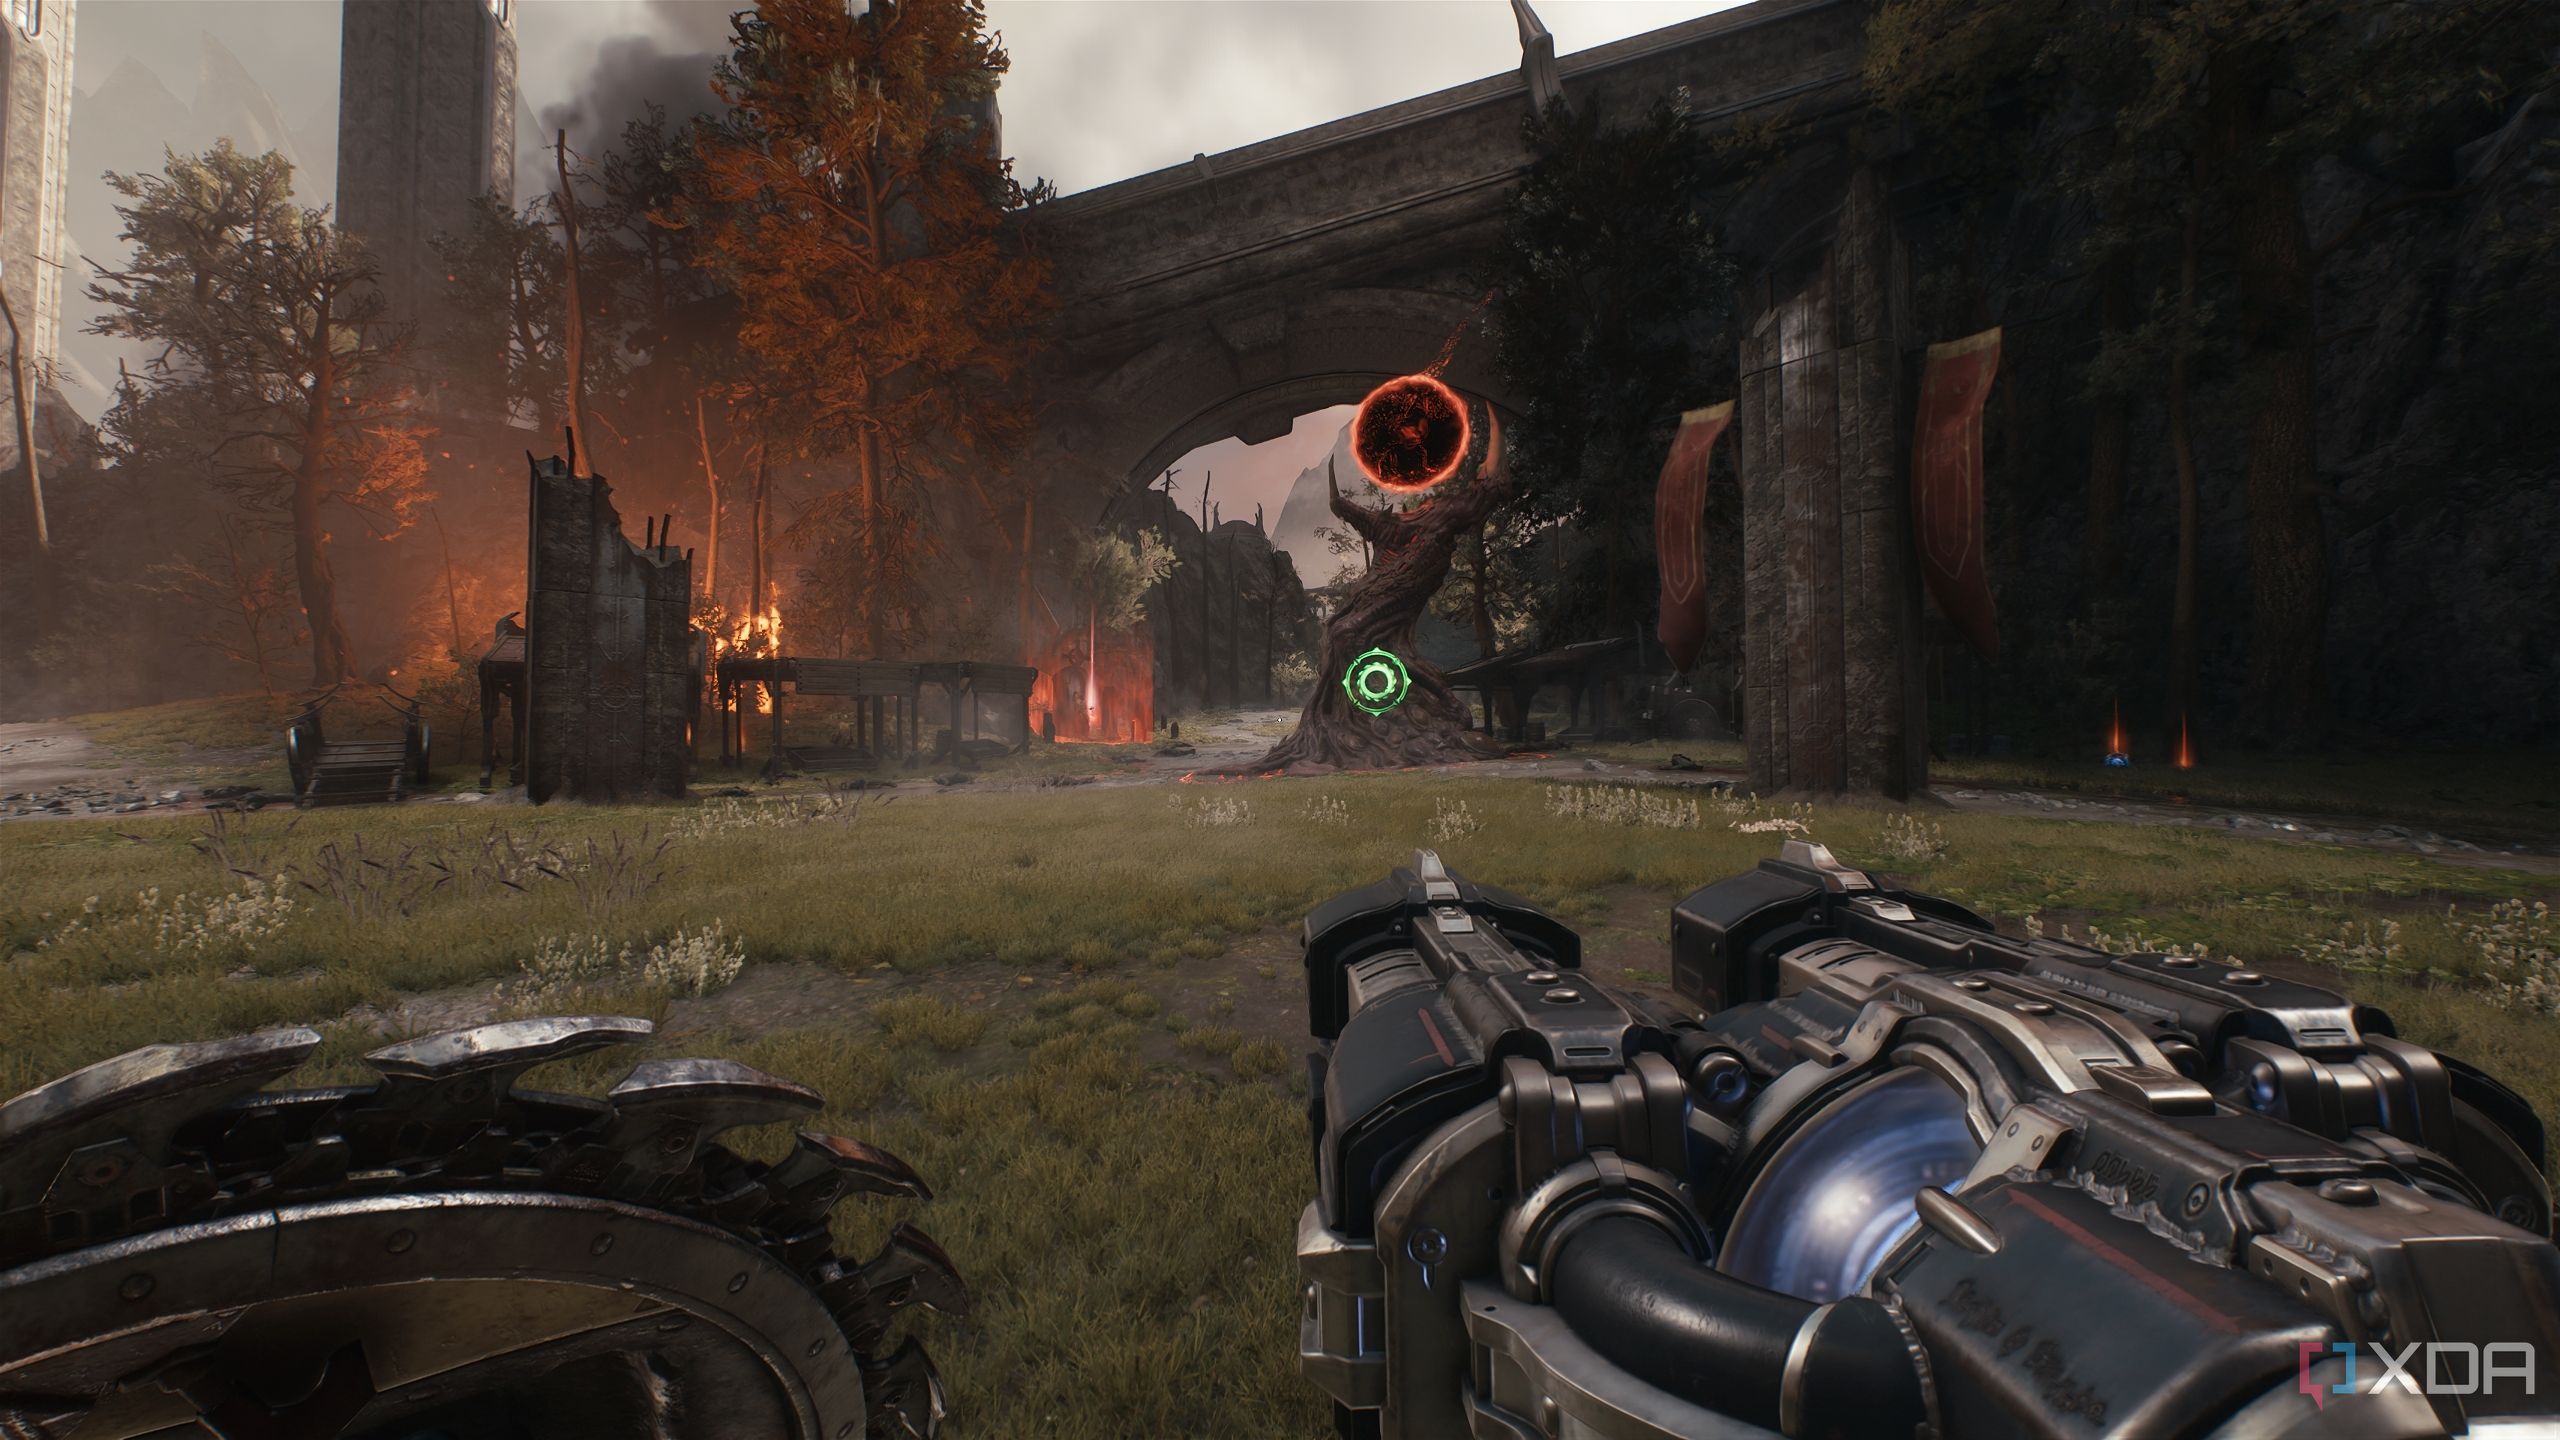
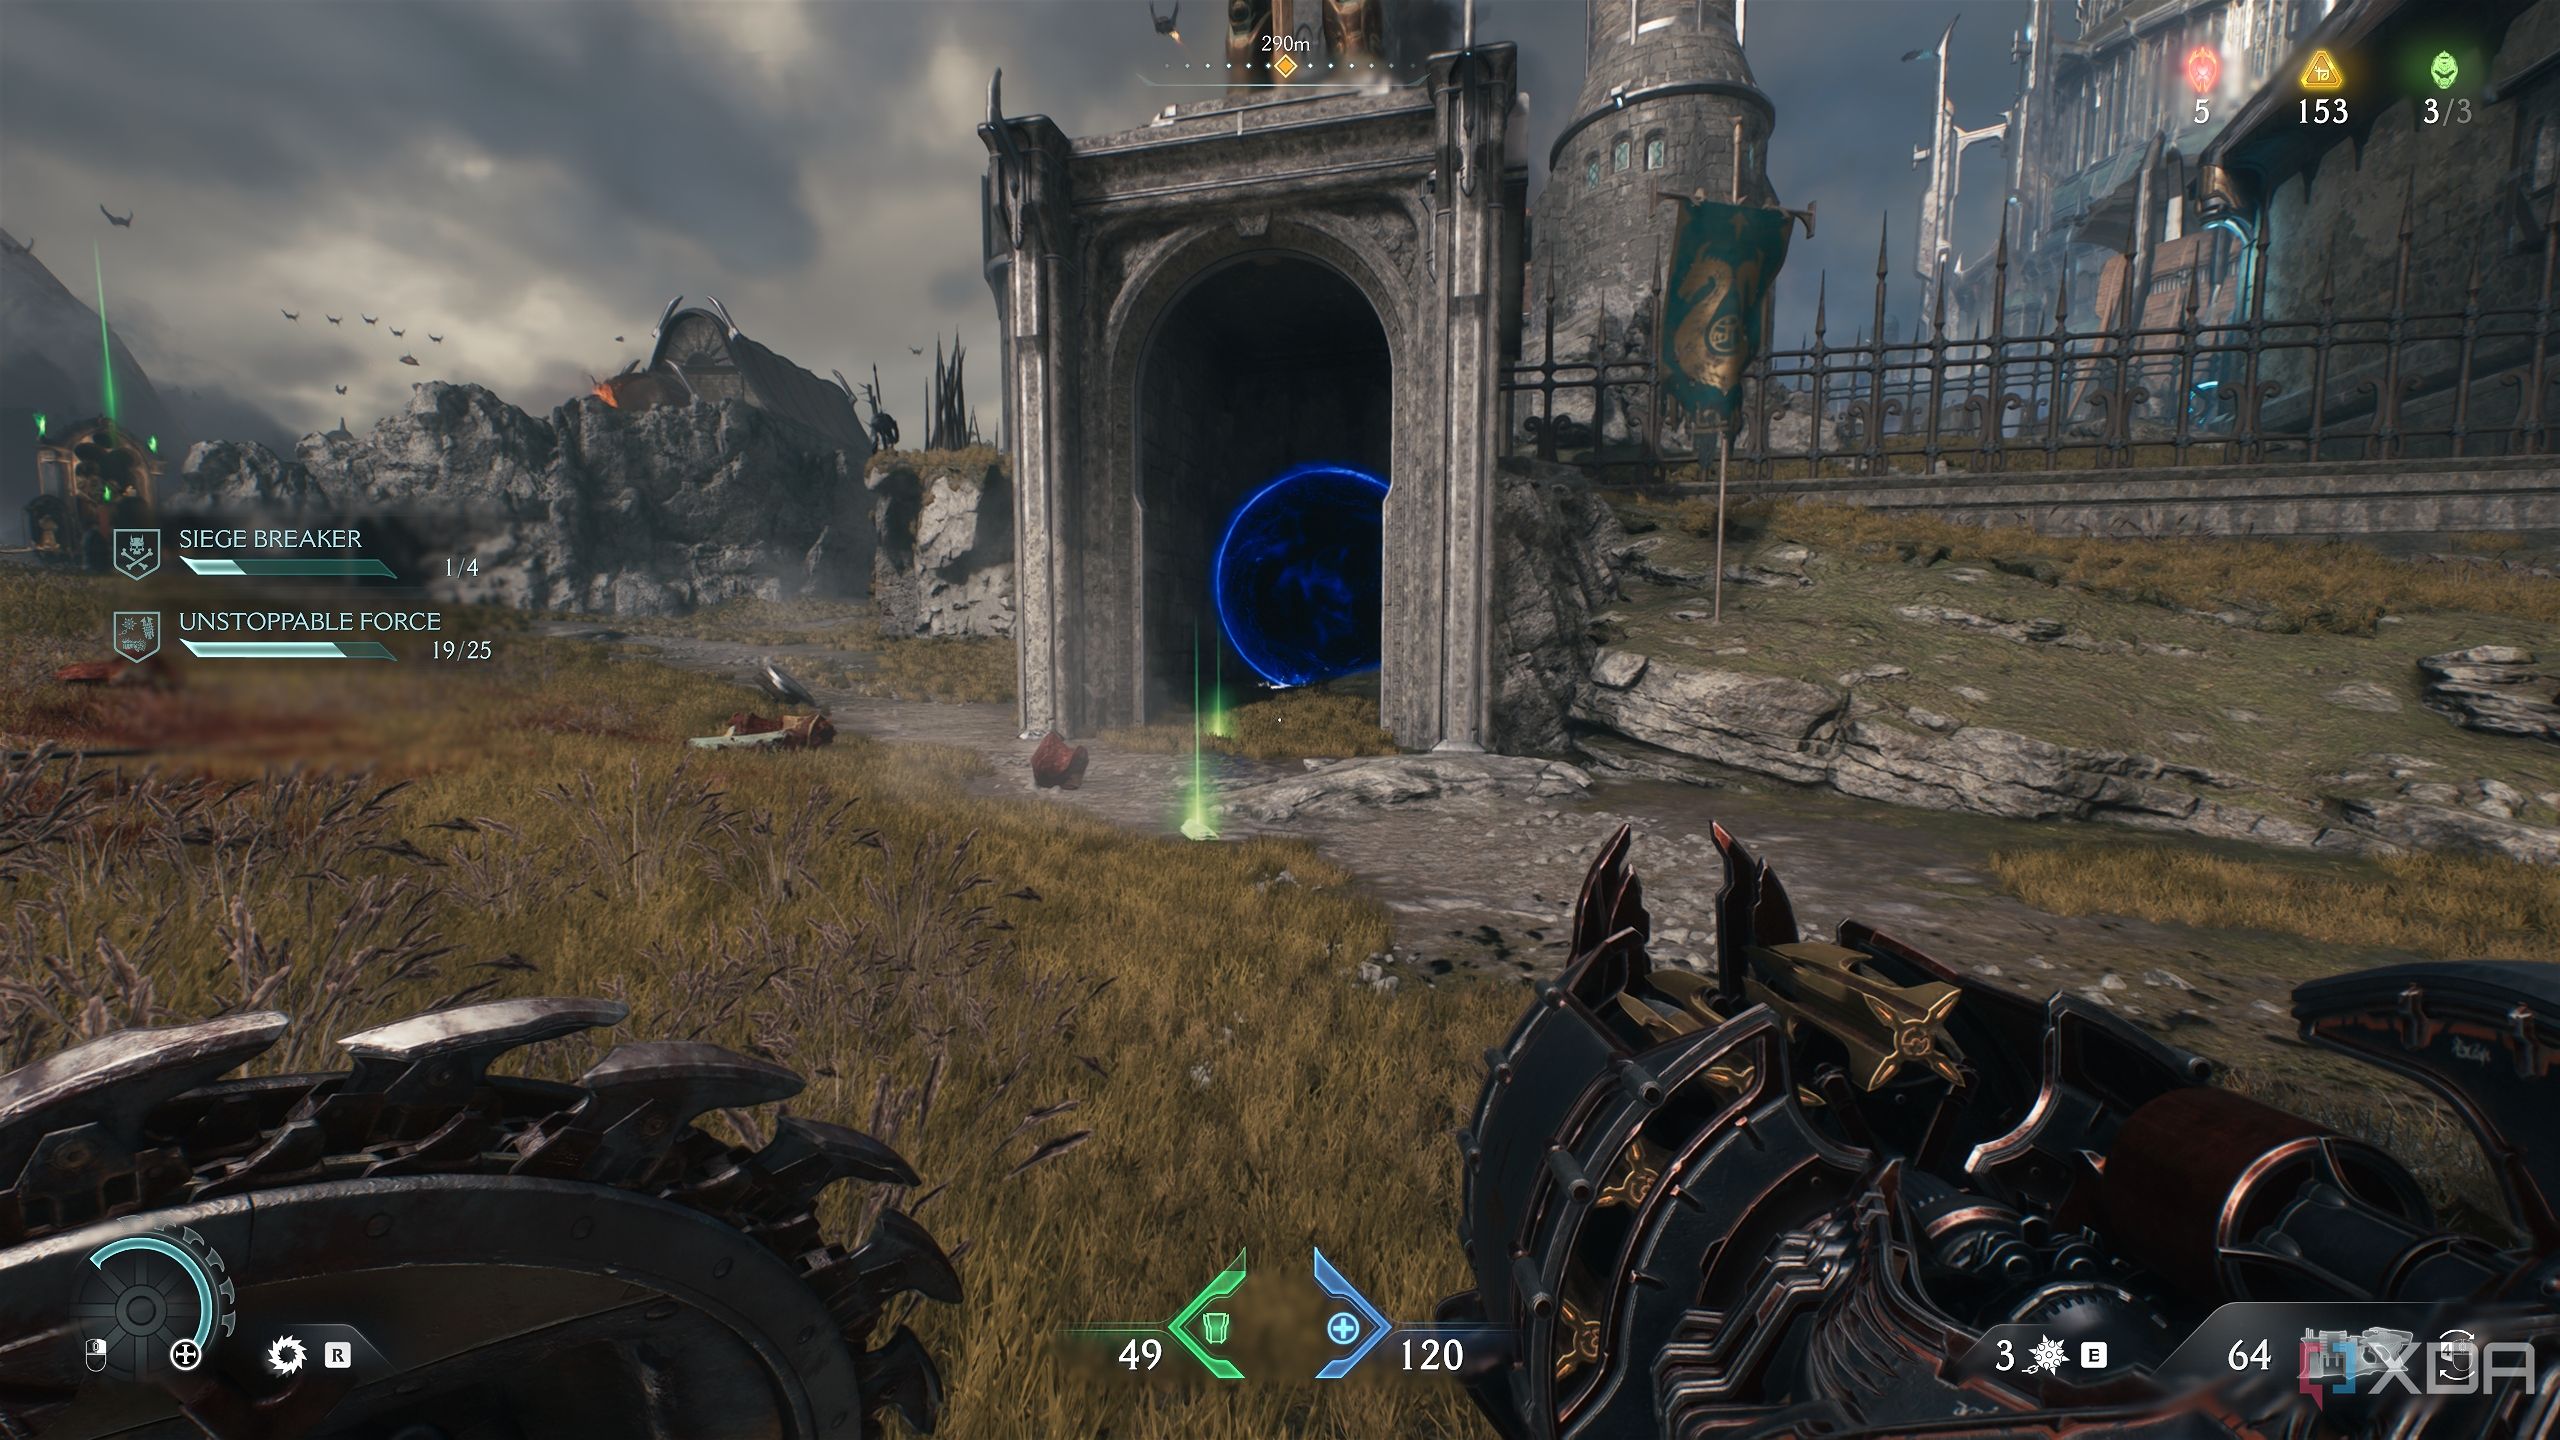
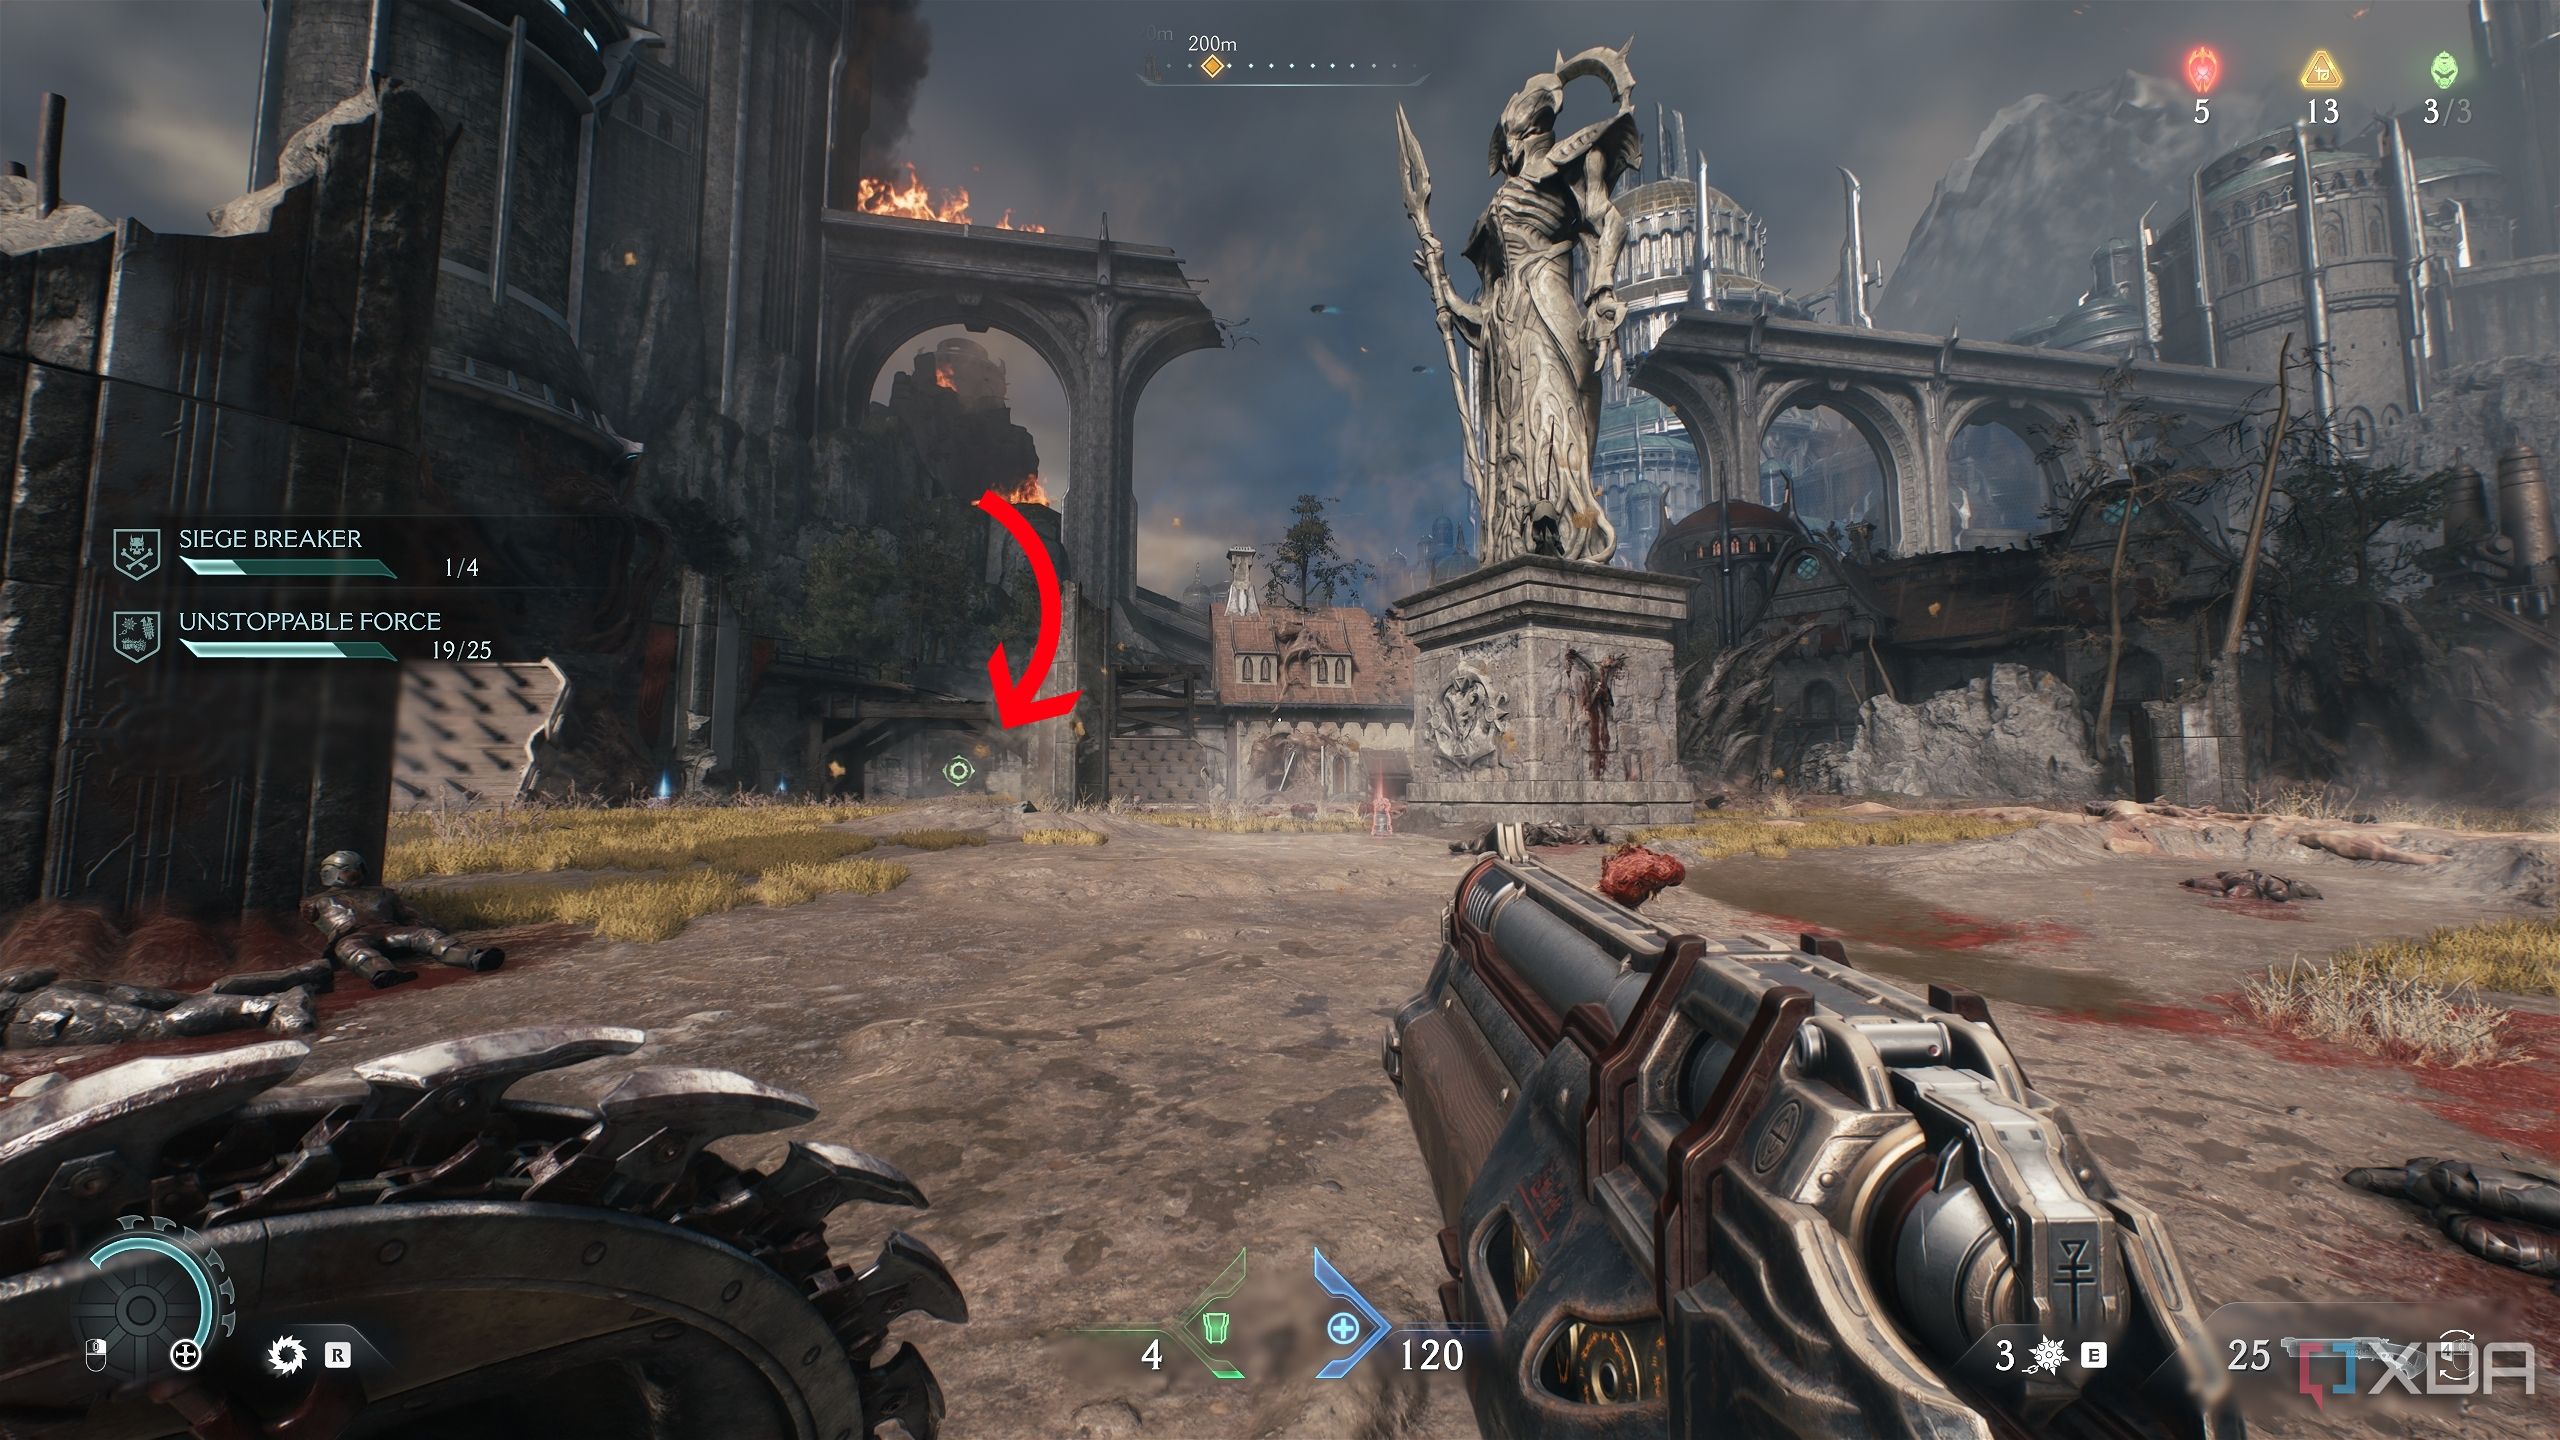
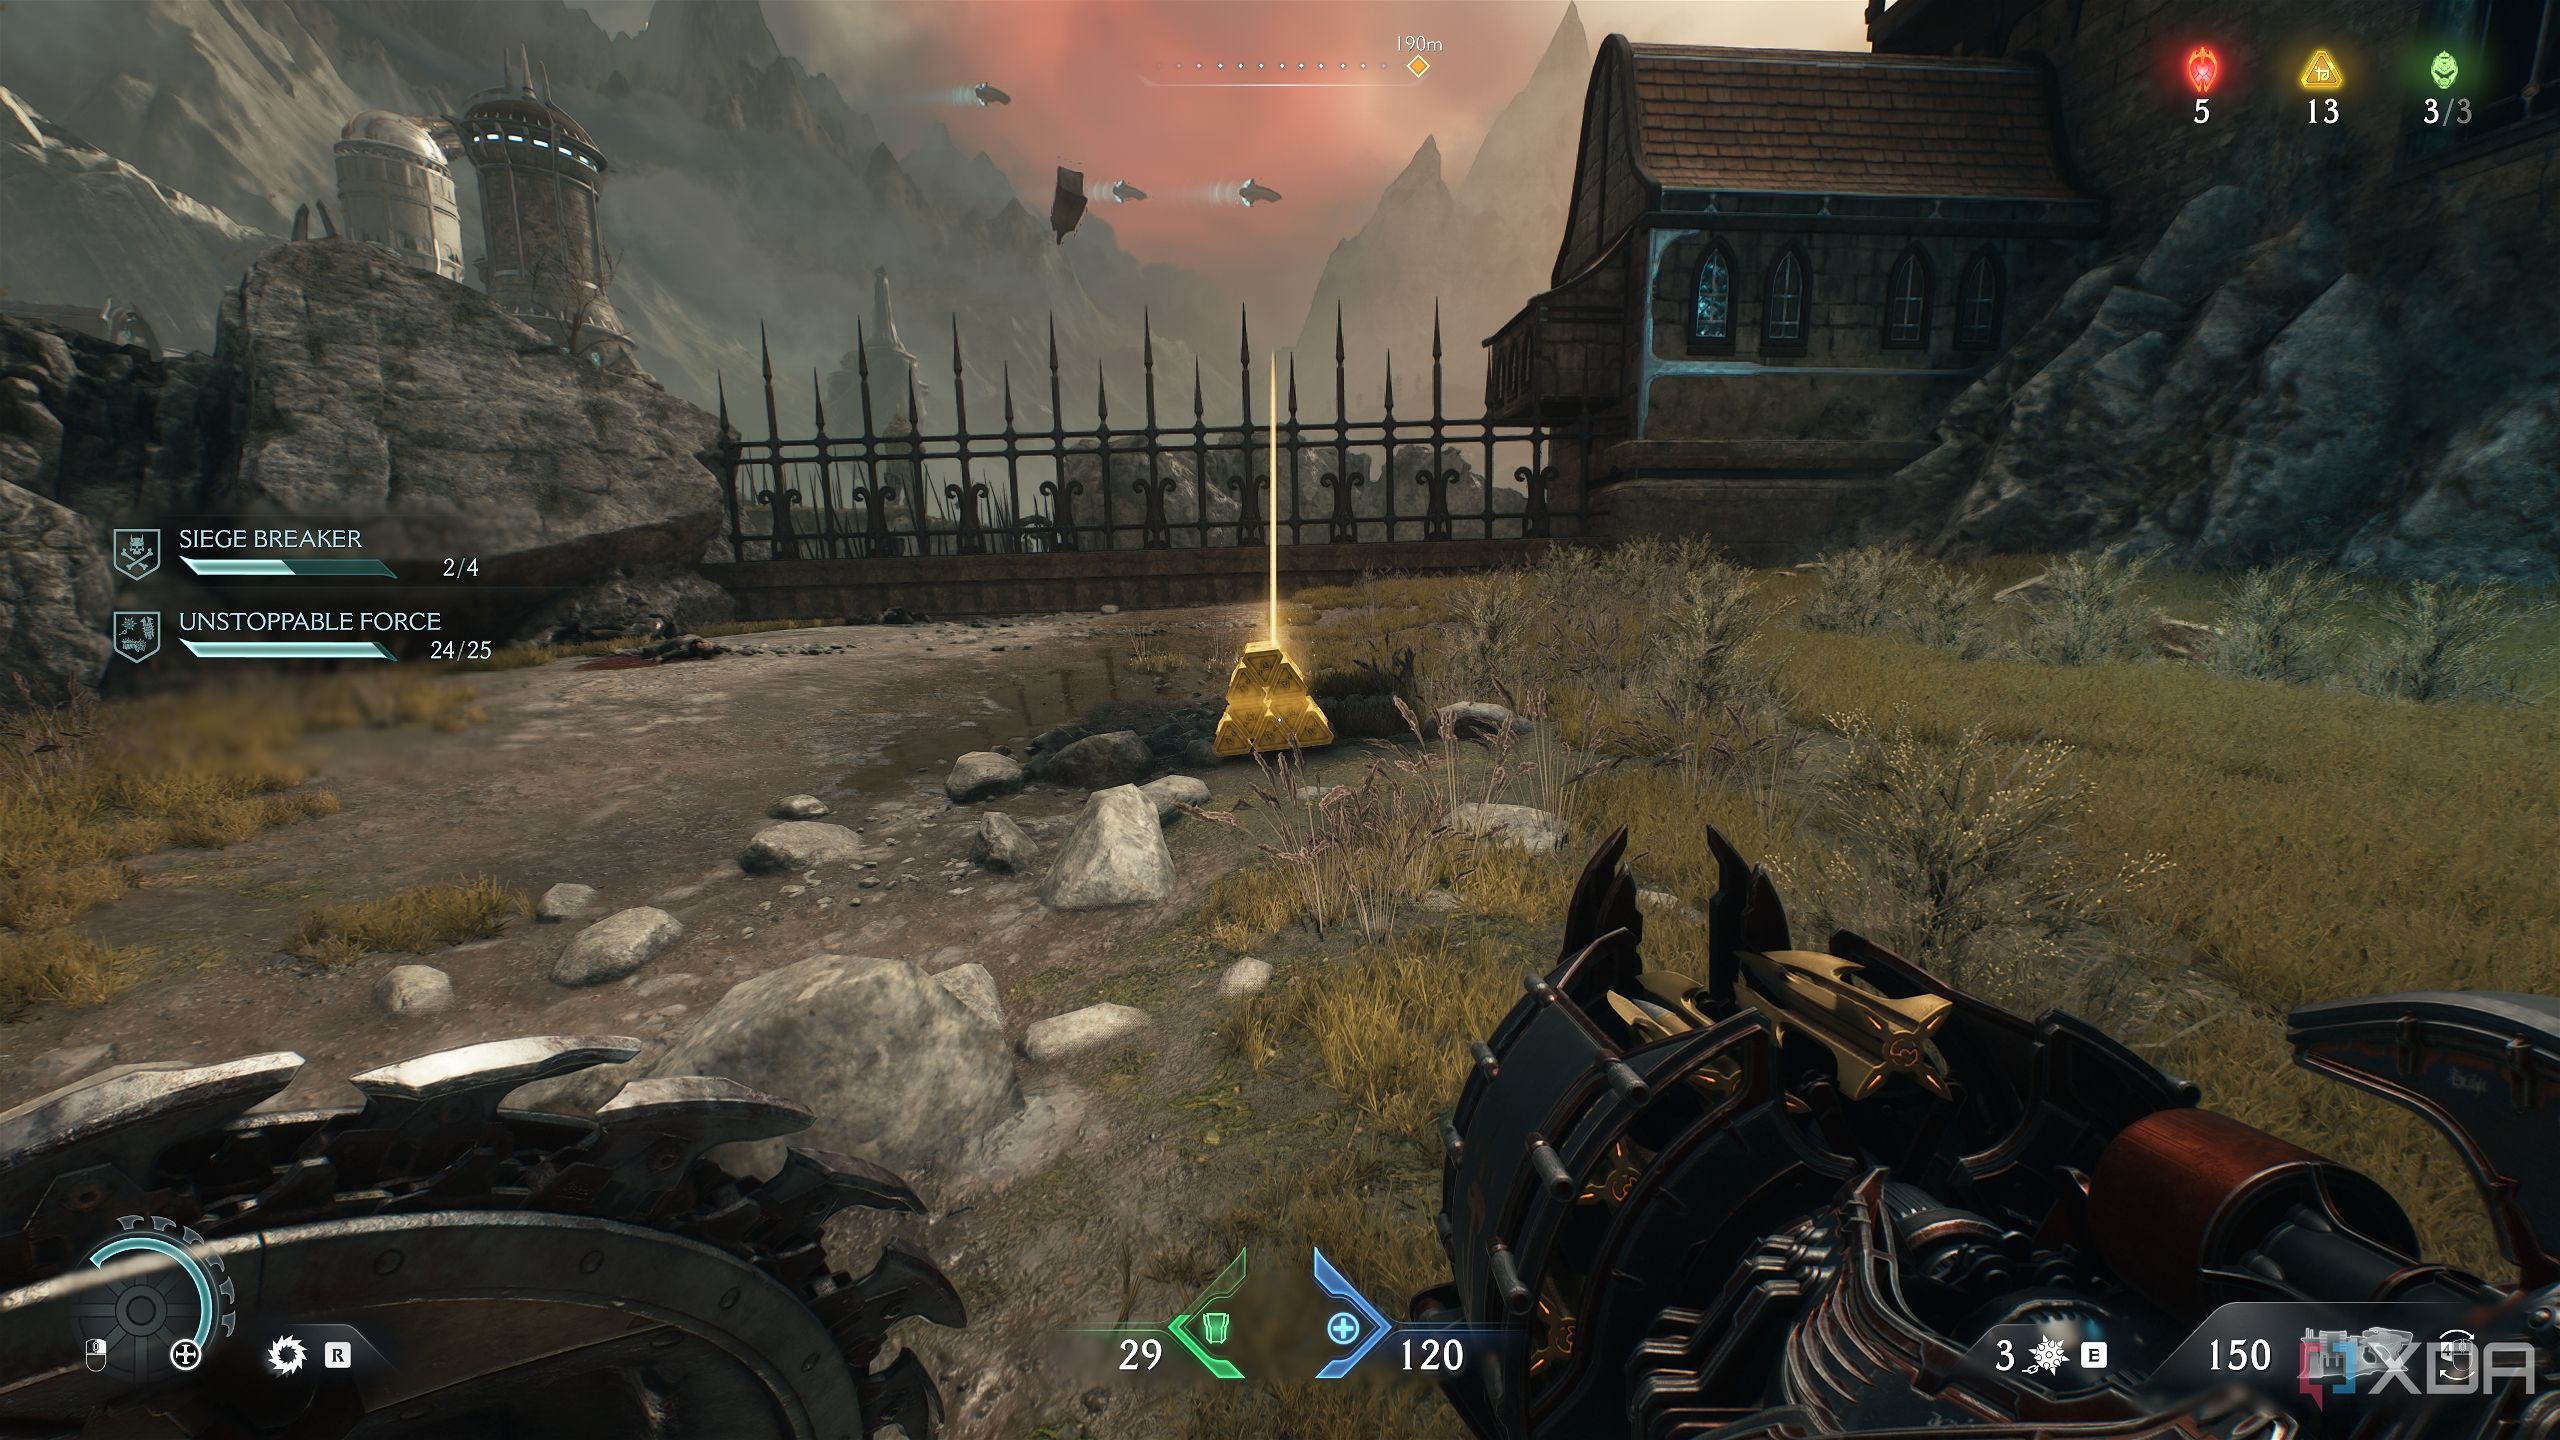
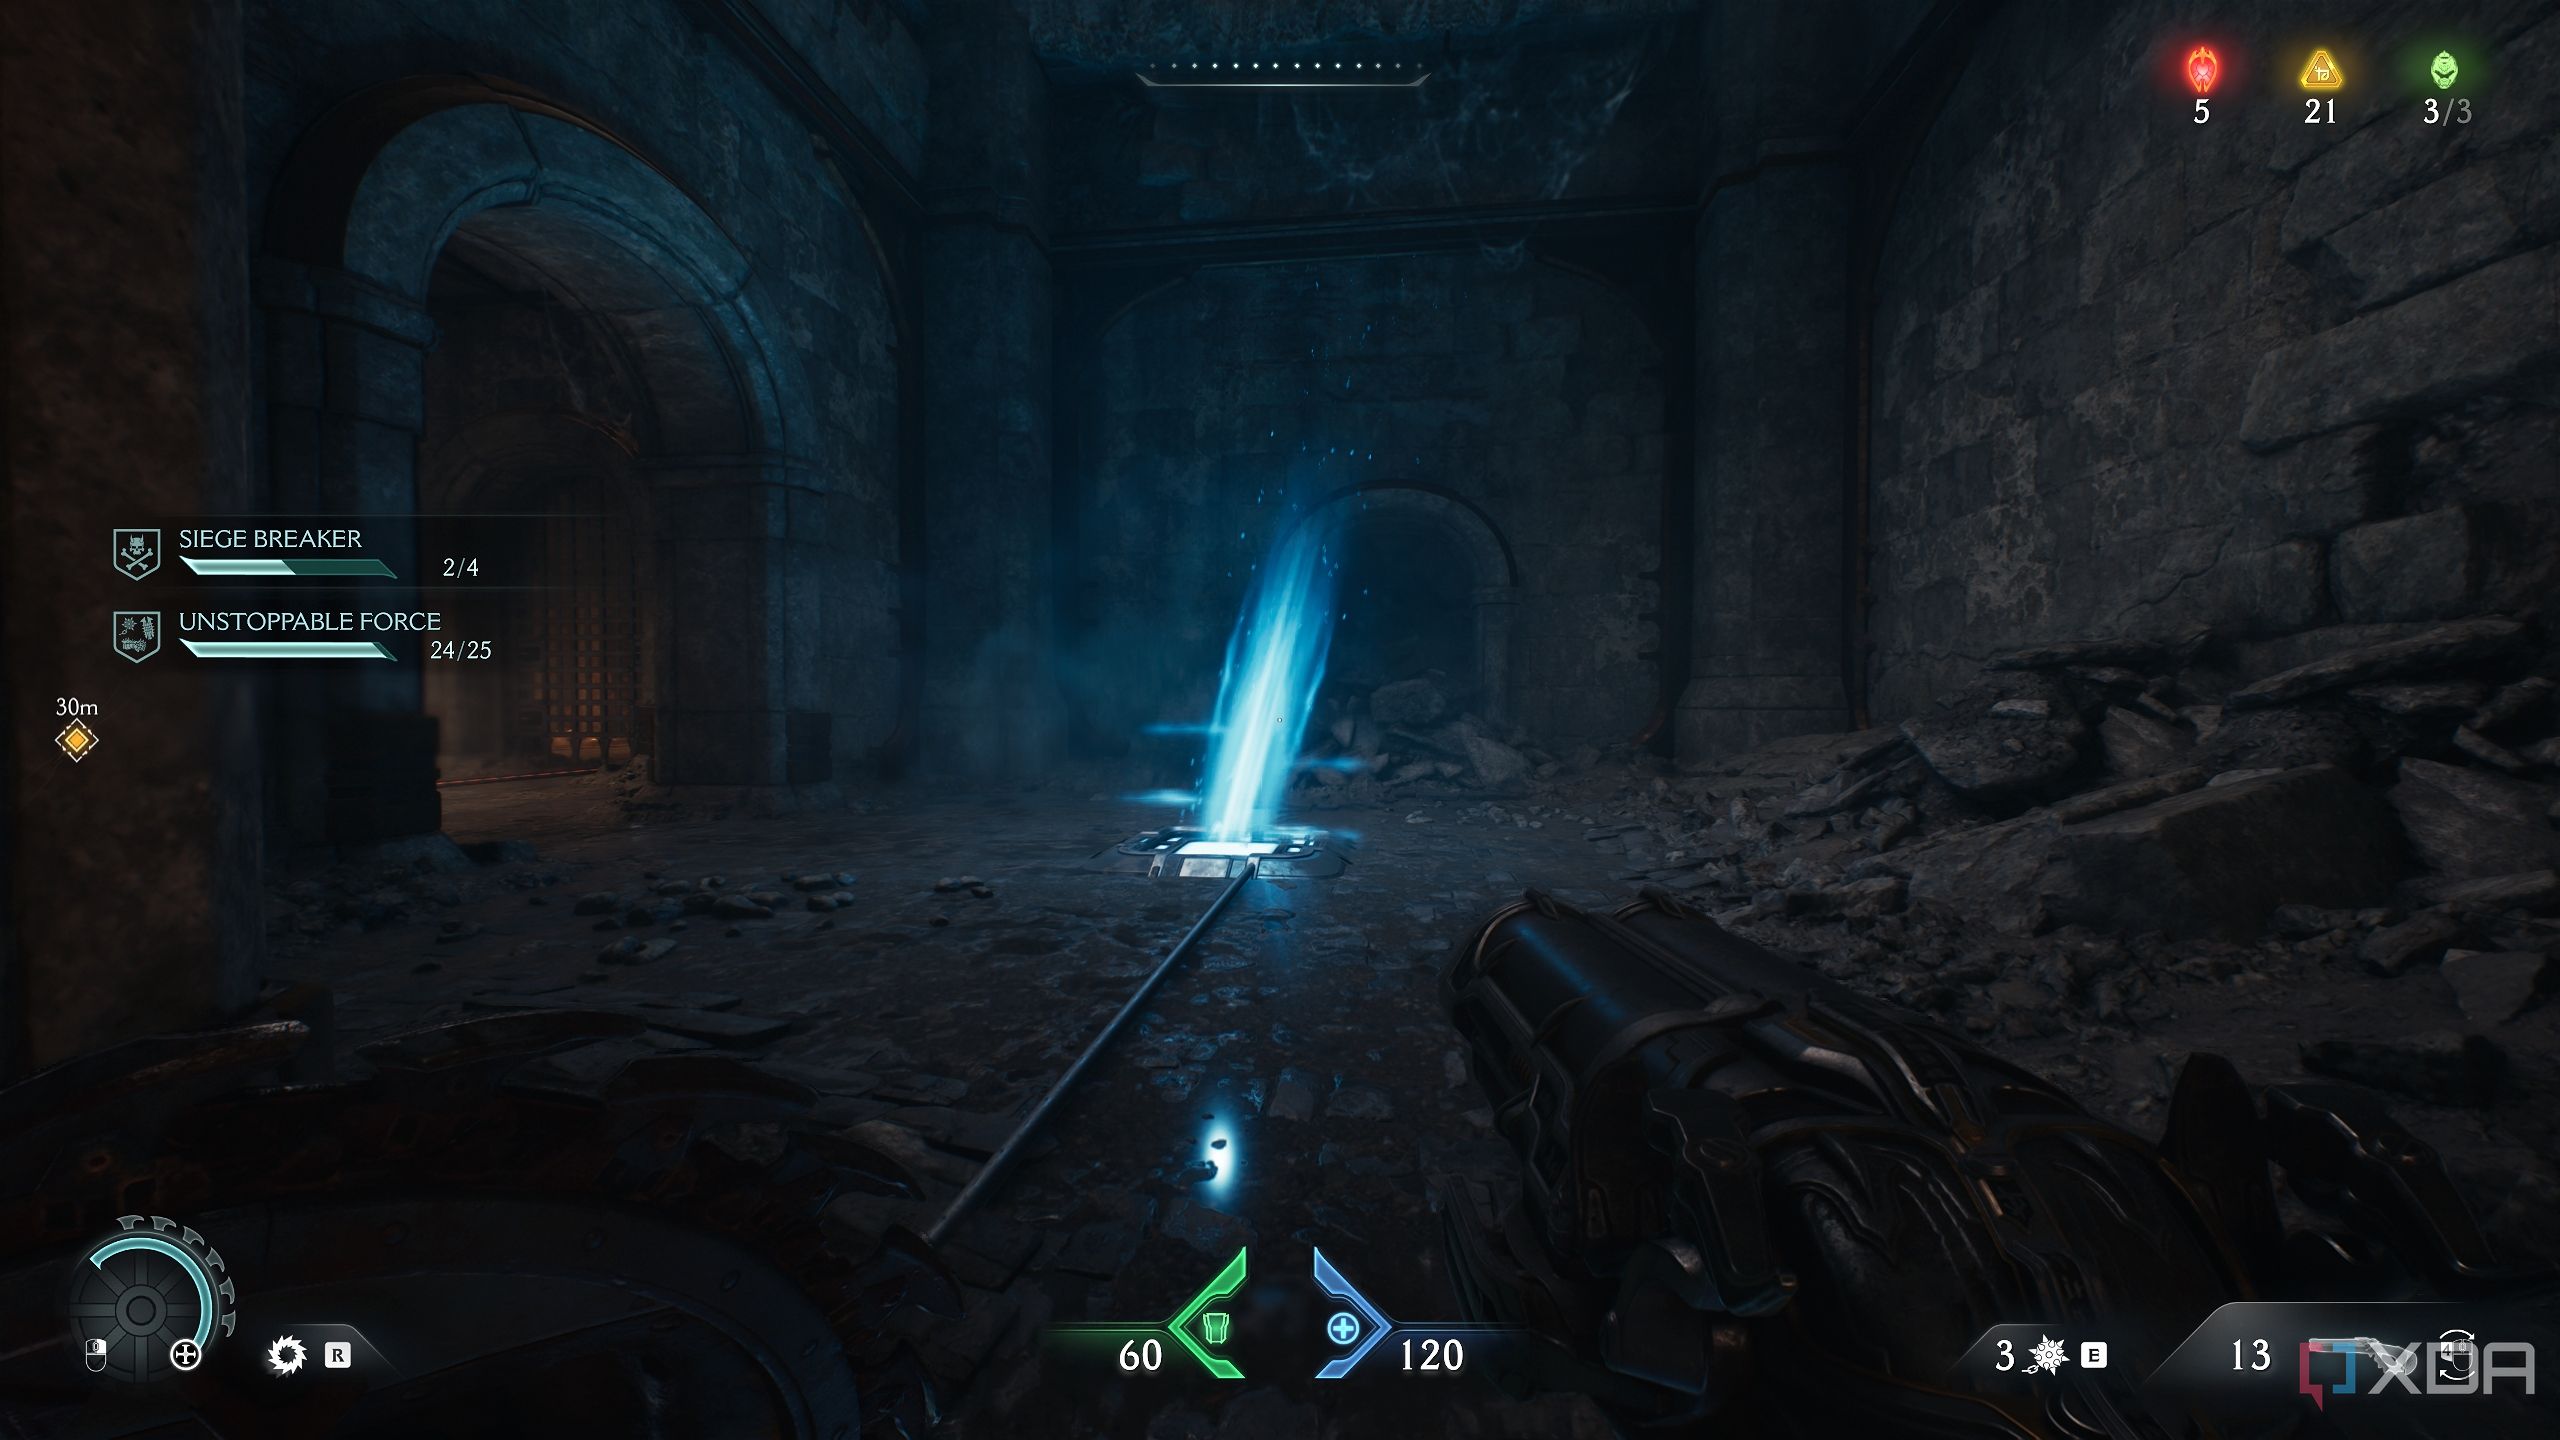
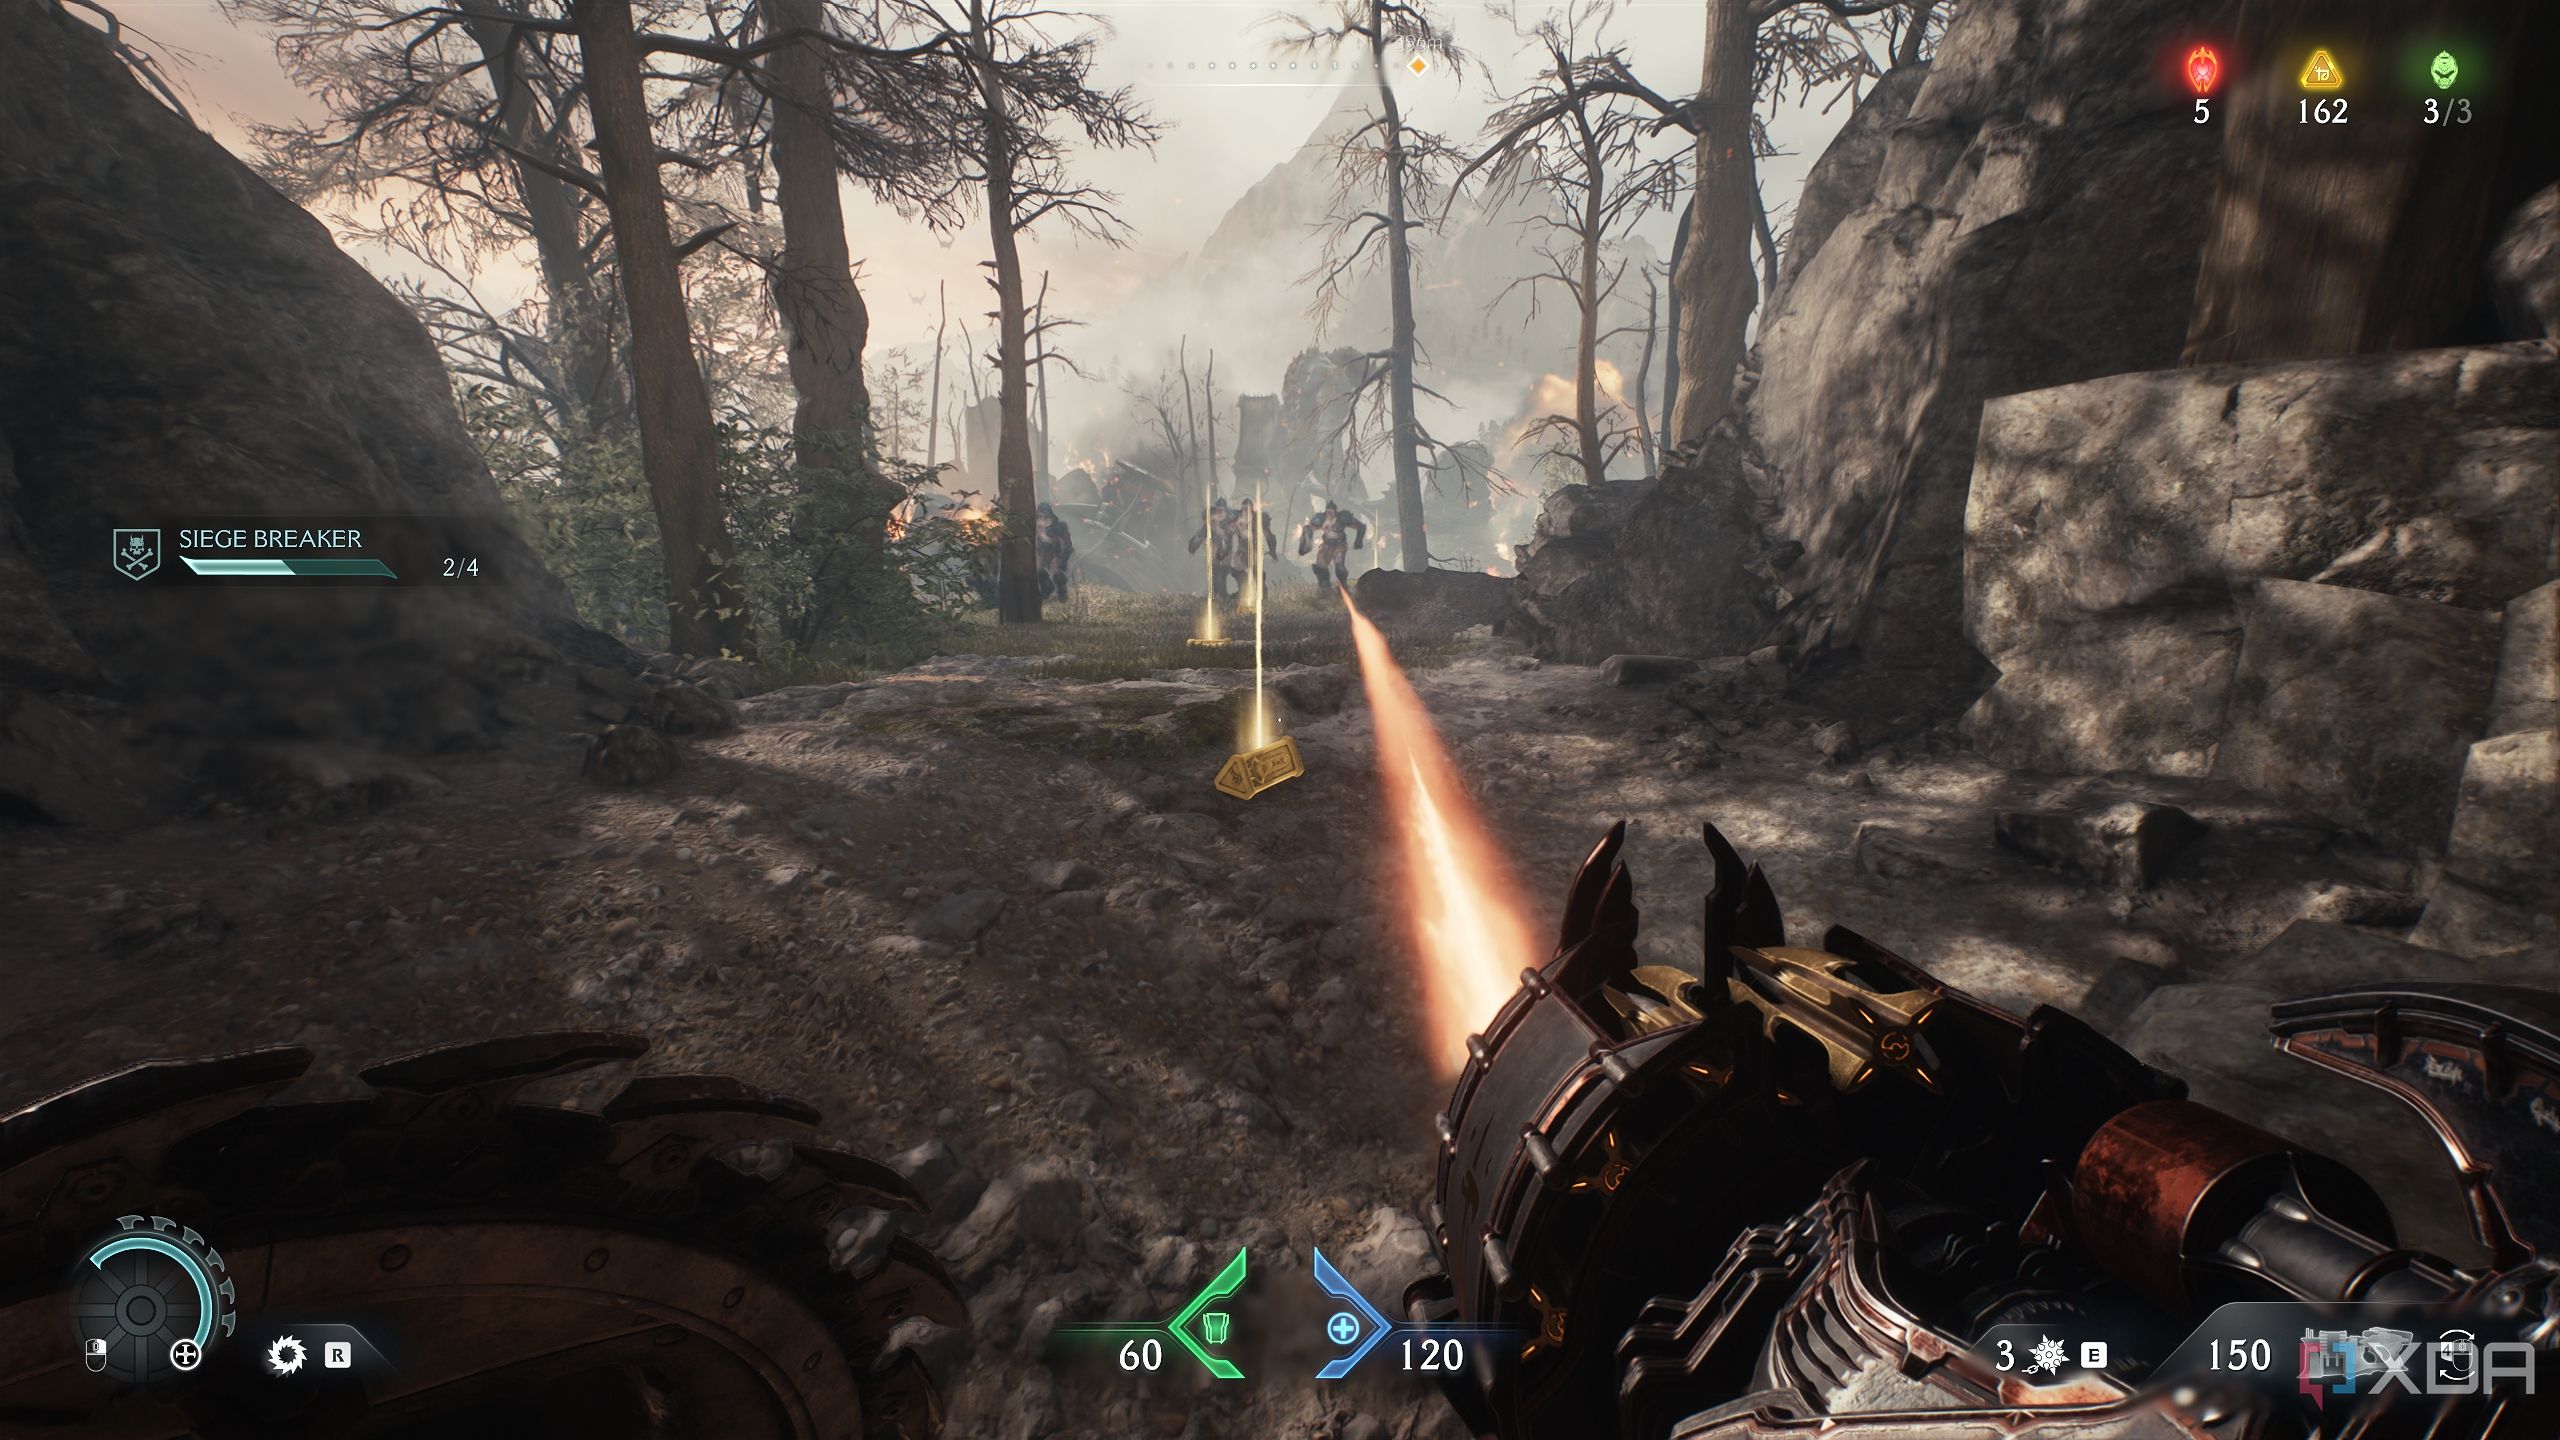
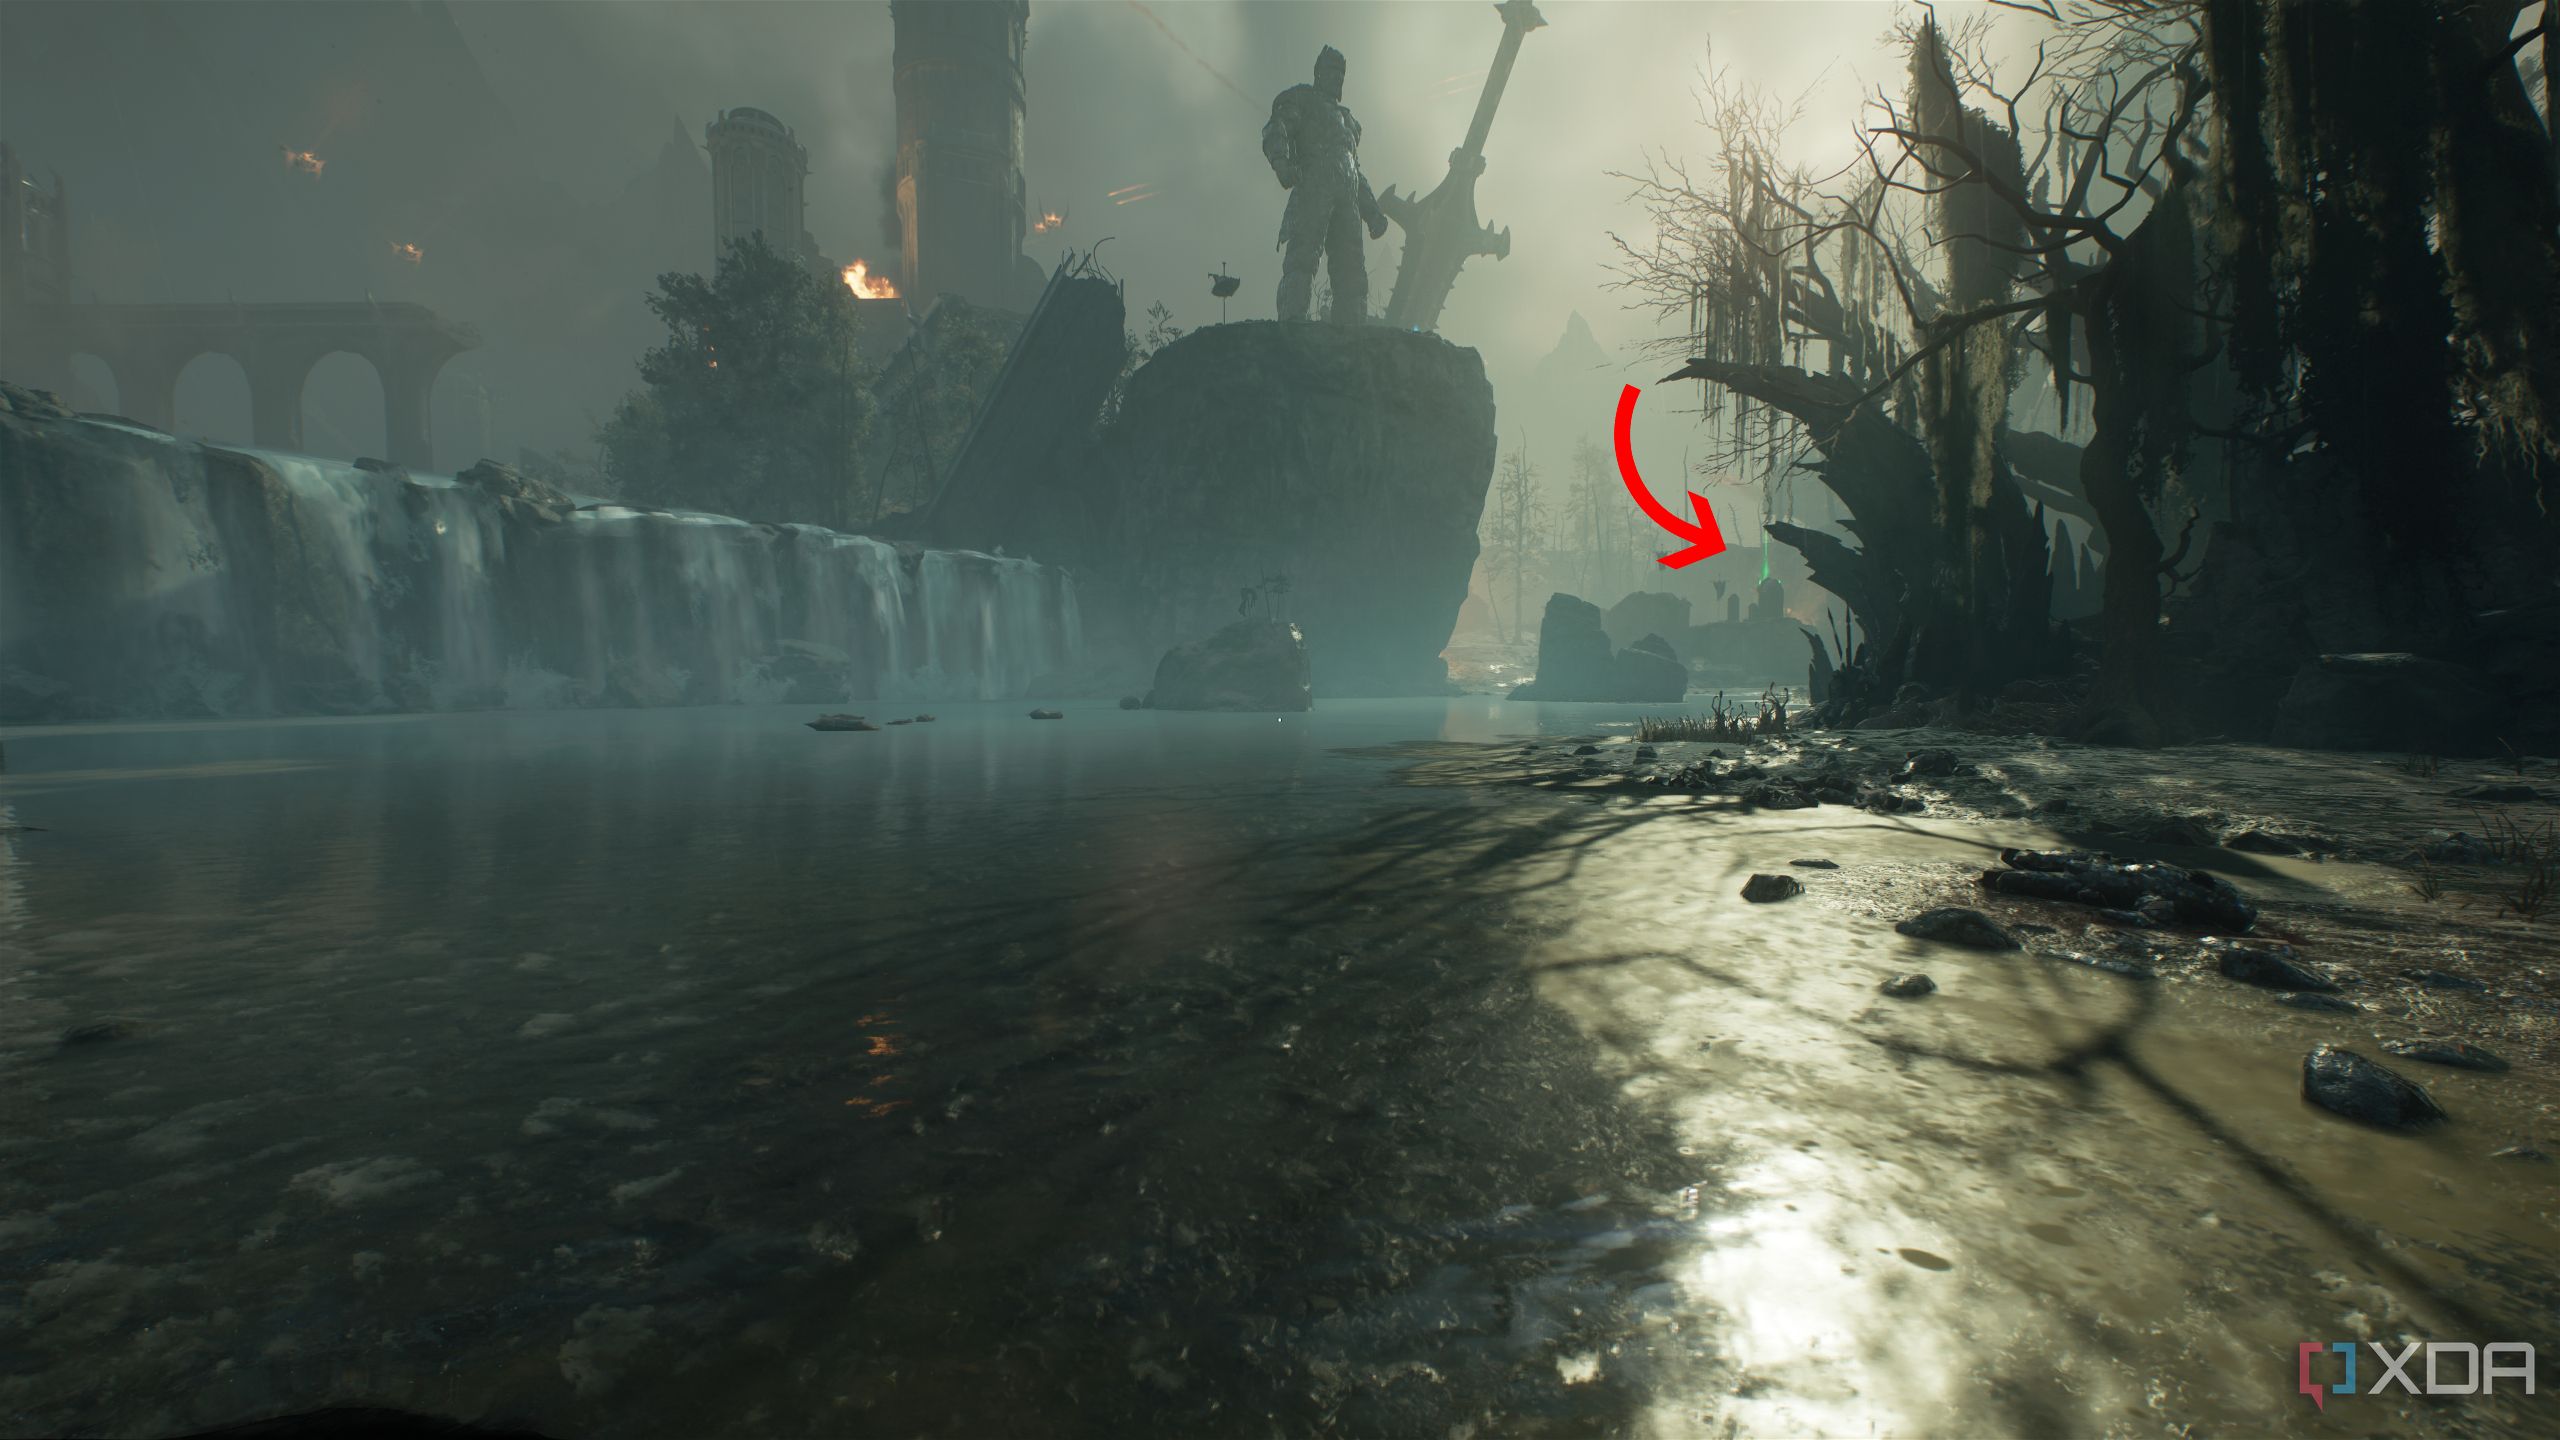
Once the city gates open up, engage in the first combat encounter up ahead to close the first gore portal. Then, get back to the city gates, and with your back towards the huge gate you came through, head completely left.
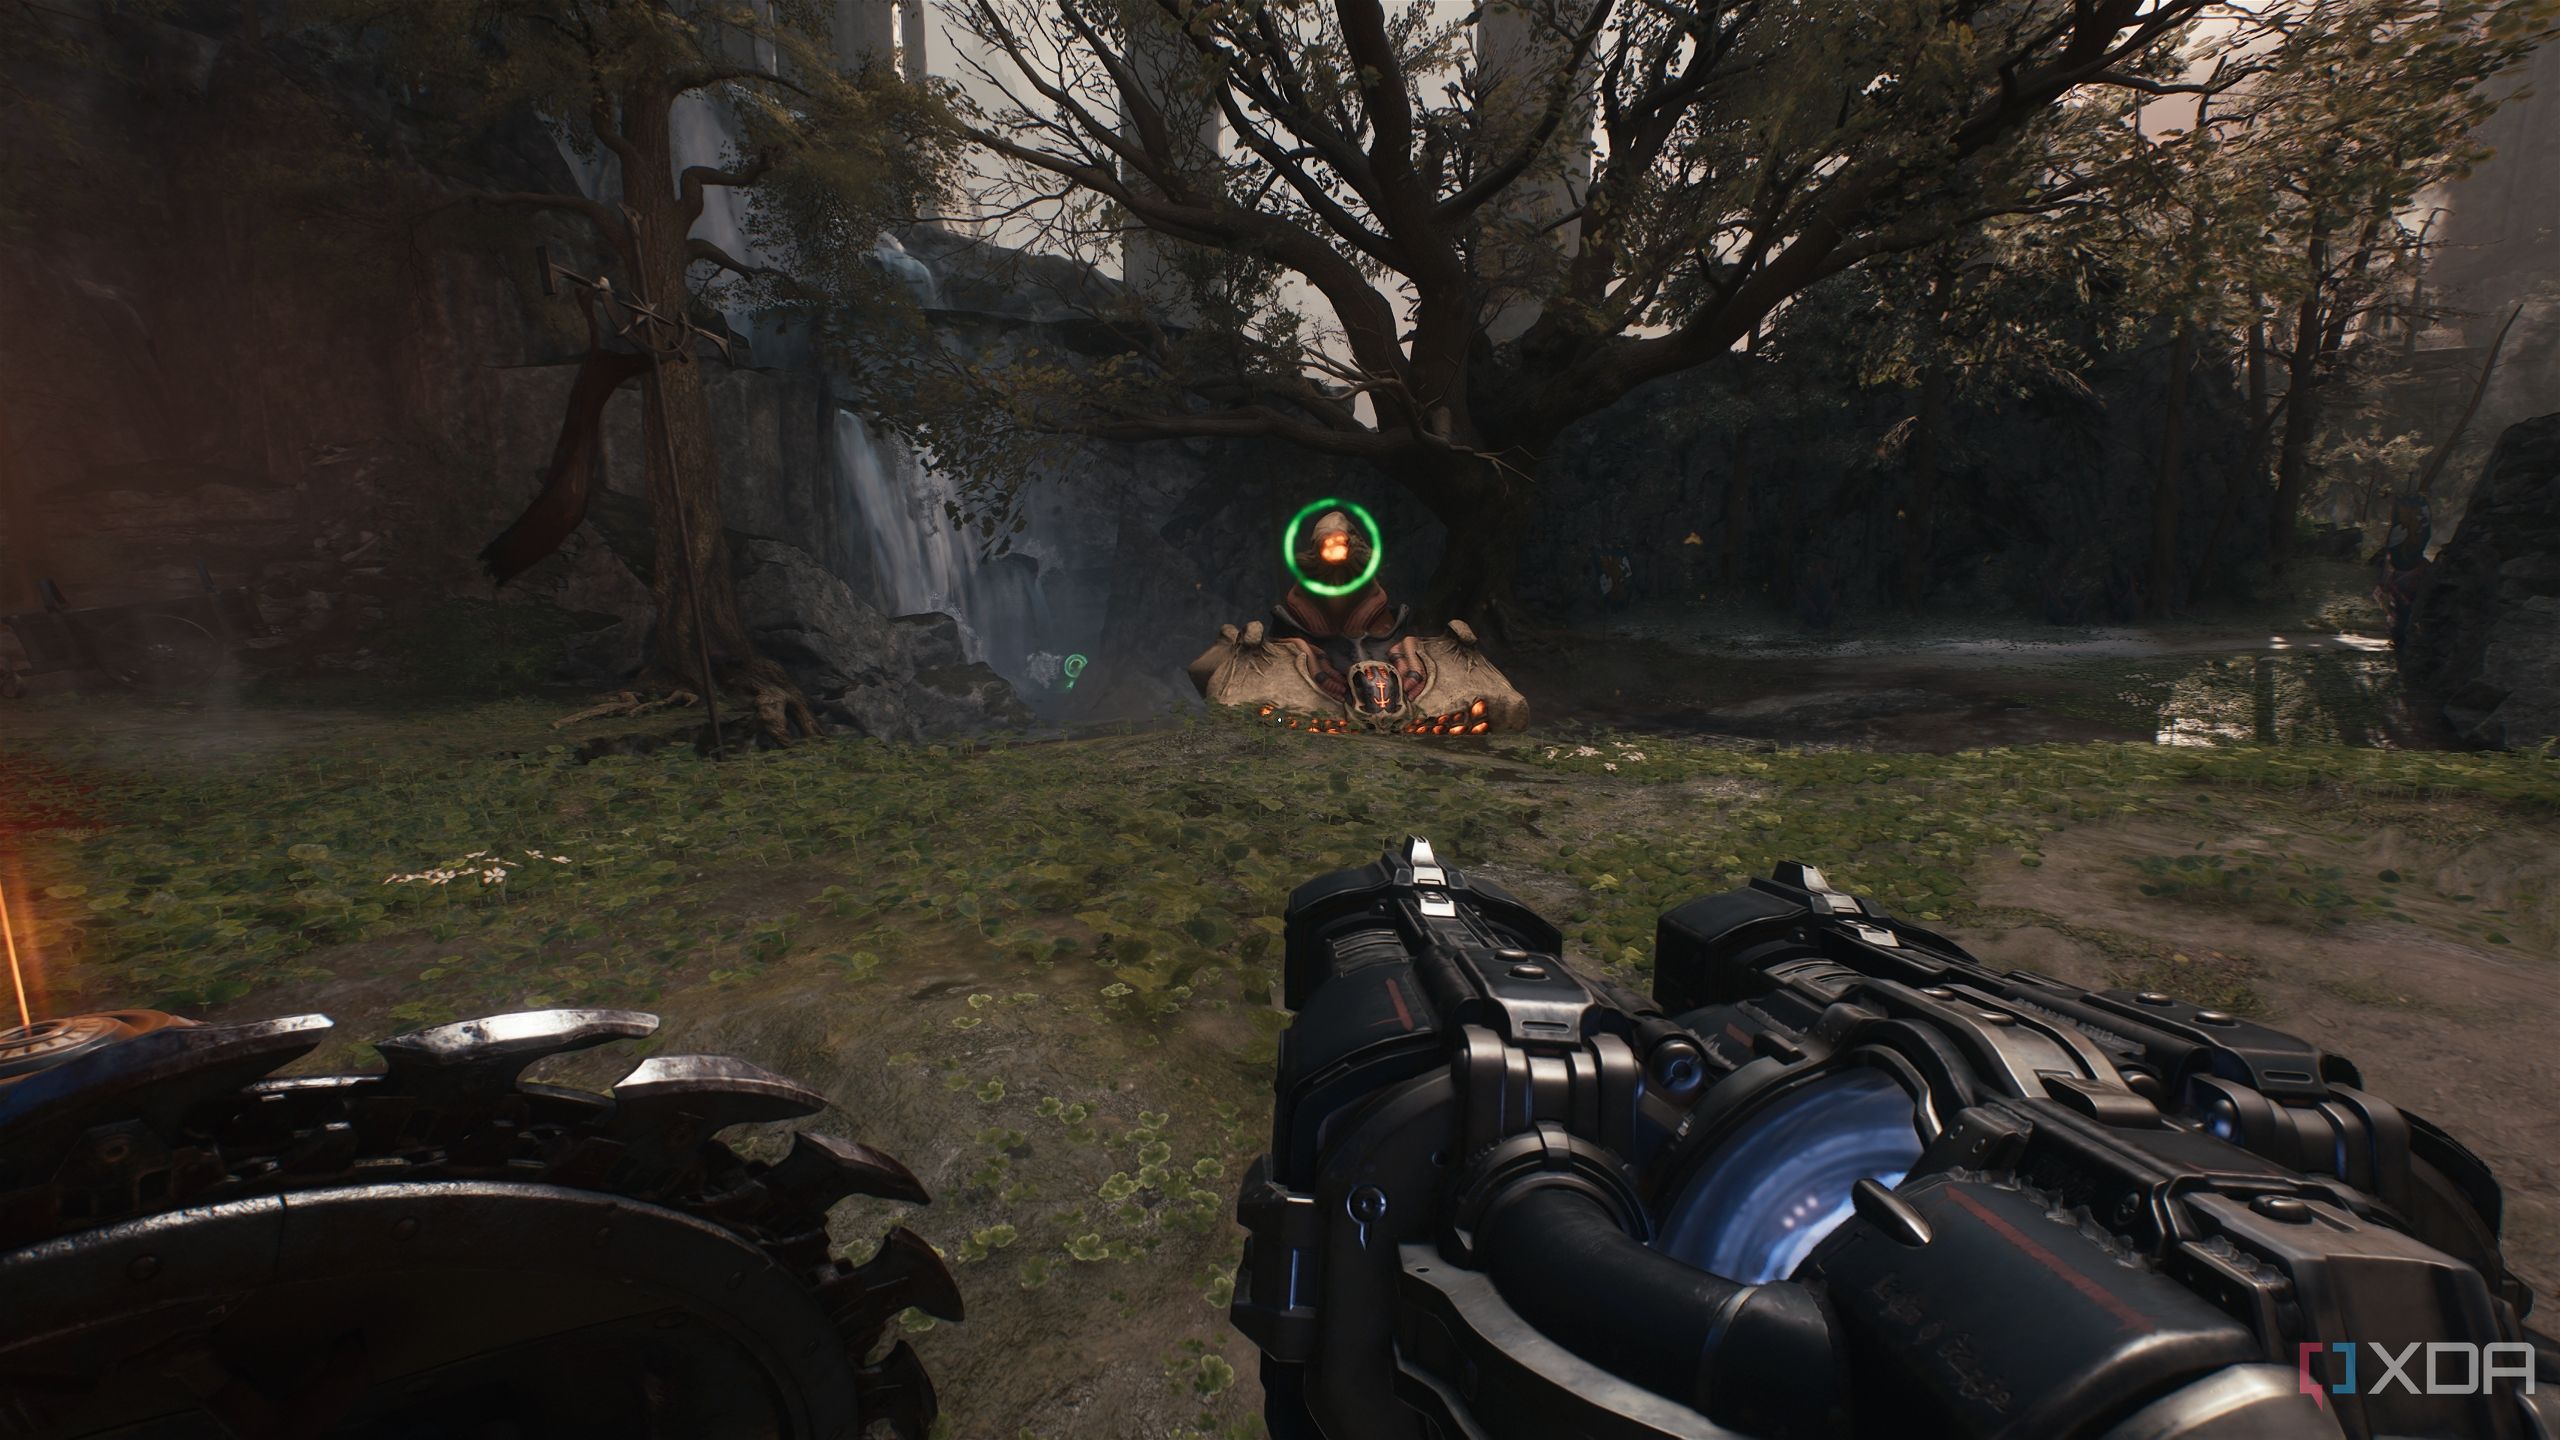
Here, two tanks will attack you — parry their explosive rounds to destroy them. With the second tank destroyed, look behind it to see a waterfall.
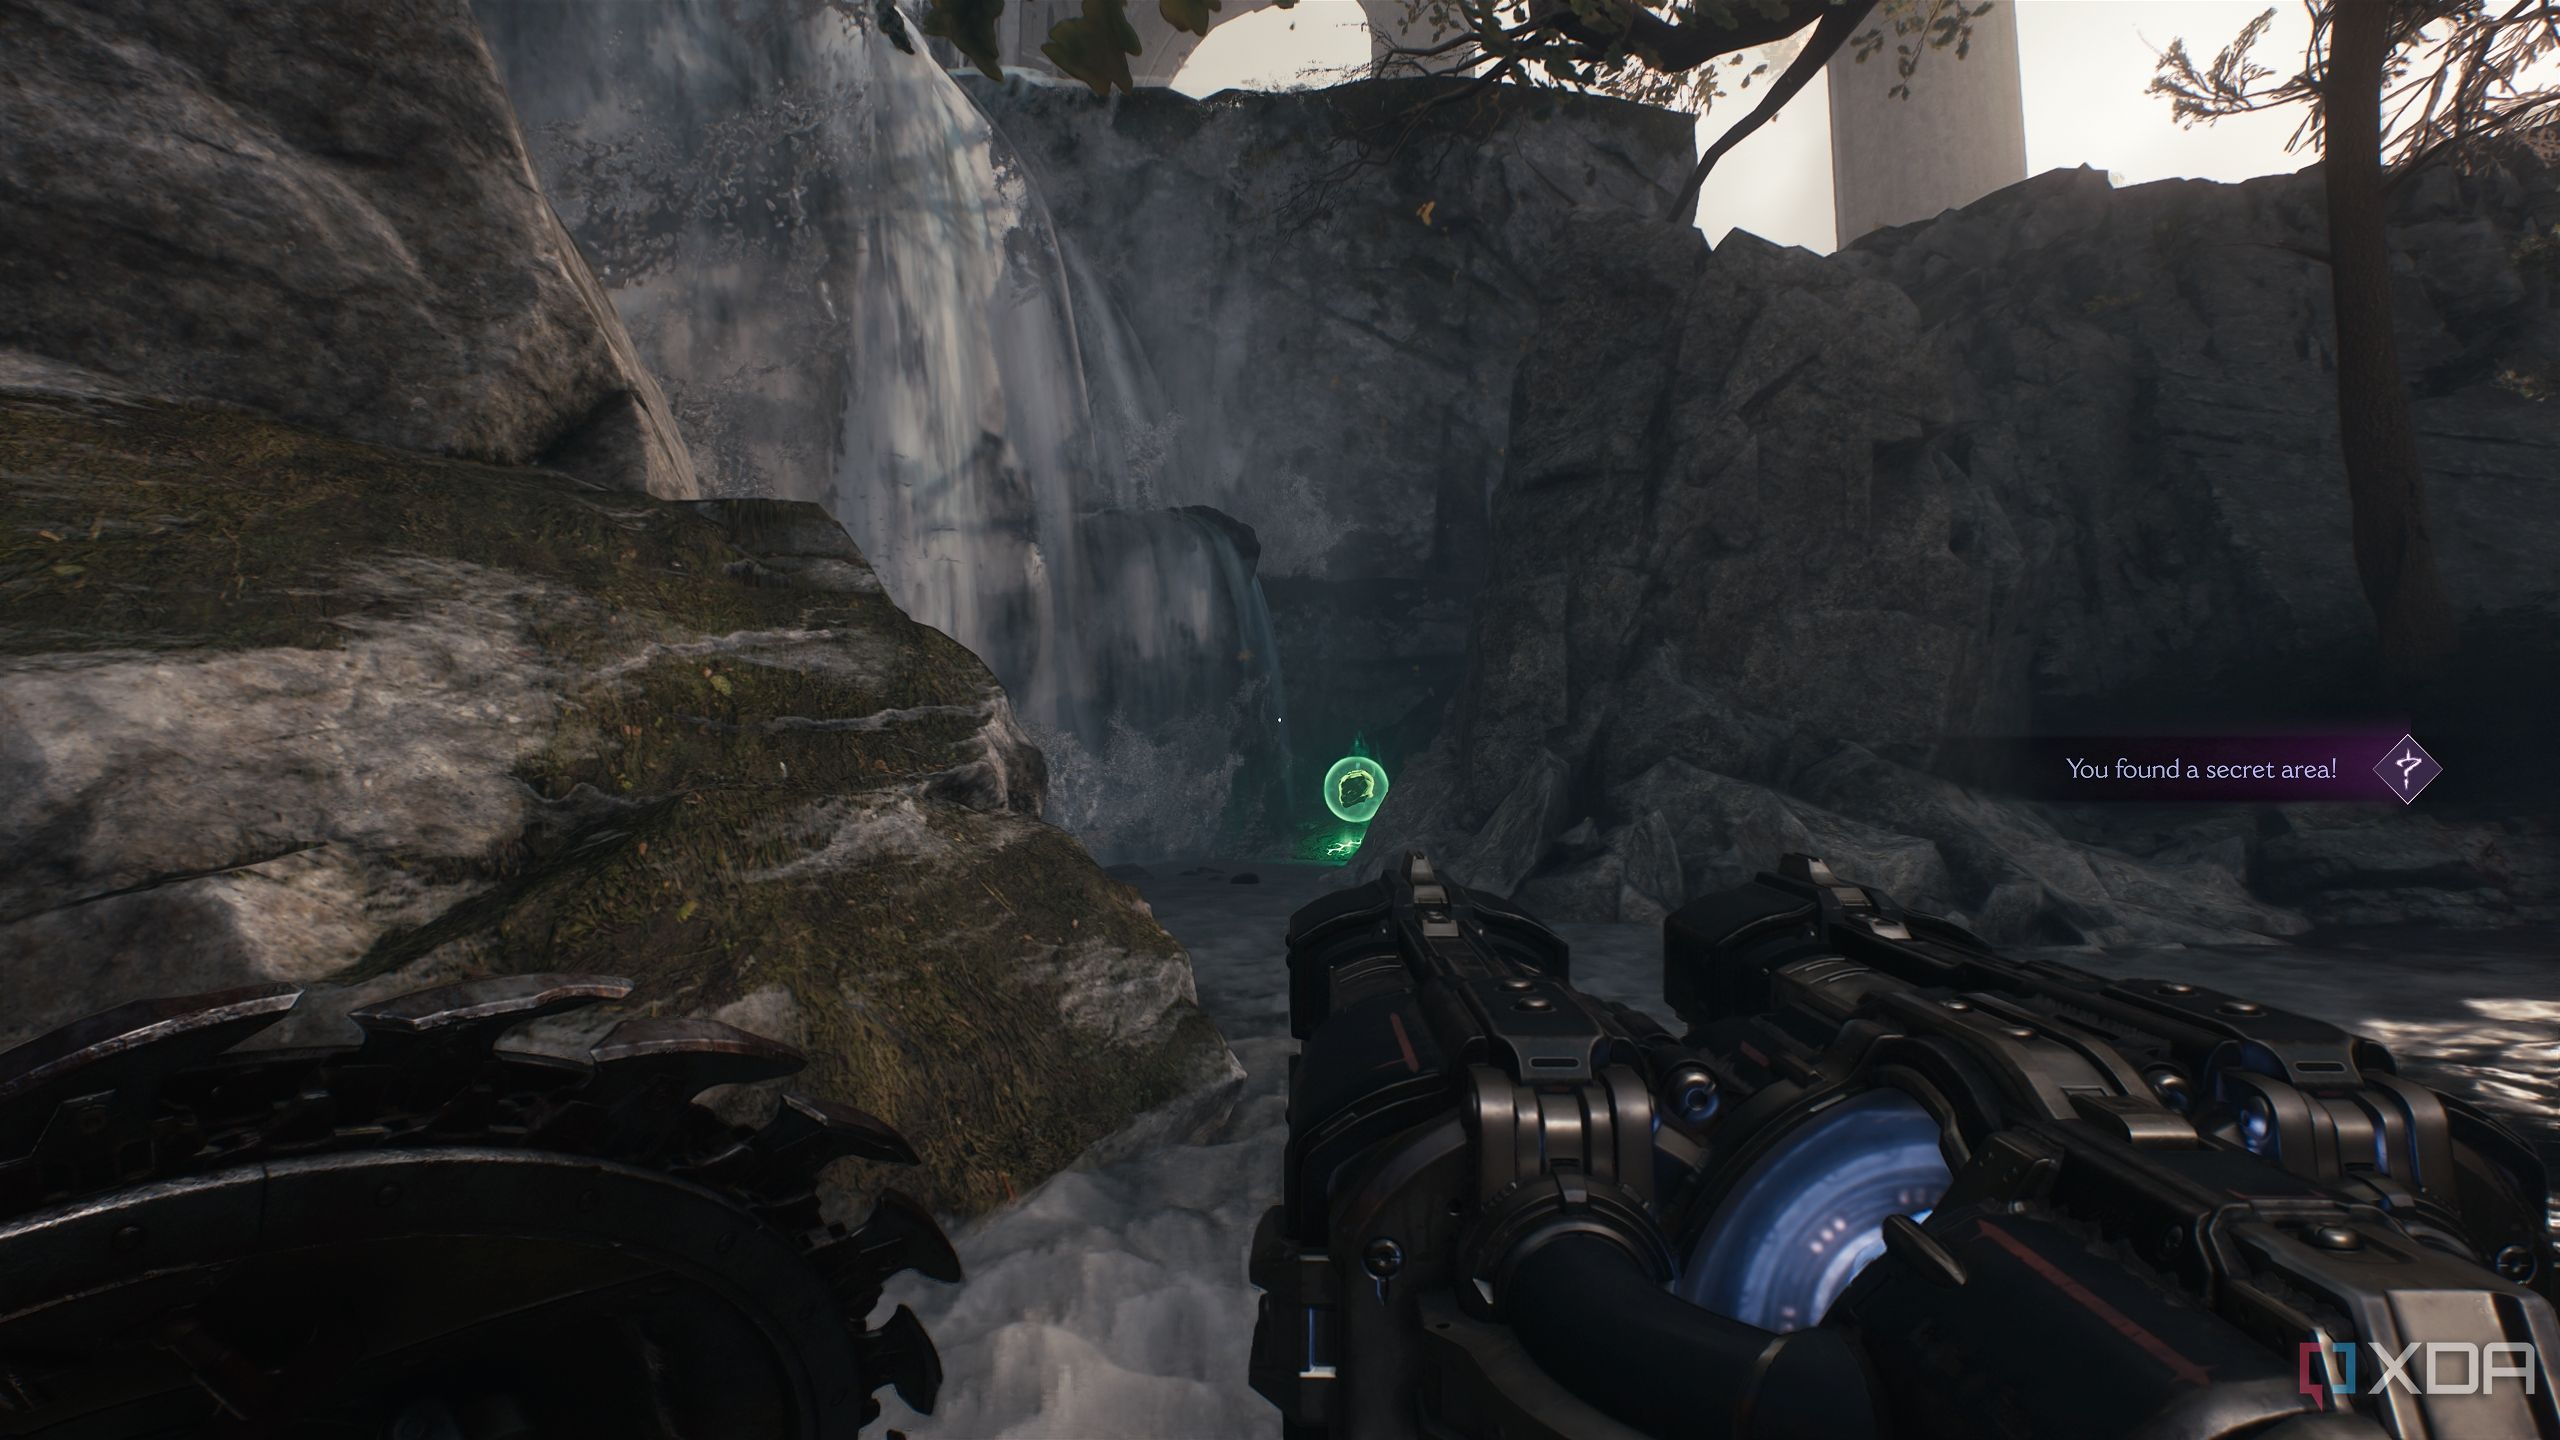
This waterfall houses a Life Sigil, and unlocks the first secret area on the map.
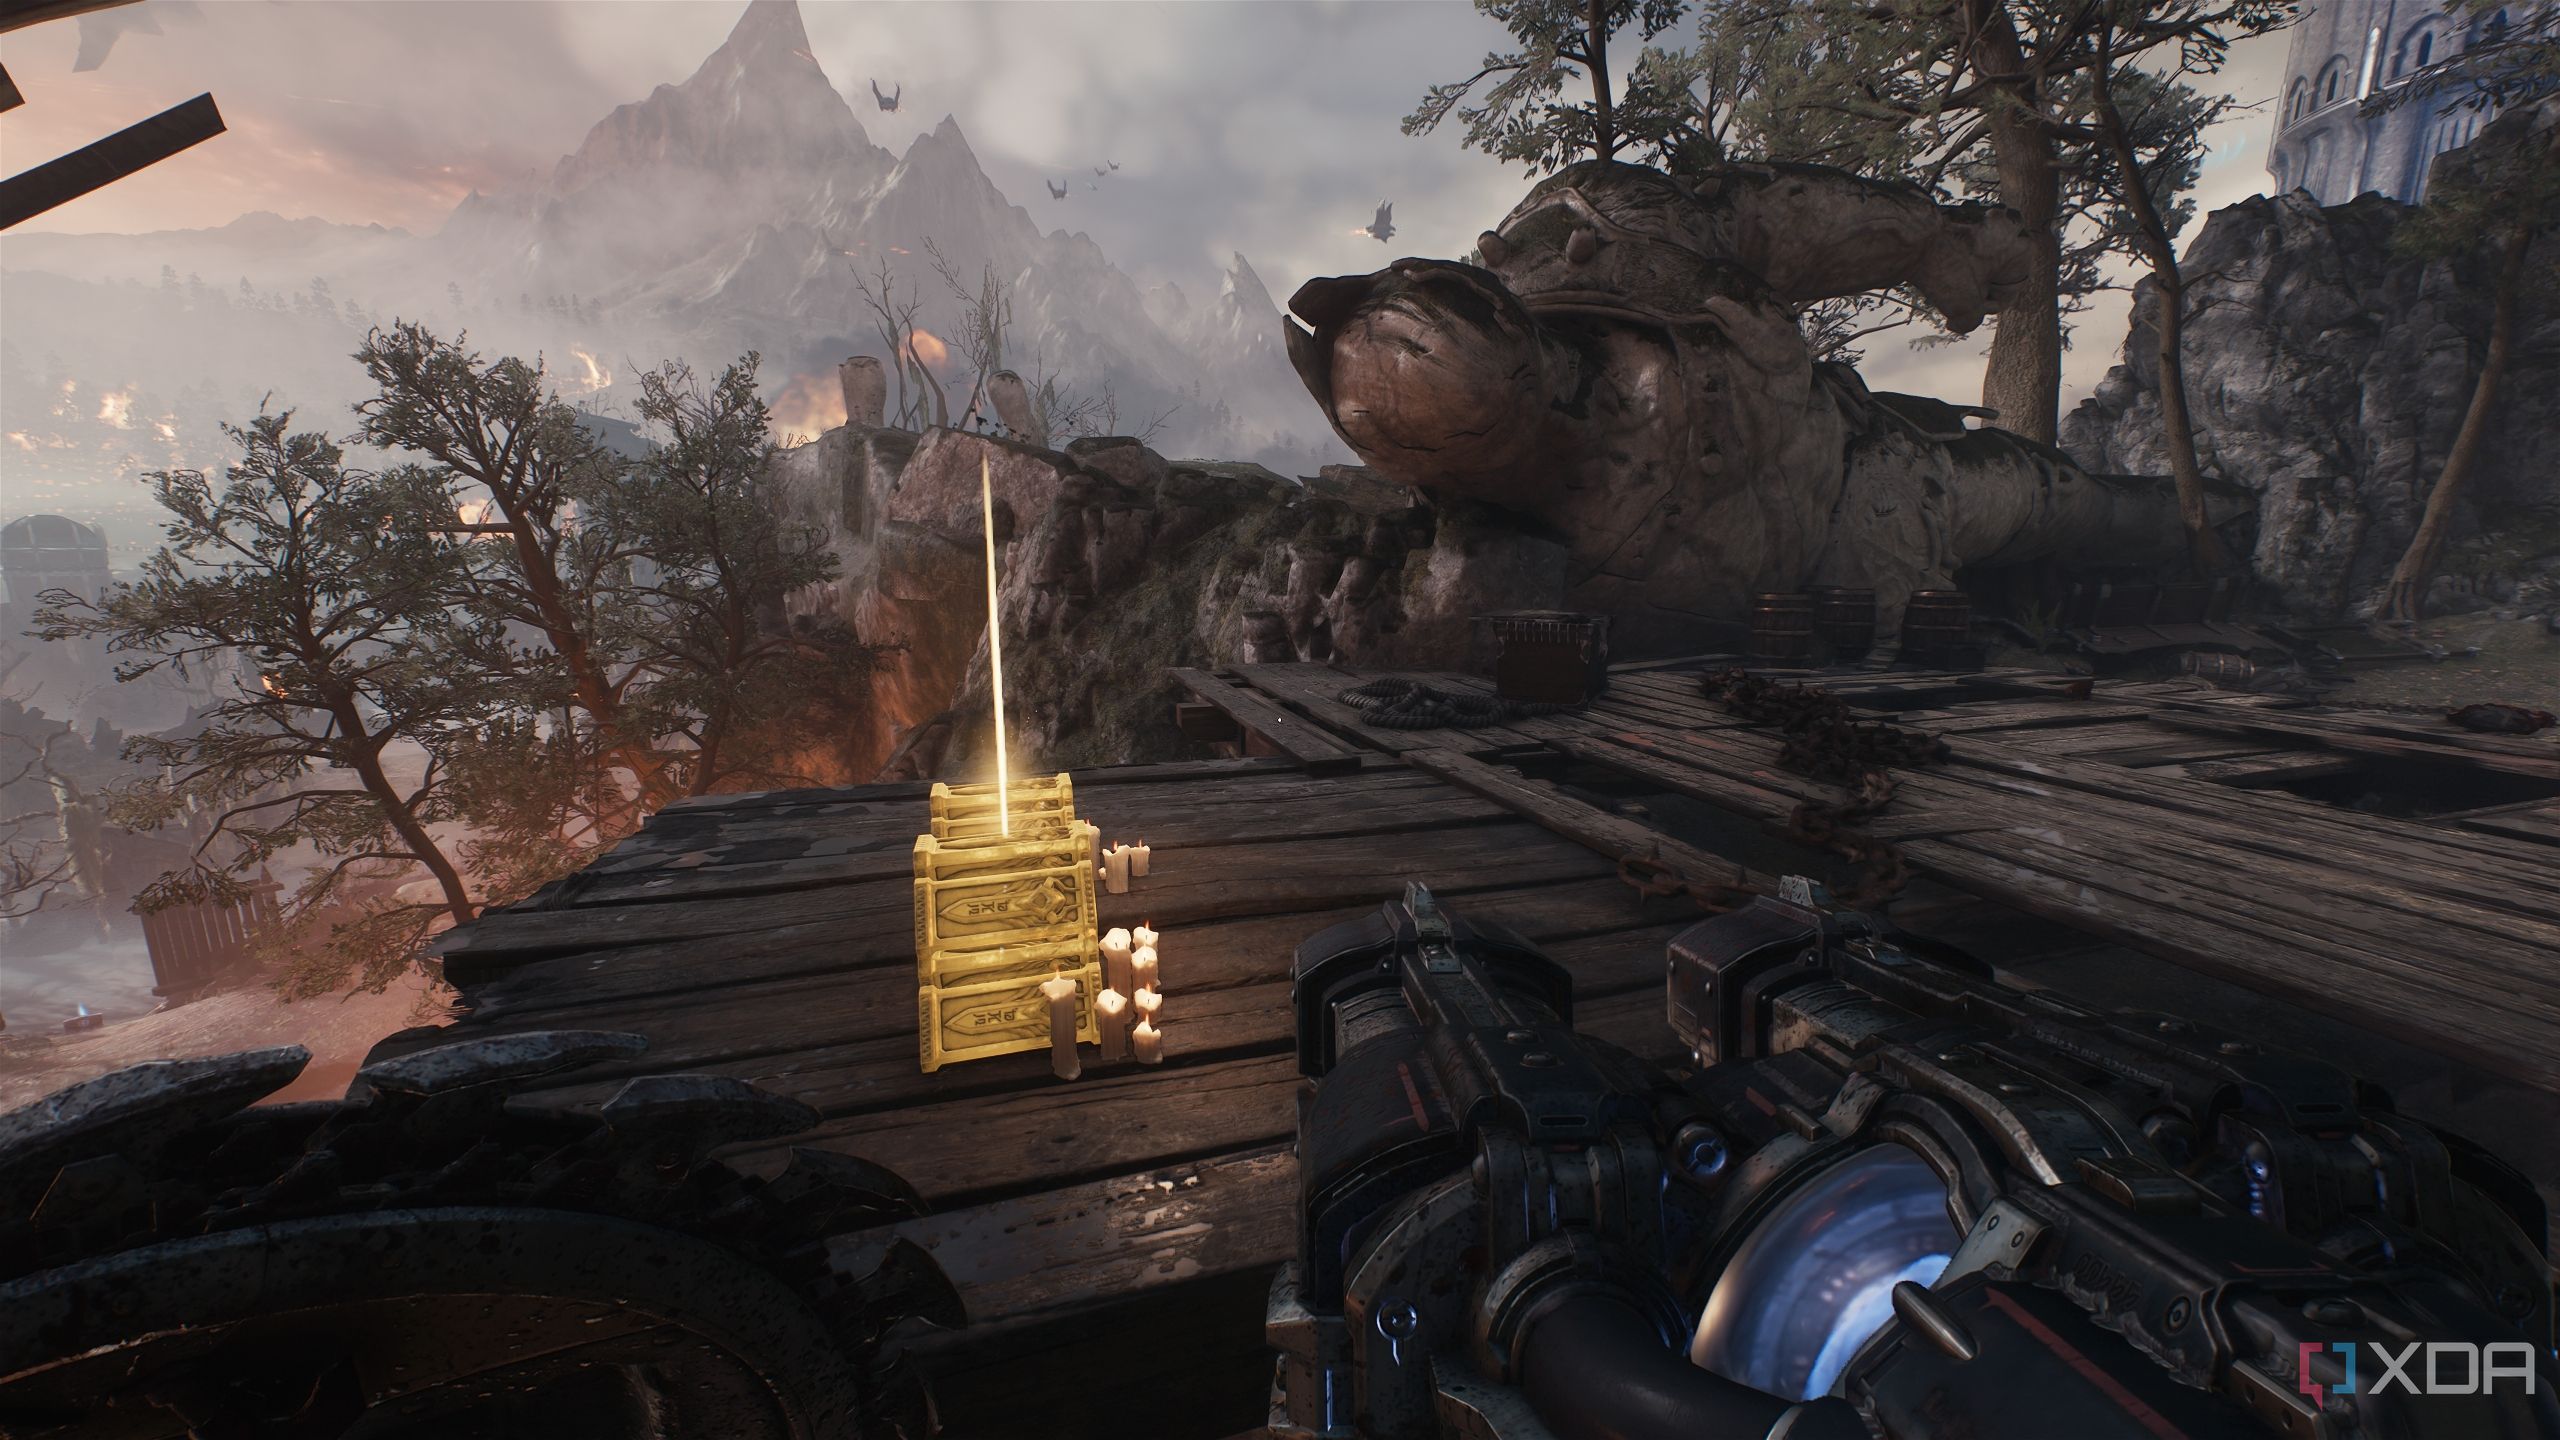
A gold stack behind a tank
All these tanks against one on two legs
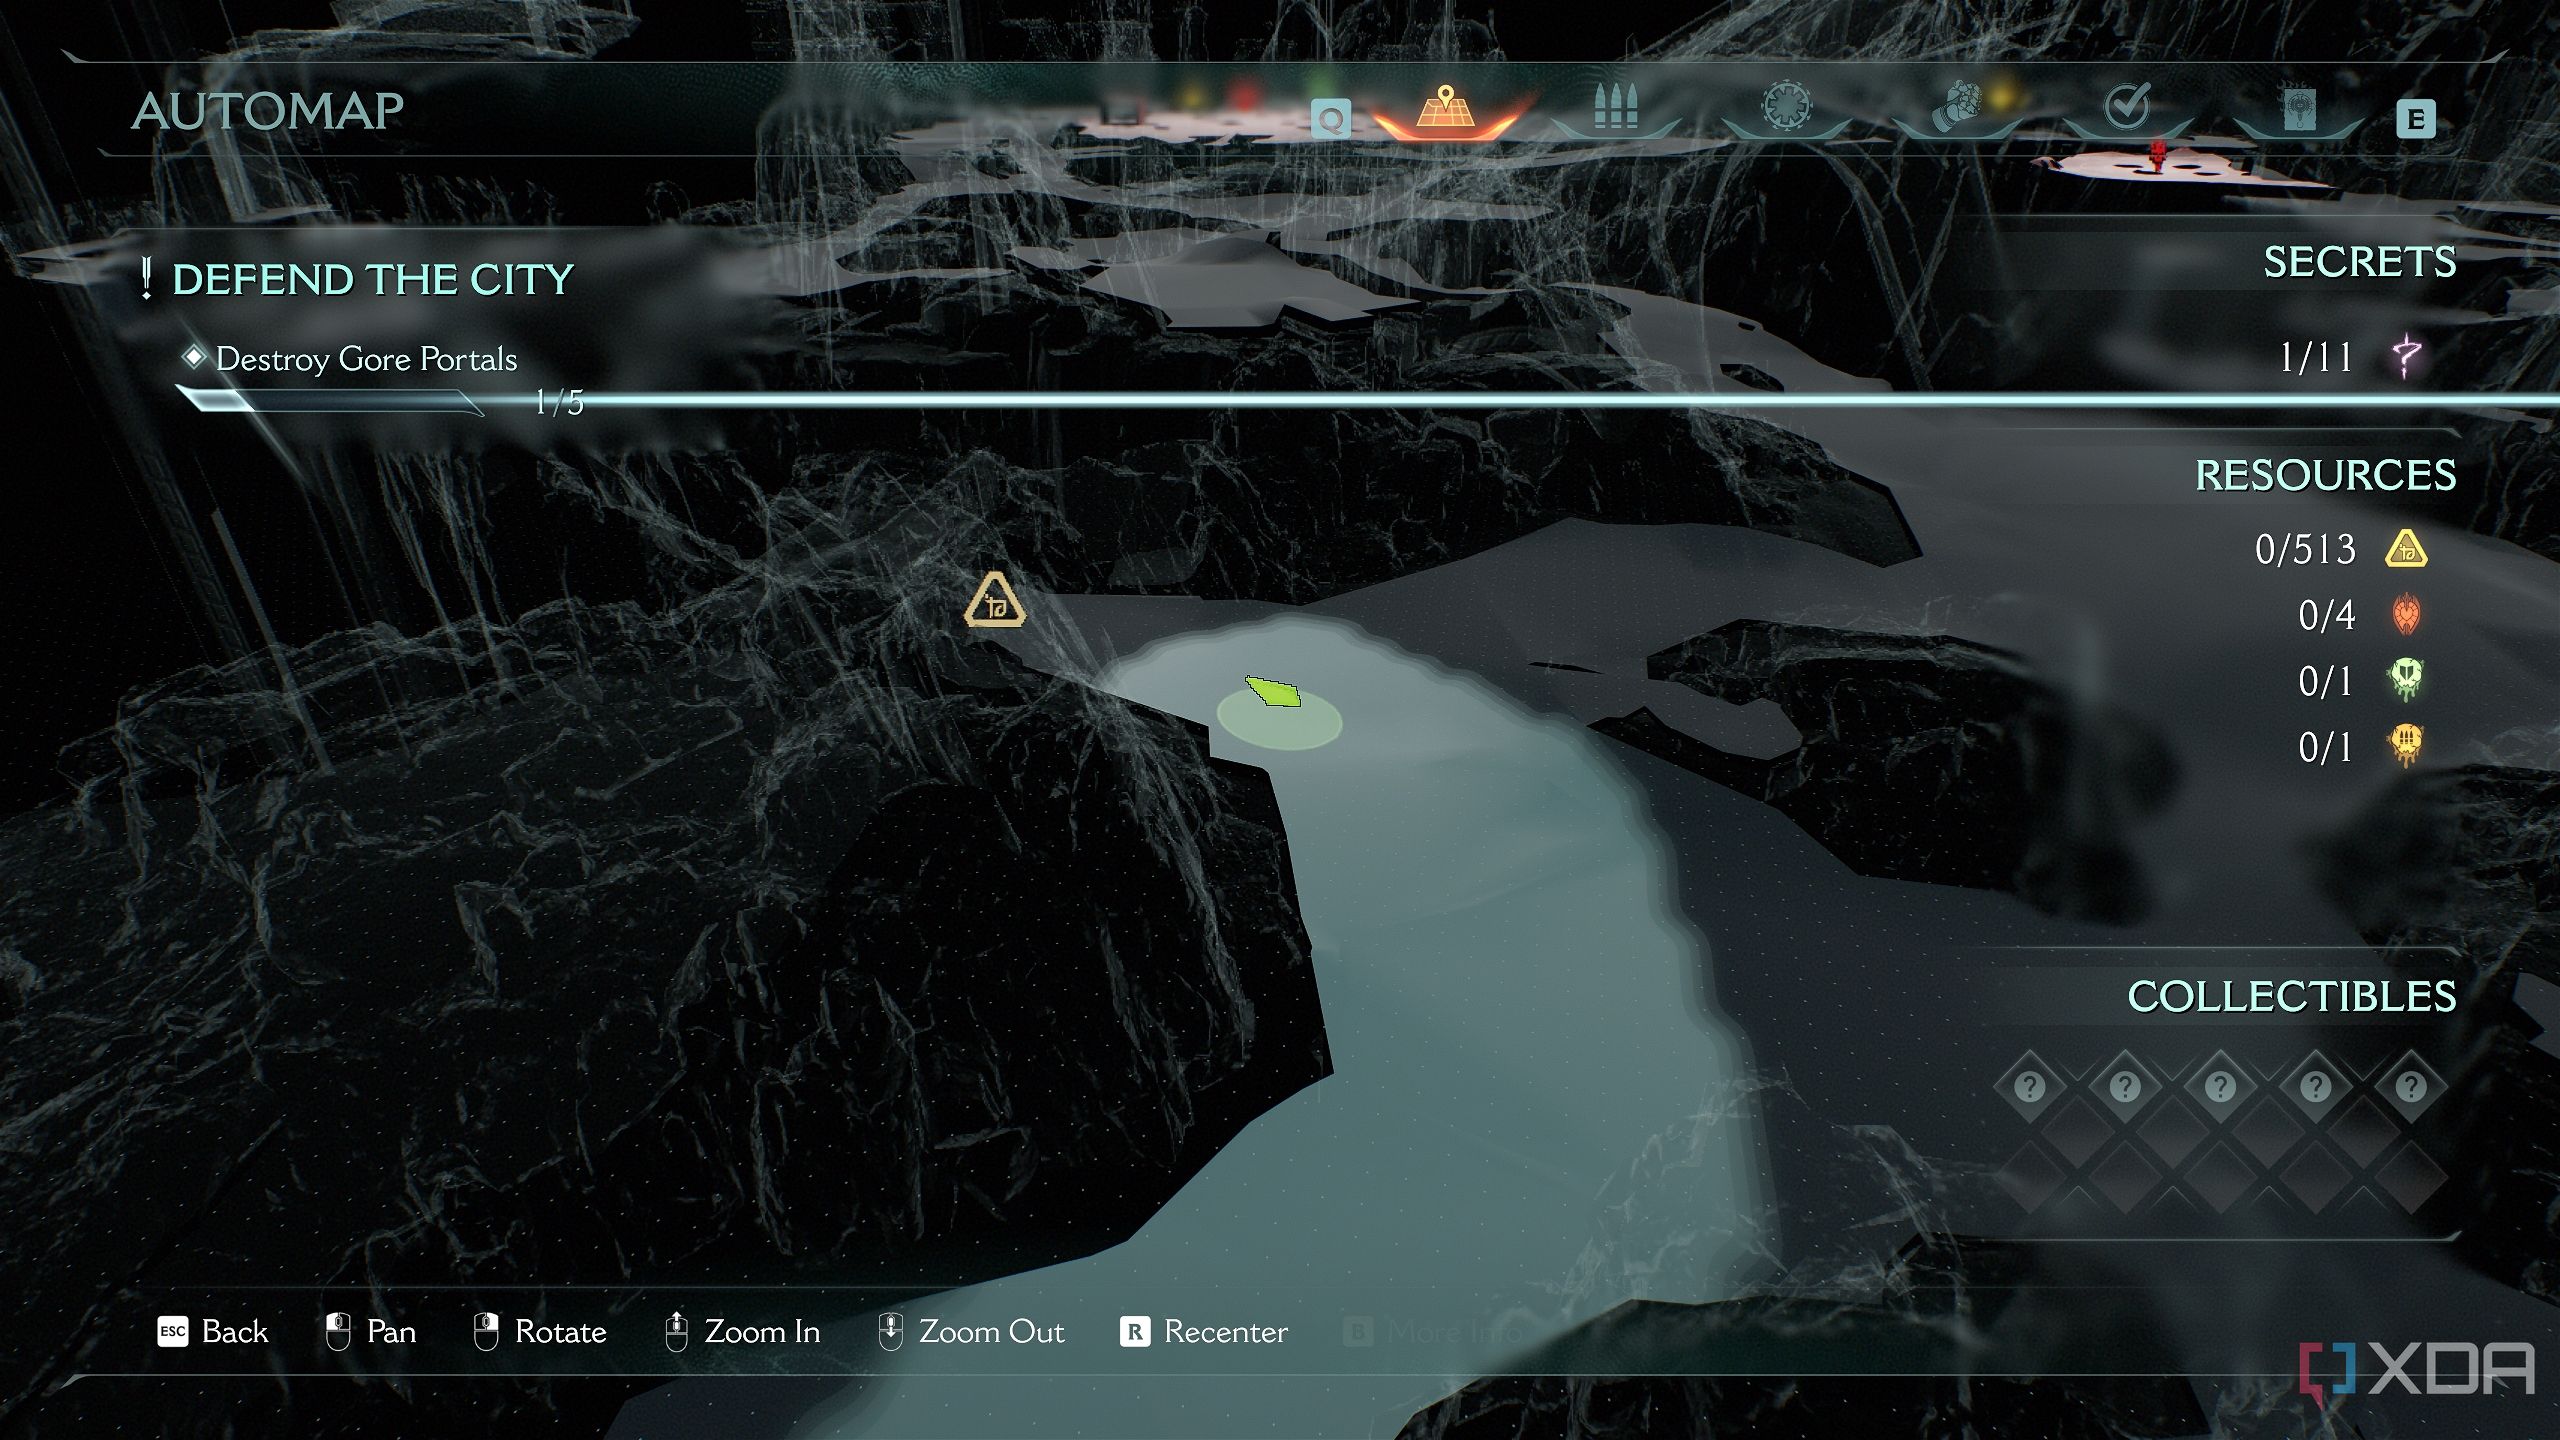
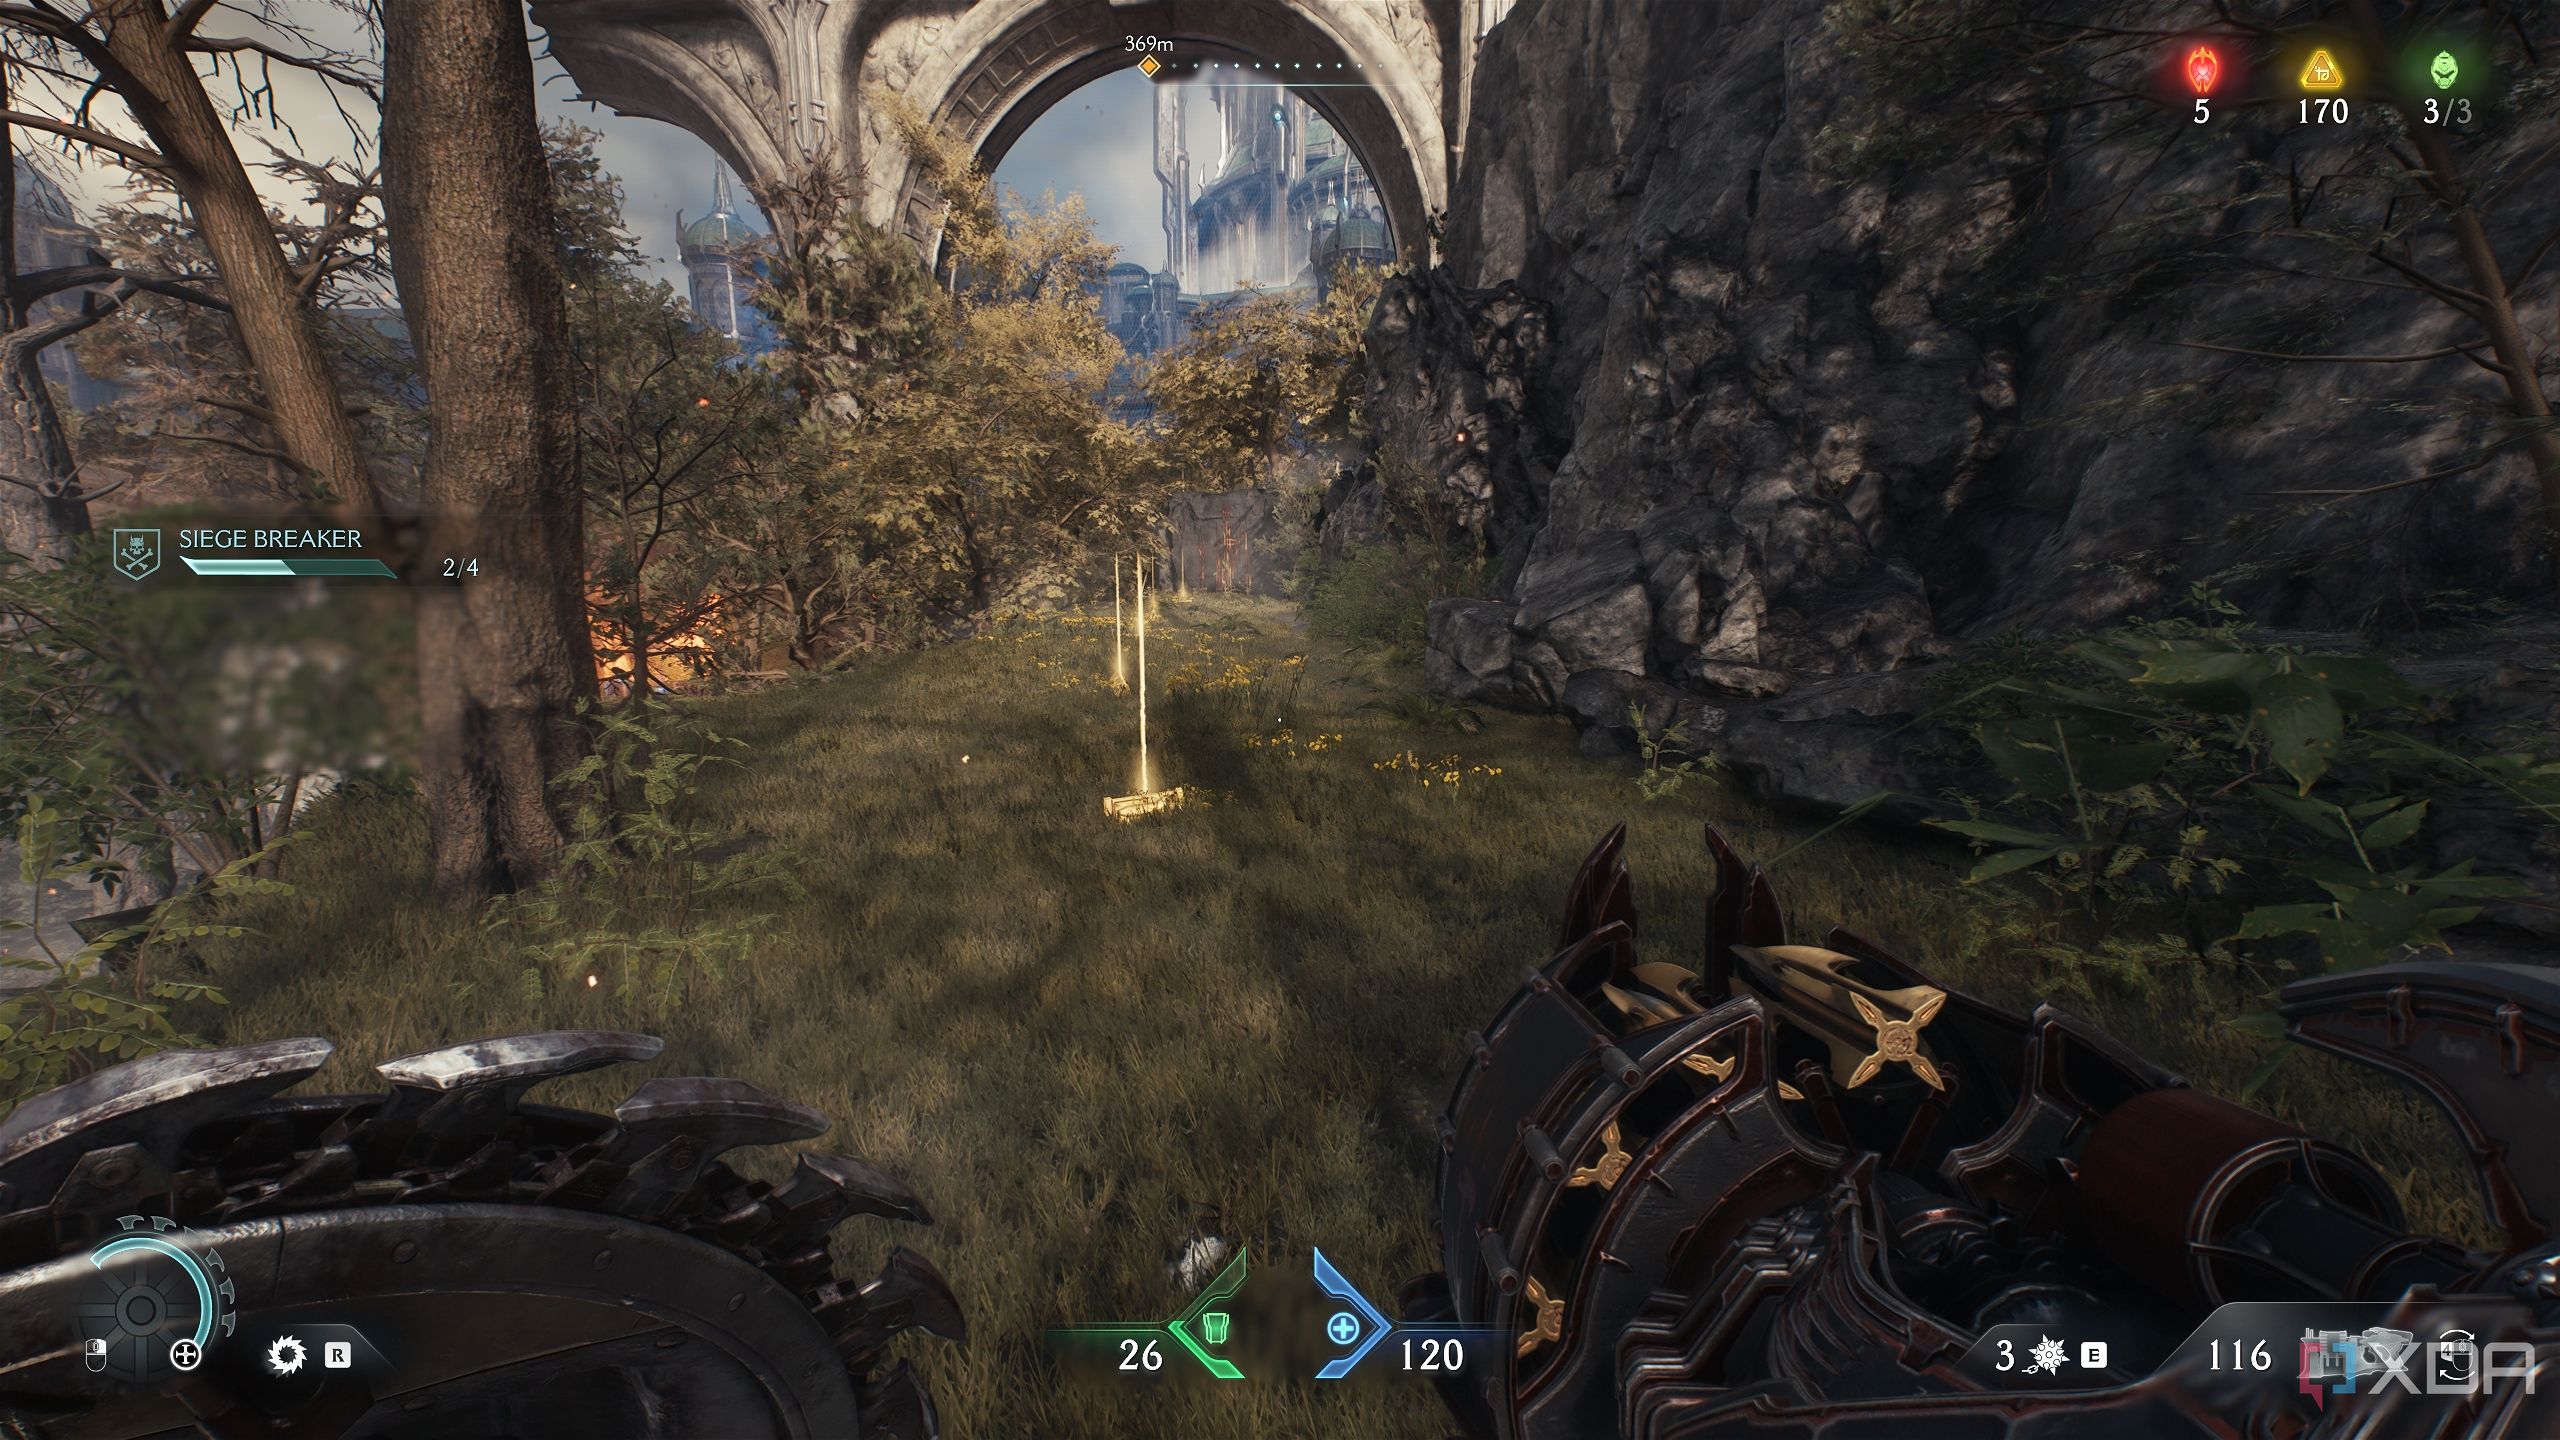
From the waterfall, head along the western edge of the map.
Just moments later, you’ll come across a lone tank.
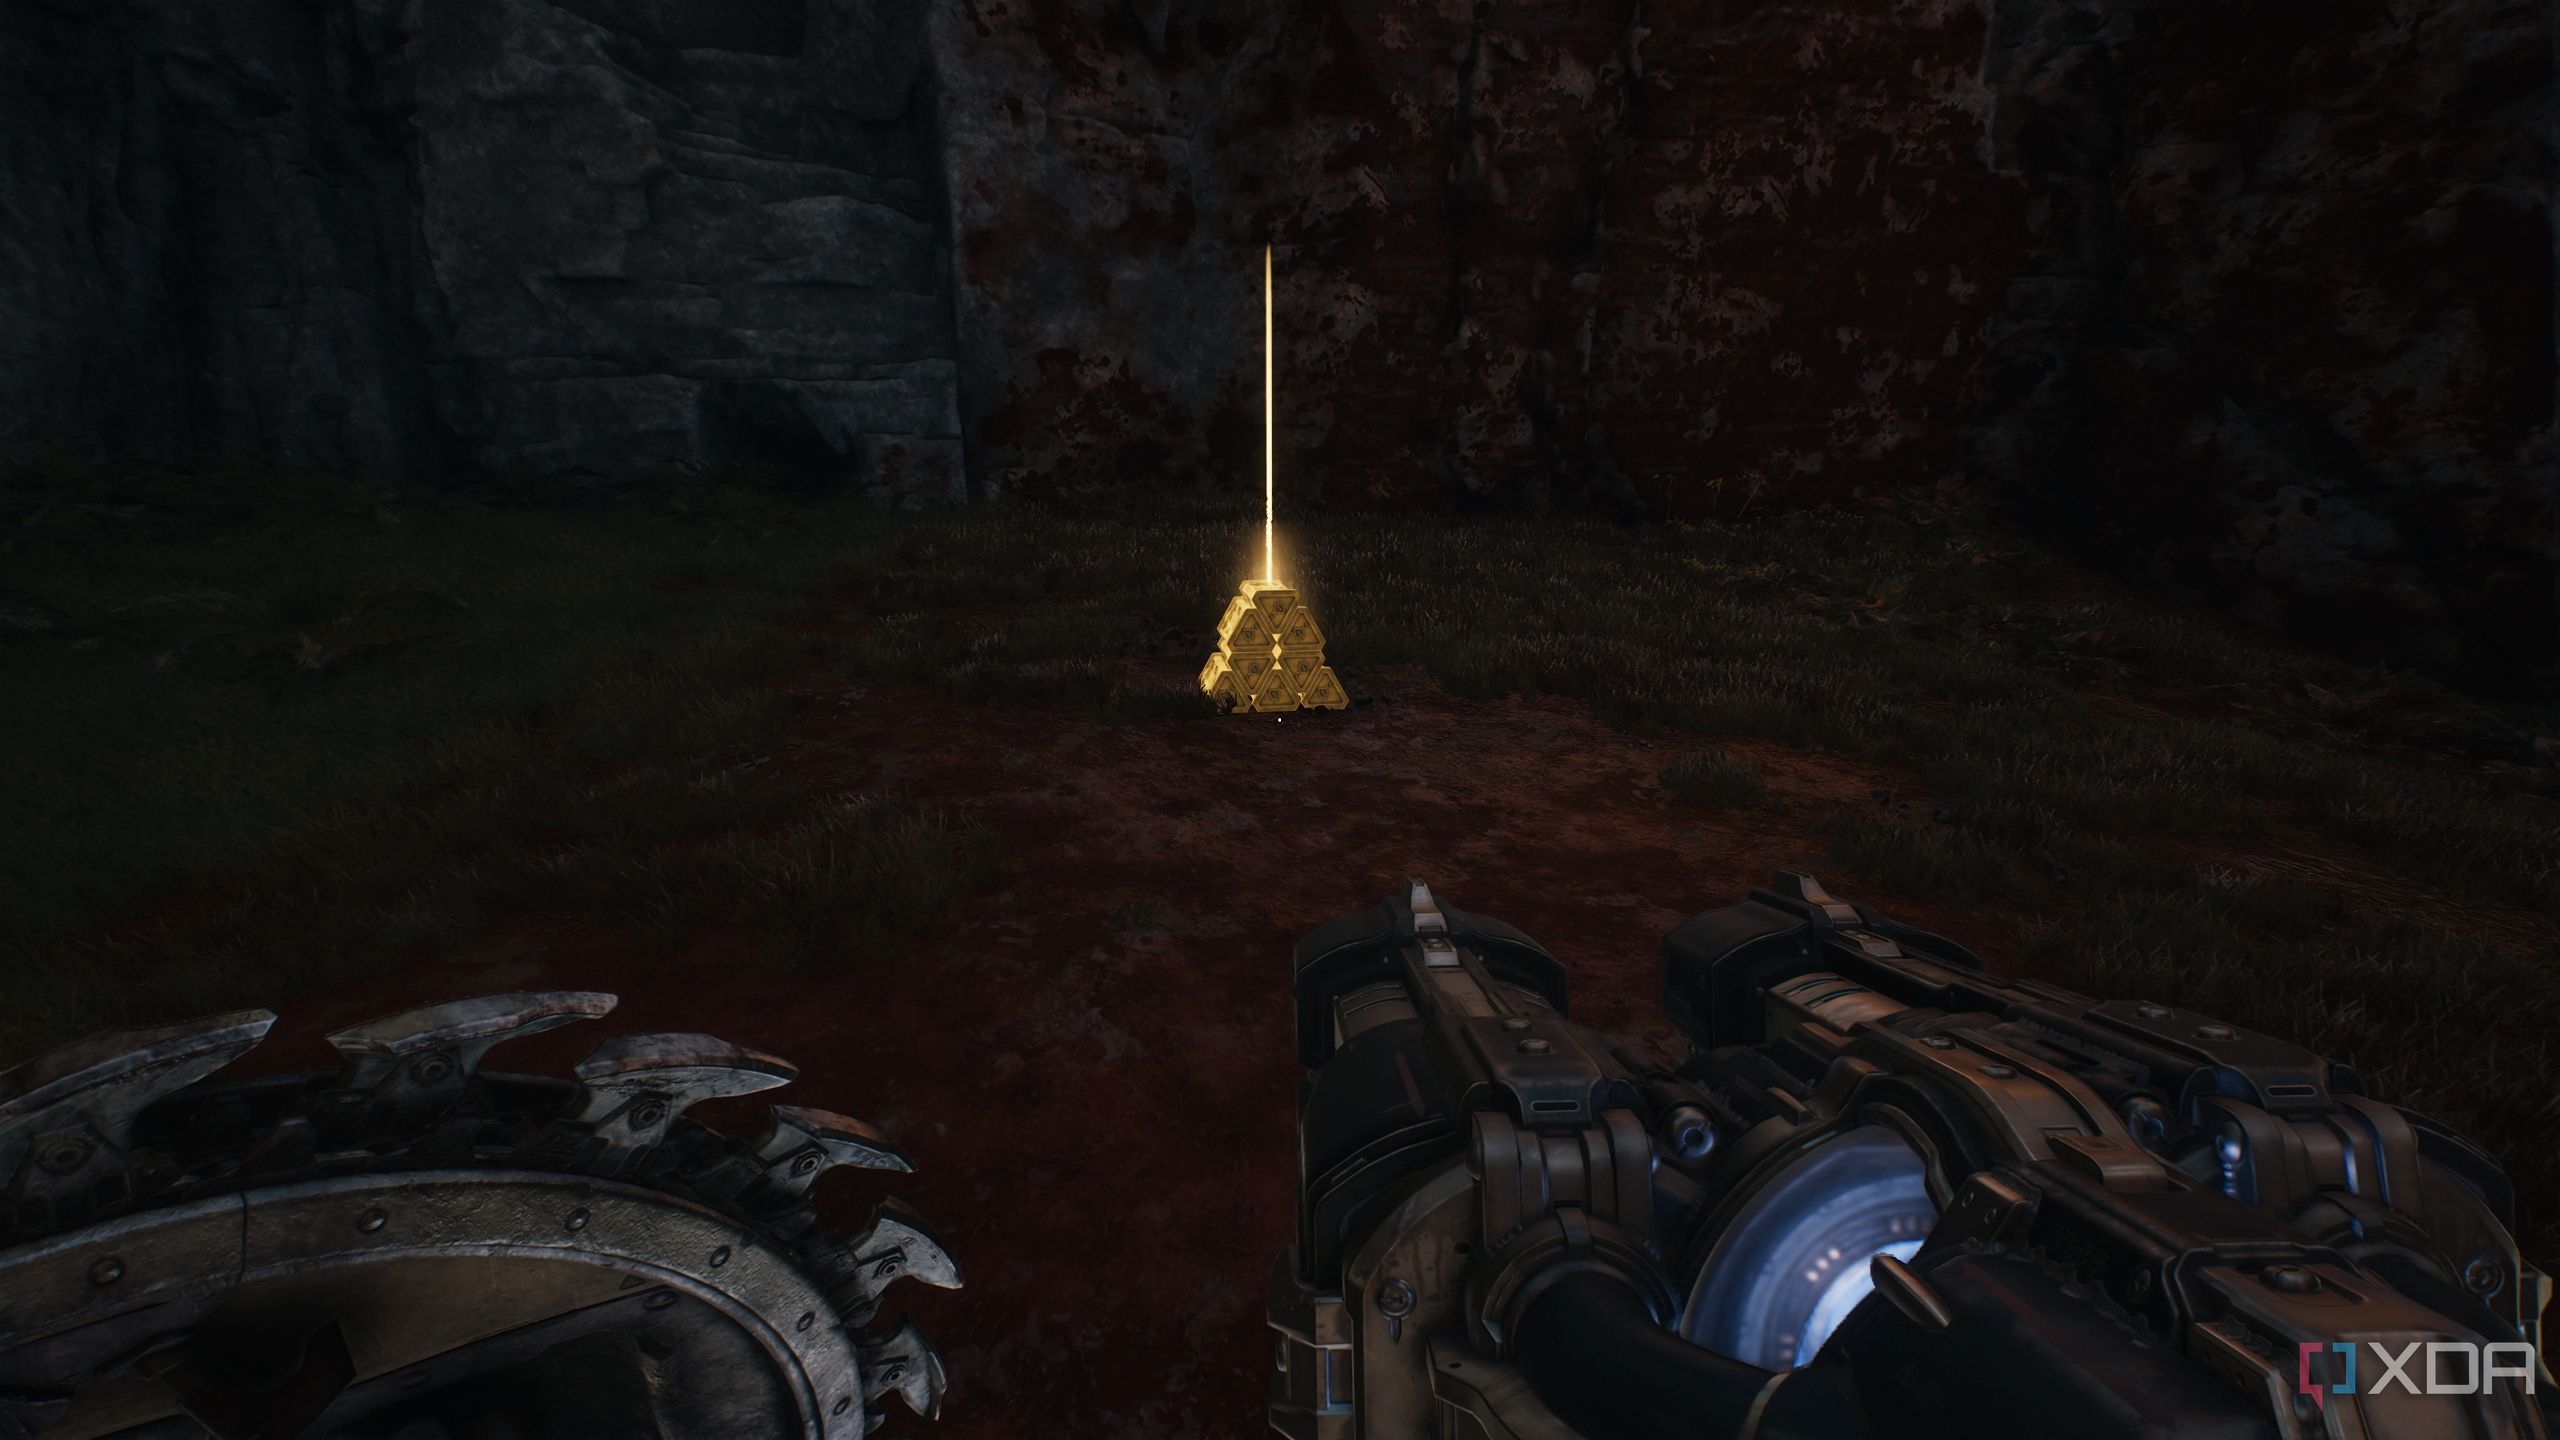
Parry its round to destroy it, and it will reveal a gold stack behind it.
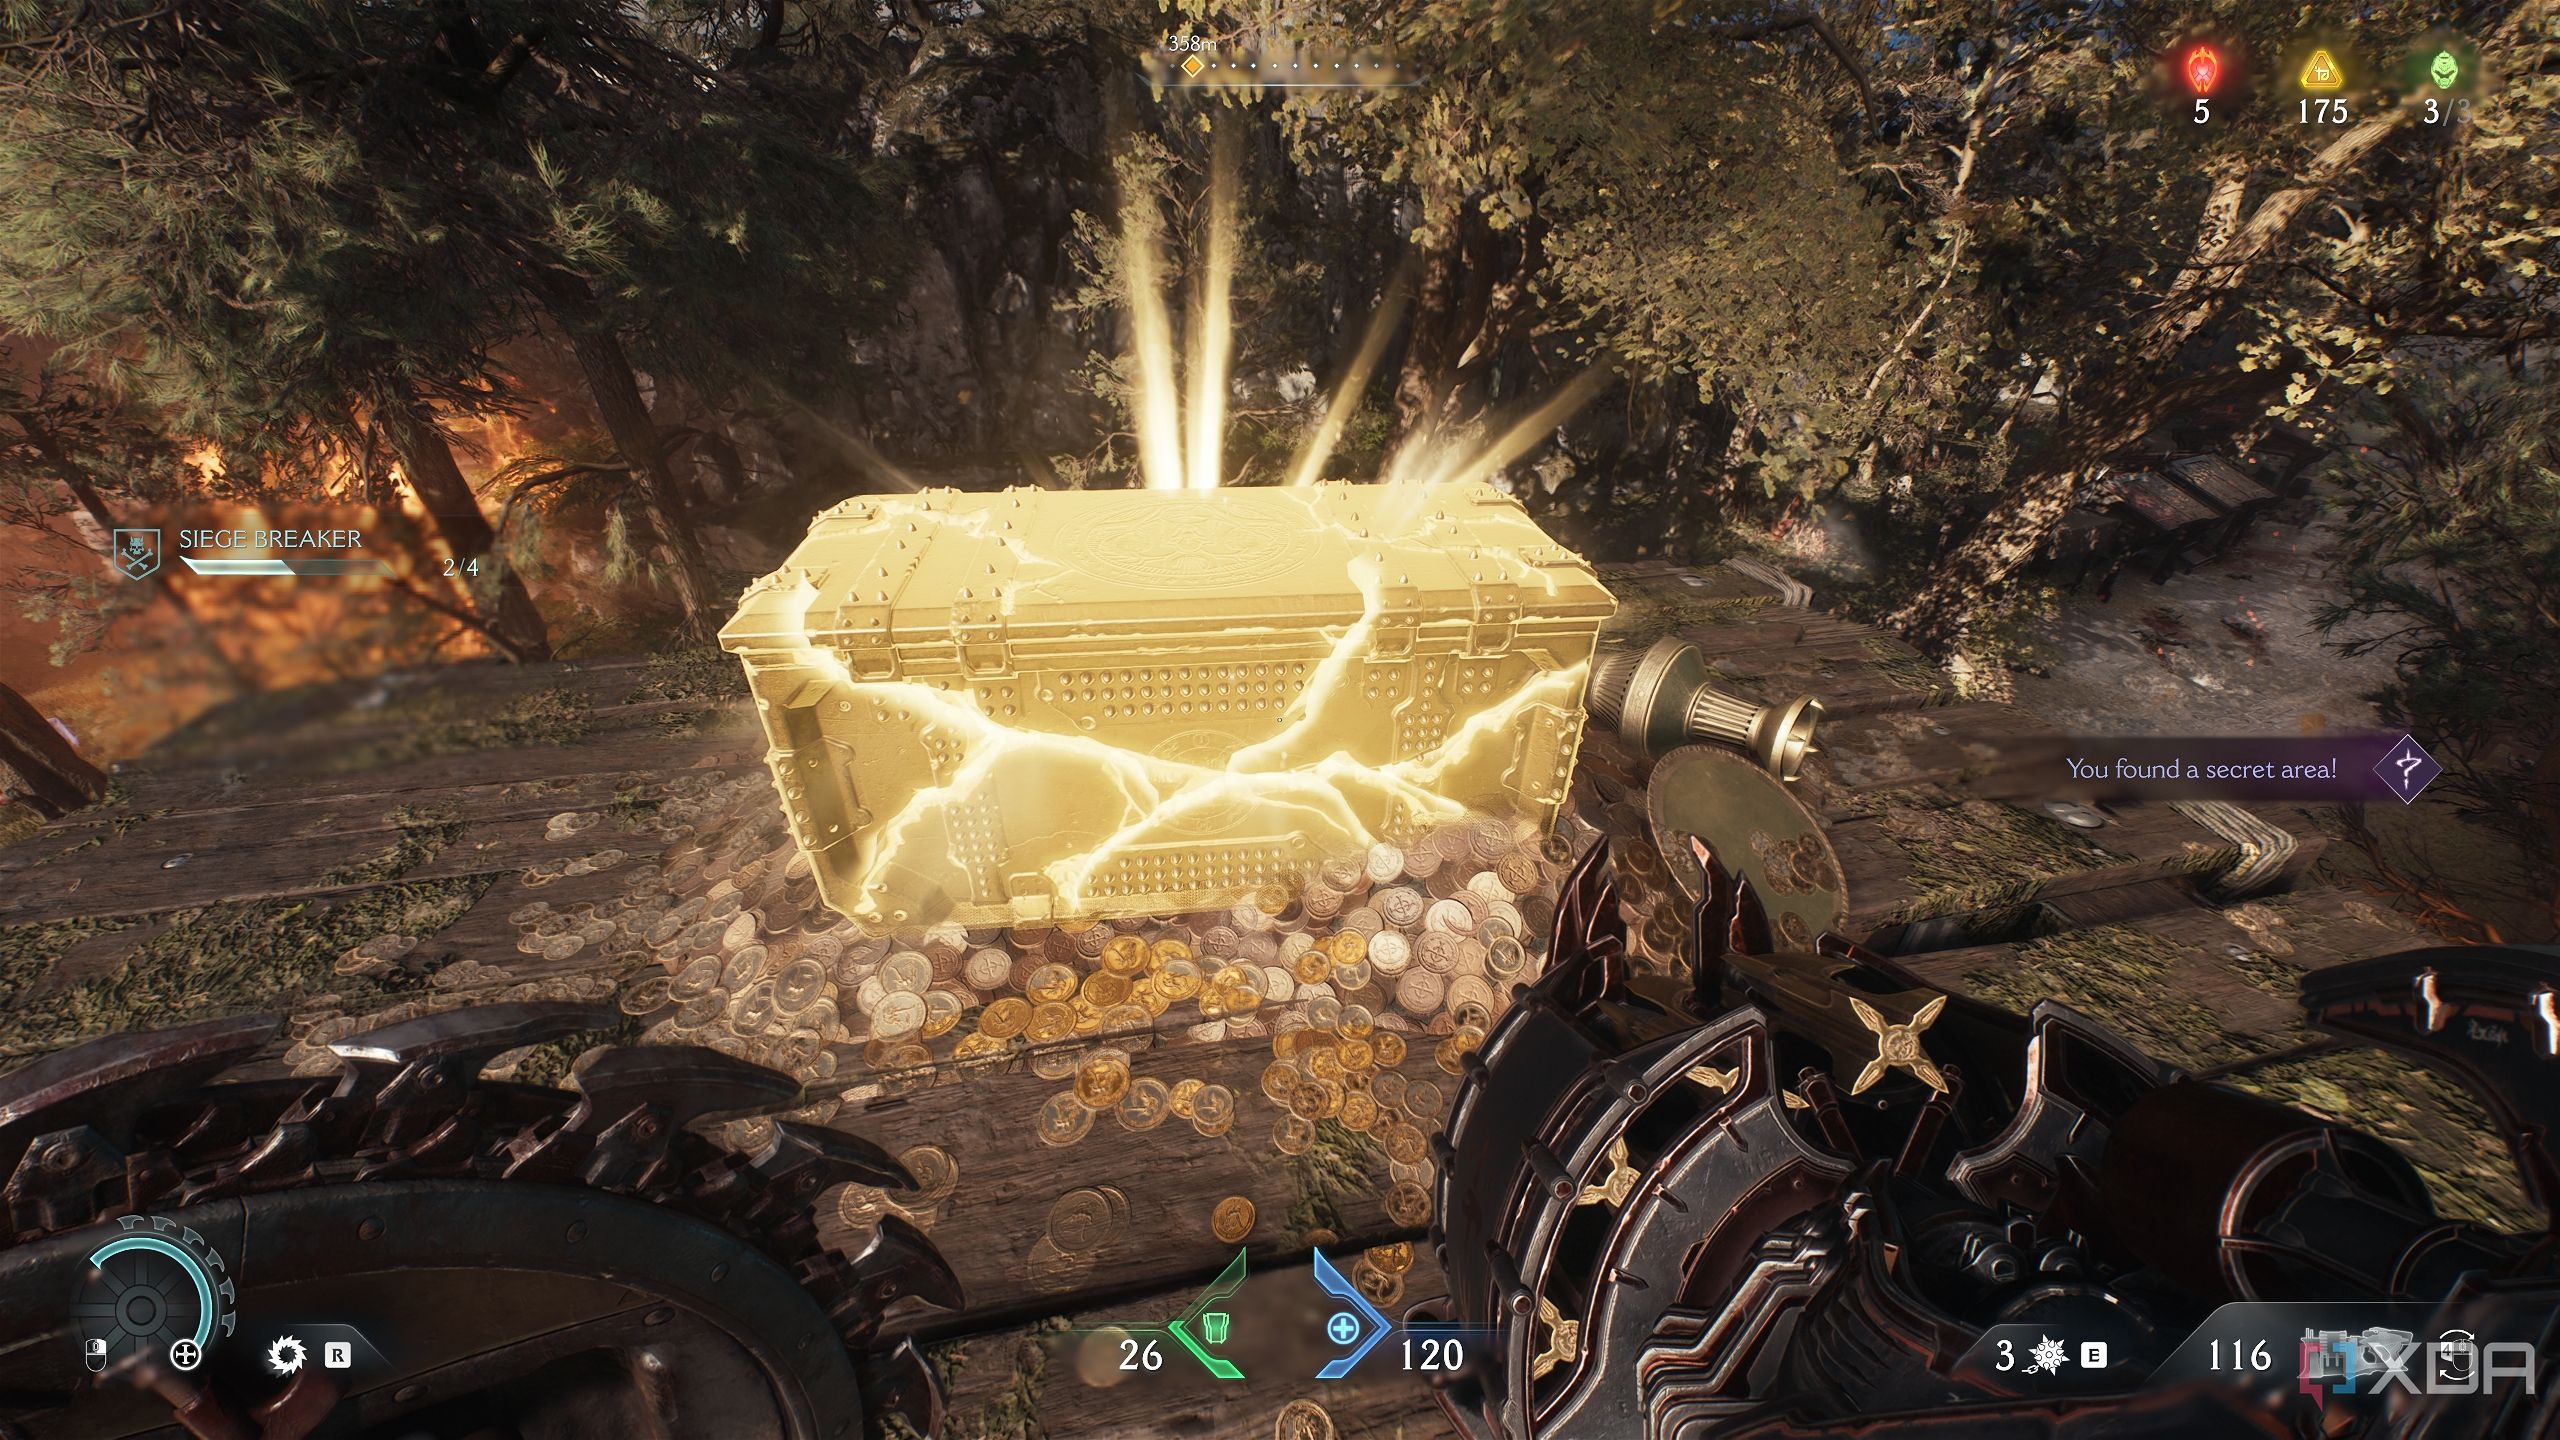
Head back to the arena of the first gore portal you destroyed, and refer to the location above.
Here, pick up gold bars lined up on the ground.
Red Ruby and more gold bars
Earning your diamonds... and your gold
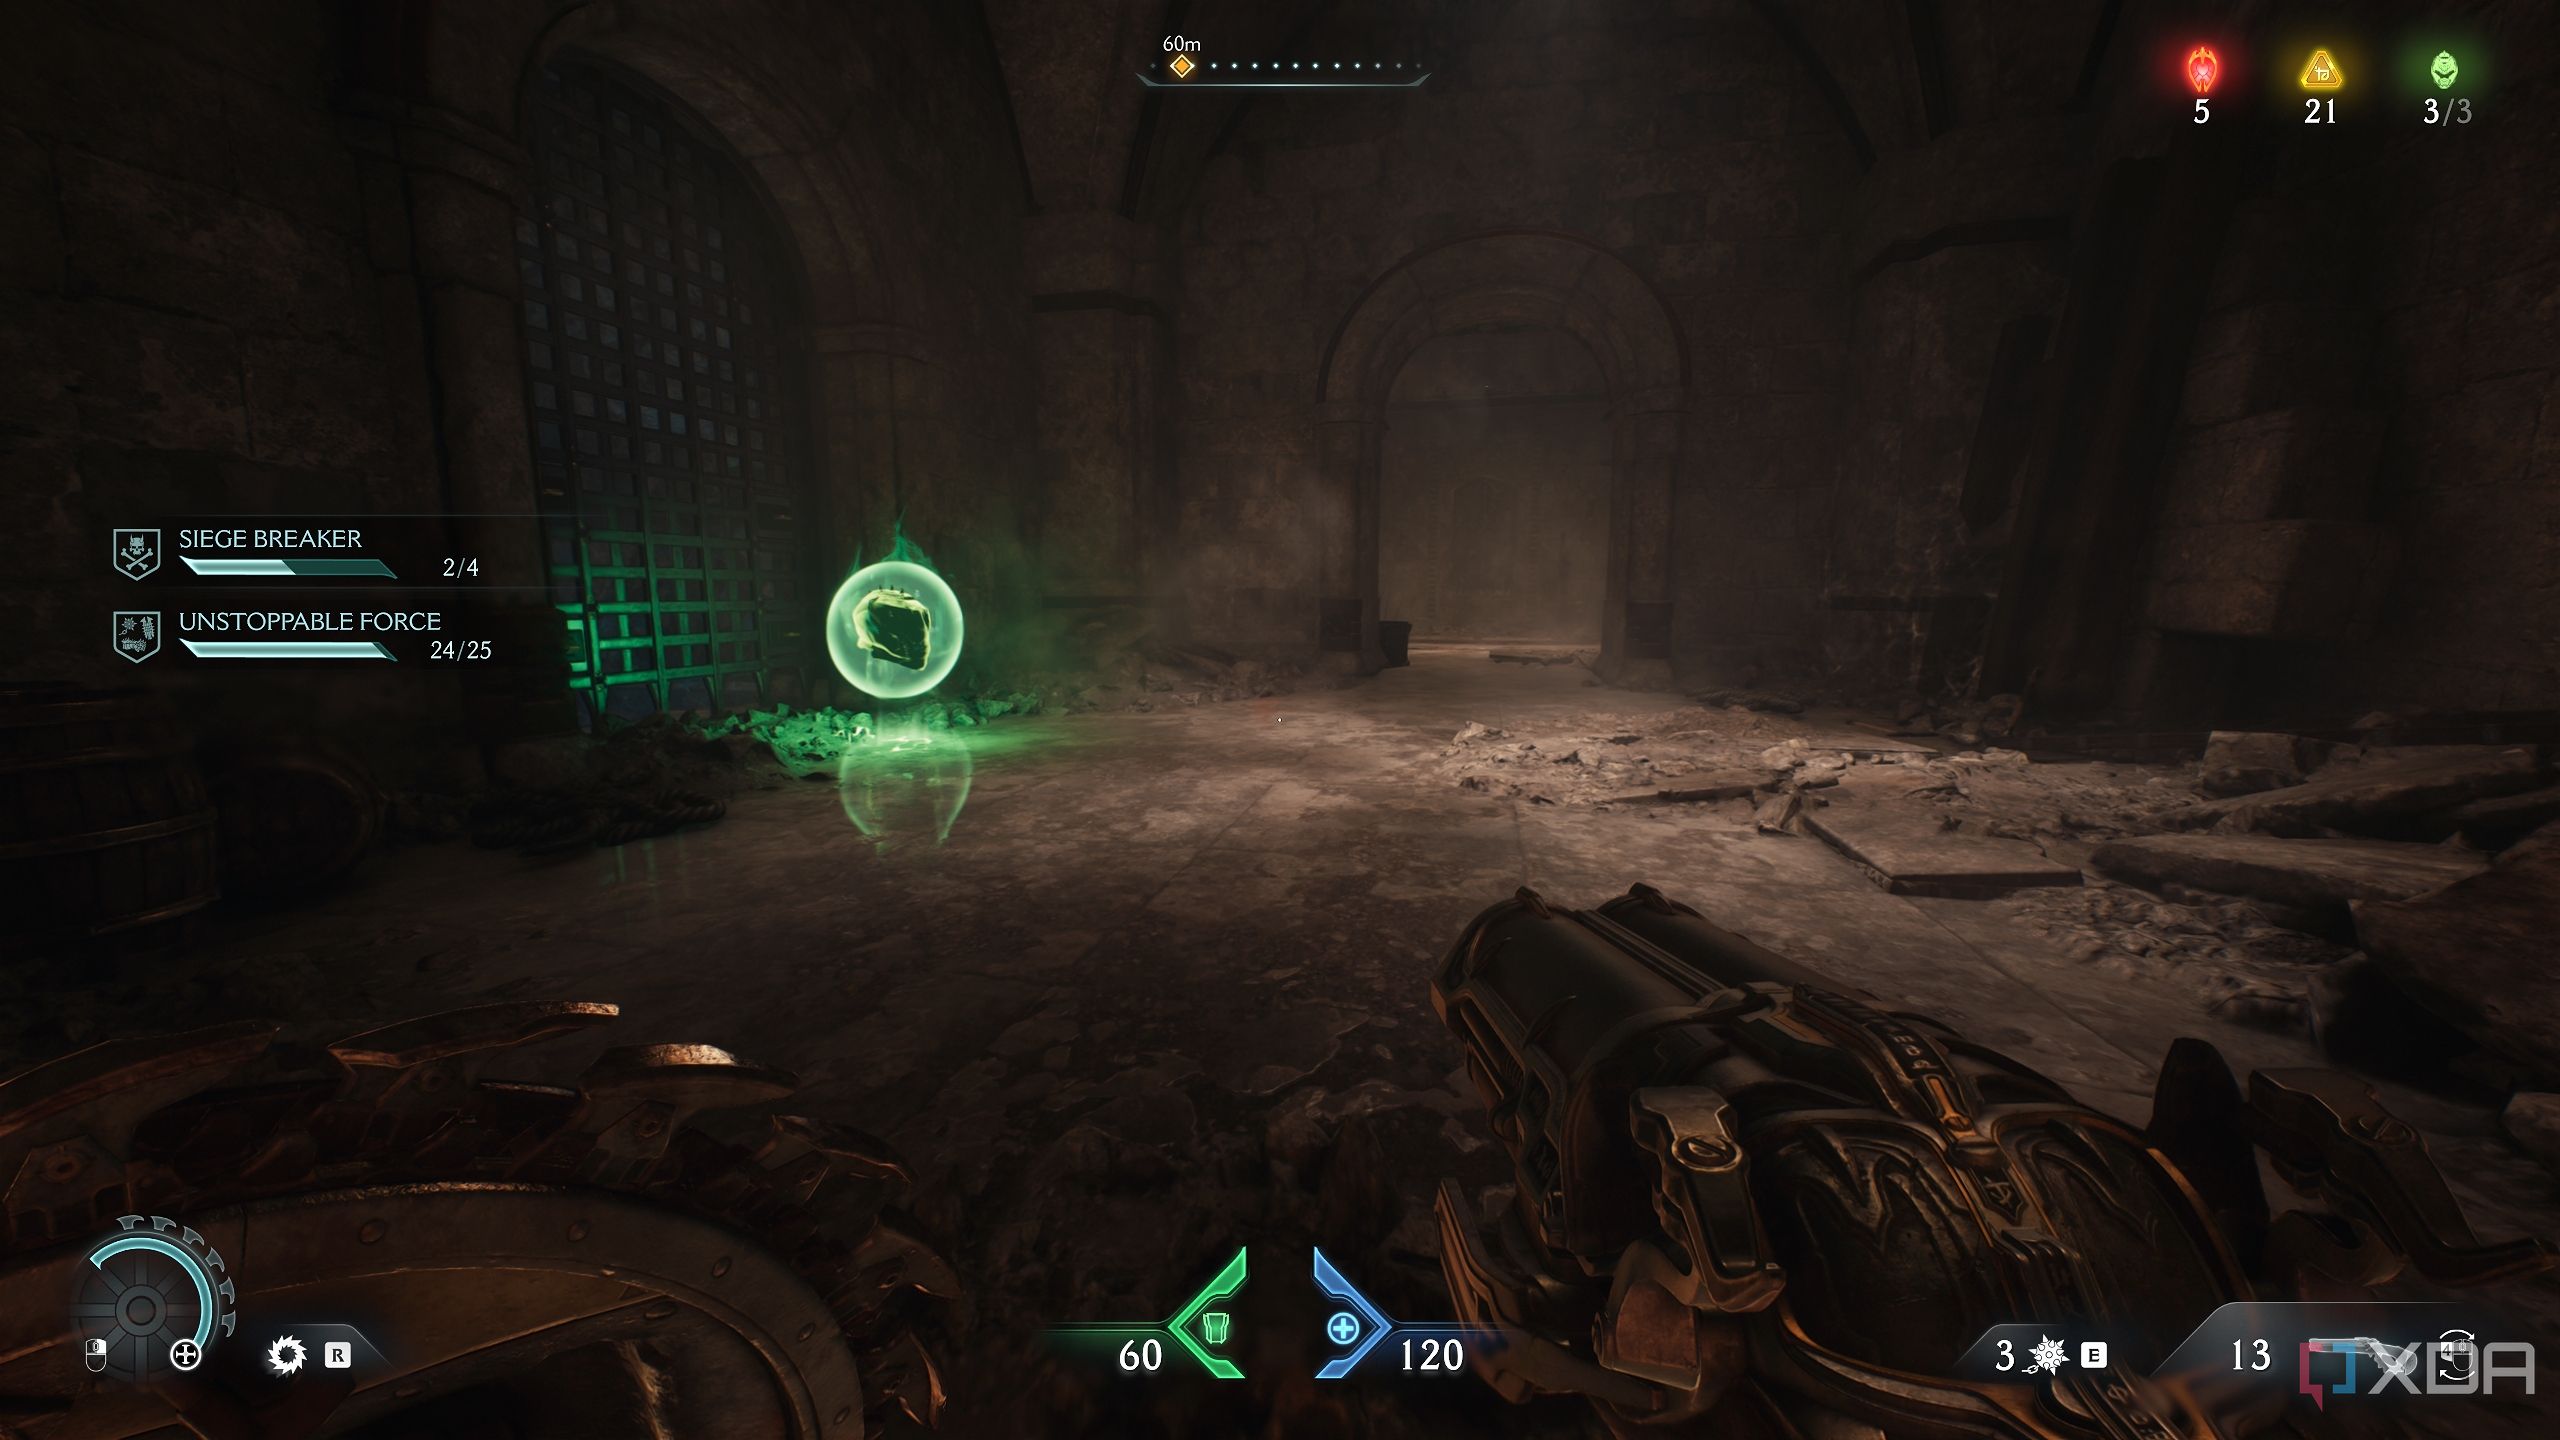
From here, look at the small demonic pillar straight ahead in a small field, with a Shield Charge symbol on it.
Behind it, a Red Ruby is blocked. Destroy the outgrowth to trigger a horde invasion. Once you’ve taken care of the demons, the statue holding the Red Ruby should now be accessible. Collect it, and don’t forget to pick up the gold bars on the ground towards the right.
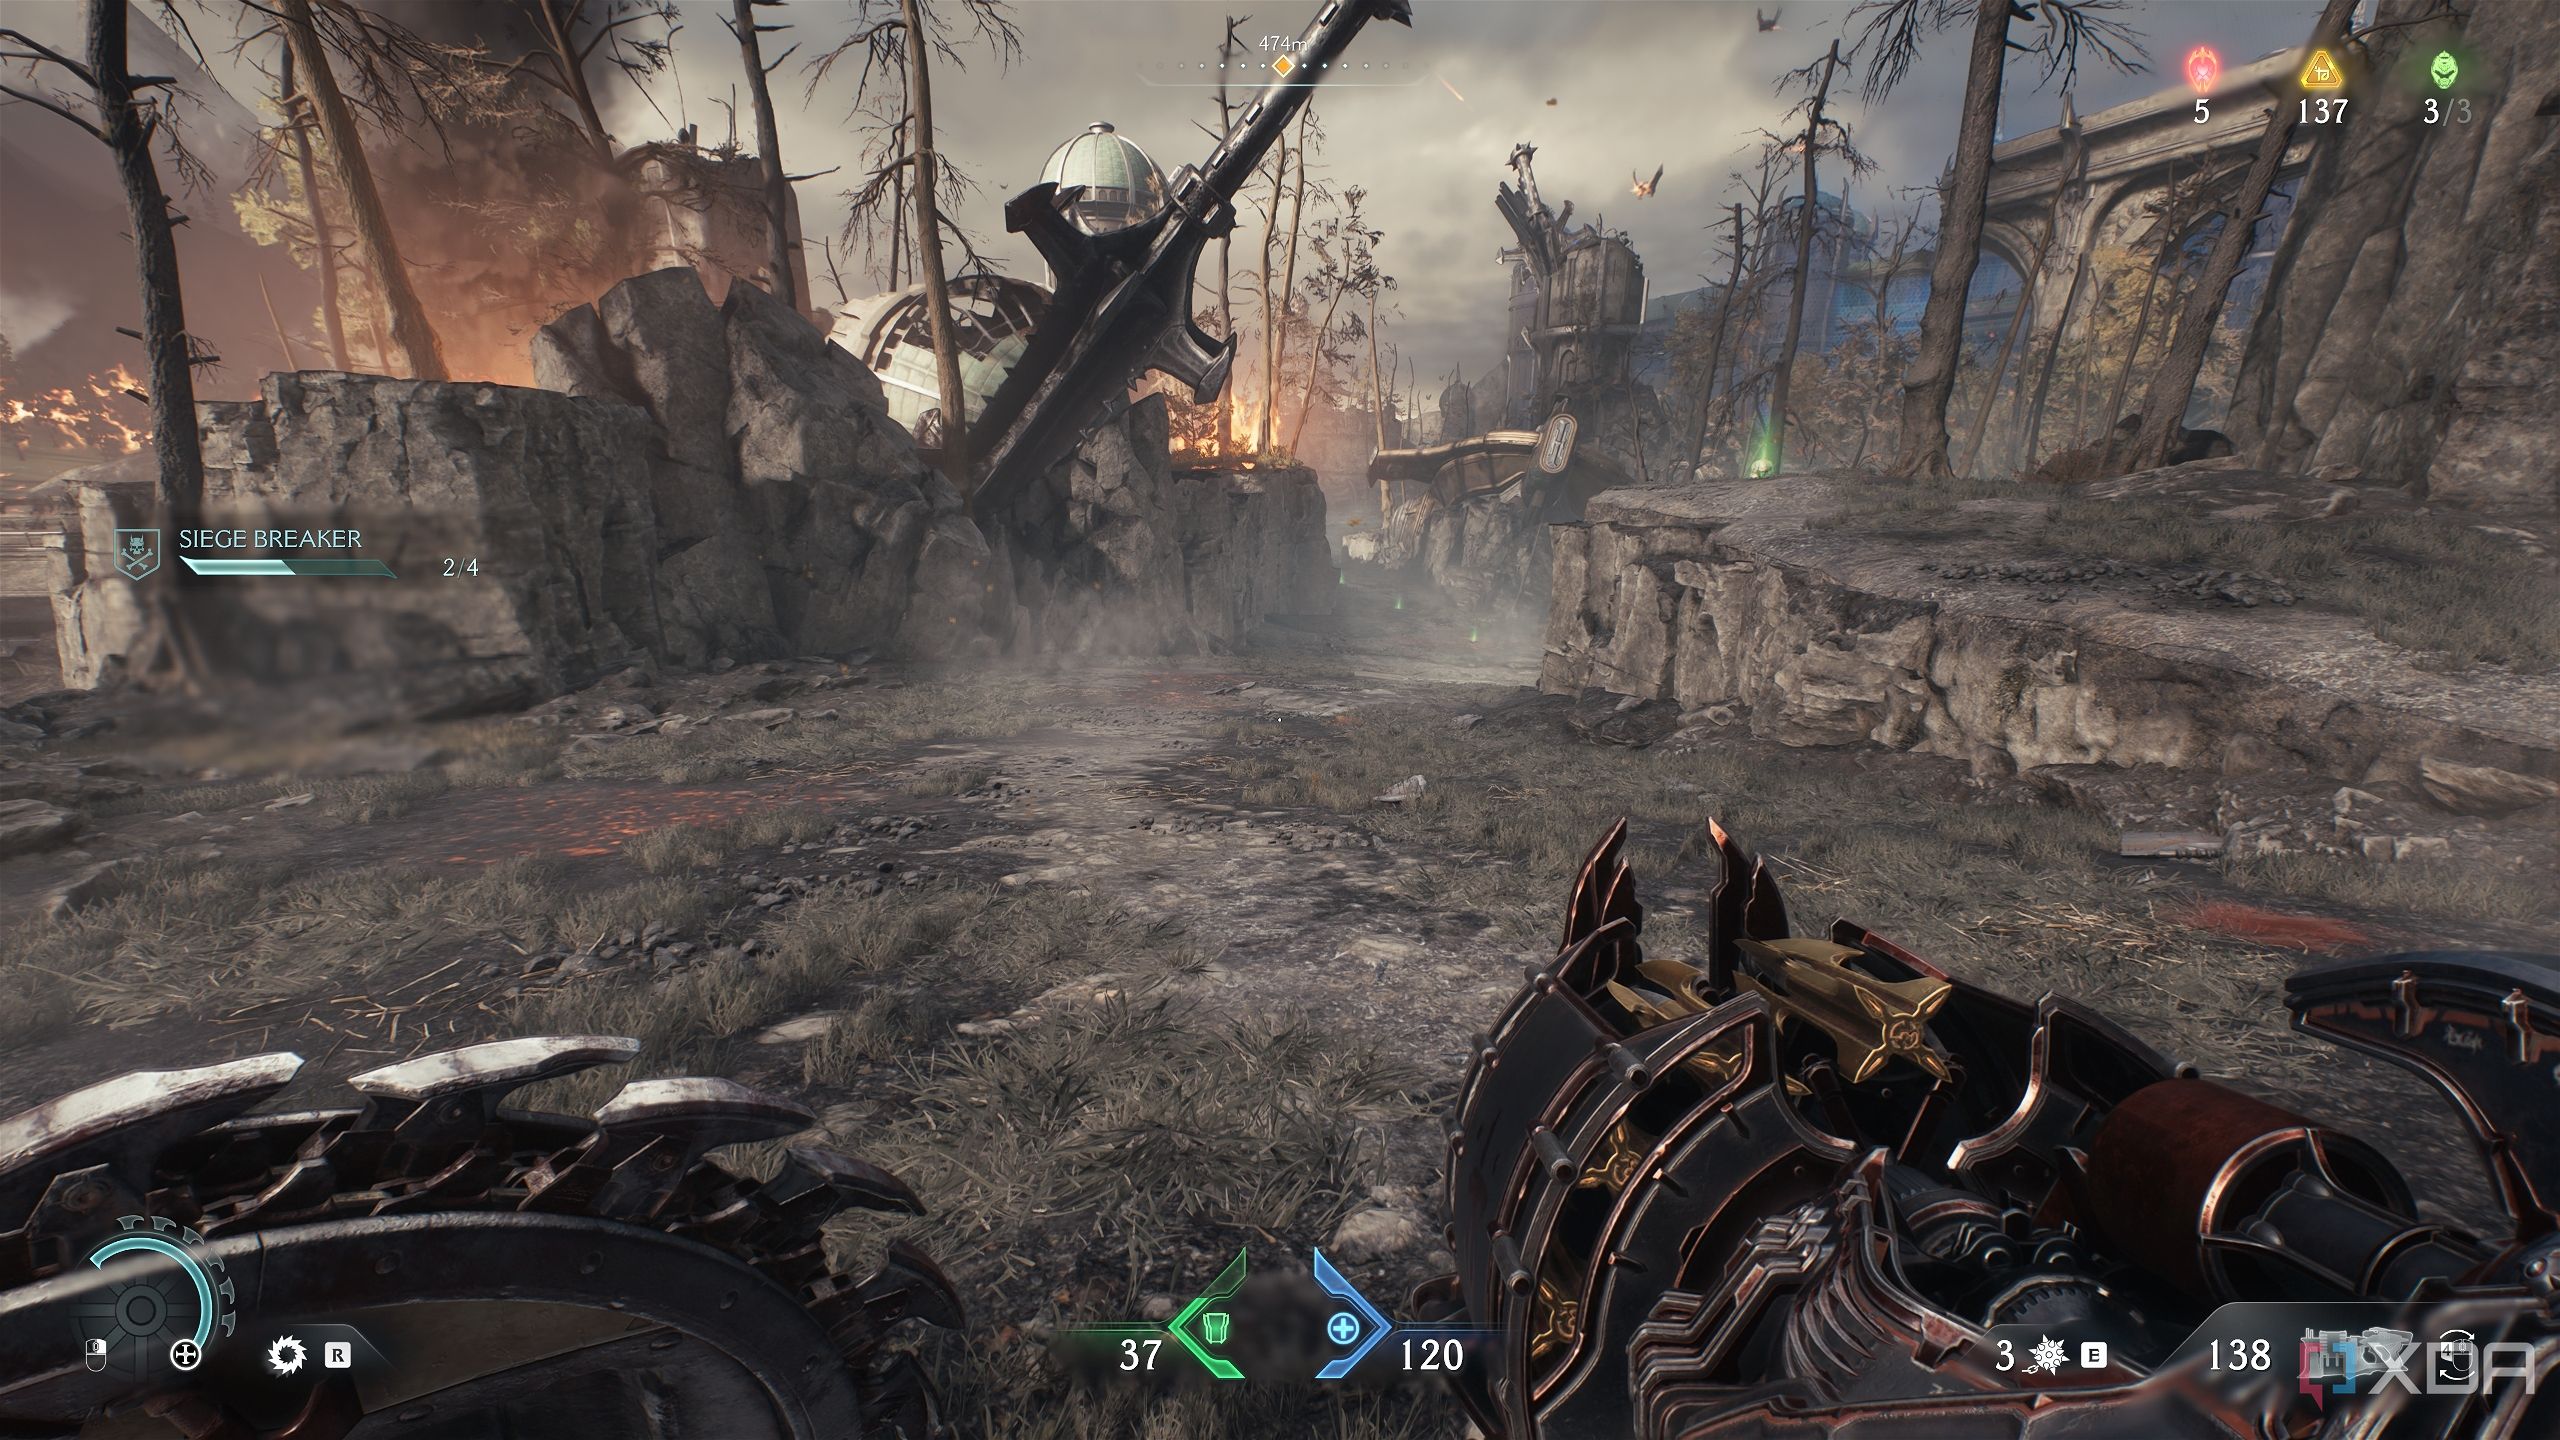
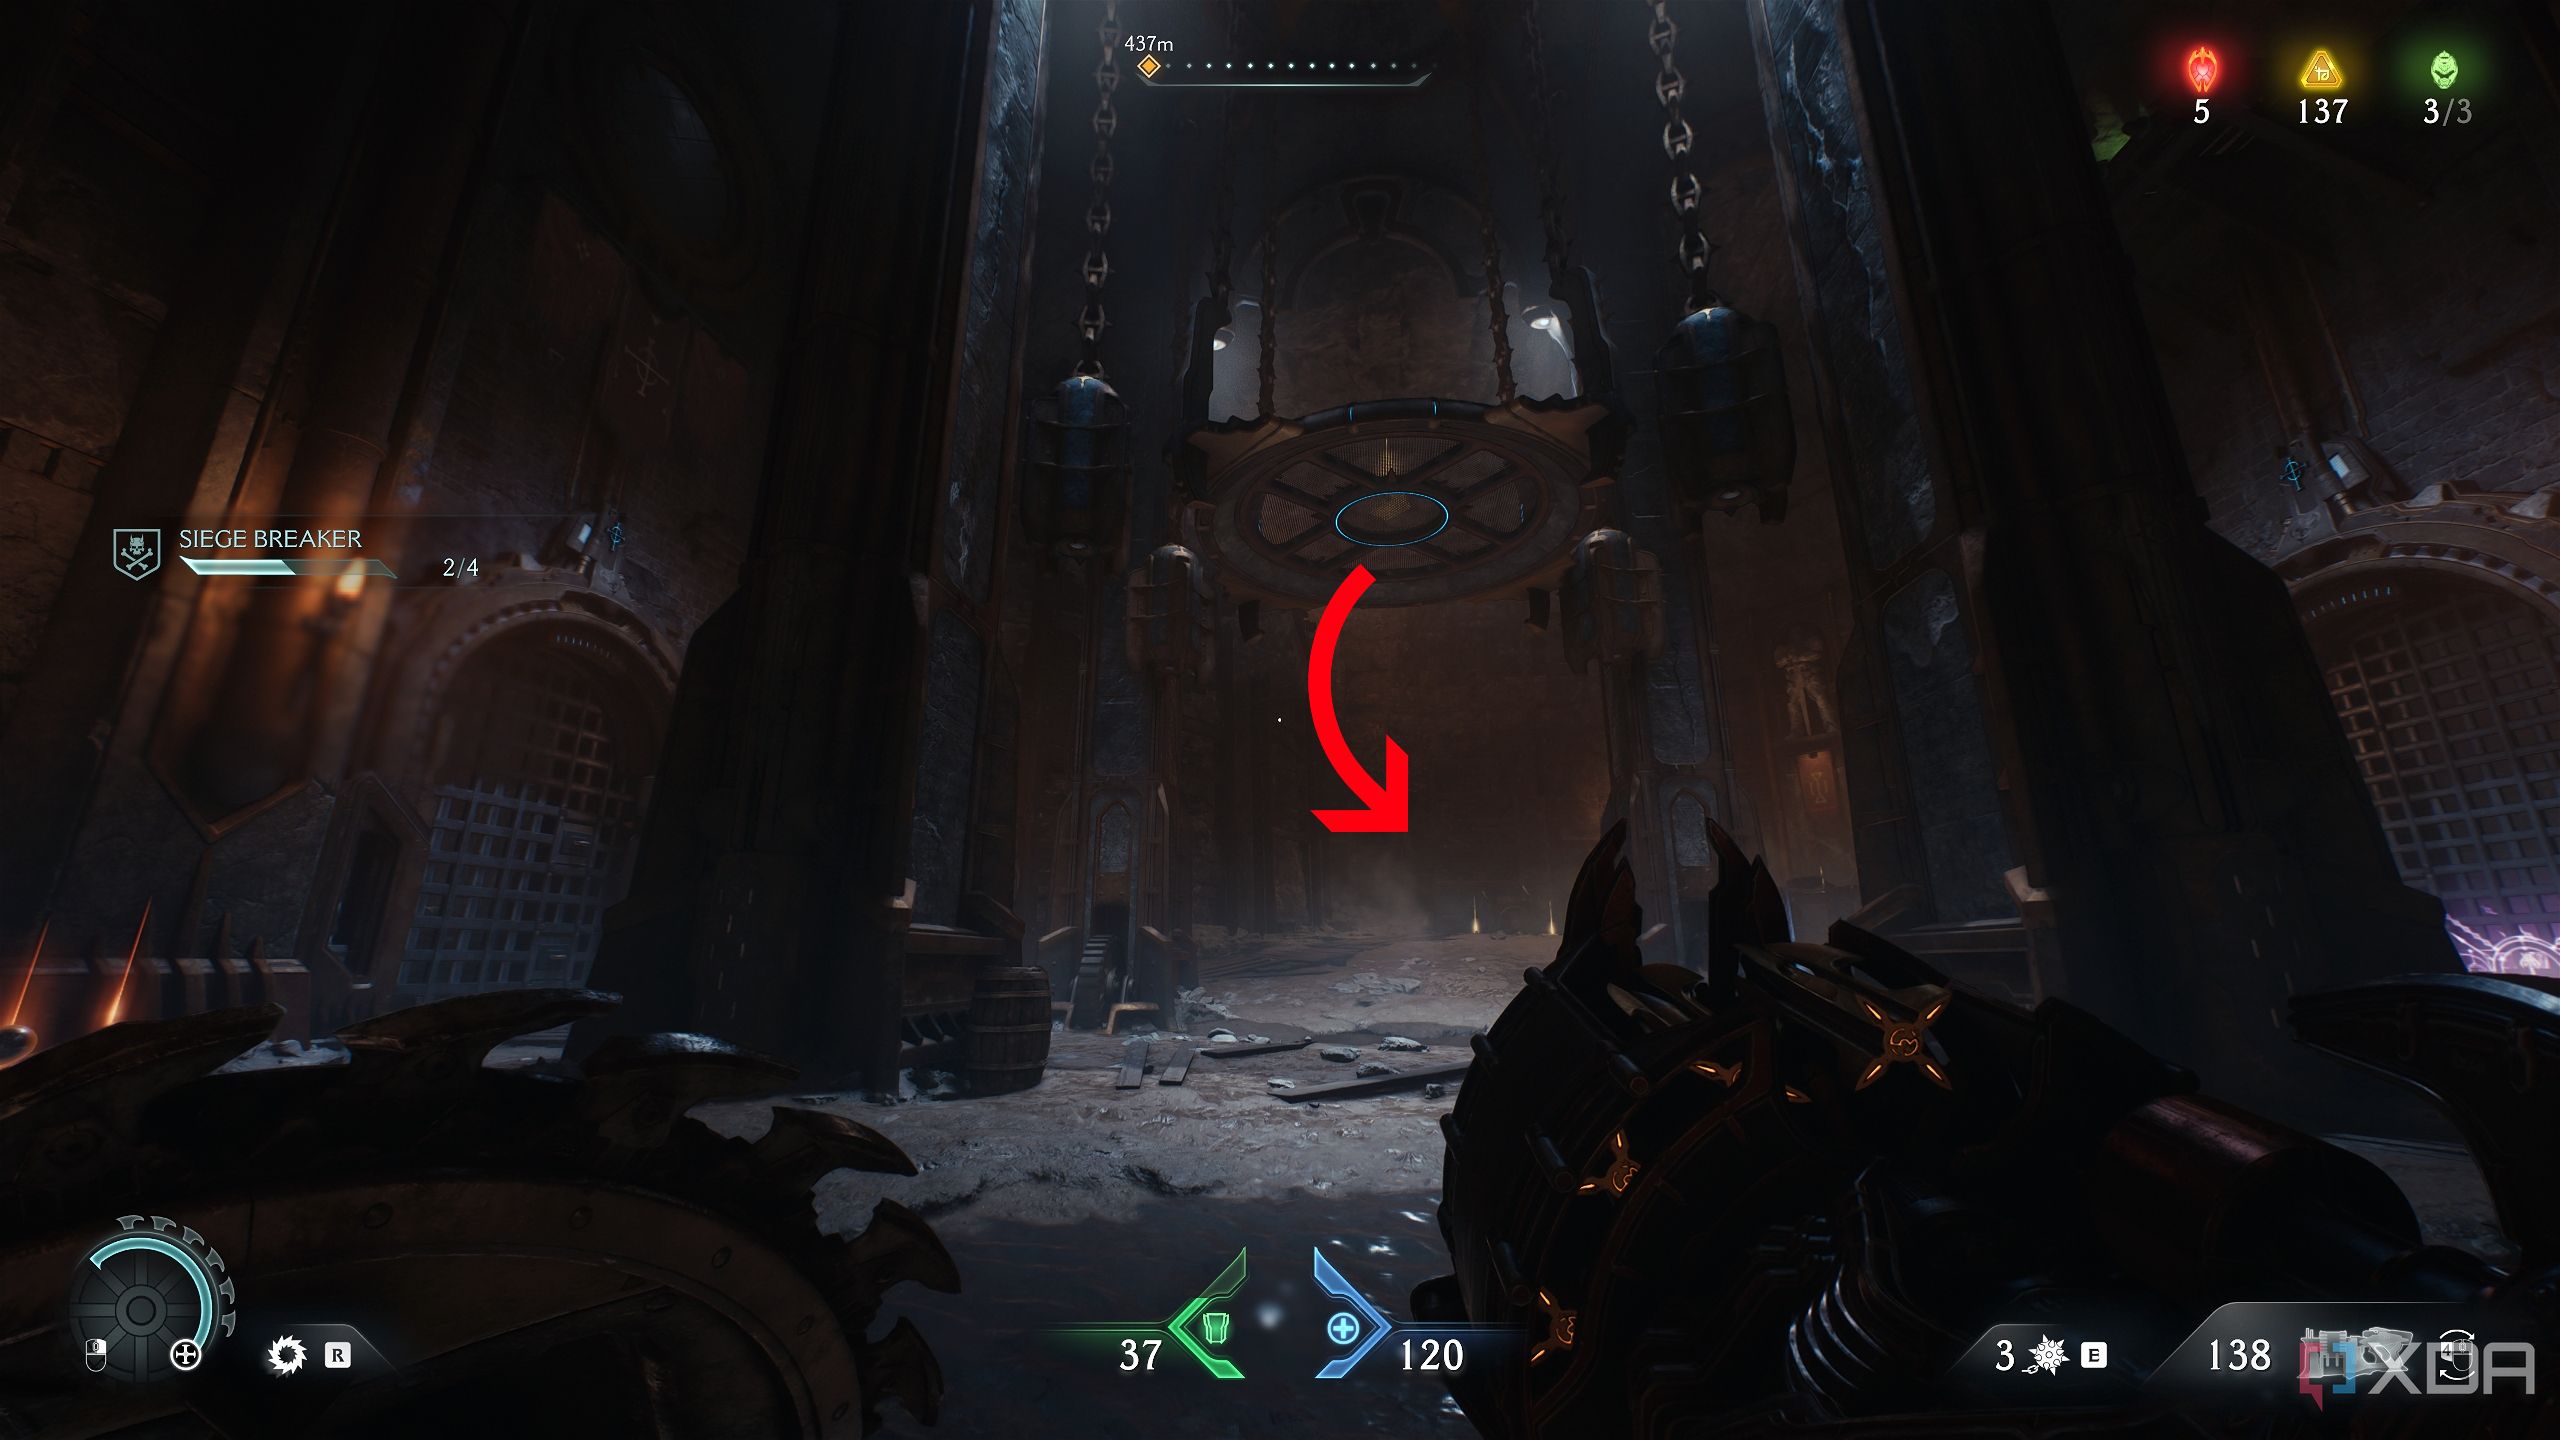
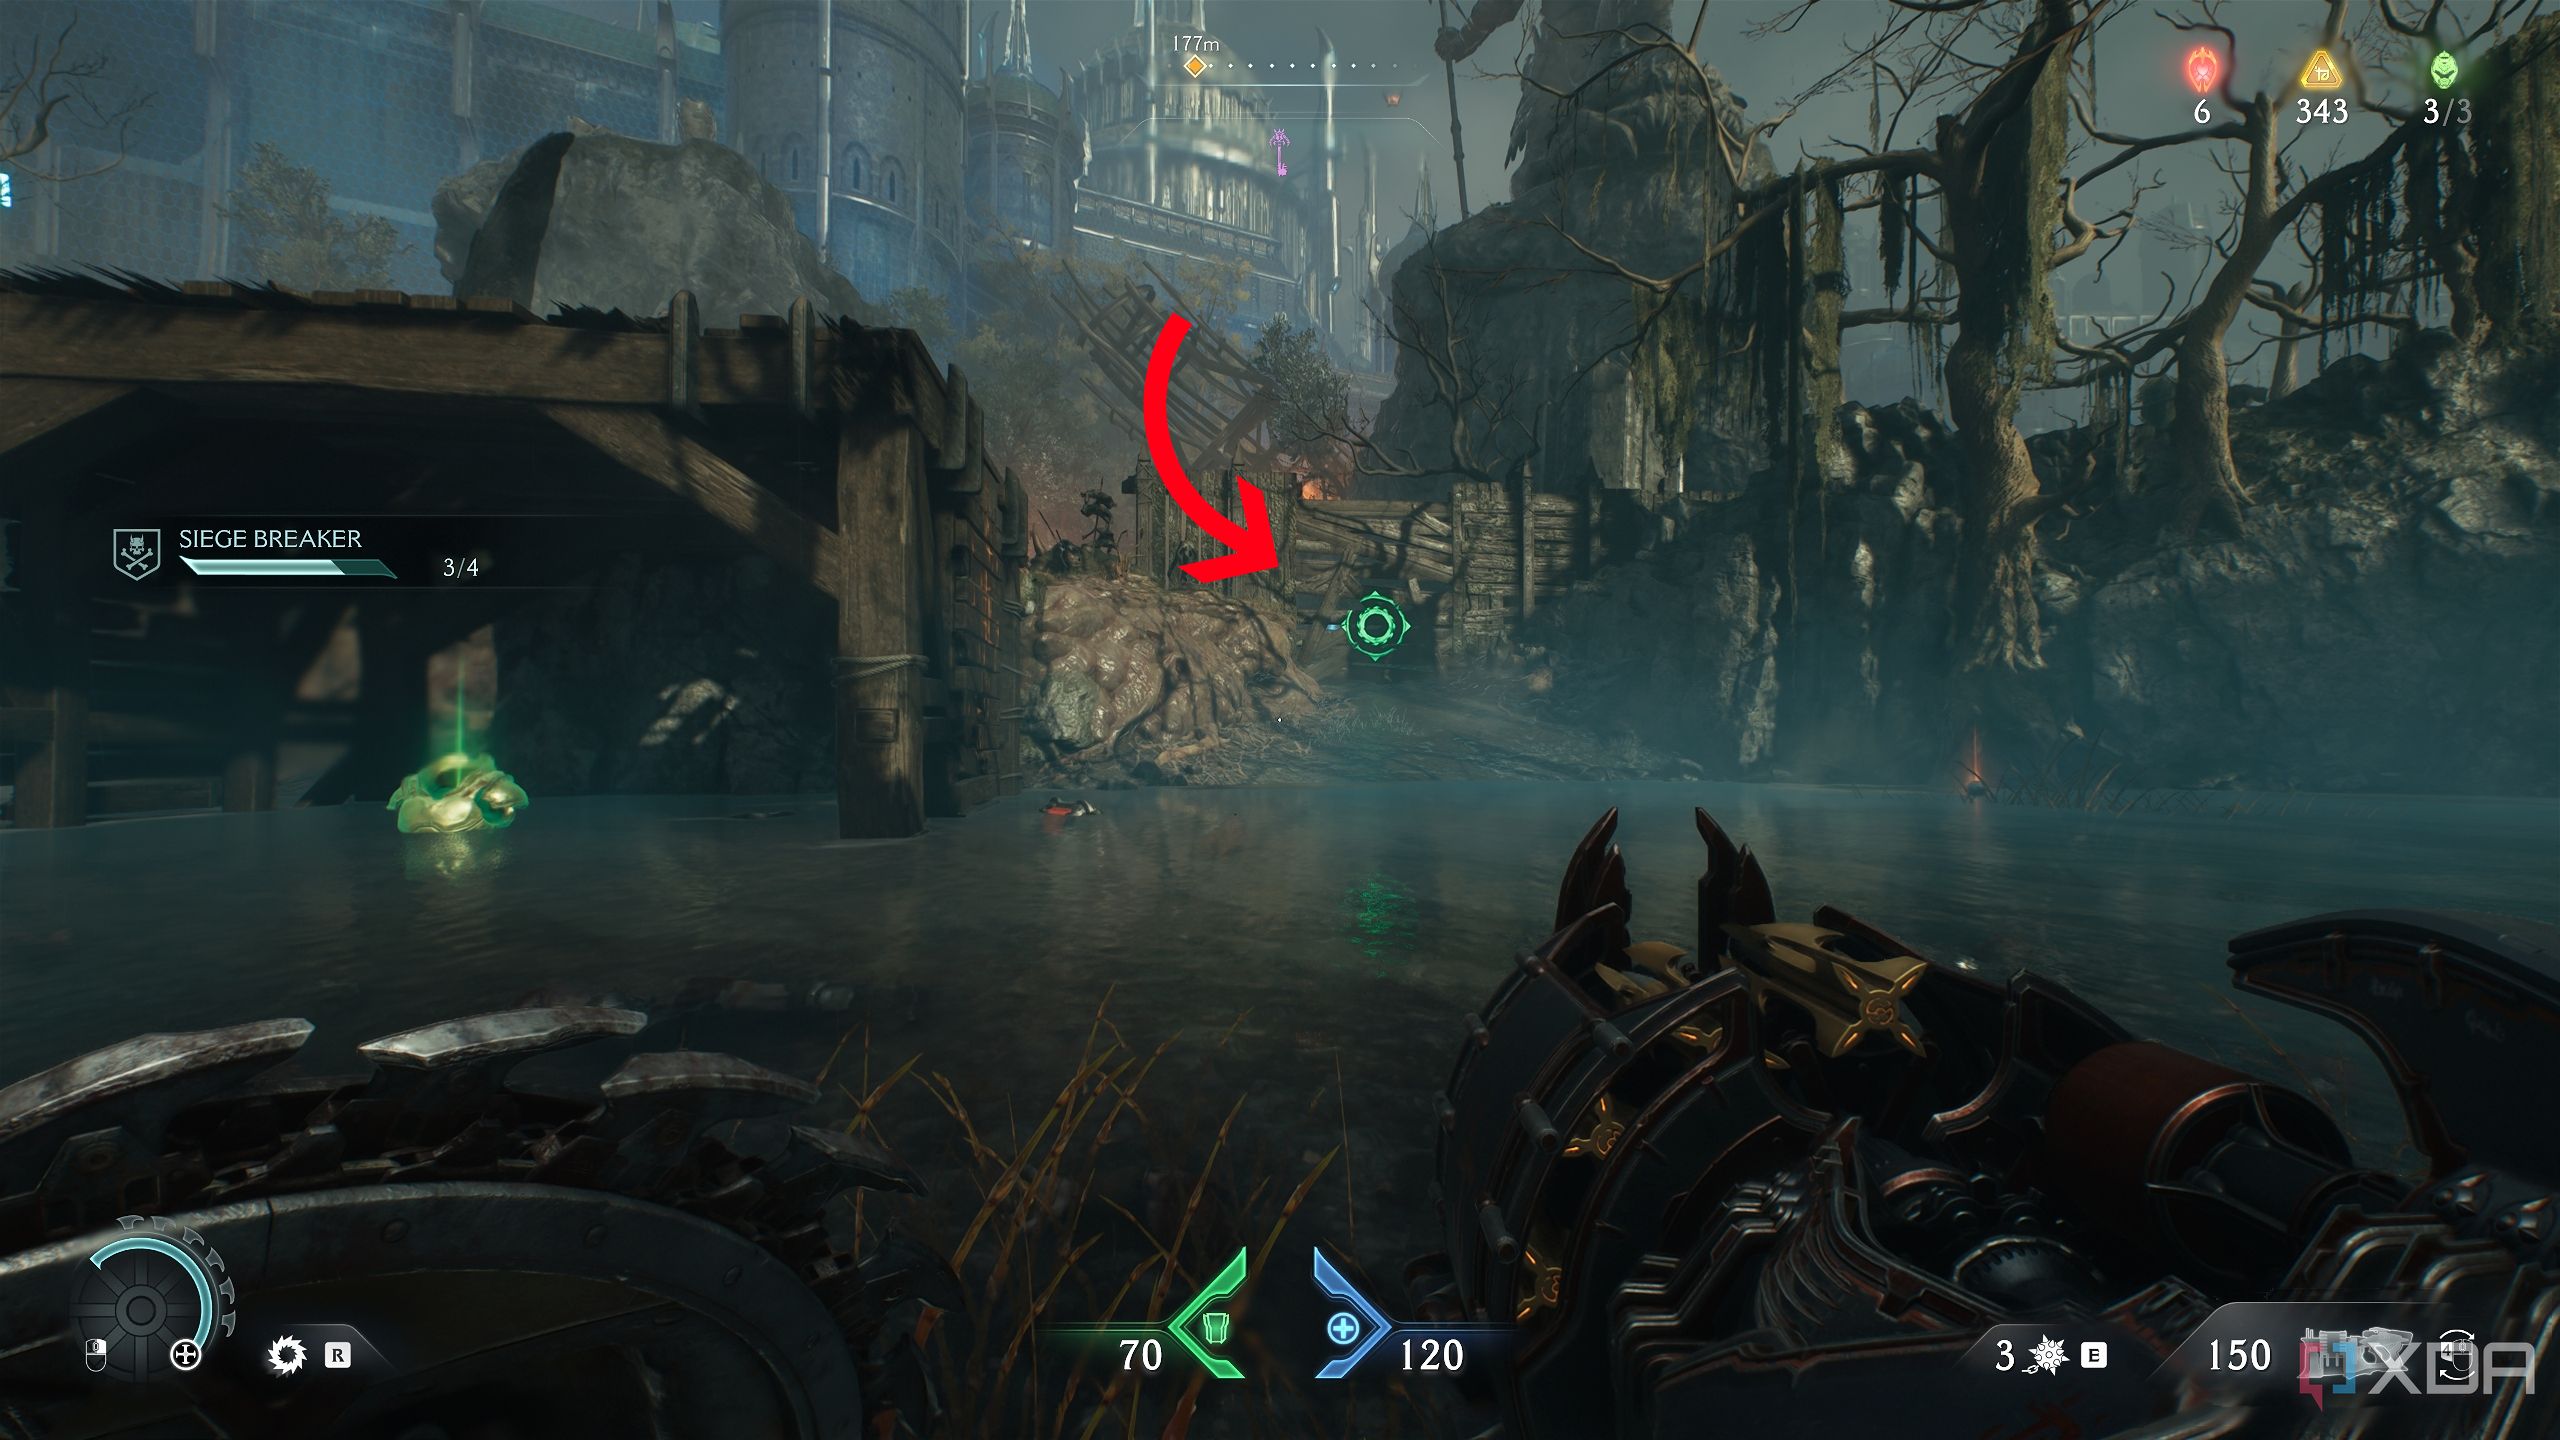
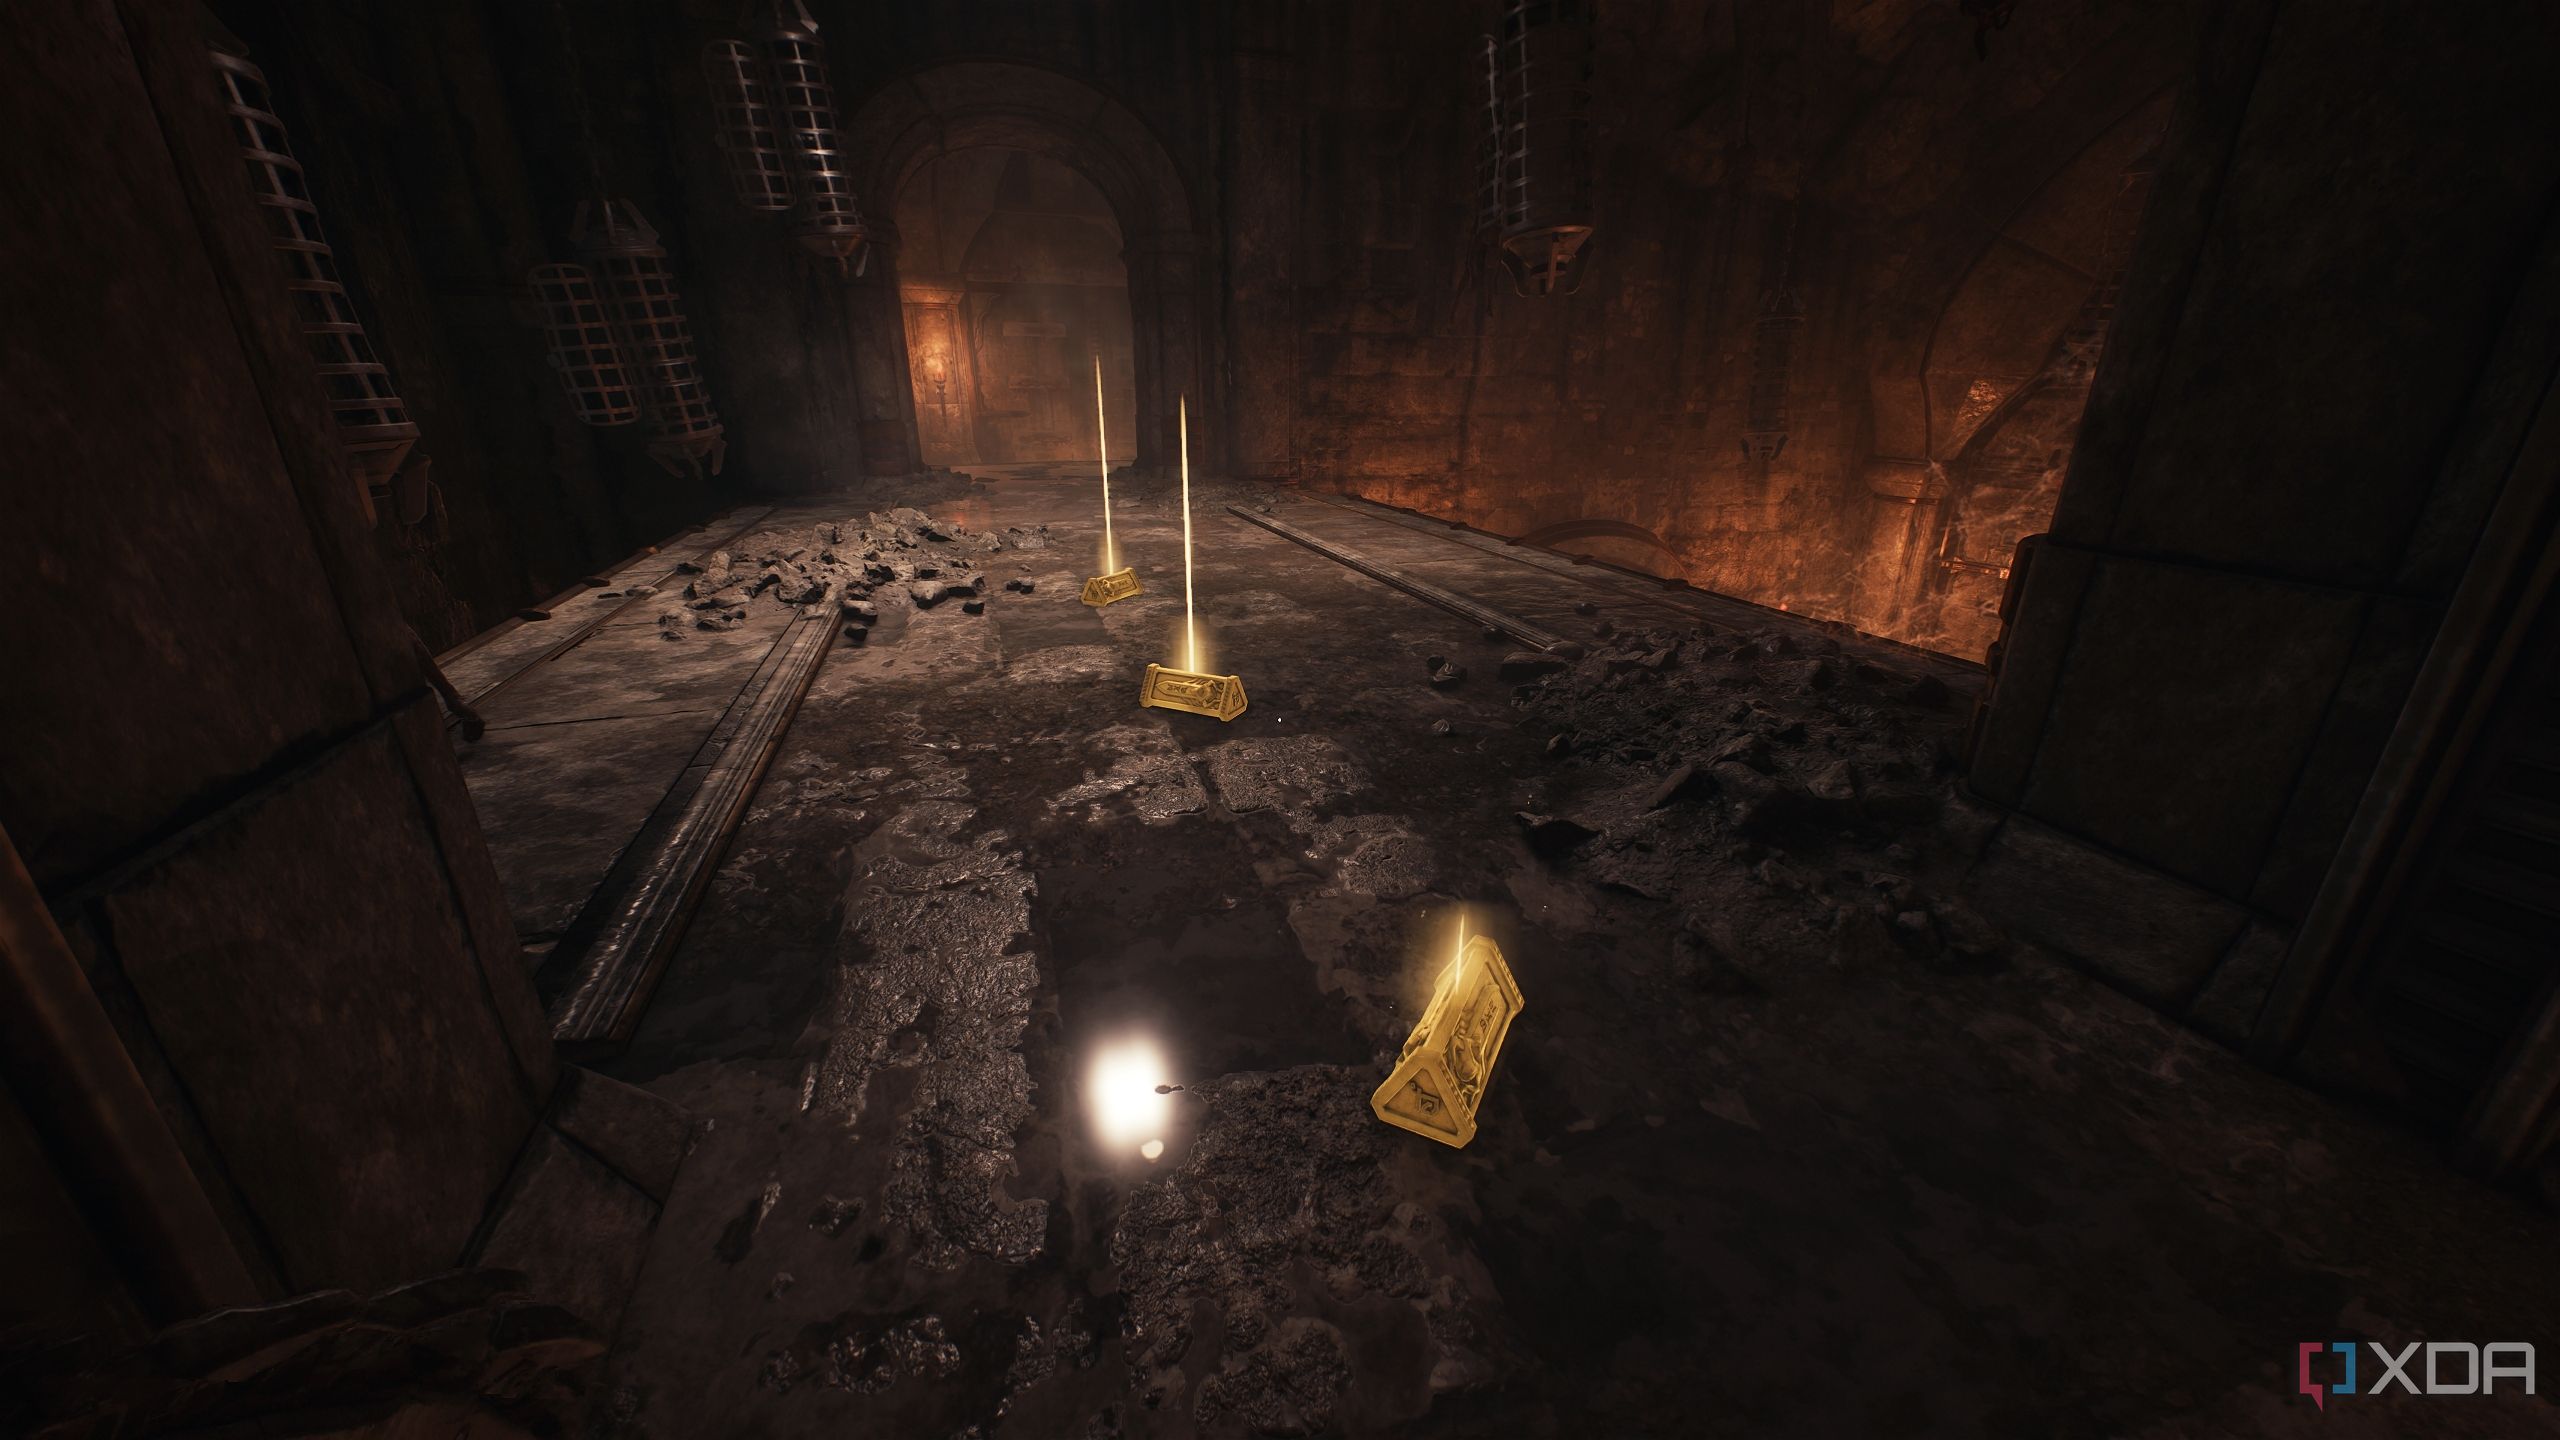
Gold bars and Artillery Cannon 1
Breaking the siege, one cannon at a time
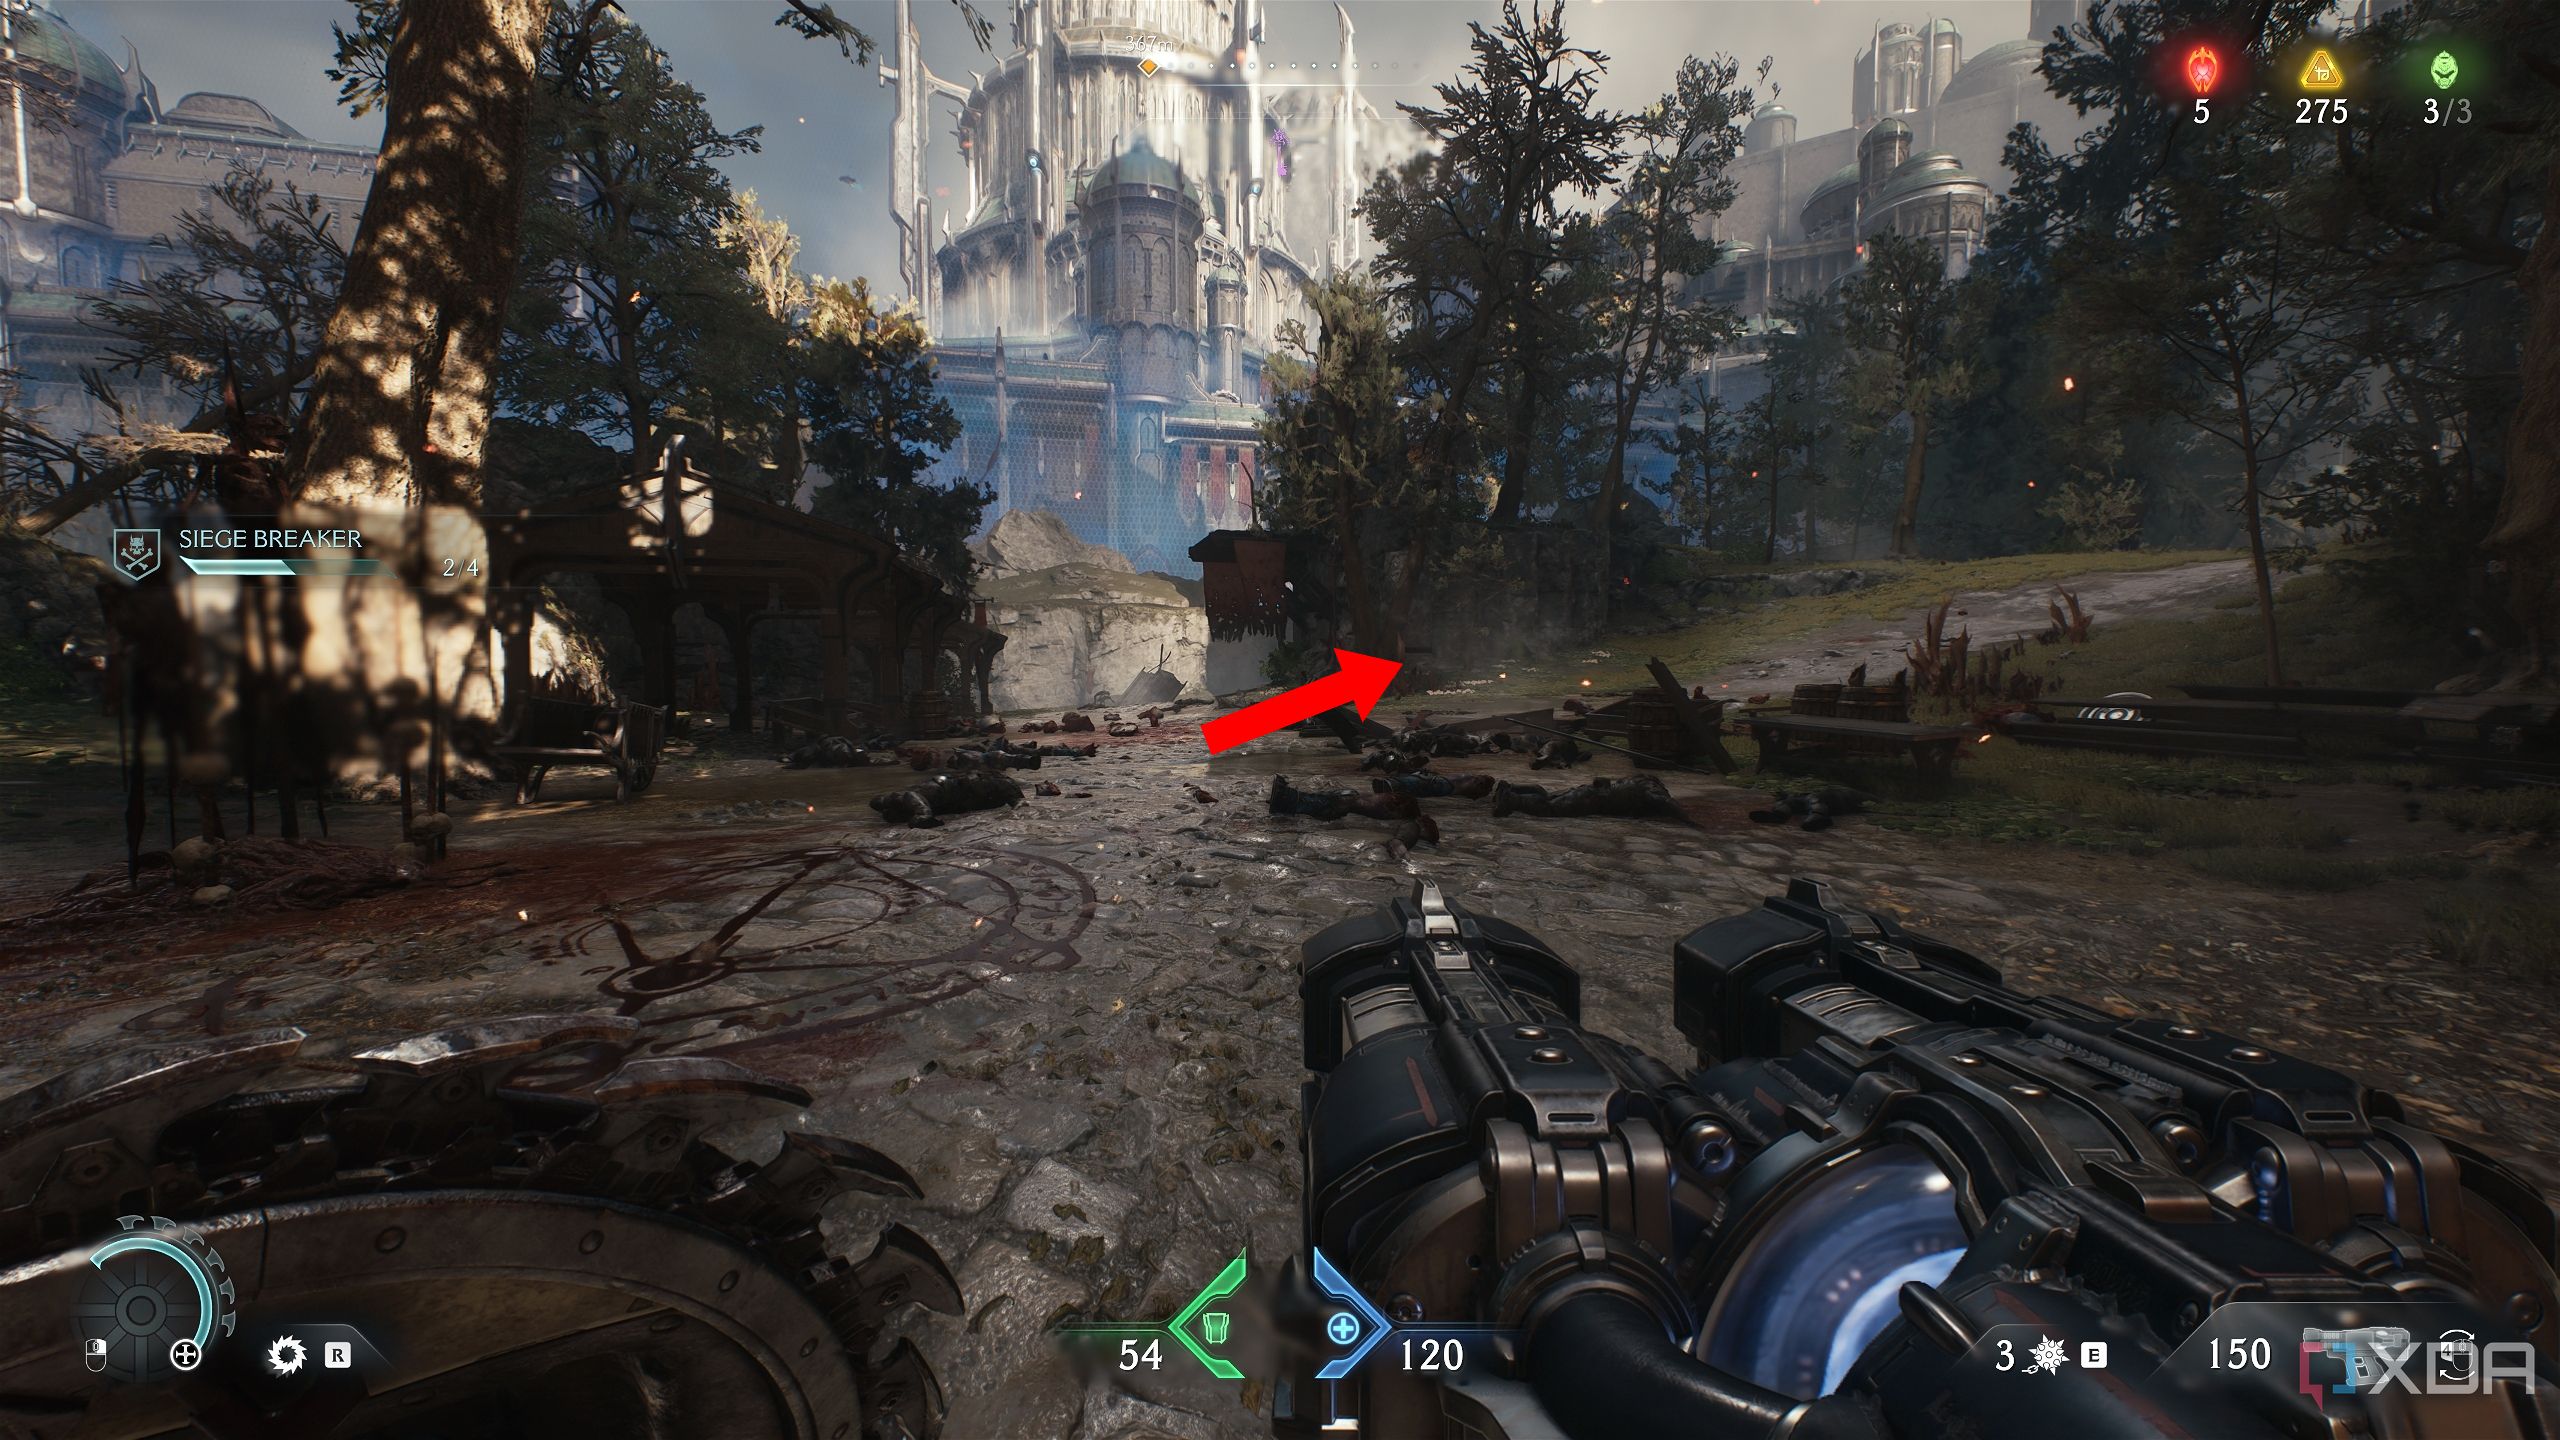
Head forward to the location in the image above.
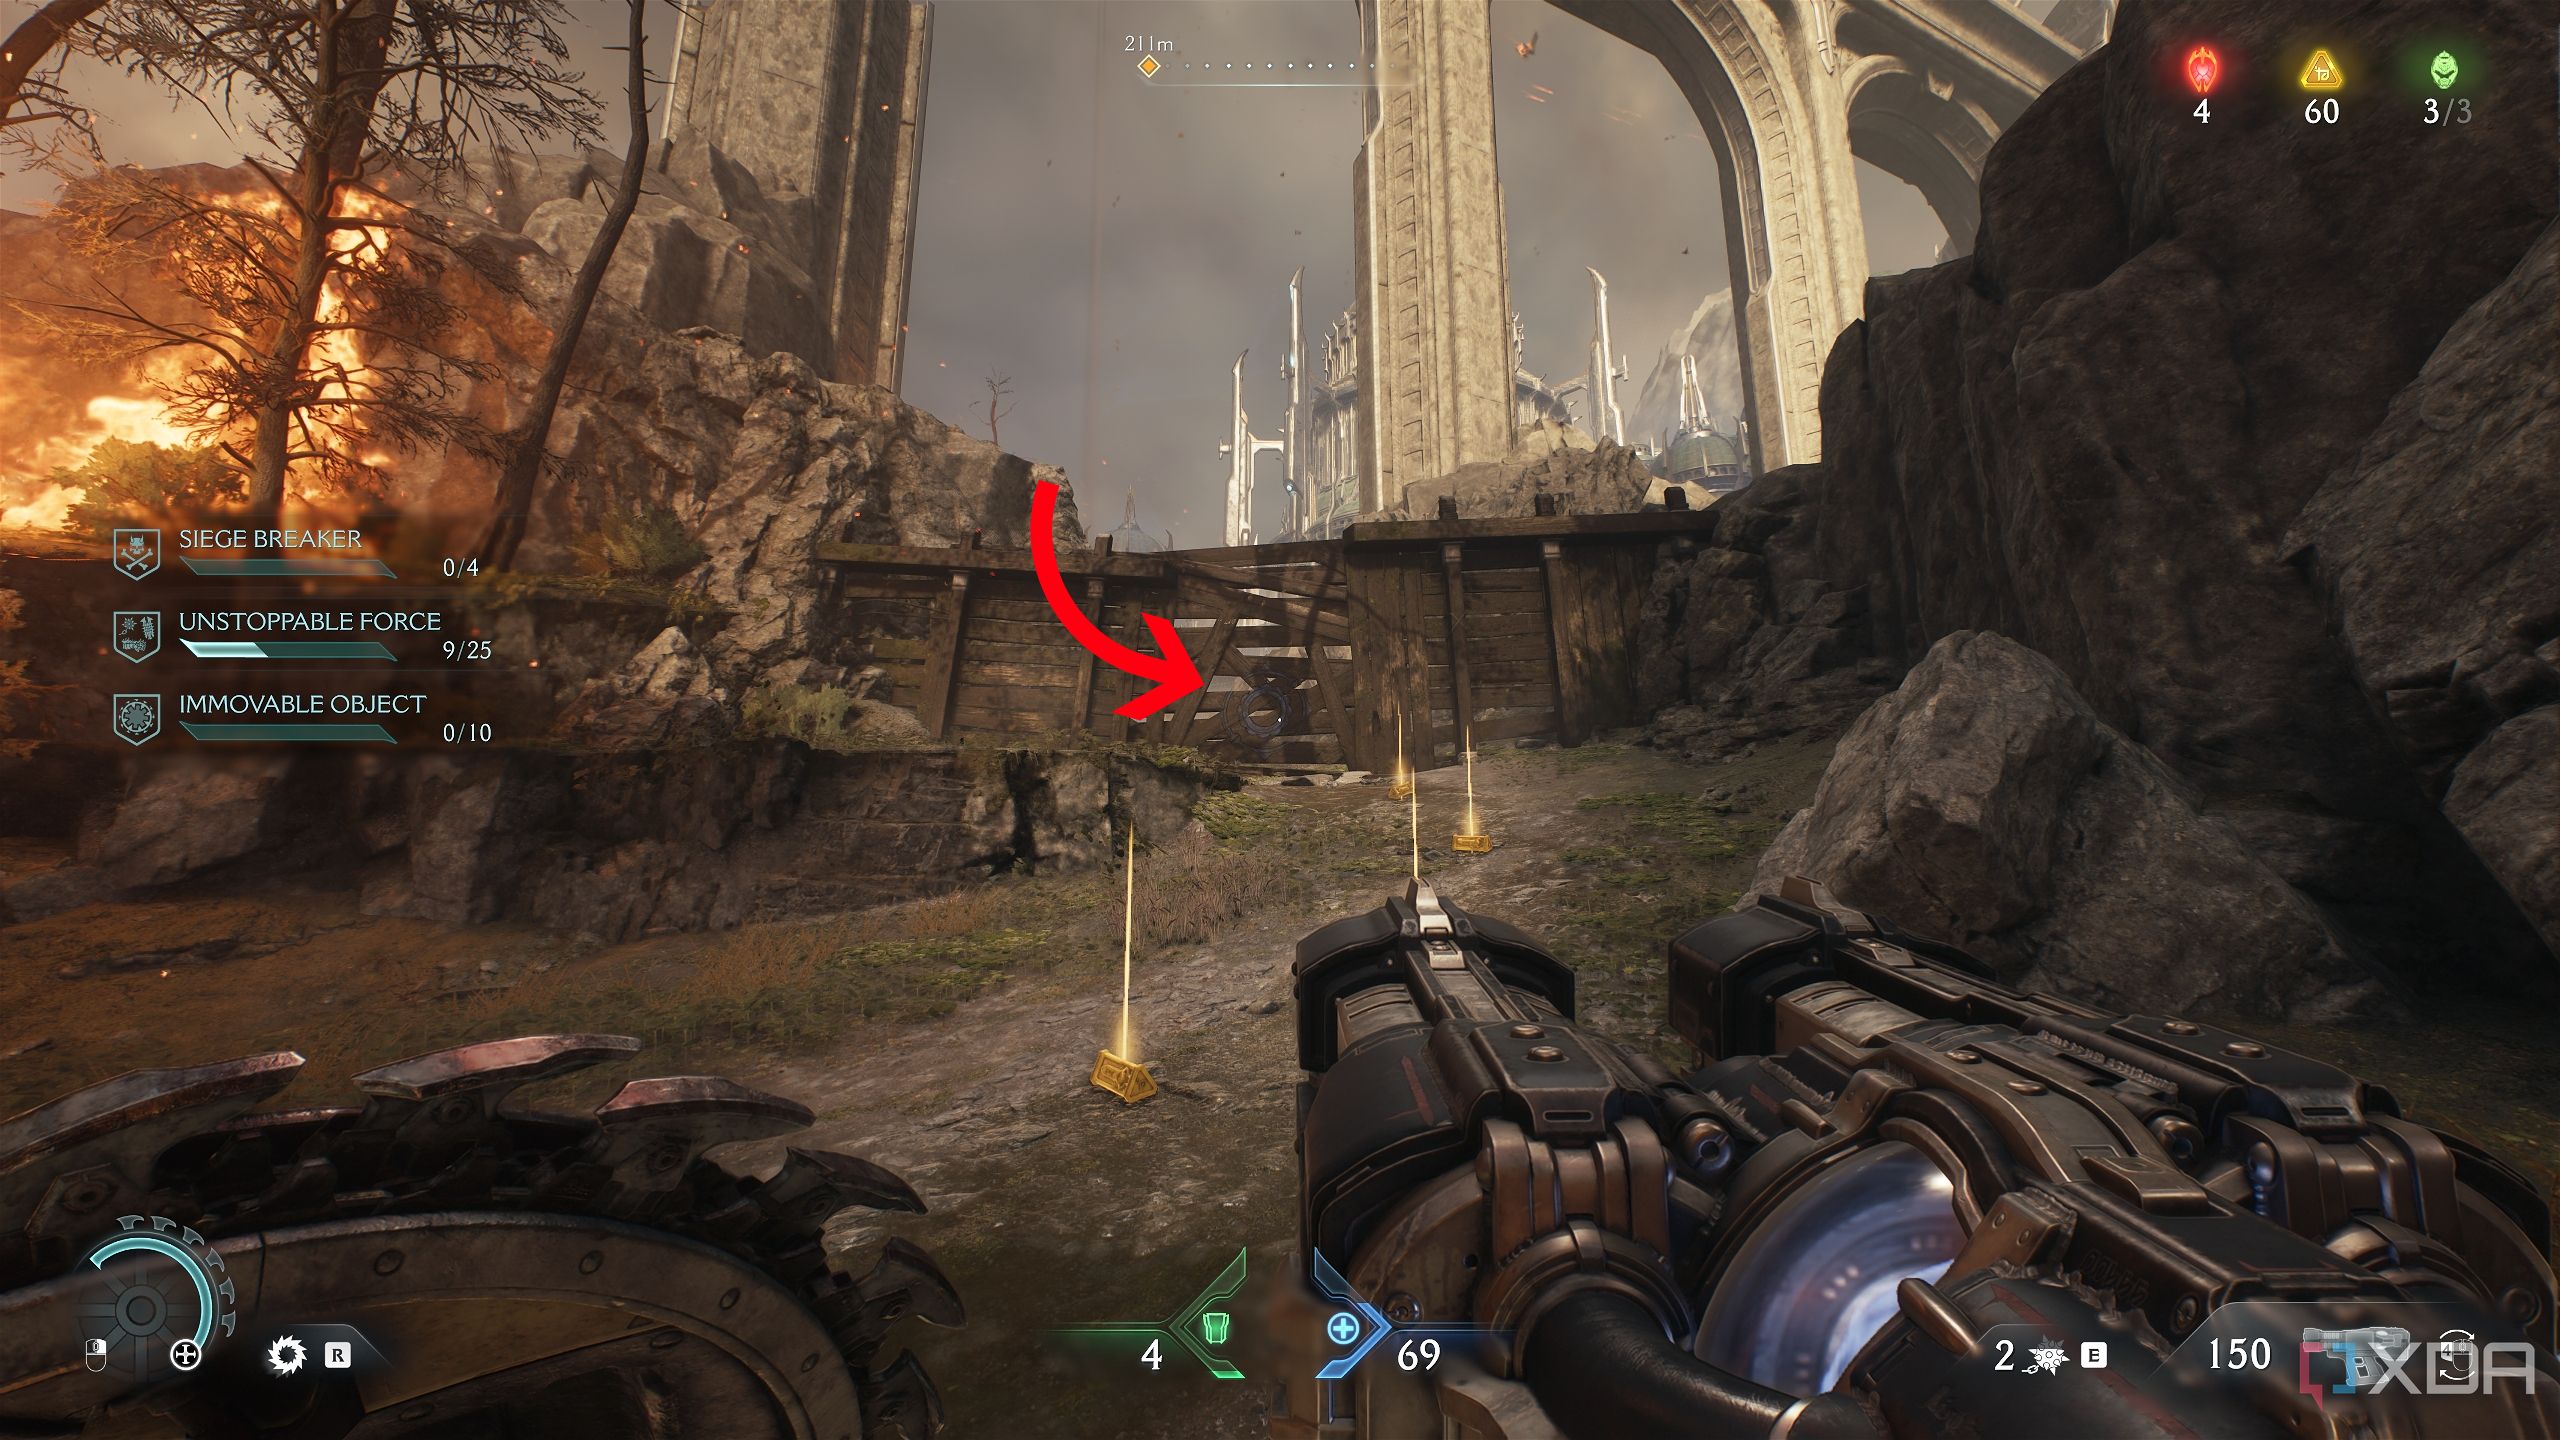
You’ll see a few gold bars on the ground, next to a wooden wall with a Shield Charge symbol on it.
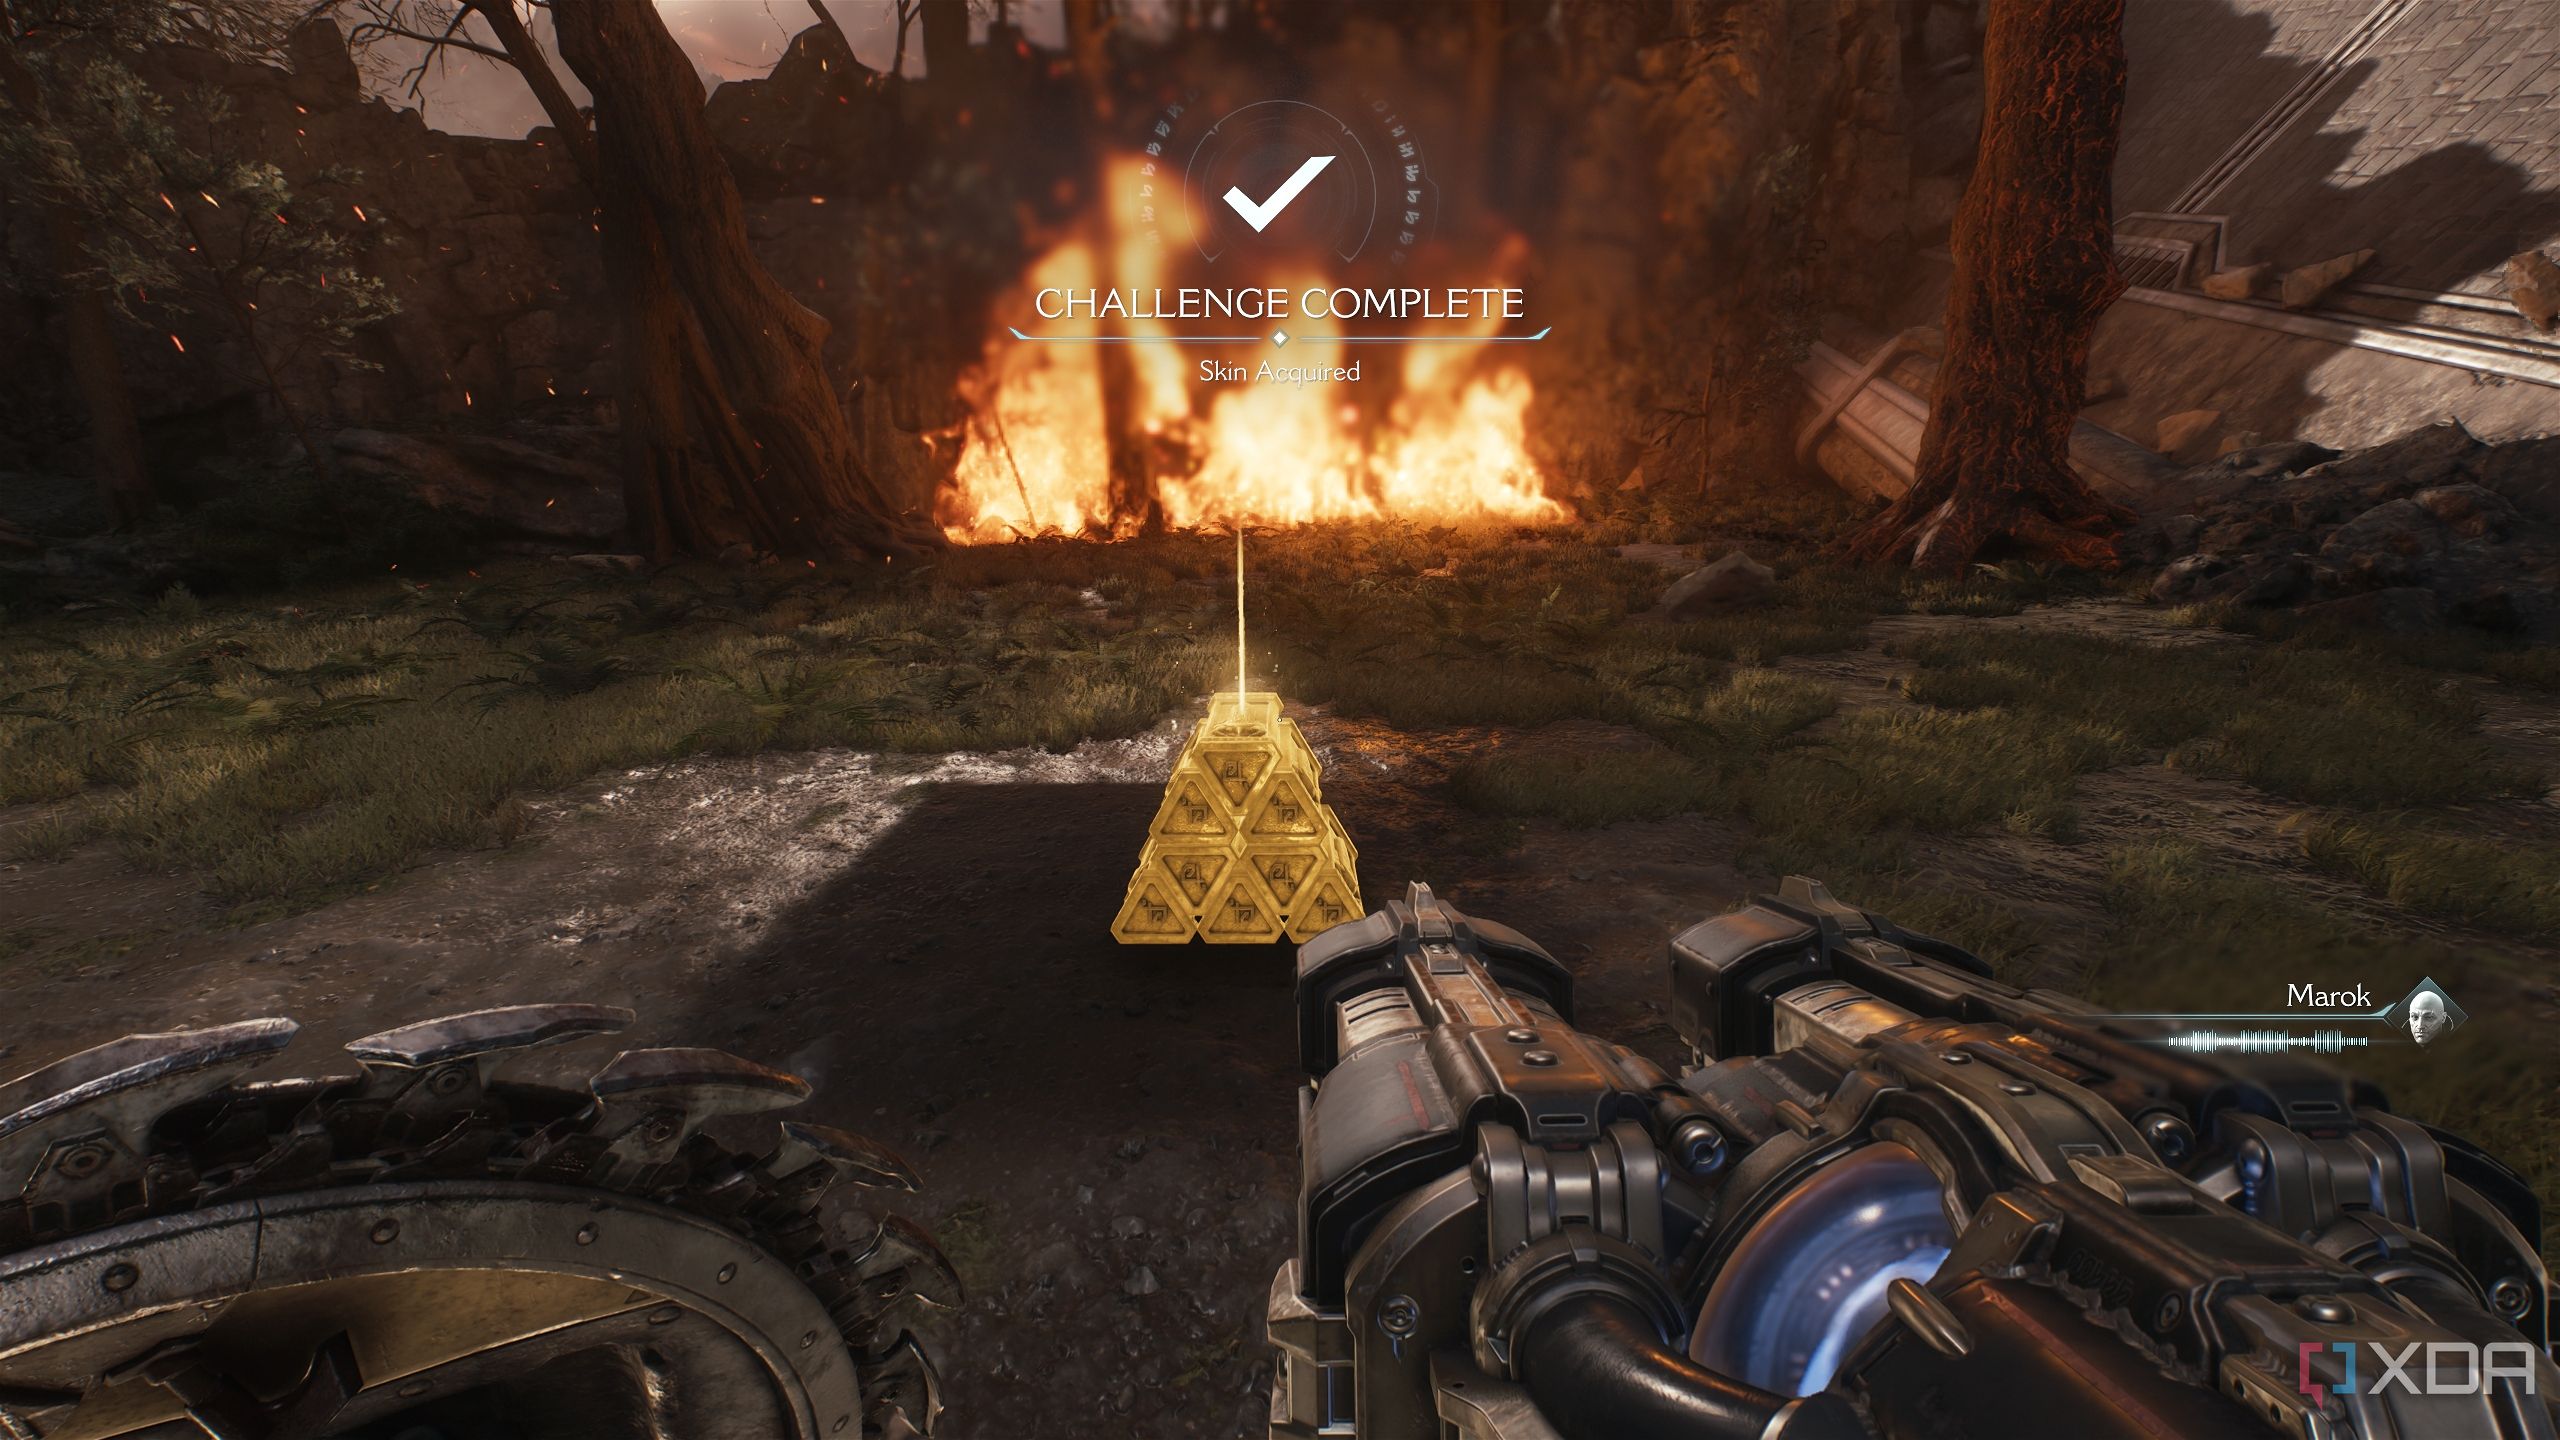
Bash through the wall to fight a few demons and two Imp Stalkers, to find the first Artillery Cannon you have to destroy for the Siege Breaker challenge.
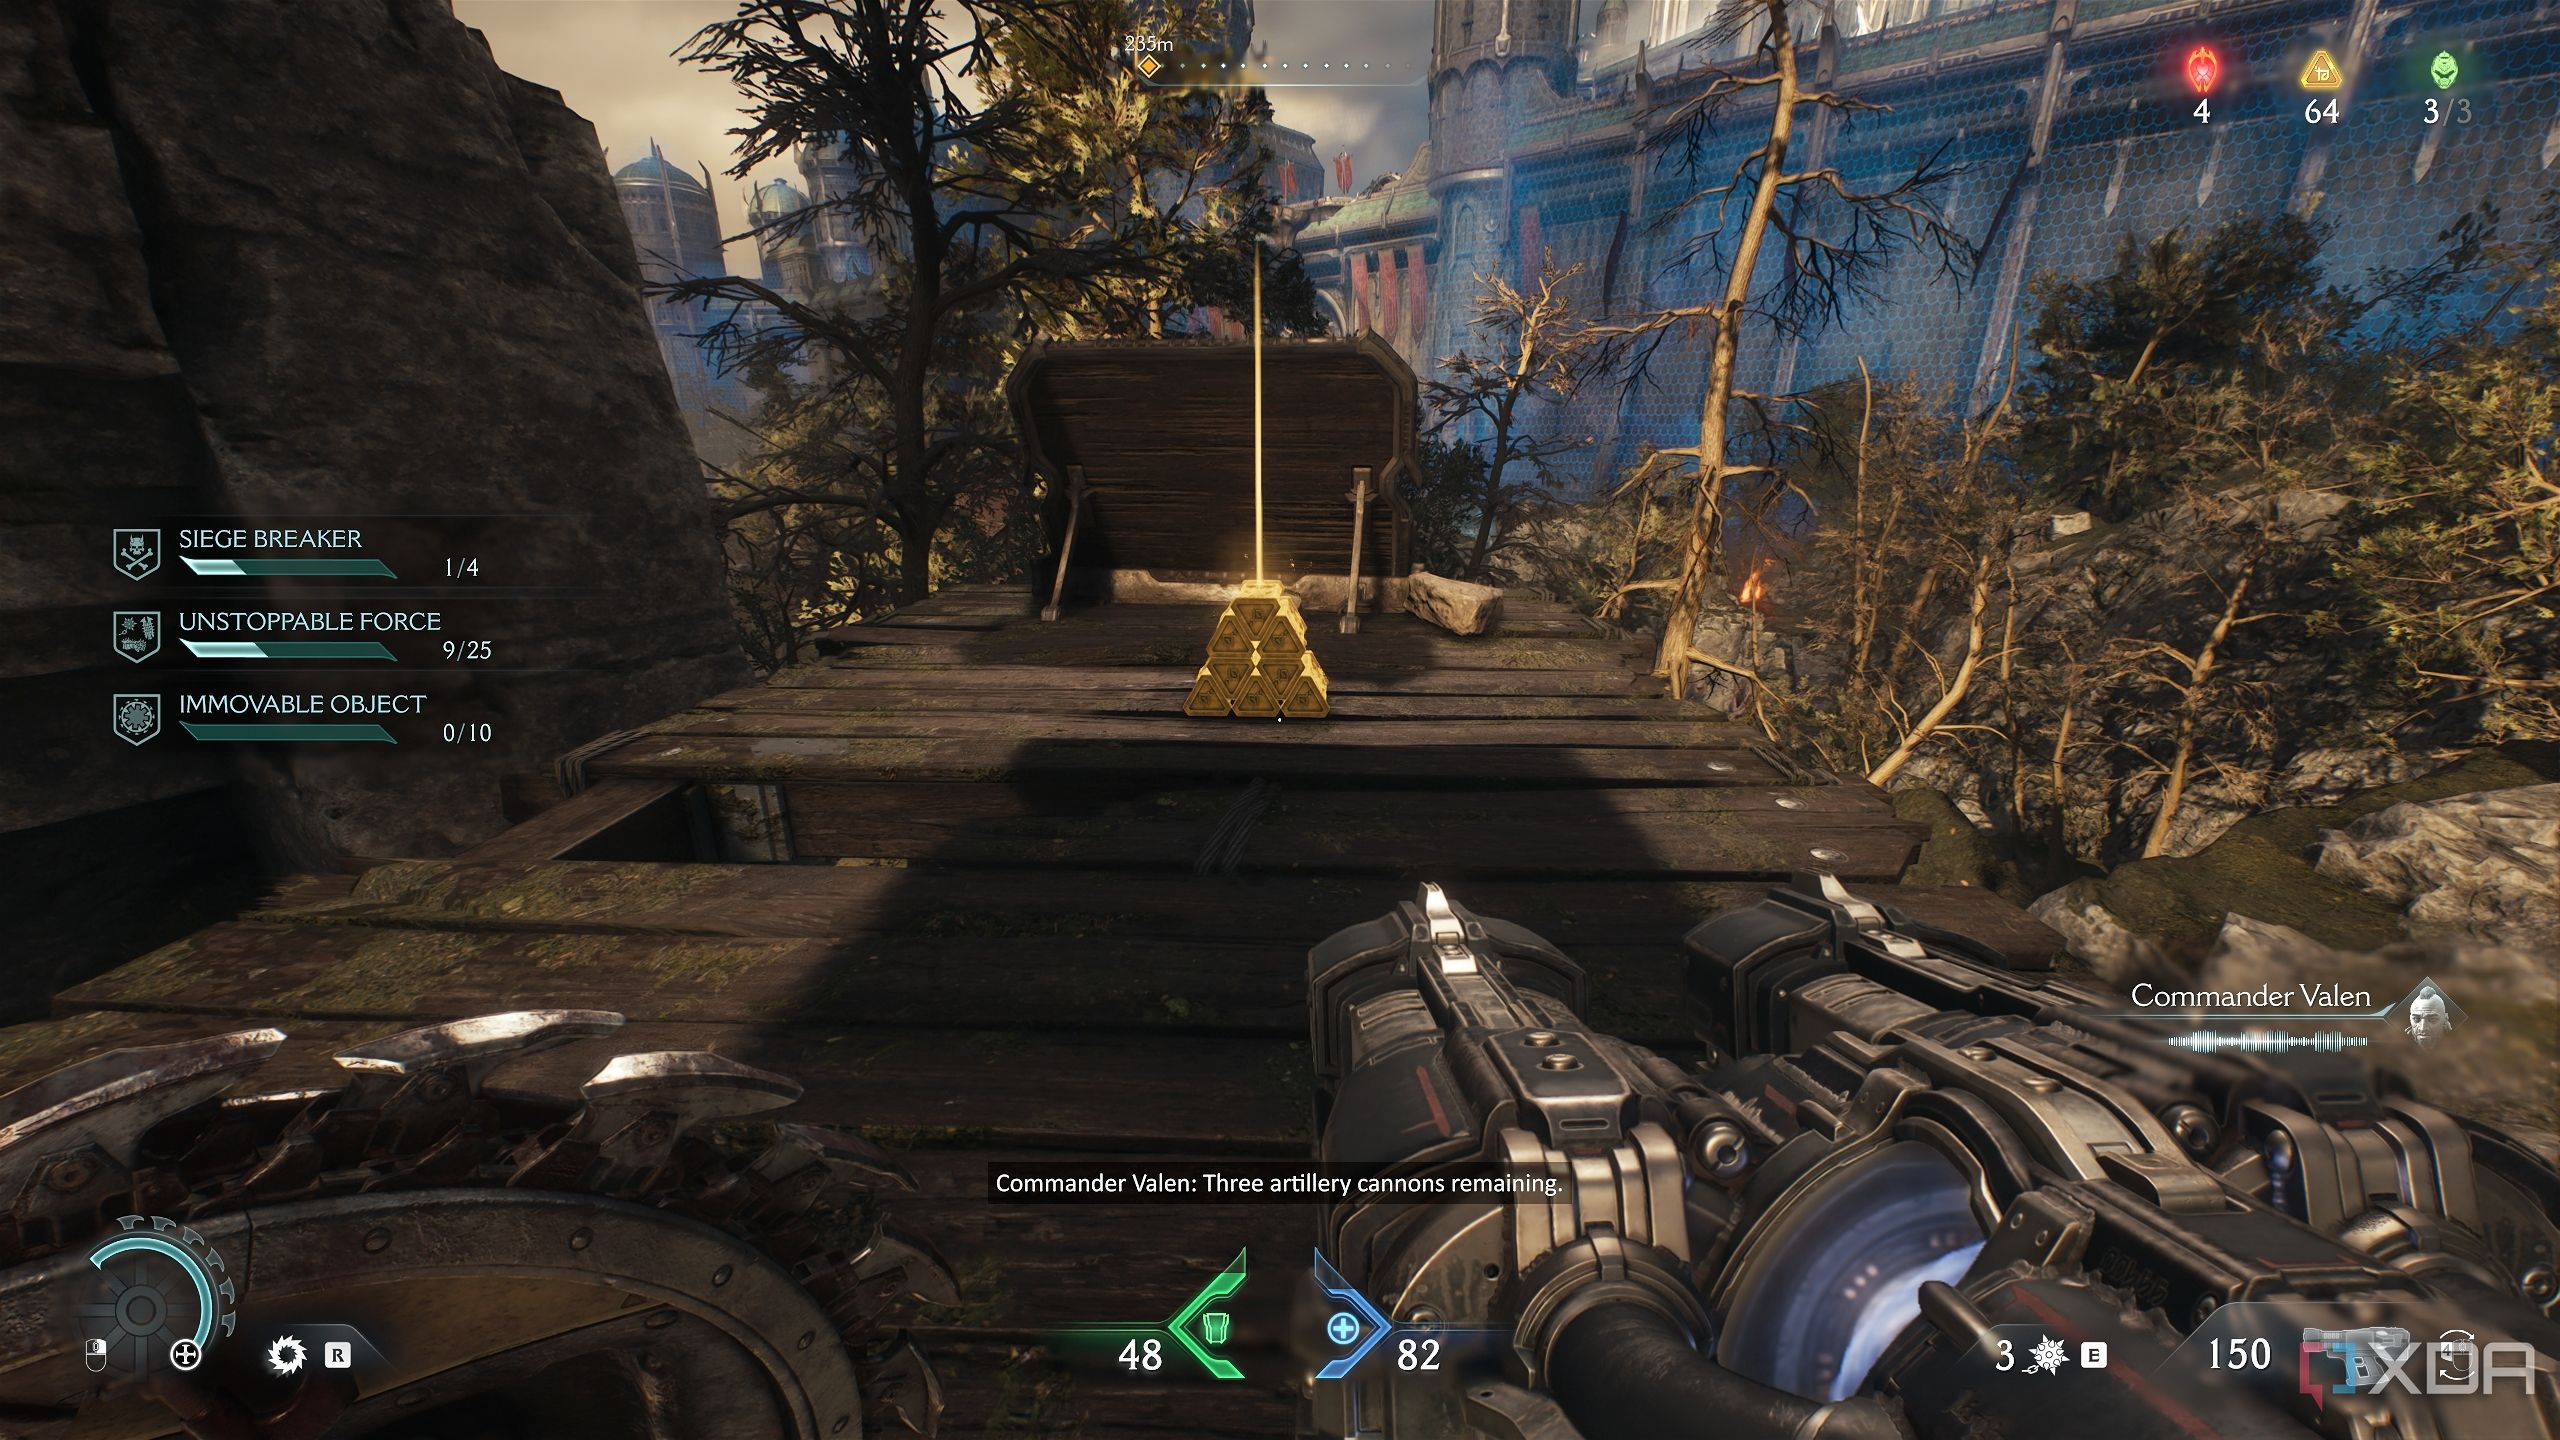
Additionally, breaking the cannon also reveals a stack of gold to collect from under it.

Related
The DOOM series: Every core game ranked
What are the best entries of the DOOM series that you should play? Here's every core game ranked!
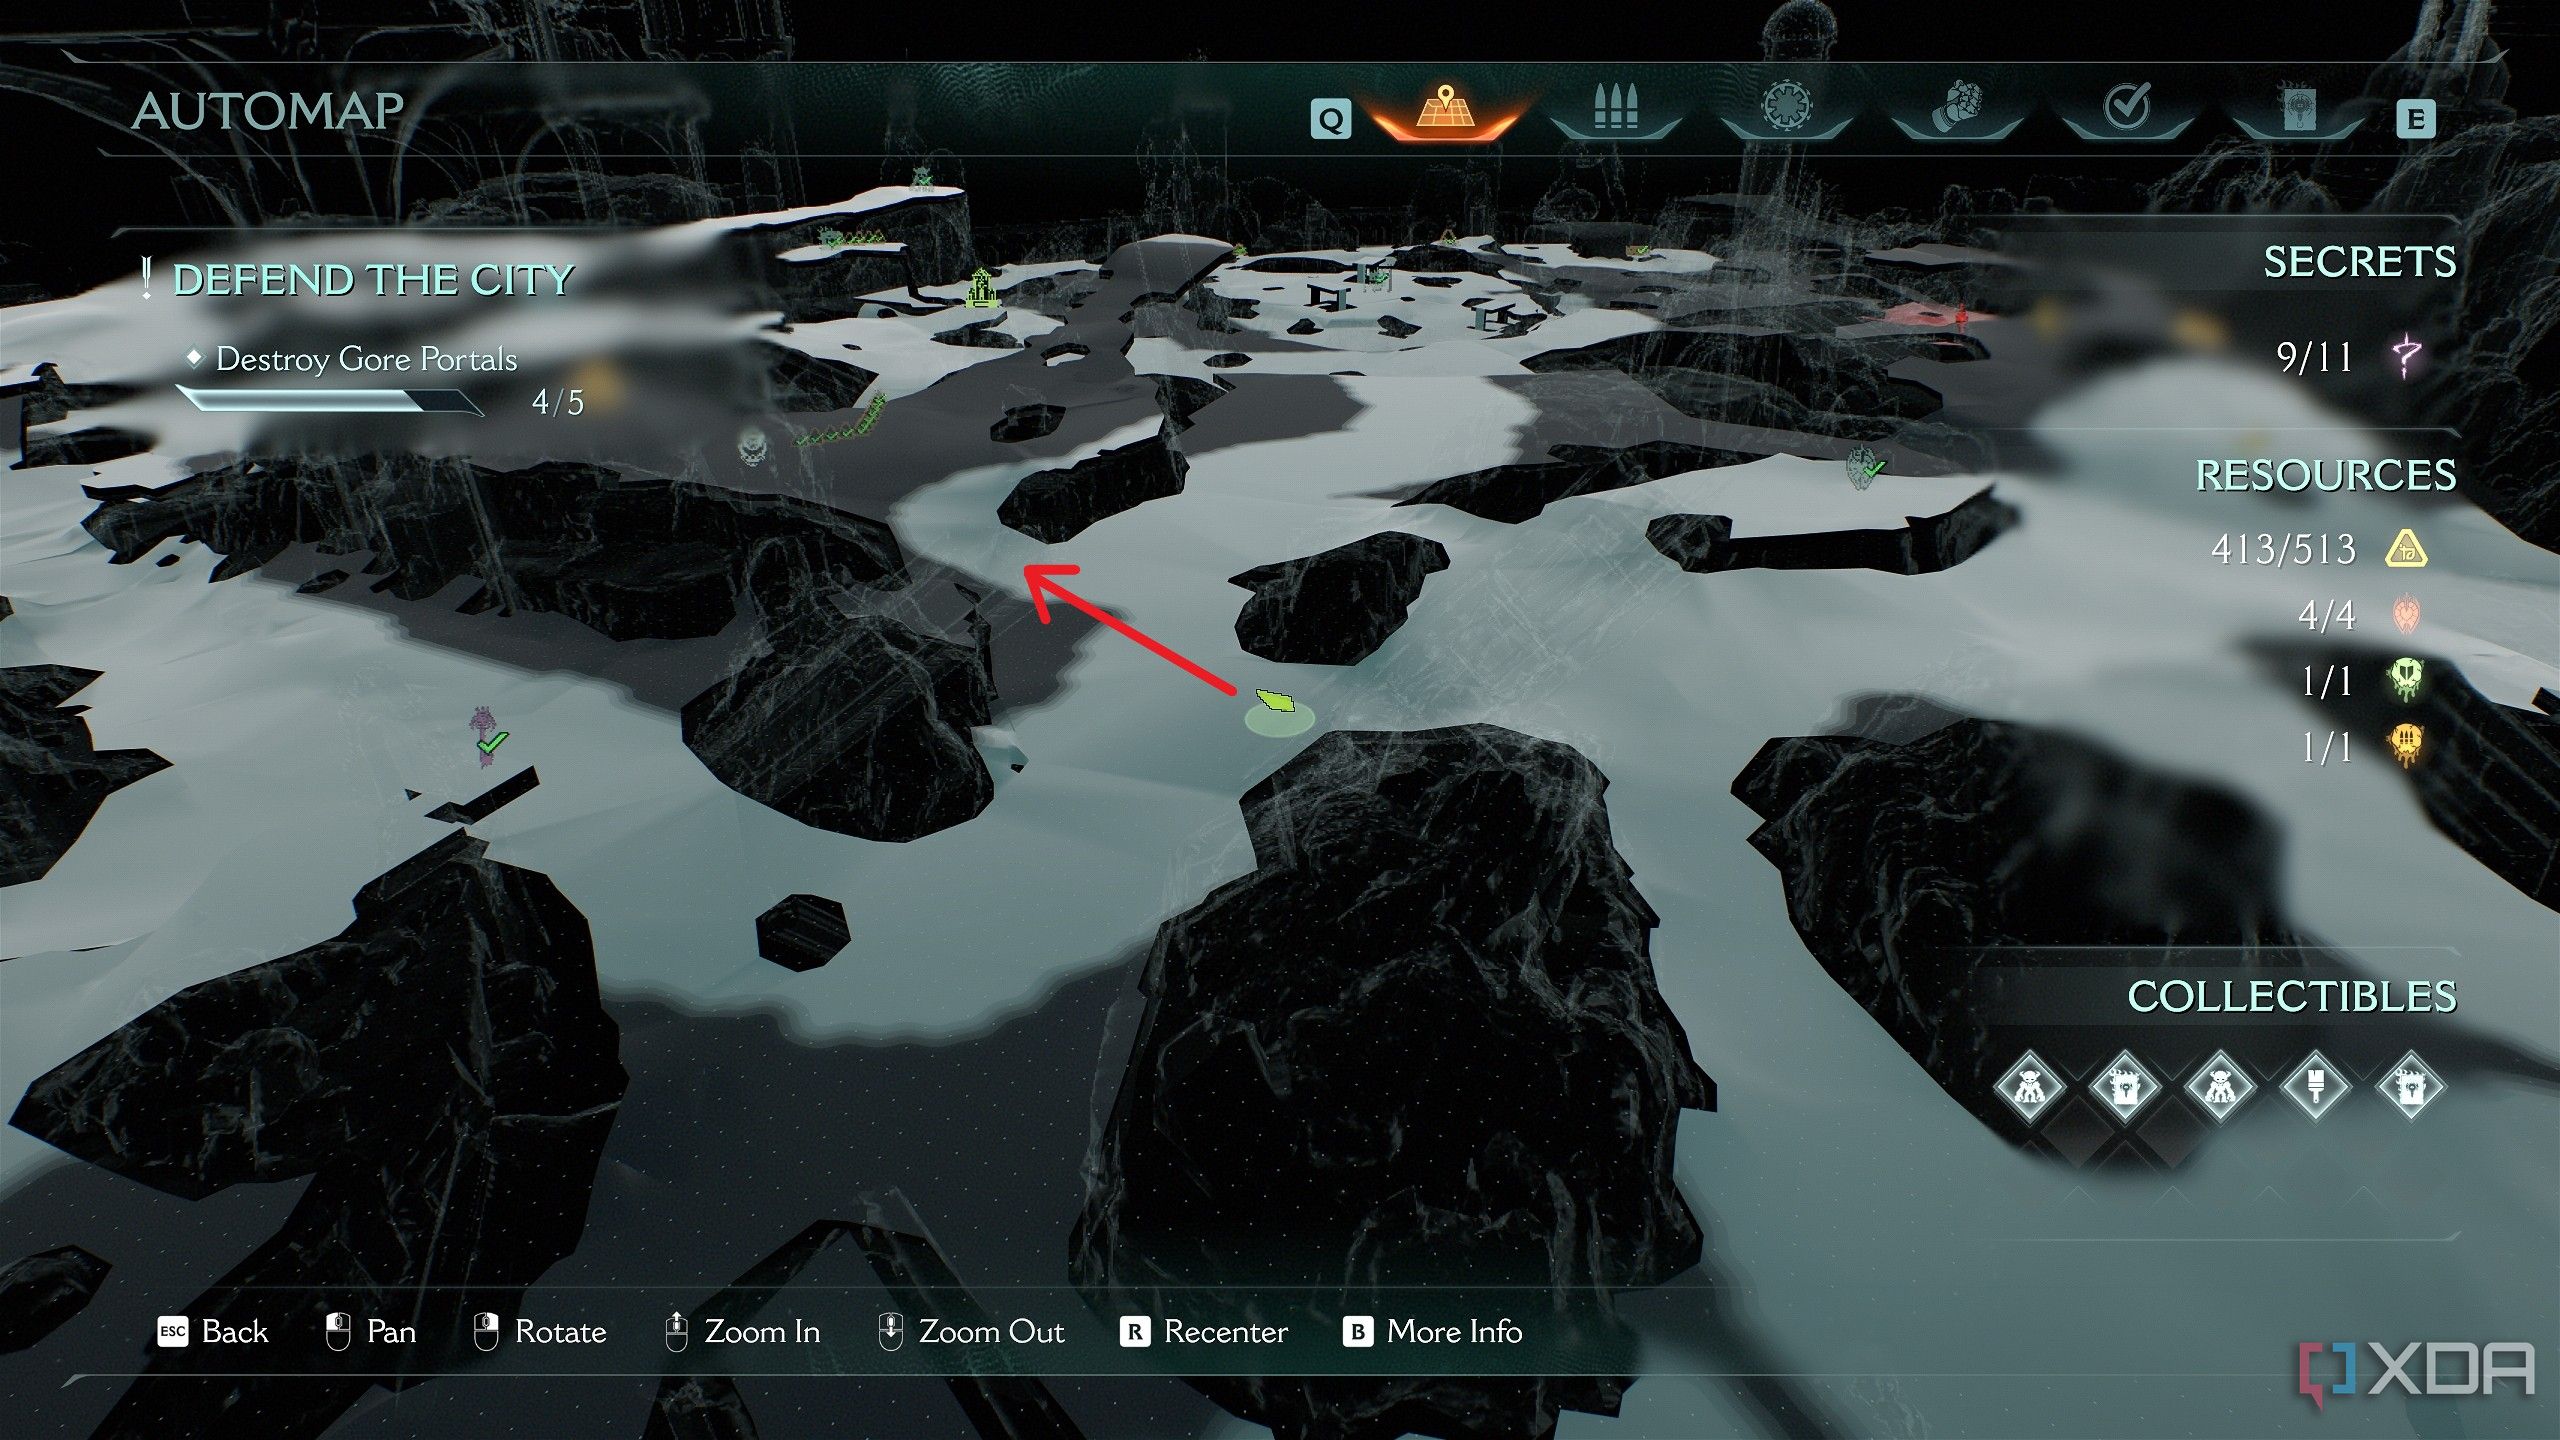
Secret area 2, a weapon skin, and a Red Ruby
Underwater treasure hunting
Head to the location above and climb up the scramble wall, picking up gold bars along the way.
Following the path, you’ll unlock the second secret area, and a huge structure chained above a small pond.
Before diving into the water, head left to pick up more gold bars on the ground. A purple-coded gate with a weapon skin is locked here, but you can’t open it yet.
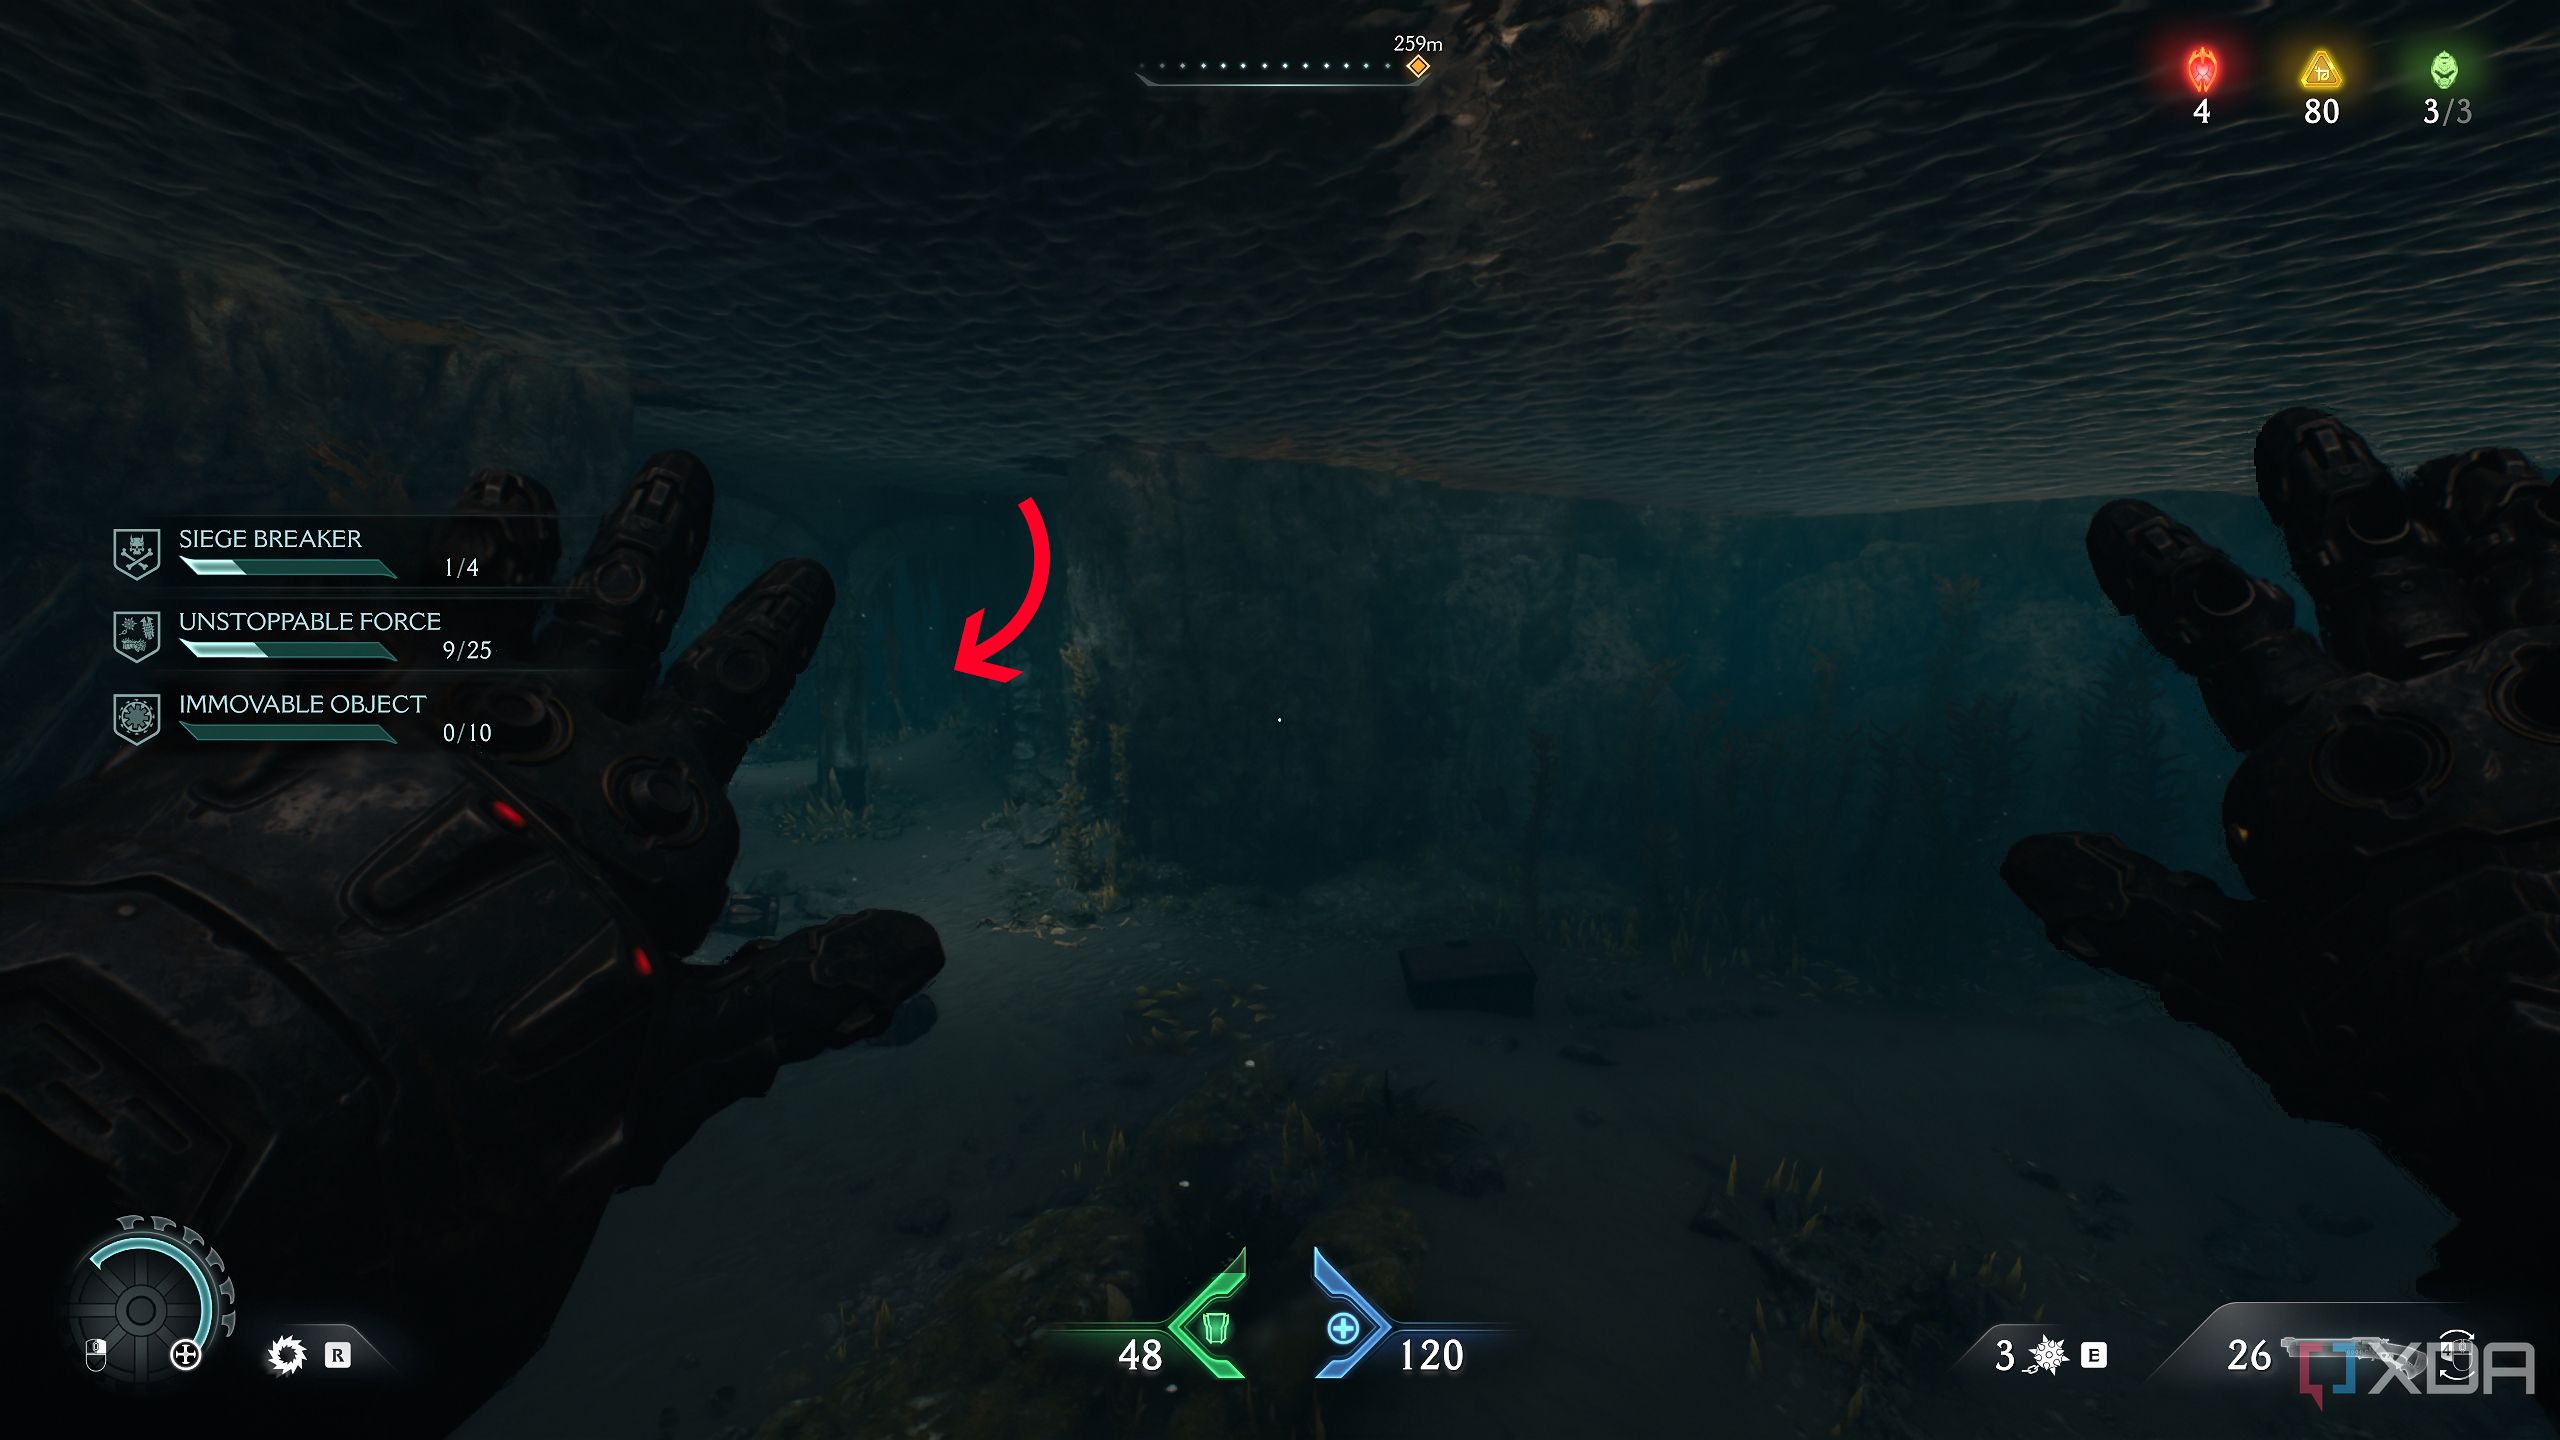
Go back and dive into the water and head left, following the path to emerge from a small hole.
There’s a scramble wall here to climb on, and once you do, look back to see some gold bars across the hole you just came out of. Jump across the water to grab it before getting back up the scramble wall.
Now, a wooden wall with a Shield Charge symbol is right there, but two demonic tentacles will attack you, so be careful.
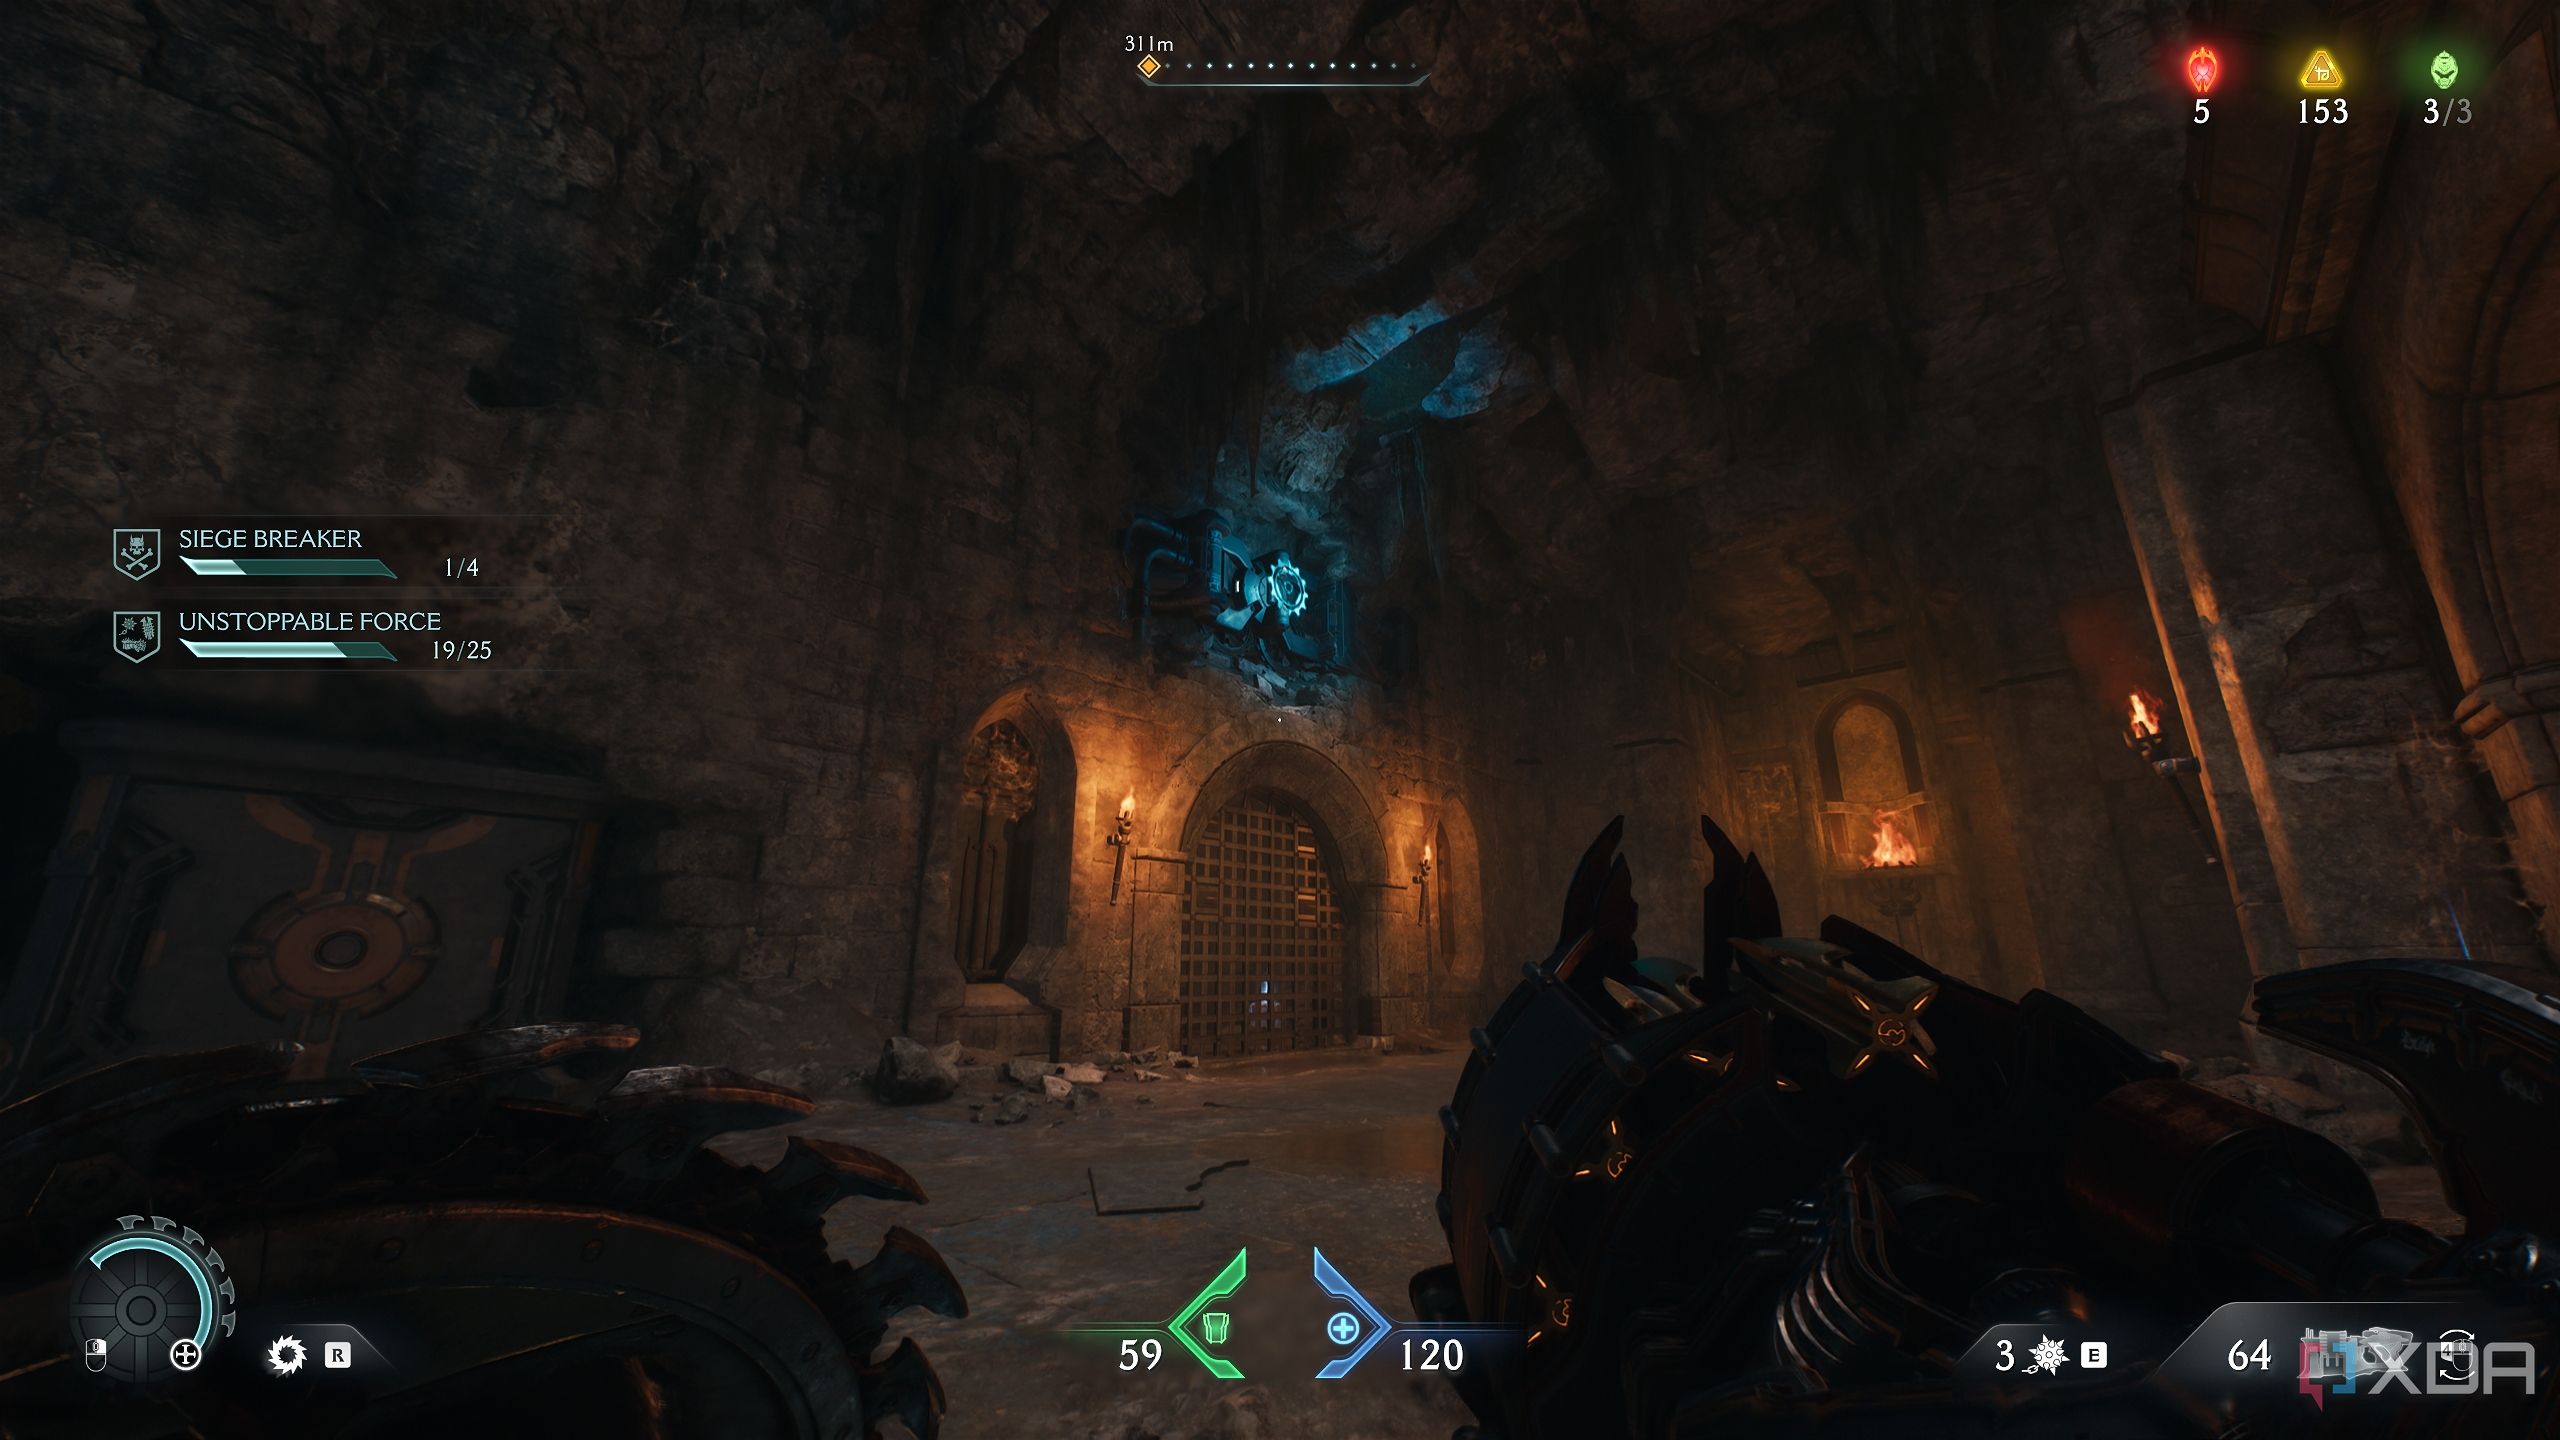
Once you’re through the wooden wall, jump across the small water puddle to grab gold bars. Look up to see a blue energy node, and stick your shield into it.
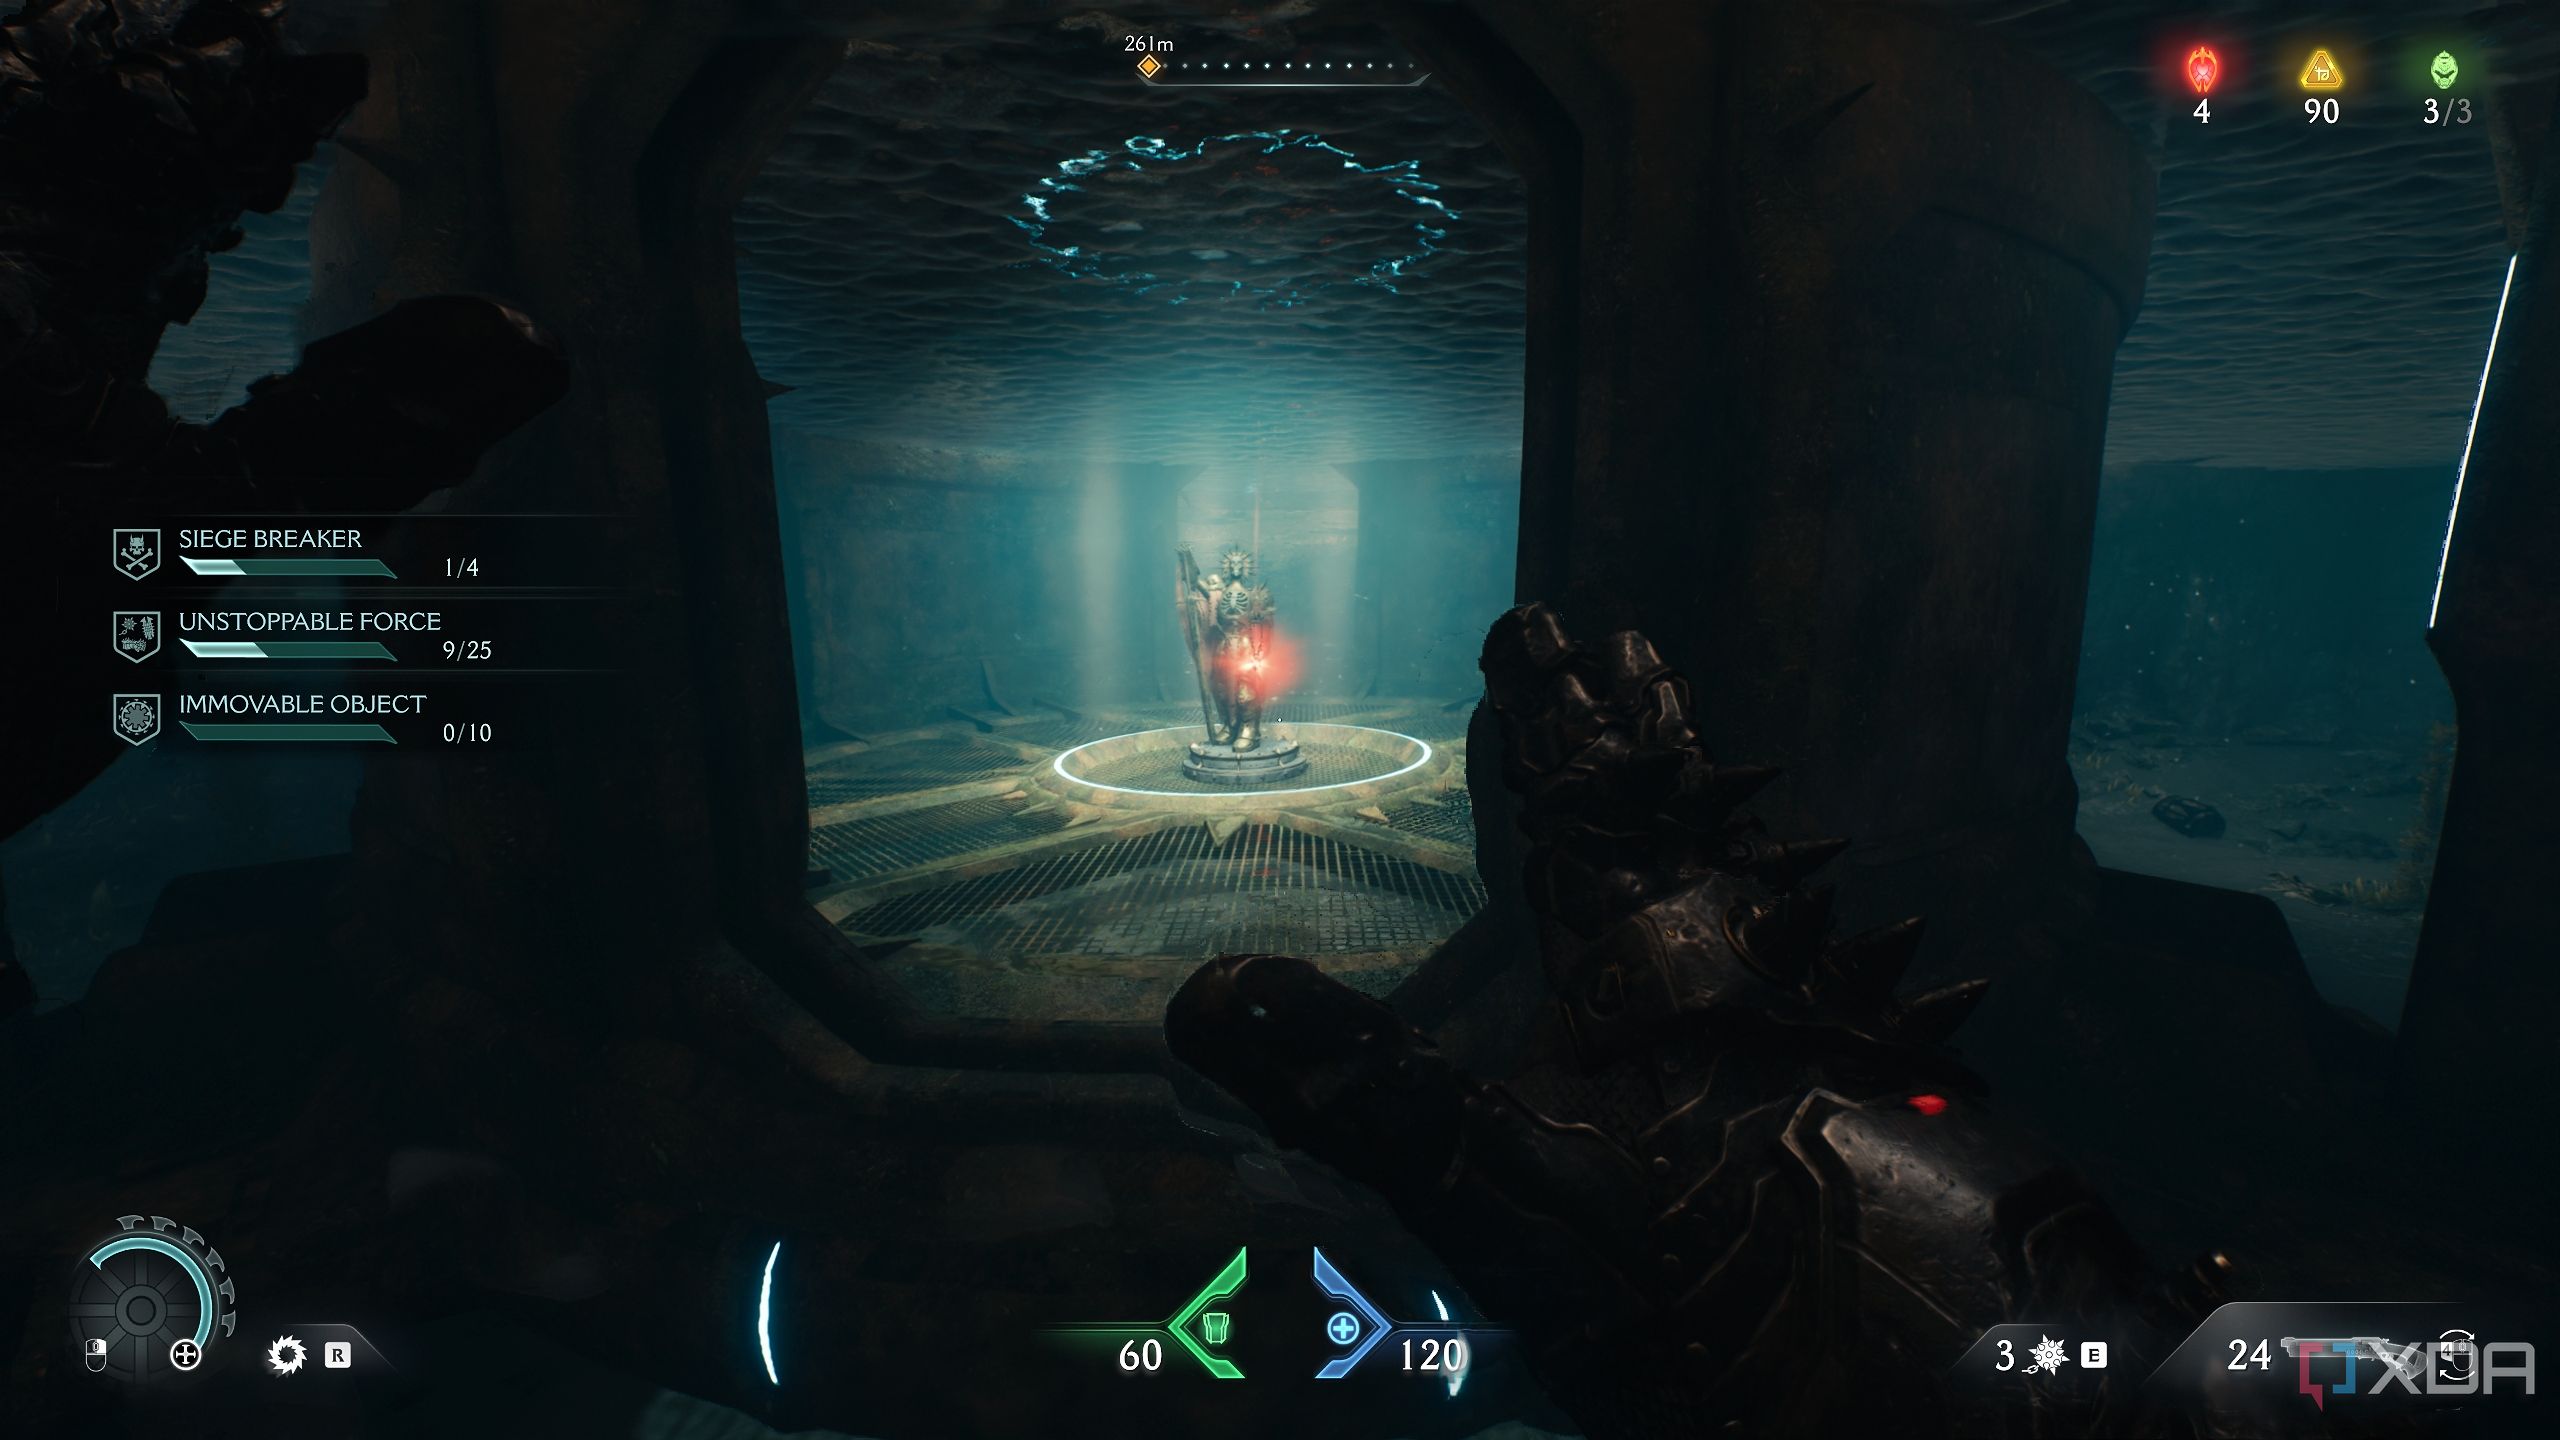
Right in front, interact with the switch to submerge the structure underwater. Retrace your last few steps and dive back into the water now, which is the only way to go. Once underwater, you’ll see a statue with a Red Ruby inside the structure you just submerged. Collect it and swim back to shore.
Remember this place, because you’ll need to bring a purple keycard here later.
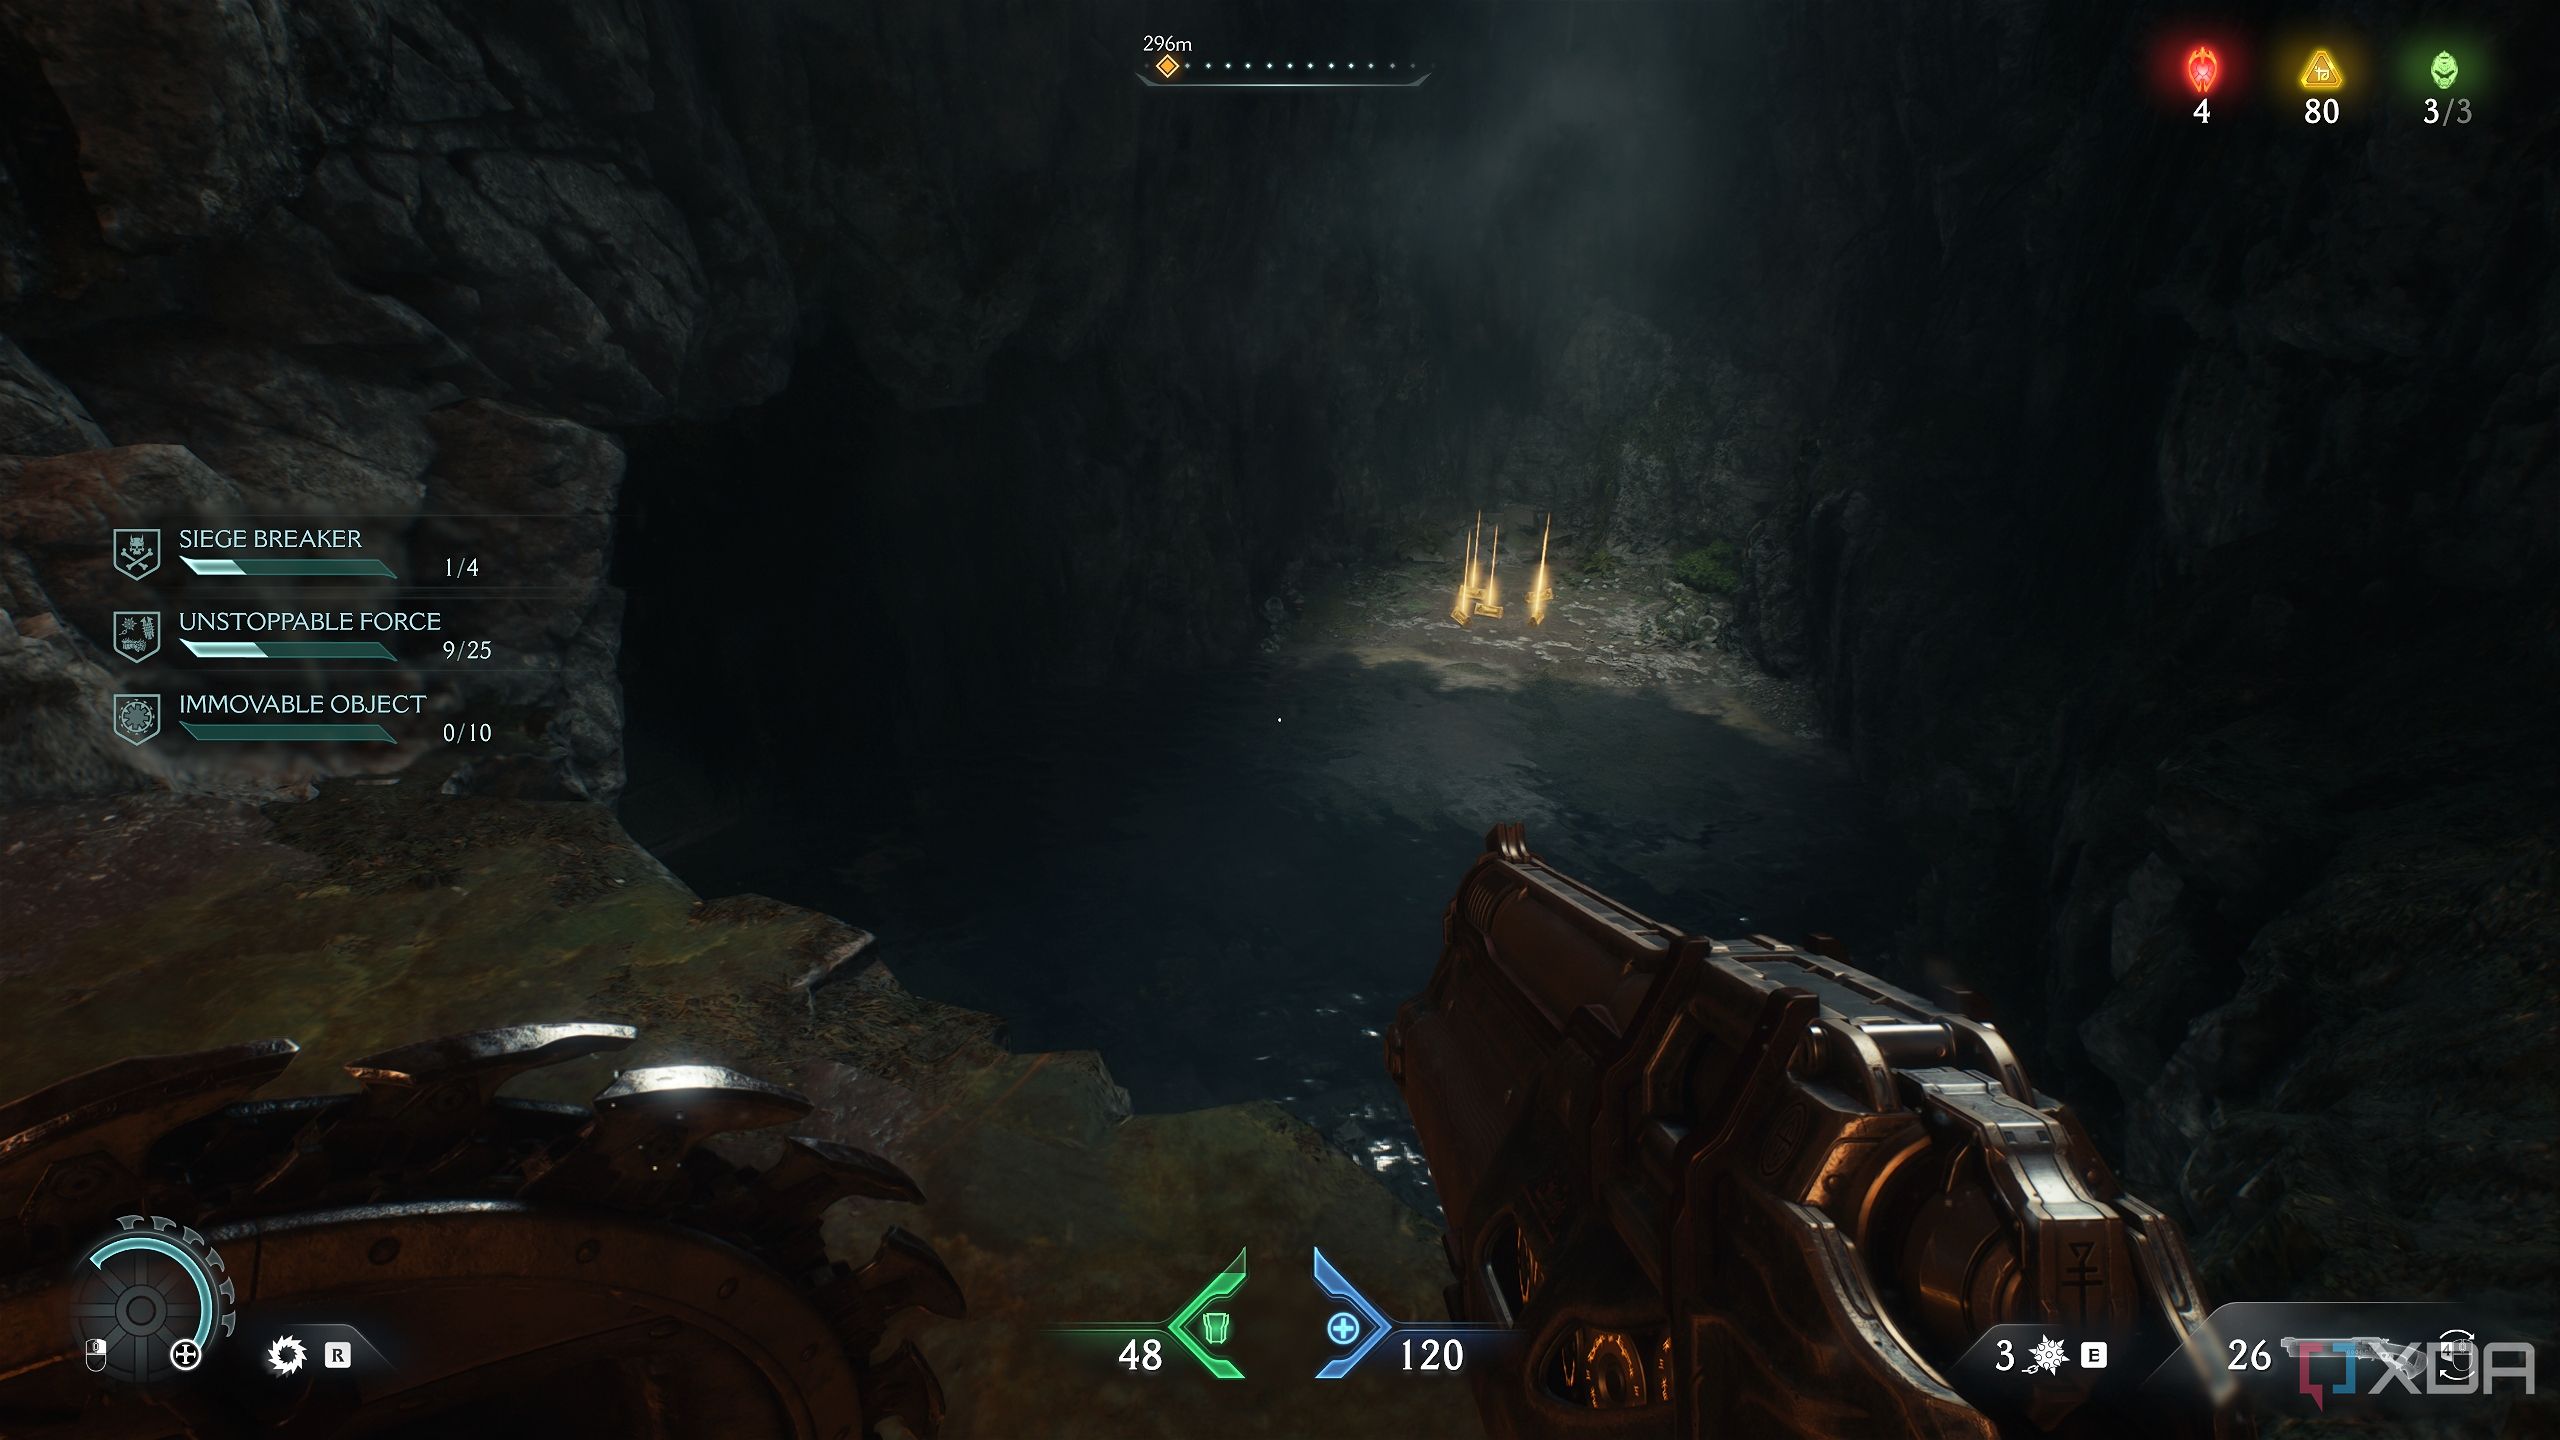
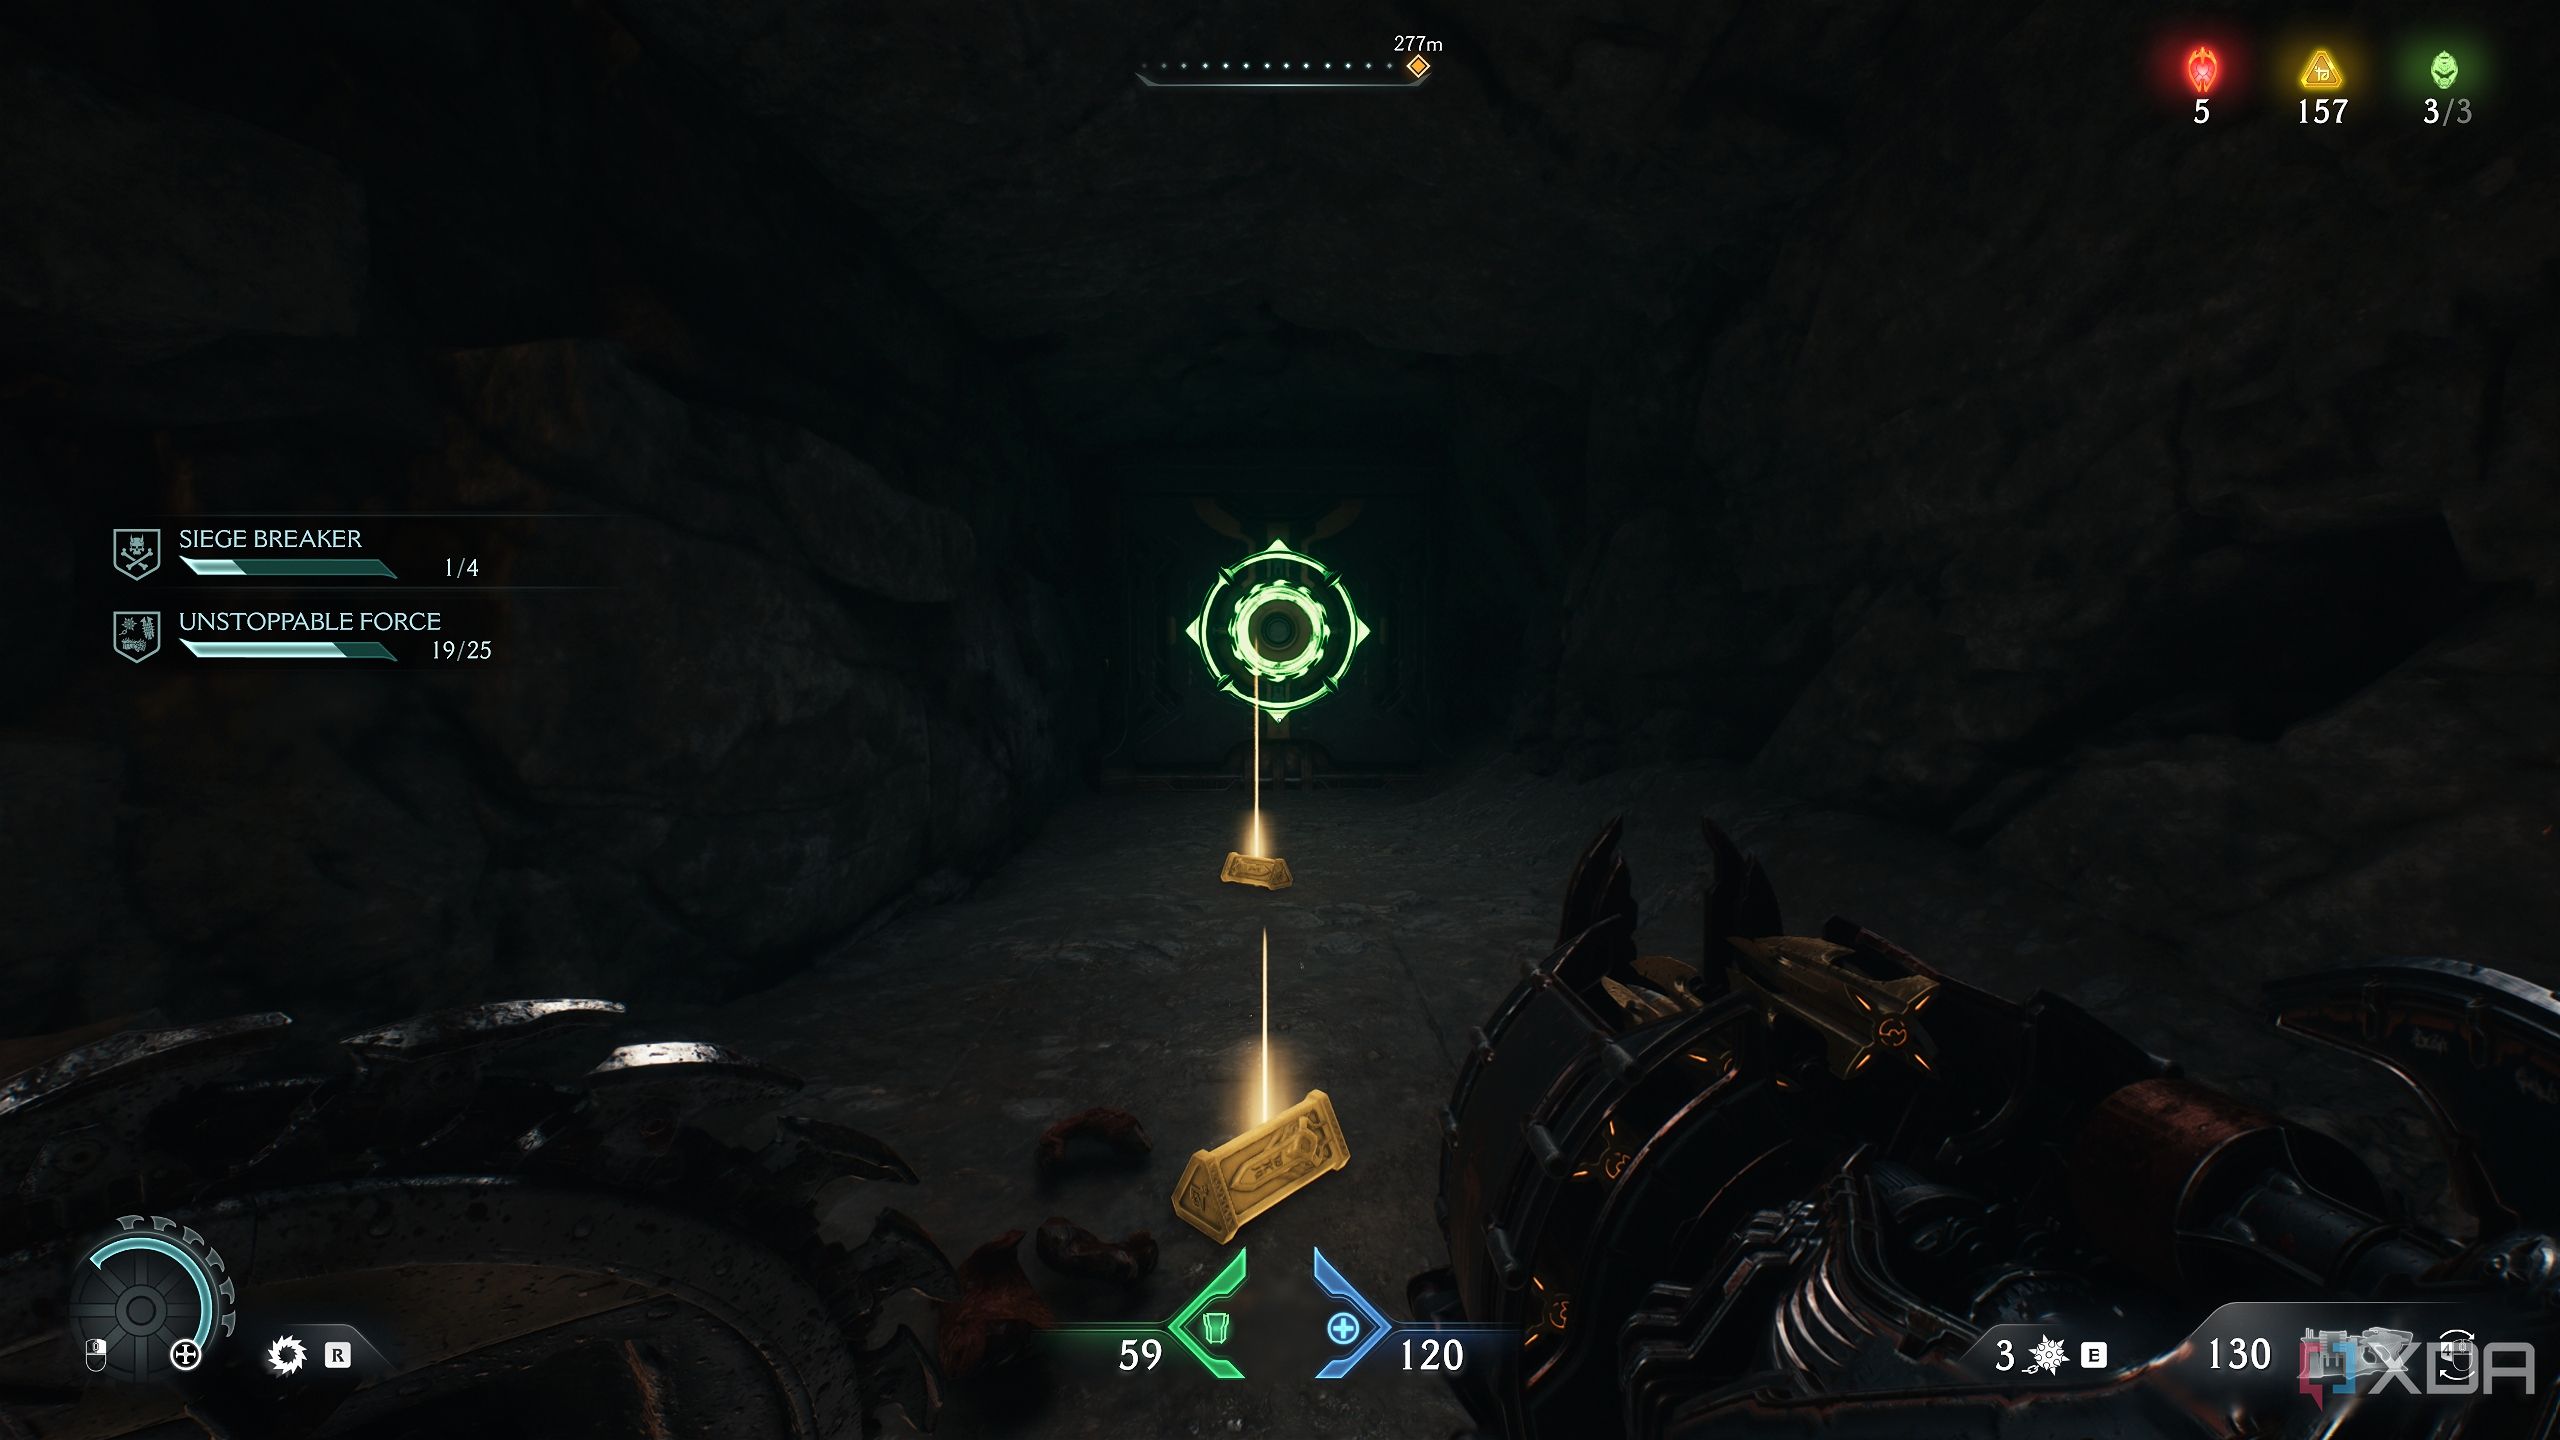
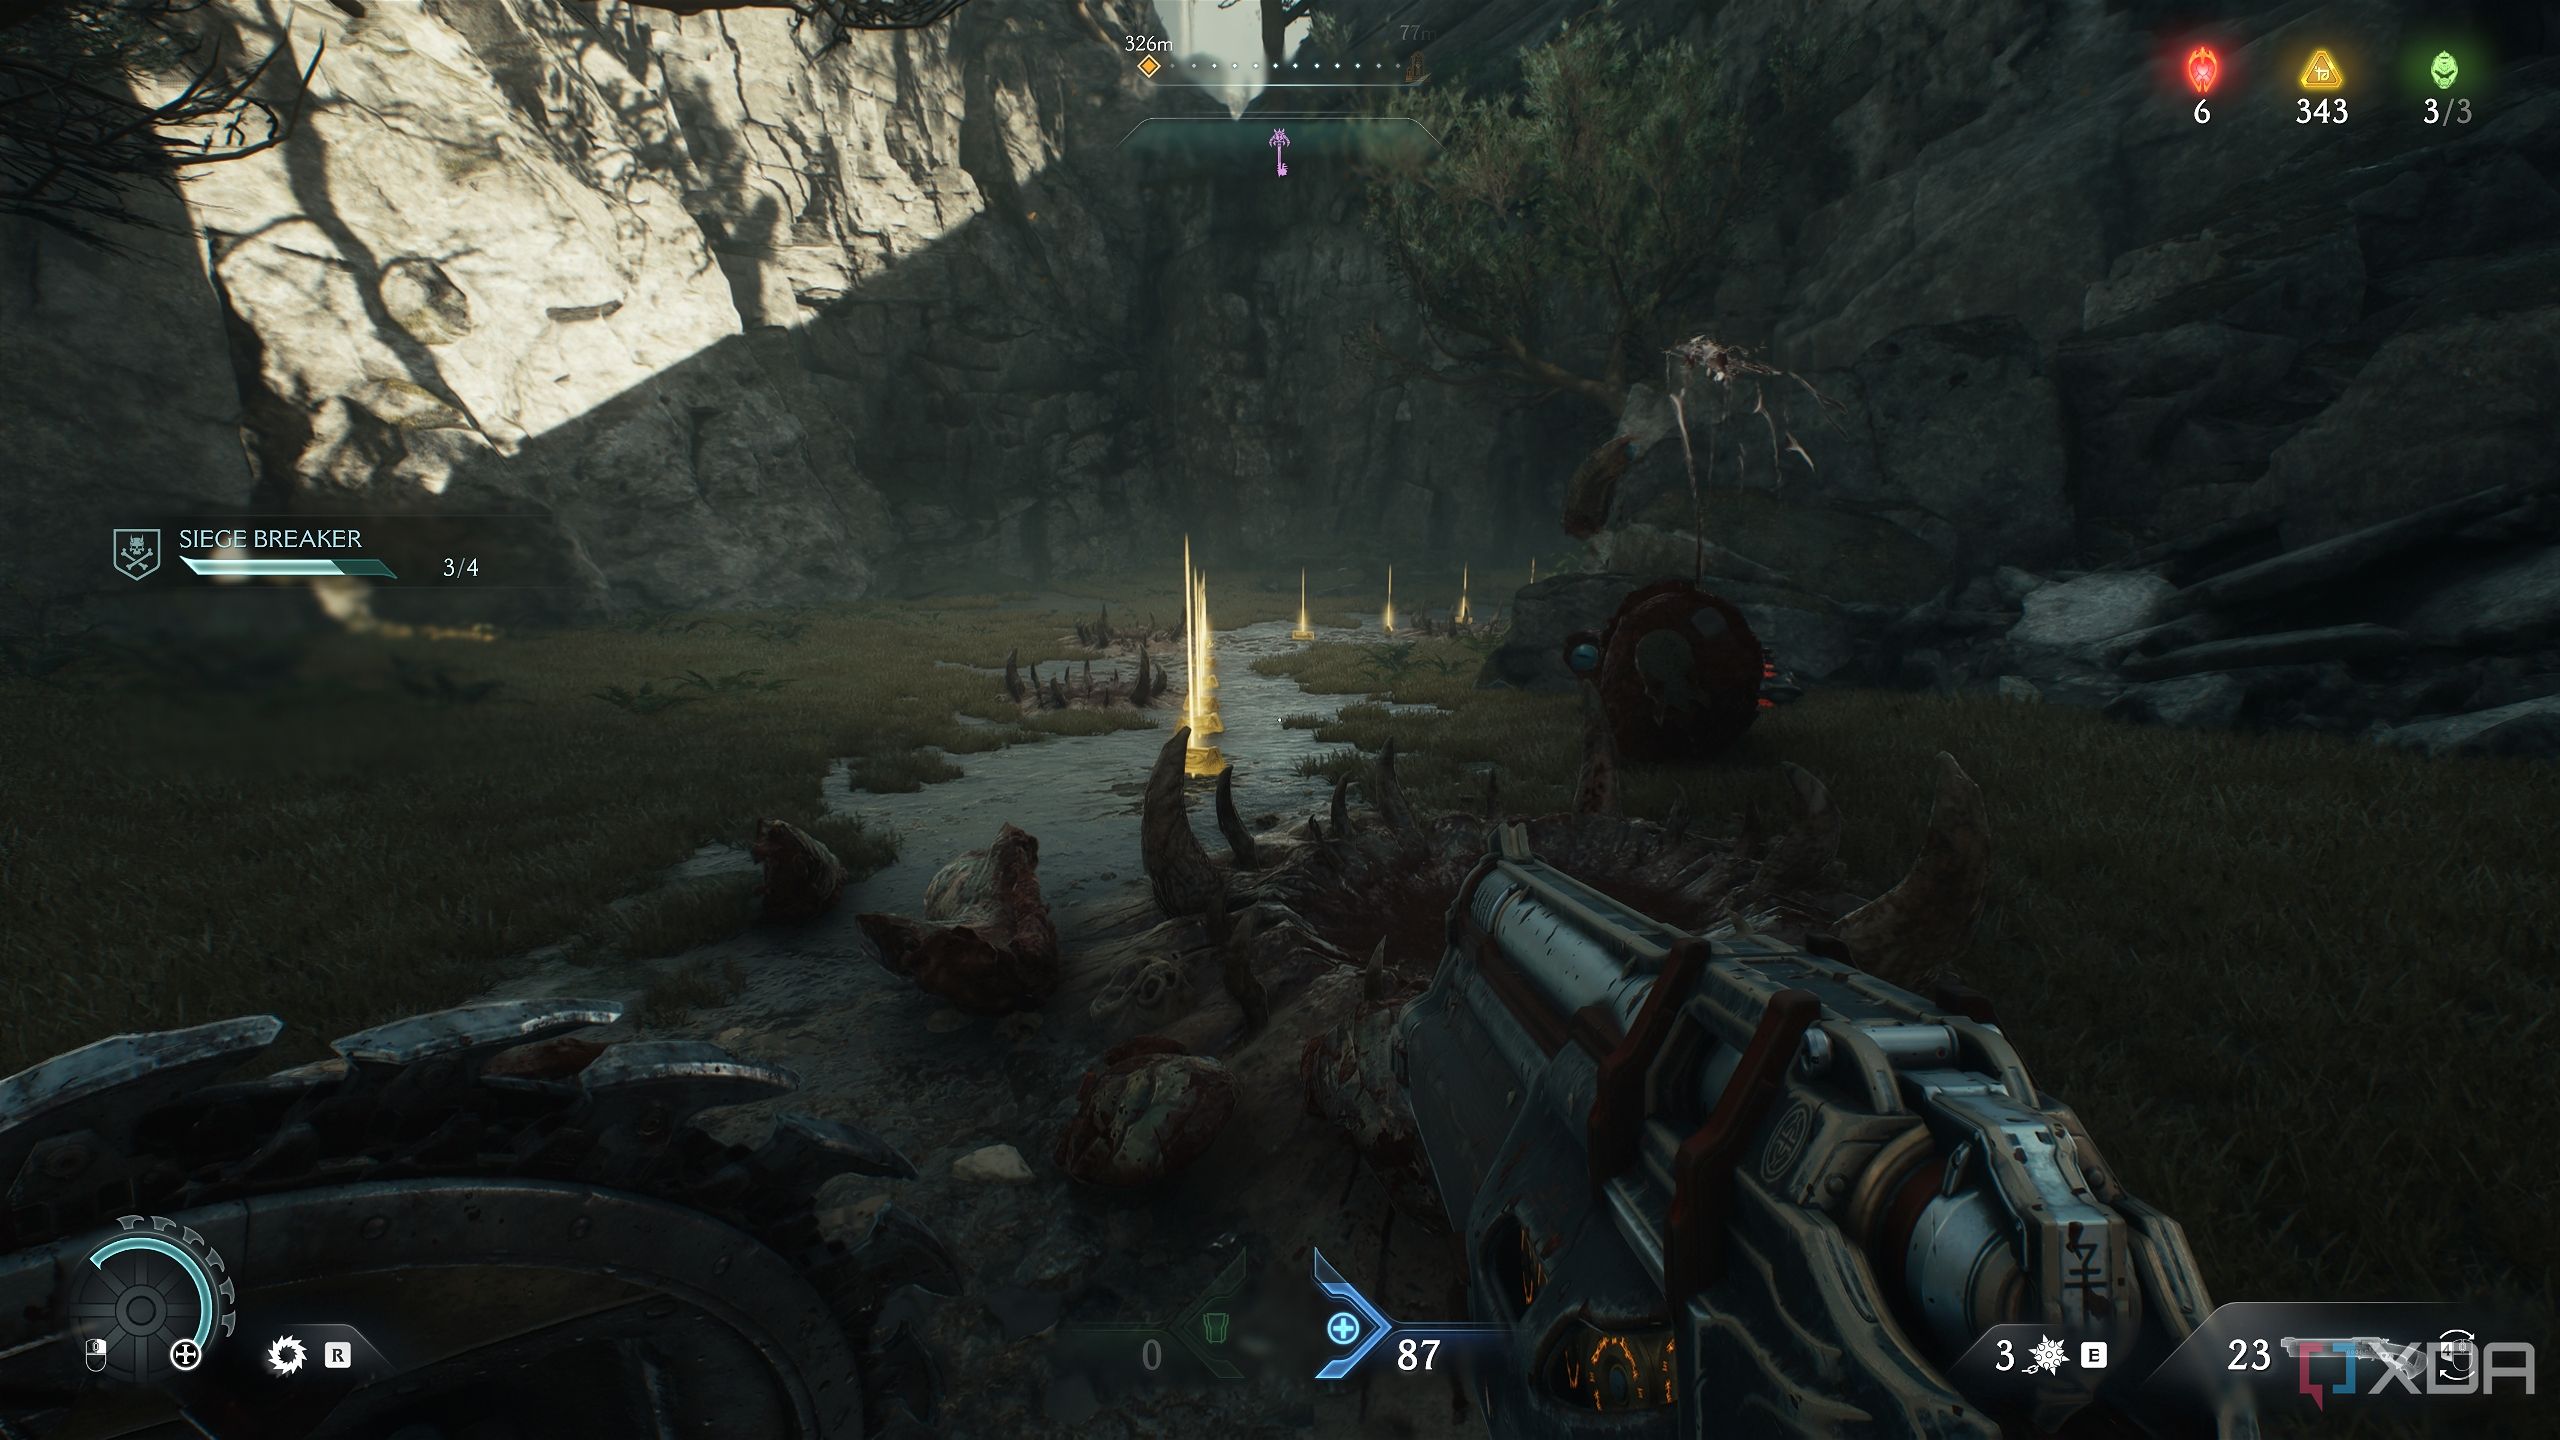
Gore Portal 2, Hellknights, and a stack of gold
Flail strike and parry farming
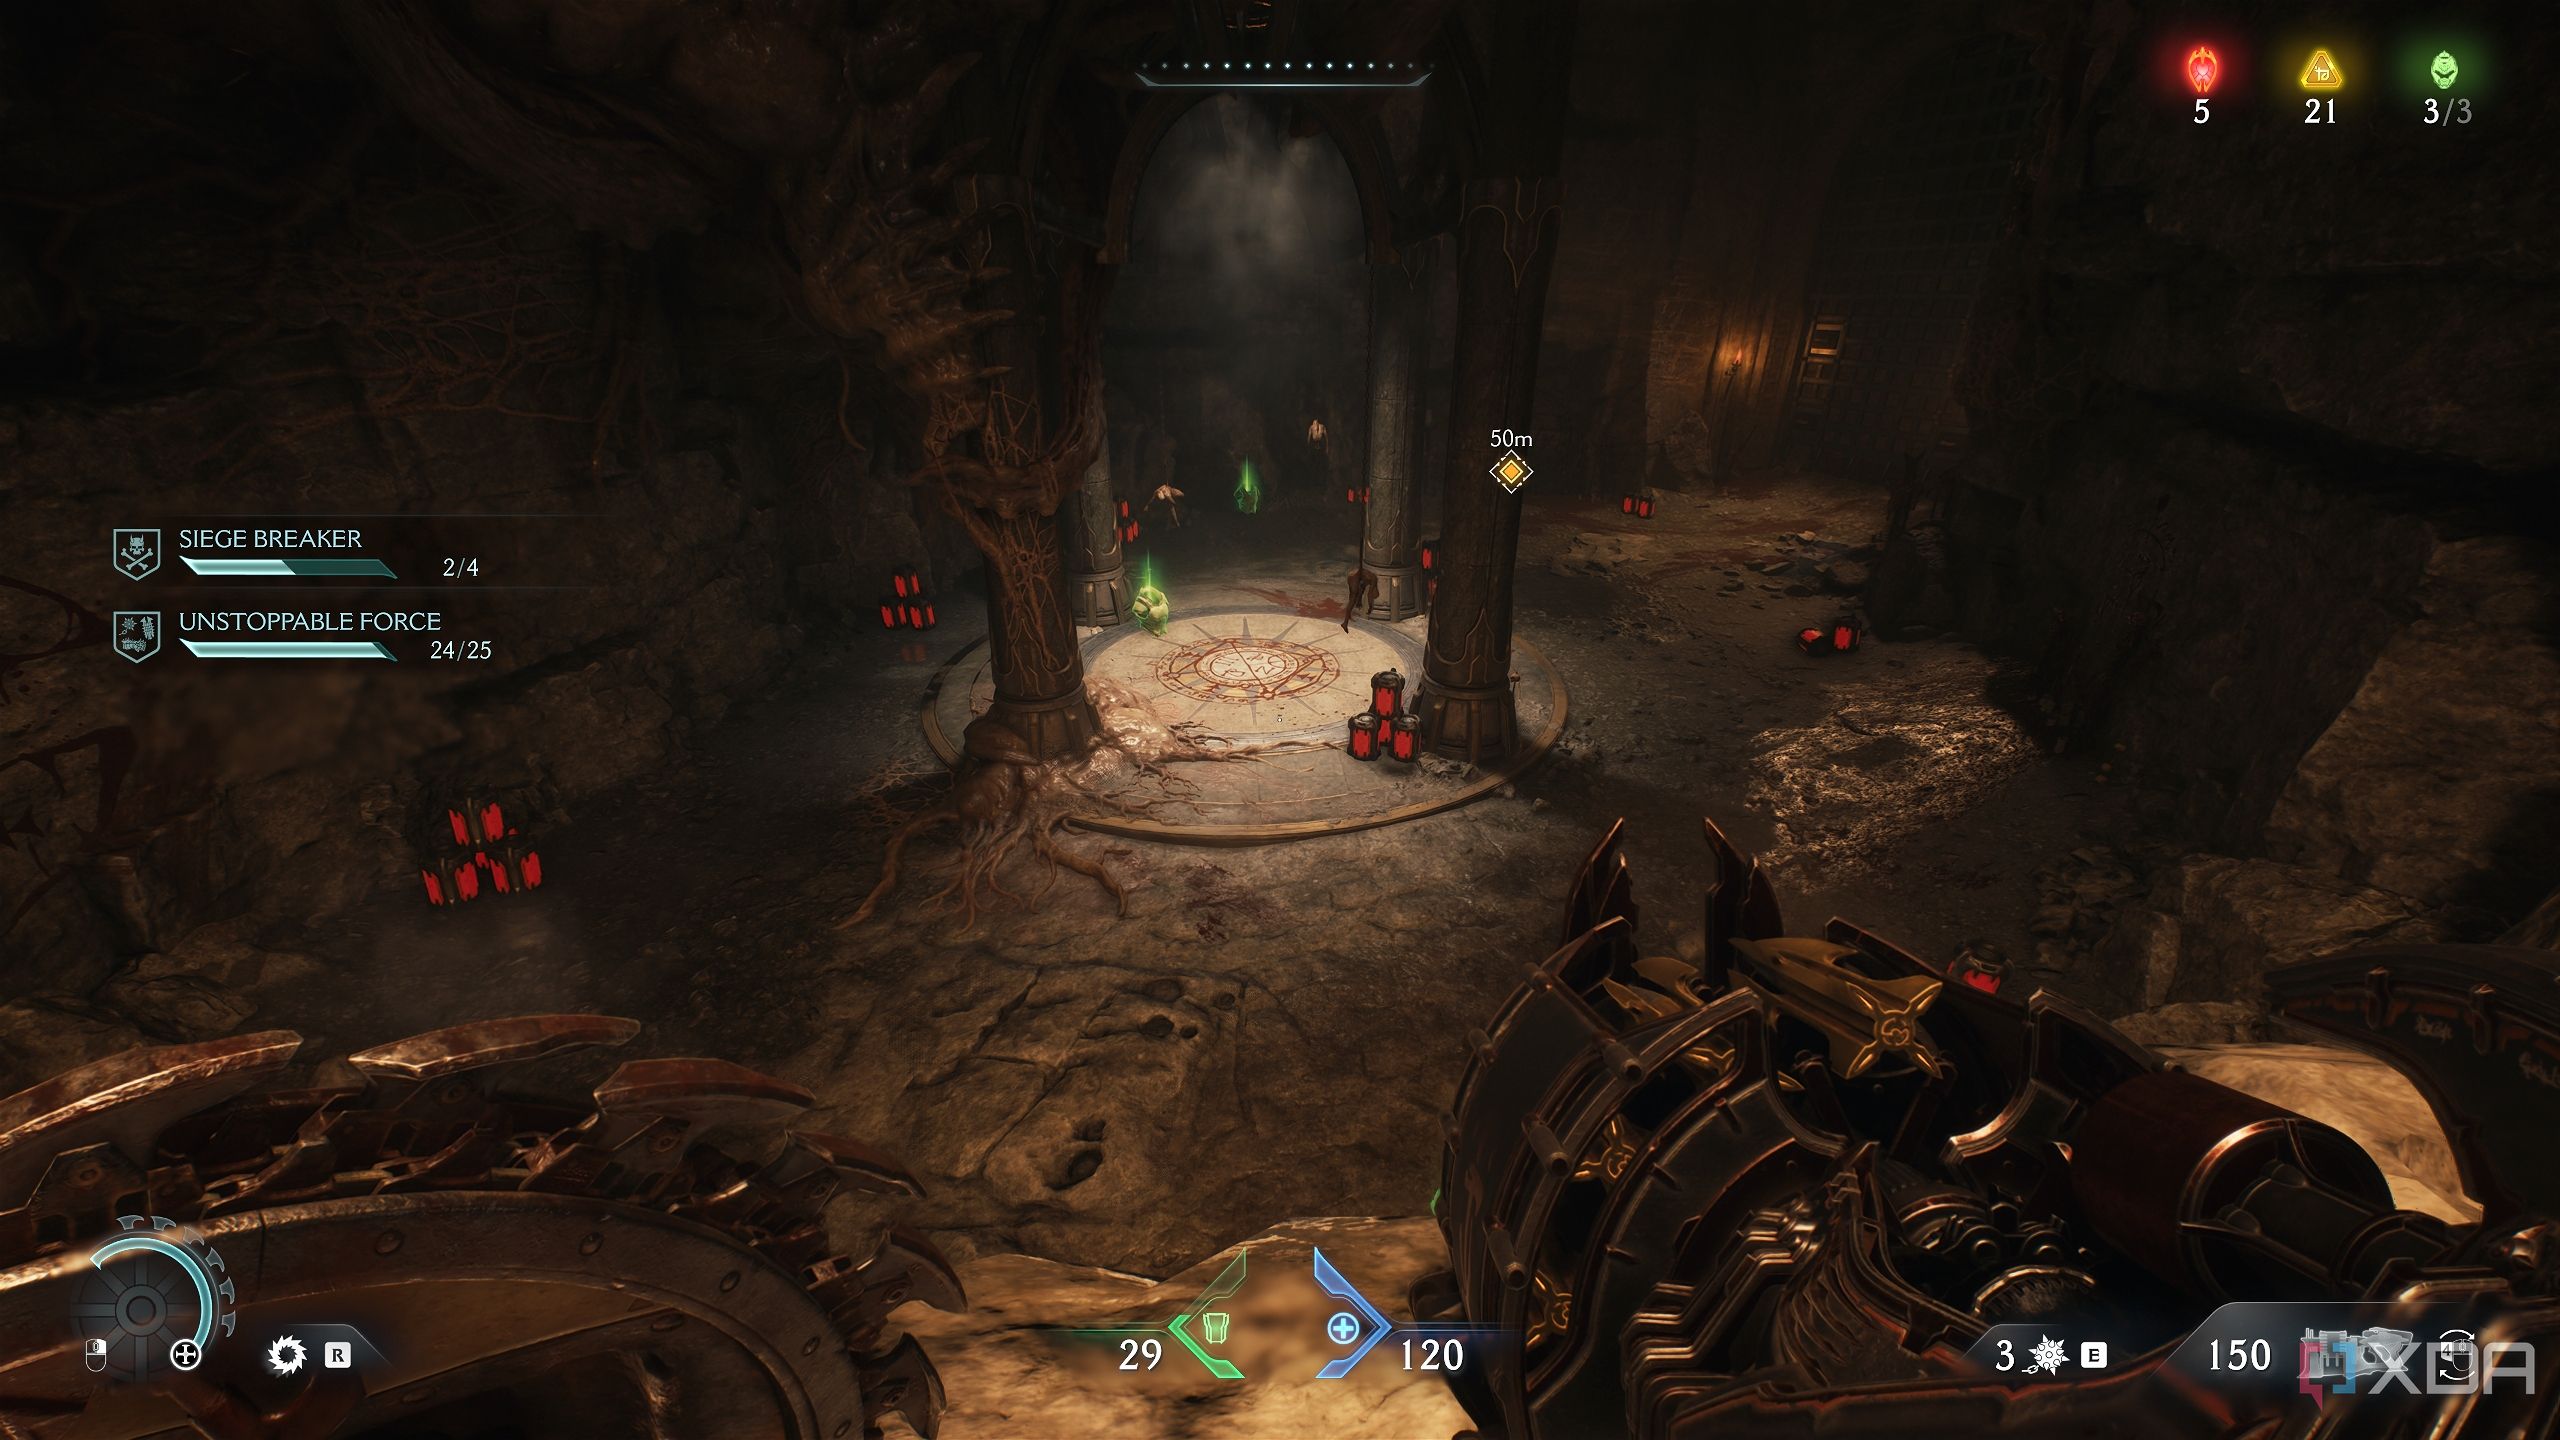
After you exit the second secret area, head straight forward to this location on the map to find the second gore portal to close in the main questline.

You’ll have to fight a leader here, taking down dozens of demons before you can kill the leader for a Max Ammo upgrade. However, the good thing here is that this fight will have plenty of Hellknights to parry for the Immovable Object challenge.
Make sure you use your flail as much as possible to complete the Unstoppable Force challenge.
Once the gore portal is destroyed, head to where it stood, and you’ll see a gold stack reveal itself where the portal was.
The biggest secret area in the chapter
One of the most interesting secret areas in Chapter 6 of the game is right next to the arena of the second gore portal.

Head to the location above and pick up gold bars on the ground. Immediately, a vagary will ambush you.
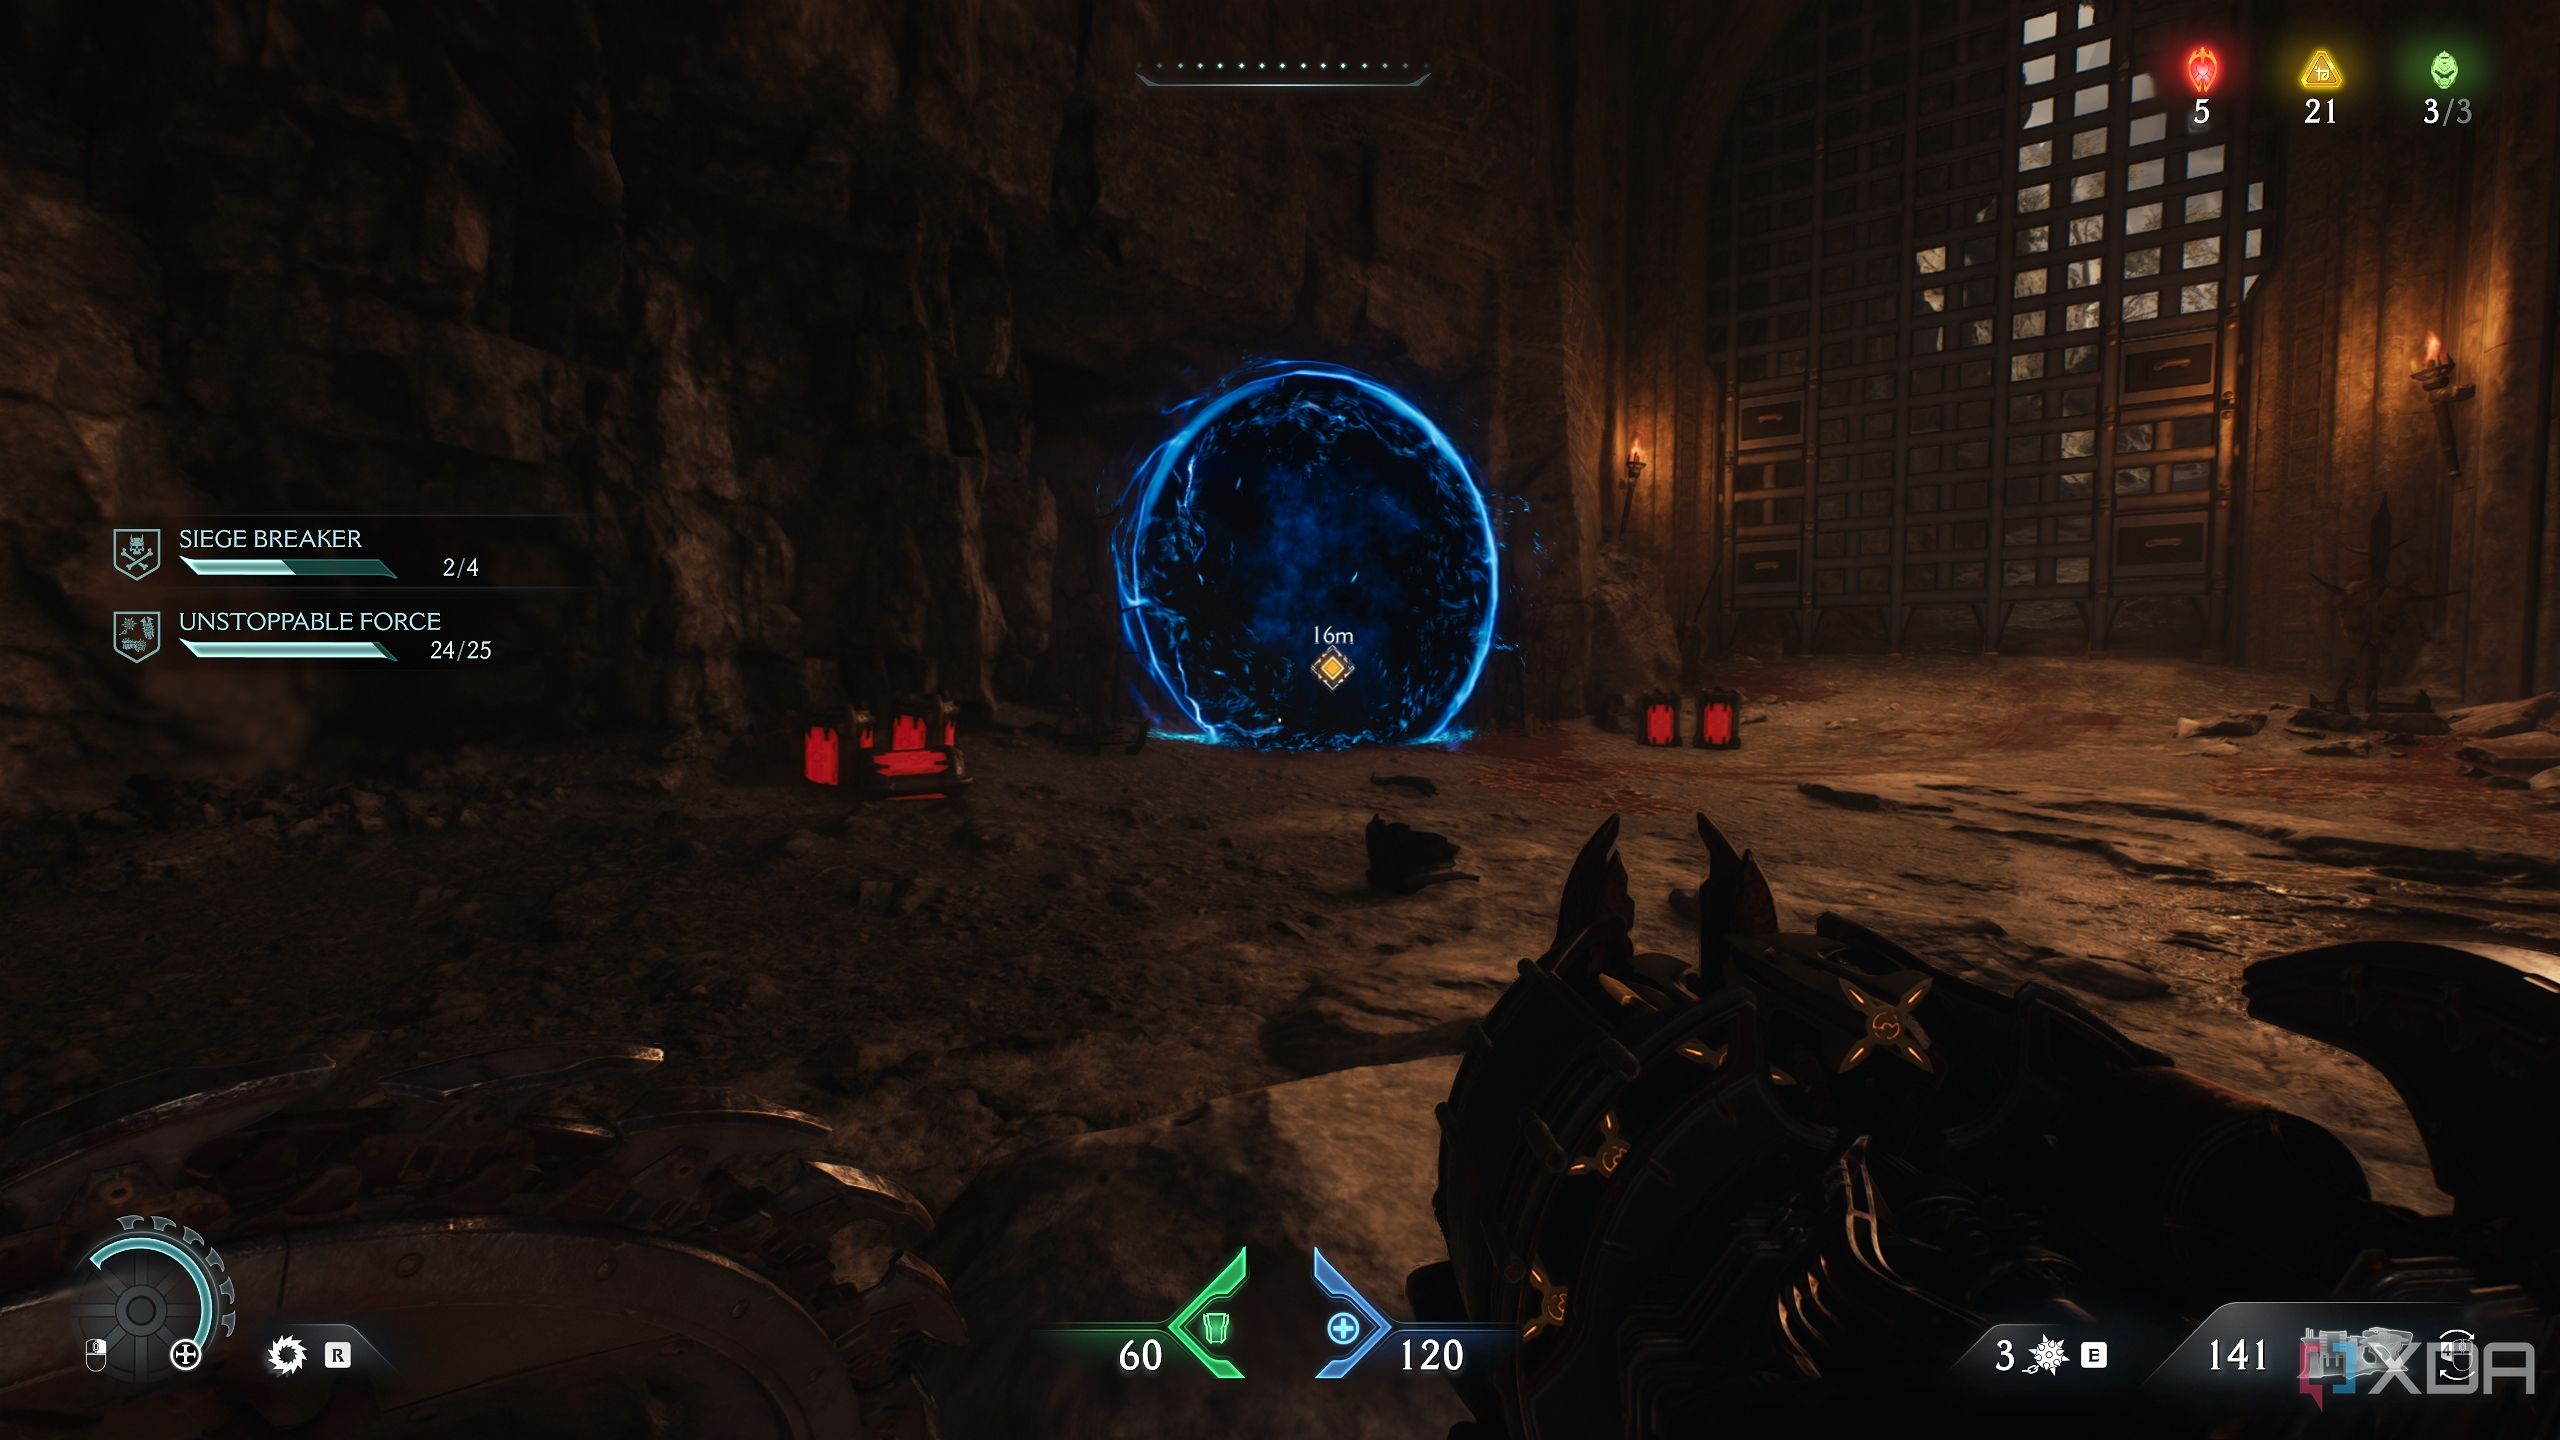
Dispatch it quickly to then see a blue teleporter appear on the right-hand side.
Head through it, and you’ll unlock the third secret area in the map.
Now, look up to see another blue energy node to stick your shield into. Head into the door it opens, pick up gold bars on the ground.
Shield Charge through the wall ahead. A Hellknight will appear — slay it and pick up more gold off the ground.
Now, Shield Charge into the box up ahead to make it line up with the wall and ledge in front of you.
Scramble up the box and the wall, and you’ll see an interactable switch to open the exit gate.
Before you do that, however, Shield Charge through the wall right next to the switch, and fall down to find a gold crate. Break open the heated metal cross next to the crate, climb back up the box and the scramble wall, interact with the switch, and make your exit upwards.
Related
Exploring the gory brilliance of id Tech 8 in Doom: The Dark Ages
Doom: The Dark Ages and id Tech 8 are gorgeous is the most disgusting way possible.
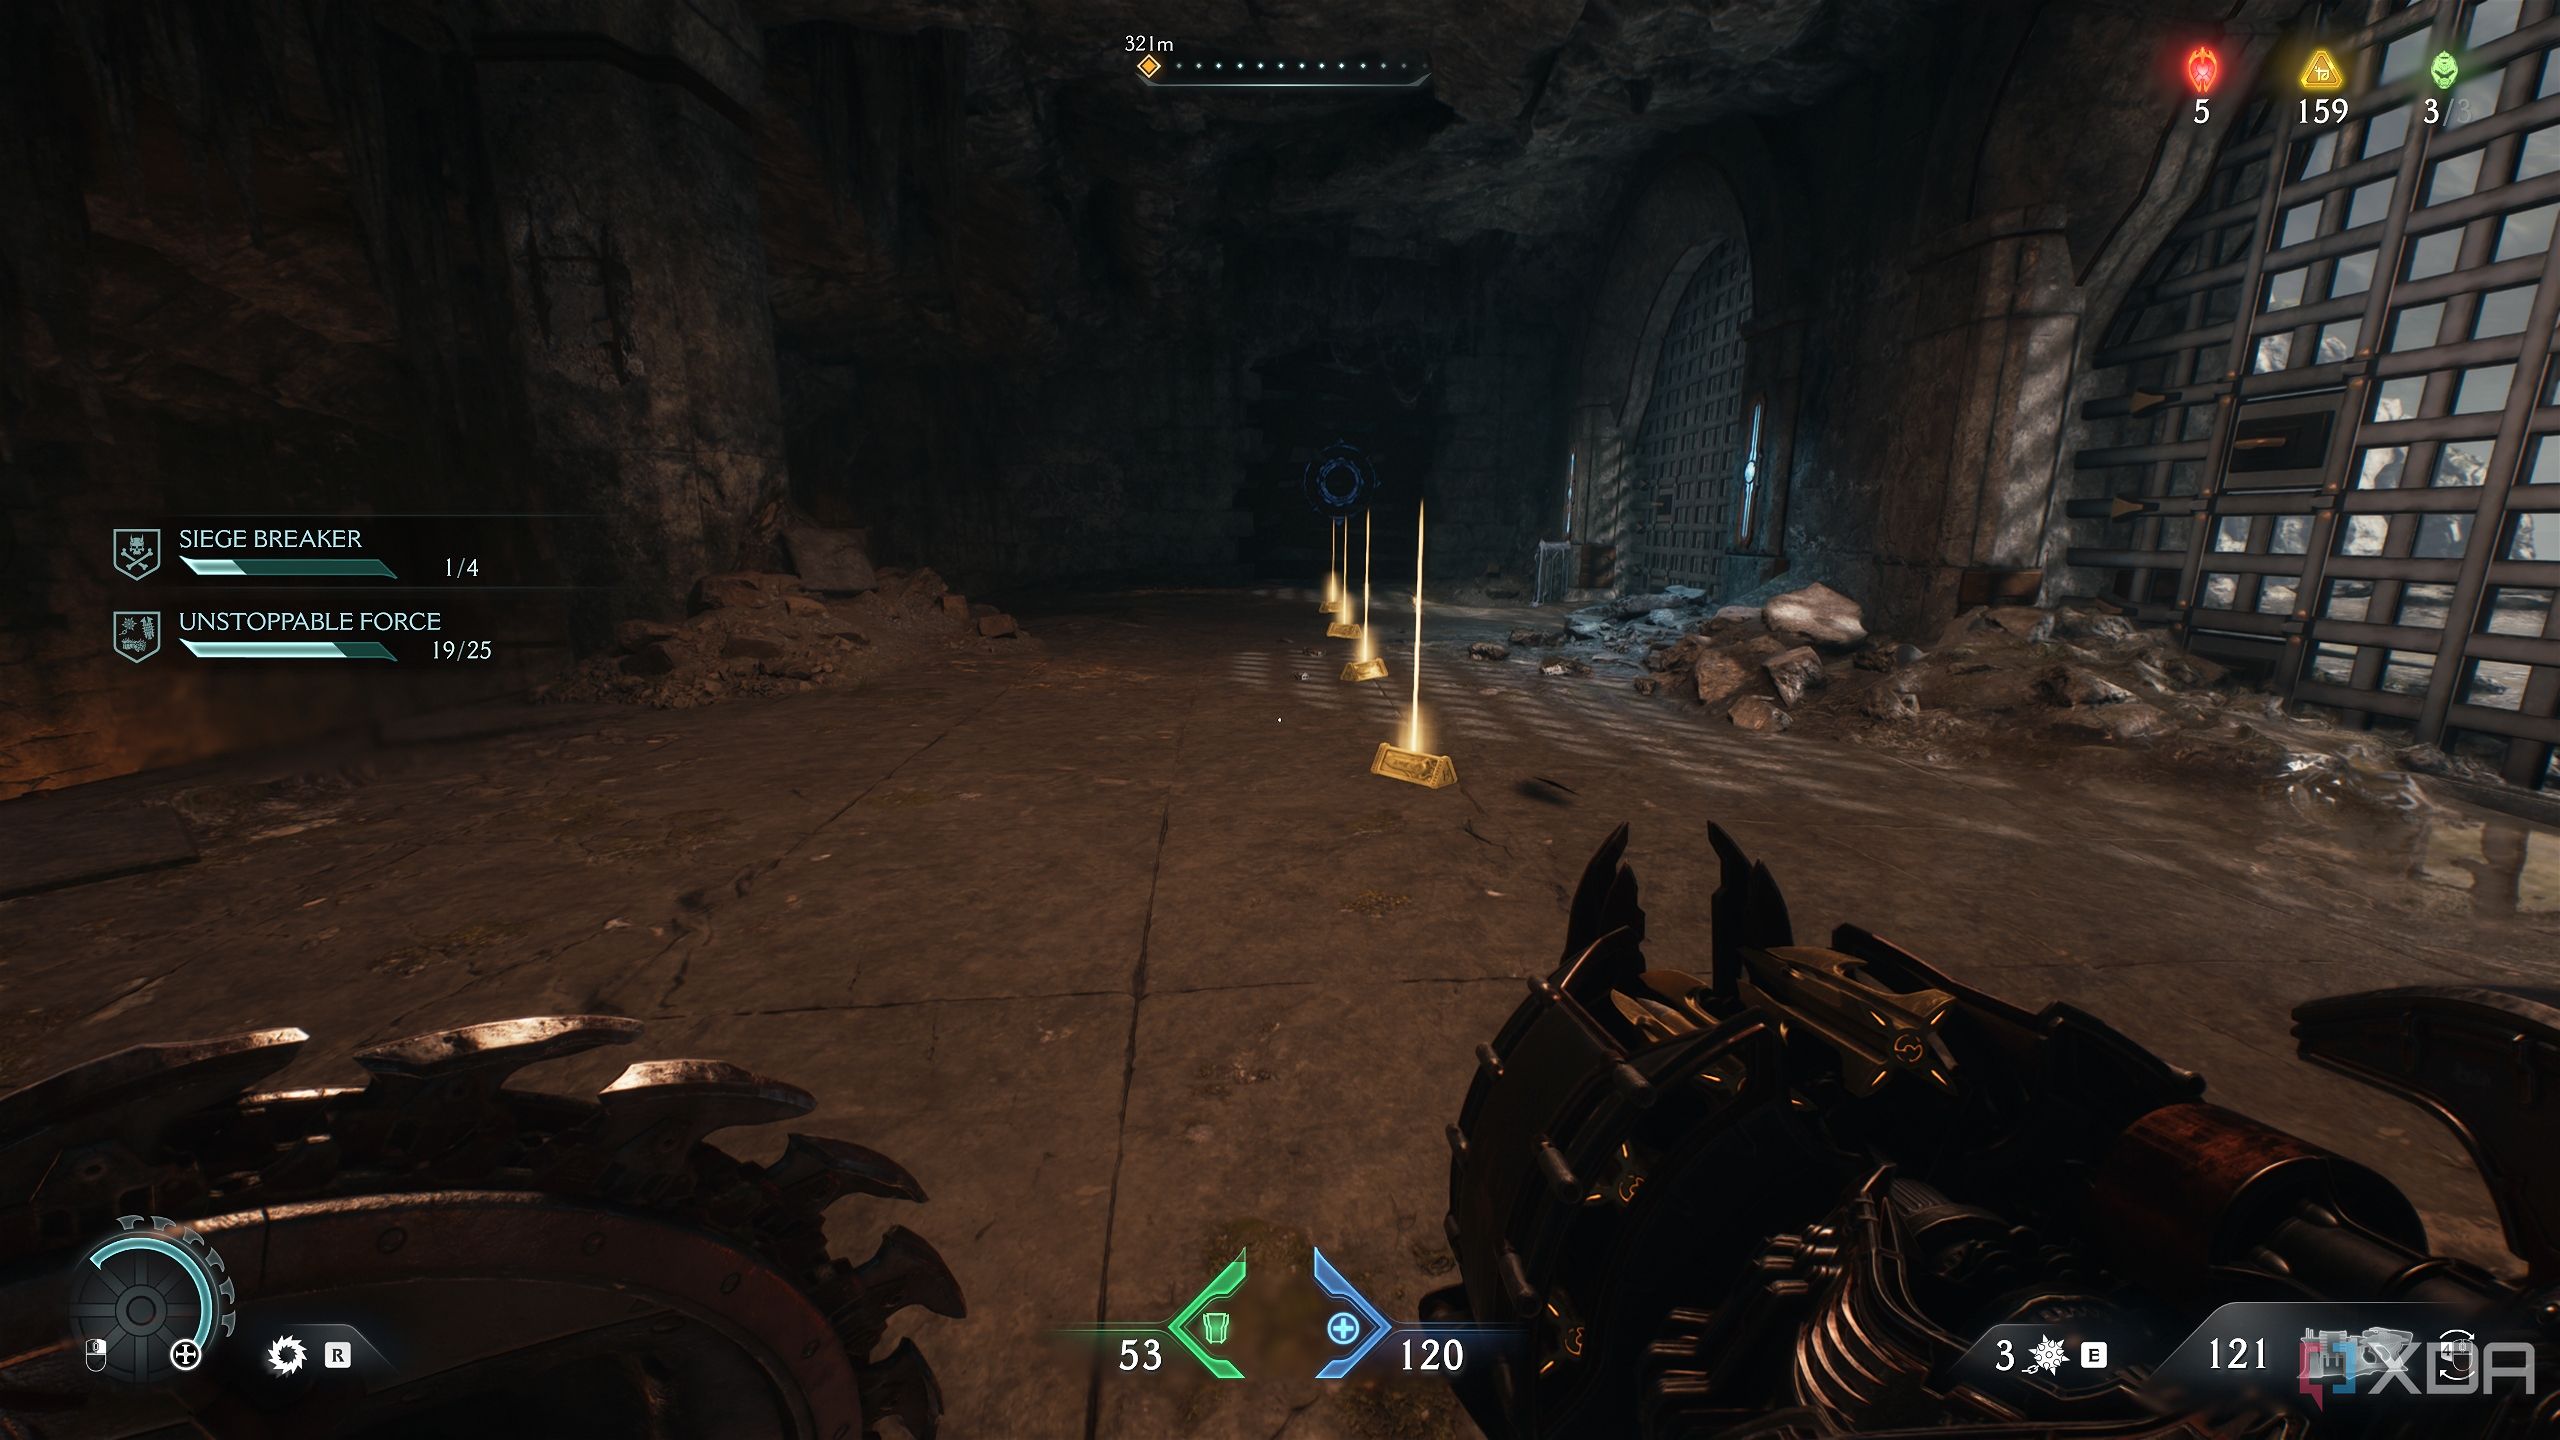
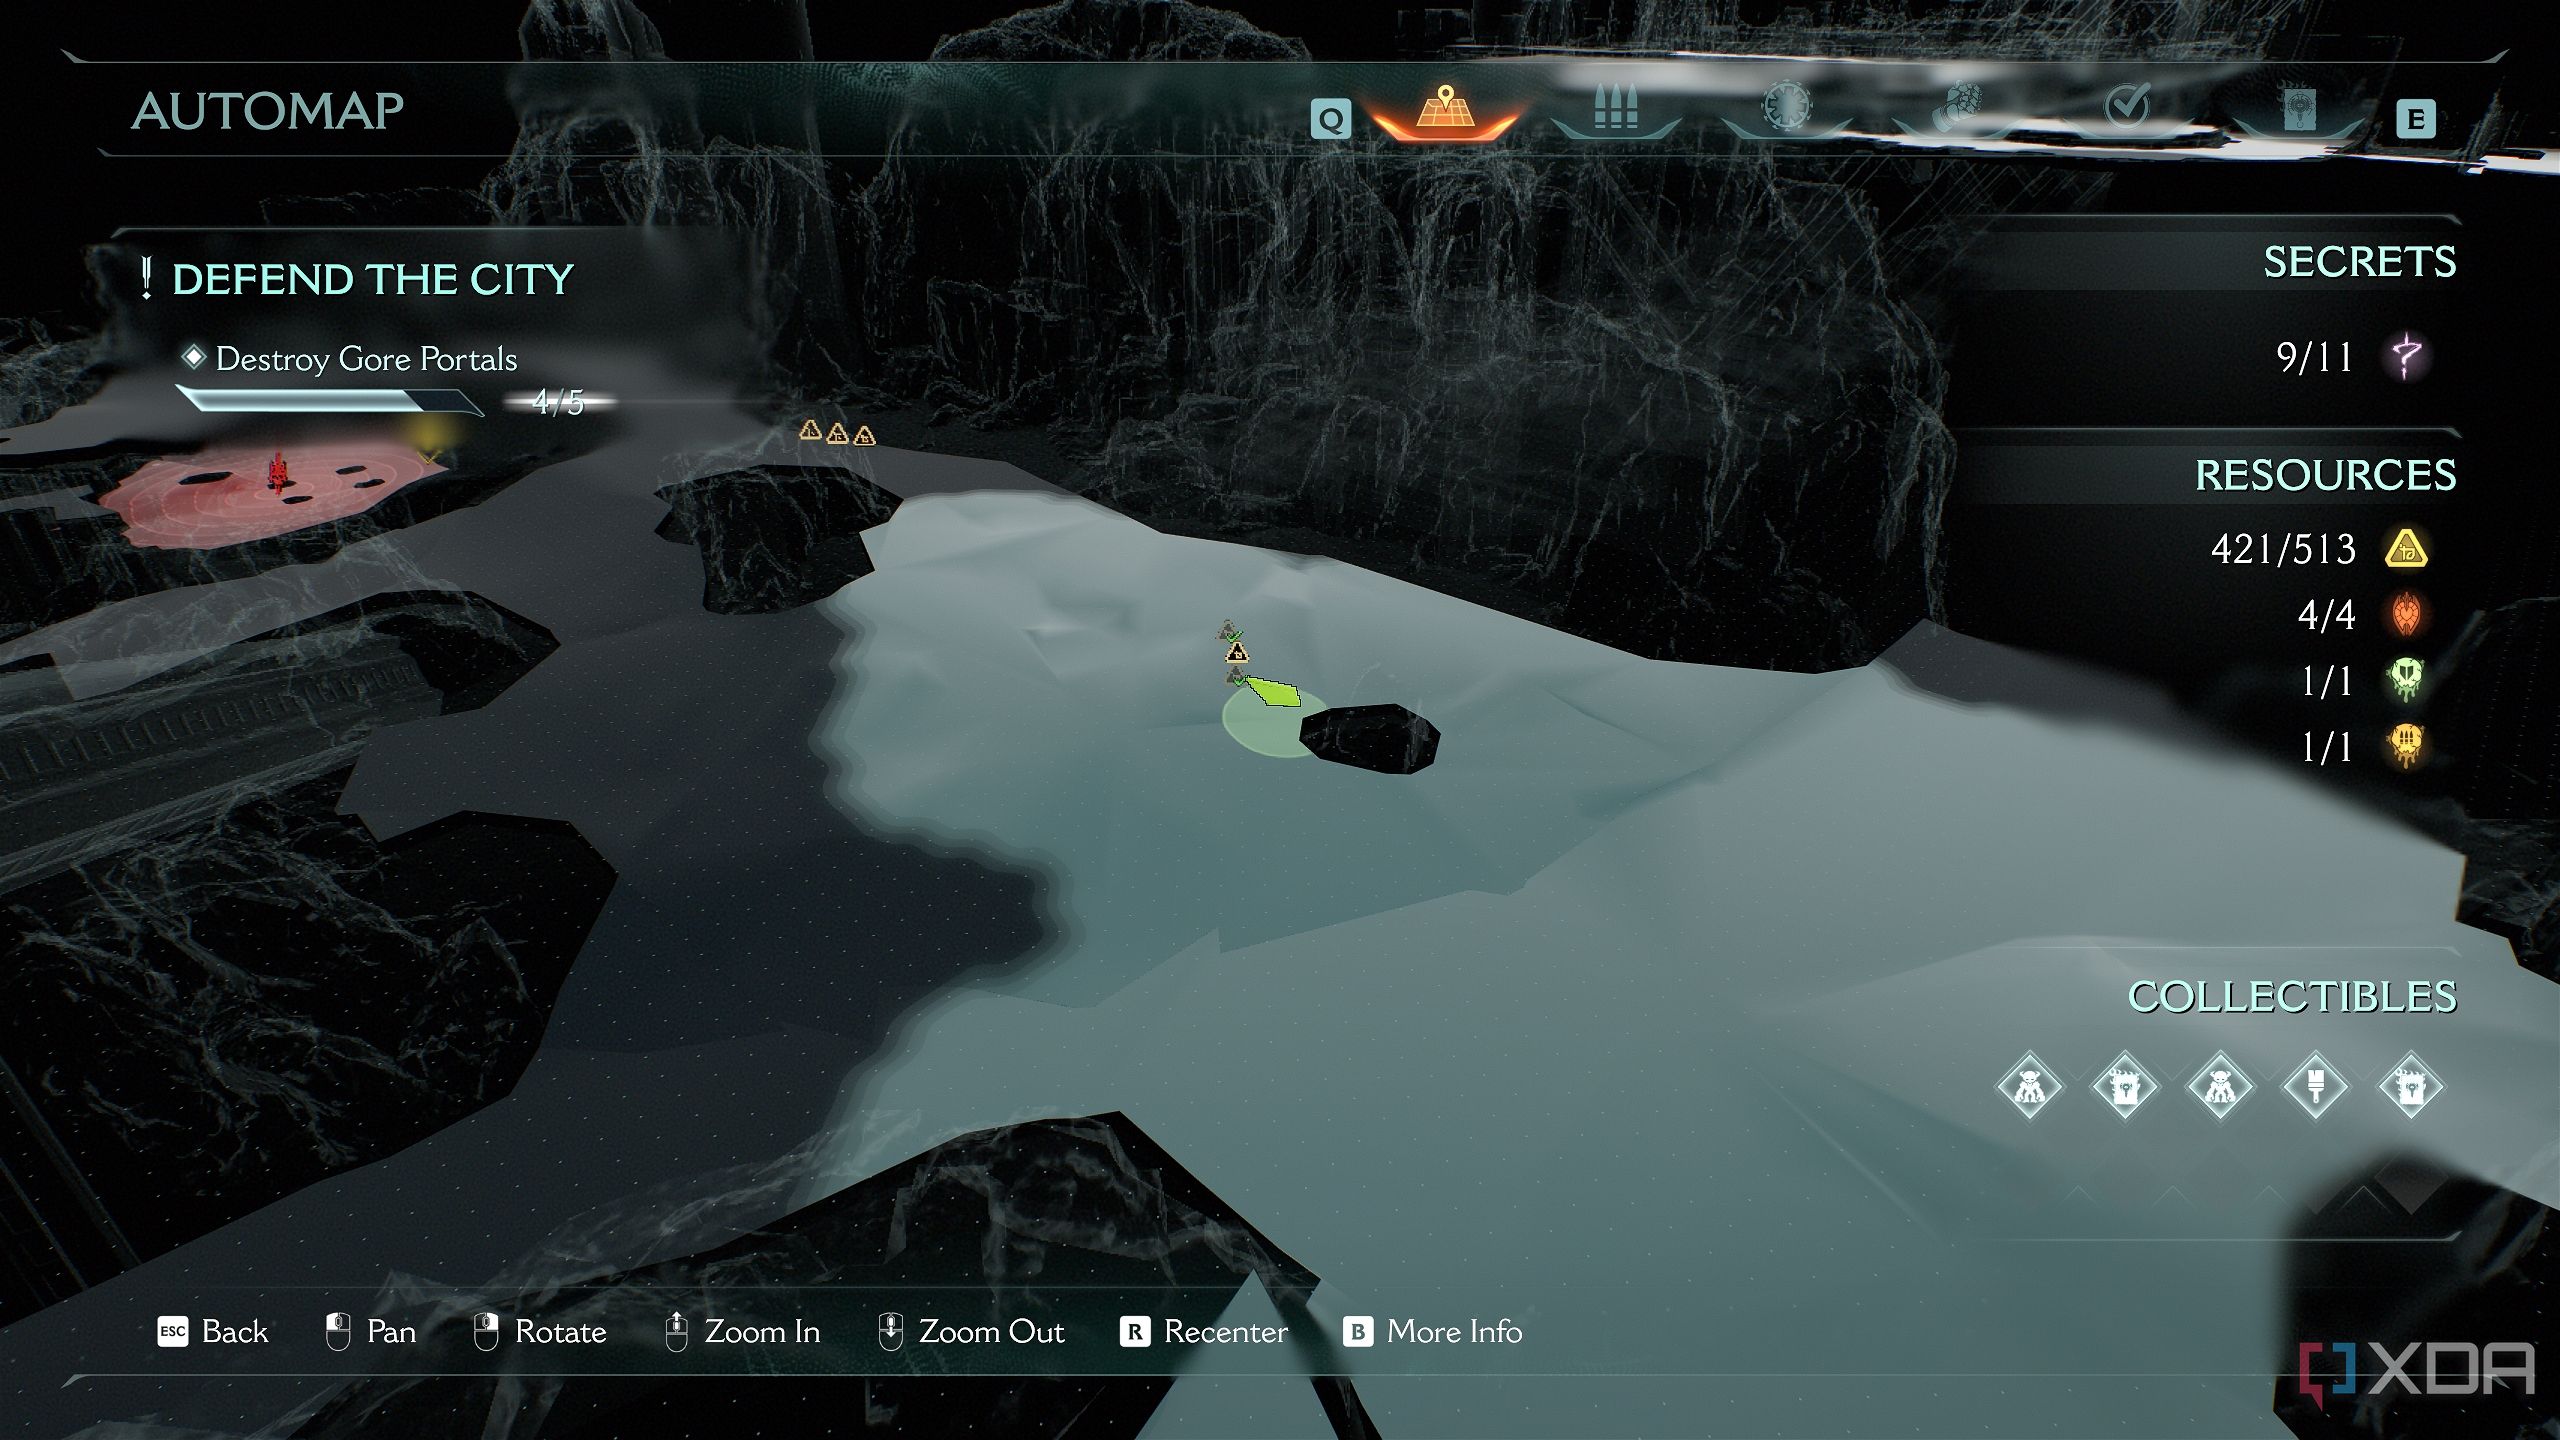
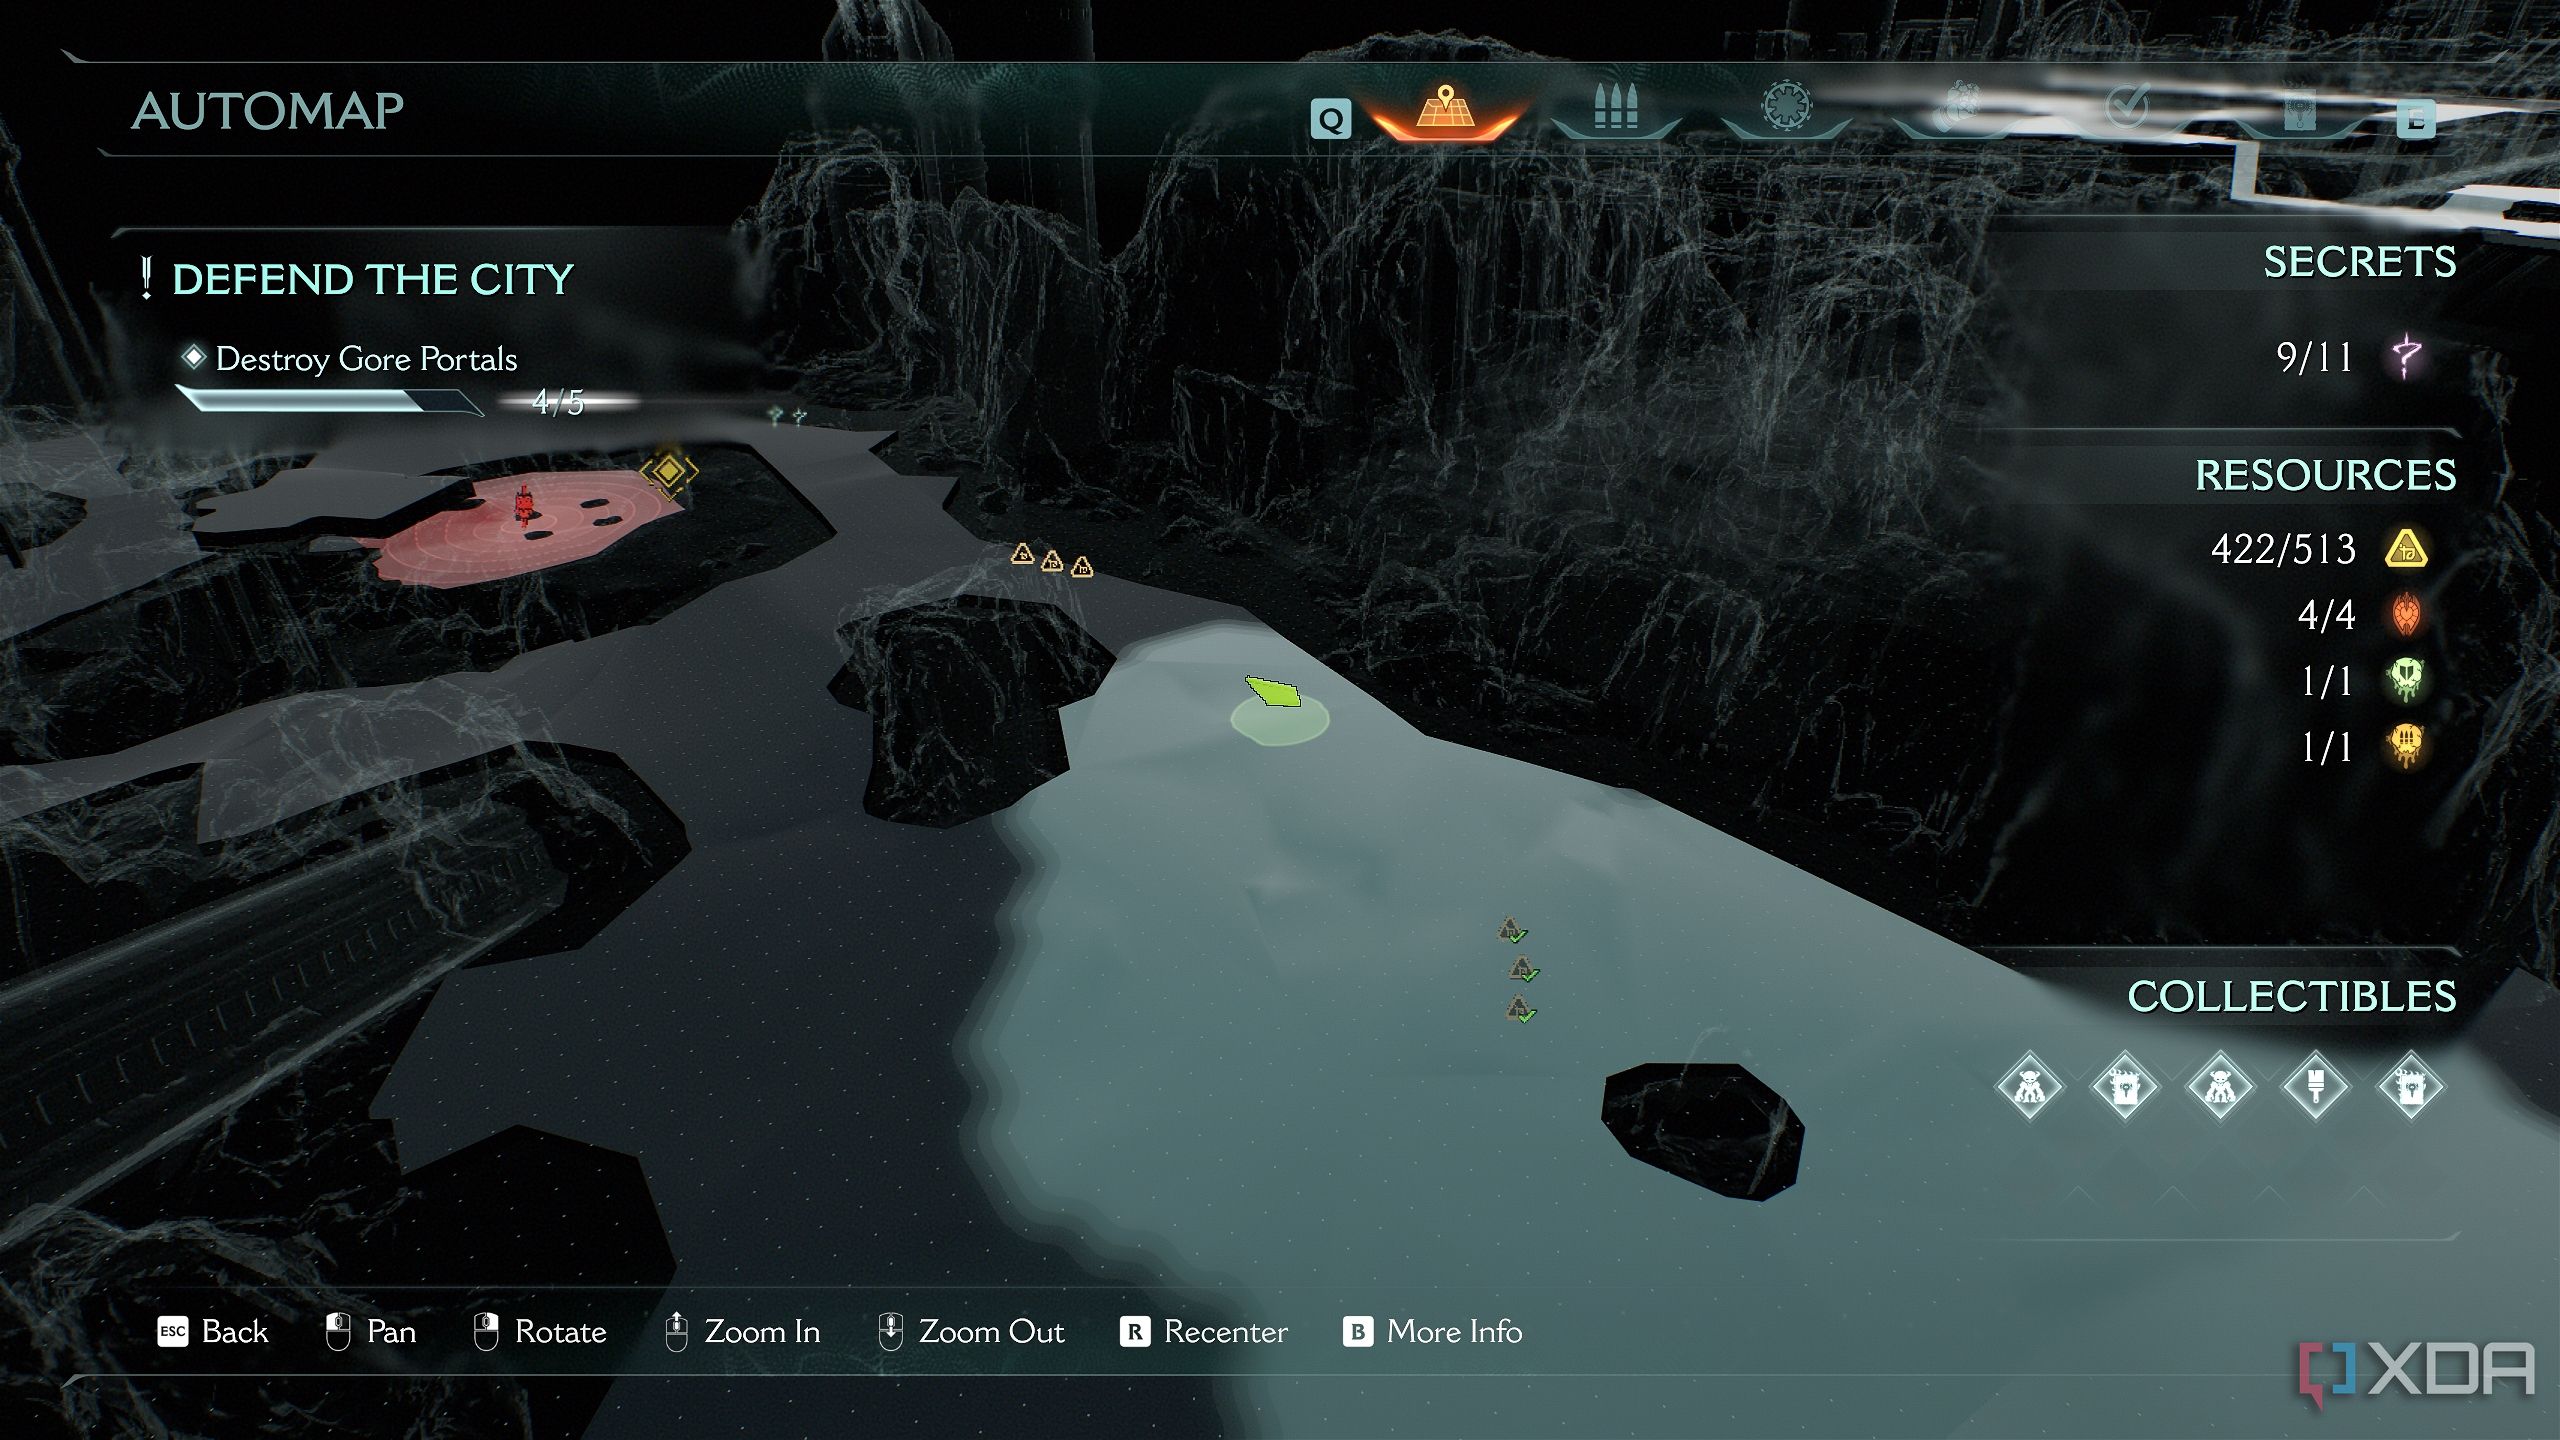
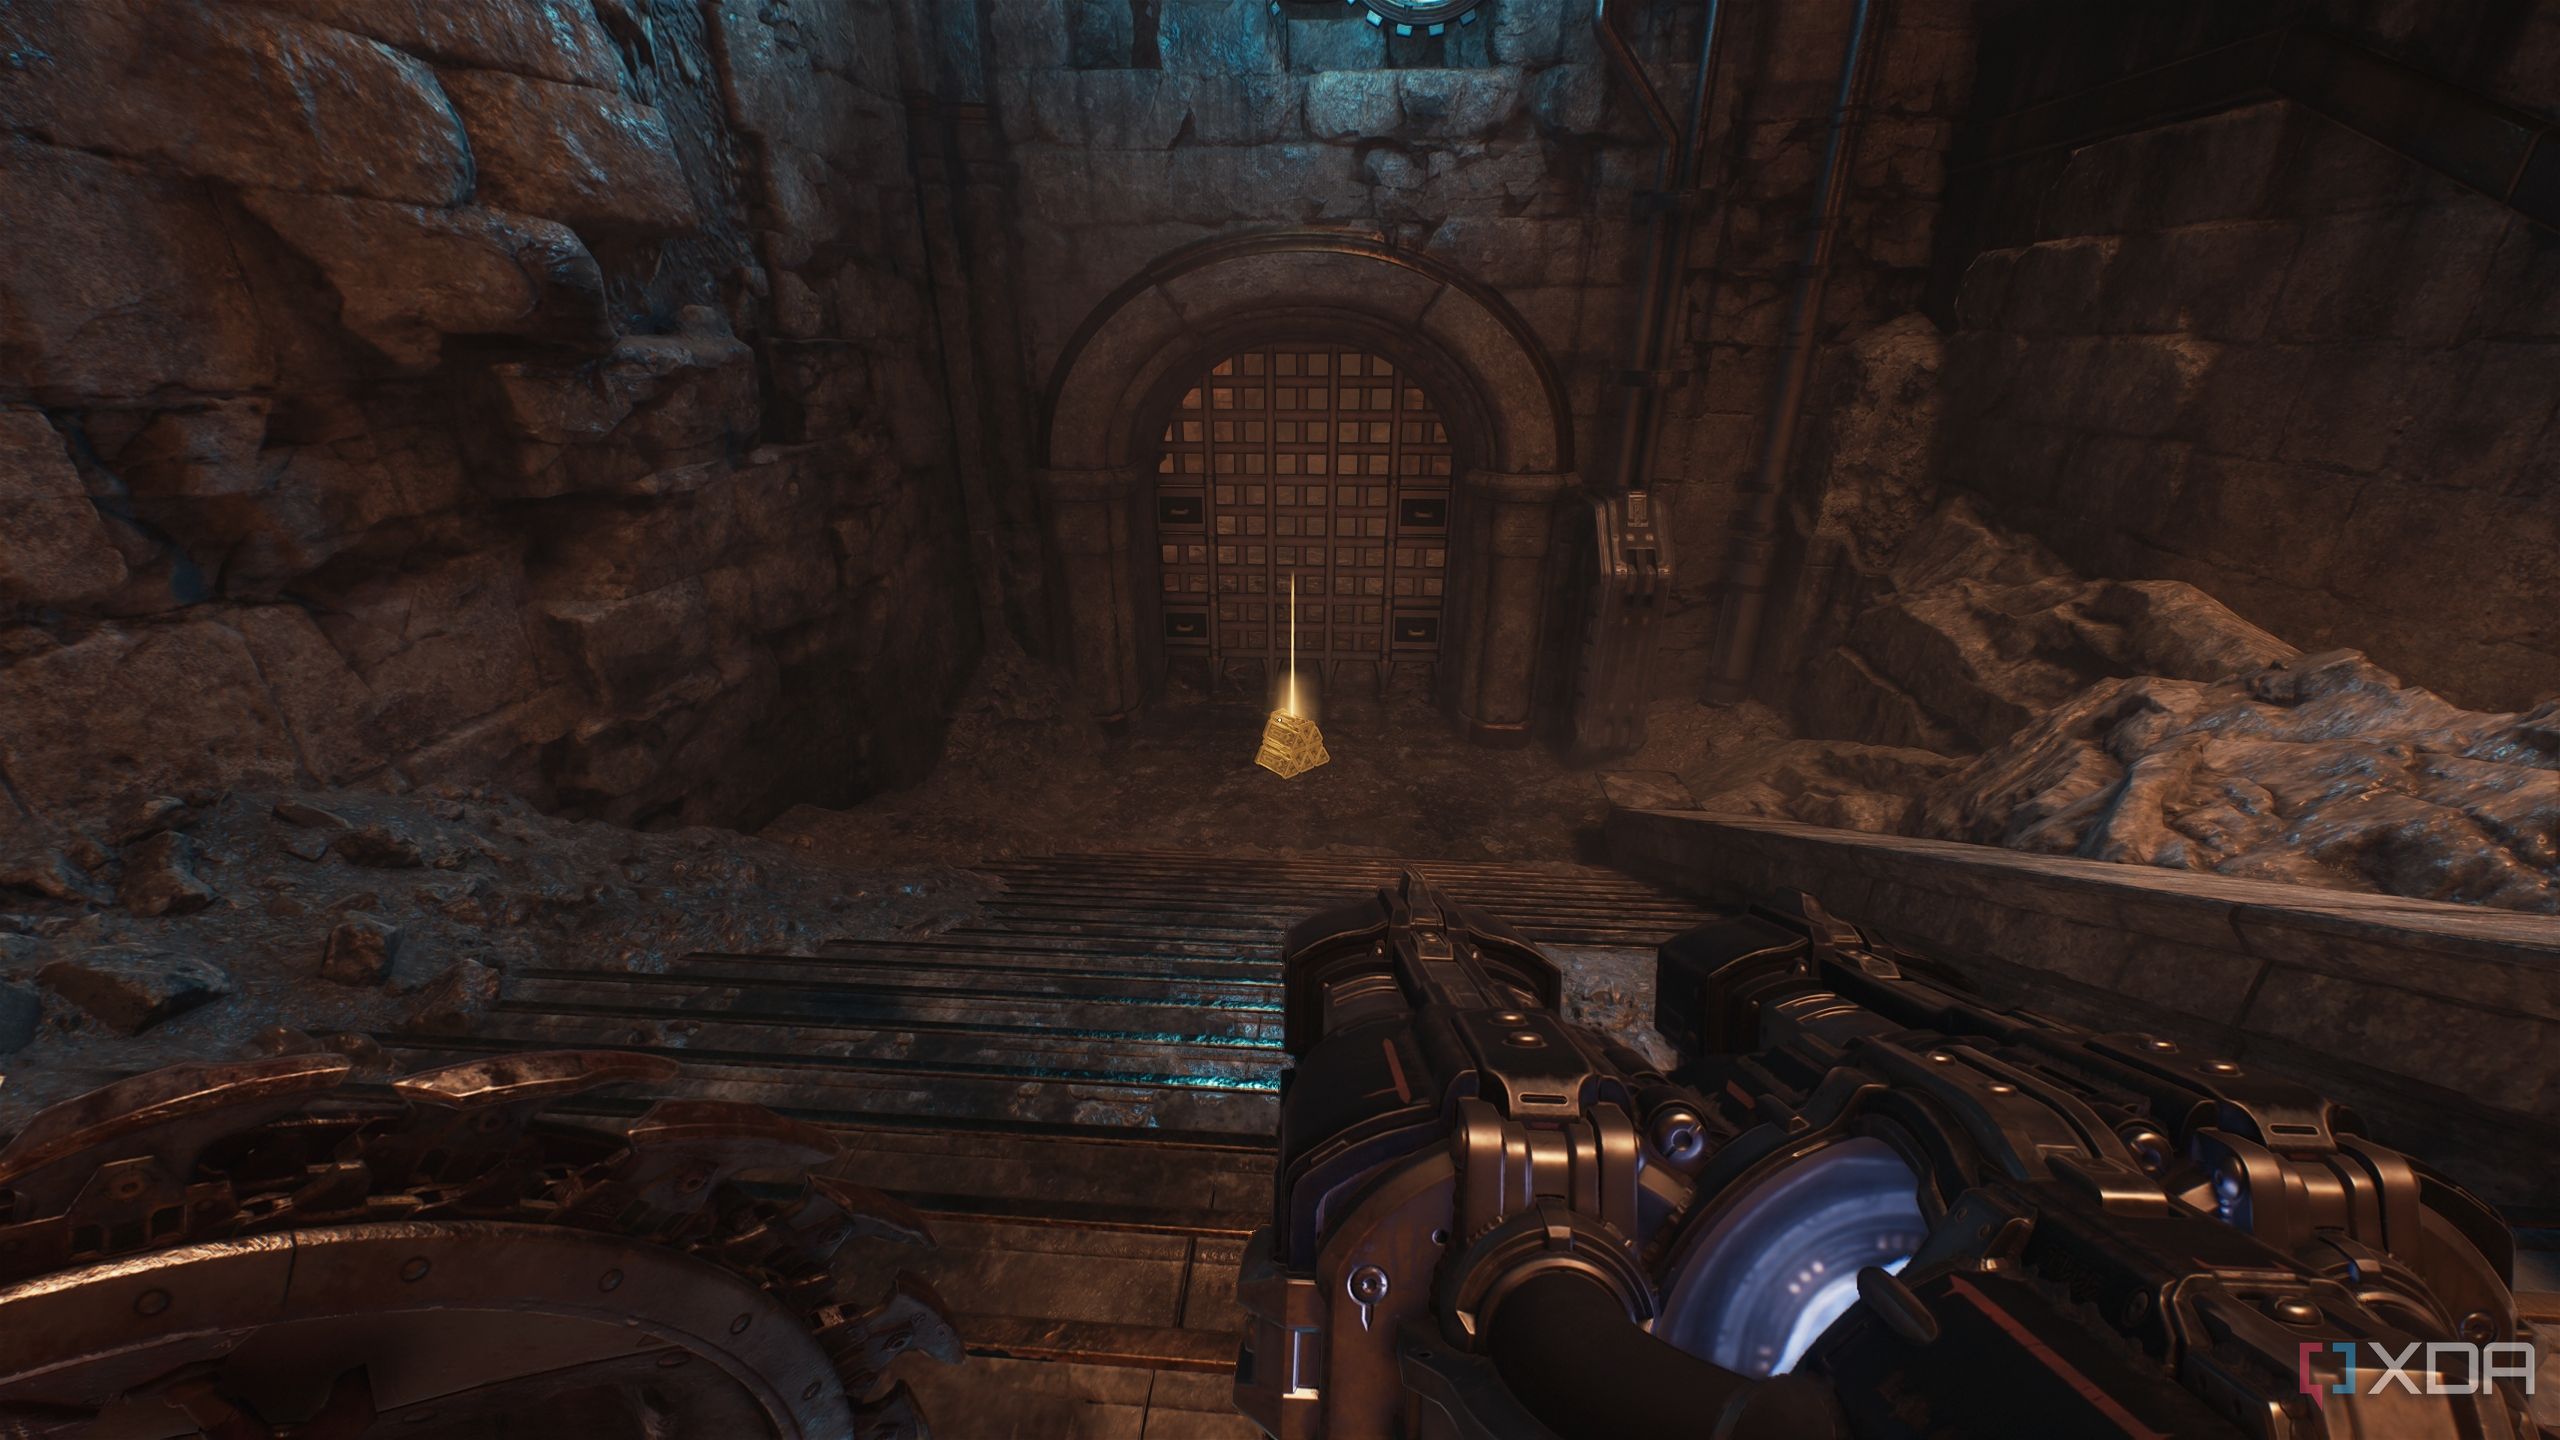
Artillery cannon 2 and a gold stack
Making progress in the Siege Breaker challenge
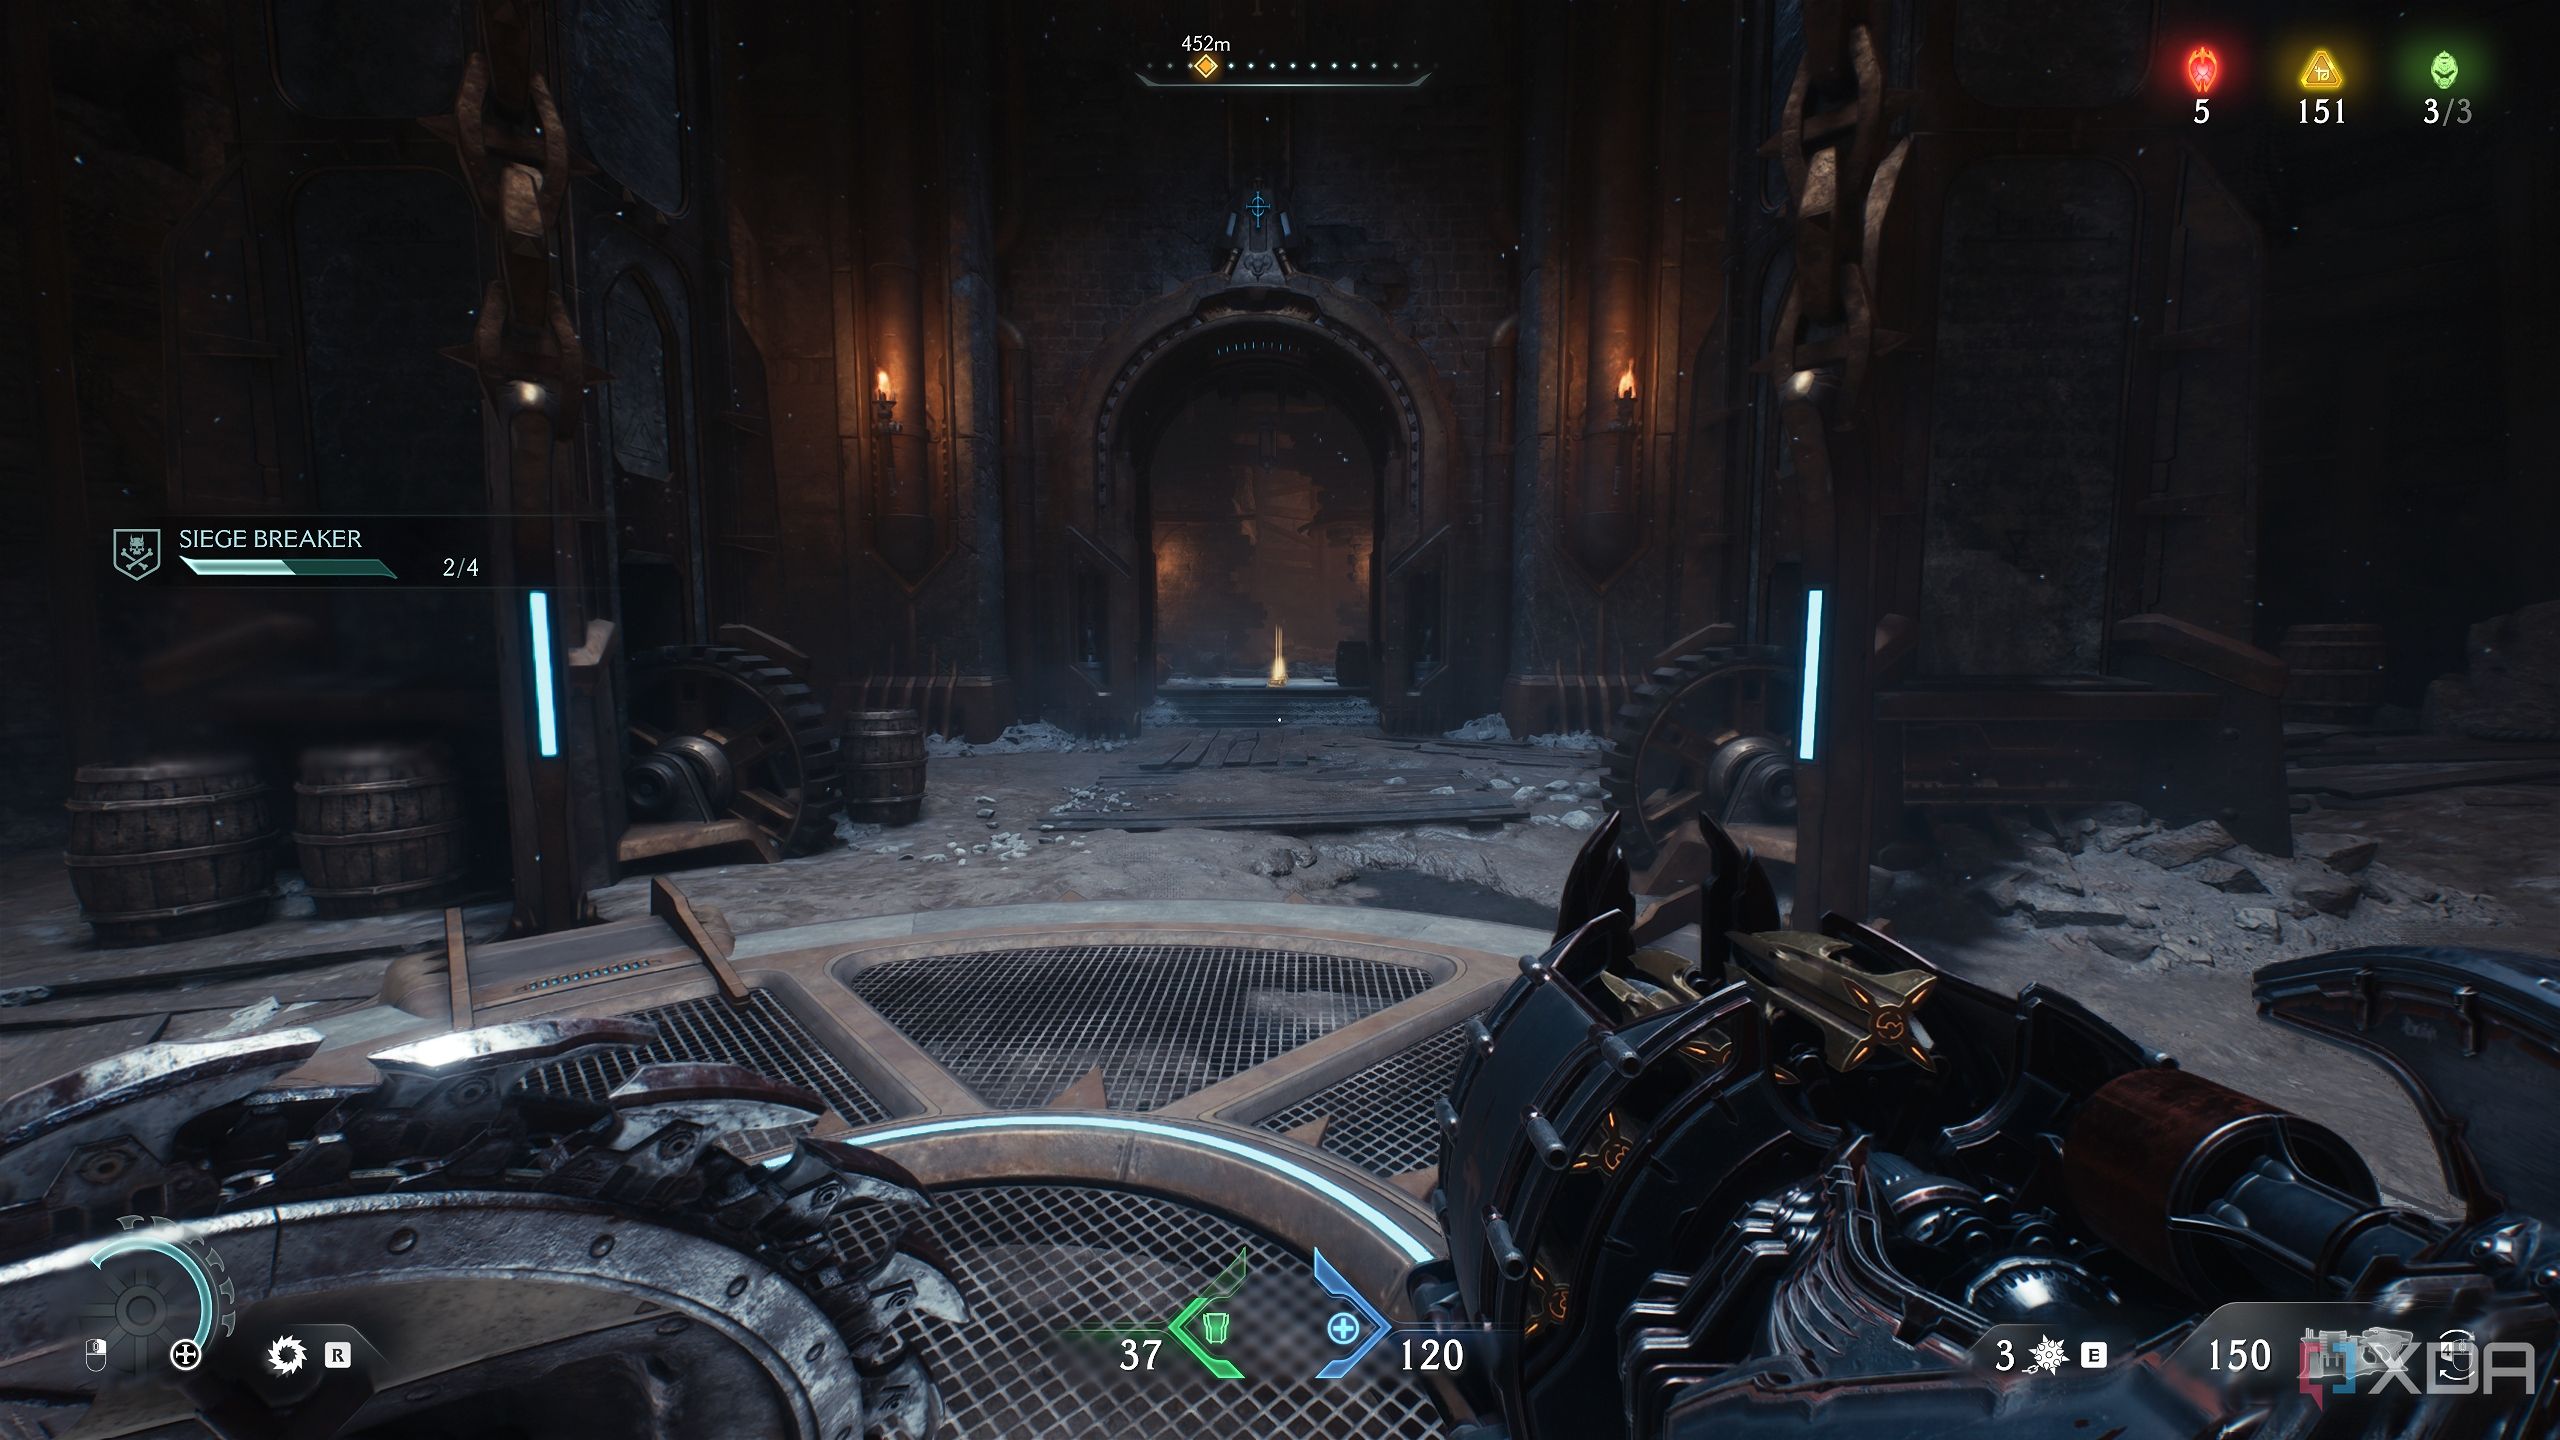
Head back to the arena of the second Gore Portal, and you’ll see a wooden wall you can Shield Charge through.
Once through, you’ll land in a tiny trench below. Make your way up to the location shown above.
Here, you’ll see a Vagary and Shield Soldiers guarding the second Artillery Cannon you need to destroy for the Siege Breaker challenge.
Once the demons are done with, Shield Charge into the Artillery Cannon to dispatch it, and collect the gold stack it reveals.
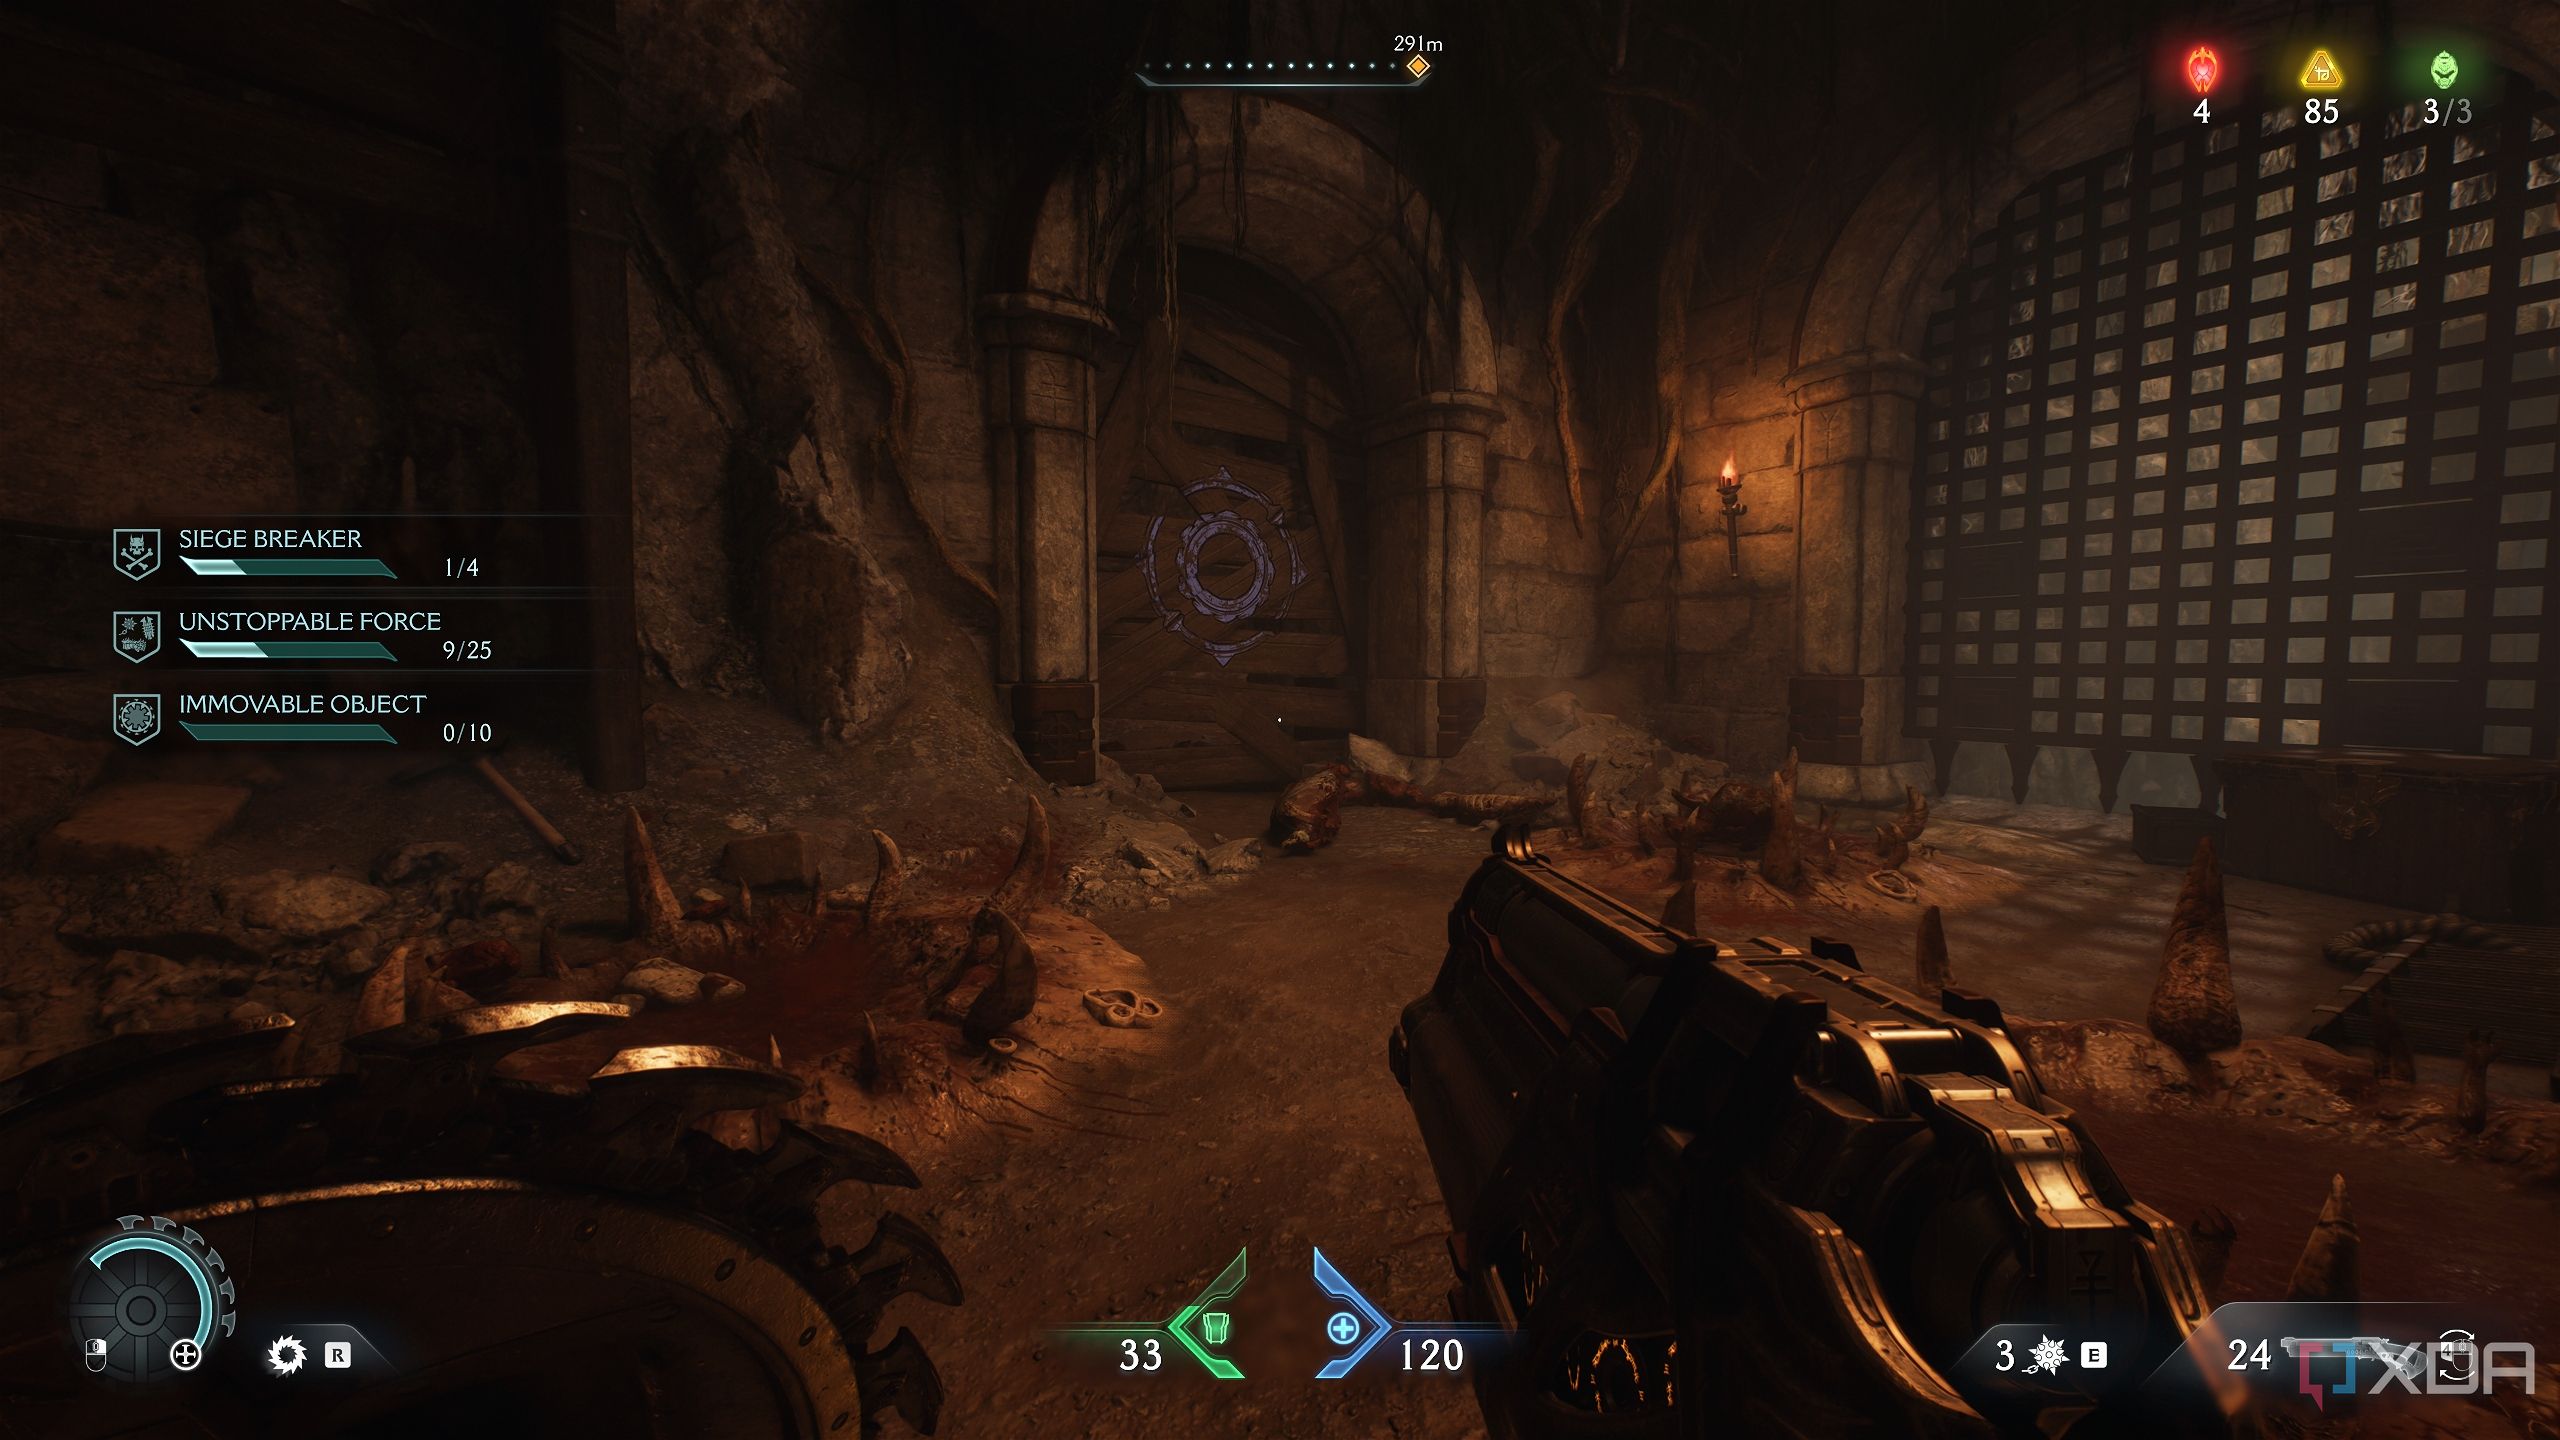
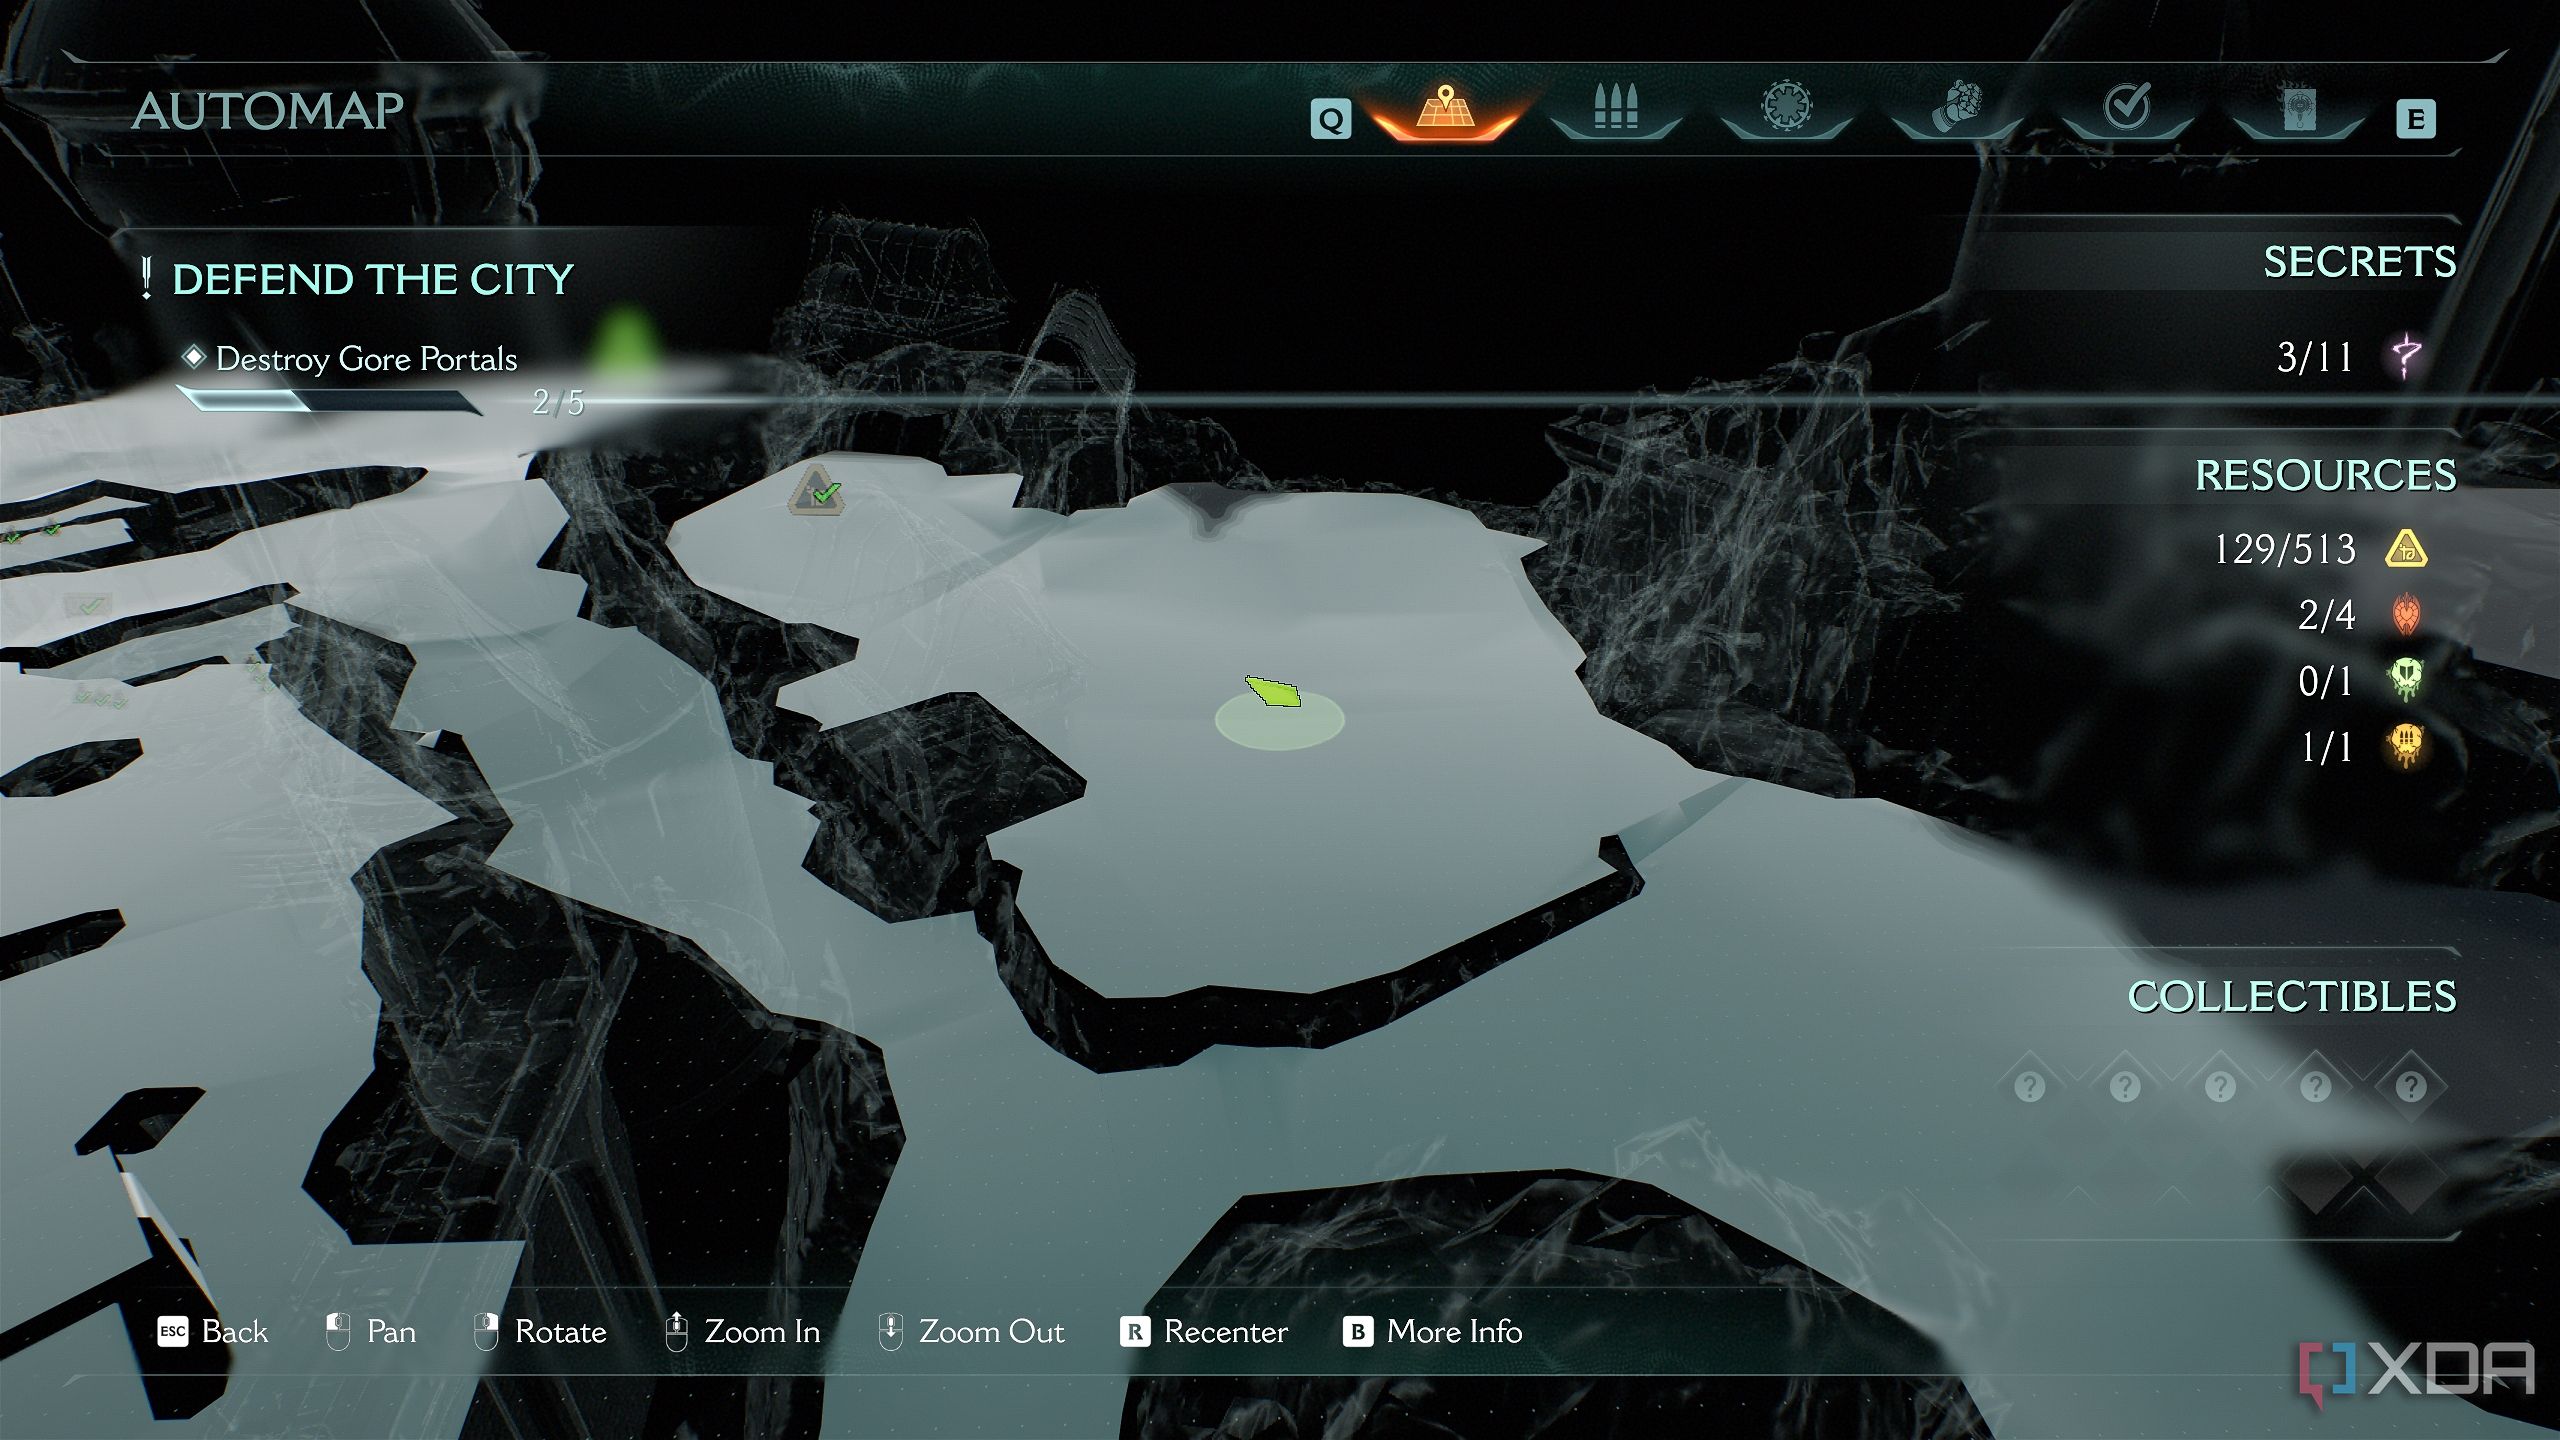
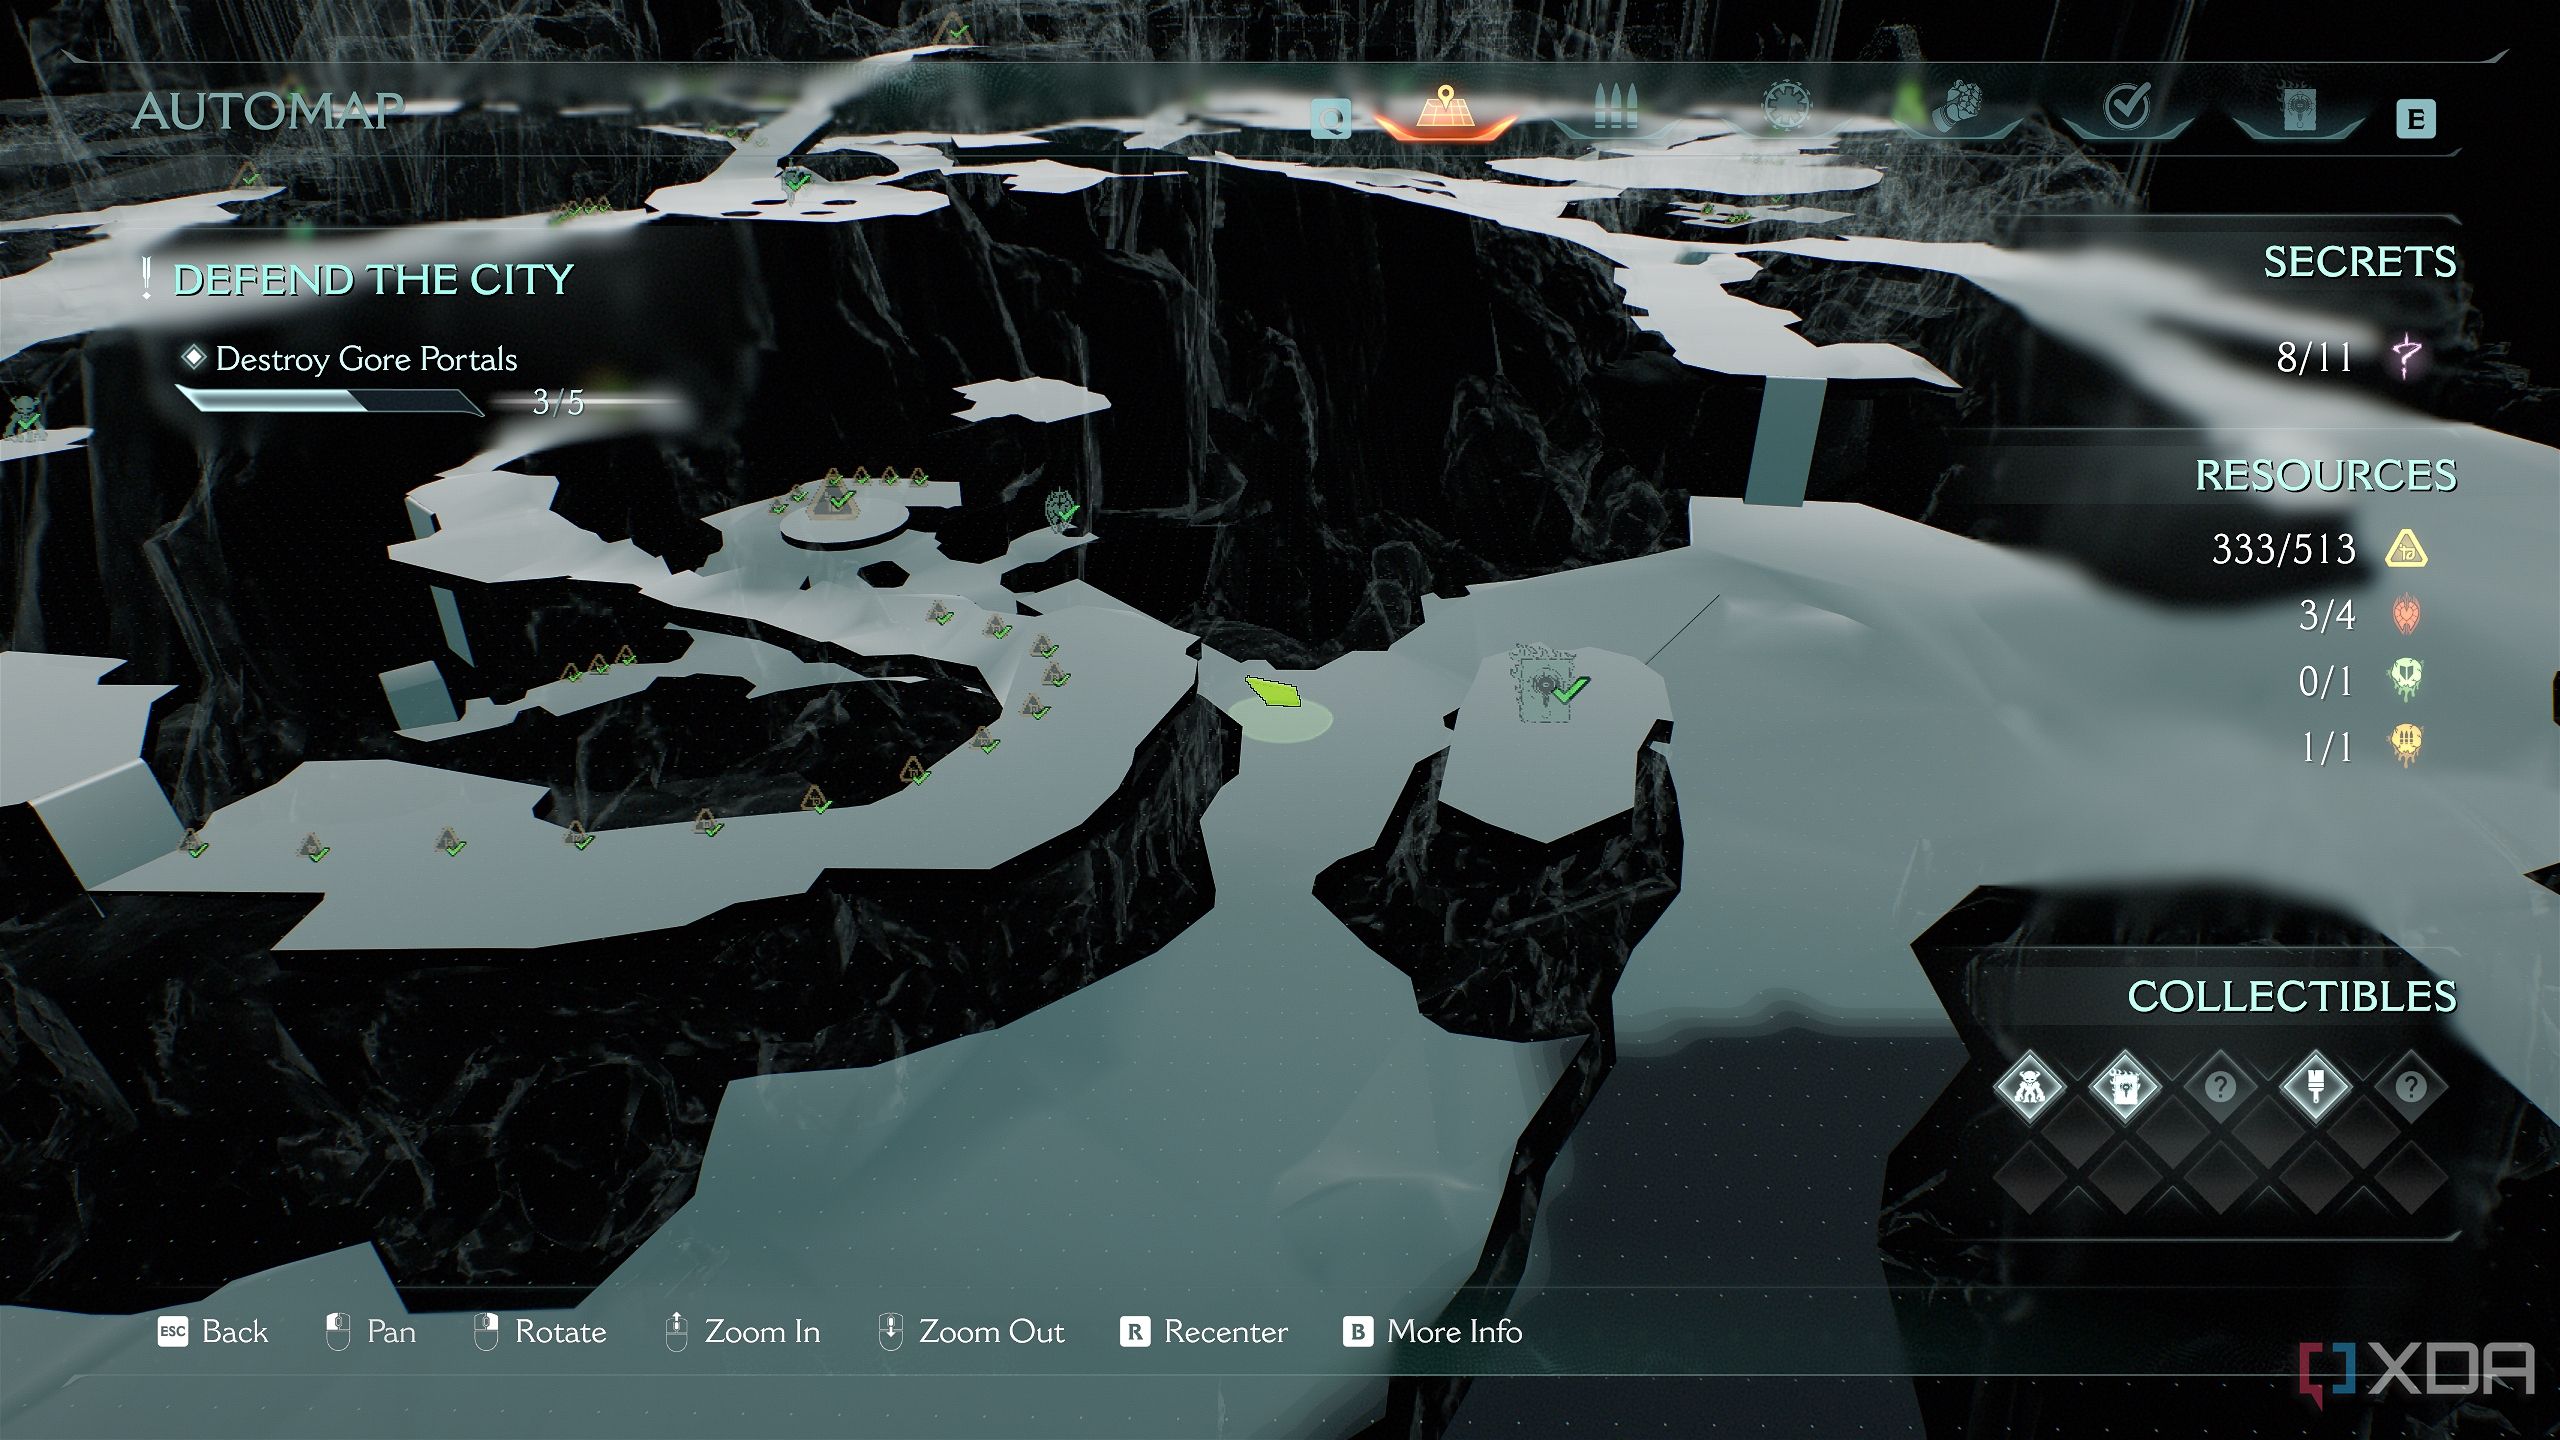
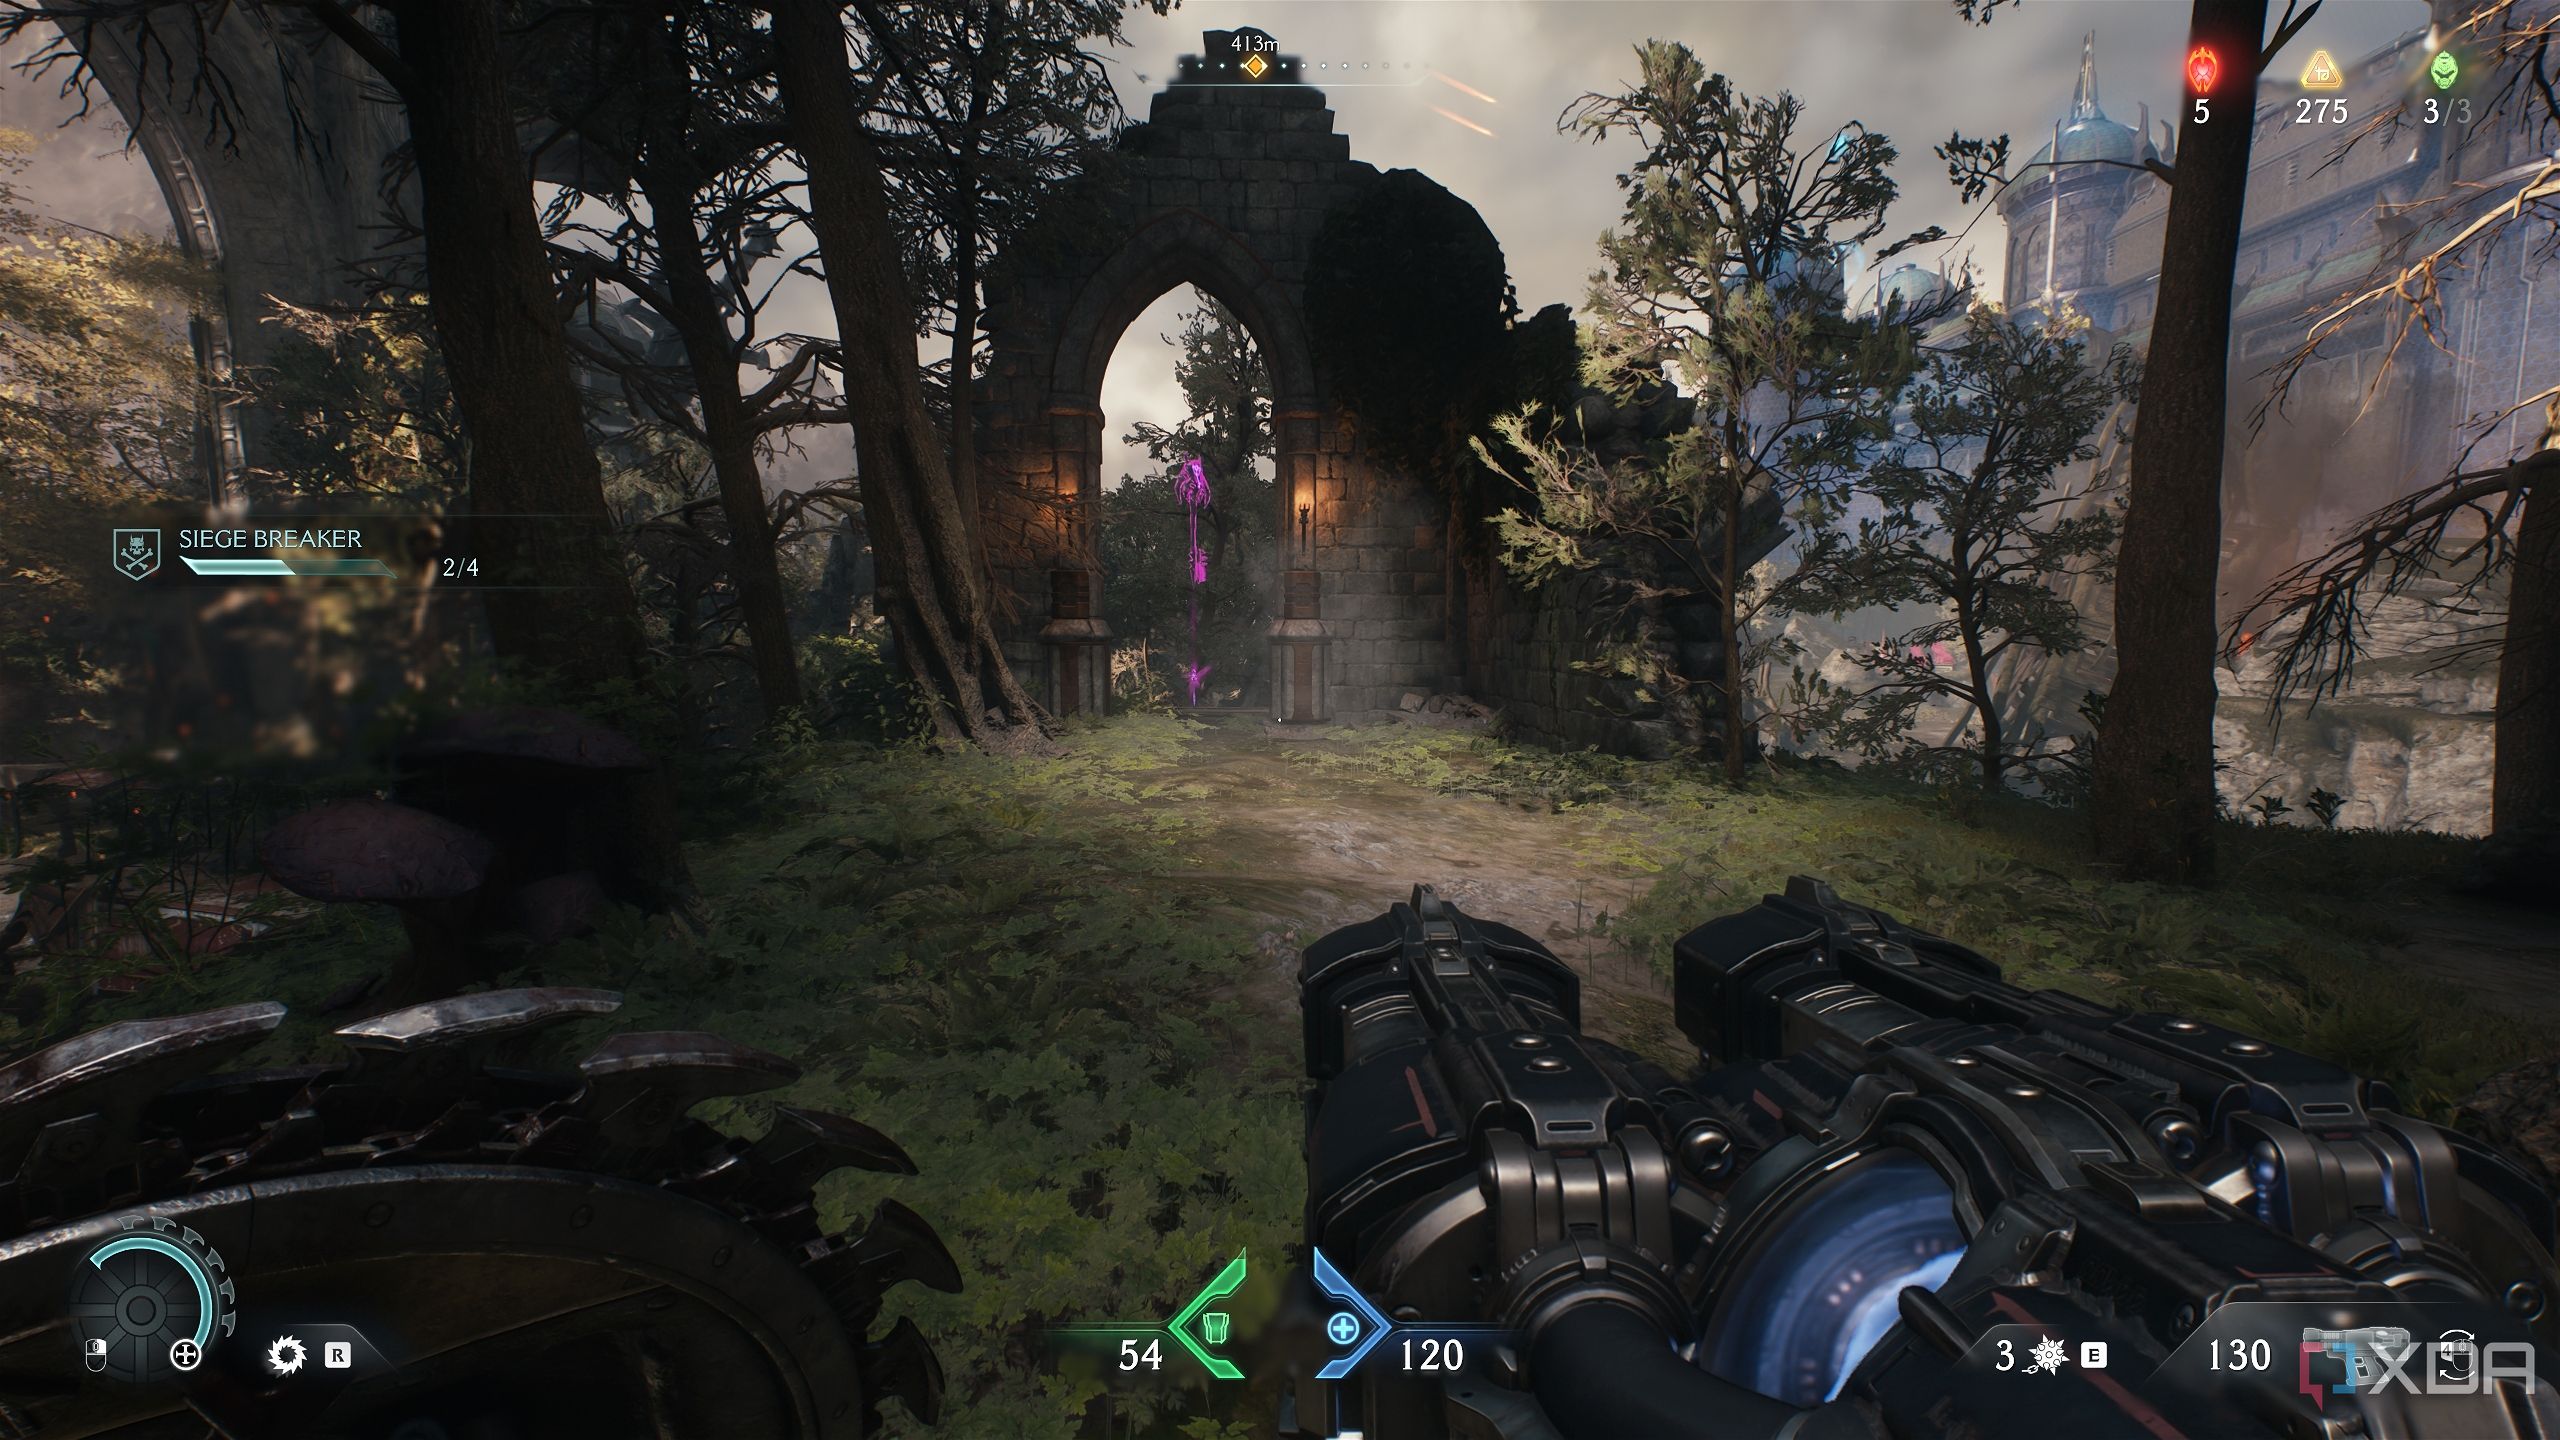
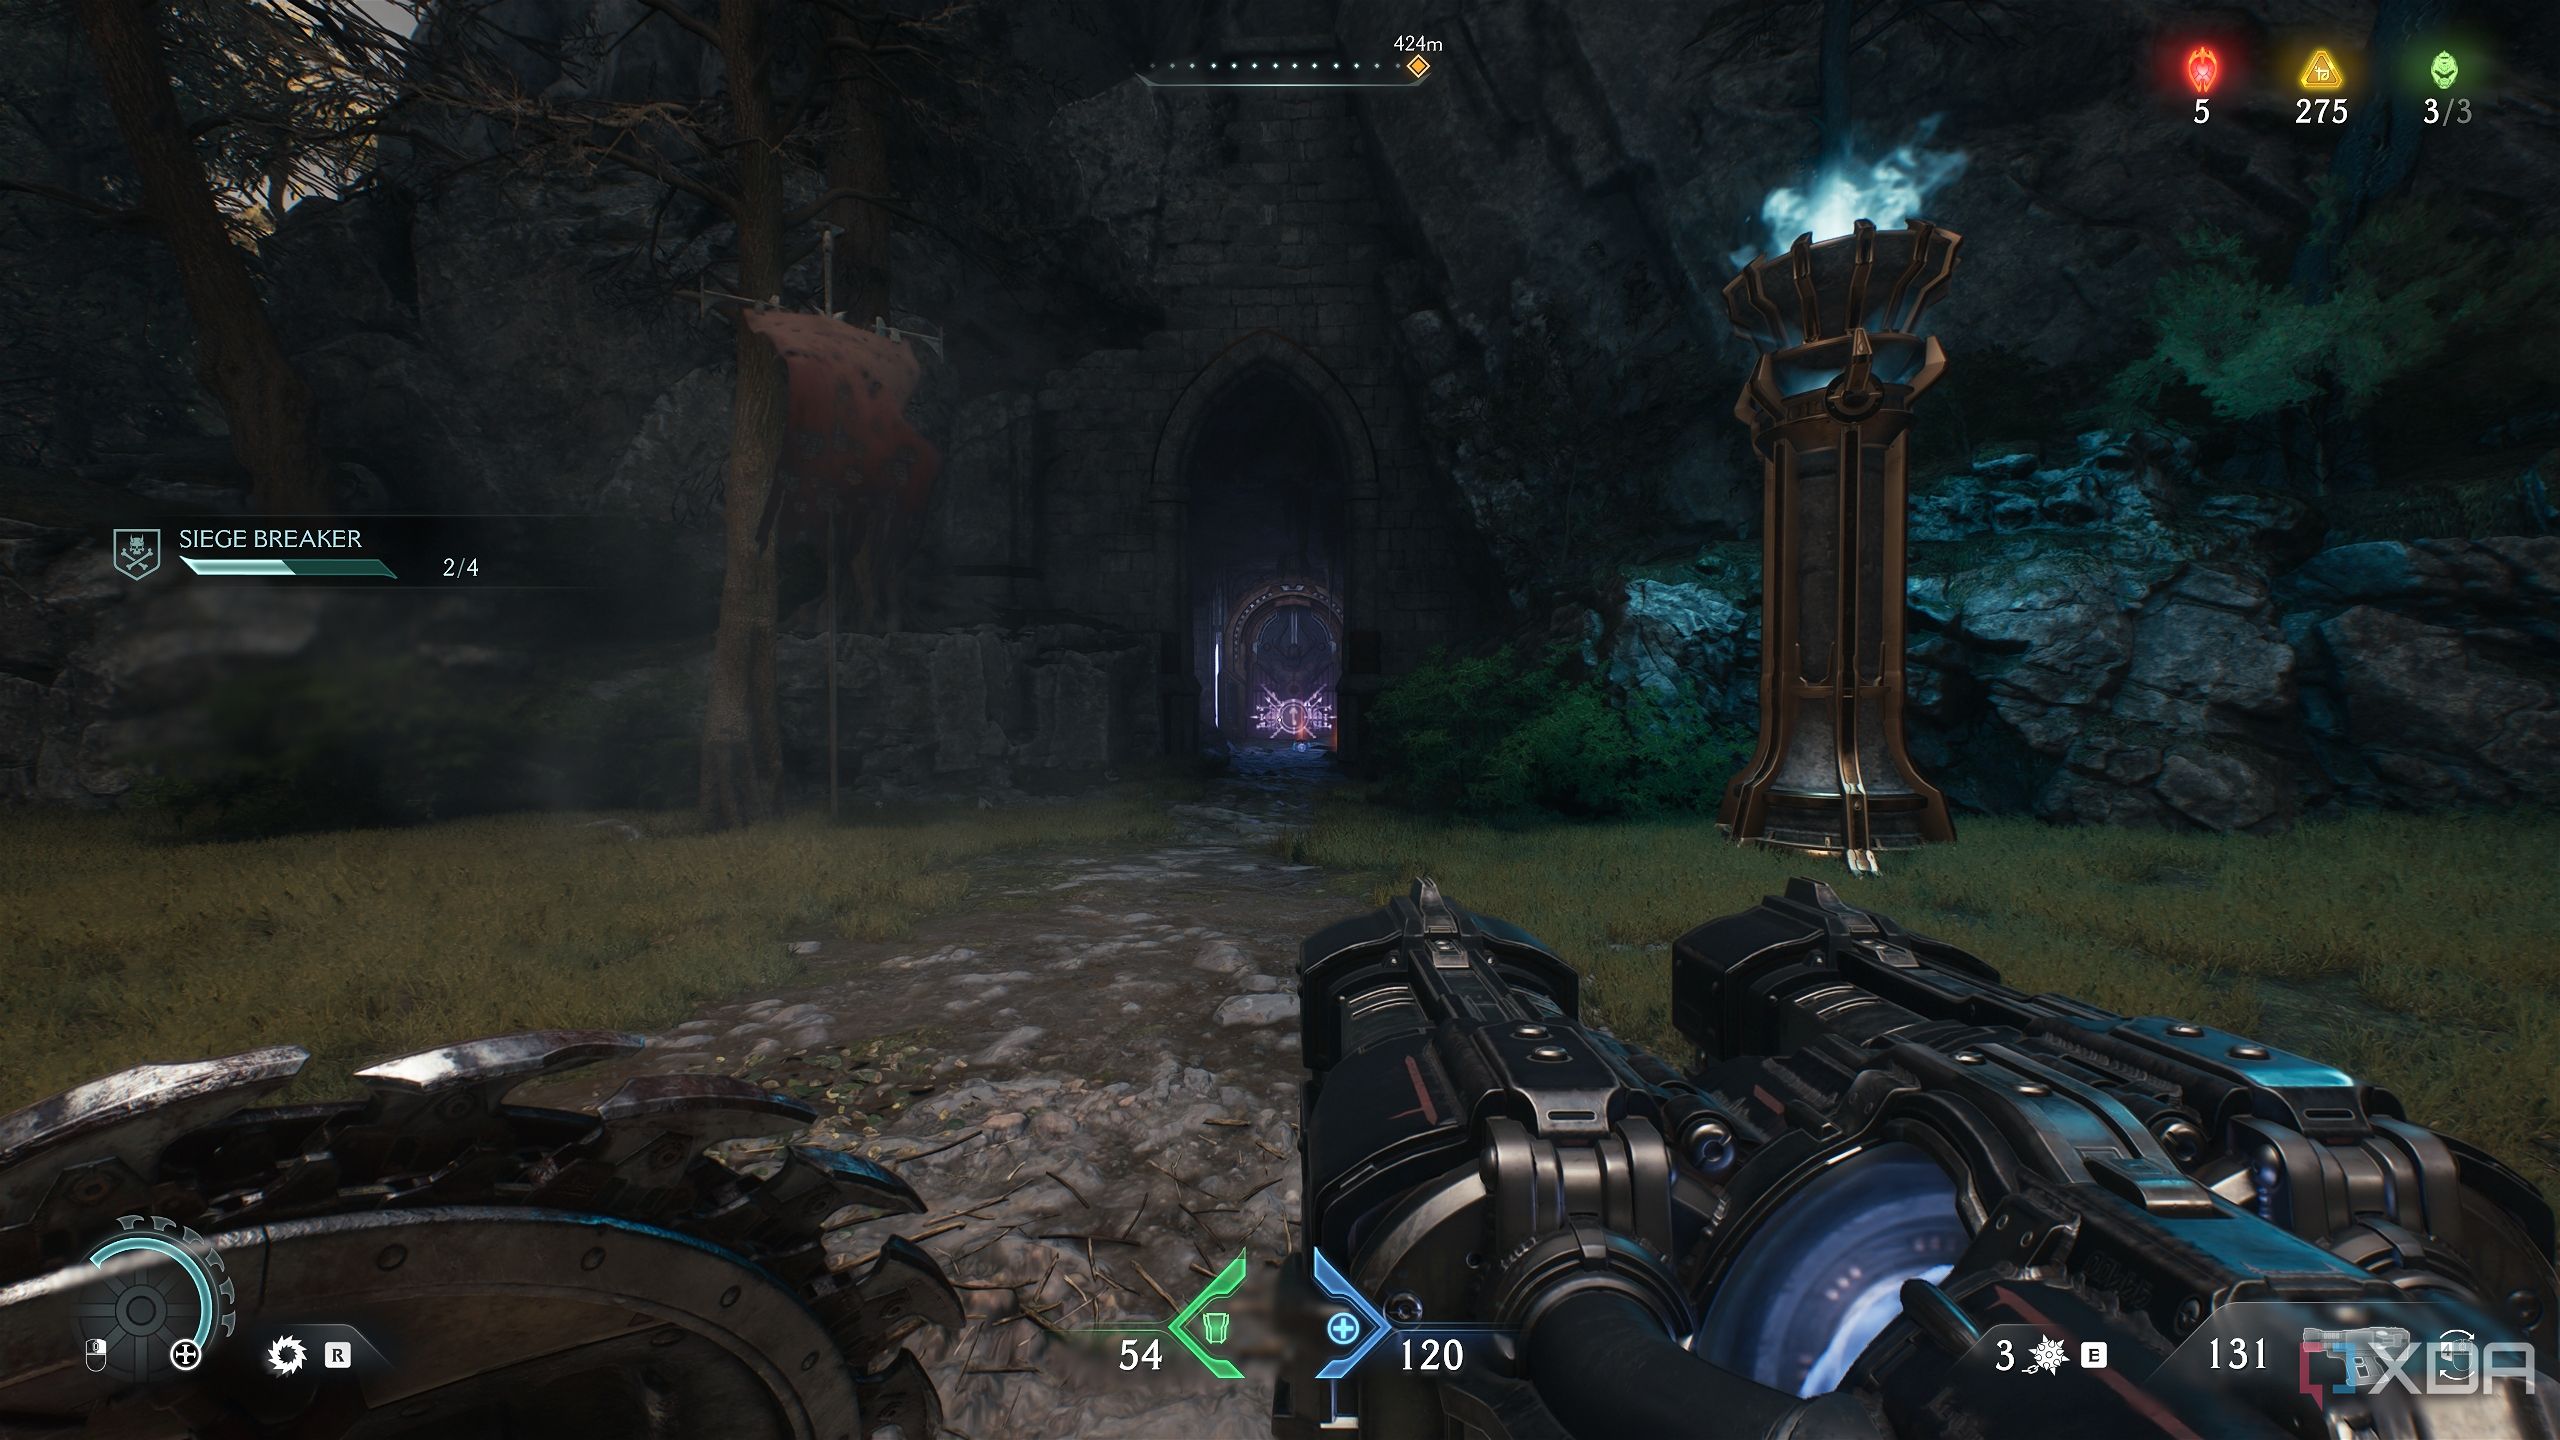
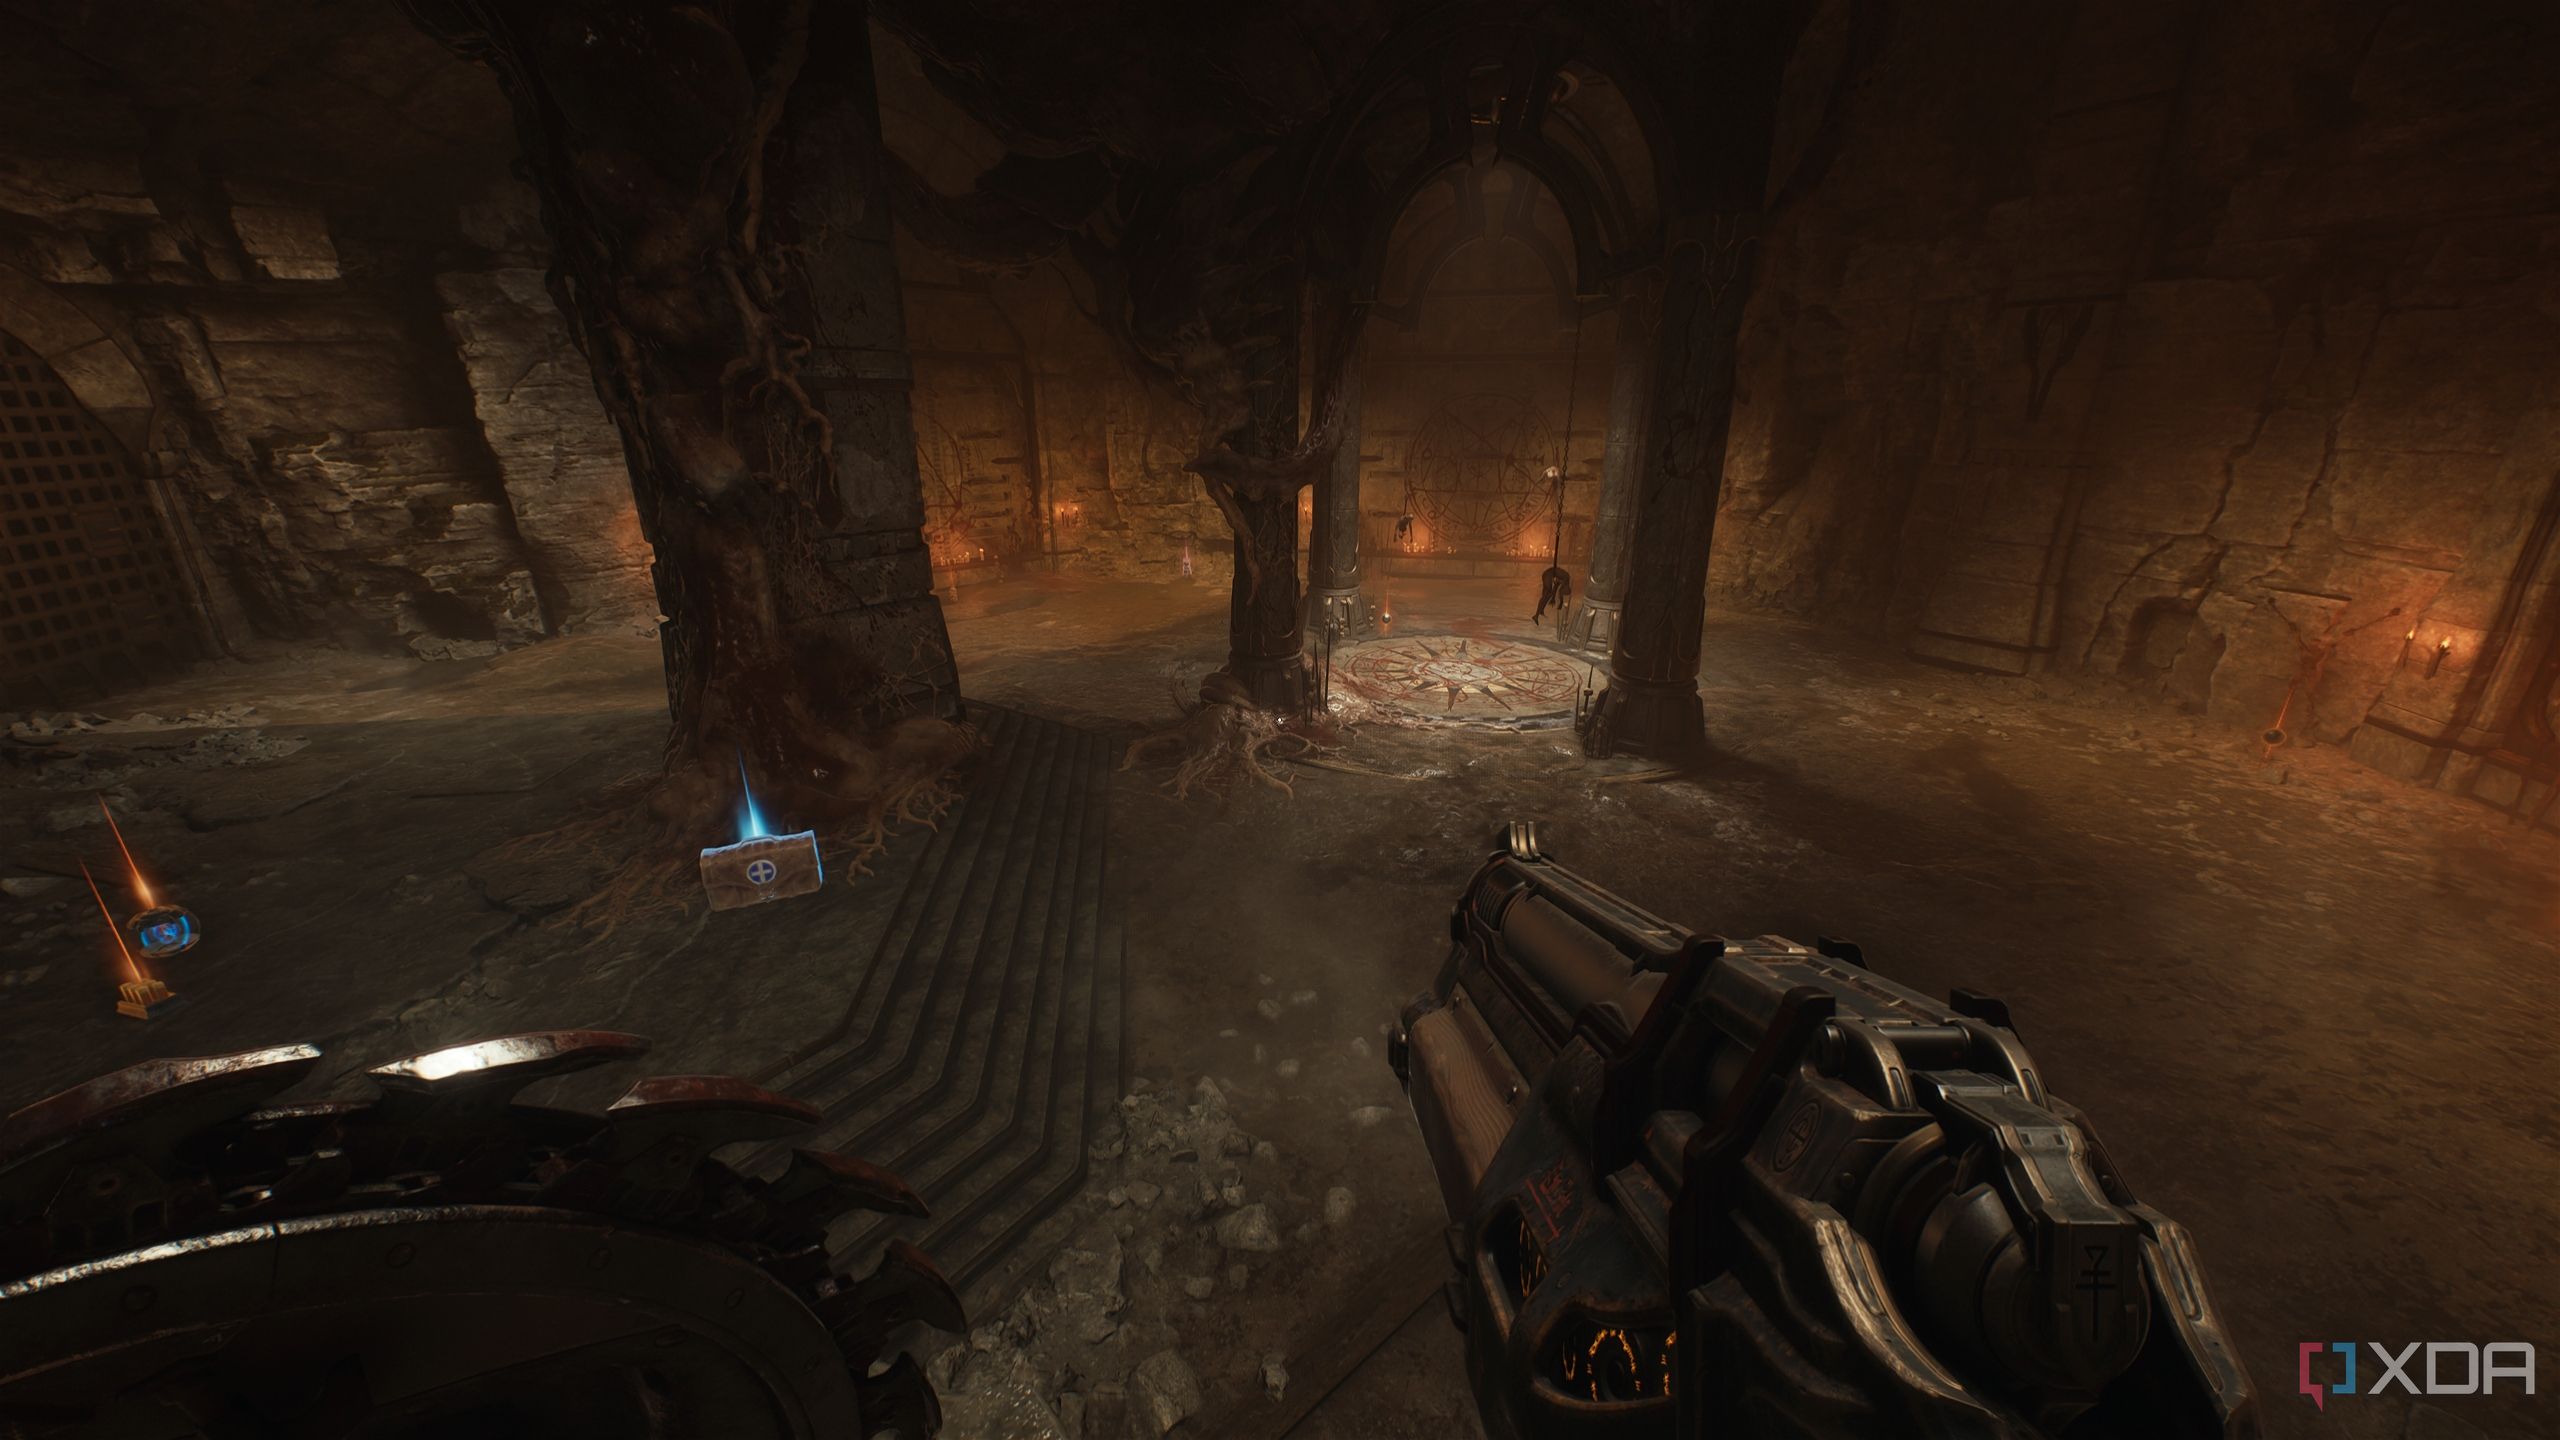
Gore portal 3, secret area 4, a gold crate, and a life sigil
The Chain Shot weapon is fantastically medieval
Right opposite of the second artillery cannon is a blocked gate guarded by three Spiderdemons. Take care of them to open the gate and head inside.
Here, you’ll be ambushed by a couple of Hellknights and more demons before a teleporter opens up.
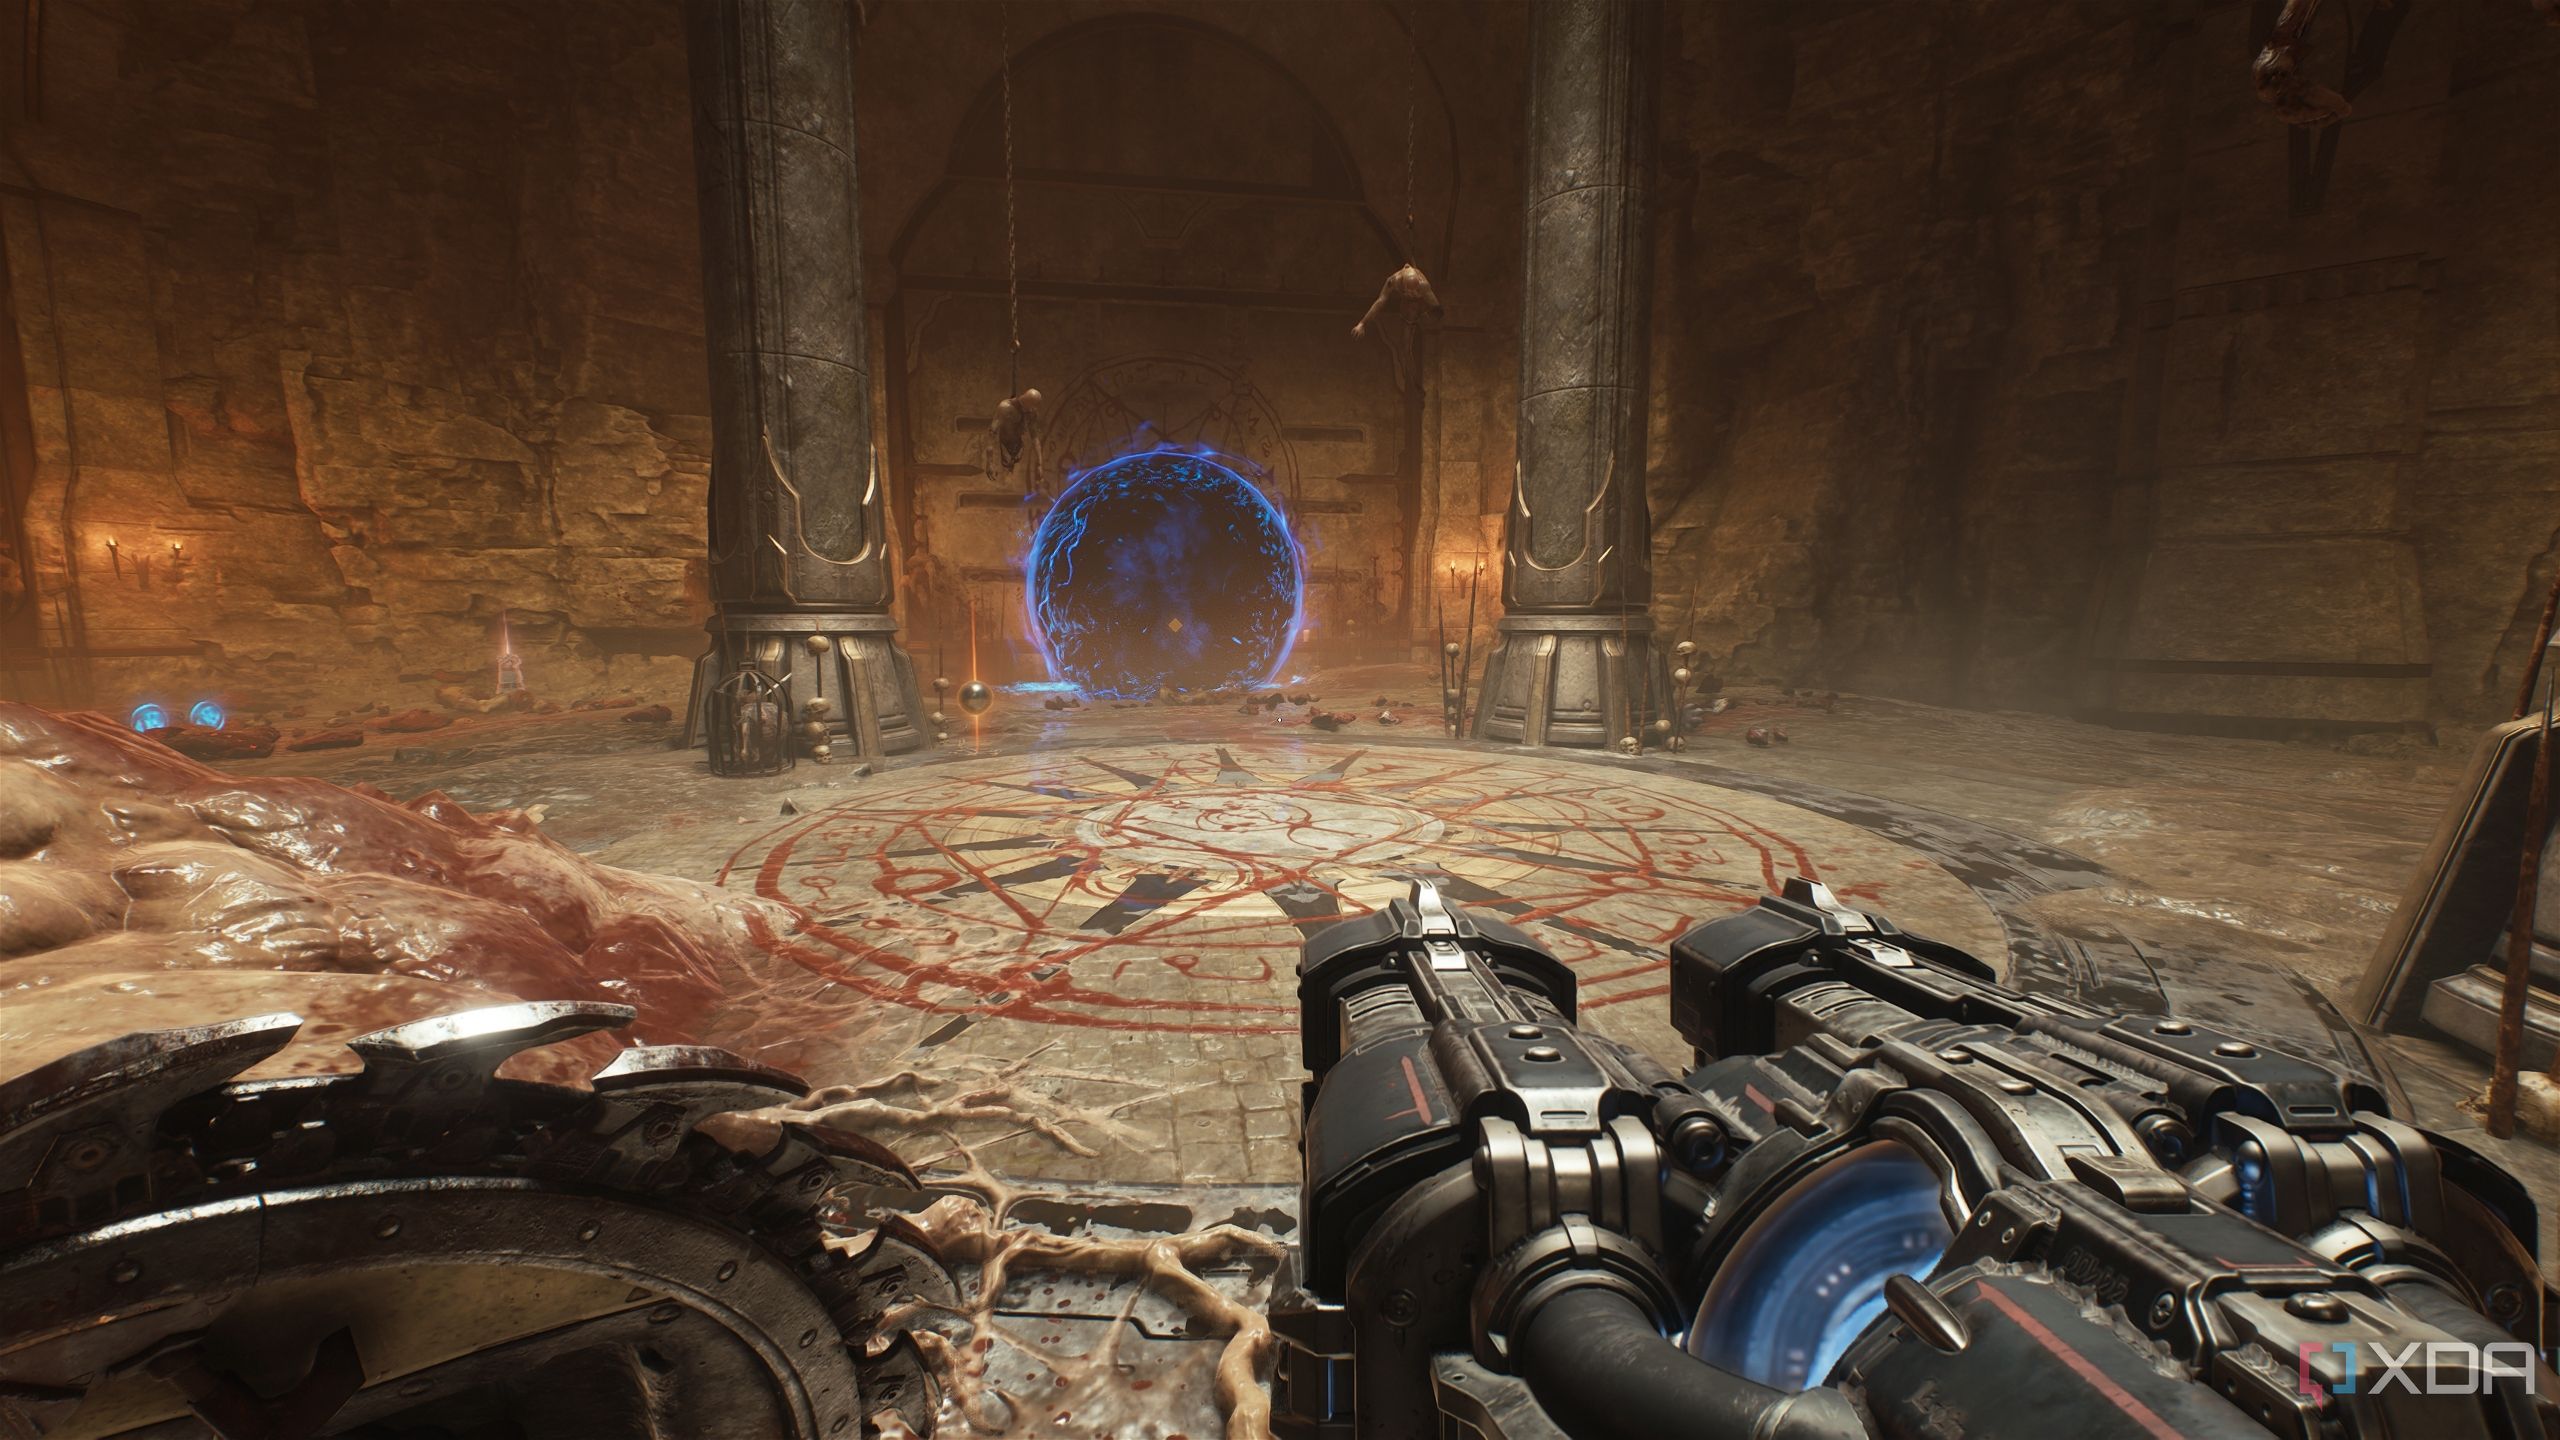
Head into the blue teleporter, and you’ll arrive at a new location with demon cultists opening up the third gore portal you need to close.
Follow the puzzles until you reach a lion statue, where interacting with a switch activates a jump portal ahead.
Using the jump portal, get to the upper floor where a Life Sigil is placed.
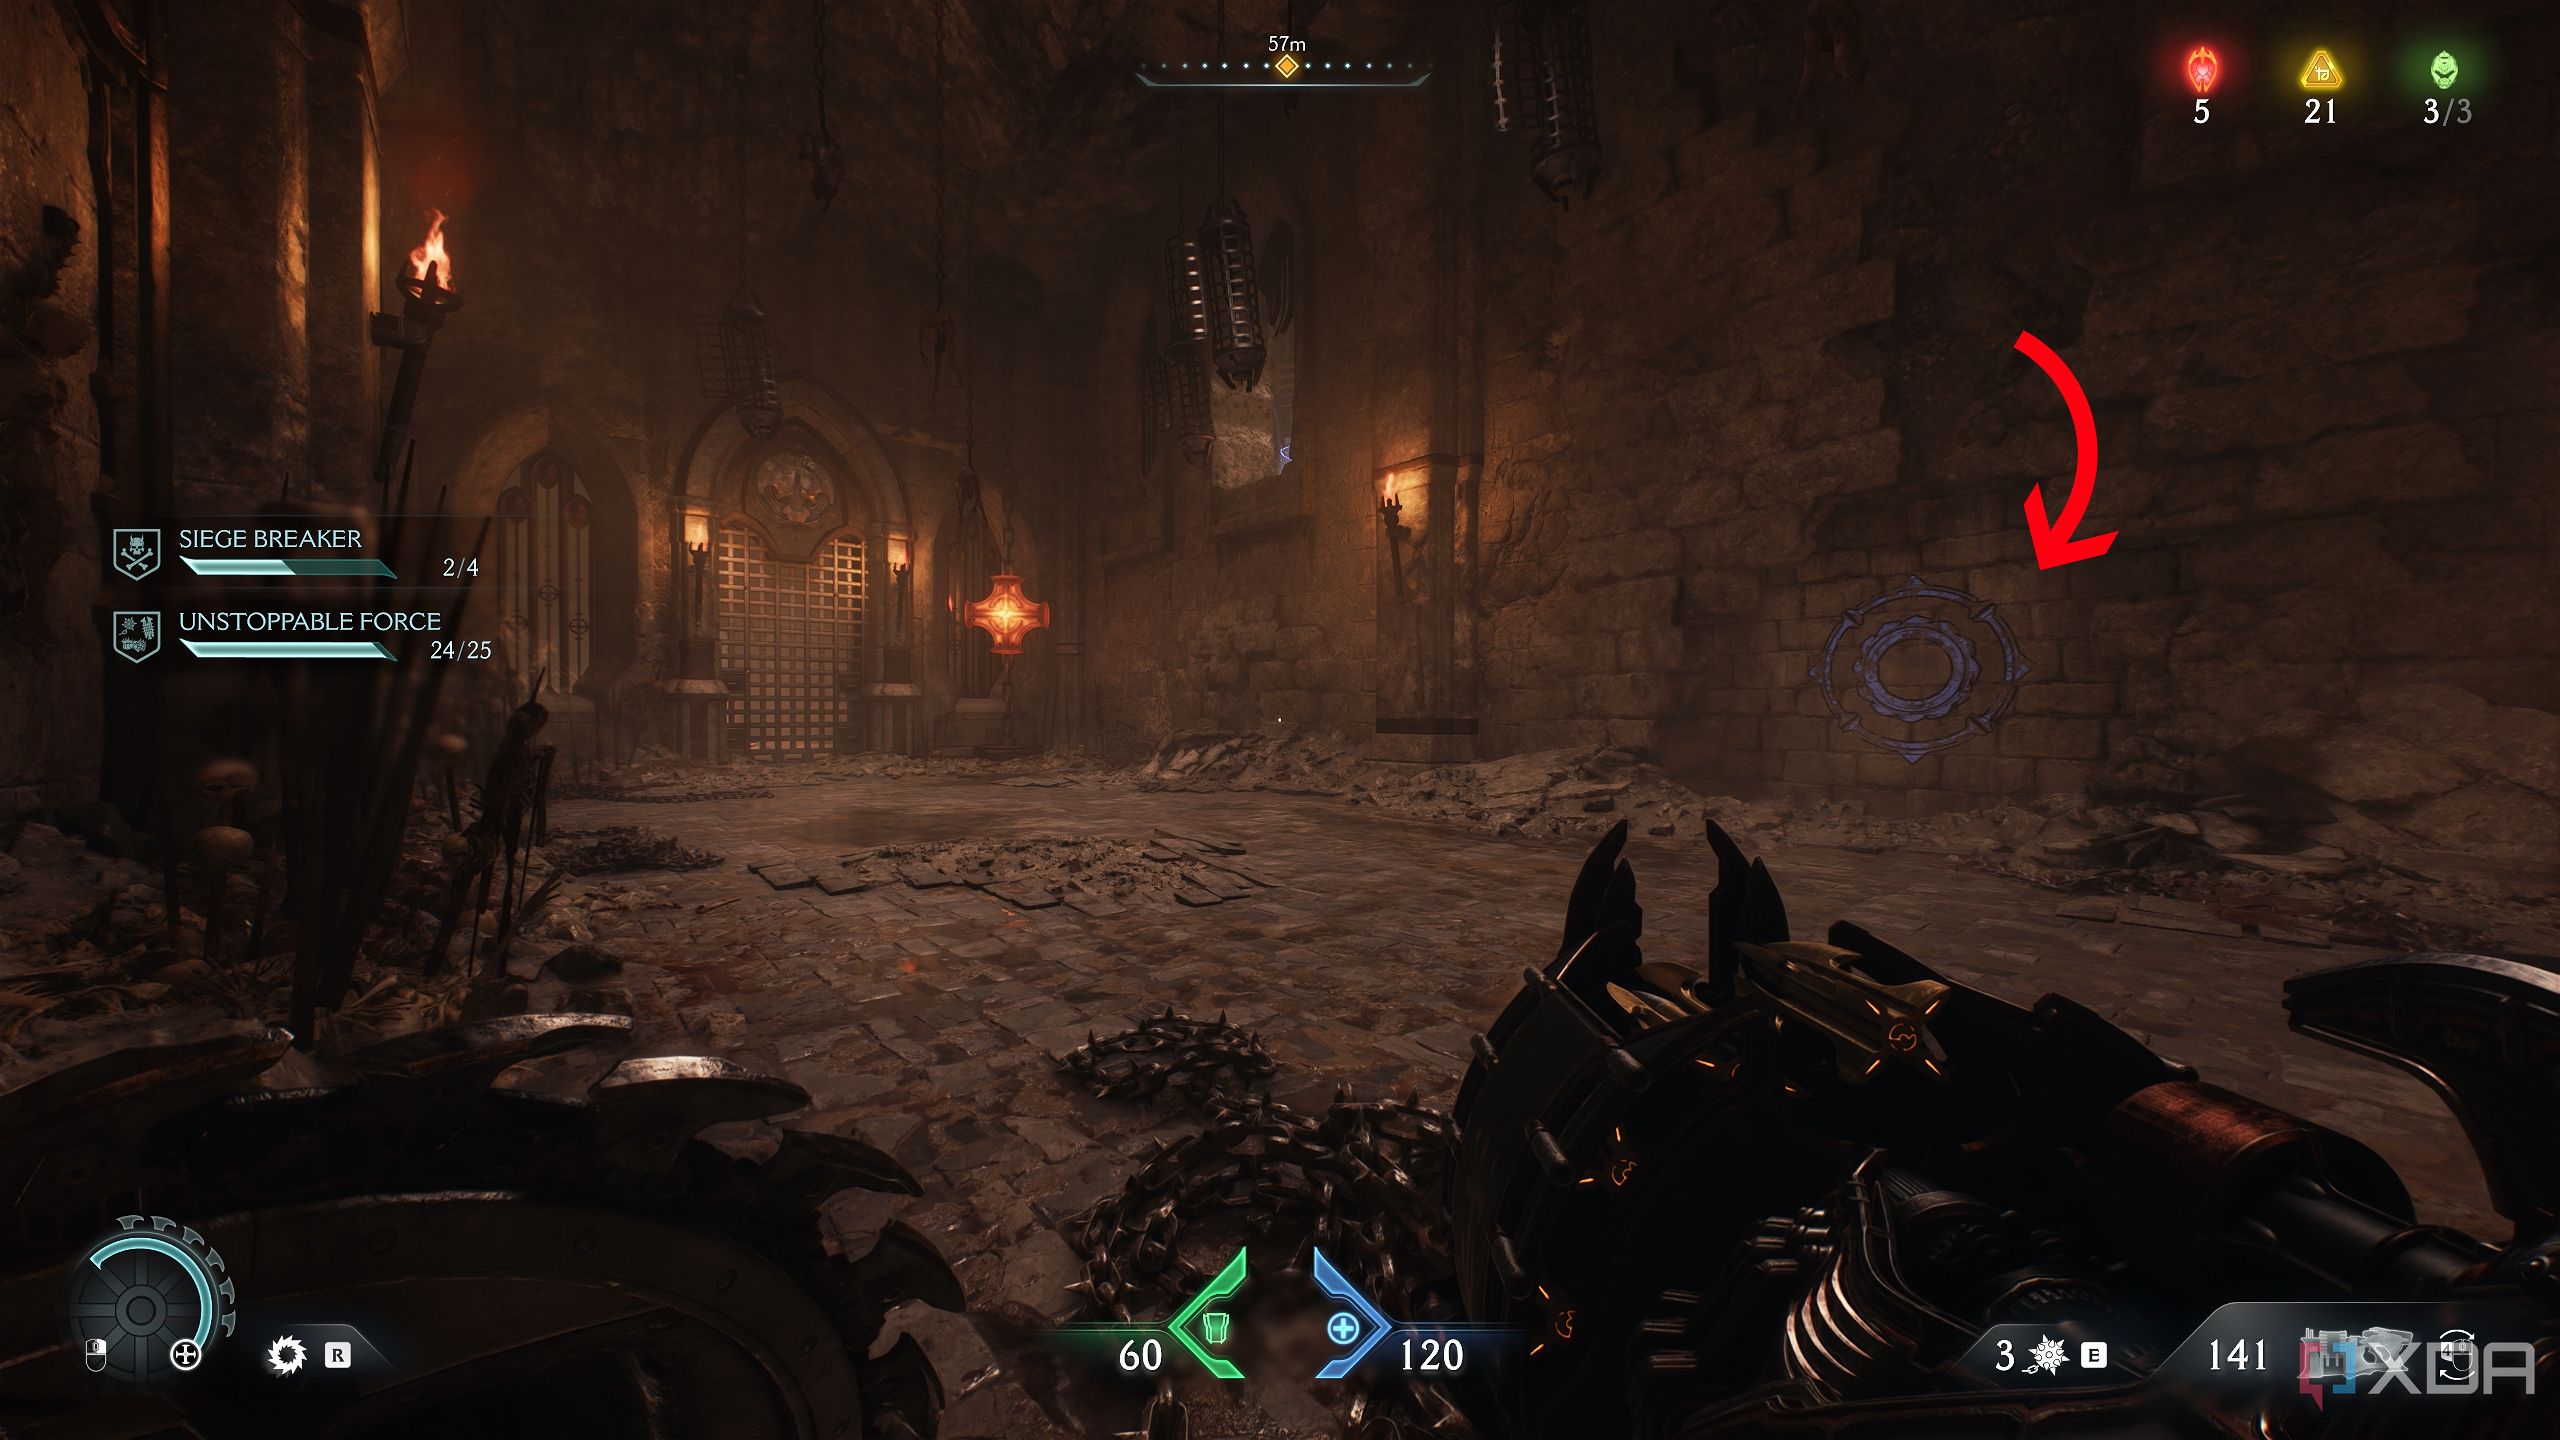
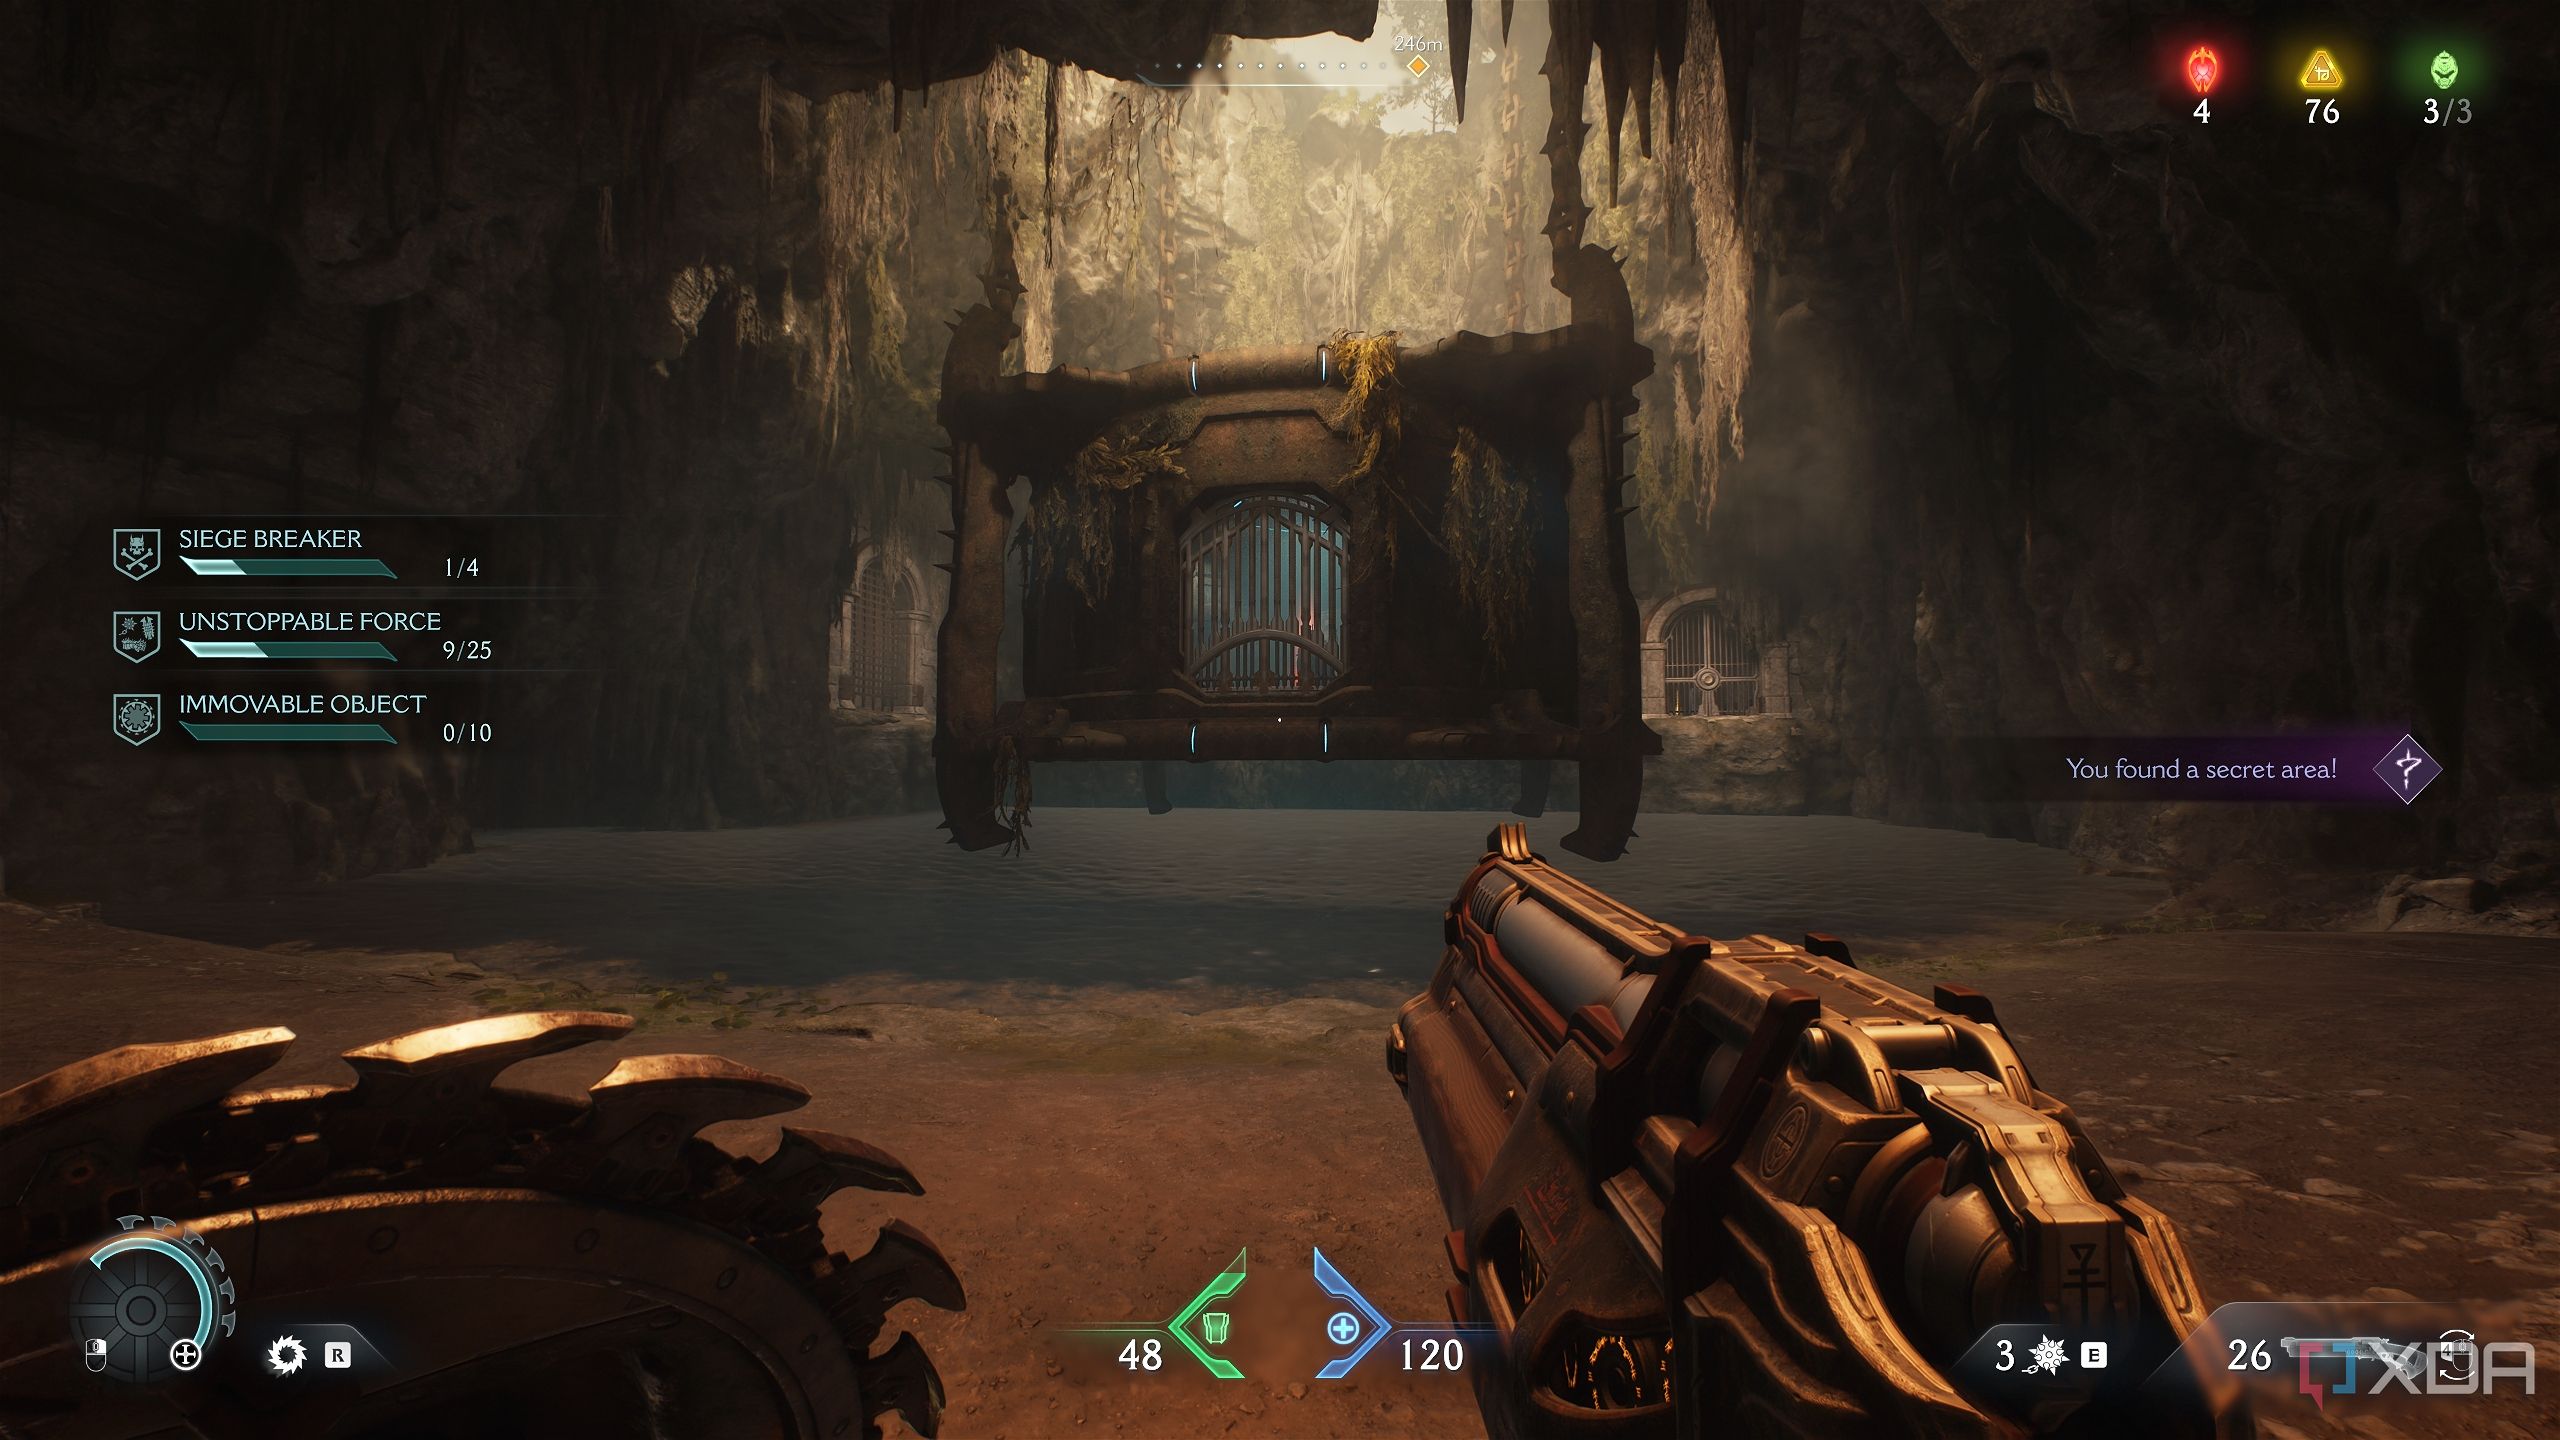
Next, before opening the penultimate gate to unlock the final barricade, take a moment in the room with the big heated metal cross. Before cutting it down, check in the back of the room to find a wall you can bash through, and the fourth secret area to unlock.

Collect the gold stack inside.

From there, continue through the objectives to unlock the Chain Shot weapon. As soon as you do, the gate ahead of you should open, where a gold crate lies in wait.
After that, send the demonic cultists back to hell, and you will reappear back from where you teleported. Head upwards to collect one final gold stack before jumping down.
Related
Secret area 5, gold crate, and a Codex Page
The Doom Slayer goes through puzzles like they're demons, too
After landing, go right to circle back to the entrance of the third gore portal. This time, go right instead.
You’ll come to a grayed-out field with a Titan and Atlan Mech fighting in the background.
Prepare for battle as multiple Spiderdemons and Hellknights will attack.

Once the fight is over, look to the east of the arena to find a cave entrance adorned by two blue torches.
Go inside, and you’ll see gold bars lined on the ground. There’s another purple-coded locked gate here, but we can’t access it yet.

Next, head upwards by using the green flesh node stuck on the roof in the north corner of this room.
Once there, jump onto the metal platform in the middle of the room.
The weight of the slayer should lower it to the ground, opening another door in front of you.
Enter, pick up the gold, and climb up the scramble wall to reach a long cave with two machines slowly shooting projectiles. The exit is towards the right, but before that, look left and Shield Charge through the wooden wall to find and collect a gold stack.
Turn around and head towards the exit, blocking the machines’ projectiles, and dispatch the handful of Soldiers that come to fight you.
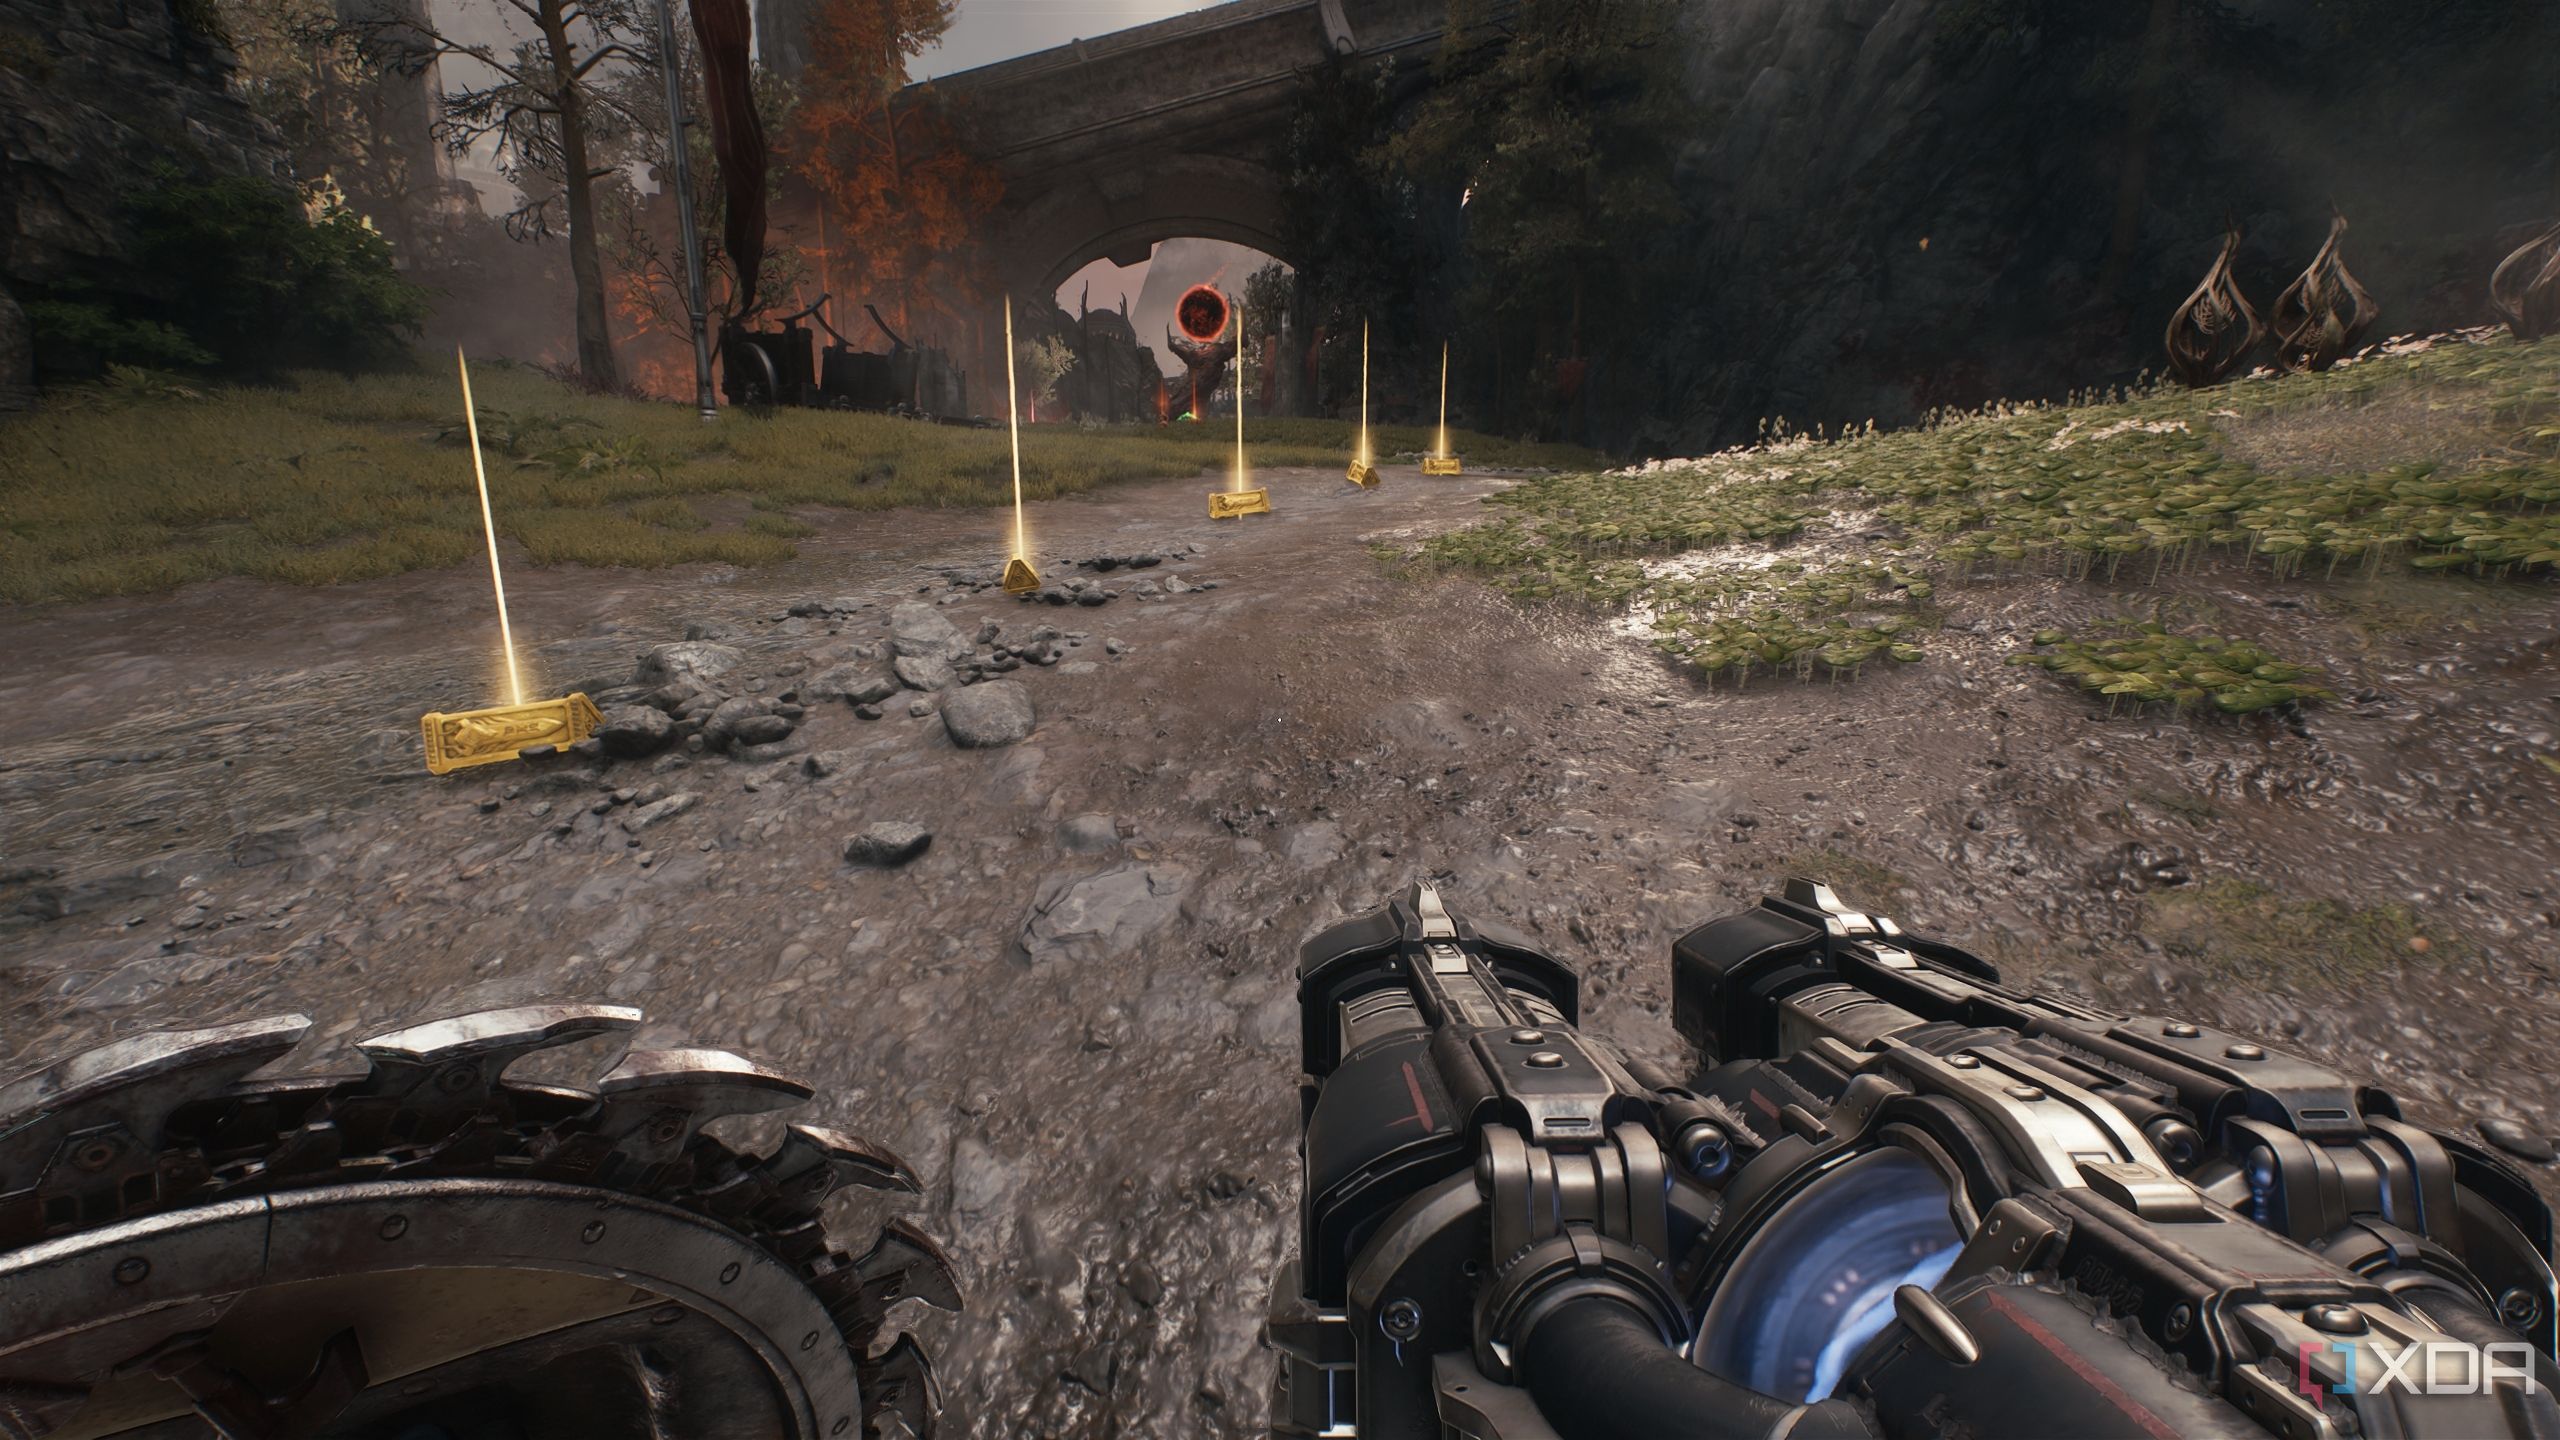
Now, once you exit the cave, head right, following a long line of gold bars on the ground.
This will lead to secret area 5 and a gold crate to open.
Don’t jump back down, and retrace your steps to the exit, and look across the field to see a small rock outcropping in the middle of the arena with a floating Codex Page to collect.
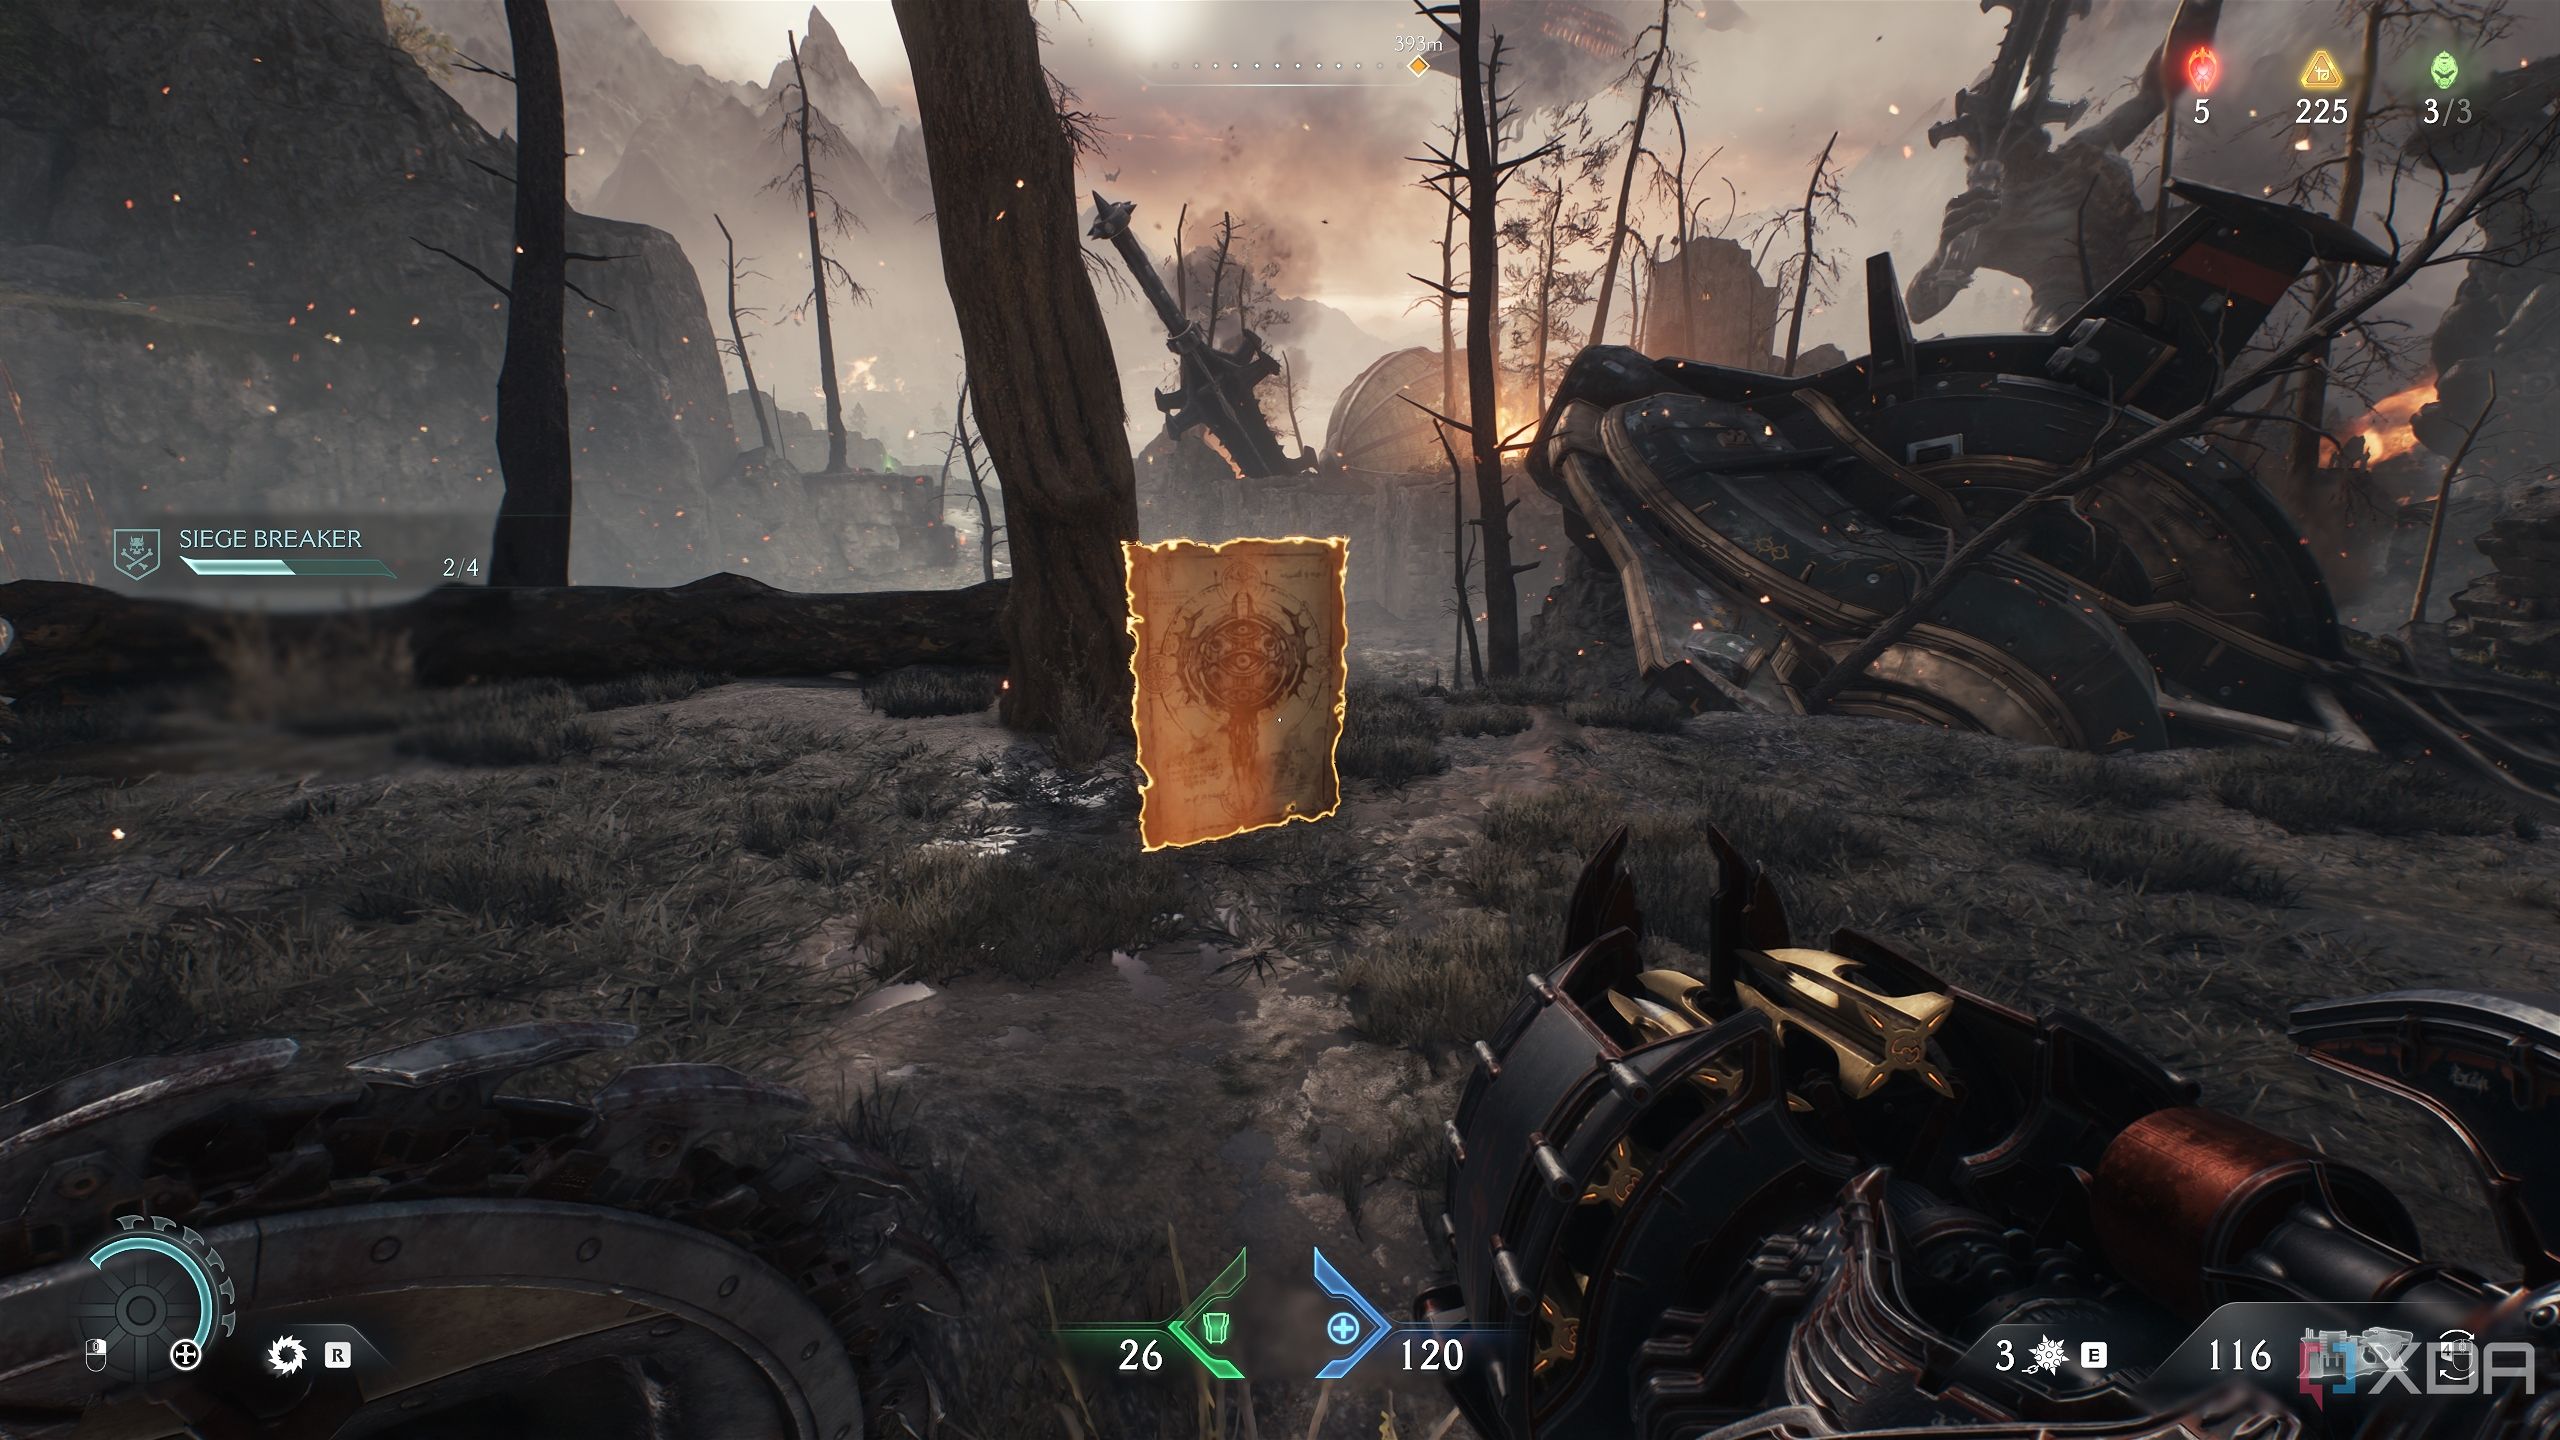
Simply sprint and jump onto the rock formation, and the Codex Page about Siege- Part 1 will be yours.
A lone gold crate next to a Titan-Atlan fight
A crate with front-row seats to the derby
Drop back into the grayed-out arena where the Mech and Titan are fighting, and head to the location pictured above.
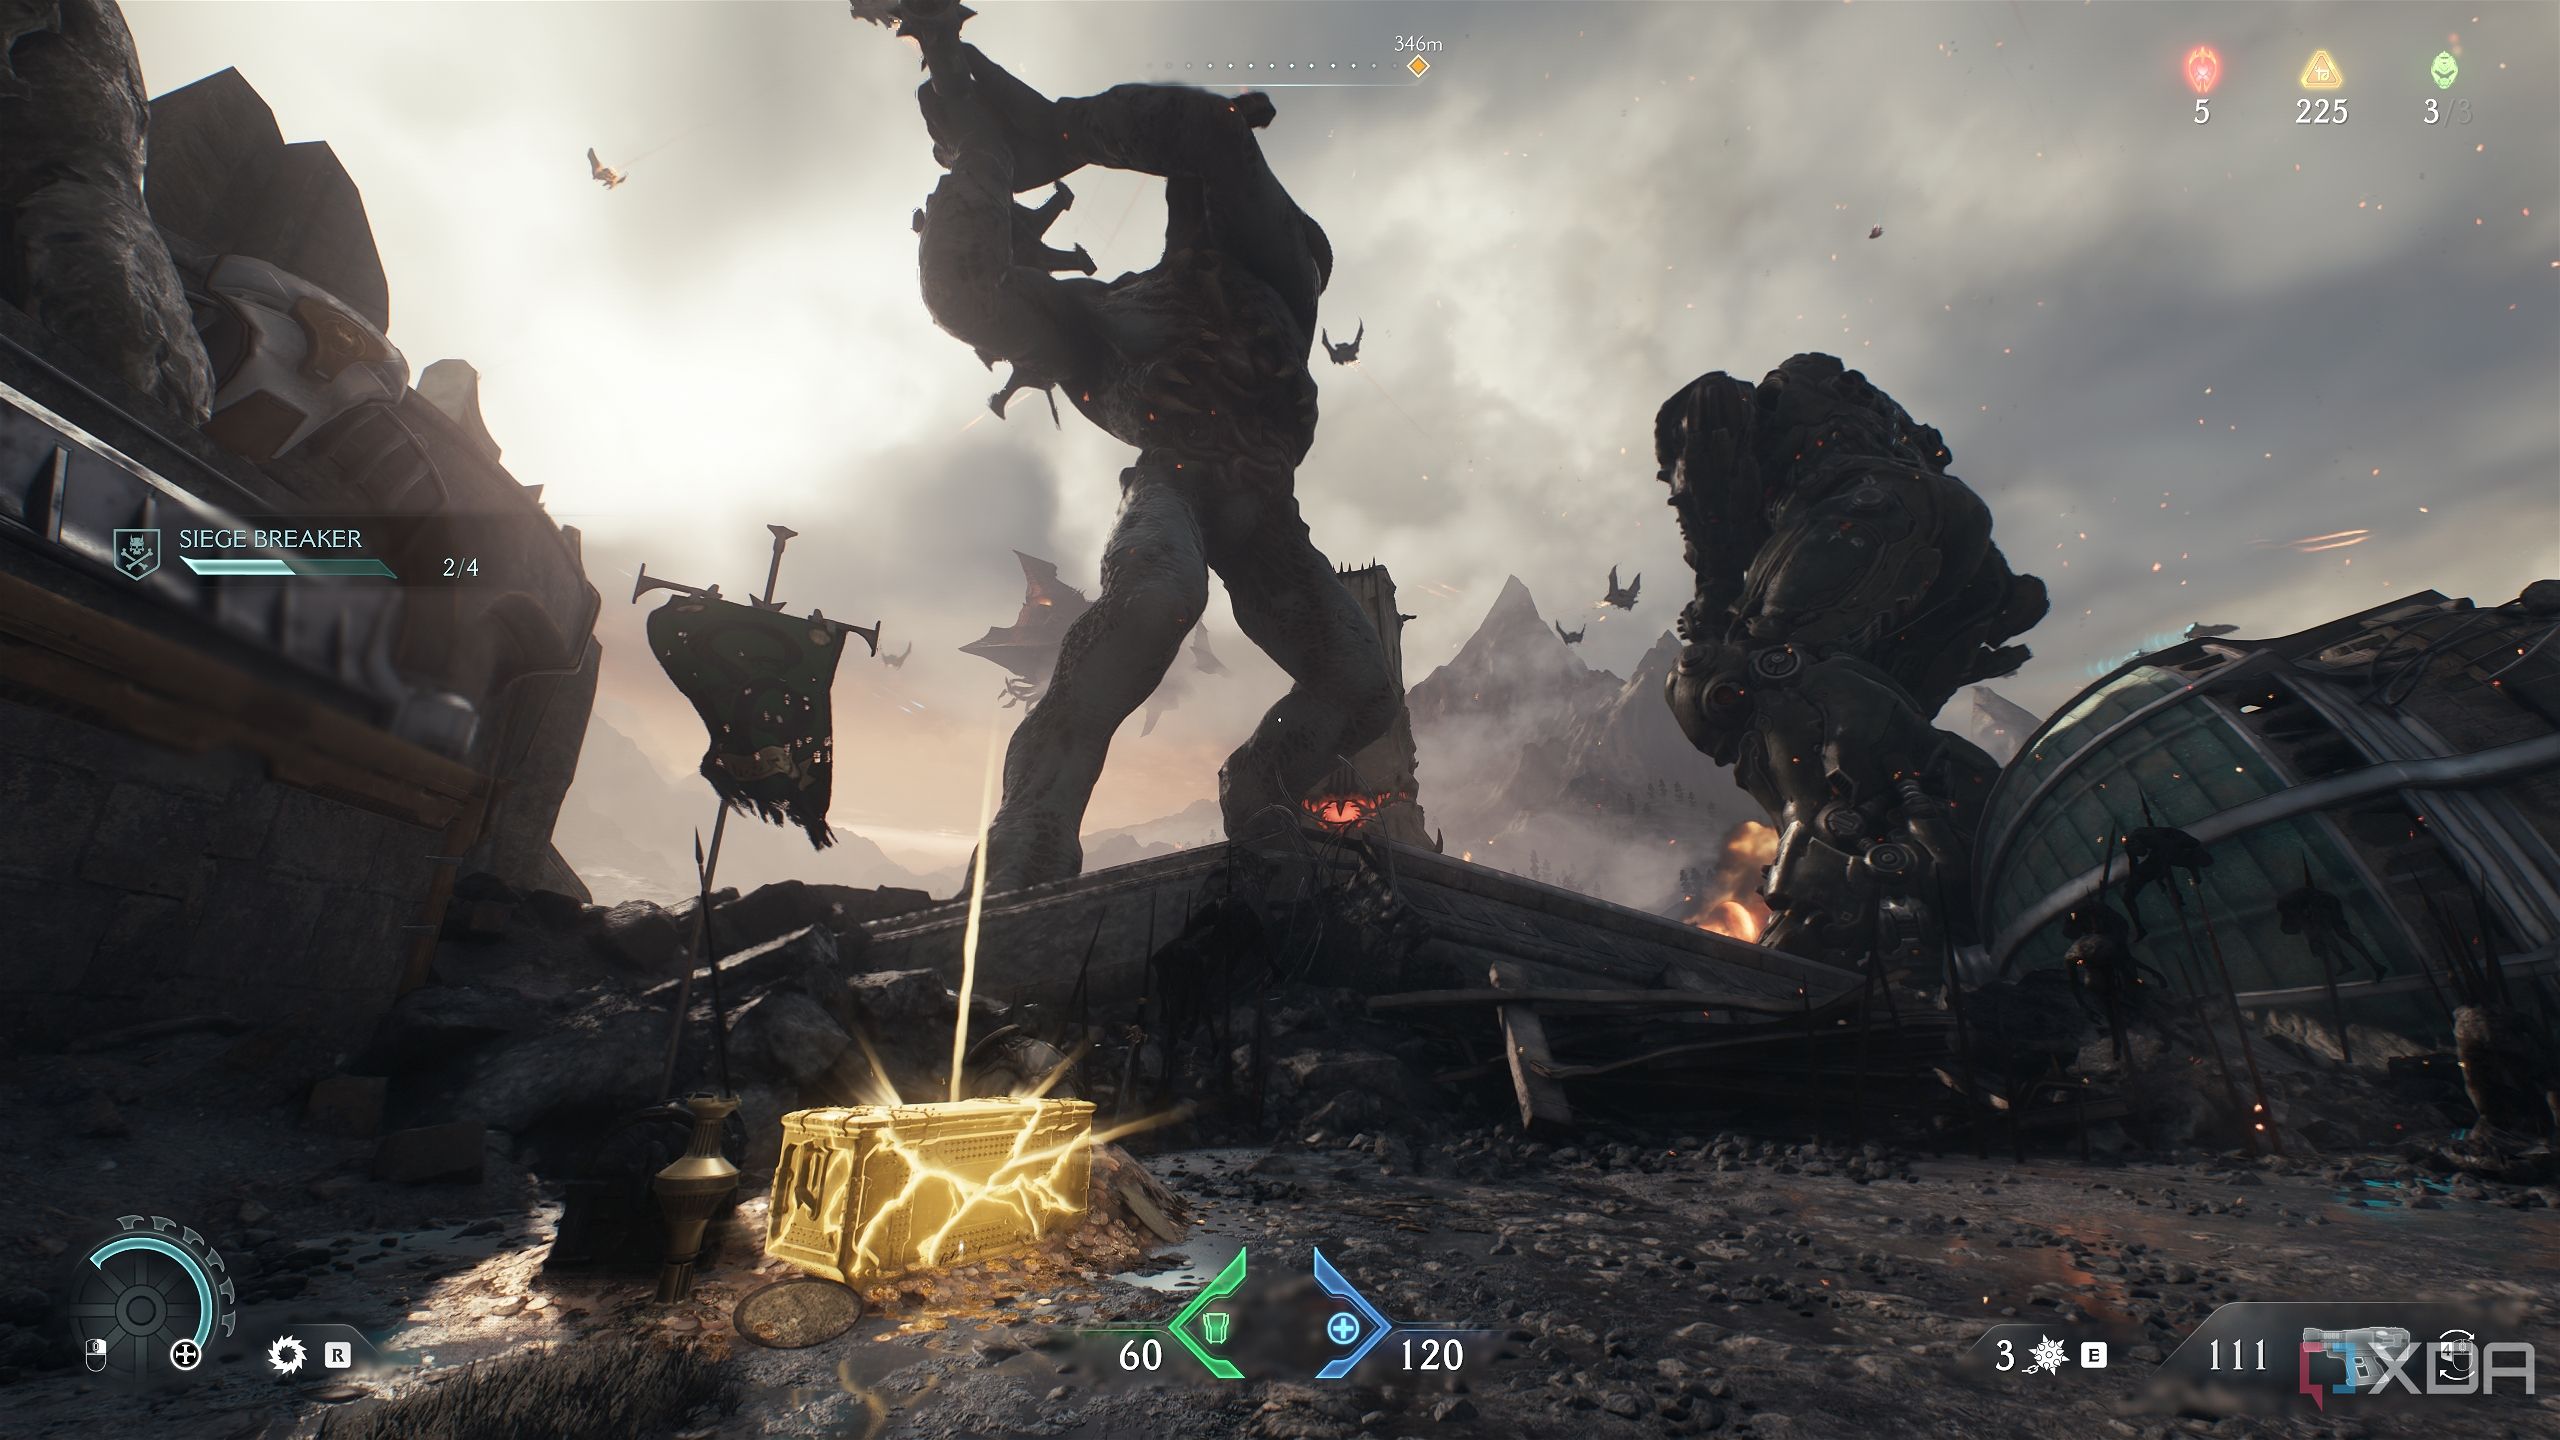
Here, a Vagary will ambush you — take care of it and head left to find a gold crate right next to the Titan and the Mech.
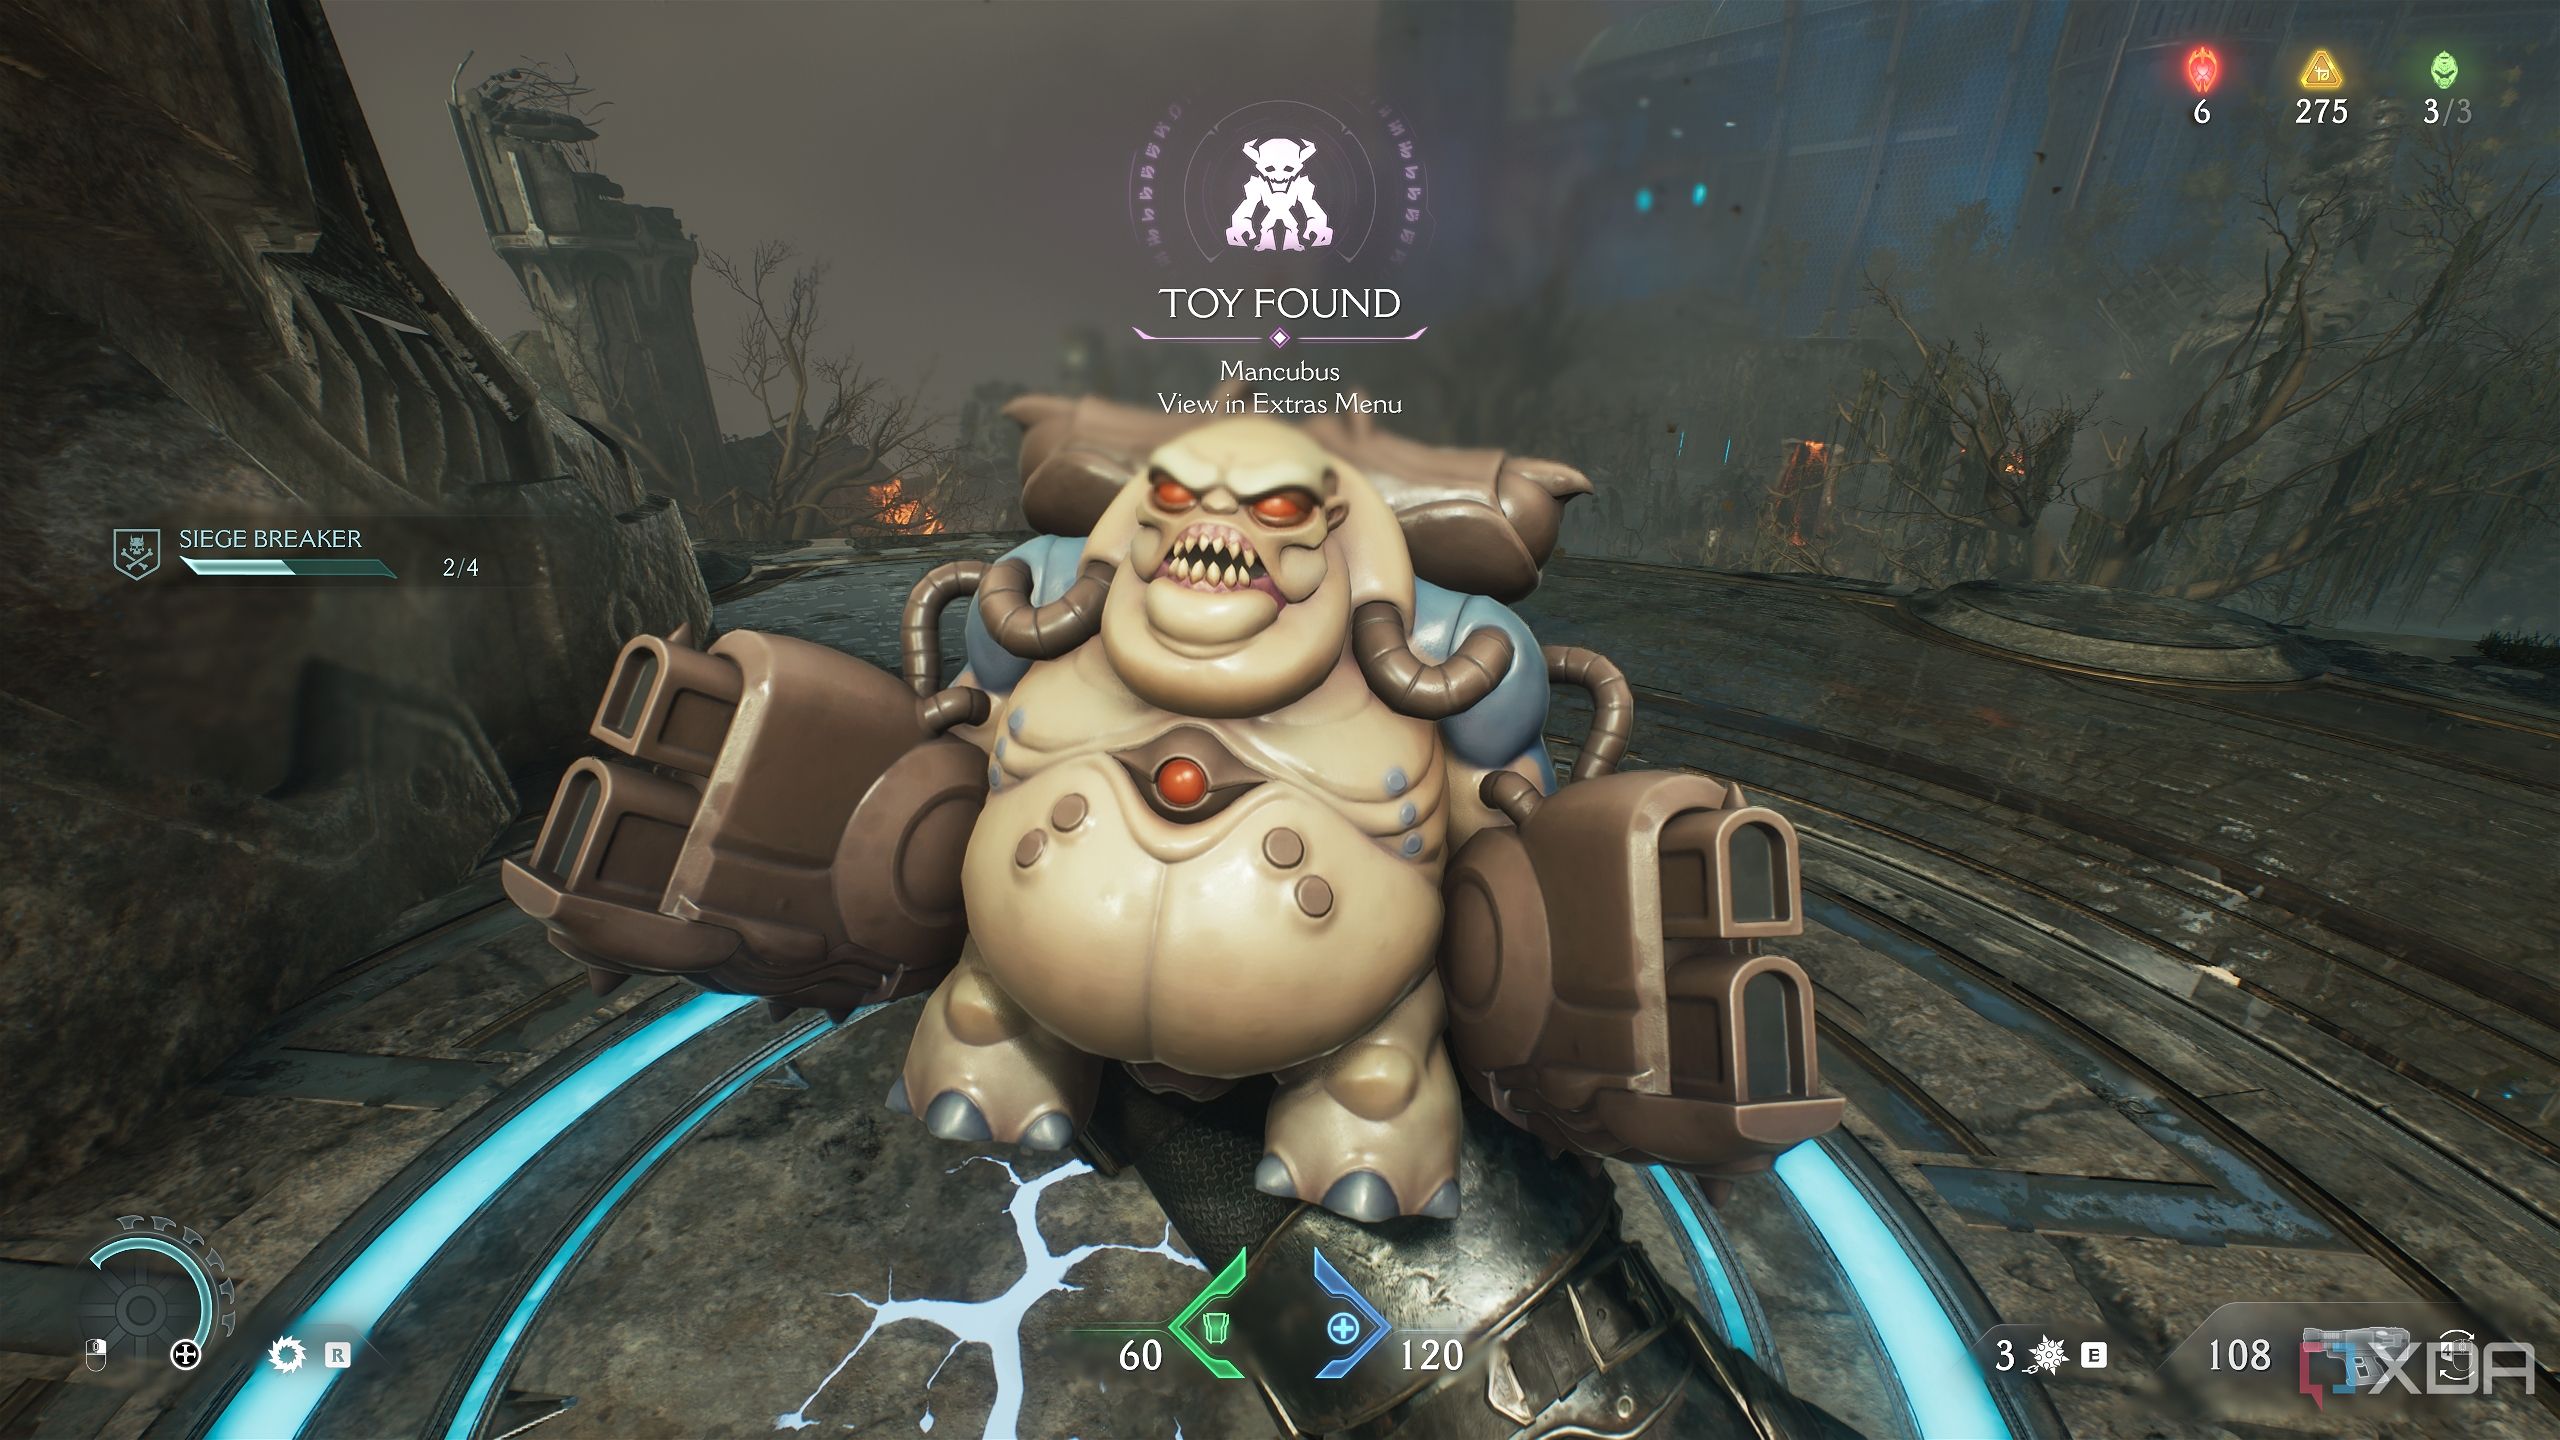
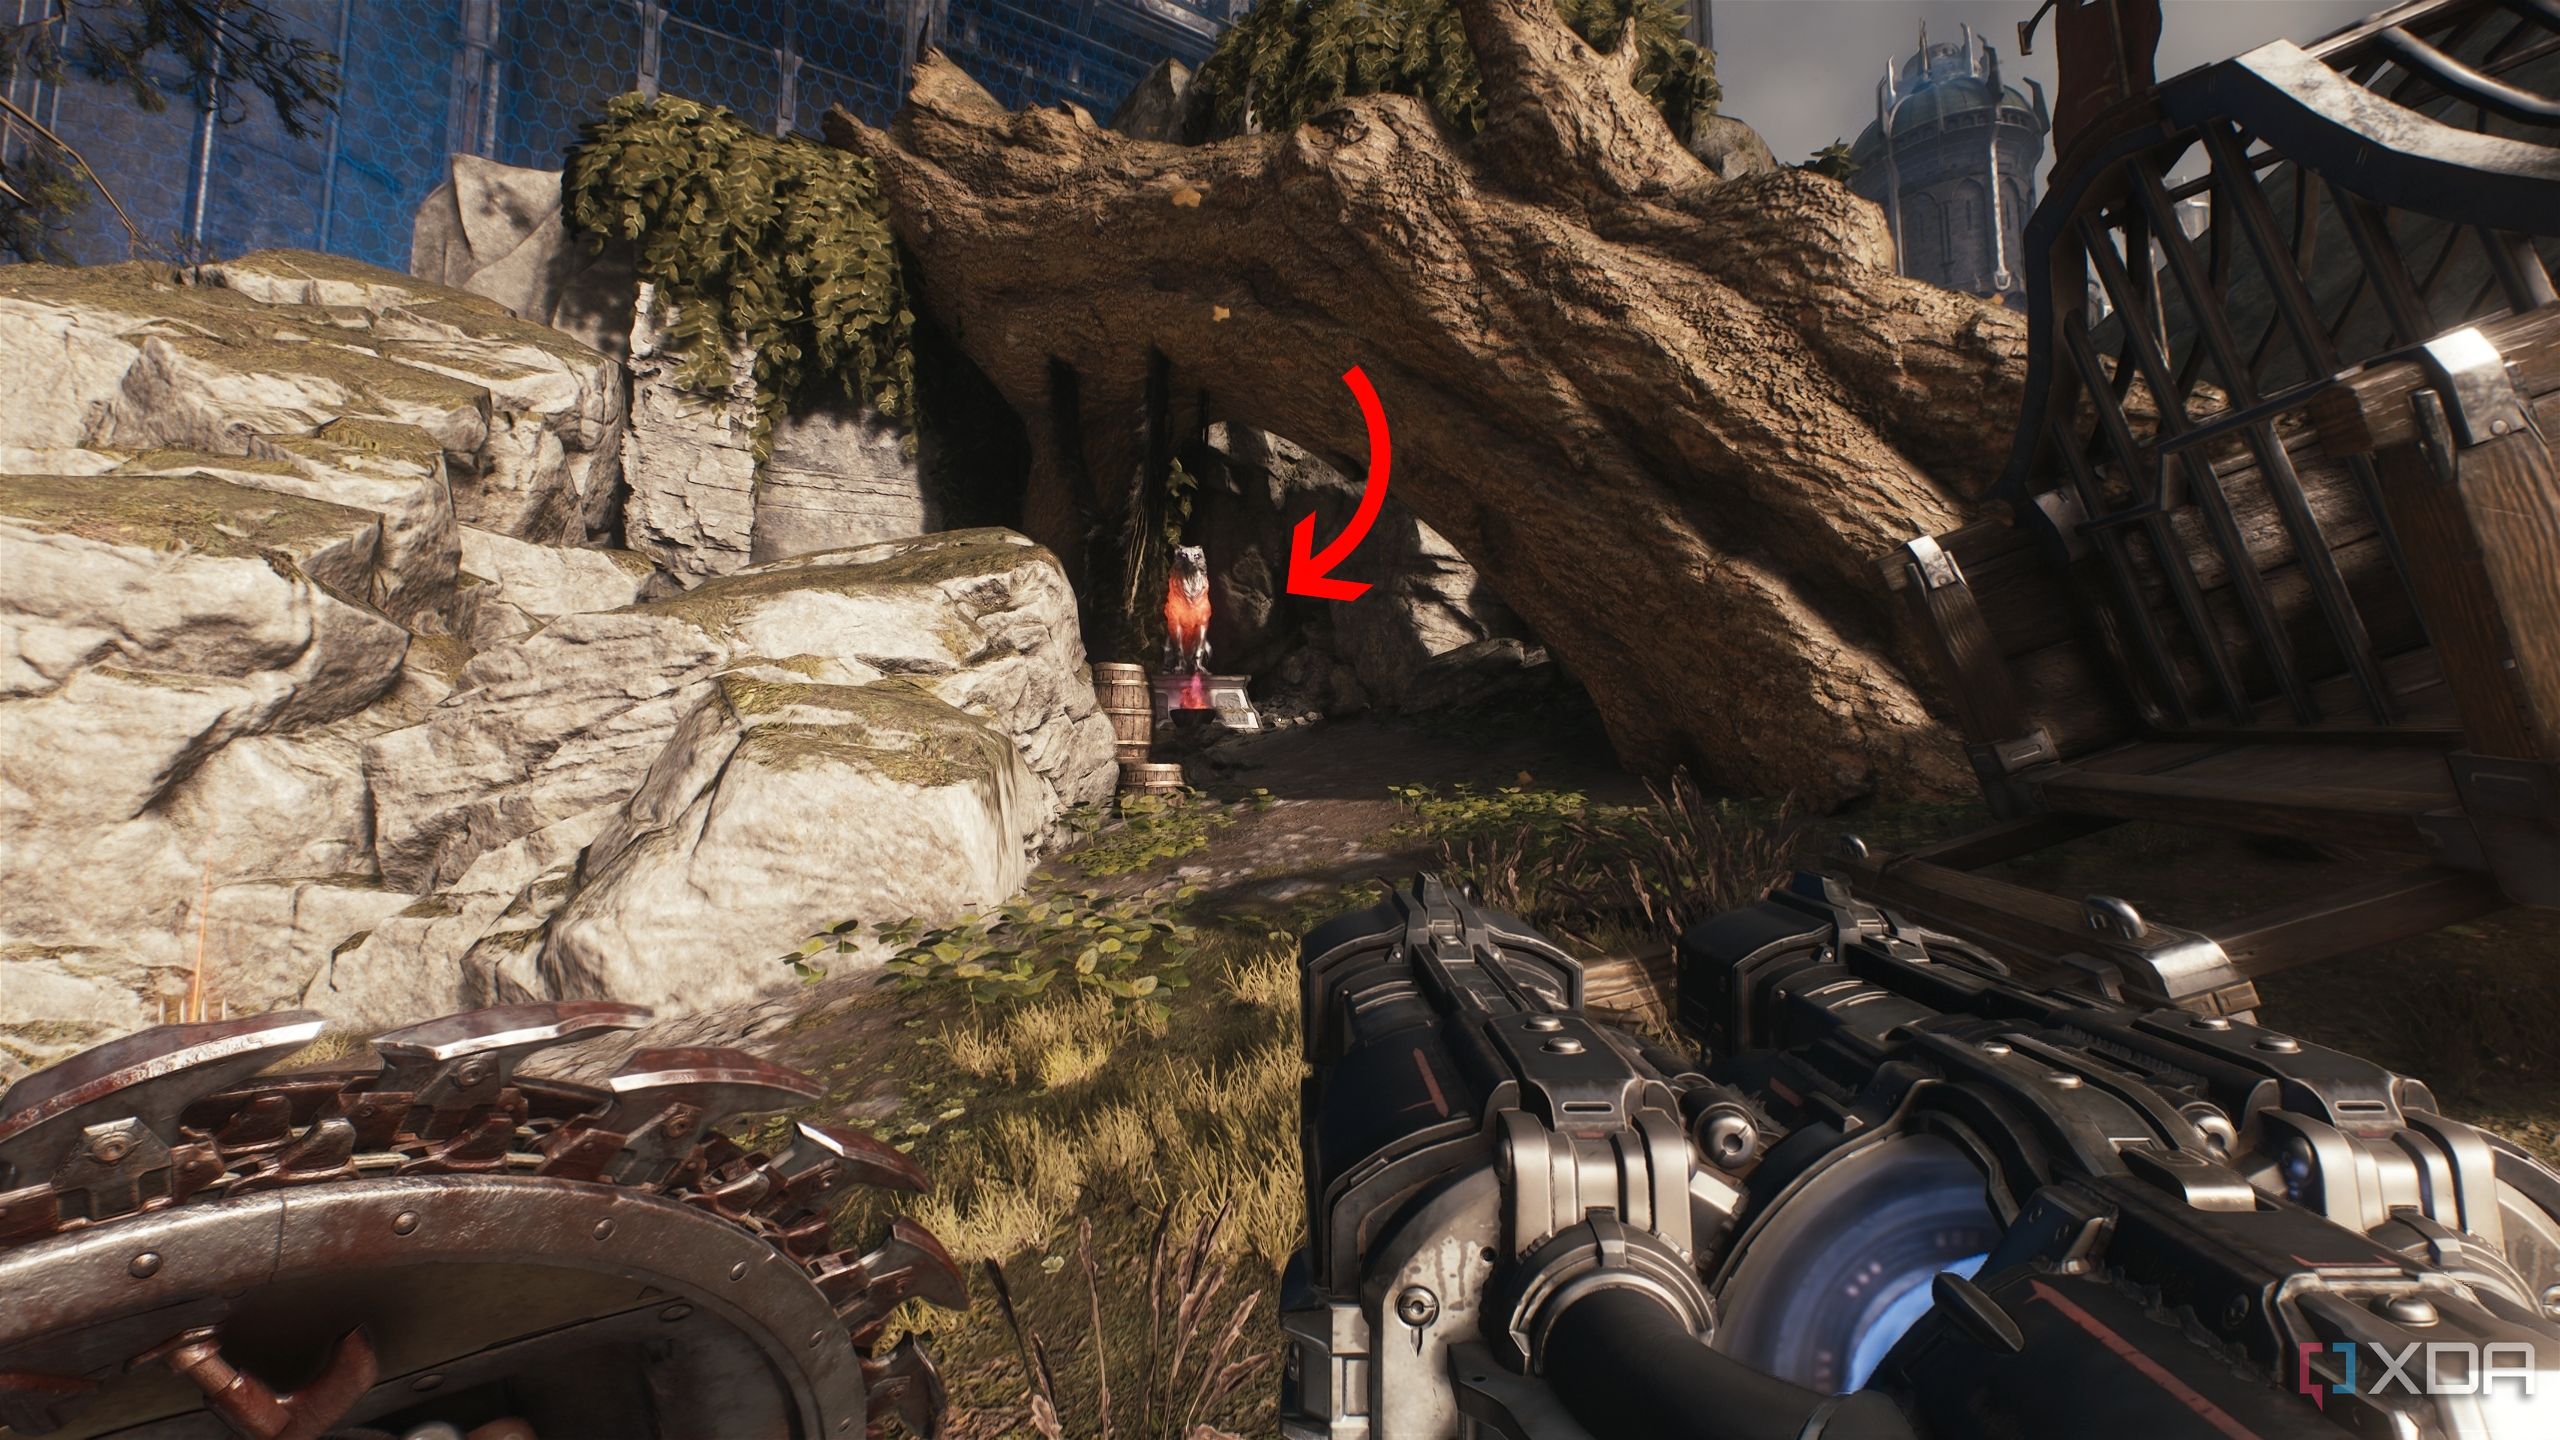
Purple Keycard, secret area 6, and the Doom Slayer toy
The slayer's own action figure

From the grayed out arena, head west from this location on the map.
Follow the path to find yourself confronting multiple demons and two mancubii. Once they’re dealt with, head right to find a pillar with a big, blue-flame torch.
Facing the torch, turn around, and you’ll see a small path on the right.
As soon as you go there, the purple keycard hologram should be immediately visible.
Collect the keycard, and head back to the blue-flame torch.
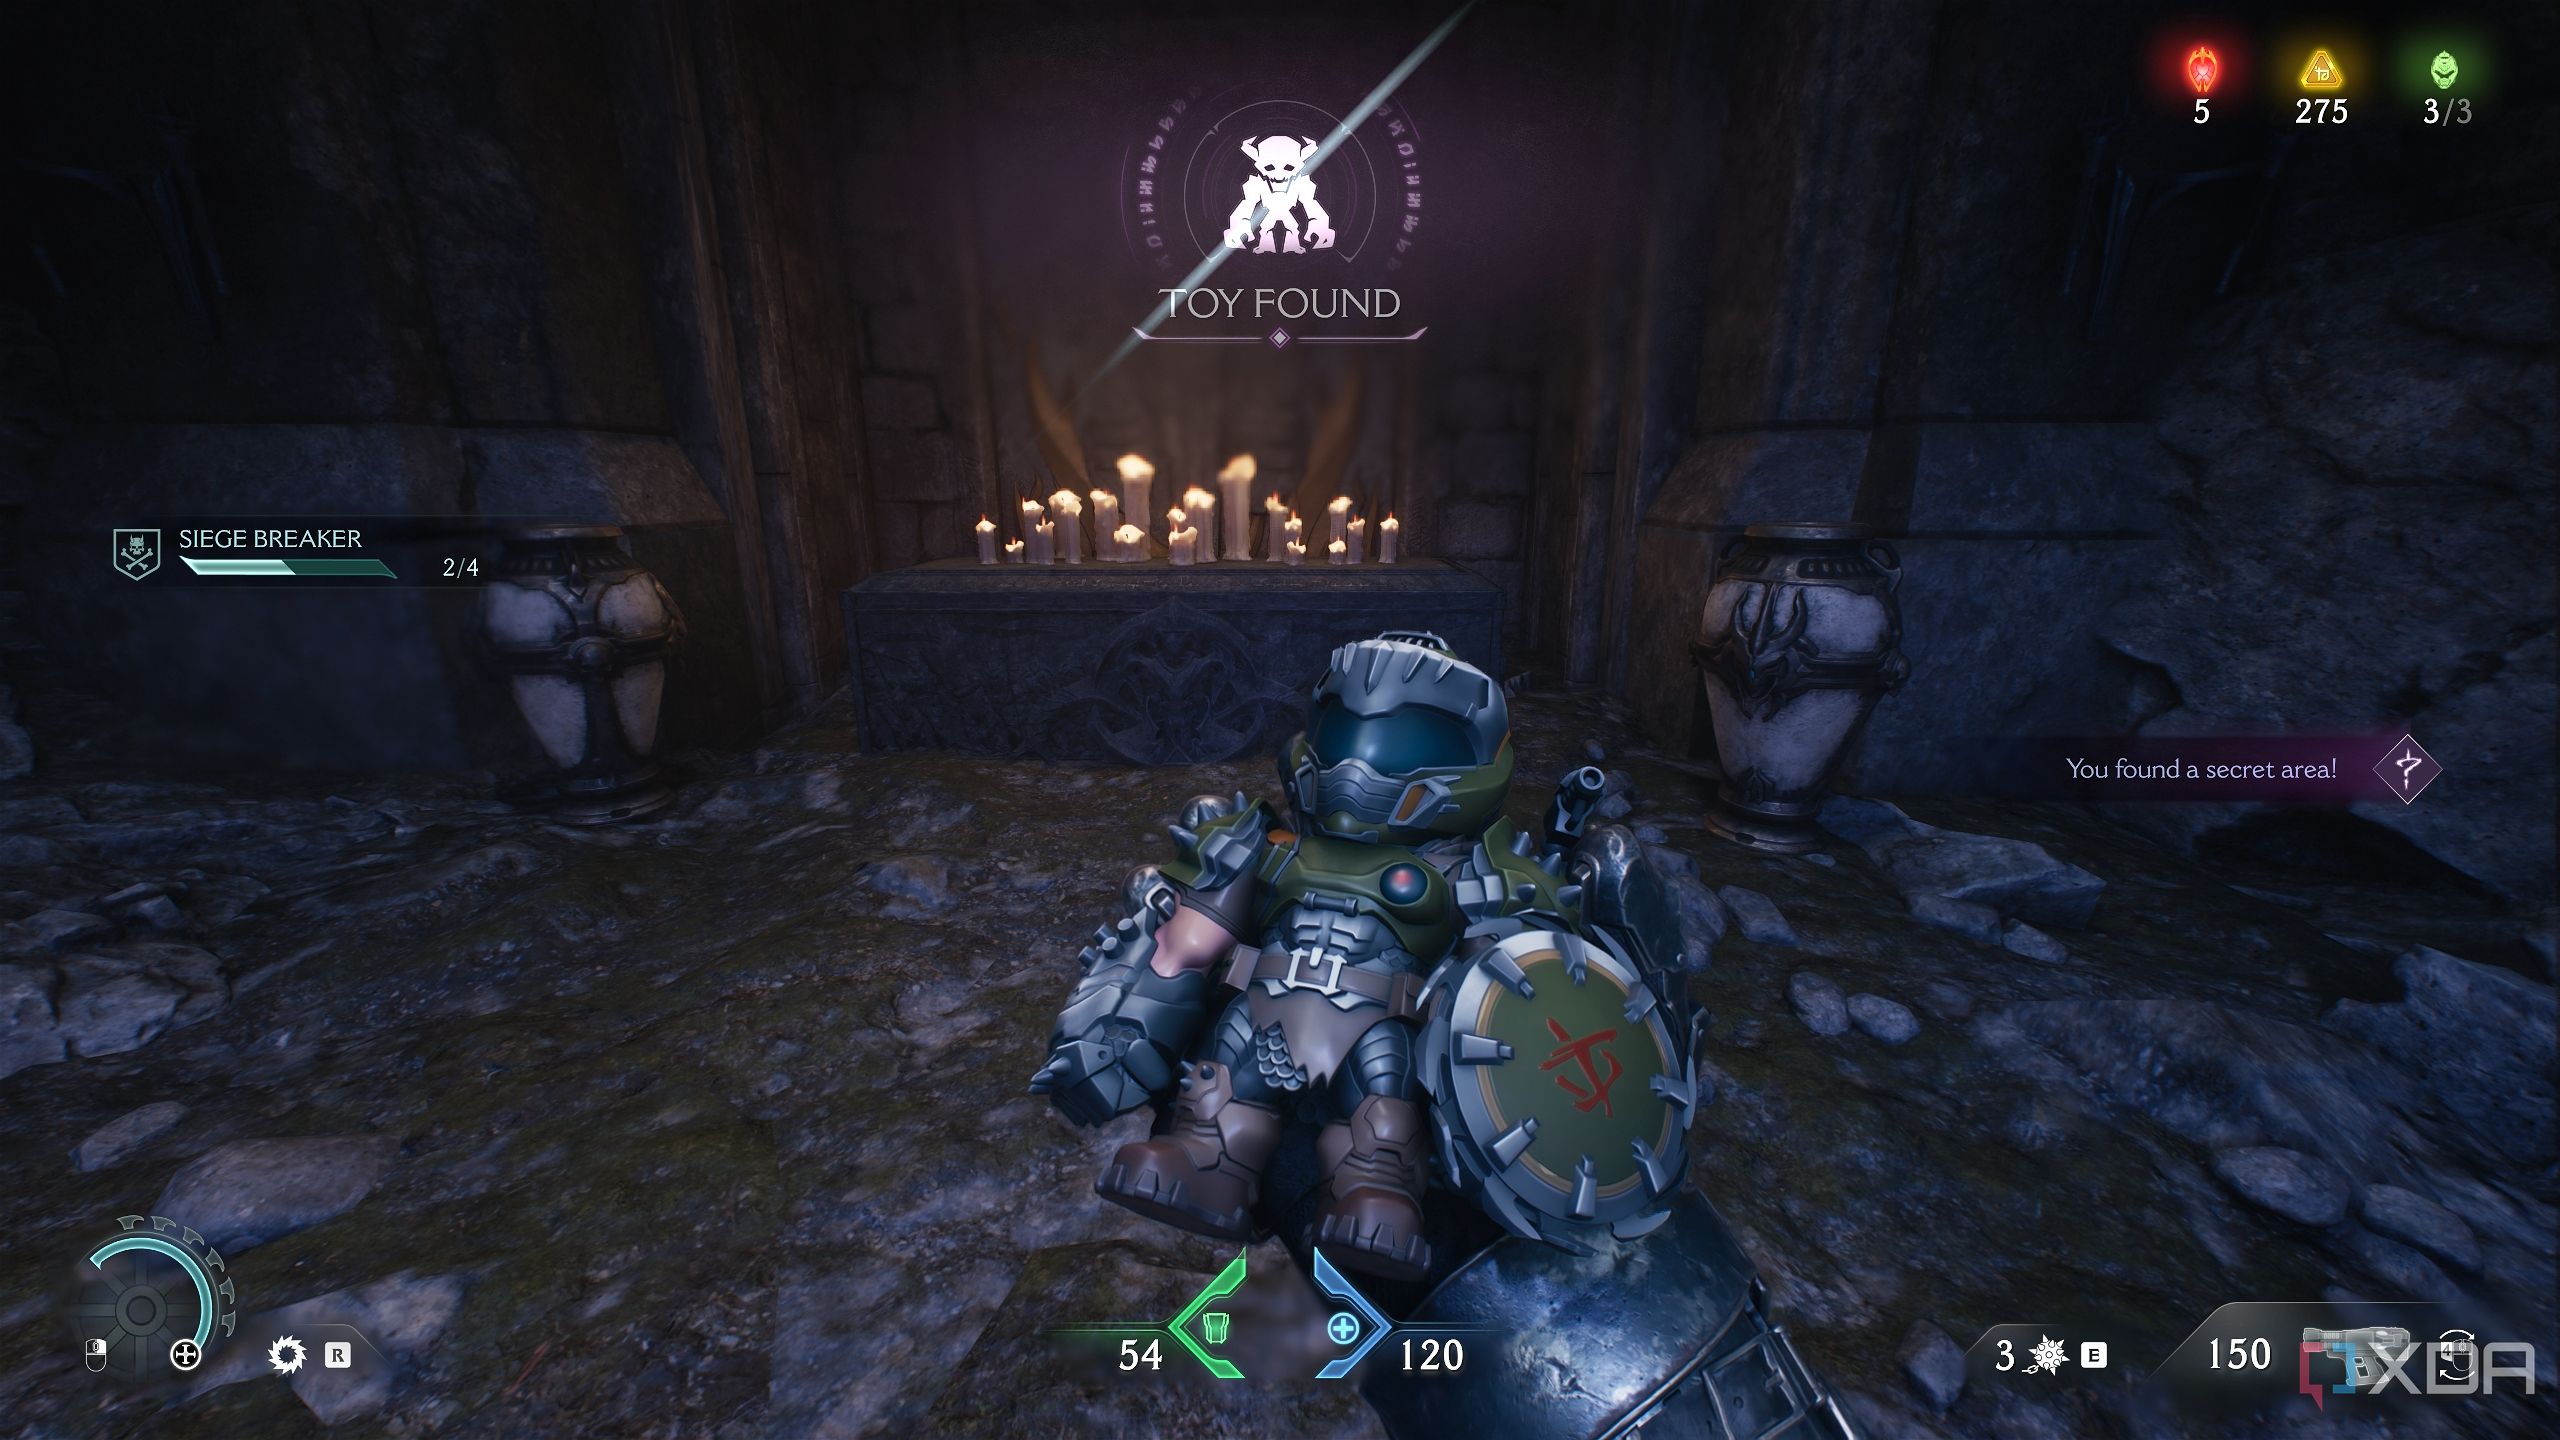
Here, you can now open a third purple-coded gate to access secret area 6 and grab the Doom Slayer toy collectible.
Related
10 best first-person shooters that are free to play on Steam
Enter the genre of fast paced first-person shooters with these 10 free-to-play titles on Steam
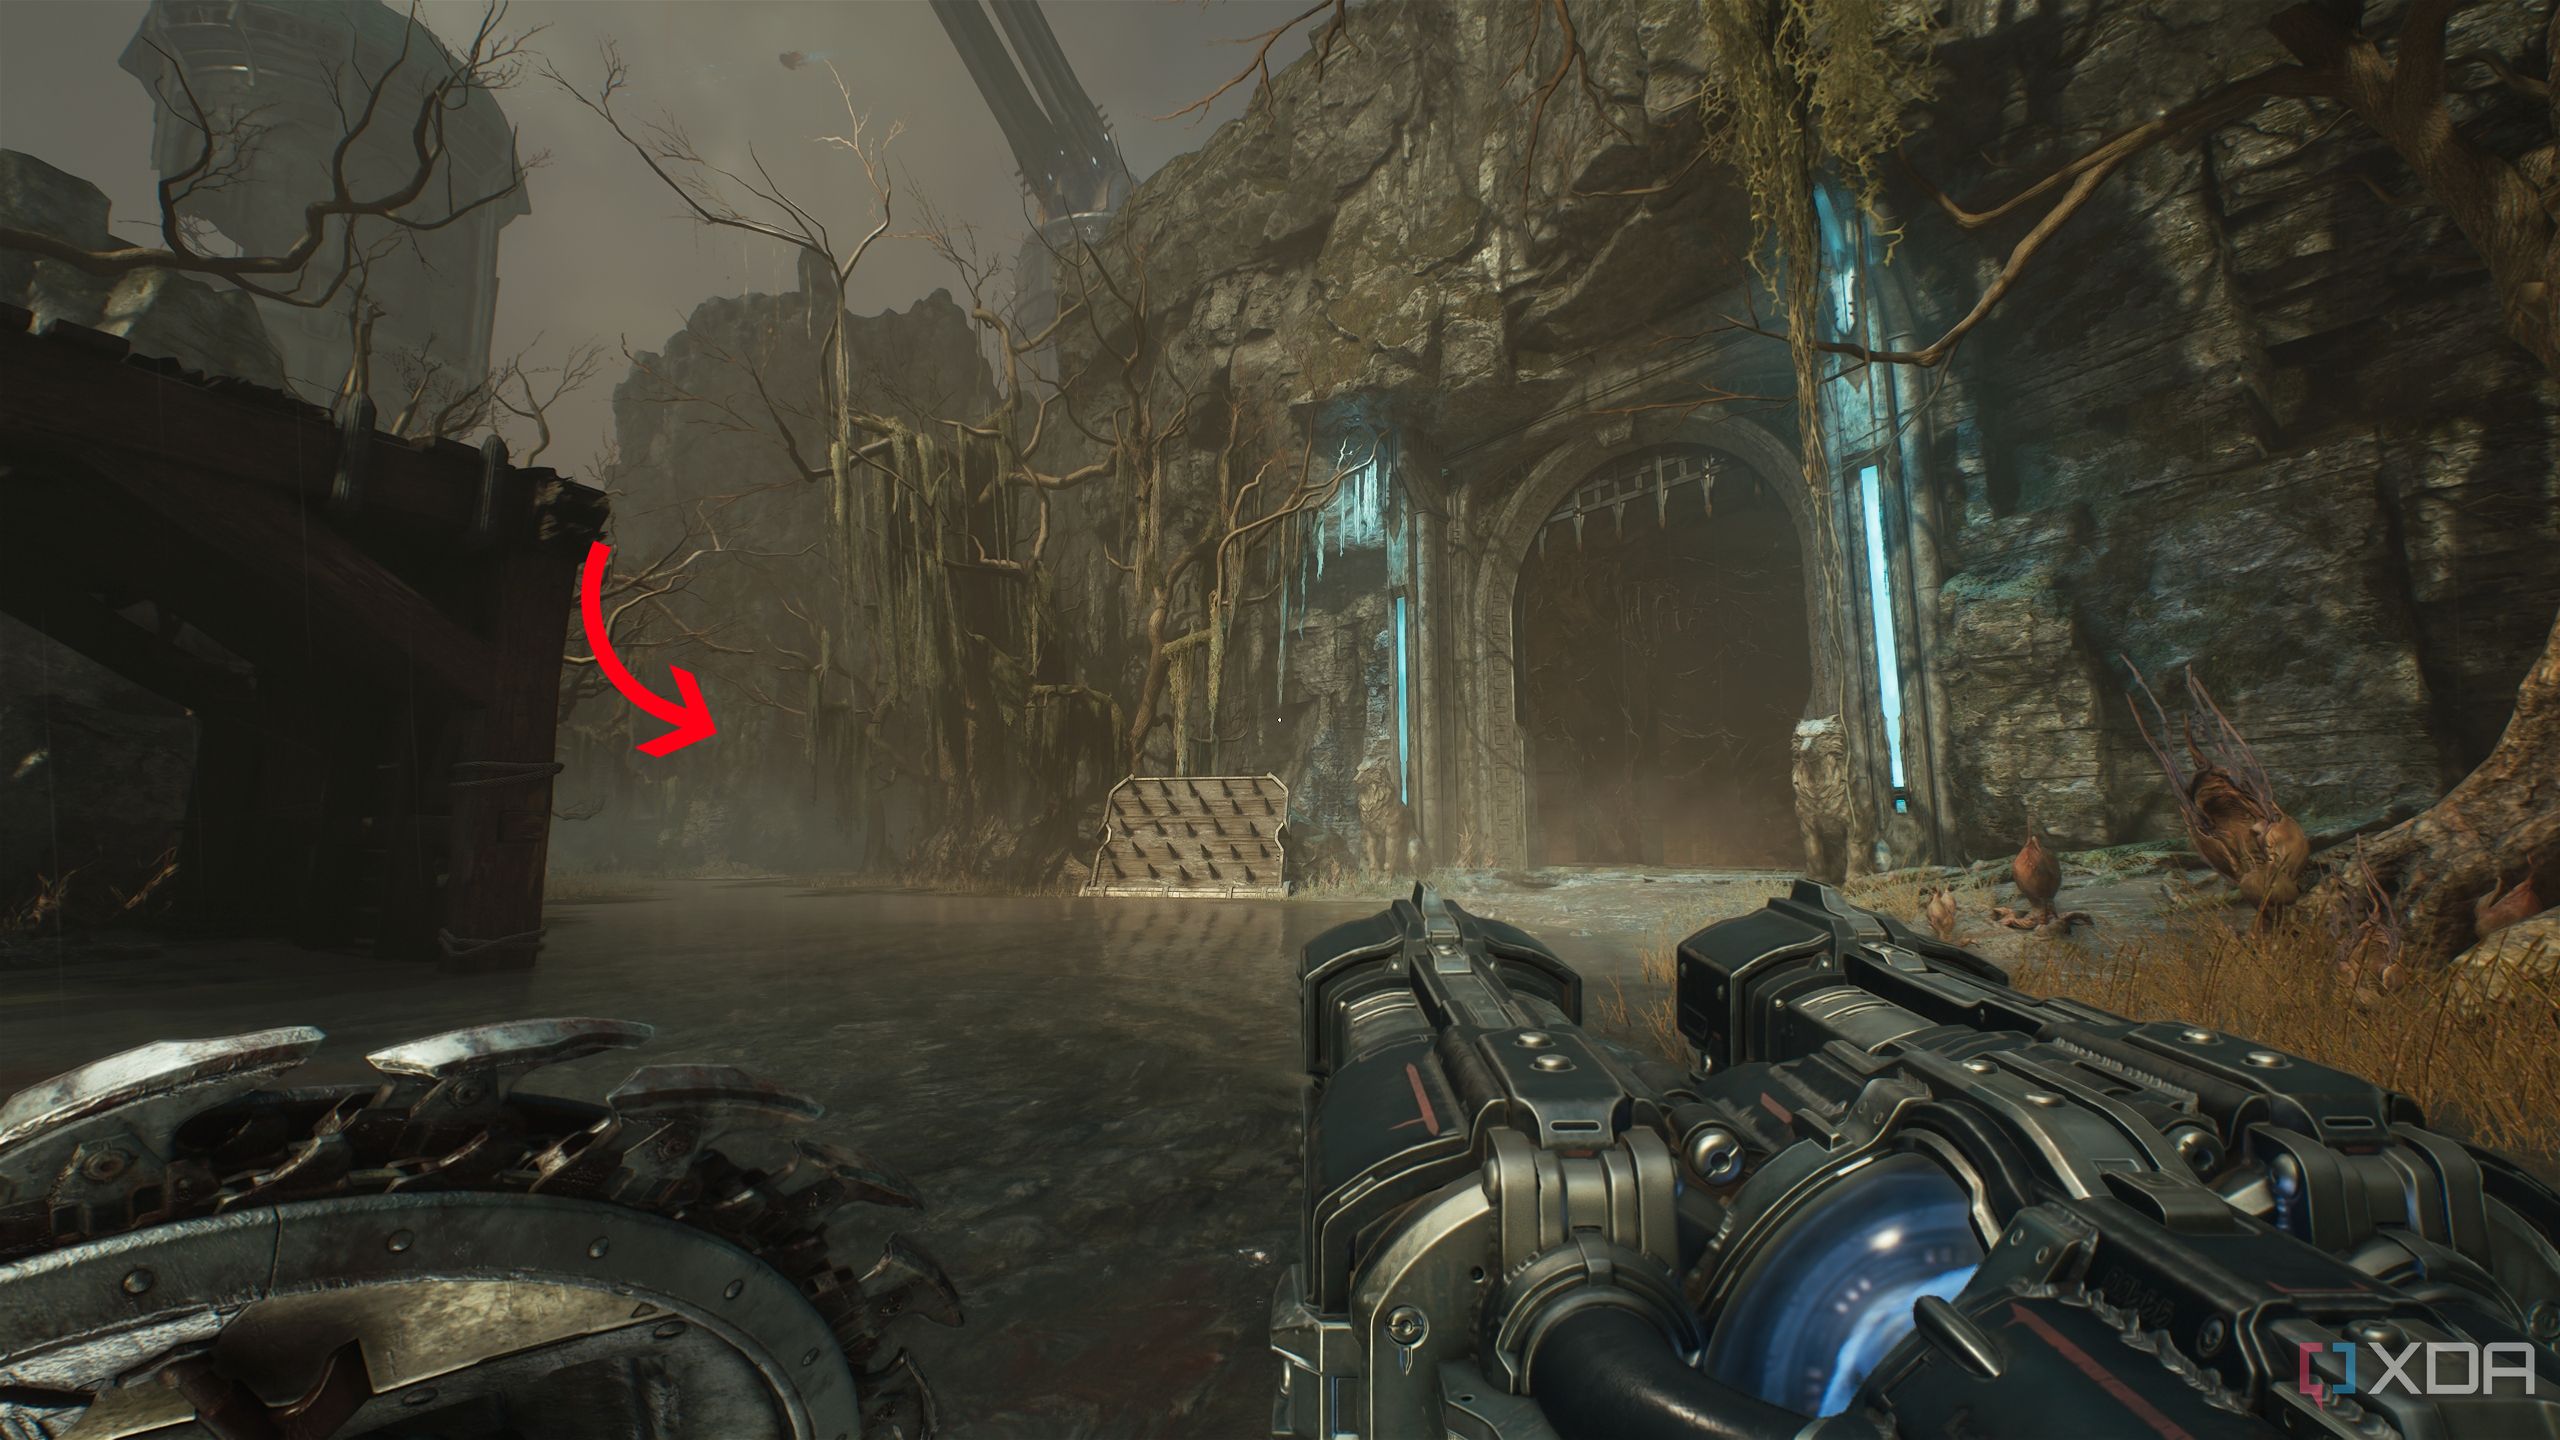
Weapon Skin, a Red Ruby, and secret areas 7 and 8
Rubies are a Slayer’s best friend
With the purple keycard now secured, head immediately back the way you came to the cave with two blue-flame torches in the grayed-out arena, pictured above.
Now, you can access the purple-coded locked gate, which unlocks secret area 7 and a Red Ruby.
Now, in the interest of staying organized and not forgetting any collectibles, head all the way back to secret area 2 like I did, and climb up the scramble wall.
This time, head left to unlock the first purple-coded locked gate you saw.
Here, you unlock secret area 8 and a weapon skin.
Codex Page 2 and a Mancubus toy collectible
This toy will probably take two places on the shelf
Head all the way back to where the Titan and the Atlan Mech were fighting, and get to this location on the map.
From here, head north-west to spot a huge statue of King Novik ahead.
Get to the statue to find the Mancubus toy collectible right between the statue’s feet.
Now, standing to the side of the statue’s left foot, look down to the left below to see an area with multiple gold bars lined up on the ground.
Jump down to them, and collect the gold bars, along with the second Codex Page in the map, which provides info about Kreed Maykr. Now, there’s nowhere else to go, so jump down into the water near the huge tentacle-shaped hole.
Gold stack, secret area 9, and artillery cannon 3
There’s even a gold crate involved
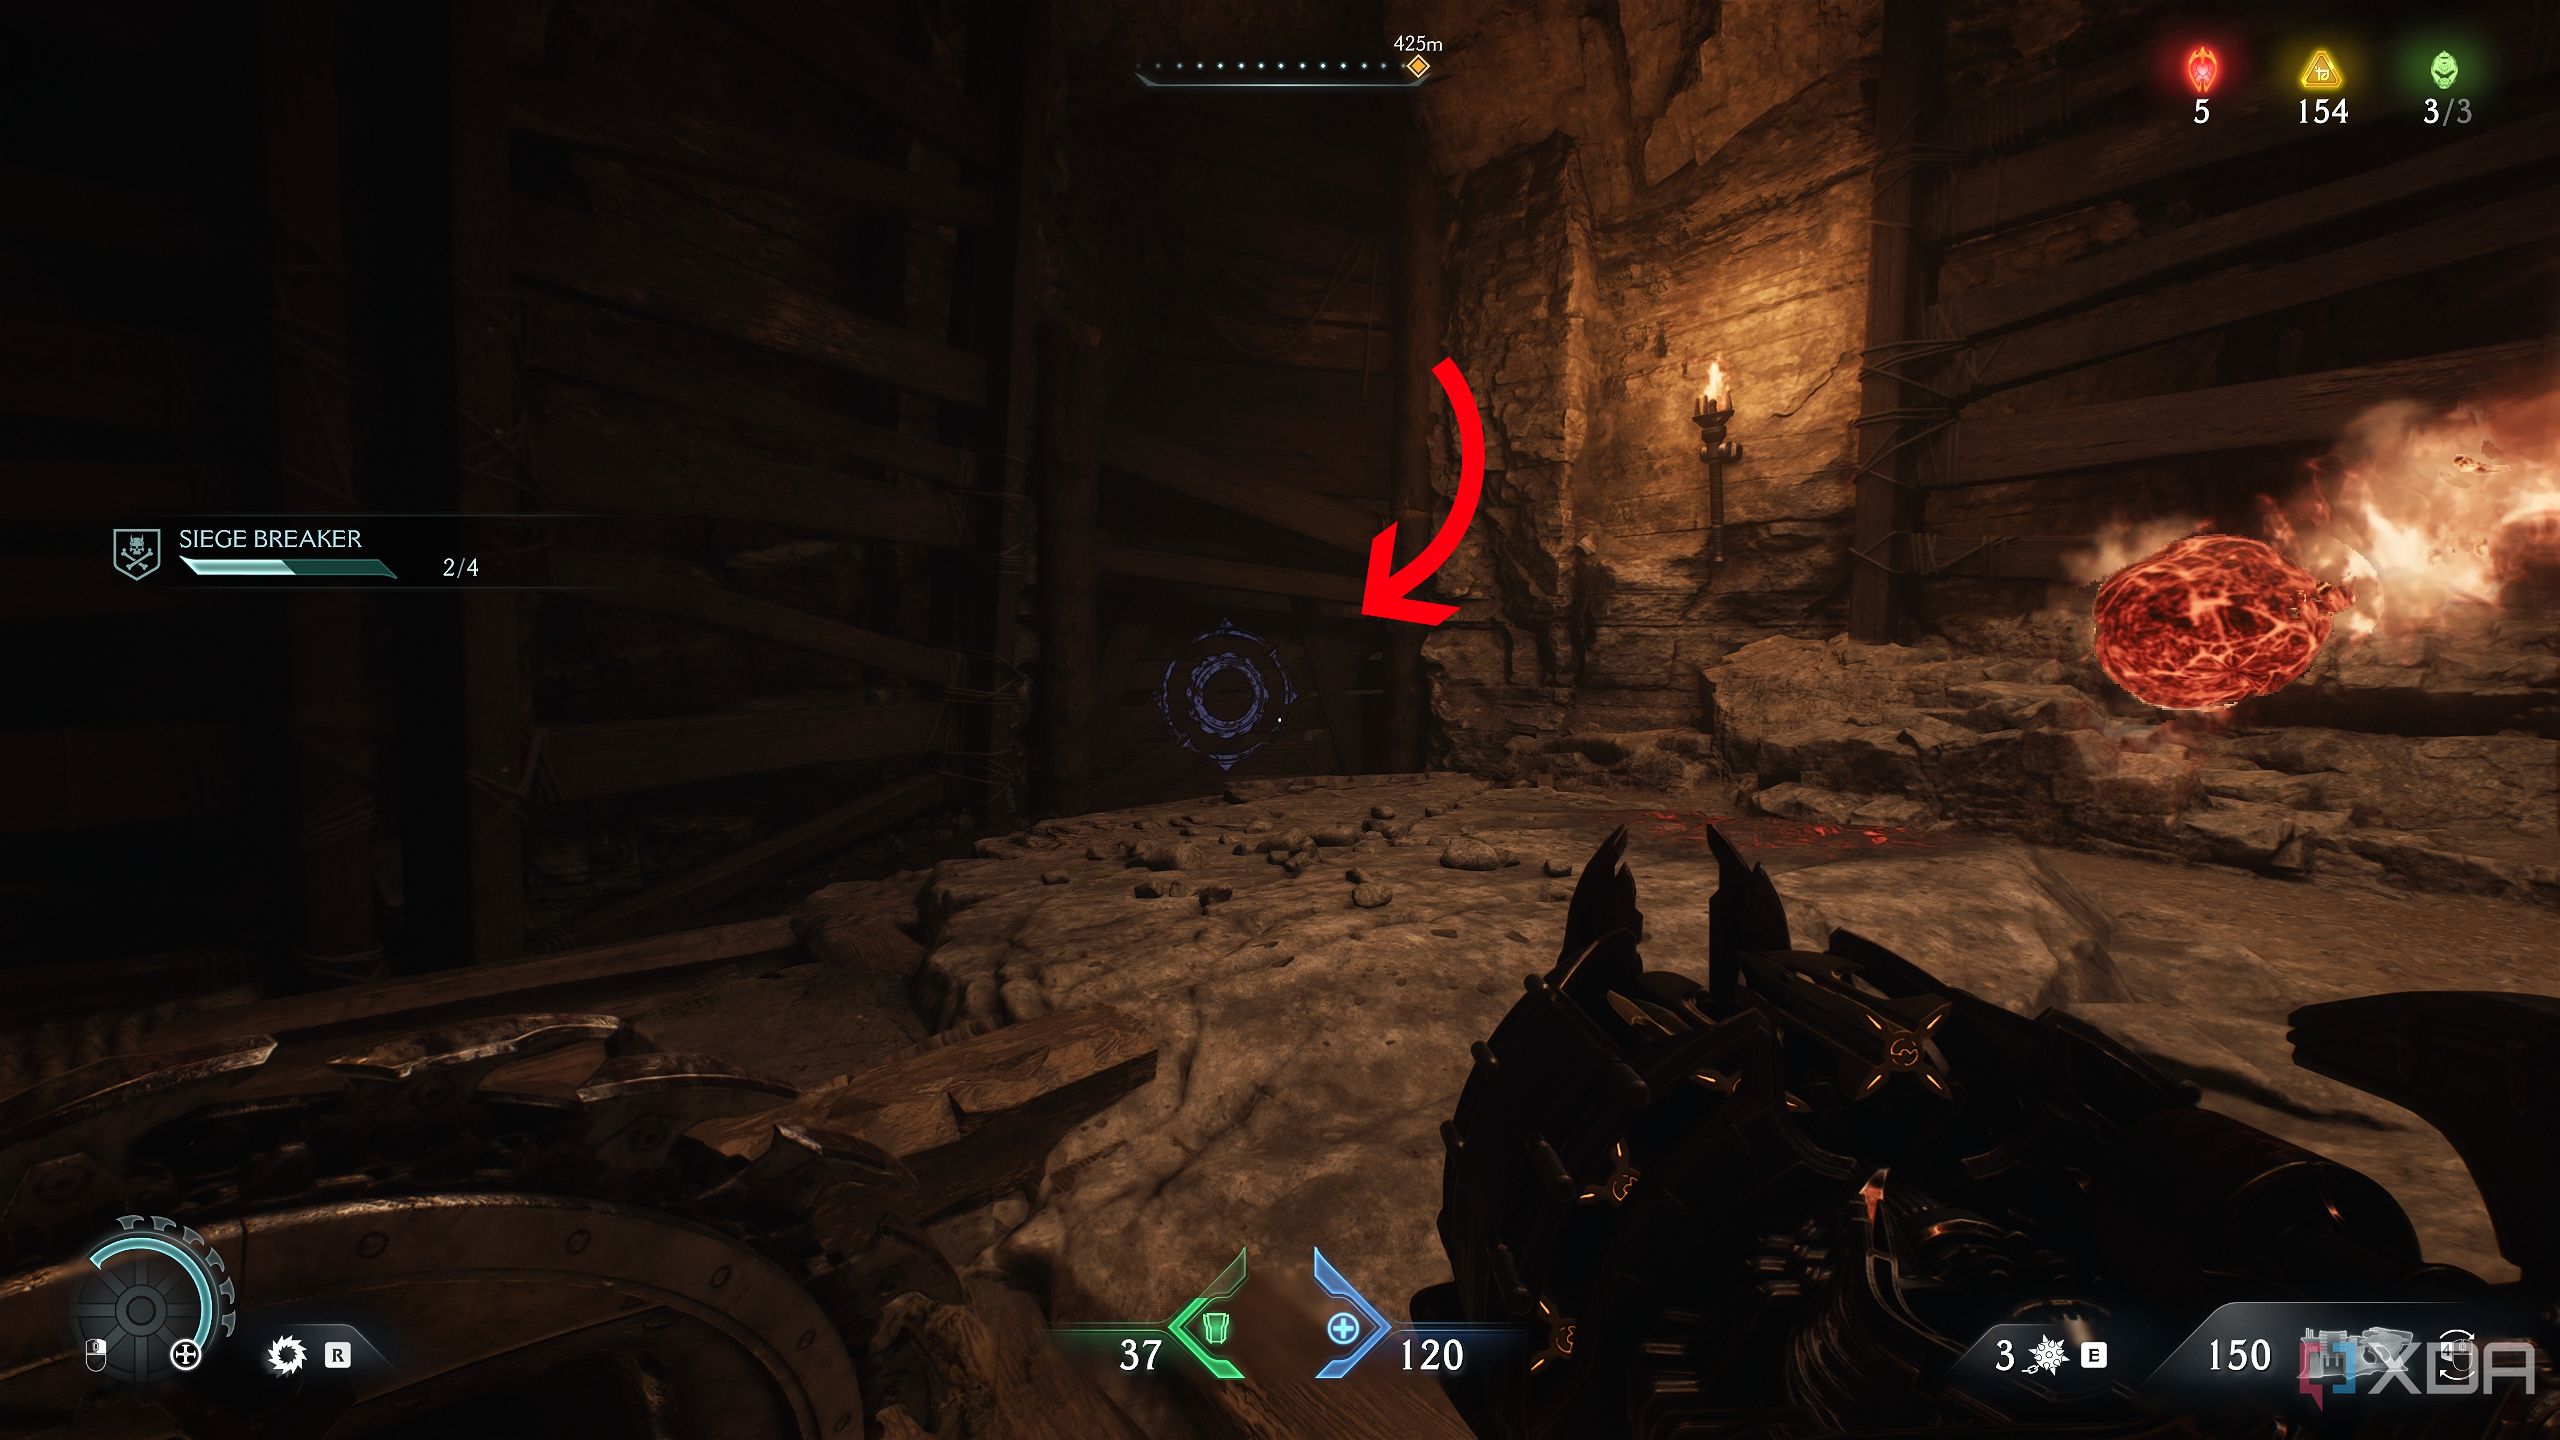
Before heading into the arena for the fourth gore portal, stay on the left-hand-side edge of this area to find a small wooden cart hiding a gold stack underneath.
Run into the cart or shoot it to collect the gold under it.
Then, stick to this path, and continue along the edge to find the third Artillery Cannon, completely unguarded.
Shield Charge into it to destroy it, collecting its gold stack in the process.
Continue on along the edge, and you’ll come across a hole in the surface of the waterbed, with two blue lights stuck in the ground.
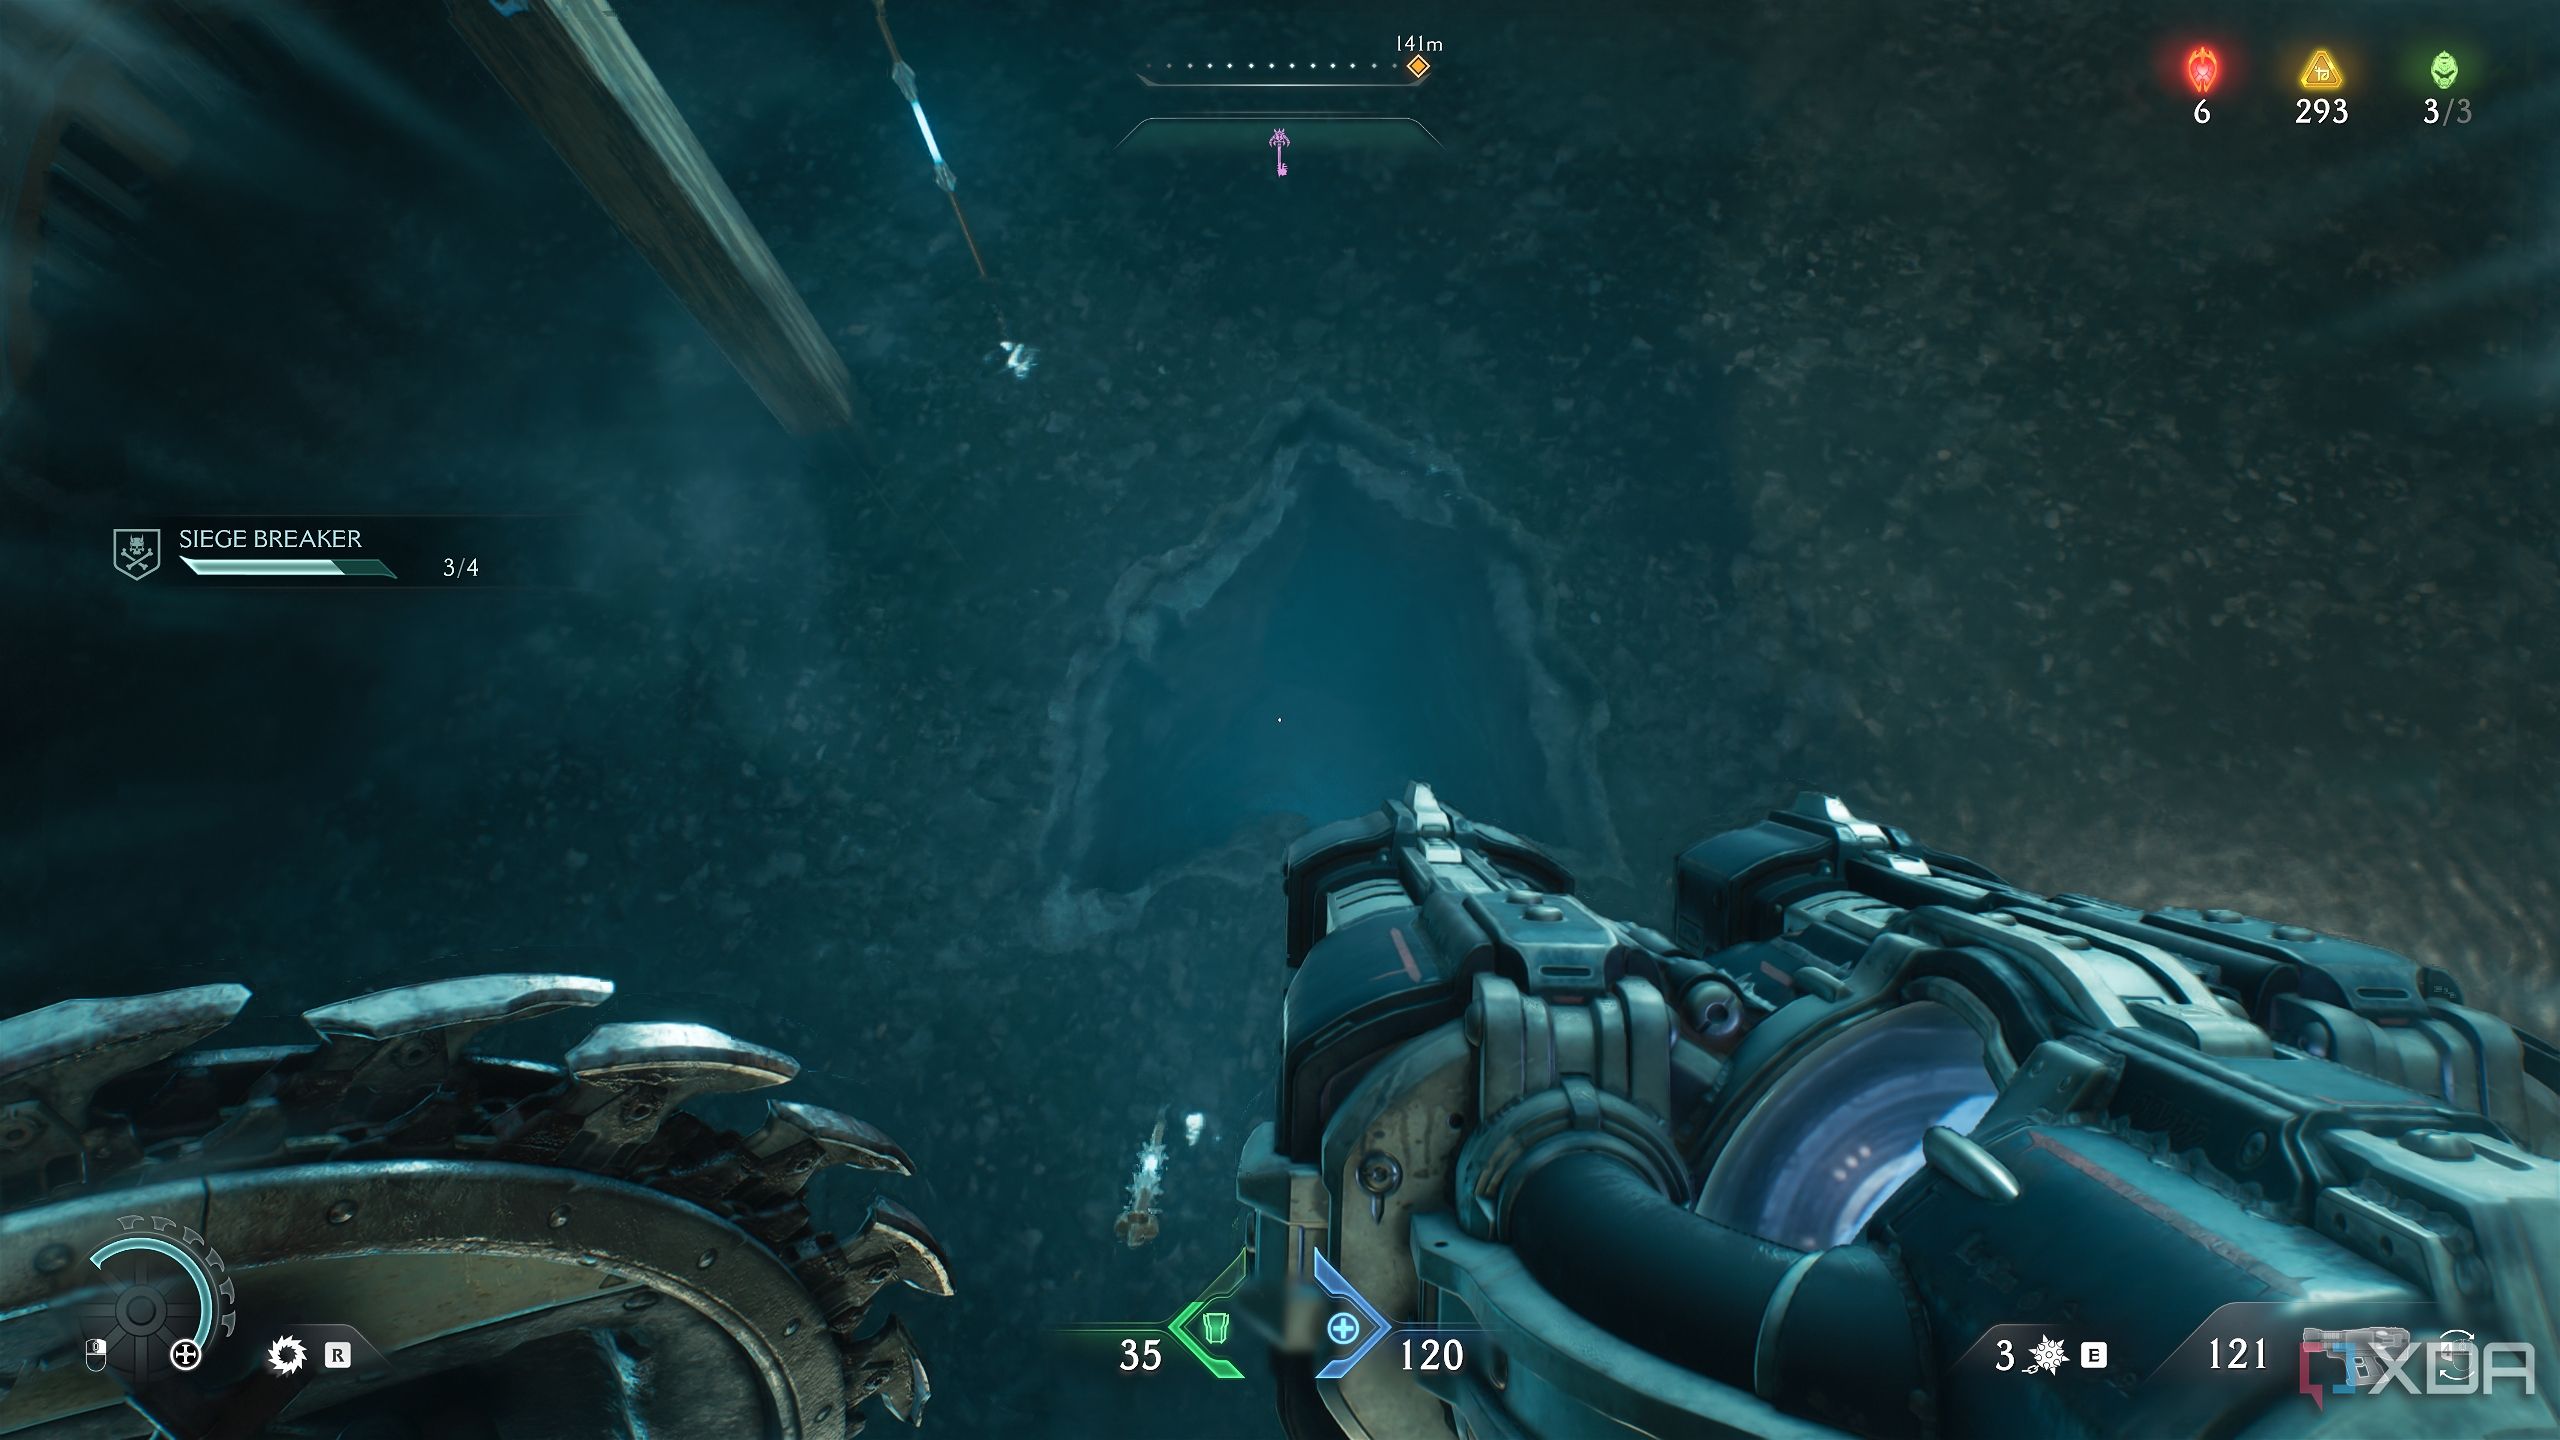
Dive into the hole, and swim down, following the lights.
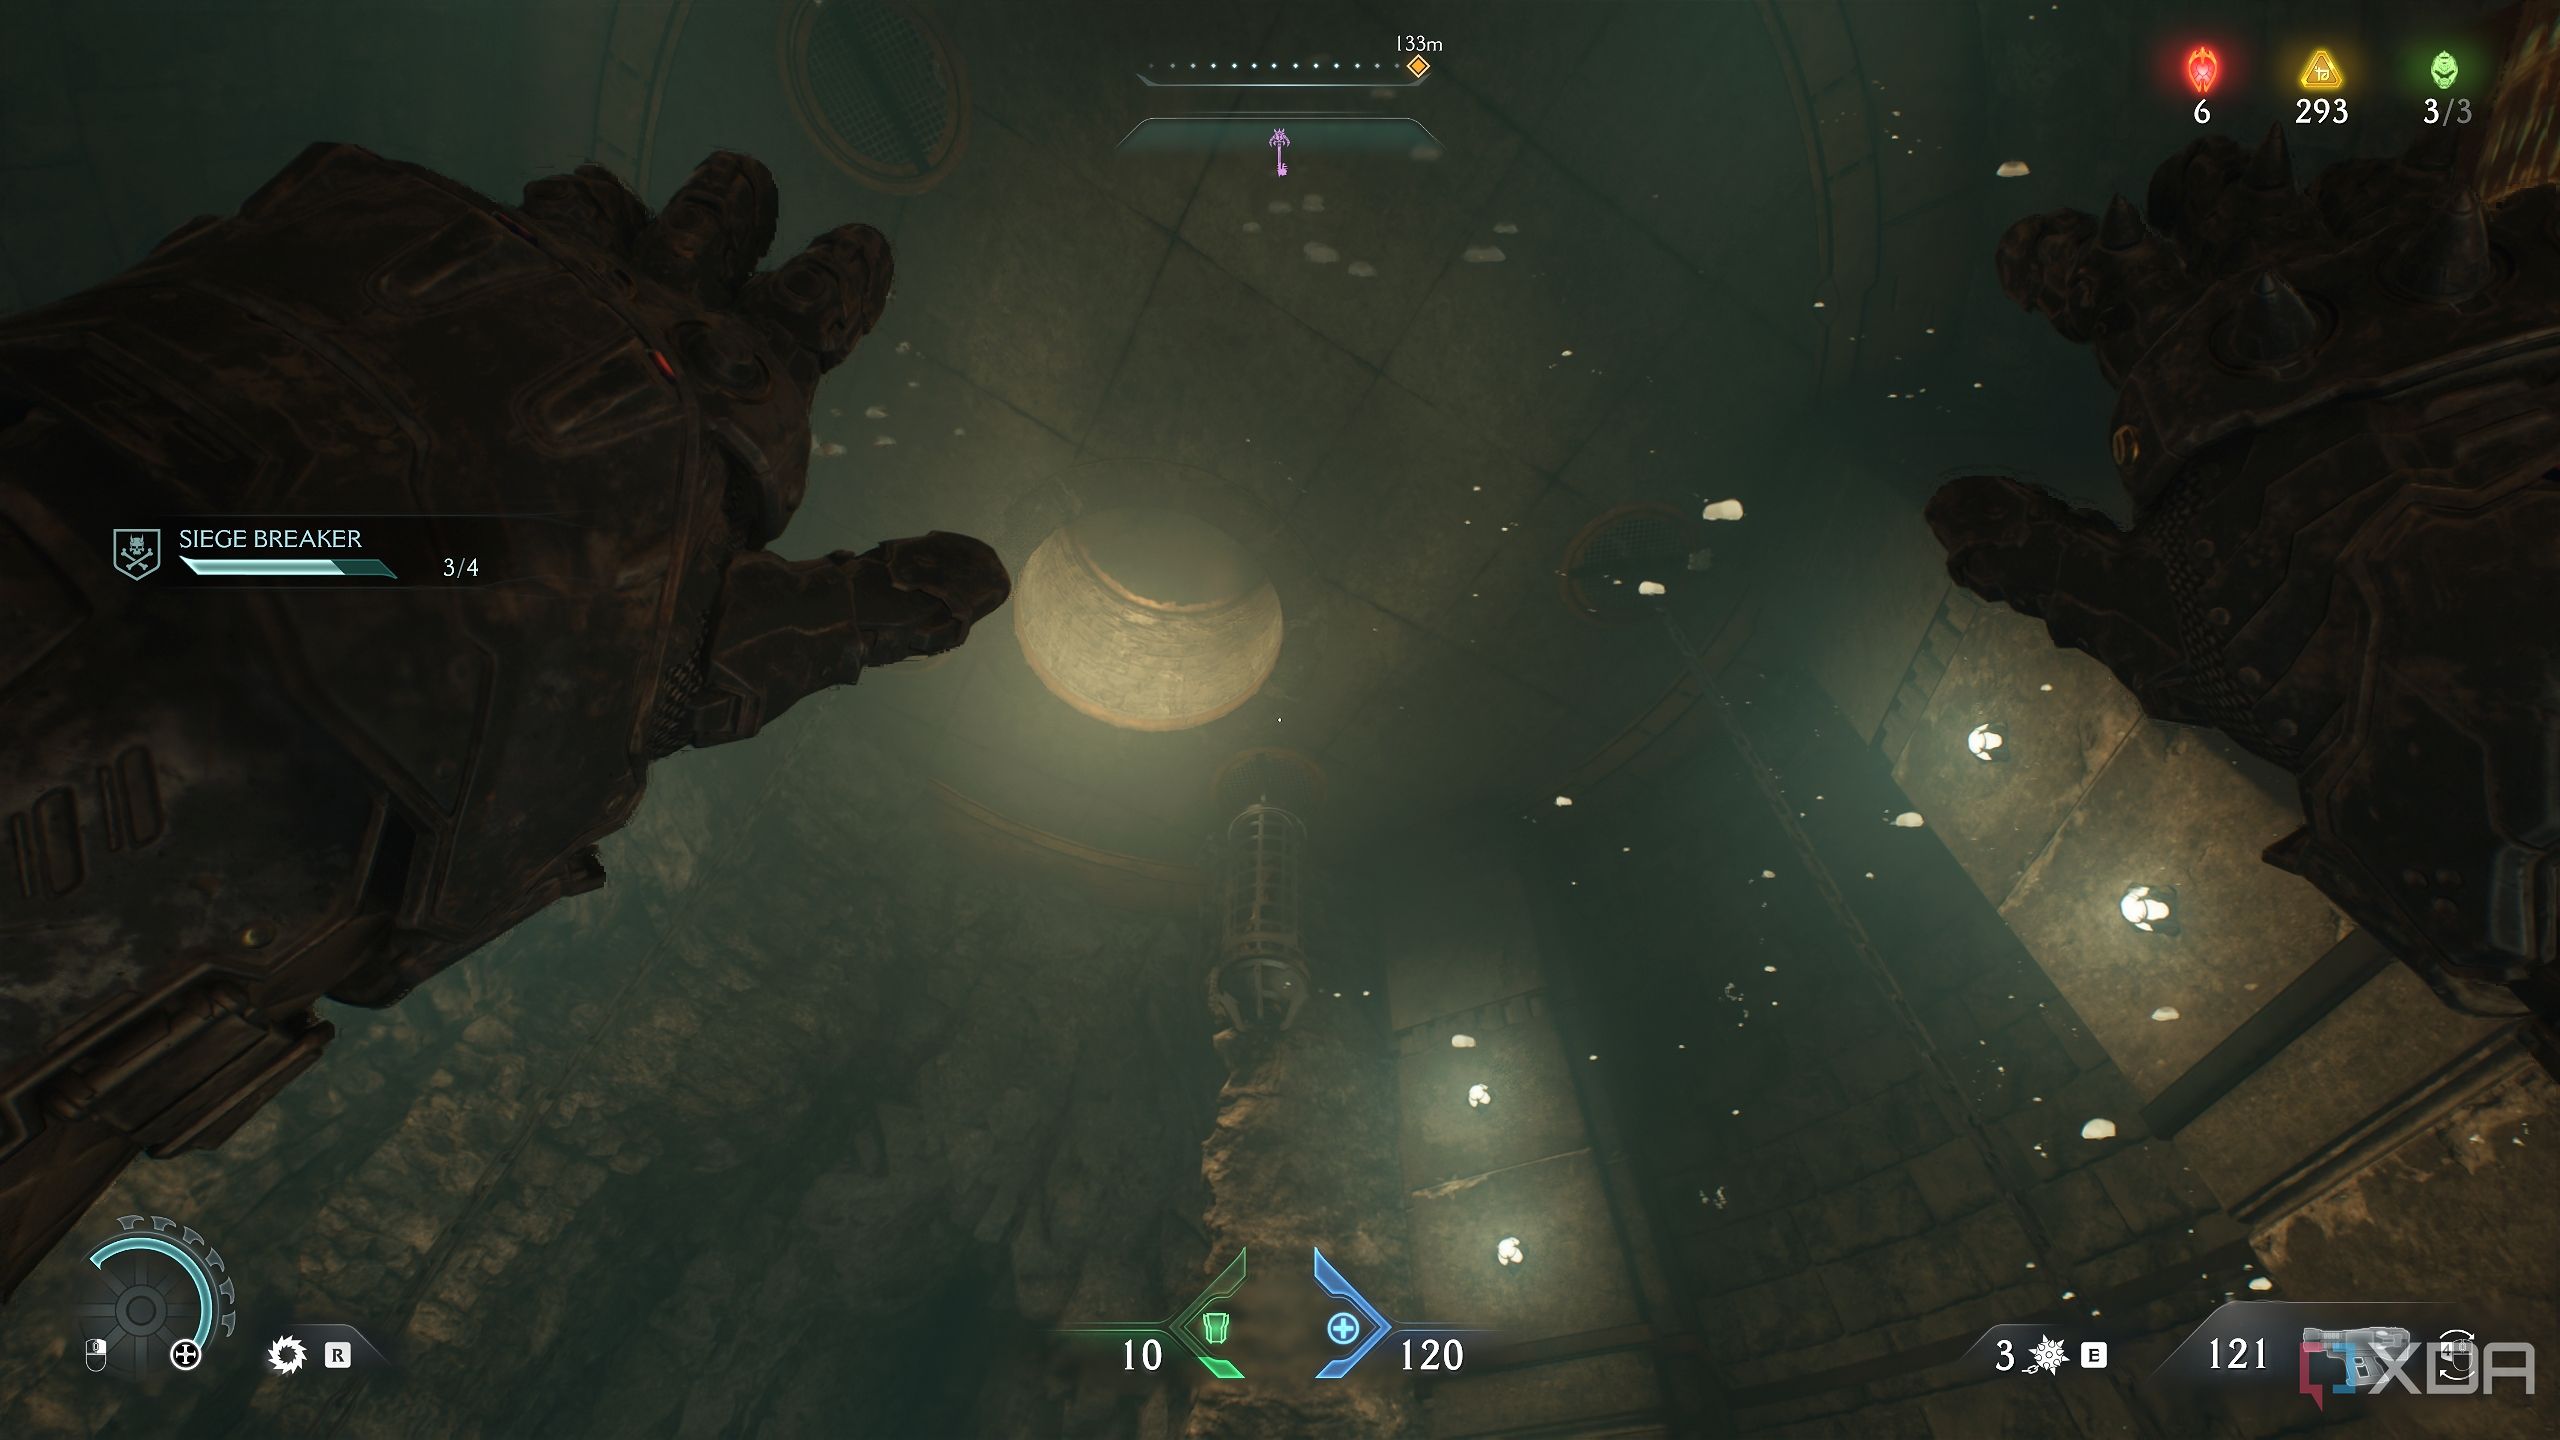
Dodge the projectiles you face while following the linear path, and you’ll emerge in a chamber with a hole in the roof. Swim up into the ceiling hole.
You’ll unlock secret area 9, with a gold crate to boot. Careful on the way out, as you’ll be immediately ambushed by a huge tentacle monster.
Gold bars, a Red Ruby, and the lion statue puzzle
Straight outta God of War
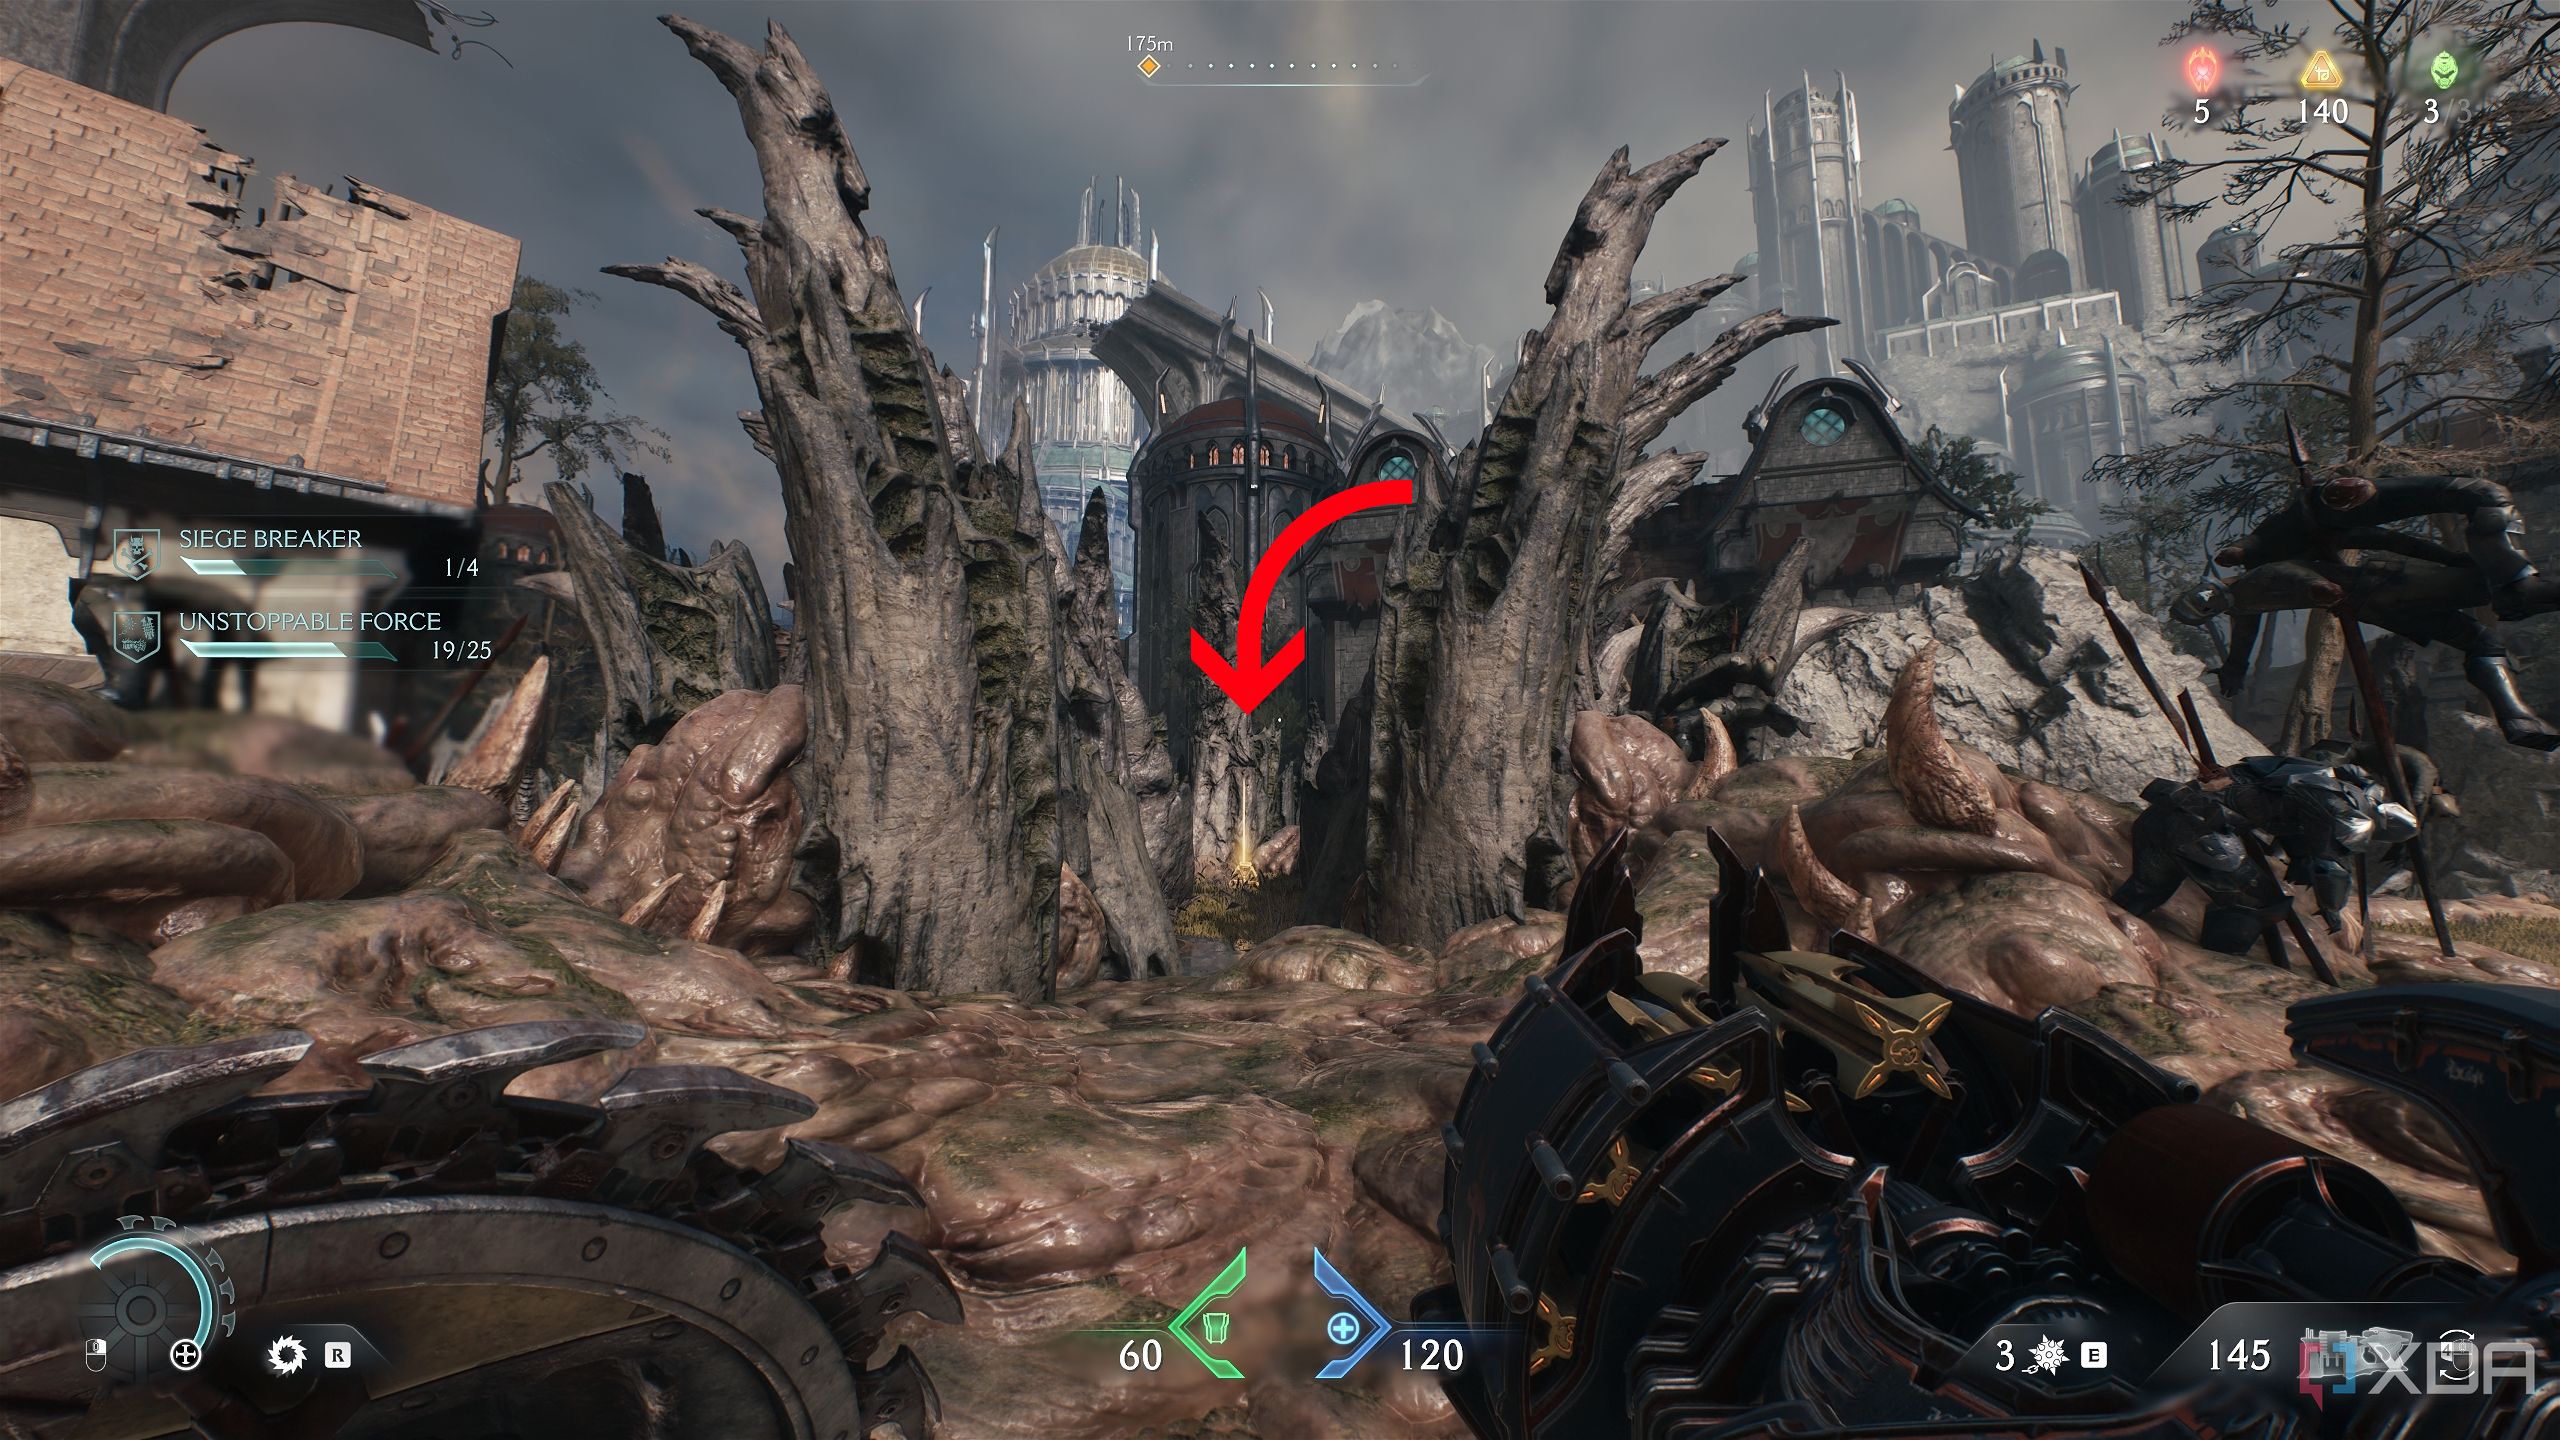
After you’re done with Gore Portal 4, stand where the portal used to be, at this location.
Shield Charge through the wall right behind where the portal was.
Immediately head right, go past the small waterfall on the left, and you’ll discover a new Sentinel Shrine.
Walk towards the Sentinel Shrine and reach the location pictured above.
Look to the left, and you’ll see plenty of gold bars lined up on the ground. Be careful as you pick them, as tentacles will appear to ambush you from inside the ground. There’s also a Life Sigil at the end of the line of gold bars.
Once that’s done, head back to the very first gore portal where you began this map, for the sake of remaining organized. Now, it’s time to finish off the rest of the collectibles before taking on the final gore portal.
From the first Sentinel Shrine, head right into a clearing — the way is pointed above.
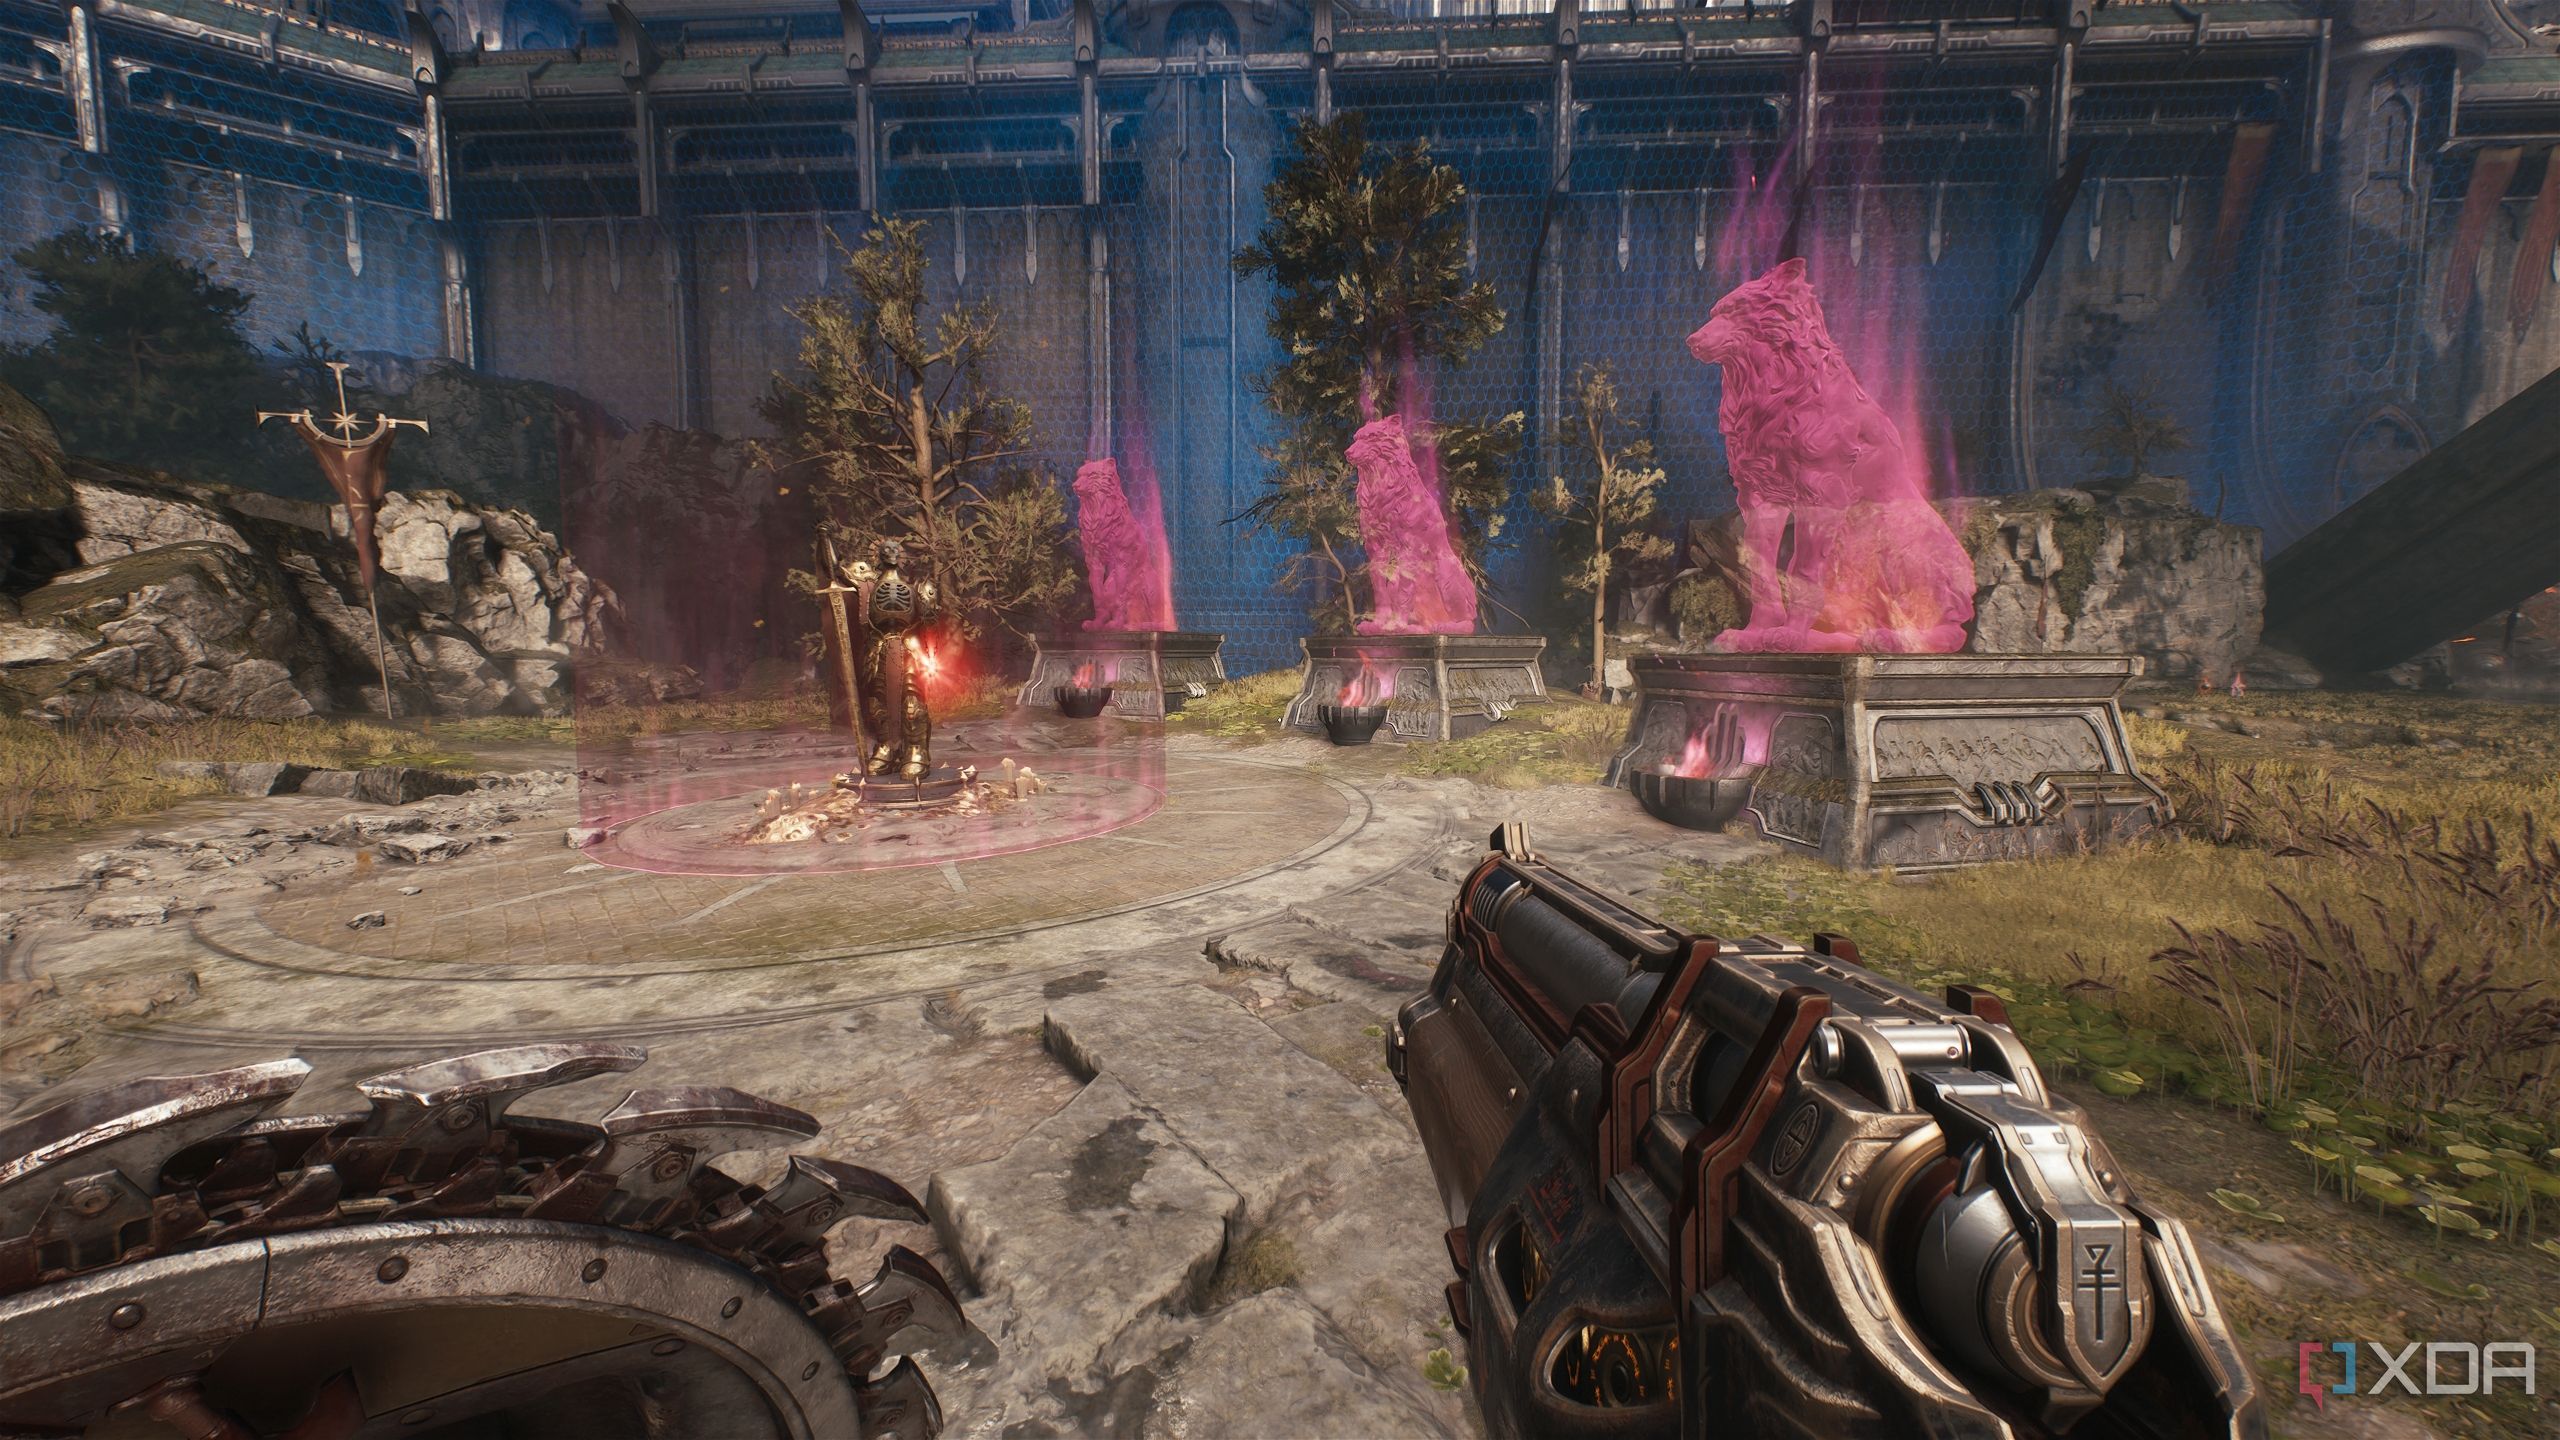
Here, you’ll see three giant lion statues engulfed in glowing red light. They guard a Red Ruby, so you’ll need to solve a puzzle to get this one.
For this lion statue puzzle in Chapter 6, you need to destroy three lion statues around this area.
Drop down into the water to find the first statue you can break with your Shield Throw. However, be prepared to fight a Vagary first.
The second statue is just a few steps backwards from here, hidden underneath a big tree trunk right across from the three seals.
For the third and final lion statue, simply head back the way you came and you’ll see it right away. Once the seals are broken, collect the Red Ruby and prepare for a small Imp ambush.
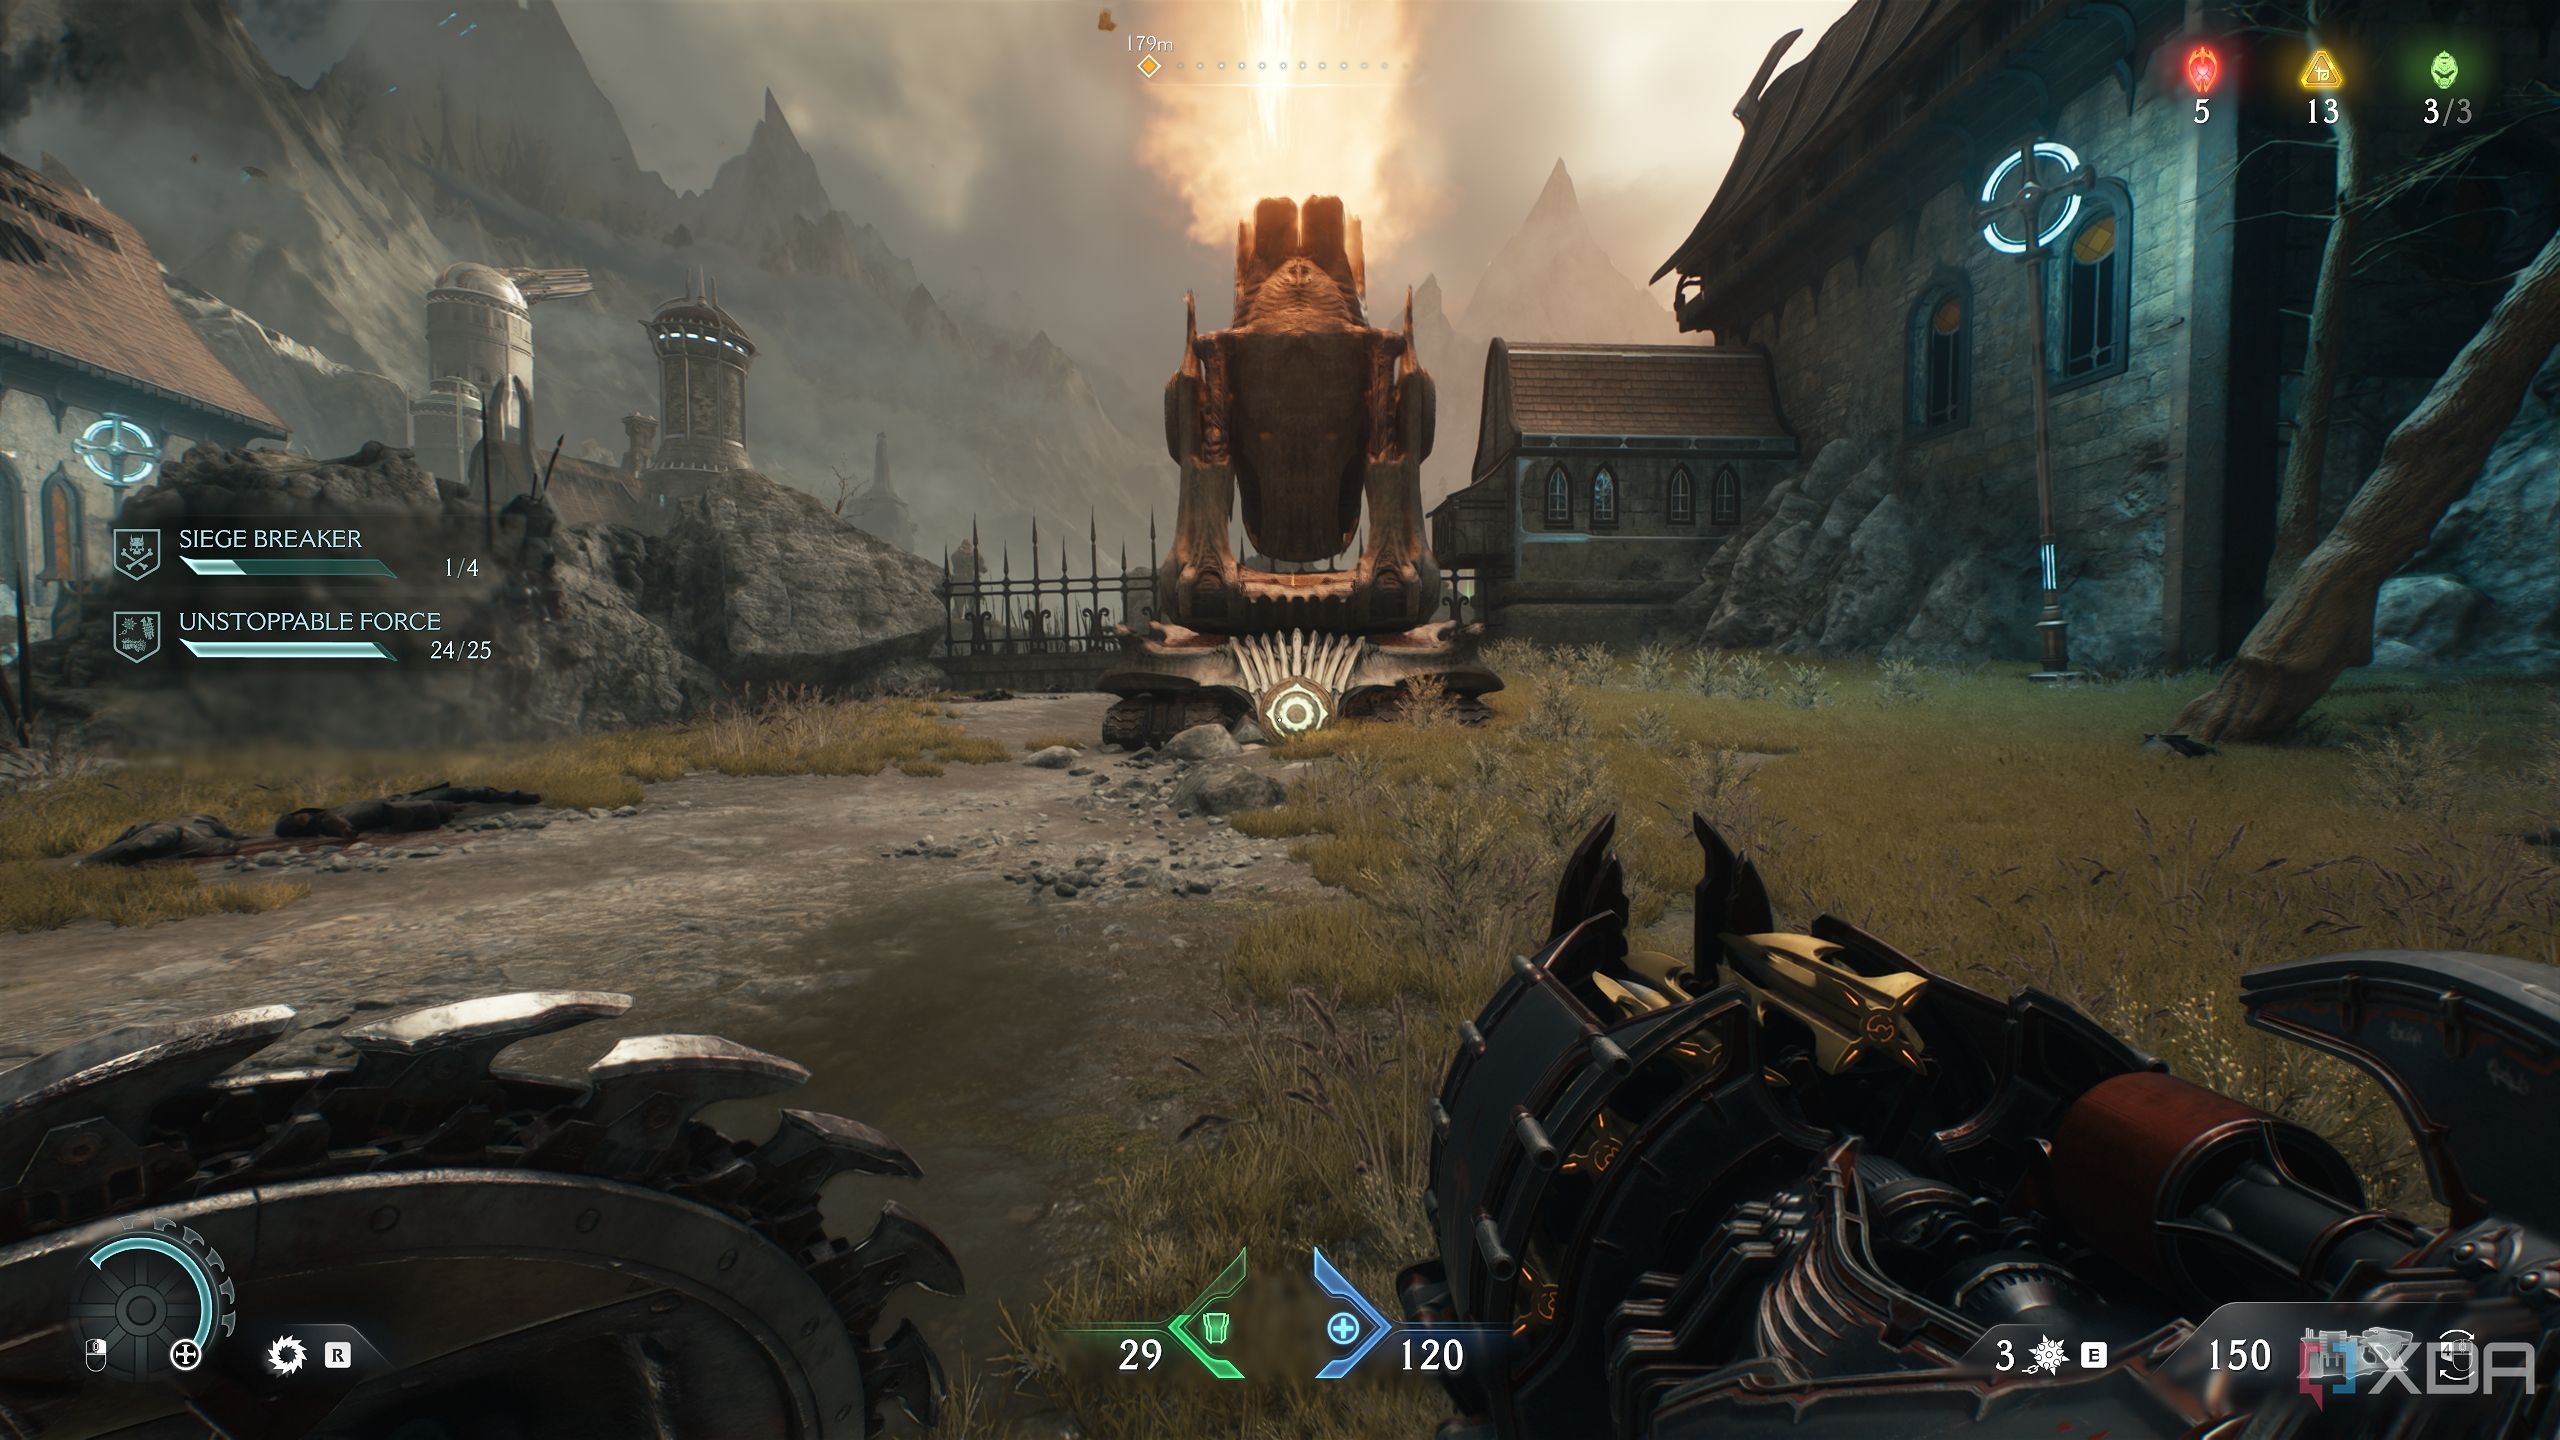
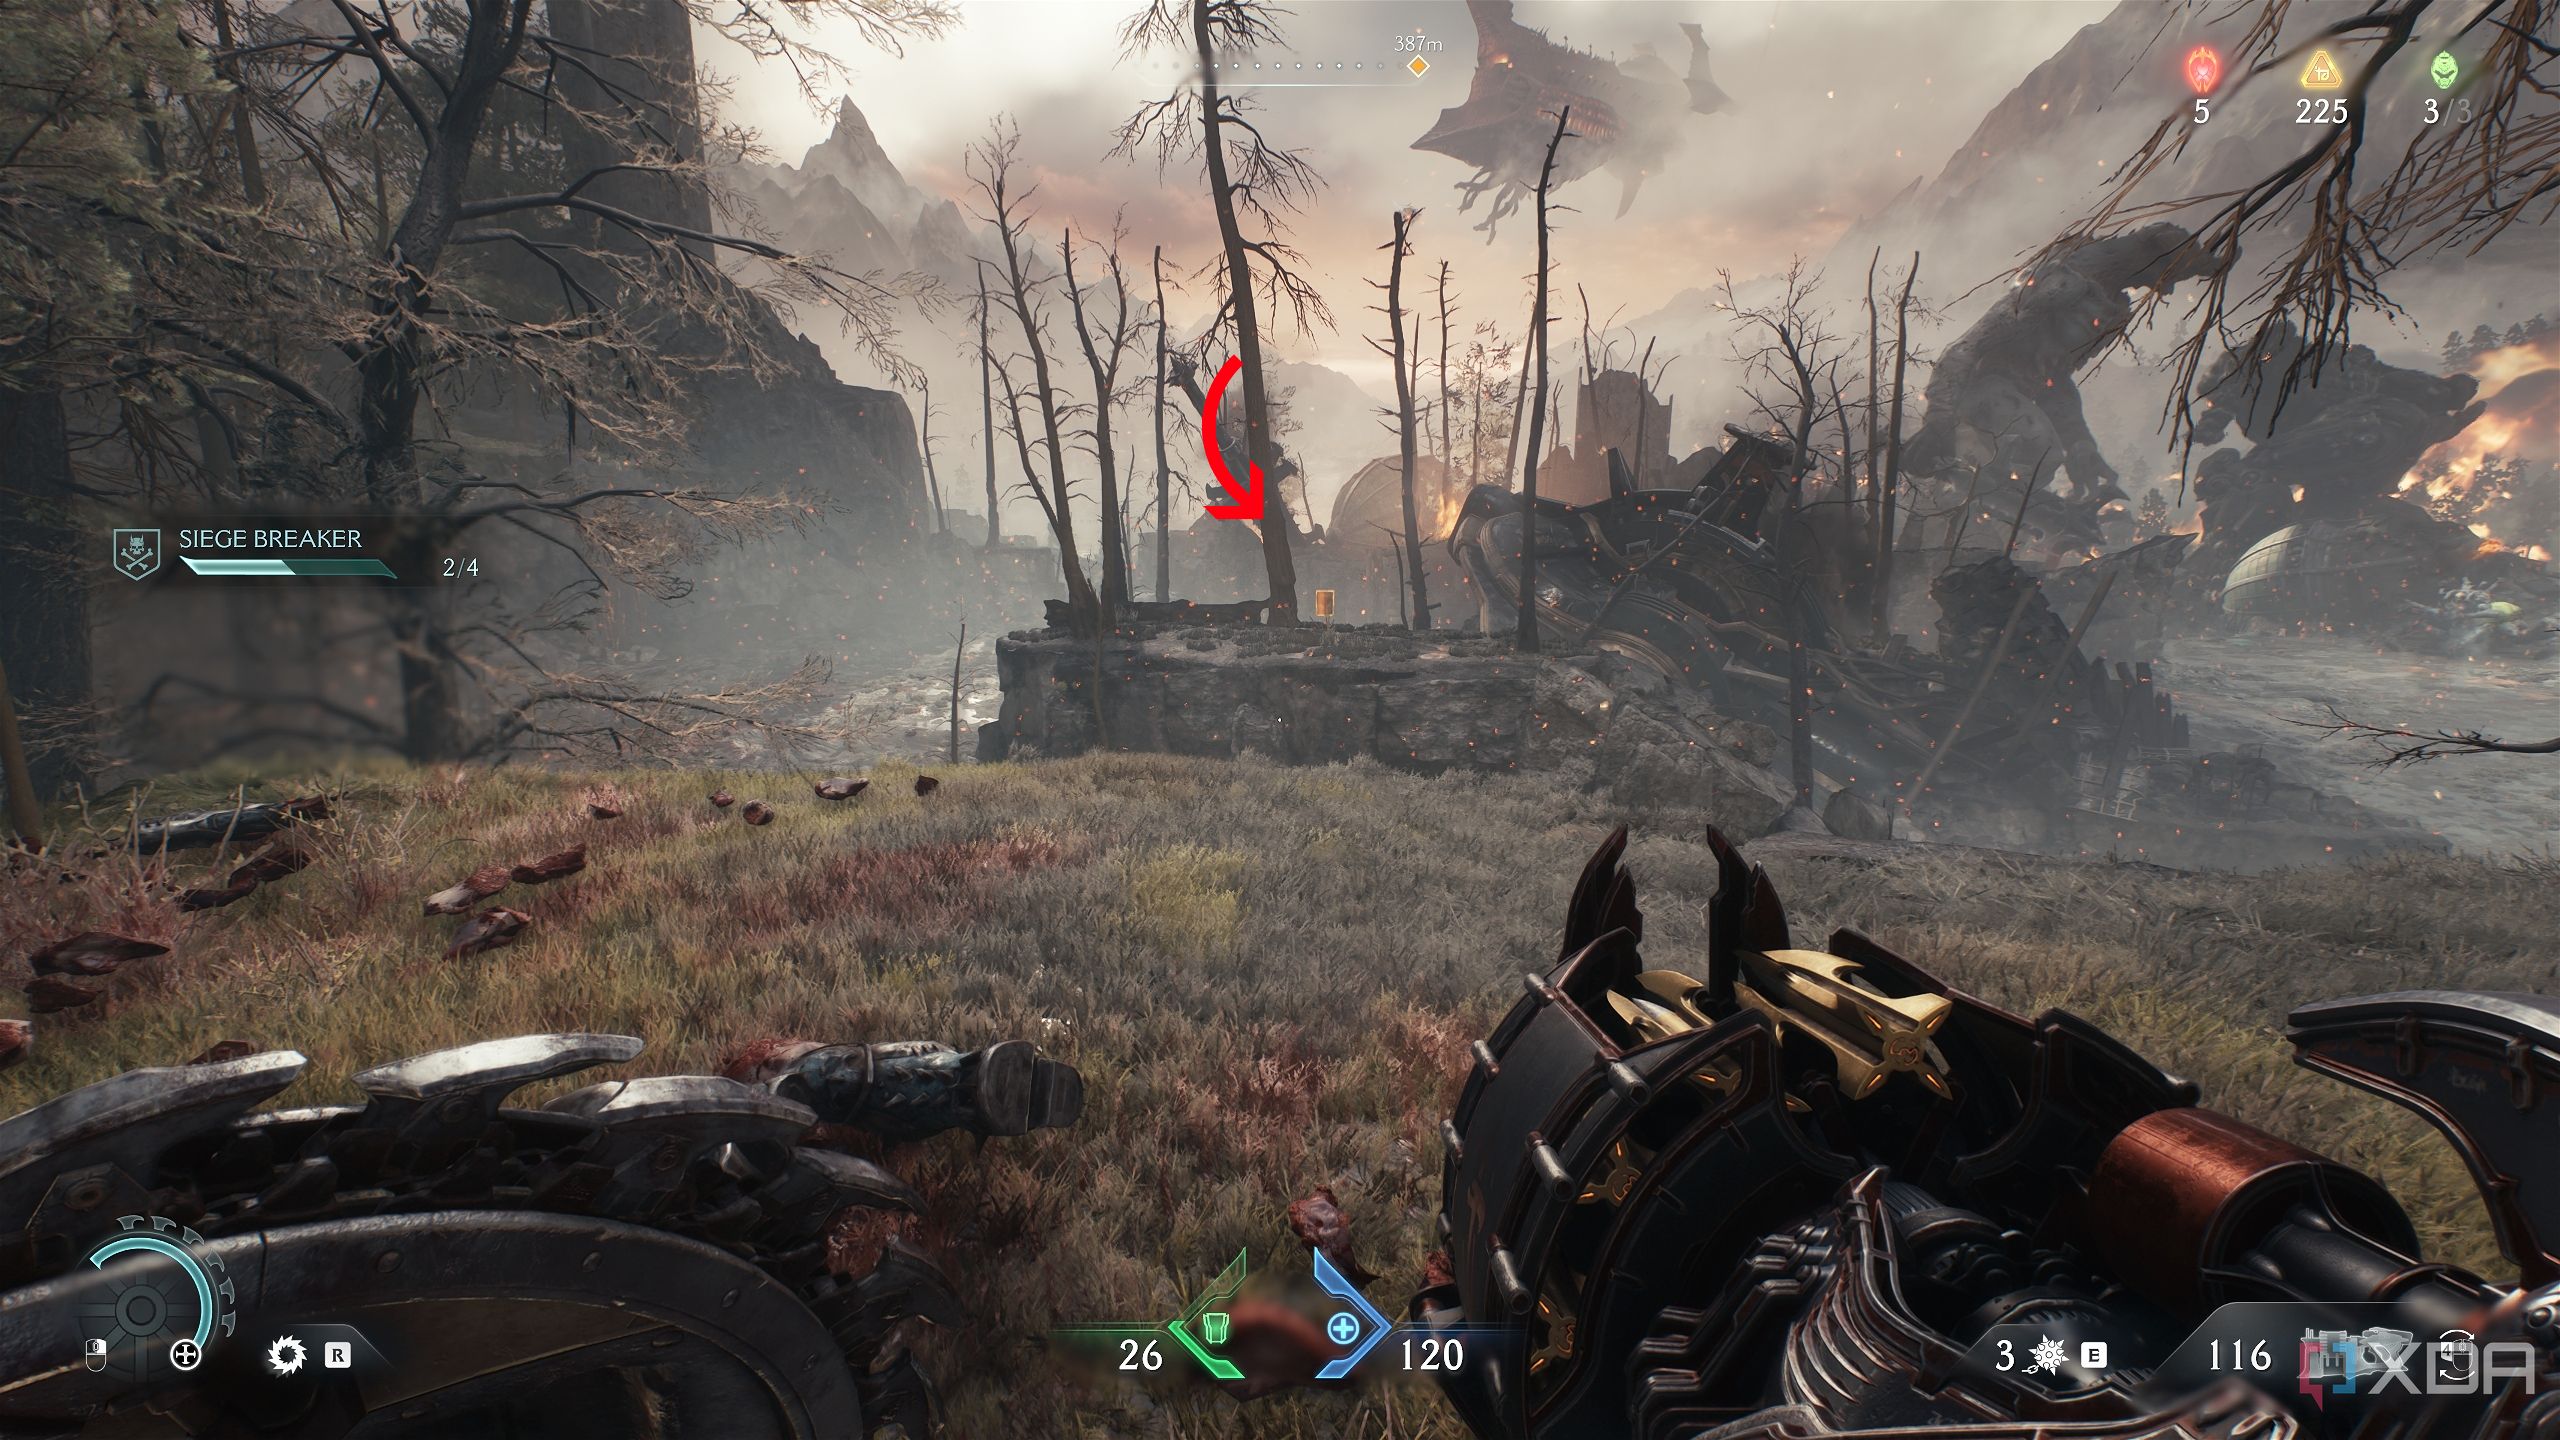
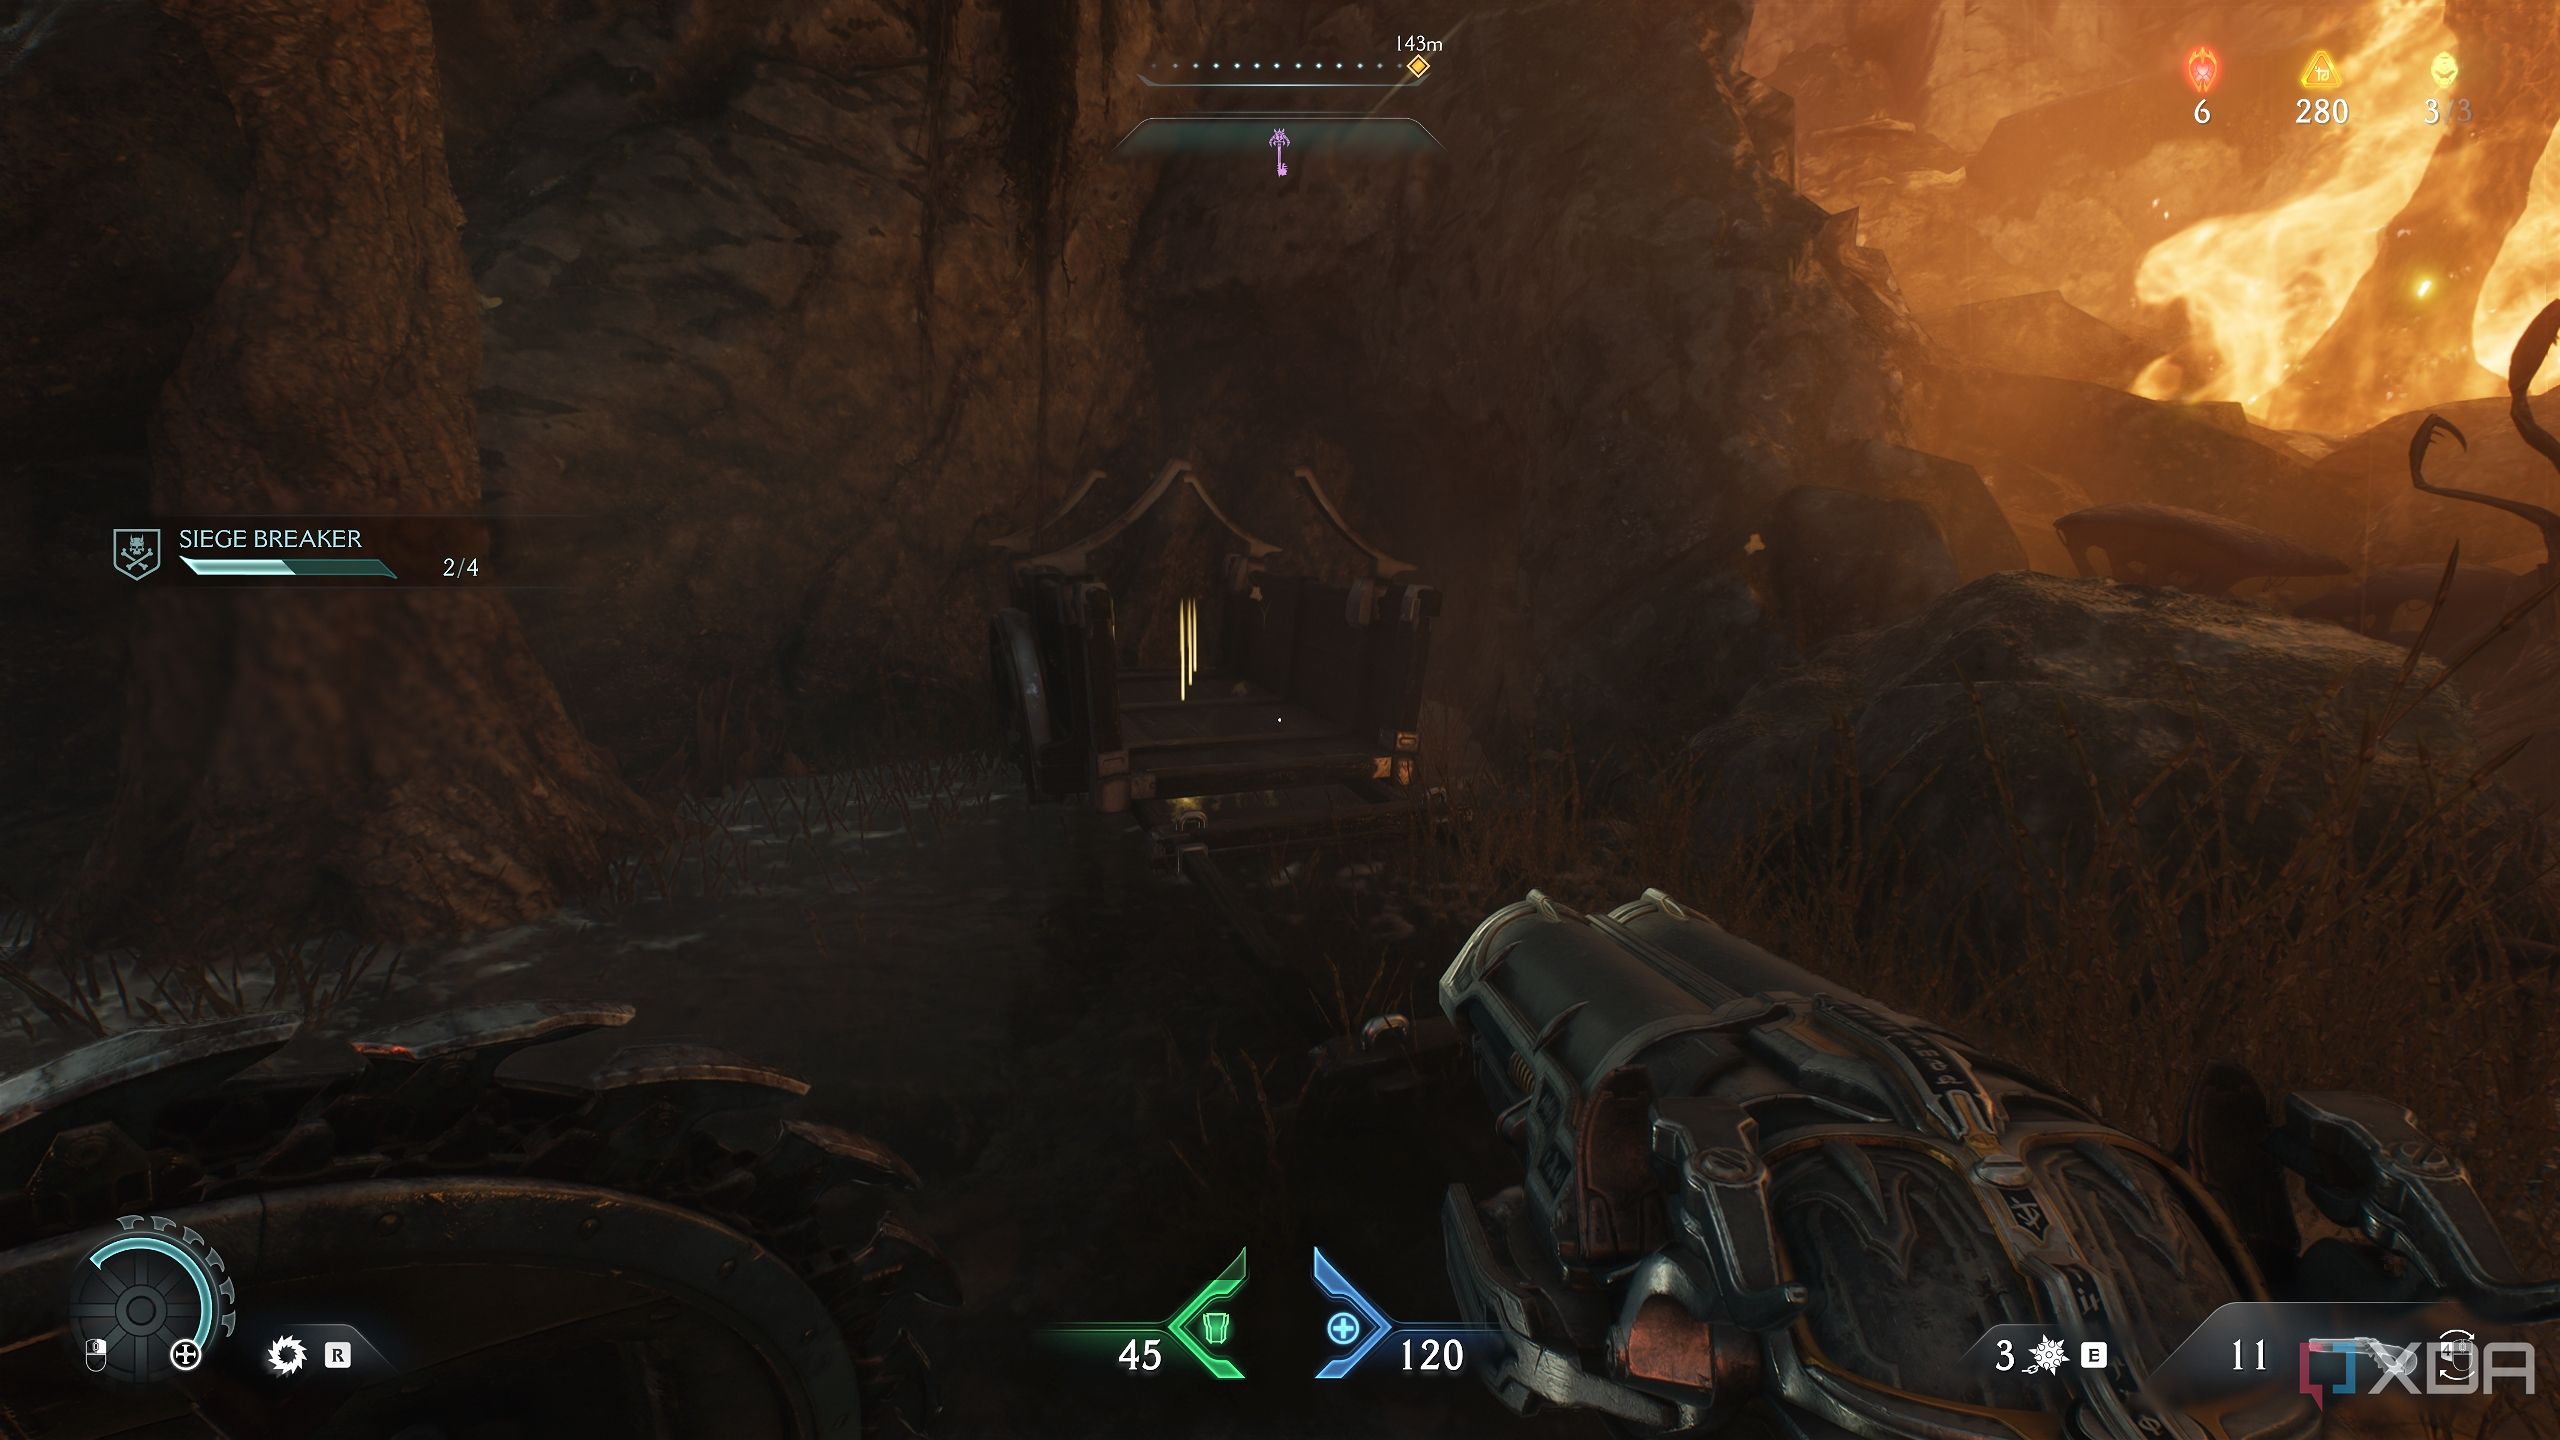
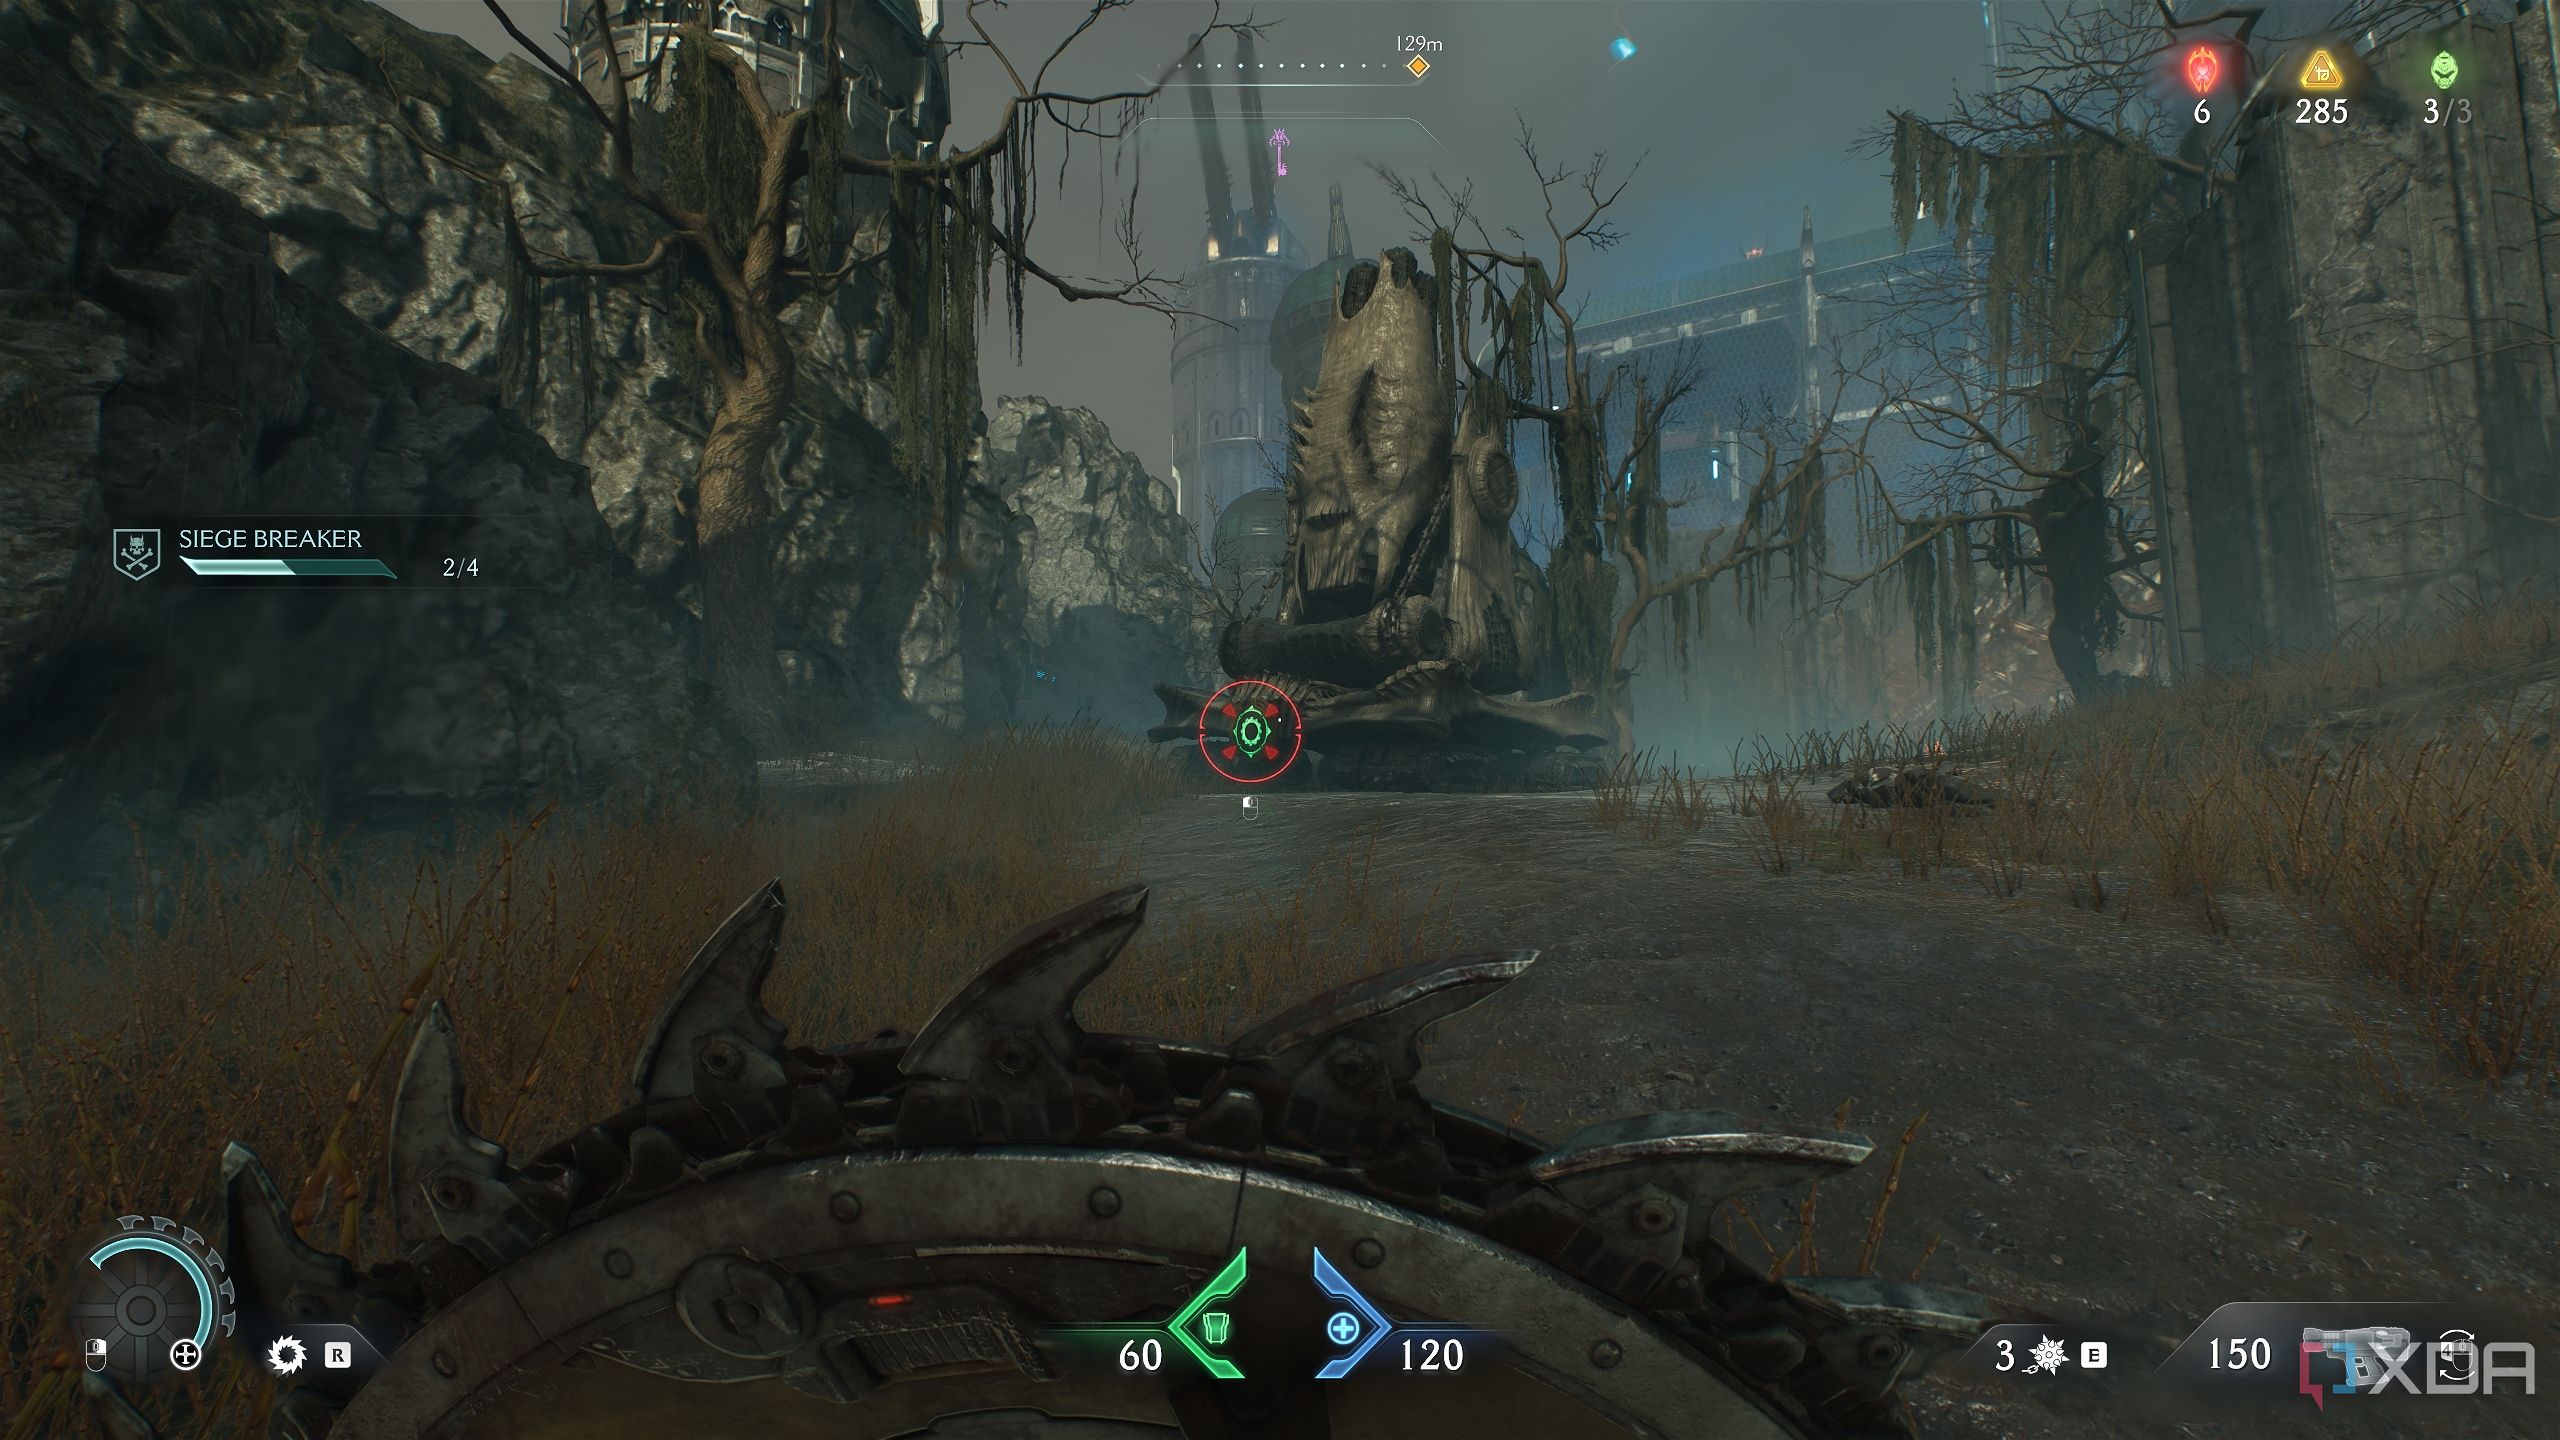
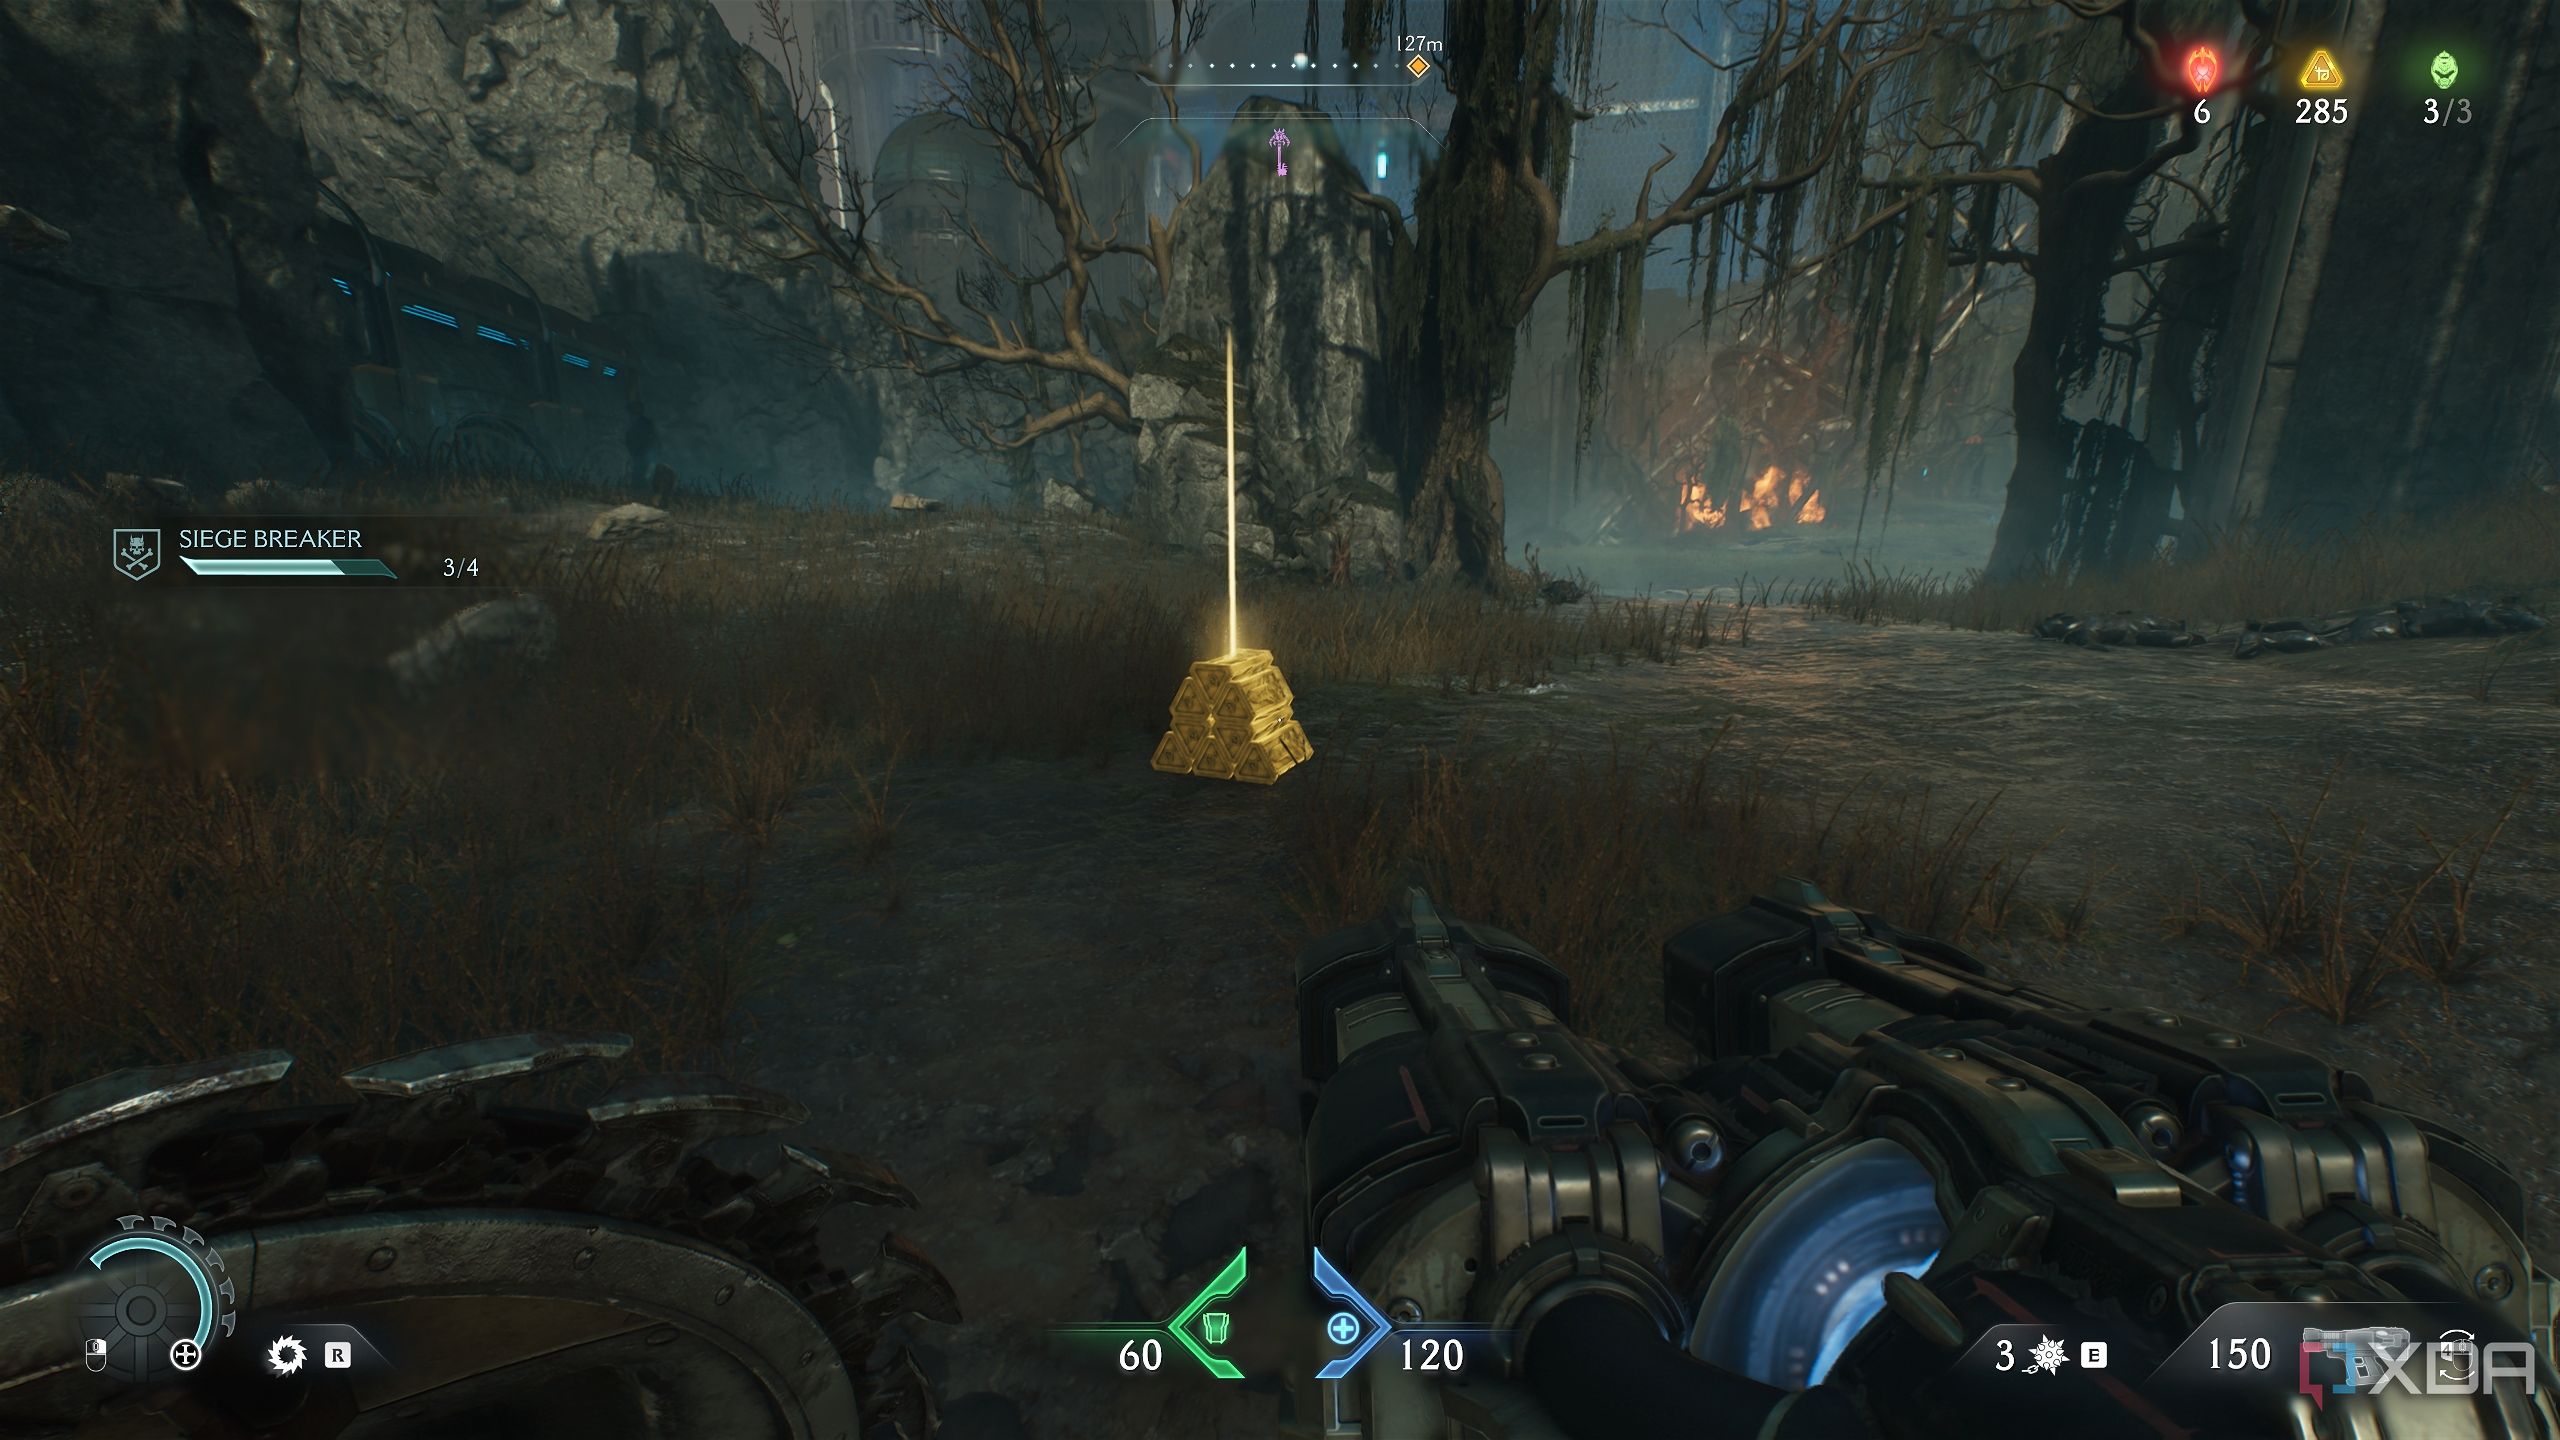
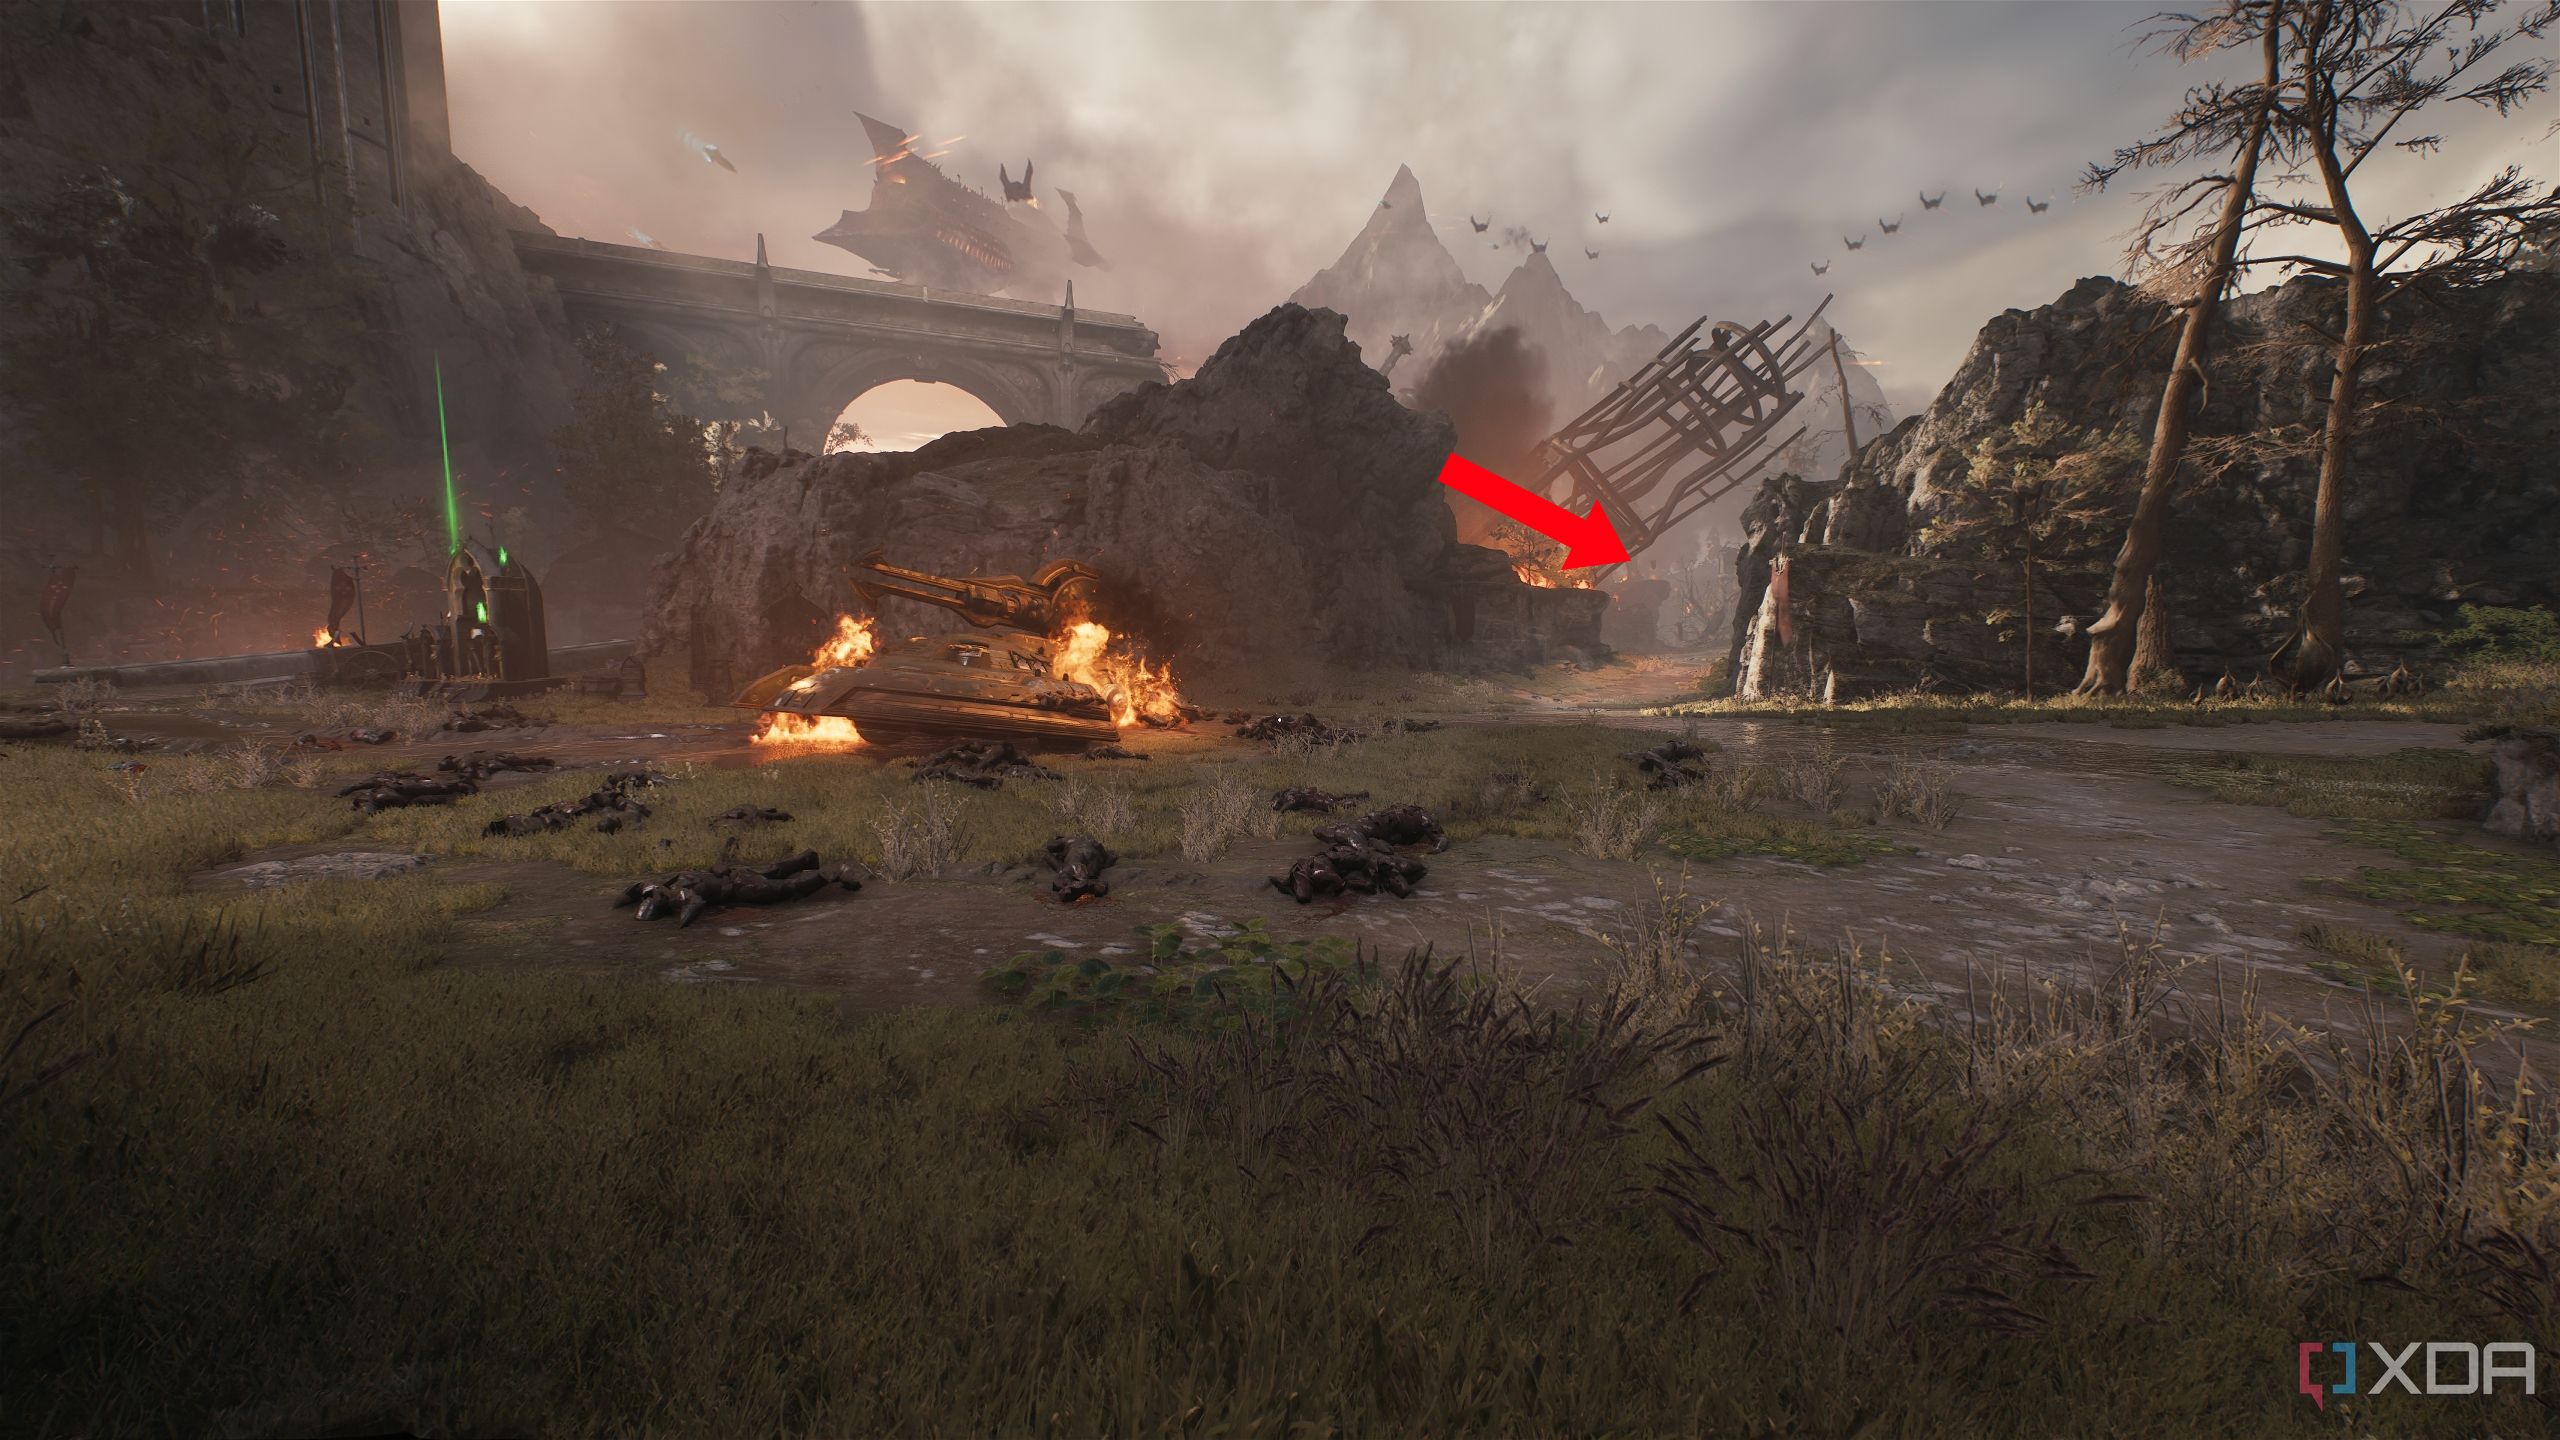
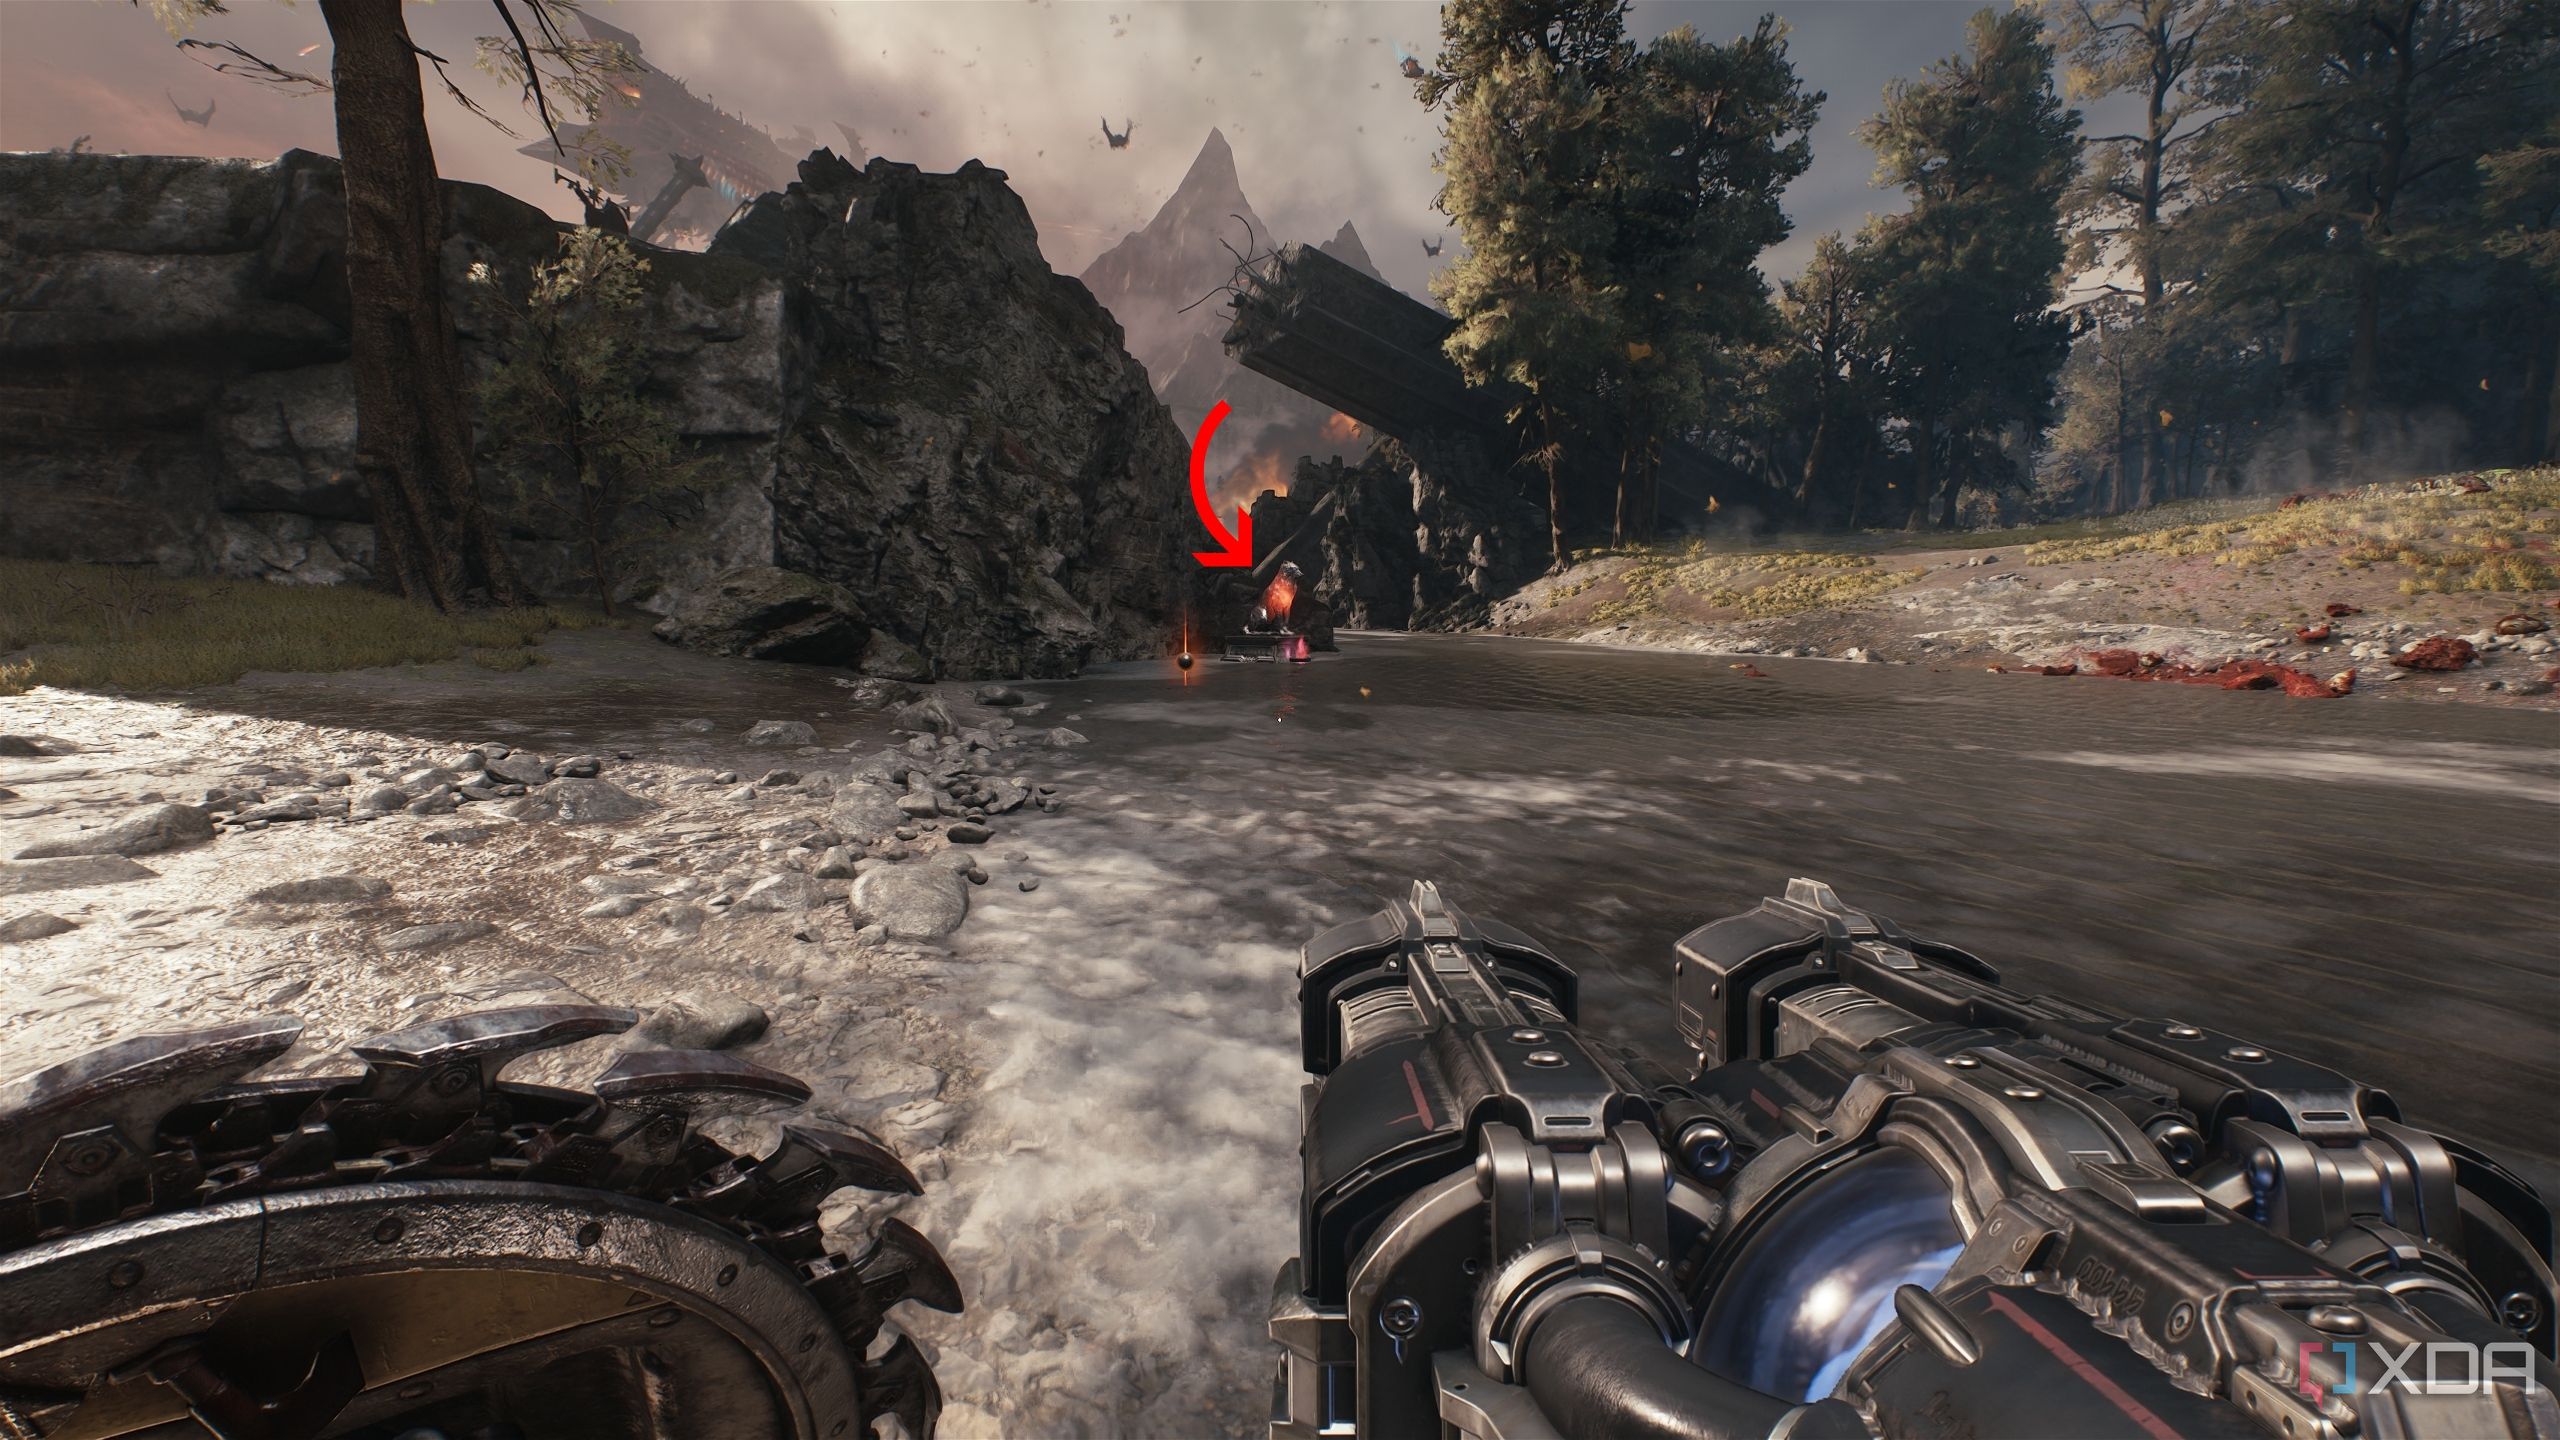
Artillery Cannon 4 and a Life Sigil
Completing the Siege Breaker challenge
From where you broke the third lion statue with your shield, cross the water.

You’ll spot the fourth Artillery Cannon in the distance, guarded by a row of Shielded Soldiers.
Take care of them, bash through the fourth and final Artillery Cannon, and grab the gold stack from under it.

Heading back, there’s a statue of King Novik to the left. Once you spot it, you can grab a Life Sigil from underneath it.
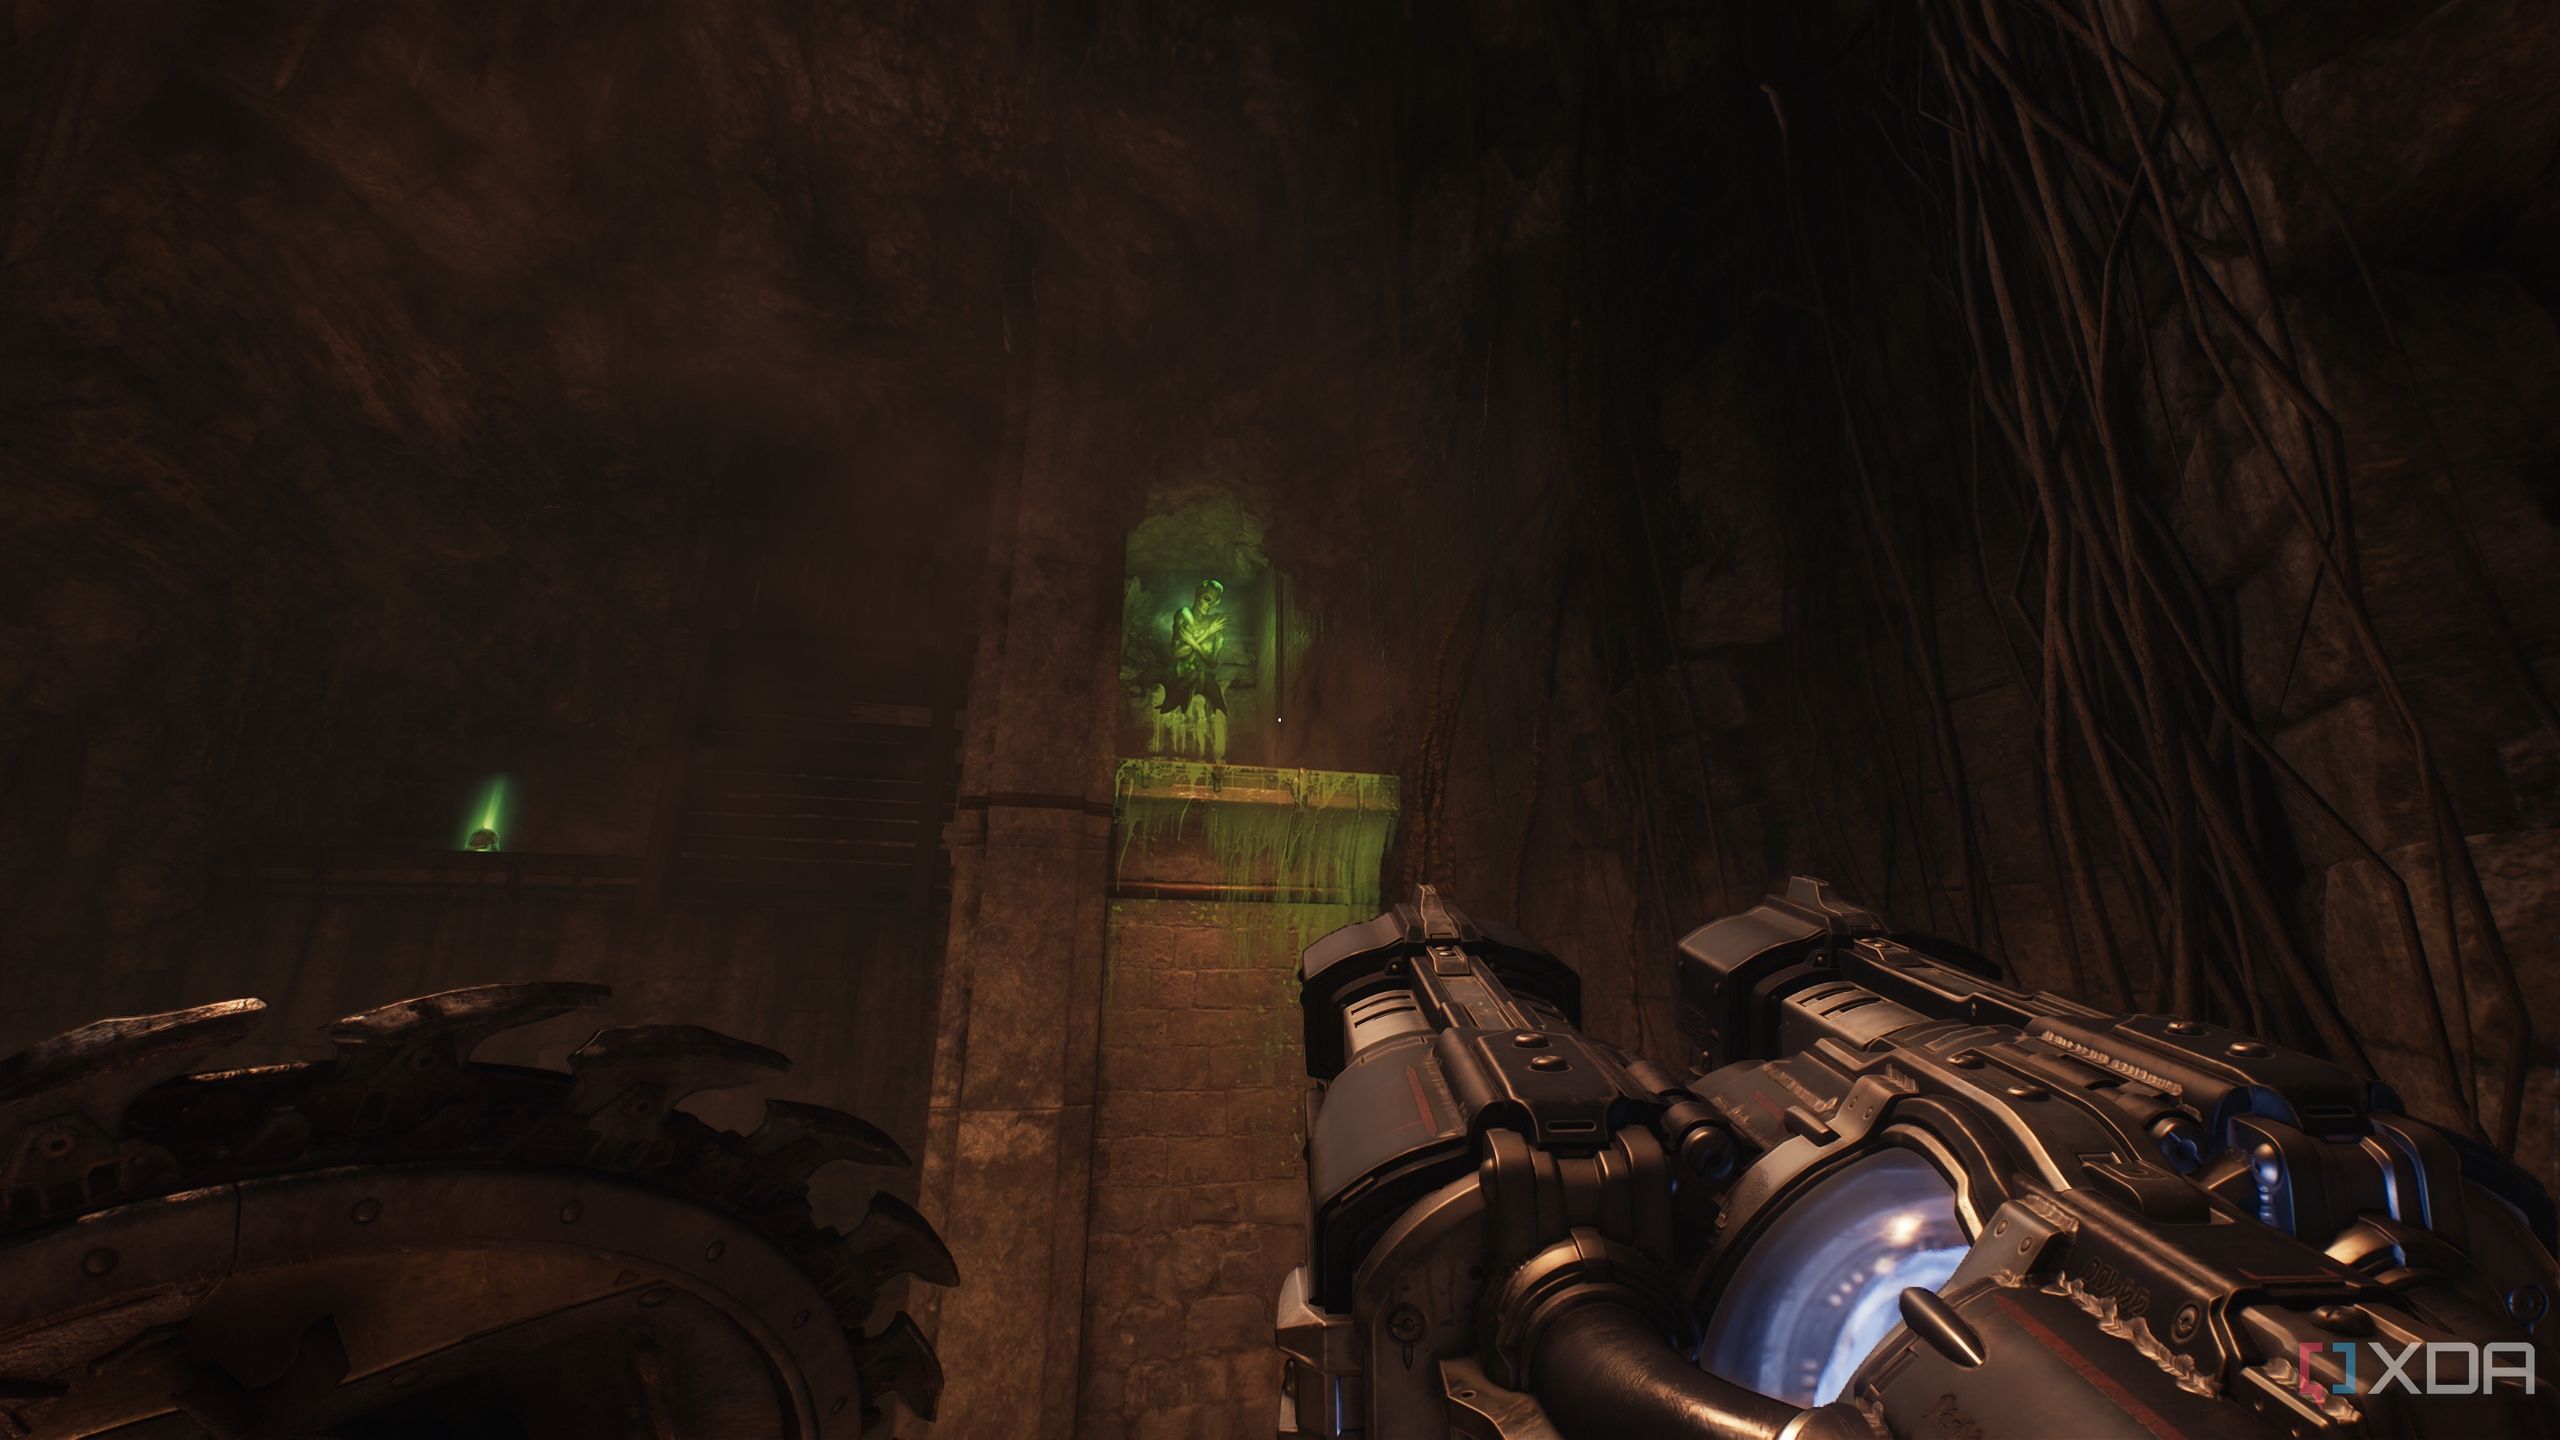
Gold stacks and secret area 10
Right before the final gore portal
From the beginning of the level, head right along the edge of the map to this location.
Here, you’ll find a few gold bars strewn on the ground.
Continue ahead to find more gold bars along the edge of the map.

From here, you’ll spot a fallen statue of King Novik. Approach the statue, and engage in combat with the demons present.
Right next to the statue, pick up two gold stacks.
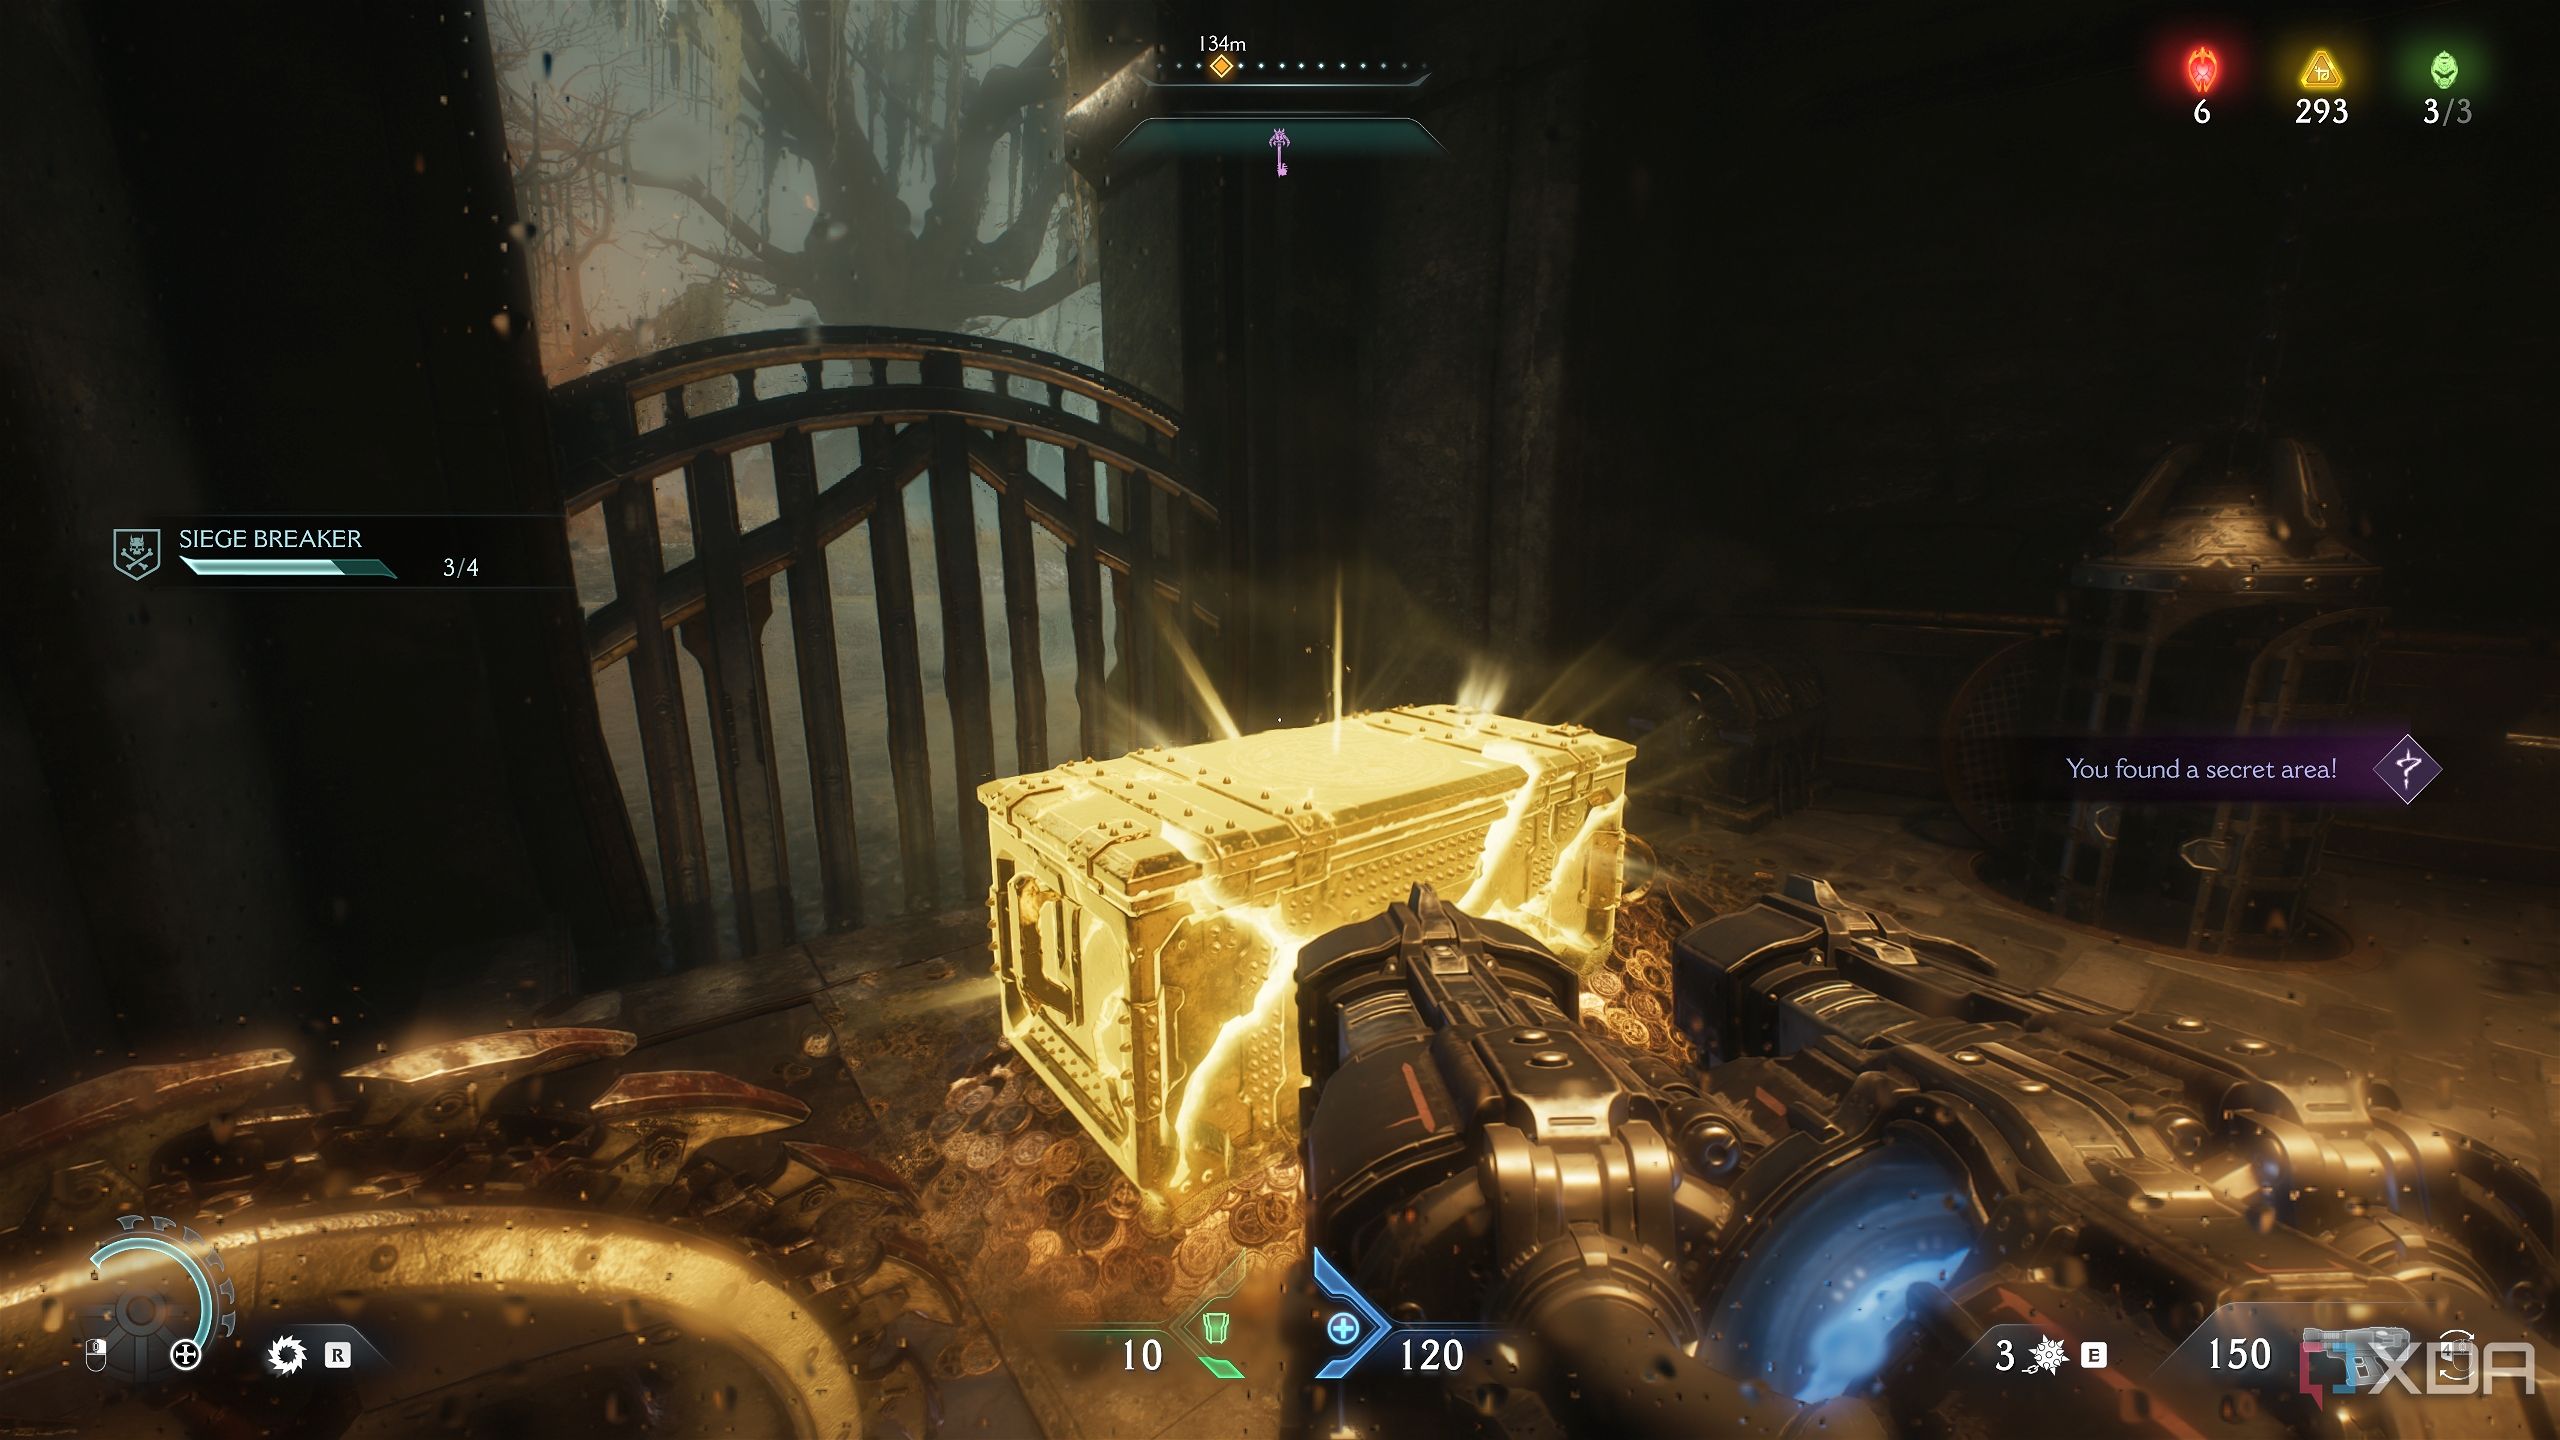
Jump off from the wooden platform here towards the fire beneath, and turn right to make your way to the final Gore Portal. Before entering the big blue gate, make a left.
Reach this location on the map to Shield Charge through a small wooden wall.
Here, you’ll unlock secret area 10 and a gold stack. Now, make your way back to the final blue gate.
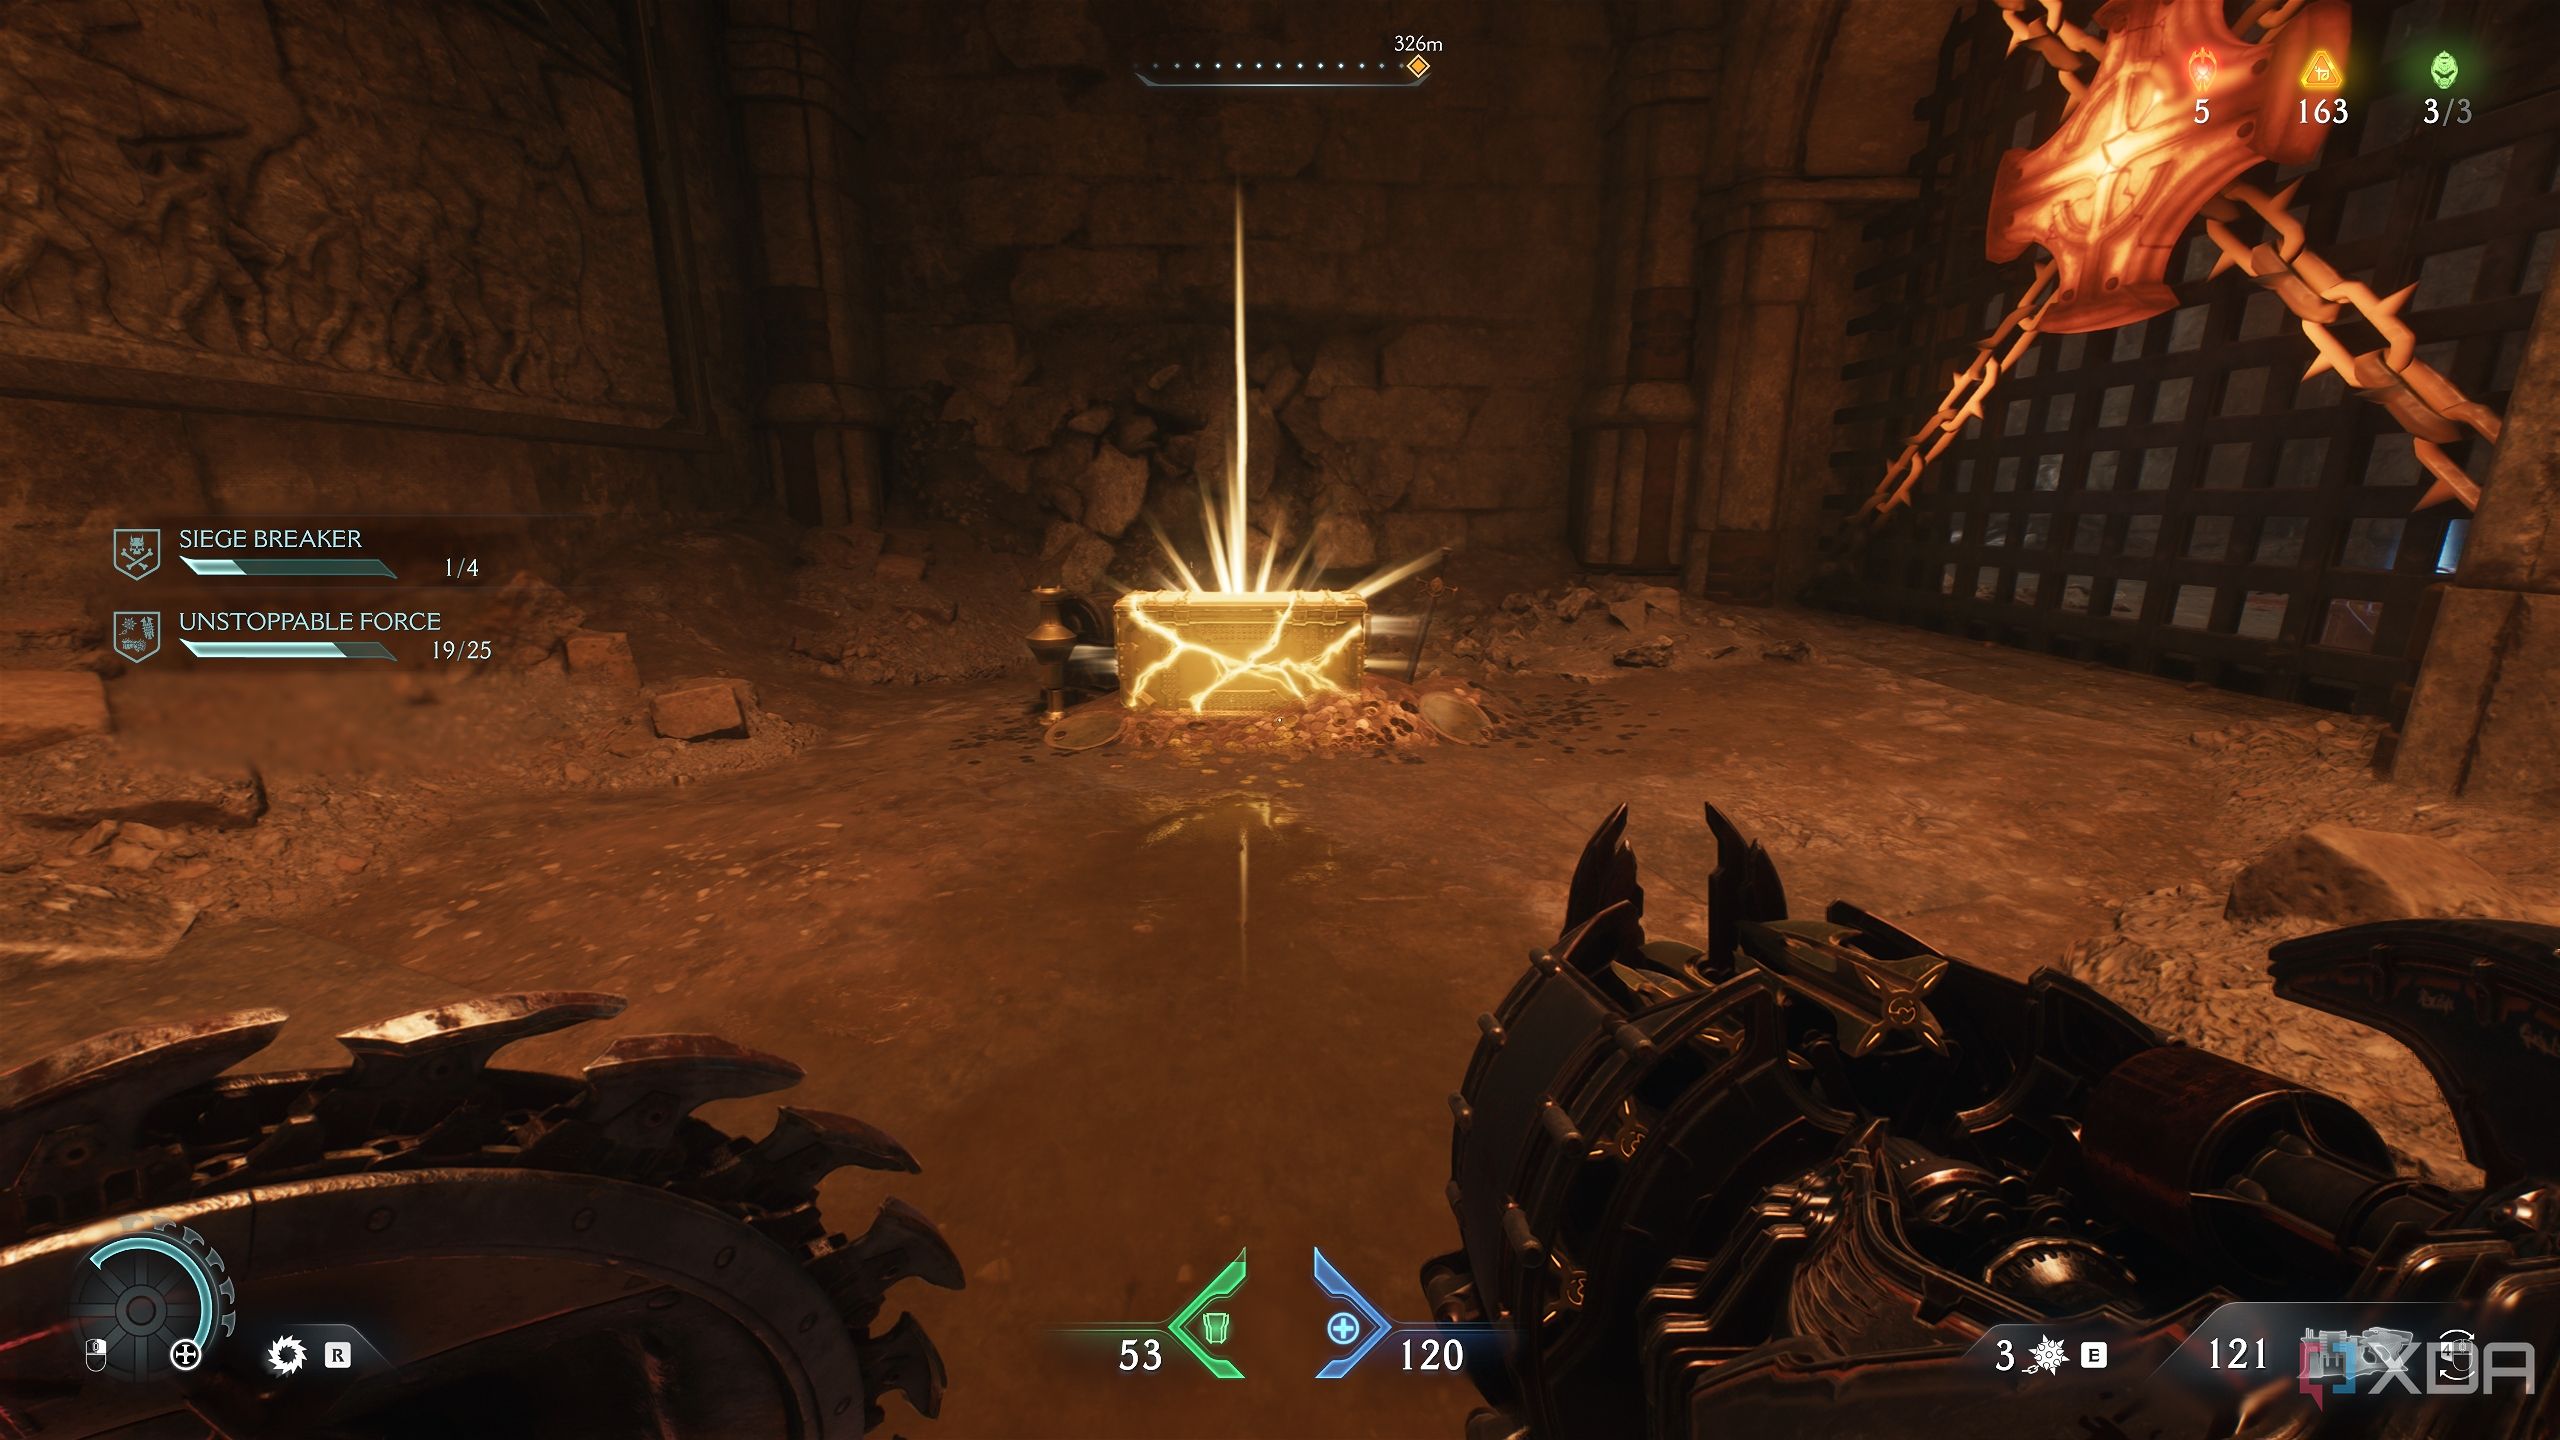
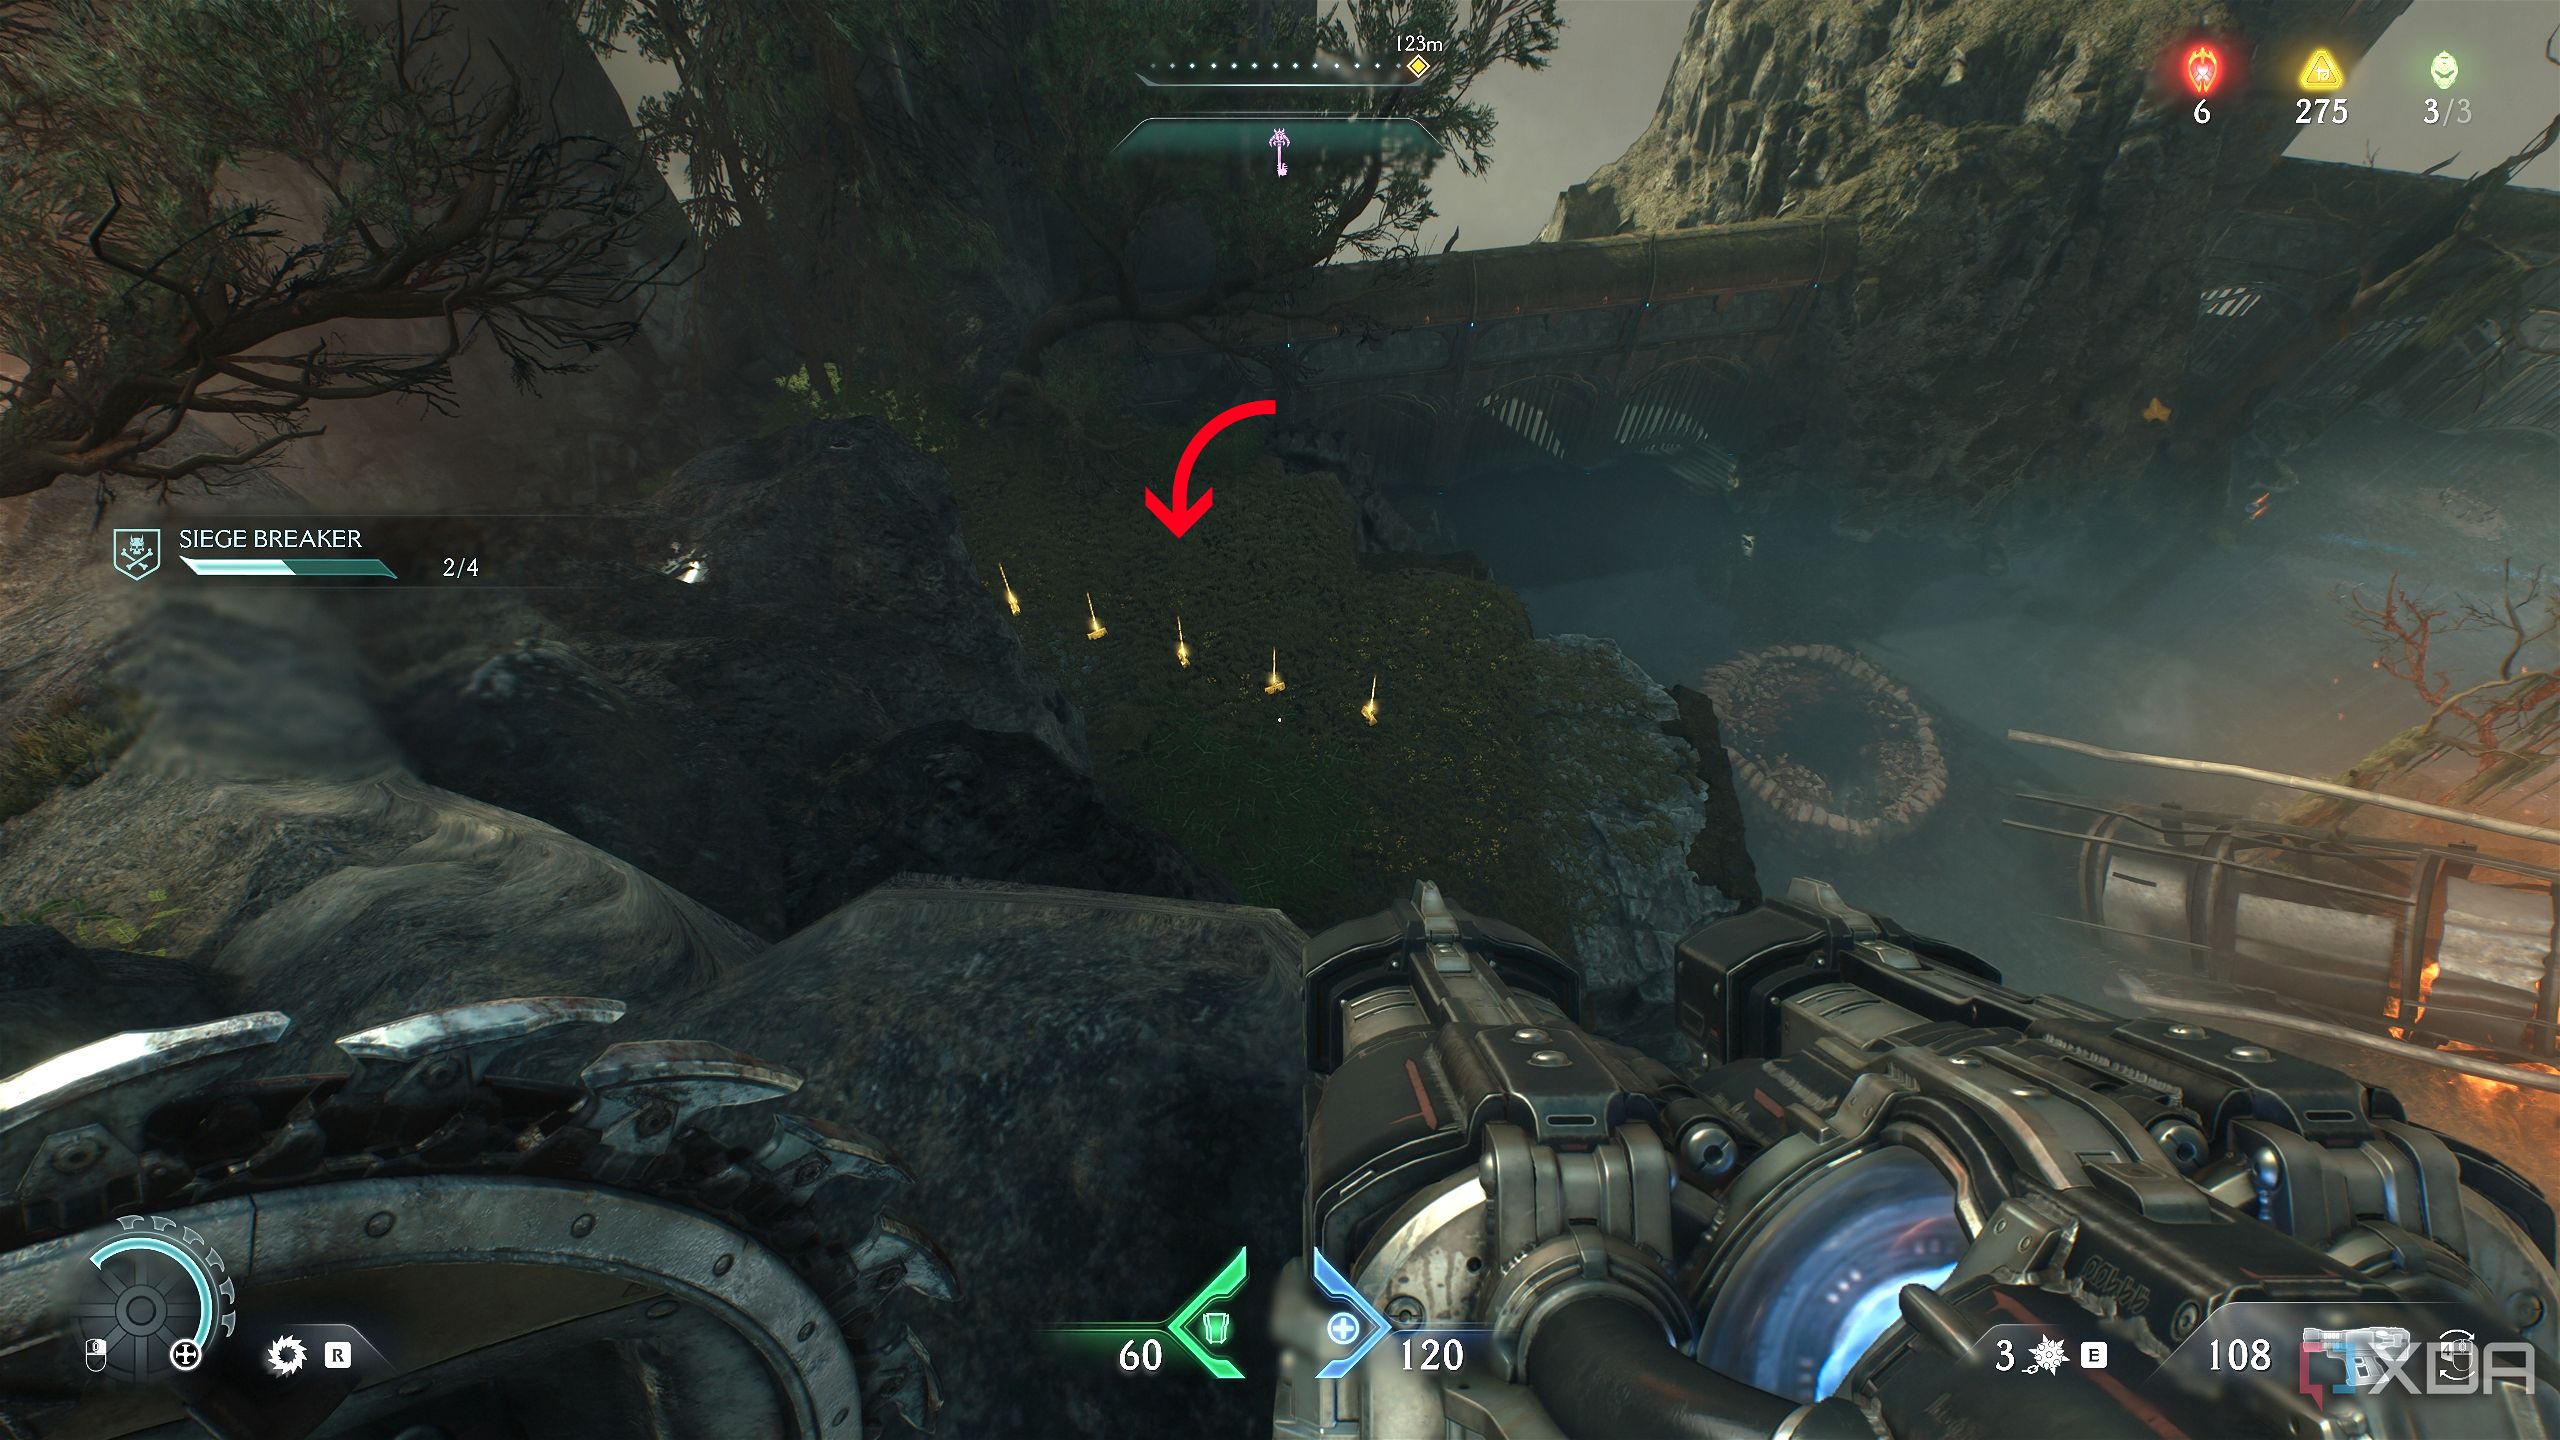
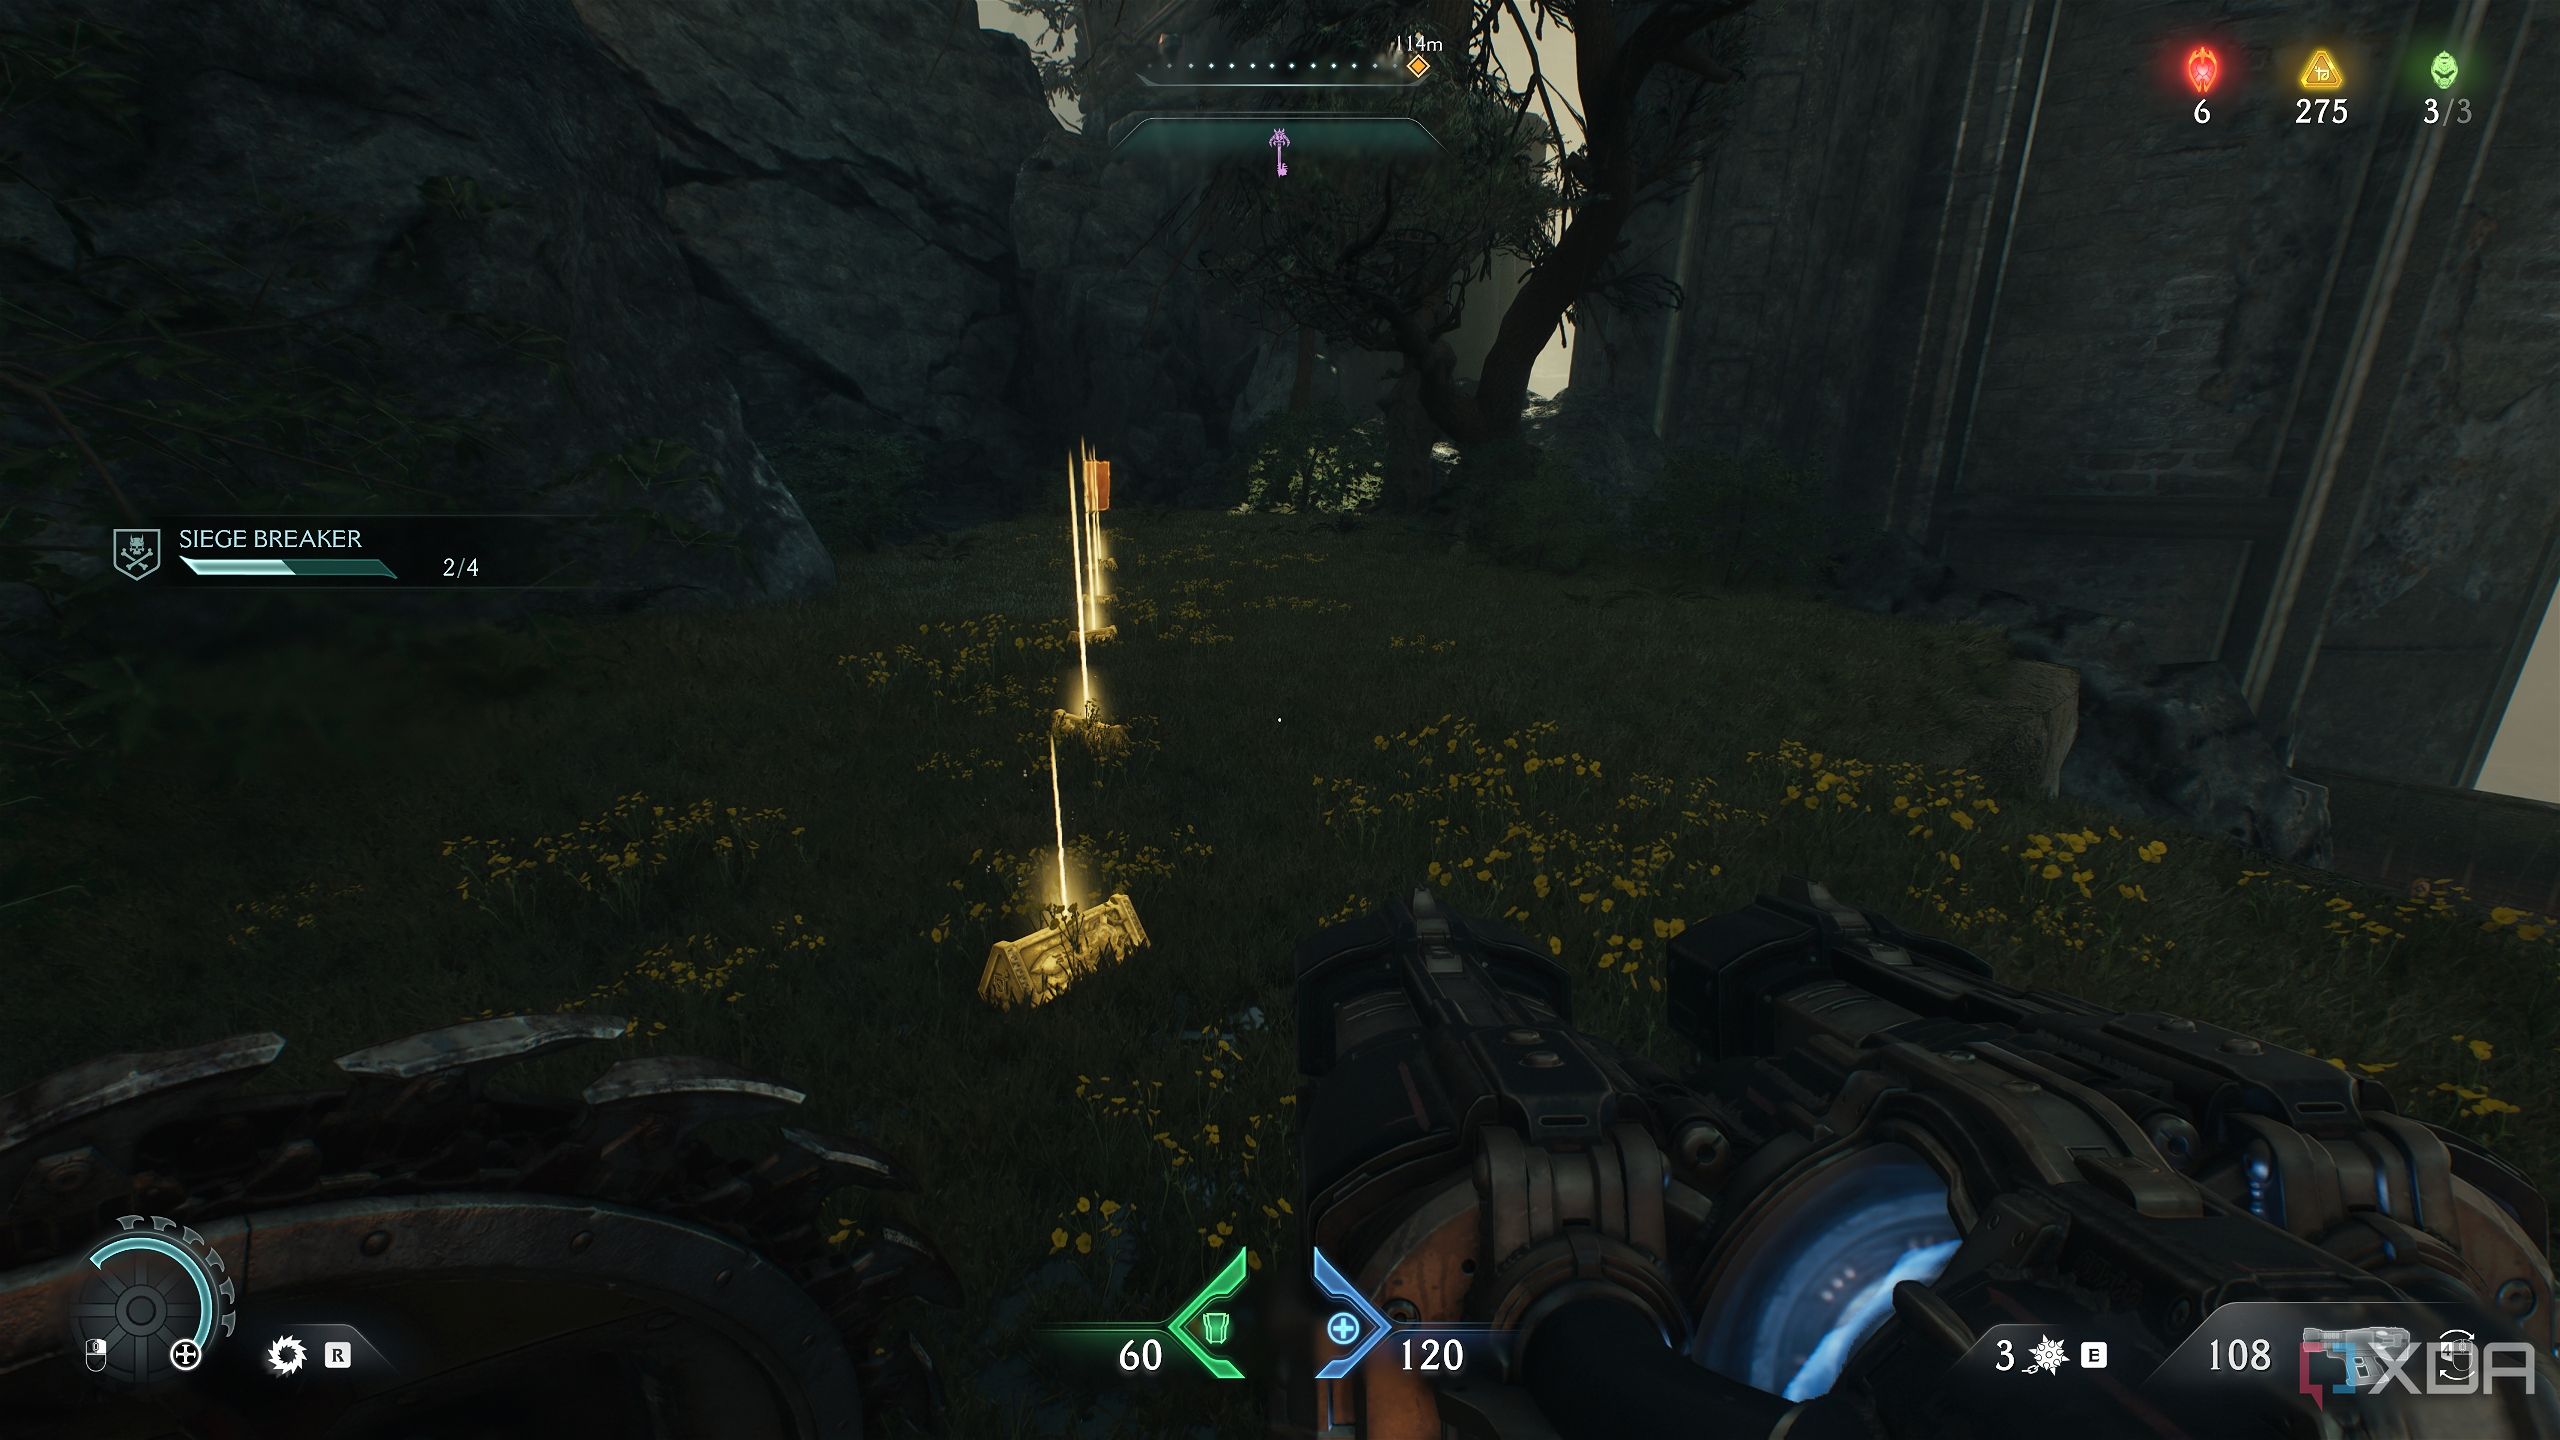
Secret area 11, gold crate, and more gold
Stacks on stacks on stacks
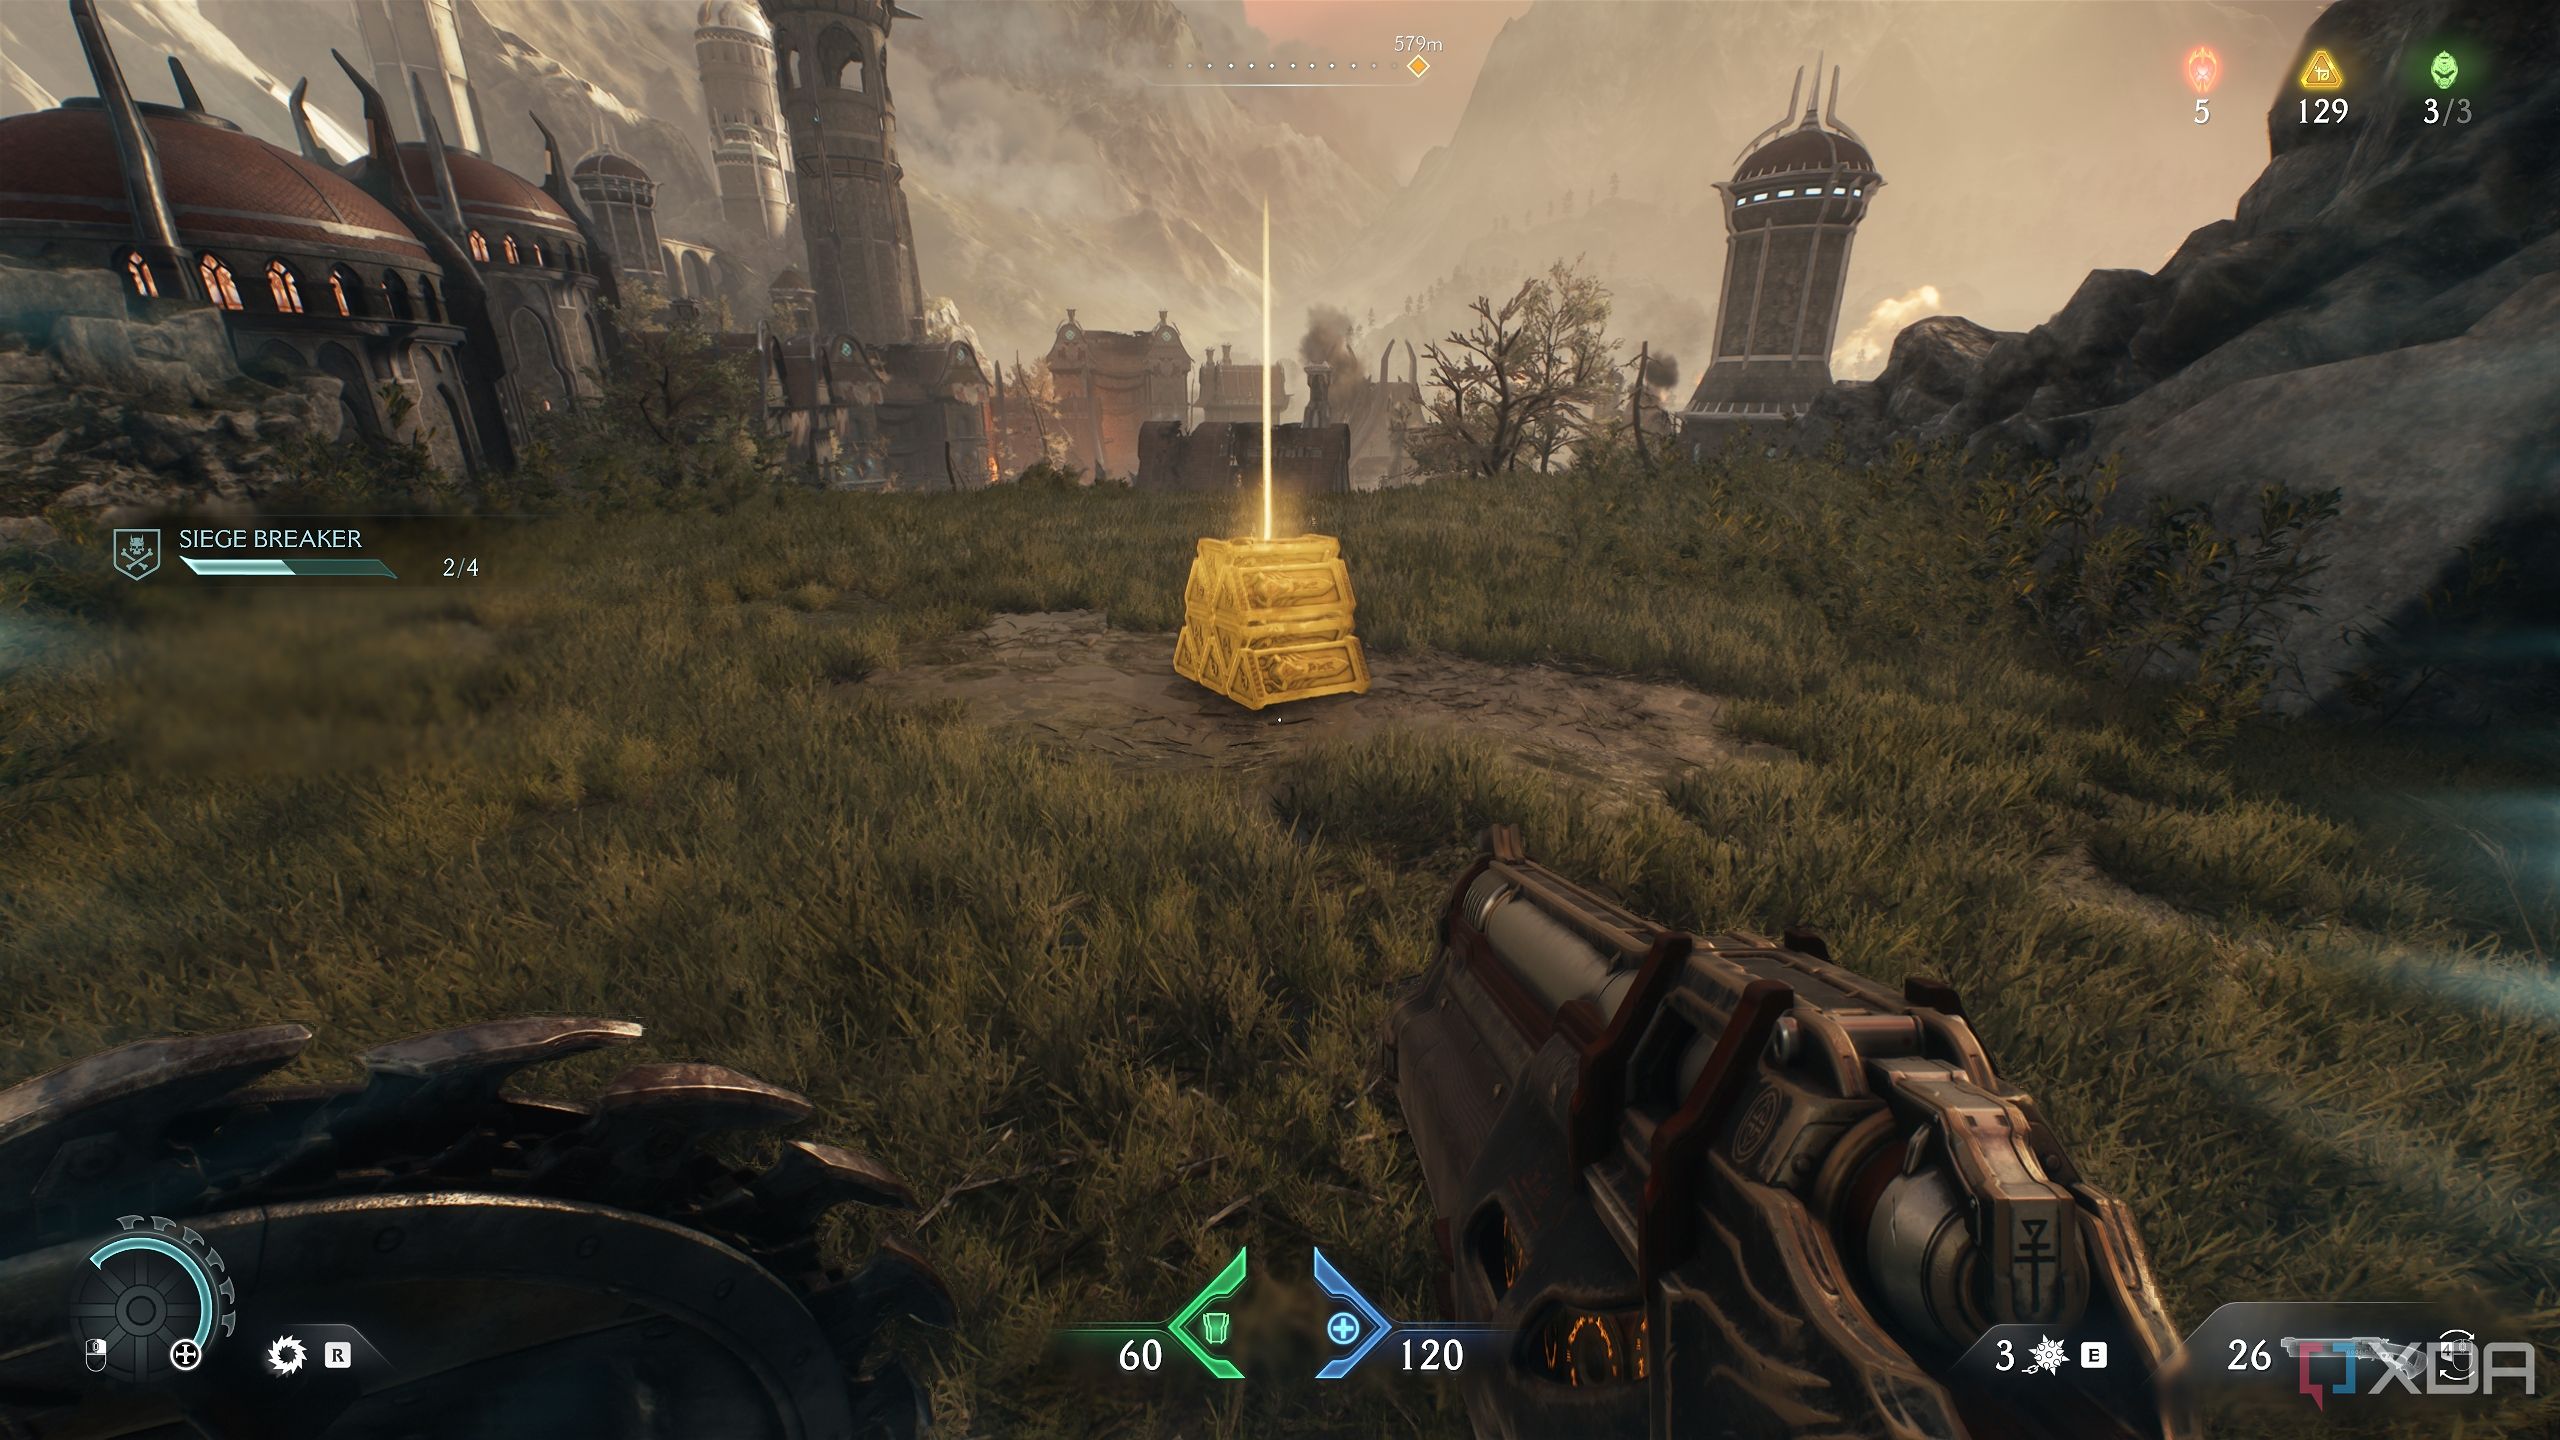
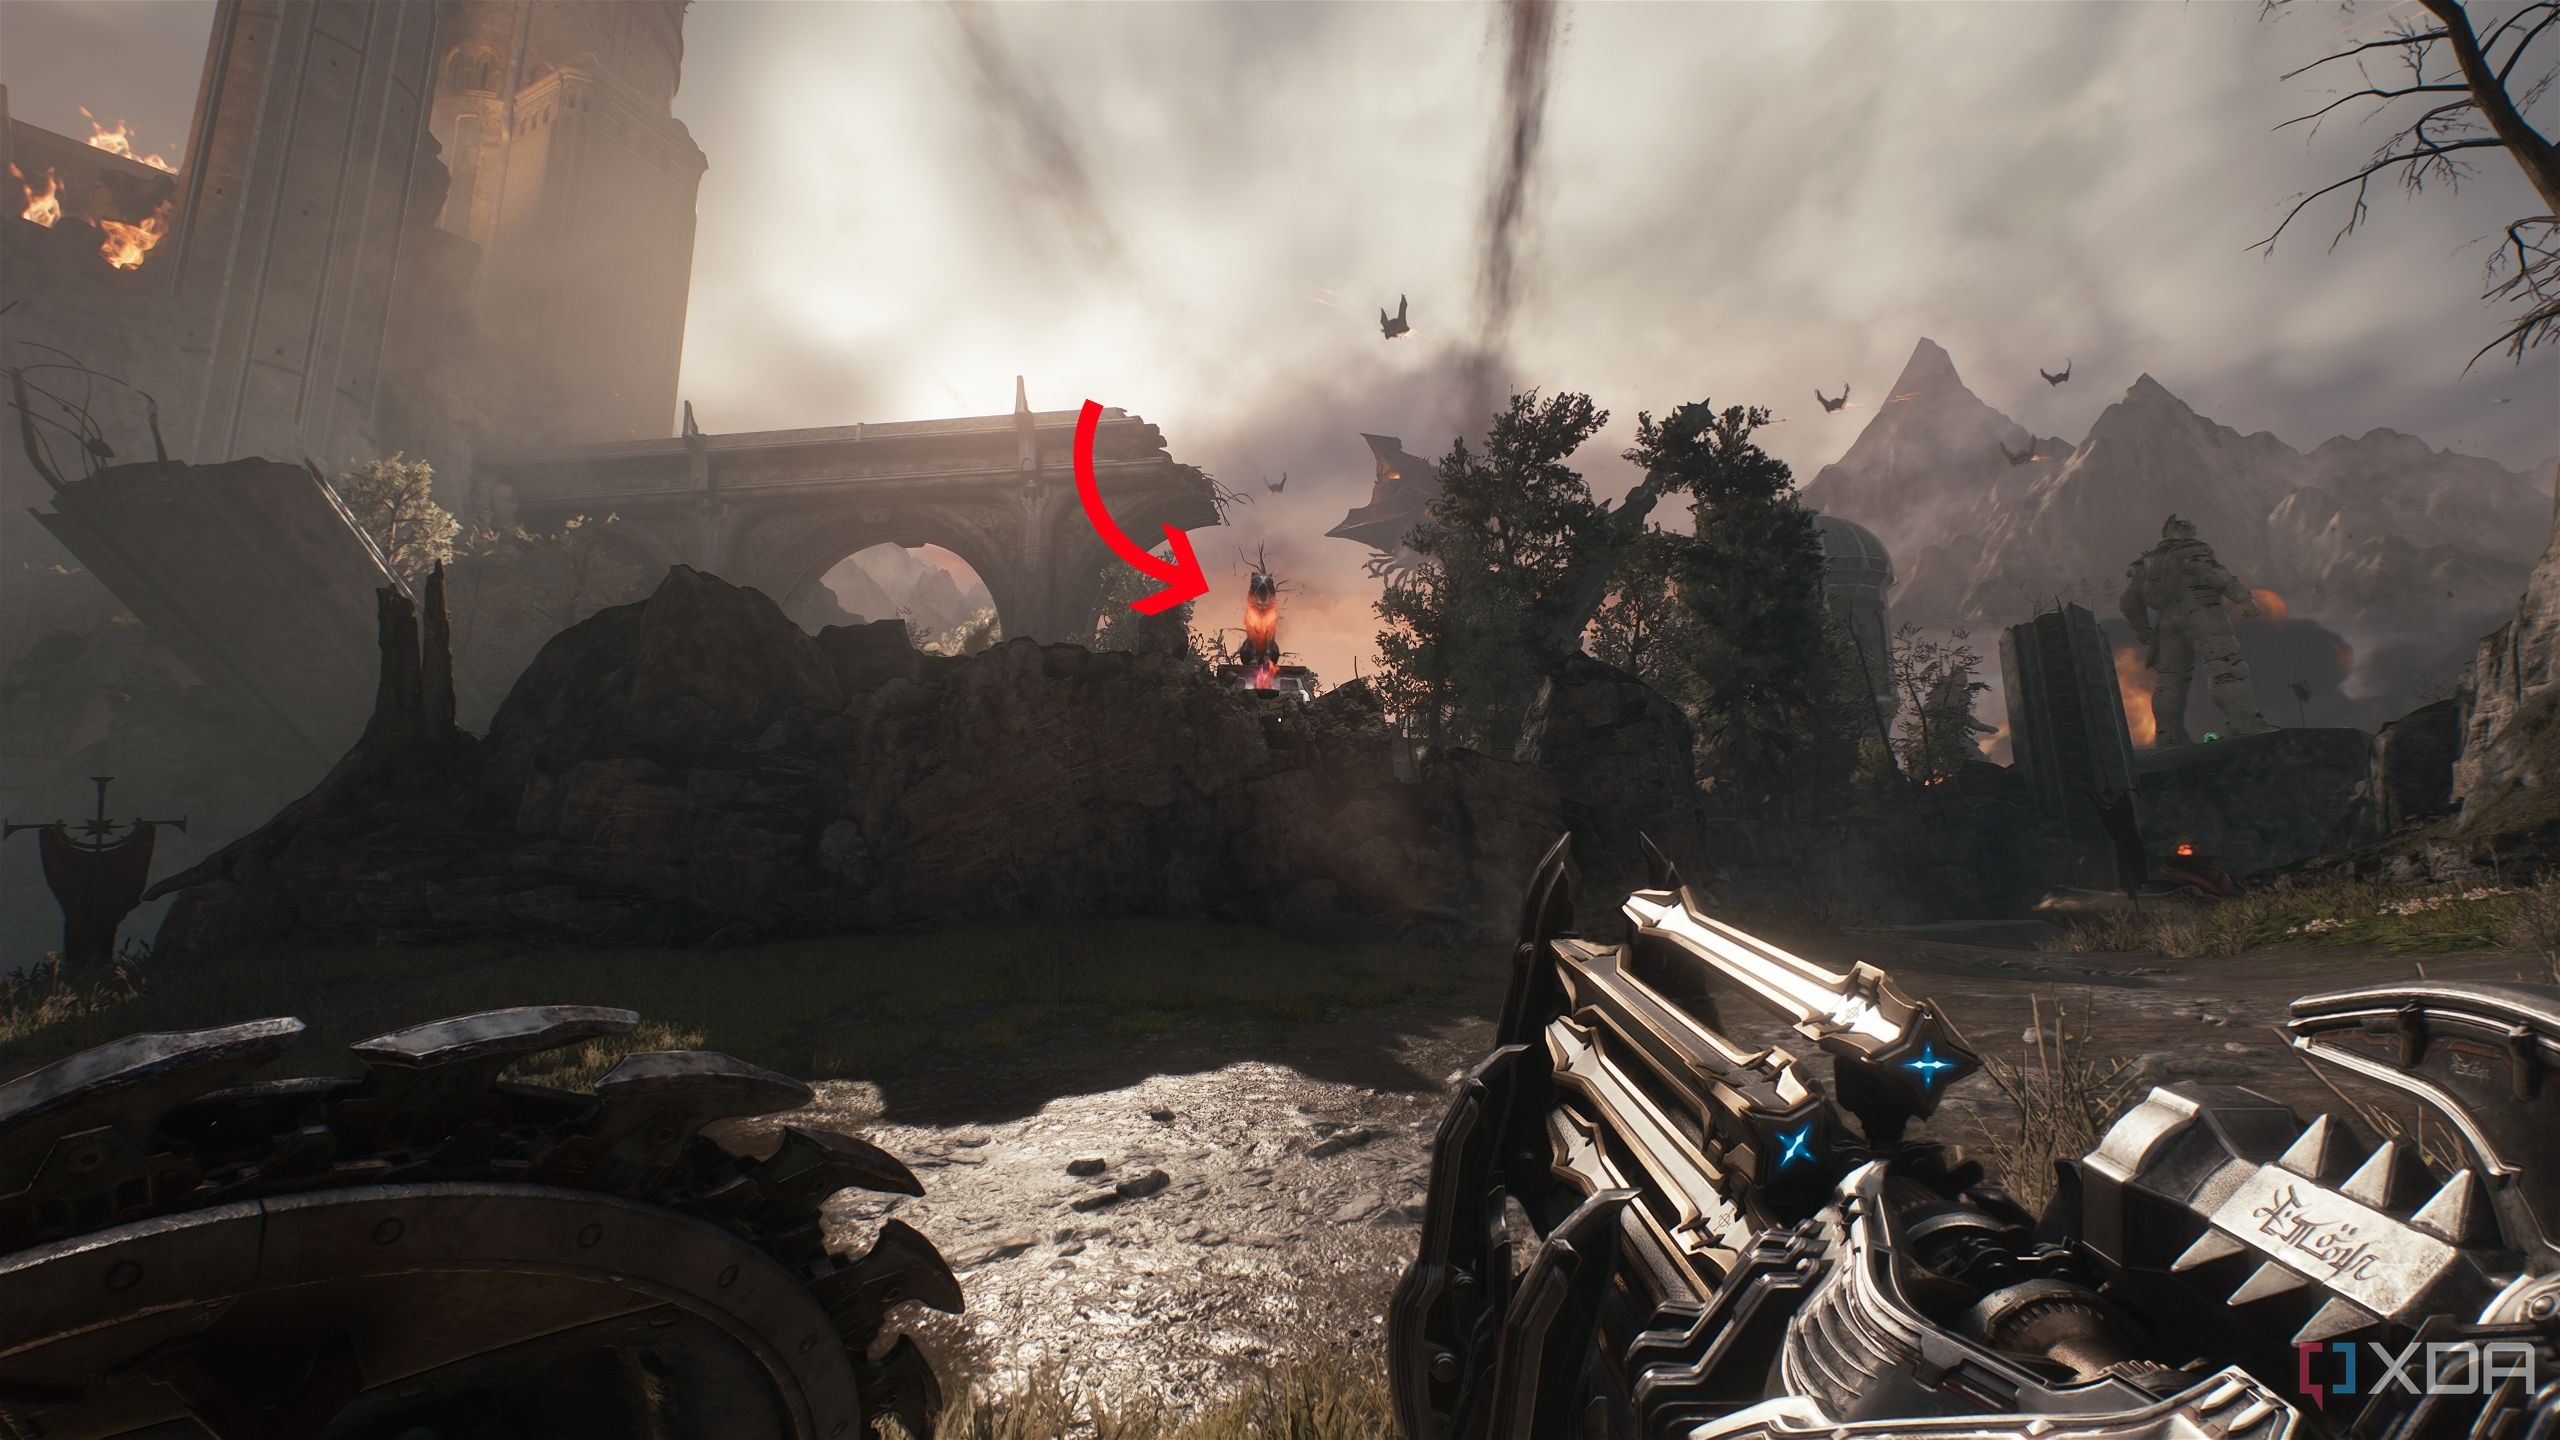
Enter the fifth gore portal and wait for demons to appear and ambush you, including a Cyberdemon.
Wait for the teleporter to open up and enter it to find the final gore portal locked behind a puzzle, and a gold crate waiting to be opened.
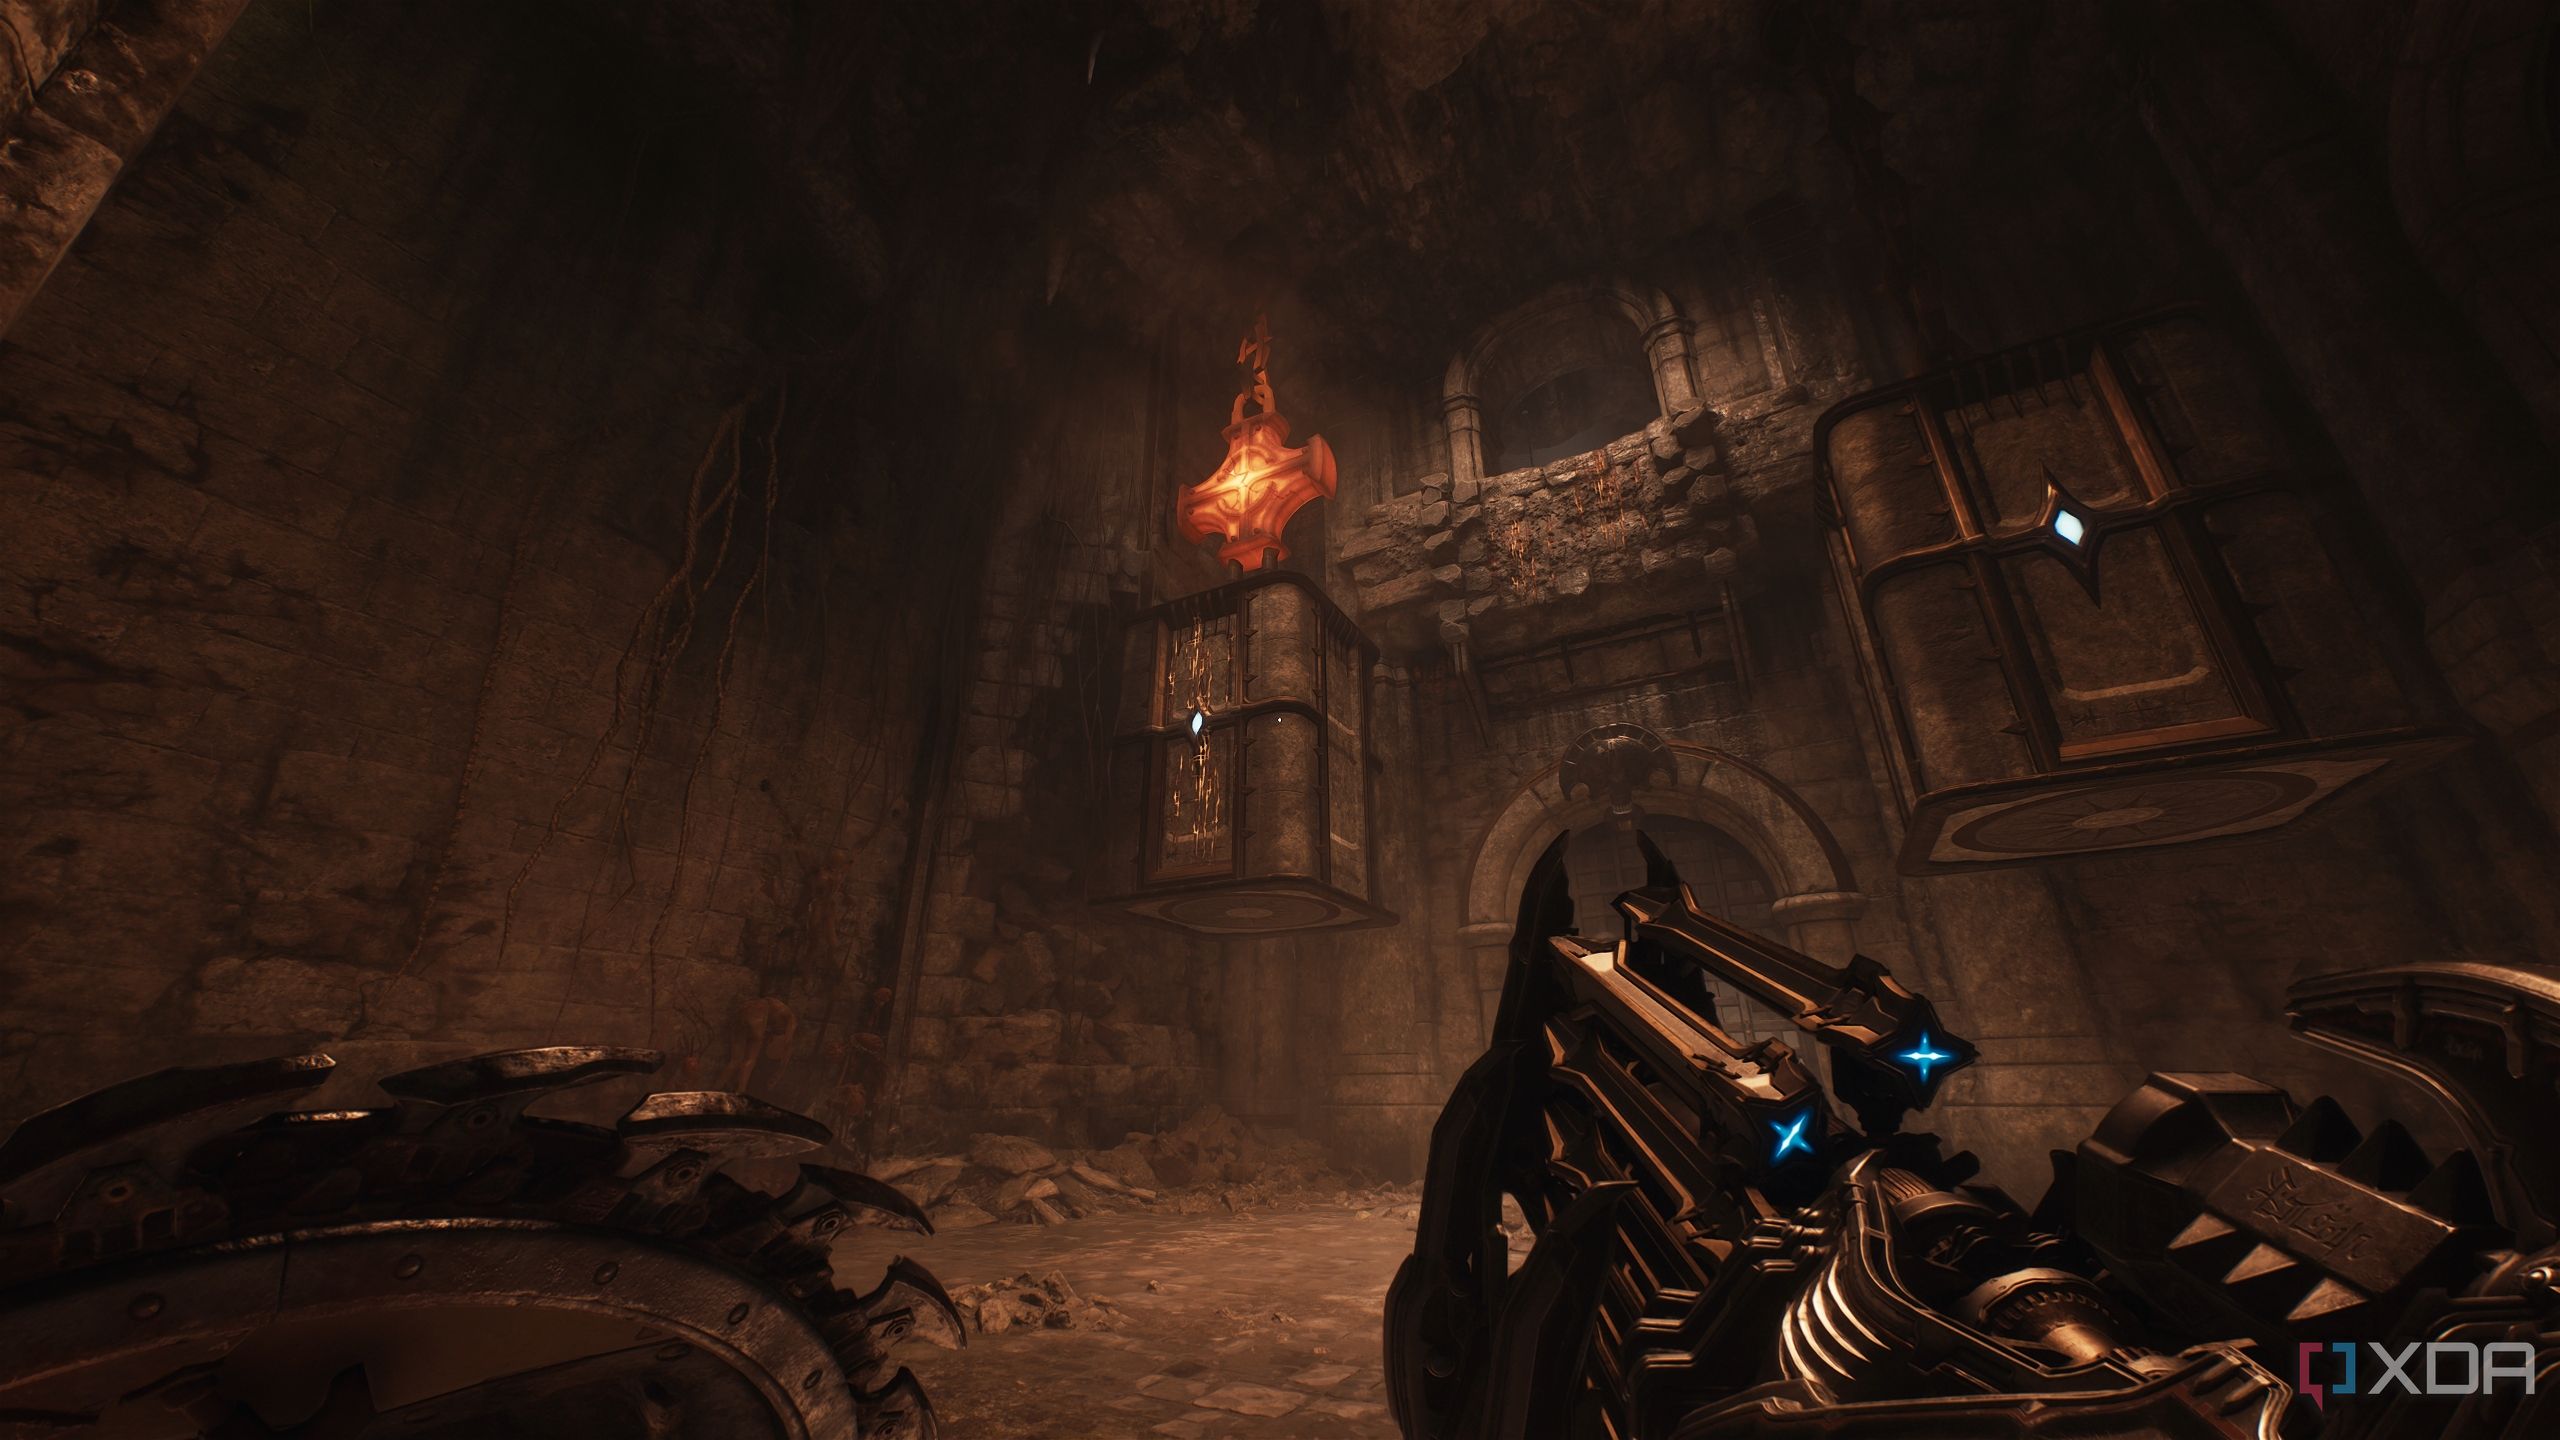
Head right to find a wall to Shield Charge through. You’ll end up in a room with a heated metal cross to cut down.
Cut it down to unlock a scramble wall. Now, scramble up the box on the left, and from there, jump on to the one on the right. \
From here, there’s a small platform straight ahead with gold bars lined up on the floor.
Follow these straight ahead to a staircase leading down, ending in a gold stack and secret area 11.
Get back to the room that had the heated metal cross and the scramble wall, and climb the box on the left. You’ll spot a green flesh node on the roof. Use it to climb above, and Shield Charge into the bridge here.
Use the bridge to jump across the room and pull the first lever, opening a metal gate right below that gives you access to the final gold crate.
From the crate, head back and turn right to reveal an underwater diving opportunity.
Dive underwater and swim while following the lights, coming up to a fire-laden corridor with multiple projectiles shooting at you and a Hellknight ambush.
Once you get past them, look up at the green flesh node on the roof, and use your shield to get up. Follow the path and pull the second lever, and you’ll reach the final Gore Portal. Dispatch the demon cultists and head back to the city gate to complete the level.
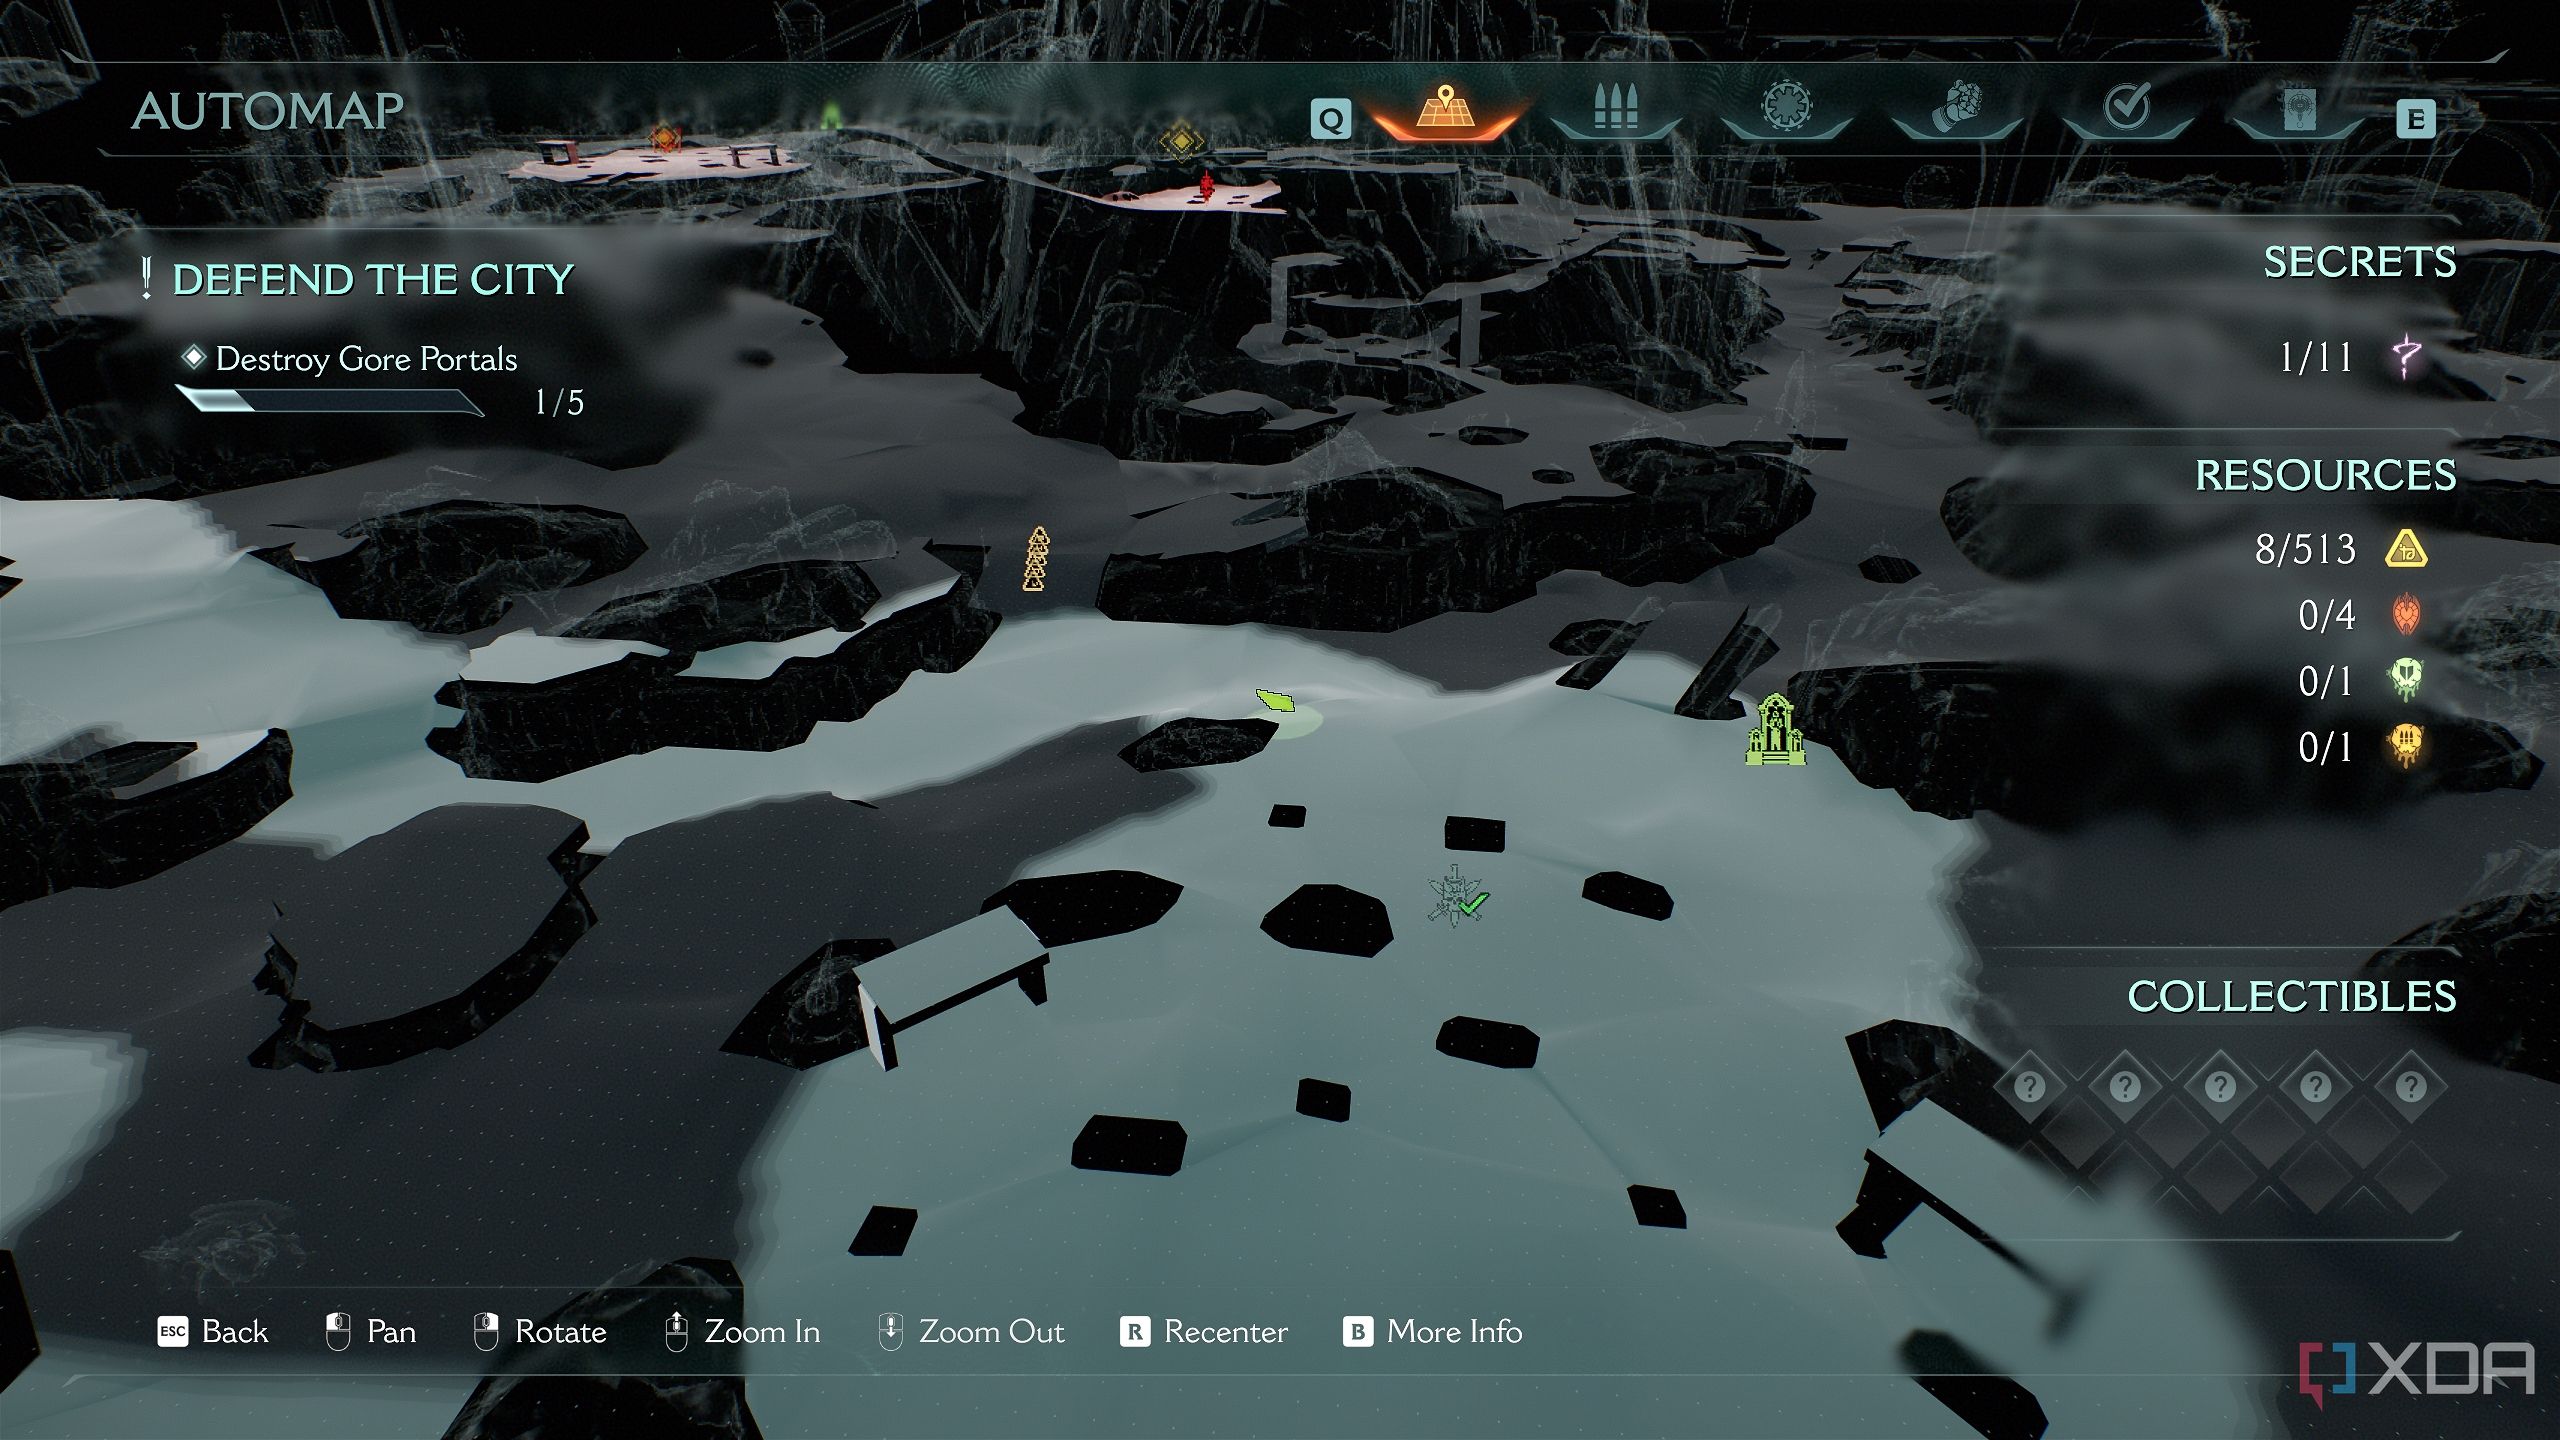
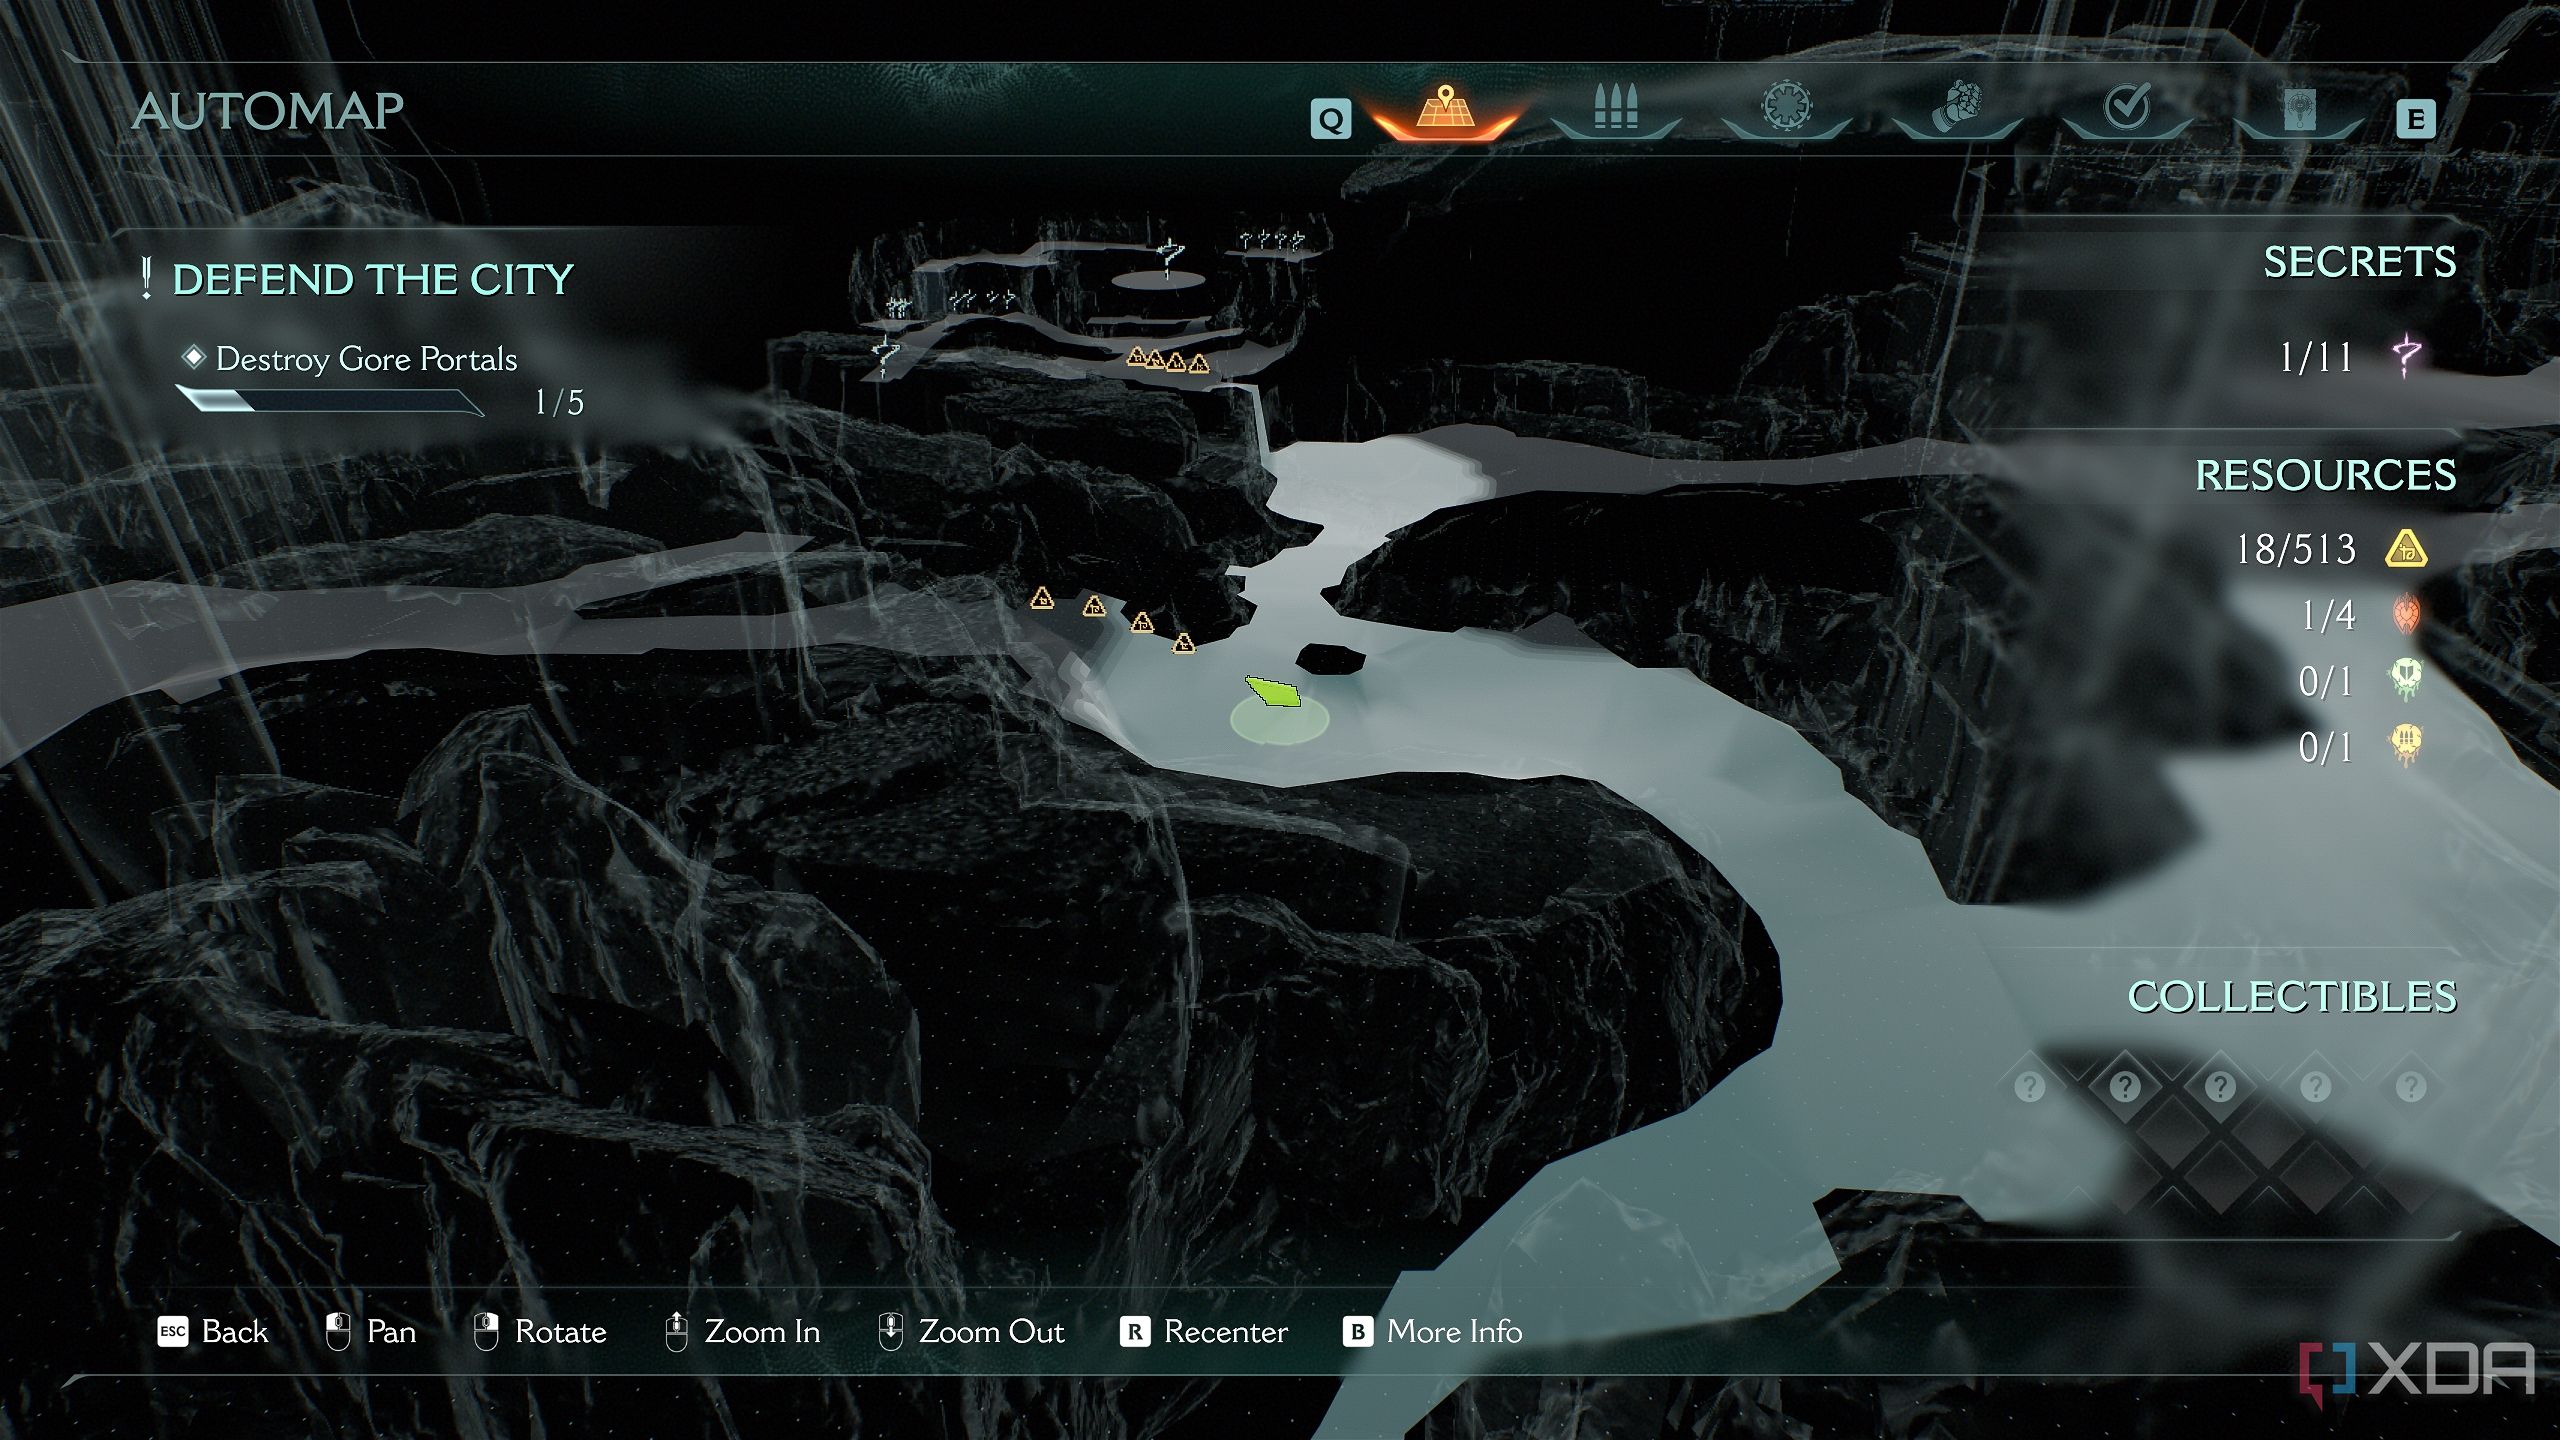
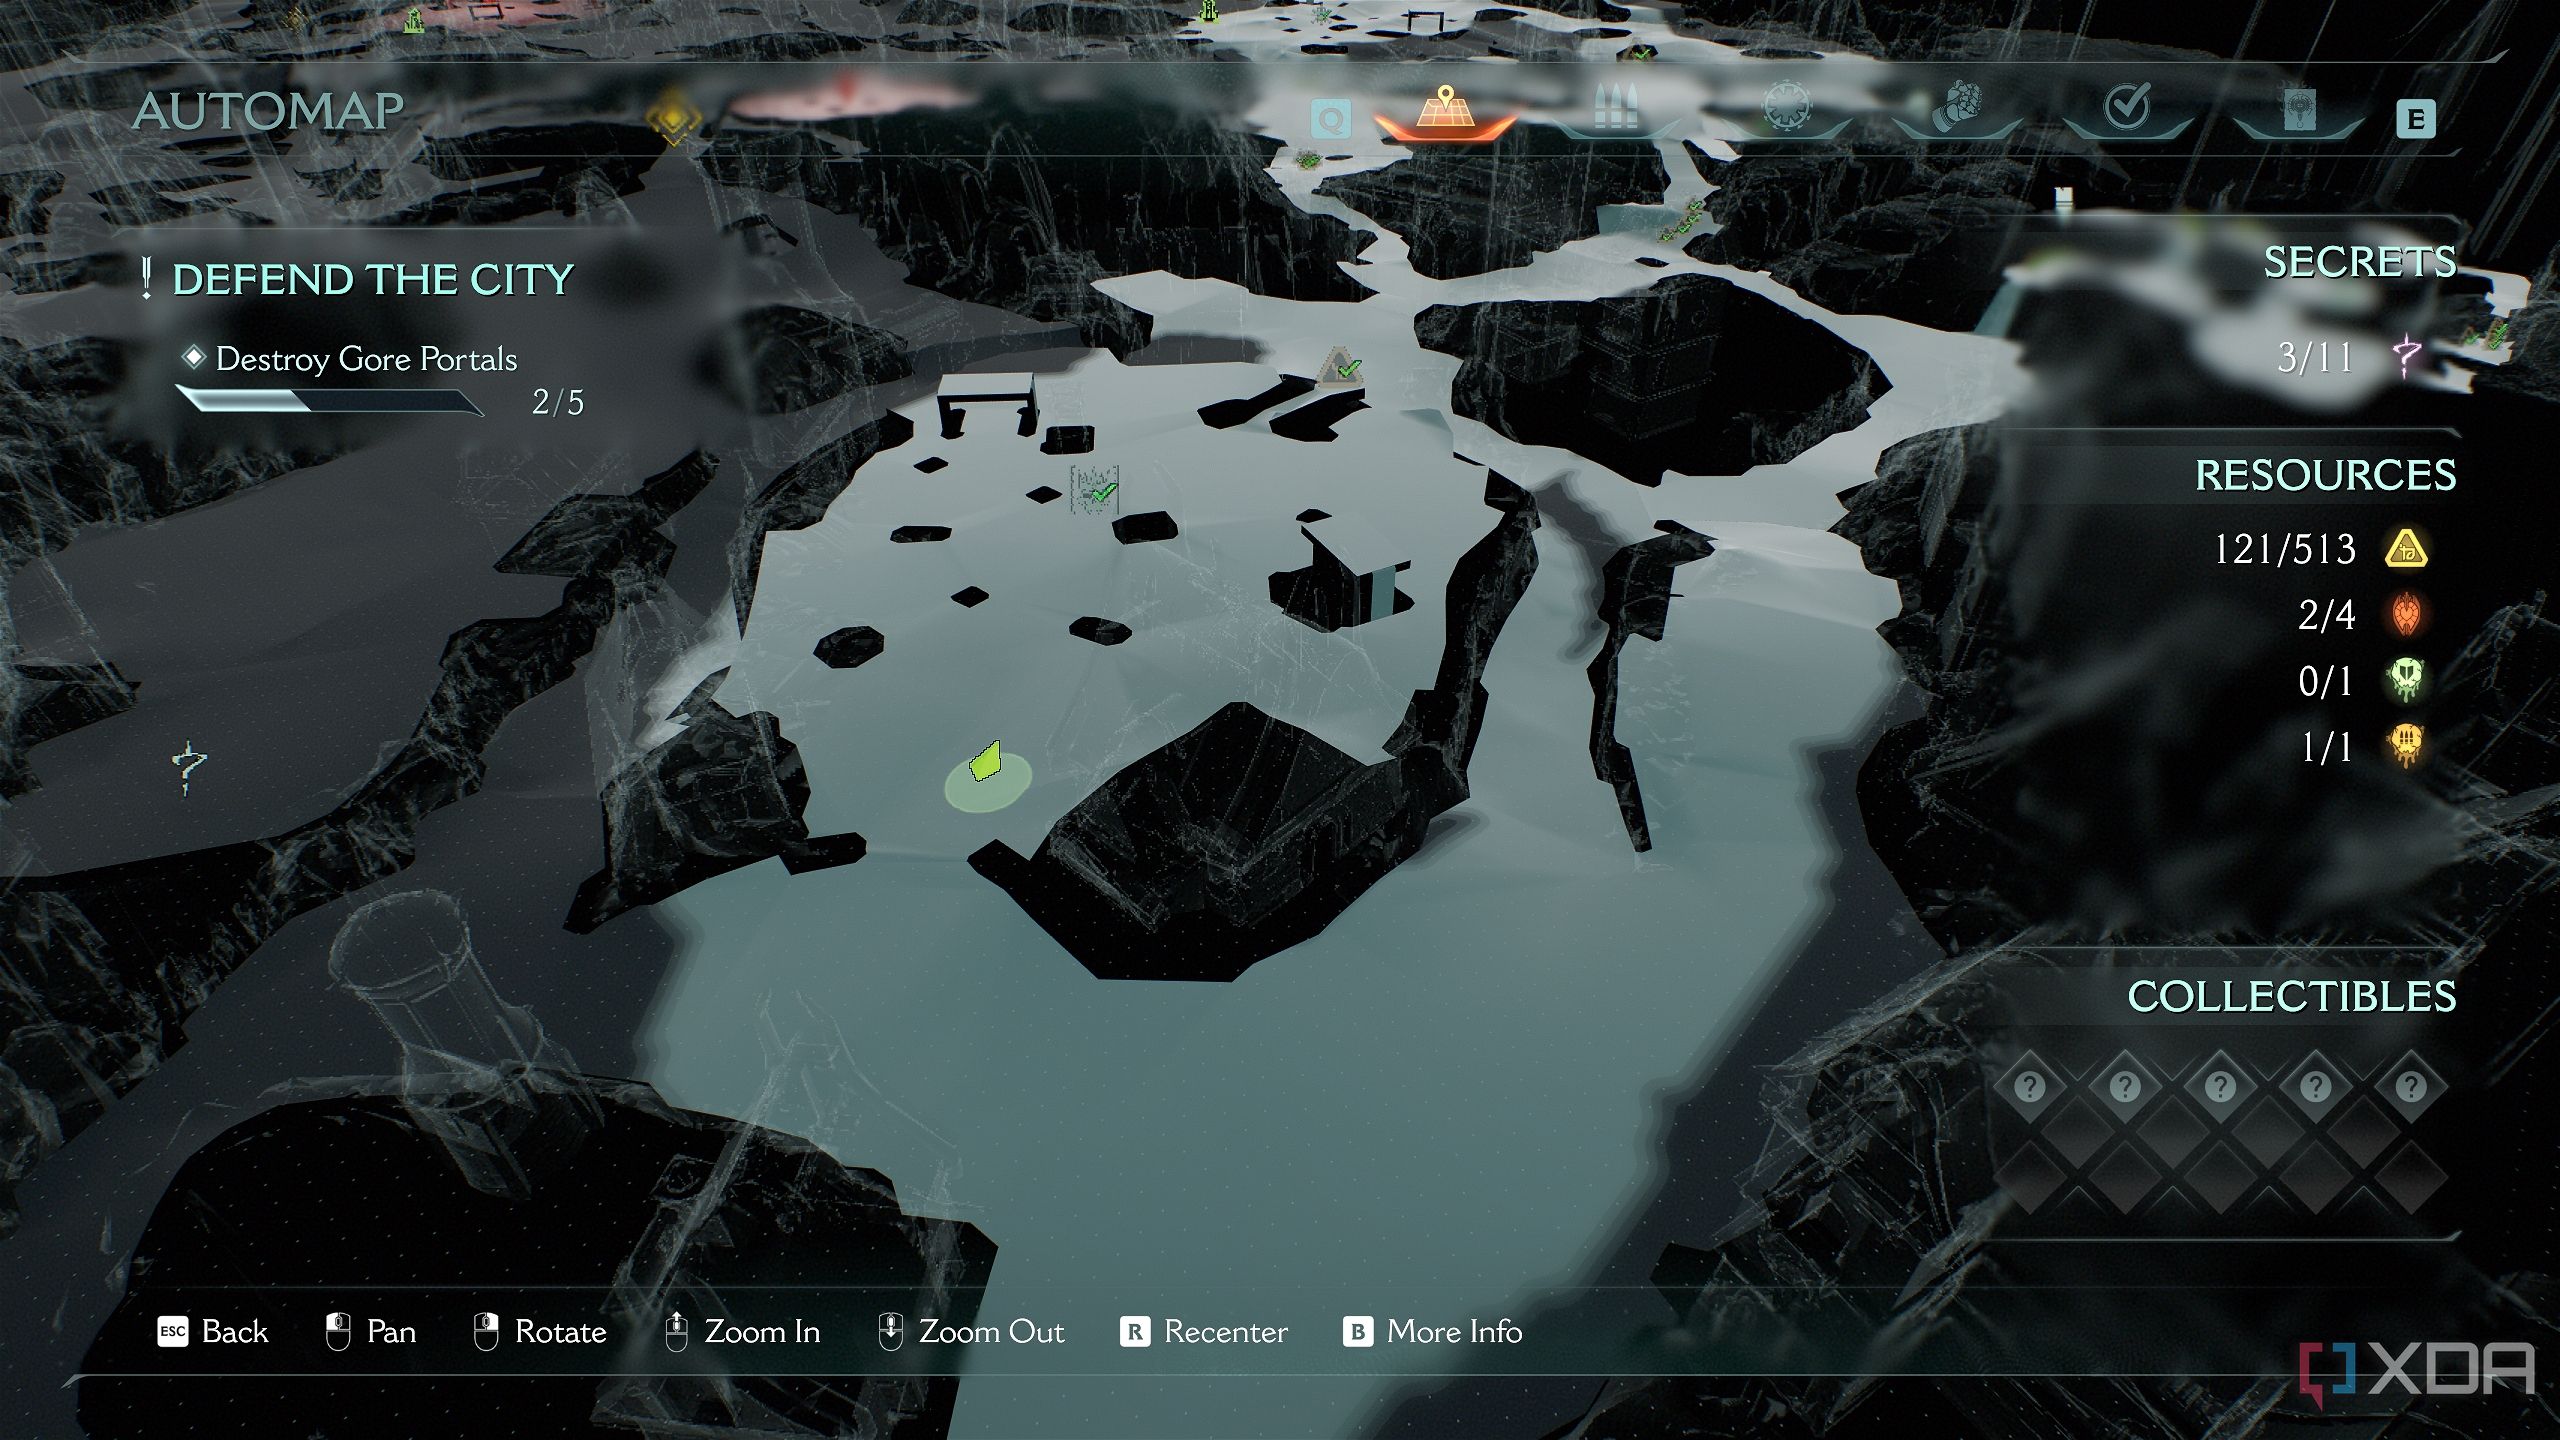
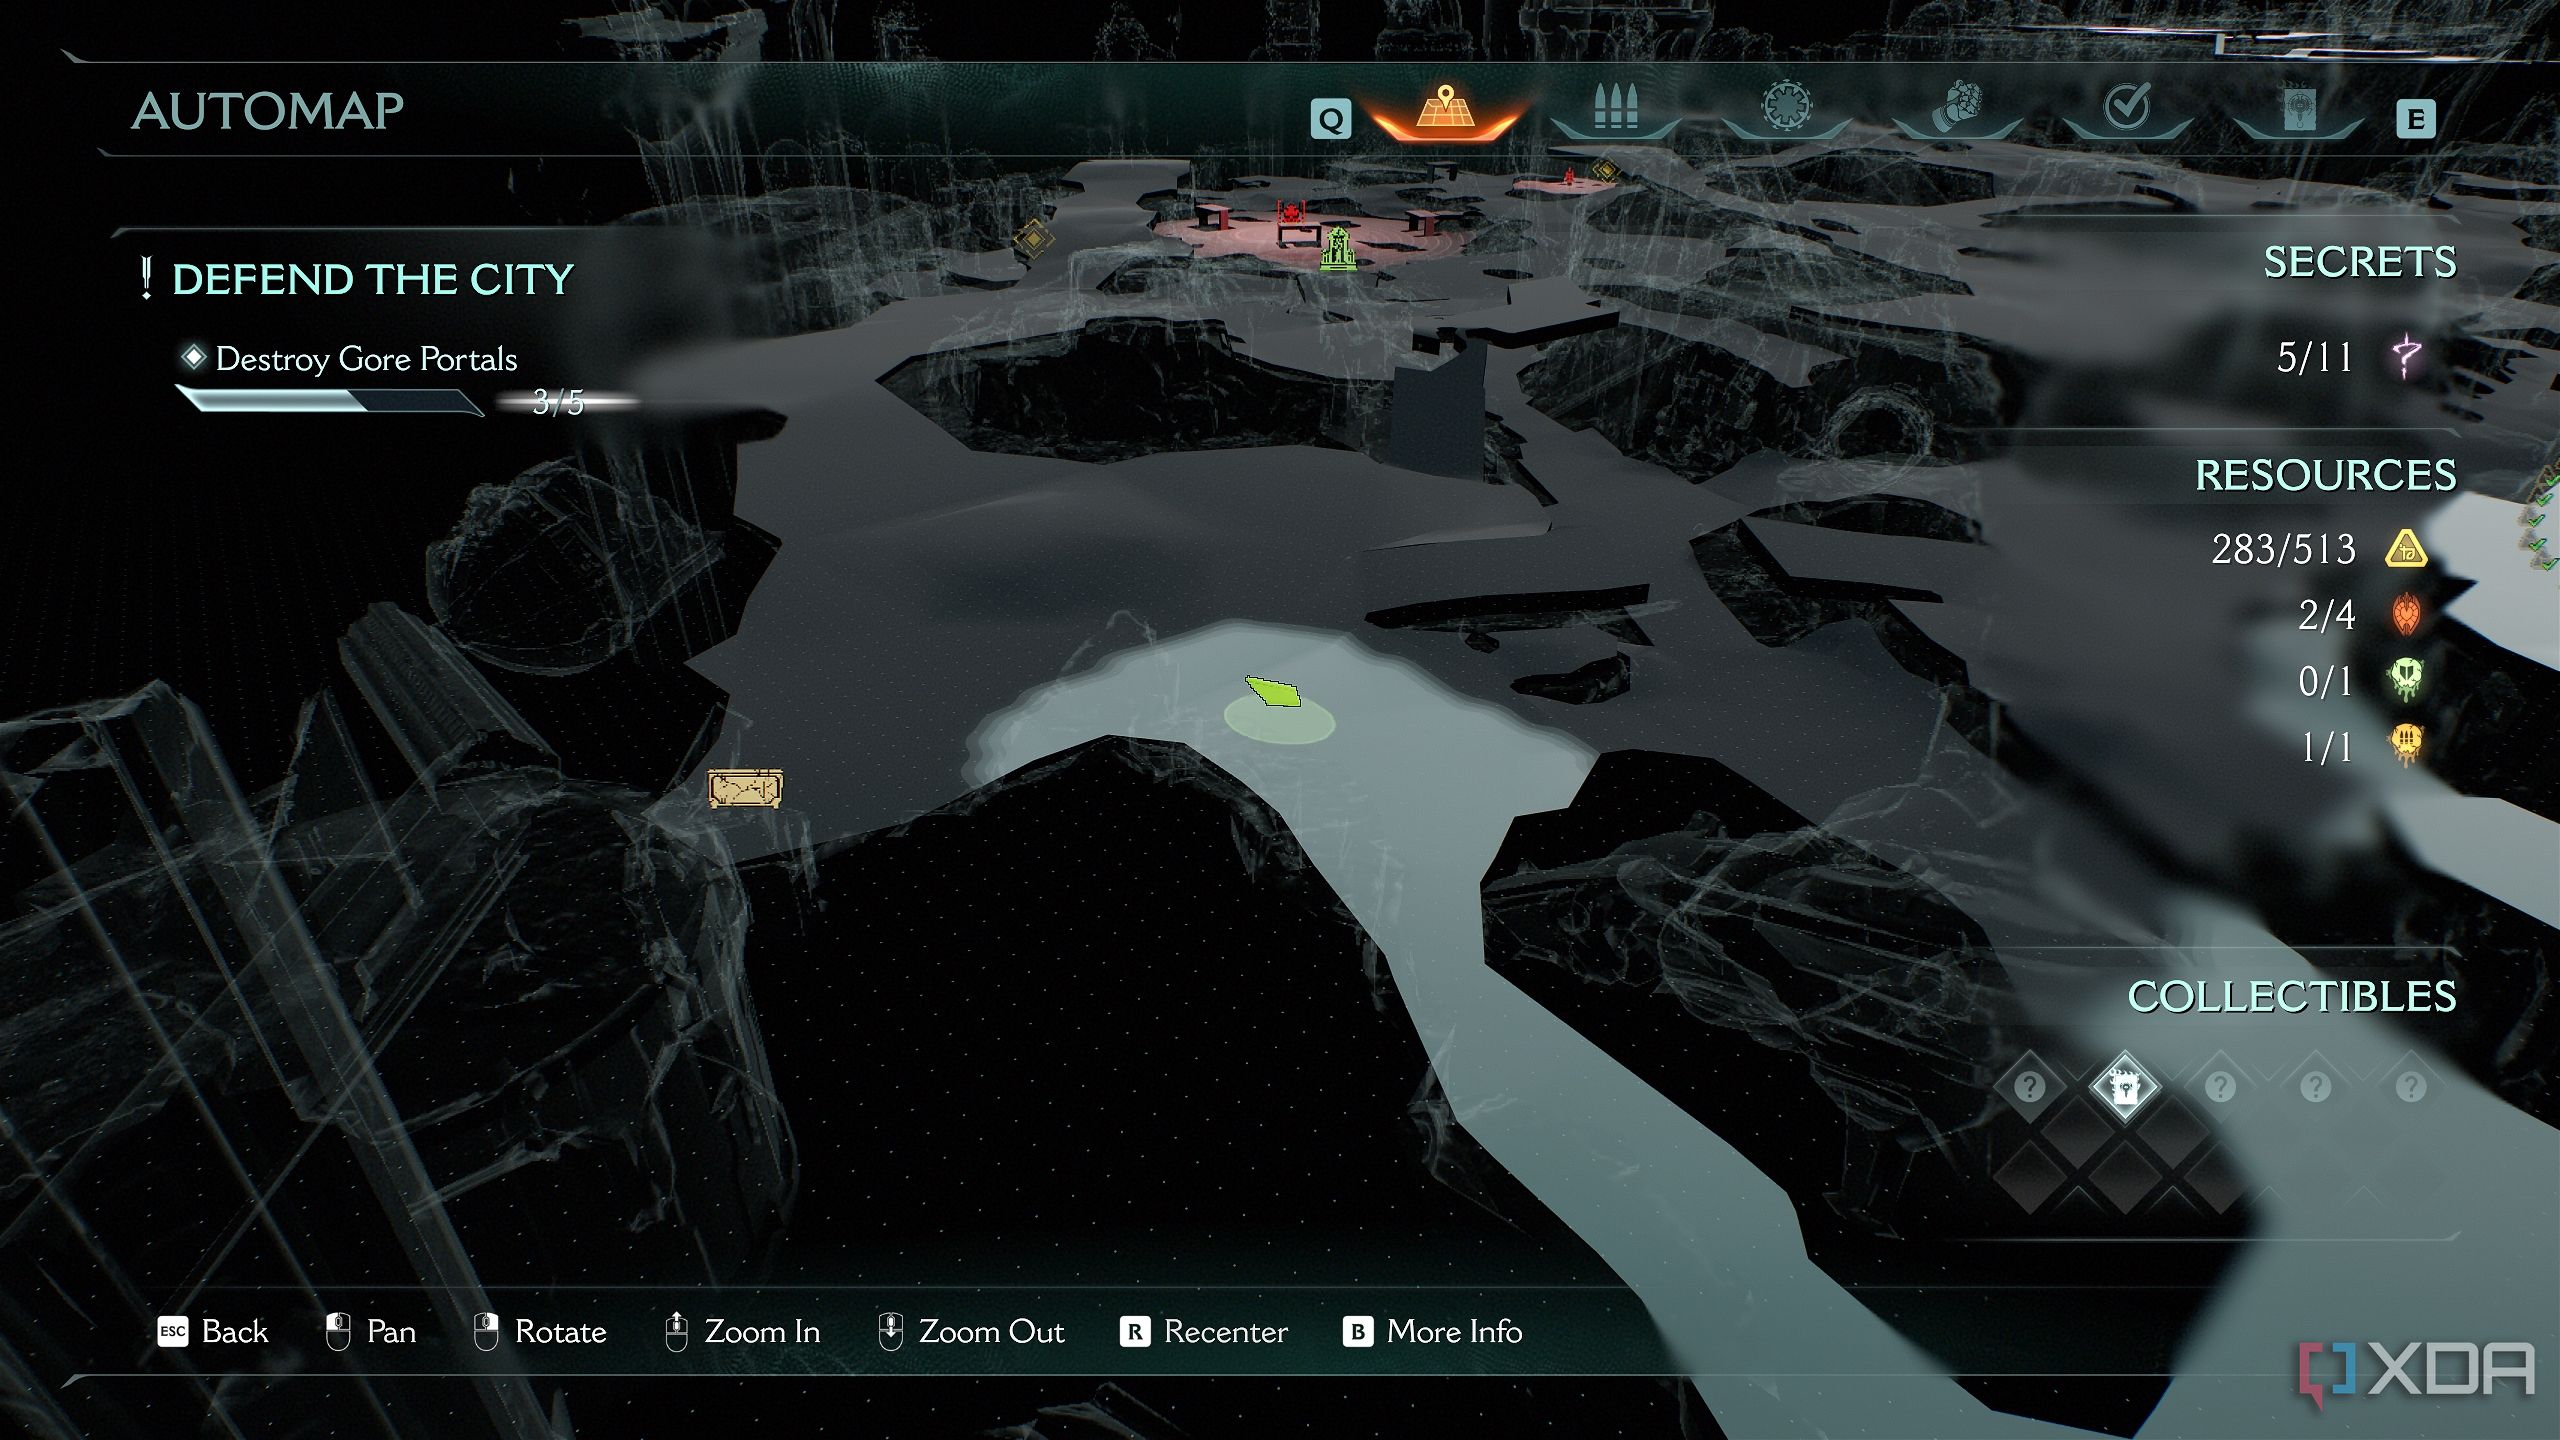
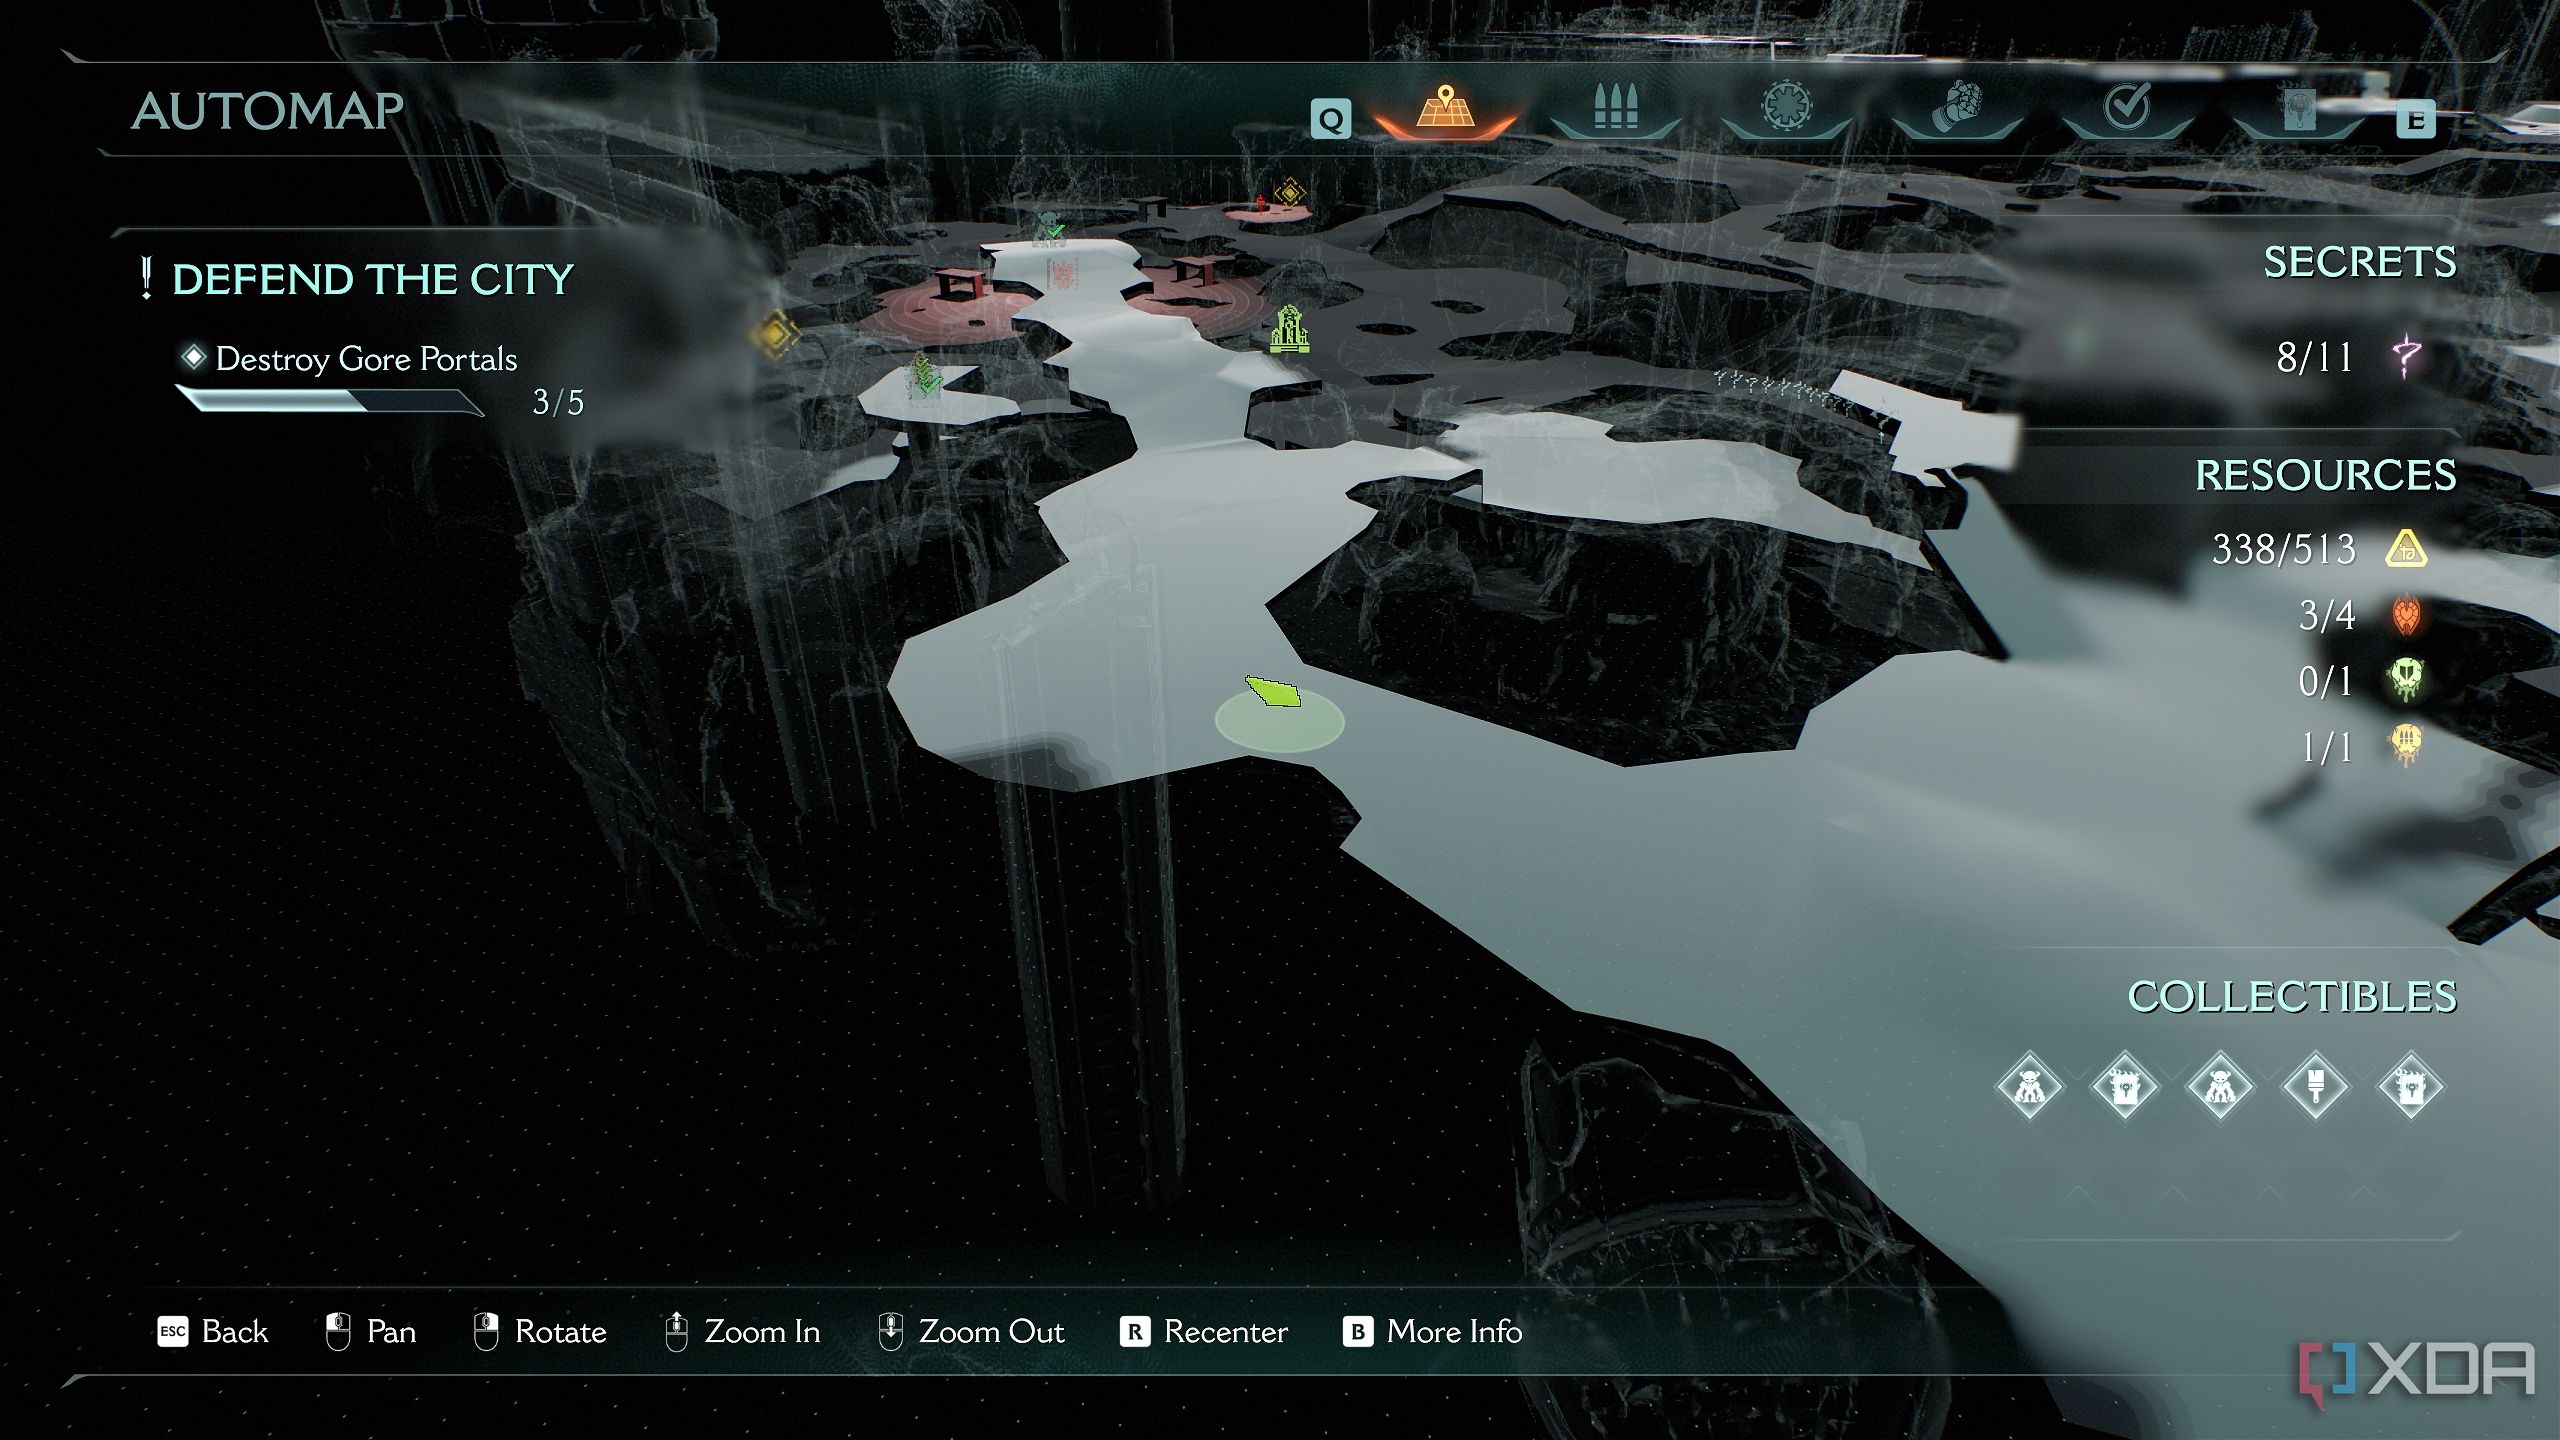
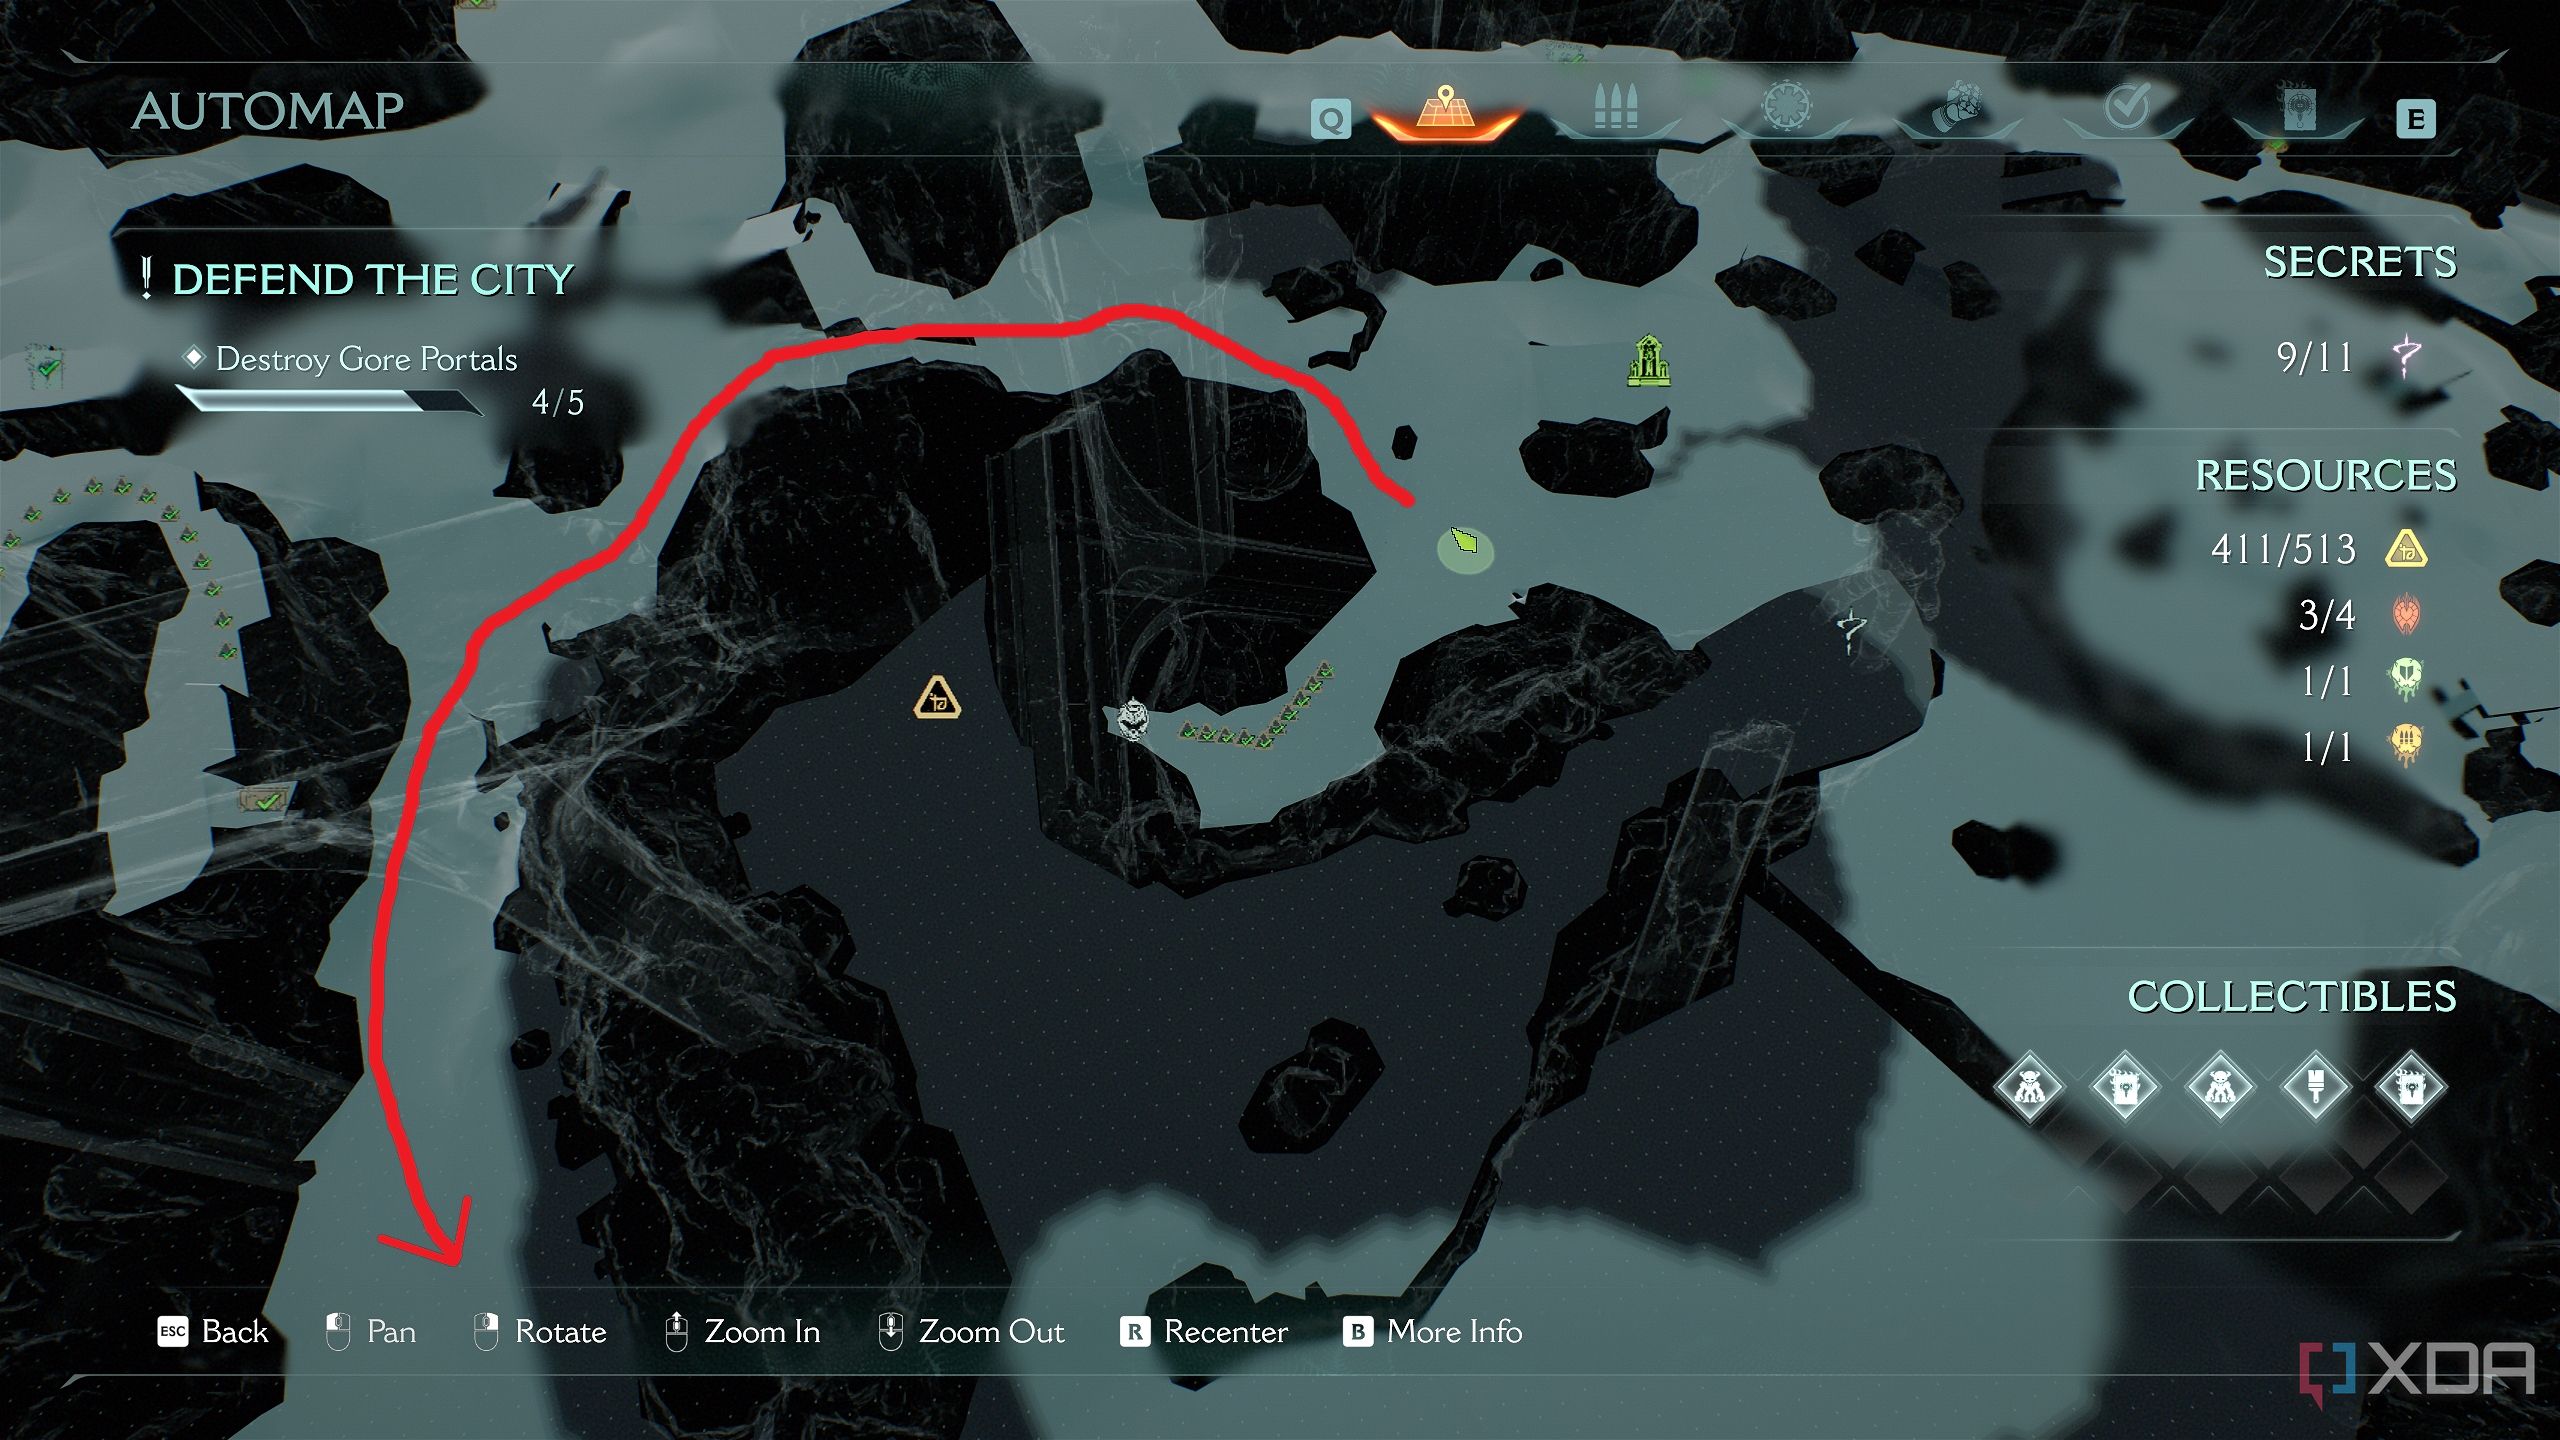
All collectibles in Chapter 6: Siege - Part 1 in Doom: The Dark Ages
Once that’s complete, the biggest level yet, Chapter 6 of Doom: The Dark Ages will be complete, and you’ll finally have the 100% completion achievement for this level.
DOOM: The Dark Ages
Released May 15, 2025
ESRB m
Developer(s) id Software
Publisher(s) Bethesda Softworks
Engine id Tech
Multiplayer Online Multiplayer
Franchise DOOM


 English (US) ·