.png)
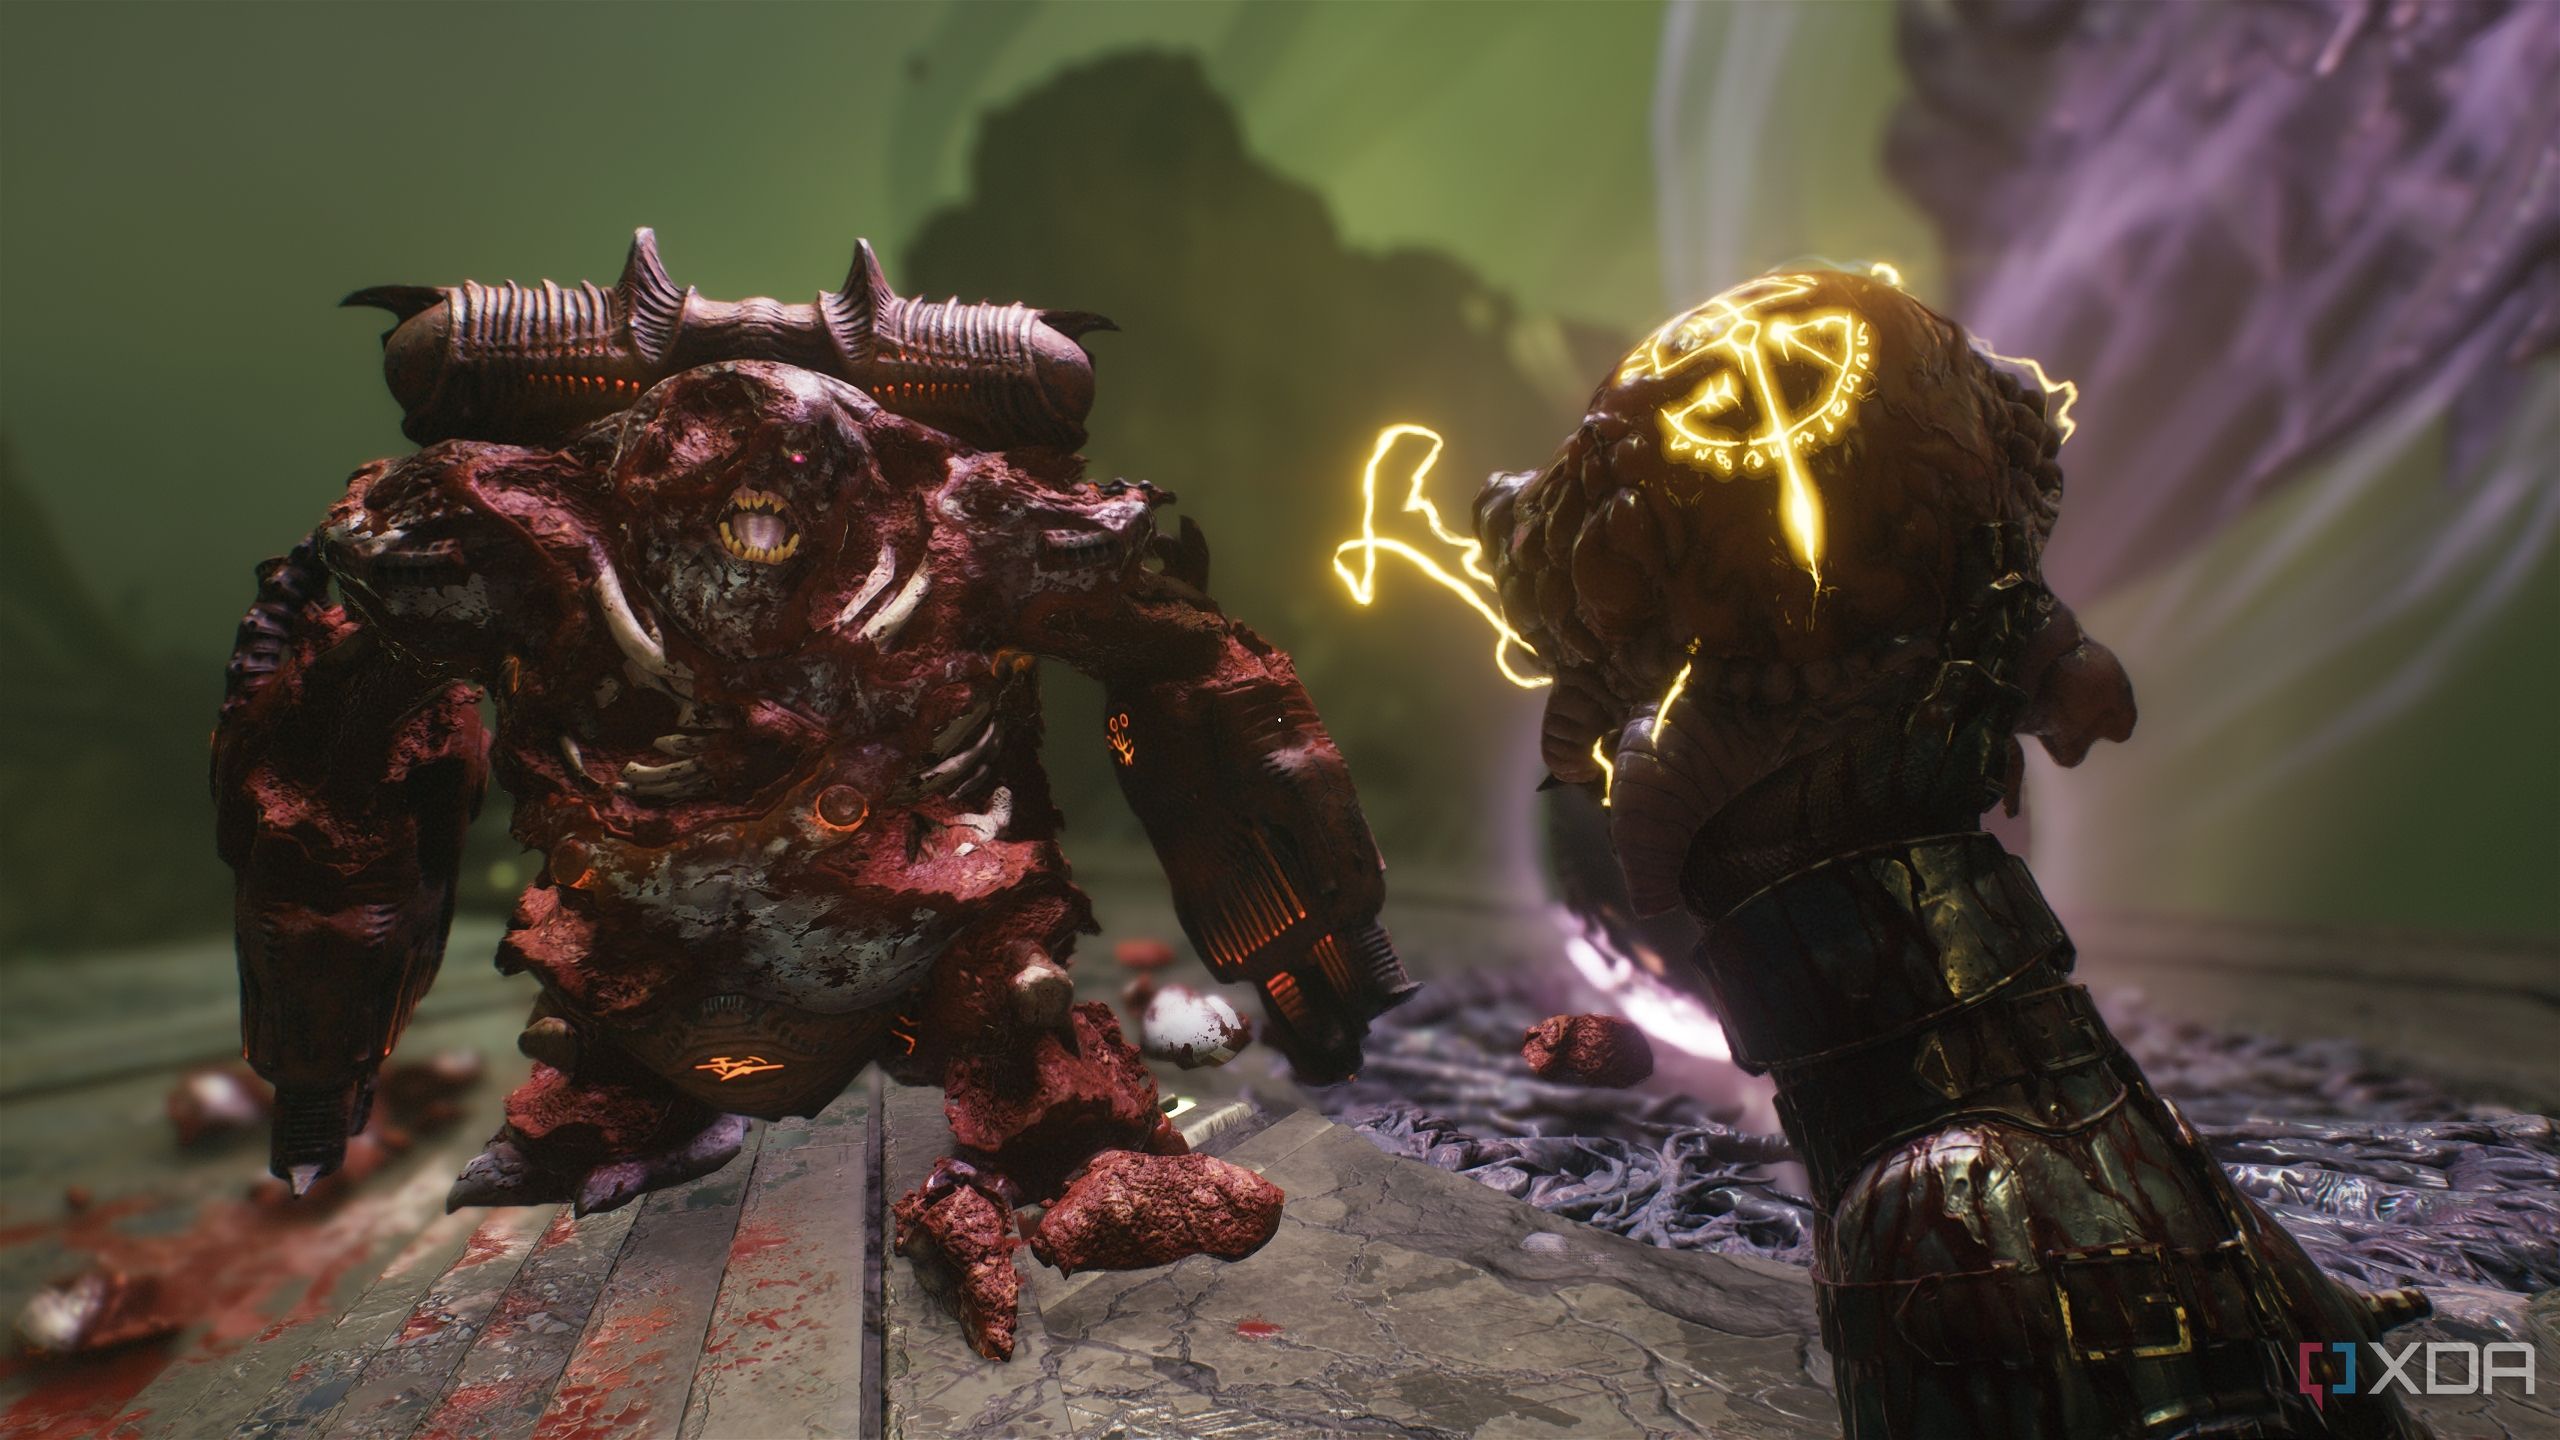
Chapter 16: The Kar’Thul Marshes in Doom: The Dark Ages pushes the Slayer into a marshy, swampy, and Lovecraftian arena where he must contend with powers and objects that defy belief in order to find Commander Thira. This cosmic twist halfway through the game is very welcome, and you can read in our review of the game how impressive it left us.
In order to get 100% completion of each level, make sure you complete the mission challenges for this level.
Chapter 16’s mission challenges are-
- Destroying all the wolf statues in the level
- Killing 20 or more demons with a single BFC shot
Related
DOOM: The Dark Ages Chapter 15: City of Ry’uul — 100% completion guide
Chapter 15 in Doom: The Dark Ages goes full Lovecraft, with cosmic creatures and structures that defy belief.
Chapter 16 of Doom: The Dark Ages gets mystical and marshy
The Slayer finds himself in a quagmire
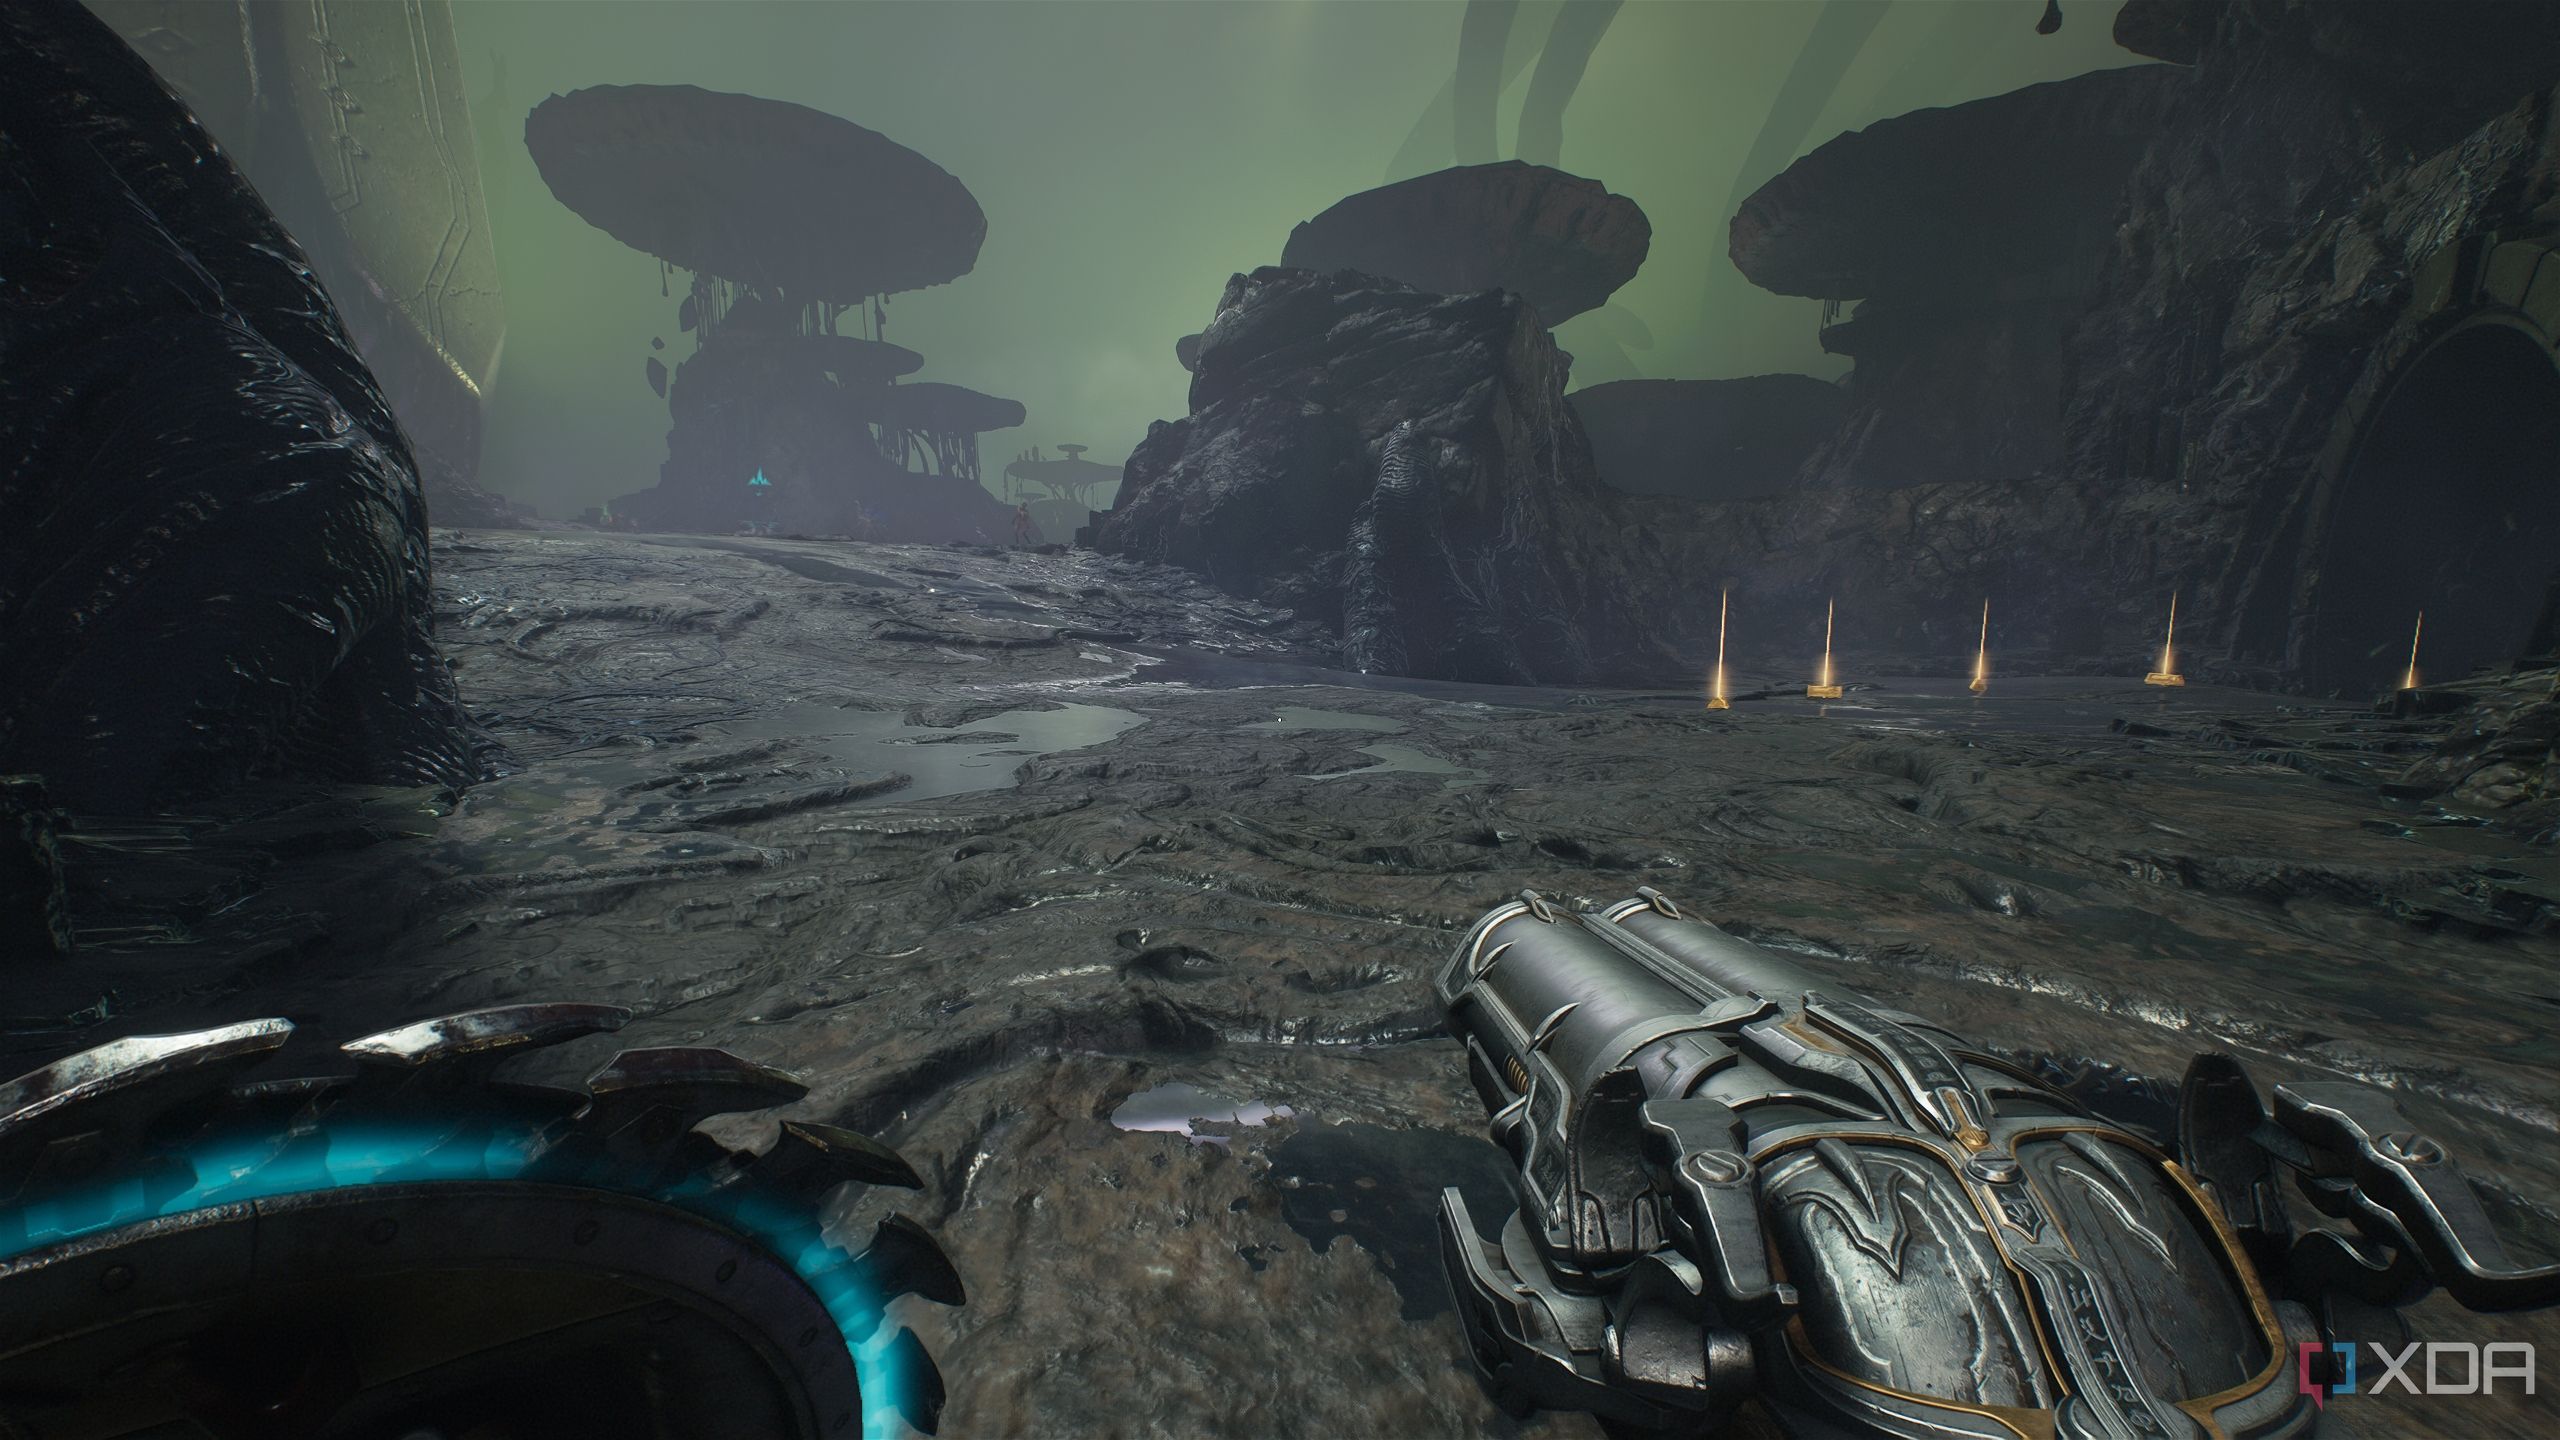
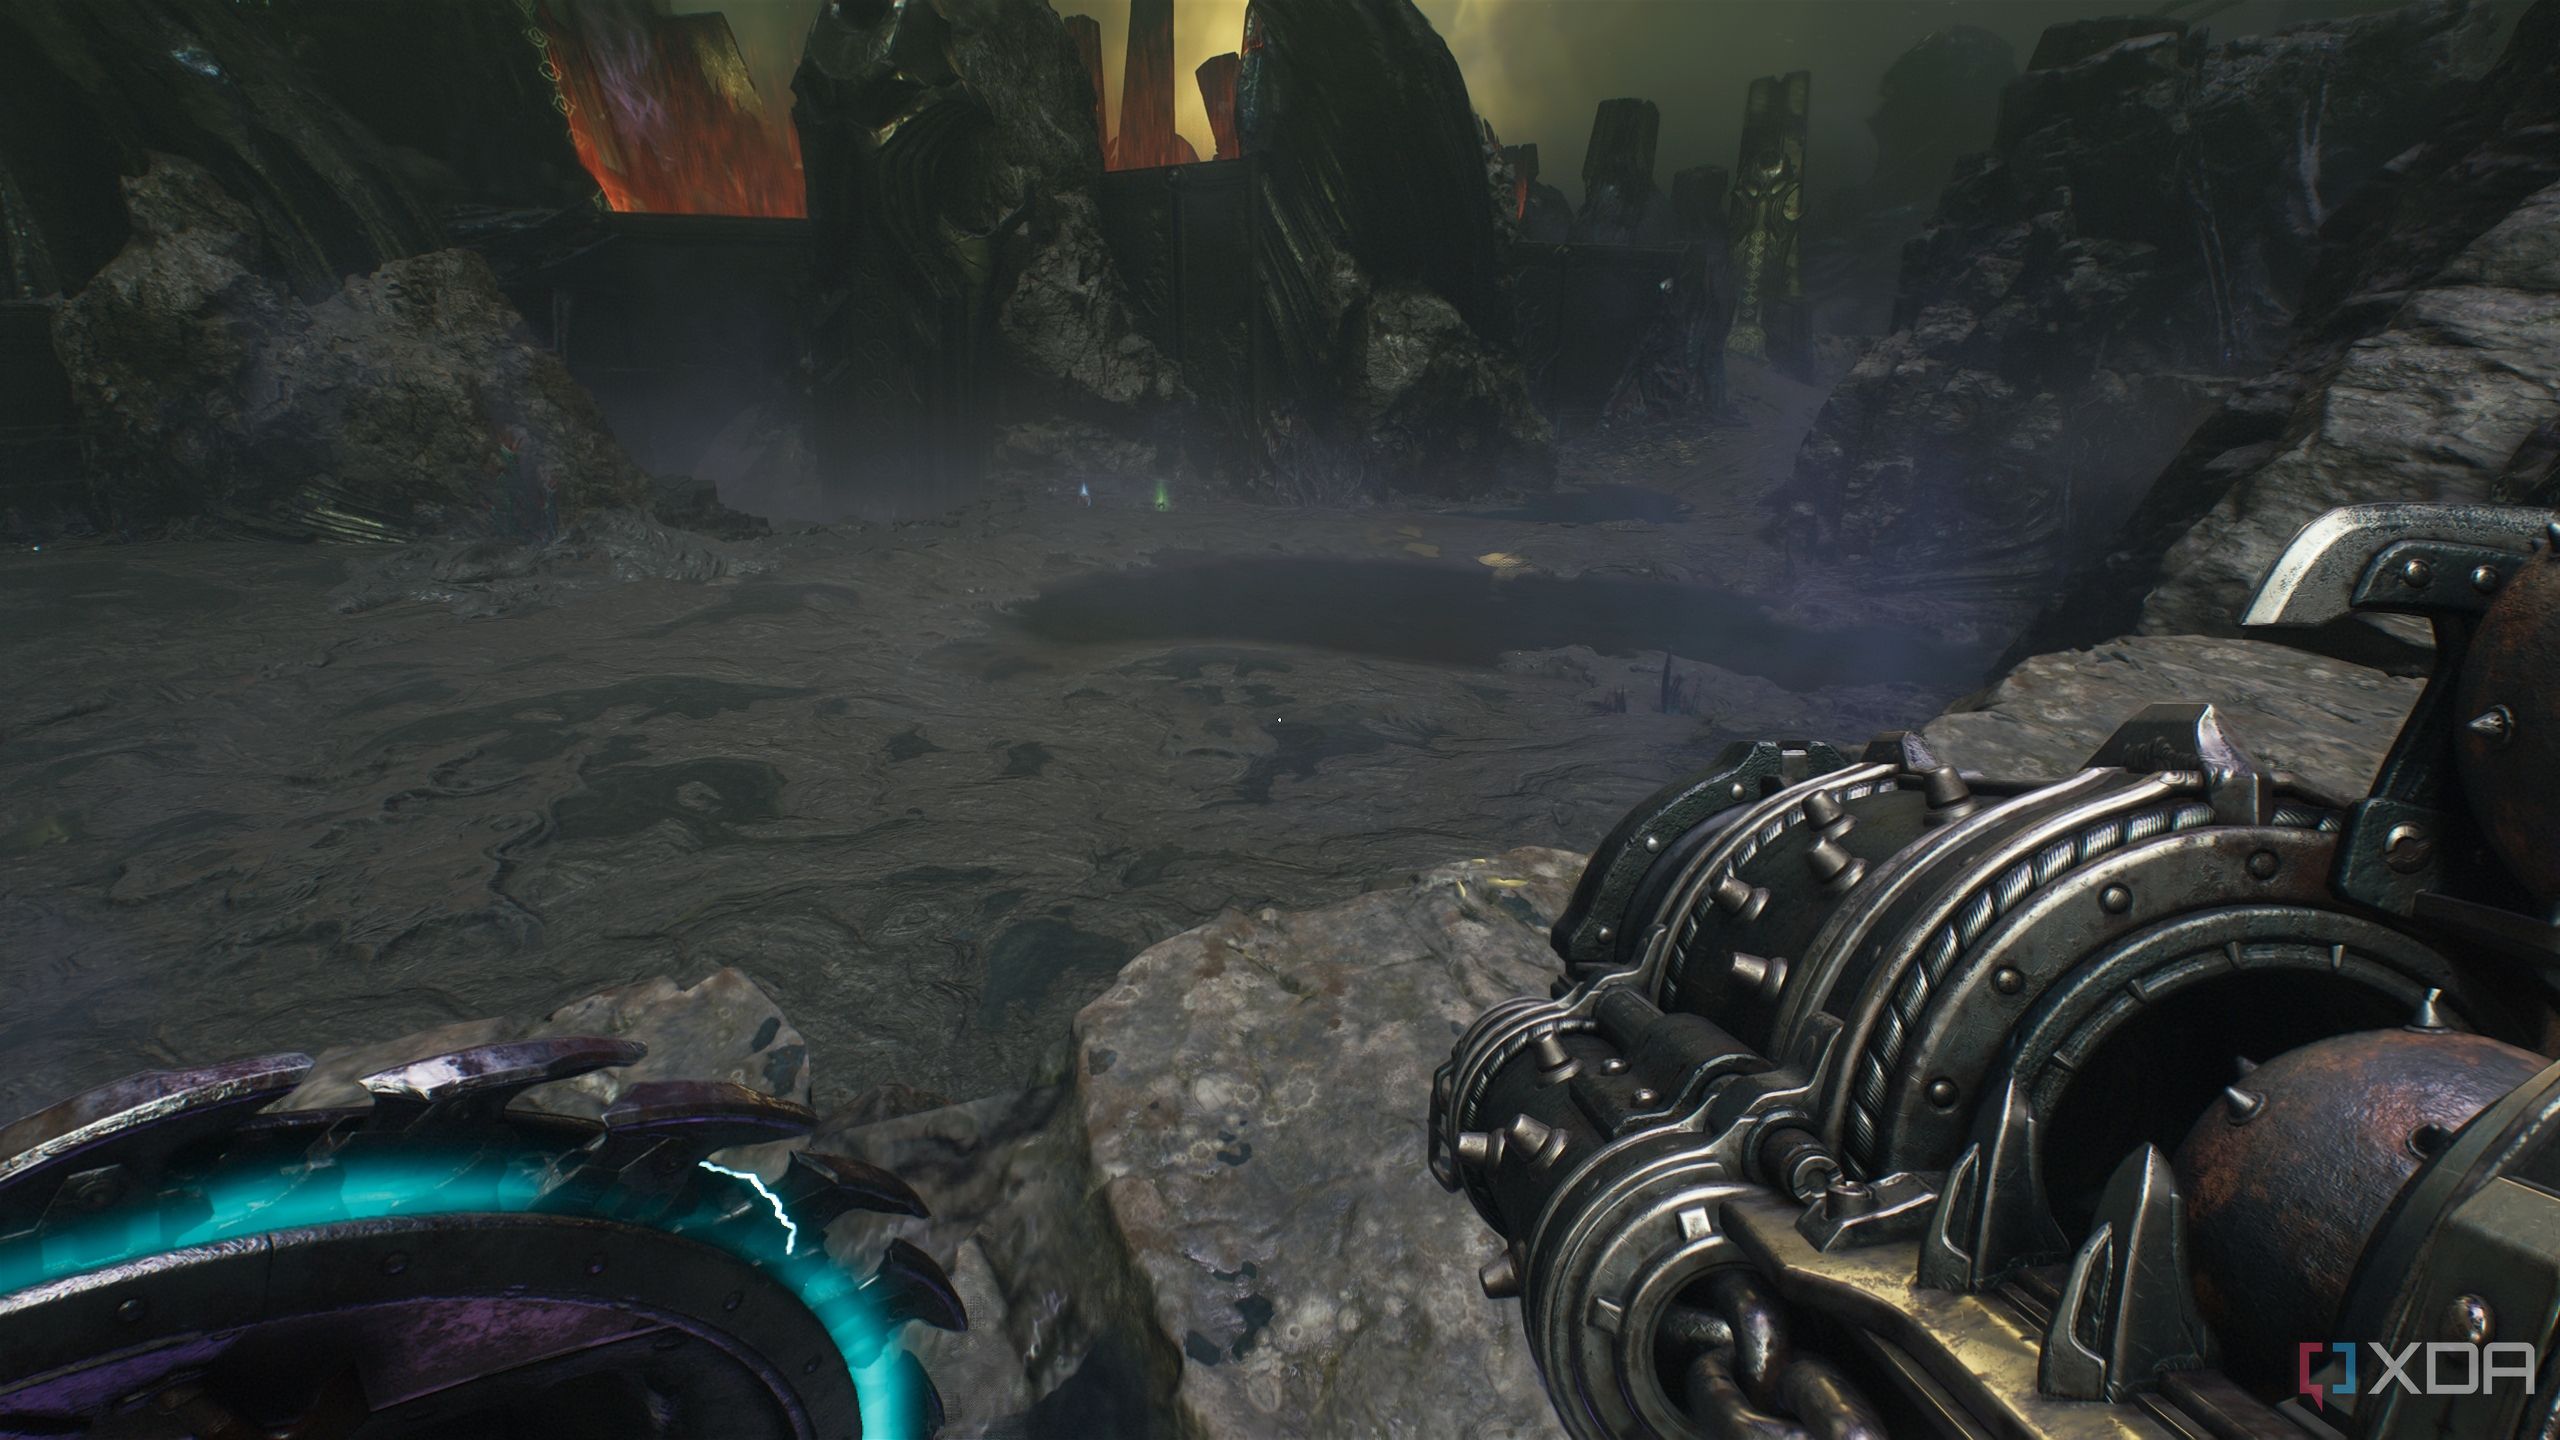
In chapter 16, the Slayer continues his search for Commander Thira in a swampy area of the Cosmic Realm. Following the objectives in the chapter along with the instructions provided below, it won't be long before you can claim that sweet 100% completion tag for the level.
Path tracing hasn’t arrived in the game yet, but the Lovecraftian horrors are a spectacle to behold, thanks to the id Tech engine 8.
This guide covers each collectible required for 100% level completion in chronological order. It is recommended to follow this guide in the order stated.
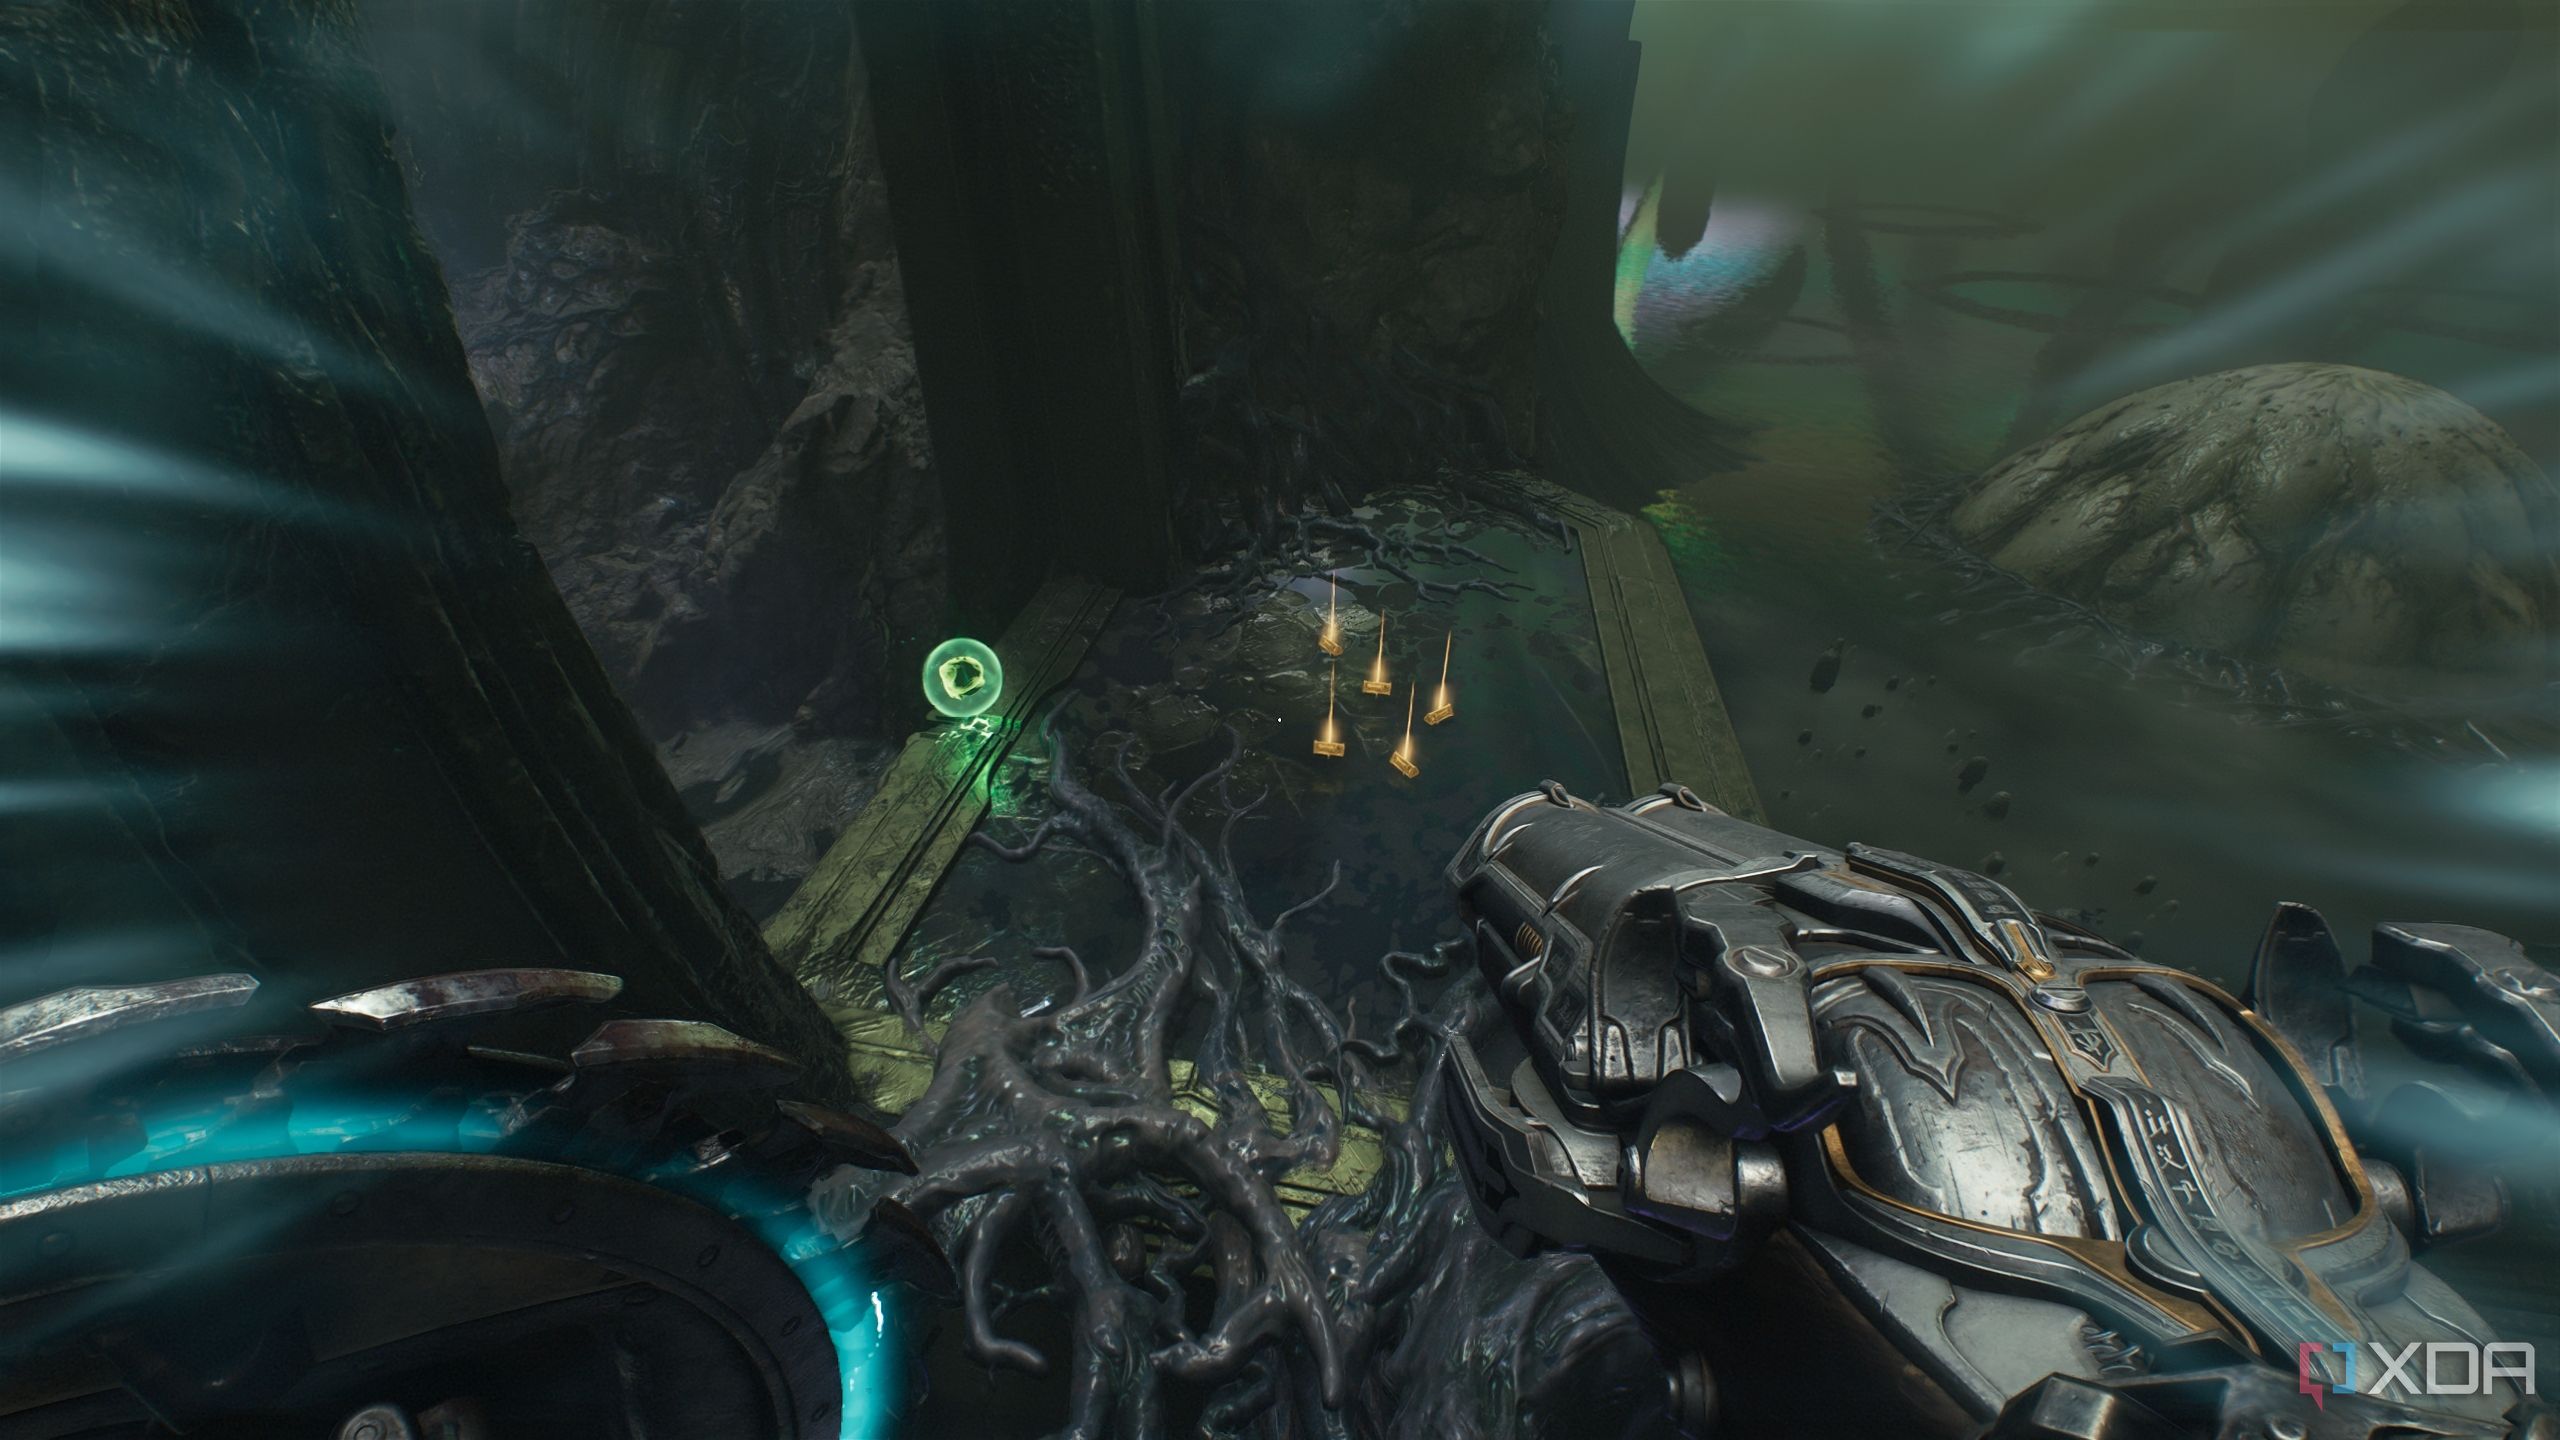
Secret area 1, Wolf Statue 1, and a Red Ruby
Not as easy as going and picking it up
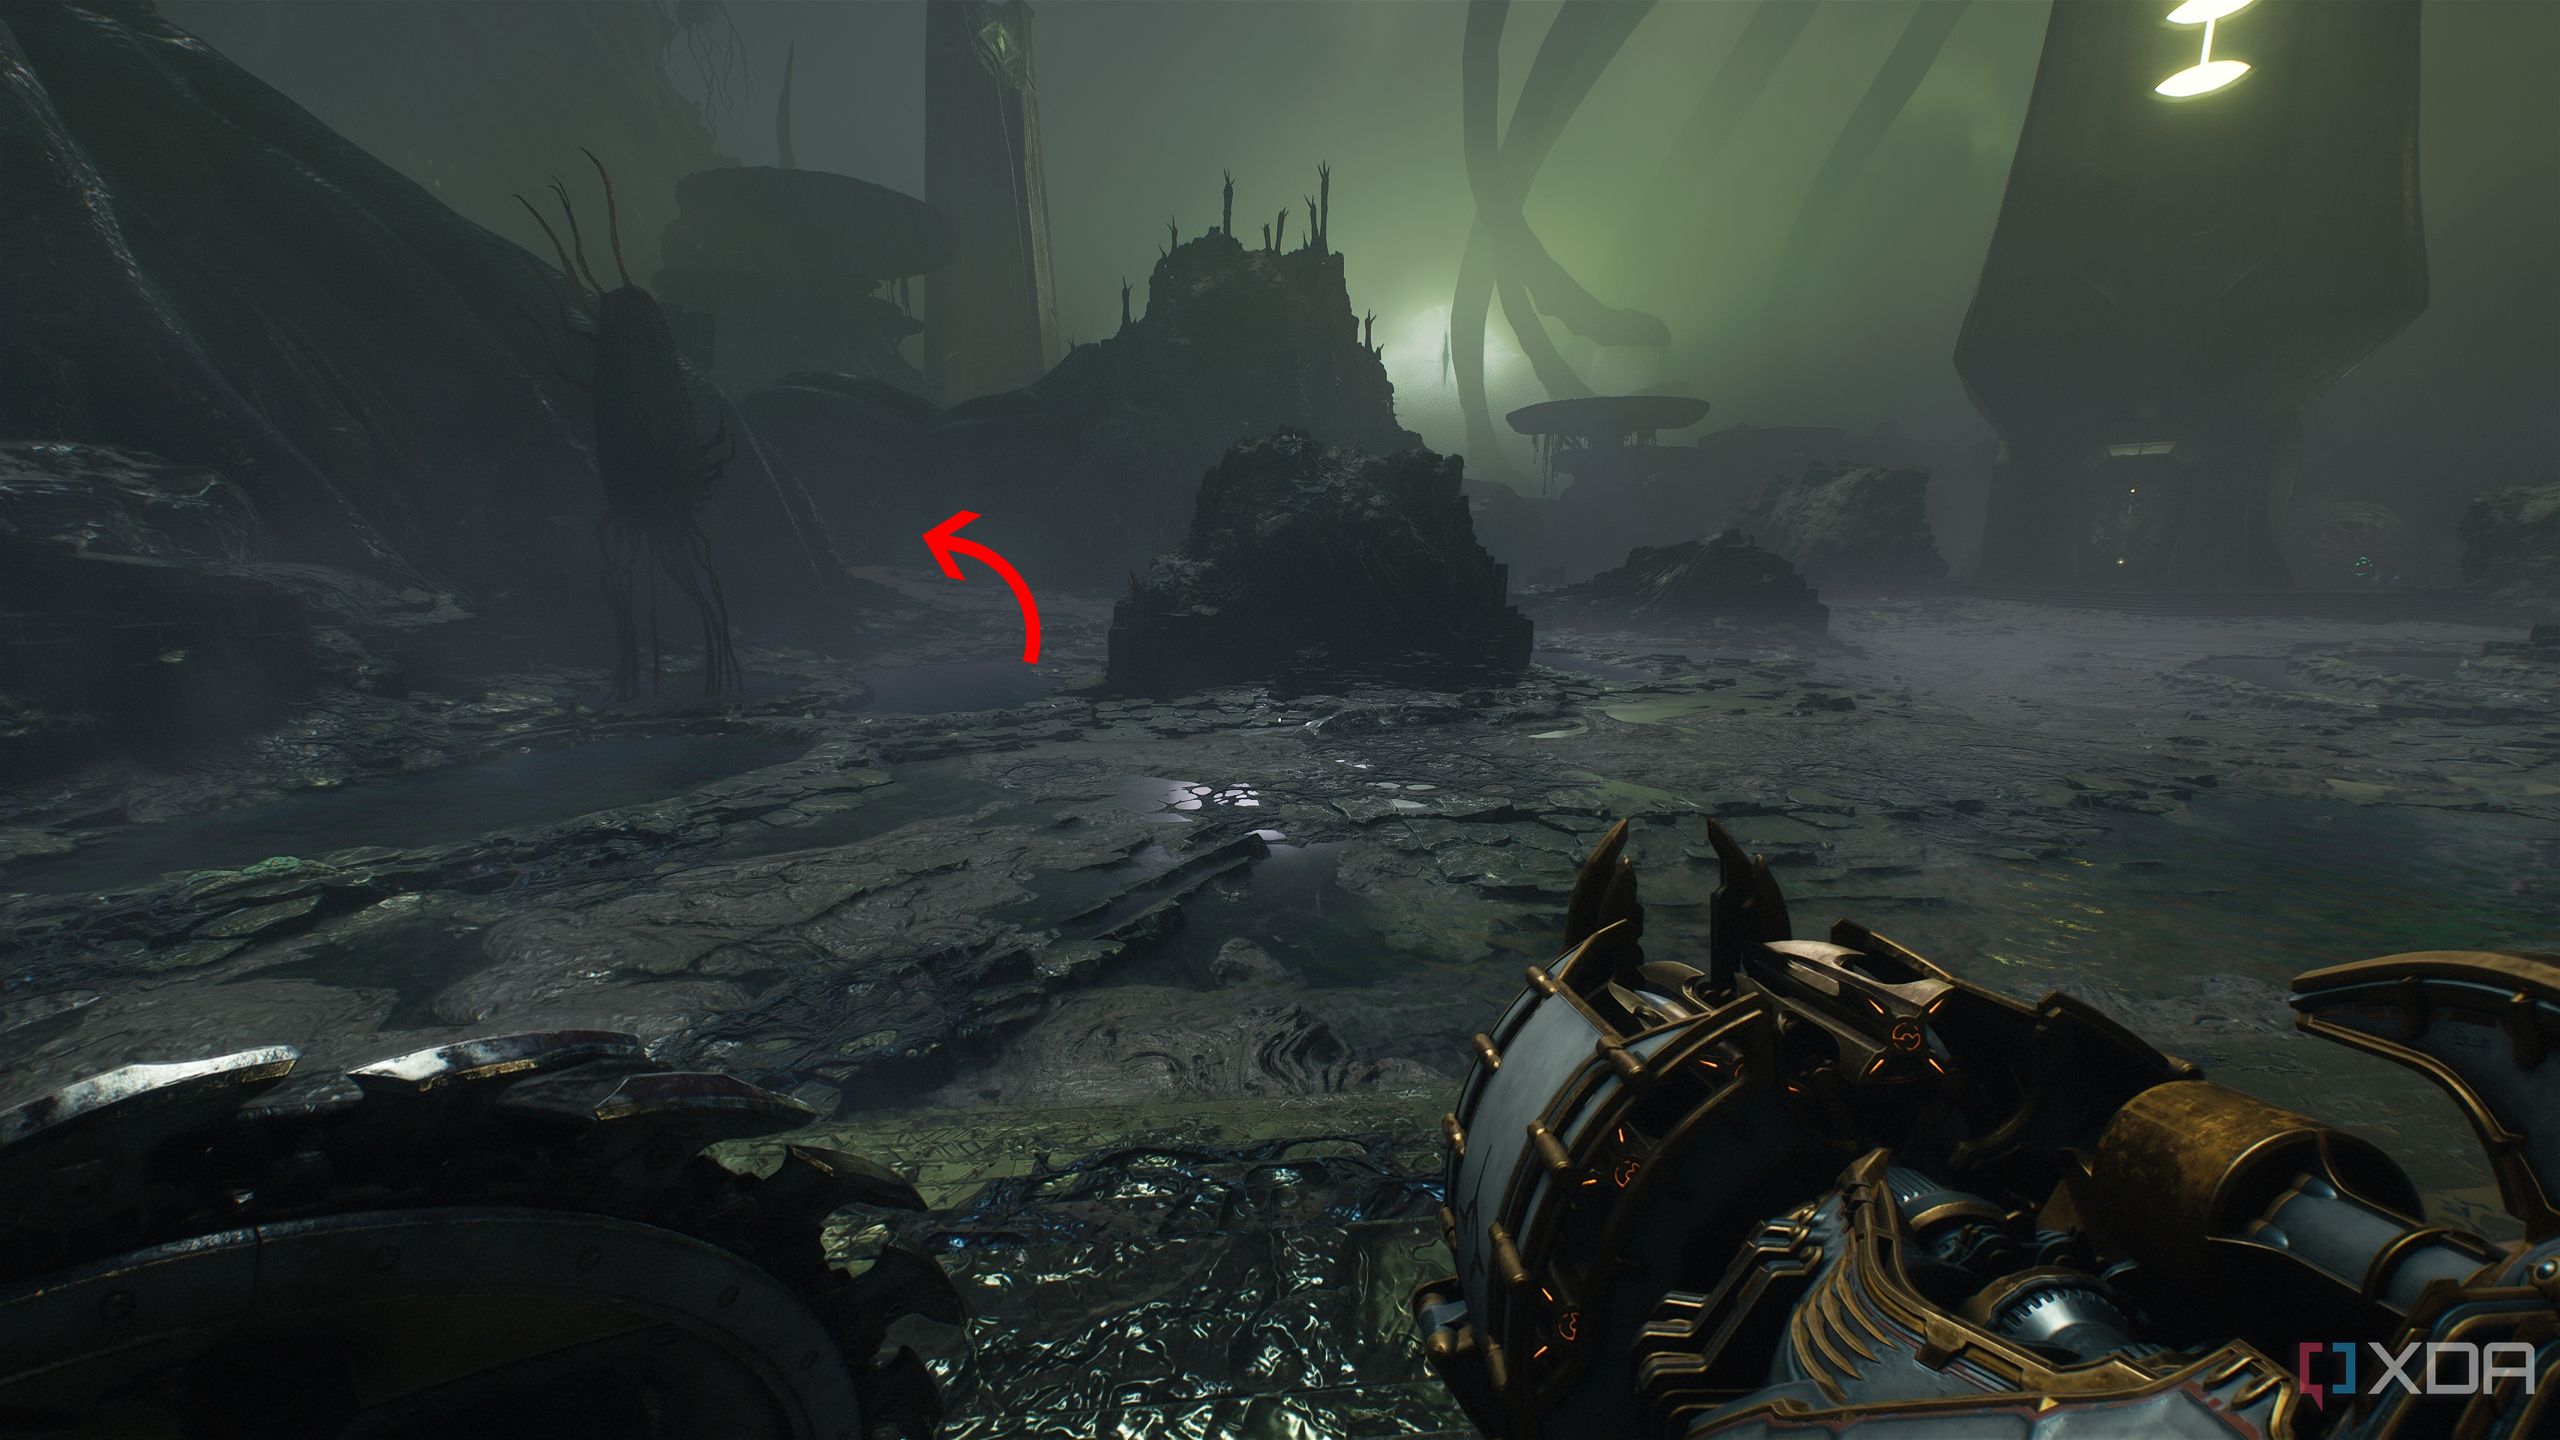
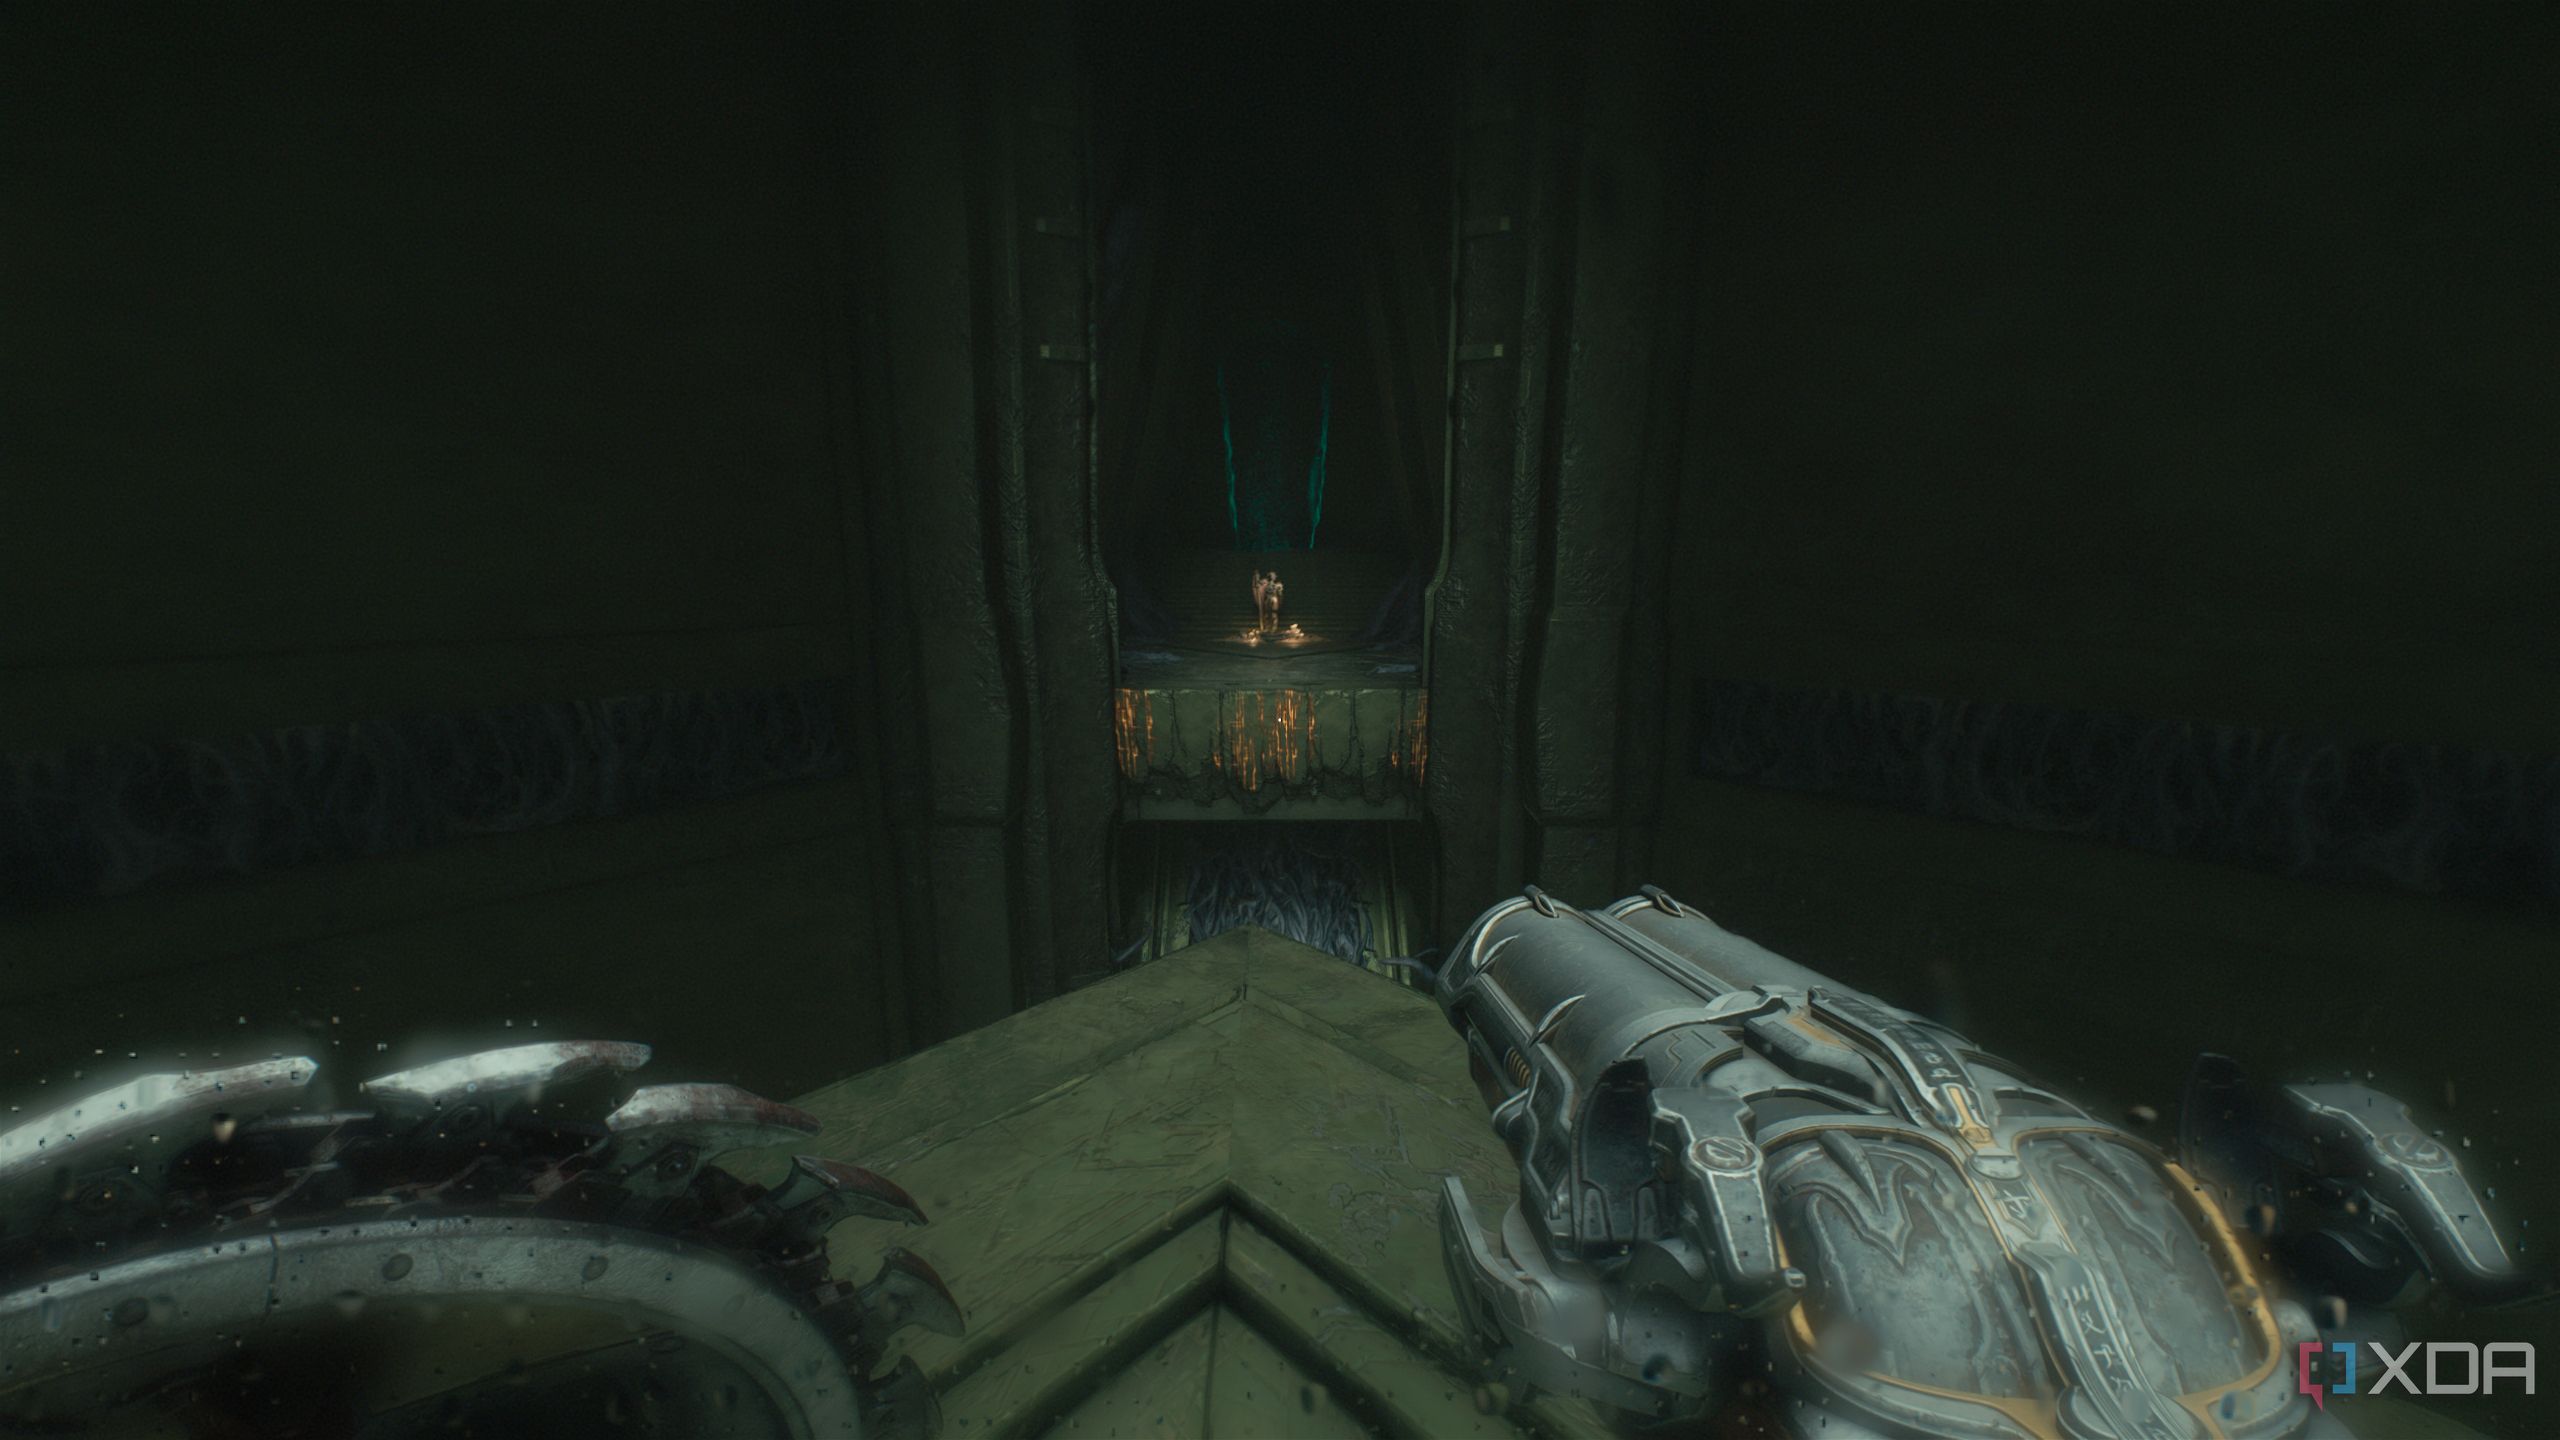
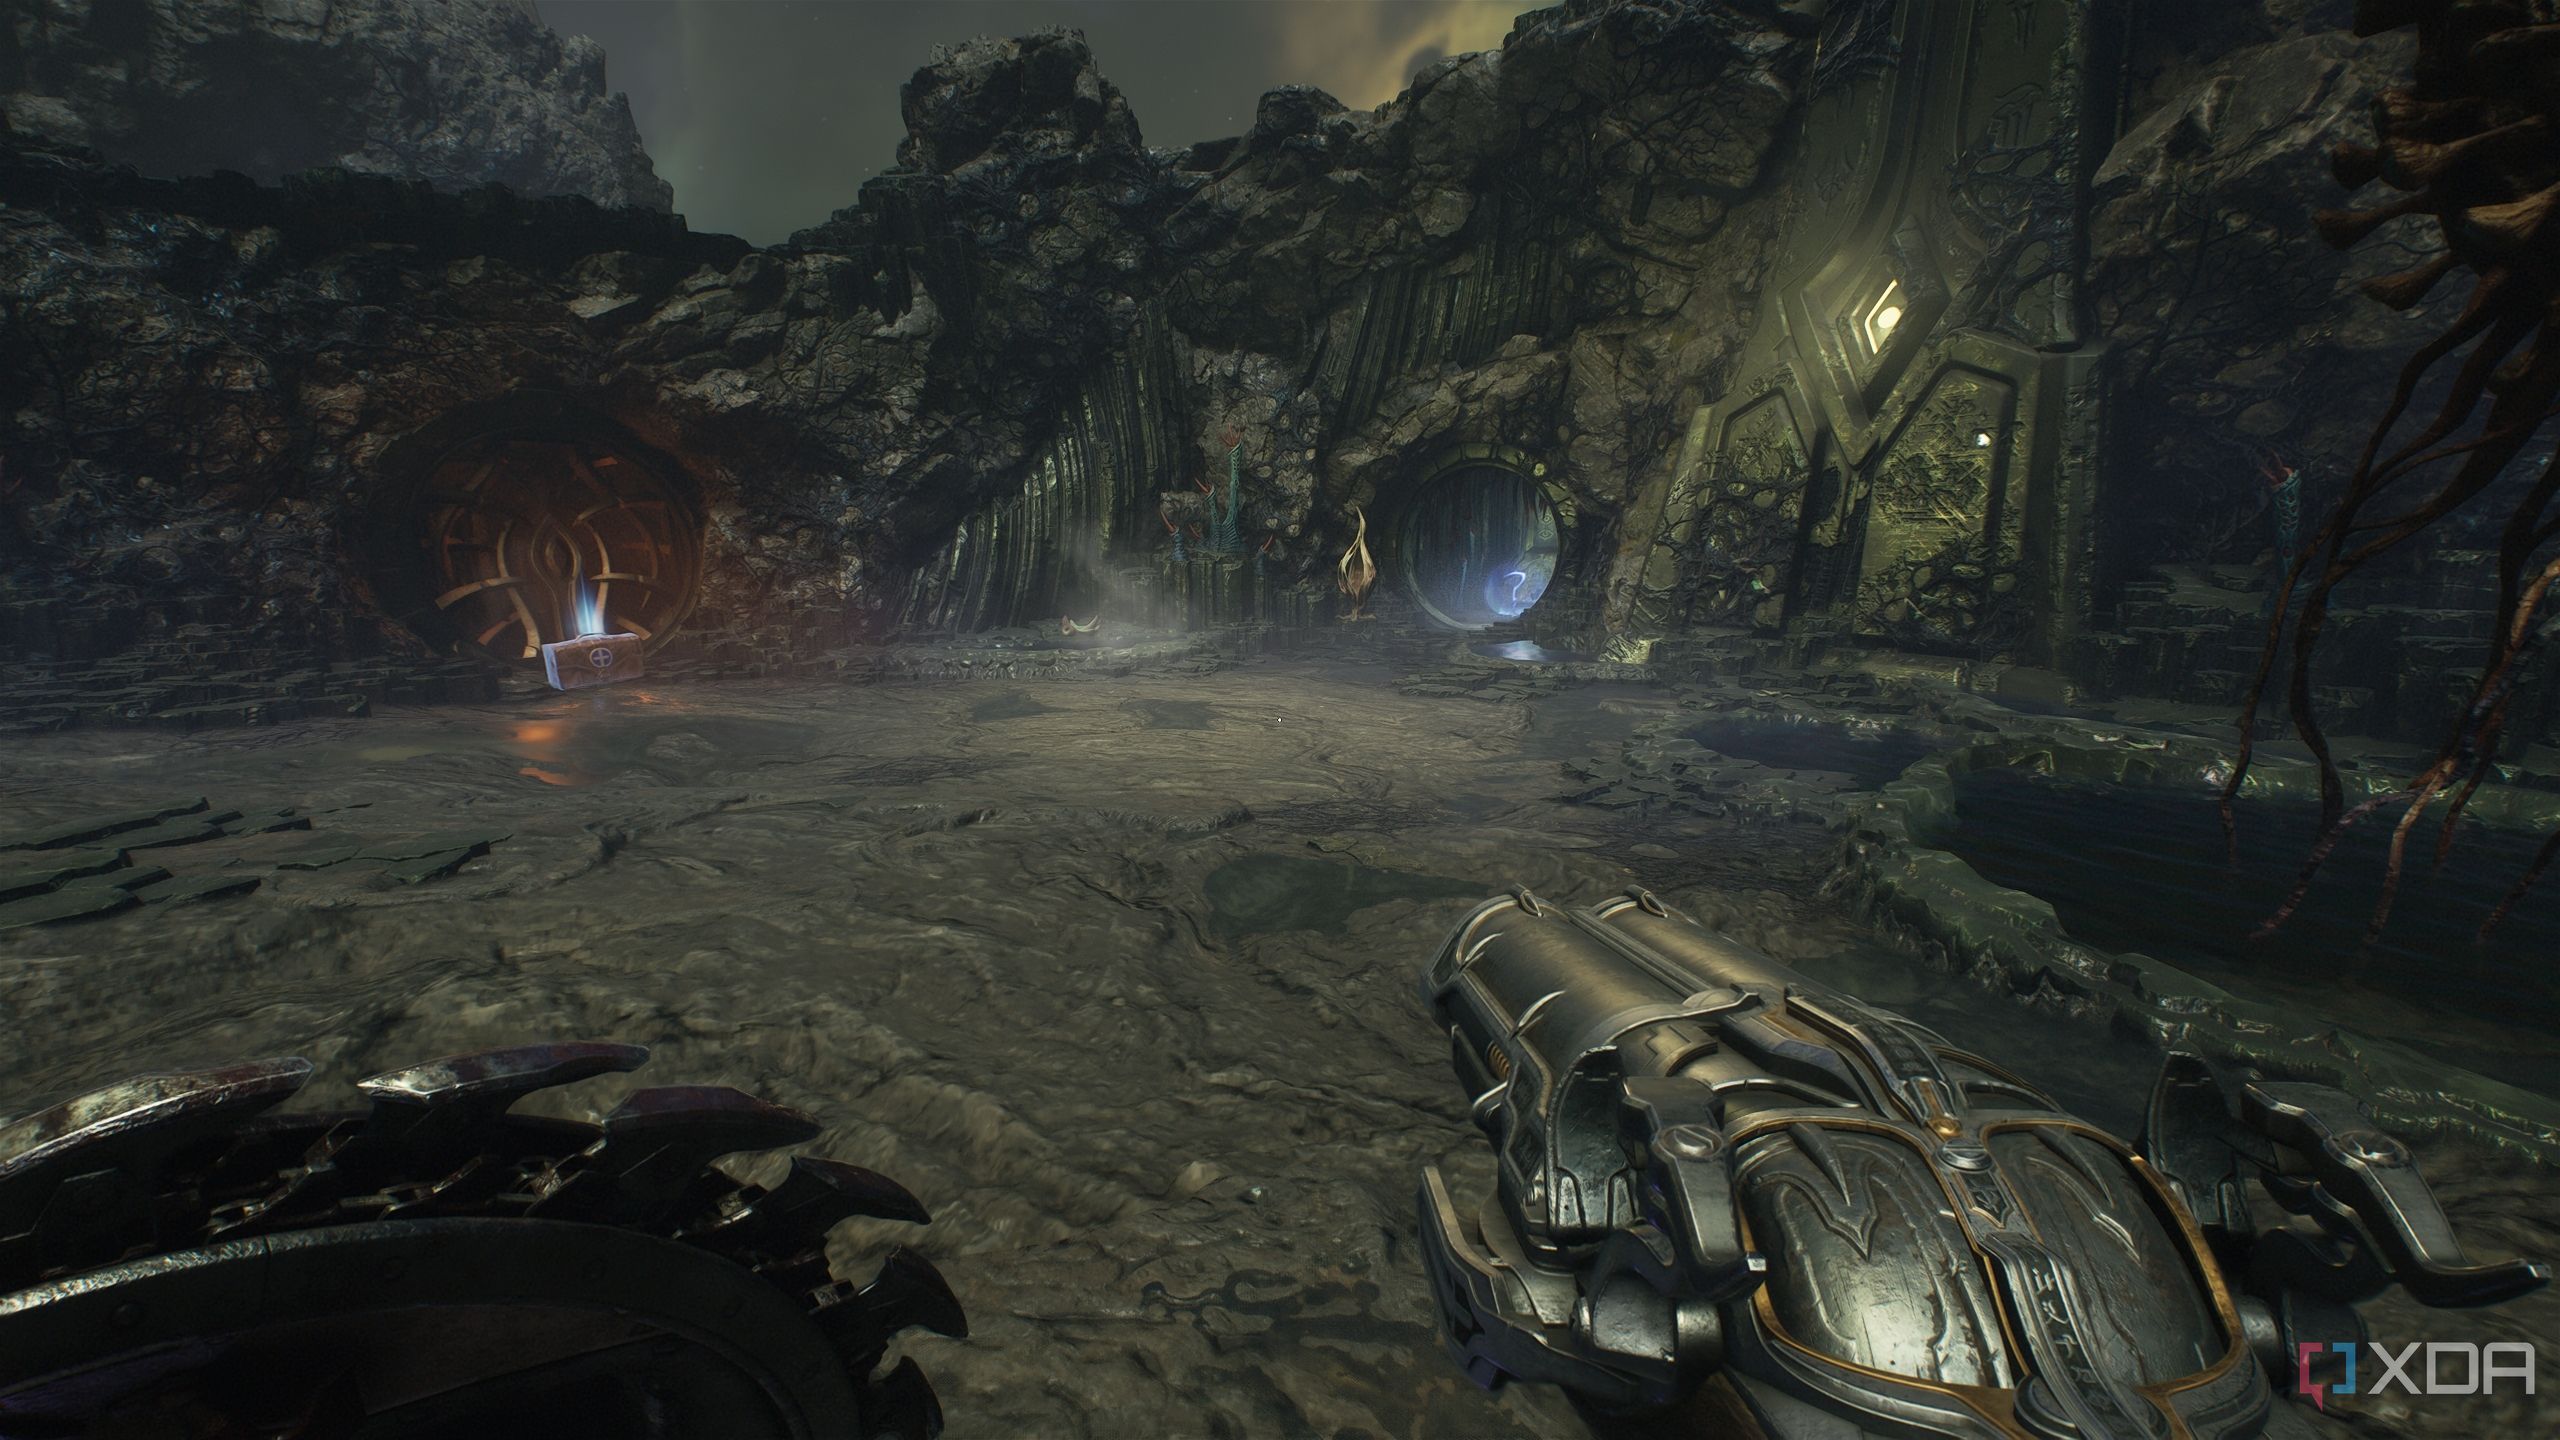
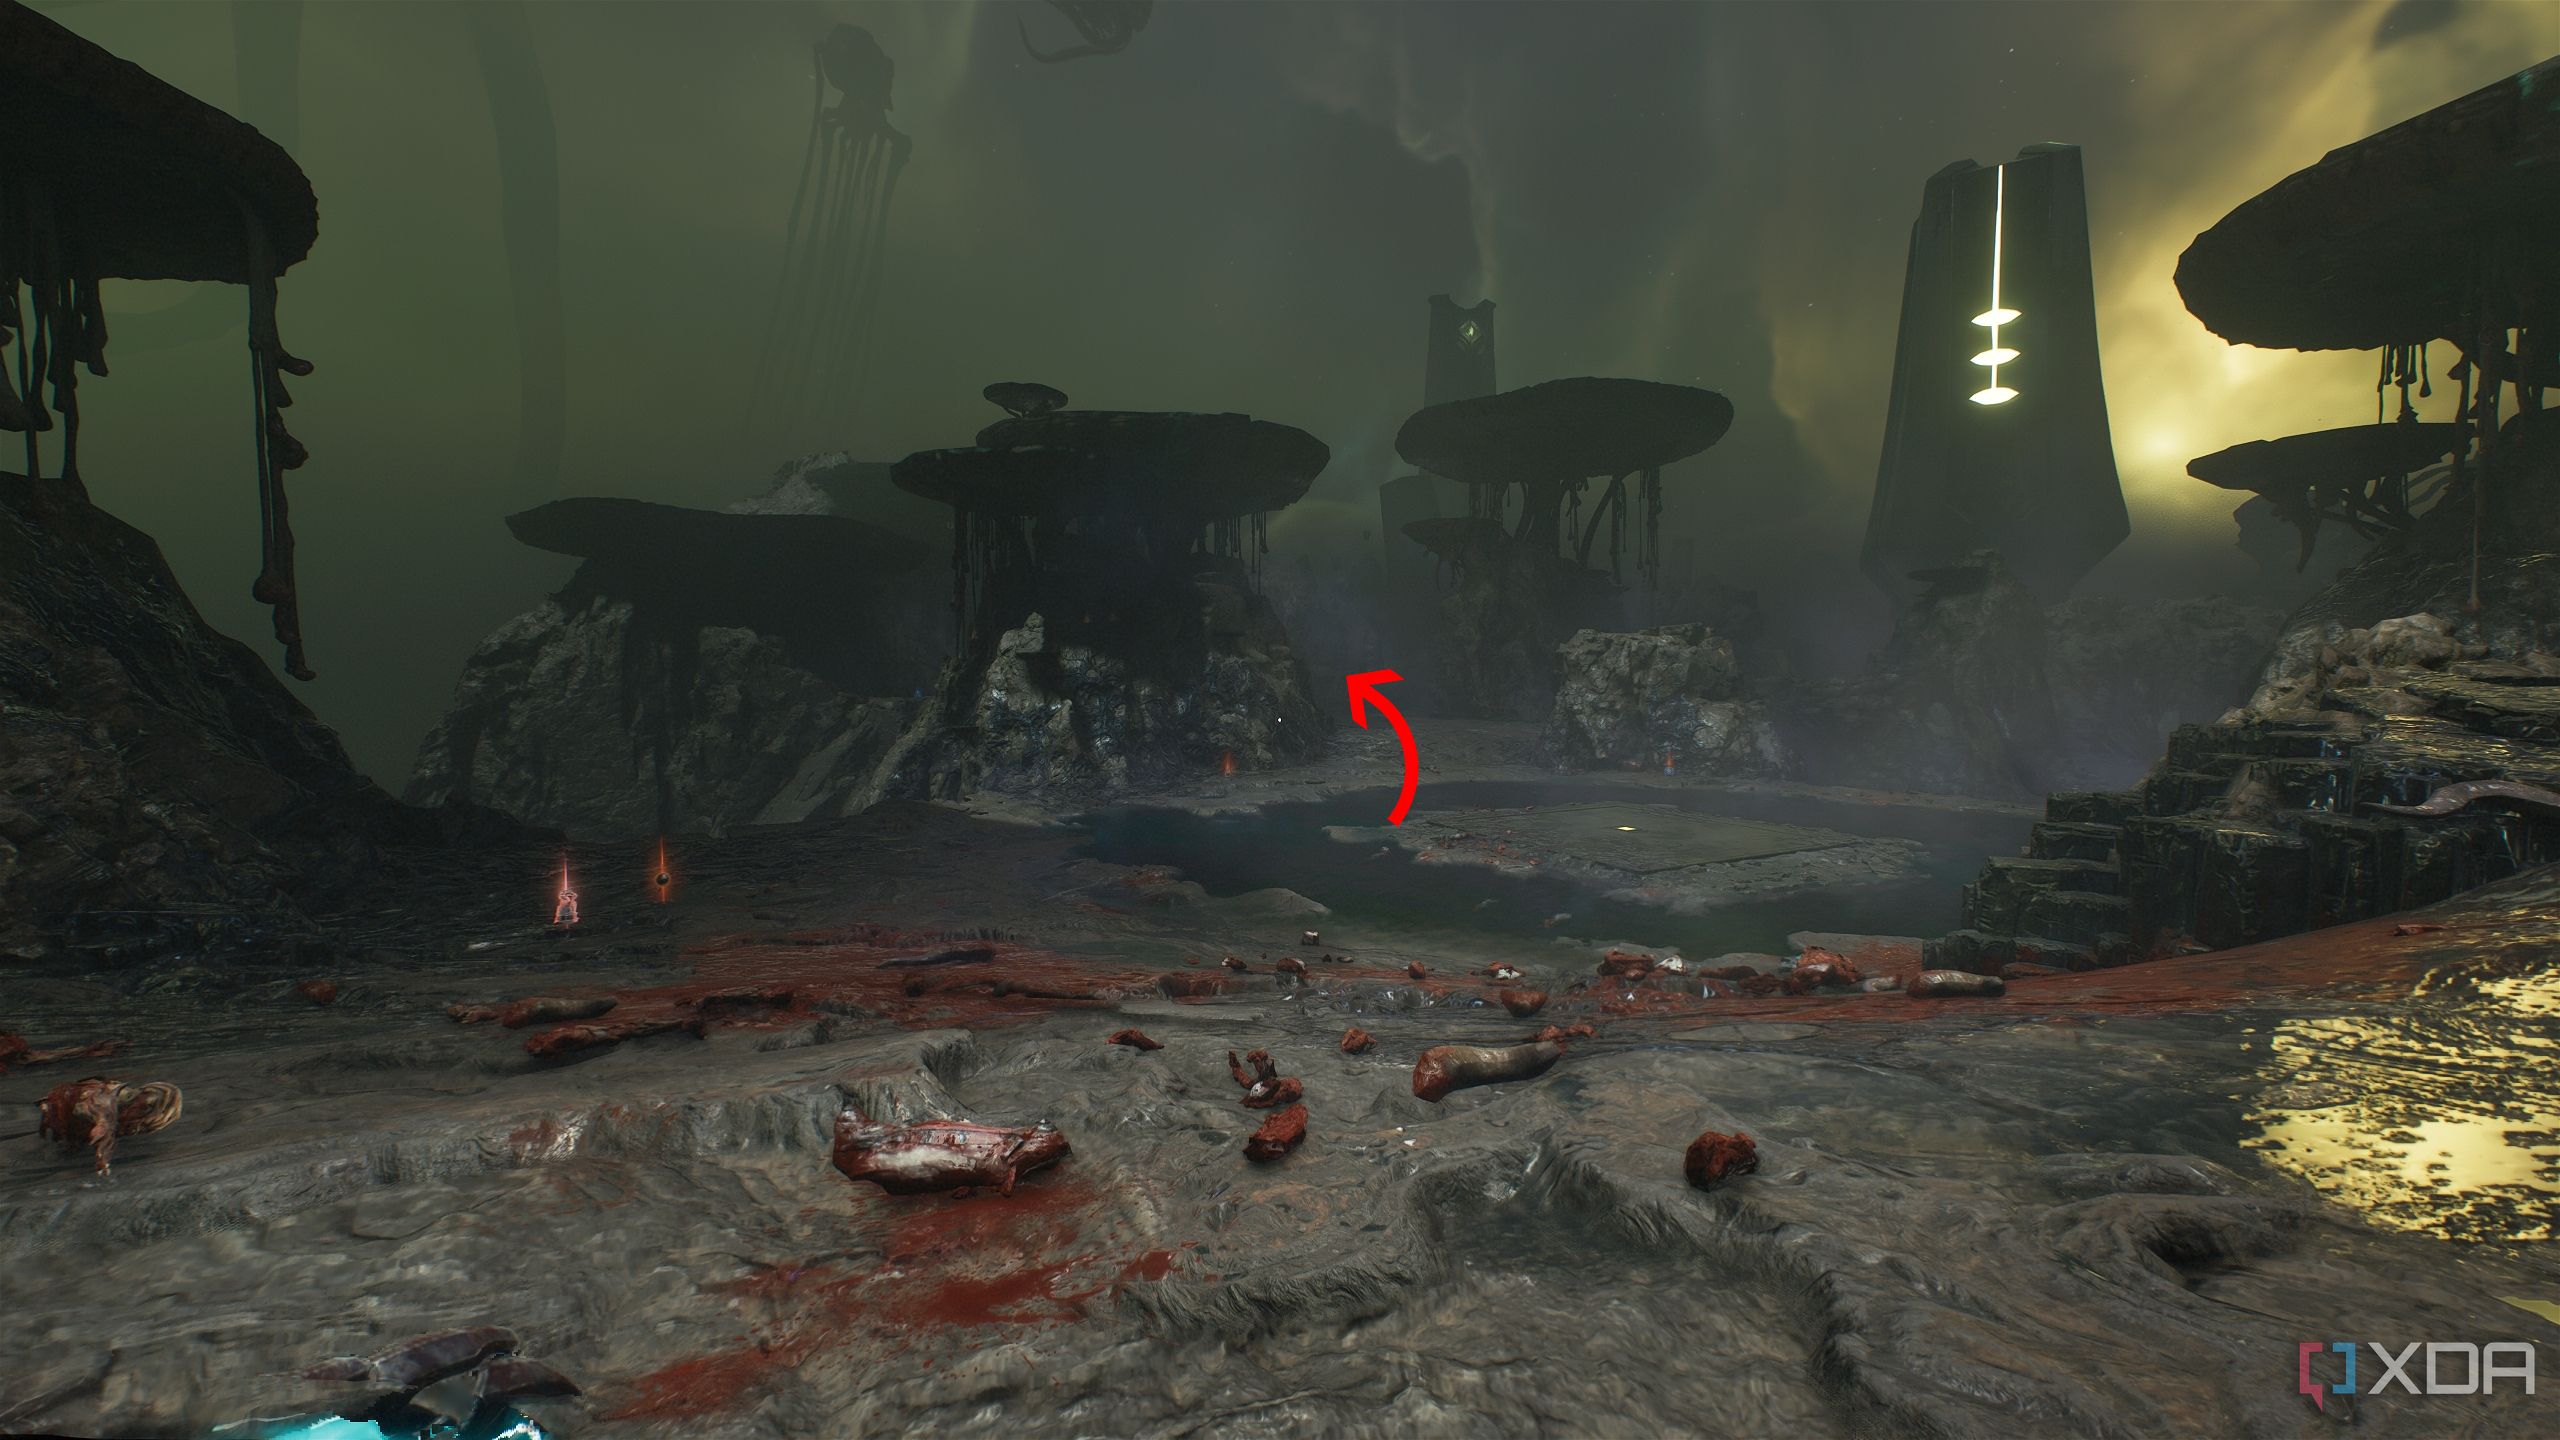
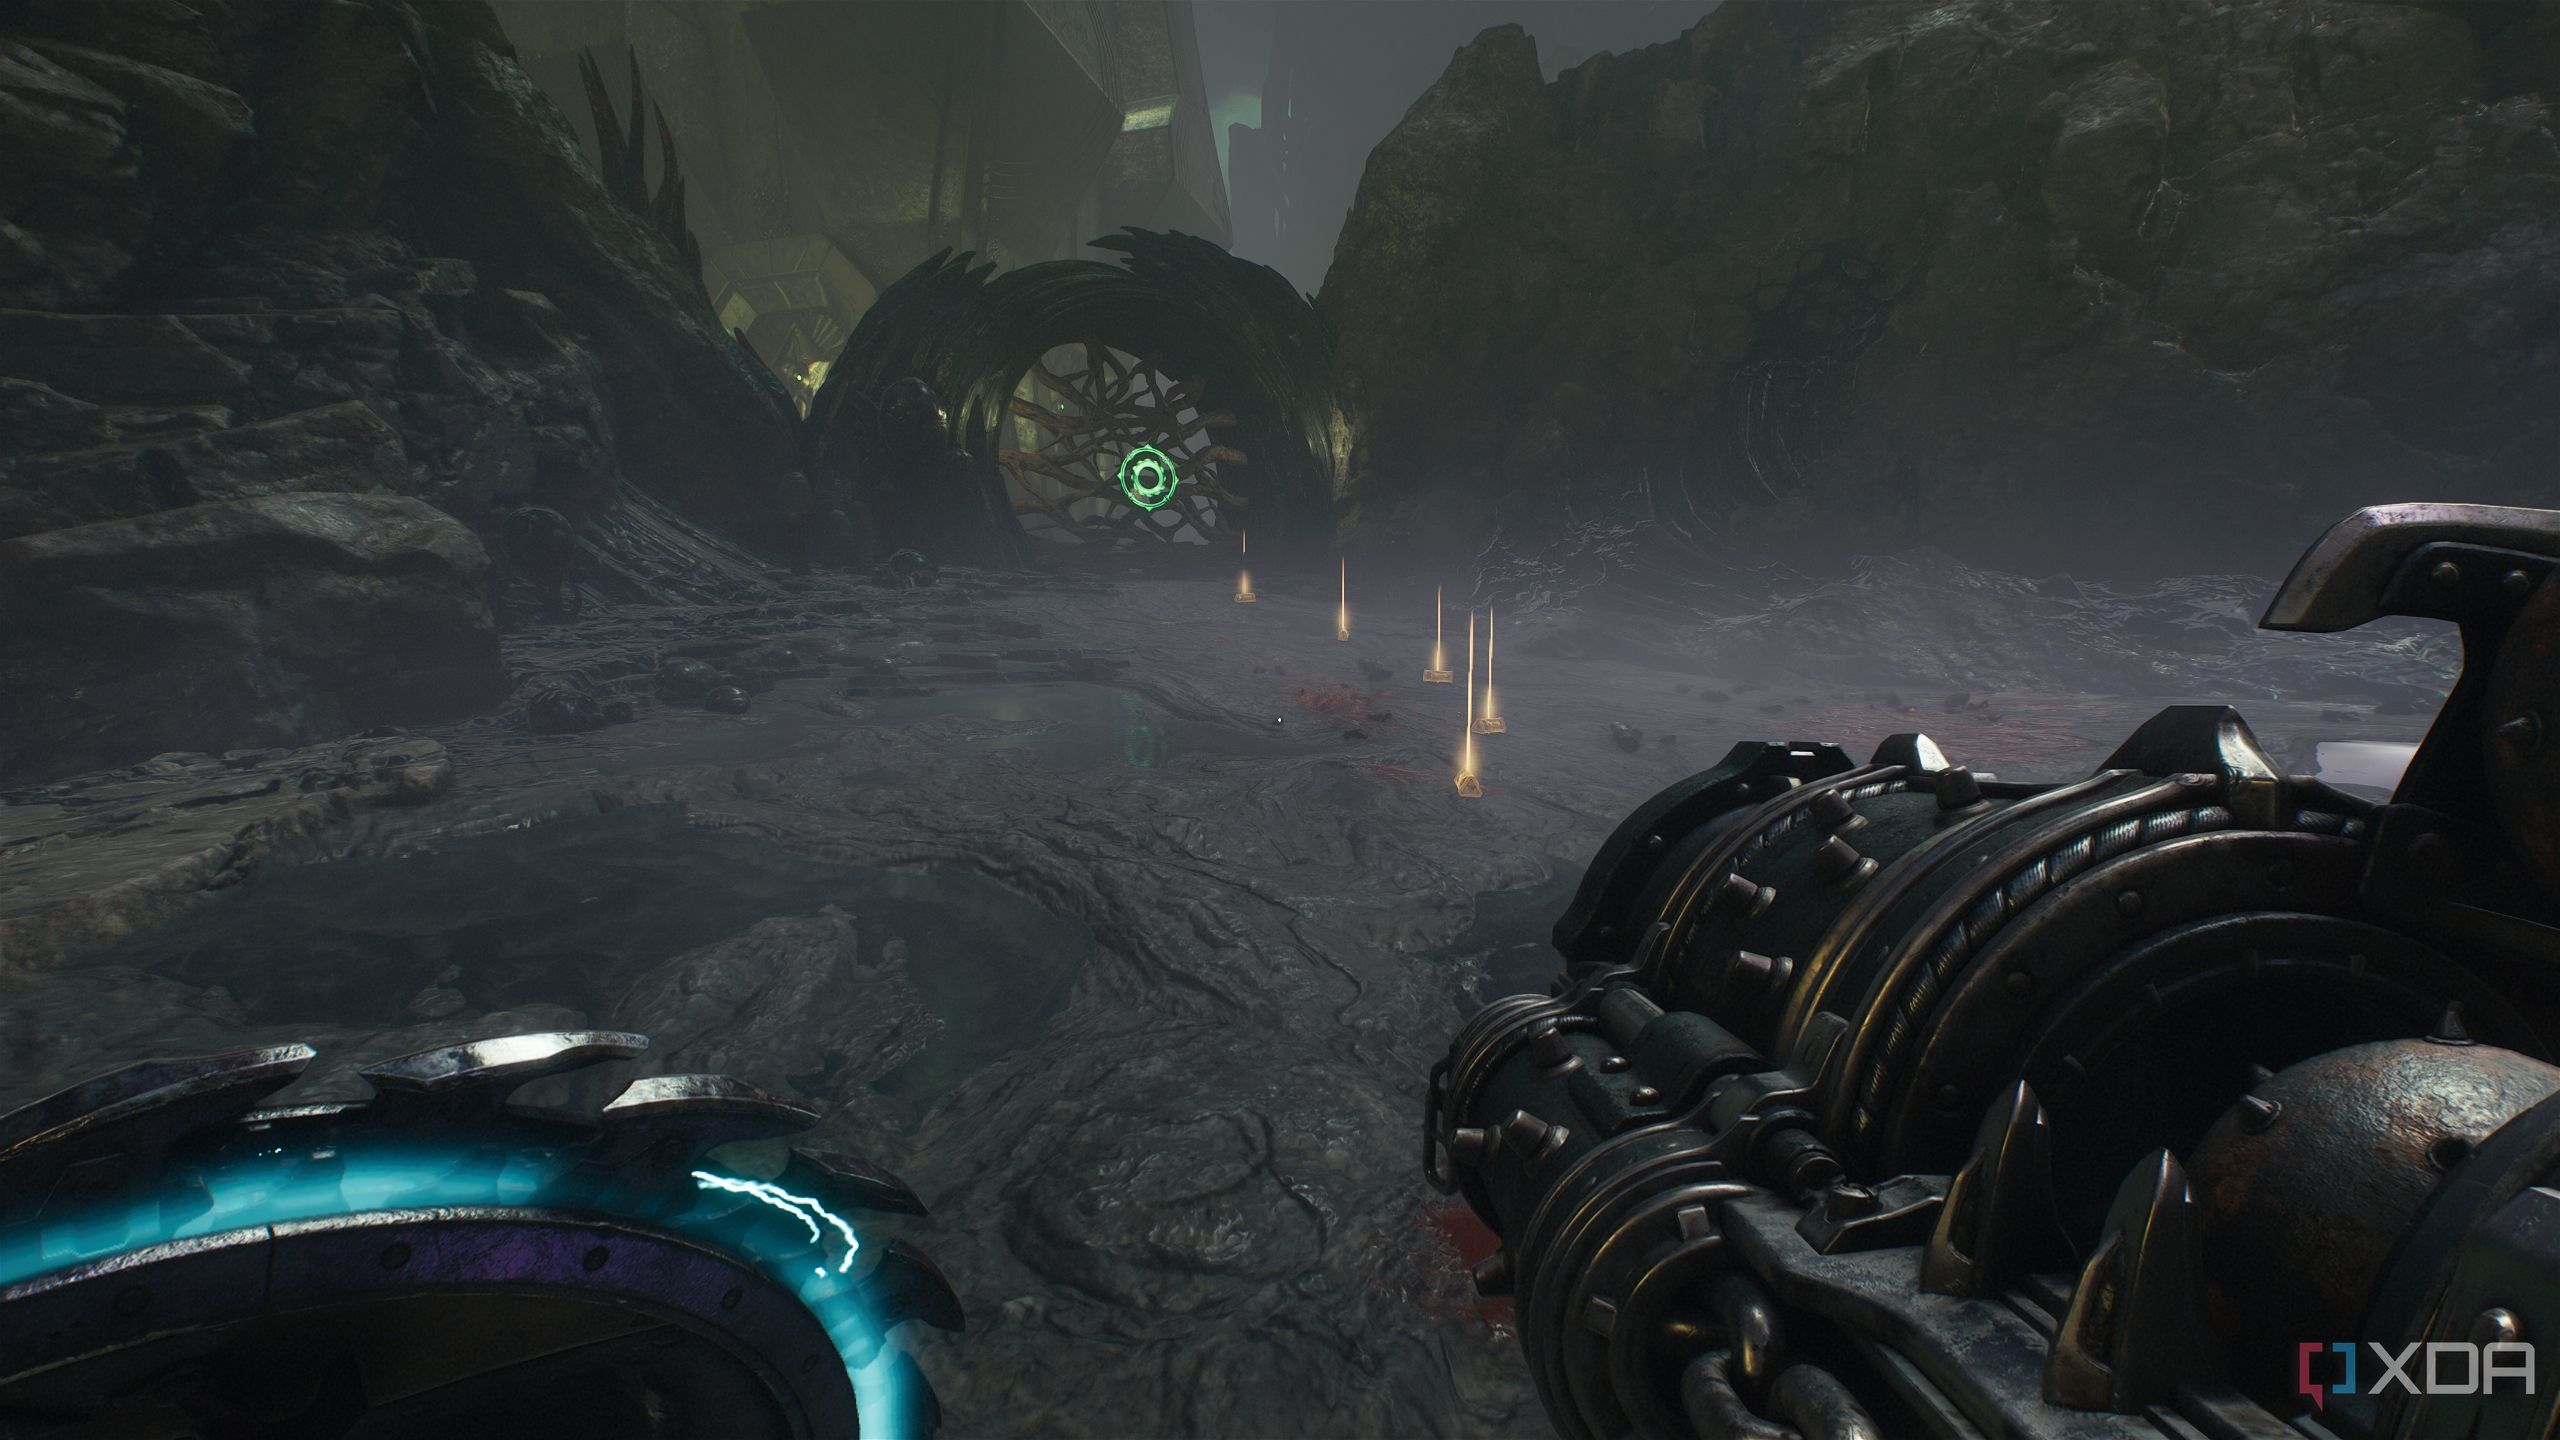
Right as the level starts, take a left and enter the first lane on the left you see.
You’ll see a glowing wolf statue. Destroy it with a Shield Throw.
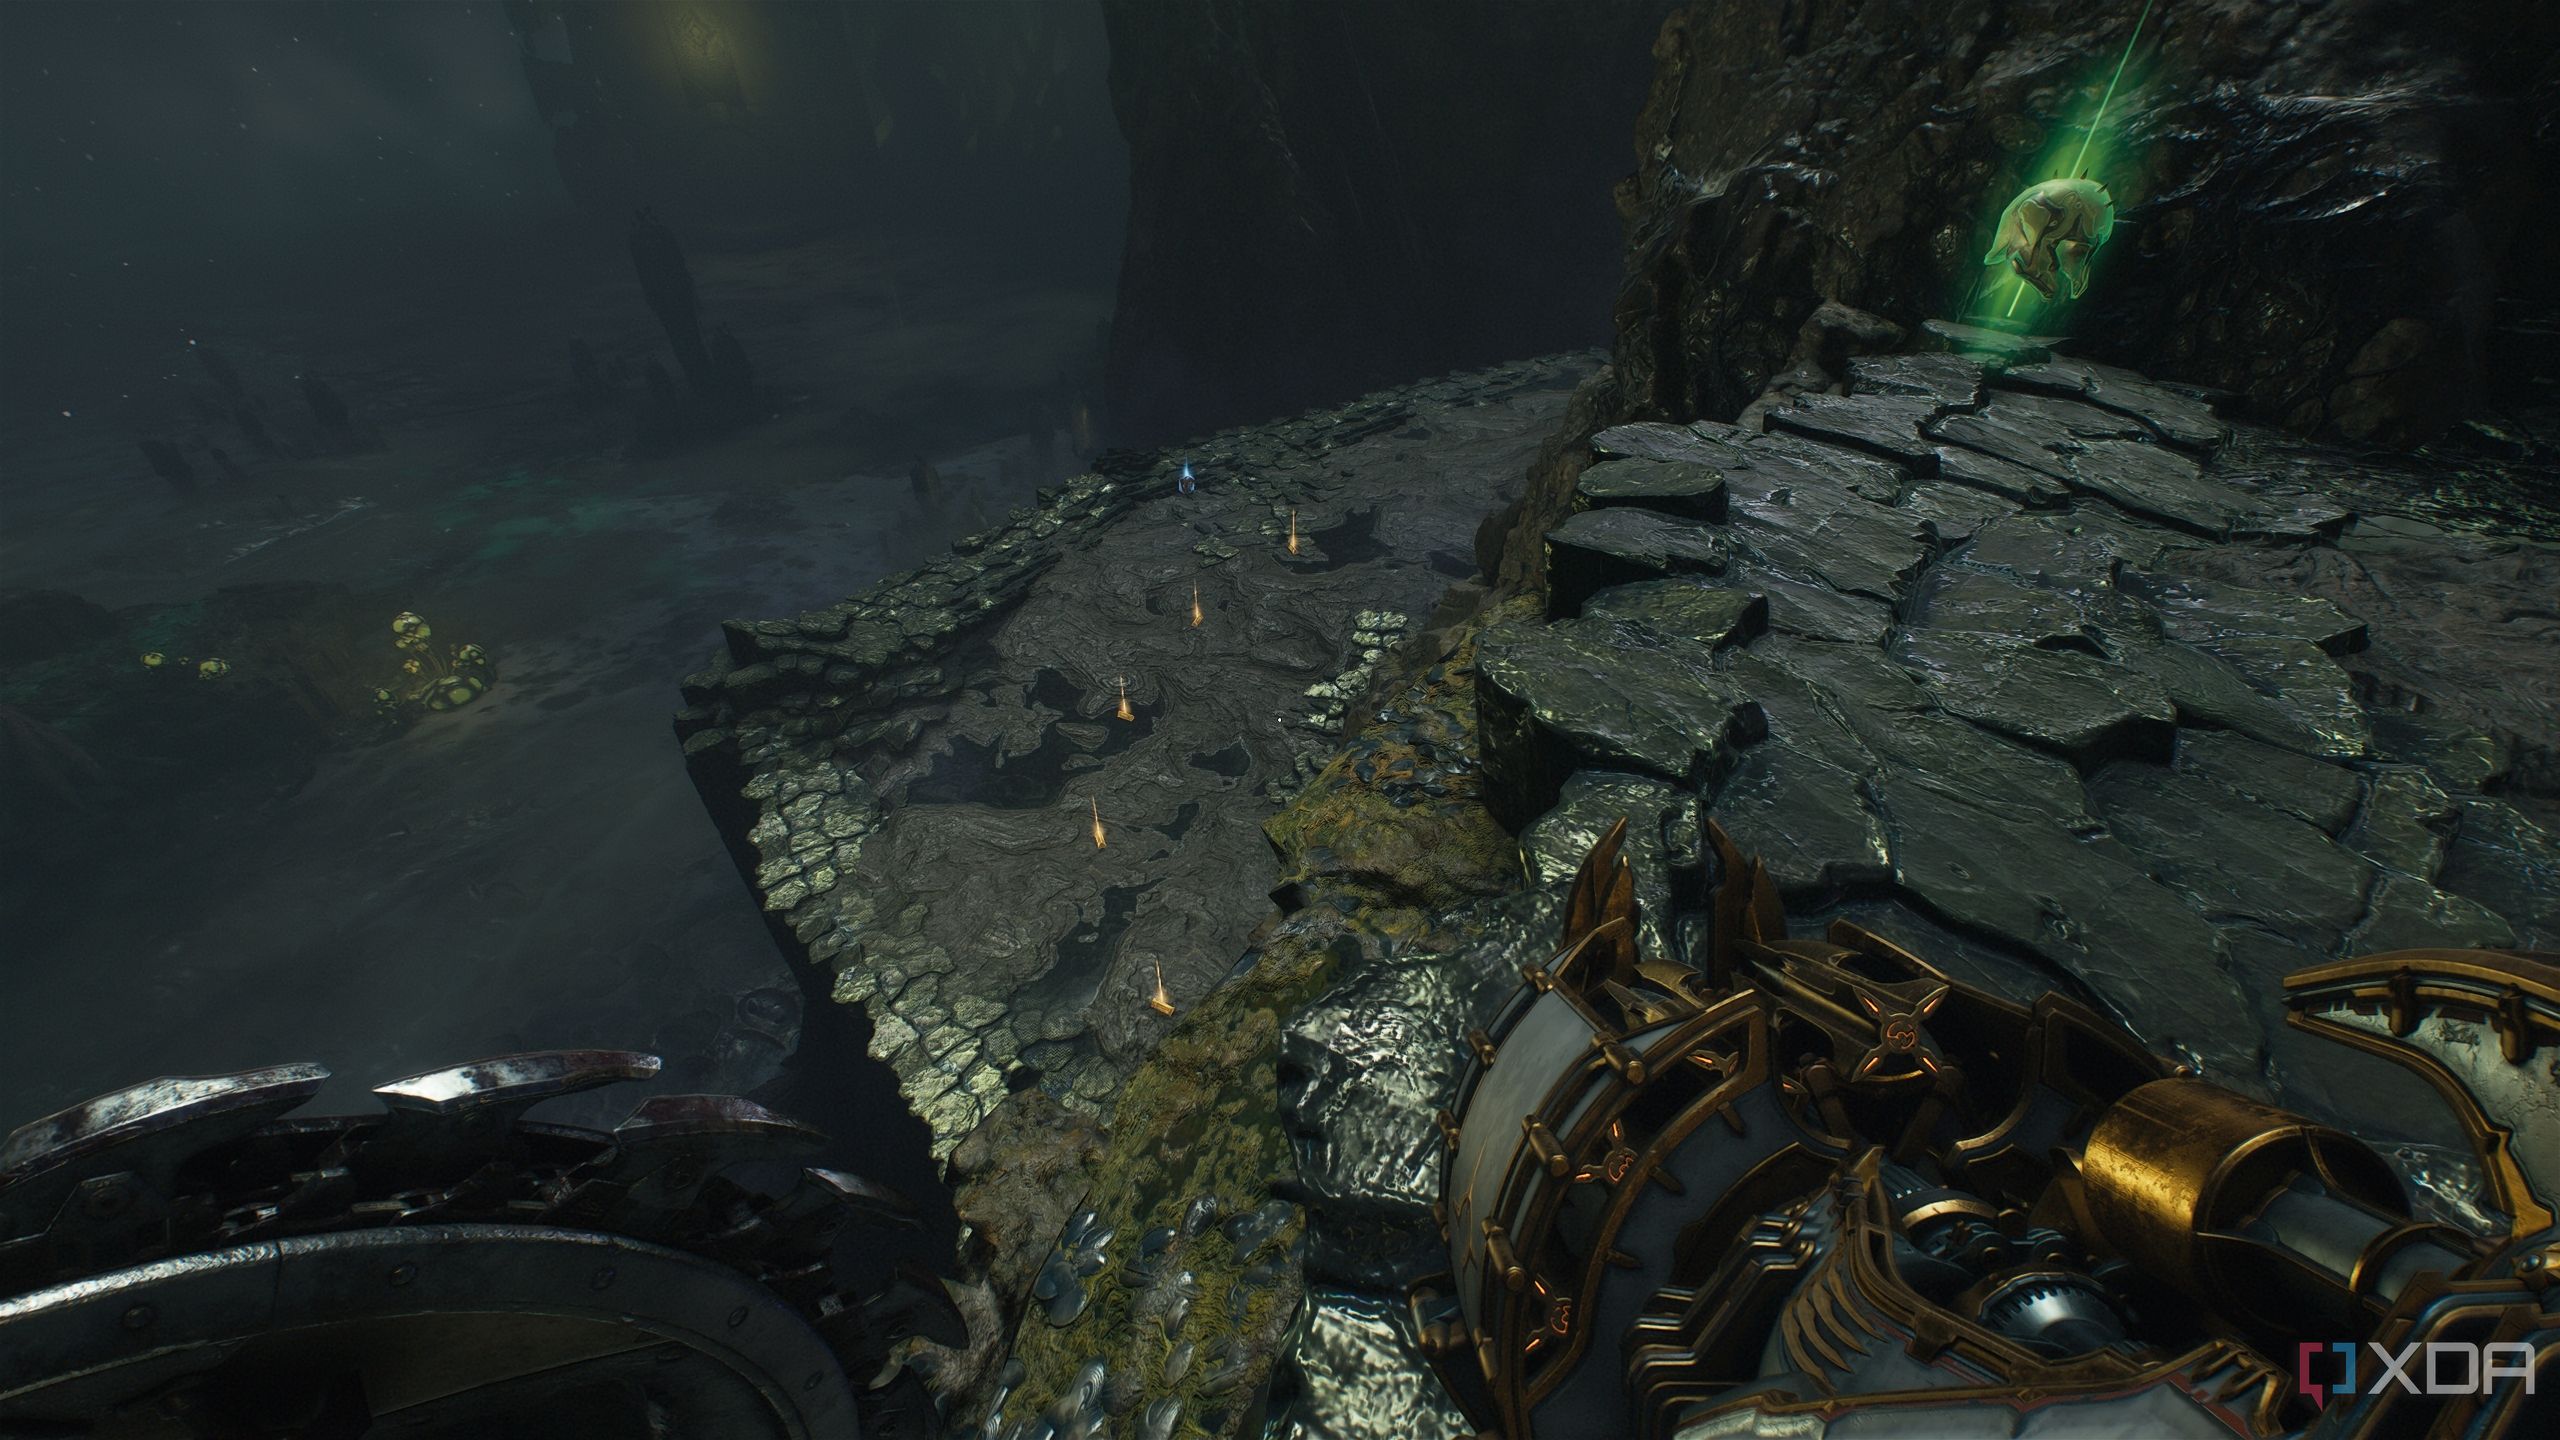
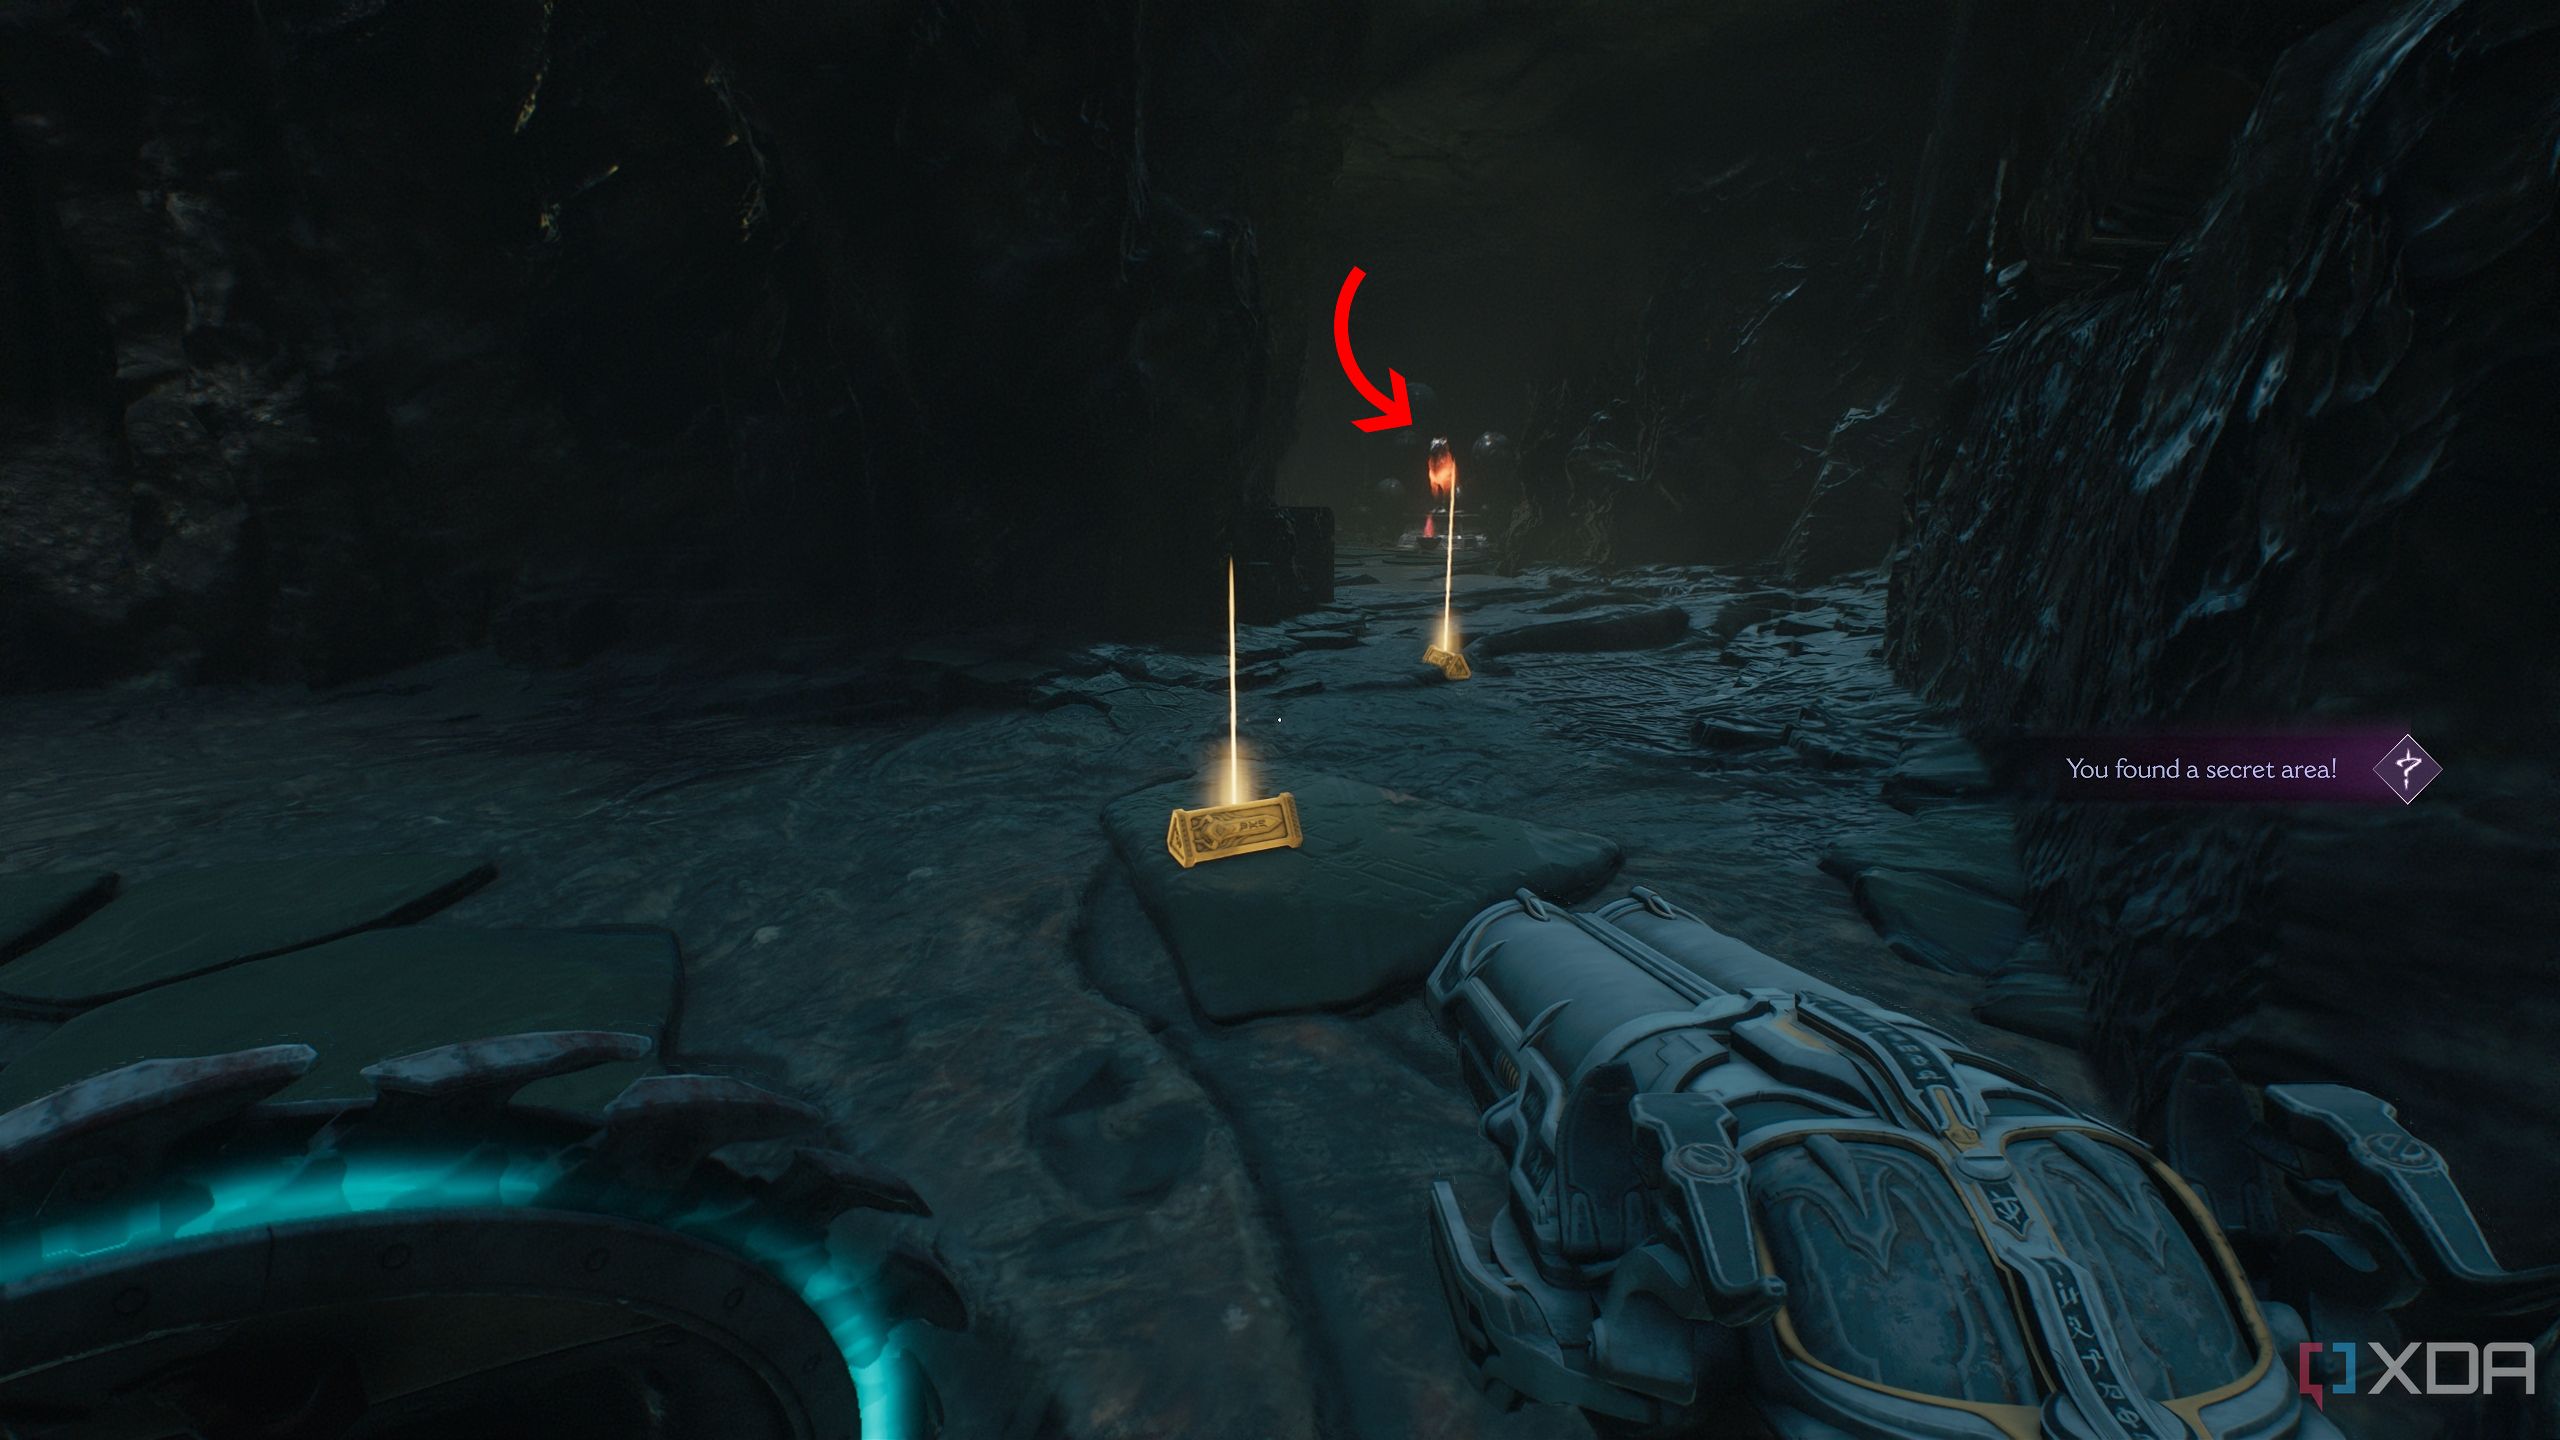
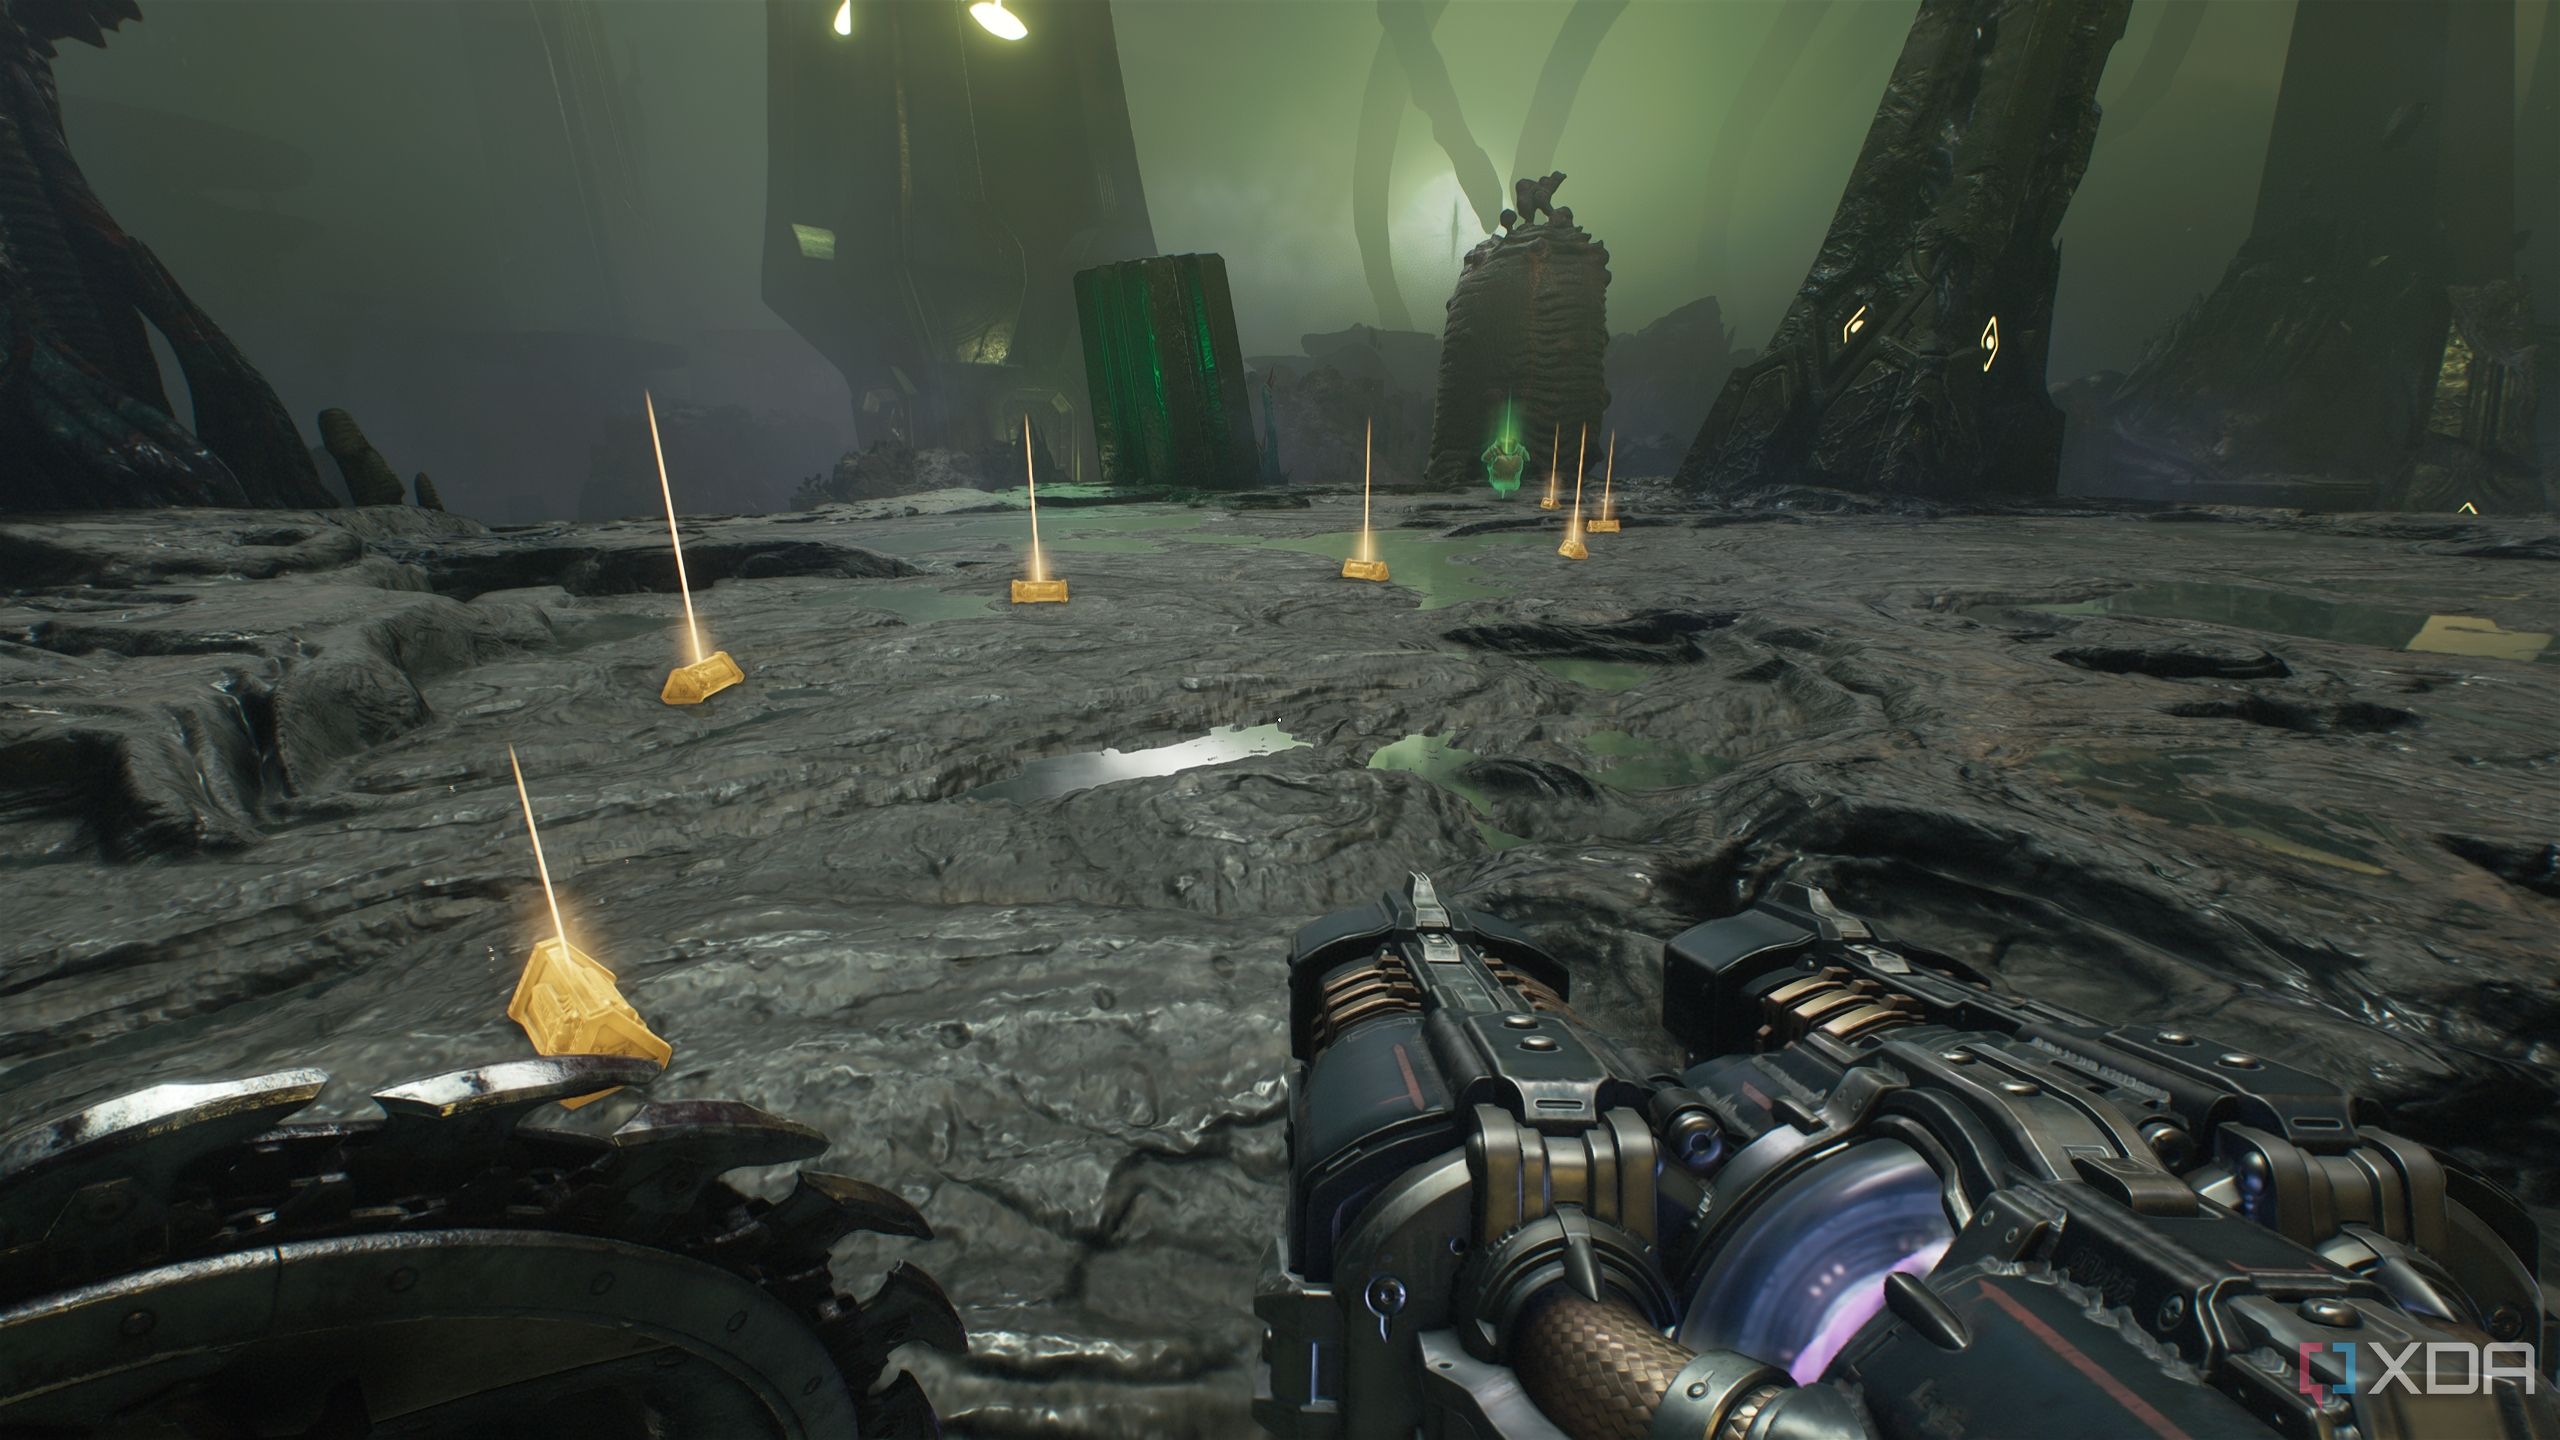
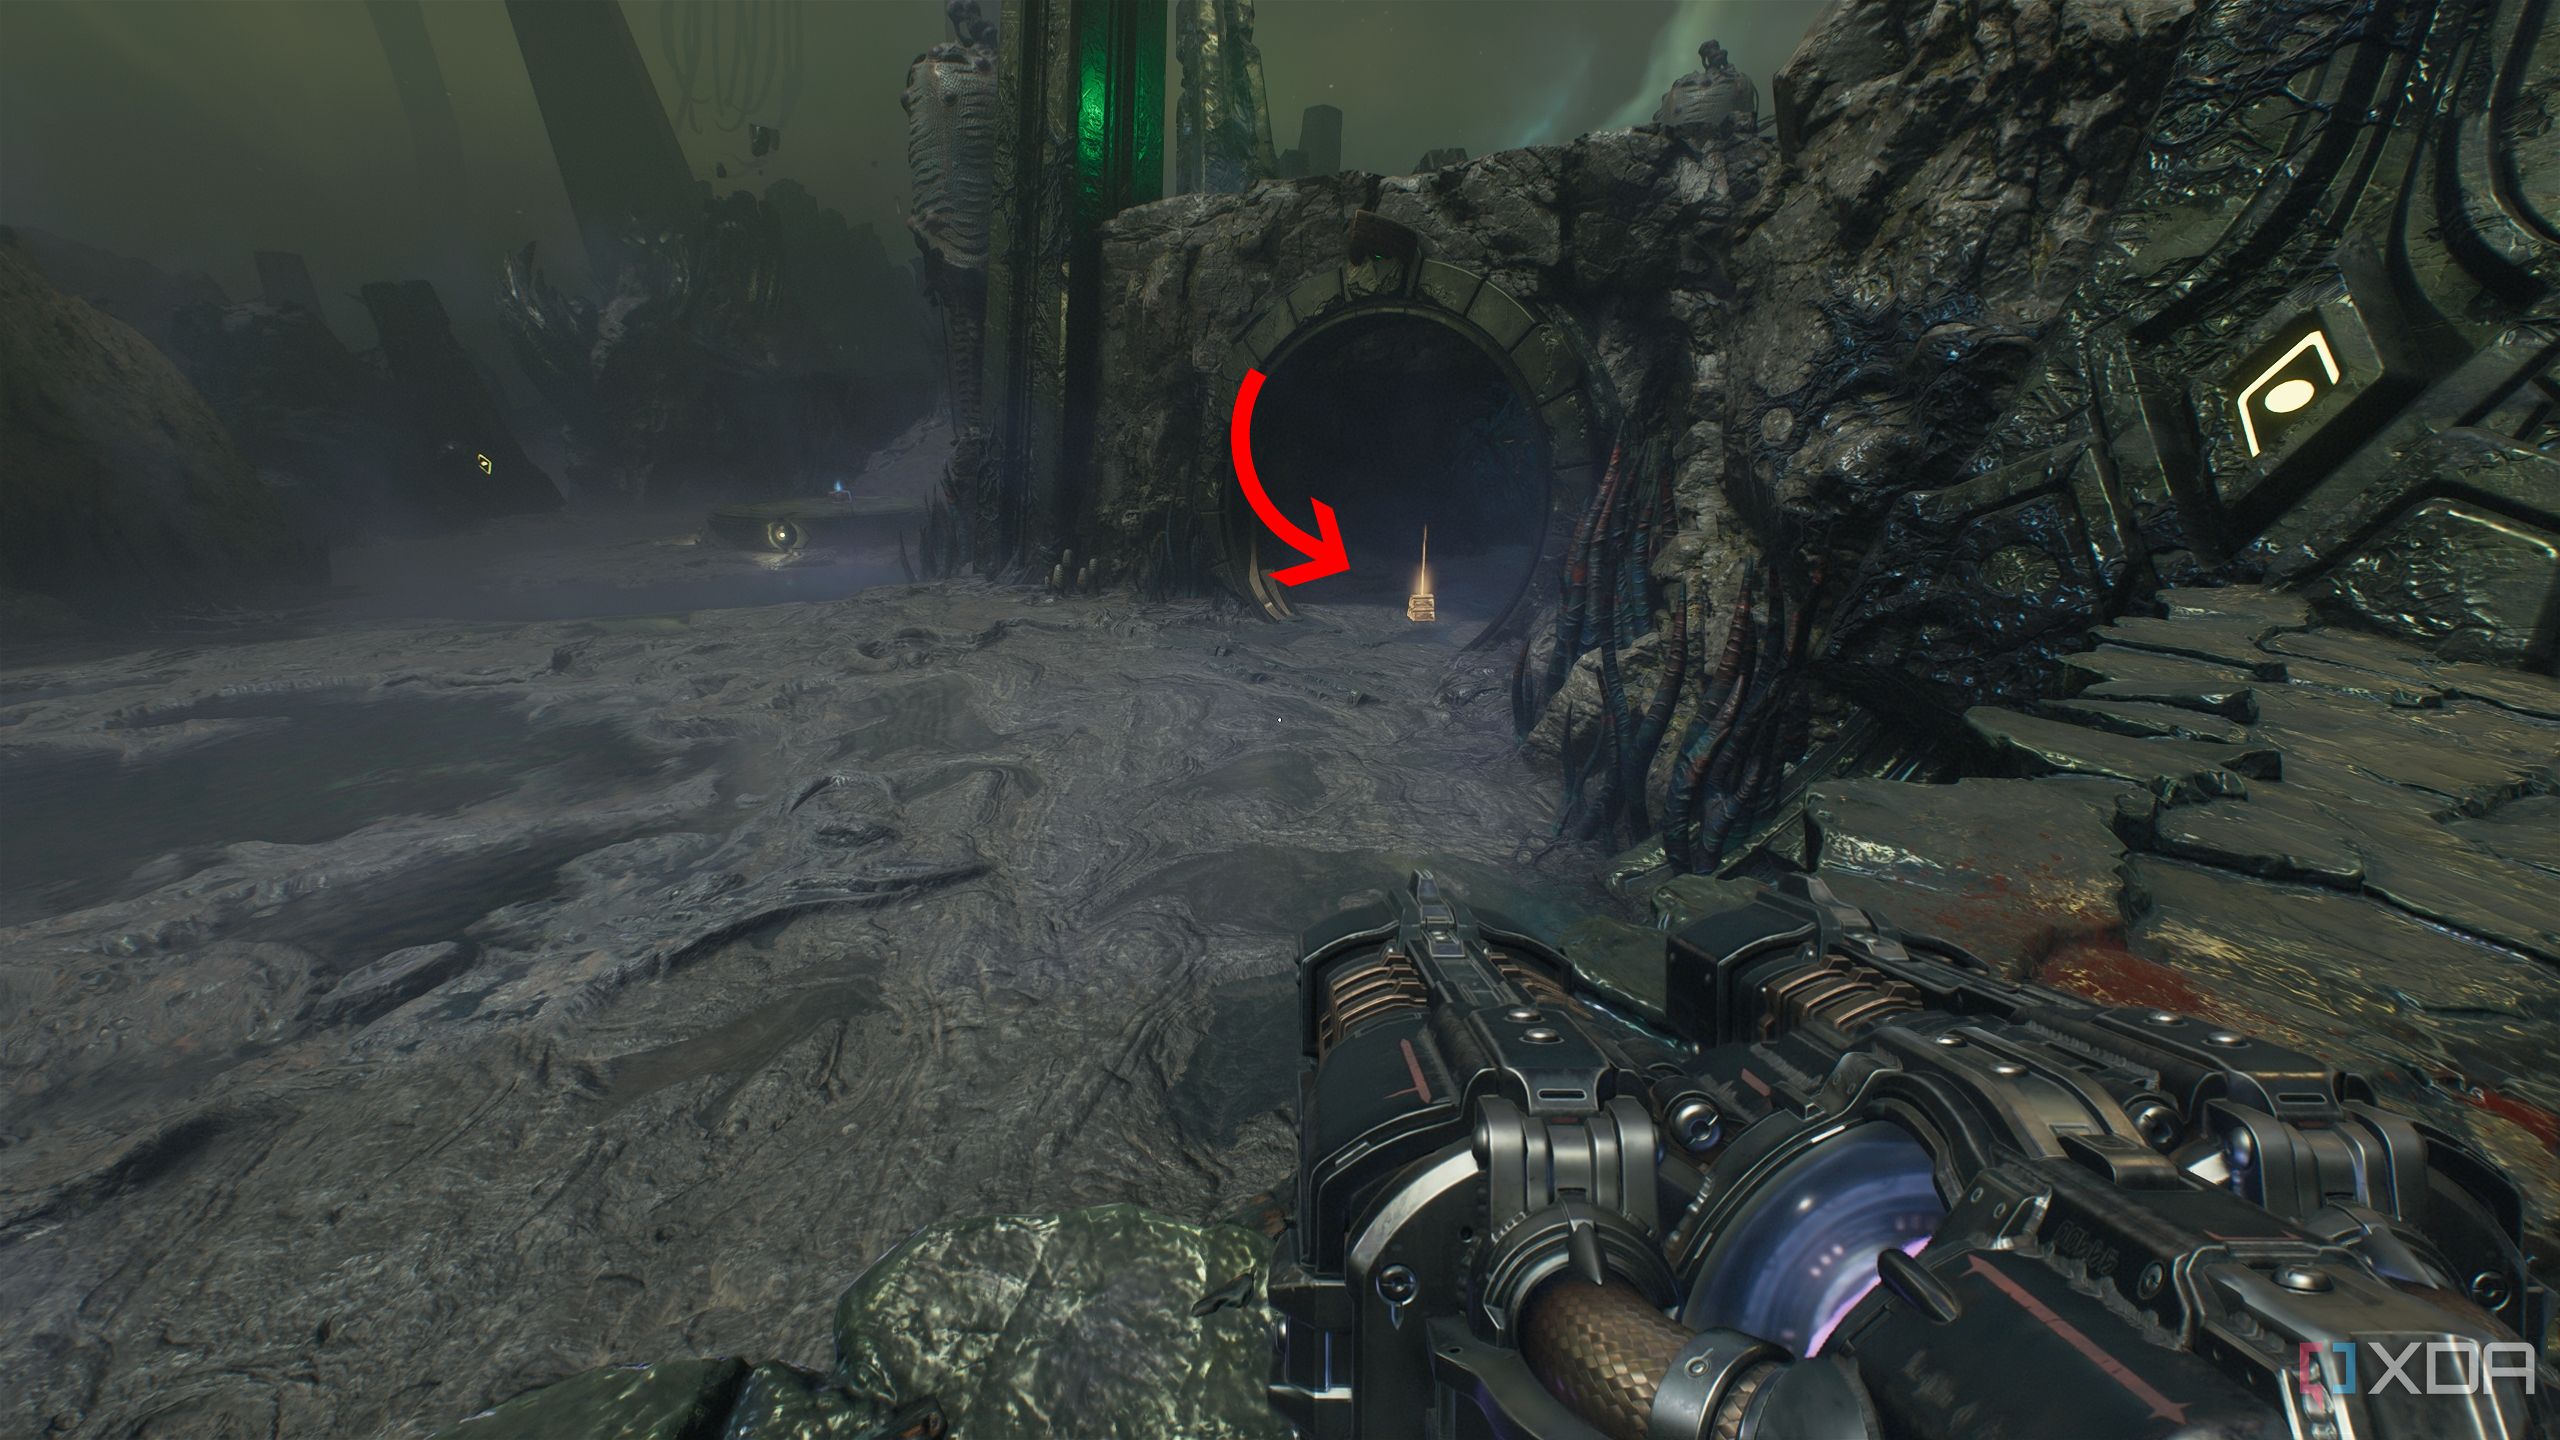
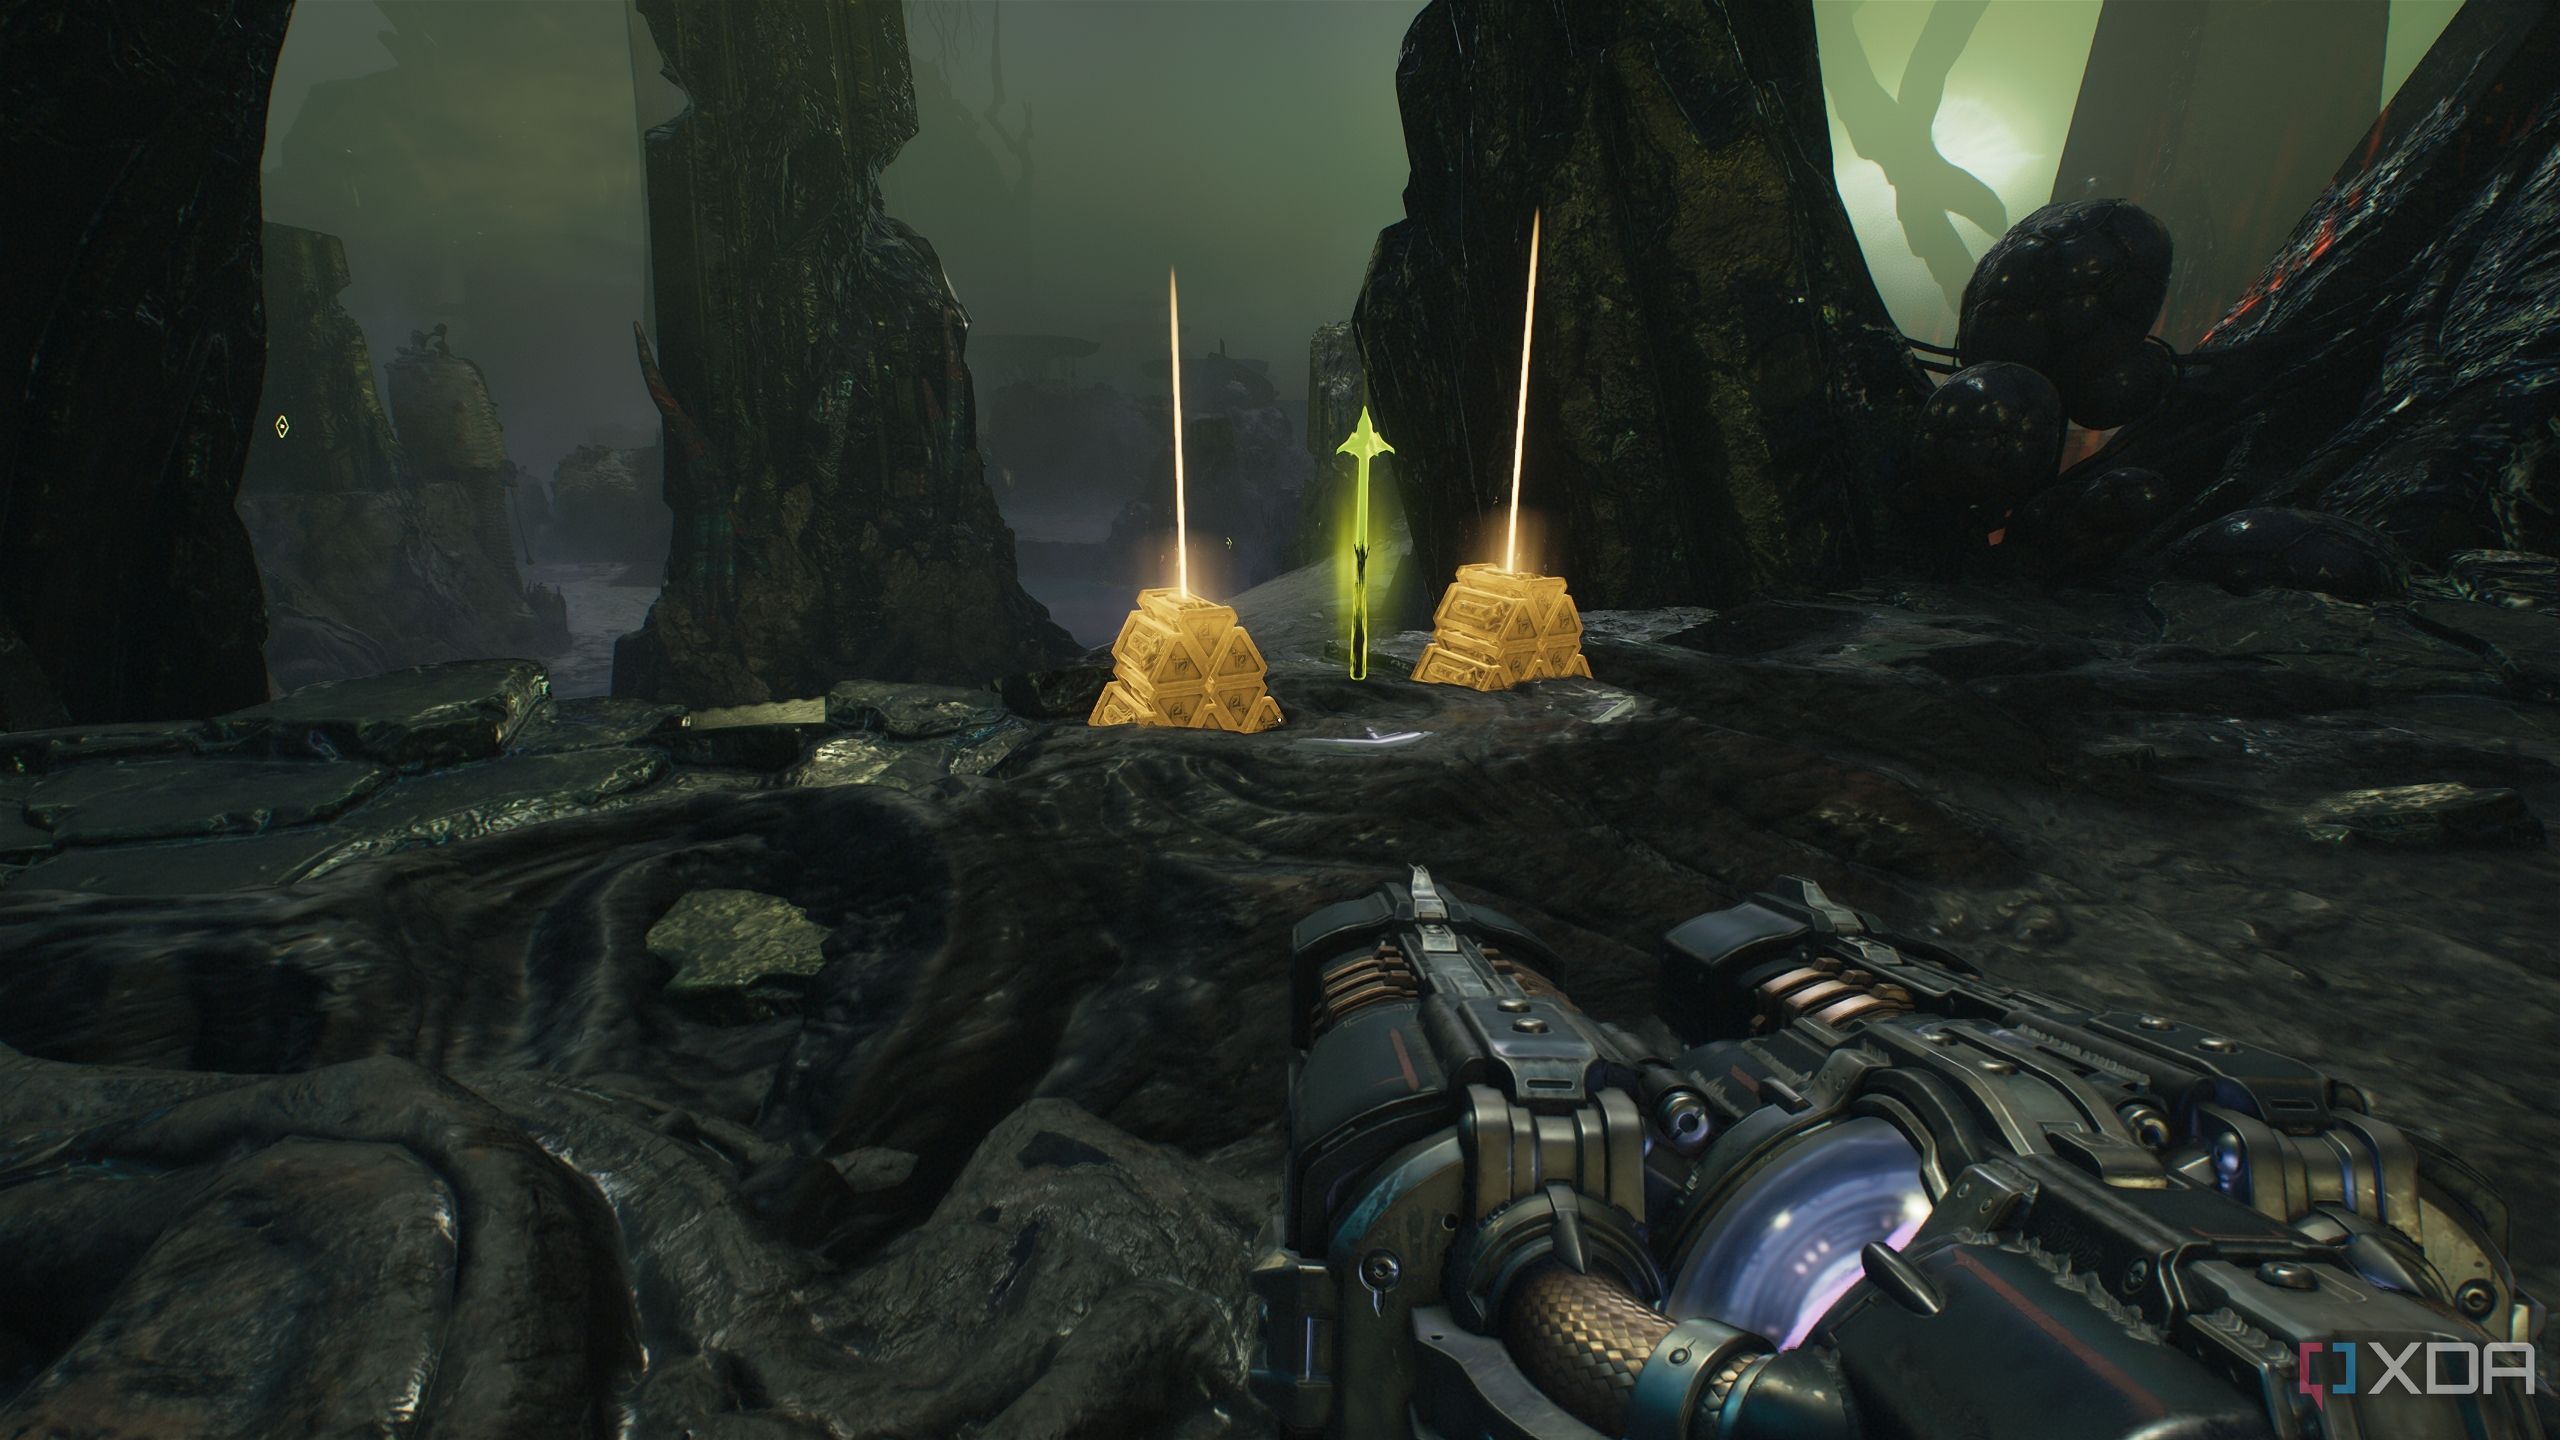
Now, look behind it to see a lower area with a trail of gold bars.
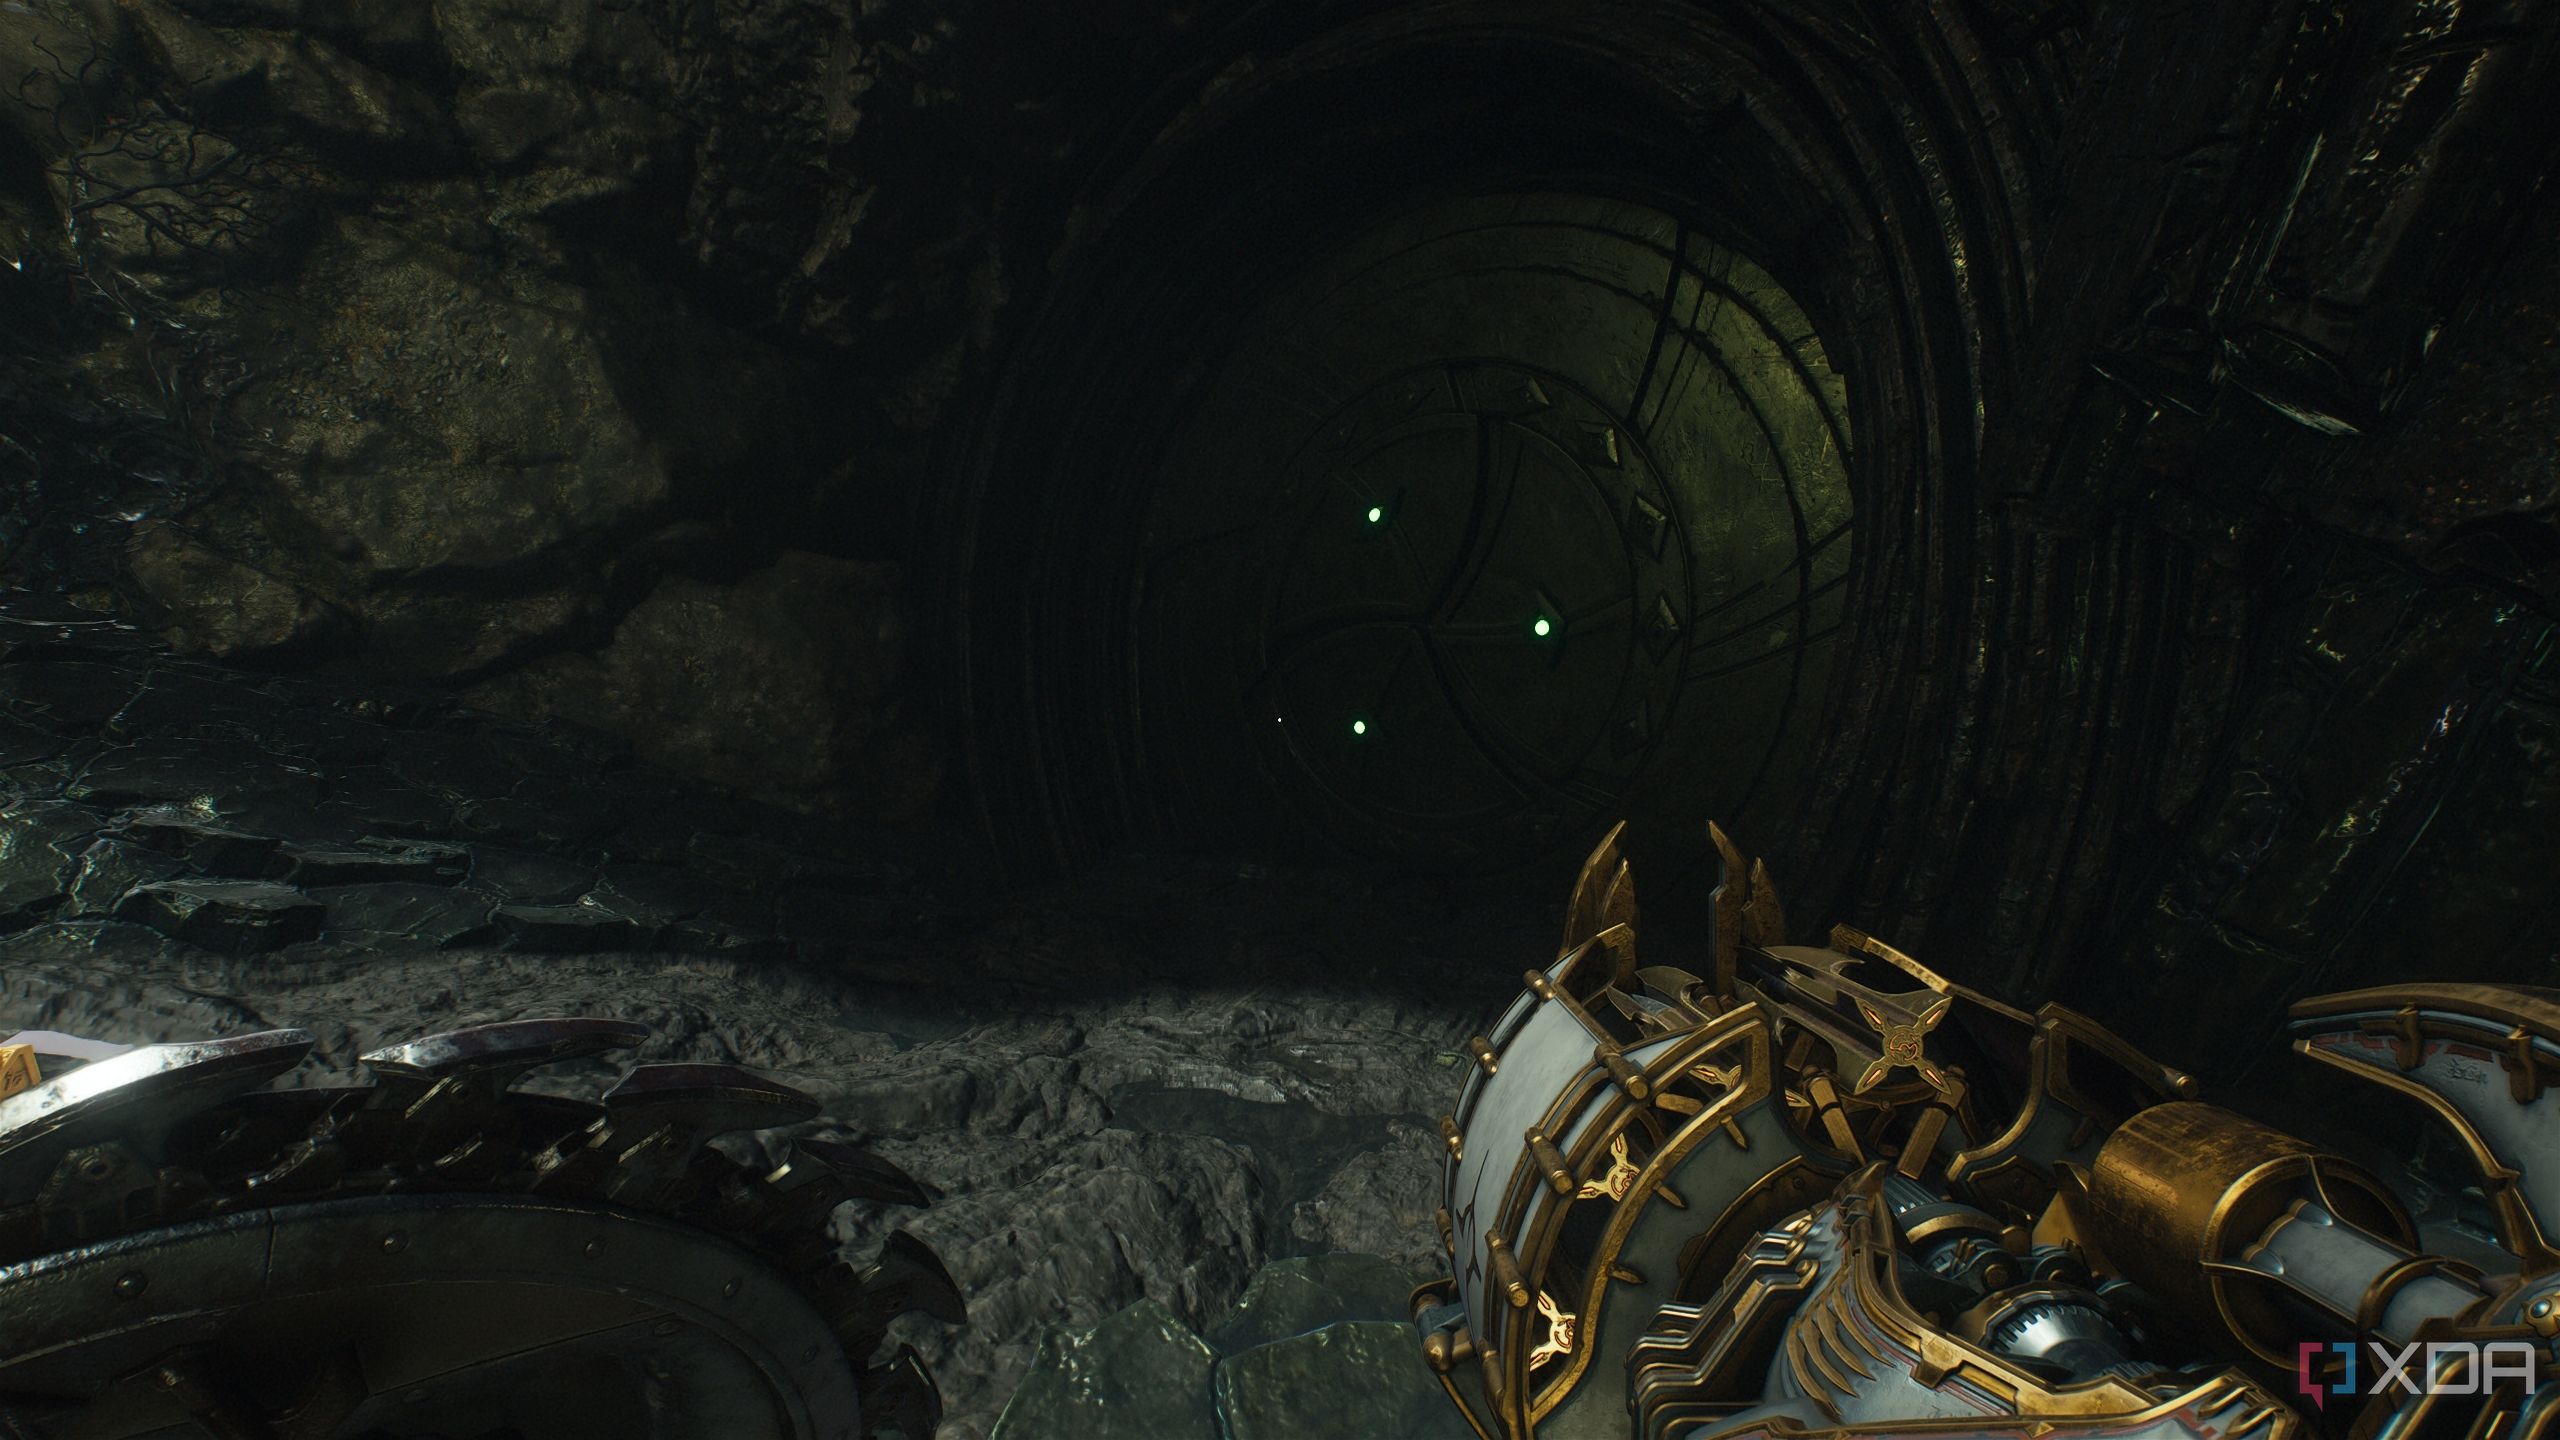
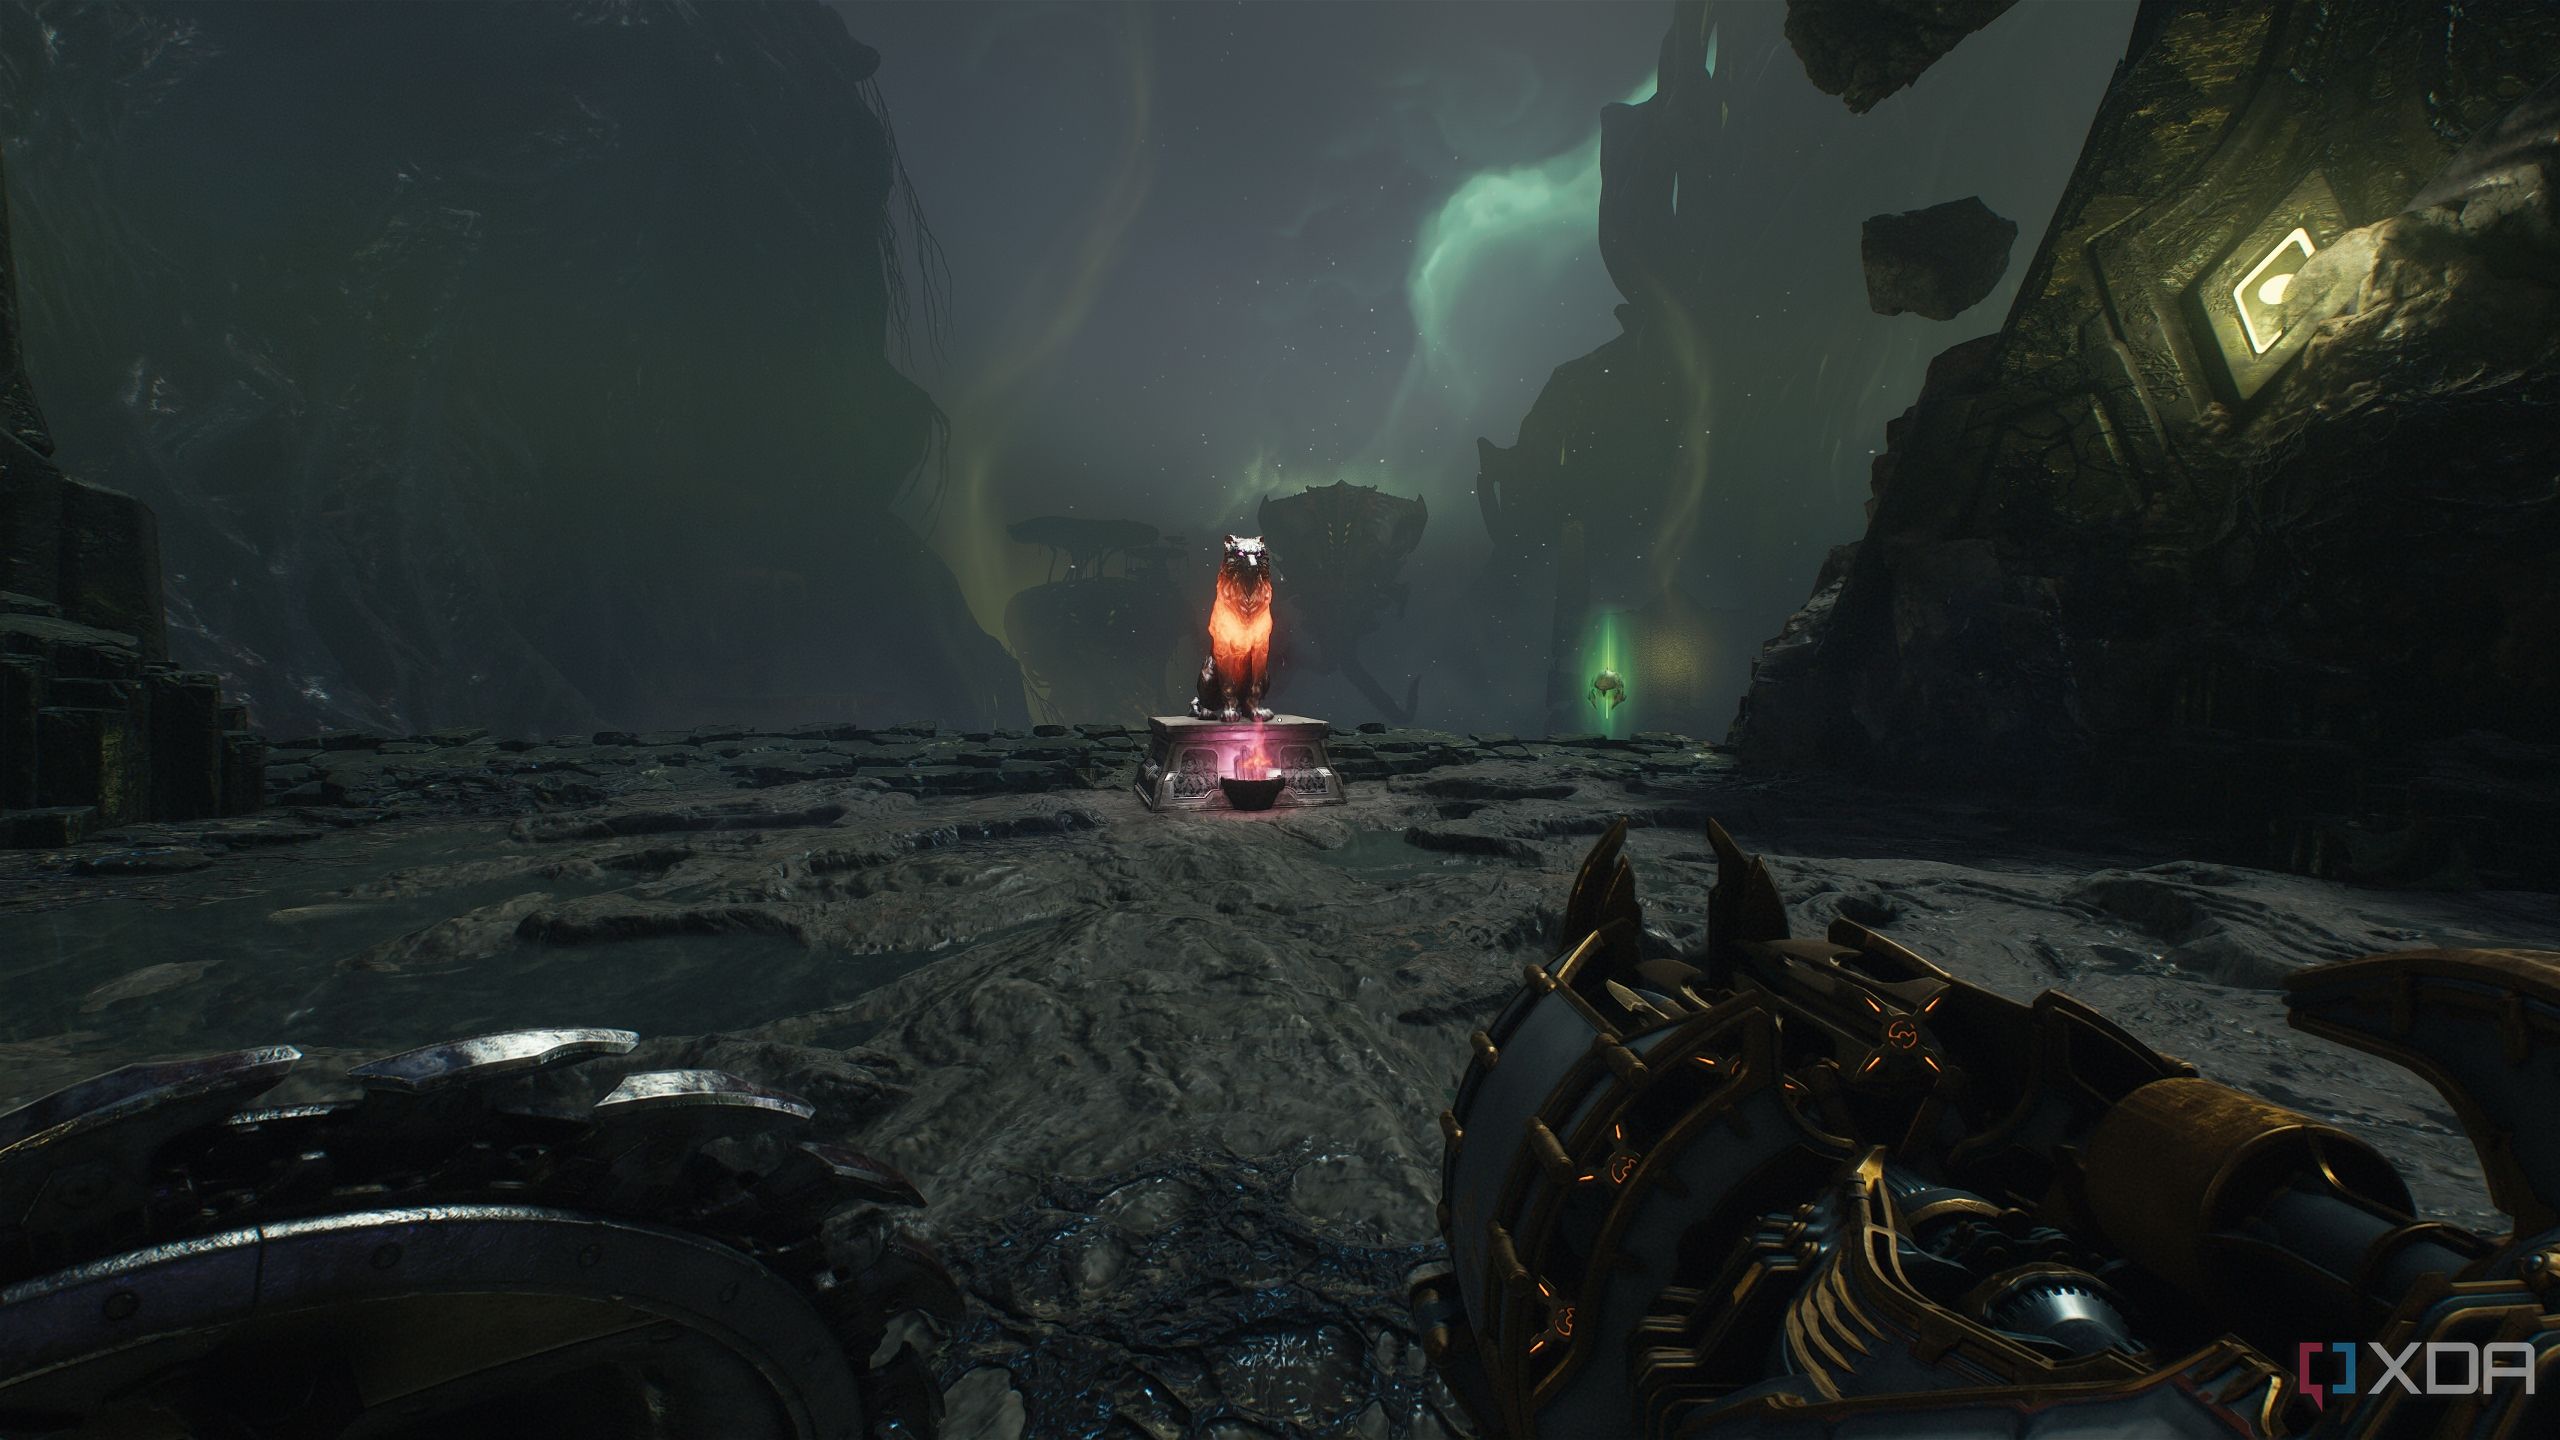
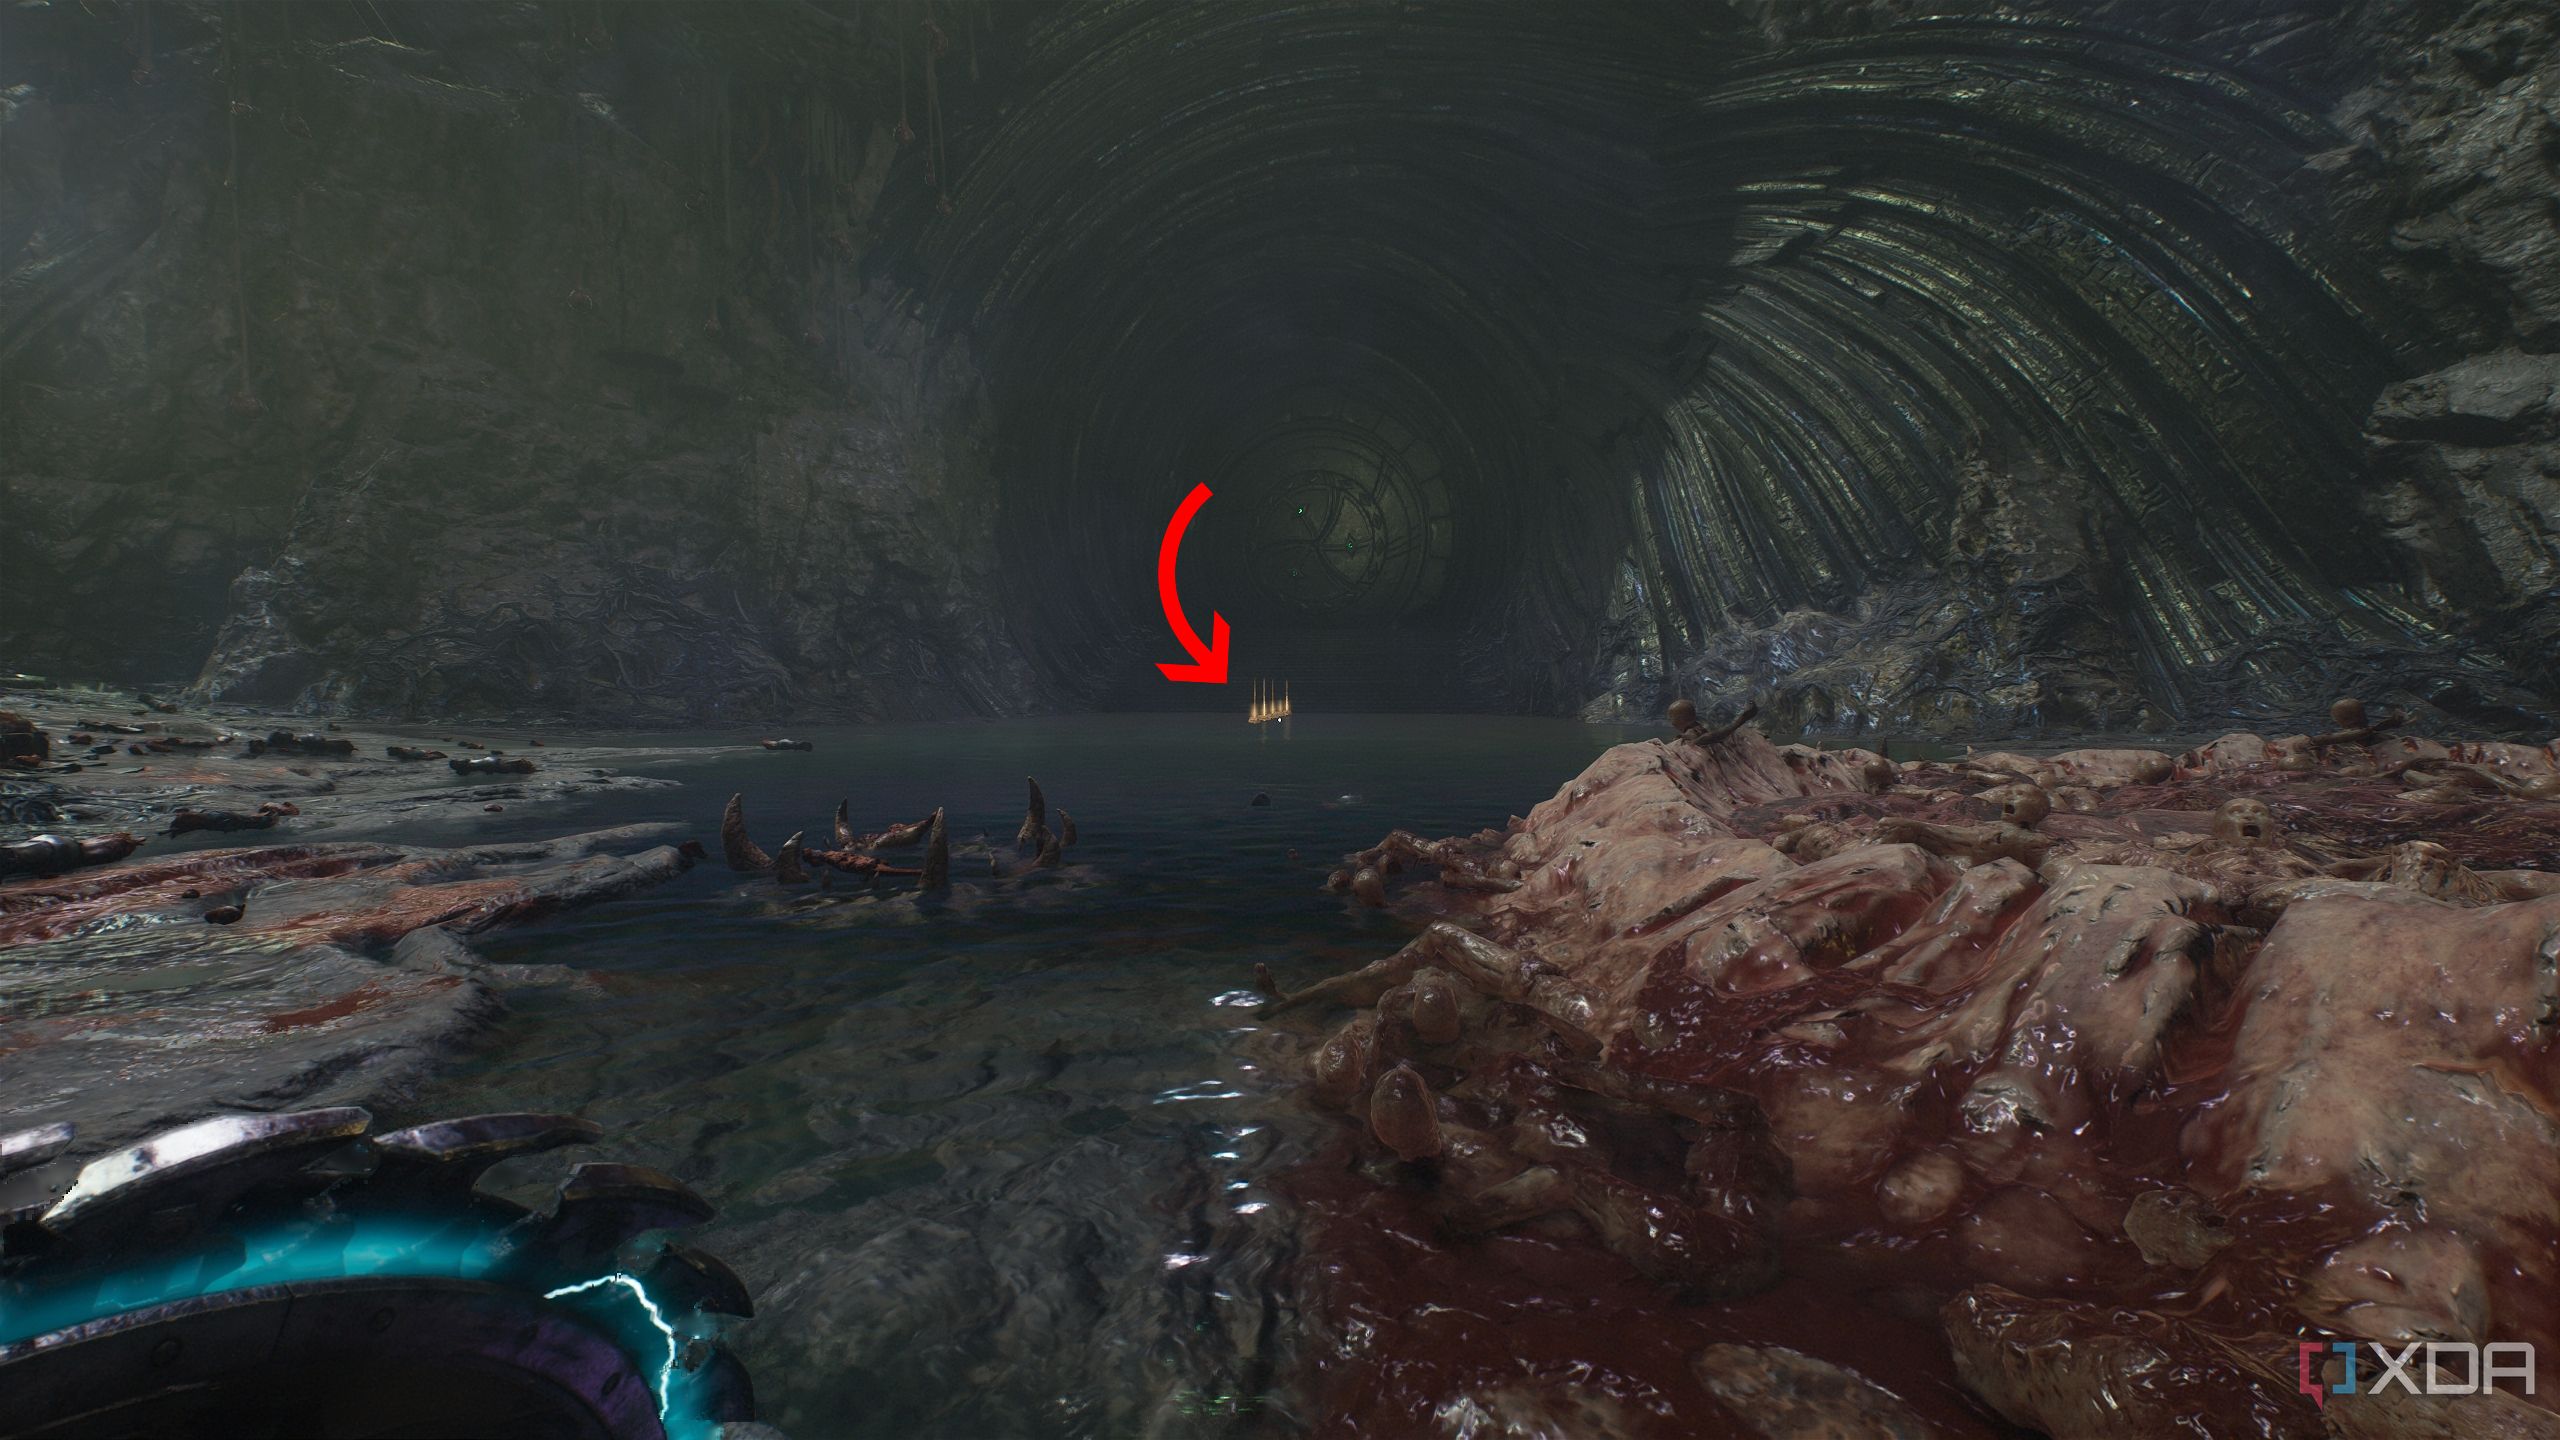
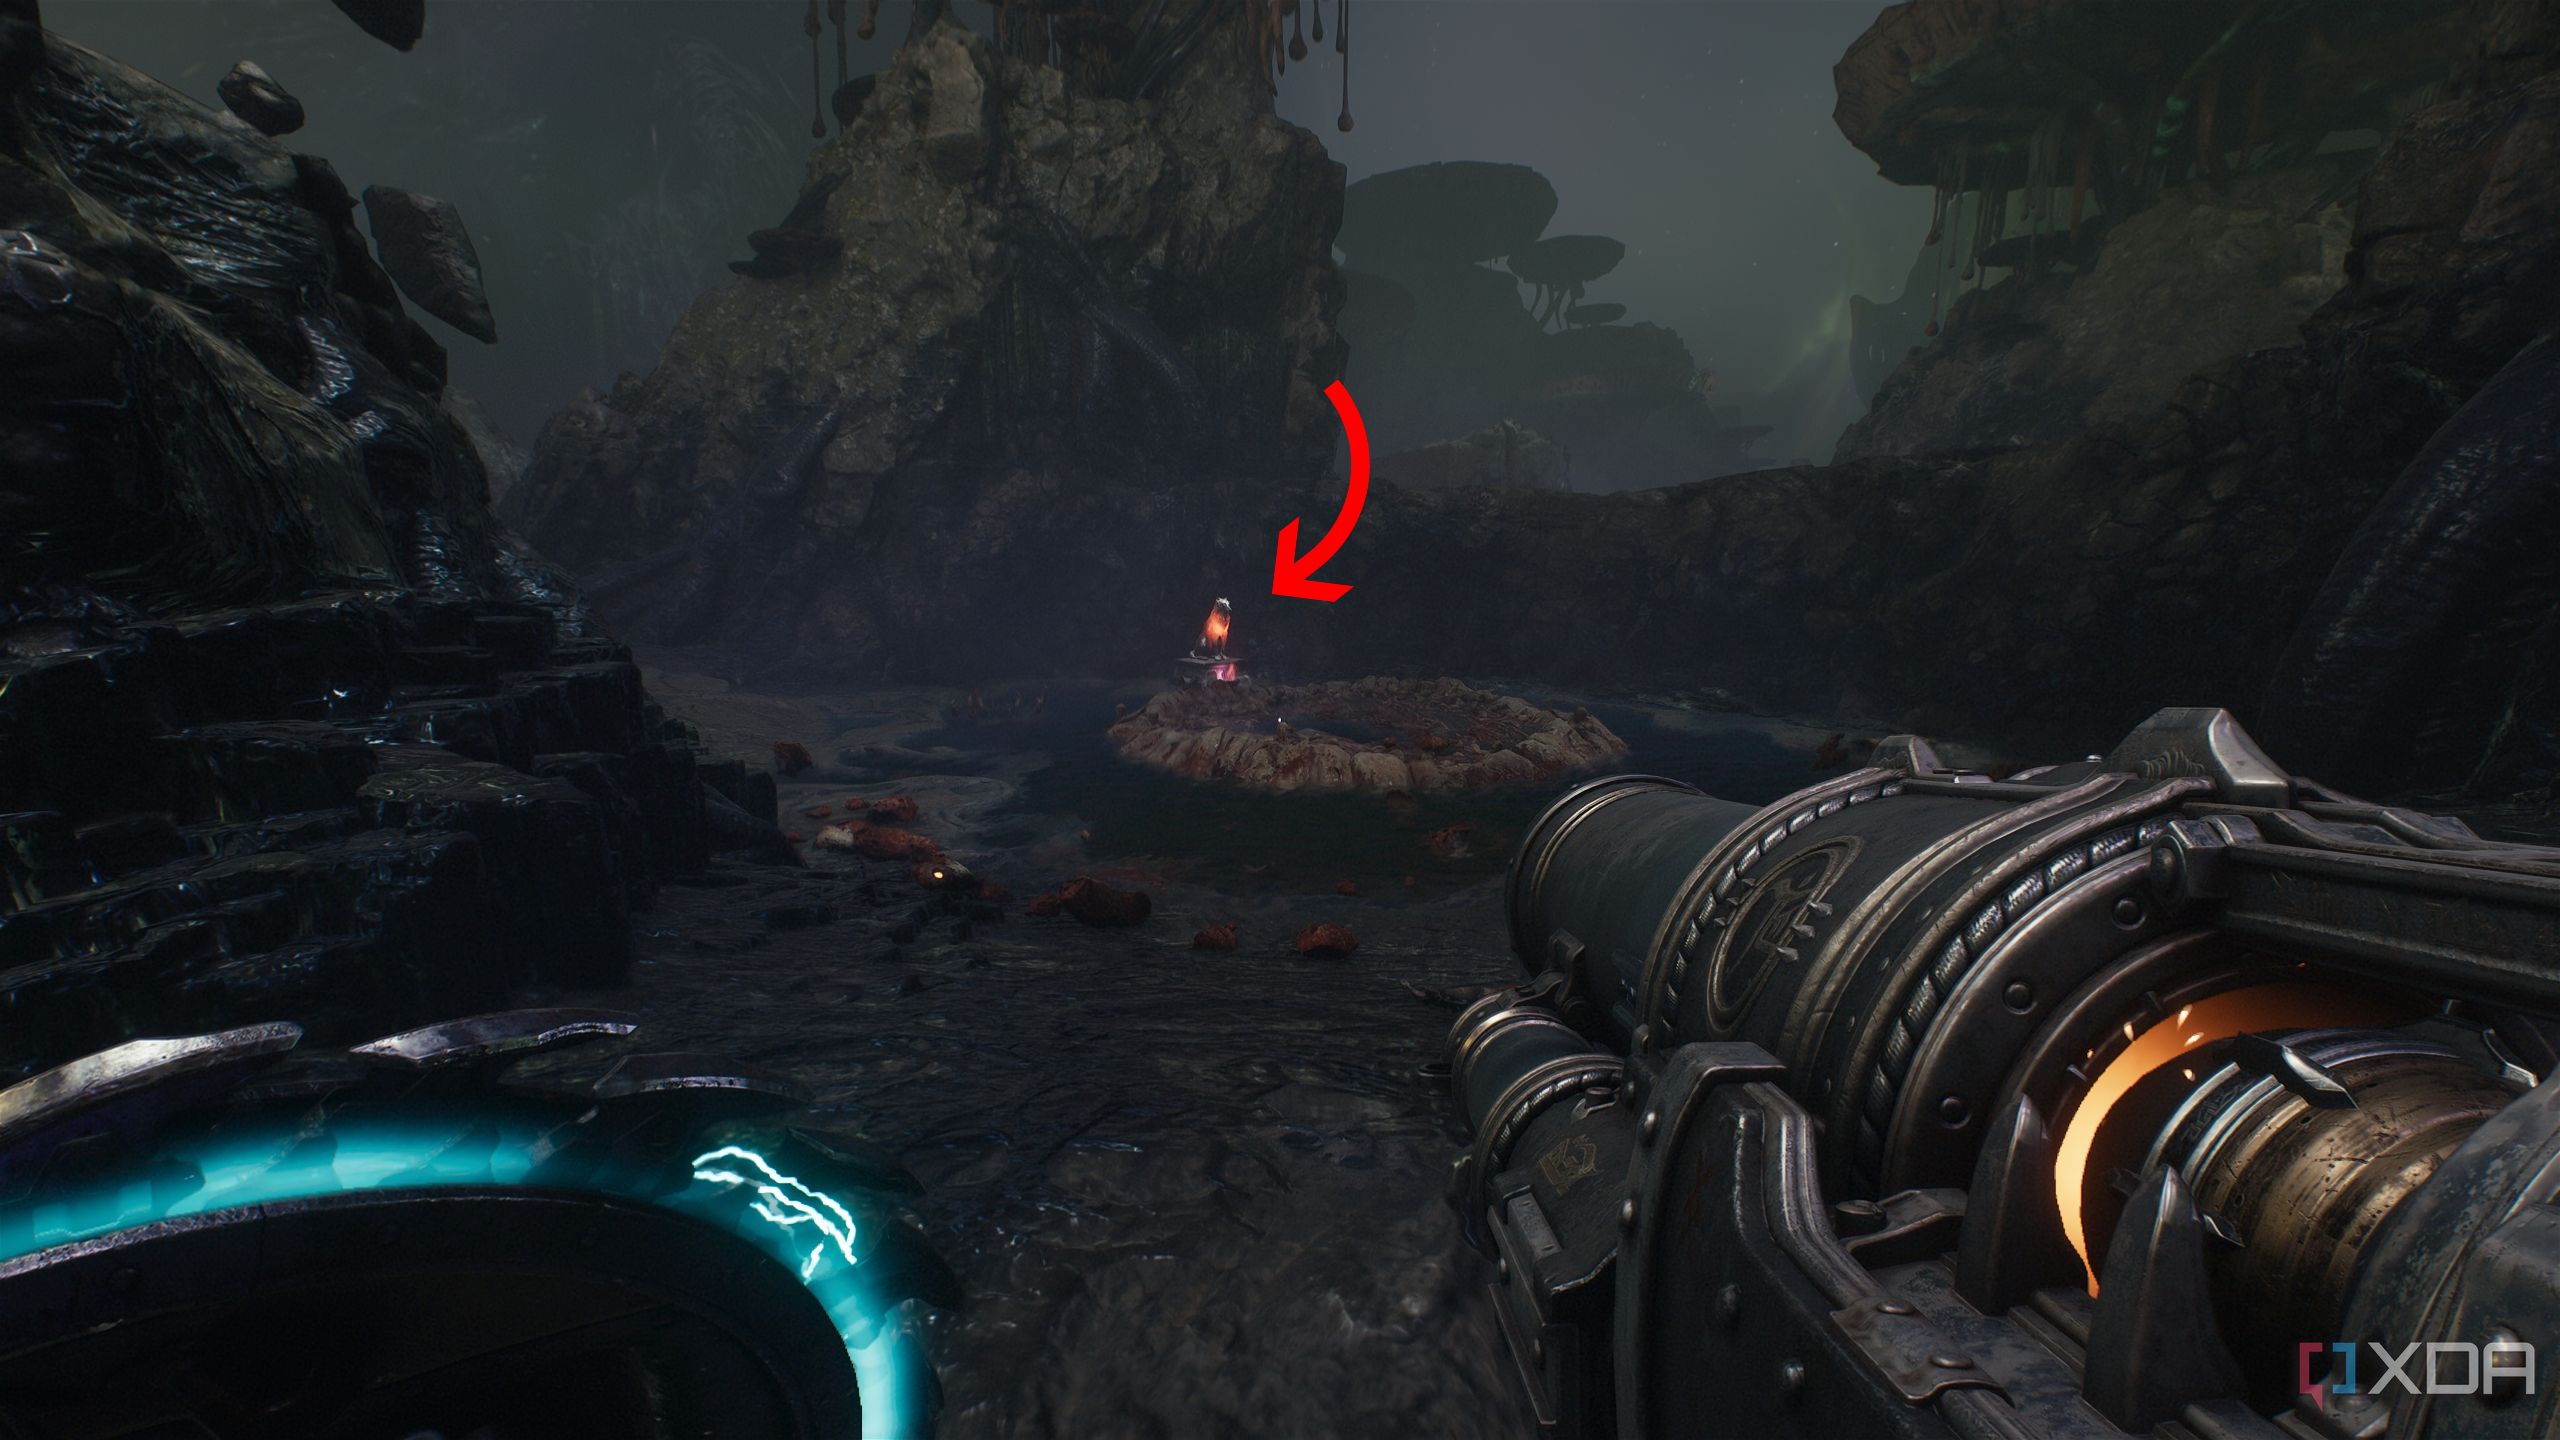
Jump down to it and collect the gold trail. Now, look behind you, right where the trail started — you’ll see a round, green door.
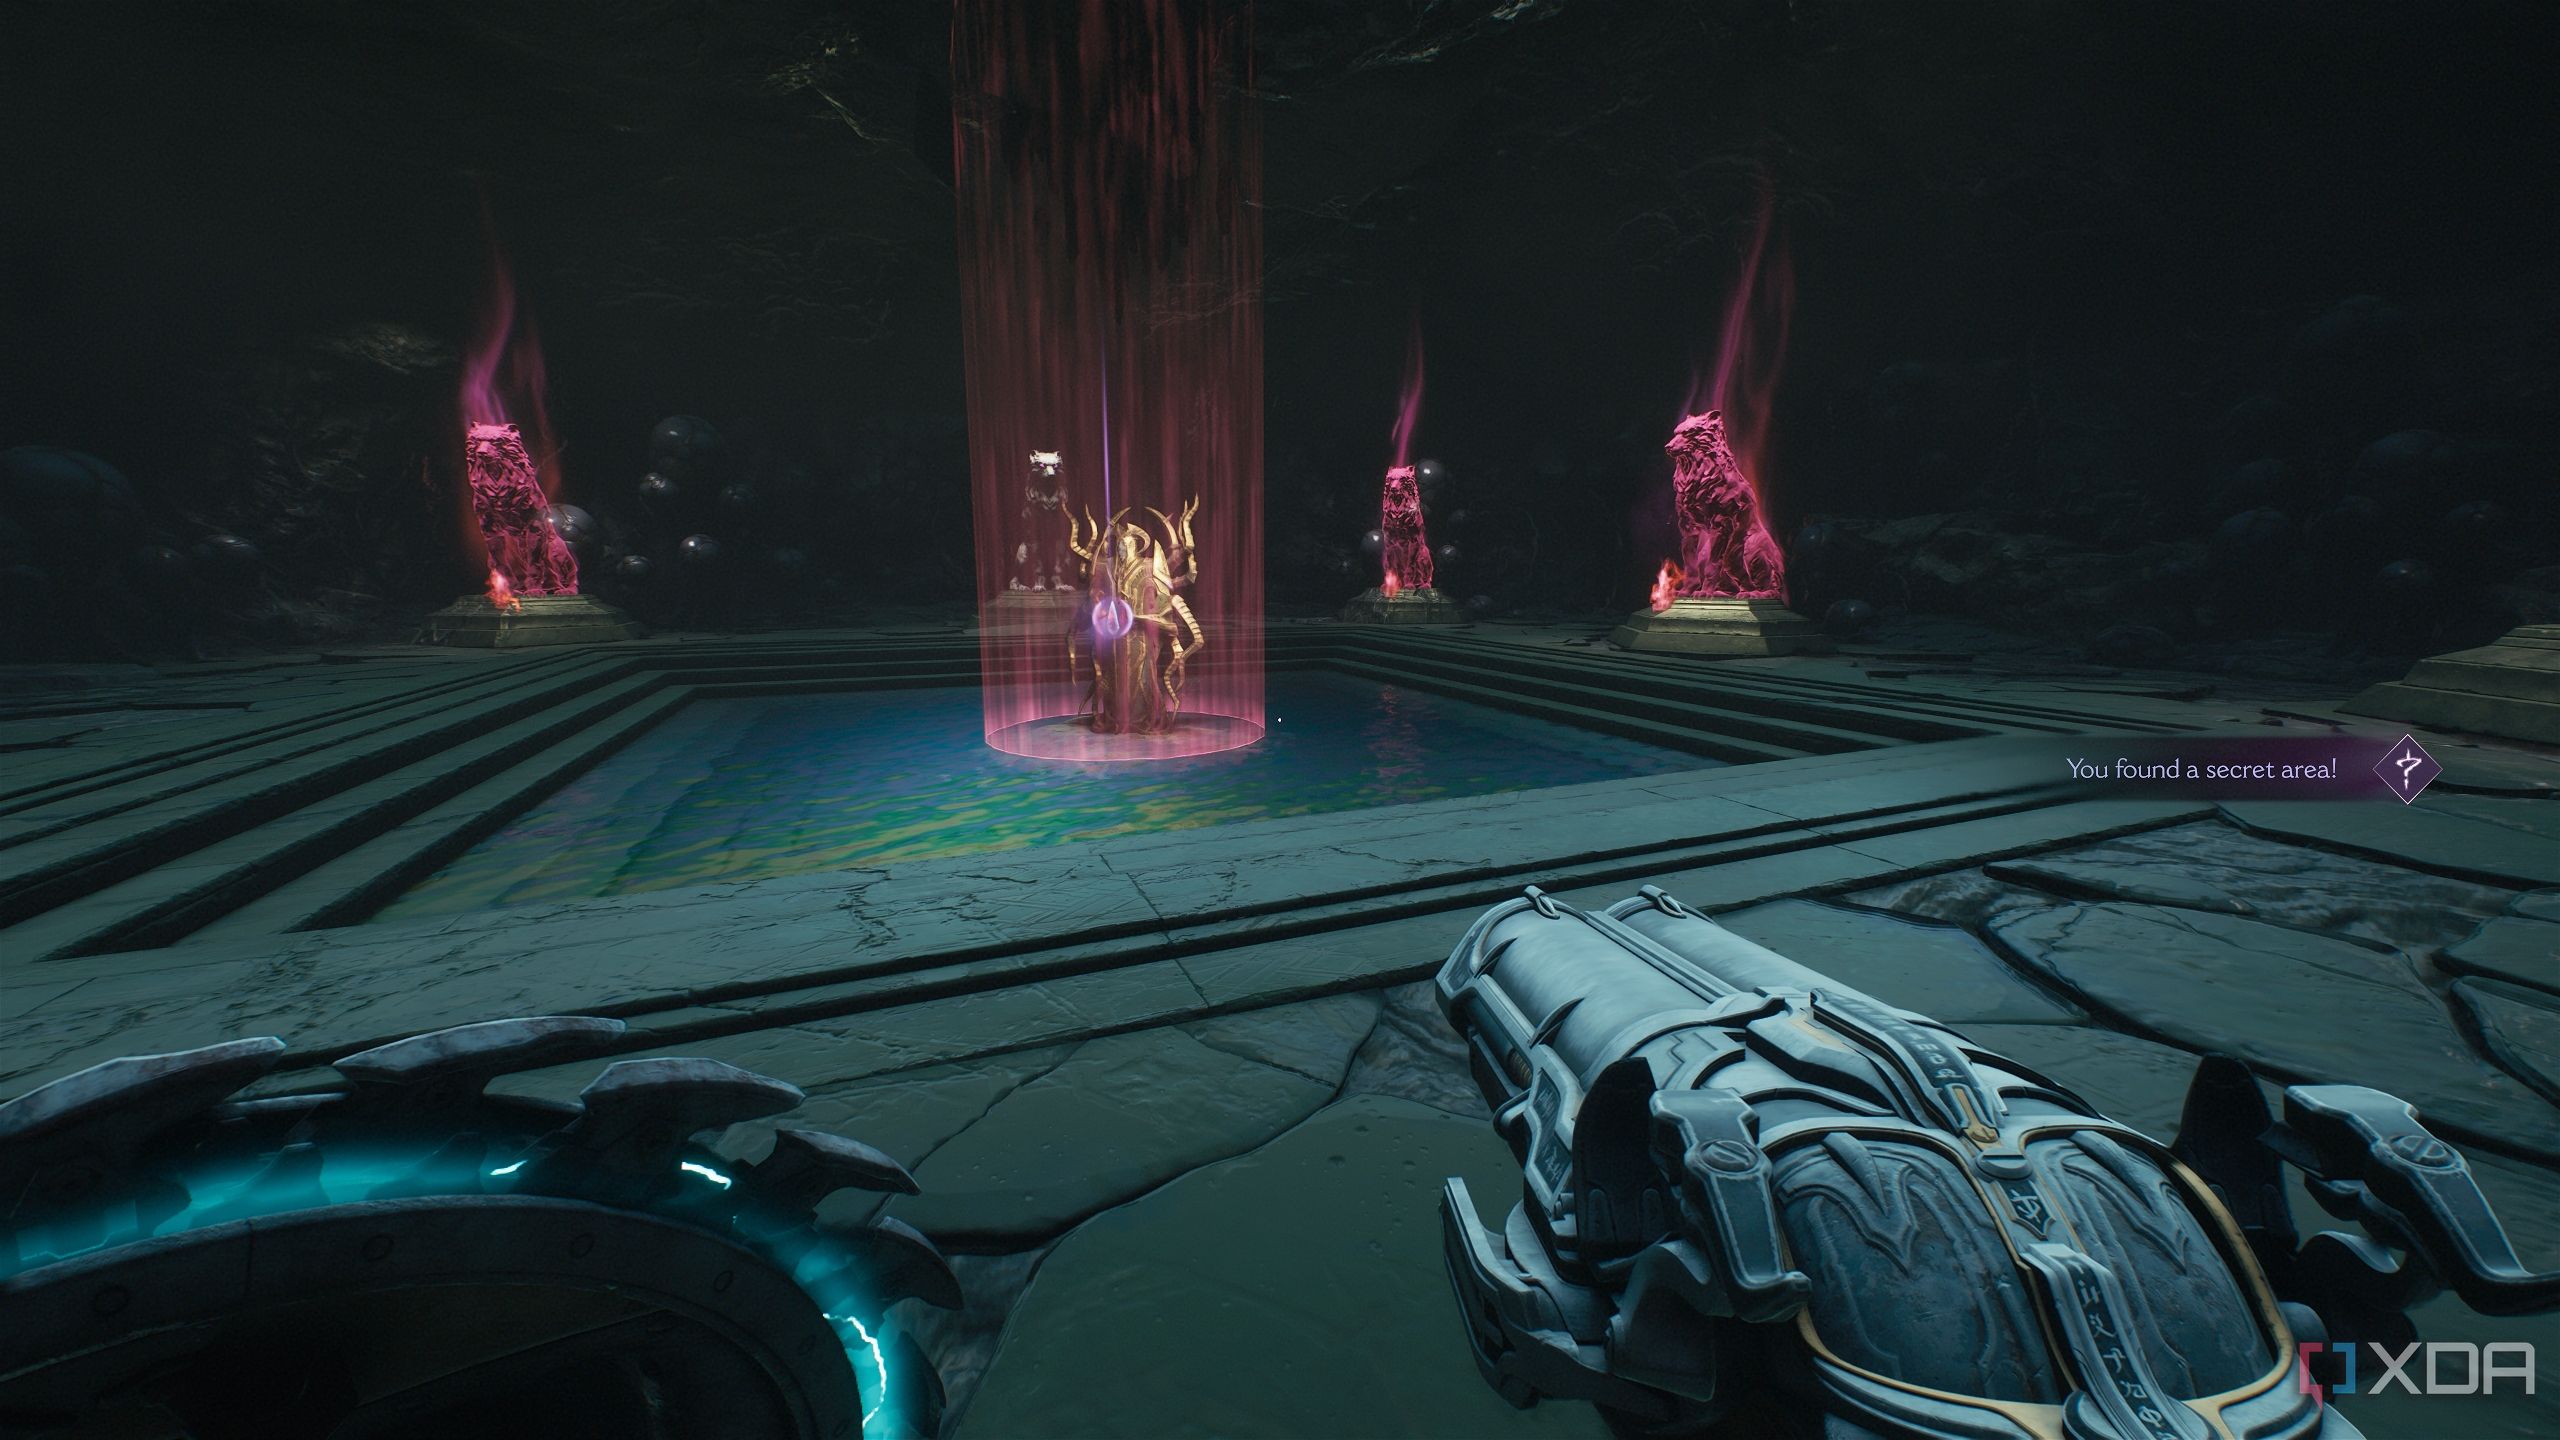
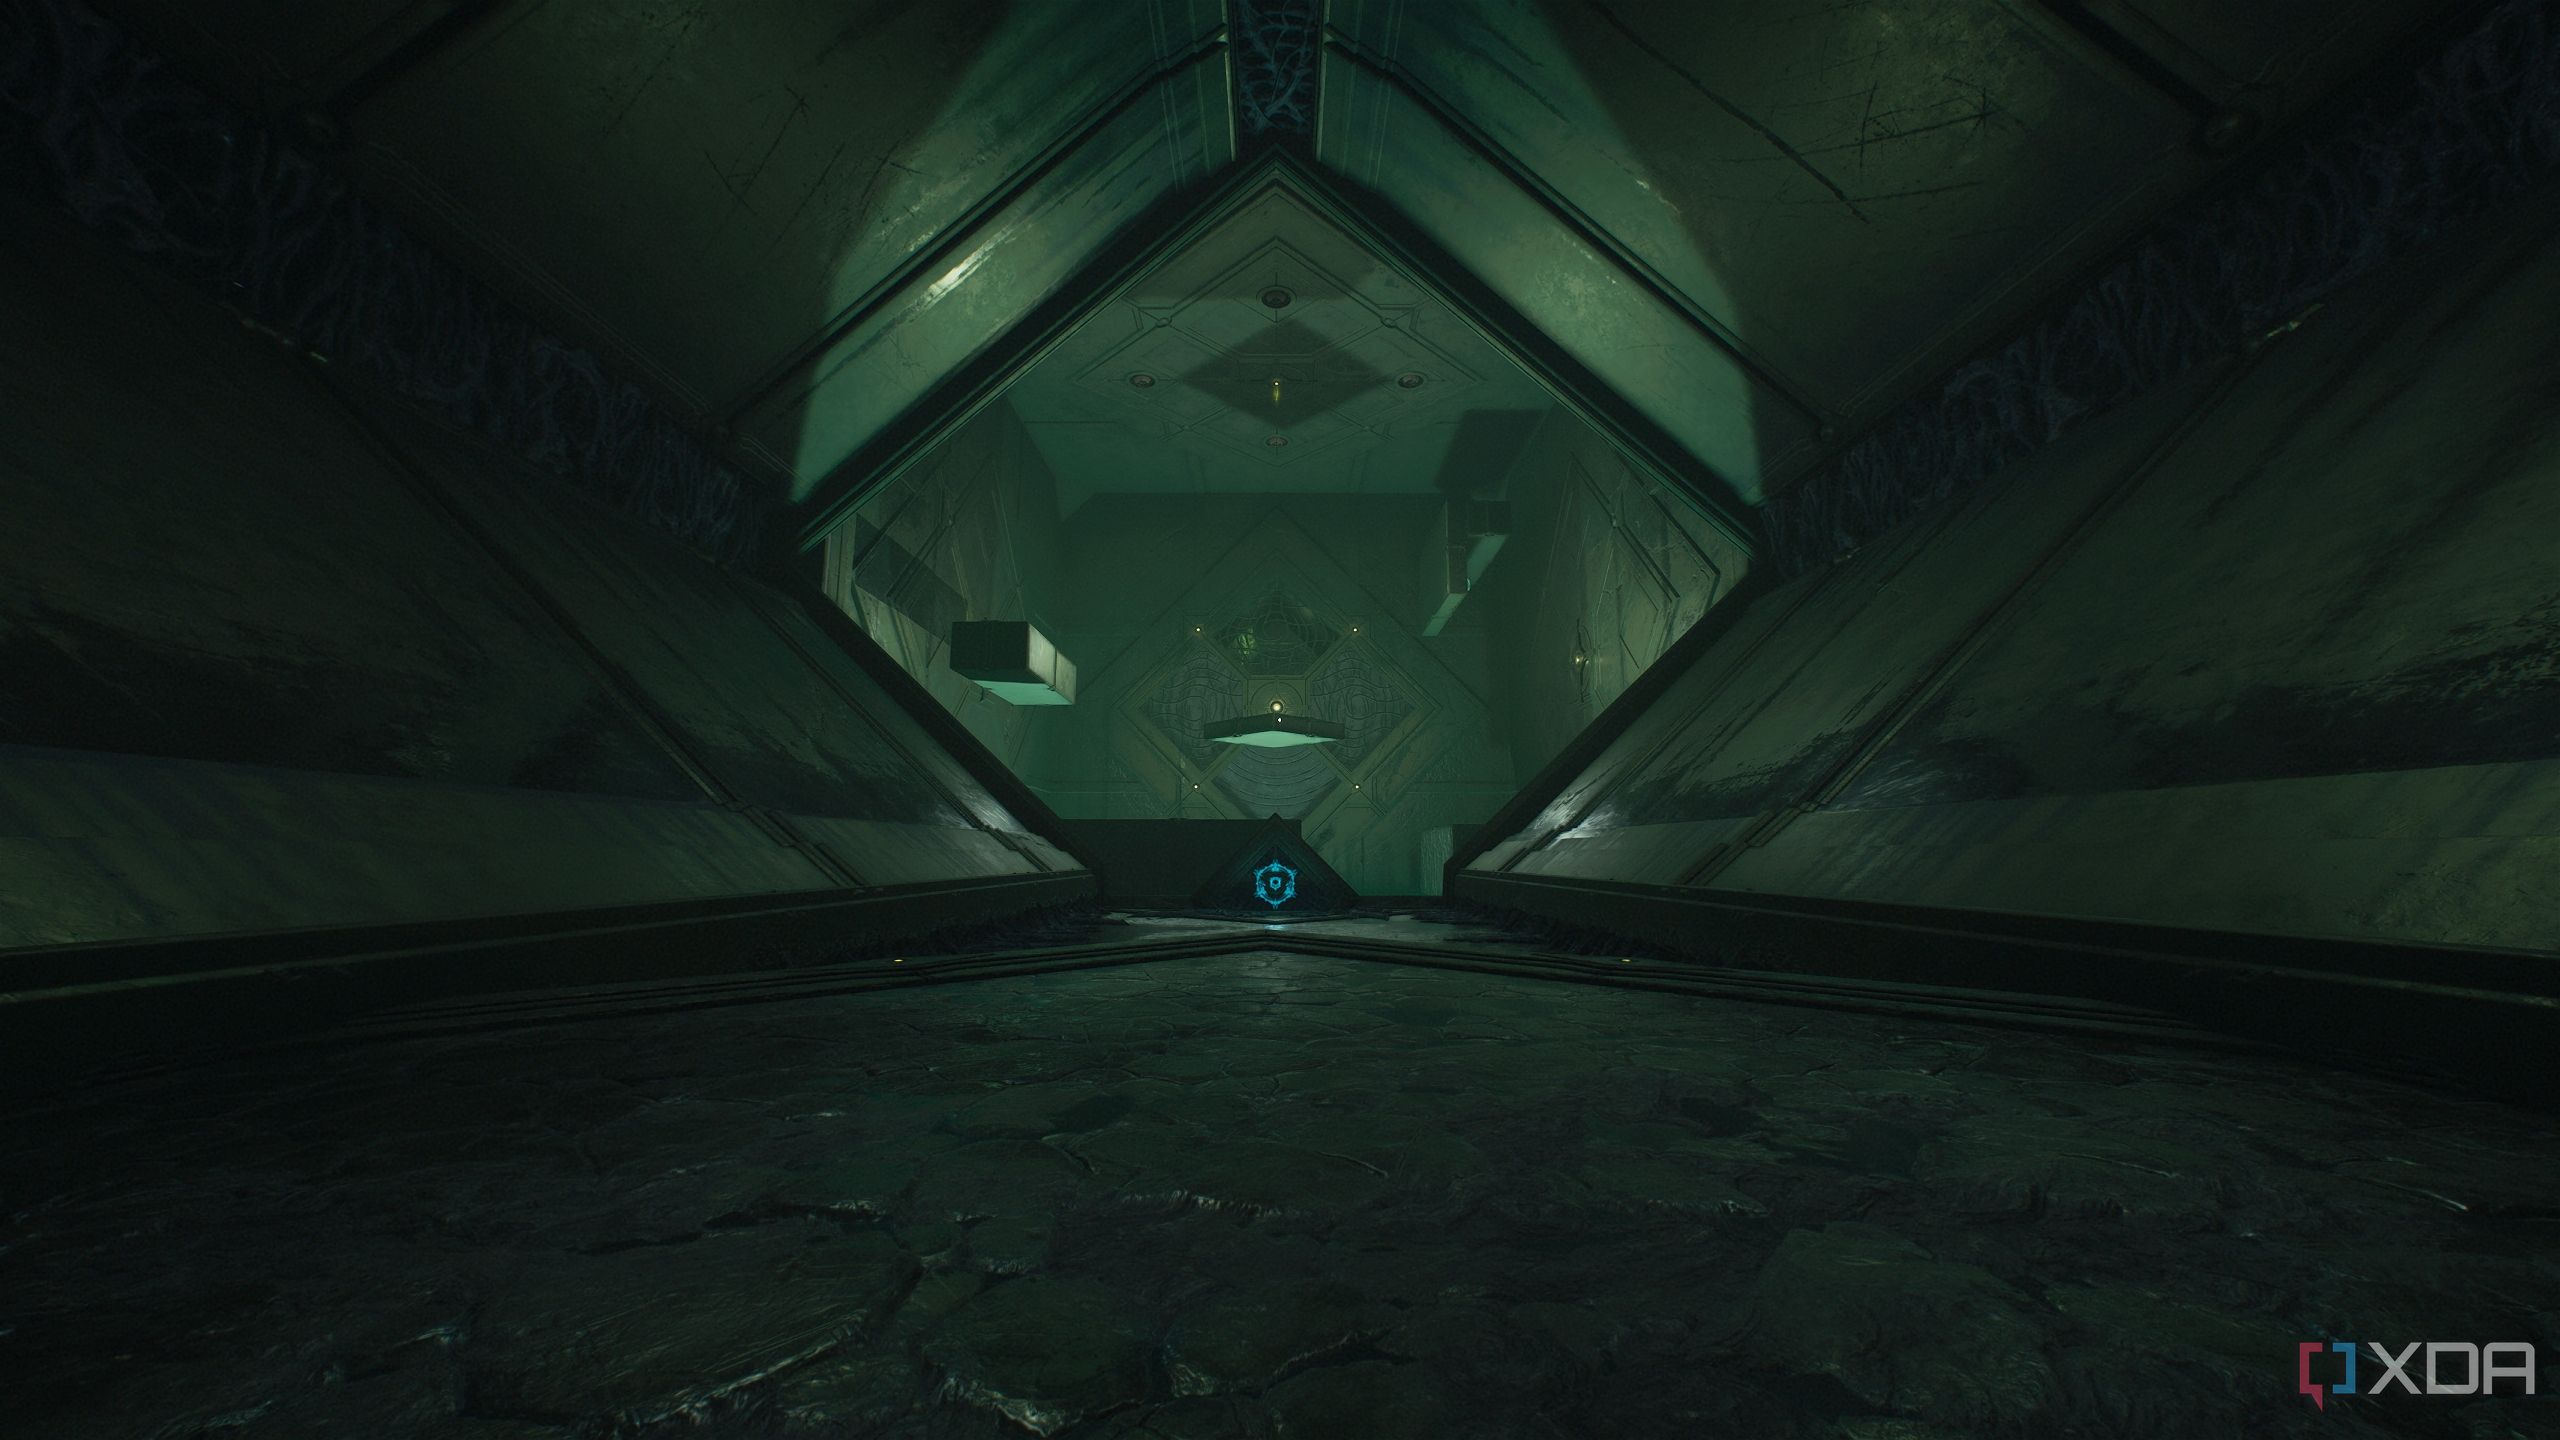
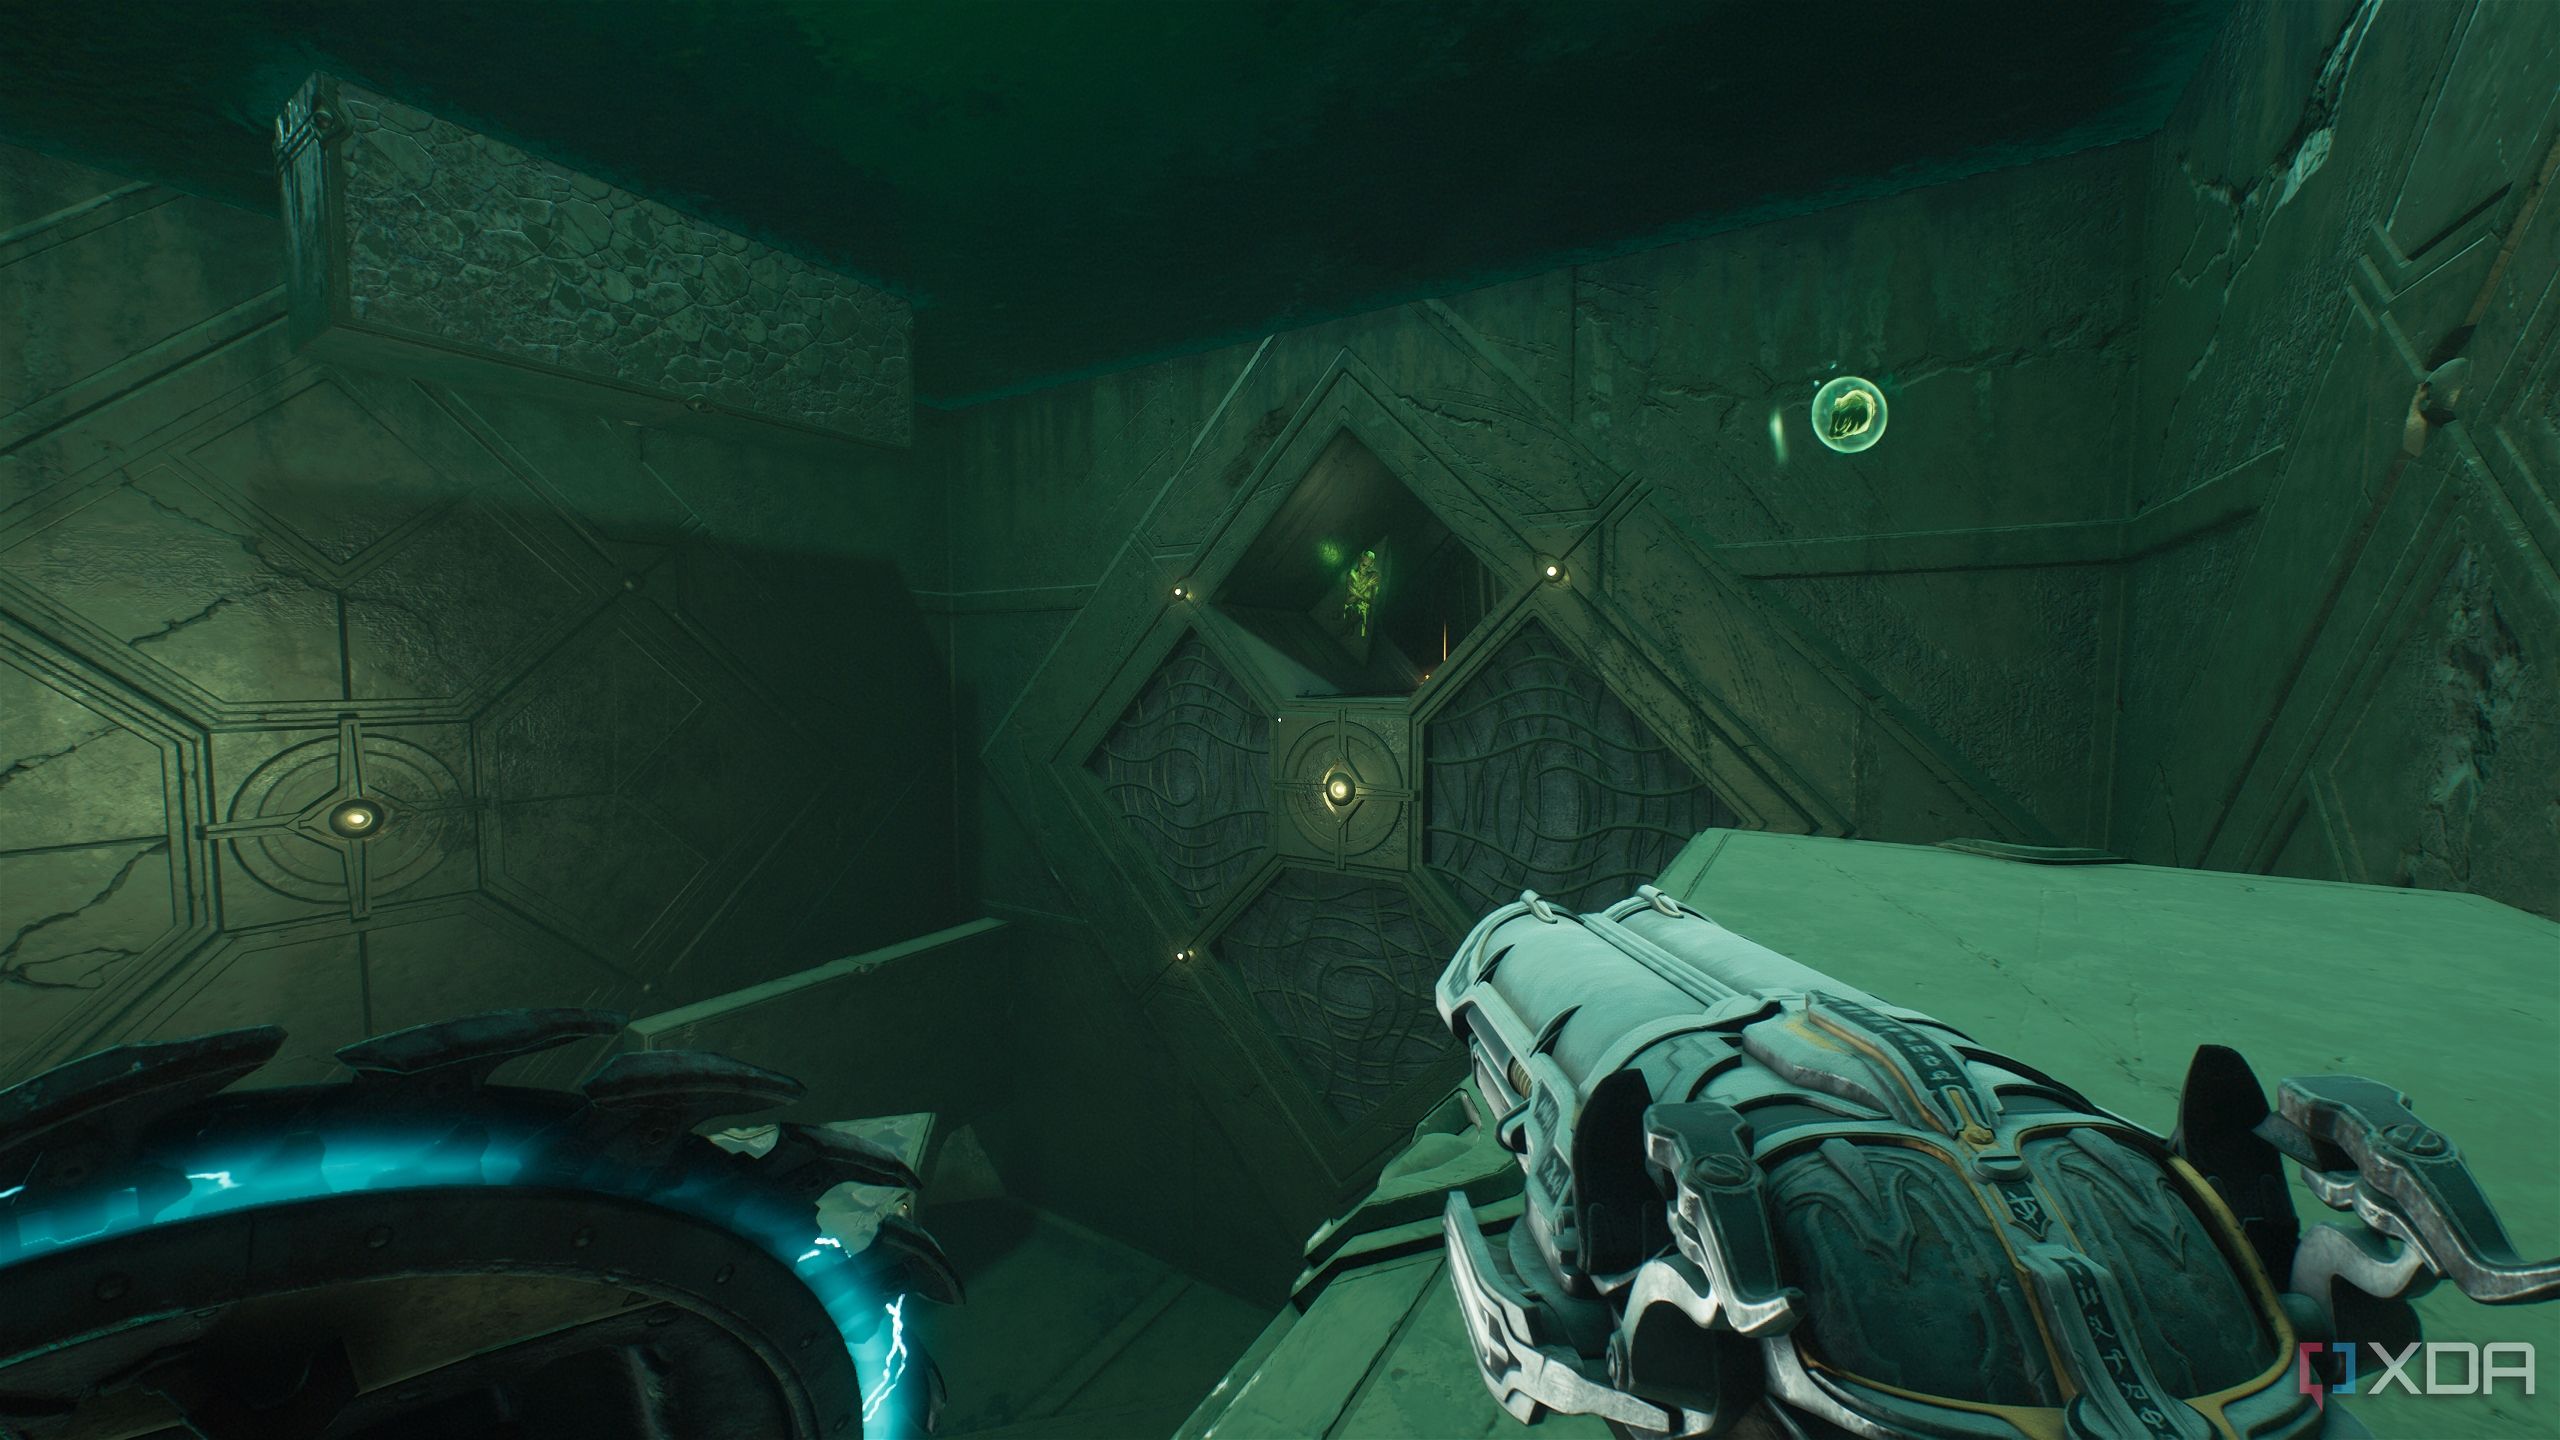
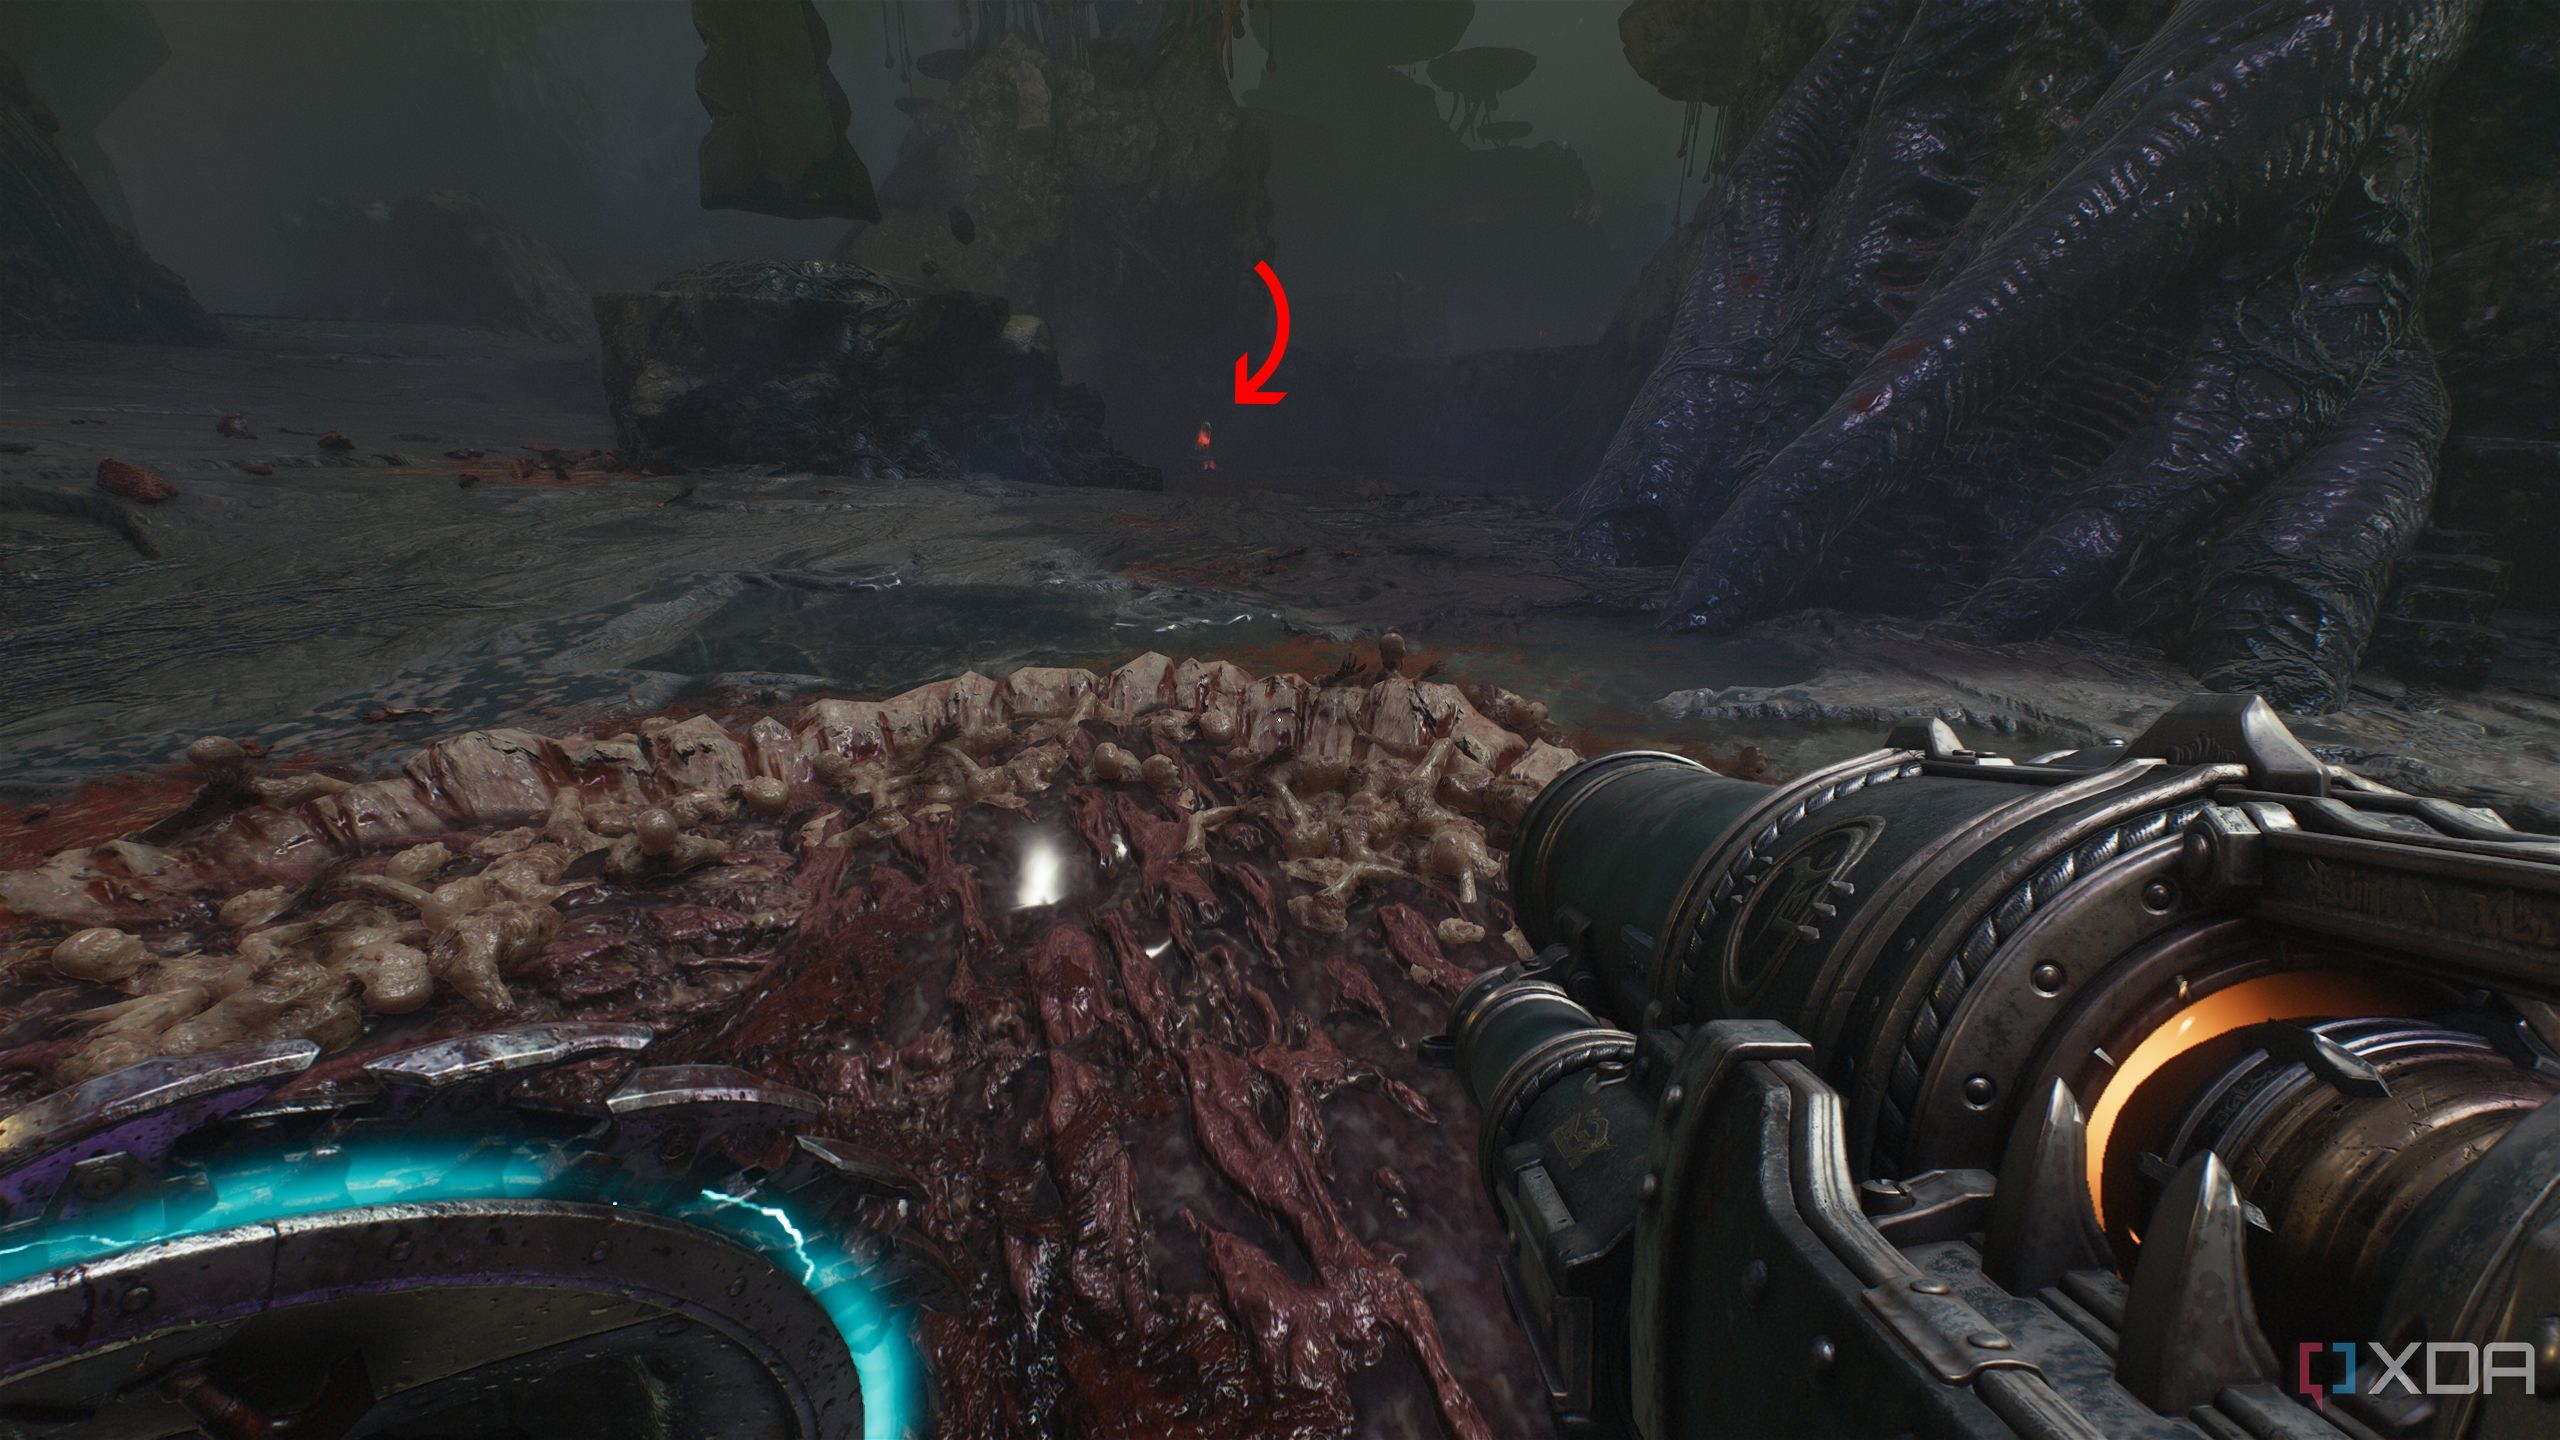
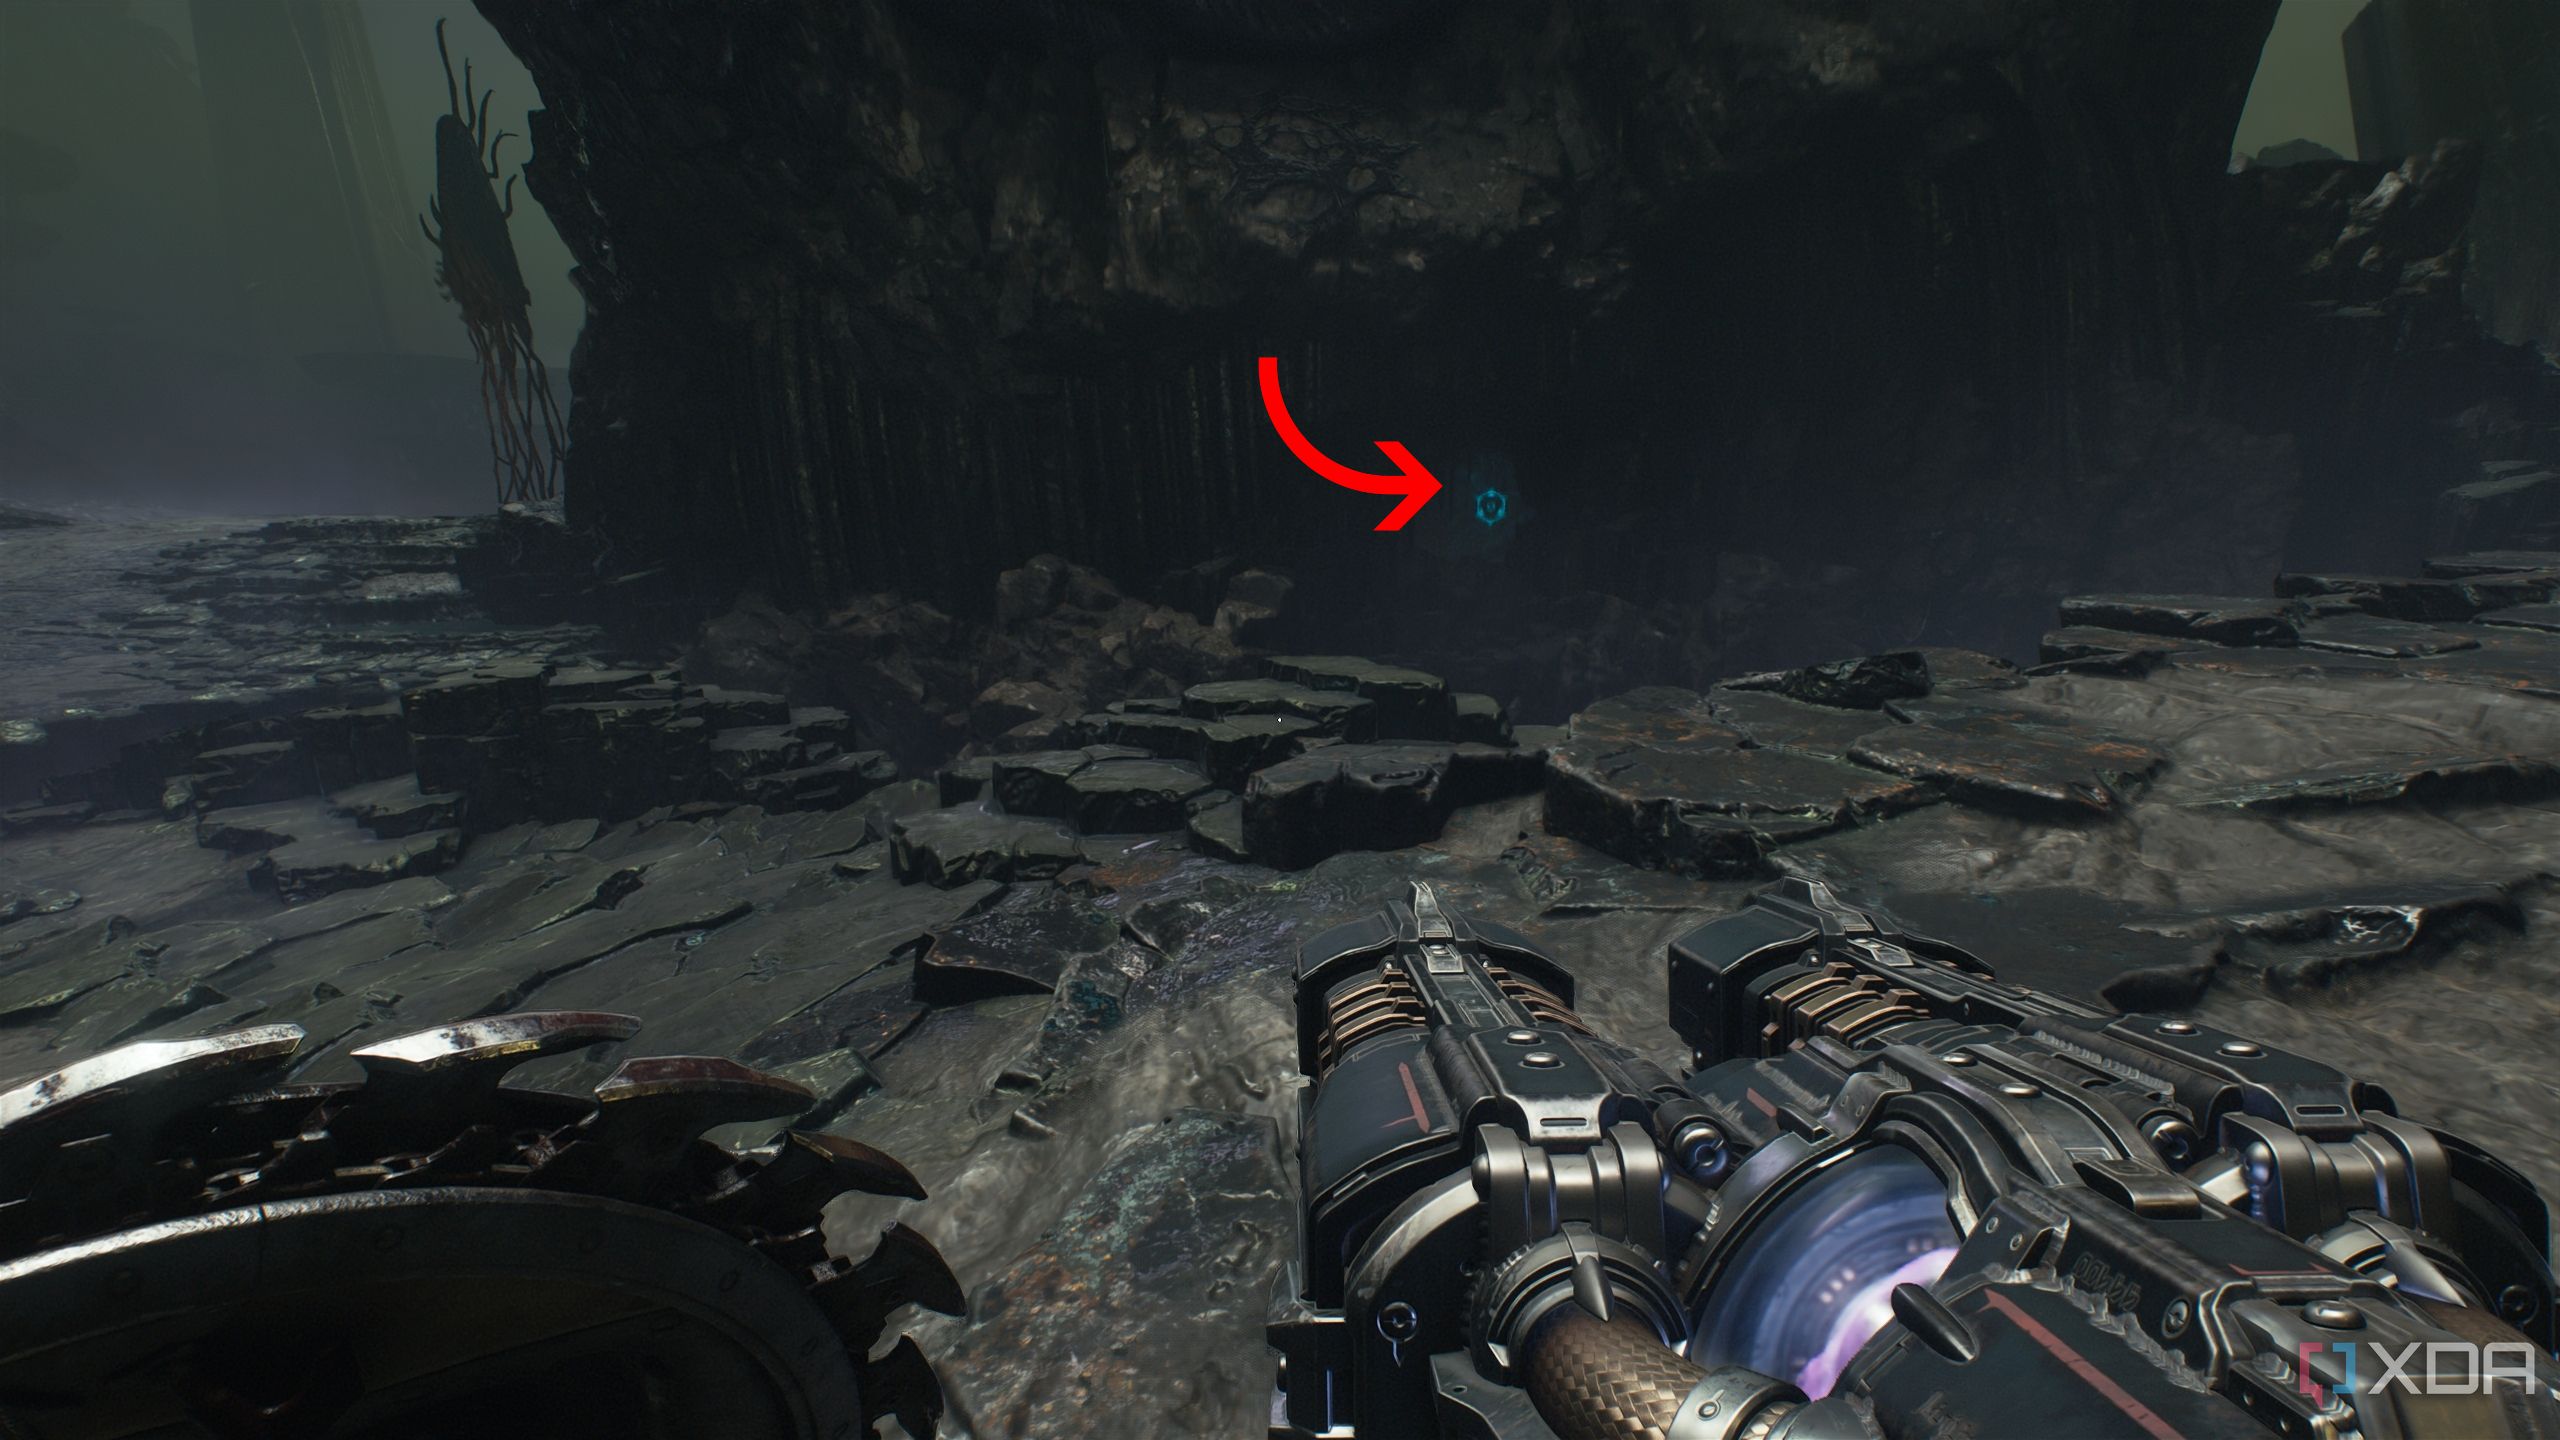
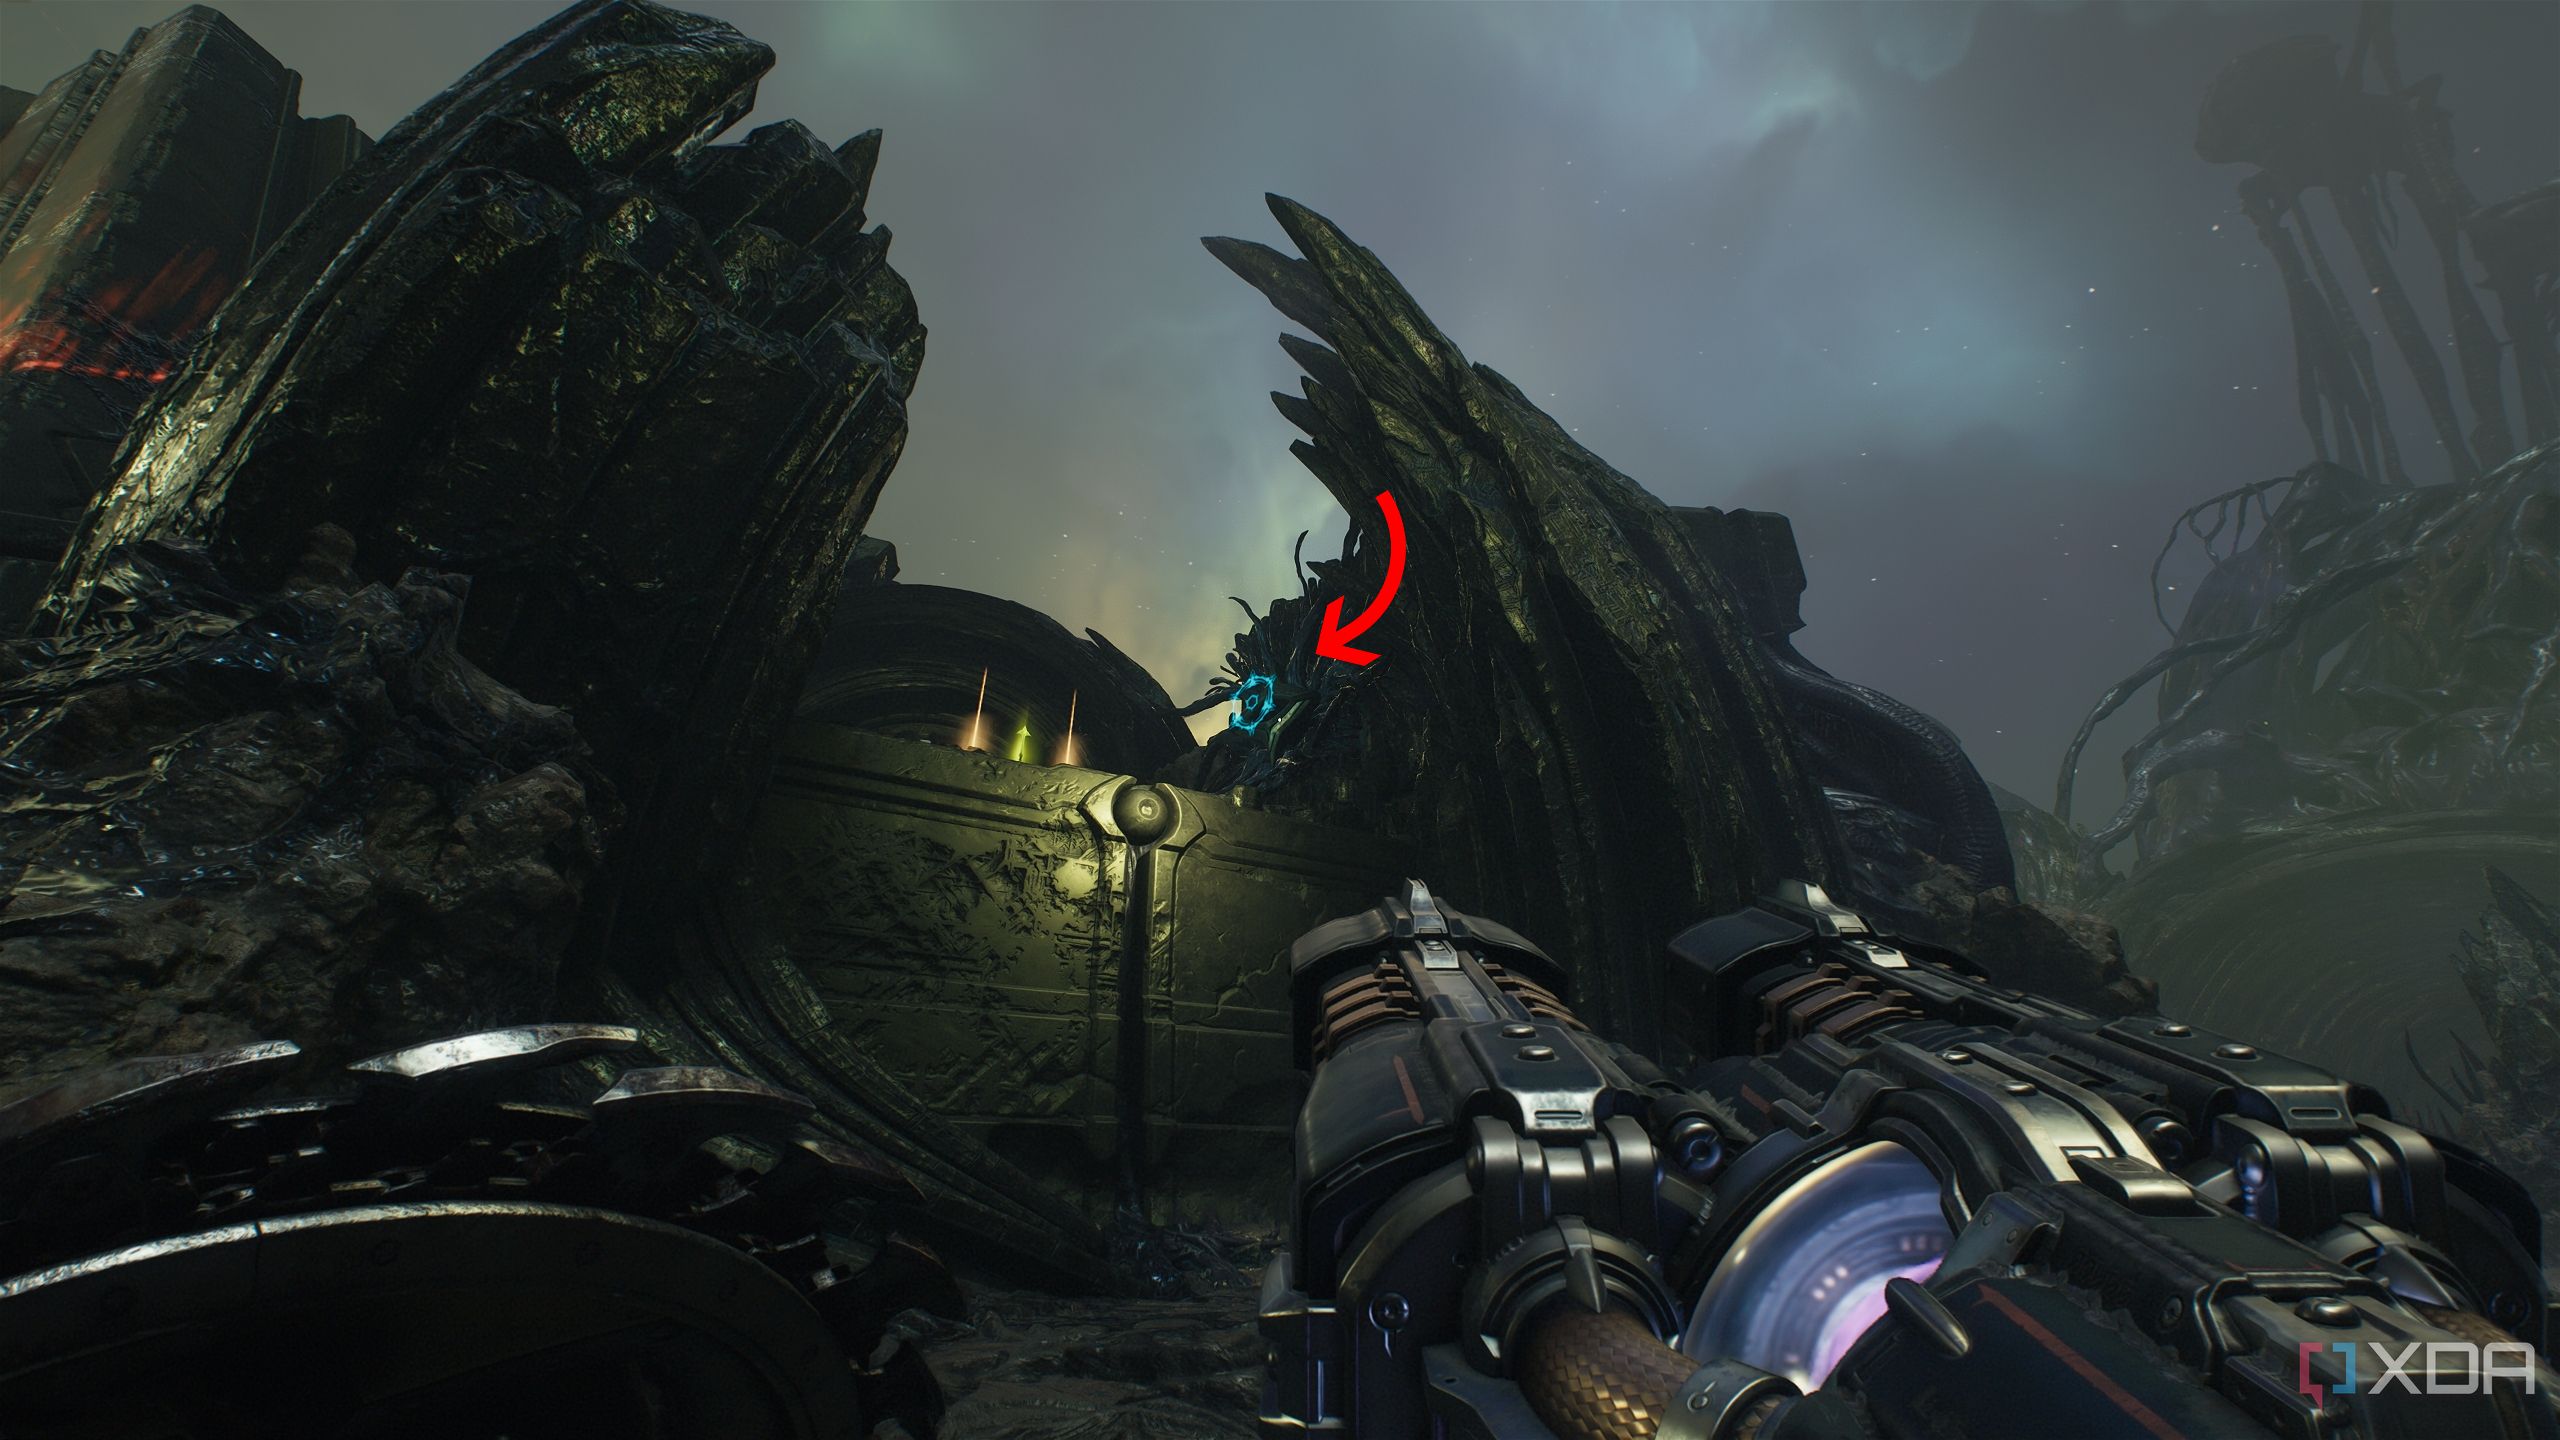
Enter it and you’ll see a ruby statue inside. Approaching it will teleport you to a puzzle room. Here, jump into the water and swim down, remaining in the center of the water. You’ll land on a platform floating in the air.
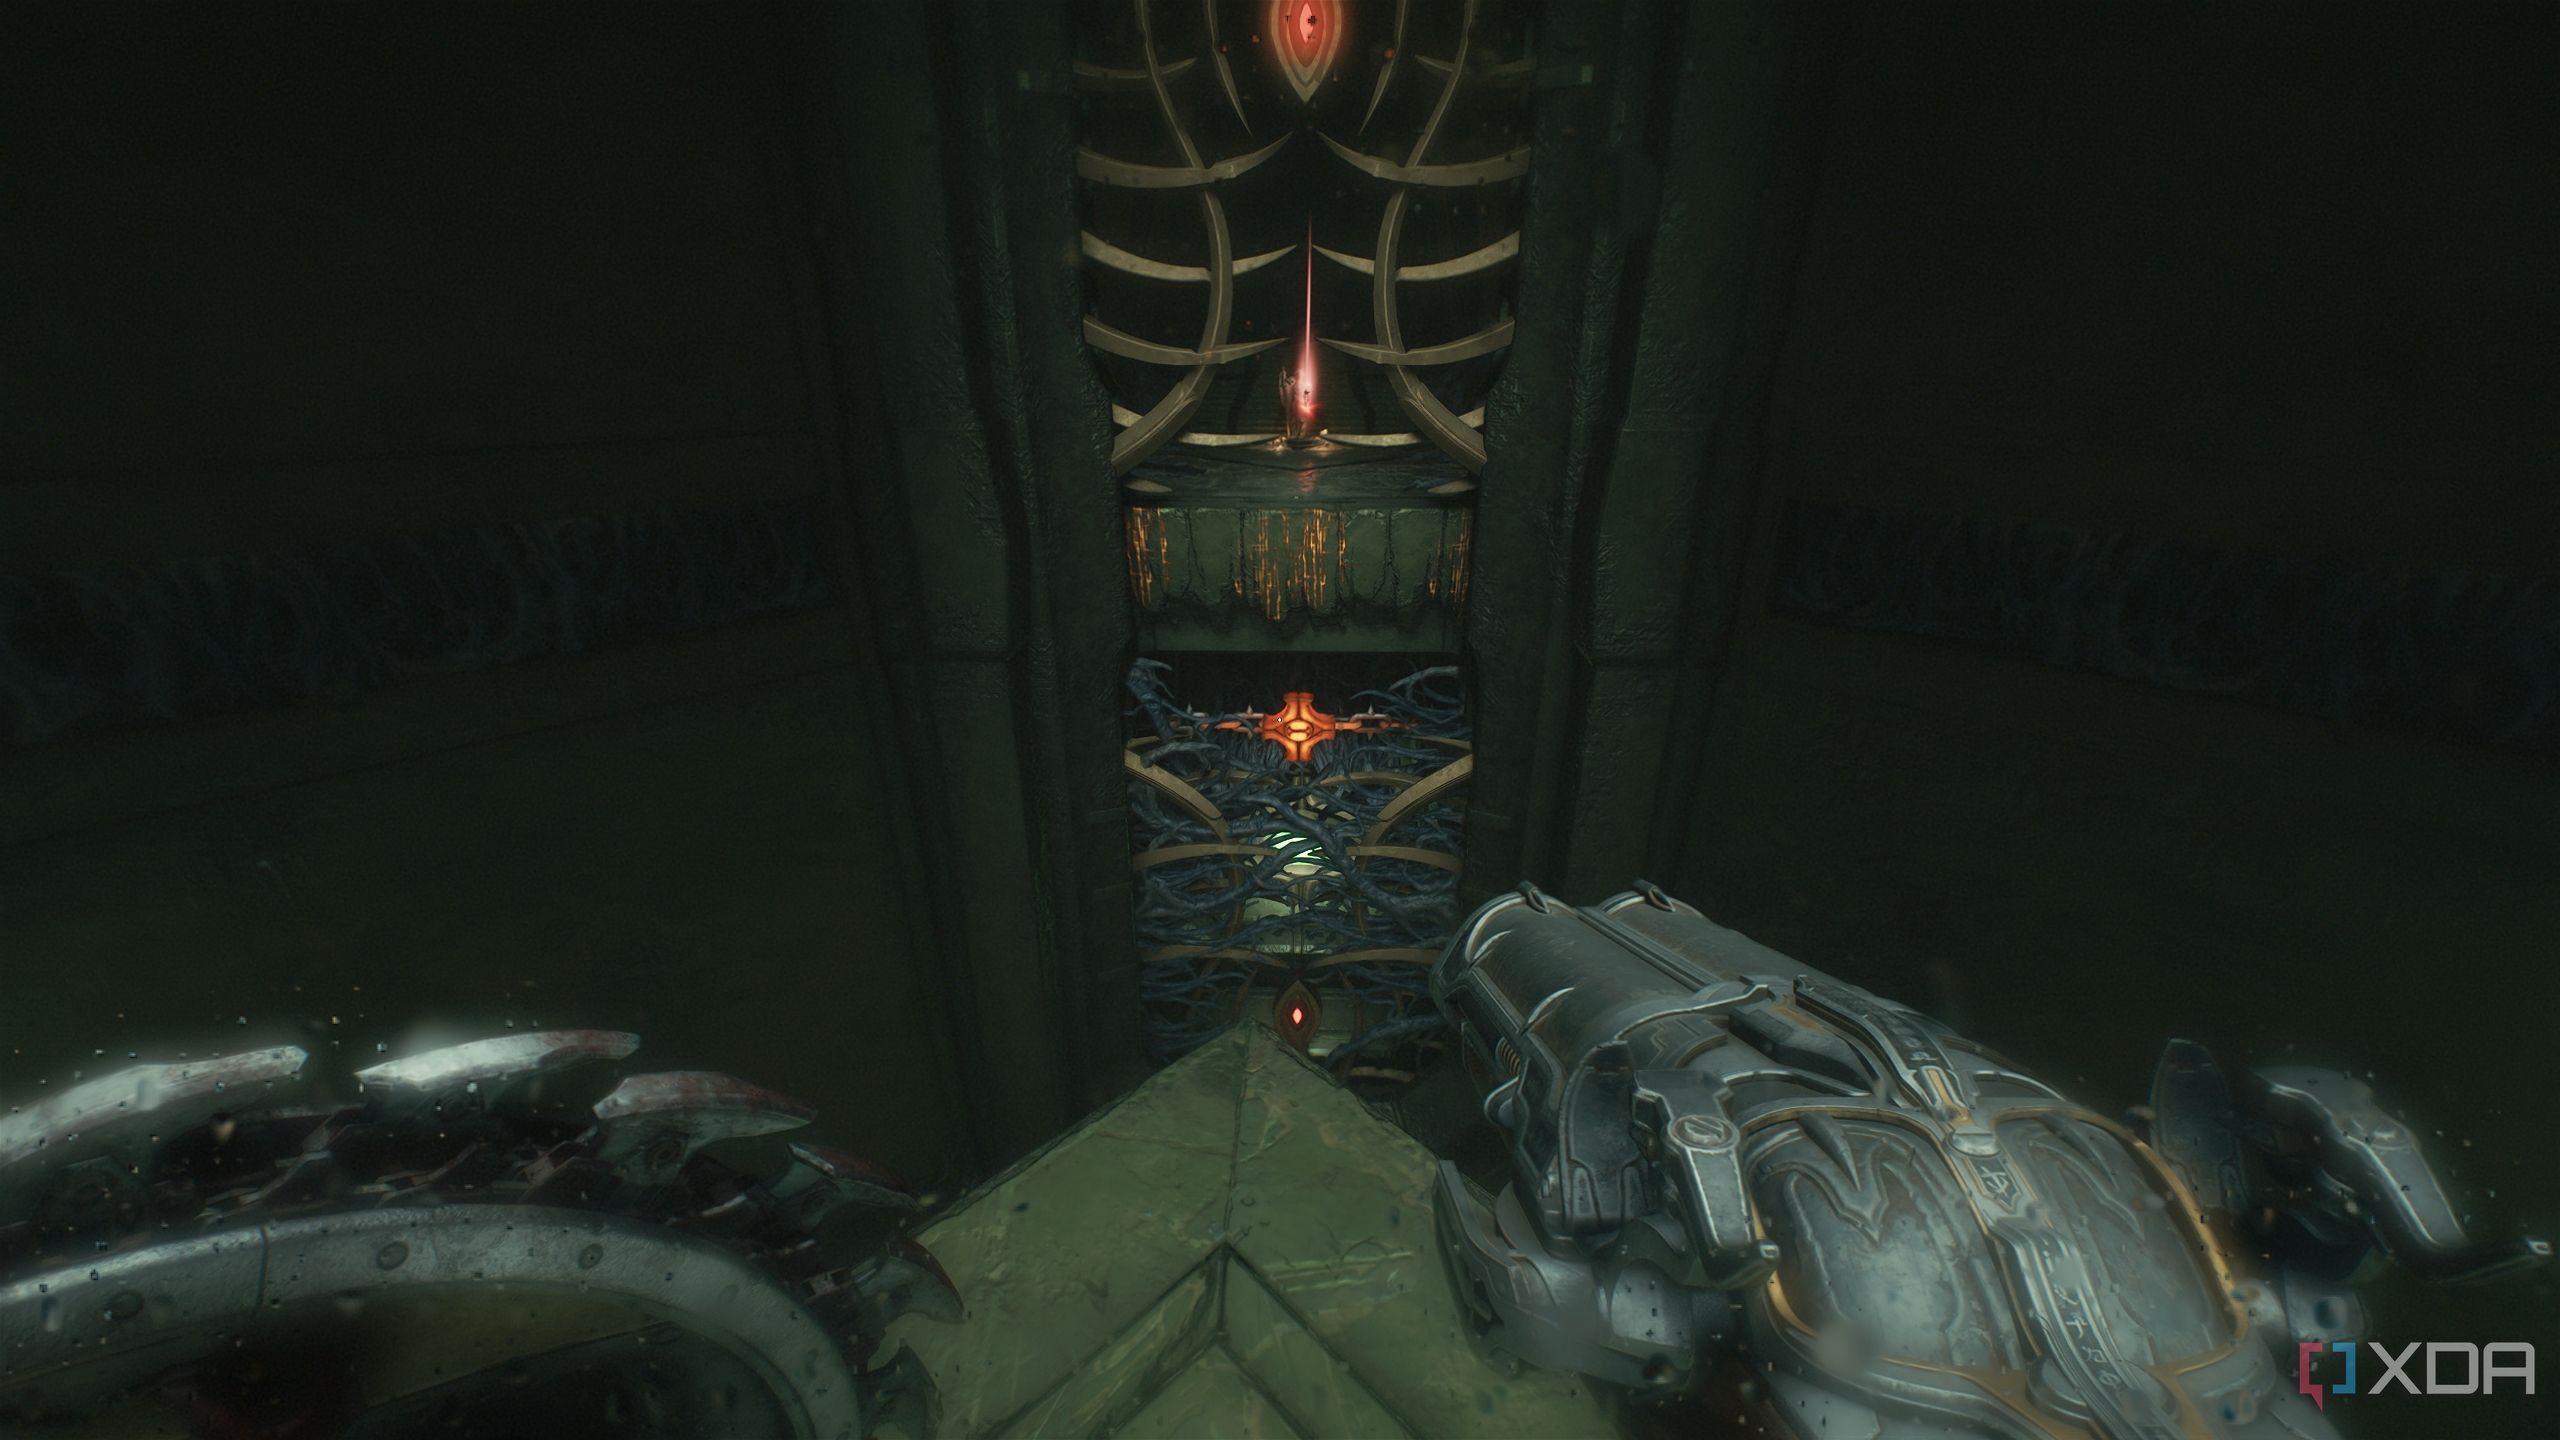
Look towards the heated metal cross, and hit it from above. This will unlock the Cosmic Eye under it.
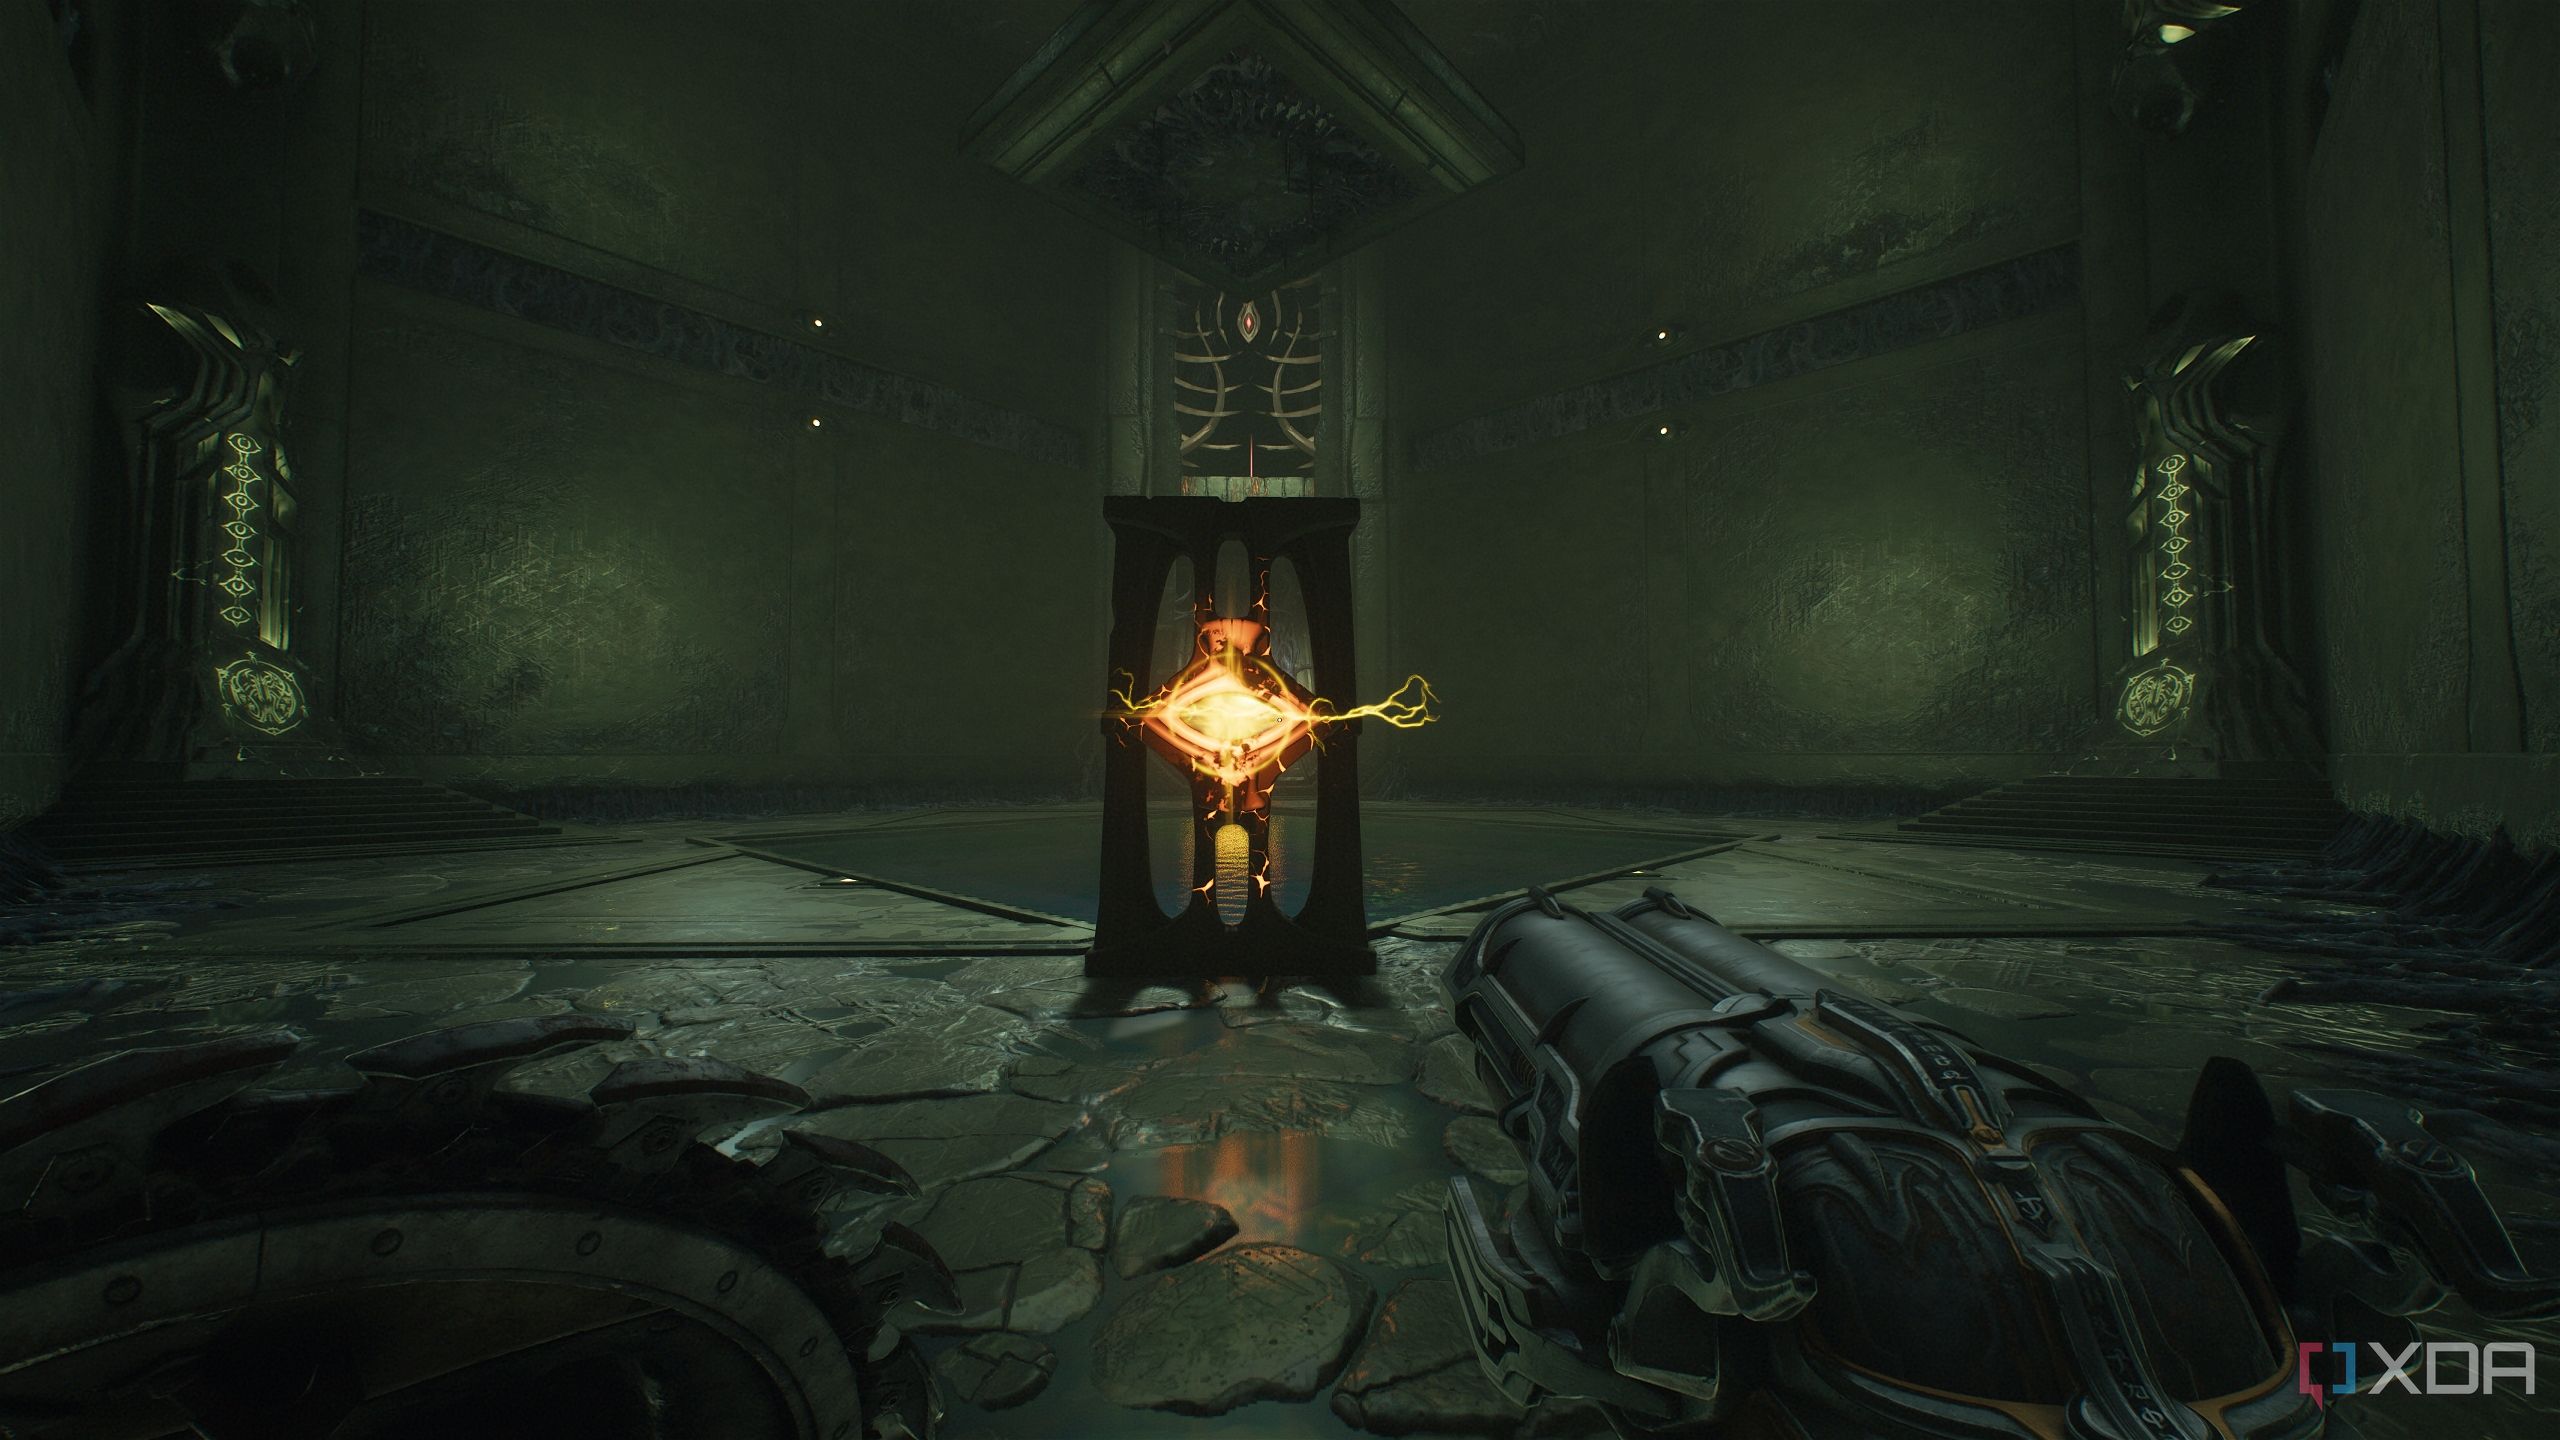
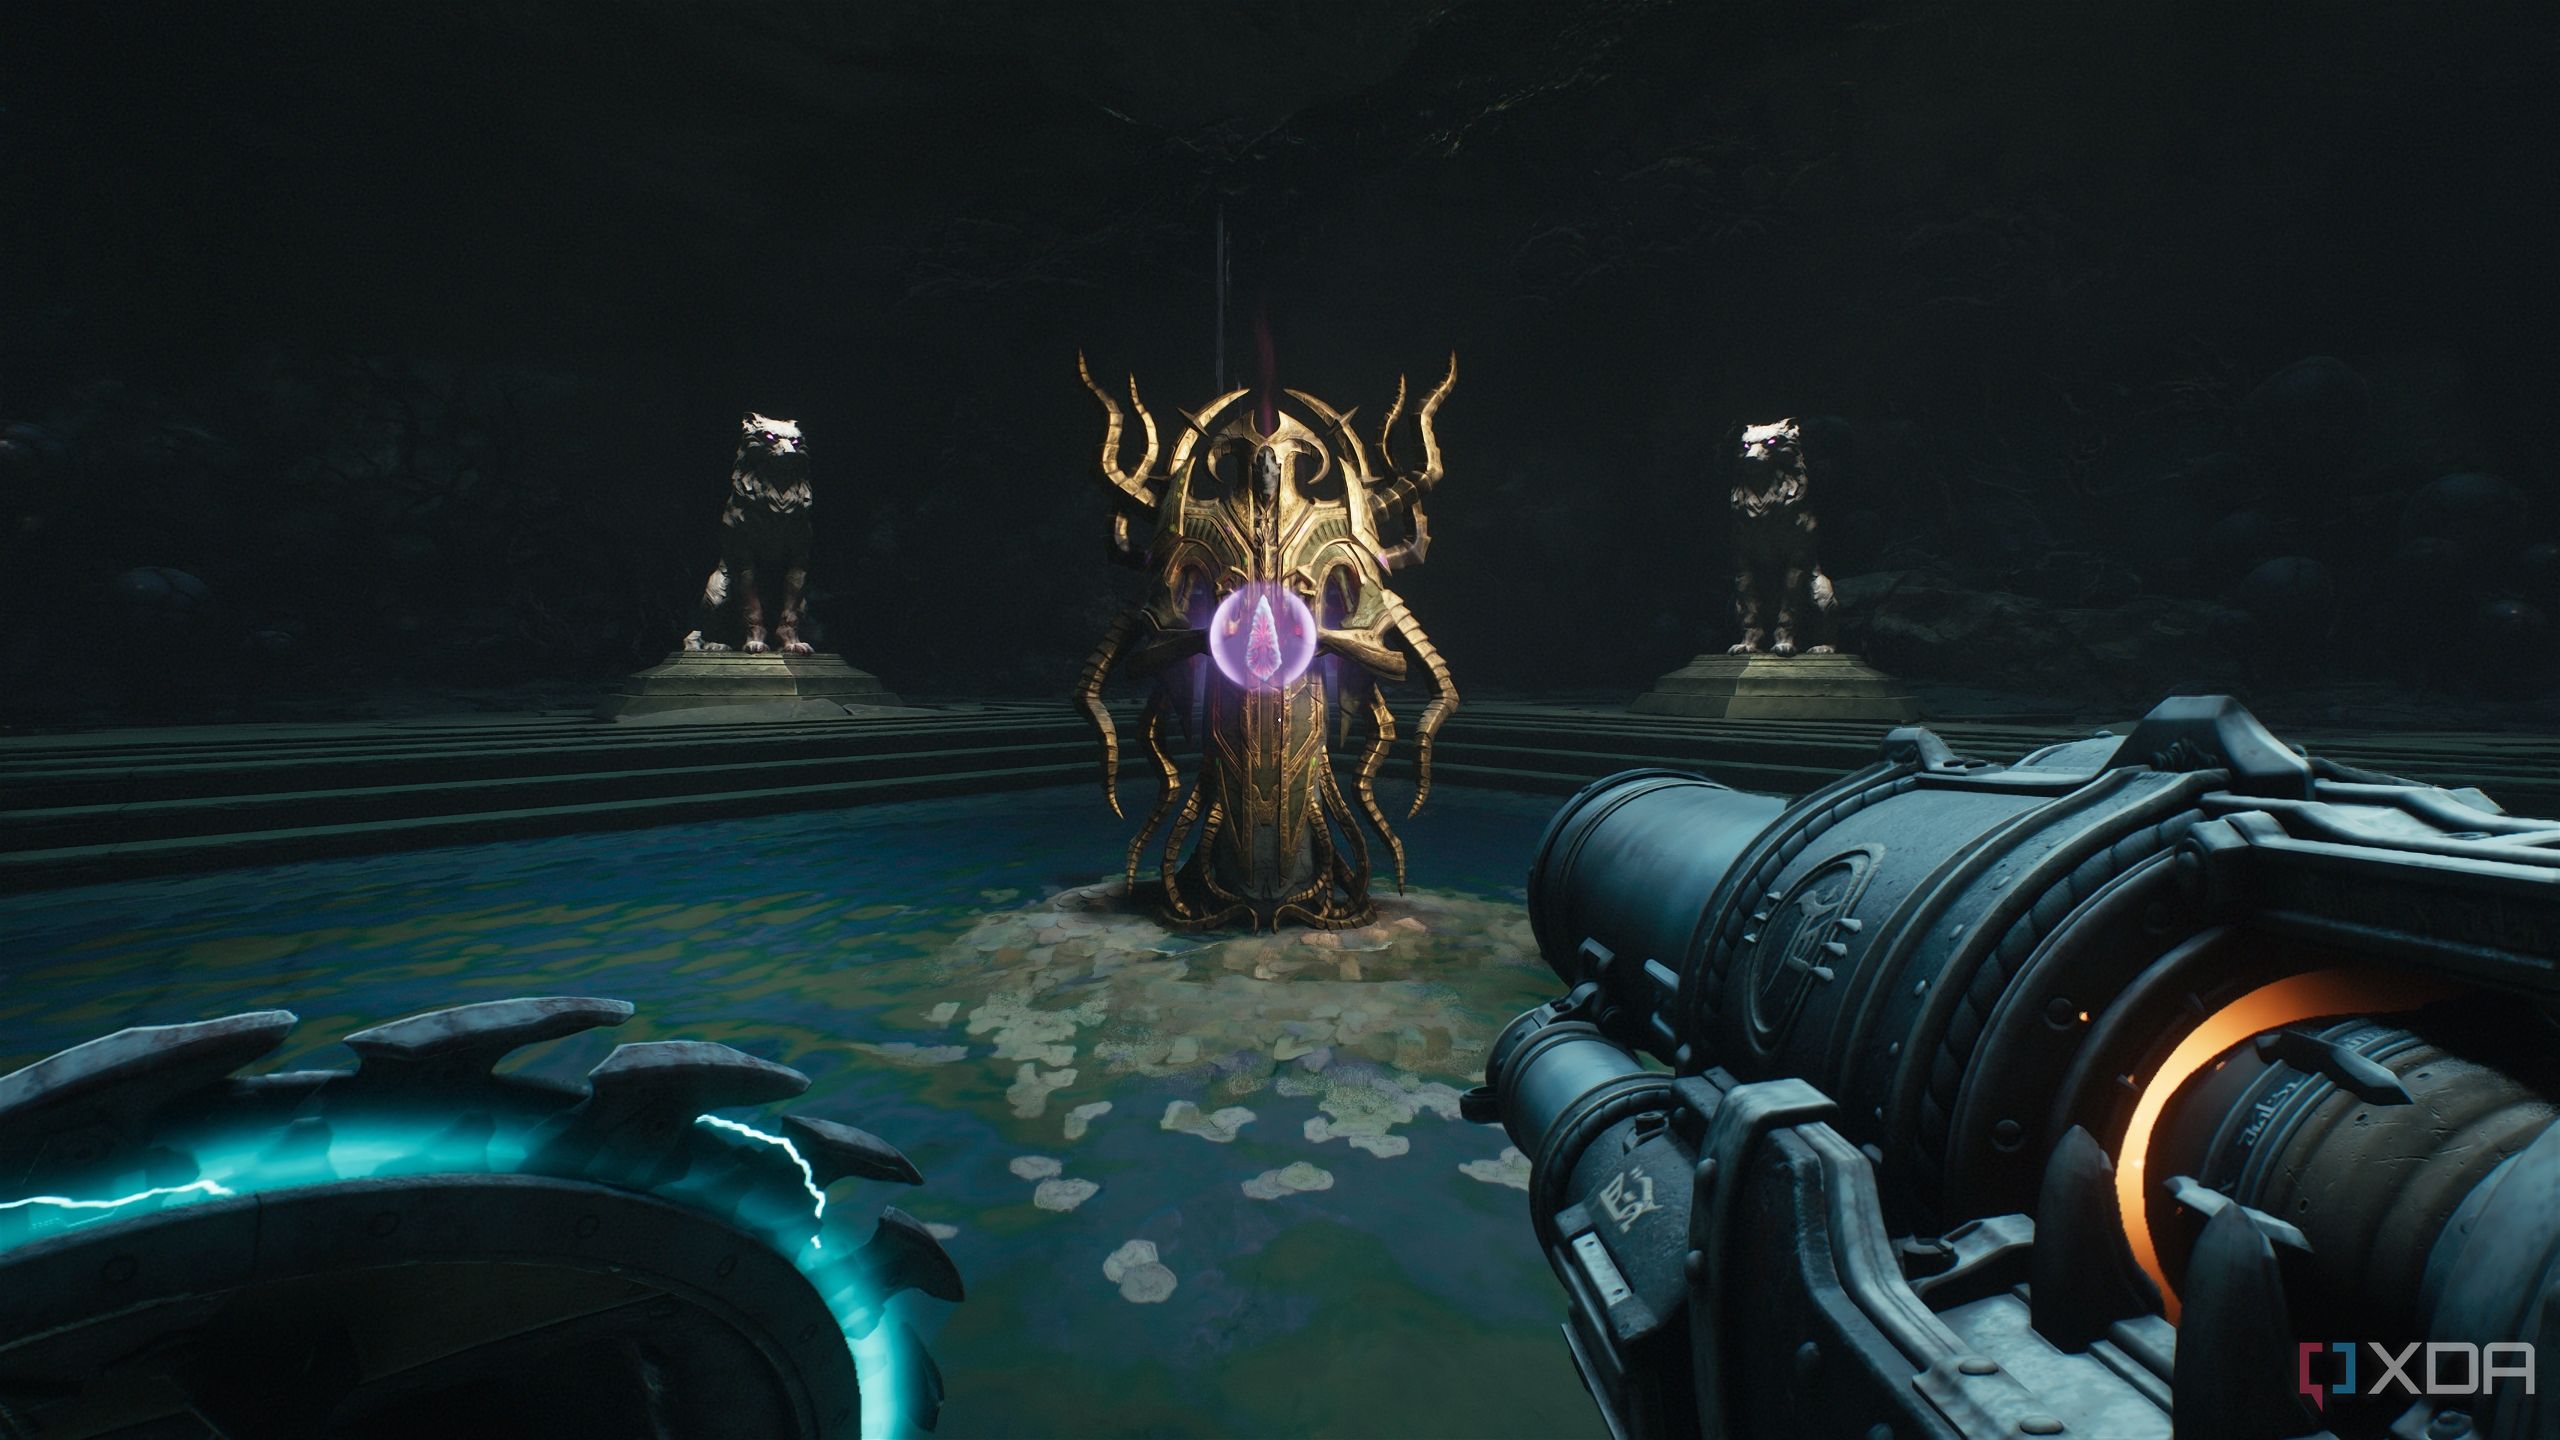
Now, drop down below, avoiding the water, and approach the Cosmic Eye node at the other end of the room. Use it to unlock the eye with your Shield Throw.
Jump back into the water and land on the platform overhead, and the statue will now be accessible.
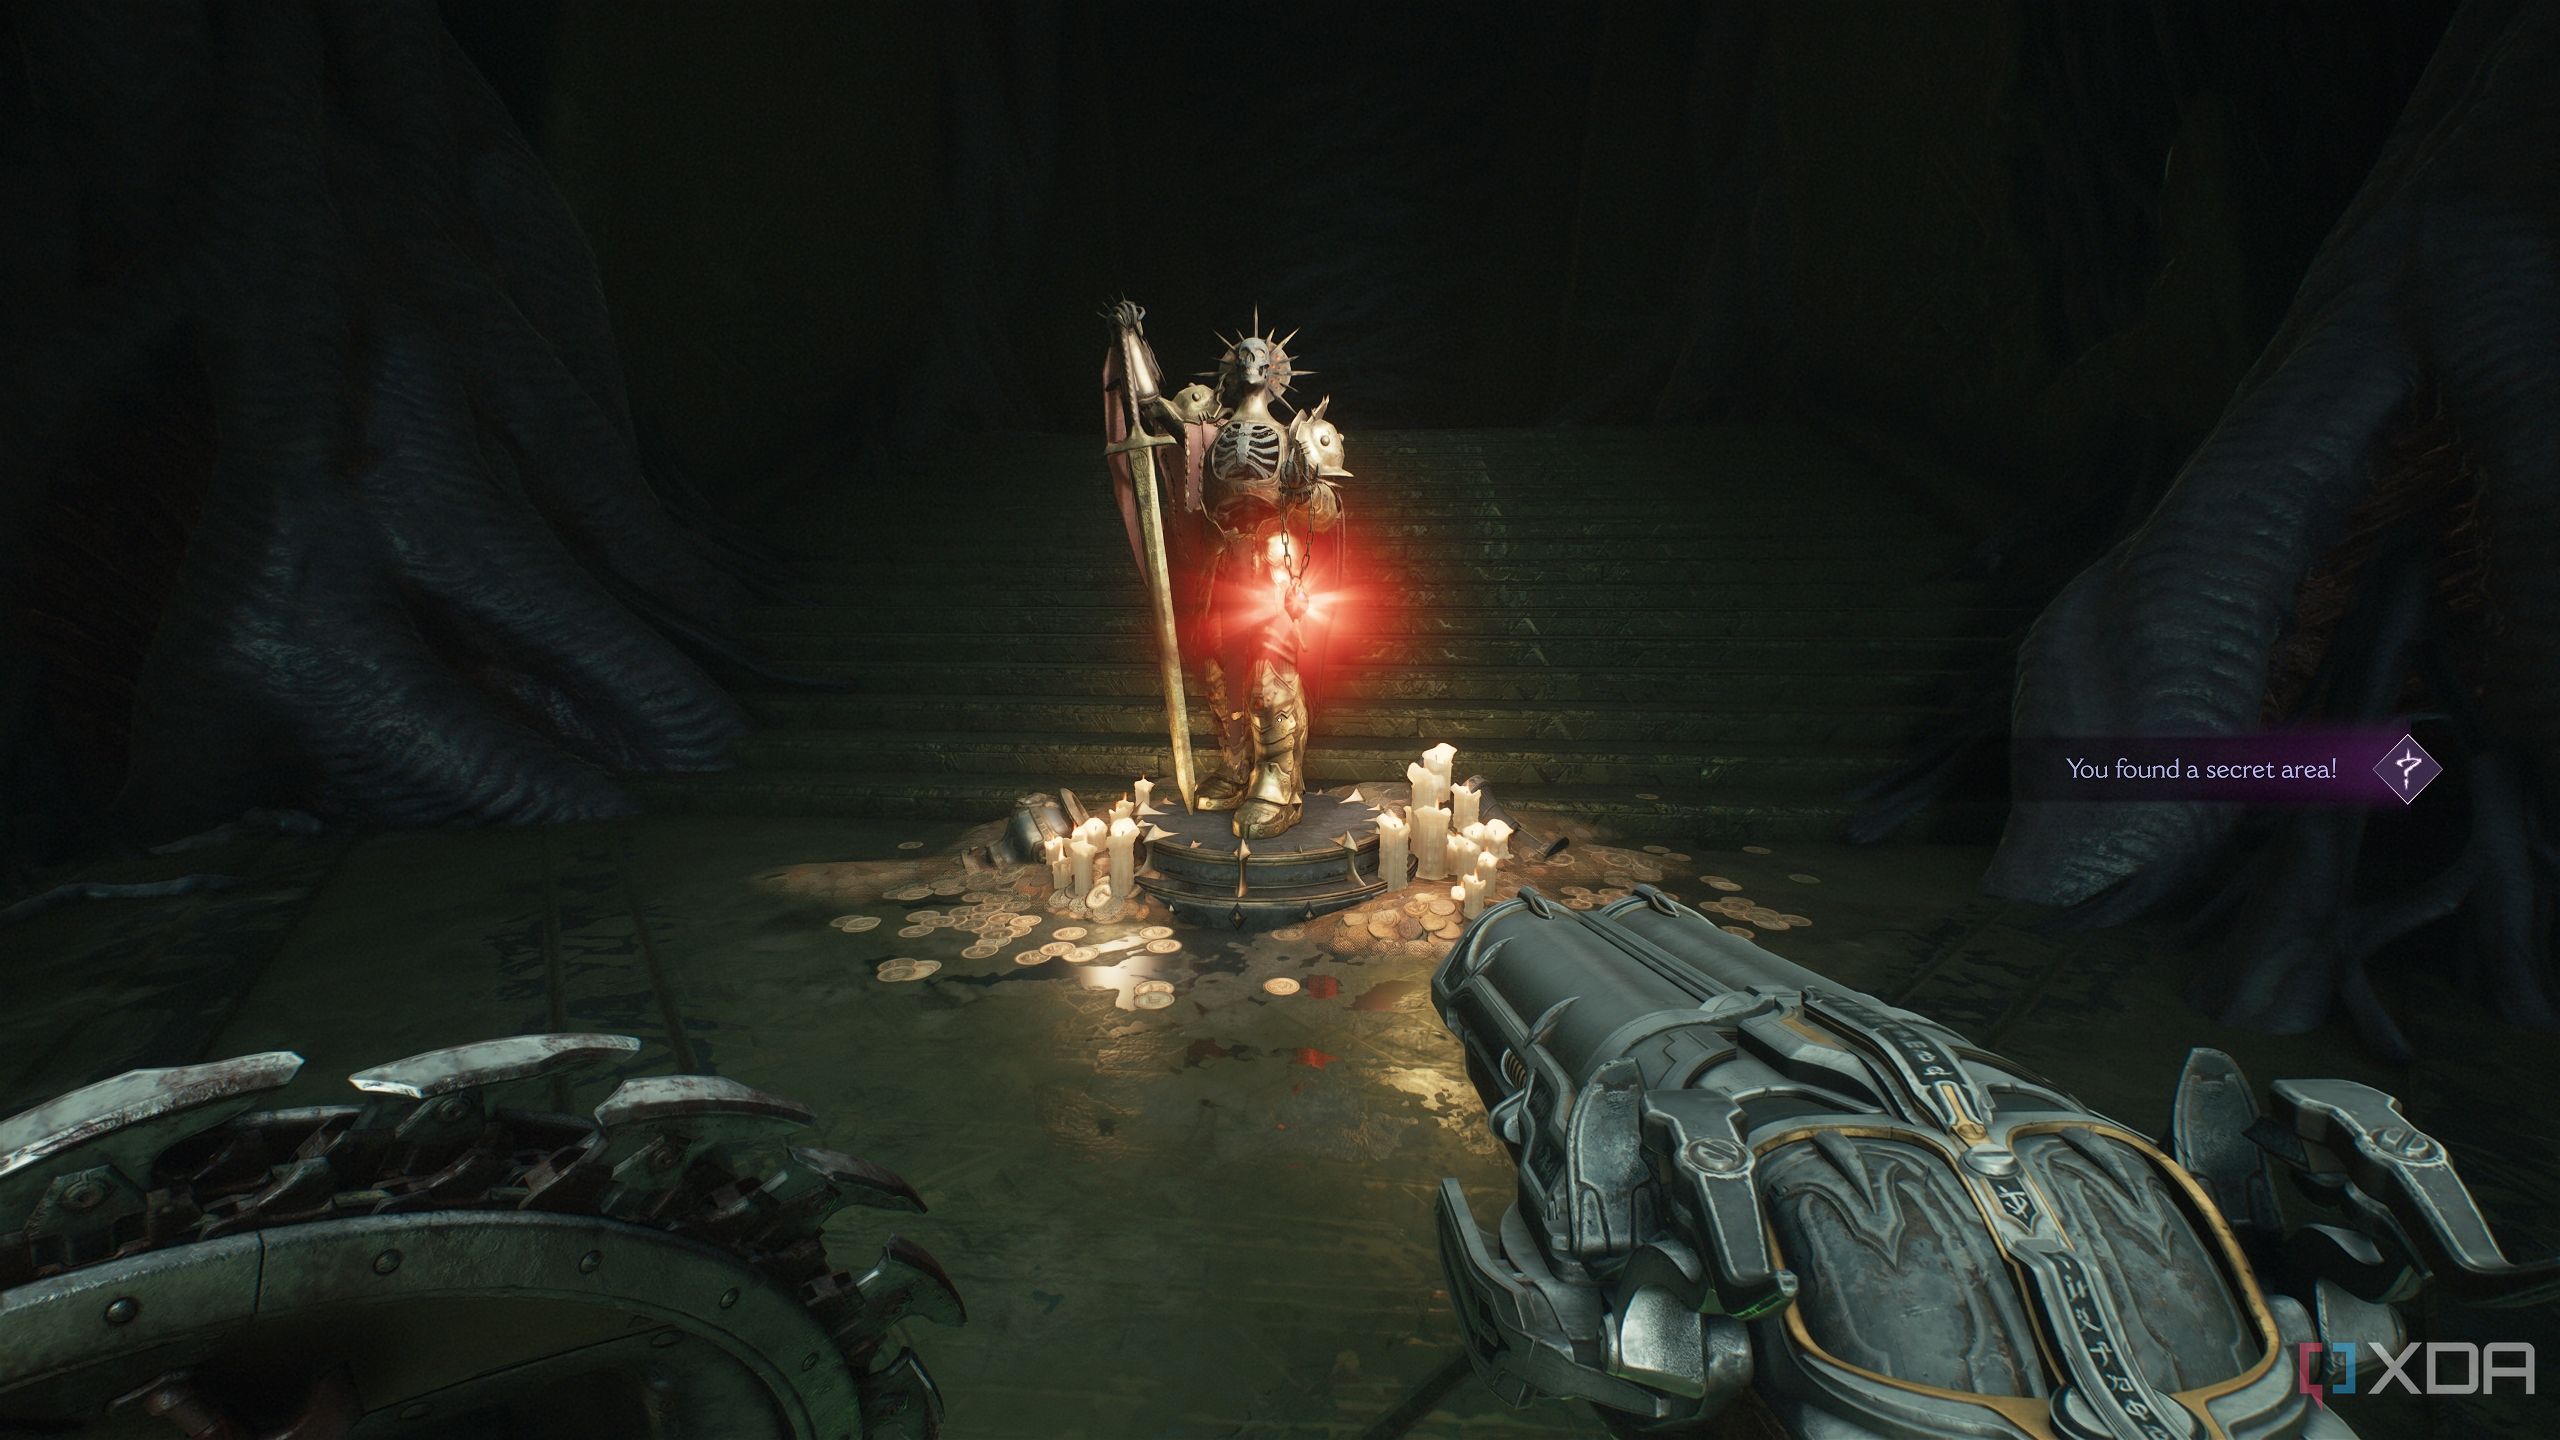
Jump towards it, and you’ll unlock secret area 1 and the first Red Ruby in the level. Head into the portal behind the statue, and you’ll be right back where you started.
If you haven’t picked up all the gold bars here, make sure you turn around to check.
Battleknight toy and Wolf Statue 2
Real-life counterpart coming to collect its toy from the Slayer

Once you’re back outside after collecting Red Ruby 1, head forward on the path to fight a Revenant. From here, there’s a scramble wall to your right.
Climb up the wall and fight the Mancubus there. Then, you’ll spot a red switch on the floor.
Step on it to turn it green, and look ahead to see a heated metal cross now accessible. Throw your shield at it, and jump down to it.
To your right, you’ll see that you’ve opened a new gate with a secret collectible inside.
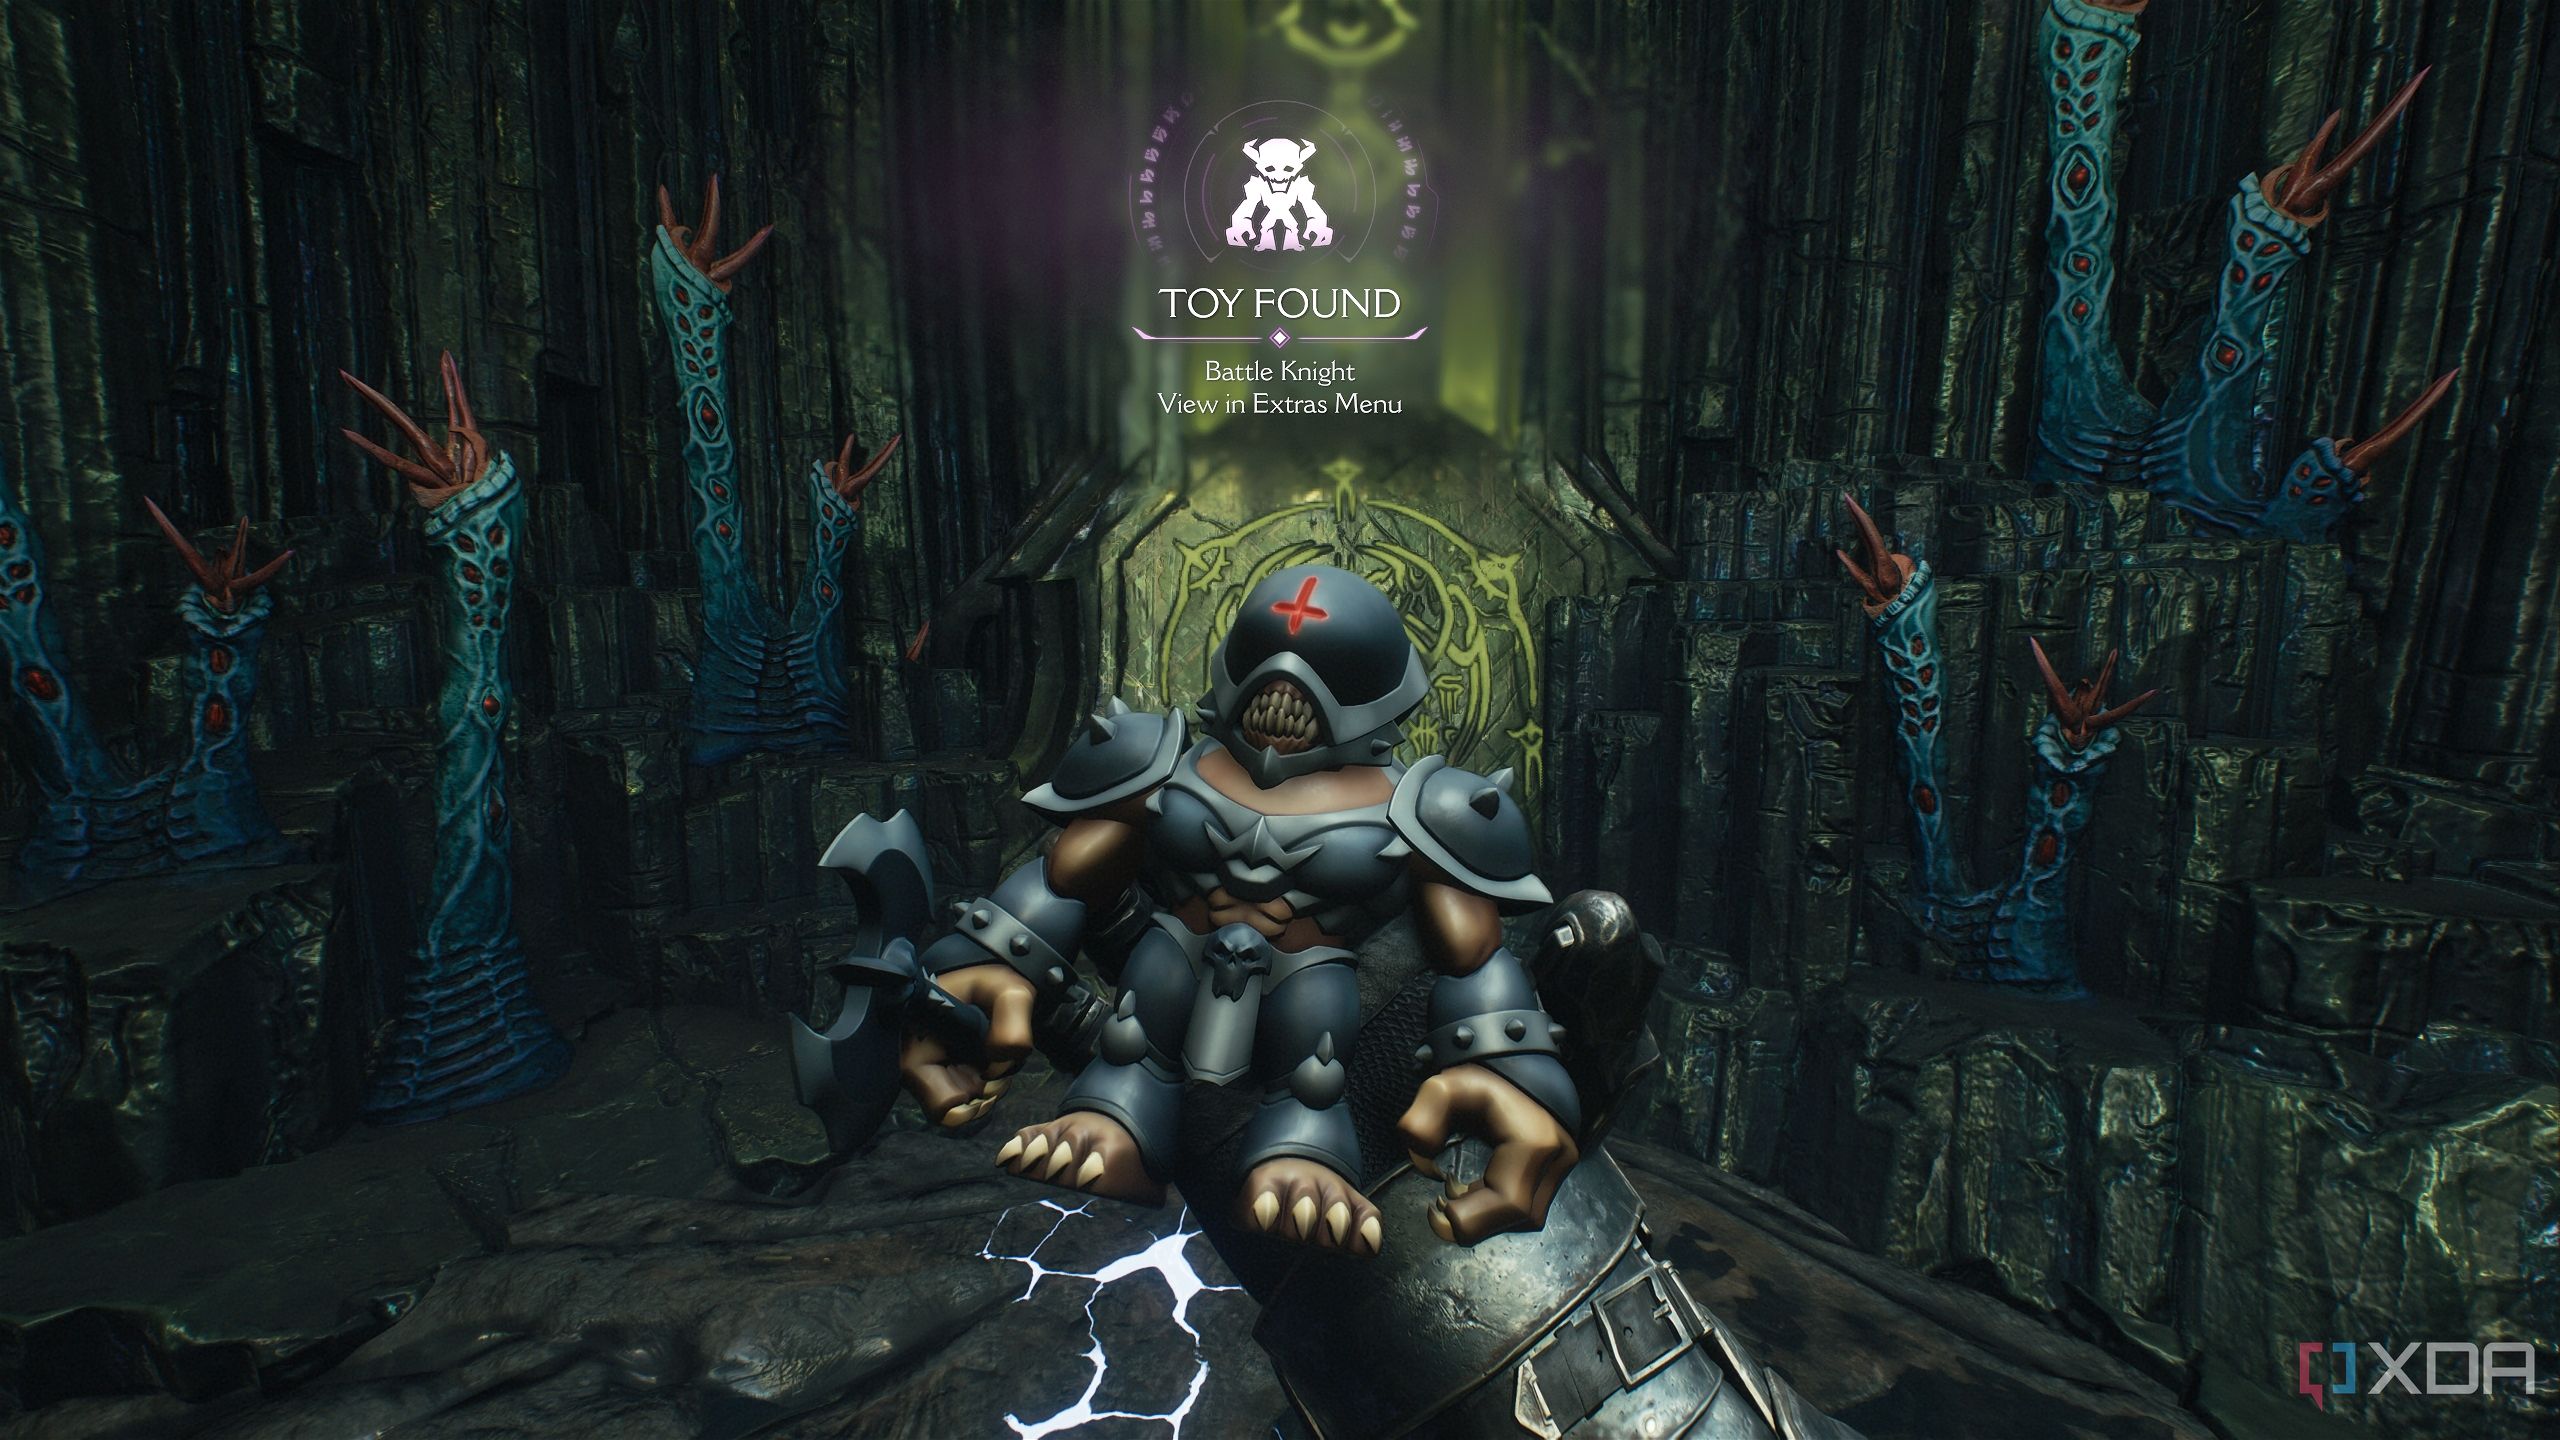
Approach it to collect the Battleknight toy collectible. Stepping out, you’ll be ambushed by a Battleknight, so be careful.
Right behind where the Battleknight spawned, you should see a slight golden gleam.

Walk straight ahead to find a gold stack.
Stay here for a second longer, and look behind the gold stack — beneath the cliff edge, you’ll see another glowing wolf statue. Throw your shield at it to destroy it.

Related
The DOOM series: Every core game ranked
What are the best entries of the DOOM series that you should play? Here's every core game ranked!
Secret area 2 and Wolf Statue 3
Can't unlock it yet but we know where it is
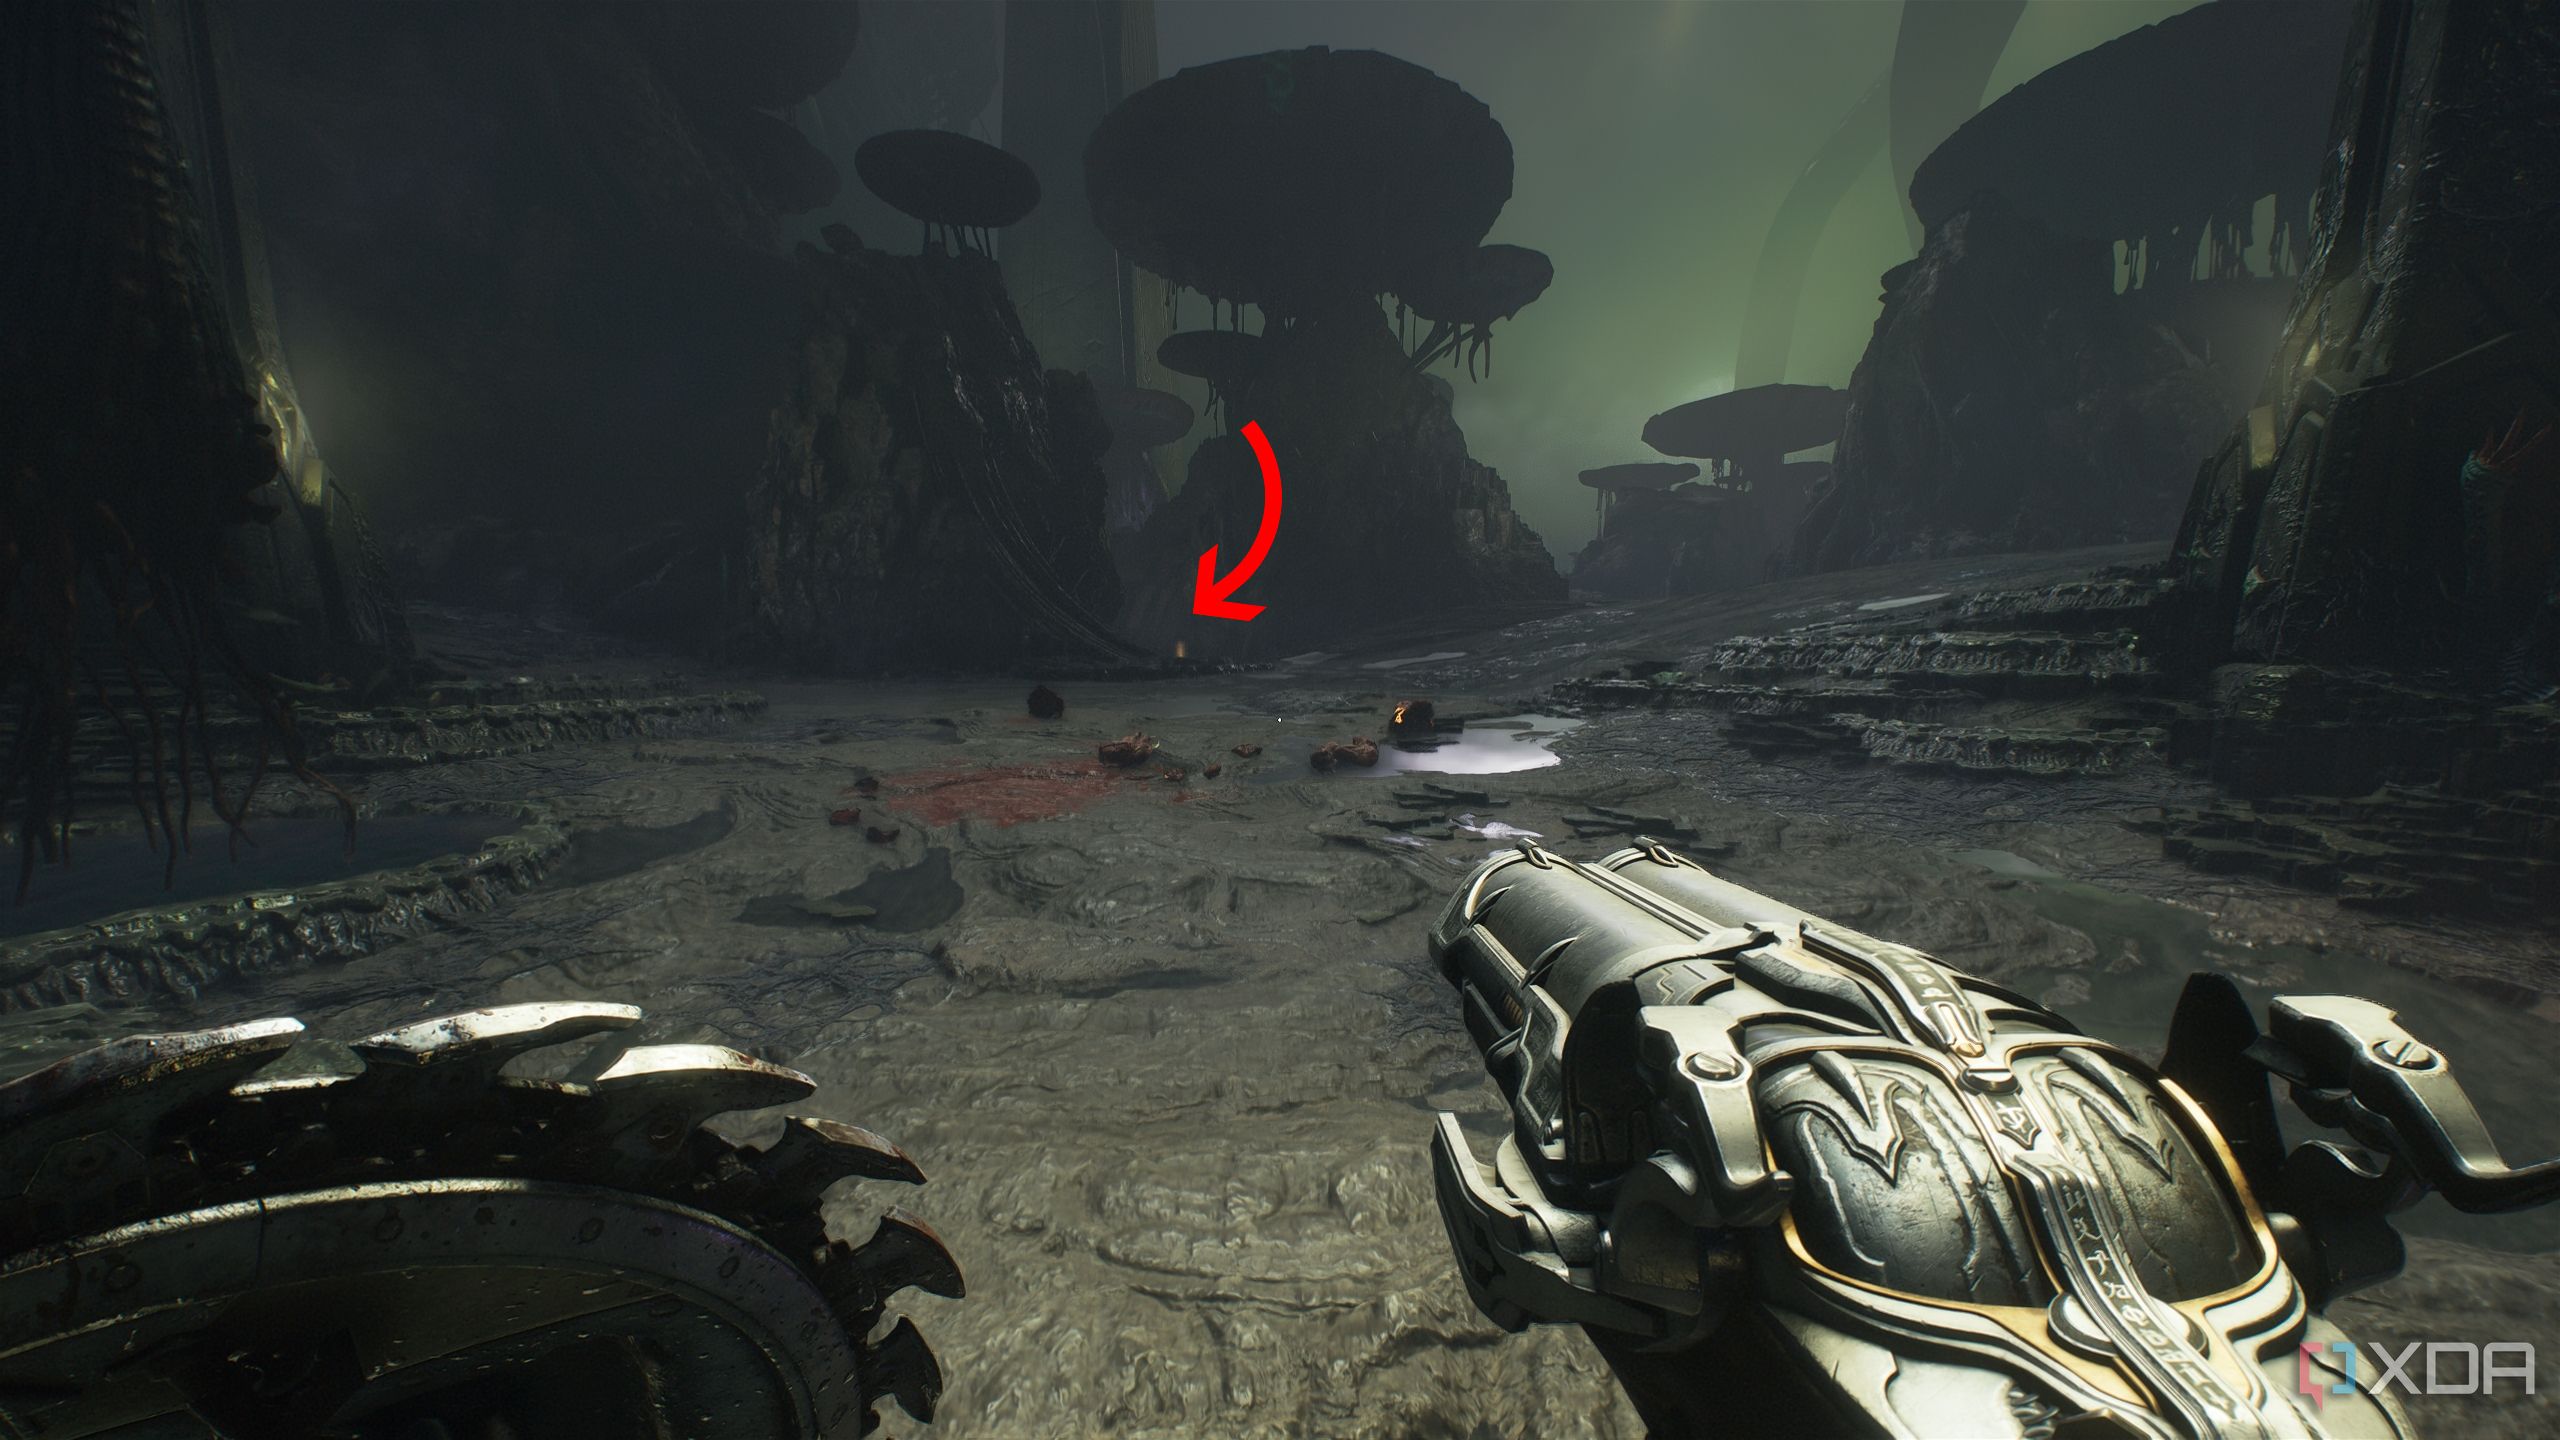
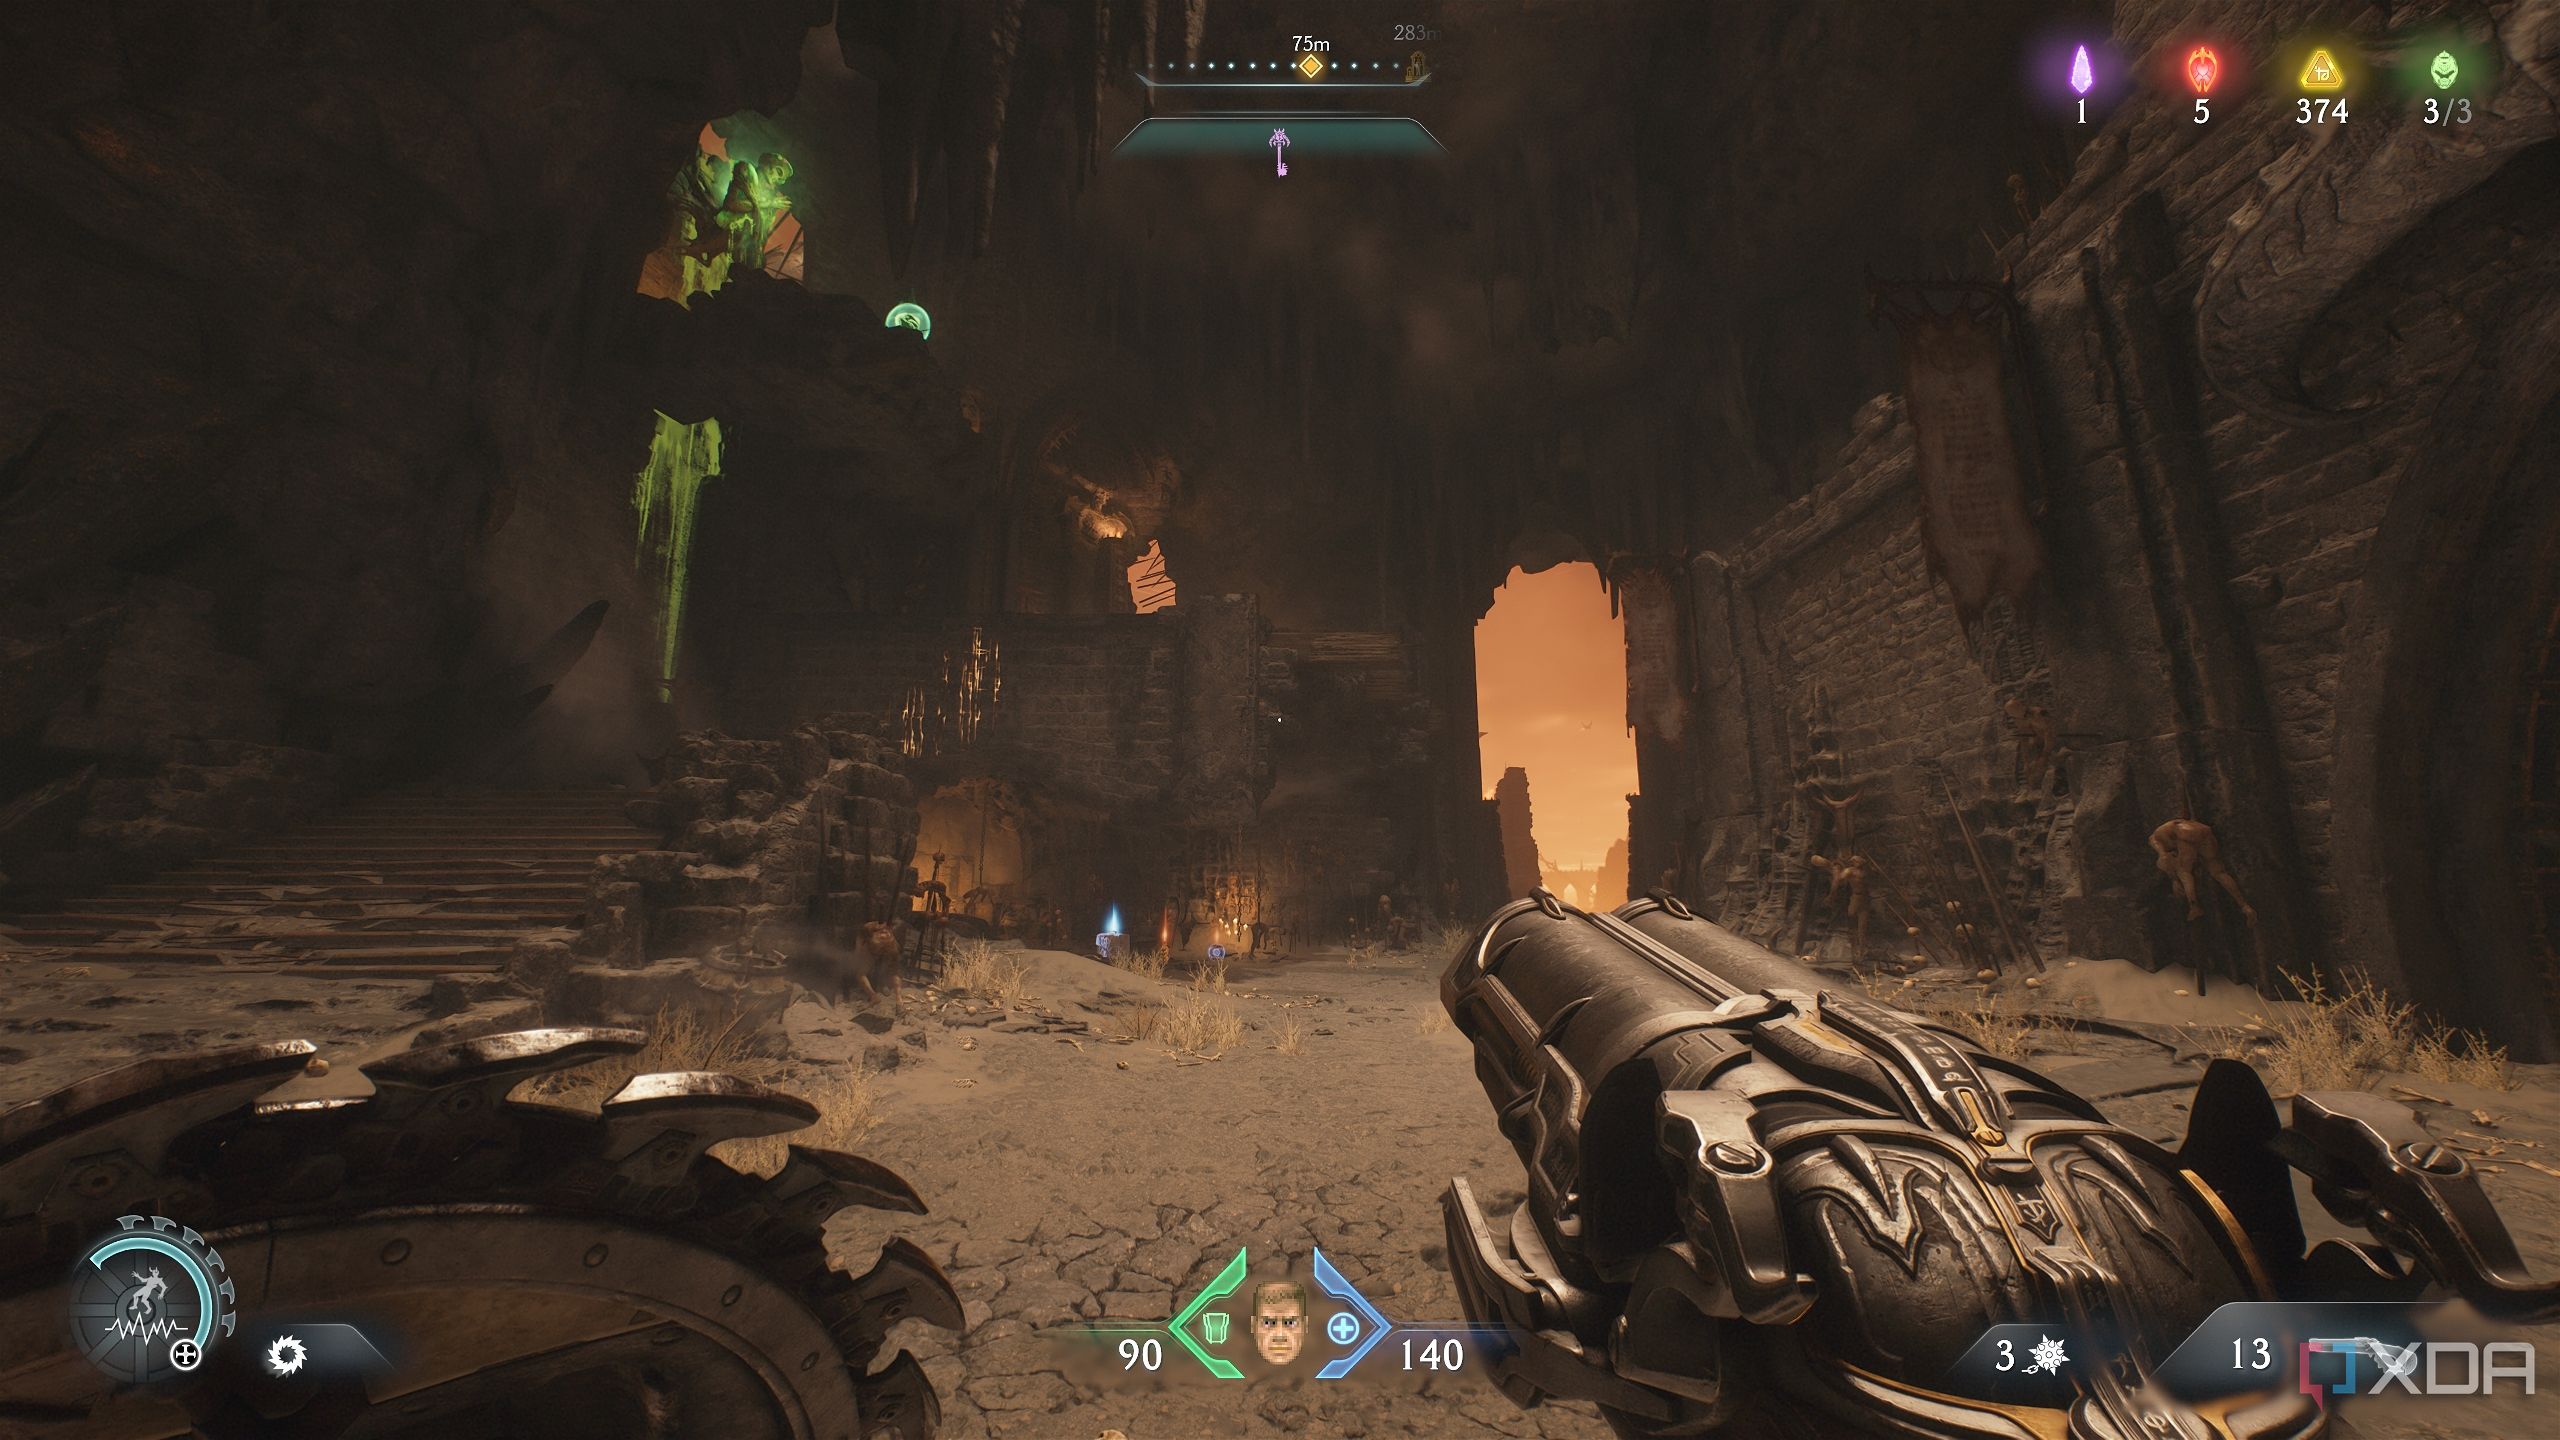
From here, turn around to face the giant, green monolith in the center of the map.
Take a left here, avoiding the scramble wall you see, and you’ll immediately see a trail of gold bars.
Pick them up and follow the trail down into a chamber. You’ll see a Wraithstone statue locked by wolf statue seals, two of which you’ve broken. You can’t get it yet, but you’ll unlock secret area 2 regardless.
Then, look to the left edge of the chamber, and you’ll see another trail of gold bars. Picking those up will show you another glowing wolf statue at the end of this small chamber. Break it to get another magical wolf seal down. It’s time to head out of here and come back later.
Gold Stack and Wolf Statue 4
Another statue hiding behind health vials

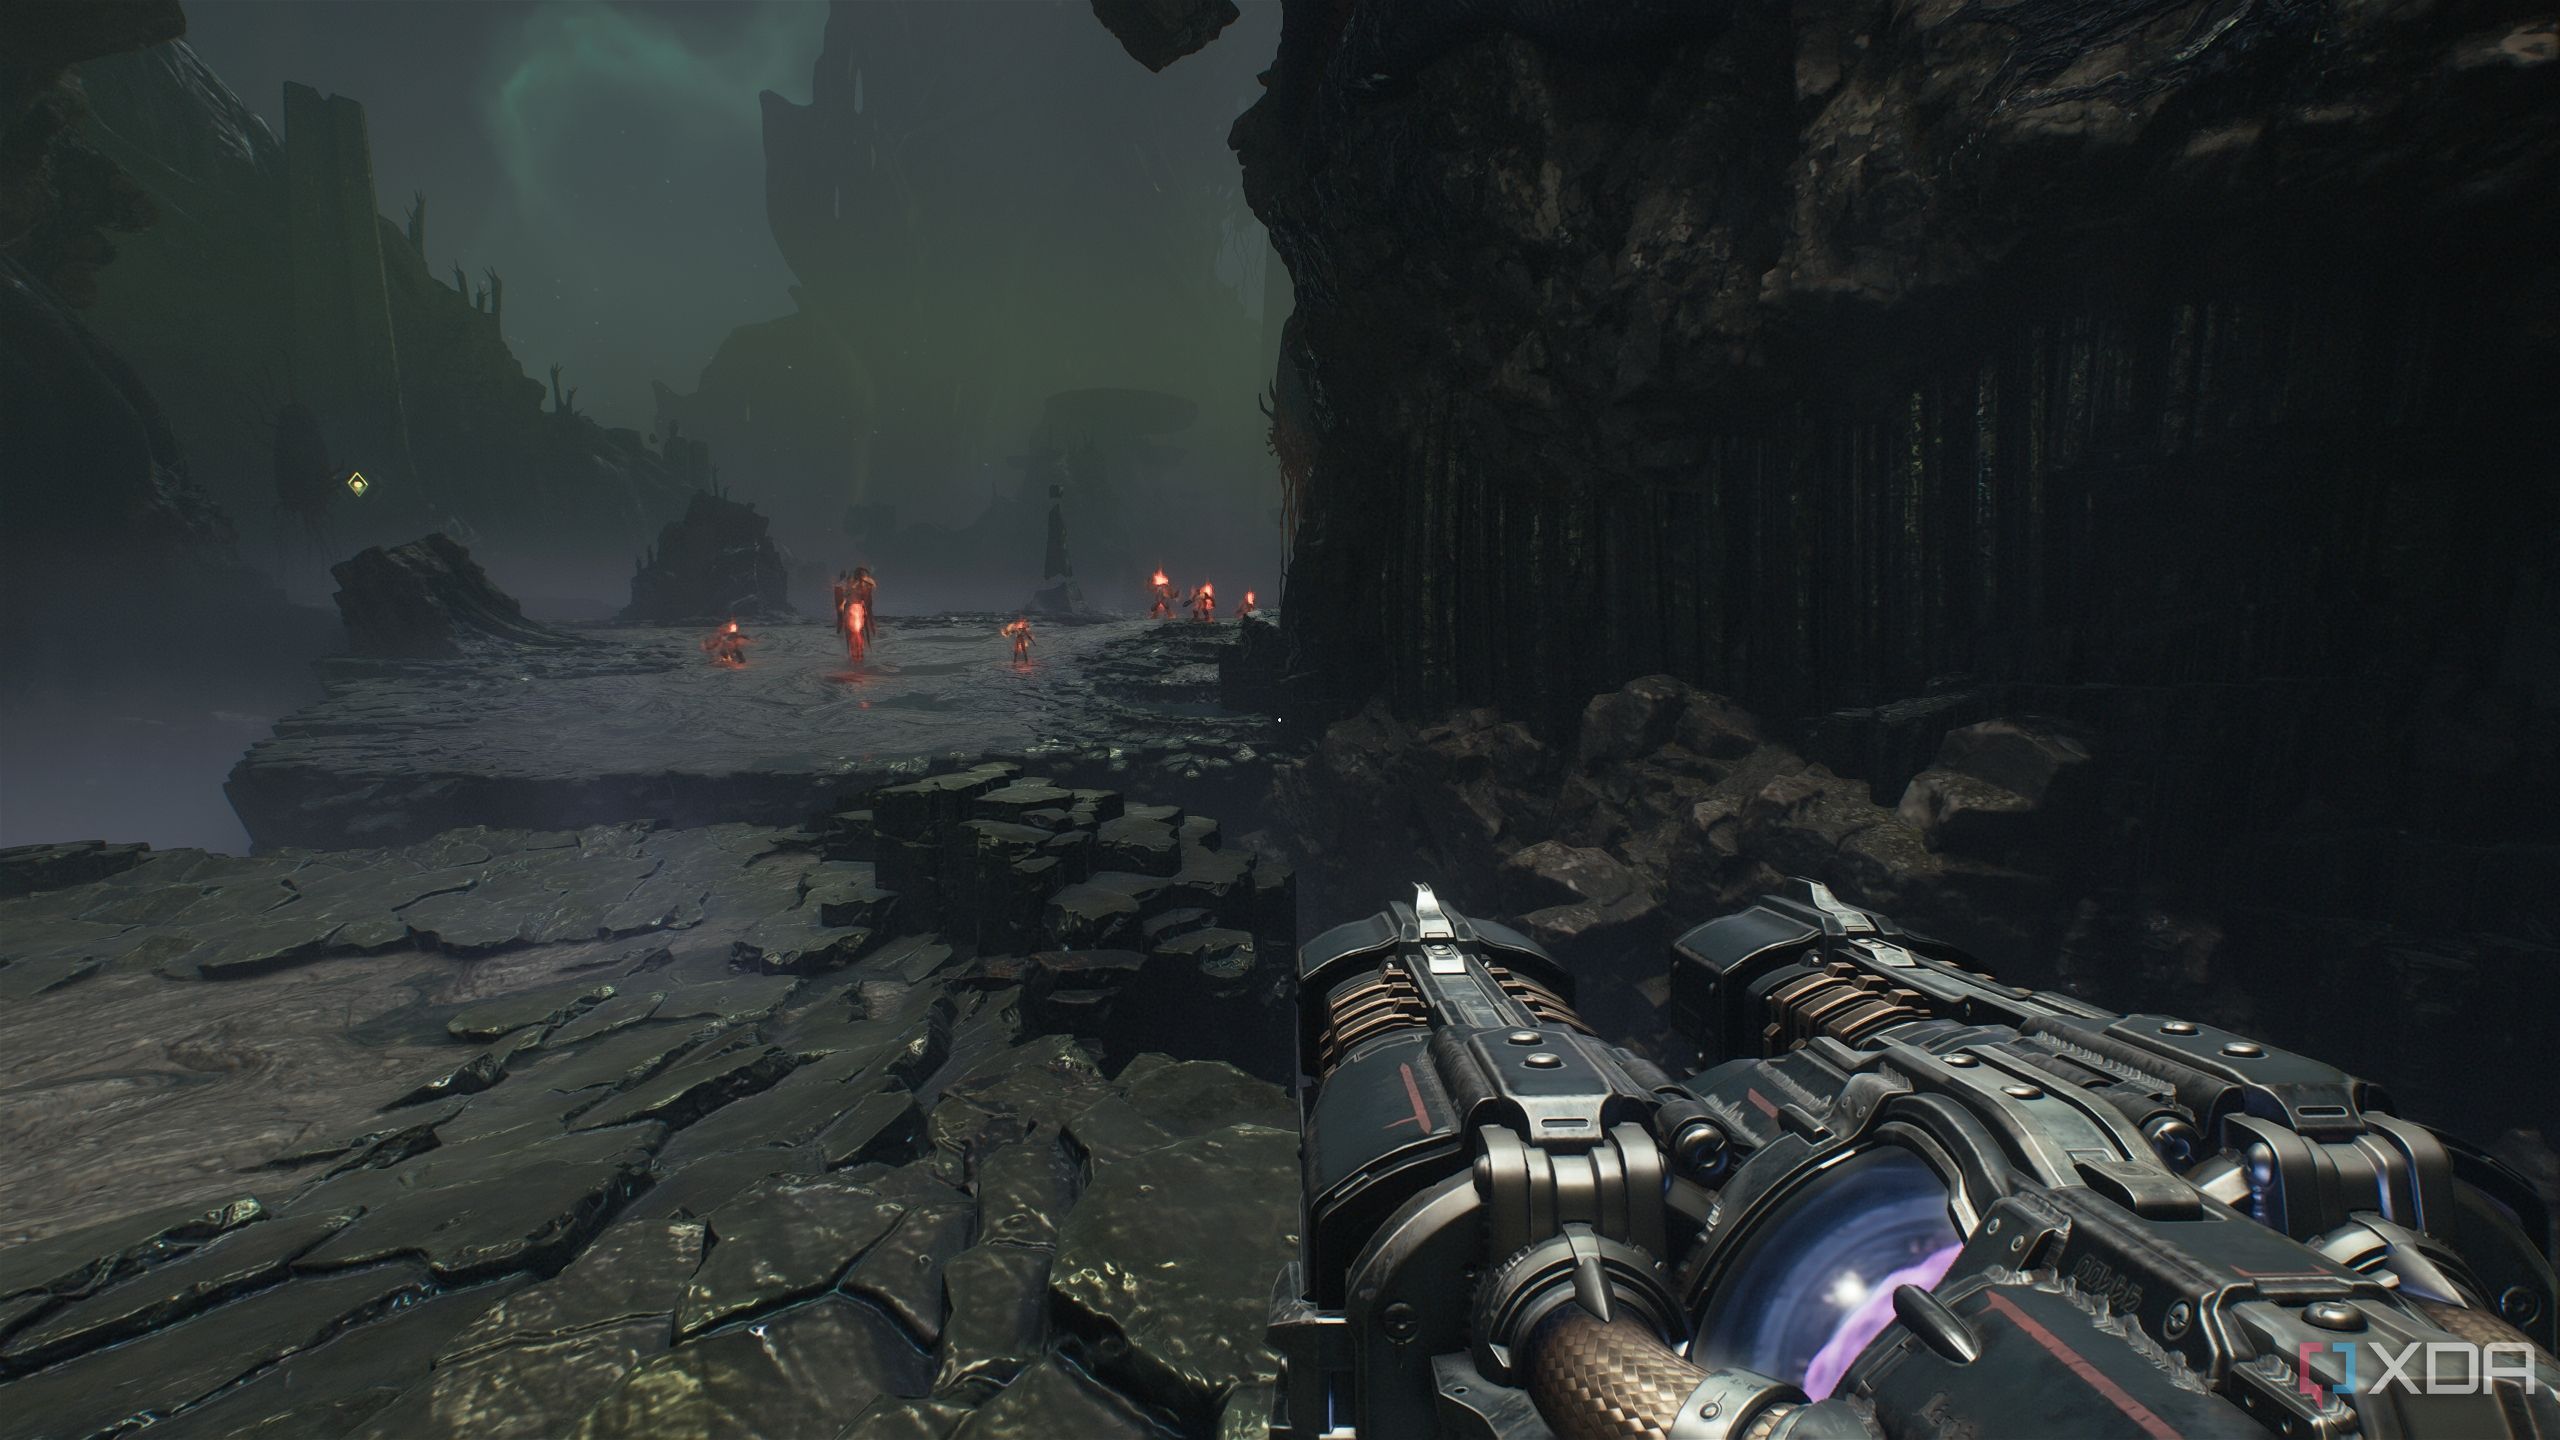
Head towards the nearest objective, and you’ll have to engage in a big encounter with demons, ending with a face-off against an Agaddon Hunter who drops Demonic Essence for armor.
Interact with the objective to bring the barriers down, turn around, and head left.
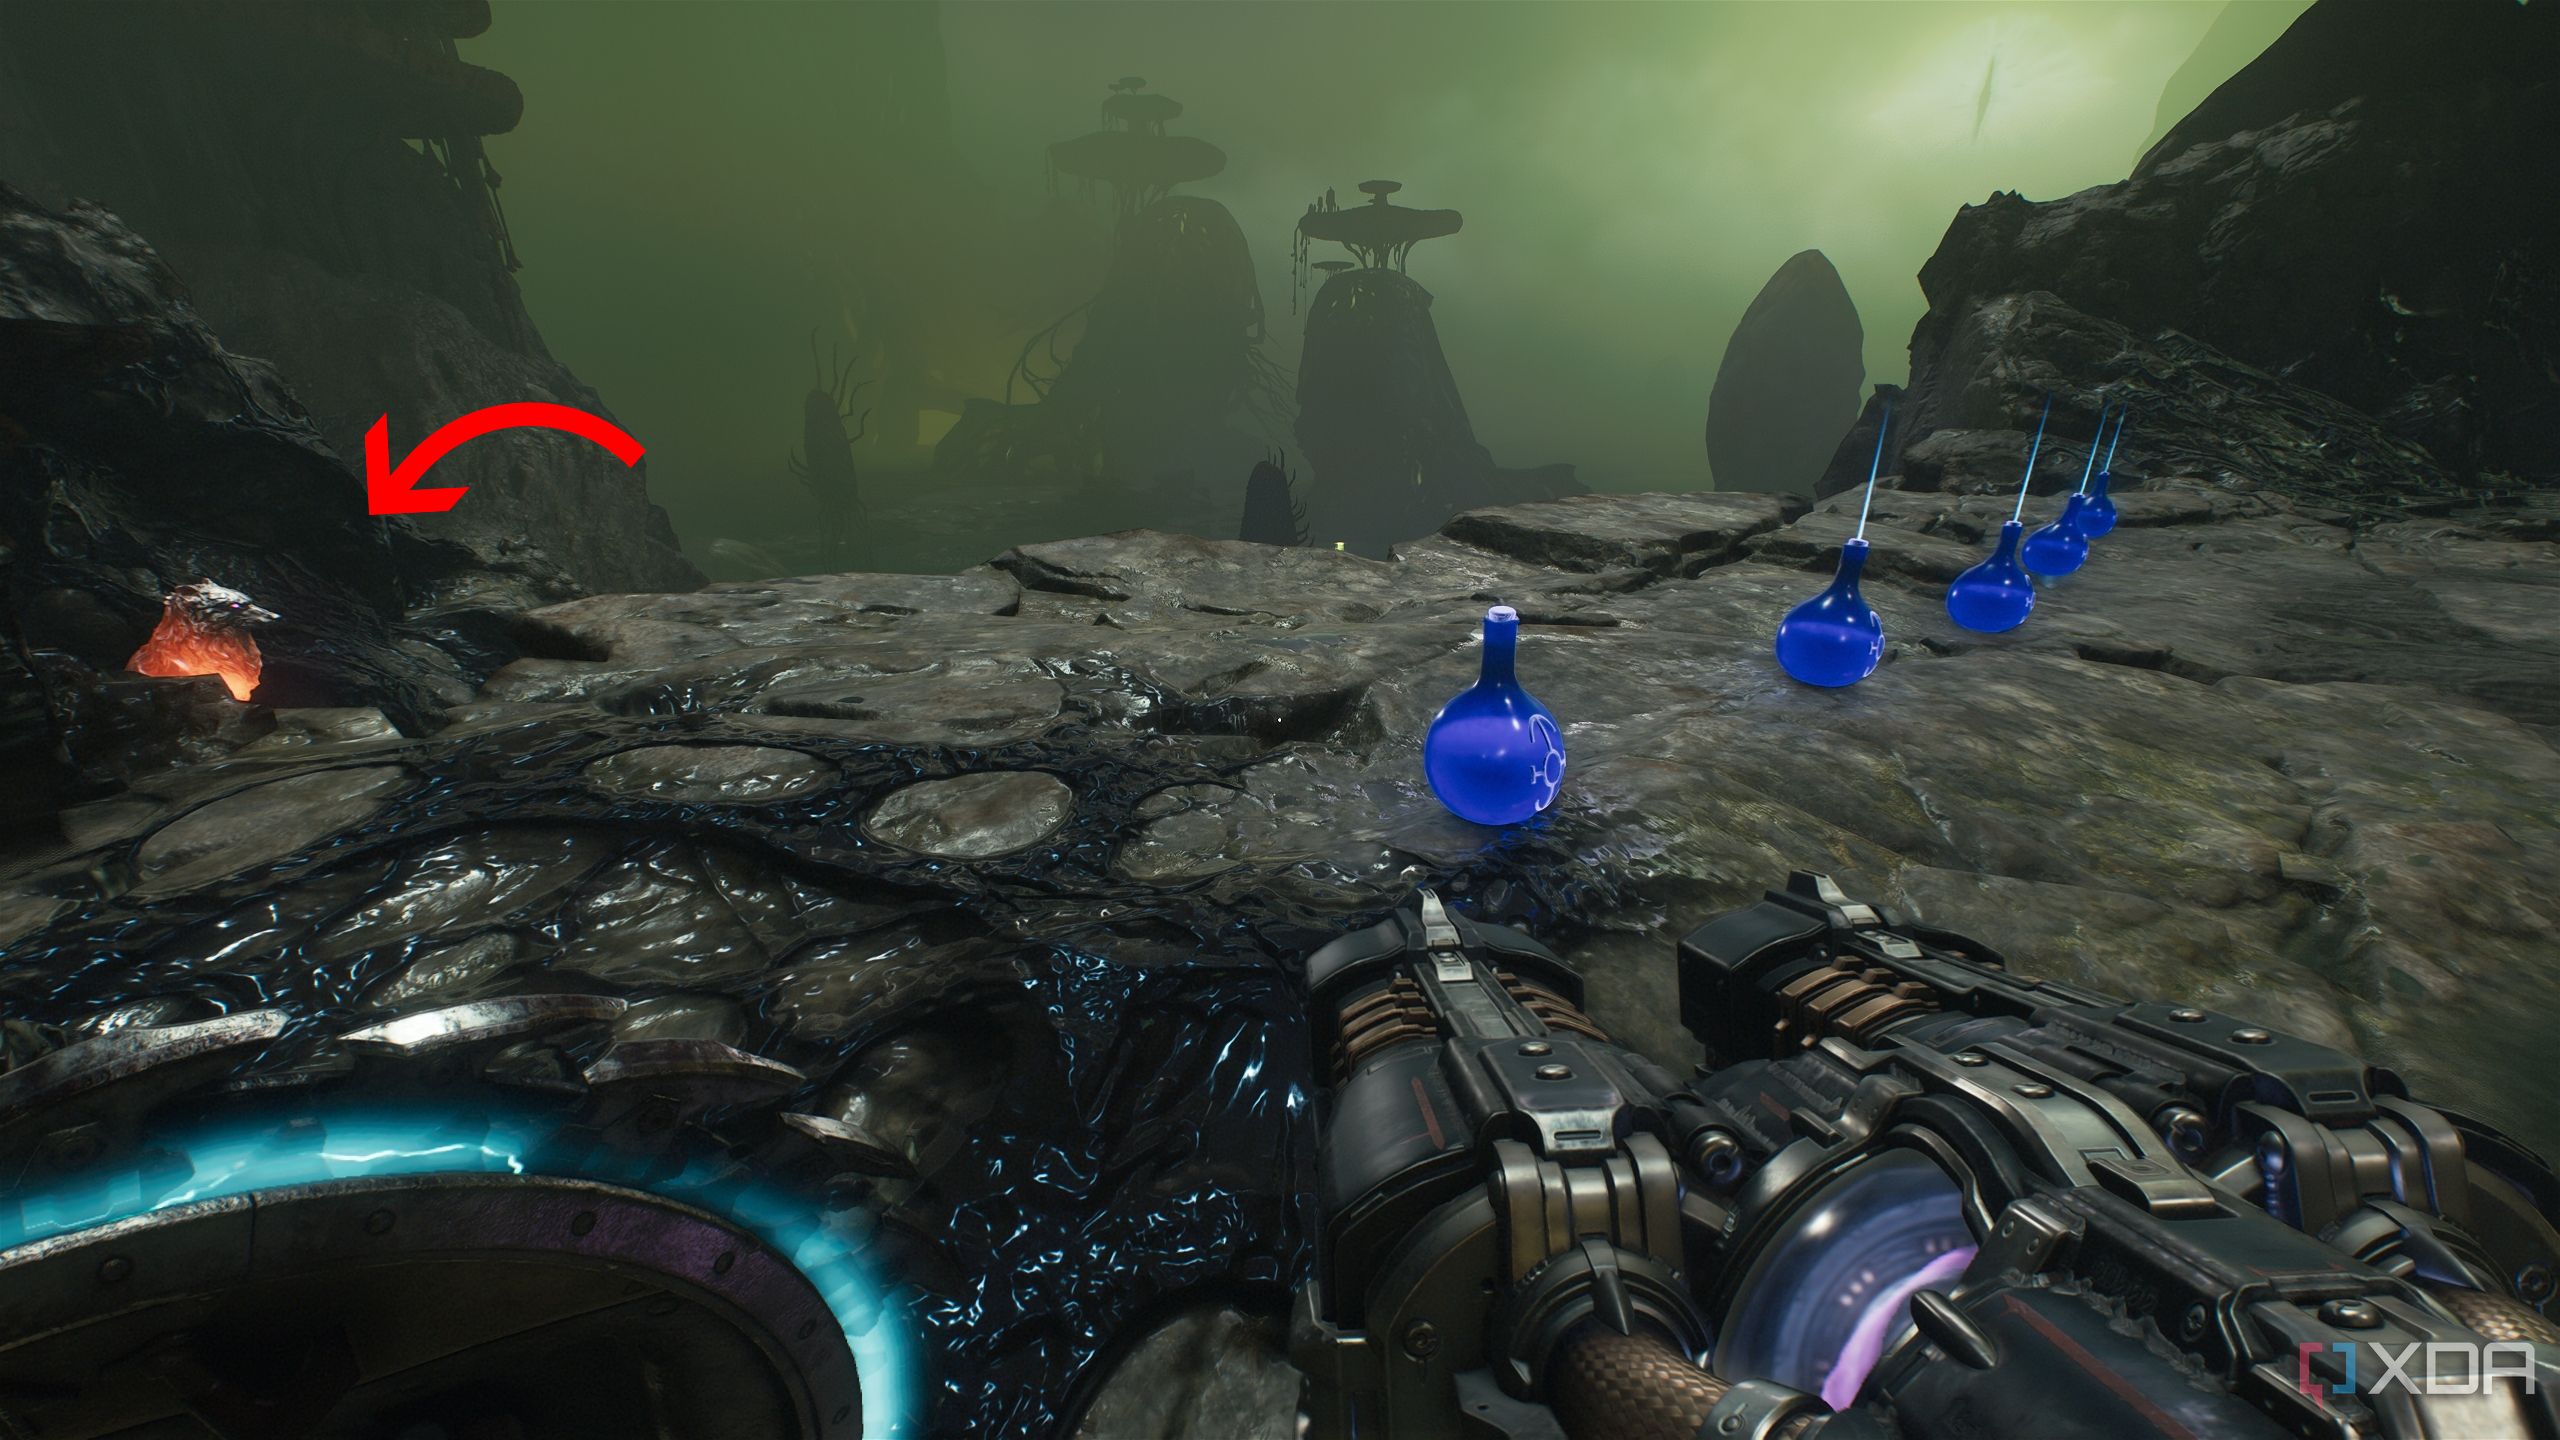
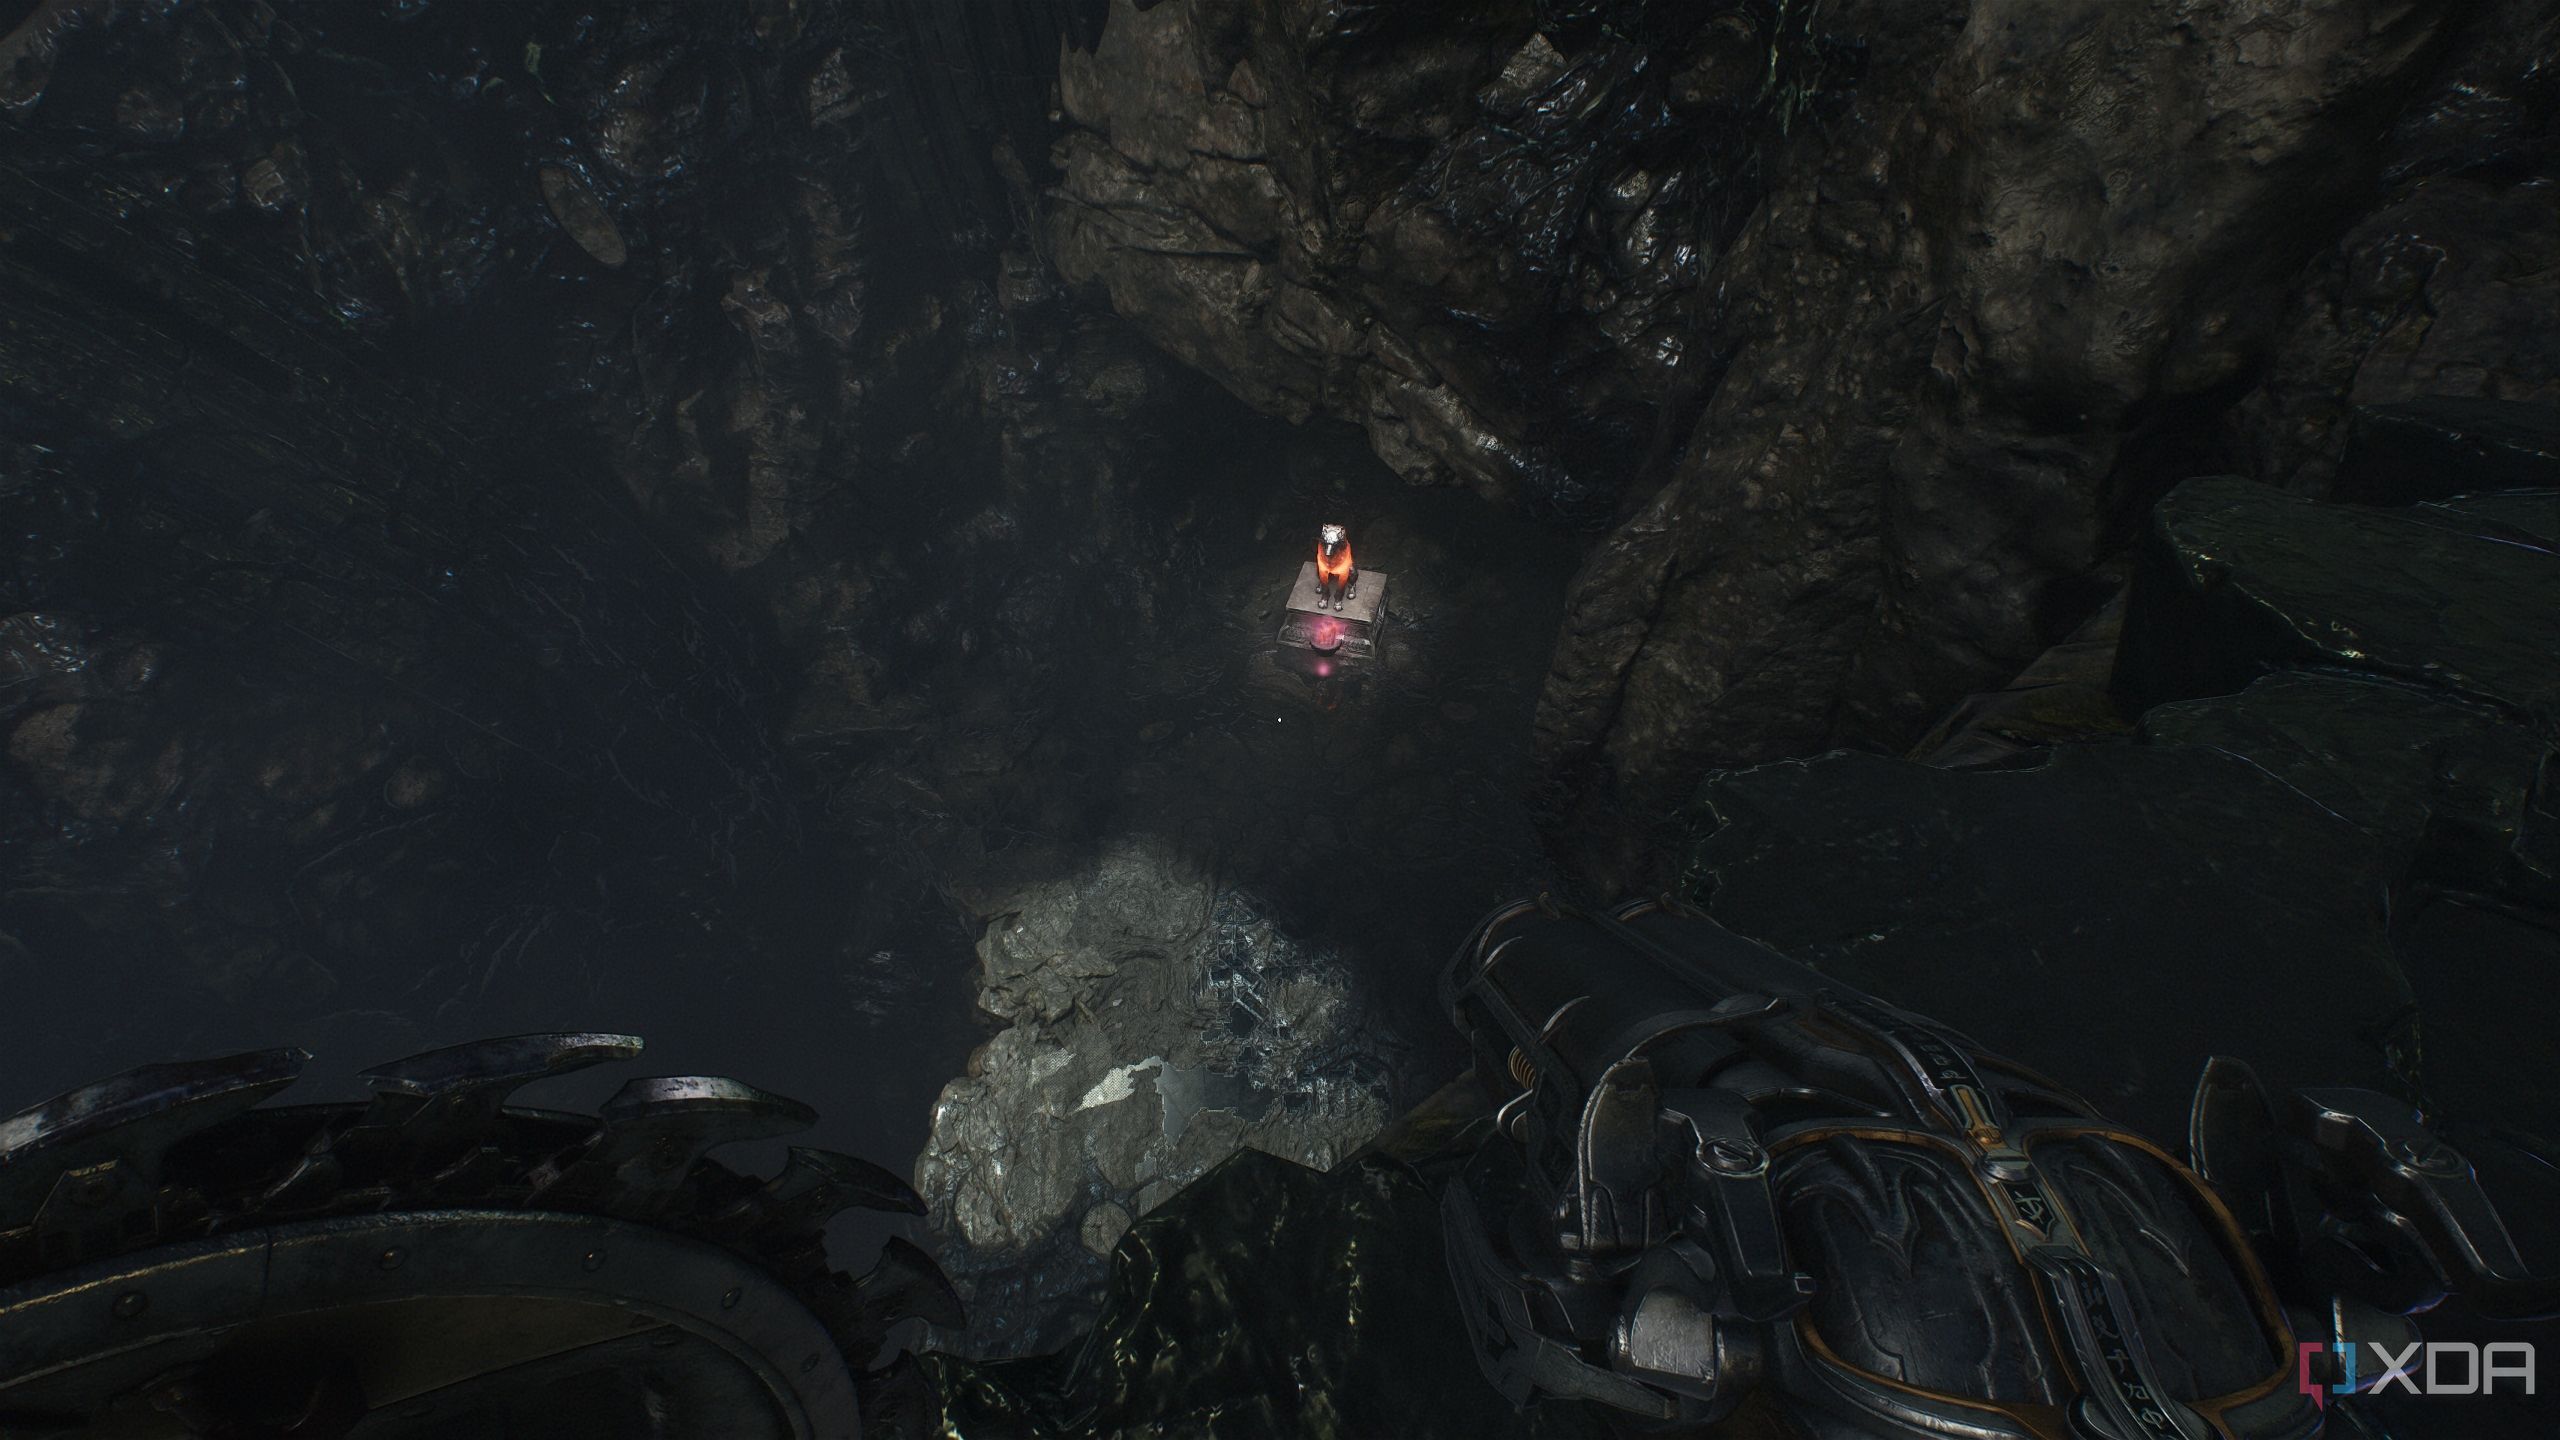
As soon as you enter the left lane here, you’ll see a trail of health vials along a cliff.
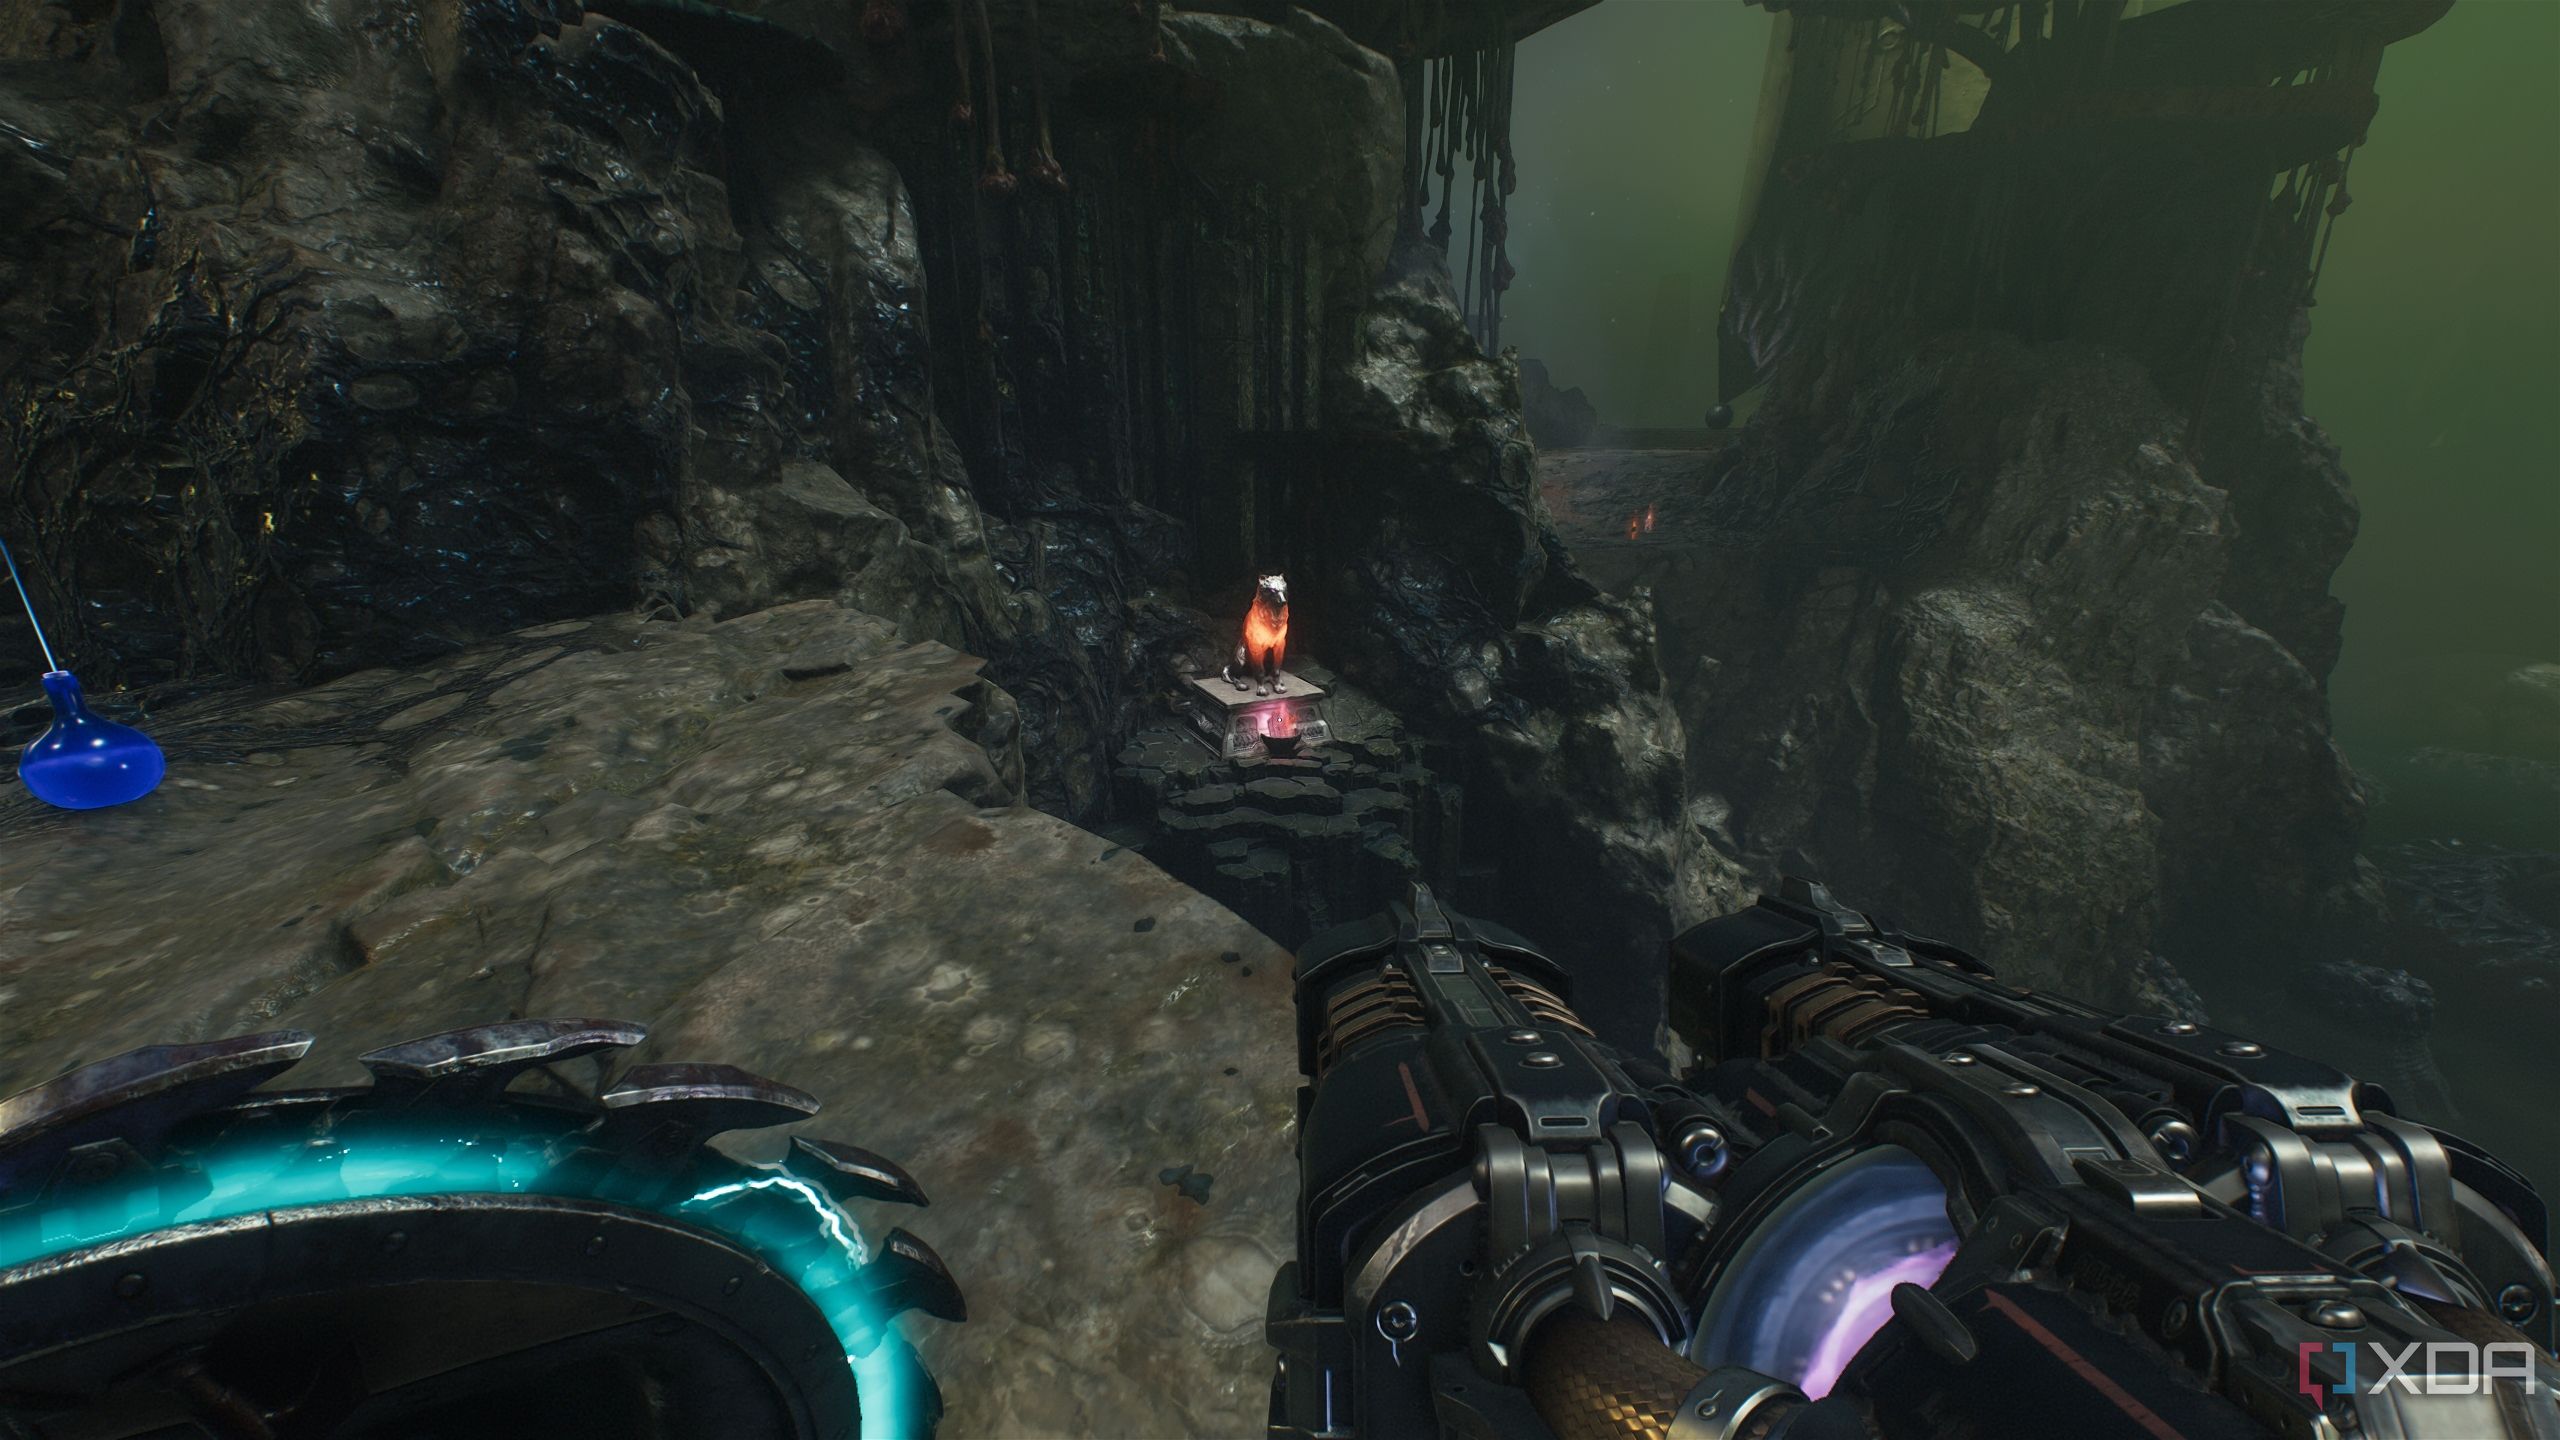
Approach them and look down beyond the cliff to see wolf statue 4.
Destroy it, and turn around to pick up a gold stack. Then, follow this path forward, and you’ll meet Shielded Soldiers and a huge Tentacle demon to dispatch.
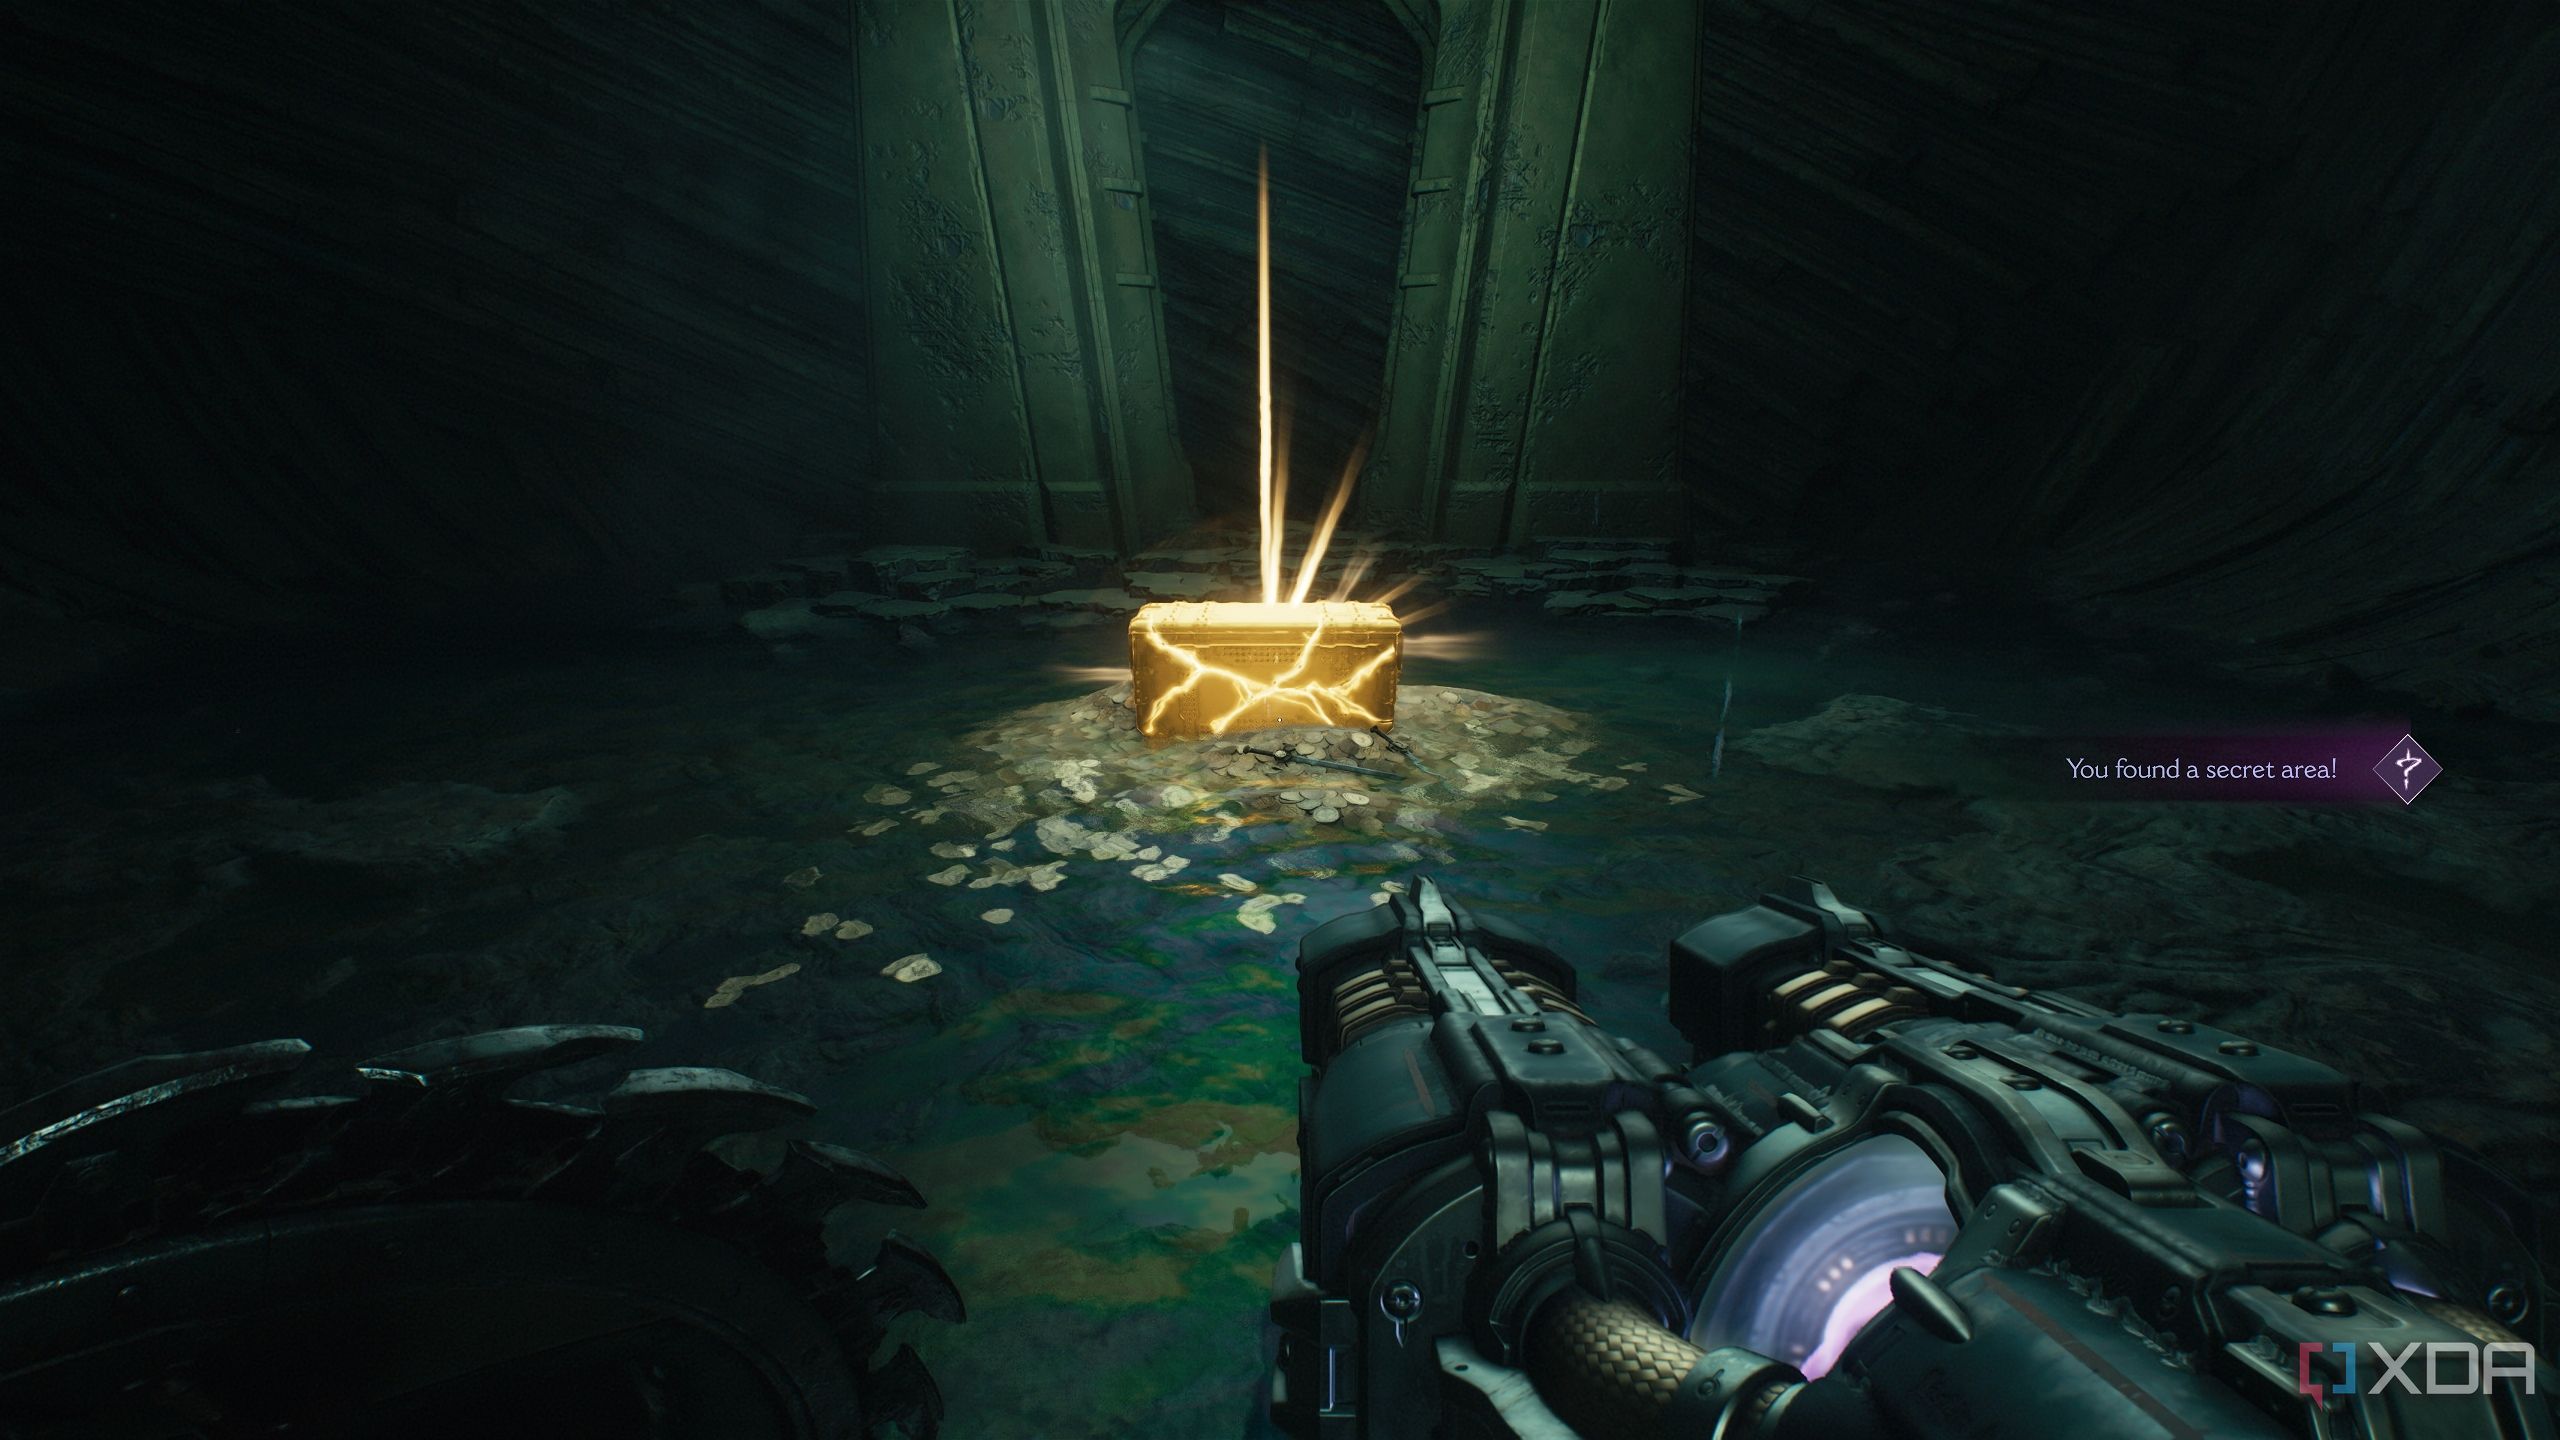
Secret area 3 and a gold chest
The most rewarding and mind-bending puzzle in the chapter
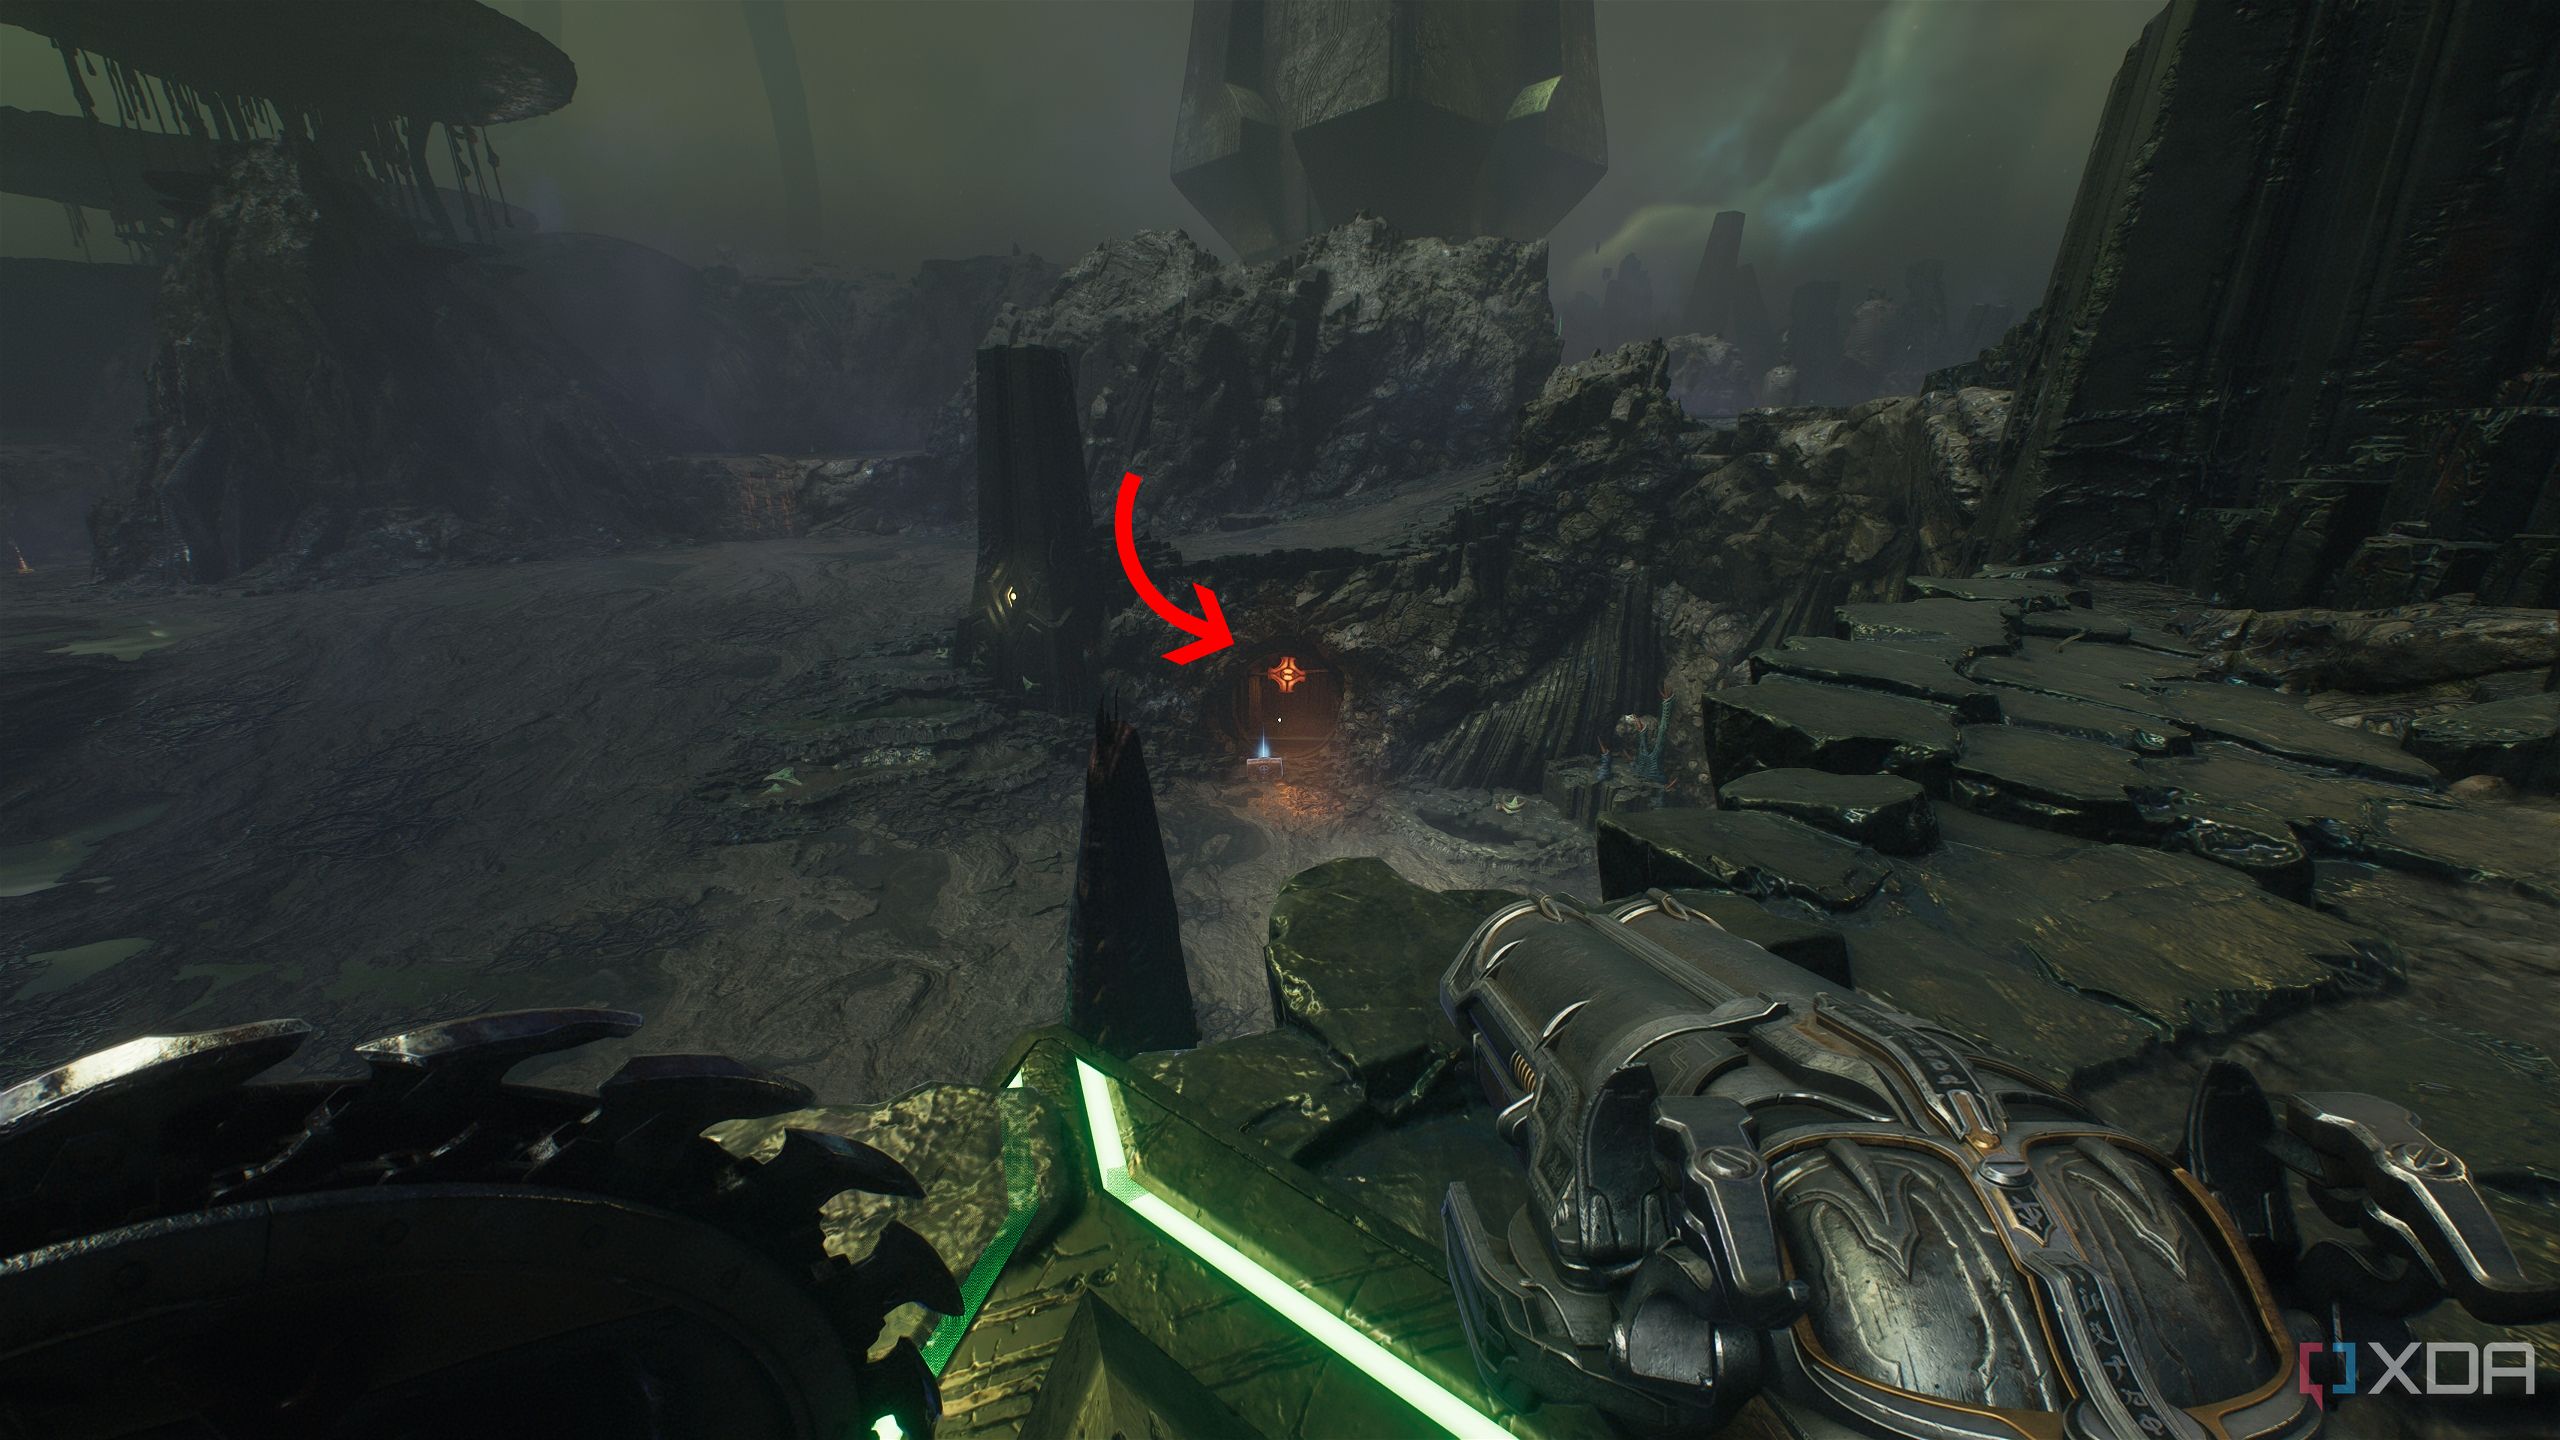
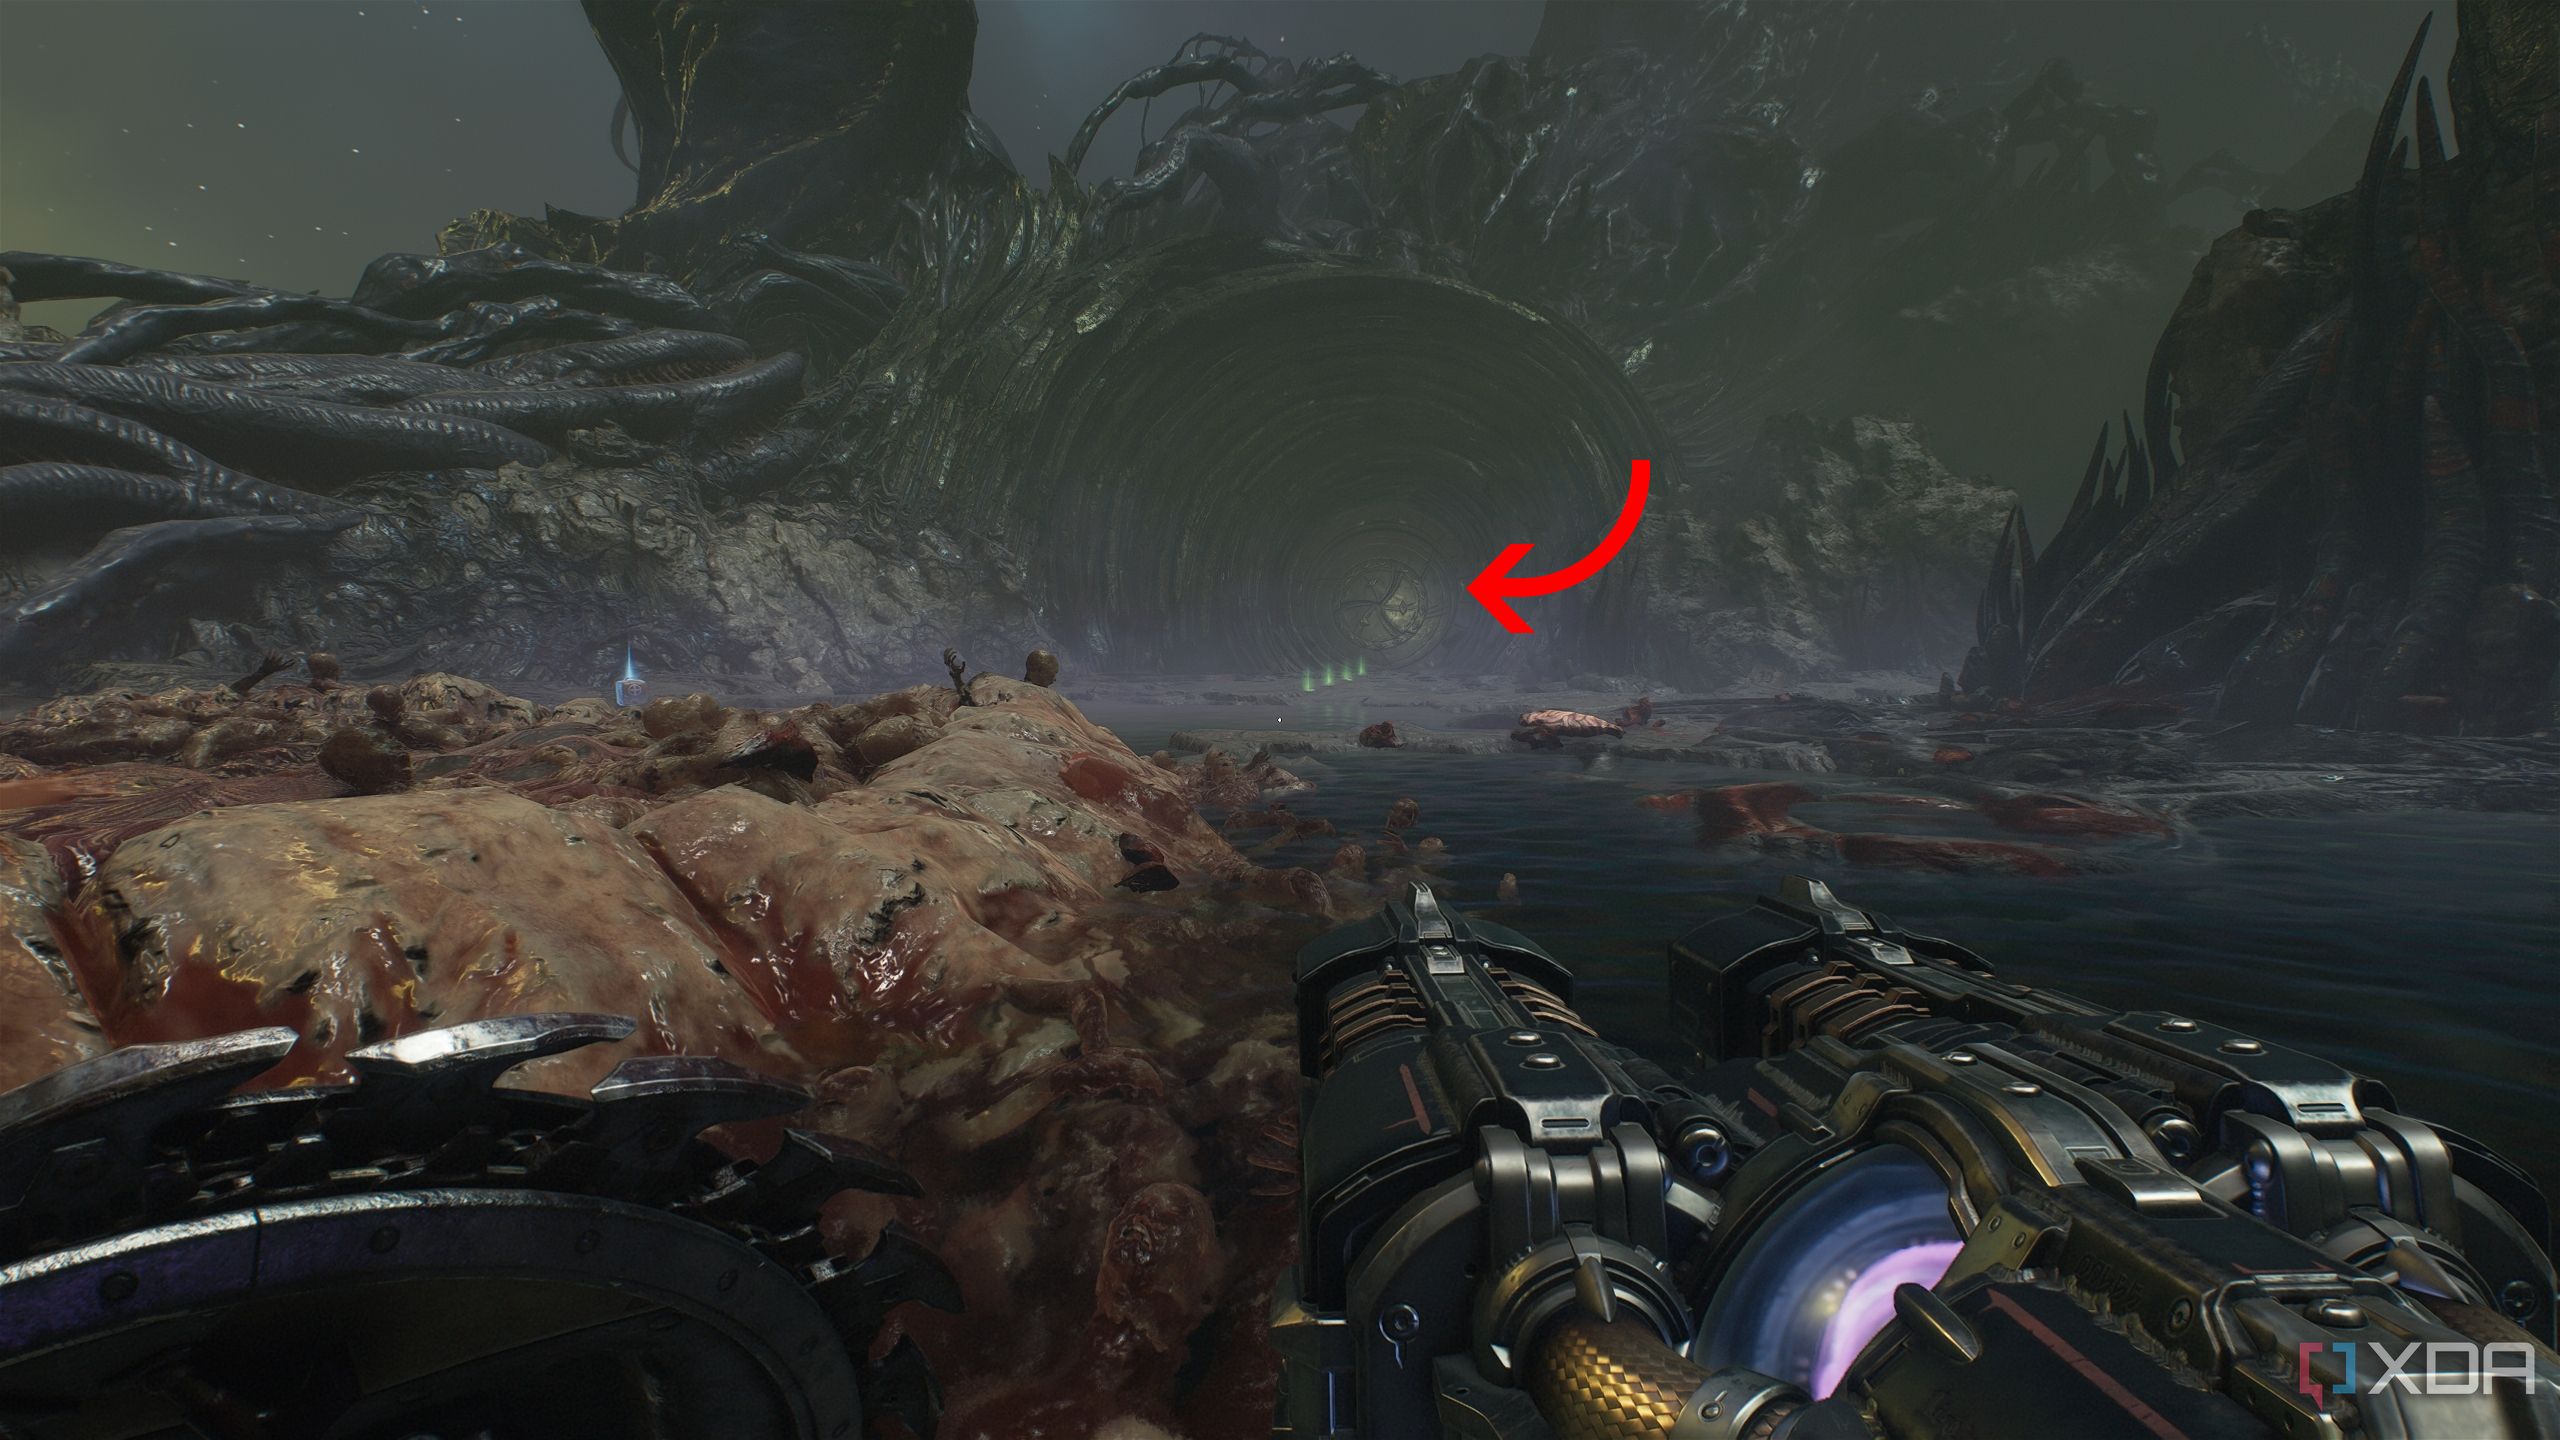
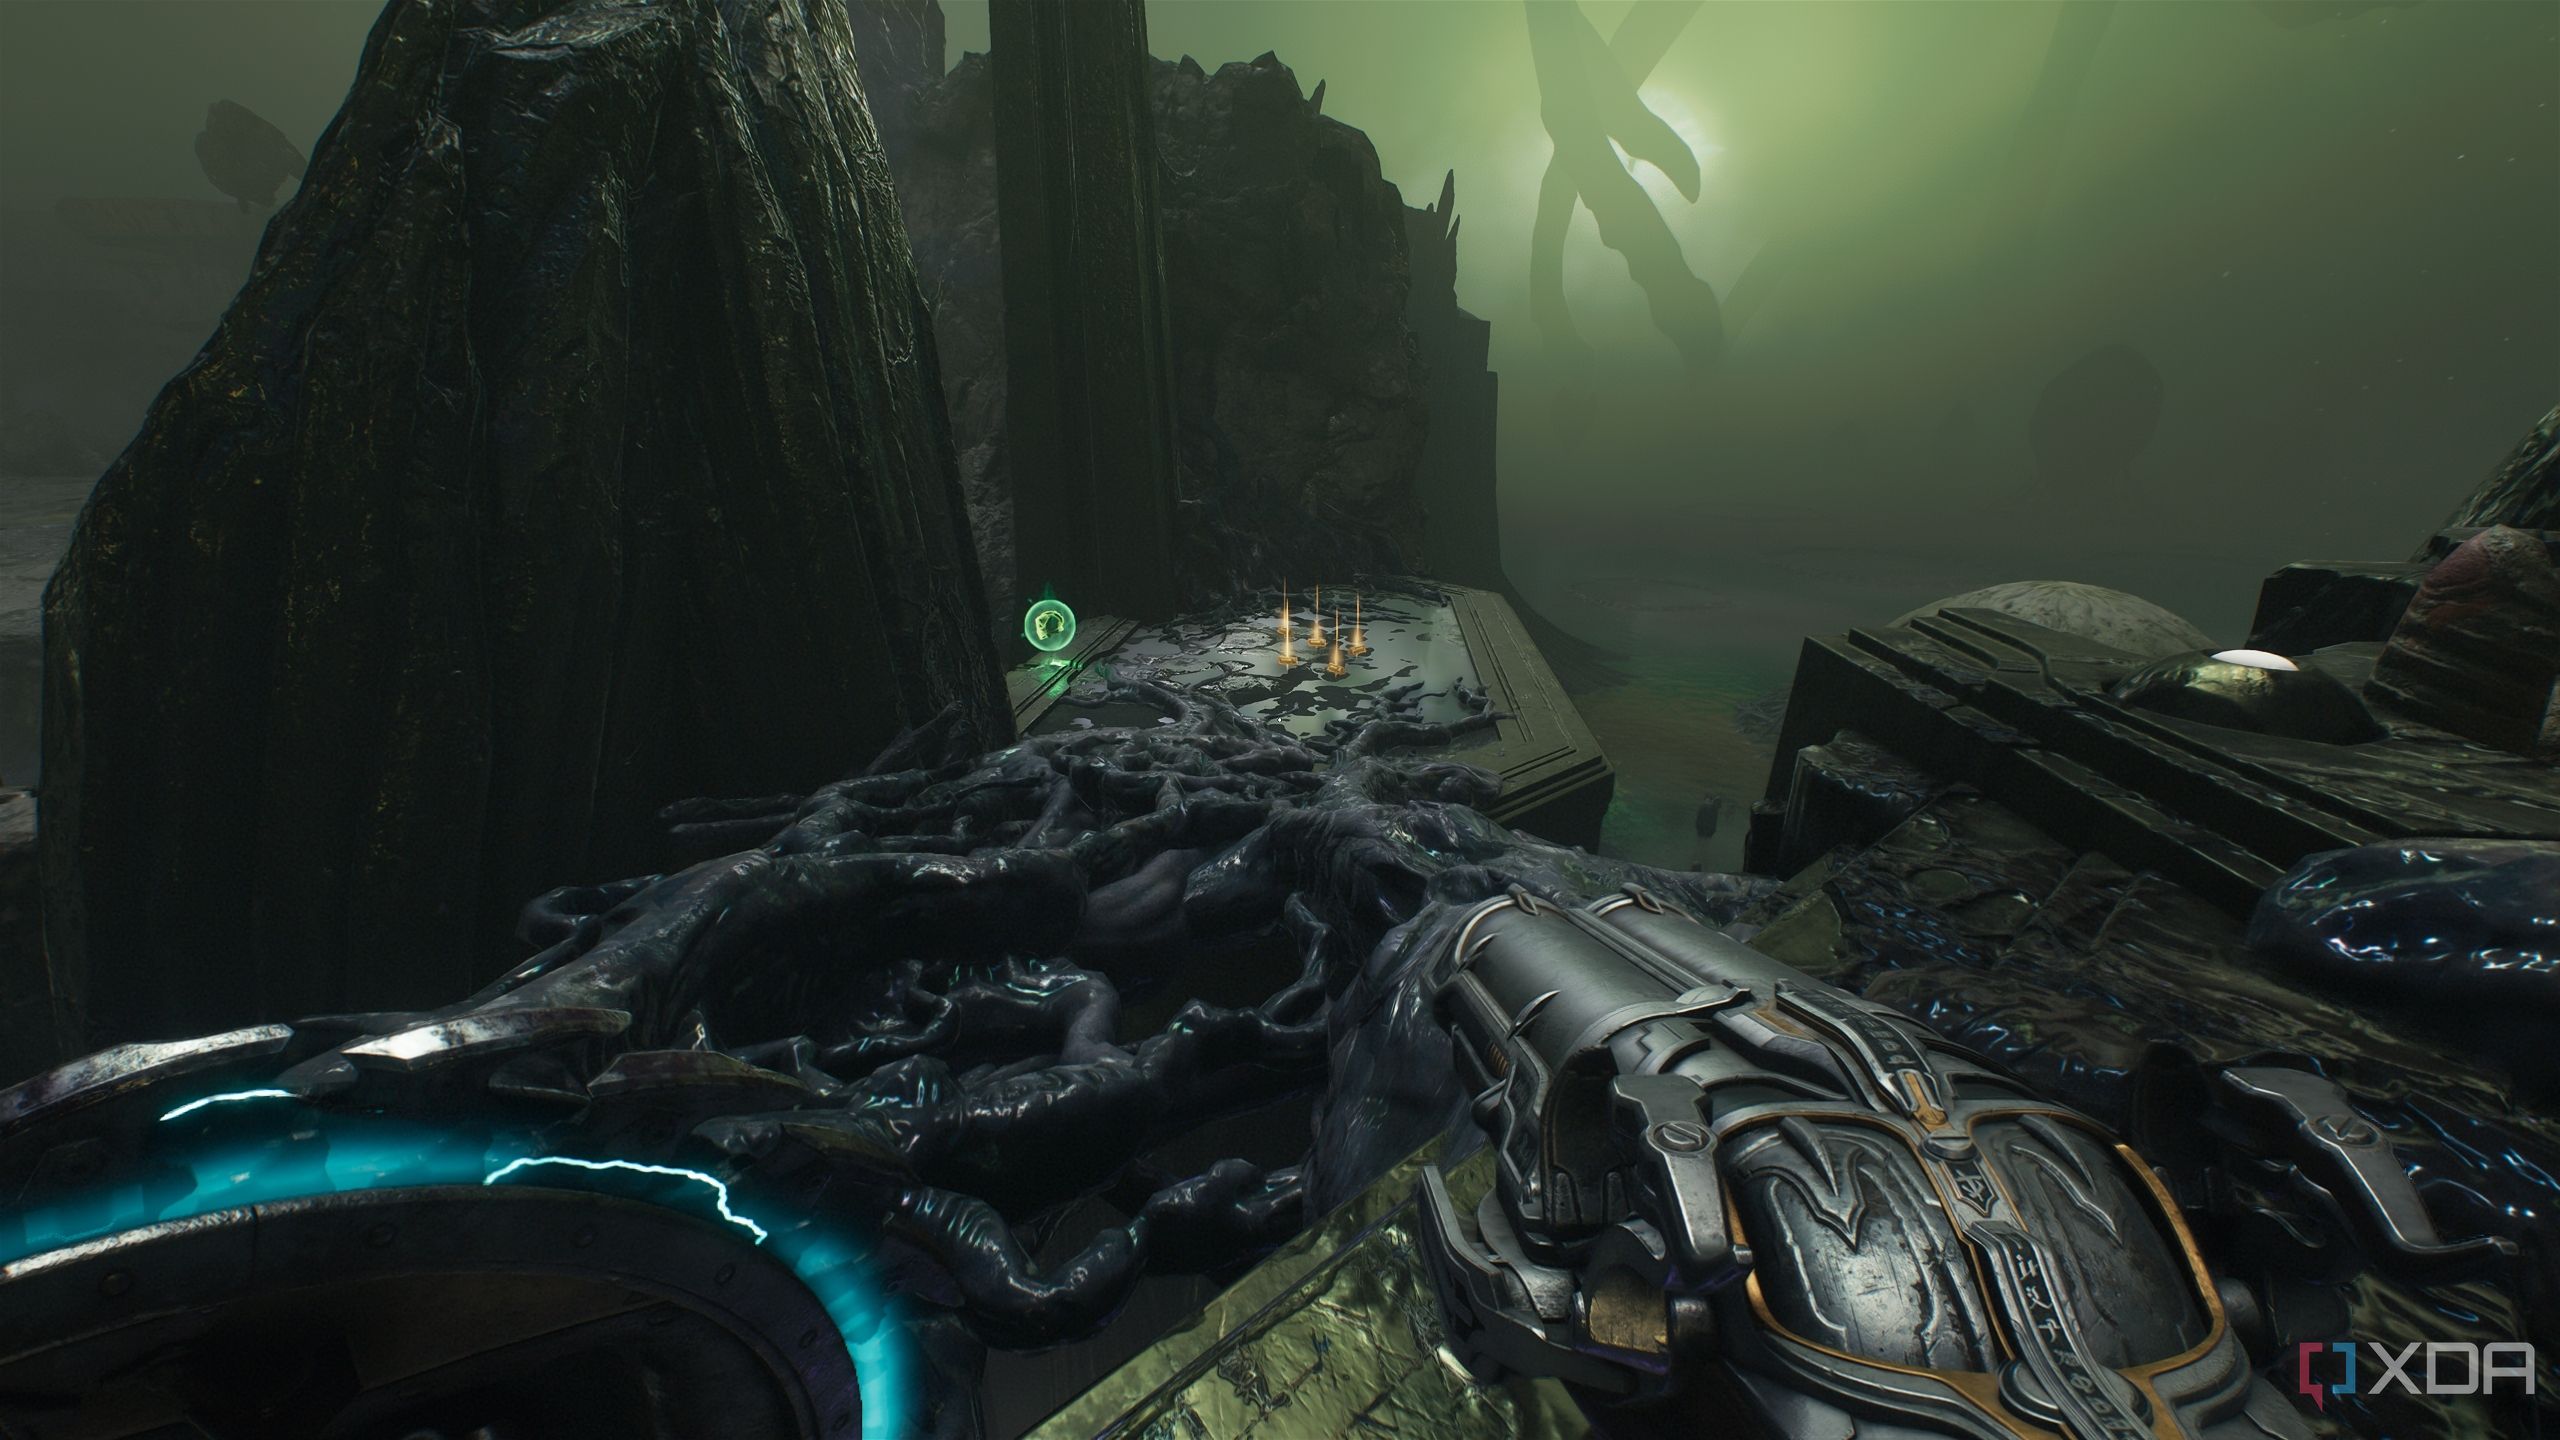
Once you take care of the Tentacle boss, look in front of it to see a trail of gold bars leading to another round, green door.
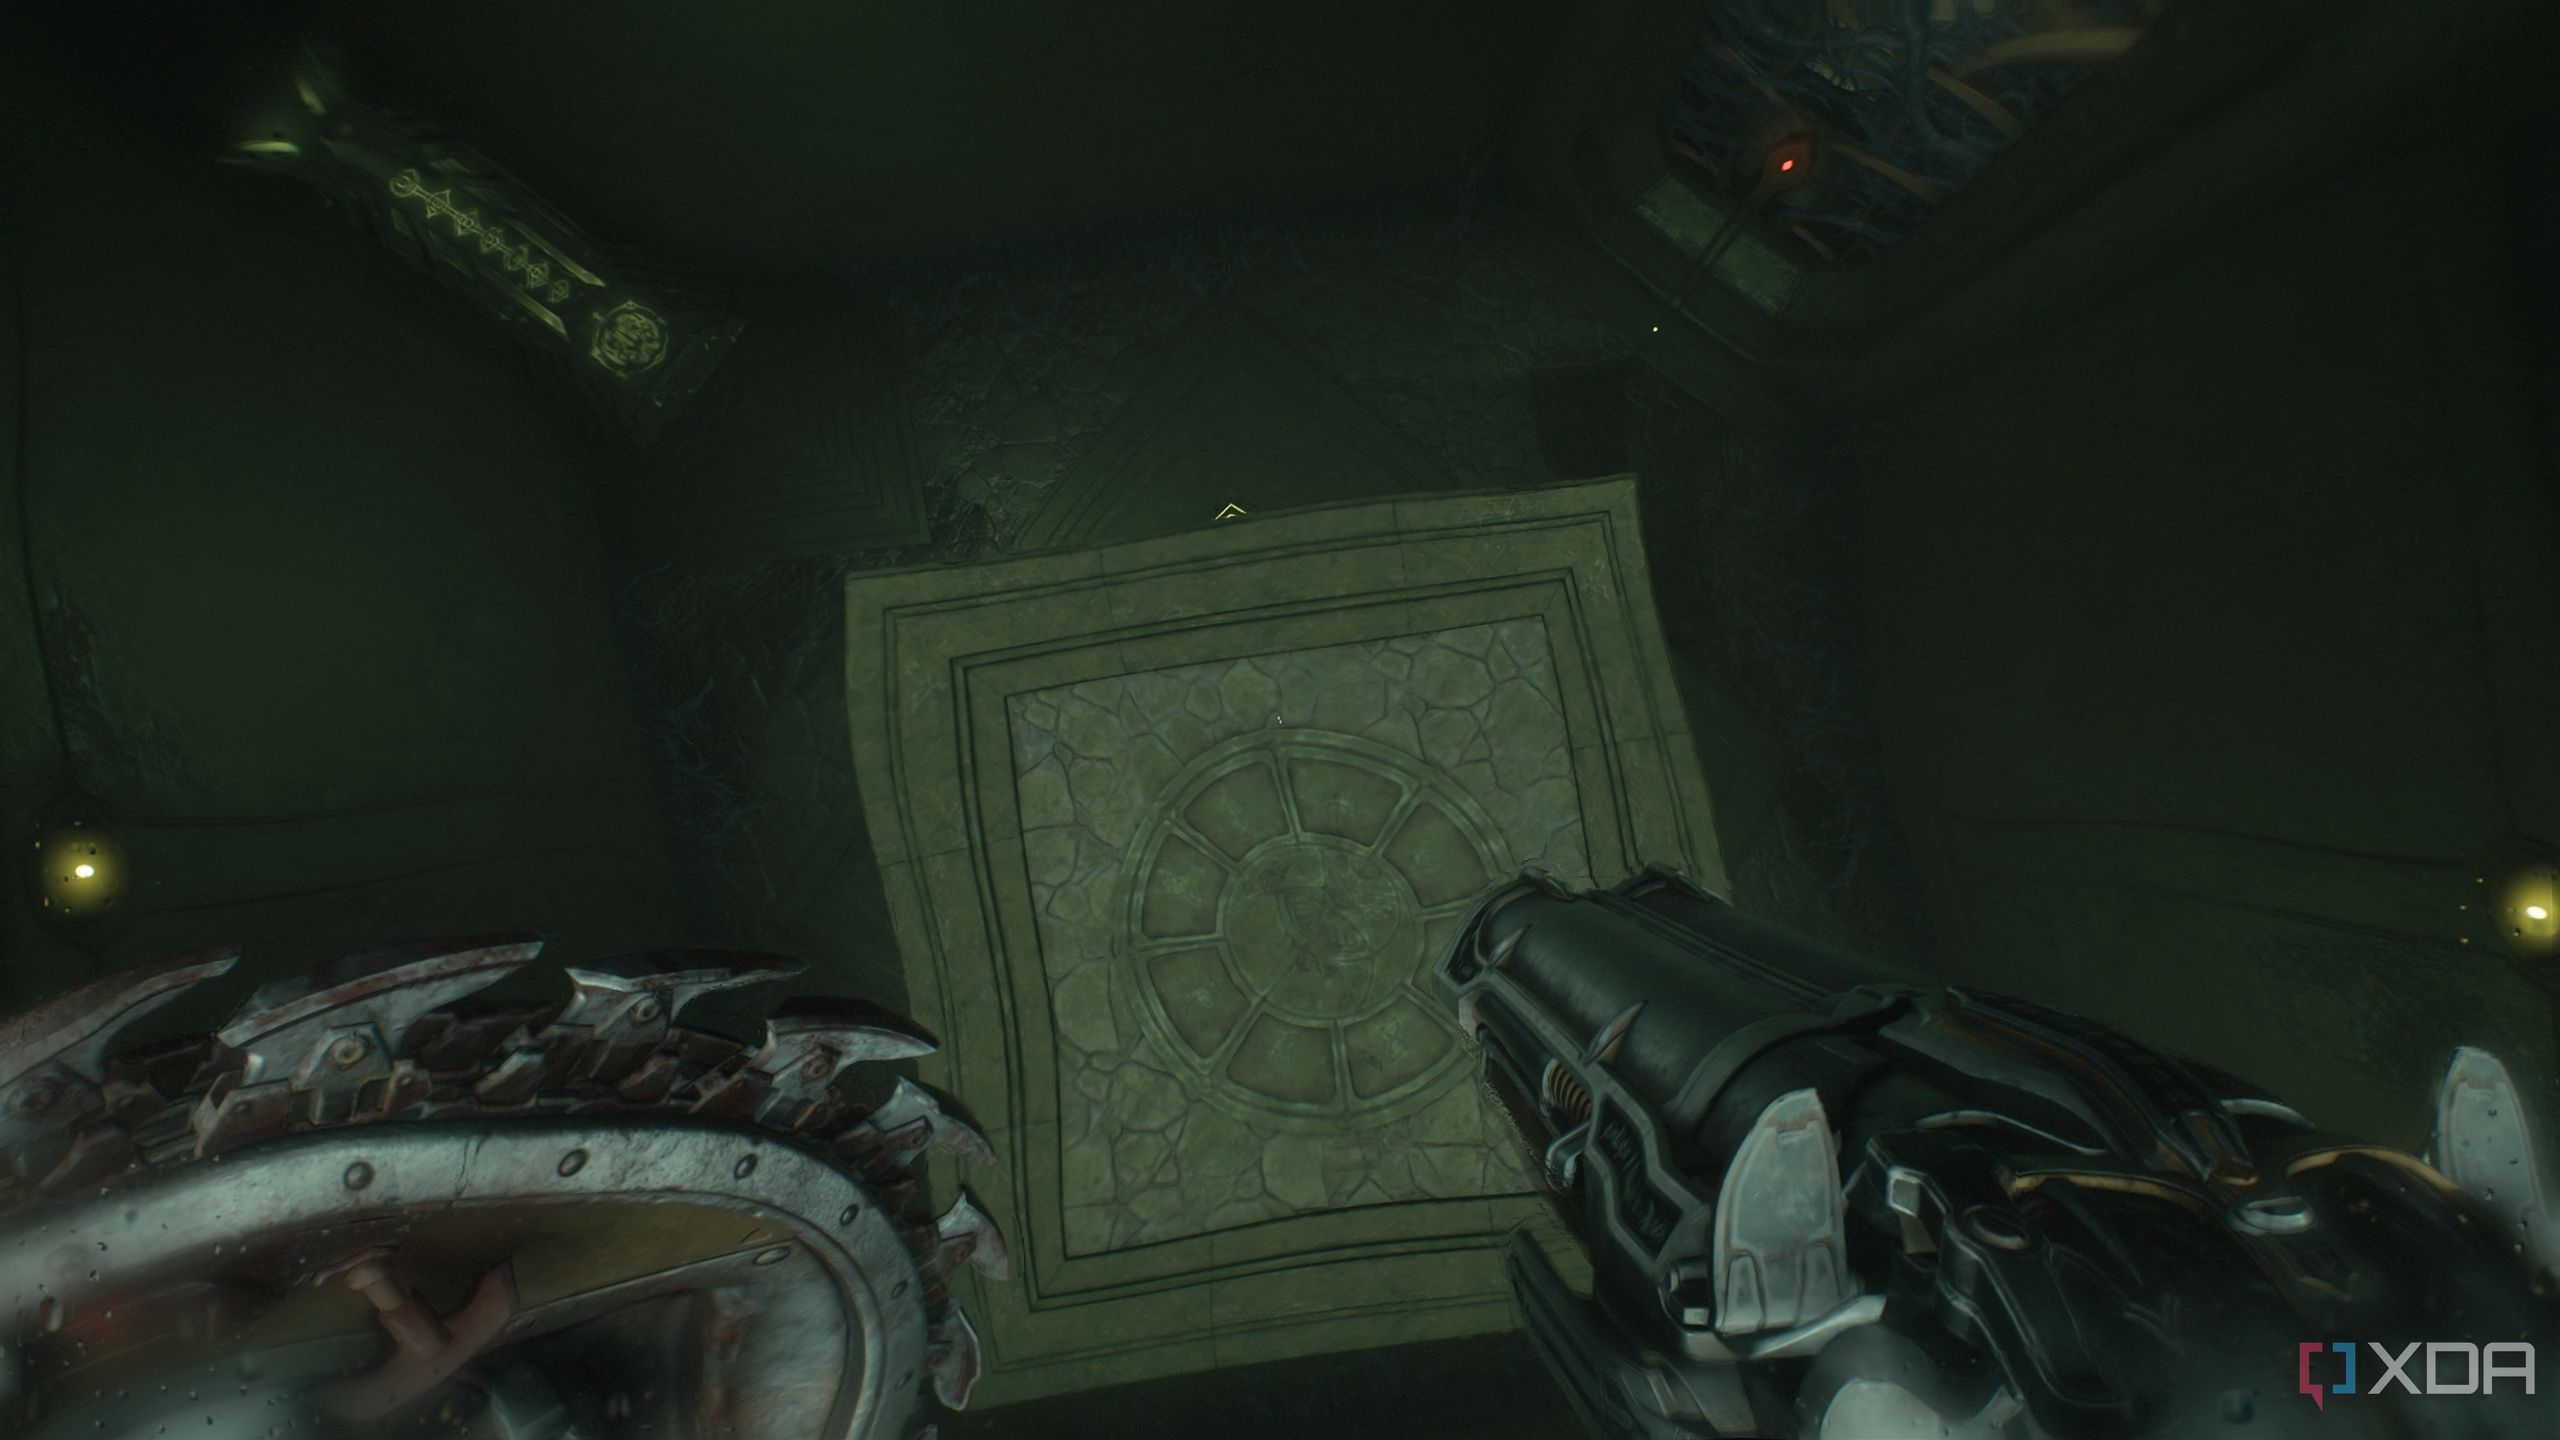
Pick up the gold and head inside, and you’ll enter a gravity-and-physics-defying chamber. There’s an energy node here, too.
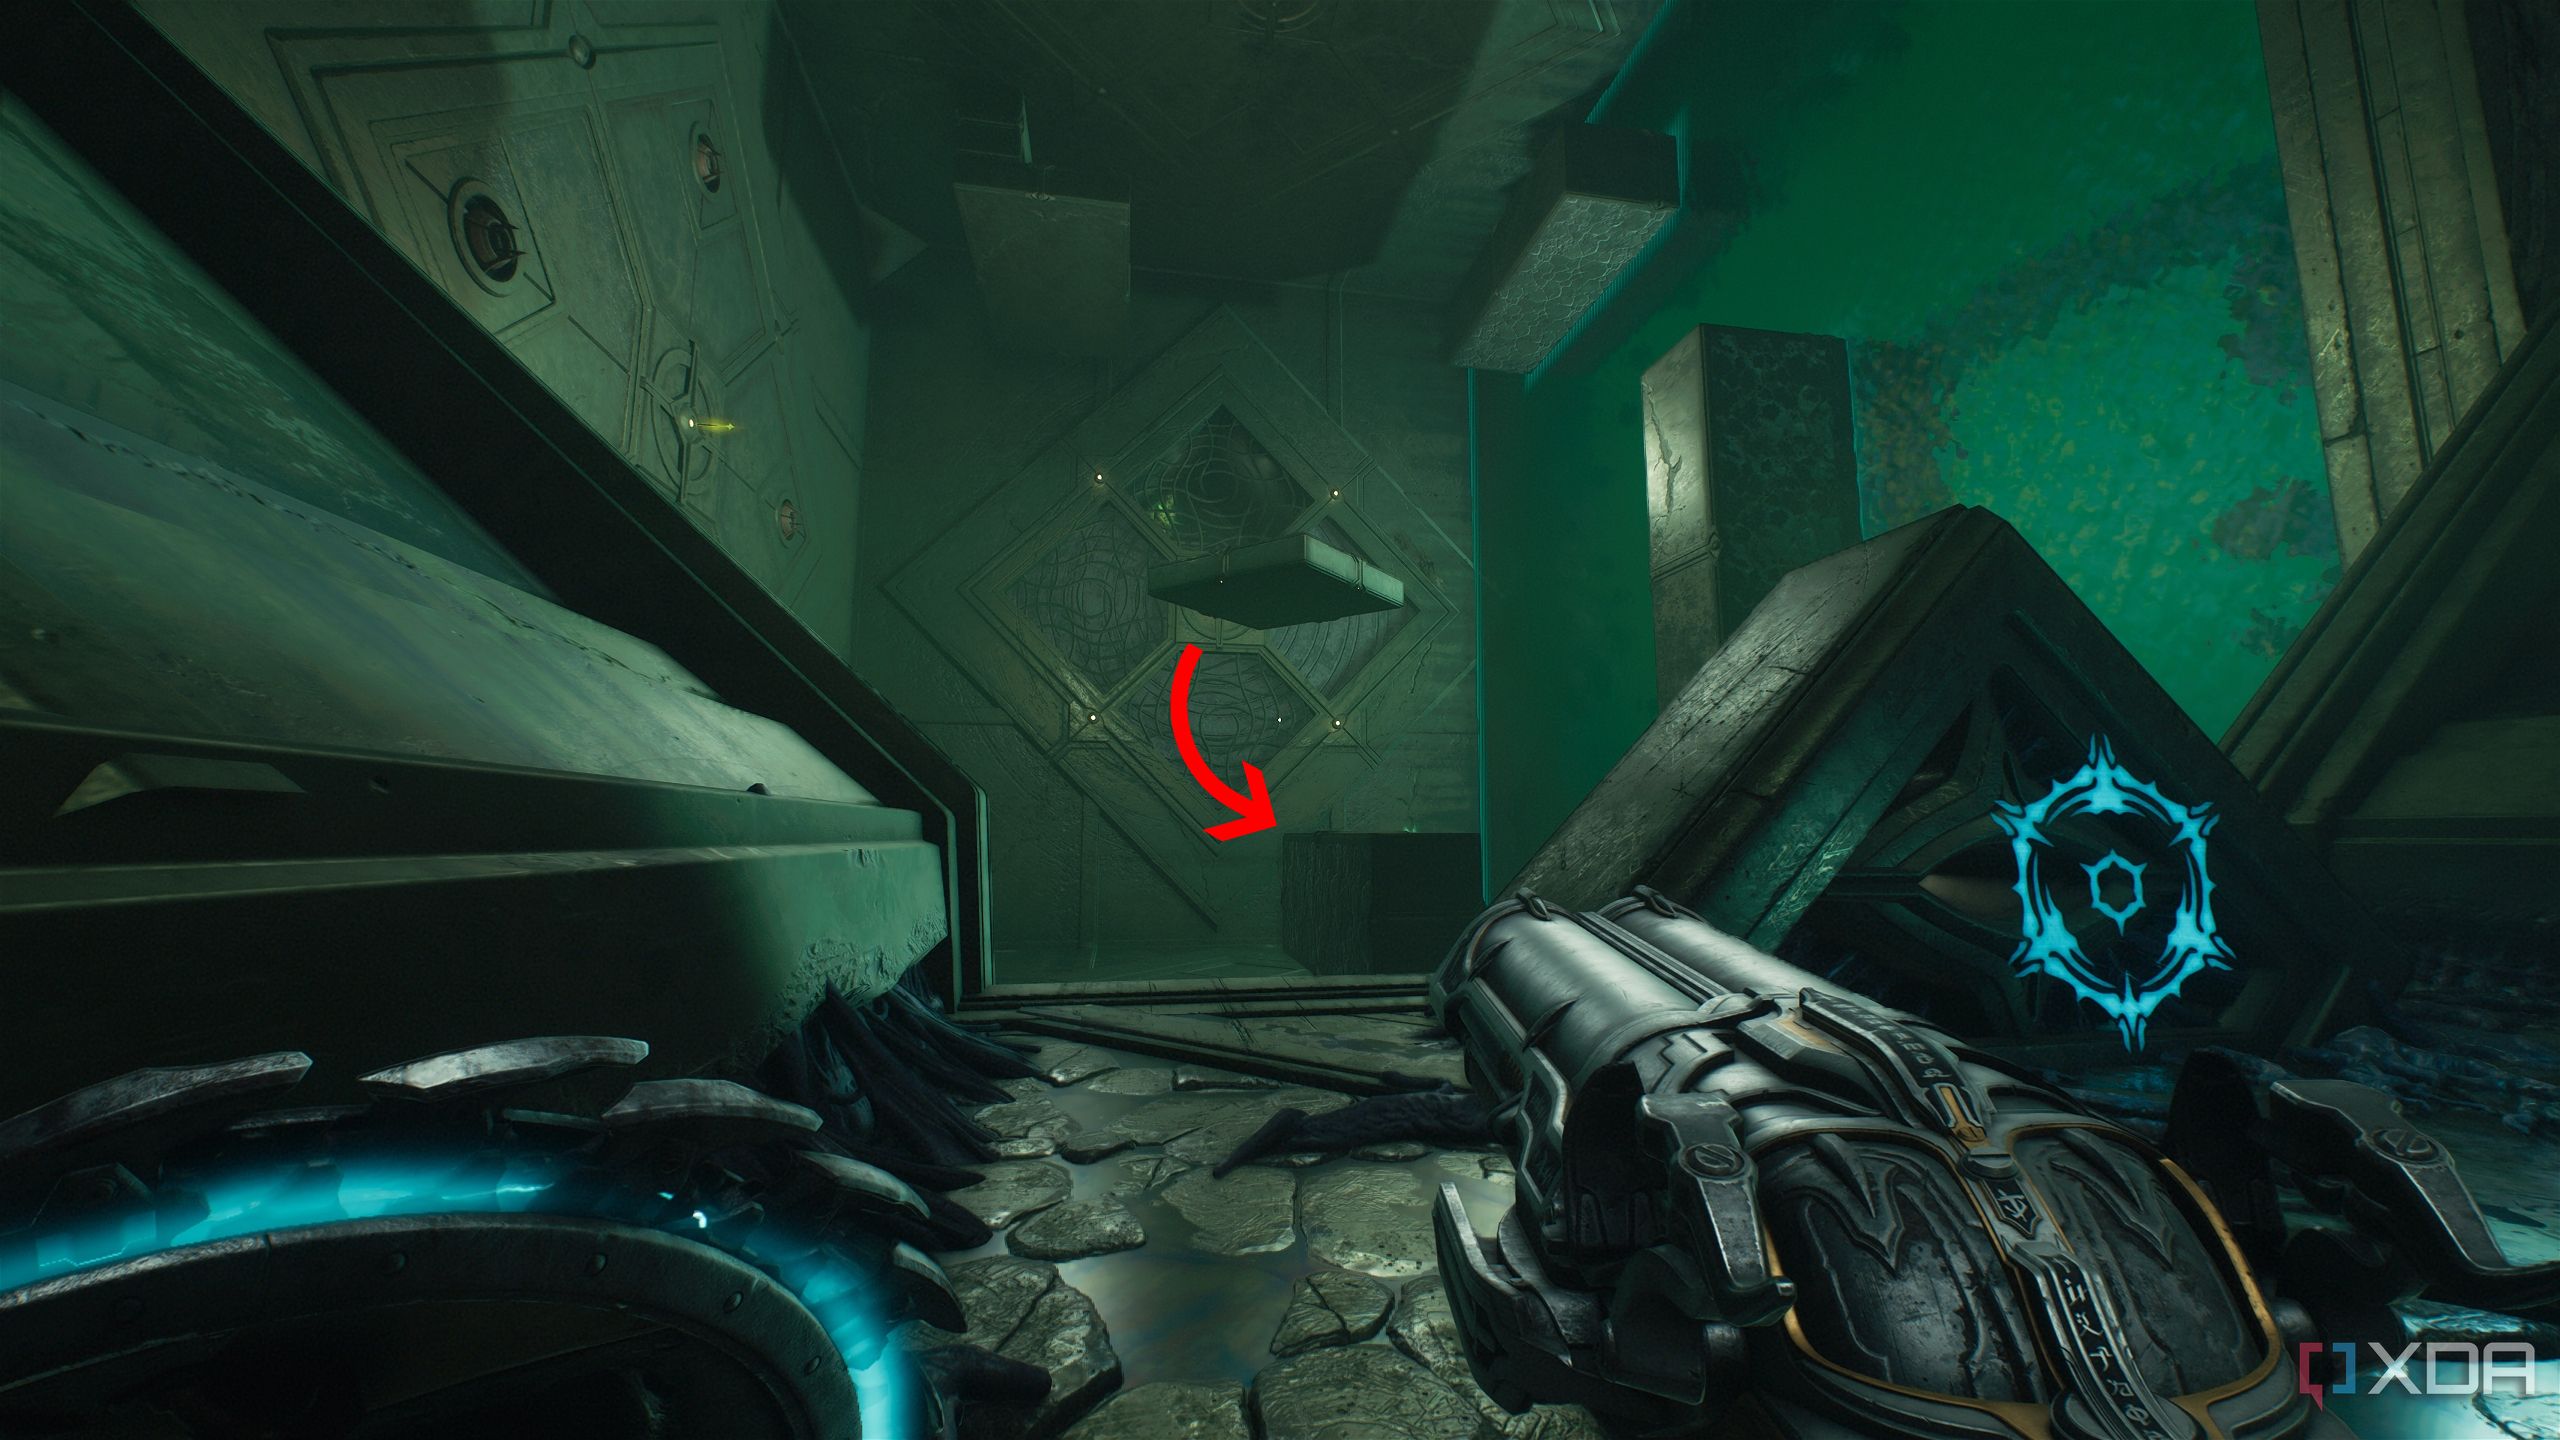
Wait for the chamber to do its first rotating animation, and then hit the energy node once. The chamber will rotate 90 degrees to the left. Then, climb up the platform on the ground ahead of you.
Turn around, and hit the energy node from where you’re standing.
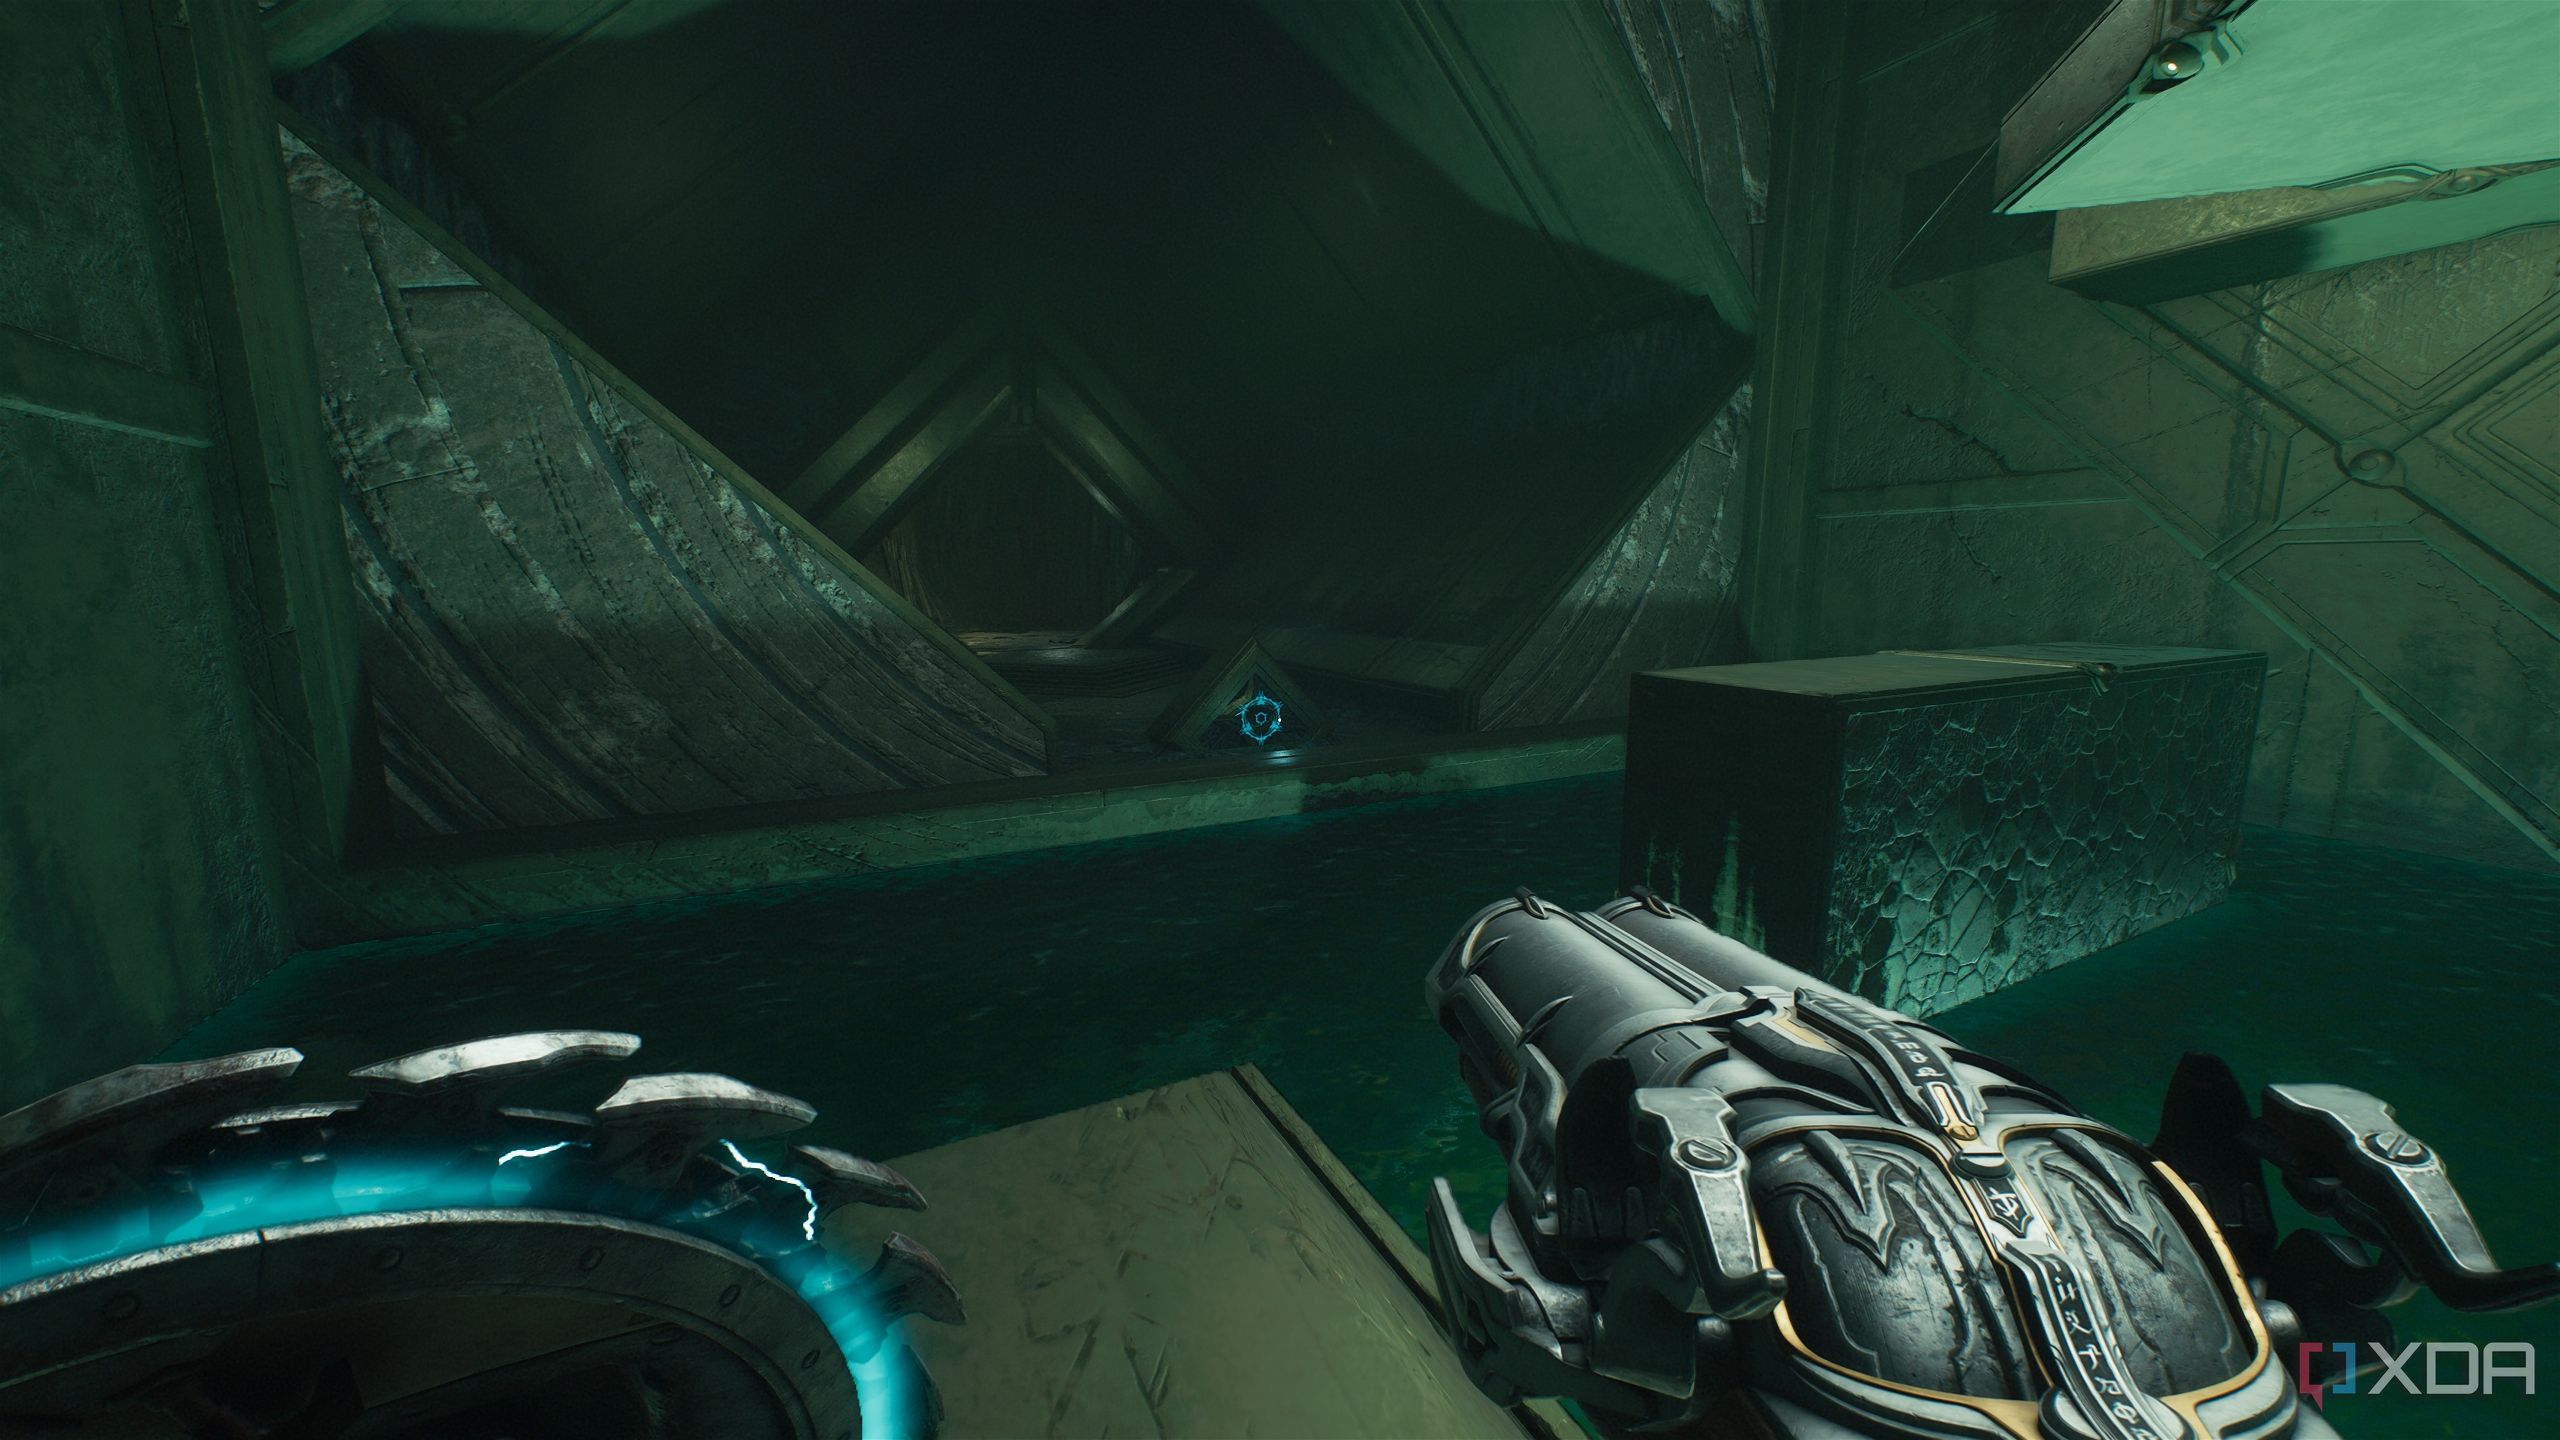
Be careful here — make sure you start strafing right on the platform you’re on to stay on it. That’s it — you’ll see a green flesh node accessible to your right.
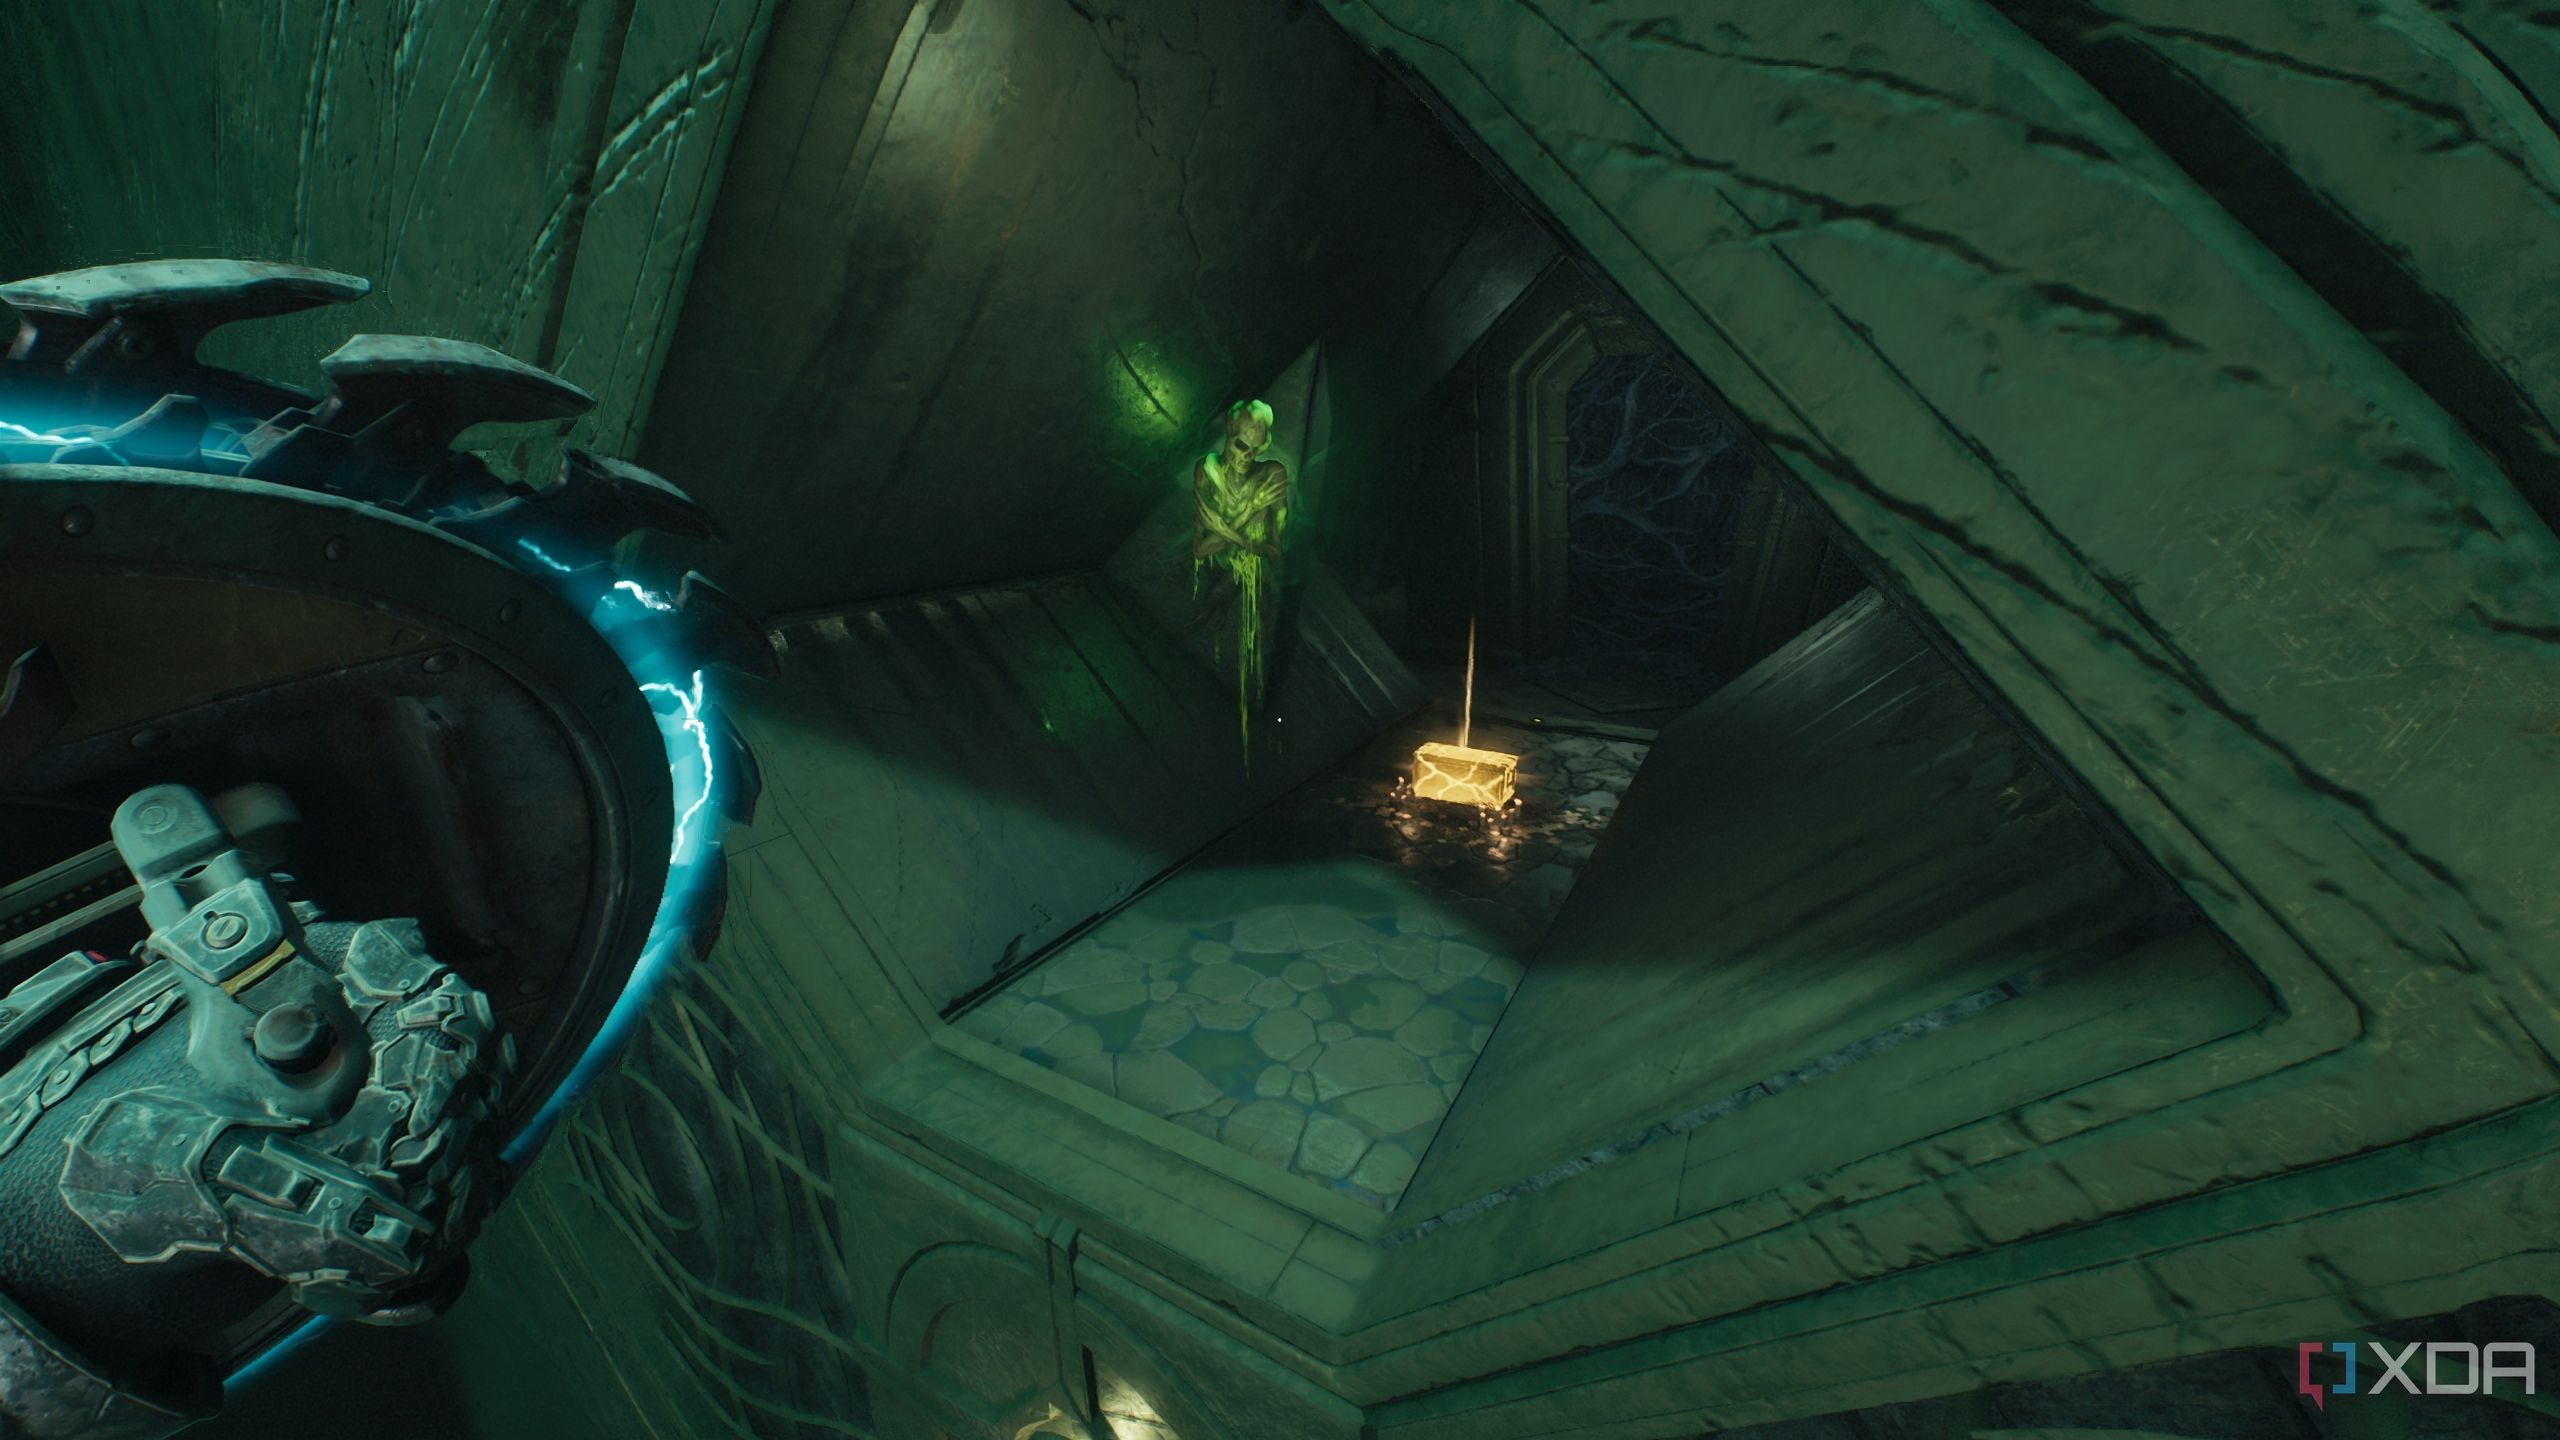
Use your Shield Recall Jump on it to jump towards it.
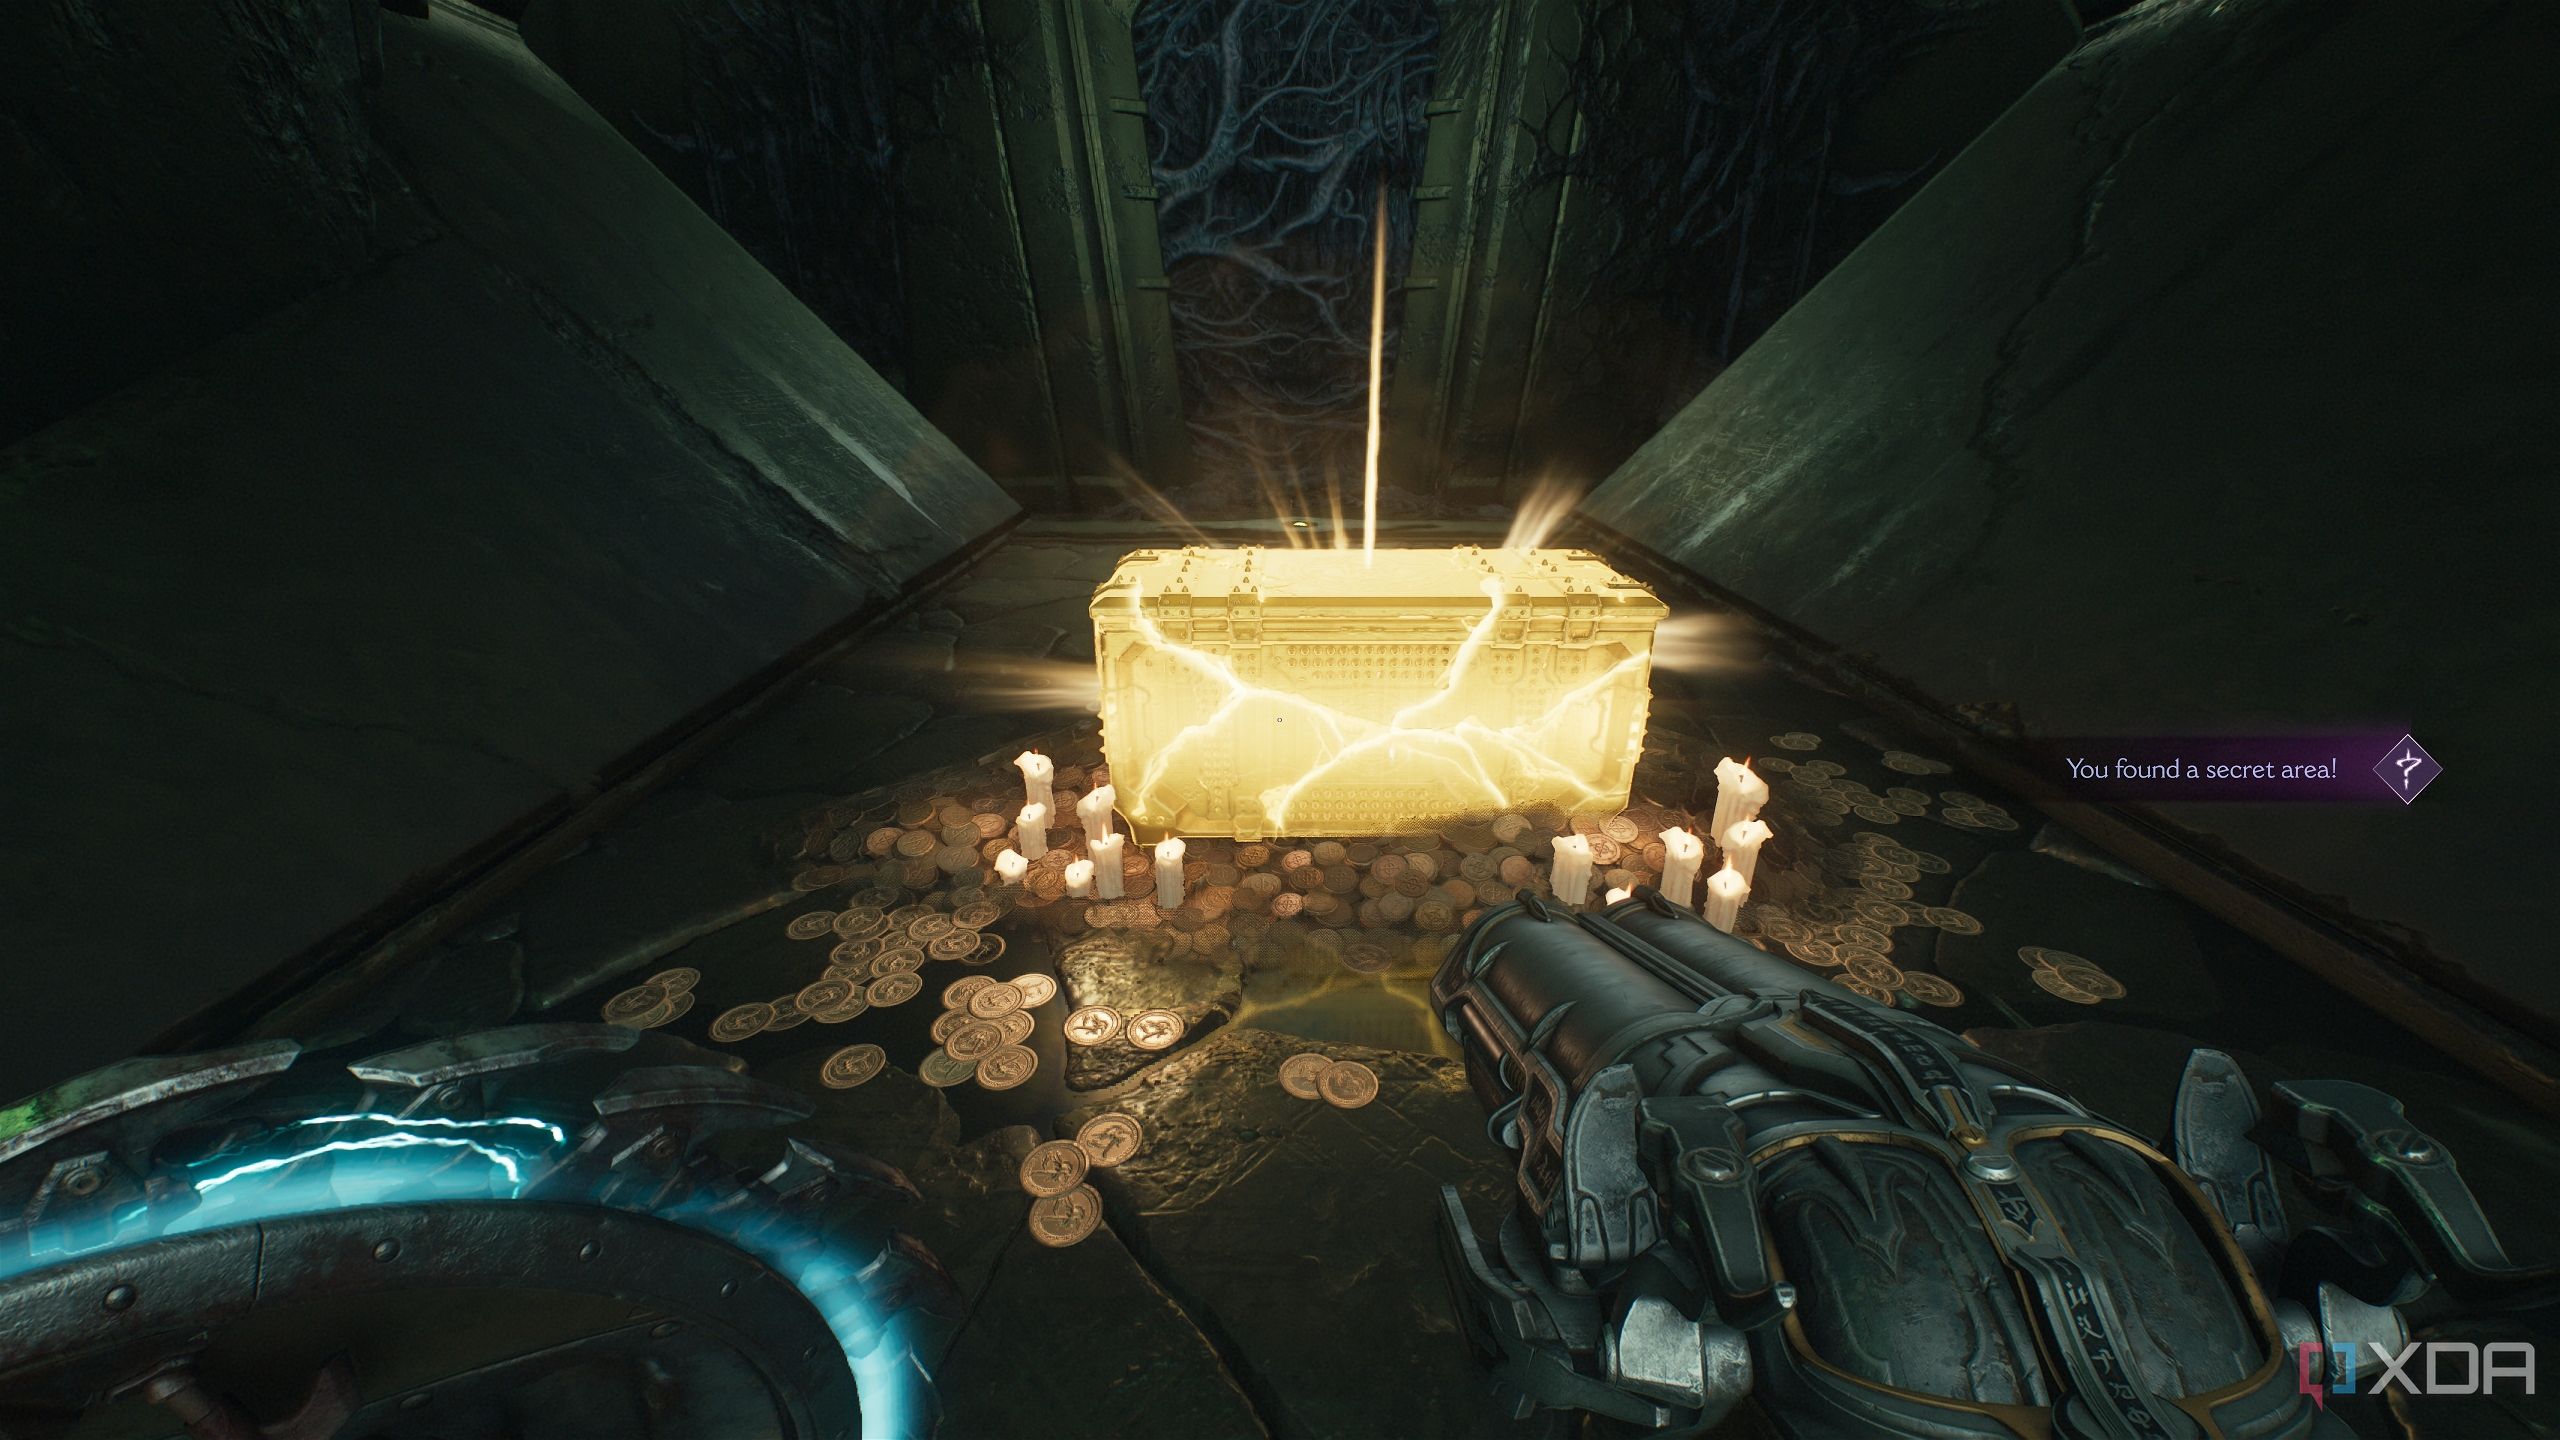
Then, you'll reach secret area 3 and a gold chest.
Related
Wolf Statue 5 and Wraithstone
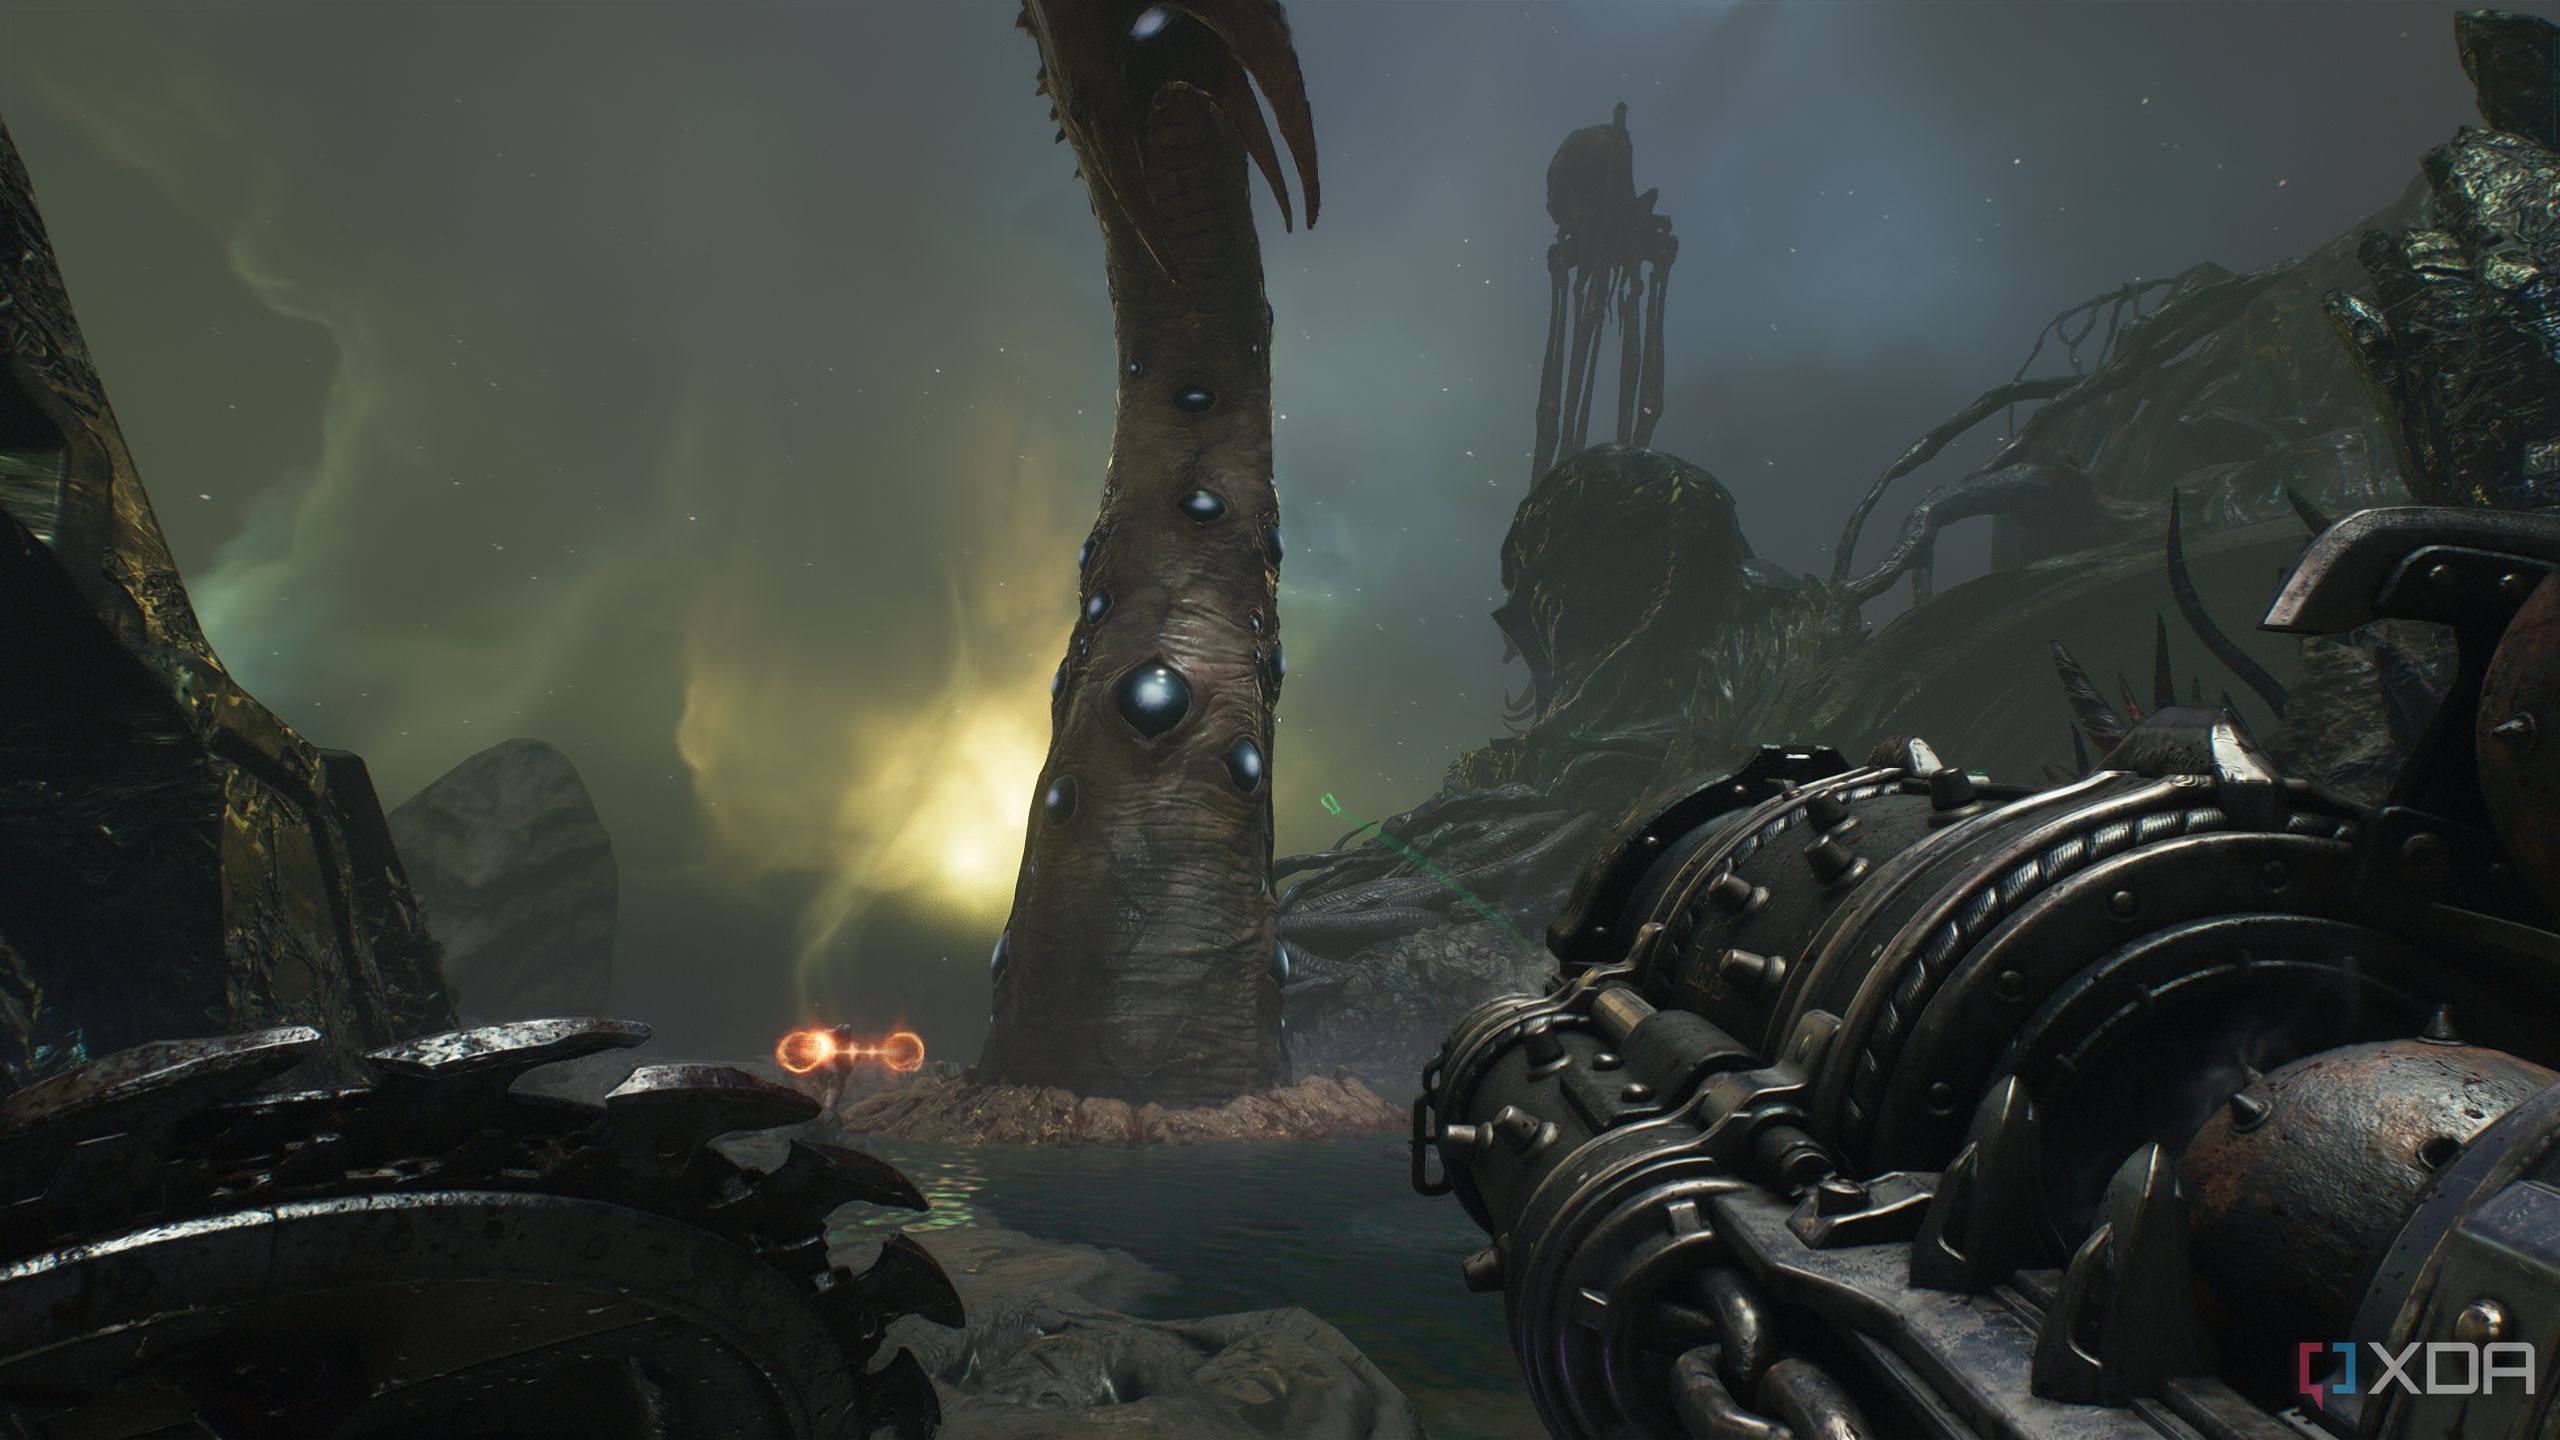
Two Tentacle demons to contend with before you get it
Heading out of the puzzle chamber, the Tentacle boss will return. Take it down again, and look to the right. There’s another fleshy Tentacle hole there, but right behind it is wolf statue 5.
Just hit it with your shield from where you’re standing.
Now, head all the way back to the chamber with the Wraithstone puzzle to collect your Wraithstone. This also brings your Hunter mission challenge to a close.
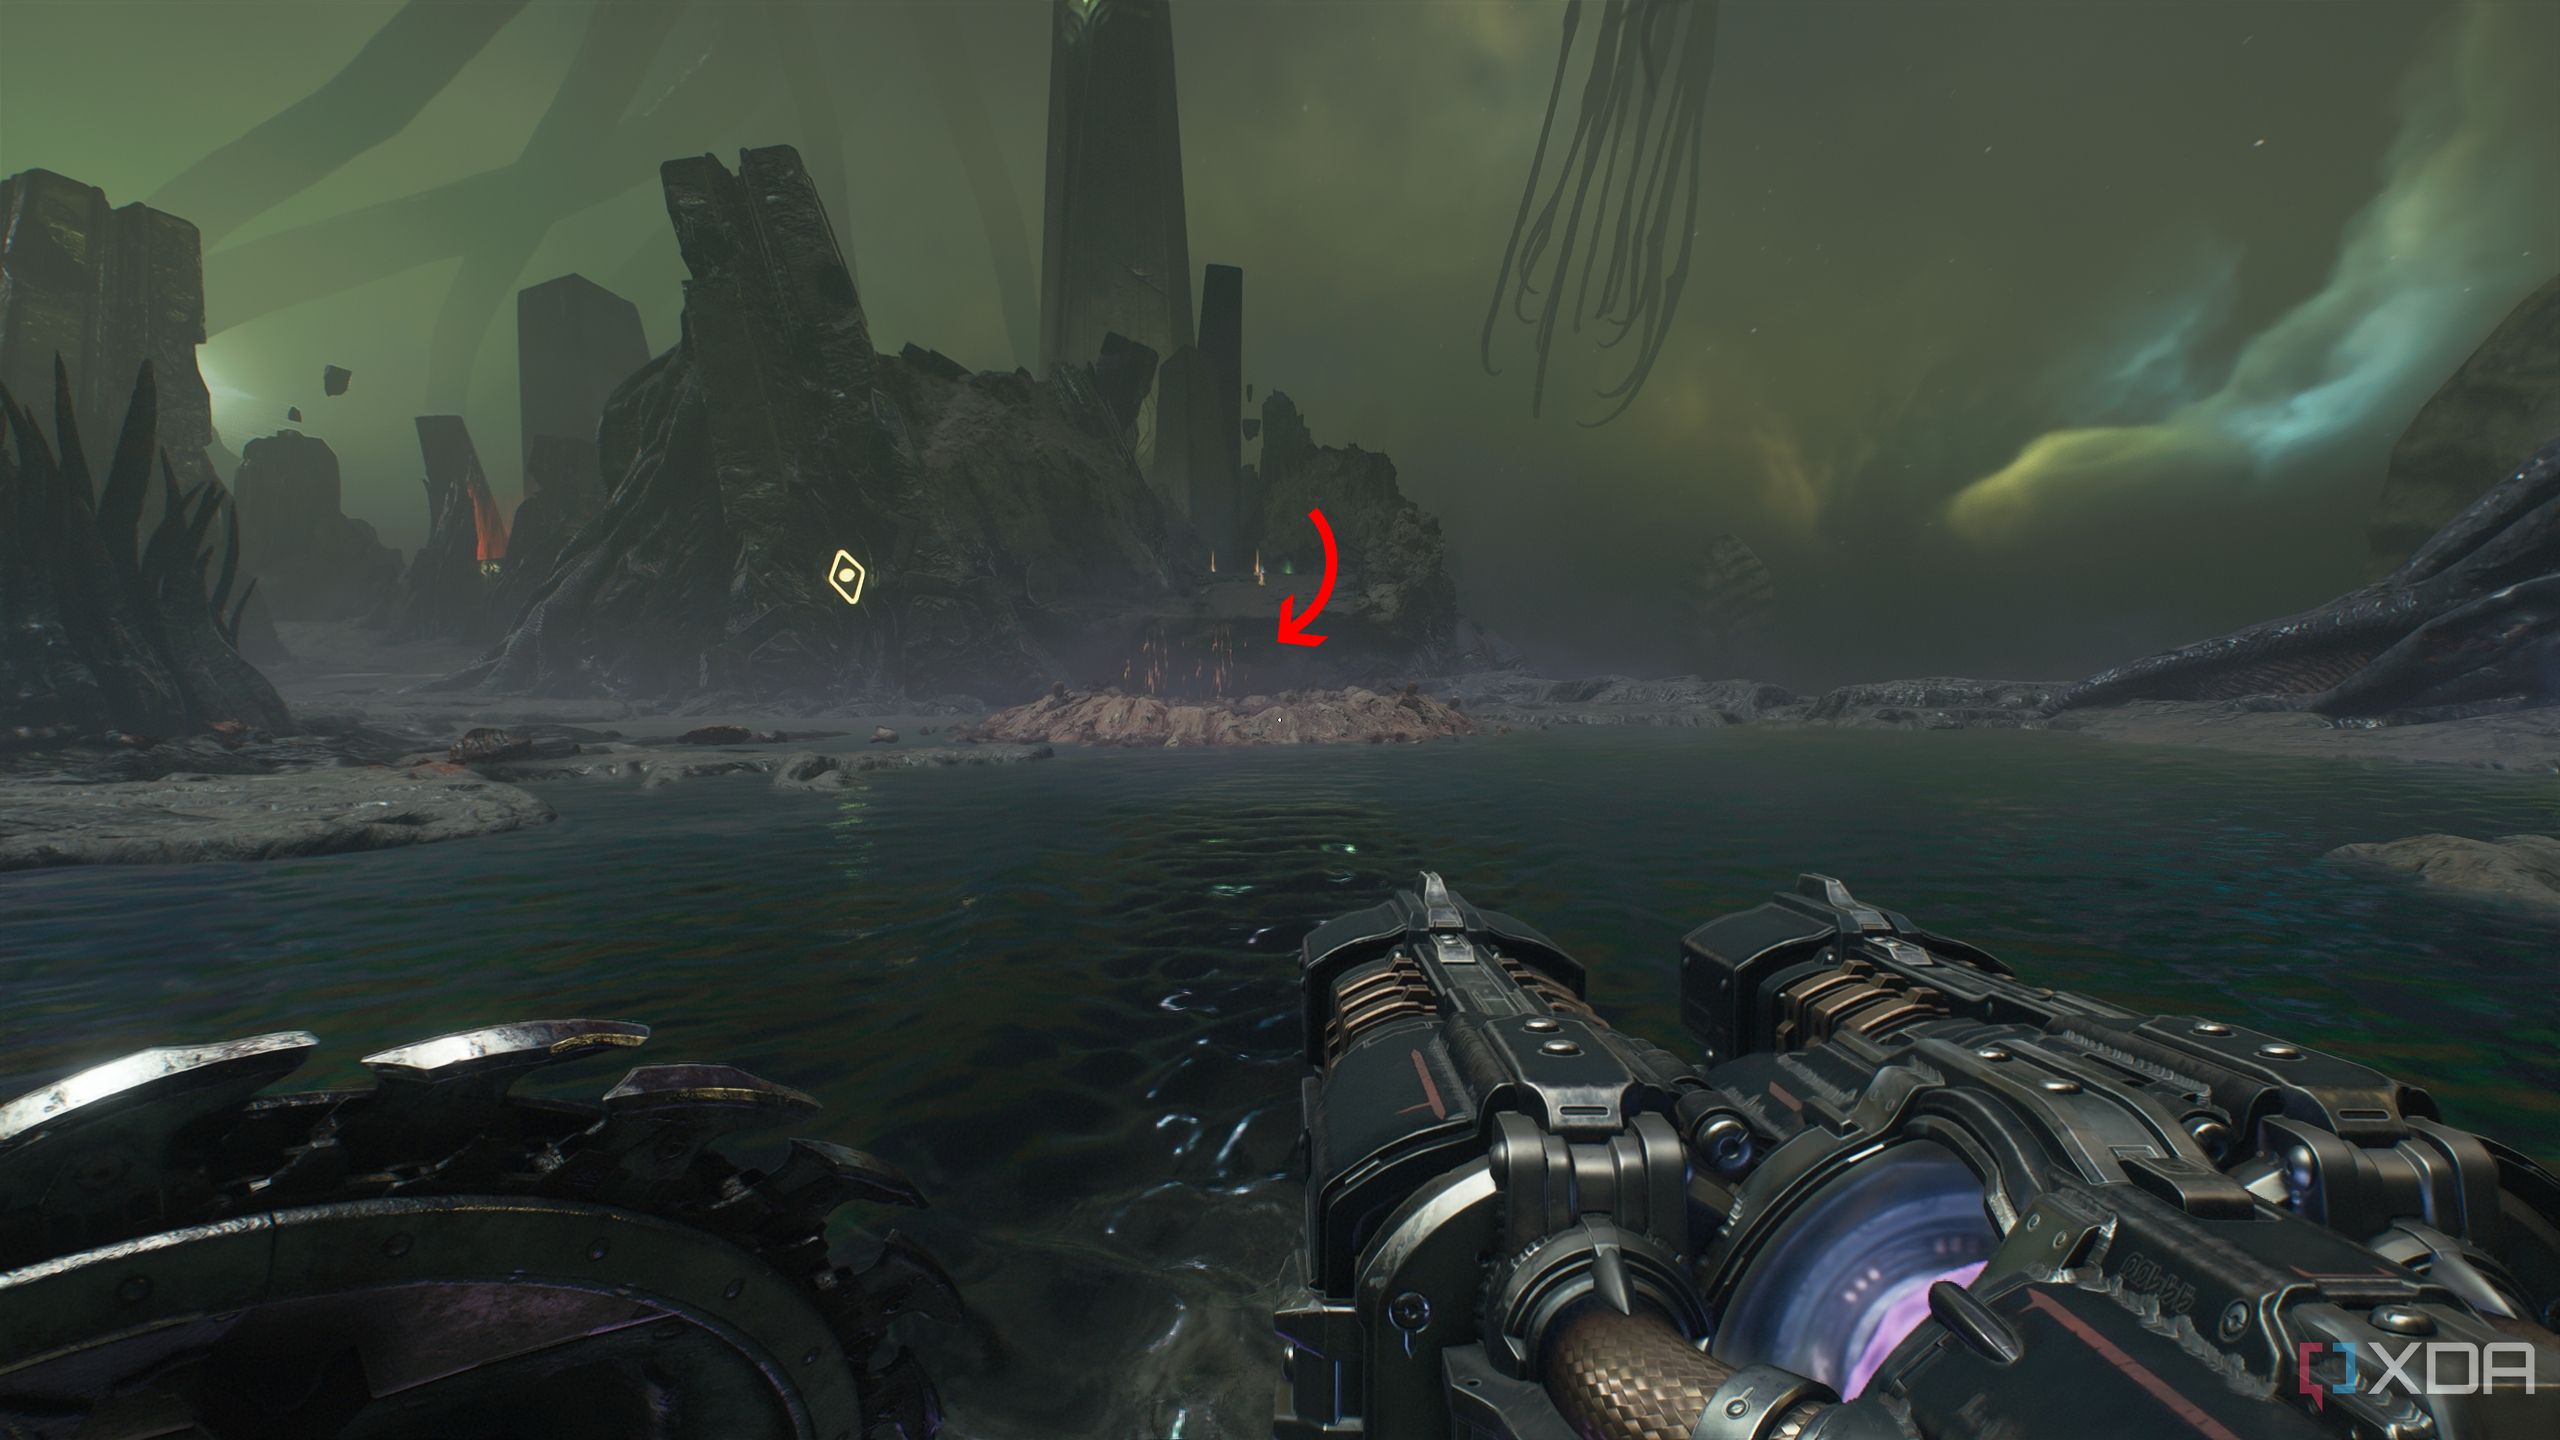
Gold stack and more gold bars
Collecting stray gold bars and stacks
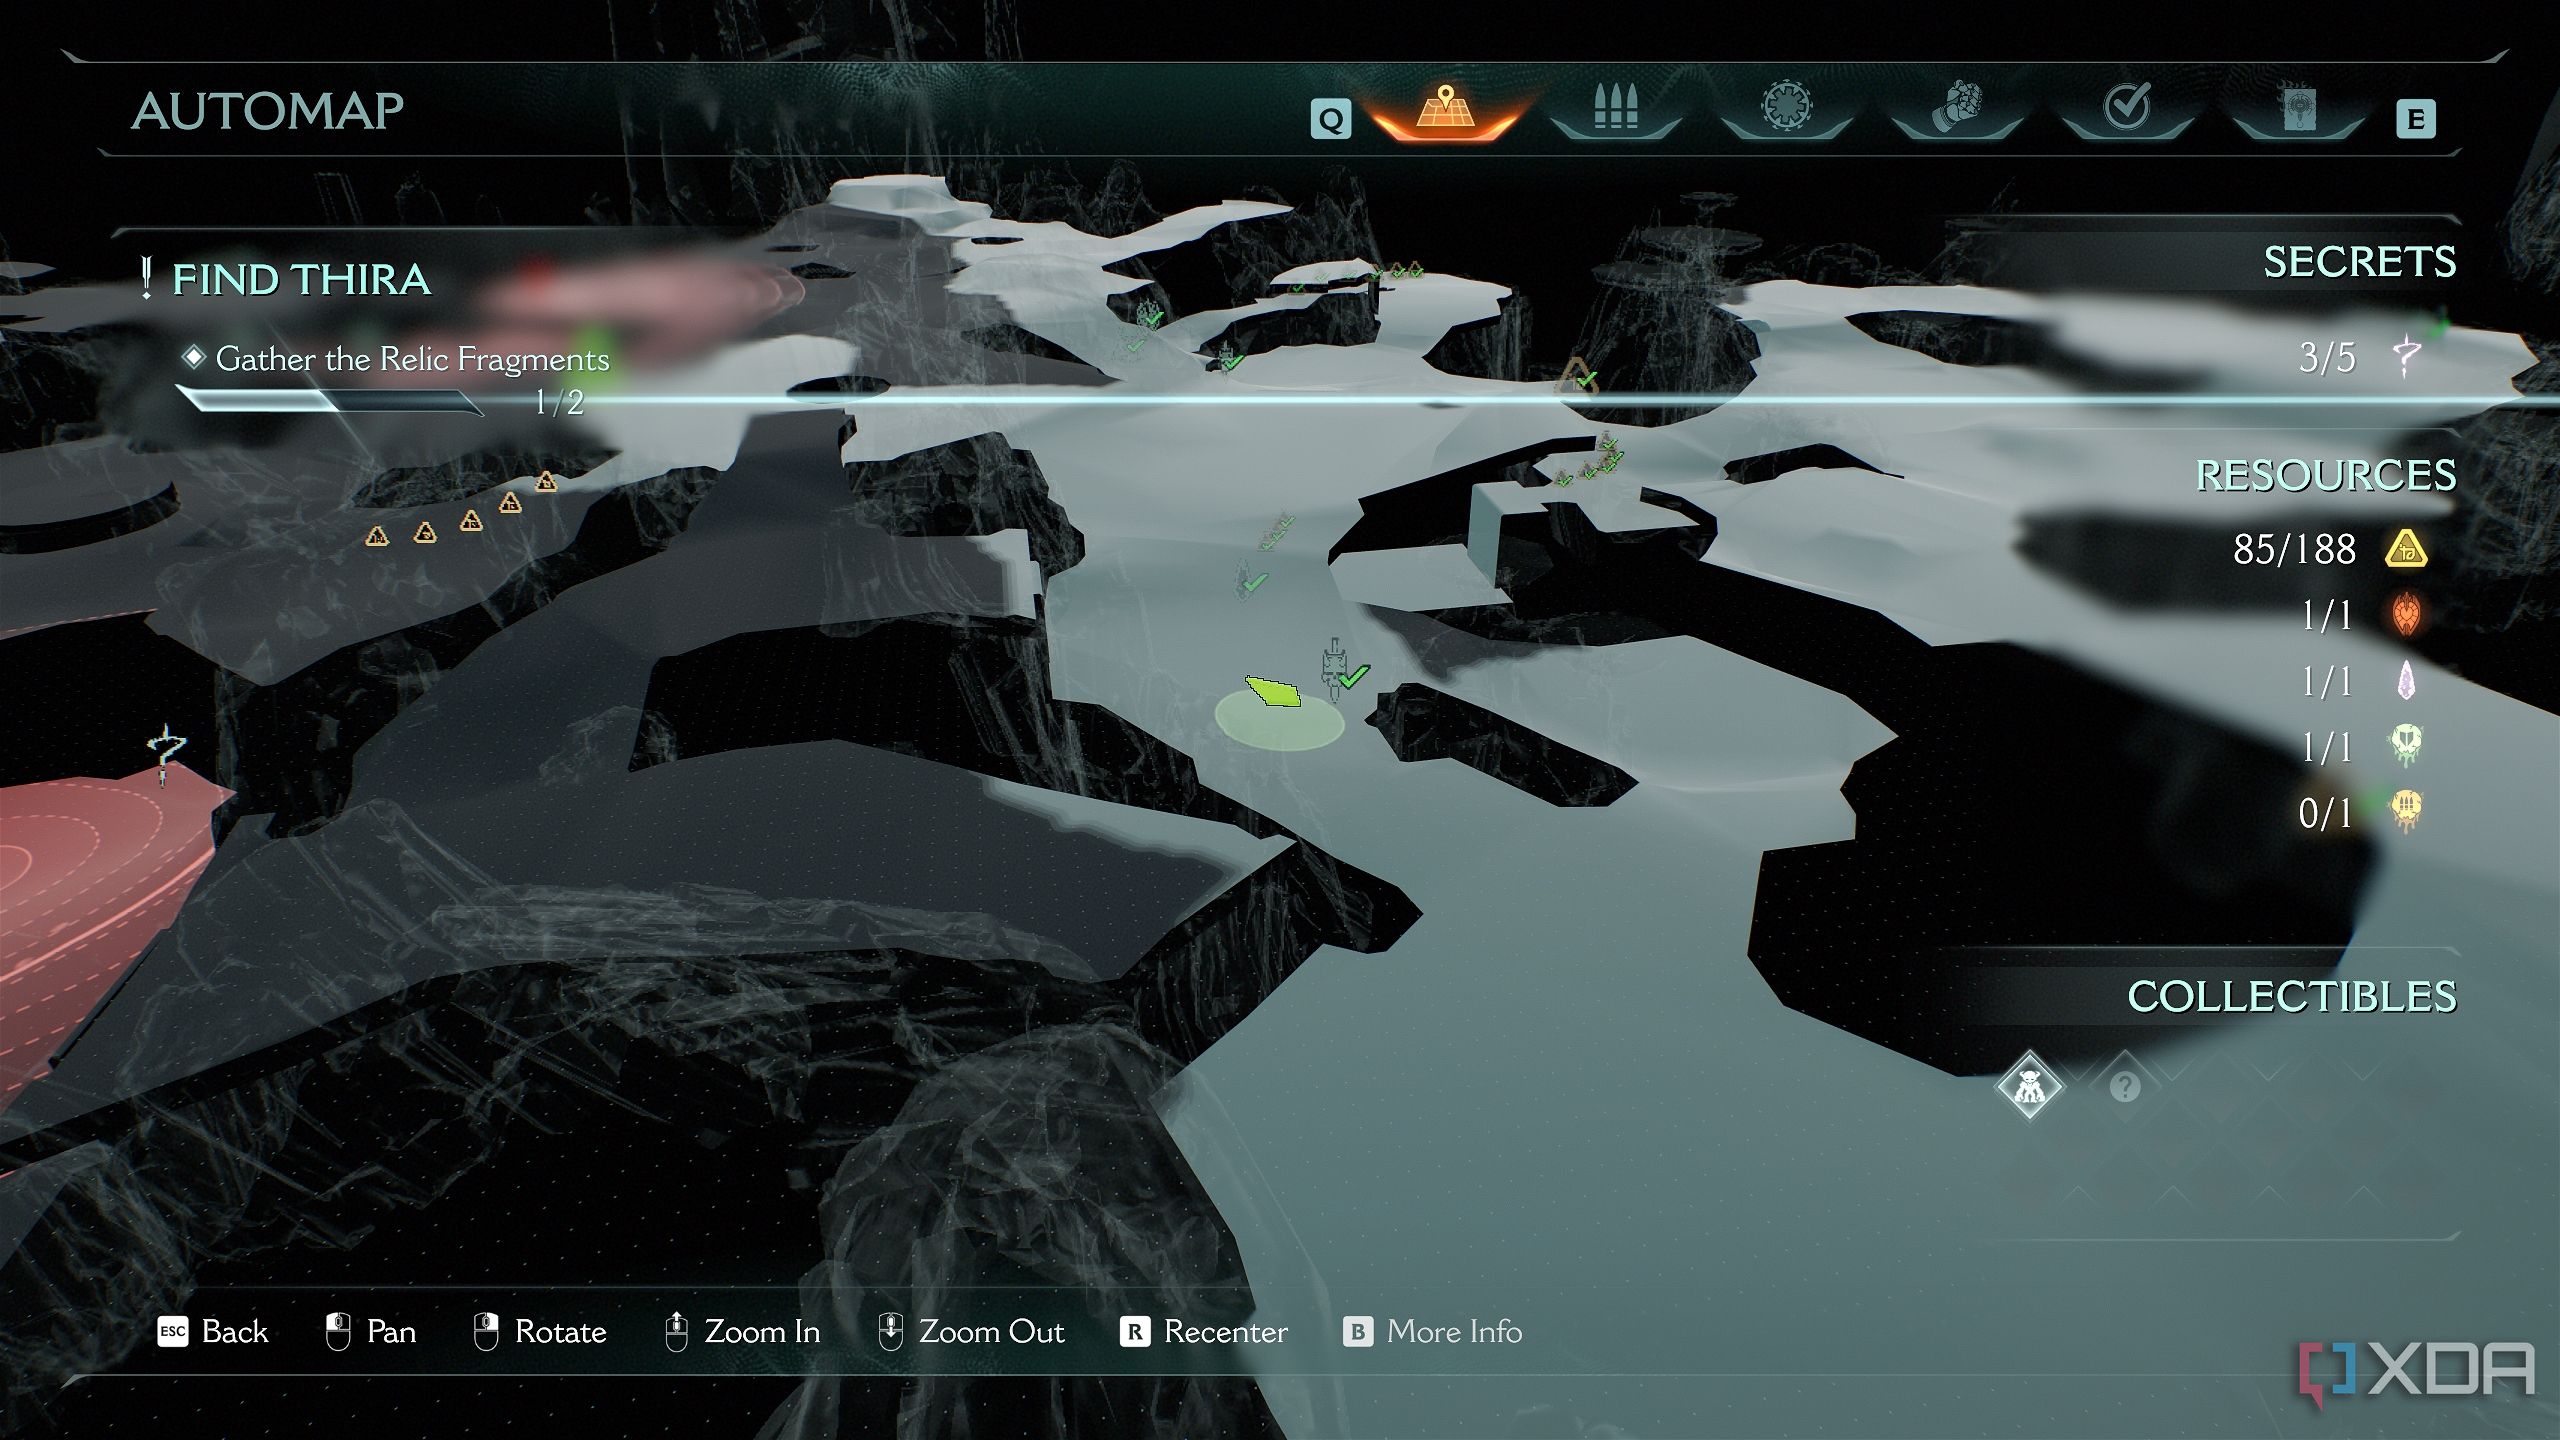
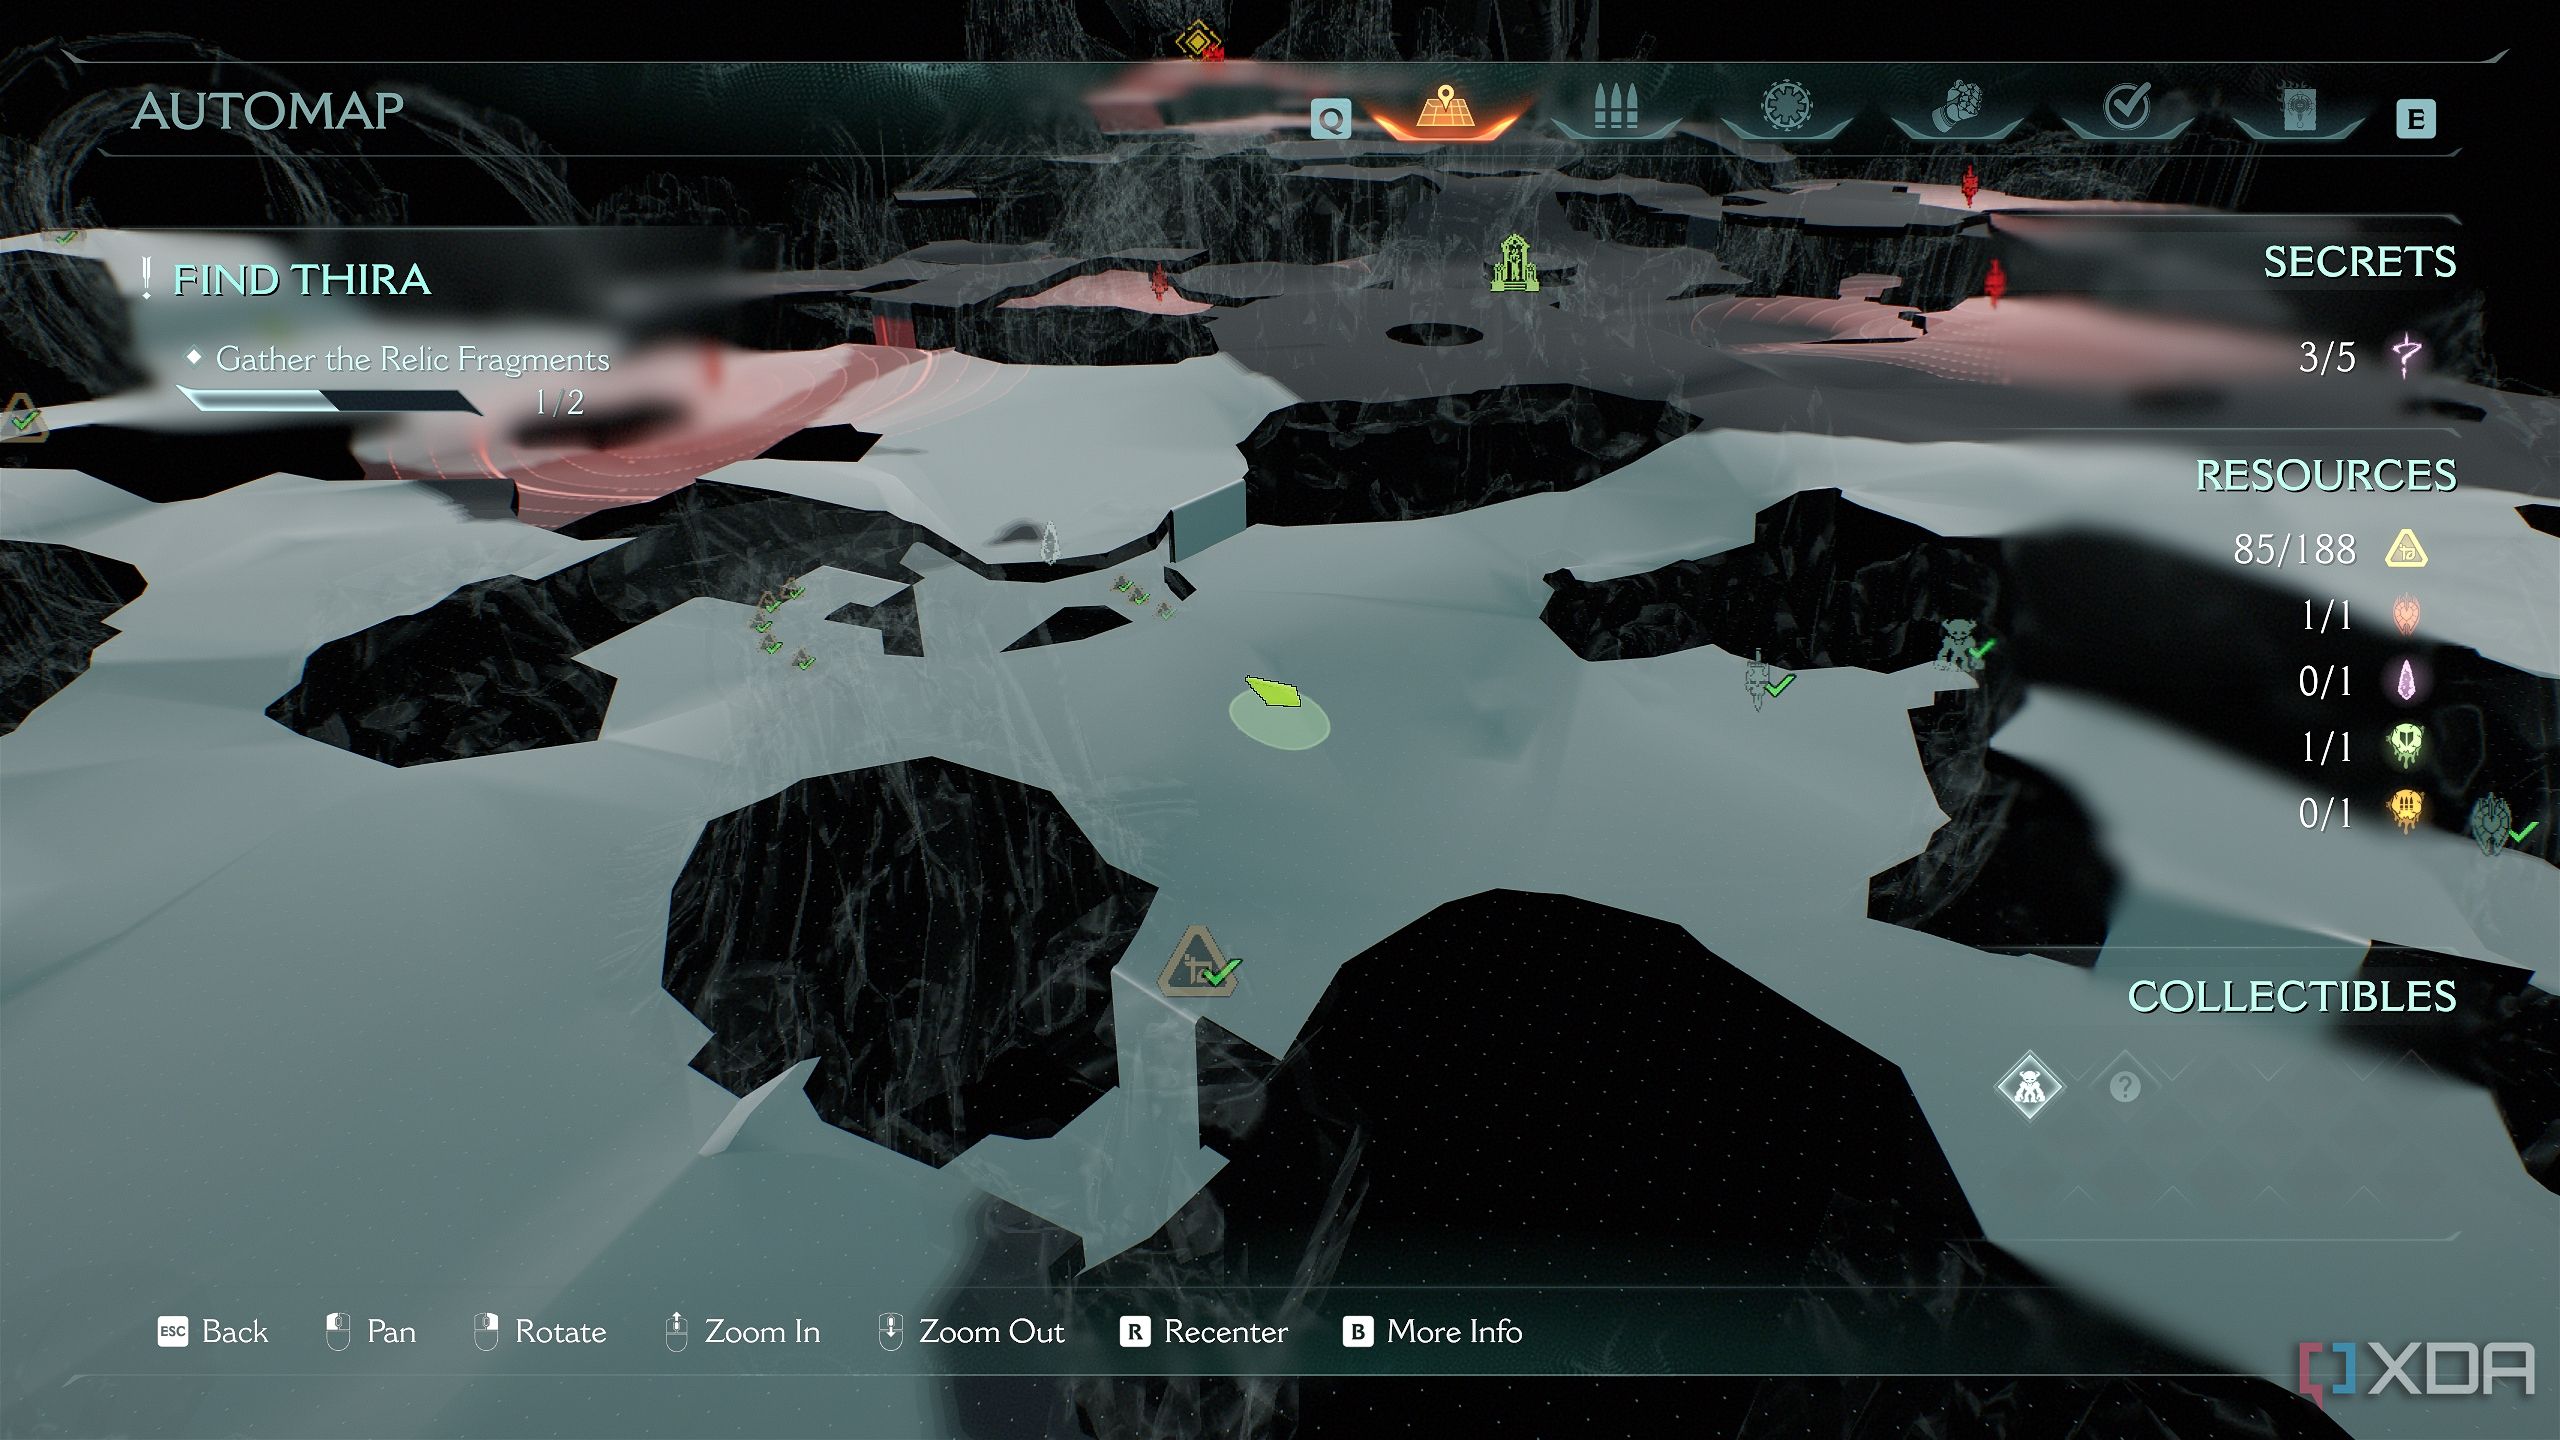
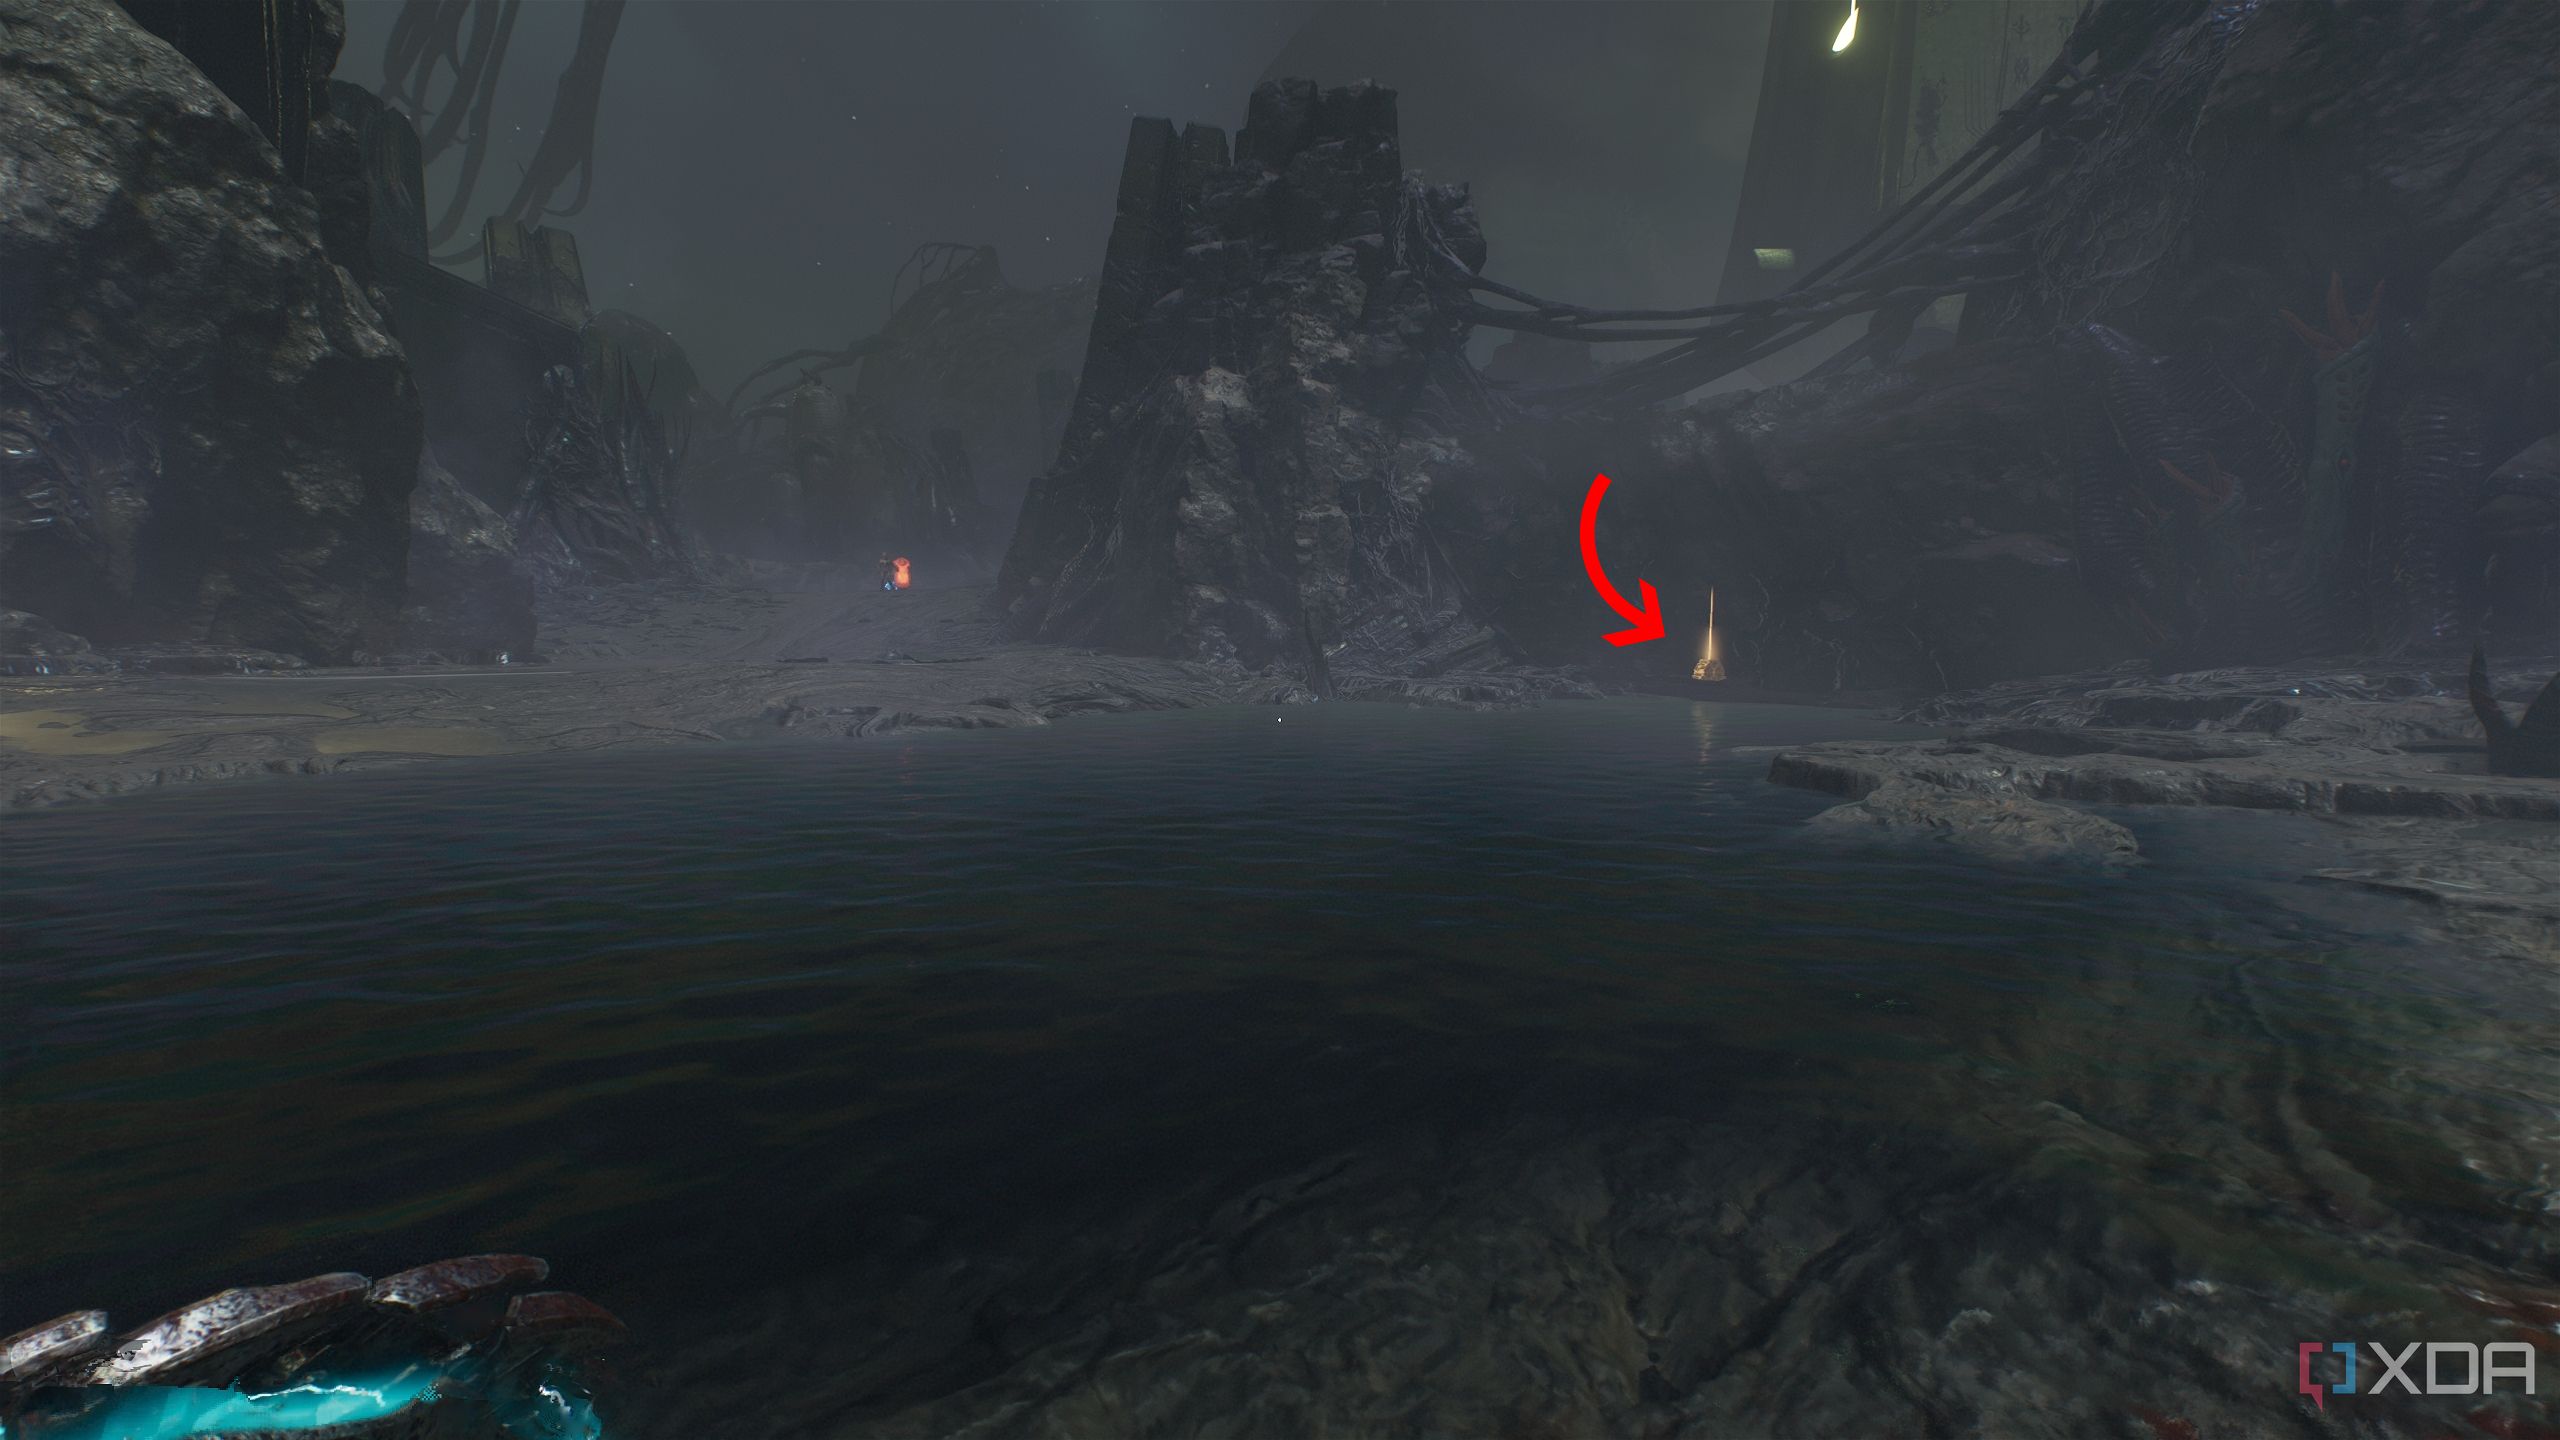
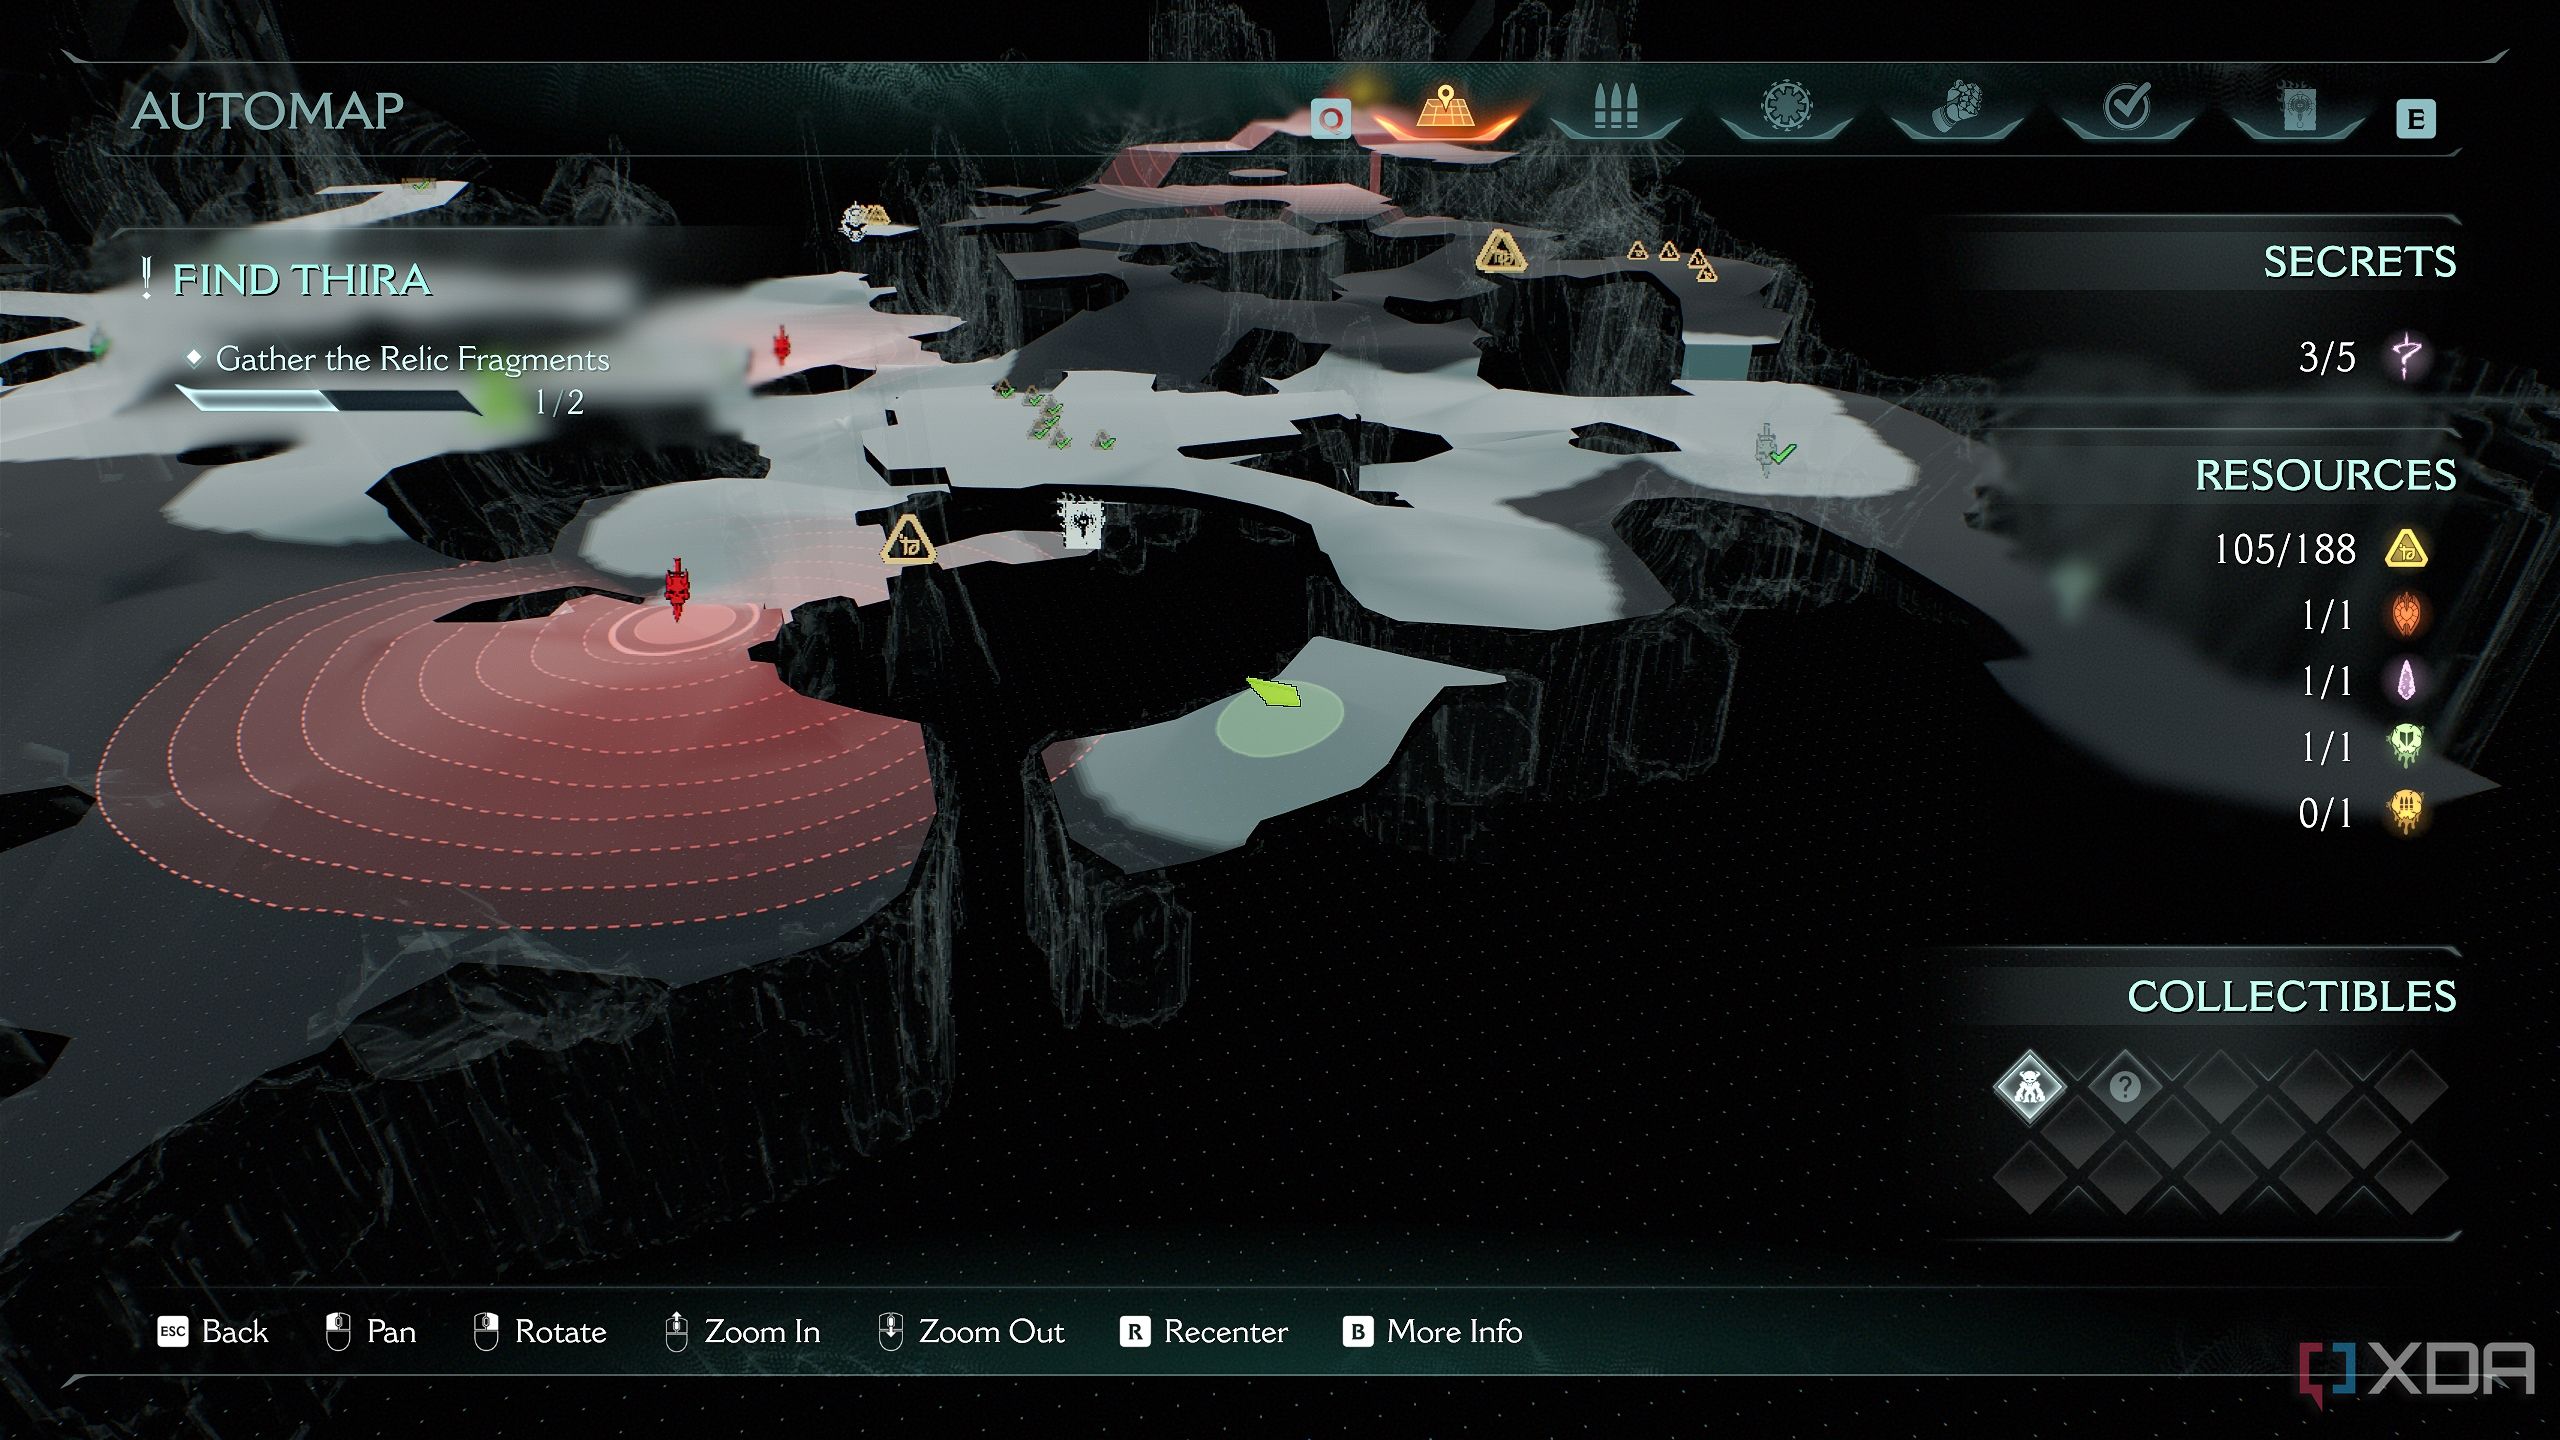
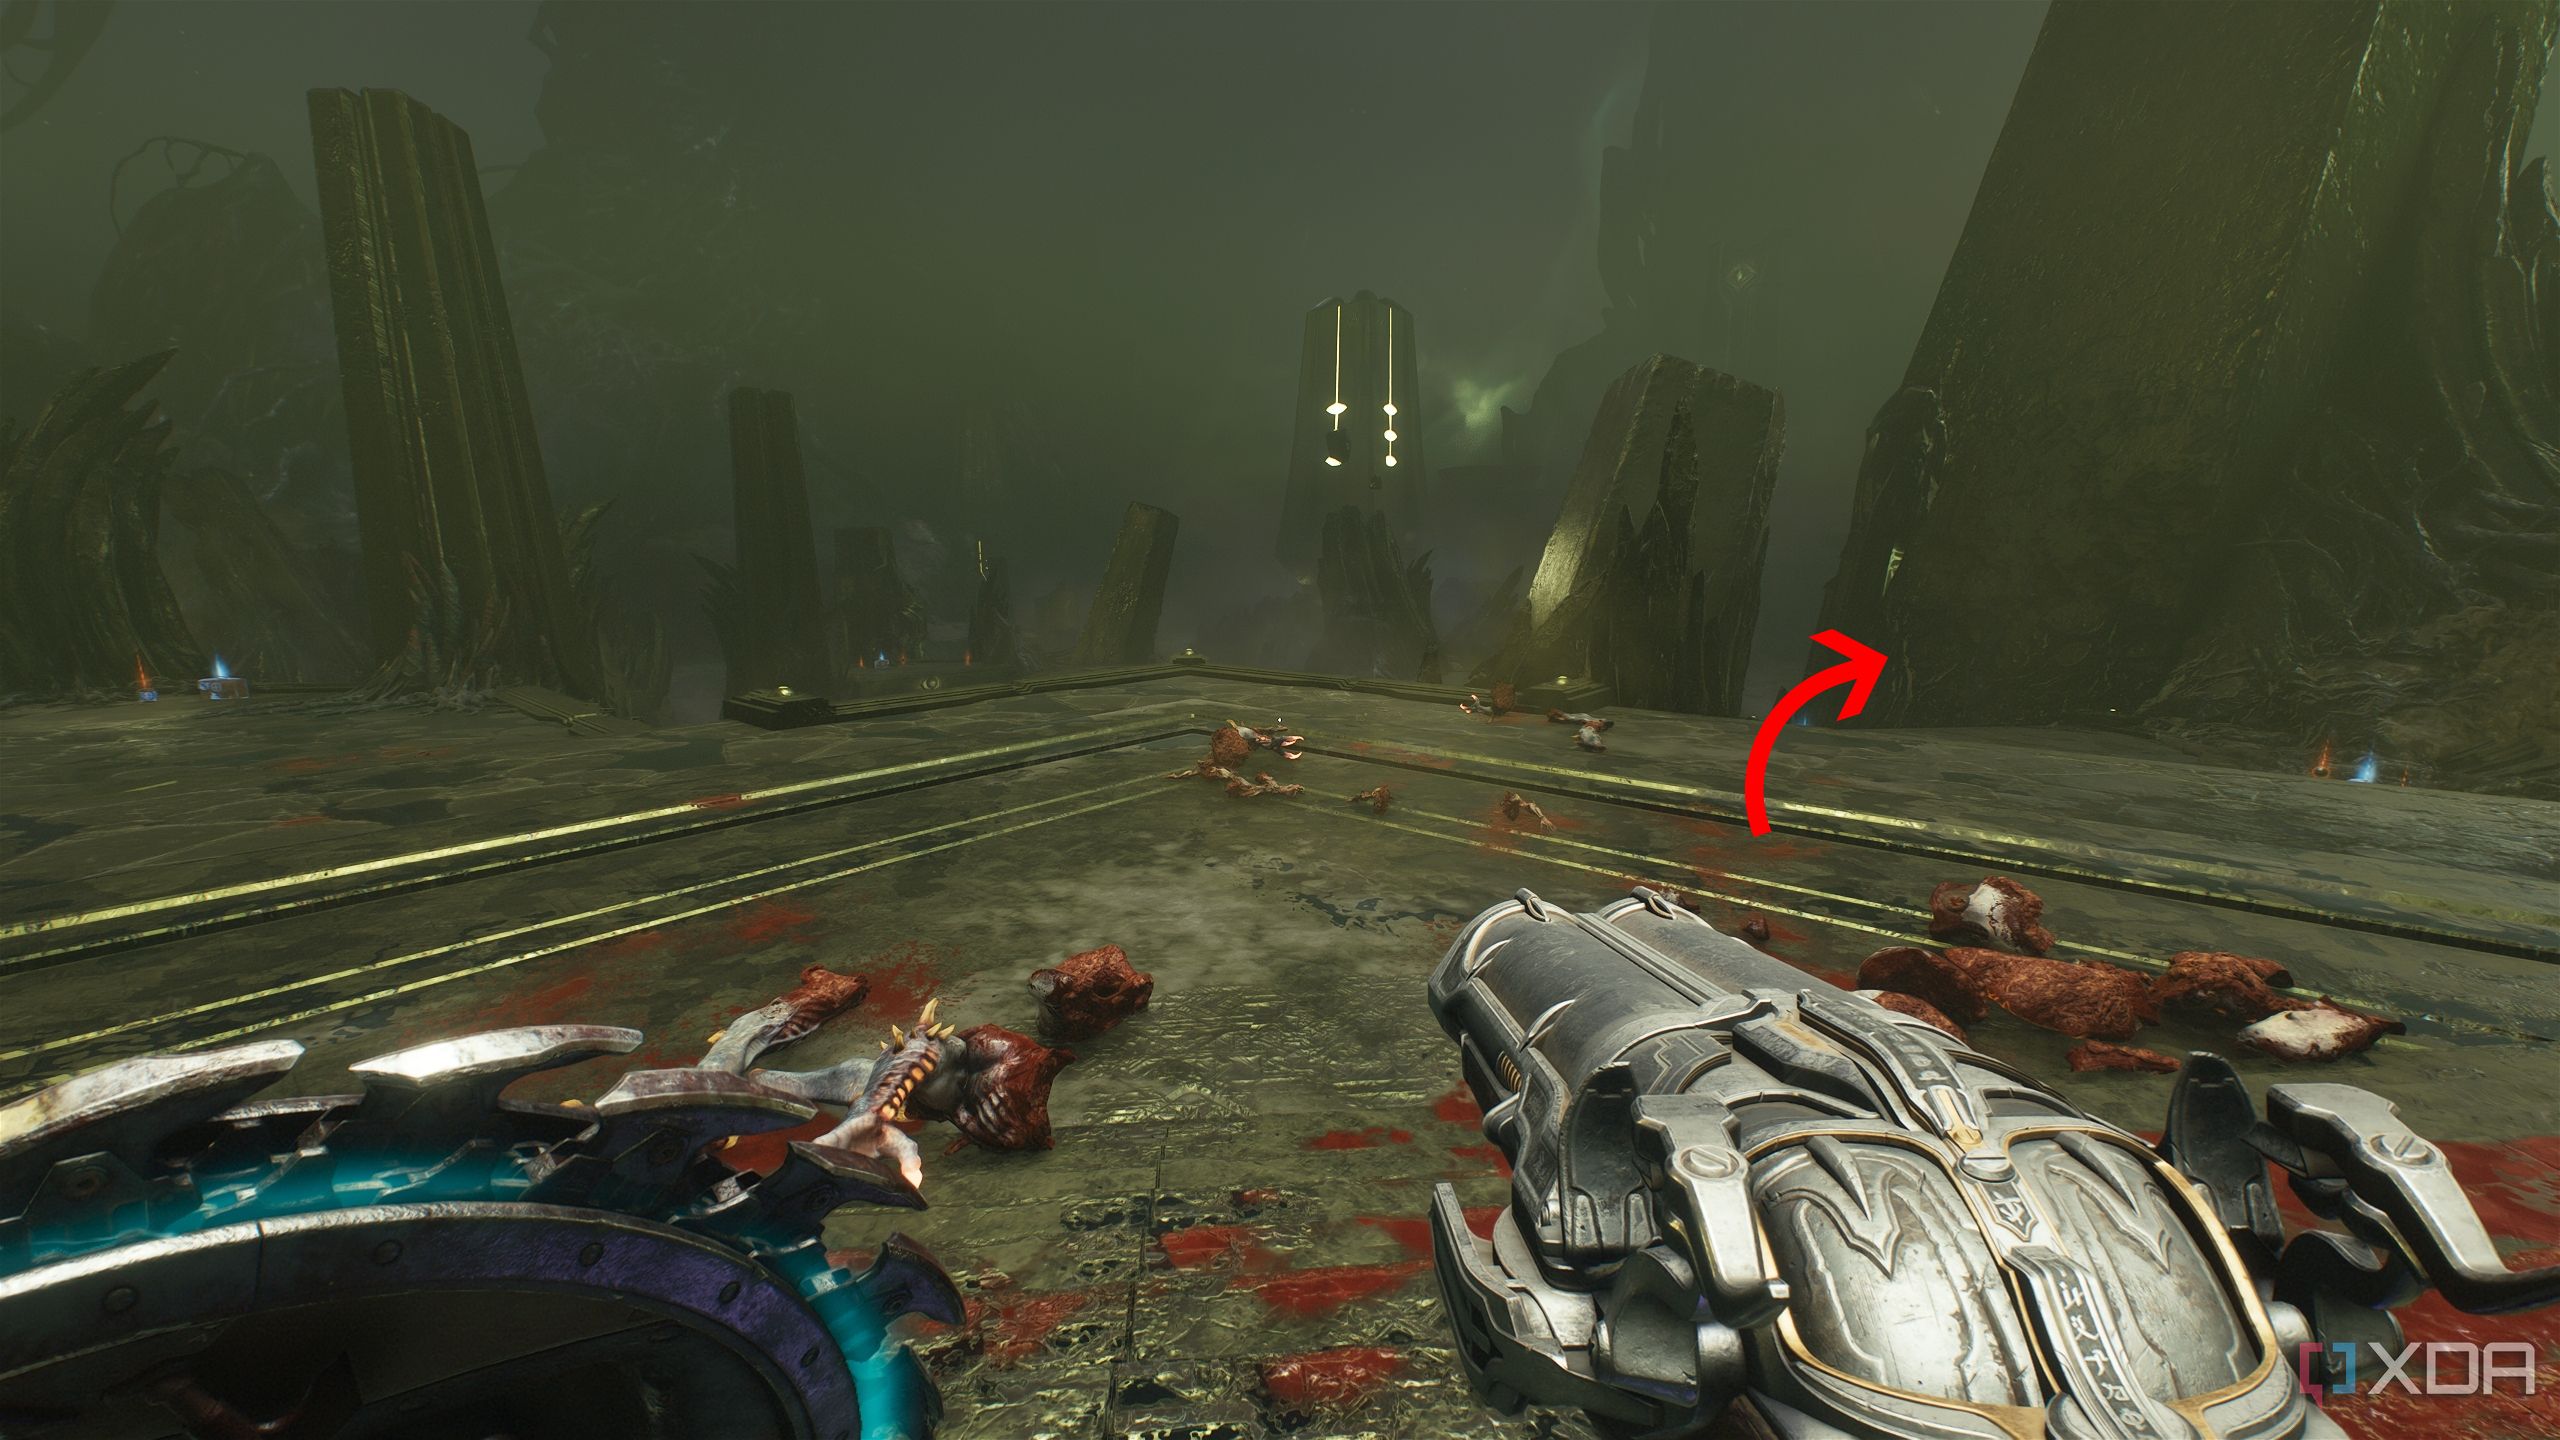
Heading back to the two Tentacle flesh holes, you should find yourself standing in the location shown above on the map.

Look for a scramble wall to the left, and climb it up.
Follow the path winding left, and you’ll drop down into a watery arena.
Take care of the few demons who appear here, and you’ll spot a gold stack next to the water puddle in the center of the arena. Pick it up, and as soon as you do, a Whiplash and Arachnotron will ambush you.
Then, head forward into the next arena, and there will only be a couple of Shielded Soldiers to contend with.
There’s a scramble wall to the right here — climb it.
Fight the Shadow Imp Stalker here and other demons, and then pick up the trail of gold bars here. There’s a barricaded entrance you can Shield Charge through — it will bring you back to the Sentinel Shrine next to the central monolith. Bash through it and get back to where you just were.
Secret area 4 and a Codex Page
More about the Demon Prince's partner-in-crime
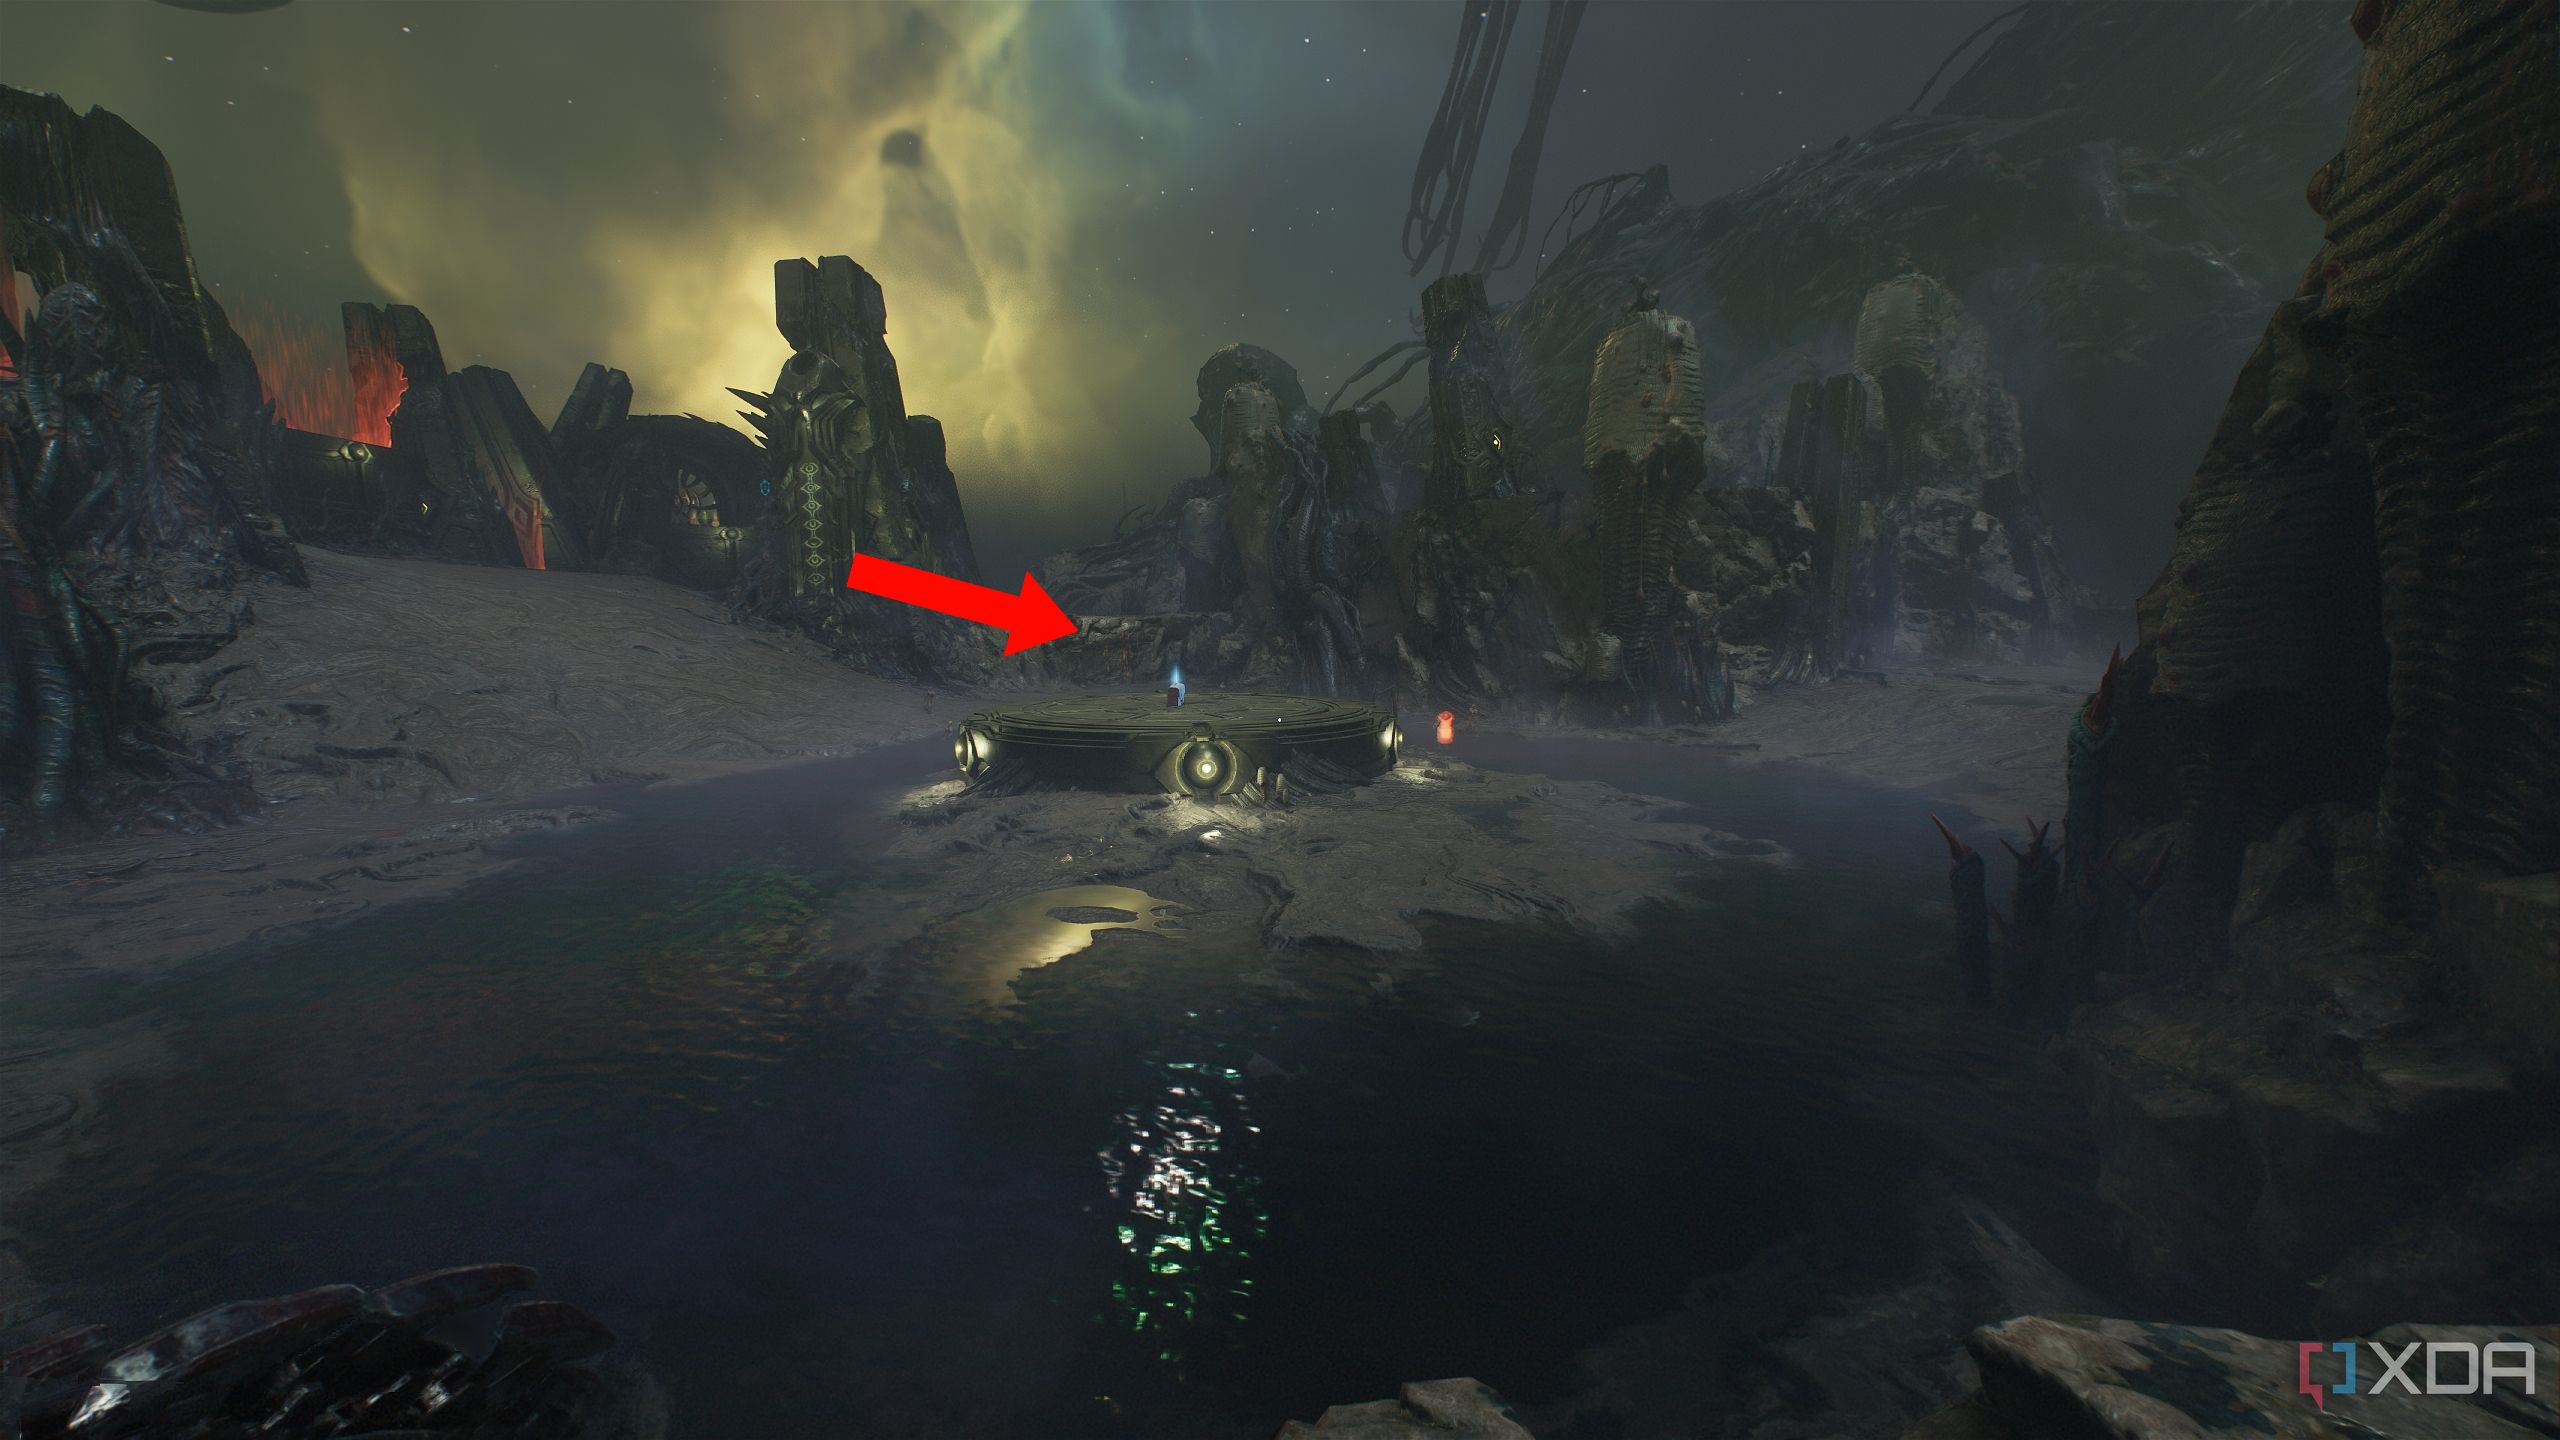
Look to the center of the arena below, and you’ll see a green-lit, circular platform in the middle. Straight past it is a scramble wall.
Get there and climb it up, and you’ll encounter another huge Tentacle and an Arachnotron. Deal with them — you’ll see another puzzle chamber ahead.
Face it, but go up the scramble wall on the right, instead.
Climb up to pick up a trail of gold bars.

Then, walk down towards the right, and follow the path winding right.
Keep an eye on the platform you just came from — there’s a small opening in the cliff face here that reveals a blue energy node inside.
Here’s where you need to stand on the map for further reference.
Now comes the tricky part — the moment you throw your shield at the energy node, multiple demons will appear to your right, but you can’t use your shield in this encounter at all. Using your shield to parry or defend will deactivate the energy node, and also make the demons disappear.
So, find a way to move quickly enough to pick apart the demons ahead without using your shield, and jump across the gap to fight some more of them. Stick to the right edge, and you’ll see an opened gate with a gold stack at the entrance.

Pick it up, head inside, and you’ll unlock secret area 4 and a Codex Page about The Witch.
Alternately, you can simply sprint into this door after using your Shield throw, pick up the collectibles inside, and then use your shield for the combat encounter outside.
Secret area 5 and a gold chest
Perhaps the simplest and quickest puzzle so far
Head back to the encounter area where you just fought the huge Tentacle and the Arachnotron. It’s time to head inside the next puzzle chamber.
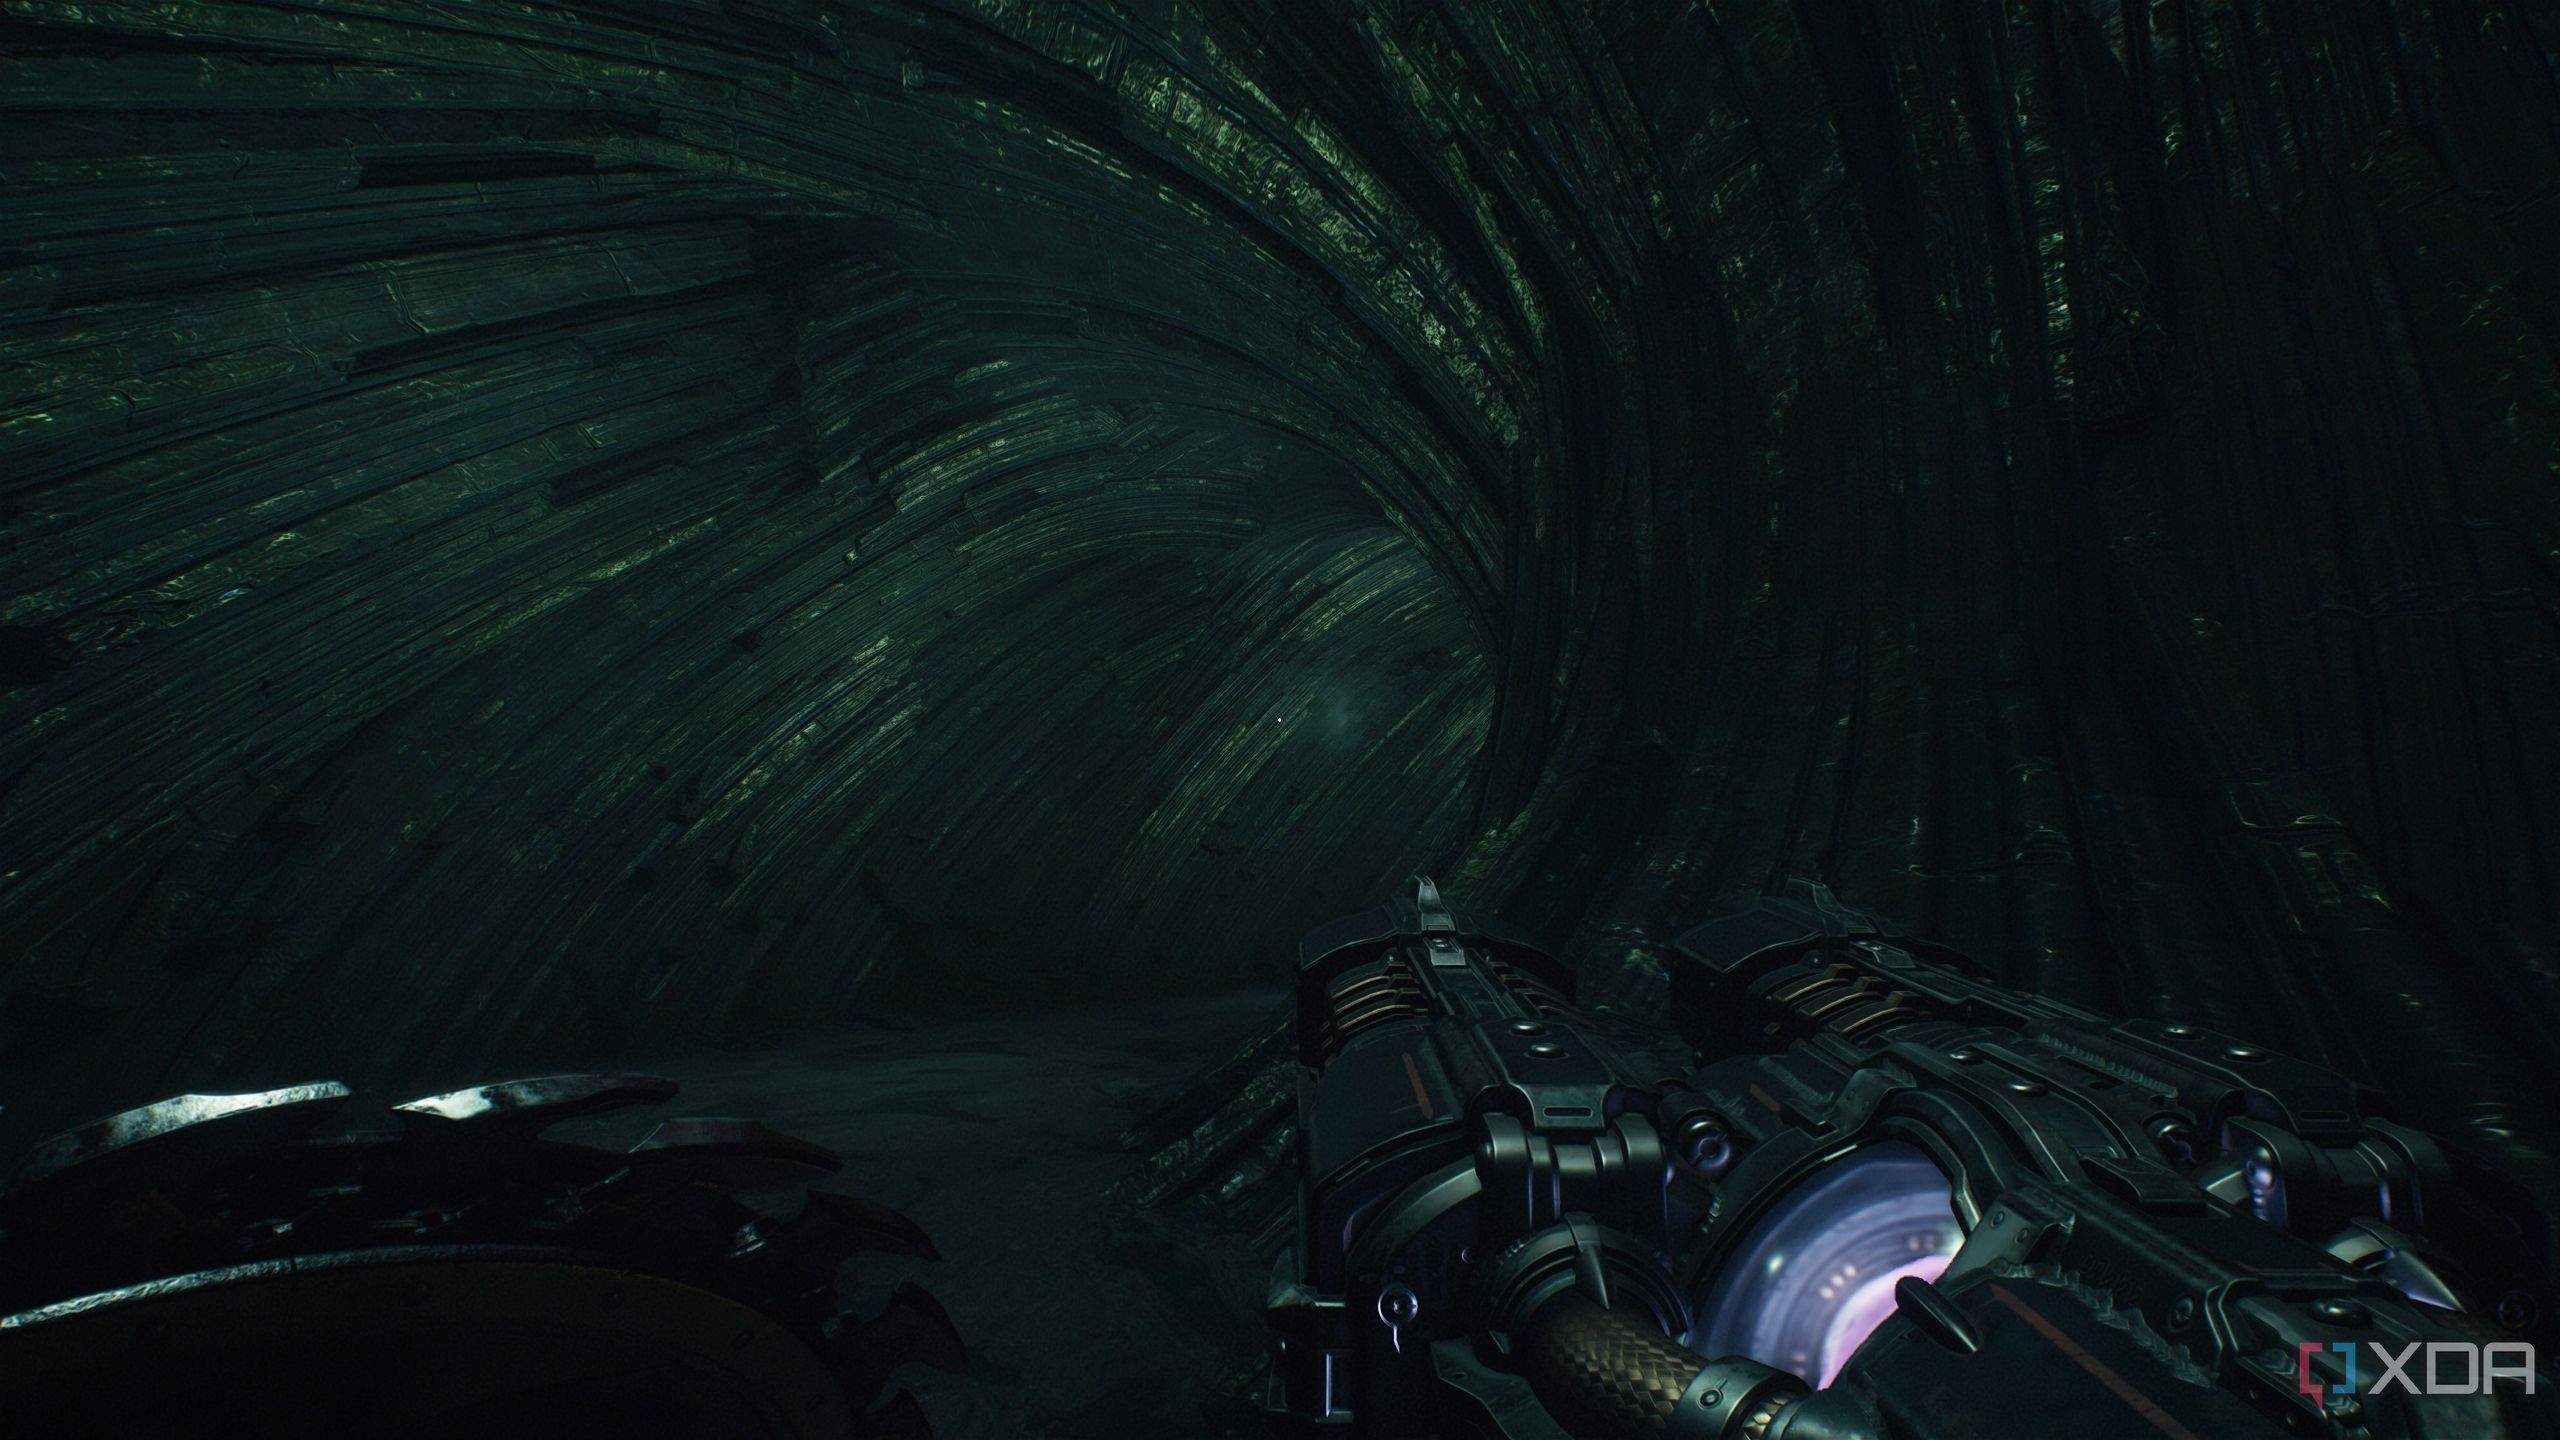
Approach the round, green door and head inside. Walking inside, you’ll notice that you can keep running to the right in a never-ending loop.
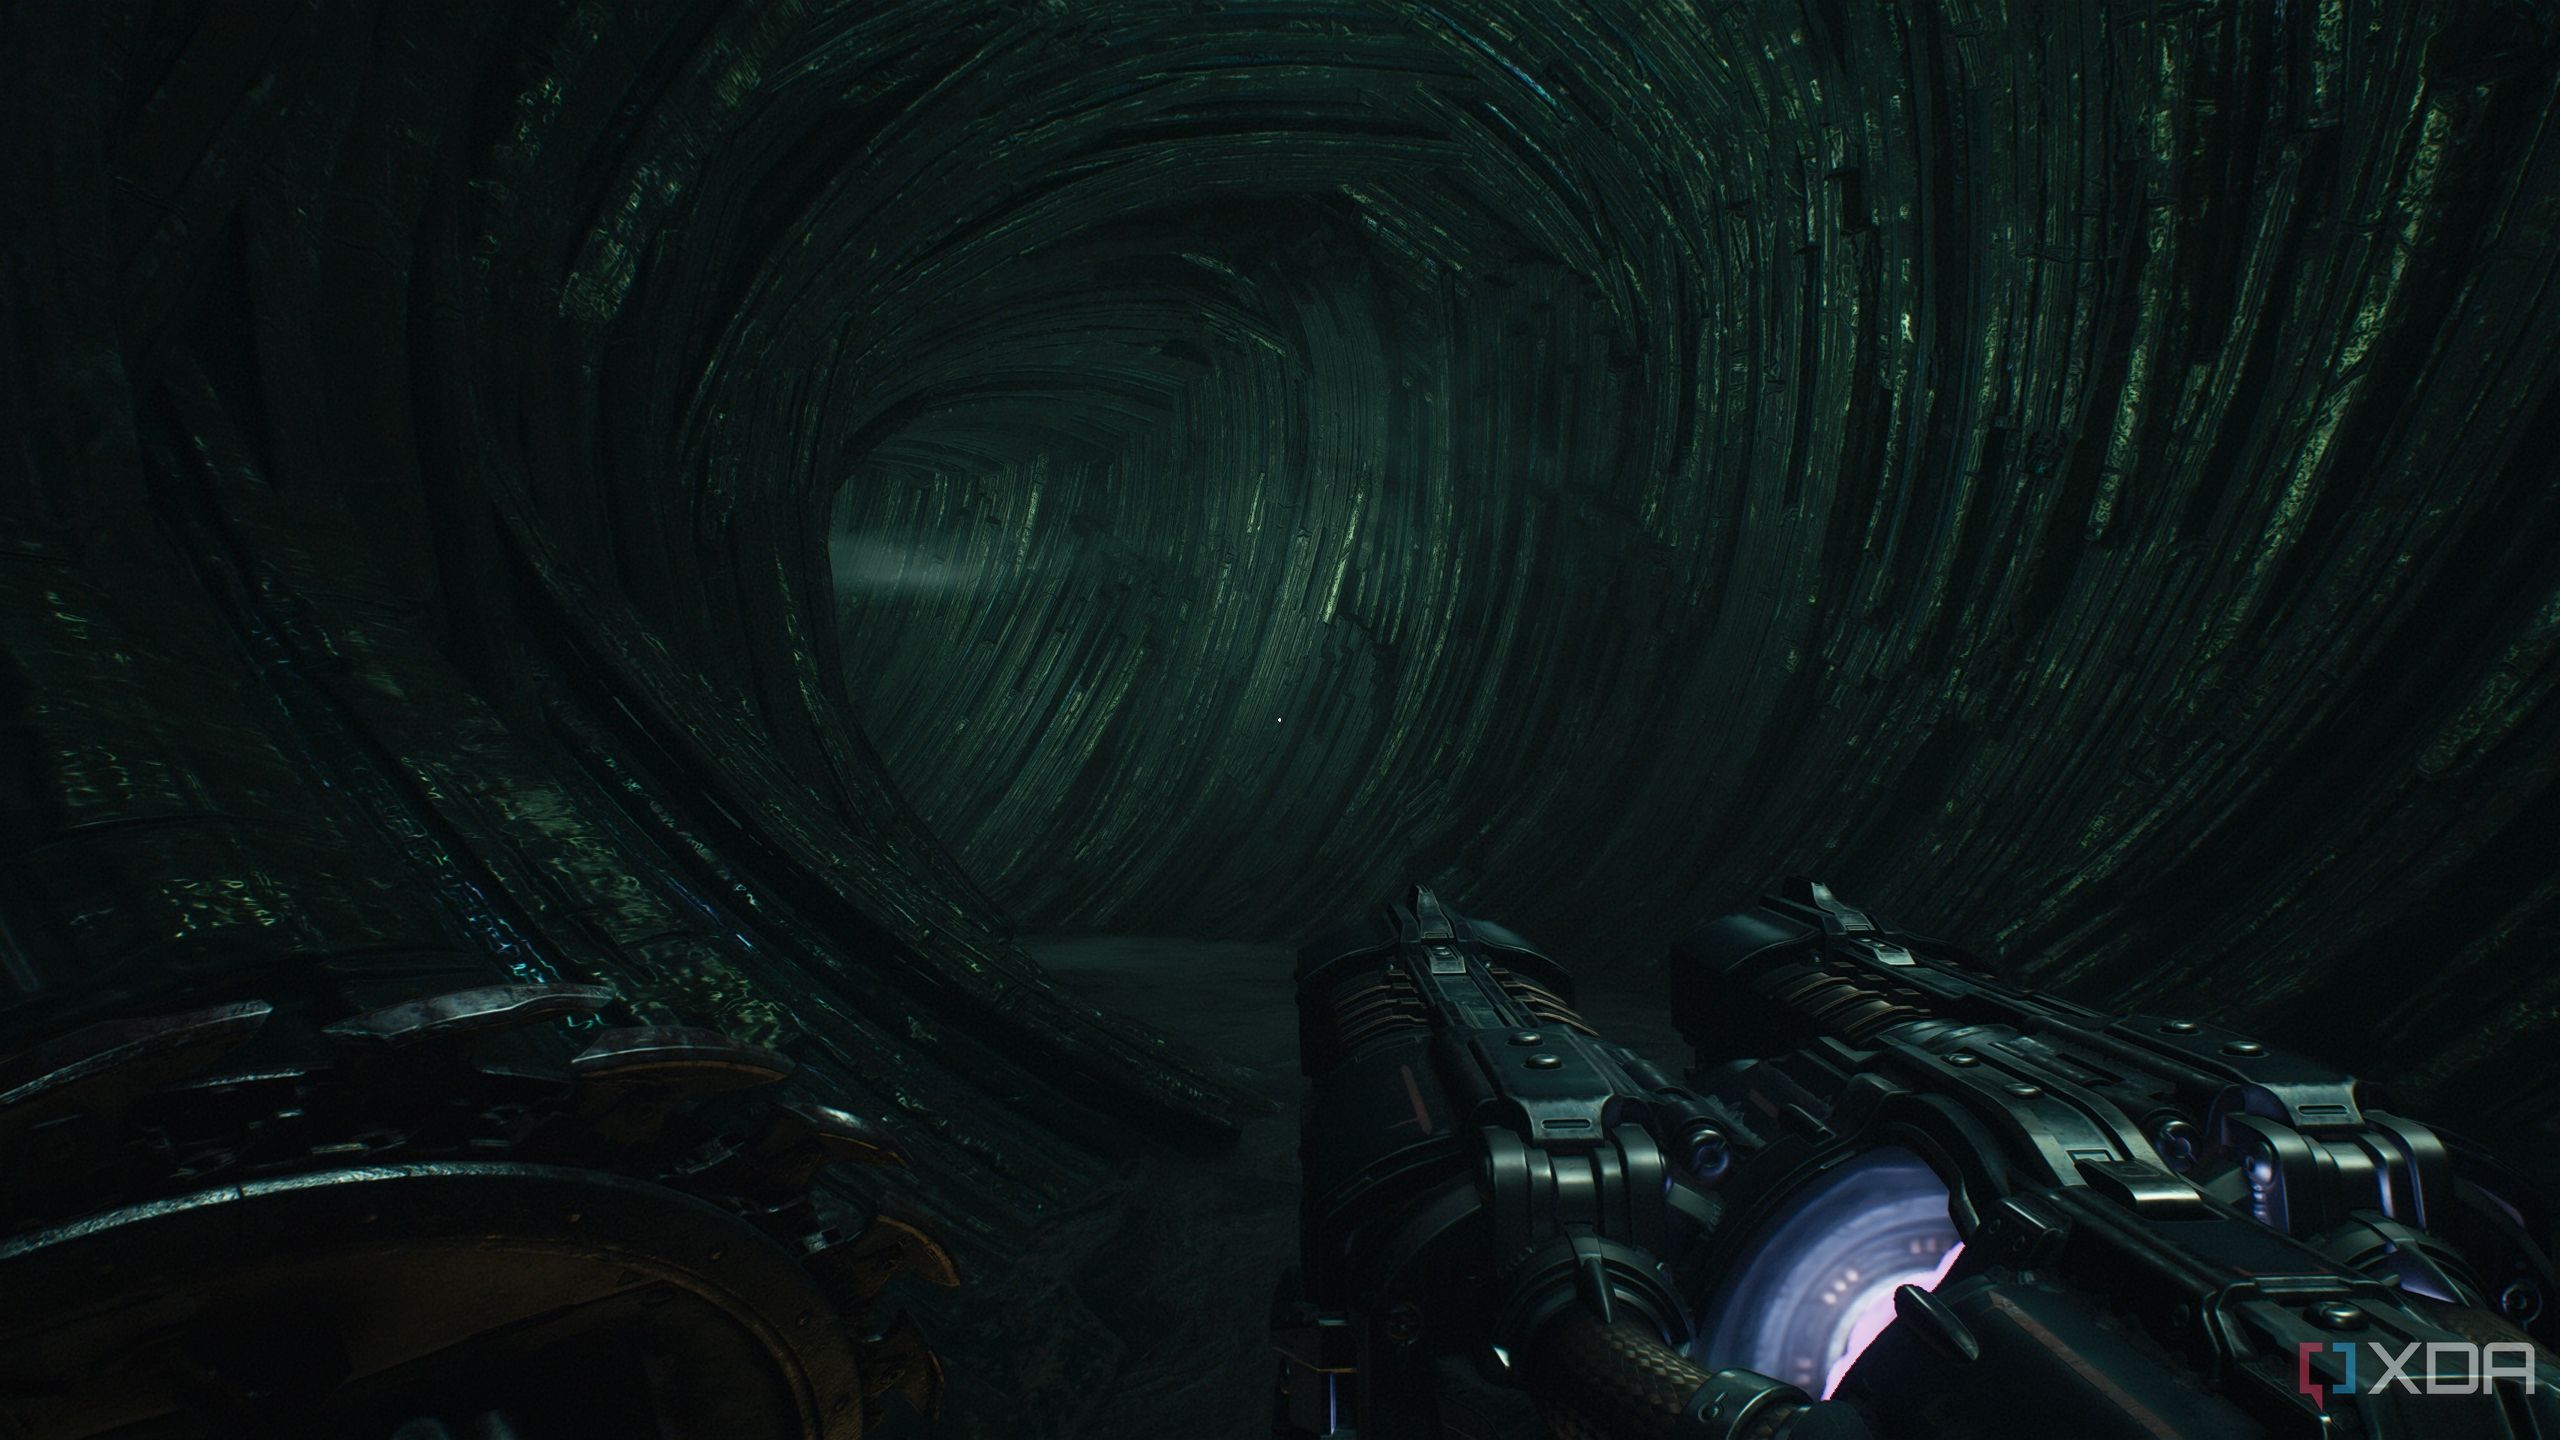
So, after a few seconds, just turn around and start going back the way you came.
Within moments, you’ll reach secret area 5 and a gold chest. Collect it and head back outside.
Now outside, look straight behind the Tentacle flesh hole in the ground to see a scramble wall.
Climb it up and pick up a trail of gold bars ending at a locked gate. You can’t get to it just yet.
Turn around and head right once you get to the flesh hole, and reach this location on the map, just a few steps away from the Tentacle spawn.
Look up to see a blue energy node — hit it and head back to the locked gate. Don’t use your shield in between!
Pick up two gold stacks and some BFC ammo.
Related
How Doom: The Dark Ages will take Doom to new heights
Doom: The Dark Ages is the next evolution of the Doom series, and it could end up being the best one yet.
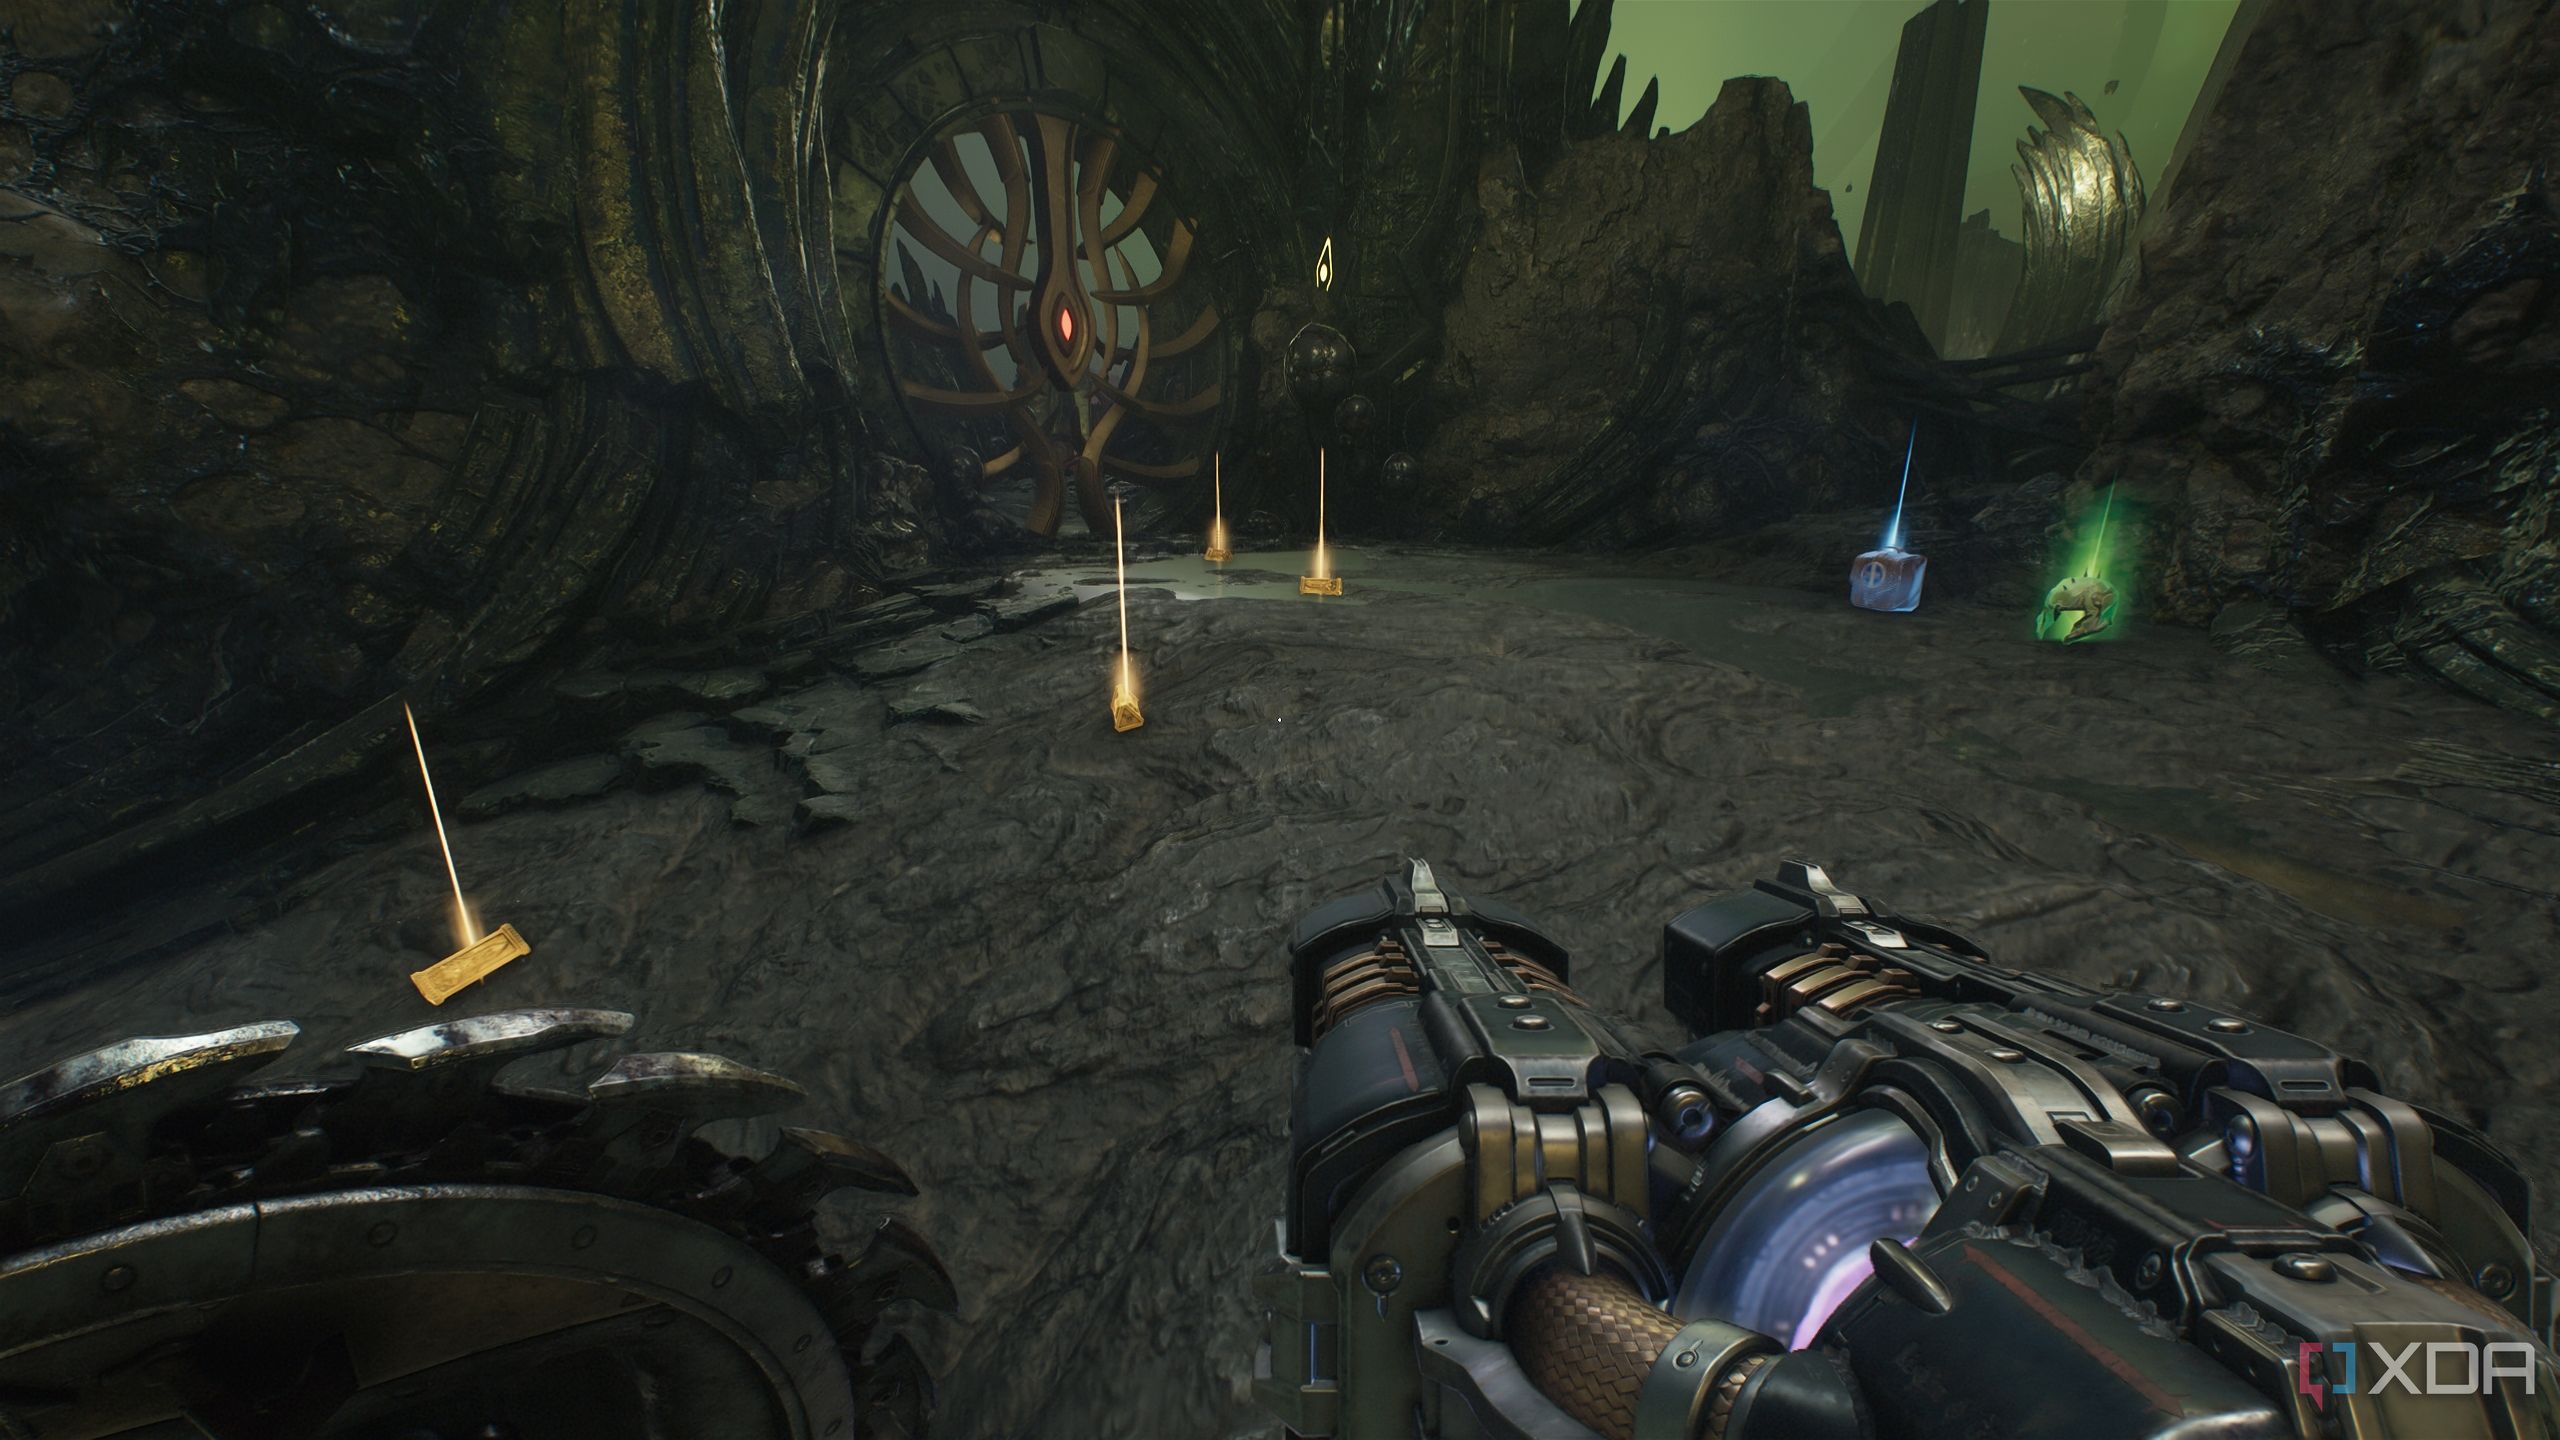
Demonic Essence and the final gold bars
Huge fight to wrap up the mission challenges
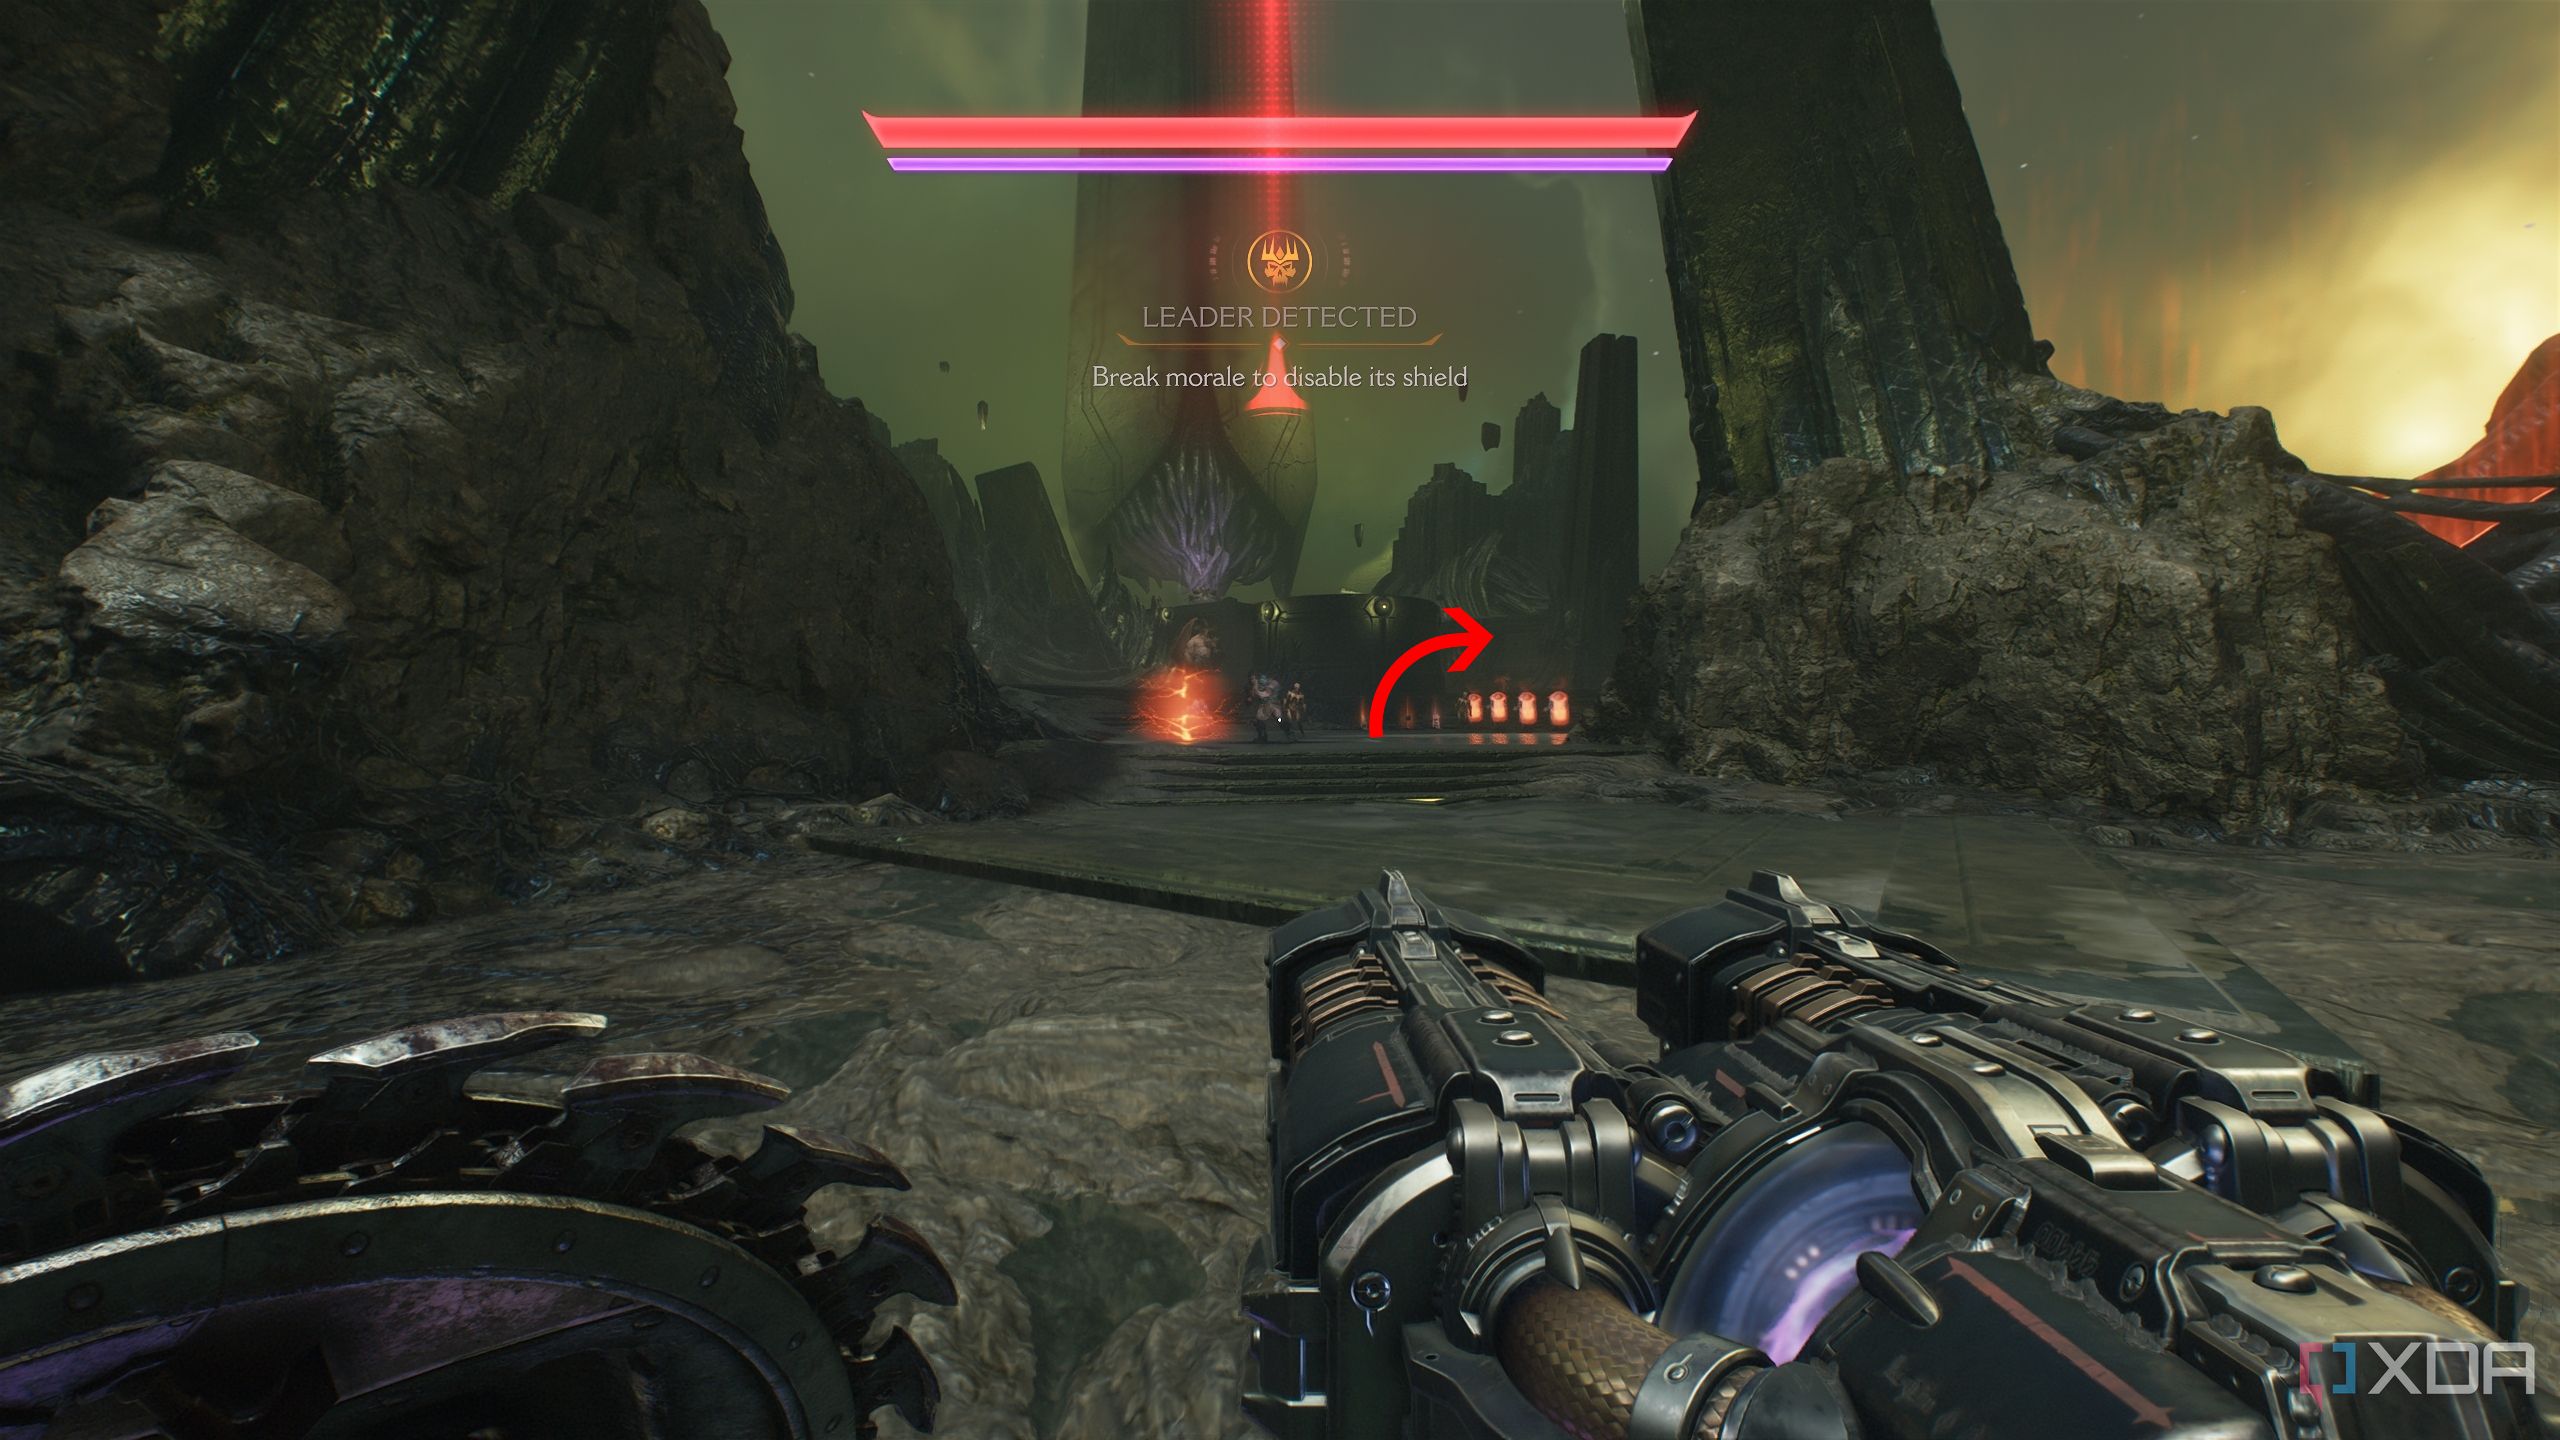
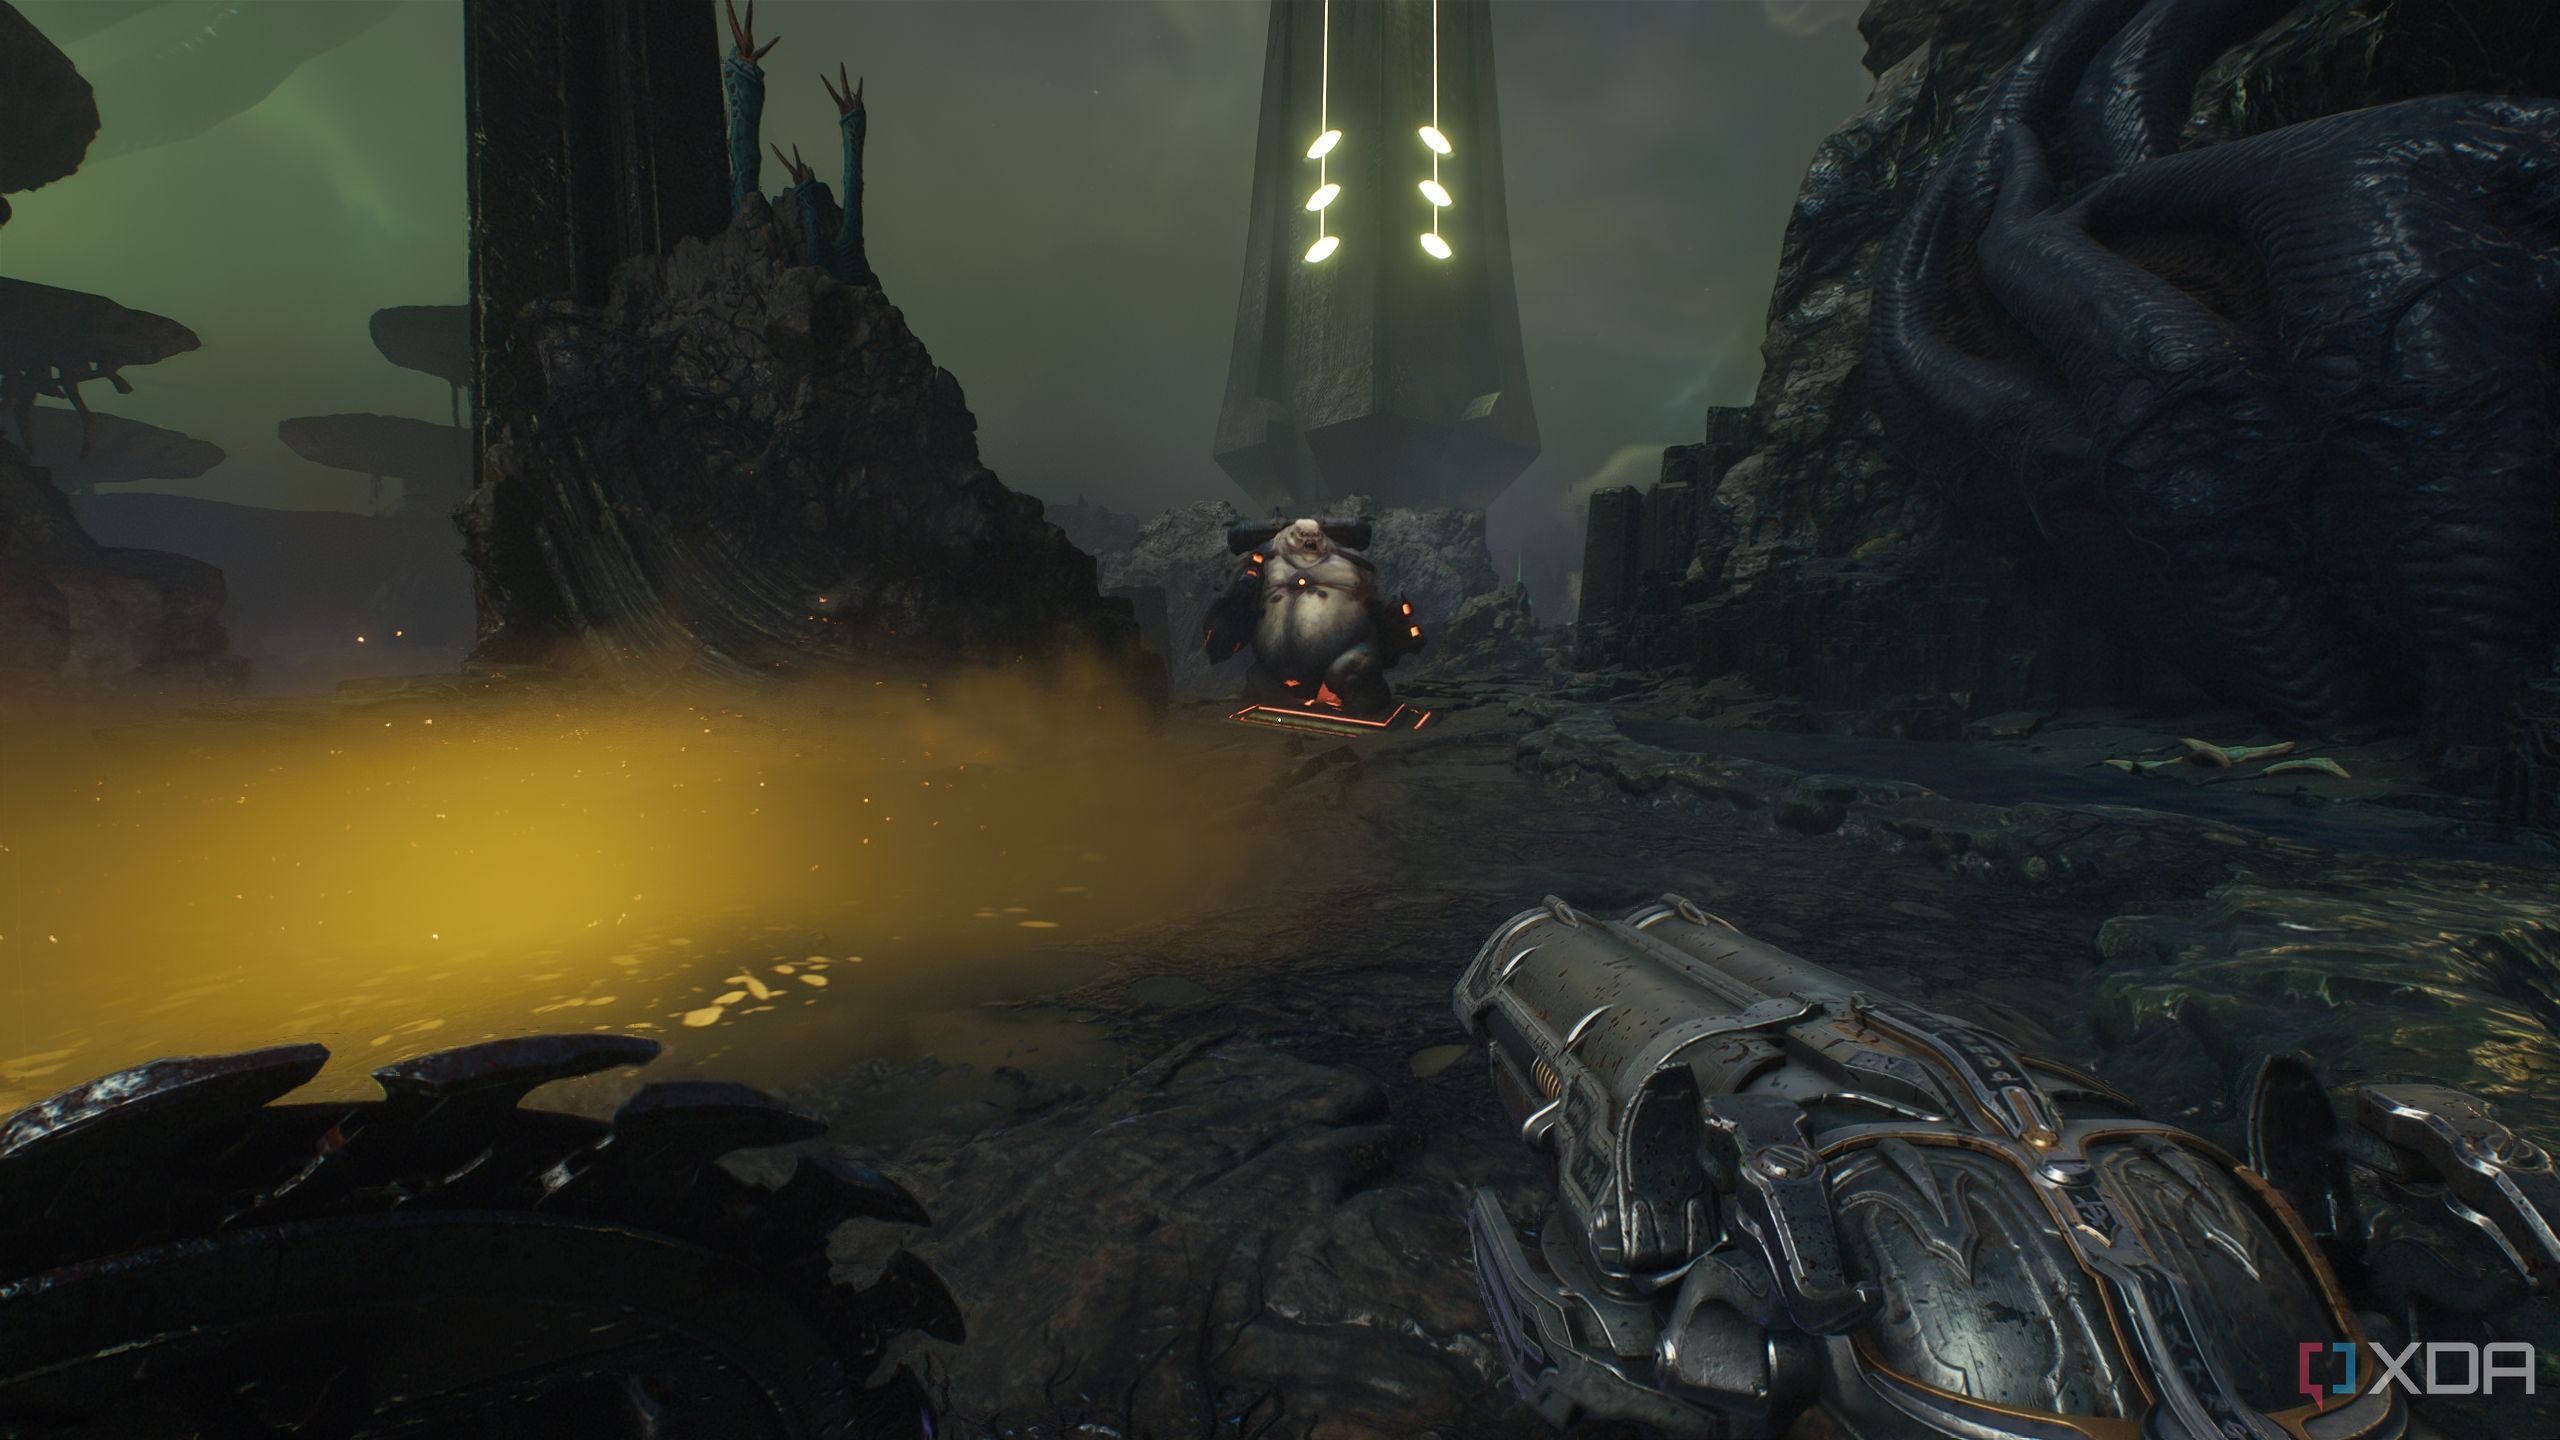
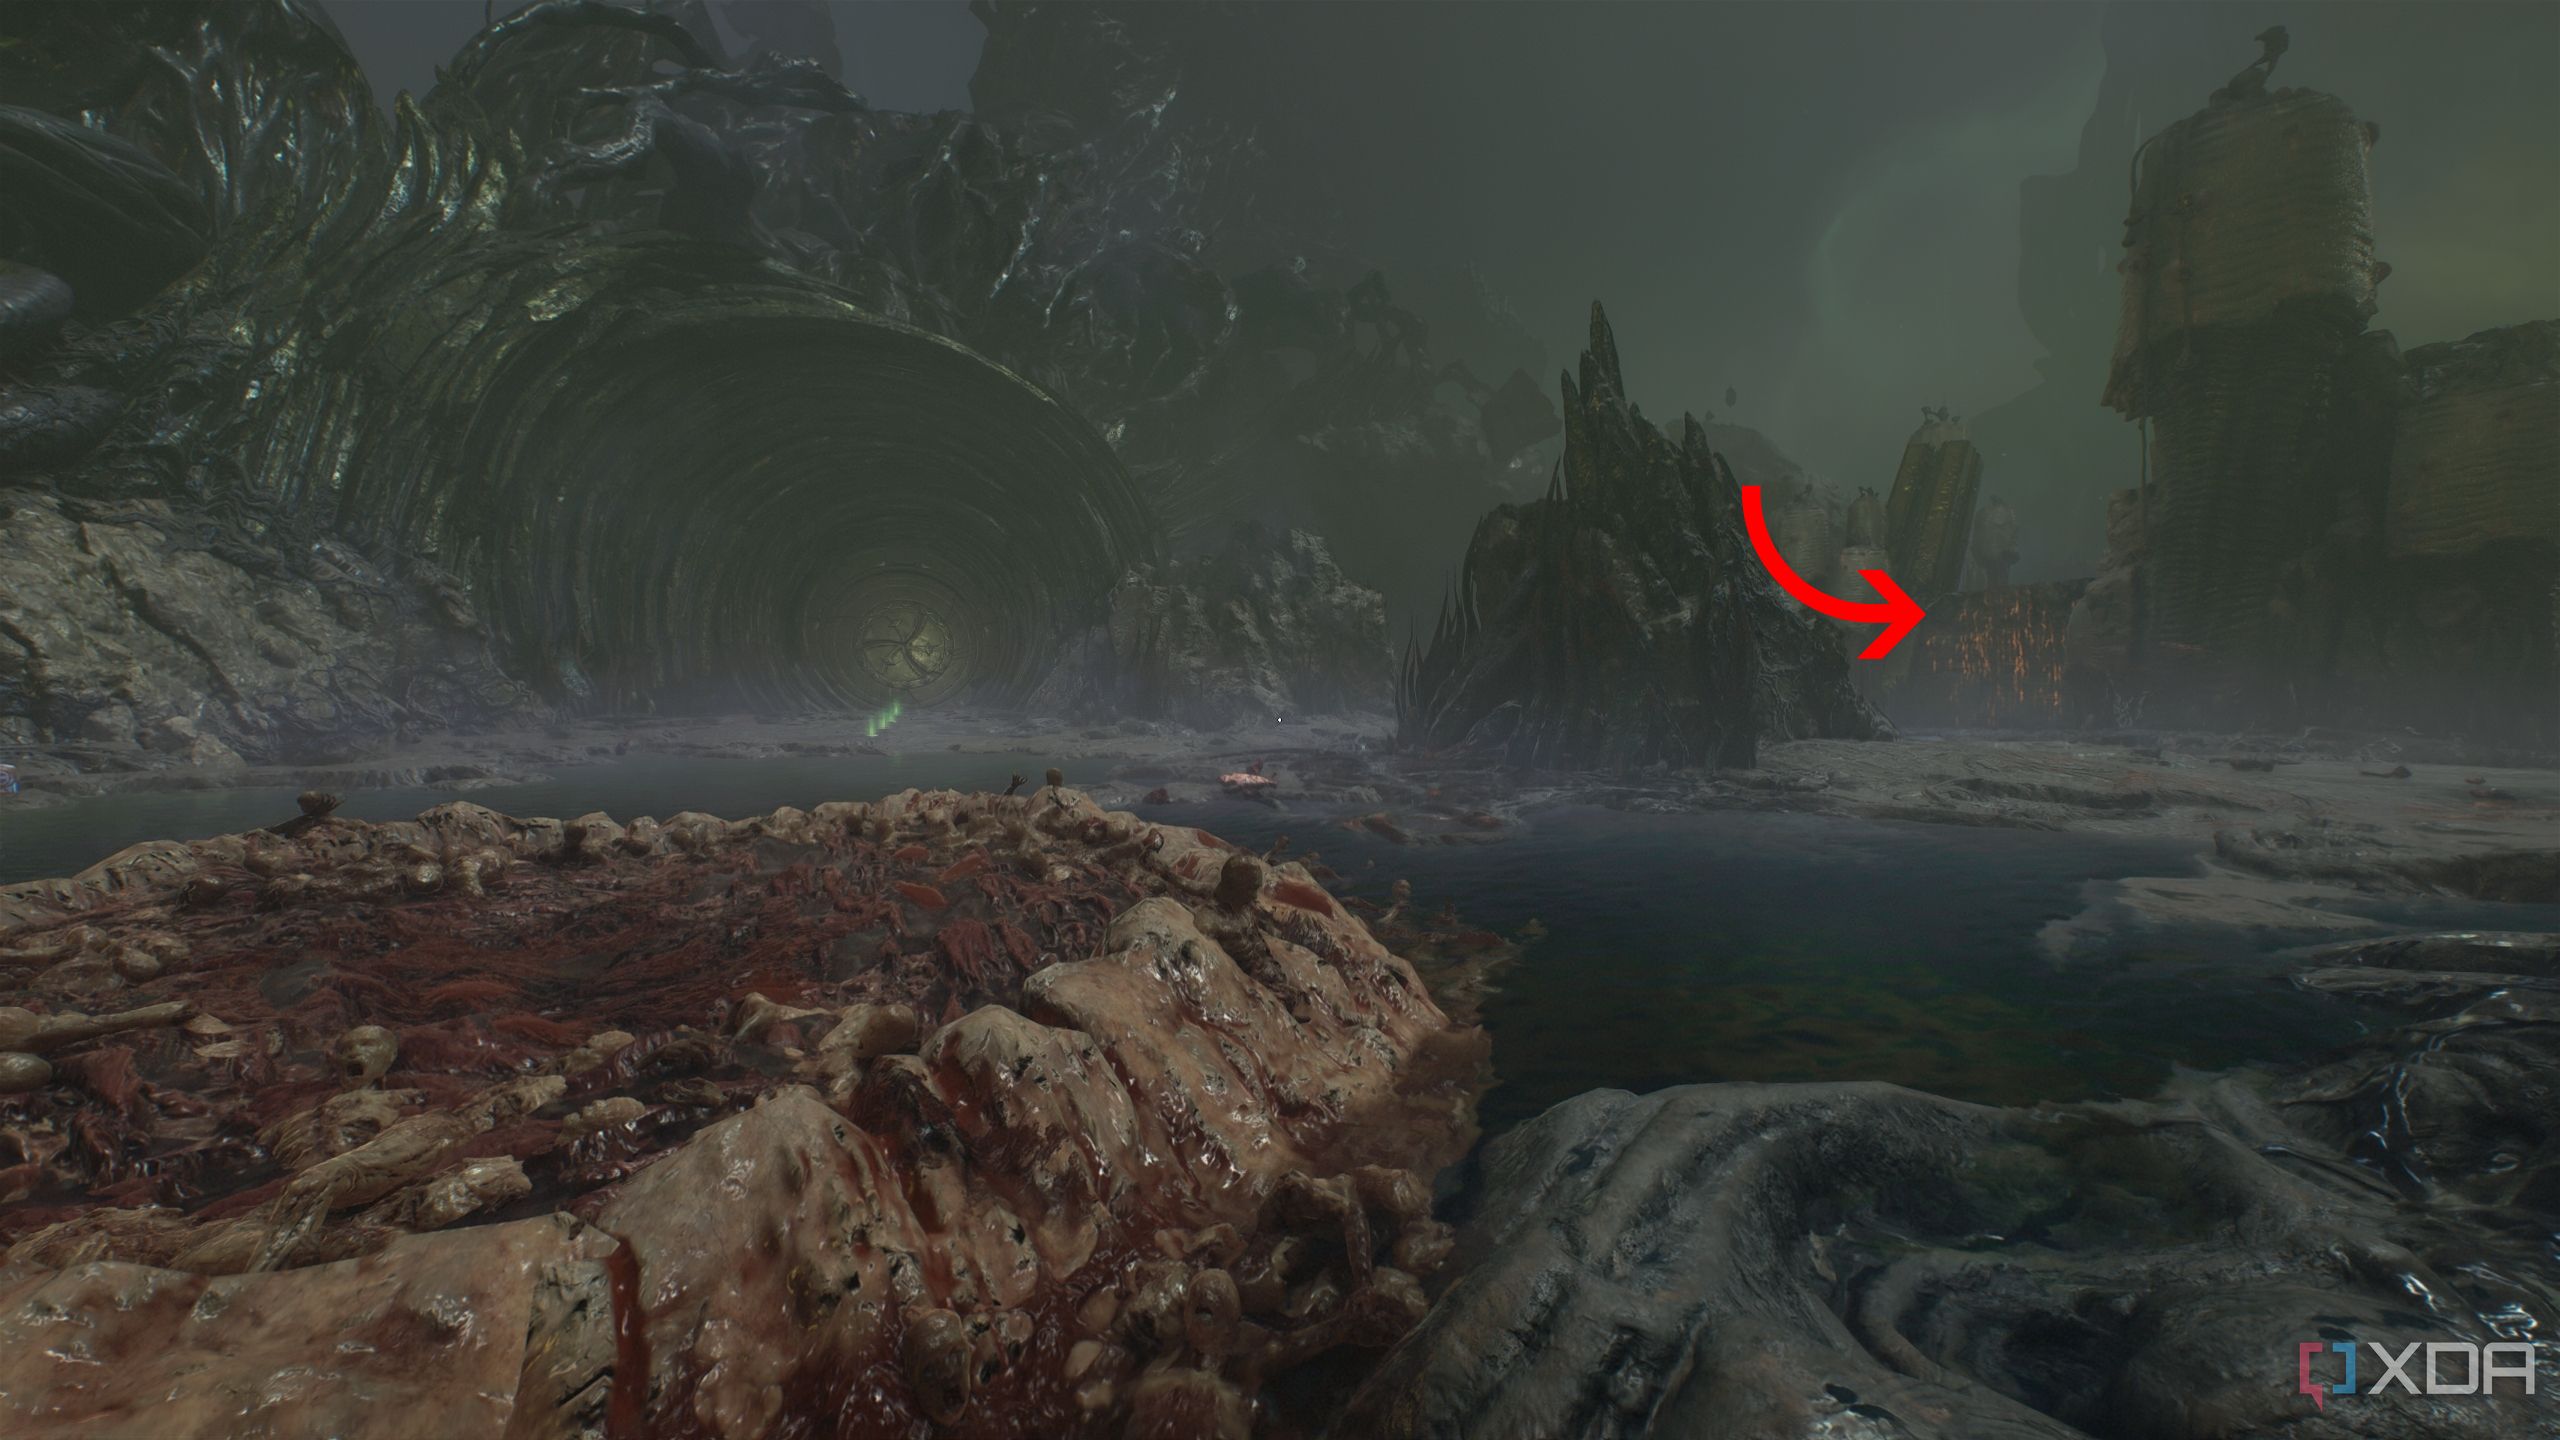
From here, head down and right towards the objective to enter a battle encounter with a leader Demon. Now, this is the best place to finish up the Roundup mission challenge. Entering the arena, head towards the right corner and equip your BFC.
Once you’re in this section of the map, let your BFC shoot, and it should immediately finish the second mission challenge in the level.
Then, all that’s left is to fight the demons and finally take down the leader Mancubus, who will drop a Demonic Essence for ammo.
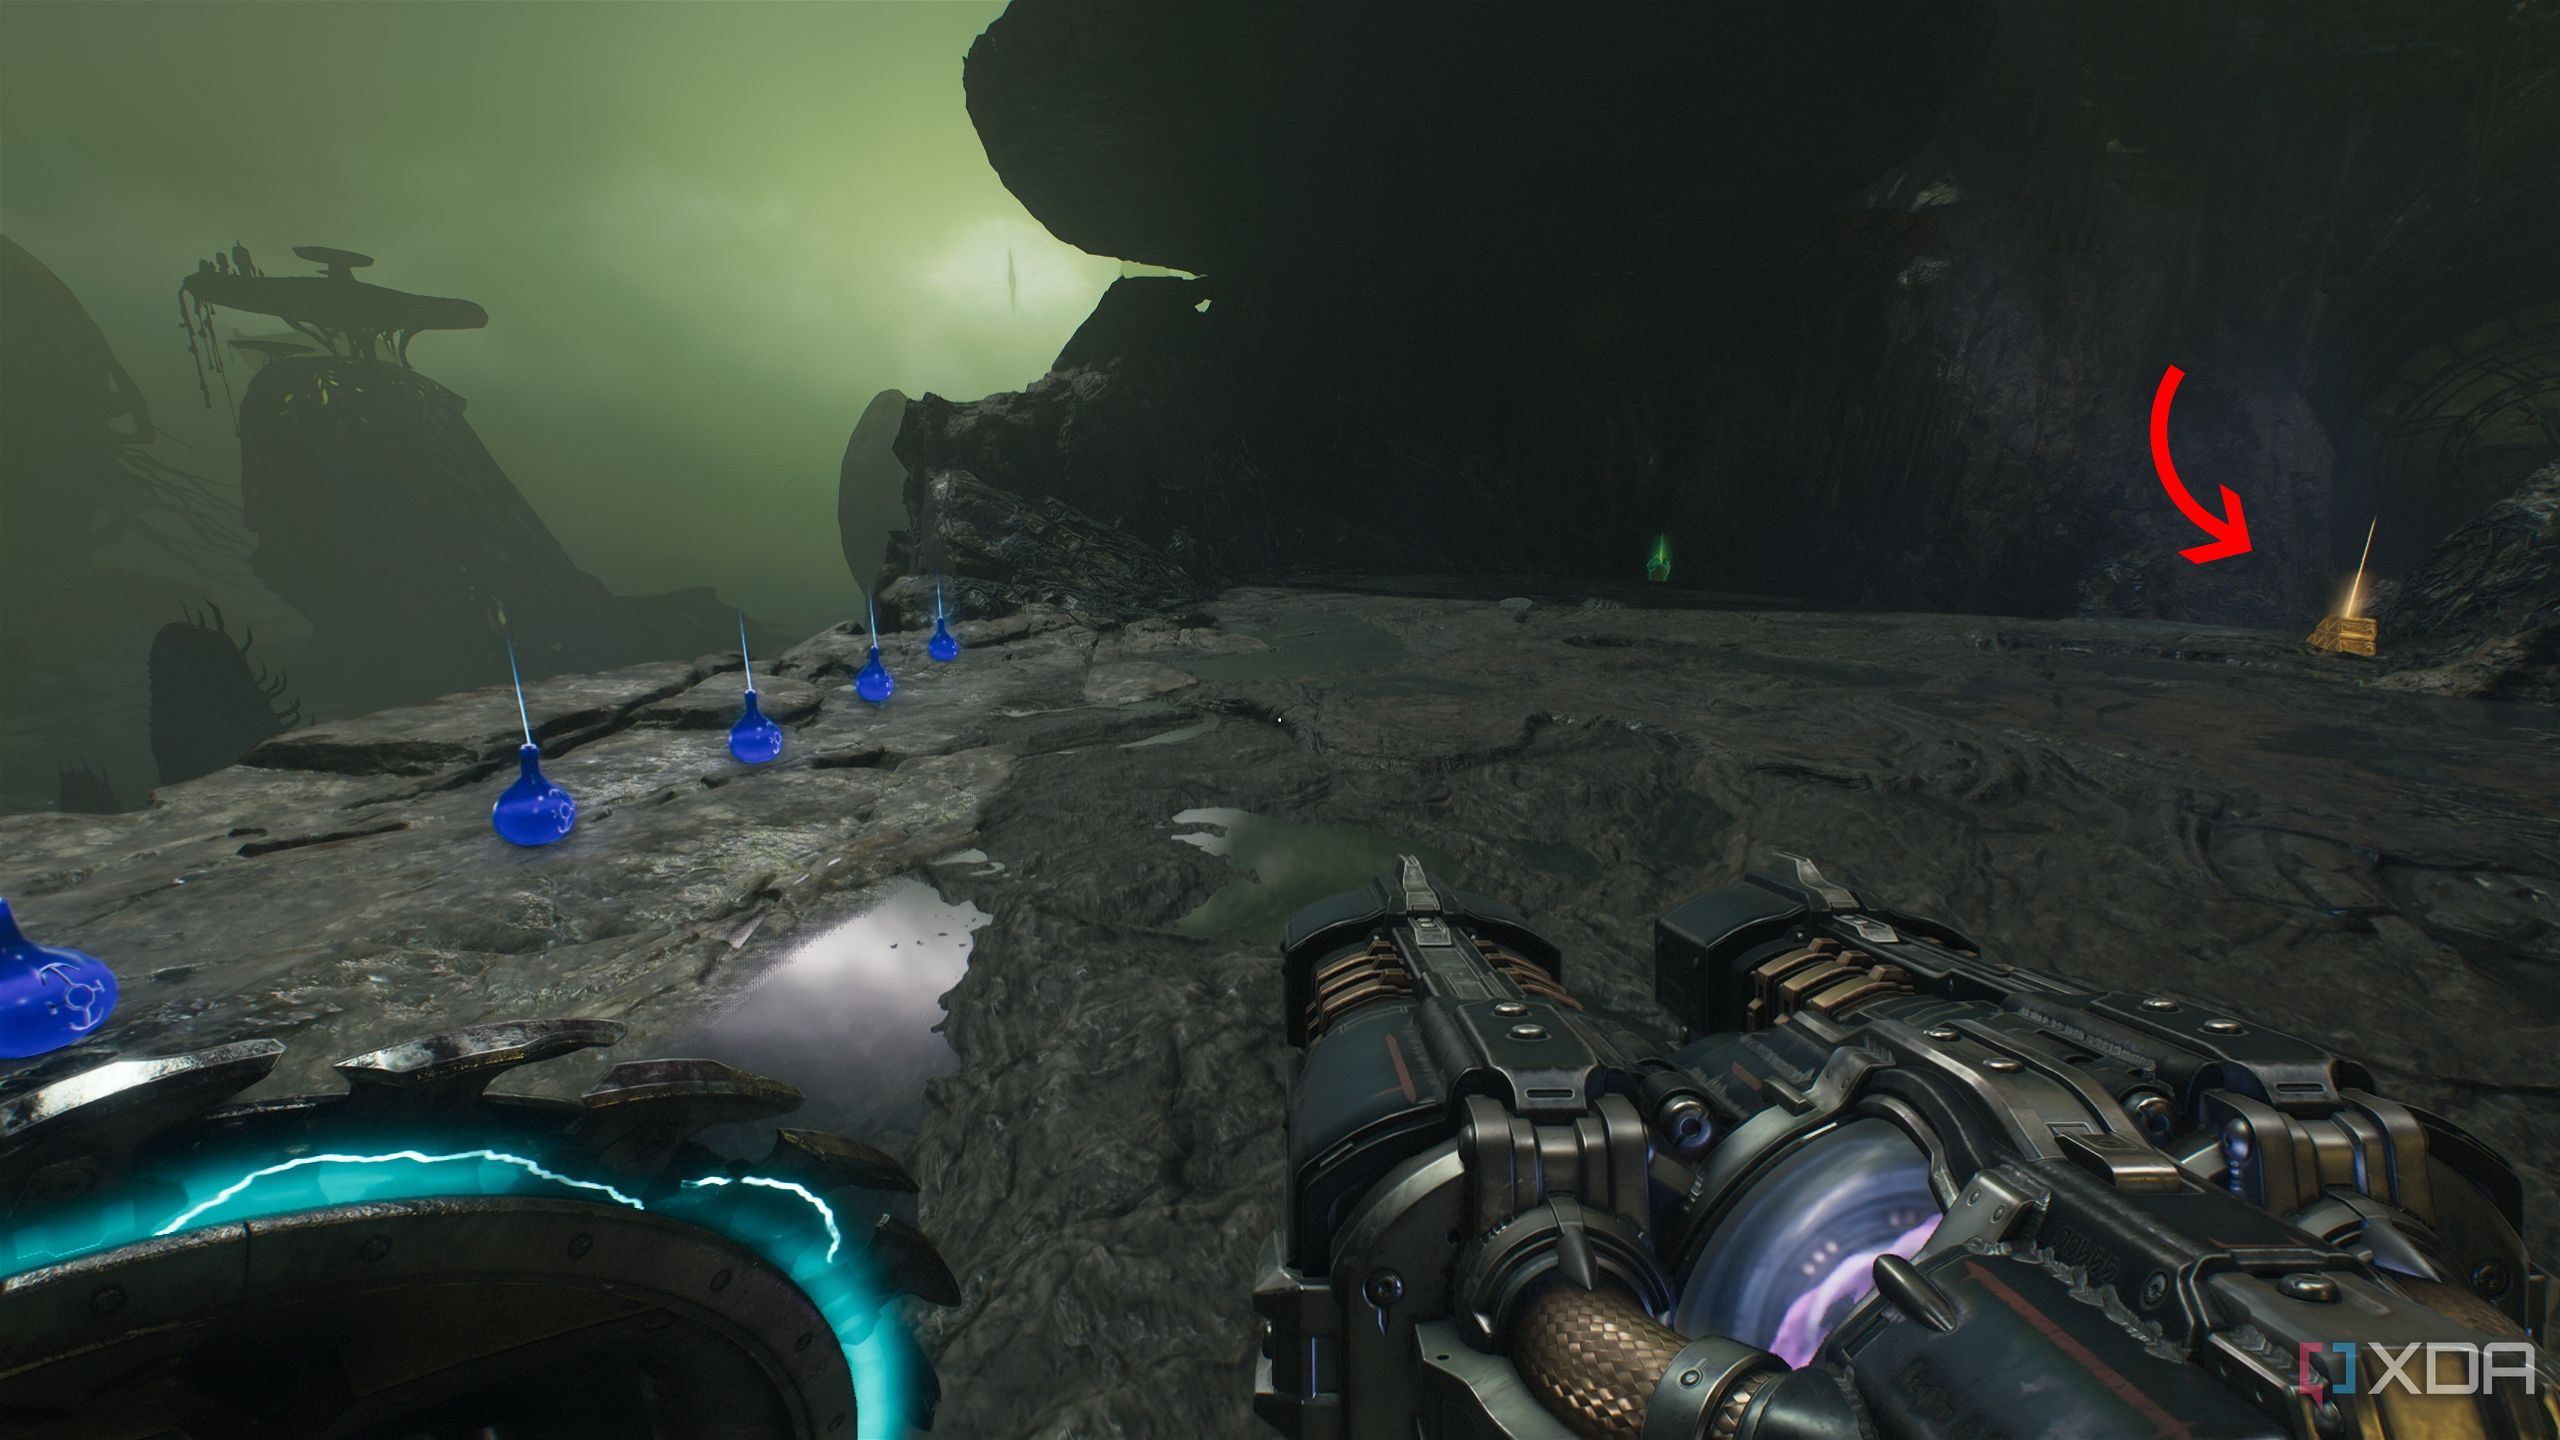
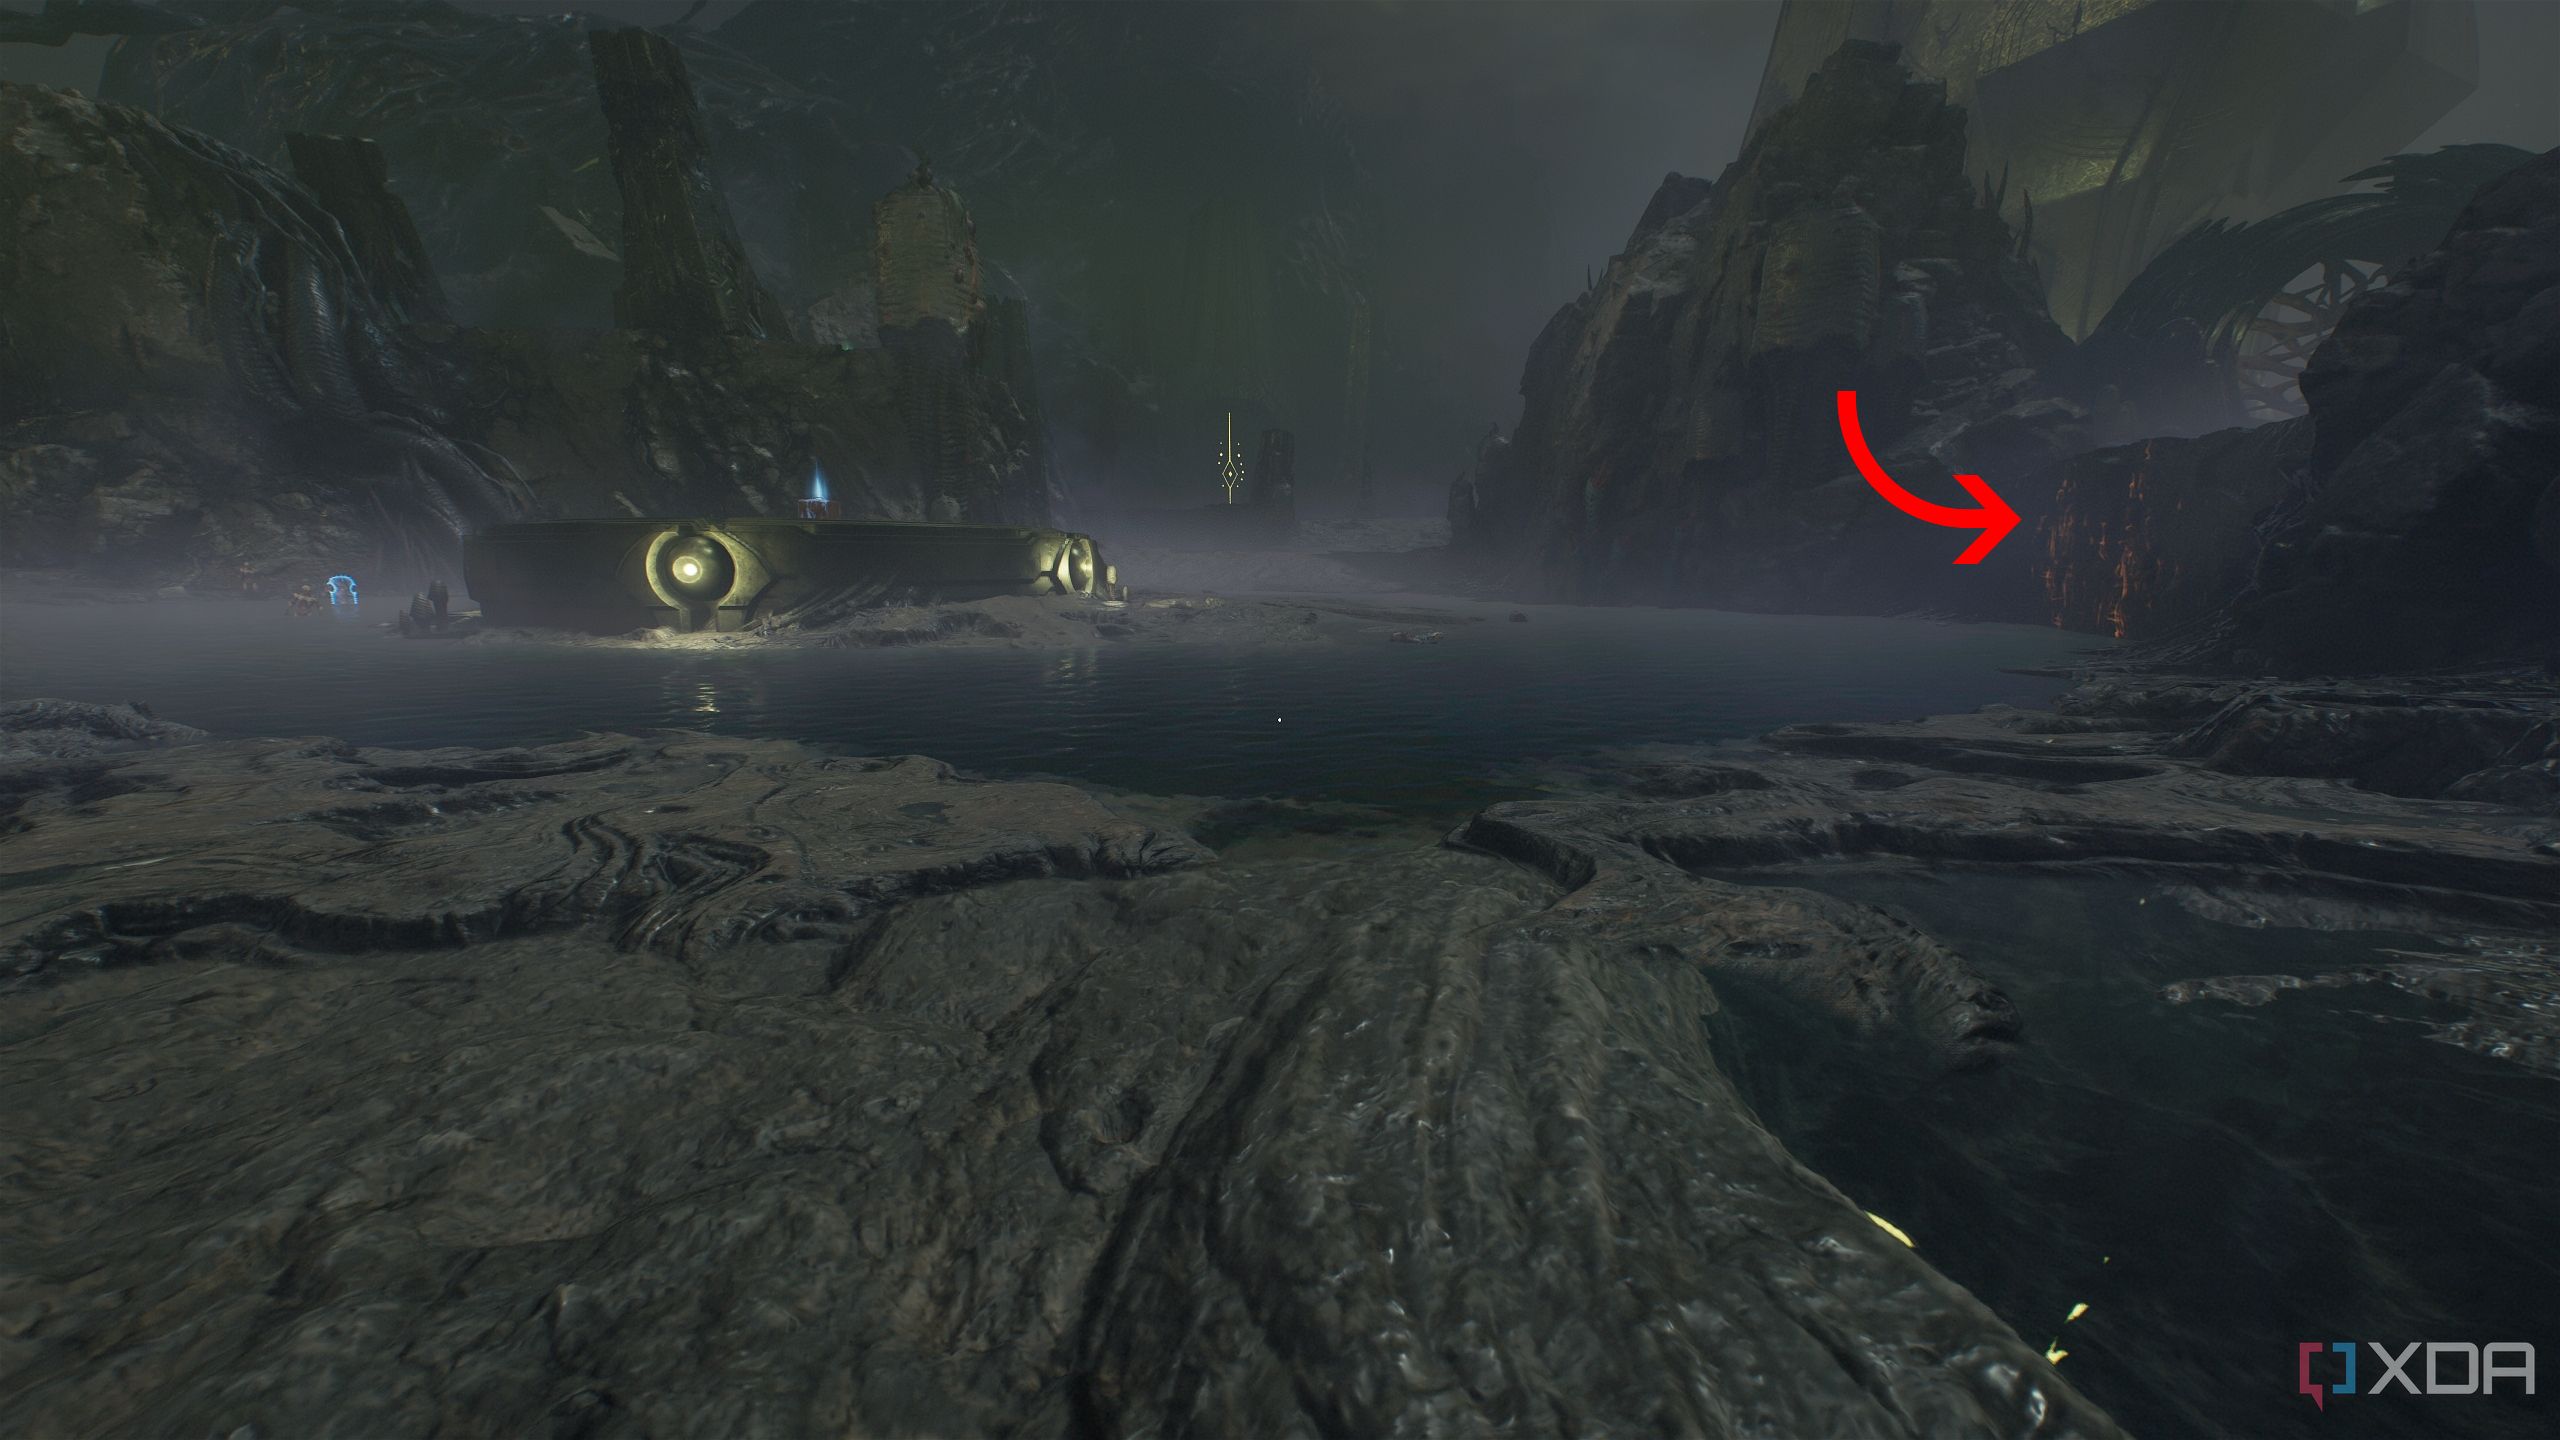
Interact with the objective, and turn around. Instead of heading straight, head right and keep sticking to the right edge as you walk down.
You’ll see an opening to the right with some gold bars and a Life Sigil in the distance.
Jump down to them and collect them to round up all the secrets and collectibles in this level.
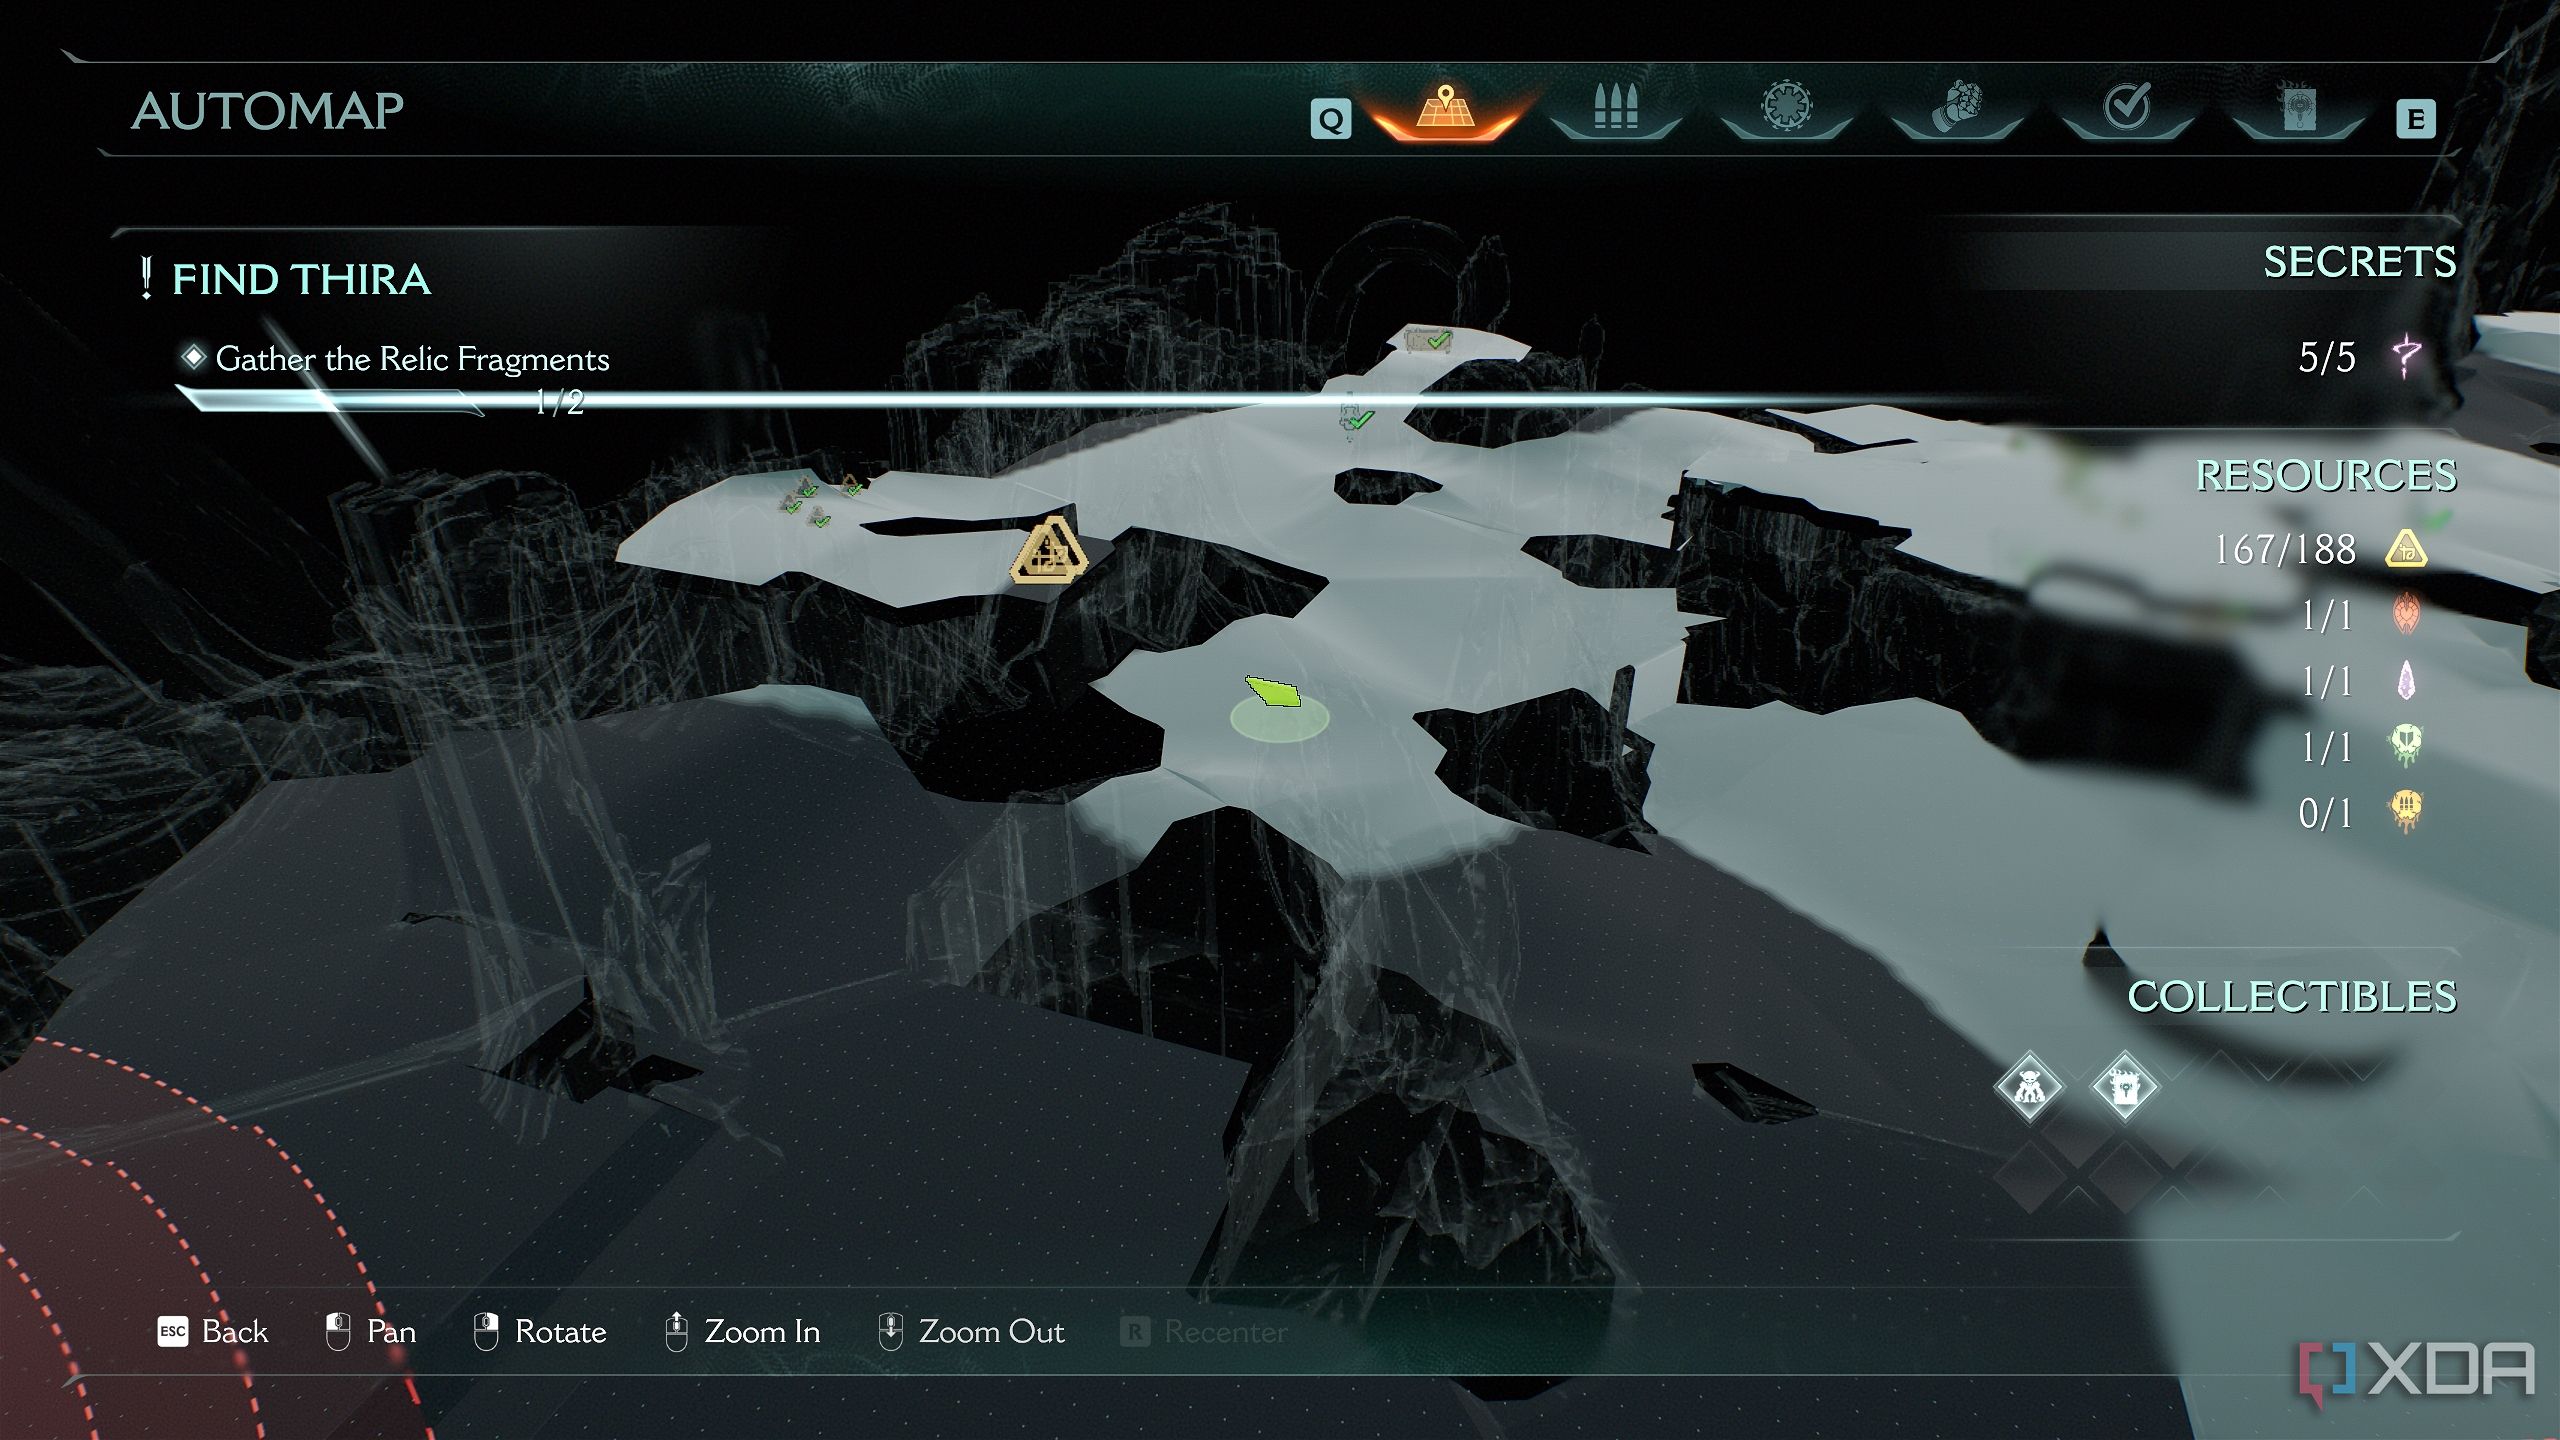
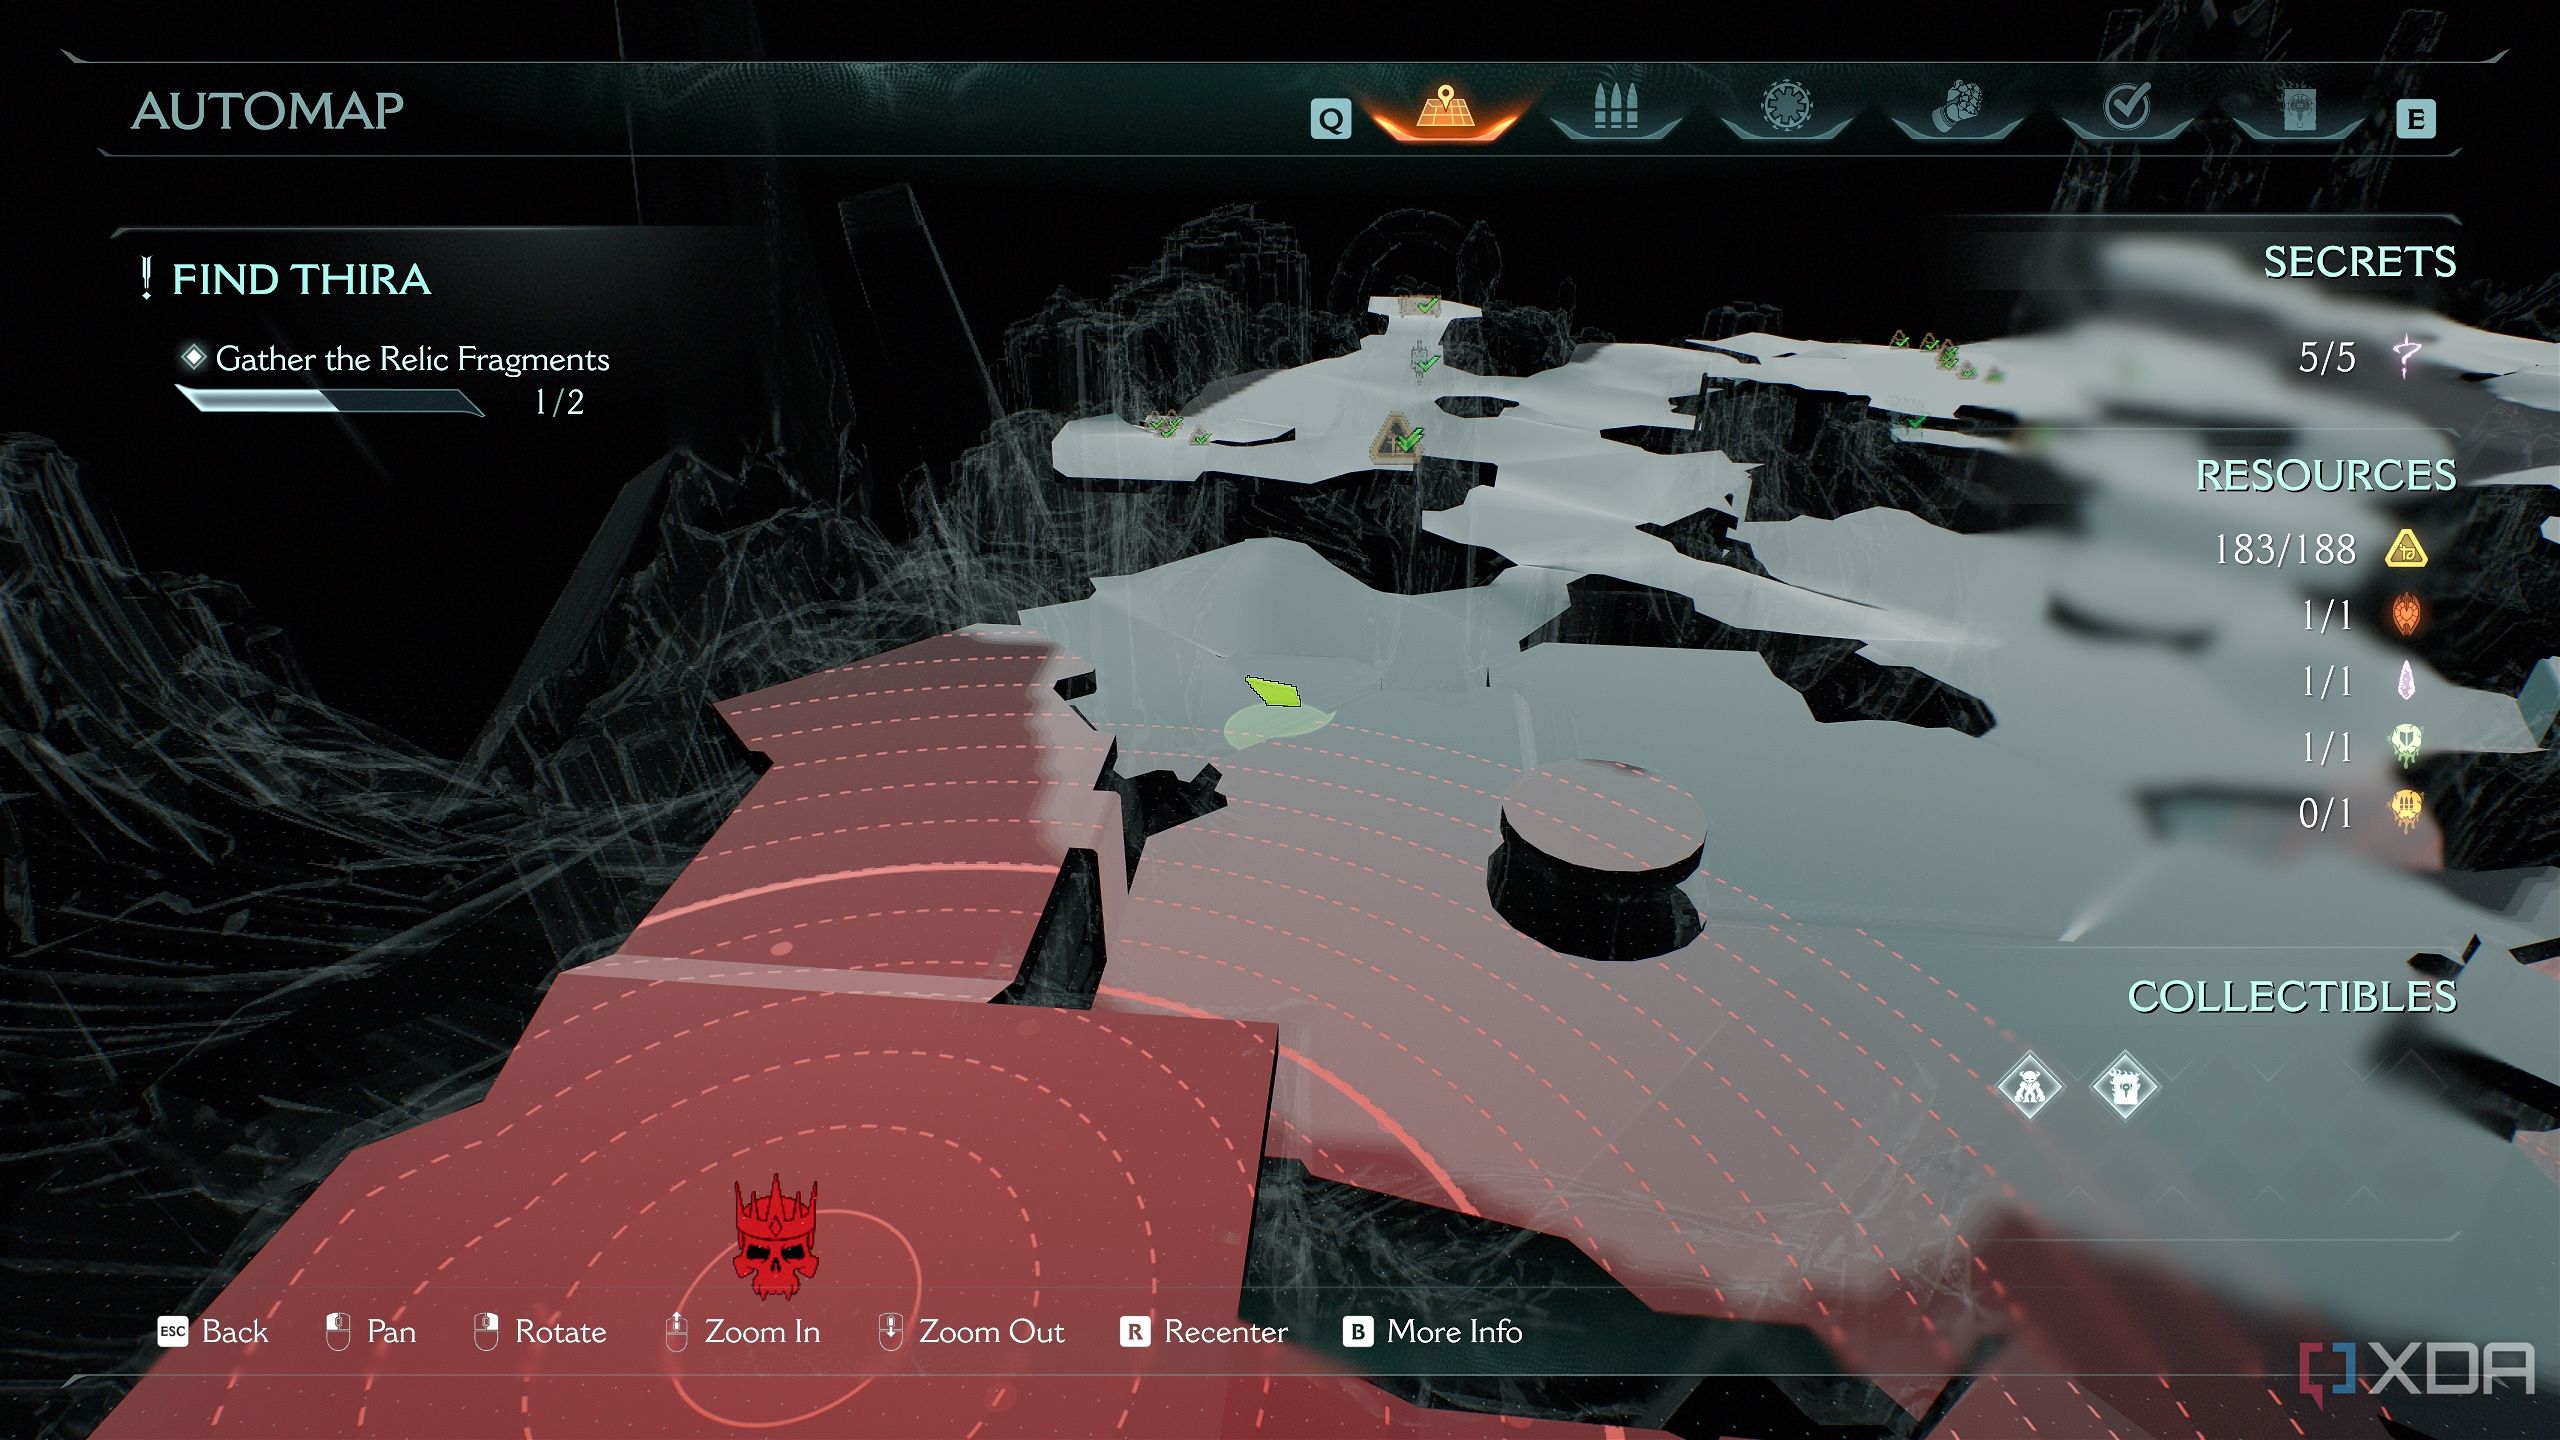
All collectibles in Chapter 16: The Kar’Thul Marshes in Doom: The Dark Ages
Once that’s complete, Chapter 16 of Doom: The Dark Ages will be complete, and you’ll finally have the 100% completion achievement for this level.
|
Achievements in Chapter 16: The Kar'Thul Marshes |
|
|
Gold |
188 |
|
Rubies |
1 |
|
Wraithstone |
1 |
|
Demonic Essence |
2 |
|
Secrets |
5 |
|
Codex Entries |
1 |
|
Collectible Toys |
1 |
DOOM: The Dark Ages
Released May 15, 2025
ESRB m
Developer(s) id Software
Publisher(s) Bethesda Softworks
Engine id Tech
Multiplayer Online Multiplayer
Franchise DOOM


 English (US) ·