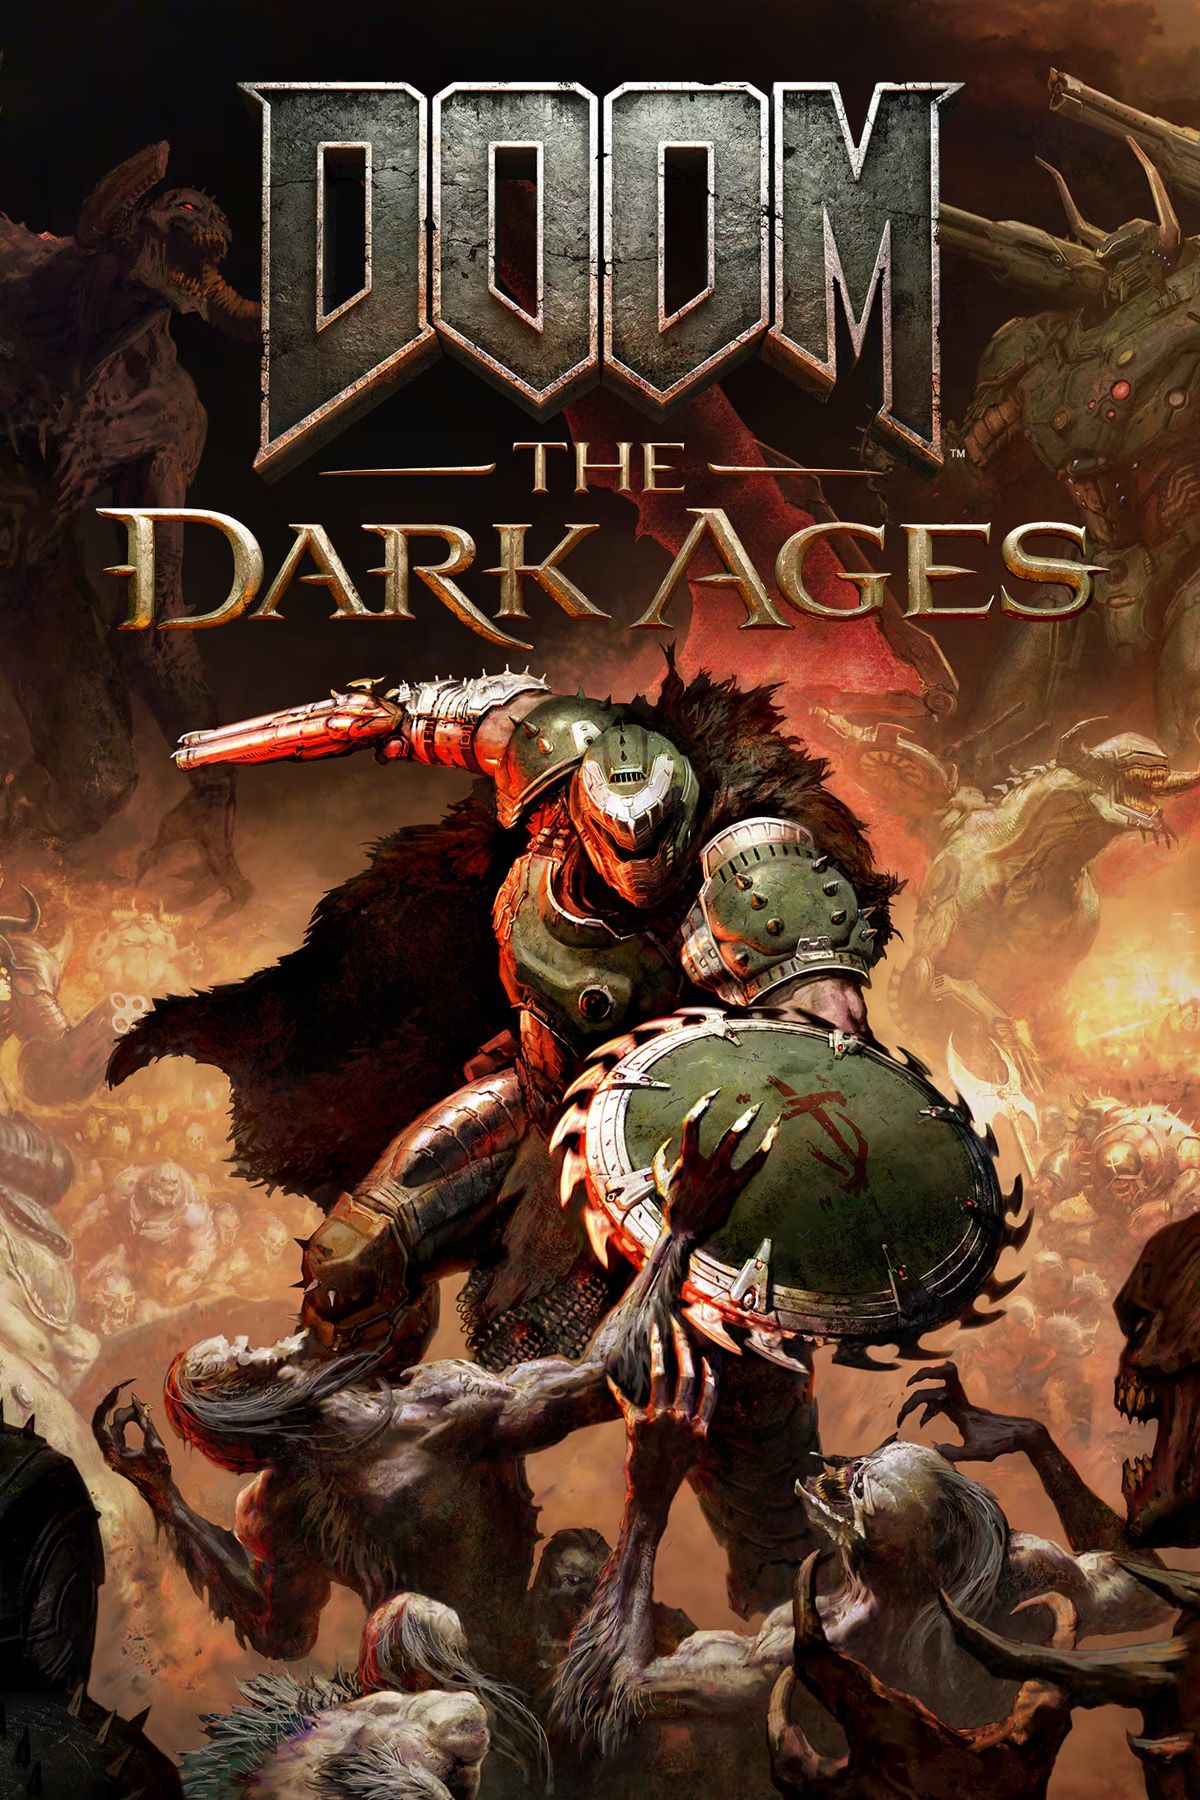
.png)
Chapter 17: Temple of Lomarith in Doom: The Dark Ages sees the Slayer further continue his journey onward through the Cosmic Realm, following the life signal of Commander Thira. In a stark contrast to the first half of the game, the latter chapters are set in a Lovecraftian realm, and you can read in our review of the game how impressed it left us.
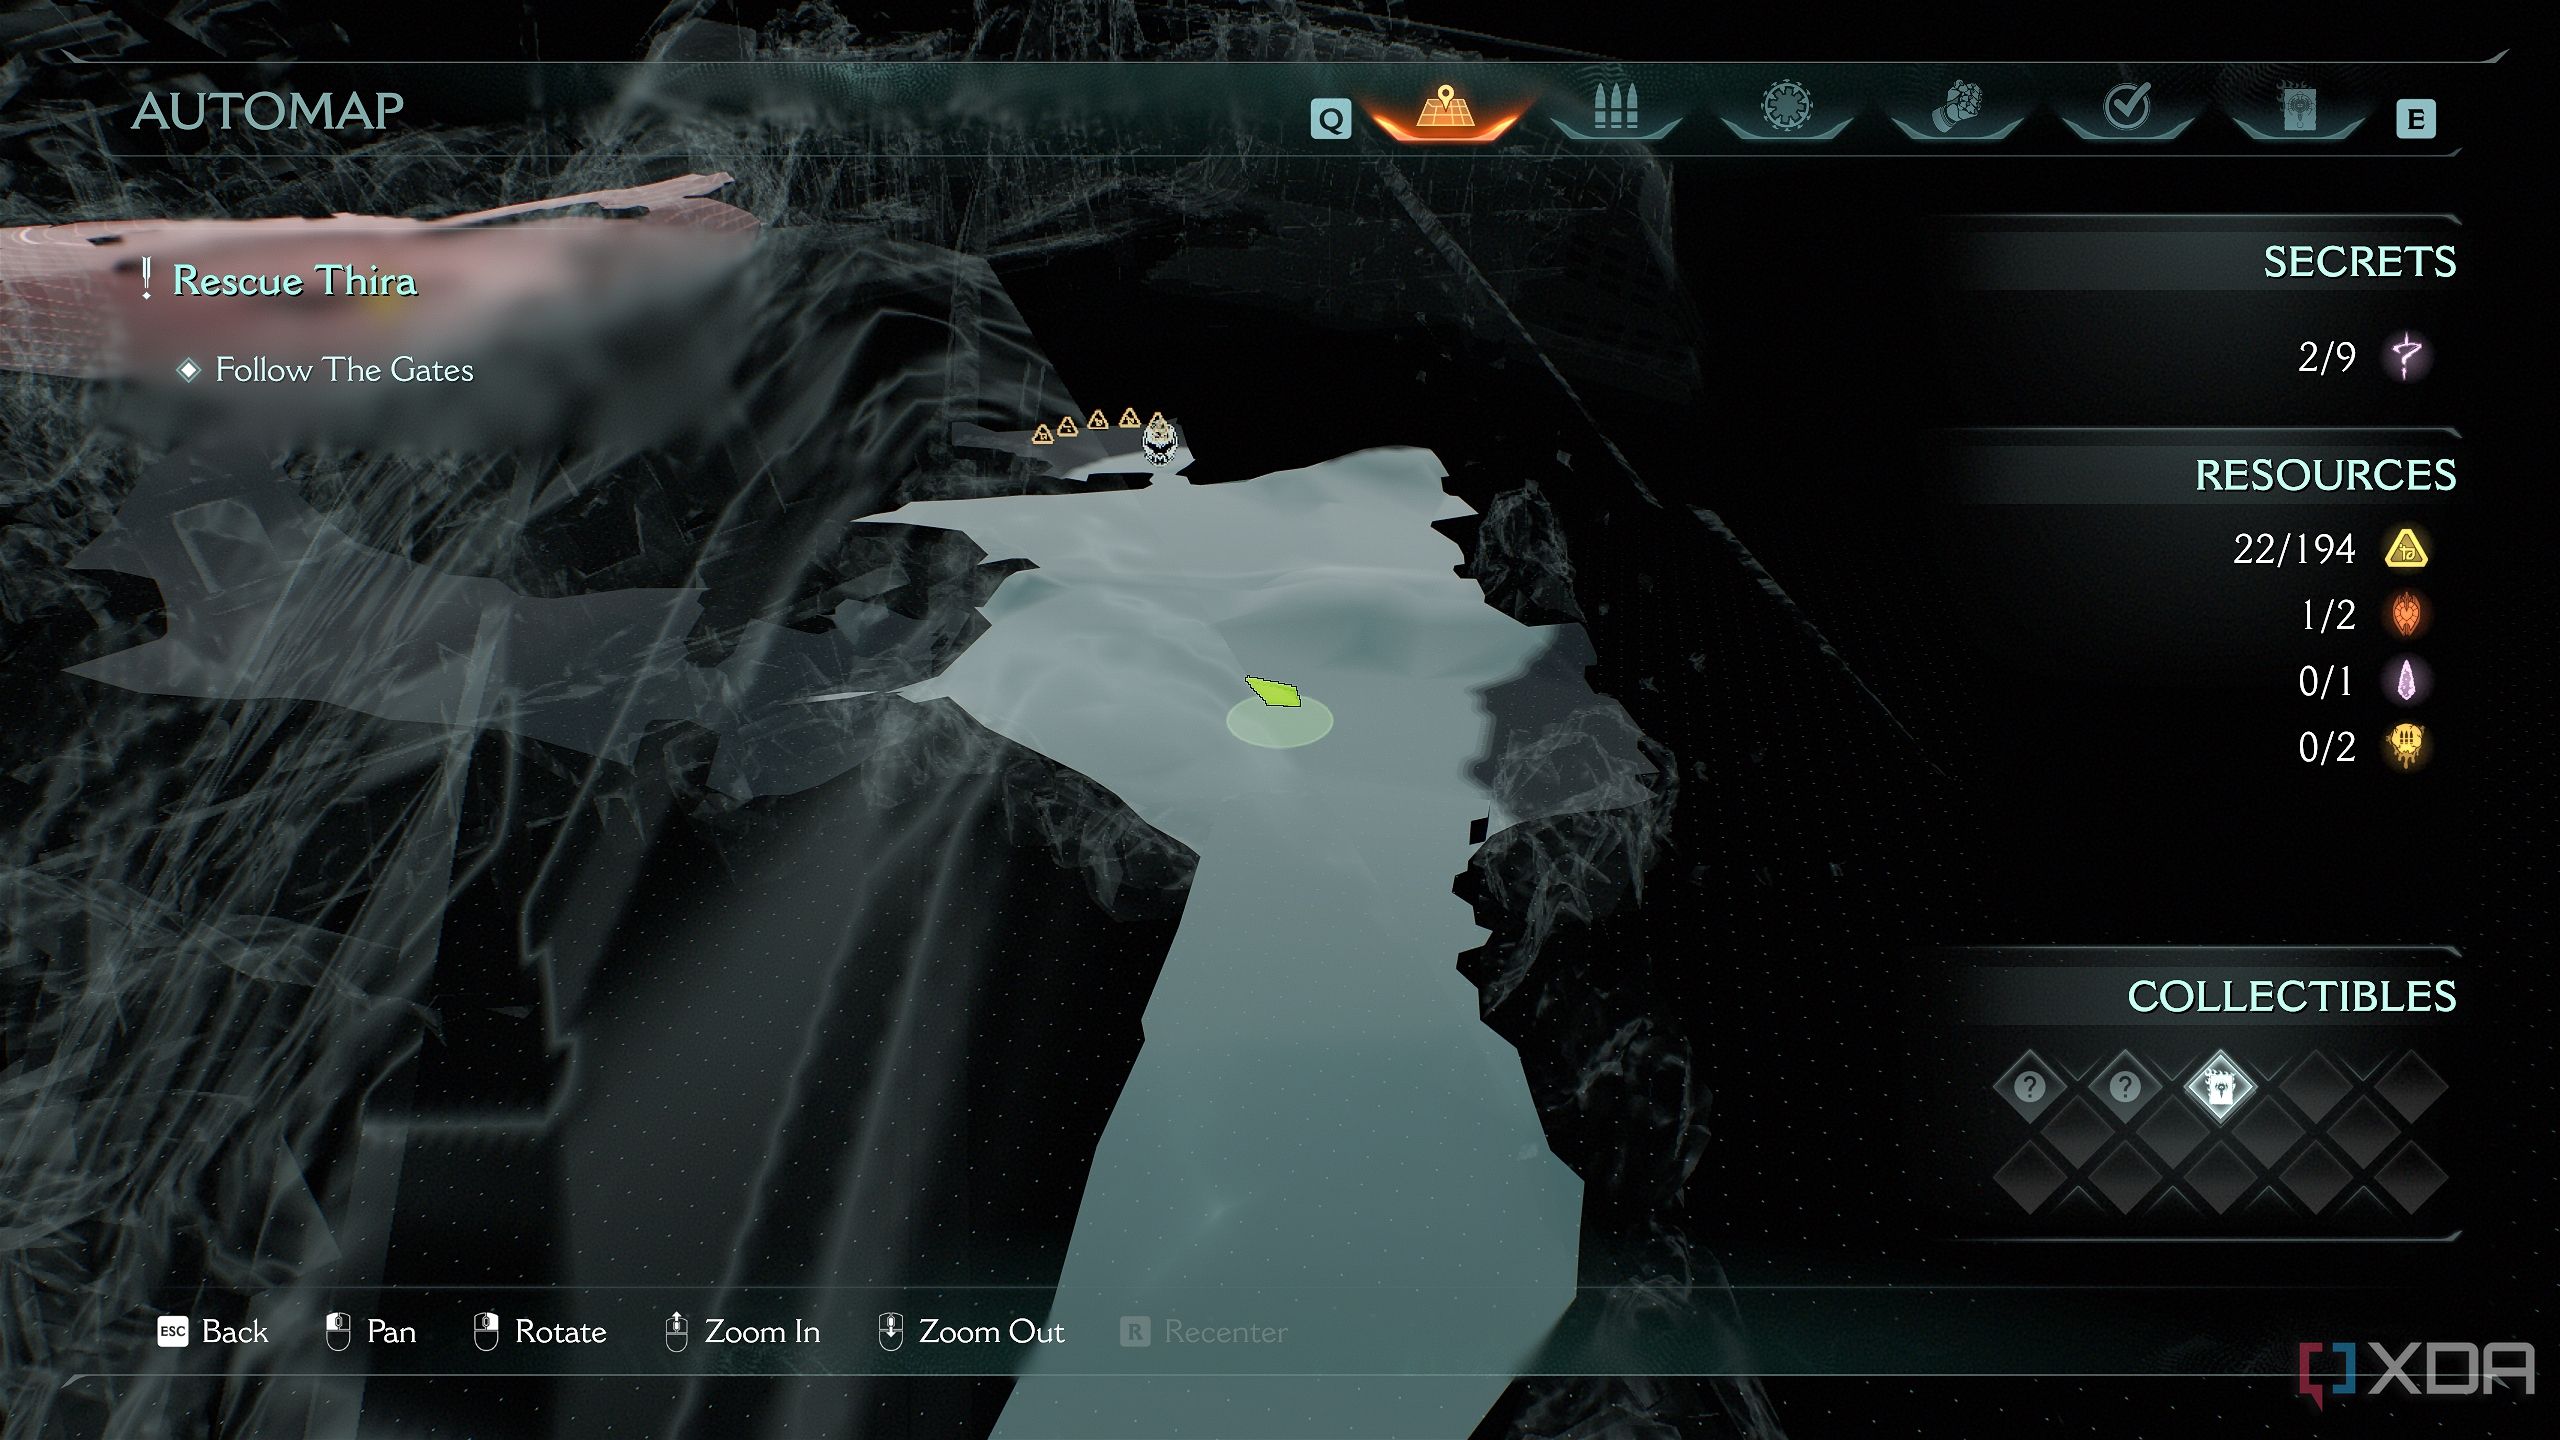
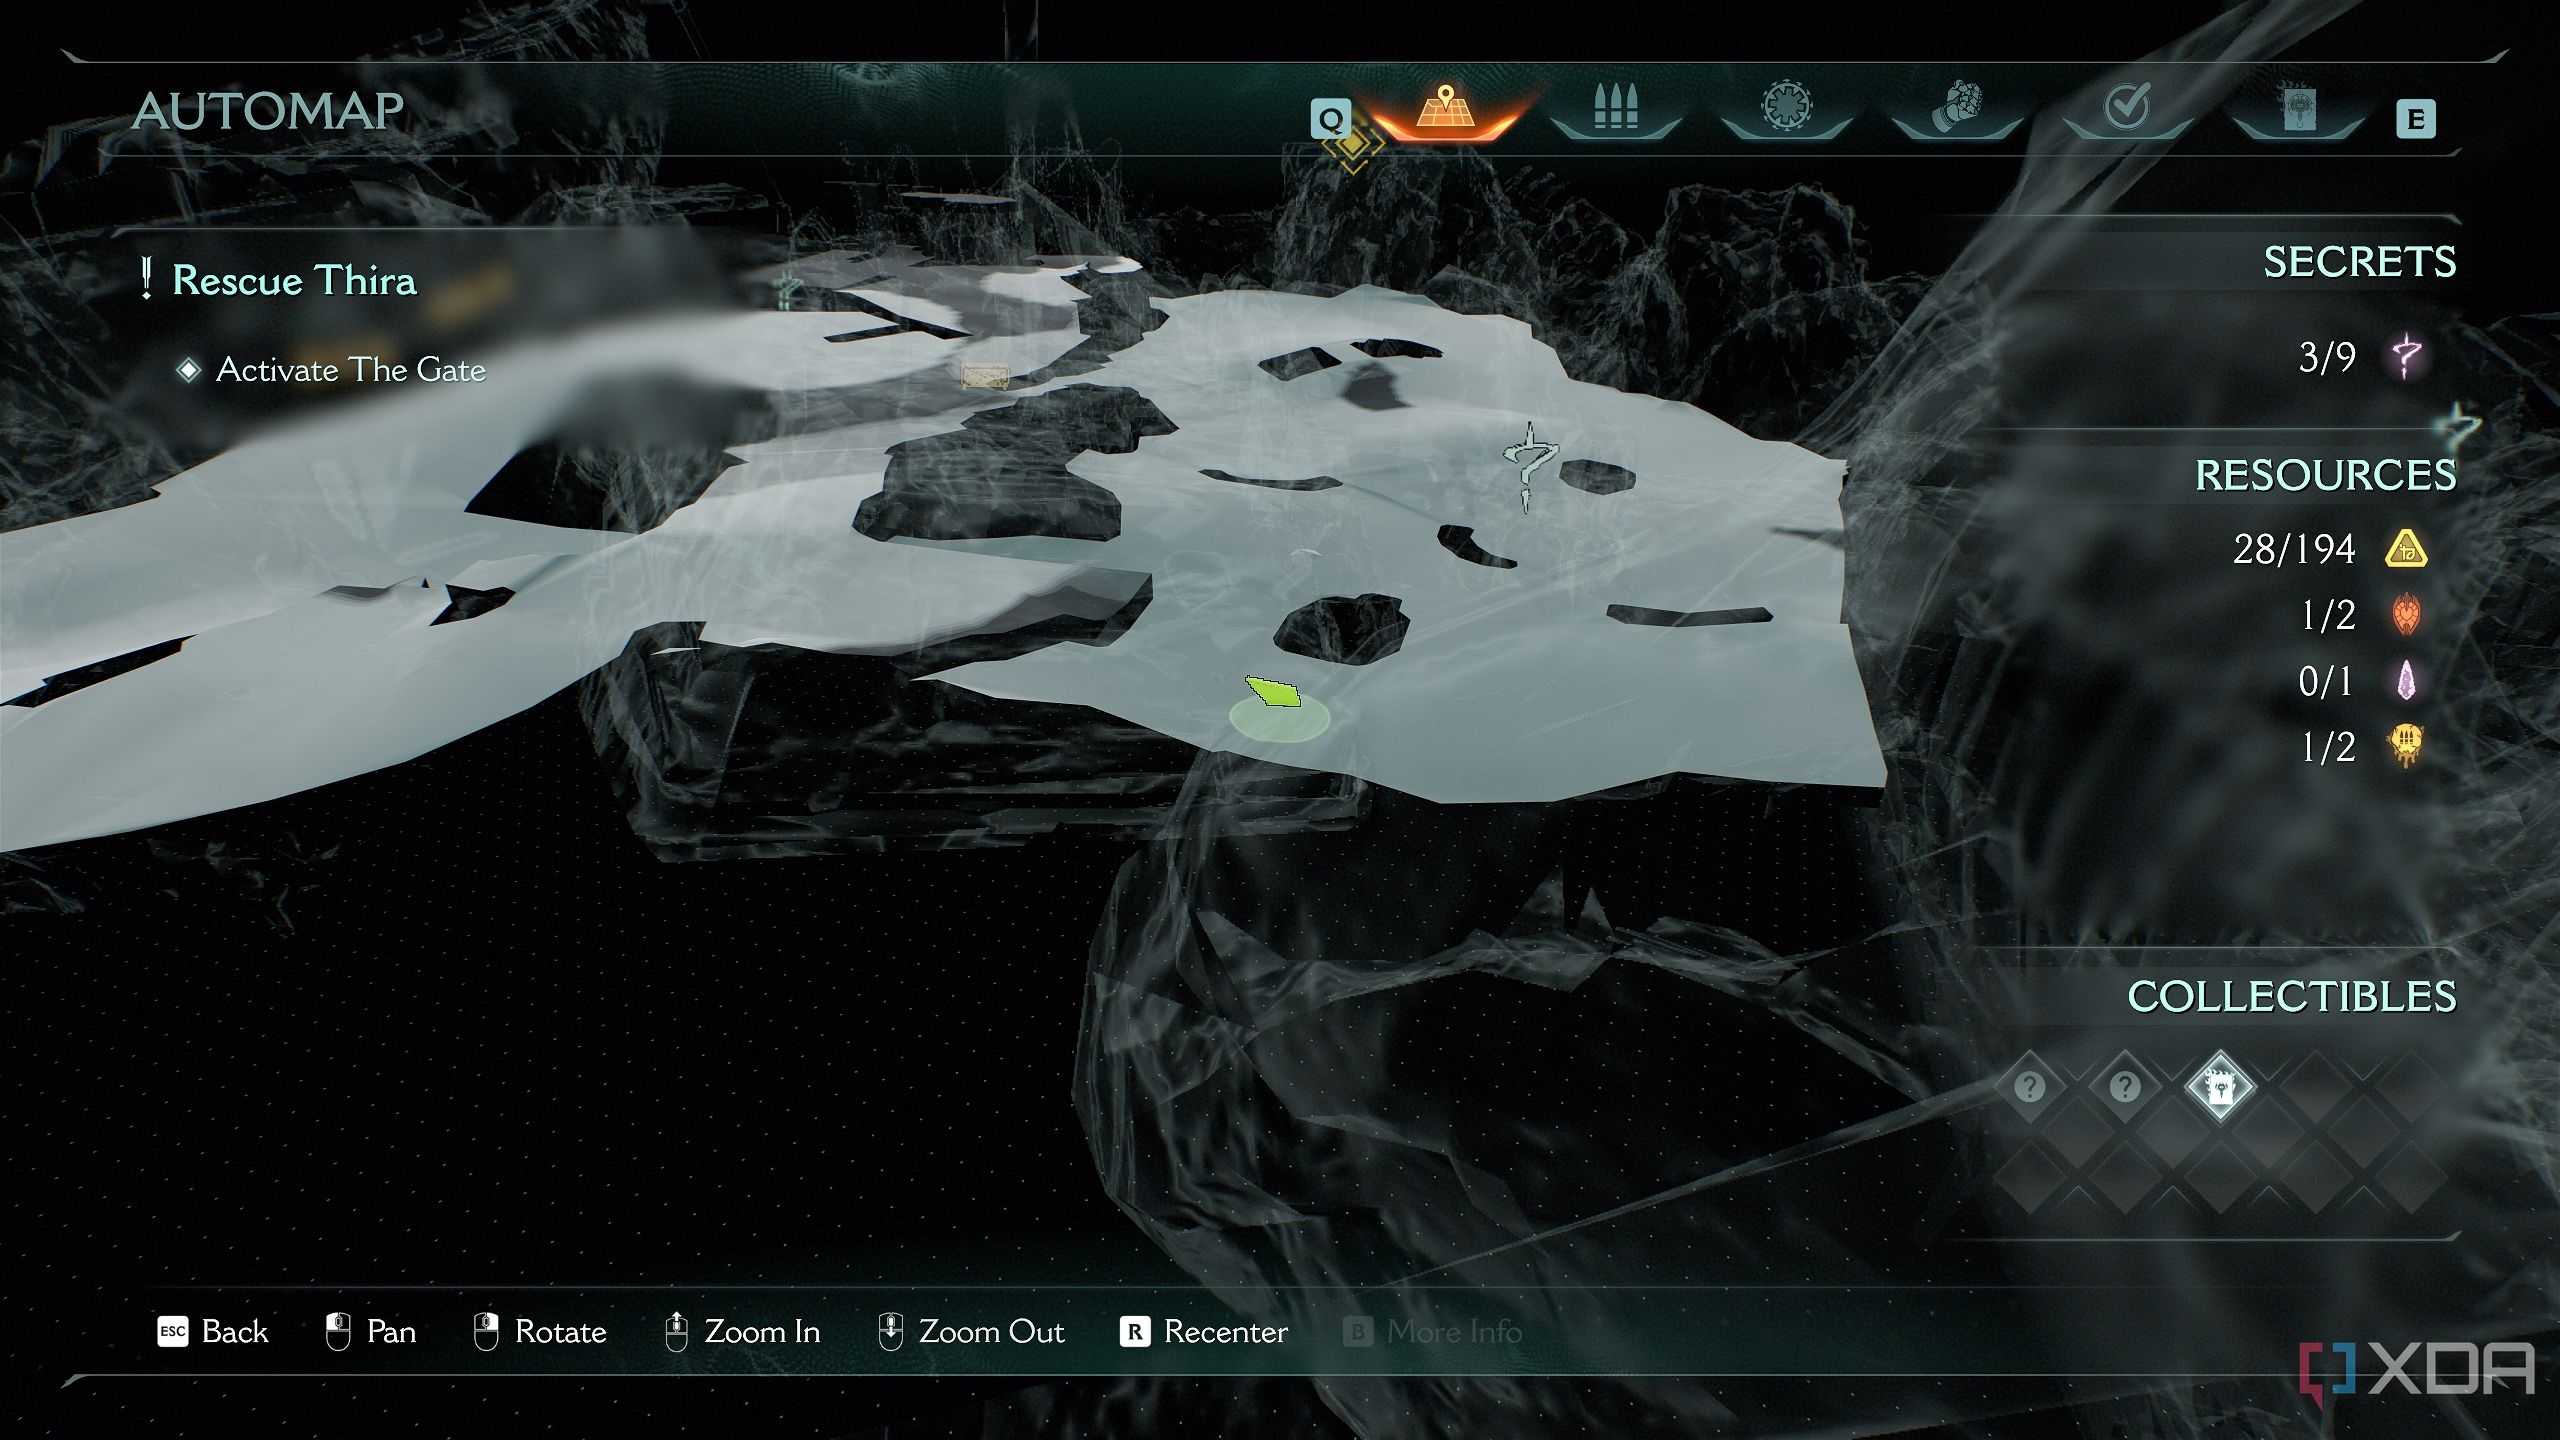
In order to get 100% completion of each level, make sure you complete the mission challenges for this level.
Chapter 17’s mission challenges are-
- Collecting all Rubies and Wraithstones
- Finding 3 underwater secrets
Related
DOOM: The Dark Ages Chapter 16: The Kar’Thul Marshes — 100% completion guide
Chapter 16 in Doom: The Dark Ages takes the Slayer deeper into the Cosmic Realm in his search for Commander Thira.
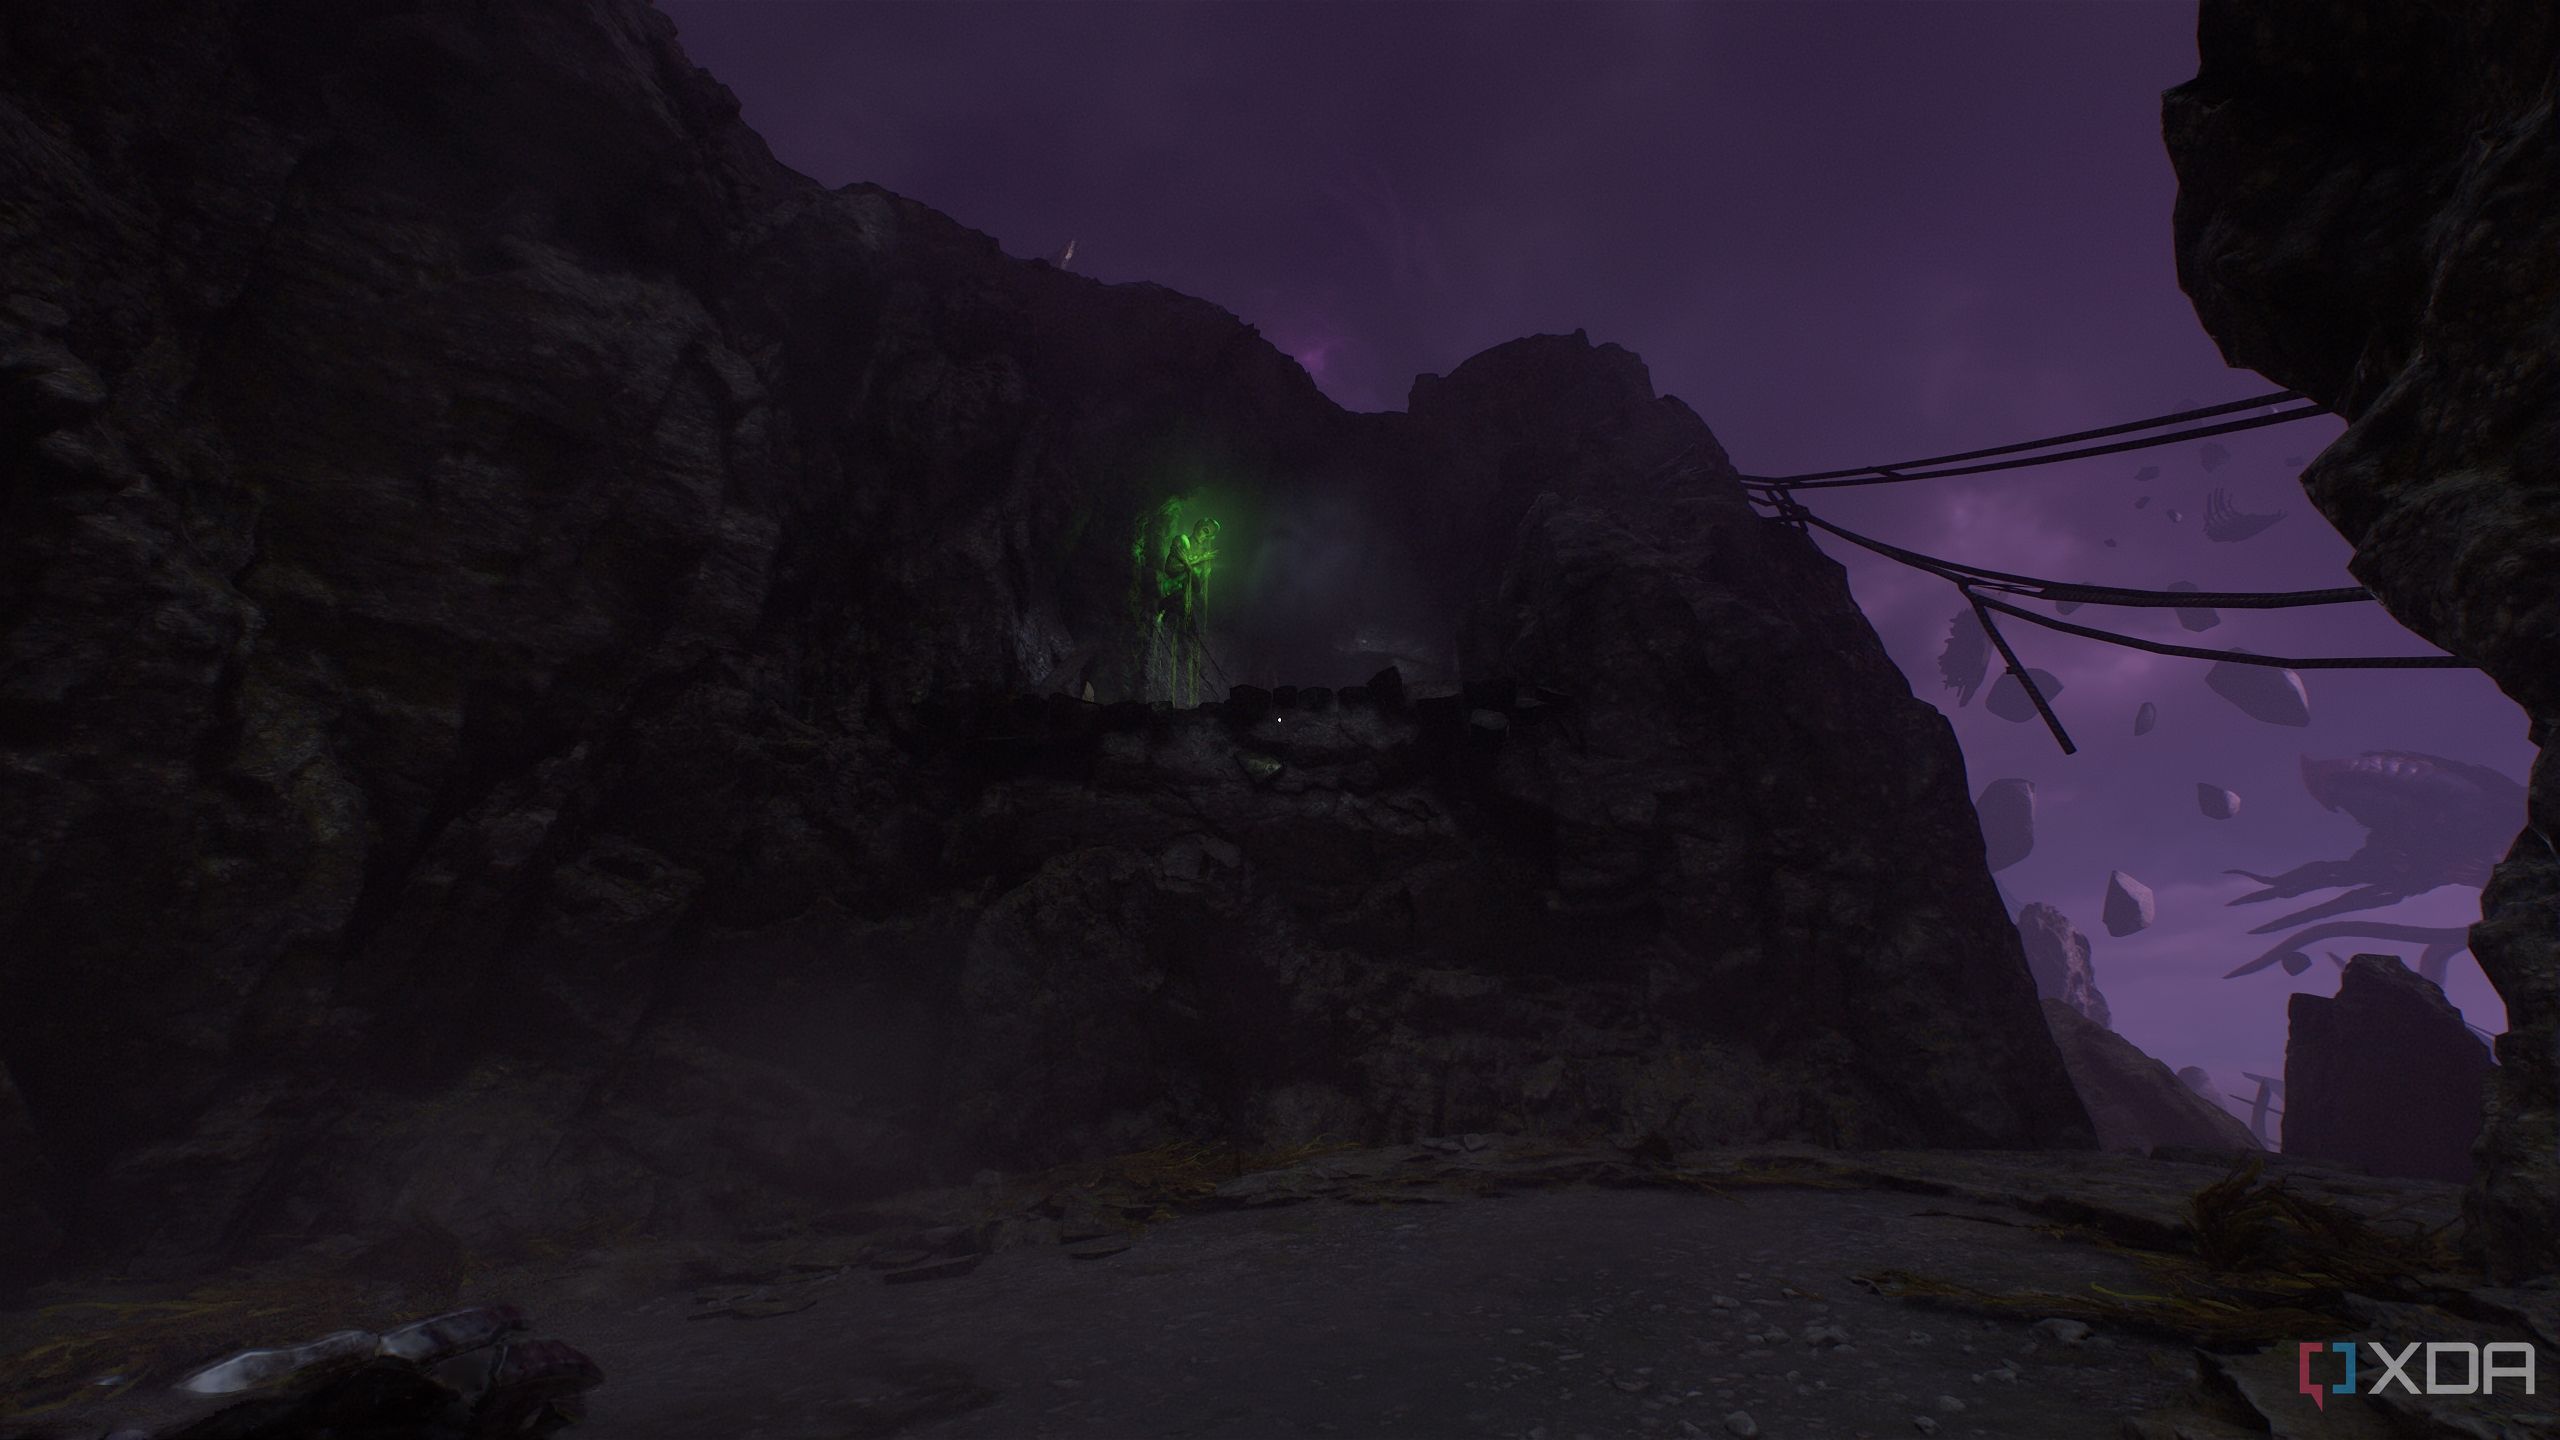
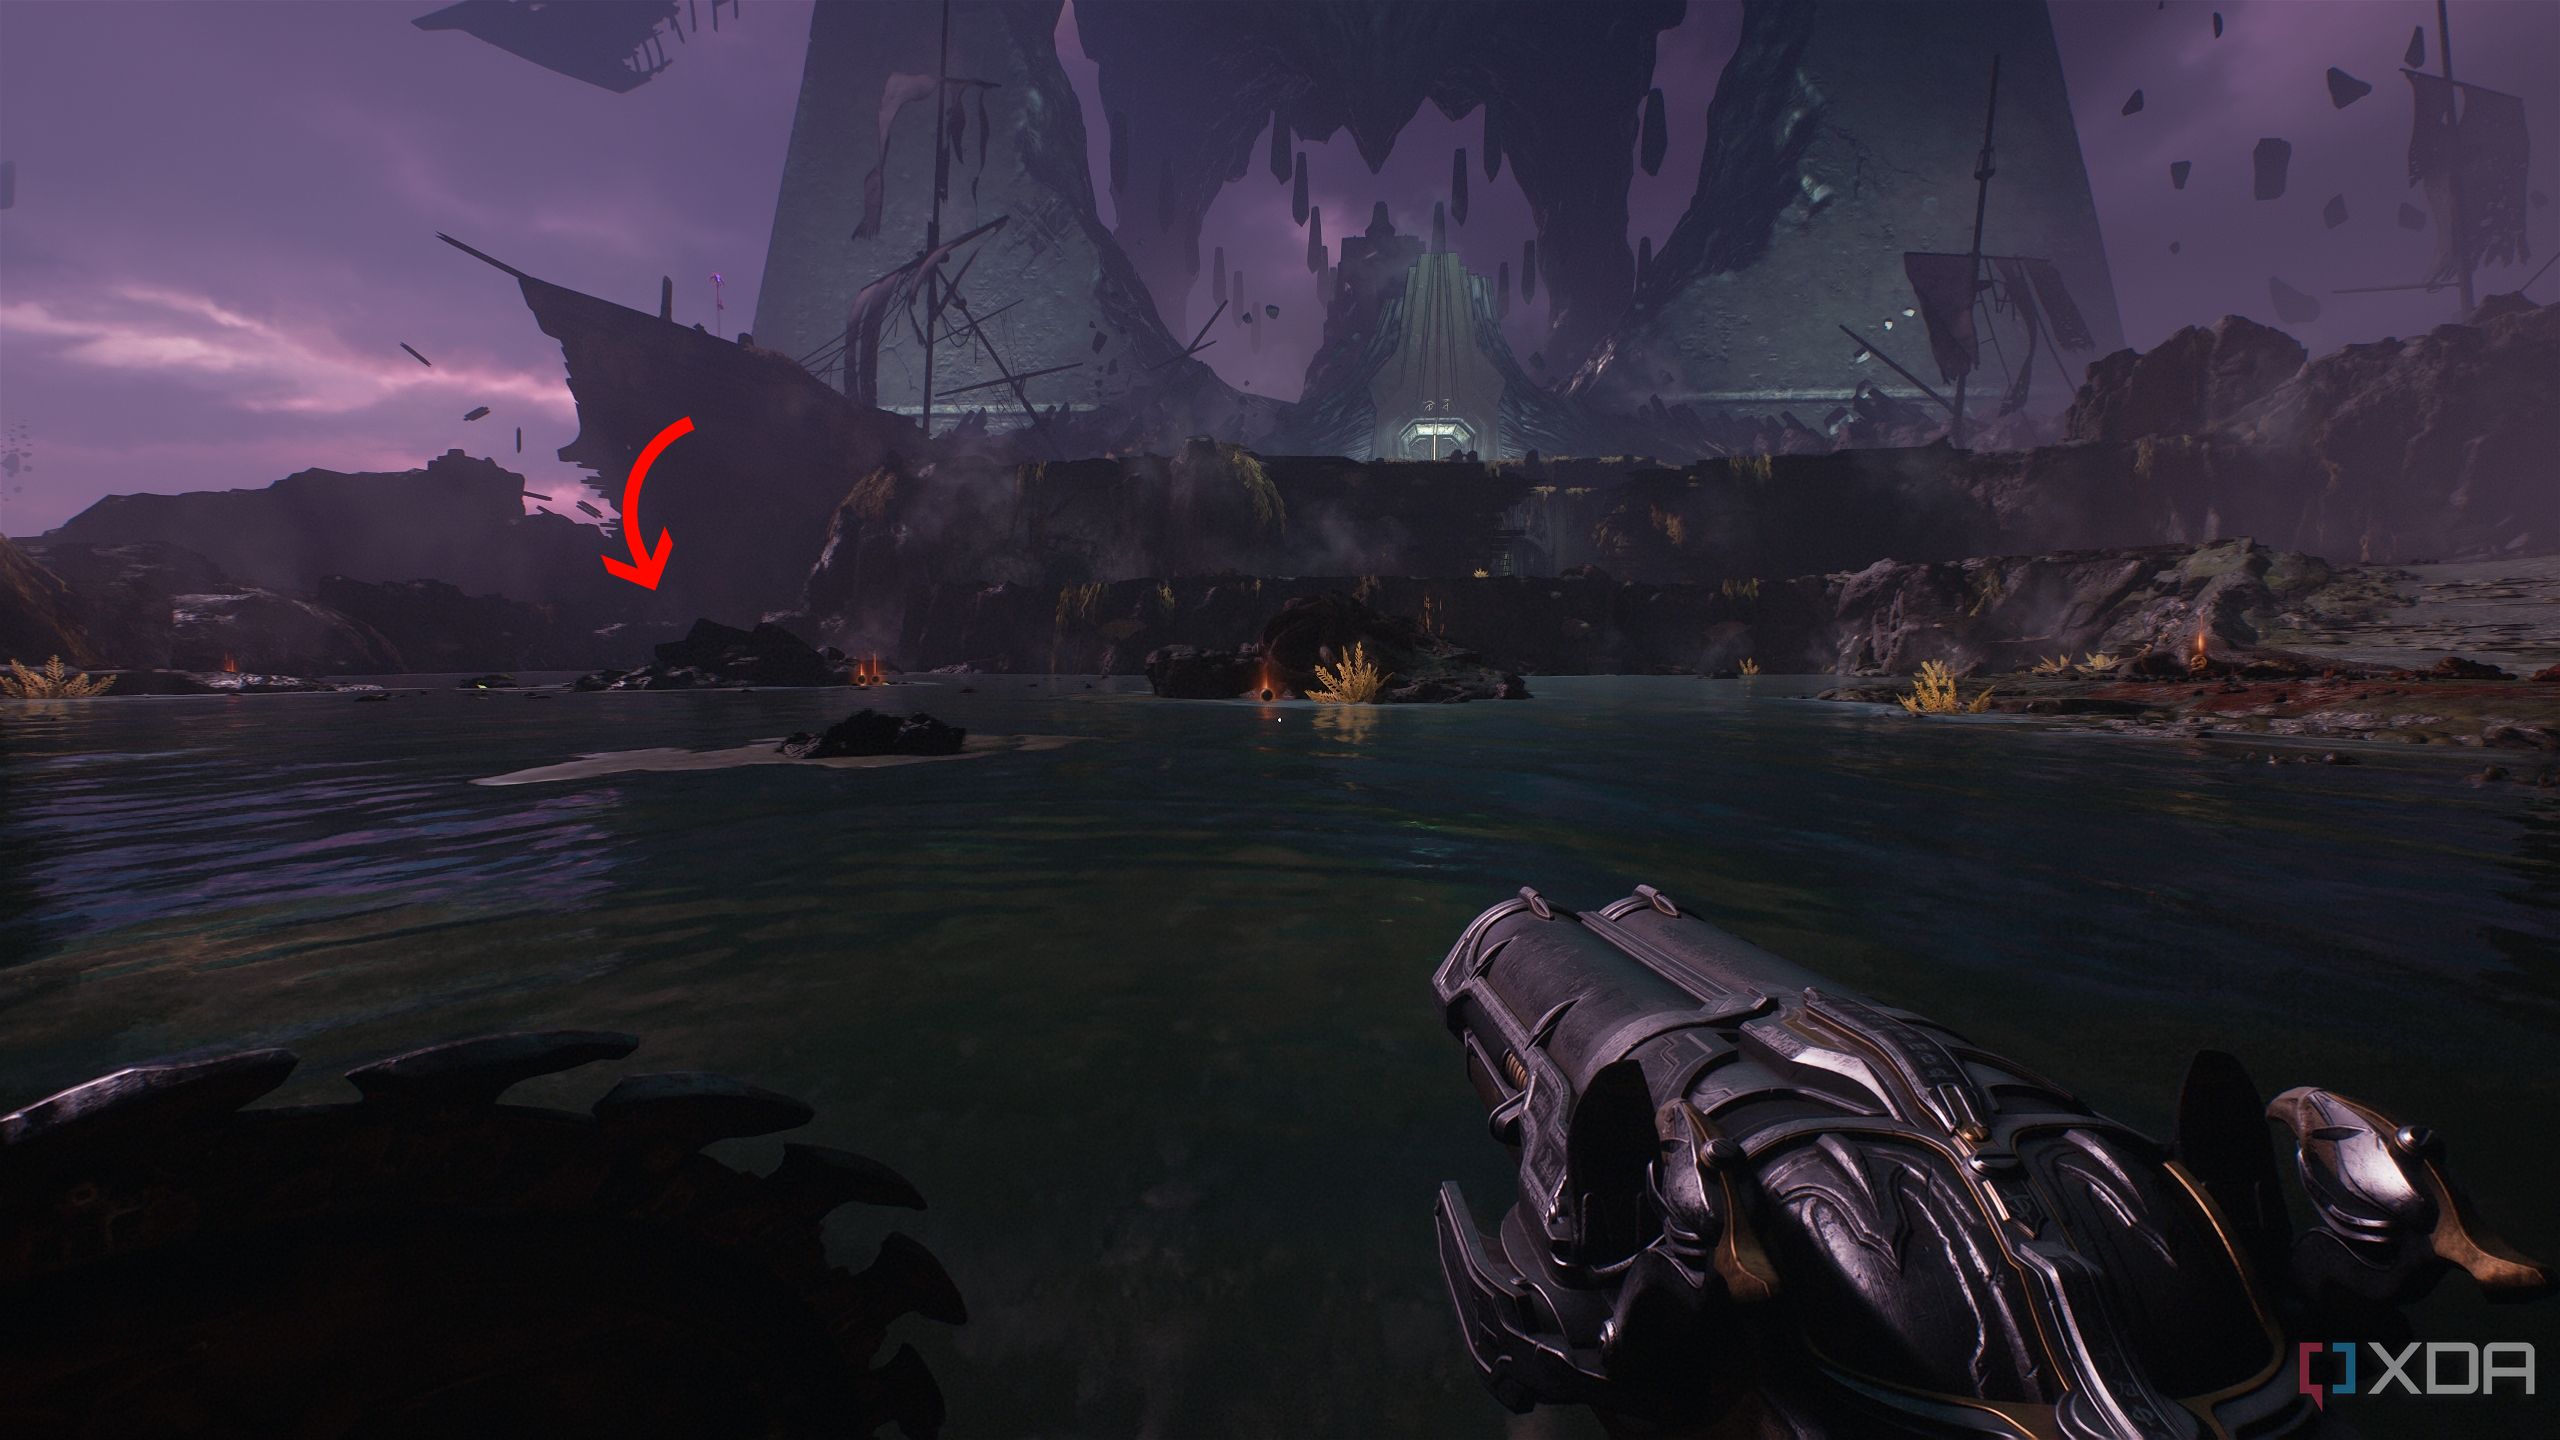
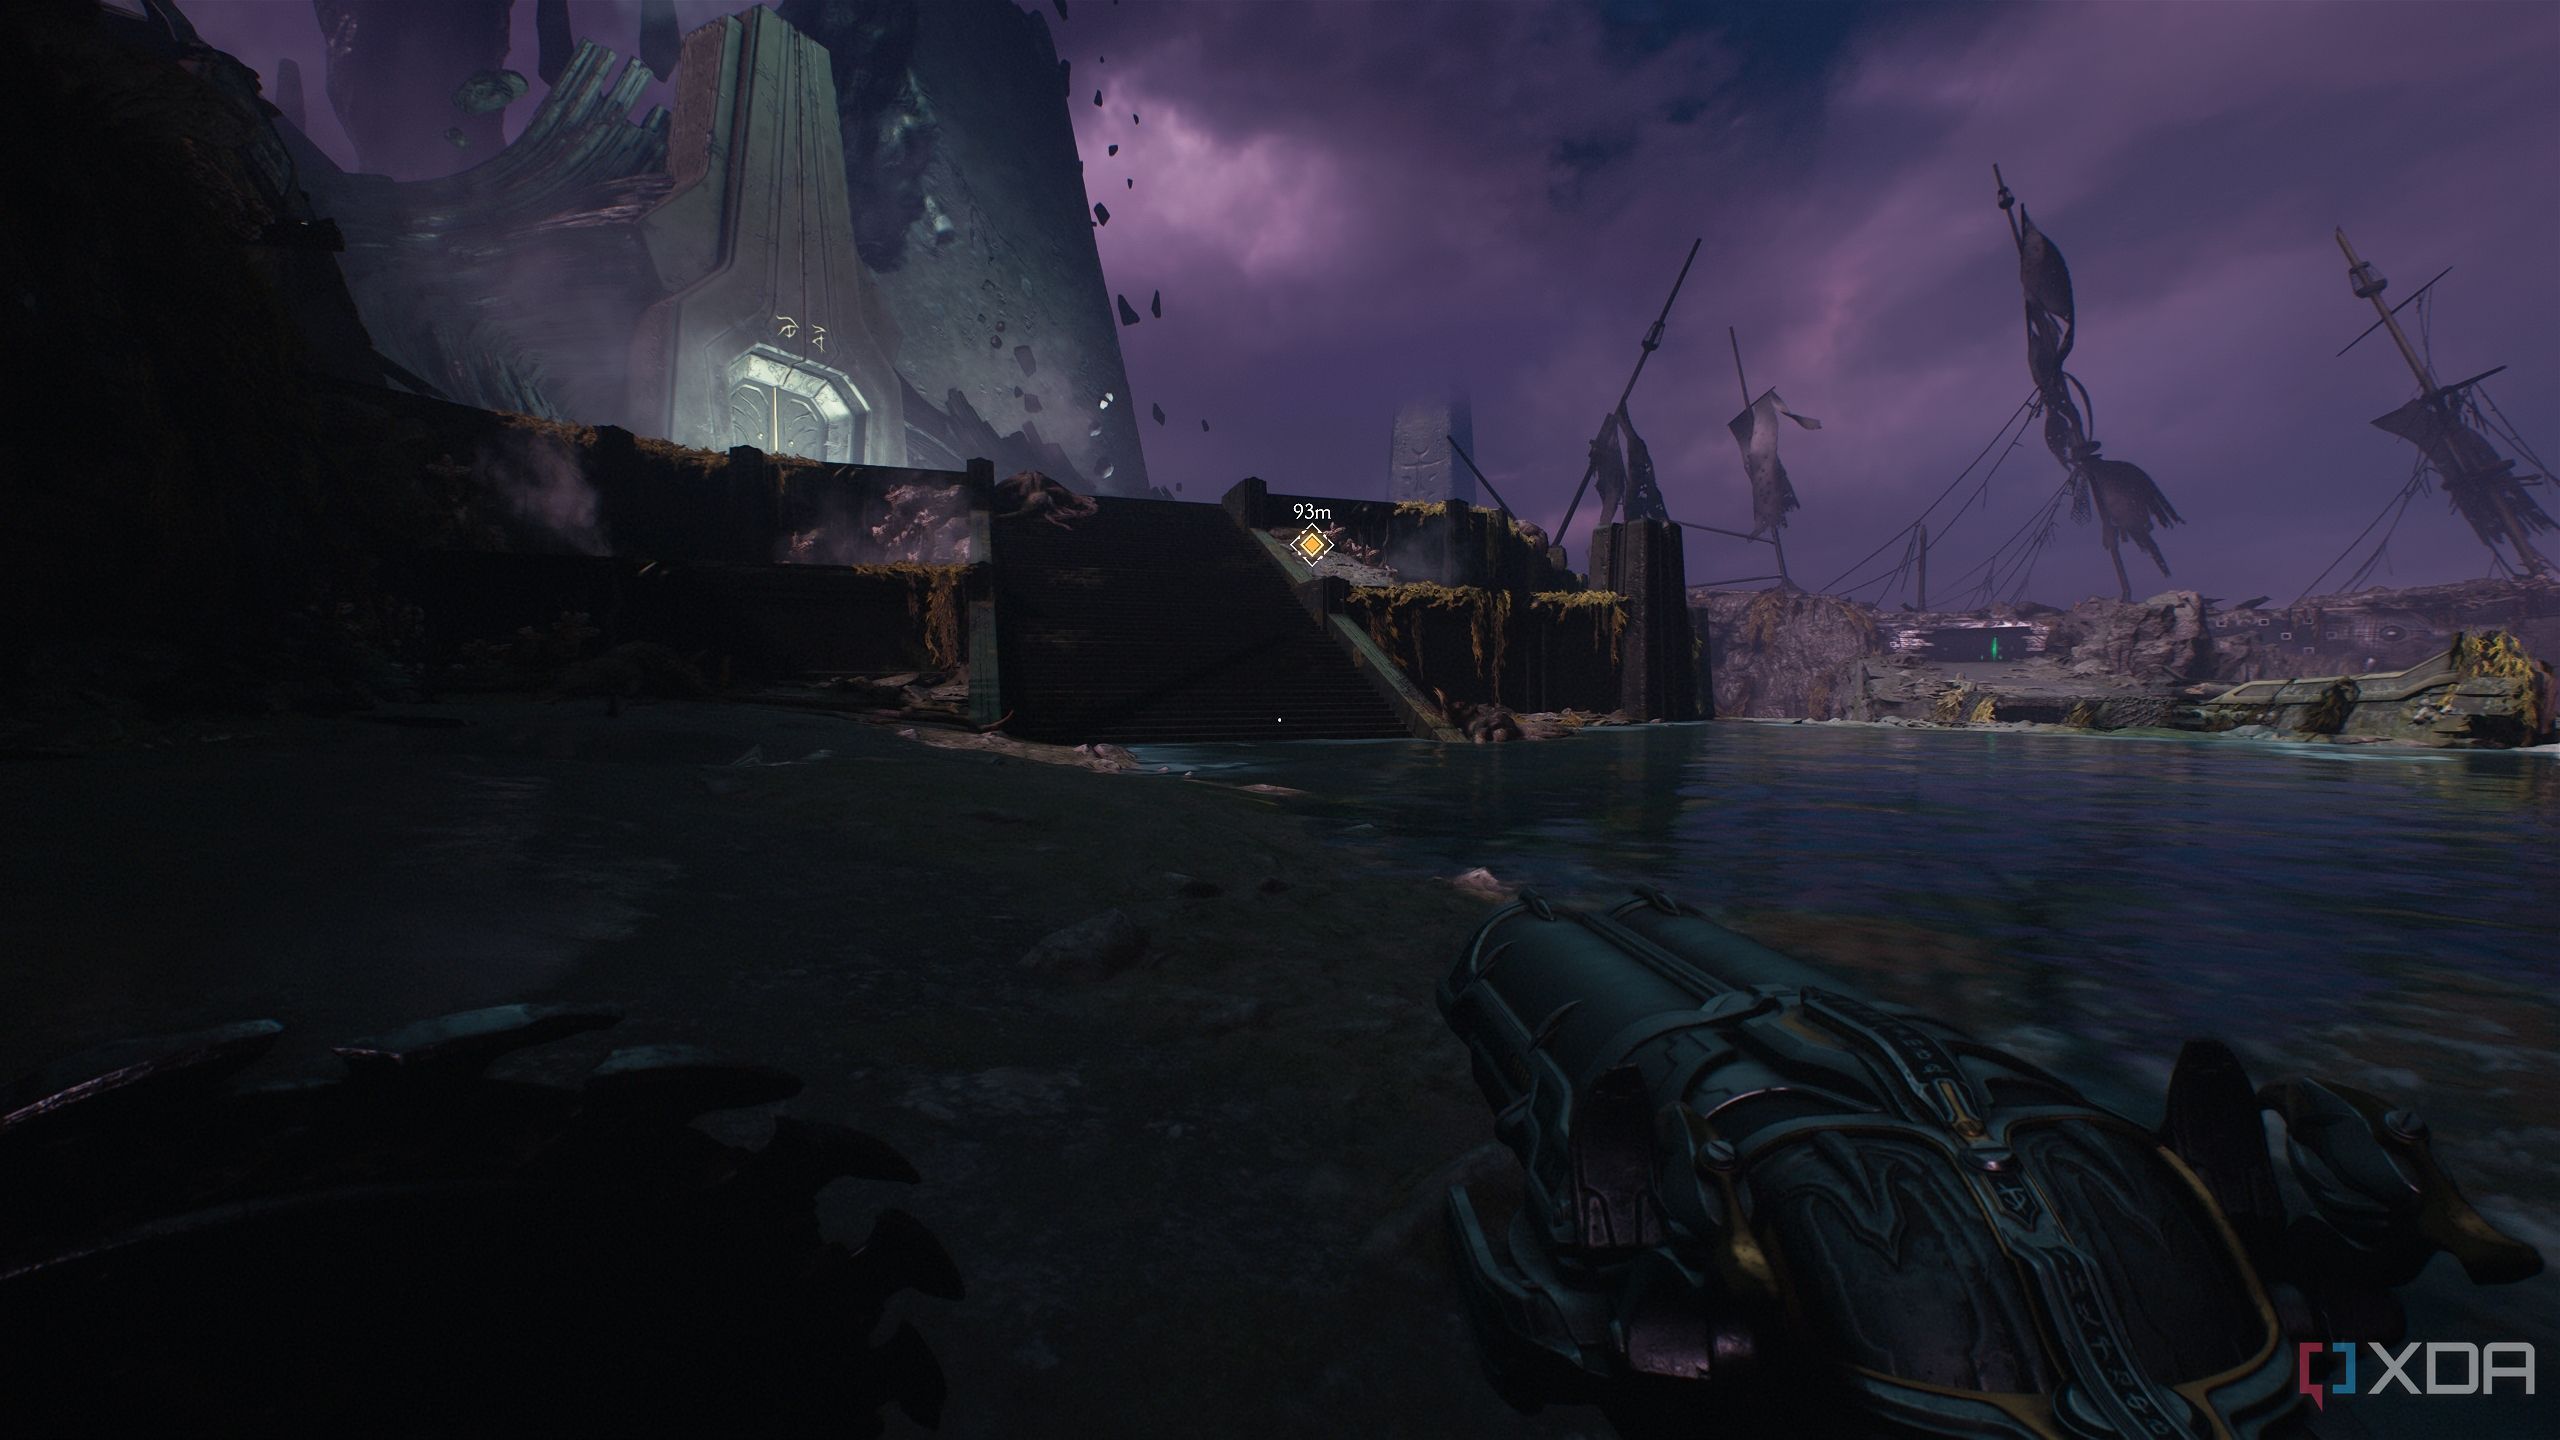
Chapter 17 of Doom: The Dark Ages is a shipwreck
The Slayer’s ship finds a shore
In chapter 17, the Slayer locks on to Commander Thira’s life signal, following her to the Temple of Lomarith, strewn with the long-lost corpses of travelers from across realms. Following the objectives in the chapter along with the instructions provided below, it won't be long before you can claim that sweet 100% completion tag for the level.
Path tracing hasn’t arrived in the game yet, but the Lovecraftian horrors are a spectacle to behold, thanks to the id Tech engine 8.
This guide covers each collectible required for 100% level completion in chronological order. It is recommended to follow this guide in the order stated.
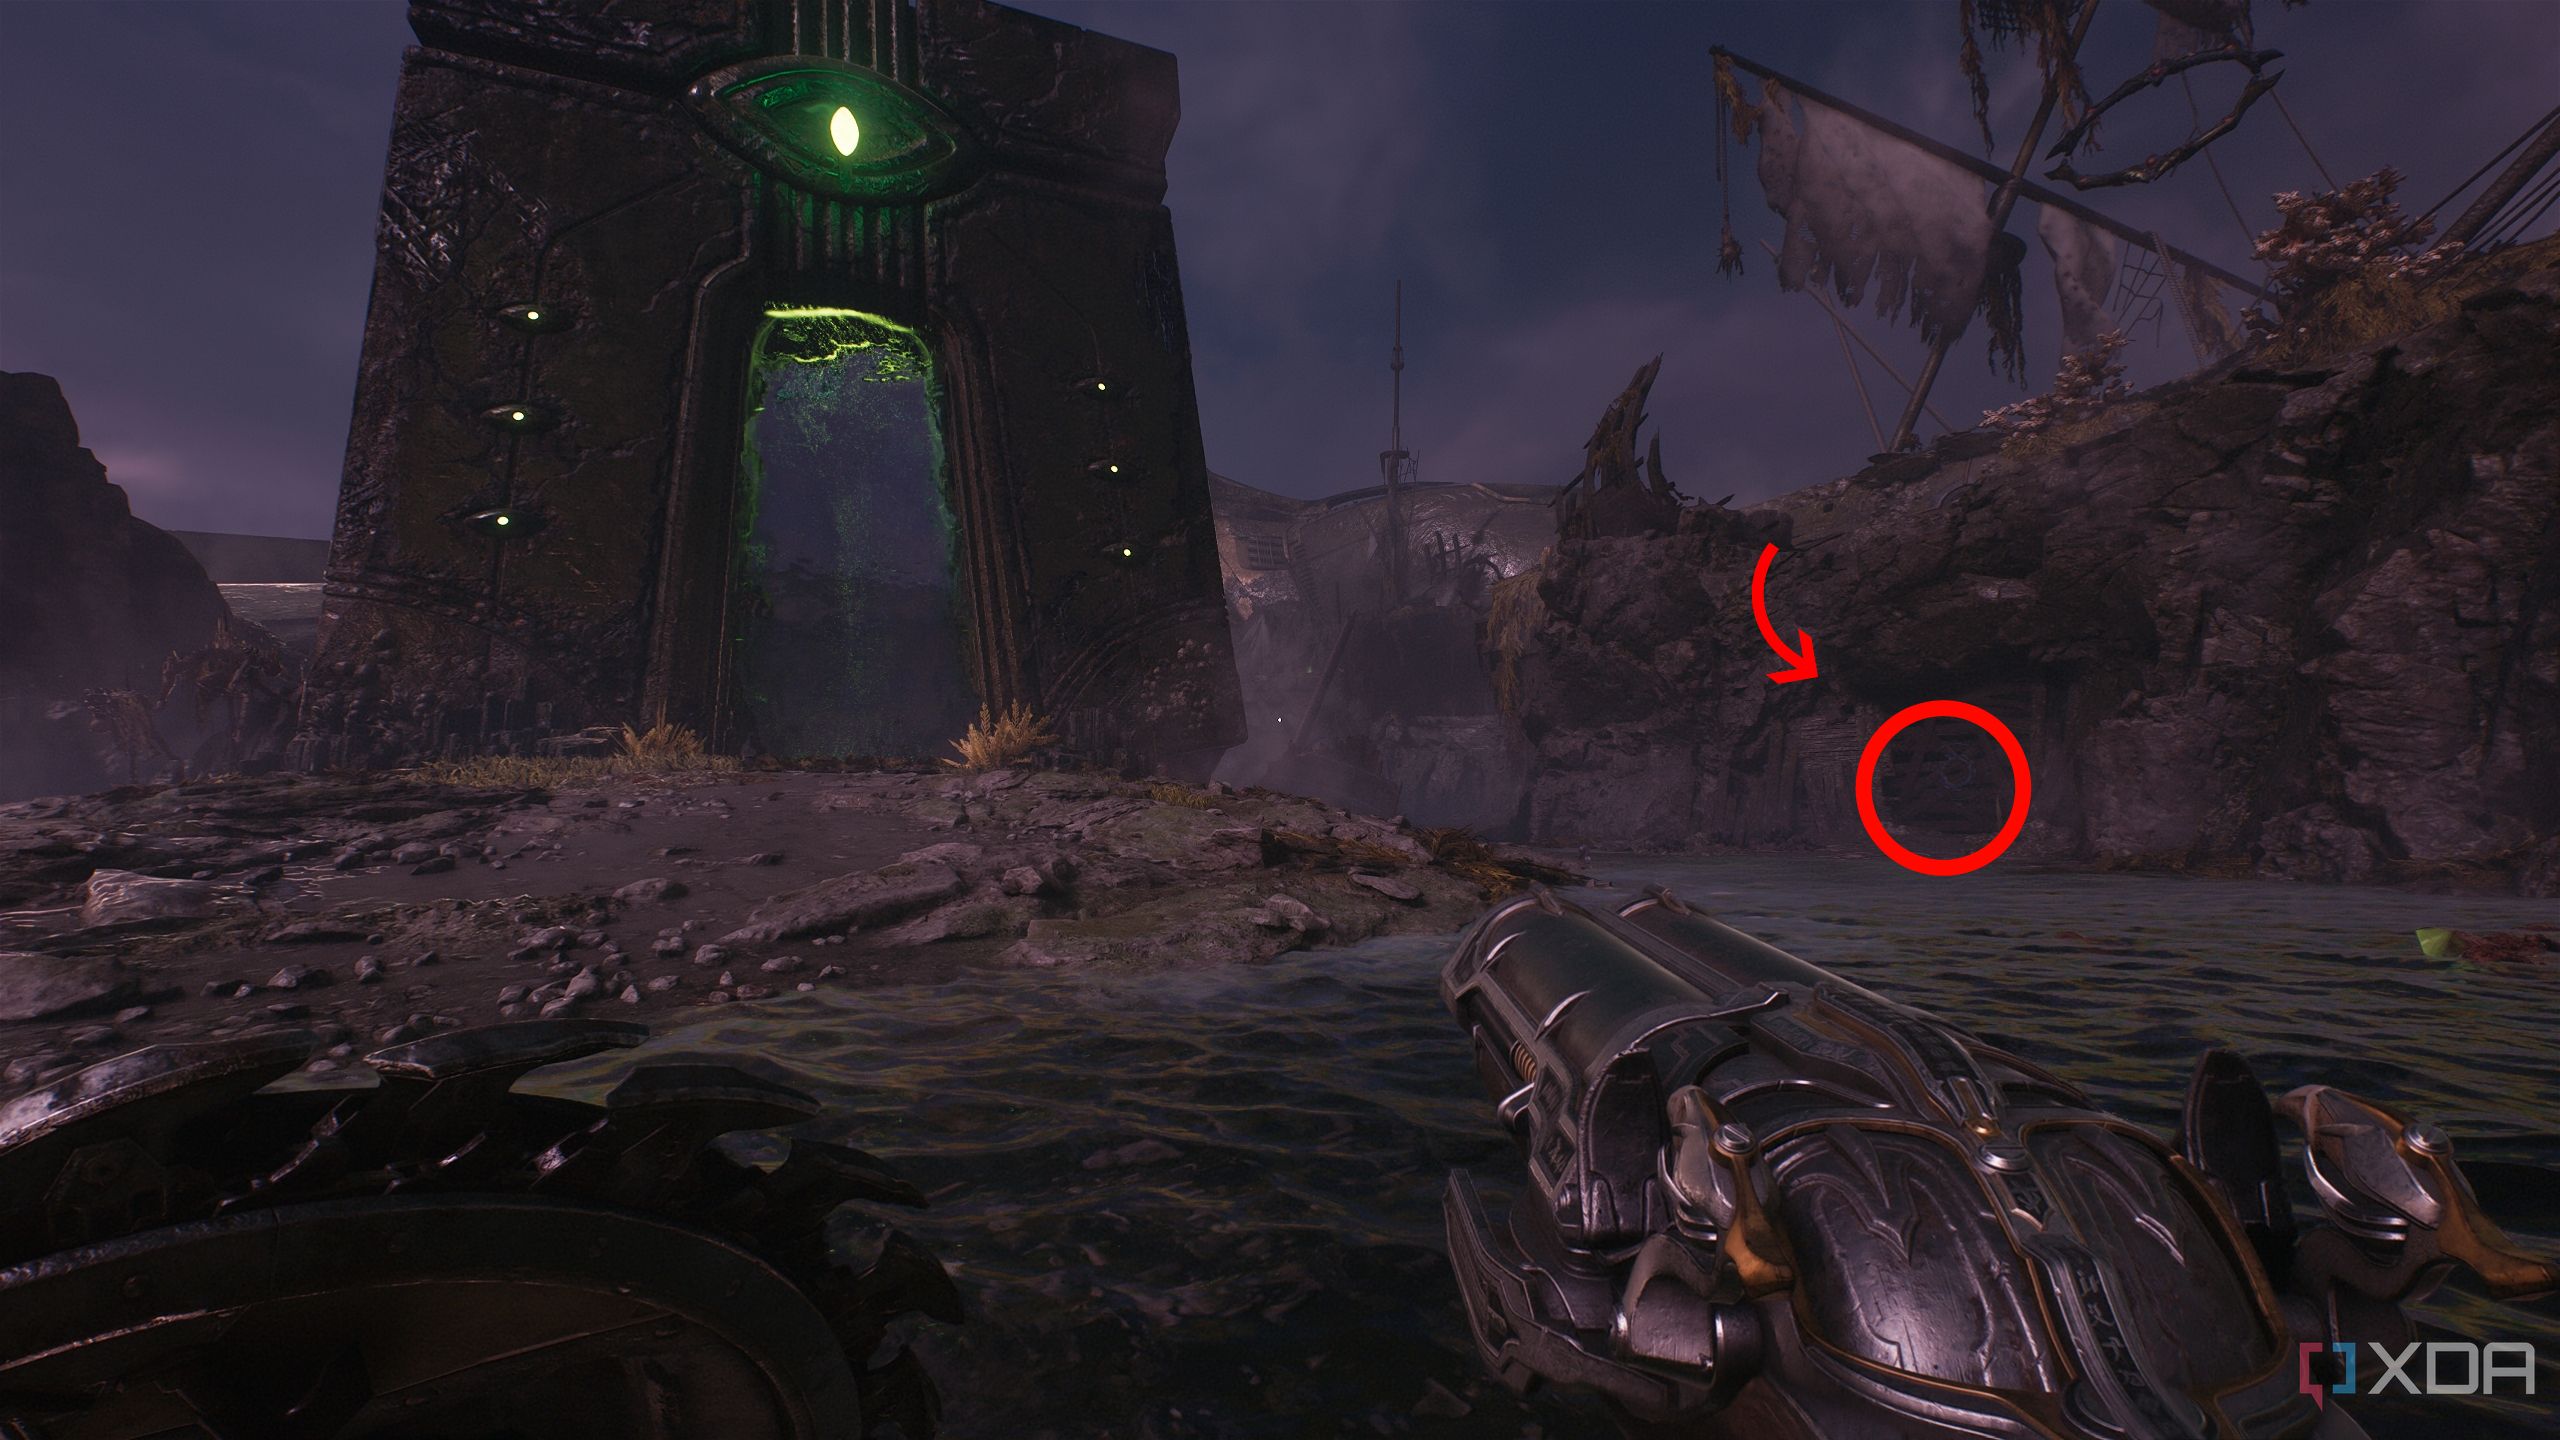
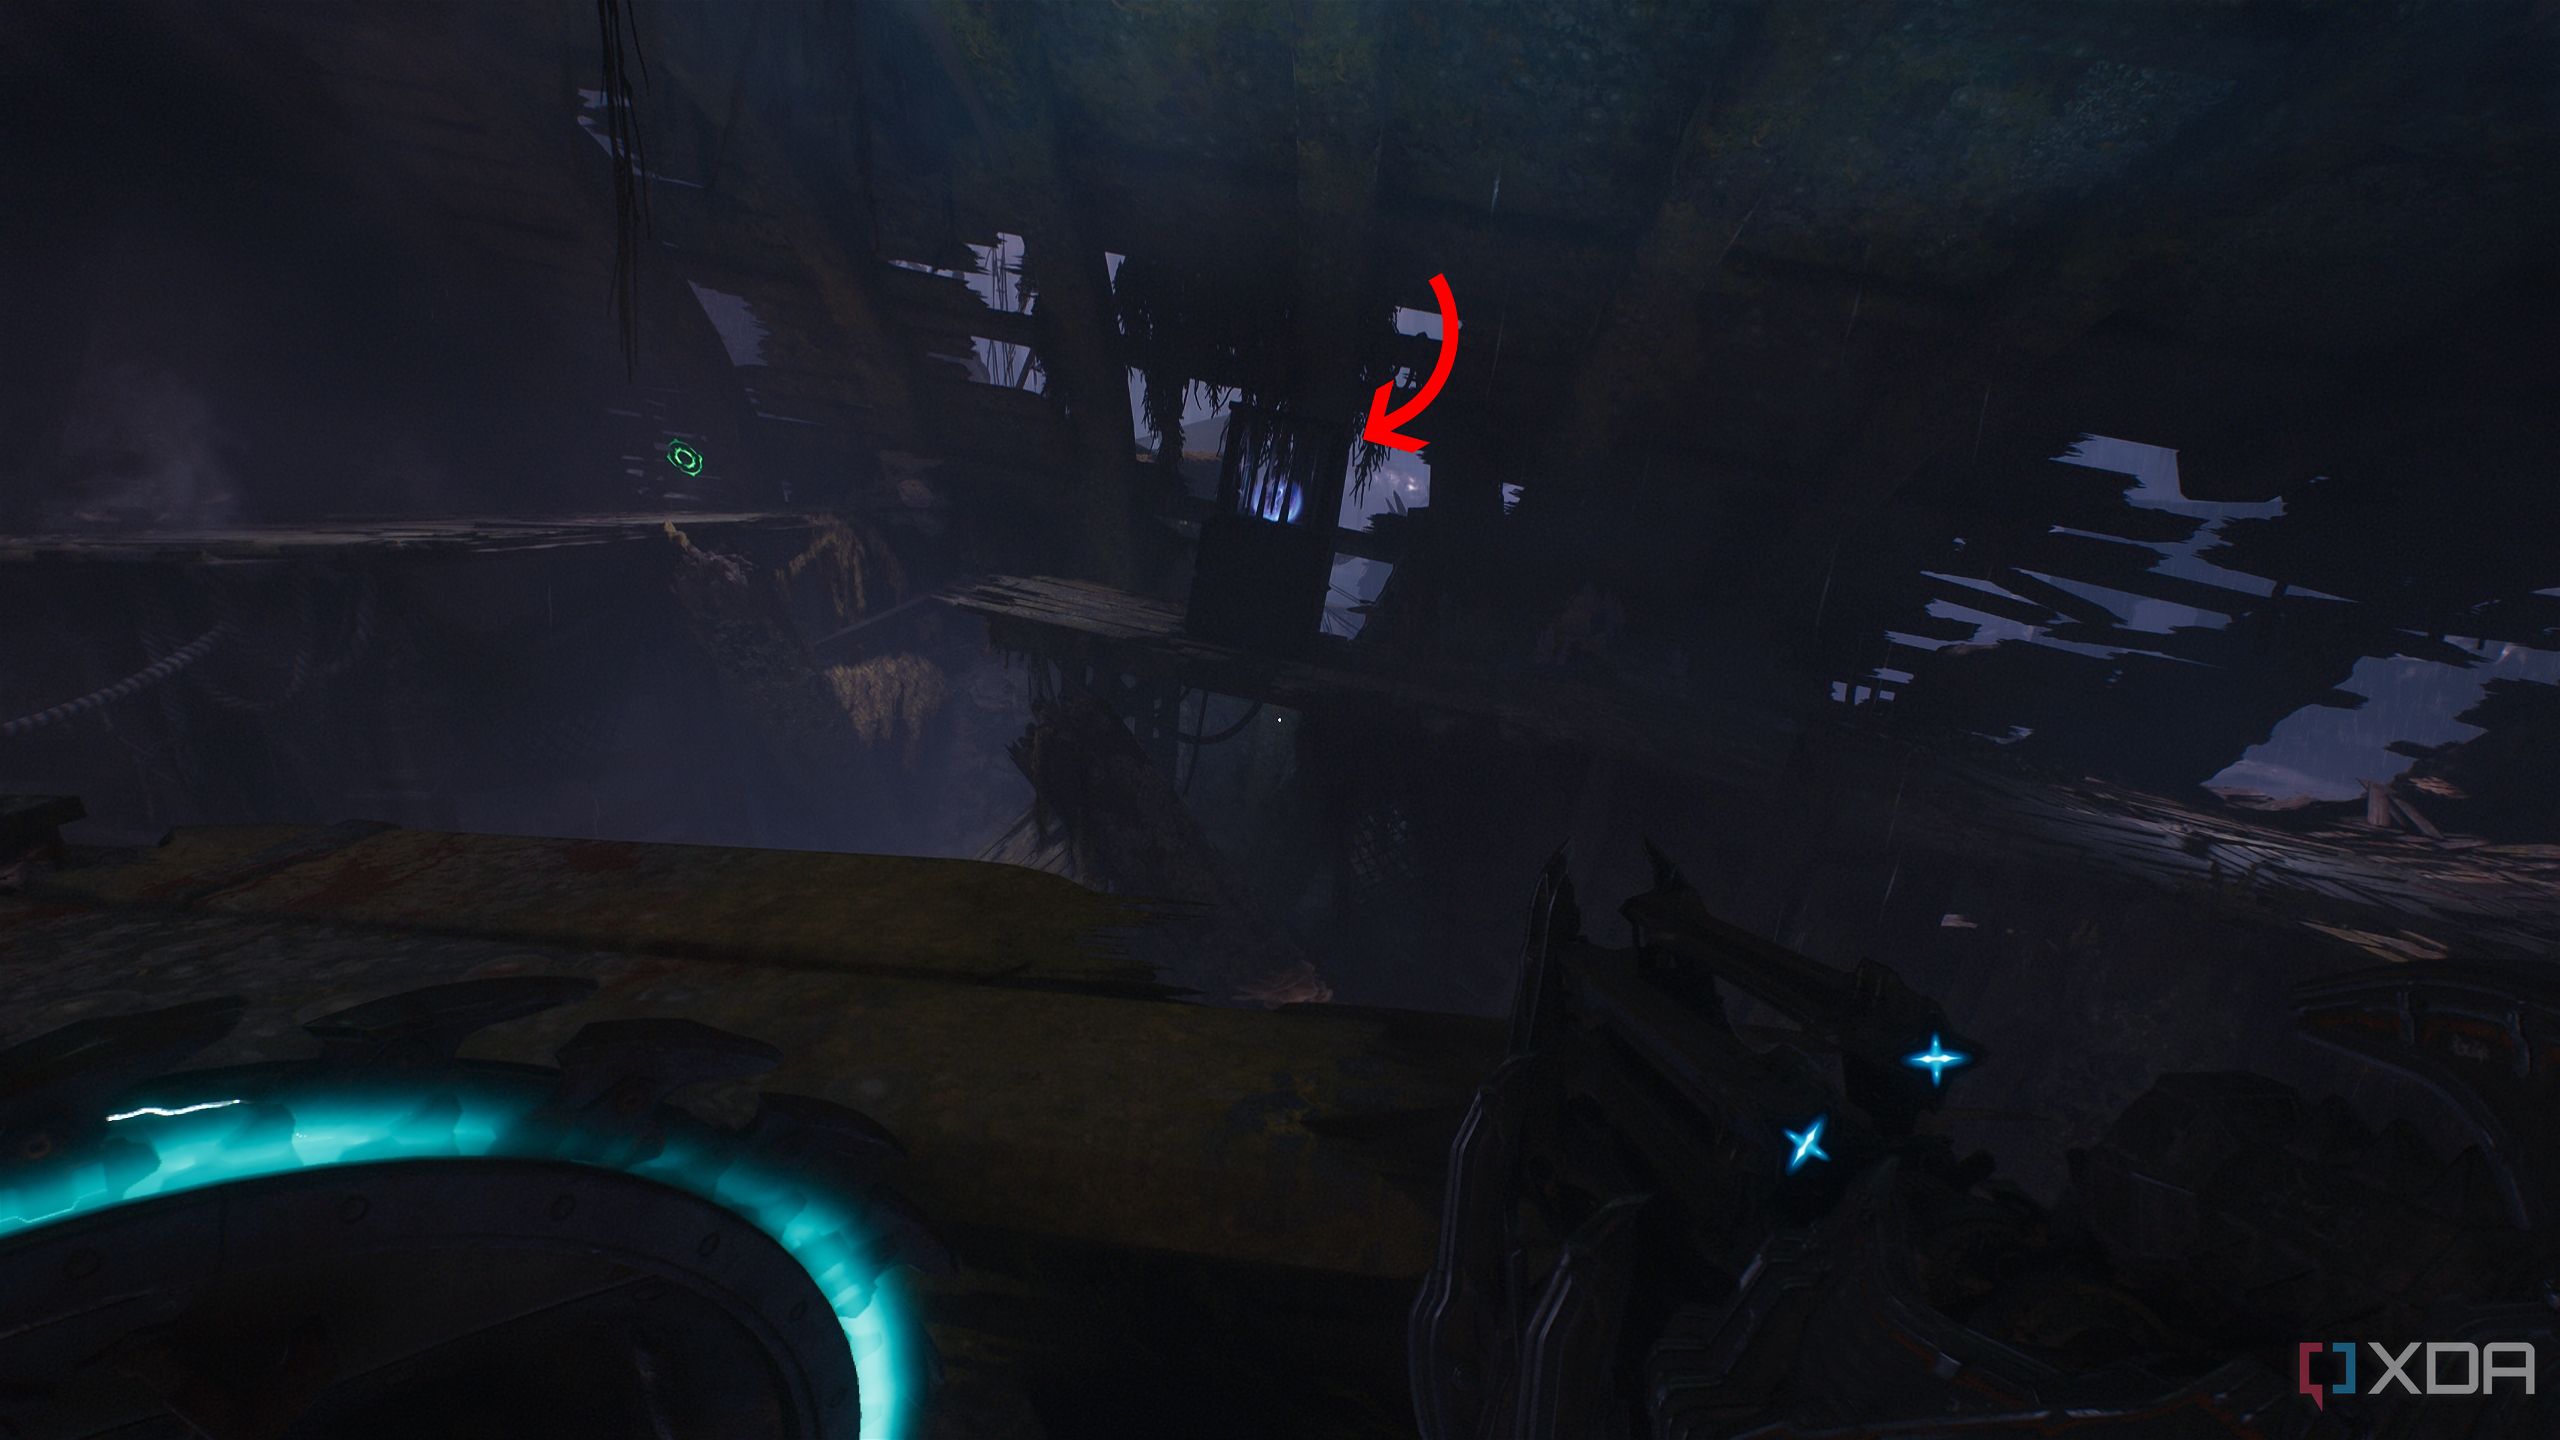
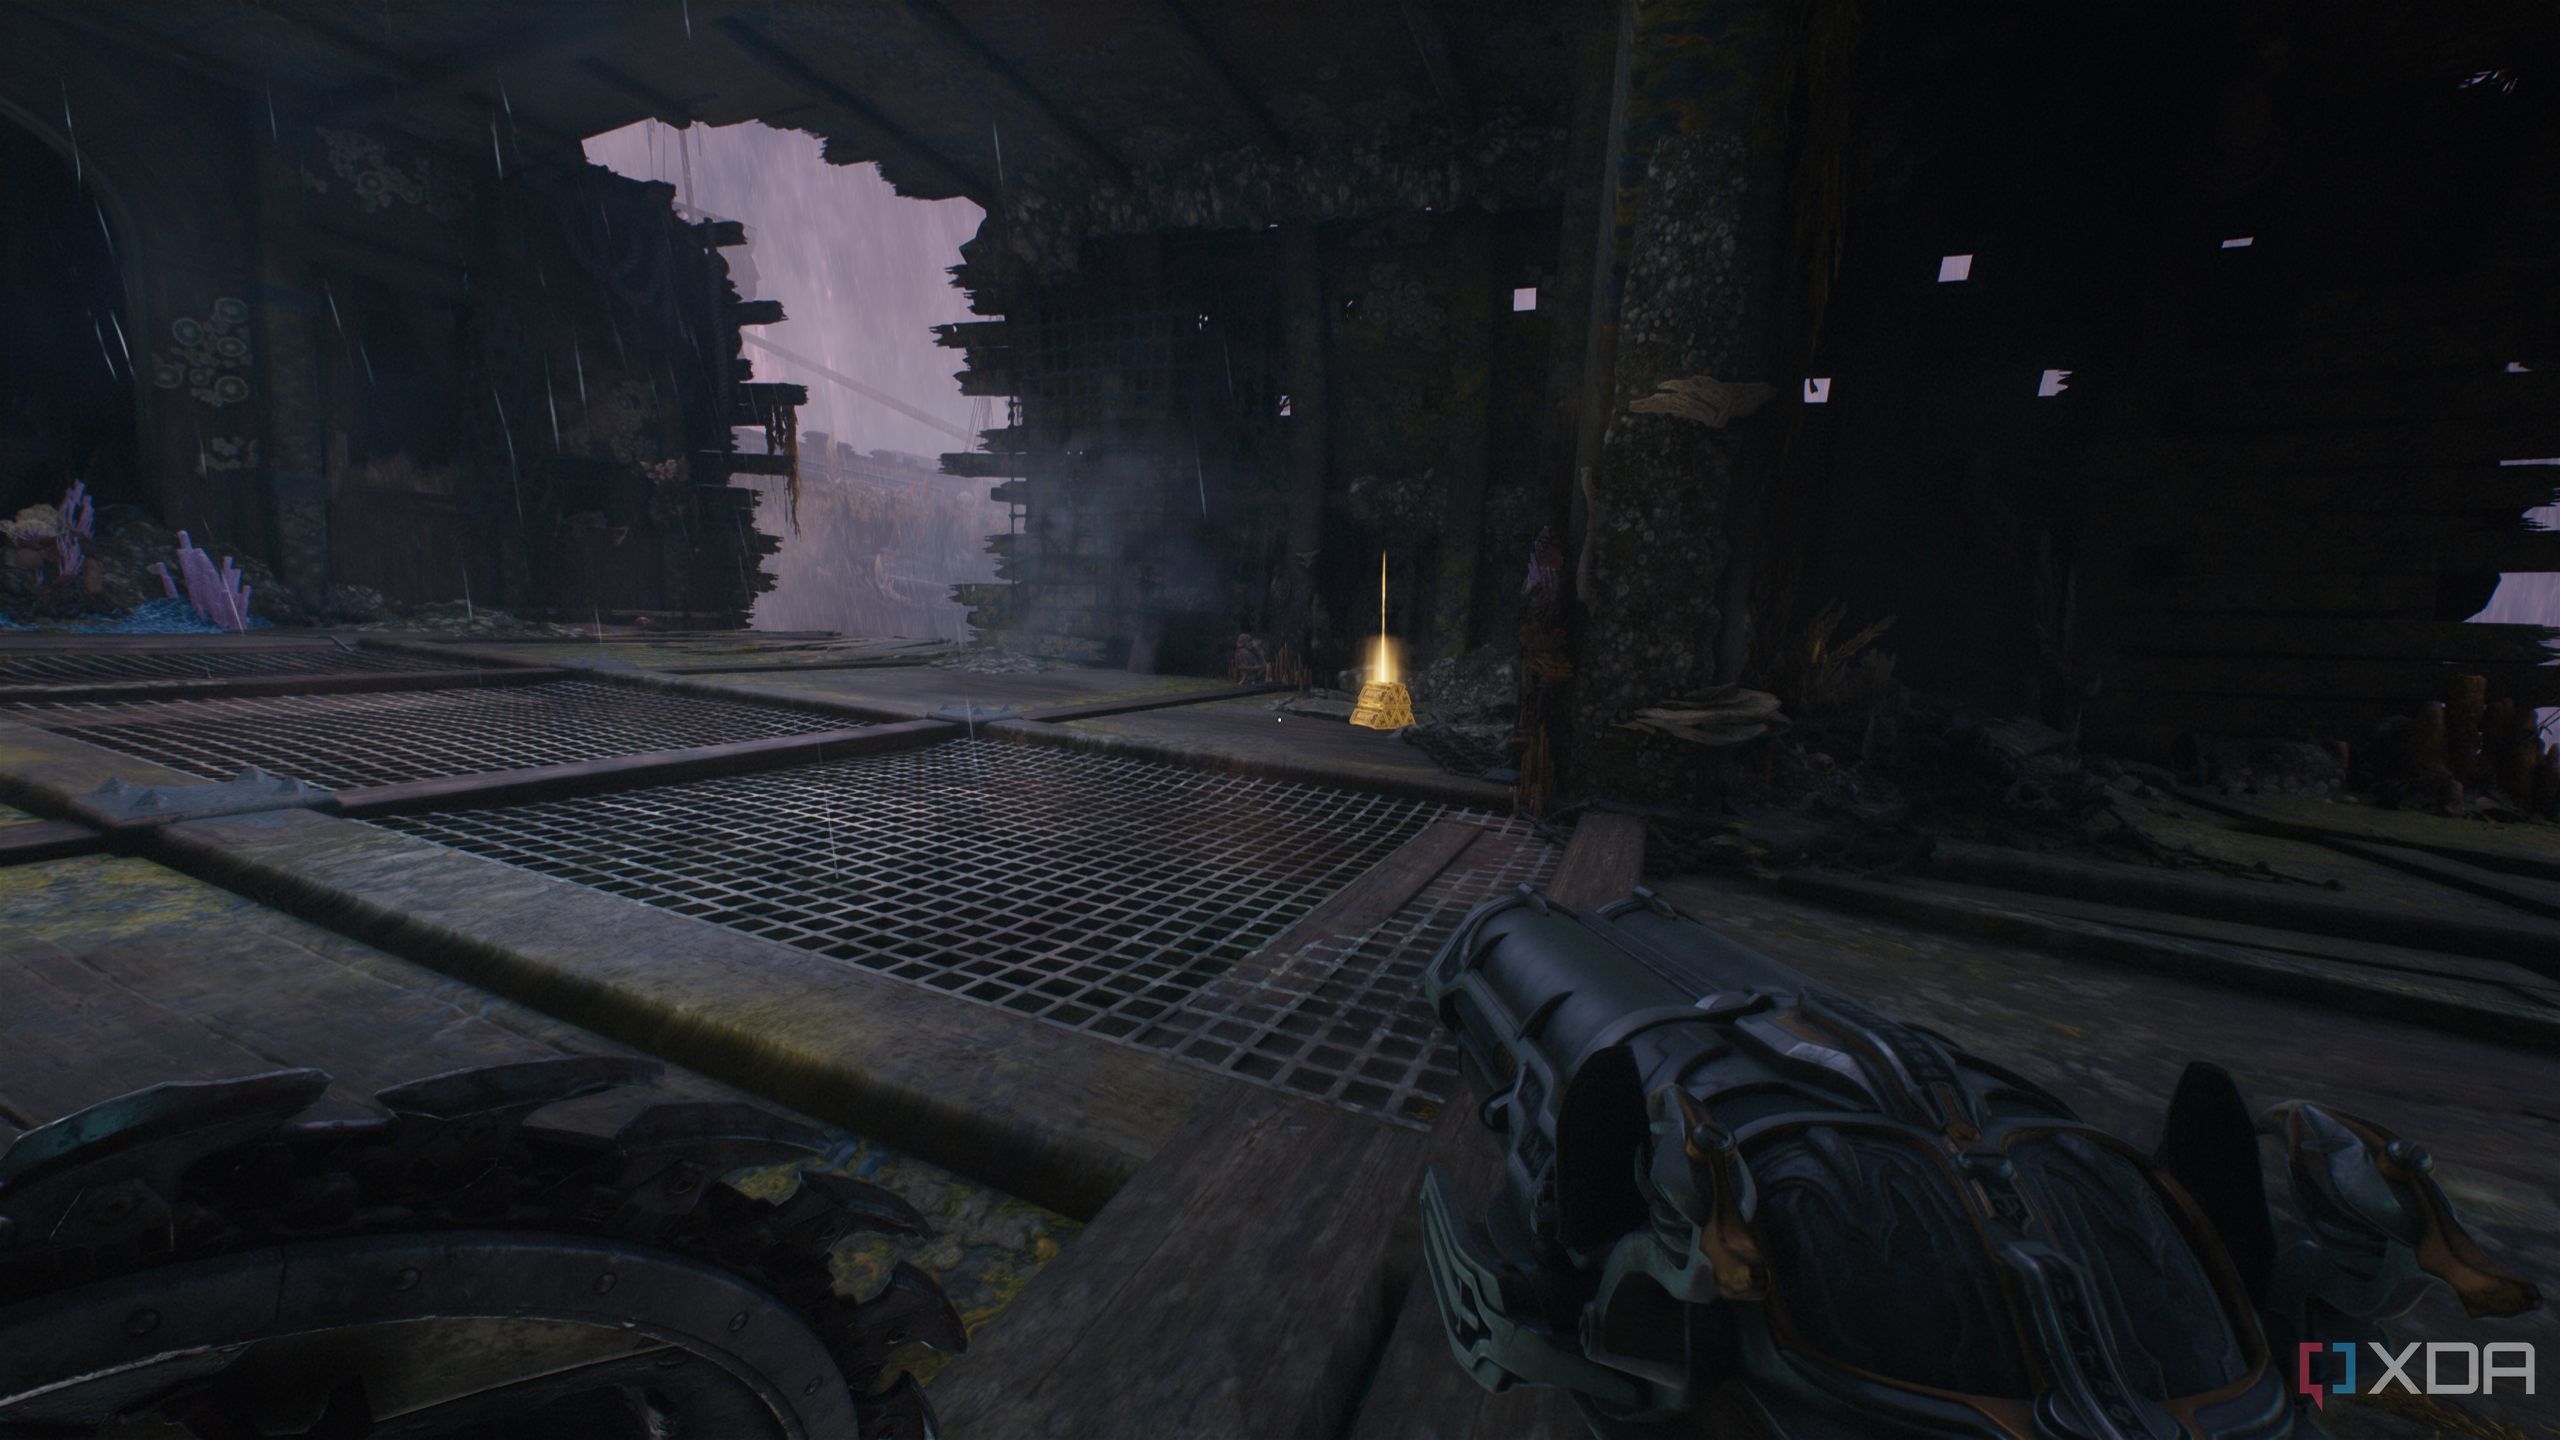
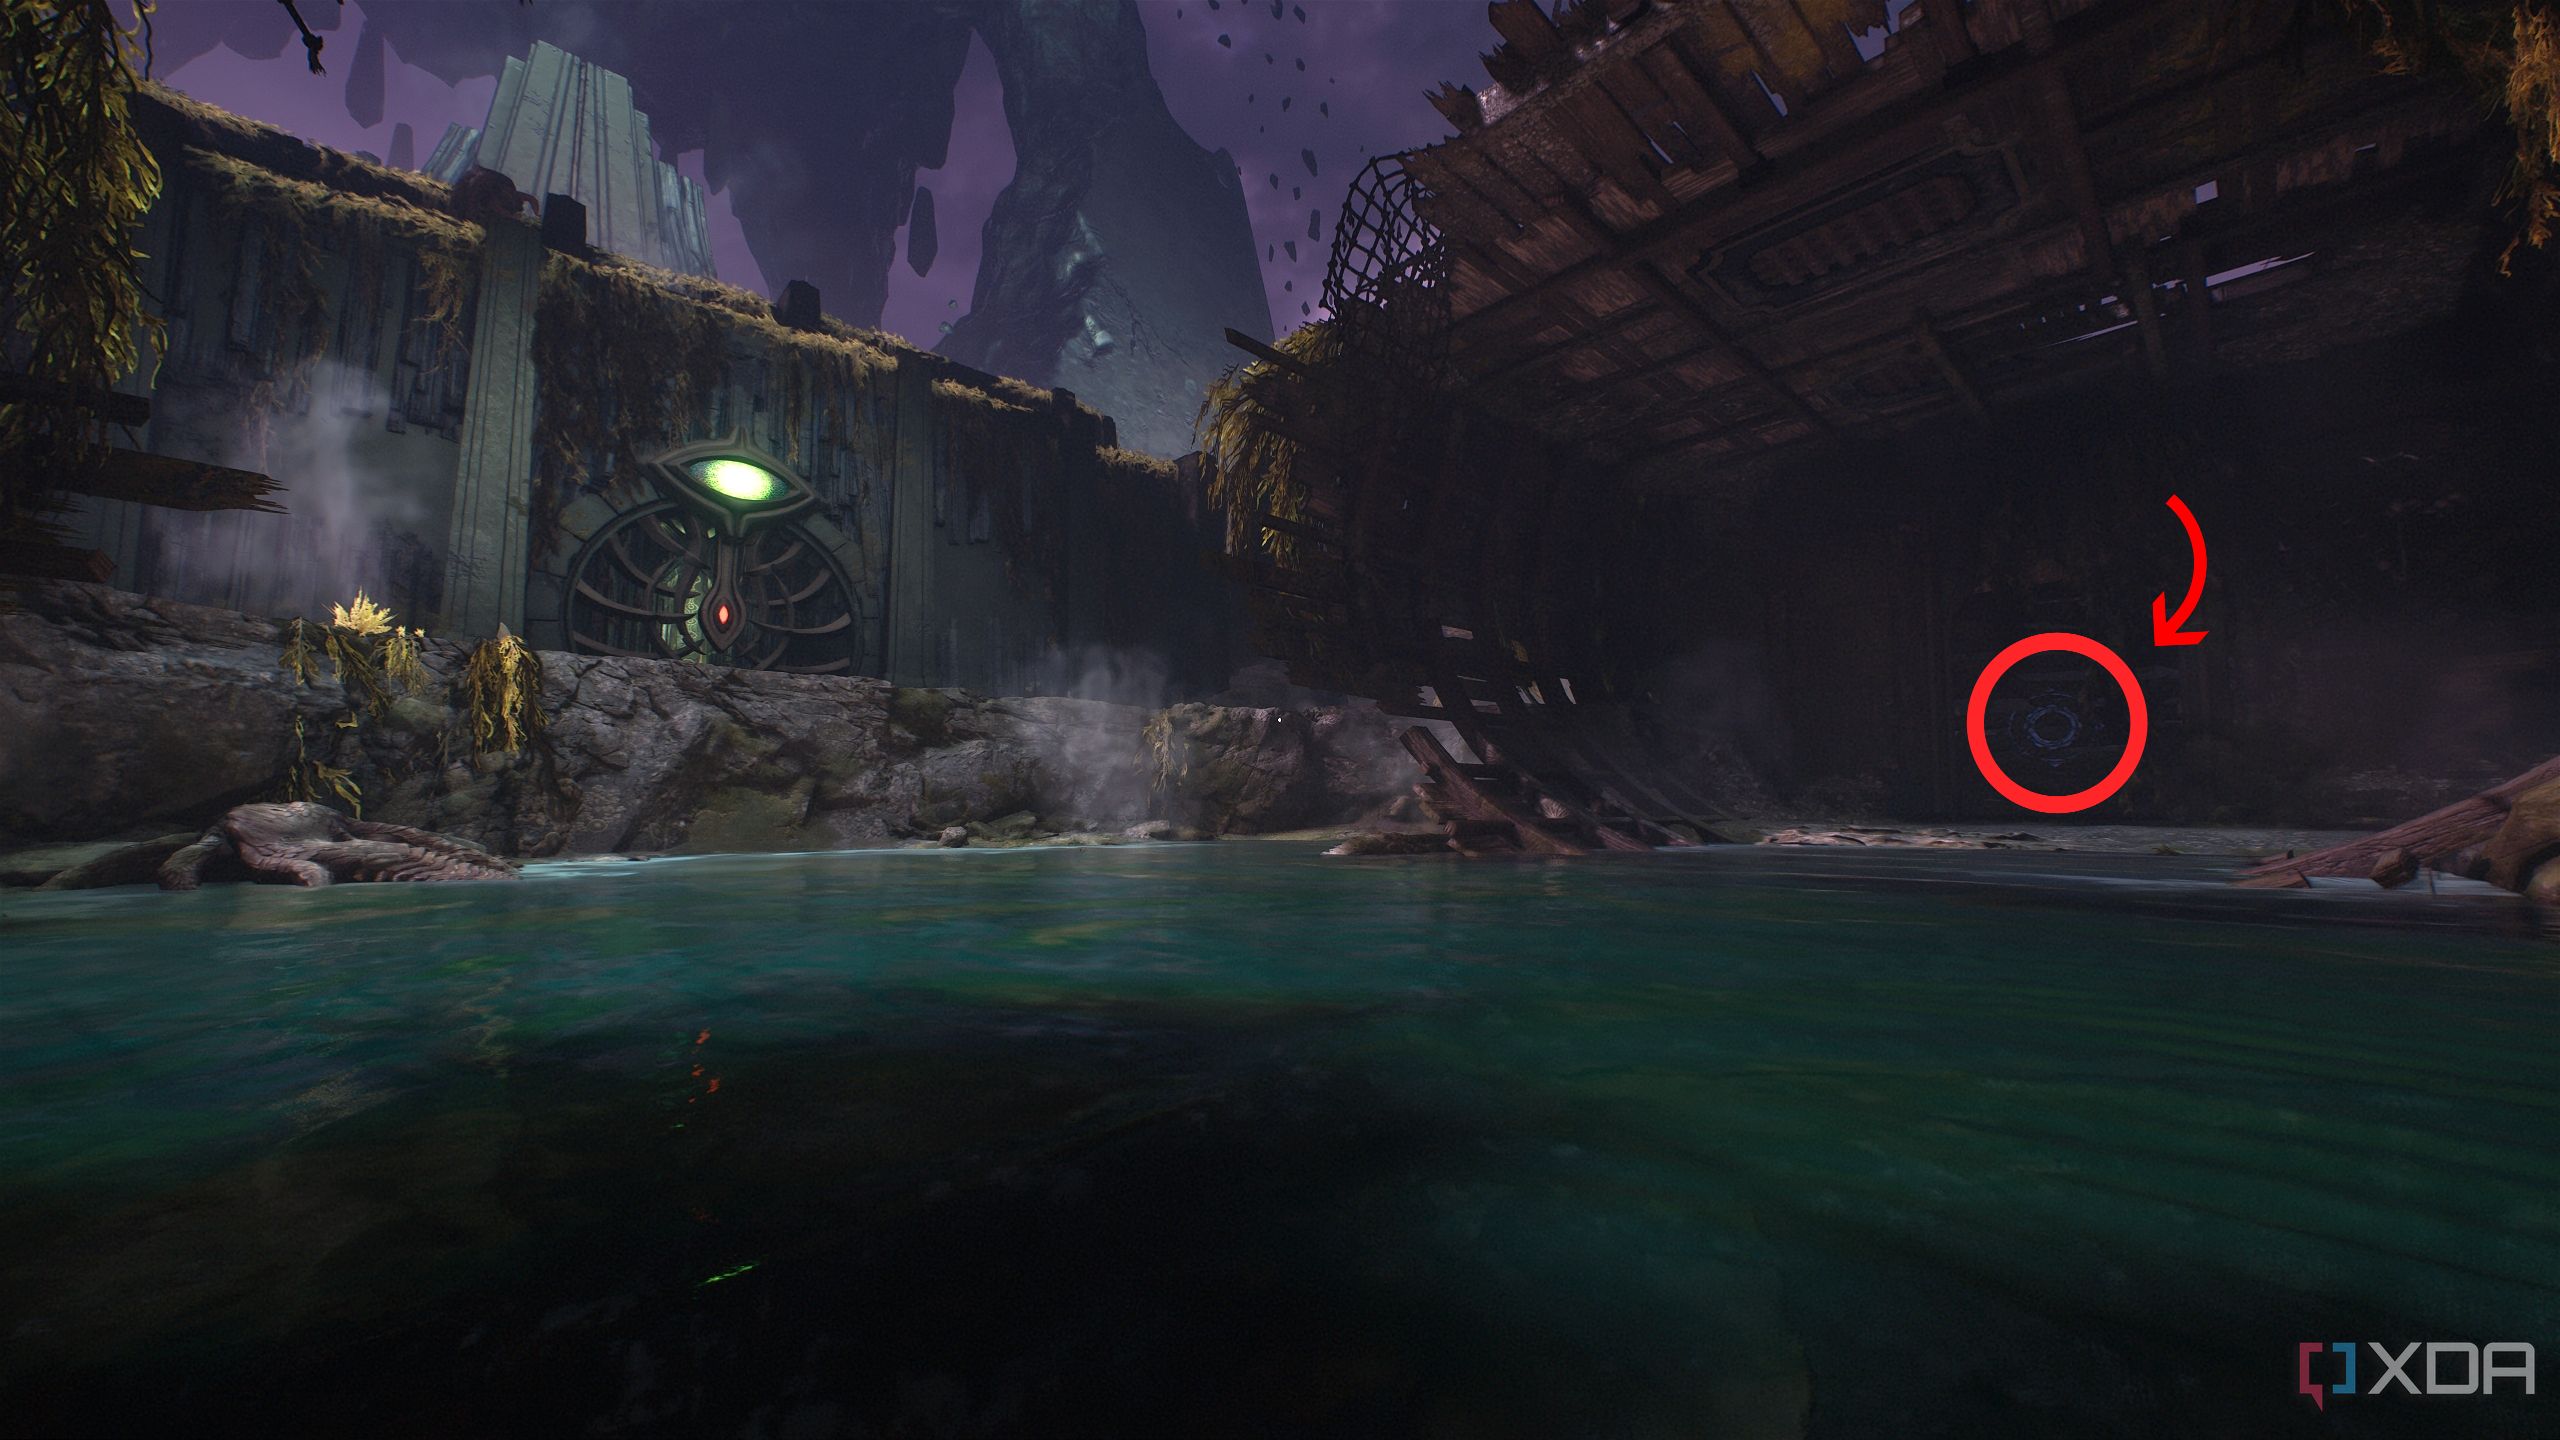
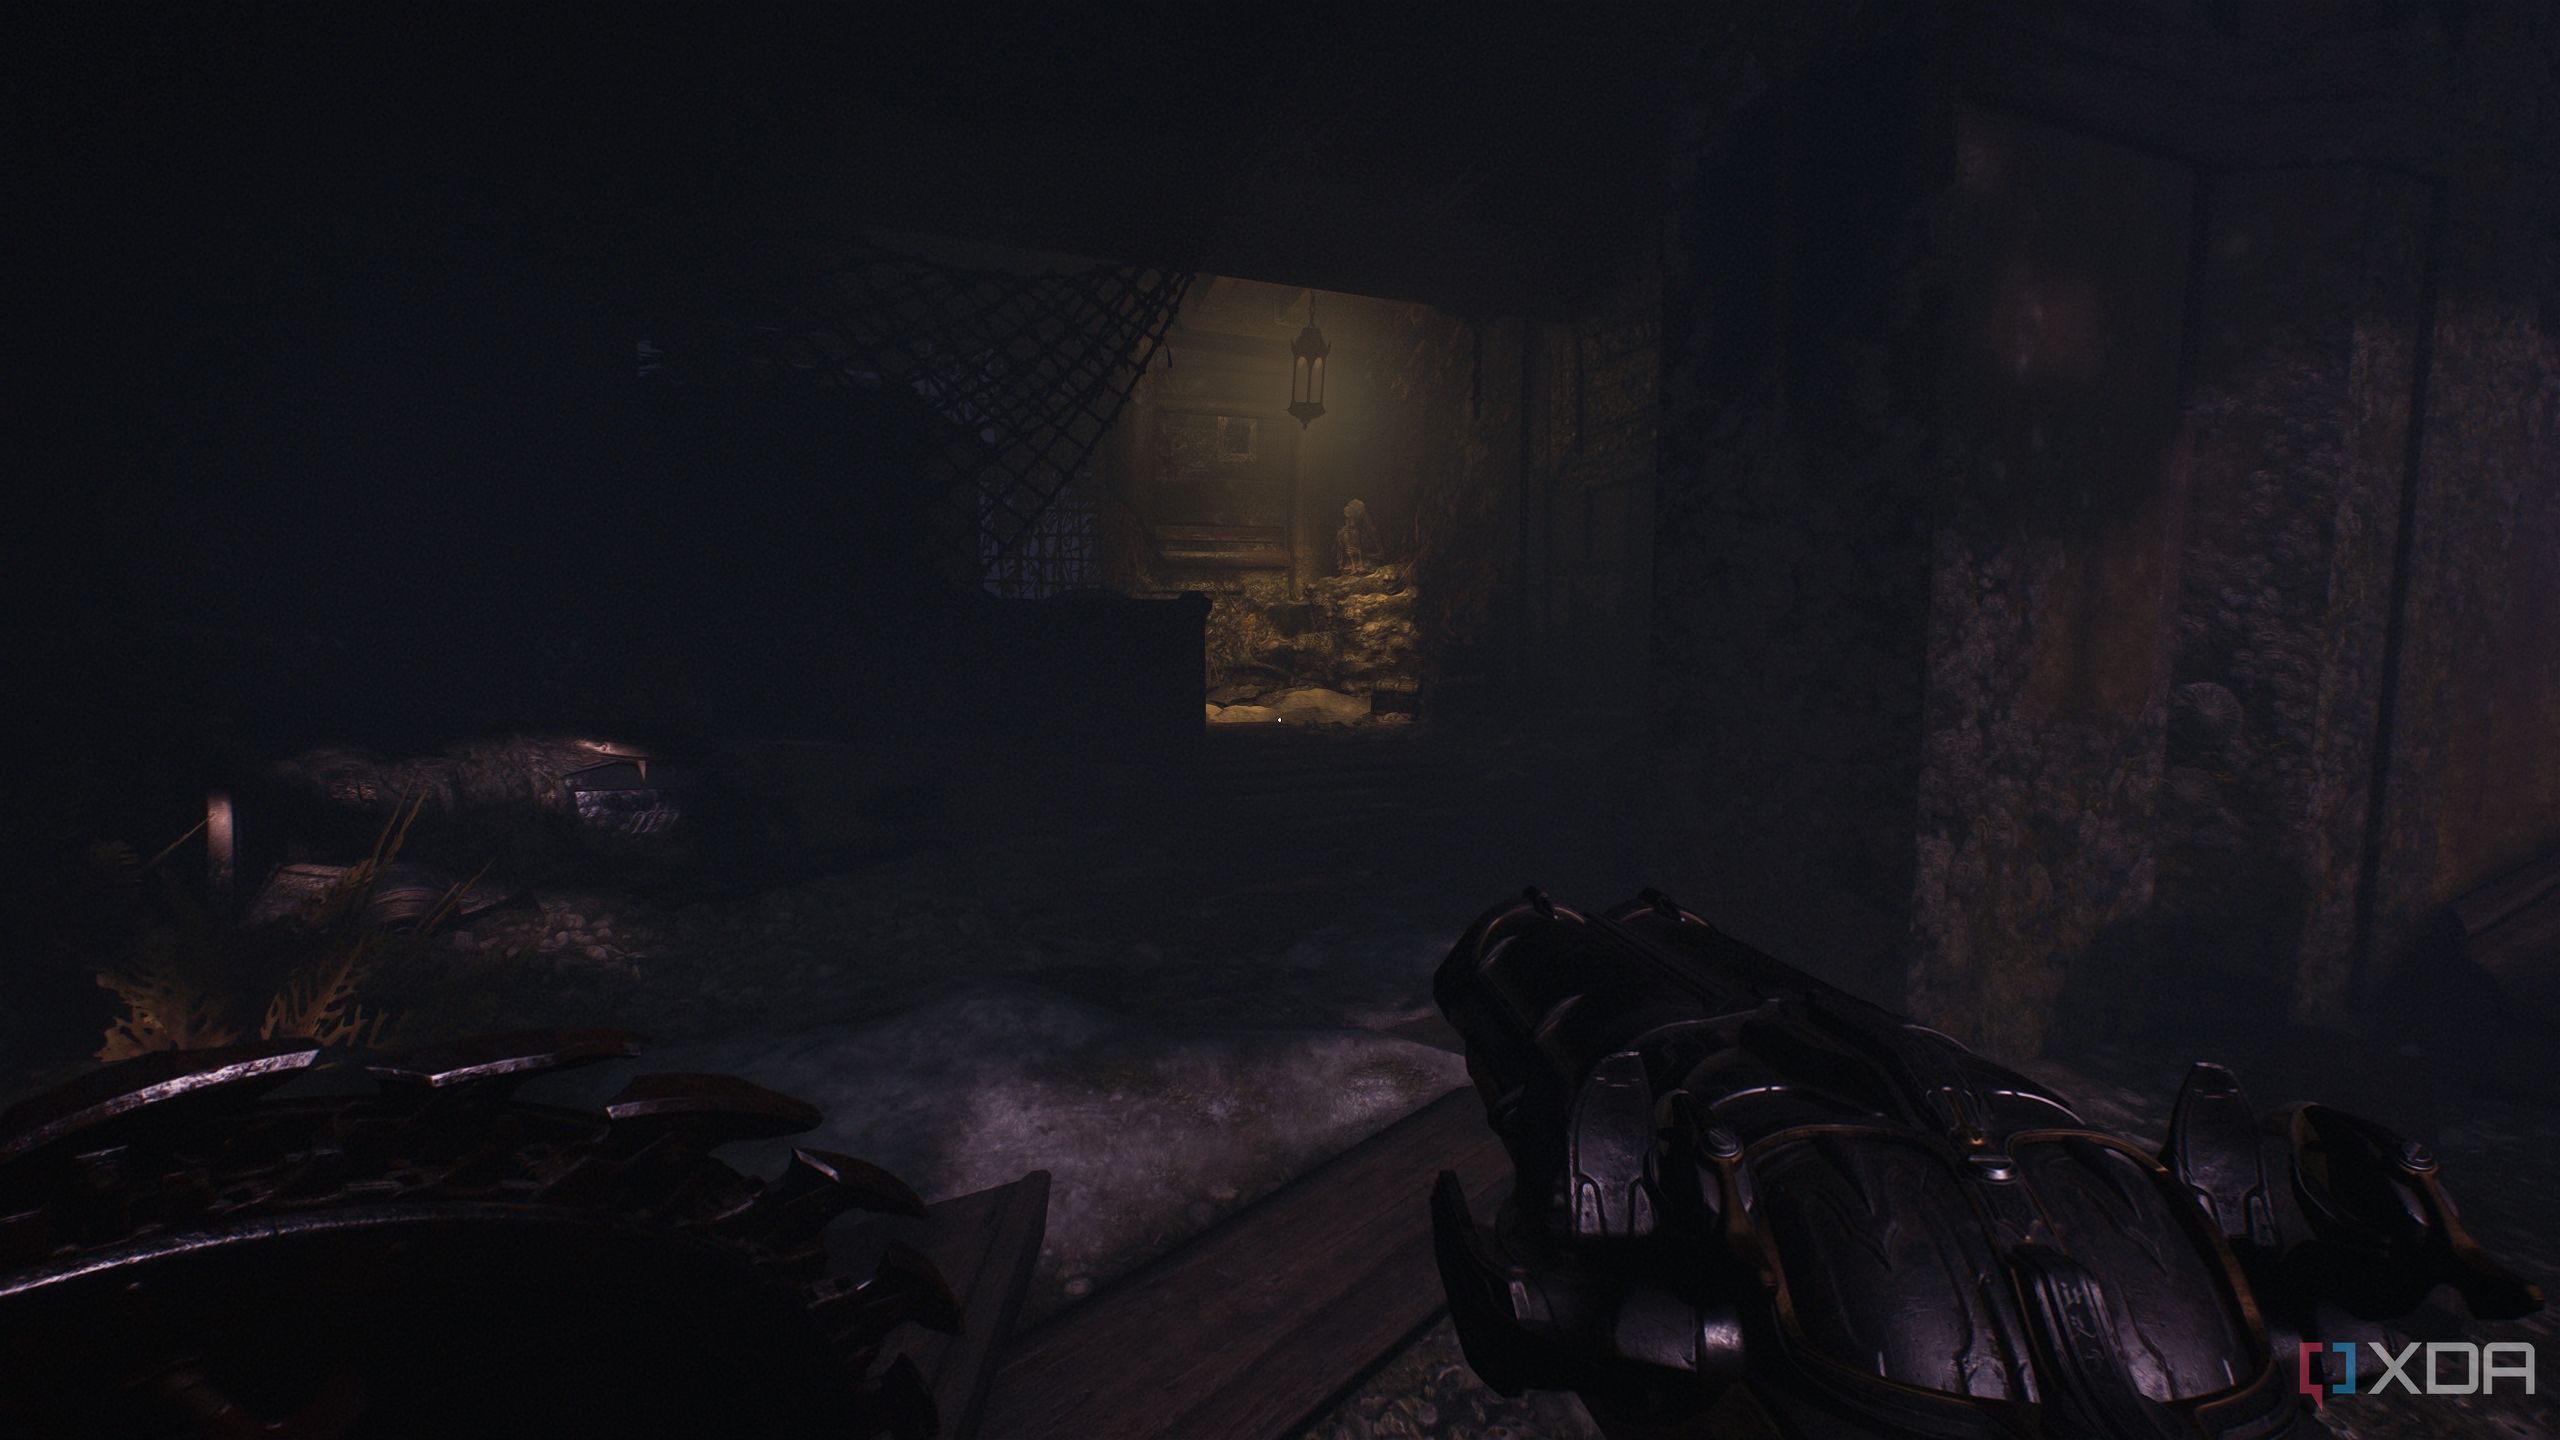
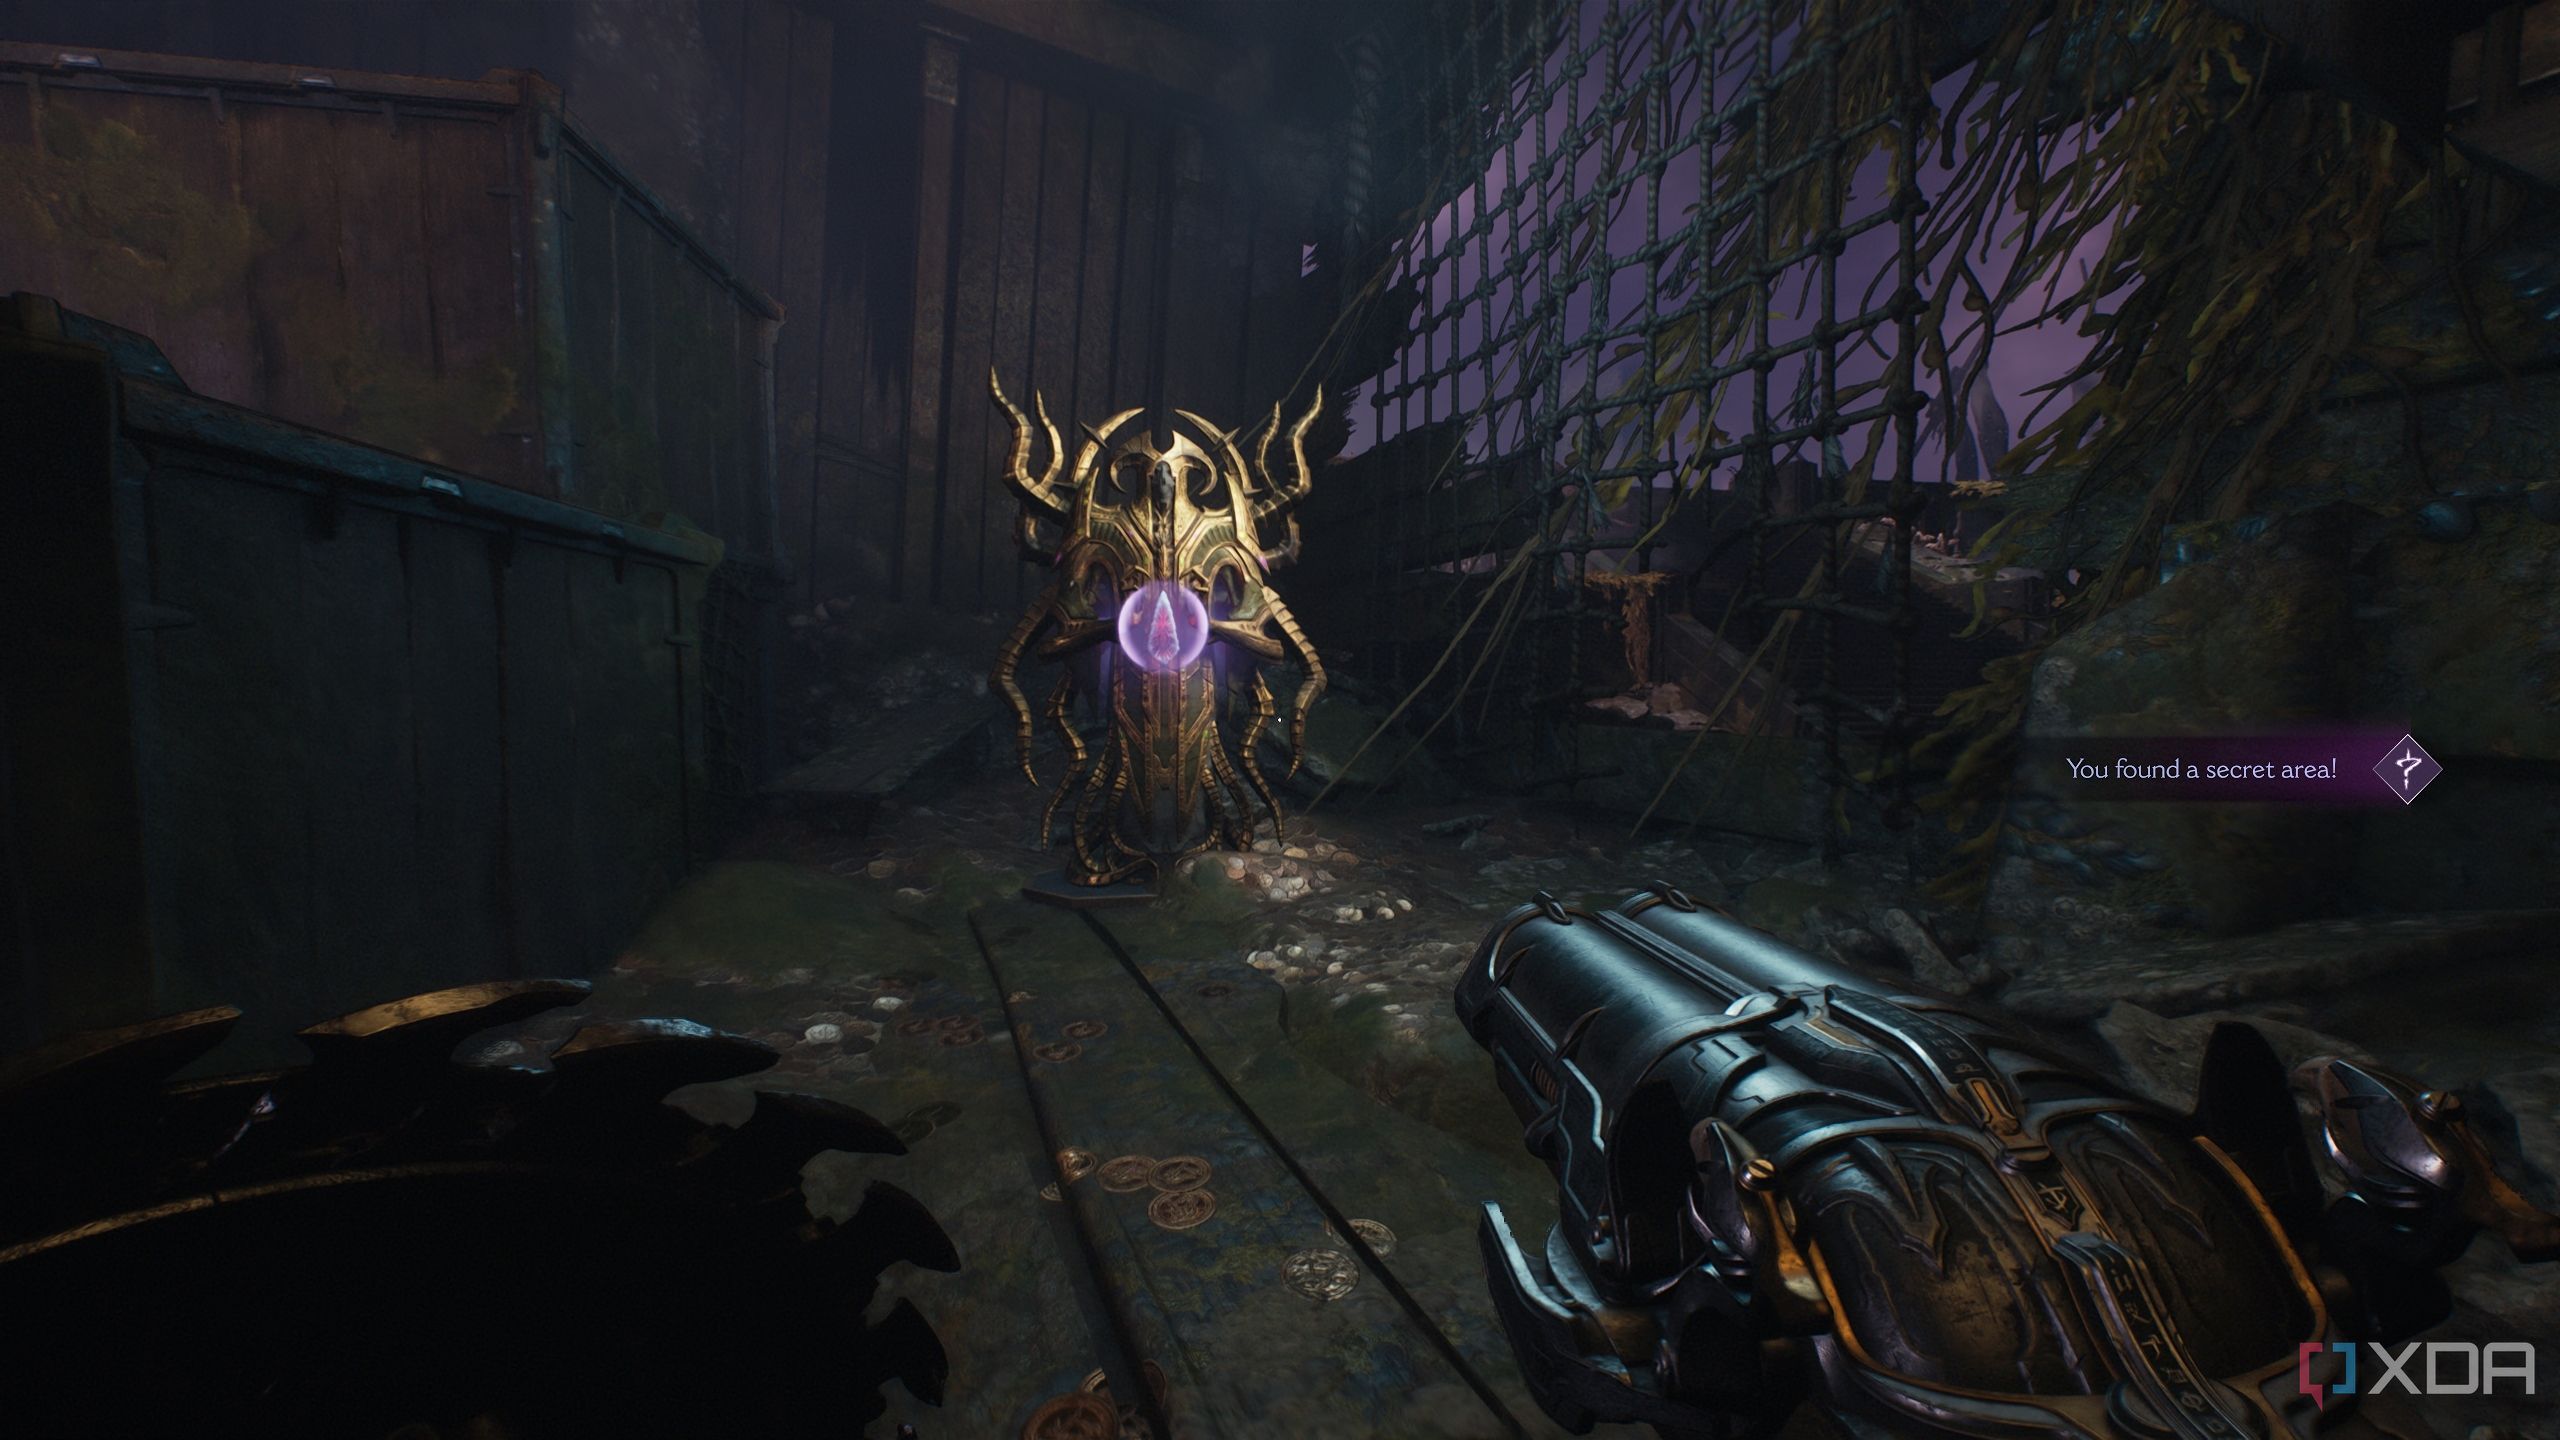
Secret area 1 and a Red Ruby
Purple skies and golden loot
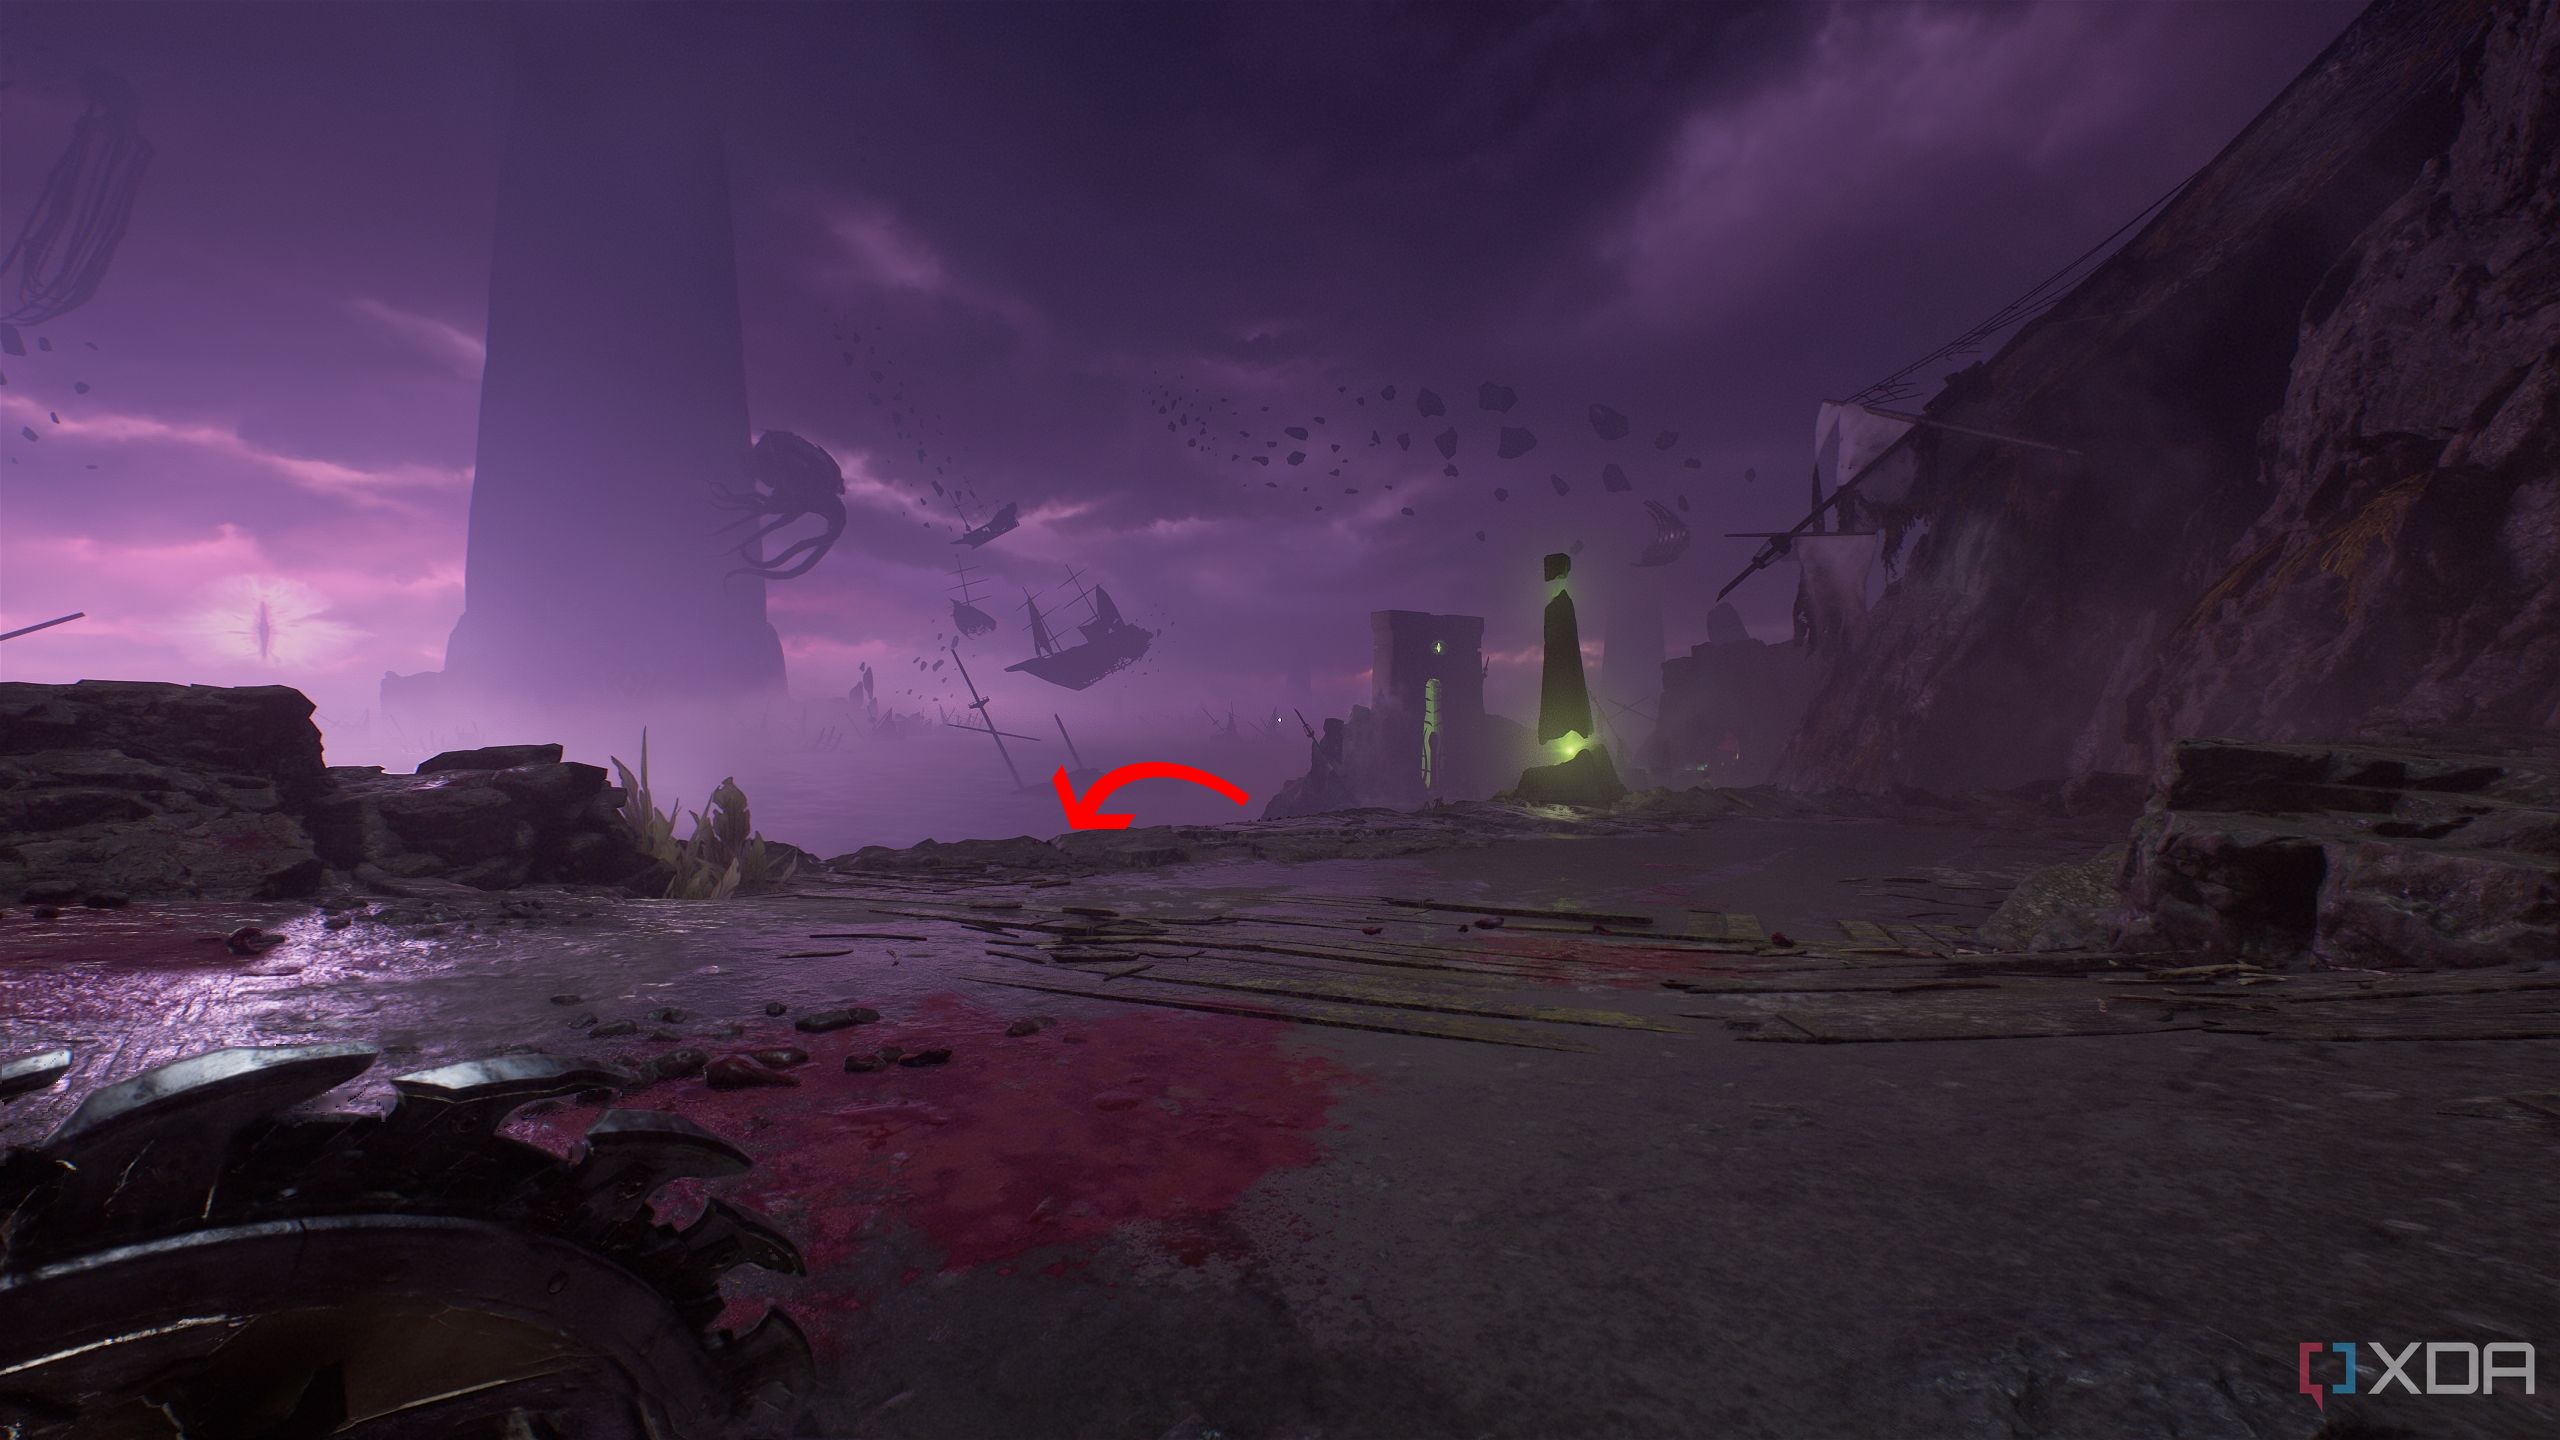
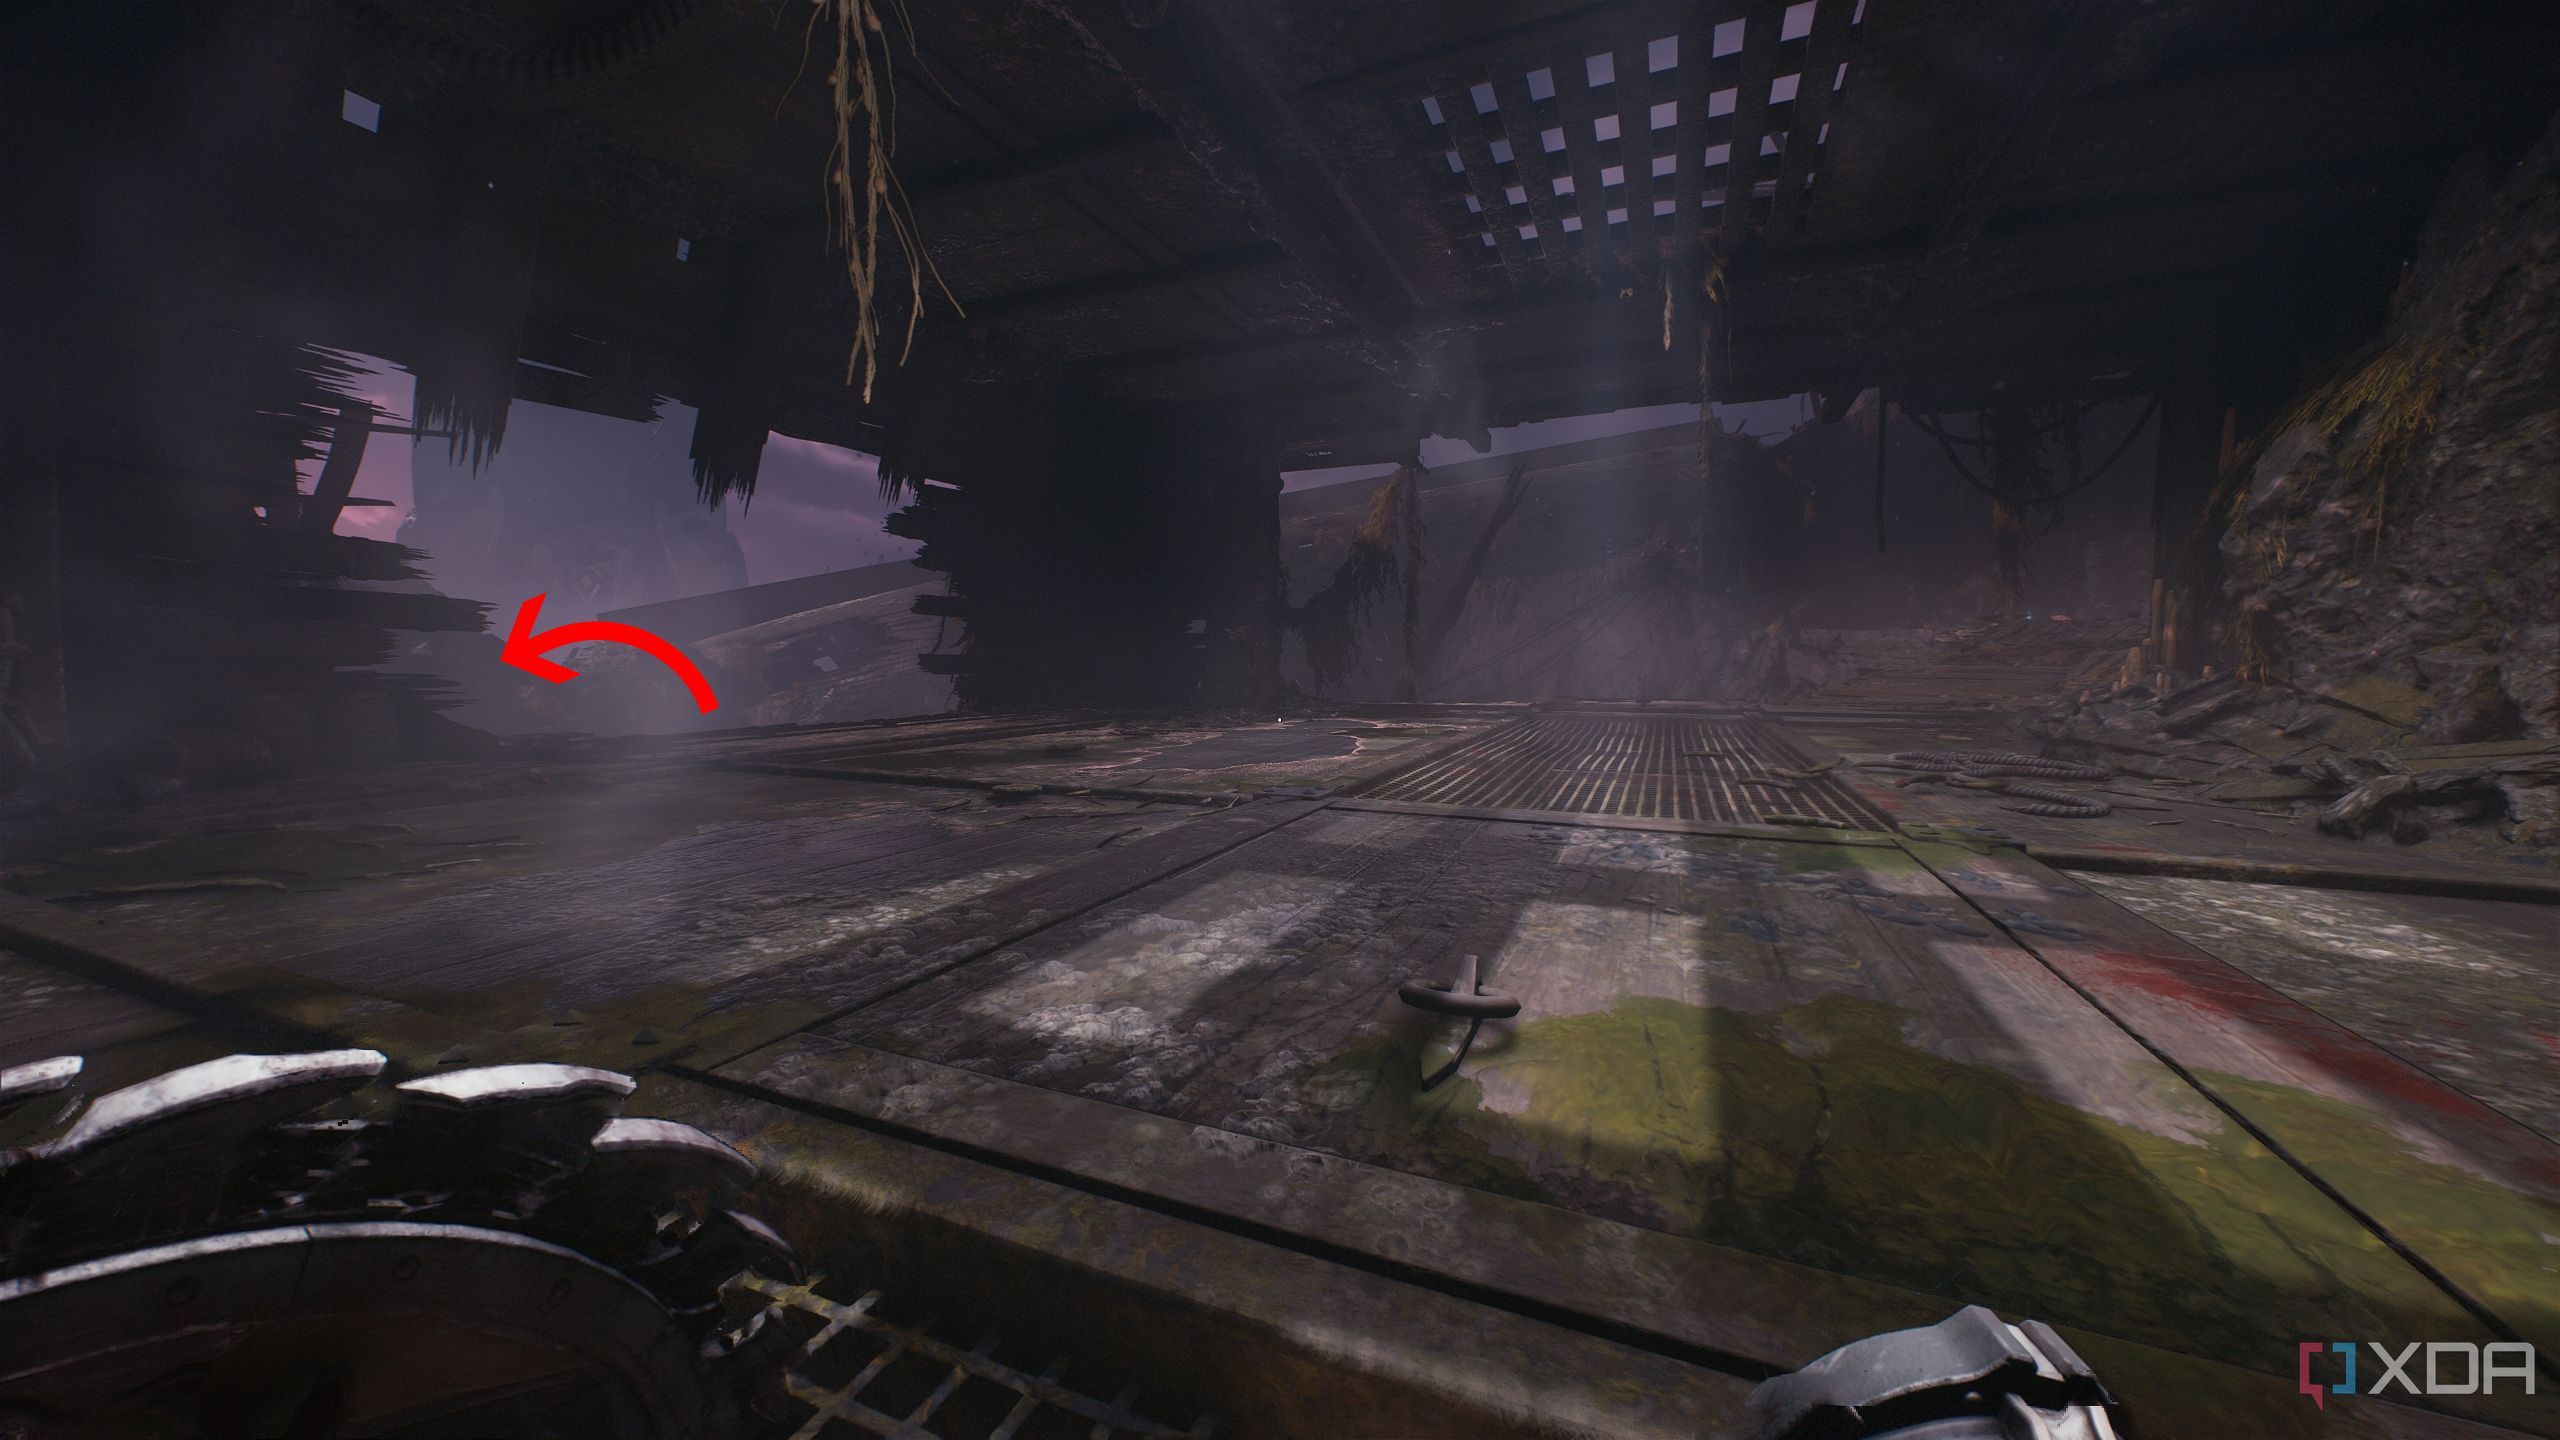
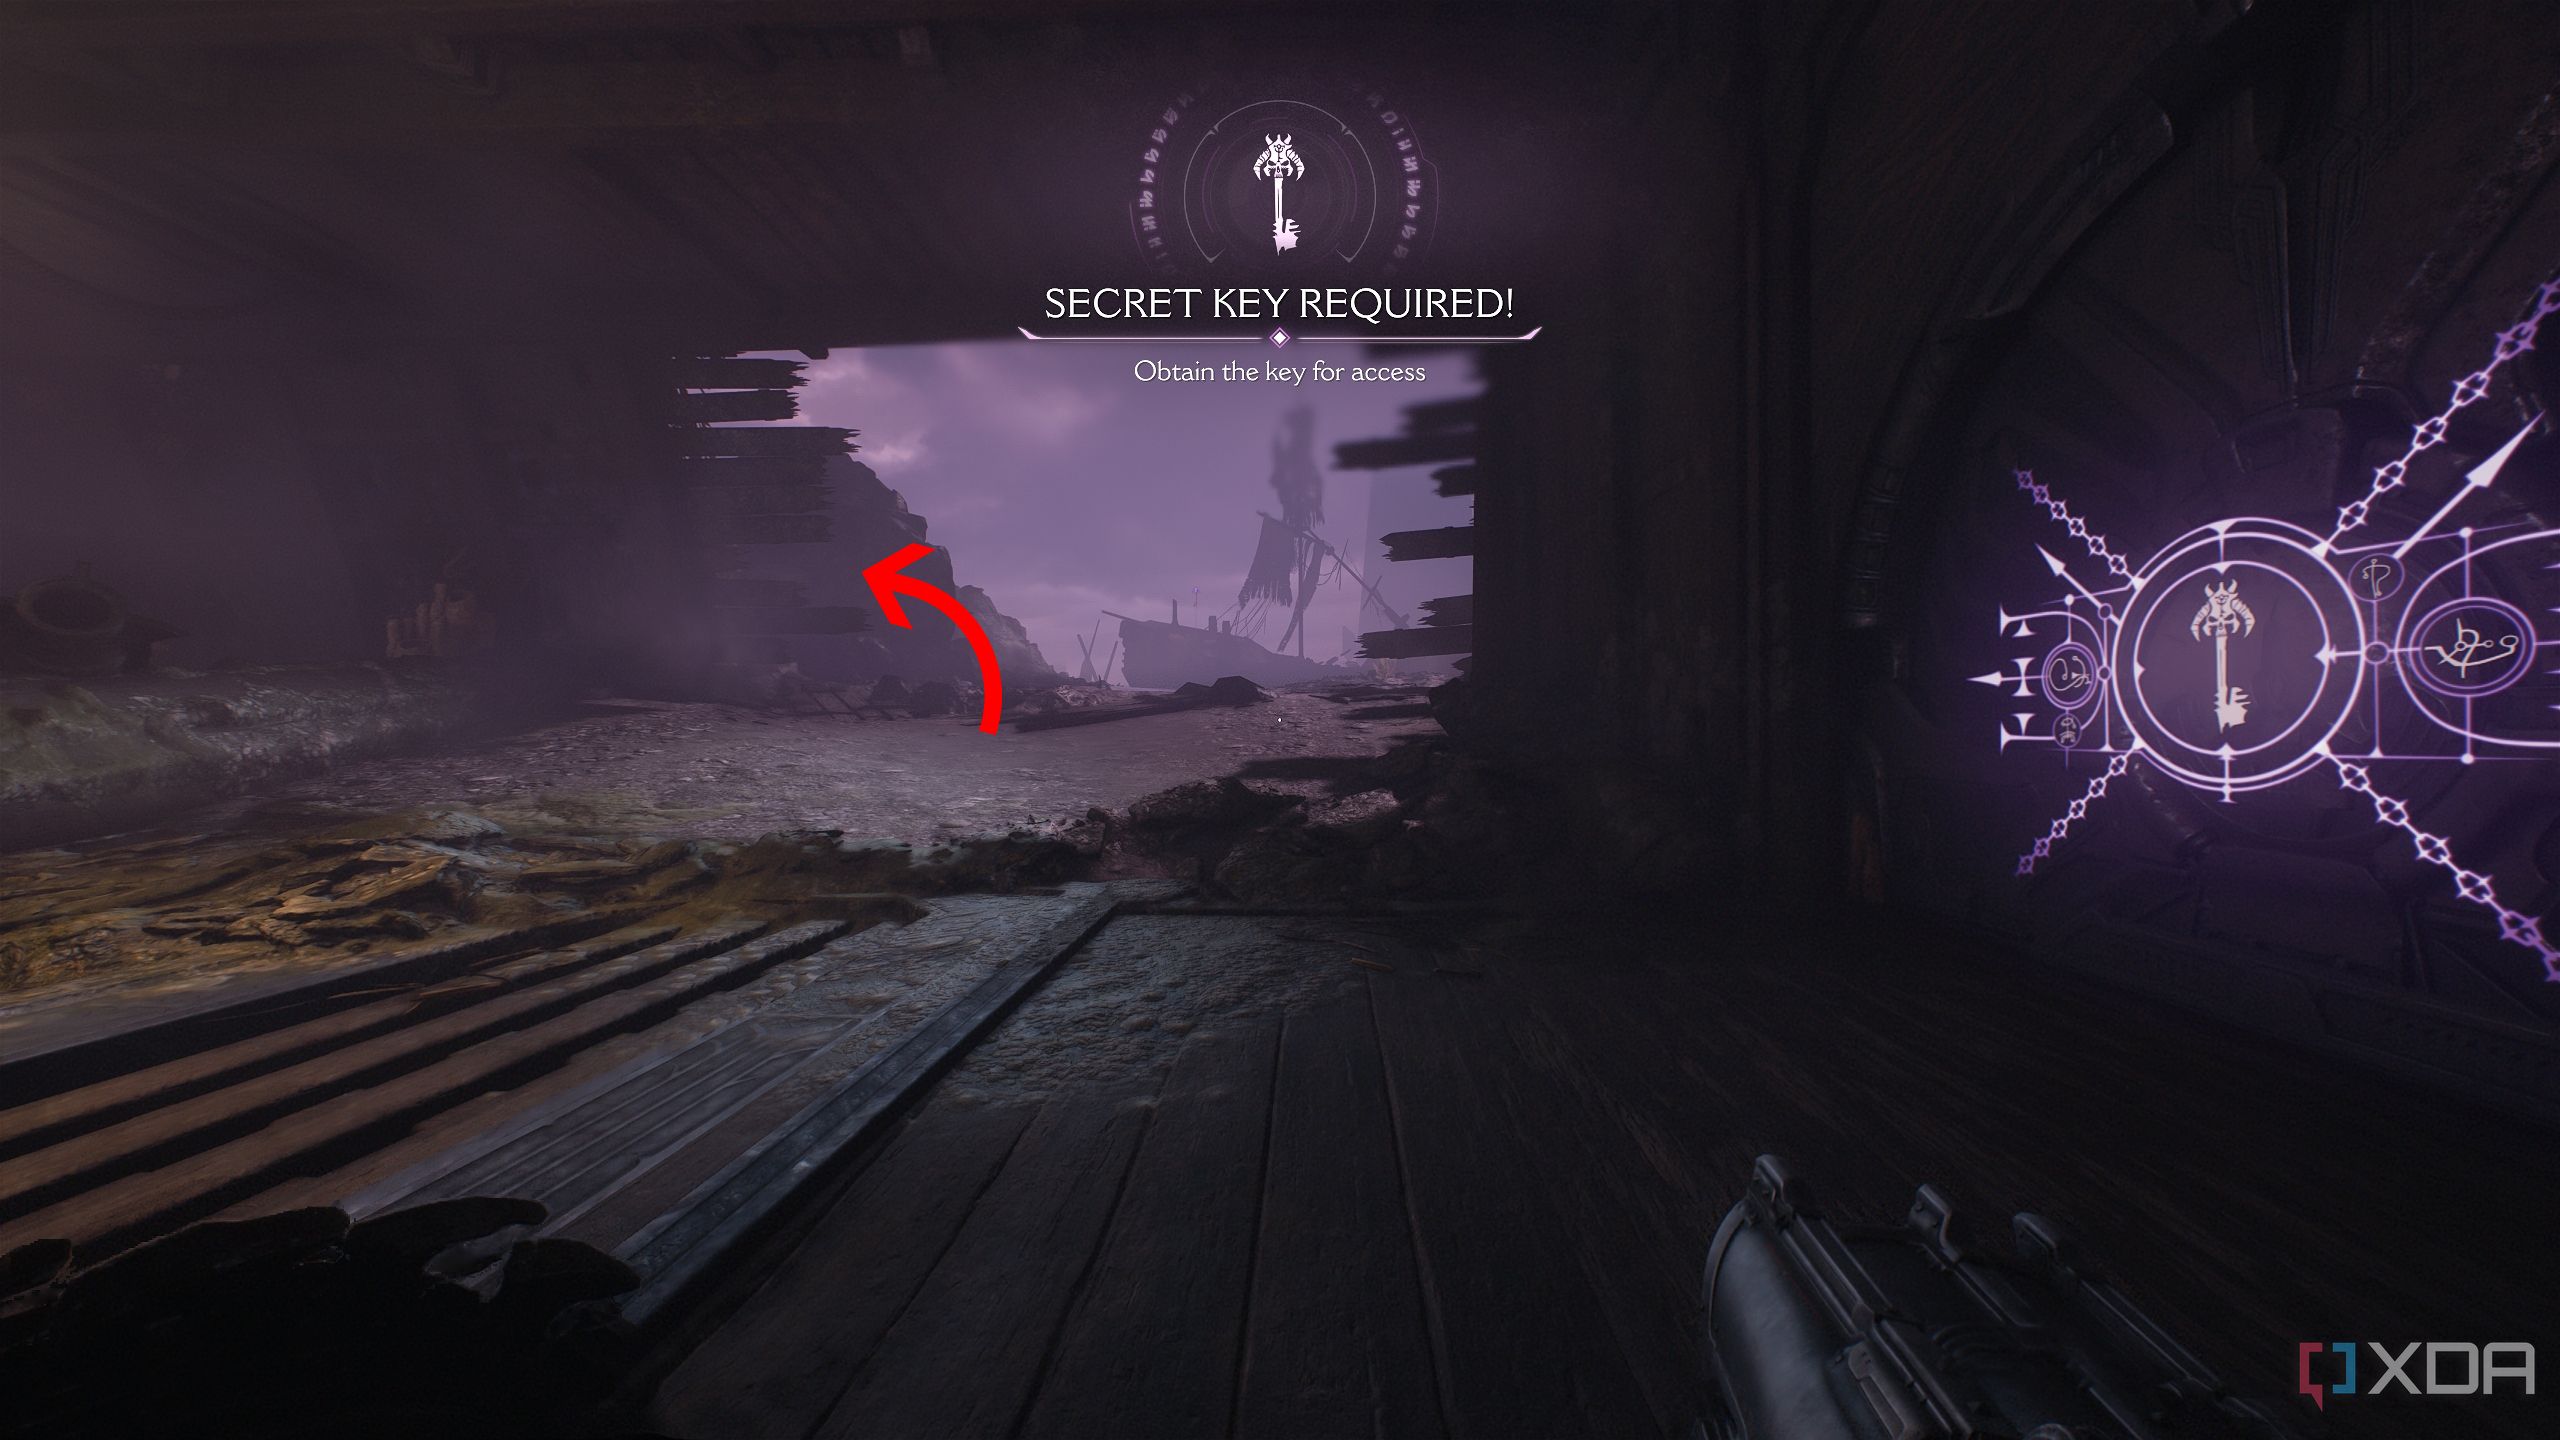
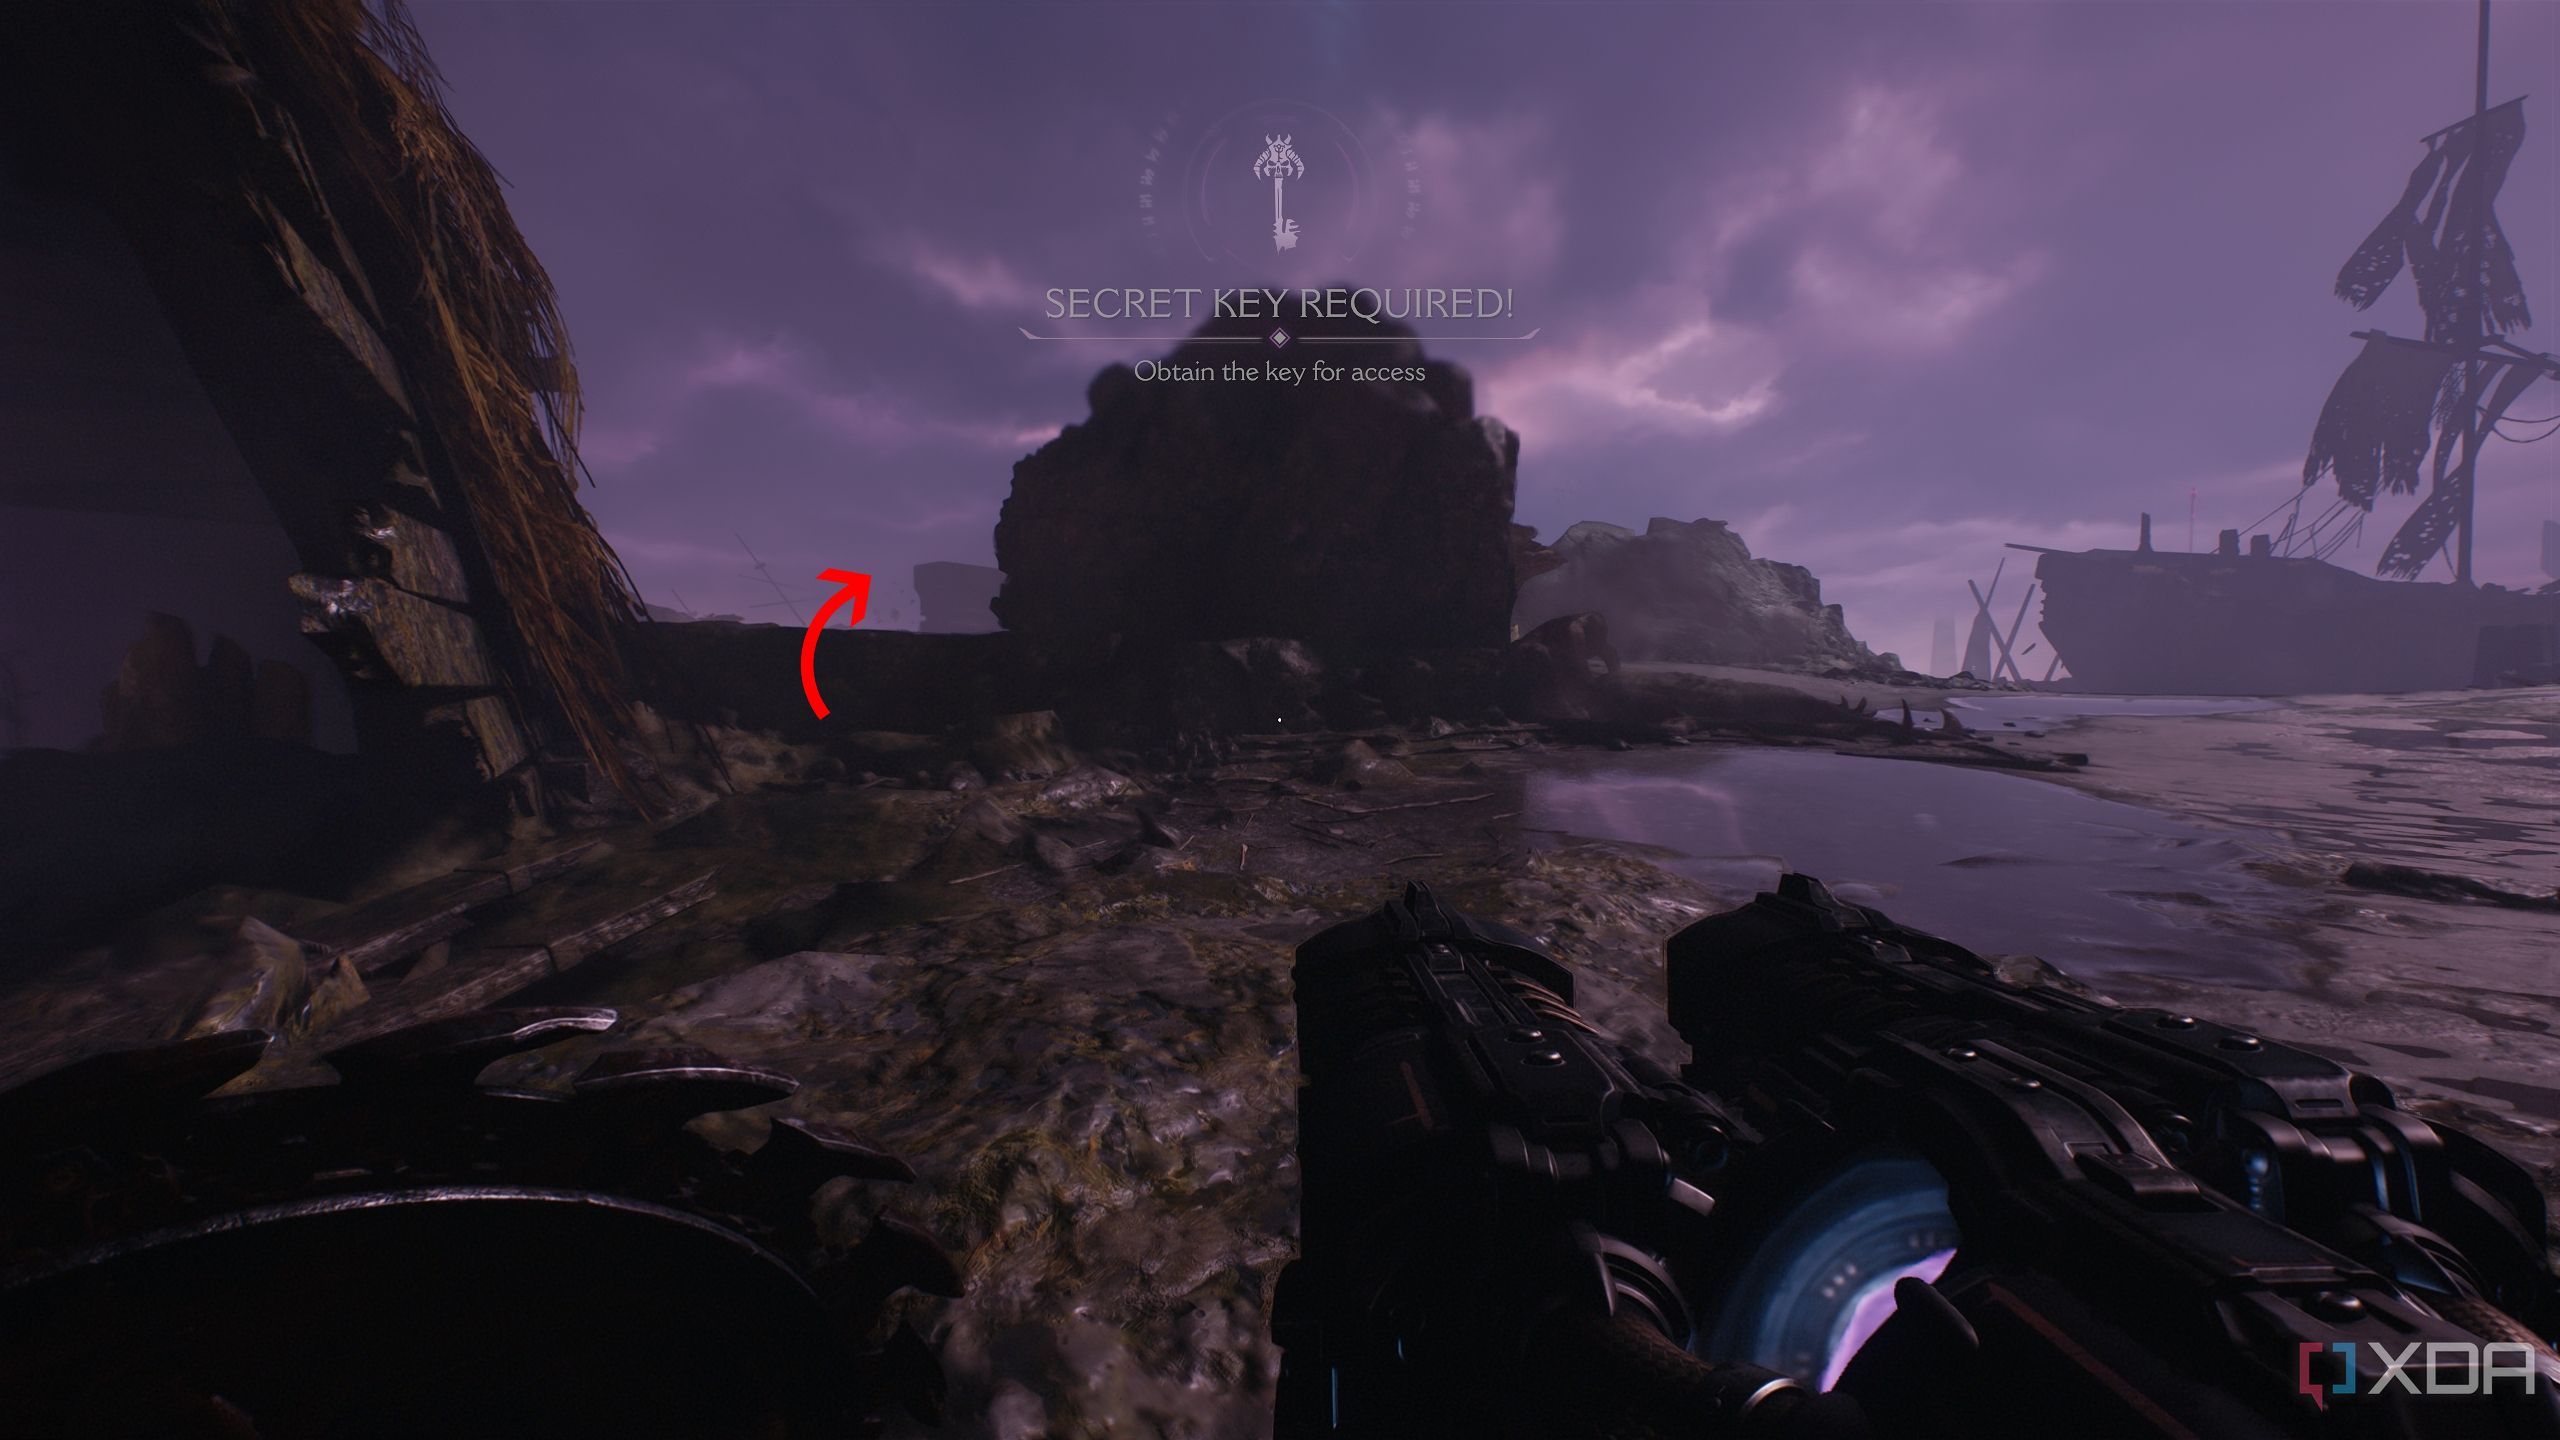
When you begin the level, move through the initial areas until you reach the very first green pillar. Before going past it, drop down to the left.
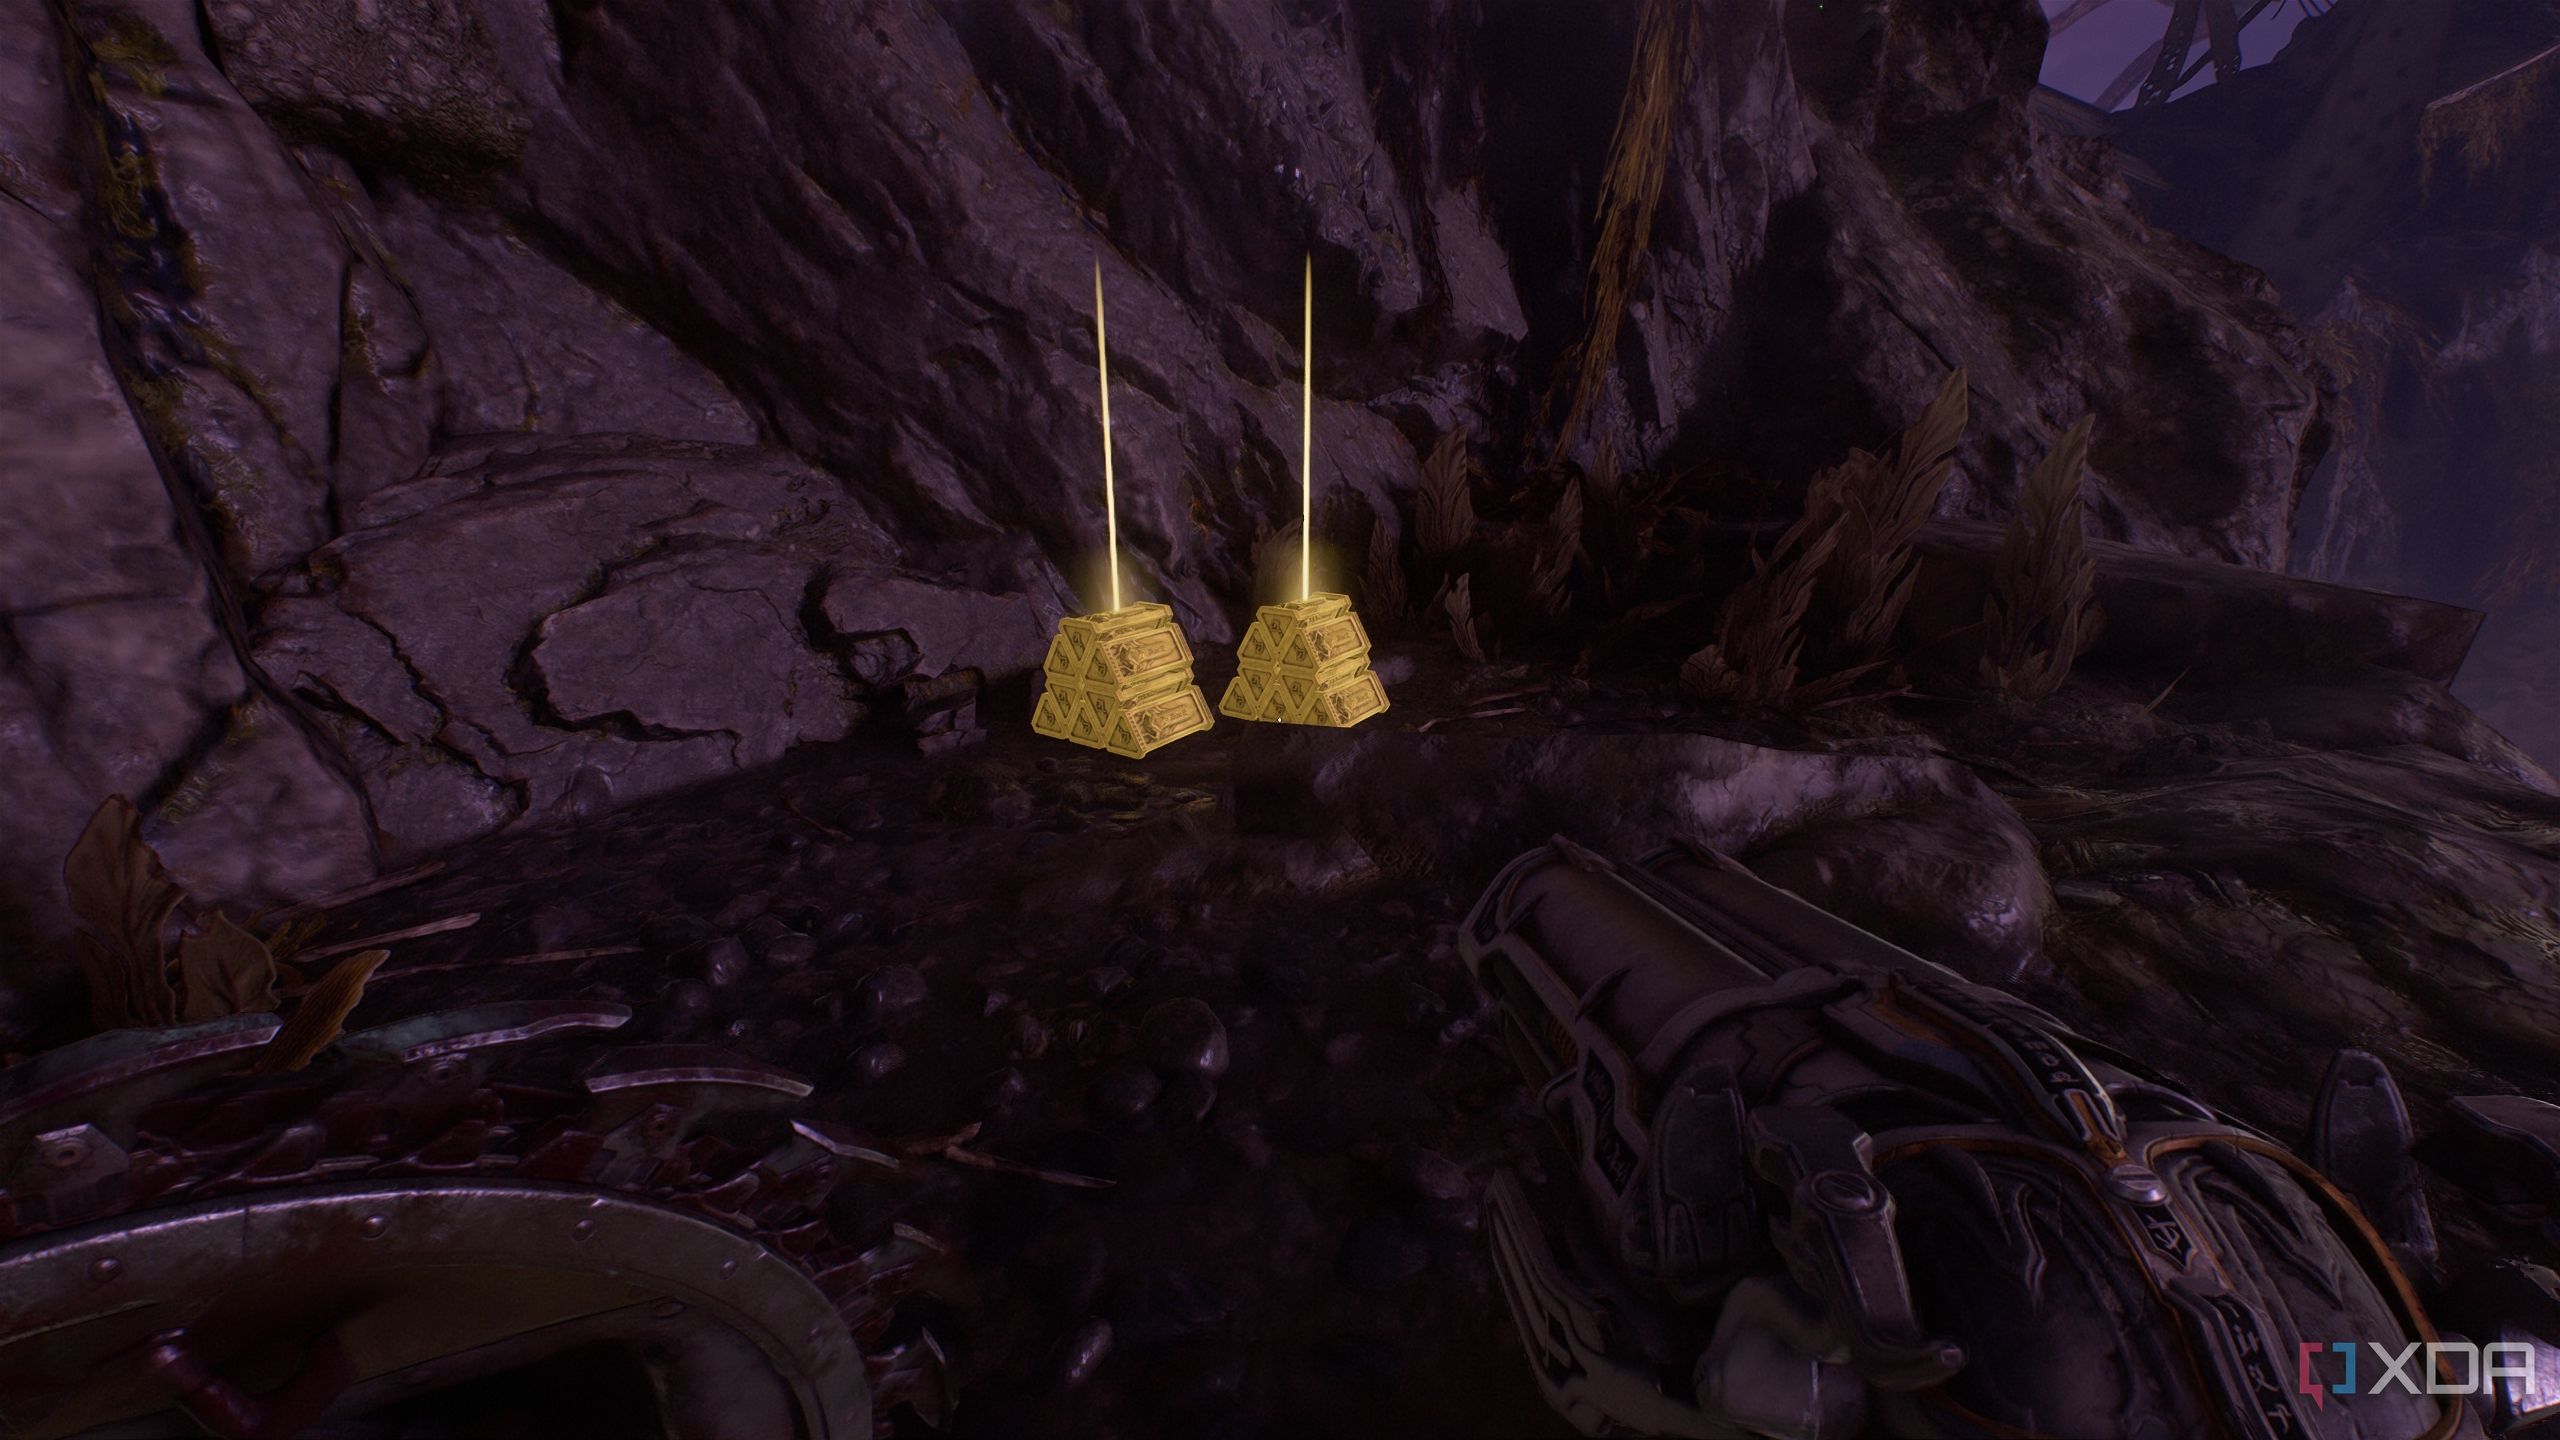
Here, you will see two gold stacks. Pick those up and continue forward — you have a lot of fighting to do here until you take down an armored leader Mancubus.
After that, instead of heading through the big green gate towards the objective, walk to its right instead.
You’ll see a small ledge to climb up on, and from there, a rocky path leading to a green flesh node overhead.
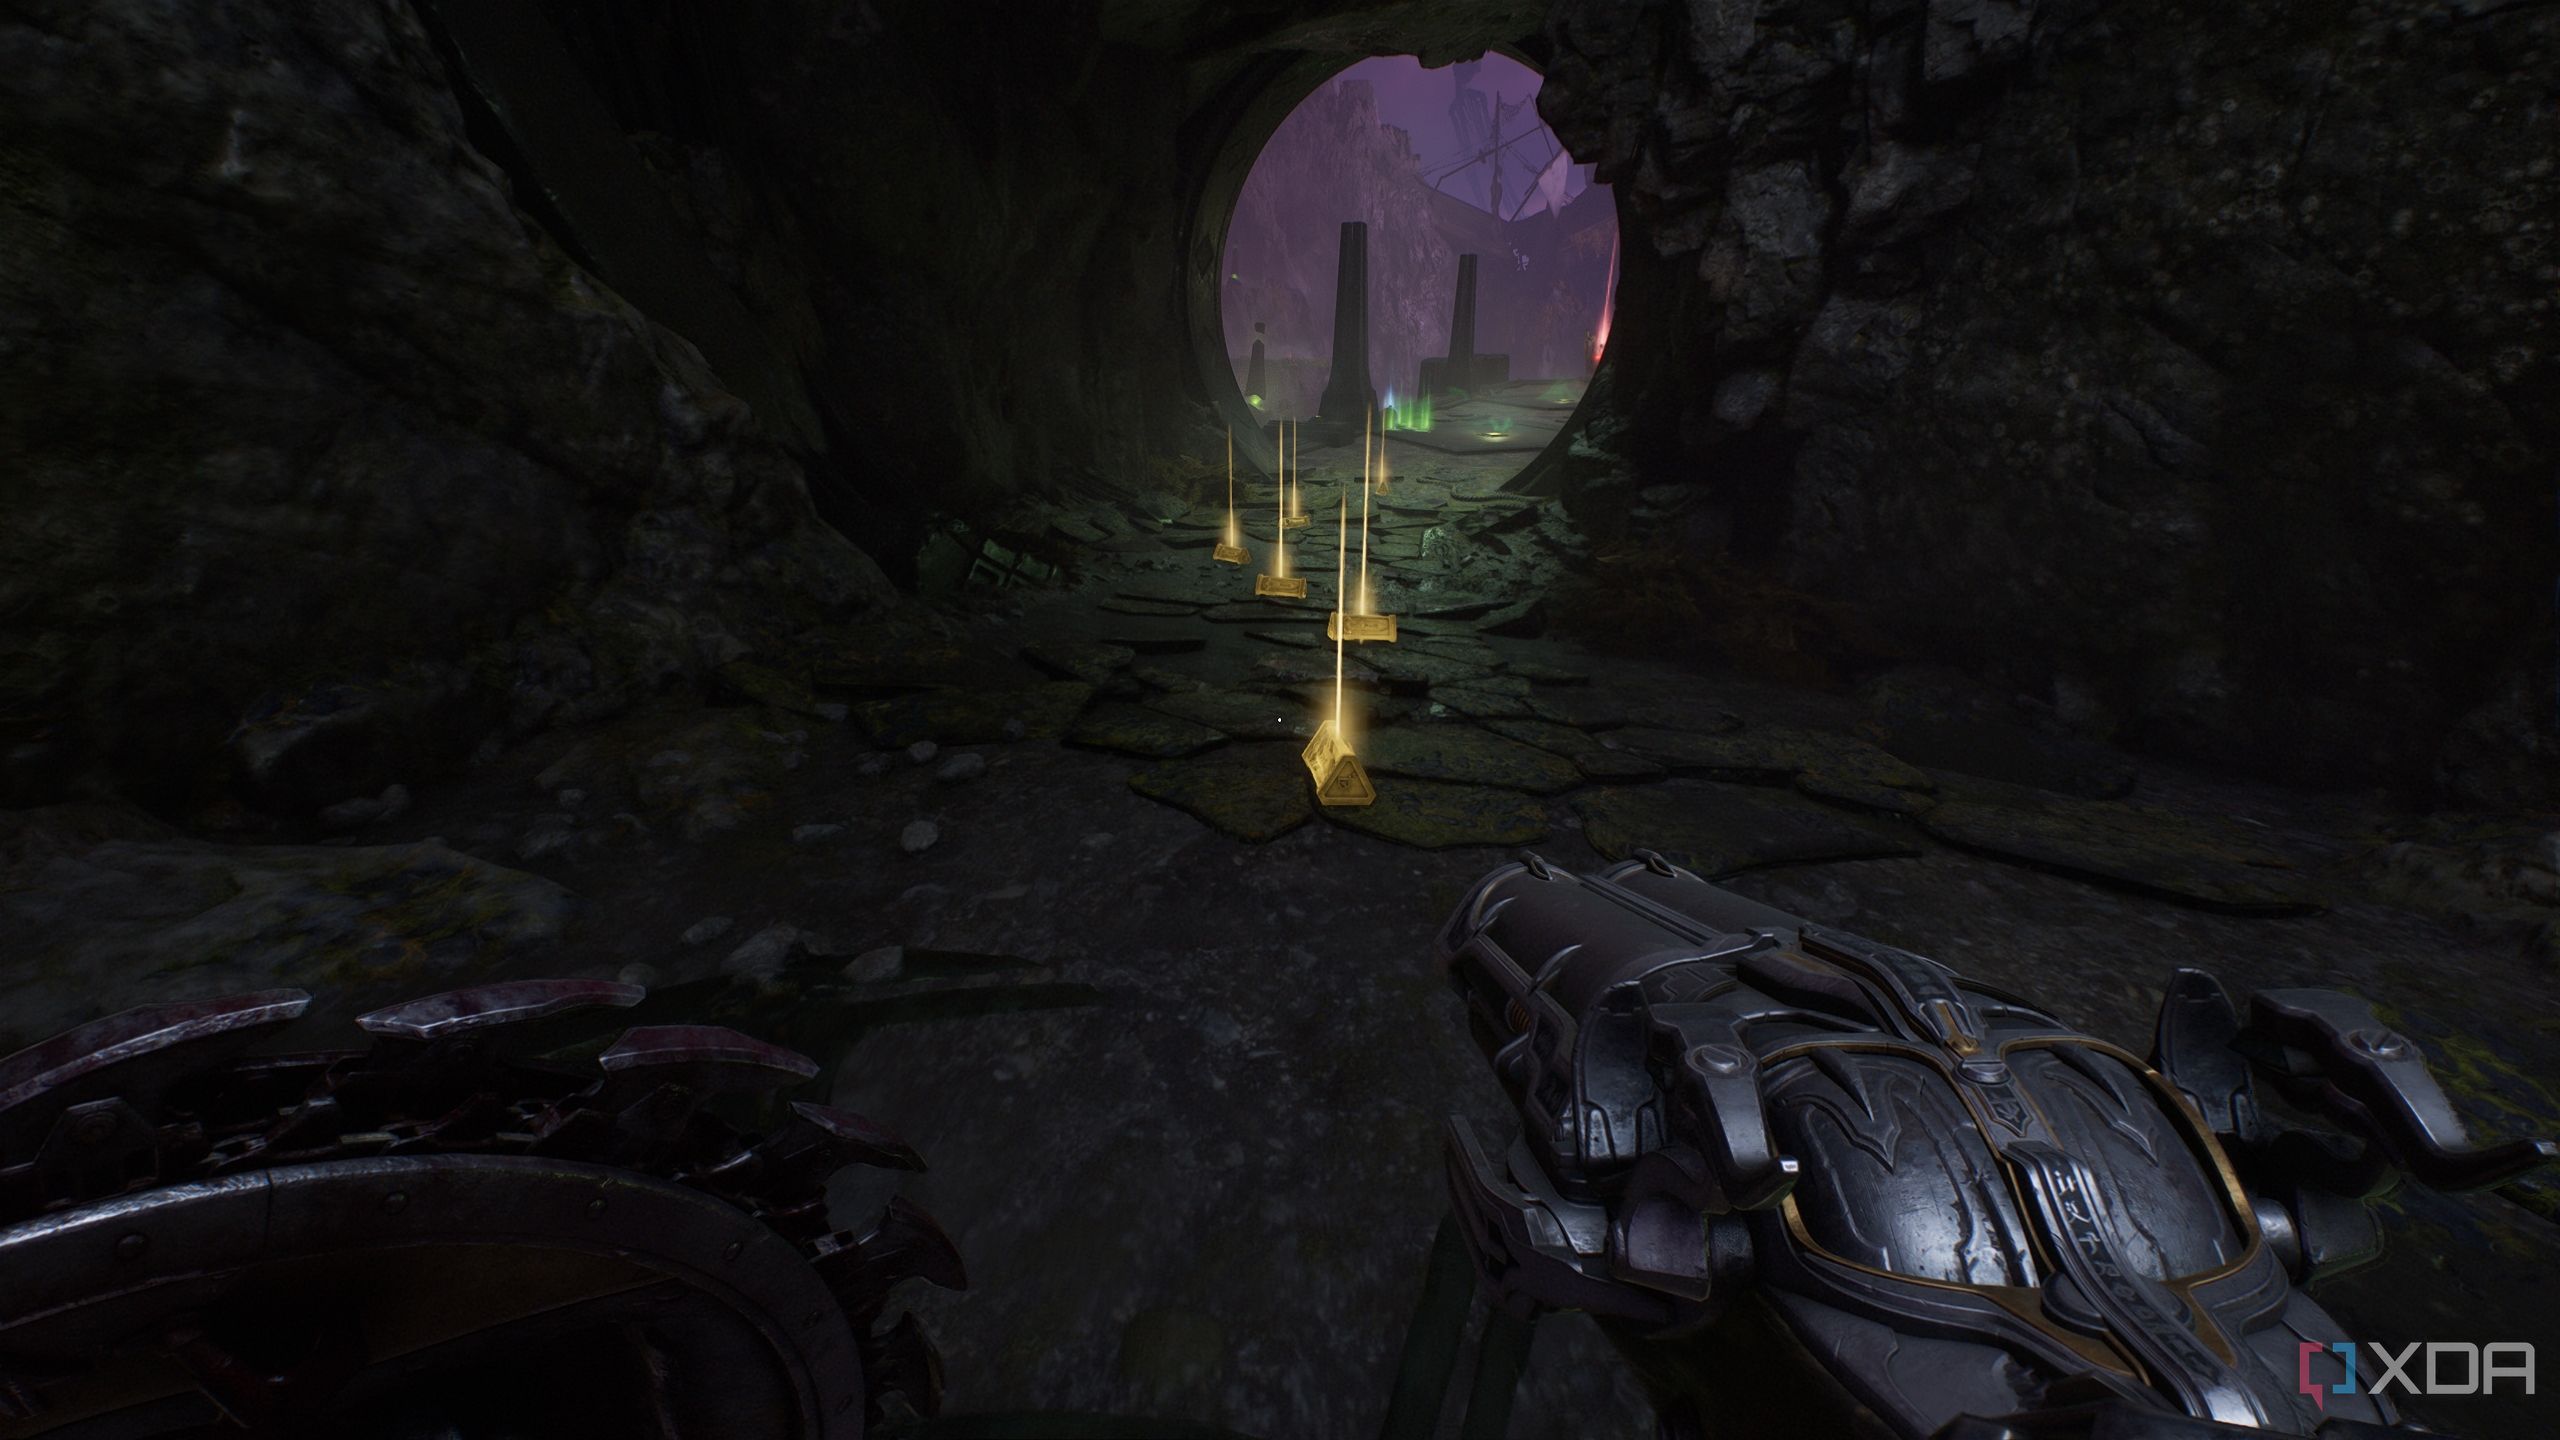
Use it to get up, and you’ll find a trail of gold bars to pick up.
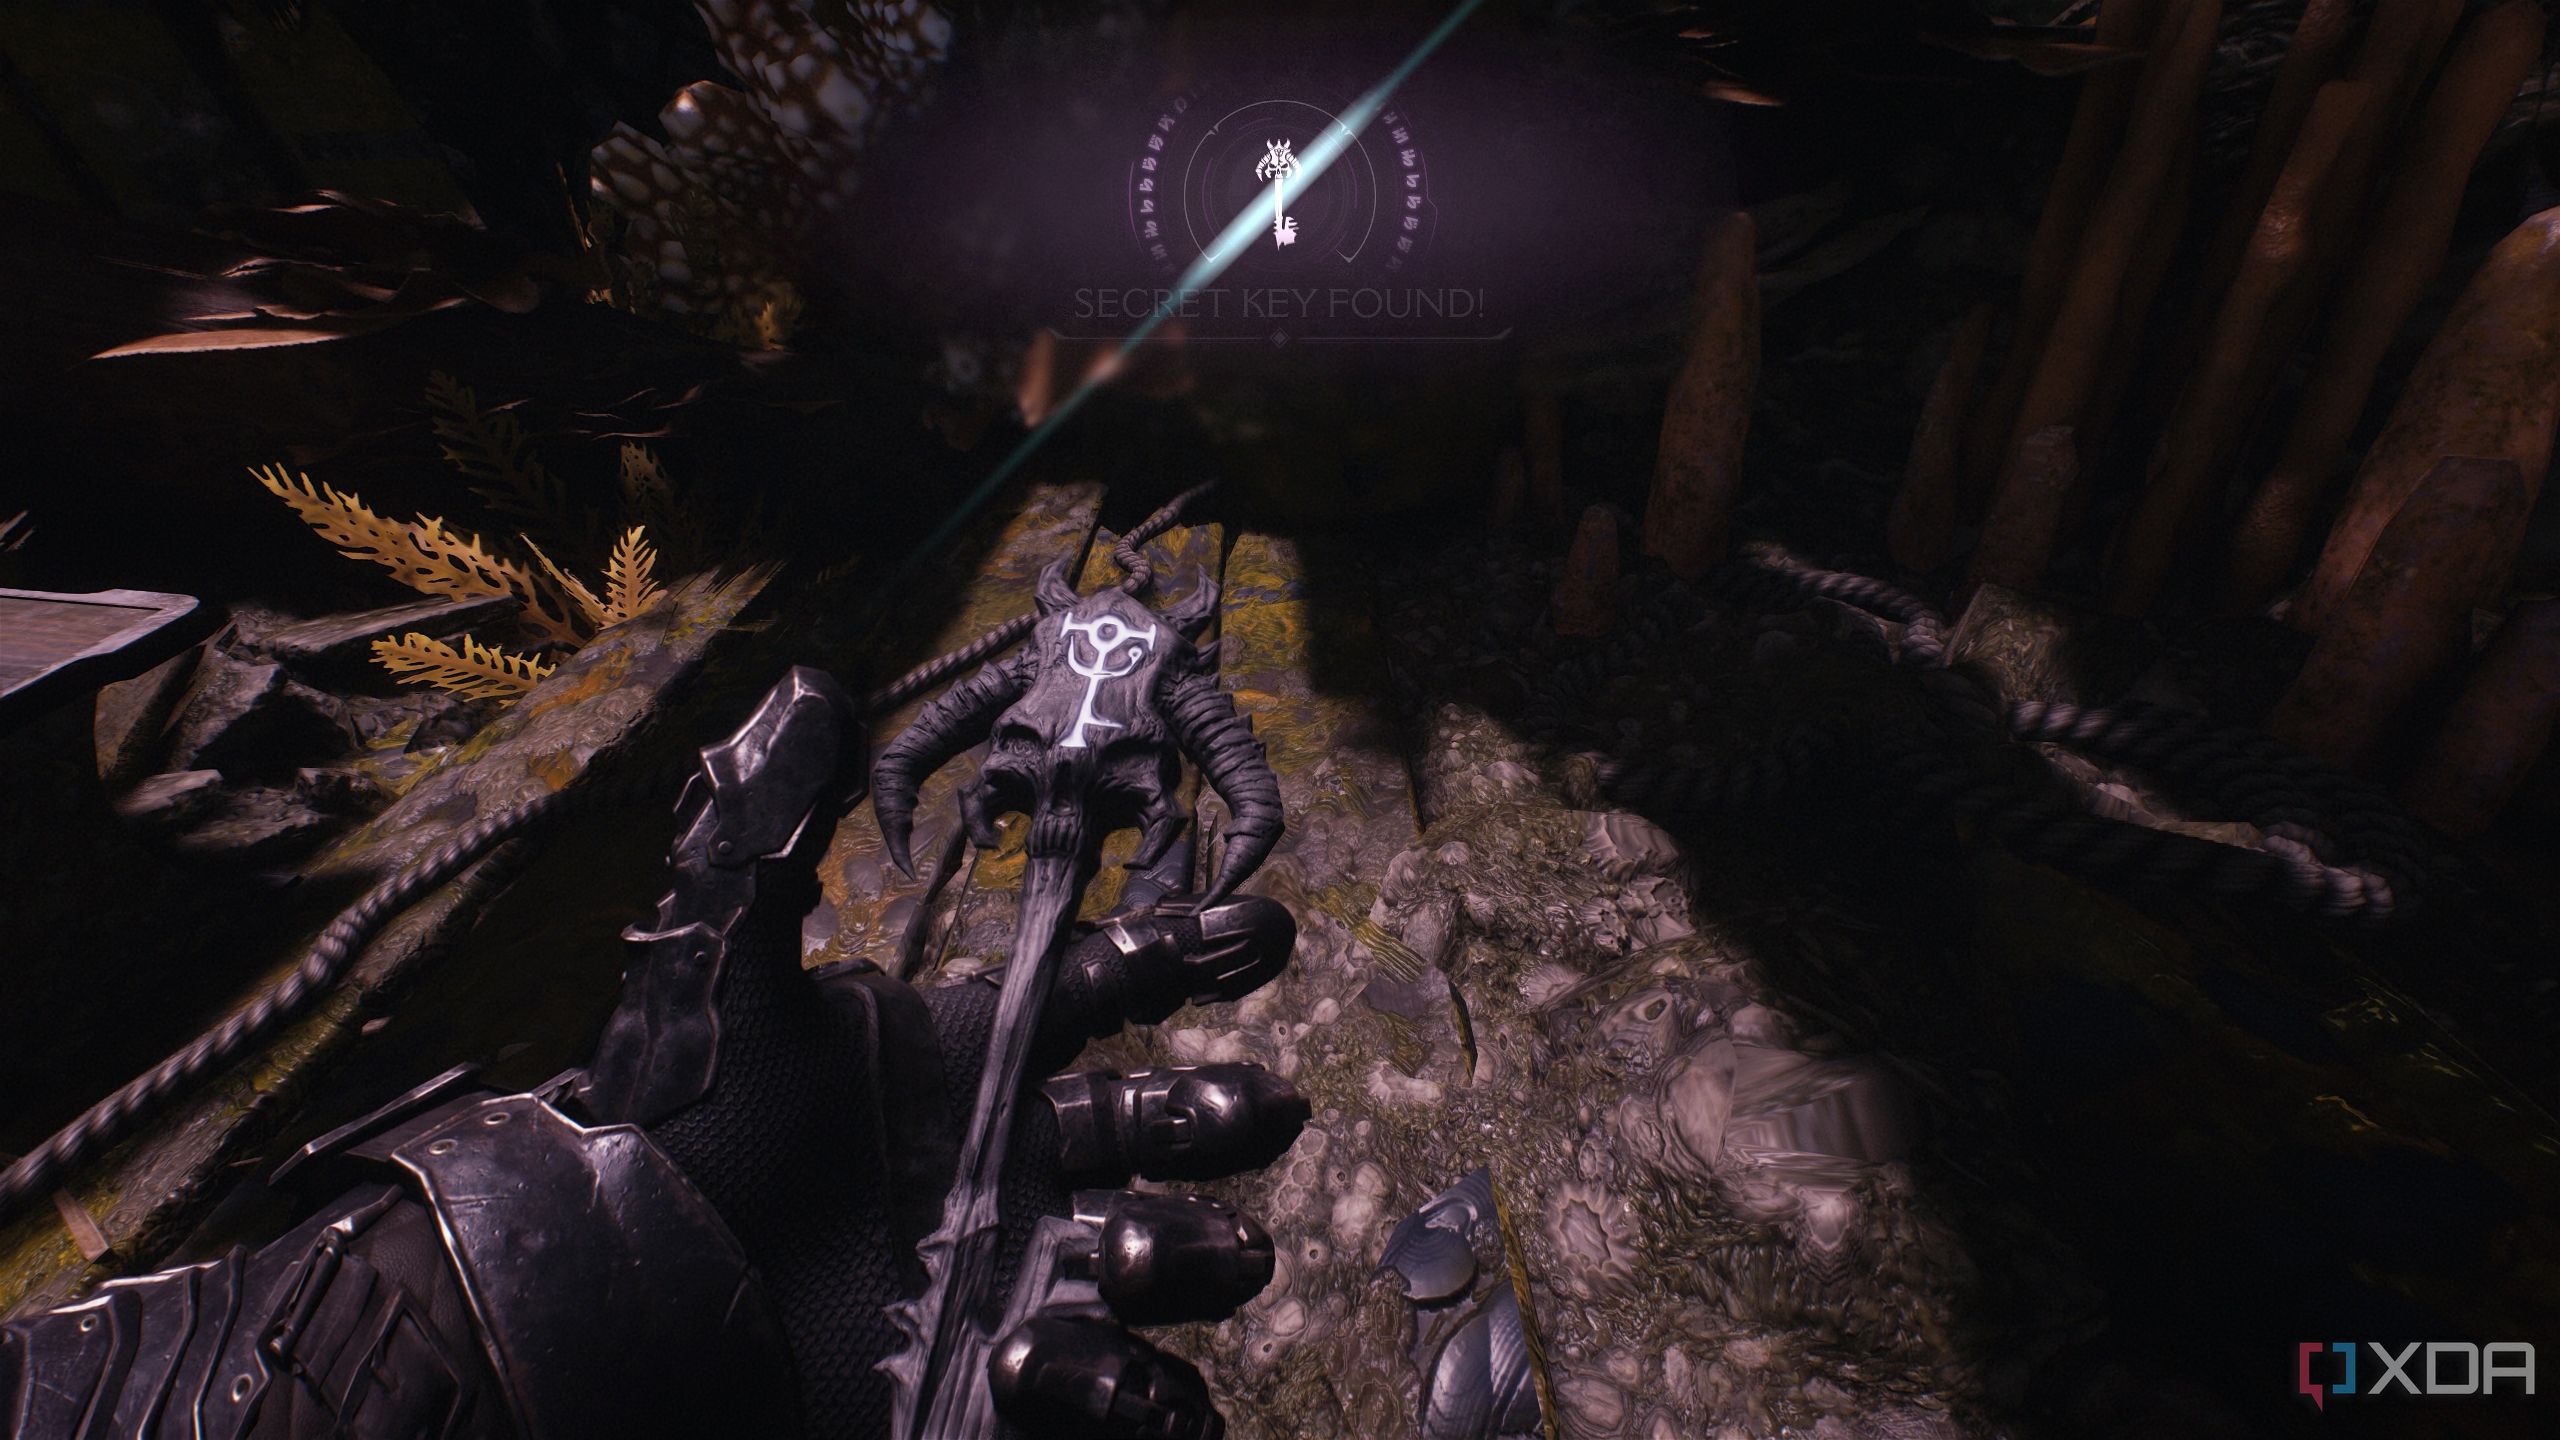
Just a few steps ahead is secret area 1 and a Red Ruby statue, but you’ll have to fight another Mancubus before you can pick it up. This will progress the Swashbuckler mission challenge.
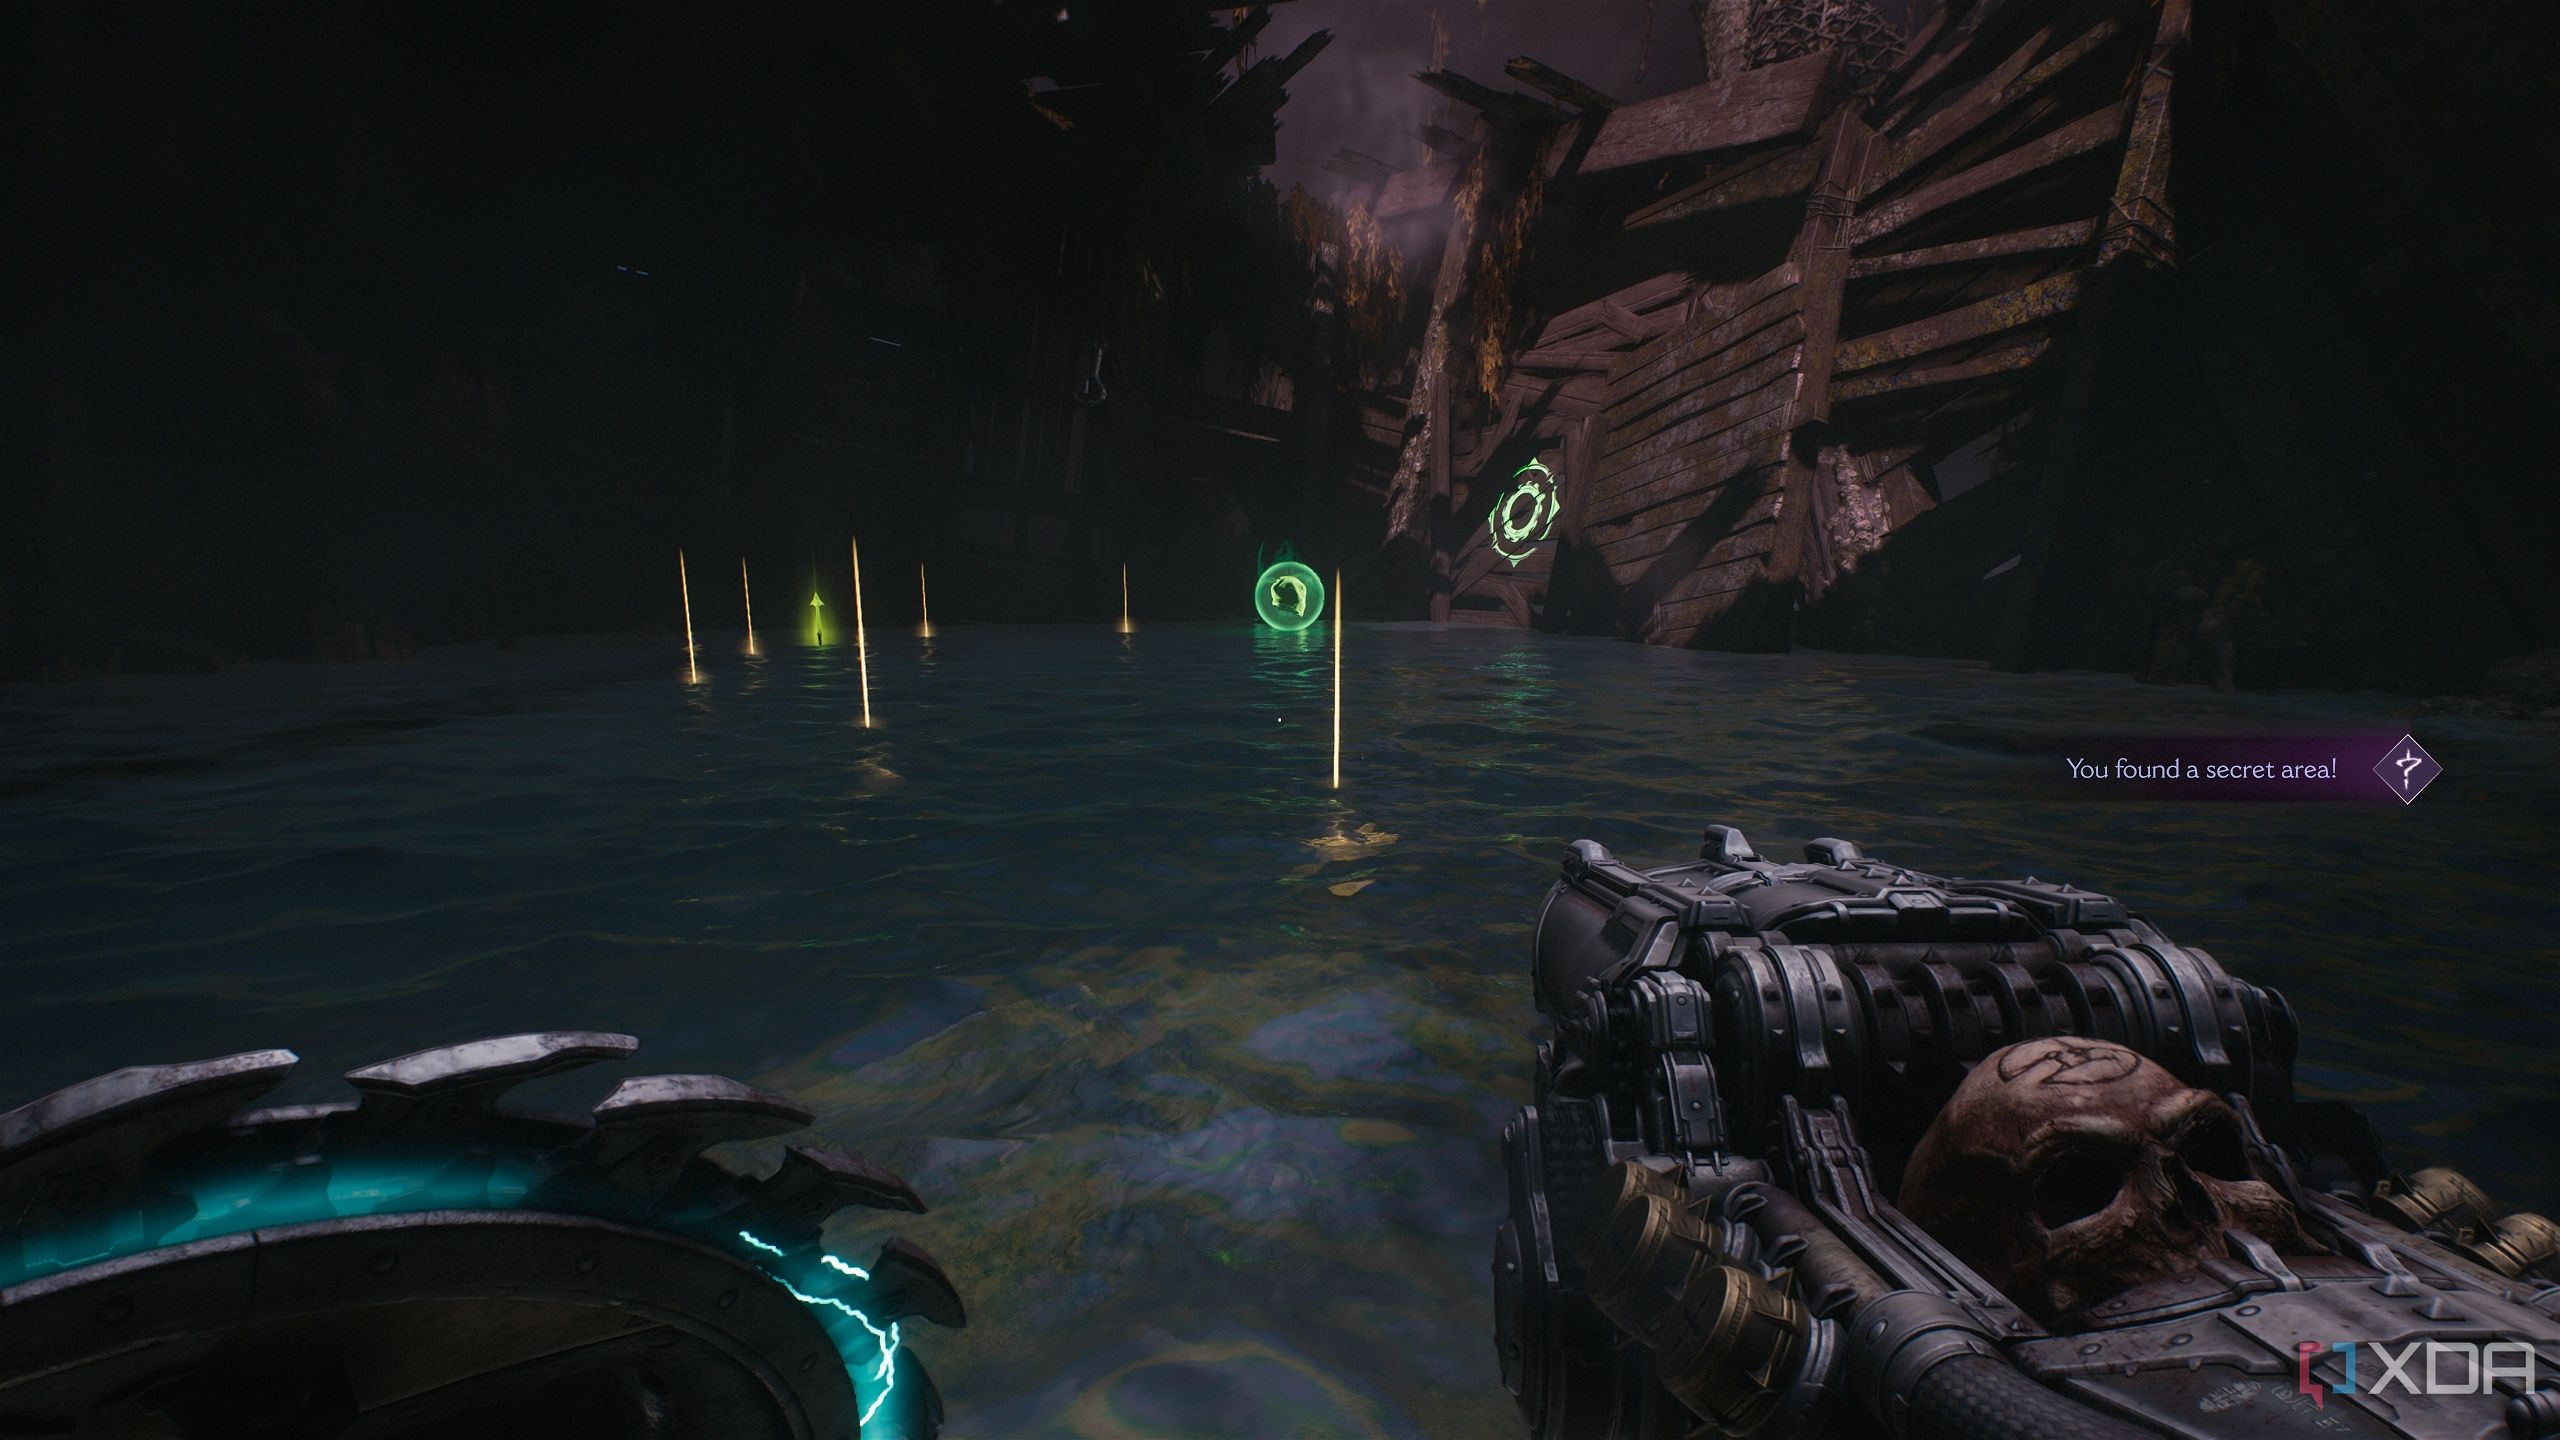
Secret area 2 and a Codex Page
There's something lurking in the water

Heading through the first portal, you’ll find yourself underwater. Move to the shipwreck ahead on your left, and you’ll find a trail of armor bits and a health pack.
From here, don’t head straight. Instead, turn right and head further into the ship, swimming up and forward.
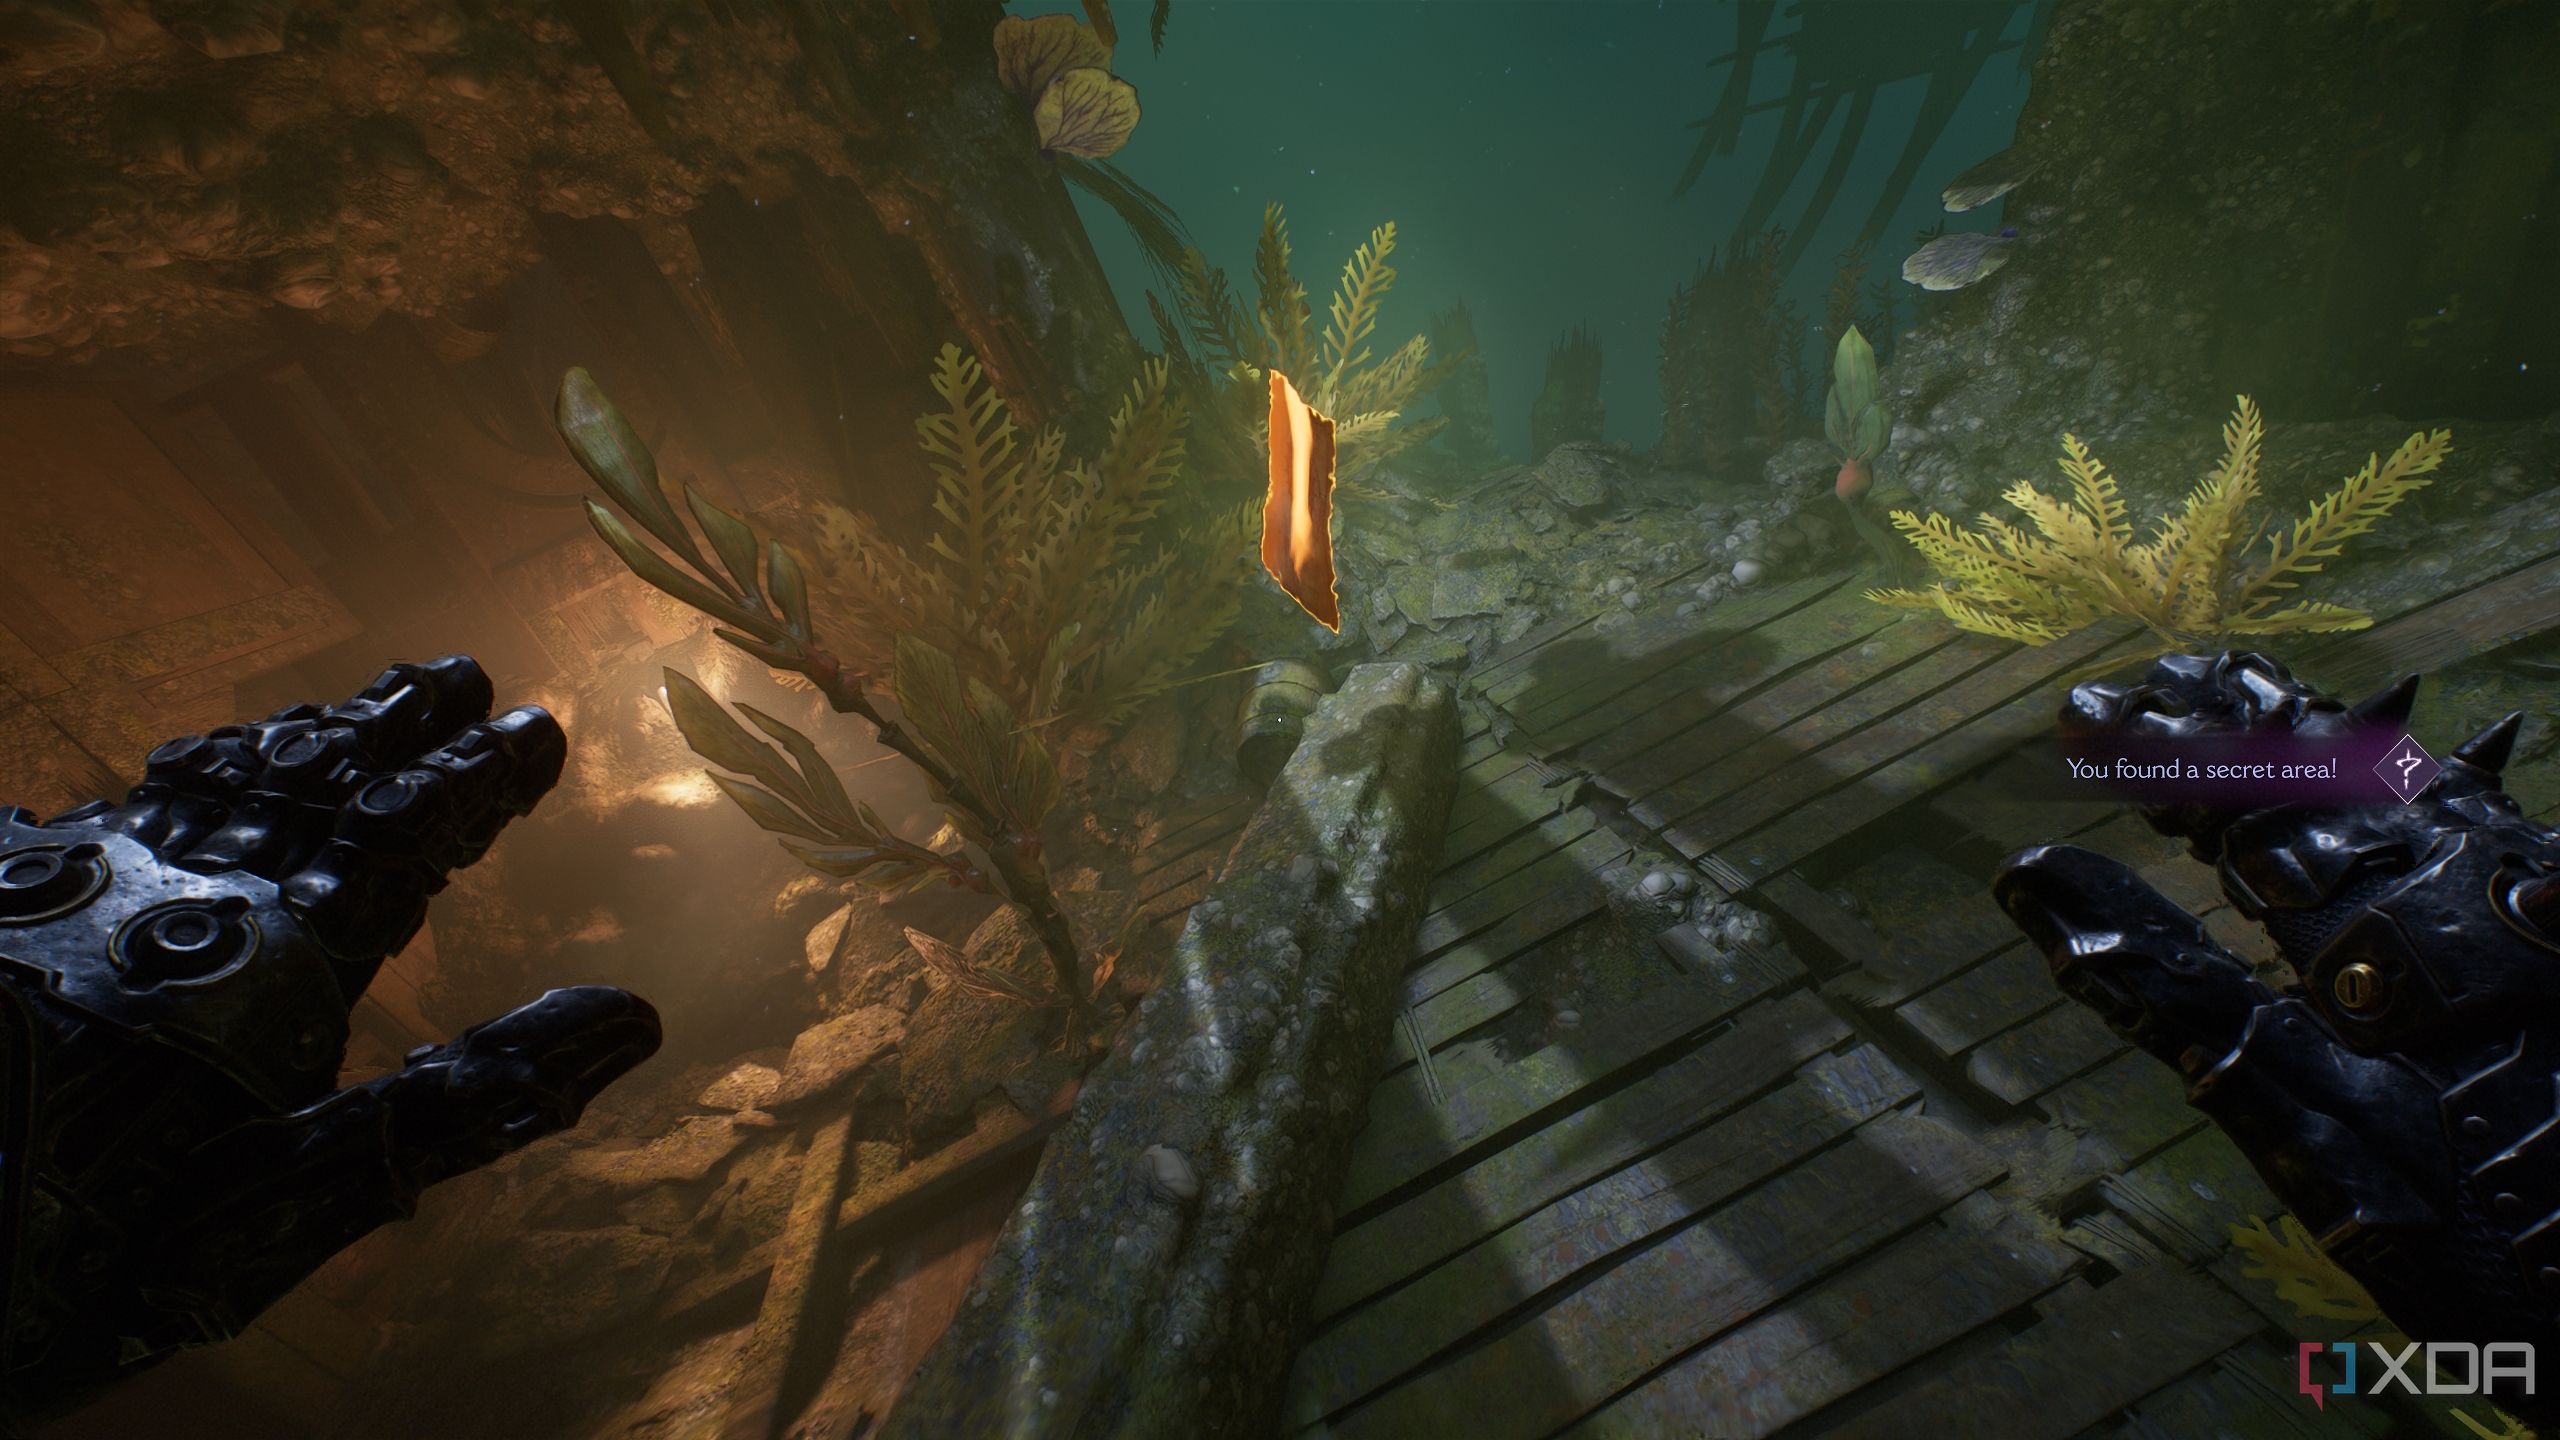
You’ll almost immediately spot a Codex Page about the Temple of Lomarith, while also unlocking secret area 2. This also progresses the Water Logged mission challenge.

Related
The DOOM series: Every core game ranked
What are the best entries of the DOOM series that you should play? Here's every core game ranked!
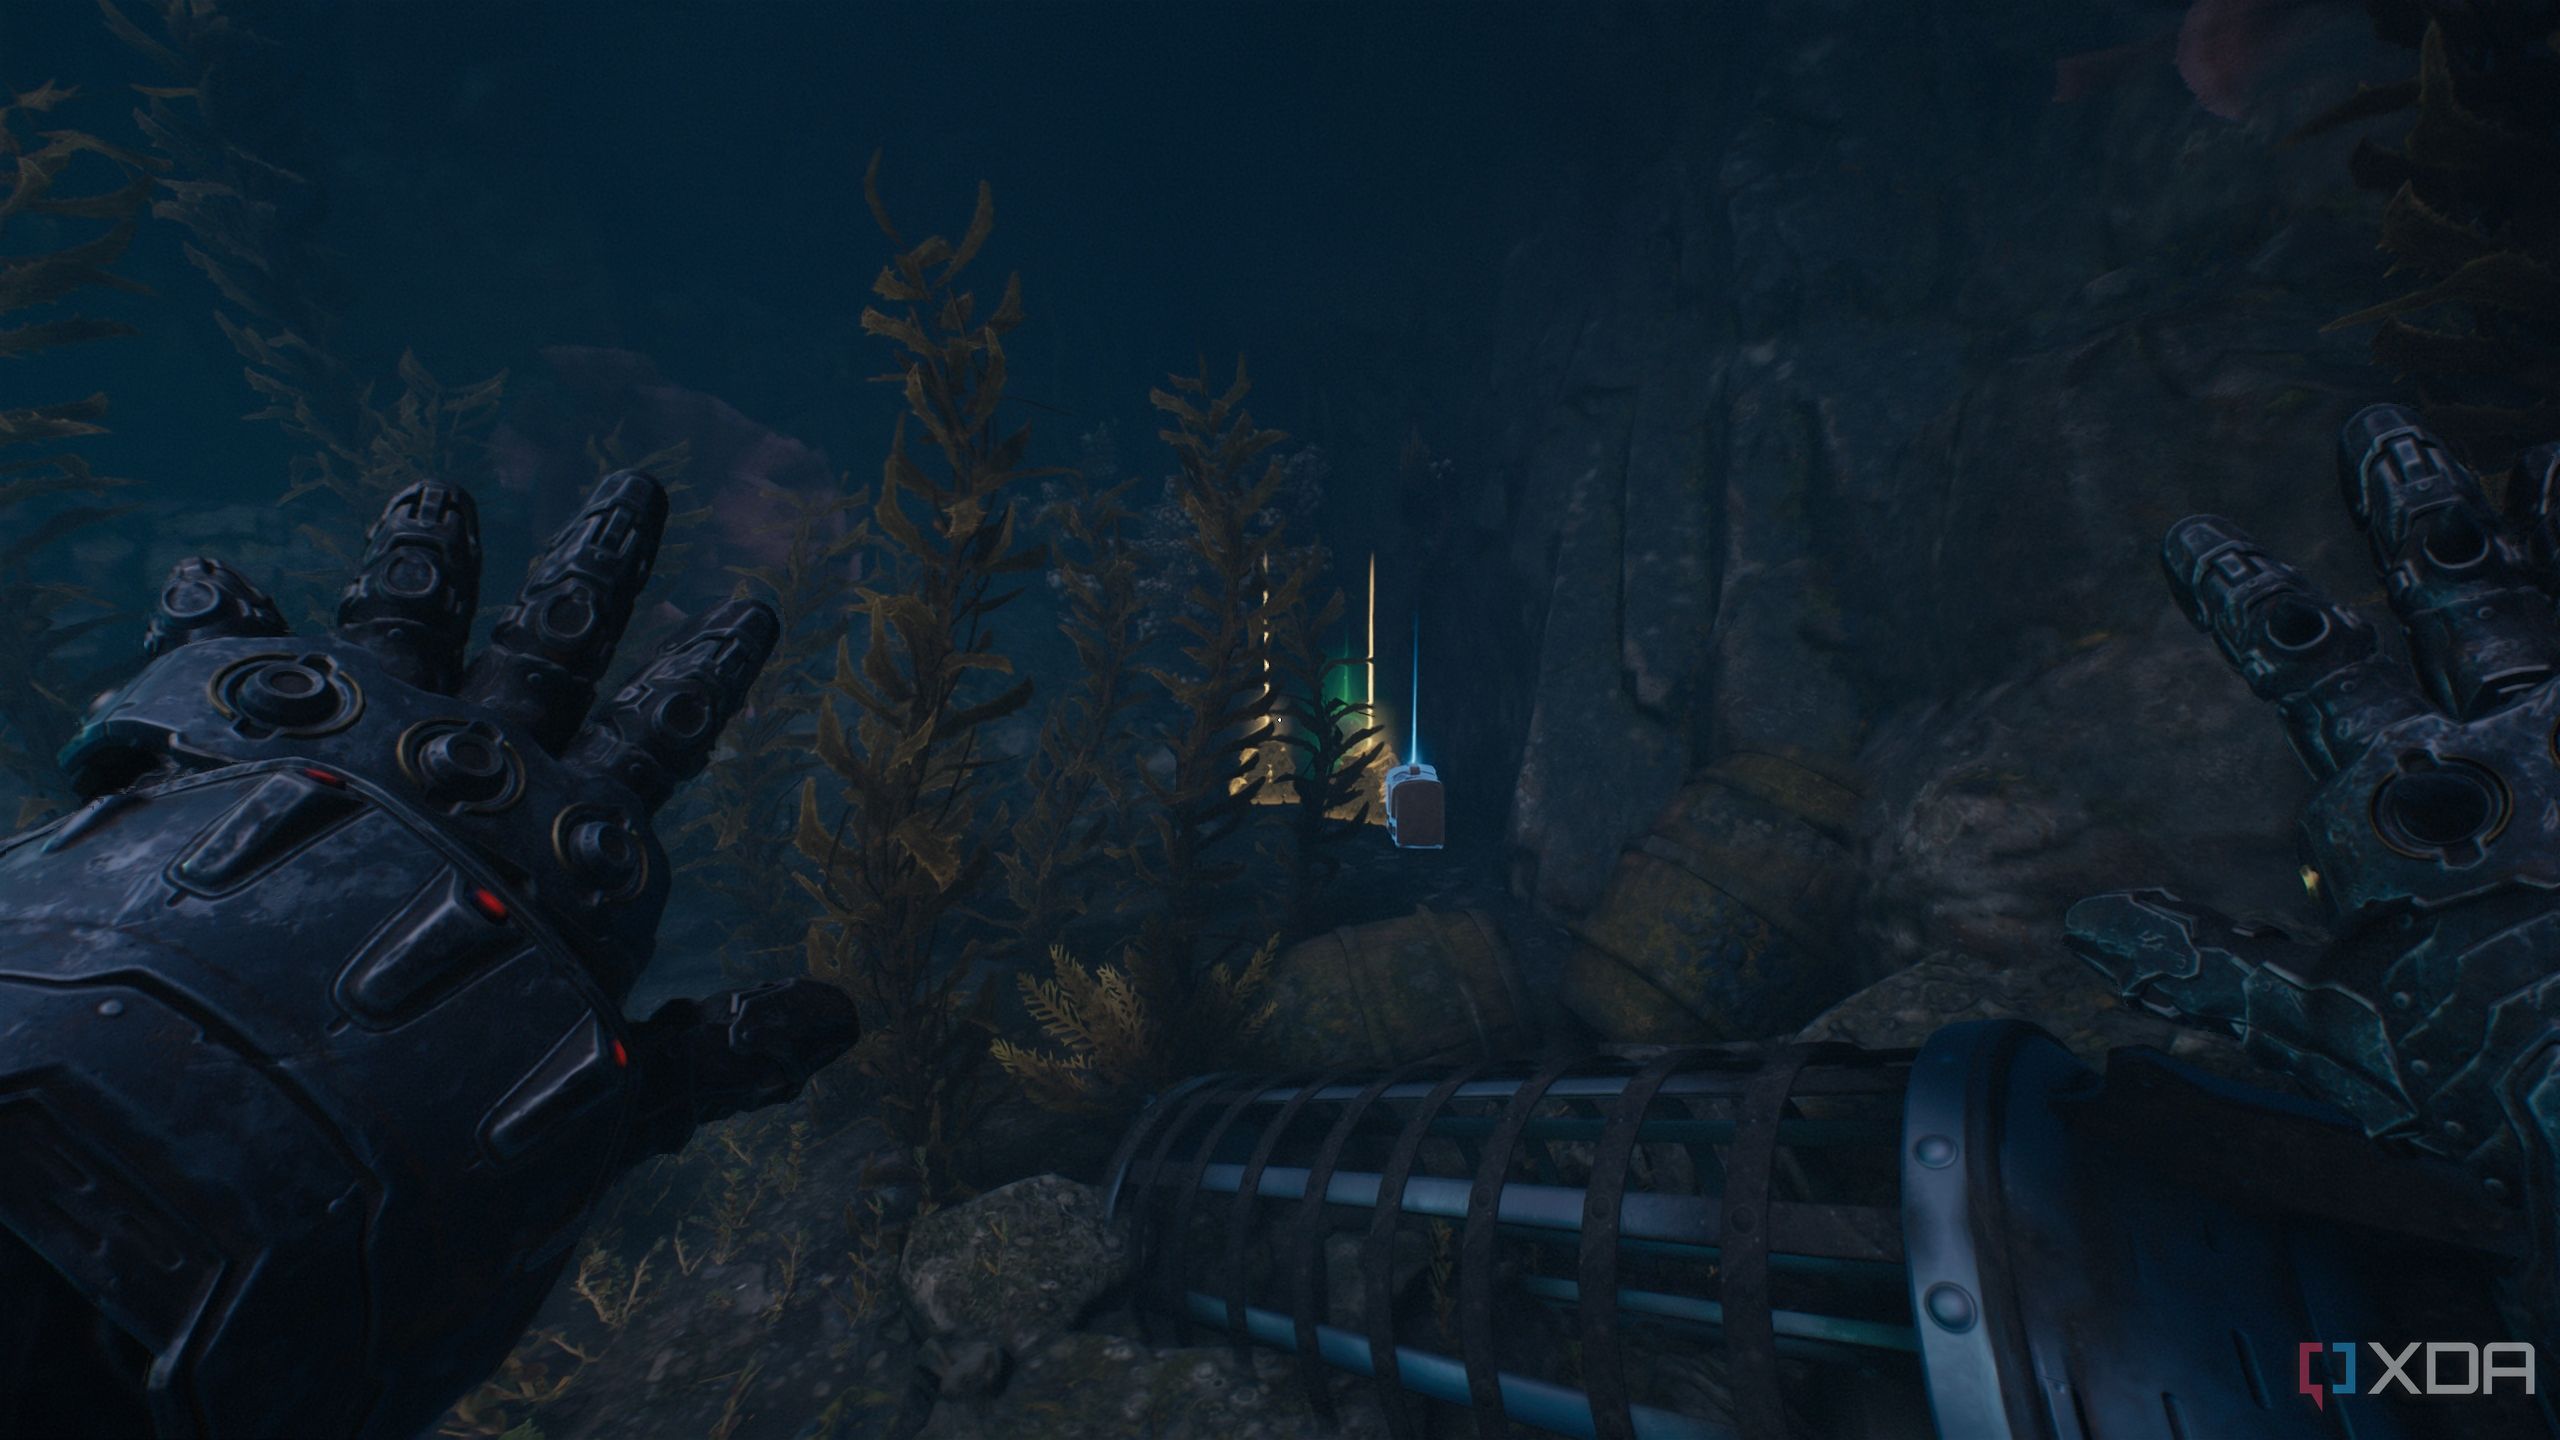
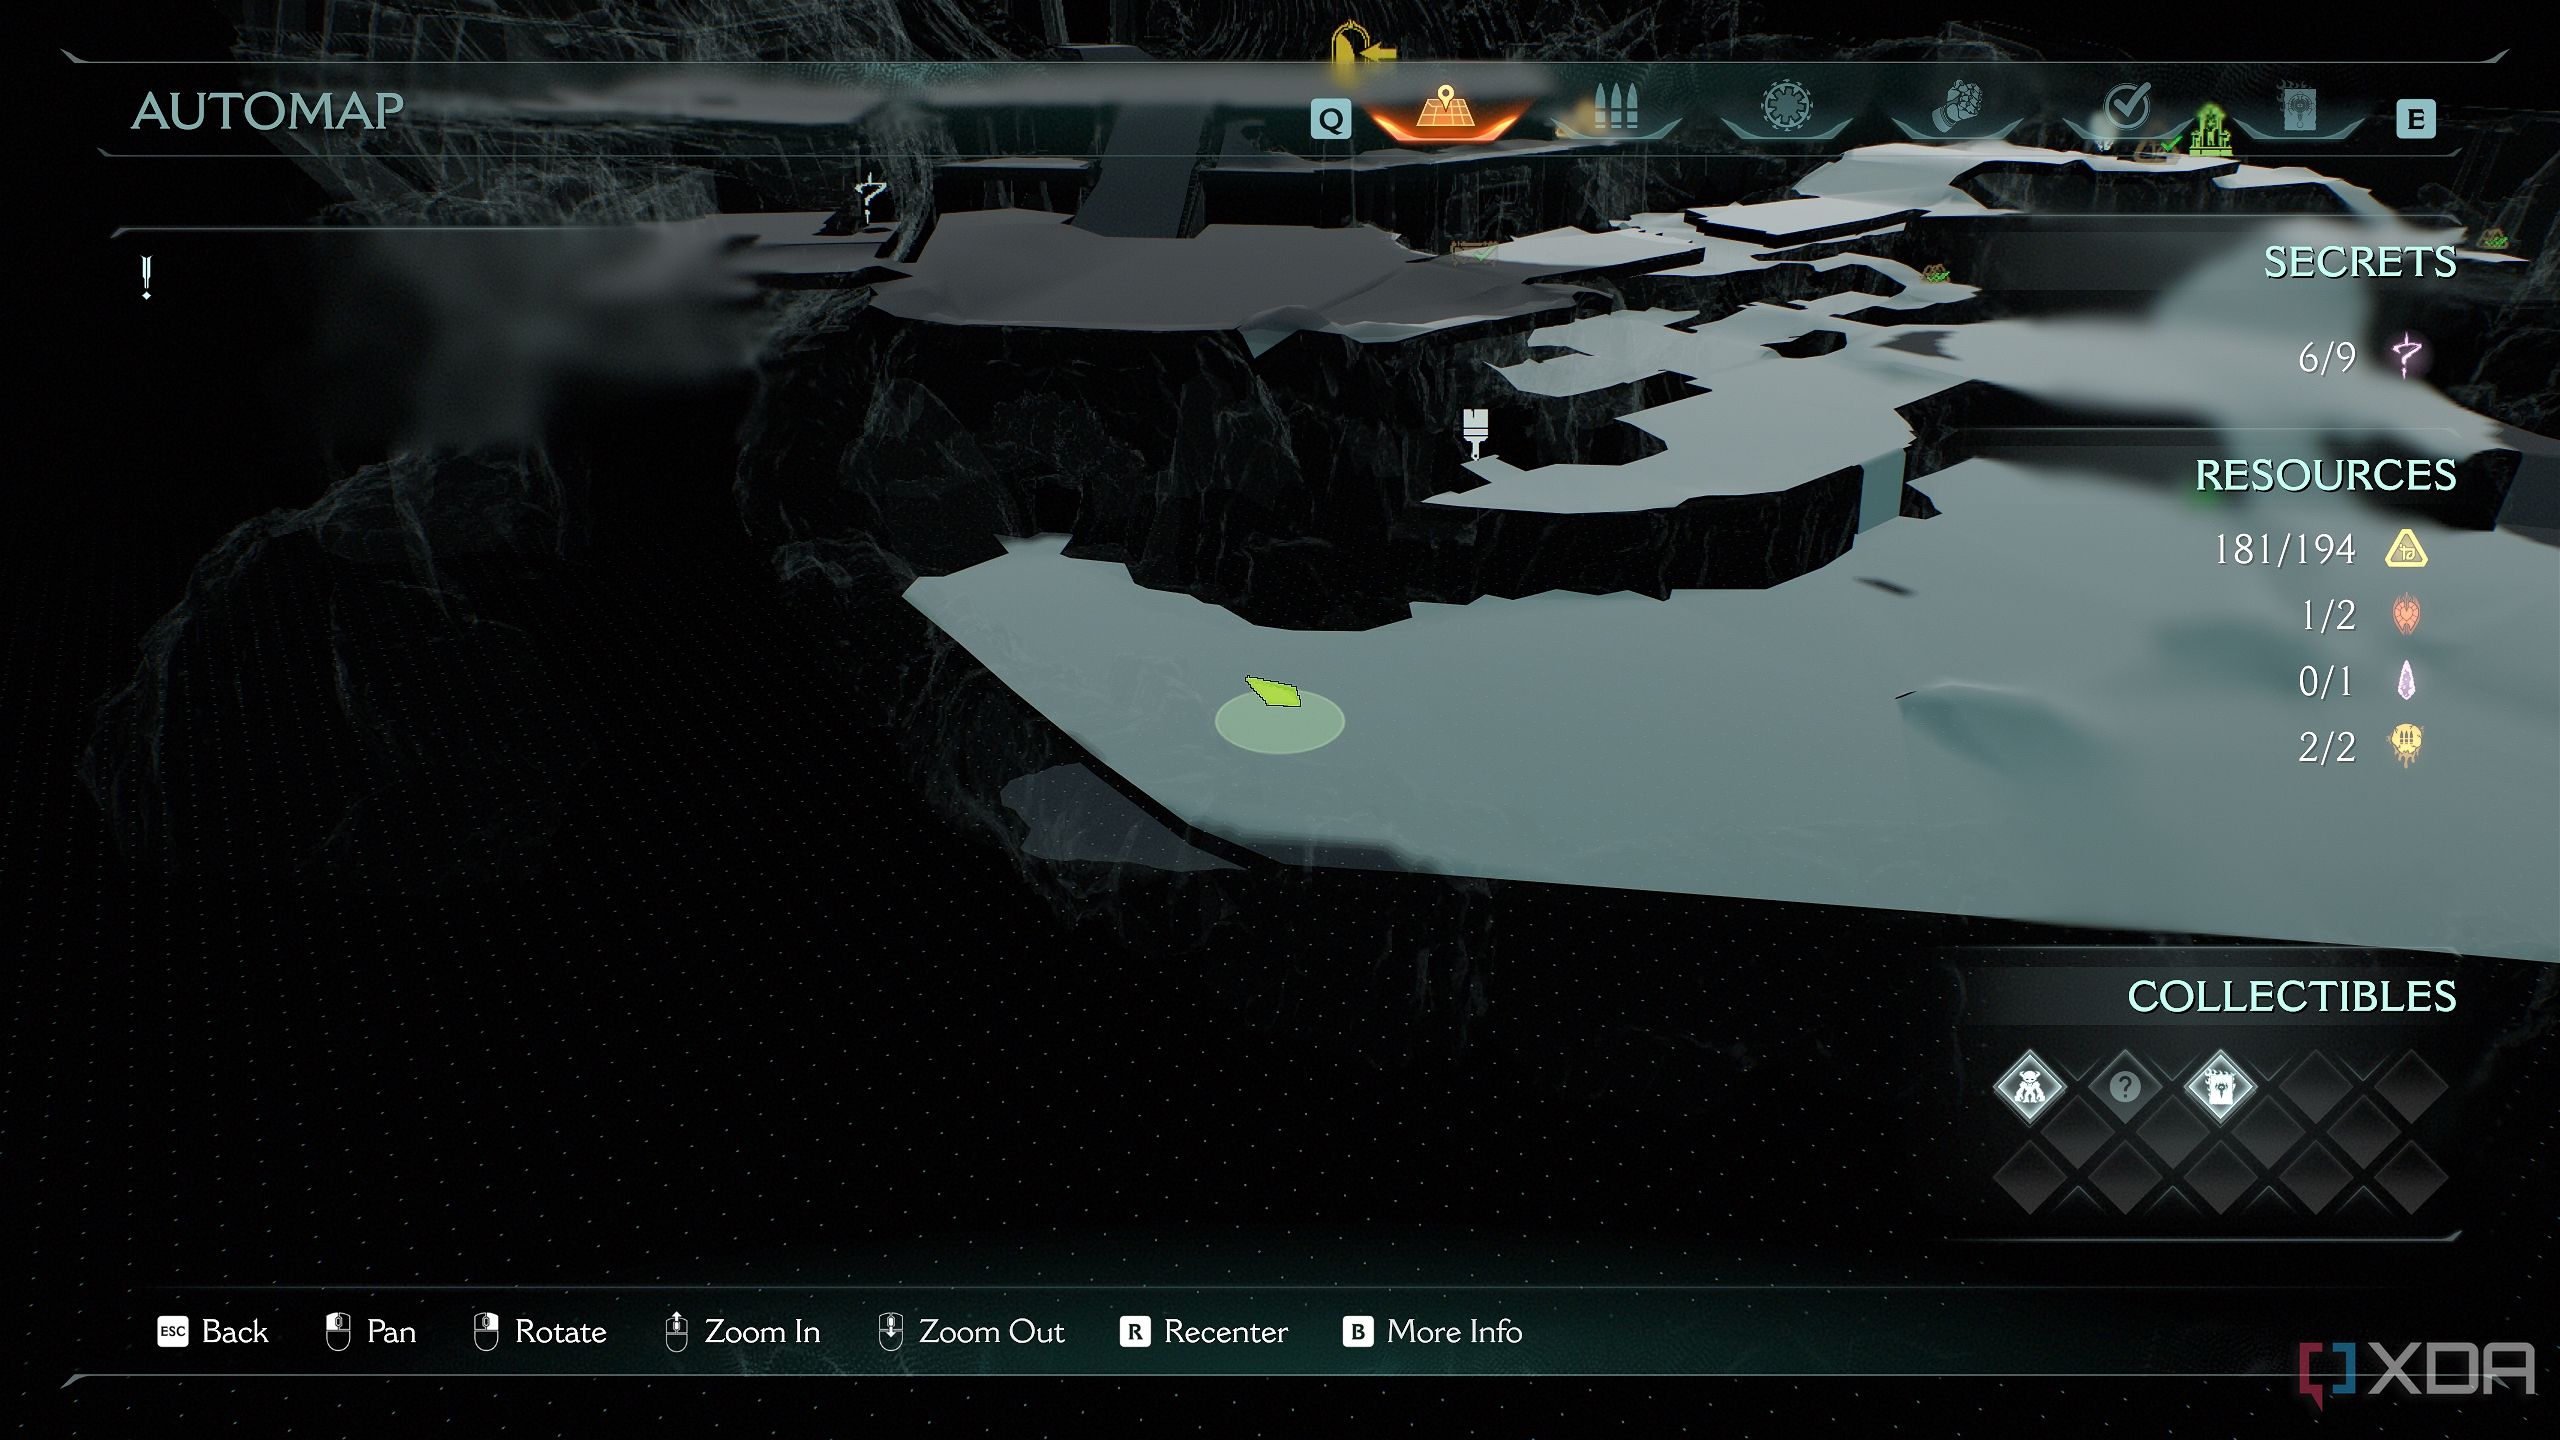
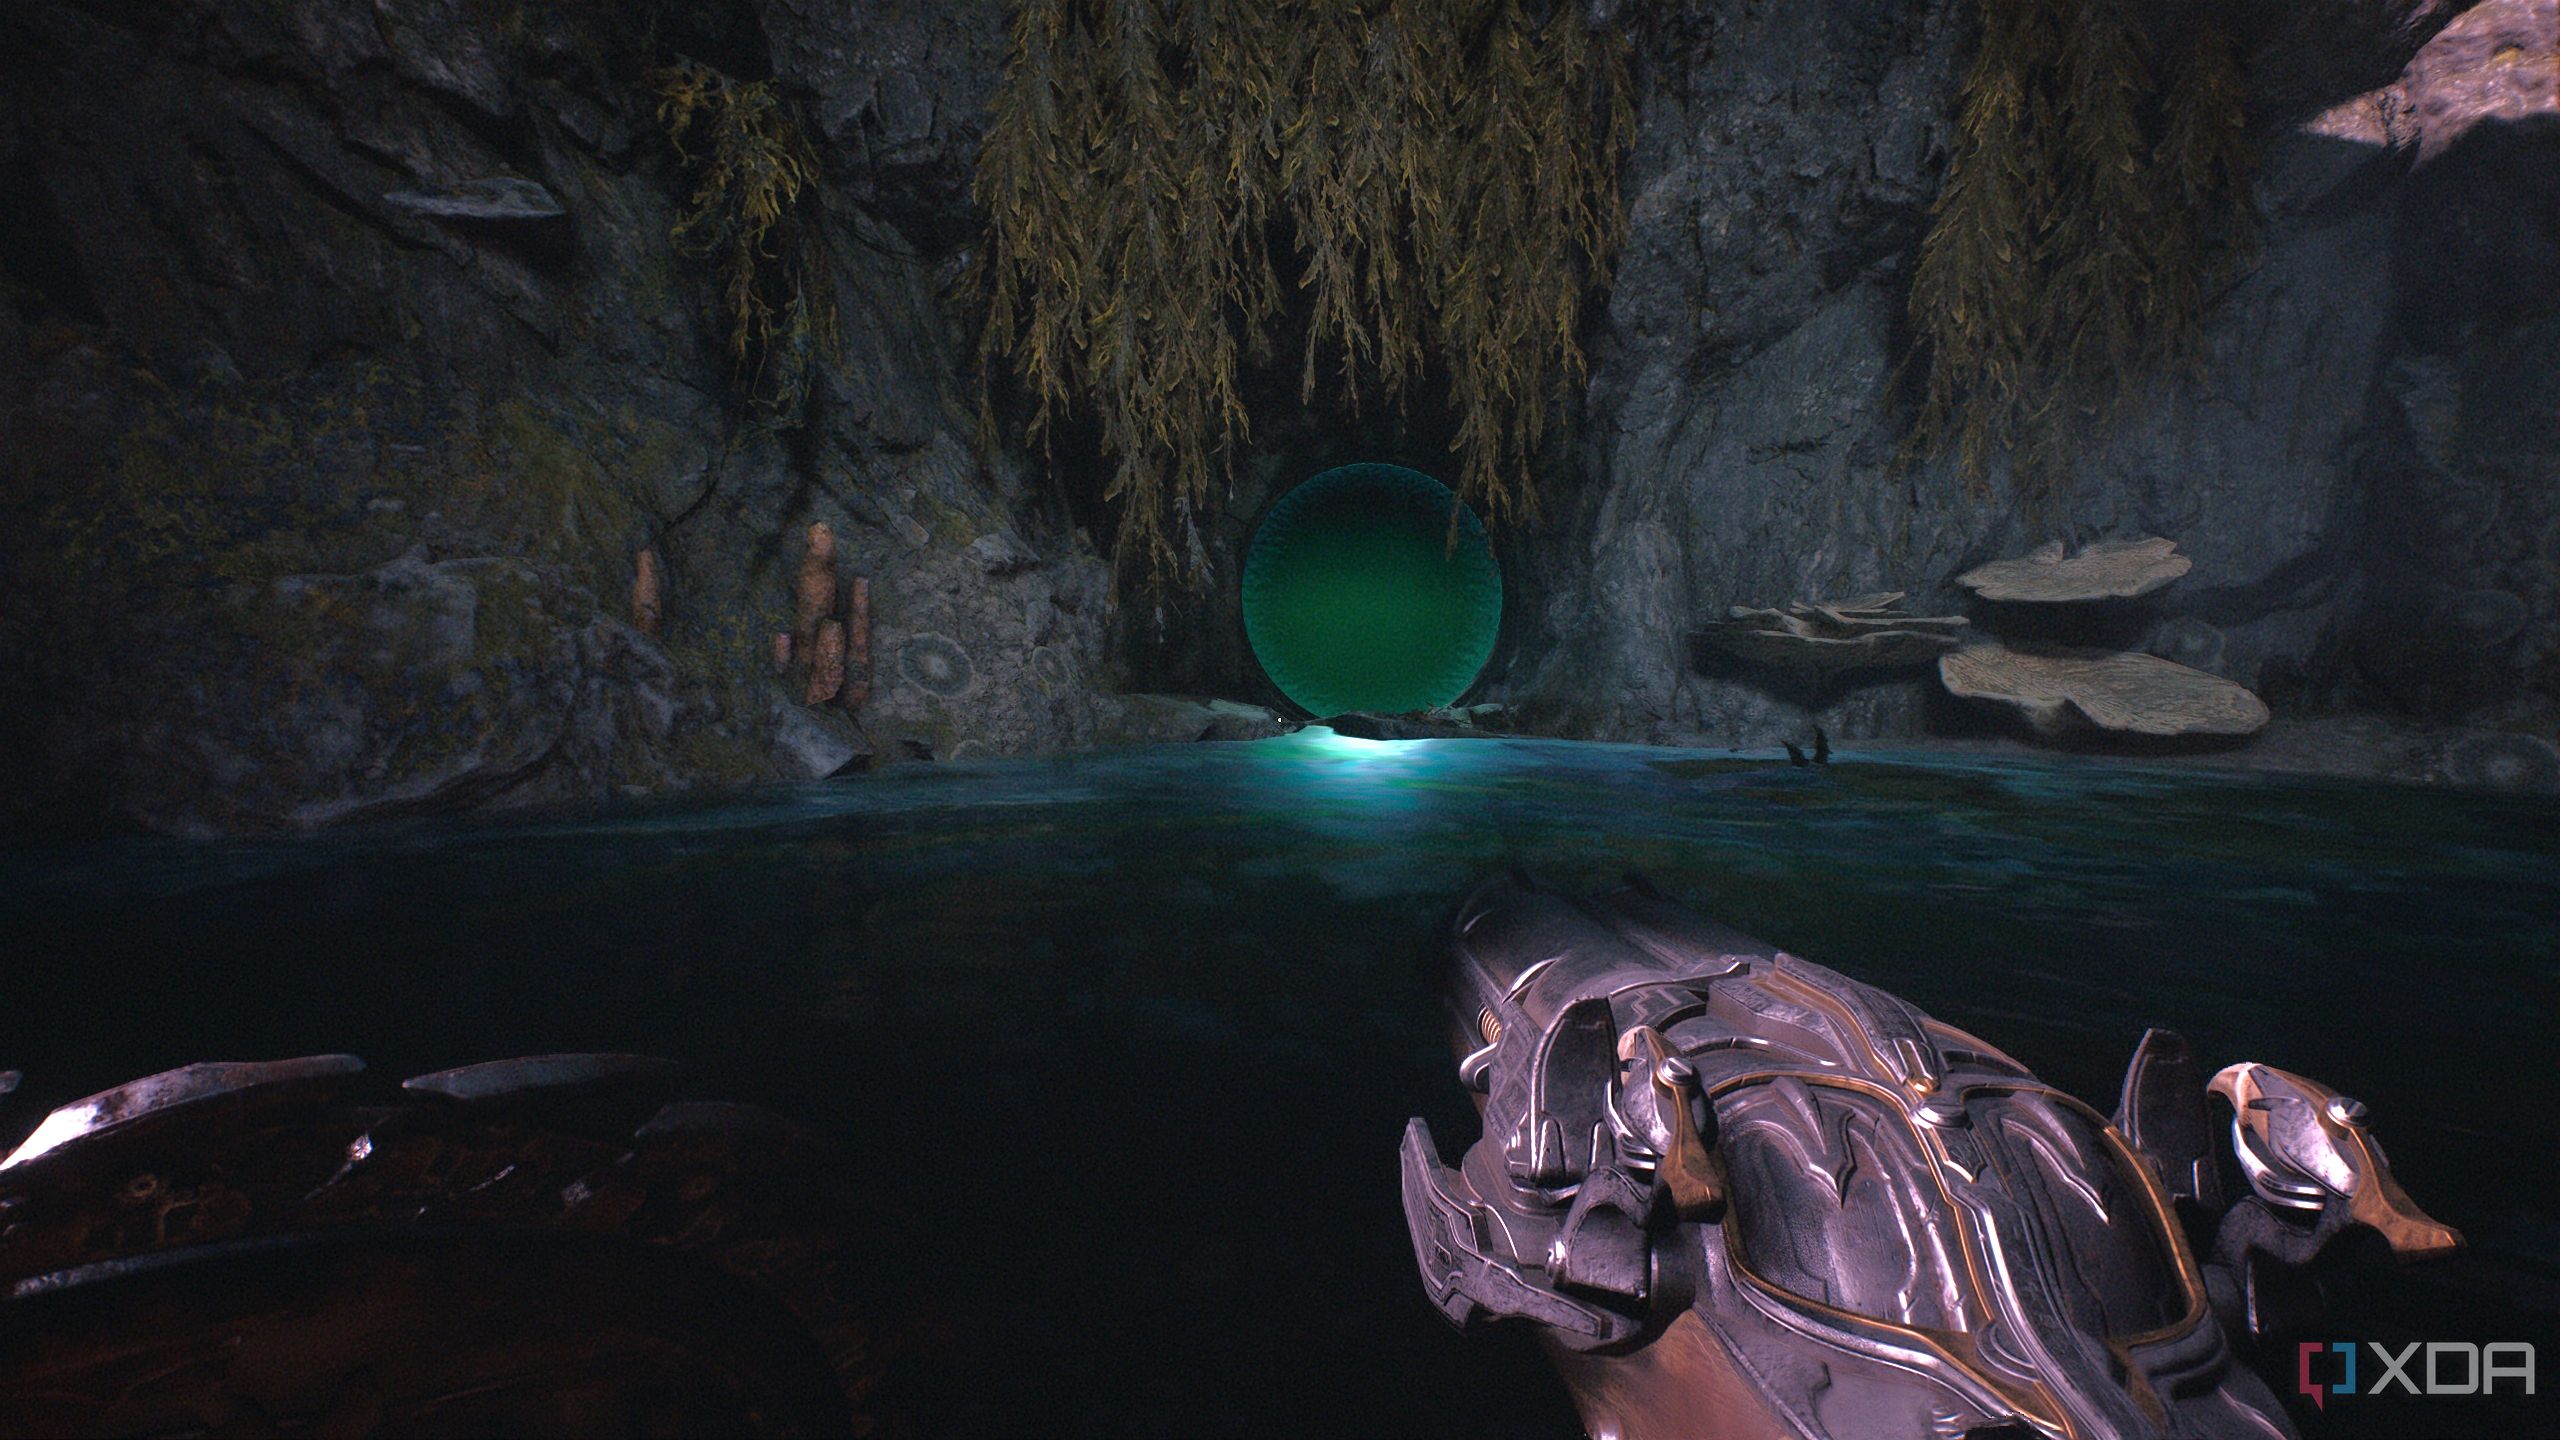
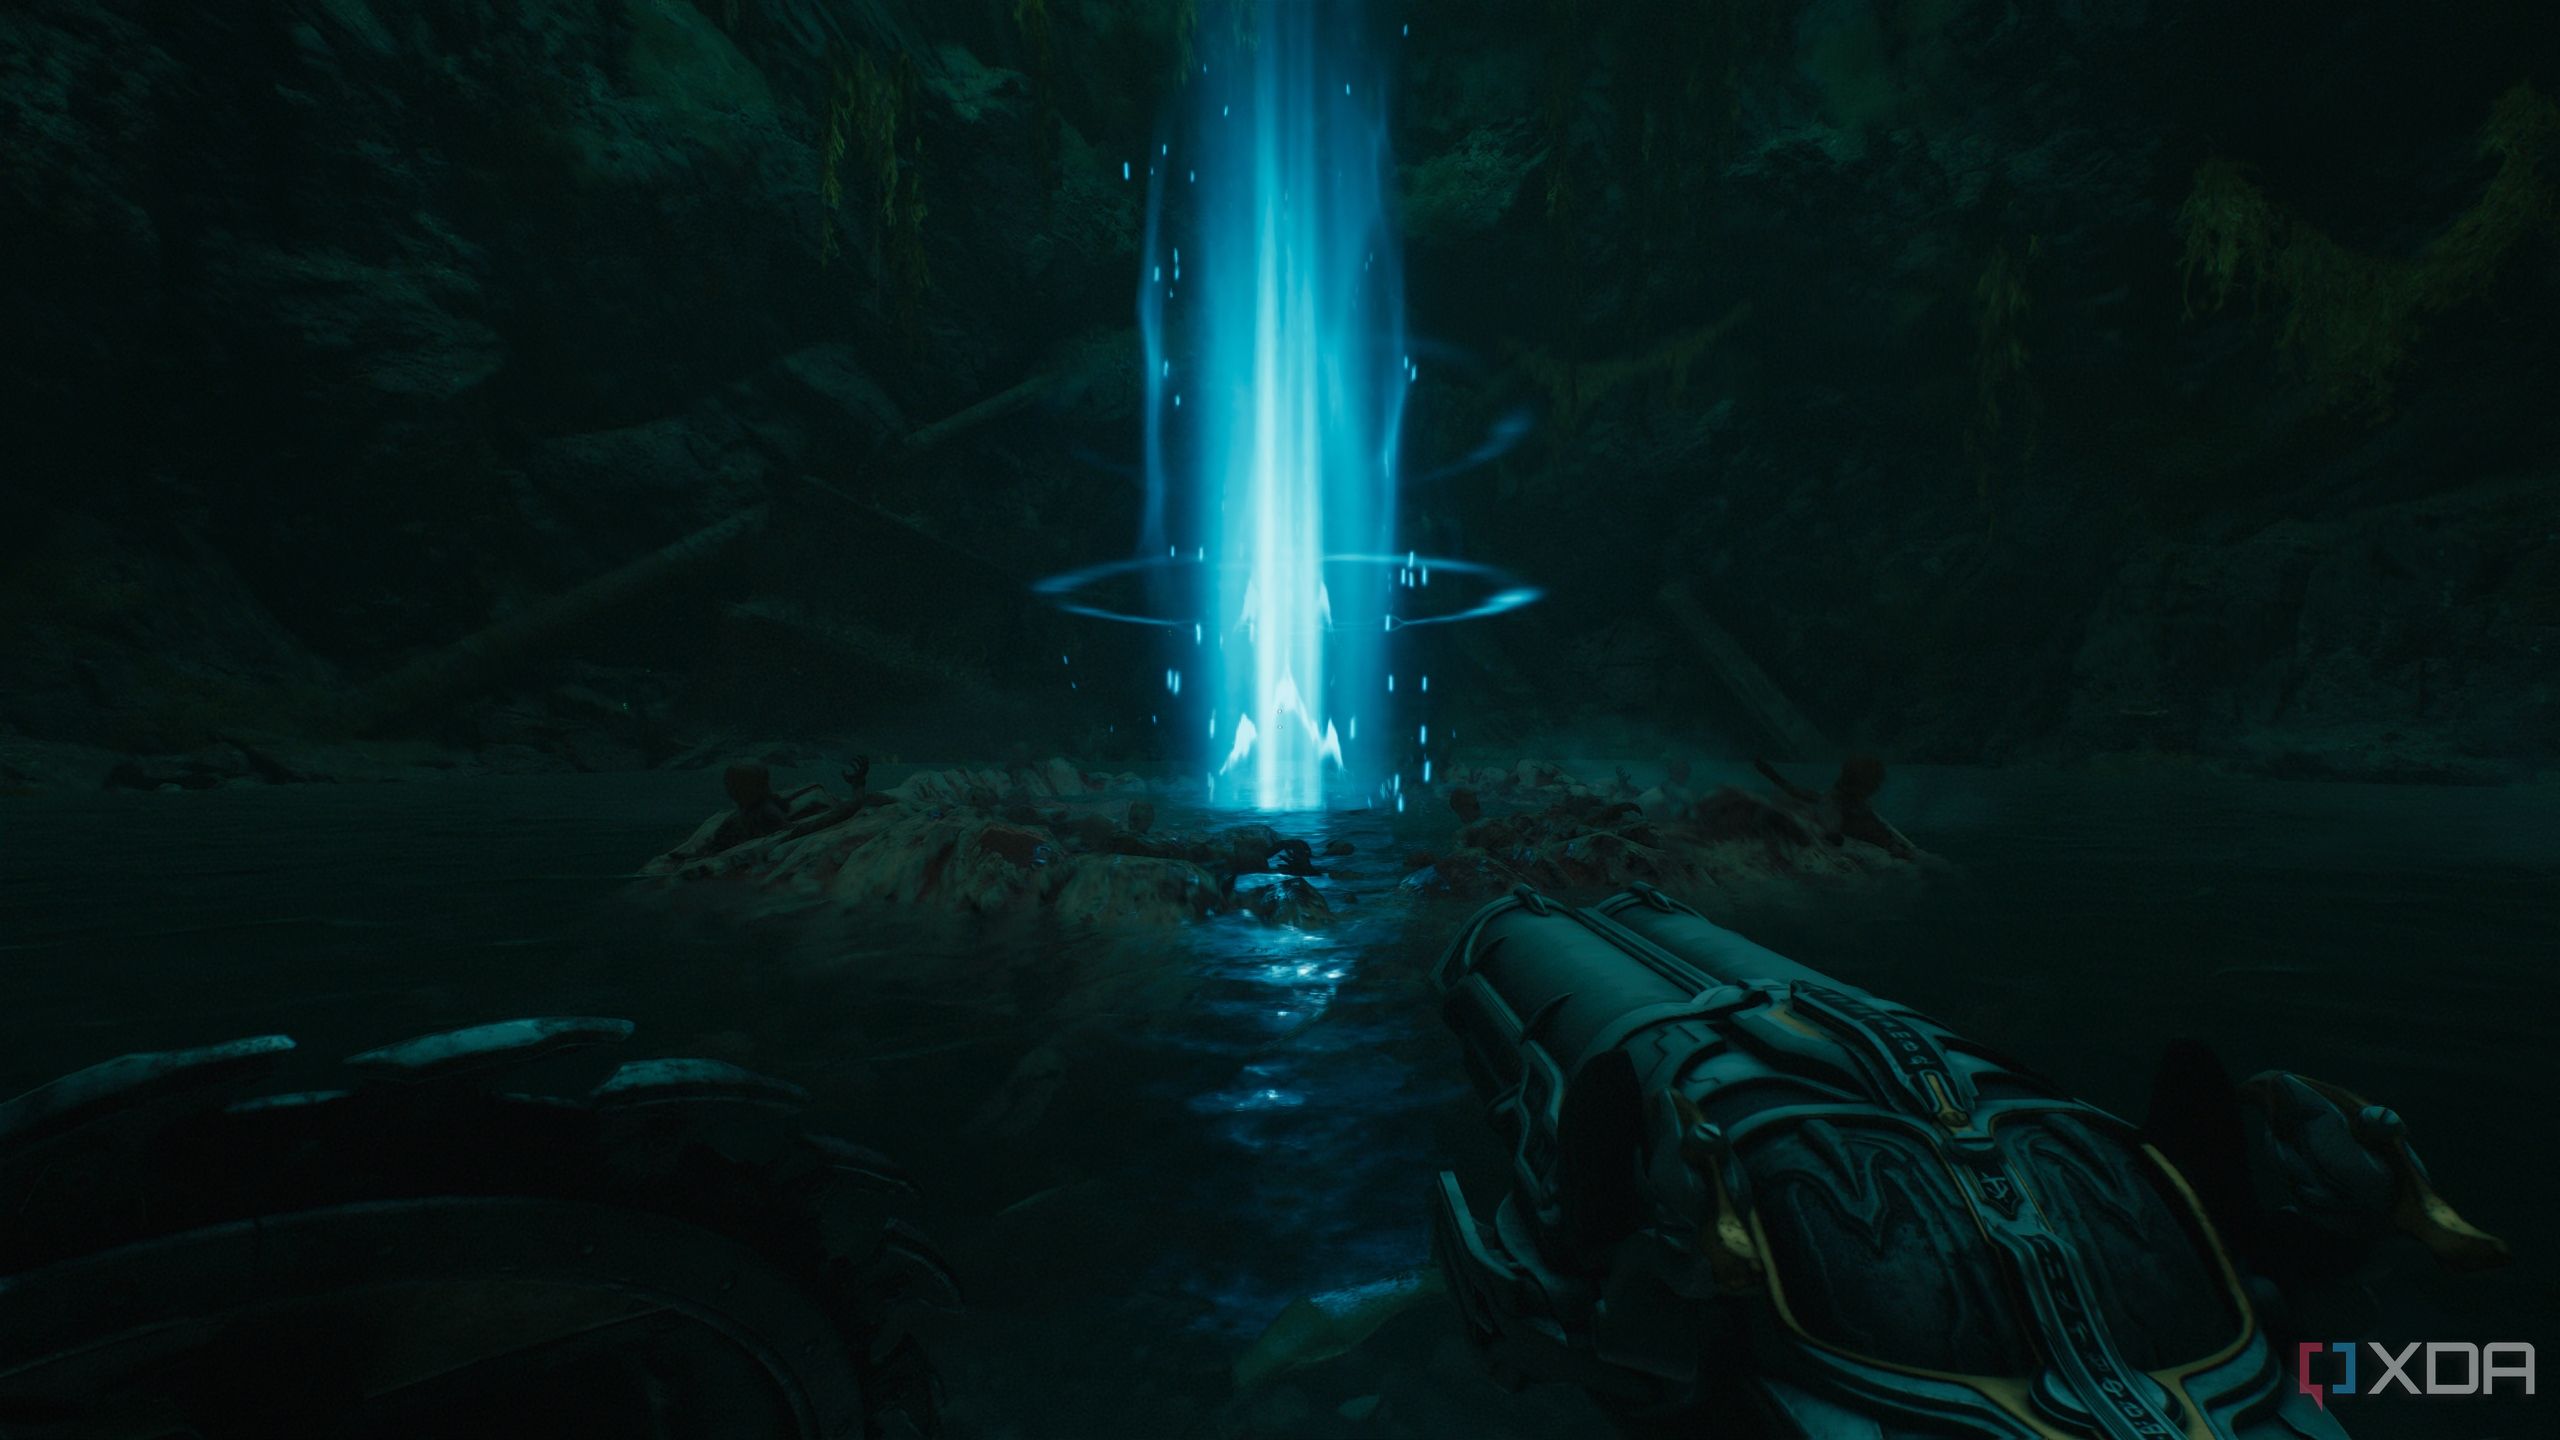
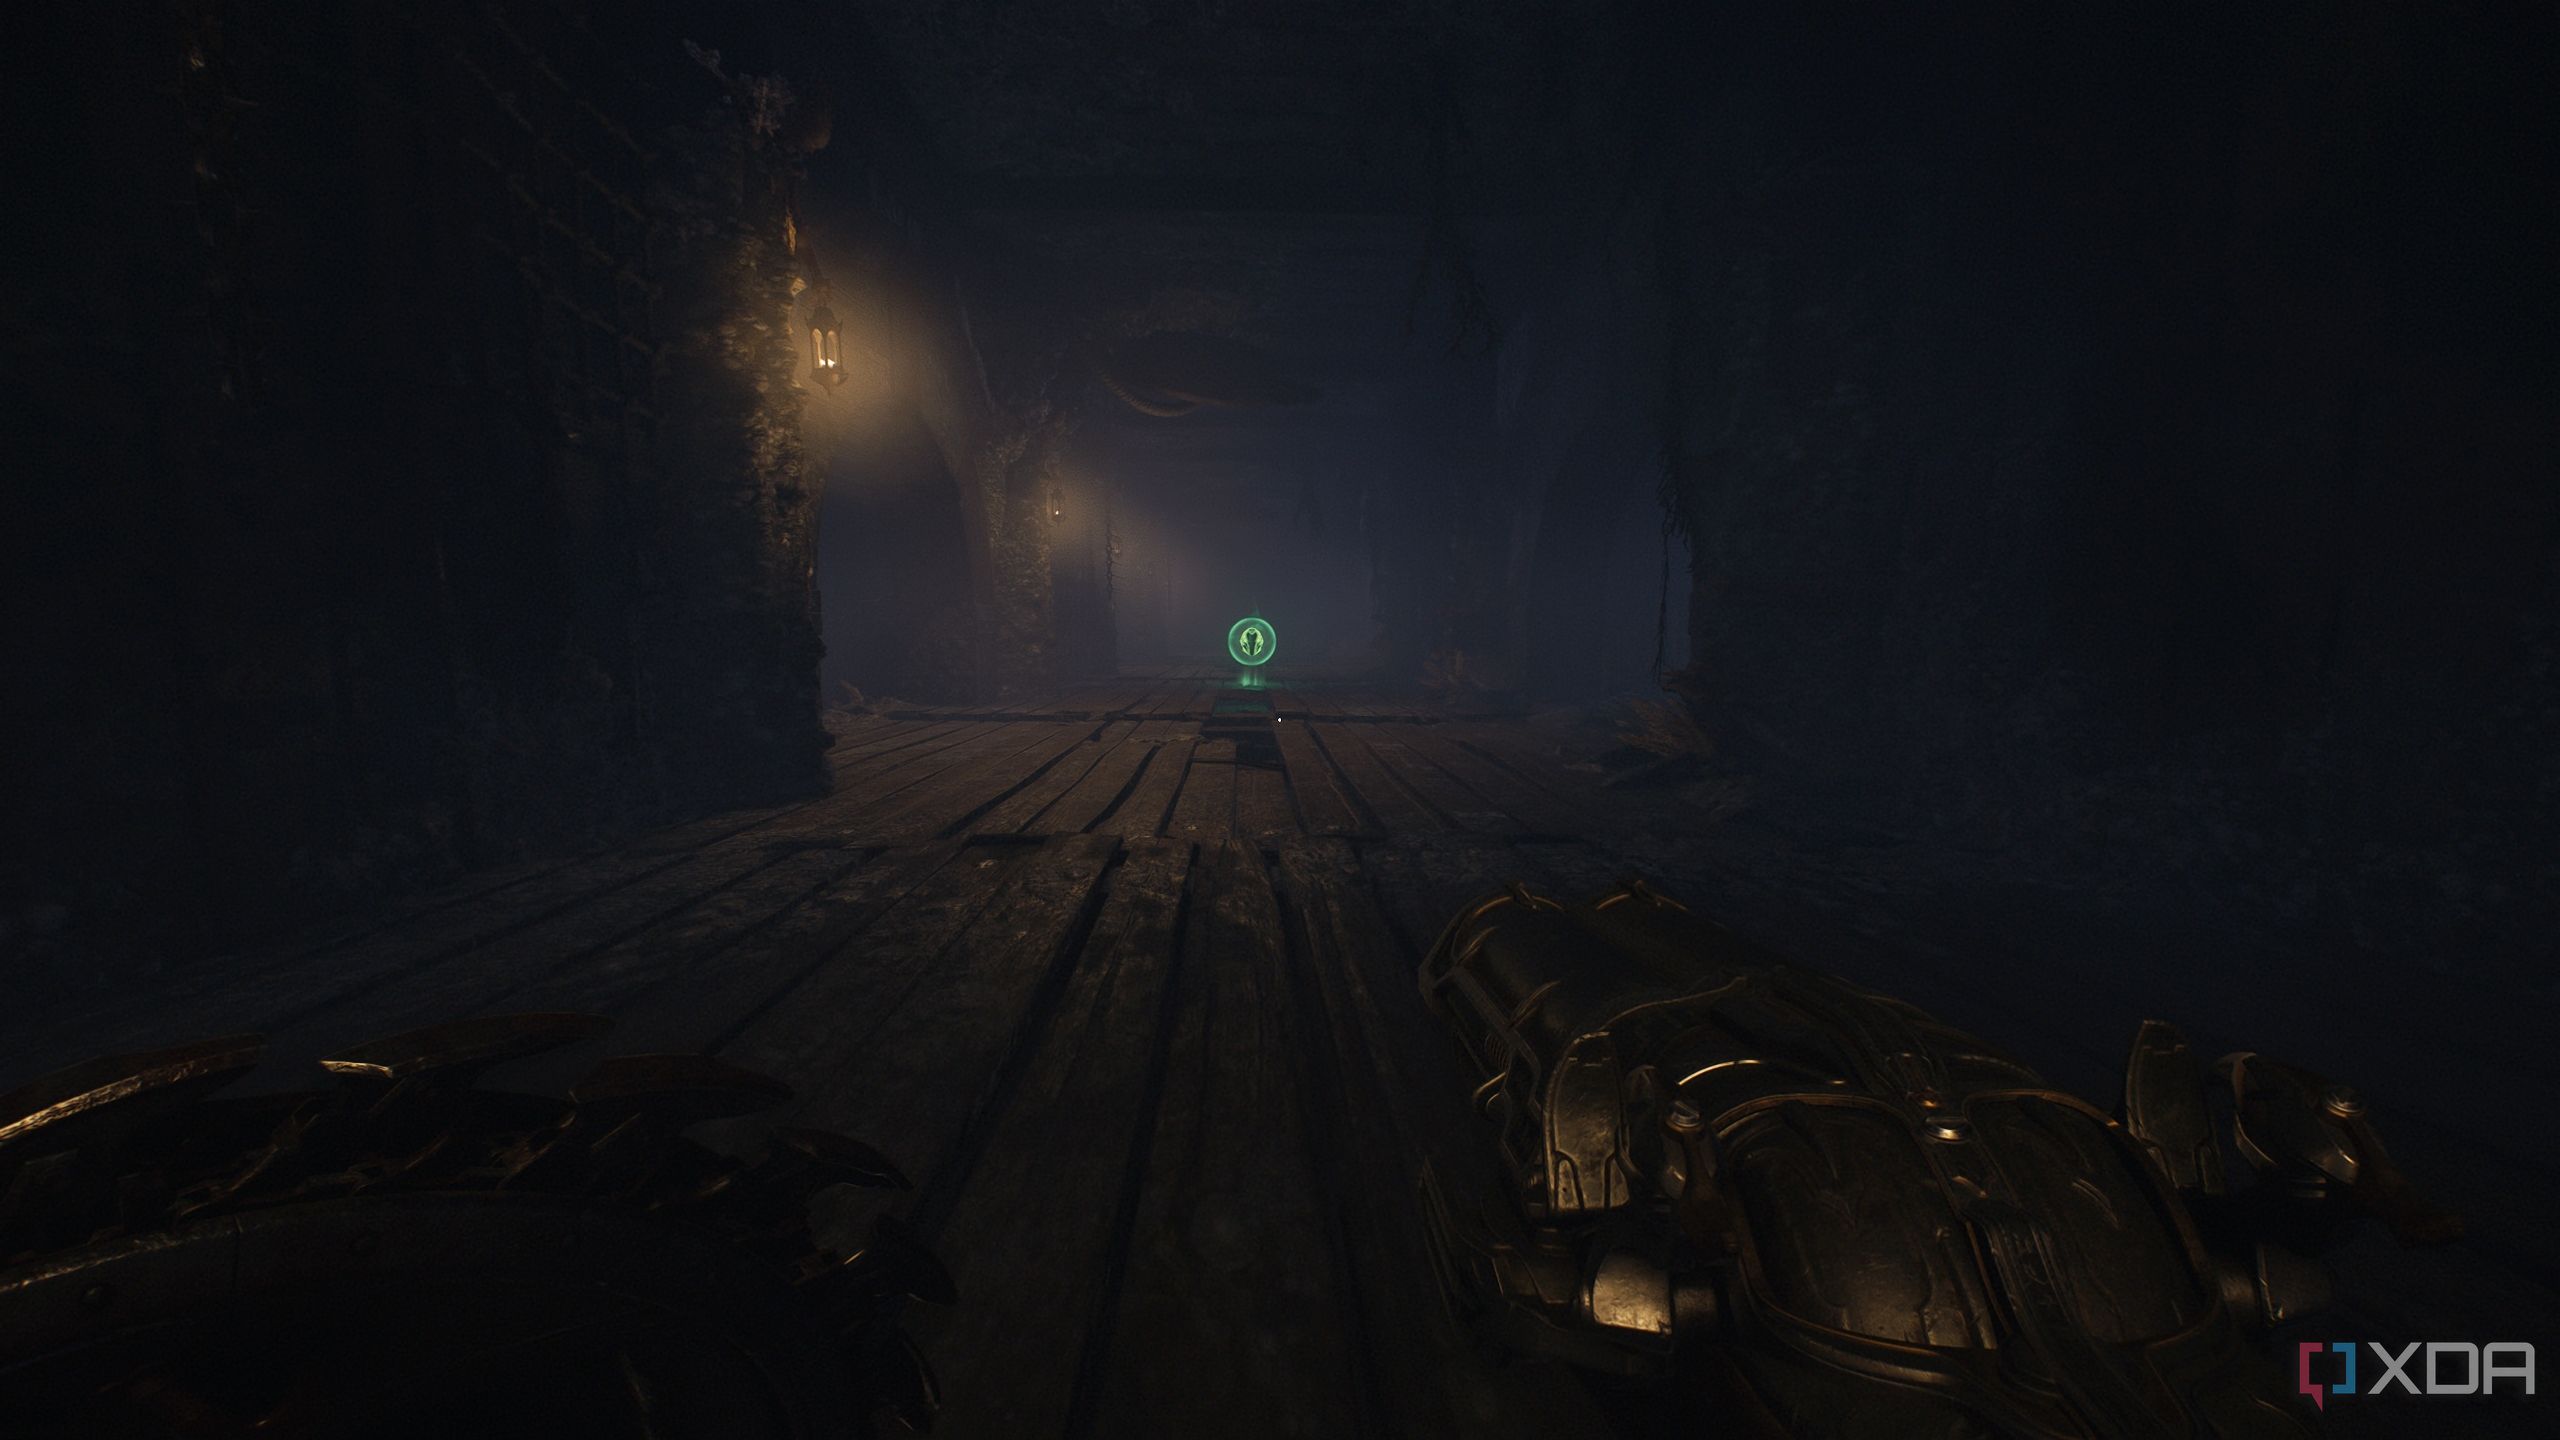
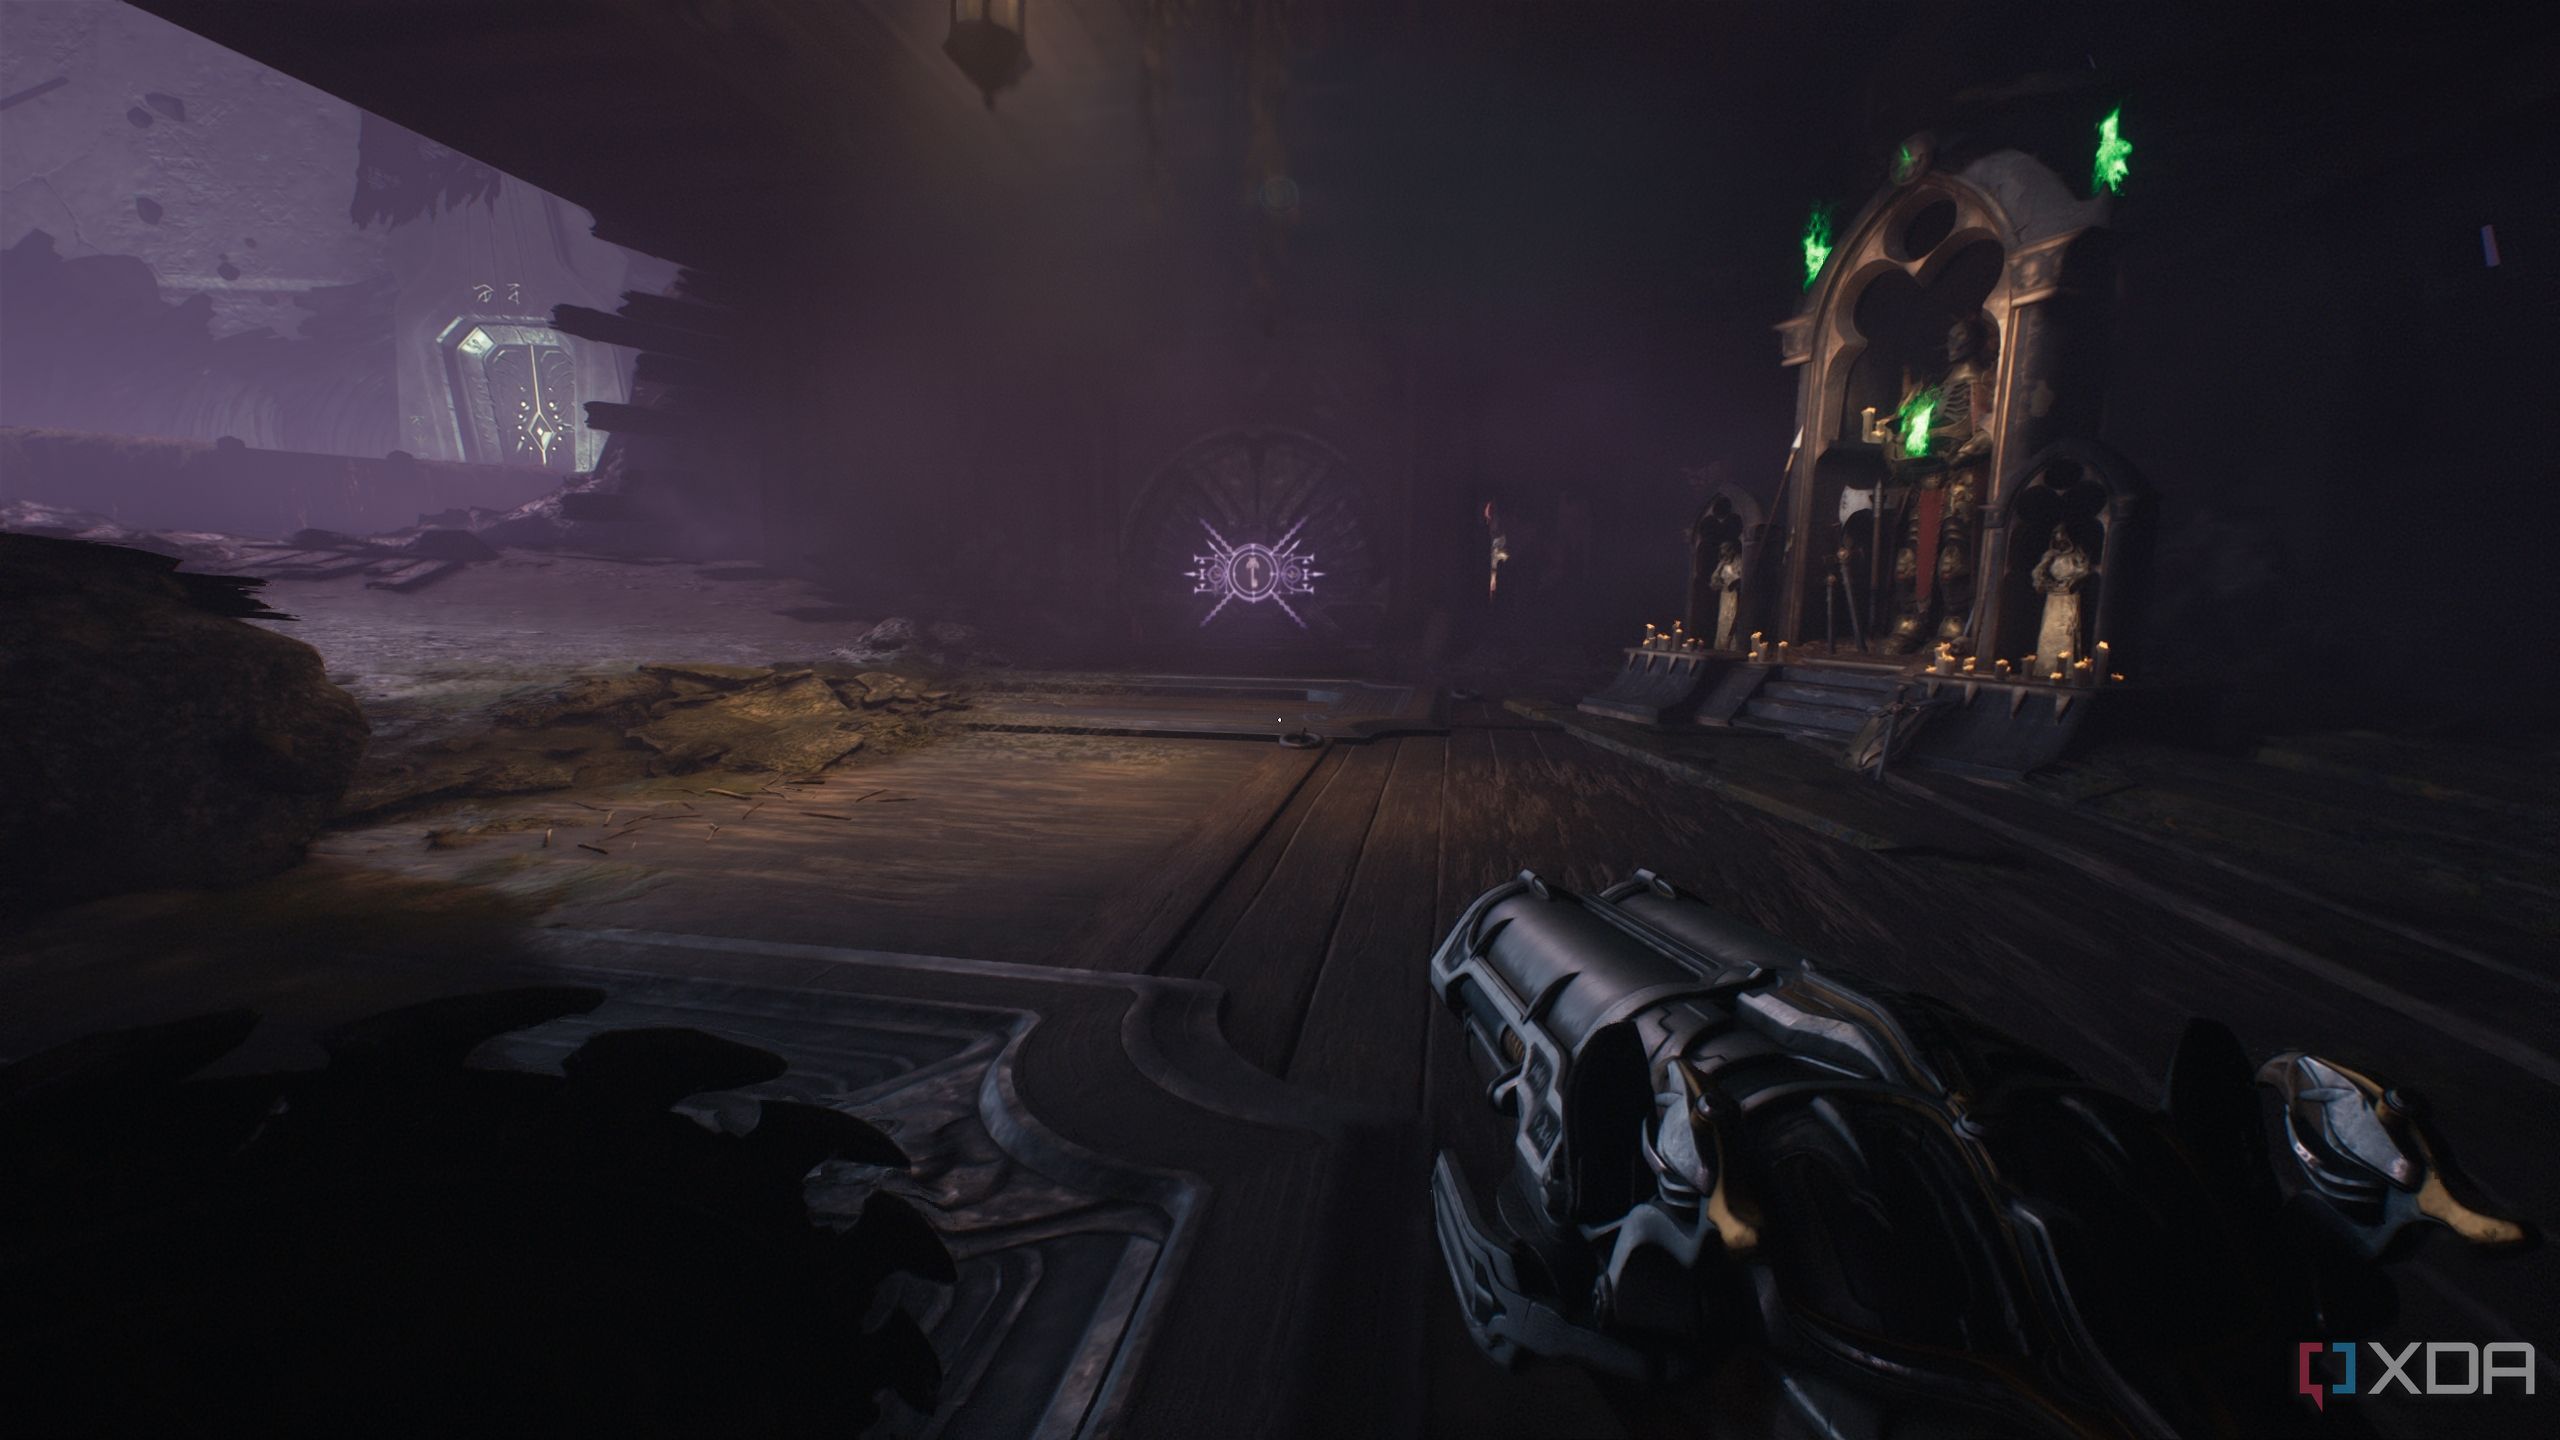
Secret area 3 and a Life Sigil
A Komodo to use that Life Sigil you just collected on
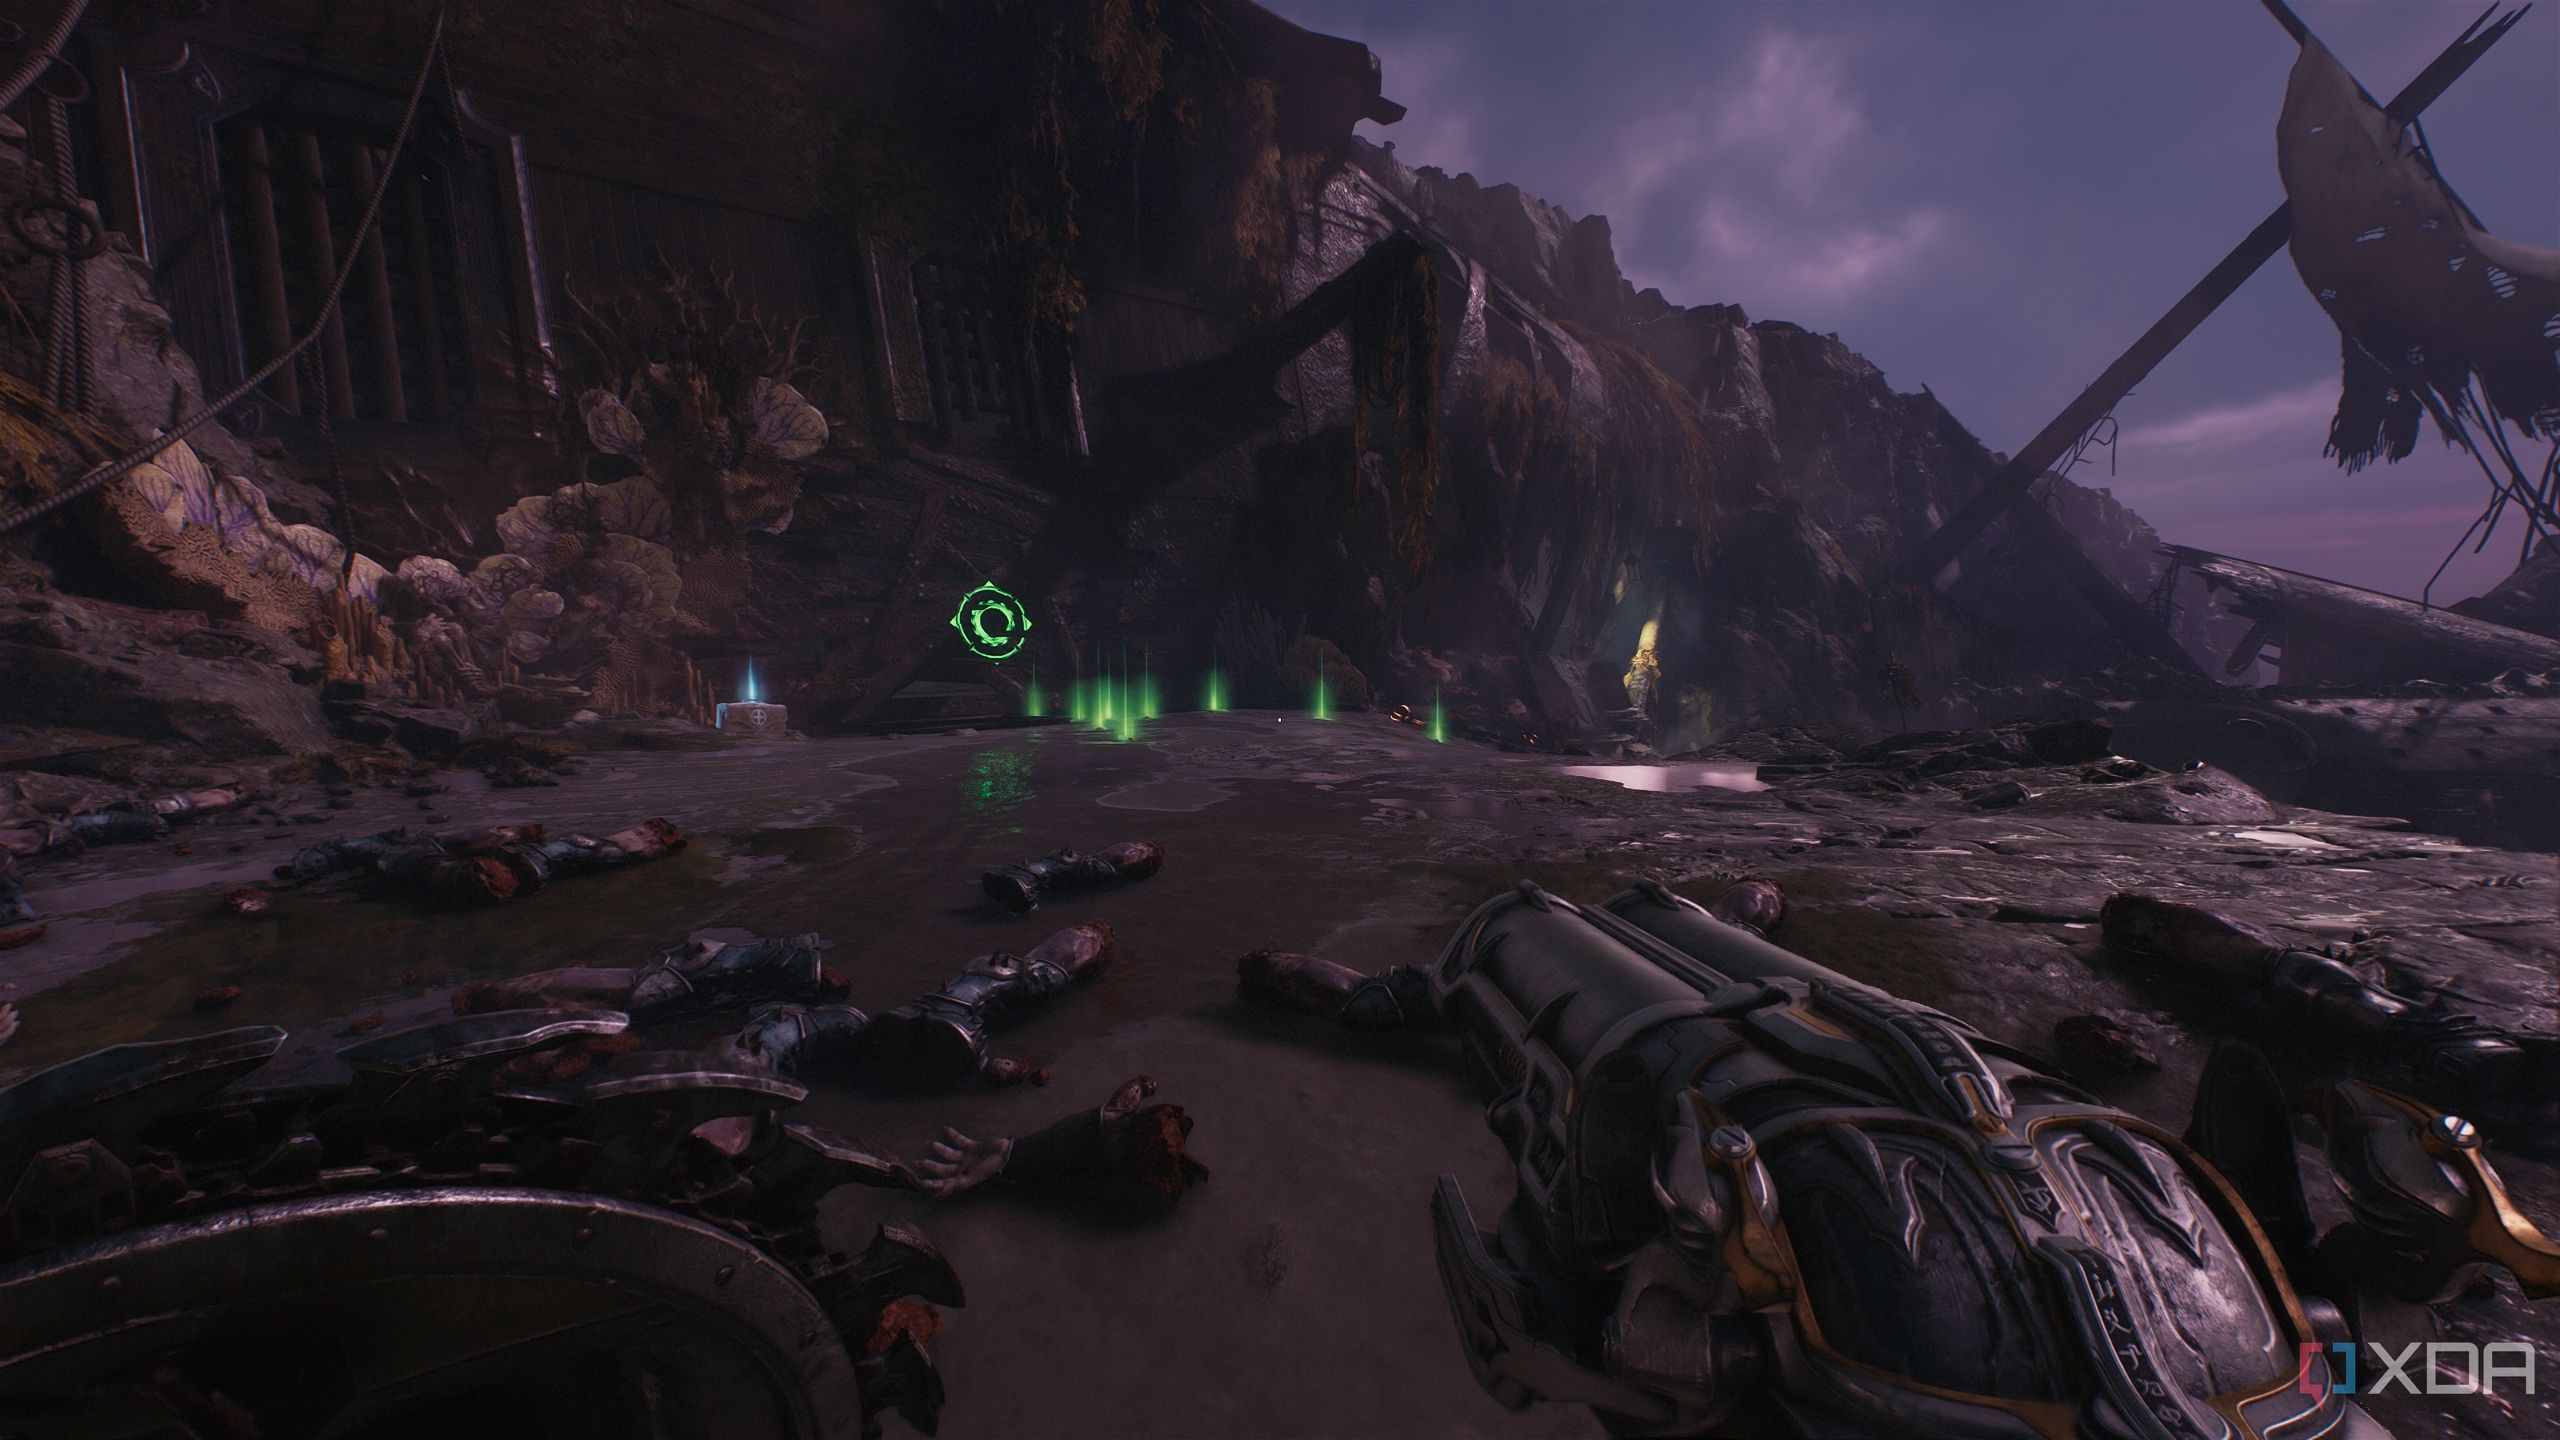
Once you reach the first Sentinel Shrine in the level and fight with the Cosmic Baron, go forward, past the Shrine, and you’ll reach another small, watery arena.
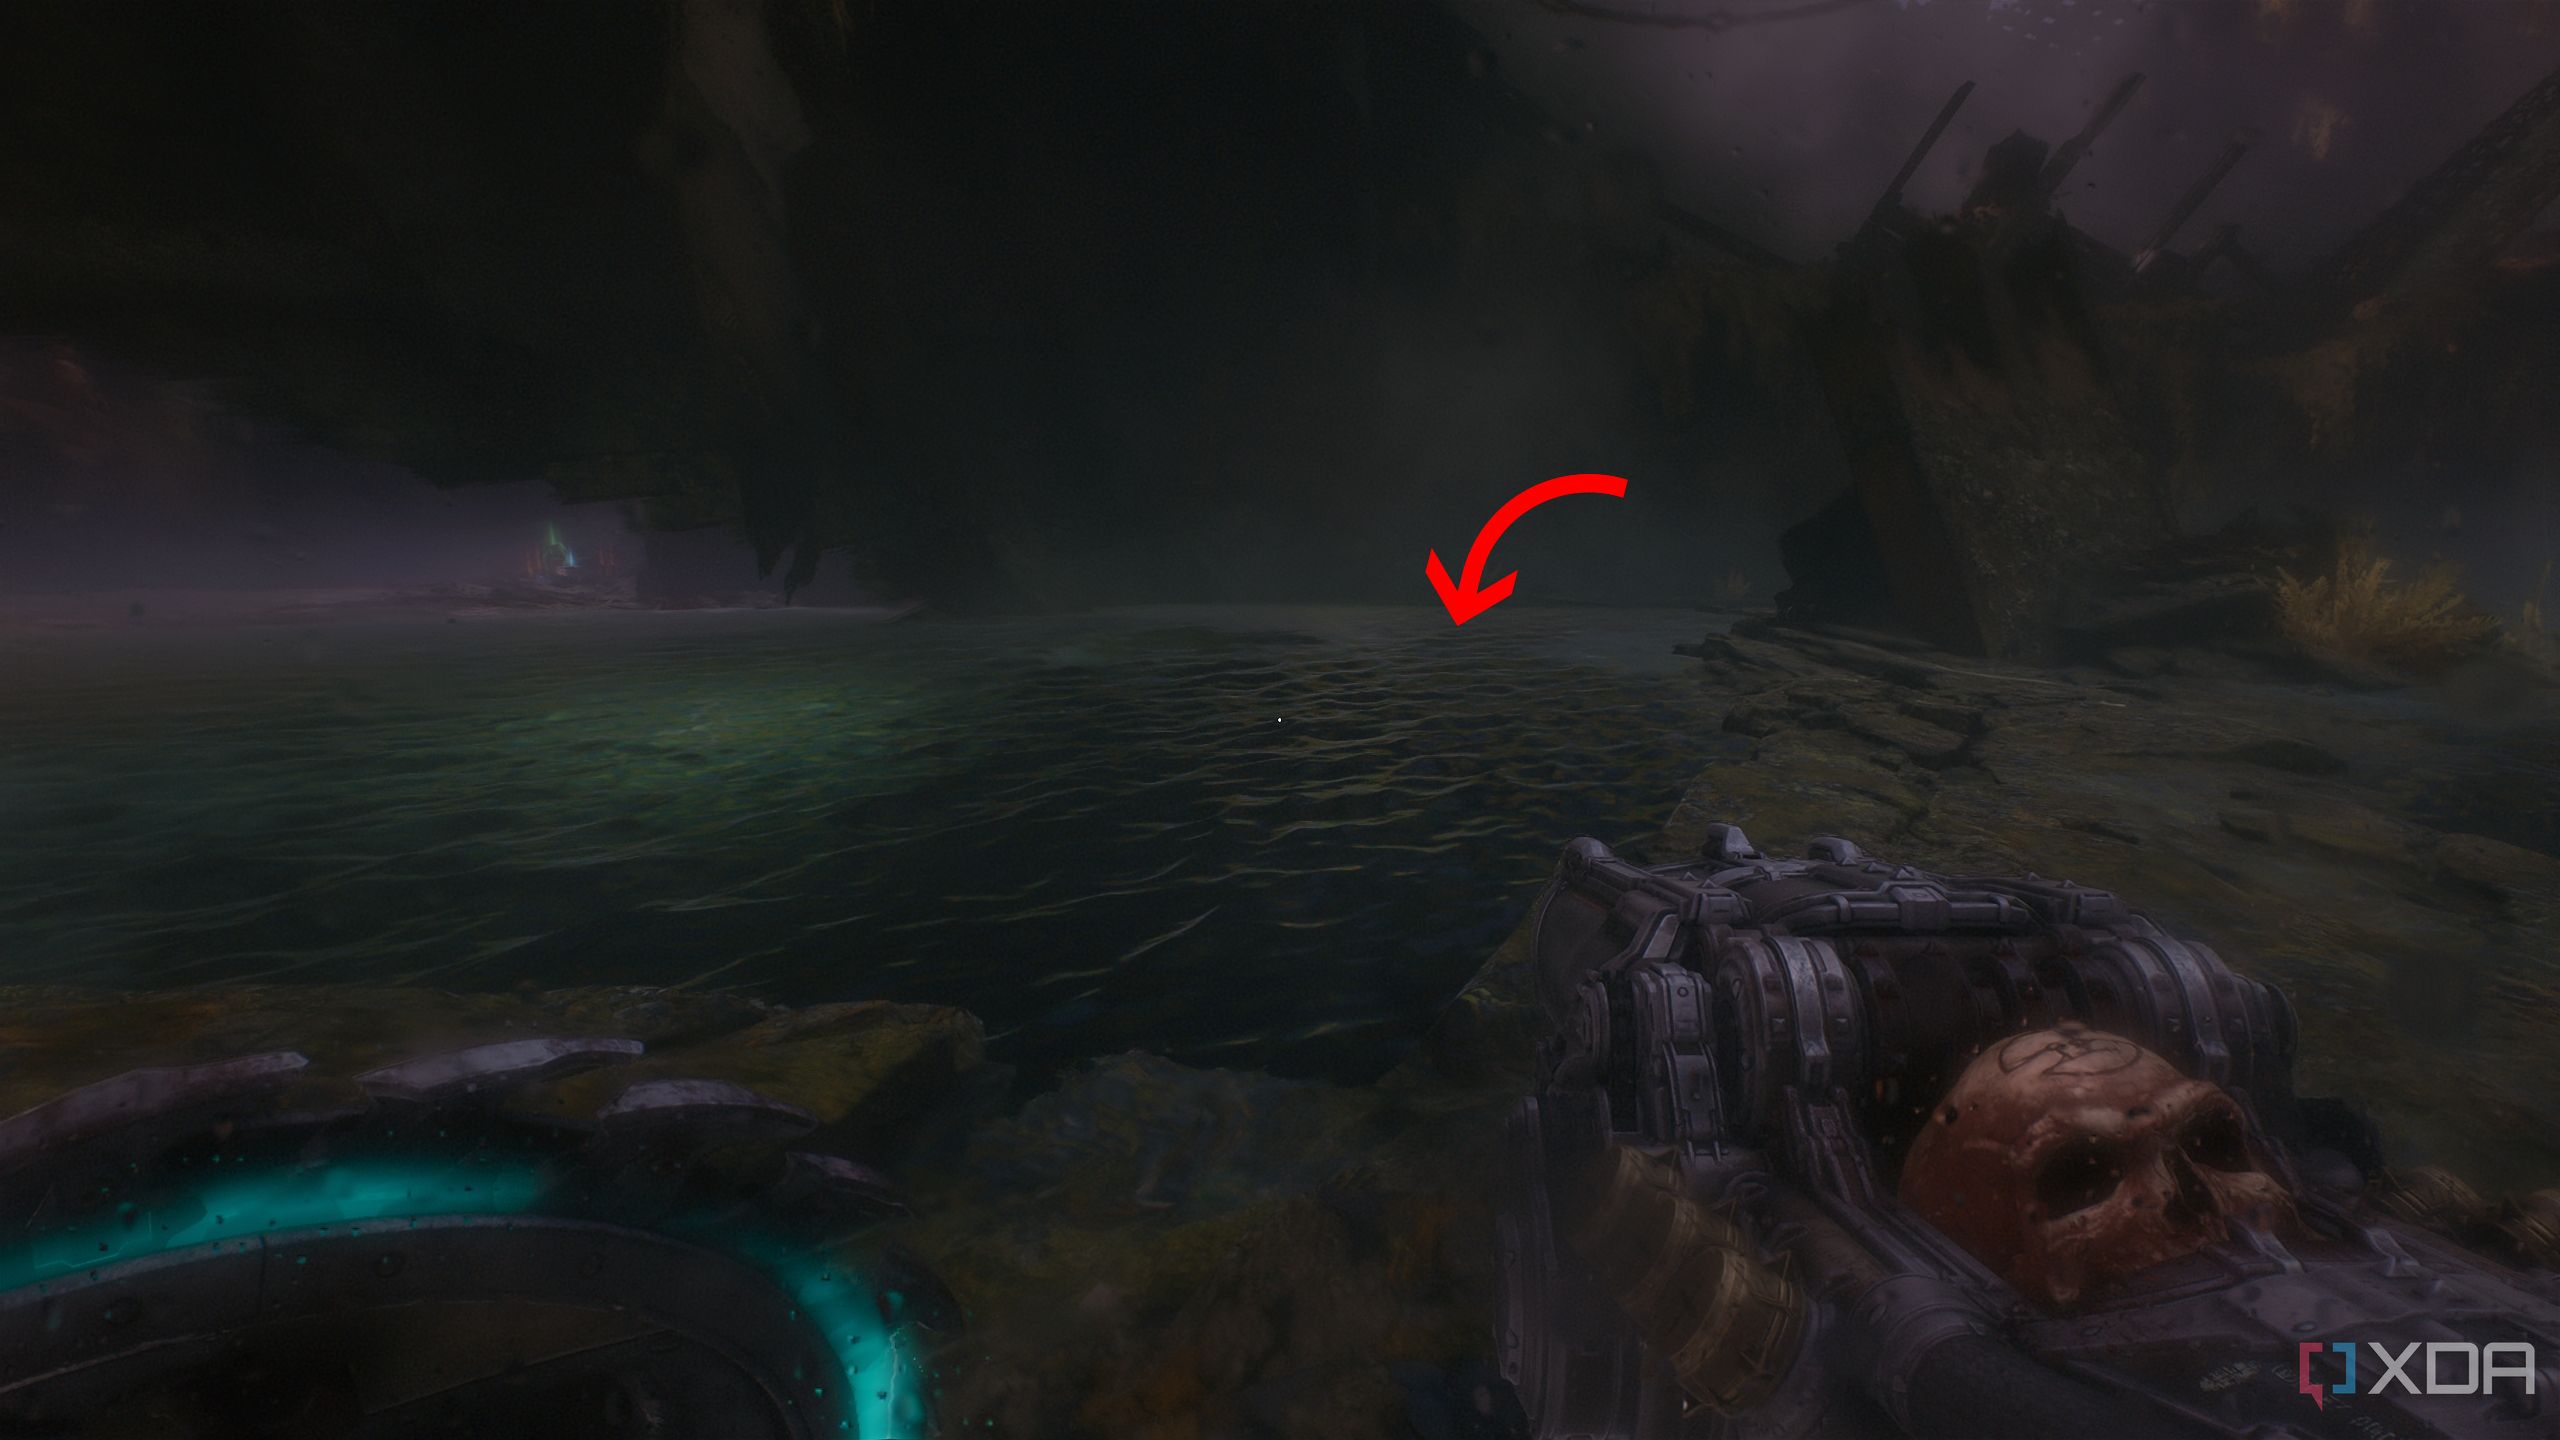
There’s a Life Sigil on the other side, so to get to it, head forward towards the objective, and you’ll drop into the water.
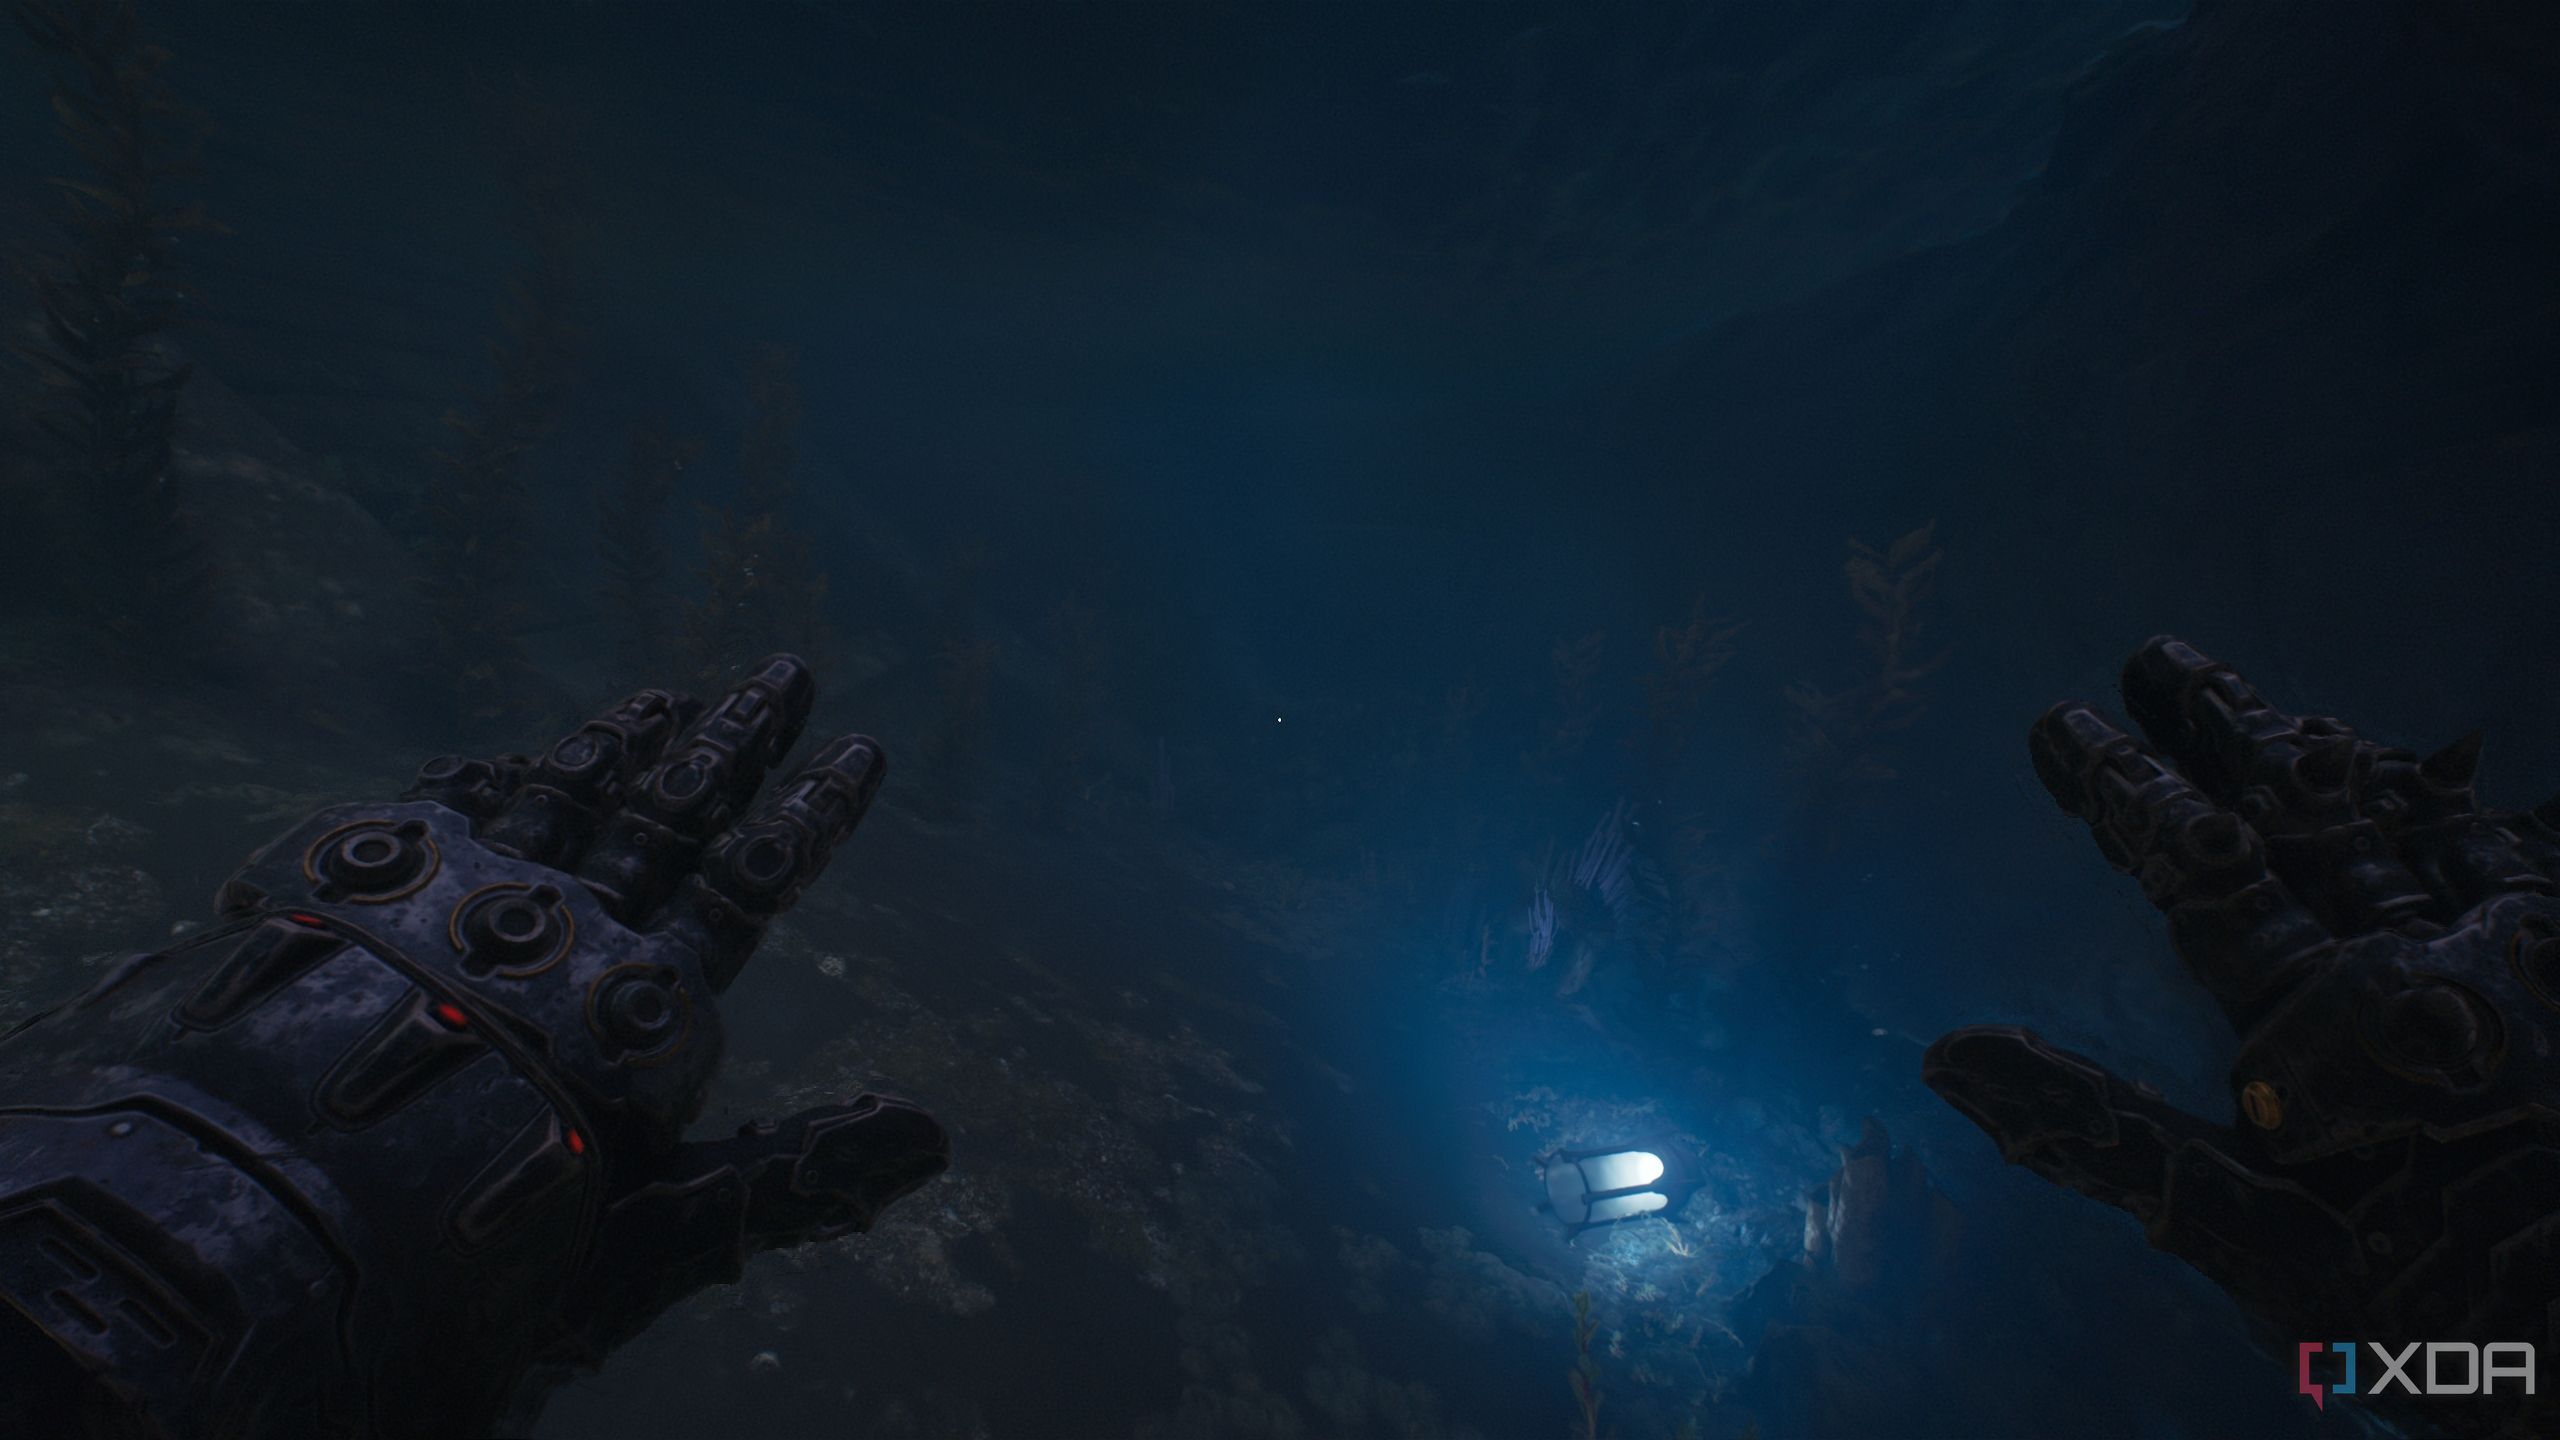
From here, swim underwater and head right, towards and past the blue light in the water.
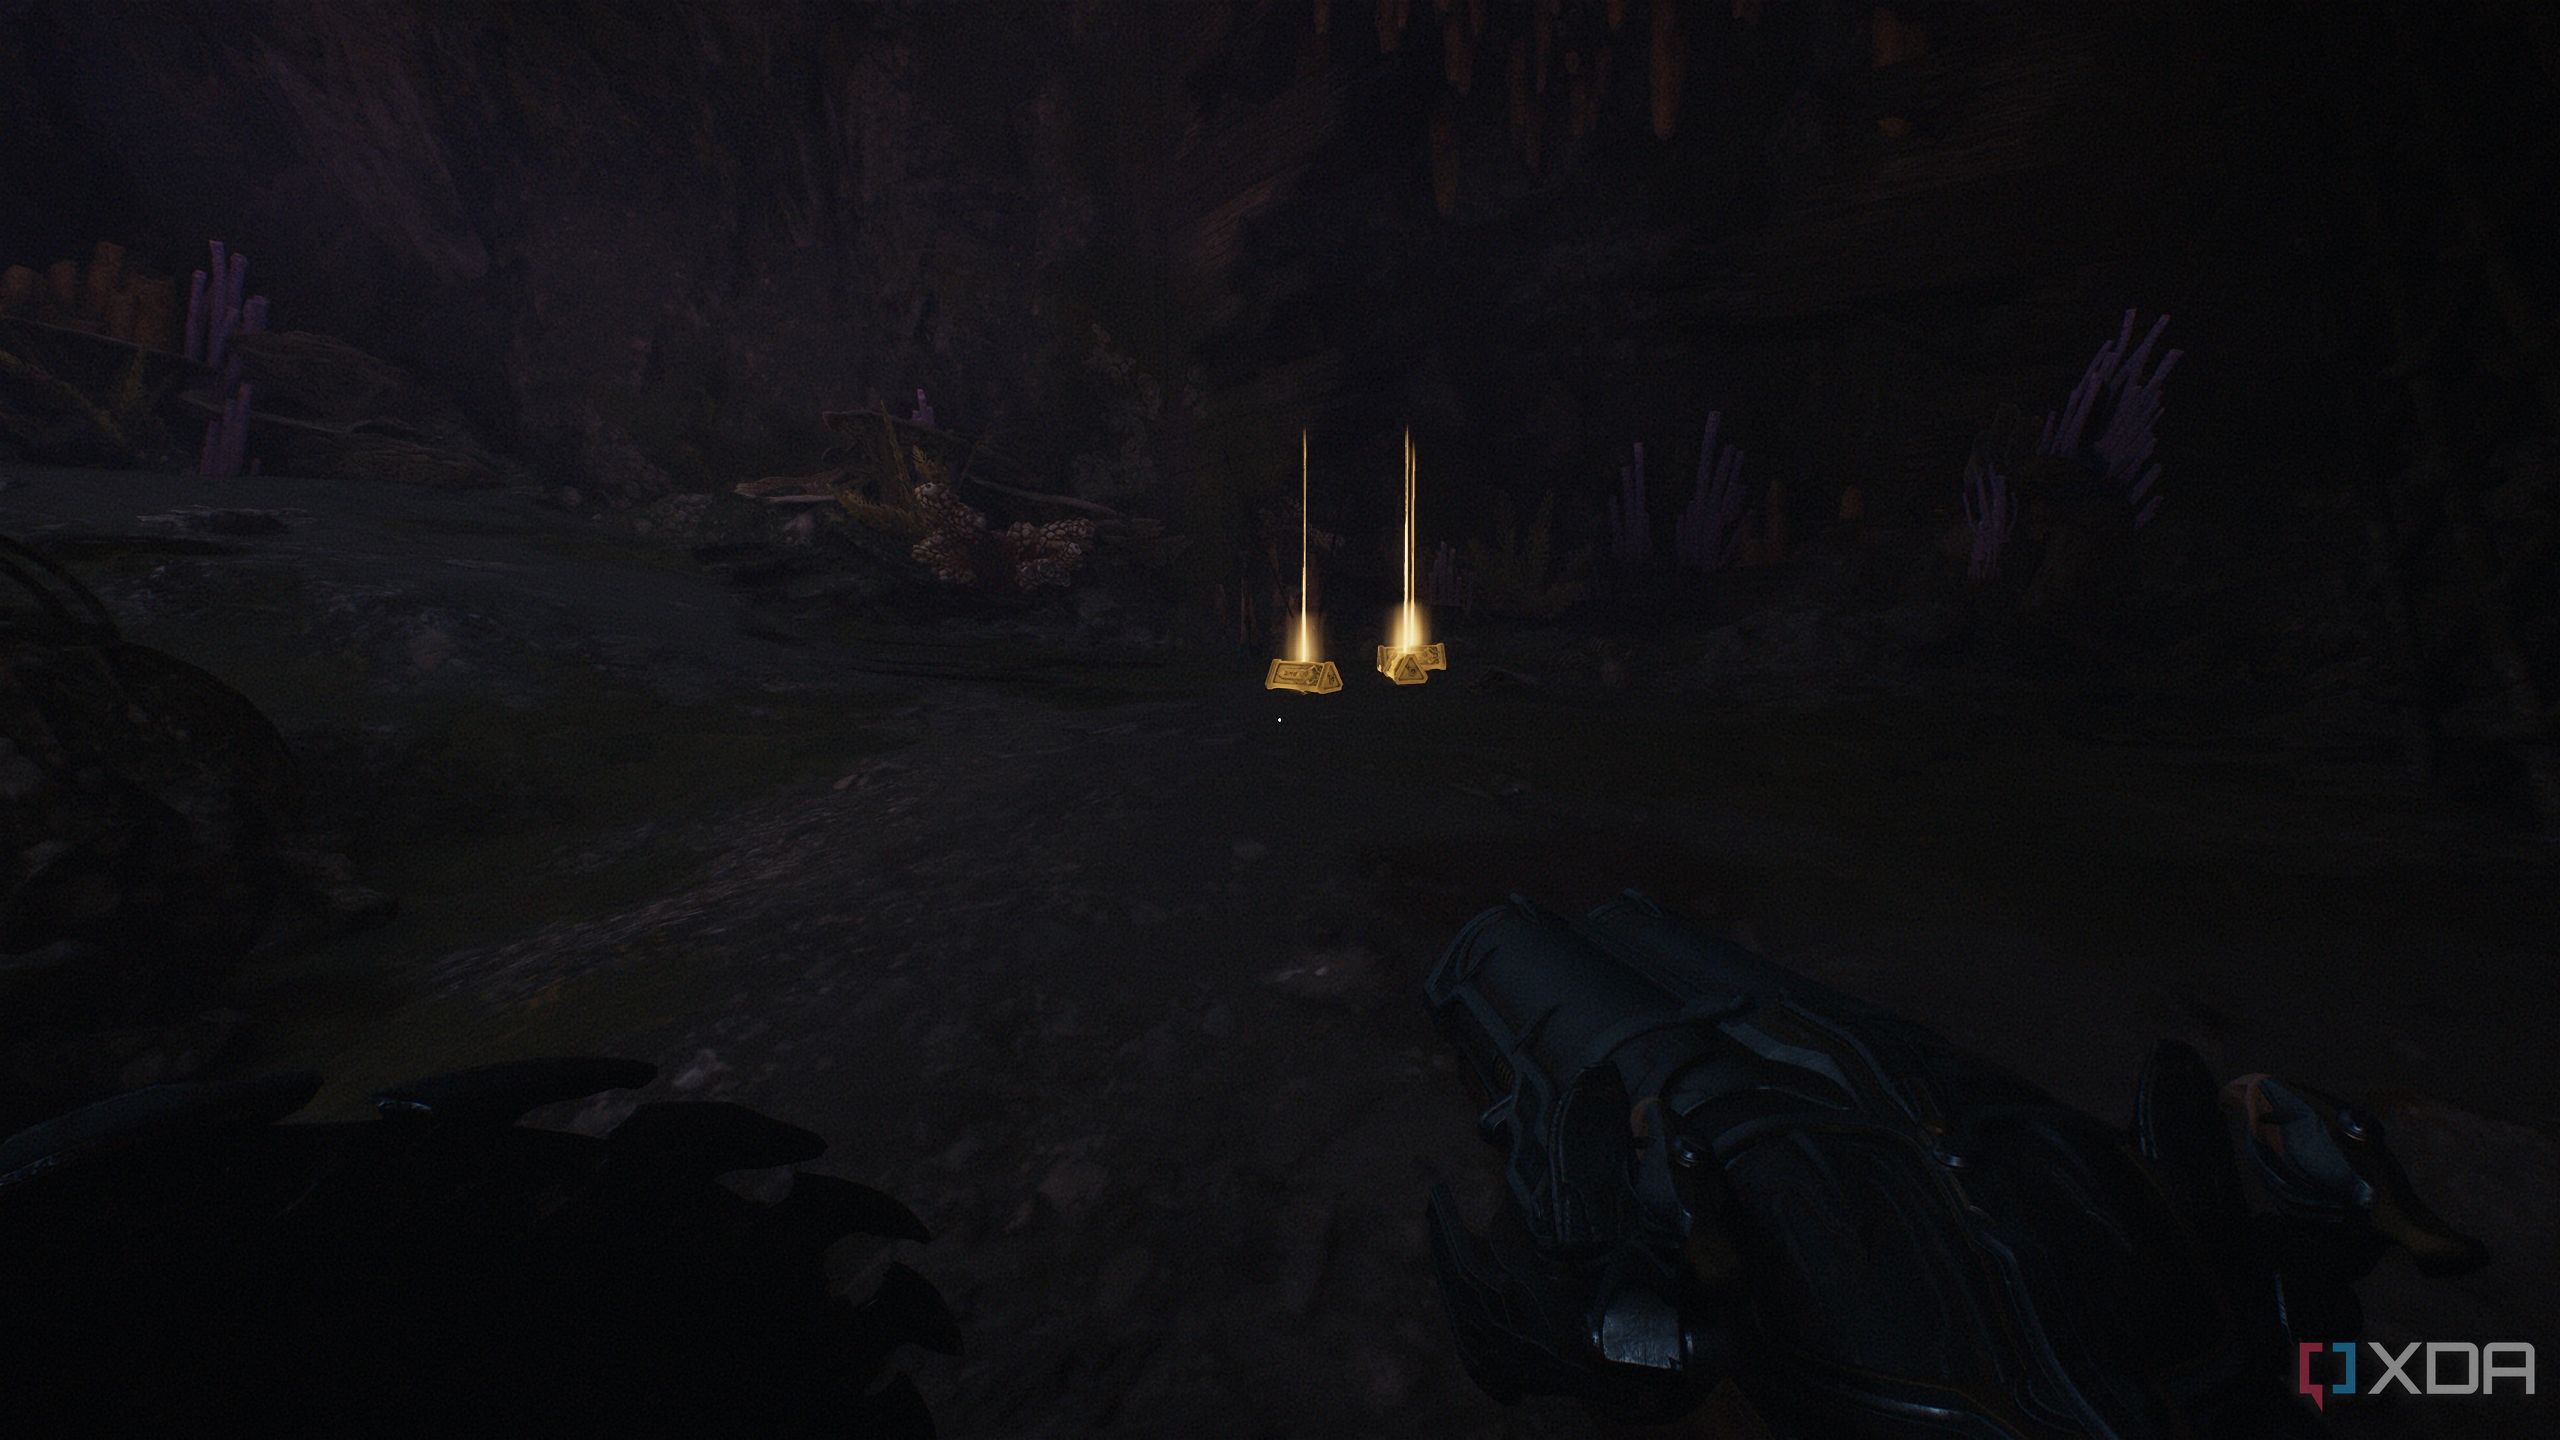
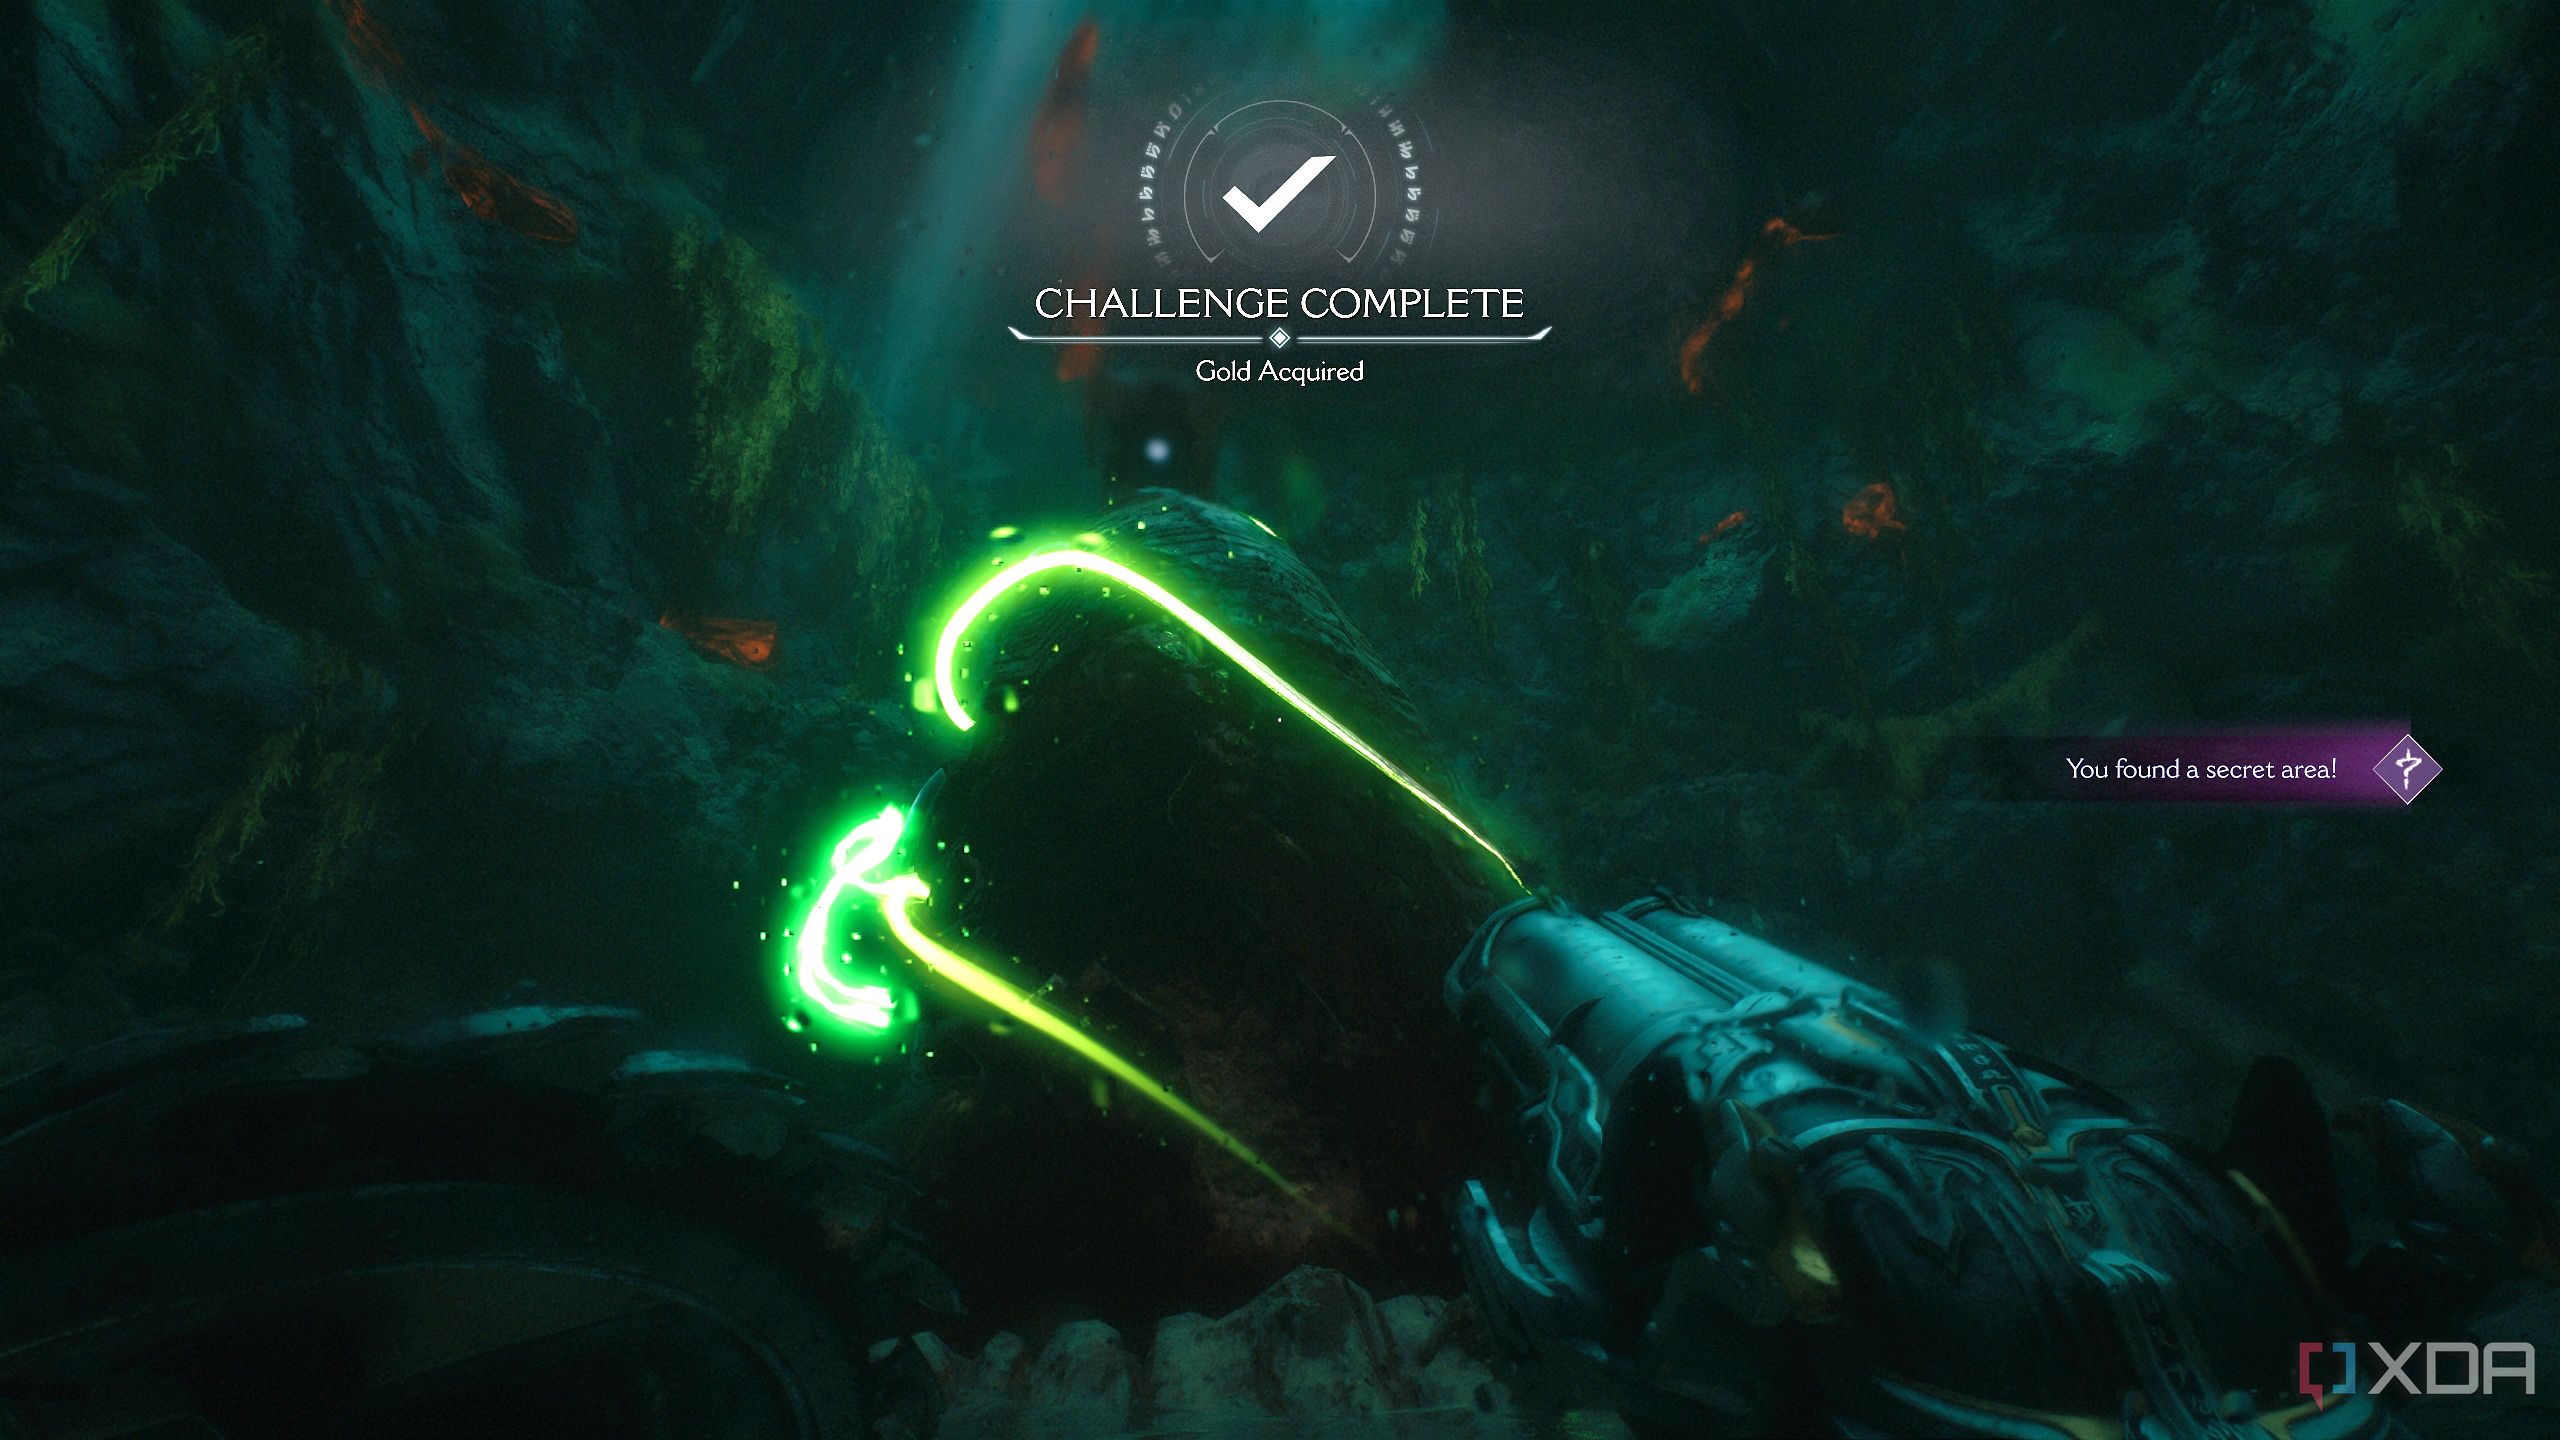
You’ll swim into a narrow tunnel, and emerge a few seconds later into secret area 3 and a Life Sigil. There’s also a trail of gold bars to collect here, along with some BFC ammo. Shield Charge your way out, and you’ll have to fight a Komodo before you can proceed.
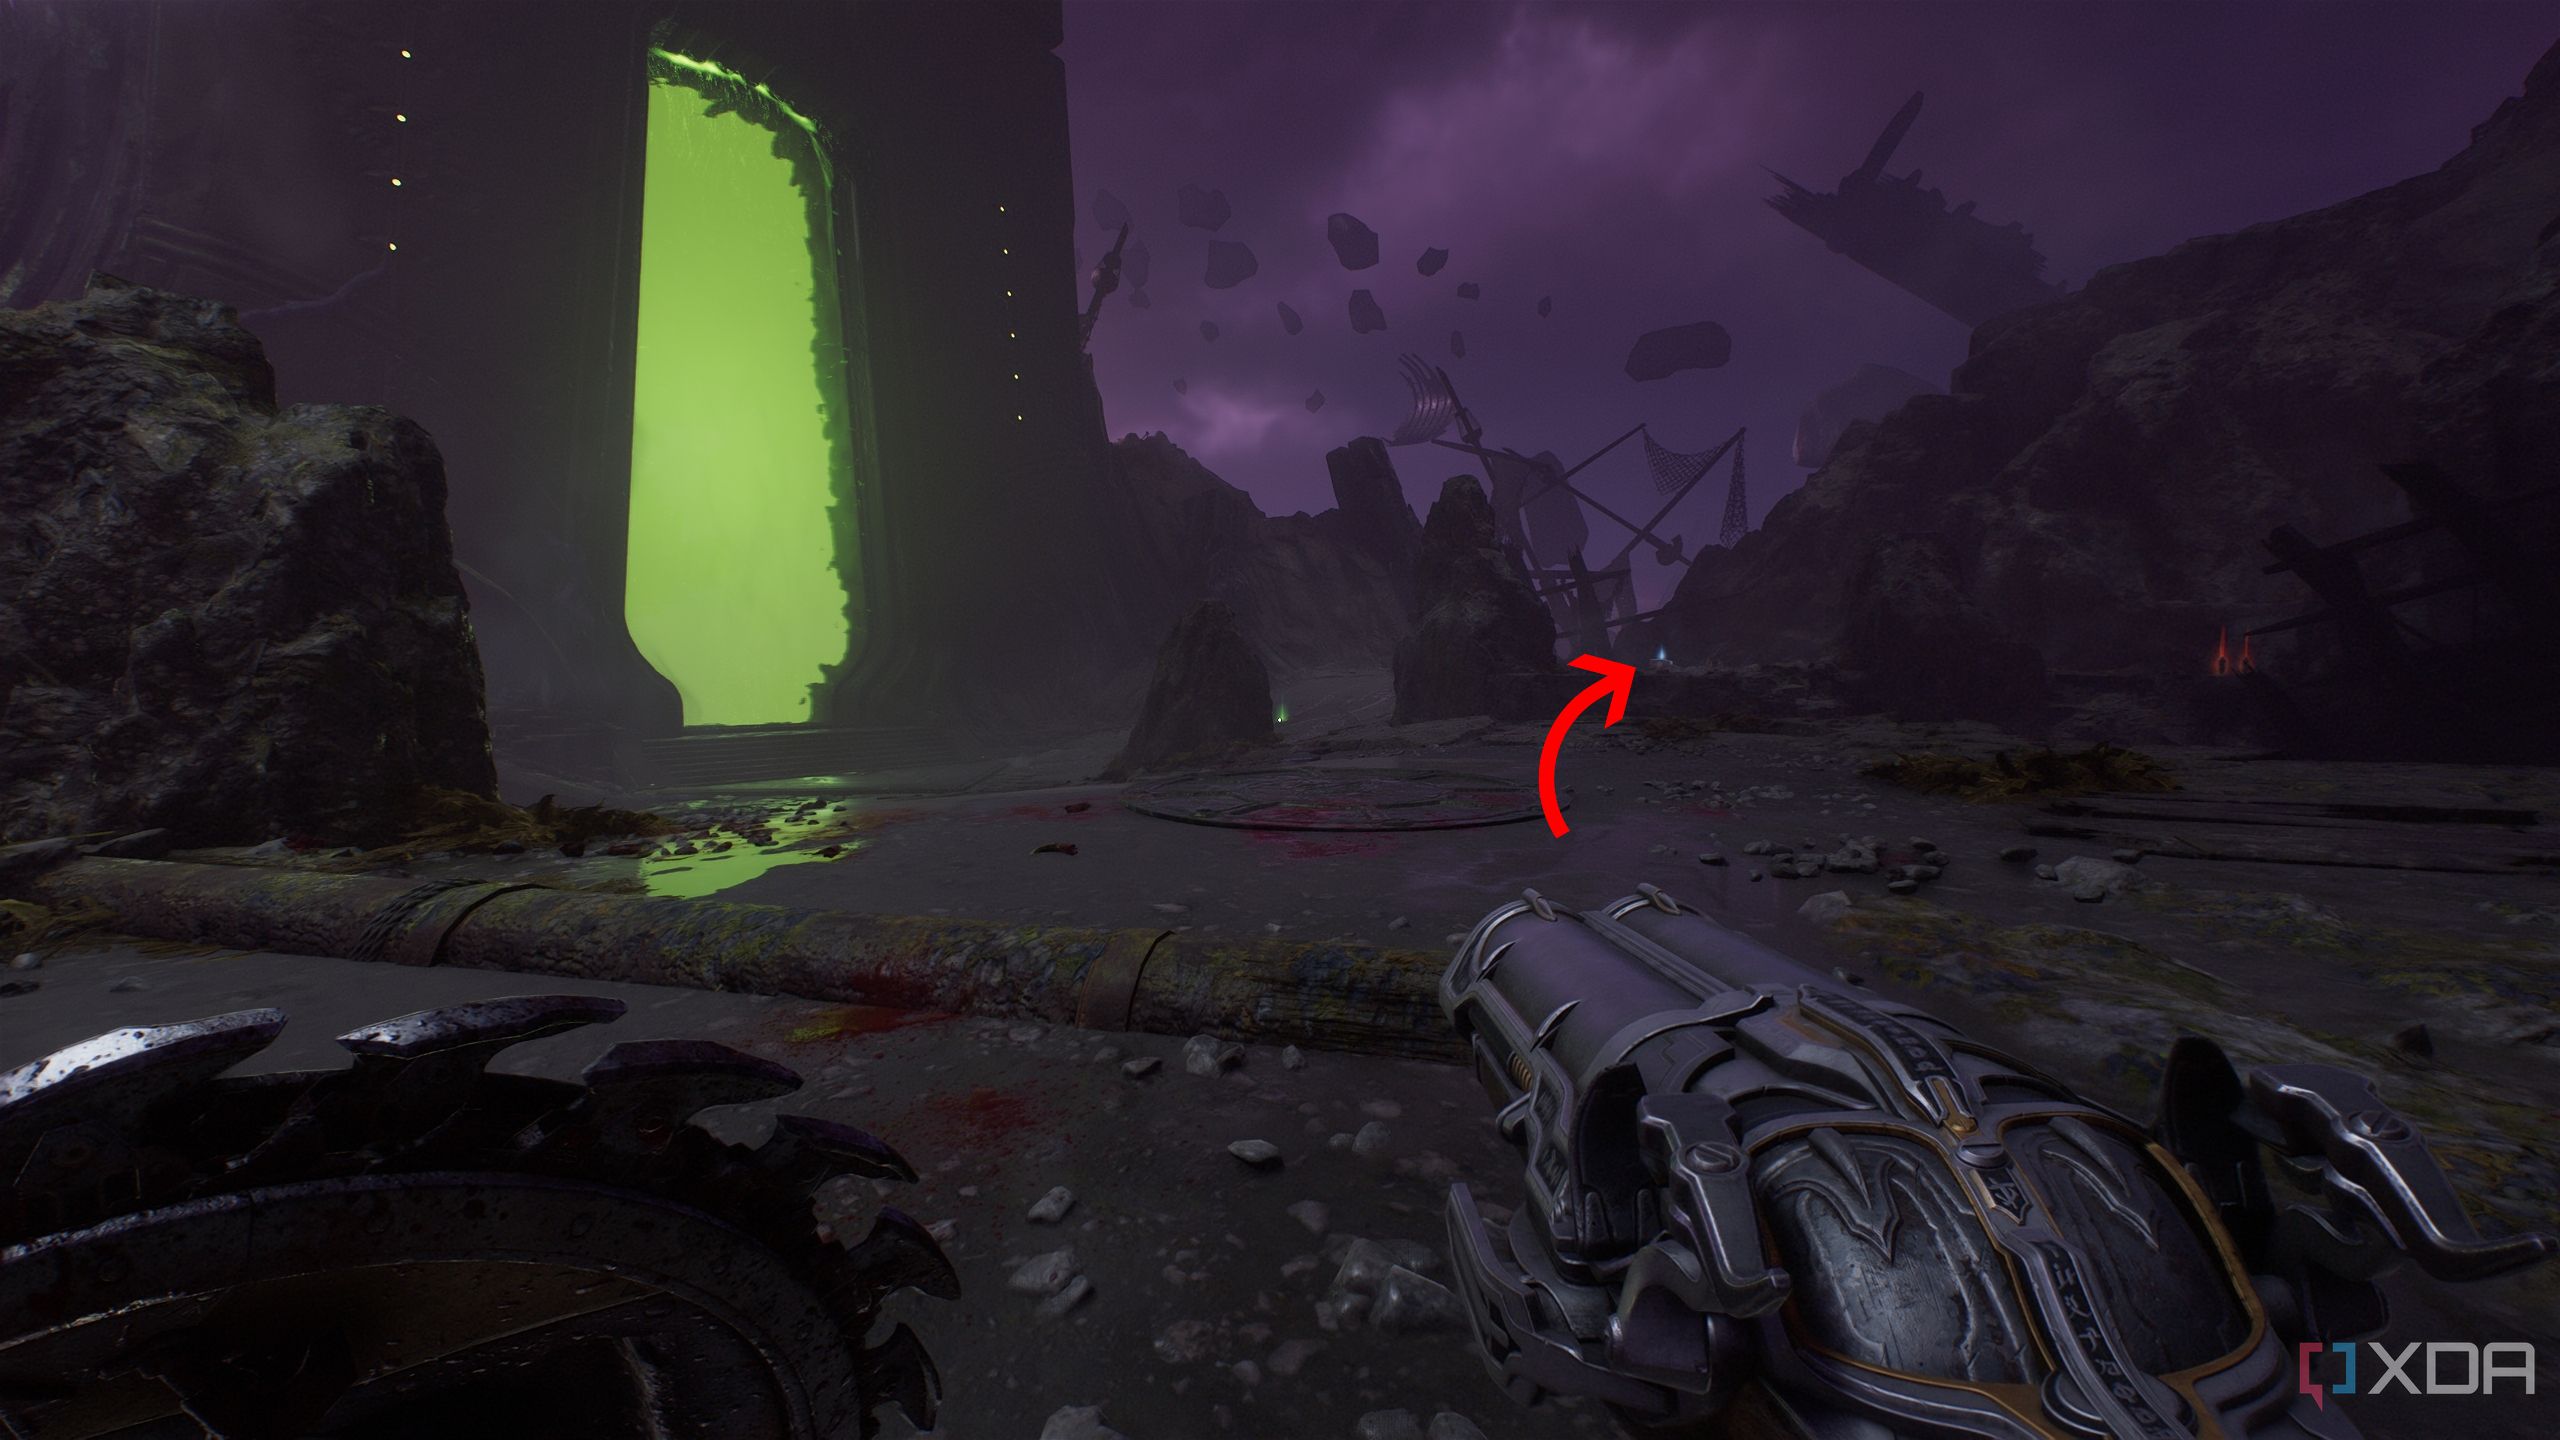
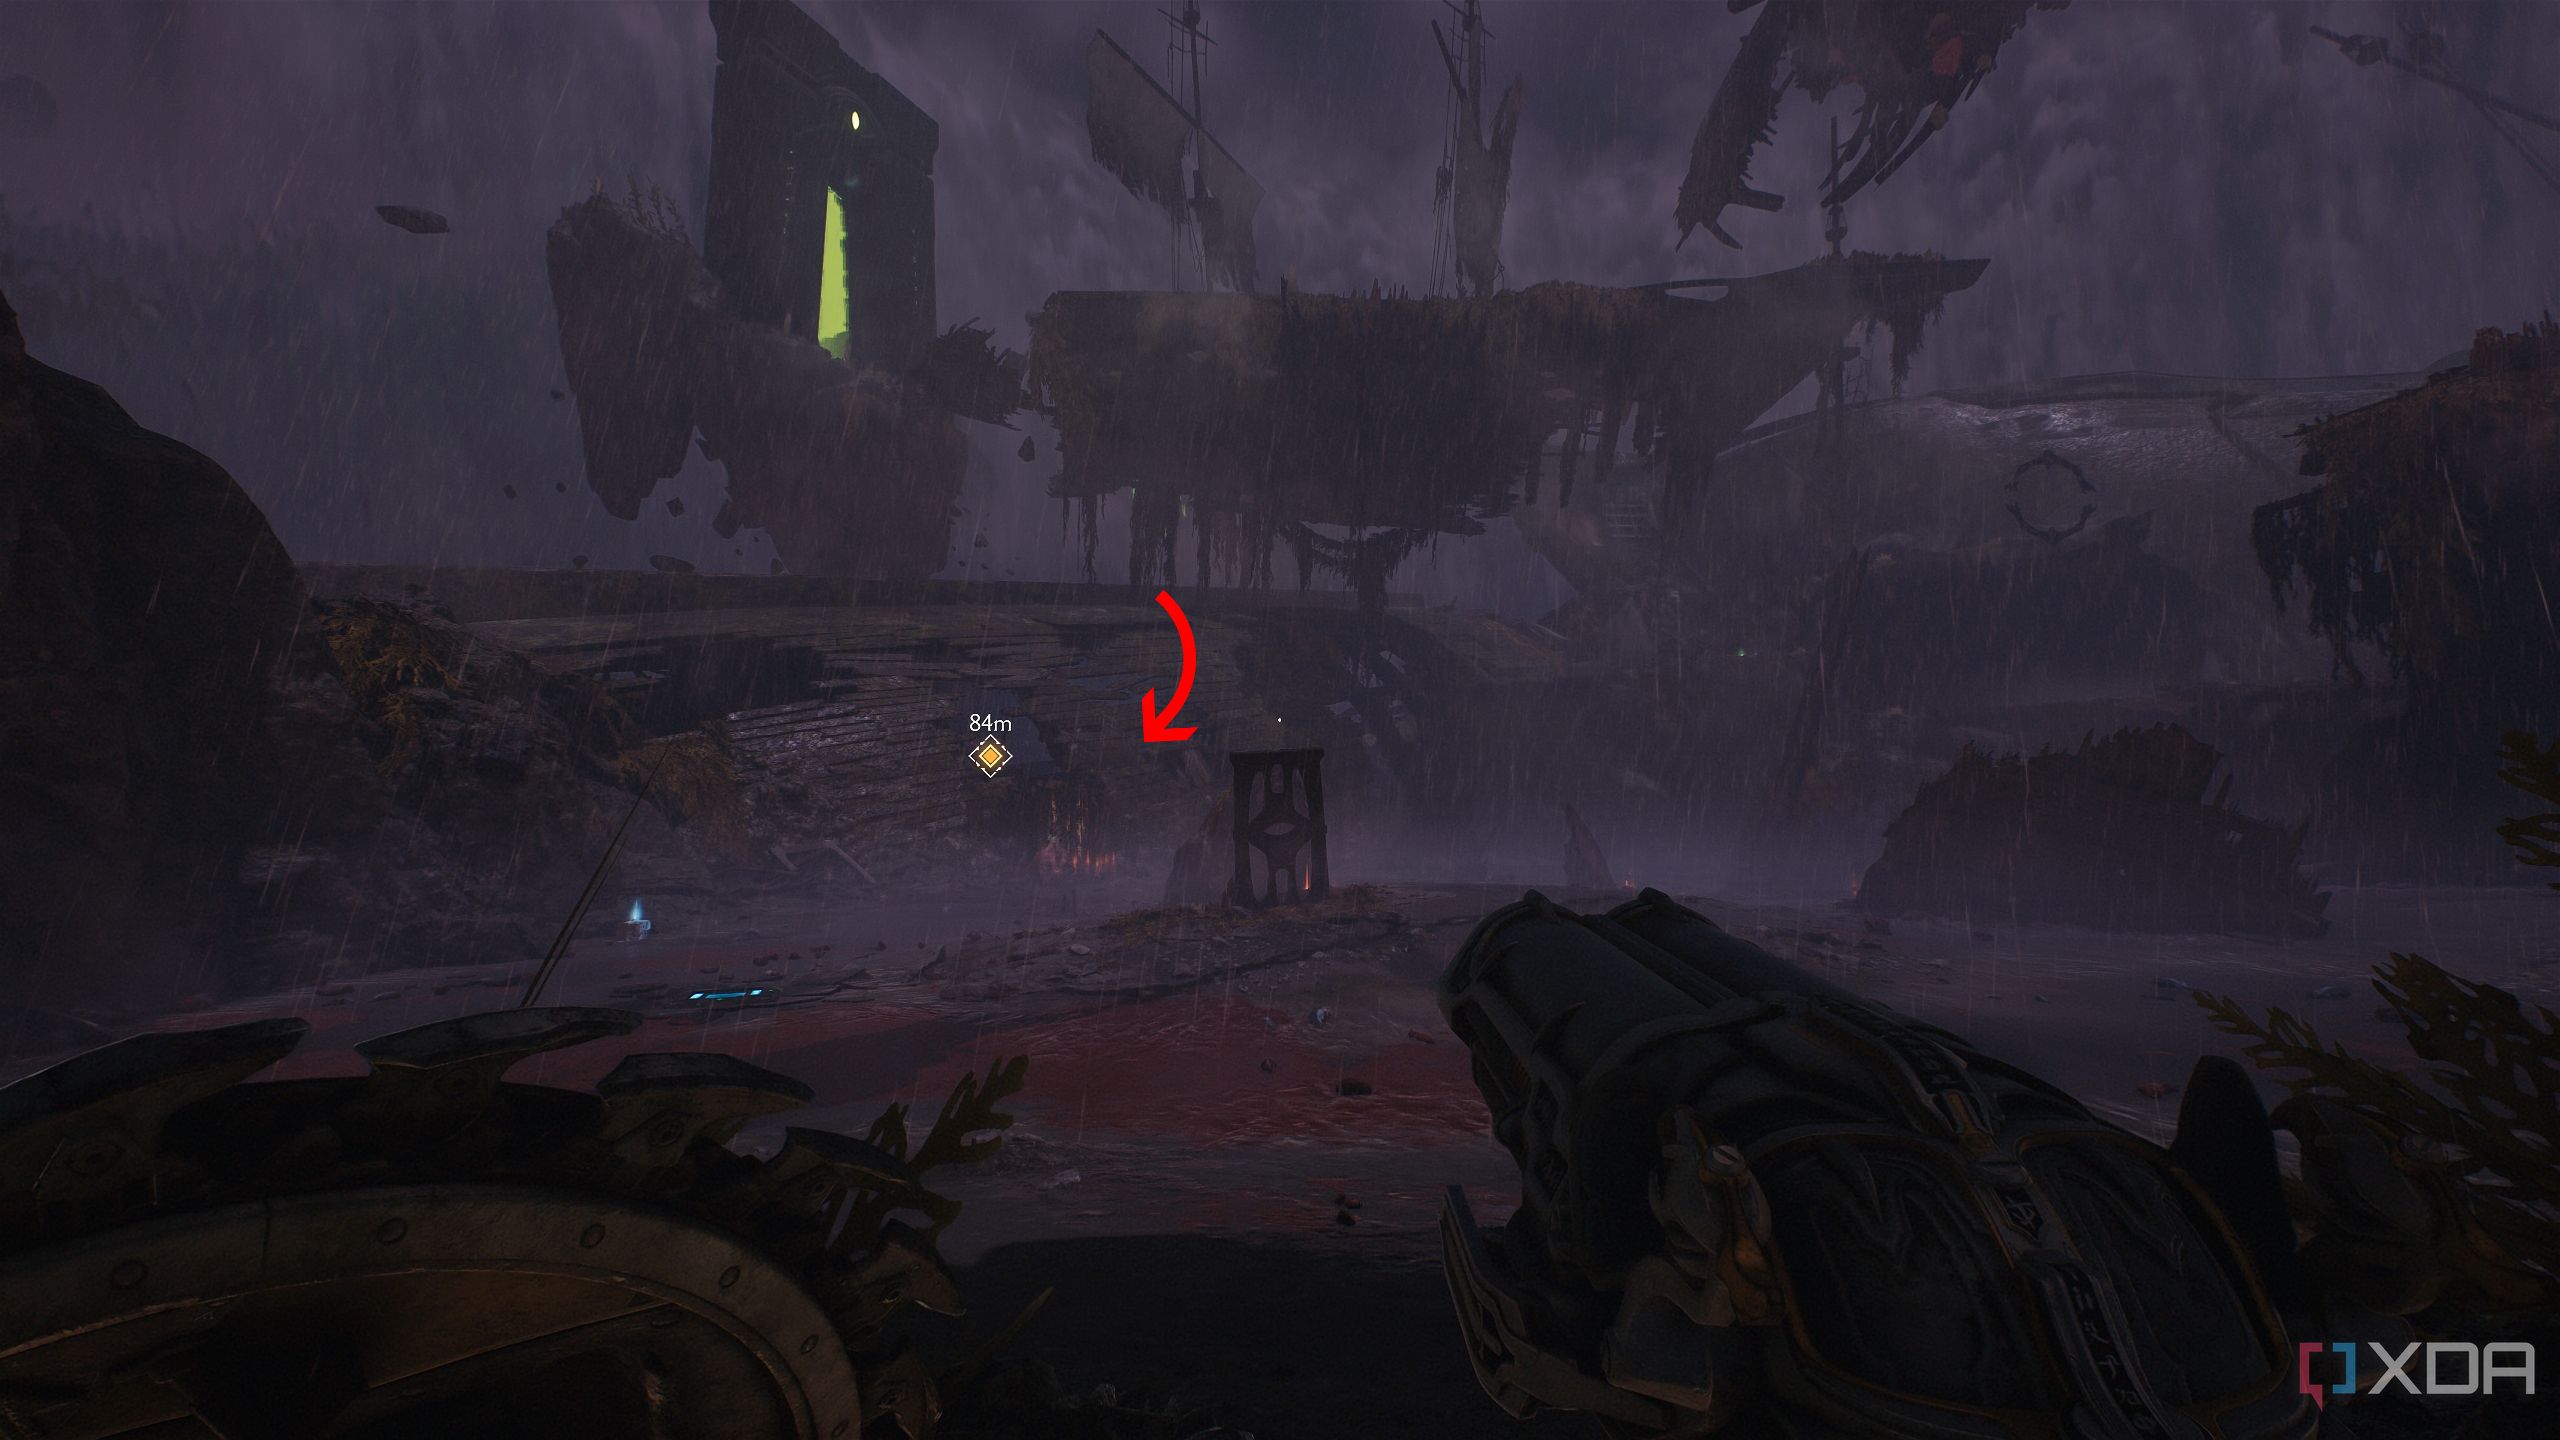
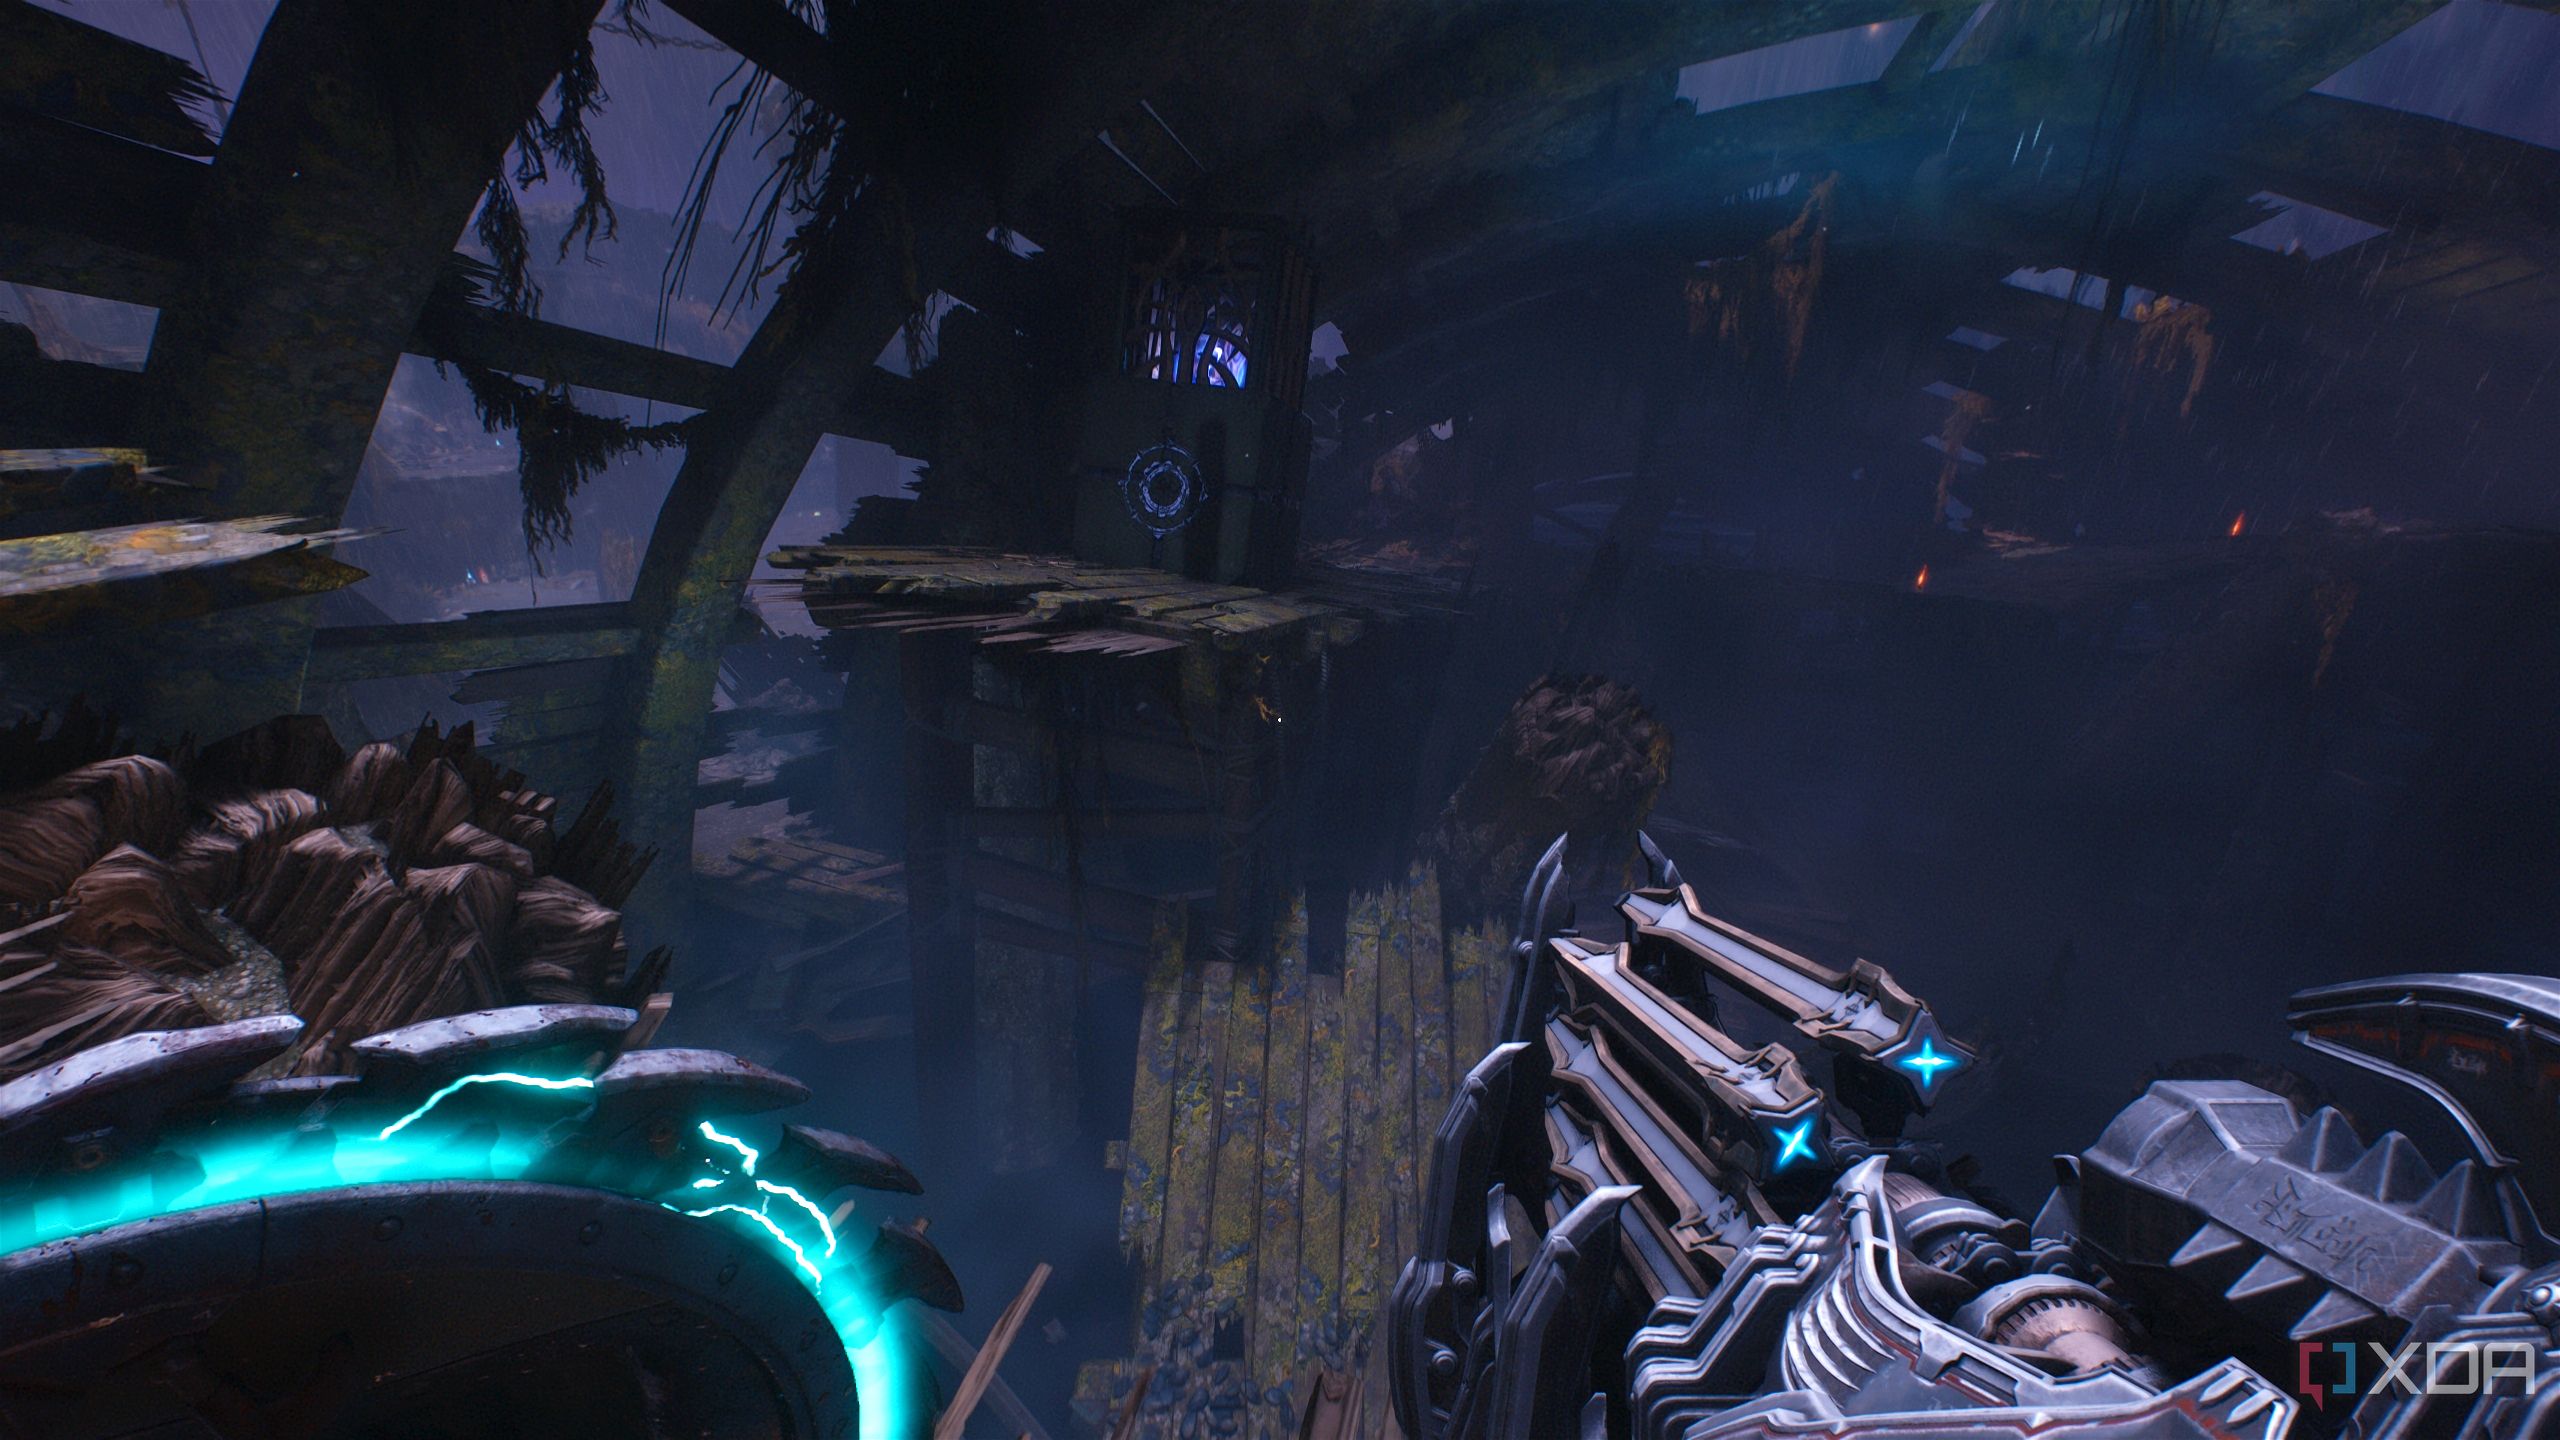
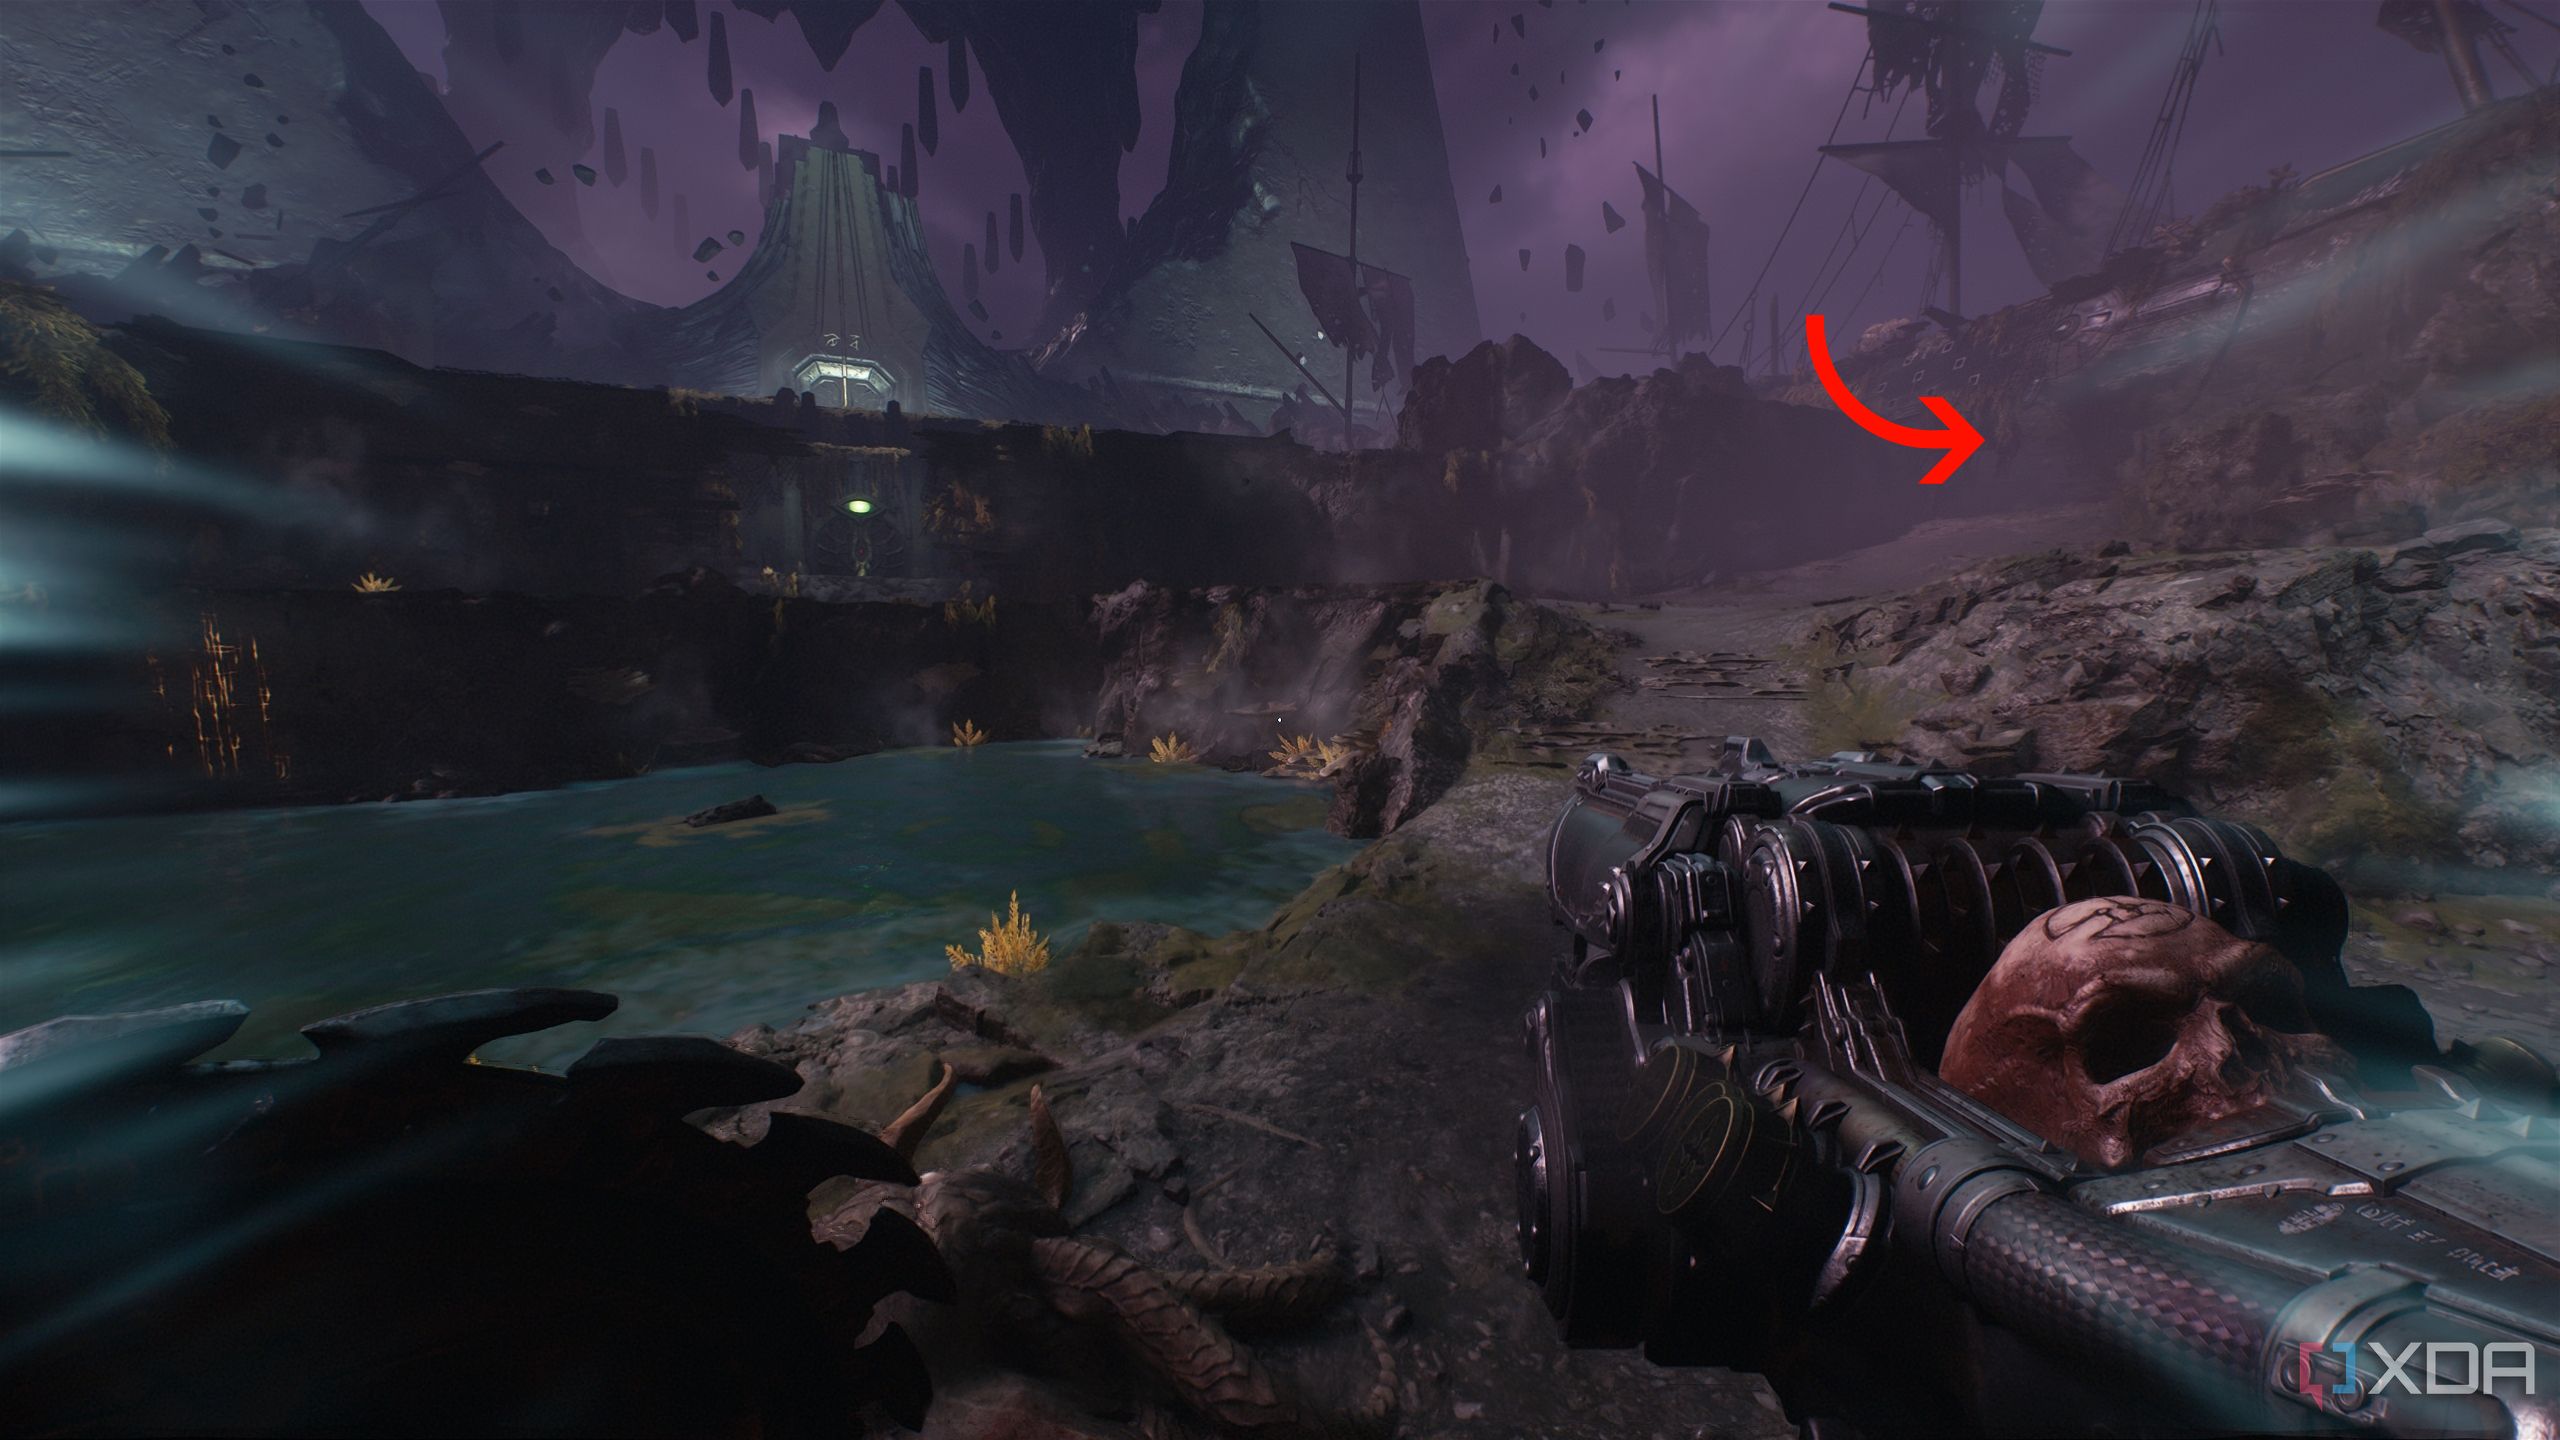
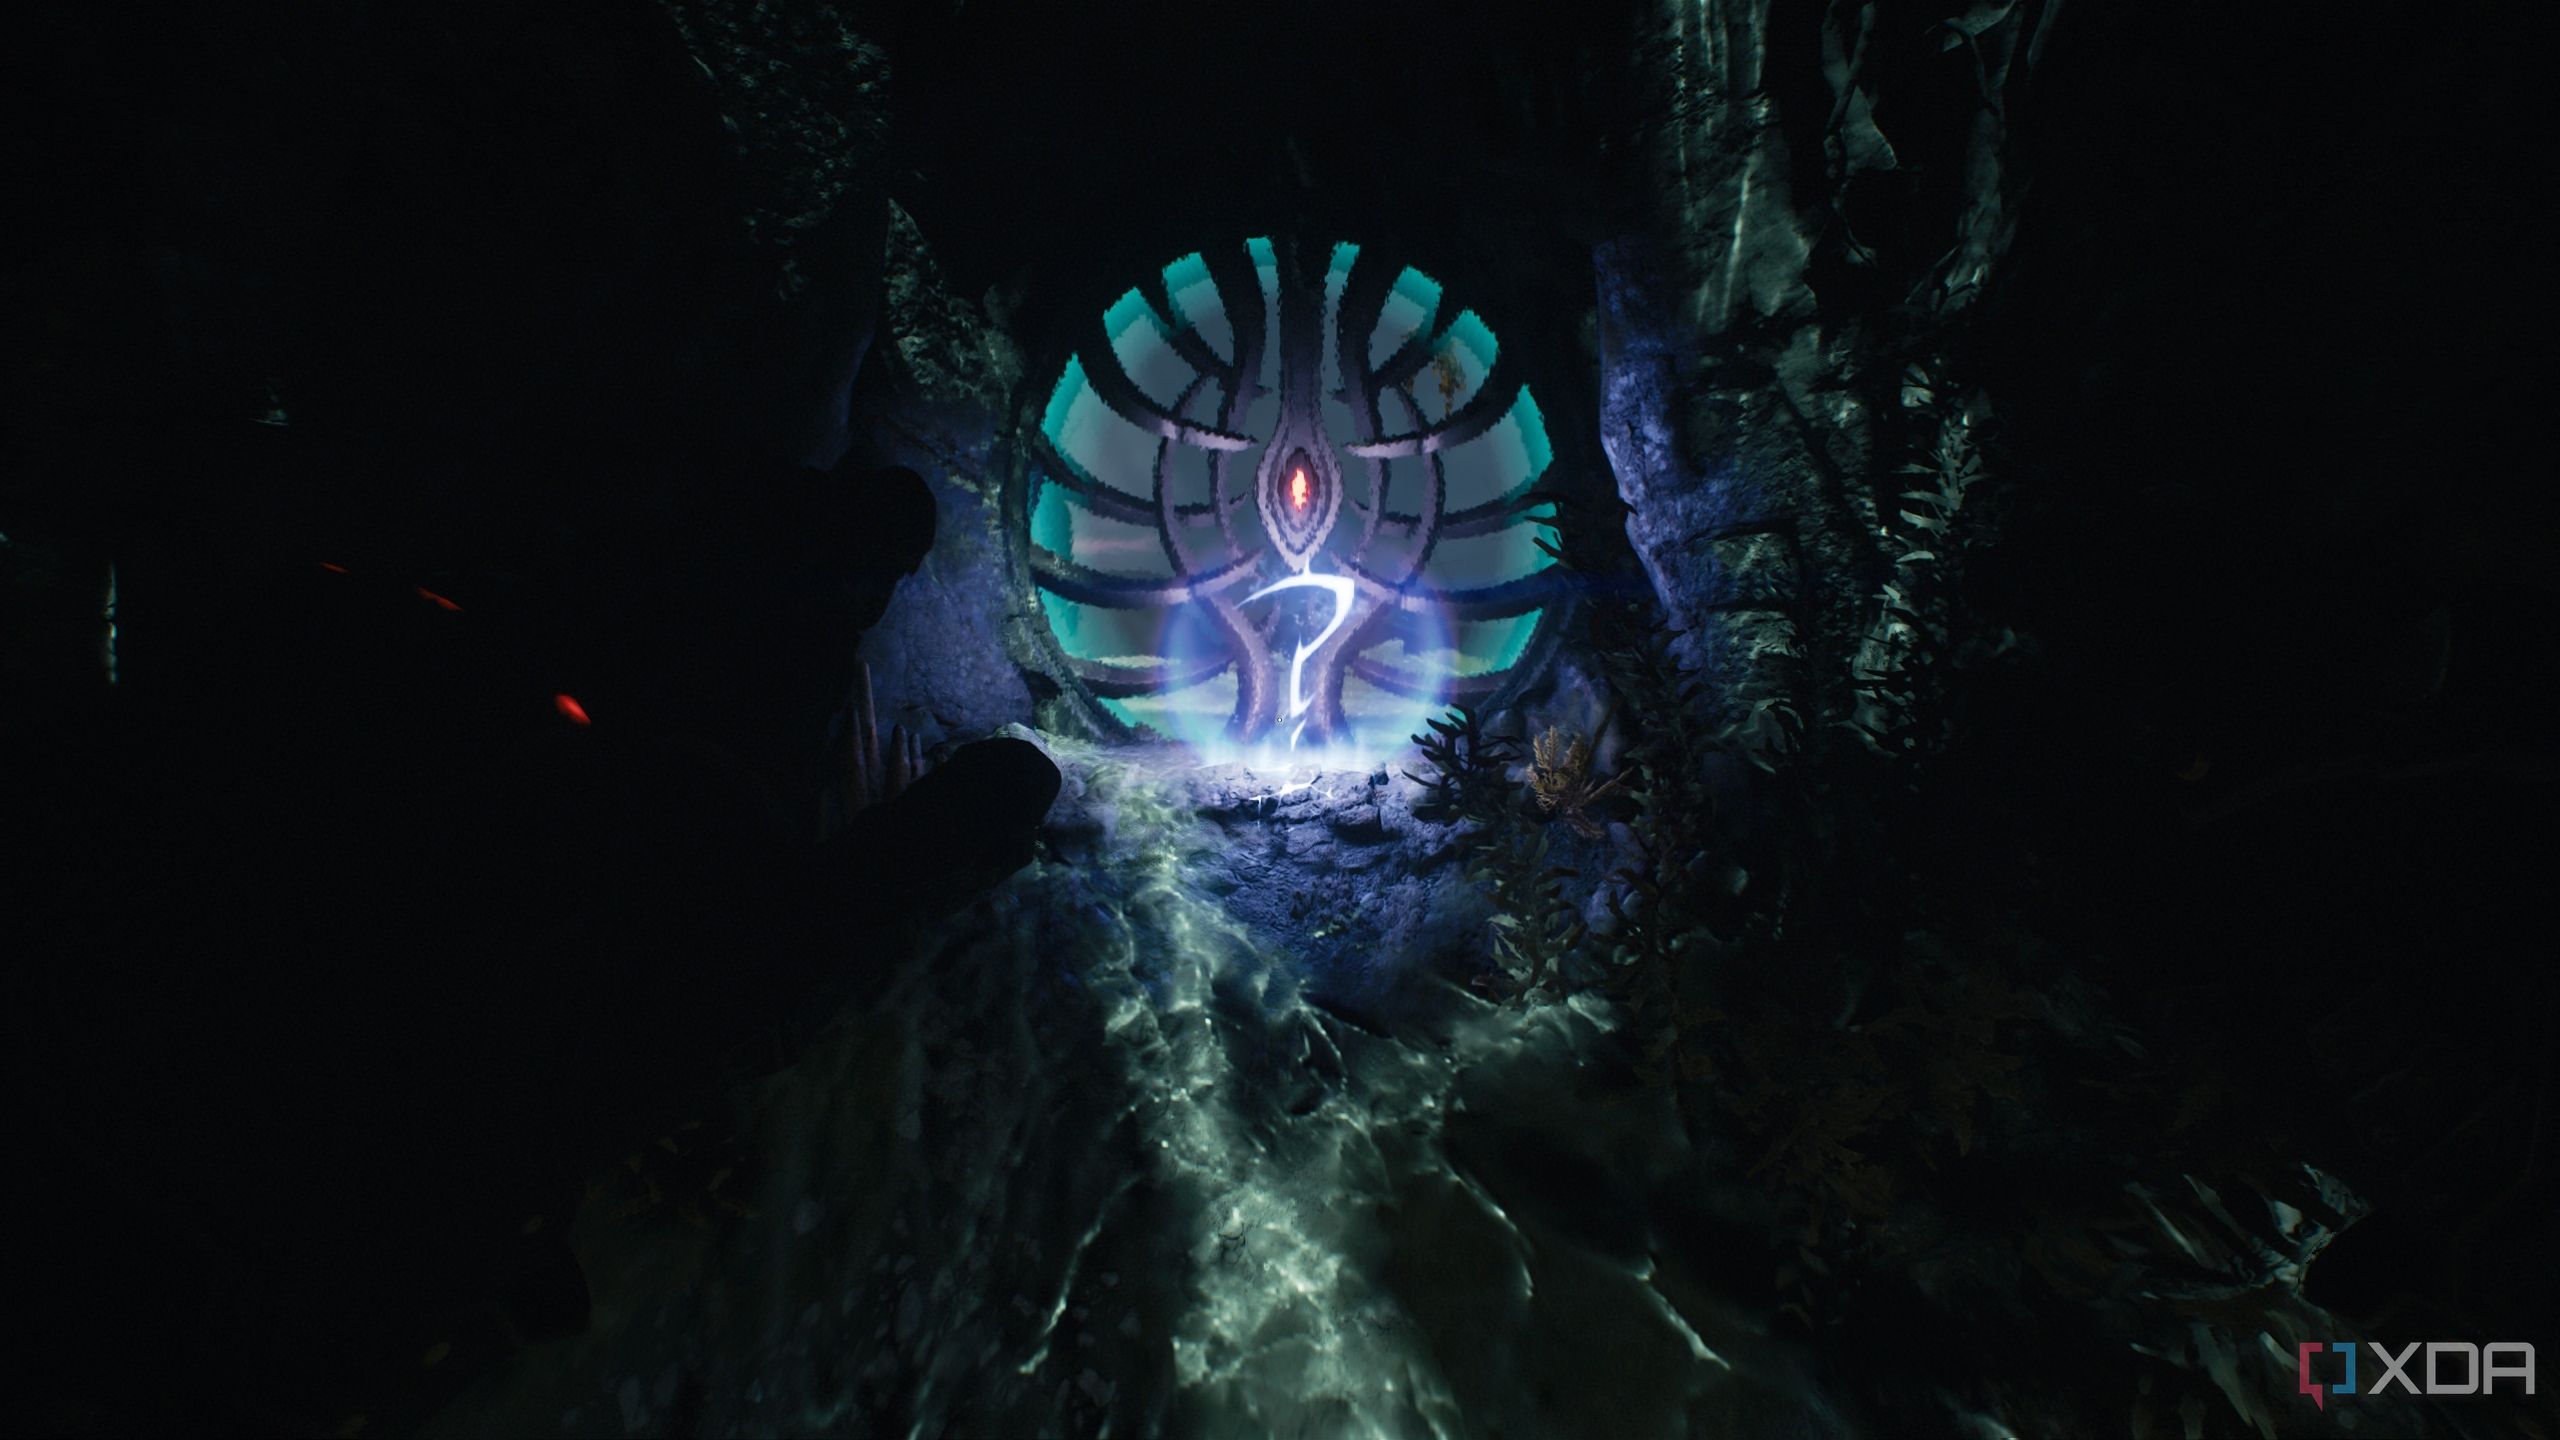
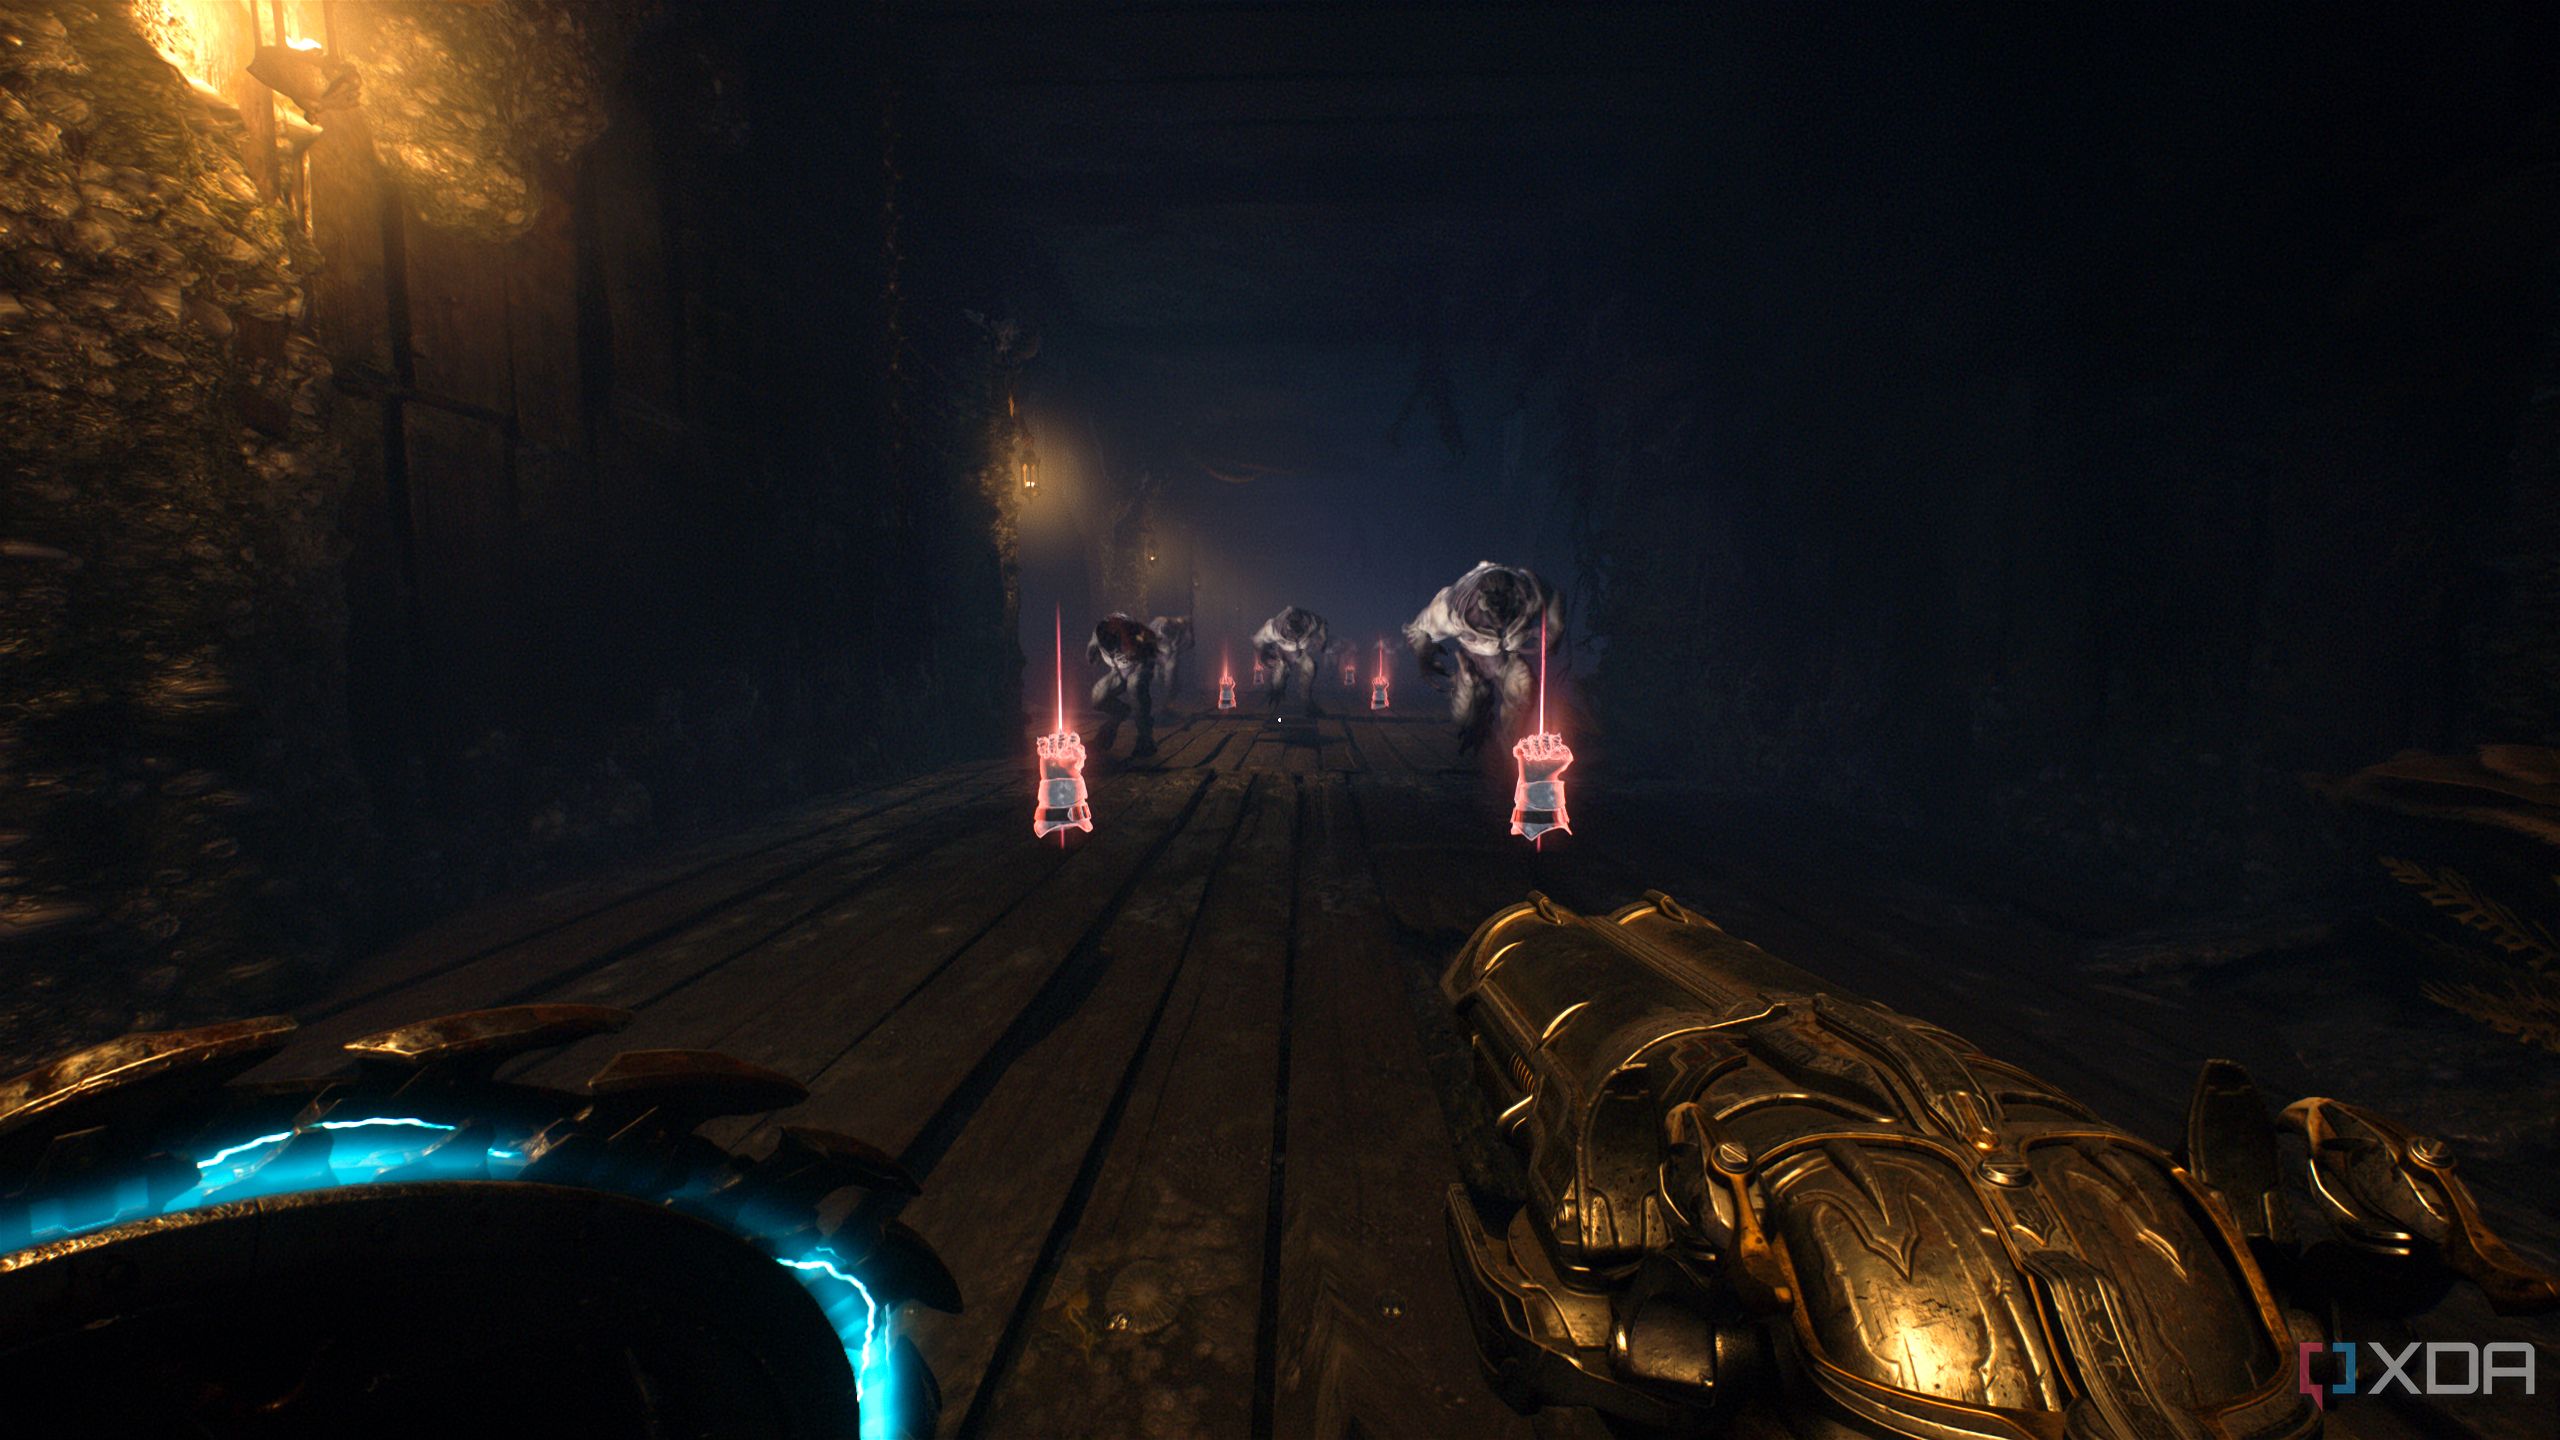
Cosmic Eye puzzle activating the gate
This was a long, rewarding puzzle
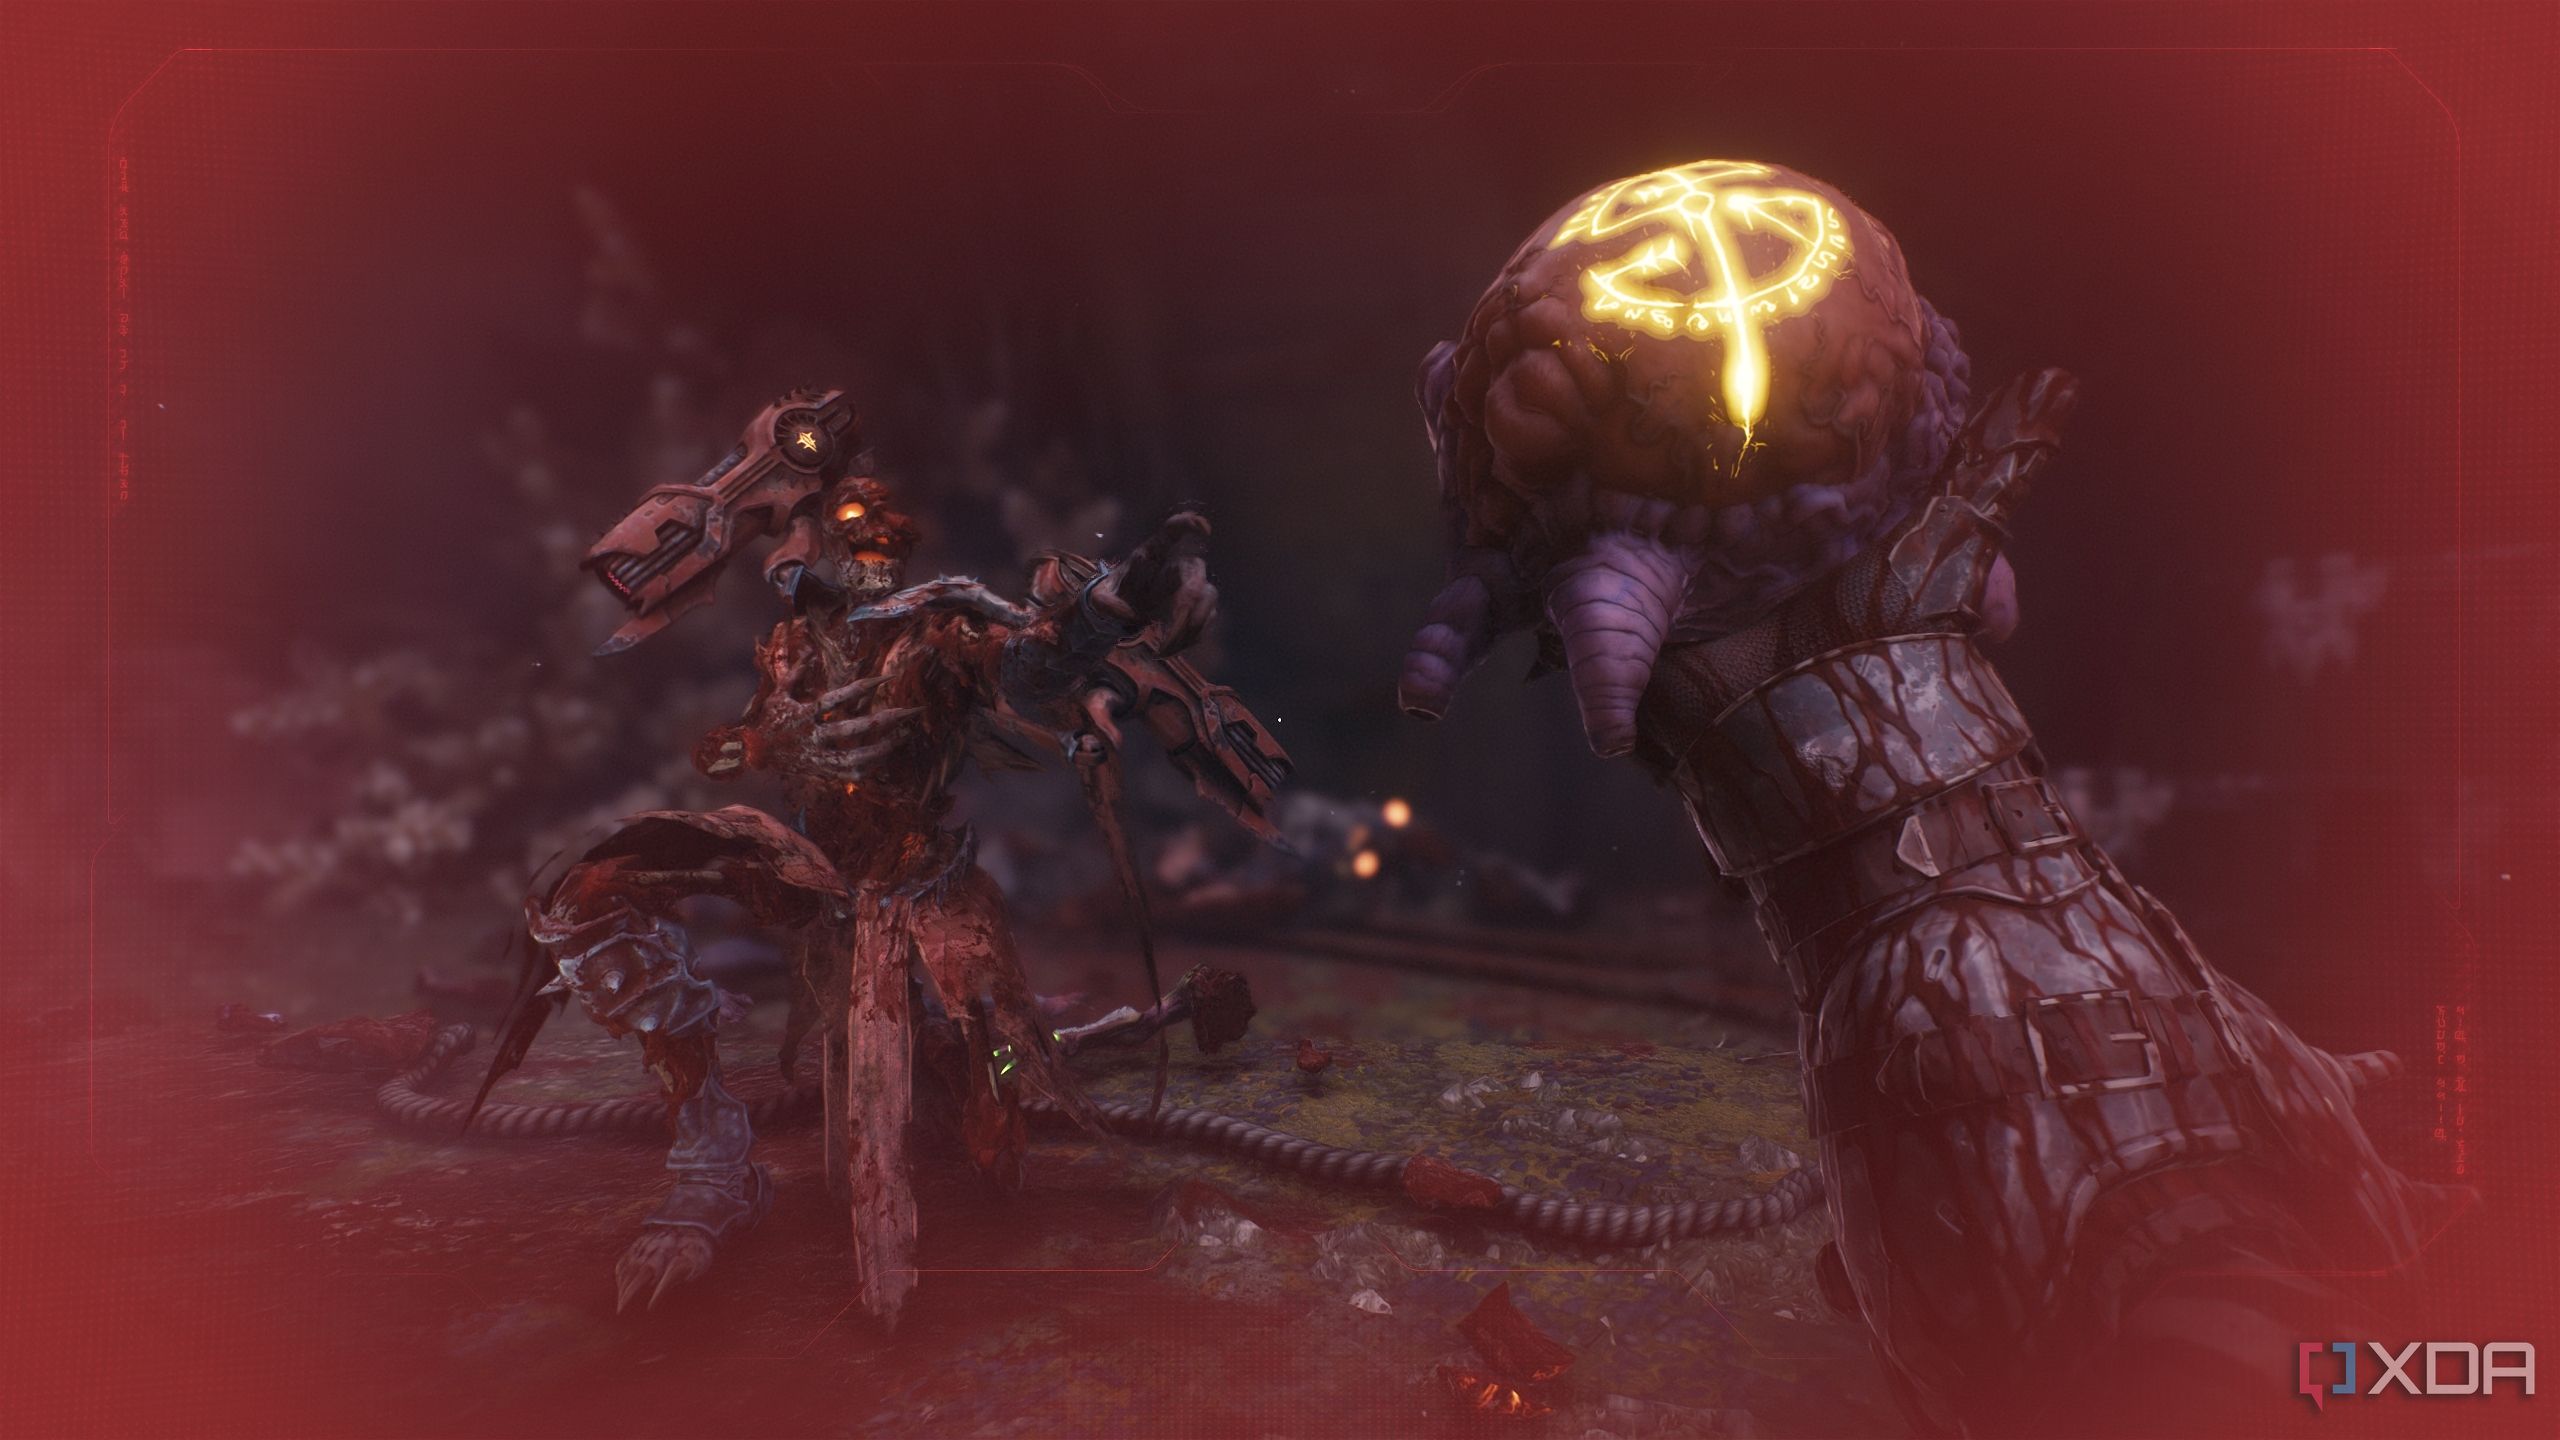
You’ll have a pretty big encounter cut out for you, where you have to take out a leader Pinky Rider who will drop Demonic Essence for ammo.
Then, head back to the location shown here on the map.
From here, head back under the bridge, heading back to where you came from.

Then, turn around to the right and walk above into the shipwreck.
From the shipwreck, go through the opening on the left.
You’ll reach an impossible-to-miss Shield Charge wall.
Bash through it, and go left to drop down past the locked box.
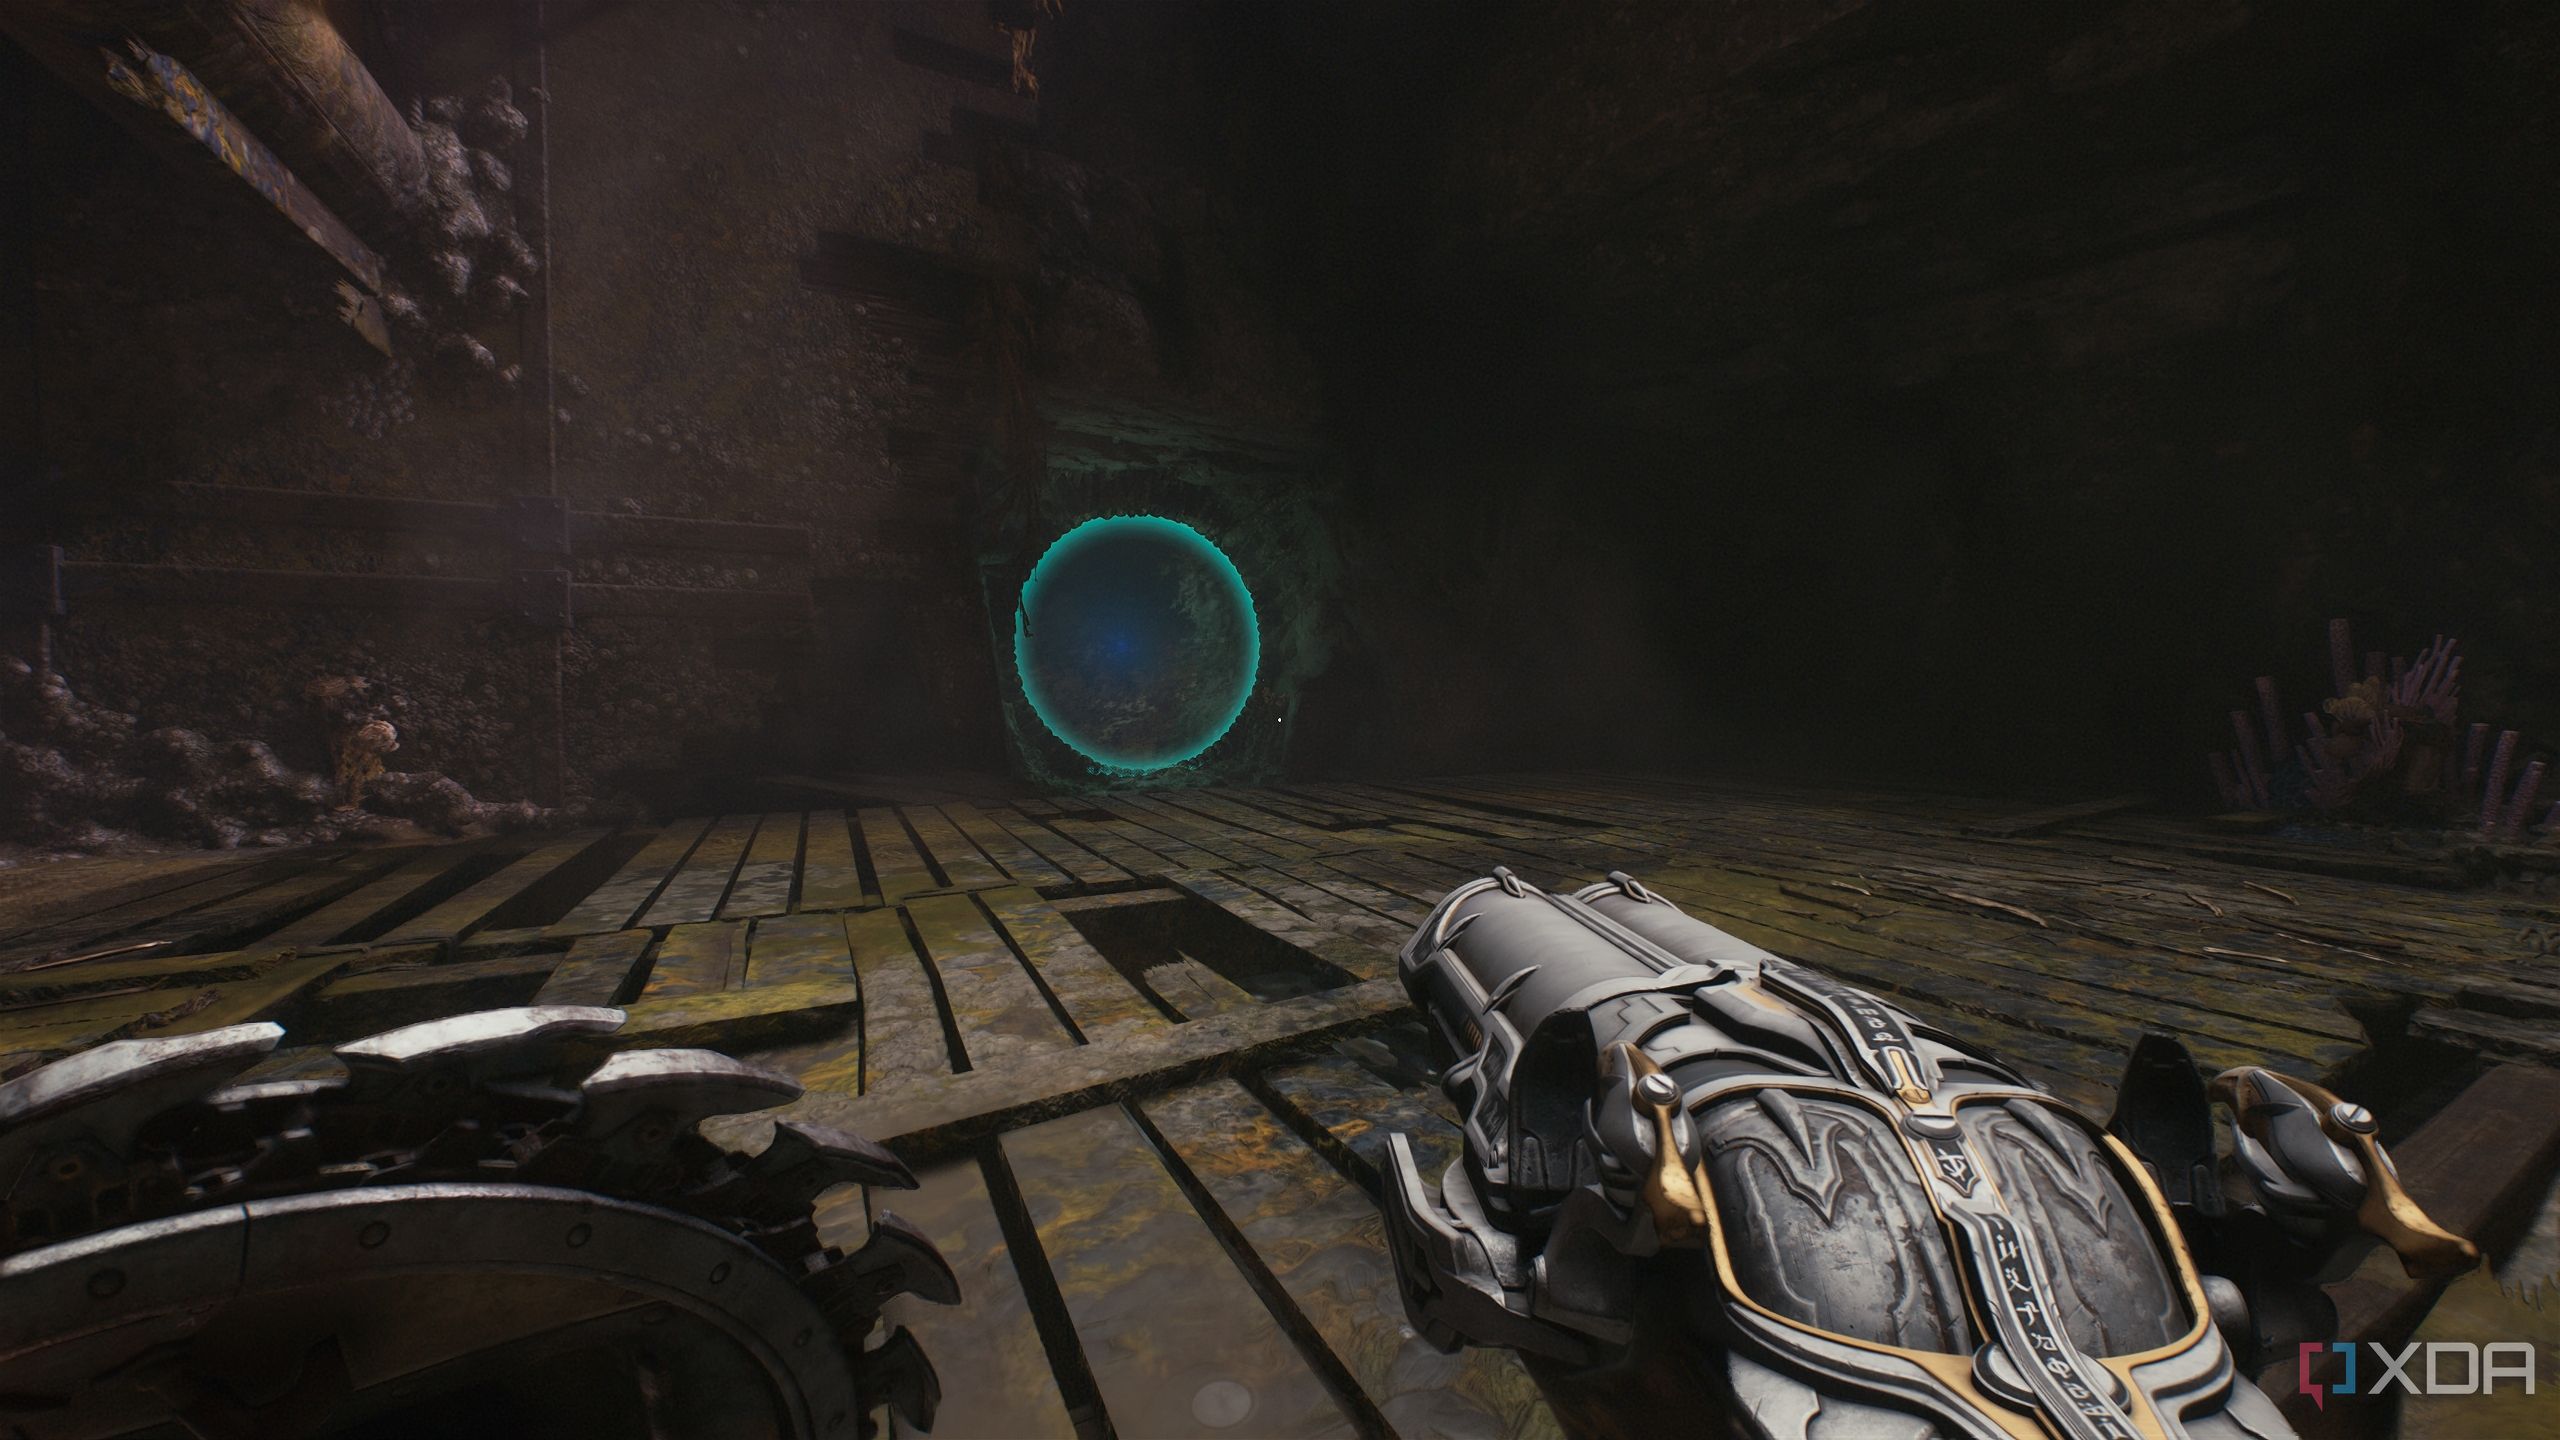
You'll reach an area with a portal to swim through.
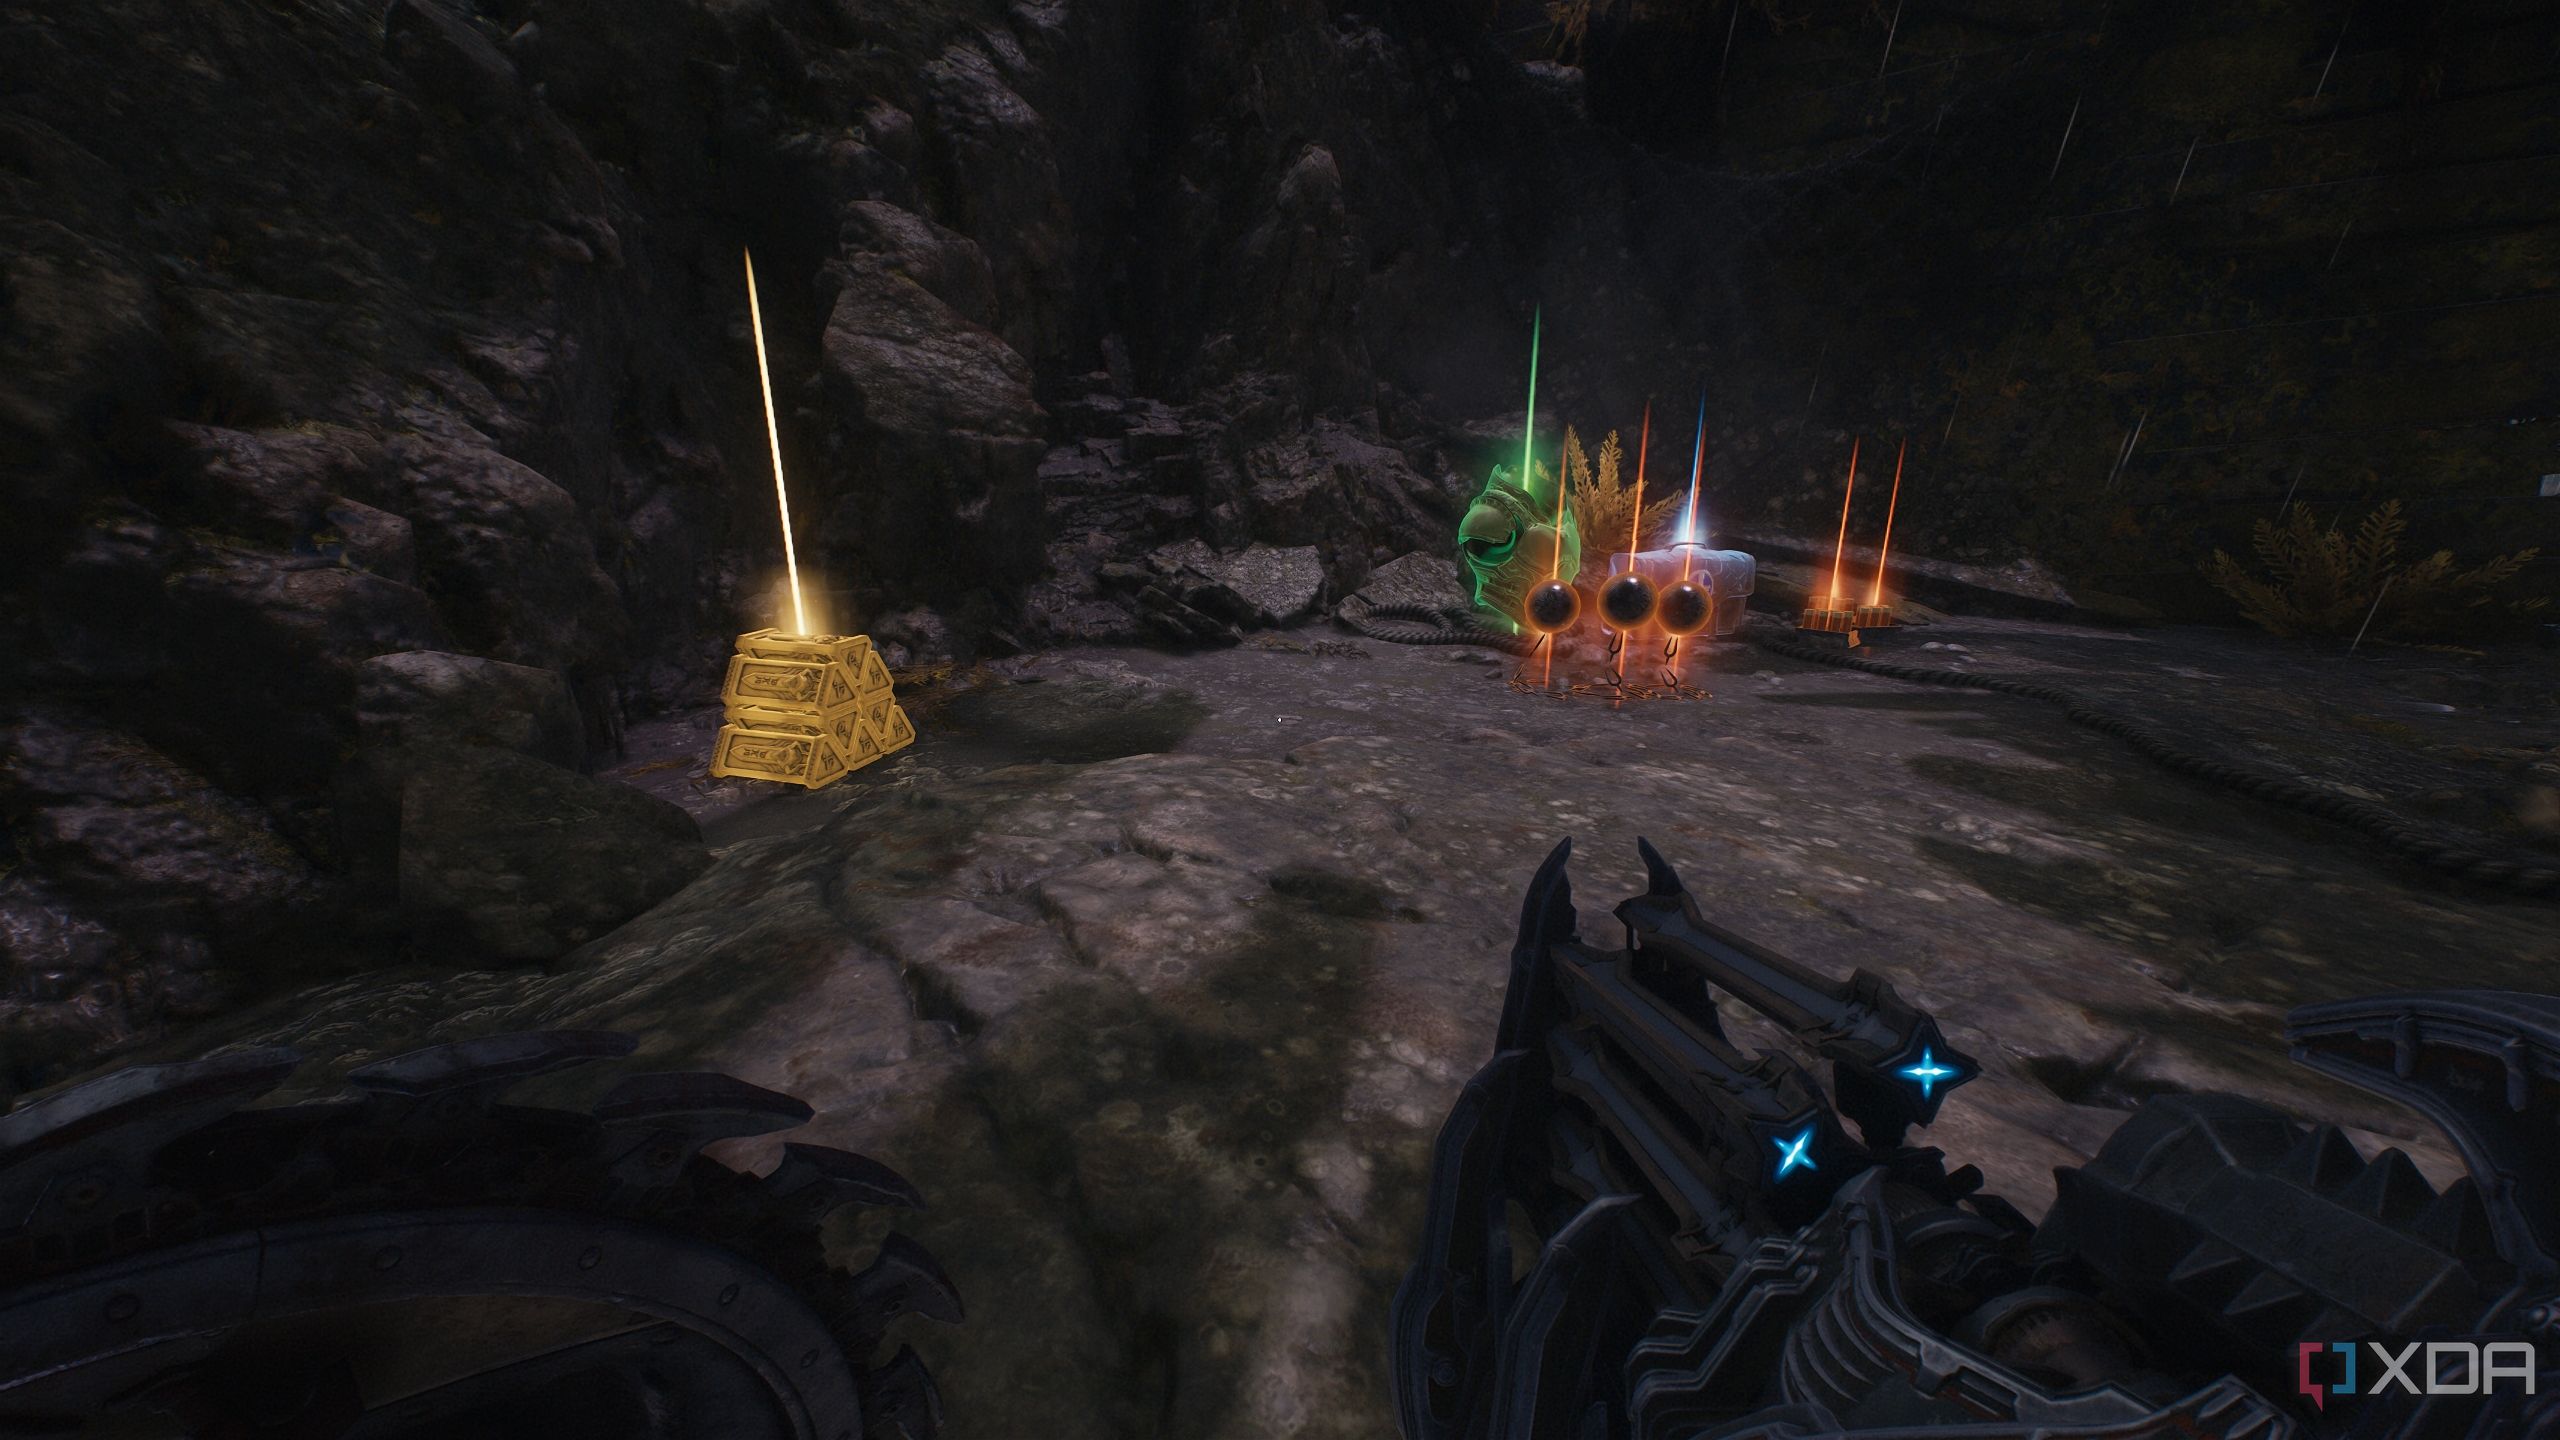
Once you enter the portal, immediately look to the left and pick up two gold stacks underwater.
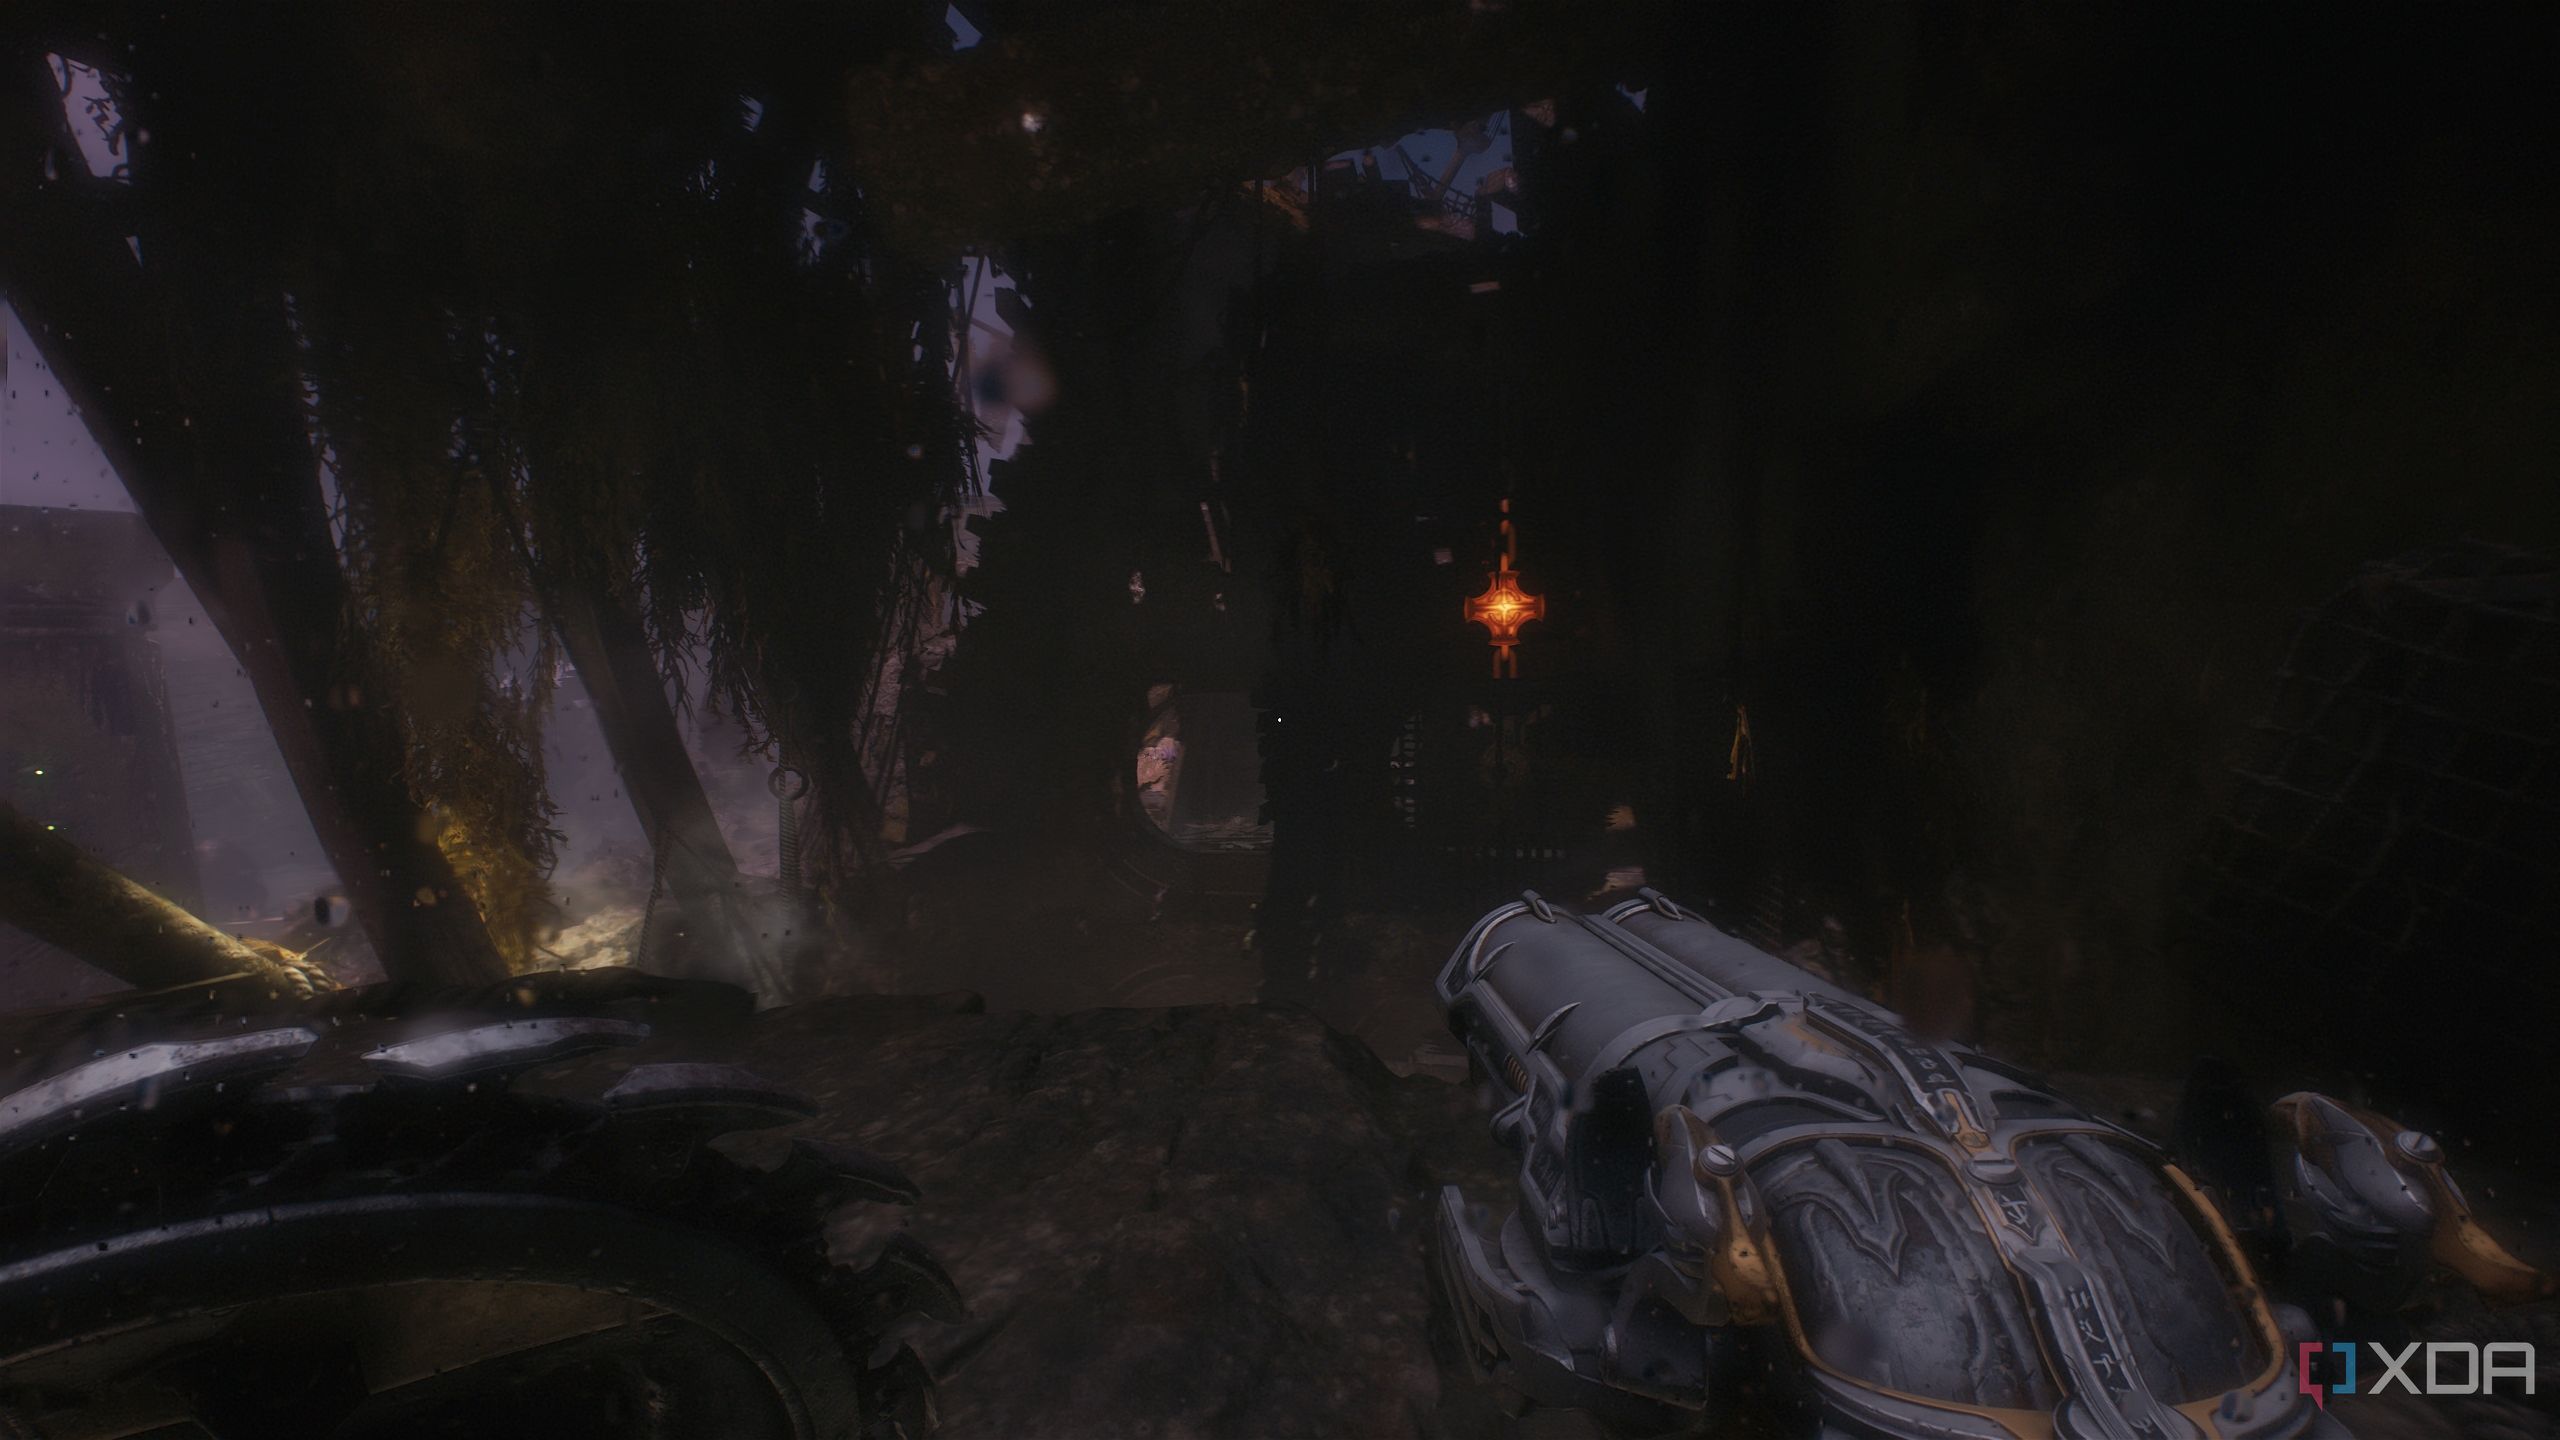
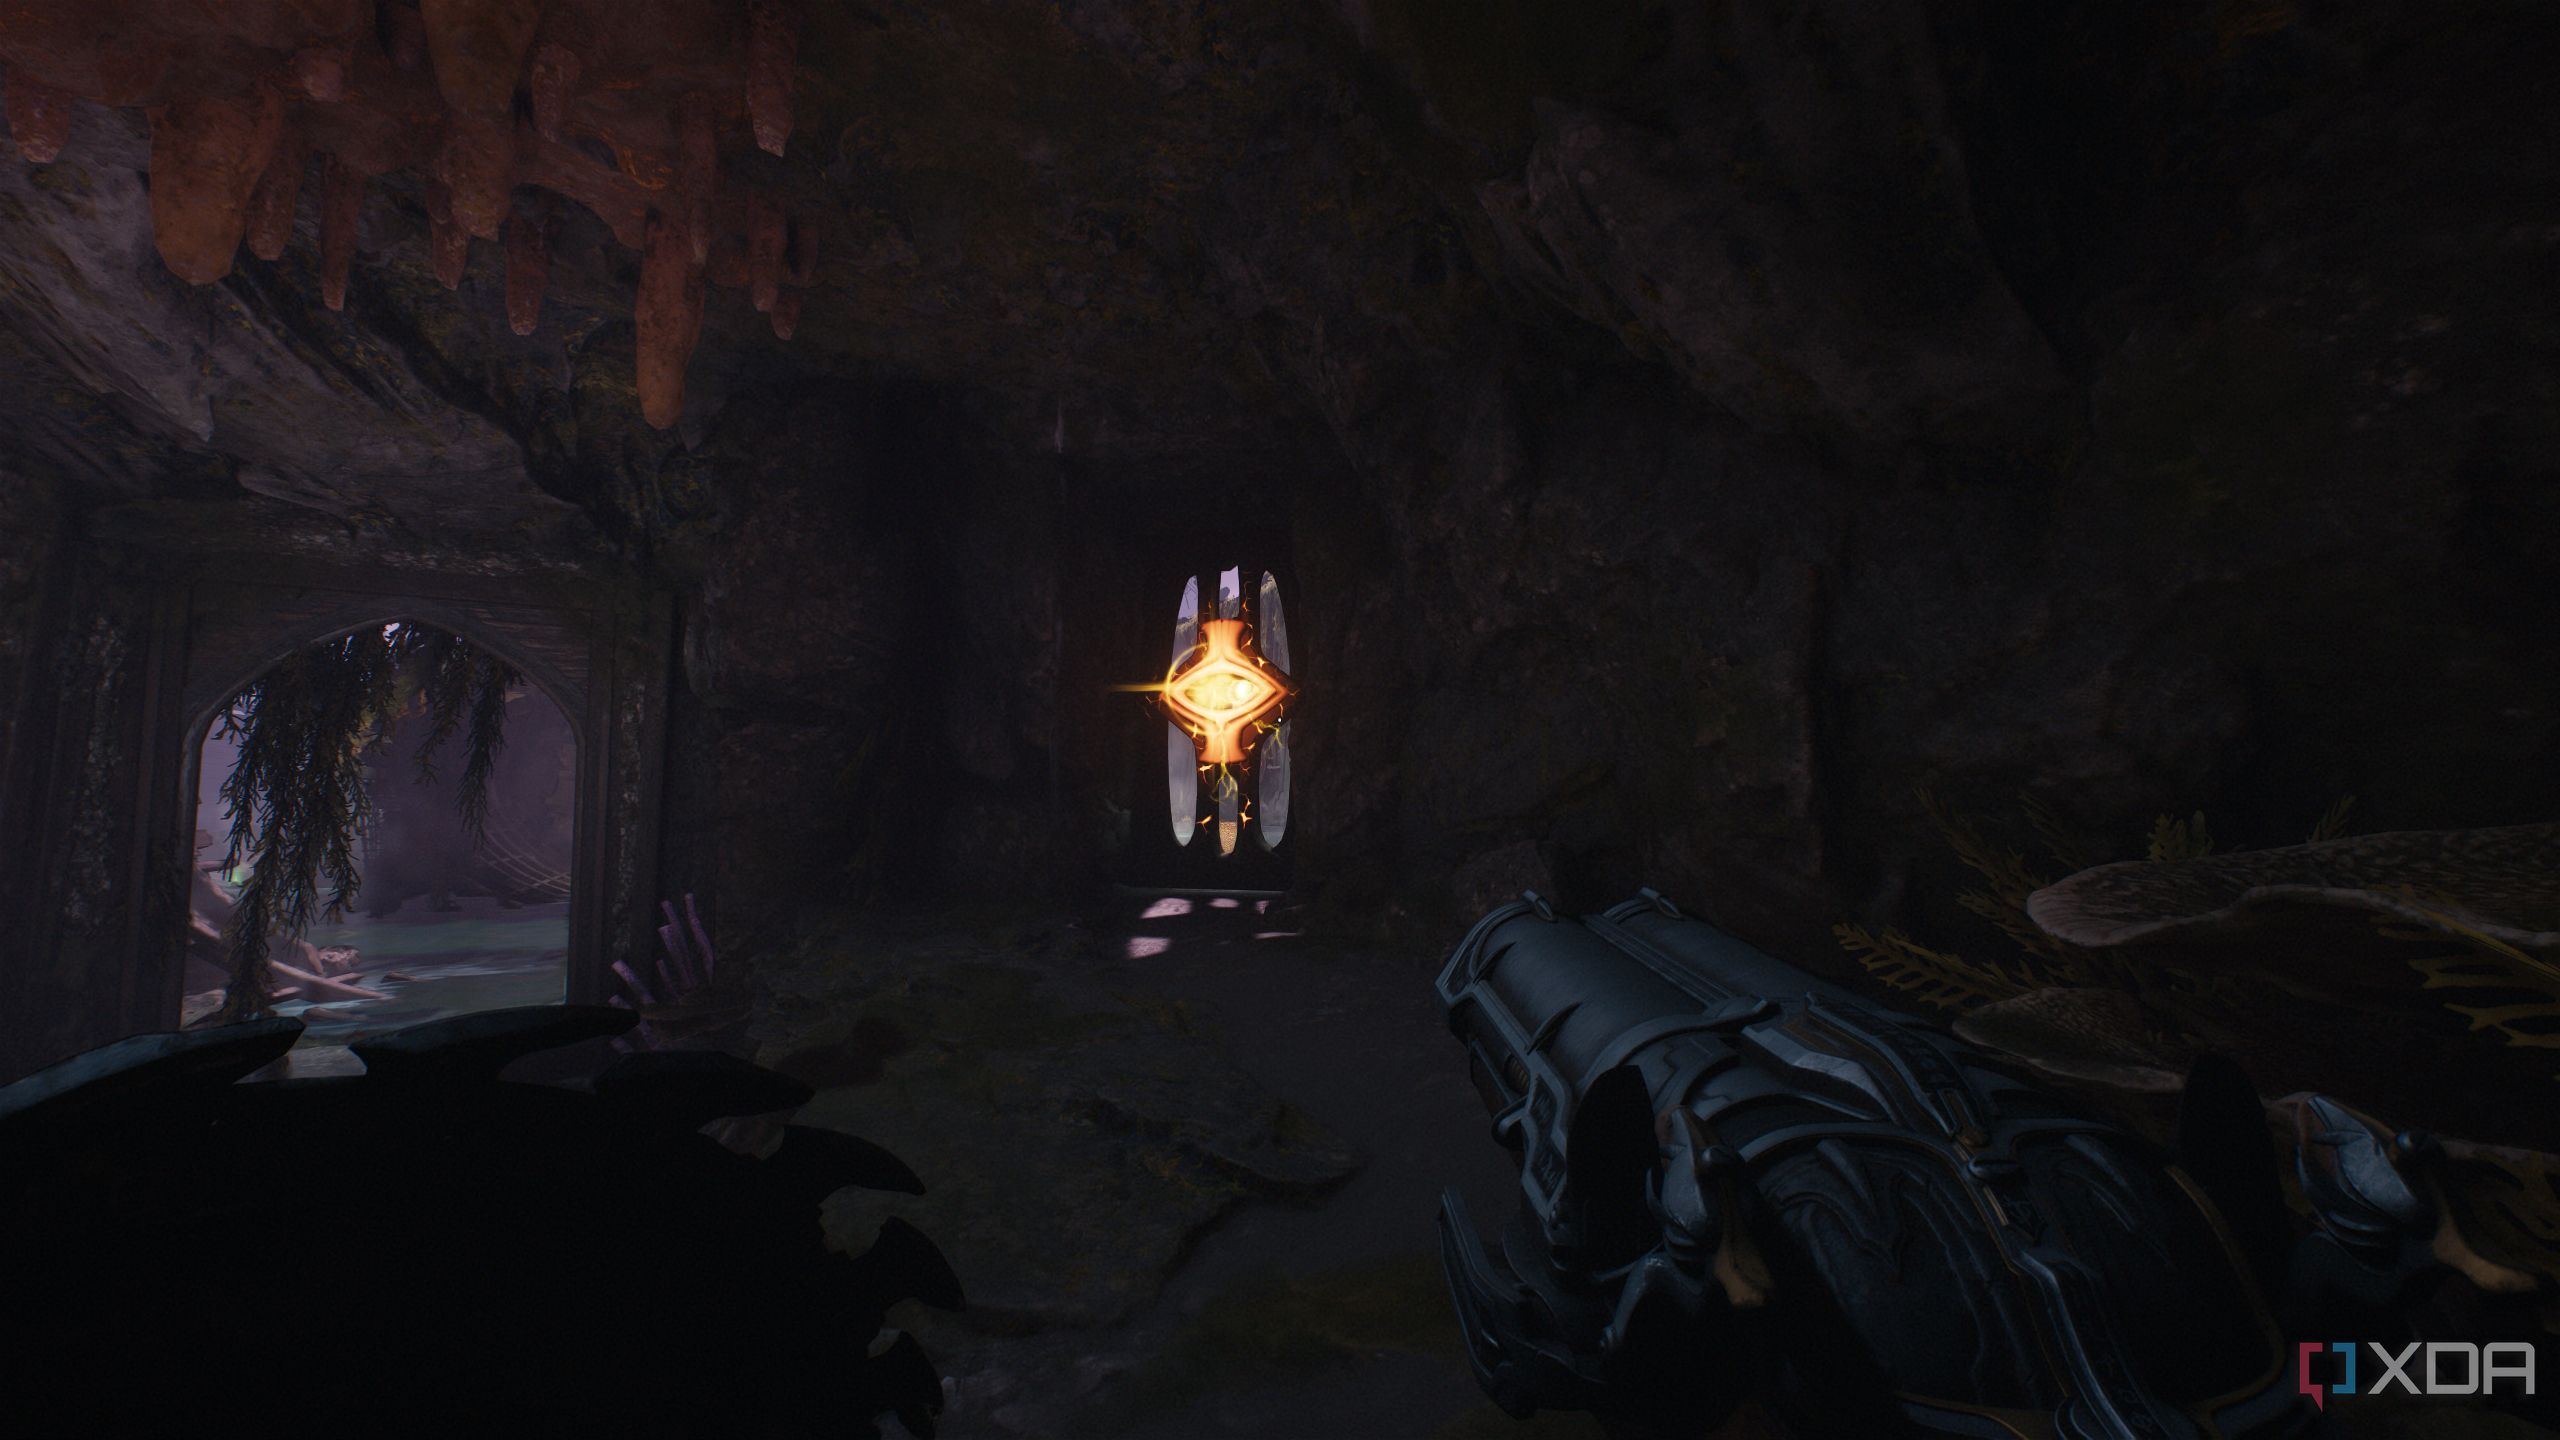
Then, swim up to reach a platform from where you can see a heated metal cross across the room. Hit it, and it will drop a box.
Drop down again, and get to the back of this box to access its Shield Charge symbol.
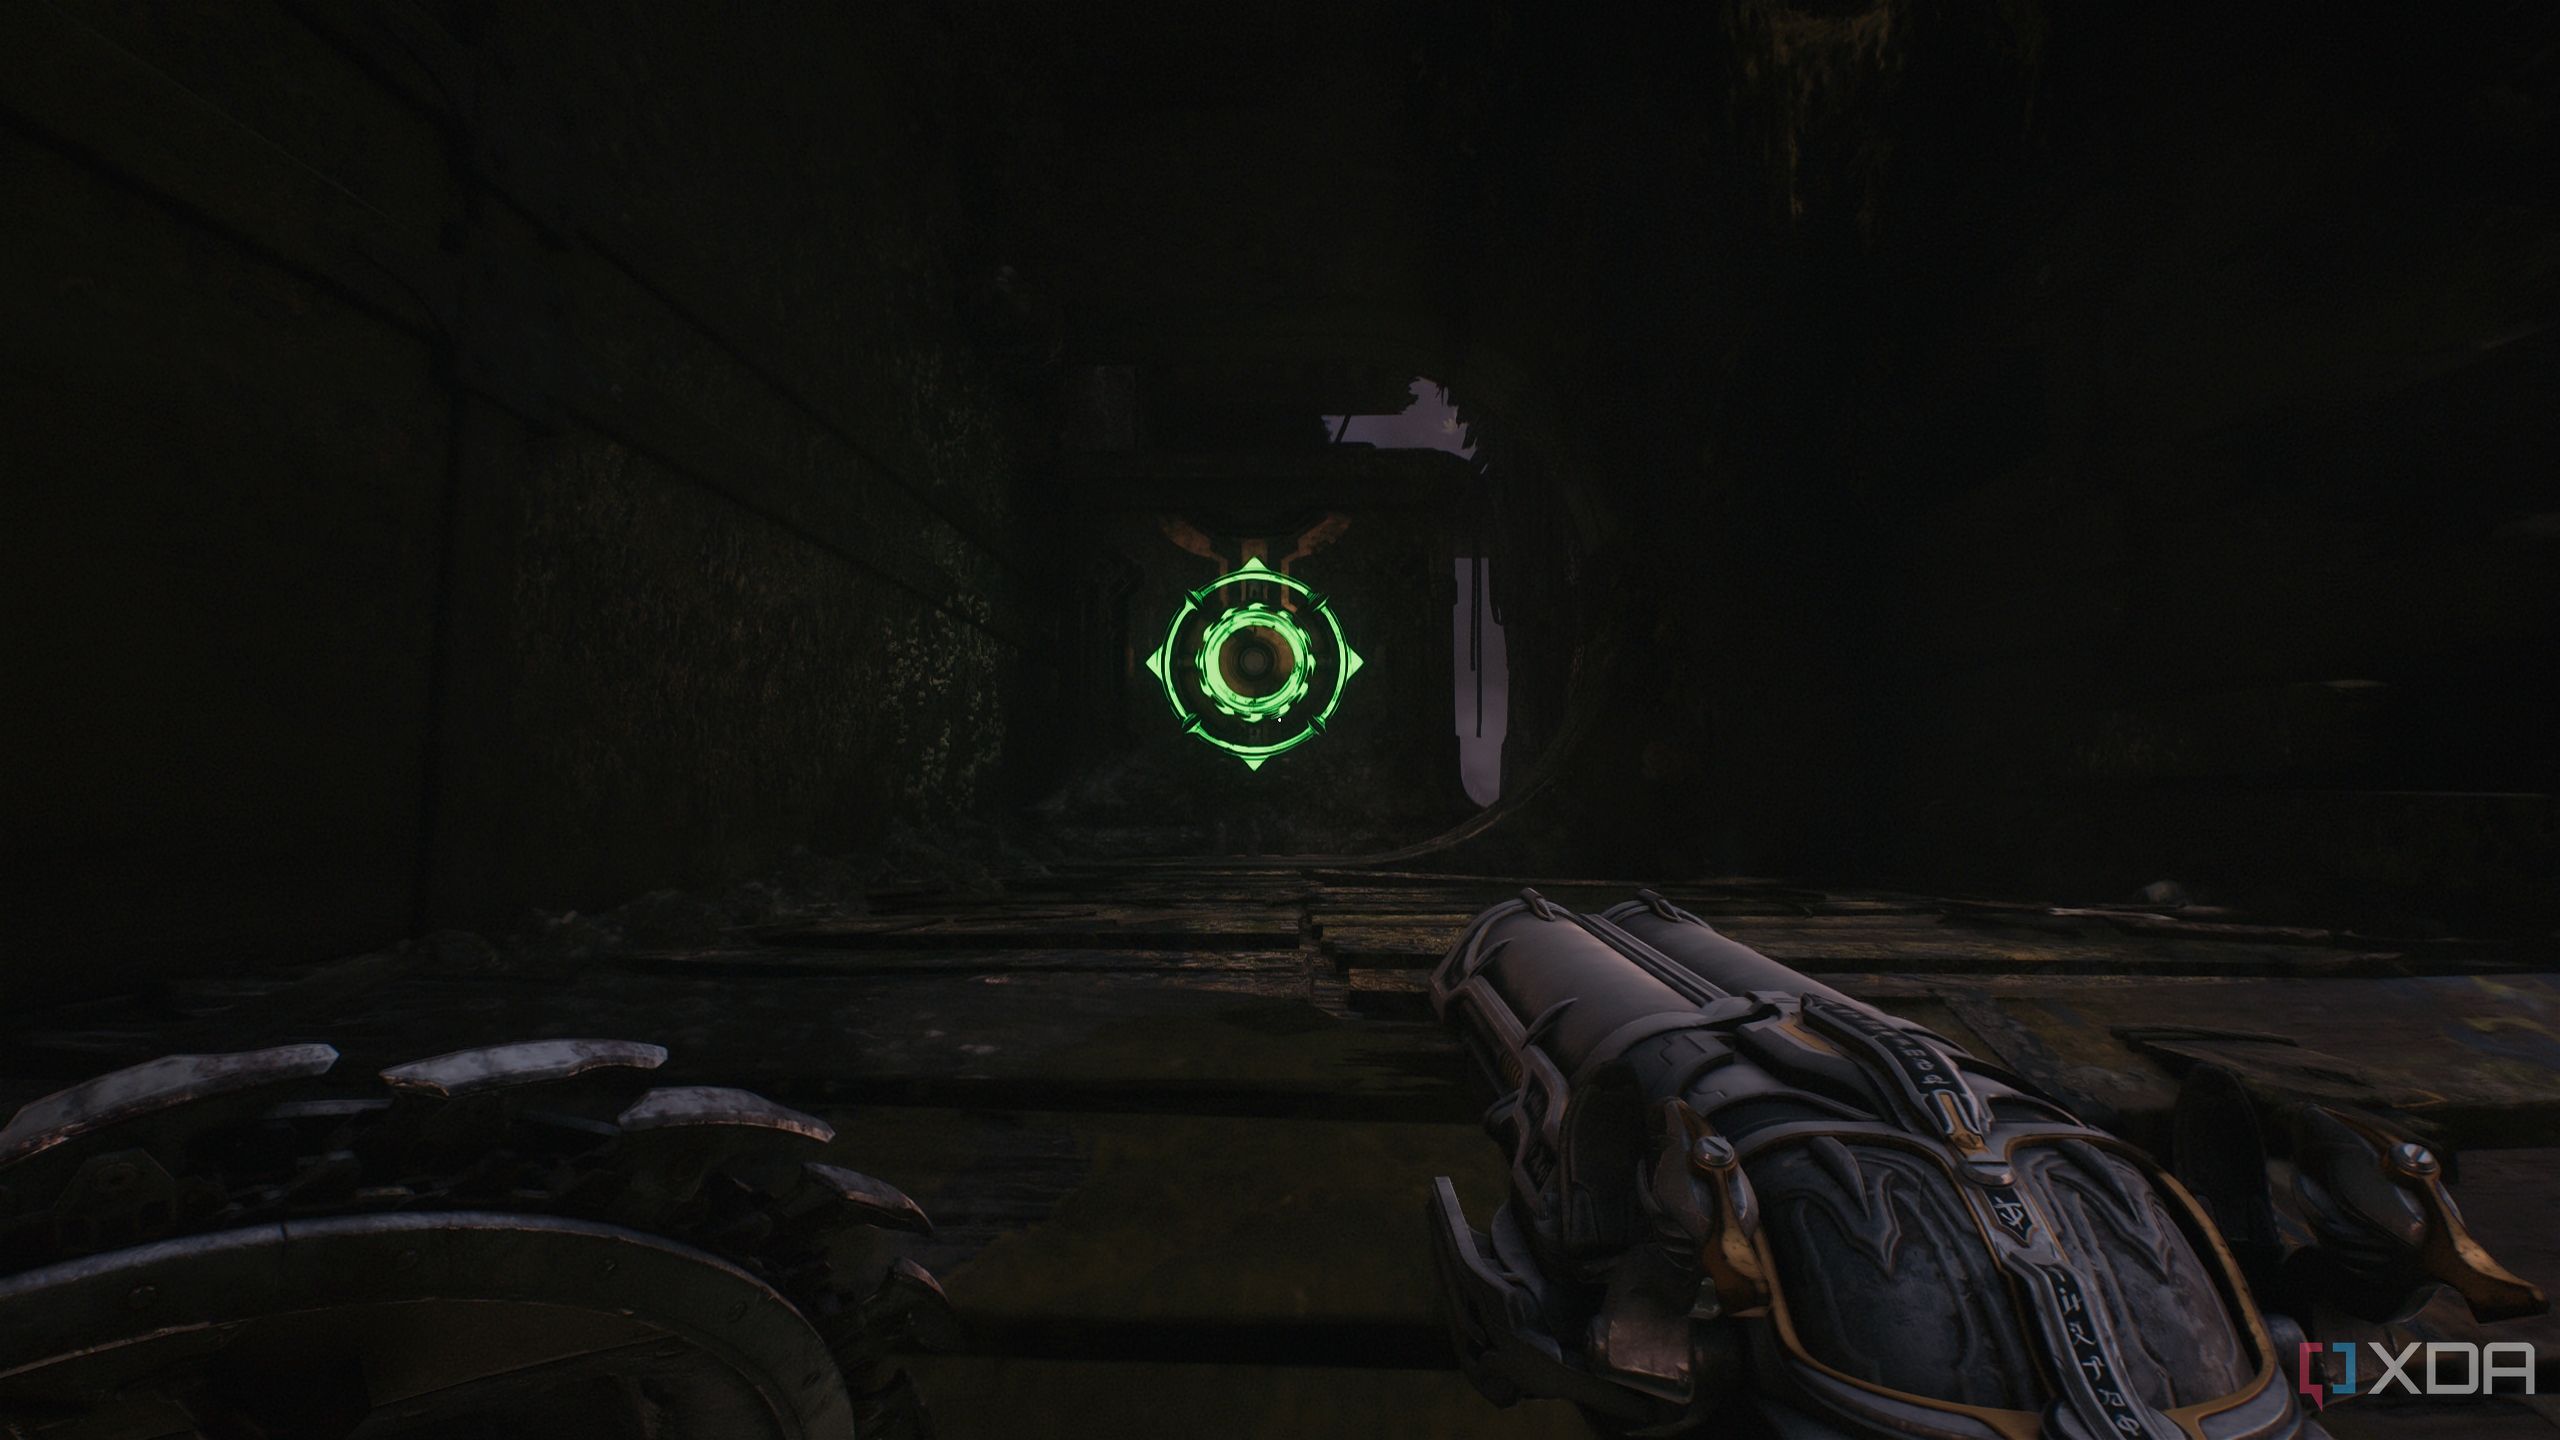
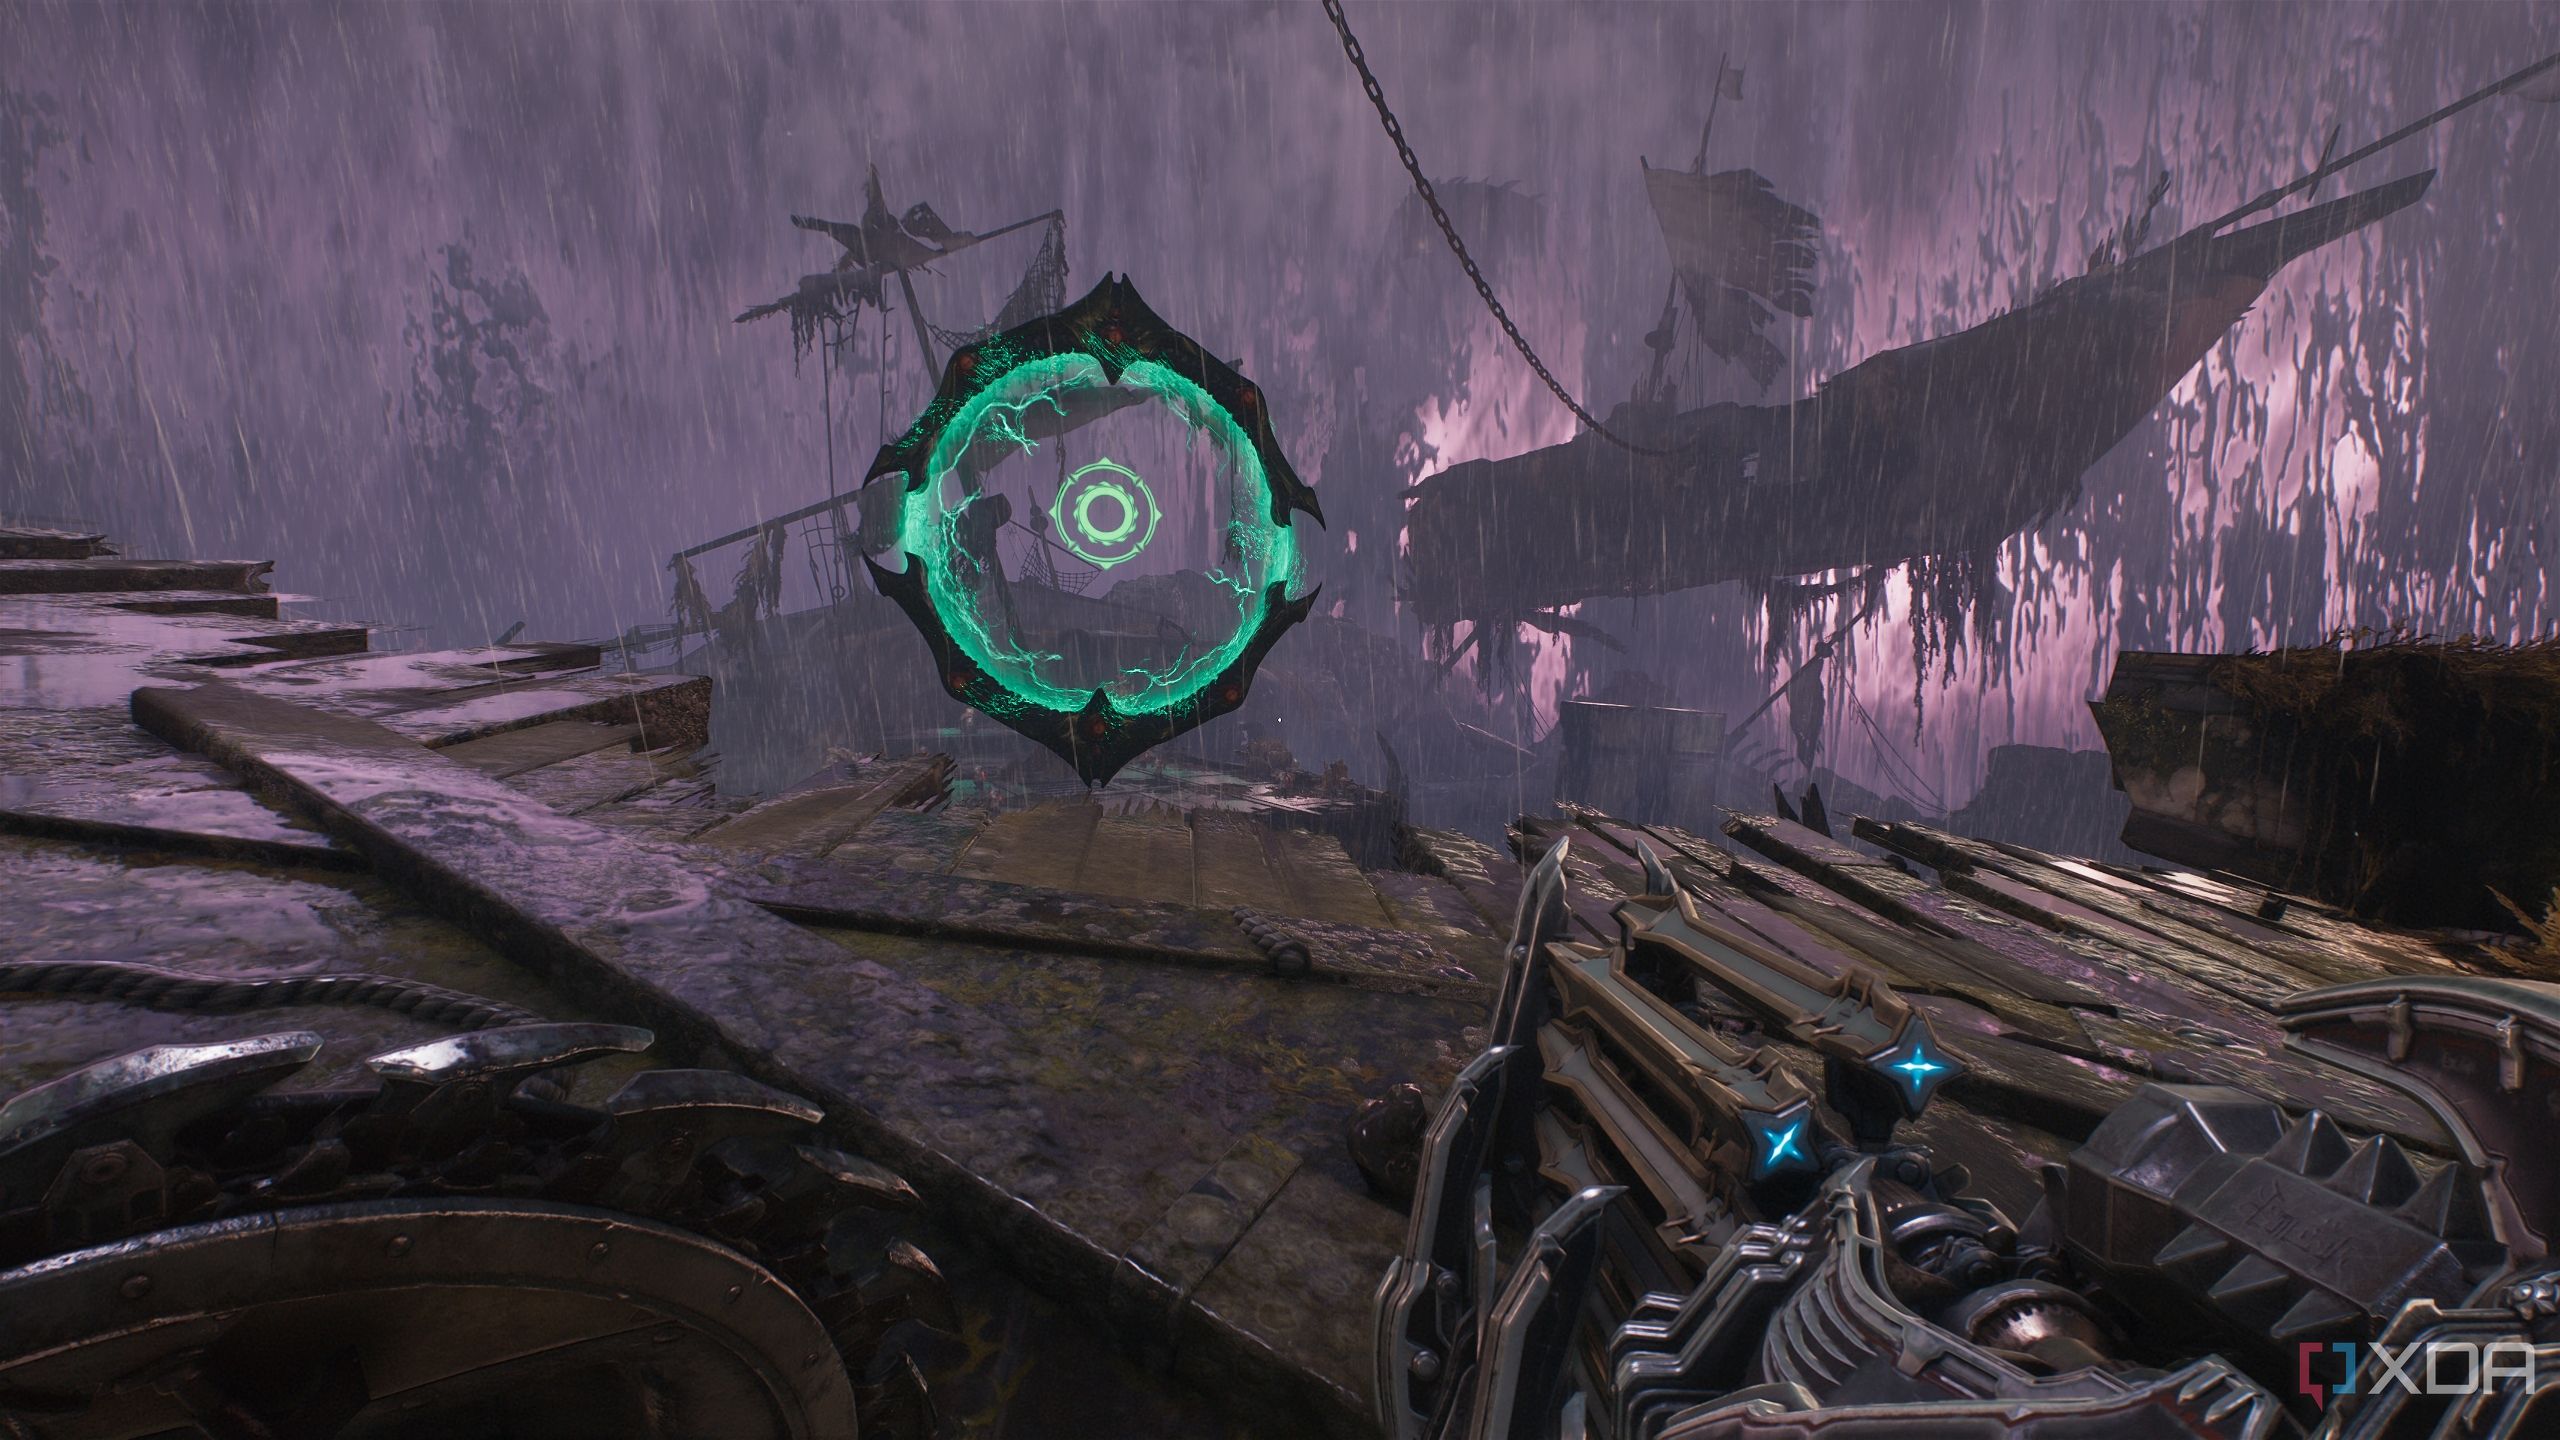
Hit it, scramble up the box now, and turn to face the cosmic eye near the top of the room. This will unlock the portal you need to go through, but don’t head there just yet. Jump towards the Cosmic Node, and head towards the portal. Don’t go through it yet.
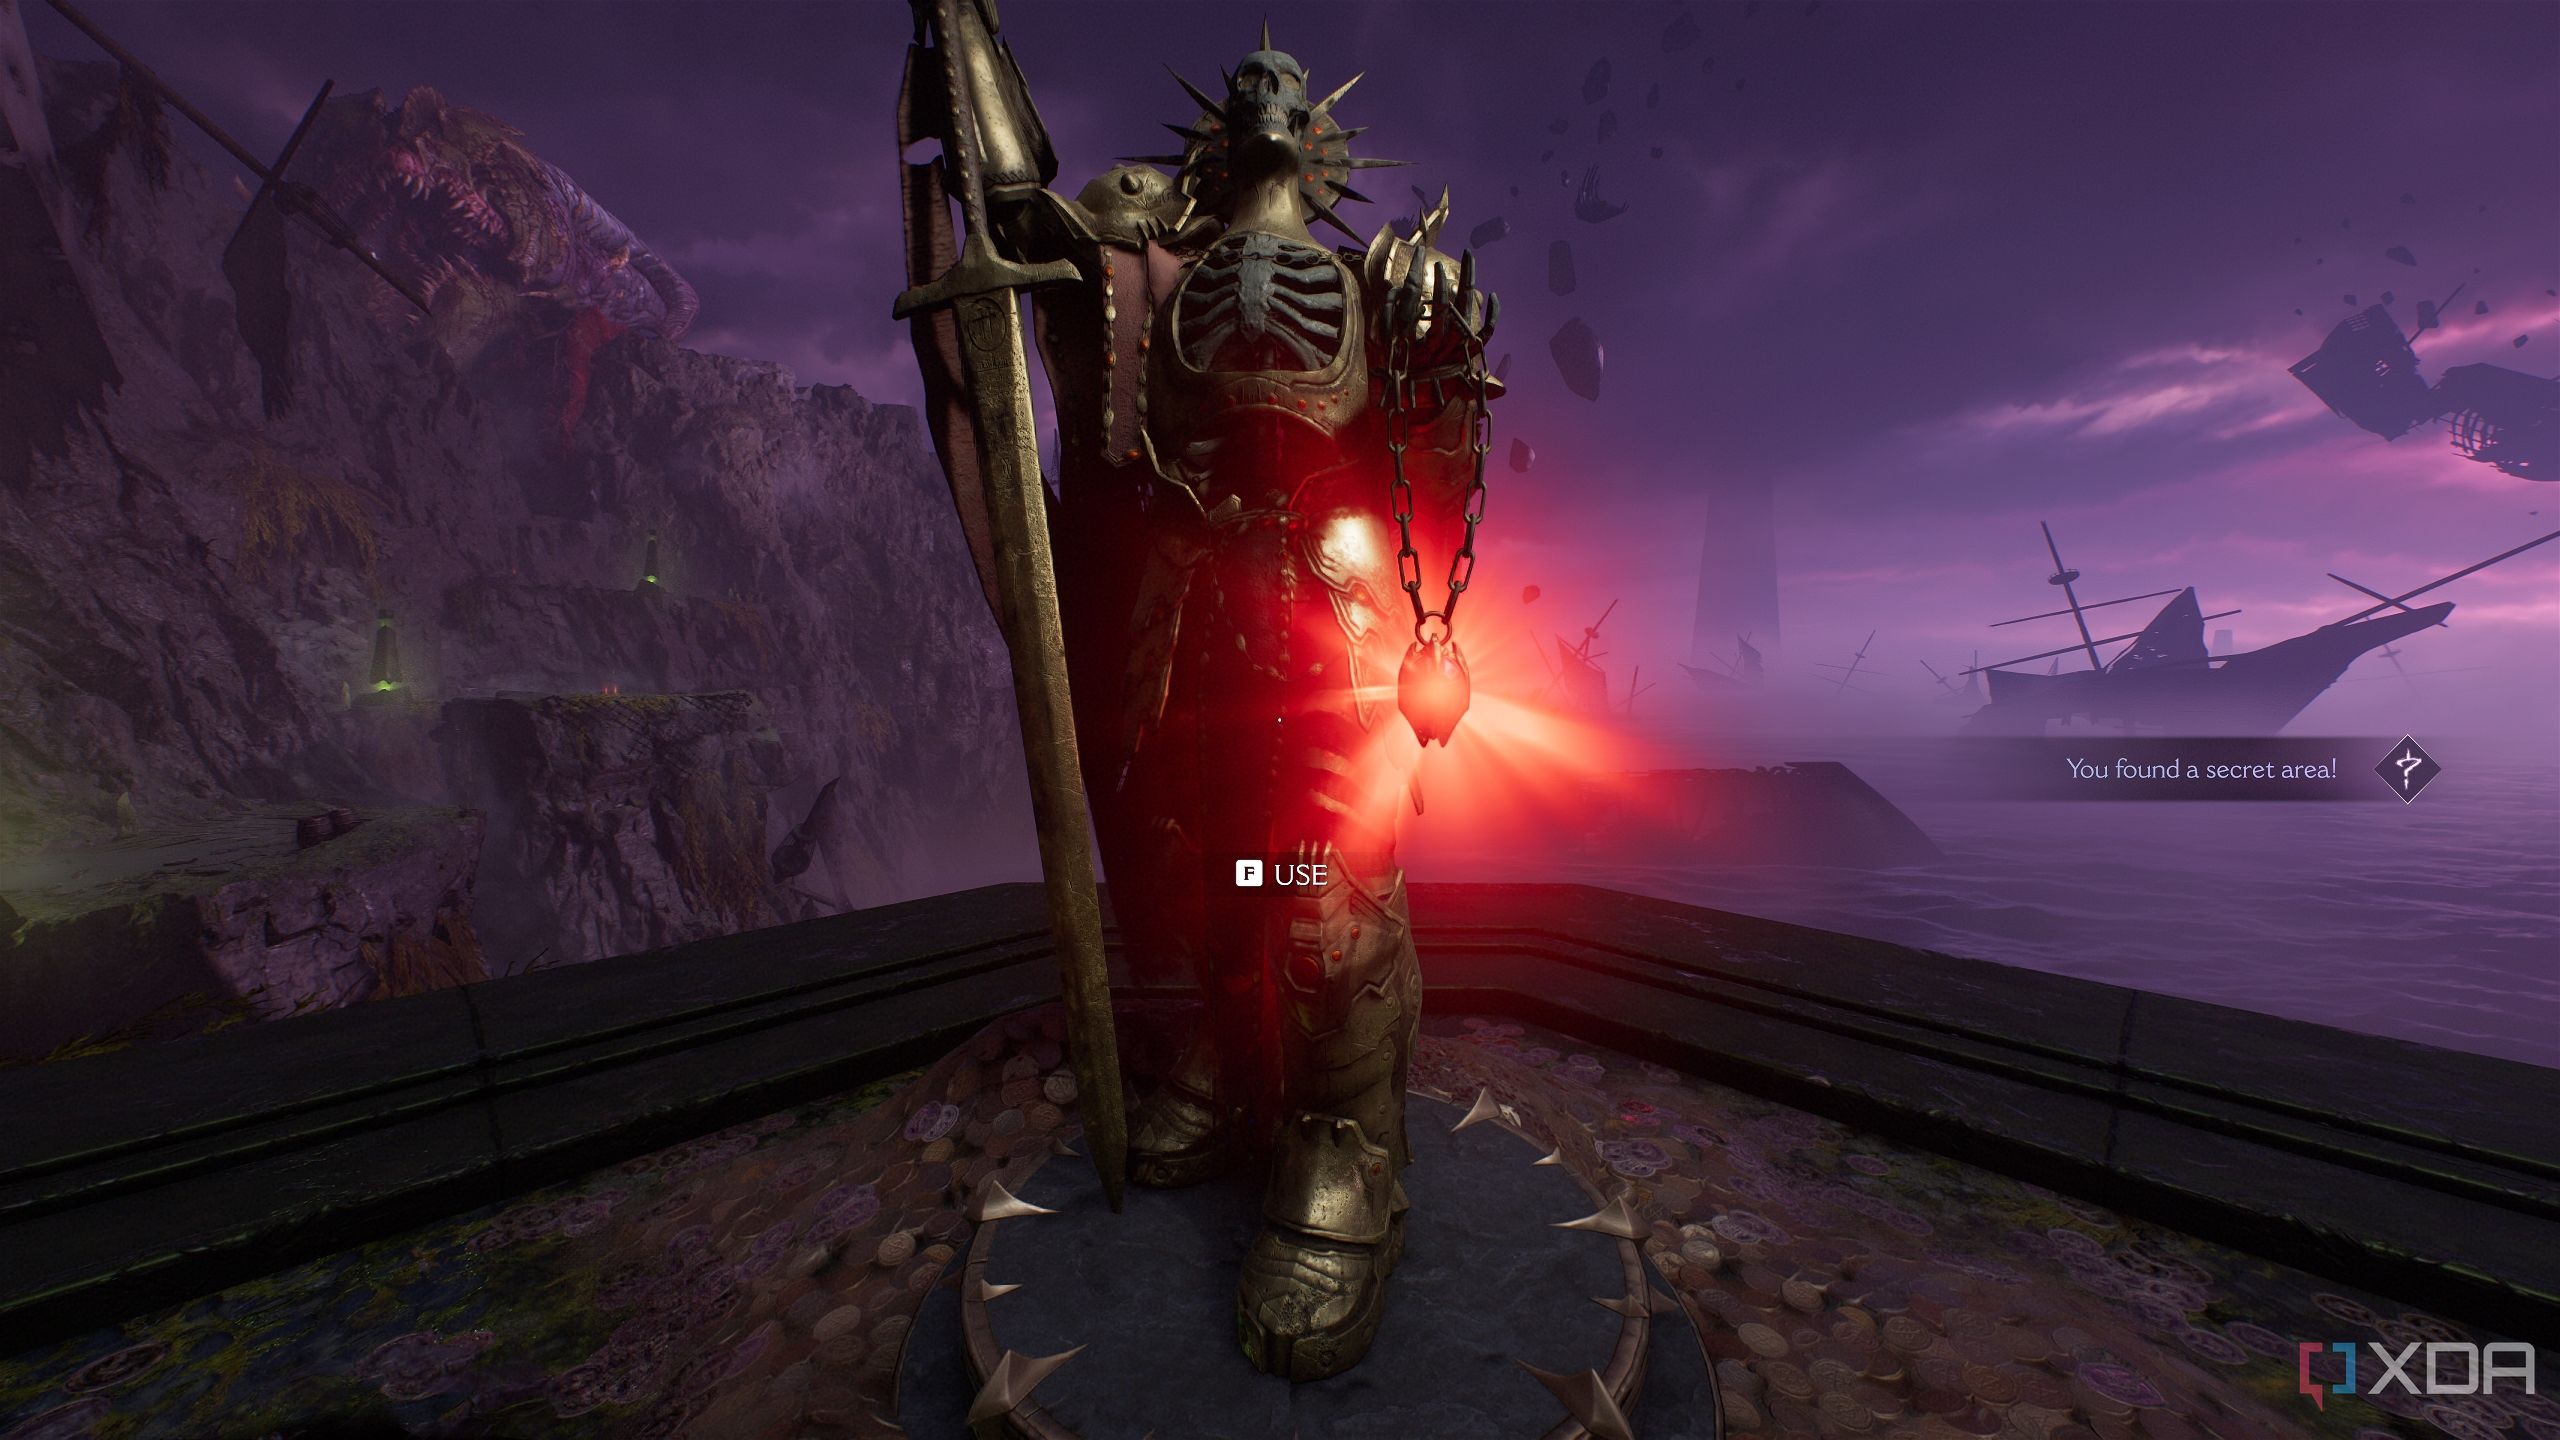
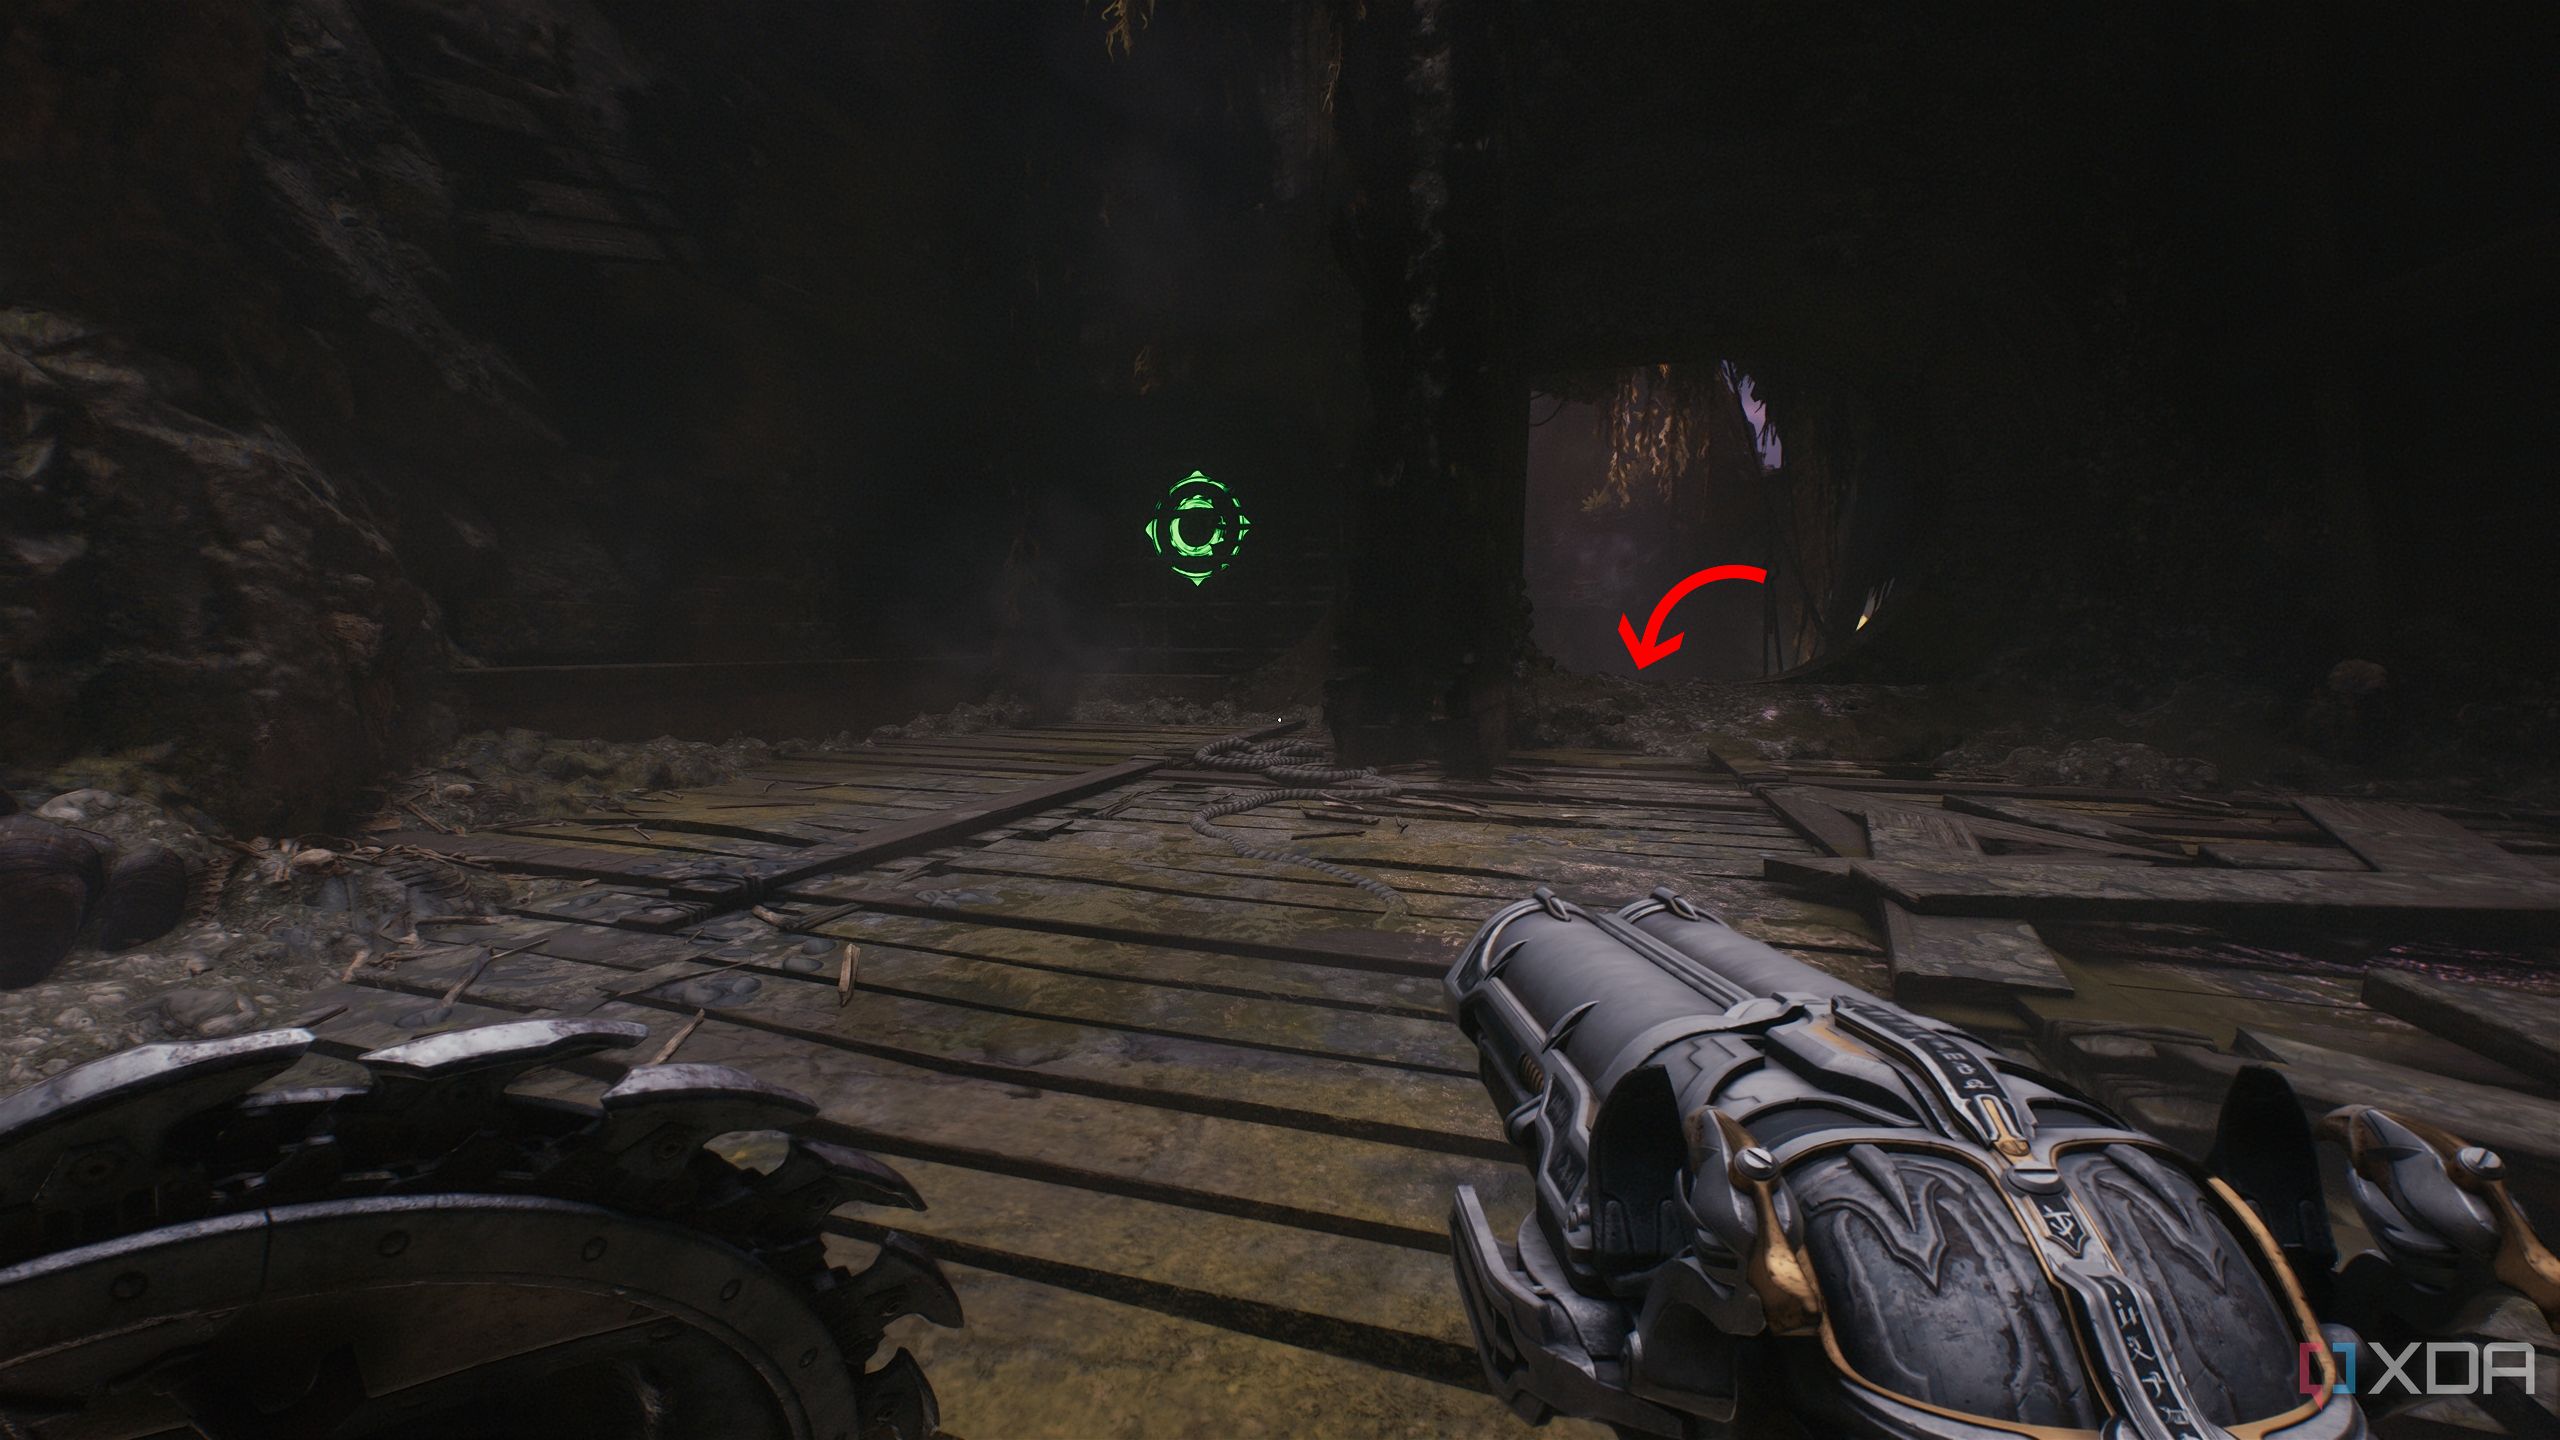
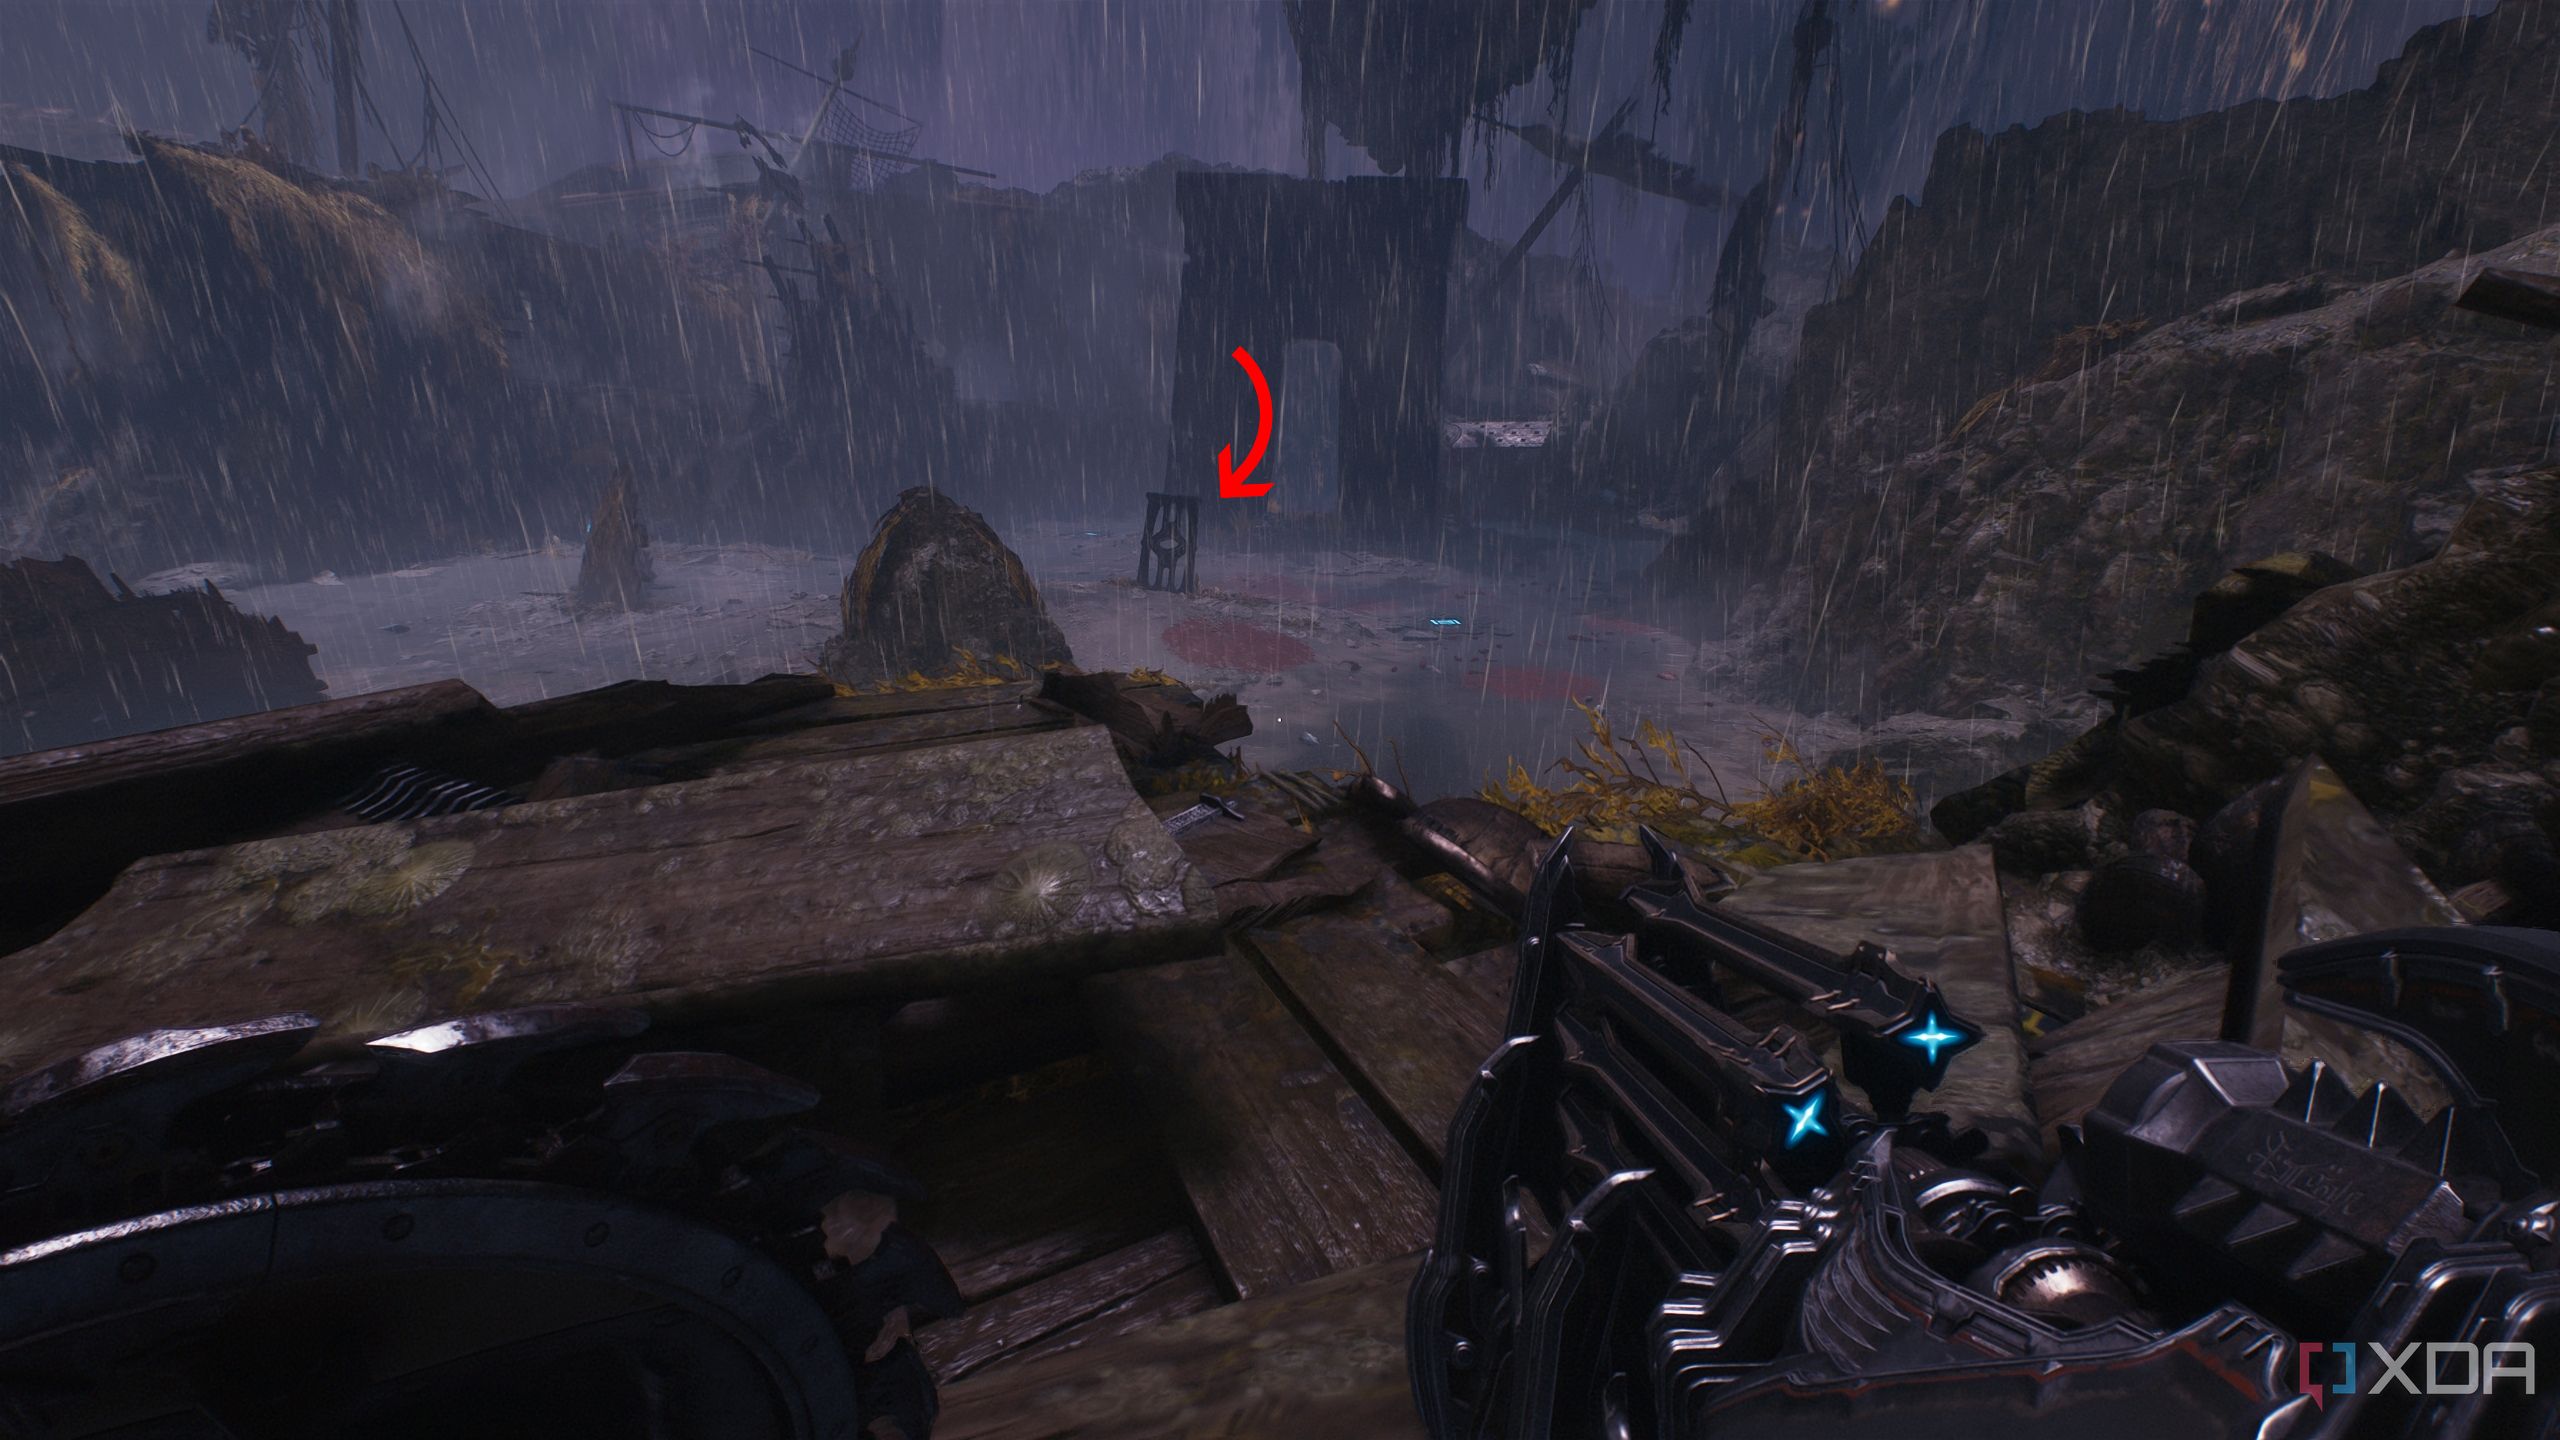
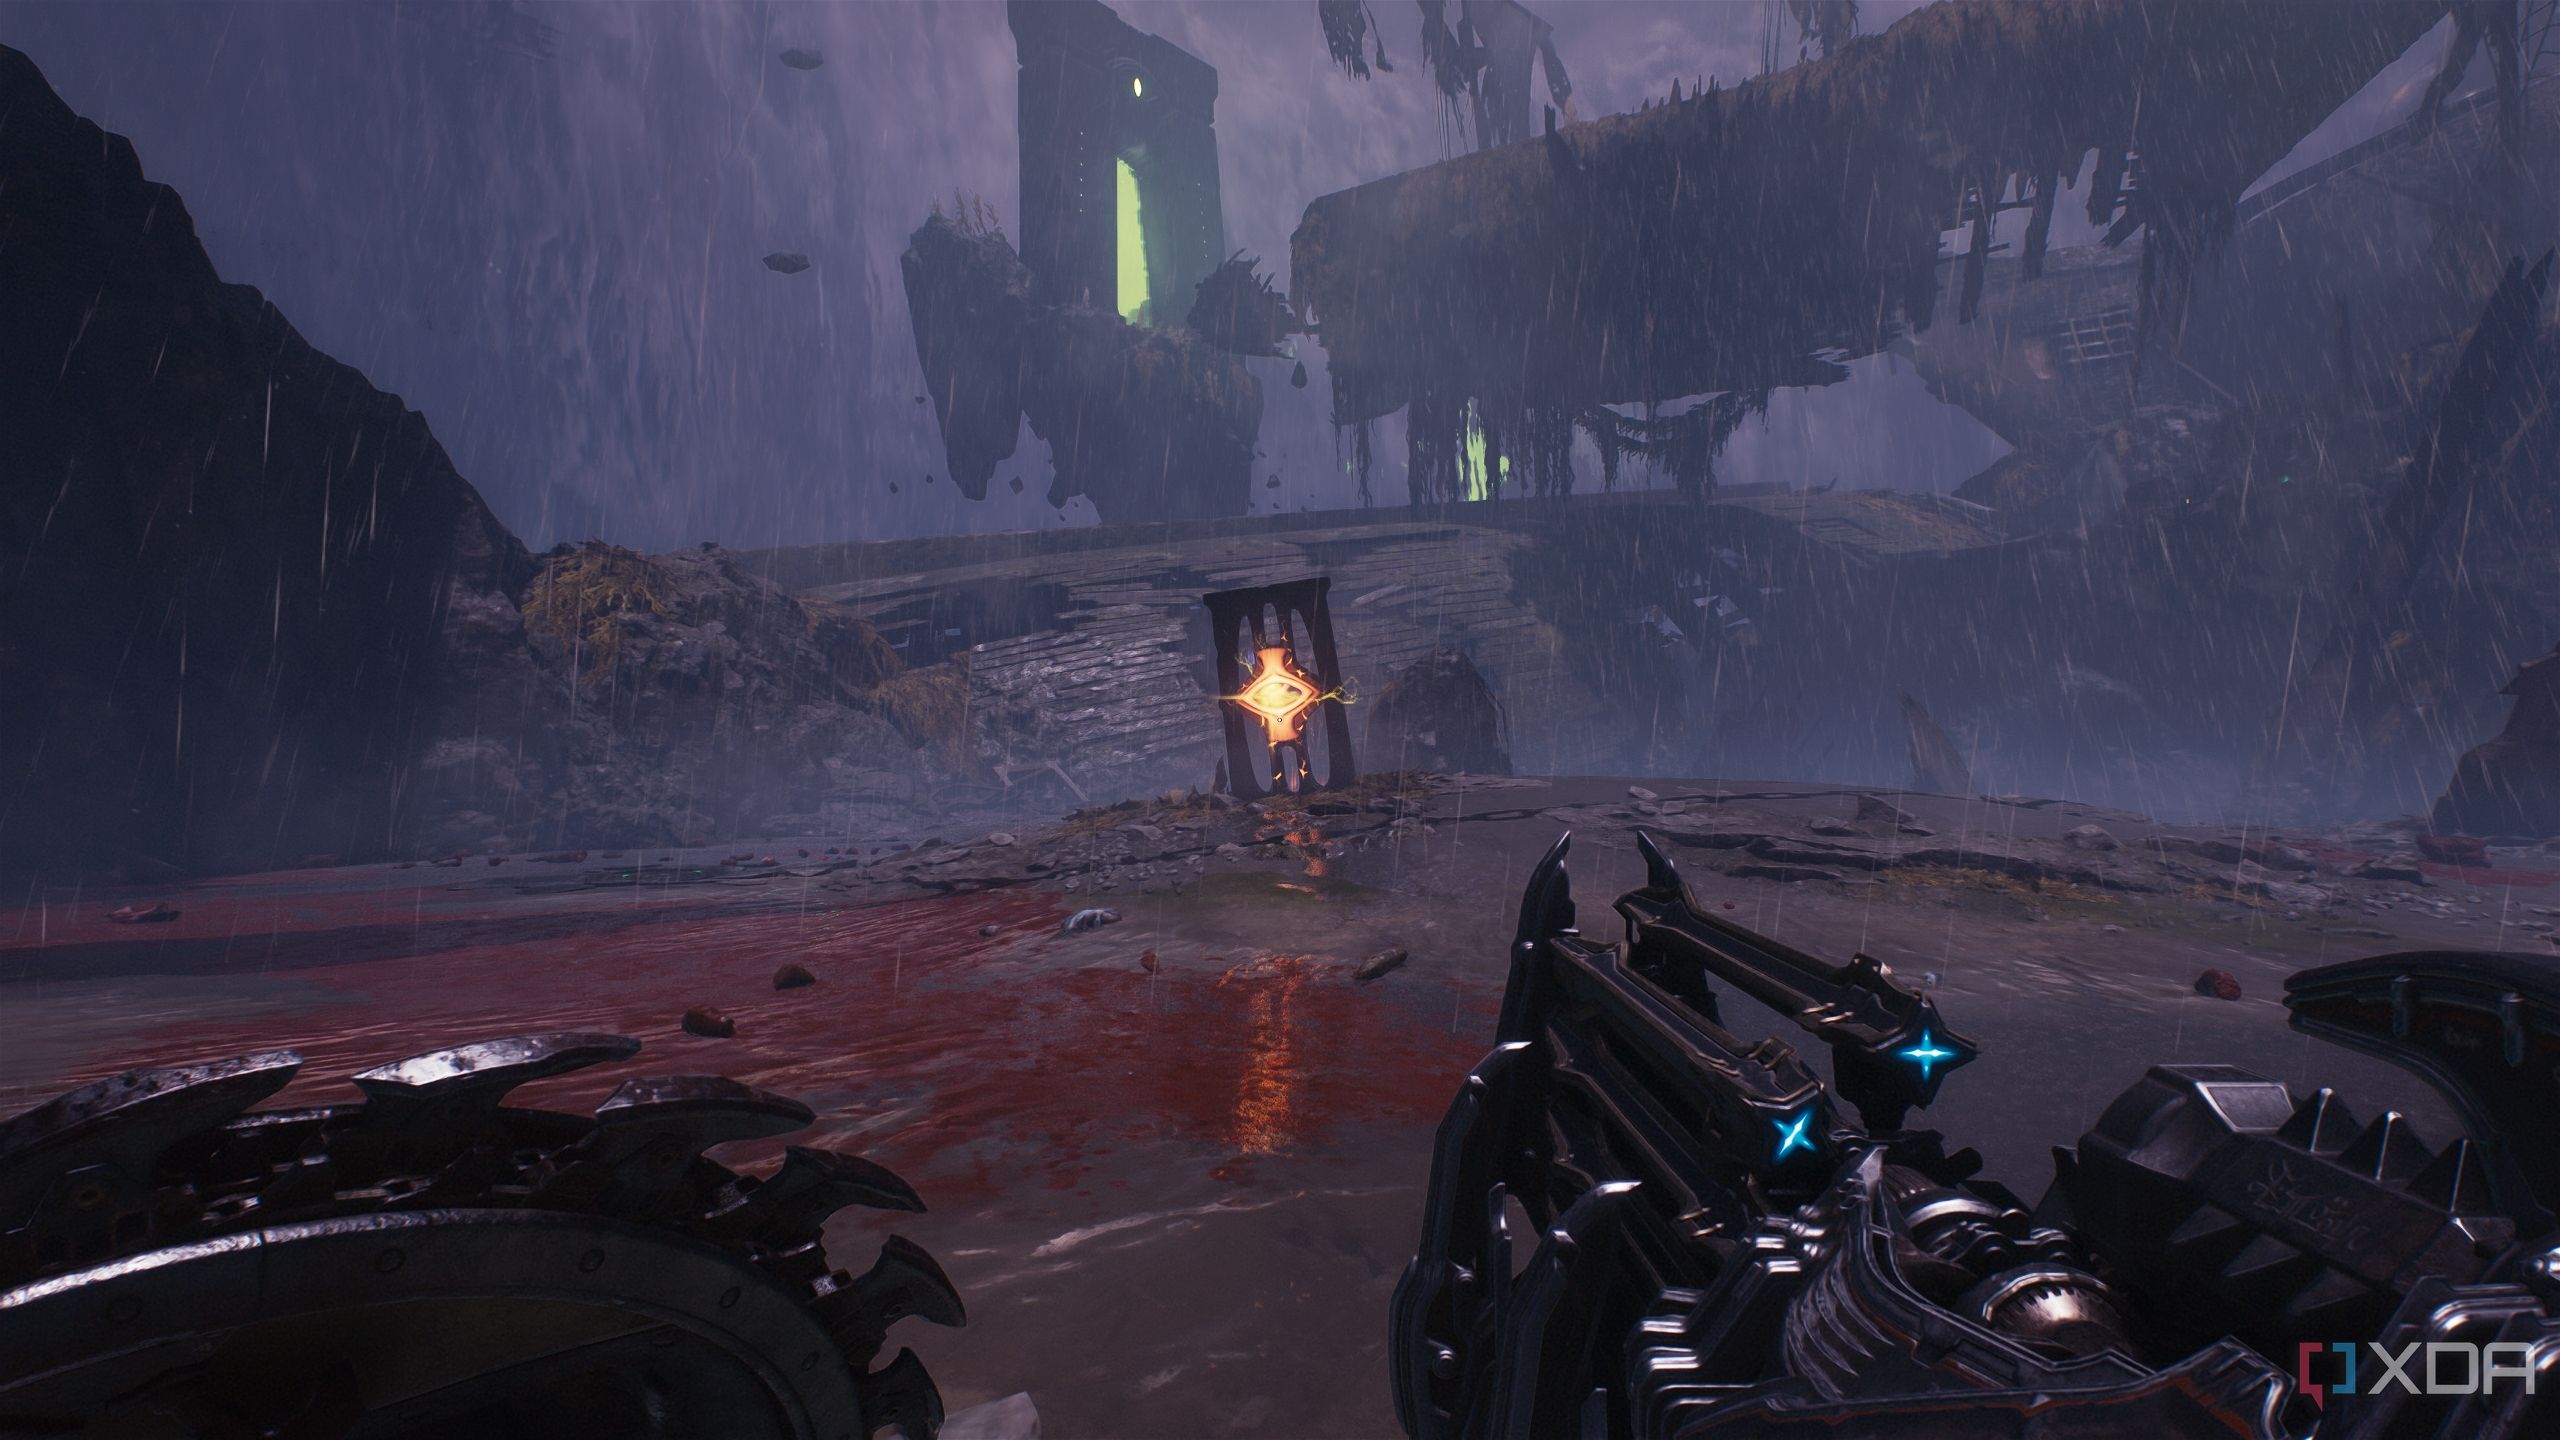
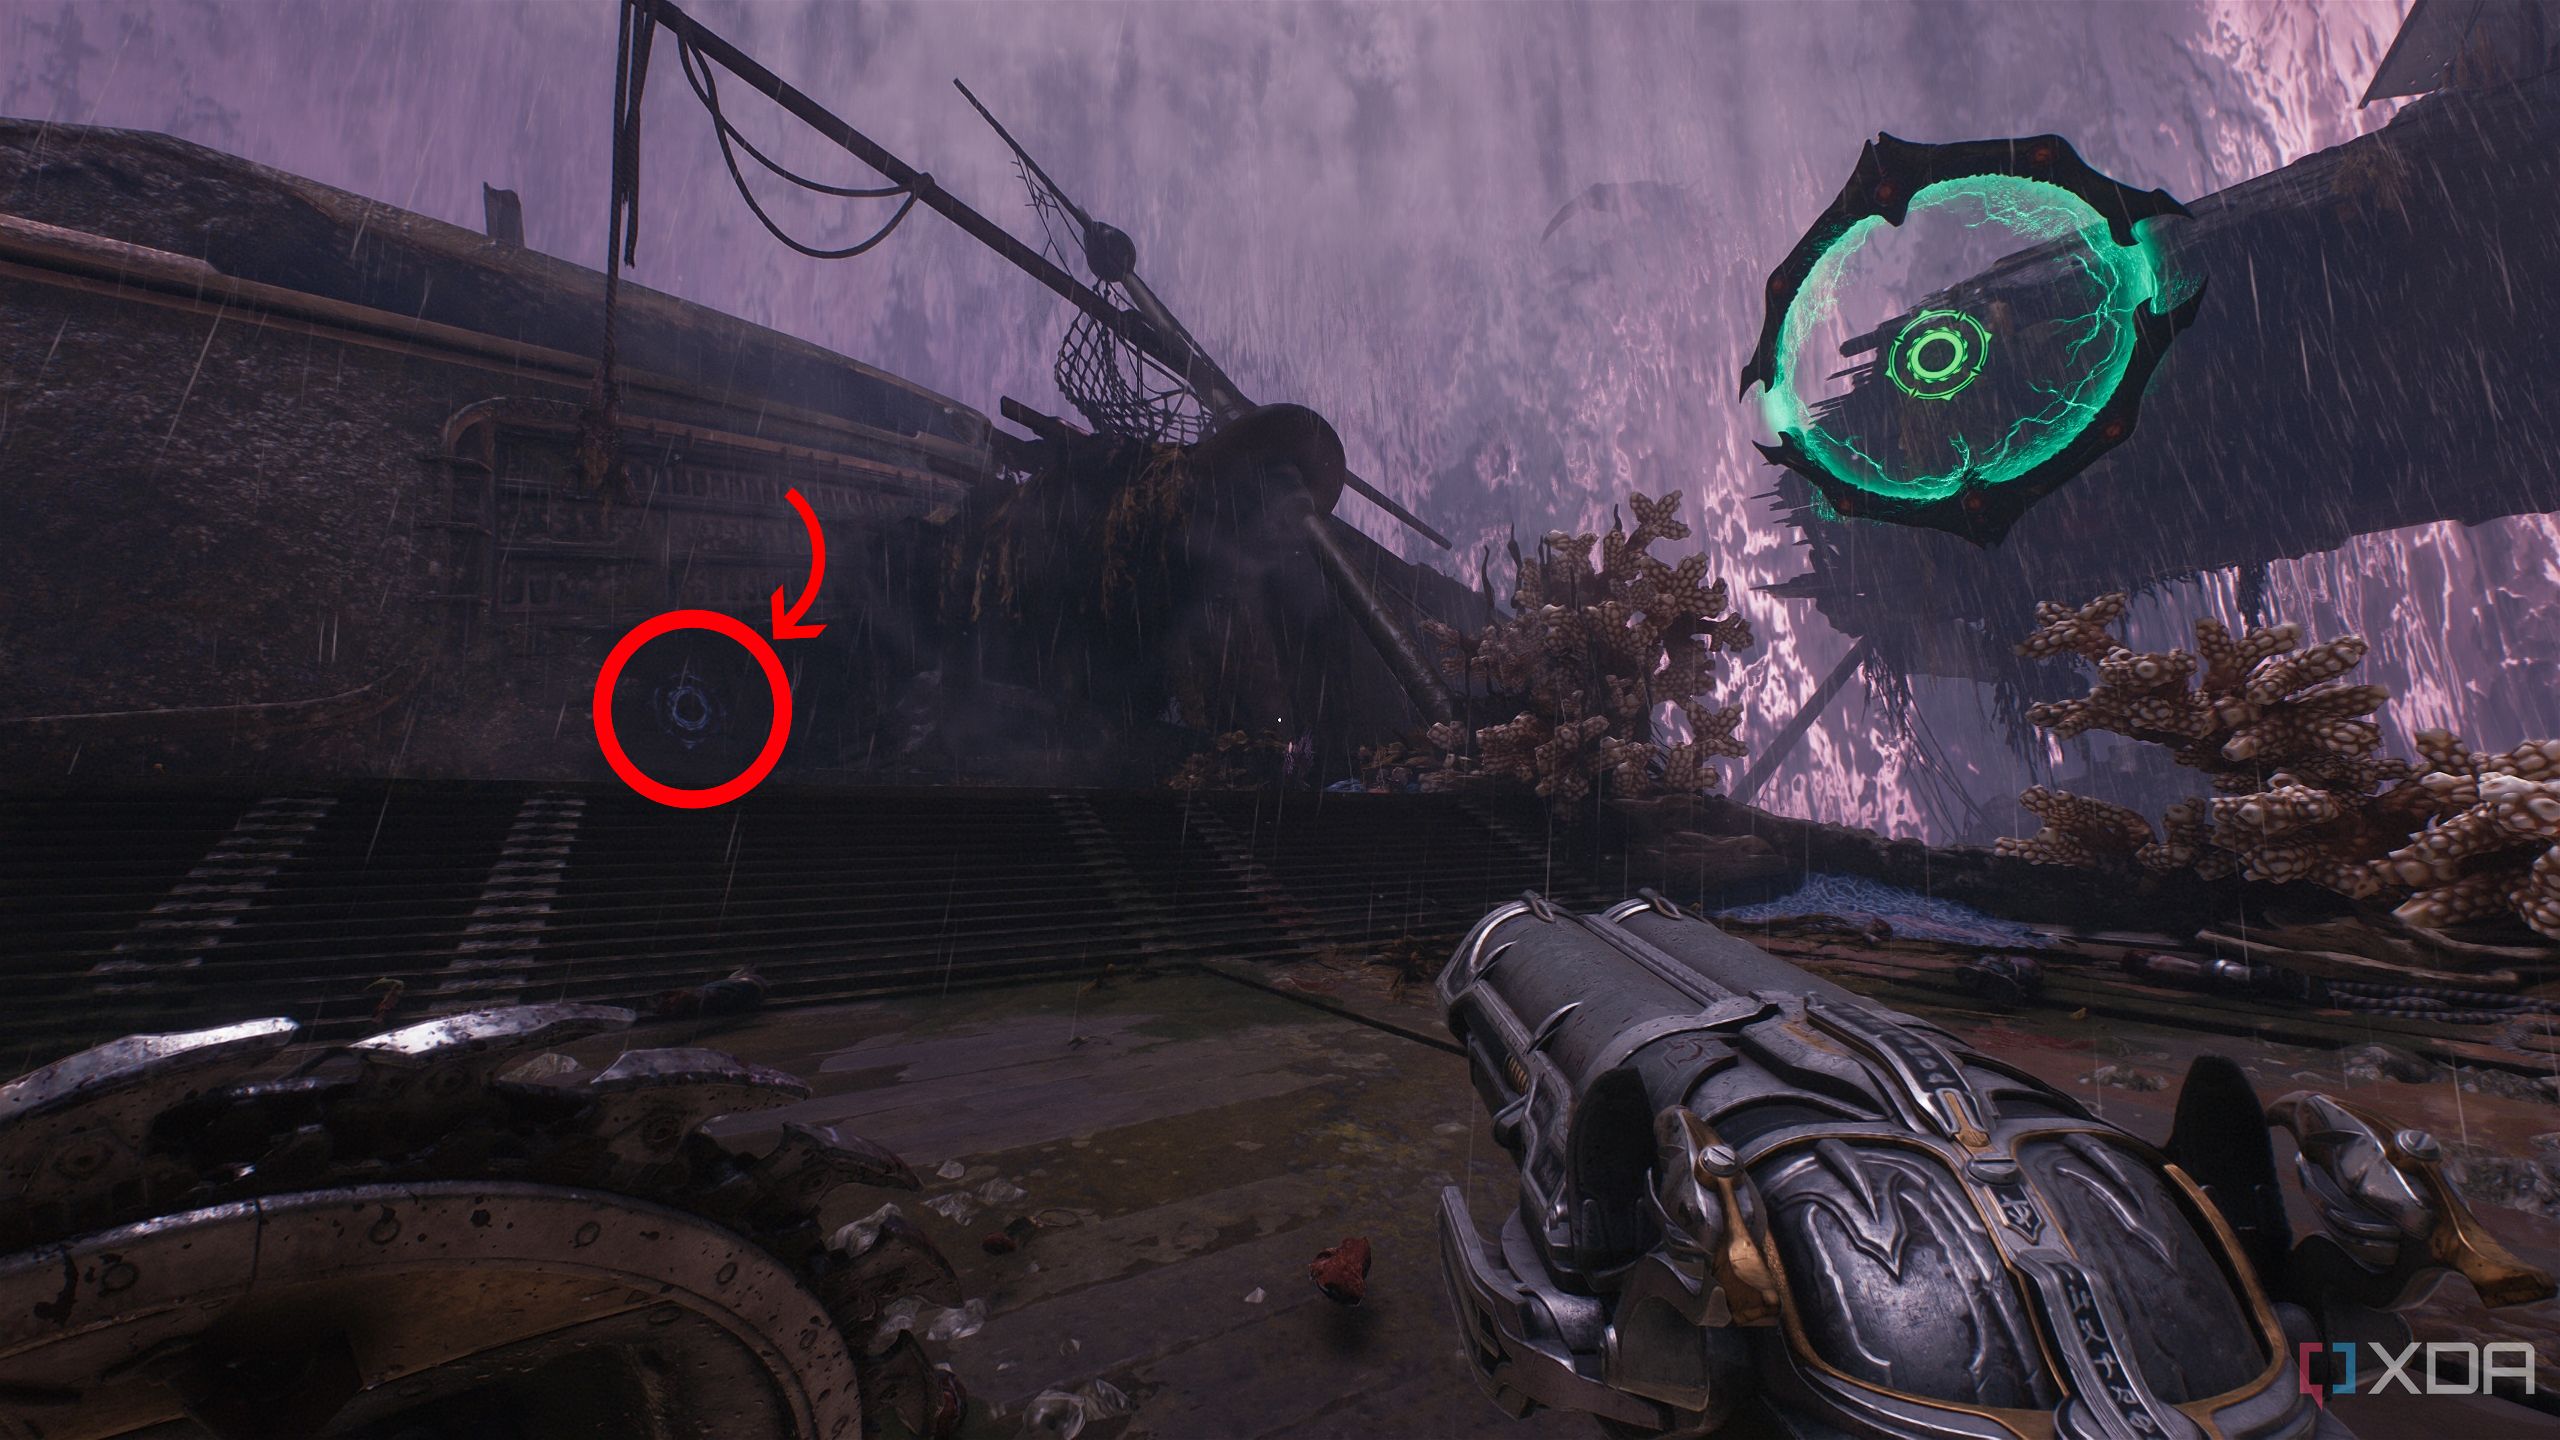
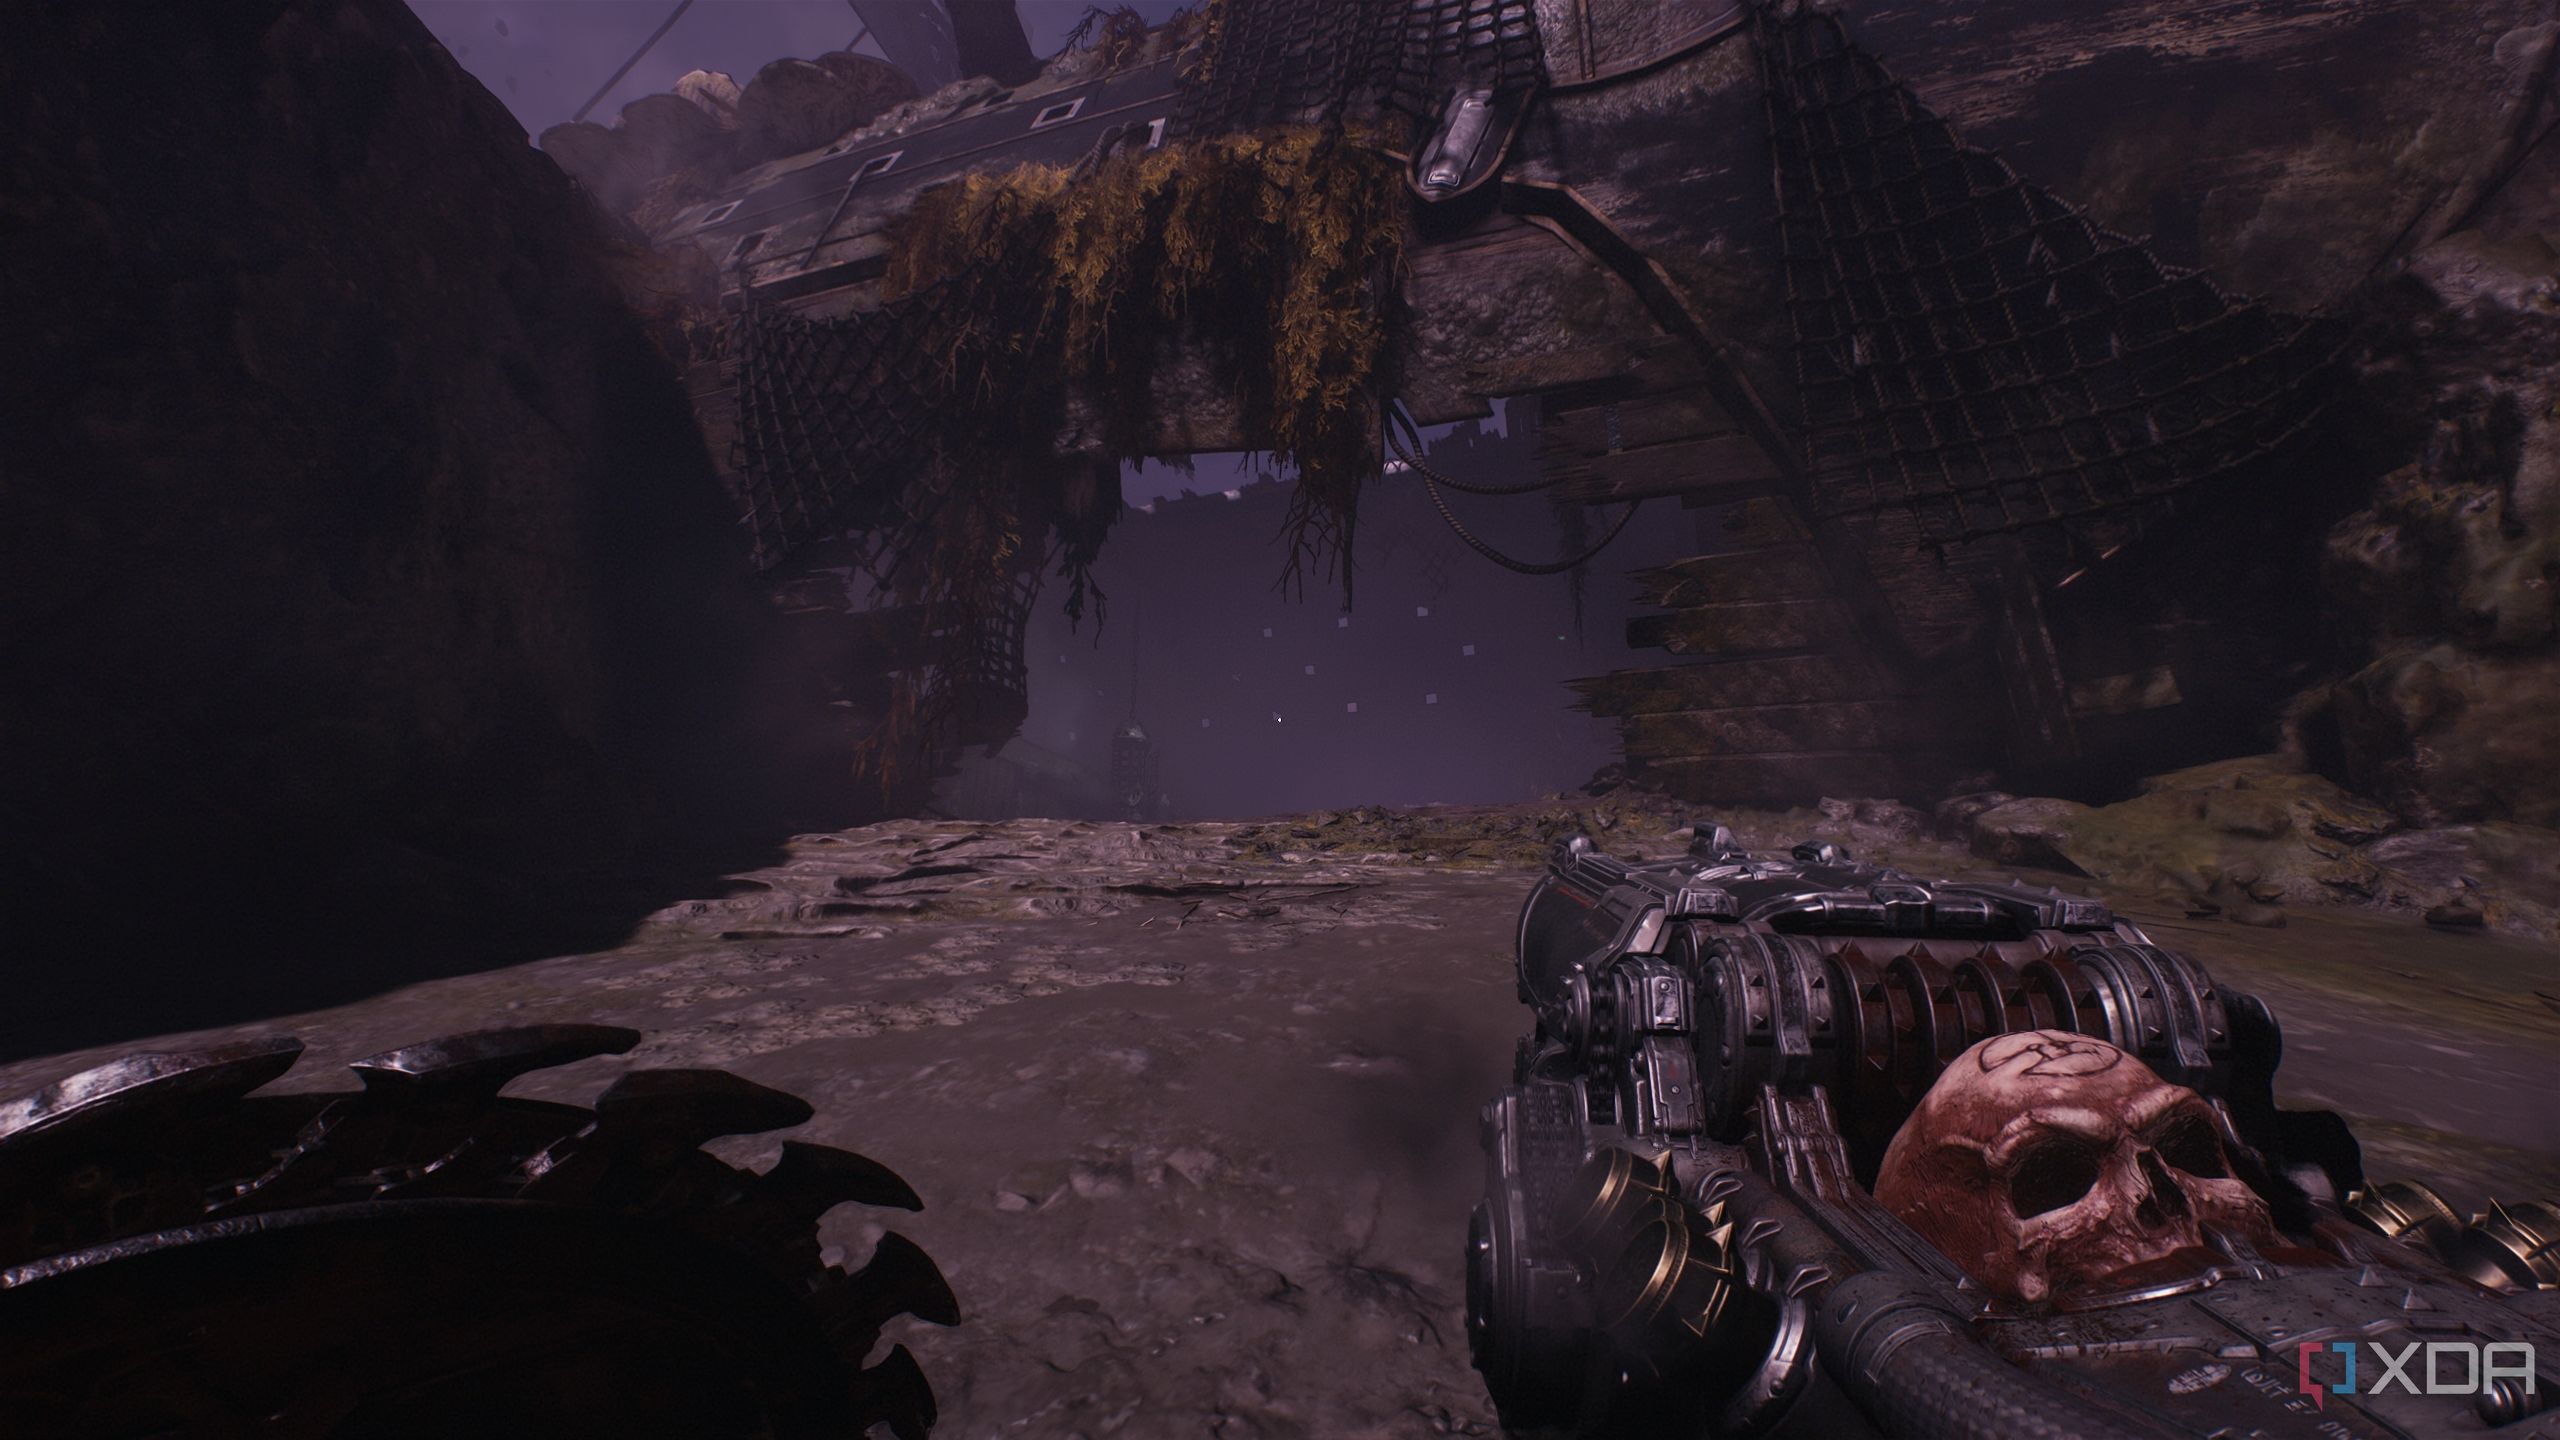
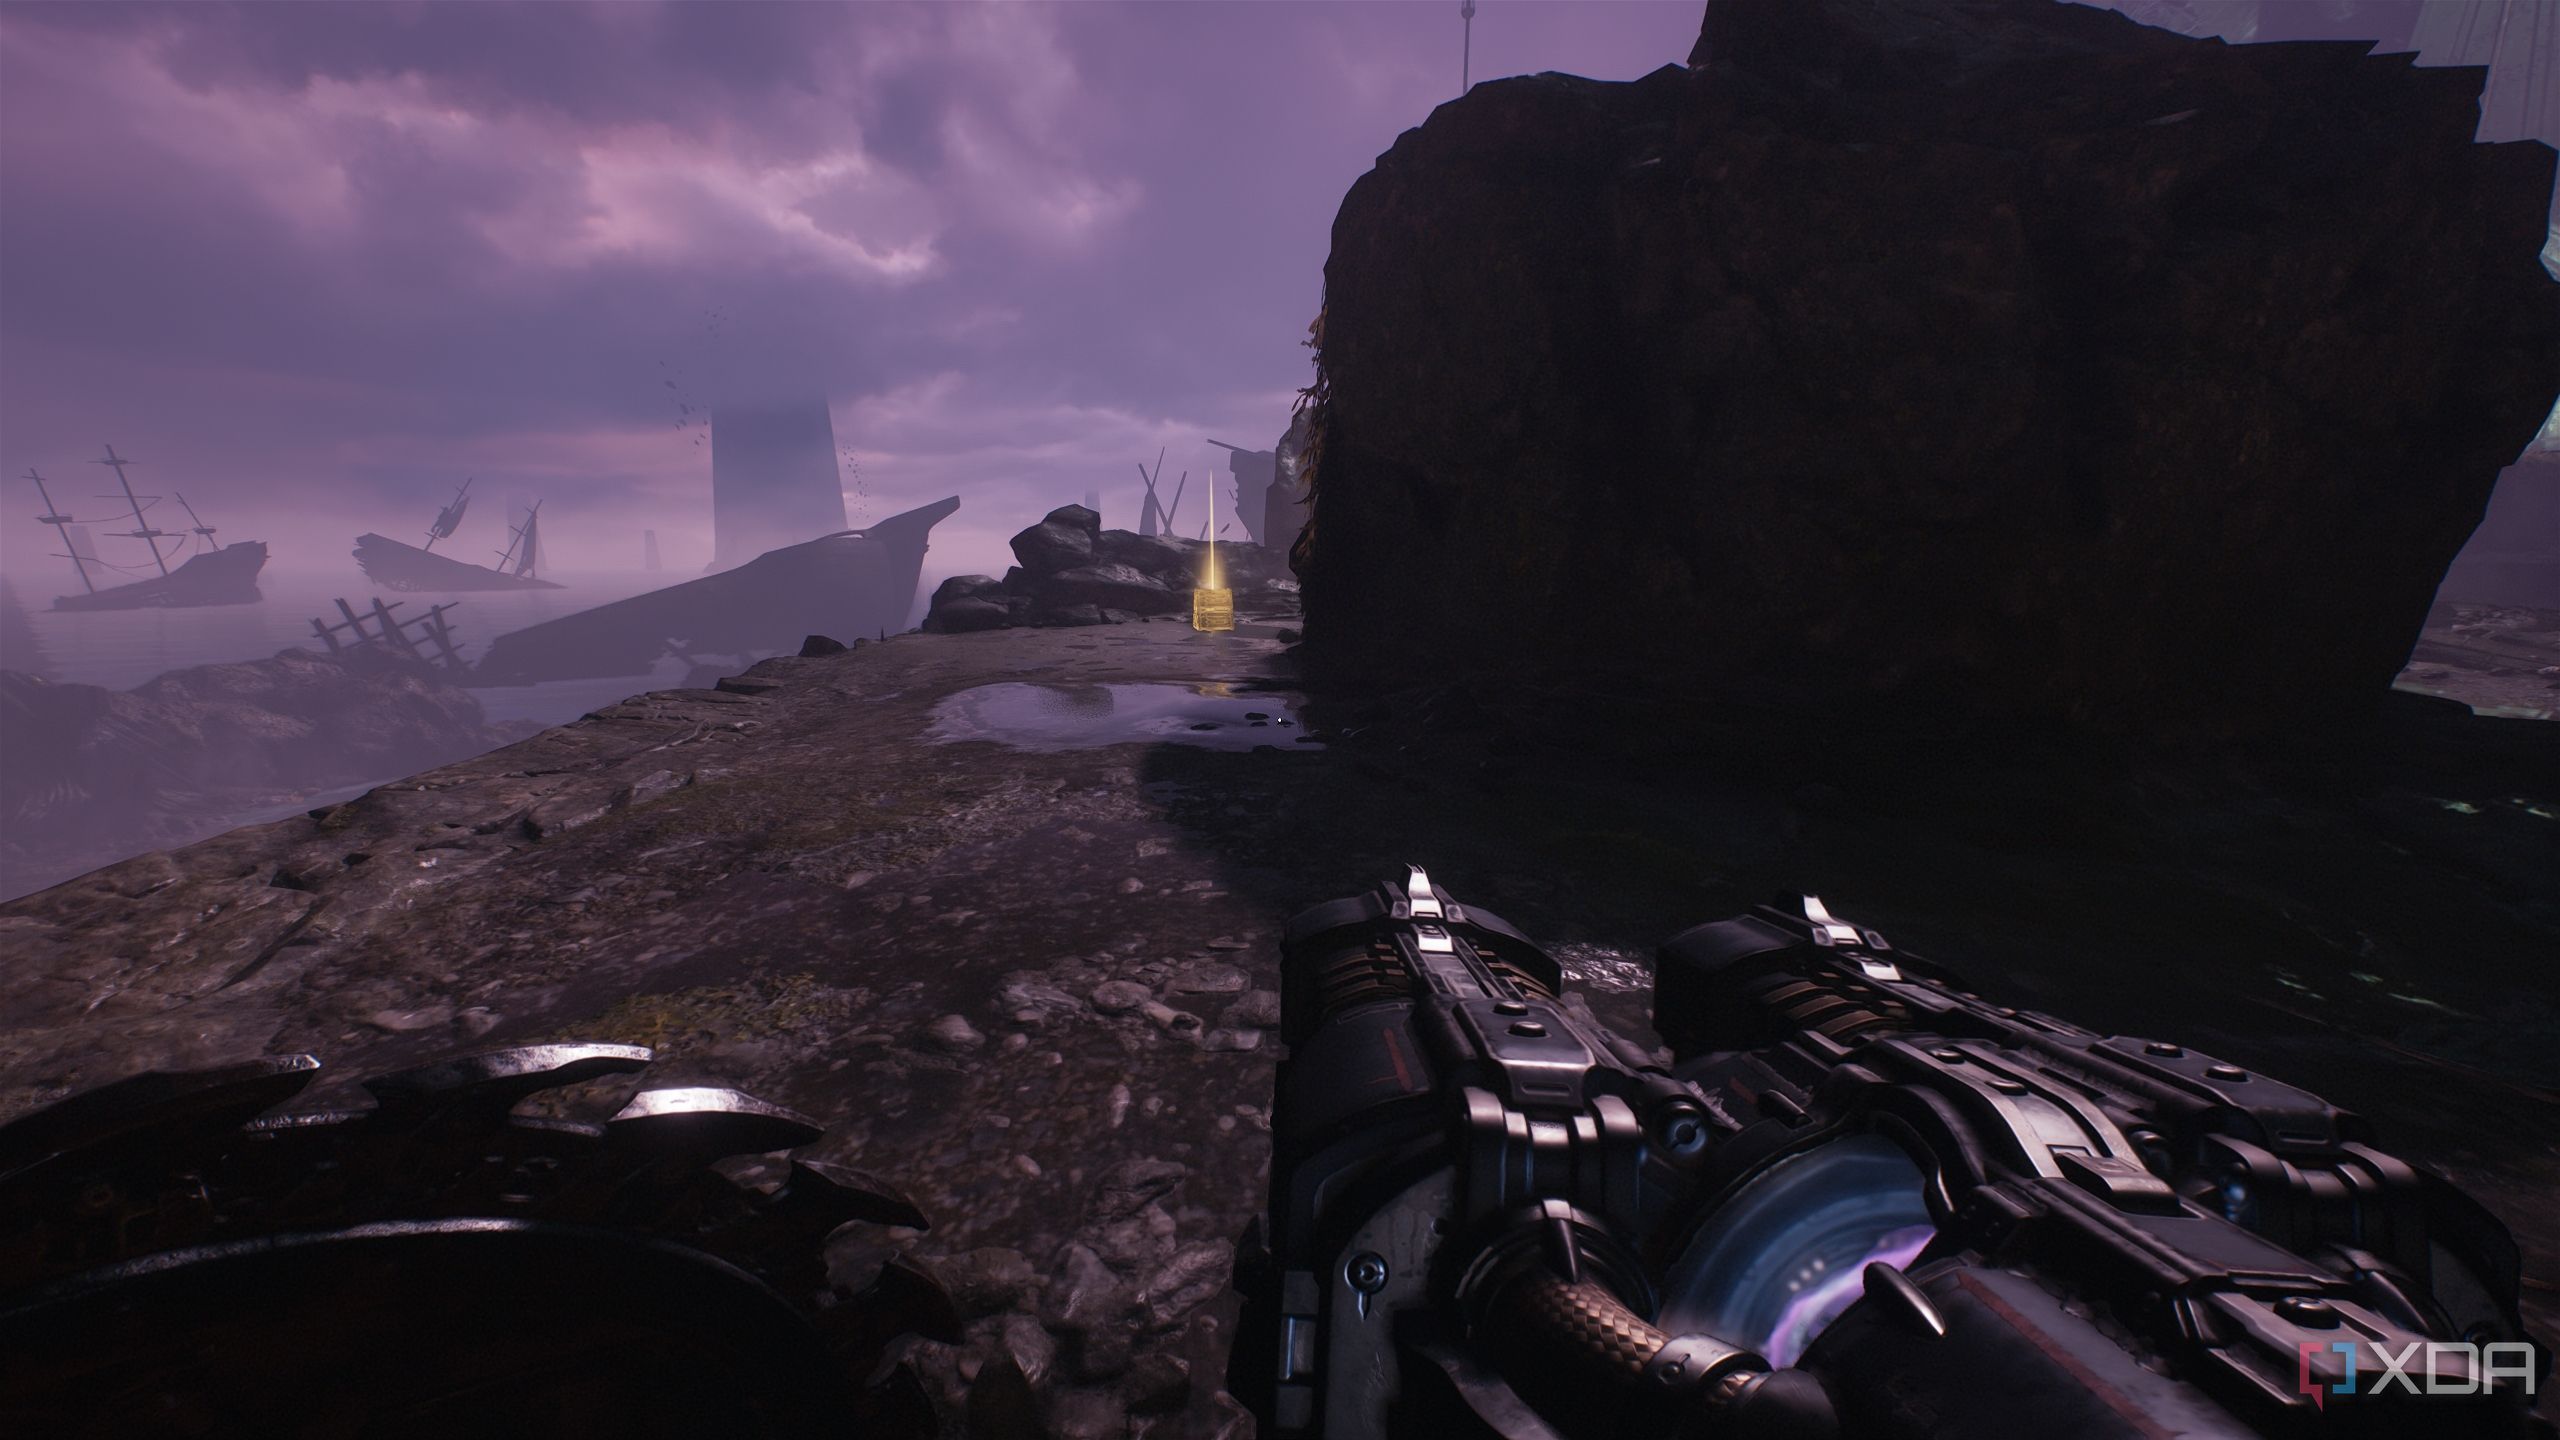
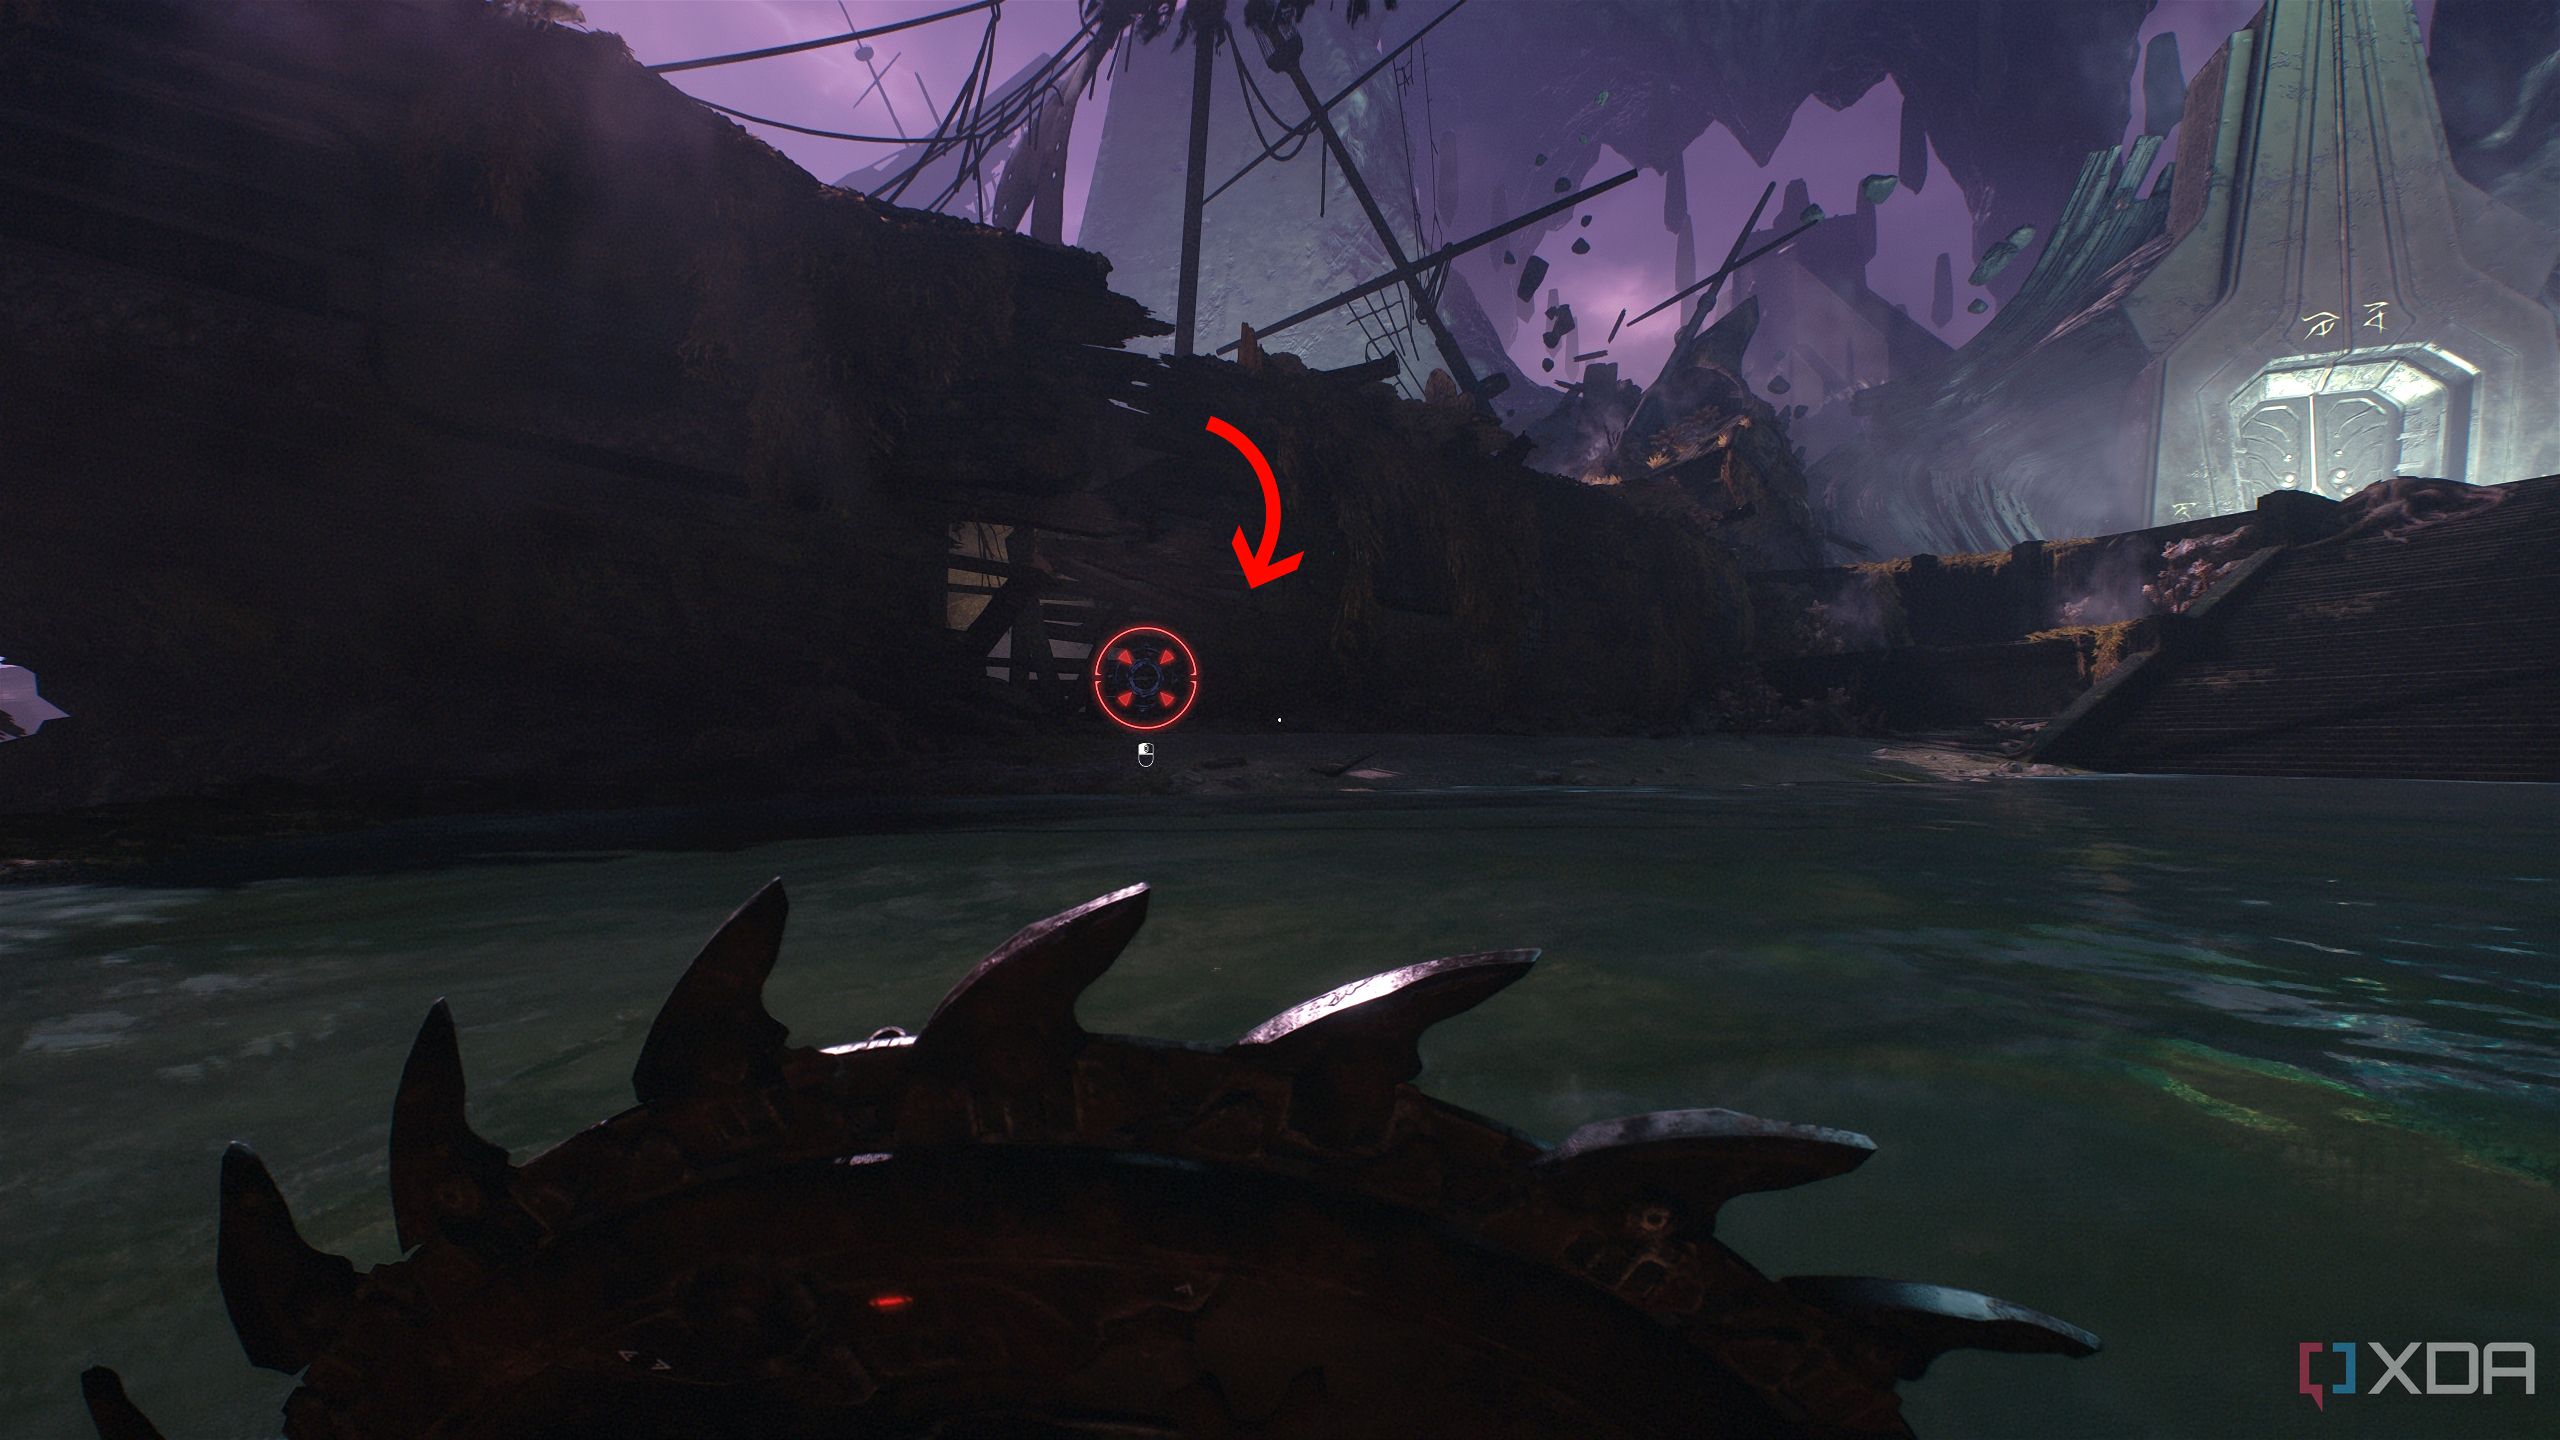
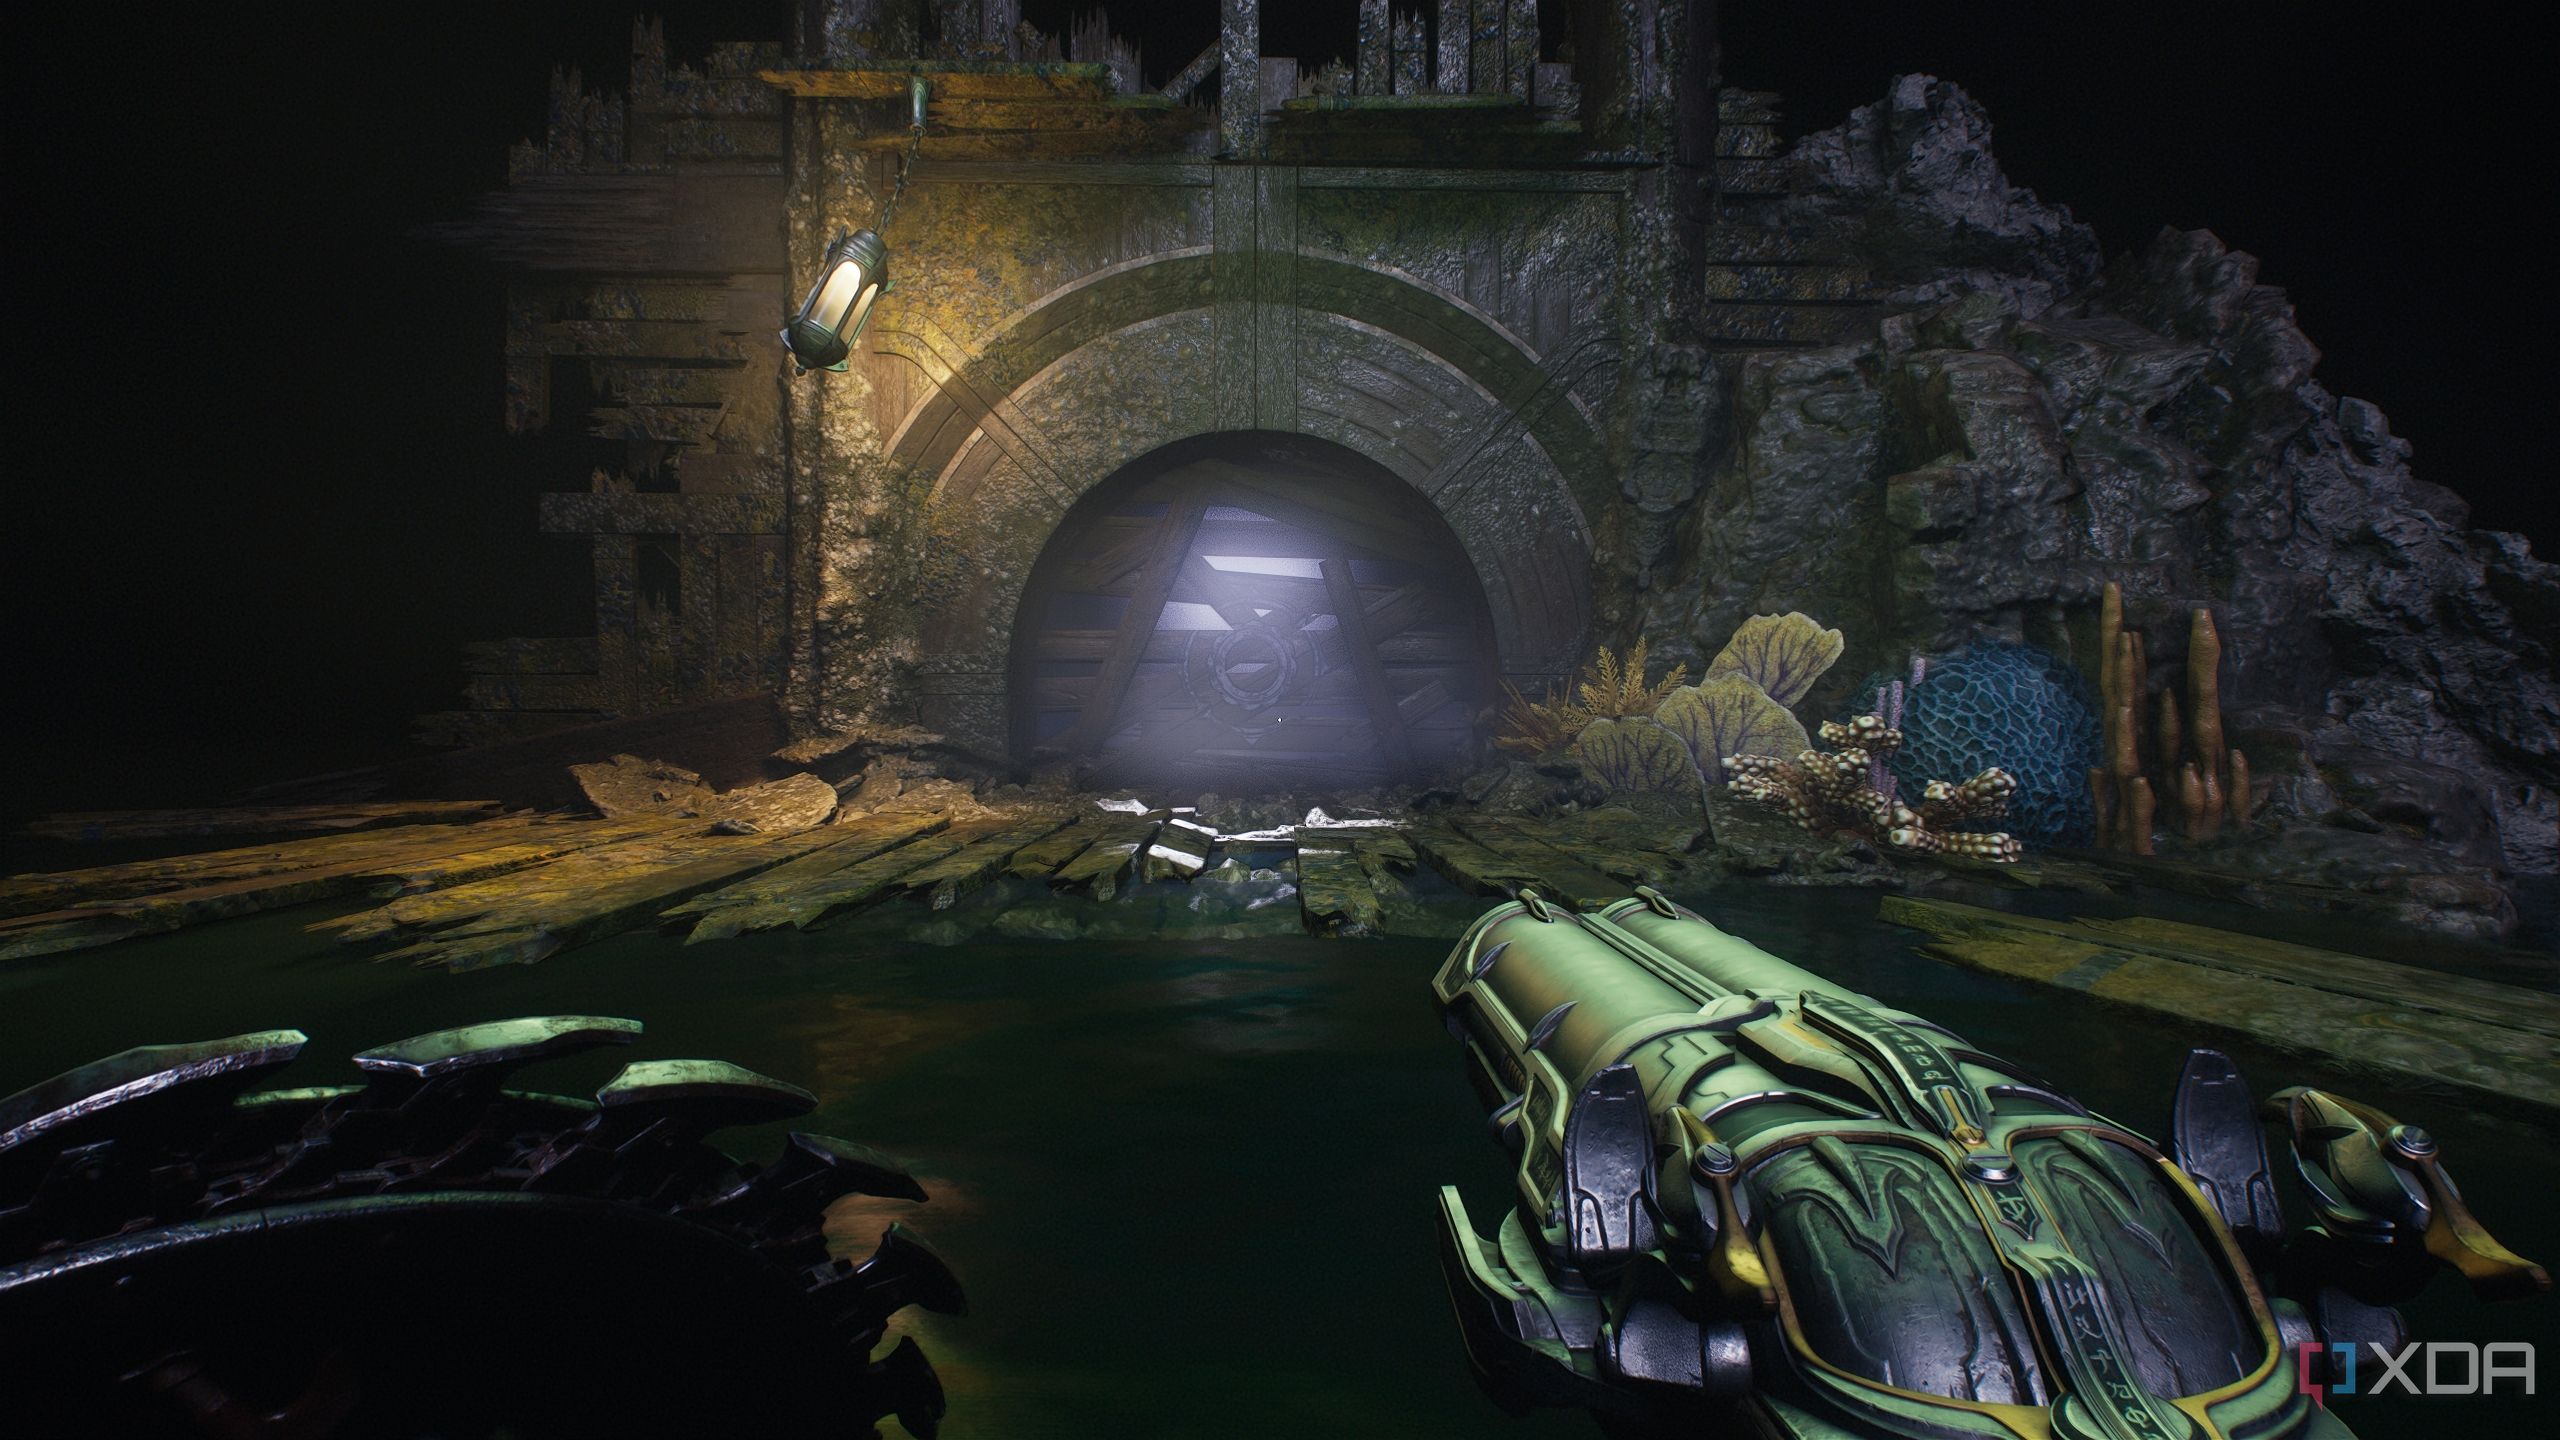
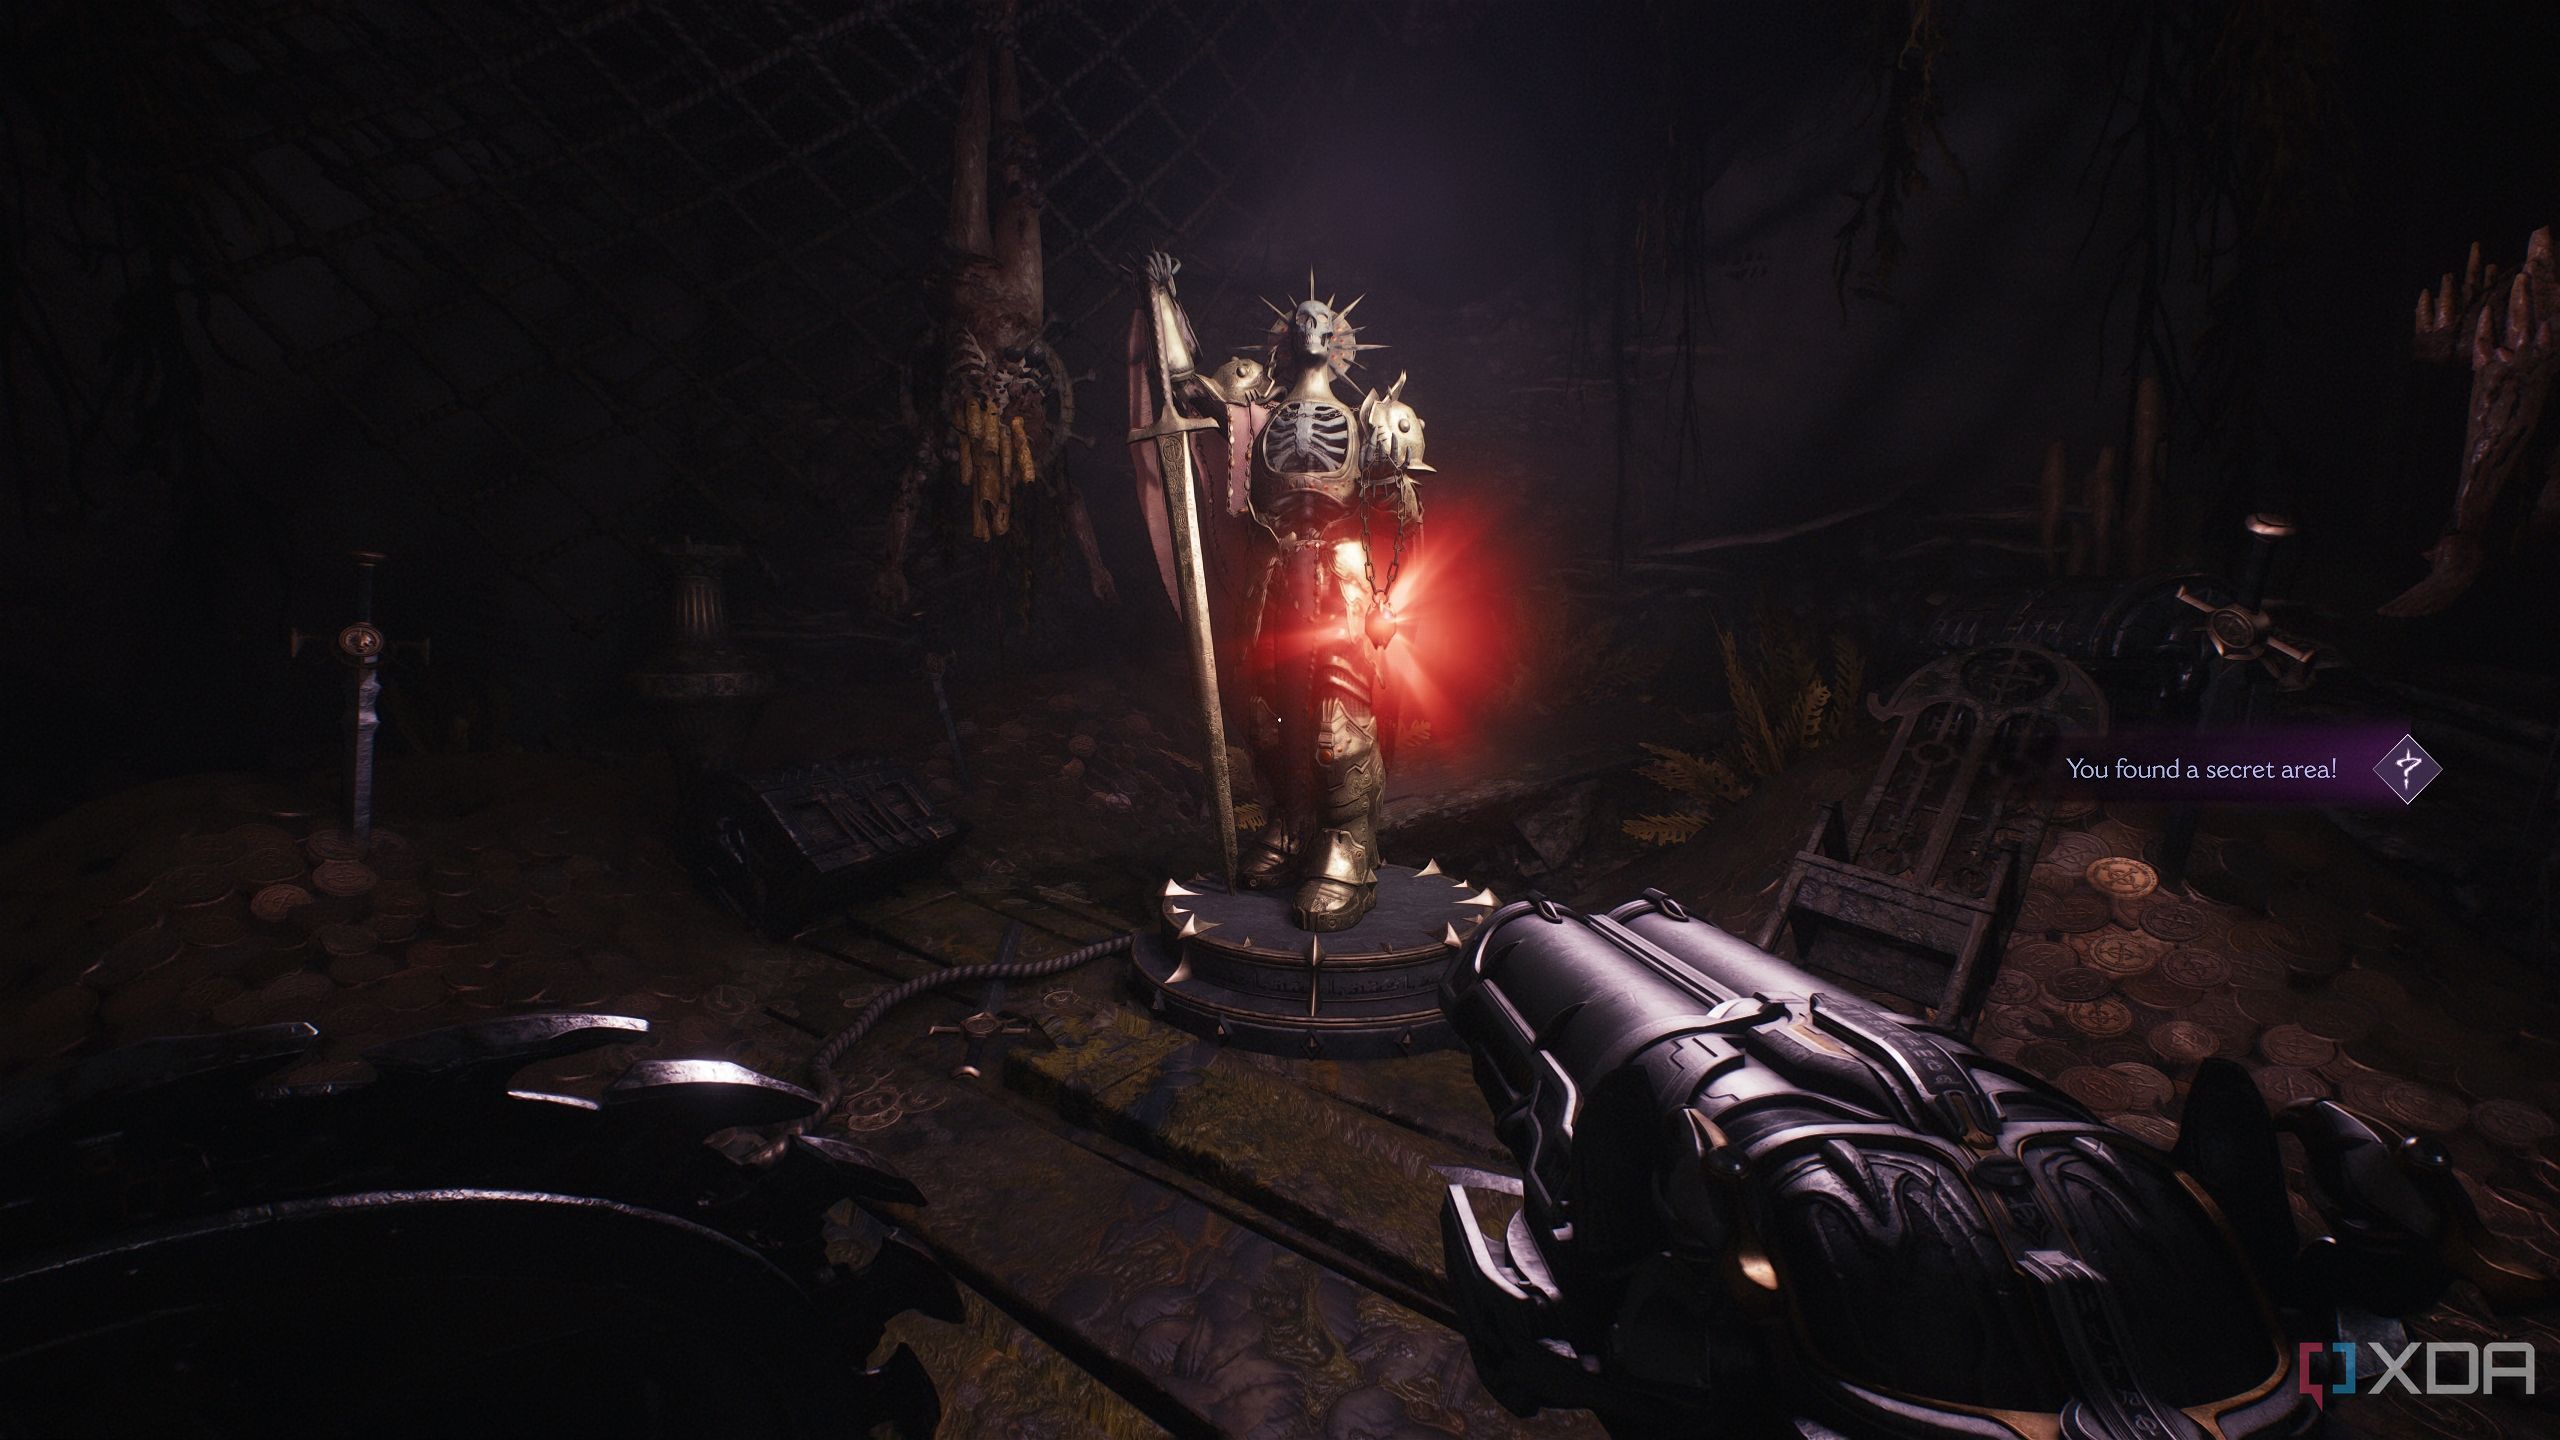
Secret area 4 and a gold chest
Right under the gateway, but easy to miss
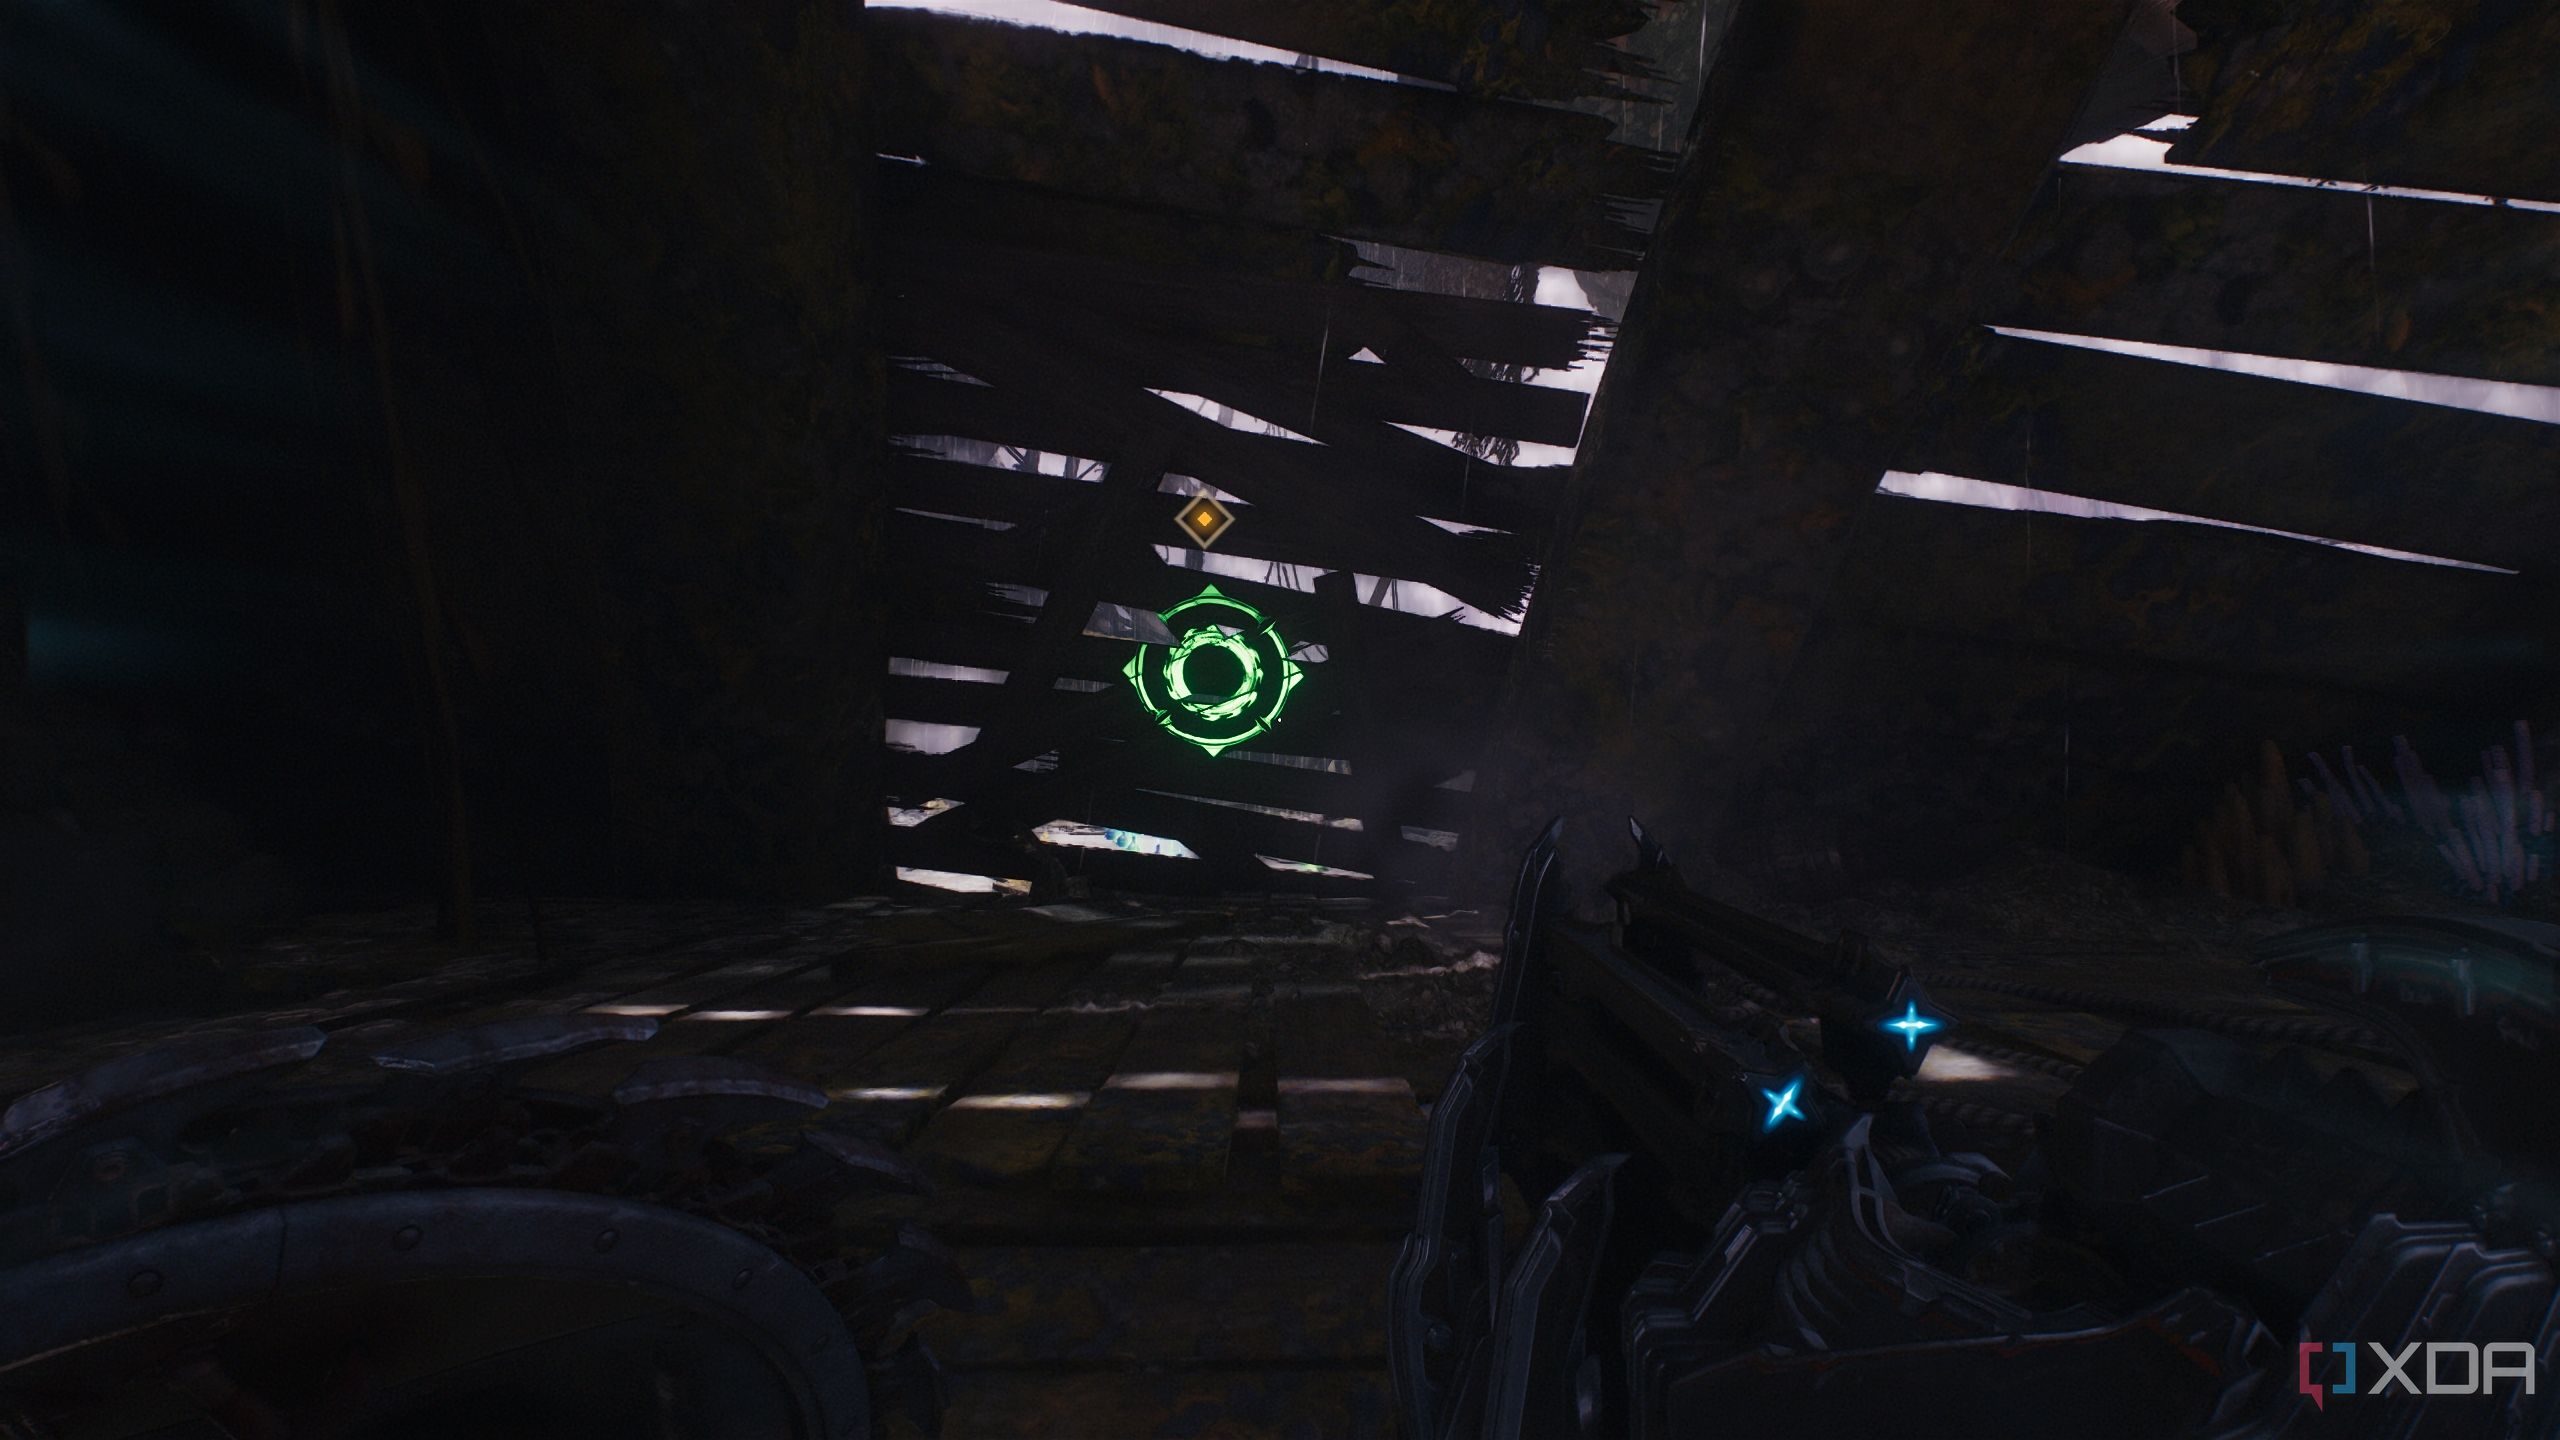
Once you’re facing the gateway portal, look to the right to see a faintly visible wooden wall with a Shield Charge symbol on it.
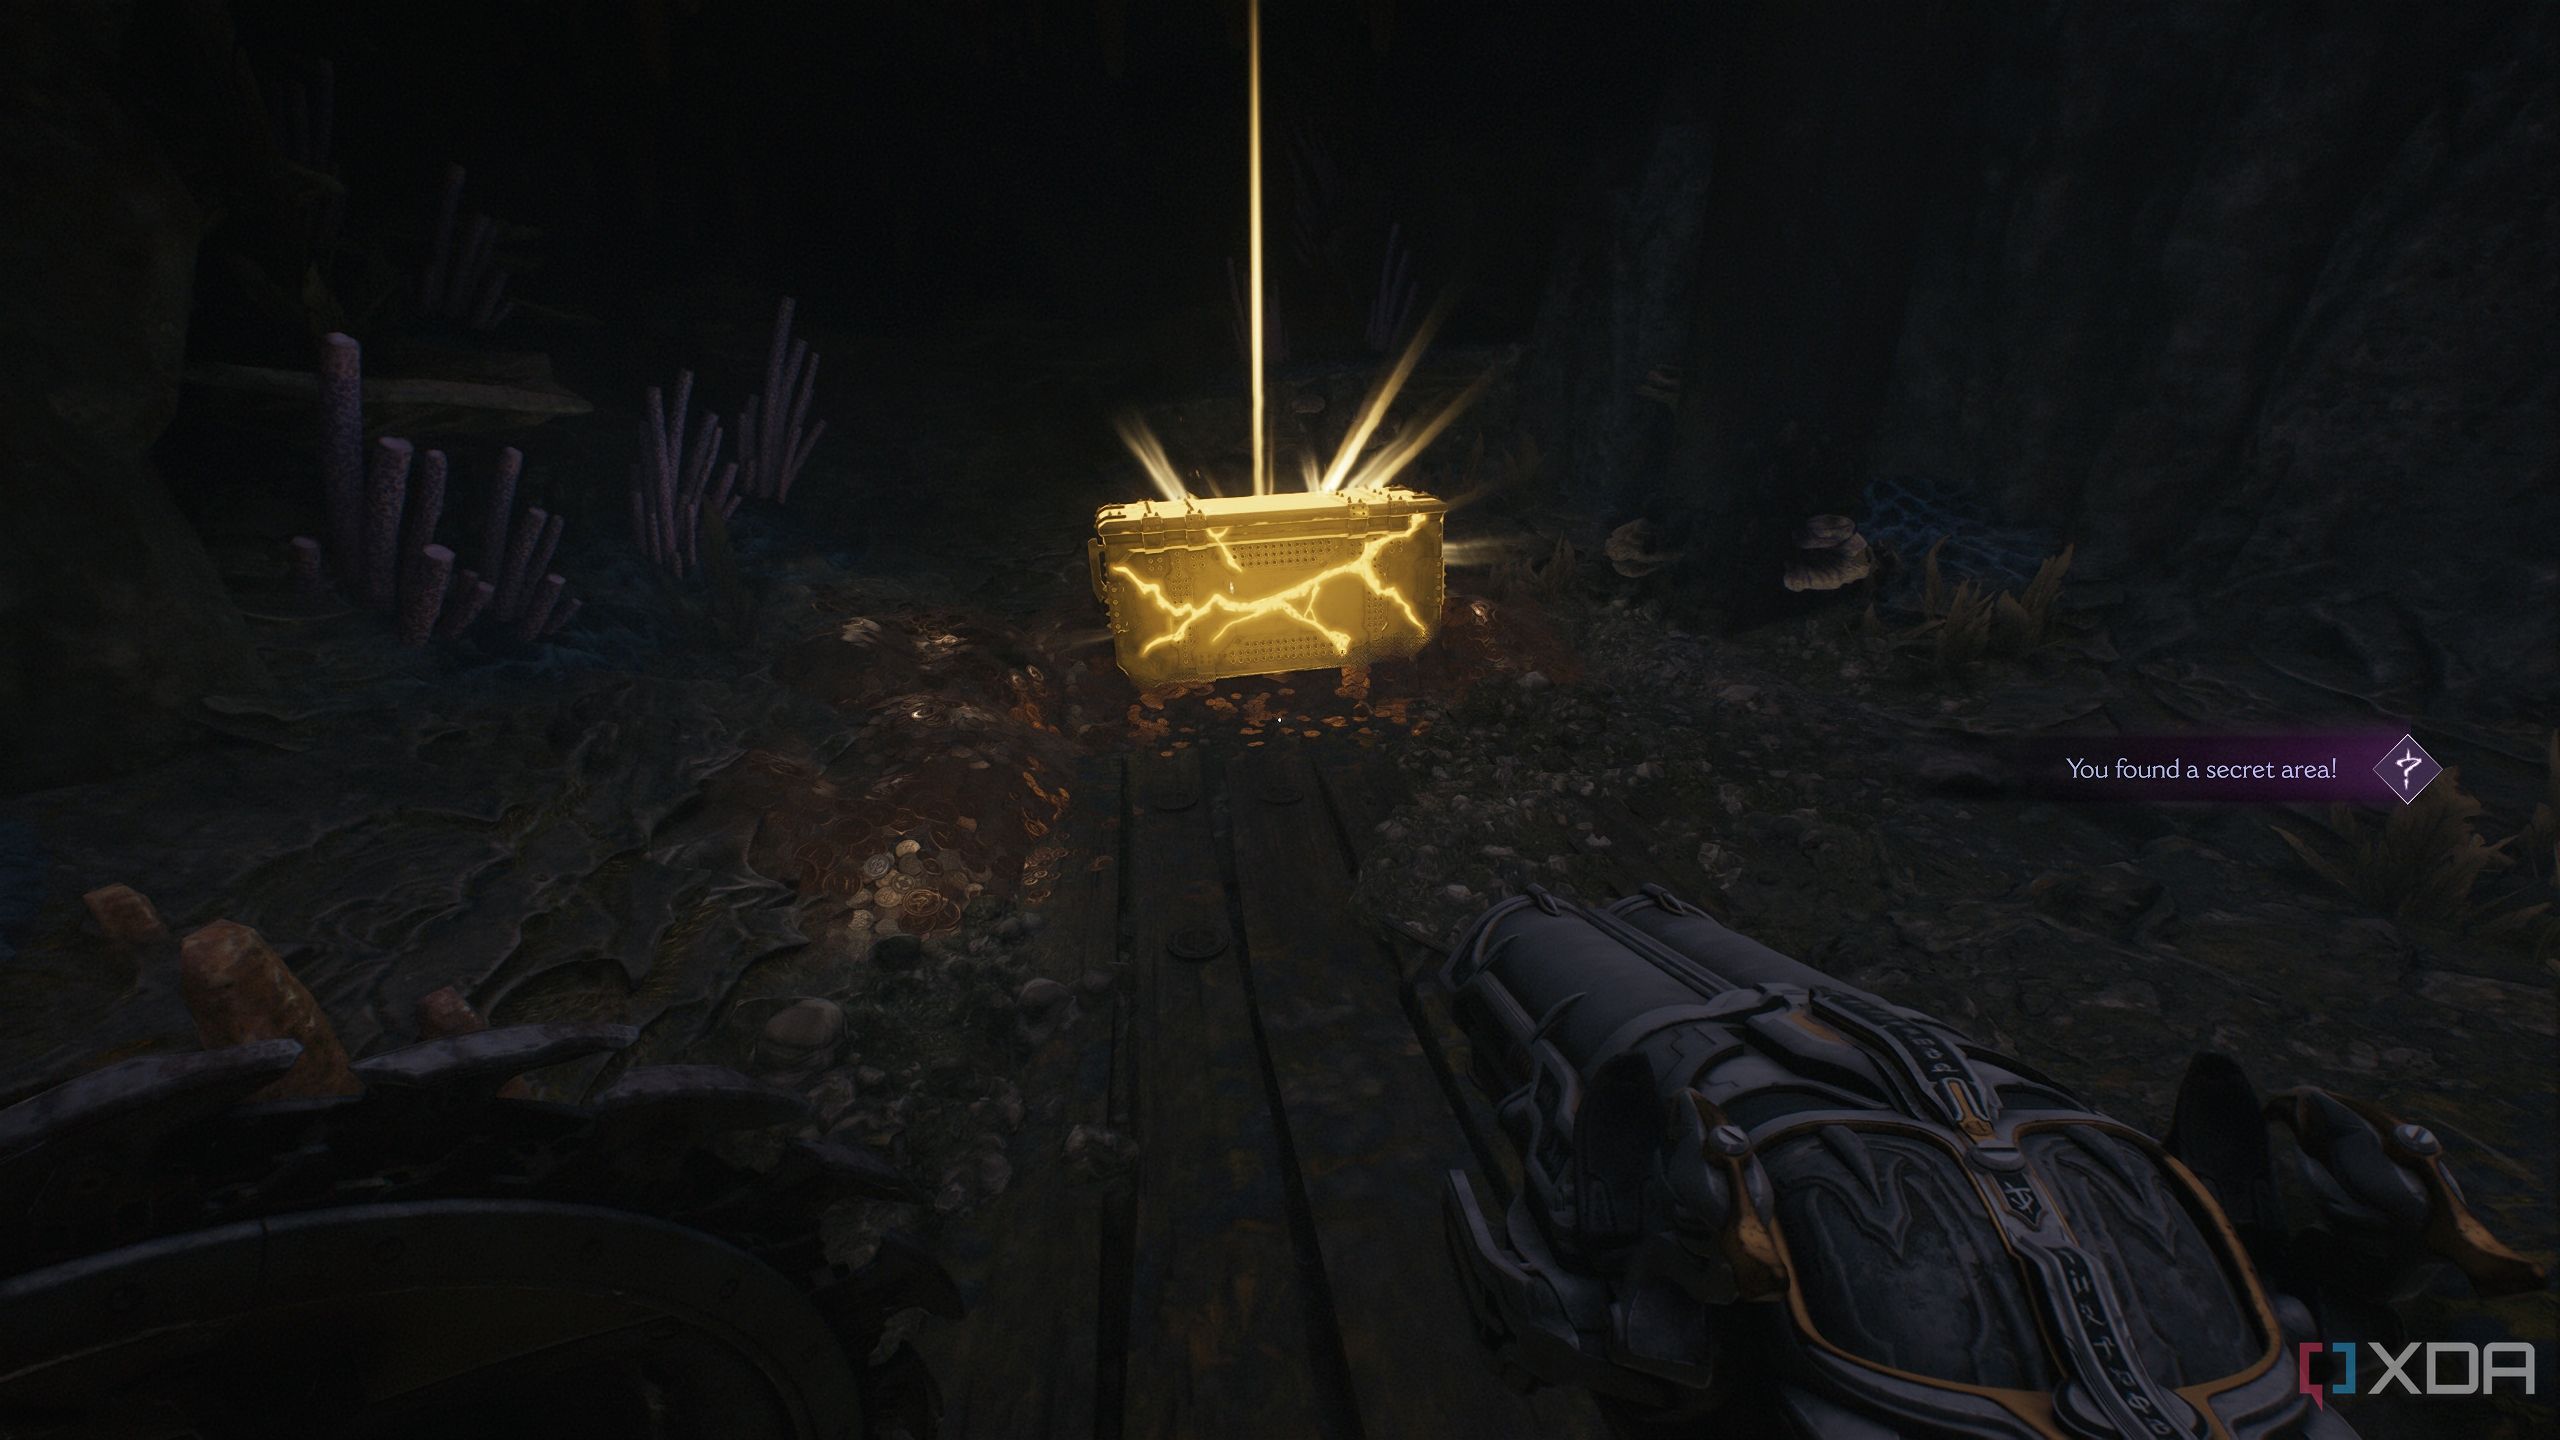
Head towards it and bash through it to unlock secret area 4 and collect a gold chest. Now, head through the portal.
Related
Secret collectible — Cacodemon Hybrid Toy
The Slayer's toy collection grows
As soon as you head through the portal, you’ll see a Pinky Rider up ahead. Defeat it and climb up the scramble wall behind it.
Now, fight with the dozens of demons here until the area is cleared. Here, you should see a locked collectible inside a cage.
Approach it, and you’ll see a Shield Charge symbol on it. Bash into it to push it forward.
Head towards the caged collectible and look to the gateway portal you came from — you’ll see a Cosmic Node there.
Line up the Cosmic Node with the locked collectible in the distance, and throw your shield at it.
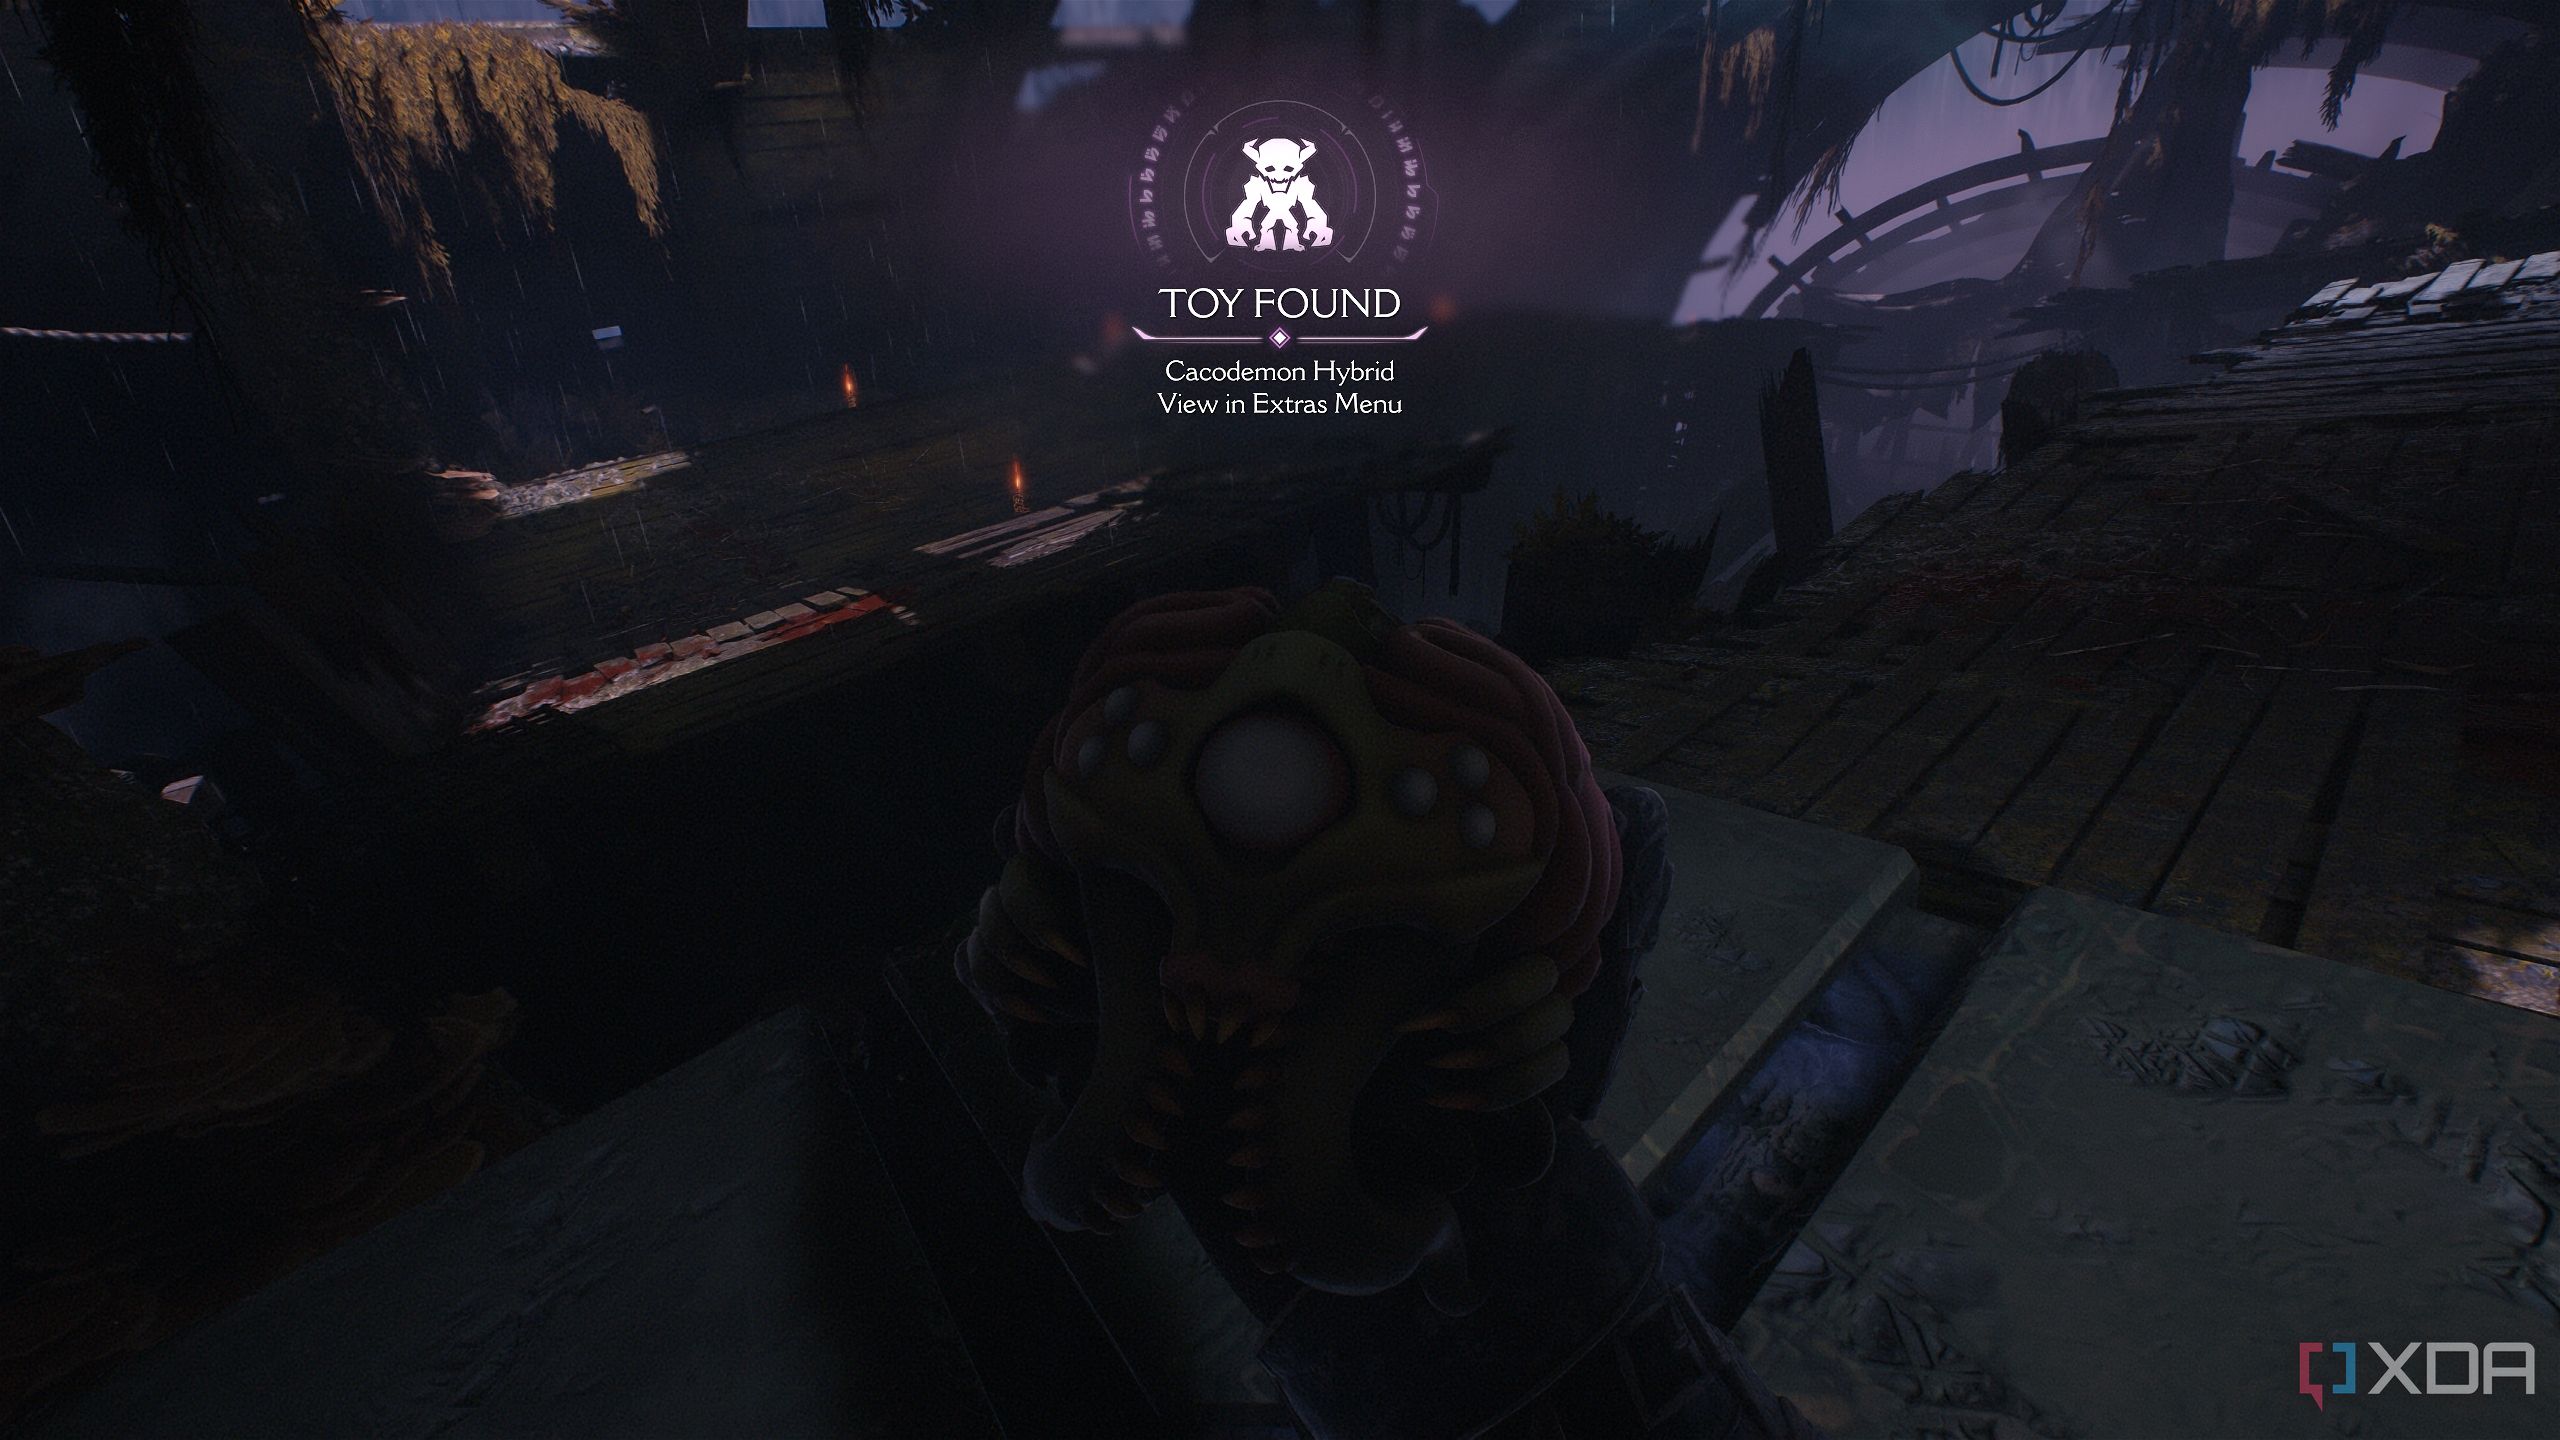
Climb up the scramble wall again and collect the Cacodemon Hybrid collectible toy.
Secret area 5 and Demonic Essence
Never died so much in a Doom game
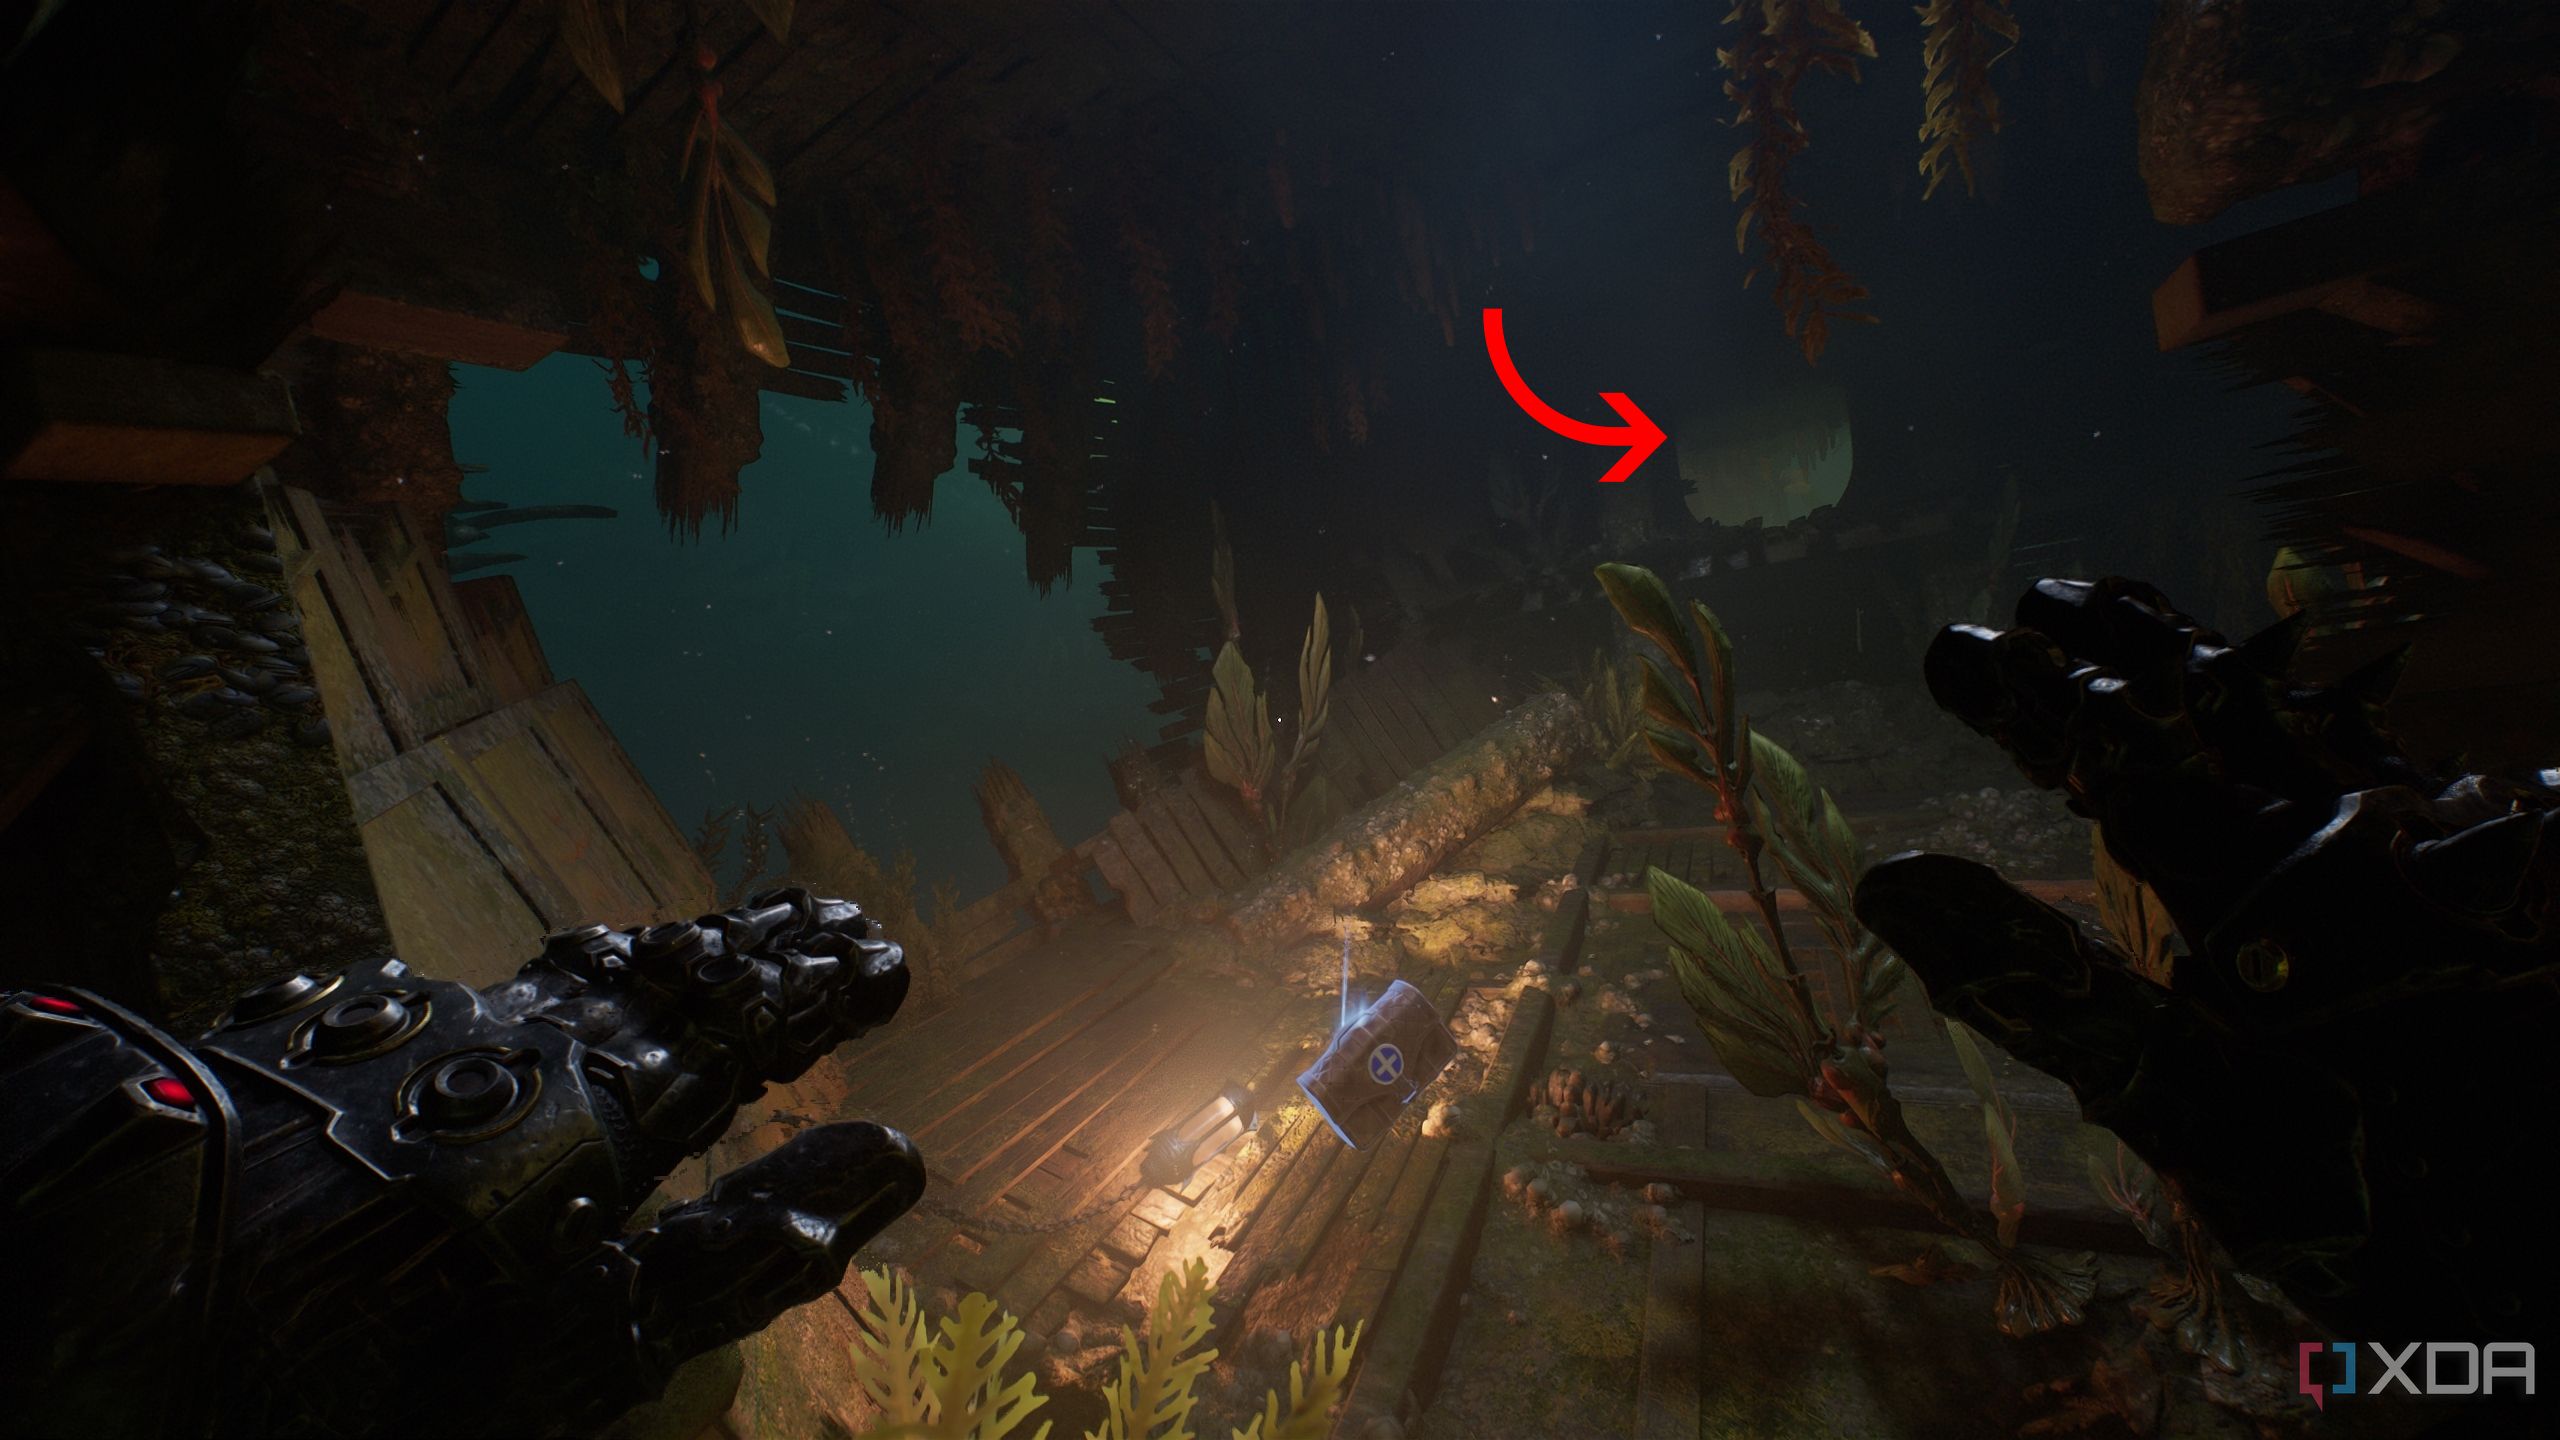
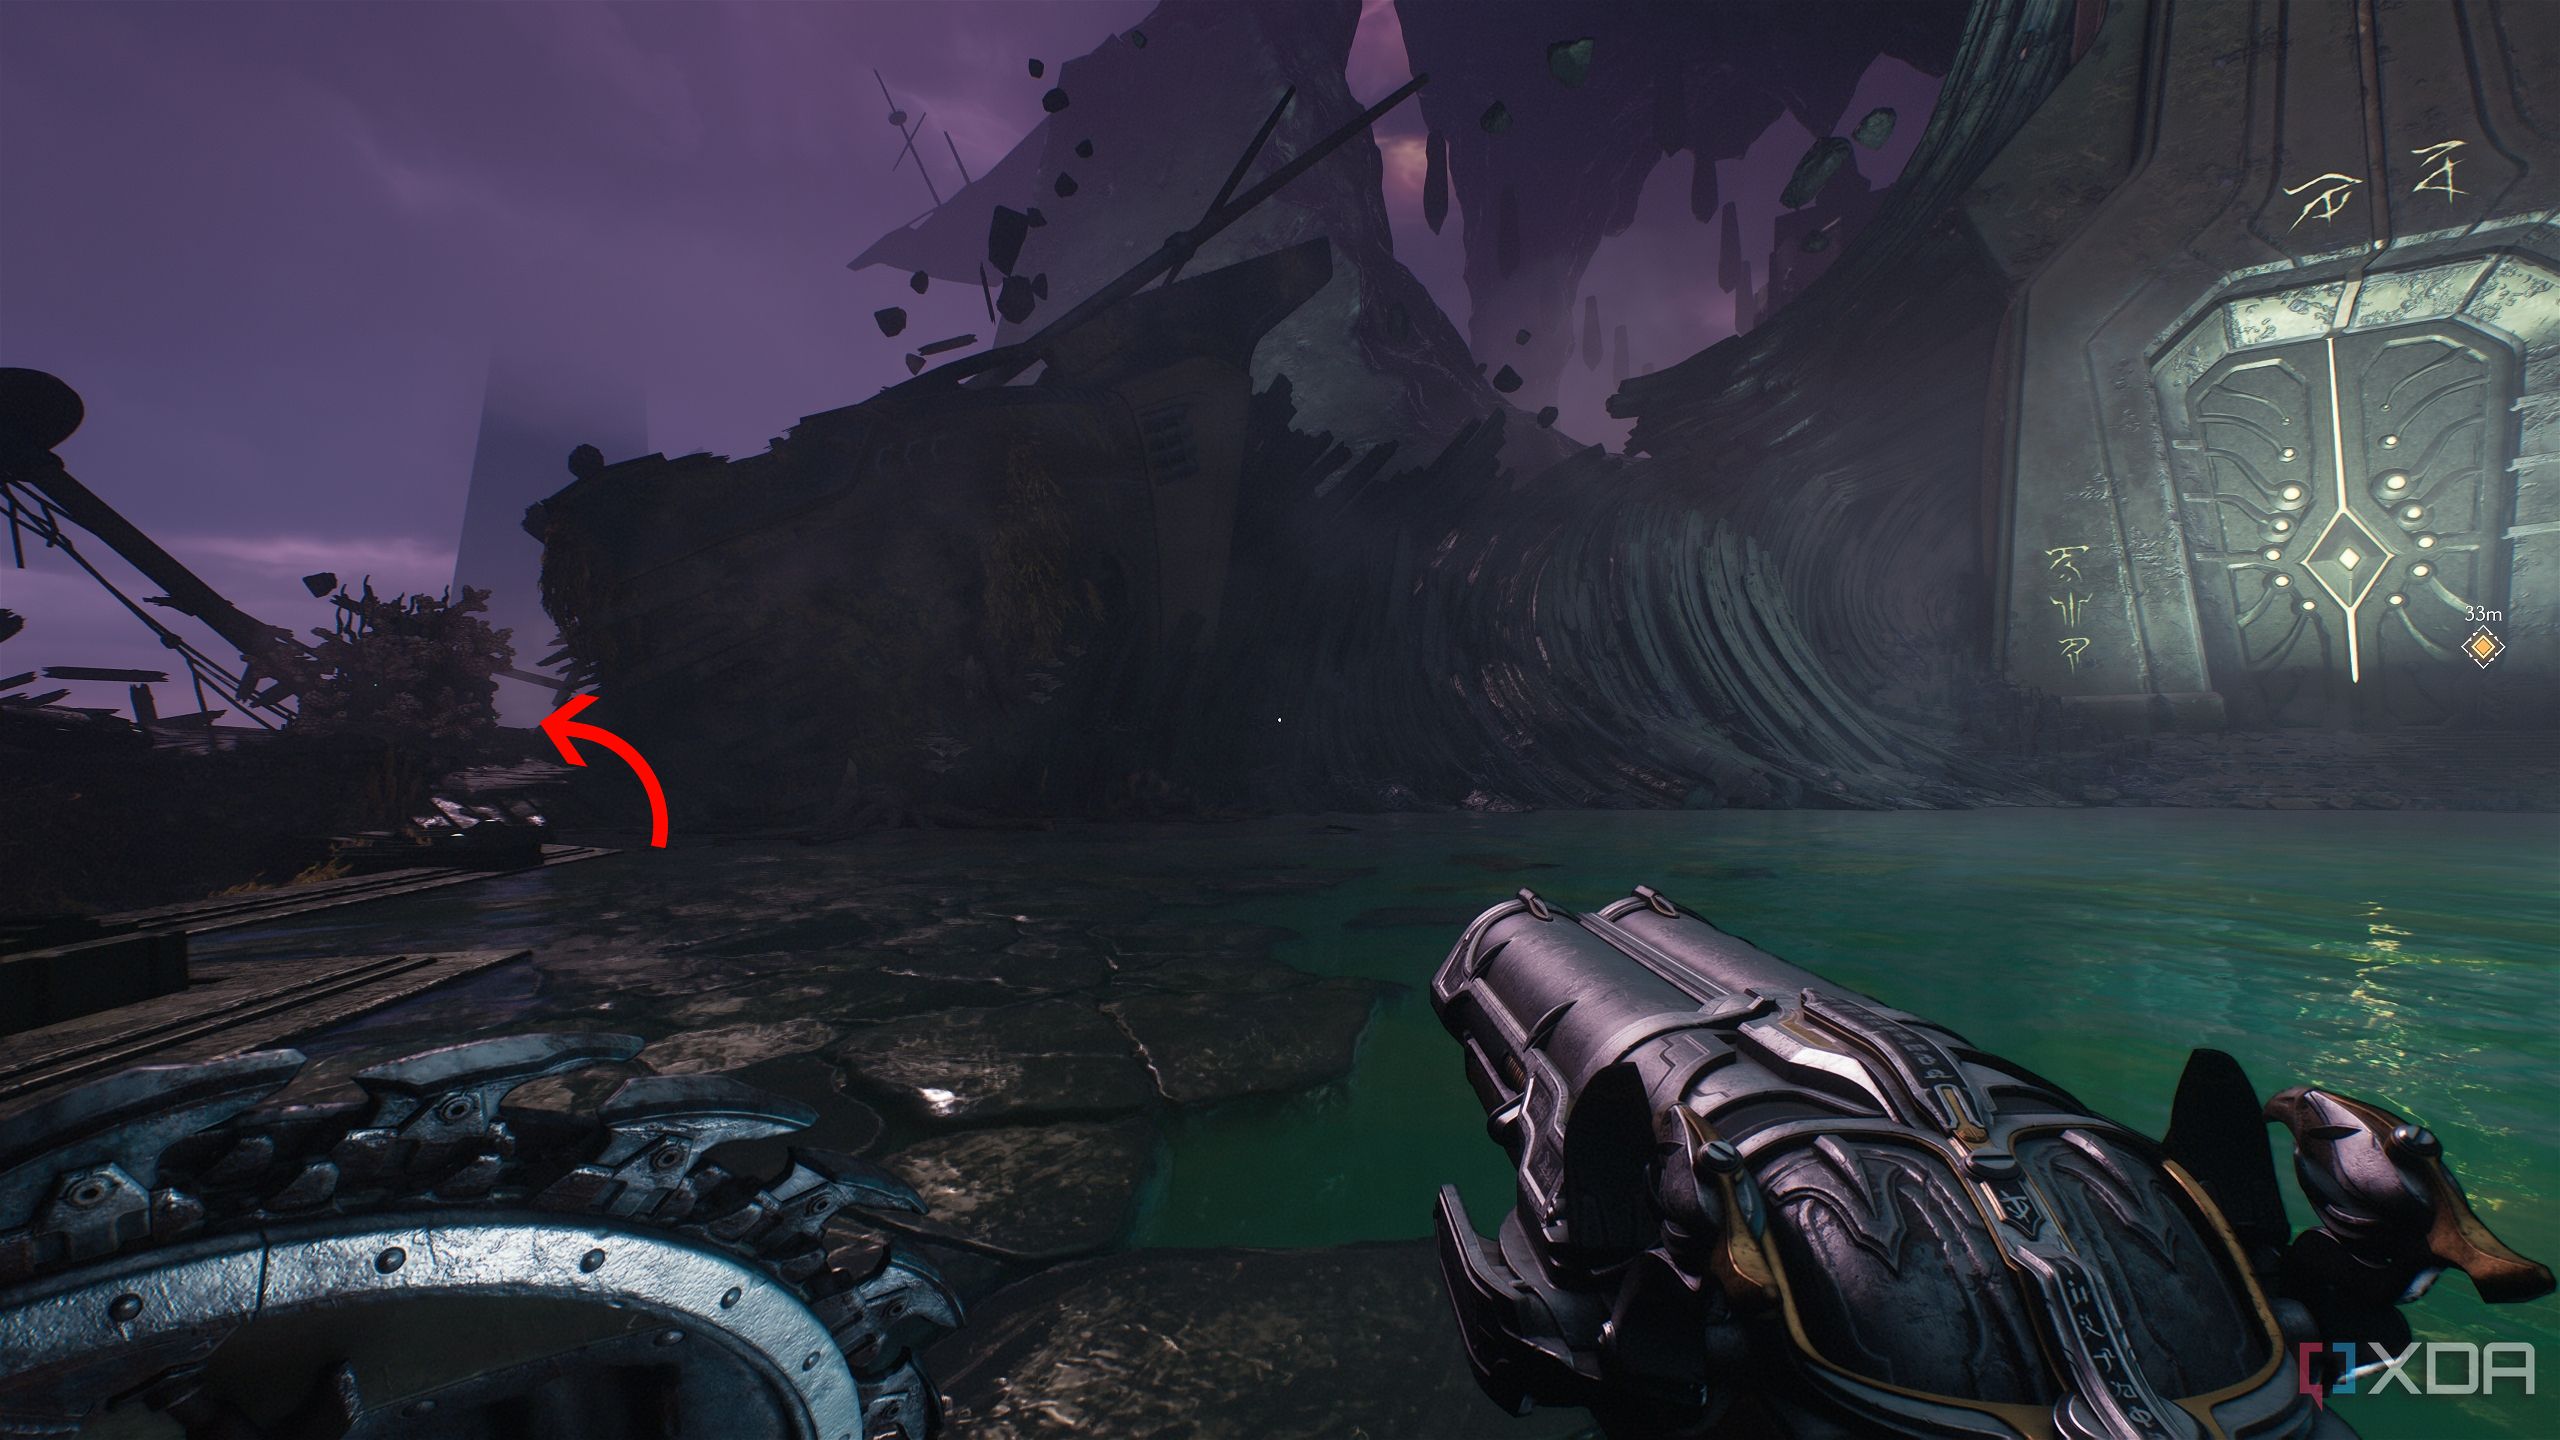
Get back on track and Shield Charge through the ship wall.
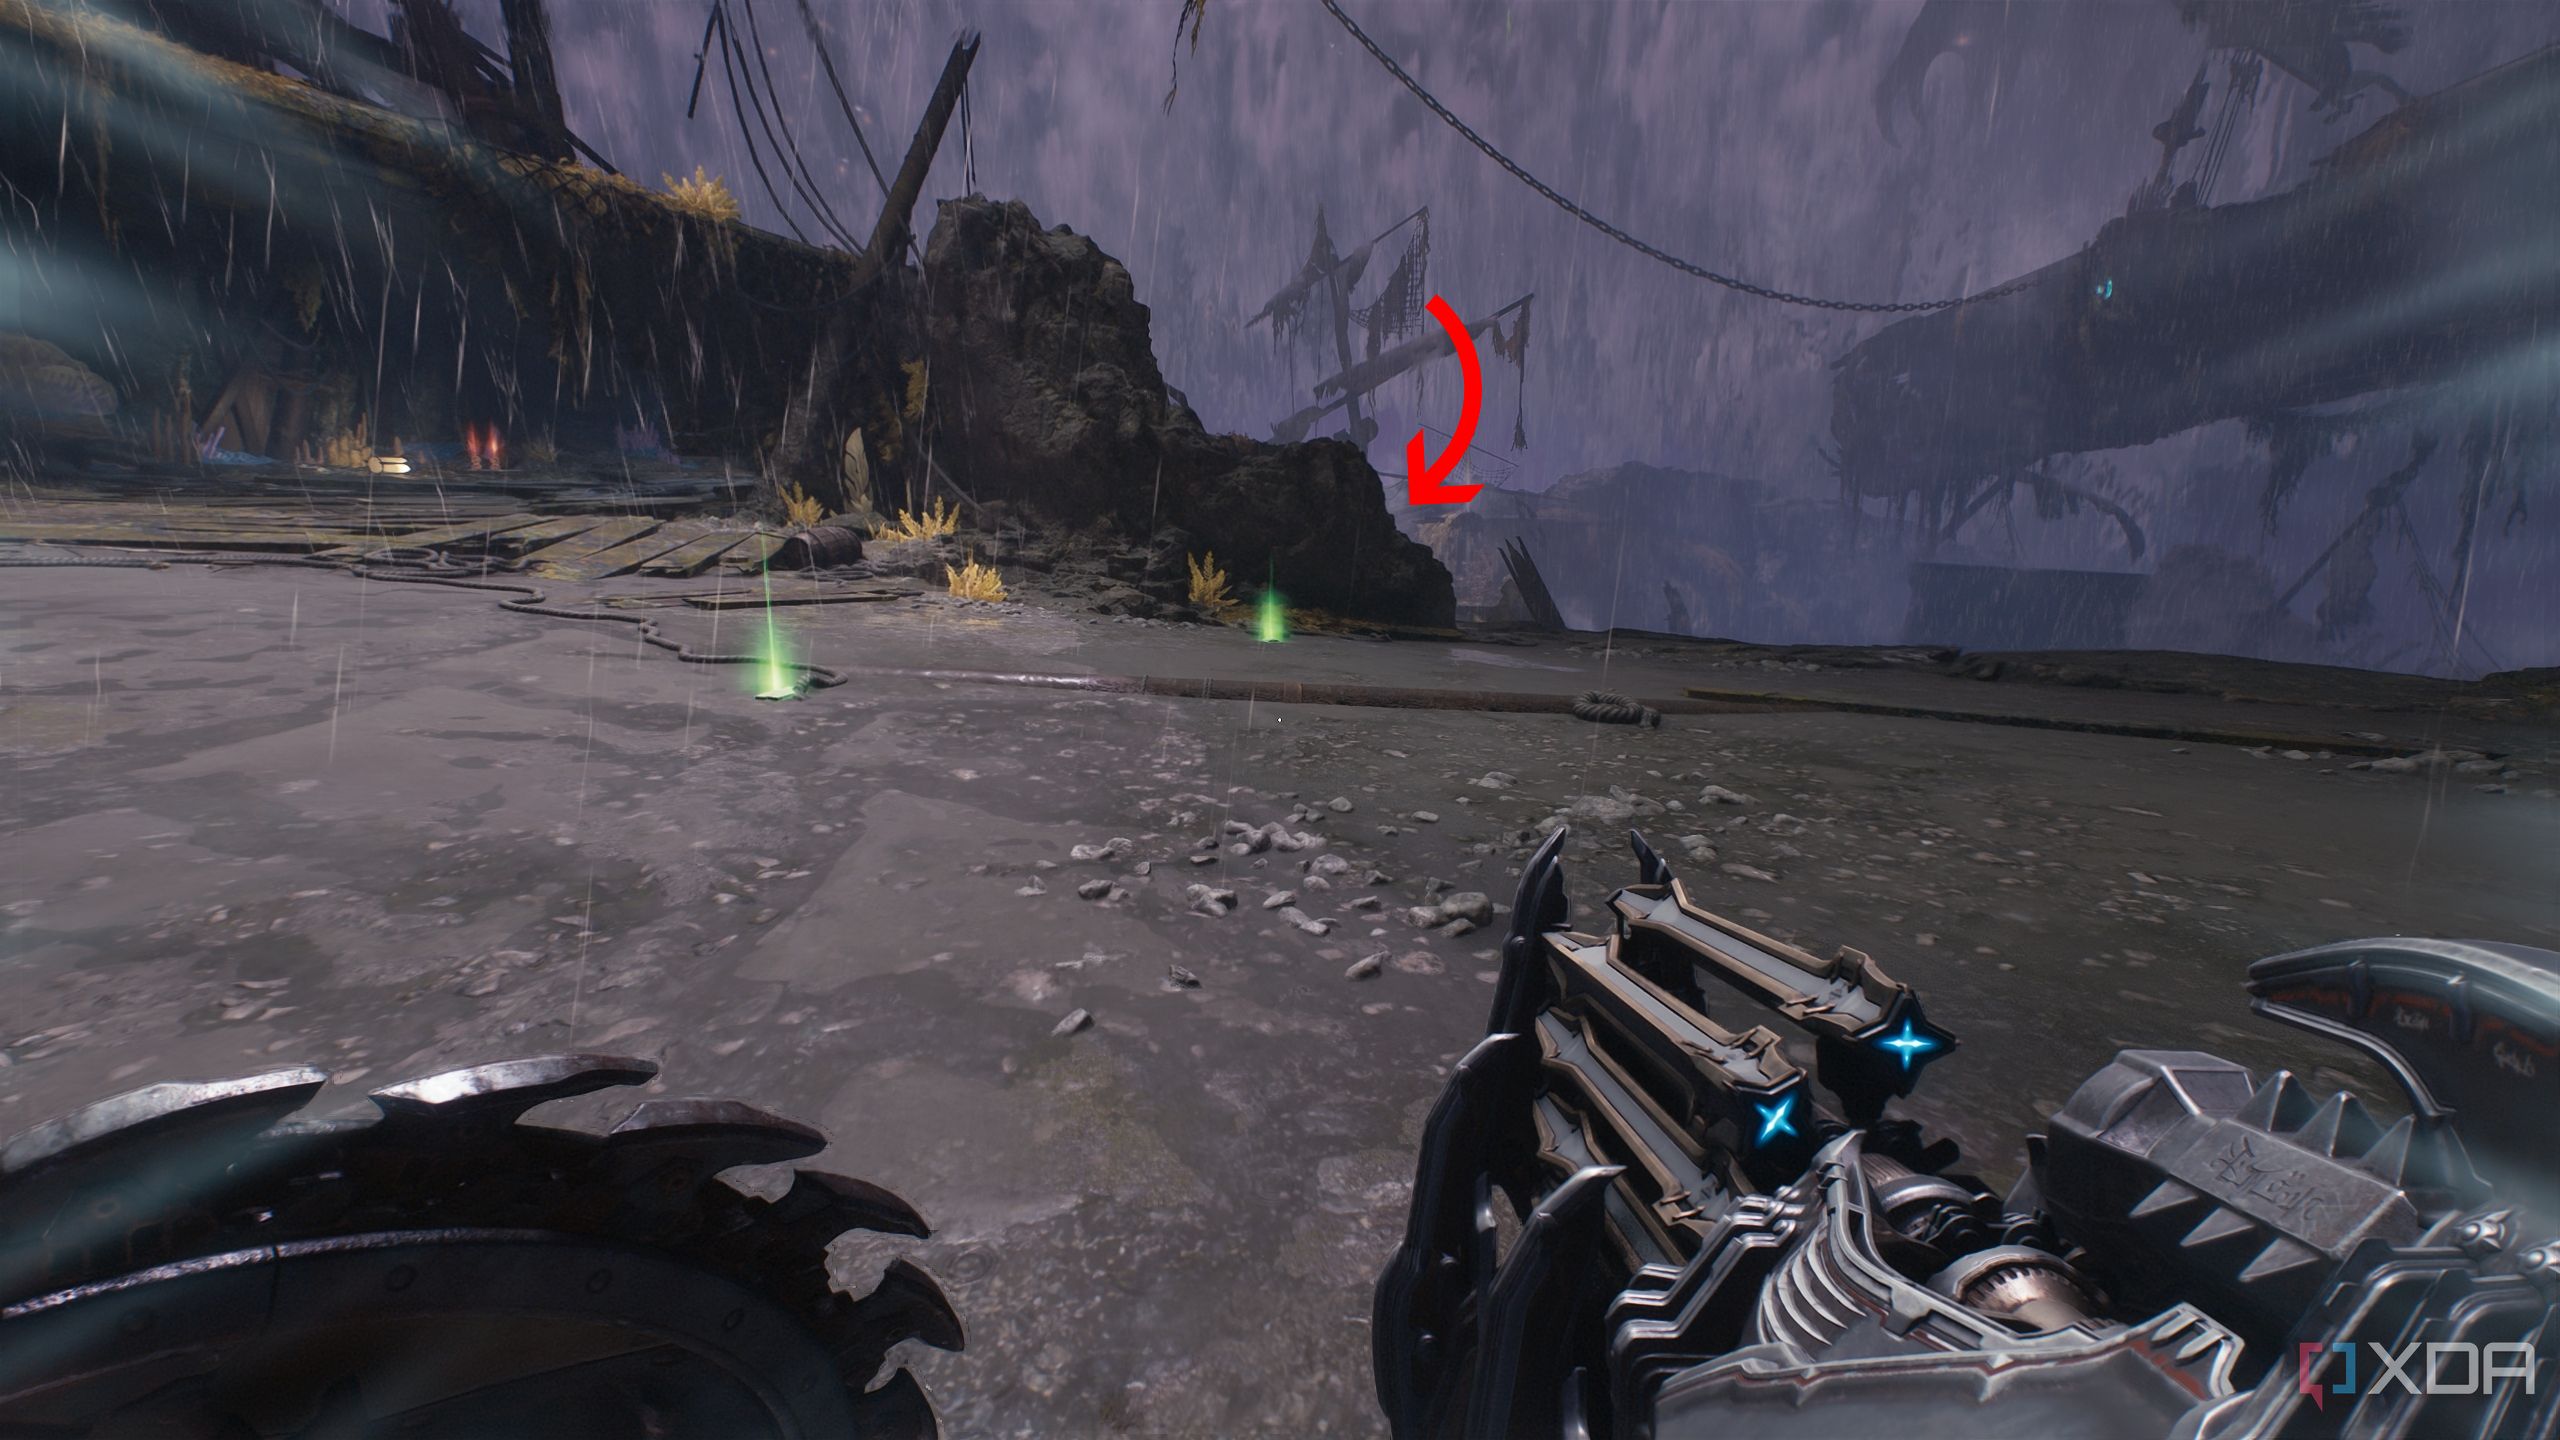
Now, immediately head right towards a small nook in the rocks.
Right around the corner, you'll see this small area hiding a lot of ammo, armor, and a gold stack.
Pick it up, collect everything you need, and proceed towards the Shield Portal ahead. Use it to land on the deck of another ship, where you’ll have to deal with an Acolyte.
Once that’s done, don’t head into the next green Shield Portal overhead. Instead, look ahead to see a wooden wall on the ship's deck with a Shield Charge symbol.
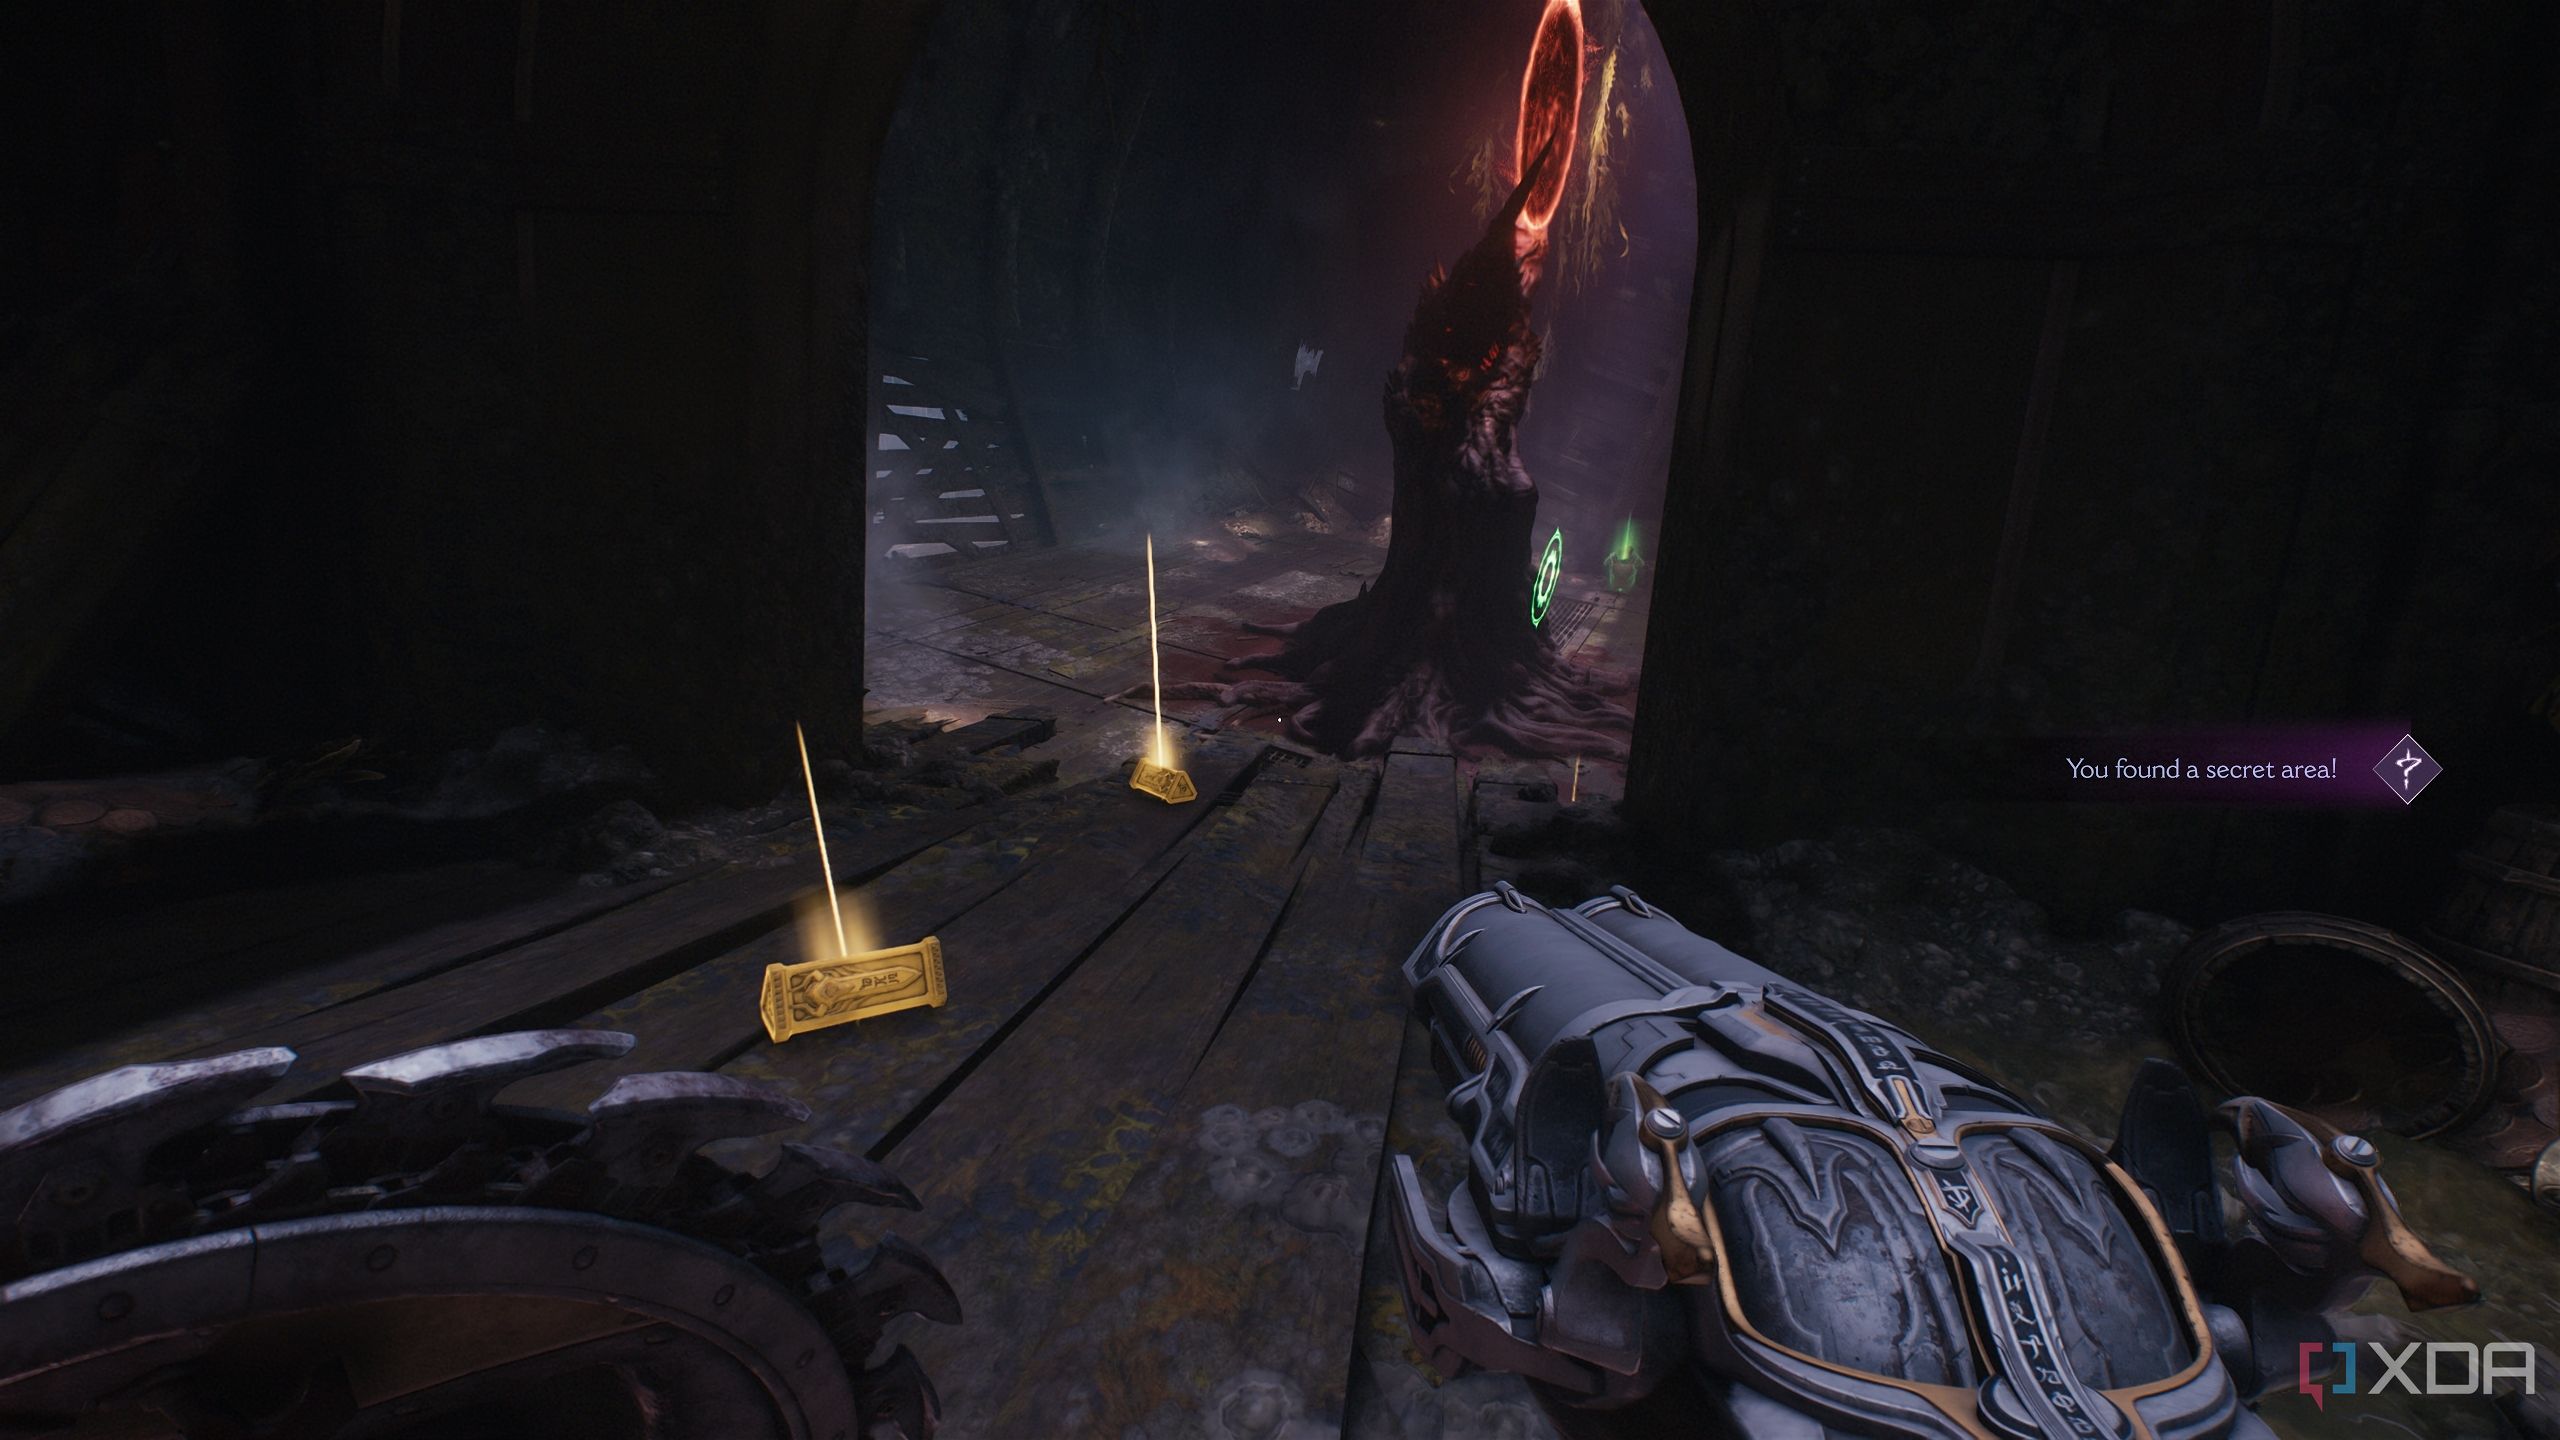
Bash through it, and you’ll land in secret area 5. Pick up the long trail of gold bars here, and you’ll reach a gore portal.
Bash through it, and a particularly tough fight will begin, ending with a Revenant that will drop Demonic Essence for ammo. Once you’re done, use the jump pad outside this shipwreck to reach the second Shield Portal, which will take you to another shipwreck above.
Inside here, head towards the objective, but don’t miss the gold stack in the ship. Use the blue energy node to call another ship towards you. Then, use the green energy node ahead to go forward. Keep going until you reach another Shield Portal that propels you into the next gateway portal.
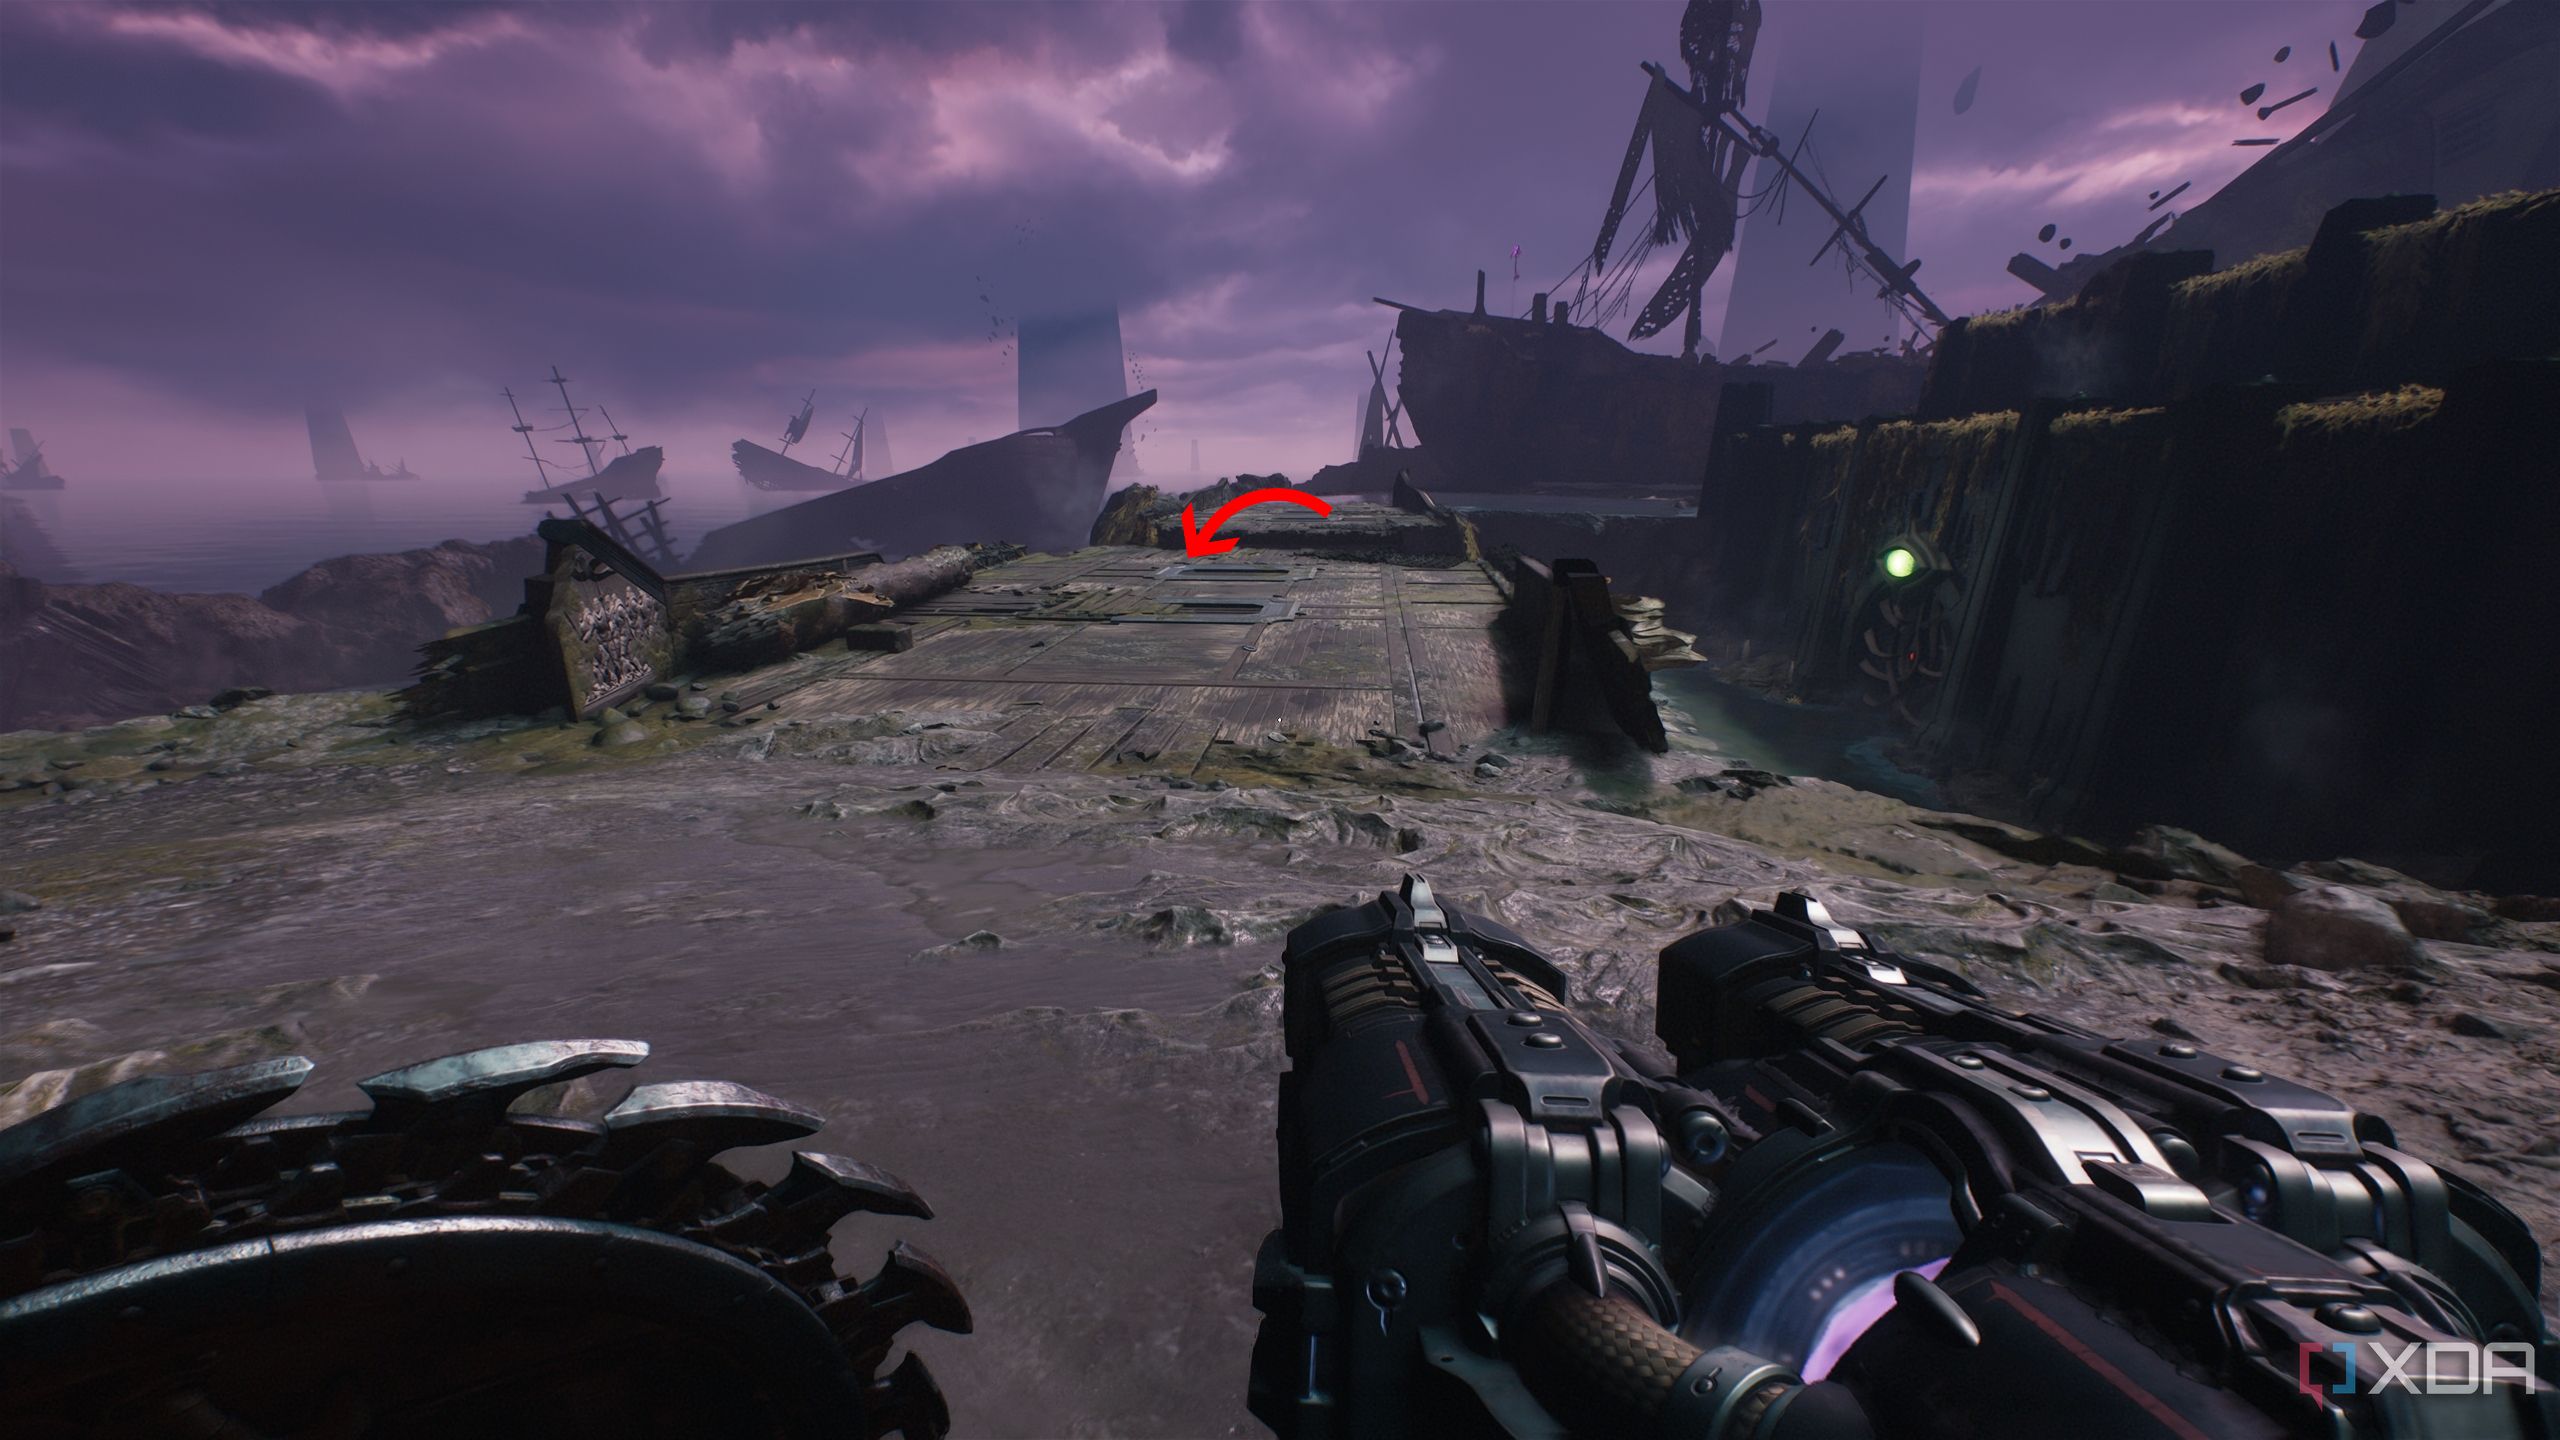
Secret area 6 and a gold chest
There's treasure next to the Shrine
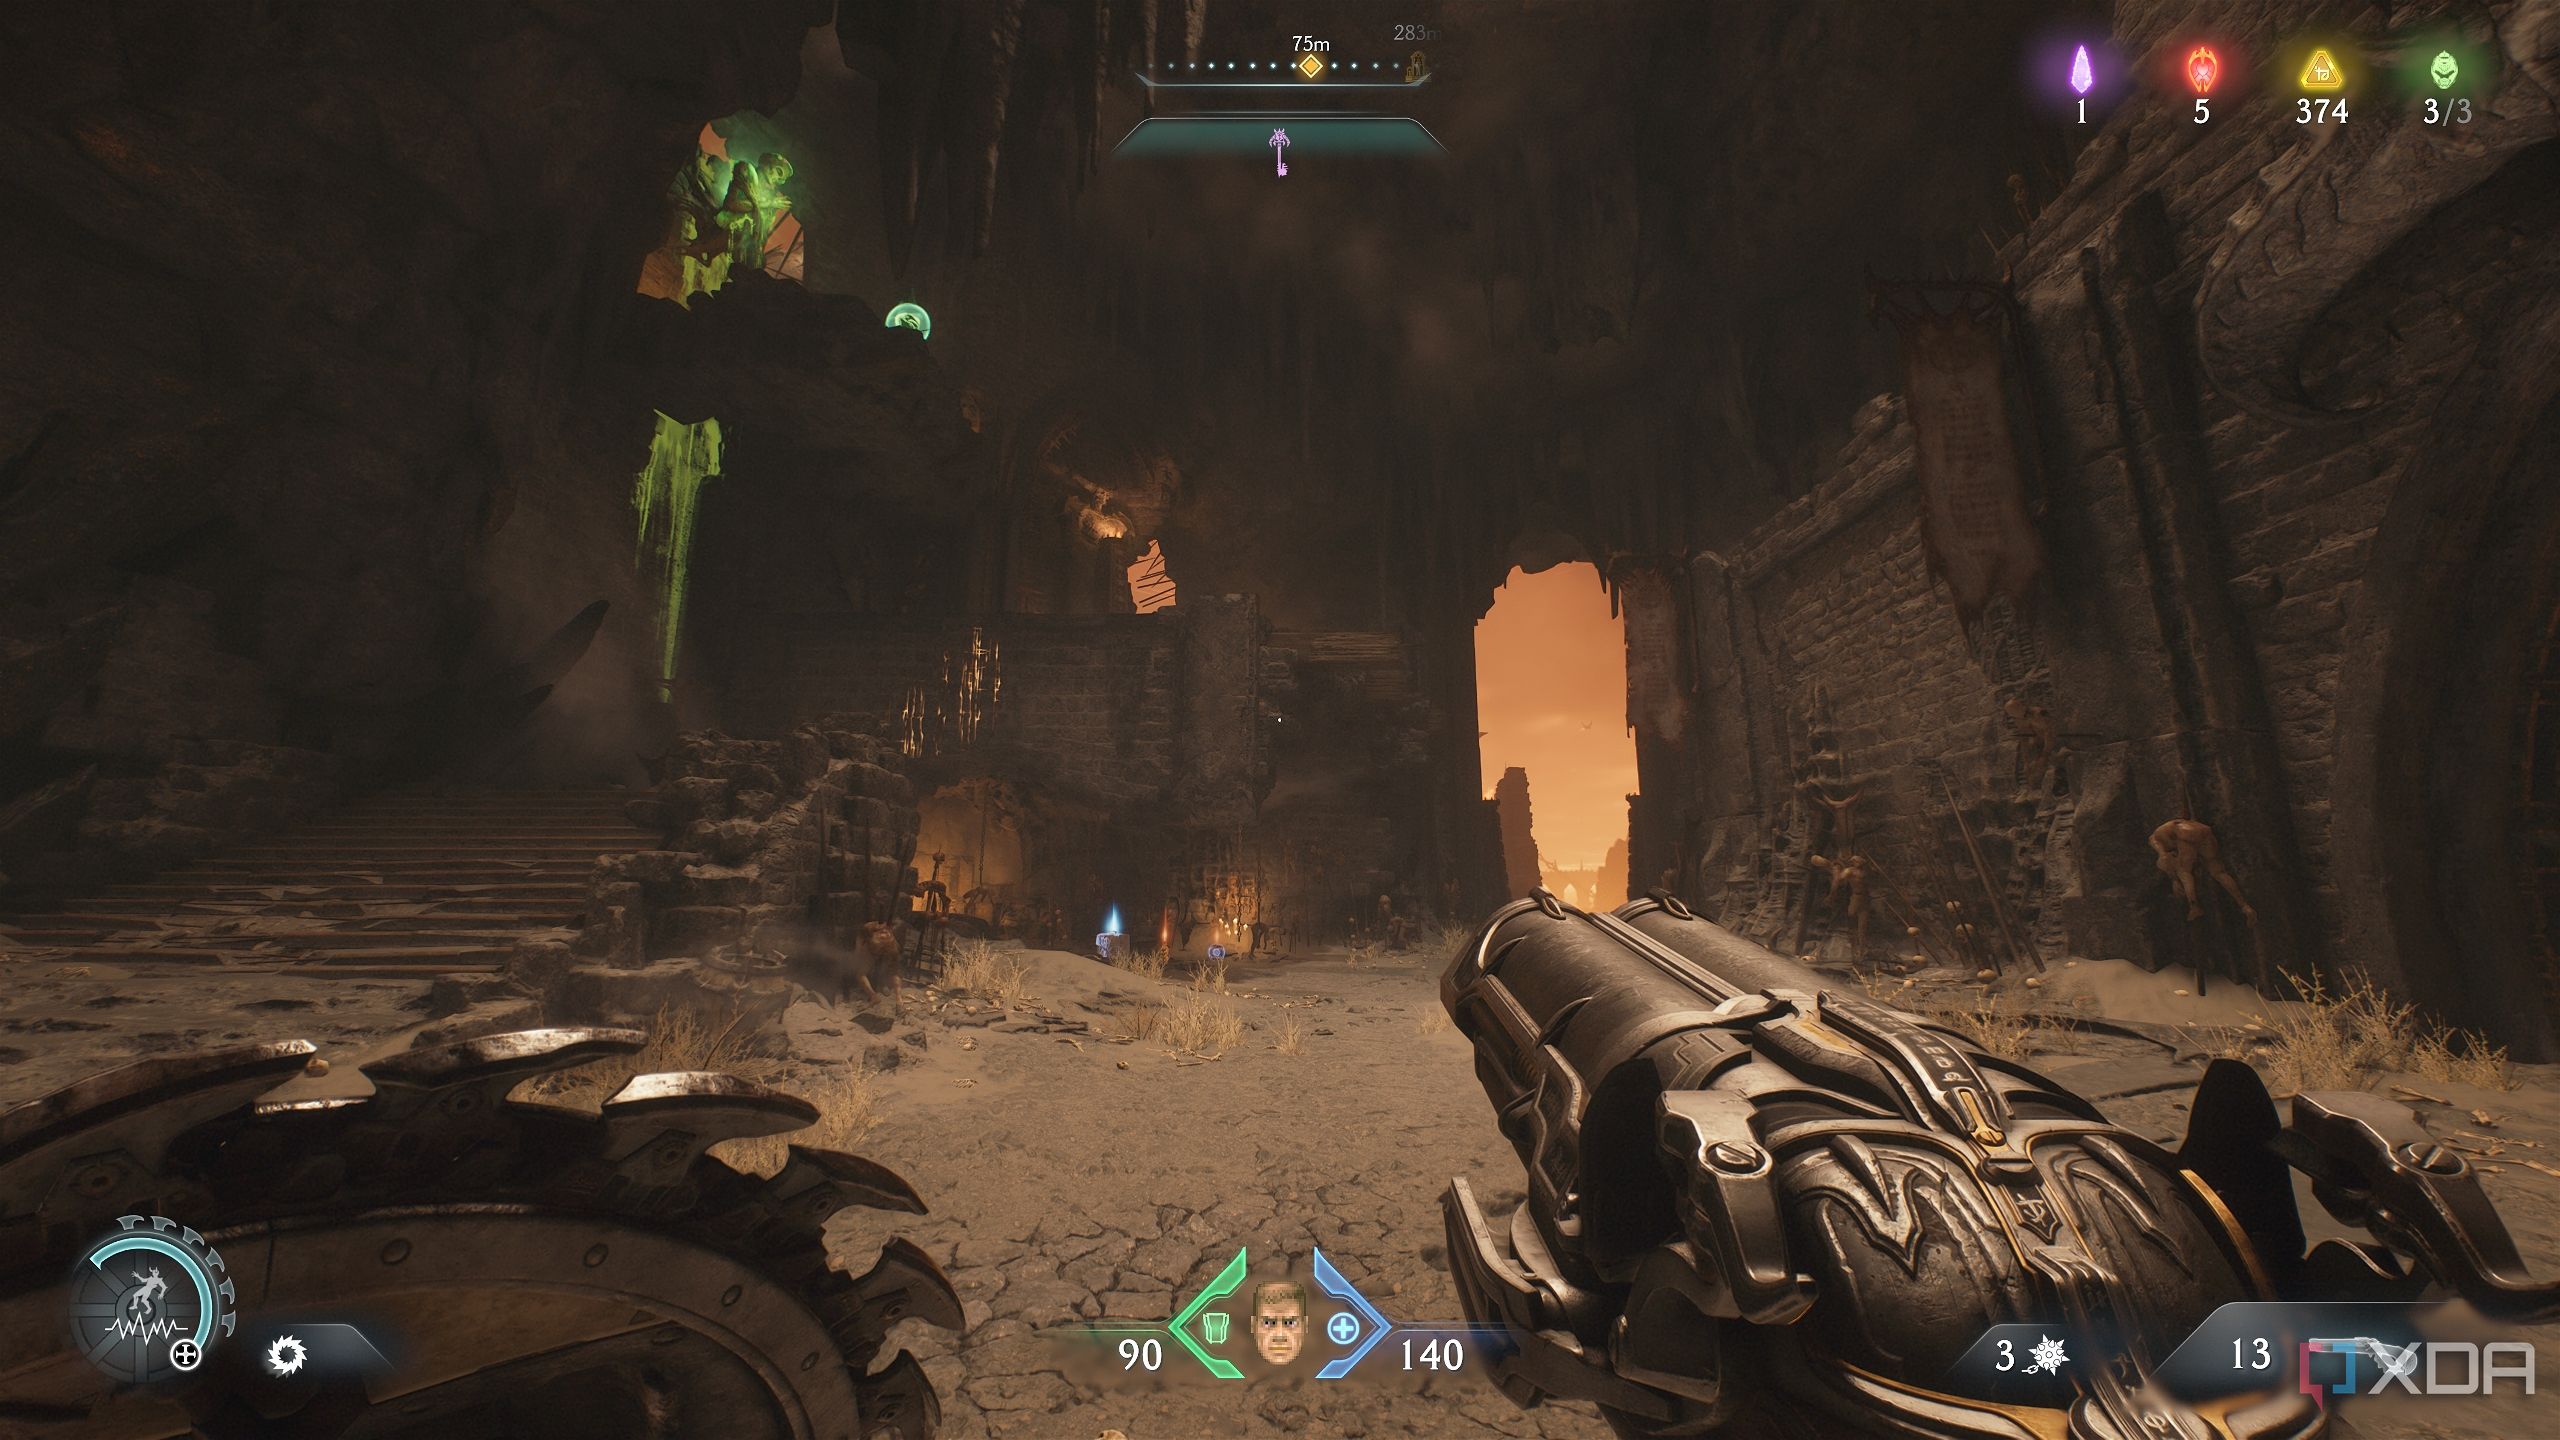
After the underwater section where there is nothing to collect, you’ll reach the temple up ahead. However, you’ll have to fight two Vagary demons first, and then some more foot soldiers. Once that’s done, head towards the right edge of the arena.
You'll enter a hole in the side of a ship.
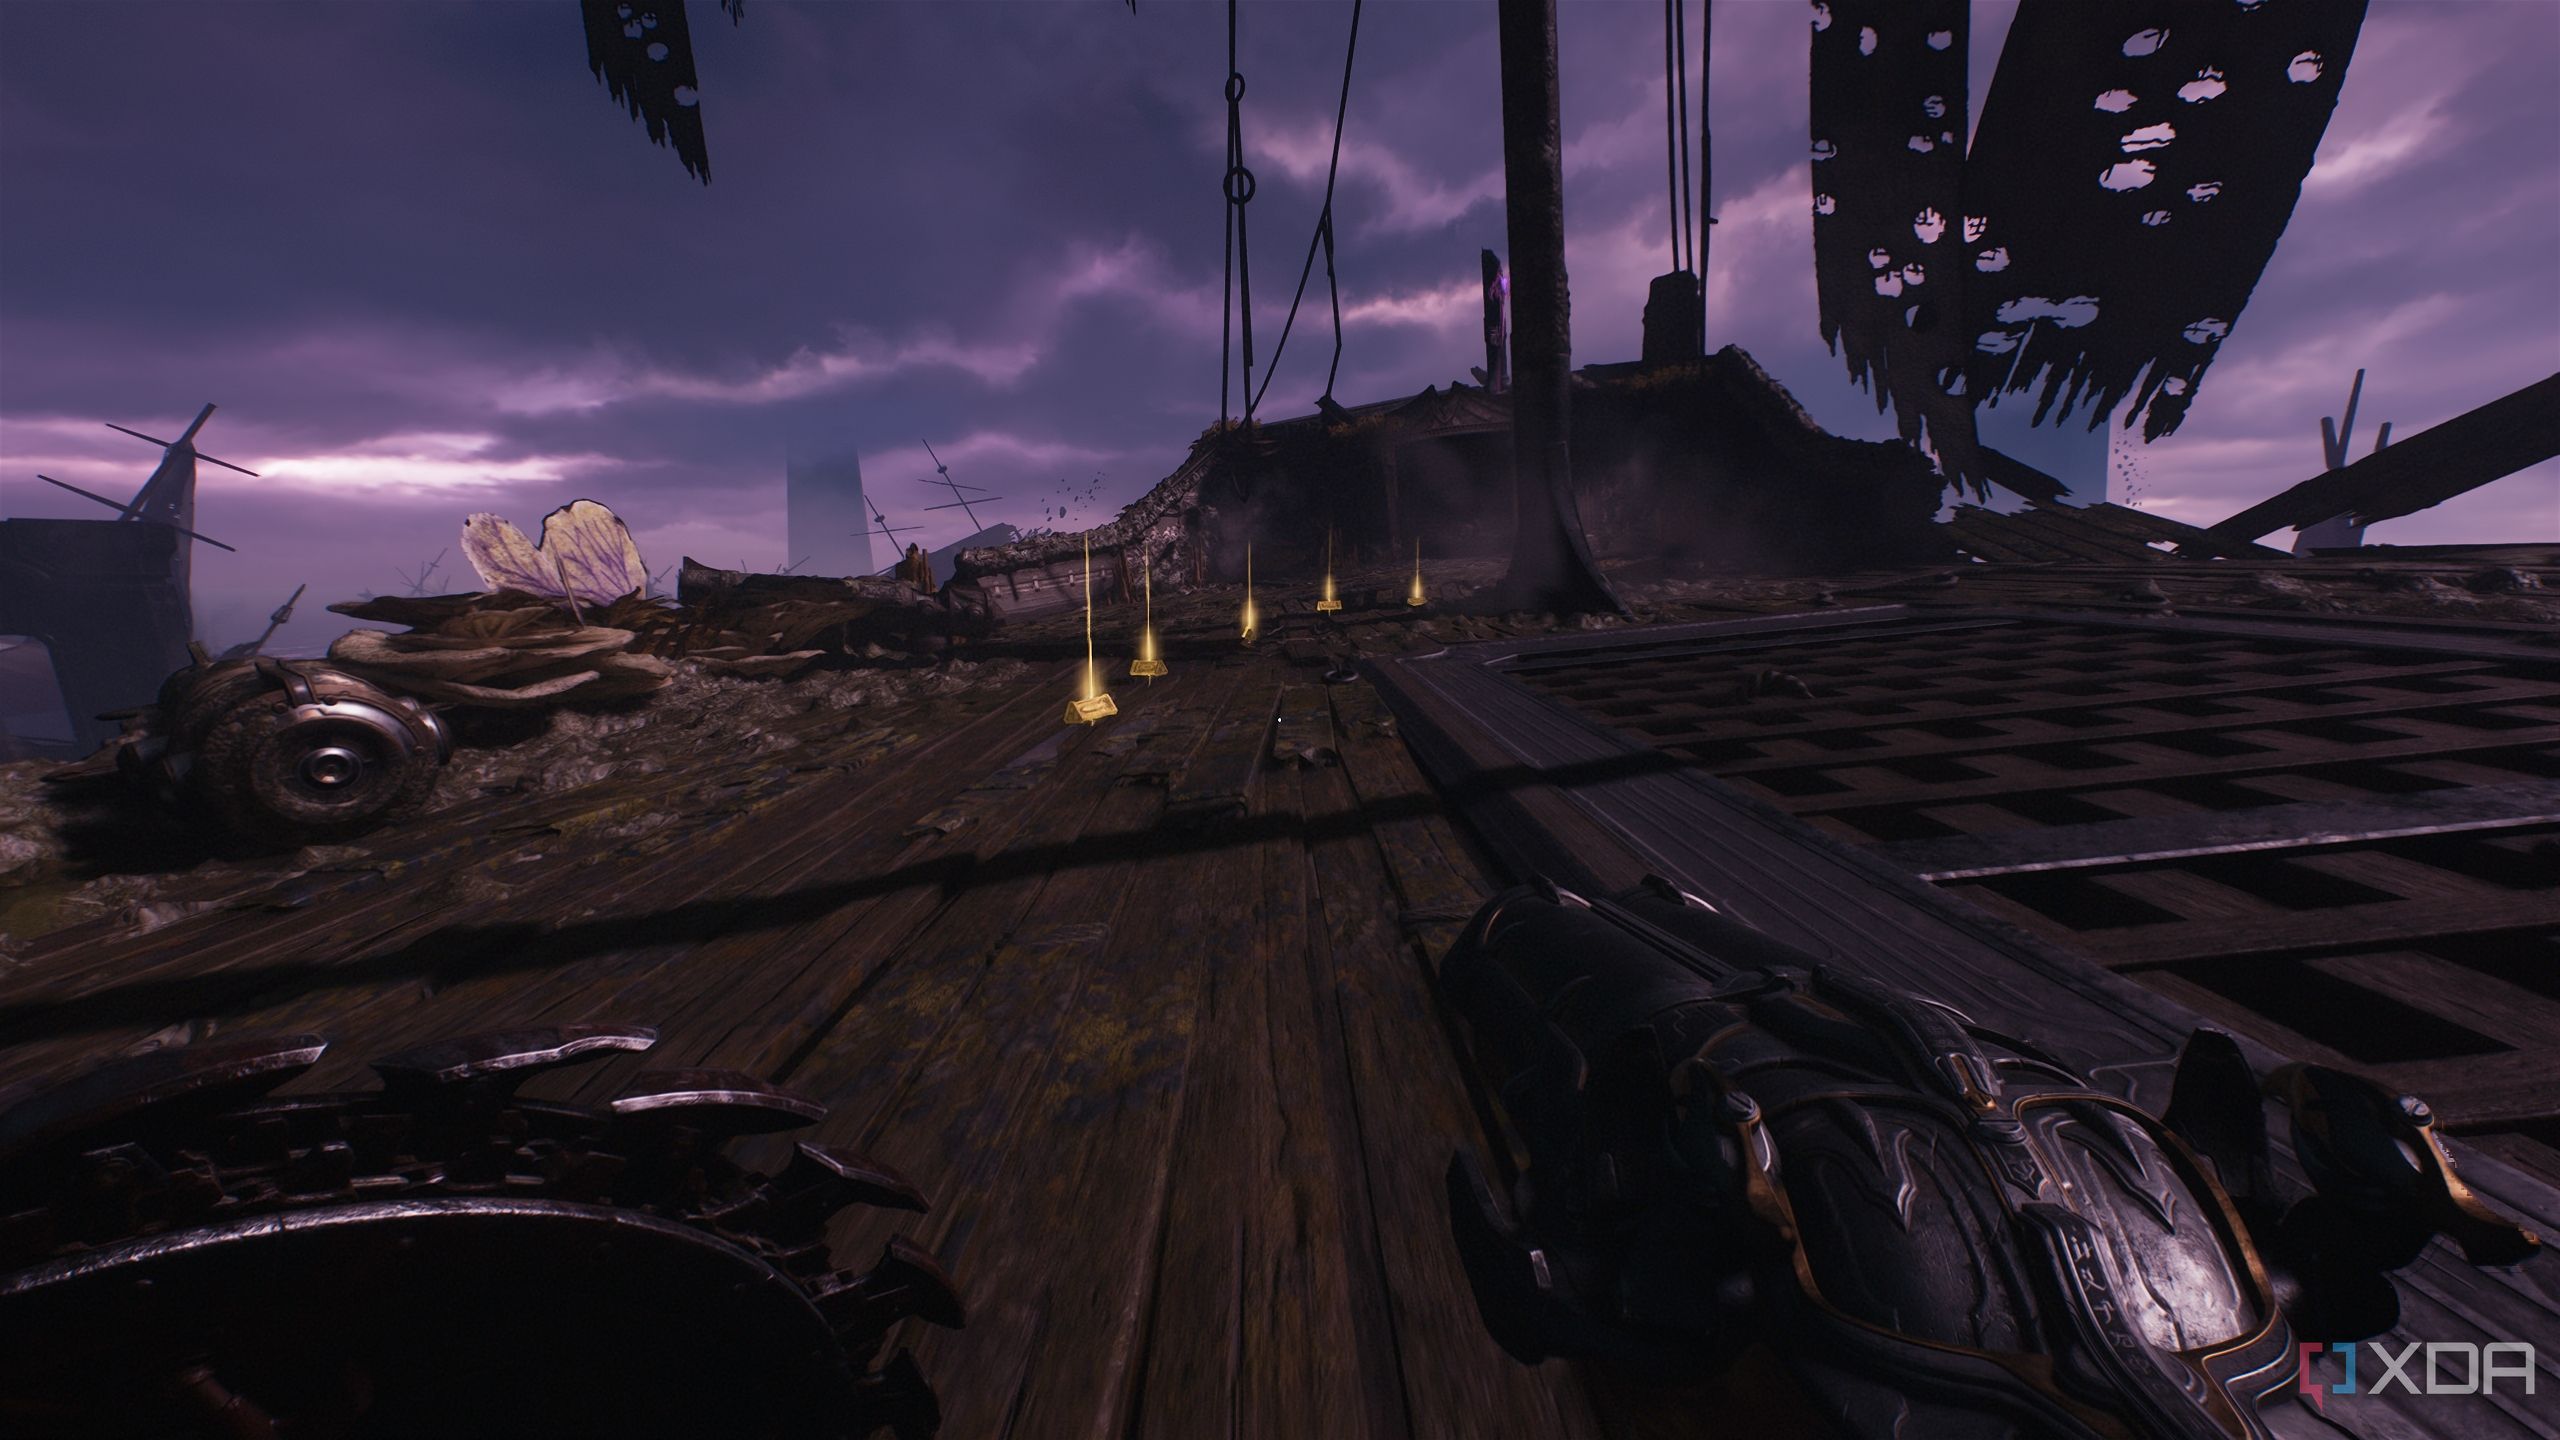
Here, turn right immediately to pick up some gold bars behind some wooden boxes.
Then, head up to find a Sentinel Shrine and a color-coded locked gate. Head outside from the Sentinel Shrine, but immediately turn left.
Climb up the tiny ledge and then turn right.
You'll come upon a gold stack hiding just around the corner.
Then, head forward to the ship deck acting as a central wooden bridge that’s broken in half. Drop down in the middle of this bridge, and look in the direction you came from.
You should see a wooden wall with a Shield Charge symbol.
Bash in there and pick up the trail of gold bars.
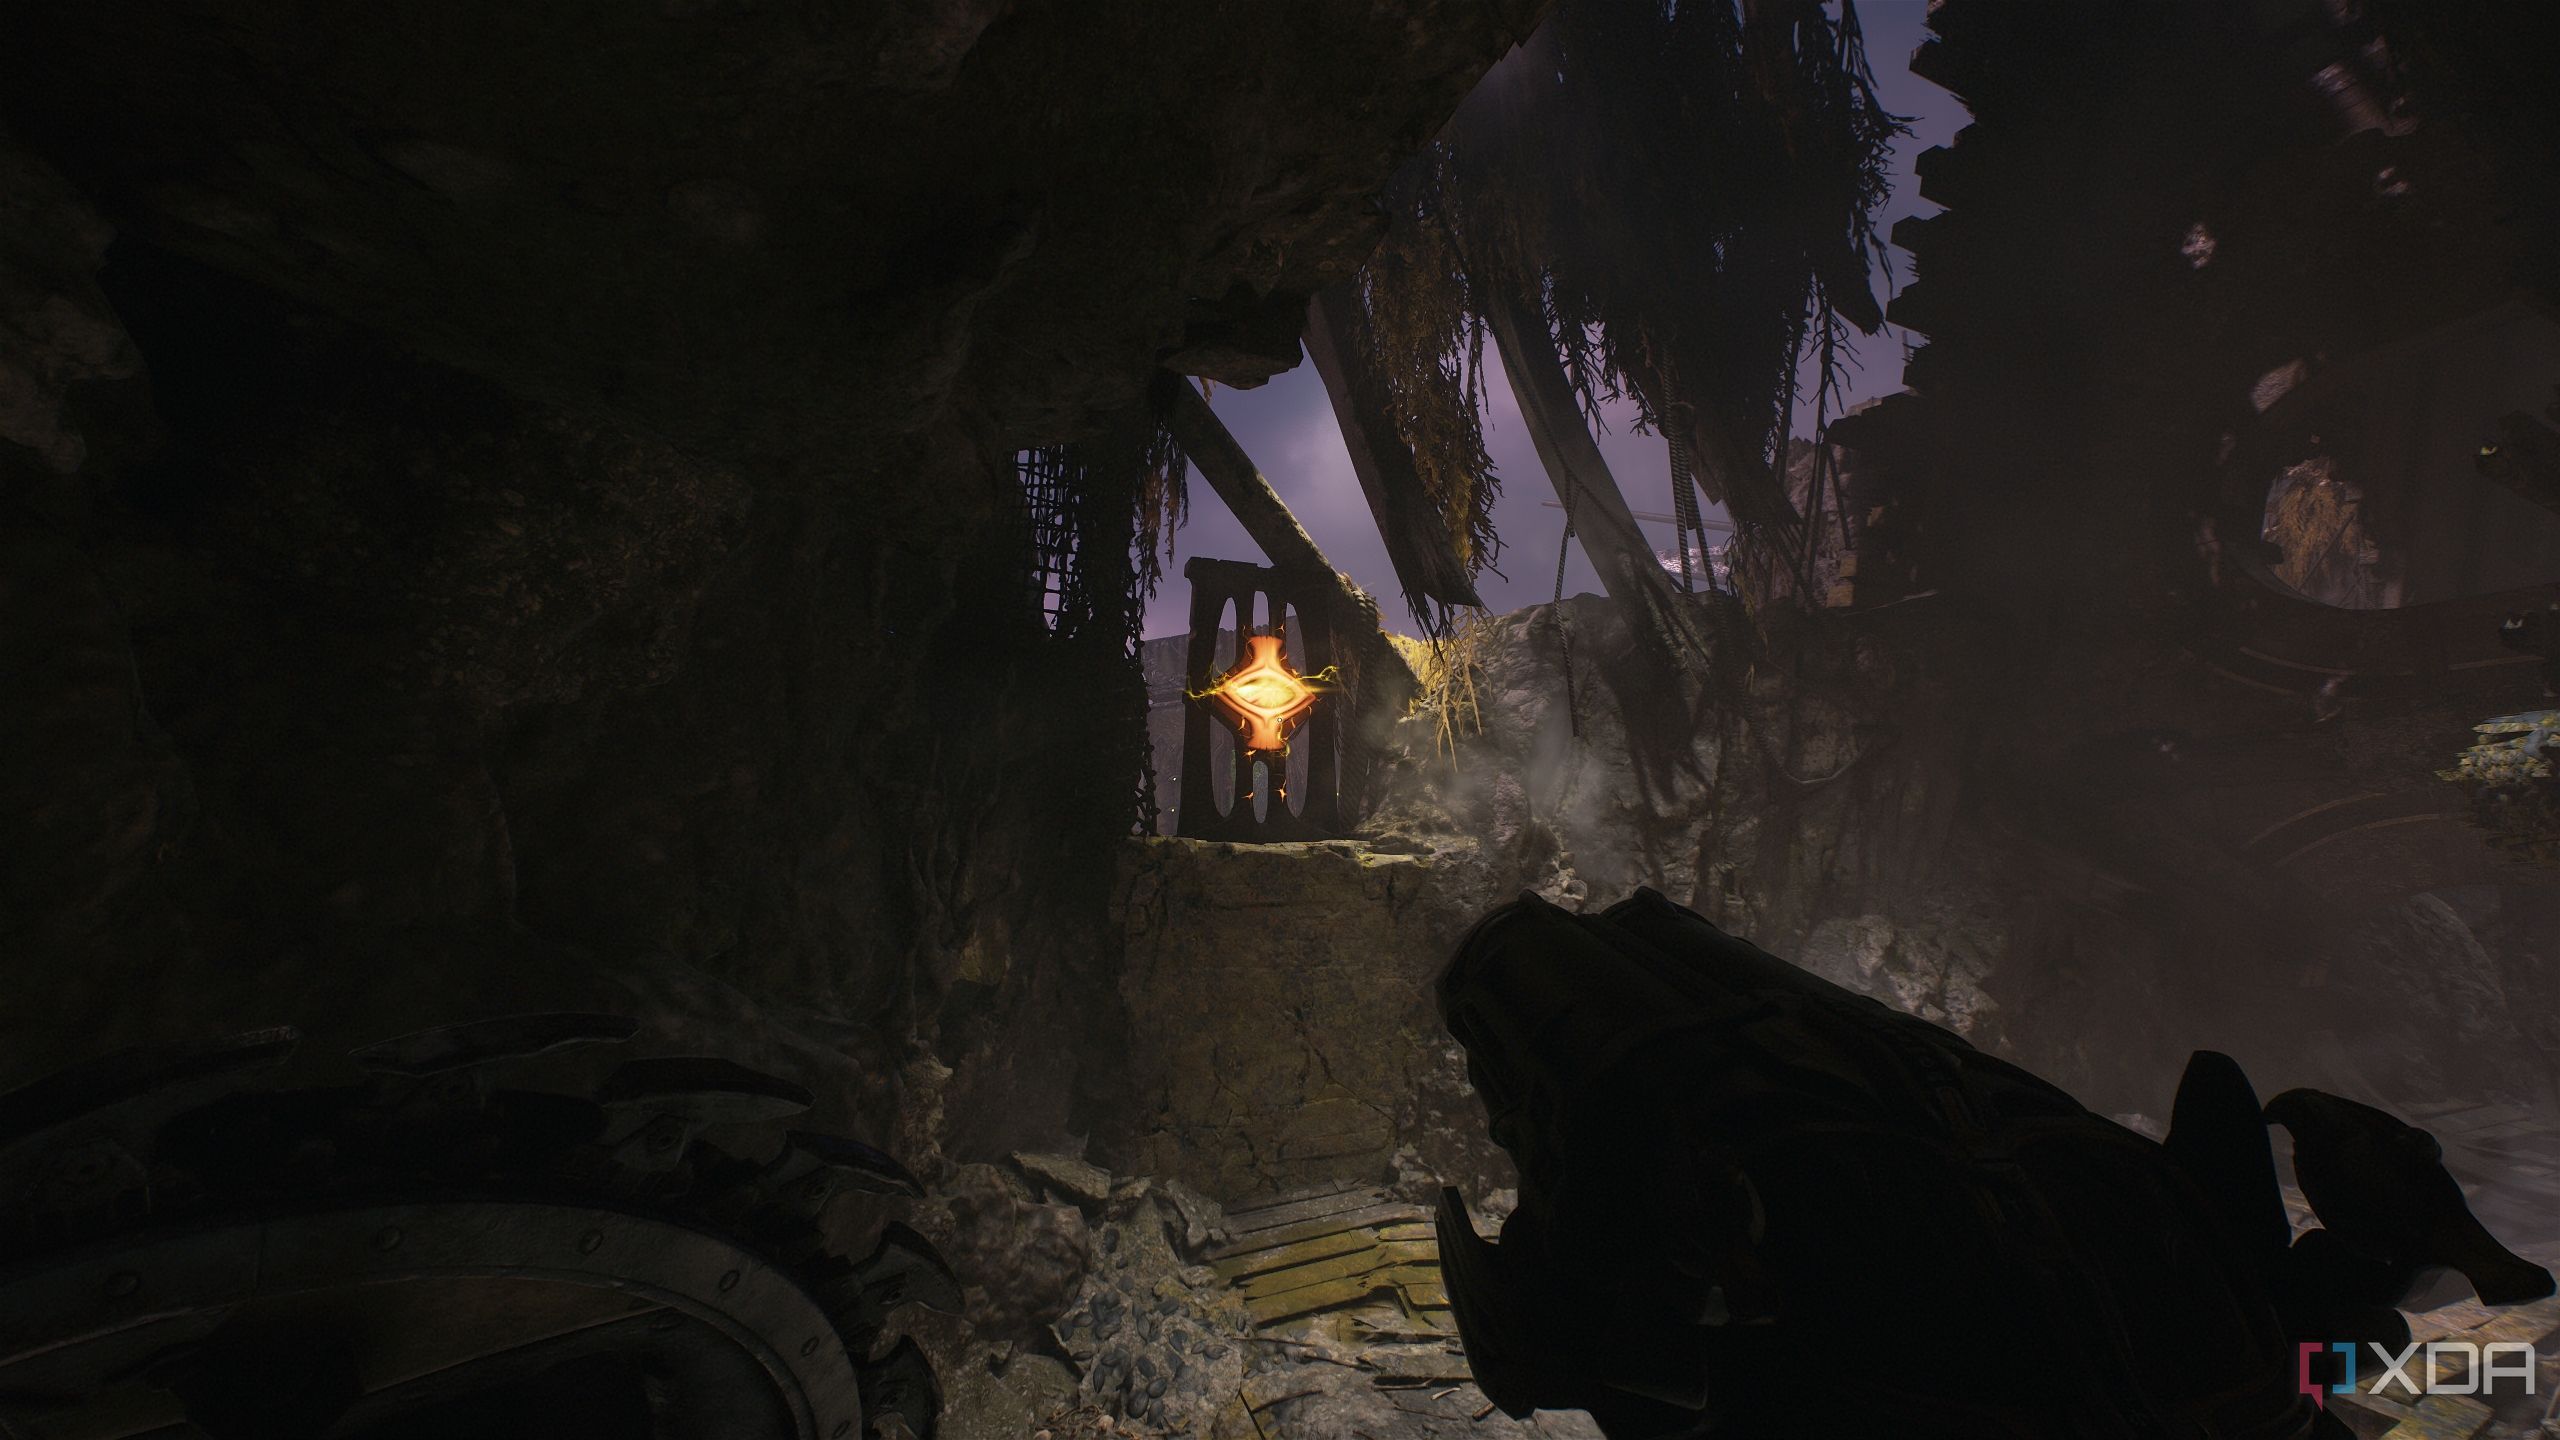
In this small corner, you should also see a Cosmic Node. Line it up at the right angle and throw your shield to unlock the Cosmic gate ahead.
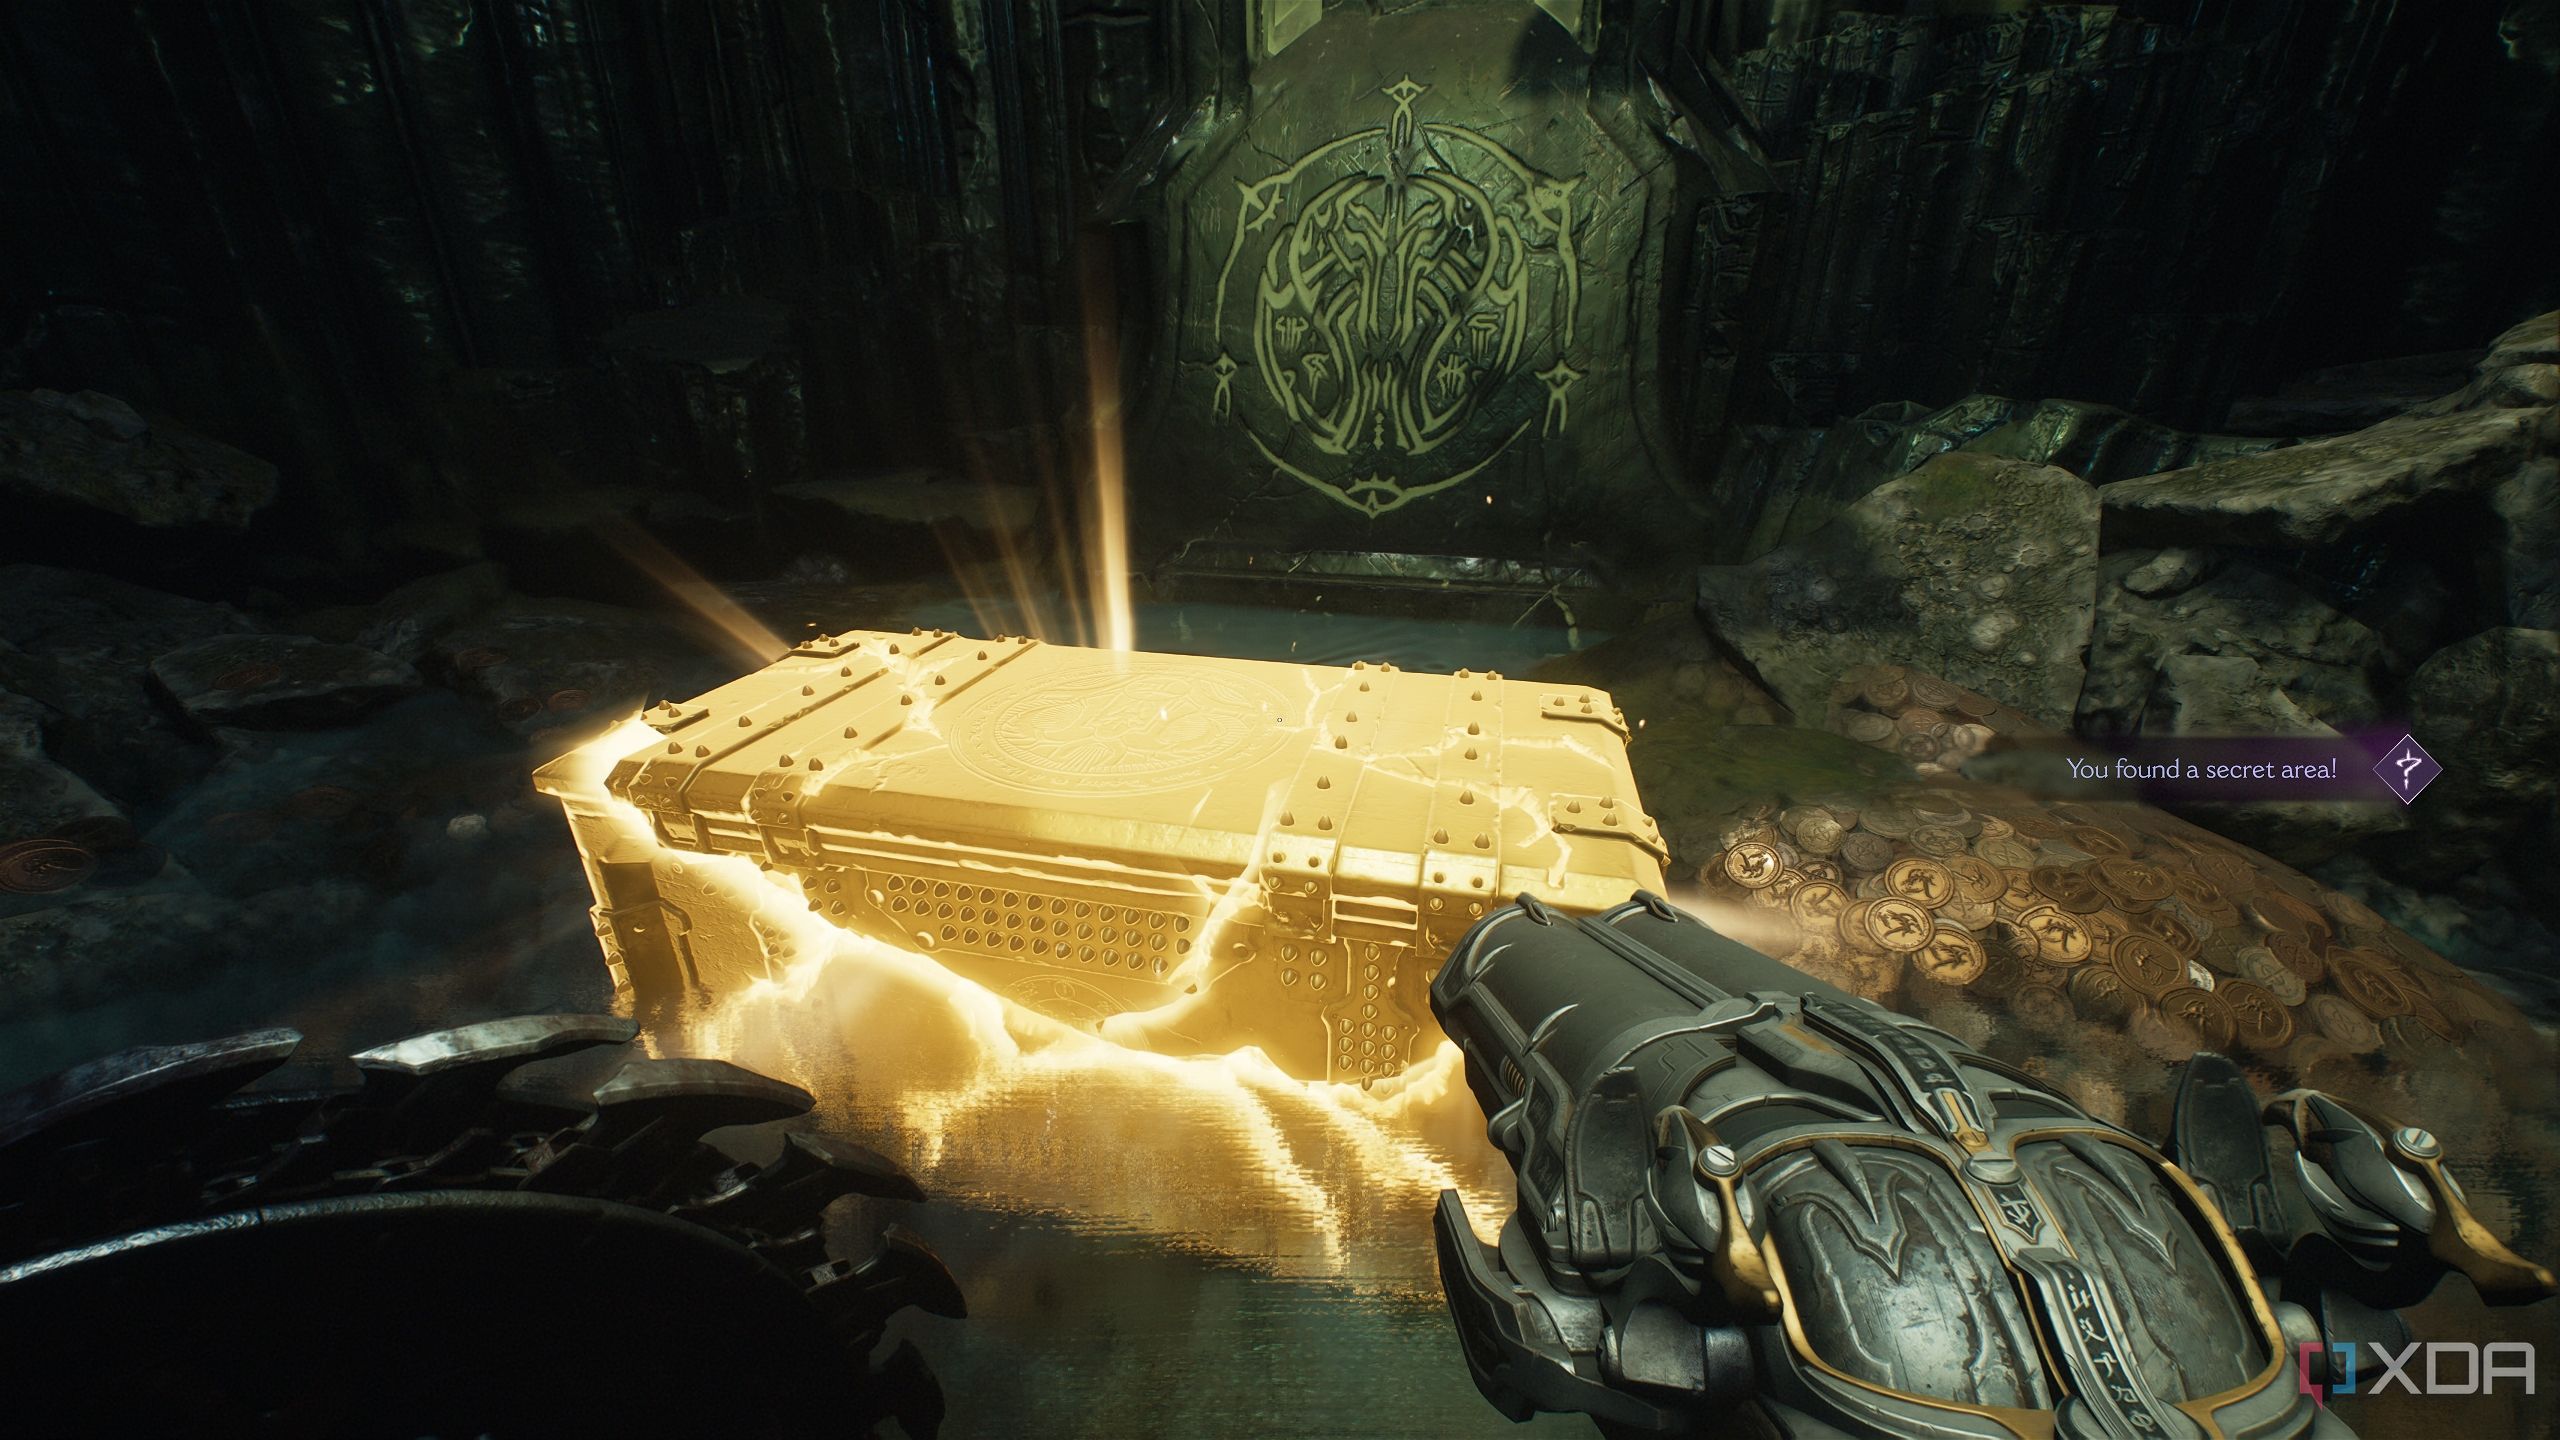
Head towards it and go inside, and you’ll unlock secret area 6 and a gold chest.
Secret area 7 and a Weapon Skin
Wrapping up the Waterlogged challenge
Now, head back to the central arena where you fought the two Vagary demons. Facing the temple, go all the way to the left-most corner of the arena.
Refer to the location above on the map to position yourself.
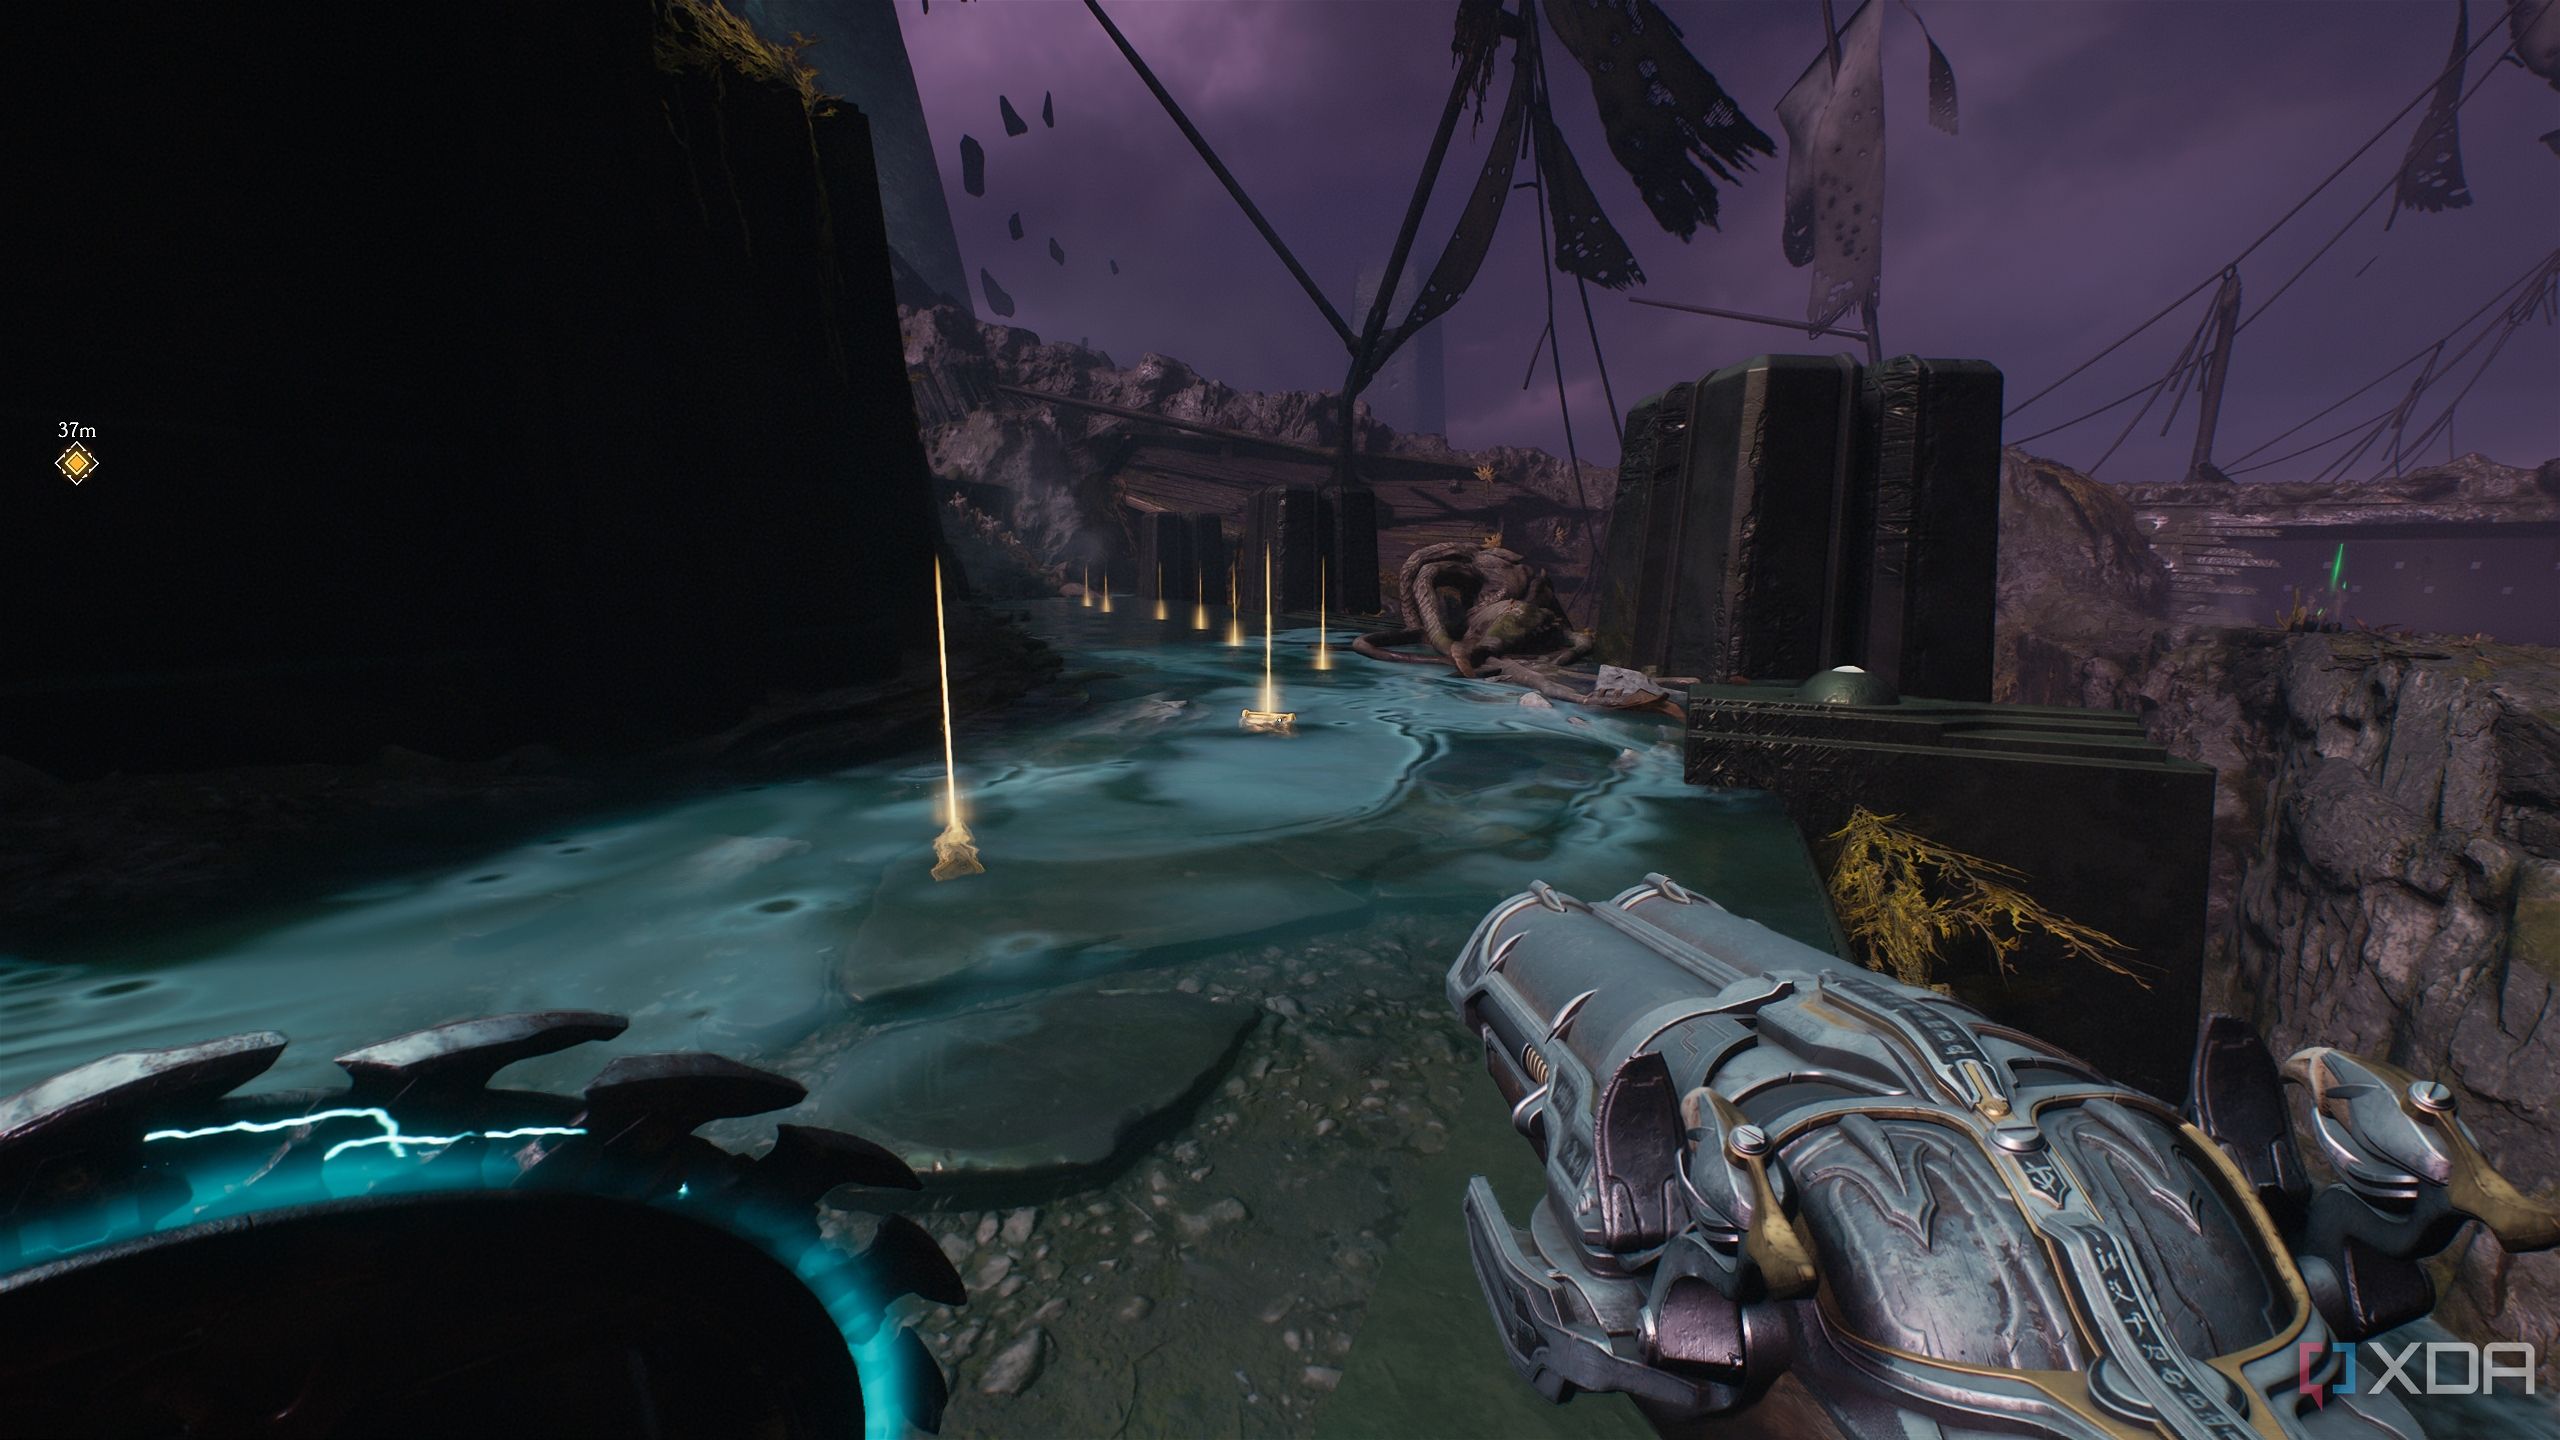
You’ll see a portal you can swim through.
Do that, and you’ll land in secret area 7, next to a giant Tentacle demon.
Defeat it, and a jump pad will unlock where the Tentacle spawned. Use the jump pad, and it will throw you up into another underwater pocket.
Swim through here to reach a secret collectible up ahead. Approach it, and you’ll collect a Weapon Skin for the Rocket Launcher. This will bring the Waterlogged mission challenge to a close.
Related
10 best first-person shooters that are free to play on Steam
Enter the genre of fast paced first-person shooters with these 10 free-to-play titles on Steam
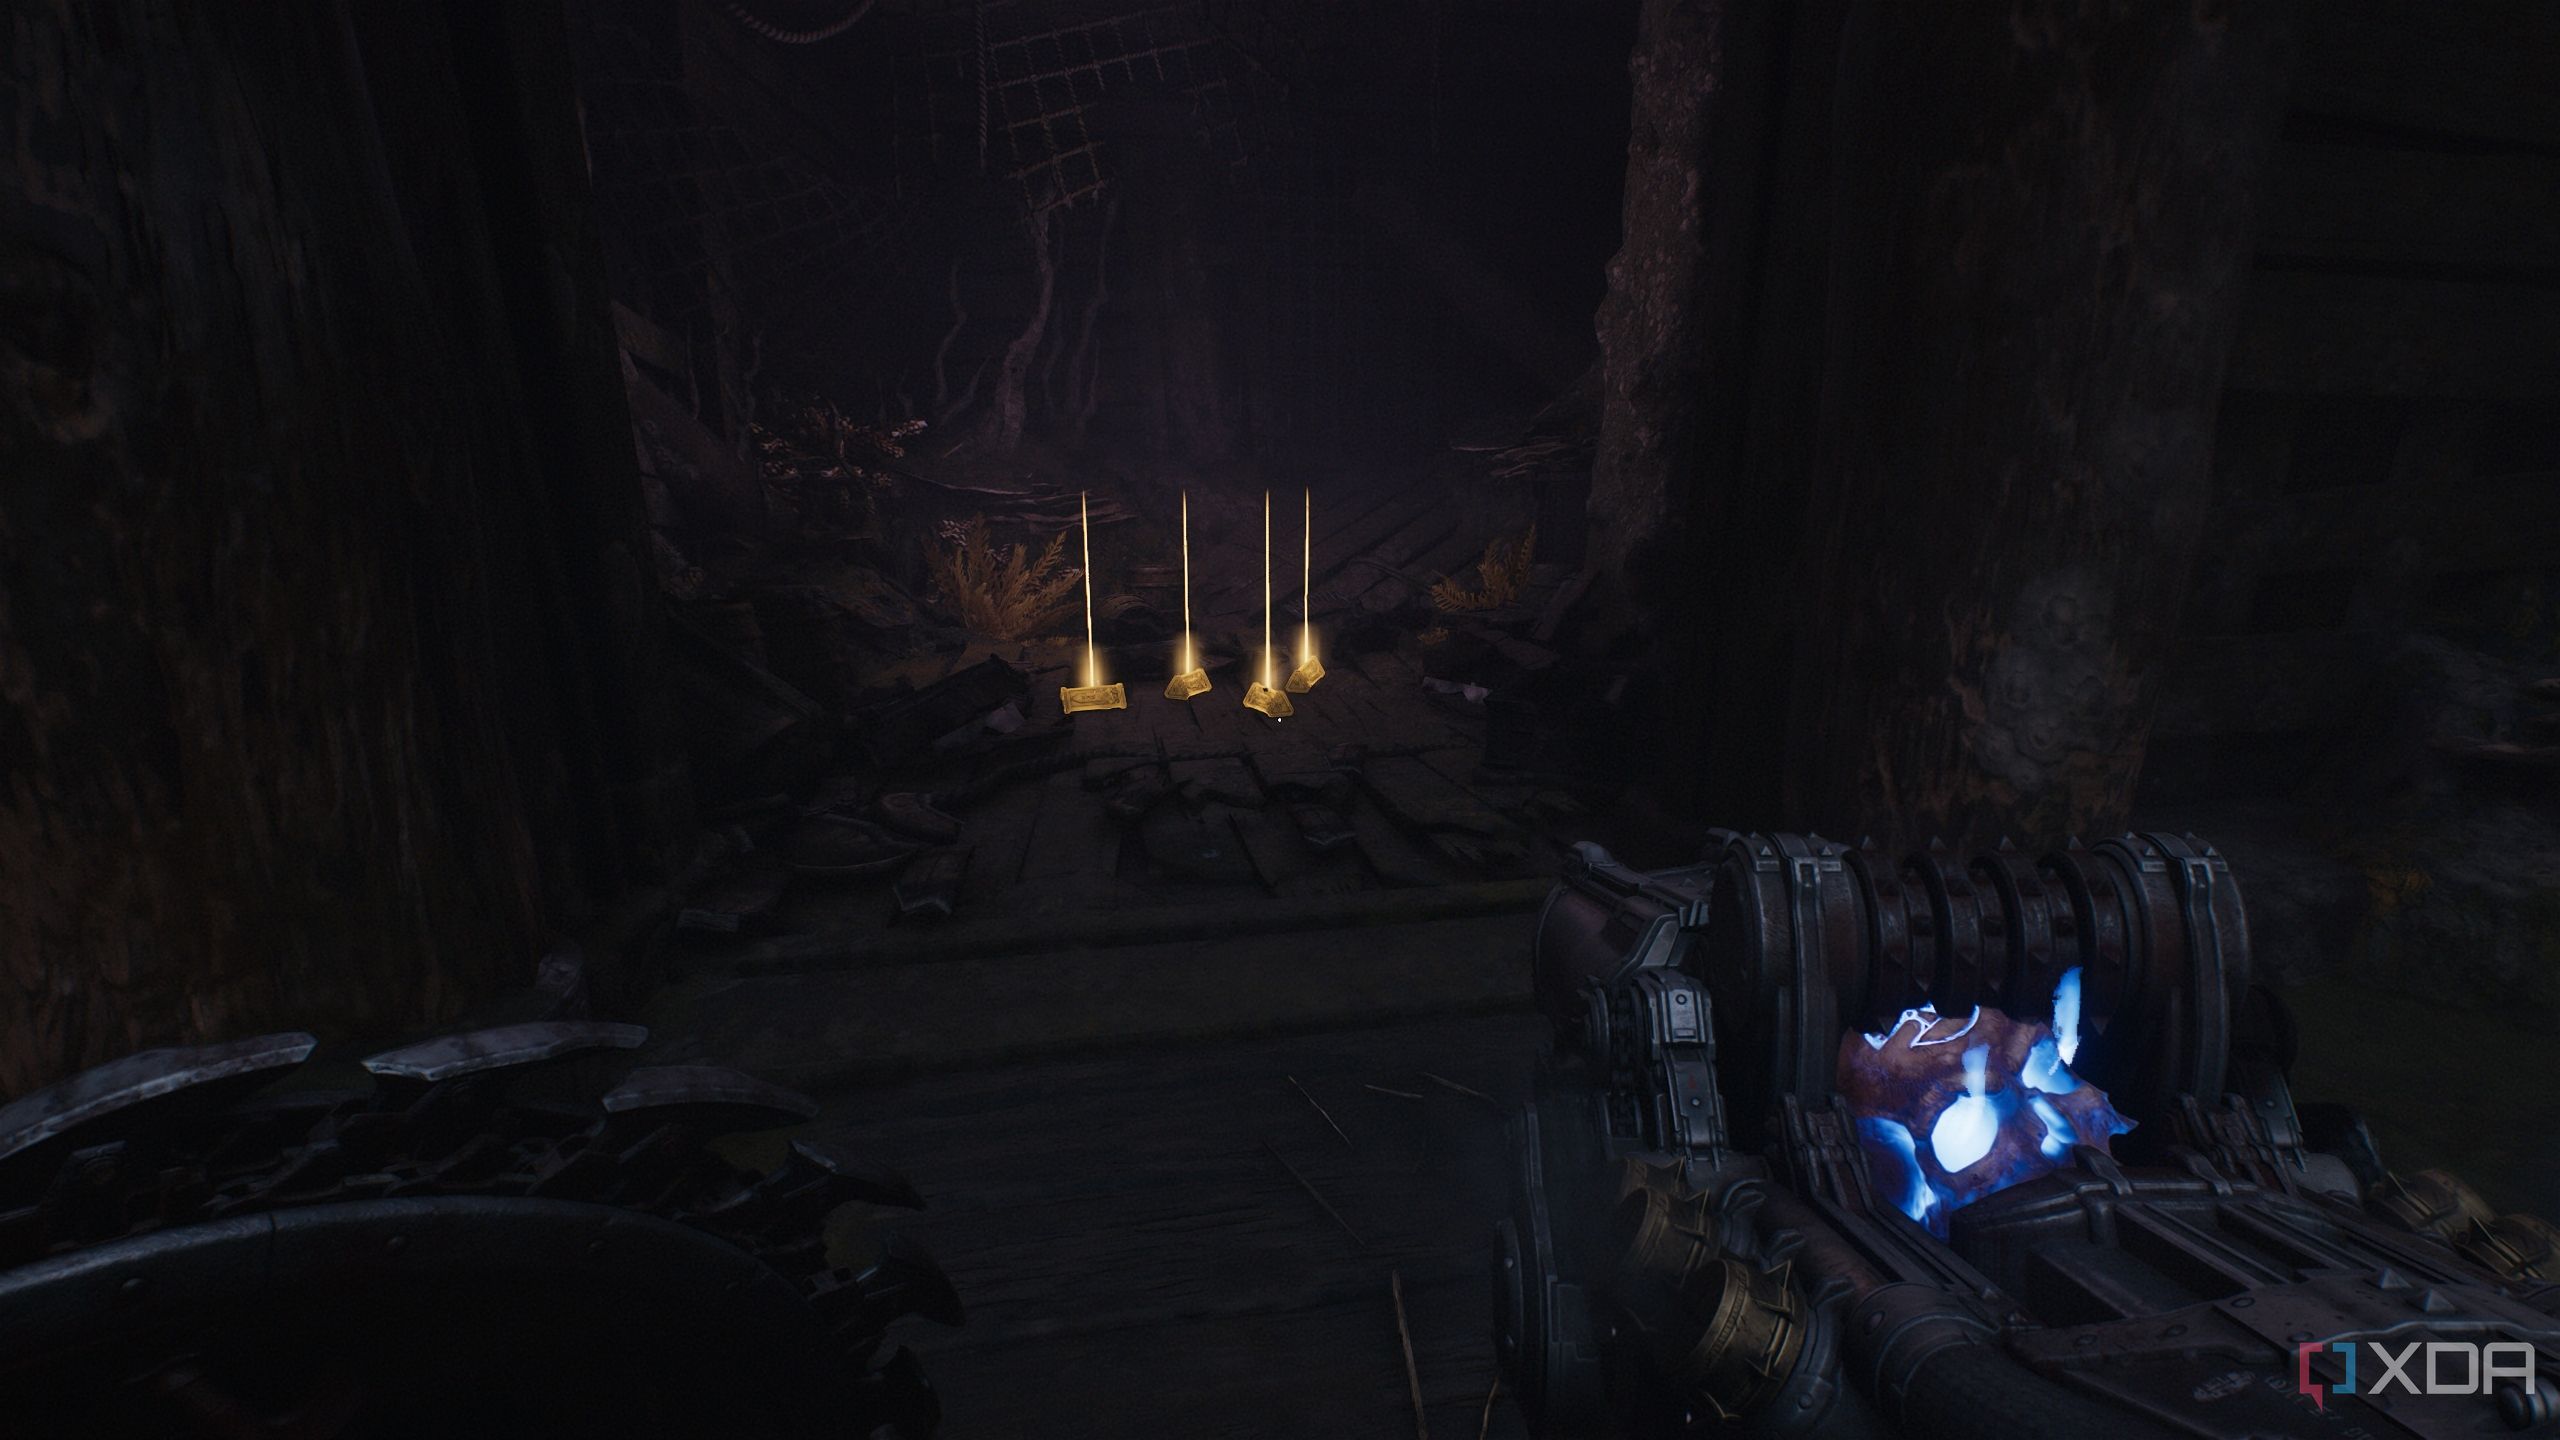
Secret area 8 and a Wraithstone
The whackiest, most bizarre secret area in the game so far
Head back to the Sentinel Shrine in the area, and walk past it to reach the central wooden bridge. Jump across the gap, and you’ll reach a set of stairs next to a ship. On the ship’s wall, there’s a Shield Charge symbol — bash through it.
Walk forward and bash through the wall on the right. Now, enter the next room, and there’s not going to be anything there.
Simply turn around and head back, and you’ll see the area change around you. A Life Sigil will appear in the distance — approach it and collect it if you need it.
Then, a few seconds later, the hallway you’re in will change again, lining up with Melee Charge pickups. Get ready — you’re about to fight a couple dozen Hellknights. Keep using your equipped melee weapon and the Super Shotgun to get through this area easily.
Once the last Hellknight is down, the floor will give way, dropping you down into a creepy area with nothing but a Shield Charge wooden wall ahead.
Bash through it, and you’ll finally be back where you started. Just head inside the room to your right to unlock secret area 8 and collect a Wraithstone.
Purple key and more gold bars
Could I request a parley?
After collecting the Wraithstone, head out the way you came in, and get up the flight of stairs on the left.
Here, the temple and the objective will be ahead, but before you approach them, turn left. In the corner, there’s an entrance to the deck of the ship you were just inside.
You’ll see a trail of gold bars ahead. Pick those up and continue walking forward to reach a barely-visible door in the back of the wall.

It will open up automatically, revealing the purple key inside.
Once you pick up the purple key, you’ll have to fight a couple of stone imps and an Arachnotron outside. Then, head all the way back to the Sentinel Shrine.
Secret area 9, second Red Ruby, and final gold bars
Another mission challenge done, and a face-off with a god, next
With the purple key equipped, head back to the Sentinel Shrine and unlock the color-coded locked gate.
Head inside to unlock secret area 9 and collect the second Red Ruby. This brings the Swashbuckler mission challenge to a close.

You’ll have to fight two Acolytes, some Stone Imps, Soldiers, and an armored Mancubus right outside. Then, proceed towards the temple gate (objective), but instead of interacting with the main switch outside, look in front of it to see a dead octopus. Drop down next to it.
Head left to pick up a final trail of gold bars, bringing all the secrets and collectibles in the chapter to a close.
All collectibles in Chapter 17: Temple of Lomarith in Doom: The Dark Ages
The Lovecraftian twist is the most pronounced in Chapter 17.
Once that’s done, Chapter 17 of Doom: The Dark Ages will be complete, and you’ll finally have the 100% completion achievement for this level. The Lovecraftian twist the game takes in the second half is perhaps the most pronounced in Chapter 17.
|
Achievements in Chapter 17: Temple of Lomarith |
|
|
Gold |
194 |
|
Rubies |
2 |
|
Wraithstone |
1 |
|
Demonic Essence |
2 |
|
Secret Areas |
9 |
|
Codex Entries |
1 |
|
Collectible Toys |
1 |
|
Skins |
1 |
DOOM: The Dark Ages
Released May 15, 2025
ESRB m
Developer(s) id Software
Publisher(s) Bethesda Softworks
Engine id Tech
Multiplayer Online Multiplayer
Franchise DOOM


 English (US) ·