.png)
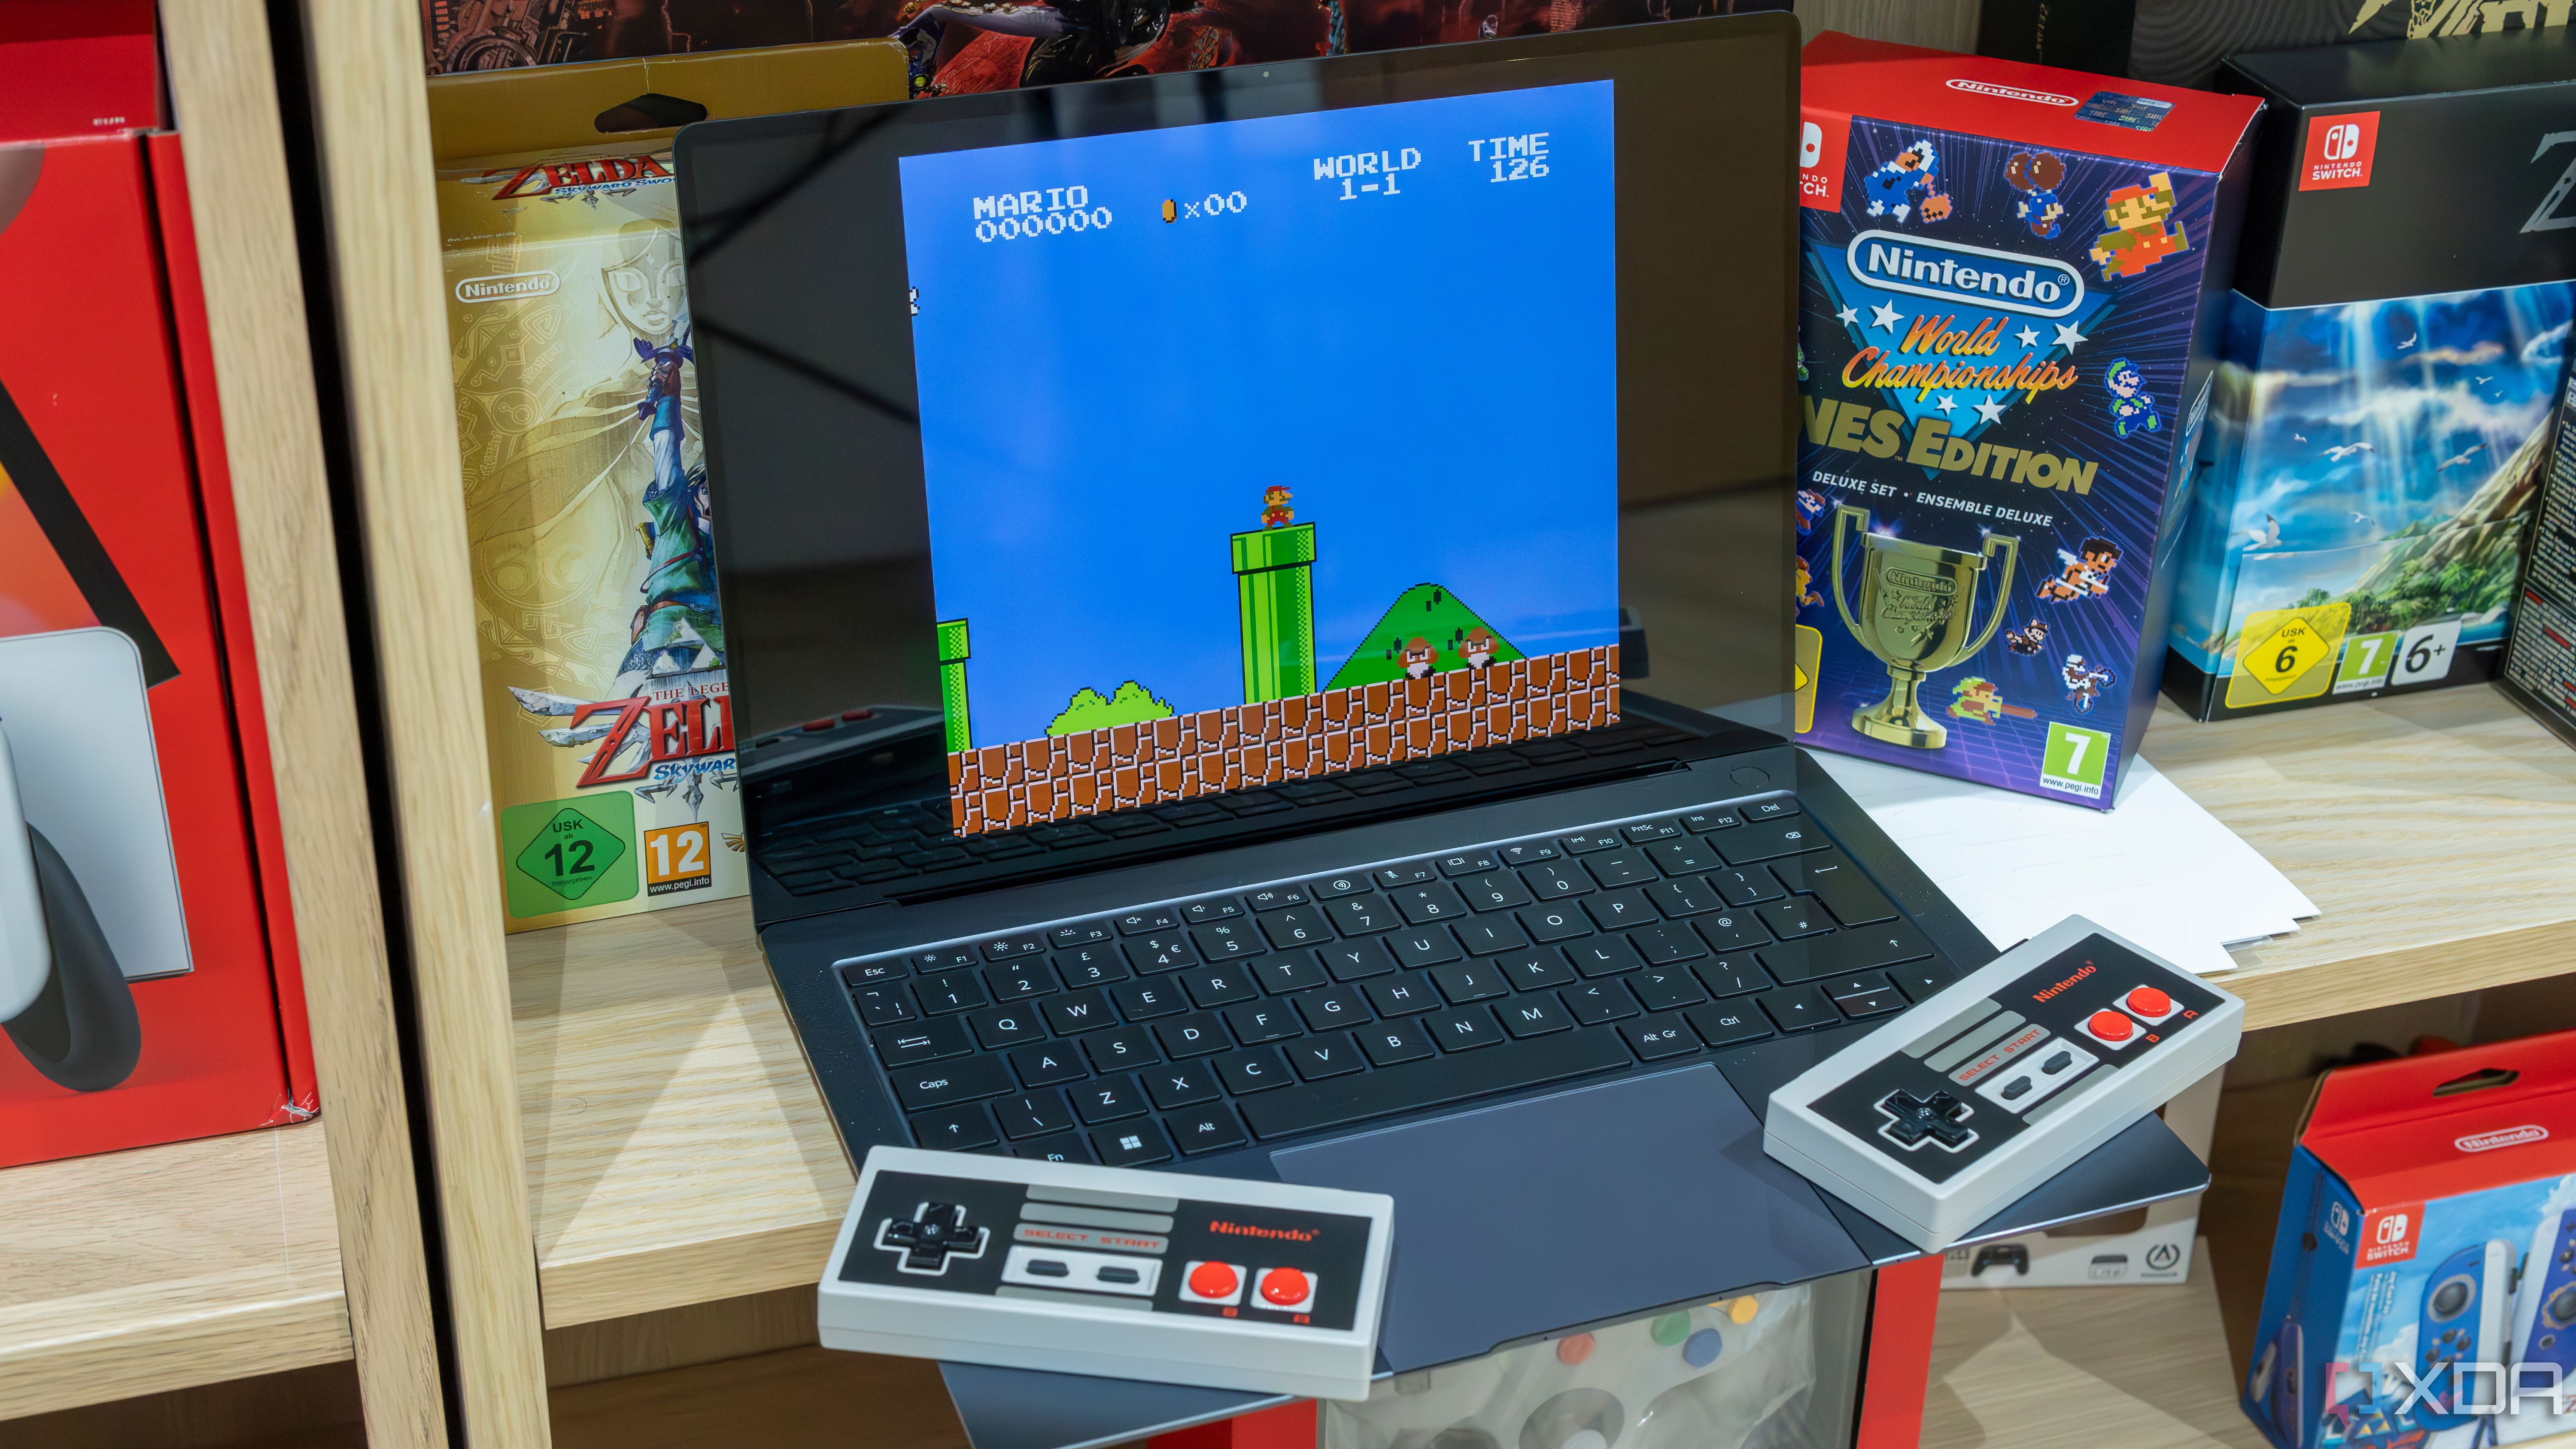
I’ve always had a soft spot for classic games, so I decided to dedicate my Intel N100 mini PC to retro gaming. It’s compact, quiet, and surprisingly powerful for the price, which made it a great candidate for emulation. With the right software and a few tweaks, I turned it into an all-in-one machine that plays everything from the Atari 2600 to the PlayStation 2. Best of all, it boots right into my game library and feels like a purpose-built console.
Getting this setup going wasn’t tricky, but there were some essential choices along the way. I wanted a smooth experience that didn’t require me to dive into menus or configs every time I powered it on. I also wanted to strike a balance between nostalgia and modern convenience. If you’ve got an N100 mini PC sitting around or you’re looking for a fun weekend project, this guide will show you exactly how to turn it into something special.
Related
Why use an N100 mini PC for retro gaming?
The Intel N100 mini PC is an excellent fit for retro gaming thanks to its efficient quad-core CPU and integrated graphics. While it’s not designed for modern AAA games, it handles 2D and early 3D emulation with ease. Systems like the SNES, Genesis, and even Dreamcast or PSP run smoothly with the proper settings. That makes it a solid option for a plug-and-play emulation box with very little overhead.
Power efficiency is another big win. The N100 draws just a few watts at idle and stays quiet even during long play sessions. That makes it ideal for living room use, where you don’t want to hear a fan spinning up. Unlike a Raspberry Pi, it can also handle more demanding platforms, upscaling, and extra graphical effects without breaking a sweat.
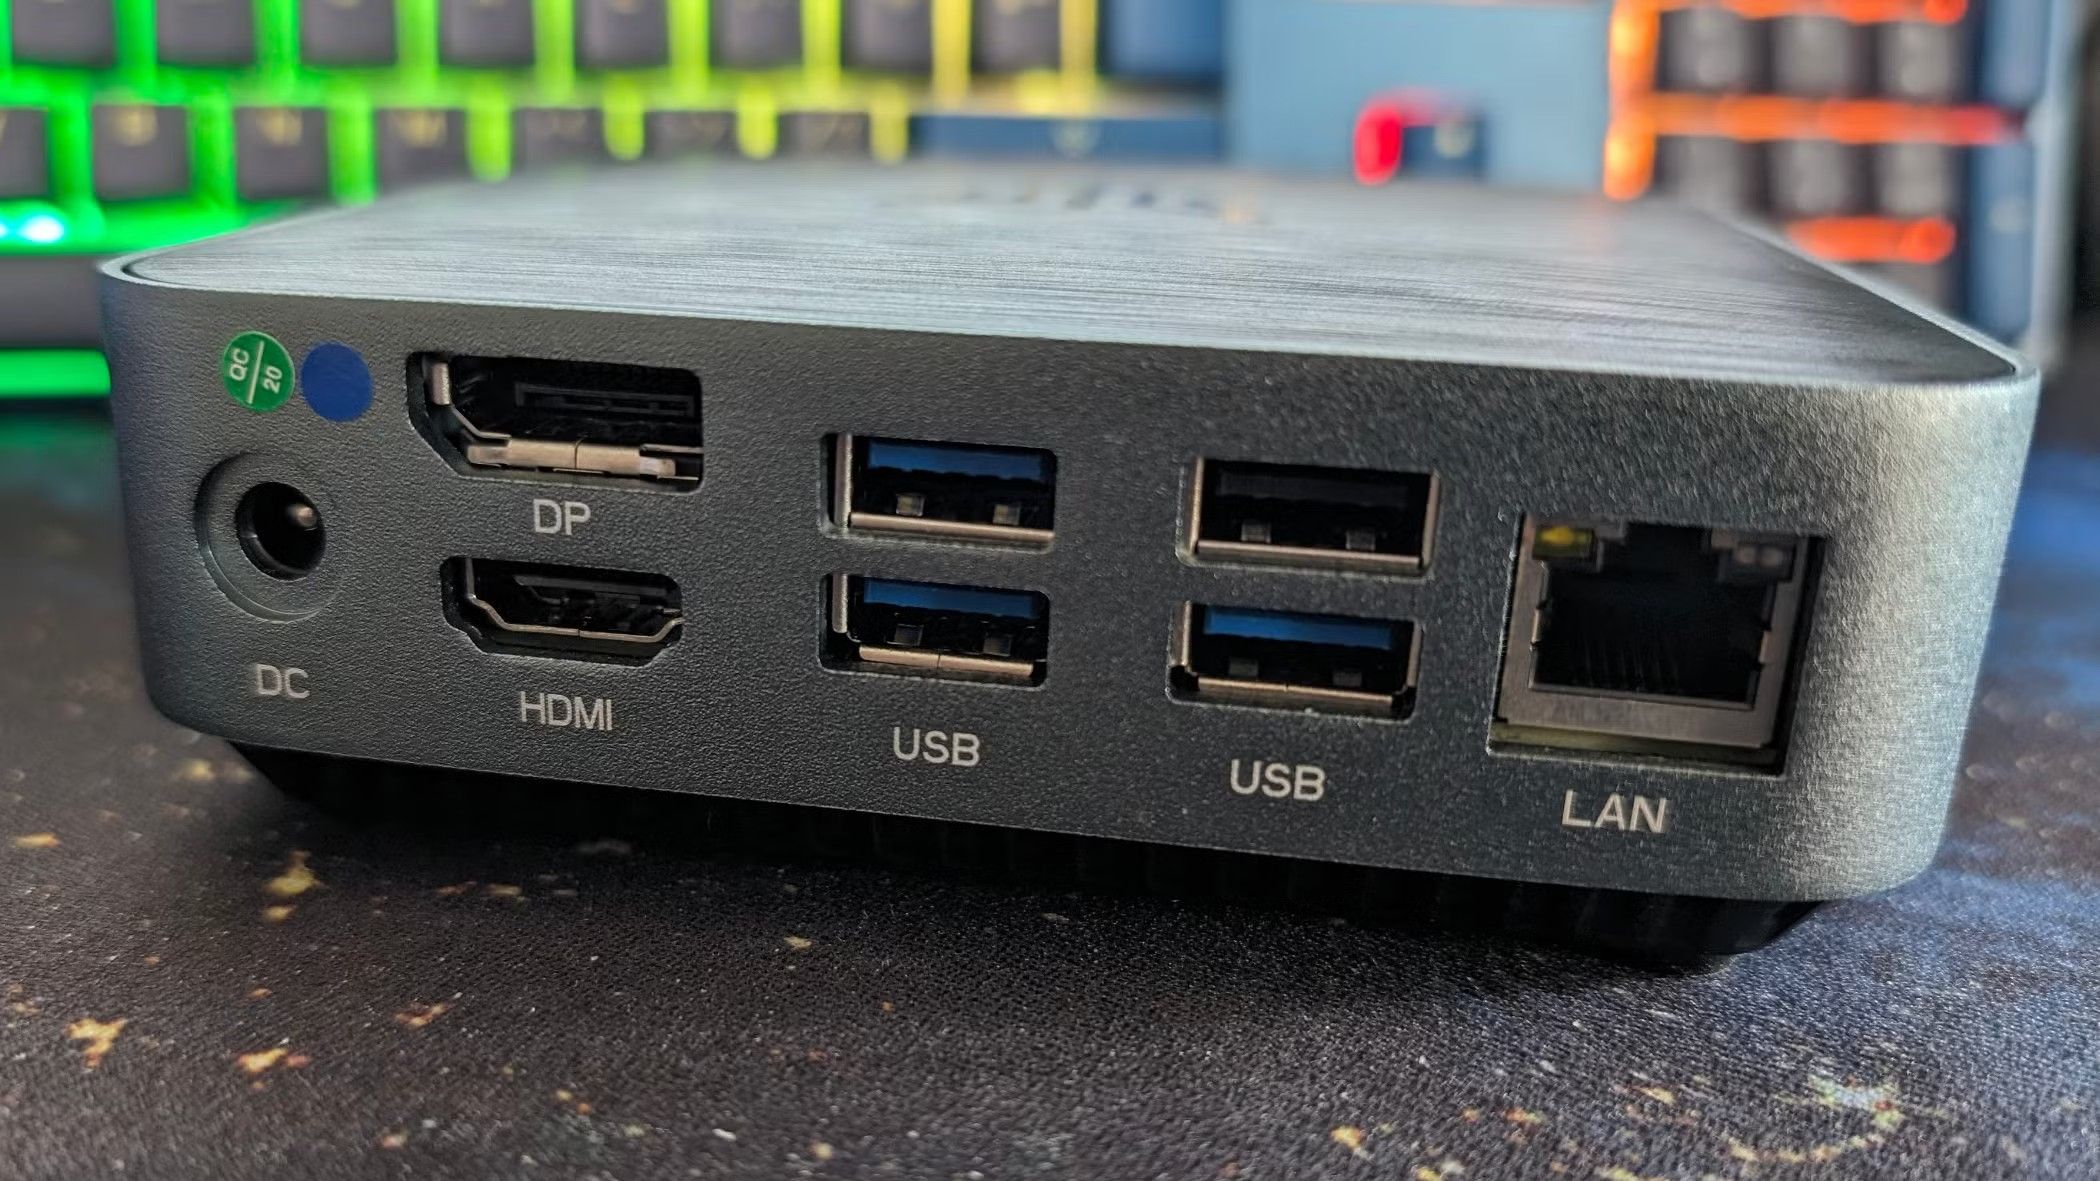
Another significant benefit is storage and connectivity. The N100 can utilize multiple internal NVMe storage devices, external SSDs, or large USB drives, so SD card speeds do not limit your performance. It also supports modern Bluetooth and Wi-Fi, making it quick and easy to set up controllers or transfer ROMs. You can even dual-boot or run other software in the background if you don’t want to dedicate it exclusively to gaming.
What you’ll need to get started
You don’t need much to turn your N100 into a great retro console. Most of the tools are affordable and straightforward, and chances are you already own a few of them. The mini PC itself is the most significant investment, but everything else can be swapped in or upgraded later if needed.
Start with a USB game controller that suits your favorite platform. I went with an 8BitDo model that mimics the SNES layout, but Xbox and PlayStation-style controllers also work great. You’ll need a keyboard for the initial setup and a reliable USB stick or SSD for storage. If you plan to emulate disc-based systems, a larger drive will come in handy.
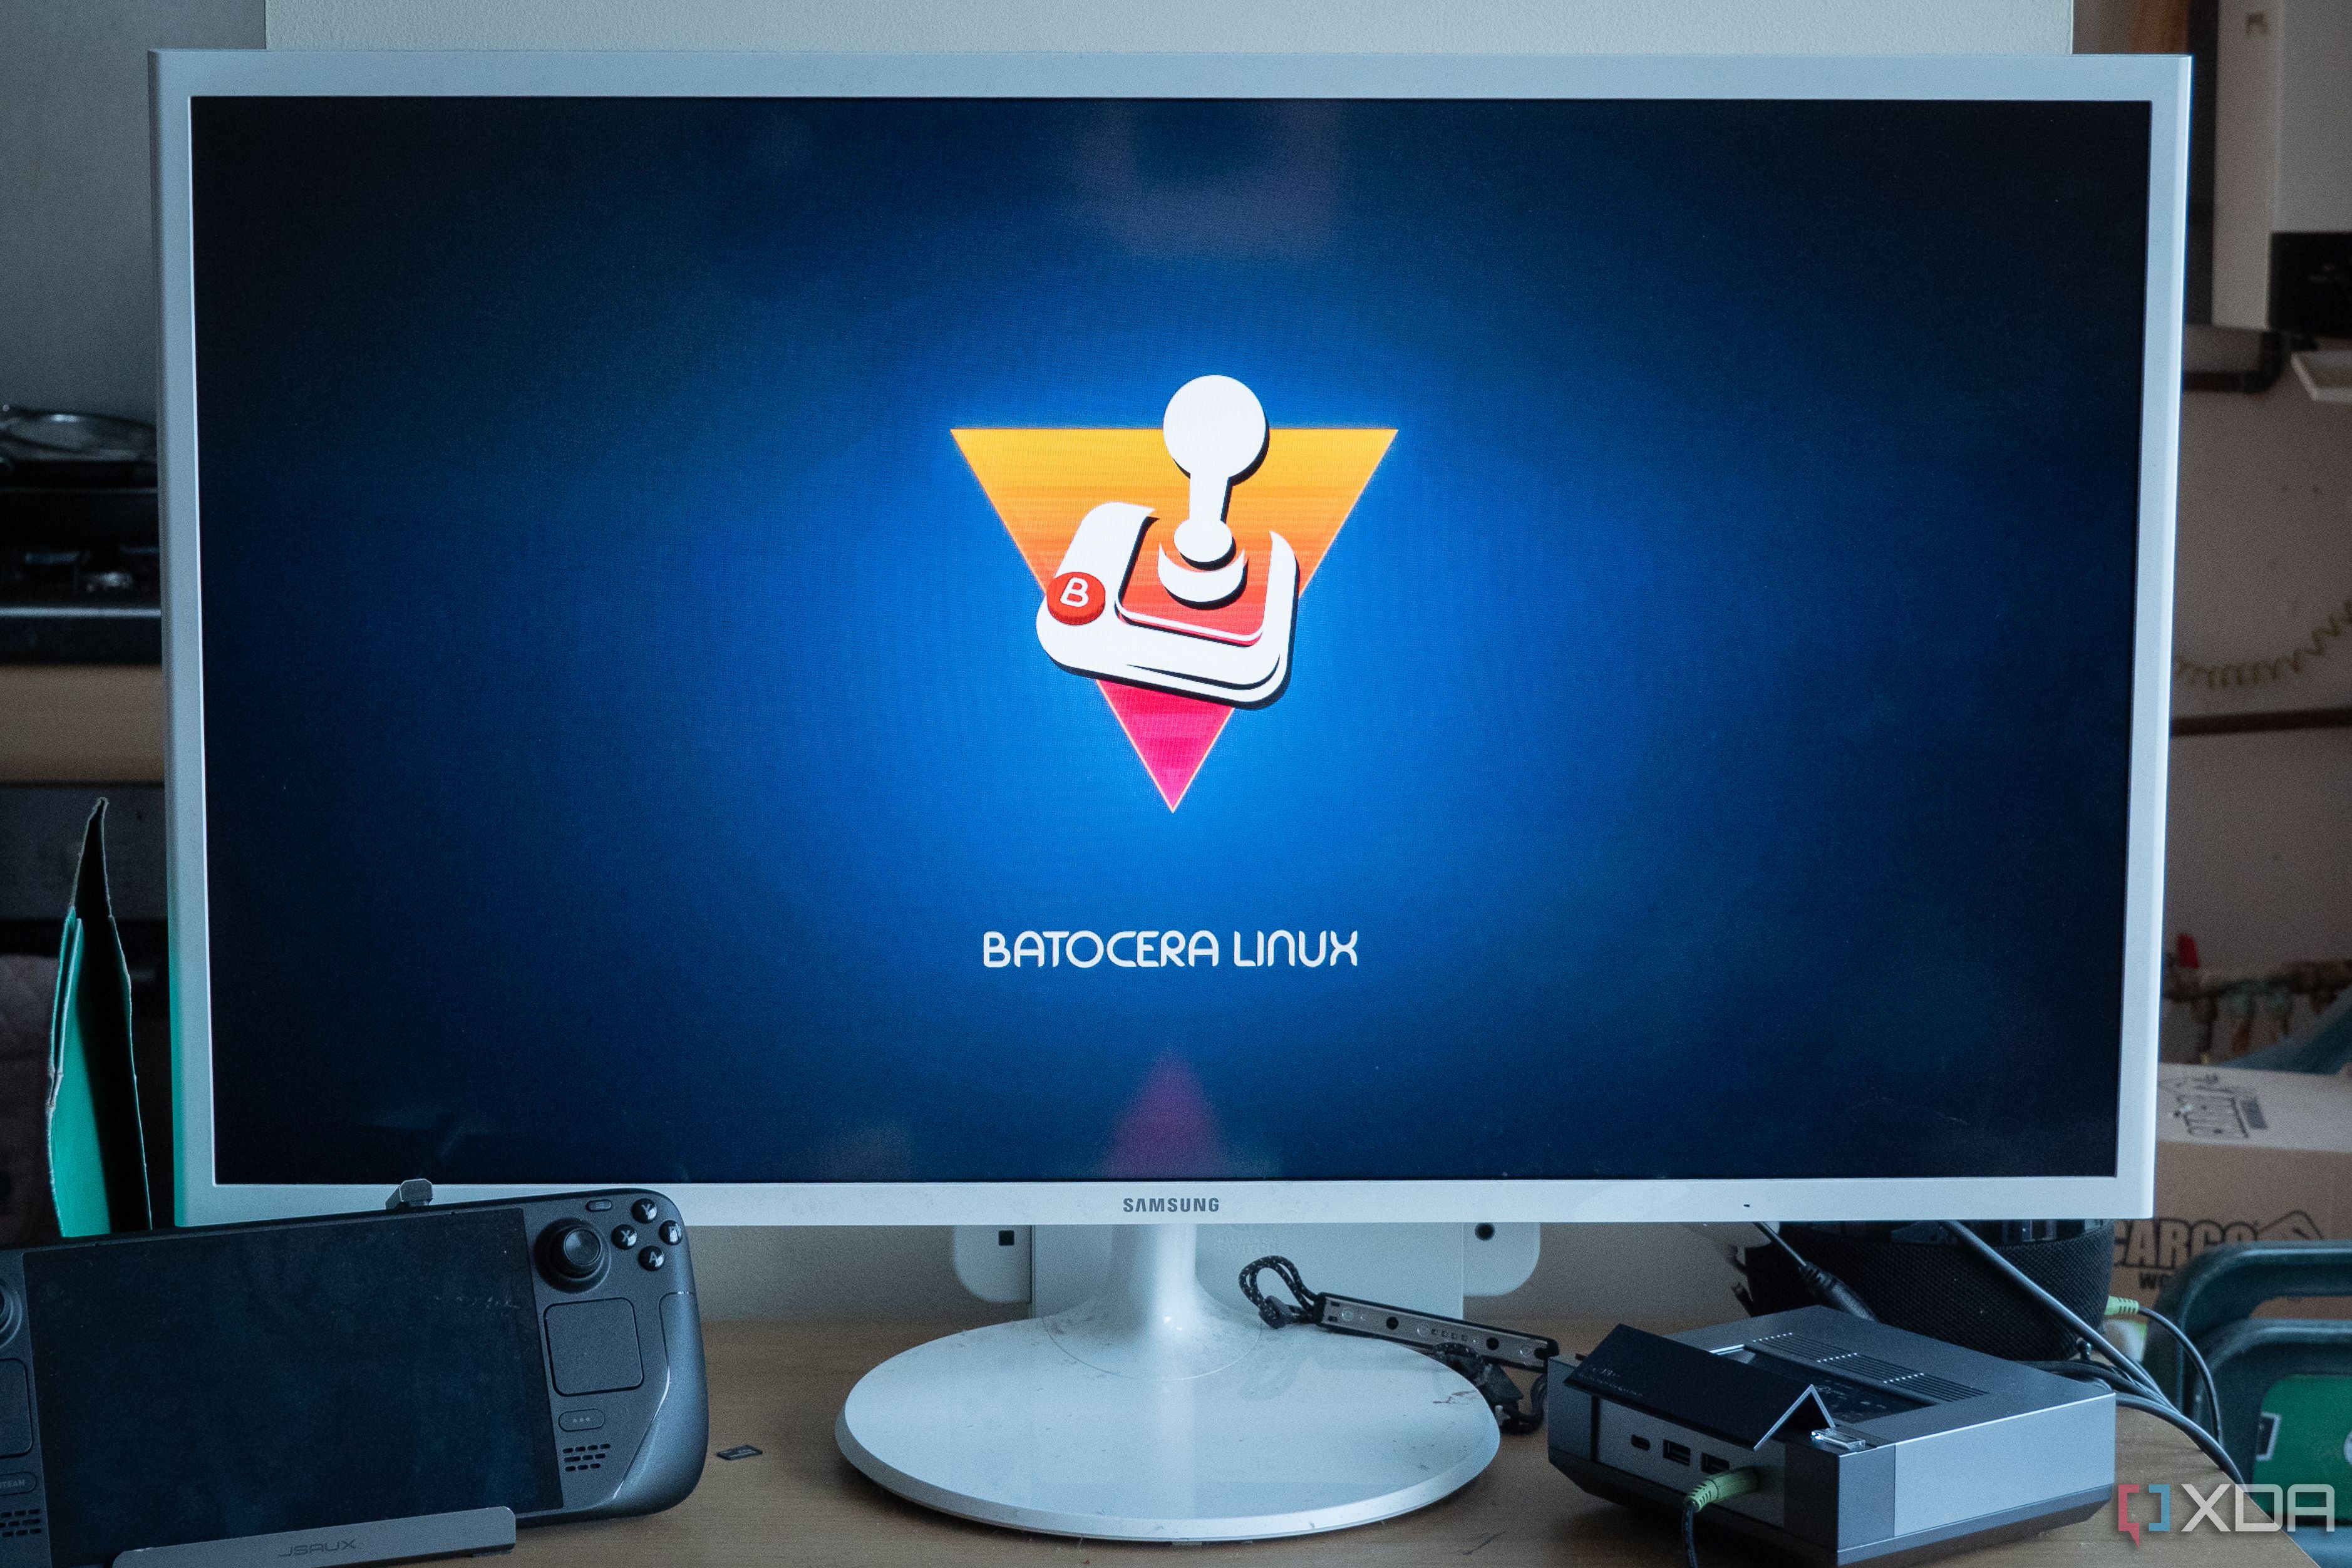
On the software side, you have some good options. Batocera Linux is a lightweight, purpose-built emulation OS that boots straight into a clean game front-end. If you’d rather stick with Windows, RetroBat and LaunchBox offer a similar experience within a desktop environment. Either way, you’ll need an HDMI cable and a display to get started.
Setting everything up step by step
Once you’ve picked your platform and gathered your gear, it’s time to set everything up. You can do this in under an hour if you’ve already got your ROMs and BIOS files organized. The setup process is smooth, especially with Batocera, which was my choice for this build.
- Download Batocera Linux from batocera.org and flash it to a USB drive or external SSD using Balena Etcher.
- Plug in the drive to your N100 mini PC, connect a keyboard and game controller, and boot to the external drive by changing the boot order in BIOS.
- Let Batocera boot and run its initial setup. You’ll land in a graphical front-end called EmulationStation.
- Connect to Wi-Fi or Ethernet, then use the built-in network tools to access the shared ROMs folder from another computer.
- Copy your ROMs into the appropriate system folders, then reboot or scan for new games in Batocera’s menu.
- Configure your controller through the menu to make sure everything responds the way you expect.
After that, you’re ready to play. You can enhance the visuals with shaders, add game box art with scrapers, or even load bezels and overlays for a more authentic look. I spent a little extra time tweaking the themes and reorganizing my library, but the core experience was already smooth and satisfying. If you're using Windows instead, tools like RetroBat follow a very similar workflow.
Why this setup is worth it
The Intel N100 may not be flashy, but it’s incredibly effective for emulation. You get reliable performance on almost every system up to the early 2000s, with minimal effort. Older systems feel crisp and responsive, and newer ones, such as the GameCube or PSP, work surprisingly well if you optimize your settings.
The all-in-one form factor is another significant advantage. I keep mine connected to the living room TV and launch straight into the game library with a wireless controller. There’s no need to fiddle with a keyboard or mouse after the initial setup. The whole experience feels cohesive and responsive, which is precisely what I wanted.
Being able to remote in, manage game files, or change themes without physically touching the device is a nice bonus. The N100 gives you room to grow if you ever want to add features like achievements, shaders, or netplay. It’s an easy build with a lot of depth for anyone who wants to tinker or fine-tune their retro experience.
A simple project with big payoff
There’s something satisfying about building a console that plays decades of games without breaking the bank. The Intel N100 mini PC is the perfect base for this kind of project, thanks to its balance of power, price, and low noise. Once it’s set up, it doesn’t just look clean — it feels responsive and fun to use. If you’re into retro gaming and want a no-nonsense system that just works, this build is worth your time.


 English (US) ·