.png)
When it comes to customizing Windows 11 to resemble Windows 10, you often hear about various customization tools, such as Windhawk and Start11, among others. However, some people have enough apps and software on their system and don’t want to add more, but would like to restore the classic look and feel of their old system.
Unfortunately, Microsoft is looking forward, and there isn’t a lot you can do to bring back the classic look. There are some changes you can make, though. So, I decided to make the customizations without using tools. Instead, I utilized the available Windows 11 customization settings, and here’s what happened.
Related
Reposition it to the left corner
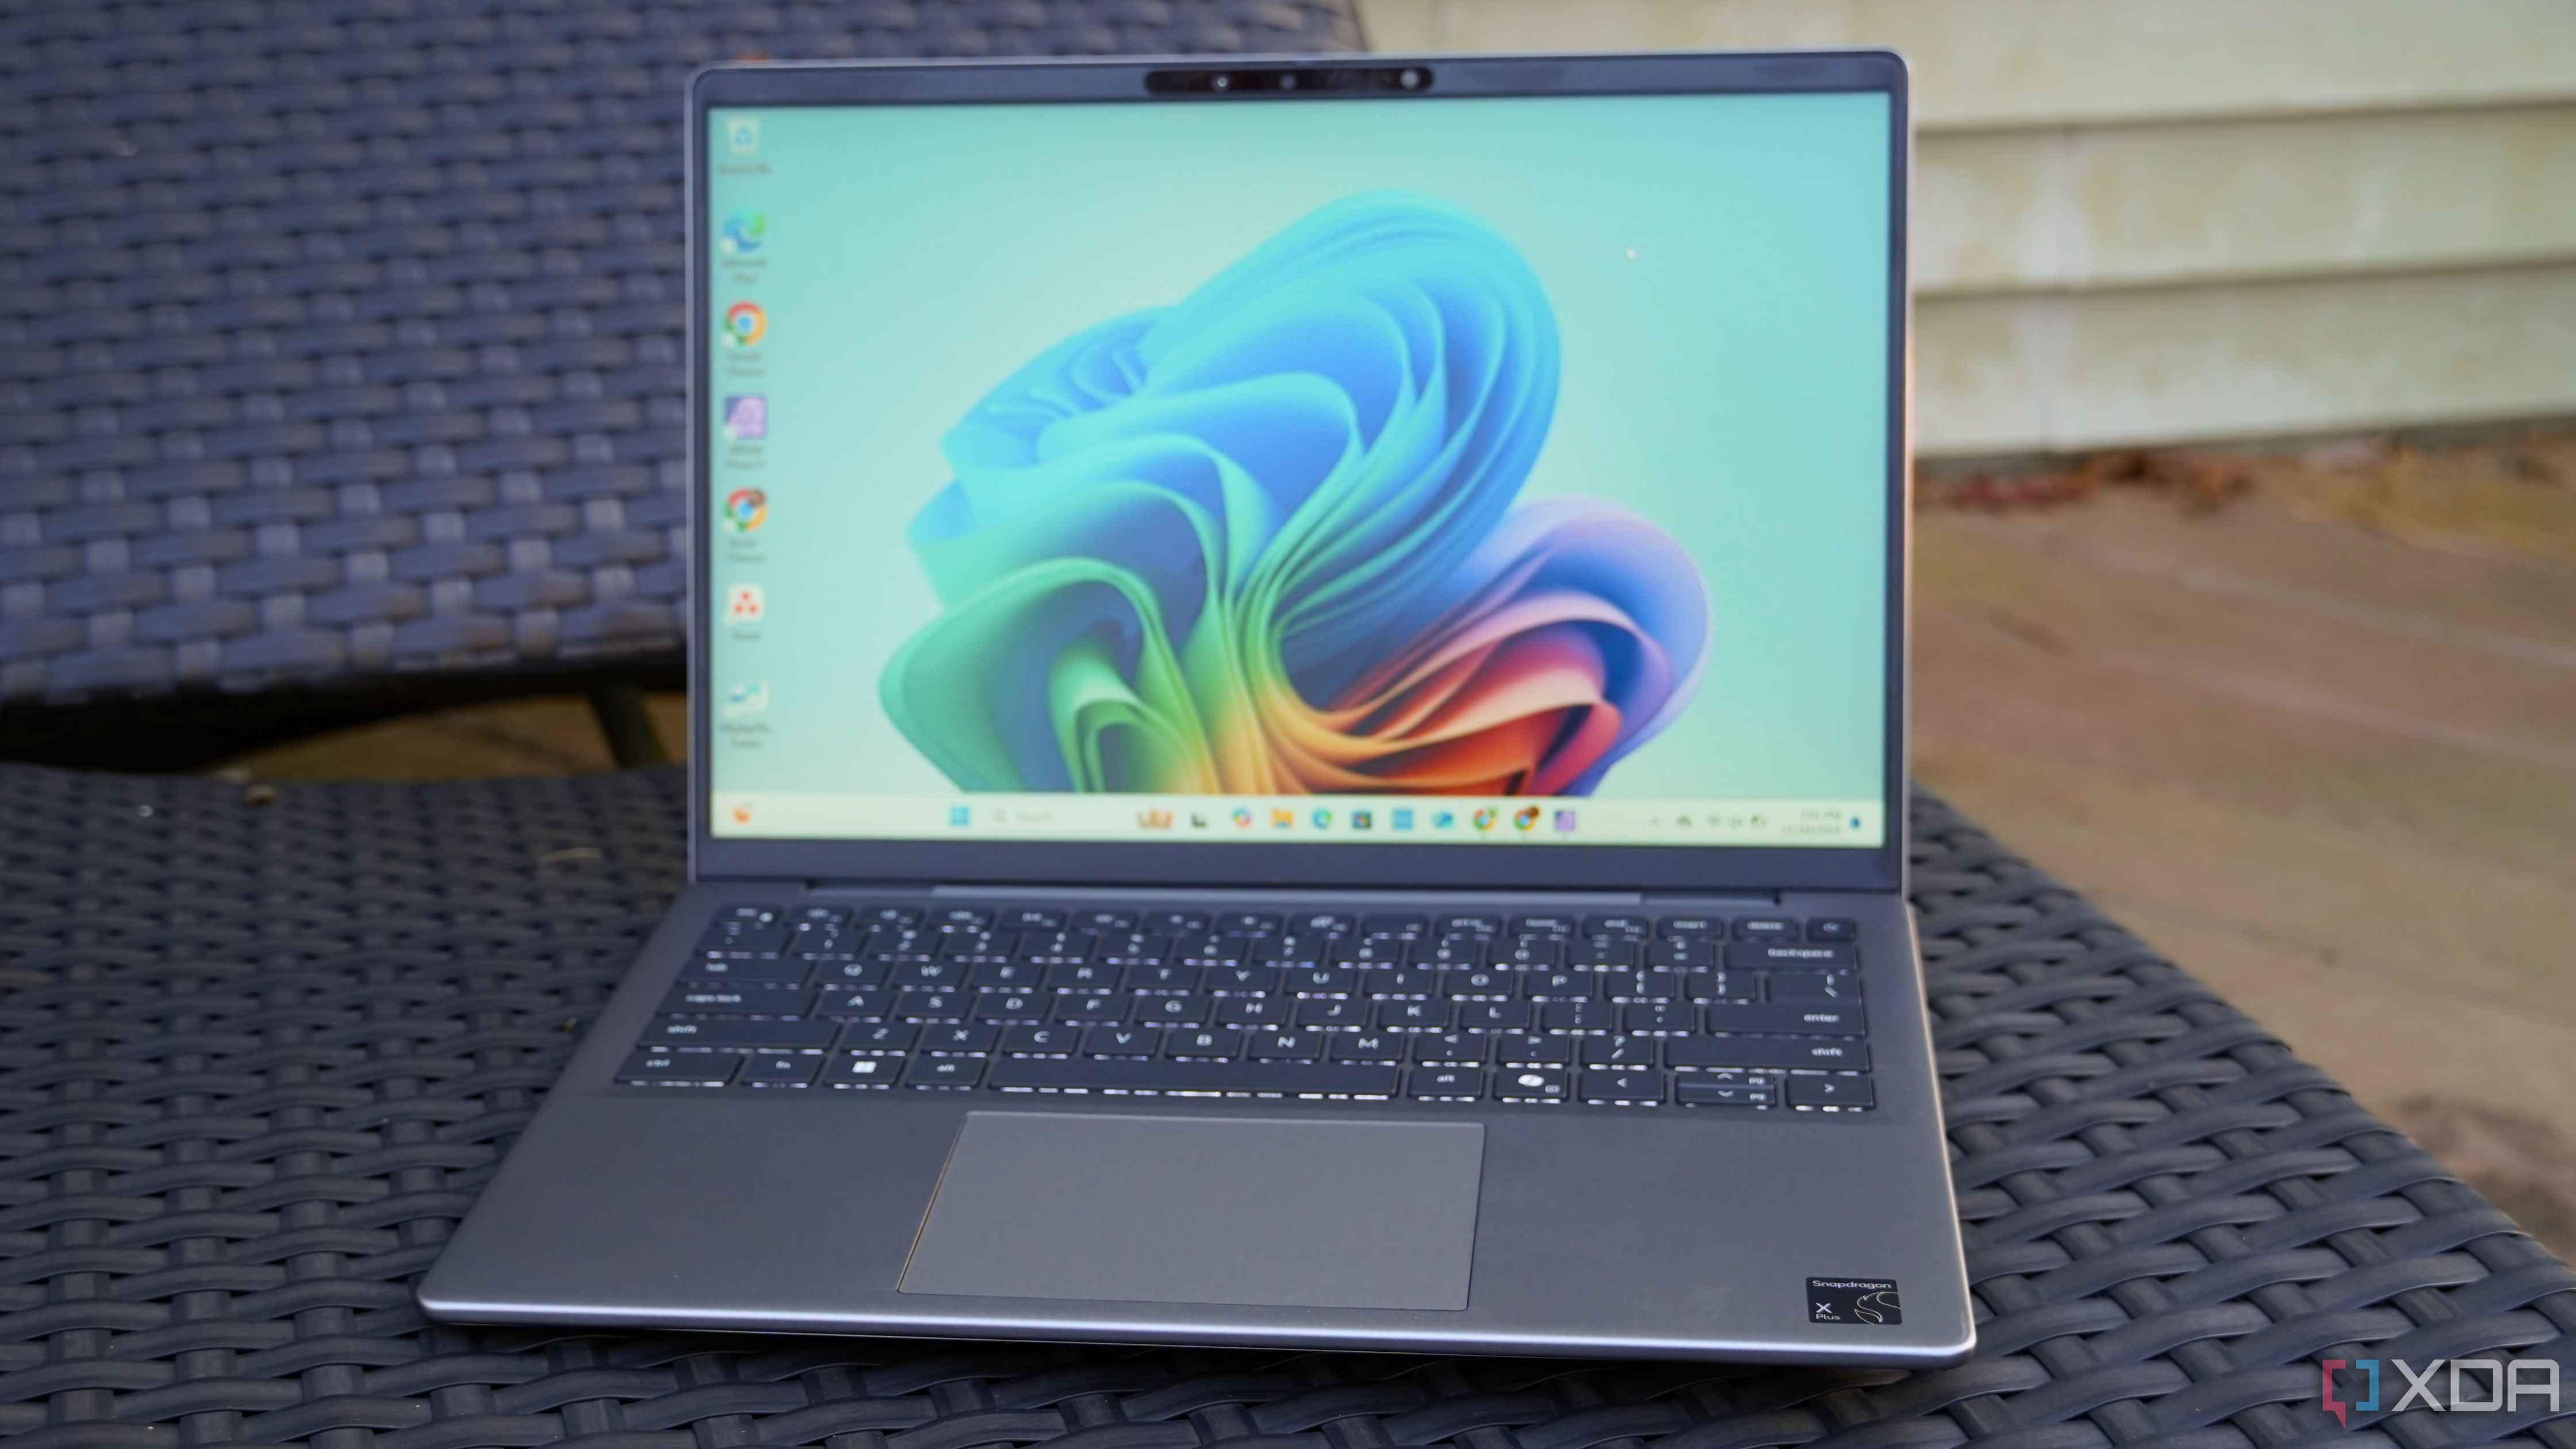
One glaring change in Windows 11 is the centered Start menu. To make things look like 10, I began by realigning the Start menu and taskbar. The good news is that you can move it without customization software using the Settings app, although the option is somewhat hidden. I will note, however, that if you have a large monitor, the centered Start menu makes more sense. But, we want the Windows 10 effect.
To move it back to the left, go to Settings -> Personalization -> Taskbar -> Taskbar behaviors. Change the alignment dropdown to the Left option.
Related
6 Start Menu tips you absolutely need to know about
Unlock hidden features & boost productivity! Learn the secrets of the Start Menu—shortcuts, customization & pro tips.
Bring back the classic File Explorer
Show Windows 10 navigation and context menus
Another way to get the look and feel of Windows 10 is to restore the classic File Explorer and context menu. You don’t need software to do it, but you can use this trick as an alternative. Press the Windows key and search for Windows Tools. Once it’s open, click on Home or This PC to switch to the classic File Explorer navigation menu. This will also bring back the classic context menu, so it’s a twofer.
It’s essential to note that this trick will not retain the classic navigation menu after starting a new File Explorer instance or restarting, unlike customization apps. However, to make it easier to access, you can right-click the Windows Tools entry on the Start menu and pin it to the taskbar for quick access. Then you can replicate the classic File Explorer whenever you want.
Related
5 ways to fix slow File Explorer performance
Your workflow becomes unpleasant when File Explorer exhibits slow performance. Here's ways to fix the issue.
Return app labels
Show app labels on the taskbar
Sometimes, Microsoft removes Windows settings and later returns them. That is true with the app labels on the taskbar. On Windows 10, you had the option to display them or not; however, on Windows 11, this option has been removed. However, with recent updates, the feature has returned.
You can show app labels on the taskbar by heading to Settings -> Personalization -> Taskbar -> Taskbar behaviors and choose Never next to the “Combine taskbar buttons and hide labels” option. It will ungroup the apps and show labels. For me, this results in too much wasted space, but it’s possible to do it if you prefer.
Related
7 ways to customize the Windows taskbar for maximum productivity
The Windows 11 taskbar may seem basic, but there's a lot you can change about it. Here are a few ways you can boost your productivity.
An irritating behavior that Windows 10 got right
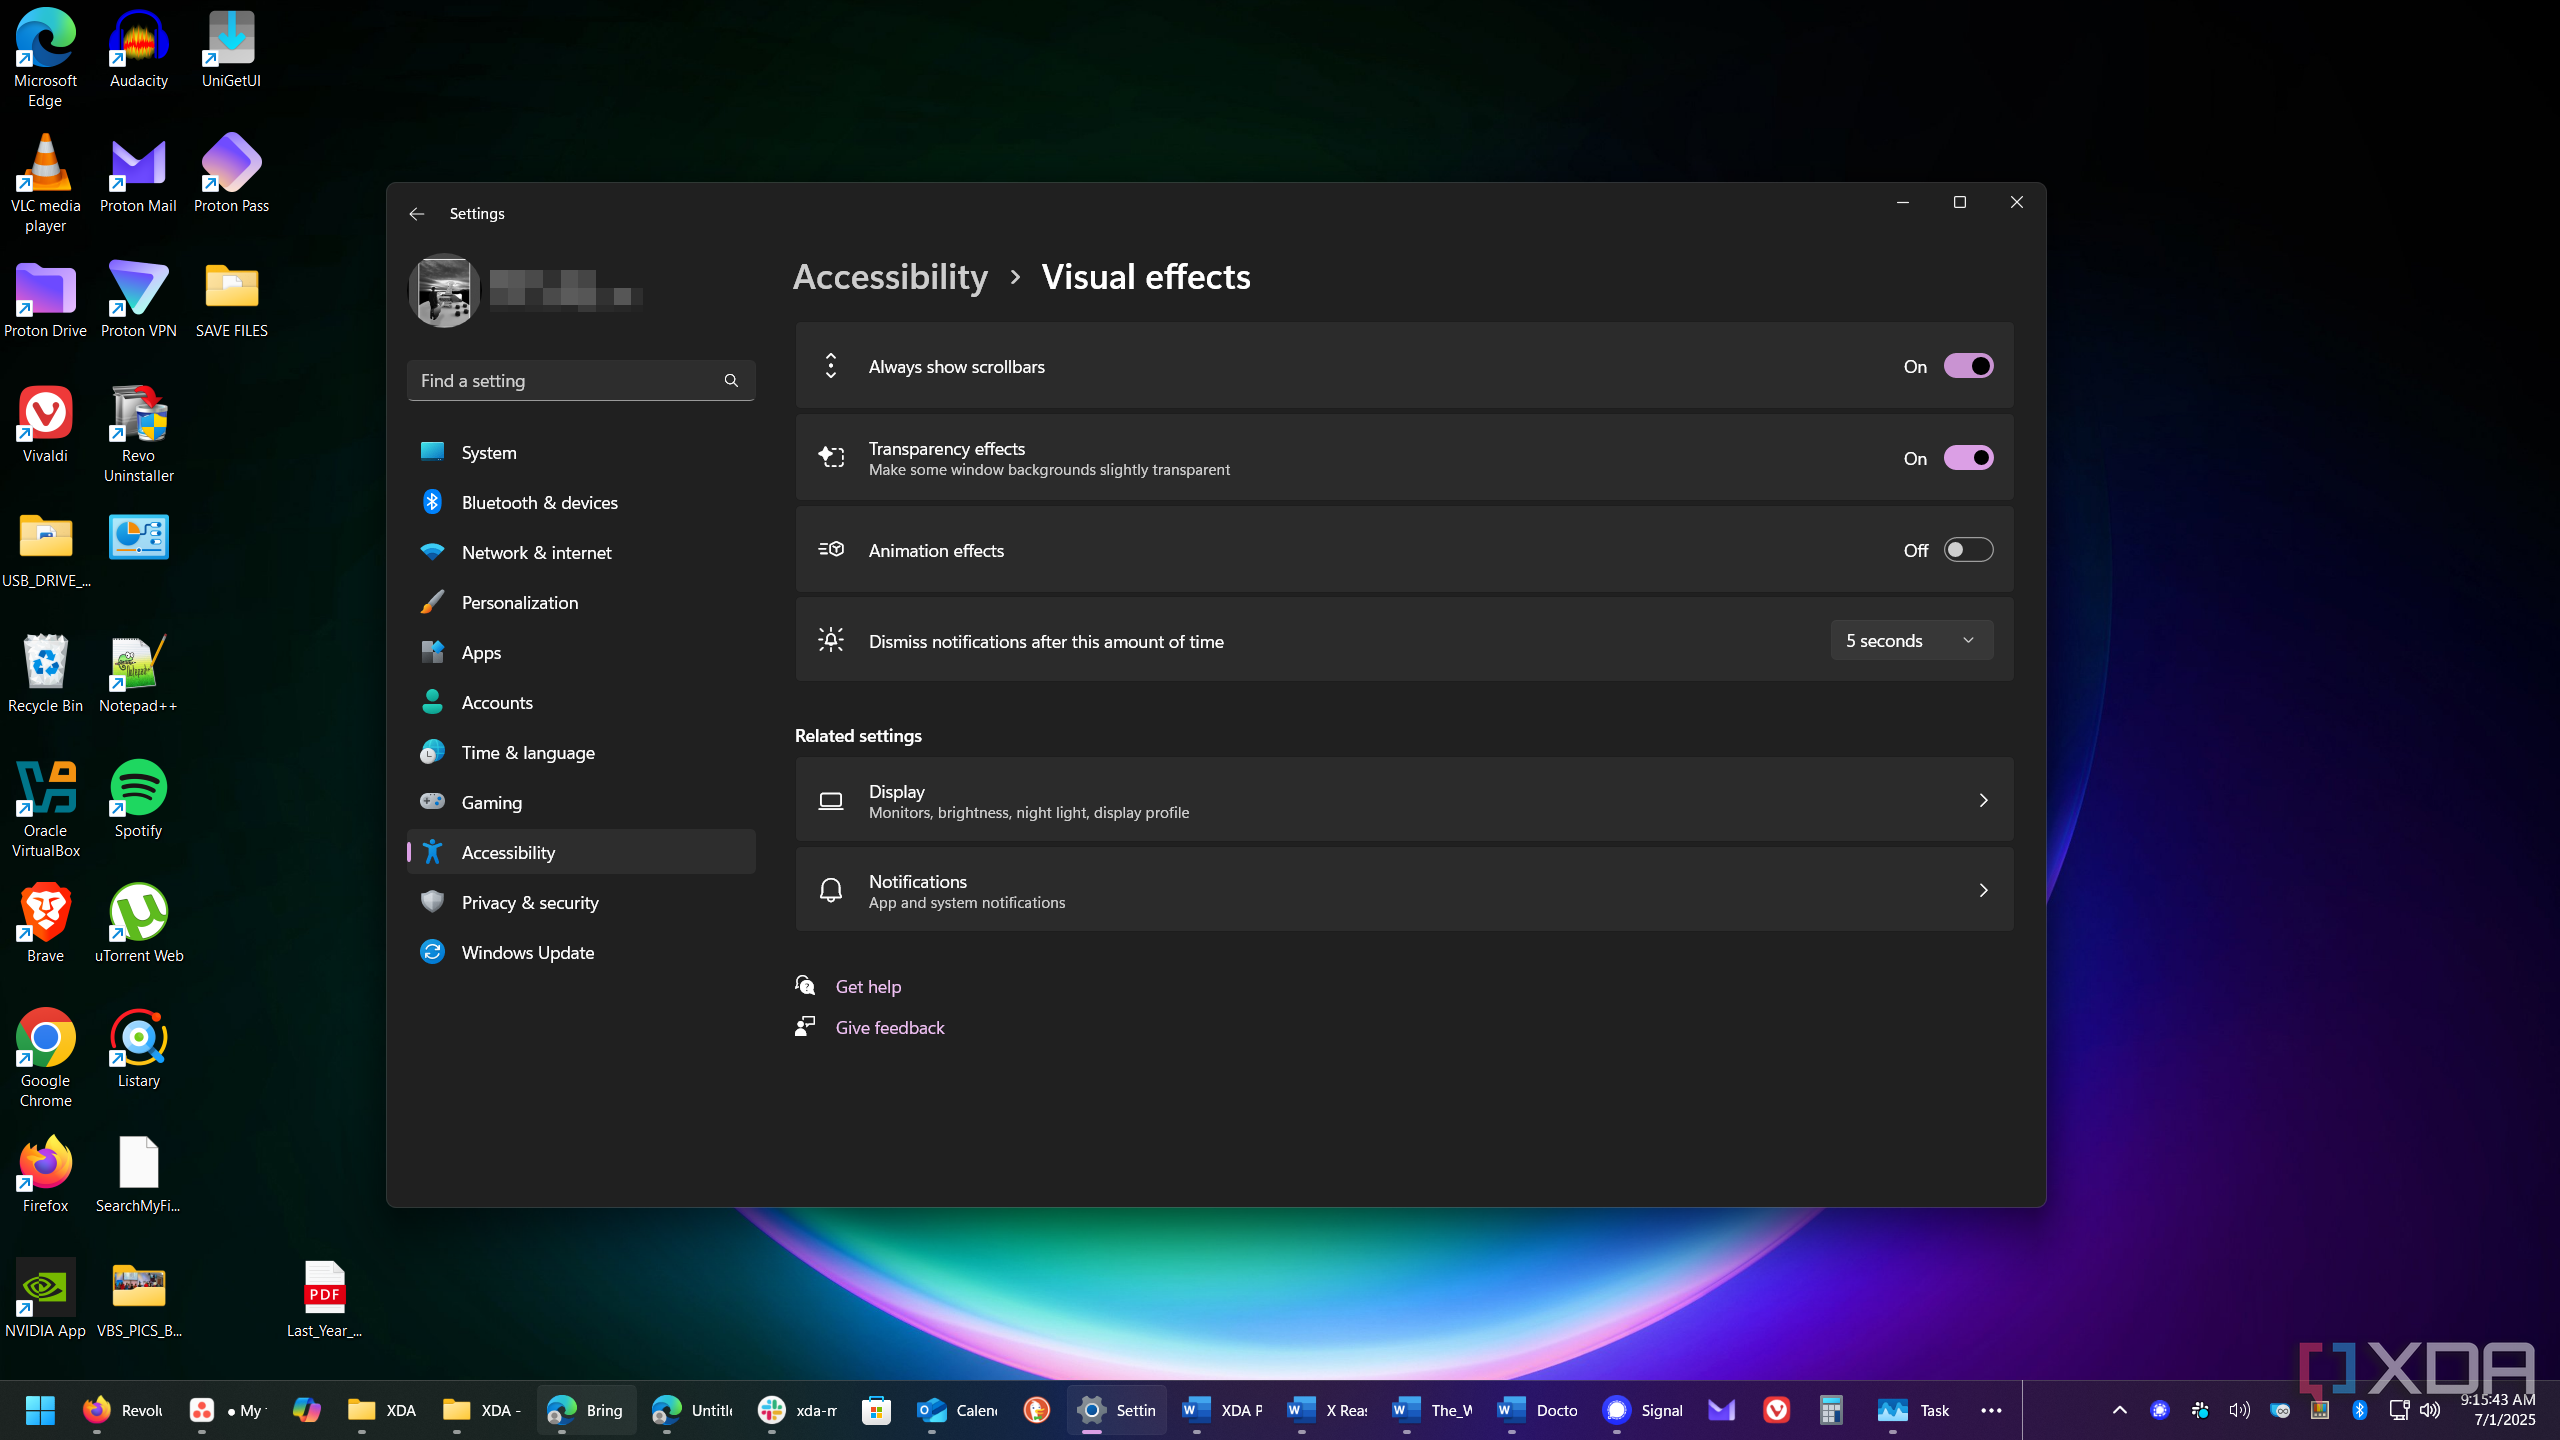
While attempting to modernize itself, Windows 11 can sometimes hinder its own progress and make things more difficult for users. One example is that it hides the scrollbar for apps, displaying it only when the user hovers over it. I mainly get irked by this behavior while using a laptop. Fortunately, you can make a quick adjustment to ensure the scrollbar is always visible. Open Settings -> Accessibility -> Visual Effects and toggle on the “Always show scrollbars” switch.
Related
Change the color scheme
Important for returning the Windows 10 aesthetic
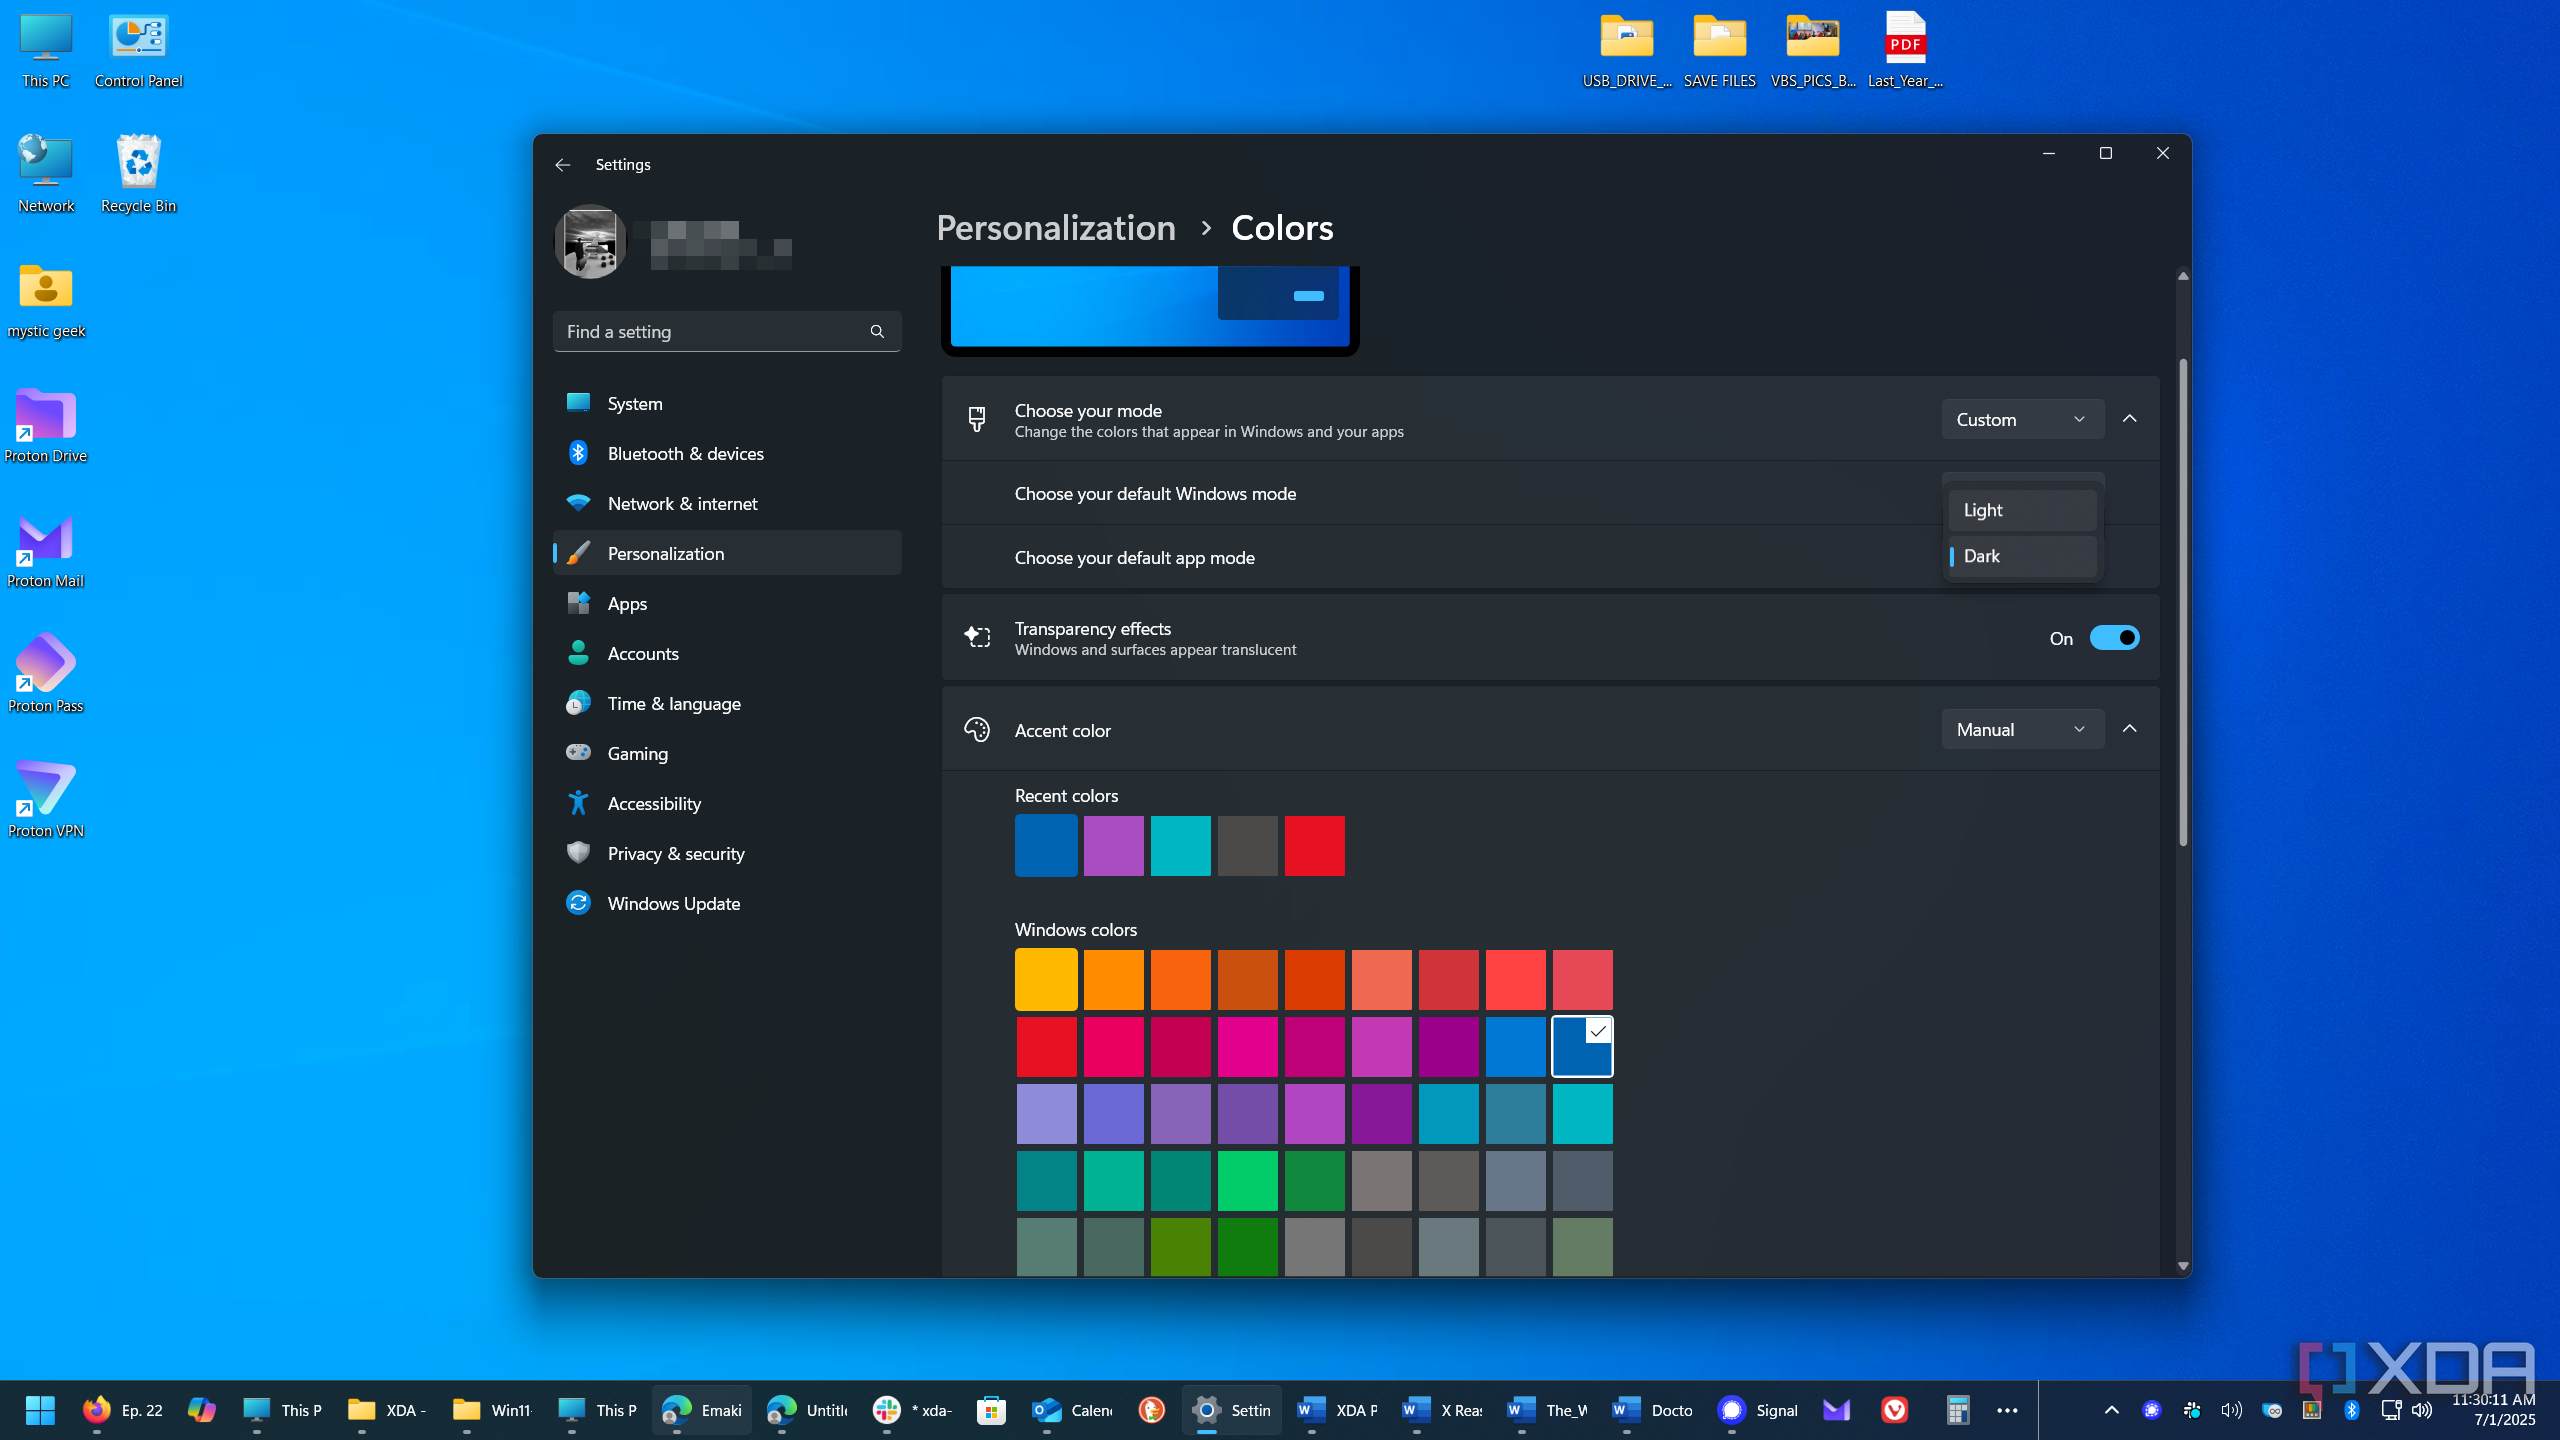
Another important part of making your Windows 11 system appear like Windows 10 is to make it visually resemble the classic OS. To do this, I used the built-in color customization settings. Open Settings -> Personalization -> Colors and choose Custom for “Choose your mode” and Dark for “Choose your Windows mode.”
Select the Windows color you want to use and enable the “Show accent color on Start and taskbar” and “Show accent color on title bars and window borders” options. Using these options gives my system a more legacy feel. It also returns a color accent for title bars around app window frames.
Tip: While on the topic of personalization, consider adding the classic Windows 10 wallpaper or a similarly designed one that fits your color scheme. If you still have access to Windows 10, you will find it in C:\Windows\Web\Wallpaper\Windows.
Desktop icons
Don’t forget the legacy desktop icons
The legacy desktop icons, like This PC and the Control Panel, give your Windows 11 system a finishing touch. Head to Settings -> Personalization -> Themes and click Desktop icon settings. Choose the icons you want to add to the desktop and click OK.
Related
If you want to make your Windows 11 experience look and feel more like Windows 10 without installing extra software, you can. It isn’t a perfect replica, and honestly, using free third-party customization tools does a better job. They are also more convenient. Especially a tool like Windhawk that seems to have countless customization possibilities. Additionally, I wasn’t able to get the Start menu to resemble Windows 10. For that, a customization tool like StartAllBack or Start11 will be your best option.
Still, it was a tedious but informative experiment to see what could be done to use native Windows 11 settings to make it look more like 10. Some aspects, like restoring File Explorer, had the best results. But overall, specialized modification tools will yield better results.


 English (US) ·