.png)
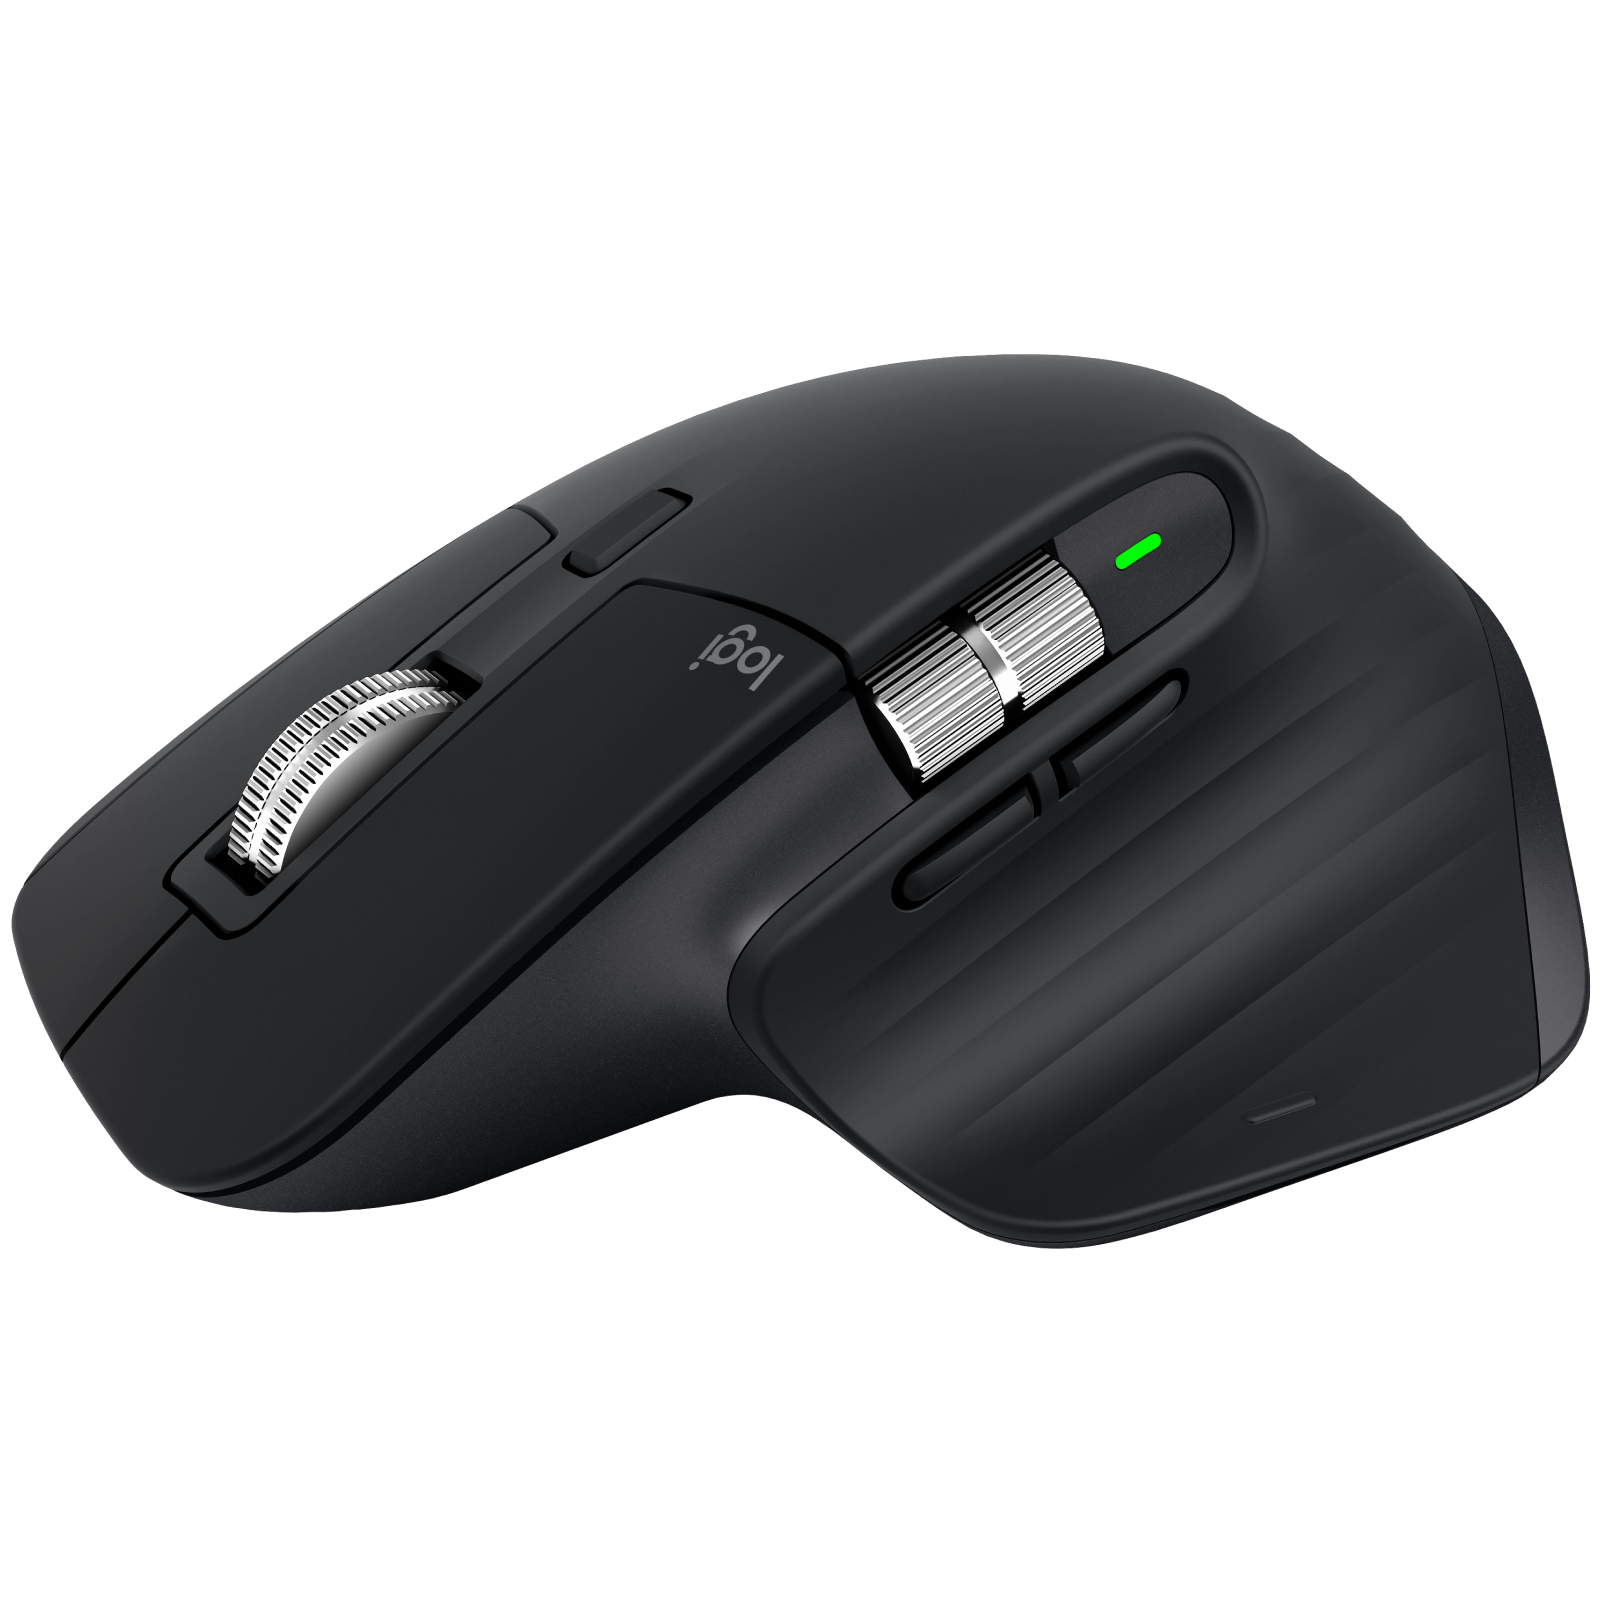
I have been using my Logitech MX Master 2S for years. It is a solid mouse that still performs well, but over time, the original skates on the bottom had worn thin and started peeling. That made it harder to glide smoothly on my desk and mouse pad. Buying a new mouse felt wasteful, and original replacement skates are neither cheap nor easy to find.
Instead, I turned to my 3D printer. I already had an STL file for replacement skates and decided this was the perfect opportunity to breathe new life into my trusty mouse. The process was quick and satisfying, and the results exceeded my expectations.
Related
9 reasons every PC enthusiast needs a 3D printer
If you love modding your PC, you should seriously consider investing in a 3D printer
Why I chose 3D-printed skates
The old skates were beyond saving
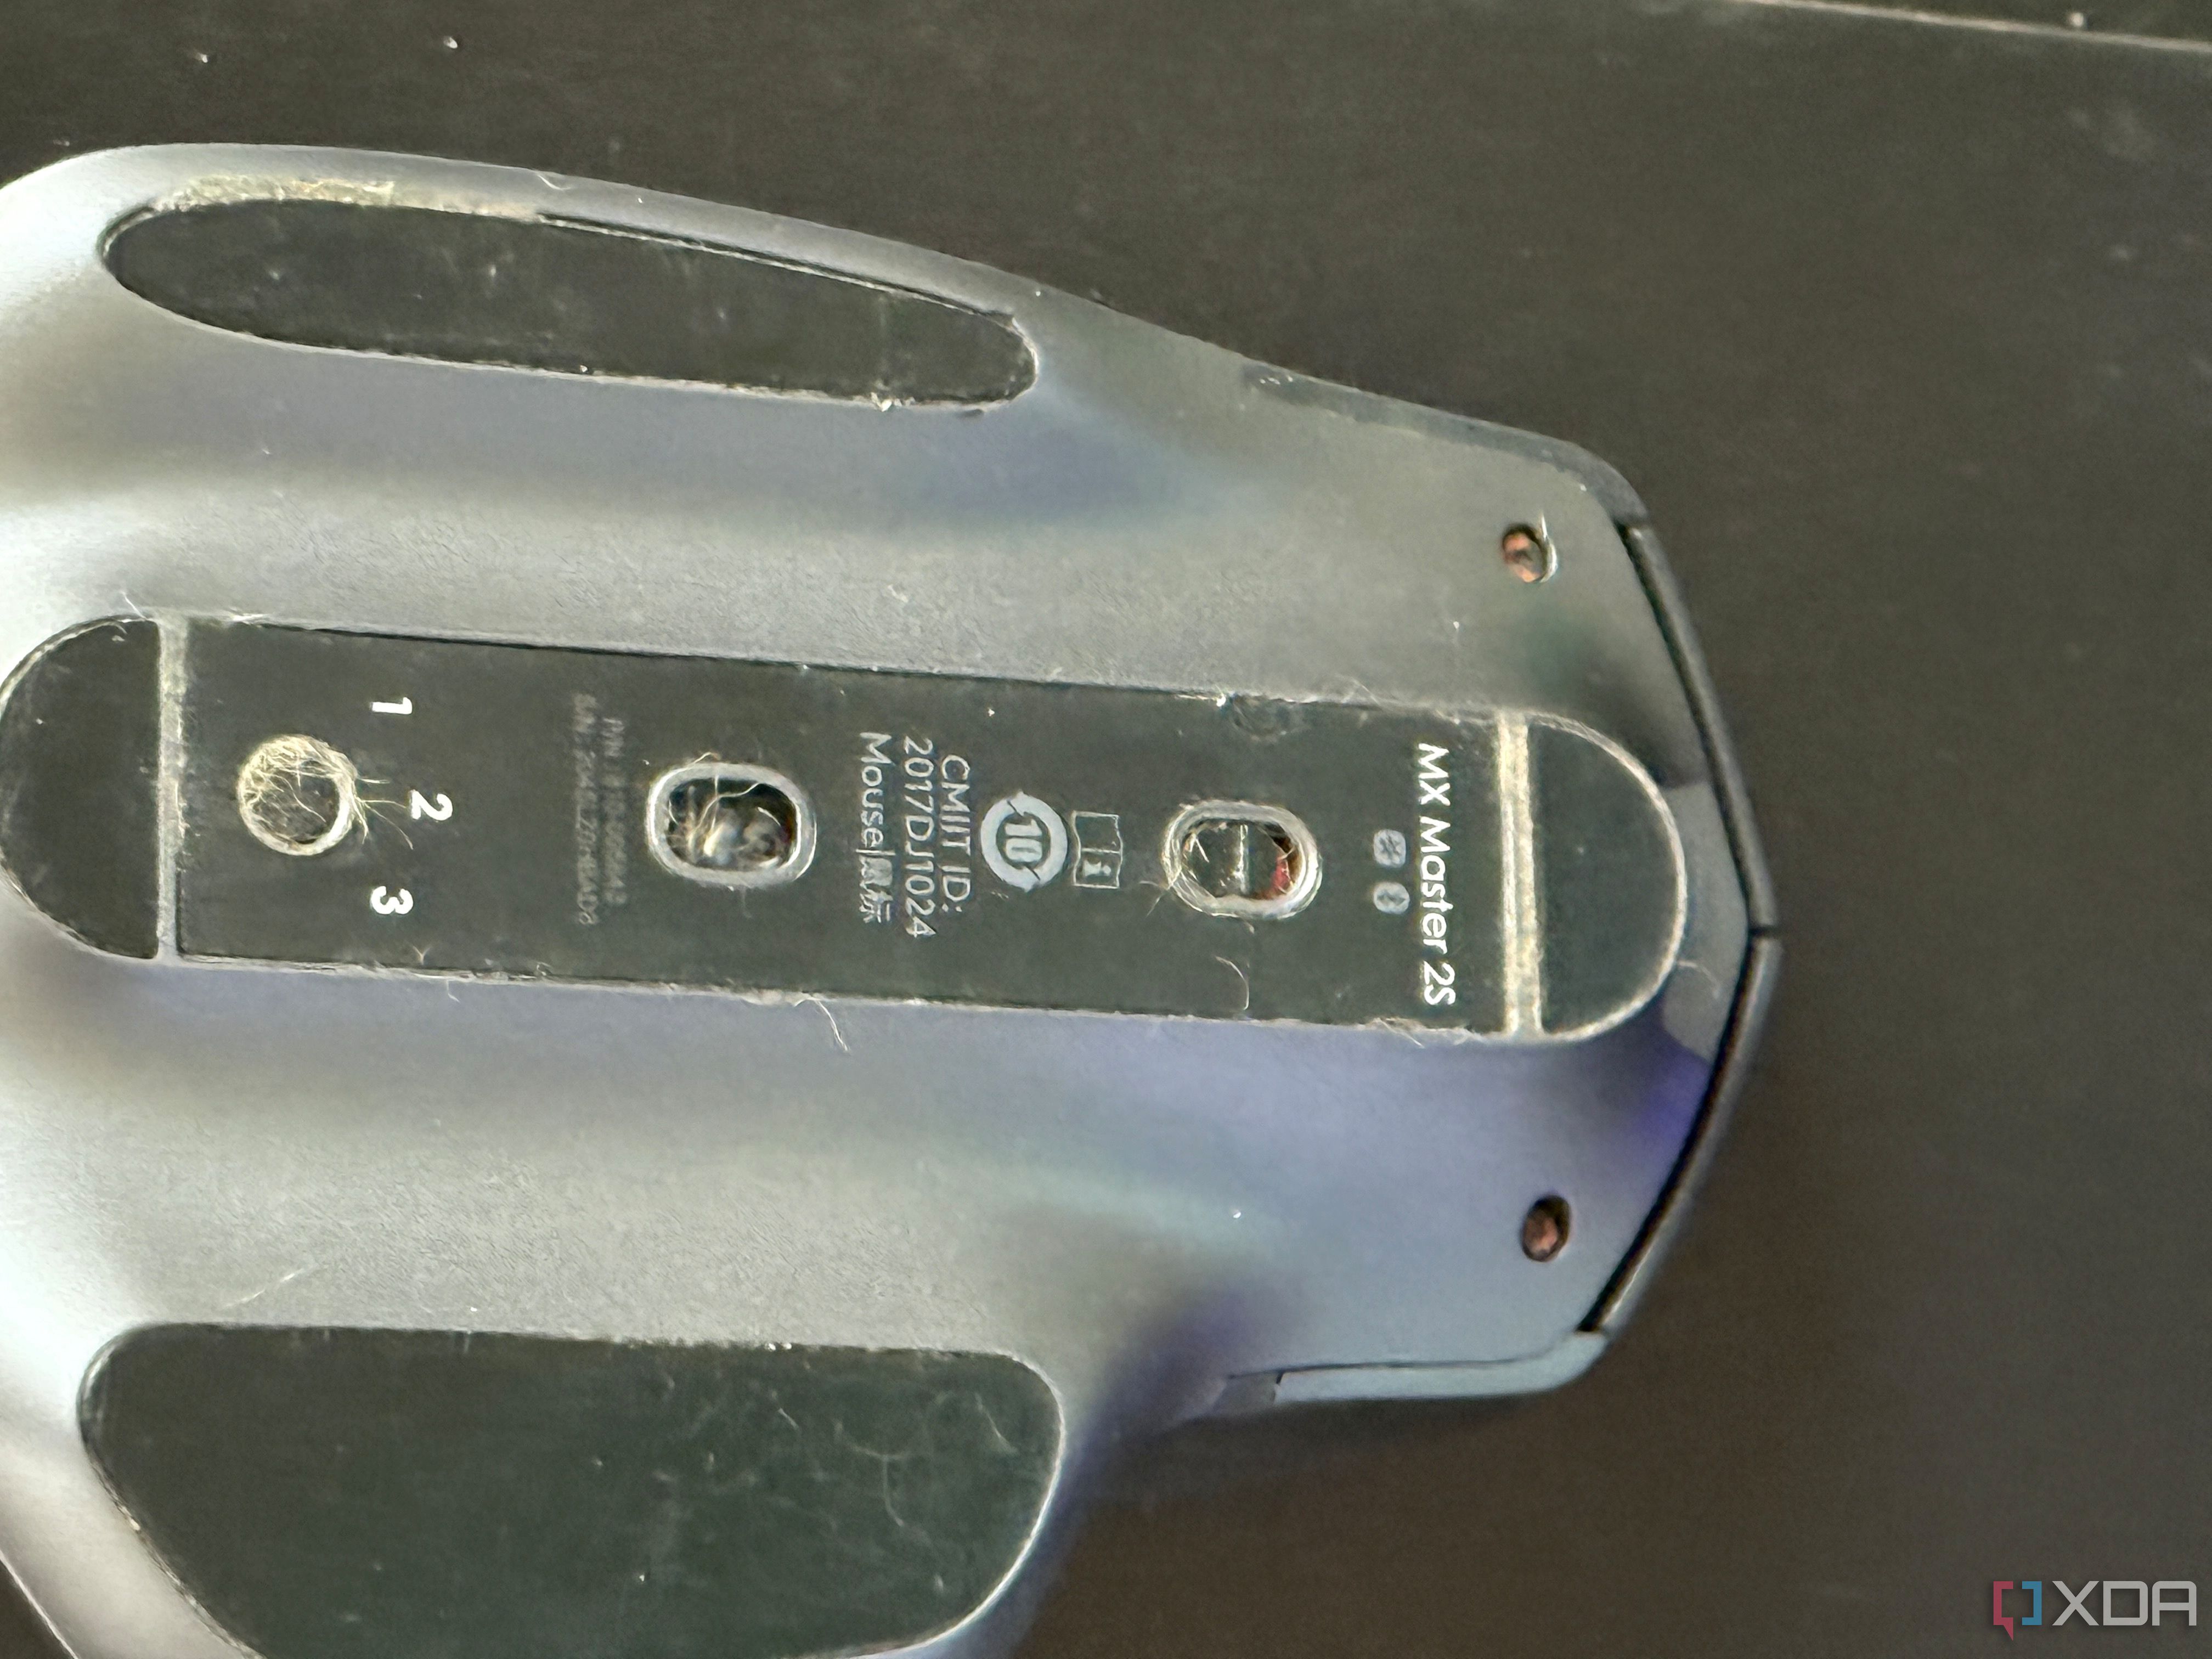
The stock skates on my MX Master 2S had been through years of daily use. They had become rough, thin, and uneven, introducing a considerable amount of friction. This was noticeable in both simple tasks, such as web browsing, and more precise work, like photo editing. The mouse would sometimes catch or feel sticky in certain spots.
Initially, I considered purchasing an aftermarket replacement set. But these can be pricey, and availability is hit or miss, especially for an older model like mine. Since I already had a 3D printer and plenty of filament, printing my own seemed like a natural choice. I found a well-reviewed STL file explicitly designed for this mouse and decided to give it a try.
Printing the new skates allowed me to customize the feel and performance of the skates. I could experiment with materials and layer heights to find the optimal combination of smooth glide and durability. The cost was practically zero since I used filament I already had on hand.
How mouse skates get damaged
Factors beyond simple wear and tear
Most people expect mouse skates to wear down gradually over time, but other factors can cause them to degrade much faster. One common culprit is surface contamination. If small particles of grit or debris become stuck between the skates and your desk, they can grind away at the material and scratch it. Once the surface becomes rough, performance quickly suffers.
Another factor is improper cleaning. Using harsh chemicals or scrubbing too hard can break down the adhesive or damage the plastic itself. Even moving your mouse over sharp edges or rough surfaces, such as an unfinished wooden desk, can gouge the skates. I had a few nicks in mine that I suspect came from precisely that kind of accidental abuse.
Finally, extreme temperature changes can sometimes cause the adhesive to fail or the plastic to warp. Leaving your mouse in a hot car or near a radiator can accelerate this kind of damage. In short, there are plenty of reasons you might find yourself needing to replace the skates sooner than expected.
What you need to get started
Simple tools and one good STL file
Replacing your mouse skates is an easy project if you have access to a 3D printer. The most important thing is finding an STL file that matches your exact model. There are numerous designs for popular mice available on sites like Printables and Thingiverse. I used one from Cults3D that was tested and sized specifically for the MX Master 2S.
In terms of tools, you will want a thin plastic pry tool or a hobby knife to remove the old skates. Isopropyl alcohol helps clean the surface before applying the new ones. Depending on your printer setup, you may also want to lightly sand the printed skates or use a finishing treatment to smooth them out. For filament, you can use PLA, but some prefer a nylon filament for better smoothness.
If you want to try this for your own mouse, here is what I recommend:
- Find a high-quality STL file for your mouse model.
- Print the skates using a filament that offers a good balance of hardness and slickness. I set the print to use a 2-layer raft to ensure good bed adhesion.
- Carefully remove the old skates and clean the surface thoroughly.
- Test fit the new skates, then attach them using a strong double-sided adhesive.
- Test the glide and make adjustments as necessary, such as lightly sanding them to reduce drag.
Results and how it feels now
Better than I expected for such minimal cost

Source: Logitech
After installing the 3D-printed skates, my mouse felt almost new again. The glide was smooth and consistent across my mouse pad. The added thickness of the new skates even gave the mouse a slightly lighter feel in use, which I liked. I was surprised at just how noticeable the improvement was for such a small and inexpensive project.
There was a short break-in period of about a day while the skates polished themselves against the surface of my desk and pad. After that, the feel was very natural. The mouse tracks perfectly, and I do not experience any sticking or hesitation.
I also have the benefit of being able to print replacements anytime I want. If these wear down, I can try different materials or tweak the design to refine the feel further. It restored my aging mouse to perfect health with just a little bit of effort.
Why this is worth trying
If you have a favorite mouse that still works well but has worn or damaged feet, or skates, this is a project worth considering. Replacement feet are often overpriced or unavailable, and 3D printing gives you complete control over the process. The tools and materials required are minimal, and the payoff is immediate.
Not every material will feel identical to the factory skates. But you can get close enough that you’ll be happy with the result. On top of that, it’s a satisfying way to extend the life of your gear and save some money. I’m actually planning to print spare sets of skates for my other mice as well.


 English (US) ·