.png)
One great way to put a spare SBC to good use is to make it a server of some kind. After all, they're really good at staying online for long periods of time, and they use barely any electricity, so they made a negligible impact on your bill. So, why not keep those boards out of the spare parts drawer and make them earn their keep?
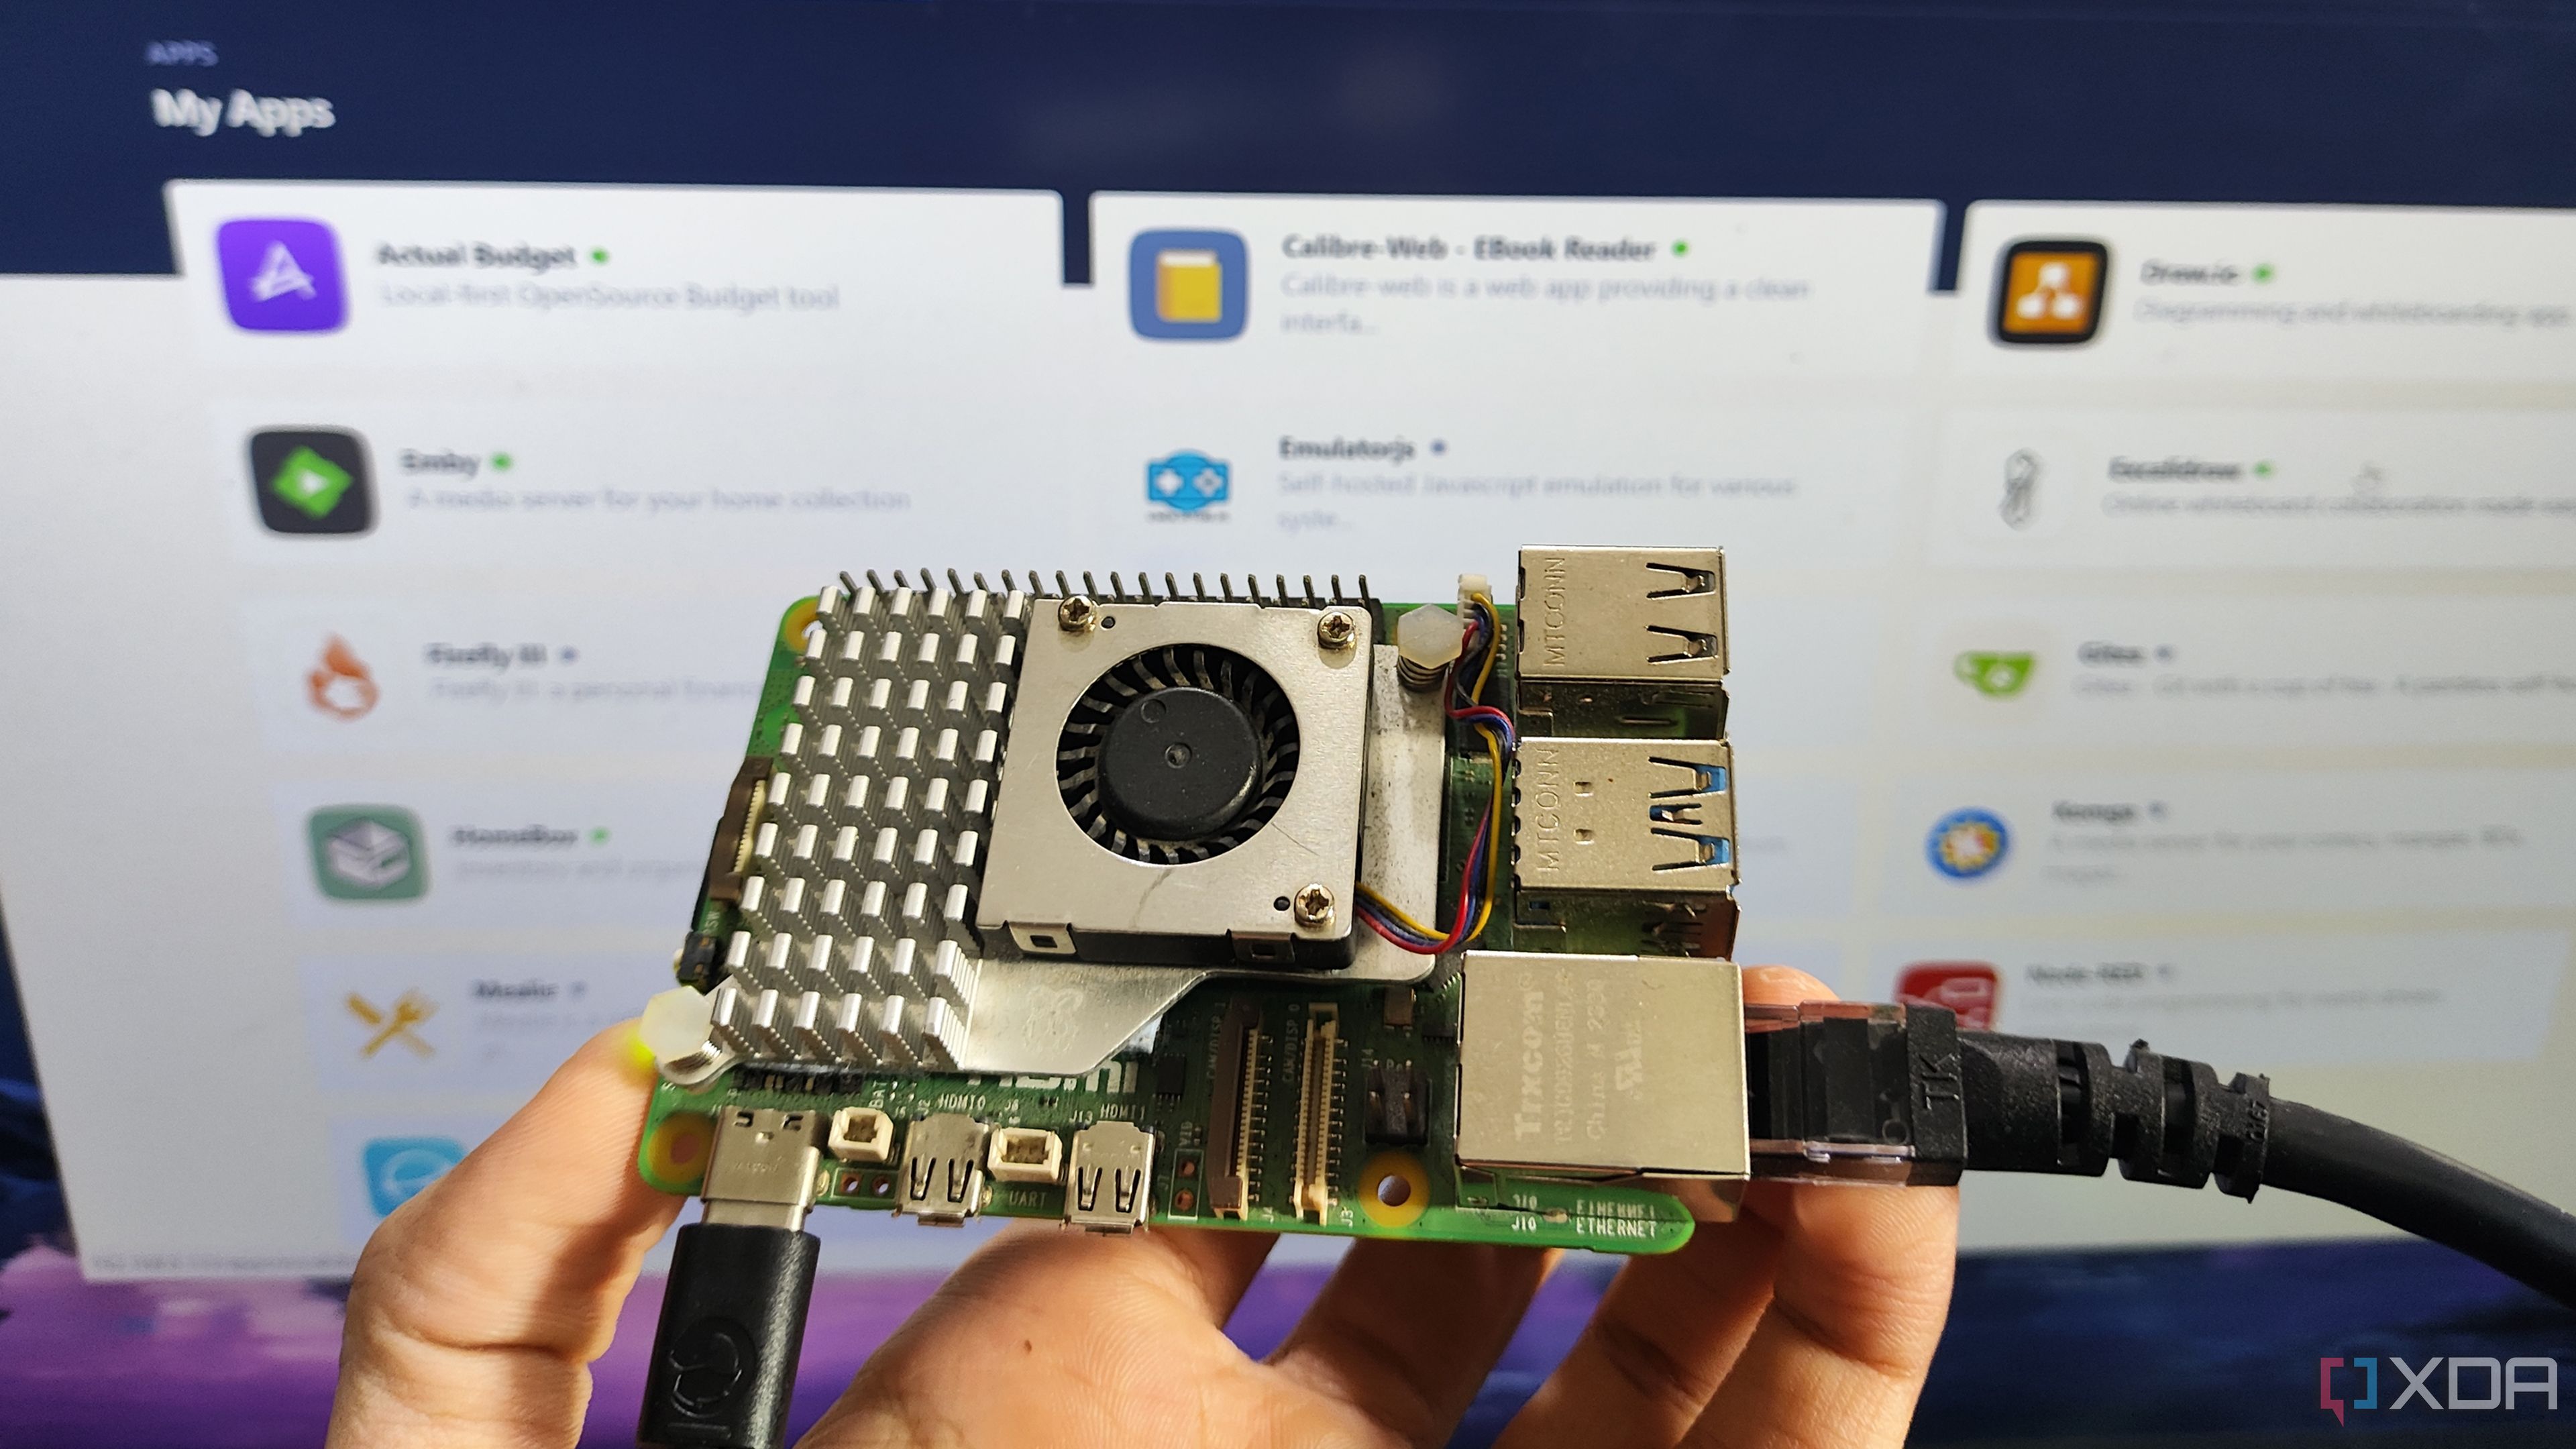
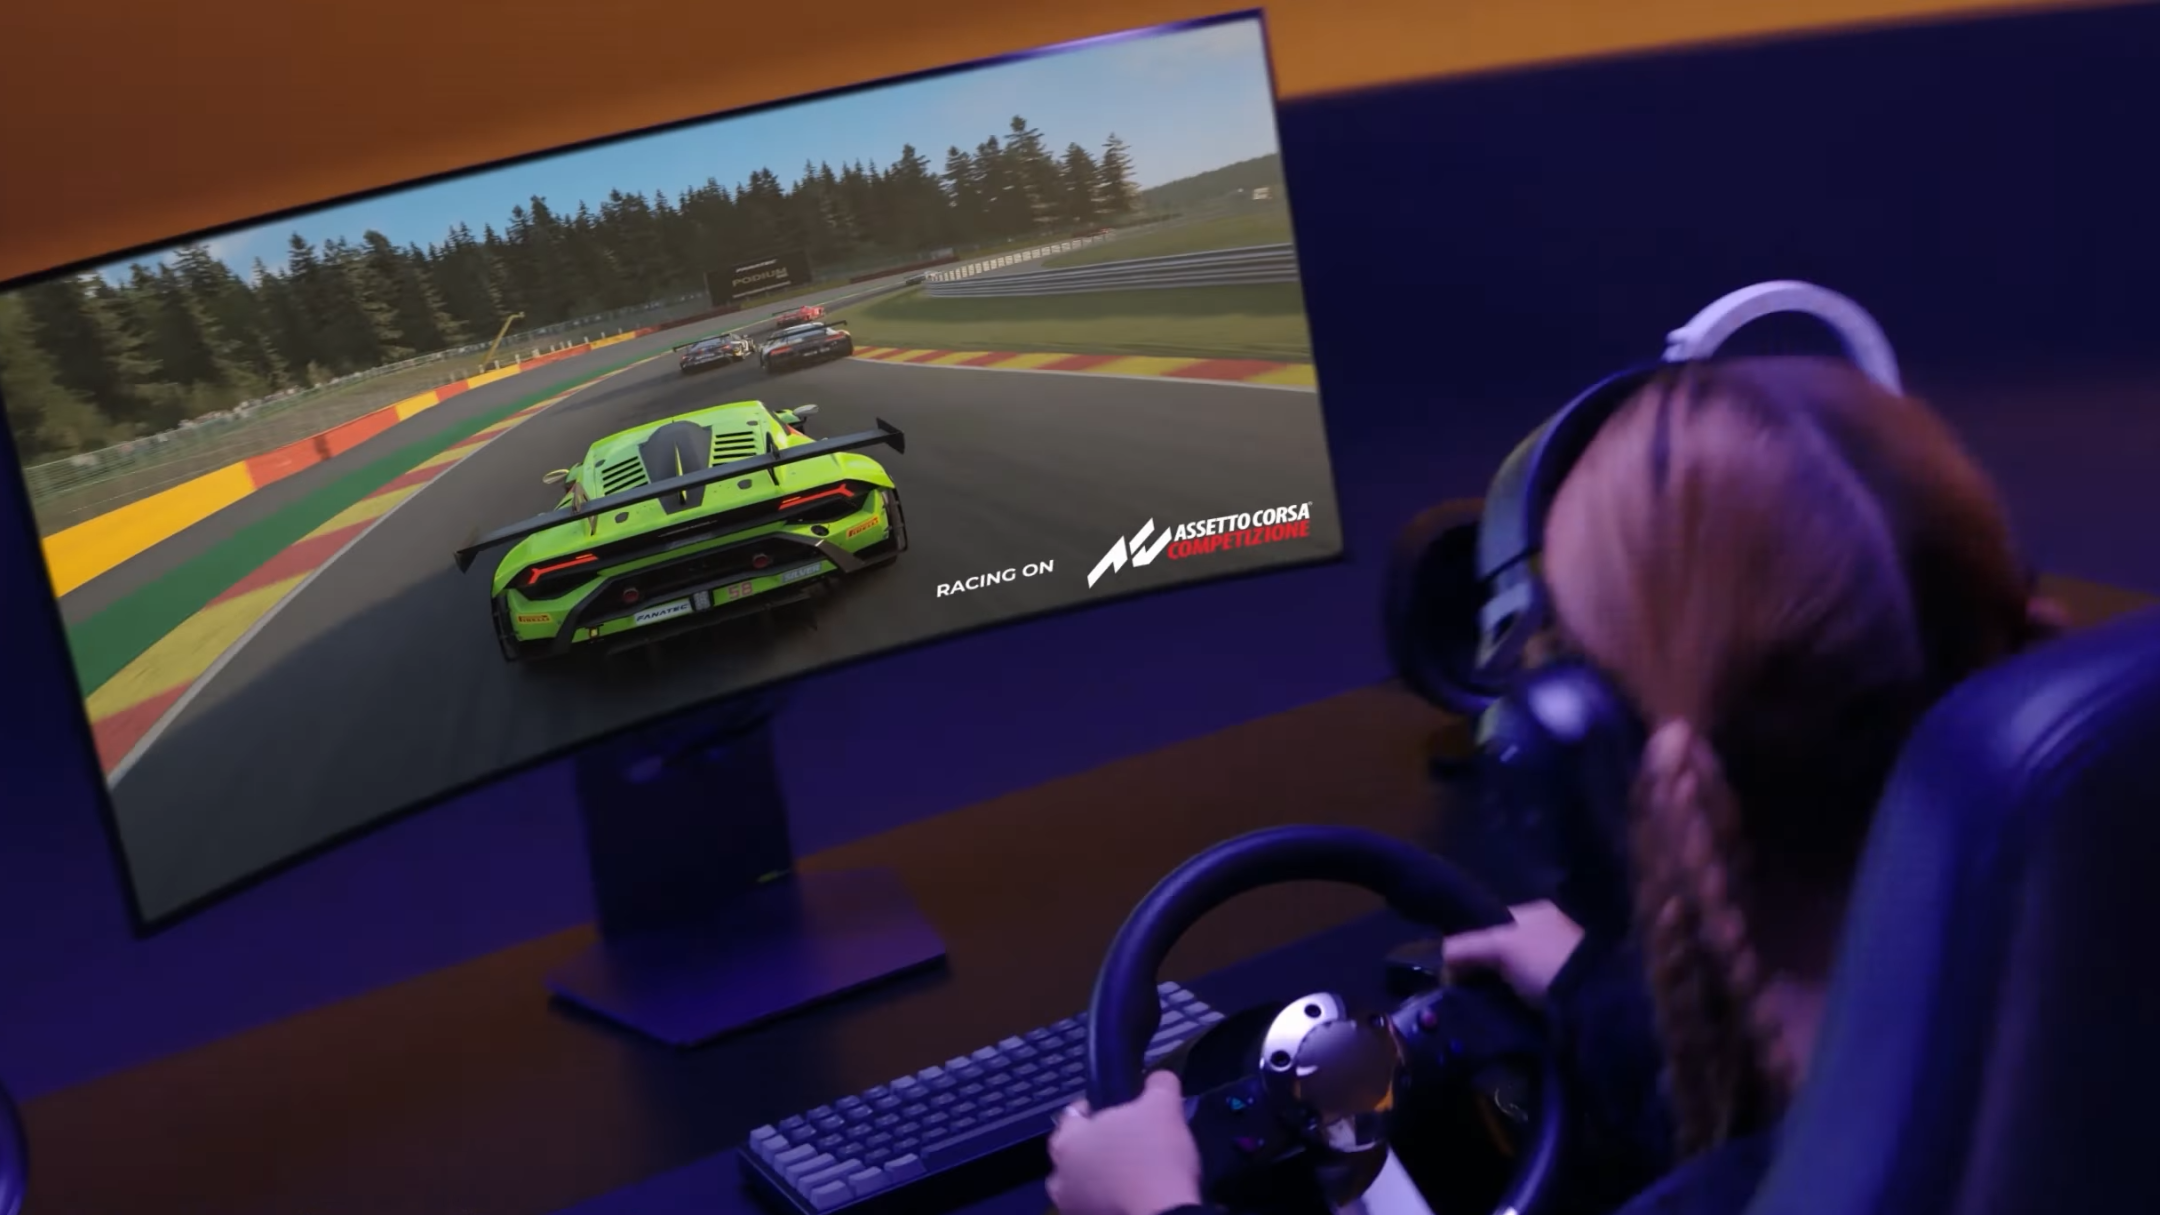
This is exactly what I did with a Raspberry Pi recently. I had it lying around, and I kind of wanted to put it to good use. So, I decided to make it a media center for my TV. It's quick, it's easy, and I can use the Raspberry Pi to play media whenever I like. So, here's how things went.
For the sake of this article, I ran LibreELEC on a virtual machine to take better screenshots of my work. Rest assured that I am simply emulating what I have previously achieved on my real hardware, but if you decide to follow my steps, some things may look different as a result.
The first step: getting LibreELEC installed on the Raspberry Pi
Setting the foundation for the rest of the project
One of the best parts of being an XDA author is that you have a treasure trove of knowledge right at your fingertips. Not only are there a ton of guides available, but you can prod the person who wrote it on Slack if you have any questions about it. It's a good perk.
As you might imagine, we already have a guide on how to turn your Raspberry Pi into a media server, which recommends using LibreELEC to start up the media server. The author, Ayush Pande, recommends a Raspberry Pi 3 or above for a smooth experience, which I had on hand; however, the LibreELEC download page lets you install it on a Raspberry Pi 2 if you'd like. If I had one of those, I would have given it a try to see how responsive it would be.
Once LibreELEC was downloaded, I flashed it onto my Pi's SD card using Balena Etcher, and I was good to go.
Related
5 reasons why I use a Raspberry Pi as a downloading device instead of my Windows PC
Save resources and minimize power bills by using a Raspberry Pi as a download machine paired with a power bank and an external hard disk.
Making a home in LibreELEC
Moving all of the media over
One of the things I really learned to love about LibreELEC is how easy it is to get media from your devices onto the Raspberry Pi. You don't even need to plug anything in; all you have to do is set up network access, find your Pi's IP address, access it on your device of choice, and put the files in. You can then access those files from the Raspberry Pi and load them up in LibreELEC.
So, to get started, I headed into the LibreELEC settings, then looked at the System Information. I noted down the IP address of my Pi, then double-checked that SSH was on. Once that was done, I accessed that same address via File Explorer by typing two backslashes and then the address (i.e. \\192.168.1.1). This gave me access to the Pi's internal storage.
From here, I can place anything I want, wherever I want. Load up the music into the music folder, add some TV shows into the video folder, you name it. Then, all I have to do is access those files from within LibreELEC and now you have a music playlist DJ, a TV show player, or whatever media you want, transferred over with ease.
Related
This is how I schedule tasks on Raspberry Pi and you should too
You don't need to run everything manually on the Raspberry Pi. You can schedule tasks to run automatically.
Turning LibreELEC into a streaming box
Because not all of my favorite media come in MP4 files
Finally, I added some streaming services into the mix. I really like watching people play games on Twitch, so I set up the Twitch addon and logged in with my account so I could watch people play. Then I can just have the stream going on my TV while I do other things.
To achieve this, I went to the "Add-ons" section, then "Install from repository." You can pick a ton of different services from here, but for this bit, I went with Twitch. I then clicked on "Get OAuth Token," accessed the link it gave me, accepted the permissions, and then added the OAuth key. Now, LibreELEC can access the following list and allow me to browse the streams I want to watch.
Related
7 creative uses for Raspberry Pi you probably haven’t tried yet
Your Raspberry Pi is good for more than just a media center or retro game emulator
Making a Raspberry Pi media center is dead easy
Overall, I really liked using LibreELEC on my Raspberry Pi. It put my otherwise idle hardware to good use, and now I have a media center on my TV I can use for music, media, and even streaming. The best part is that I can always plug the Pi into any screen I like and bring everything with it. It doesn't have to be a TV, after all; a monitor would do just fine.


 English (US) ·