.png)
I've set up plenty of Raspberry Pi projects over the years, but turning one into a dedicated VPN server for my entire network might be one of the most practical yet. Instead of just protecting one device at a time with a VPN app, everything on my home network routes through a secure tunnel, without individual configurations or extra subscriptions. Whether I'm using my phone, gaming PC, or even my smart TV, all the traffic benefits from encryption and location shifting.
This approach is especially useful when I need to access region-locked services, remotely monitor devices, or secure my connection while using public Wi-Fi. And since the Raspberry Pi is low-power and cost-effective, it's perfect for running 24/7. I'm currently using WireGuard for speed and simplicity, but this setup would also work with OpenVPN. Once it's running, I don't have to think about it because it just works in the background.

Related
Why a Pi-powered VPN makes sense
Protecting every device without configuration hassle
Running a VPN on a single Raspberry Pi handles the entire network without requiring the installation of apps on every device. This is ideal for protecting things like smart TVs, streaming boxes, and game consoles, which often don't support VPN natively. By placing the Pi between your home router and modem, or using it as a standalone gateway, you can ensure all traffic is encrypted before it hits the Internet.
In my case, I've set up the Raspberry Pi as a dedicated gateway, using two network interfaces. One is plugged into the modem, and the other end is connected to my router. That means all traffic leaving the house must pass through the Pi, where WireGuard handles encryption and routing. It took a bit of configuration, but once it was done, I haven't had to touch it since.
This also gives me the flexibility to change VPN providers or destinations from a single central location. If I want to shift my connection to a server in another country, I can do that without fiddling with 10 different devices. And because WireGuard is resource-light, the Raspberry Pi 4B handles the load easily.
What you will need to build this.
A Raspberry Pi, WireGuard software, and two interfaces.
To replicate my setup, you'll need a few pieces of hardware and some time. A Raspberry Pi 4 or 5 is ideal, especially since either model can handle the traffic throughput without bottlenecks. You'll also need two network interfaces: one for WAN (your modem) and one for your home router. A USB-to-Ethernet adapter is your best option, as the Pi only has one built-in Ethernet port.
WireGuard is my VPN software of choice here. It's faster and simpler than OpenVPN, with less overhead and better compatibility across devices. You'll also need a VPN provider that supports WireGuard, or your own cloud VPS if you're rolling your own server endpoint. Finally, ensure that your Pi runs a stable Linux distribution, such as Raspberry Pi OS or Debian, and is up-to-date.
You also need basic networking knowledge to manage routing and firewall rules. If you're already familiar with SSH, systemd services, and setting a static IP address, you'll be fine. I do recommend making a complete backup of your Pi once everything is configured, just in case you need to restore it later.
How I set everything up to turn my Pi into a VPN gateway
Configuring your network traffic to route through the Pi
This configuration turns the Raspberry Pi into a secure VPN gateway. That means all devices connected to your main router send their Internet traffic through the Pi before the traffic reaches the Internet. Here's how I got it up and running.
- Install Raspberry Pi OS on a Pi 4 or 5, then update the system with the following terminal command: sudo apt update && sudo apt upgrade
- Set up two network interfaces: one as WAN (external) and one as LAN (internal). You can use the built-in Ethernet and a USB-to-Ethernet adapter.
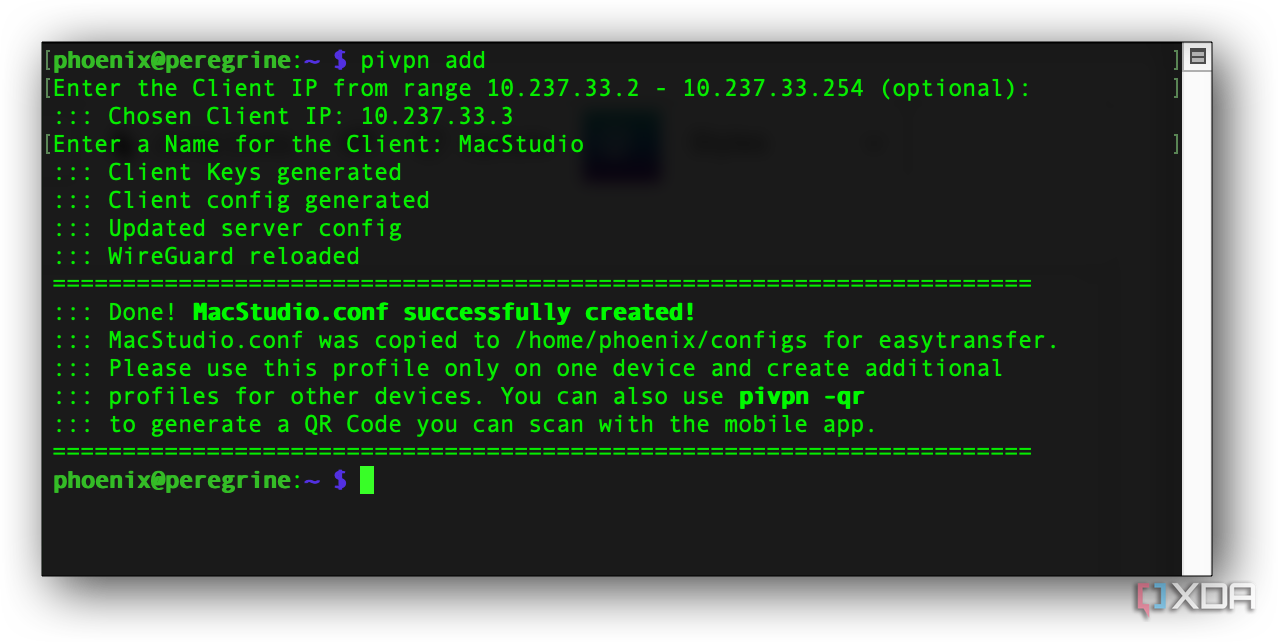
- Install PiVPN with WireGuard using WireGuard. This all starts with this command from the terminal: curl -L https://install.pivpn.io | bash
- If necessary, enable IP forwarding in /etc/sysctl.conf by uncommenting net.ipv4.ip_forward=1.
- Configure firewall rules using iptables or nftables to securely forward traffic between interfaces.
- Make WireGuard start on boot using: systemctl enable wg-quick@wg0 This assumes wg0 is your interface name.
- Test connectivity and confirm all network devices are routing traffic through the VPN tunnel by checking external IP addresses.
Once it's working, you can monitor uptime logs using simple tools like htop, wg, or even integrate it with Pi-hole or Uptime Kuma.
The value of a Pi VPN Gateway
This VPN setup has added real security and flexibility to my home network without needing expensive gear or complicated cloud services. It also gives me peace of mind knowing that everything, from my phone to my smart lights, is protected behind a single, always-on VPN. If you've got a spare Pi and a bit of curiosity, it's a great project to explore.


 English (US) ·