.png)
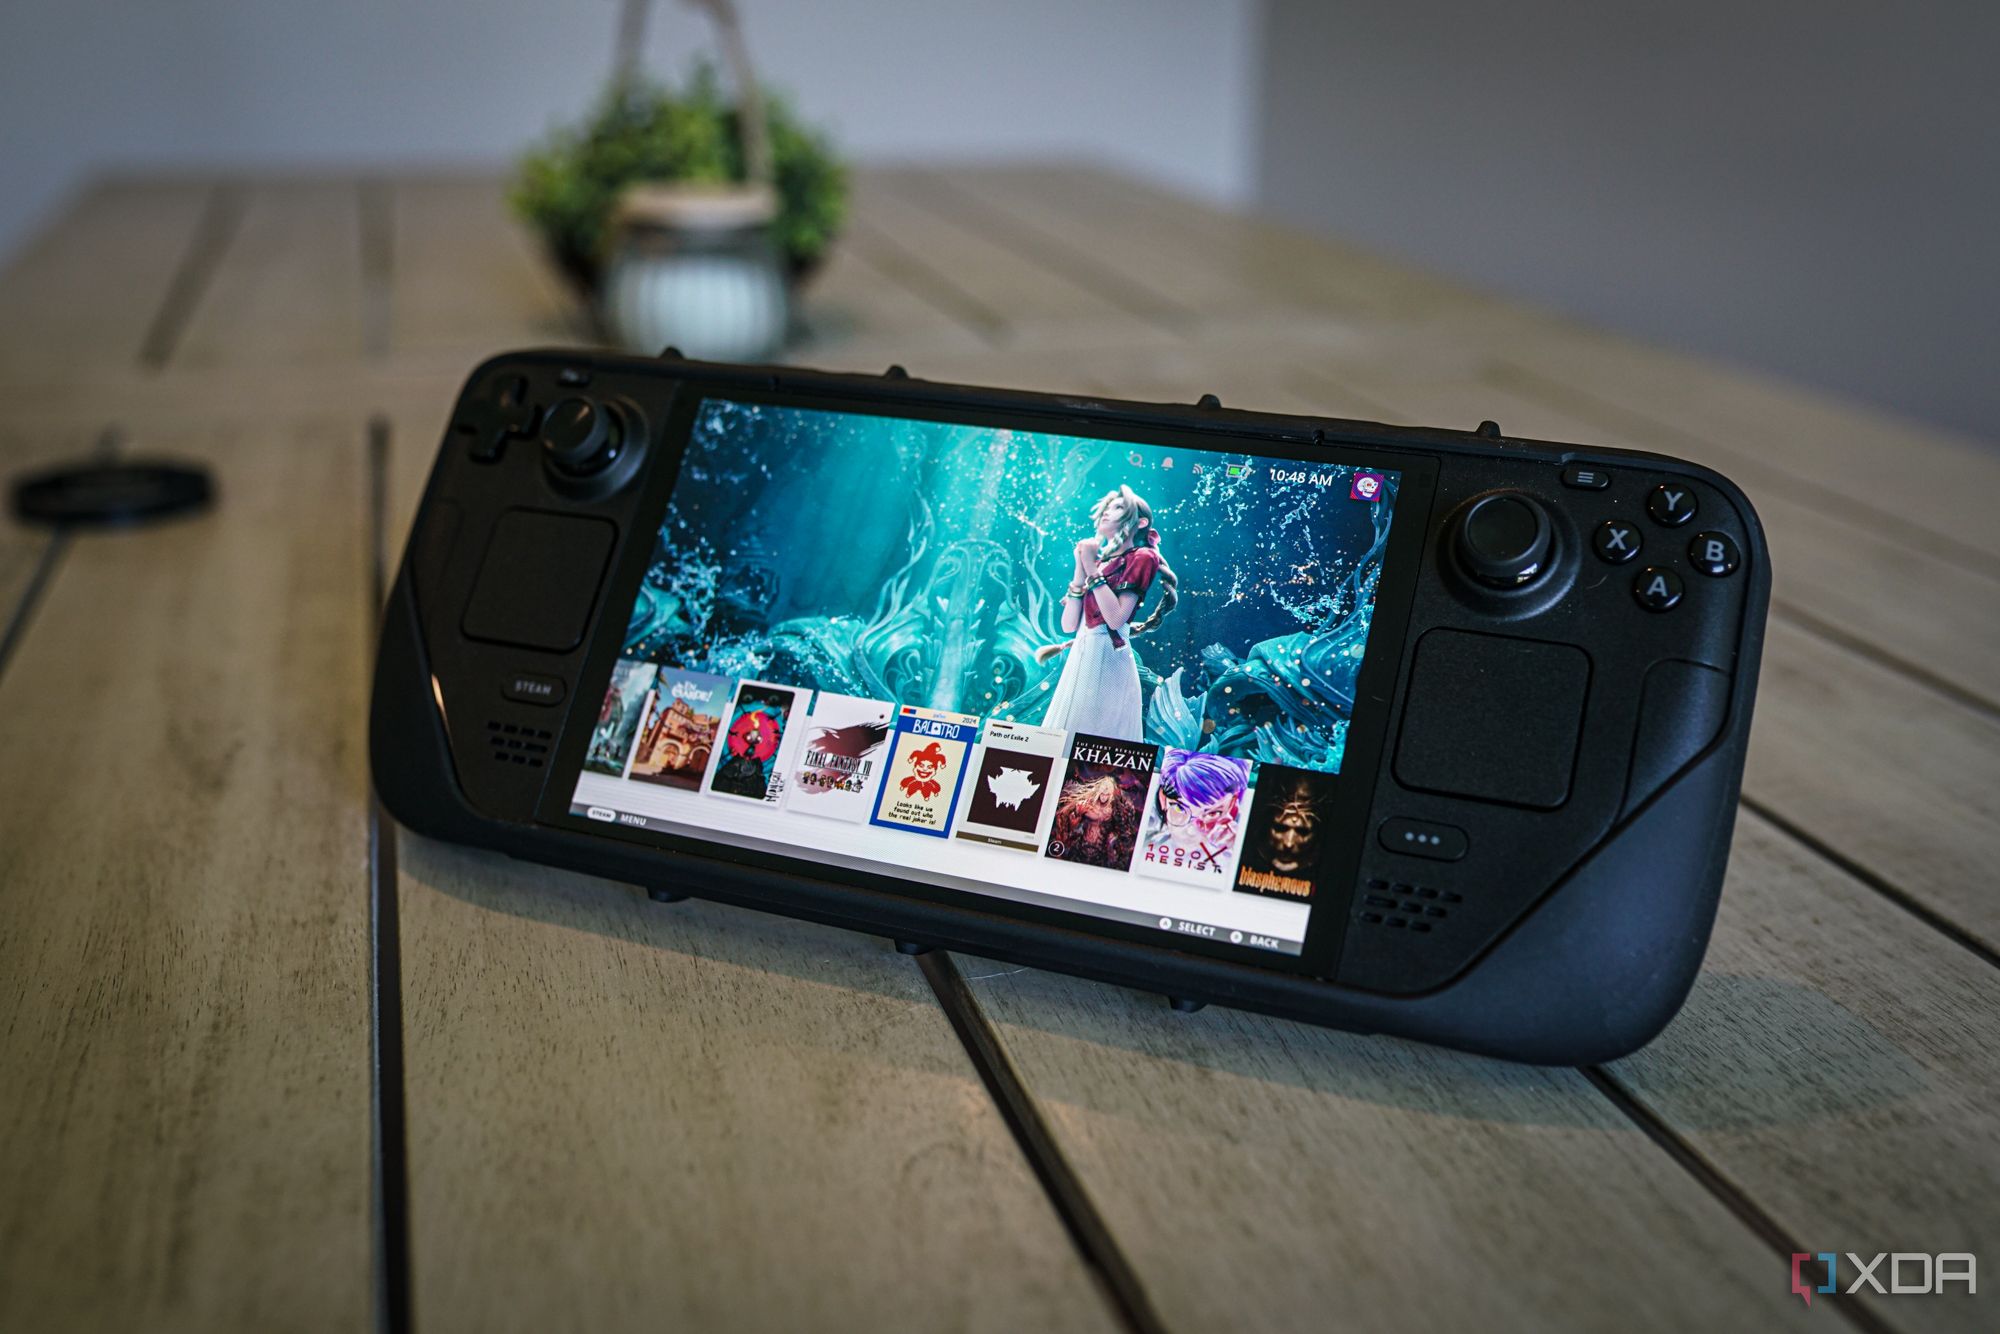
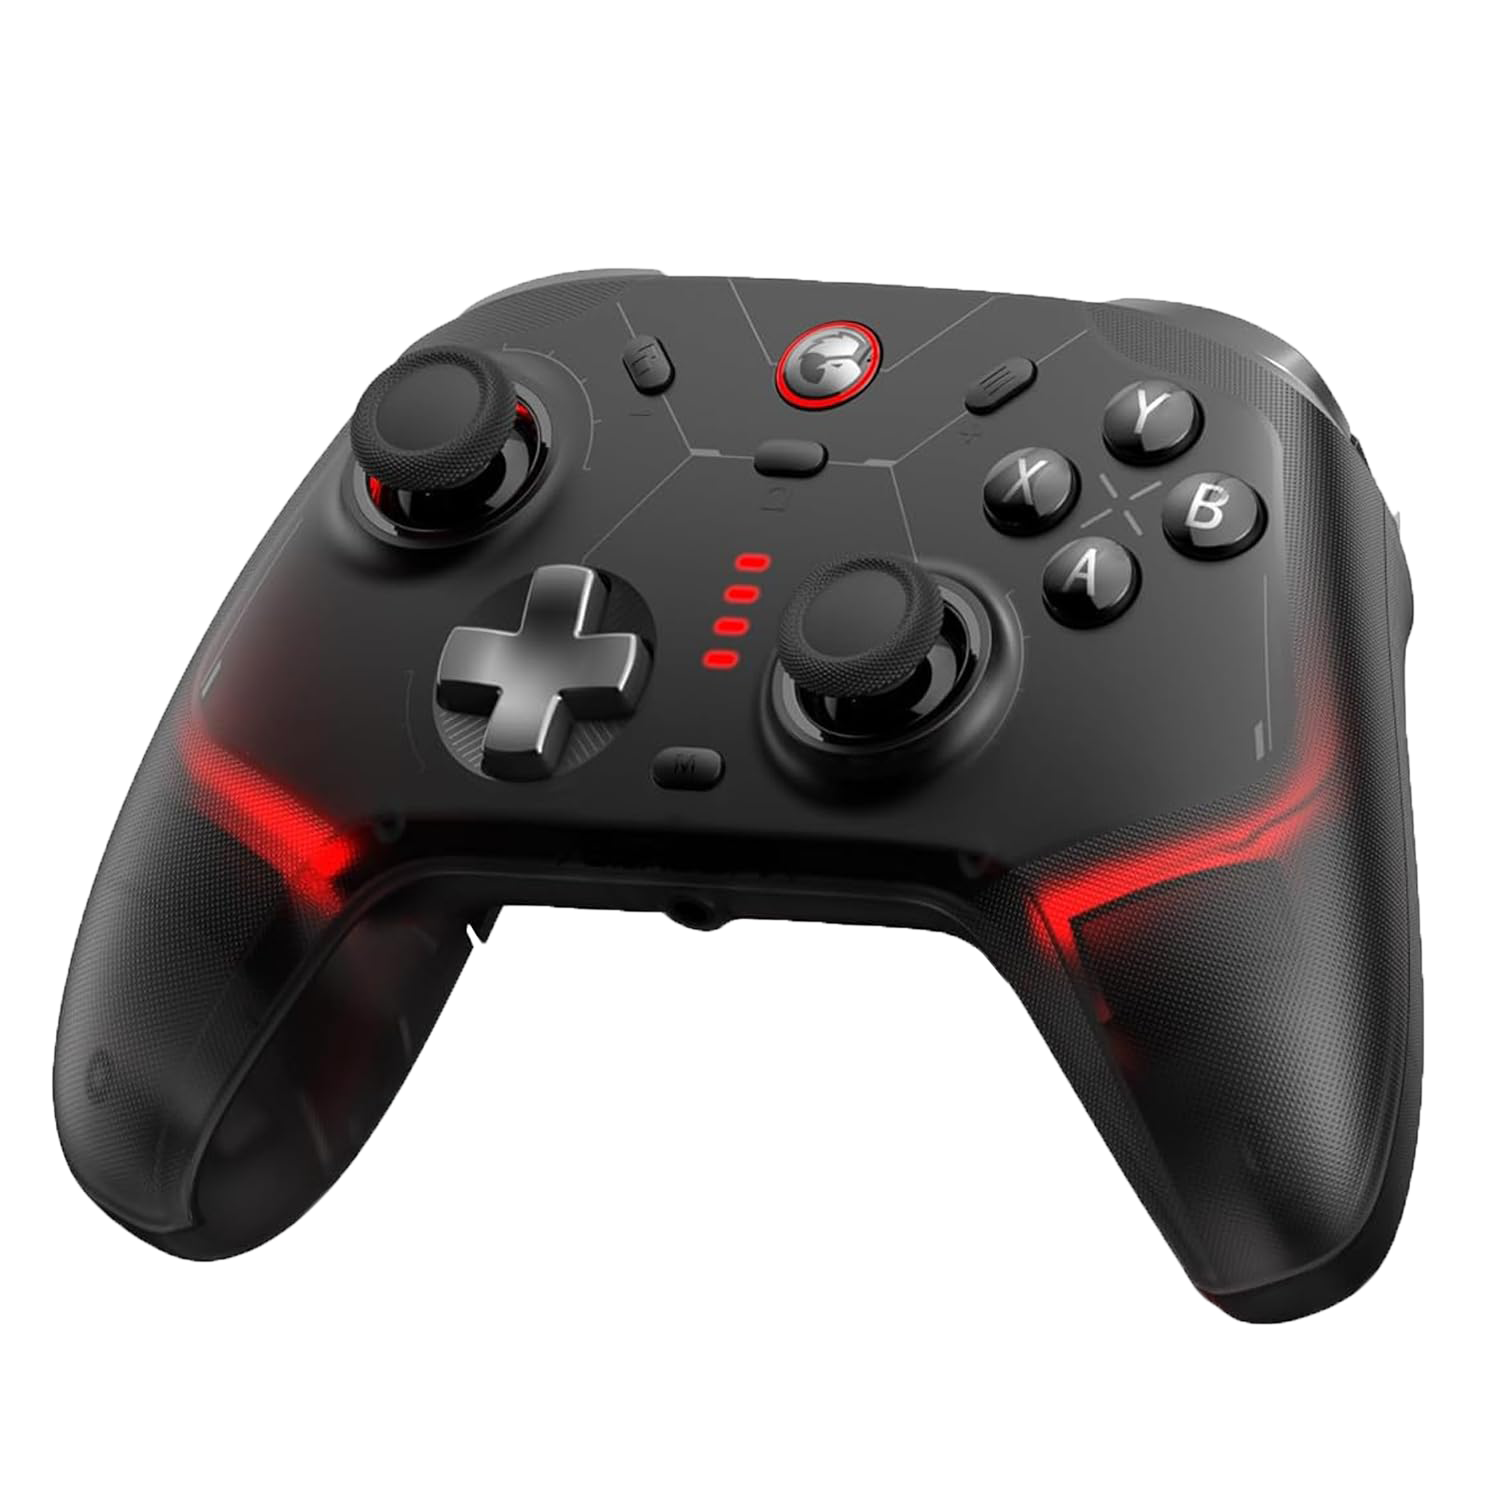
One of the main reasons I've stuck with the Steam Deck over more powerful gaming handhelds like the ROG Ally X is the build quality. Other handhelds are built fine, but you immediately feel the quality and consistency of the buttons and joysticks on Valve's handheld. That was until I picked up the GameSir Cyclone 2 controller for my desktop. It's a decent 2.4GHz controller, but the differentiator is that it comes with micro-switches for the D-pad and face buttons. I fell in love with the tactile feedback, and suddenly, it was hard to go back to the membrane-based buttons of my Steam Deck.
But then I found a solution, and it only cost me $20. It's the clicky kit from ExtremeRate, and after around an hour of ripping apart my Steam Deck and putting it back together, I now have a handheld that no other device can match.
Related
Clicky face buttons for the Steam Deck
Tactile feedback is everything
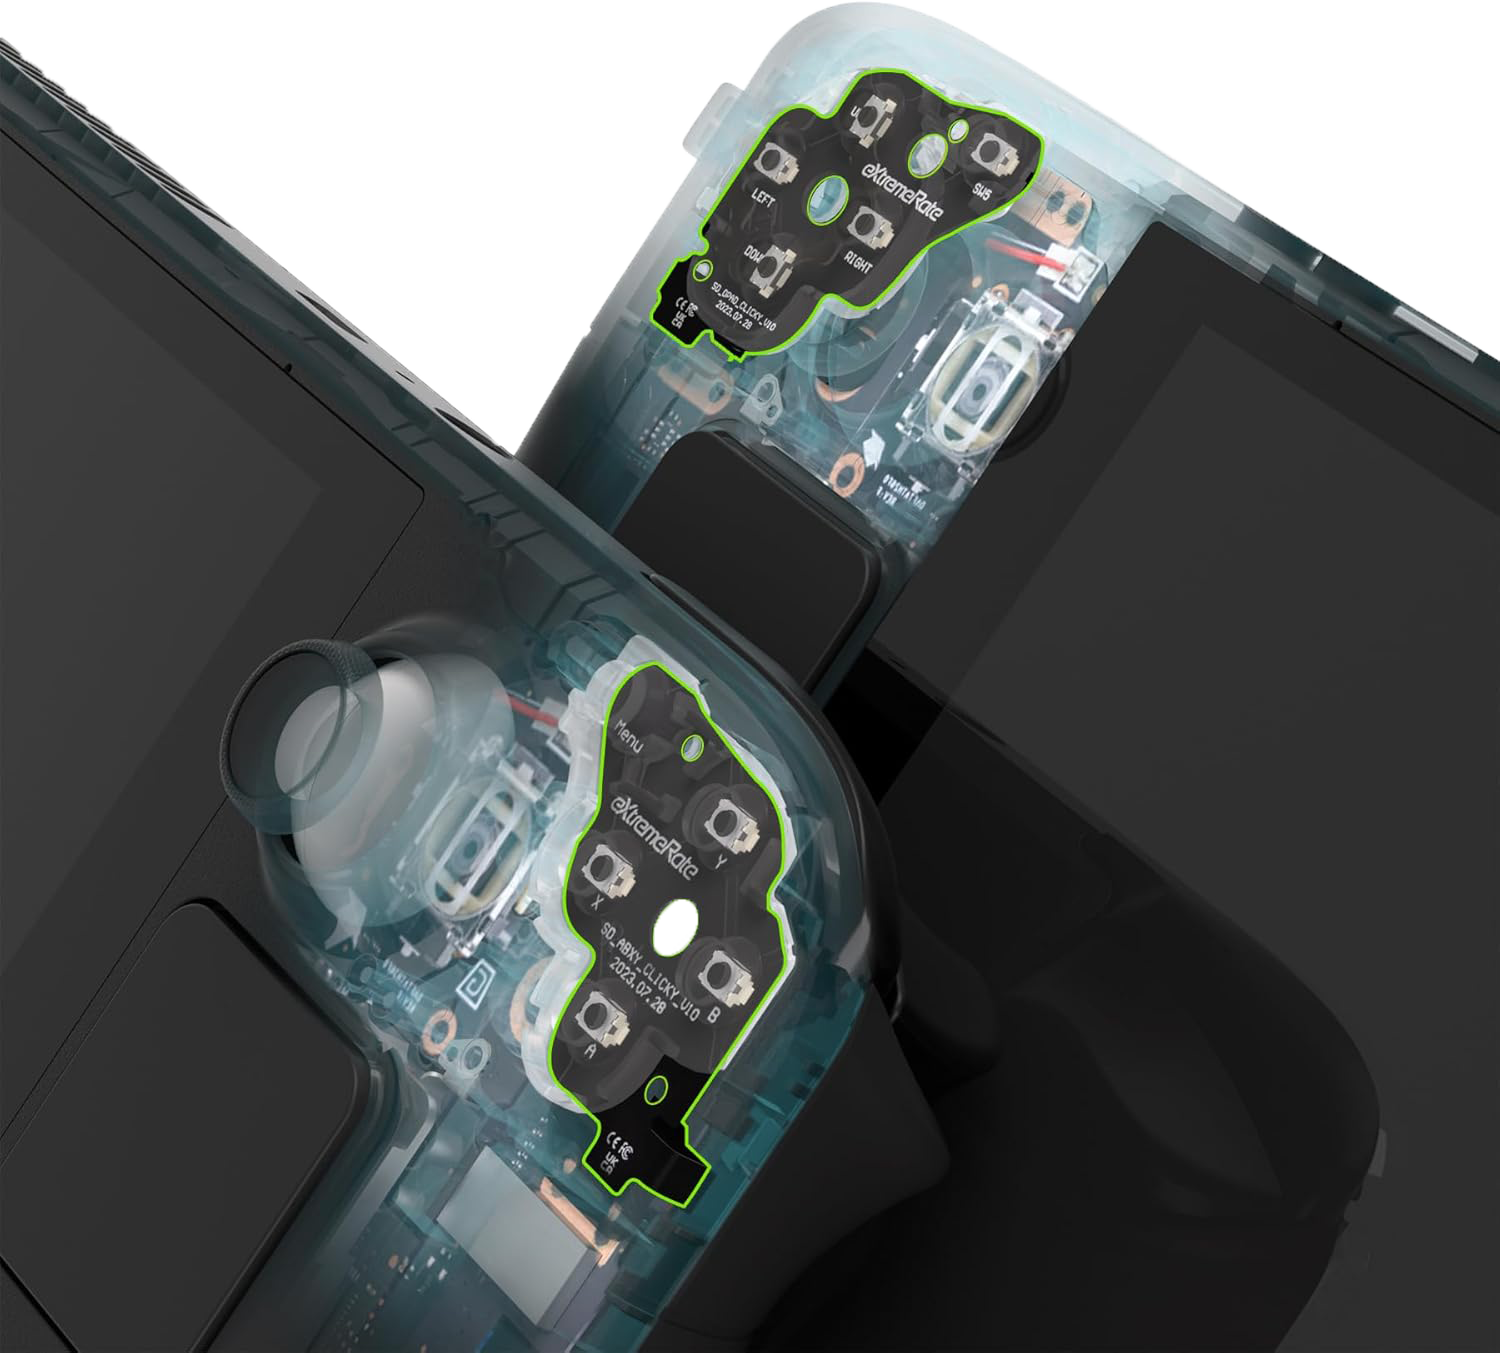
If you've ever modified the Steam Deck, or any other gaming-related device, you've probably come across ExtremeRate (stylized eXtremeRate, but I'm not going to screw up that capitalization a dozen times). It makes DIY kits for a ton of different devices — extra buttons for controllers, joystick and trigger replacements, and even complete kits for a shell swap. The clicky kit I picked up is nothing more than a couple of PCBs with a ribbon cable that replaces the ones already installed in the Steam Deck. It's $20, and ExtremeRate has kits for both the Steam Deck and Steam Deck OLED — make sure to pick up the right one, as they're slightly different.
Out of the box, the Steam Deck uses a membrane for the buttons, similar to the vast majority of controllers and handhelds. It's a small PCB with contact pads for each button, which are triggered when a membrane on top presses down and makes contact. The feedback you get is from a raised portion of the membrane popping back up into place after pressing. Naturally, slamming a button quickly, be it in a fast-paced action game like Metal Gear Rising: Revengence or flicking across the D-pad in a fighting game like Guilty Gear Strive, you're going to run into a mushy feel over time. It's usable, but I've had a hard time going back to membrane face buttons after using the micro-switches on the GameSir Cyclone 2.
The best point of comparison if you haven't used this type of micro-switch is a mouse. The mechanism is different from your standard gaming mouse, but you get similar tactile feedback when you press the buttons. It might surprise you to find out that they're less noisy, too. There's a decently loud click when you press the buttons, but you don't get this barrage of button/membrane noise when you're slamming away at buttons.
I really love micro-switches, however, because of the precision. They feel better to use when button-mashing, sure, but I really fell in love with them during my recent playthrough of Clair Obscur: Expedition 33. I wanted my dodges to feel as satisfying as my parries, and it turns out, micro-switches are the key to that feel. All of your inputs feel intentional. If you need a point of reference, think of the number of times you've mindlessly hit the shoulder buttons on your controller versus the face buttons. I'd reckon your shoulder buttons get much more intentional inputs, and clicky face buttons bring that over to your most-used inputs.
Related
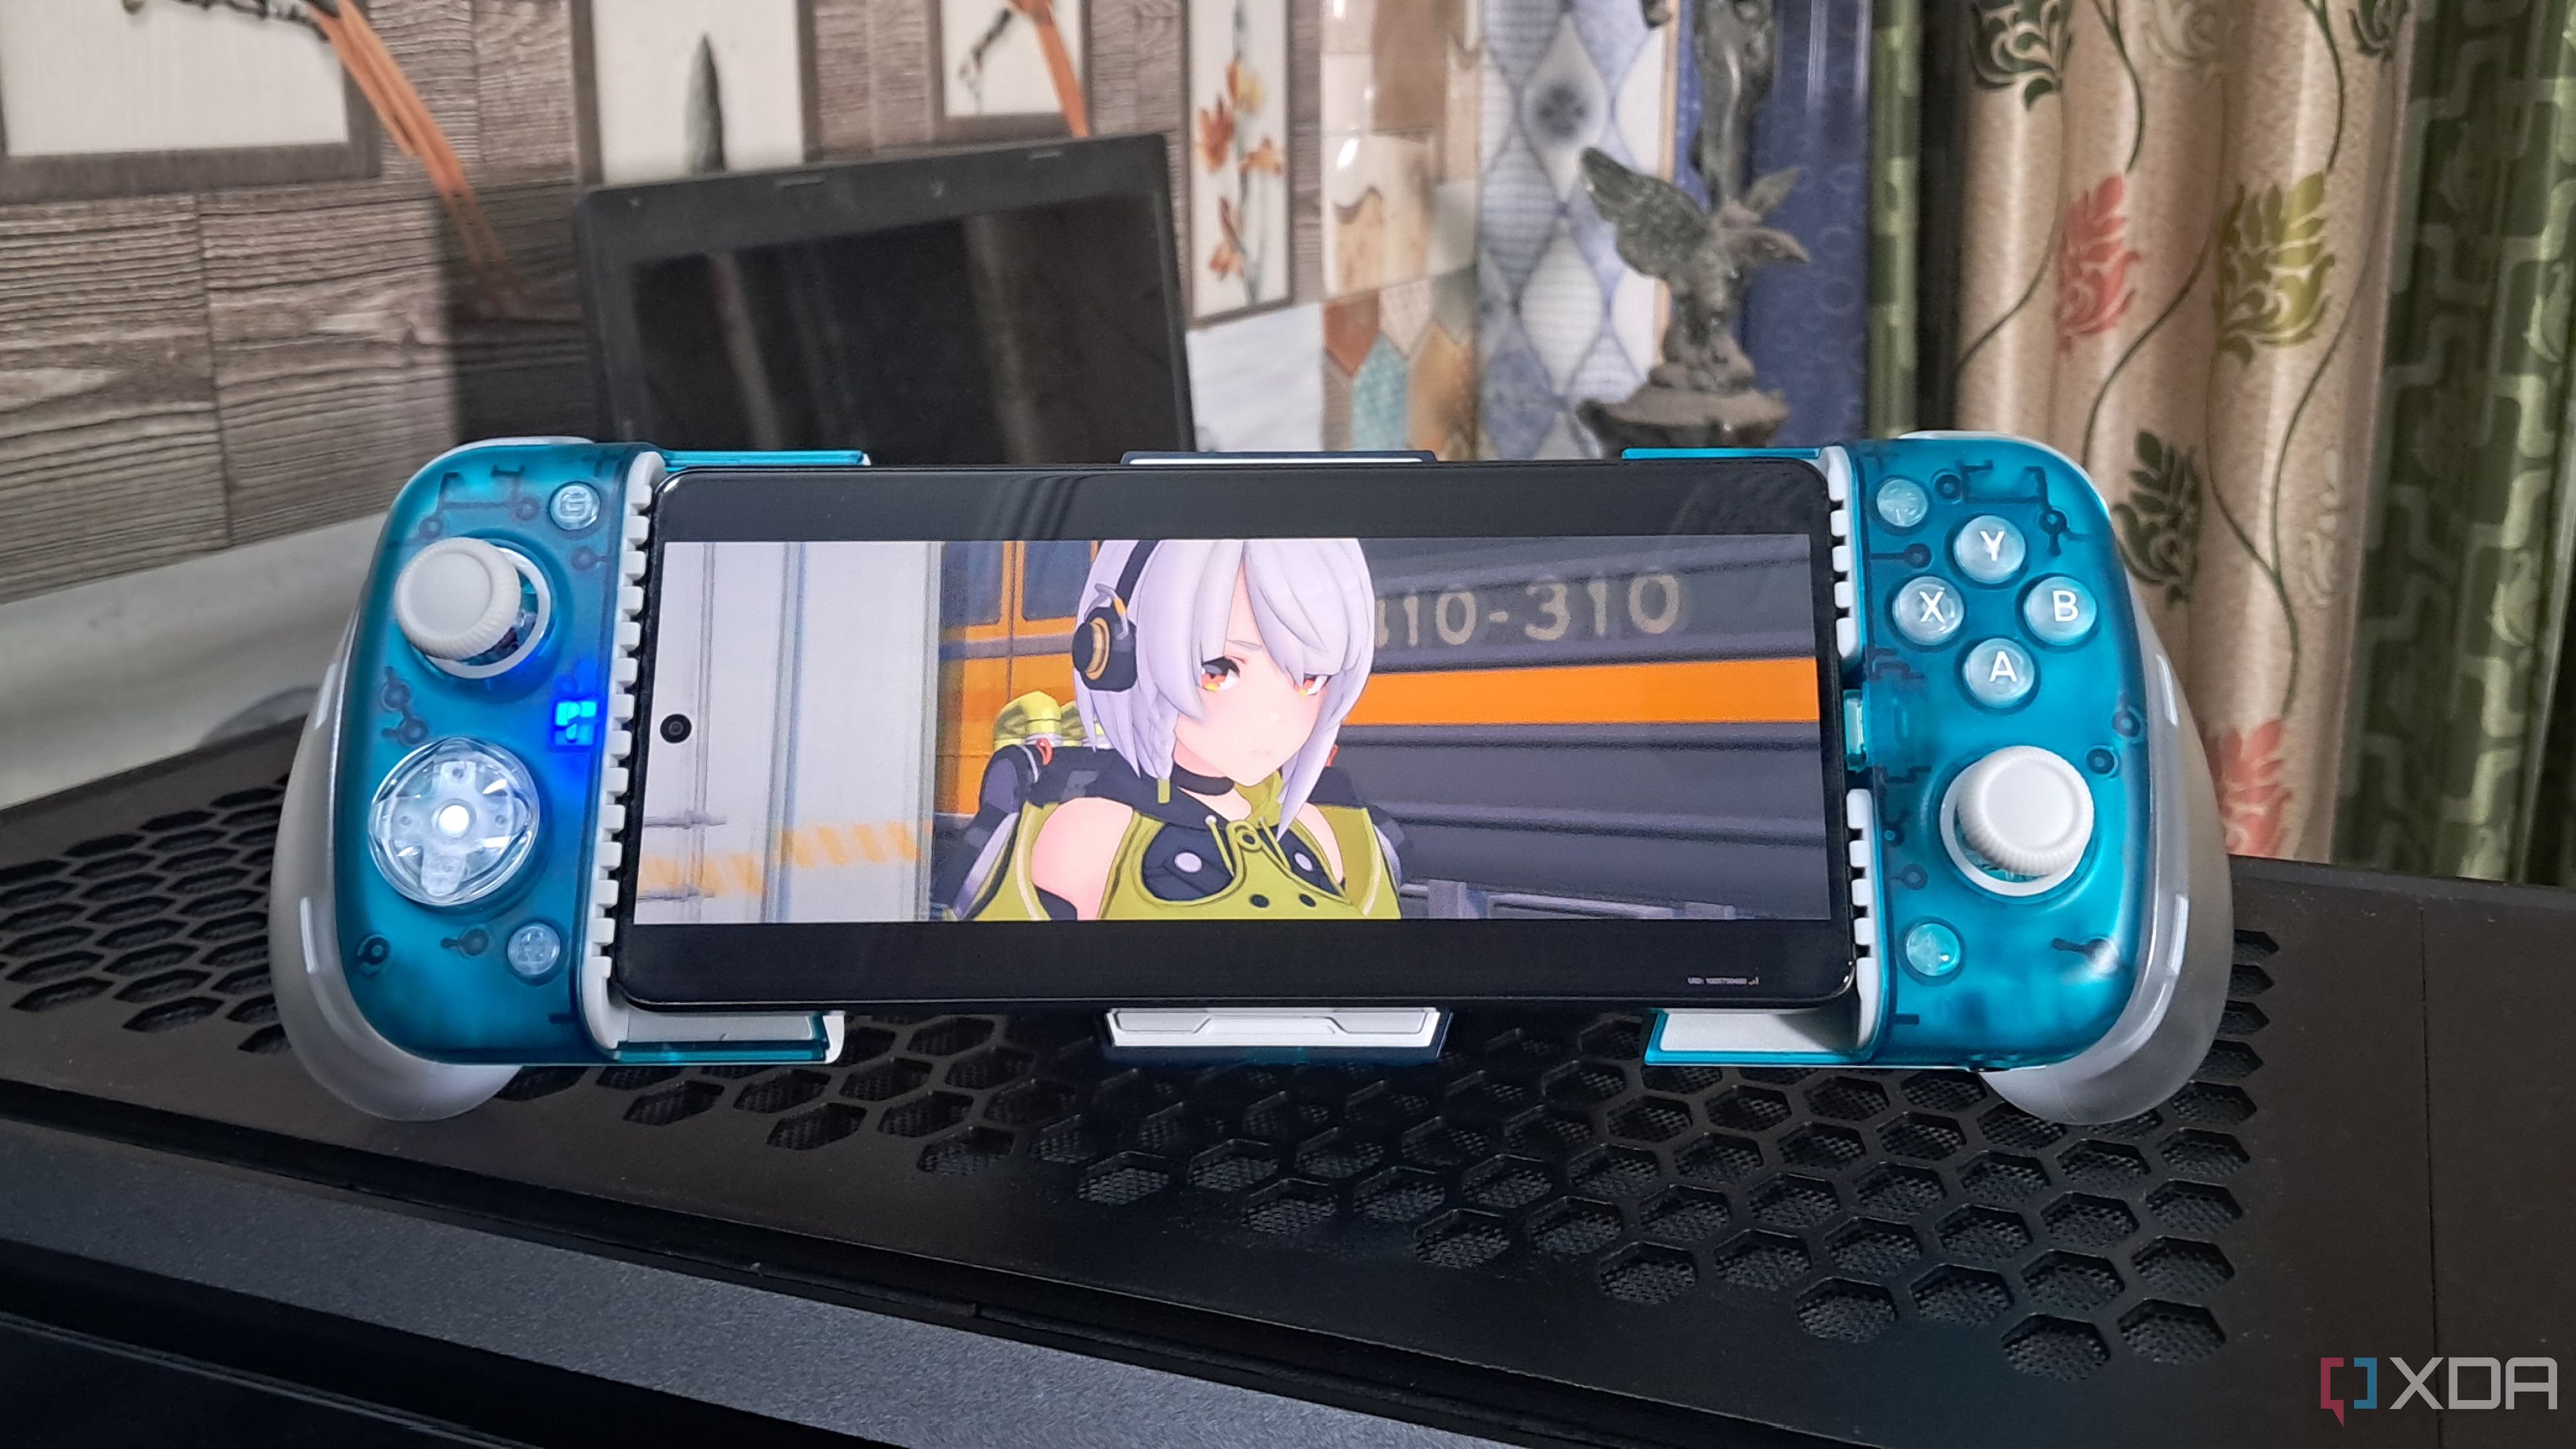
GameSir X3 Pro review: A customizable mobile controller with a built-in fan
And it's surprisingly good at keeping your phone nice and cool during long gaming sessions
Taking the Steam Deck apart
Easy, but nerve-wracking
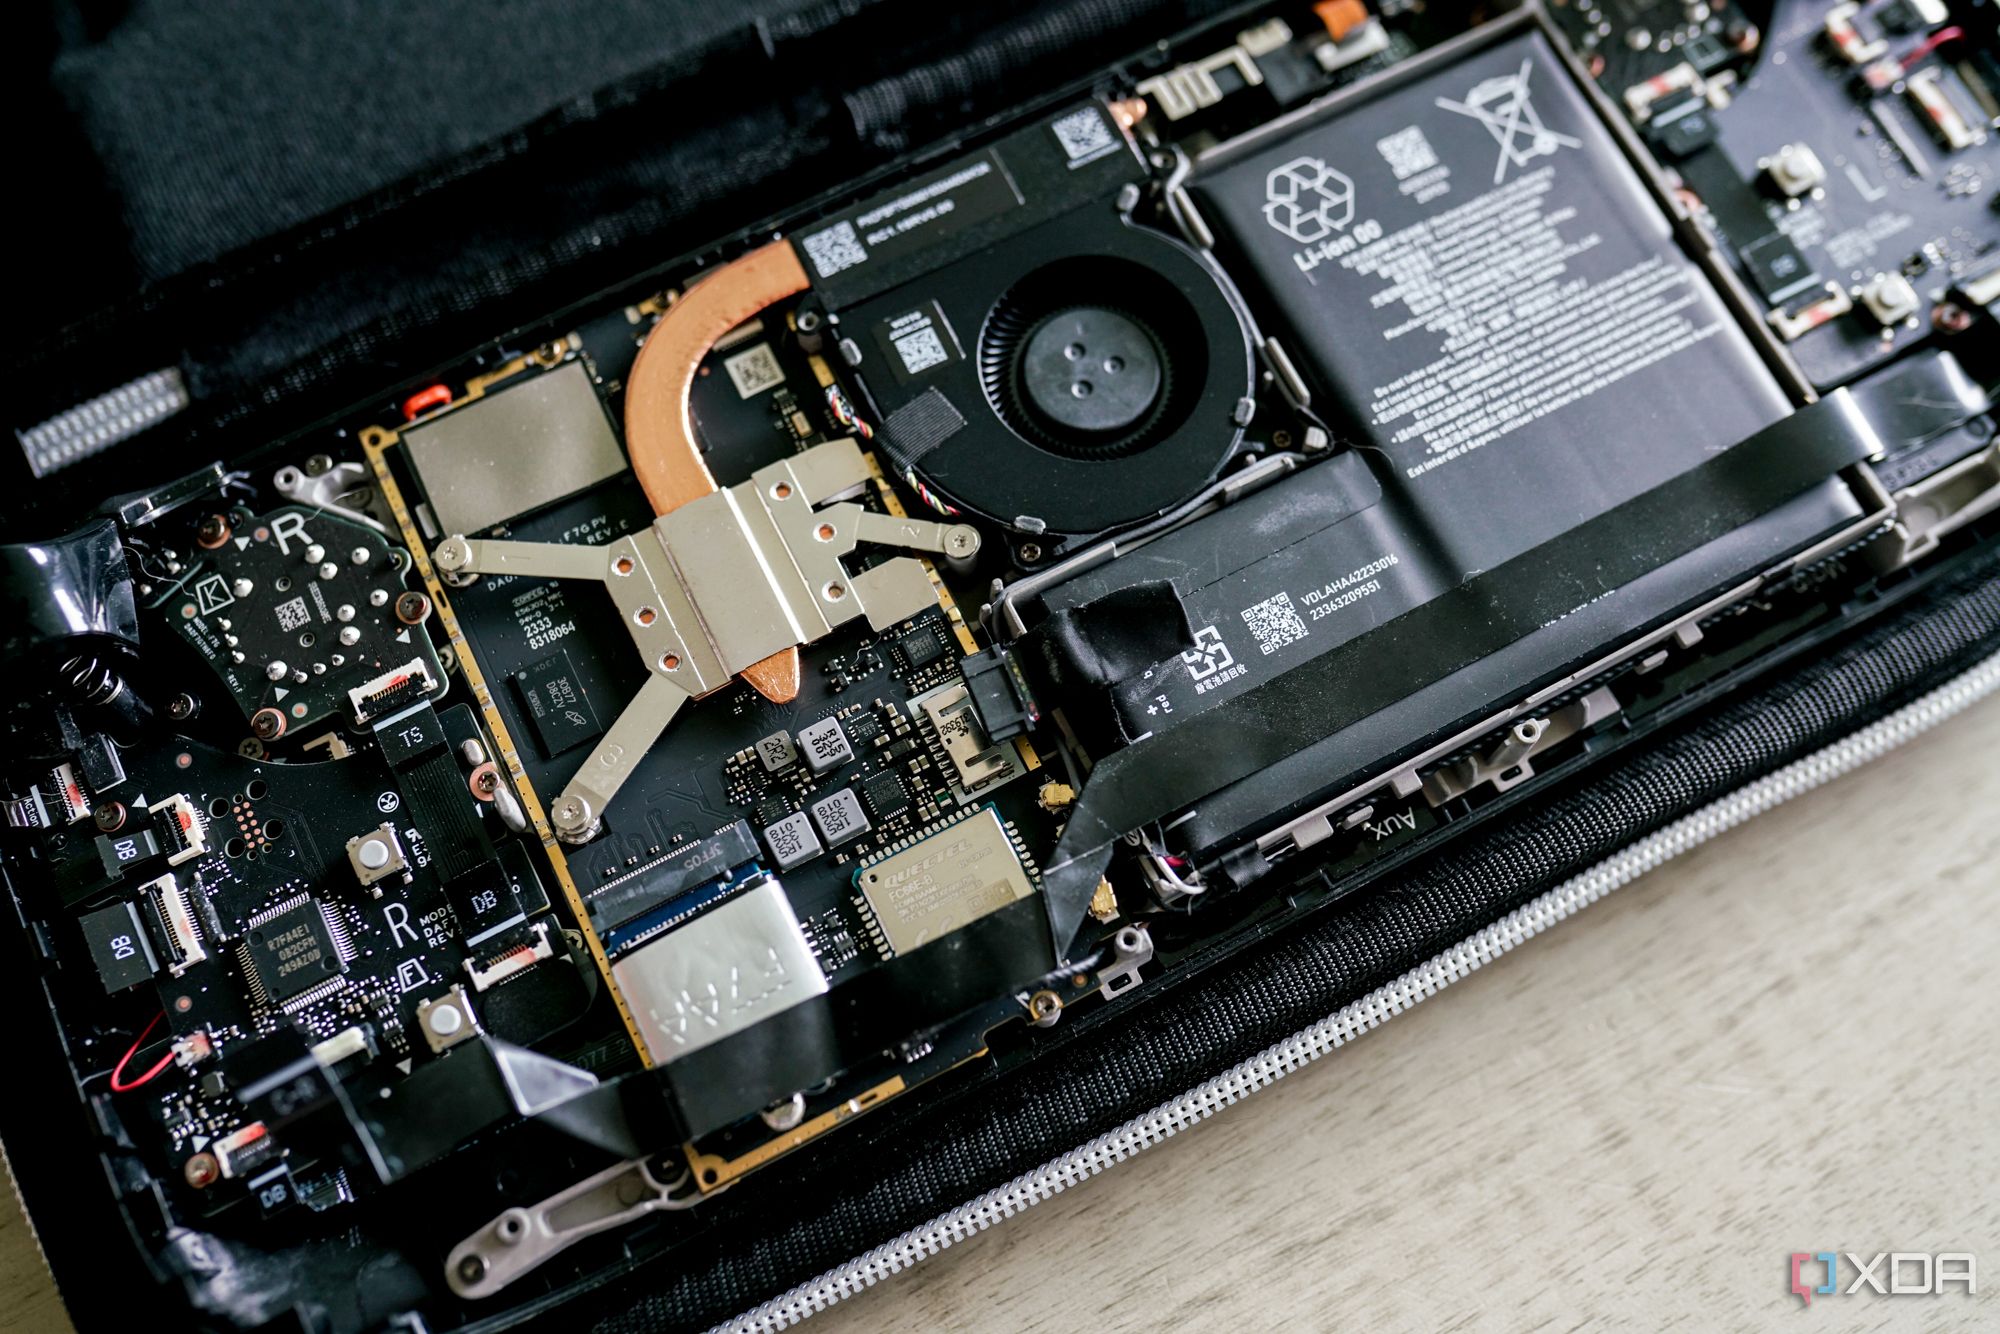
Buying the kit is one thing. Installing it is another. I've taken apart my Steam Deck before, replacing the joysticks with Hall Effect options, doing a back shell swap, and upgrading the SSD. But replacing the face buttons requires taking out the full assembly for each controller, each of which has half a dozen screws, removing the triggers, and peeling back the adhesive that attaches the OEM button PCB. You need to deal with a few dozen tiny screws, a handful of delicate ribbons cables, and various PCBs attached by nothing more than cables and a sense of hope. You can, without a doubt, break something in your Steam Deck if you decide to perform this upgrade. Thankfully, ExtremeRate has an excellent video tutorial available that will walk you through the process.
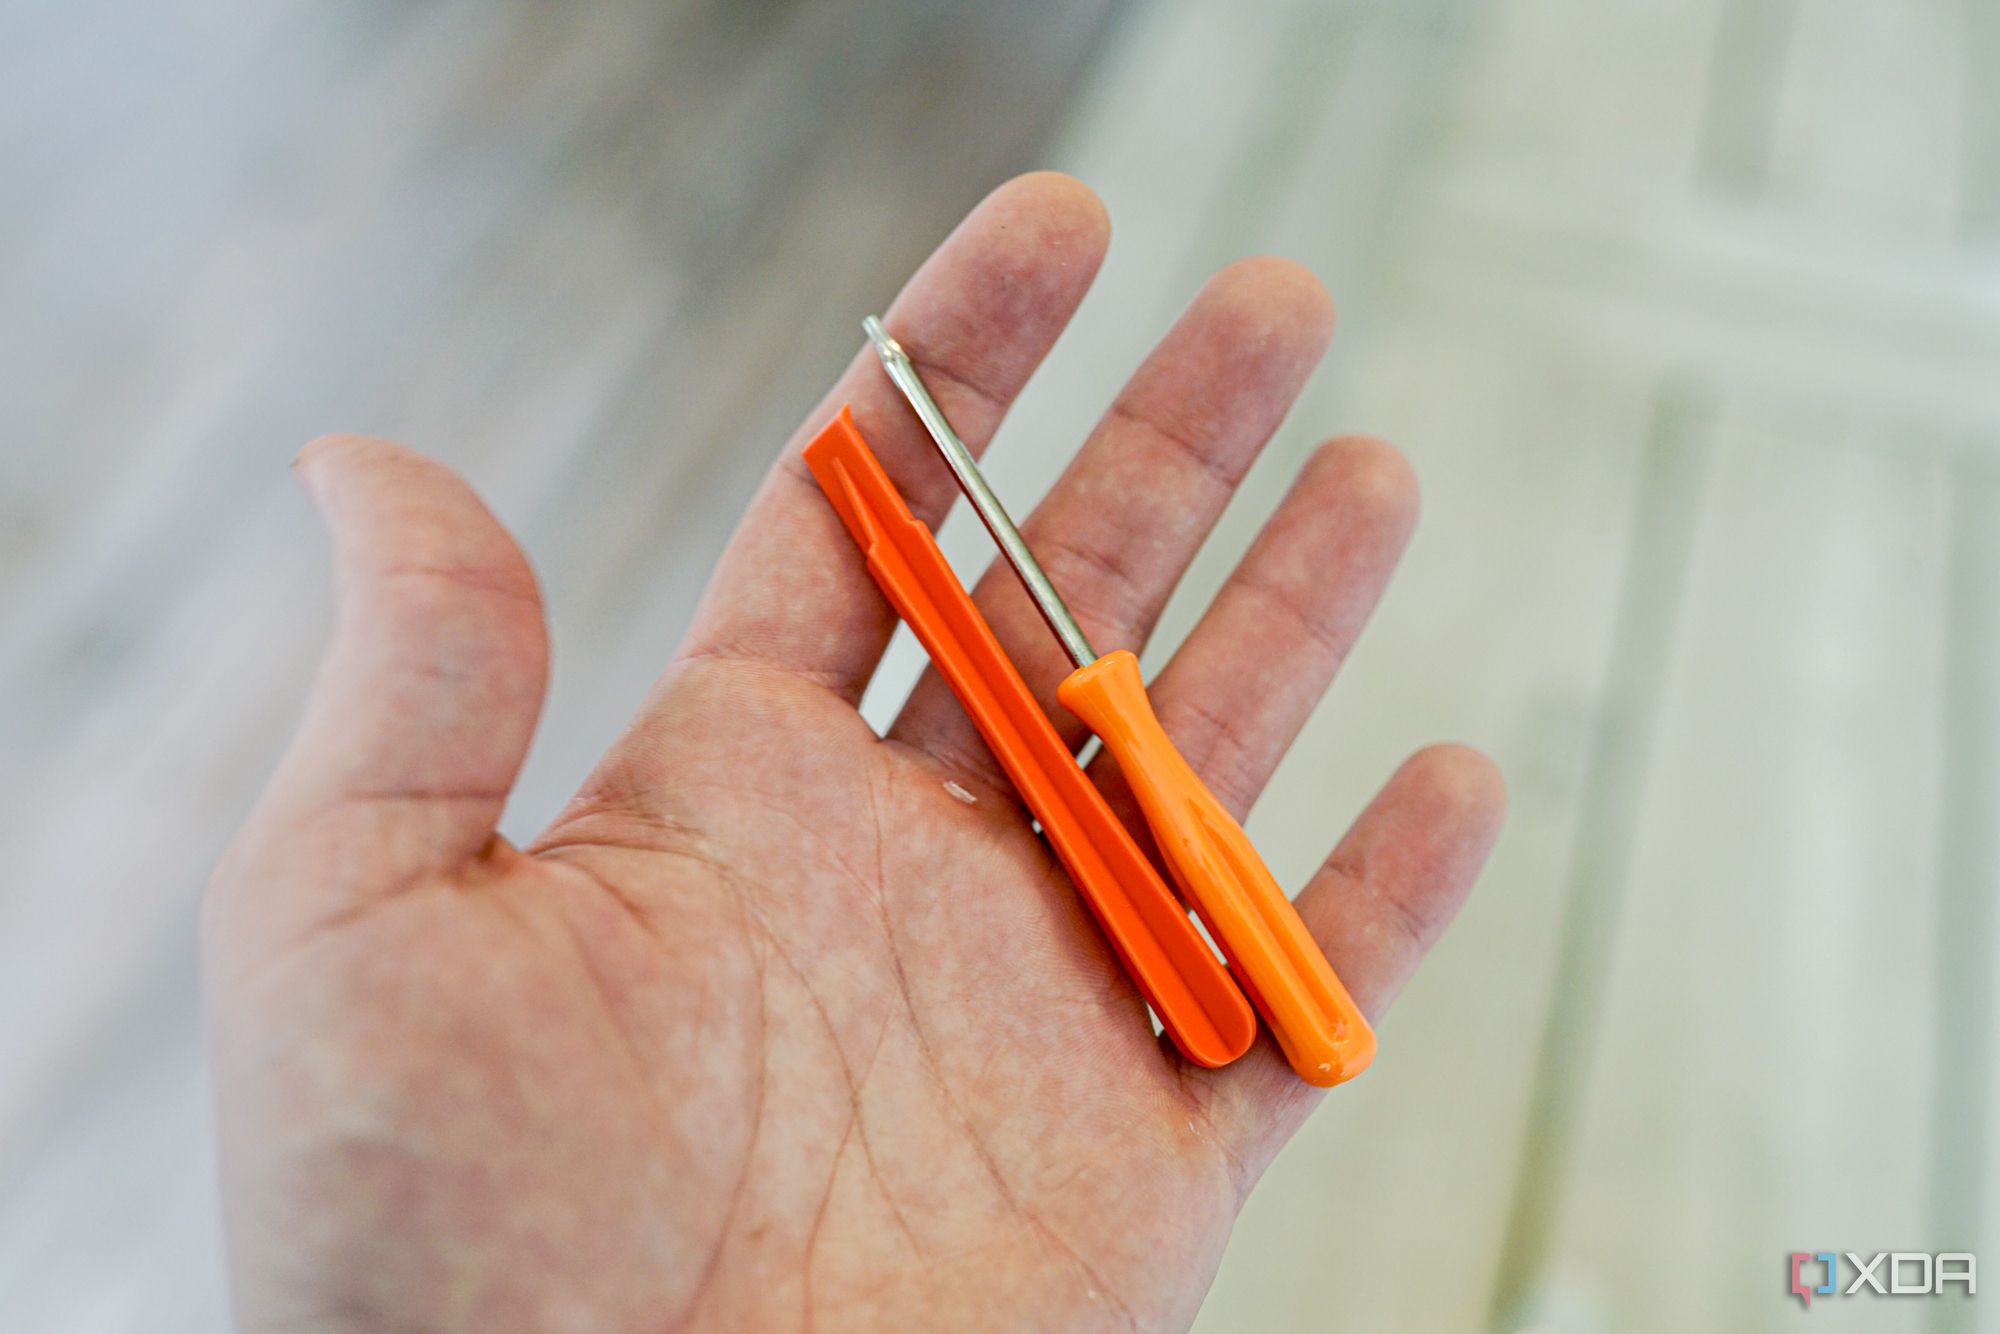
I have a few recommendations that aren't included in the video, though. First, grab the case for your Steam Deck and use it as a work surface. You'll need to have your device lying on its face, and you'll be applying pressure to the back. Using the form-fitting case that's included with your Steam Deck will help prevent breaking your joysticks or scratching the screen. You'll also want a place to keep your screws organized. You'll take out somewhere around 30 screws, and they aren't all the same size. Keep them organized so you remember how everything goes back together. Otherwise, everything you need is included in the DIY kit, including the proper Torx screwdriver and a plastic pry tool.
The installation process is mostly a process of undoing the right screws and carefully tucking ribbon cables out of the way, but the mechanism for the buttons is a bit strange. And that's because it's not a mechanism. The contact pads are attached to the assembly of the shoulder button with adhesive, and the ribbon cable tucks behind the shoulder button to attach to the main controller PCB. You'll need to heat and peel off the original contact pad, which will render it useless. You won't be able to go back. Thankfully, Valve partners with iFixIt to provide genuine, OEM parts for the Steam Deck and Steam Deck OLED, so you can pick up another set of shoulder buttons with the proper contact pad for about $15.
The clicky micro-switches also attach with adhesive, but thankfully, Valve includes a handful of plastic standoffs on each shoulder to get your positioning right. I wouldn't say going this deep into the Steam Deck's hardware is easy, but there was very little about the design of the Steam Deck OLED that got in the way. Everything felt intentionally designed to enable this type of upgrade. Still, you're going deep into a purpose-built handheld console, so be prepared for some unforeseen issues.
Related
Avoid these mistakes I made
Learn from my mishaps
I certainly ran into some unforeseen issues. The instructional video from ExtremeRate is remarkably detailed, and if you follow it step-by-step, you should be fine. I didn't, leaning a bit too heavily on my previous experience taking apart the Steam Deck, and I screwed things up along the way. Learn from my mistakes. Don't repeat them.
The first issue I ran into was my micro SD card. I broke it. The back shell of the Steam Deck wraps around the button edge where the micro SD card slot is, and your micro SD card hangs out just enough to catch the back shell. When upgrading my SSD previously, I forgot about my micro SD card, but I was thankfully able to get it out unscatched while taking off the backplate. This time around, I wasn't as lucky. Eager to get my new buttons installed, I applied too much pressure and bent my micro SD card. That gave me an excuse to finally upgrade the 128GB card I've been using for years, but still. Make sure to remove your micro SD card before doing anything.
After putting everything back together, I also realized that I wasn't getting any audio out of my speakers. I thought I had broken something internally, but I actually forgot to plug the speaker cable back in during reassembly. One of the first things you need to do when disassembling the Steam Deck OLED is detaching the speaker cable, and it's attached to a ribbon cable that runs the length of the device and connects the two controller assemblies. It's one of the first things you do after you take the backplate off, and it's easy to forget to reattach the cable. Moreover, the cable itself is very small and requires a decent amount of force to get back in.
Before signing off on the project, I recommend booting the Steam Deck back up with the backplate installed but none of the backplate screws in place. That way, you'll be able to easily get back inside if you need to. In addition to testing the speakers, make sure to boot up the controller testing feature within SteamOS. On my first go, the ribbon cable for the face buttons wasn't seated all the way, so some of my inputs didn't register at first.
Related
7 reasons every Steam Deck owner needs SimpleDeckyTDP
SimpleDeckyTDP is a plugin that every Steam Deck owner should have installed.
A Steam Deck all my own
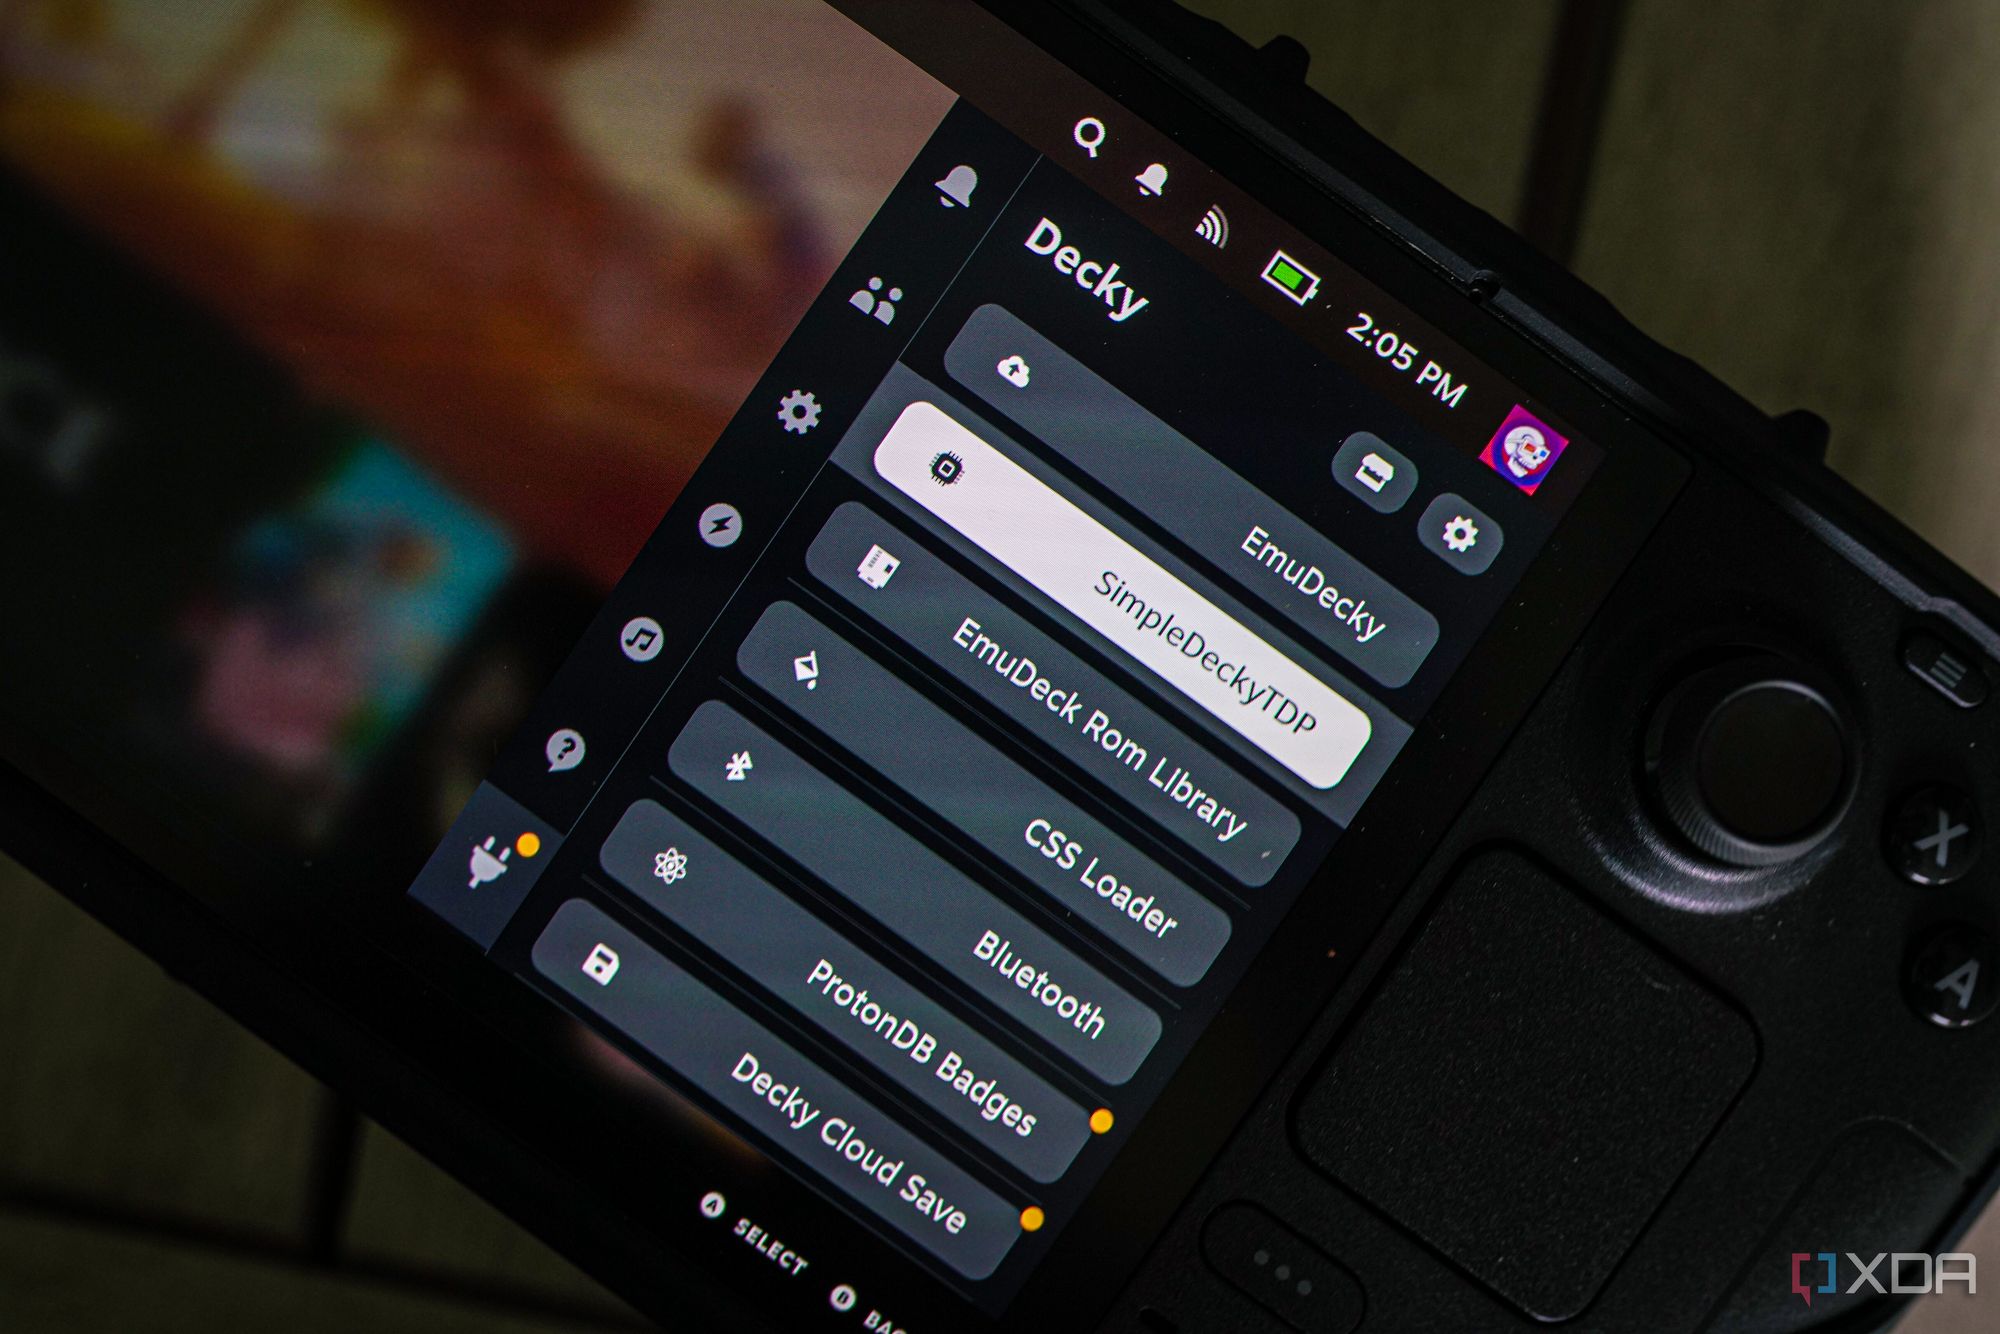
I've customized a ton of aspects of my Steam Deck, from a new SSD to a suite of Decky Loader mods, but the clicky button kit really made it feel like my own. This isn't the right mod for everyone, but it made a world of difference for me. And, unless micro-switches somehow become mainstream, I don't see any new handhelds changing that story.


 English (US) ·